

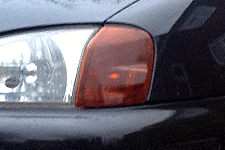
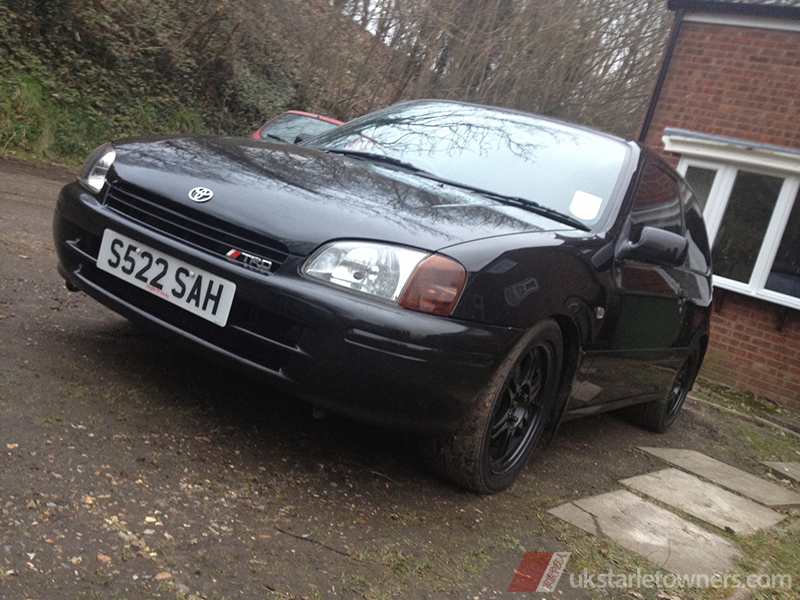
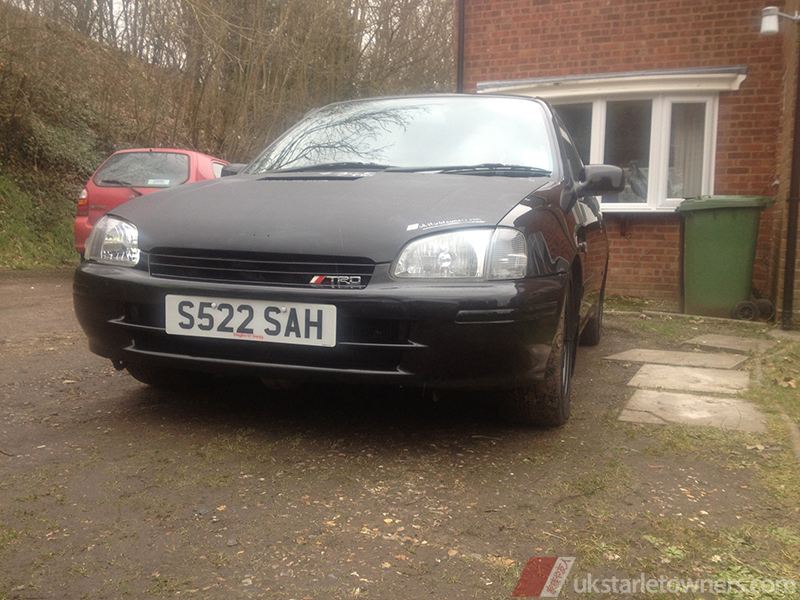
Hopefully this will help a few people out, a quick and simple guide on how to change your front indicator lenses from either amber to clear or clear to amber ![]()
It's a pretty easy job so don't be afraid to have a go.
First off: tools, all you are going to need as a bare minimum is:
Posidrive/cross head screw driver, fairly small one
Flat blade screw driver
That's it for basic straight swap; only other things you may want is something to clean them with.
And if you are changing from amber to clear you'll want Silvatech or chromed bulbs to give it a cleaner look; these can be found on a quick eBay search or any decent car parts store should stock them as well ![]()
Right so get your bonnet open and prop it up - first thing is the screw holding the top support in place, remove this.

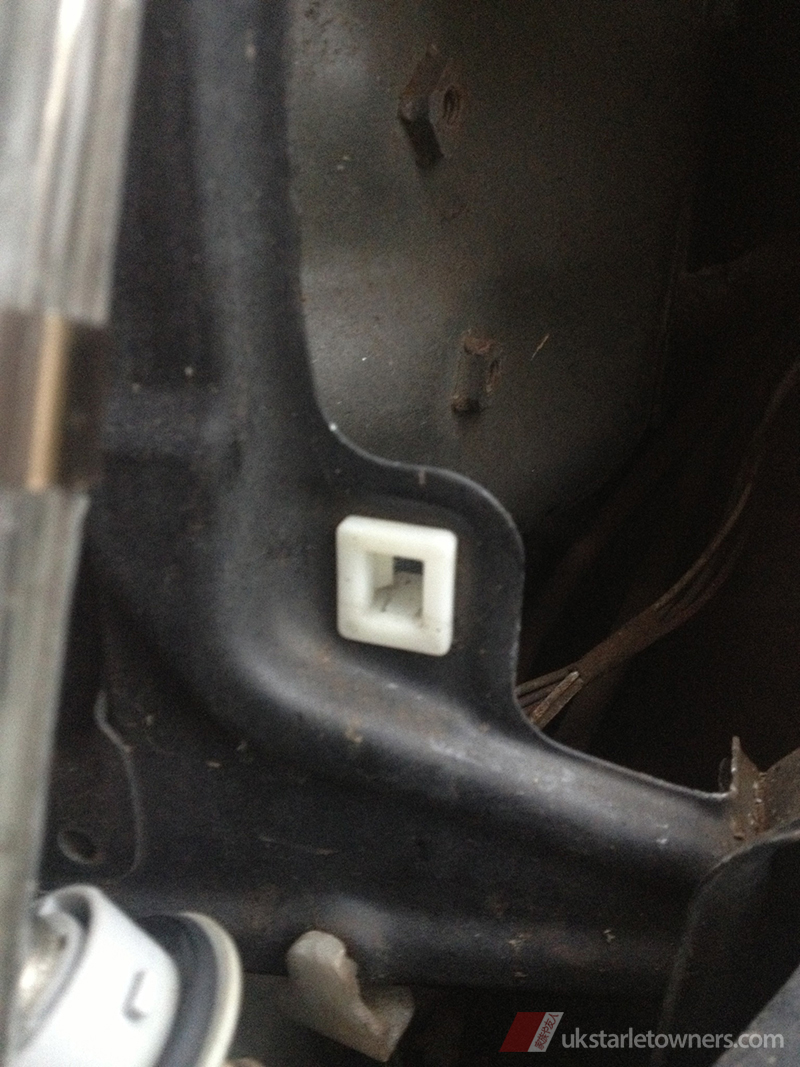
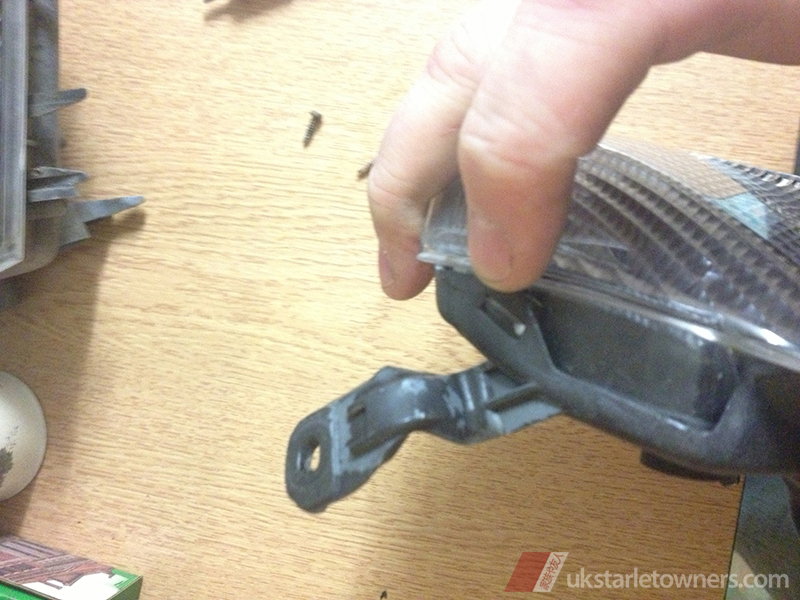
Once this is out you want to lift the light from the bottom and directly forward, no twisting etc, in order to pop the rear mount from the clip it locates into, like so (be firm but delicate, I broke my clip 1st time):
This is the clip you are removing it from:
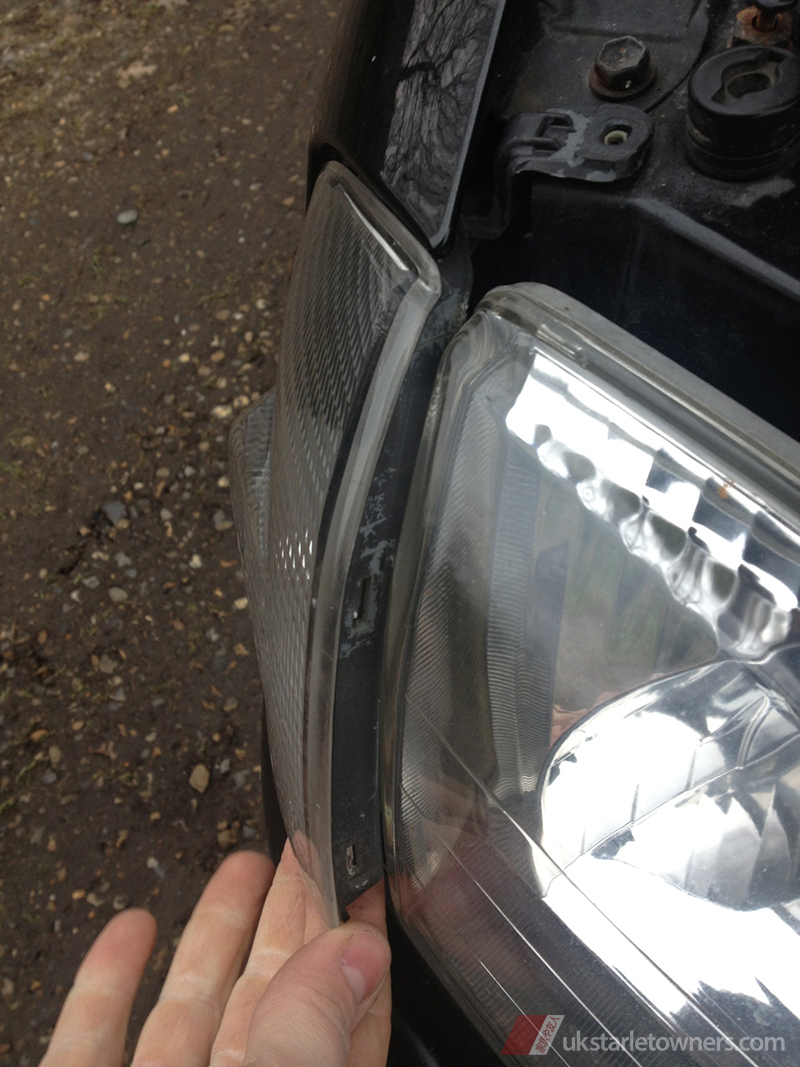
Once this is free from this clip you should be able to wriggle it out from the body of the car. Once free either twist out the bulb and holder or unclip the connector to the holder.
Repeat this for both sides, then head indoors with both units (it's winter so I'm staying warm  )
)
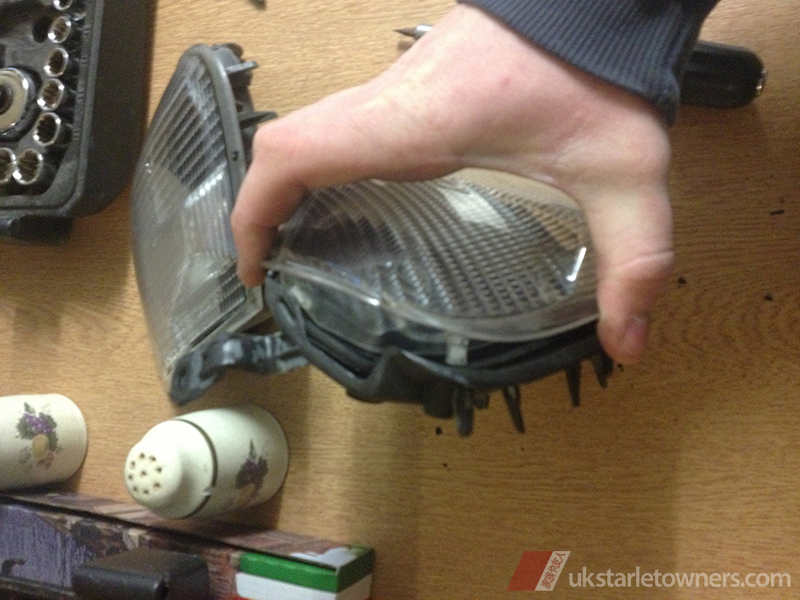
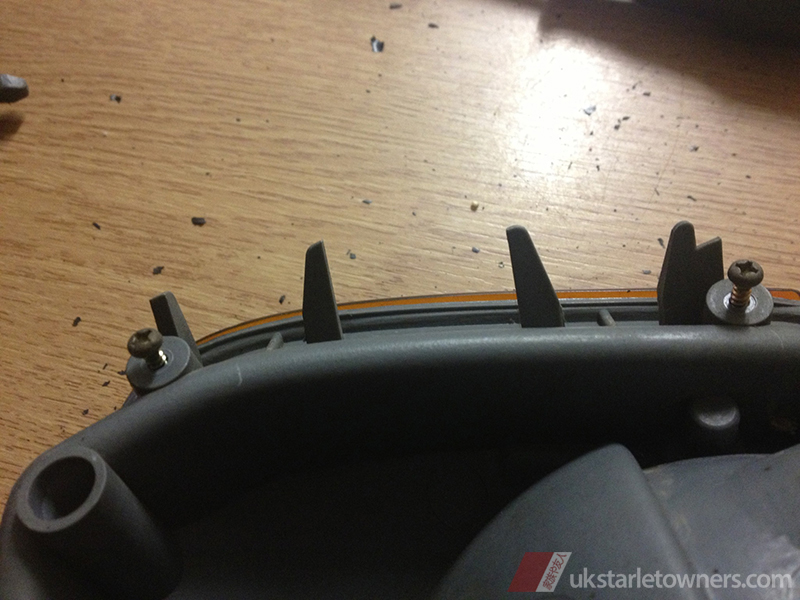
Next step is to remove the lens; start off by removing the 2 small screws on the back, next to my finger and thumb.
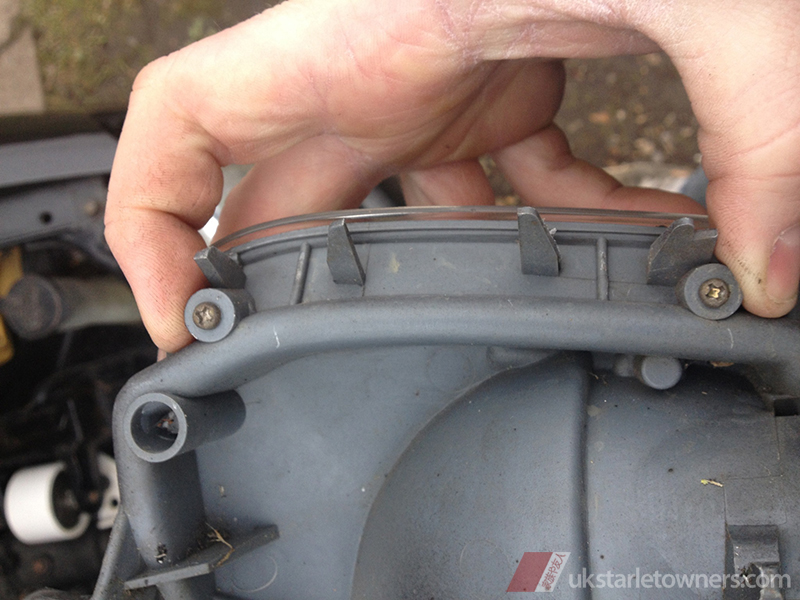
Now just gently pry the lens away from the side where you removed the screws from, just to break the seal (no glue just stuck from dirt and grime build up) but once it's broken stop as there's still some clips to remove!
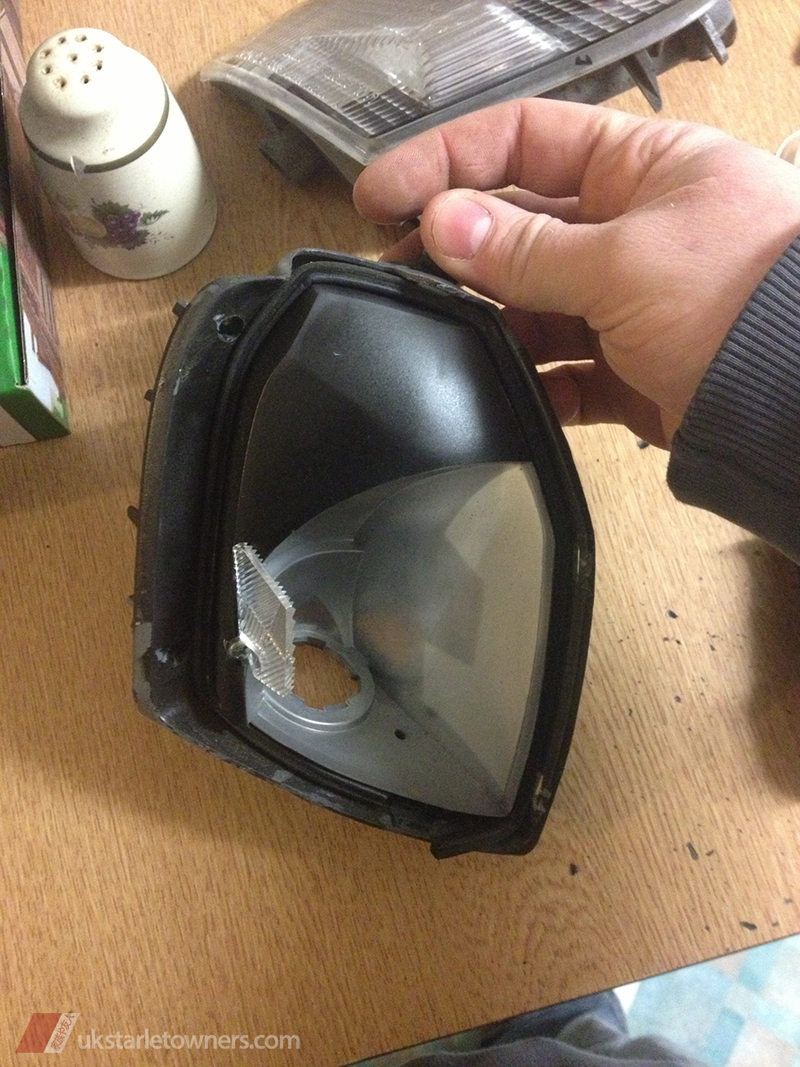
The clip on the top is the one you want to lift, this is where the flat blade comes into use. Be careful, don't lean on the lip on the lens as you will easily break it, do it on a flat surface and maybe use a cloth to spread the load if you need to!
All you are looking to do is get the grey plastic to sit on top of the lens, this is the clip you want to lift, next to my forefinger.
Once you have this clip lifted you want to pull on the same side you did earlier, the side the screws were removed from. It's a bit fiddly but it will come away like so:
Once off you will be left with a grey version of this:
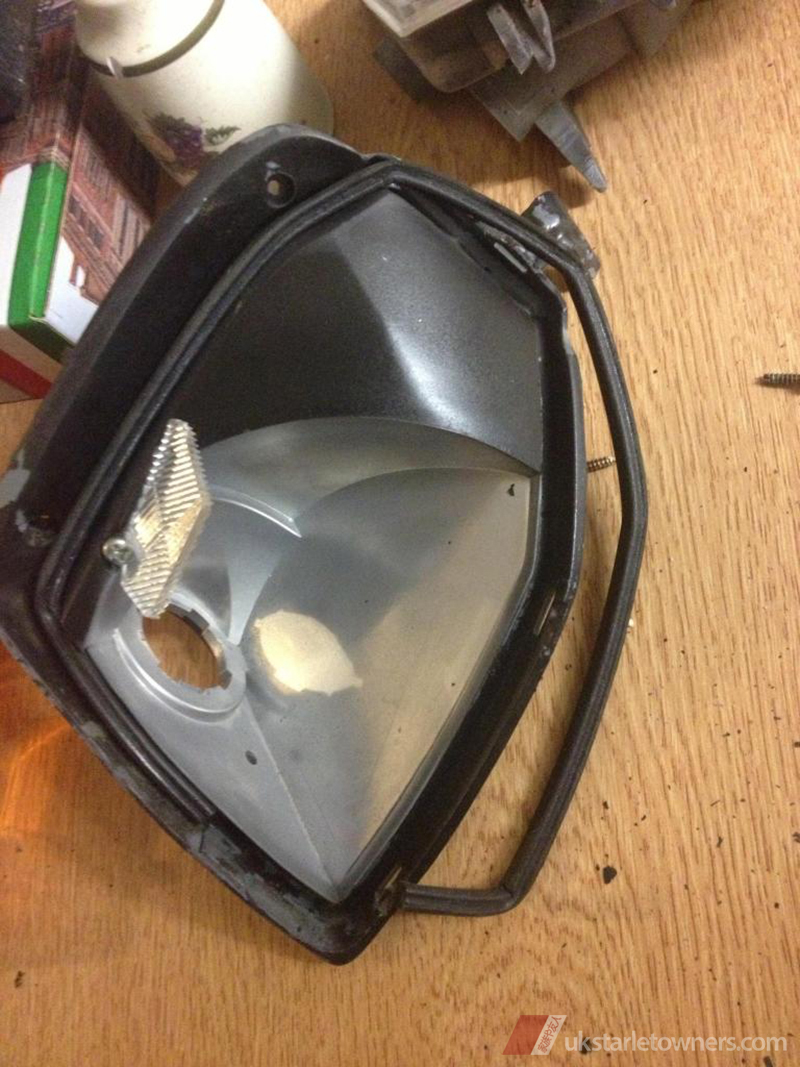
Mine was sprayed because i thought it looked a bit funny with the grey behind on the non reflective area on a black car, I would test fit first to see if you want to spray yours or if you are happy leave it!
Next remove the seal, give it a clean with a damp cloth and do the same with the unit and leave to dry. Once dry refit the seal, there is a gap at the bottom so don't worry about that ![]()
Refitting:
The new lens just pushes back on evenly all over, making sure all the clips locate properly. Refit screws on the back.
Once done up, repeat for the second lens, then head back out to the car.
Now if you have changed from amber to clear lenses this is the point you would want to change the amber bulbs for your Silvatech or chromed ones!
Fit bulb and holder back in.
Then the final bit, locate the bottom rear clip first then the top should just slide under the wing and over the little upstand where the screw goes into. Close bonnet, stand back and admire your handy work ![]()
OId vs New or visa versa
Hope this is of some use to some people!
Photos & words by Morgey
Recommended Comments
There are no comments to display.
Join the conversation
You can post now and register later. If you have an account, sign in now to post with your account.