


Brendanlez
-
Content Count
77 -
Joined
-
Last visited
Content Type
Profiles
Forums
Wiki
Media Demo
Store
Calendar
Posts posted by Brendanlez
-
-
Gonna try 4wd but if not it will be rwd
-
It's an ep95 I imported about 7 years ago, the guy turbo d it but blew the engine and is now selling it, gonna get a custom lad built for an 86 axle I have and fit it, the Ep axle is too small of half shafts and they brak easy so the 86 axle is a better choice, be interesting to see with the gearbox I have with a 2way cusco
86 axle also has a 2way cusco
-
Cheers Daniel
Nice little thread coming soon
-
Anyone know the ratios for crown wheel and pinion?
-
price for the tie bar to Ireland?
What replica is the bumper?
can you pm me please
-
pm me best price delivered
-
any pics of these on a car?
-
€250 one here in donegal lad and its mint condition
-
pics?
-
best price deliverede on rear bumper please
-
What about a tte front lip
-
best price delivered on the engine mounts?
-
May be interested in the drawings if youd sell
-
I have a levin ae86 used for the track, ill take some pics for yas if yas like, wee bit of work done to it lol
Had a road car ae86 before my first Glanza and when we were importing cars from Japan we took in more than 30 of them
-
Any thoughts on the GI bonnet?
-
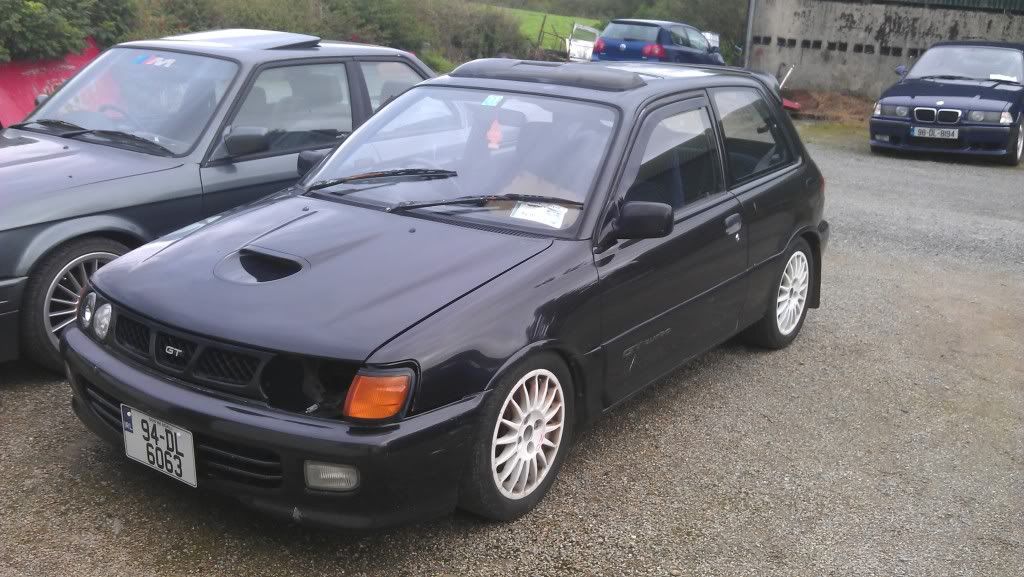
Thought Id show yas the GT as it is now and what the finished result will be
Did work on this car for a lad, rewired the interior, fitted a rear caliper and alternator.
Turned out he wasnt able to pay for it and ended up hitting his Skoda so I bought the car from him as money was tight.
Anyway here it is
Totaly standard
and then ended up buying Tein Type HRs
FMIC
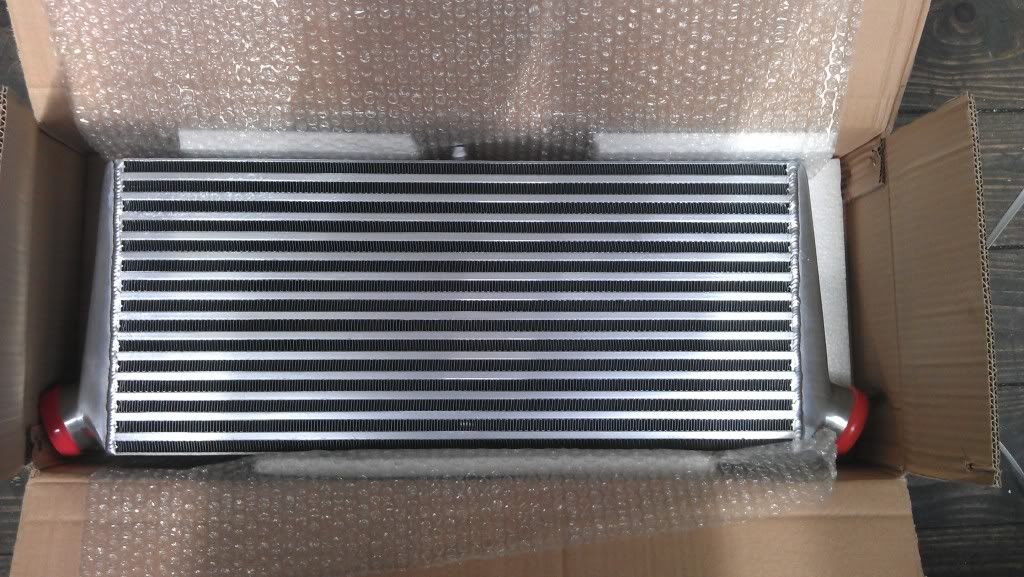
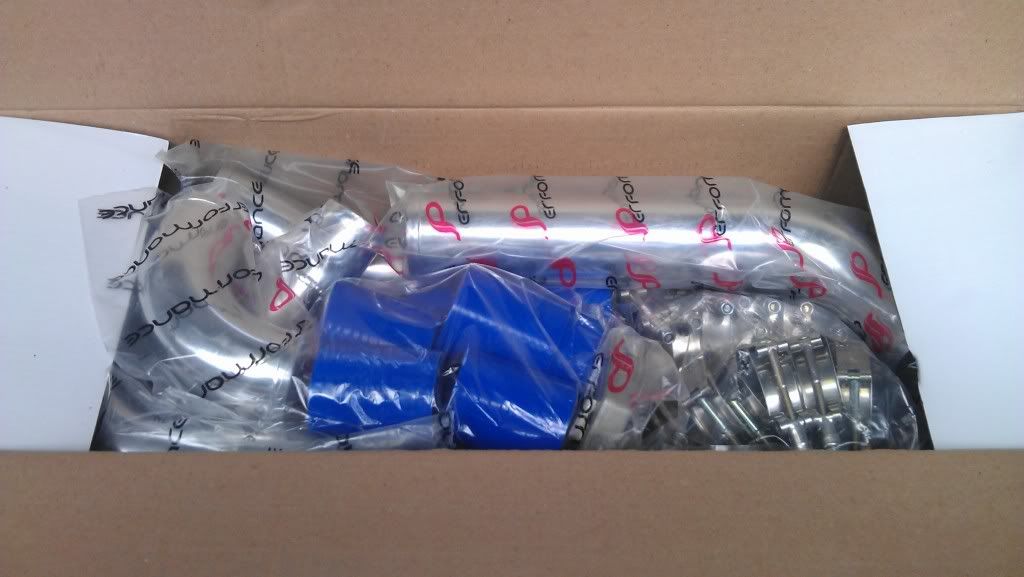
CJ performance plug leads
HDI Boost Controller
Also already had a CT9/CT20 Hybrid with Zisco External Wastegate mani and Down pipe there
Also was offered a GI bonnet, what do yas think should I put it on?
-
Price delivered on the ECU?
-
Can ya get in contact please
-
1. daz gt turbz
2. madmax_926
3. 00joeindastarb0
4. mikep82
5. mattyD
6. shaungt
7. dj-rix
8. Shahzad
9. ollie ryan
10.wickedep
11. Mikey B
12. Brendanlez
13. Brendanlez
14. Brendanlez
-
Where could the GAB coilover be fixed?
-
will ya pm me a price for 2? please
-
I should have ones here, 4efte?
-
If you are going to paint it in a barn, clean it out and sweep well.
Before fou start to paint, use a watering can and wet (not drown) the the floor around the car, it helps to keep dust down
-
1. HAVE PATIENCE â?? you need to have patience especially for jobs such as sanding fillers back to shape etc. If you do not have patience forget about it. Painting is the easy part of the bodywork, if itâ??s not shaped correctly or sanding marks are showing then it will look like shite and you have just wasted your time, effort and money.
2. You can improvise on some tools â?? If you are doing this job only once or twice, why spend a fortune on the tools when you could just use that money for a professional to do the job. Some tools for e.g. sanding donâ??t buy a sanding block; just use a block of timber. Using a solid backing behind sandpaper when sanding back fillers/fibreglass or blocking down the panels saves A LOT of time.
3. Use the right tools for the job â?? although you can improvise on some tools, use common sense also. Donâ??t try to wedge a sanding block into a narrow space or curve etc. You get the idea.
4. Donâ??t try to fill large dents in 1 go â?? Trying this is just lunacy, try beat out the dent first, you donâ??t need panel hammers and dollies to do this, a block of timber and a light-ish hammer will do but take your time. Most of the time you will fill the dent and when you sand it down you will find there is a low spot. This has to be filled again when you are finished sanding, but make sure to blow off the area with an air line first to make sure you get rid of all dust from it, IT WILL SHOW UP LATER.
5. Make sure there is no open polish or cloths with polish on them in the shed you are painting in, it WILL cause reactions.
PREPERATION
Tools;
1. Sanding block â?? can be a block of timber or a proper bought one (your choice as long as size suits)
2. Sand paper â?? various grades such as 60, 120, 220, 320, 500
NOTE: for the 500 grade sandpaper, I suggest buying 500 sponge back. It can be bought from your auto factors or paint shop.
3. Fillers â?? Try getting â??Upol Easy Sandâ? it will pay off when you are sanding it back.
4. Flicks â?? Get a packet, for the sake of â?¬4-â?¬5 or so.
Ok first you need something to set your panel/bumper/sideskirt etc up on. I have used and still do from time to time a fold out clothes airer, it a little wobbly but you get used to it, just donâ??t go nuts on it.
Sit your part on whatever you chose as a stand and rub it back with the 220 sandpaper to give the paint/fillers a key to stick to. When this is done use whatever hand you donâ??t write with and look away from the part, you will feel any slight marks on the panel. Any dents rub some more with the sandpaper to give it a good key for the fillers.
Mix up your fillers, I suggest mixing this on some plastic as it will help minimise any air bubbles etc. Using the flick spread the fillers over the dented area, starting before it and finishing past the end of it.
Let the fillers set and then start with the grade 60 sandpaper start to rub back the fillers to shape using a sanding block, make sure to leave enough on for the next grade of sandpaper as you want to sand out any sanding marks.
Fill again, let set and rub back the fillers this time starting with the grade 220 and move onto 320 wet and dry, using wet.
Once done let it dry off and rub it down using the sponge back grade 500 sandpaper.
PREPERATION FOR PRIMING.
Tools;
1. Panel wipe
2. Paper Towel
3. 500 grade sponge back sand paper or 600 wet and dry (use wet)
Wash down the part using panel wipe (can be bought from any auto factors or paint shop.) Do this by applying to one clean piece of paper towel and immediately dry off using a dry clean piece of paper towel.
Mix the primer with hardener (as per manufacturerâ??s specification) and add approx 20 â?? 30 % thinners. Set the pressure for the spray gun to approx 60 â?? 70 psi.
PRIMING
Tools;
1. Spray Gun
2. Primer (Primer Hardener & Thinners)
Pour the mixed primer into the spray gun. Check on an old piece of card the spray from the gun is in an oval shape. (Just give it a dart of paint.)
The gun should be kept aimed directly at the part to be painted at all times. When starting to spray, make sure the gun is past the end of the piece to ensure it does not spit any paint blobs onto the piece.
The first coat will be a misting of paint, ensure to do all edges and corners first. Wait approx 2 mins, primer doesnâ??t take long to set. Next coat will be when the primer is half set and will be a half a coat starting with corners and edges again.
Wait a few minutes again and apply the last coat, this should cover the whole piece and once again start with the edges and corners.
Leave to set completely (few hours)
PREPERATION FOR BASE COAT
Tools;
1. 500 Grade Sponge back sandpaper or 600 wet and dry (use wet)
2. Panel wipe
3. Paper Towel
No matter whether you are using water based or solvent based paint preparation is the same.
Using the 500 sponge back sandpaper rub down the whole panel until completely smooth. Again use whichever hand you do not write with to check while looking away from the piece.
Again rub down with panel wipe, I suggest even if you are using water based paint to use solvent based panel wipe, just let it dry off a little longer after you use the paper towel to dry it off.
BASE COAT PAINTING
Tools;
1. Spray Gun
2. Paint (Mixed to manufacturerâ??s specification)
Clean out your gun, I suggest using a different gun than the priming gun for base coat no matter if its water based or solvent based. Using a filter, filter the mixed paint (mixed to manufacturerâ??s specification) in to the cup of the spray gun. Apply paint as before corners and edges first (DO NOT TRY TO APPLY IN ONE COAT), first coat a mist, second coat a half coat, third and final coat should cover the complete part. If you are using water based paint a heater is not required to set the paint, you just need to move the air around the part.
LAQUERING
Tools;
1. Spray gun
2. Lacquer (mixed to manufacturers specification)
Clean out your priming gun thoroughly before use and ensure the filter is fitted to the spray gun (fits into the bottom of the paint cup). Mix your lacquer as per manufacturerâ??s specification, fill the cup on the spray gun. Paint as before, misting coat, half coat, complete coat, allowing time in between to dry a little (approx 5 mins if in a warm area, allow a few minutes more for a colder area) and again start with edges and corners. Leave to set over night.
FINISHING
Tools;
1. 2000 grade wet and dry sandpaper (use wet)
2. Something to spray on water (can be a clean coke bottle with a small hole in the cap)
3. Buffer / Rags
4. Cutting compound
5. T-CUT
6. Polish
7. Elbow grease and lots of it
You may notice like an orange peel effect on the paint, this will be removed now. Using 2000 wet and dry and paper, using it wet rub down the whole piece, you will now see parts of it turn like a faded colour, keep going till the whole part is like this but be careful not to sand through the lacquer.
Using a fine cutting compound on a buffer (if you have one) with a buffing head, a rag will do but is more work. Wet the whole panel with water and buff it up, careful not to go too heavy on it and burn or move the paint.
Next is to T-CUT the part, we all know how to do this, rub it on, let it haze and buff off with a clean rag. Then polish it up and youâ??re finished.
Anything else give me a shout
Rear diff ratio
in 4WD Starlet Knowledge Base
Posted
I'll get to it, flat out at work