


adrenalinmotorsports
-
Content Count
26 -
Joined
-
Last visited
Content Type
Profiles
Forums
Wiki
Media Demo
Store
Calendar
Posts posted by adrenalinmotorsports
-
-
I've just got some rear speakers myself, doing a bit of googling, and found a post on the australia version of the toyota owners fourm that claims if the car didn't come with rear speakers, then the cable won't be there,.....
Does anybody know if this is the truth or not?
I'm with Joz, removing the step-in panel doesn't reveal any screws, it needs to removed anyway as it clips onto the rear passenger panel, is it a case of undo screws at rear and pivot it out? has anybody else tried to remove this panel?
<{POST_SNAPBACK}>
nope, my starlet didnt come with rear speakers, and the loom was there. im pretty sure that all models would have it.
I posted that info ages after i had done it myself, so some of the steps could be a bit off, sorry my bad! but generally they should give you a bit of an idea of how to get to the loom....hopefully

cheers,
Craig
-
haha nice nice!
good stuff mate,
ciao for now

-
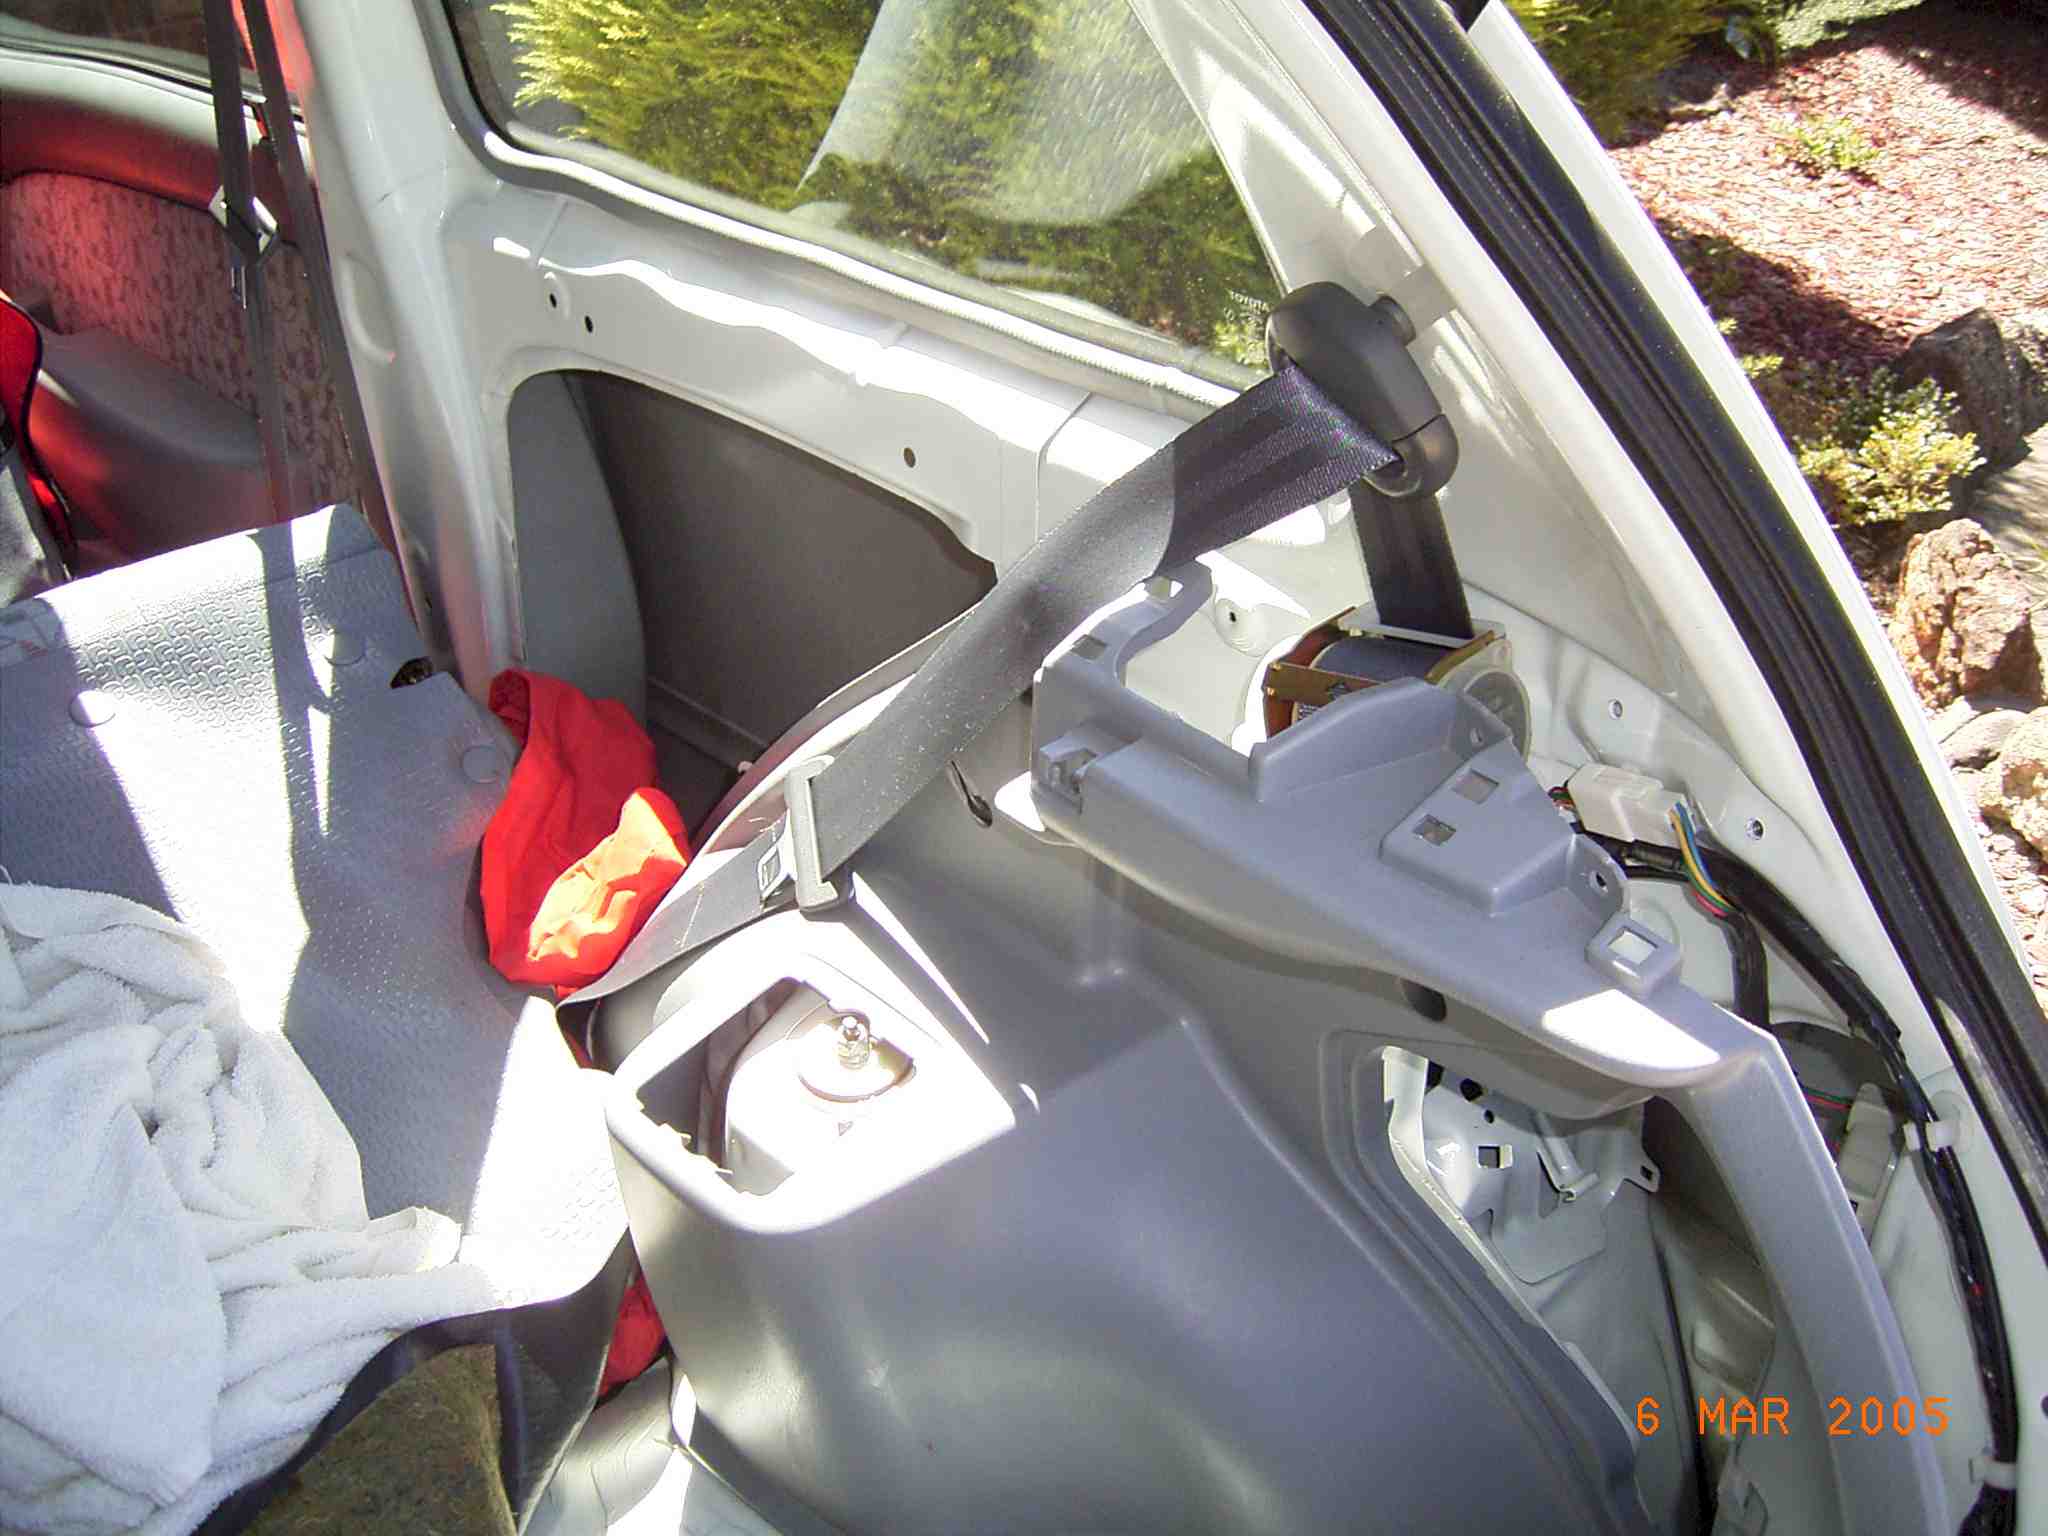
heres a photo I took when i did mine. it may help you to see what panels to take out and where the plug is hiding...hopefully
see the big hole next to the red back seat cover...thats where the wiring loom is hiding, from memory - hope thats correct
 its there sumwhere anyways!
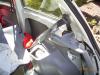
-
So I take it I will need additional speaker wire to wire it up to the loom?
<{POST_SNAPBACK}>
The wiring loom has enough cable to thread it through to the carjack cabinet. It is actually rolled up with tape. So all you need to do is cut the tape and thread the cable into the little carjack compartment. From there I wired it to the speakers. So yeh you will need enough wire to go from the parcel tray back to the little carjack compartment...thats if you do it the way i did and push the wiring loom through from behind the panels into the carjack compartment.
Again, hope this makes sense
Cheers,
Craig
-
Hey mate,
The wiring loom is hiding behind the interior panels. It is near the carjack hole,but is very hard to get to from there.
The loom is actually located above the rear drivers-side wheel...if that makes sense....so it is closer to the driver than the carjack.
If your starlet is a 3 door...then this is how i did it...five door shouldnt be too much different - but interior panels maybe slightly different.
1. Open Drivers Door
2. Pull off the plastic panel (long rectangular one along the foot well - where you step into the car), this is only held in by plastic clips
3. Slide the Drivers seat as forward as you can, and you will see a few screws you need to take out to remove the next interior panel
4. Take out these screws and pull off the big side panel.
5. Keep going with taking out the screws and pulling off panels until pretty much all the drivers side interior is removed right back to the boot.
6. You should see the wiring loom above the rear wheel arch...or you know where the little container well is for the rear seat passenger - its behind that!
Hope that all makes sense...if it doesnt, just ask
Cheers,
Craig.
-
haha fair enuf...nice stuff cheers for that!
-
backbox wise, there a sr backbox on ebay at the mo for £20... defo worth a look, because ive heard they sound quite nice!
<{POST_SNAPBACK}>
Whats a backbox? Im from Australia so maybe we call them something different, but ive never heard of a backbox - is it the same as a catback exhaust??
Cheers,
Craig
-
i loosened the fuel filter (only need to loosen 2 of the 4 nuts from memory)
then undid the nuts on the strut tower, pushed the fuel filter forward (towards the front of the car)
placed the strut brace in between the firewall and the fuel filter (so in order looking from front to back it goes: 1. Fuel Filter, 2. Strut Brace, 3. Firewall)
then tightened the strut brace on
then pushed the fuel filter down, underneath & behind the strut brace, so that the brace is now at the front.
then did up the nuts of the fuel filter
then cable tied the fuel filter to the brace,
worked, but yes it is a tight fit.

-
thanks for the comments!
yeh we are about 1/3rd of the way through summer now...getting pretty warm. even nights are getting pretty sticky. today is meant to be about 38-39ish degrees celcius (where I am anyways)
i do have plenty of photos of the whole car...but they are all about the 2mb each file...how wud i reduce the file size without loosing much of the quality???
cheers,
Craig
-
Here they are ;)


-
heya,
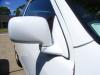
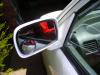
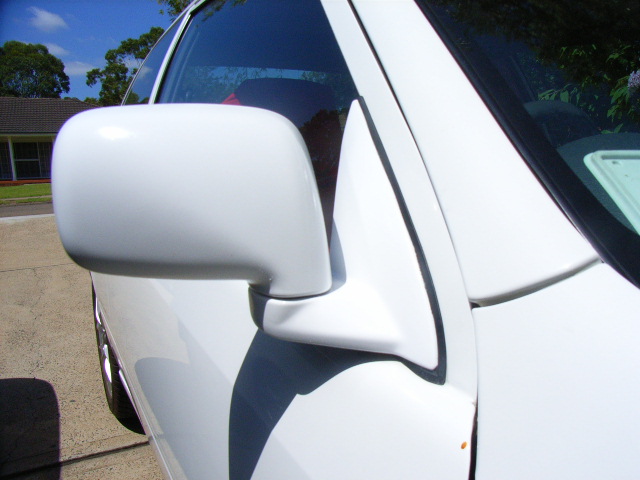
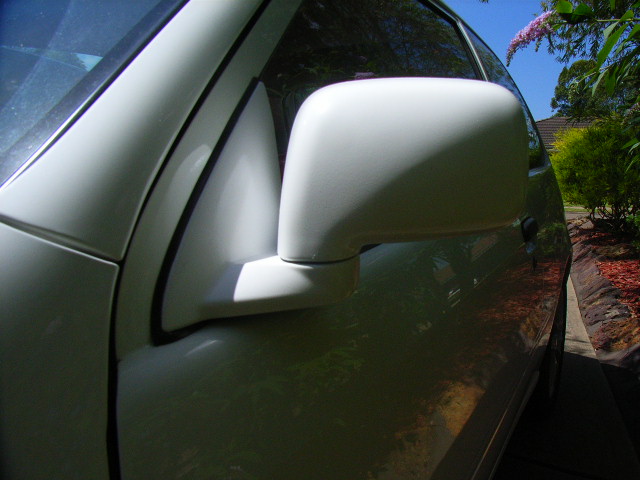
i finished the mirrors. they turned out pretty good! ;)
thanks guys for your help.
i couldnt find the right scotchbrite so i just used 1500 & 2000 wet & dry sandpaper.
Thanks again!
Craig
-
no worries thanks for that! ;)
-
ah k fair enuf...whats the best product to use???
cheers ;)
-
just wondering is there any way you can polish the valve cover without removing it????
what do you need to polish it - autosol?
cheers,
Craig
-
Just a query about which ones you are trying to fit???
the glanza reflets?
the glanza carats?
the smoked glanza 30th anniversary?
or just the normal glanzas?
-
great
thanks heaps guys!

-
Hey all,
I'm thinking of colour coding my side mirrors to match the rest of the starlet. I understand you need to sand them back, wipe them over with wax & grease remover, then prime them with a plastic primer, and then spray paint them, and then spray a top coat over the top.
But what Im stuck on is what grit grades of paper to use. If someone could shed some light onto how to colour code the mirrors, would be great
Thanks, Craig
-
ah k sweet cheers, id say they will be pretty rare in an aussie wreckers...will look into it though! any idea as to what year model that laguna is?
how about a corolla or astra front splitter? - what models suit the starlet?
-
does anyone know the aussie name for the laguna? is it a daewoo cielo?
also im interested as to what year model astra & corollas have front splitters that would fit the ep91, anyone know?
cheers in advance
-
hey mate,
are you able to get a circuit tester onto the wires for the lights coming out of the back of the cluster (when the acc. is on), and then you will be able to tell whether or not it is the cluster or not...i think that will work
 give it a go anyways and post your results up here!
 -
i recently bought a strut brace from an ep82 gt starlet, to put onto my ep91...and just wondering what people have done in regards to moving the fuel filter on there car?
what exactly needs to be done?
thanks in advance,
craig
-
how much of a difference does the strut brace make to a stock setup...and to a setup of just lowered springs & new shocks?
cheers
-
Thanks alot peeps
-
my car has only done 46k so do you reckon i need to replace the shocks front & back - the only reason i originally thought i should is cause i read somewhere that when you lower the starlet the shocks are prone to bursting - what does everyone else think?


Miscellaneous questions and answers
in N/A E-Series Engine Discussions
Posted
C: I know it as is the air intake duct, don't know if that's correct or not, but it's the pipe that brings air into the engine, so I suppose it's right
D: It's the resinator on the air intake, i think it's supposed to regulate the air flow into the engine.
Hope that helps somehow,
Regards,
Craig.