

Budnbass
-
Content Count
238 -
Joined
-
Last visited
Content Type
Profiles
Forums
Wiki
Media Demo
Store
Calendar
Posts posted by Budnbass
-
-
Top work buddy, good to see you're not going down the body kit route. Bet it surprises a few people.
Cheers mate, I'm not keen on the Glanza Rep look, at the end of the day it was always meant to be a sleeper so the more NA it looks the better, hence the reason we sprayed the intercooler body colour. Found most of the parts we need for the next step so hopefully they'll be here with in the week.
-
So now the cars been up and running problem free for a couple of weeks we've decided we need more power! We'll be going TD04 with external waste gate and emanate blue to control it. We'll be doing this over the next couple of weeks with the hope of it being up and running a for RWYB at Santa Pod on the 26th Feb.
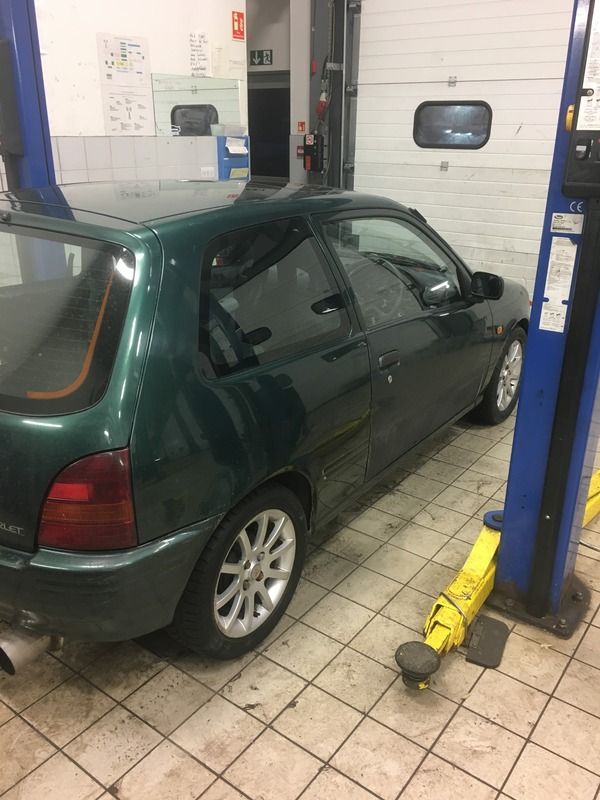
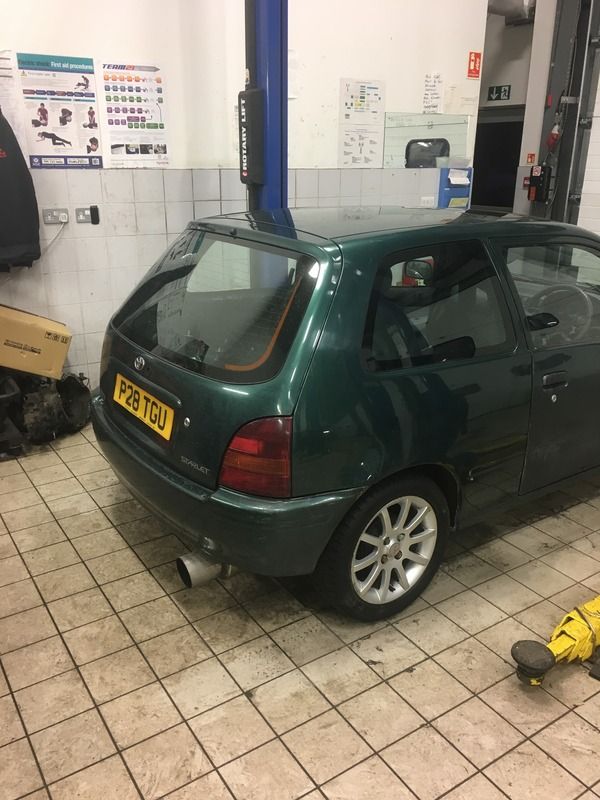
Last week we got the rattle cans out and decided to tidy up the car, it looks much better now!
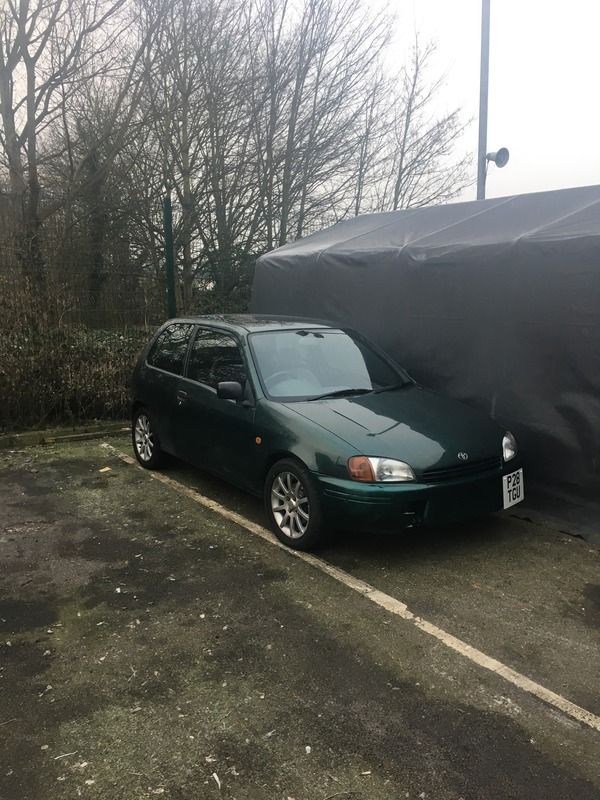
Where's the intercooler gone?!
-
Sounds good mate, are you going to get it mapped?
-
Thanks pal:-) yeah bit of a distance for me to go and look at, also I have seen this up for sale before with other owners in the past & might be wrong but looked a bit tired when I last seen it on eBay.
Ahh far enough, thought it might be worth a try. Pretty sure I saw a silver in for sale on there too not to long ago.
-
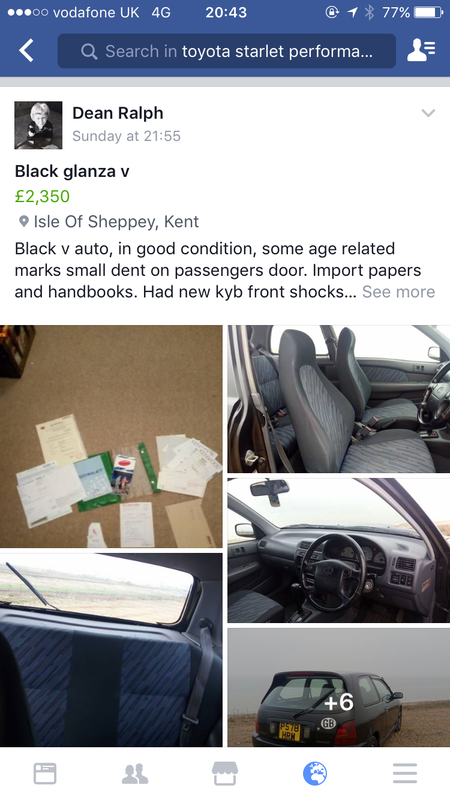
This guys selling one on the Facebook page...dunno how far from you it is?
-
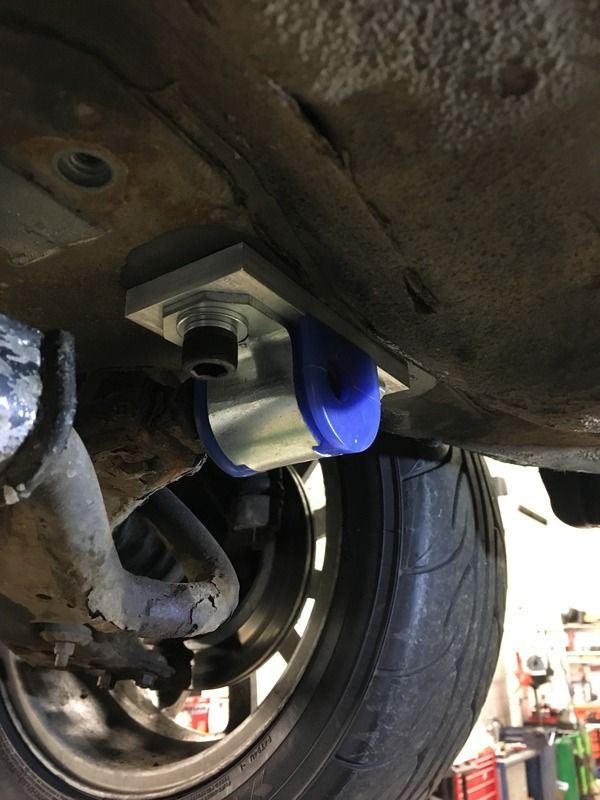
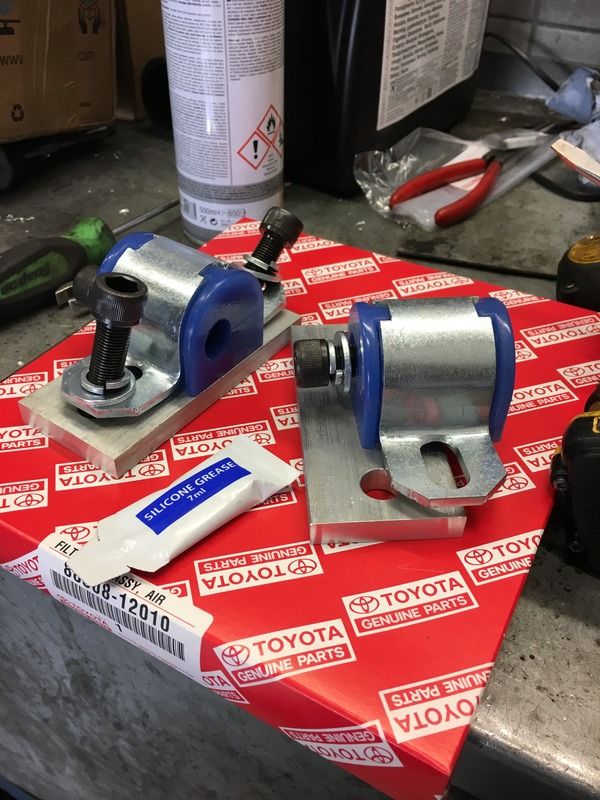
Got the anti lift kit fitted today, was a bit of a mission getting the old bushes off, glad it was up in the air as I wouldn't fancy doing them on the ground! Noticed the sump was leaking aswell so we got that off and gave that a coat of paint then sealing it up tomorrow then we'll see if it's any different with the anti lift kit.

-
What was you after an overall engine wiring diagram?
-
Cheers fellas, it's been a fun build and it's deffinatly a fun car! We've been toying with the idea of going to the next step for more power, as it's not a daily we can push it to its limits and see what we can get out of it!
-
That's an absolute bargain! I'd be tempted to leave the SR as it is and use that one as a stripped out sleeper!
-
That's a bargain mate, is it a turbo'd NA? You'll have most of that swapped over tomorrow!
-
Quick response, well packaged. Top Guy 👍
-
Great guy, quick delivery and well packaged 👍
-
For Reference decent tyres are the single most cost affective mod anyone can make on they're car, grip over power anyday! The difference these tyres have made is unreal, minimal wheel spin and you have the confidence is not going to send you in to the curb going round a corner.
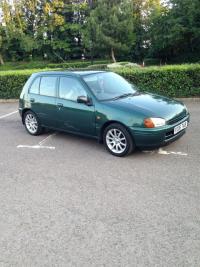
From day one we always said we wernt to bothered how the outside of the car looked, but we thought we'd tidy it up abit so we didn't like complete idiots driving it around! Racing strips came off and we managed to get all the paint off down the side, there's just some black paint on the drivers door covering the rust. Ideally we're looking for a new door and bonnet but they're not essential right now.
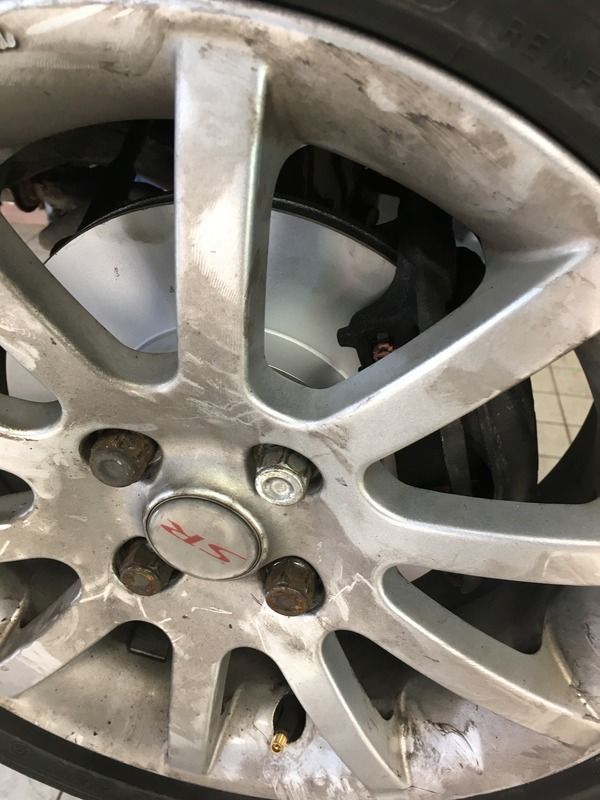
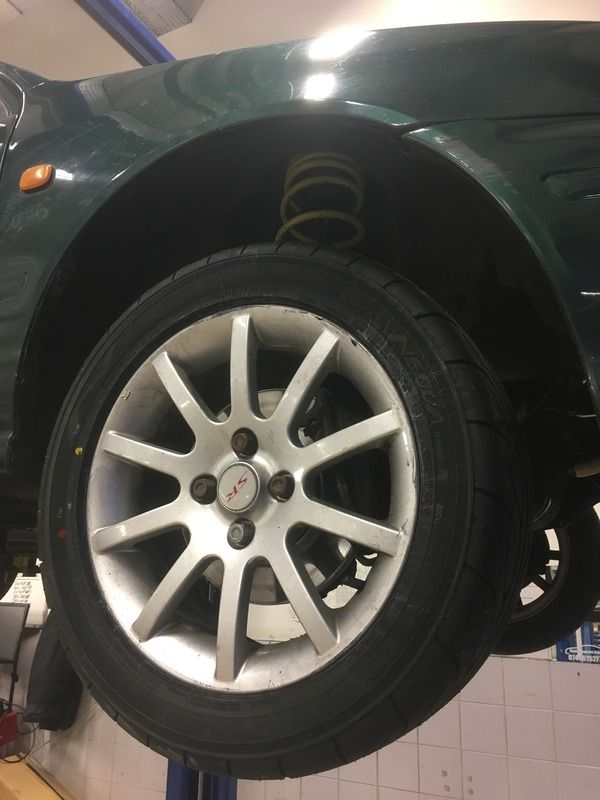
As it was sitting like a monster truck we got some 40mm springs to drop it down to a nice hieght. Also got some new discs as the old ones were way past it!
Oh and we thought we'd get the anti lift kit aswell apparently they make a big difference....
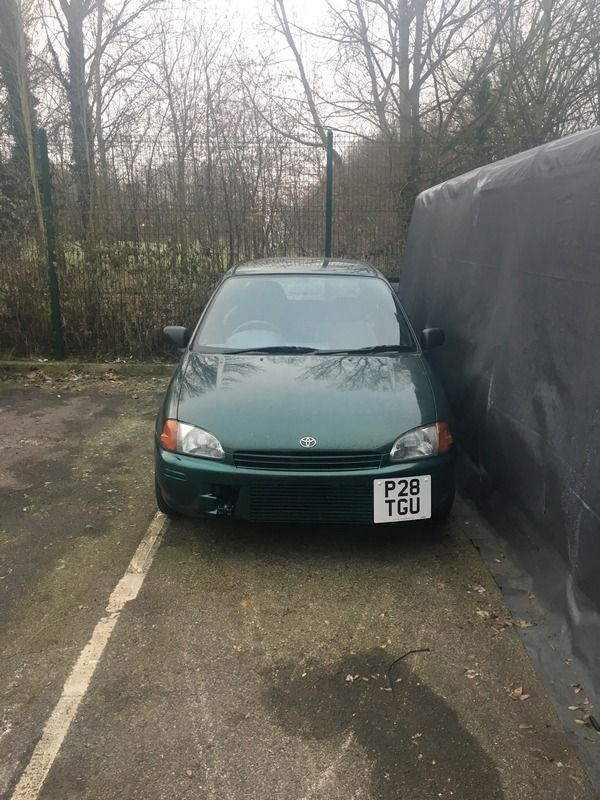
I think we might modify the back box some how so it fits under the bumper so when your behind it you can't see anything and it just looks standard.
-
Awesome build man!
Absolutely rattling through this project.
Standard fuel pressure should be 2.3 bar
Cheers mate, yeah we're getting through it quick, might have to think about getting more power out of this to give us something to do!
Some more parts turned up today so we'll get them fitted and post some pics later on
-
Looks good mate! Can't beat a freshly built engine!
-
Been driving it around today and it's a fun little car! deffinatly has the potential to embarrass quite a few expensive cars! It's was quite obvious our main problem though was getting power down, the winter tyres just weren't cutting it! So these turned up this afternoon....
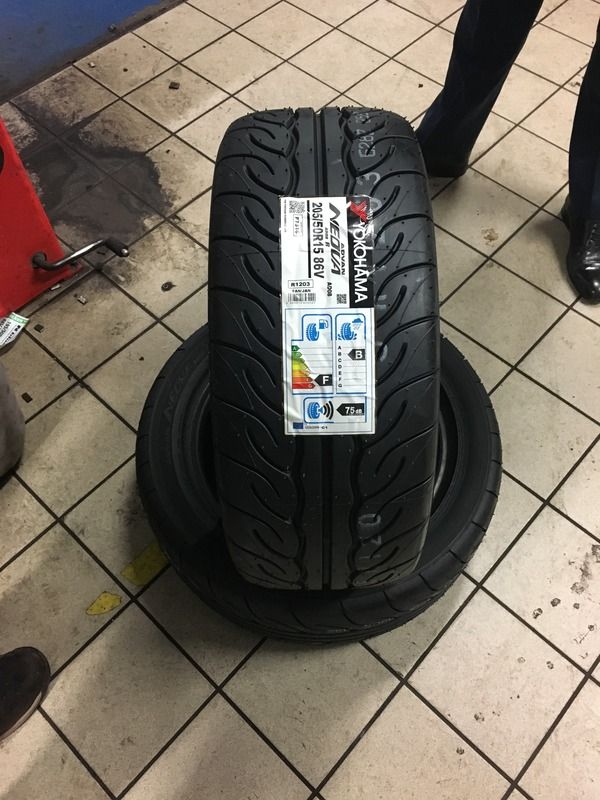
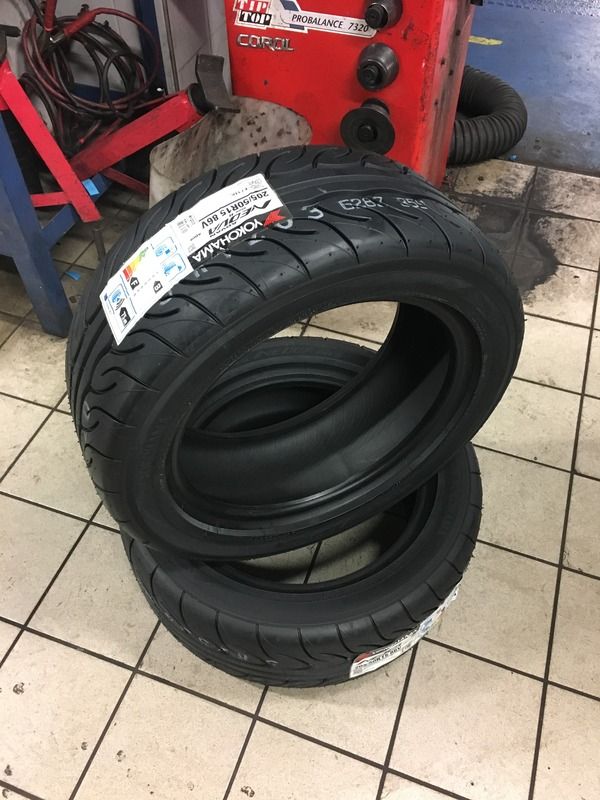
Yoko Ad08's we went for 205/50's to try and maximise grip, and the rears wernt to bad goodyear's so we'll leave them for the time being. From reading reviews apparently these are the ones to go for so we'll get them fitted in the morning and see what they're like.
Also ordered so more goodies but they'll be turning up later on this week.
Just out of curiosity what fuel pressure should it be set up too? We've got it at 2.5 atm
-
Pm'd you mate
-
Dump valve still for sale mate?
-
Big Progress today!
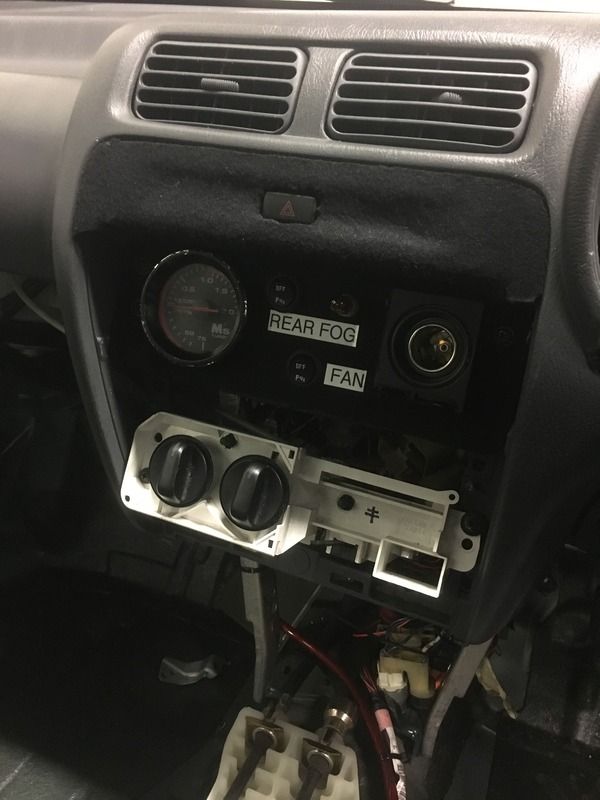
All head lights and side repeaters wires up. Wipers and washer motor wired up. Fan wires up, horn up and working. Dash back in and secure with the wiring fixed to the support bar. Rear lights sorted, Clocks back in how ever they needed a little 'trim' to make them fit in hole....
Head lights and side repeaters we're pretty simple to wire up, it was just a case of Turing the quad head light wiring back to normal h4's with dipped and main on one bulb.
Wipers we've now got fast wipe and intermittent wipe, as the 82 loom only has 4 wires to the wiper motor and the 91 wiper motor has 6 wires but that's good enough.
The fan we couldn't get to work of the coolant temp or fan sensor so we decided to run the fan of a switch to make it safer and more controllable.
Rear lights were easy, as it's was an import we just had to wire up the rear fog on a switch with a tell tail so it will go through the MOT.
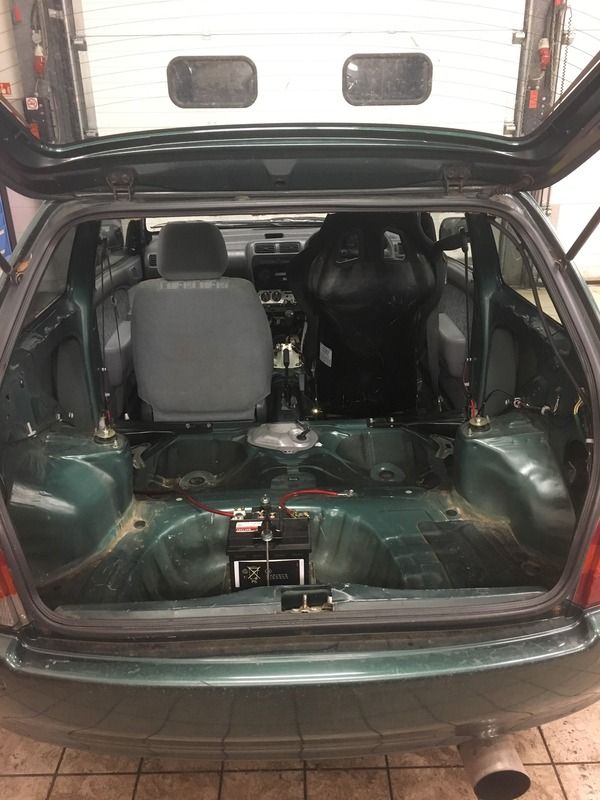
We made a very basic dash pod to put the switchs and boost gauge. Battery's now in the boot aswell which fits nicely in the spare wheel we'll.
Next on the list is;
Sort out the brakes,
Get it lowered,
Set up the feuling,
And get some decent tyres as we're currently running Winter Tyres!
-
Why didnt you just wire in the ep91 stalks to fit the 82 wiring?
We was thinking about it, but some how one of the 91 stalks snapped removing the dash so we didn't have much choice, the 82 stalks sit nicely and do the job just have to remember they're the other way round!
-
Coming along nicely this
Did the injectors land ok ?
Yes mate got them today, that's for stage 2 of the build!
-
HKS dump valve still for sale?
-
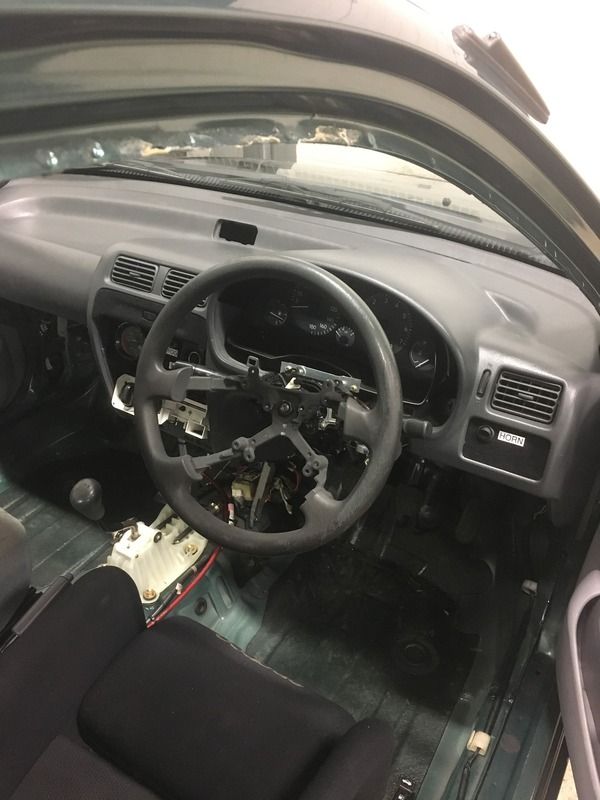
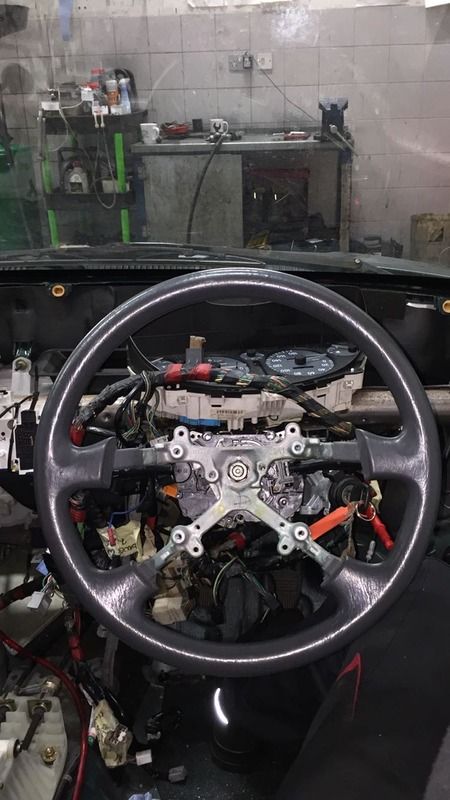
Main goal today was getting the stalks in, so we can then wire up the wipers and lights. Ep82 stalks are not a direct fit to a 91 column. We had to modify the stalk mounting and make support bracket for the stalks to bolt on too. We also had to space the stalks out so they reach the back of the steering wheel to make the self cancel work. It was quite a lot of trial and error but we got there in the end.
We also stripped the steering wheel down, getting the rid of the airbag and the plastics. It'll do until we get a proper one!
-
.....and she's running!
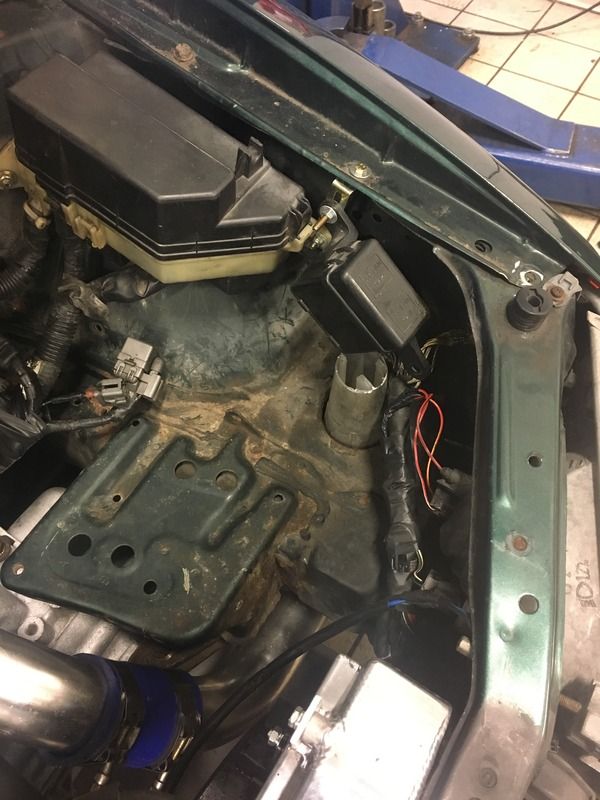
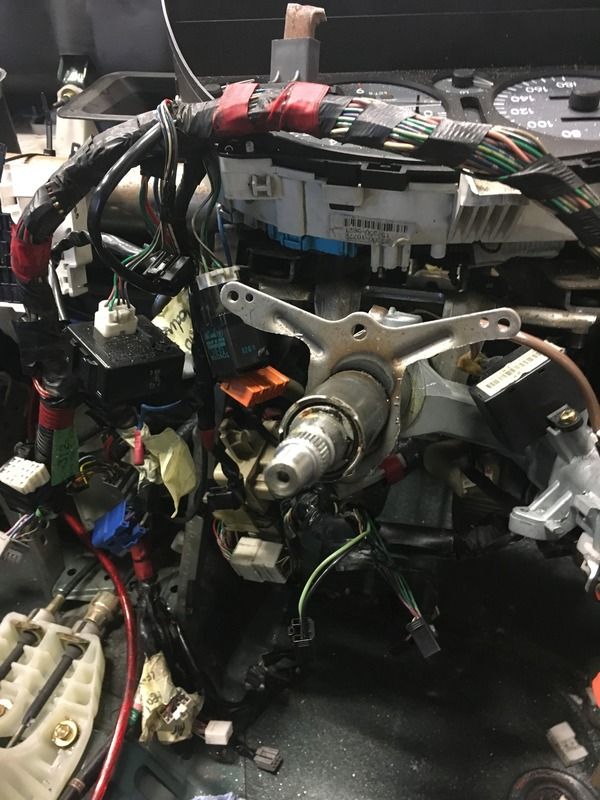
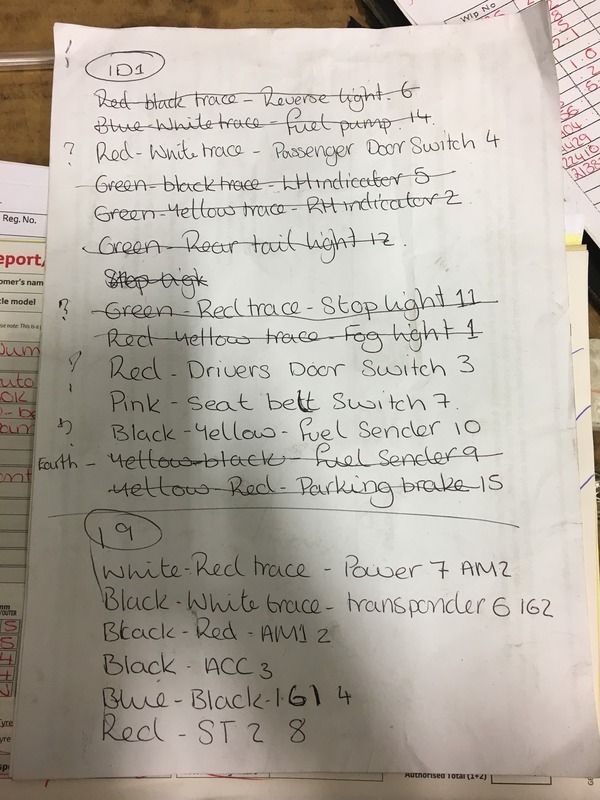
Main thing was sorting out the connector to the ignition barrel, and the connector to the rear loom. Fortunately Toyota have used pretty much the same colour wires for both looms so it wasn't too hard to work out.
With the ignition barrel connector, it was the same amount of wires and the same colours just in a different shape connector, so that was simply a case of swapping the plug from the 91 loom to the 82 loom.
The connector to the rear loom was a bit more difficult, but cross referencing the EWD book I've got for the 91 loom and the wiring EWDs for the 82 loom from here....
http://www.toyotagtturbo.com/wiki/EP82wiring/EP82%20Starlet%20Wiring%20and%20Connectors.pdf
Made it a lot easier! Without them both it would have been a bit of a guessing game!
Engine runs well with no leaks, and holds boost well.
Tomorrow's tasks are getting the dash back in and wiring up everything else, i.e. Wipers, lights - front and rear, horn, stalks ect.
If anyone needs any help with the wiring side of things, drop me a pm and I'll happily help, I know the wiring can be a bit of a grey area!


Winter Project - Now Running TD04
in EP91 Progress Blogs
Posted · Edited by Budnbass
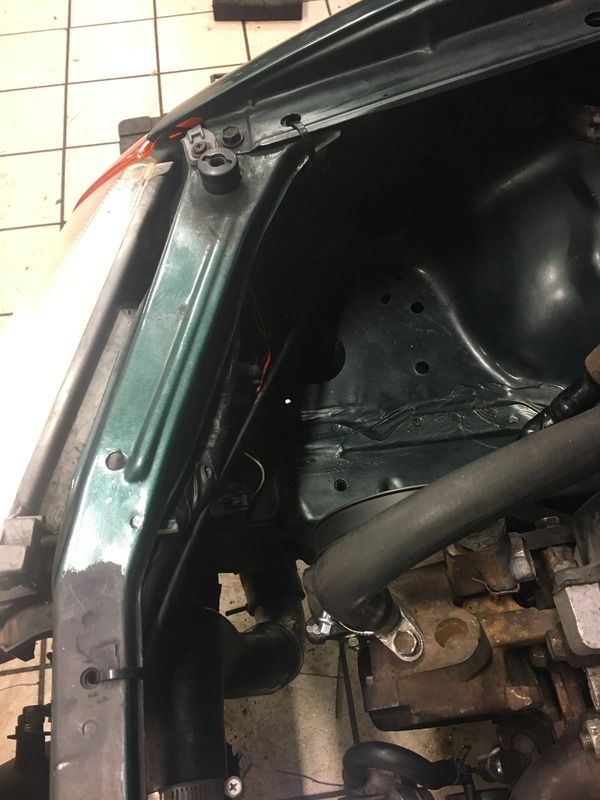
Cheers mate, the idea was to have it behind the bumper but we started cutting then Before long we just thought fuck it well cut the hole lot out! we did take the support bar away but it meant the bonnet was flimsy and not very secure when driving so we put it back on. Ideally we're looking for a new osf door bonnet and front bumper so we could do it again but it'll do for the moment.Injectors and fuel pump turned up today, few more things on the way this week and then we'll fit them all together.