

Chris.Stewart
-
Content Count
106 -
Joined
-
Last visited
Content Type
Profiles
Forums
Wiki
Media Demo
Store
Calendar
Posts posted by Chris.Stewart
-
-
WOW thats clean bet that took you some time lol how much for all your accessories im going to be doing this to mine when its out of the bodyshop

haha cheers, aye took a few days! went for 99.9% correction with this one

dont even want to add up how much i've spent on products mate, so prefer not to answer that one
-
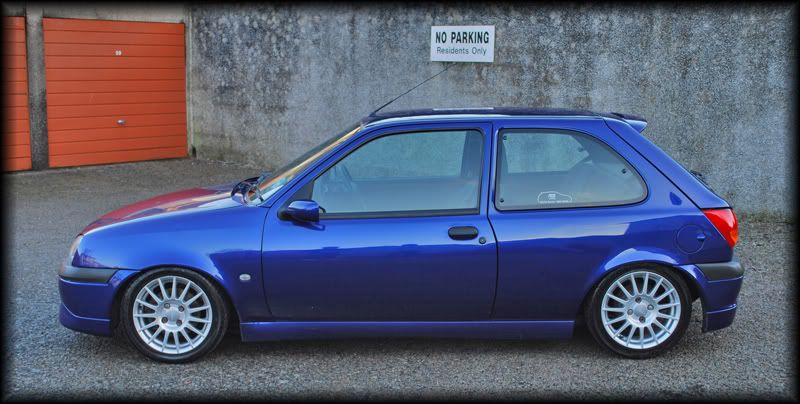
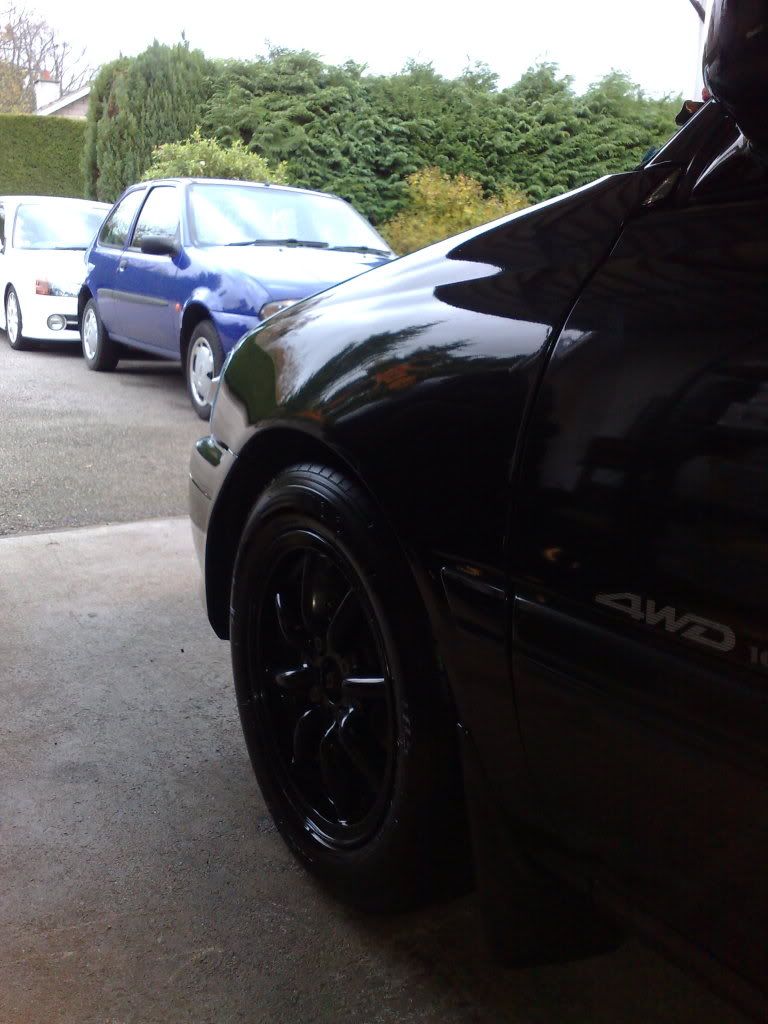
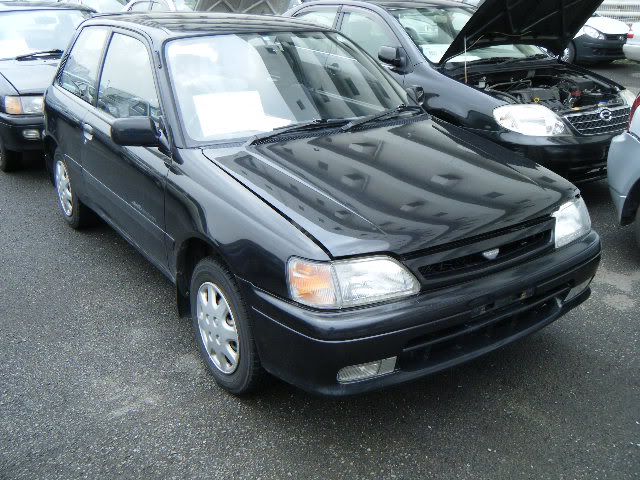
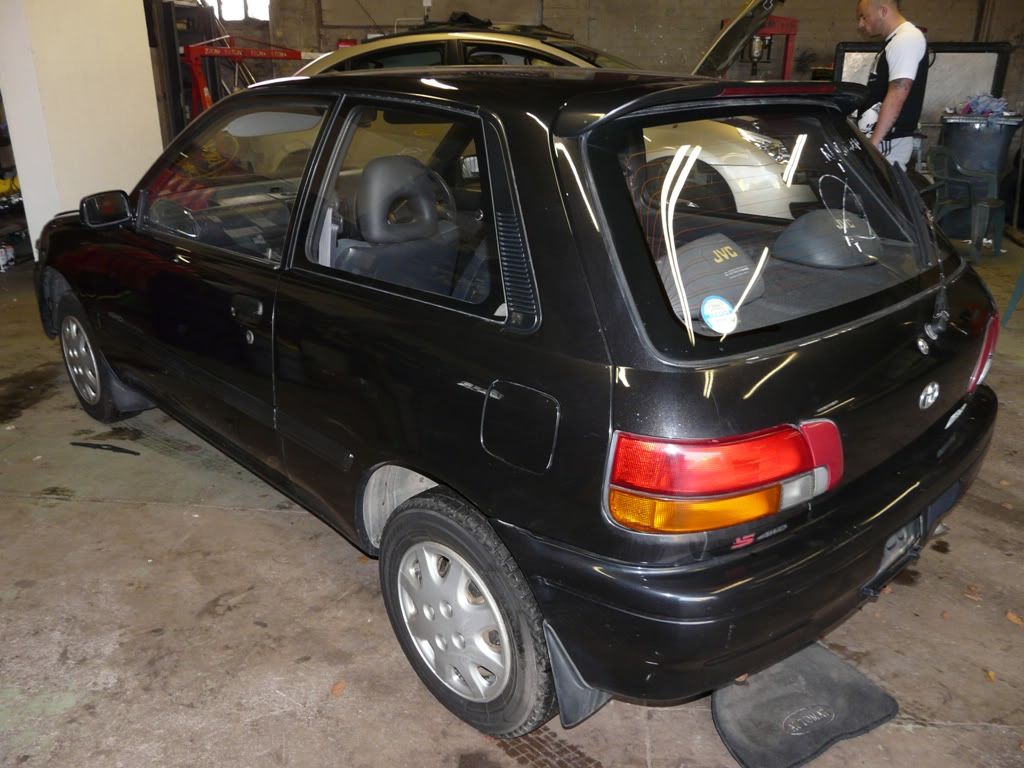
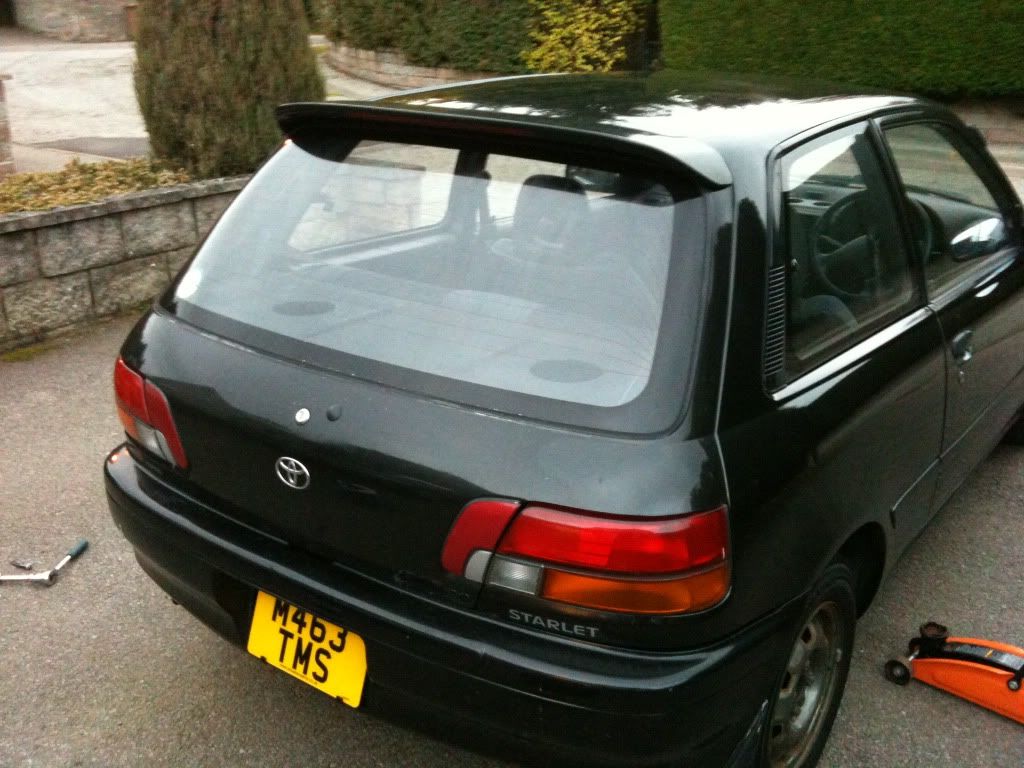
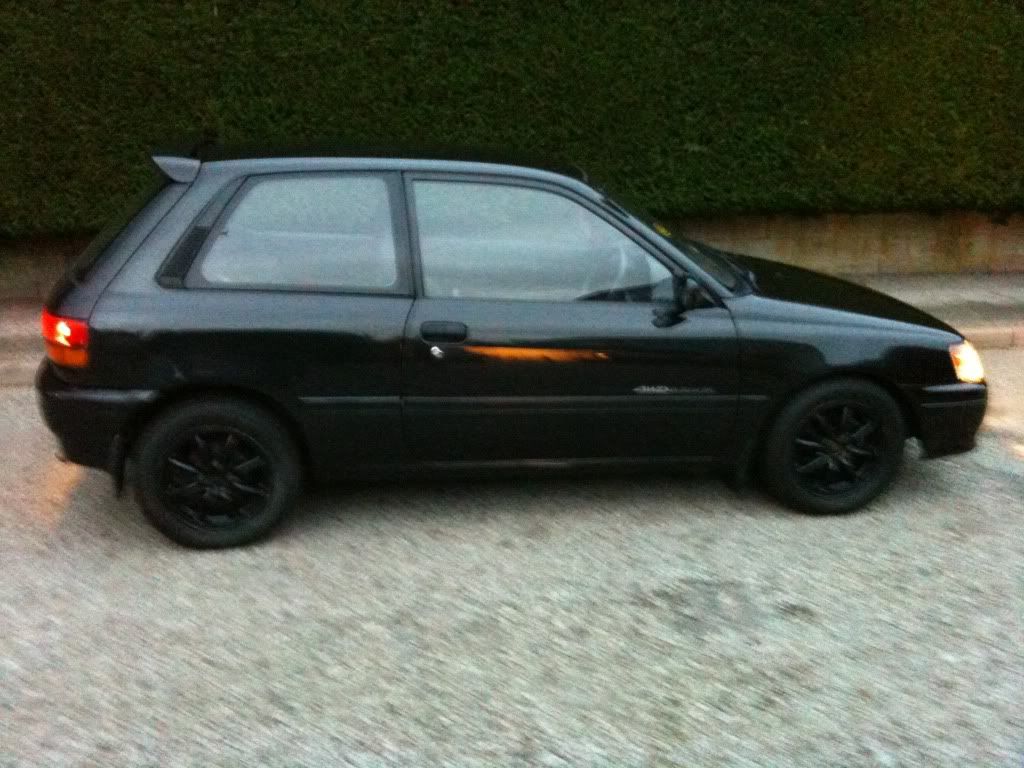
Finally got round to looking through about 500 pics and making a thread!
A few months ago Fro asked me to detail his starlet, so here's some pics and write up of what i did!
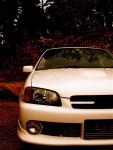
This is what it looked like when it arrived at mine:
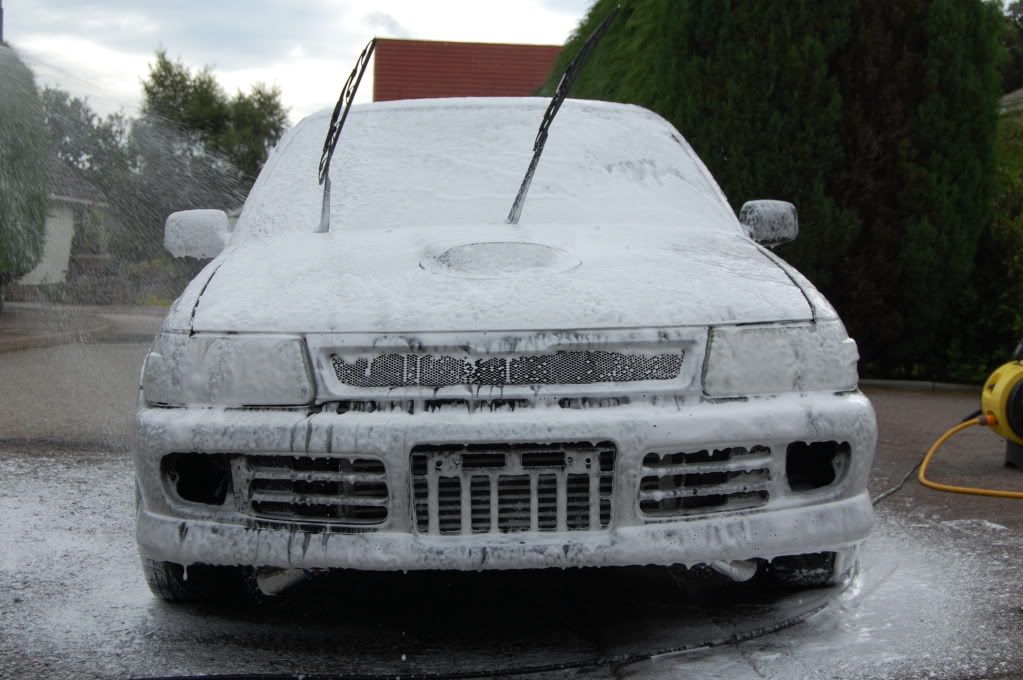
First of all the car was thoroughly powerhosed then soaked in foam: (hyper wash and r222 mixed in to remove any existing protection)
And rinsed:
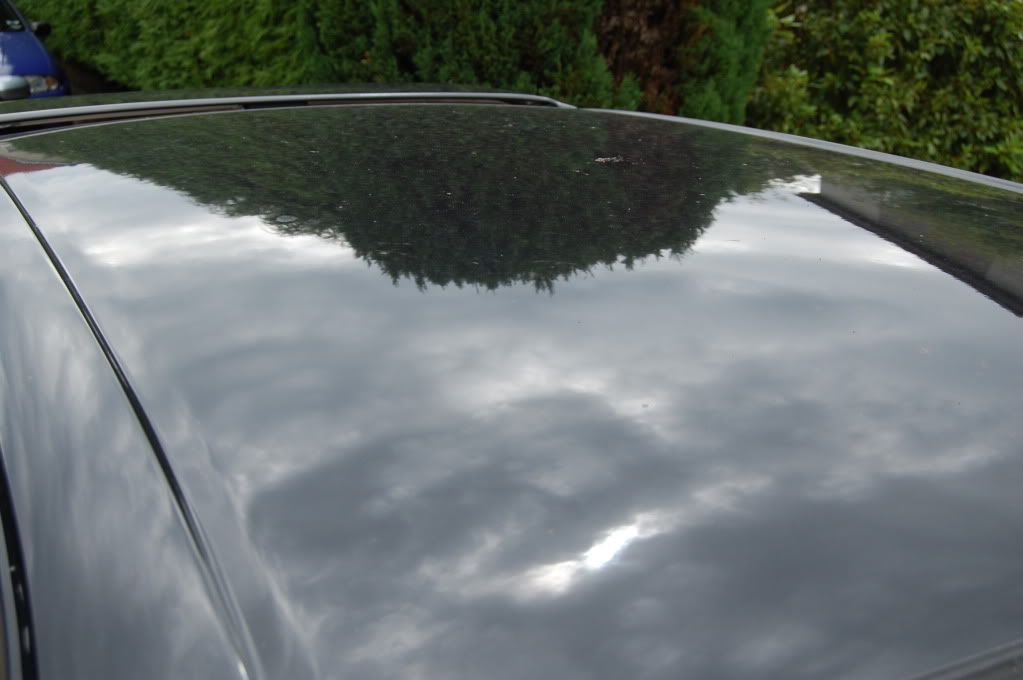
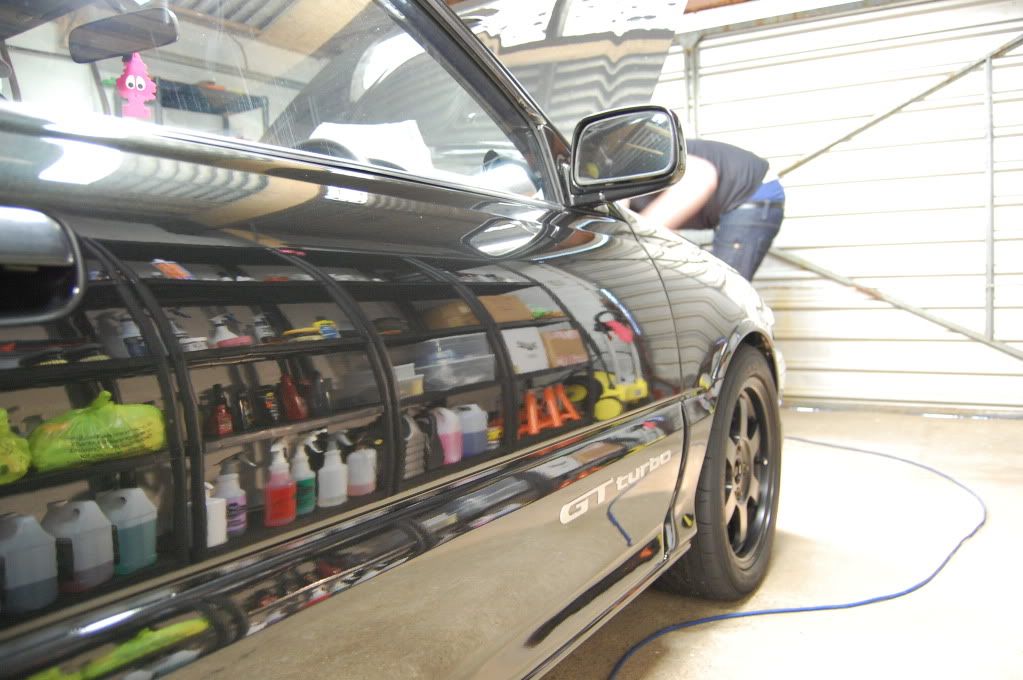
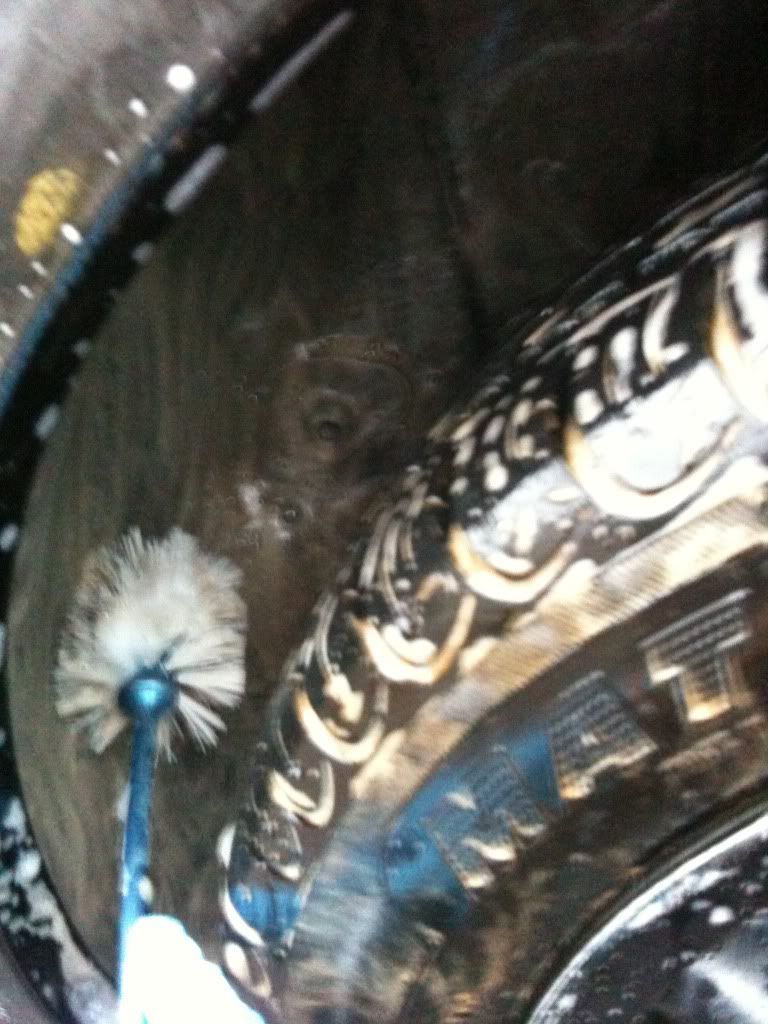
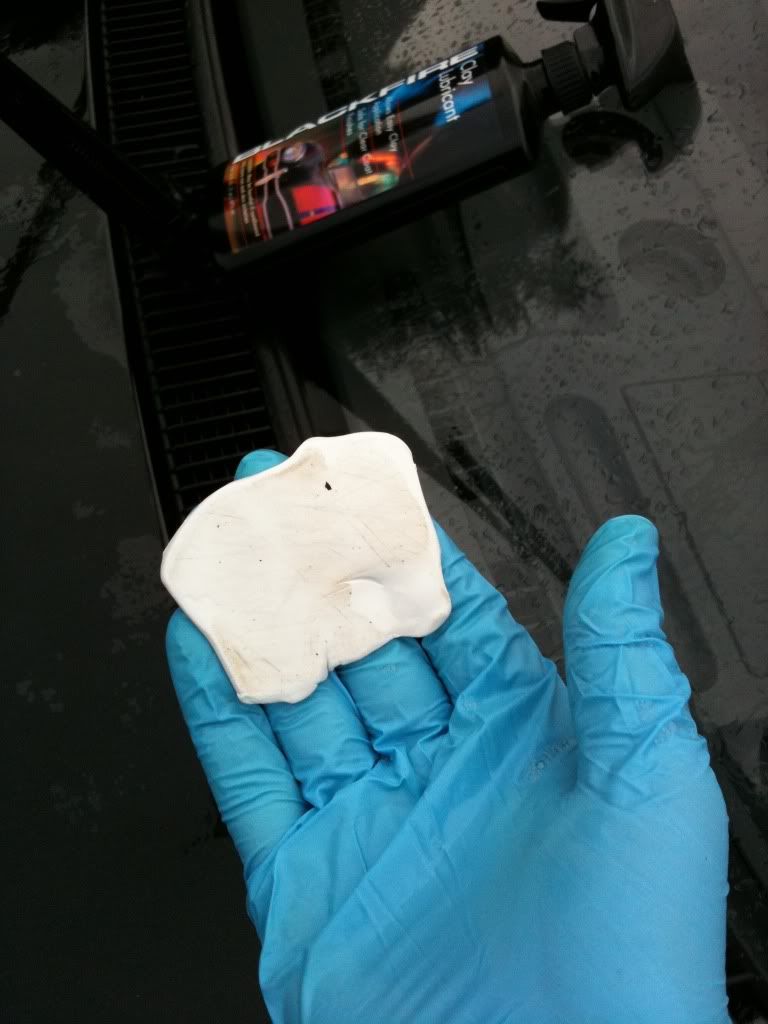
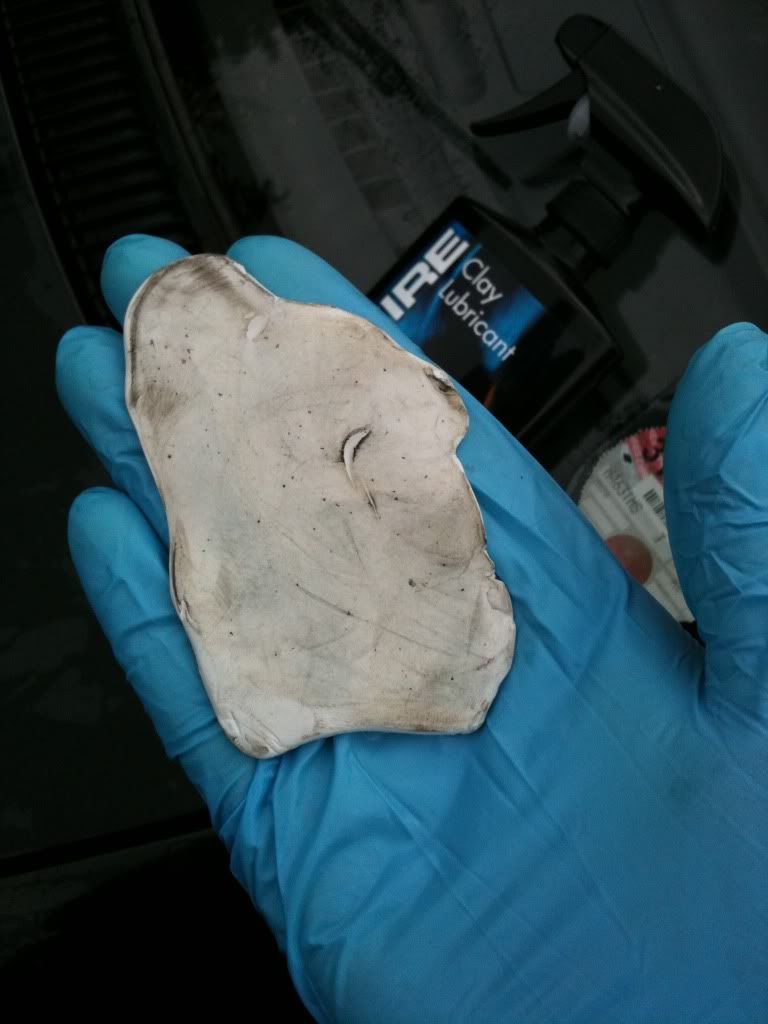
The usual wash process was carried out, then soaked in tardis to remove tar spots, wiped down, washed again, then rinsed and rolled into the garage for claying: (werkstat auto shampoo and 2bm for wash process, blackfire clay and lubricant for claying process)
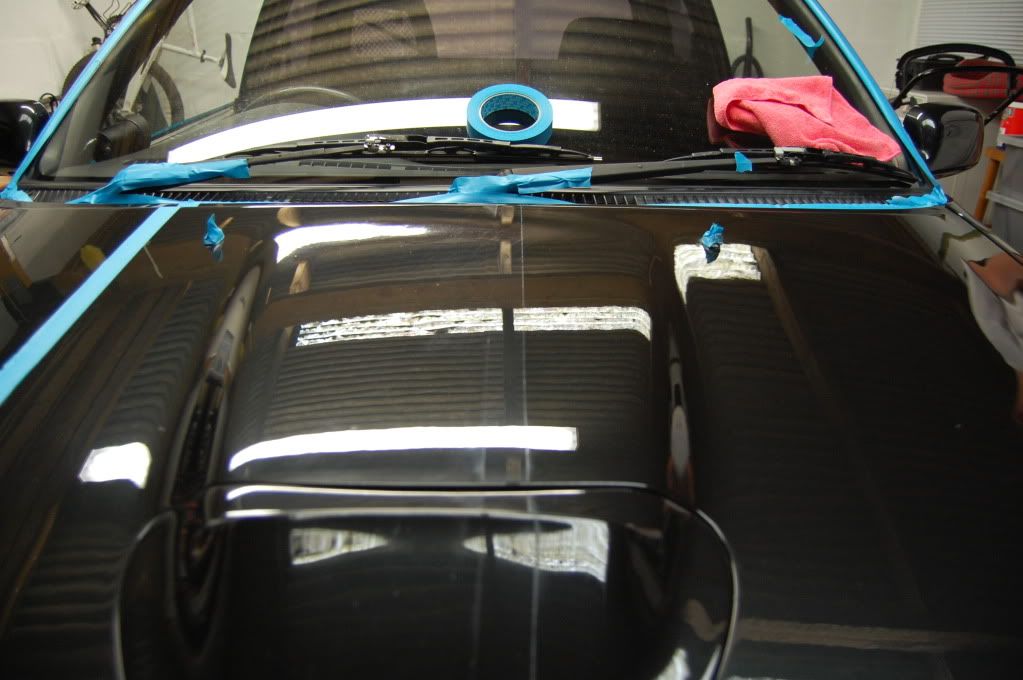
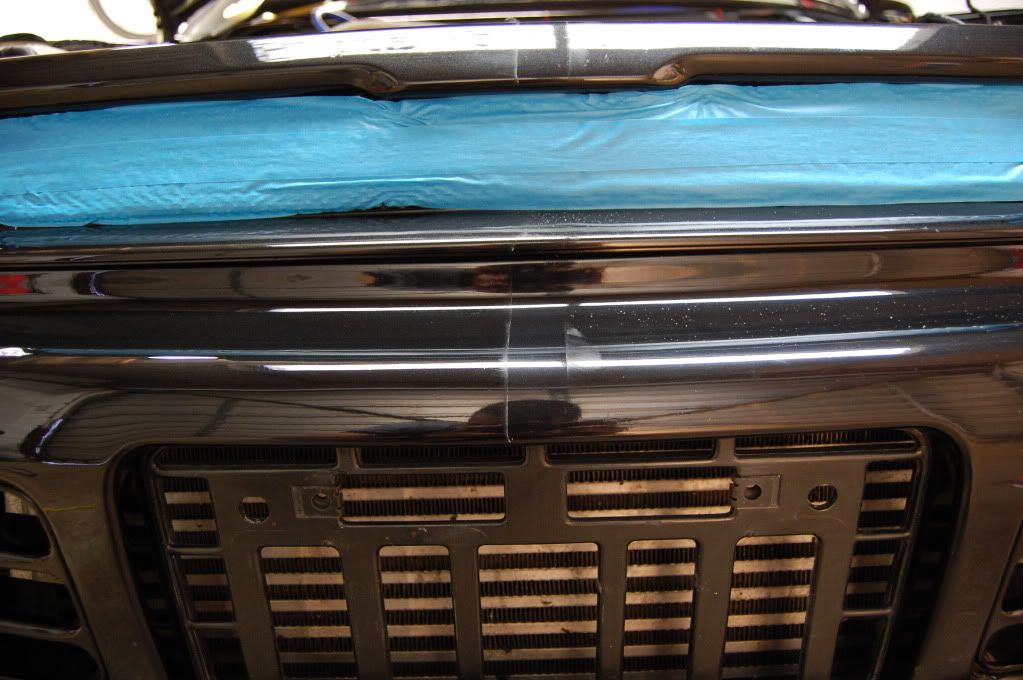
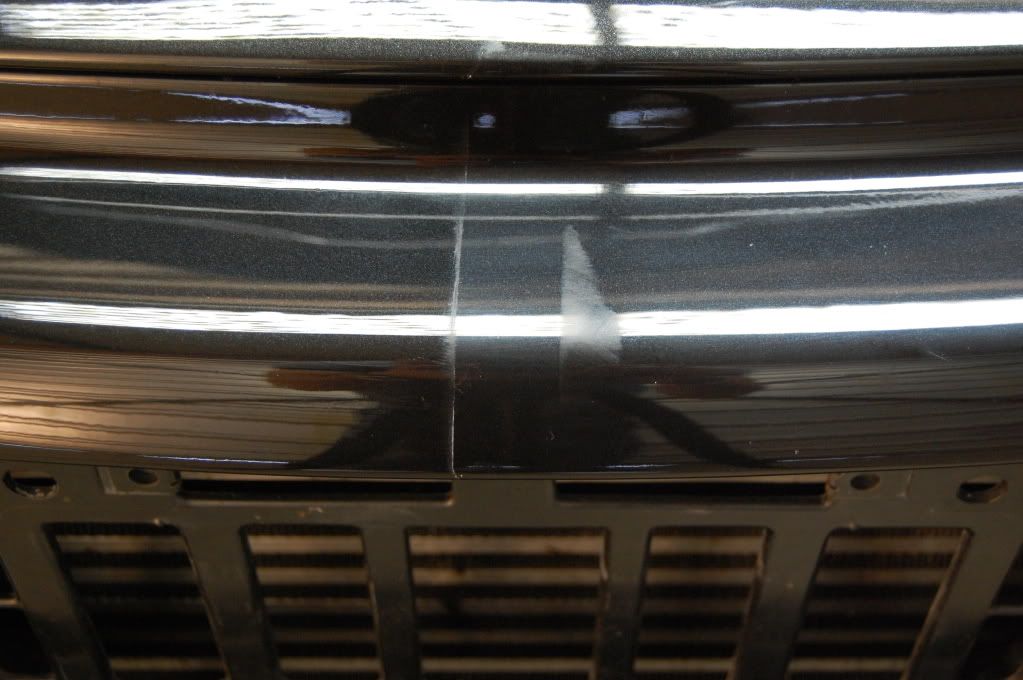
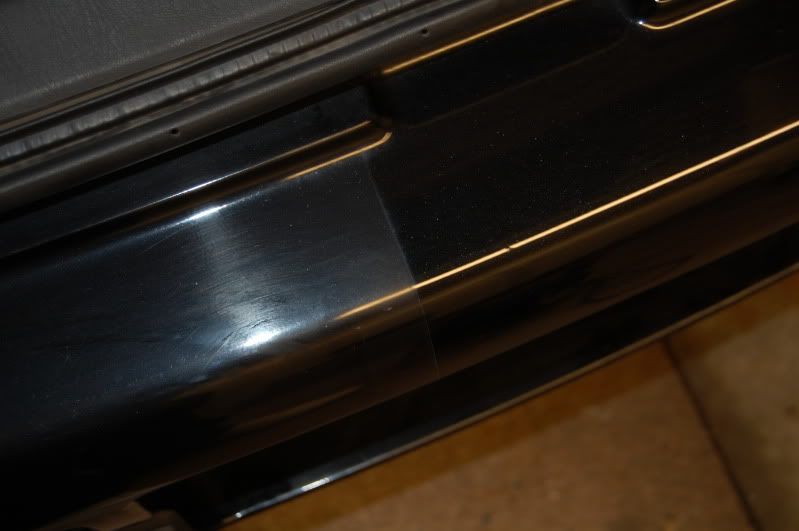
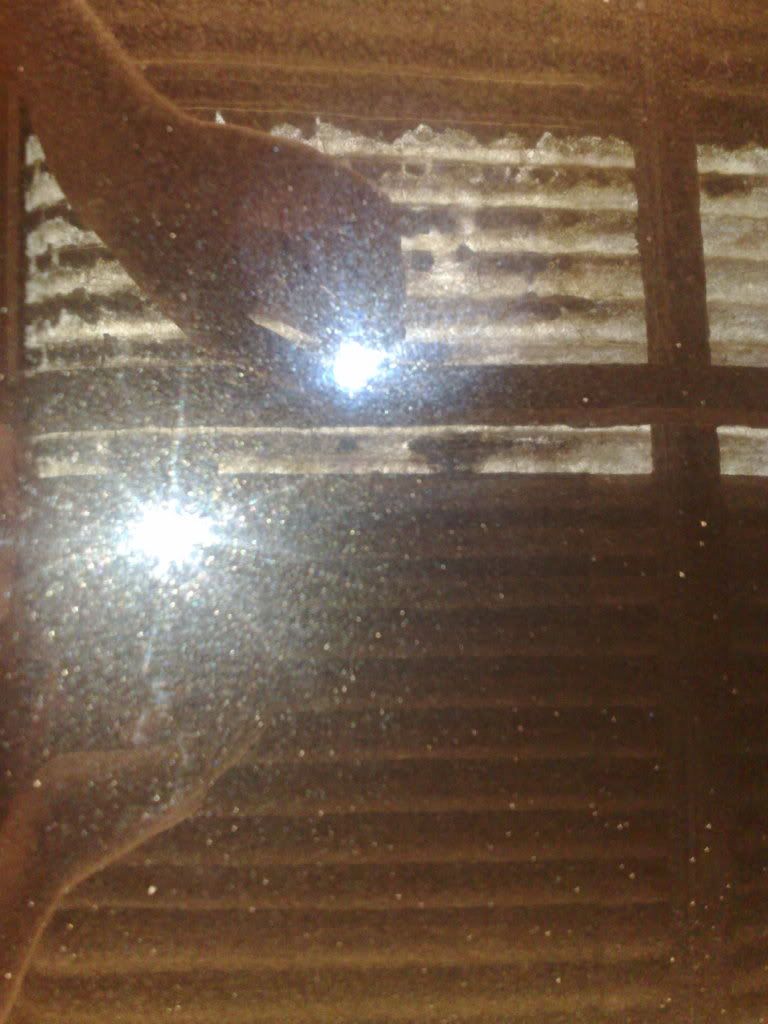
Once it was clayed, it was taken back outside for a final wash before the polishing stages, Polishing pics in no particular order: (mainly menz 203s with menz or lake country polishing pads, small pads used for sections, by da polisher)
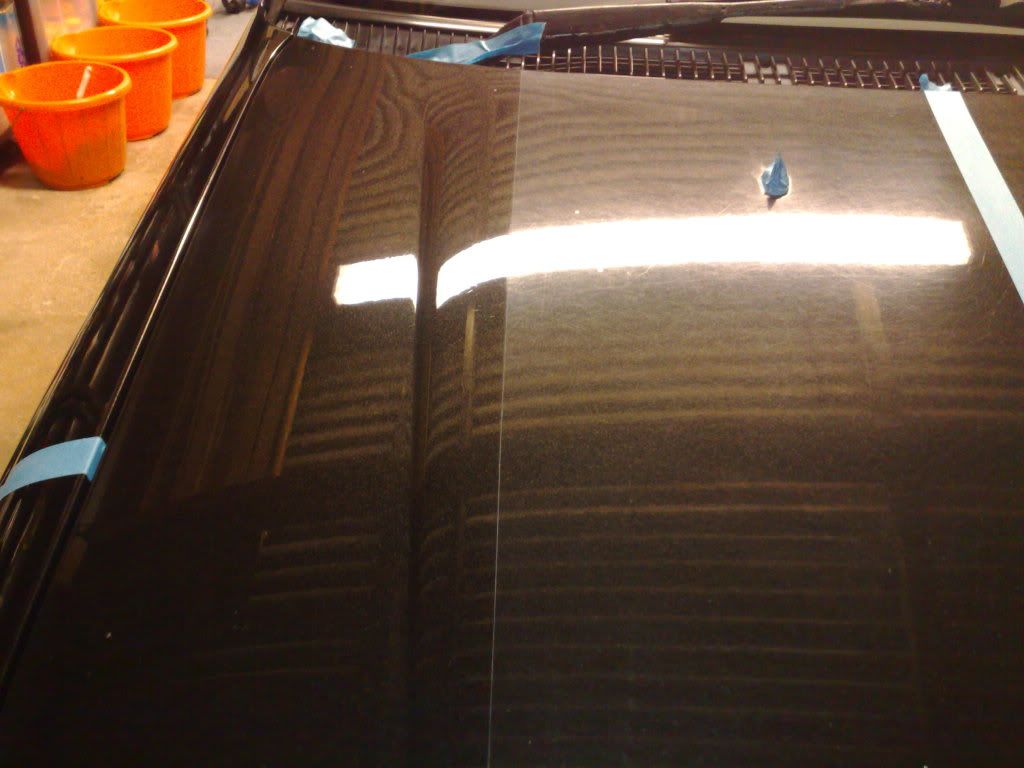
Bonnet:
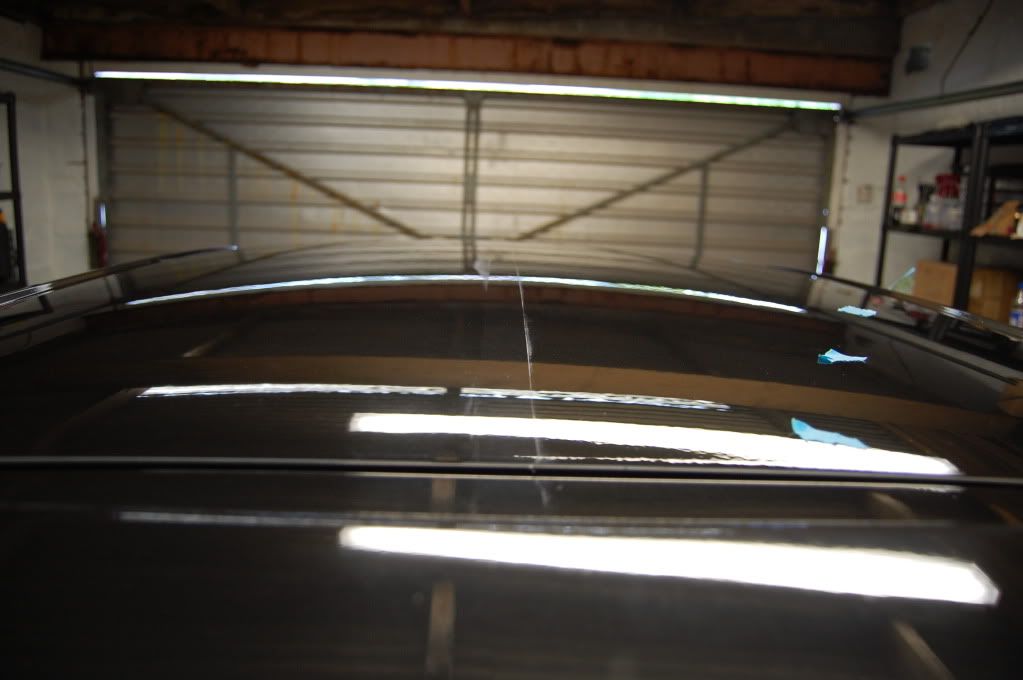
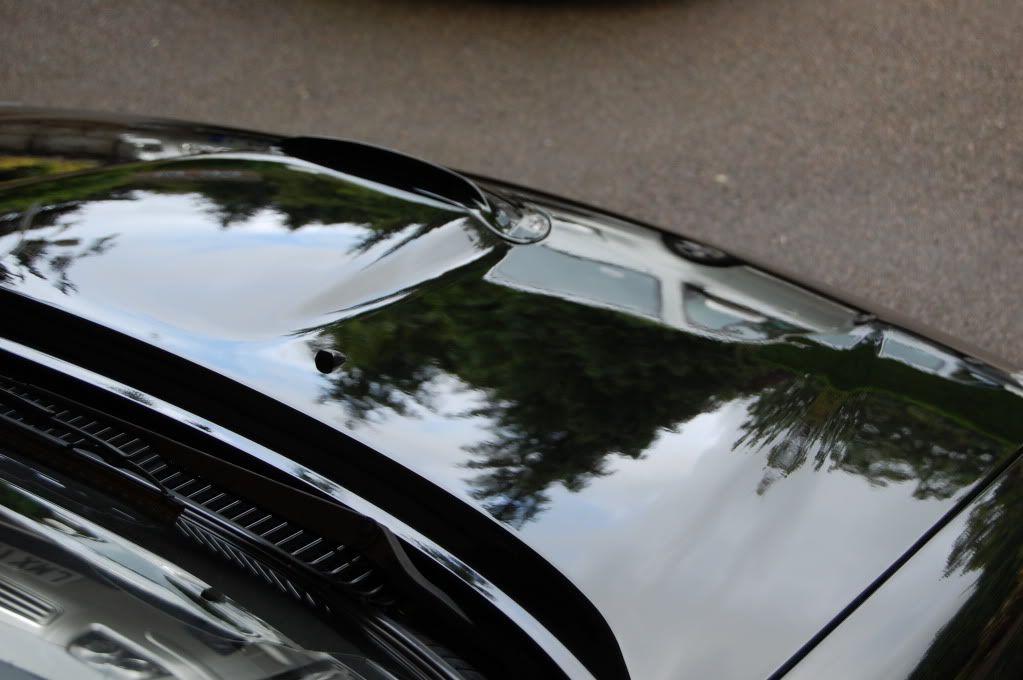
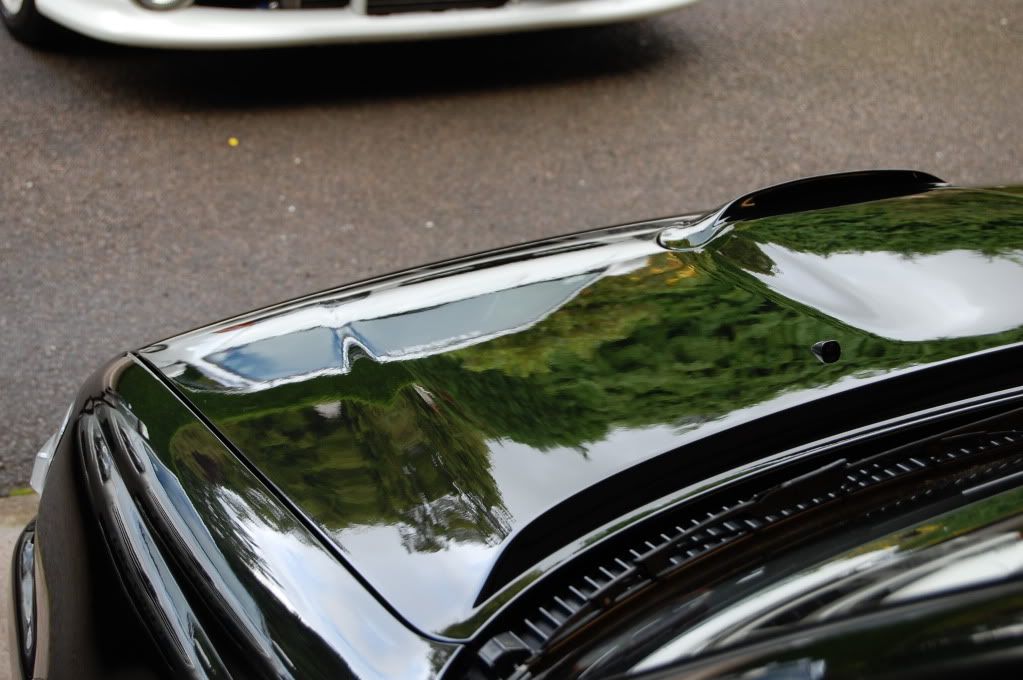
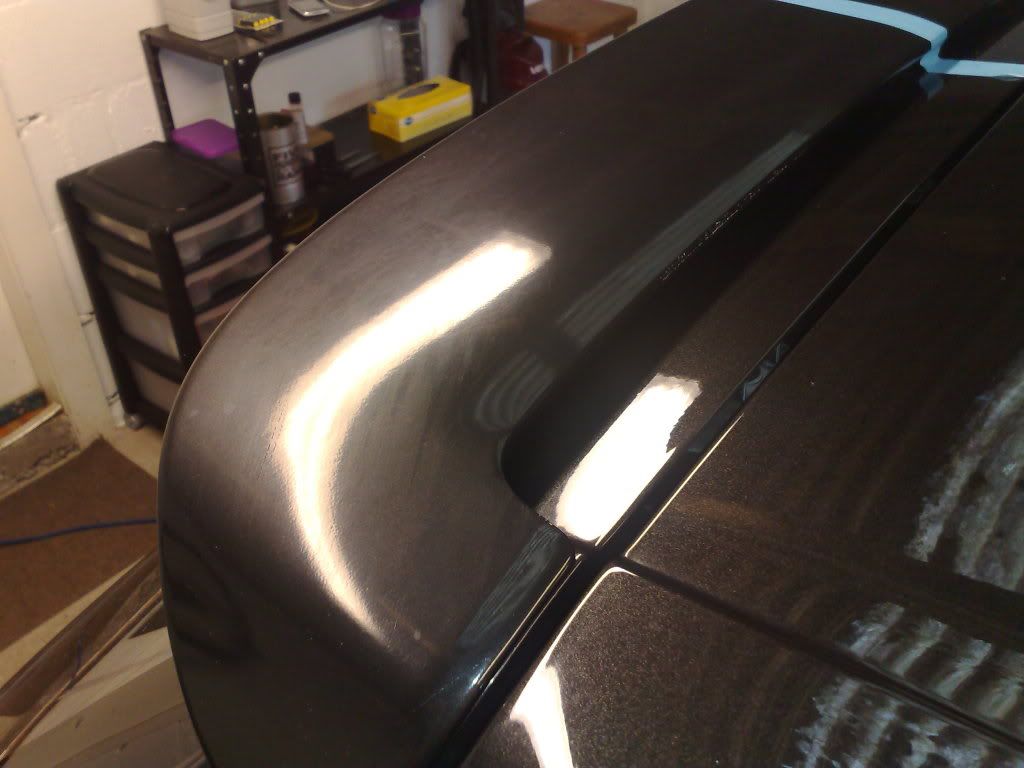
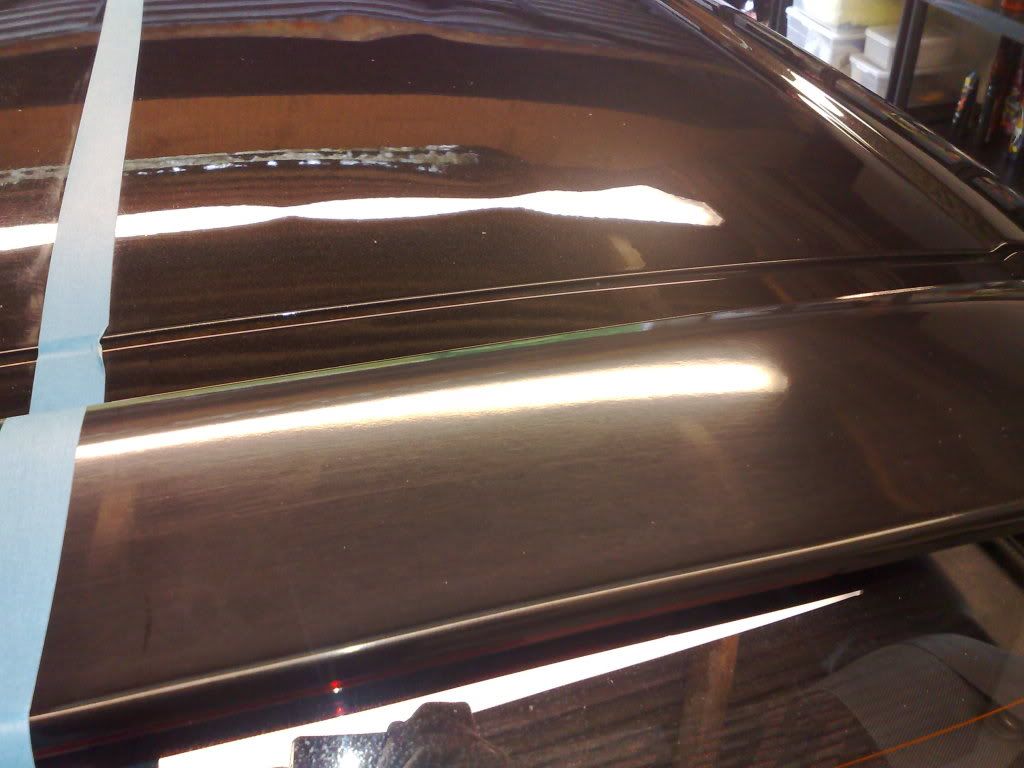
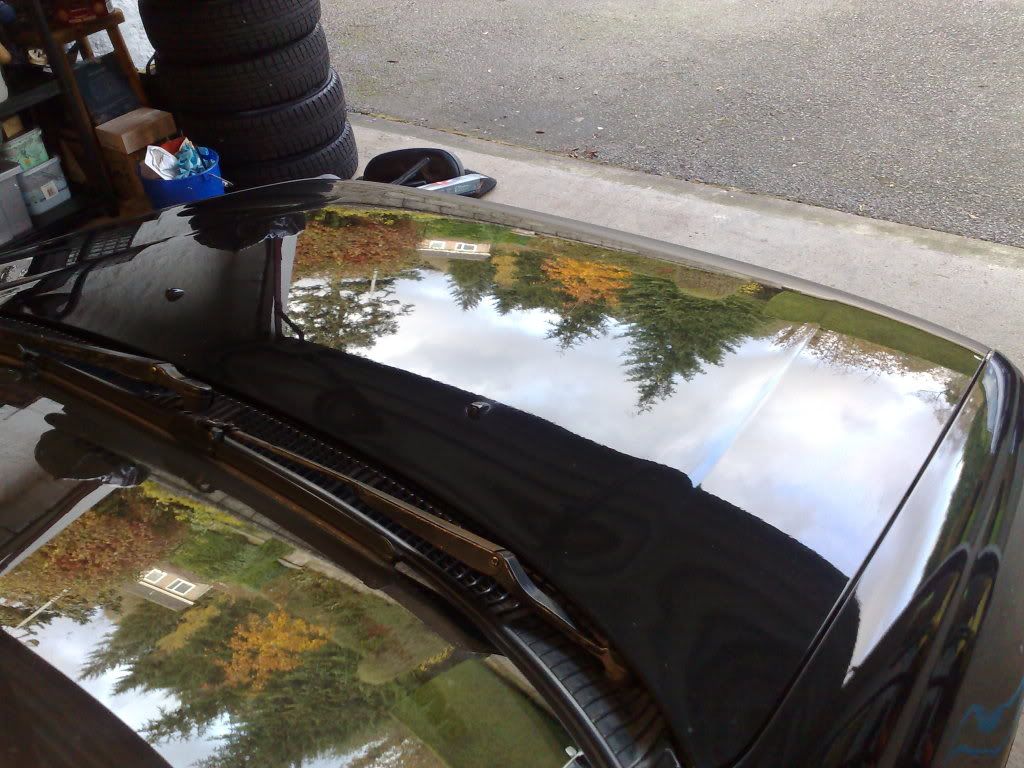
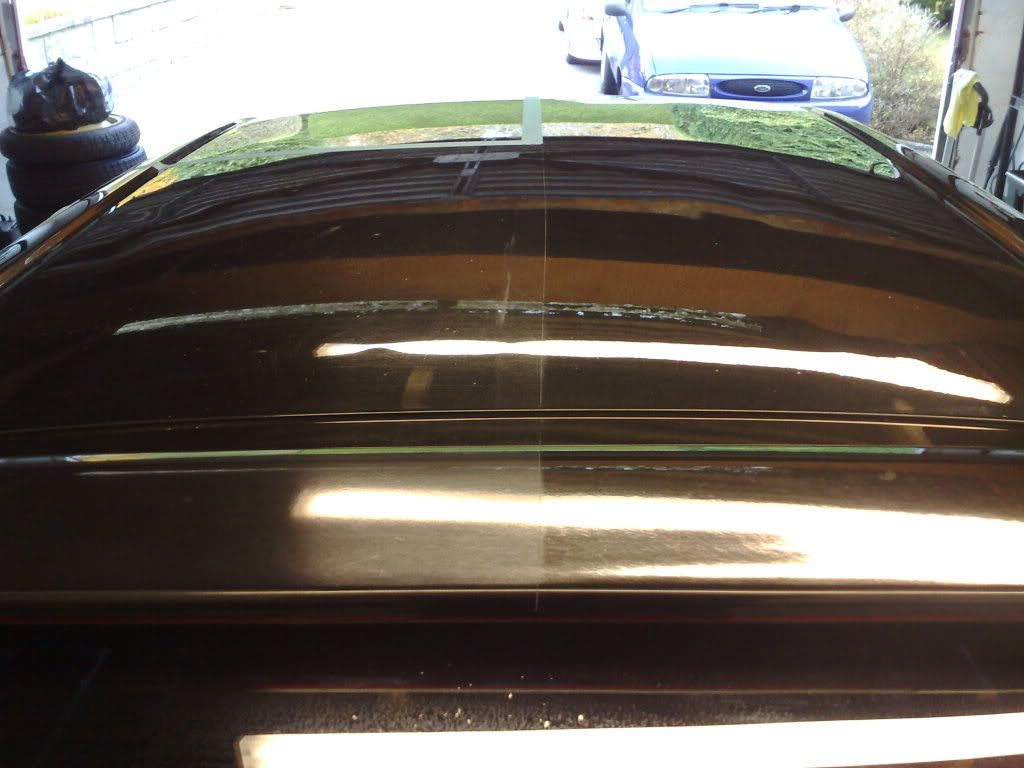
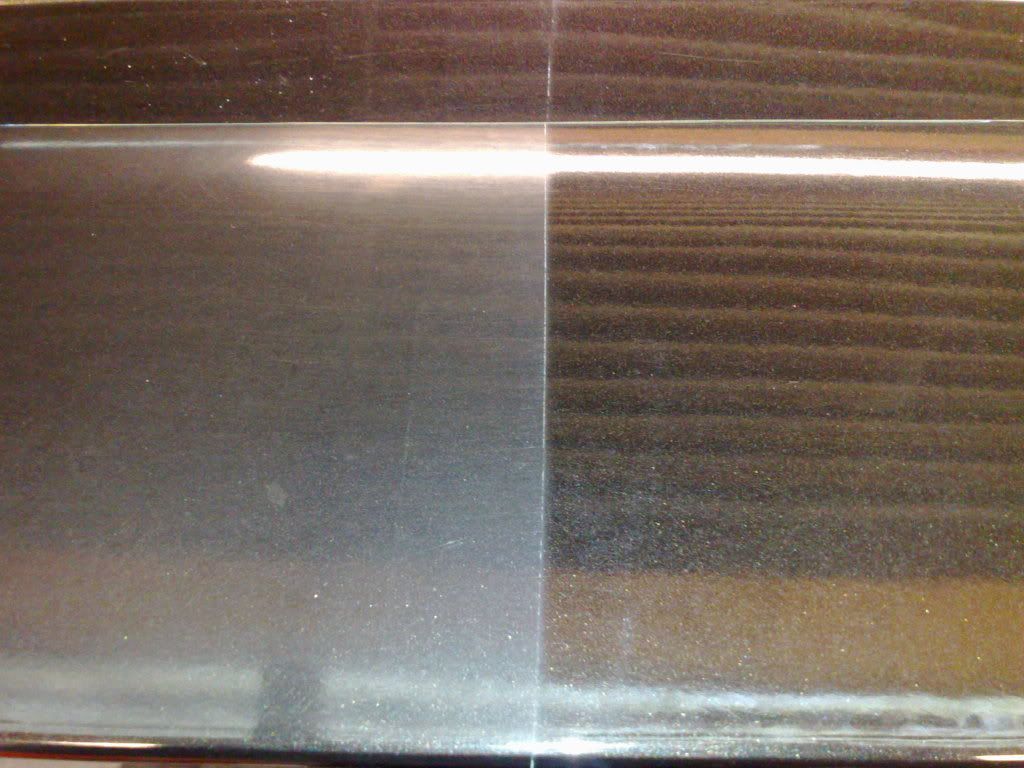
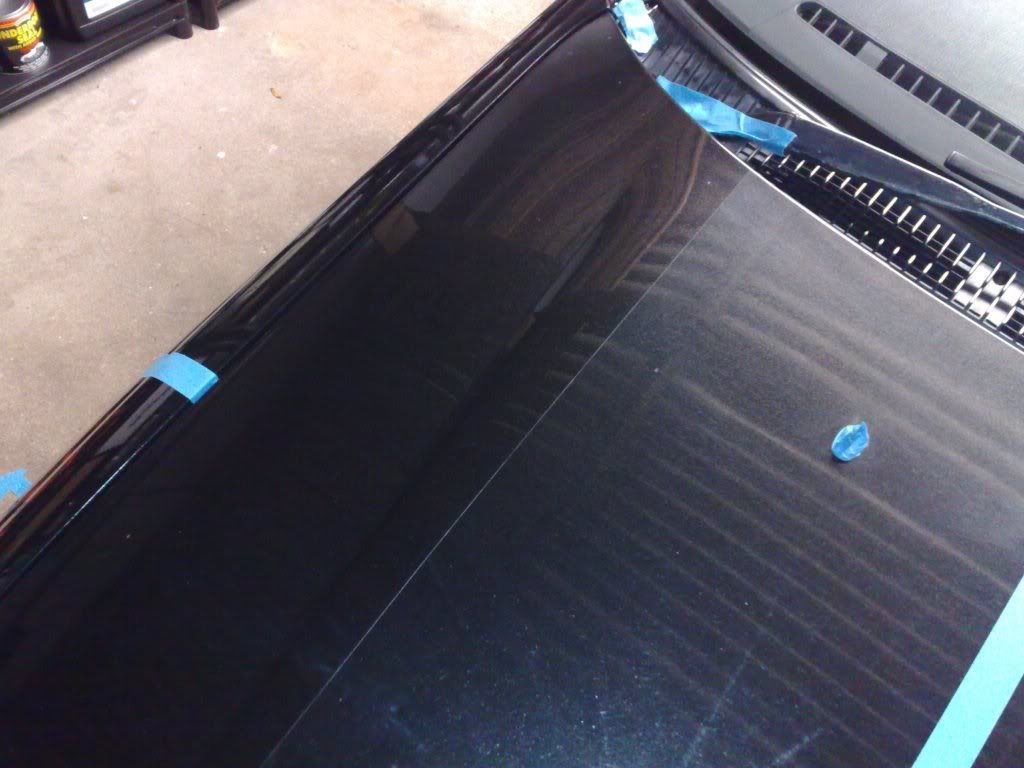
Roof:
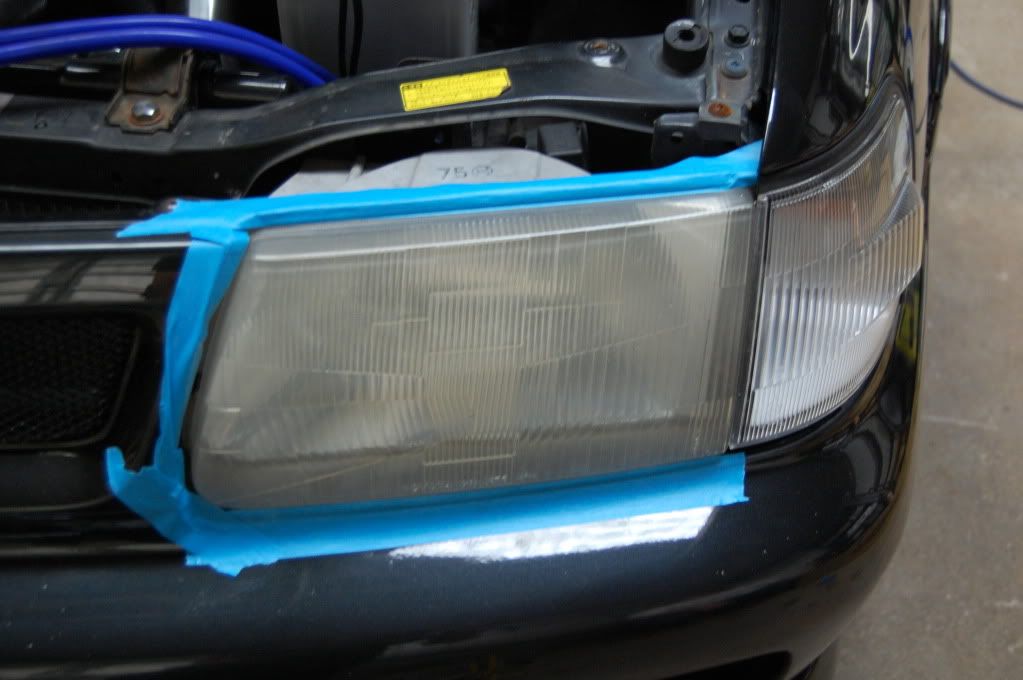
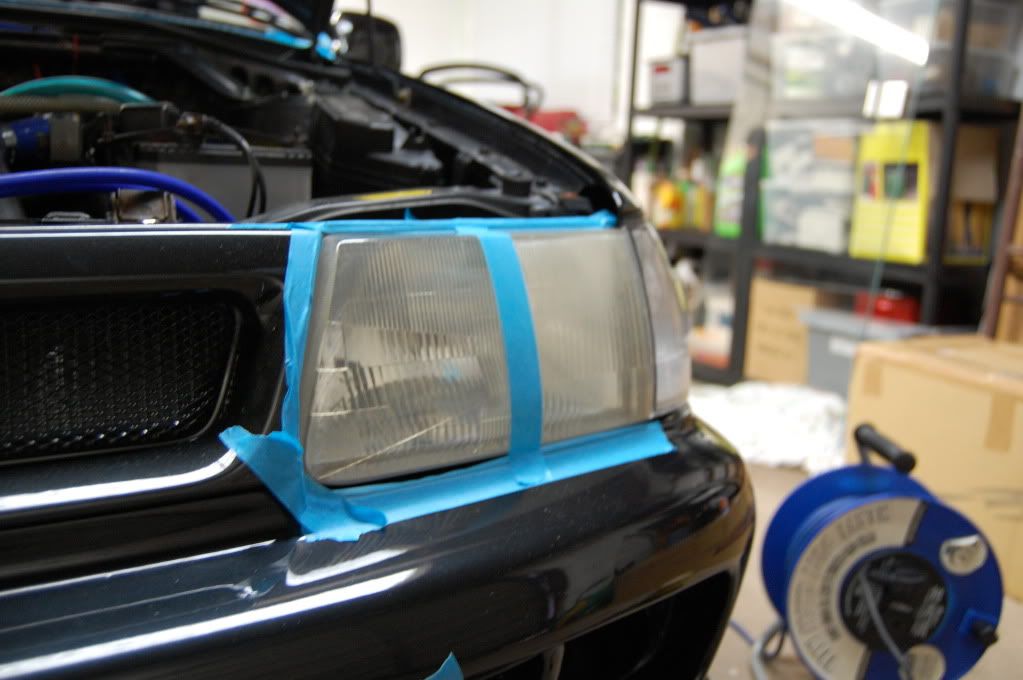
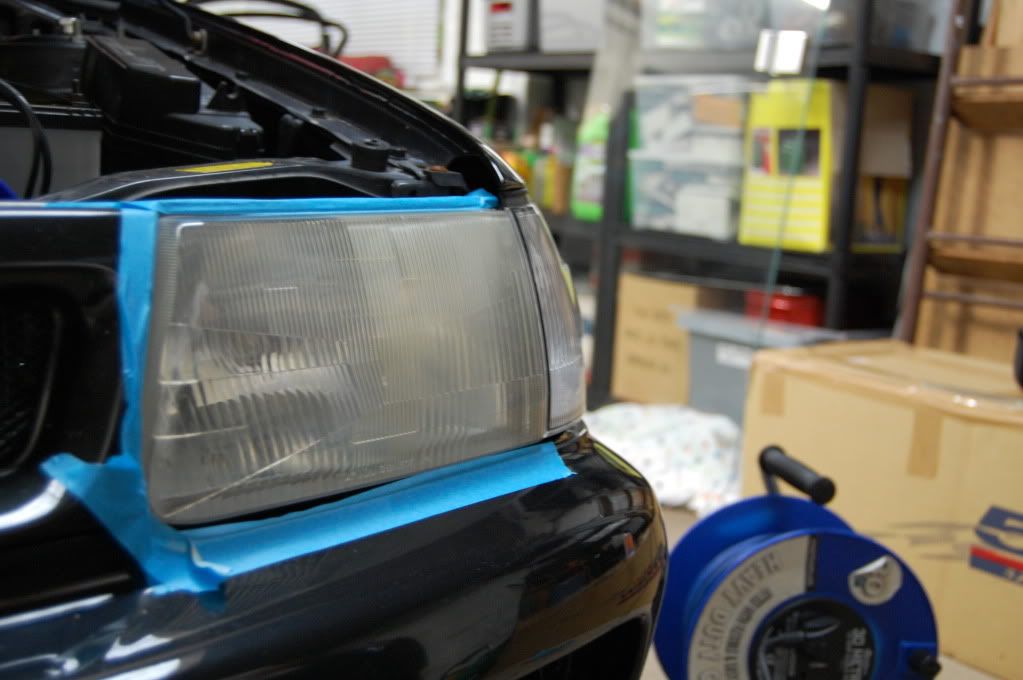
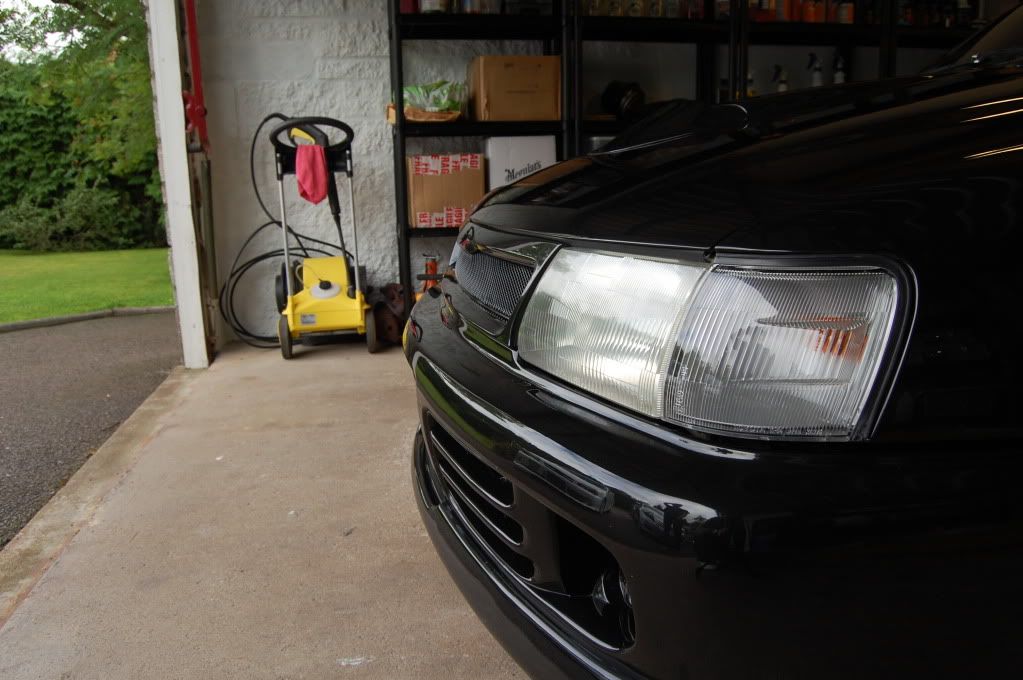
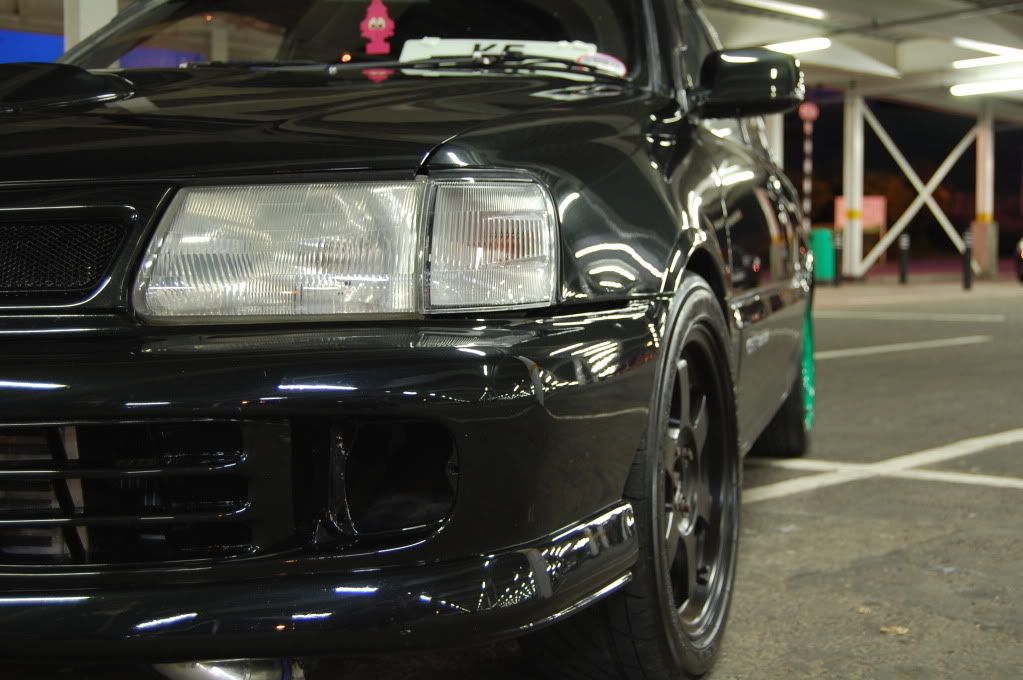
Headlights were brightened up!:
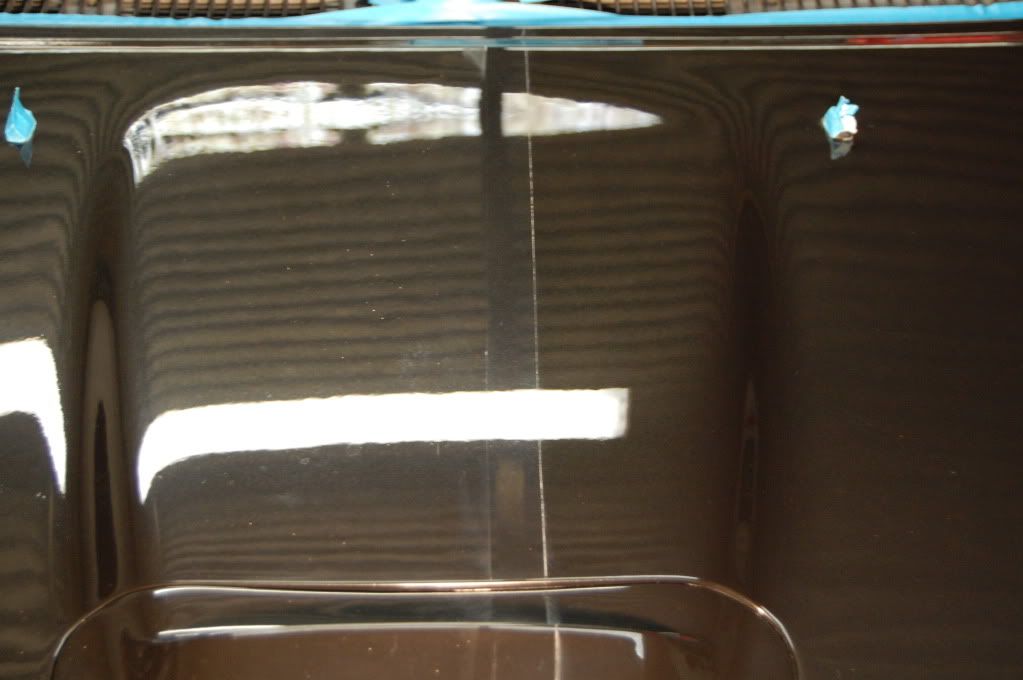
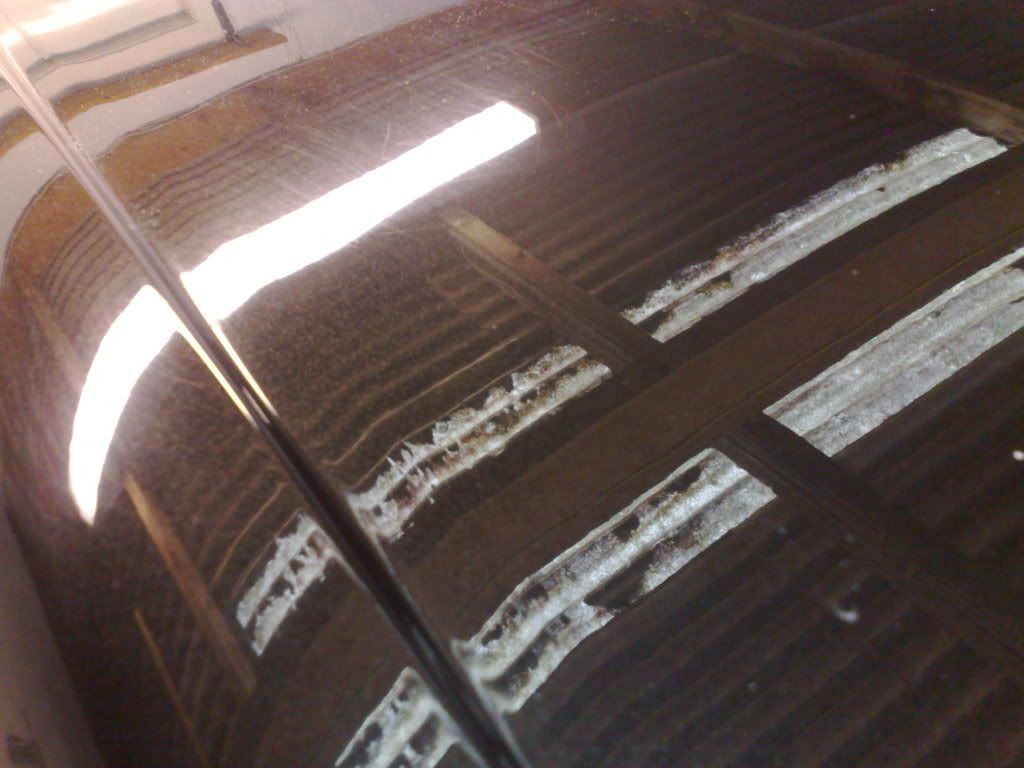
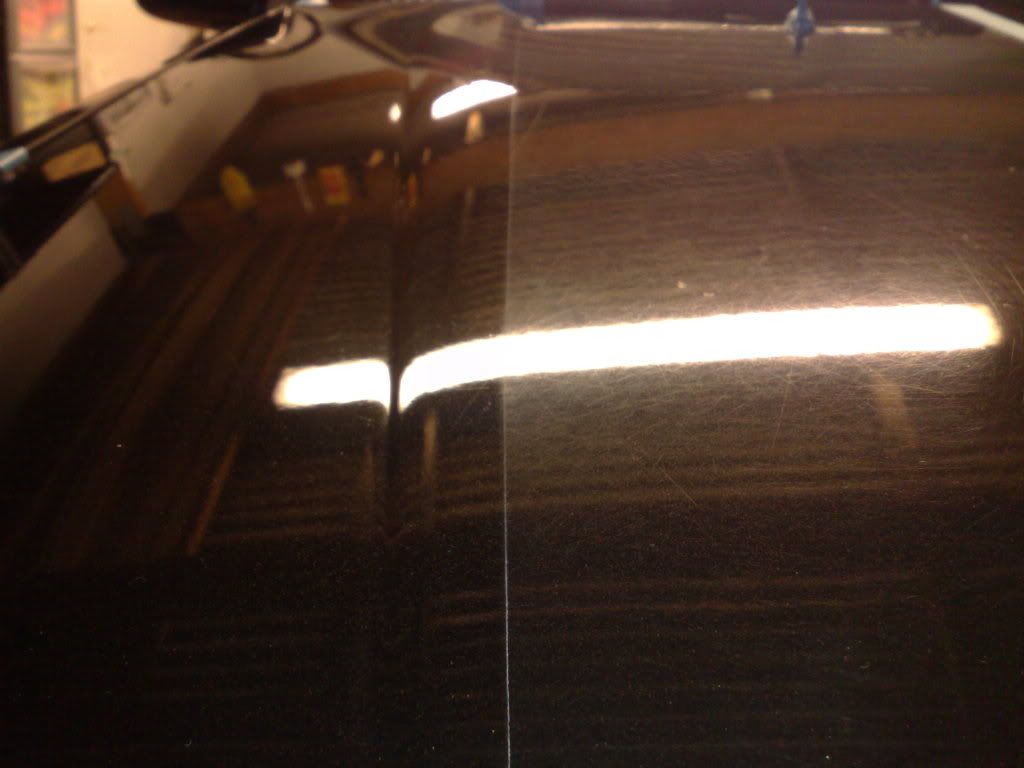
50/50 on roof:
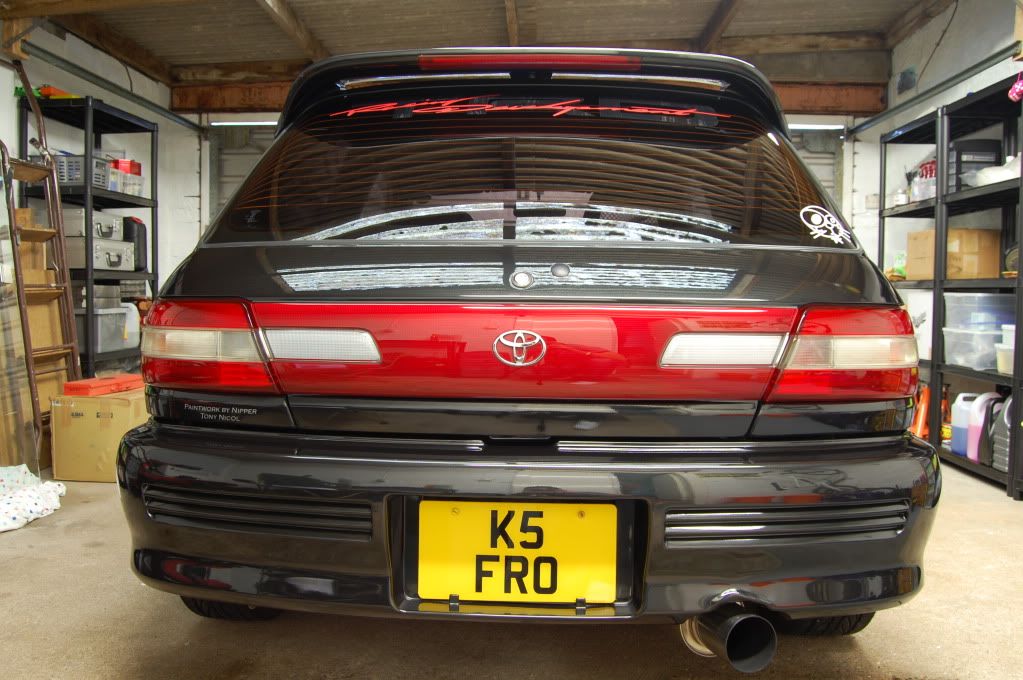
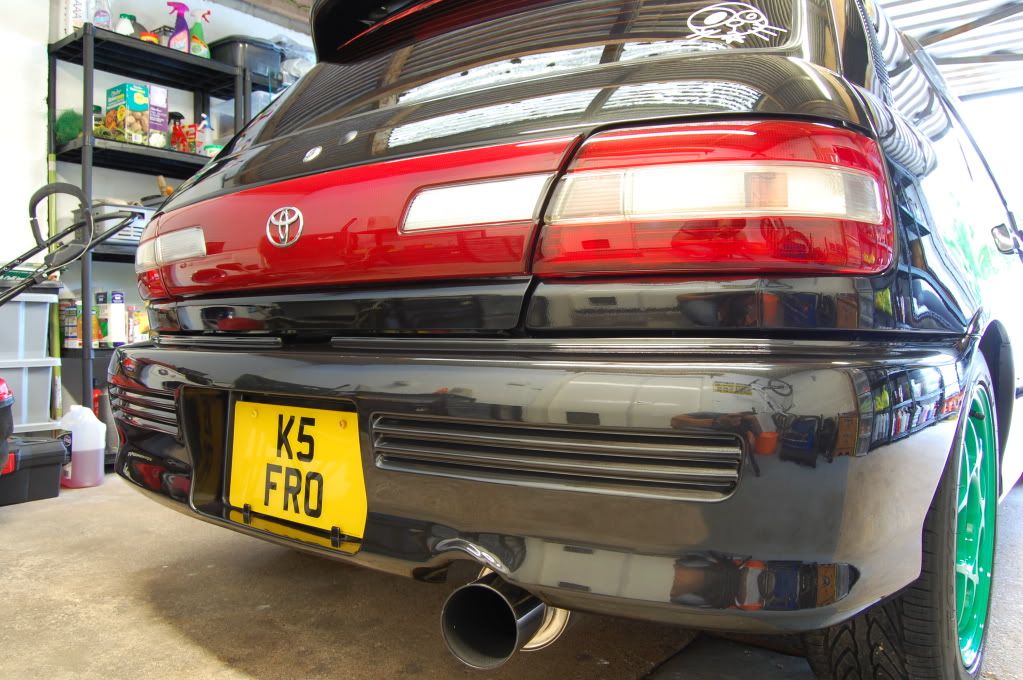
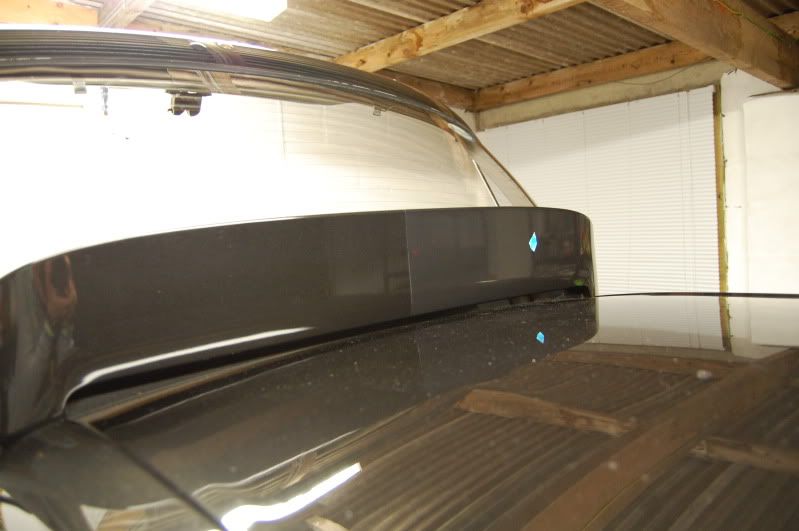
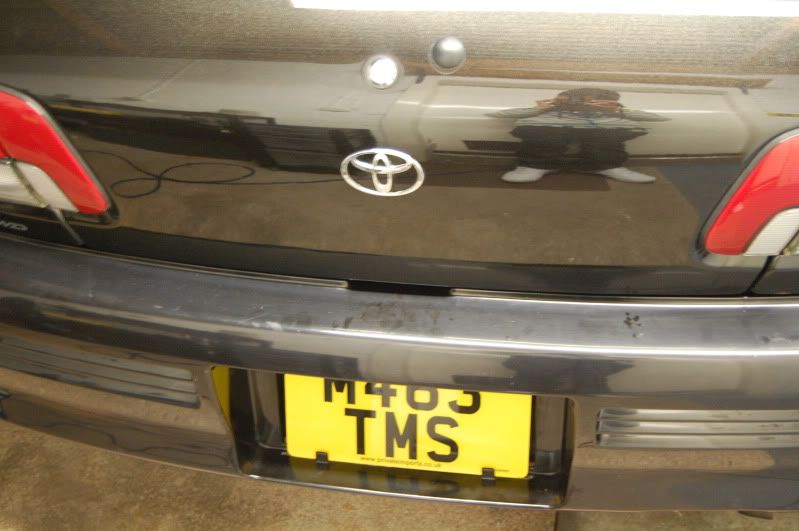
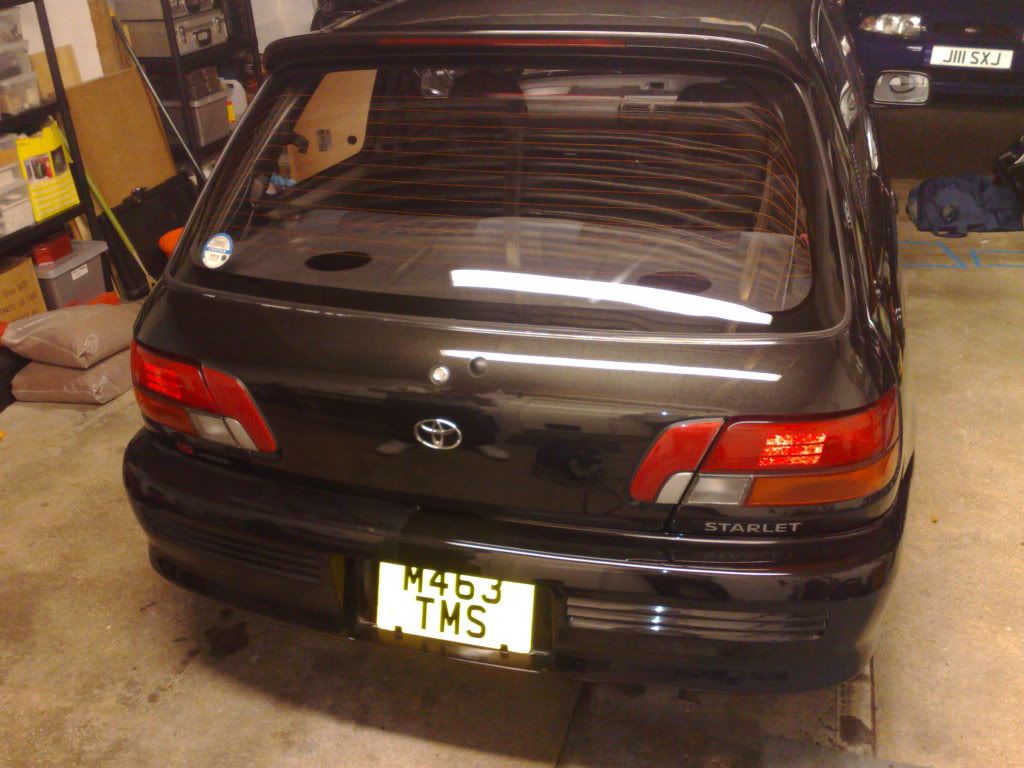
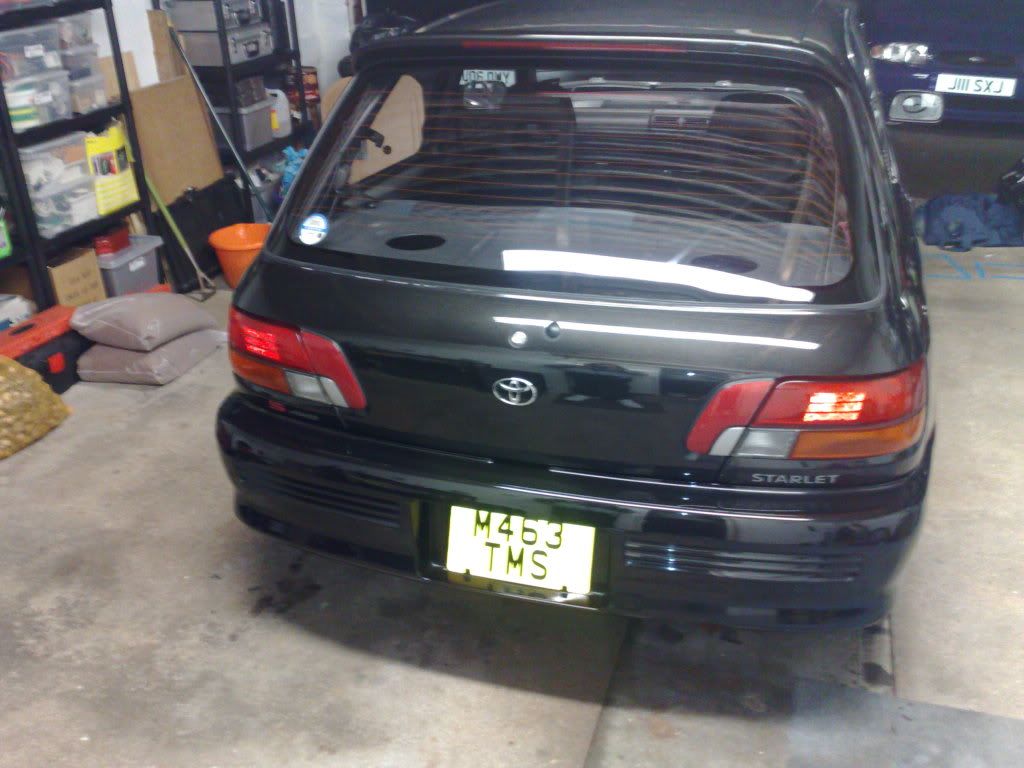
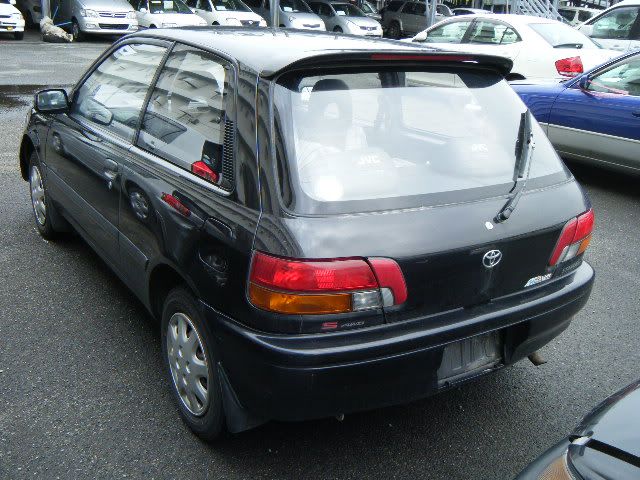
Tailgate was brightened up a bit:
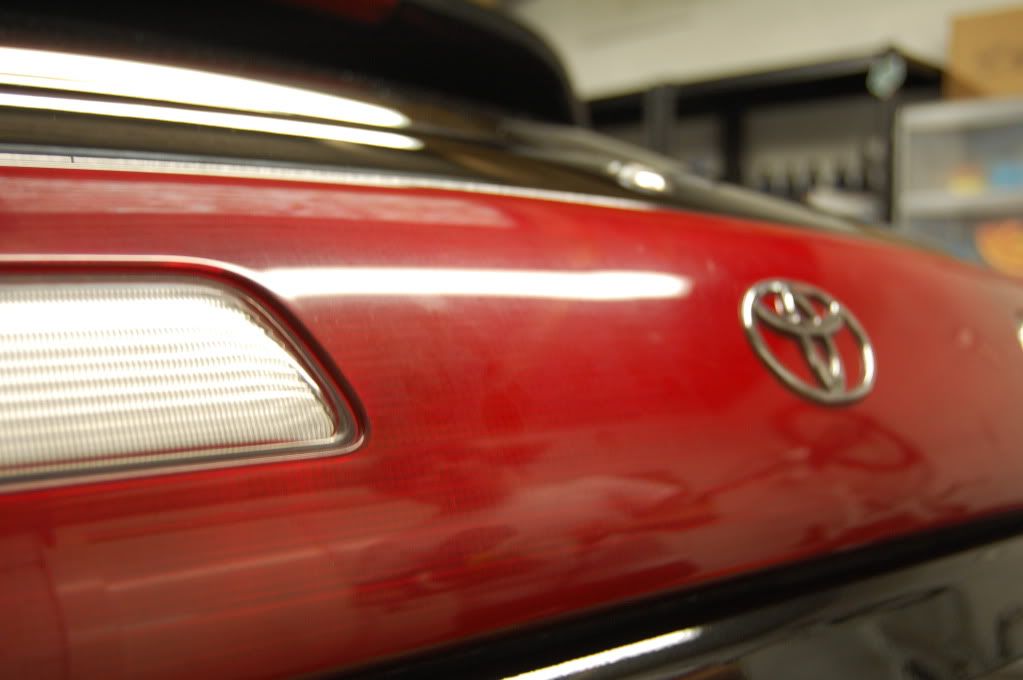
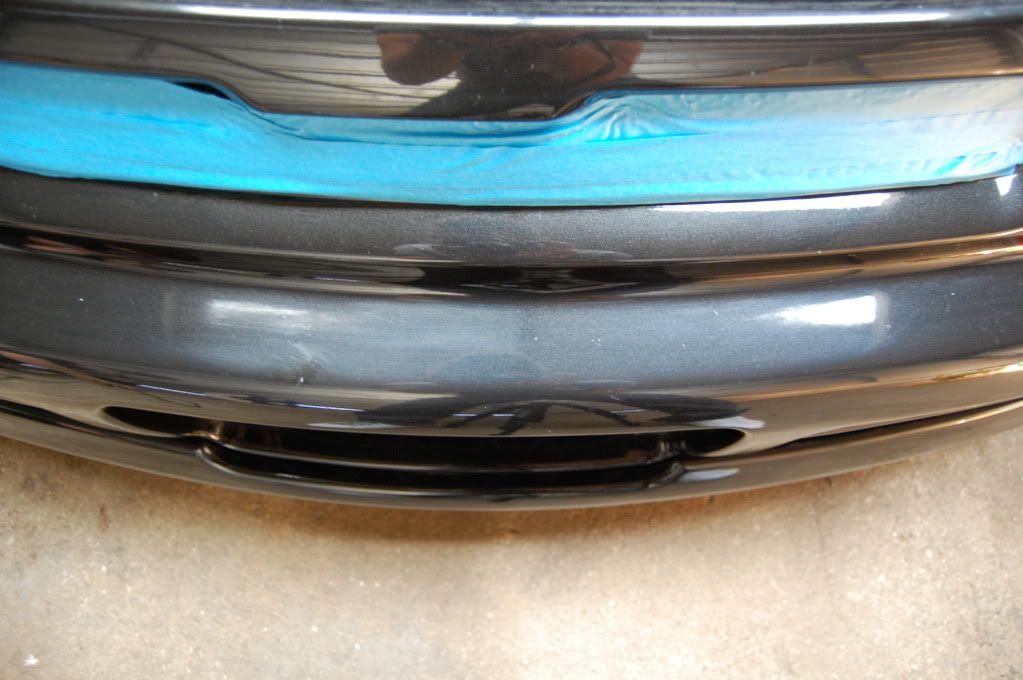
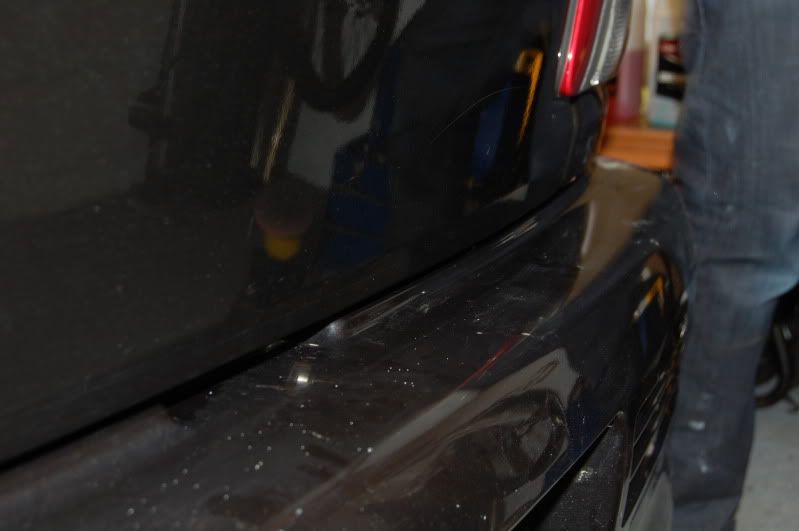
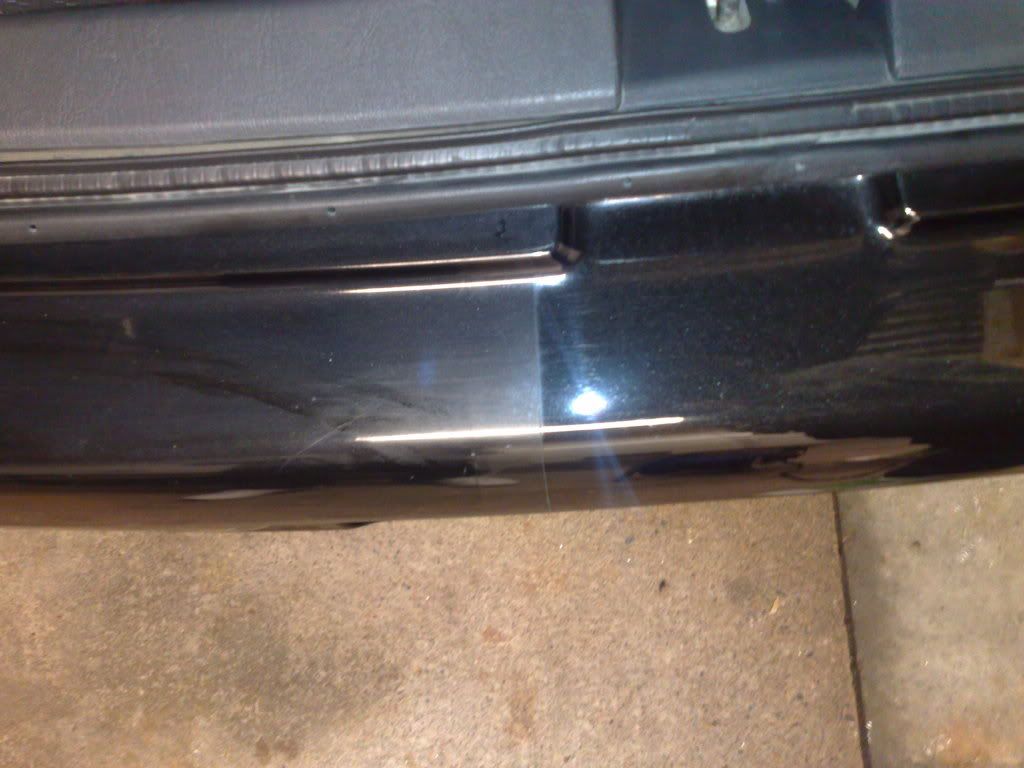
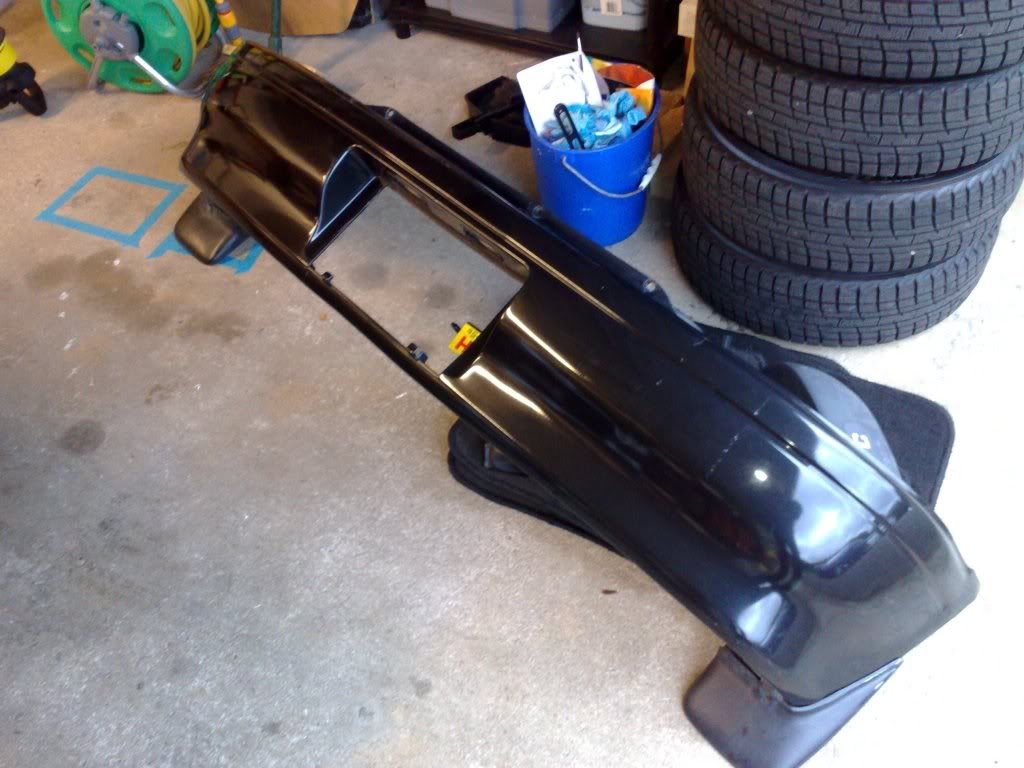
Front bumper corrected:
Looking good!
Very glossy!
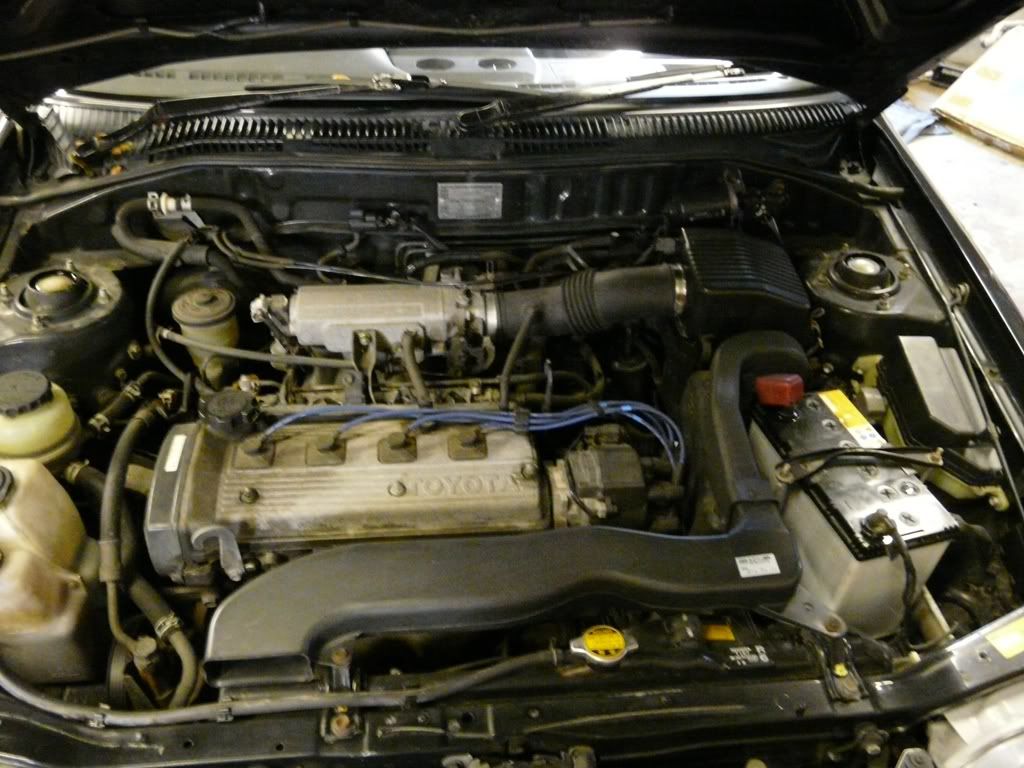
Engine bay wiped down:
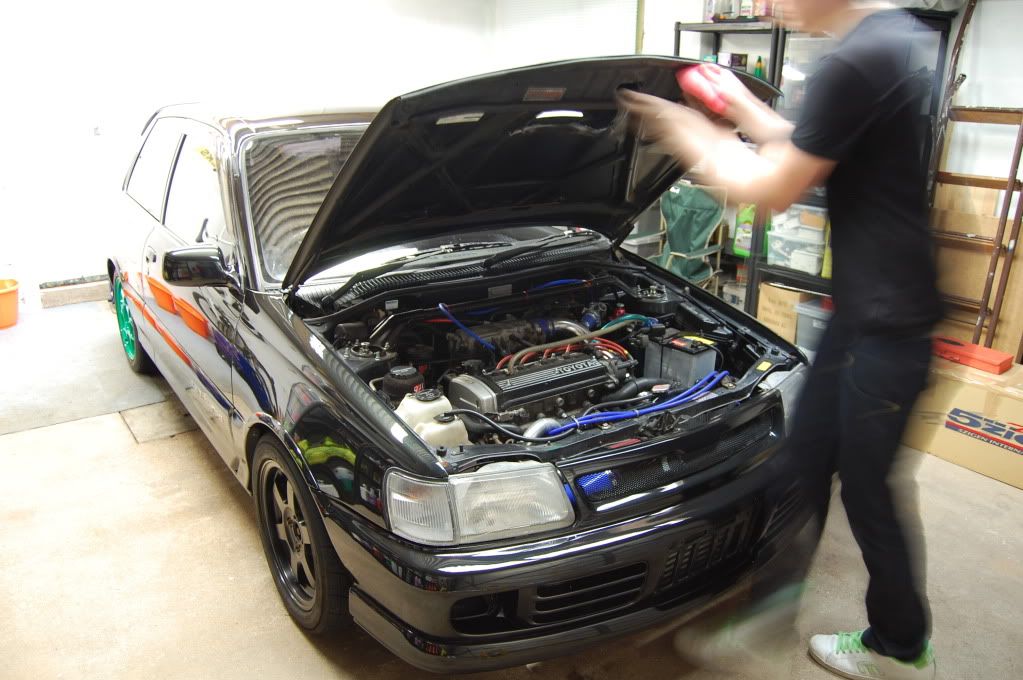
Dusted down:

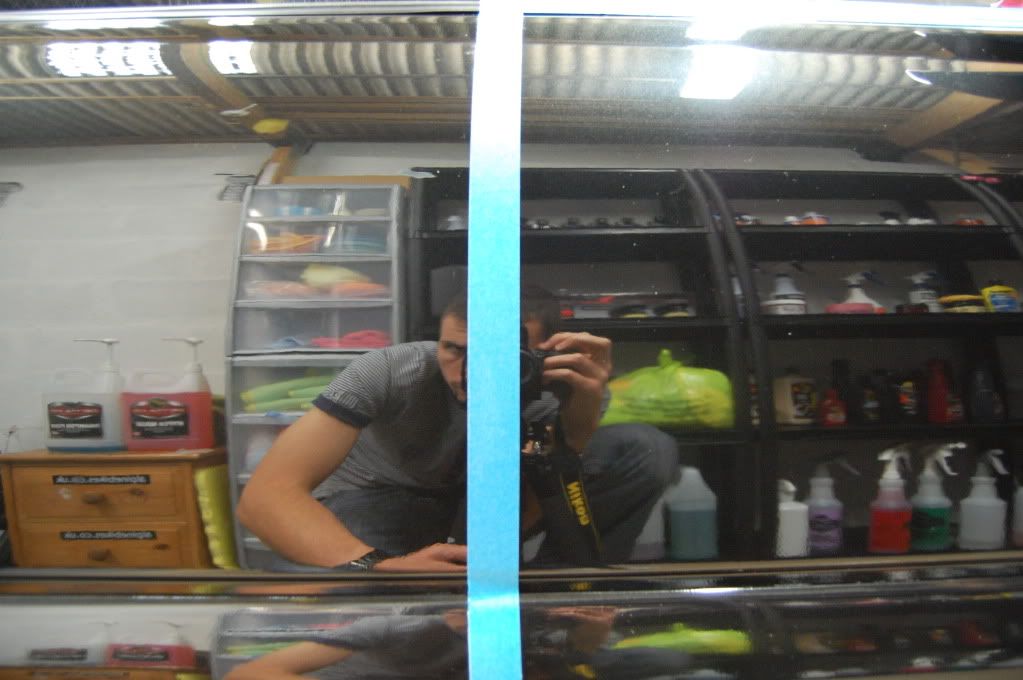
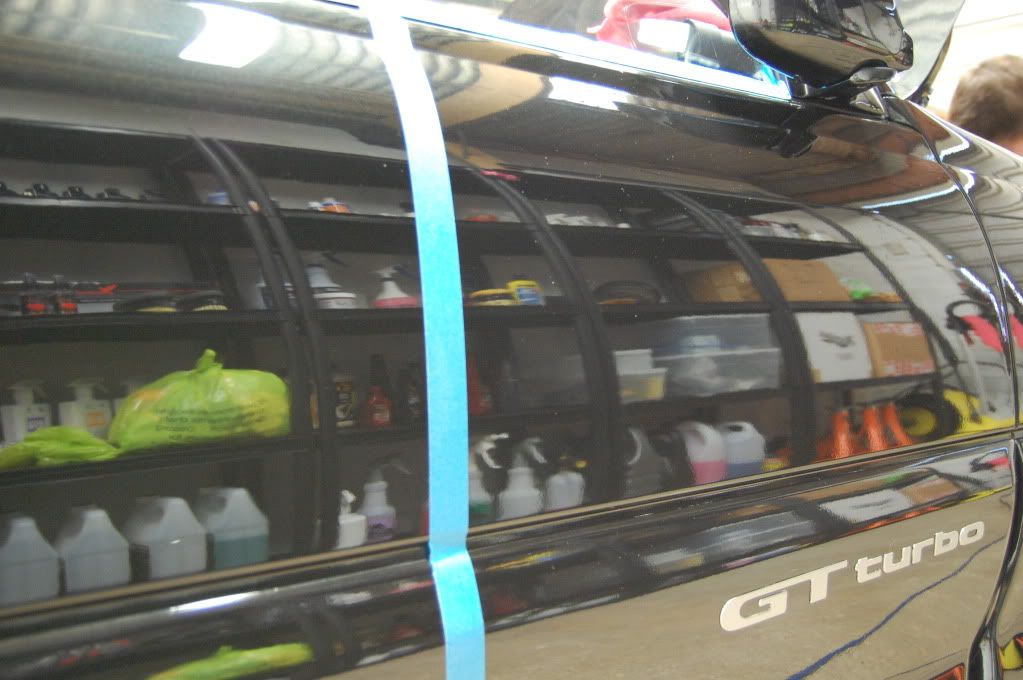
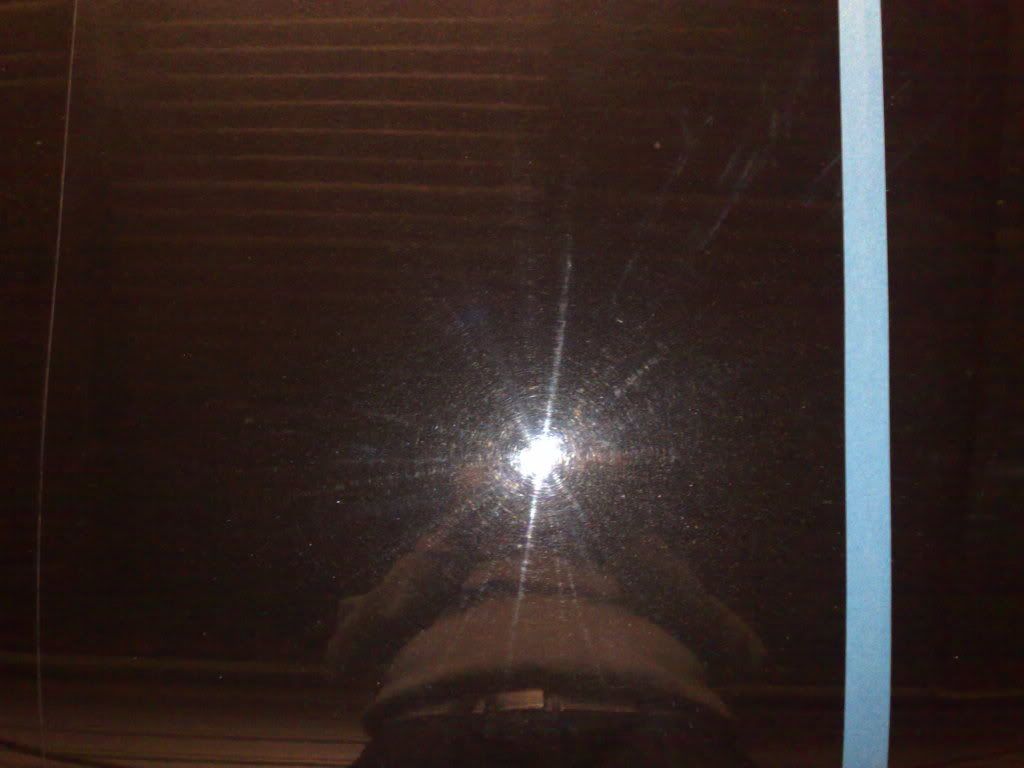
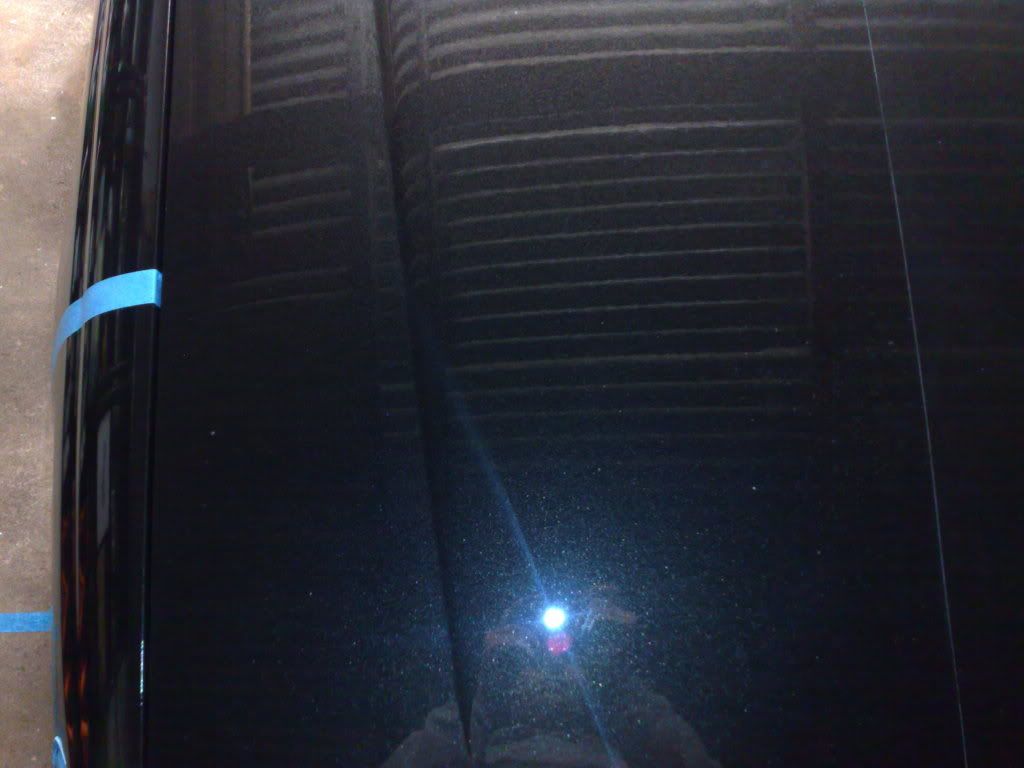
After IPA wipedown and inspection:
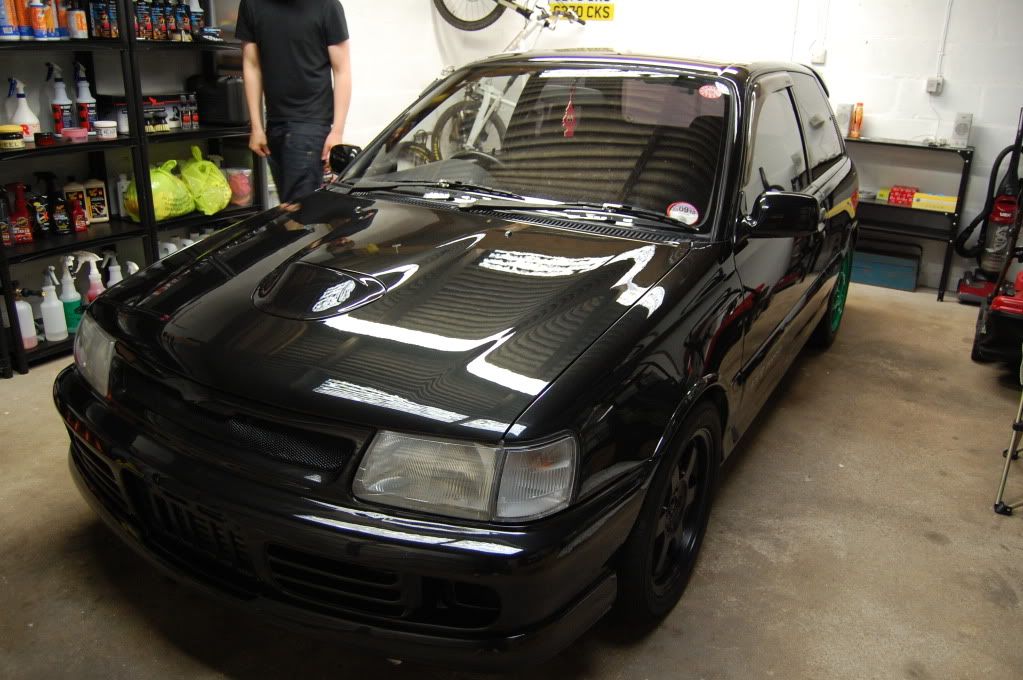
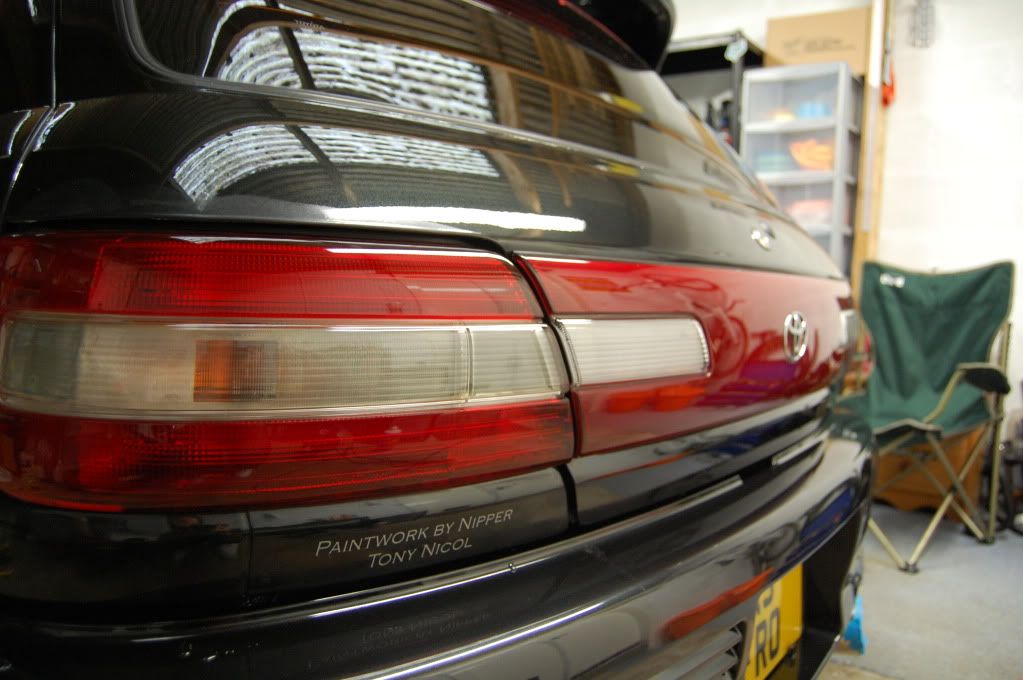
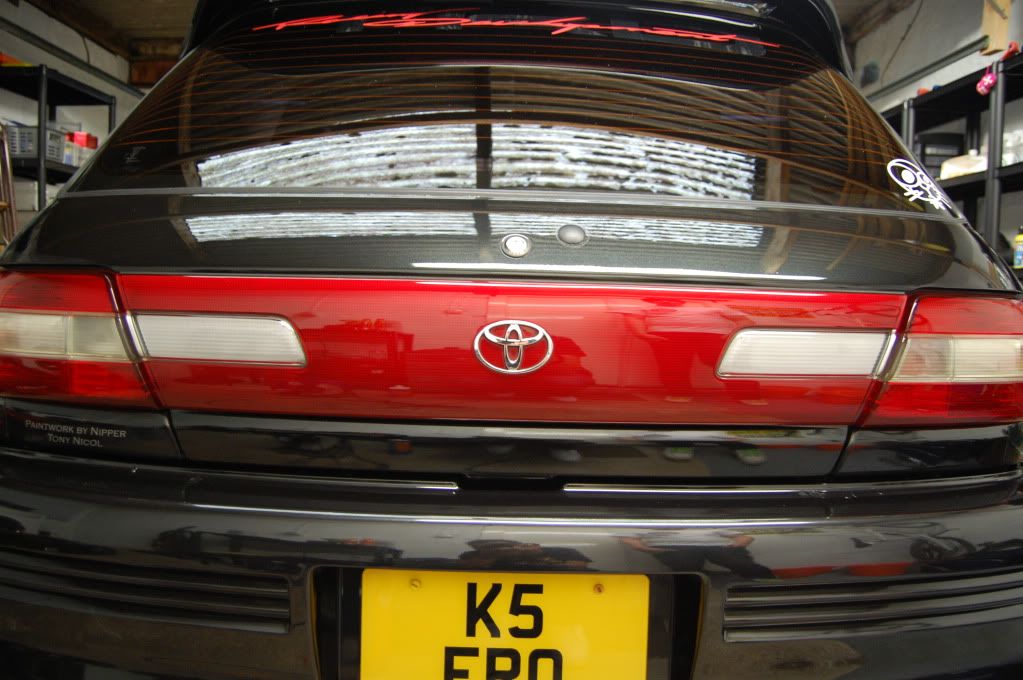
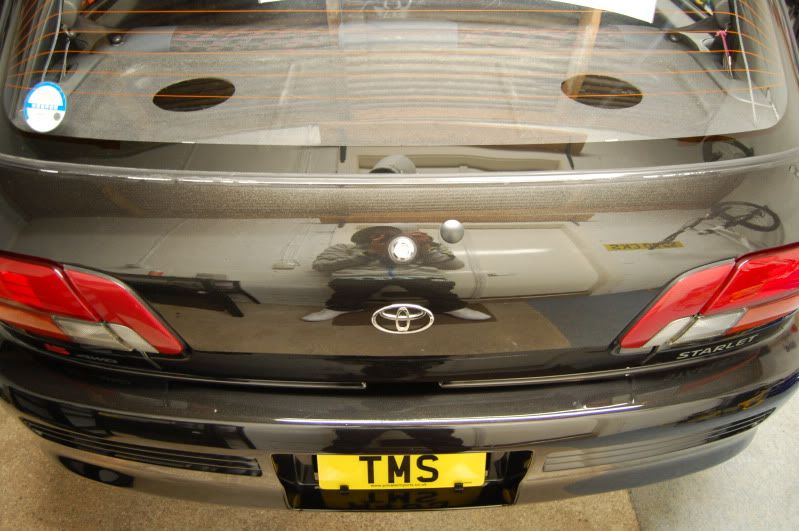
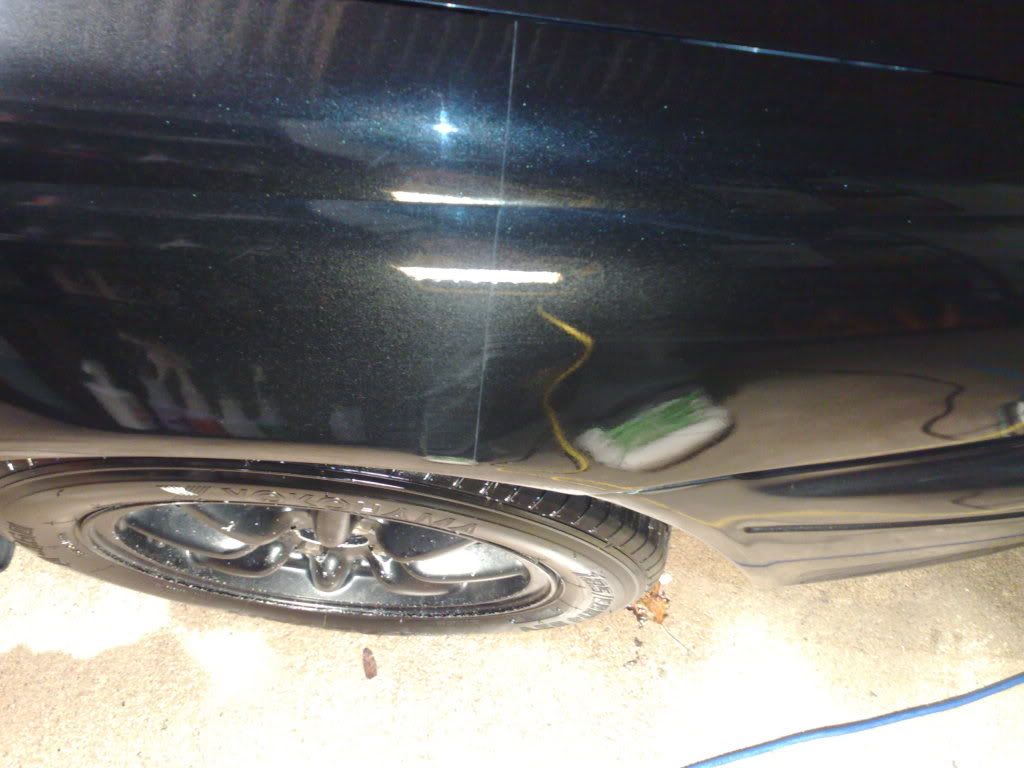
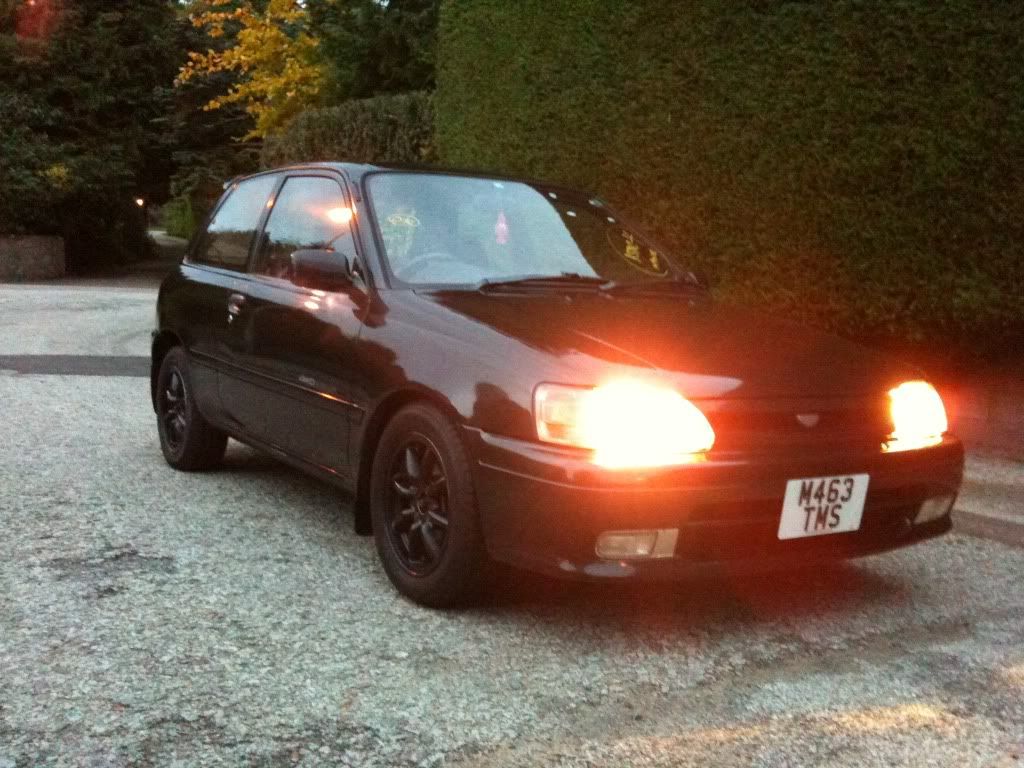
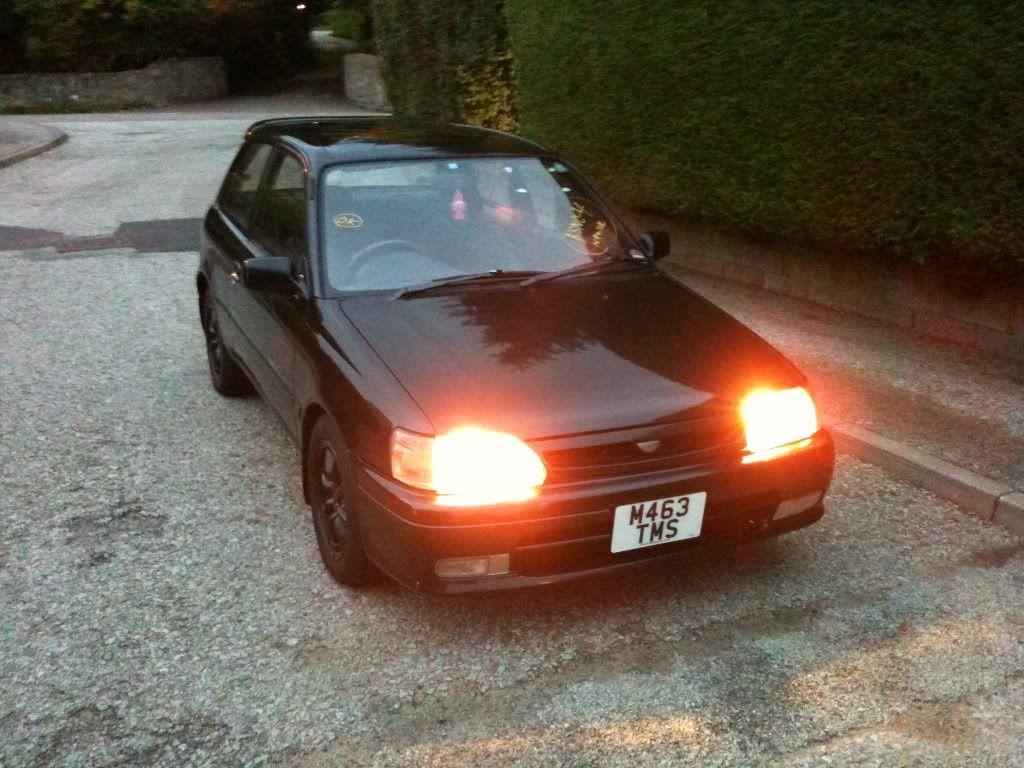
Finished photos: (after blackfire paint sealant and midnight sun wax applied, exhaust tip was polished autosol and sealed with blackfire too)
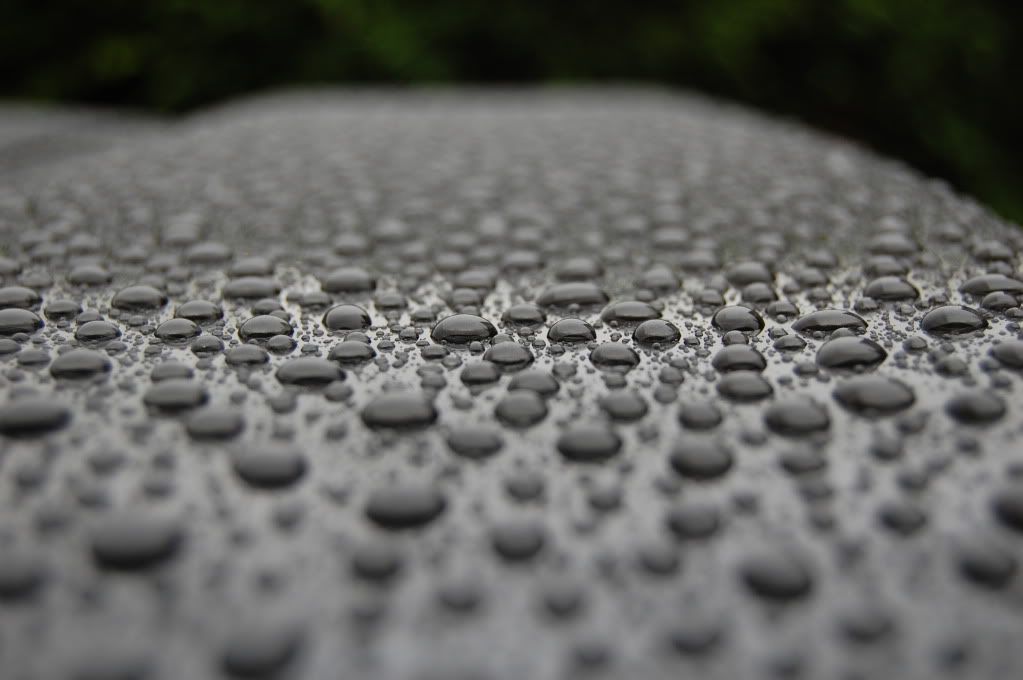
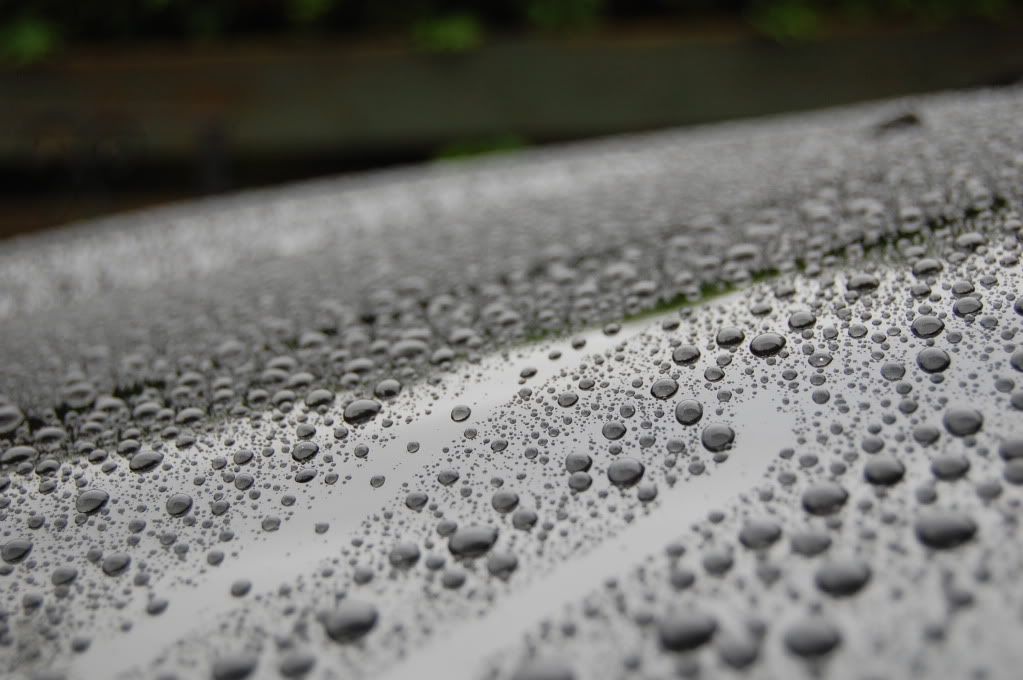
Beading shots!
Thanks for looking
Mods - please move this to the best place if here is no good
-
haha not yet! was pretty icey this morning but wasnt out and about with it! was getting an alarm installed!
first time in a while im excited for the snow! haha
-
Cheers for all the comments folks!
haha ta fro! get the pics of all the lads up!! contribute to my thread!
update - getting a cat 1 alarm installed as i type this

-
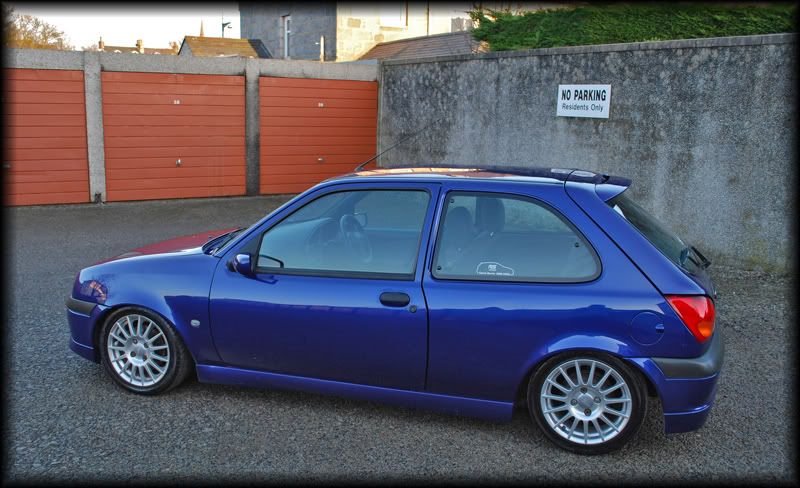
Not much of an update - but got some pics of the last steps of the detail from Fro so thought id get them up!
Spoiler 50/50:
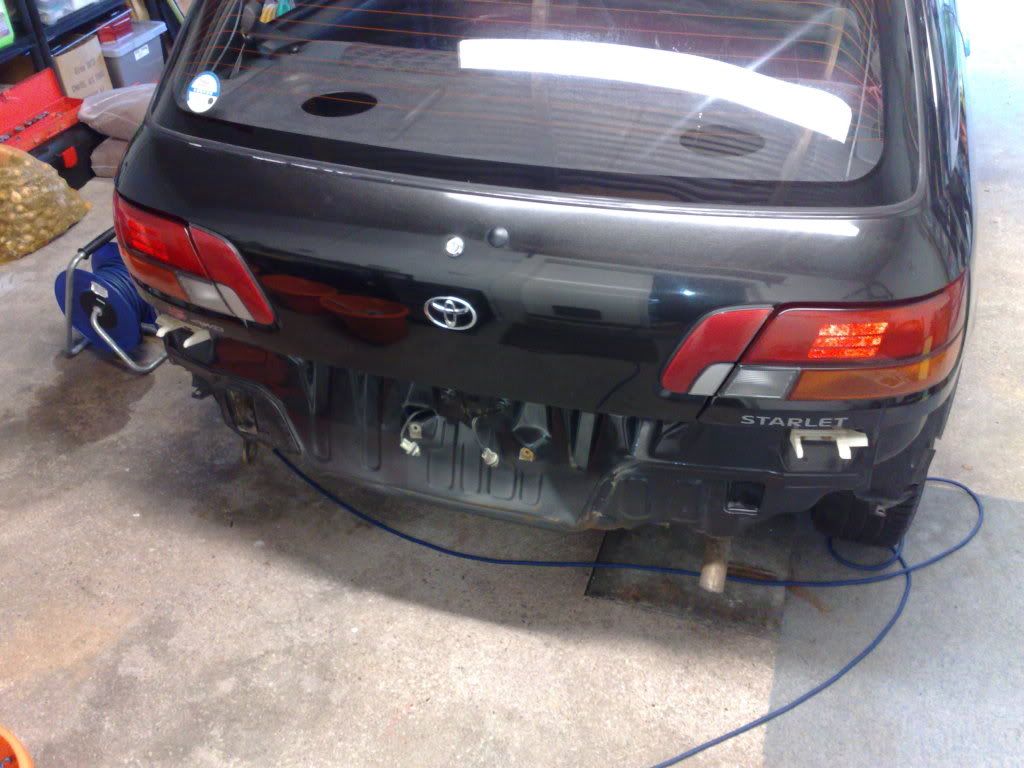
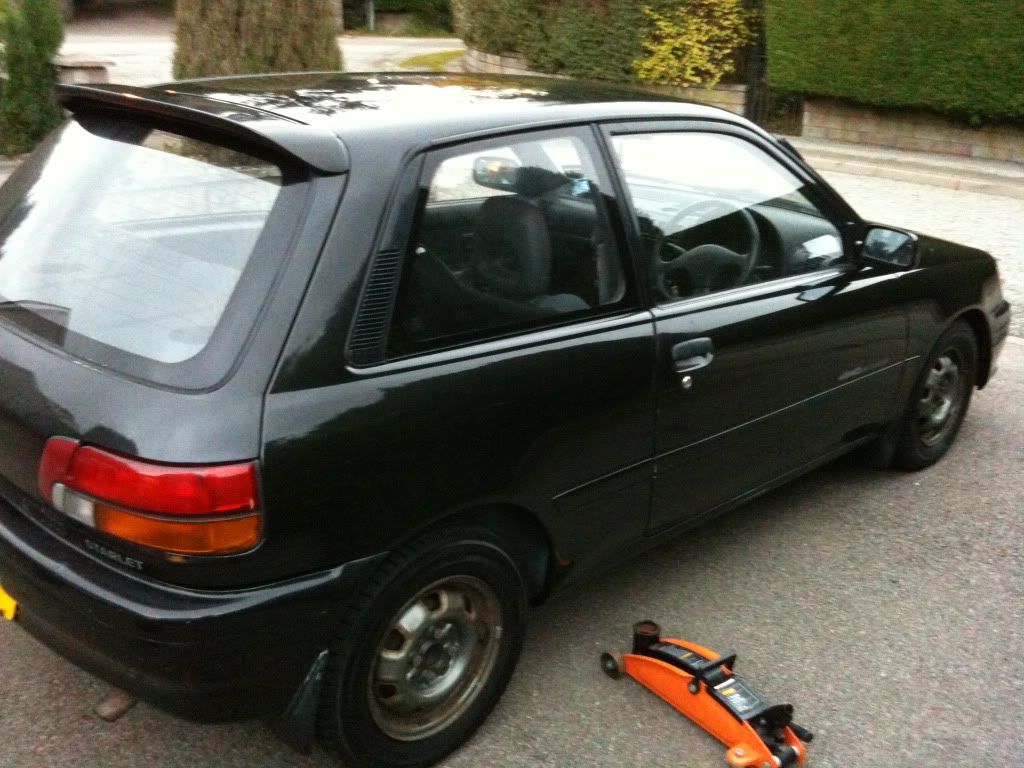
New bumper fitted:
50/50 on new rear bumper:
Finished:
Unfortunately not get any finished pics lol! Should have some next week i think. Getting a new alarm system installed soon too

Loving it so far though!
-
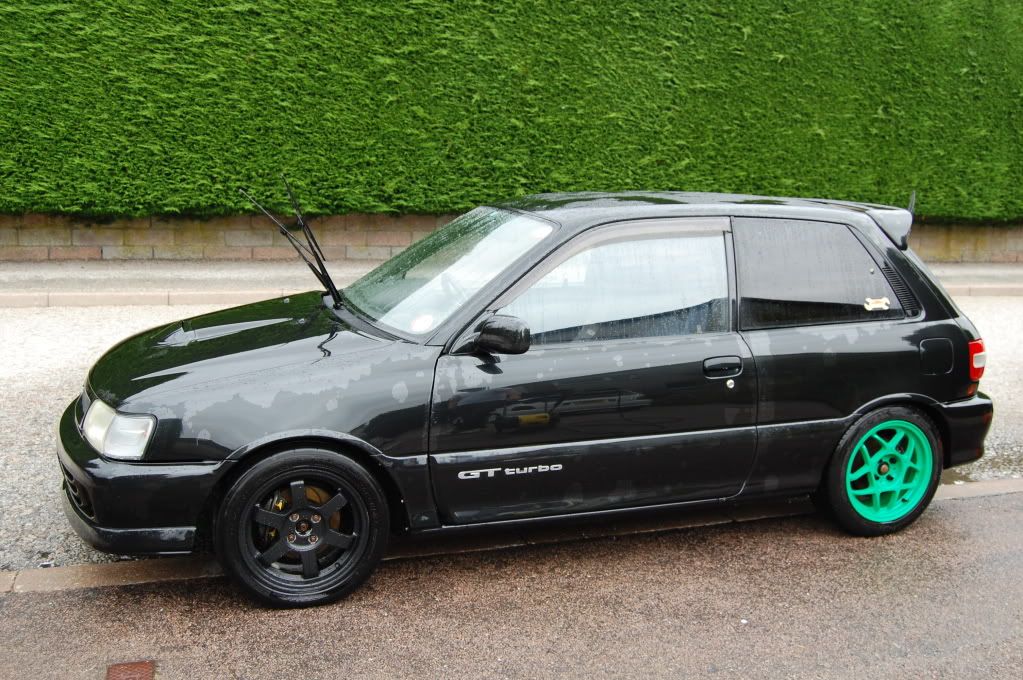
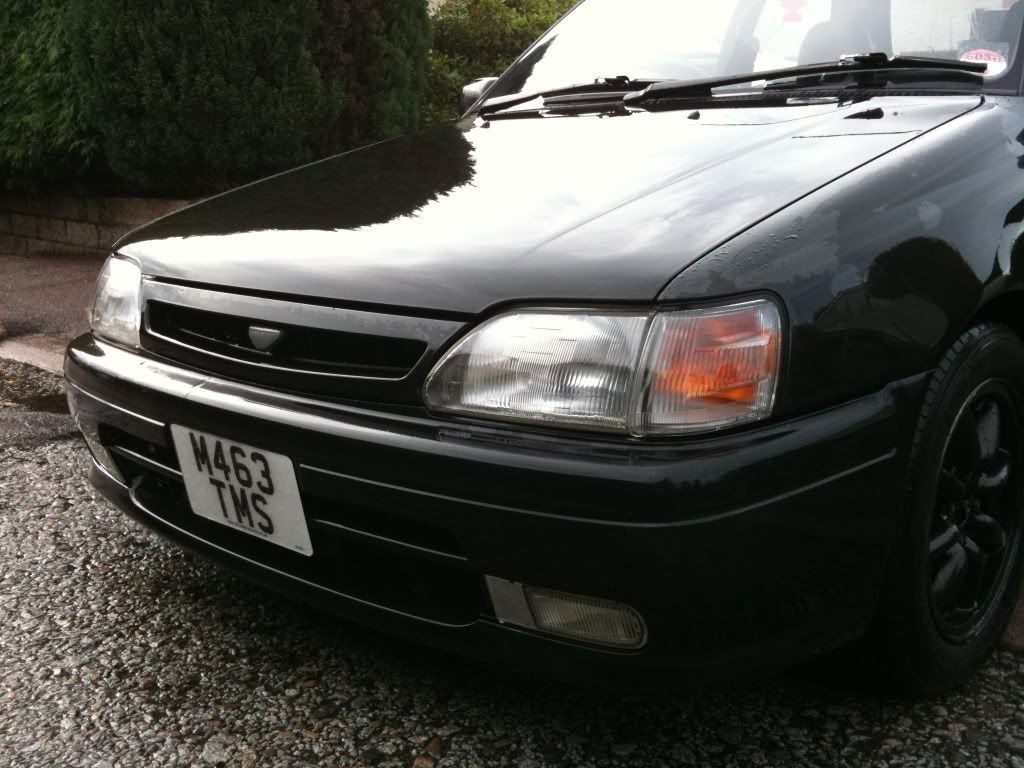
My old zetec s:
-
And a resprayed bonnet
 pmsl
pmslWorth letting him have a look Rory, I thought my gt was pretty mint untill he got started on it! The outcome was unreal! Probably better seeing how you and murray get on next year first though no!?
Let him loose on the Vrs aswell which is red and had gone pink in places and it ended up like a totally different car, colour was unreal! Cant stress how much of a difference it made!
I`ll hopefully get the gt round to see the lads (85 and 91) if there is a fine day and see what you cant do
Haha! promoting the business - love it! haha
Sounds good! Would be a sweet little photo session with all the cars lined up in my drive haha. neighbours would hate me even more than they do now with more cars around!
Rory - Fair enough dude, but worth having a peek just incase!
+ it's an excuse to take me out in it...haha! -
FFS min, thats some job! Hats off to you as i dont have the patience for that kind of detail.
As for you doing mine, ill be in touch next year about it, if i dont get it re-painted. (Its starting to look scabbit)
haha cheers bud! finished now but no finished pics
was dark last night when i was done...4 coats of sealant! - dedication! also used a new glass polish and sealant i bought and it got a good testing in the rain today - worked a treat. need to get my cusco lower arm bar fitted next Haha sounds good man! let me have a peek at it before you book it in to get painted - i could maybe work my magic on it without needing a respray
you saw how sweet fro's gt looked after a few days with me....
-
He`s got a cracking Bird, she must be a cracker before she lets him spend this much time on his cars
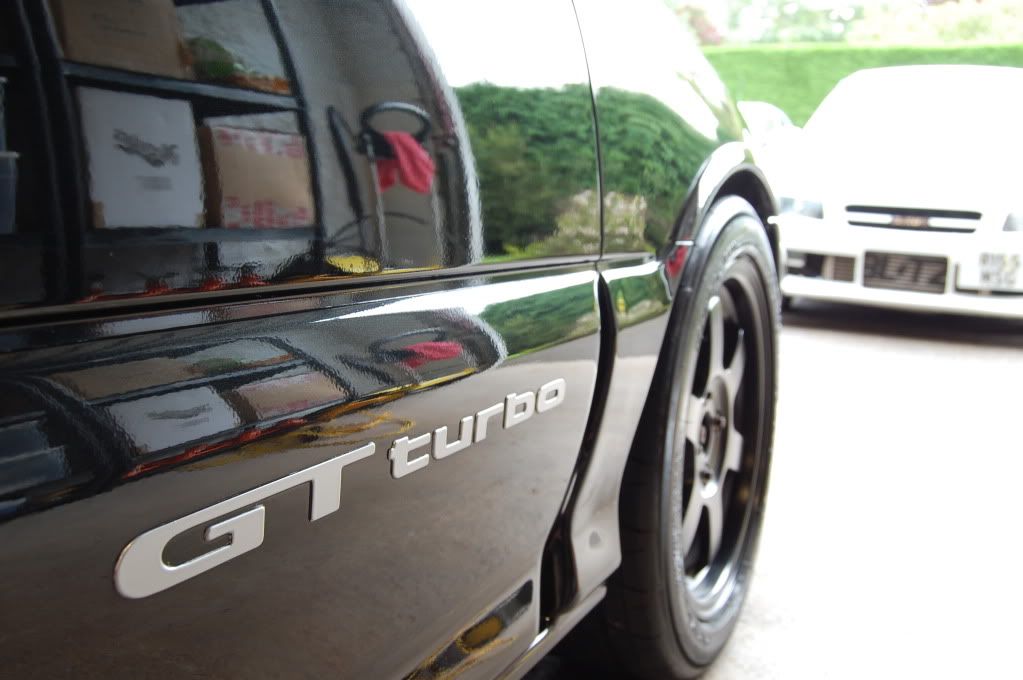
This cars has took an ace transformation and alot of work. I got him to detail my GT, awesome work from a true enthusiast
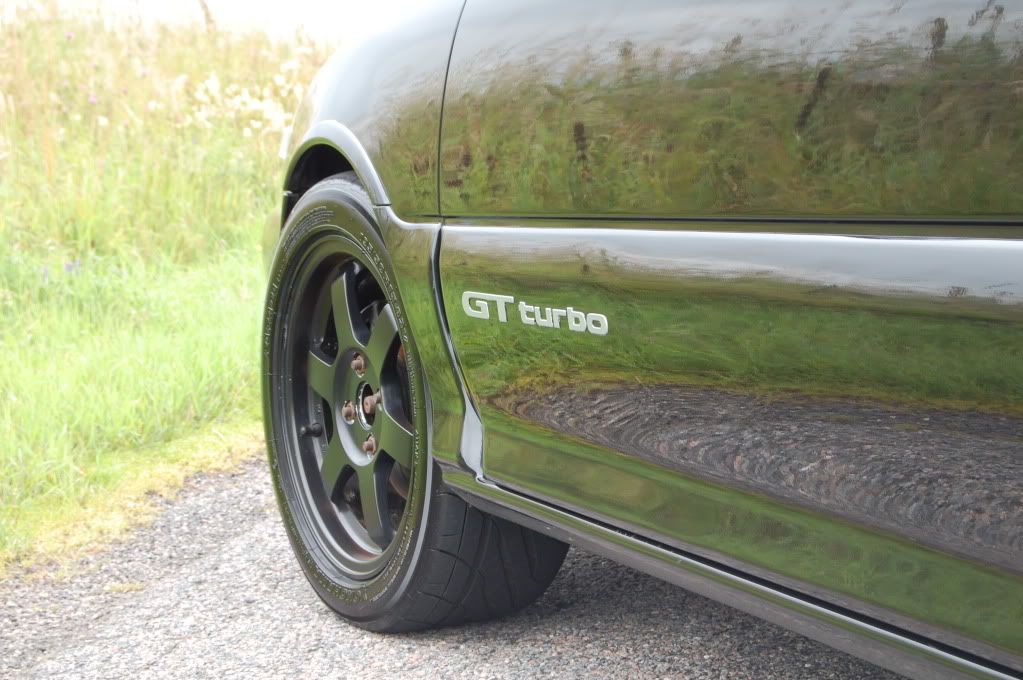
And his glanza is probably the cleanest thing ive ever seen
Aw cheers dude!
That was from the heart. hahaha!
When's the GT coming round to see the glanz and 85 then?
-
inspirational work I must say looks beautiful, still think these would add to the clean look your after tho mate

less colours goin on
Cheers dude, yeah i do like the look of those lights actually! Might keep a look out in the for sale sections for a set

-
UPDATE!
Did more work on the 85 last night and today!
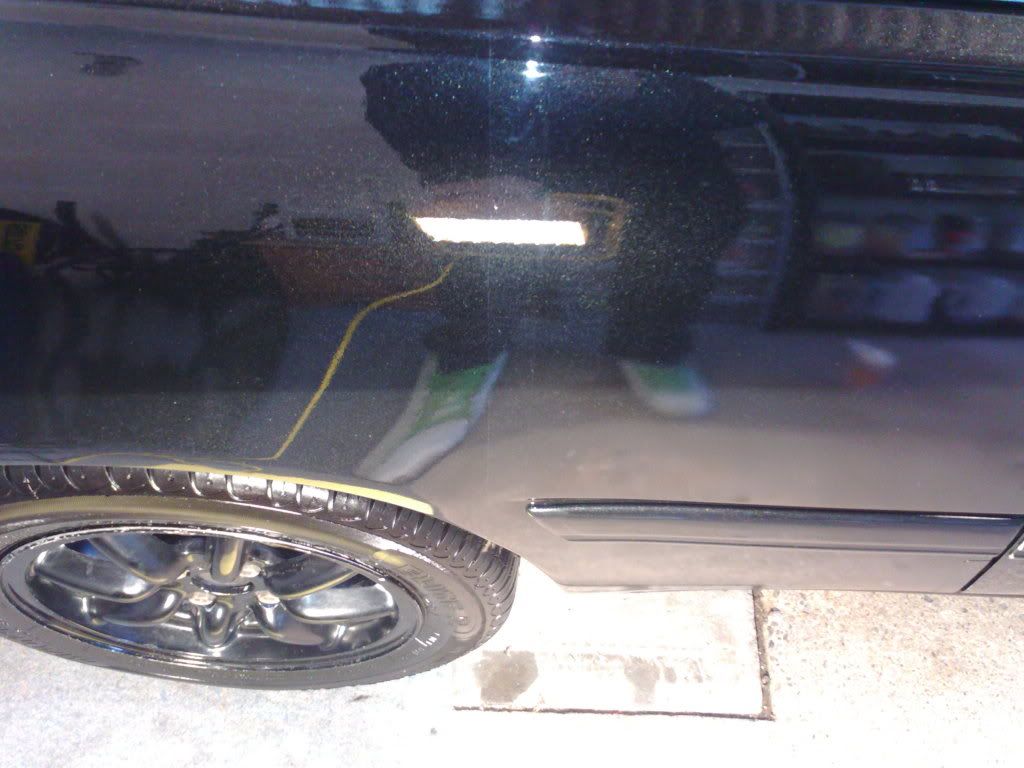
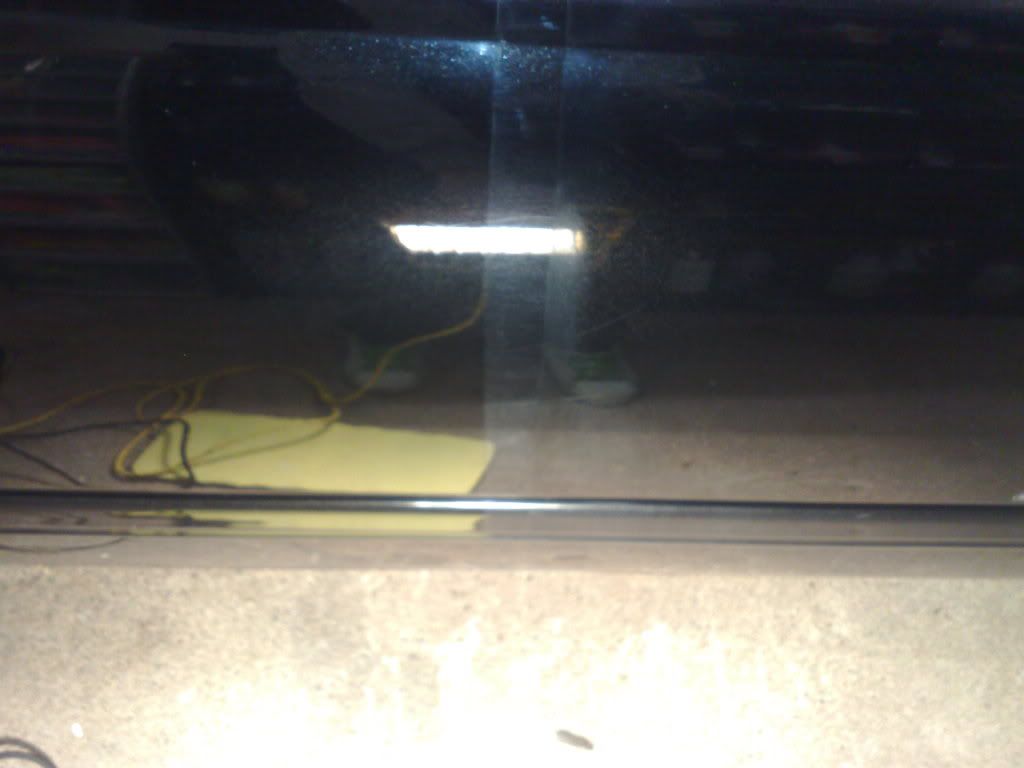
Rear lights and bootlid were attended to first of all, not much pics im afraid! One thing people forget to do is clean in and around the badge so i got a cotton bud and a tiny drop of polish and polished inside the toyota badge - see the difference, bottom left section done!
And finished
Driver side:
Done:
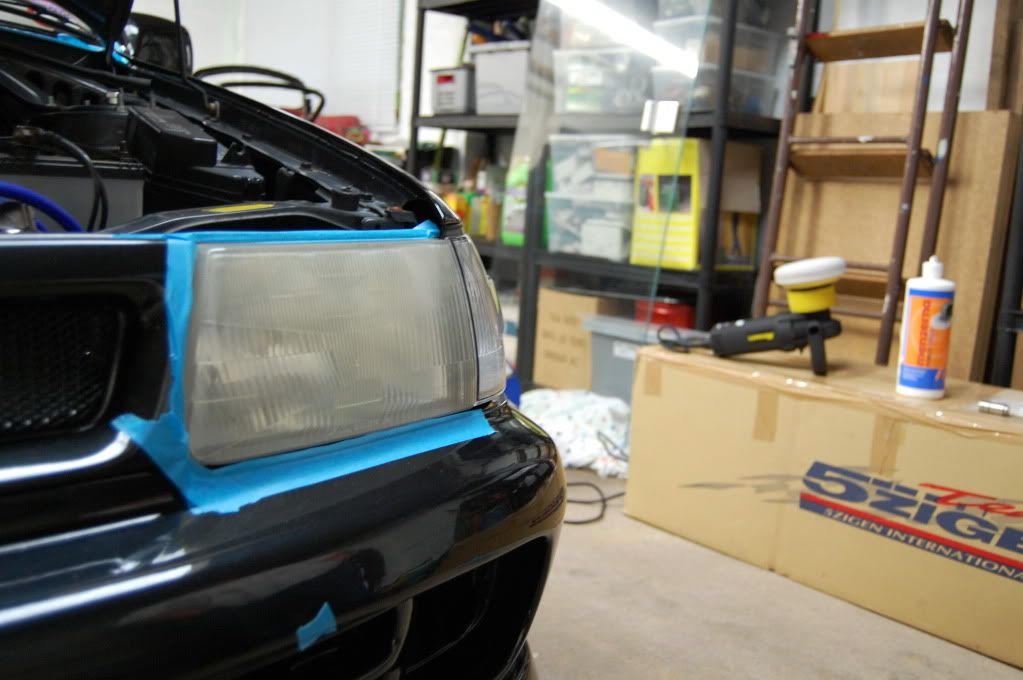
Front bumper was next:


Once all that was done i was just waiting for Fro to come round with my new rear bumper which looked like this once washed thoroughly:
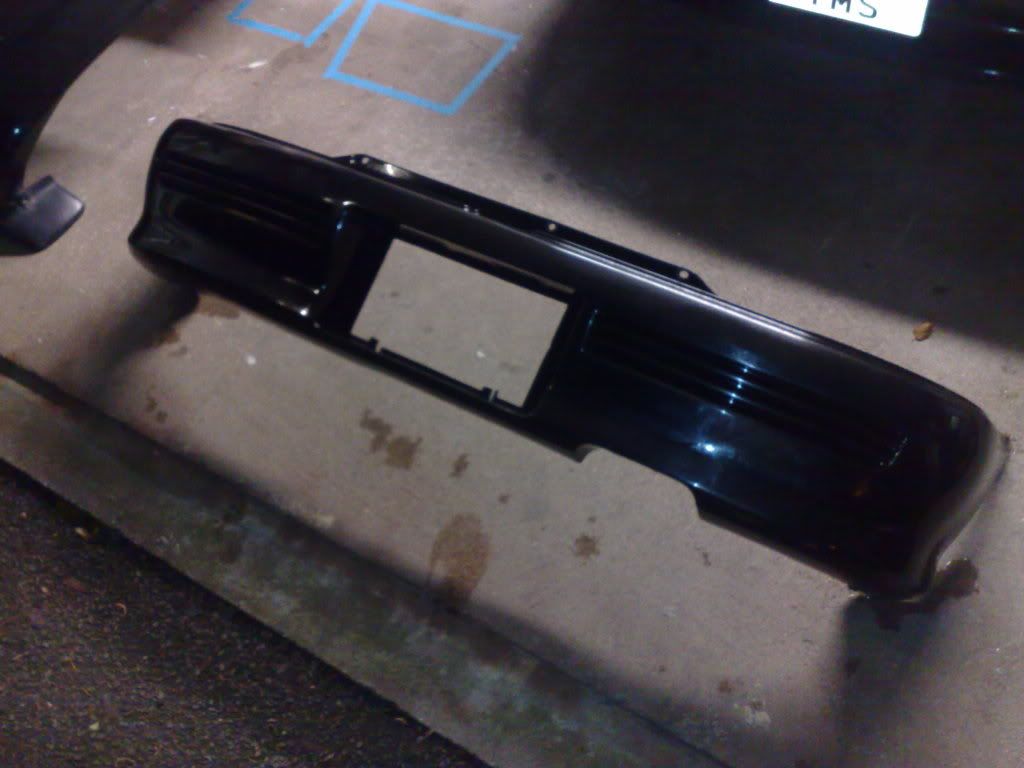
Test fit - looking good, just needed to get all the screws tight to get it sitting perfect which was later done!

Rear bumper 50/50:
And finished:
That's all the polishing done!
Tomorrow i will be doing a full ipa wipedown to remove any polishing oils etc, then a coat of blackfire paint sealant followed by a few layers of werkstat acrylic sealant. Then clean the windows with 3m glass cleaner, polish with nanolex then seal with nanolex too. might put another coat of migliore wheel wax on too
Then it should be good to go!! Opinions please folks?!
-
Cat - nah mate, machine polisher!

Rory - sure! ill come down next year and do it once its coming out again for spring! or you can leave it with me for a few days
Amjad - ive been machining cars for a good 2 and a half years, get better with practise obviously! and yes the equipment is pricey! haha. spent way too much money on detailing gear over the years - dont fancy adding it up!
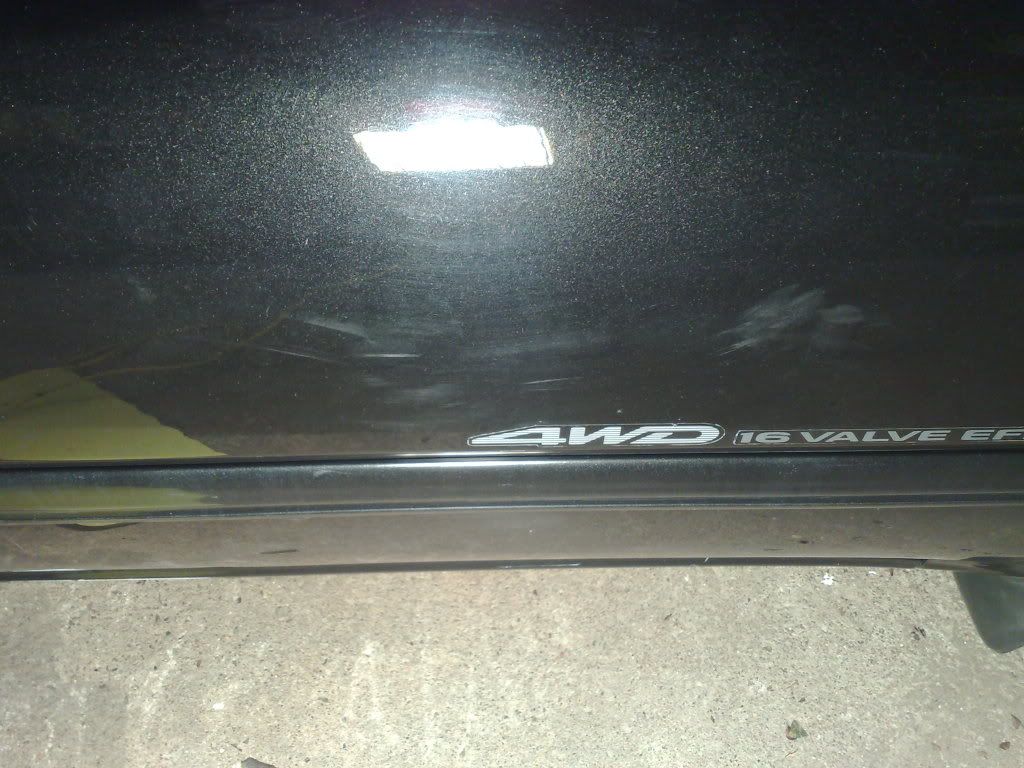
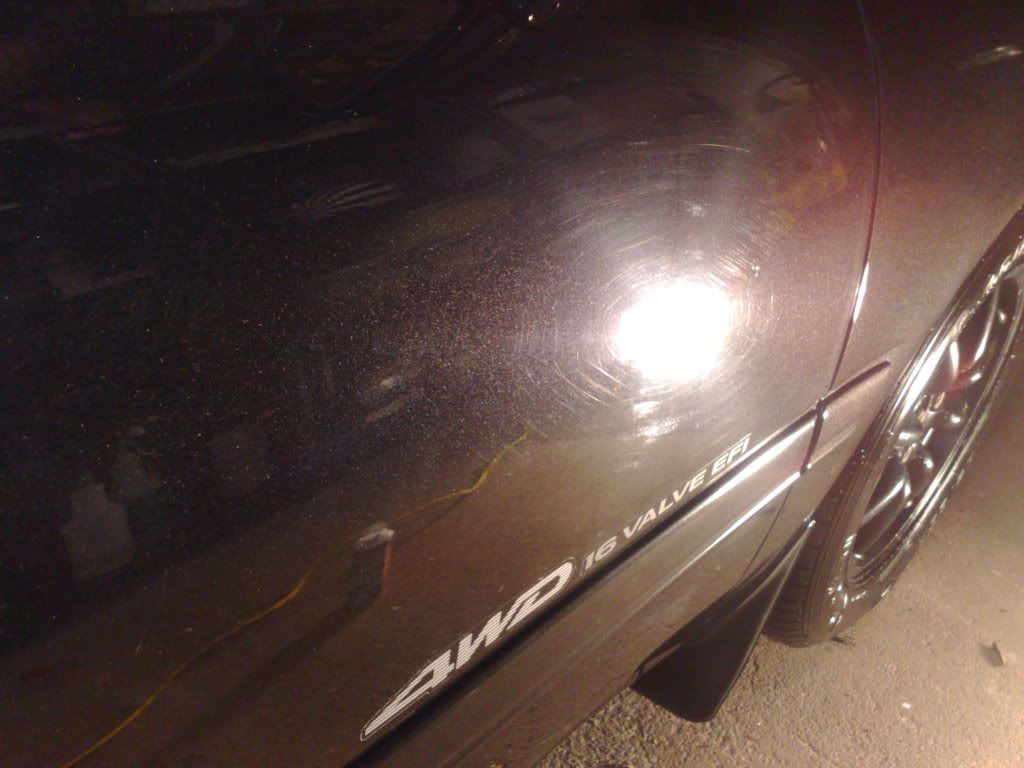
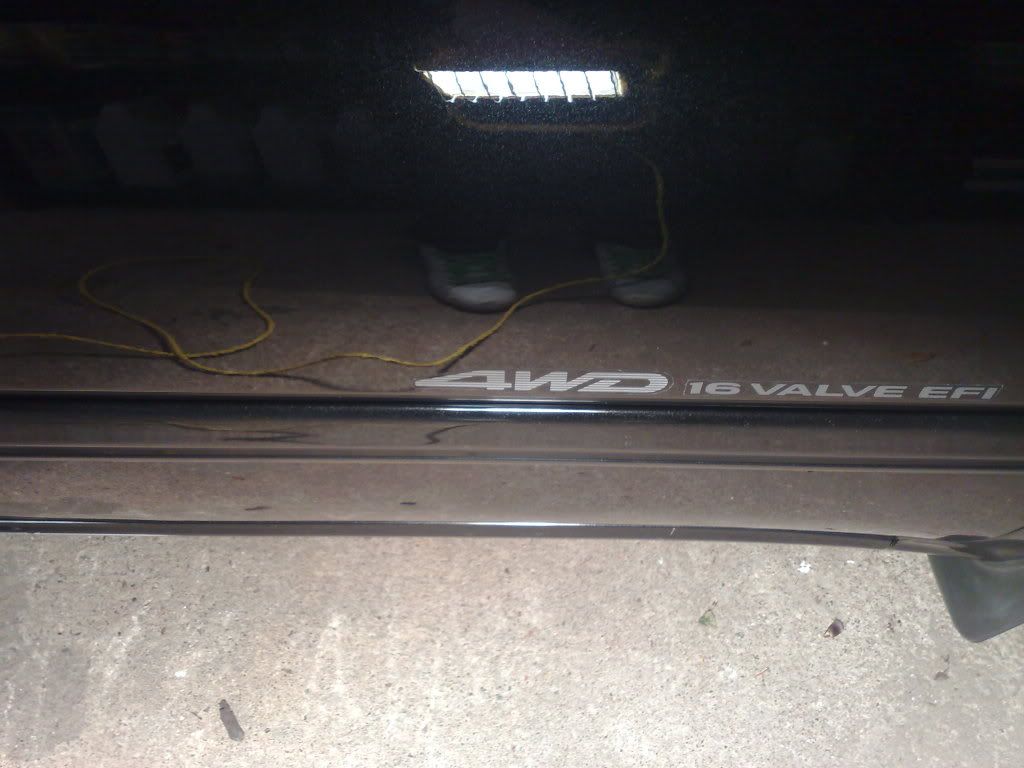
Sparky - haha cheers mate! cant be rolling around in a swirly 4wd can i?!
-
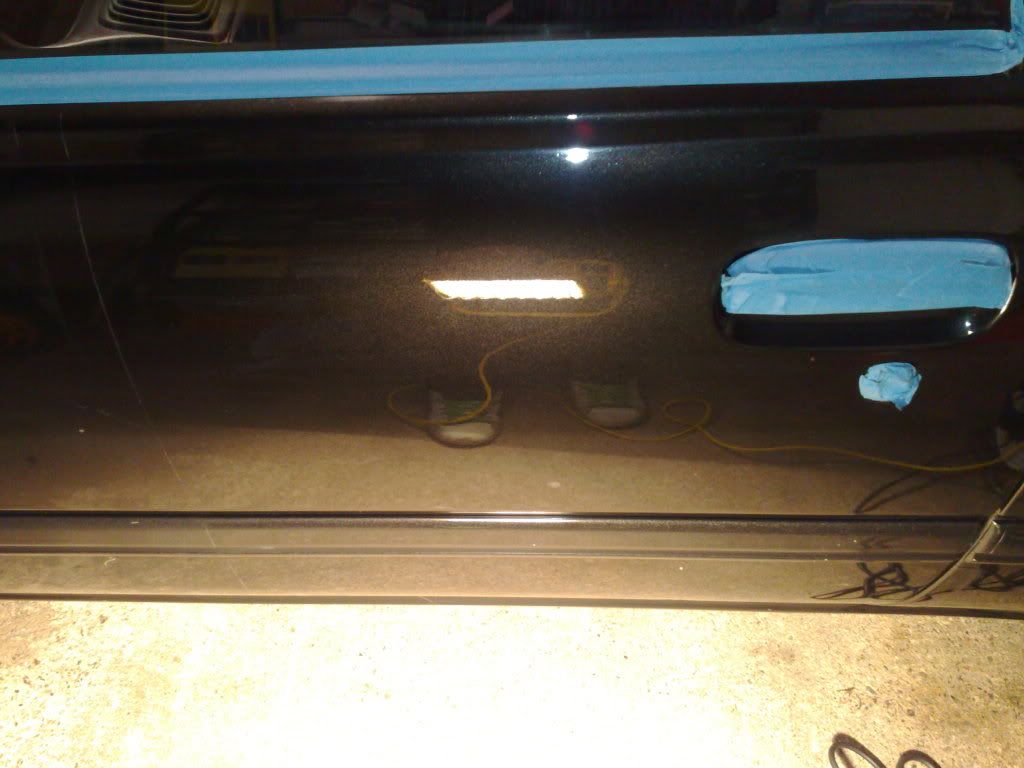
Update!
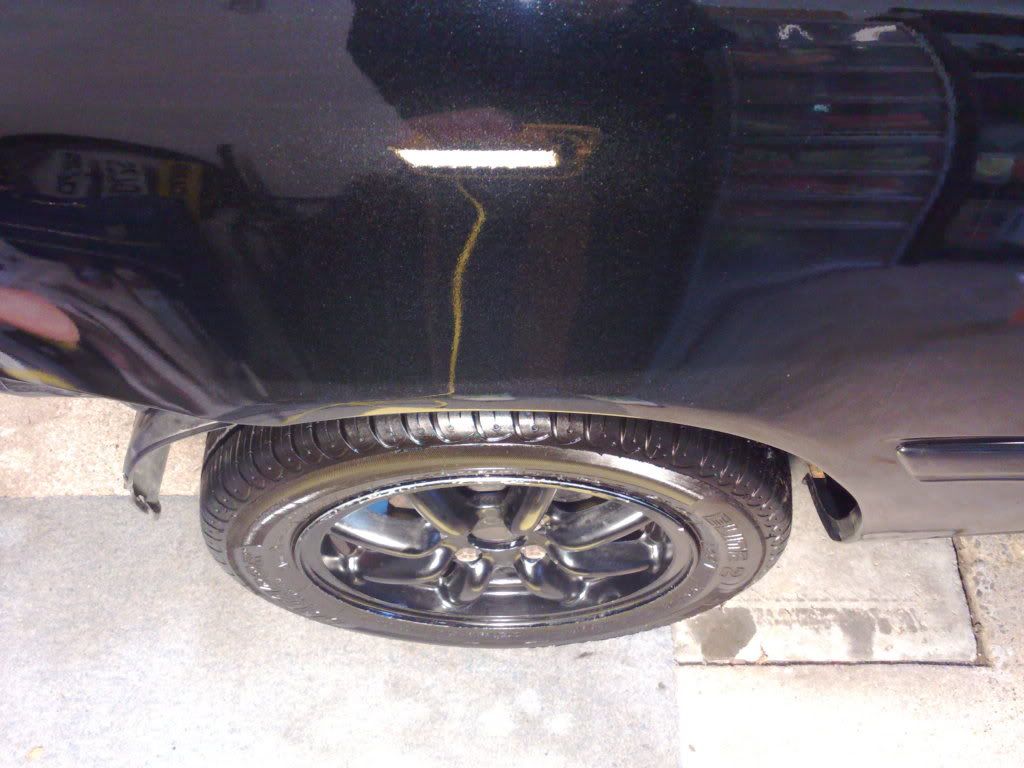
Got more work done on the 85 today
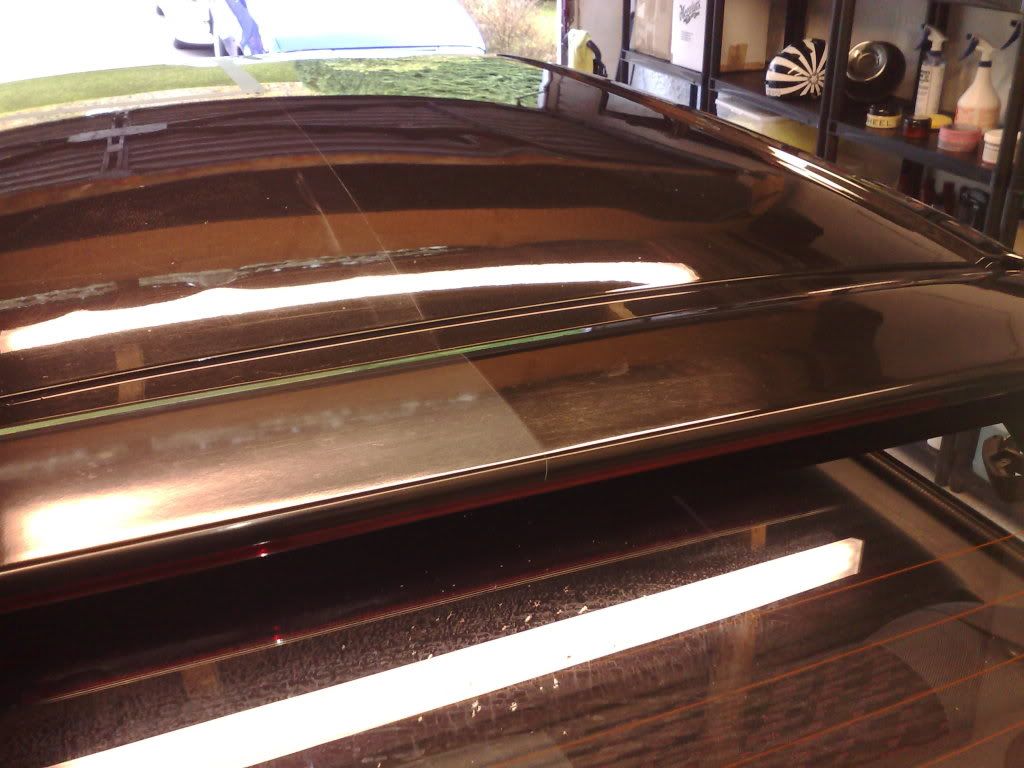
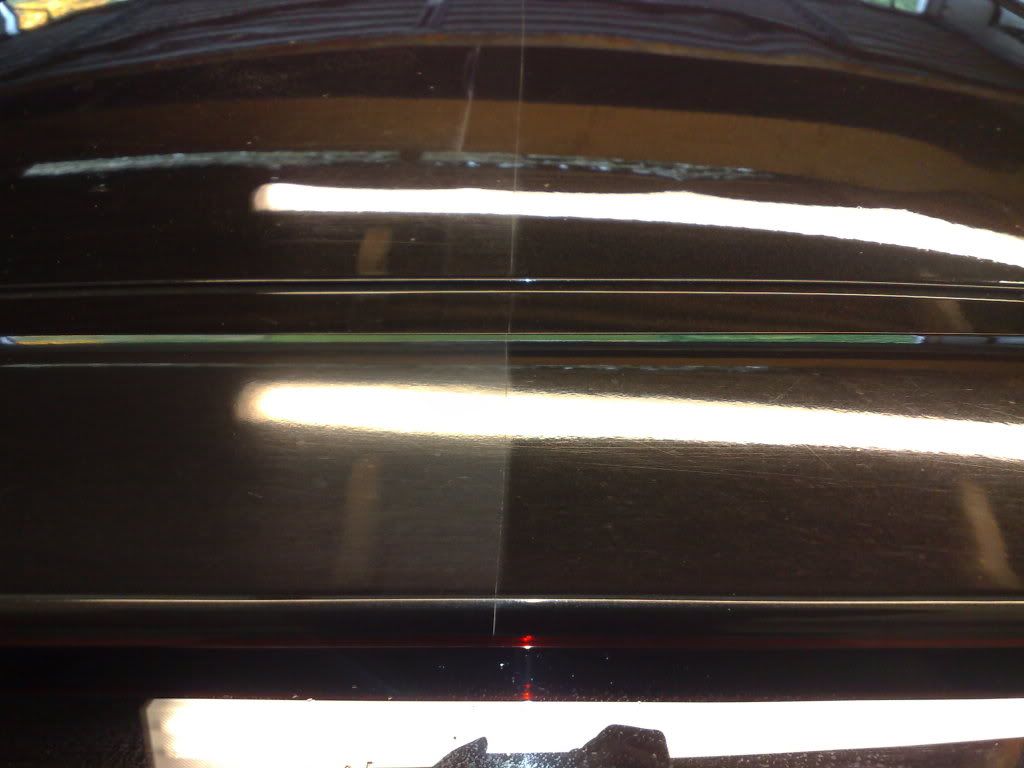
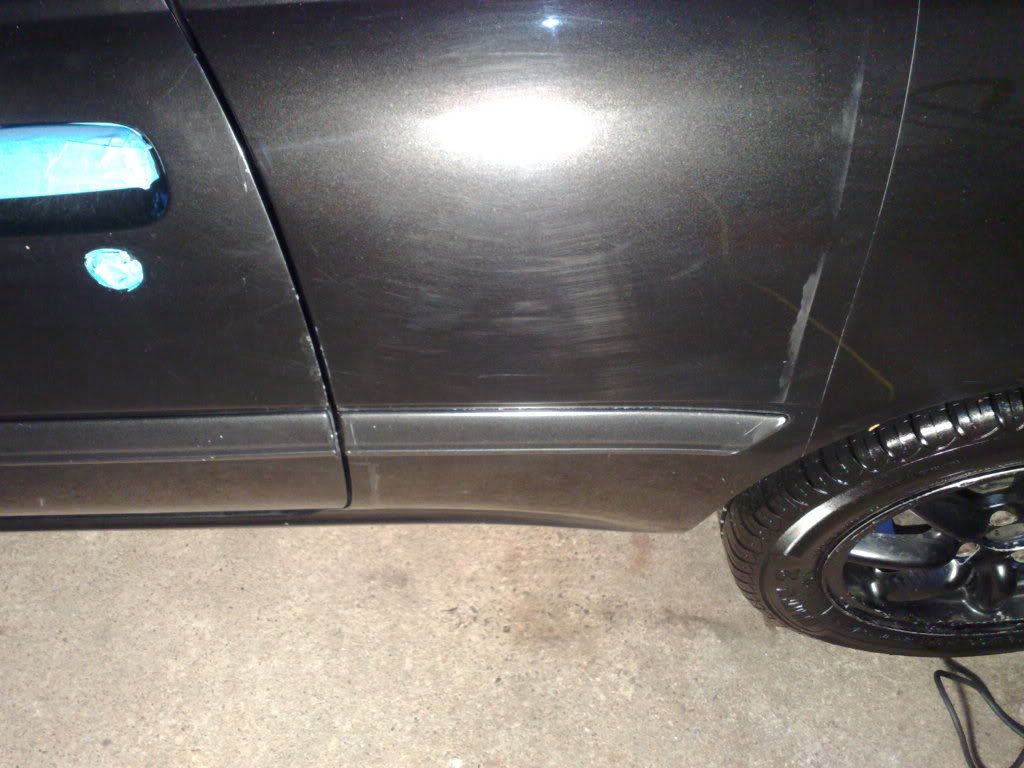
Roof was the first job which was very swirly and heavy oxidation present all over!
After some polishing: (using lake country polishing pad and menz 203s)
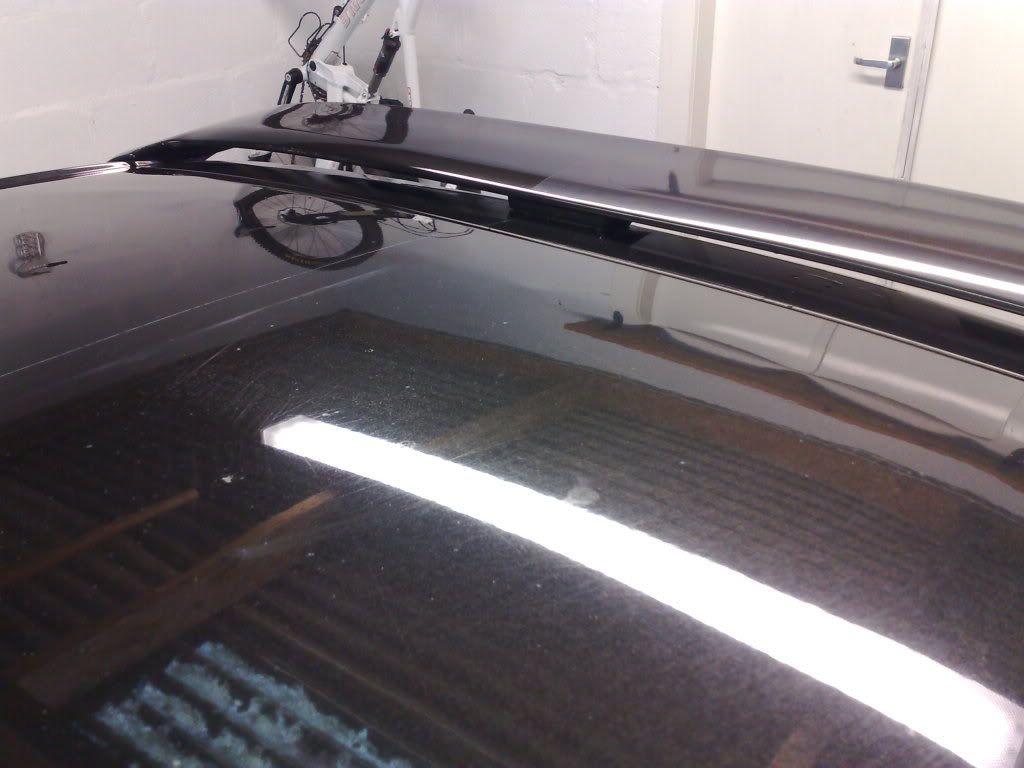
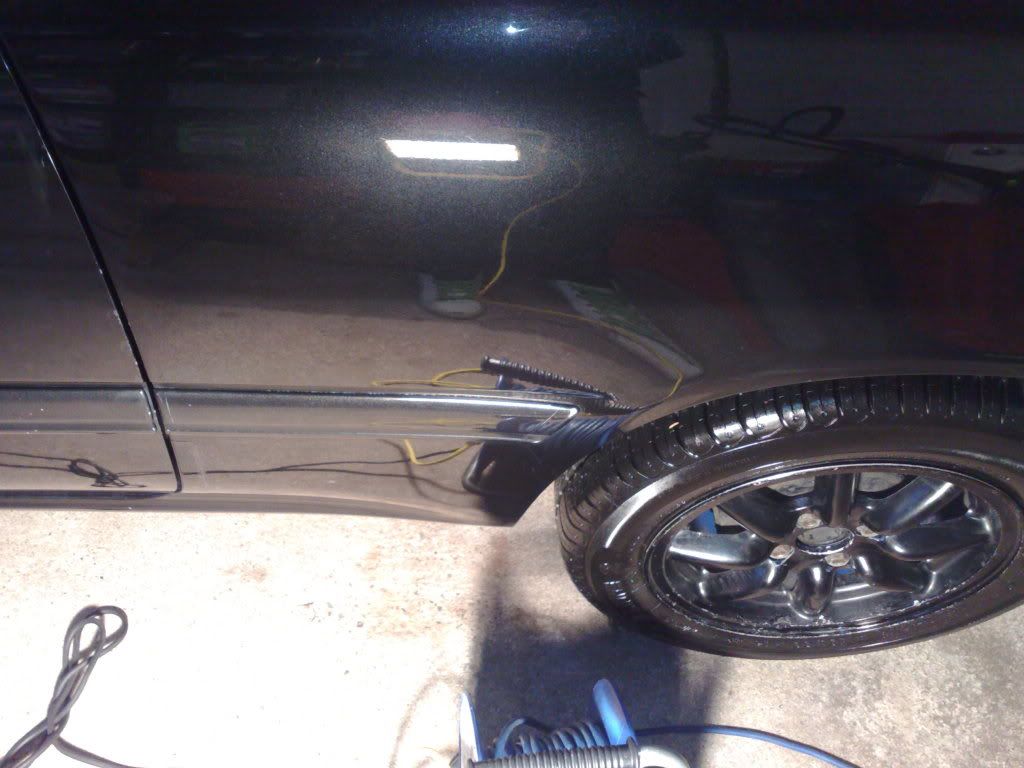
Check out how dull the spoiler is!
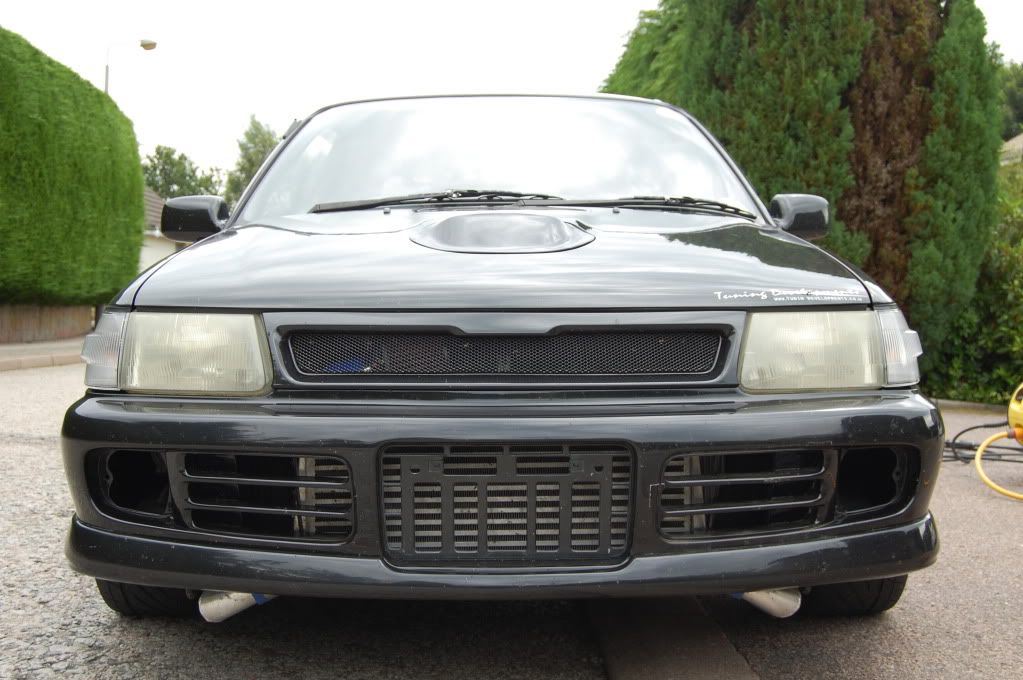
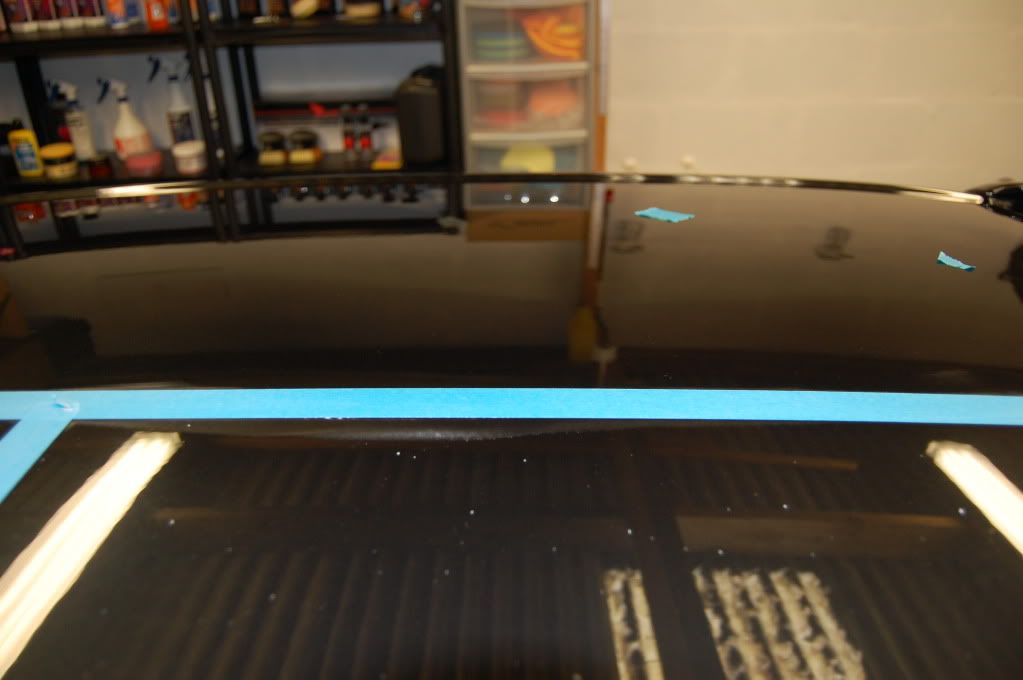
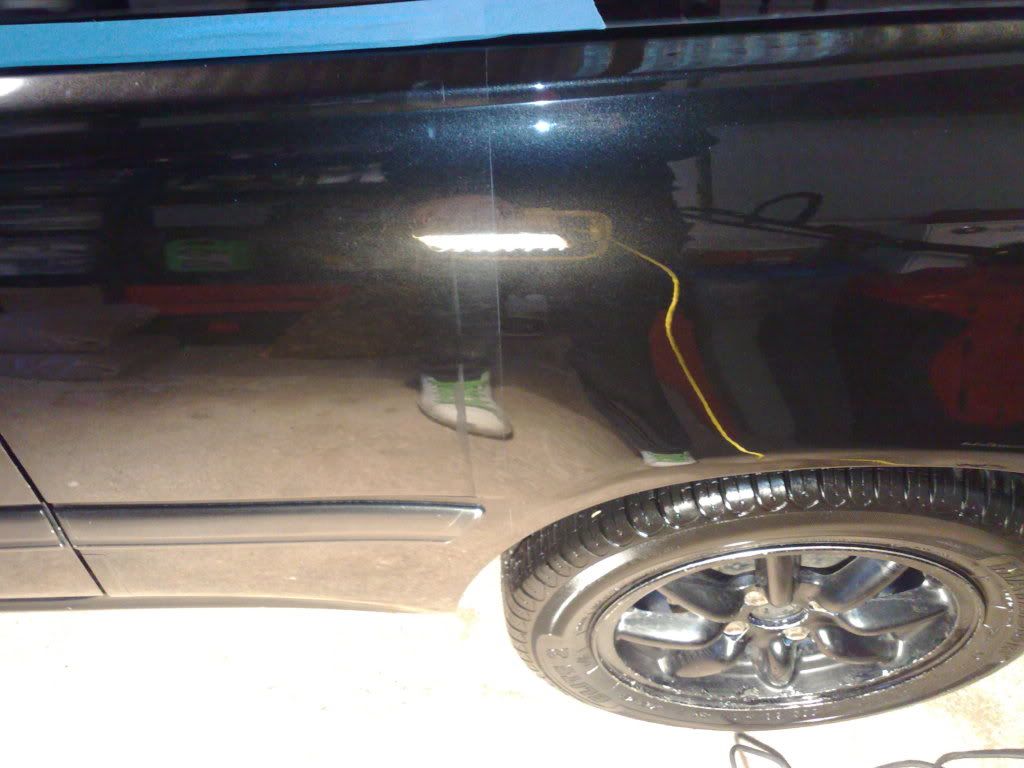
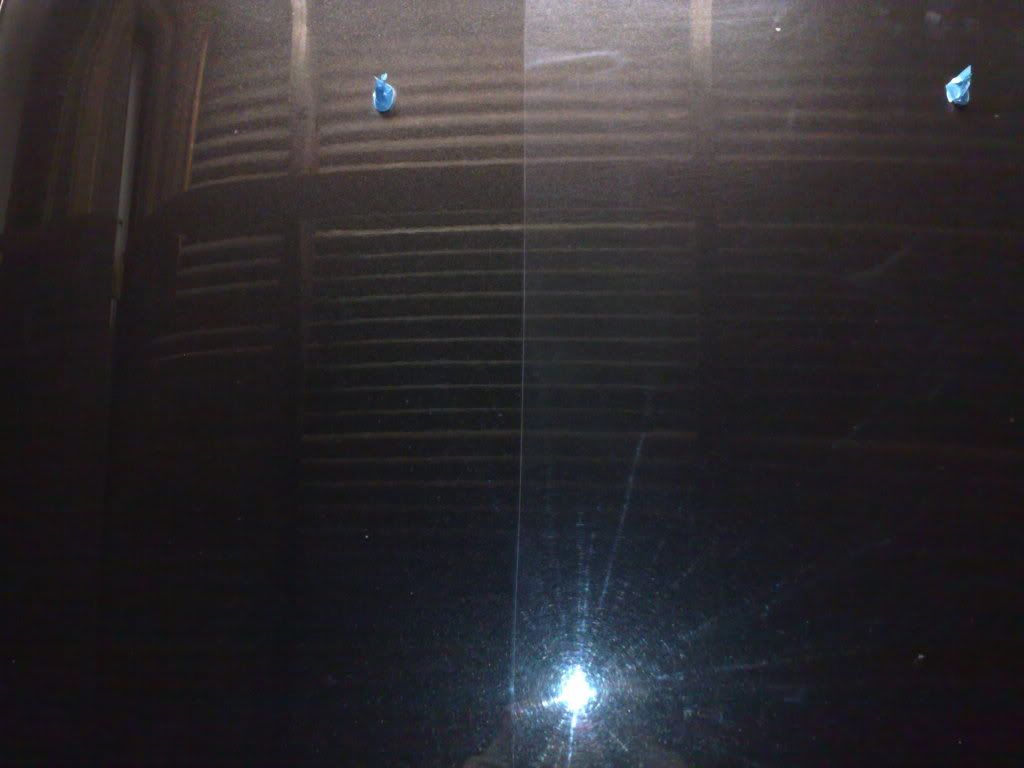
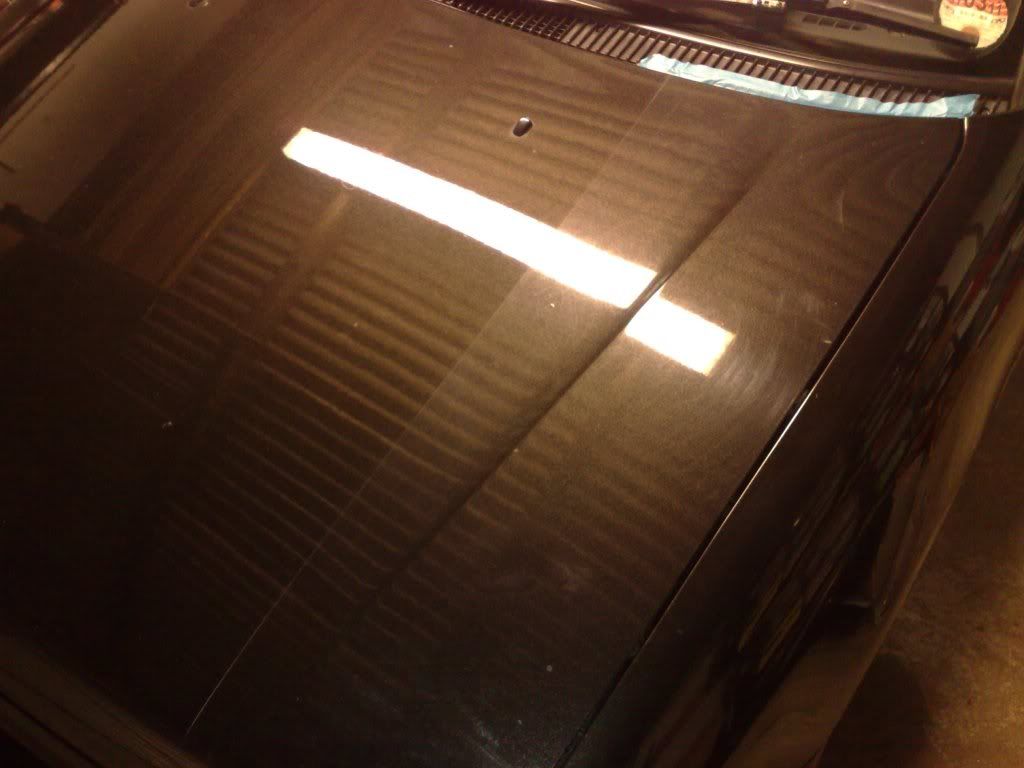
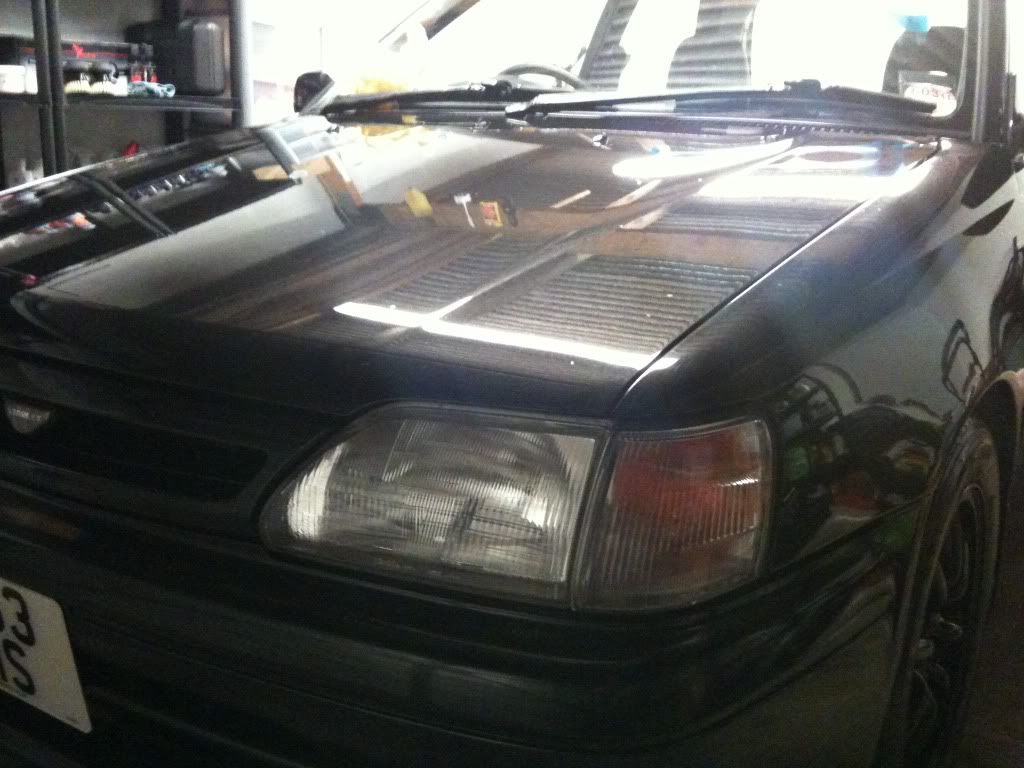
Had a break from polishing and fitted my bosch aero wipers with a bit of modification... also check out the bonnet reflection

Polishing pics:
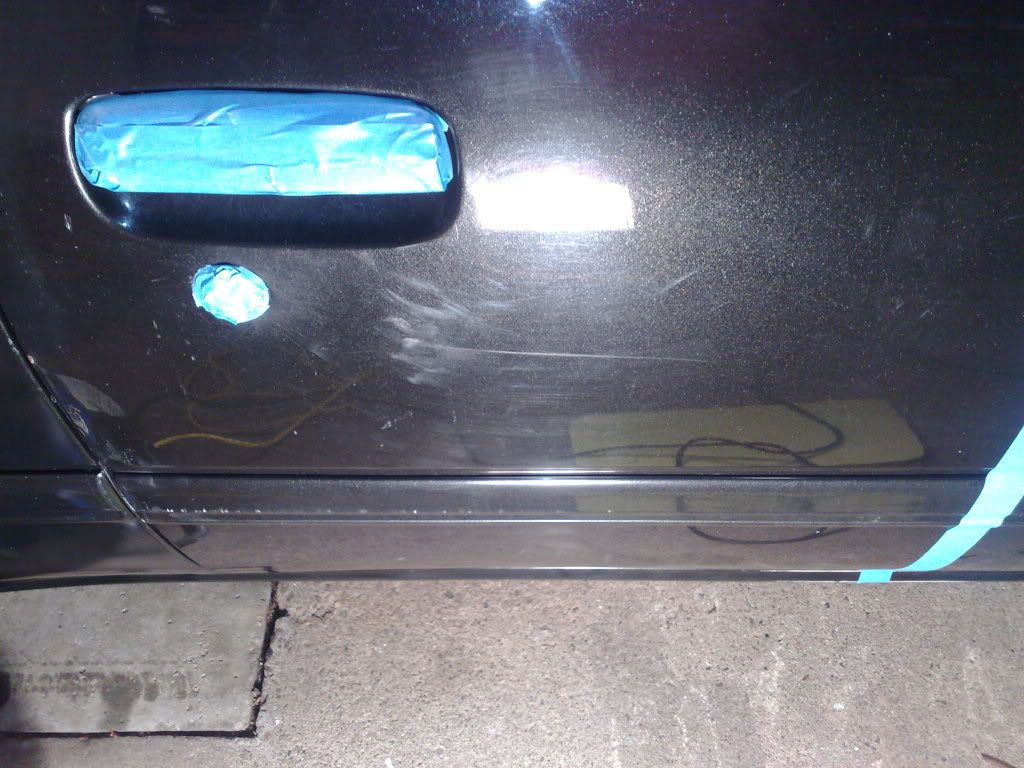
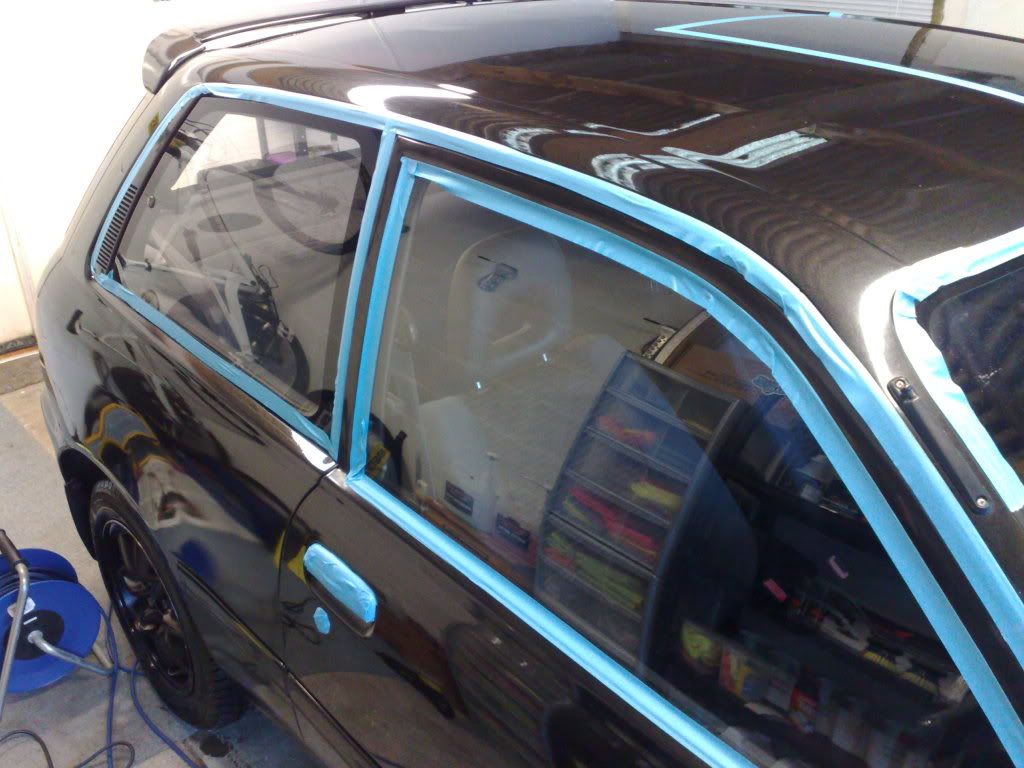
Rest of the car taped up:
Rear bumper removed, Mark at CMB Autos has me a GT bumper so will get that fitted tomorrow night
Passenger side - before and afters and some 50/50s:

So far so good!
Next up is collect the rear bumper from Mark, get that cleaned properly, clayed then fit to the car for polishing, going to crack on with the bootlid and drivers side tonight too hopefully! Then just front bumper to polish
-
I don't have a pick but I know they screw on, 2 screws although they where piss so I tapped them out to fit bigger screws. I'll have a scan to see if I have pics though. Although all the wipers I had the connectors where rubbish, I had to trim them to fit the flat blade things.
Edit: no pics bud, sorry.
Yeah, was just wandering if the gt wiper arms will fit the 85. the ends of the wiper arms o the 85 have a wee bracket with the hook for the blades to clip onto, but the bosch aero wipers i have done fit on with that bracket, so ideally arms like the ones on my glanza would be ideal on it!!
No worries mate!
-
Fair difference as said for sure.
You moving all the parts from the glanza over or going to keep em both?
Looking good though bud, might see it around town sometime if you break it loose!
cheers mate!
Nah keeping it as a daily for just now, figured the 4wd will be awesome in the snow
yeah, few more days of detailing and it will be ready to go! any chance you have a pic up close of the wipers on your old gt? random i know but i need to see the end of the arm where the wipers hook on!
-
Cheers for the comments folks! Just got round to adding more photos just now, these are also from friday, busy at work this weekend! should be cracking on with more tomorrow though!
Polishing continued:
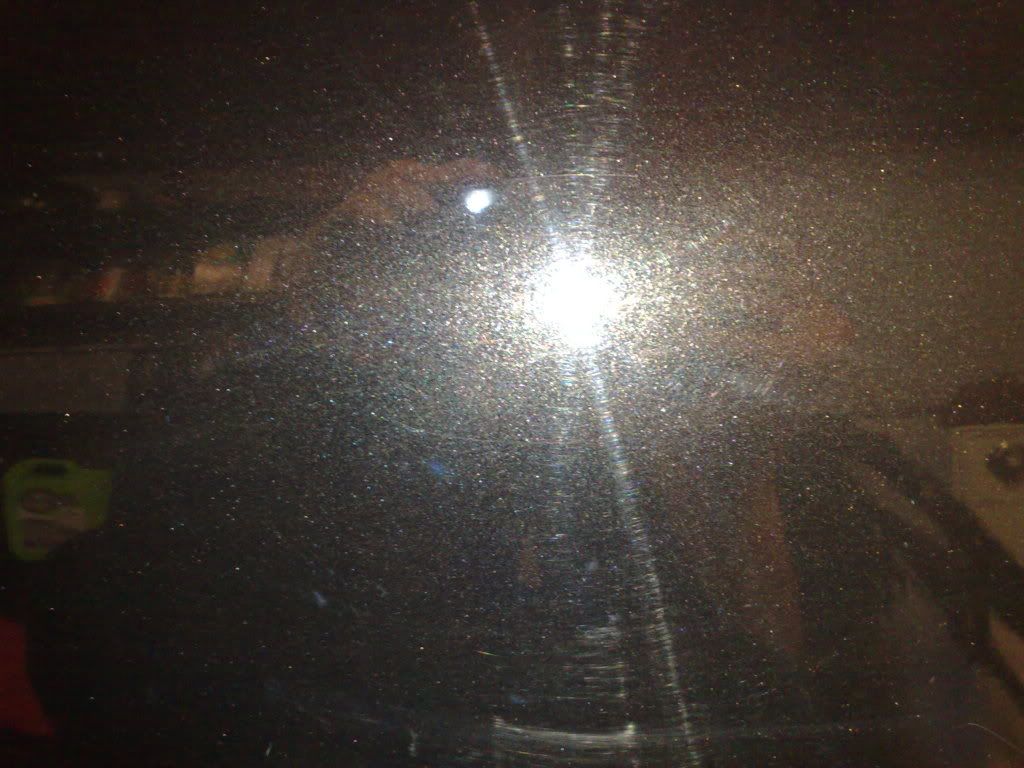
Swirls:
Gone:
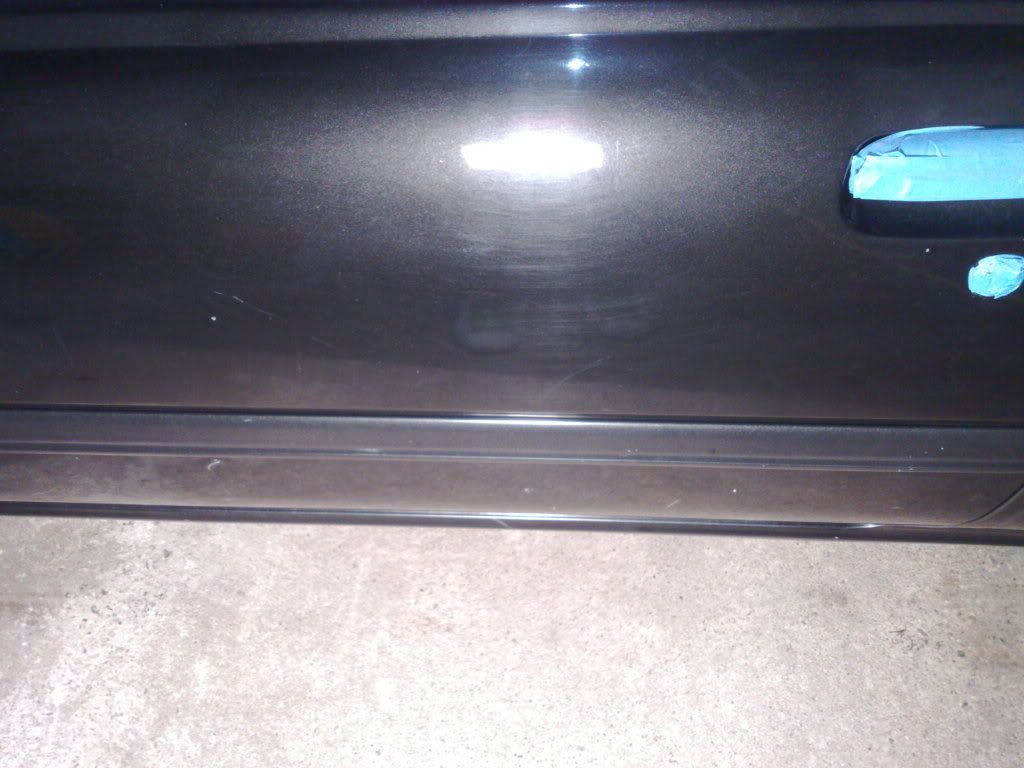
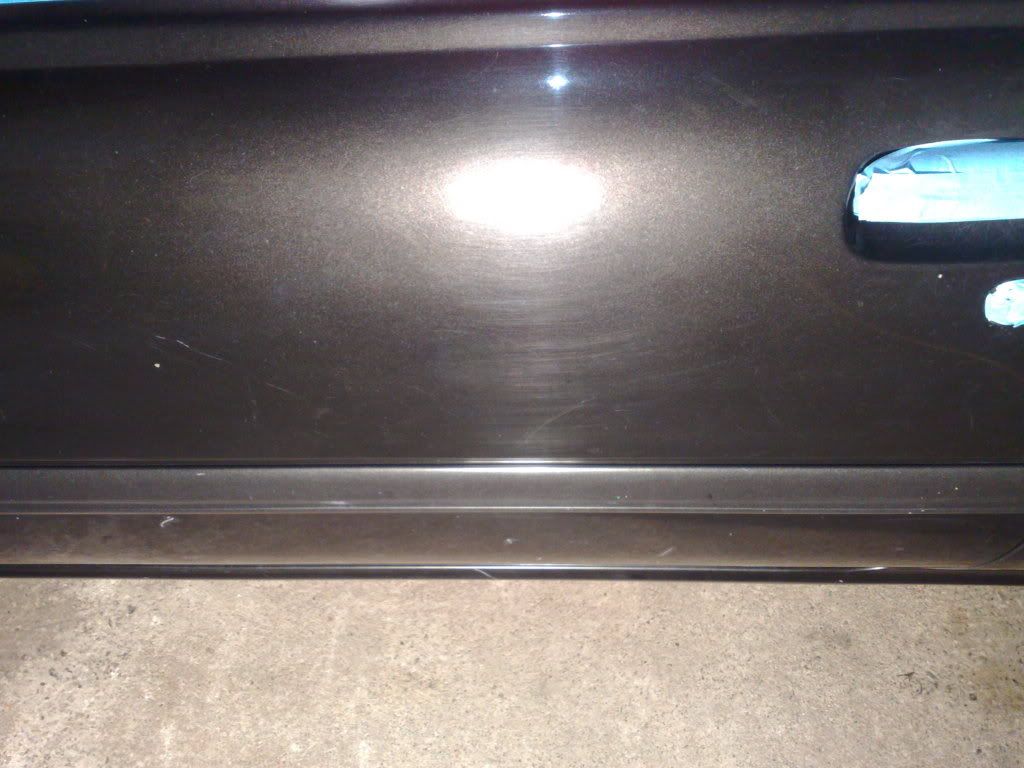
Drivers wing:
More defects:
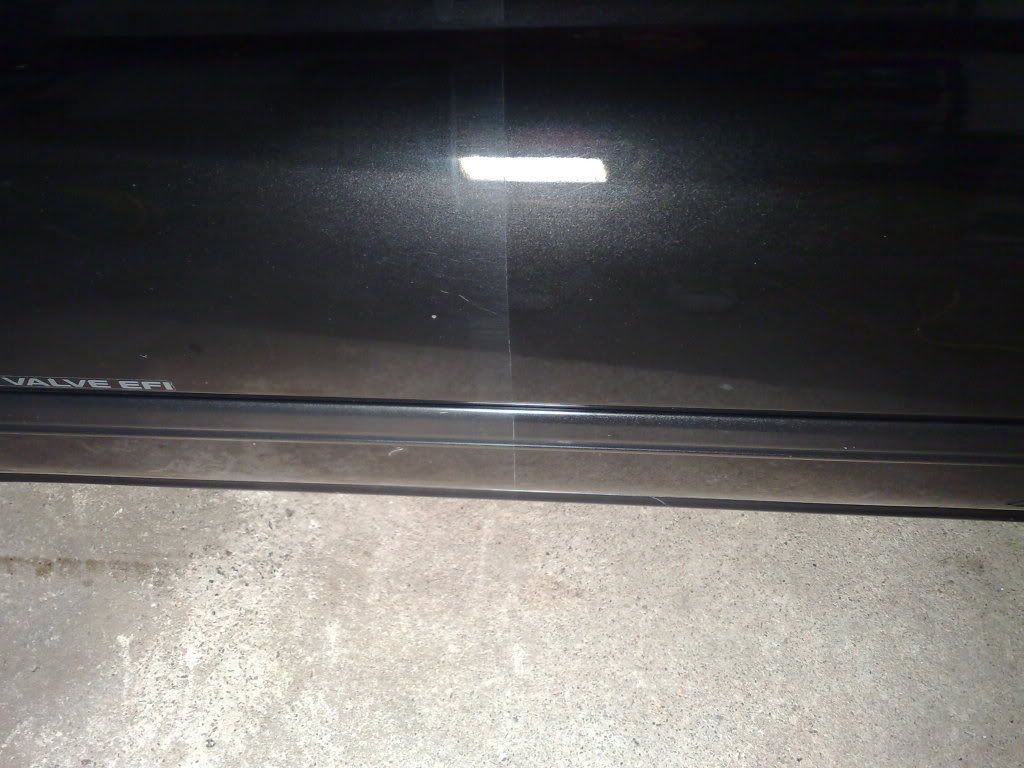
Check out the colour difference!:
Bonnet done:
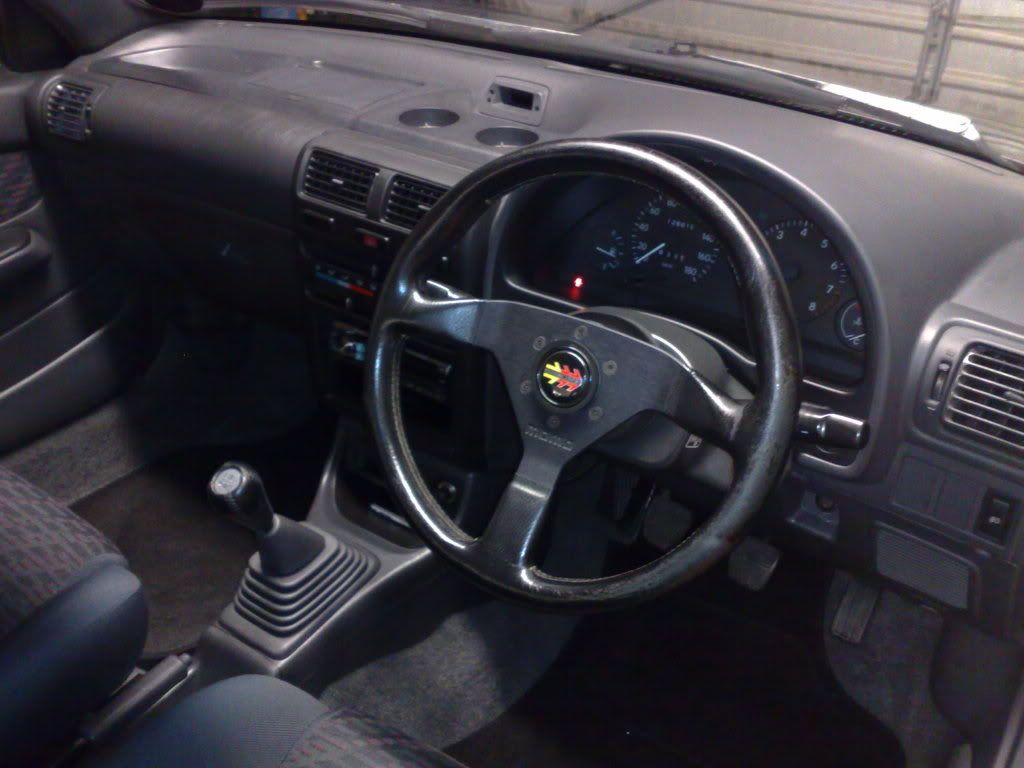
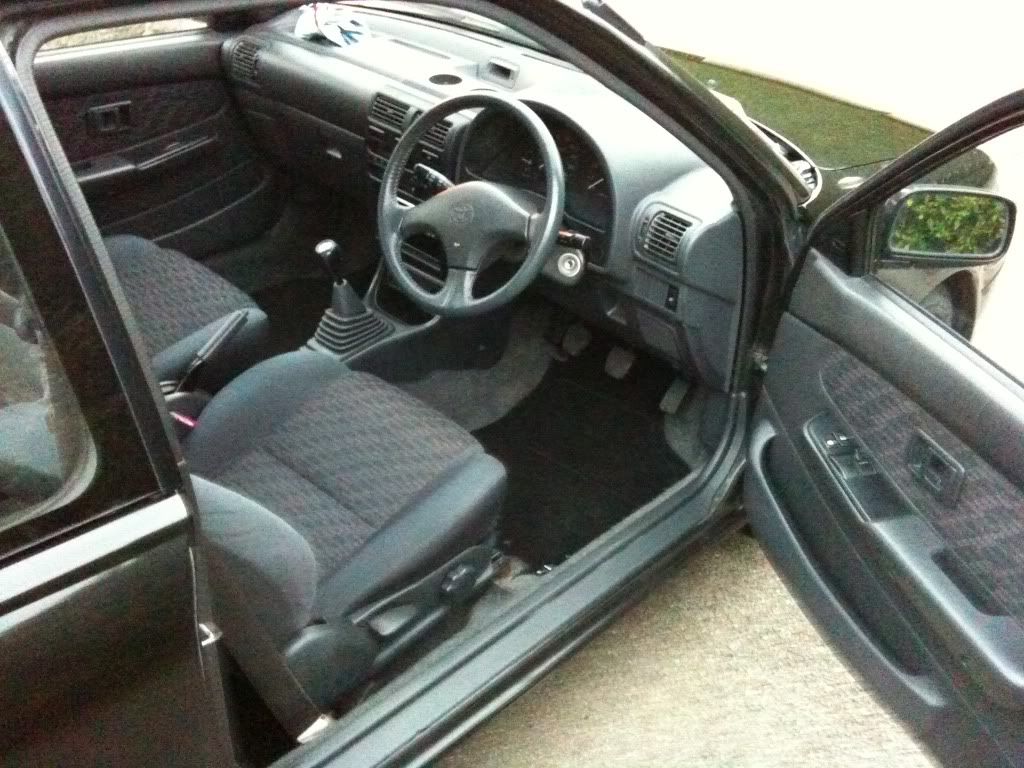
Addition to the interior - momo wheel and boss
Next up, continue polishing (bonnet and drivers wing done so far), get some wiper arms and fit my aero blades to them, GT rear bumper and fit, jack it up and see if my cusco lower arm bar will fit!
Cheers
-
What this sexy man said!!
Looks mega clean already dude!!
GT rear bumper is my next move, also need to get new wiper arms, will gt ones fit?!
Its going to get a whole lot cleaner over the next week!
-
Cheers for the comments folks!
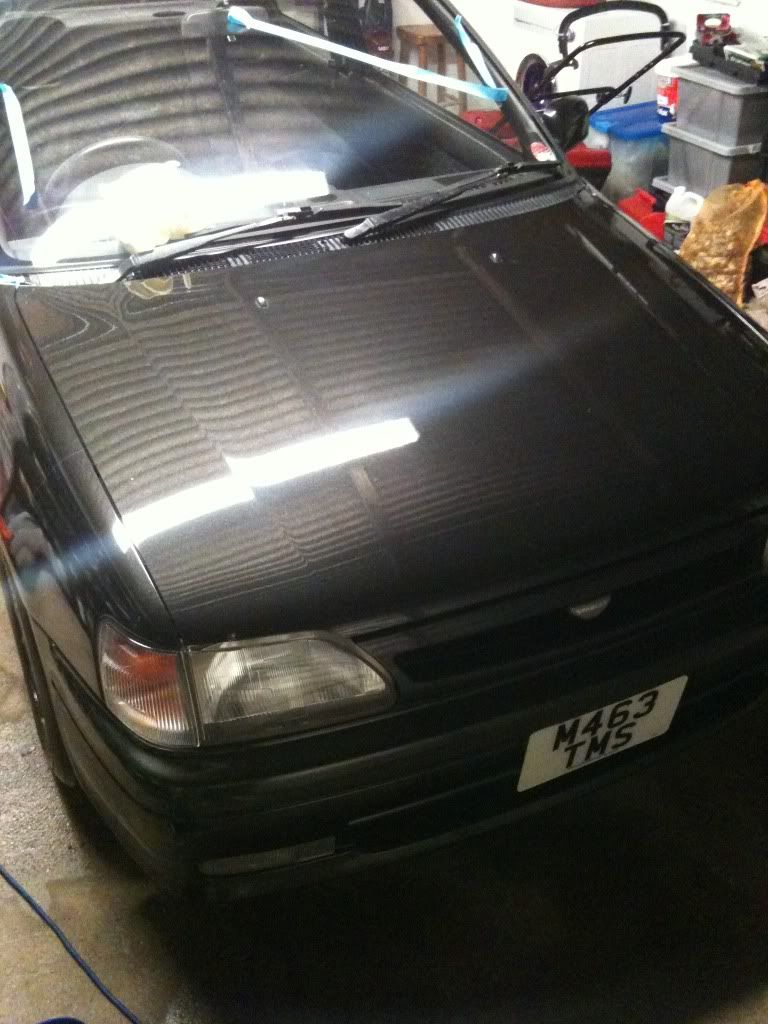
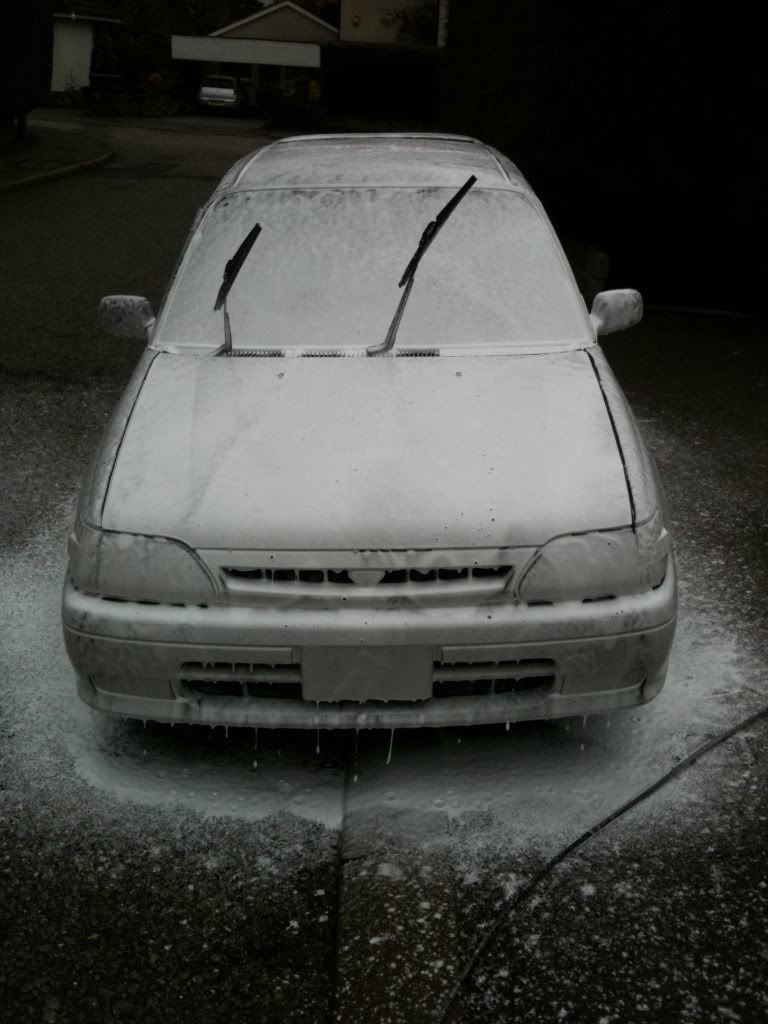
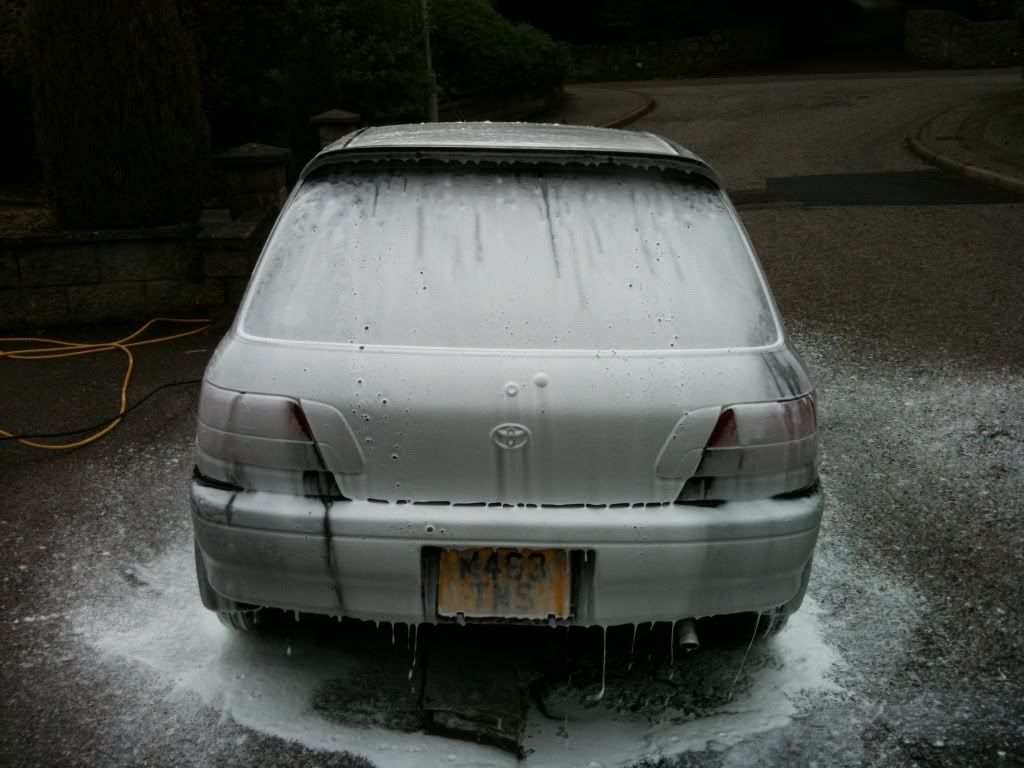
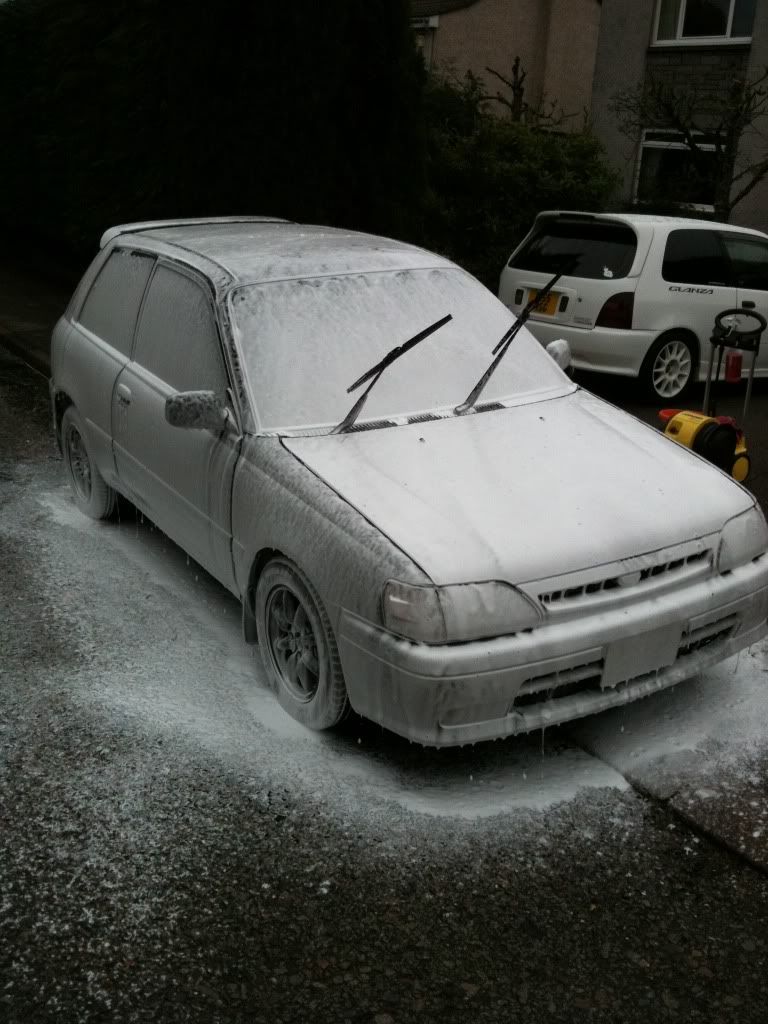
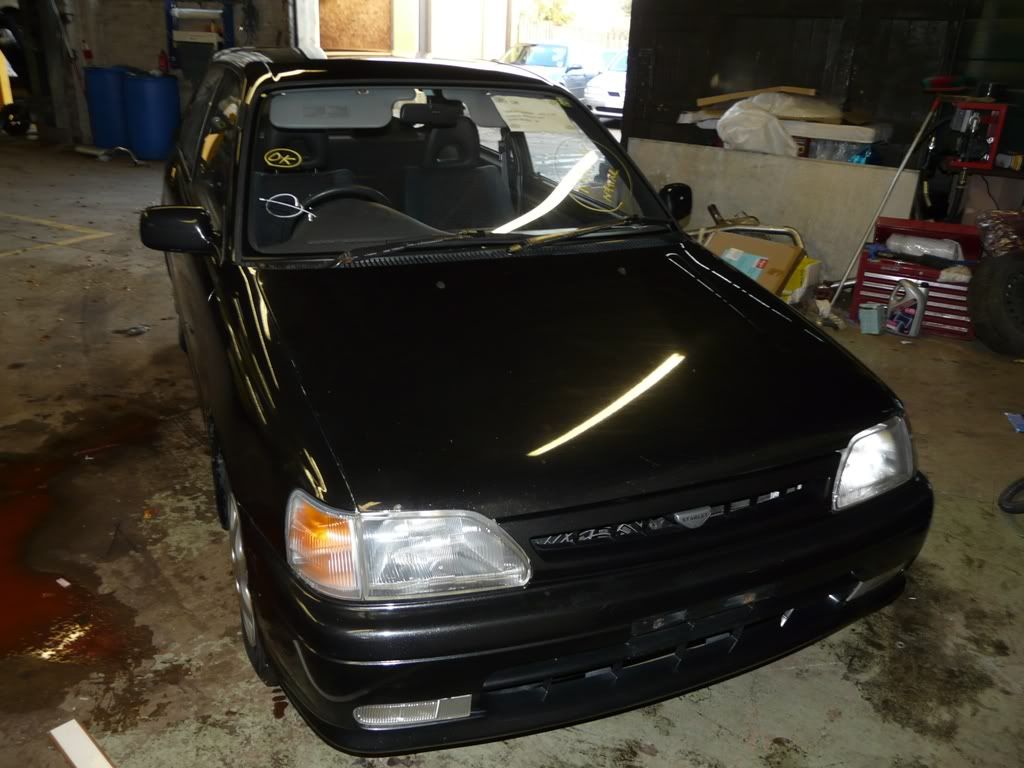
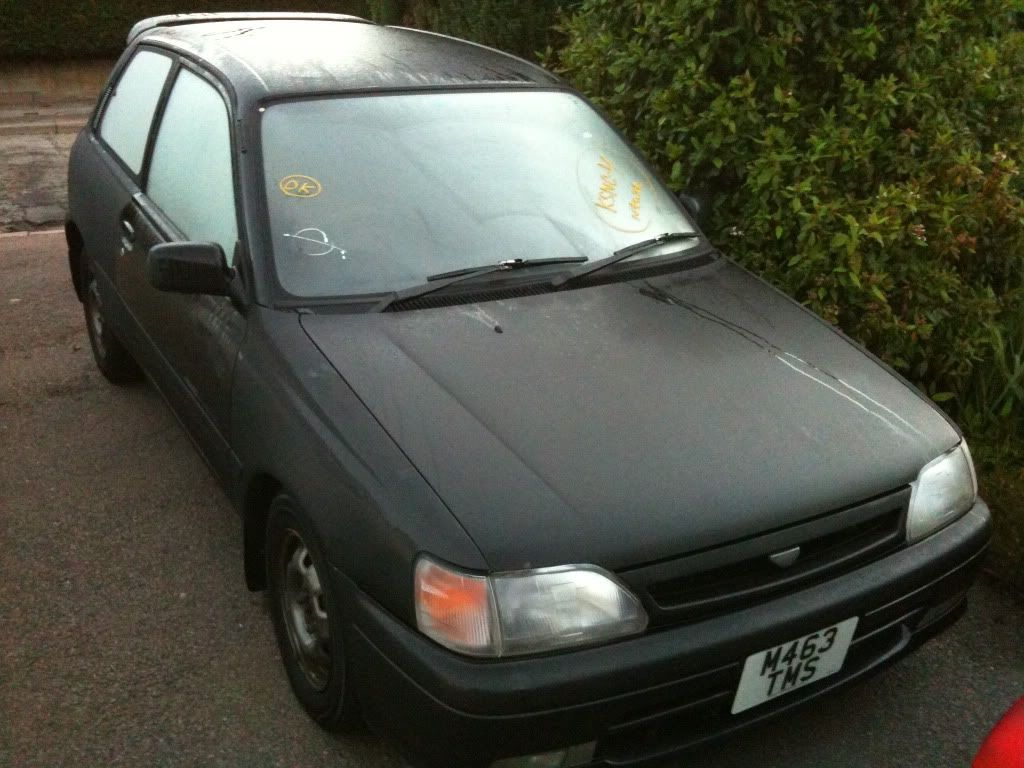
Got underway with the detail this morning! Started at 9pm with the car looking like this:
Had to scrape off all the writing from the windows! Initial power hose left the car looking like this:
Arches were fully degreased and scrubbed until mega clean:
Pic once arches were done, wheels were also thoroughly cleaned:
The car was then foamed with hyper wash:
This was then rinsed off and the car was washed with the 2 bucket method and blackfire shampoo, i then went over the whole car with tardis to remove any tar spots, then clayed:
Thats all the contamination off the car, not too bad!
Now all clean, time to go into the garage to begin the next steps:
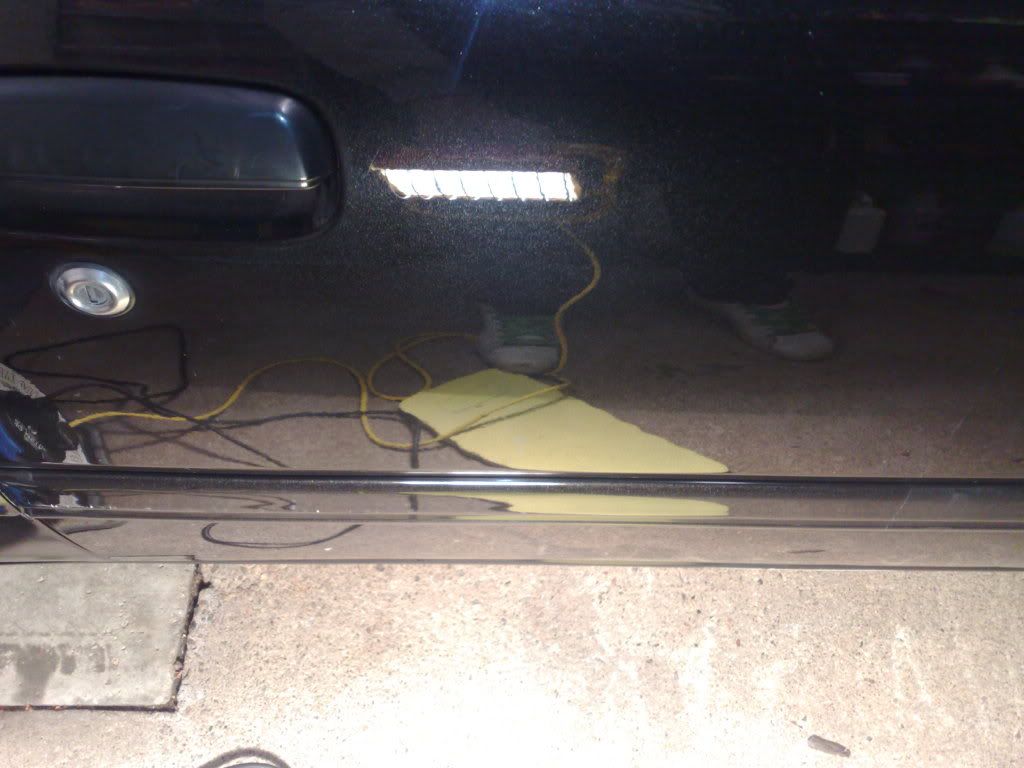
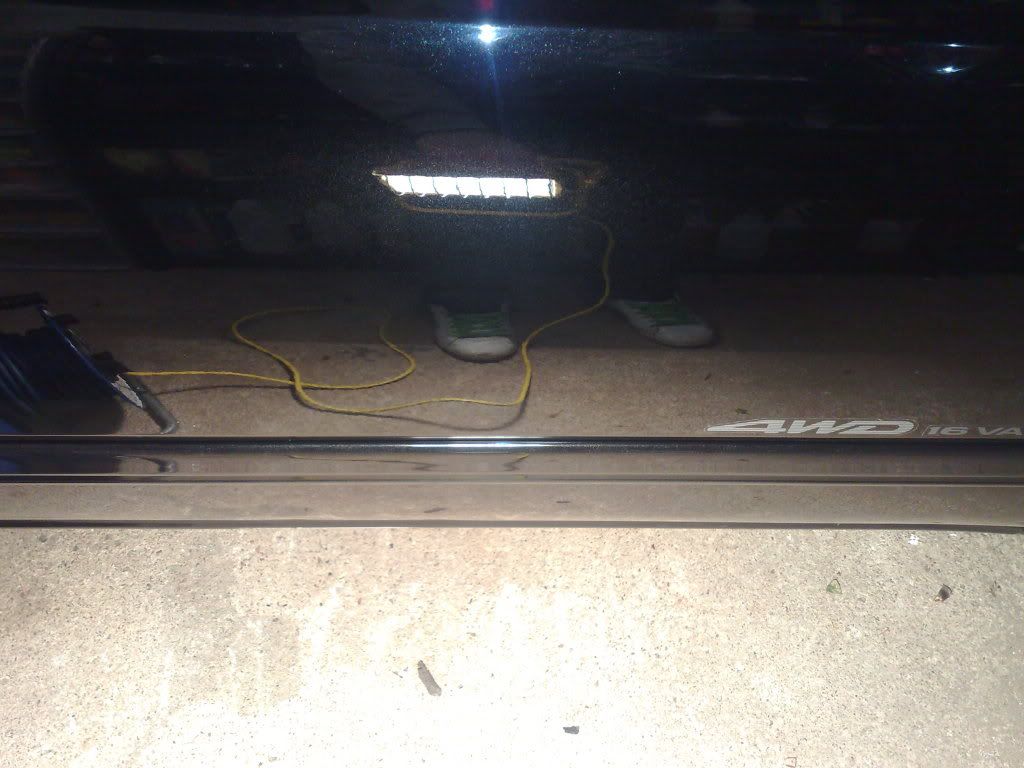
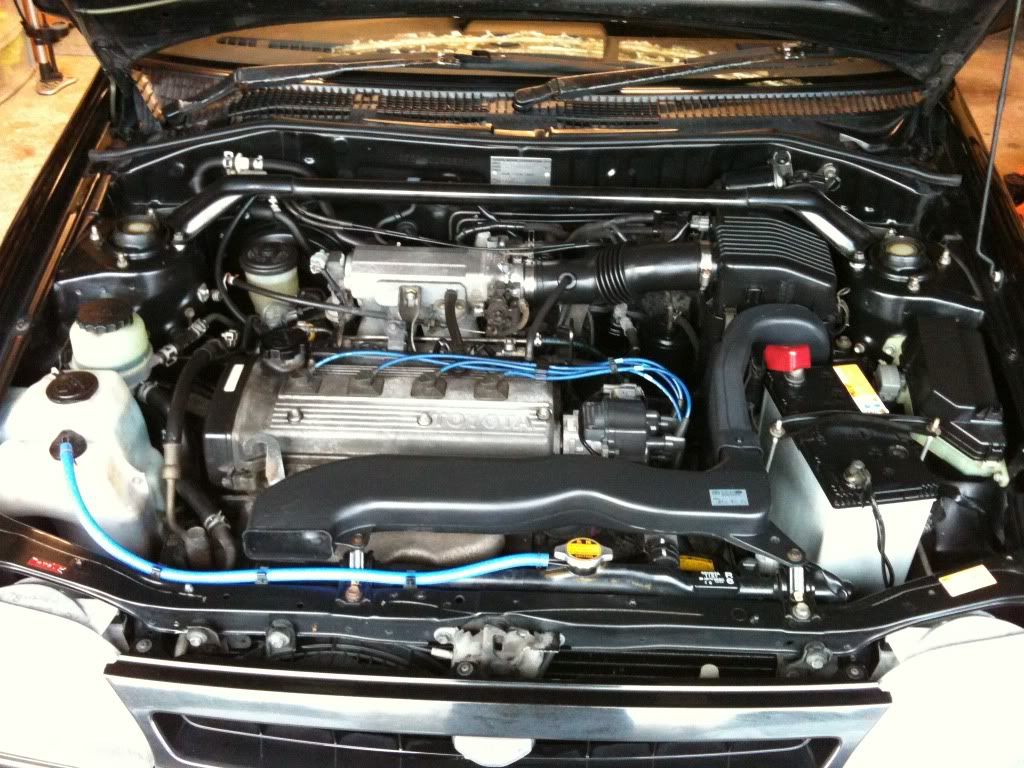
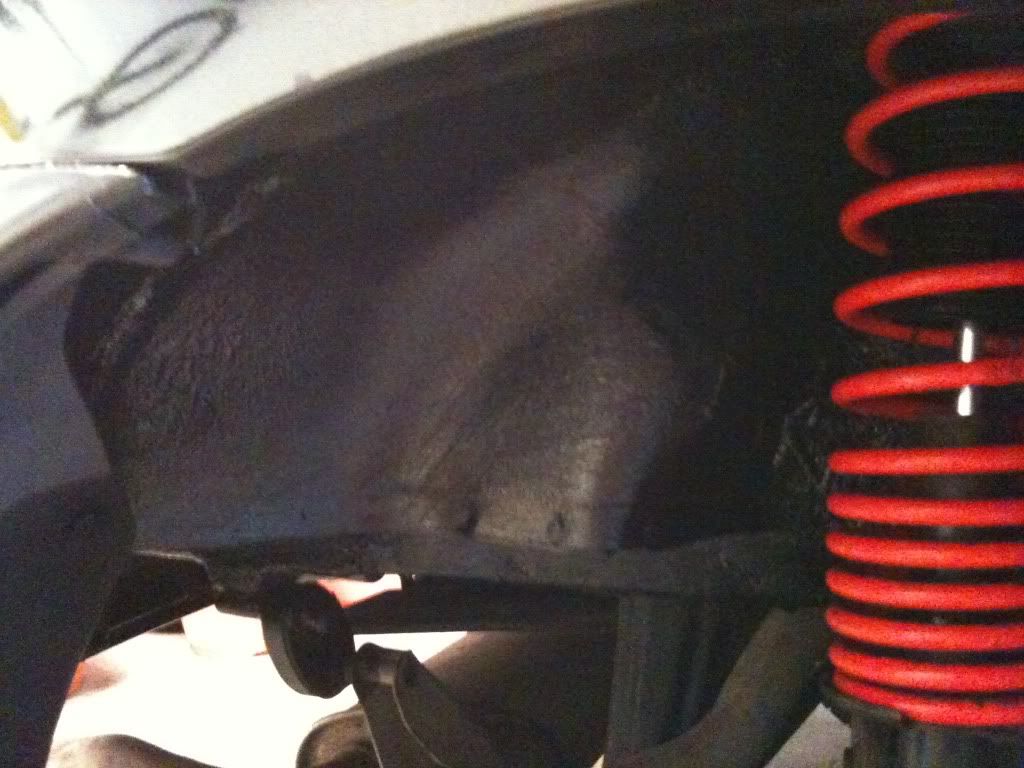
Firstly i dried the car off and wiped down all the shuts. I fitted my oem front strut brace from my glanza and replaced the hose to the coolant overflow bottle as it was looking a bit tired!
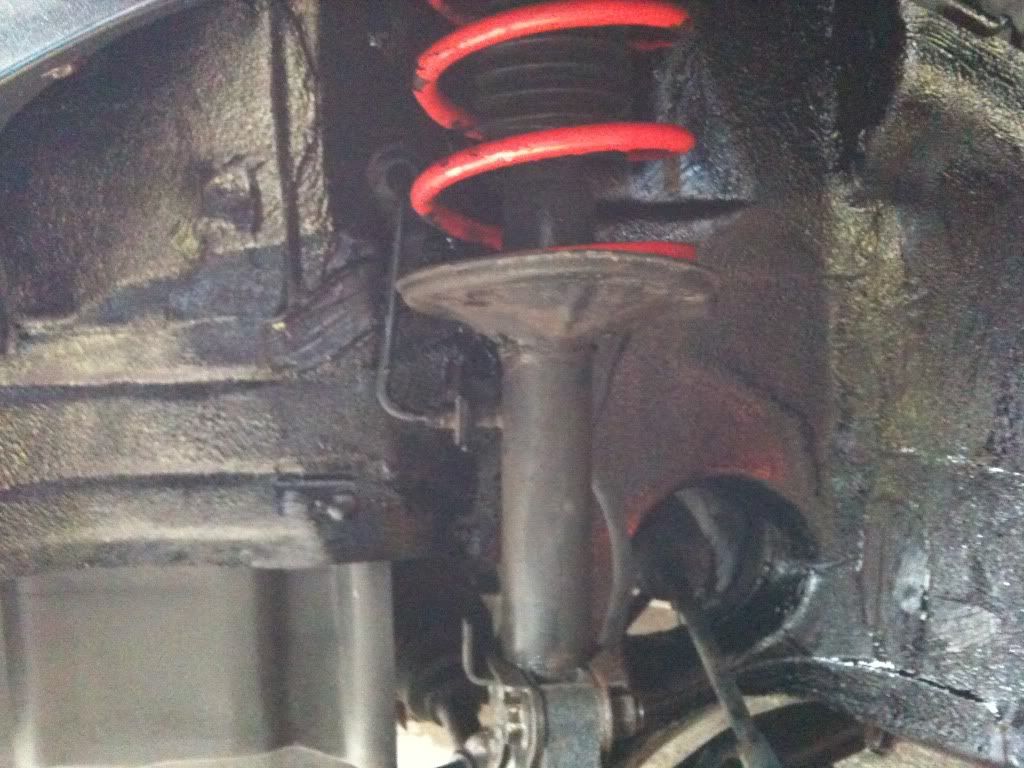
The wheels were then removed and arches dried off, then undersealed:
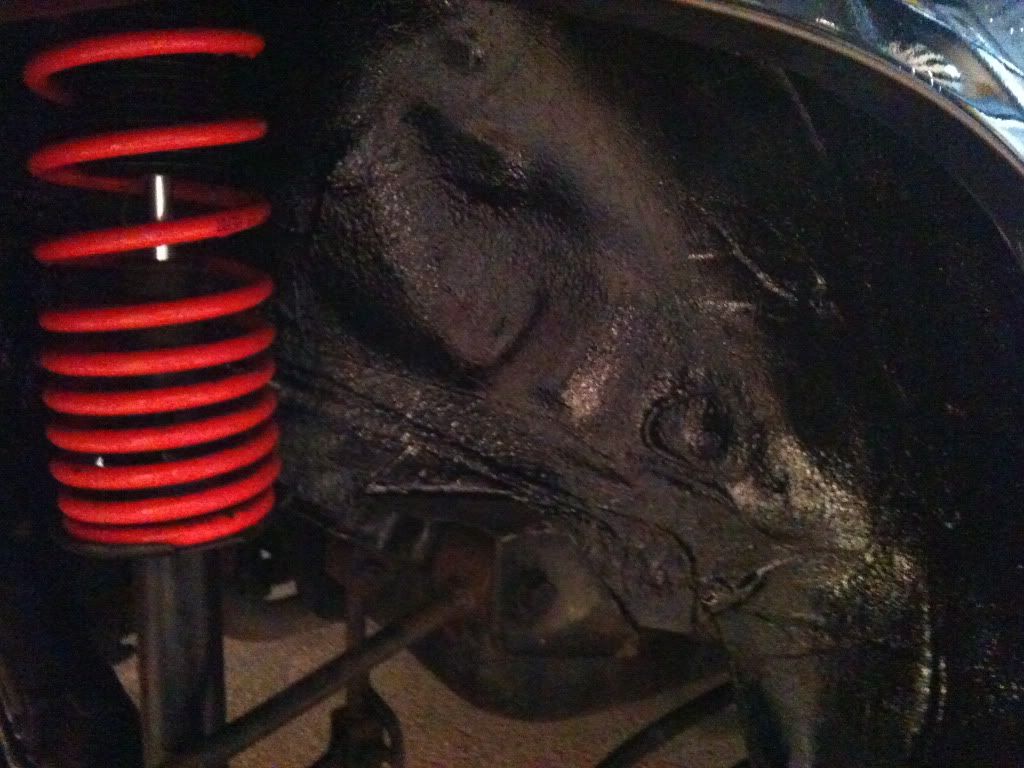
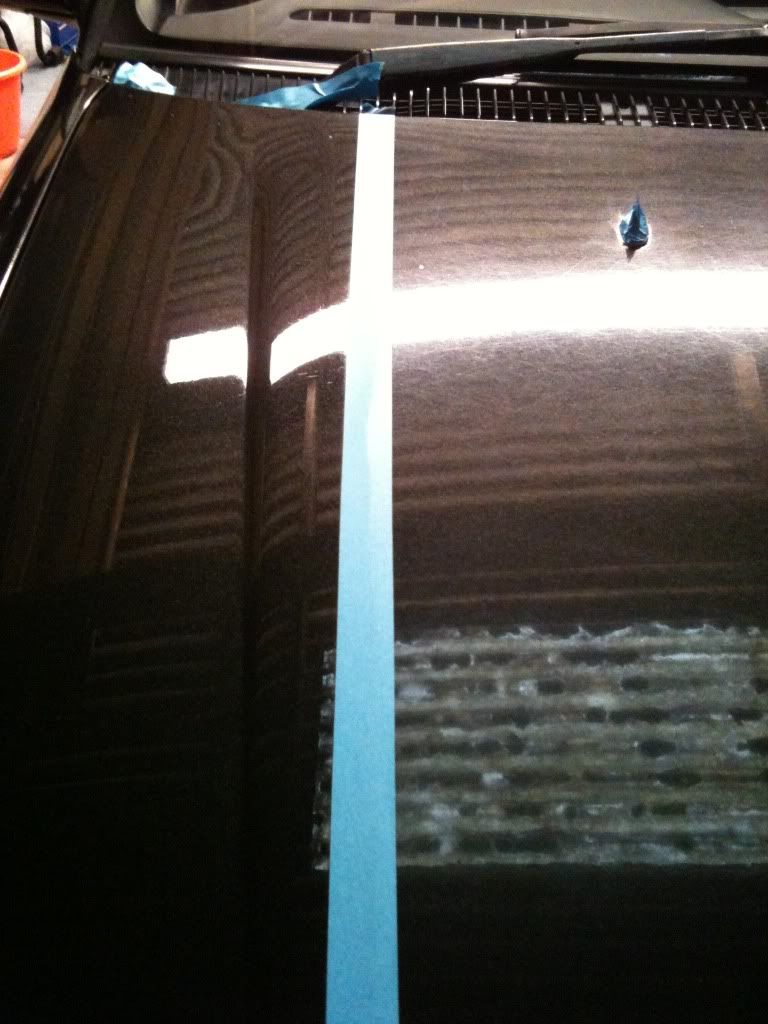
All the arches were done, then put back onto its wheels and taped up a test section for polishing and set on a polish/pad combo! Went for menzerna 203s polish along with a menzerna polishing pad - soft.
After one pass:
Looking good! Will get cracking with more polishing tonight and will probably update this with more correction pics too!
-
Neat, I also like the fact your keeping the N/A front end
Keep up the great work, will be watching this like a hawk!
Cheers mate!
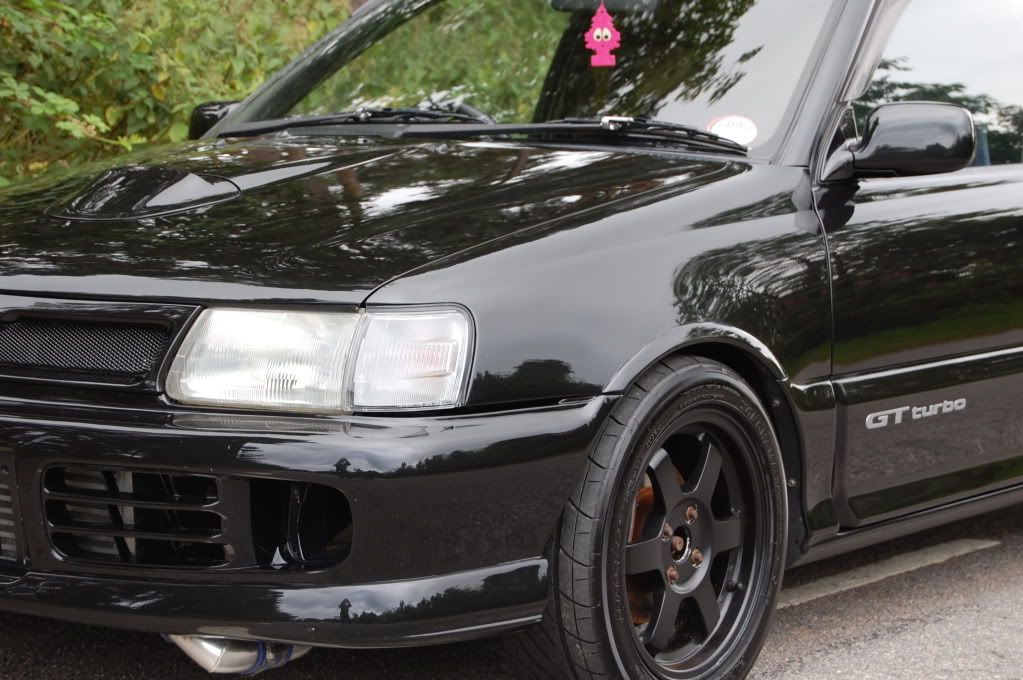
Yeah keeping the front end the same, but prob going to get a GT rear bumper! will make the rear look a bit better i reckon!
Should be more updates tomorrow as i start to clean it up properly!
-
Well plans for this year are:
Fully underseal
Detail the paintwork etc
Cat 1 alarm install
Fit my momo wheel and boss
Get new wiper arms and fit aero wiper blades to them
Clean up the engine bay thoroughly
Possibly get a GT rear bumper and fit that instead of the existing one!
Got one optional extra recaro seat, and a passenger ep82 recaro rail, so if its not a massive job ill get a drivers rail for it and modify it to fit the different floor plan!
Keep it n/a for a while and maybe turbo it next year, will see though! Kinda want to buy k sport brakes for the glanza next spring! hmmm....
-
I just wanted to say a massive thanks to Enzo for a quality, easy transaction when buying my new Ep85!
I saw the Ep85 for sale last month and decided I wanted it, so when it arrived at the docks, Enzo picked it up, took it to his garage, mot'd it, serviced it, registered it, taxed it and fitted parts i wanted fitting! Can't really ask for a better service than that!
Went down to pick up the car yesterday and was delighted when i checked it over! it really is a minter!
So for anyone looking to import a car, I'd highly recommend this man to do it for you! Couldn't be more simple!
Was good to finally meet you yesterday dude, and thanks again!
Cheers,
Chris
-
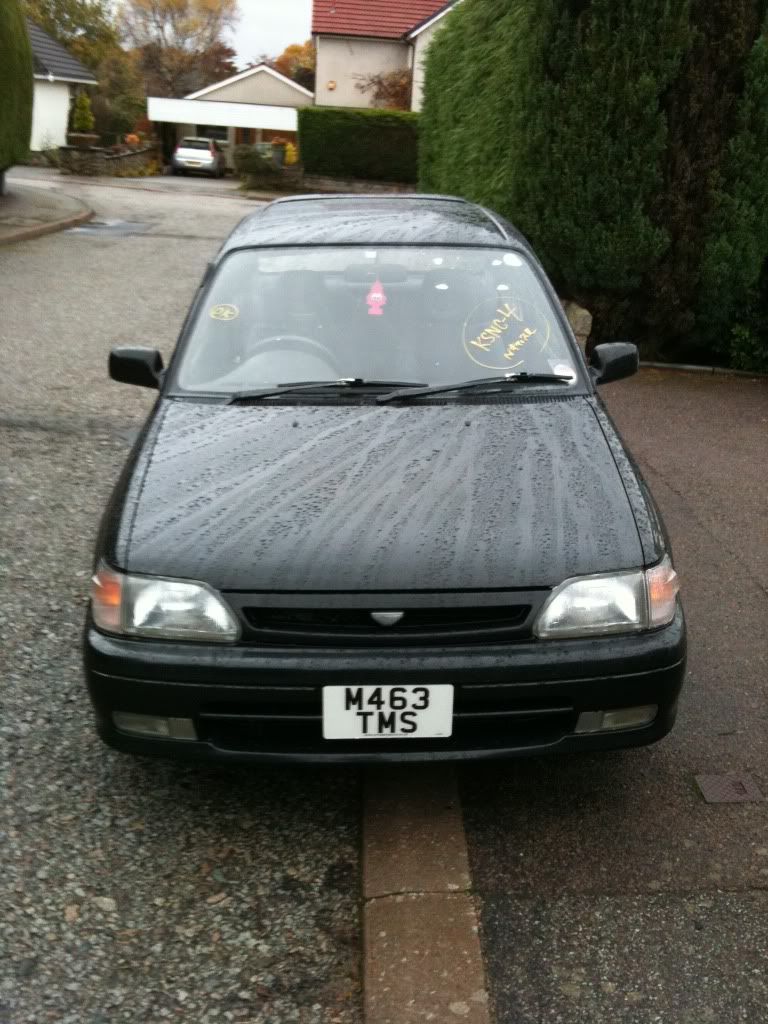
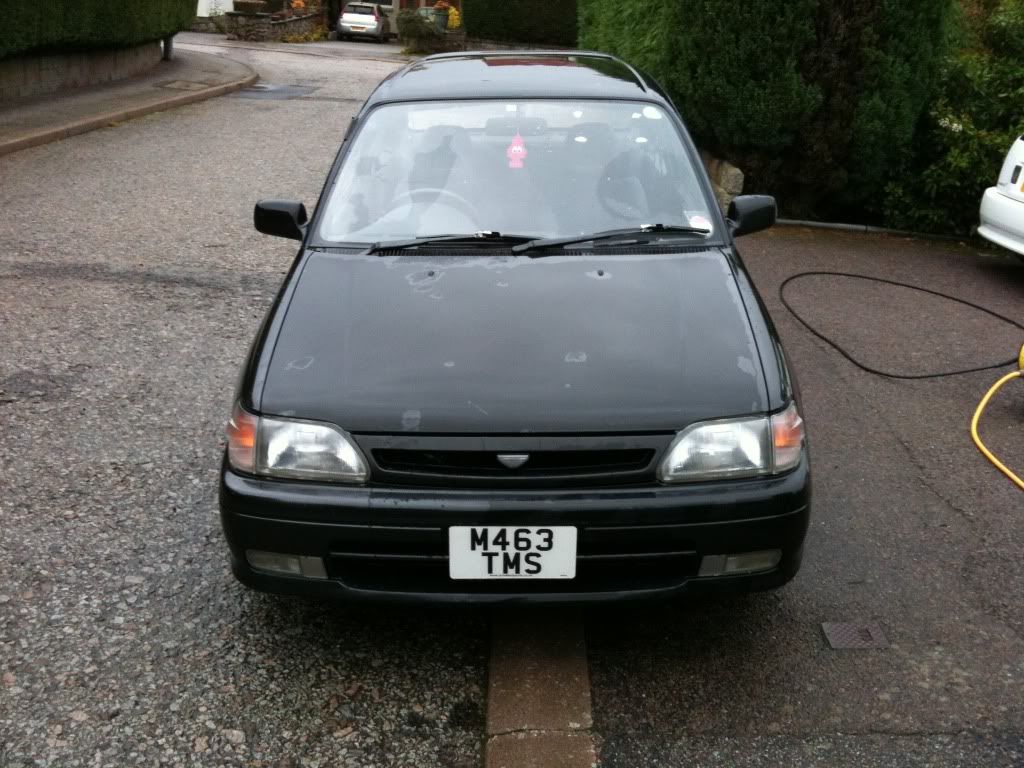
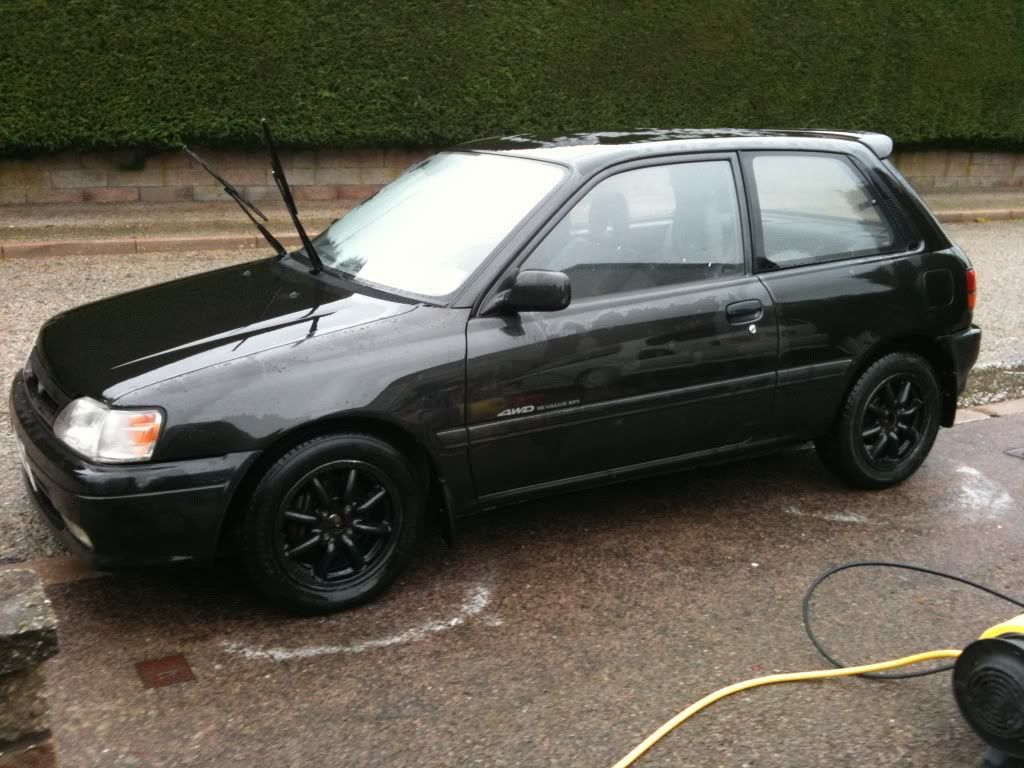
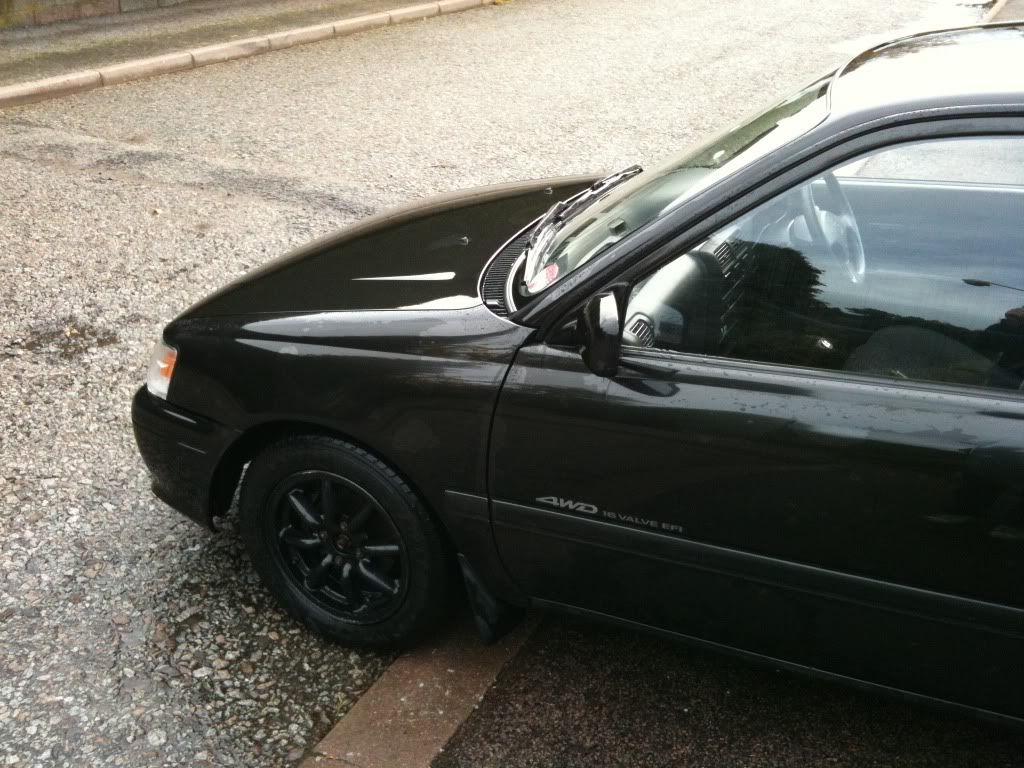
Yo, thought i'd post up my build thread for my new ep85 that i picked up yesterday! I bought it from Enzo and have to say if anyone is looking to import a car, give the man a shout as he's very organised and a total pleasure to deal with! He collected it from the docks, got it mot'd, registered, taxed etc! So it was a very easy transaction for me!
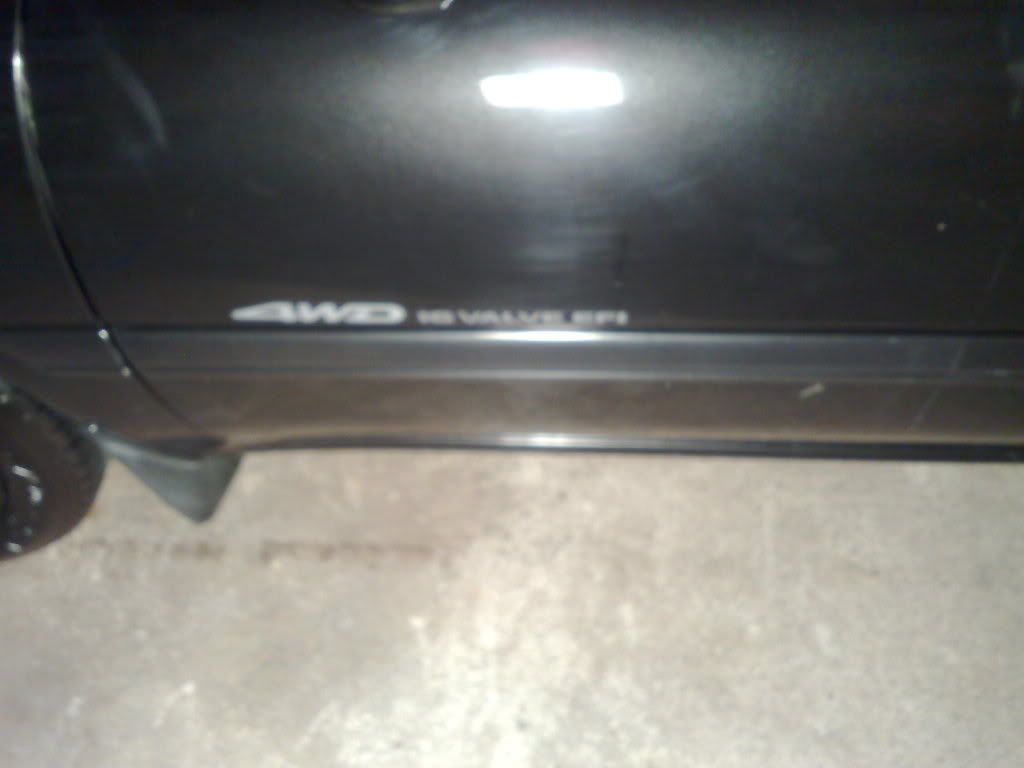
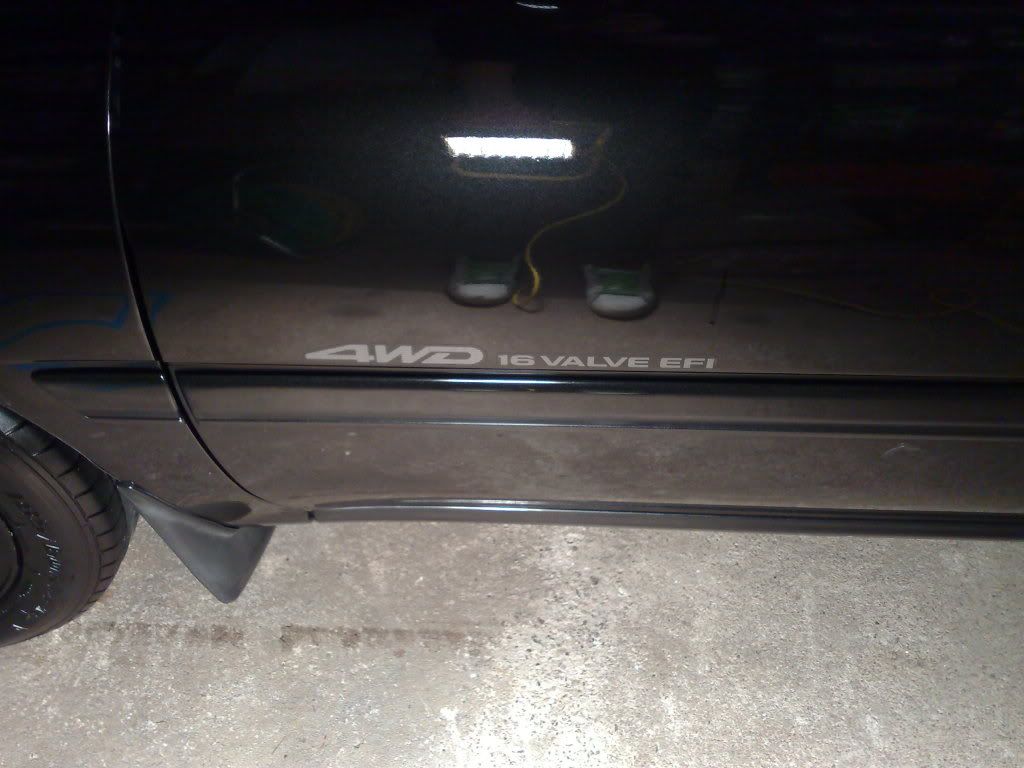
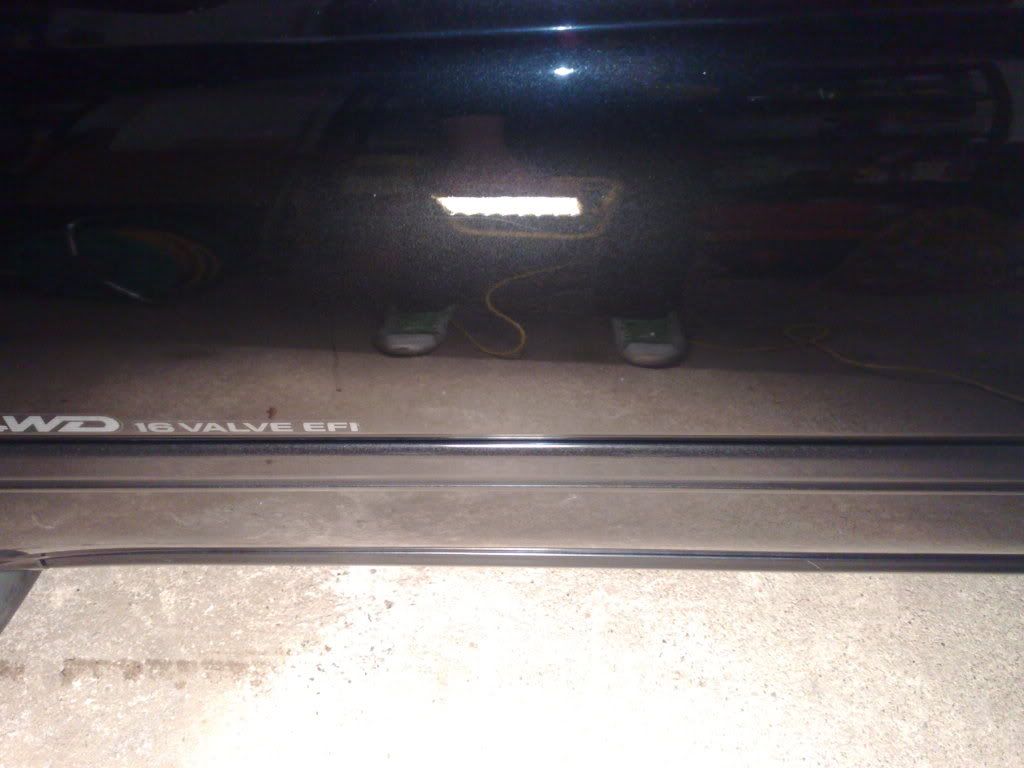
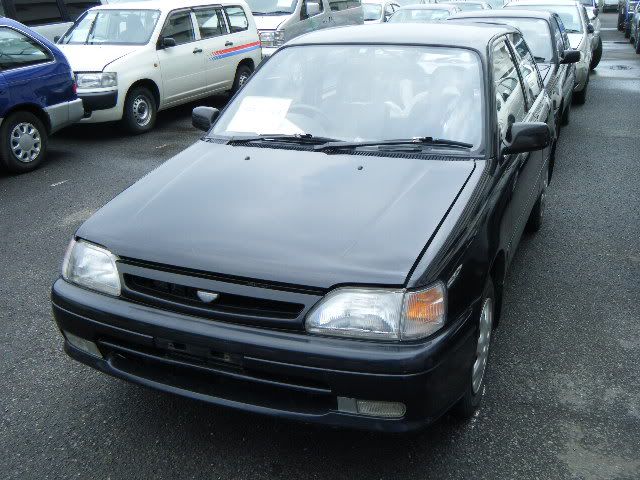
It's a 1995 Starlet Ep85 S Model.
Here is the car over in Japan:

Then Enzo picked it up from the docks and took it to his garage where I got sent a few more pics:

I told Enzo not to polish or wax the car as ill be detailing it over the next week or so! Plan is to fully degrease the arches and underseal them first of all before the winter comes! I sent down some 40mm lowering springs which has sorted out the stance a bit! still a bit high at the rear but i'm happy with it for now and didnt have to cut the springs!
Some pics when i got it home
(apologies for the crap quality - taken with my iphone)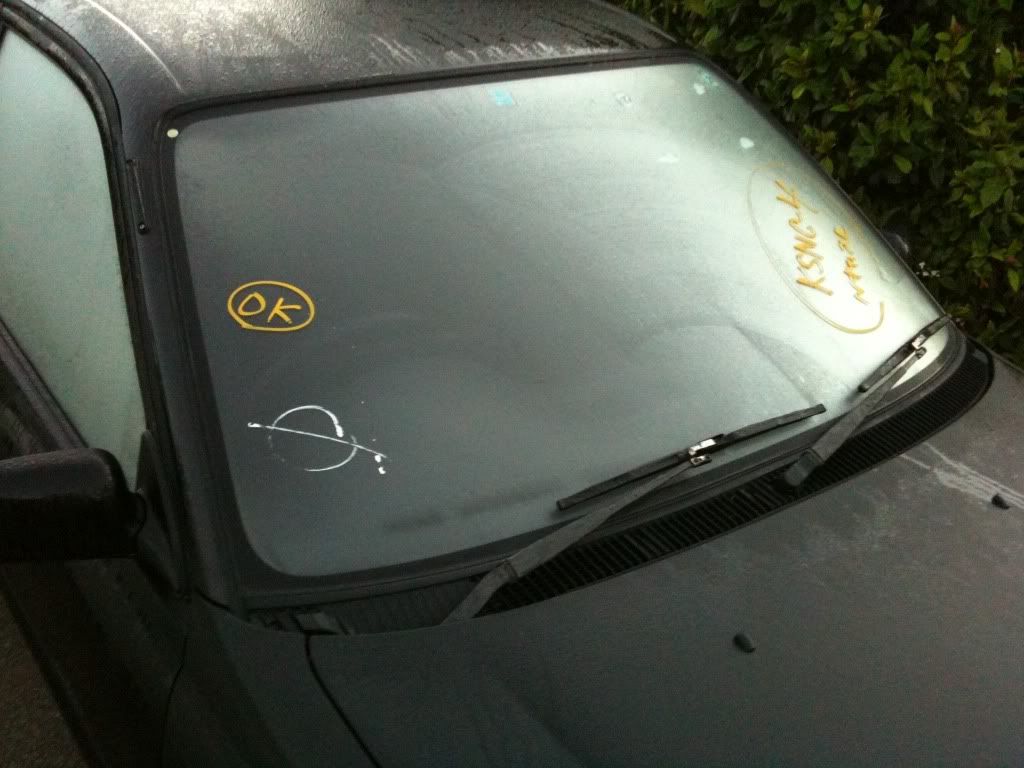
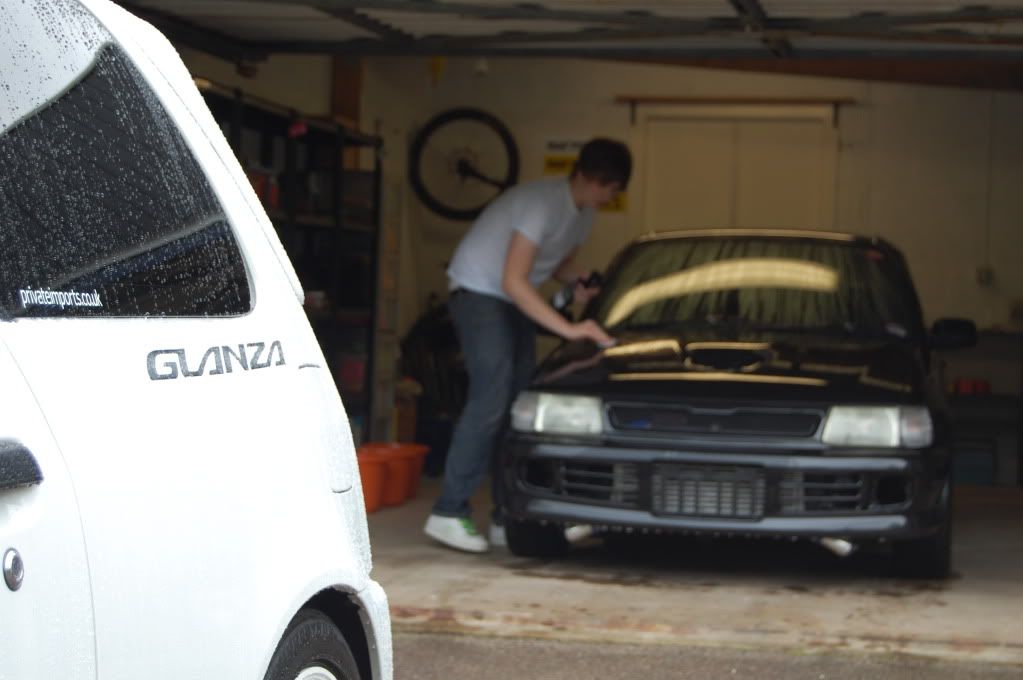
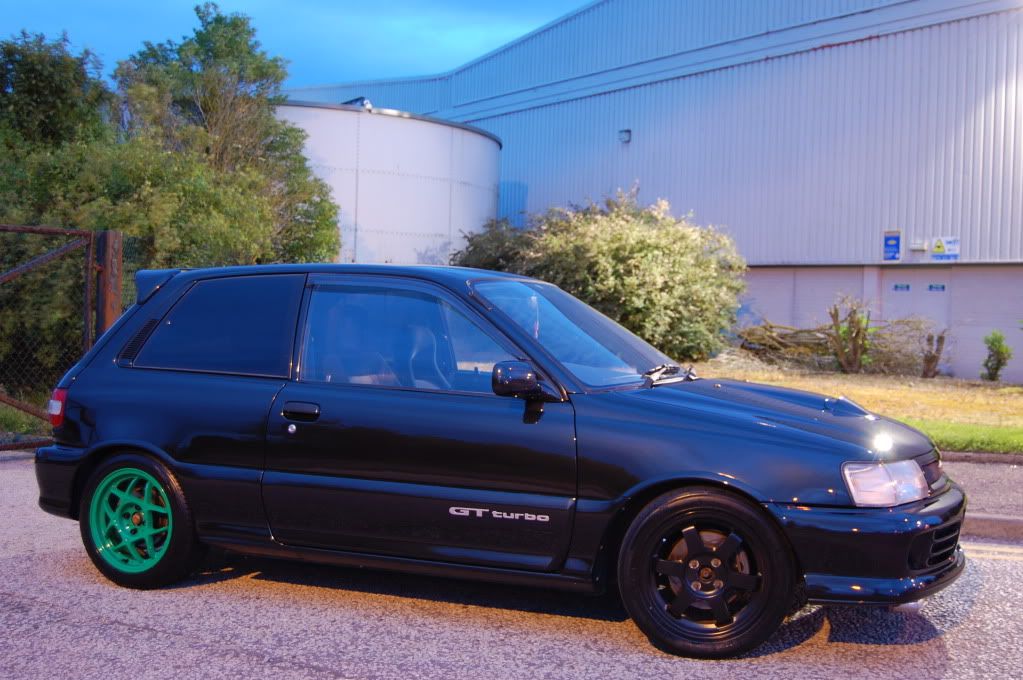
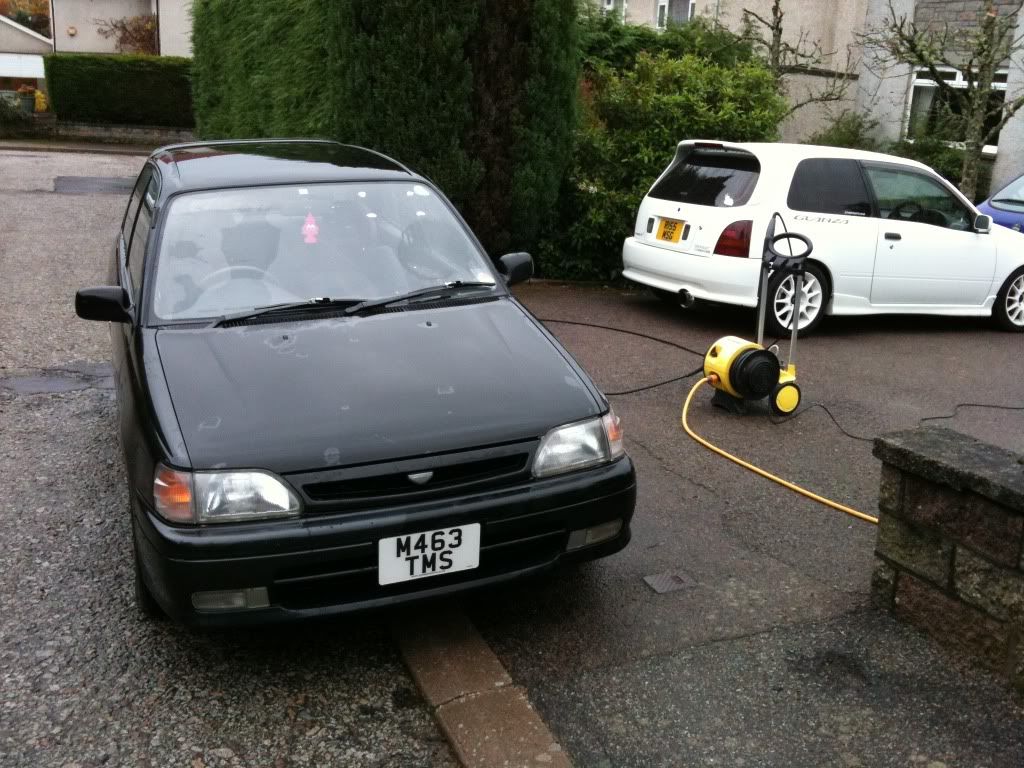
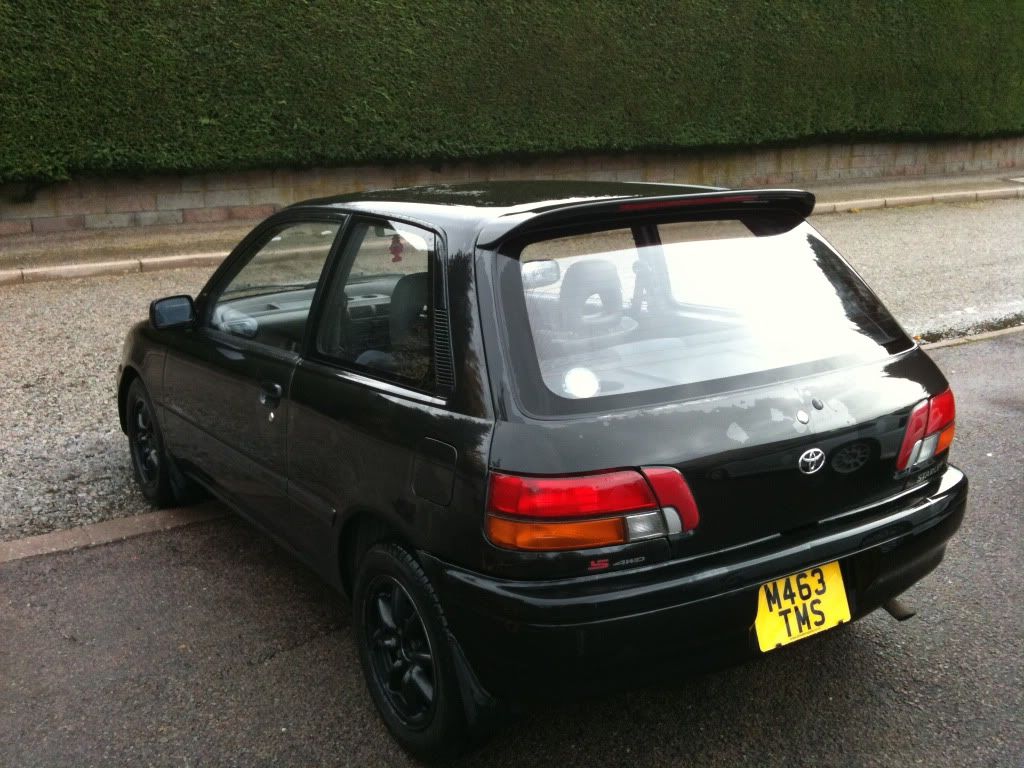
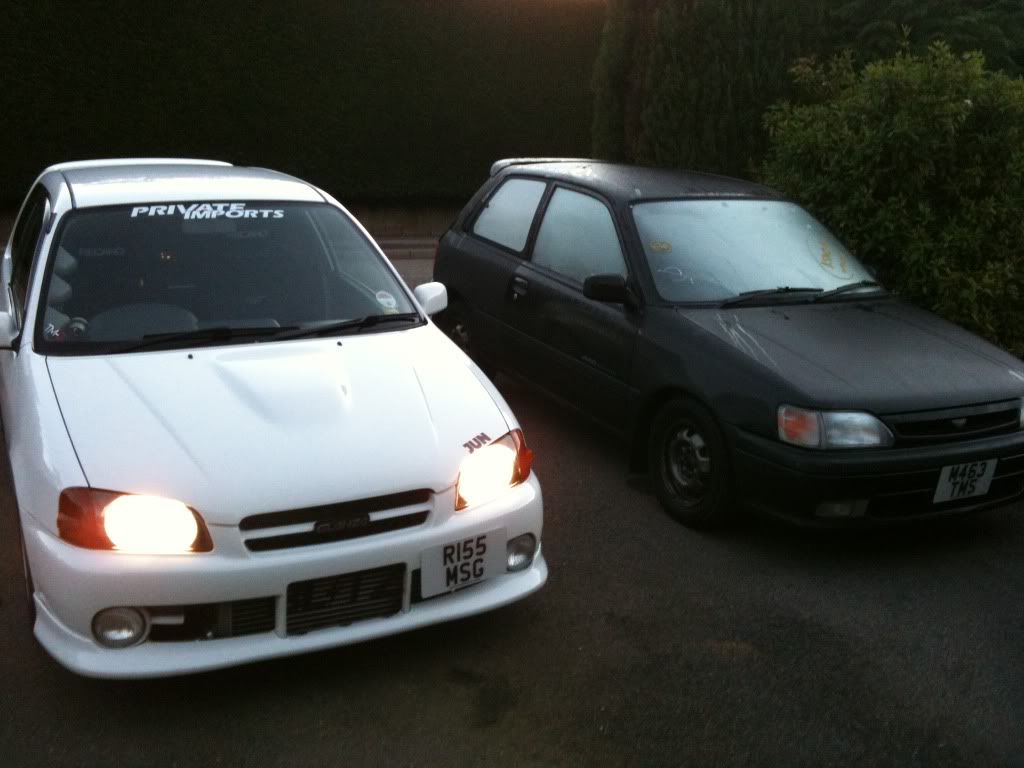
Pic of it next to the Glanza

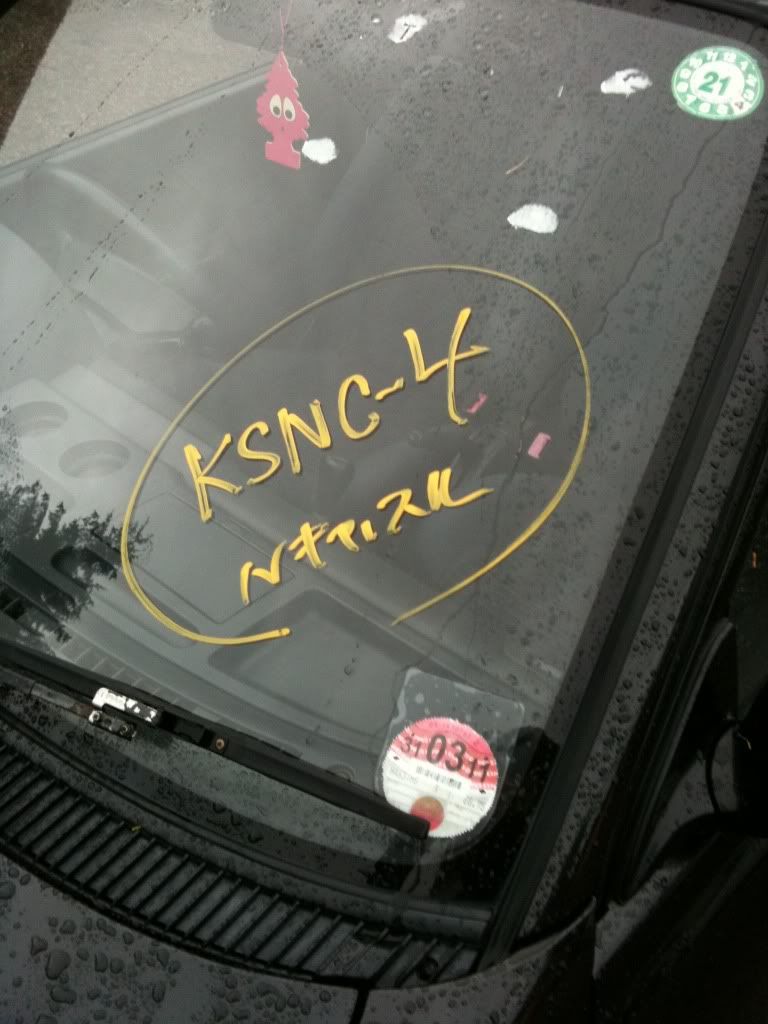
First up was removing the rear wiper and a sticker off the boot, along with scraping off the writing off the windows:
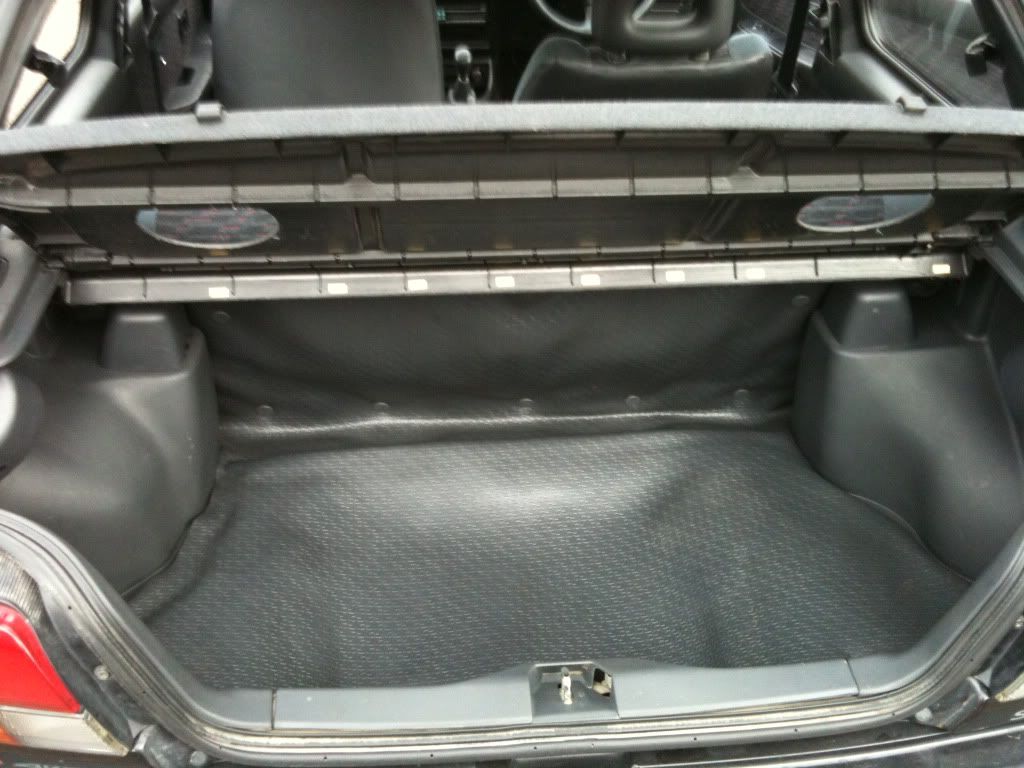
Boot and interior thoroughly cleaned:
Old headunit was ripped out and replaced with an alpine one, also the huge speakers were removed from the parcel shelf! New mats were chucked in too. Replaced the gearknob with the original glanza one too. thought it looked better!
Pic with the steel wheels:
Pic once Blacks Racing 14s were fitted - Cheers Fro!
Will update this regularly to let you see the progress of this, more pics should be coming tomorrow once the detail starts!
Next job is to get new wiper arms - my aero wiper blades dont fit with the existing arms...anyone know if GT ones will just simply bolt on? Also thinking about getting a GT rear bumper so the rear looks a bit nicer?
What you think?
Chris
-
I was curious to what rolling road it was as Wallace's seemed to read low from what I'd seen before but judging by your result I'm wrong on that - I also thought it may have been japerformance but don't know if he still maps or even has a dyno?
Anyway it will be good to see what it does at the higher boost, must be nice to drive even now.
Not sure on that dude! dont think he's there anymore tbh!
Yeah just waiting on my fpr coming from tm developments and hopefully get squeezed in asap to get it adjusted and boost controller up to a bar on high.
Yeah feels awesome to drive! Question for you...you had a greddy type s bov yeah? how do you know how hard/soft it should be set at? i havent changed mine since i got it! lol
-
Got it dyno'd at Wallace performance dude!
Going back asap - hoping this week with my fpr fitted, to up the fuel pressure a bit so that the boost can go up to 1 bar/1.1 bar safely. Will get the graphs up once its done
My Ep85
in EP85/EP95 4WD Progress Blogs
Posted
Cheers for the pics Fro! Was a good day out for the GT eh? haha
Fro trying to be all arty....