

Browner
-
Content Count
2532 -
Joined
-
Last visited
Content Type
Profiles
Forums
Wiki
Media Demo
Store
Calendar
Posts posted by Browner
-
-
Bump this up lads
Open to offers. I need to clear space in the garage
-
Anyone staying Saturday night down there and going for a few beers?
-
We are all staying in Hotel Glanza

-
The Irish contingent will be joining the convoy at Hopwood Park Services
can't wait now! -
As above lads. Looking at taking my Glanza out on track this weekend. Any track time for sale?
Regards,
Conor.
-
As above lads. Looking at taking my Glanza out on track this weekend. Any track time for sale?
Regards,
Conor.
-
I have all of them bits here pal PM me
-
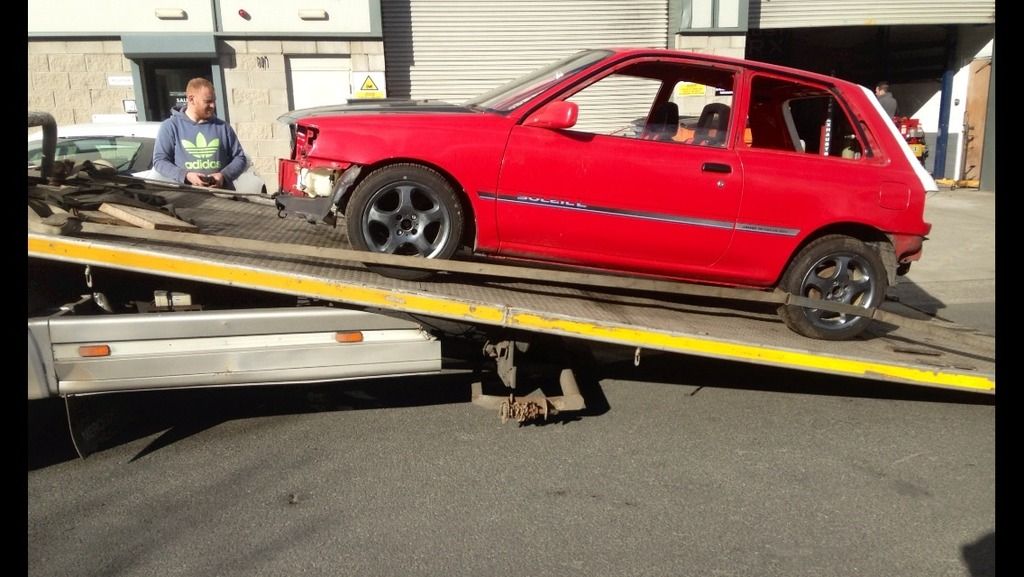
Bump this up lads
The car has arrived and I'm glad to say is a little gem! I've given it a full inspection and it's a rust free shell, all running gear etc perfect and it drives great!
Ready to be sold... Can be shipped to the UK if needed
-
All sorted lads
In future if anyone needs me in a hurry just call me on my mobile (00353) 86 378 4399... It's in all my ads.
The number posted above is one digit wrong.
I haven't been on UKSO I was away at the rally for 5 days and when I got back Tuesday I had an accident in the garage and had to get 11 stitches in my hand, so I haven't been easy to contact online.
Regards,
Conor.
-
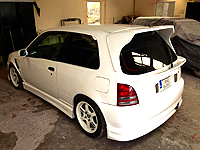
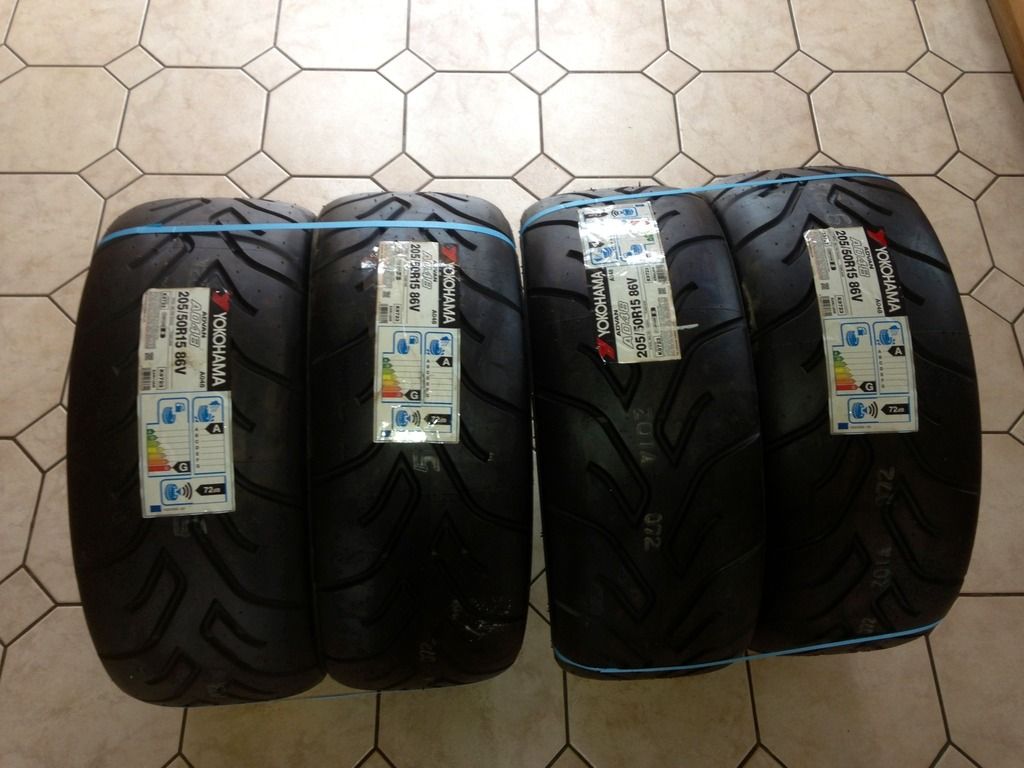
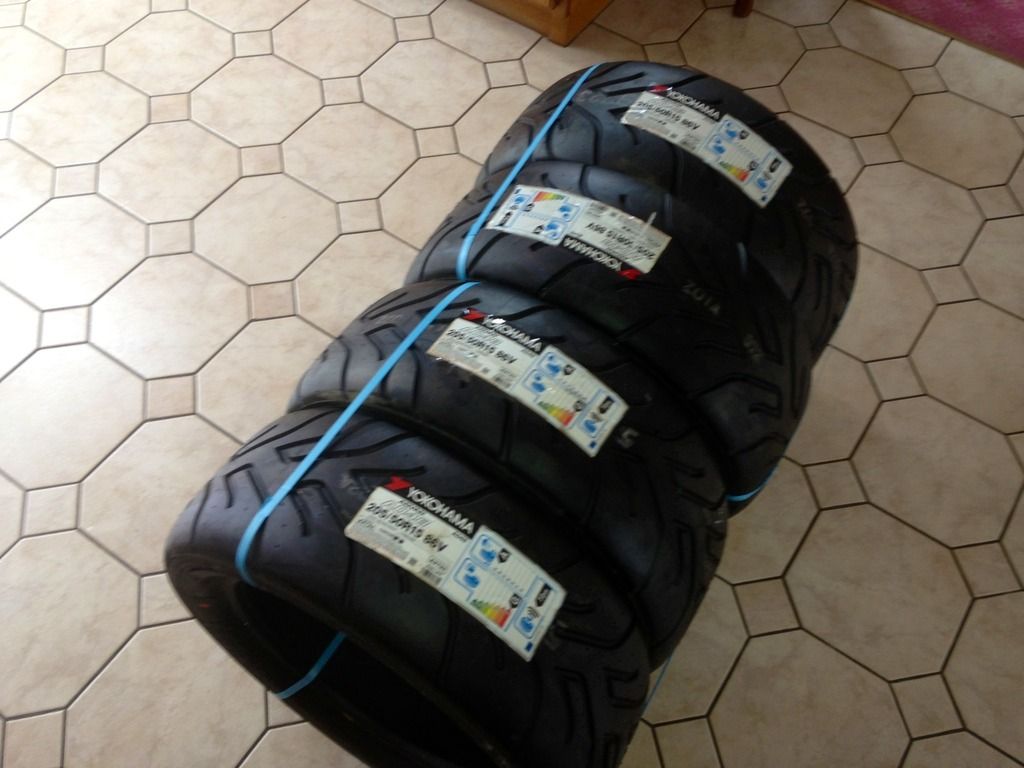
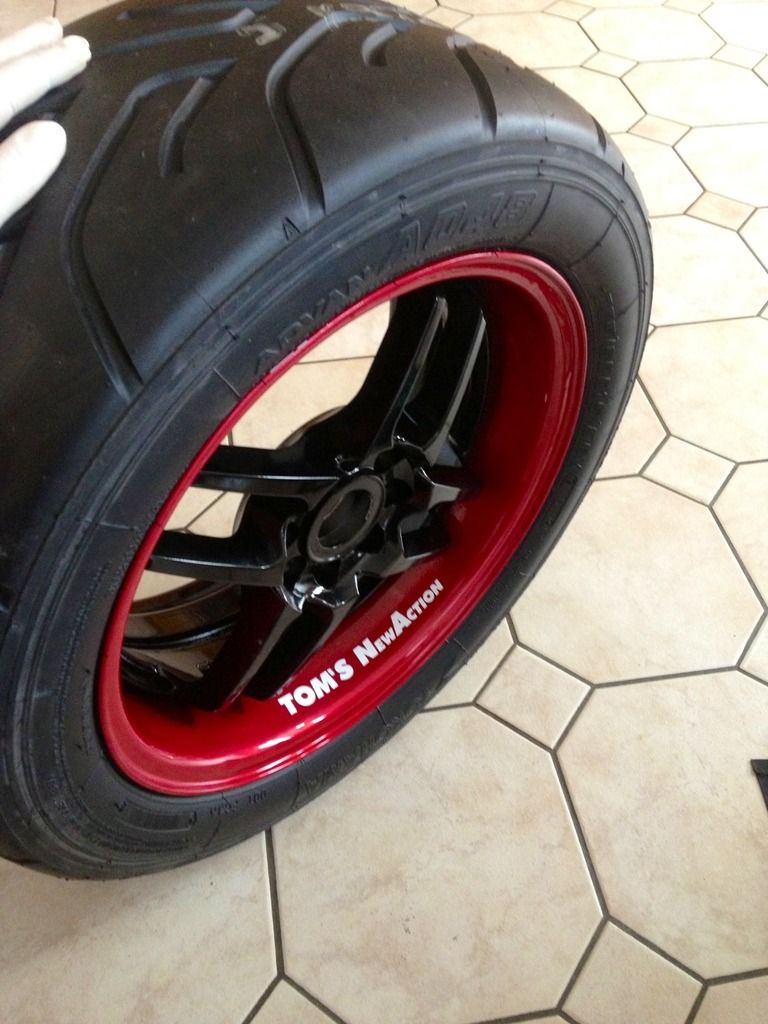
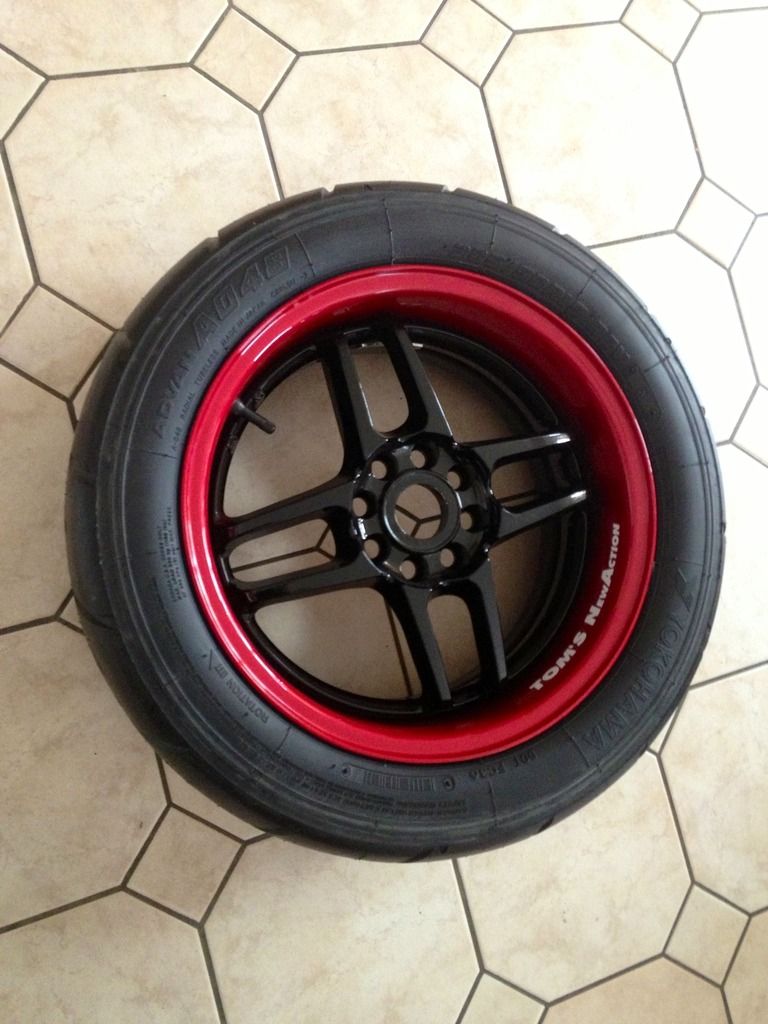
New shoes and socks for the beast!
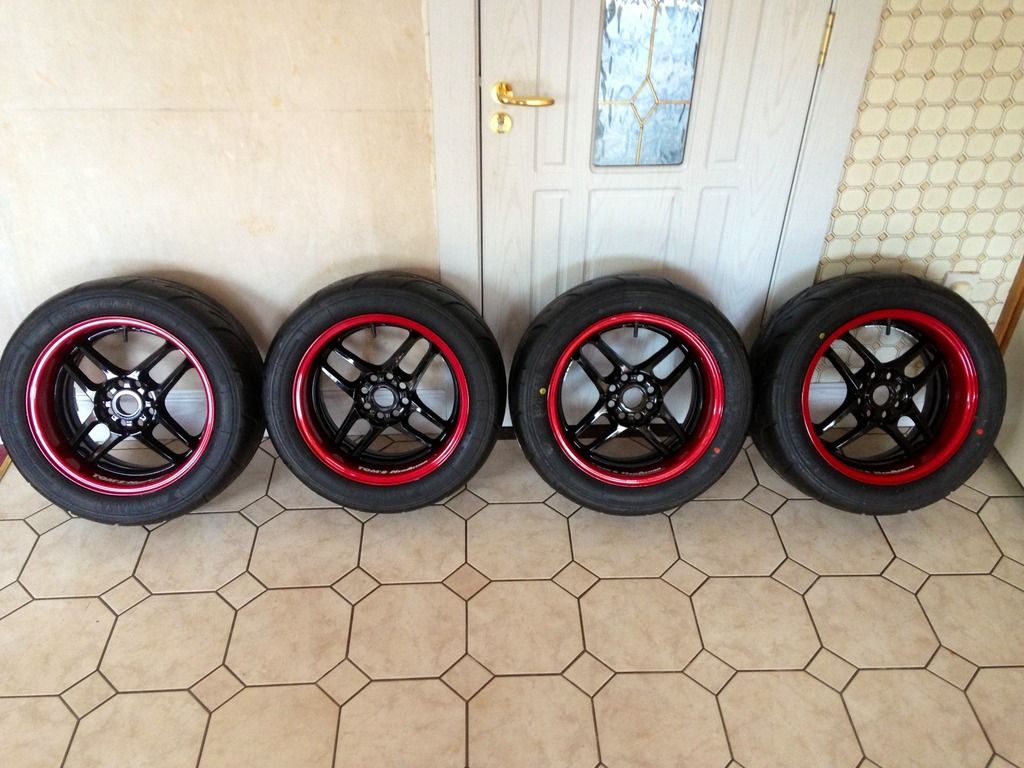
Four brand new Yokohama Advan A048's. They are a wide 205/50/15 profile with a soft compound rubber so should grip up well and suit the 15" 7JJ rims perfectly.
All fitted to my genuine TOM's New Action alloys...
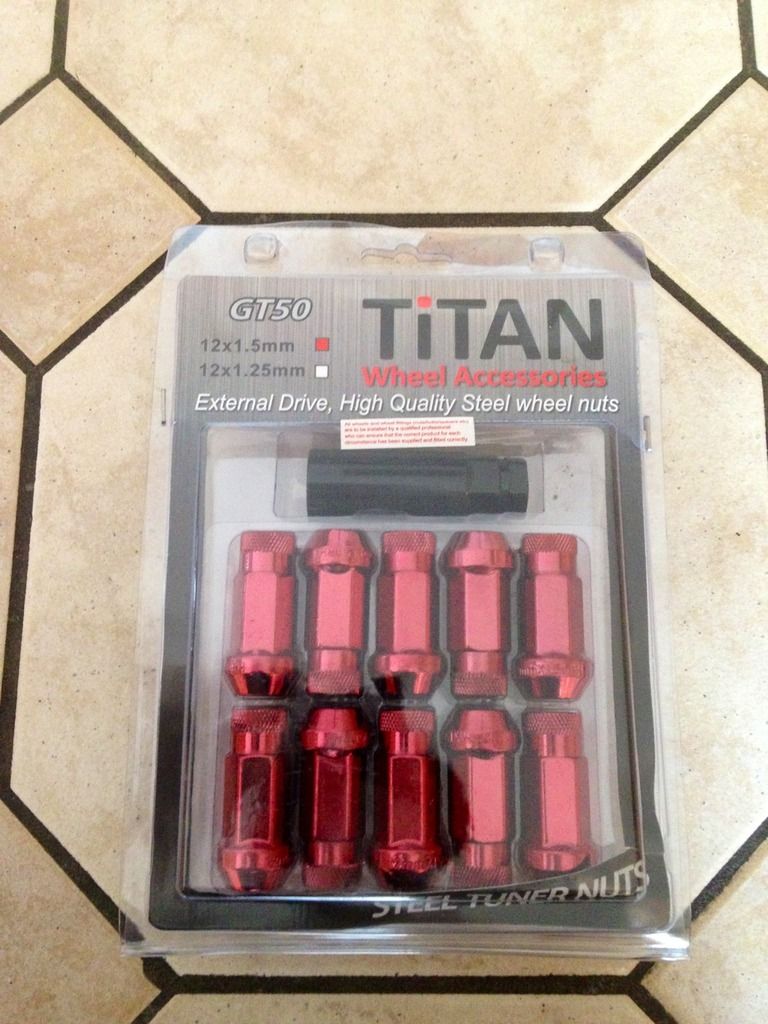
I also got these brand new red extended STEEL wheel nuts. They are a coloured extended wheel nut, similar to the lightweight aluminium wheel nuts on the market but a lot safer as they will not thread or damage as easily as the soft aluminium ones. They should look well
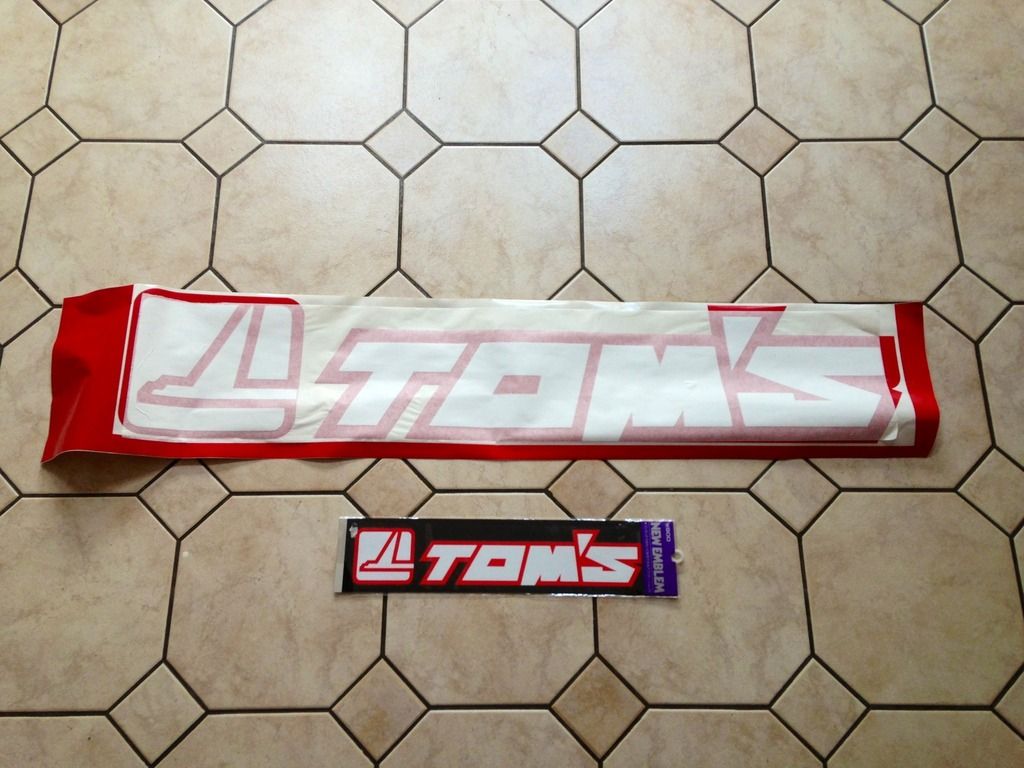
And finally I got my new TOM's sunstrip and TOM's rear window sticker...
-
We're going in the Glanza mate. Need to see how slow Sock's car is
-
Just booked our ferry over. Coming over Friday evening into Holyhead and picking up a mate on route:)
-
All sorted lads cheers
-
Yep...
Time to let myself in for more hardship and the long trek to the UK! Gonna bring plenty of spares and tools this time lol
-
I have them here mate
-
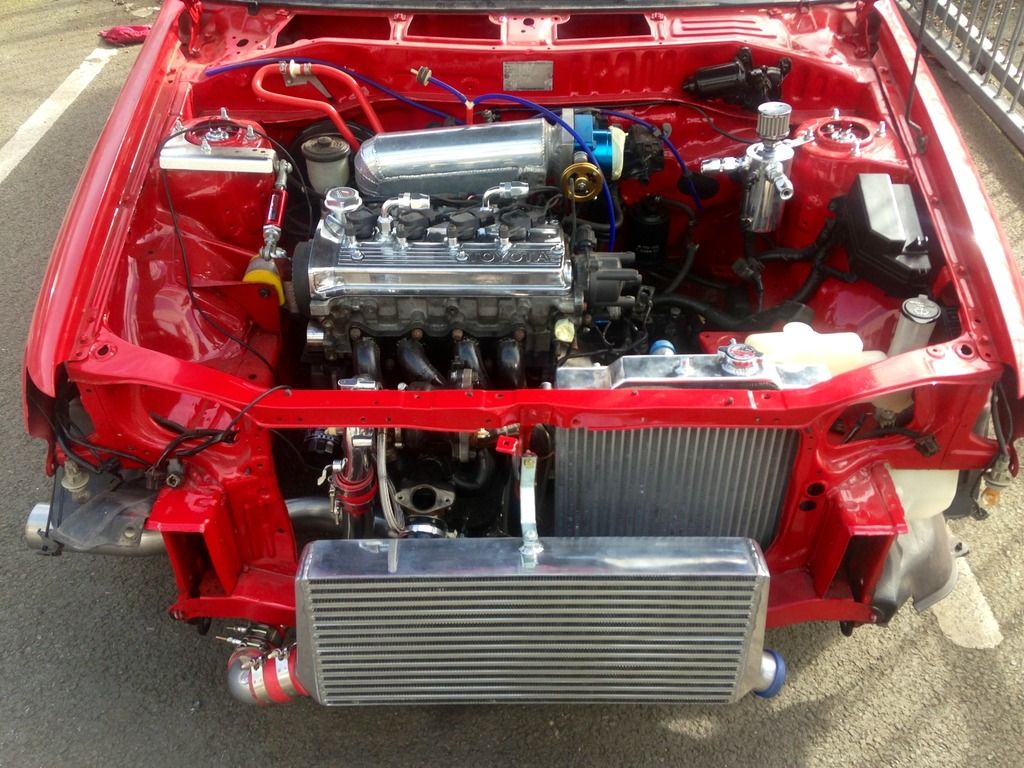
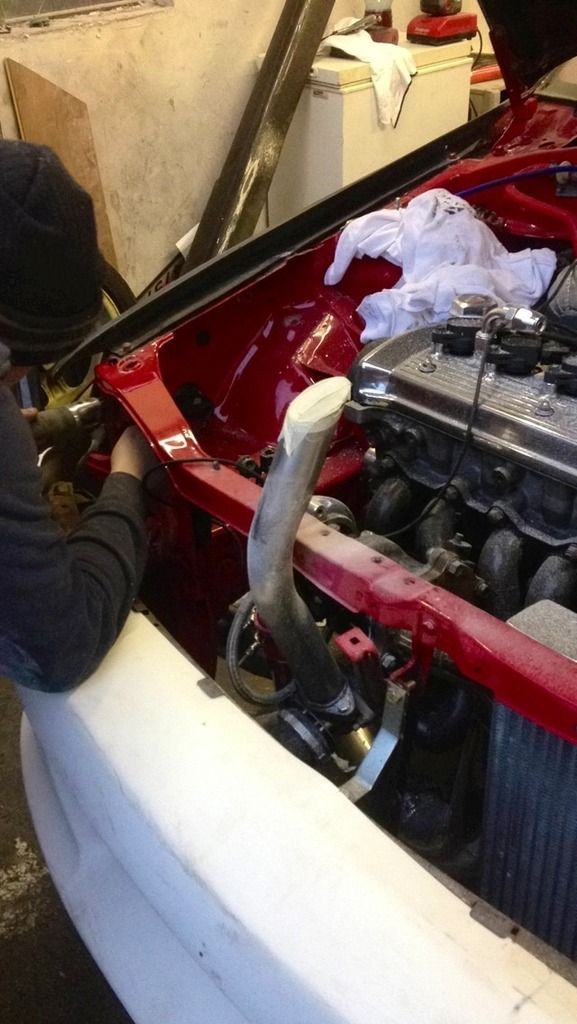
Ok guys well as some of you may know there has been a lot happening with this recently... And about time too!
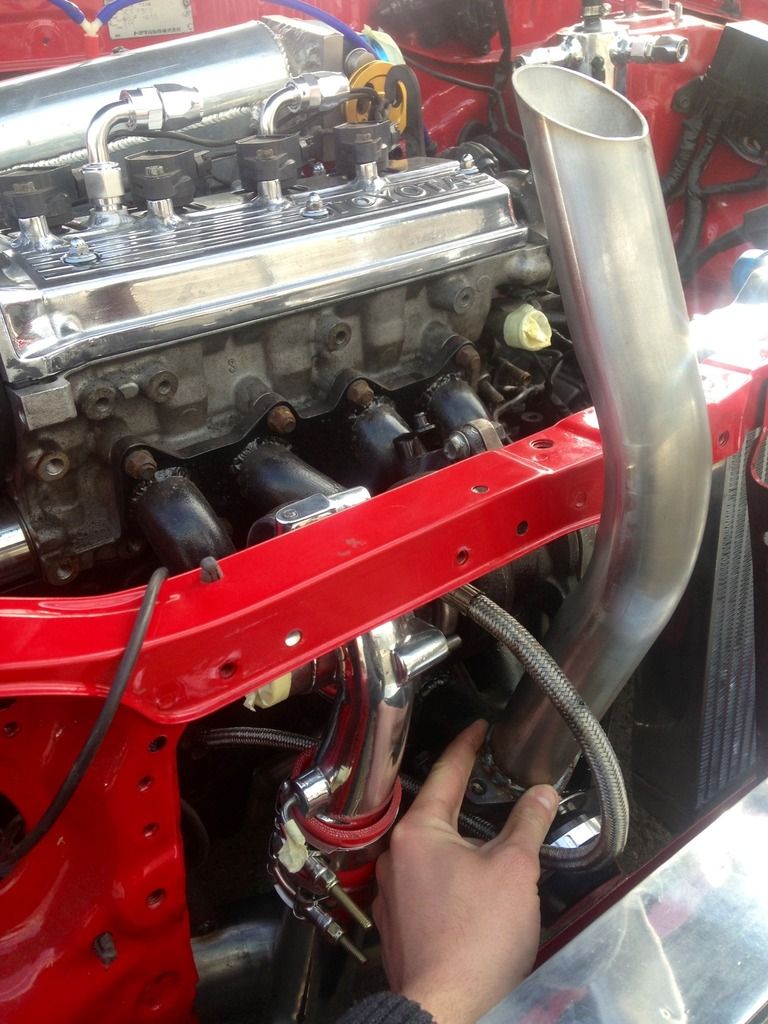
I was badly stuck when it came to getting an exhaust to fit the car. As said above, the clutch line from the slave cylinder was firstly hitting the exhaust manifold. We changed to a different style of clutch slave cylinder that brought the pipe out at a different angle avoiding the manifold... But now it was hitting the decat!
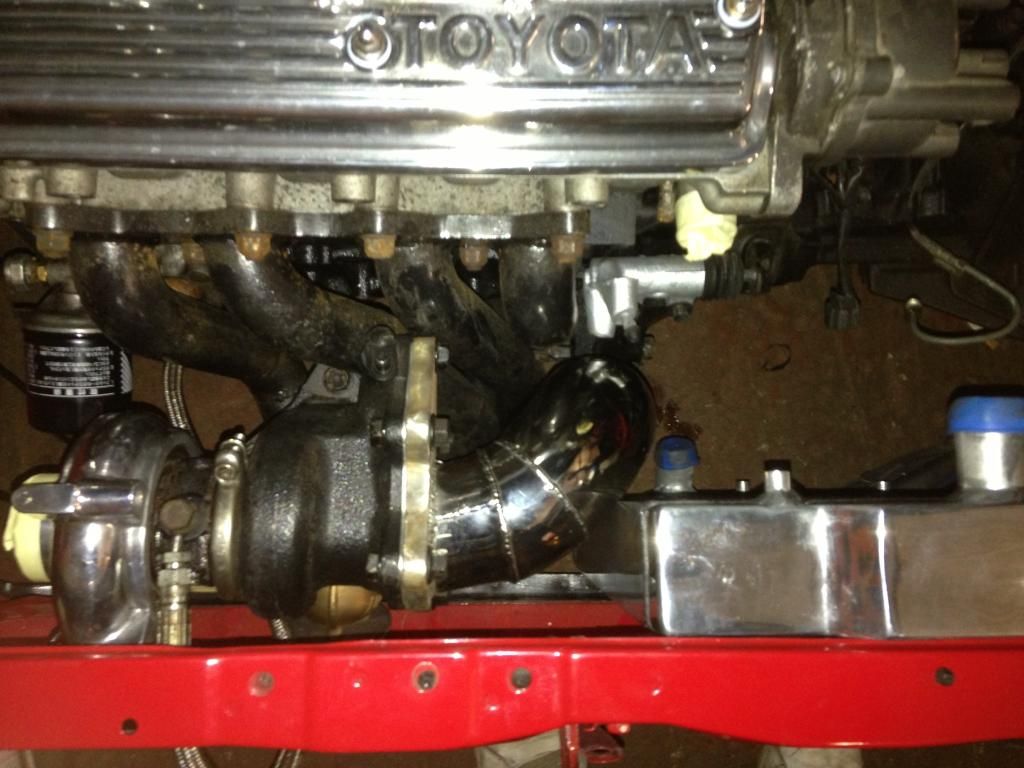
My friend Robbie from Icetronix phoned me to say he had a new pipe bending machine in that could bend 3" stainless. He was confident he could make ANY exhaust to suit ANY car, and wanted me to get him some business... So I gave him a nice headache to start with!
We loaded up the car and off we went...
Originally I wanted a wing exit exhaust. We planned to run up and over the turbo and then out the drivers side wing, but the angle of the bend coming up from the turbo was too tight and it wouldn't allow enough clearance for the bonnet to close.
Dead set on wanting to be different with a wing exit exhaust, we looked at running the exhaust down and under the turbo kit, then back up at an angle and out the drivers wing. However it was running too close to the oil filter and I was afraid we would run the oil temperature sky high with a red hot exhaust running past the filter.
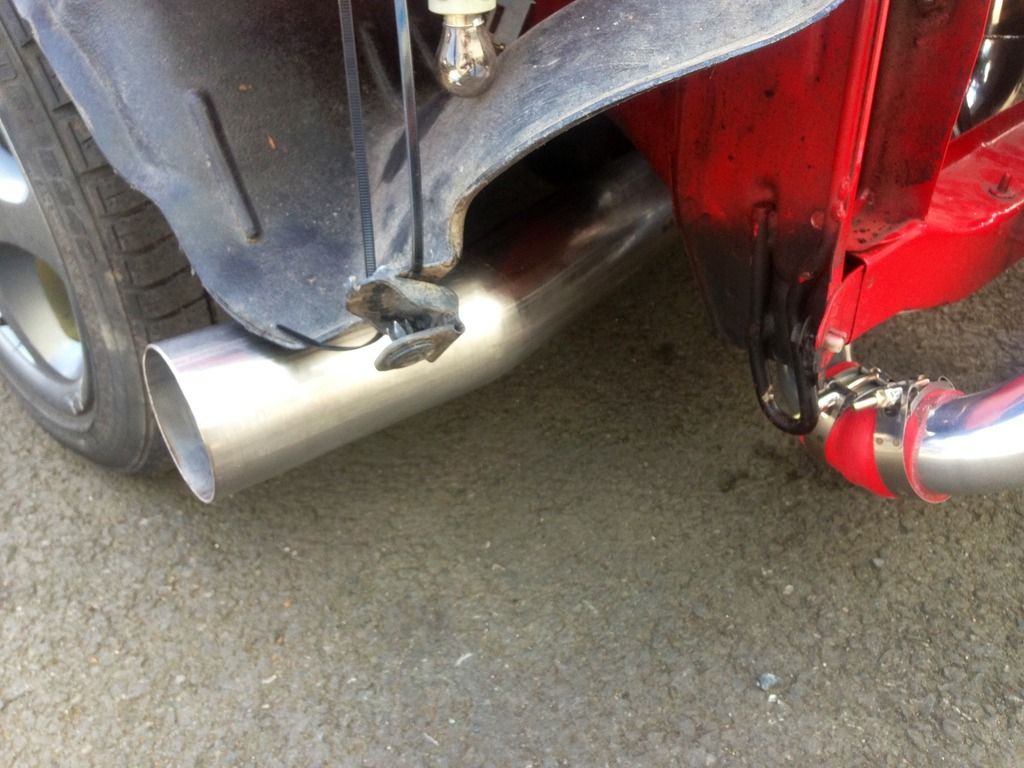
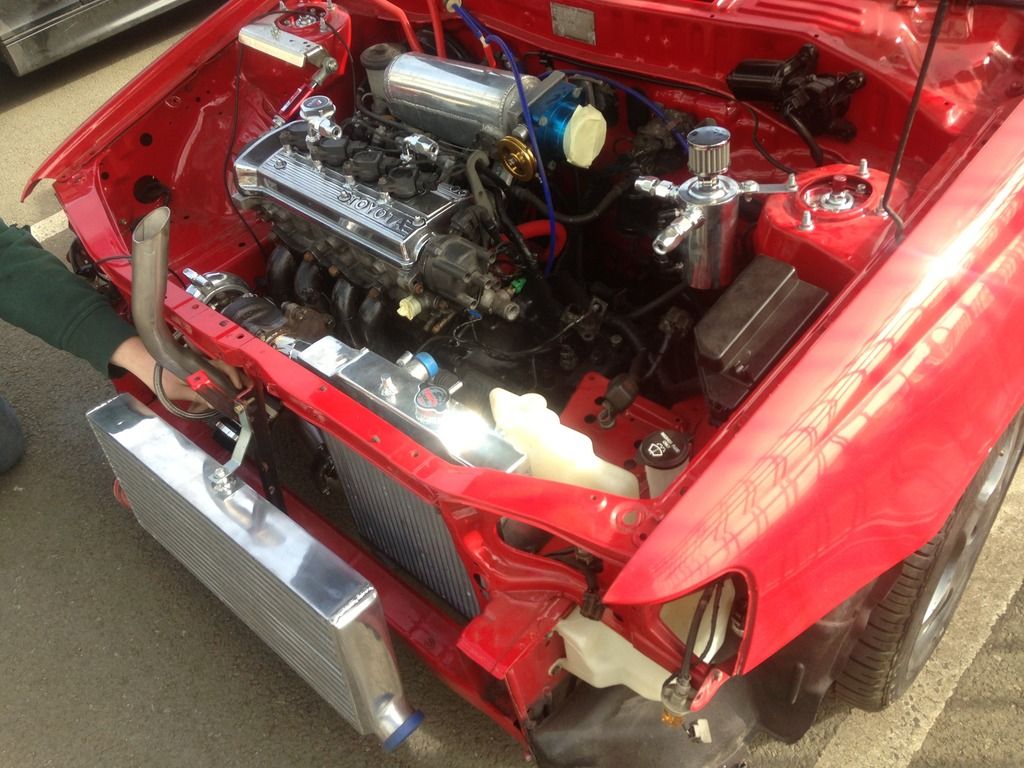
In the end we opted for a 3" straight pipe side exit exhaust. It was braced to the block for extra strength.
To allow clearance for the clutch line into the slave cylinder, we cut the downpipe at the flange and changed the angle of it to allow clearance for the clutch line.
A flange was incorporated halfway along the exhaust to allow quick and easy removal if needed.
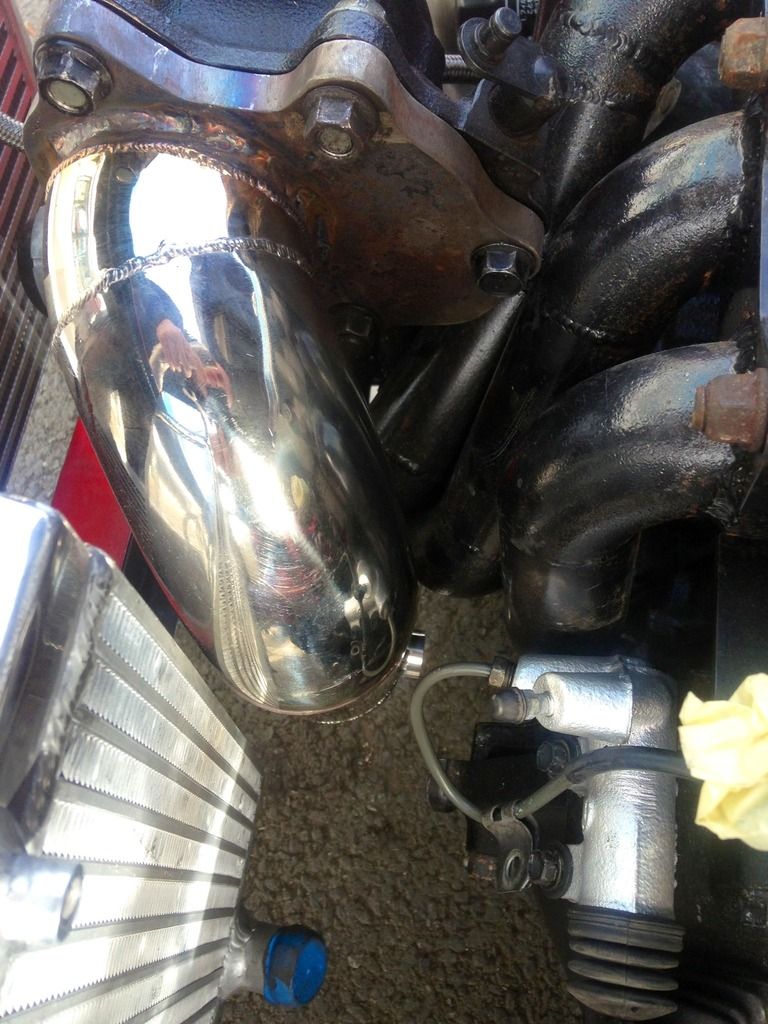
In addition to this, we also fabricated a full length stainless steel bracket to mount to the bottom of the front panel. This bracket has my intercooler brackets and the bottom rad brackets welded to it and is very neat.
Now for the fun bit!
I flipped the external wastegate upside down so the screamer pipe was angled upwards. We then fabricated a stainless steel bonnet exit screamer pipe!
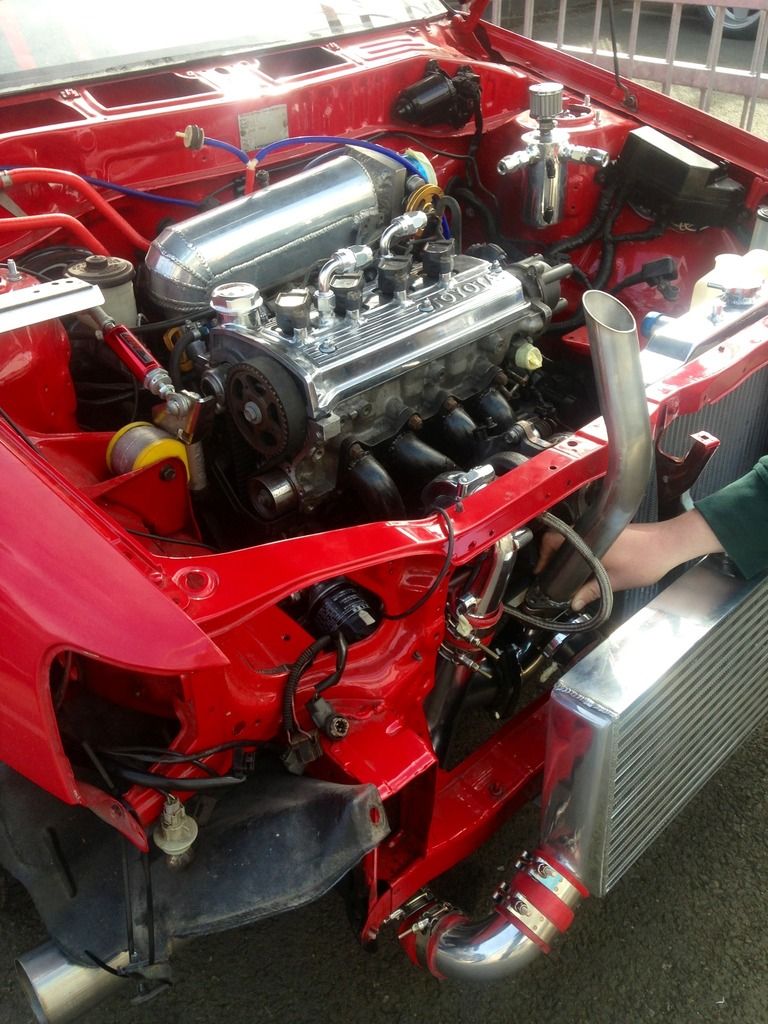
The exhaust was finished and was very neat and tidy. Thanks guys!
With the position of the exhaust and the screamer pipe now finalised, the car was now ready for paint. Off she went same day to my painter and both of us got stuck into the car straight away.
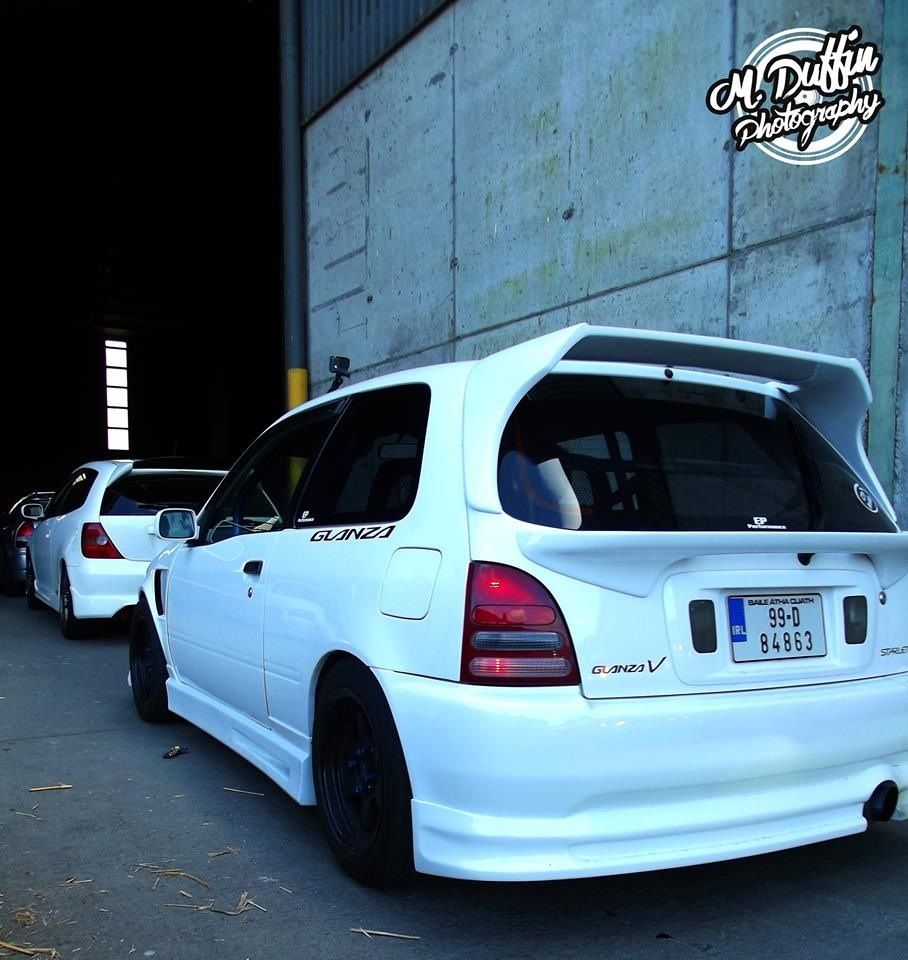
I have a full genuine TOM's bodykit to be fitted, polycarbonate windows, lightweight fibreglass vented wings, lightweight fibreglass bonnet and lightweight fibreglass bootlid.
First on the to do list was fit the vented wings so we could then mont the OEM moulding kit over them. After having the wings on and off a few times and making some light adjustments we had them sitting good and the panel gaps to the bonnet and doors all good.
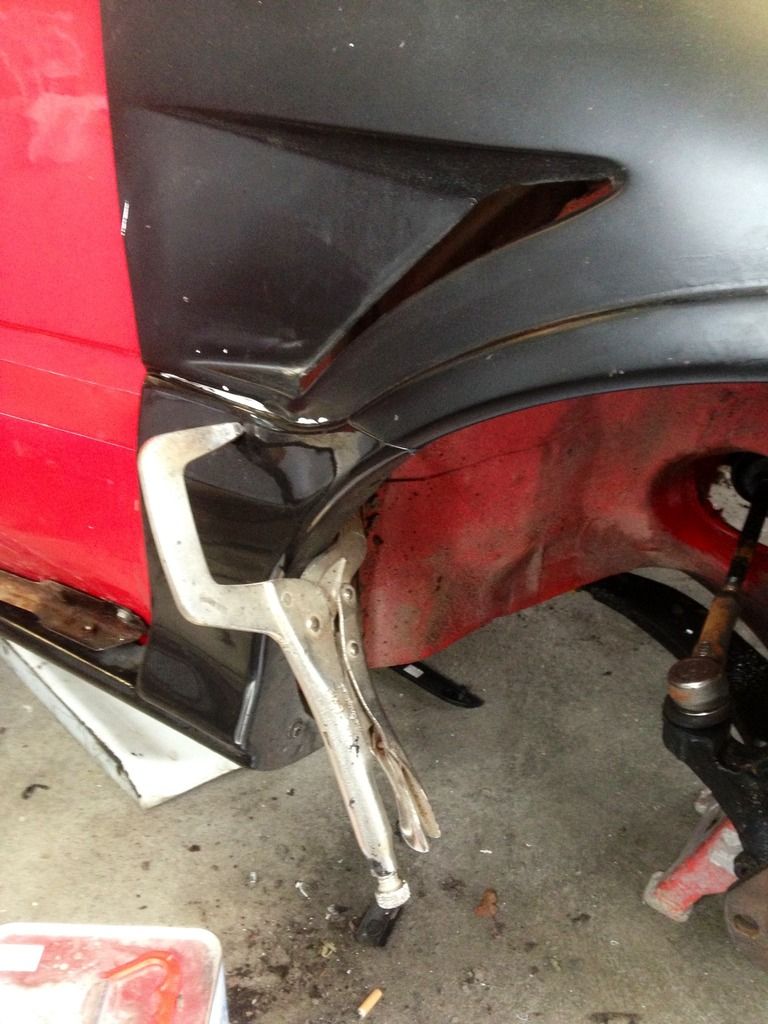
We then moved on to the OEM GT Turbo moulding kit. Because the EP85 didn't come with mouldings from factory, we had to use EP82 door and sill brackets to hold the mouldings to stop them flapping around. We carefully measured the bolt holes and drilled the brackets into the ep85 using all the original screws from the brackets.
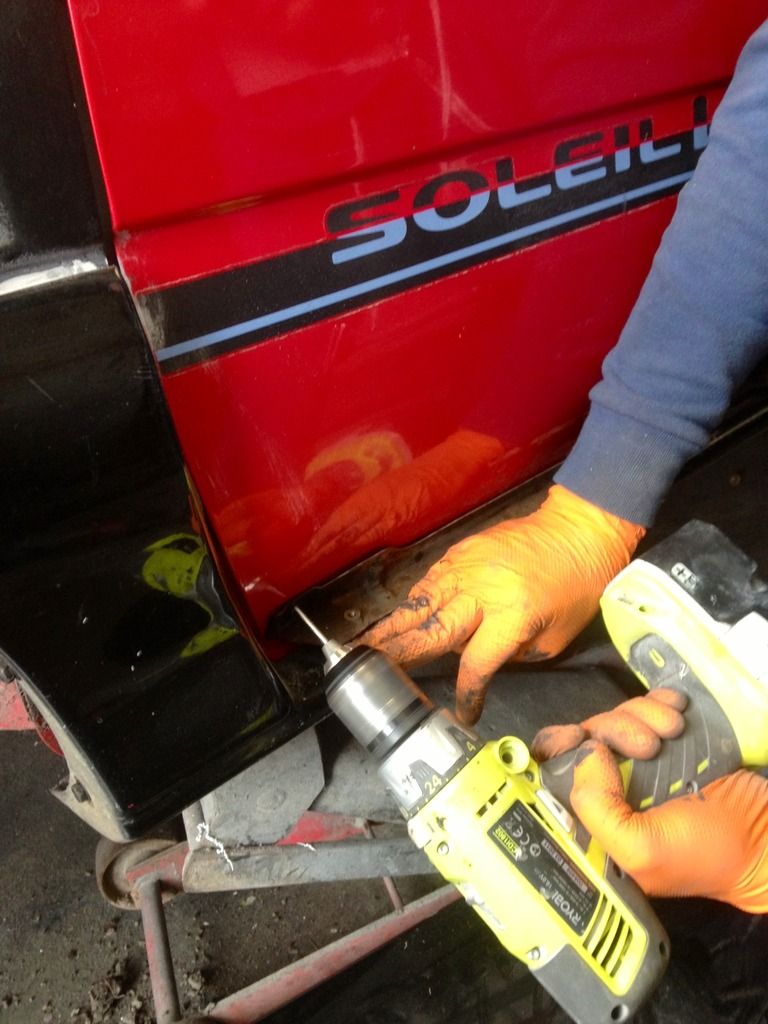
After a lot of careful measuring and taking the moulding on and off several times we finally got them to sit perfect and not rubbing anything with the doors opening and closing...
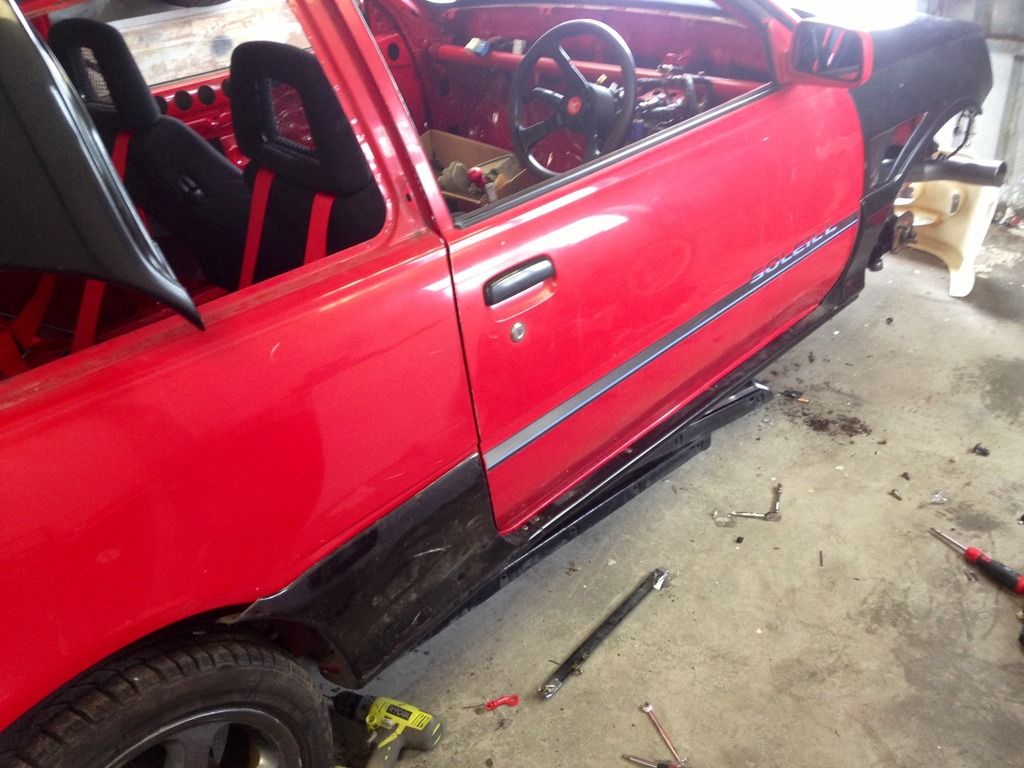
We removed the old door stickers with a heatgun and bit by bit we worked our way around the car, fitting the mouldings as we went and checking everything lined up and gapped ok. They were all bonded and clamped so they sat even and flush with no gaps...
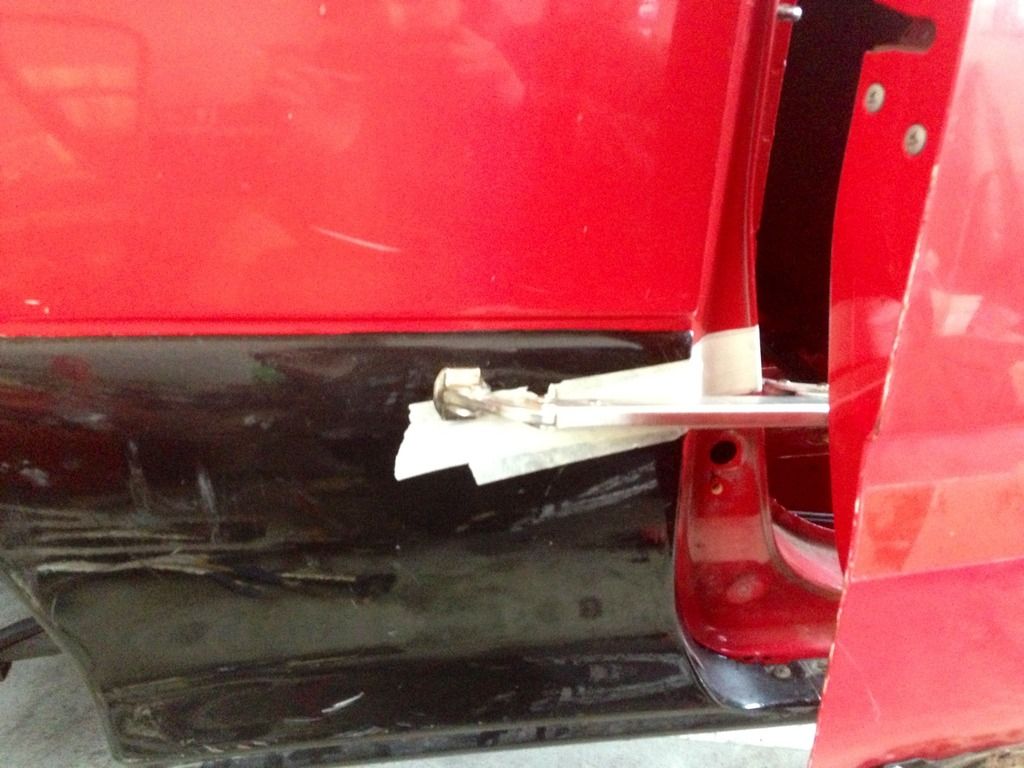
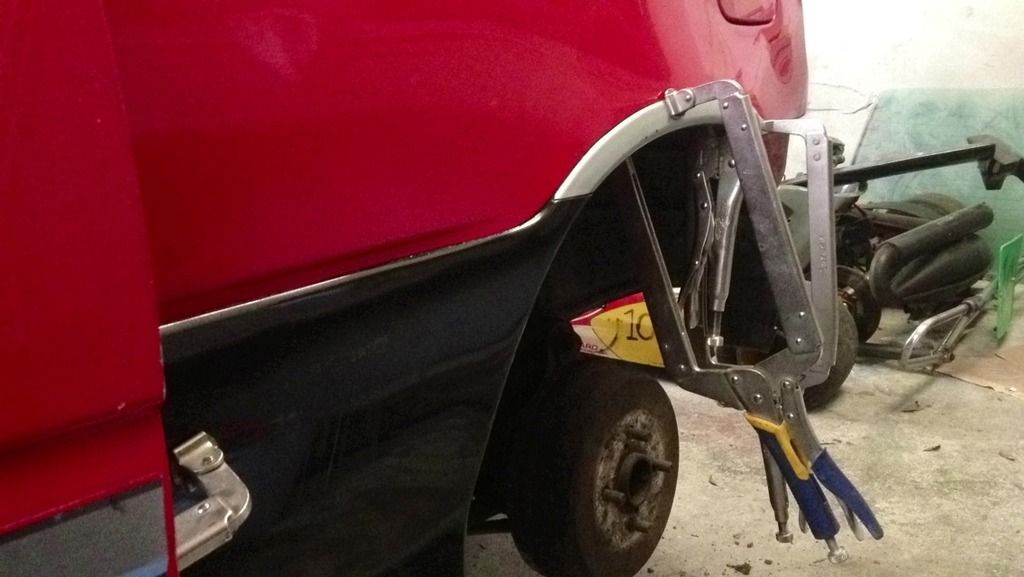
Then the fun bit started! After much stressing and measuring we eventually took the plunge and cut the bumper for the side exit exhaust.
Thankfully our measurements were bang on and the hole was perfect...
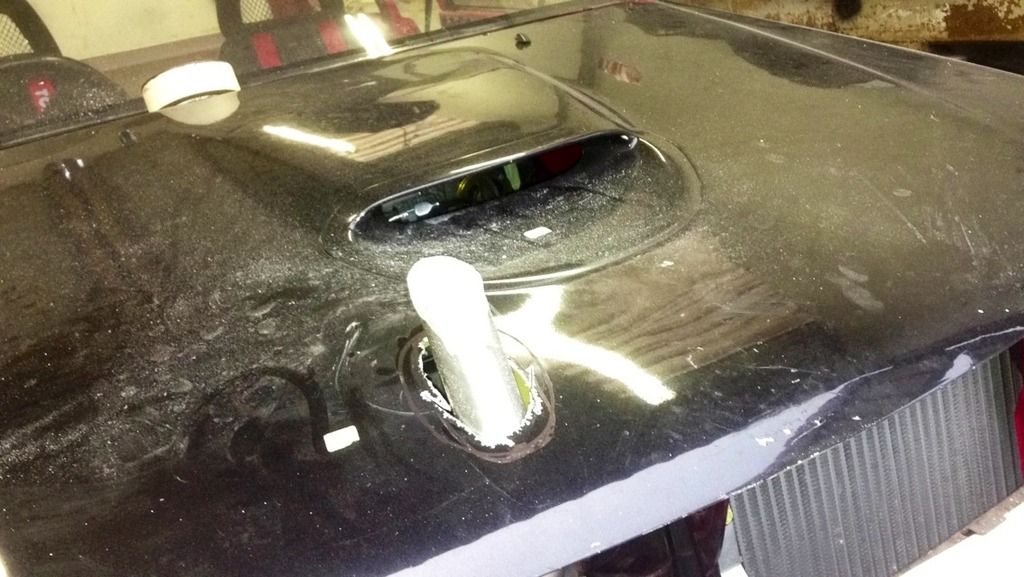
While we were feeling lucky we masked up the screamer pipe and roughly marked the bonnet for the screamer pipe exit.
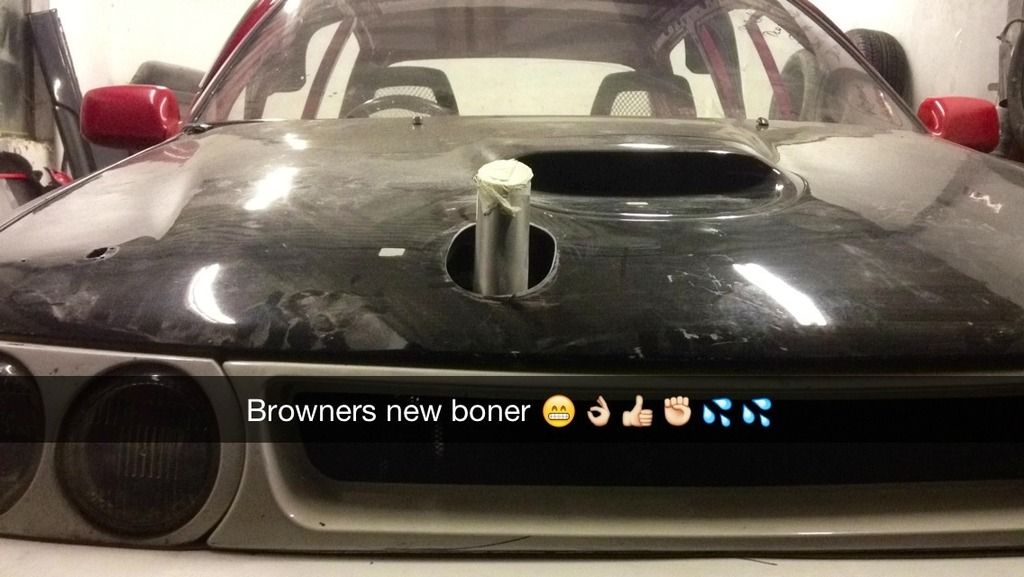
We weren't so lucky this time and this hole took a lot of cutting and shaping to get 100%. As with the bonnet, I wanted to leave a good gap around the pipe so the fibreglass or paint wouldn't suffer any heat damage. The hole was awkward to get correct as it had to be an elongated hole because of the angle of the screamer pipe.
The finished article
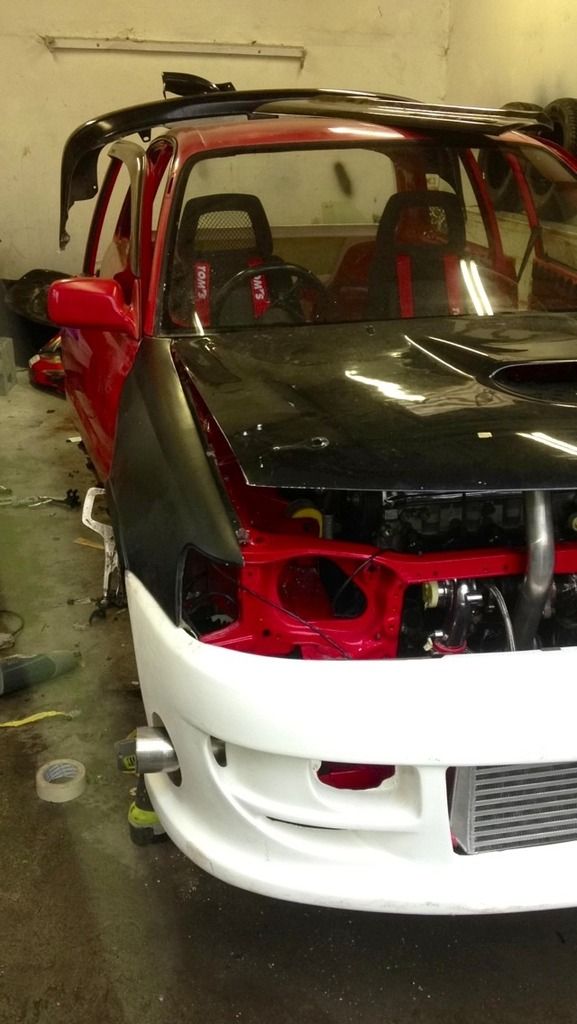
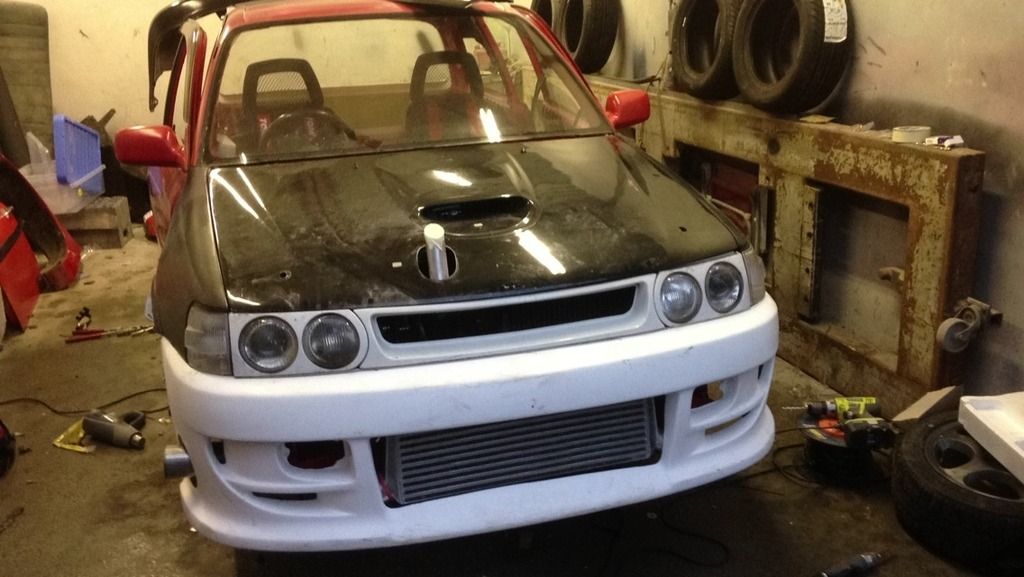
With the wings and moulding kit fitted and the bumper and bonnet drilled, it was now time to build up the front of the car.
Then came a problem... Because the car was square light originally, the front panel was different and the quadlights would not fit.
We modified the front panel slightly so the headlights would slot in
And hey presto it's beginning to look like something...! I decided to run with clear indicators instead of the quadlight indicators just to be a little different.
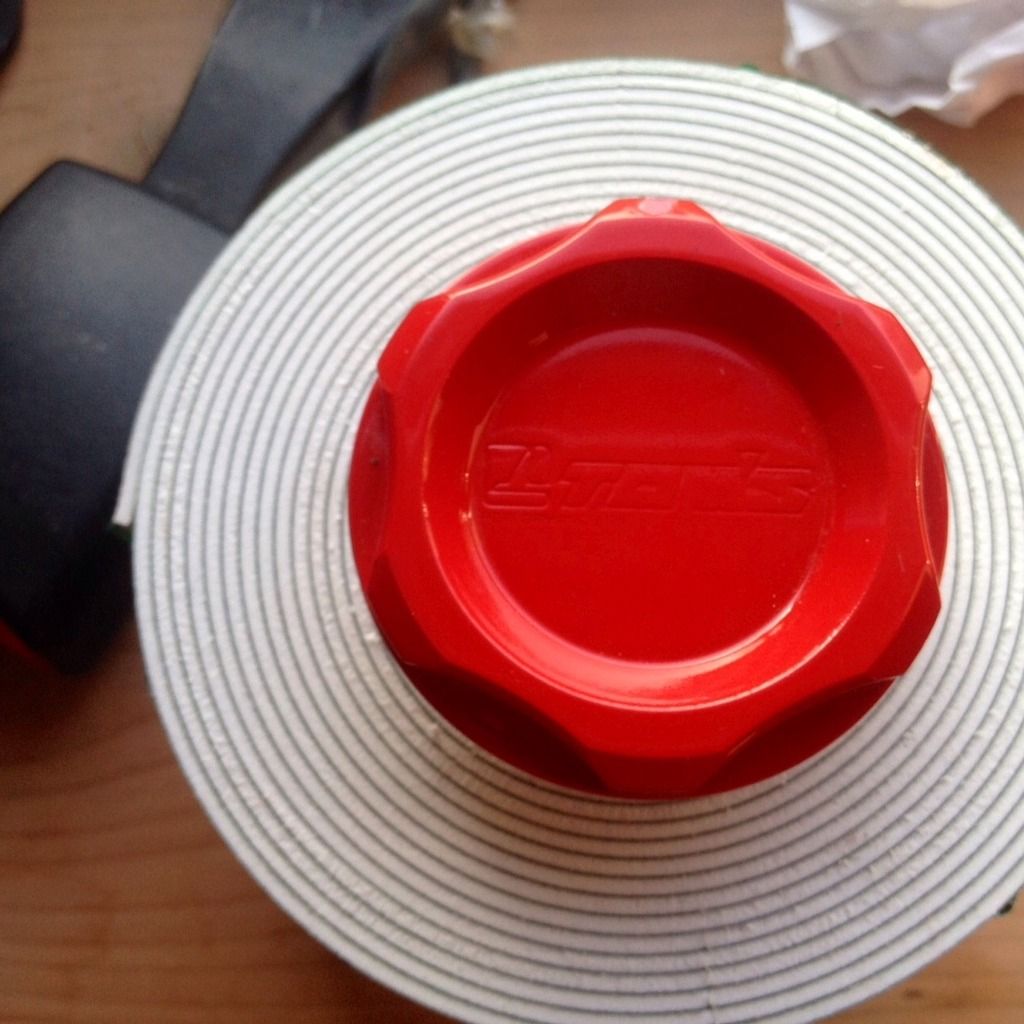
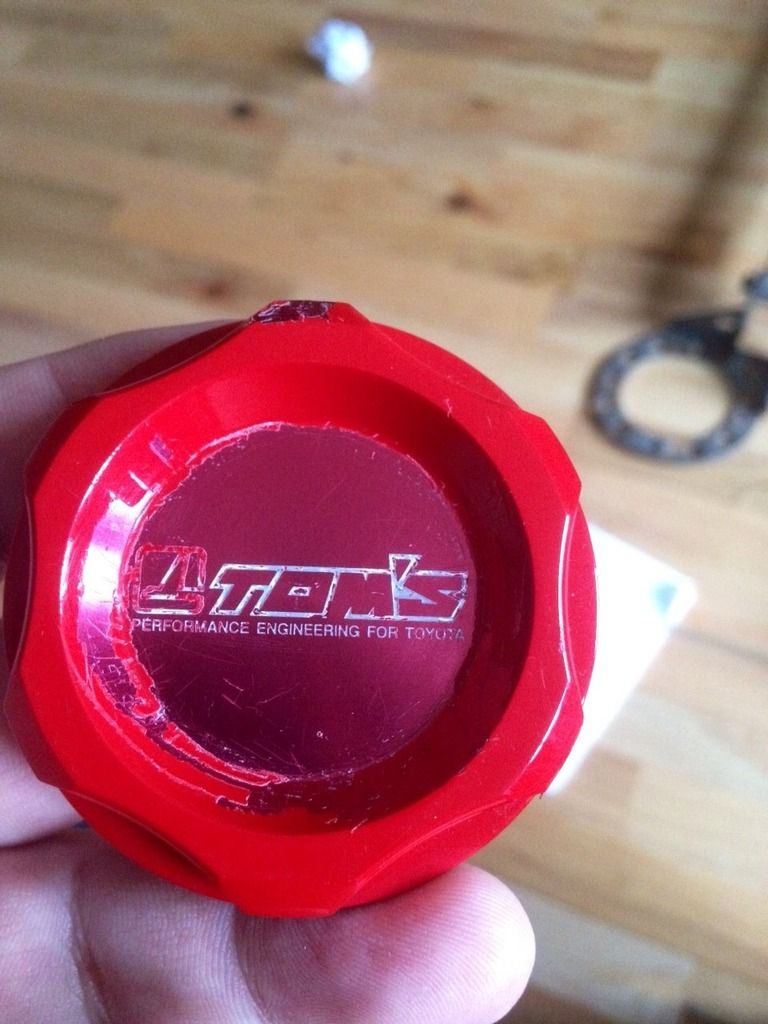
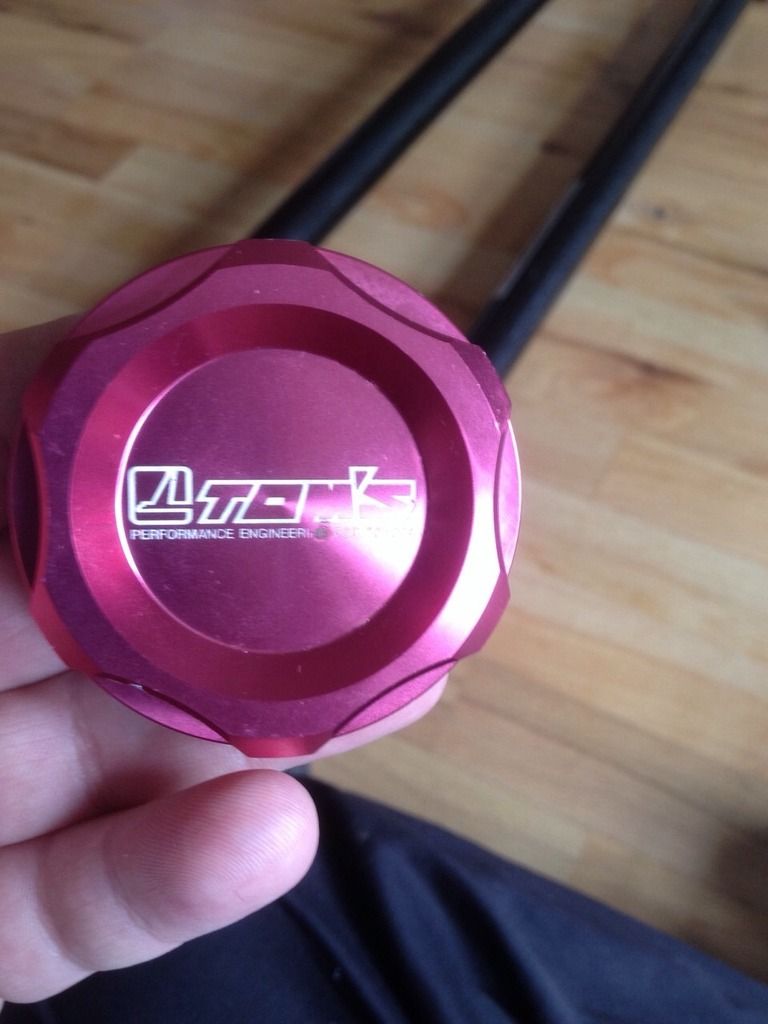
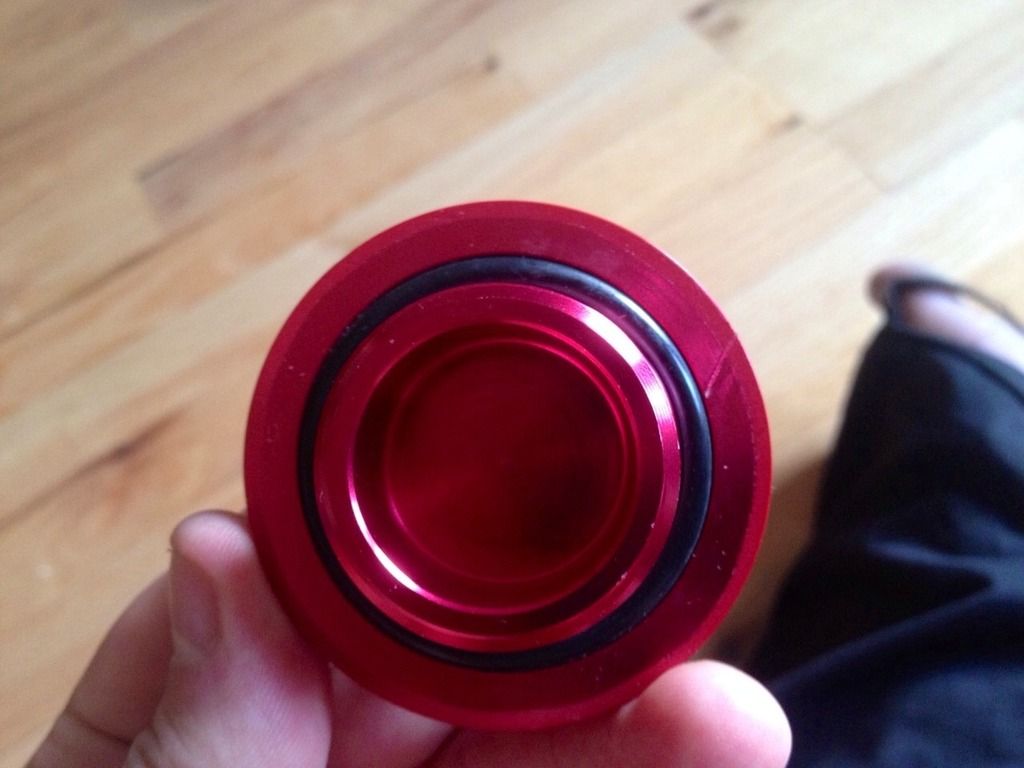
I also got this little beauty! A genuine TOM's oil cap in red. Unfortunately it was covered in red paint but it cleaned up well.
Lots more updates to come folks!
-
Took the car out for a few runs on the strip...
Nice to be driving her again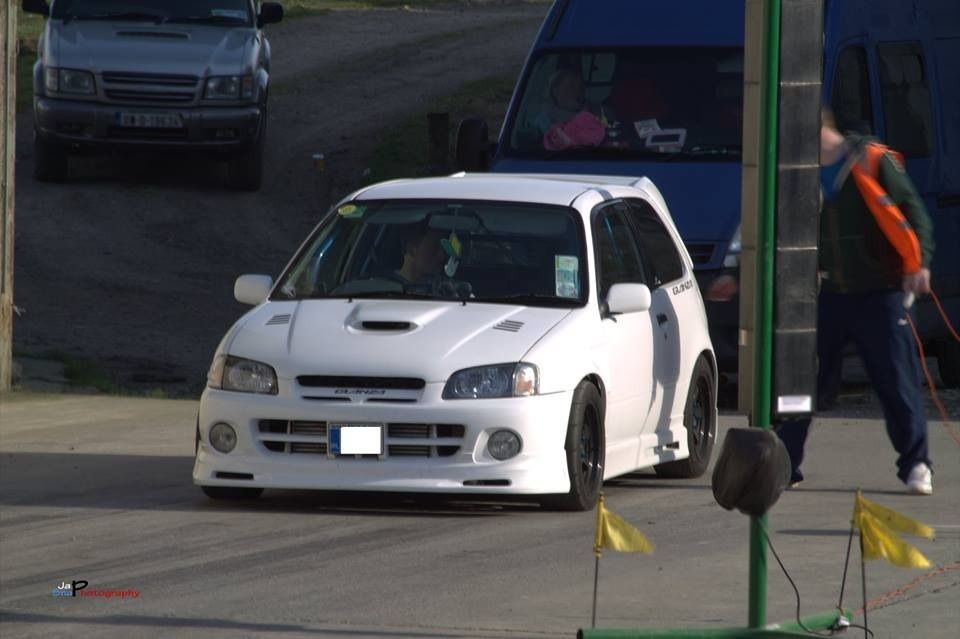
-
Yeah we were thinking about making something up from the original seat rails mate but brains here threw them in the skip sometime last year

-
PM on the way to you Vincent
-
Welcome along mate great to have some more Irish guys on here
-
I have one here in good condition
-
How many braces do I get for £200? lol
-
Cool
-
I have the wheel spacers here mate


Gram Light Alloy Stickers price drop
in Starlet Parts For Sale
Posted
Looks like you'll be taking this brace to the grave with you Dario