


Monkey
-
Content Count
89 -
Joined
-
Last visited
Content Type
Profiles
Forums
Wiki
Media Demo
Store
Calendar
Posts posted by Monkey
-
-
I'm after doing a conversion to central locking and leccy windows, I've sourced the internals but have just called a breakers and been quoted £60 + vat for the driver and passenger door cards and switches?
How does that sound?
-
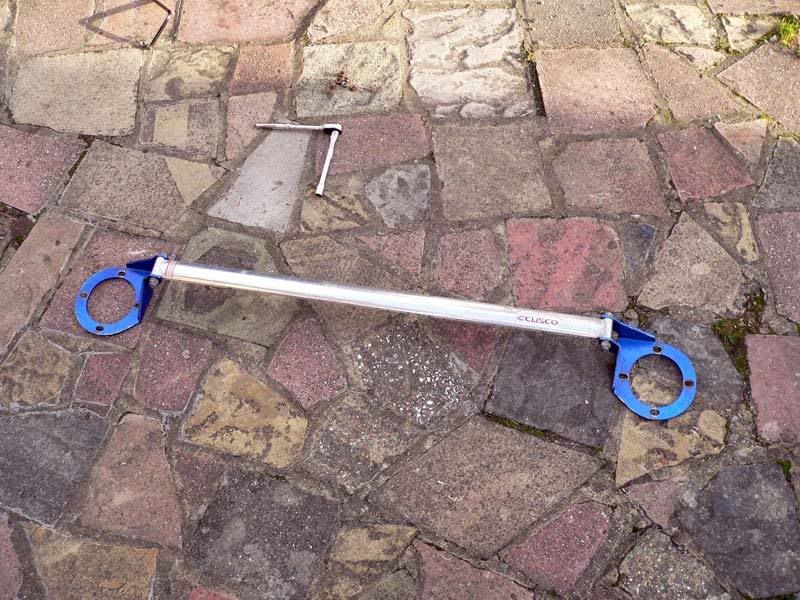
I'm after some Starlet SR 25mm TTE springs if anyone has any going?
Cheers
Chris
-
That looks well smart. If you lowered it aswell it would be amazing!!
I took my bump strips off because i prefer them off but your right about idiots banging the sides. I worry all the time about it even though i park miles away from wherever im parking up like a supermarket.
Keep up the good work!!
I do intend to lower it but haven't decided whether to go for springs and a panhard rod or save up and go for coilovers. Found out yesterday that my job is safe so should be getting a nice little payrise soon, extra moolah to spend on my baby
 Nightspirit tells me that a panhard rod is not essential with coilovers but is with just springs to maintain alignment?
 -
just have them painted on the car man, no sense pullin them off for no reason incase u remove some paint by accident at the same time! and your paint ideas sound awesome, for an idea of the over all effect of colour coding everything u can have a gander at my car. i like it, just looks tidier to me, some people dont do the bases as they like to break up the colour but i dont see the point in that! MORE TROPICANA PAINT IS BETTER!
Phil.
edit: and get the handles done too!!!!!!!!
Handles!!! What a sweet idea, hadn't thought of that. I need the car every day so I will get some mirrors and handles from a breakers, get them painted and stick them on. How easy is it to get the handles off, what does it involve? I know the mirrors are pretty easy. I reckon I'll go for the full colour coding rather than leaving the bases black tbh, I'd just prefer that, each to their own...
-
nice wee update there, are you goin to keep the side mouldings?
I like the idea of having something there to stop idiots in car parks marking the doors. I've been sat in the car after grabbing some shopping and the person next to me has tapped the car with their door as they've got out. I try to park away from other people as best i can but sometimes it's unavoidable. I'll probably pull them off and get my mate to colour match them. It'll be cheaper to get them resprayed than a door if they get marked. Might get the mirrors and bases done at the same time.
-
A nice little before and after direct comparison
Before
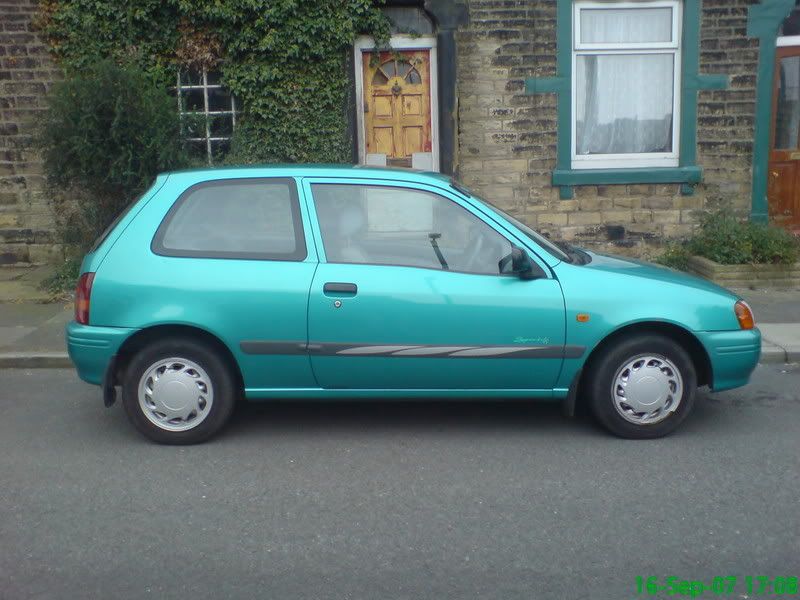
After
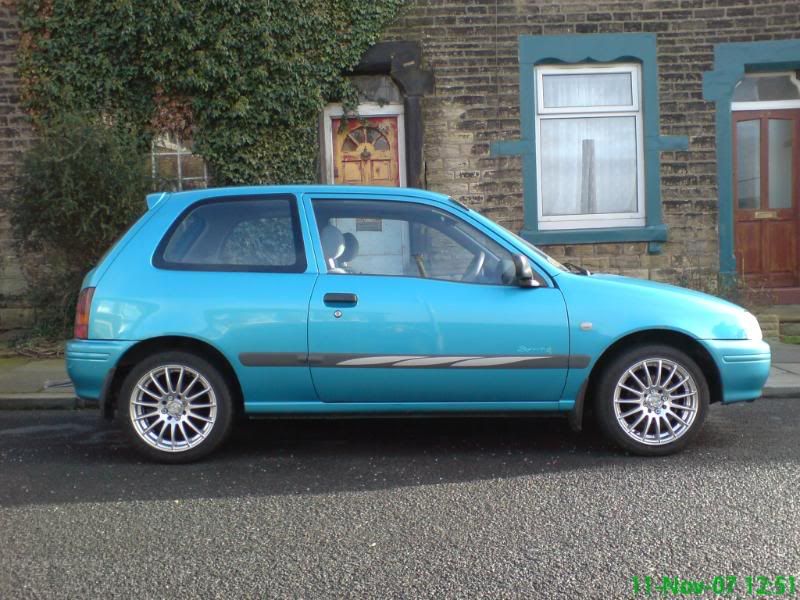
You can really see how different light affects the colour of the car, green in the first pic, blue in the second.
Sportif sticker is off now too
-
Is it just me or does your car look very Carribean Blue in them pics?
The colour of the car seems to vary with the light, sometimes it looks more blue, other times more green.
The original purchase receipt (which I have
 ) says "Tropicana"
 -
You better slow down or you'll have nothing to do in the new year...
Oh, don't worry, I'll find something
-
15" wheels and Toyo tyres
-
It's on!
Full Side profile
-
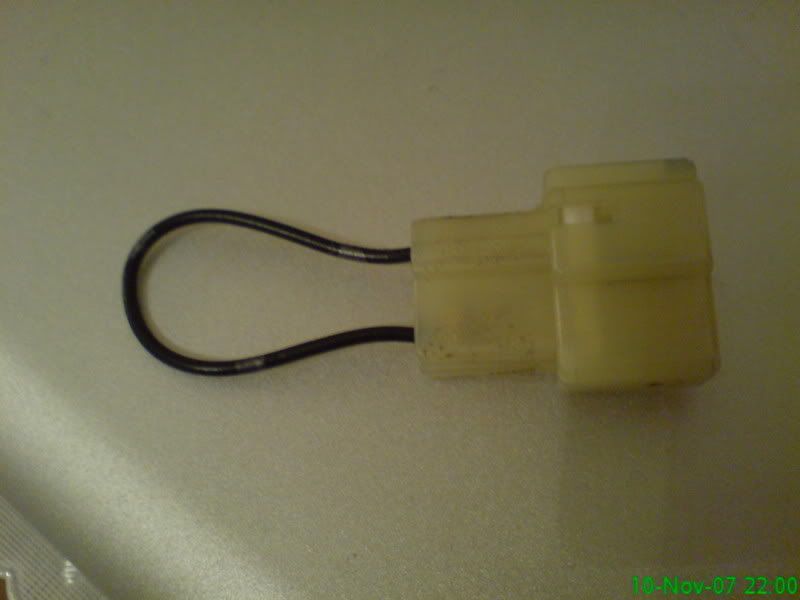
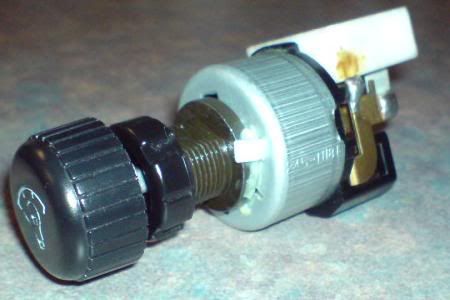
Cluster dimmer switch sourced!
Phil.
Nice one mate, you'll find a T shaped connector with two wires (white and white/black) coming out. This connector is plugged into a blanking connector that simply loops back on itself. This connector is taped to the loom behind the drivers dash panel. You got all three parts of the dimmer right, the dimmer itself, the locking ring and the knob. Pop out the little gray plastic clip and it slips into the hole left behind
I'm sure you could have worked all this out for yourself but thought it maight save you a few seconds.Loopback connector
-
Seen this car in the flesh and it's mintier than Mrs. Minty's Special Recipe Extra-Minty Mint Sauce
-
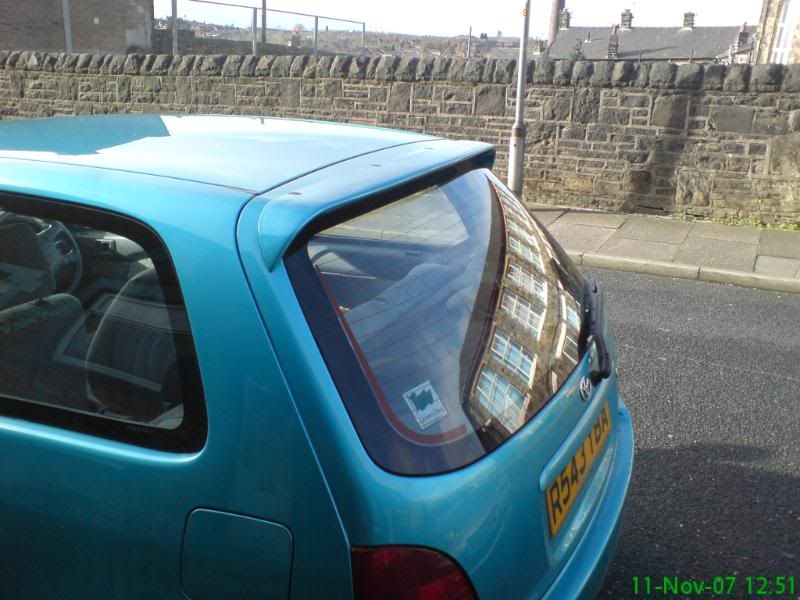
Spoiler looks good mate, hope you got my text message last night
Don't worry mate, I knew you couldn't make it.
Didn't get chance to put the spoiler on as i was sorting out my Nan's freeview and had a ride over to Stockport to see off some biker friends doing a Children in Need charity run. They have a Pudsey bear that has been riden from Edinburgh to Telford in stages with different bikers today and will continue it's trip to the Ace Cafe in London tomorrow. I would have been doing the Stockport to Derby leg but I had to be in Oldham at 5 to pick up this from Nightspirit.
It's already fitted!
-
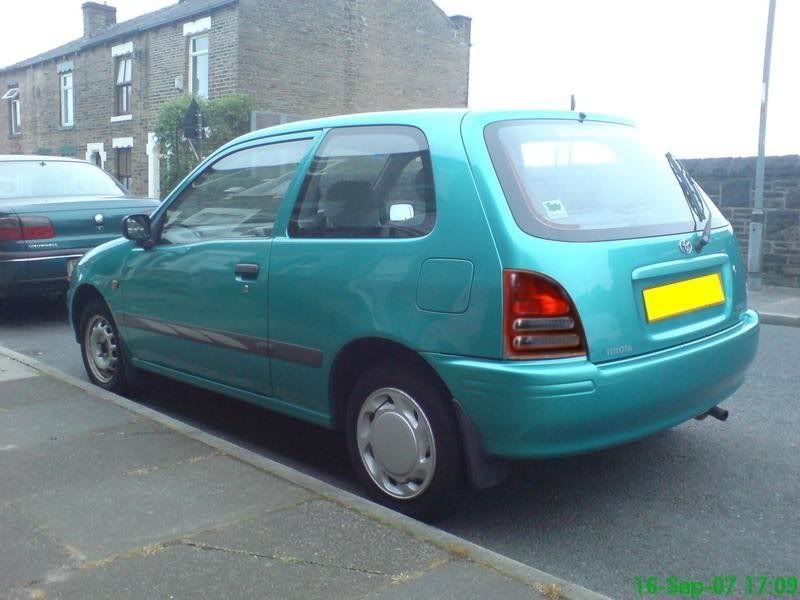
1997 R reg 1.3 Sportif in Turquoise
My mates elderly mum owned from new
Garaged every night from new (until I got it)
Full Toyota Service History
Totally standard and immaculate inside and out apart from small scuffs on the wheel arches from putting in and out of garage.
23,000 miles only on the clock
£800 in September this year
Spent nearly the same on it aleady ha ha
-
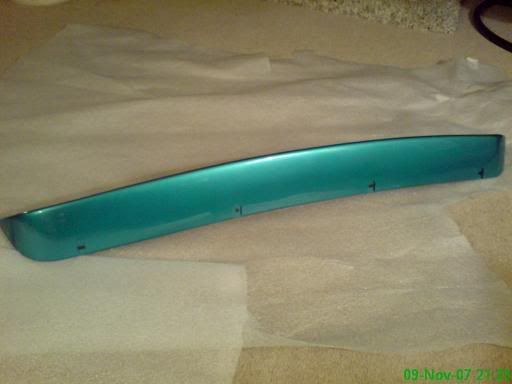
Got my spoiler back from the painters, gonna fit it tomorrow before Idrees and Junaid come over to me.
-
No problem Phil, I'll take a pic later on for you.
-
wow man u r good with the old wiring arent ya good on ya
If I was that good, it wouldn't have taken me this long

Got a nice freebie from the local scrappers today though. When I was doing the clocks on mine, I noticed the connector was on the loom for the dash dimmer switch. Took one of an SR at a scrappers in Rochadale, took it to the counter and the guy looked at it and said, "Go on, treat yourself." :0)
Nipped into RRG around the corner out of curiosity and asked how much it would be to buy one new (didn't mention I had one). "Er...£54 including VAT mate" I thanked him and walked out with a huge grin on my face.
-
Check out the for sale section!!!
The guy I got my clocks off has another set, the details are there.
Better be quick!!!

-
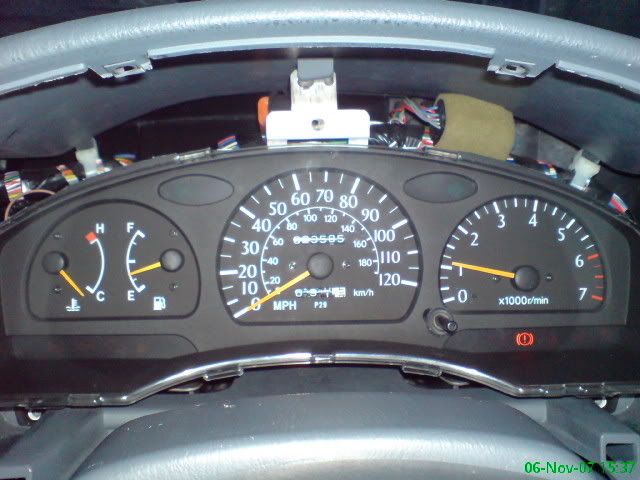
What do you do if you have bought a nice set of Paseo clocks to fit to your Sportif so you can see those lovely revs, or you have bought another set of Sportif clocks to replace a faulty set. Obviously the mileage is not going to be an exact match to that of your current clocks? To remain legal, you should roll forward or back the mileage on the new clocks before you install them. Here's a step by step guide on how to do this (Please note: SR clocks are different and this guide will not tell you how to adjust them as the odometer tumblers are different)
This guide is intended to help you make sure the mileage displayed in your car is correct and should not be used to doctor the mileage of your car for any other reason.
1. Remove the clear and the black plastic sections from the front of the clocks by pressing down the tabs on the top and bottom.
2. Remove the speedo needle by simply pulling it upward, it can be quite stiff.
3. Remove the two small black screws that hold on the face of the speedo. If you have not already managed to remove the needle, you can pull upwards on the face (*carefully*) and this should give you the extra force and leverage to 'pop' it off.
4. Undo the two gold and two silver screws on the back of the speedo and remove it from the cluster.
5. Looking down on to the speedo number barrels you will see two silver screws. Remove these.
6. You should now be able to carefully extricate the odometer section from the rest of the speedo.
7. If you only have a few thousand miles to add or remove you may at this stage wish to manually spin the worm gear (you could use a dremel with one of the small white polishing mops on to spin it).
8. For greater mileage alterations, the next step can be a little tricky. If you look on the end of the shaft nearest the 100,000s roller you will see a small external circlip. Use a small flat bladed screwdriver to press this off the groove in the shaft.
9. You can now slide each of the tumblers along the shaft so that they no longer interlock and rotate each one to the correct figure. Ensure that each tumbler meshes correctly with it's adjoining tumblers when you push them back together.
10. Once all digits are set correctly, you need to replace the small circlip, this is even trickier than removing it but again can be pressed into place in the groove on the shaft with a small flathead driver.
11. Slide the odo section carefully back into position in the speedo ensuring that all gears have meshed successfully and replace the two silver screws.
12. Place the speedo back in the cluster and secure with the two gold and two silver screws at the rear.
13. Replace the face and the two small black screws.
14. Press the needle gently back onto the shaft. It is unlikely that you will get it spot on zero (or just below). If you are slightly over, gently rotate the needle back against it's stopping point and you will feel it move. Allow it to come to rest and check position. If it is slightly under, rotate the needle right around the face to the opposite stop and apply slight pressure to spin the needle on the shaft. A bit of trial and error and you'll get it where you want it.
15. Replace the clear and black plastic sections and bobs your uncle
I hope you all find this useful.
I'm happy to do this for you if you are willing to send me your clocks and pay for the return postage. Simply picture message me a photo of the mileage on your current clocks after you send the new ones out and I'll set it spot on for you.
Thanks
Chris
-
Problem solved, wiring was fine but tacho wire in loom was dodgy. Tracked back and ran a direct feed to connector B pin 6...job done
-
Now sell me your Paseo Clocksgood luck with it all, u gna use paseo or sr clocks now?
Now that I know my wiring is sound, I'm gonna give the Paseo clocks another chance.
Oh and i've also managed to correct the mileage to match my old N/A clocks
I'll do a how 2 on it now.
Sparky, type in 'paseo breaking' as an ebay search. A couple came up and one of them that I rang had two sets of clocks, he might still have the other one, I'll let you know if I find the number.
Chris
-
Glad you have your tach working now
Thanks to David but with much guidance from others, I now have a working tacho. Turns out to have been a dodgy tacho pulse wire all along, the wiring was sound. Tapped into the tacho wire earlier in the loom and ran a feed up to the clocks and hey presto!
-
Thanks to some nifty photoshoping by Shelly Star I think I've decided to go for Reflet rear lens covers.
Check it out!
-
Shelly
That's exactly what I was after, you really are a star!
Thanks
Chris
Sparky's Carbon Clad Glanza Replica
in EP91 Progress Blogs
Posted
Maybe I should Glanza mine, what about a Tropicana V