


The TD04-13T (TD04L) turbo is a very popular turbocharger in the Starlet World! The standard CT9 turbocharger is out of puff at 200bhp where as the TD04 turbo is good for a further 50bhp on the stock engine! They are very easy to get hold of as they were fitted to Subaru Impreza Turbos for over 8 years!
Being so popular there are a fair few out there that smoke and that means a rebuild is in order! So have a read through this guide, this very simple DIY process should stop any smoking from your exhaust from turbo seal failure!
TD04L Rebuild Kit - Avaliable on eBay
Hammer
Flat Blade Screwdriver
Socket Set
WD40
Blowtorch
Disassembly
Remove all the hoses and clamps, including the vaccum lines to the wastegate and compressor housing.
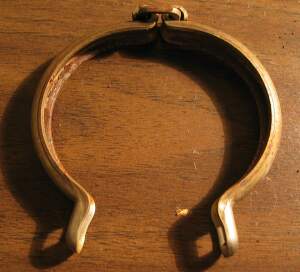
Then remove the clamp that goes around the center of the turbochargers core. Its usually a 10mm nut, once removed the clamp can be completely removed.
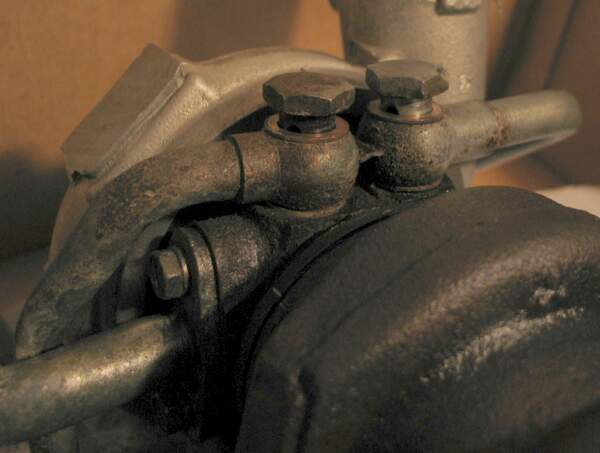
Remove the 17mm banjo bolts for the coolant lines, be careful not to loose the copper washers!
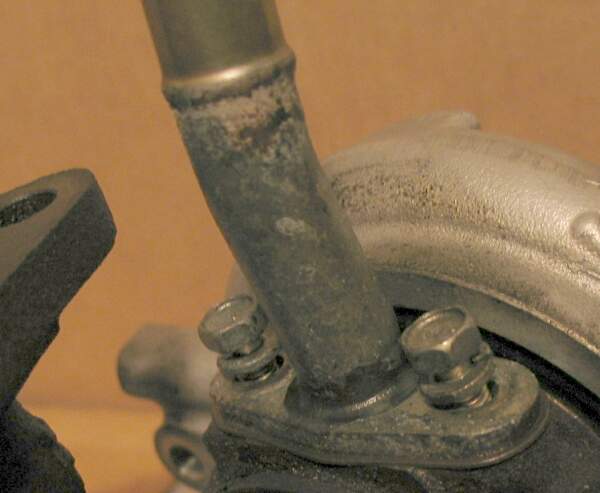
Remove the 2x10mm bolts that secure the oil return pipe to the turbochargers core. There may also be some sealant that may hinder the removal.
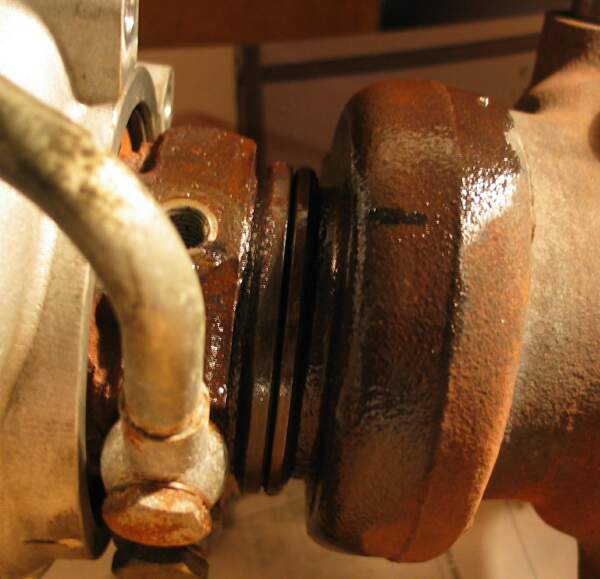
Now for the hard bit! Due to a nice tight fit, plenty of heat cycles, rust and age. The exhaust housing and the core will be nice and seized up most likely! Use plenty of WD40/PlusGas (Penatrating Fluid) to try and loosen the join. Flat blade screw driver and a hammer, Rubber Mallet or even some additional heat from a blowtorch will all help.
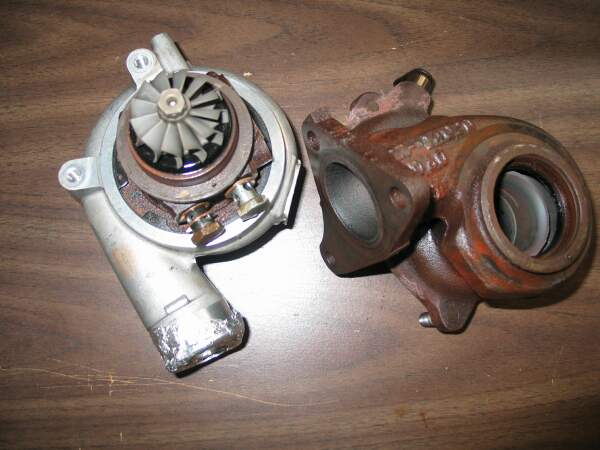
Once the exhaust housing is free from the core, the compressor housing then needs removing. You will need some snap ring pliers for this and it can be a little fiddley!
IMPORTANT
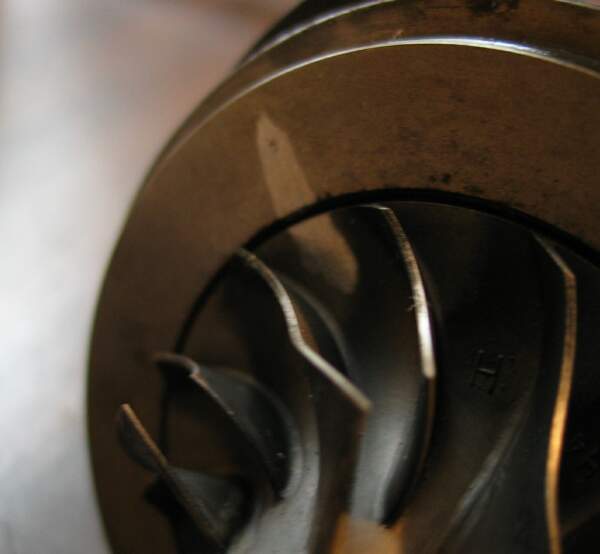
The turbocharger will be balanced perfectly and altering this balance will cause accelerated turbo wear. The exhaust and compressor wheels when removed from the shaft will need to be re-fitted in the exact same rotation as they were to ensure the balance is kept correct. Marking the shaft and wheels on the outsides will allow you to get this right on re-assembly.
Use an 8mm socket for the compressor wheel nut and a 12mm socket to hold the turbine end. Please note that certain TD04's compressor wheel nuts are reverse threaded so be careful!
Remove the compressor wheel, it should slide off the shaft and put it somewhere safe. Remove and bin the large rubber o-ring around the lip of the compressor side end of the core.

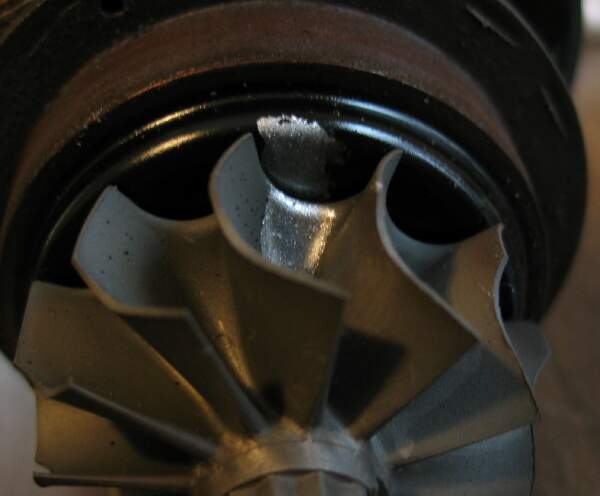
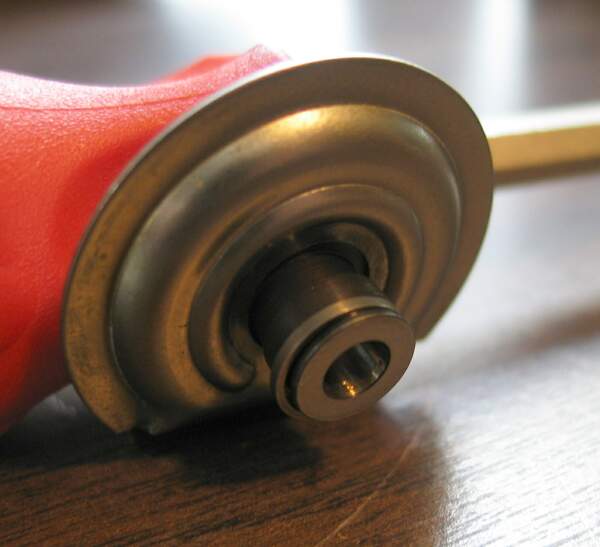
Push/Tap the shaft and it should come out complete with the exhaust wheel. Be careful not to bend any of the fins upon removal!
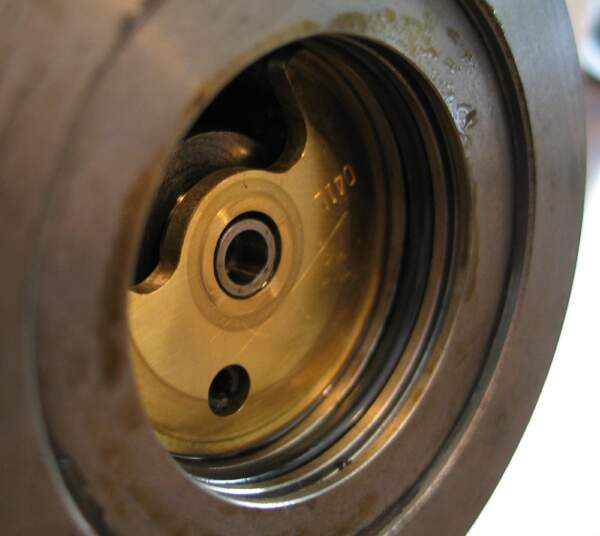
Using the snap ring pliers remove the visible snap ring on the compressor side of the core.
The clip holds the compressor seal in place. Remove the compressor seal from the core, using multiple flat blade screwdrivers or knifes at opposites will allow you to pry it out.
The compressor seal has a metal insert, it may have fallen out when you removed the seal.
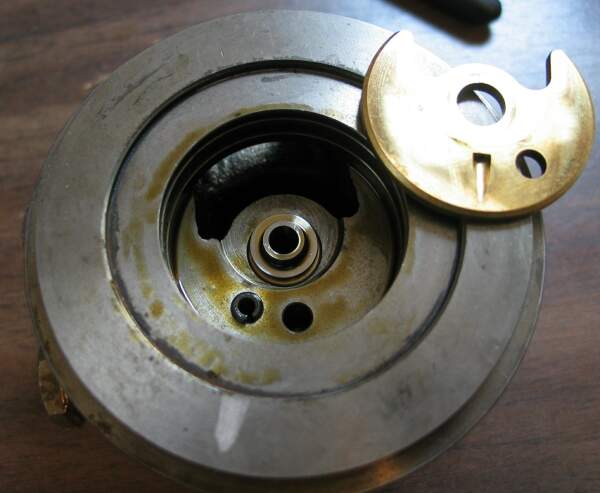
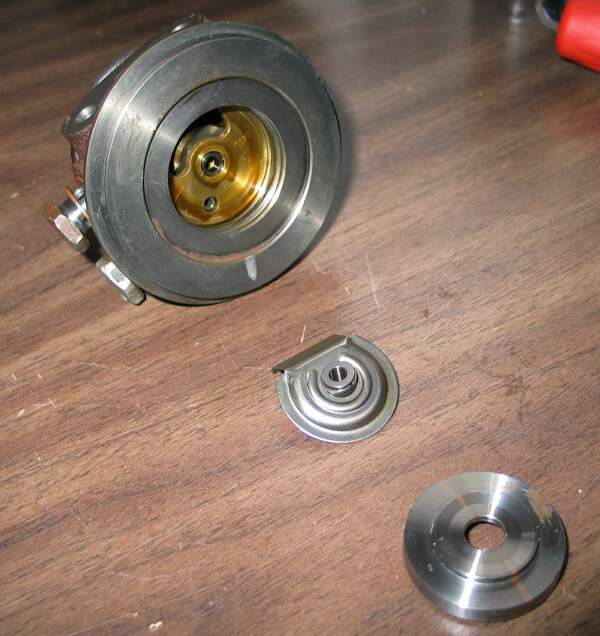
Remove the bronze seal plate. It pops out but may need a little persuasion. Remove the interior o-ring from the compressor side.
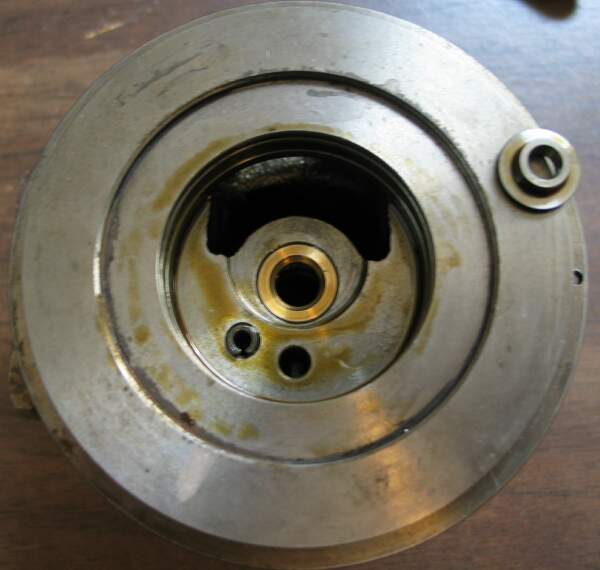
Remove the small spacer found beneth the bronze seal plate.
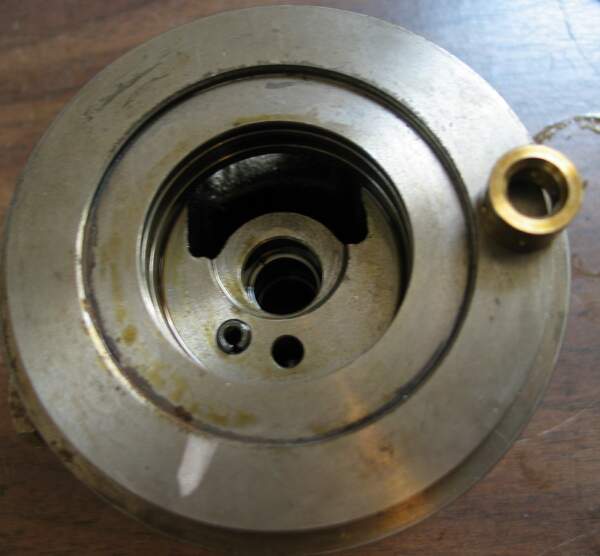
Remove the compressor side bearing.
Re-Seal & Re-Build

Lubricate with some oil the new bearing from your rebuild kit and fit it into the compressor side.

Place the new bronze seal plate spacer on top of the new bearing, then install the new bronze seal plate. This should click into place and there is only one proper orientation.

Fit the replacement o-ring.

On the end of the compressor seal insert there is a piston ring type ring. Remove the old one and replace it with the new item from your rebuild kit. Ensure plenty of lube is used and fitting the new one is actually quite easy. Ensure its fully seated before carrying on!


Assemble the compressor seal insert and compressor seal.

Fit the snap ring back in place that holds the compressor seal in place.

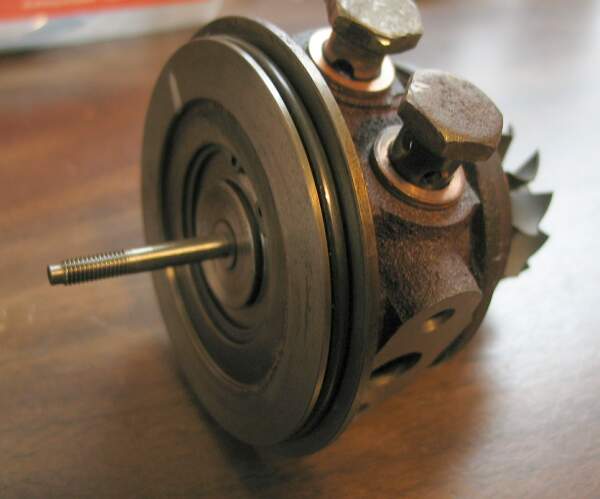
Replace the piston ring on the turbo shaft. Very similar to the one on the end of the compressor seal insert. Fitting the new one can be difficult due to a groove just above the ring.
Reassemble the turbine side using plenty of lubricant. Slide the bearing onto the shaft and insert the shaft back into the core until it clicks into place, the shaft should spin nice and free inside the core. Slide the compressor wheel back onto the shaft and ensure the markings you made line up again and then tighten the nut. It will take you a few attempts to get it perfect be patient! Tighten the nut until it stops then give it a quarter of a turn to nip it up.


Clean both the oil return faces and reassemble the remaining water lines & clamps. Then you should be good to go!
This should stop your smoking turbocharger, there may be excess oil left in the exhaust of your car so take the car for a short drive and it should clear up! Remember this is a simple do it yourself guide, if you can afford to I would seriously consider having it done by a professional and purely because it will be properly rebalanced afterwards to ensure it is 100% perfect!
Recommended Comments
Join the conversation
You can post now and register later. If you have an account, sign in now to post with your account.