federalman
-
Posts
406 -
Joined
-
Last visited
Content Type
Profiles
Forums
Wiki
Media Demo
Events
Everything posted by federalman
-
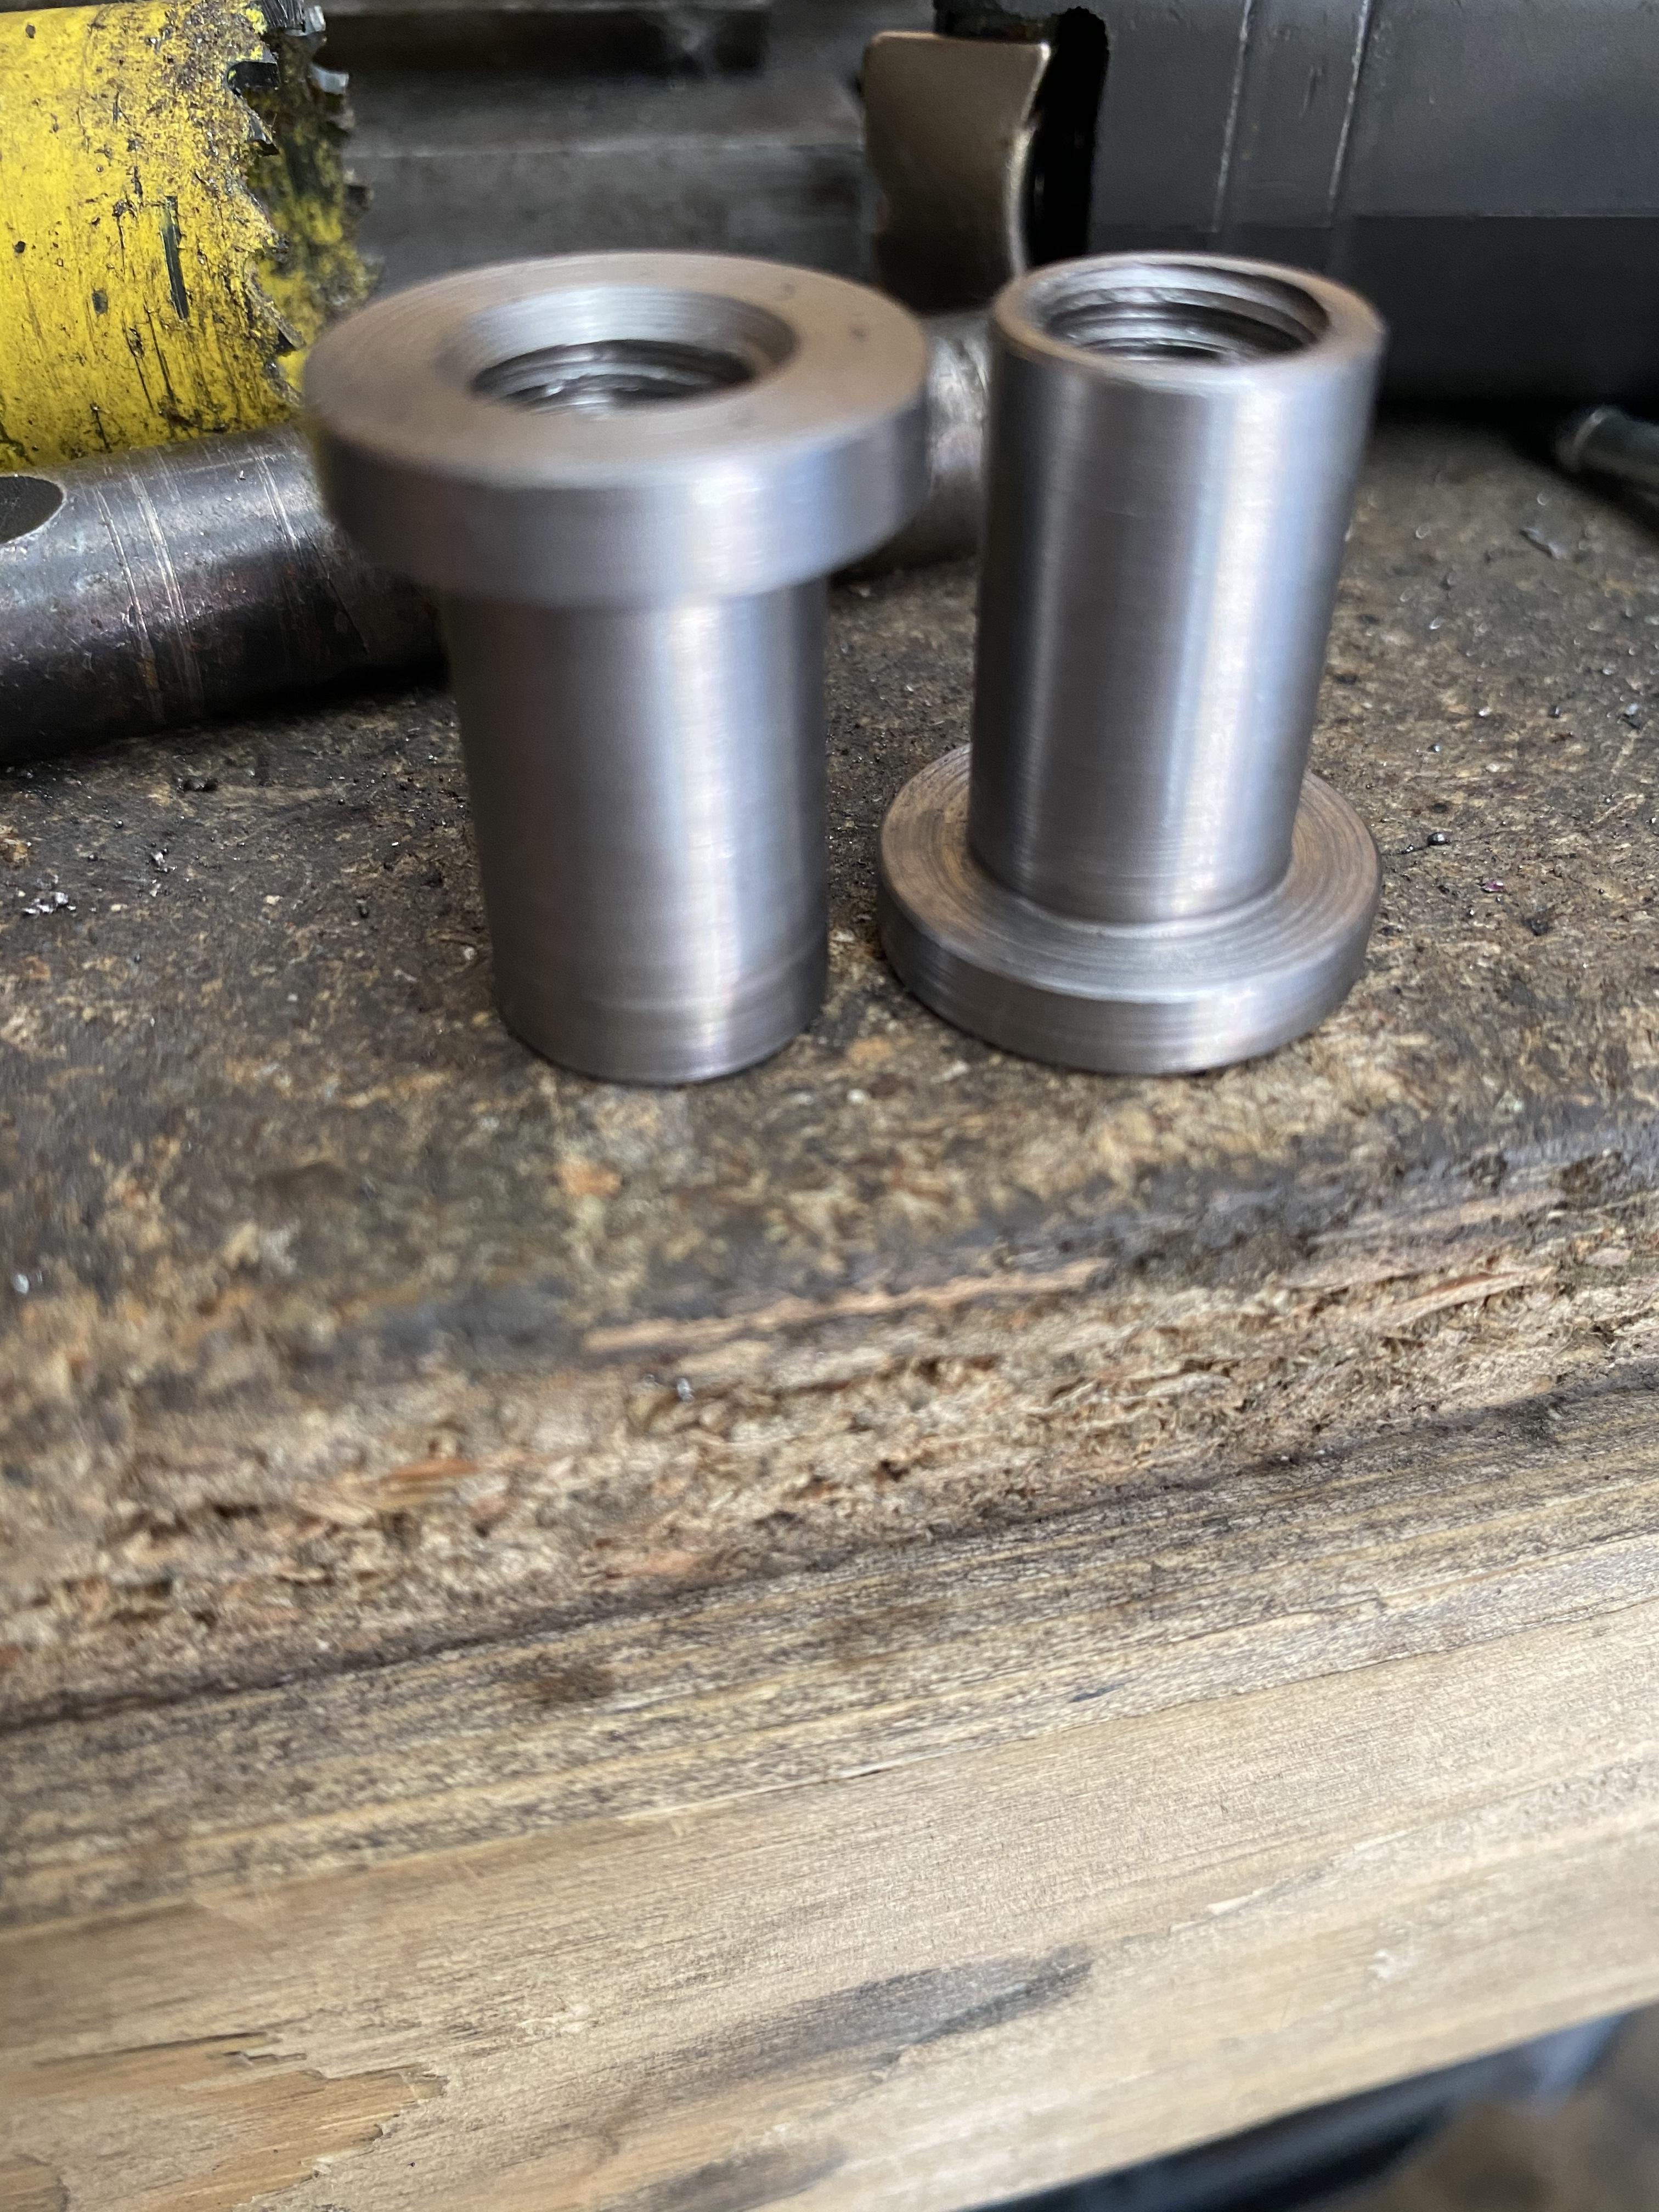
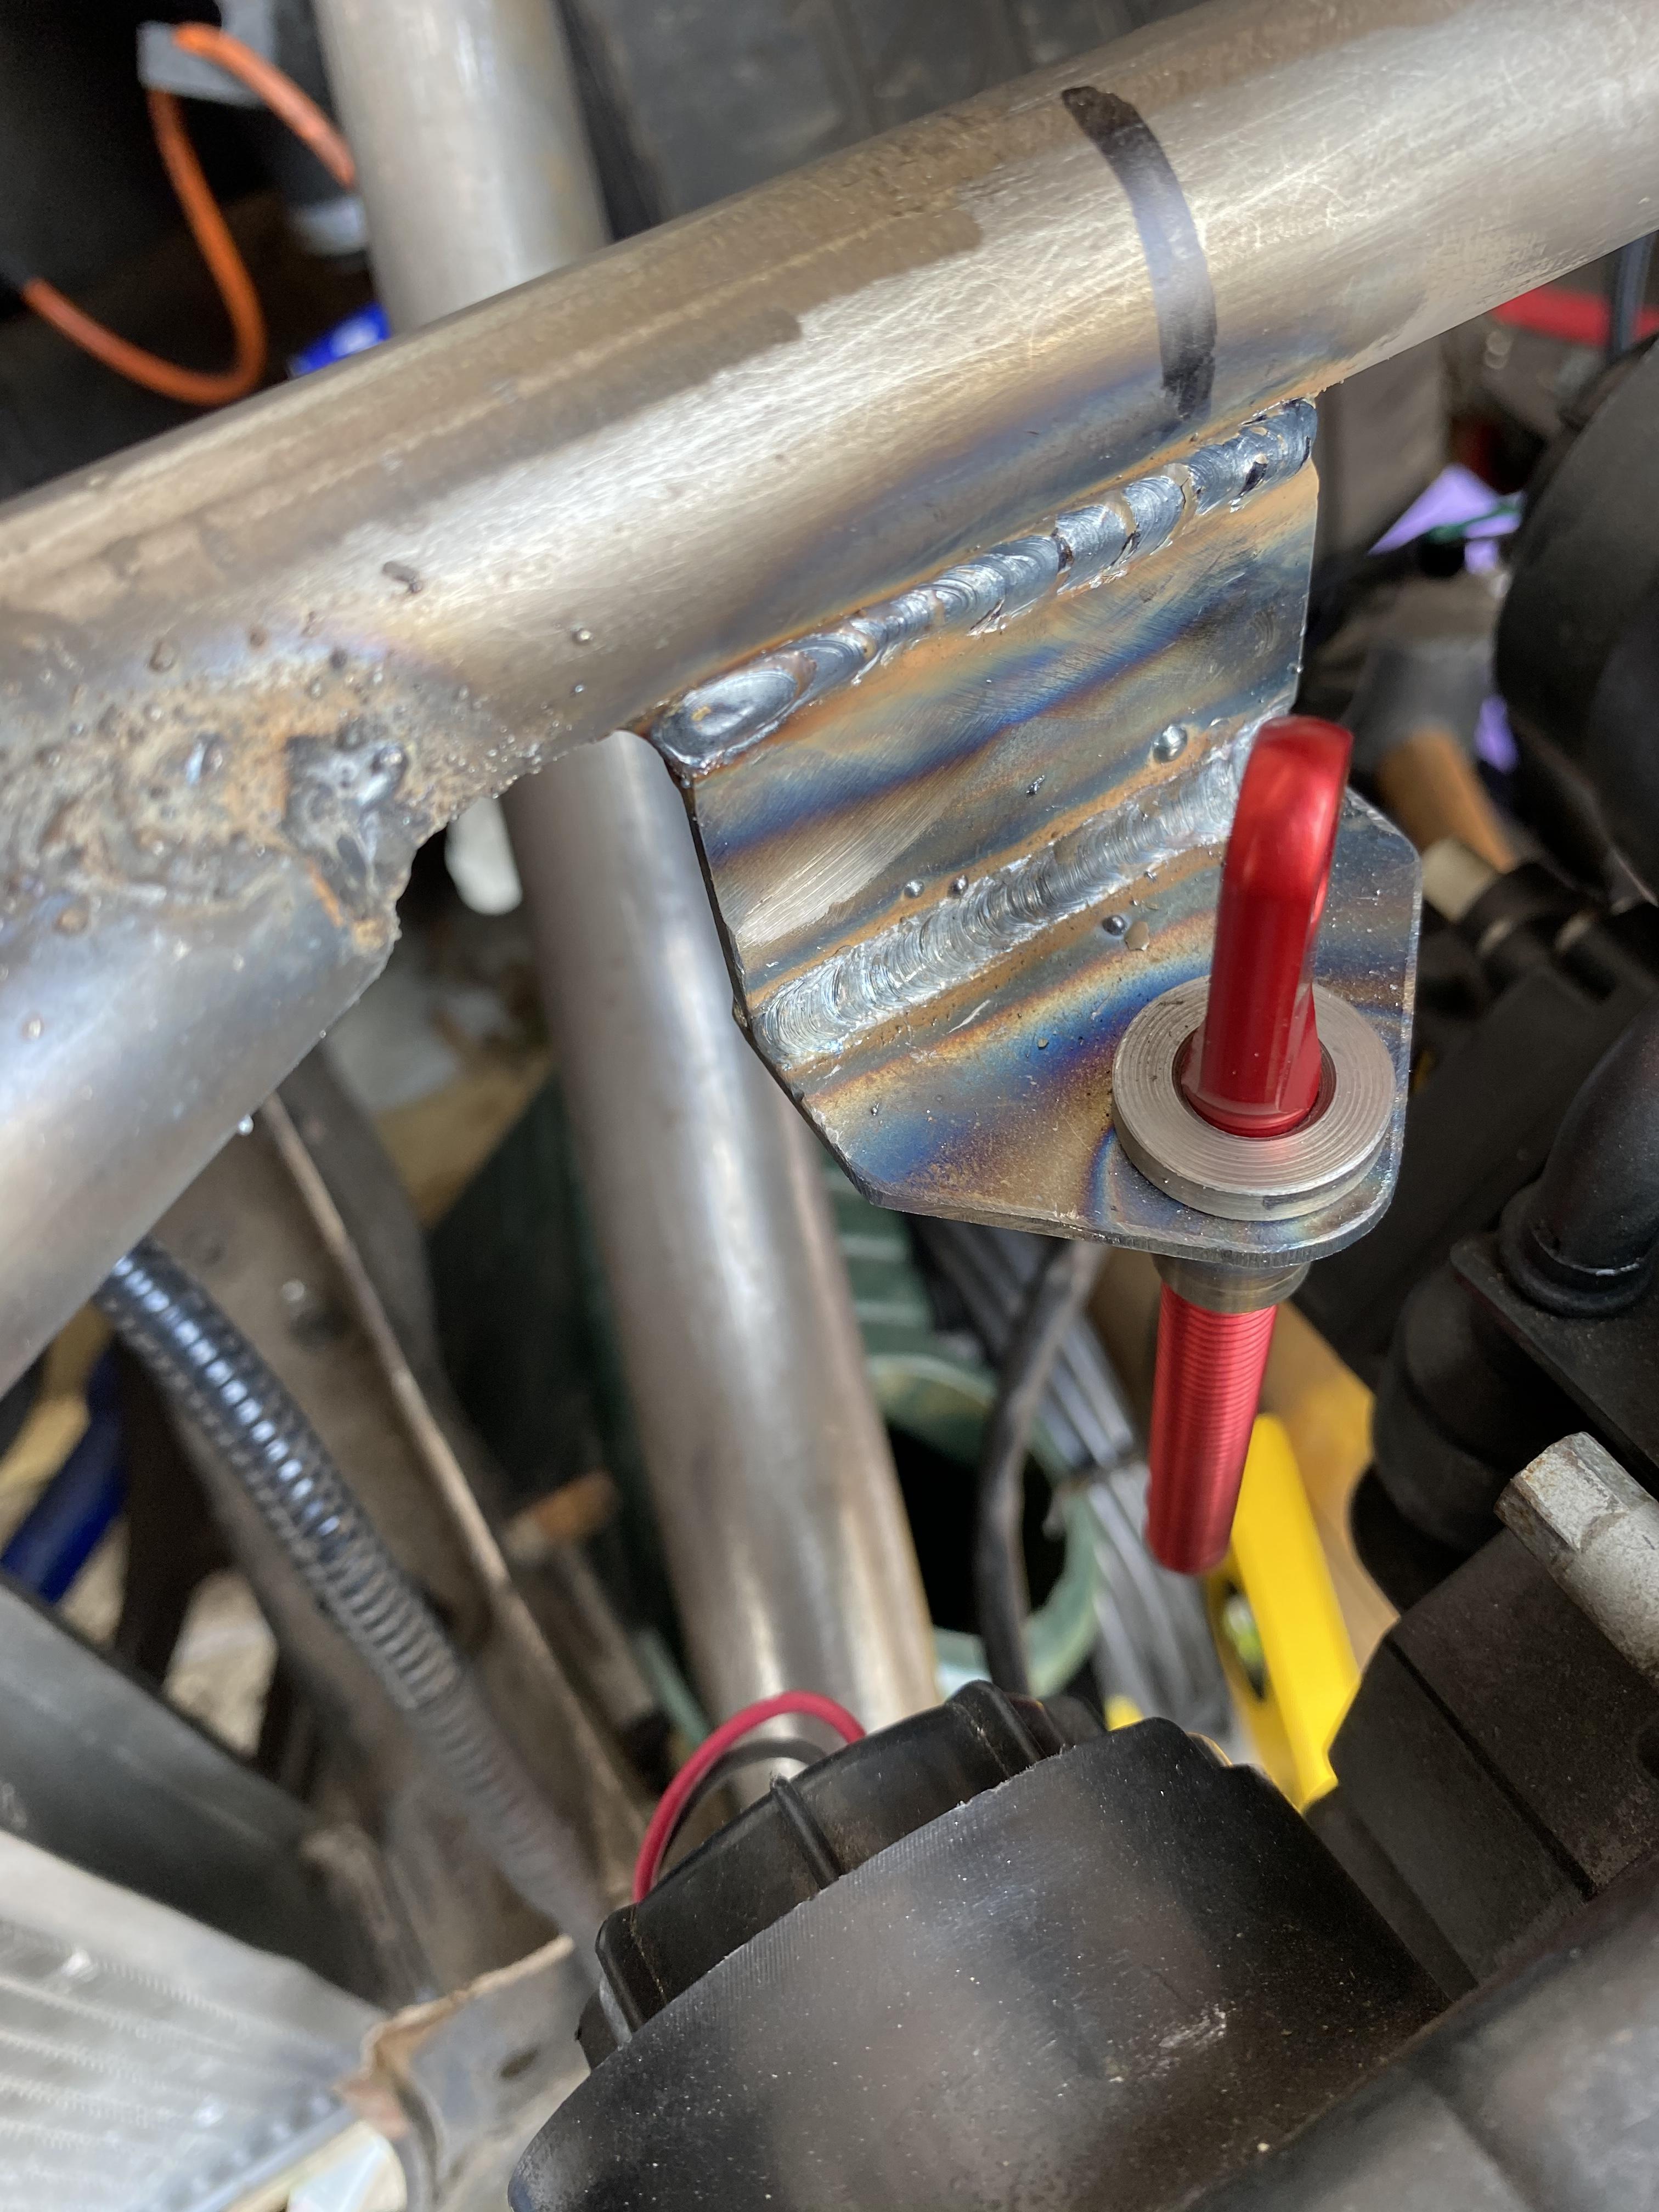
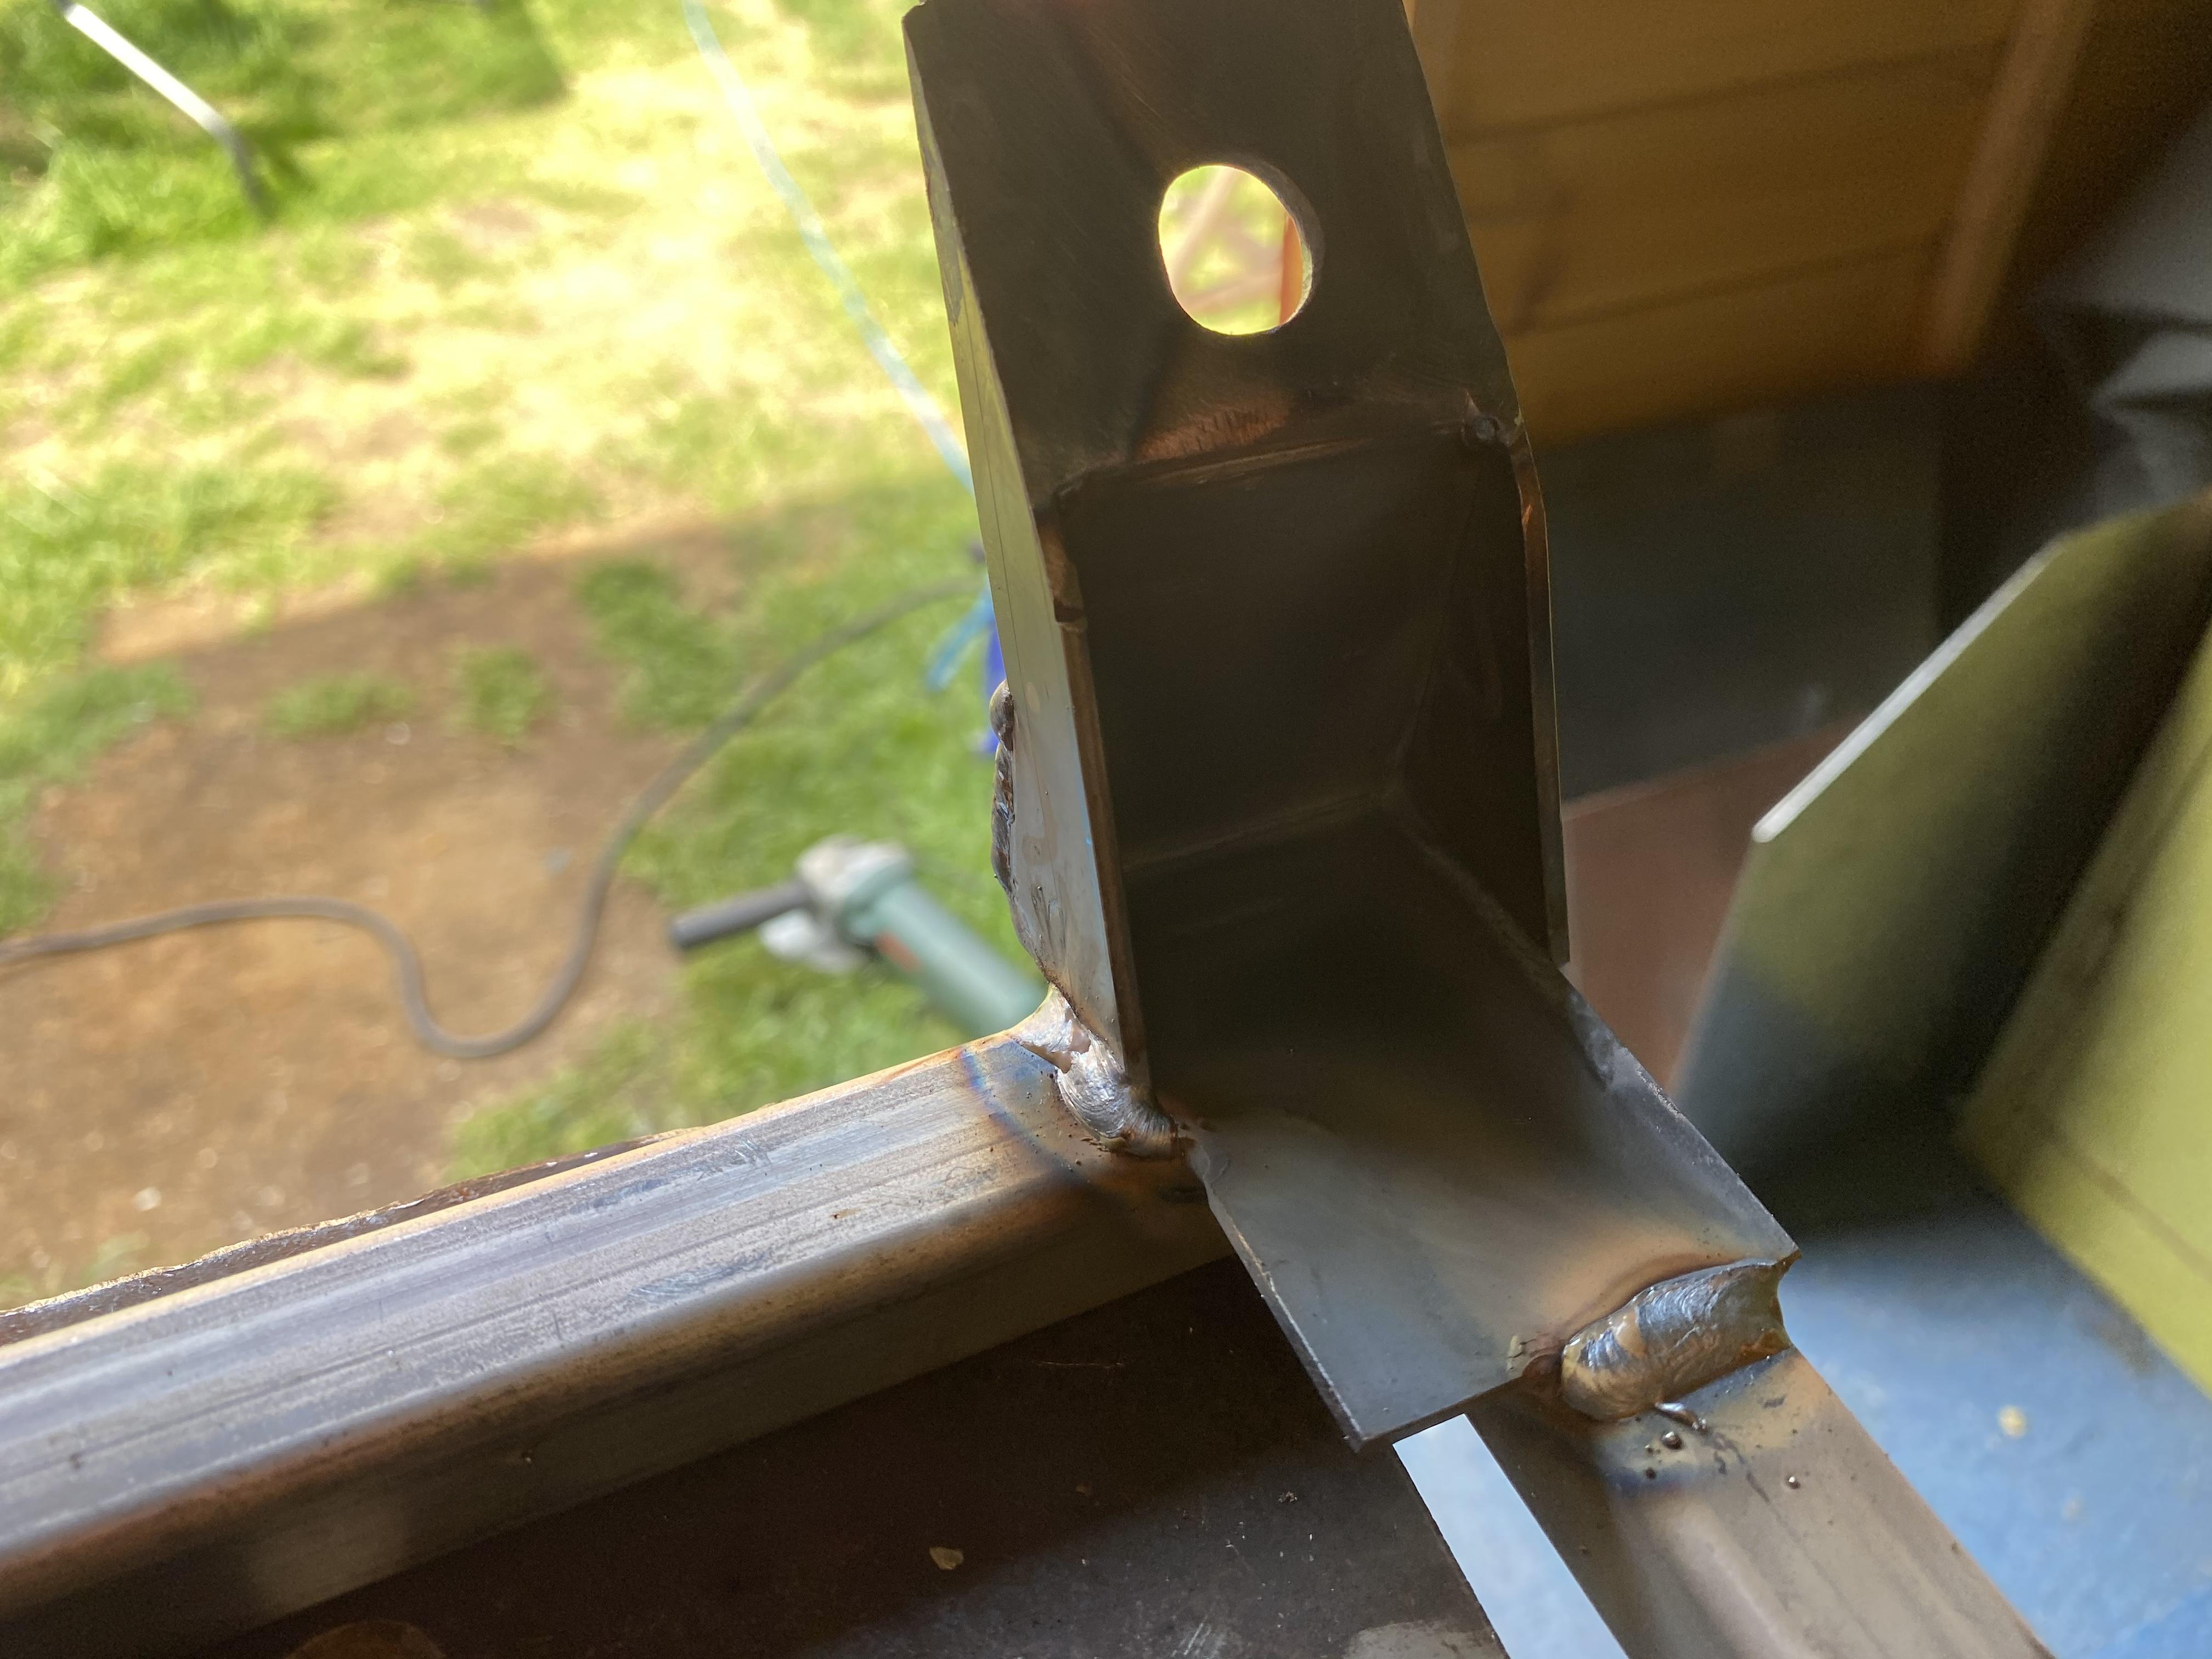
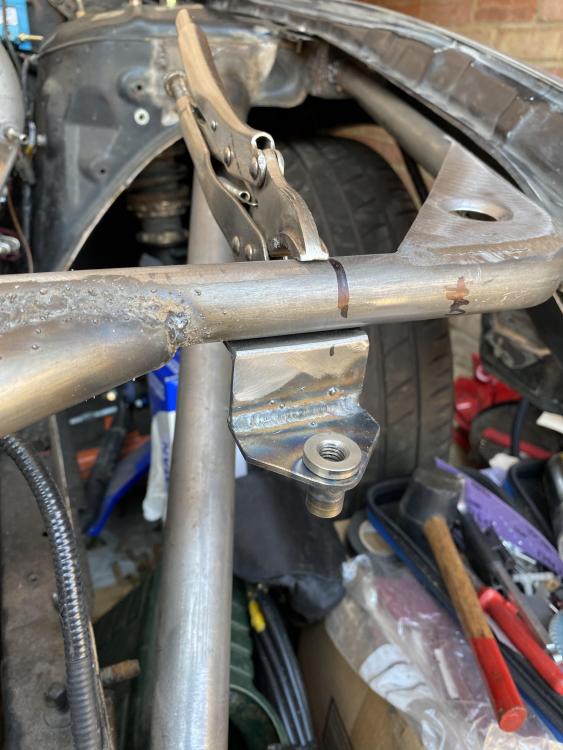
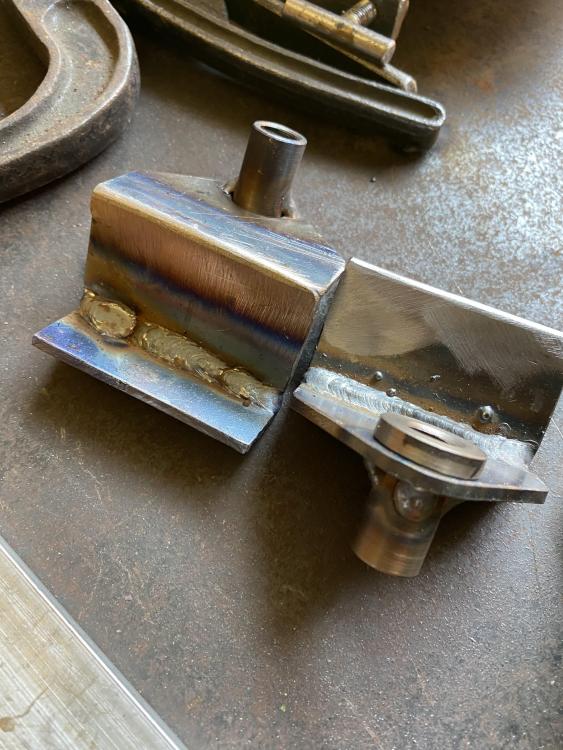
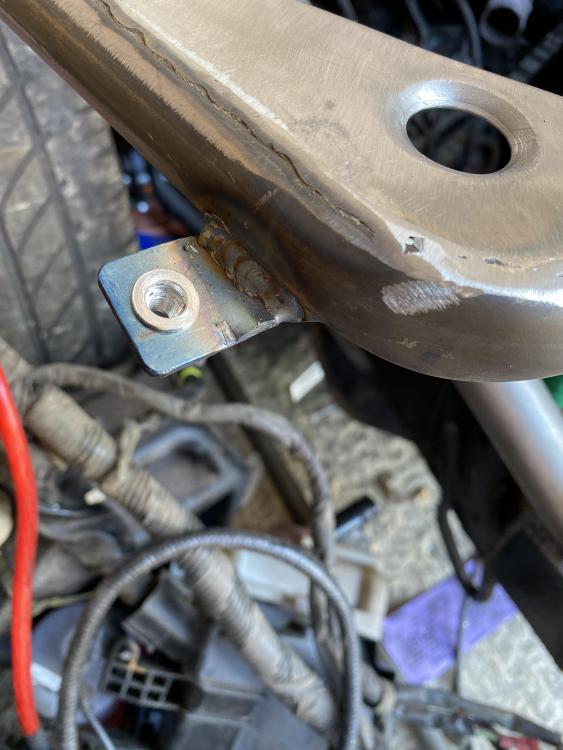
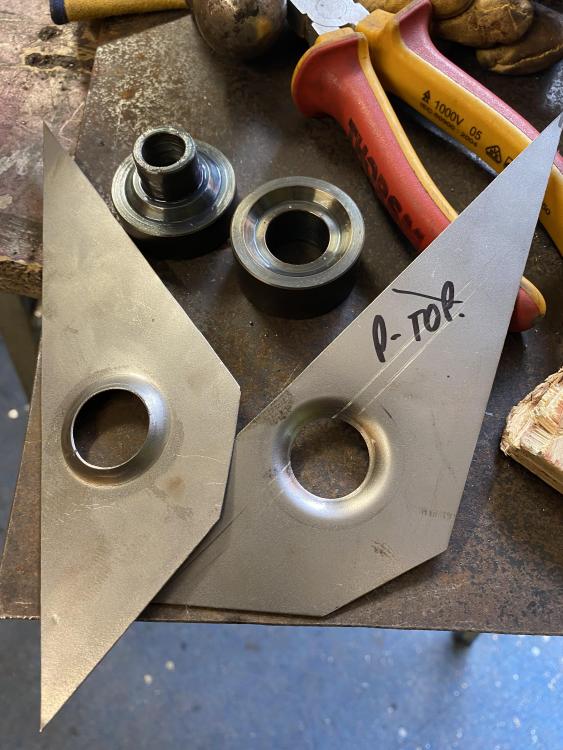
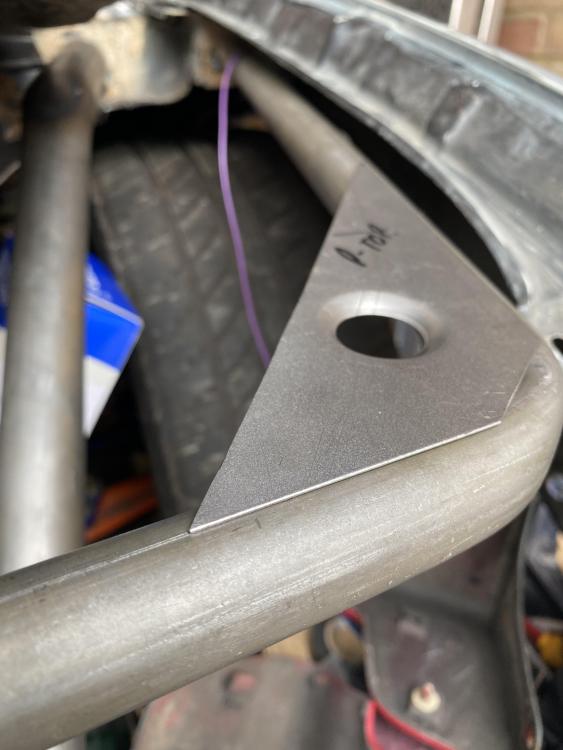
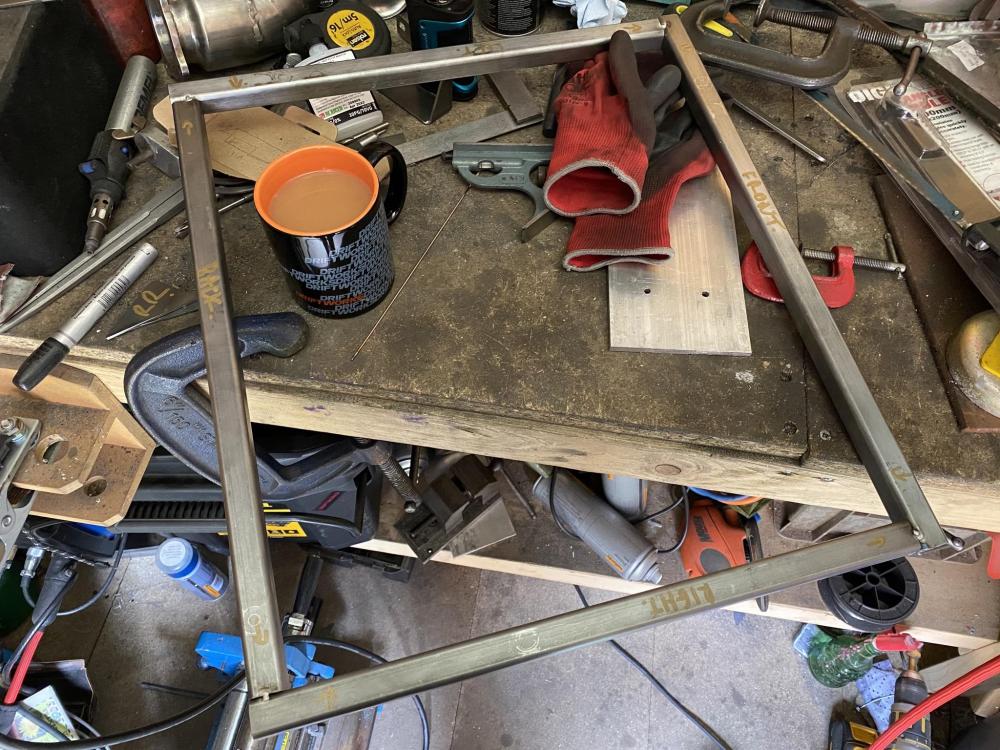
Machined up some collars for the bonnet pins, made up the brackets for them and got them welded to the main bar. Made up some headlight mounts and got those tacked in place. Once I’ve fully aligned the bonnet and cut the parts out I need to I can get the headlight brackets fully welded in. All that’s left after that is to finish the bash bar and the front end is done. I’ll be moving on to finishing the passenger seat rail next as I just need to mount the seat and bend some brackets for the drivers side.


-
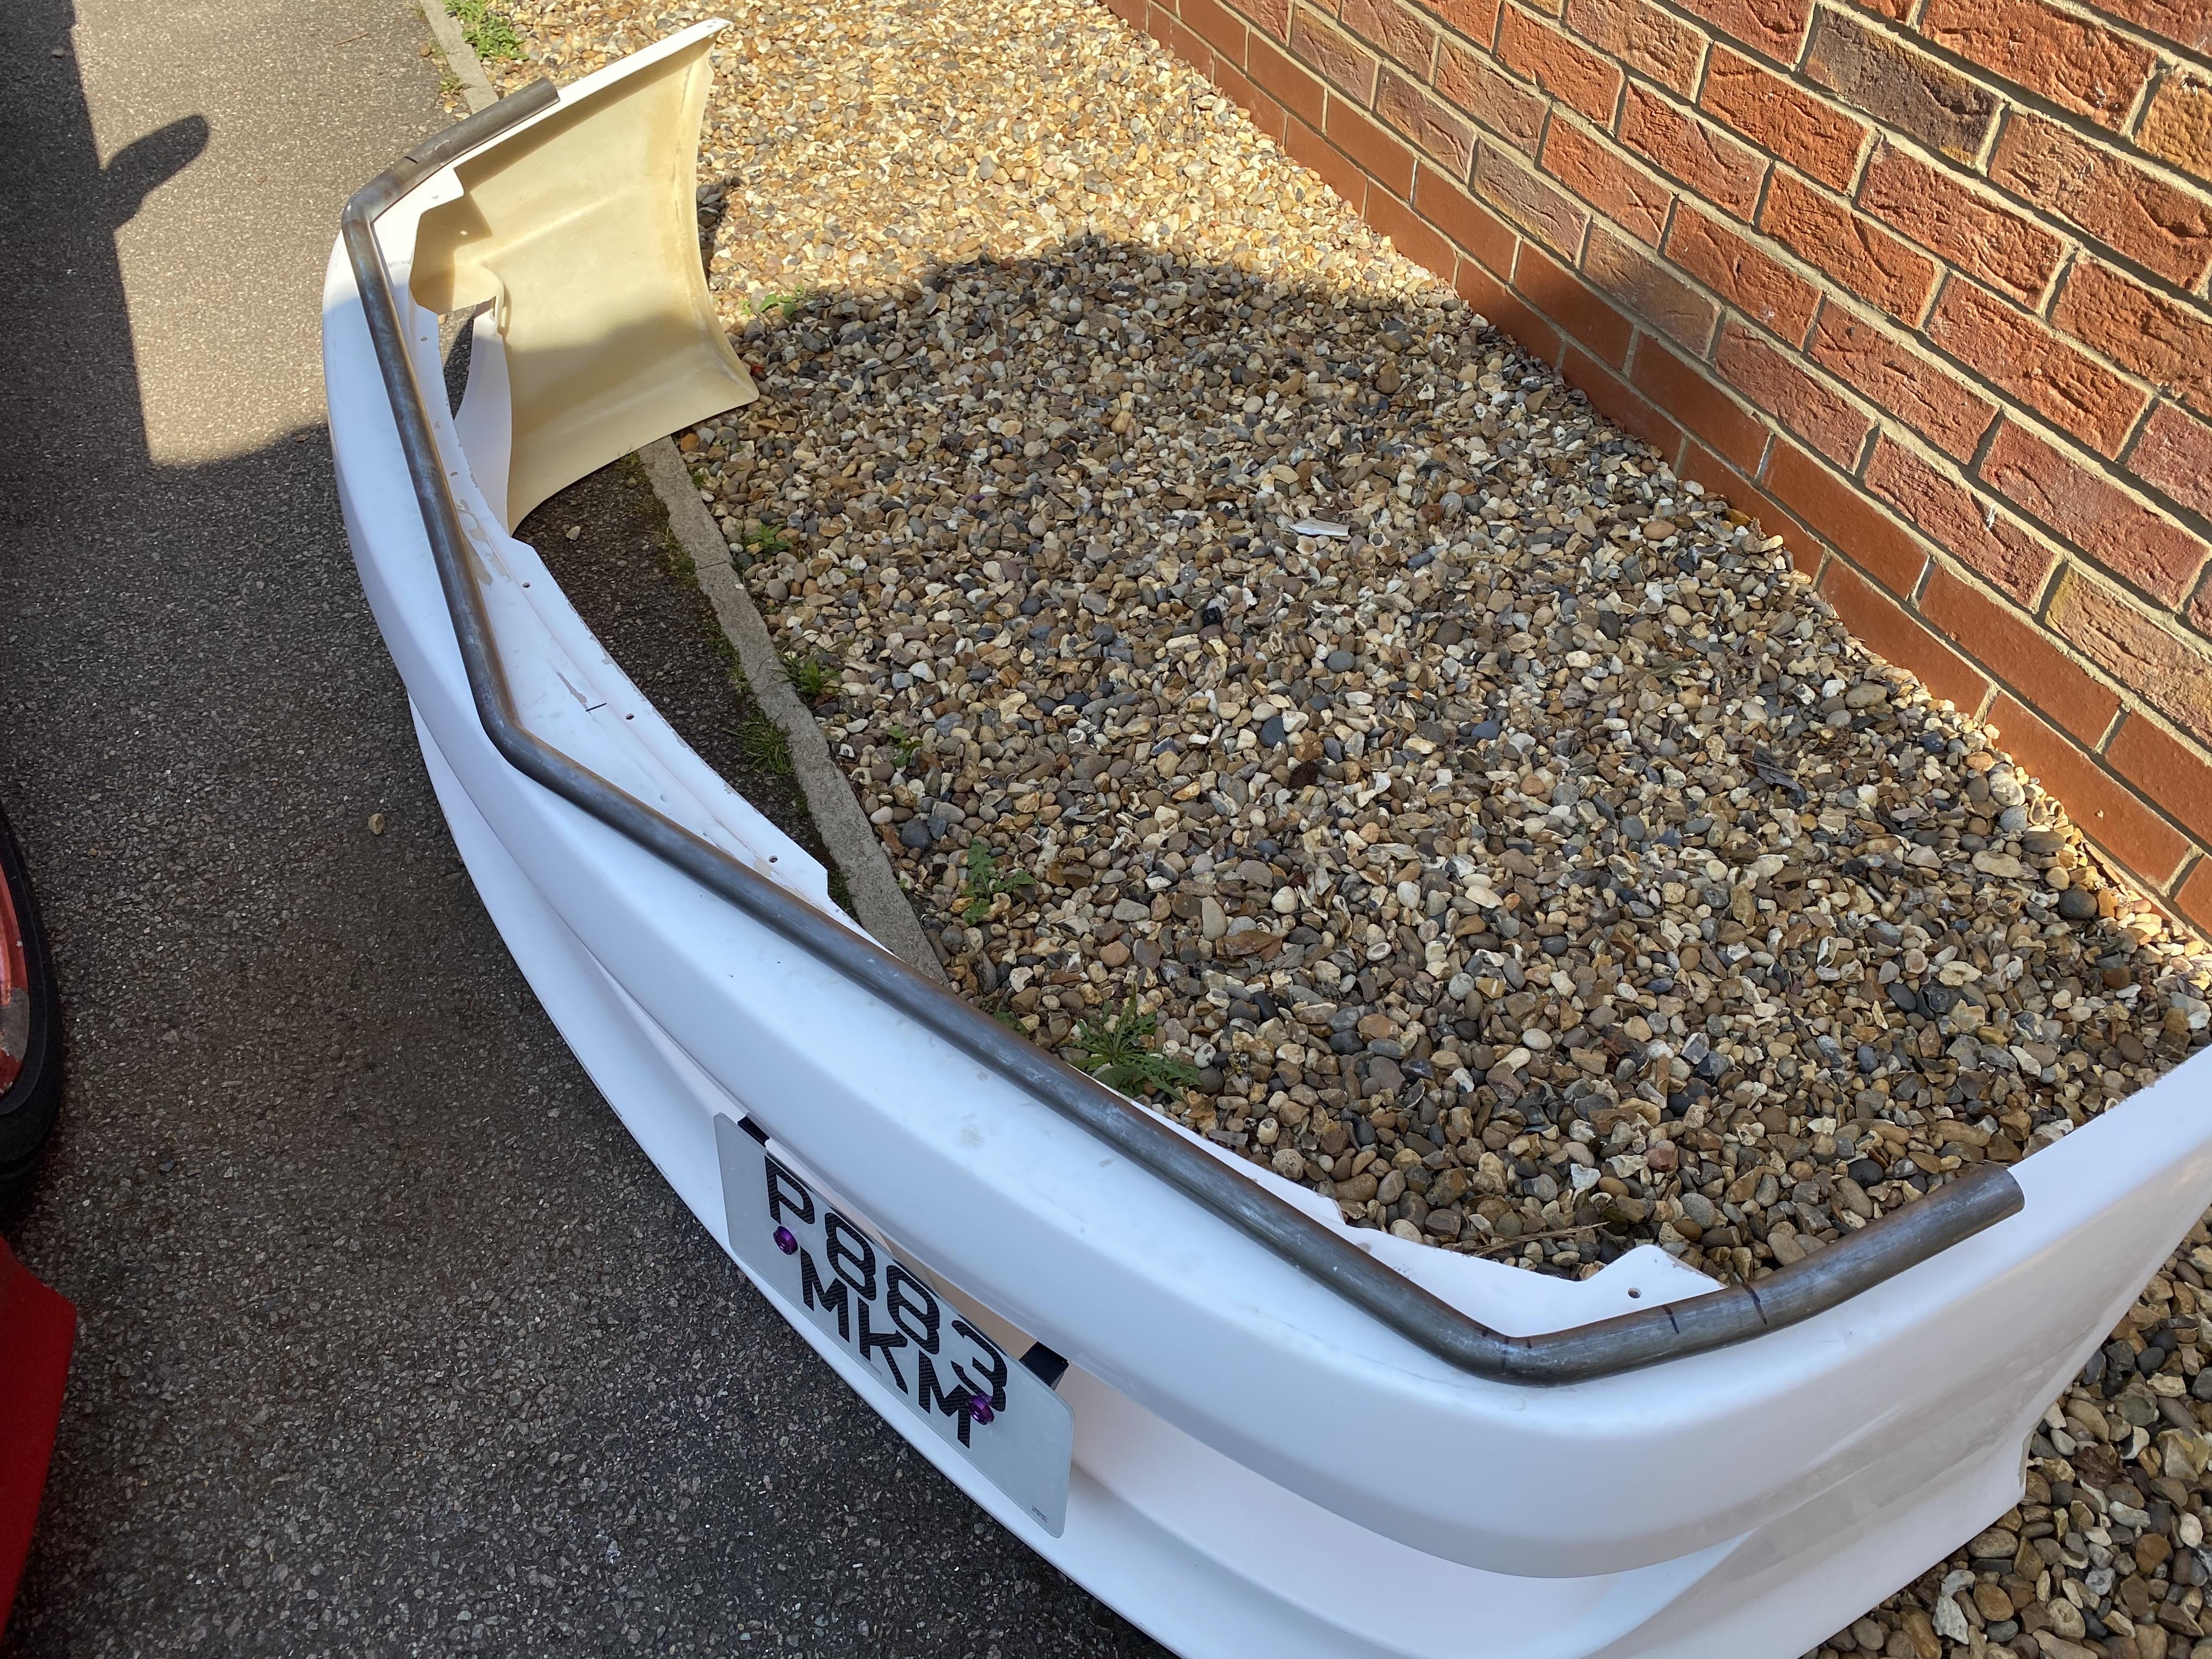
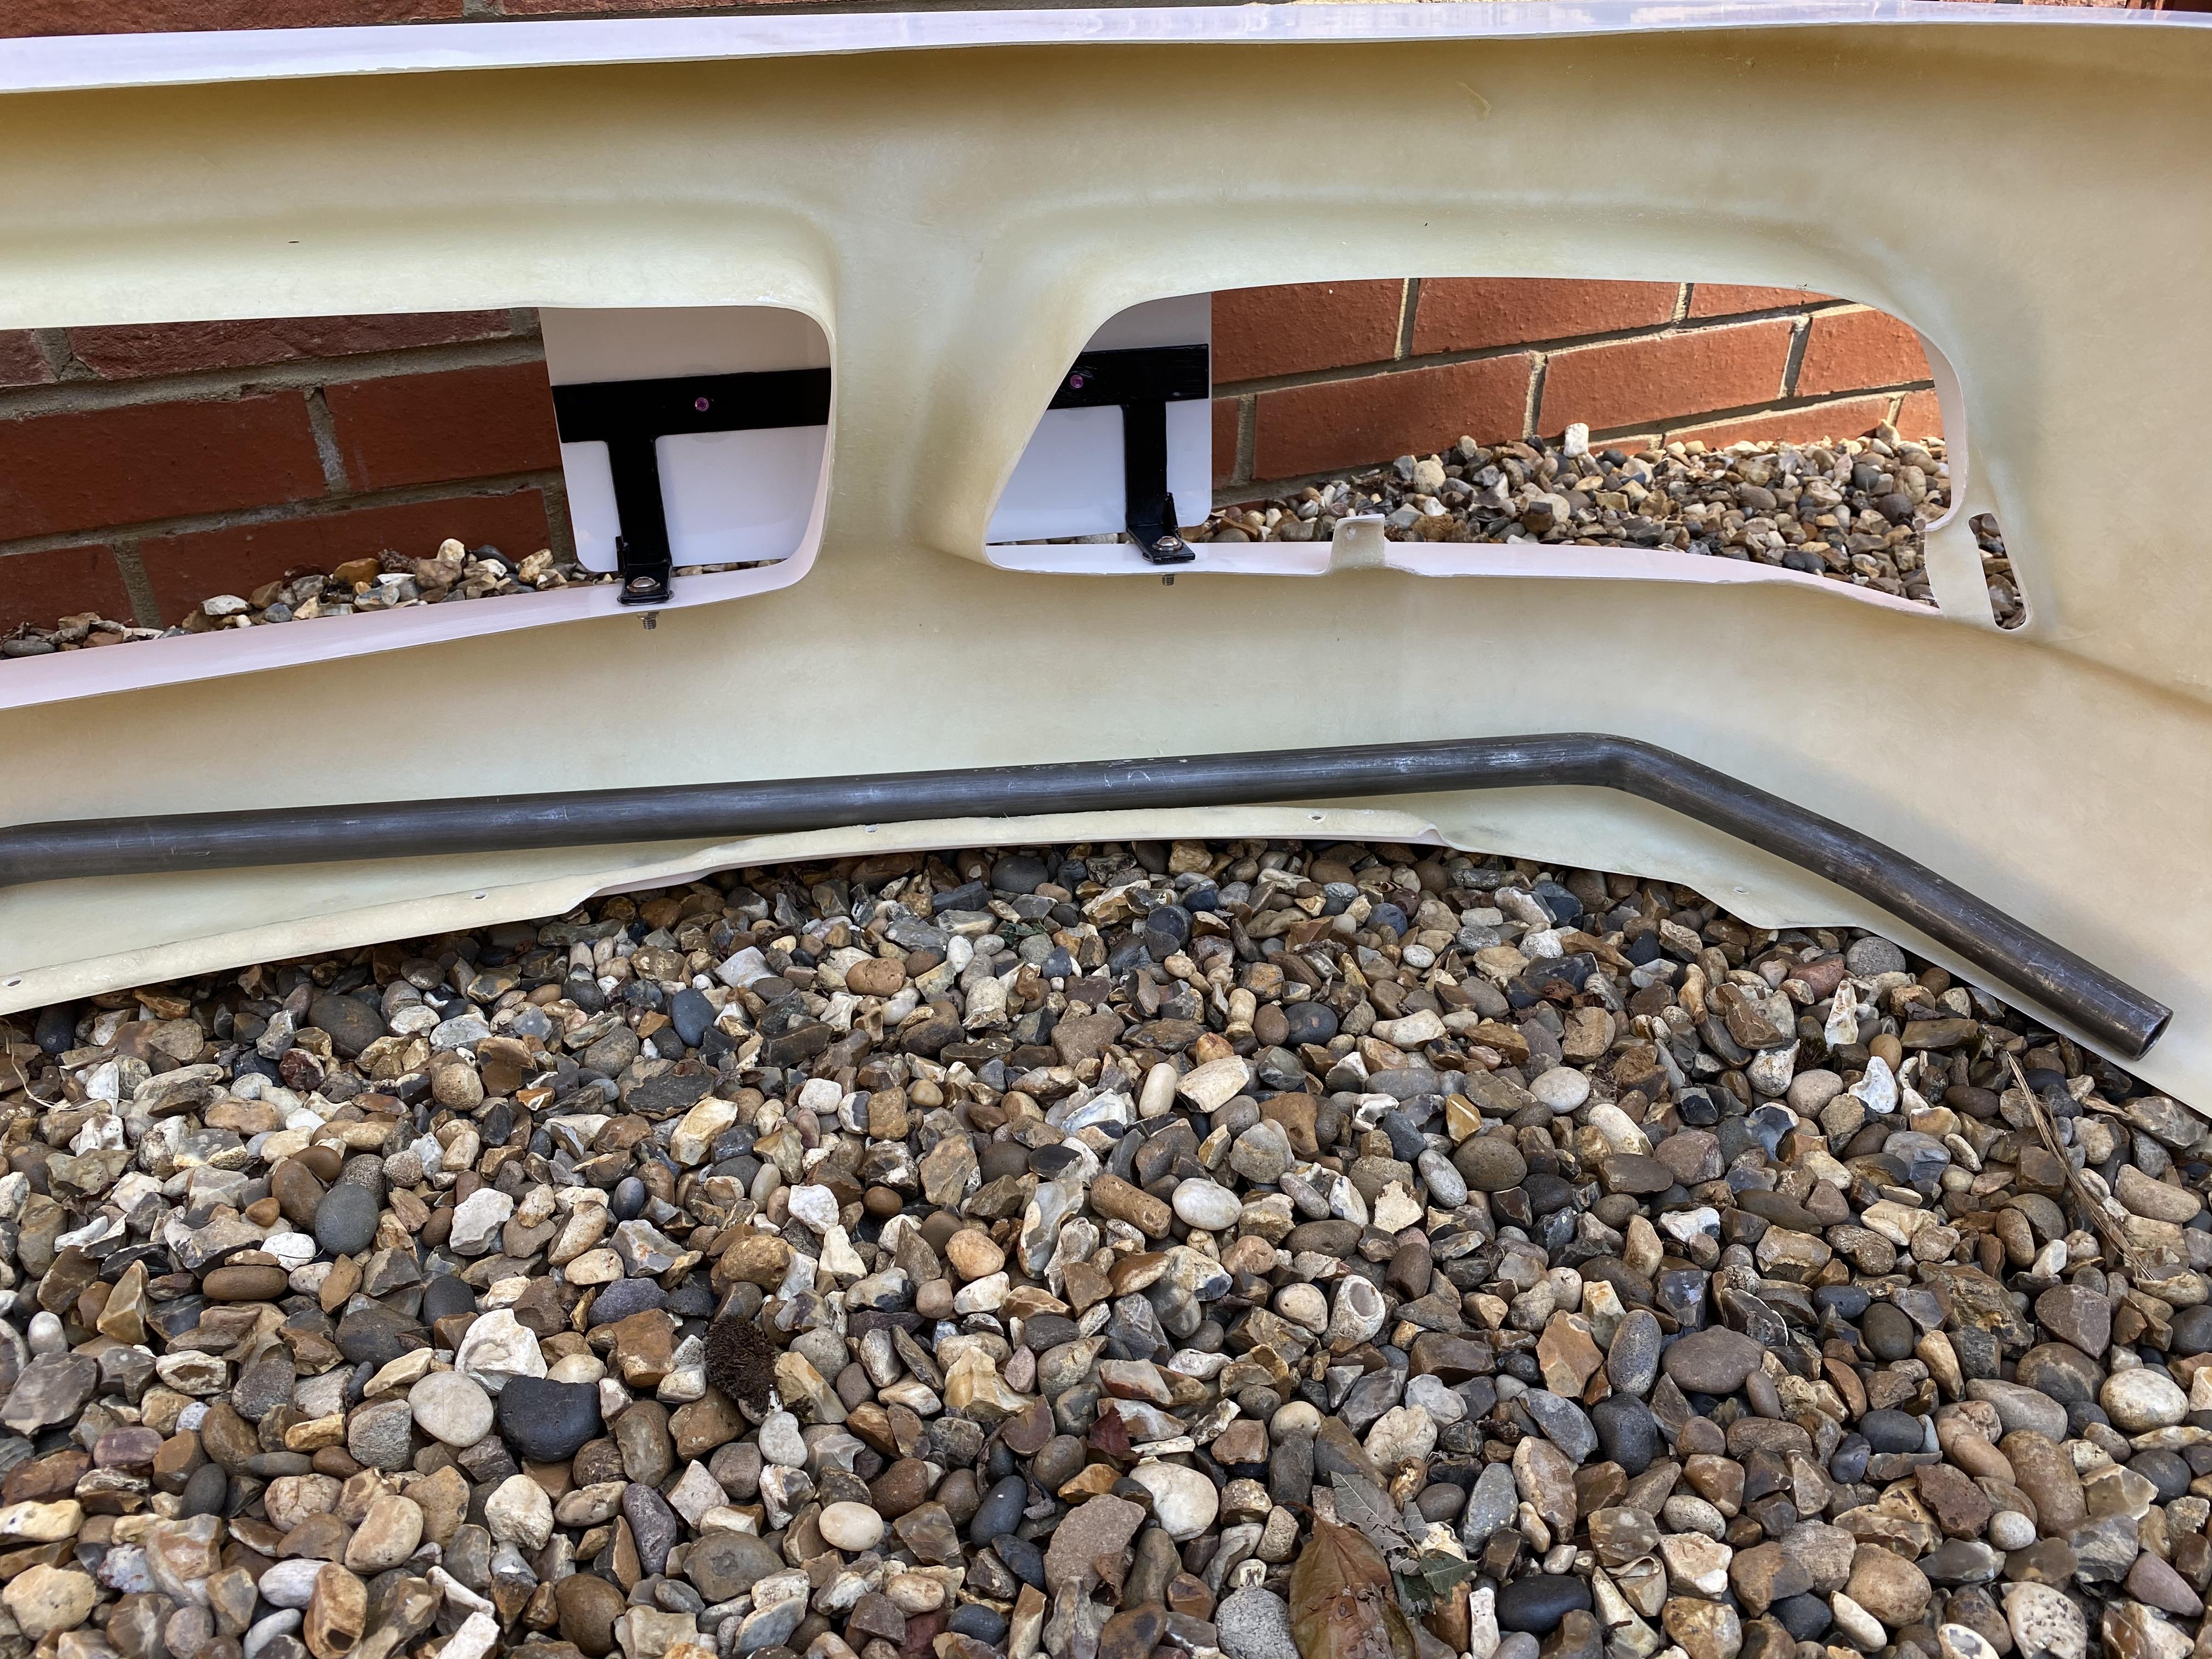
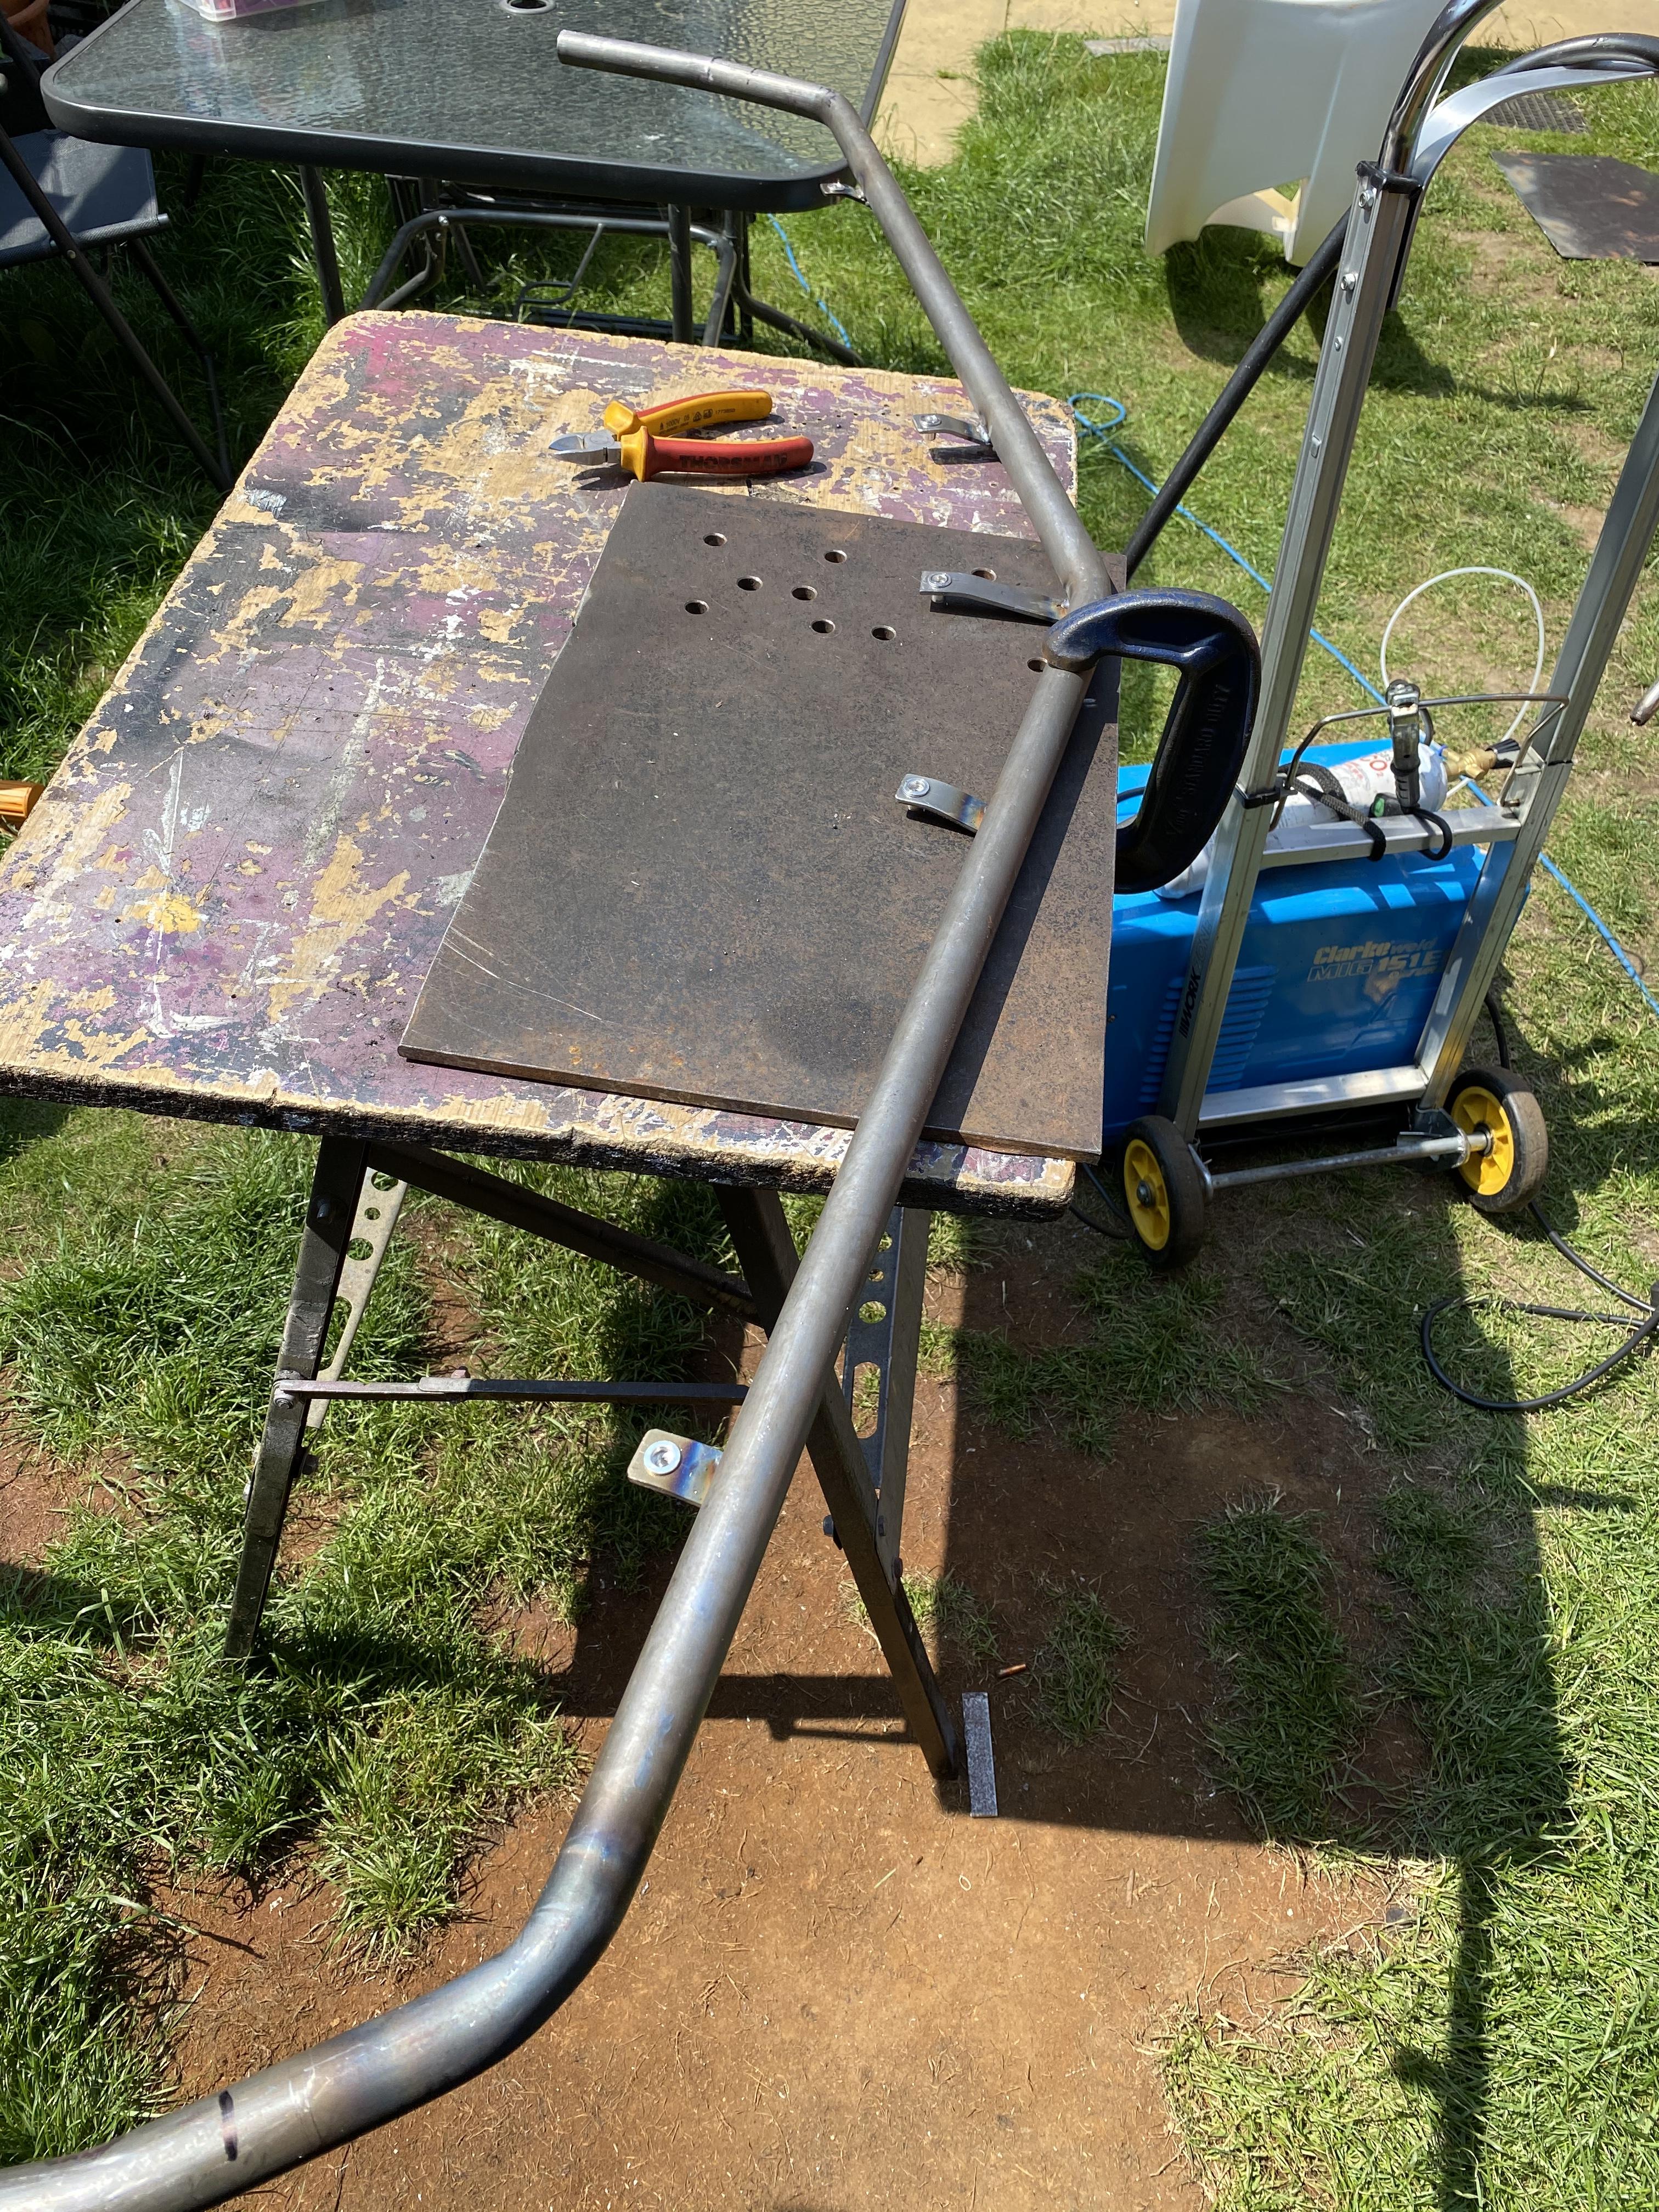
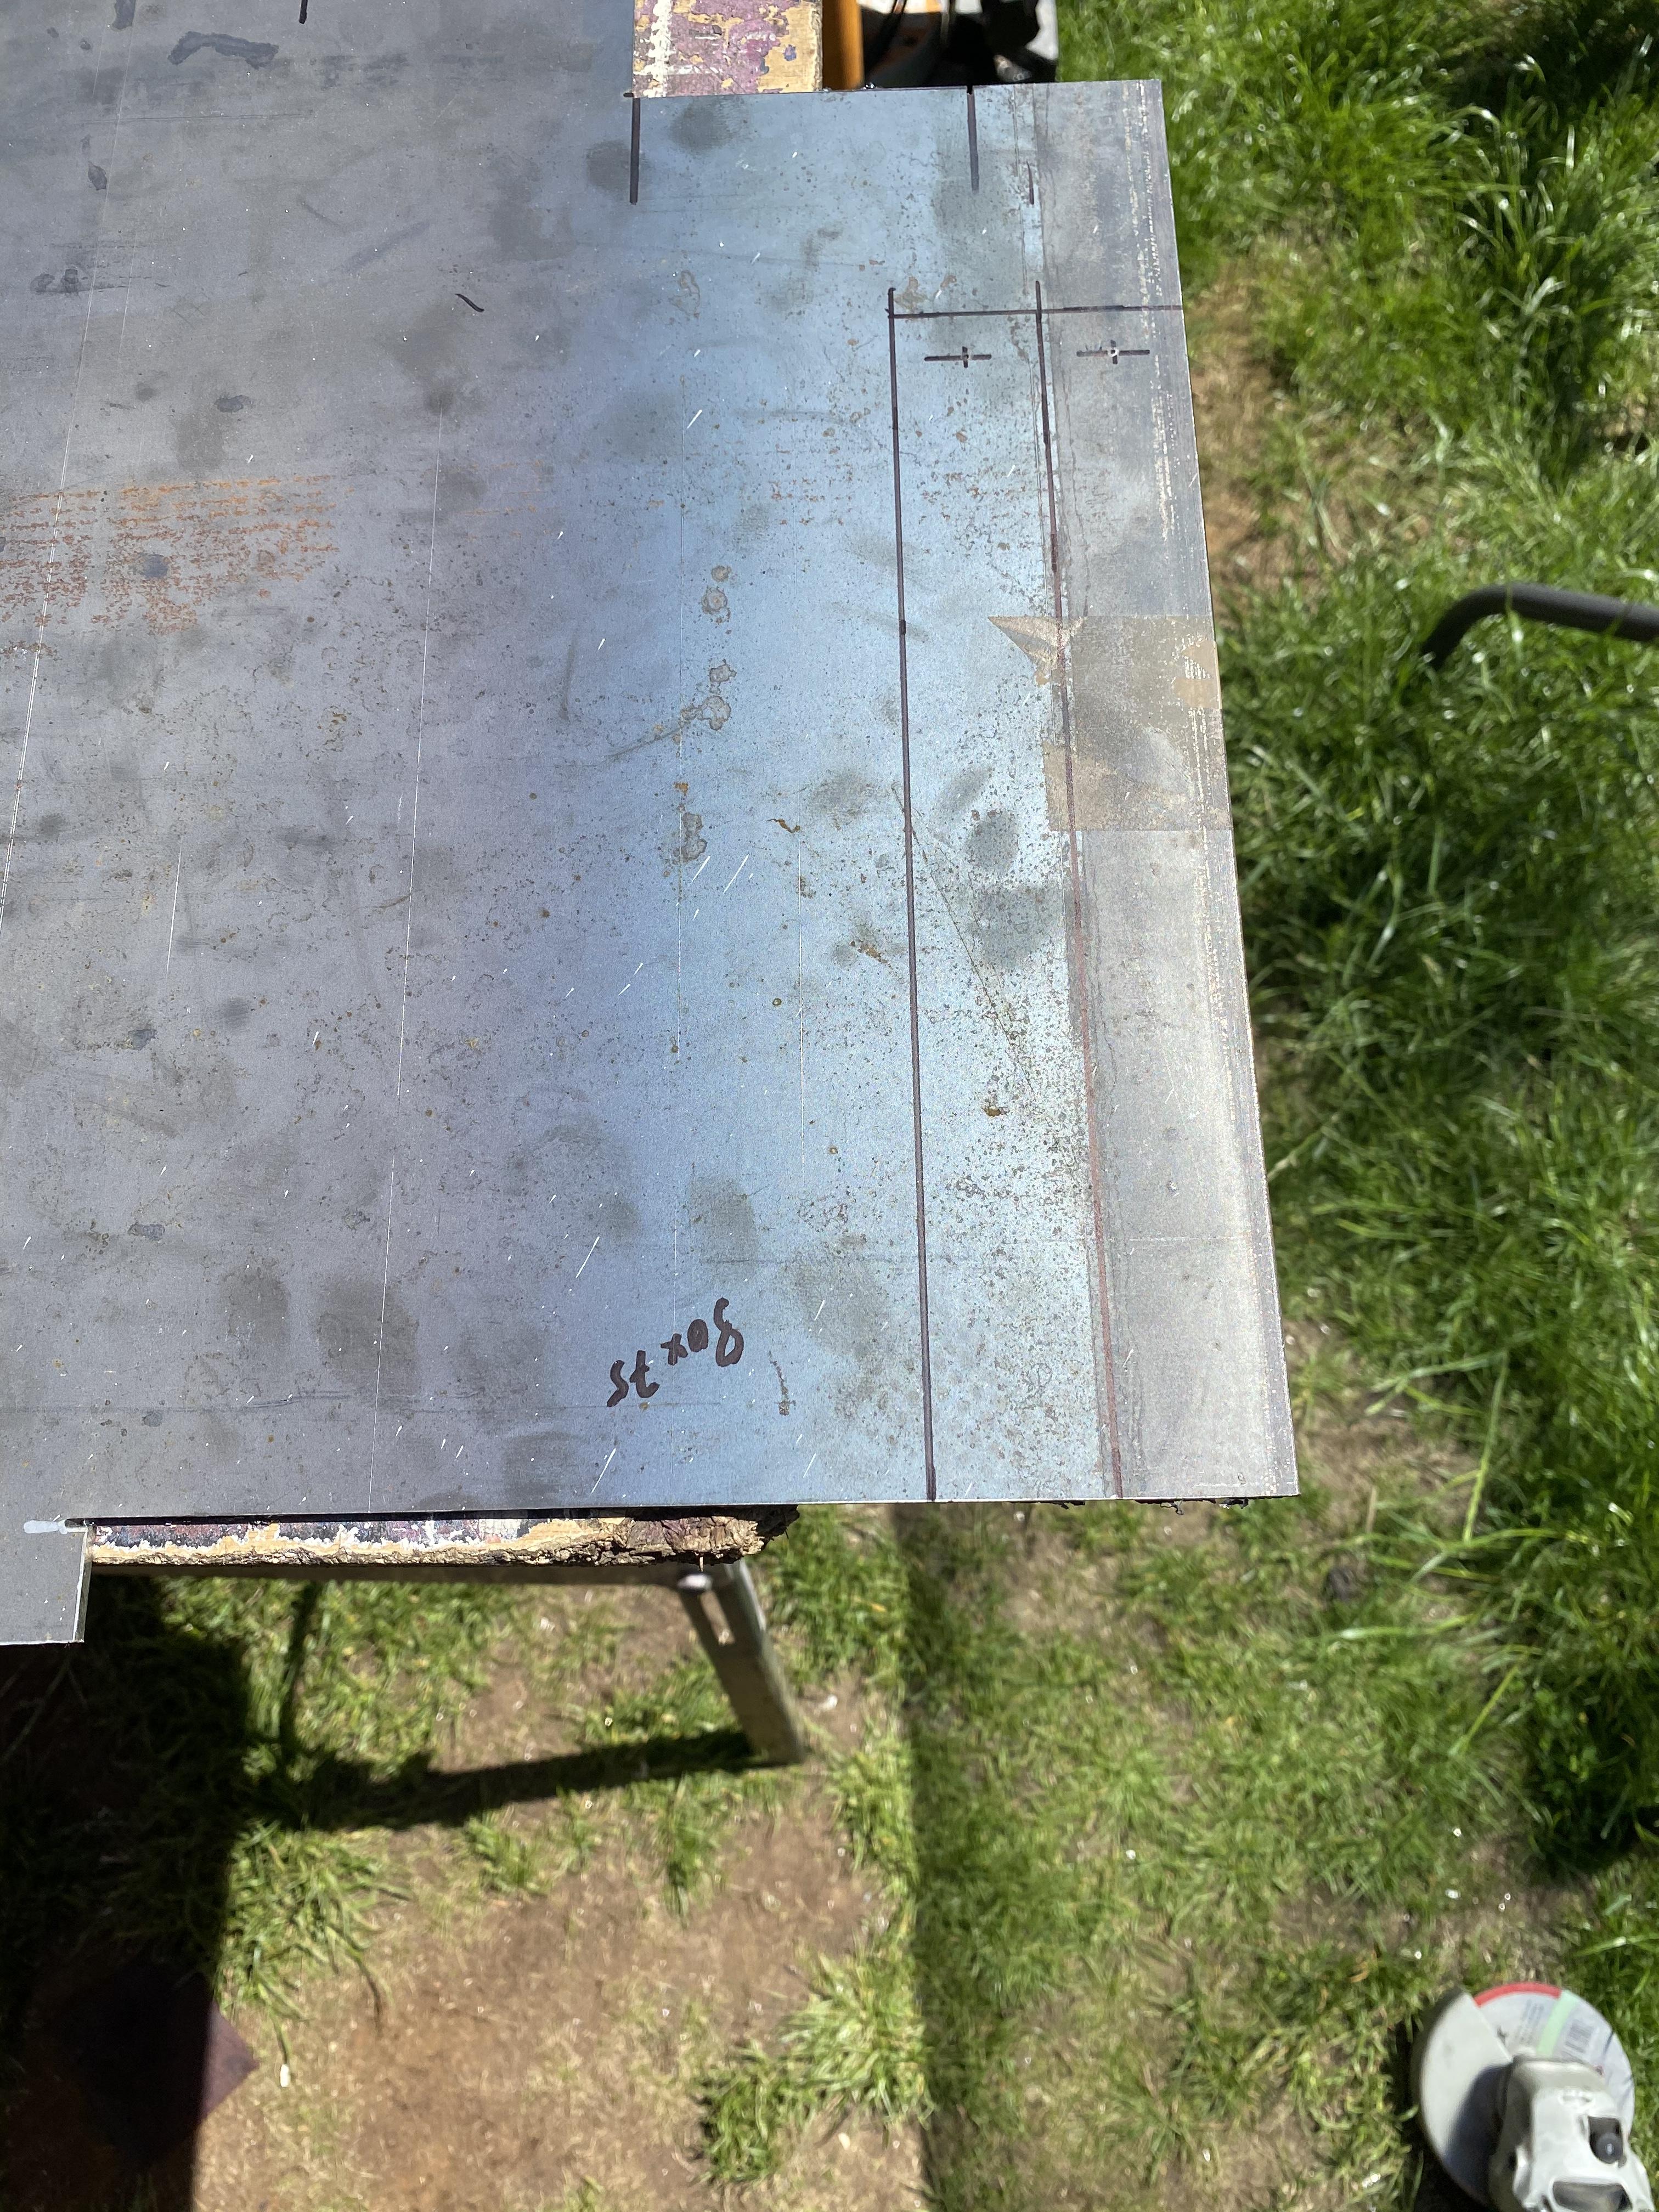
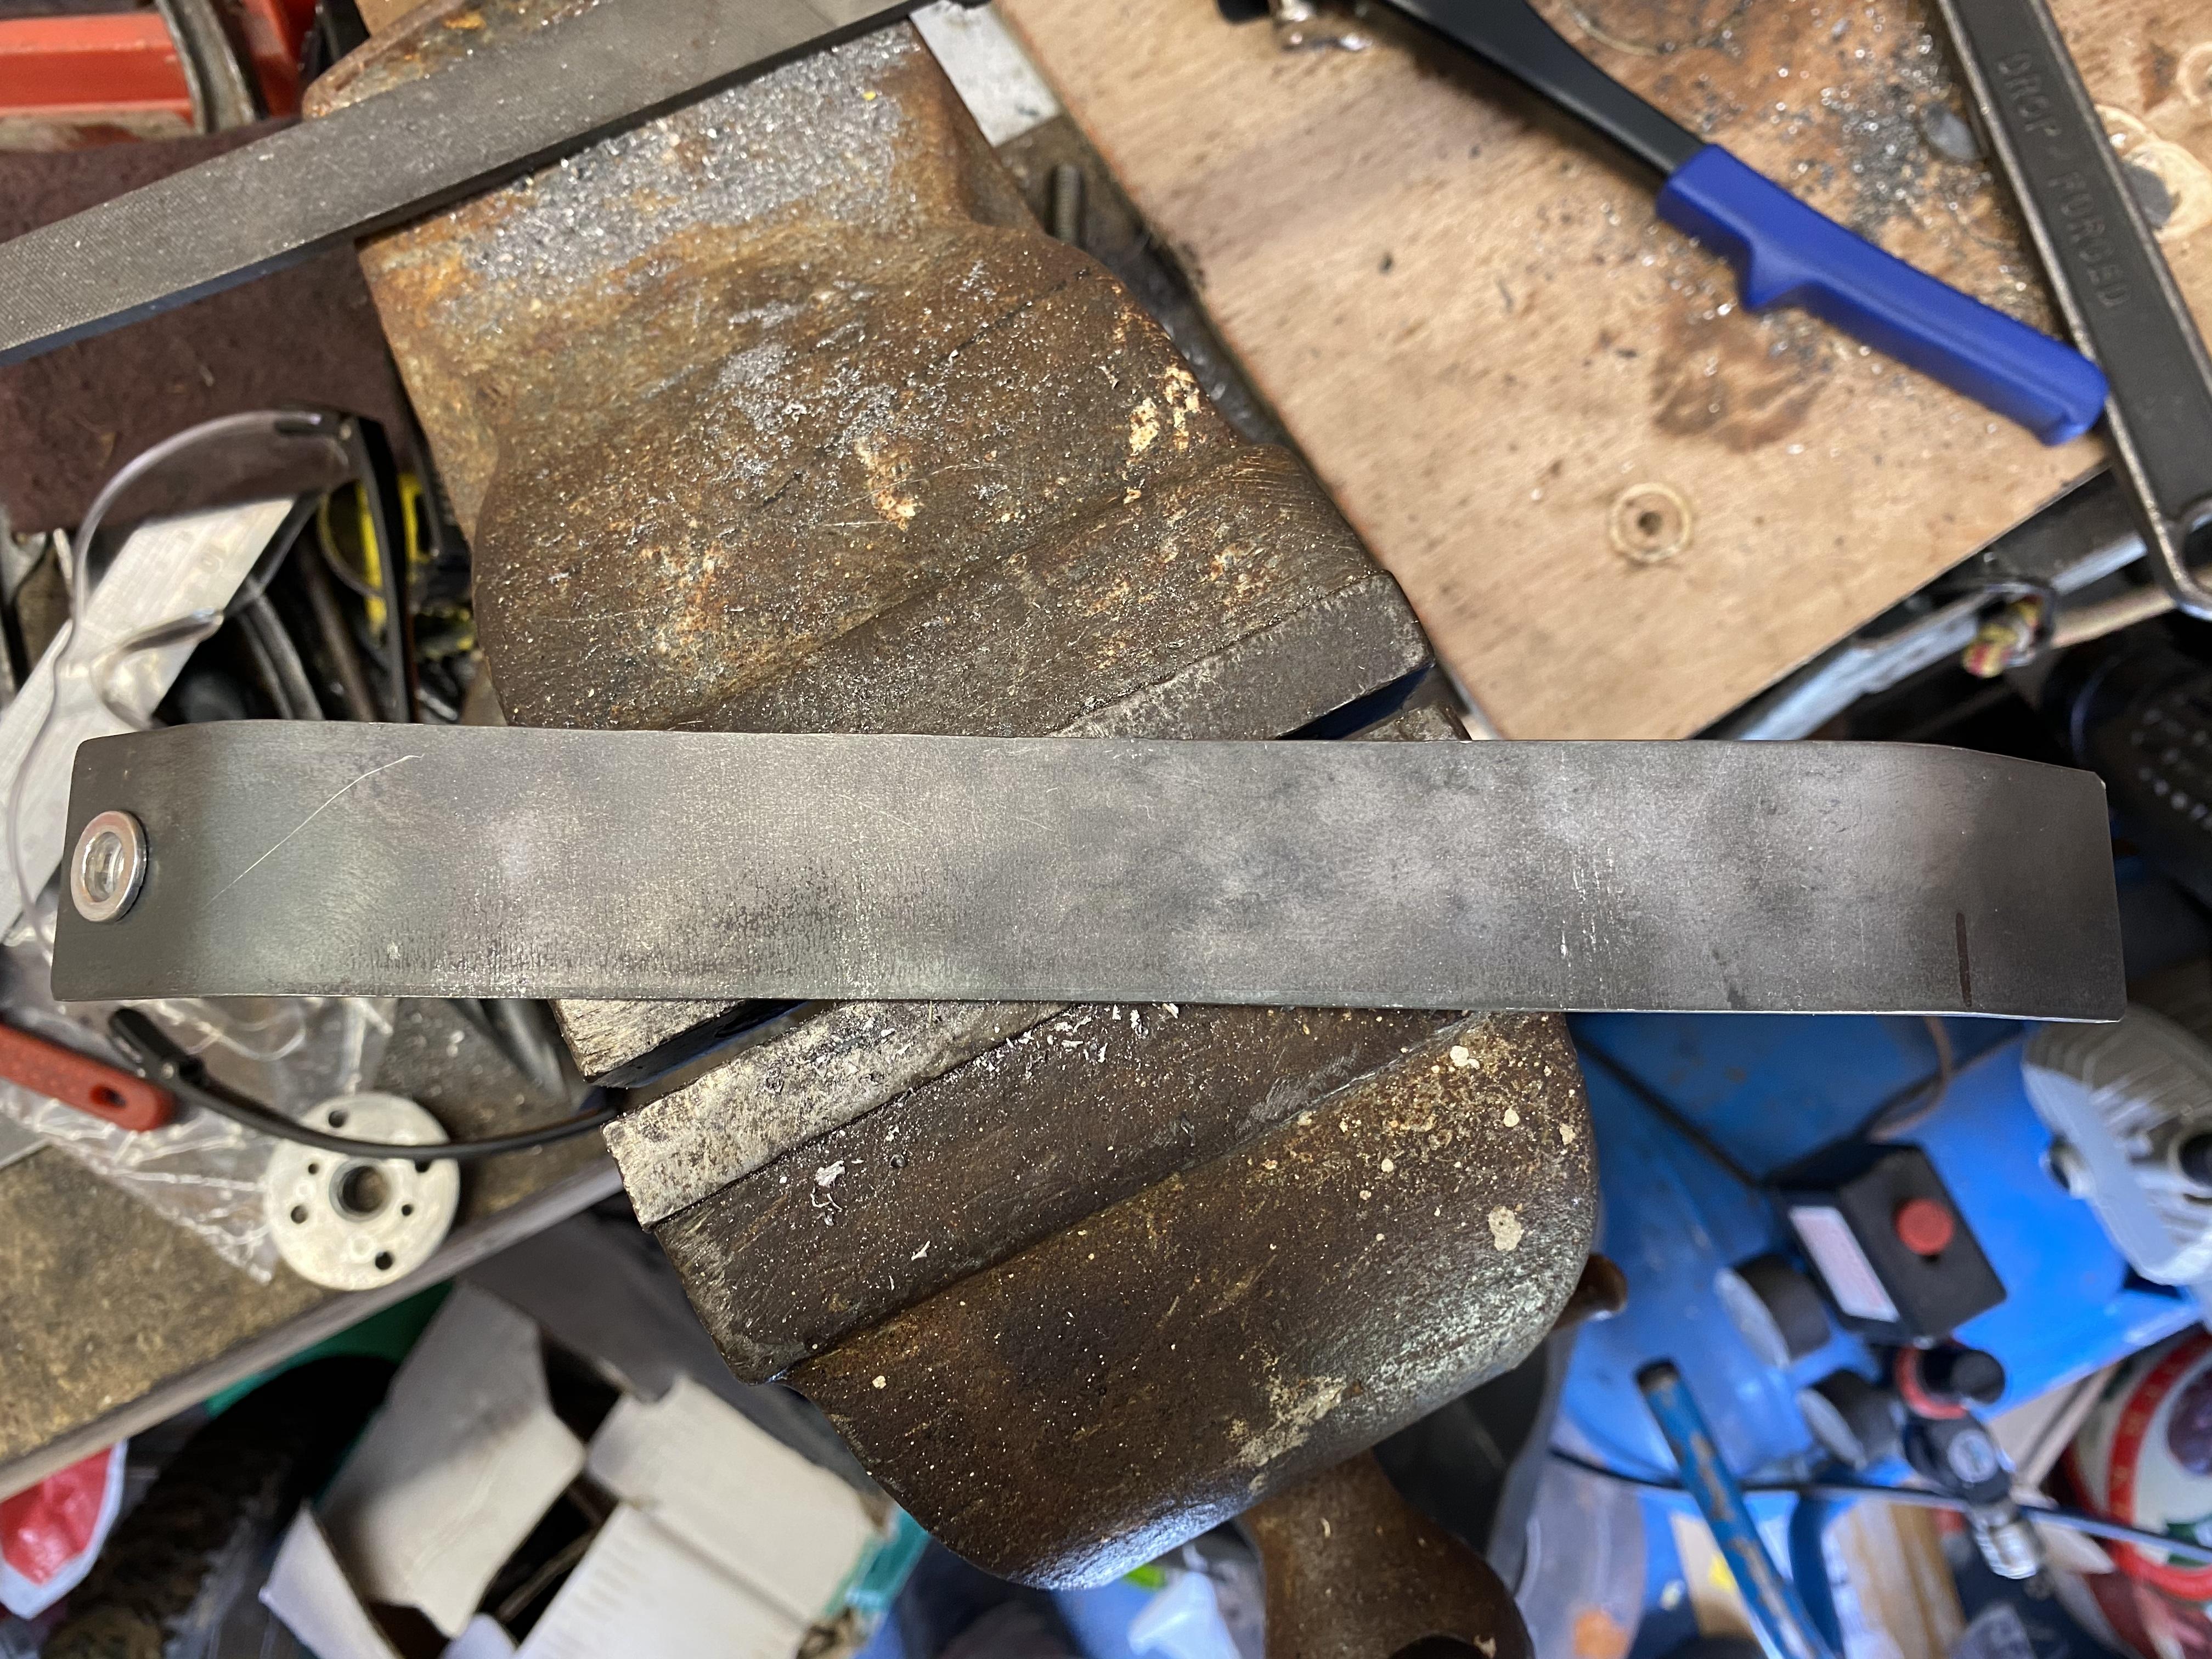
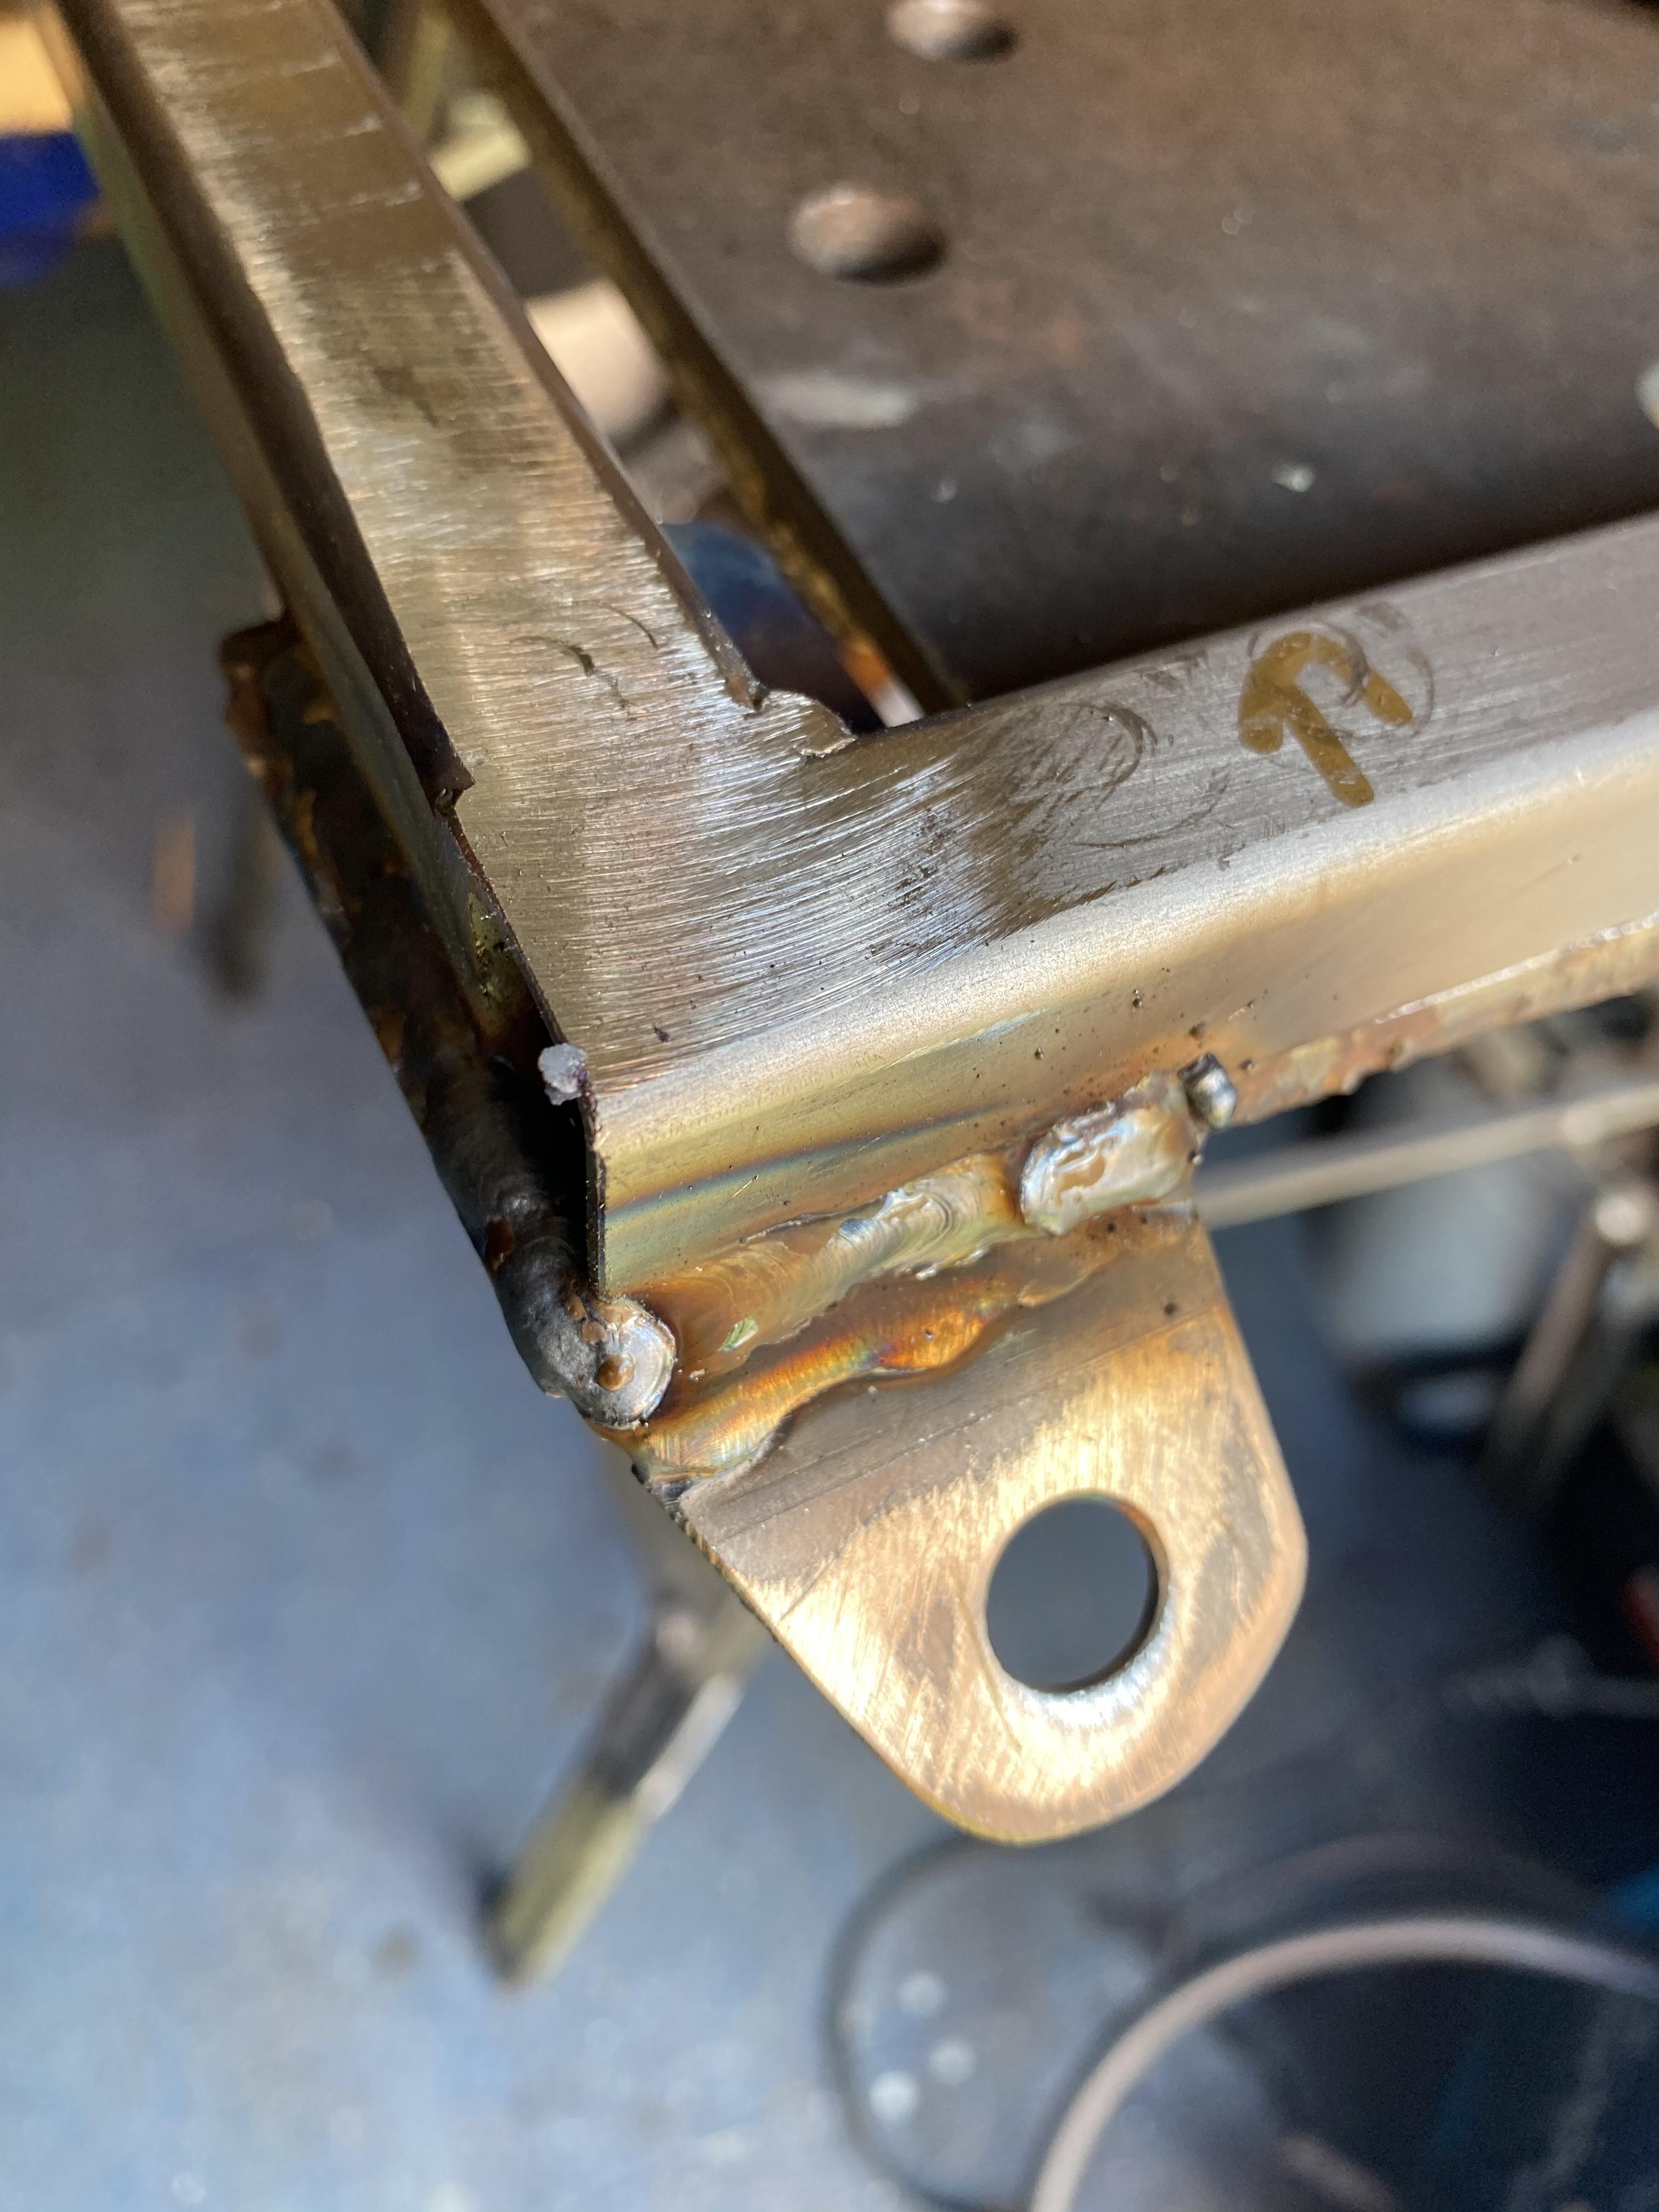
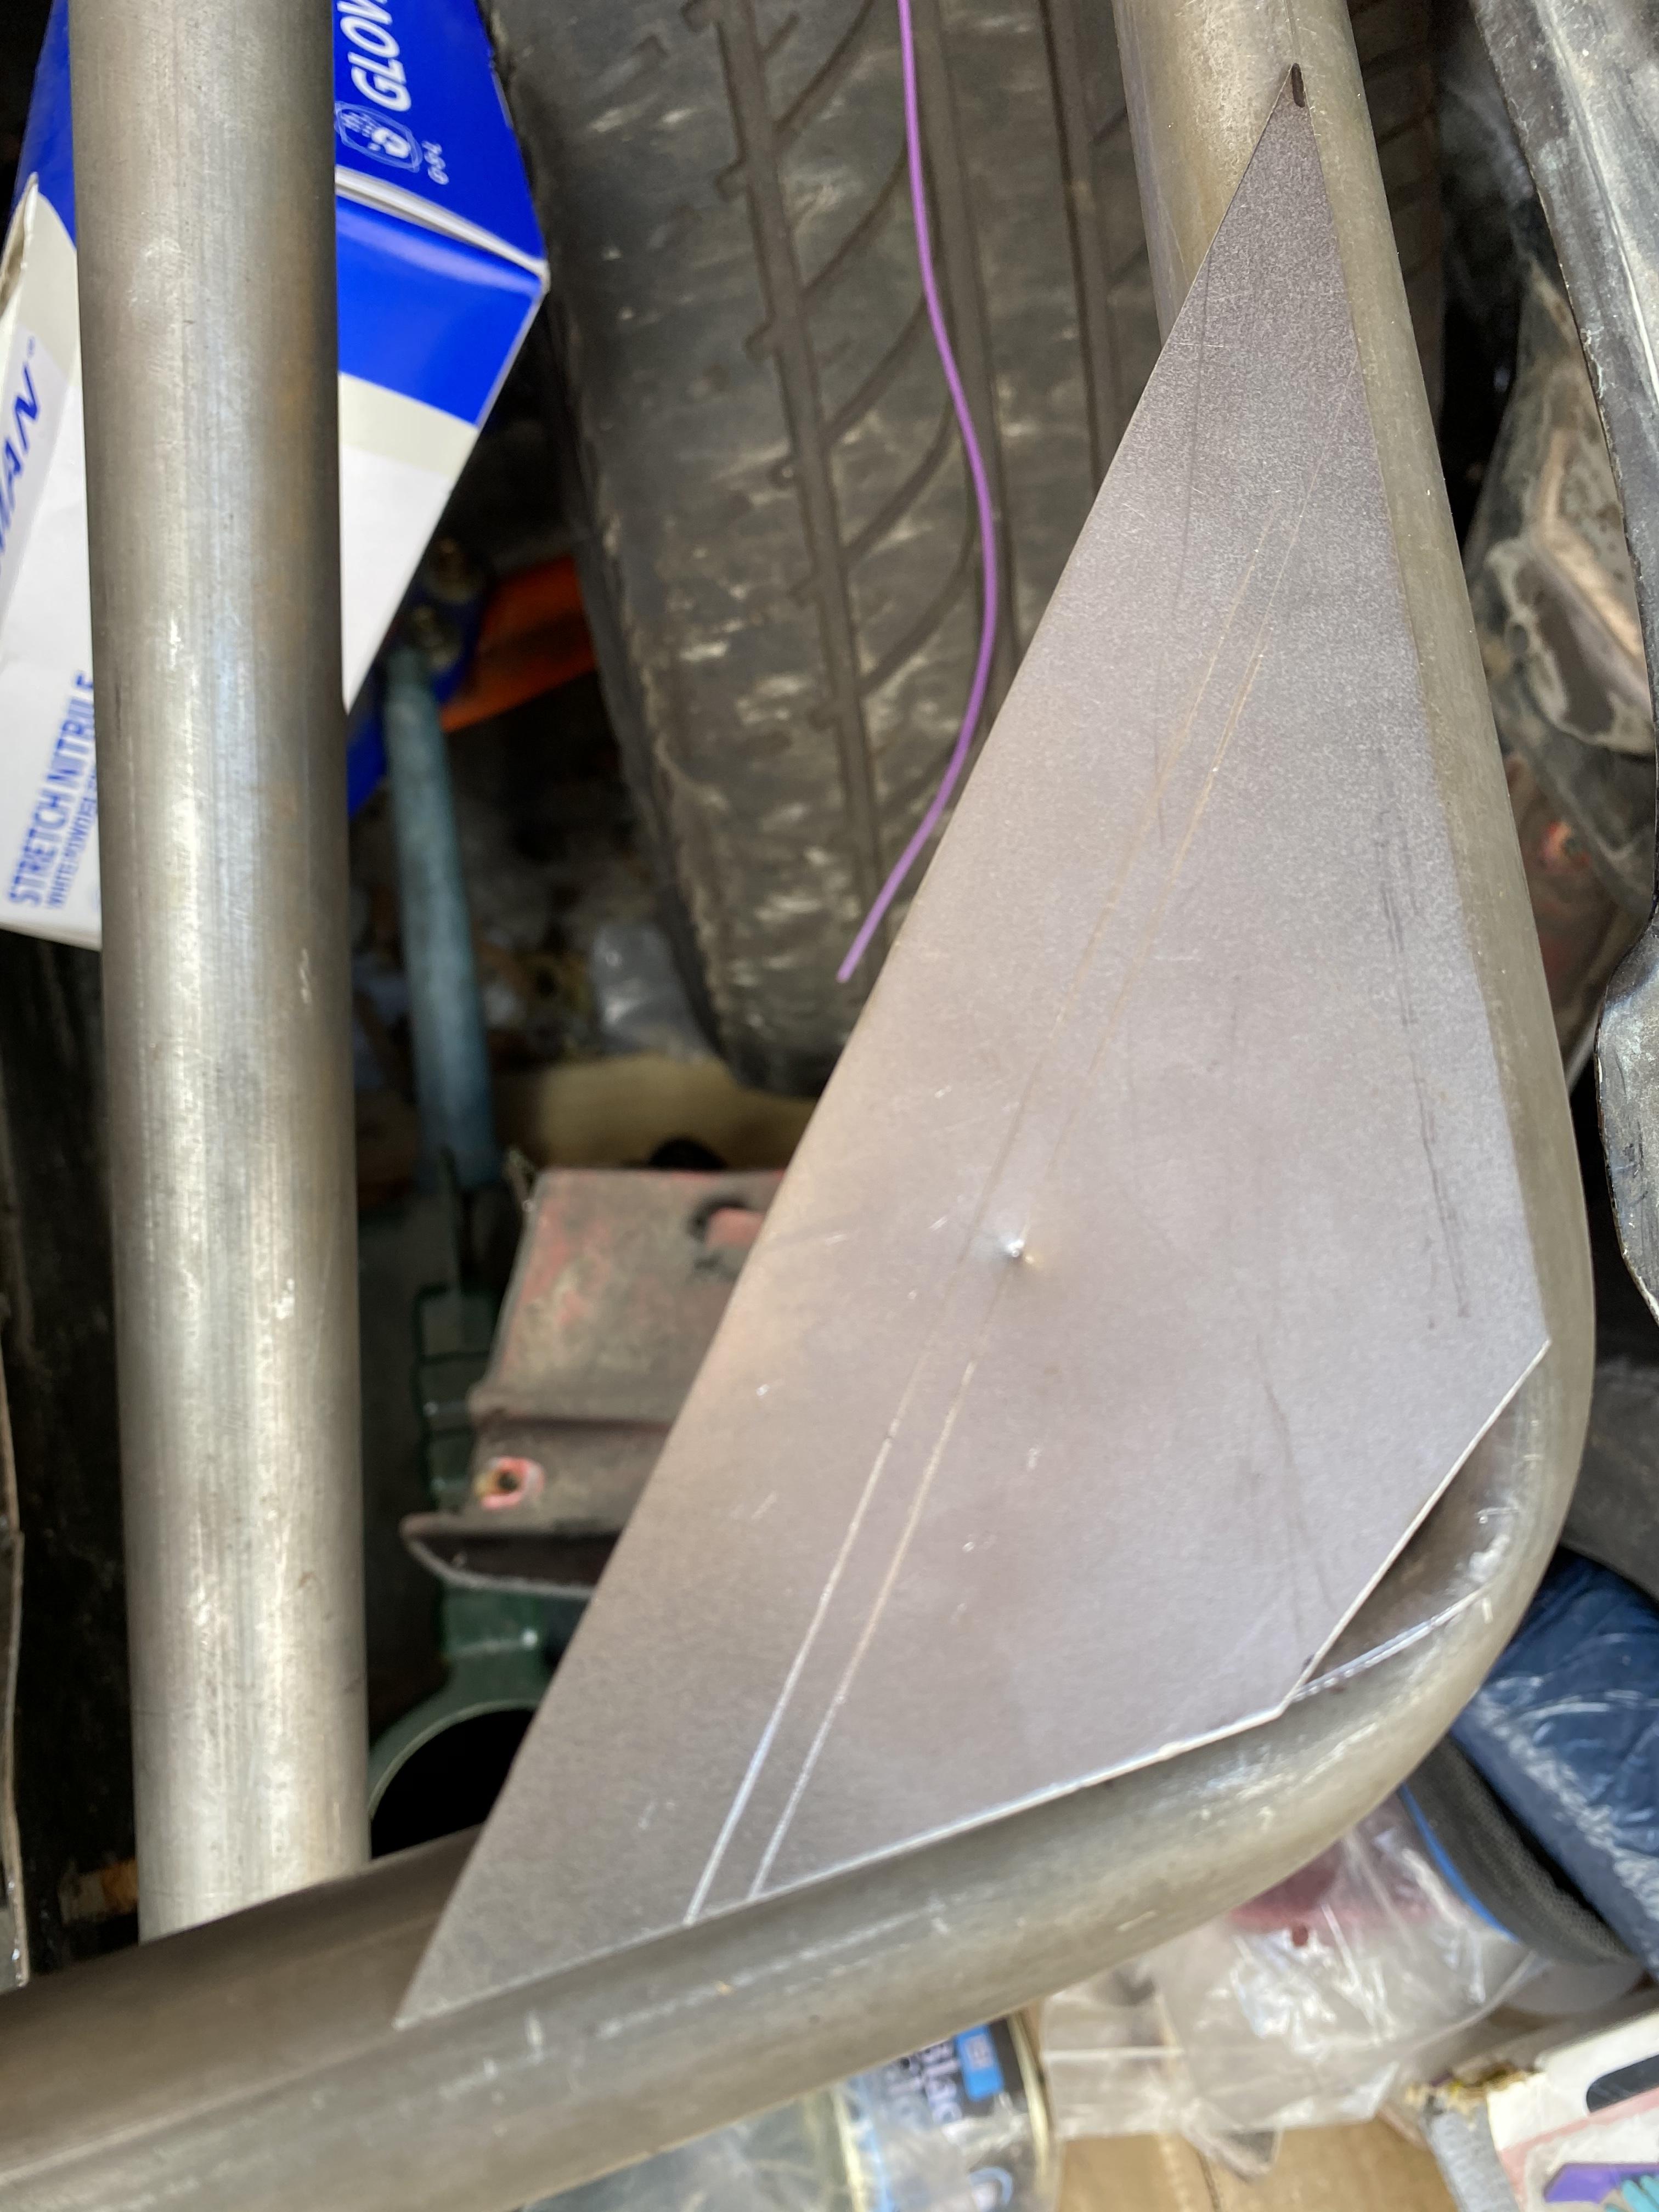
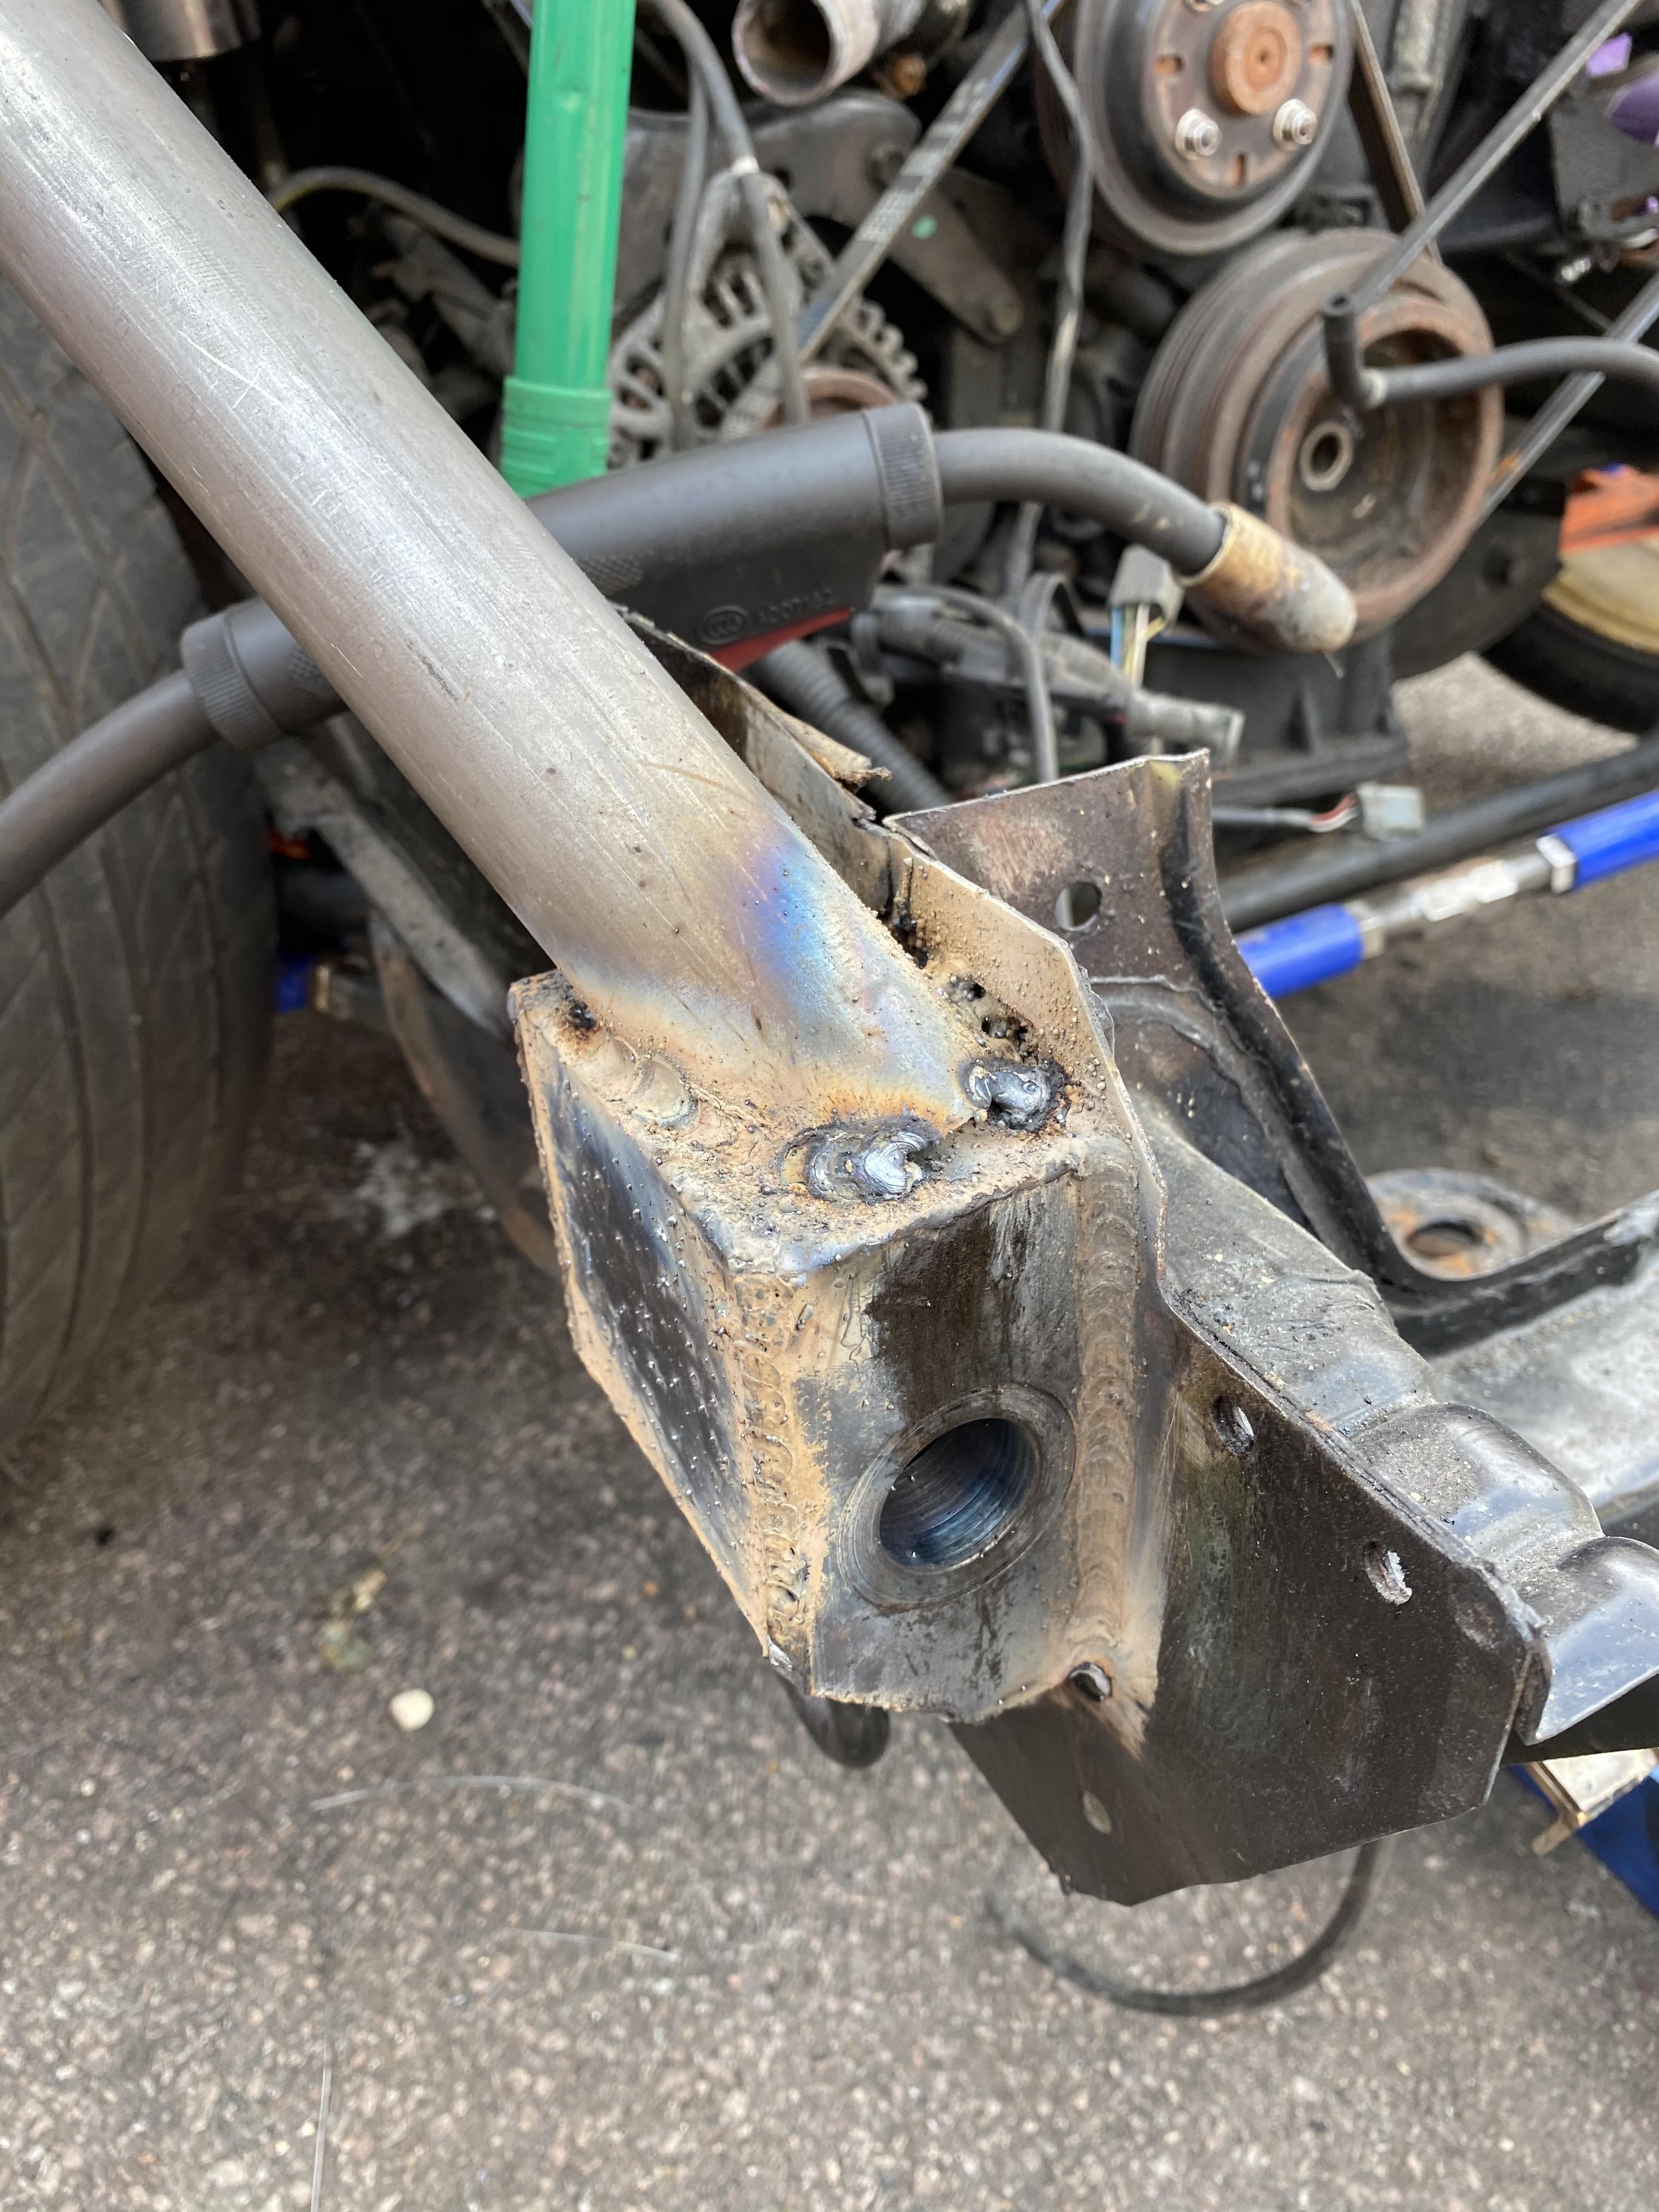
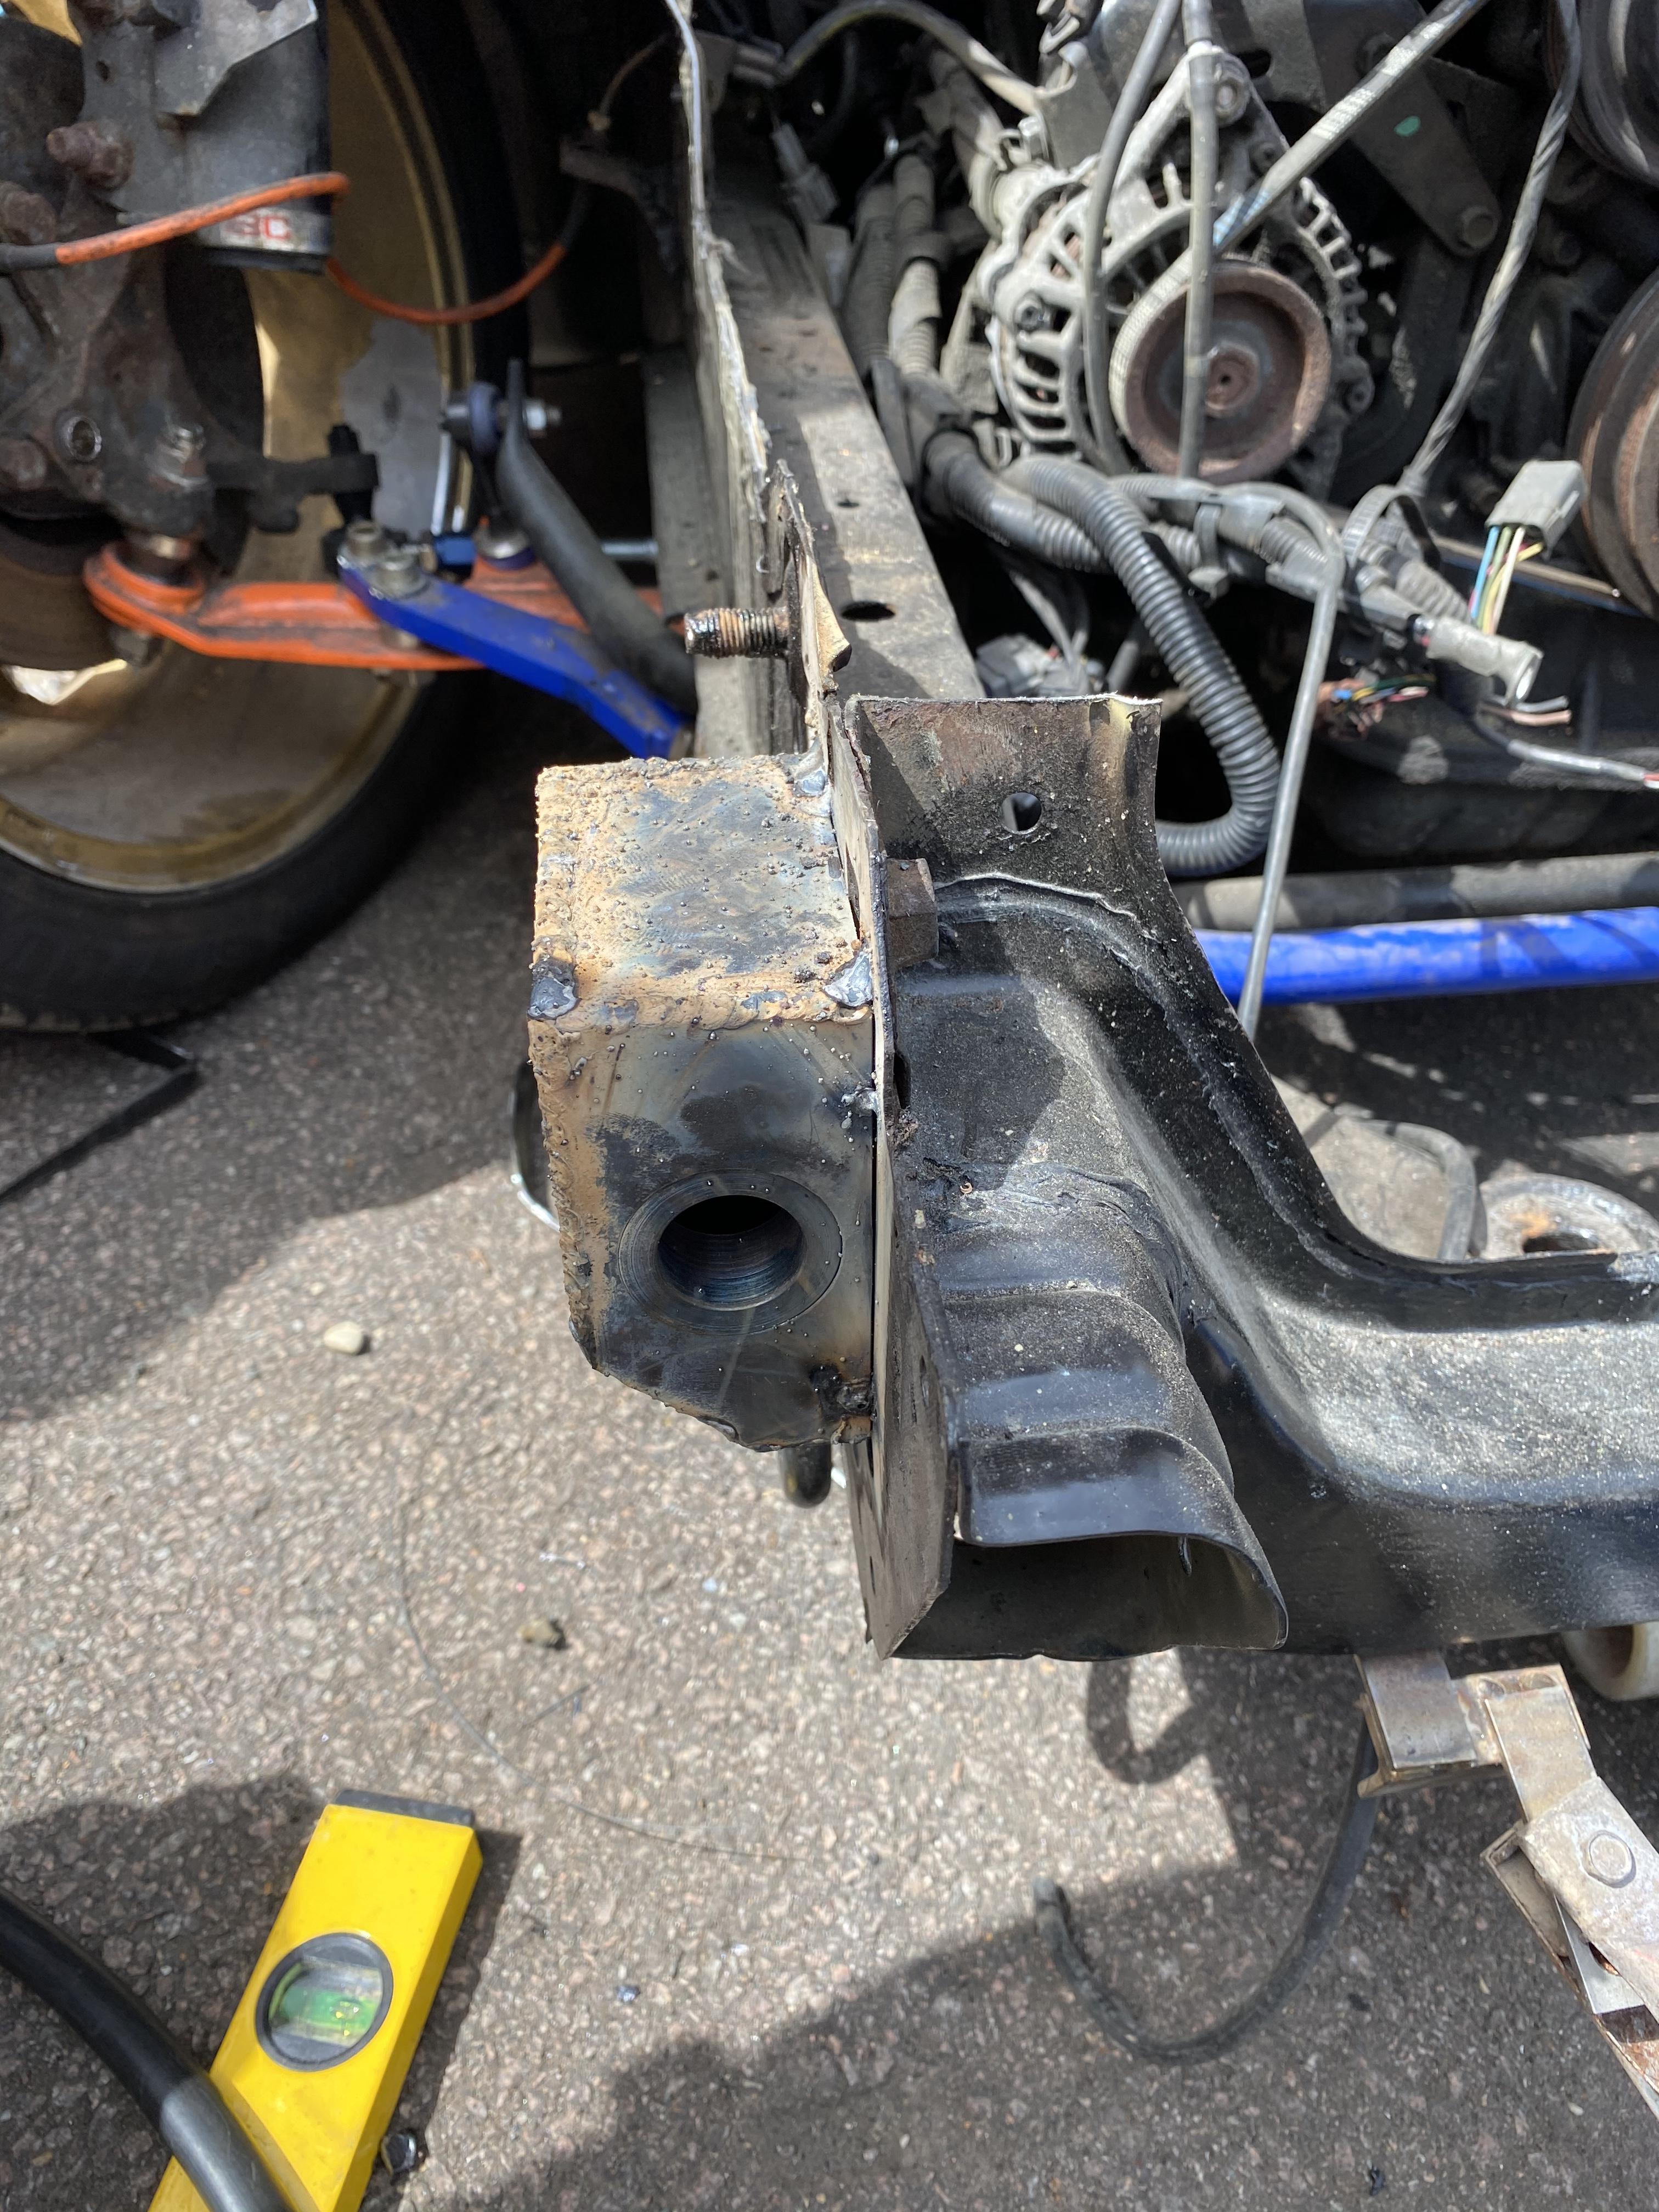
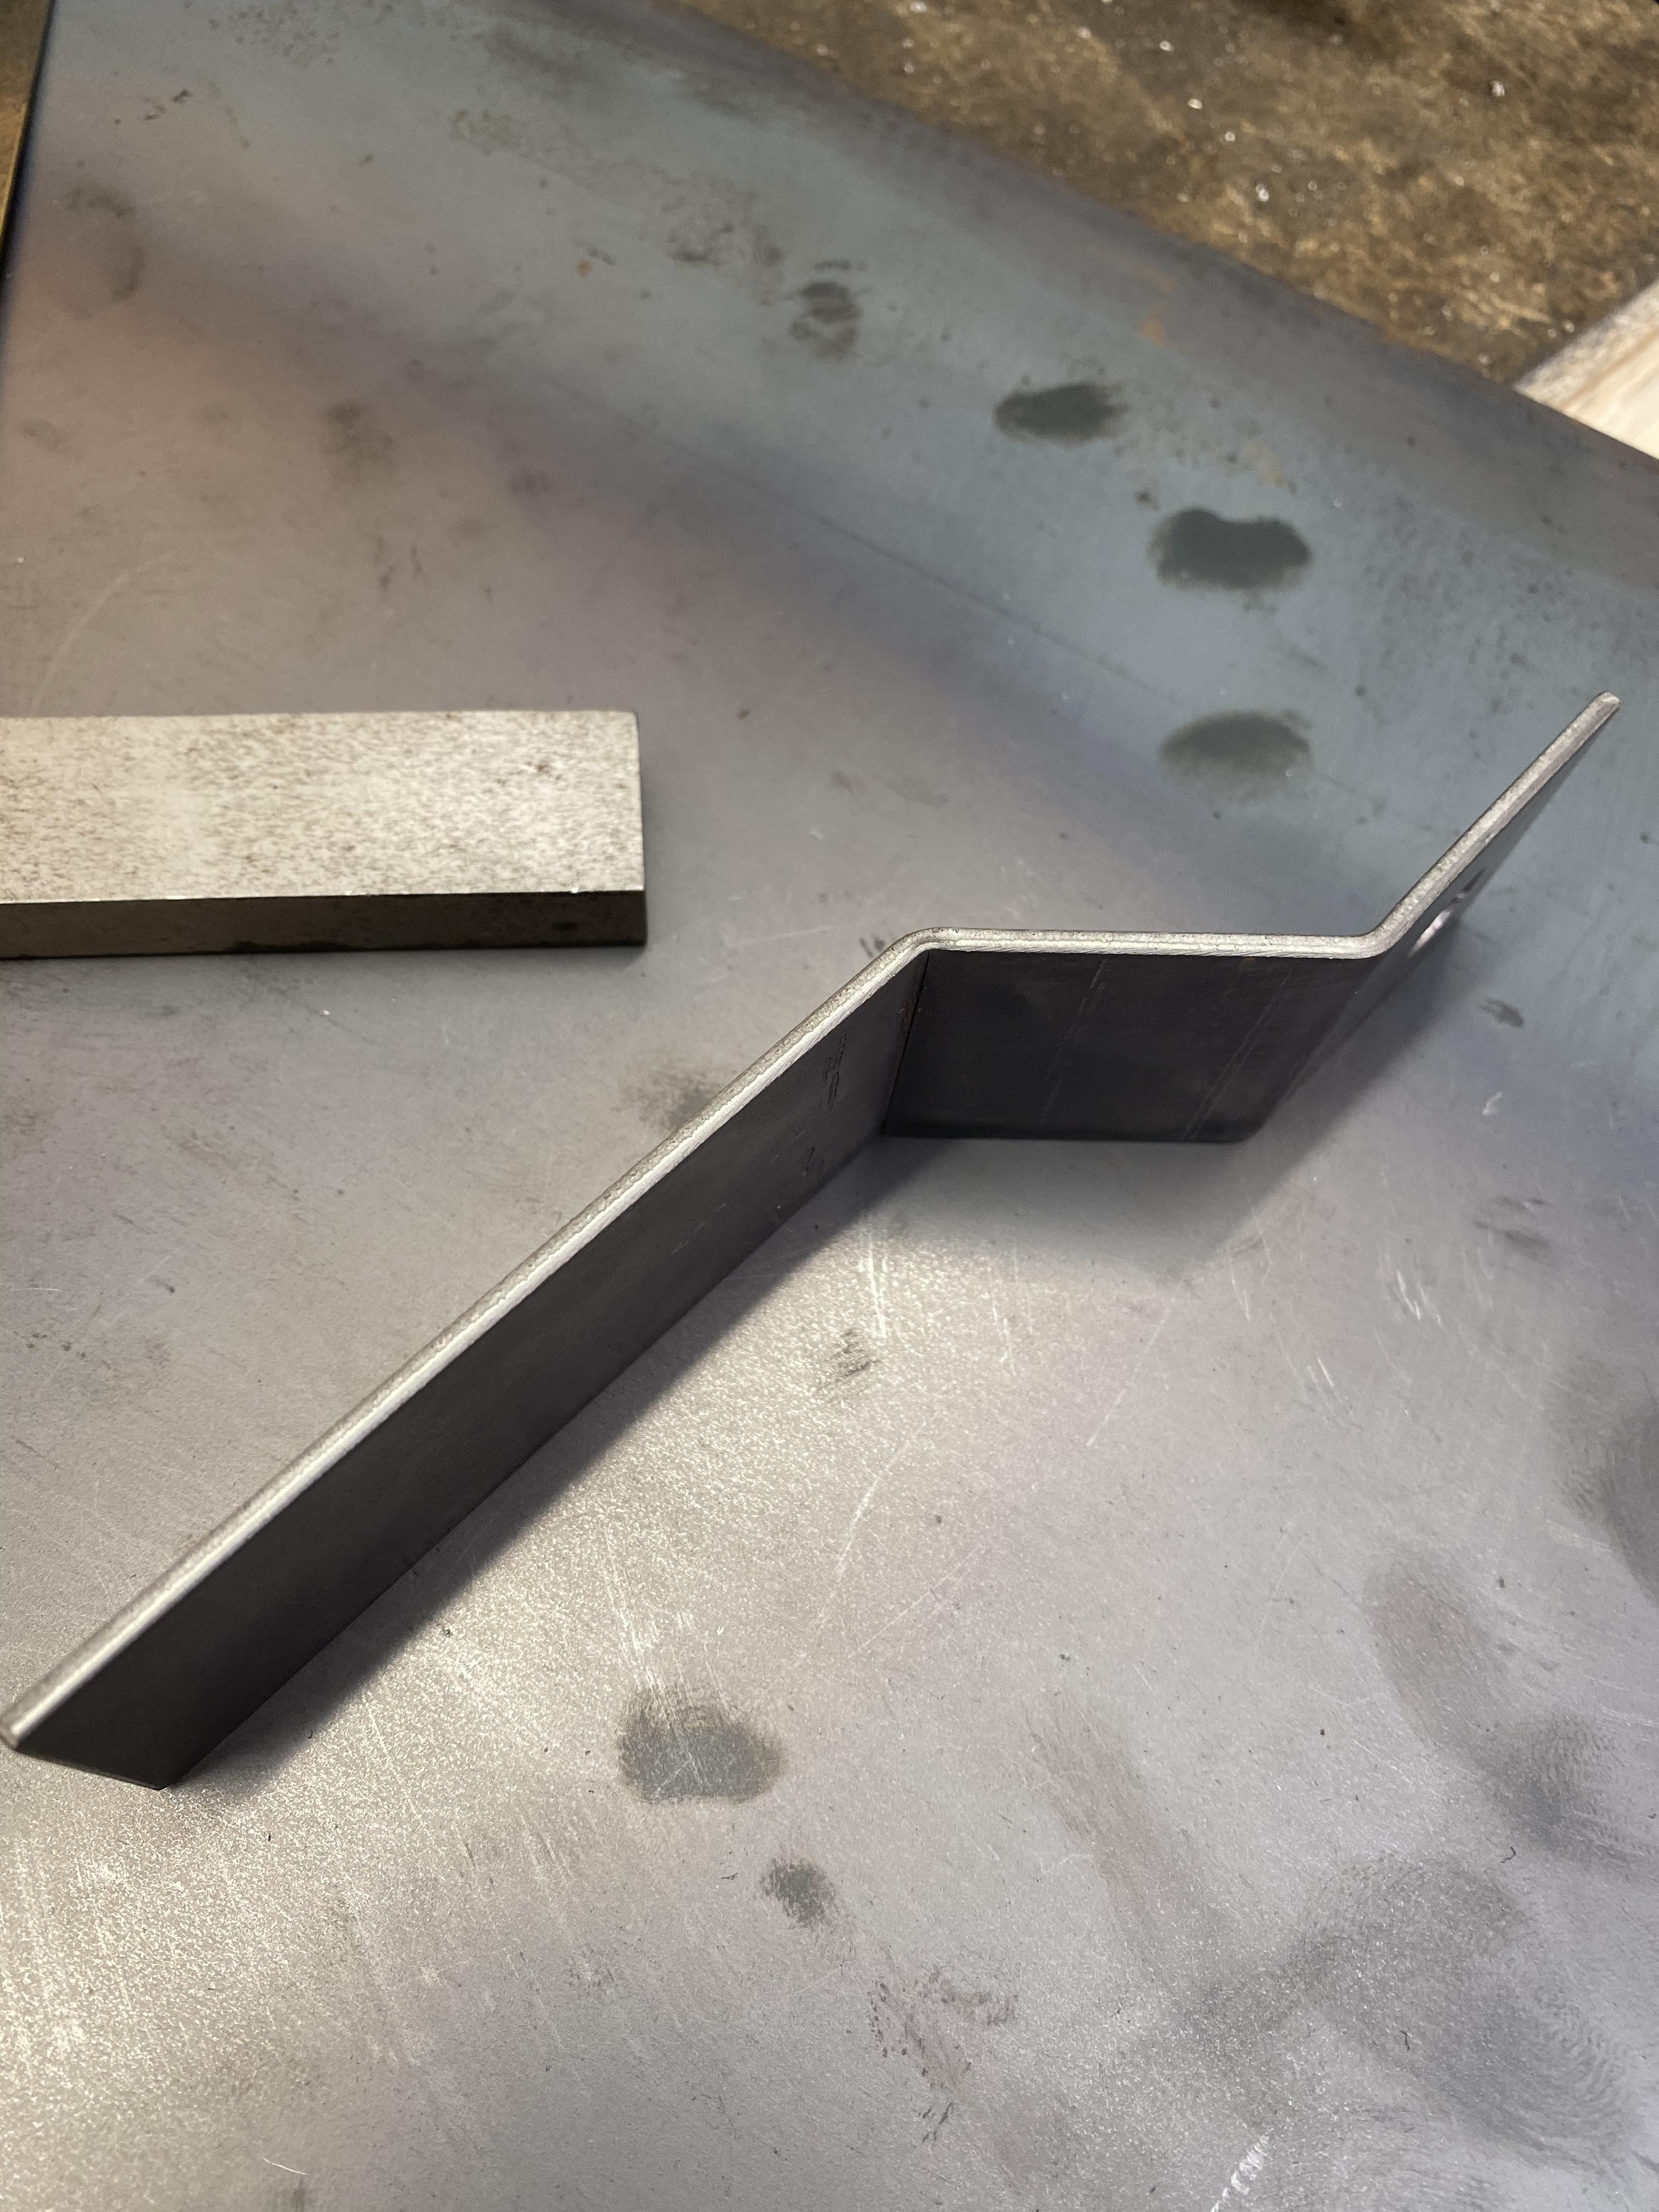
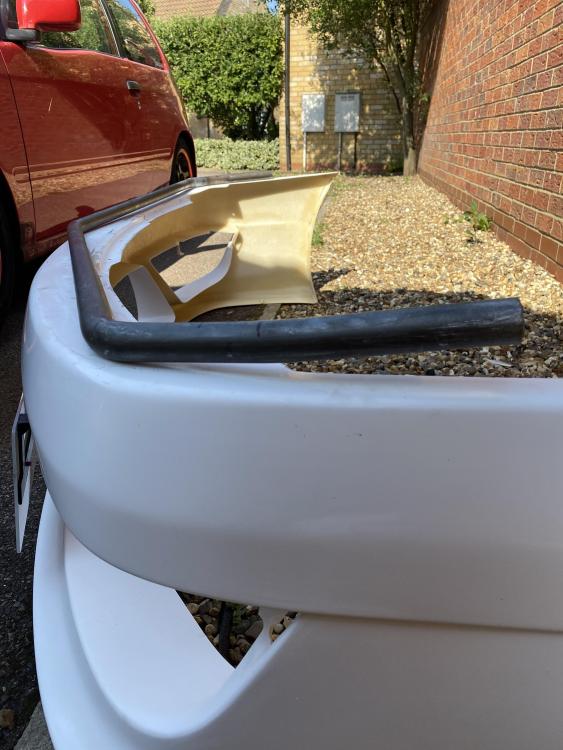
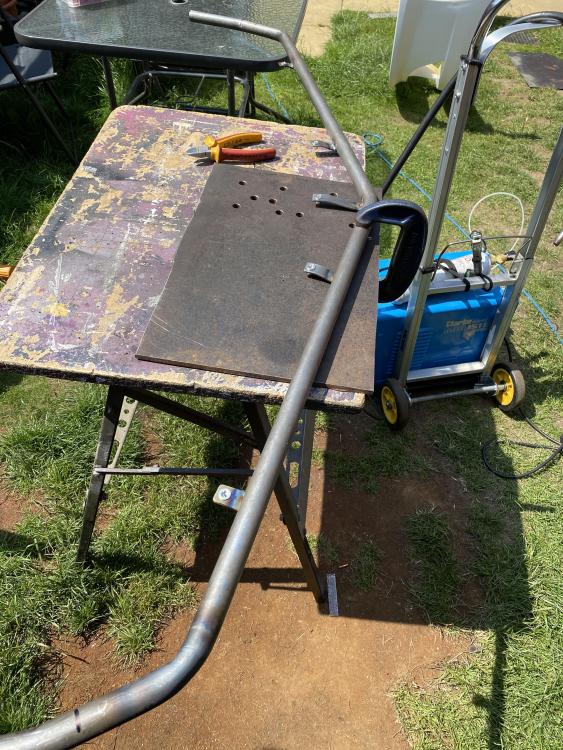
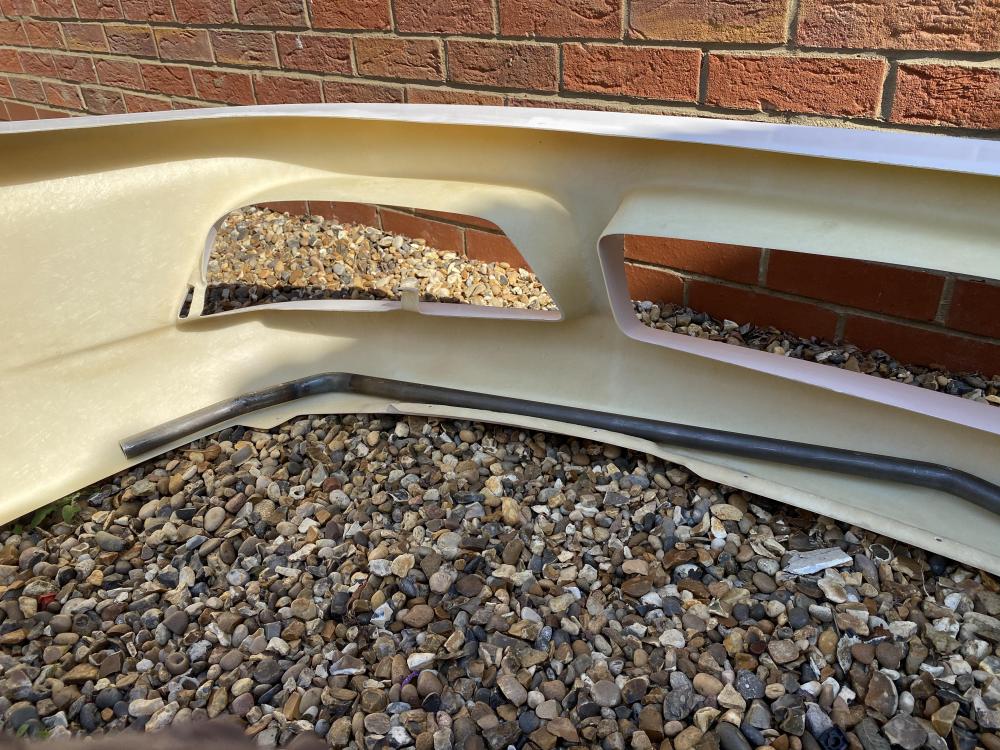
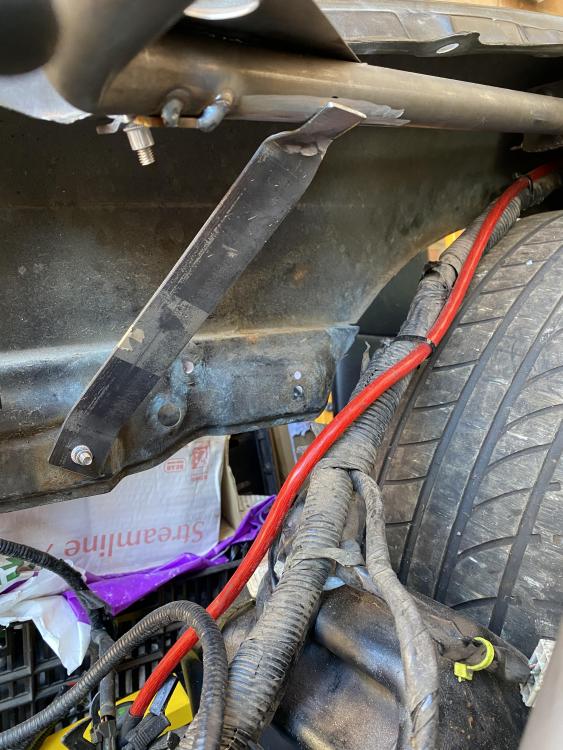
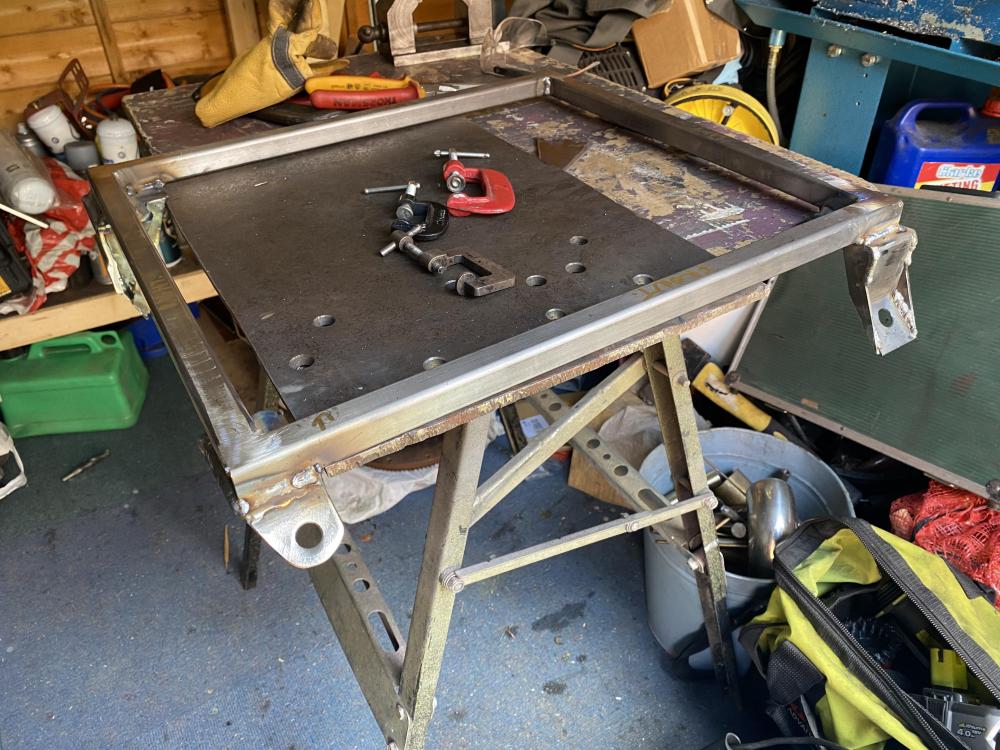
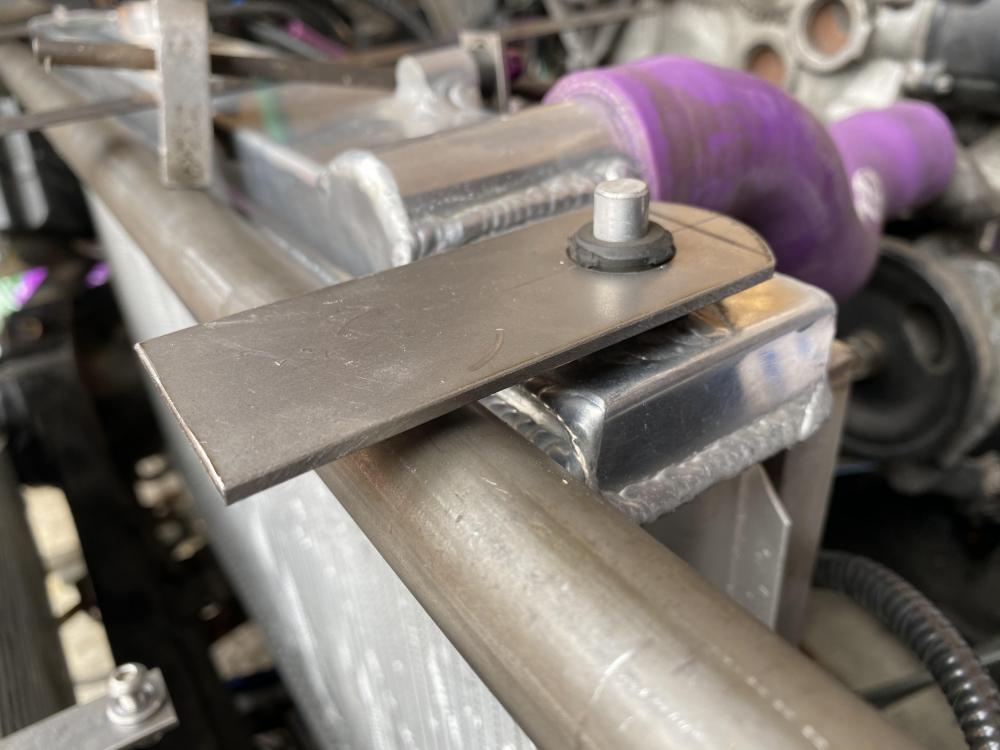
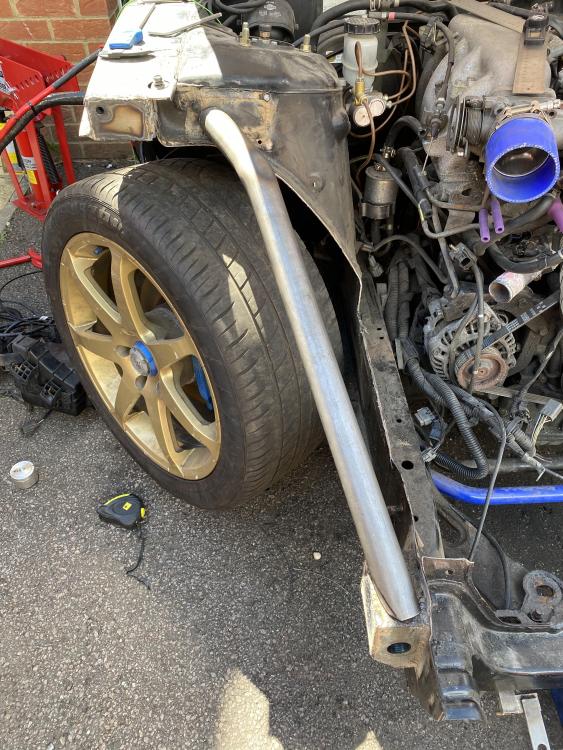
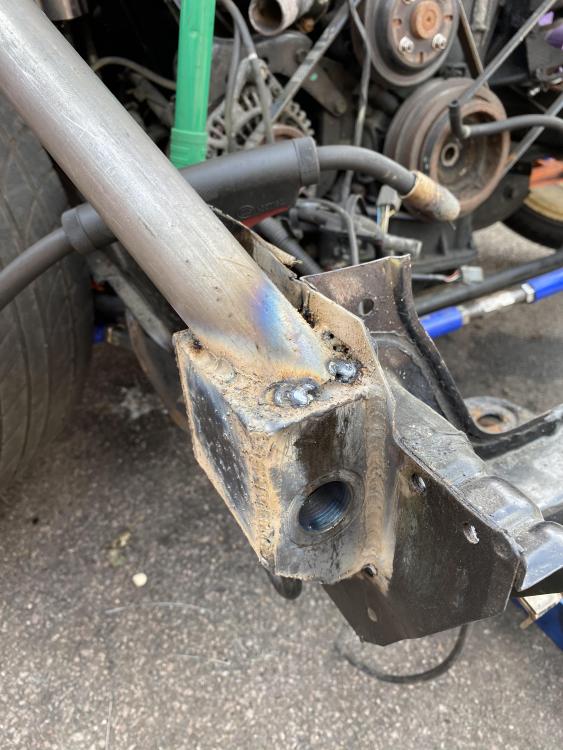
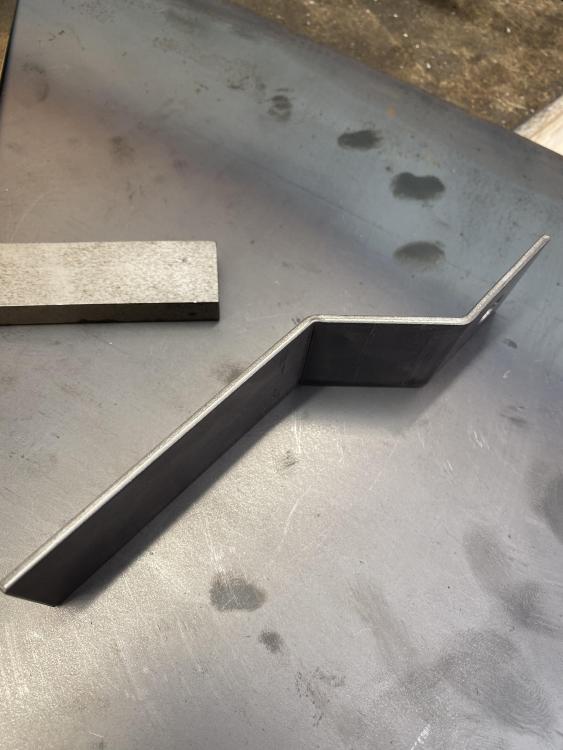
Started work on the bash bar. I need to get the car out to bend up the remaining tubes to fix it to the chassis. If it goes to plan it should slide into the boxes the tubes that tie the turrets to chassis rails sit on. A collar will be welded to the front to stop it from sliding back further and an R clip will stop it moving forwards. One end has kicked up as it wasn’t quite level when I bent it. The tabs to bolt it to the bumper has sorted this however and any alignment problems can be adjusted with the sliding system


-
Had a few quite productive days so far though suffering with welding in the heat now. Got the wing brackets cut out, welded on and the wings are now mounted. I need to sort out the gap between those and the bonnet.


-
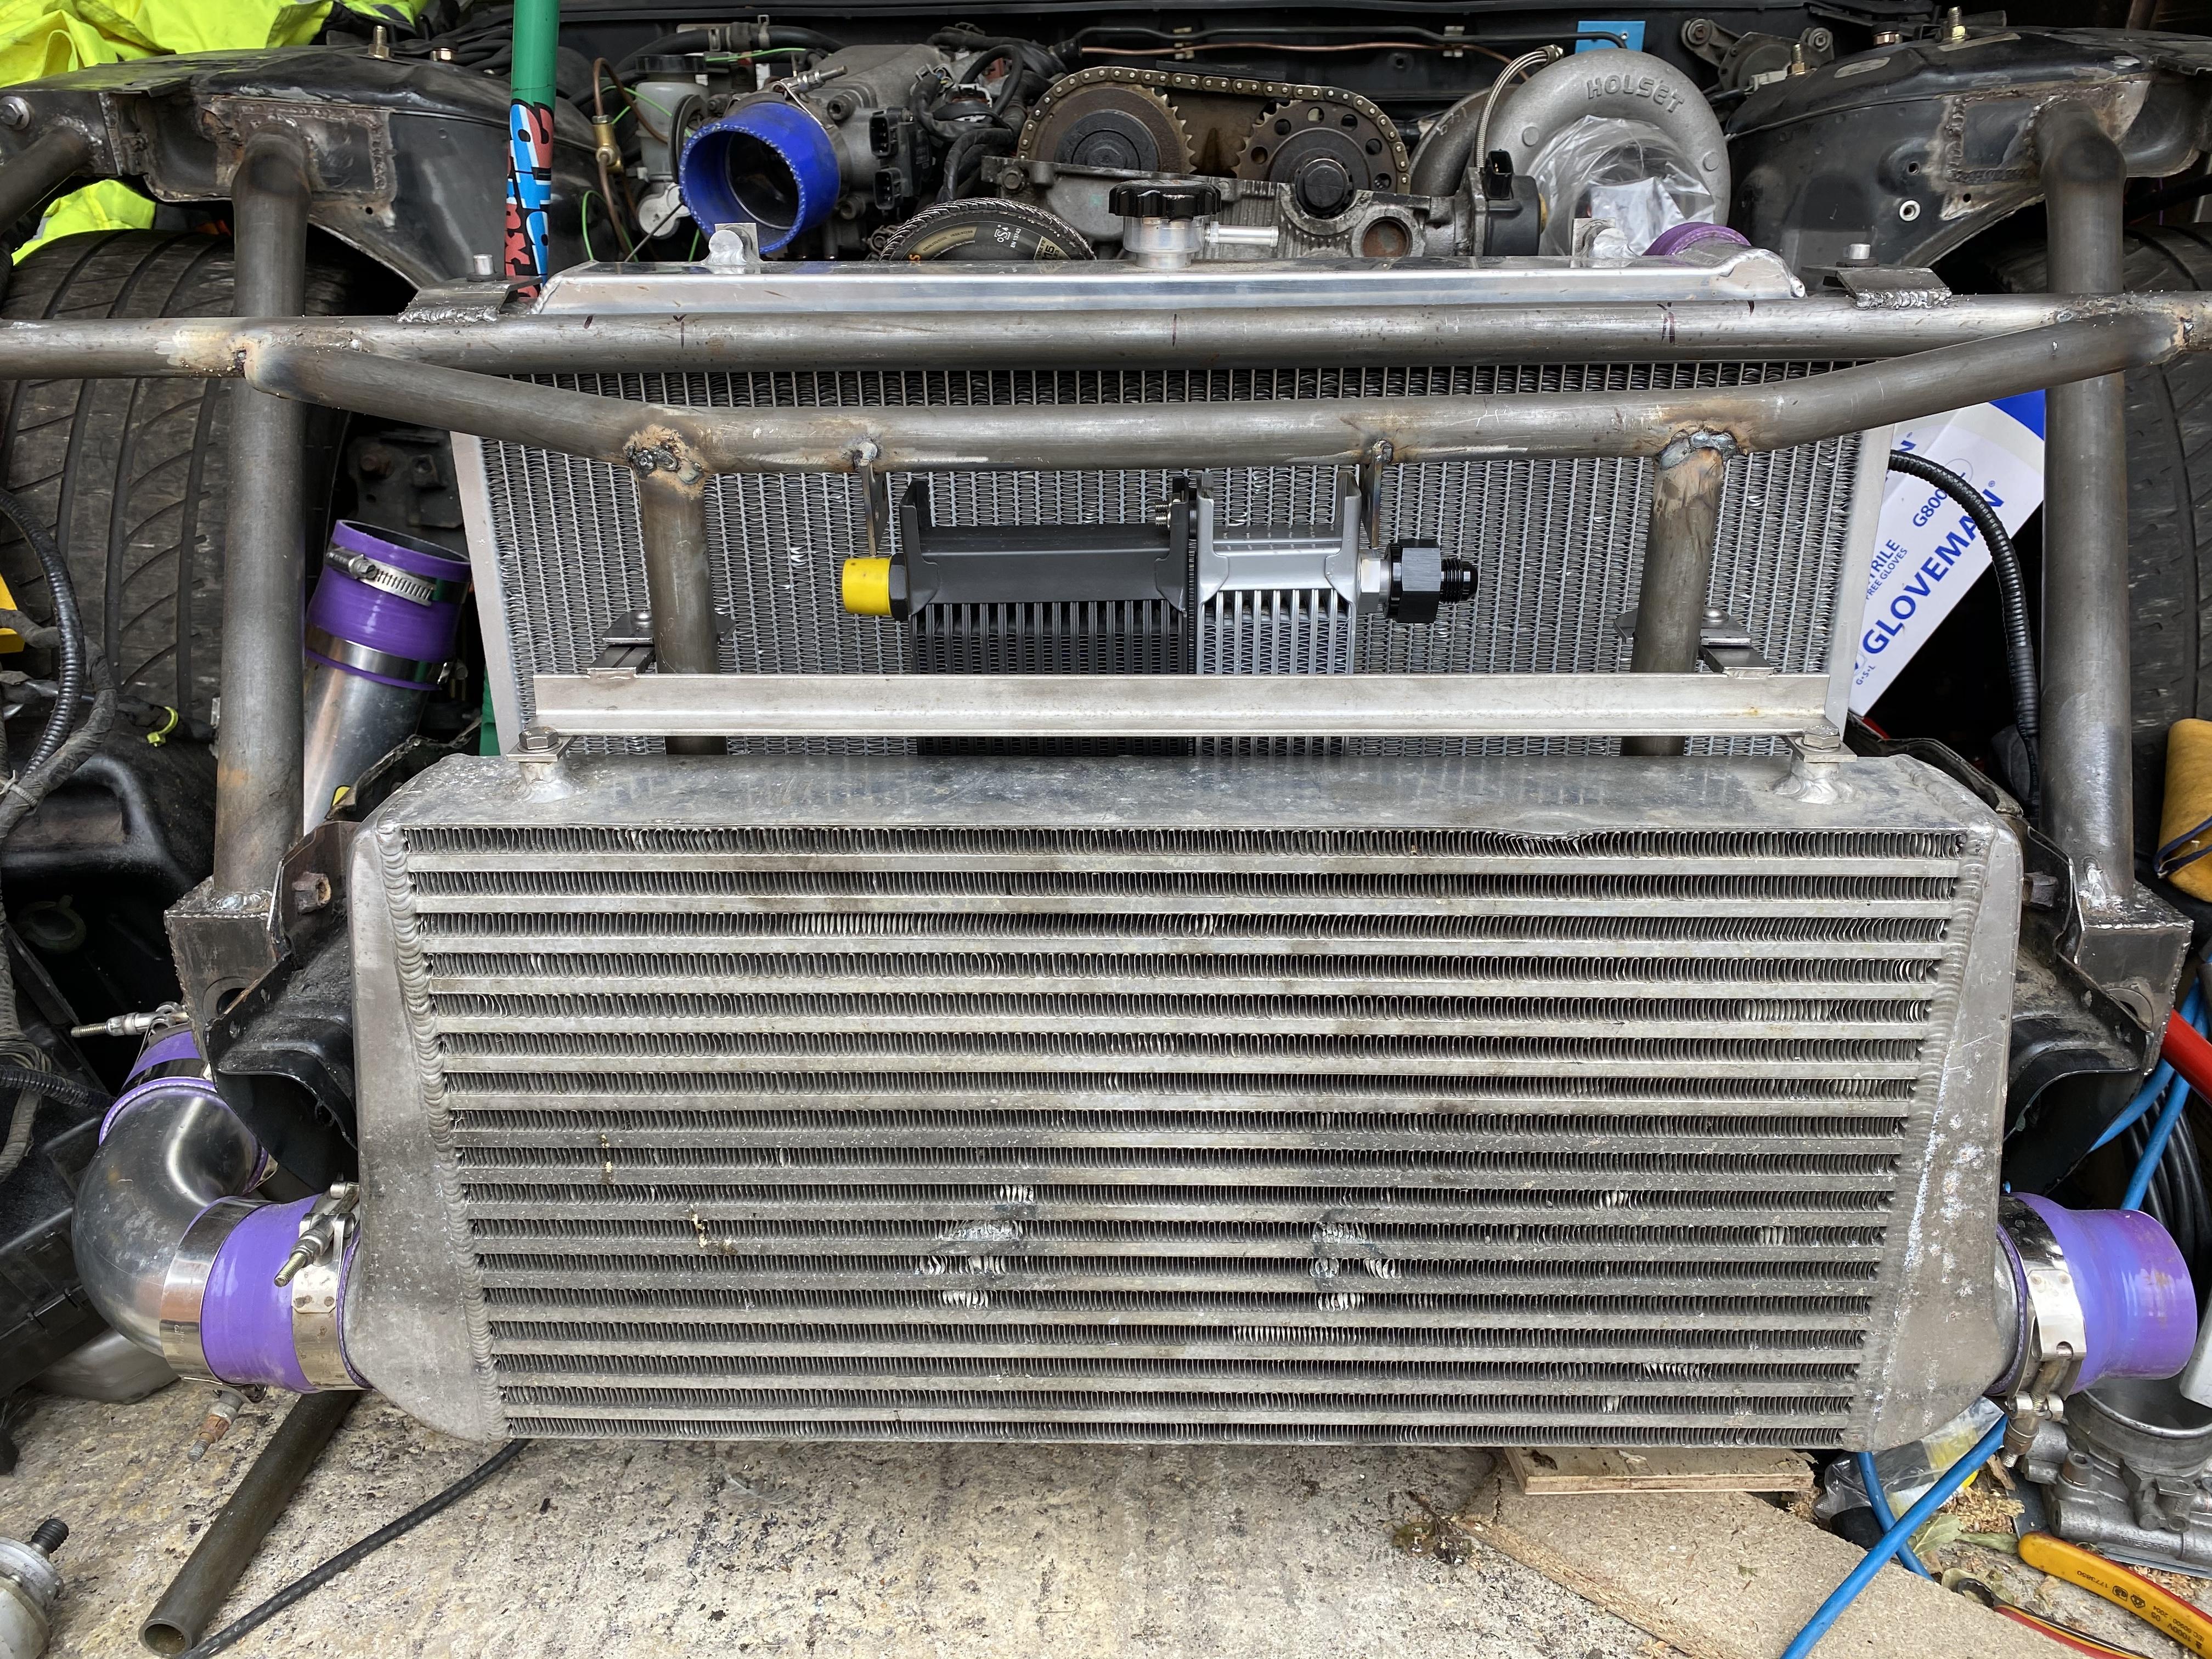
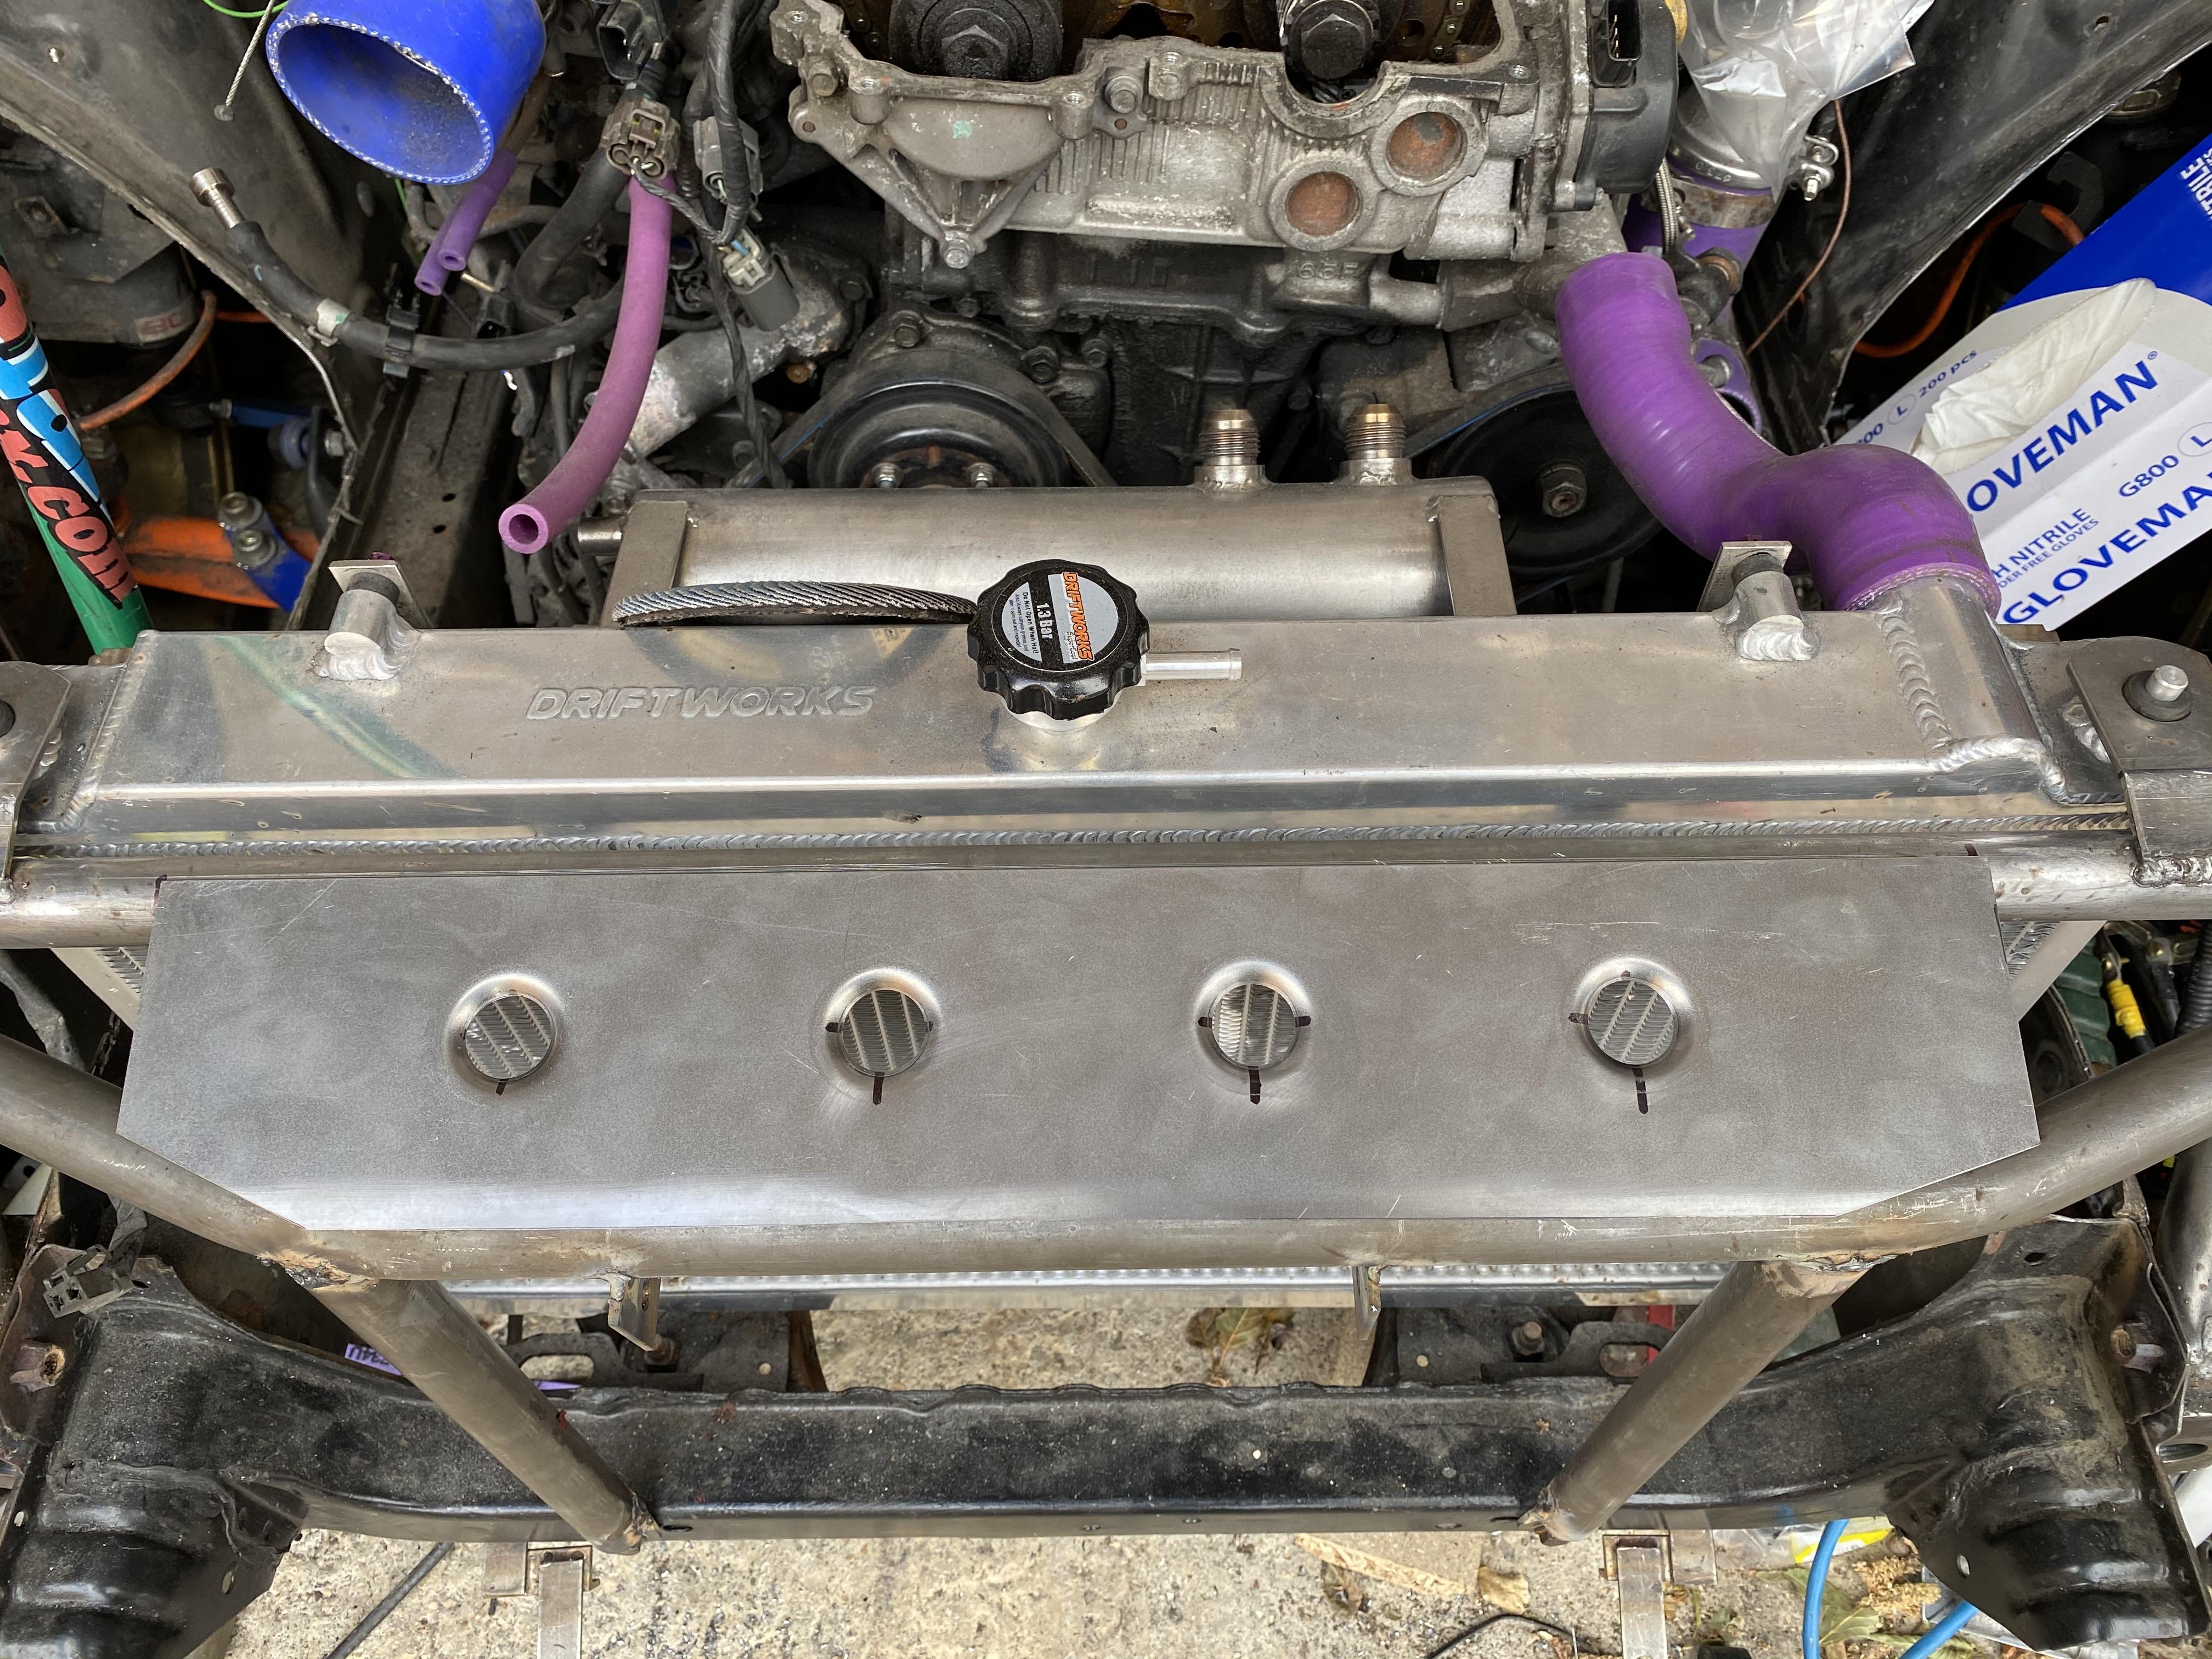
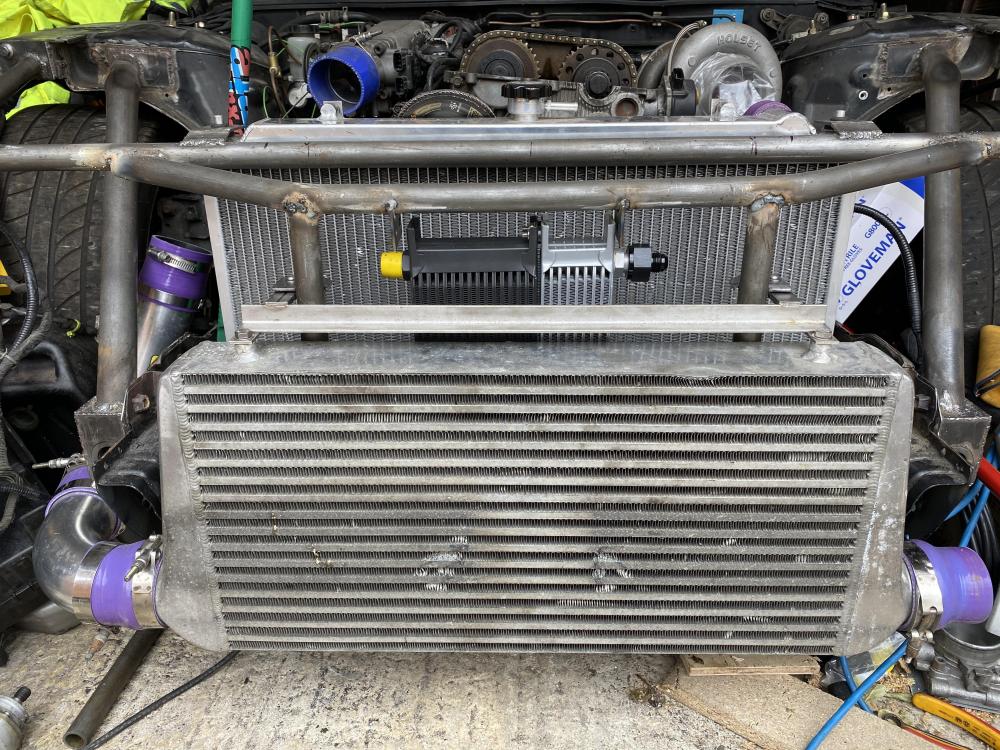
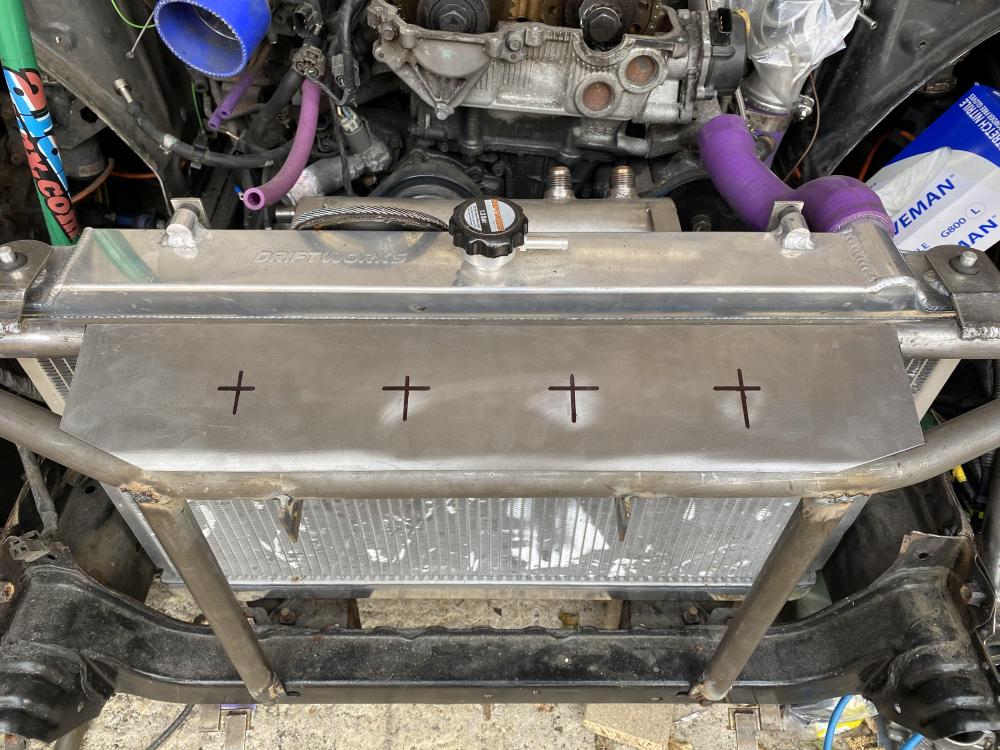
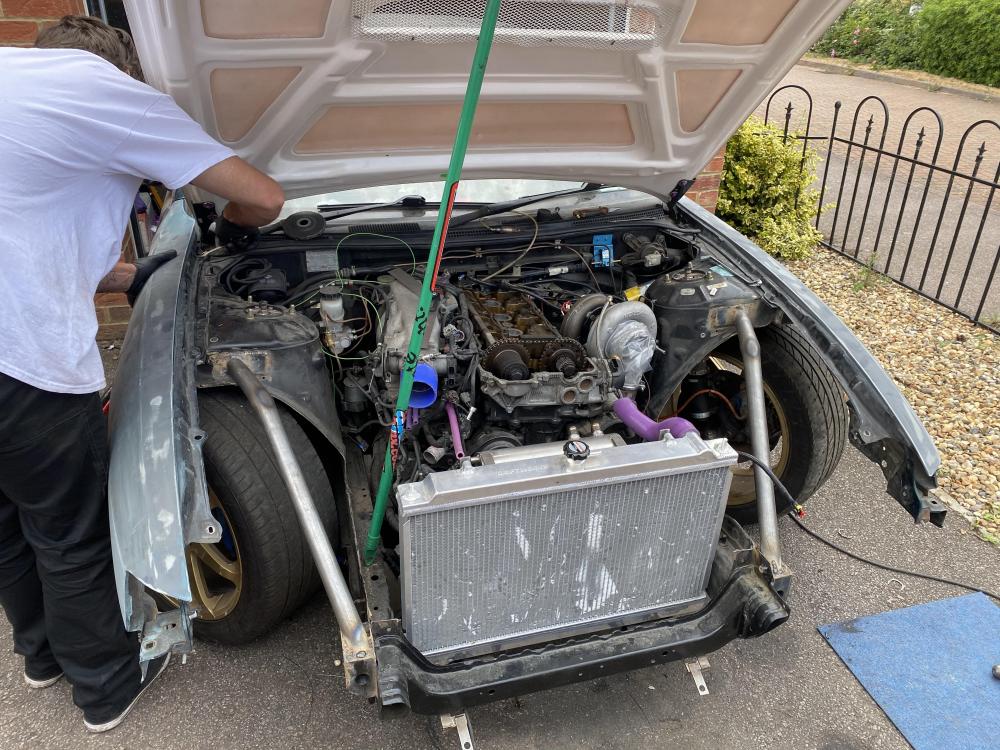
Got the intercooler brackets welded on and the front dimple die panel. Need to bolt the front bar back on, line up the wings and make the brackets for these in the week

-
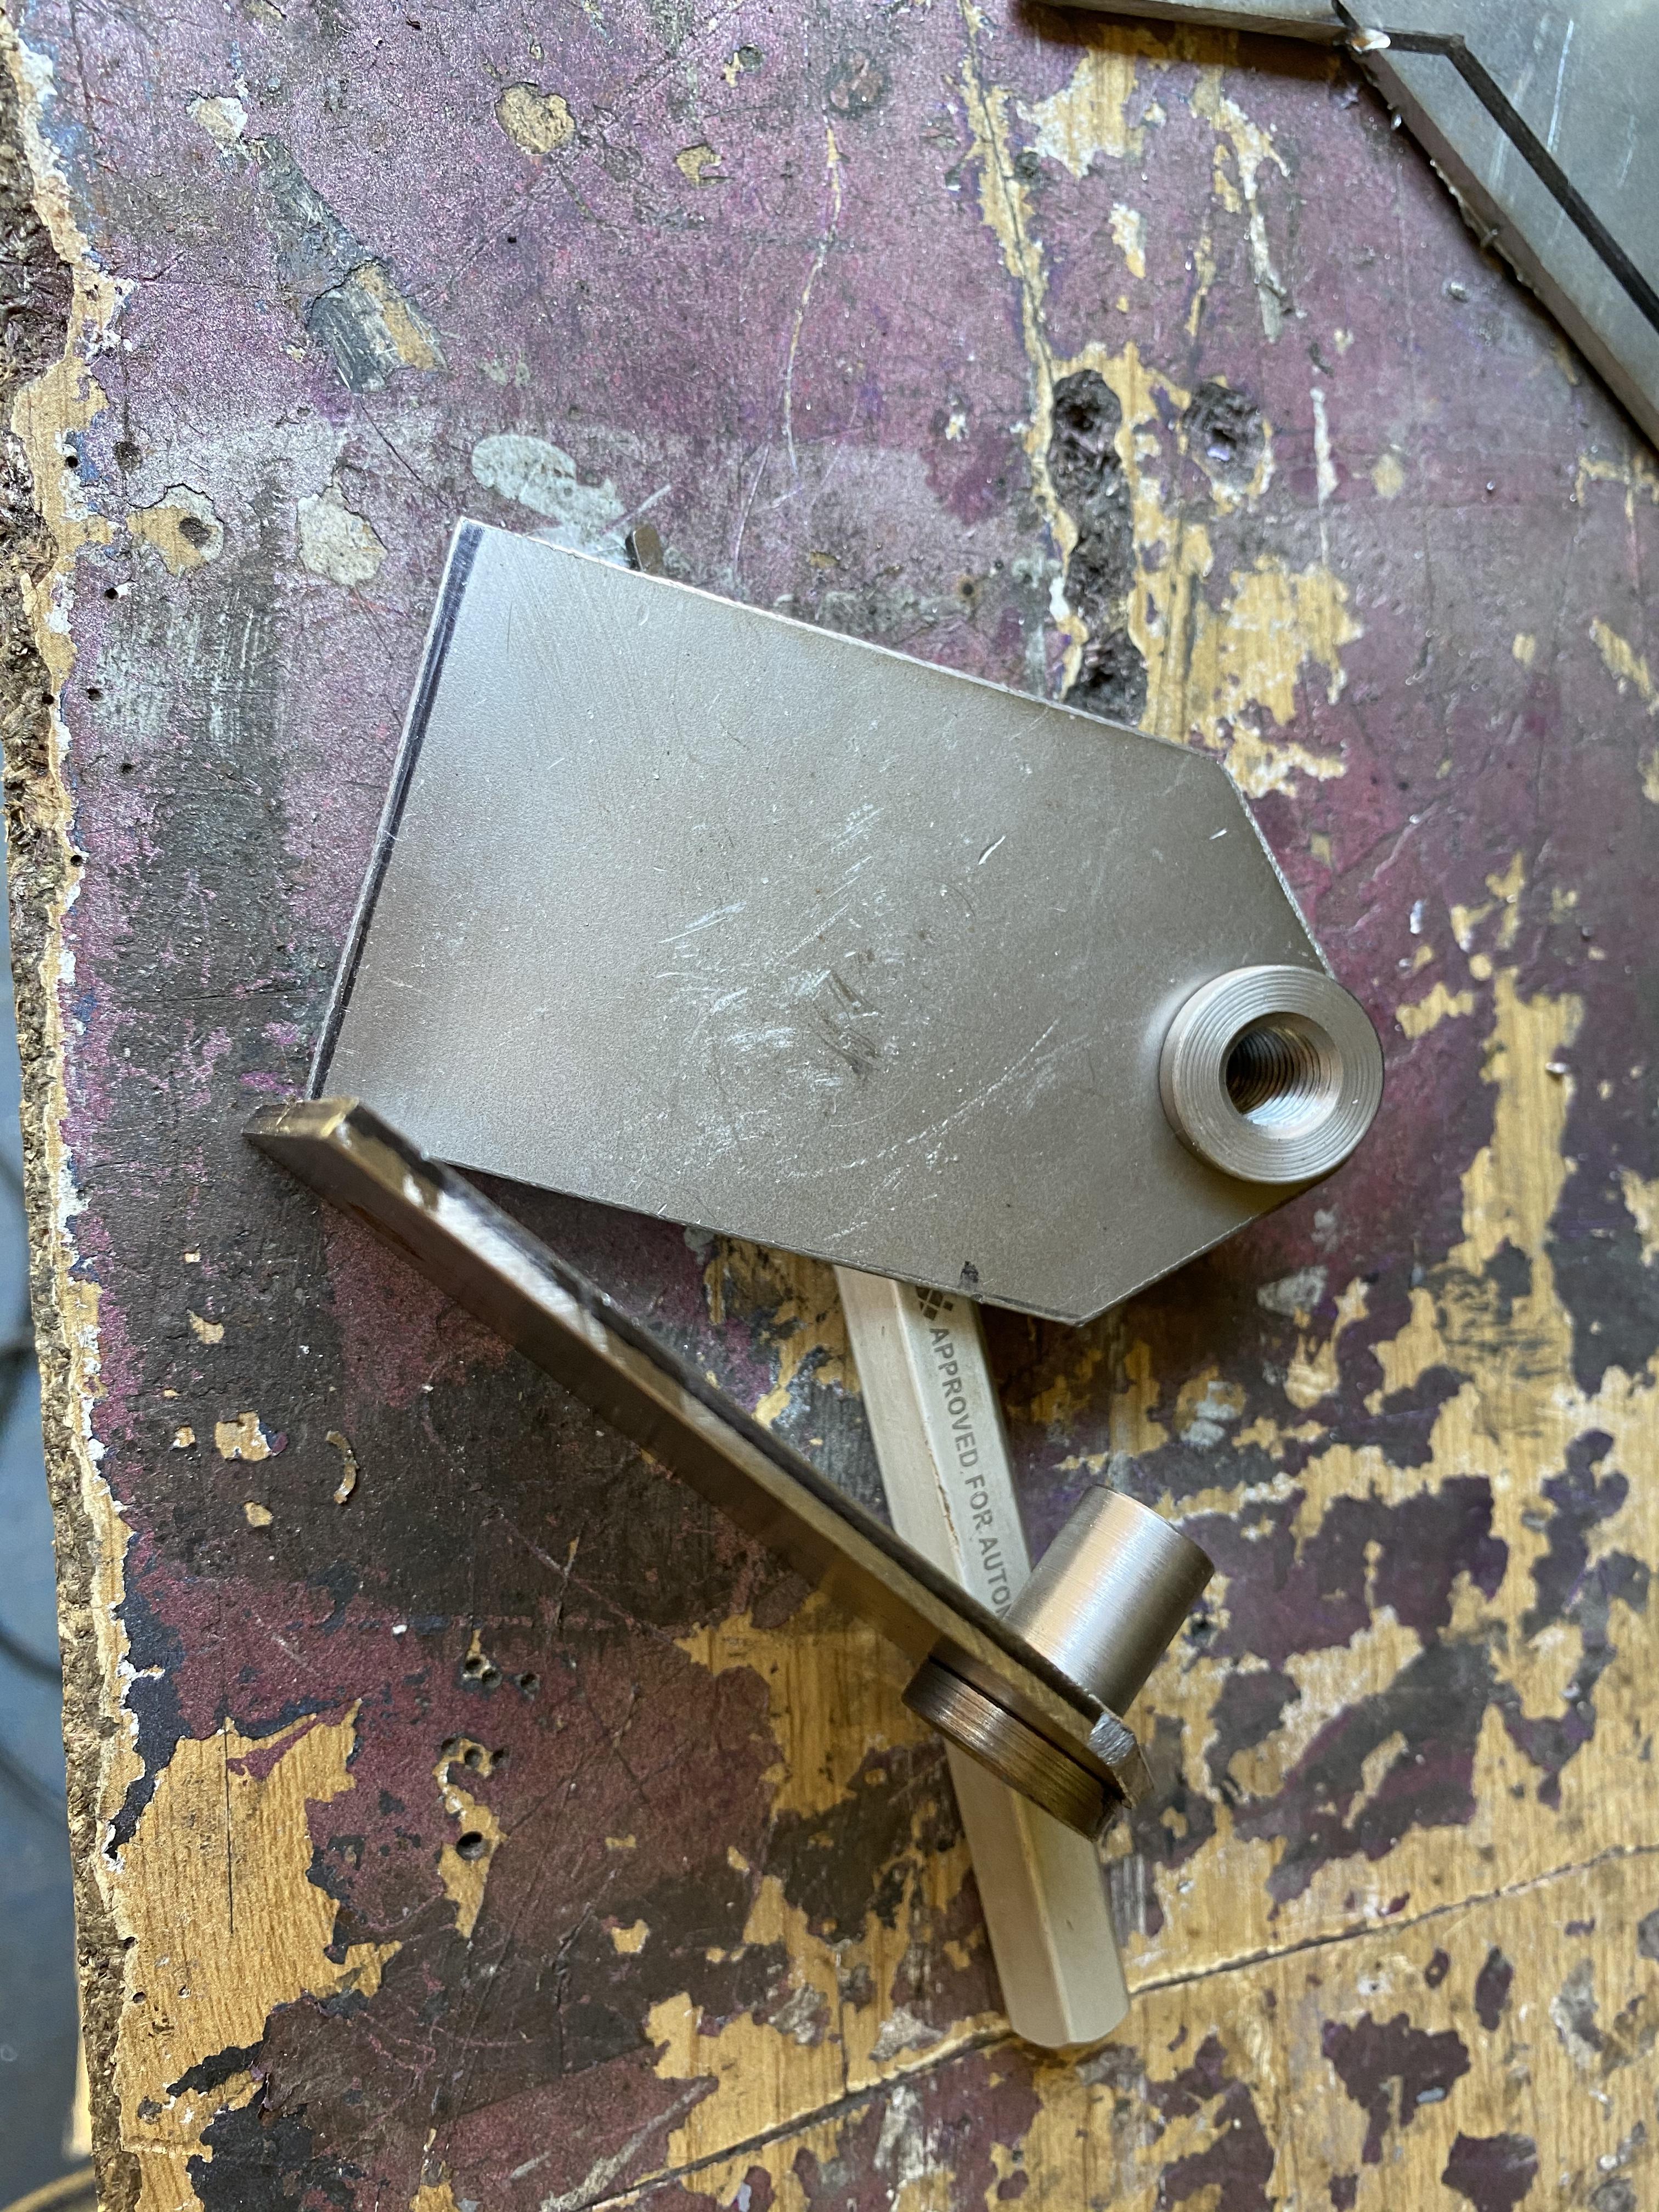
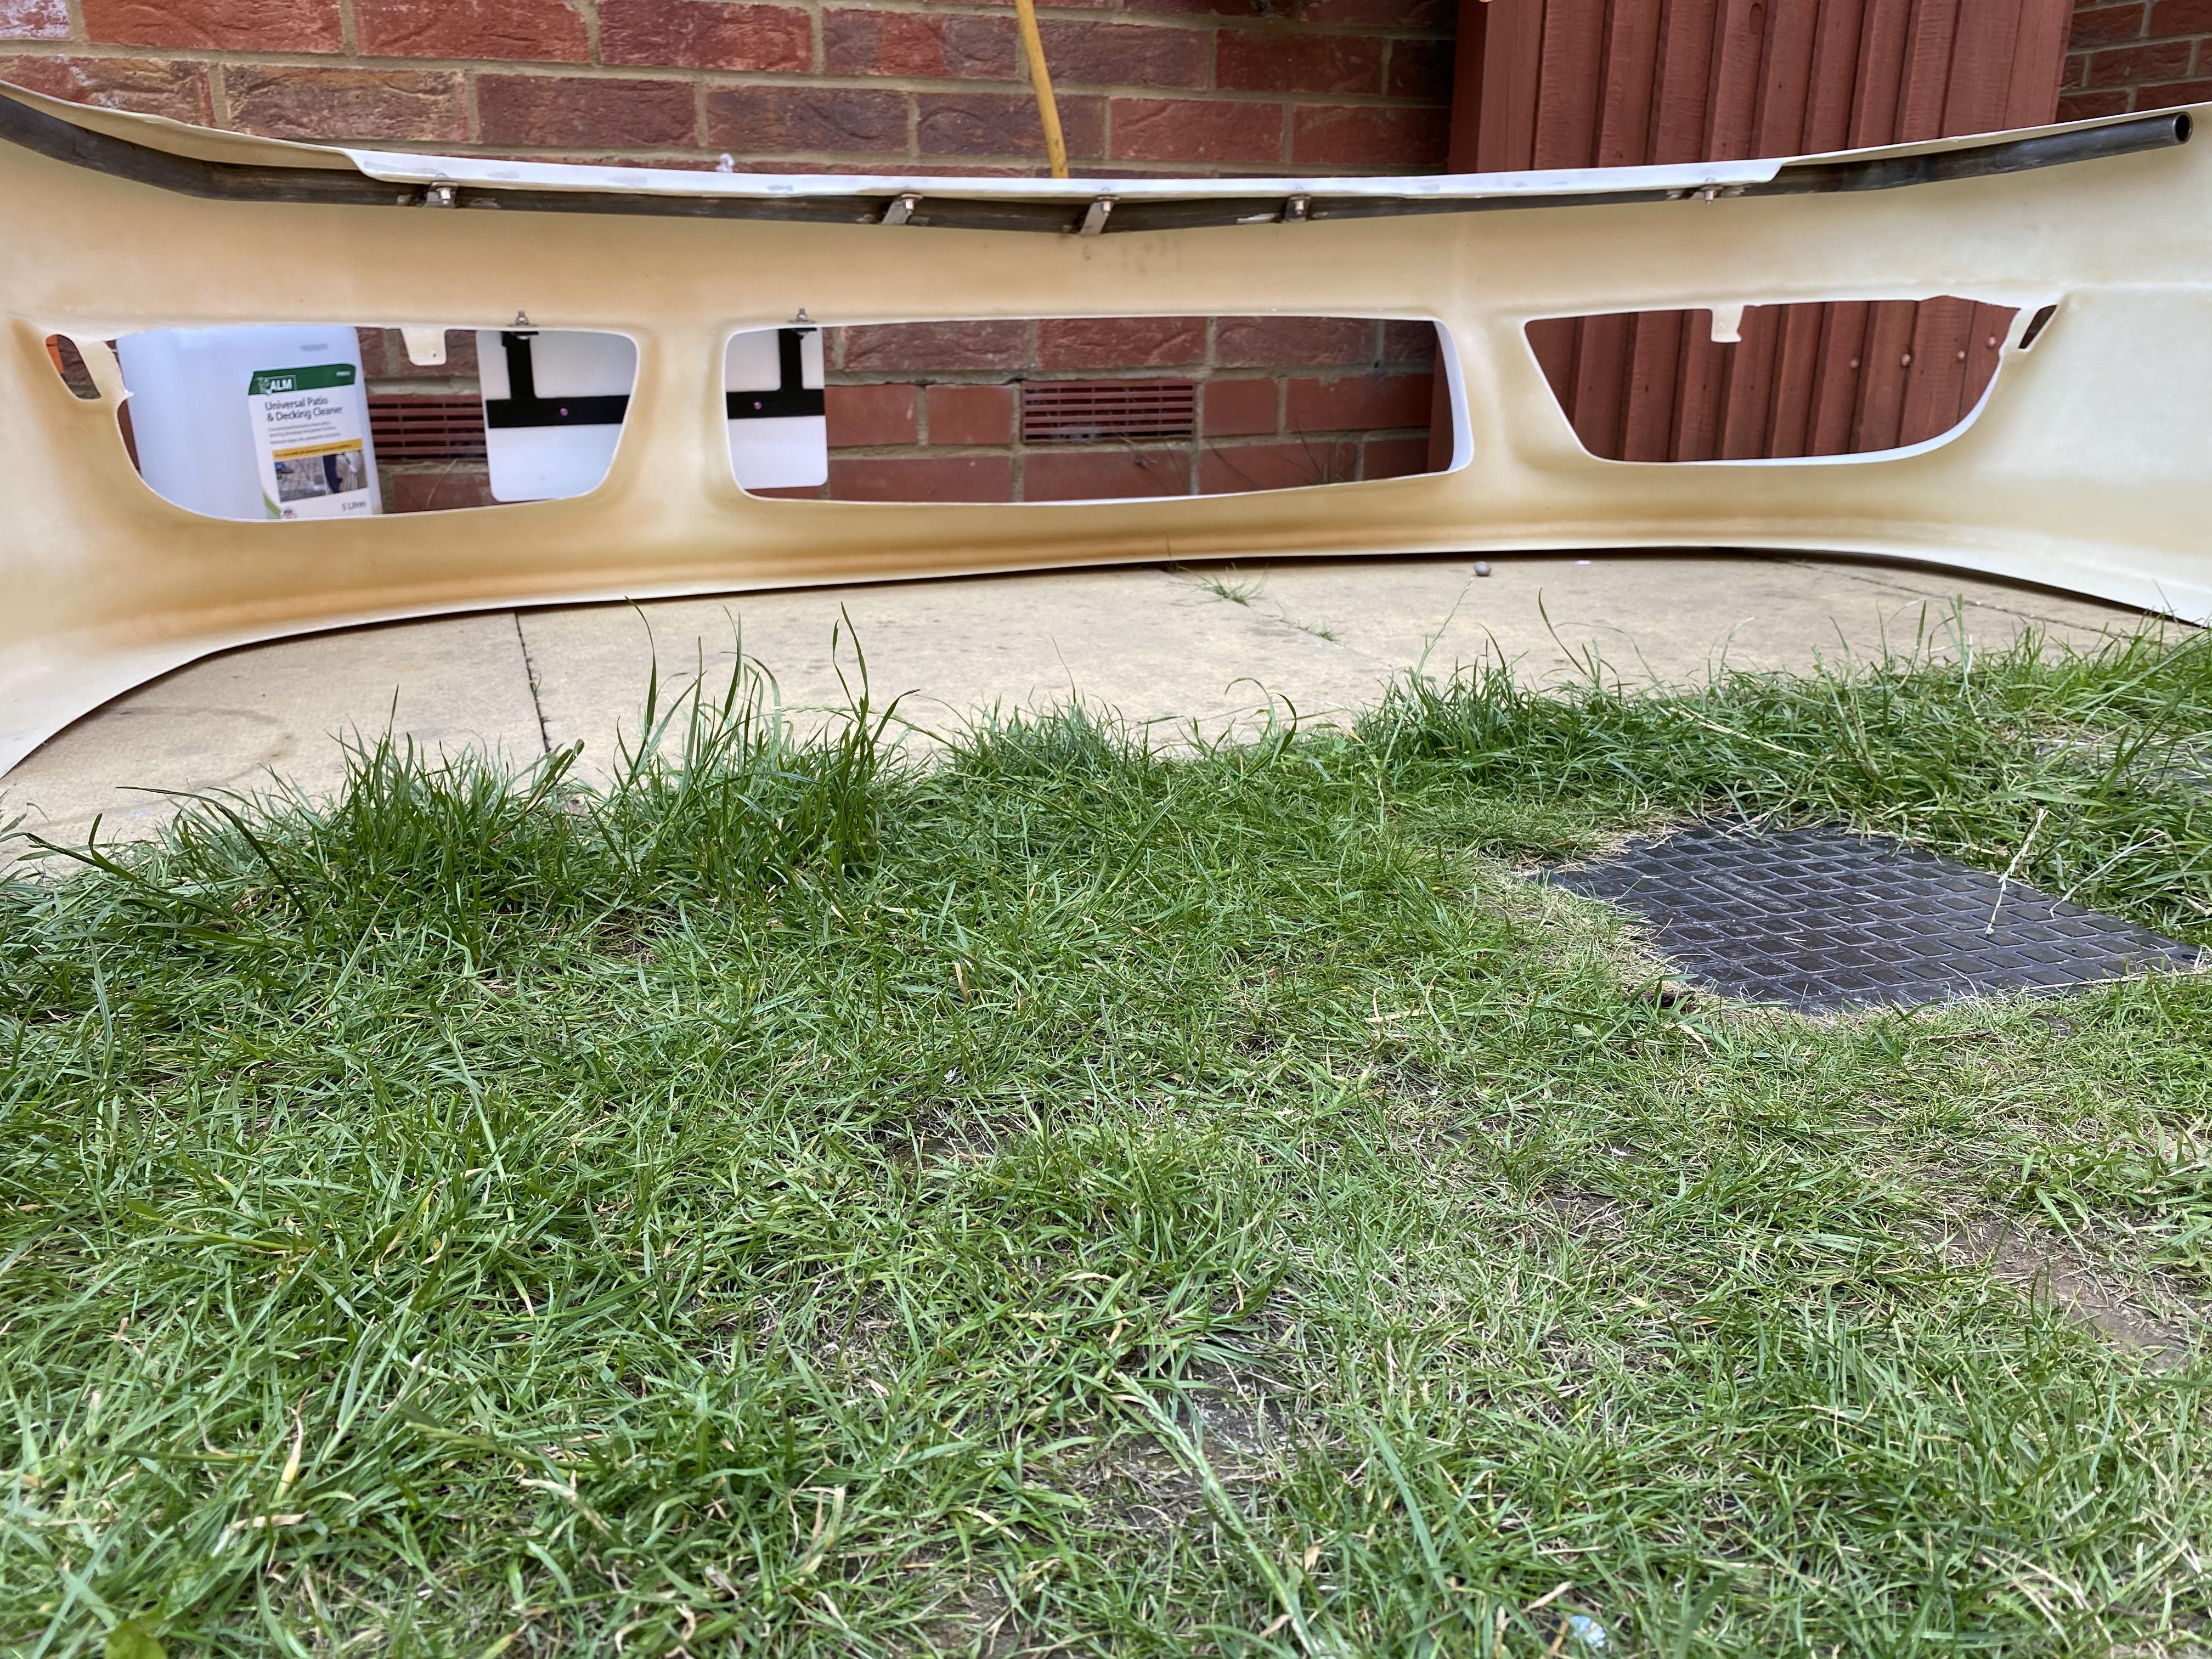
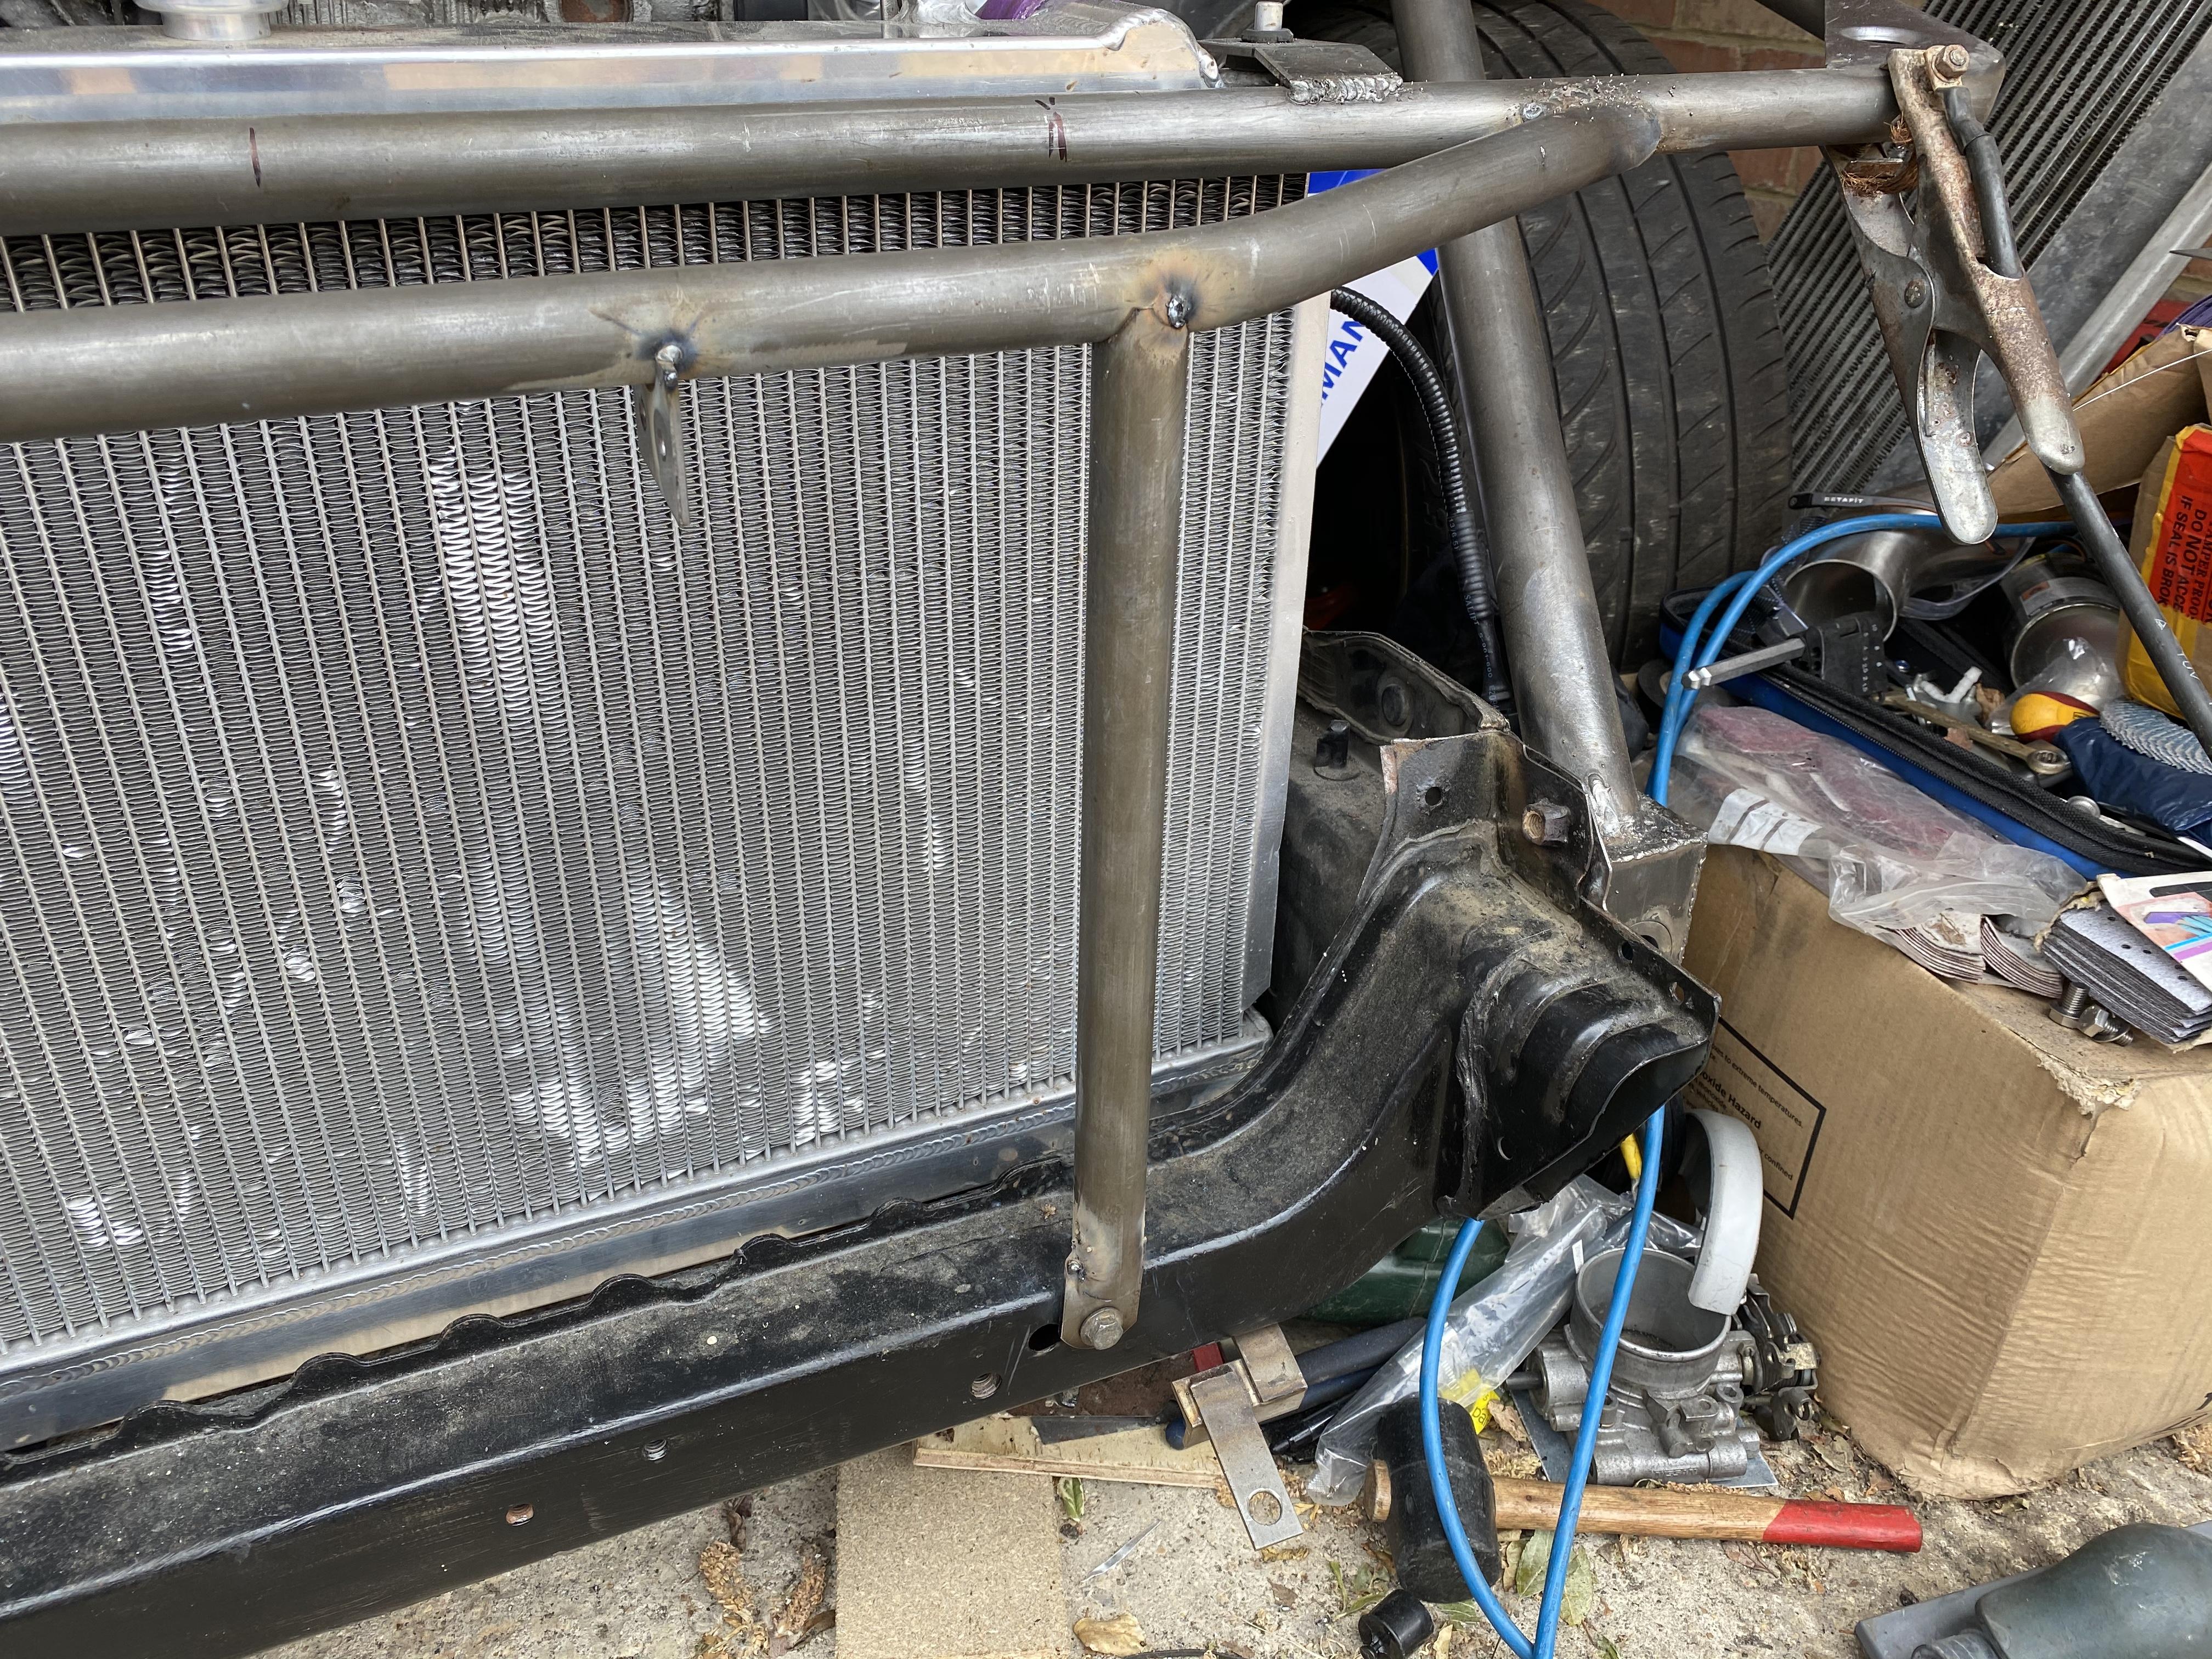
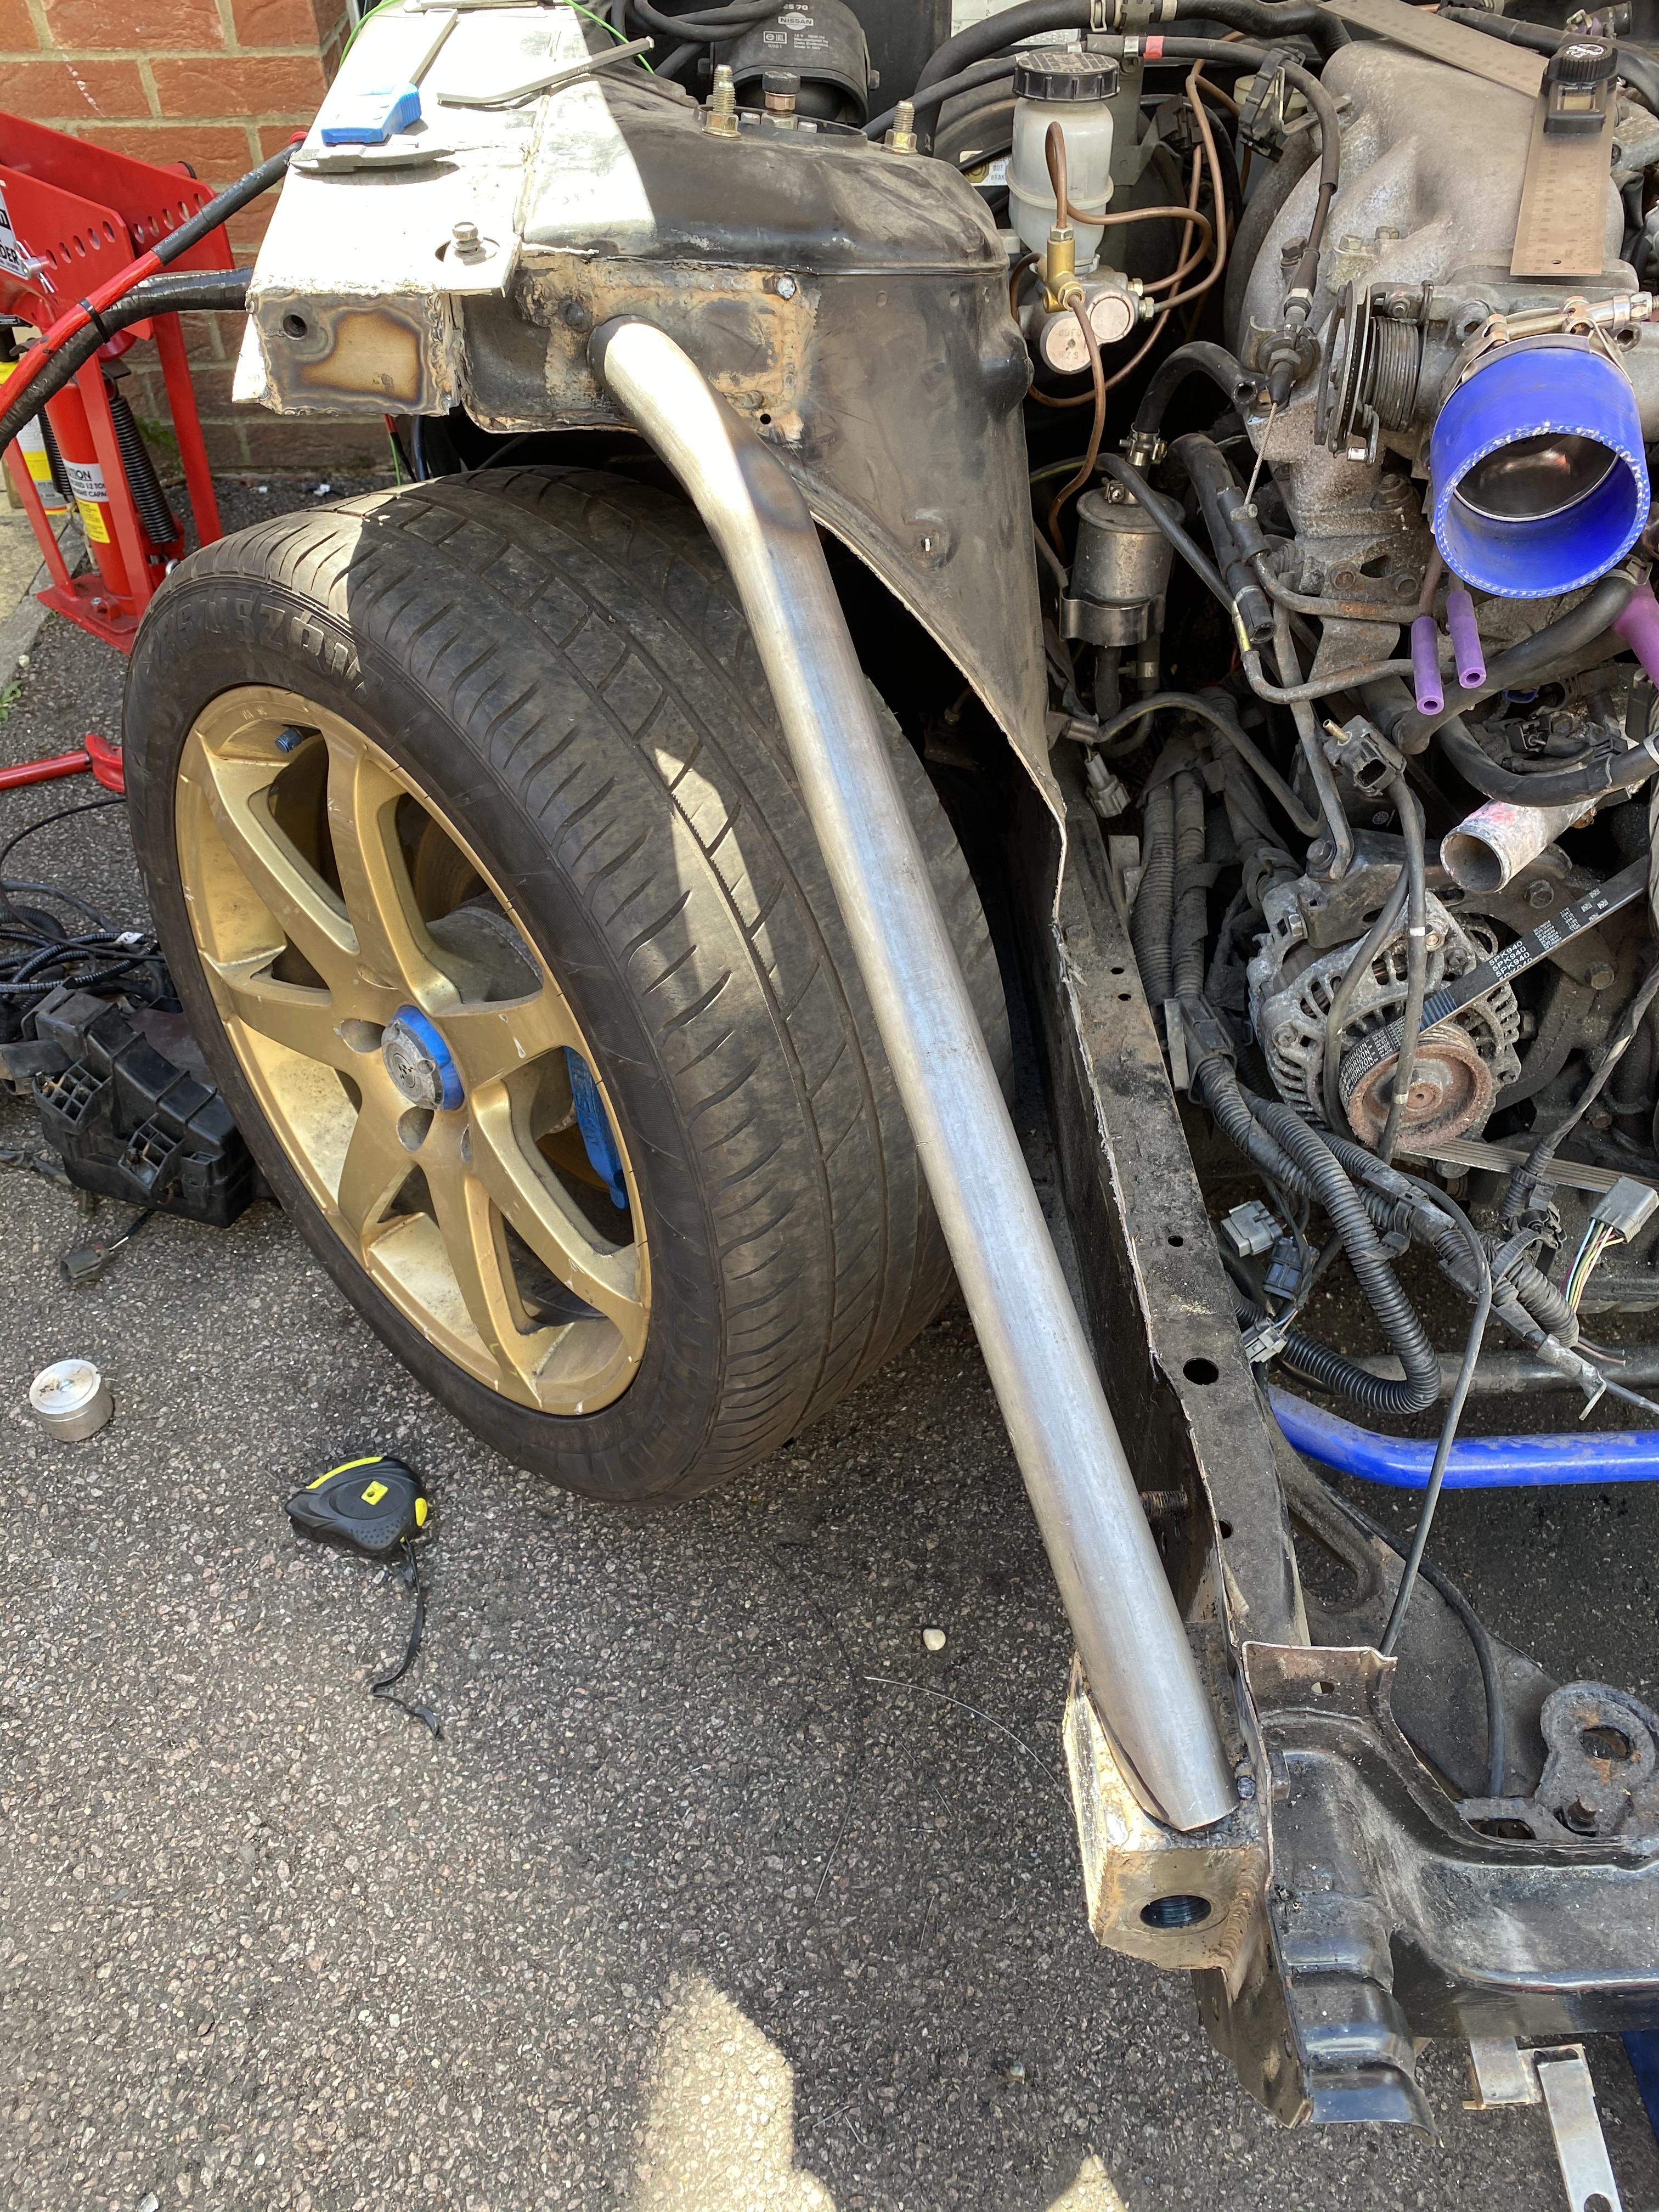
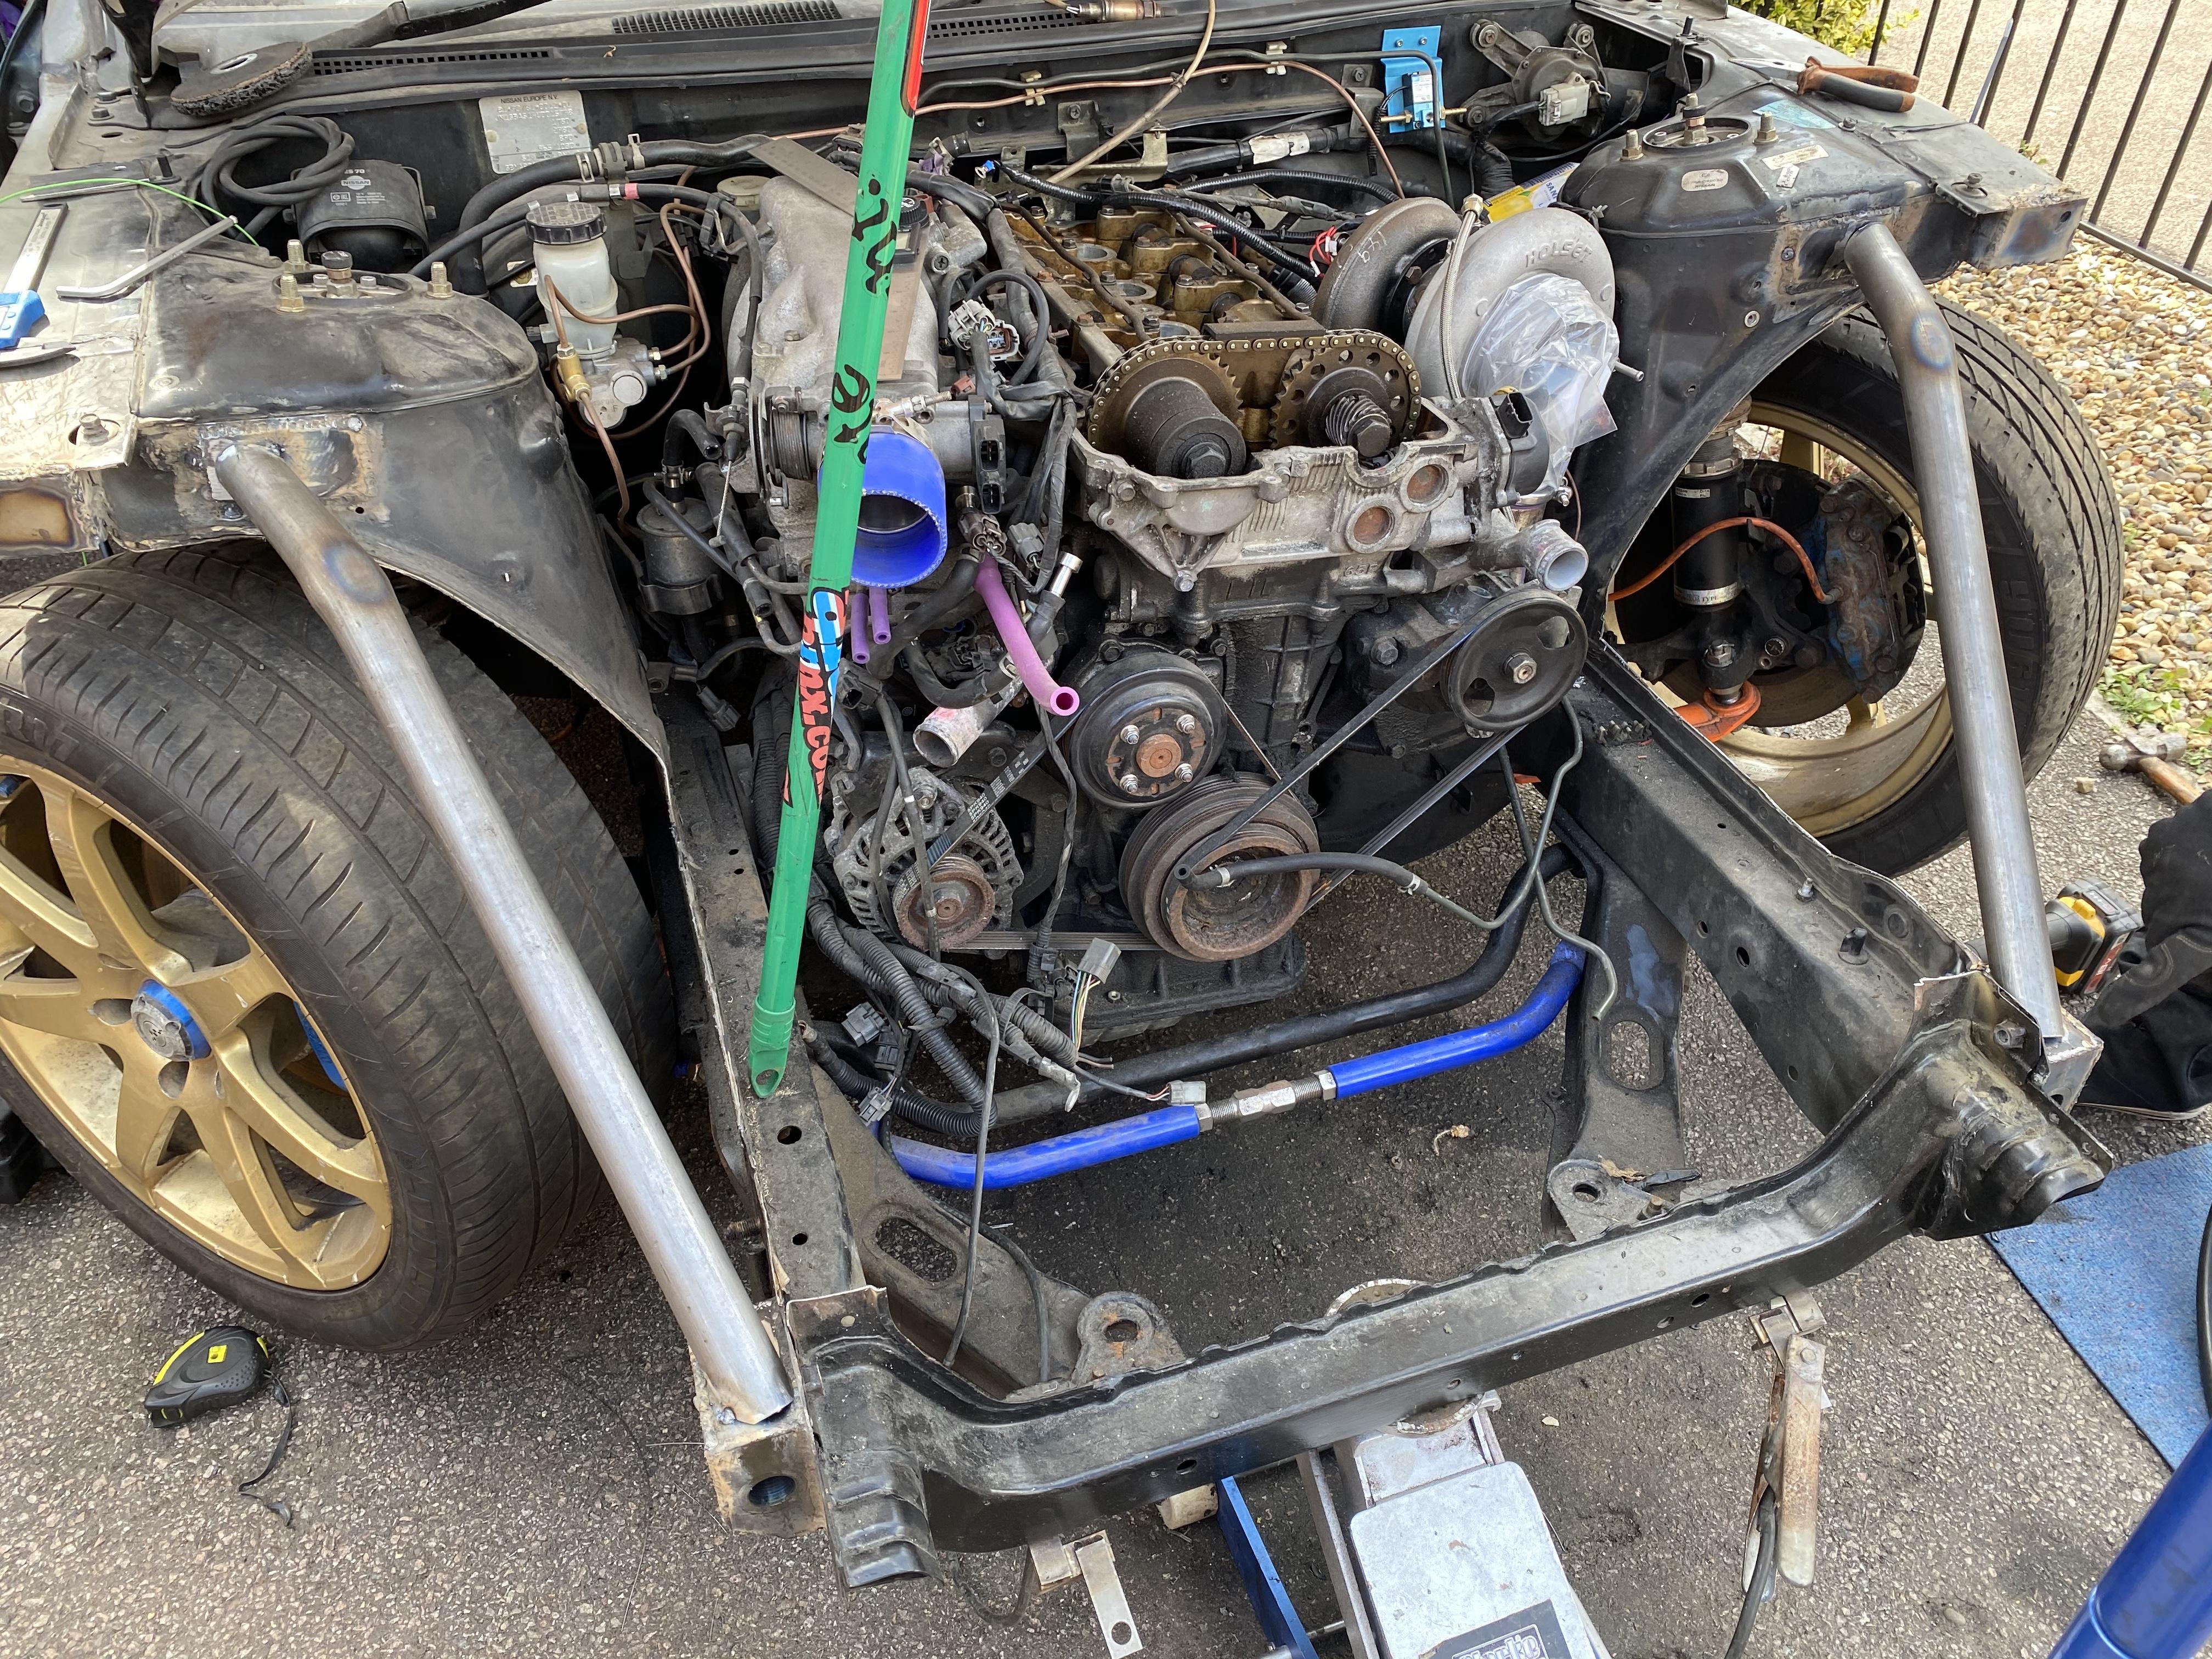
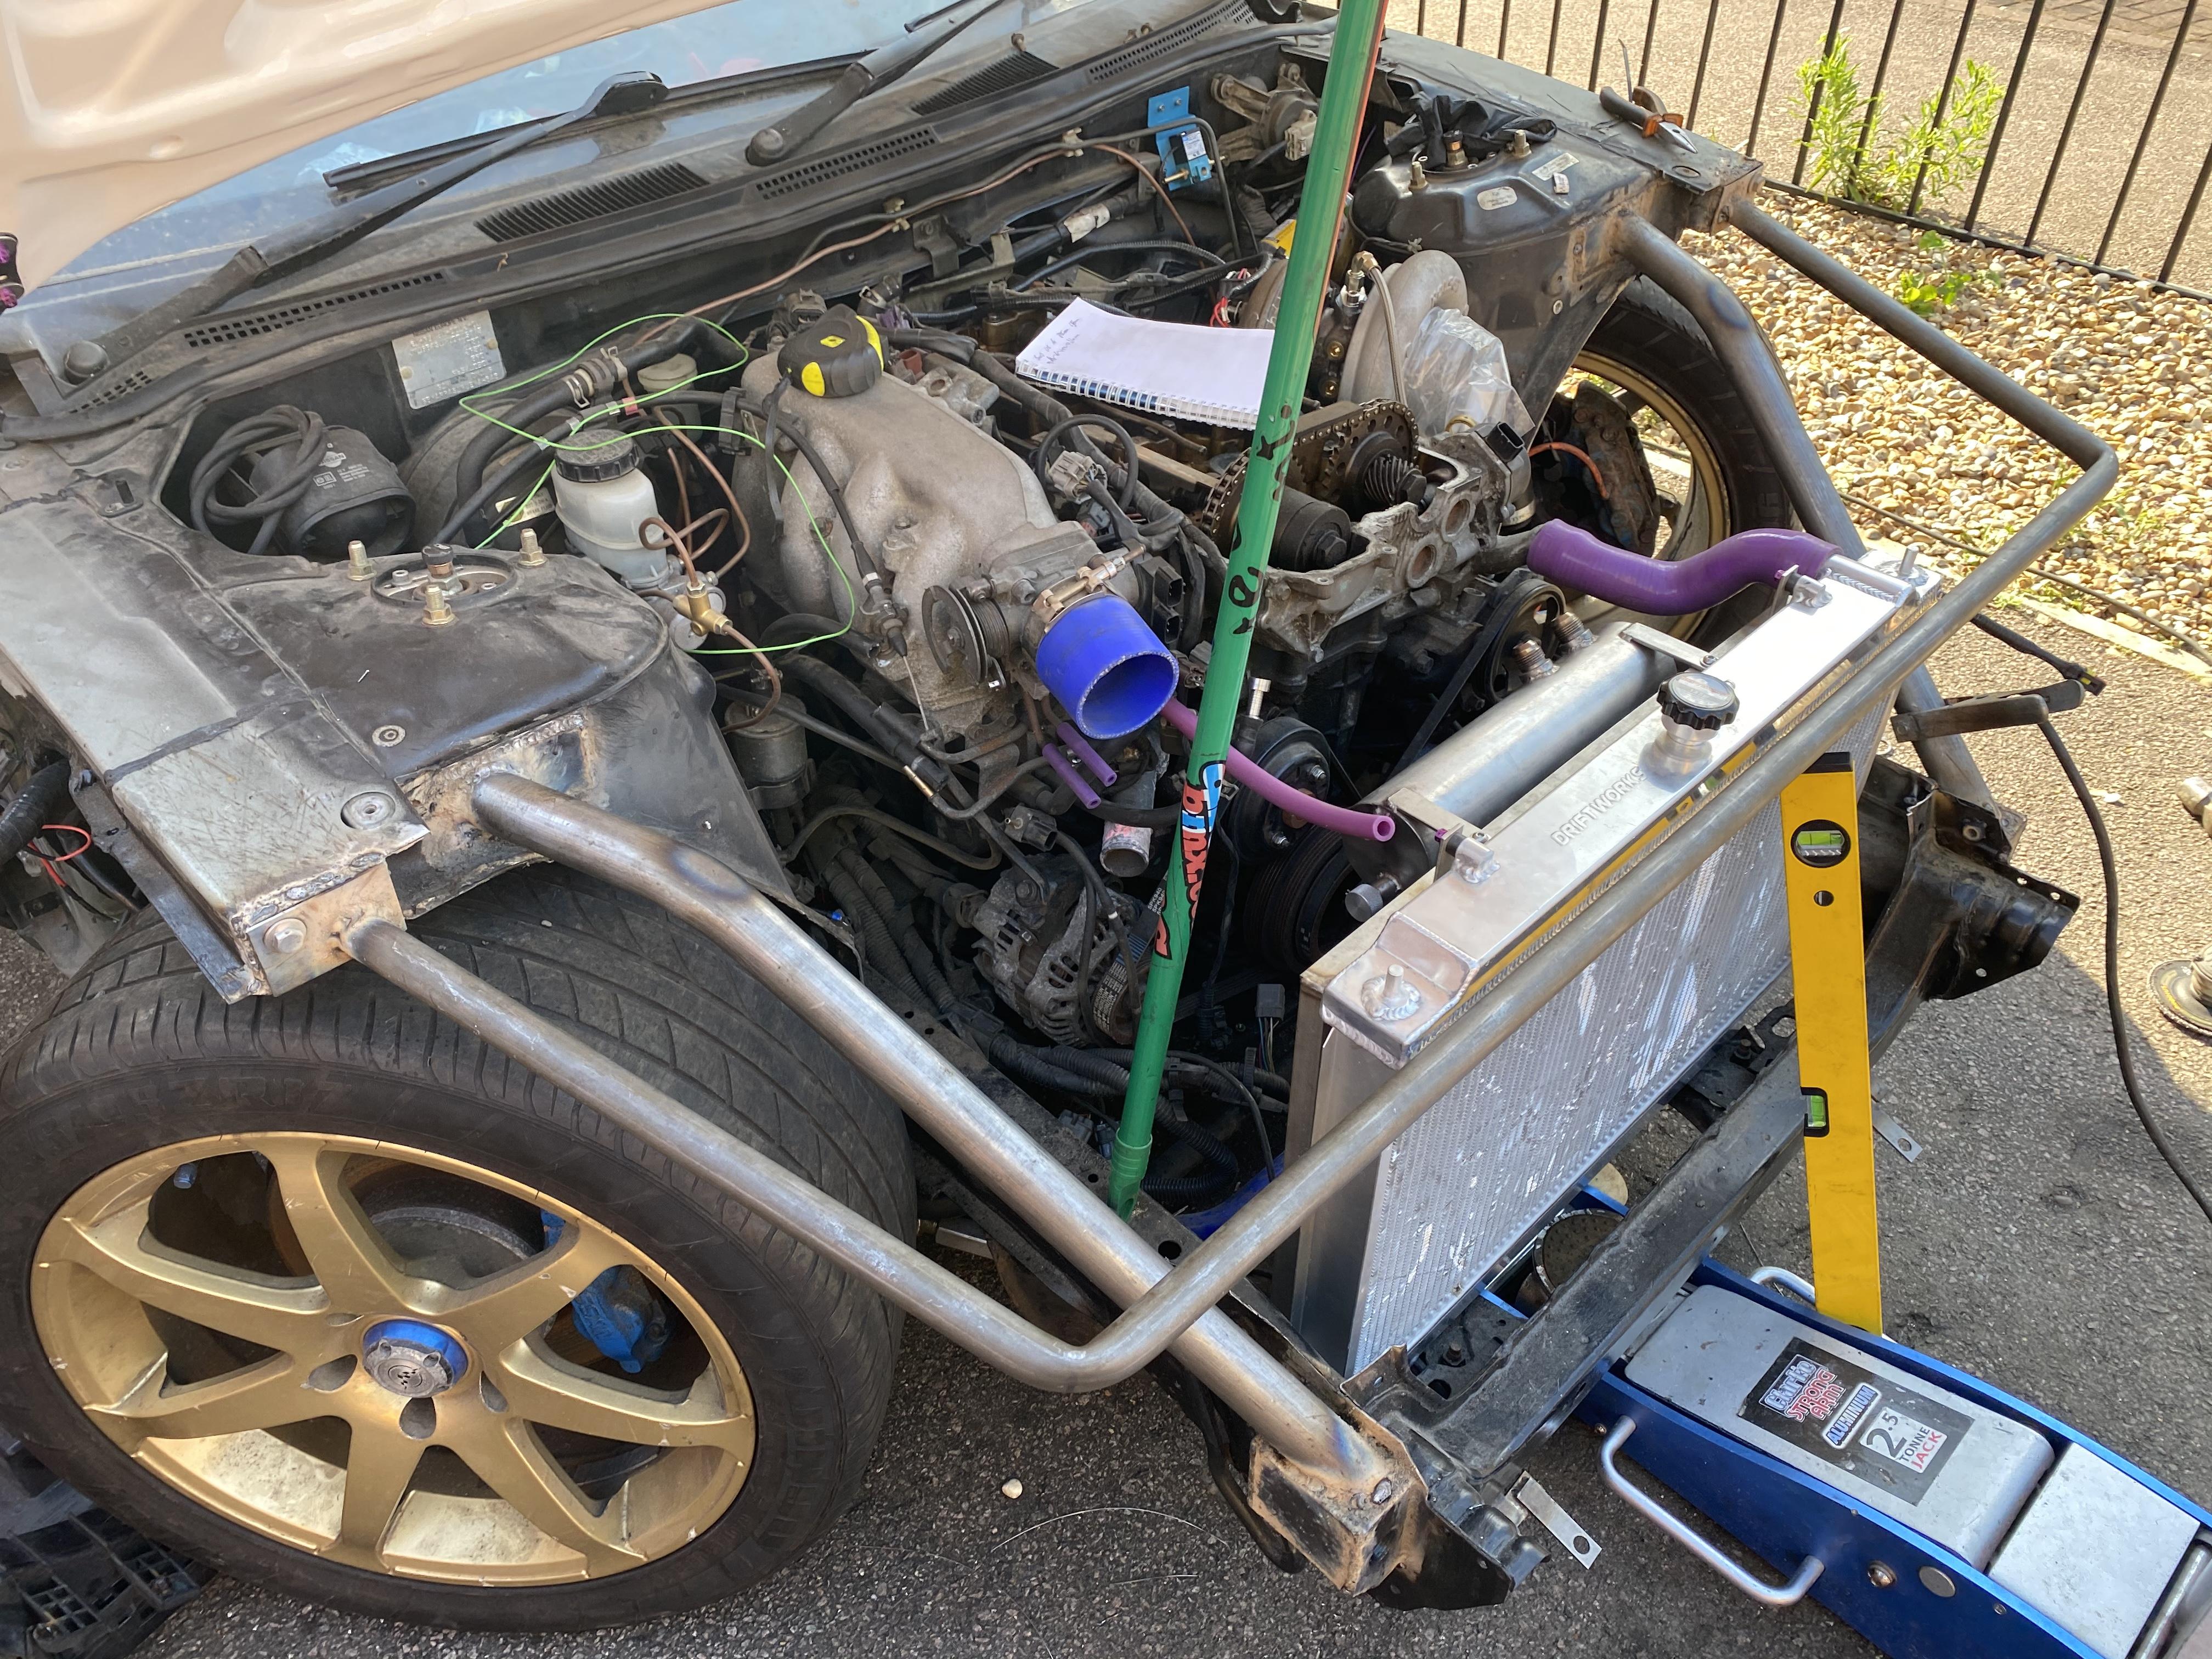
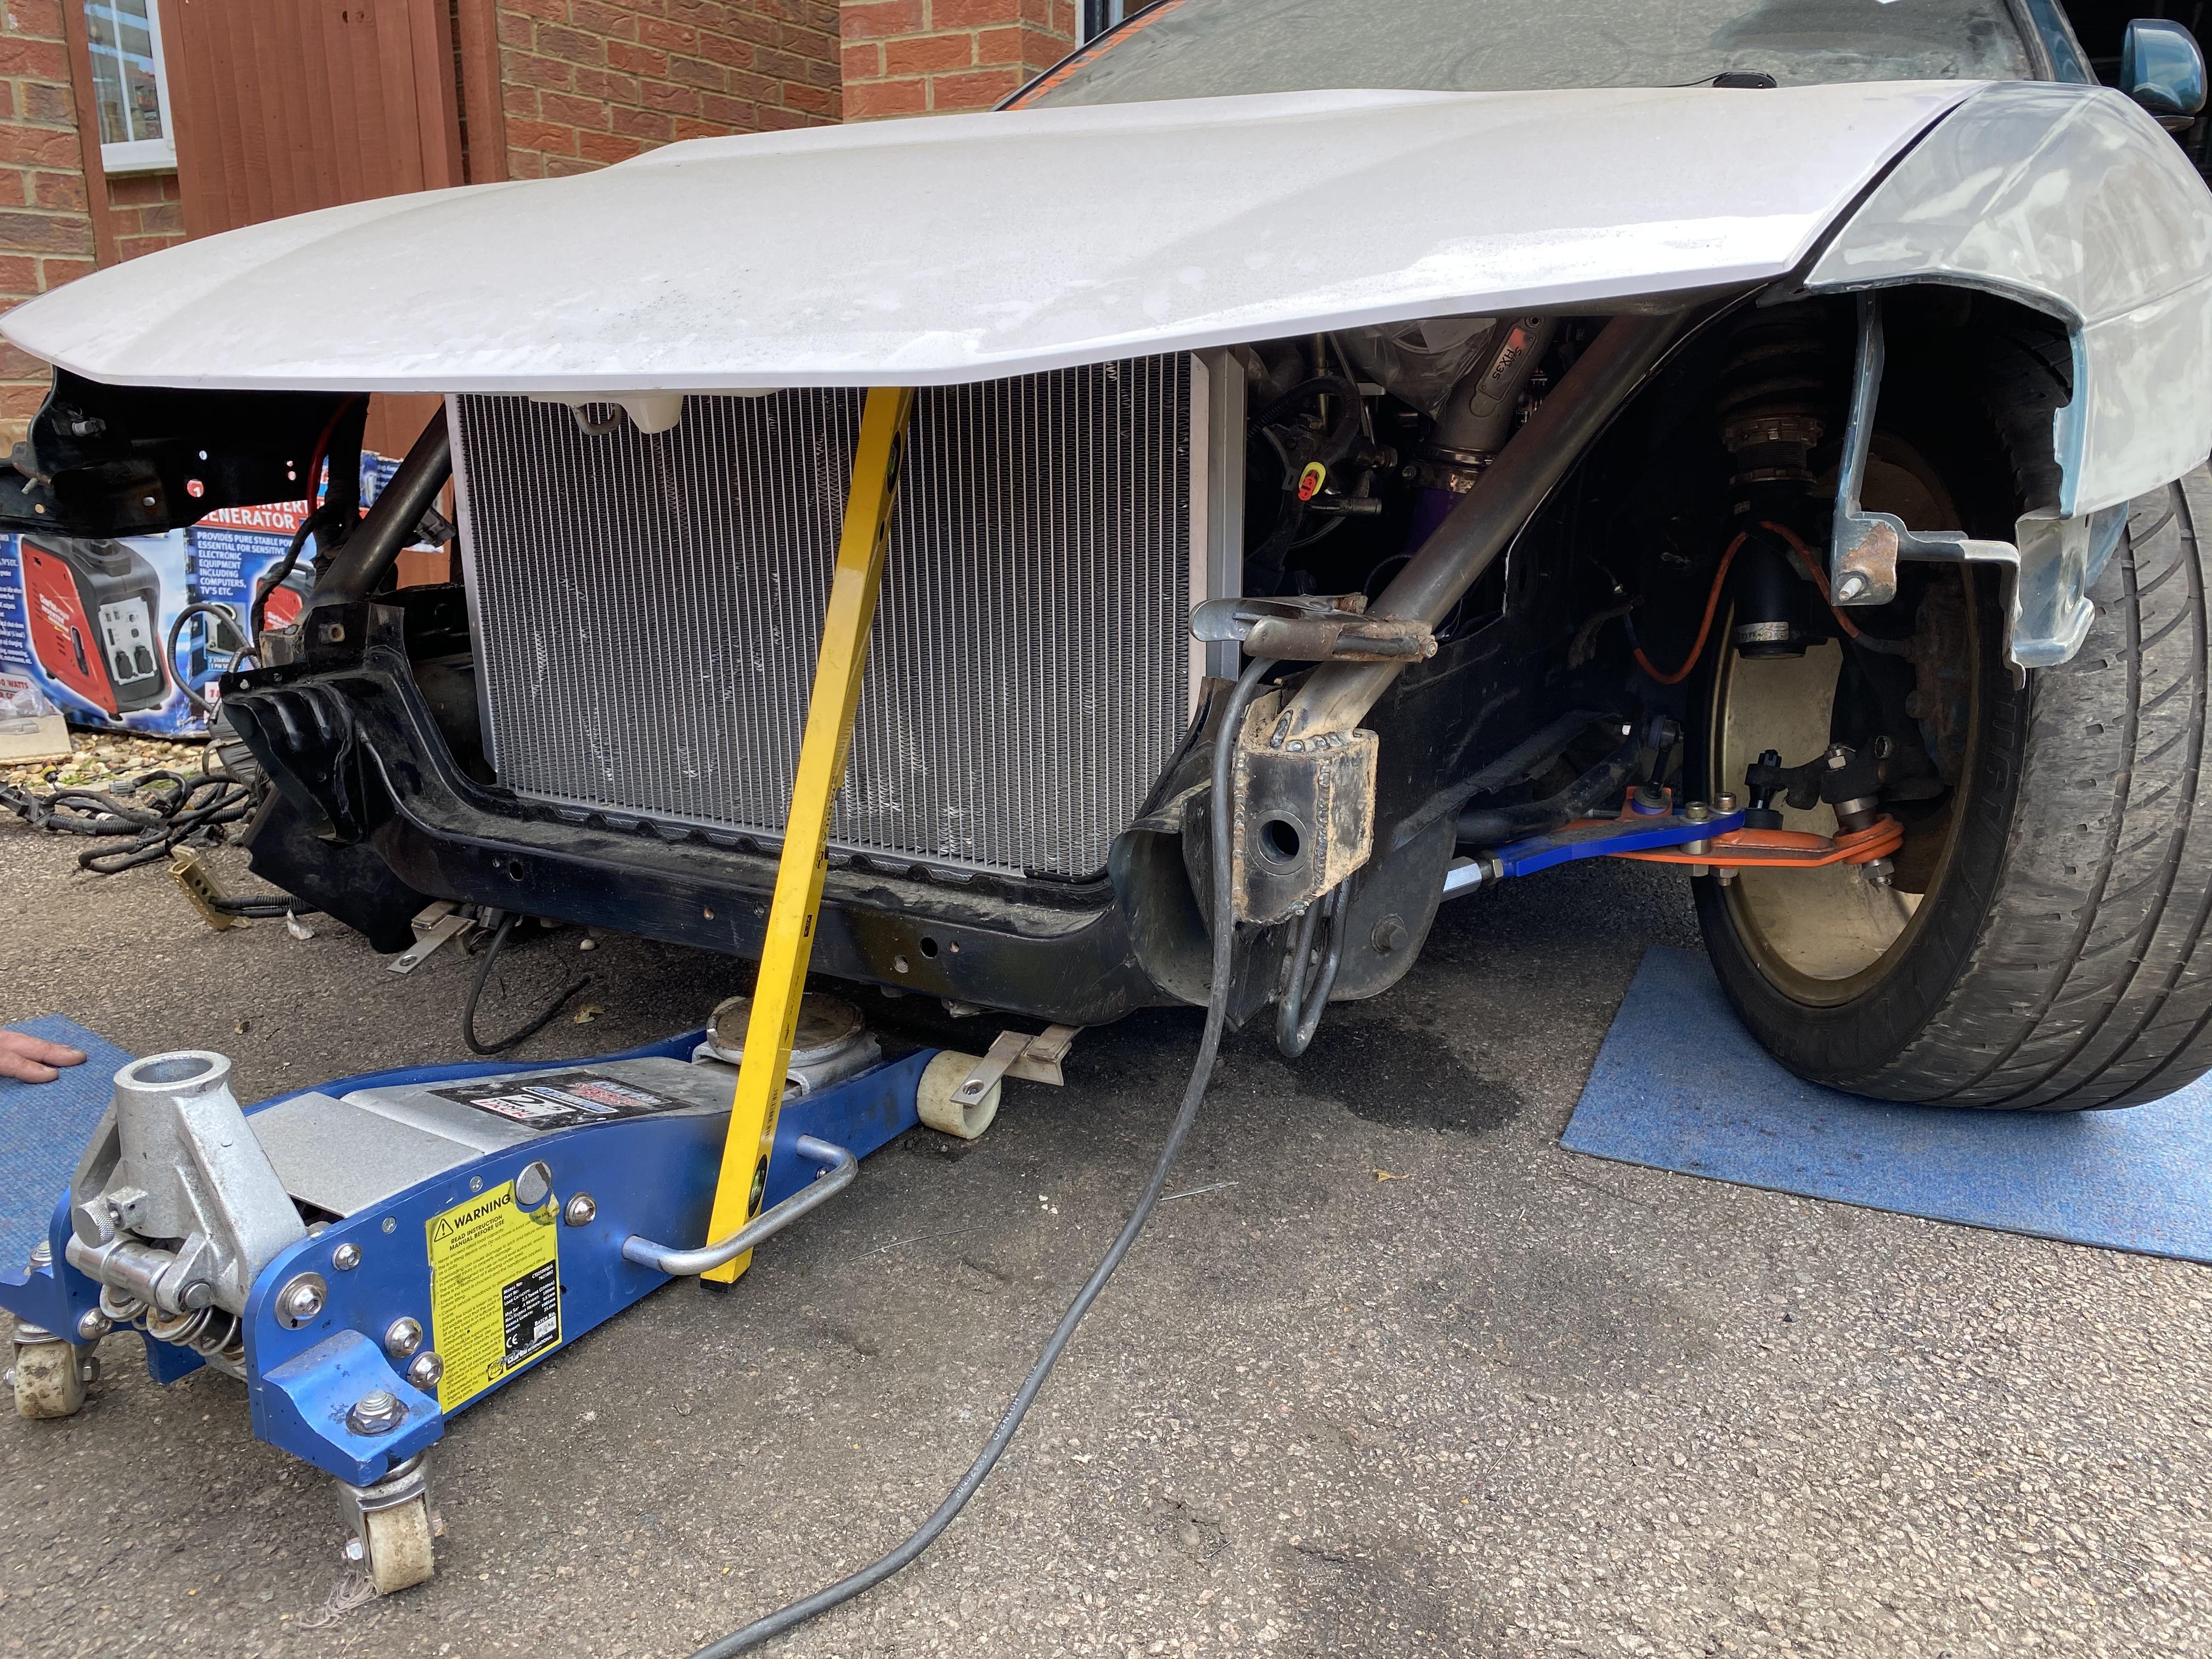
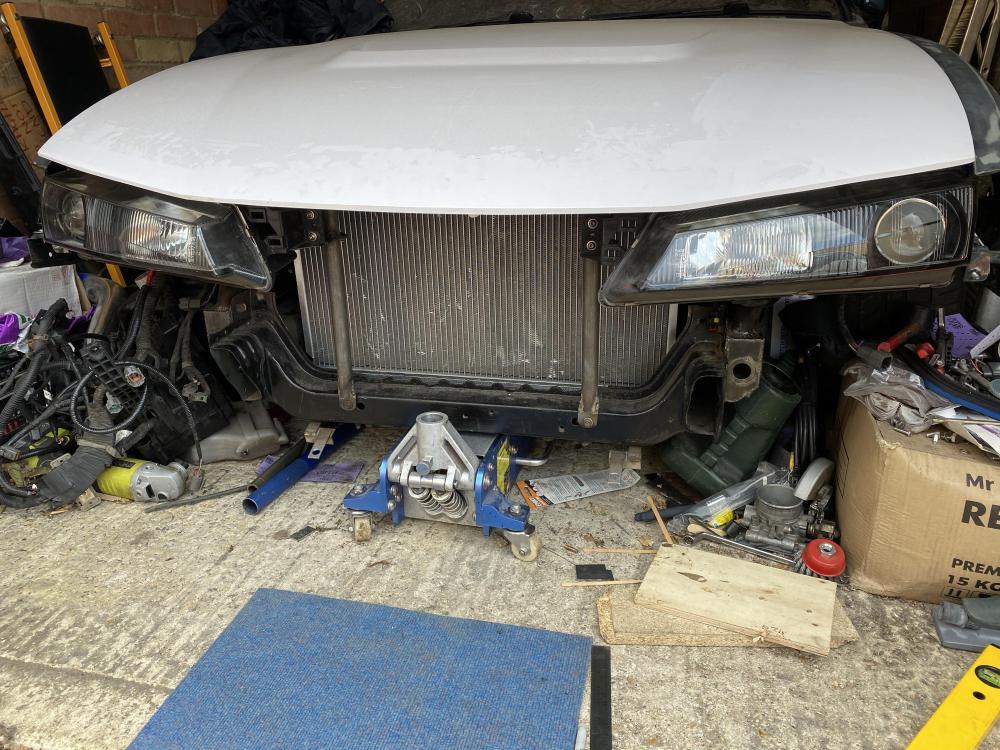
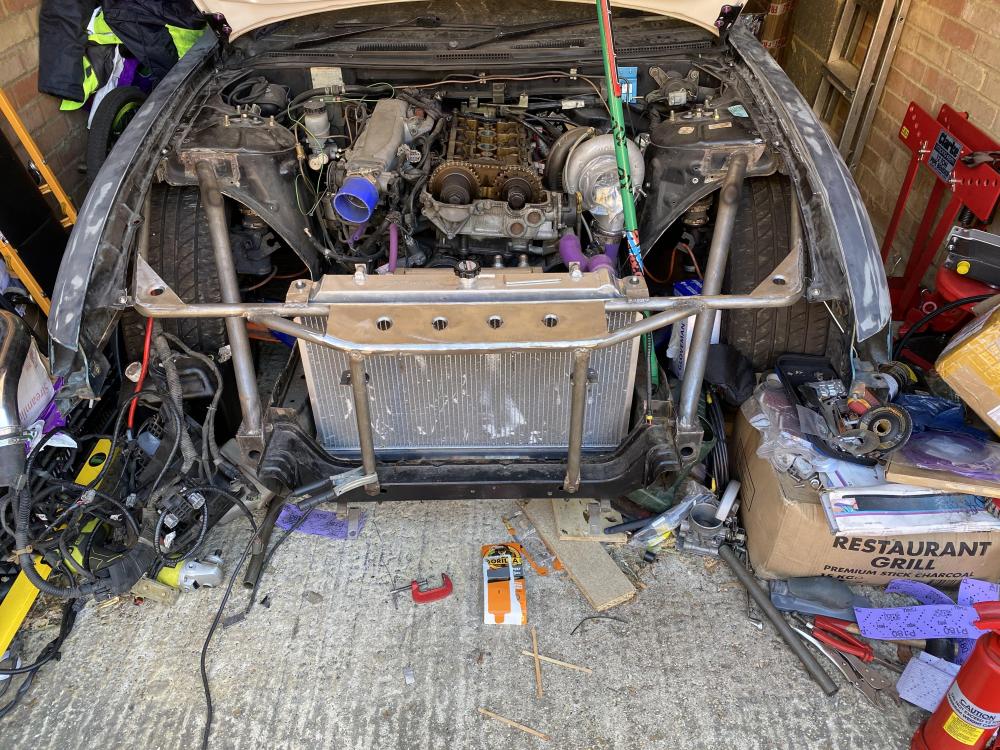
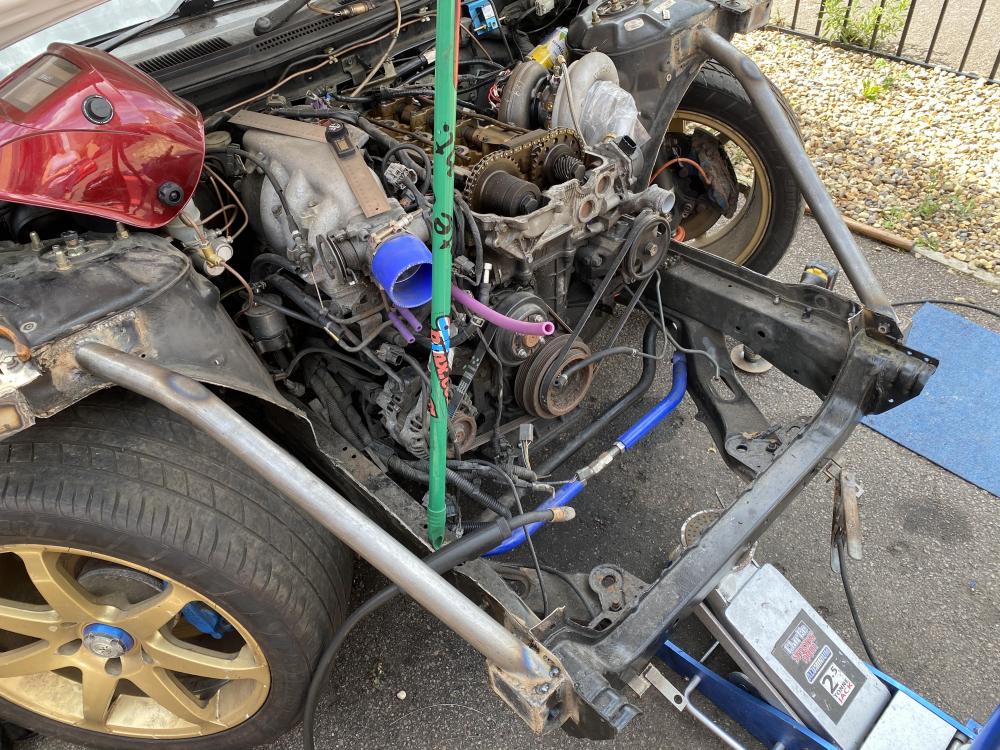
Secondary bar made and welded on as well as the uprights to support it. We bent up and welded on the radiator brackets. The whole front bar is completely removable so the engine can be pulled out through the front. I also cut and shaped a front slam panel. Next week I shall get the intercooler brackets and headlight brackets made


-
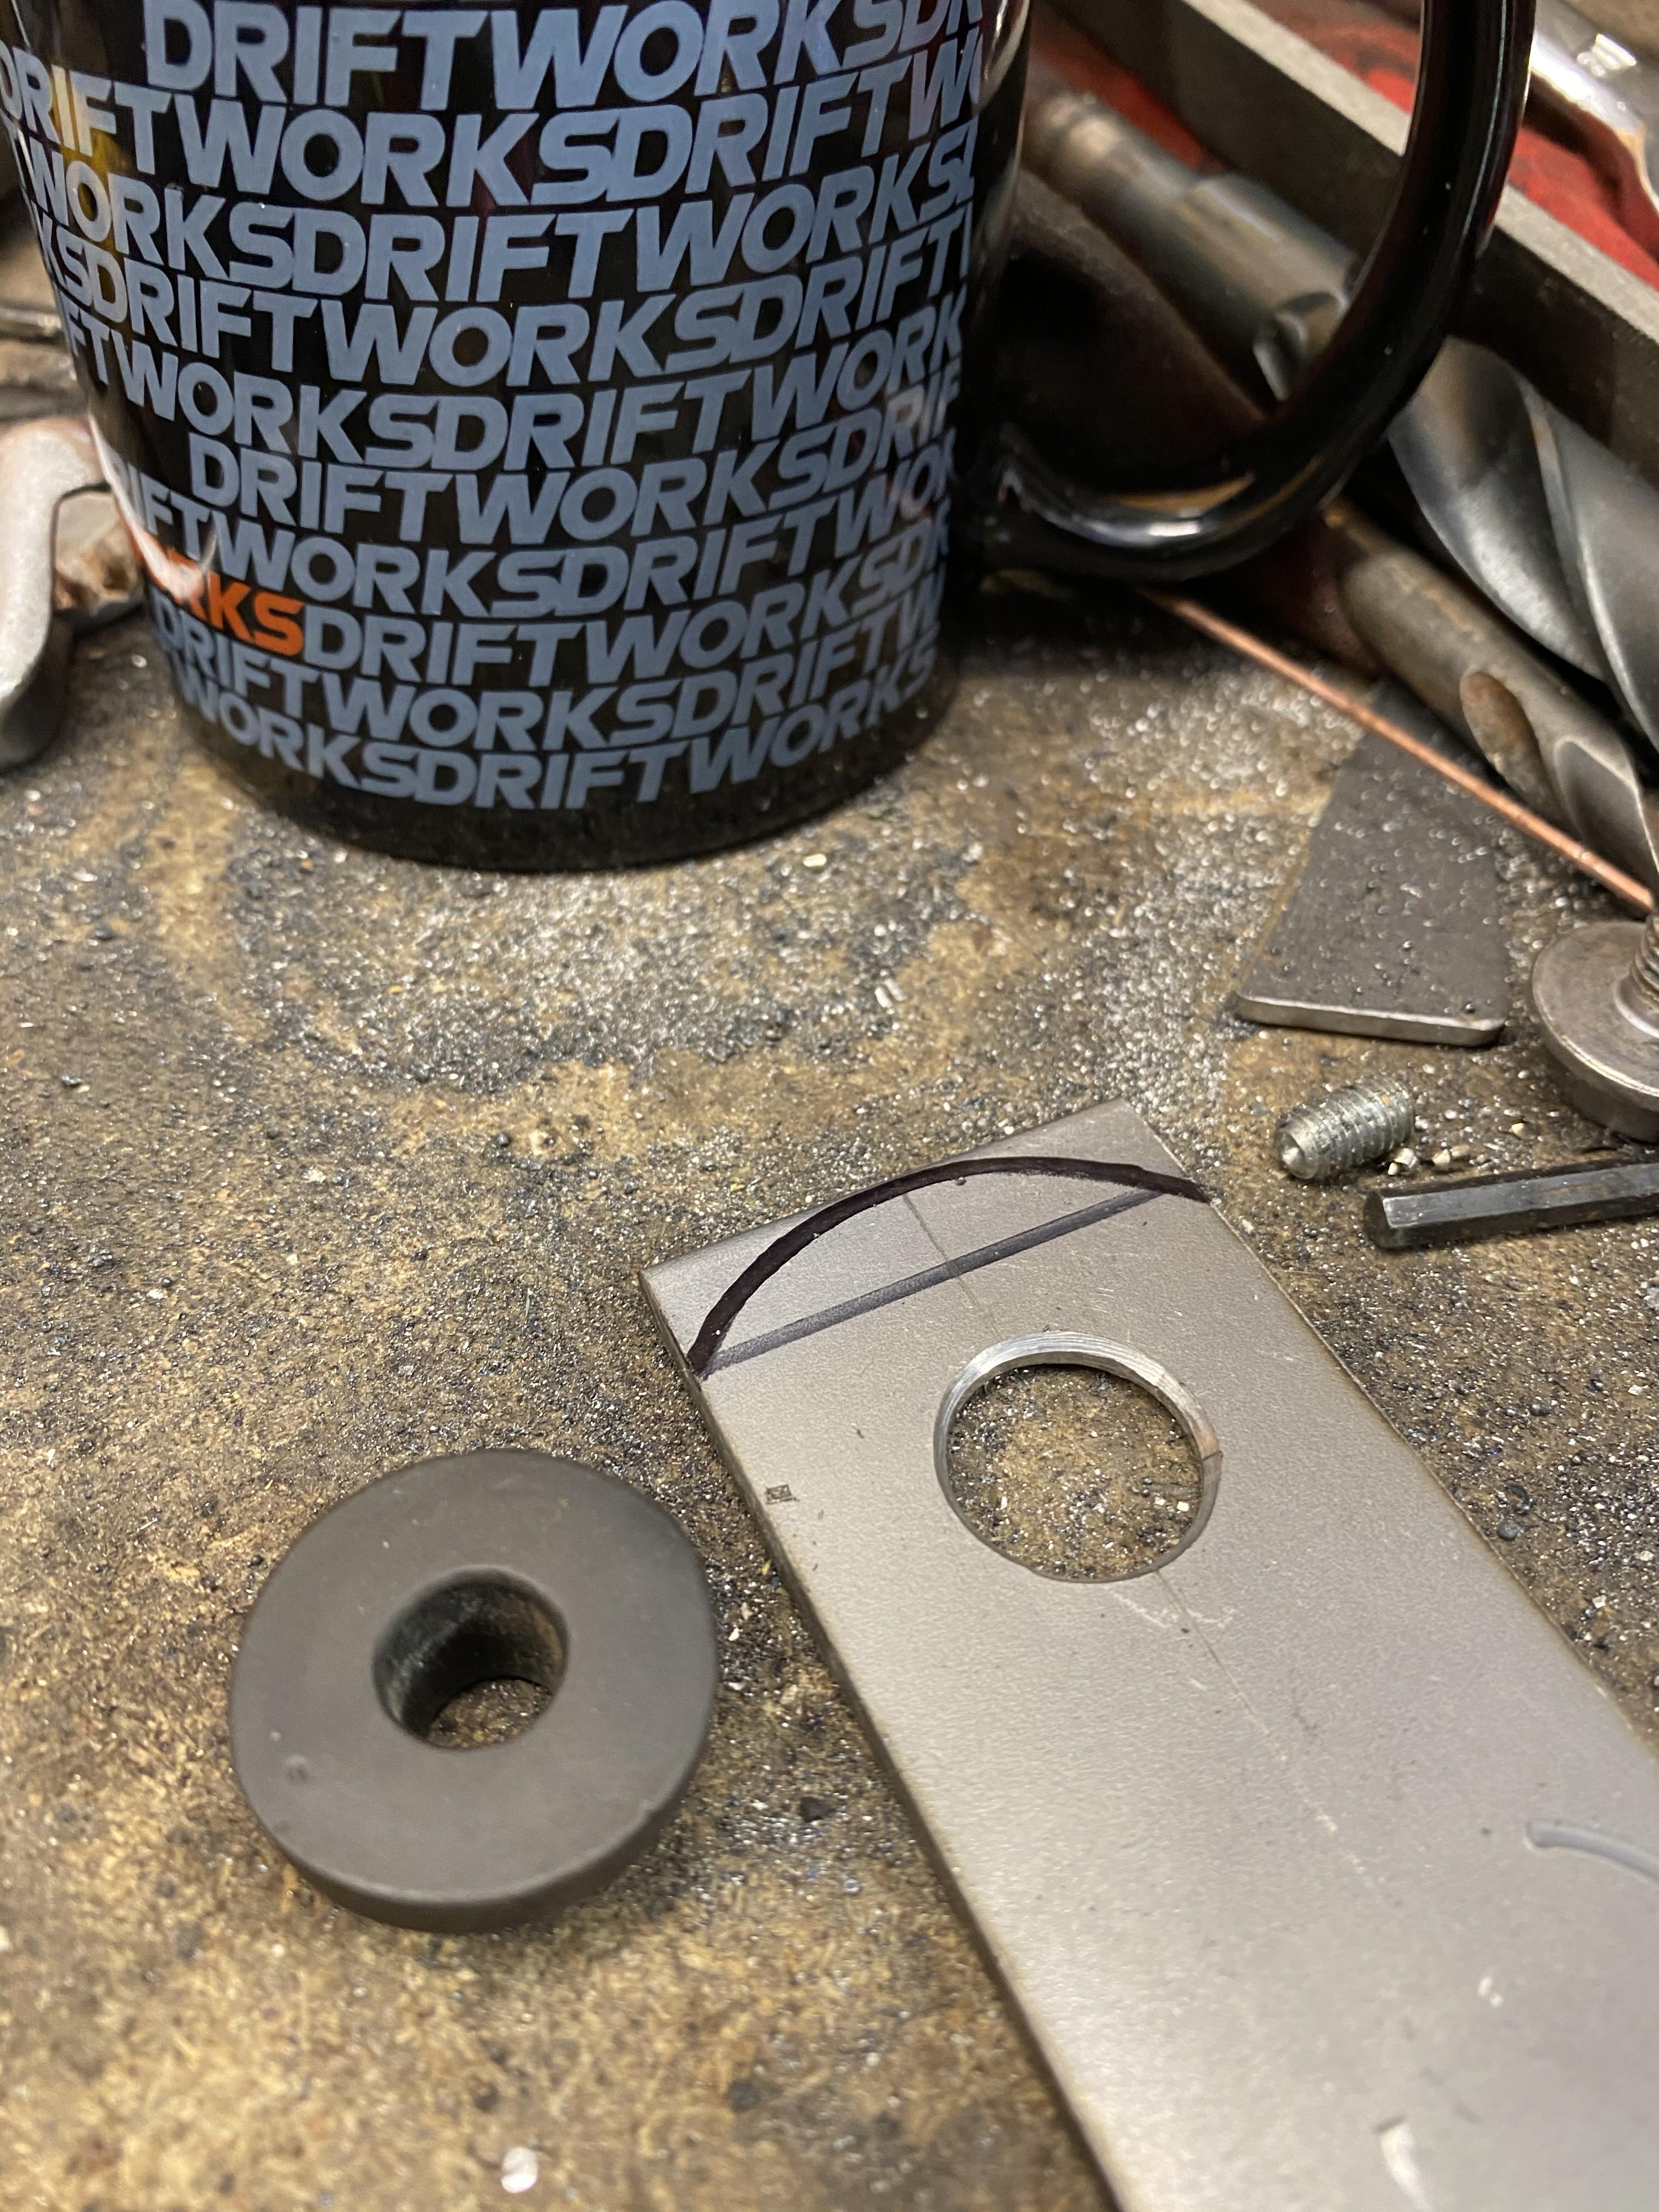
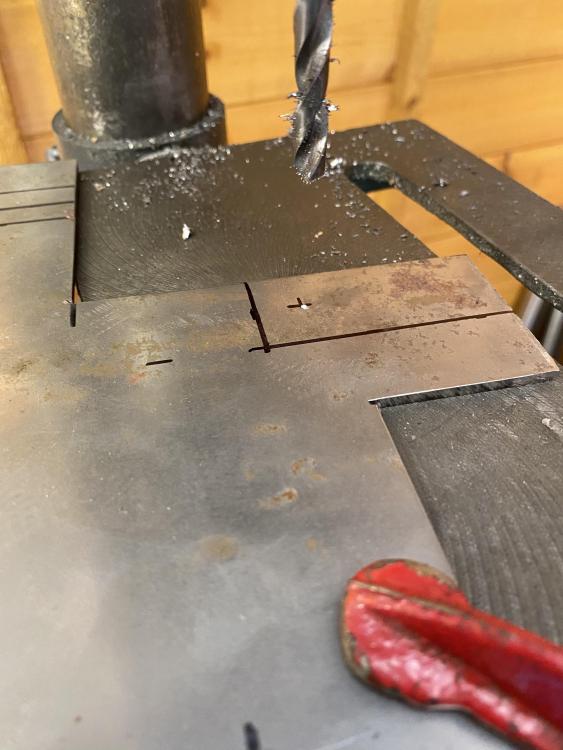
Yeh that’s all you need to do. It’s a 19mm die so needs a 19mm hole saw. It’s from a company on eBay, paid £23 for it. Debated making it myself but it’d cost me more than that for high carbon steel and quenching oil
-
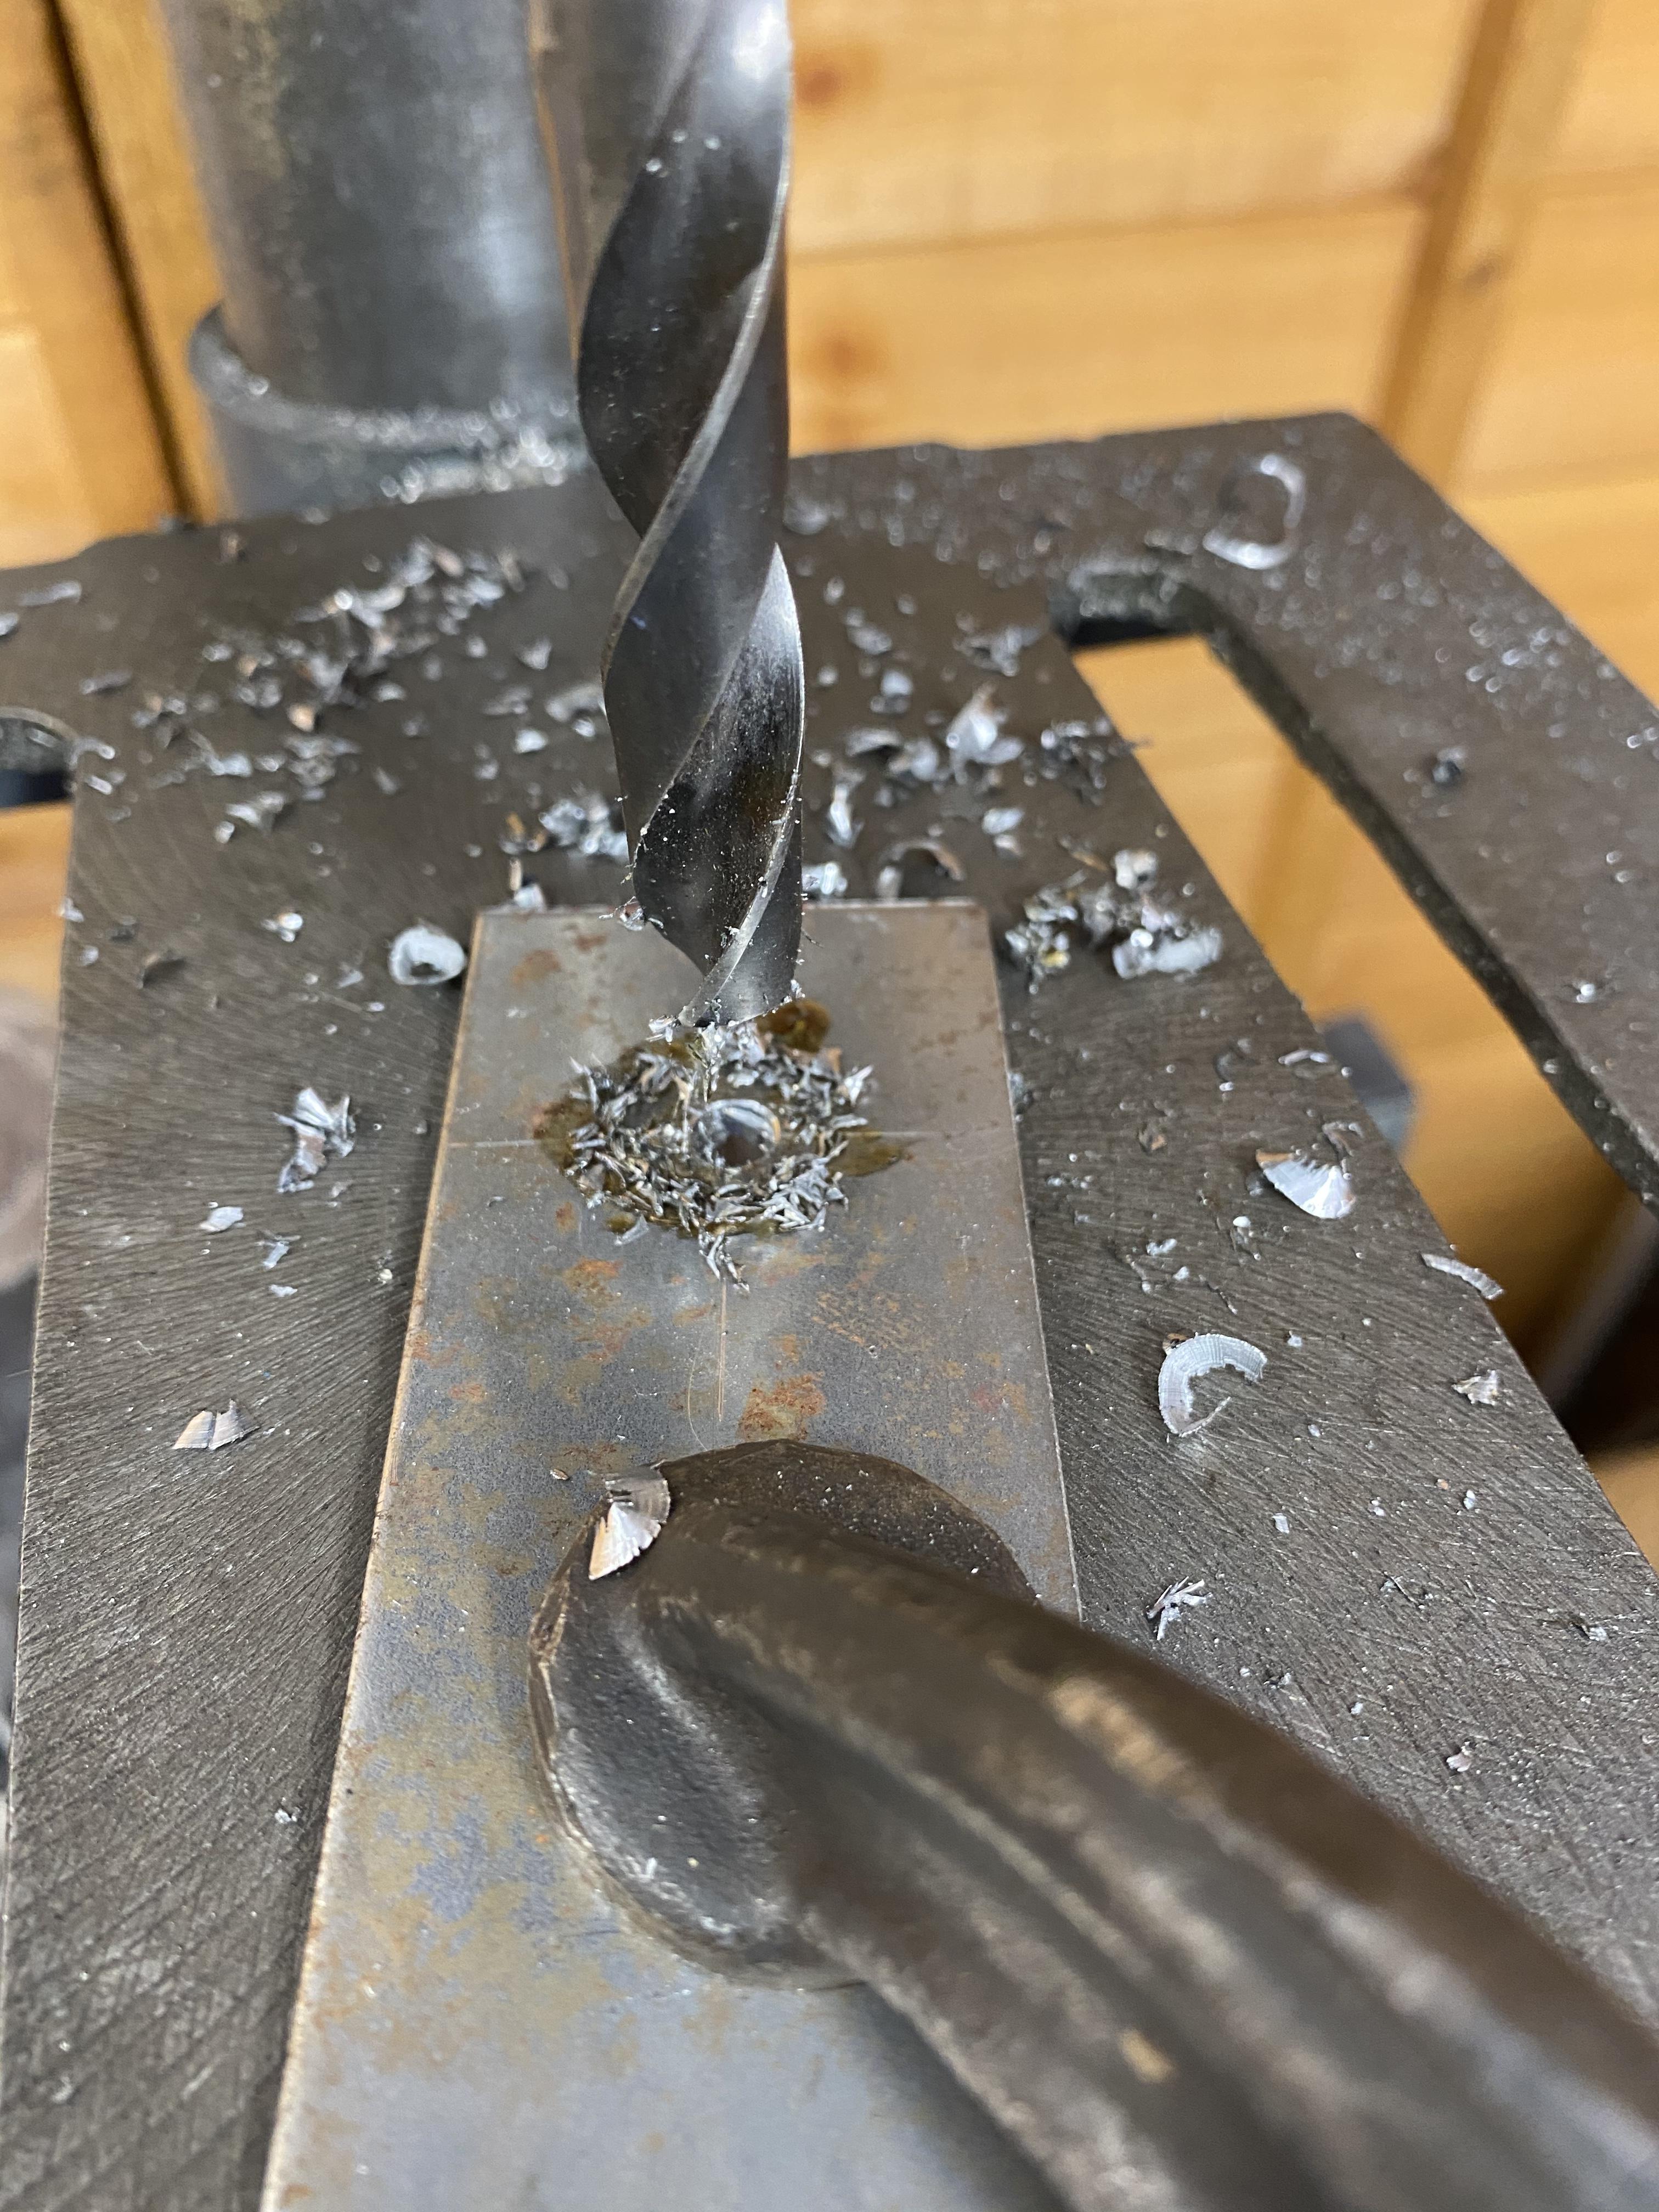
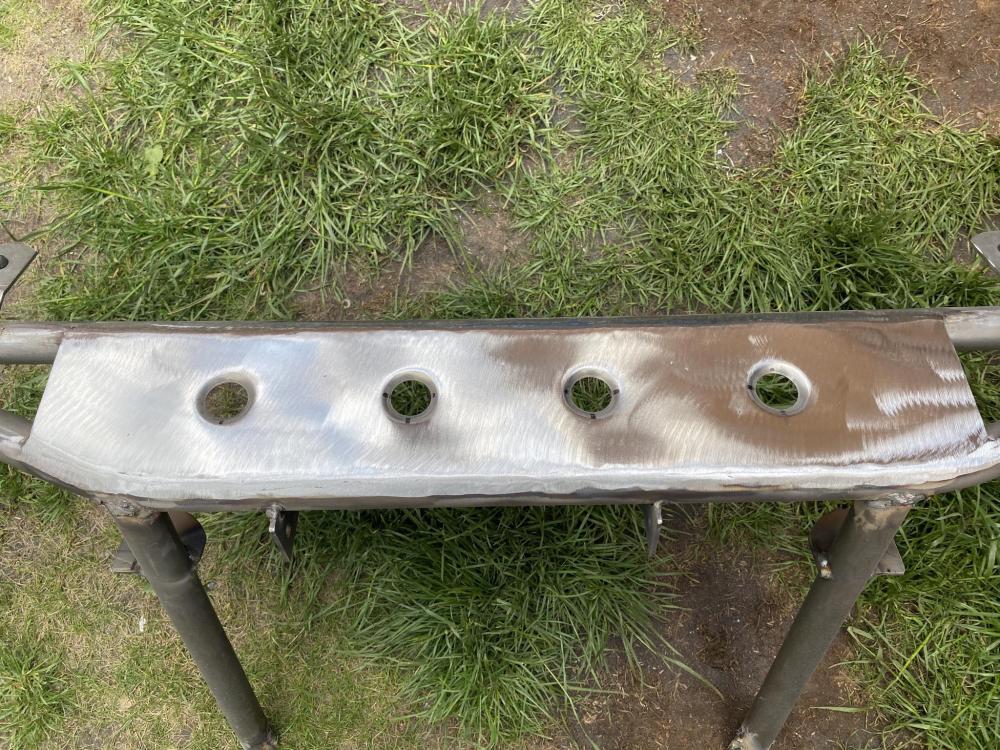
The 19mm hole saw I ordered a couple of days ago arrived so I dimple died the main bar corner gussets. There’s a secondary bar to fit to it to tie into the chassis and mount the intercooler as well as the oil and power steering coolers. This will also be dimple died.
-
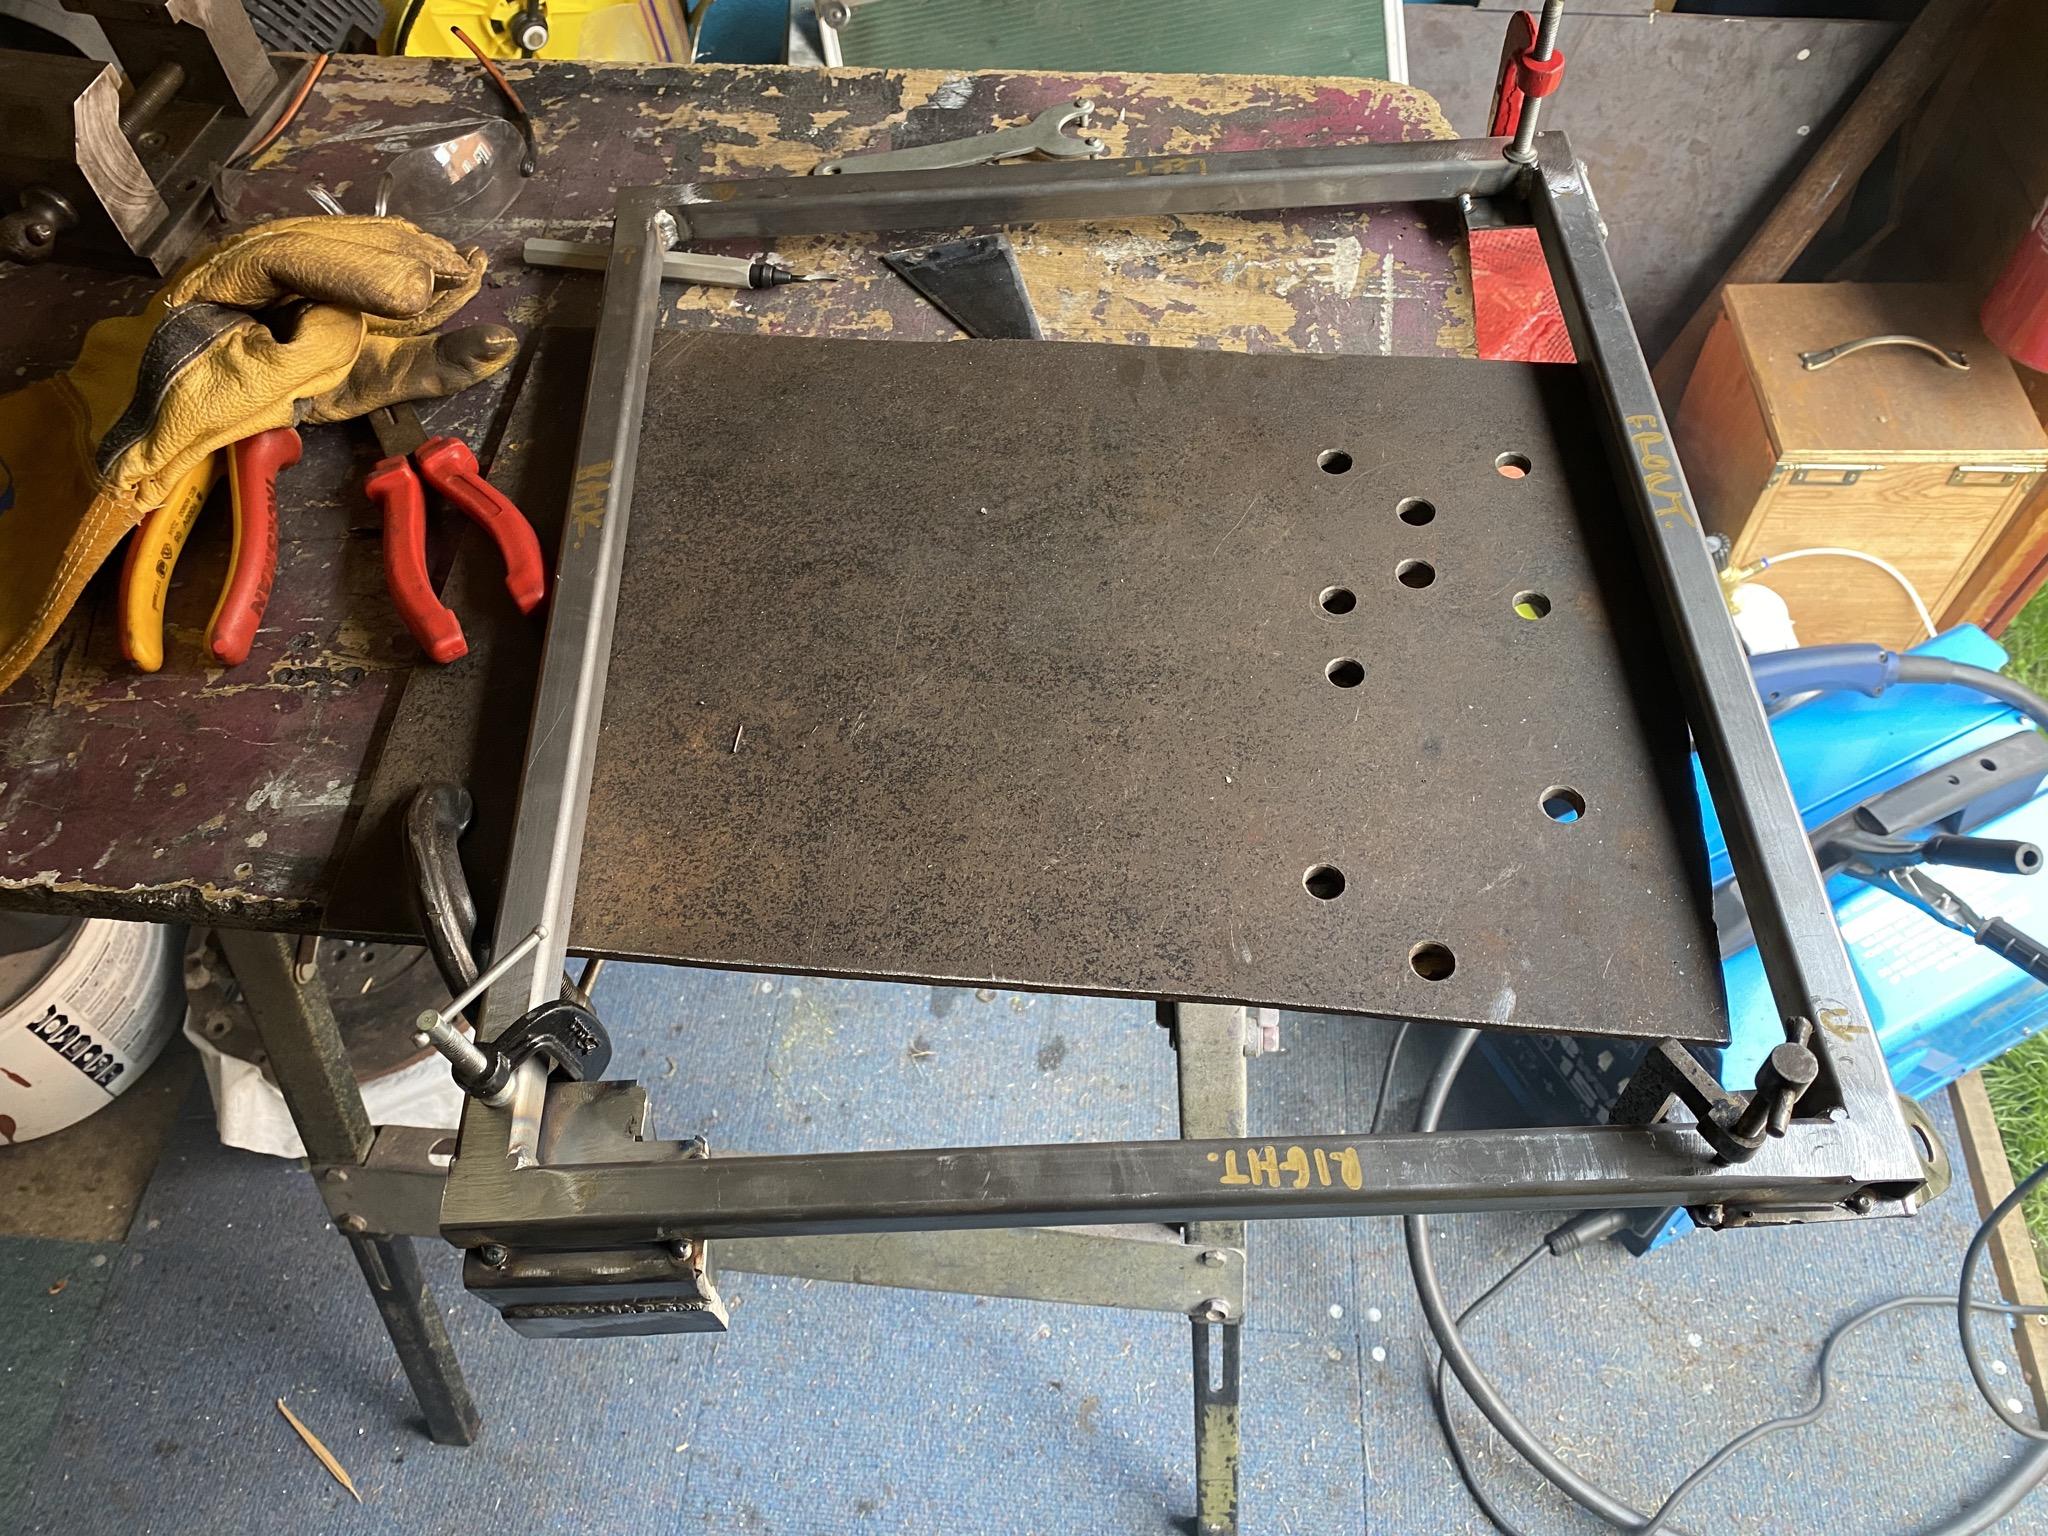
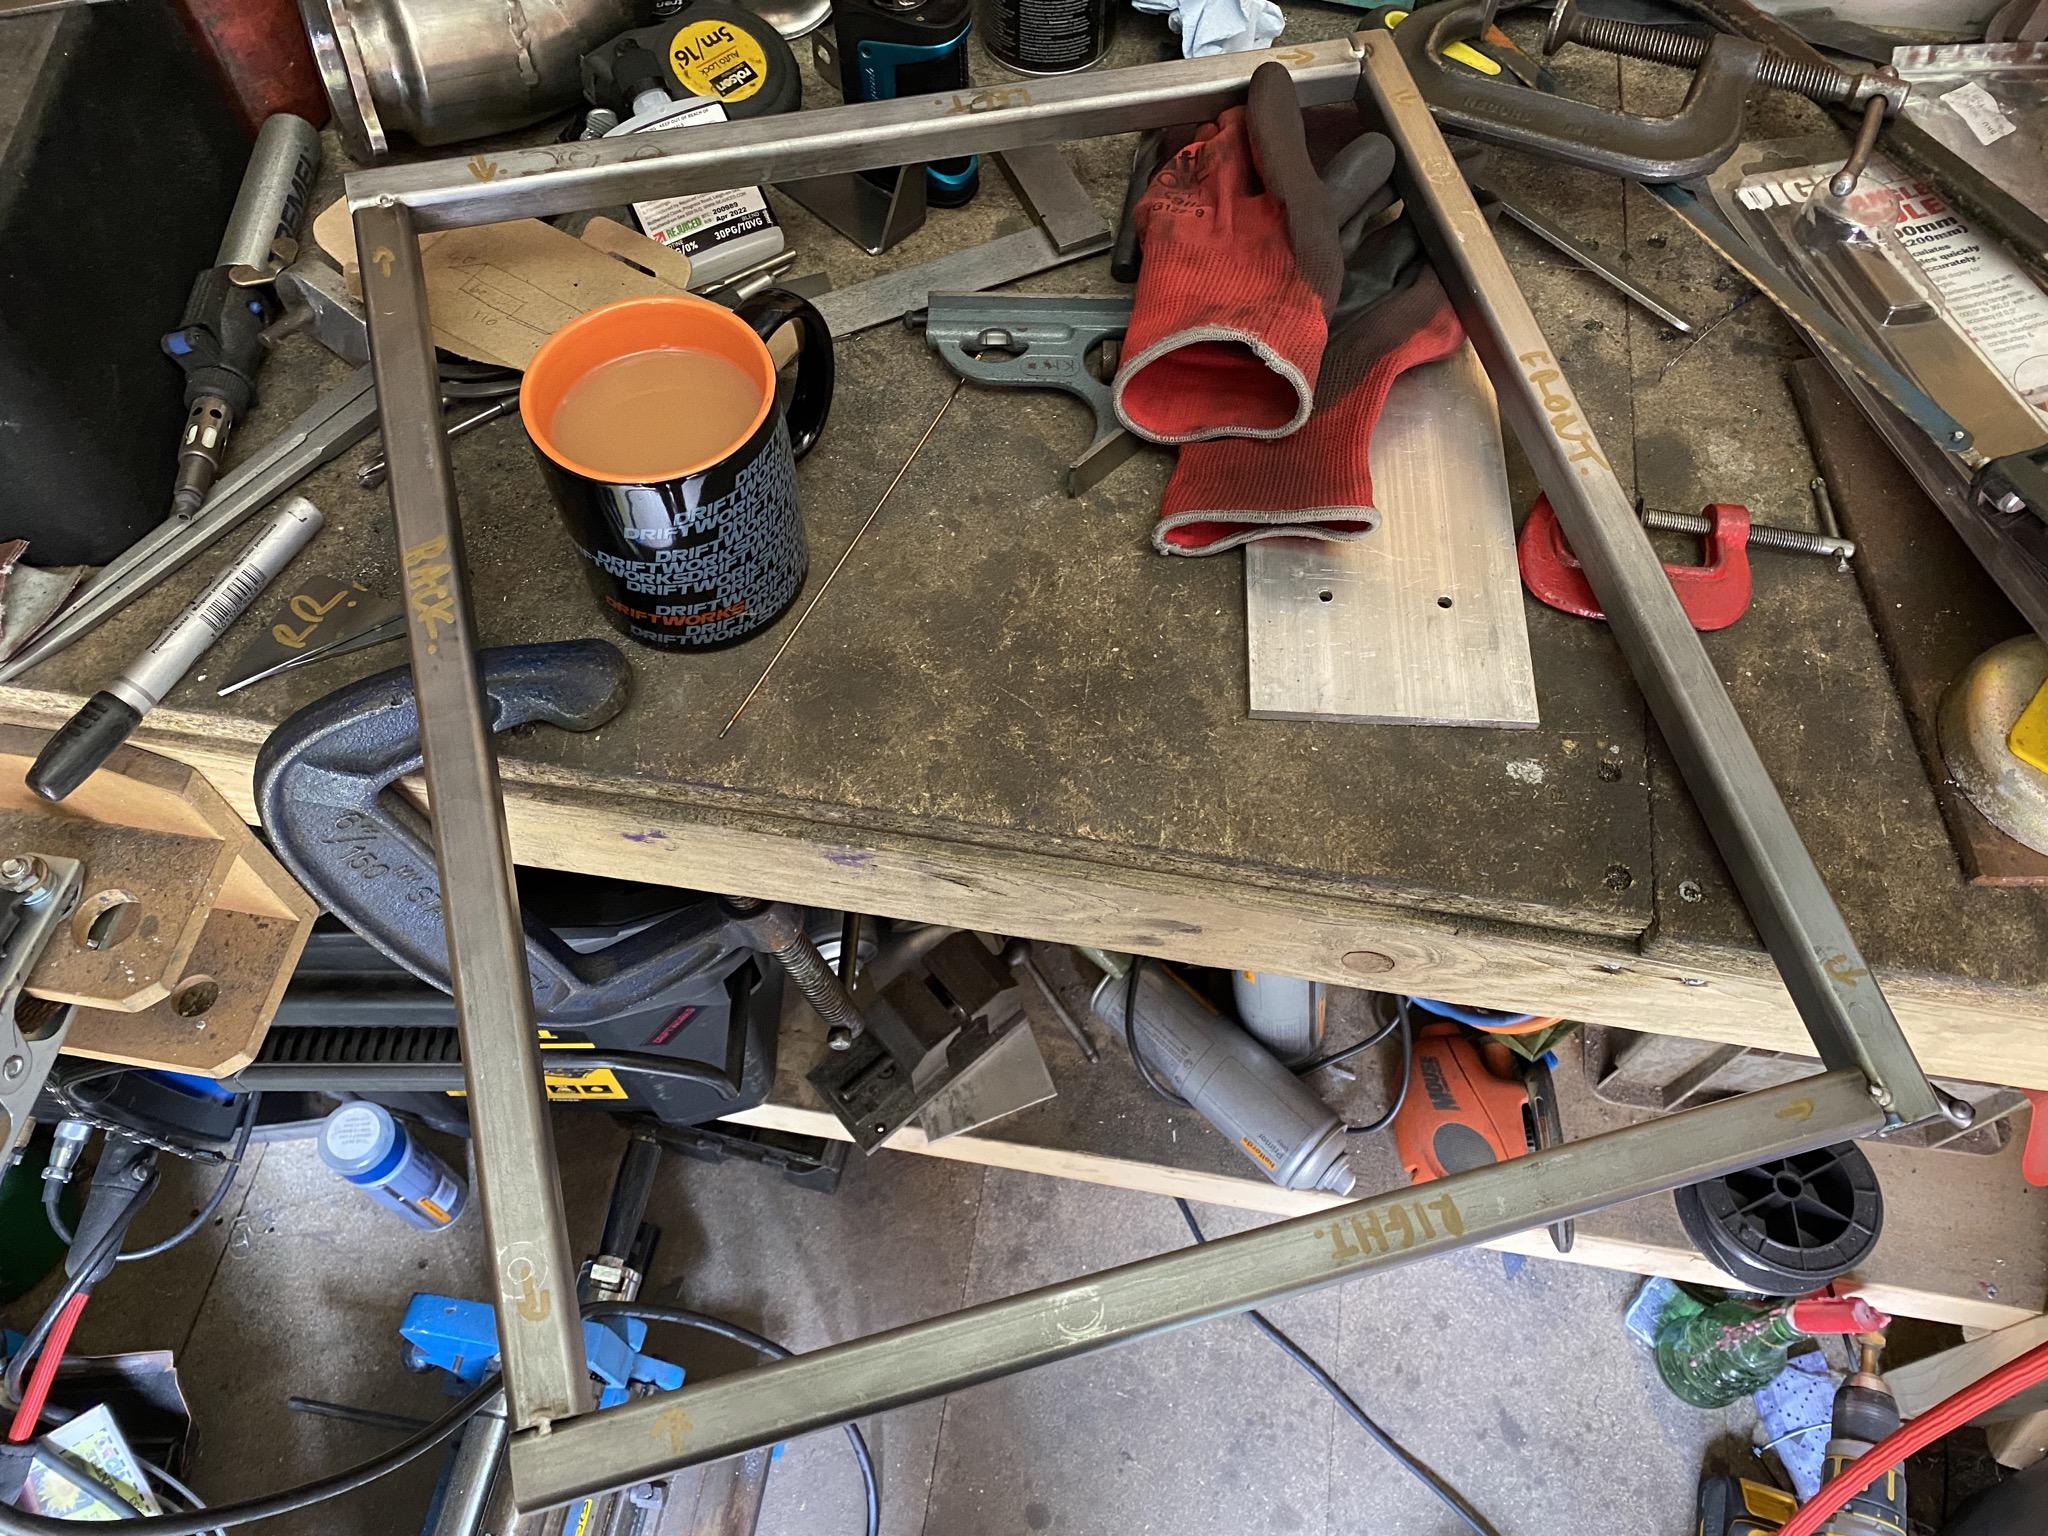
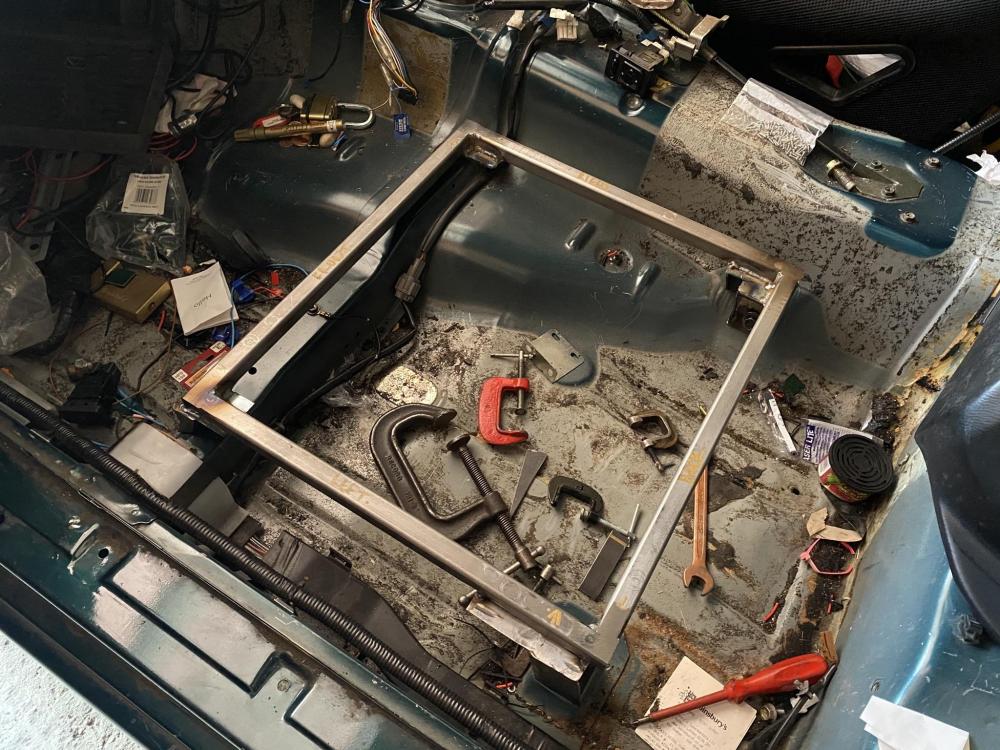
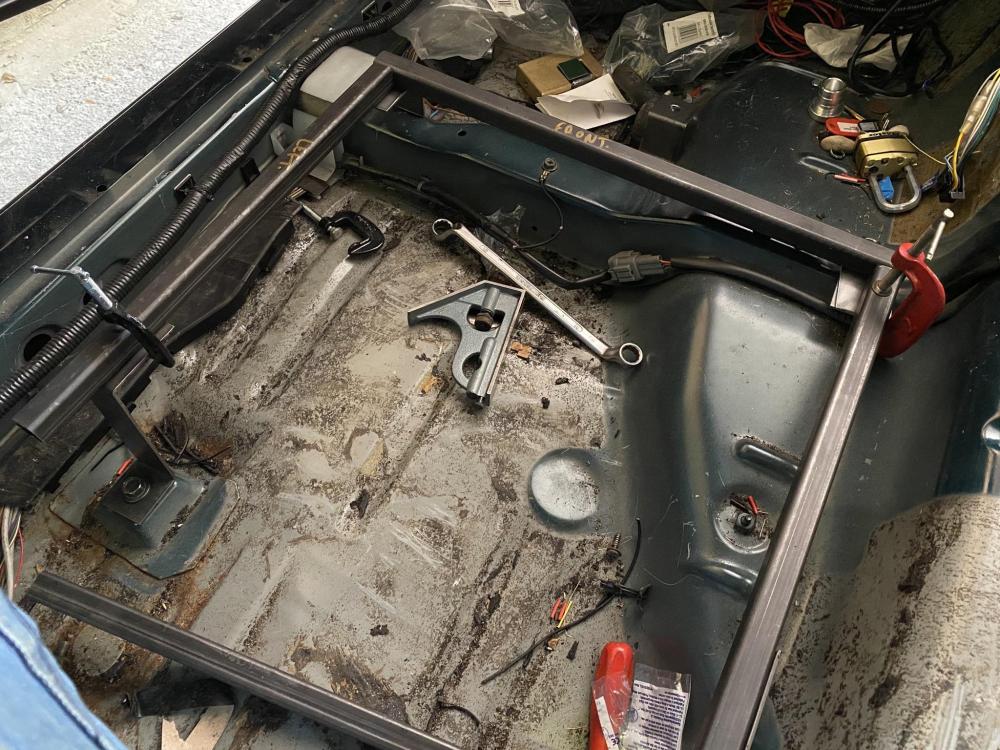
Got the passenger seat rail welded up. Next step is to get the seat that’s currently in the drivers side out and mocked up on the passenger rail for the mounts to be welded on. Seat rail is almost done. The welding isn’t amazing but it certainly won’t break so that’s fine by me.


-
Got the passenger seat rail mounts welded up. Just need to bolt them back in, mark up where the rail sits on them and weld it to them. I can then weld some 3mm steel across the rail to fit the seat to

-
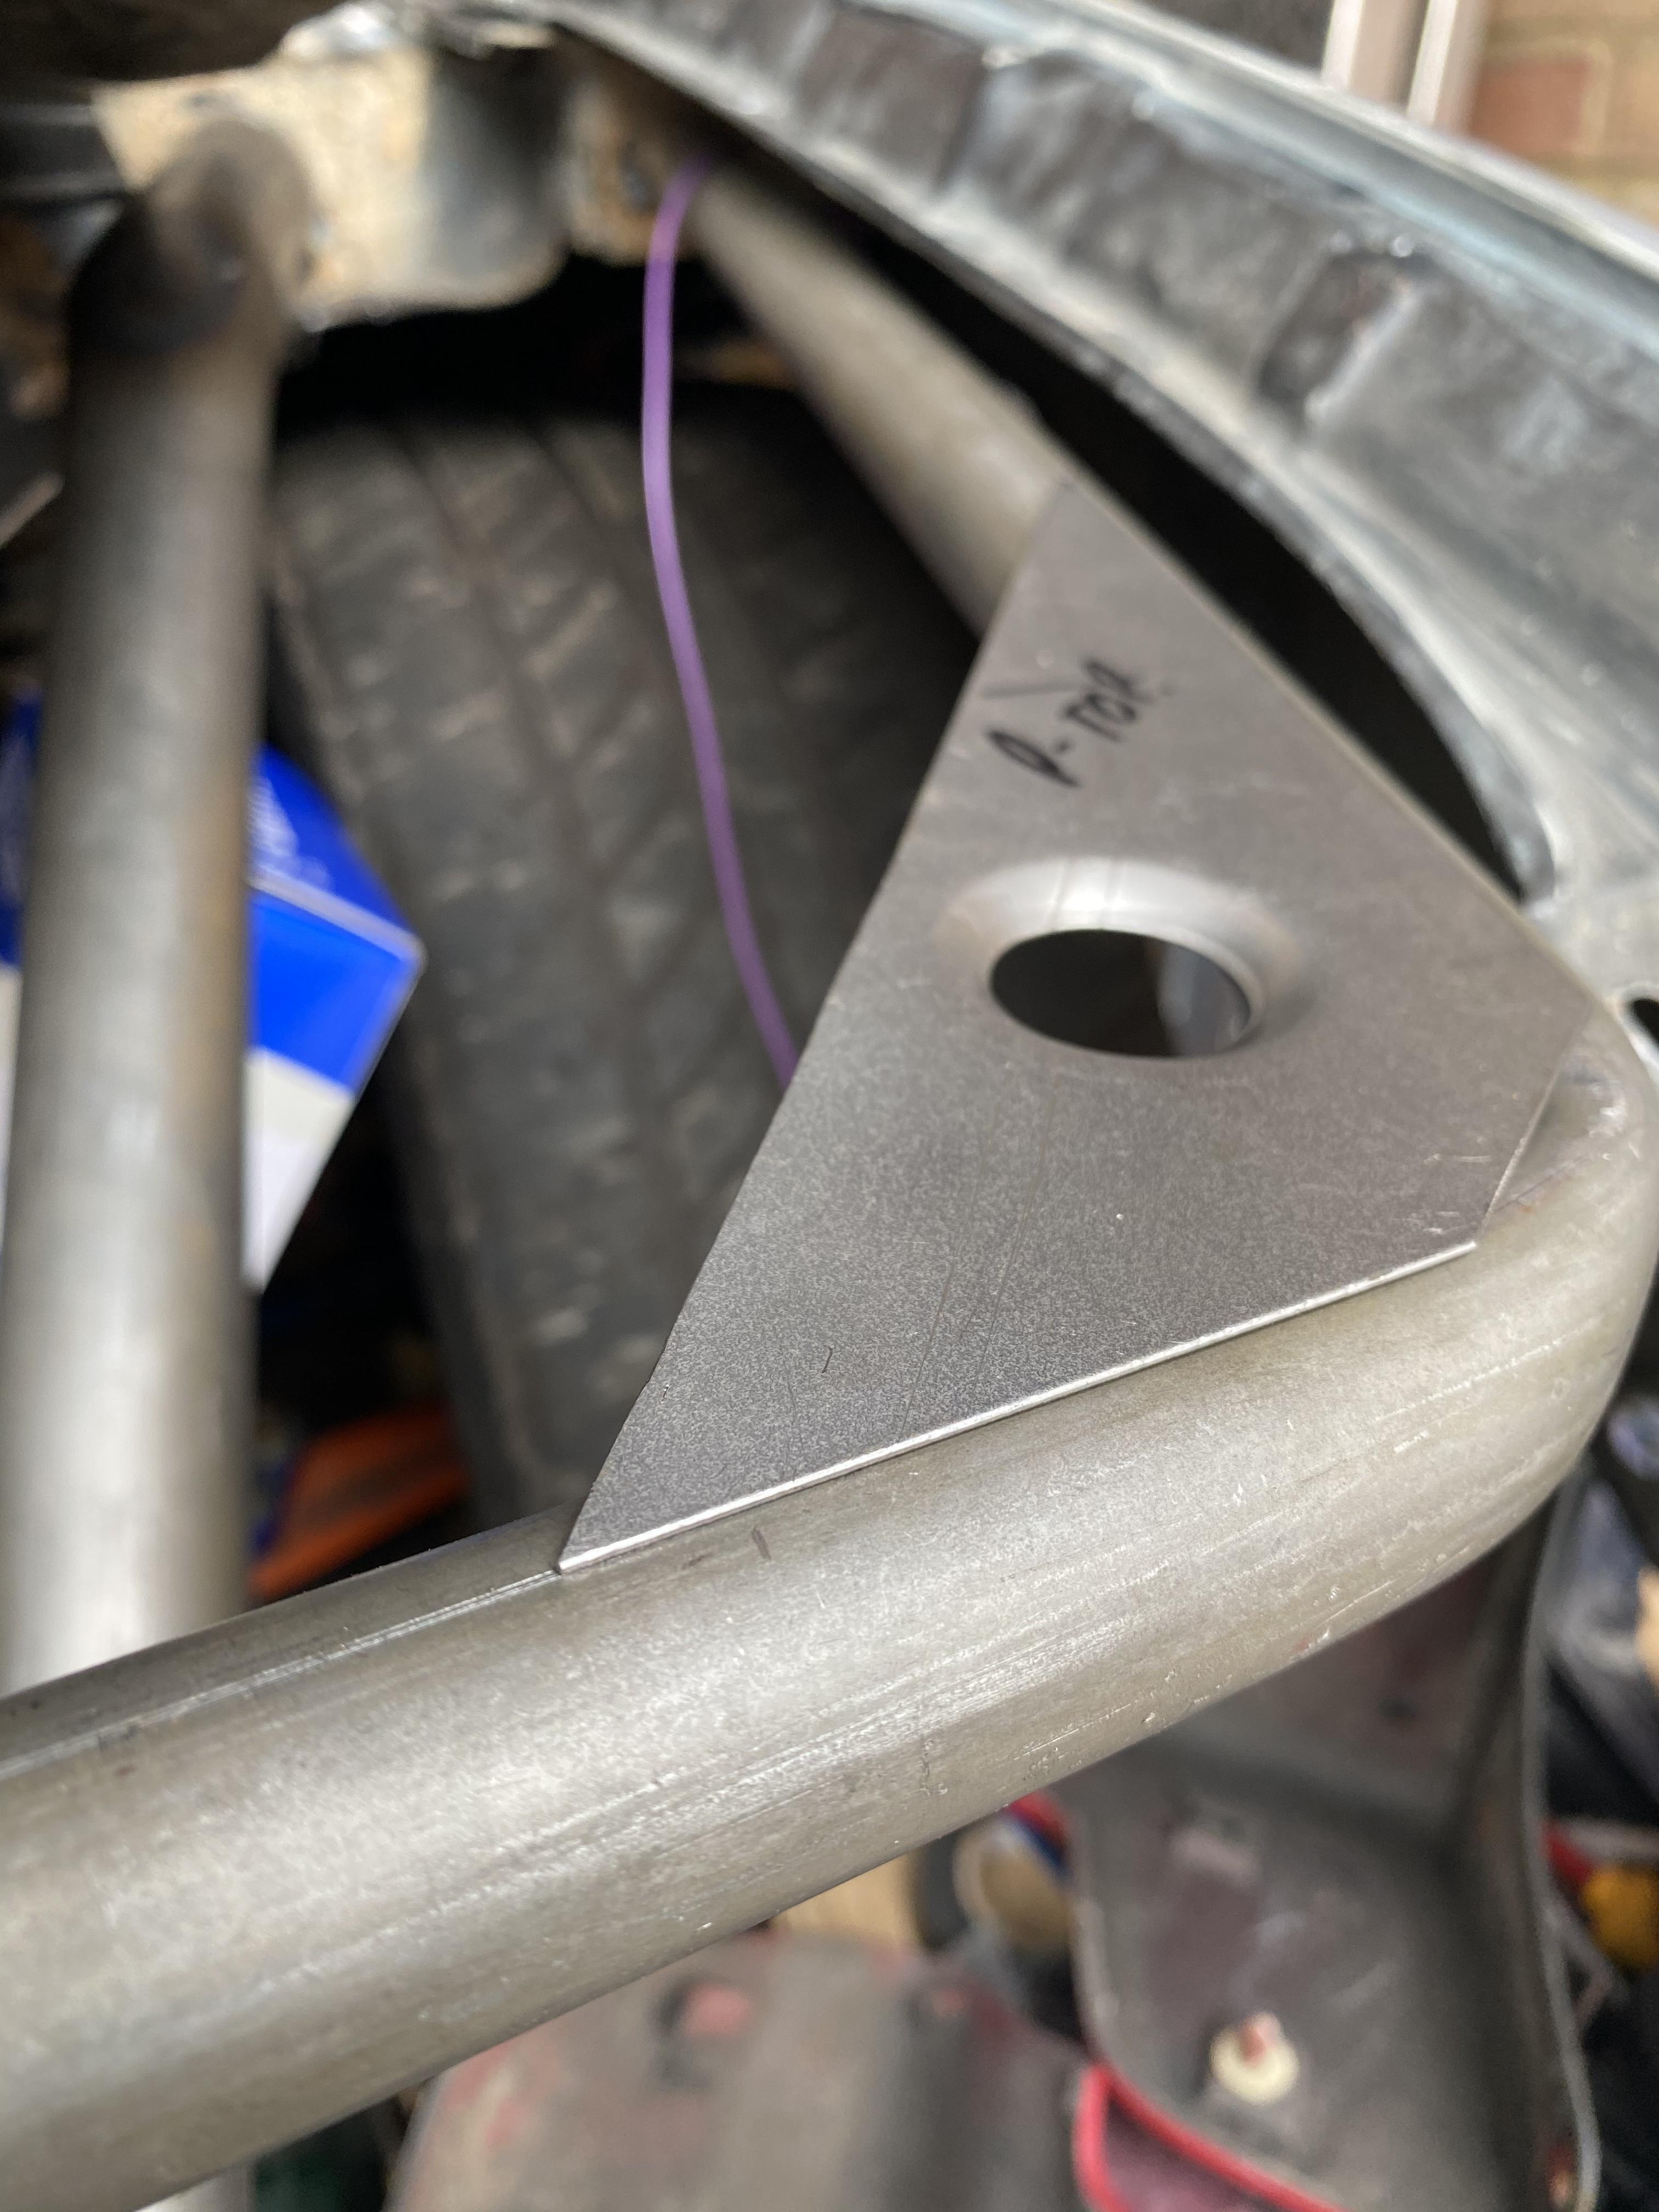
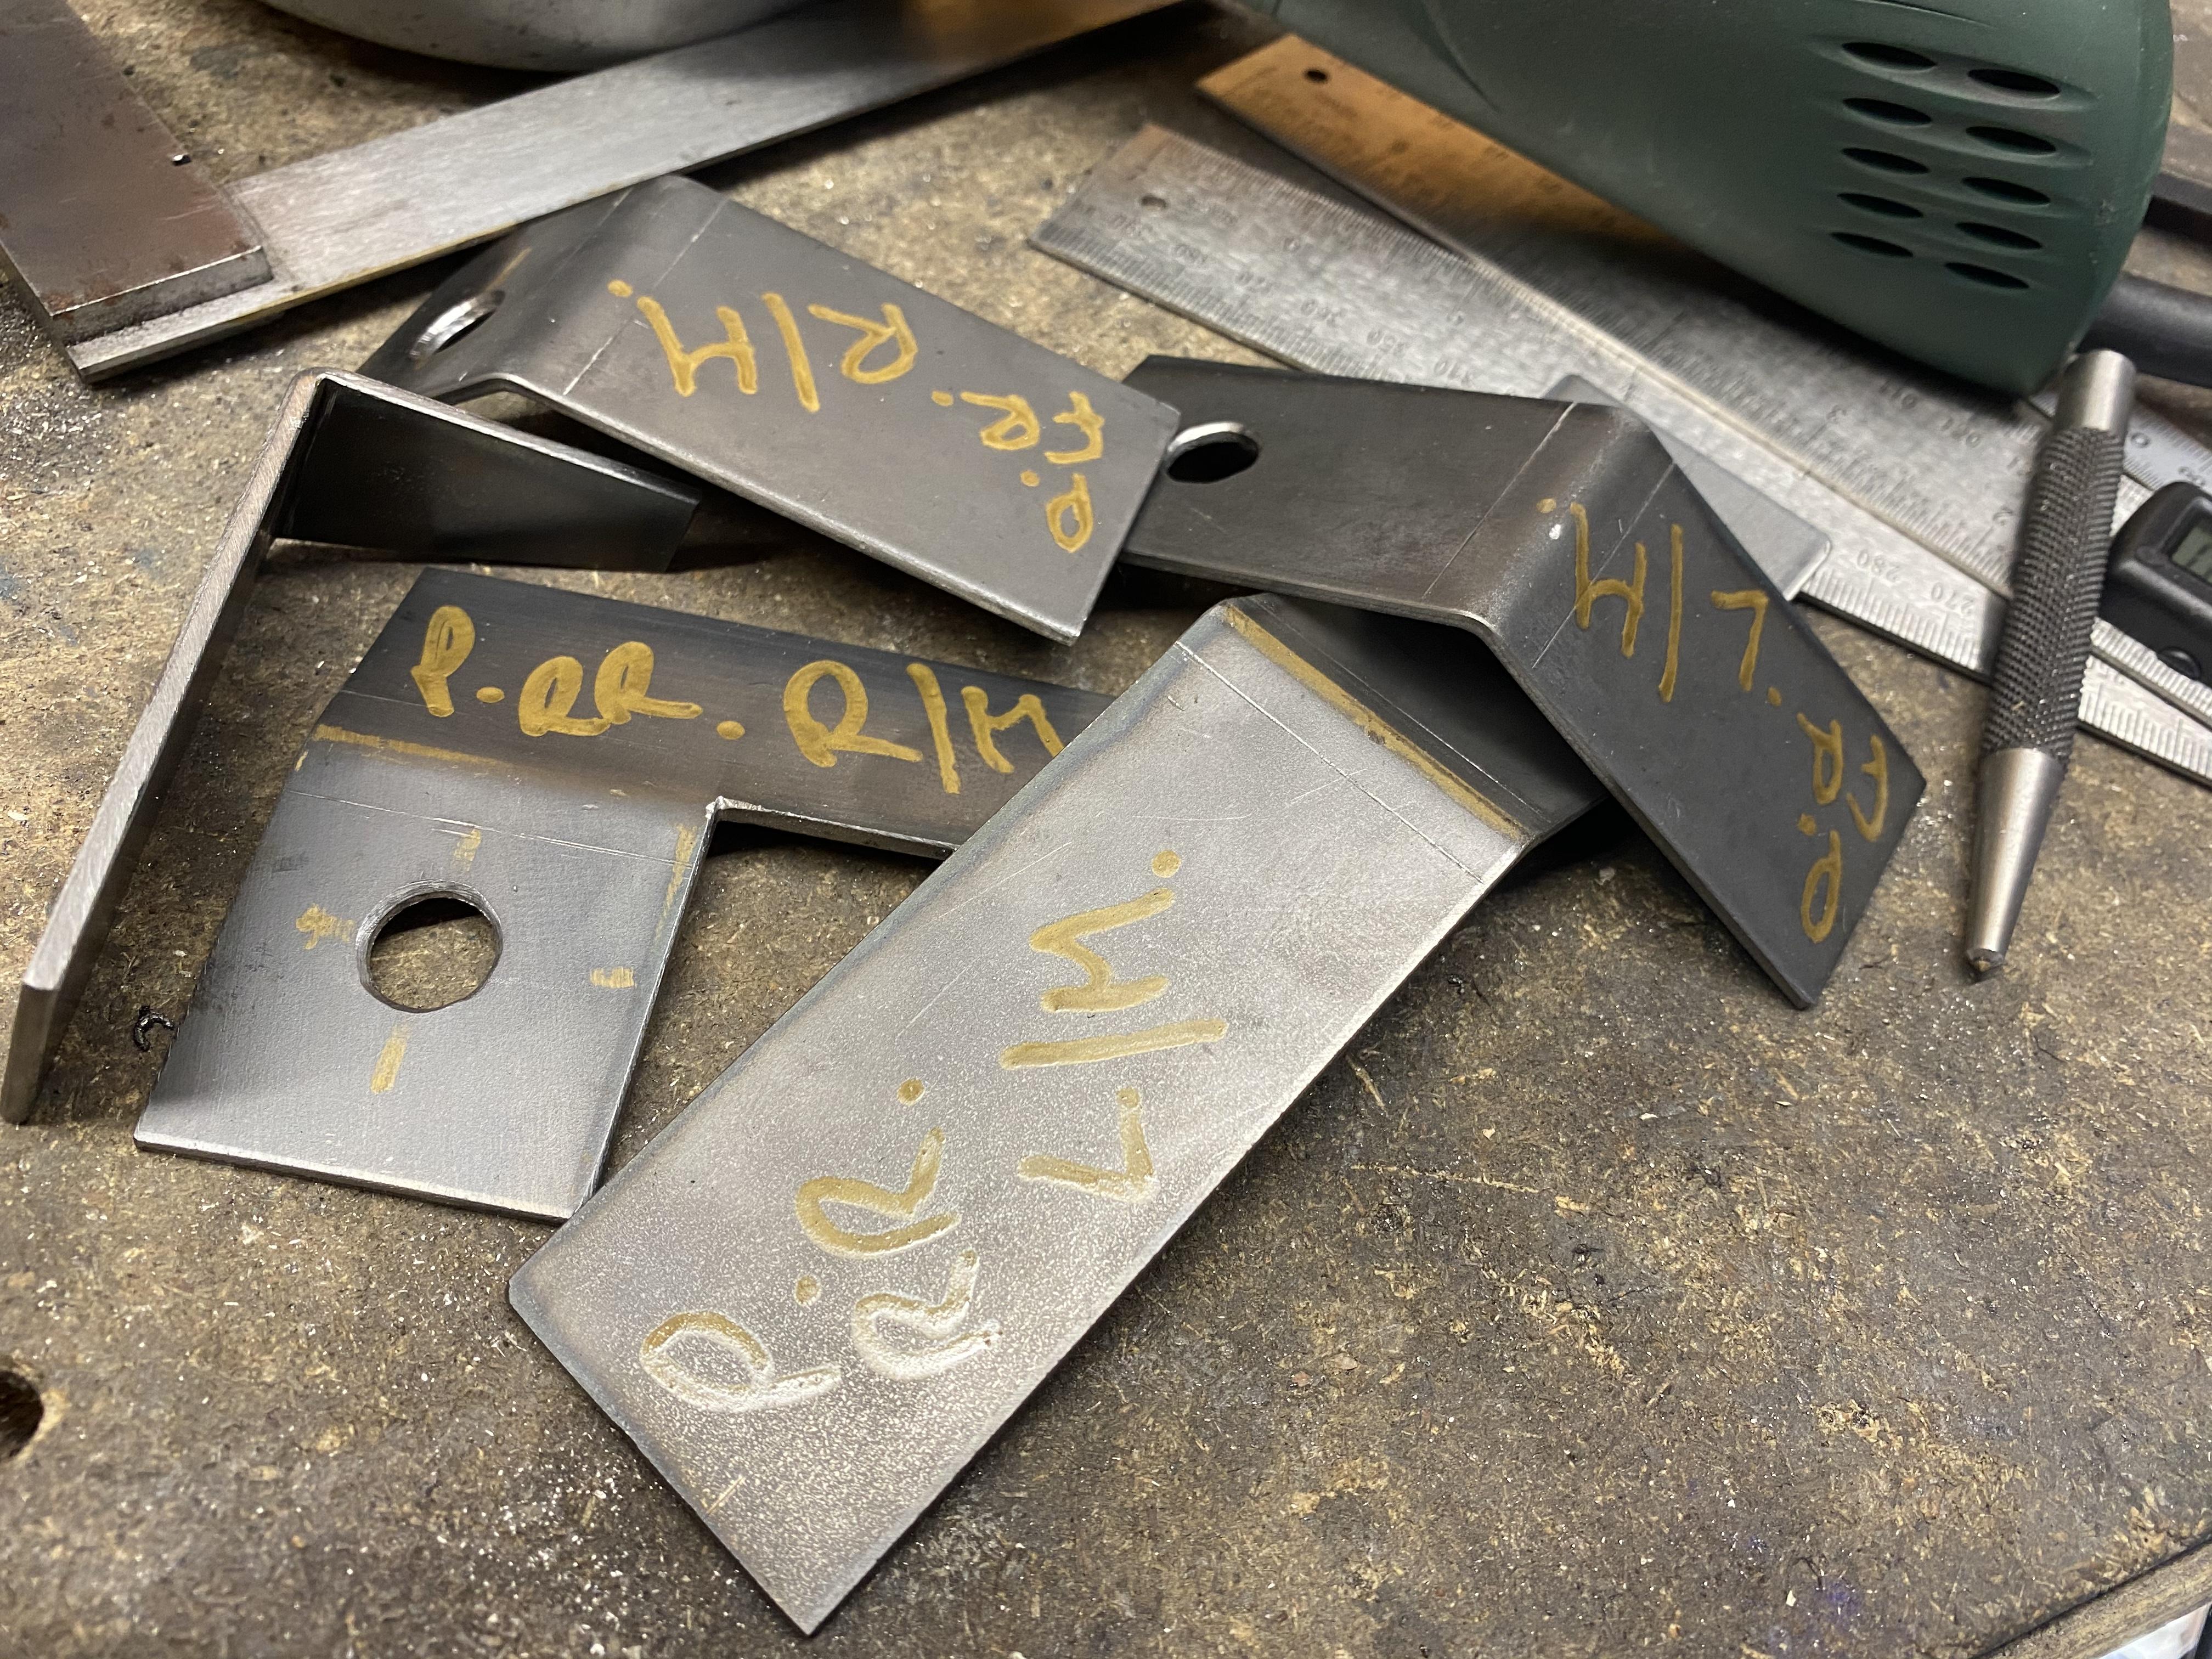
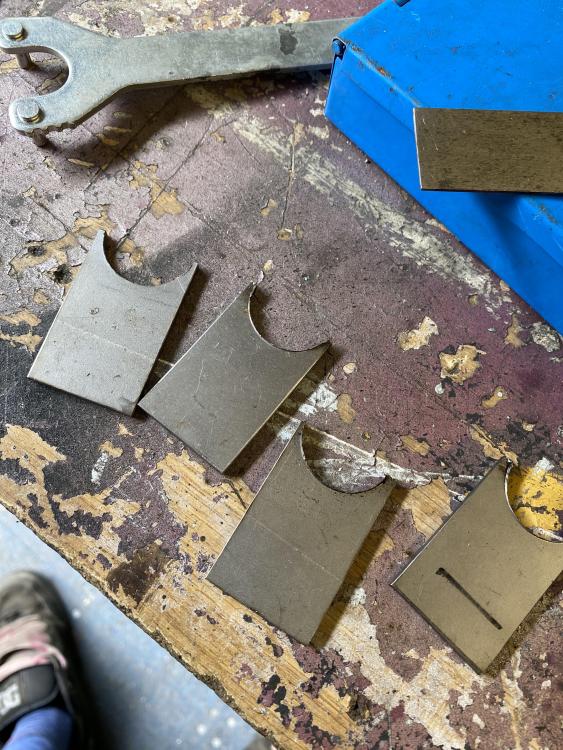
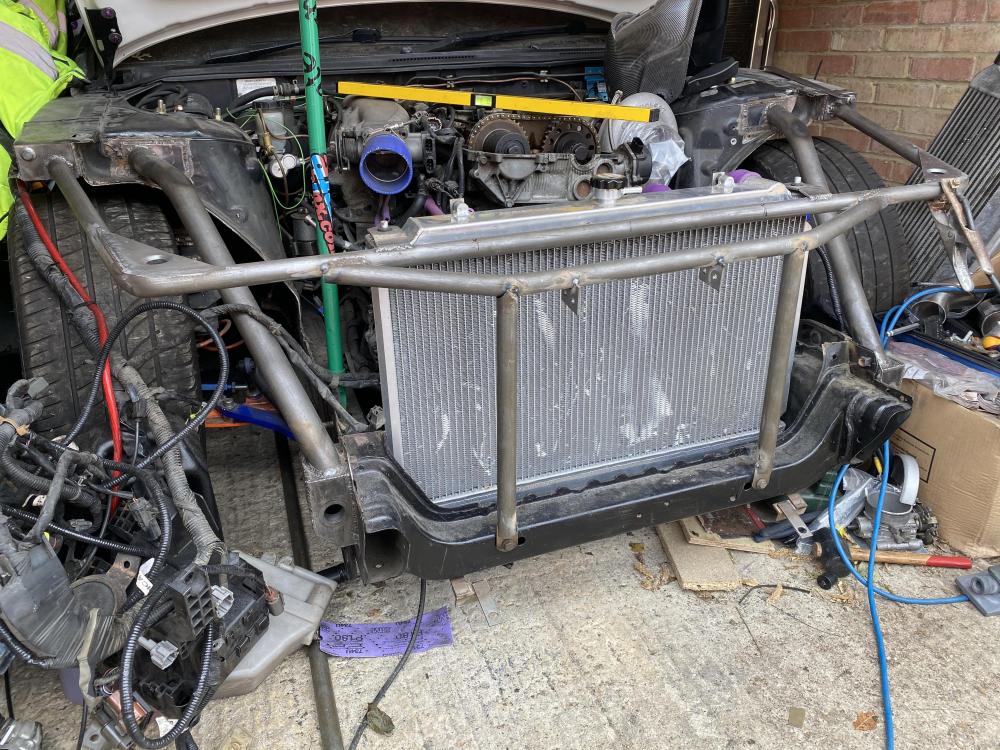
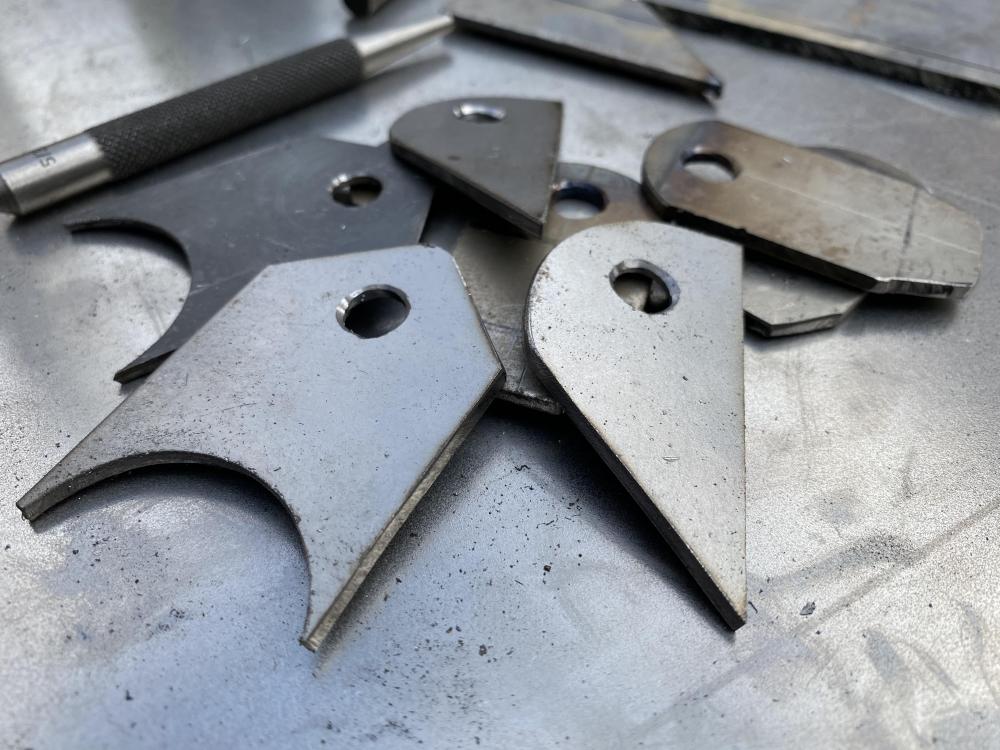
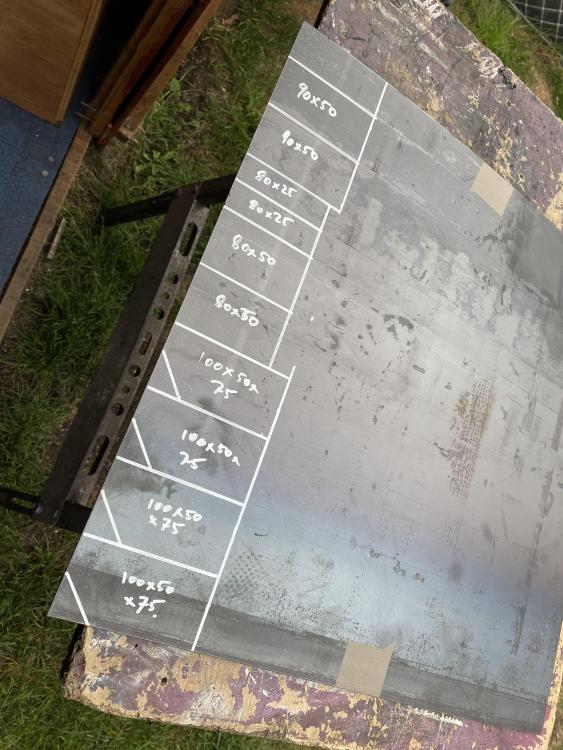
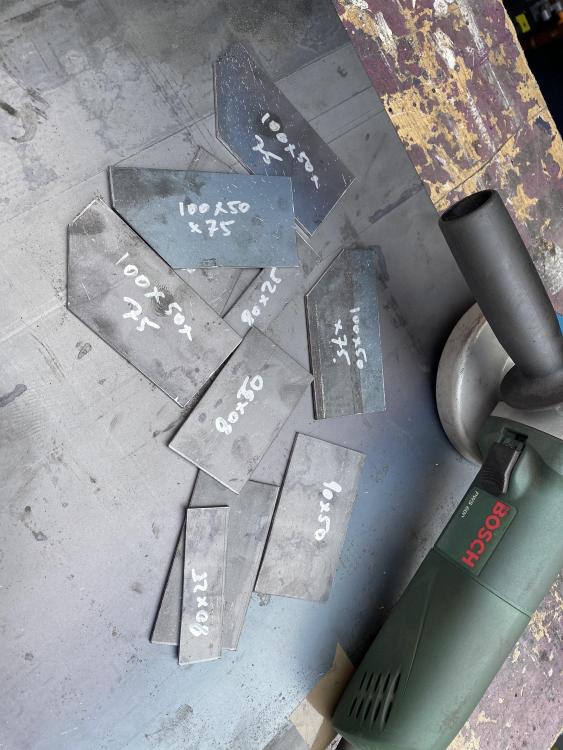
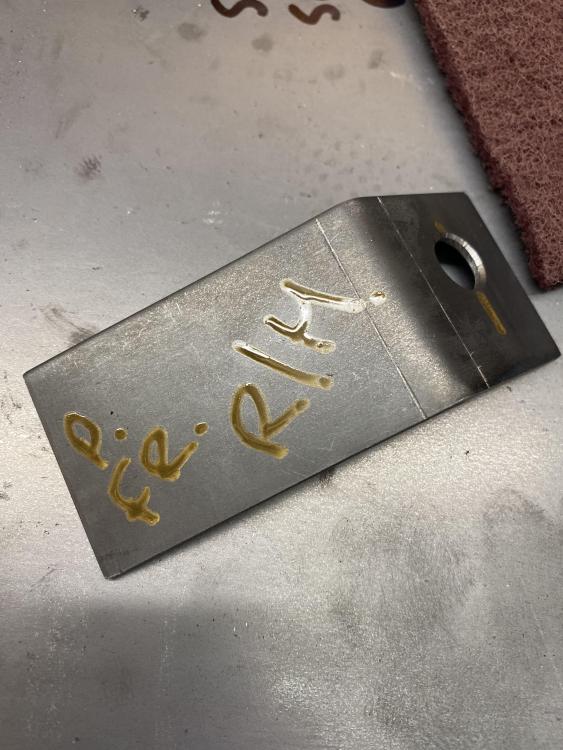
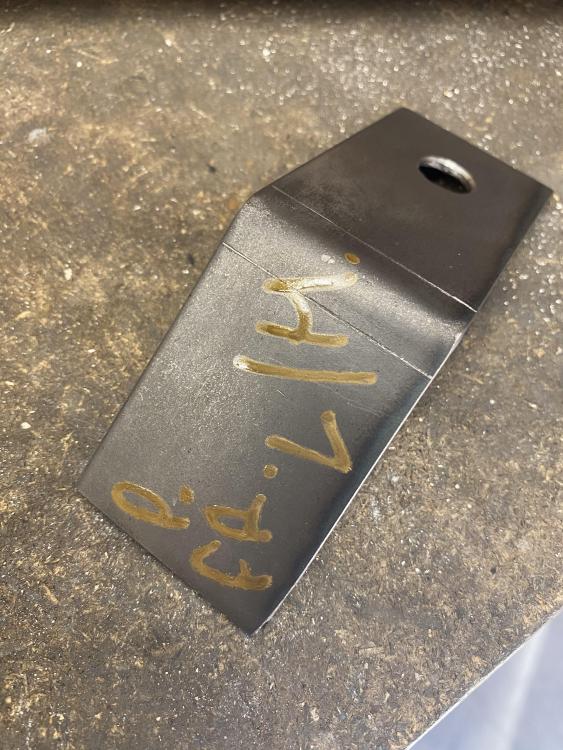
Made up a few more bits for further work on the tube front later on in the week. Braces for the corners on the main bar done, these will be dimple died once it arrives. Made up the radiator brackets, once the height on the main bar is set they can be bent to shape and fitted. Made up some brackets for another brace either side to tie in the turret/chassis braces and the main front bar.


-
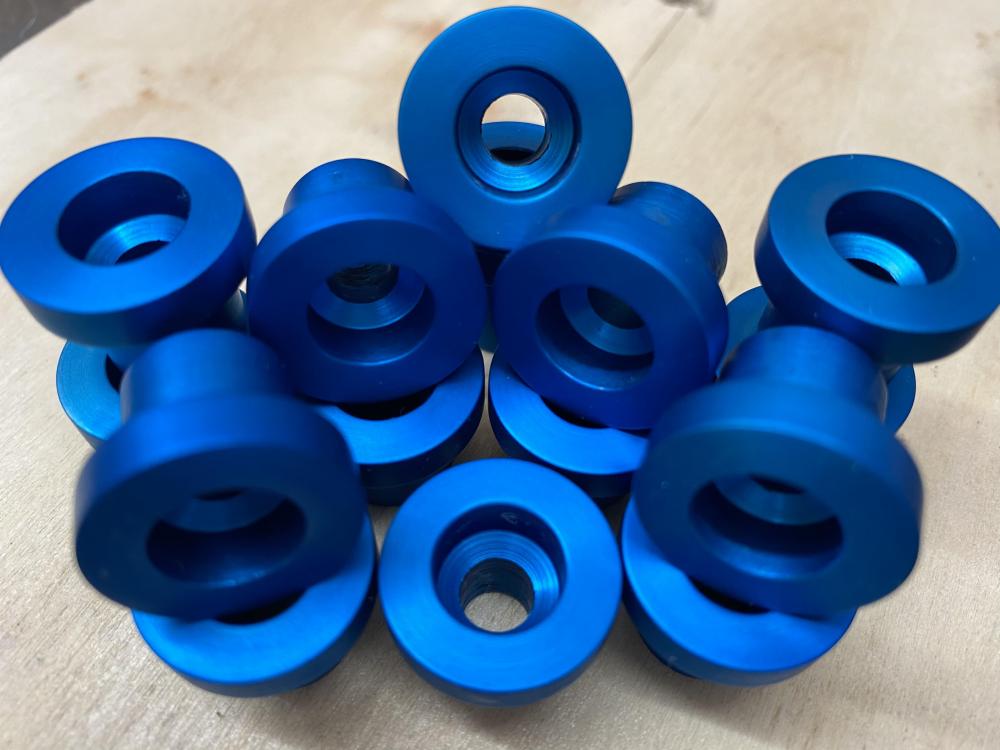
Some more anodised parts I didn’t post up before: cam cover washers. I could have purchased some but they’re pretty expensive and not in a suitable colour. The blue here is more teal but the camera doesn’t show the colour as well
-
Plenty more fabrication to do. Should have the front end done this week with a bit of luck
-
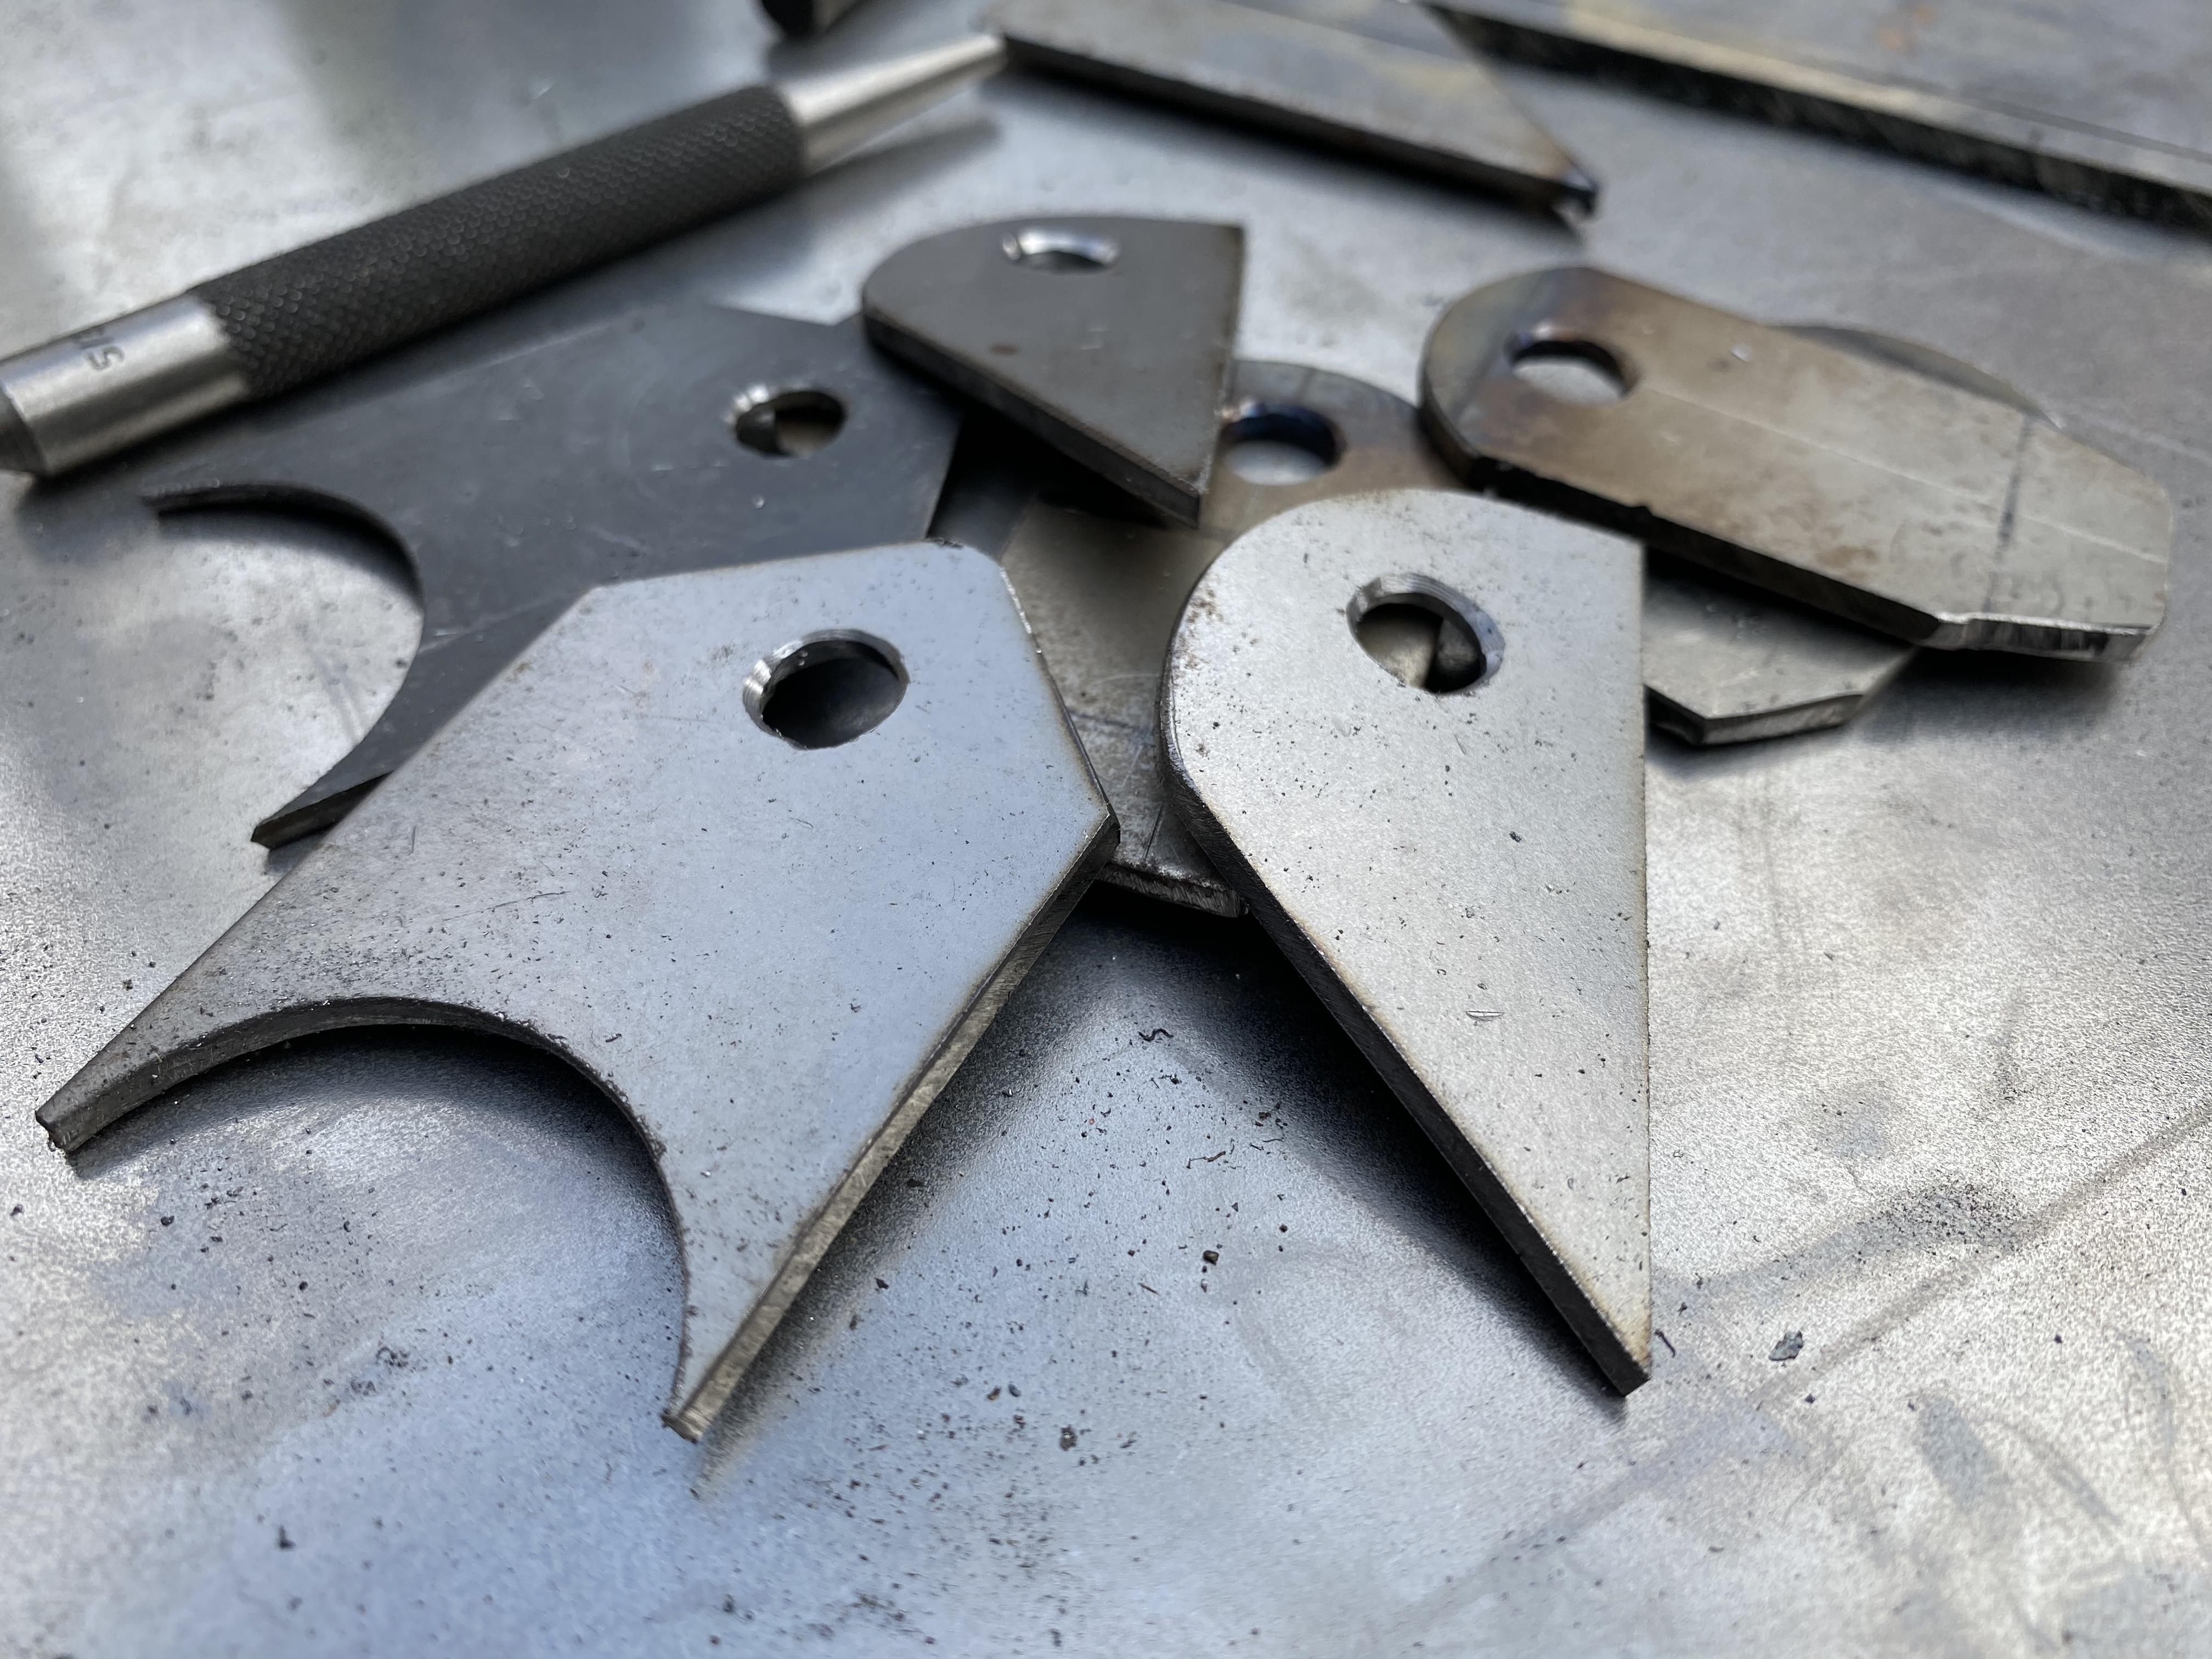
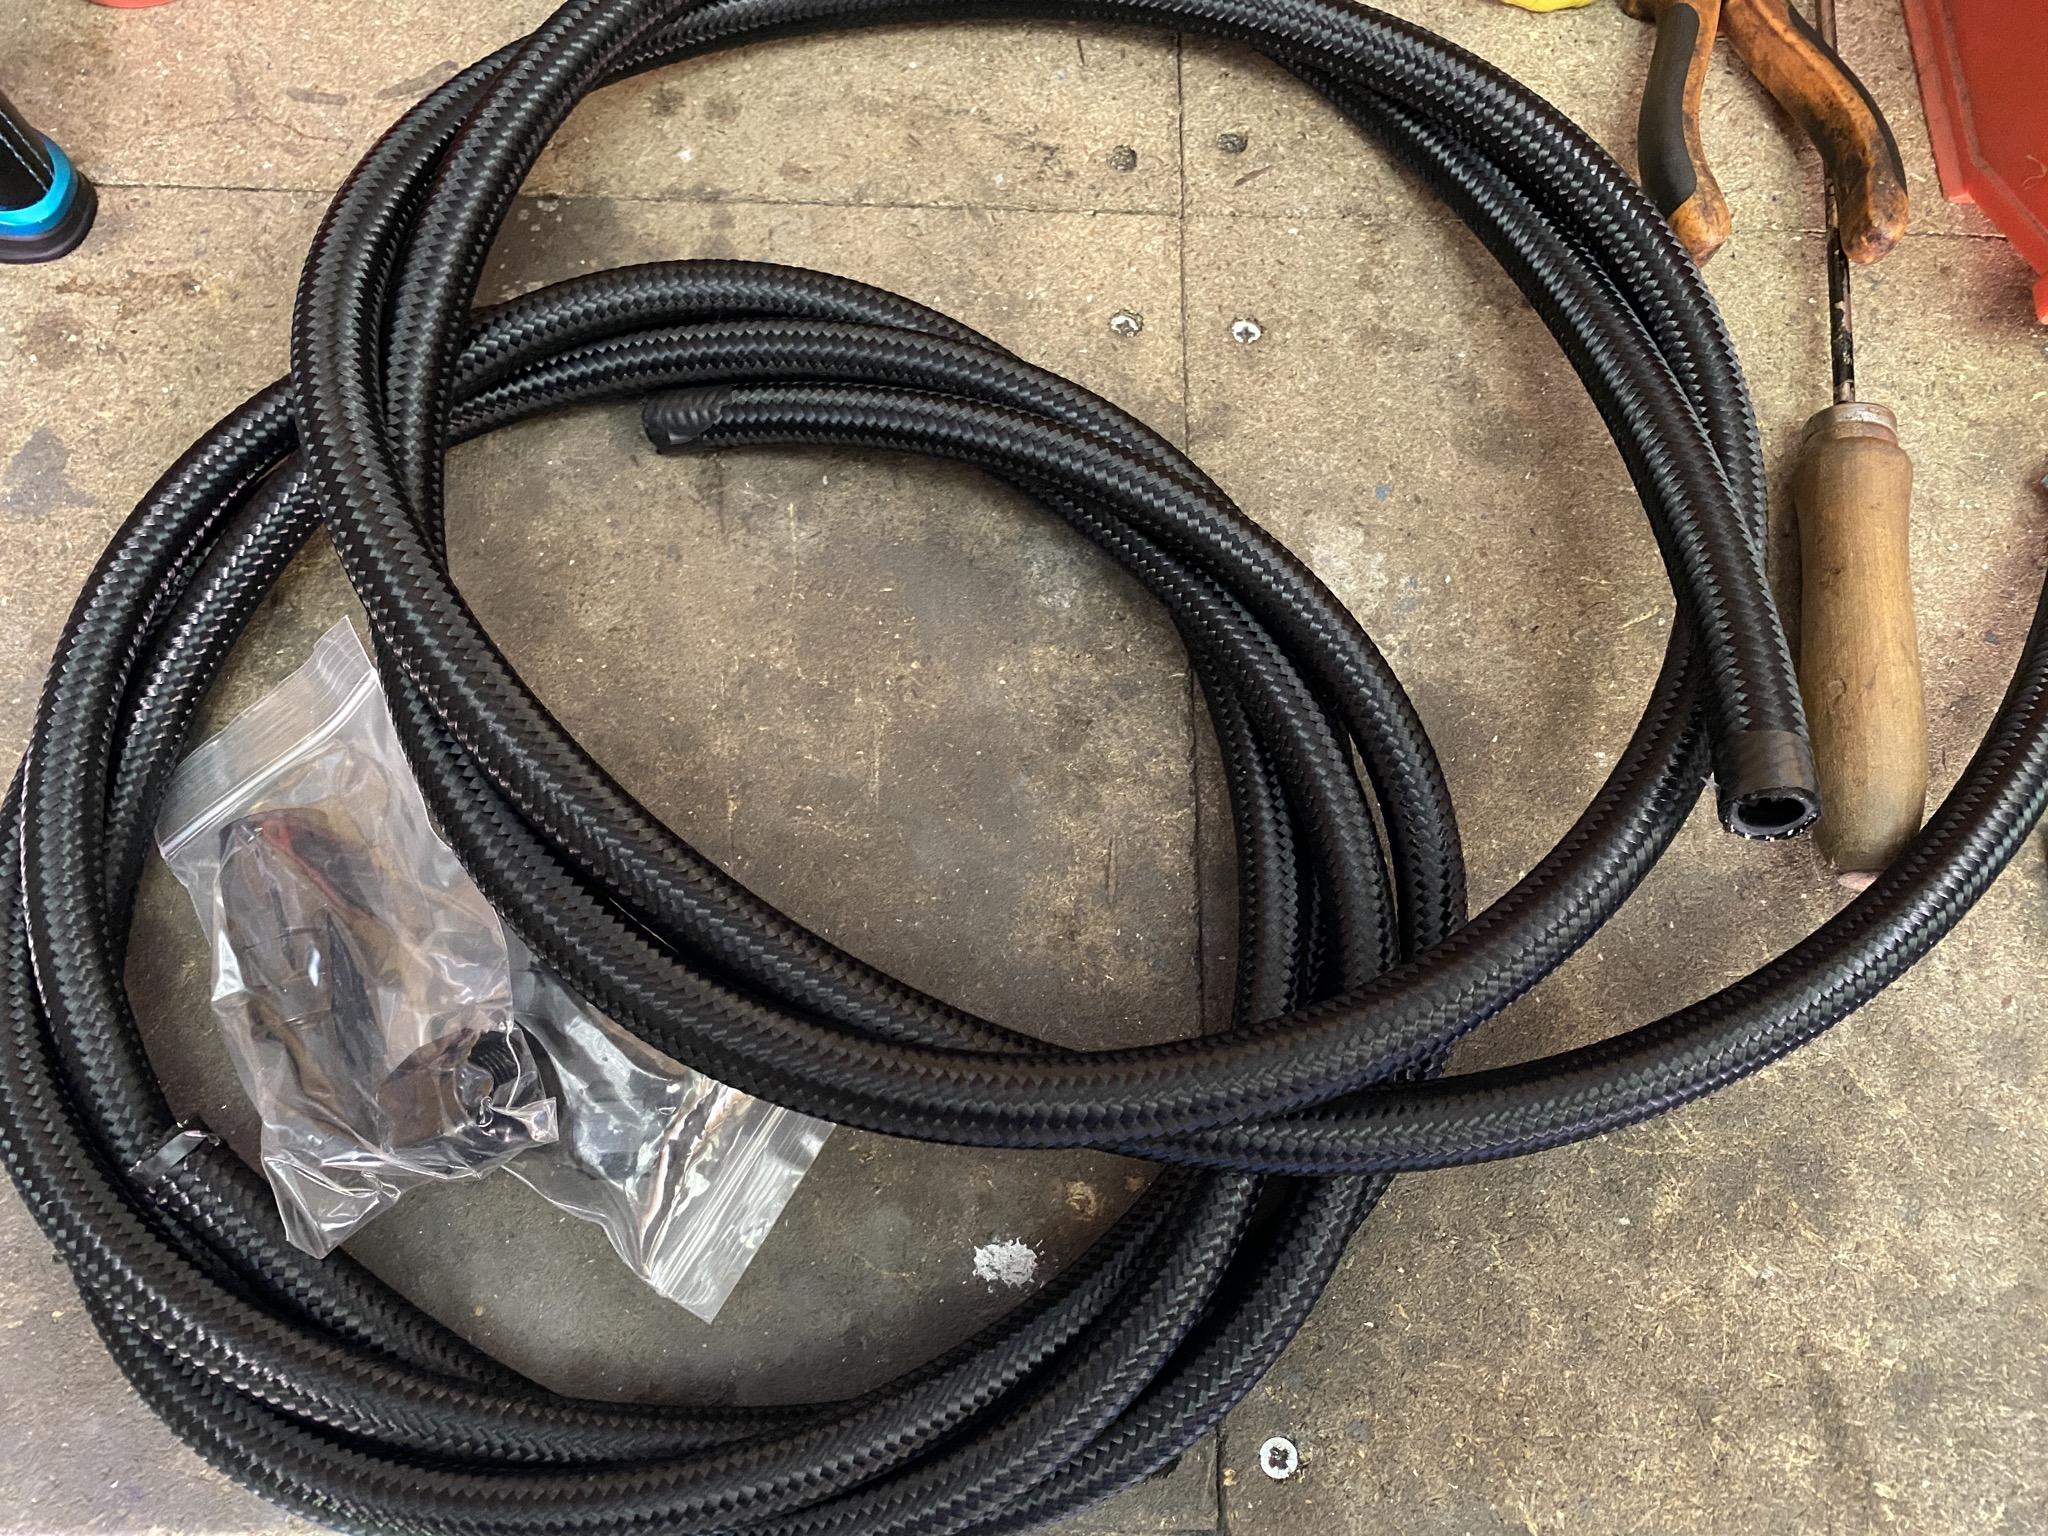
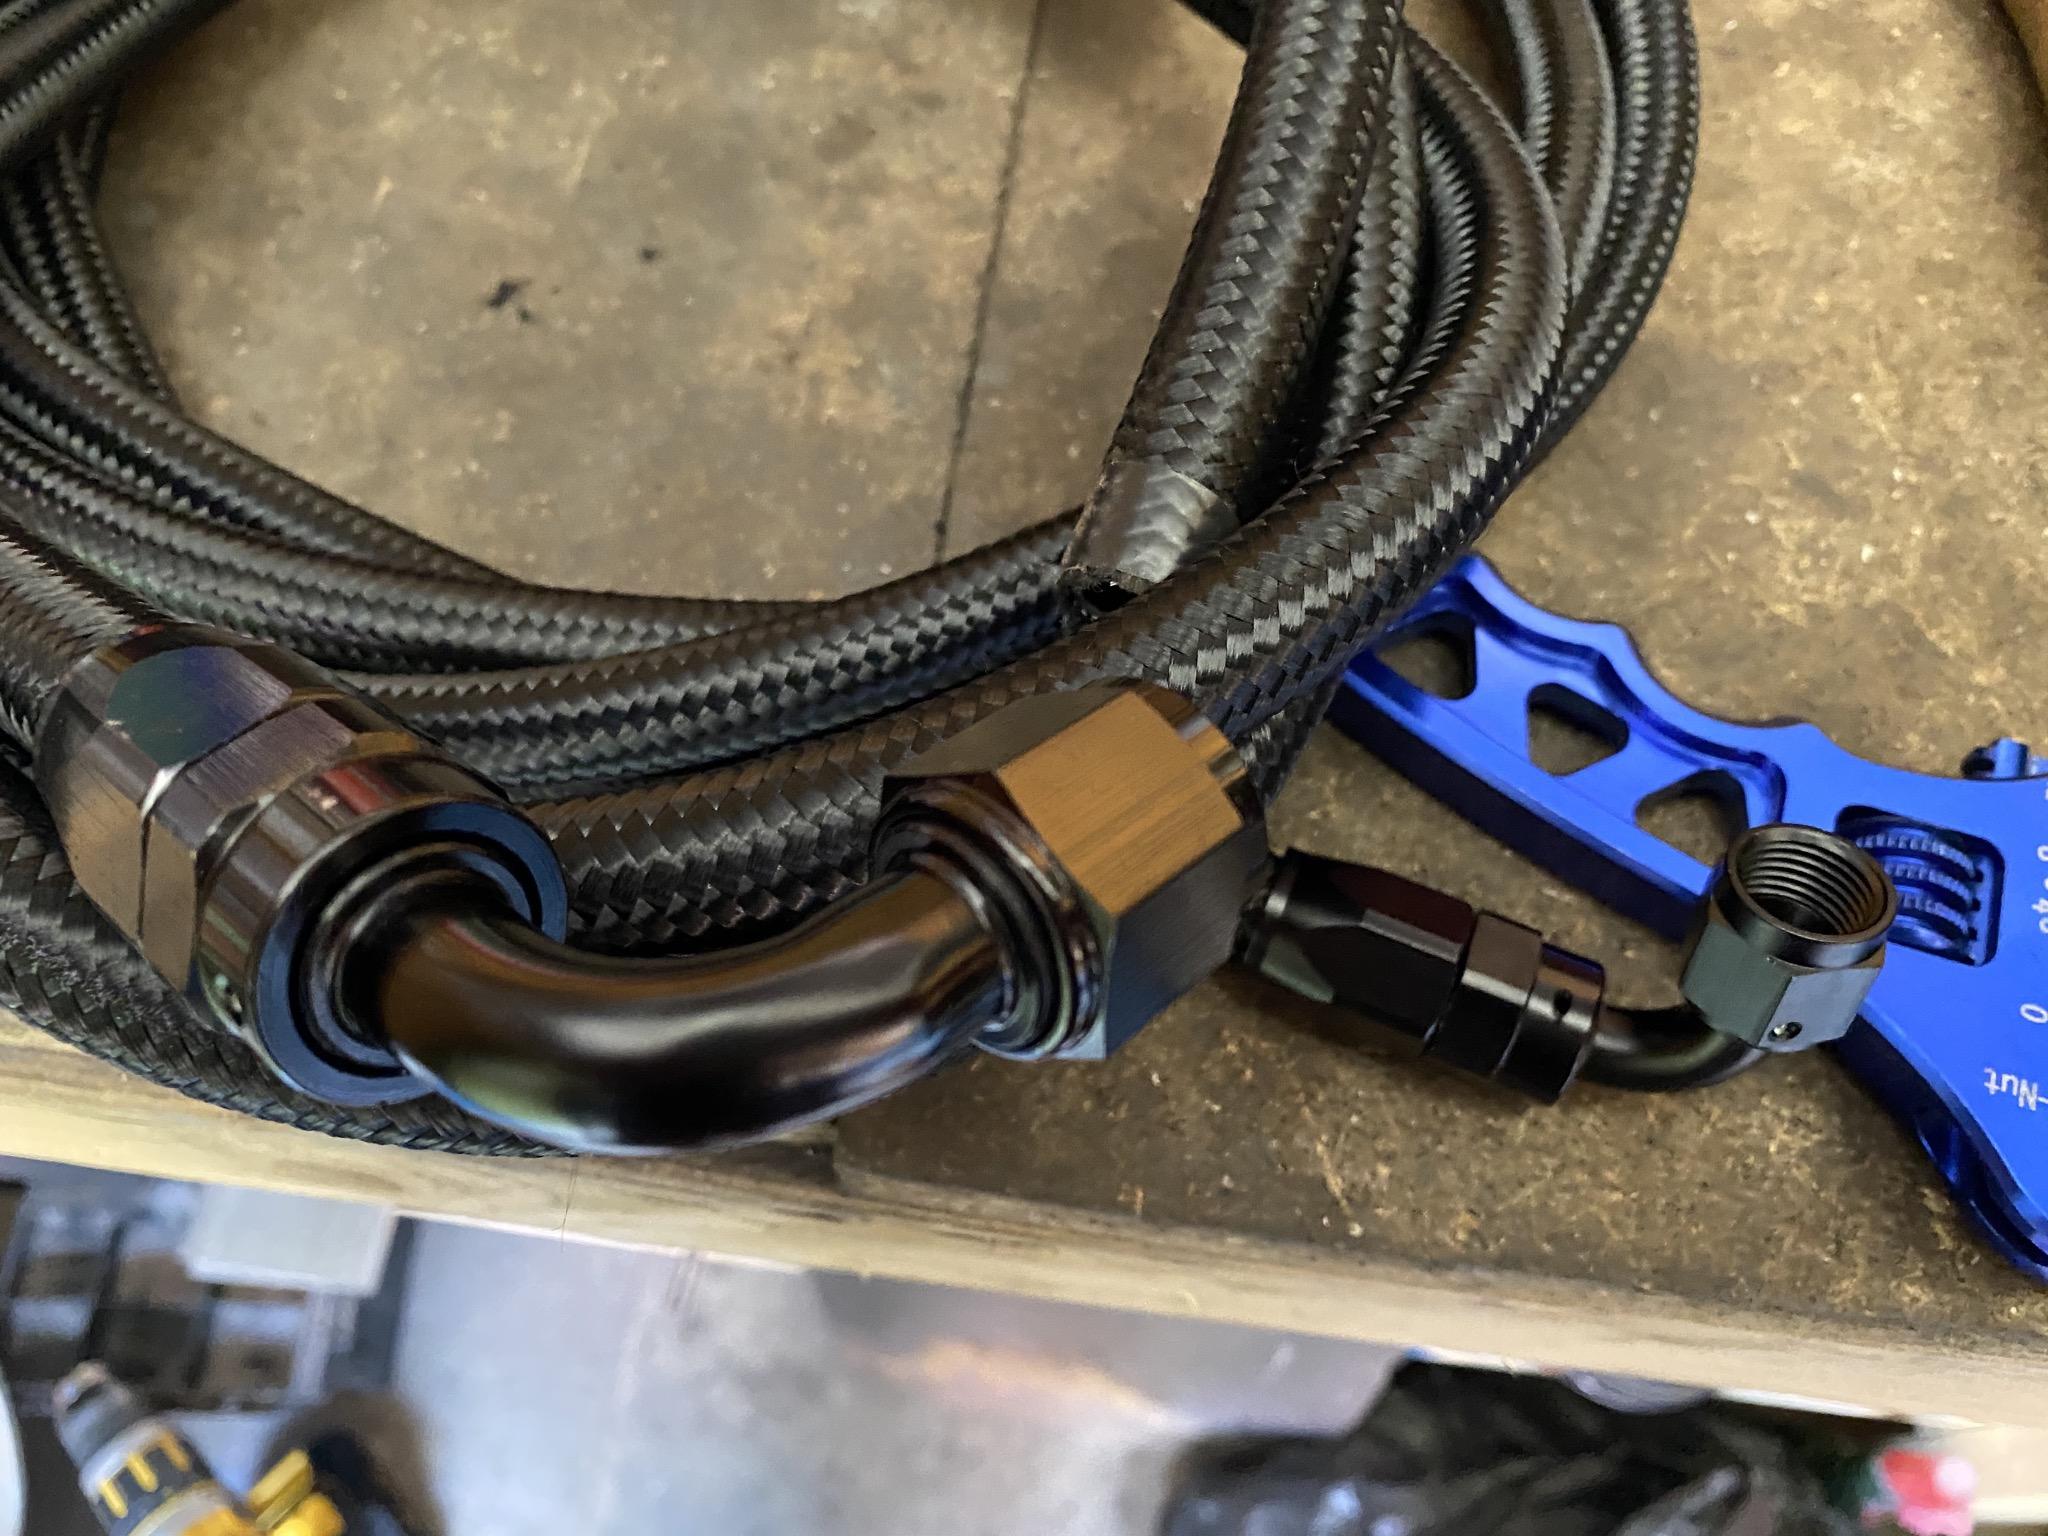
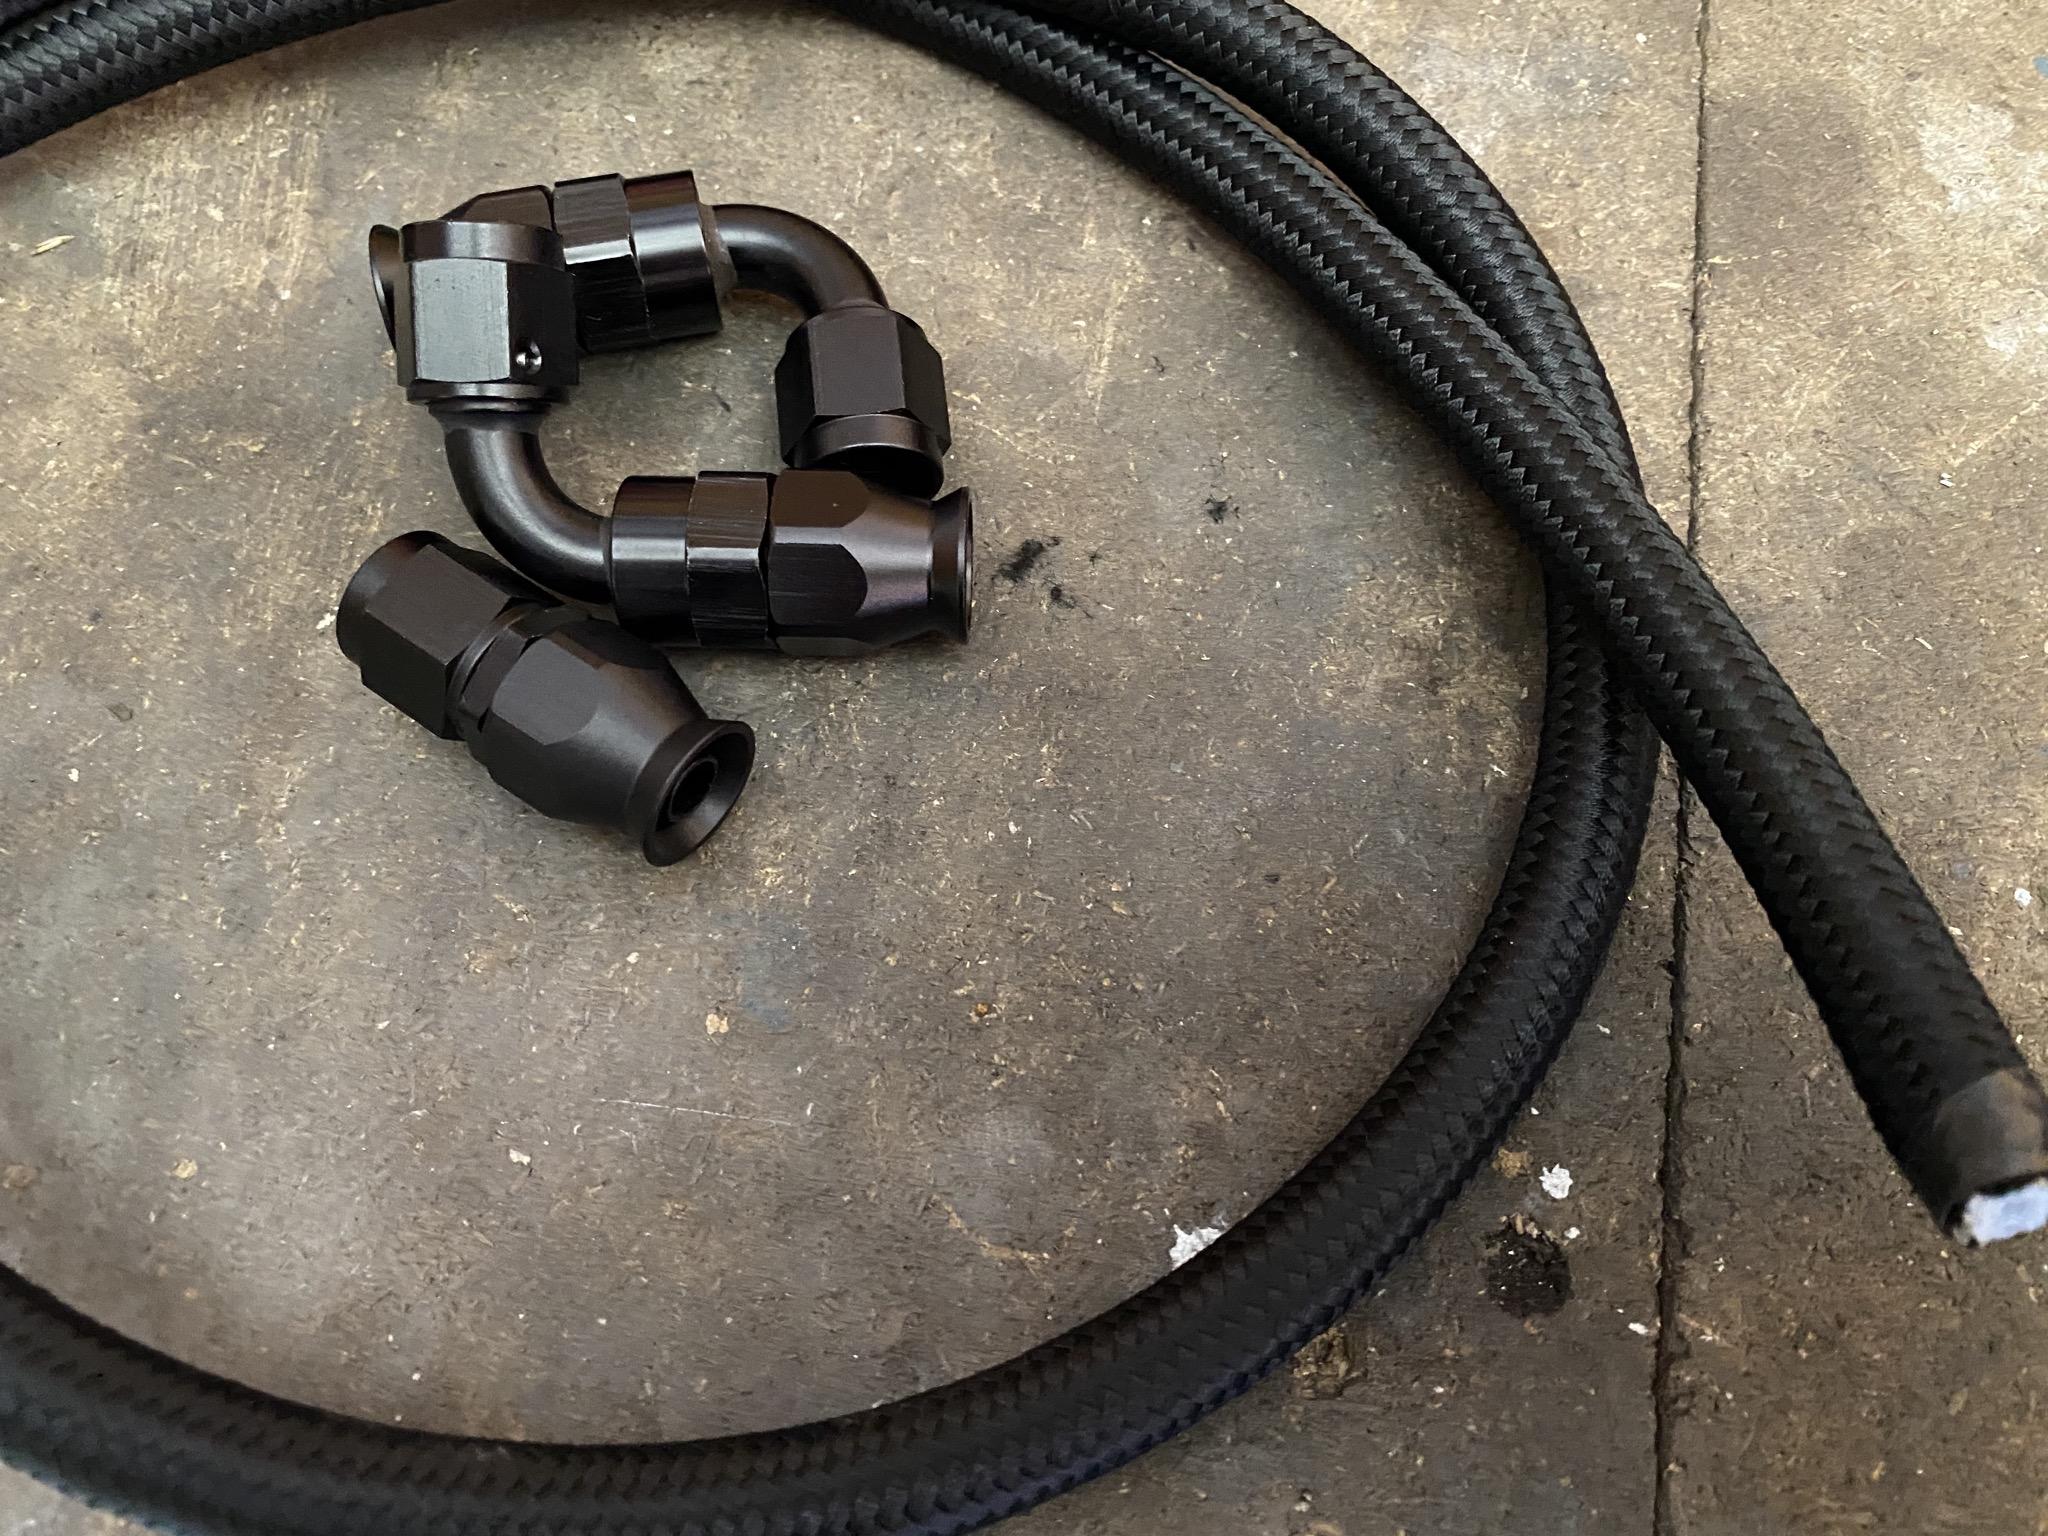
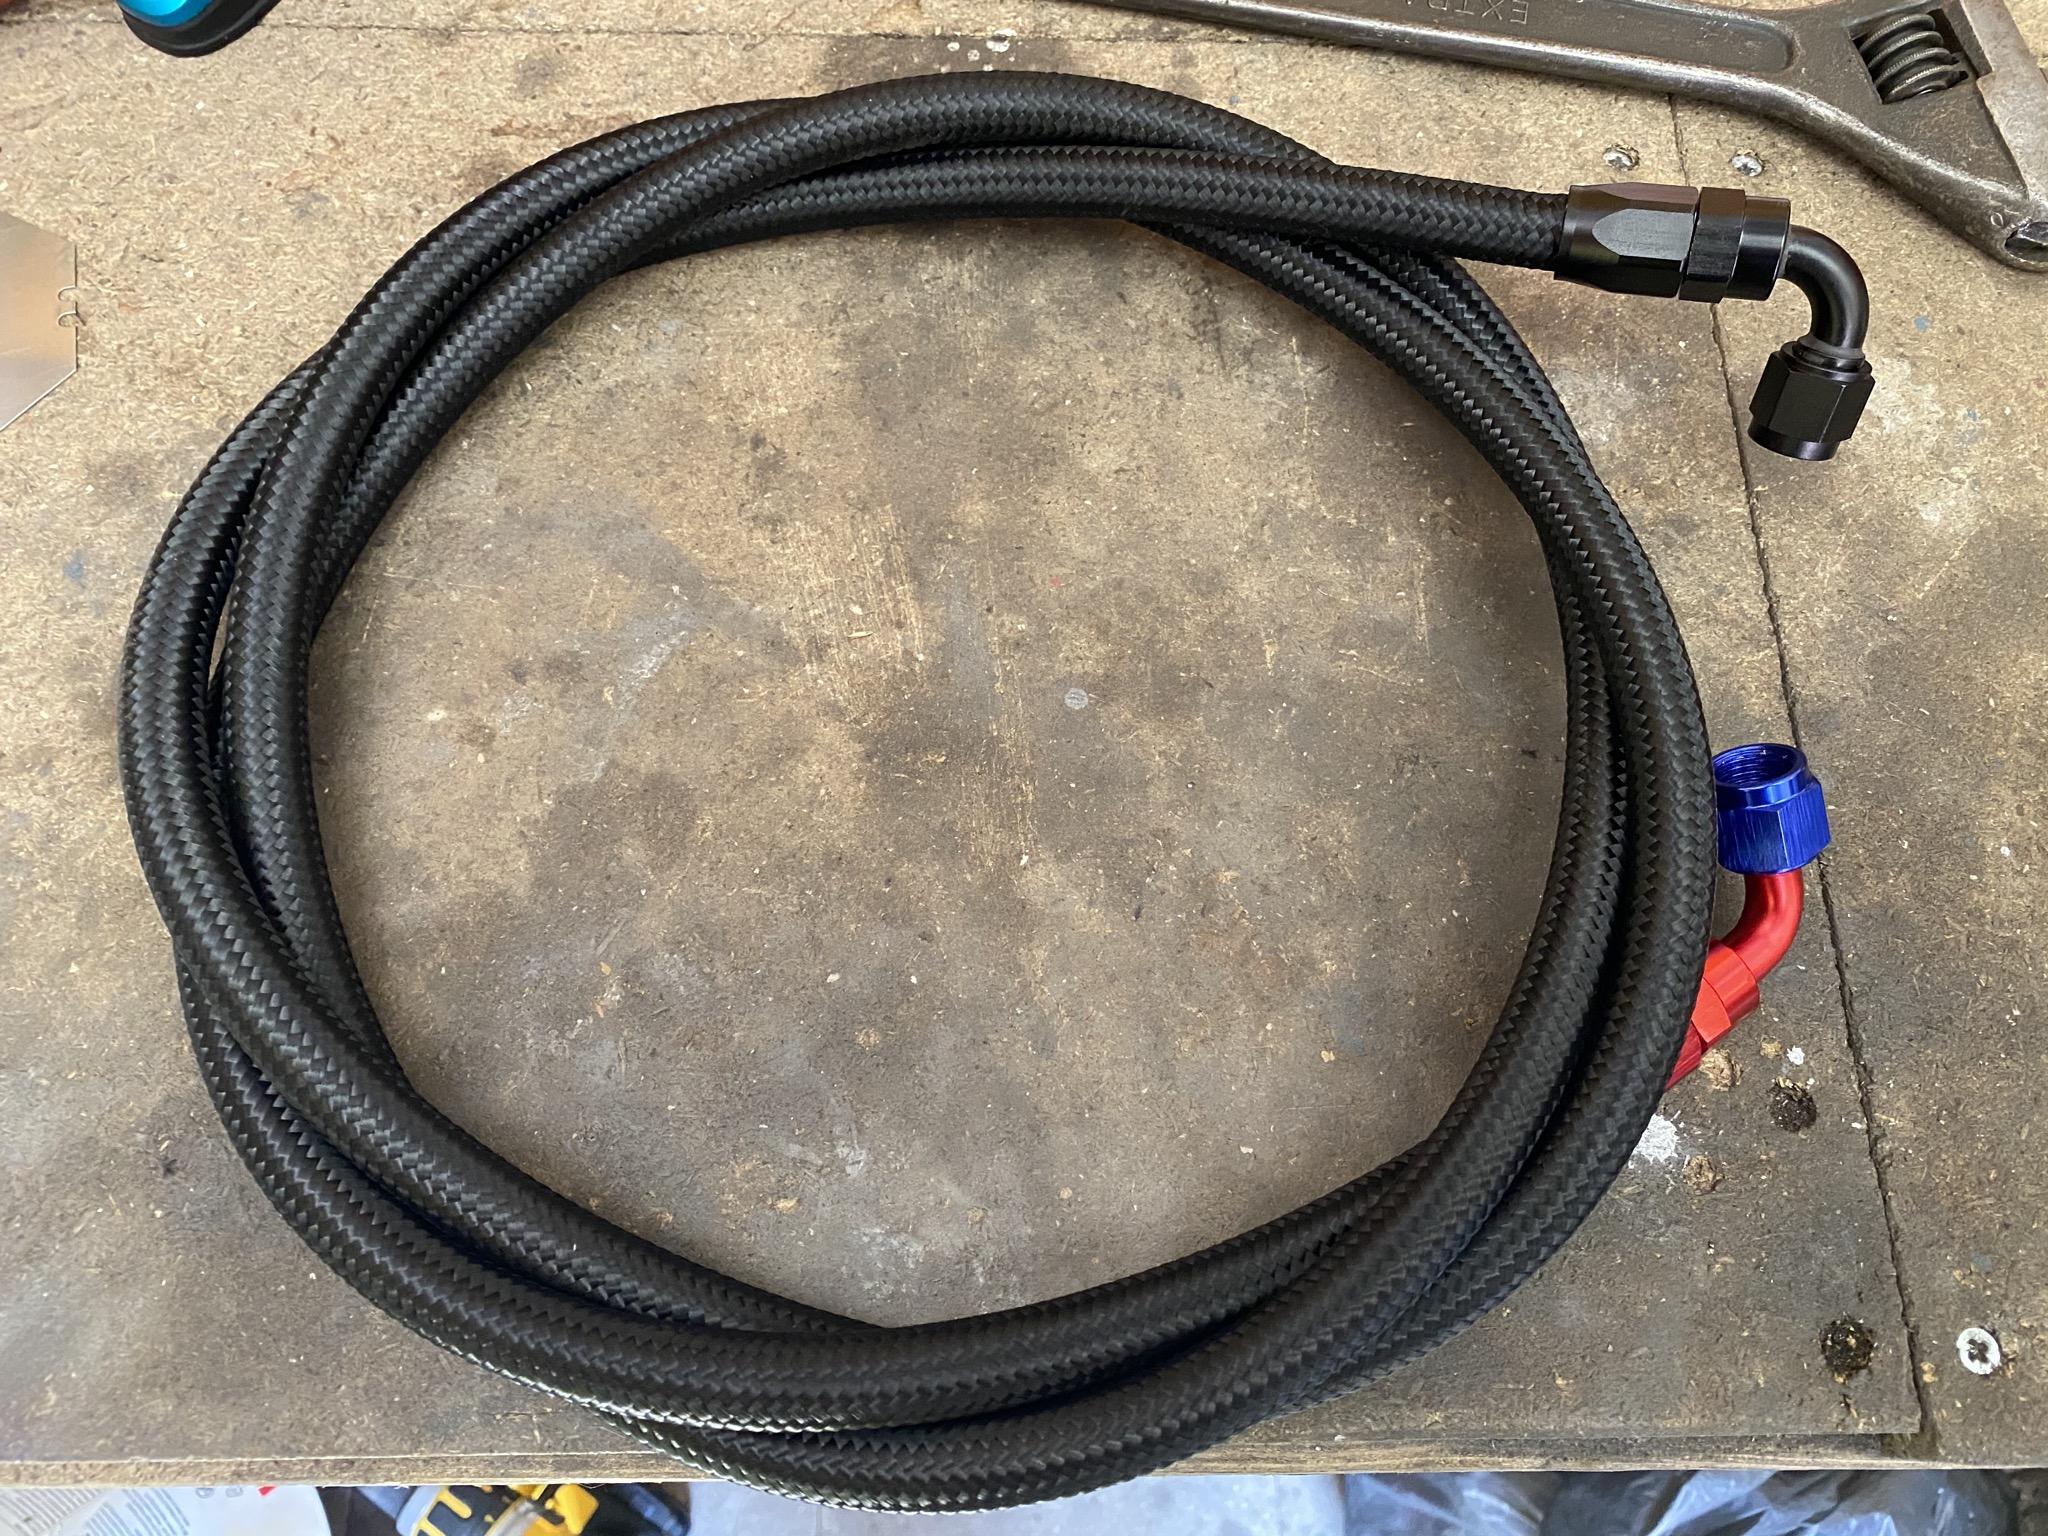
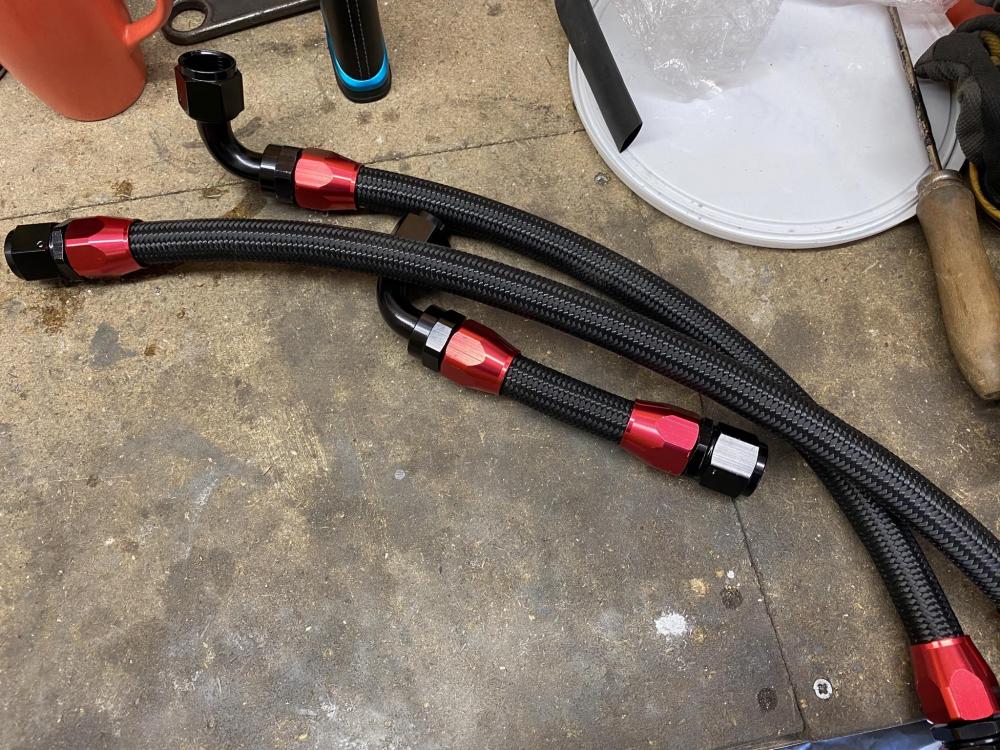
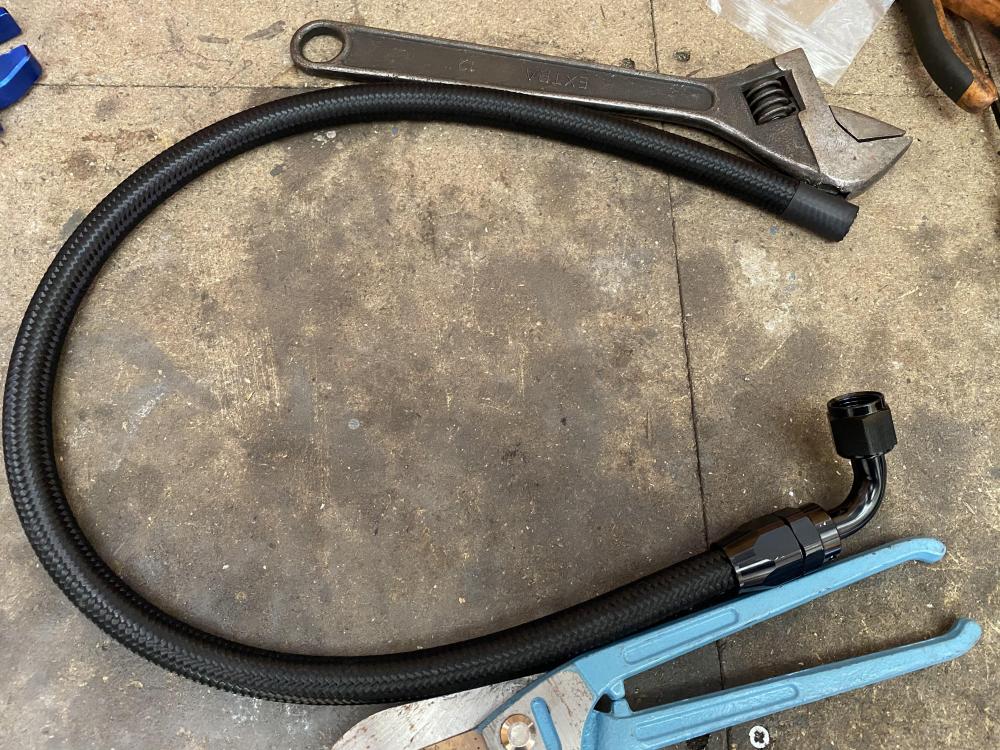
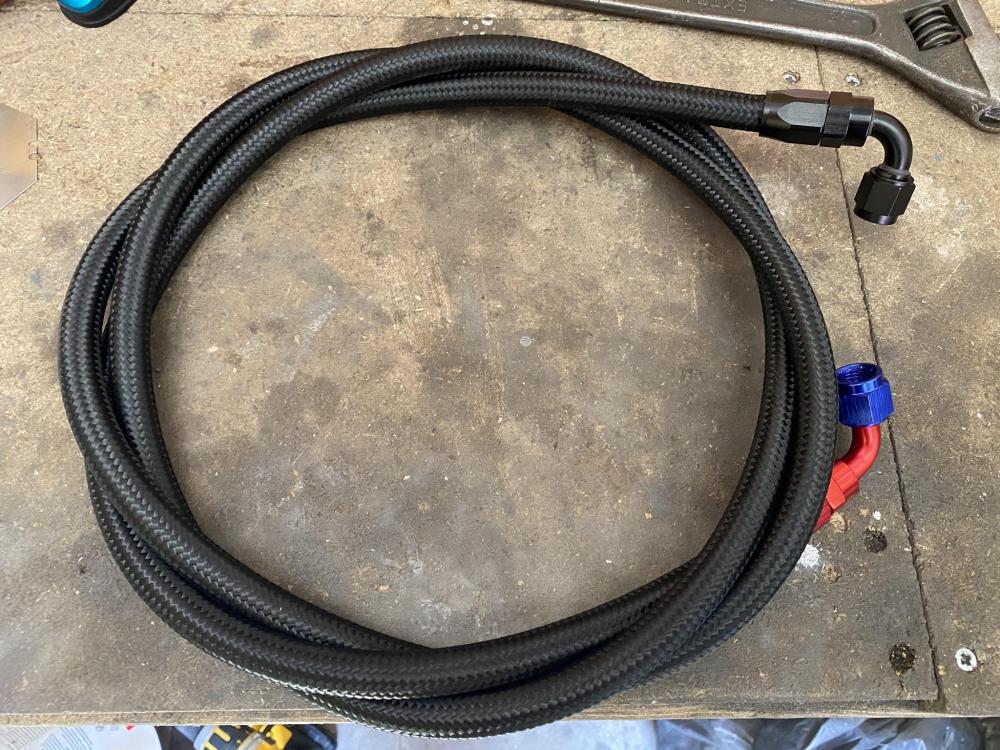
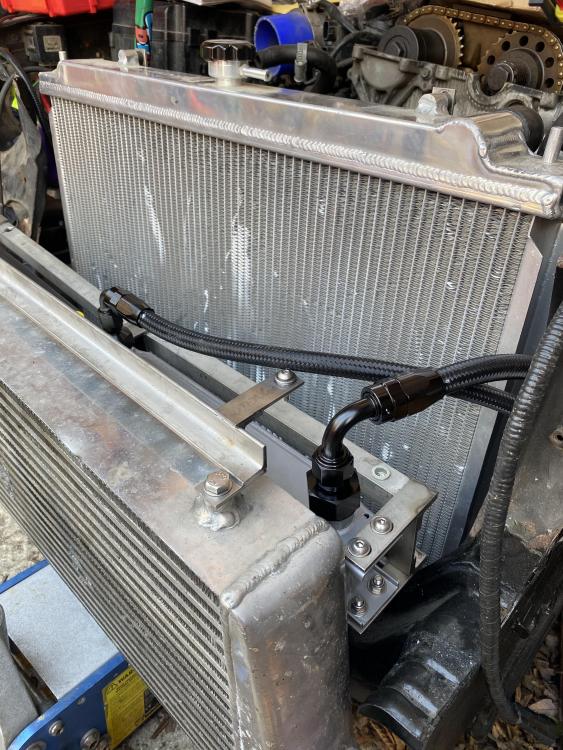
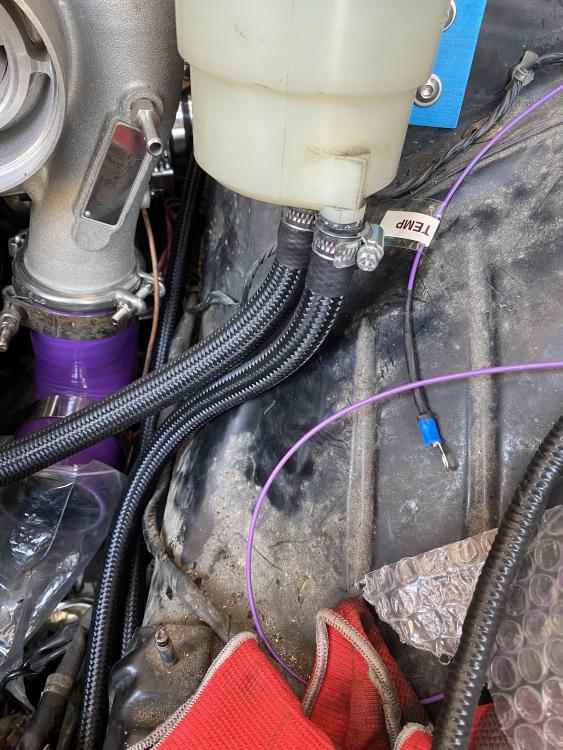
Made up various oil and power steering lines


-
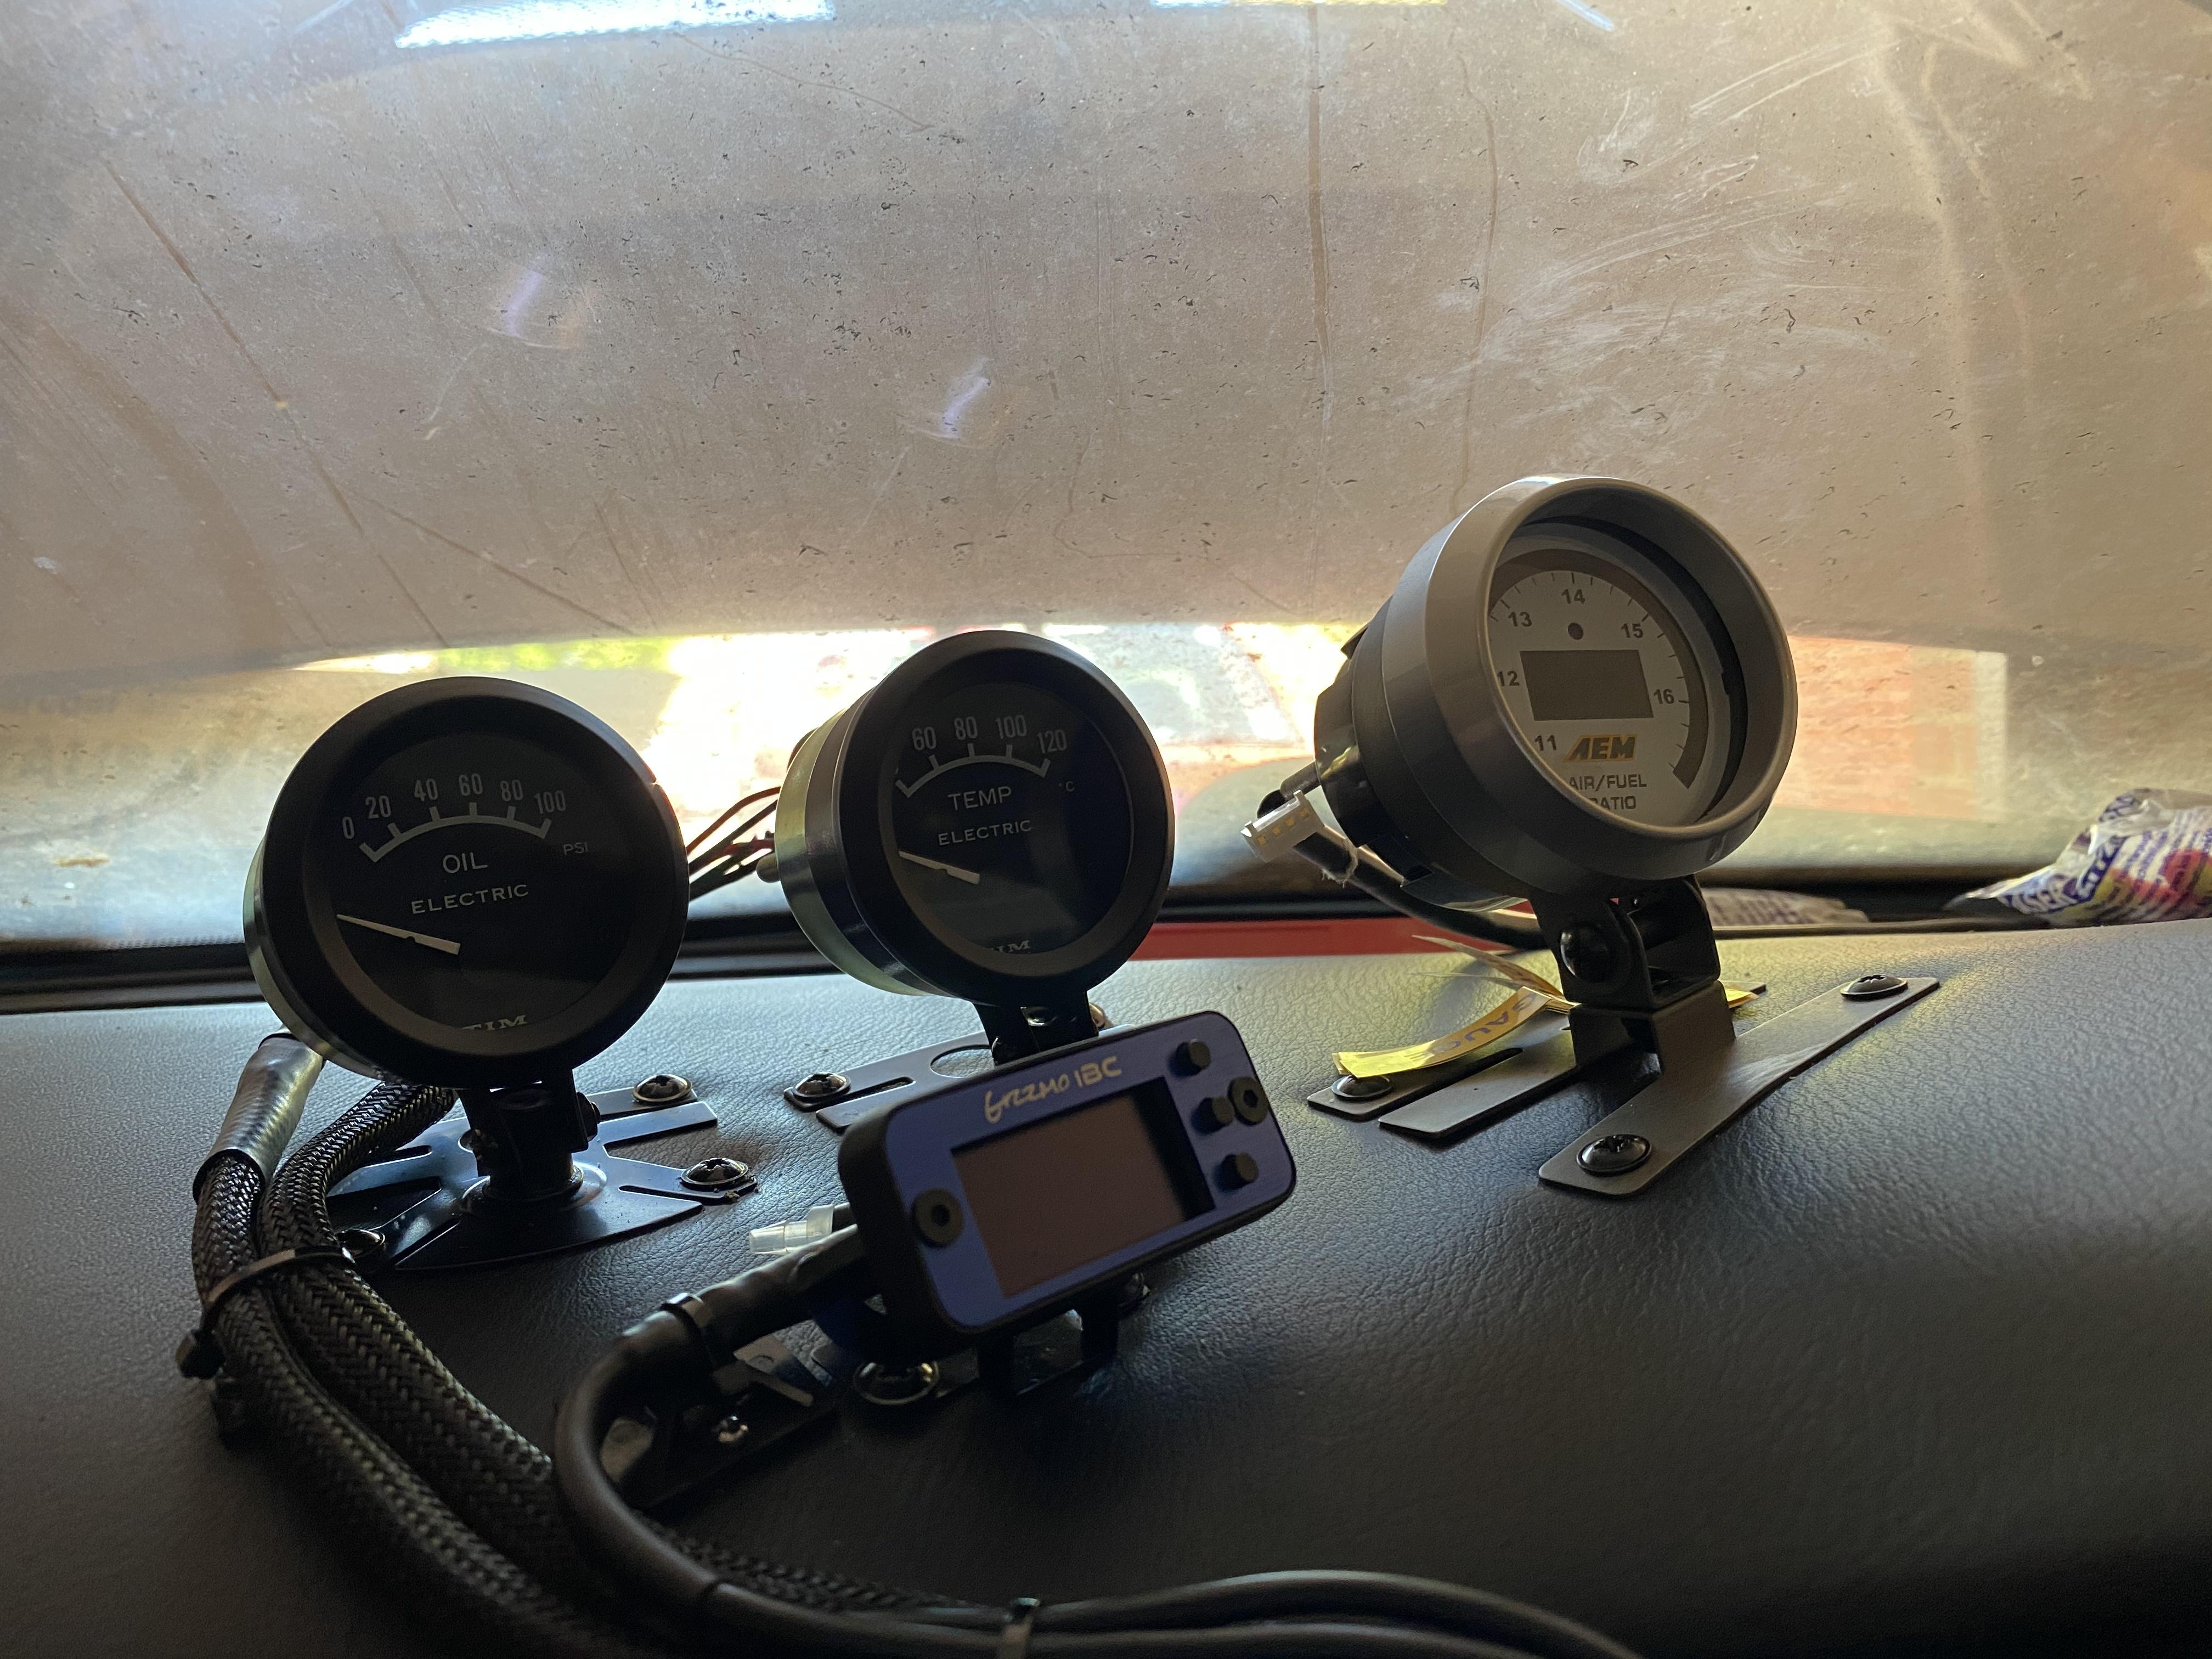
Original plan was to mount the TIM oil pressure and water temperature gauges above the stereo but they wouldn’t fit. So instead they’ve been mounted on the dash with the boost controller and wideband

-
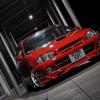
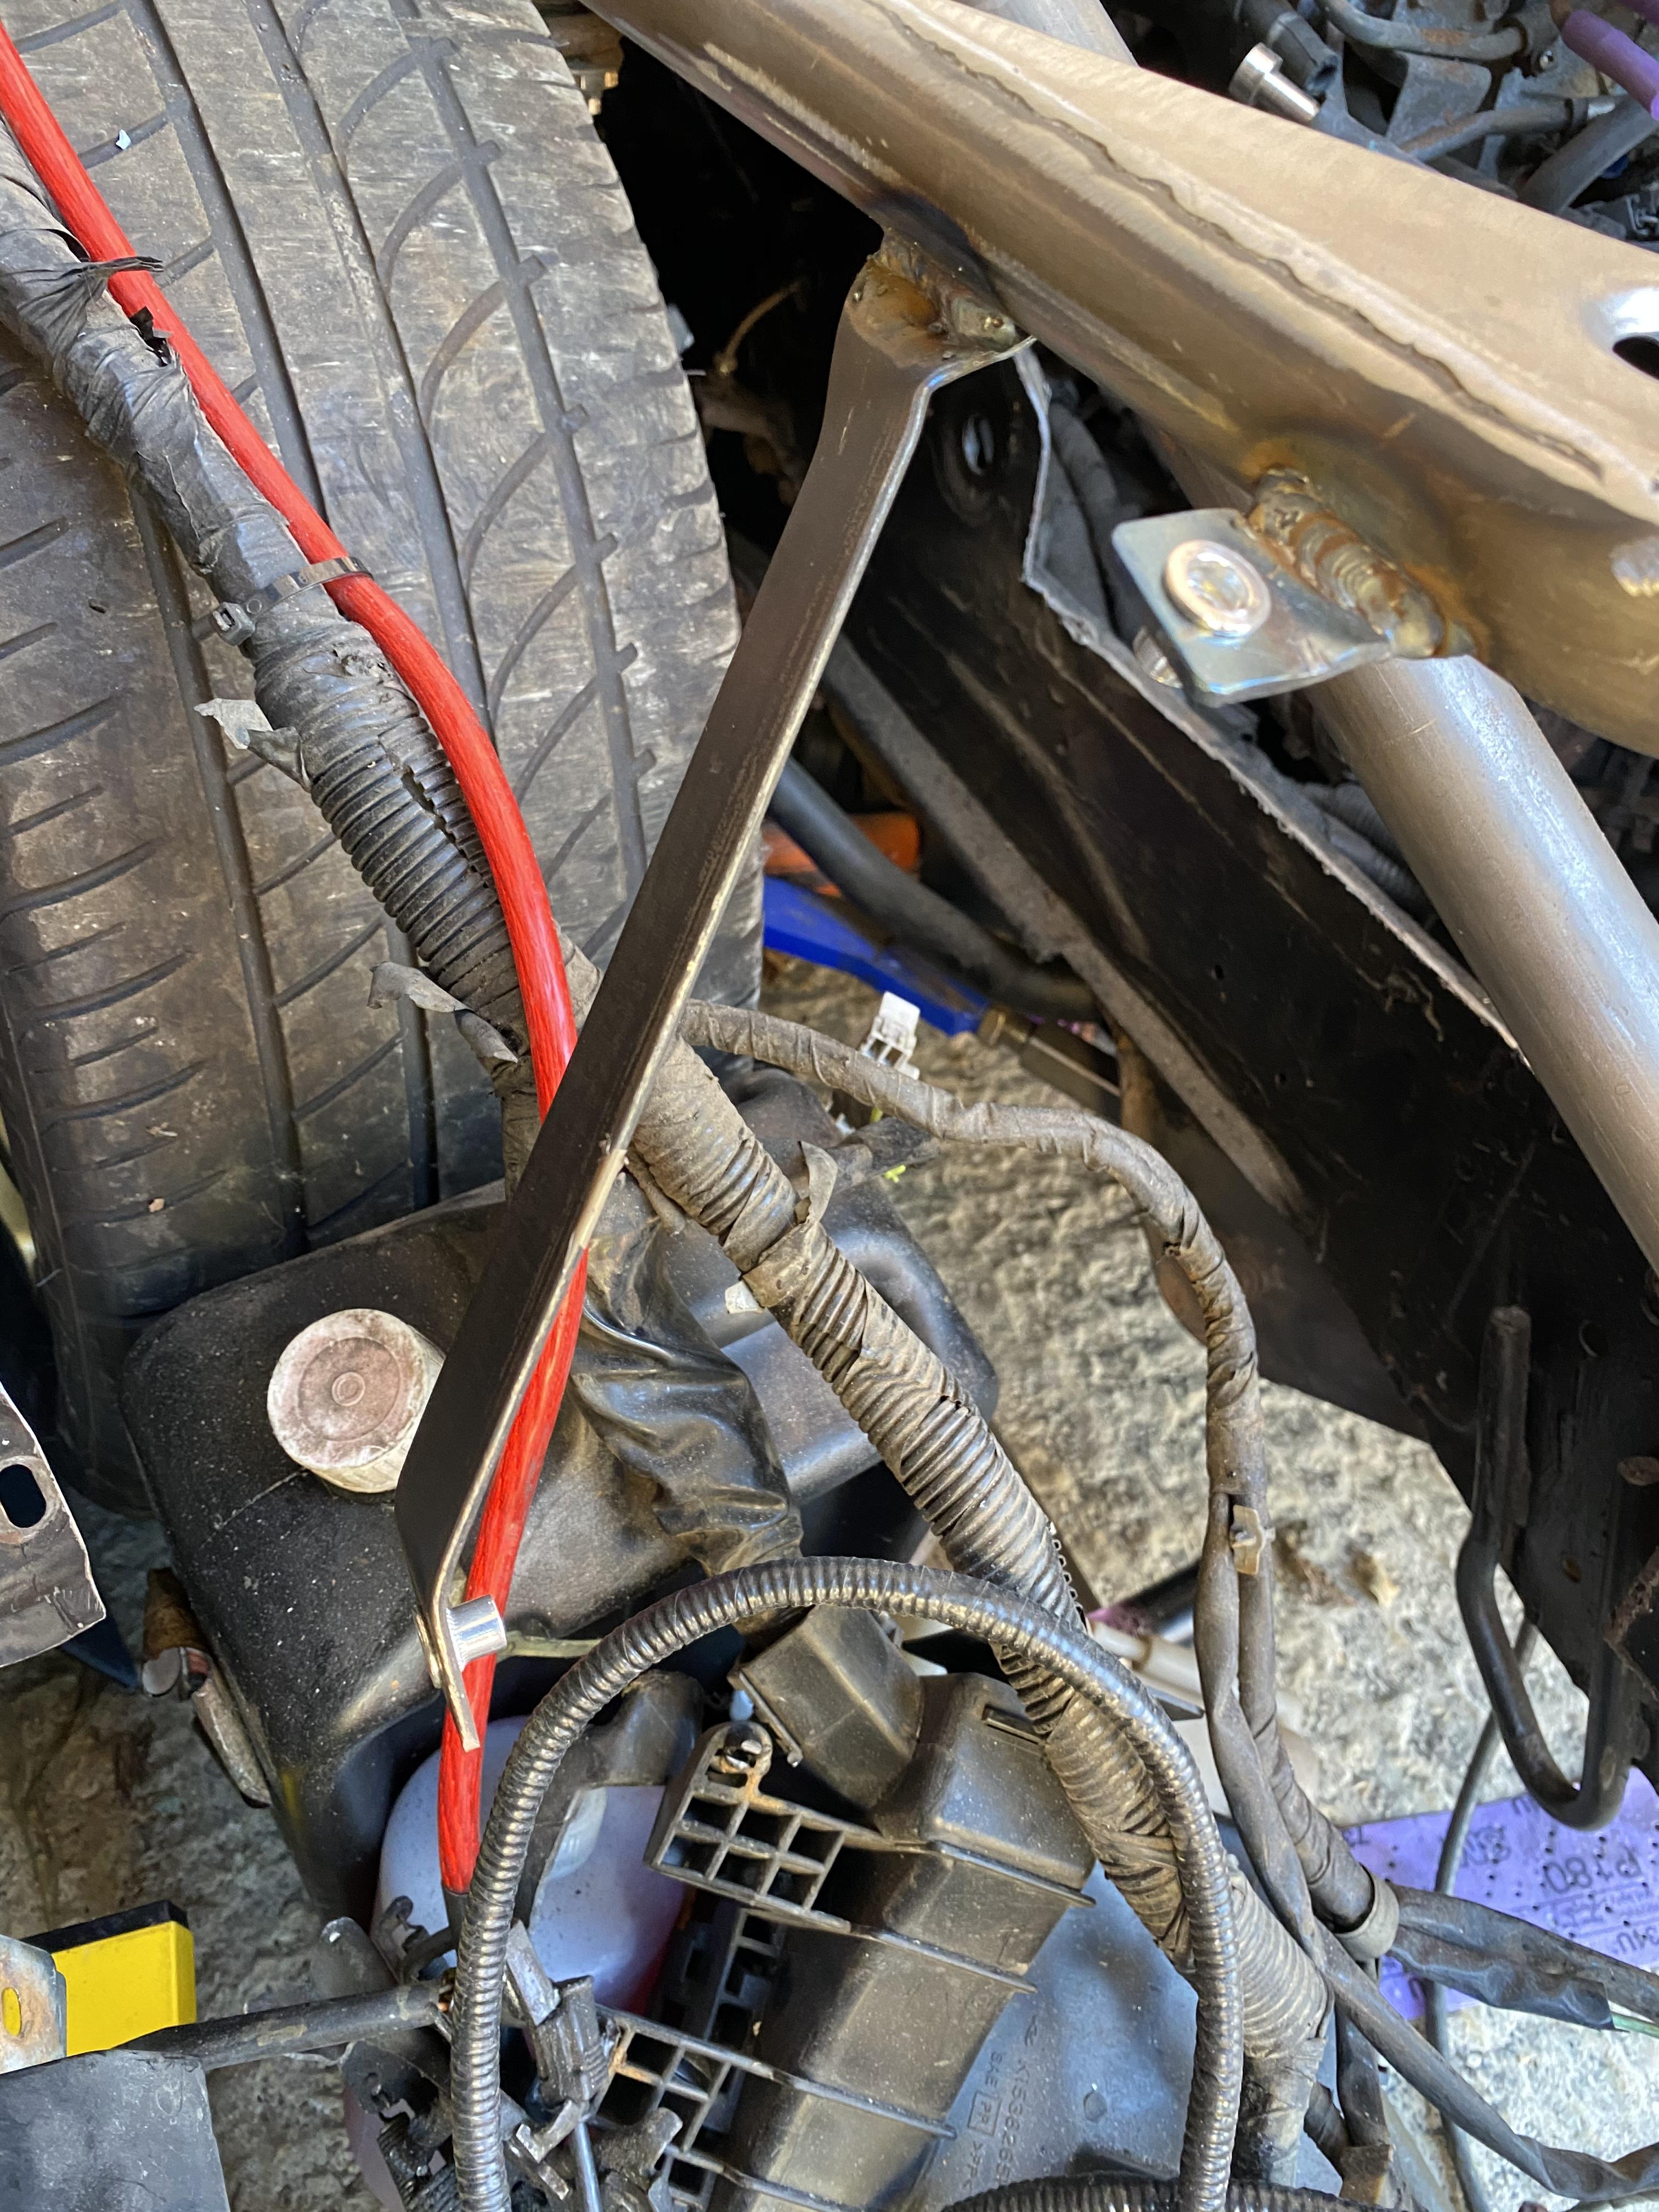
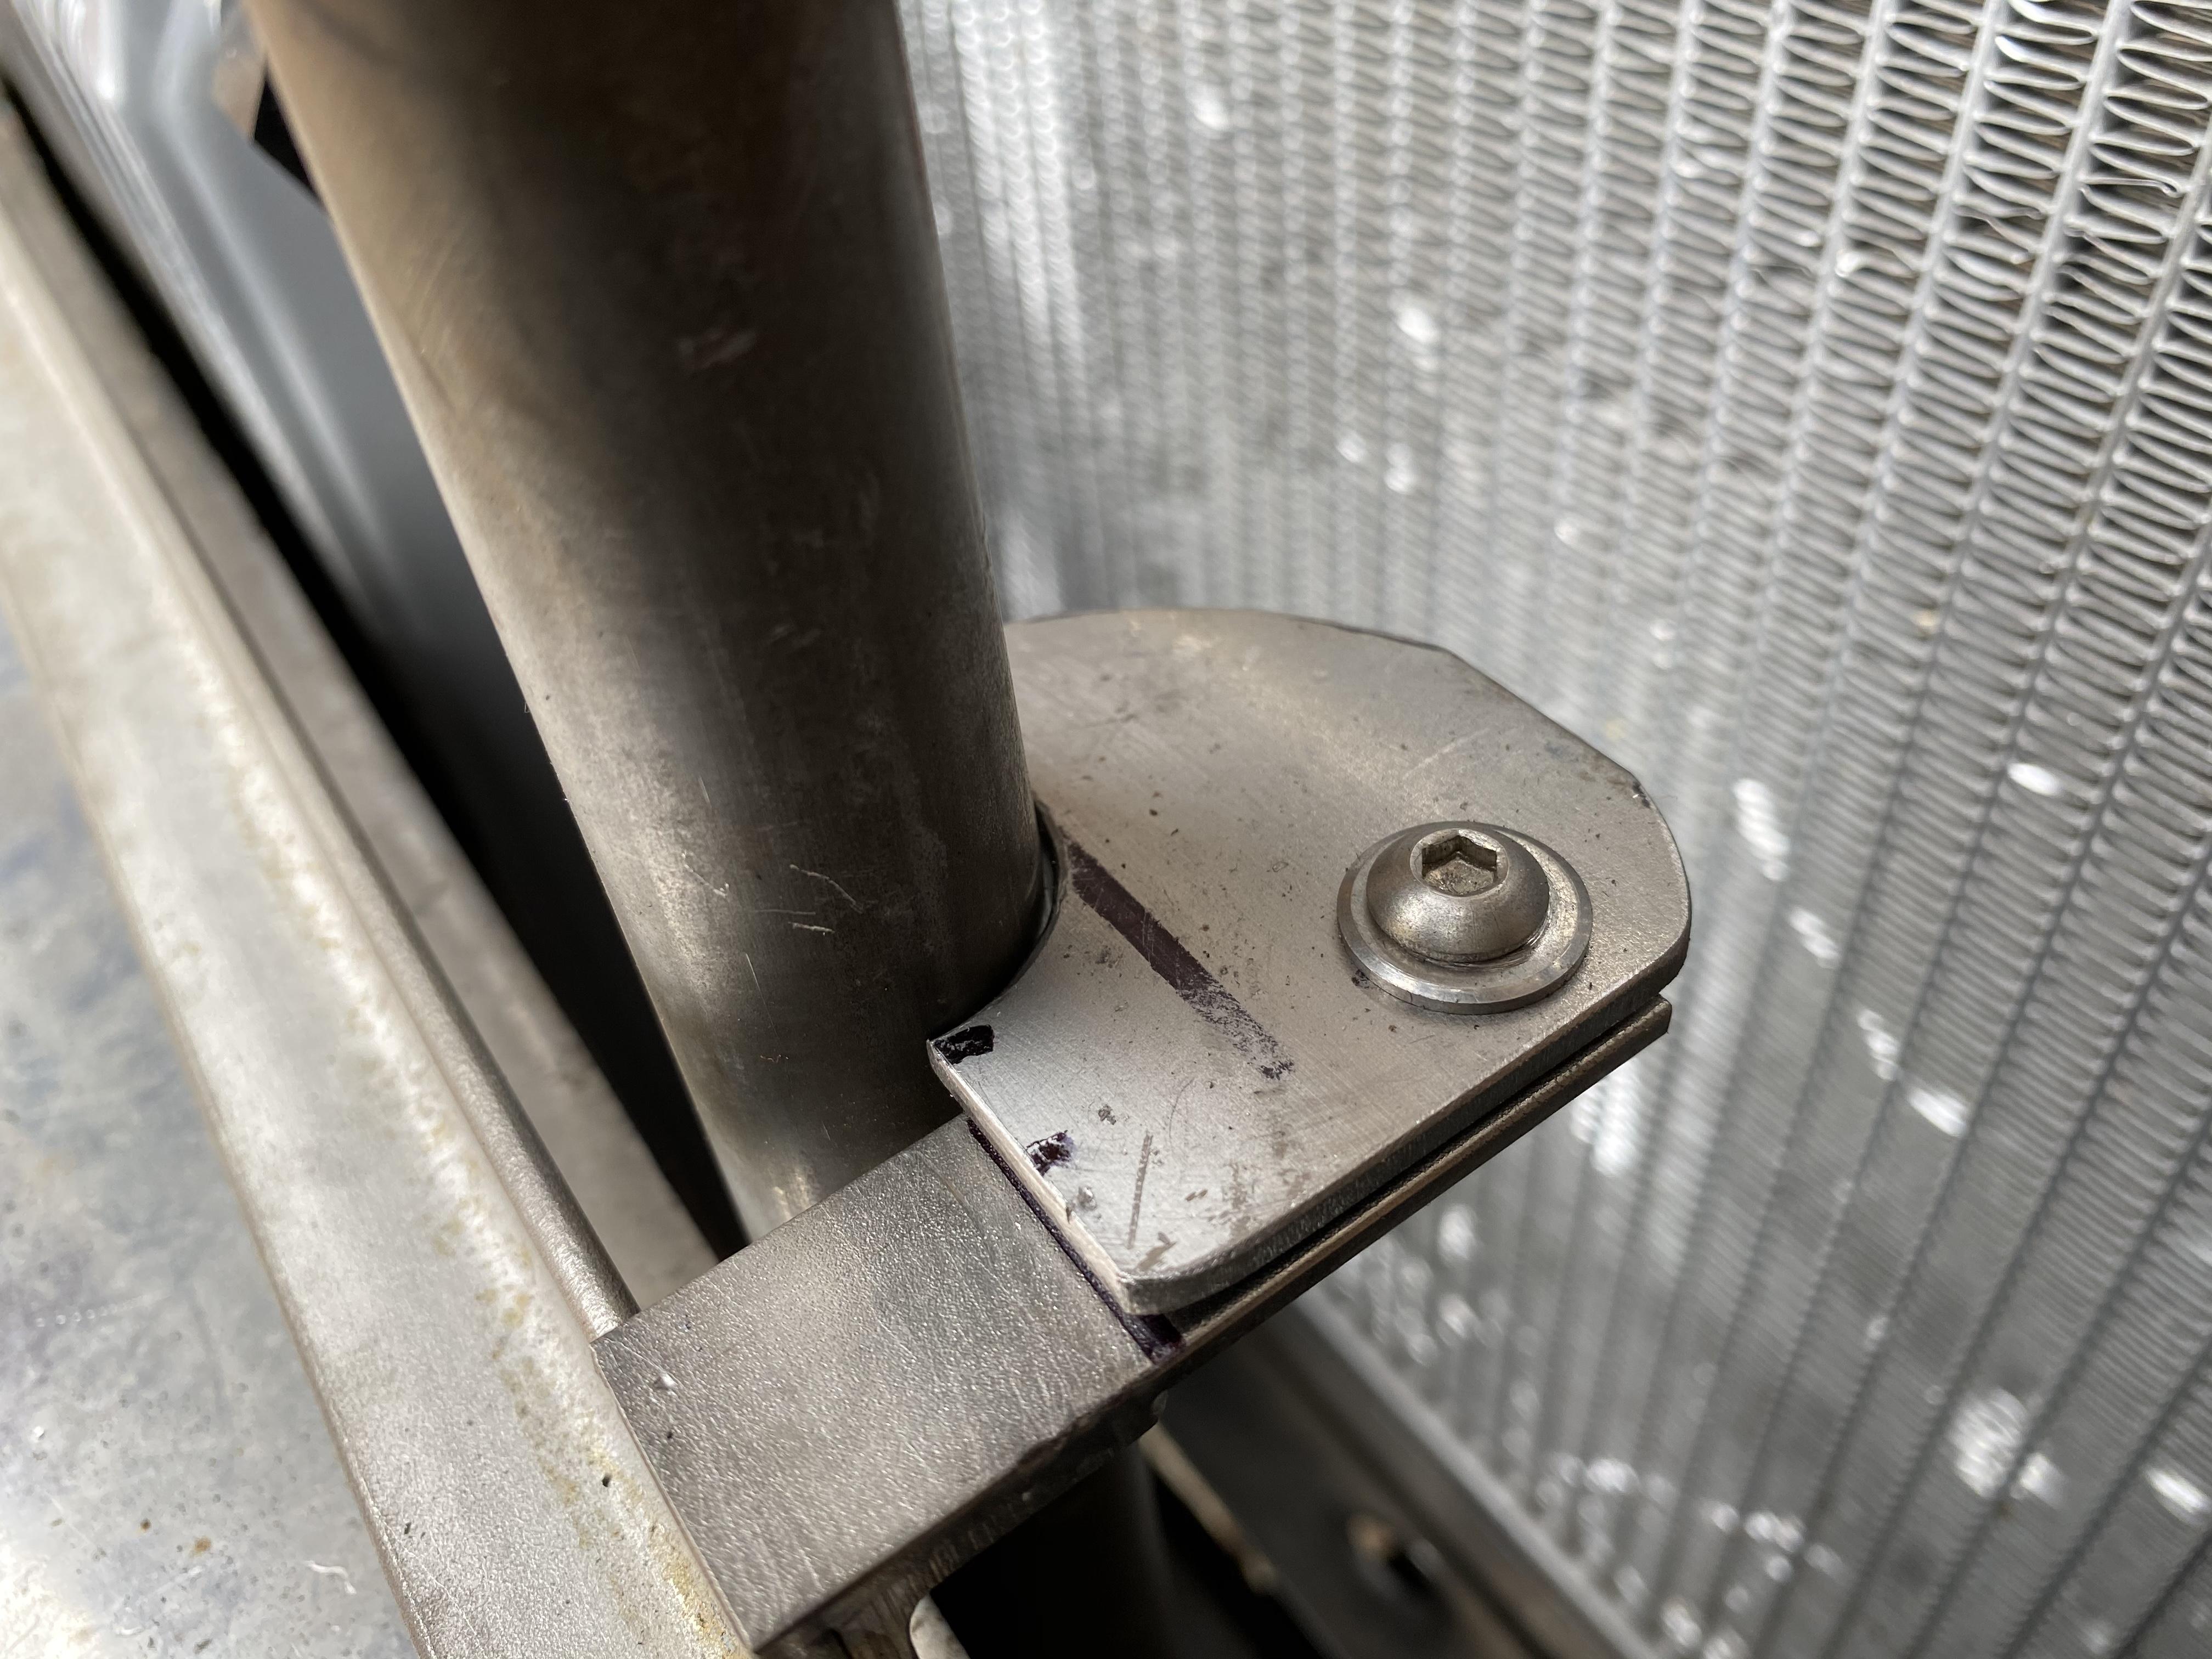
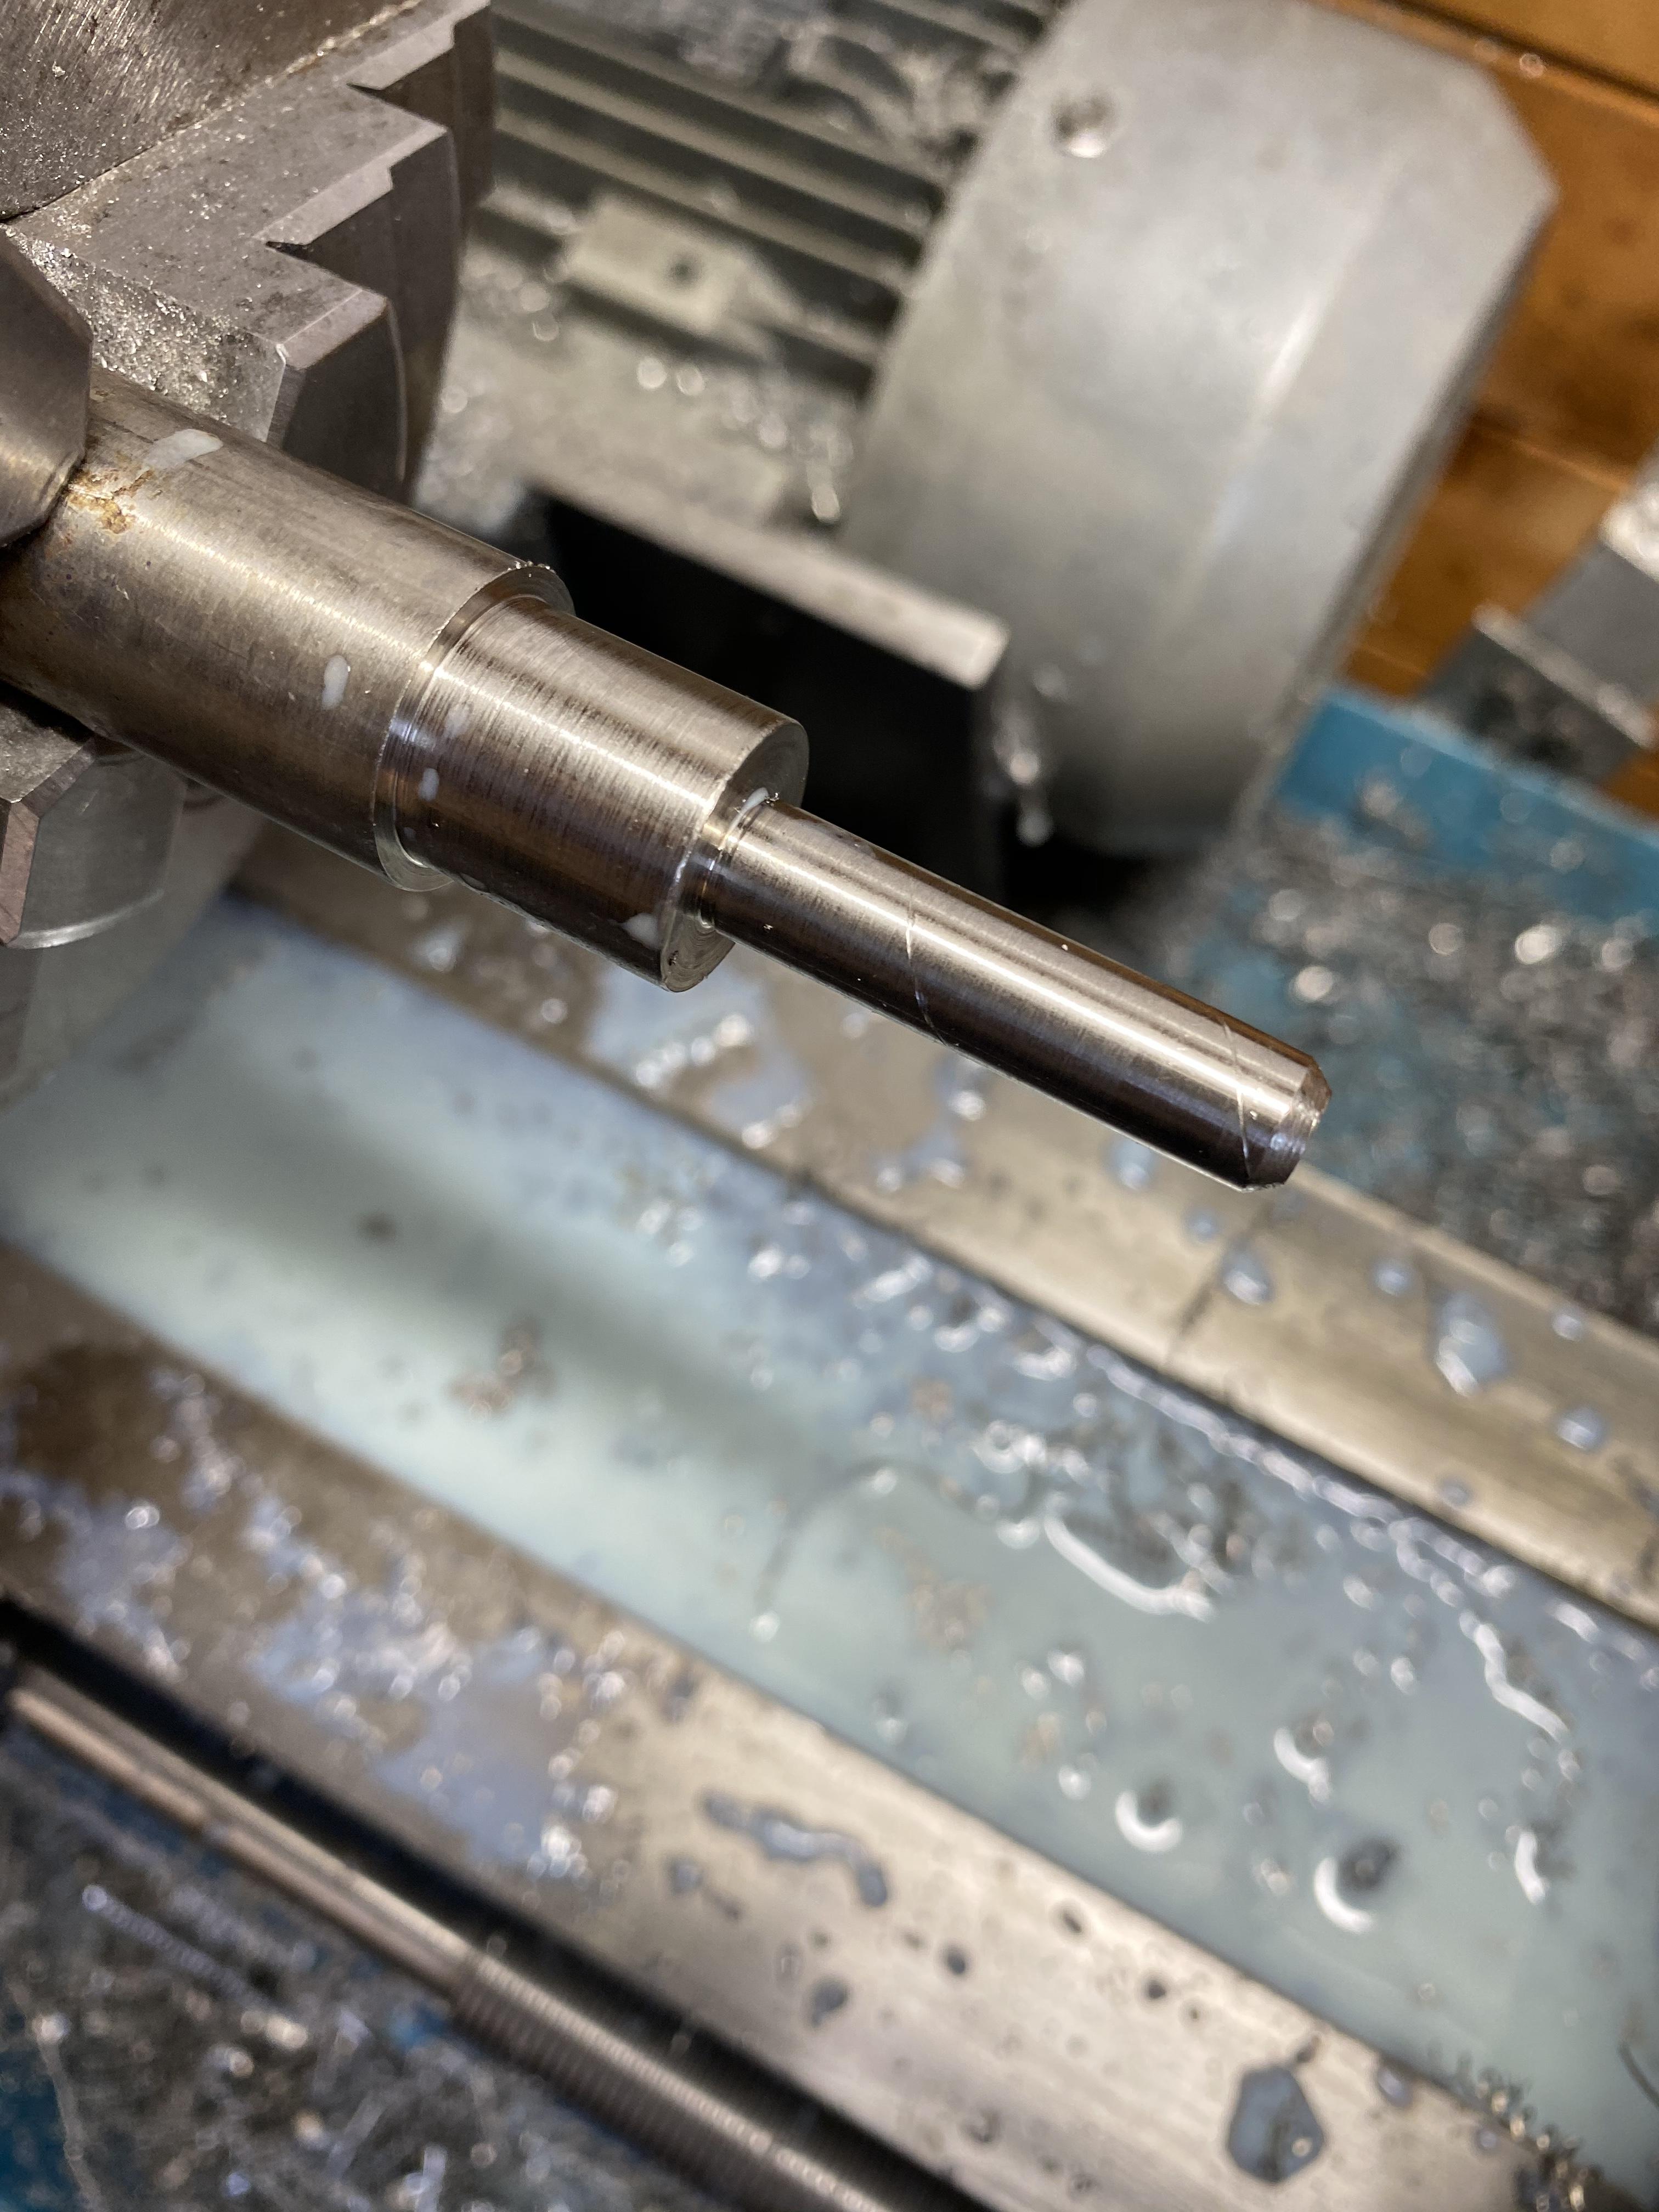
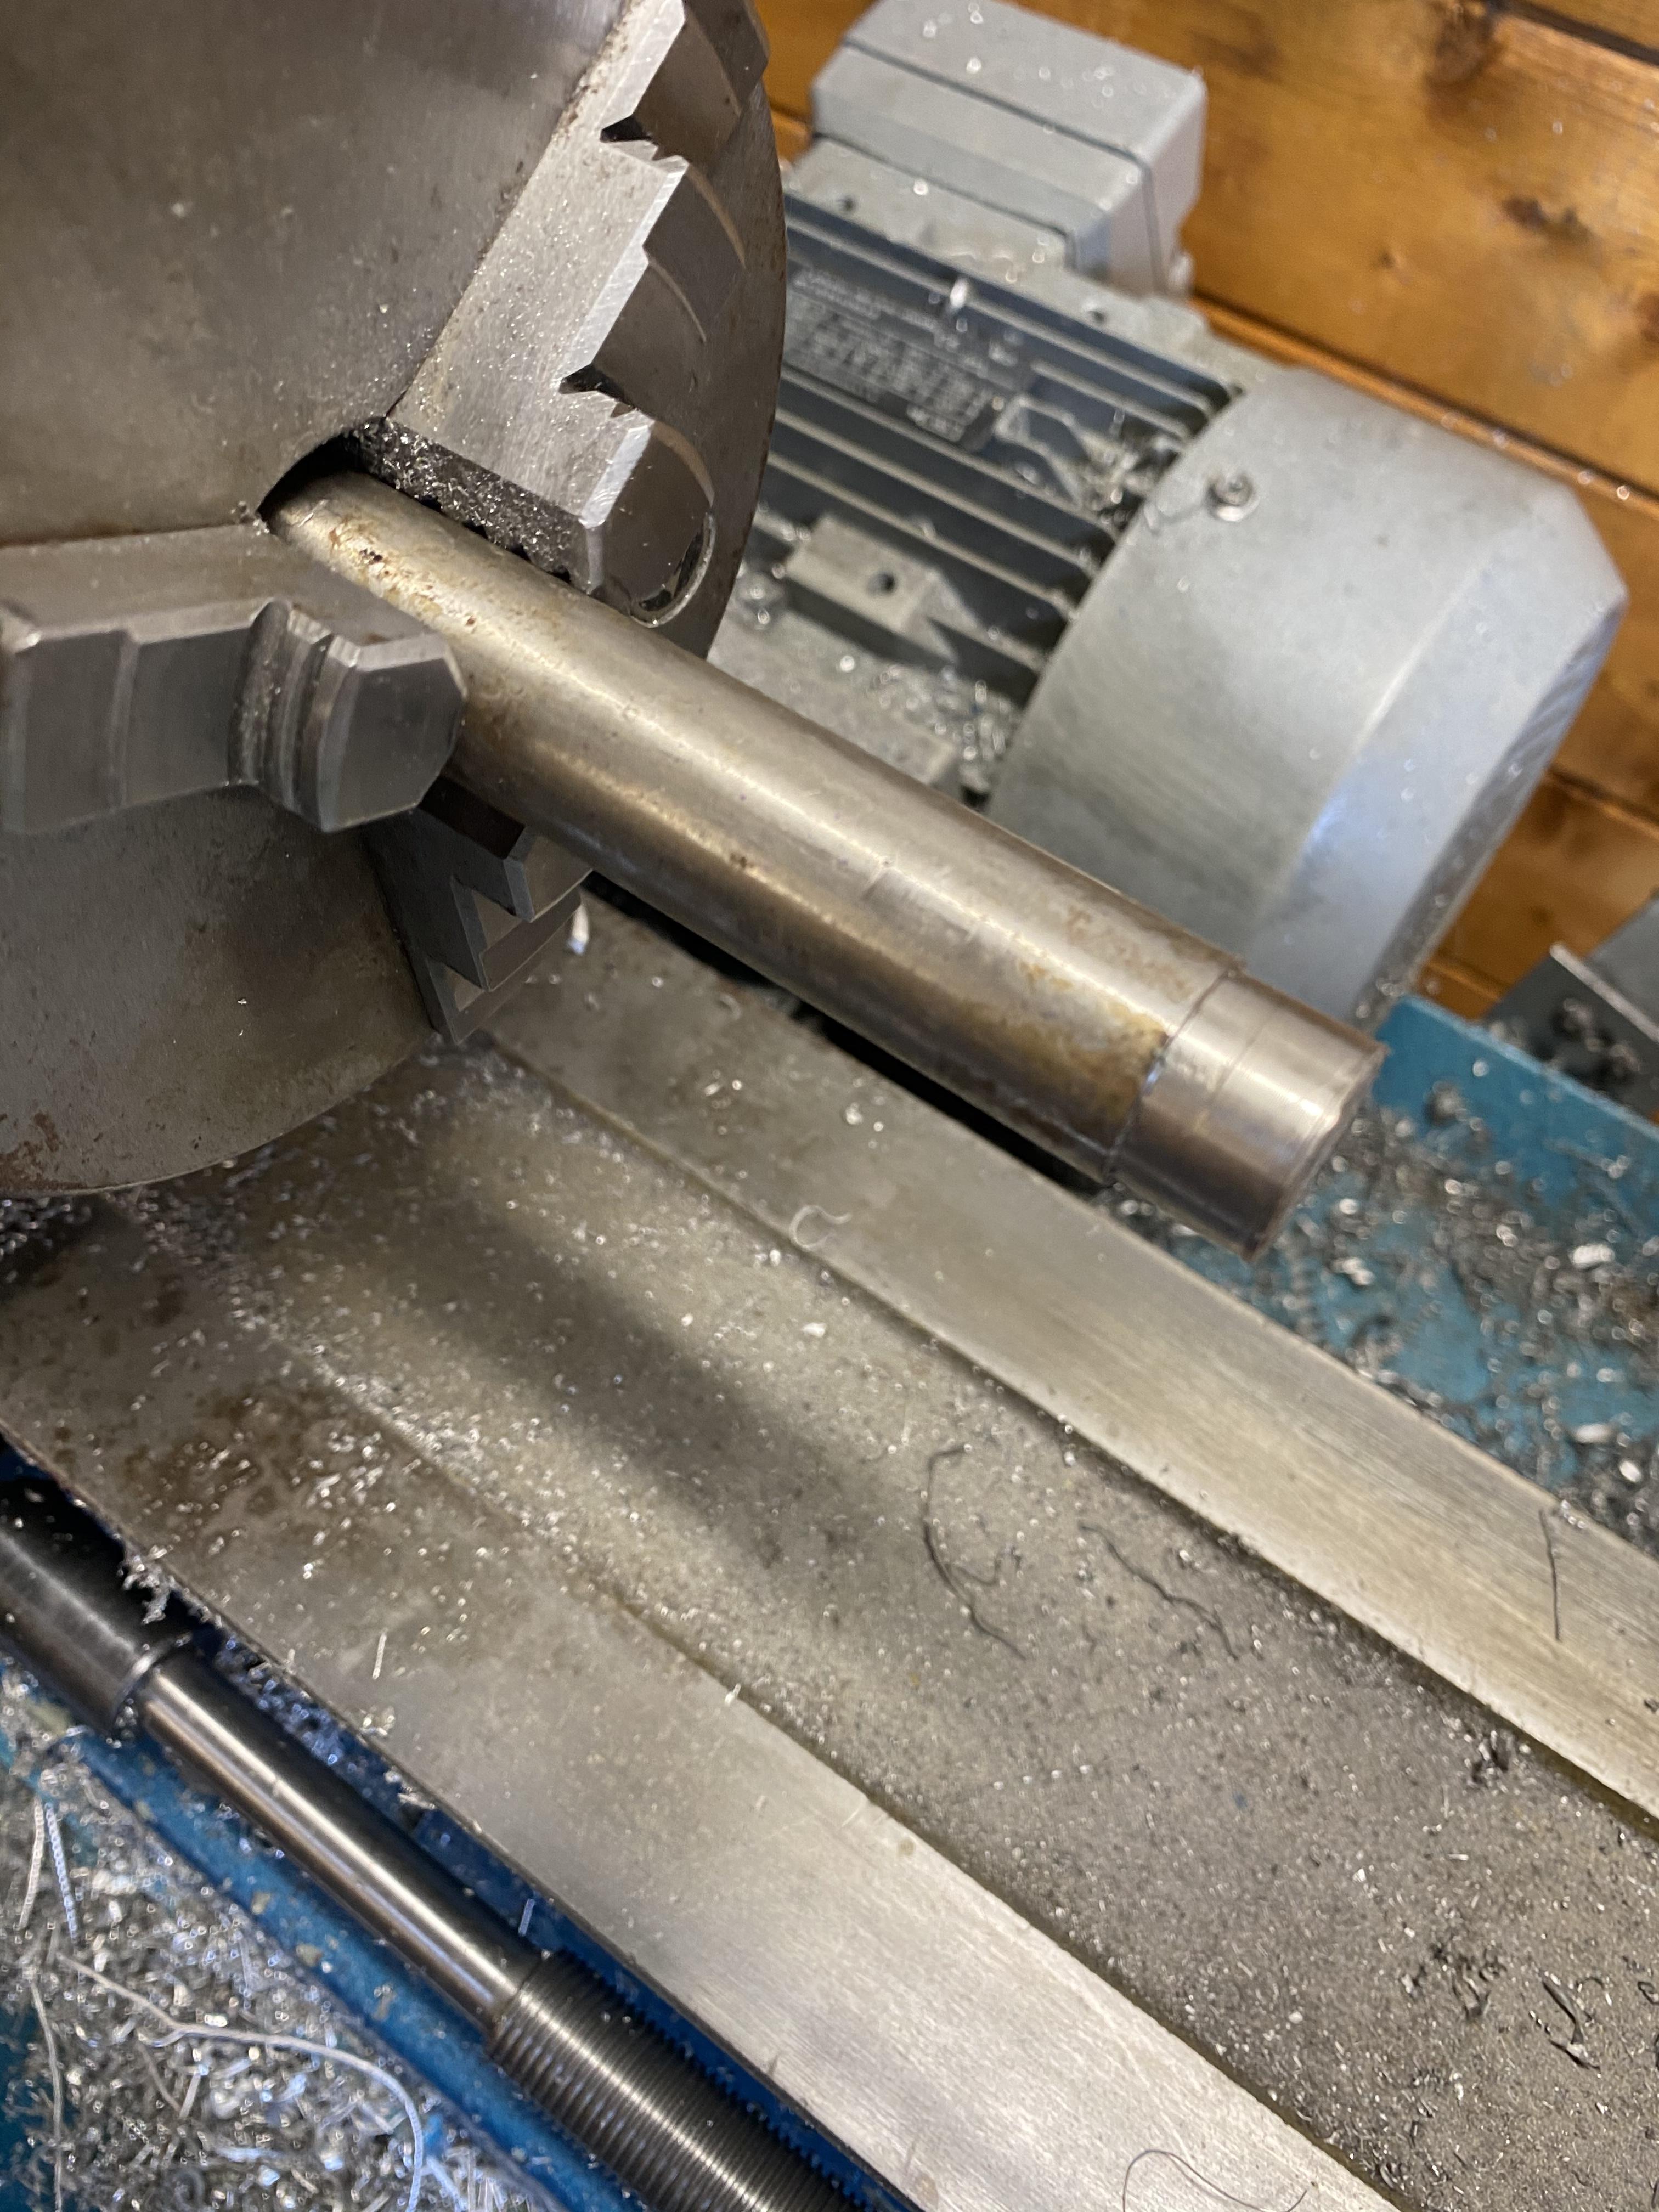
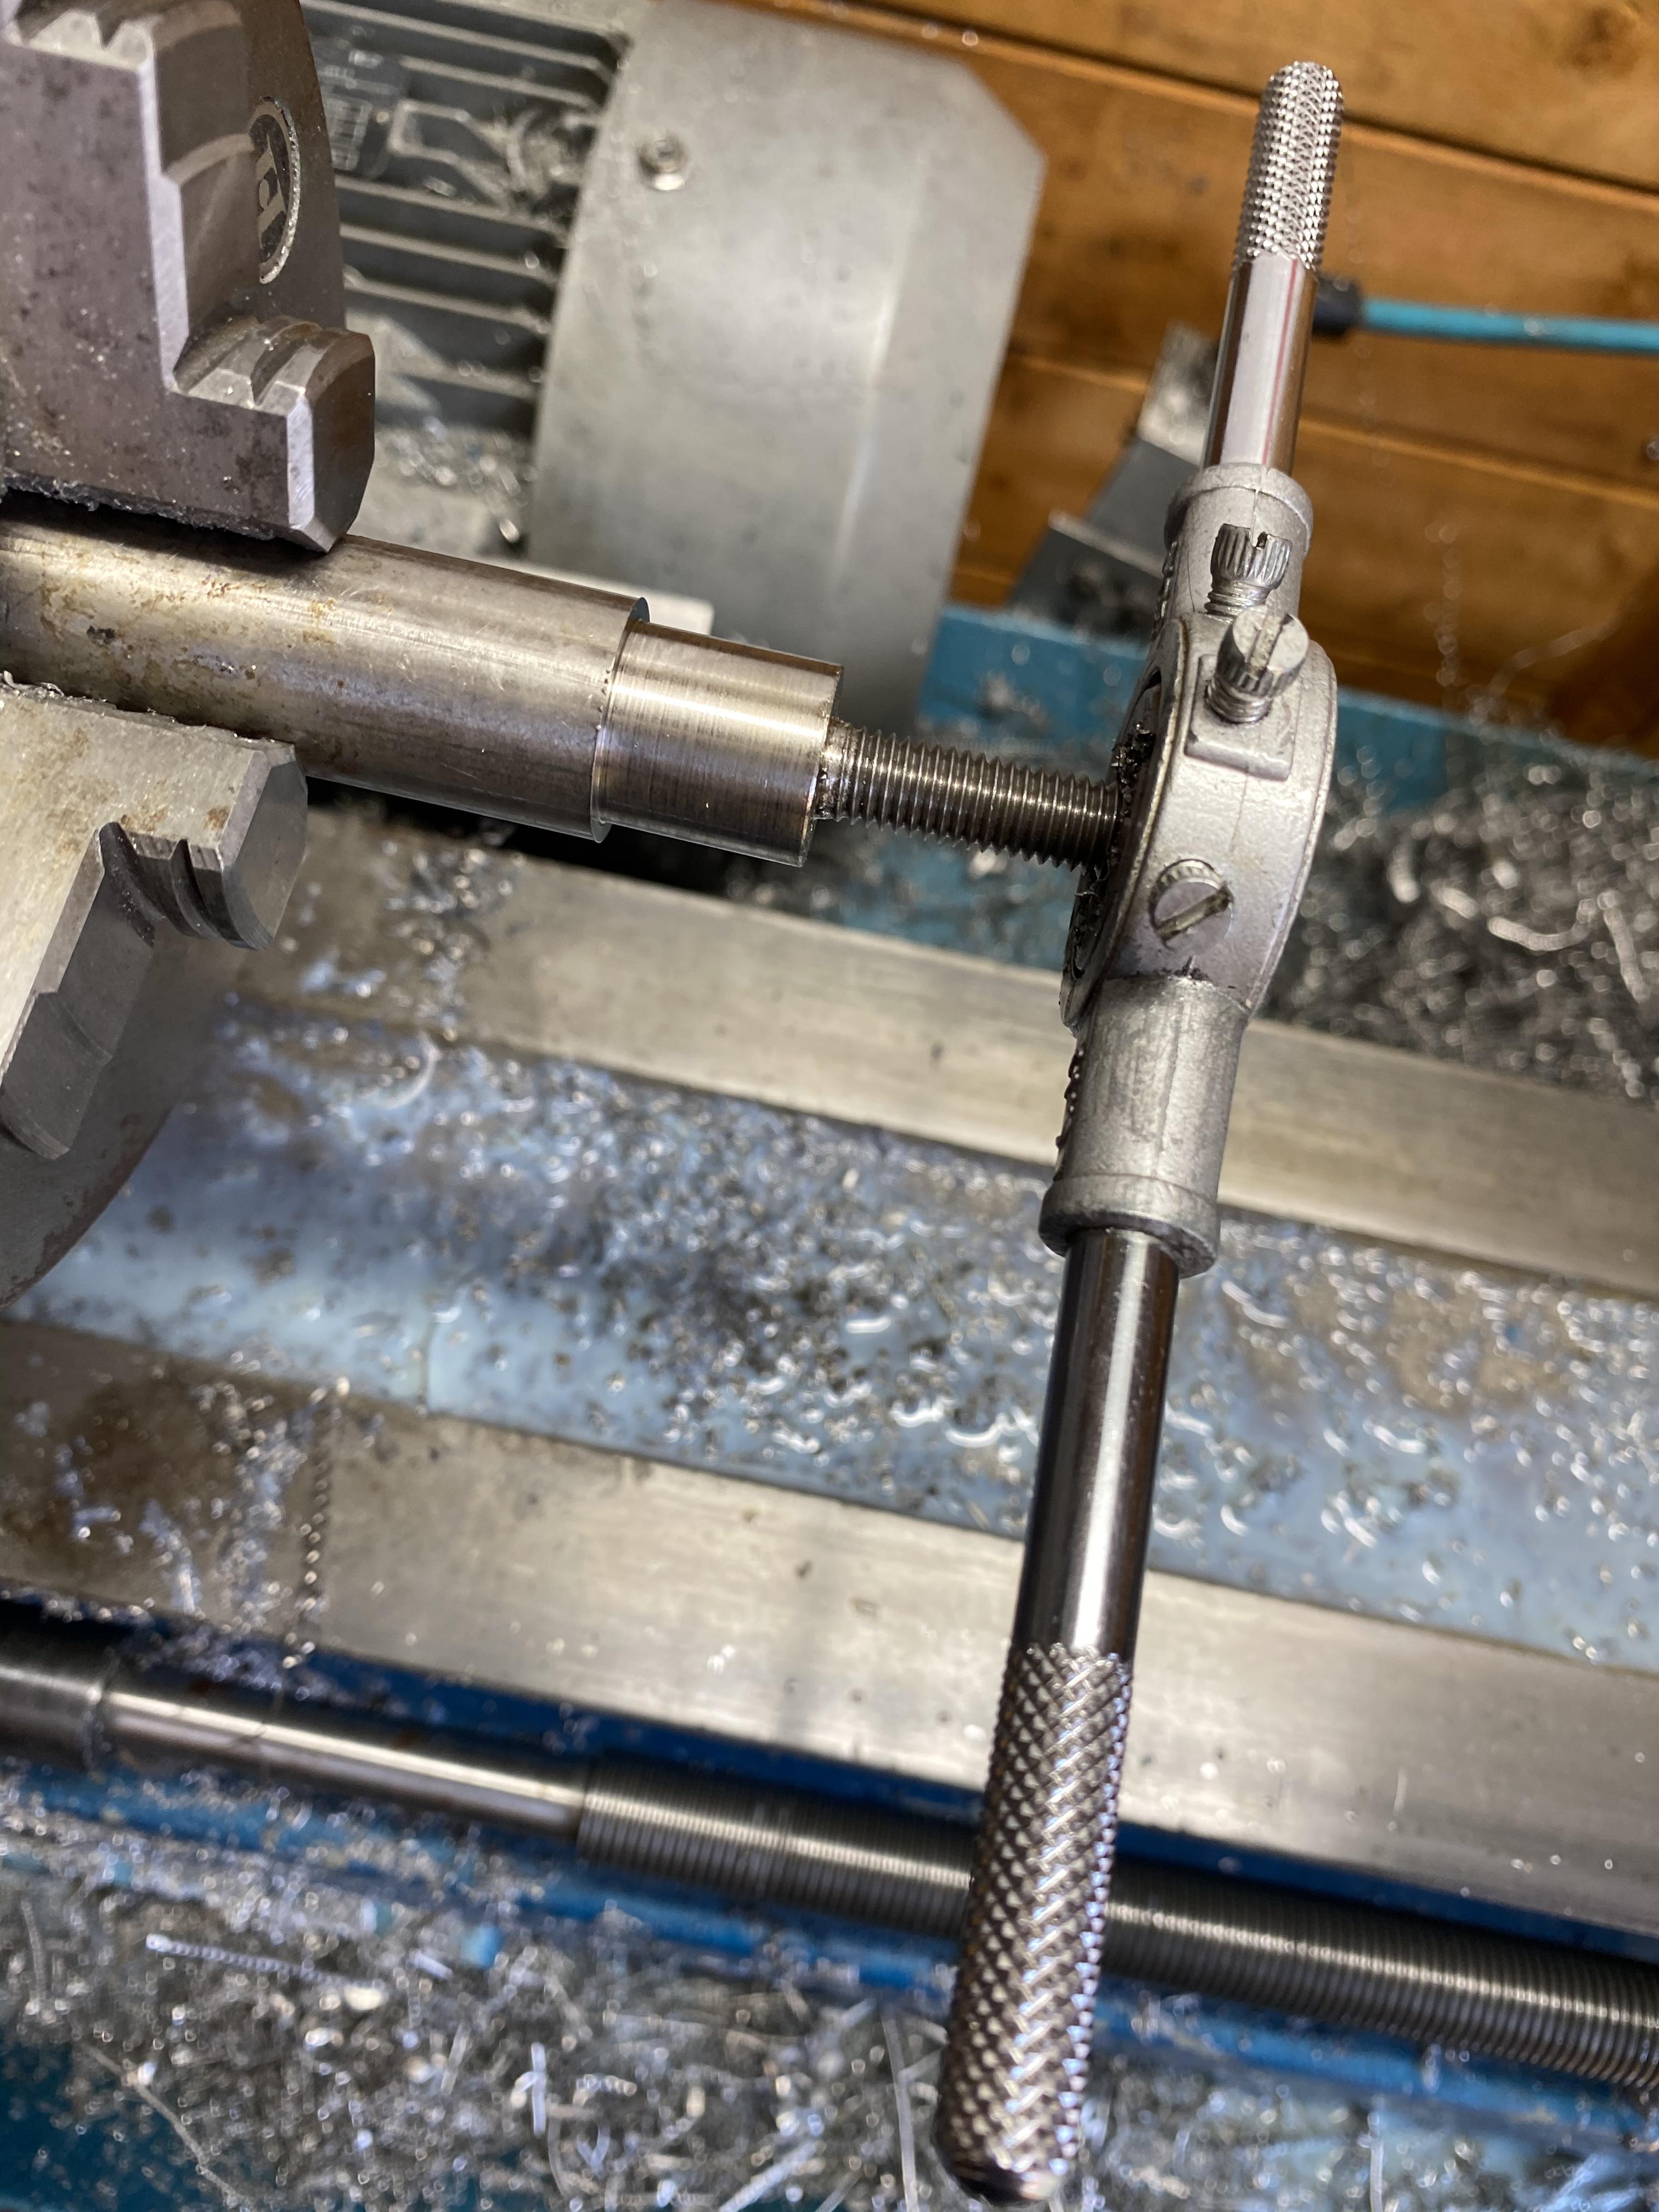
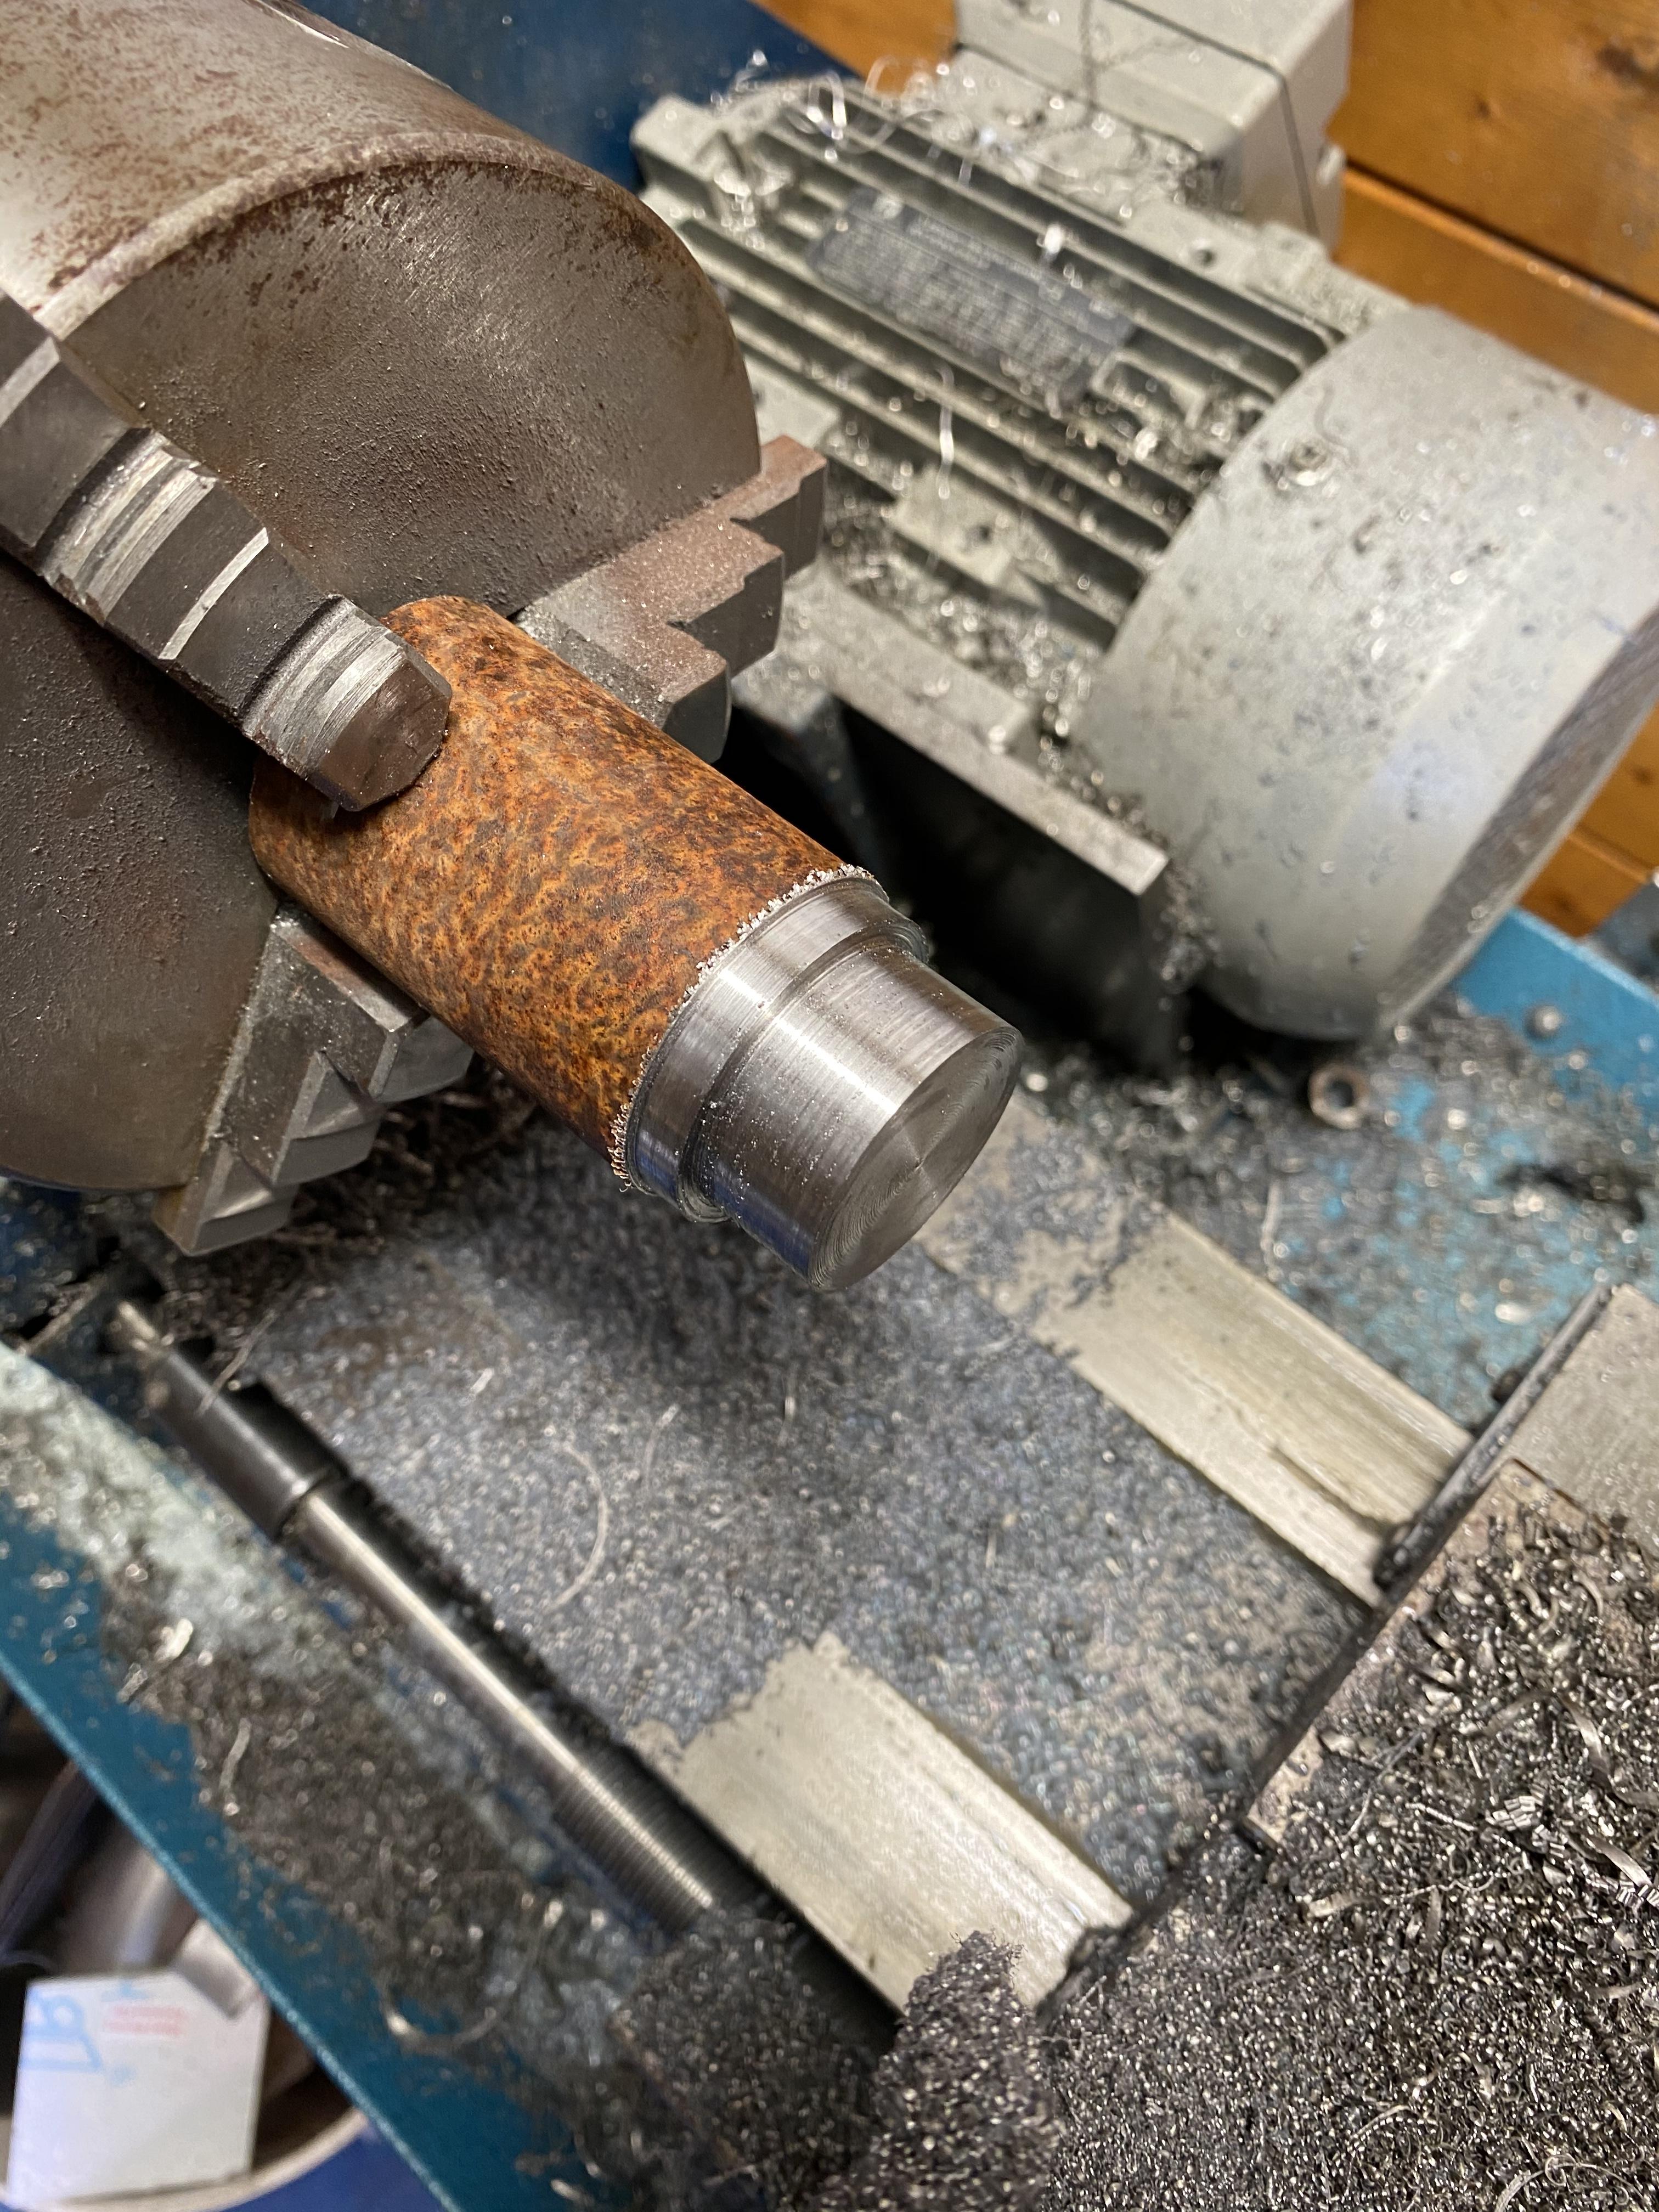
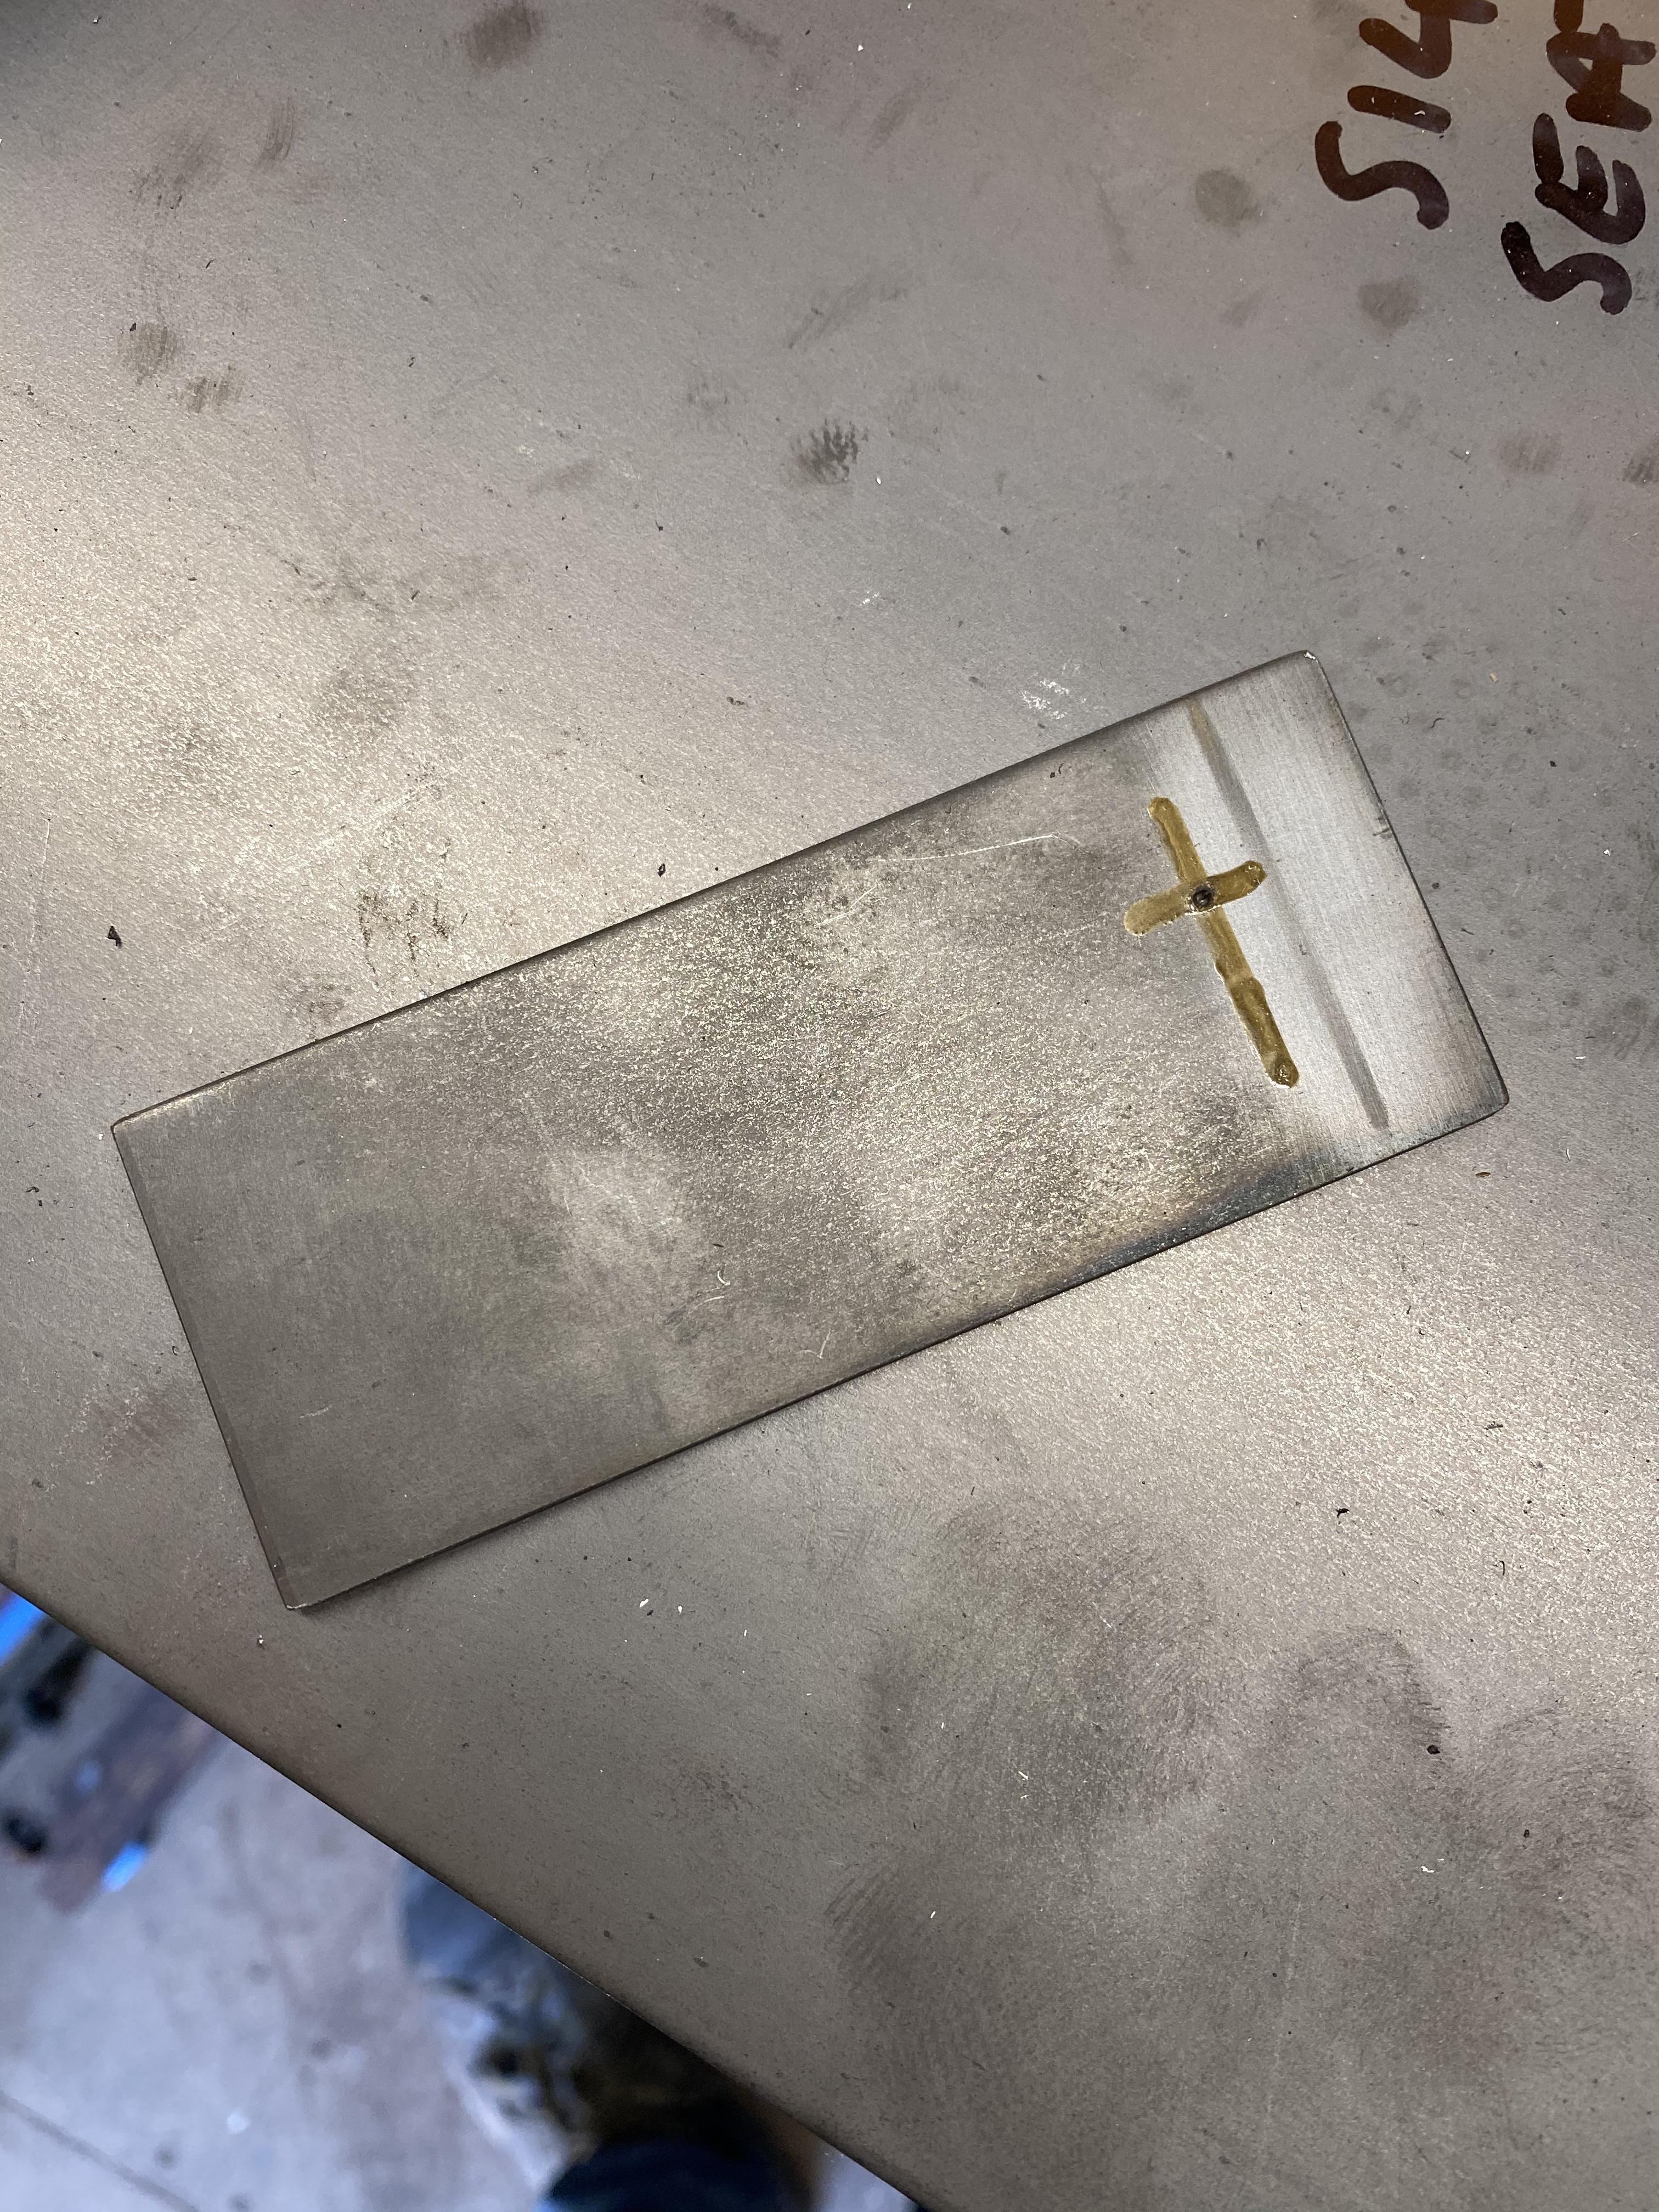
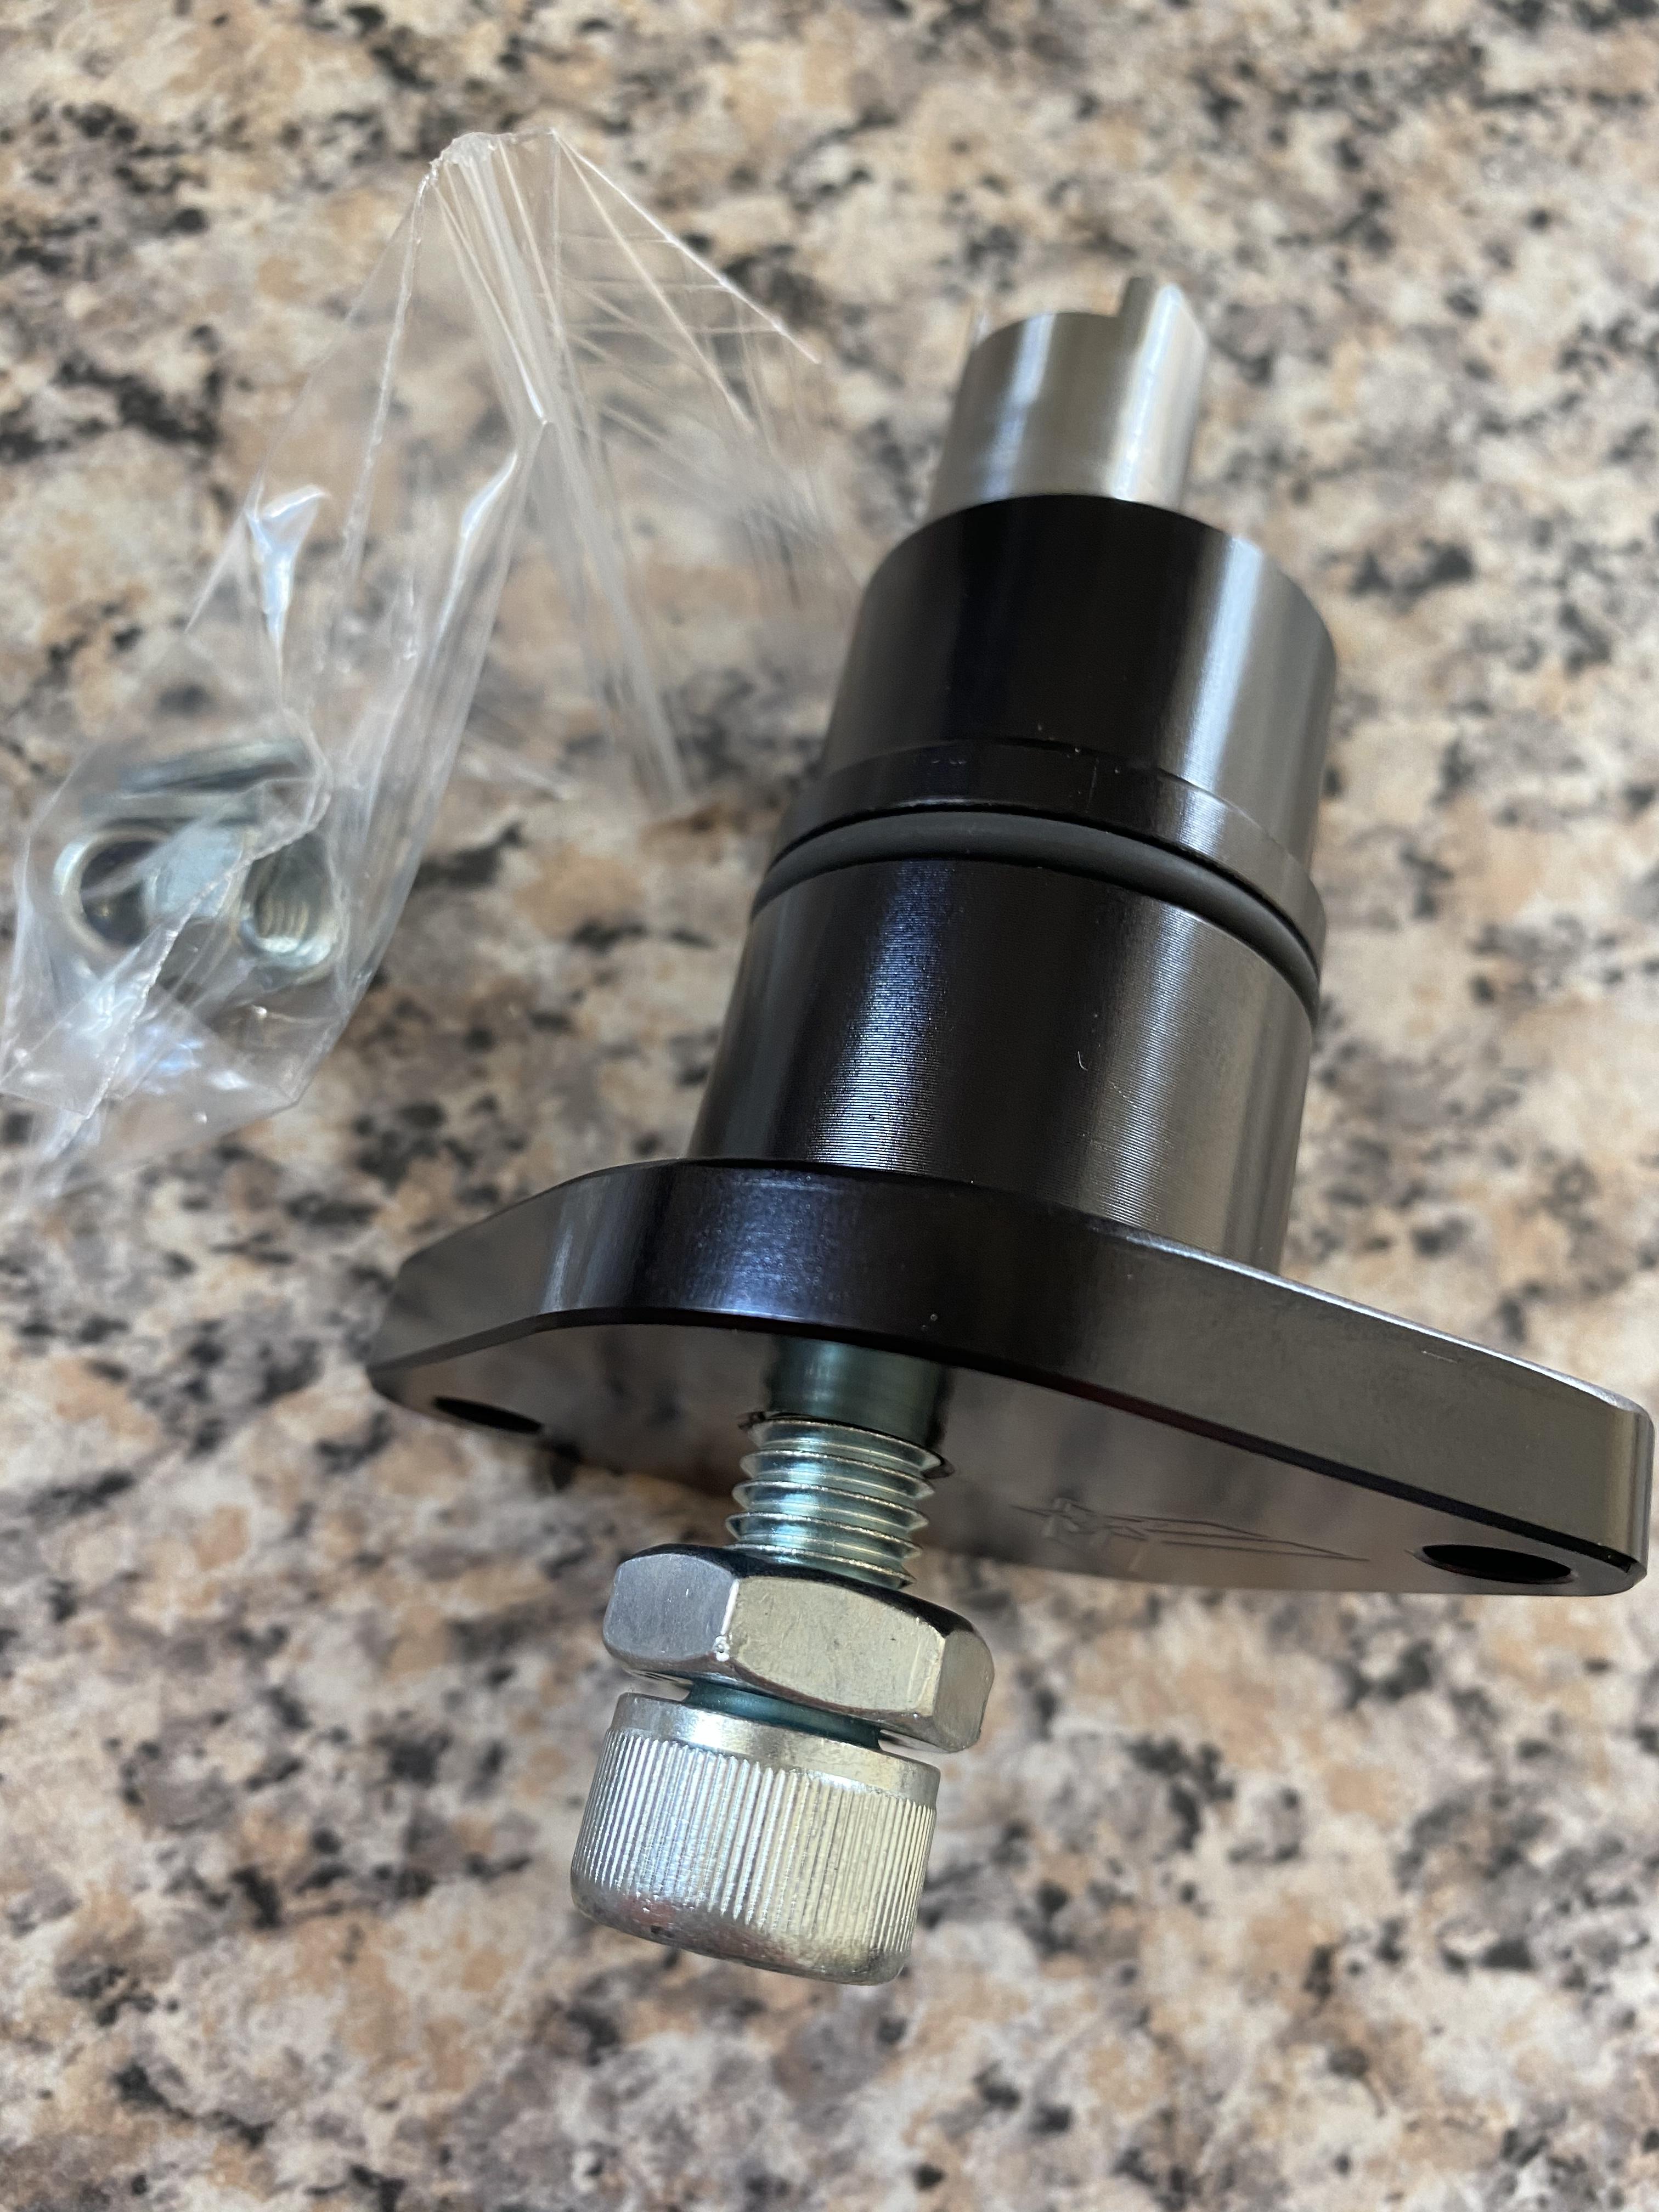
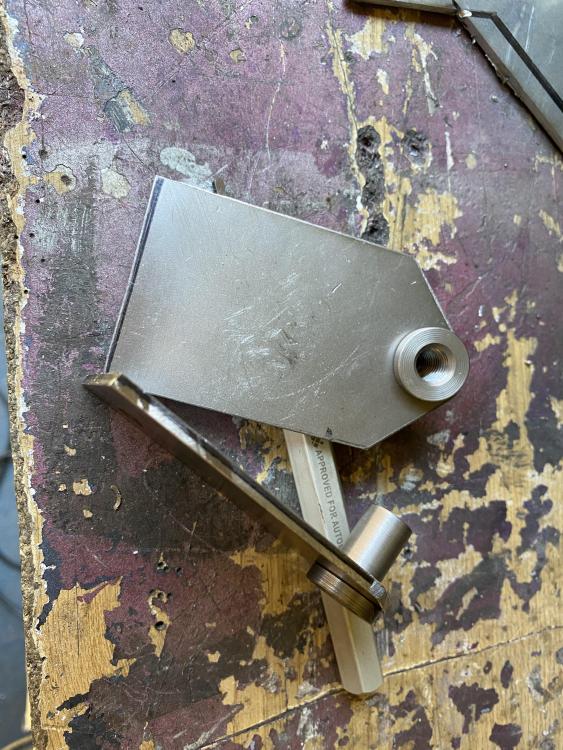
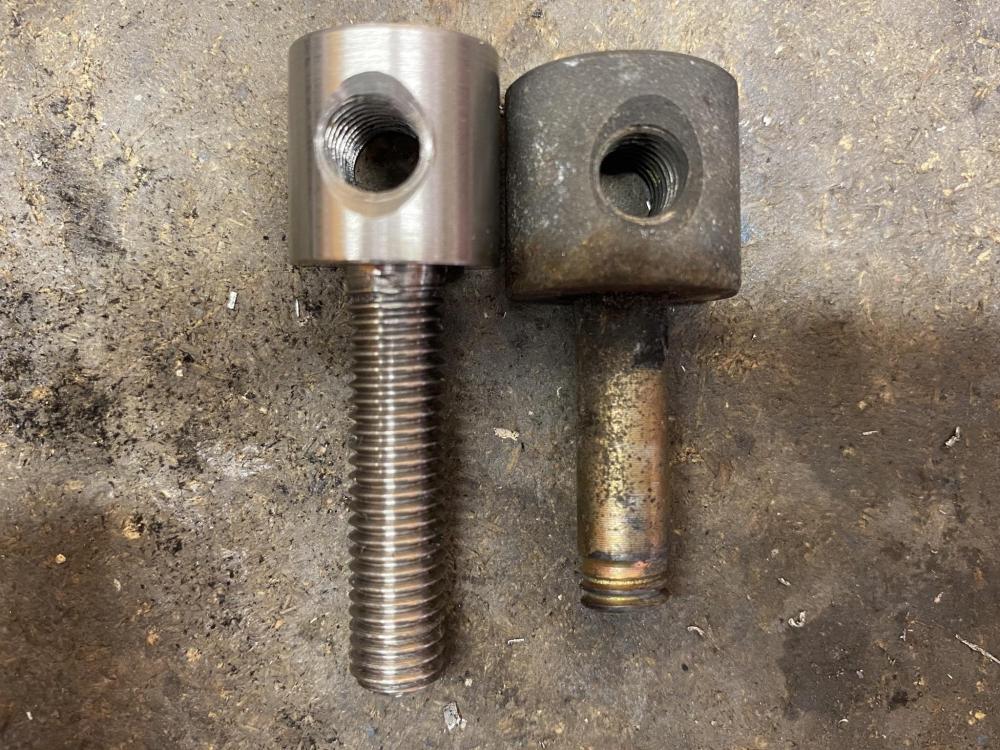
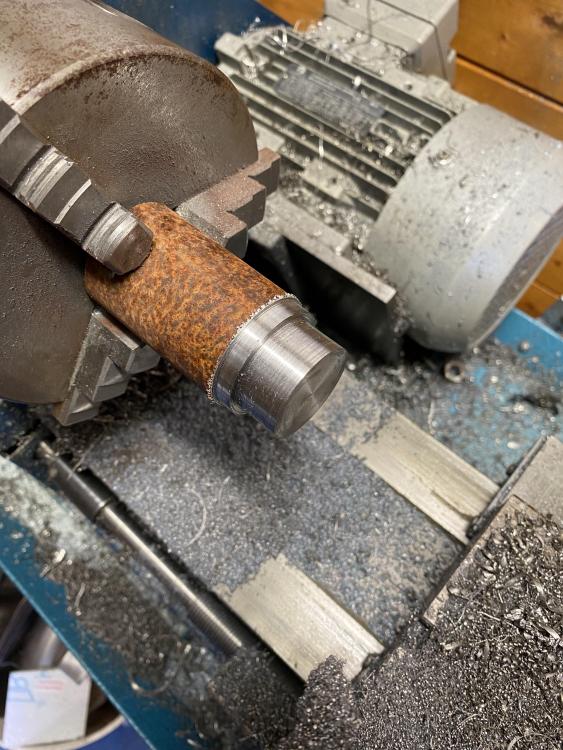
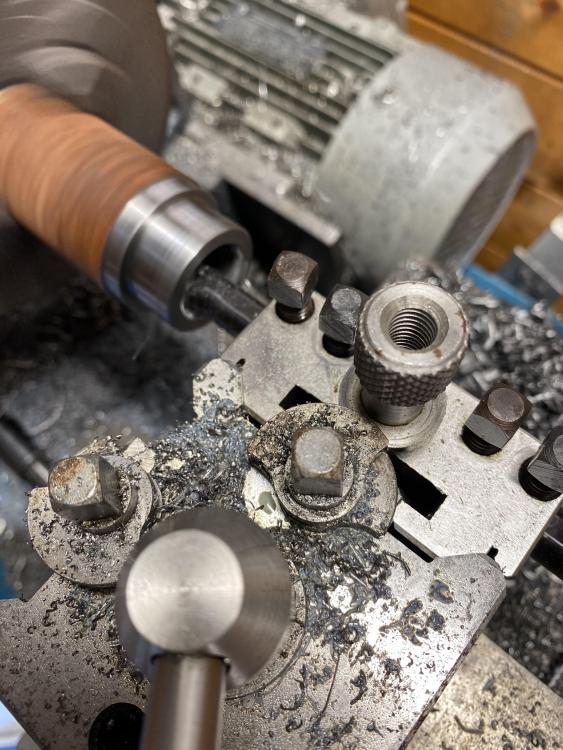
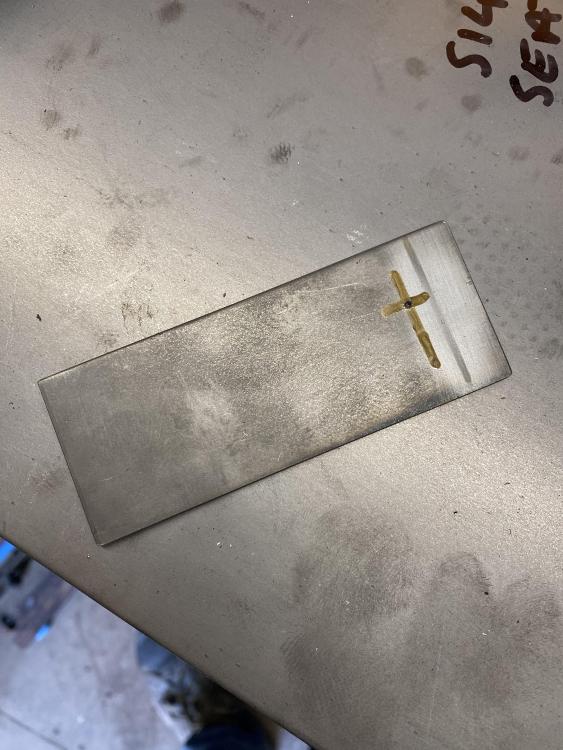
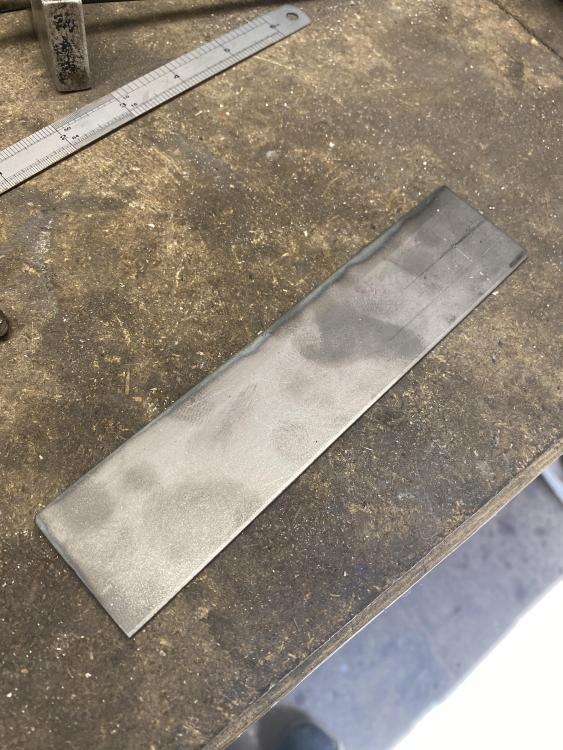
The original sliding bolt for the alternator broke years ago as it had rusted solid. I machined a new one out of some 316L stainless


-
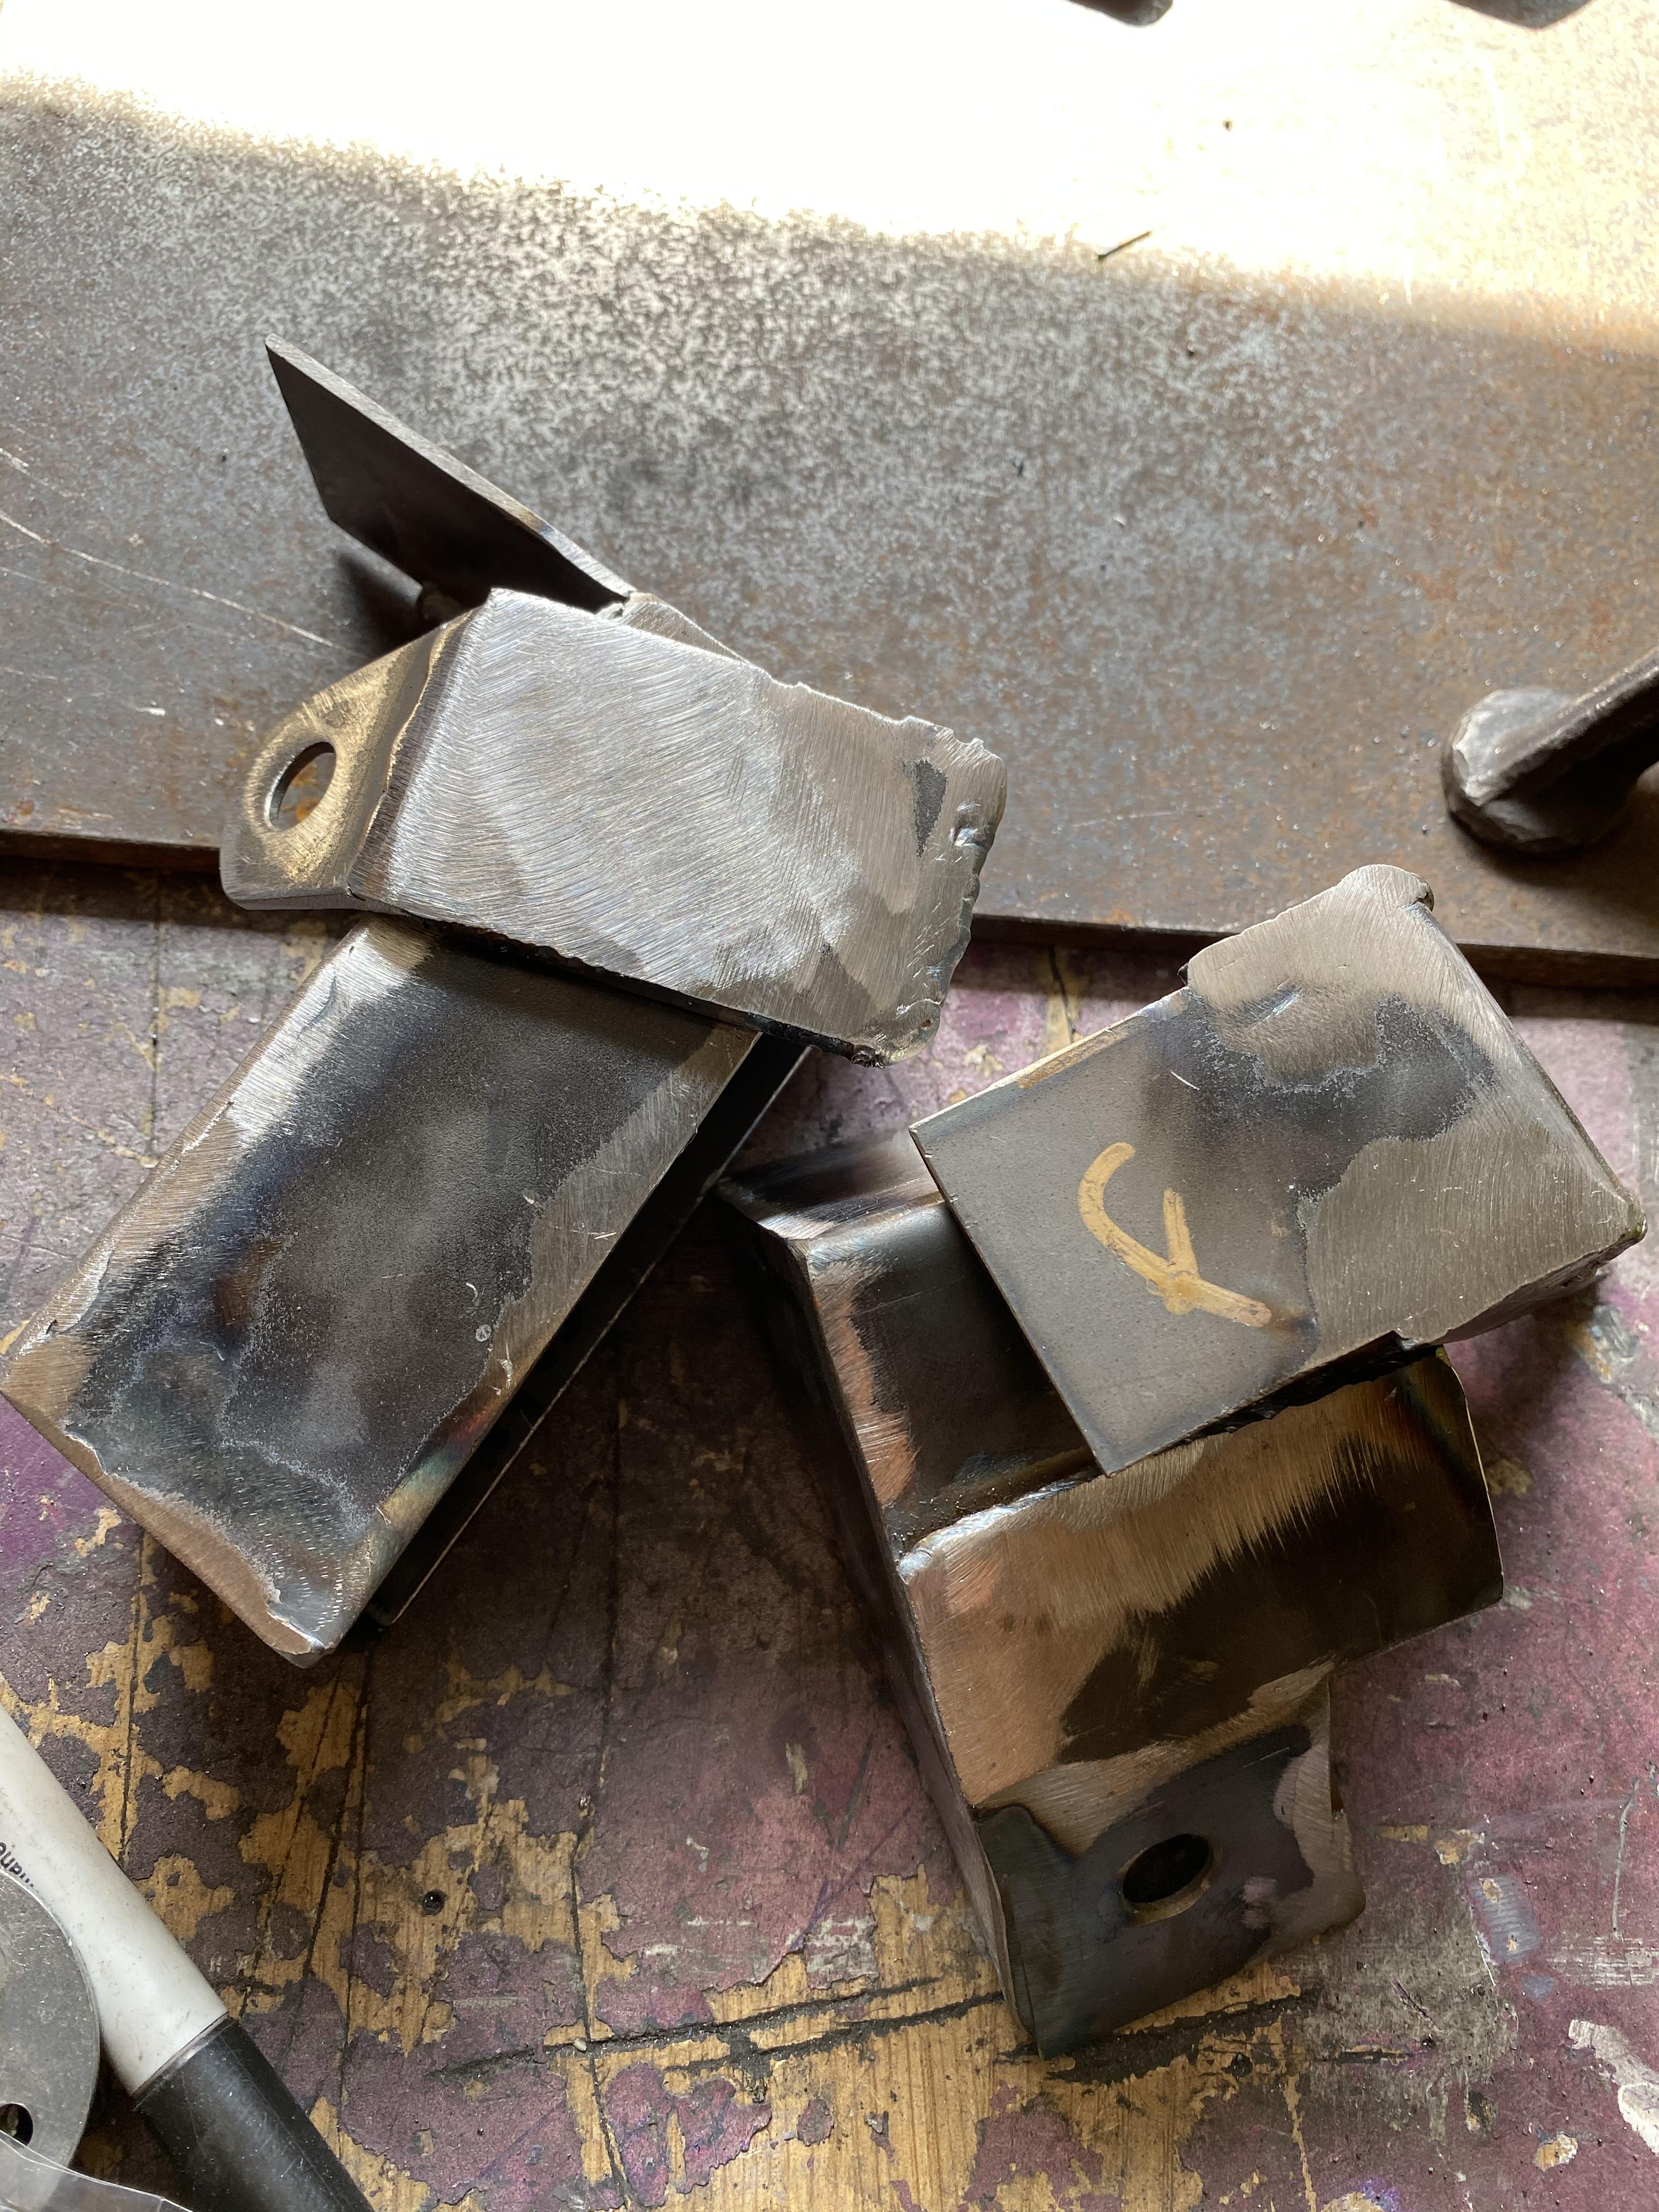
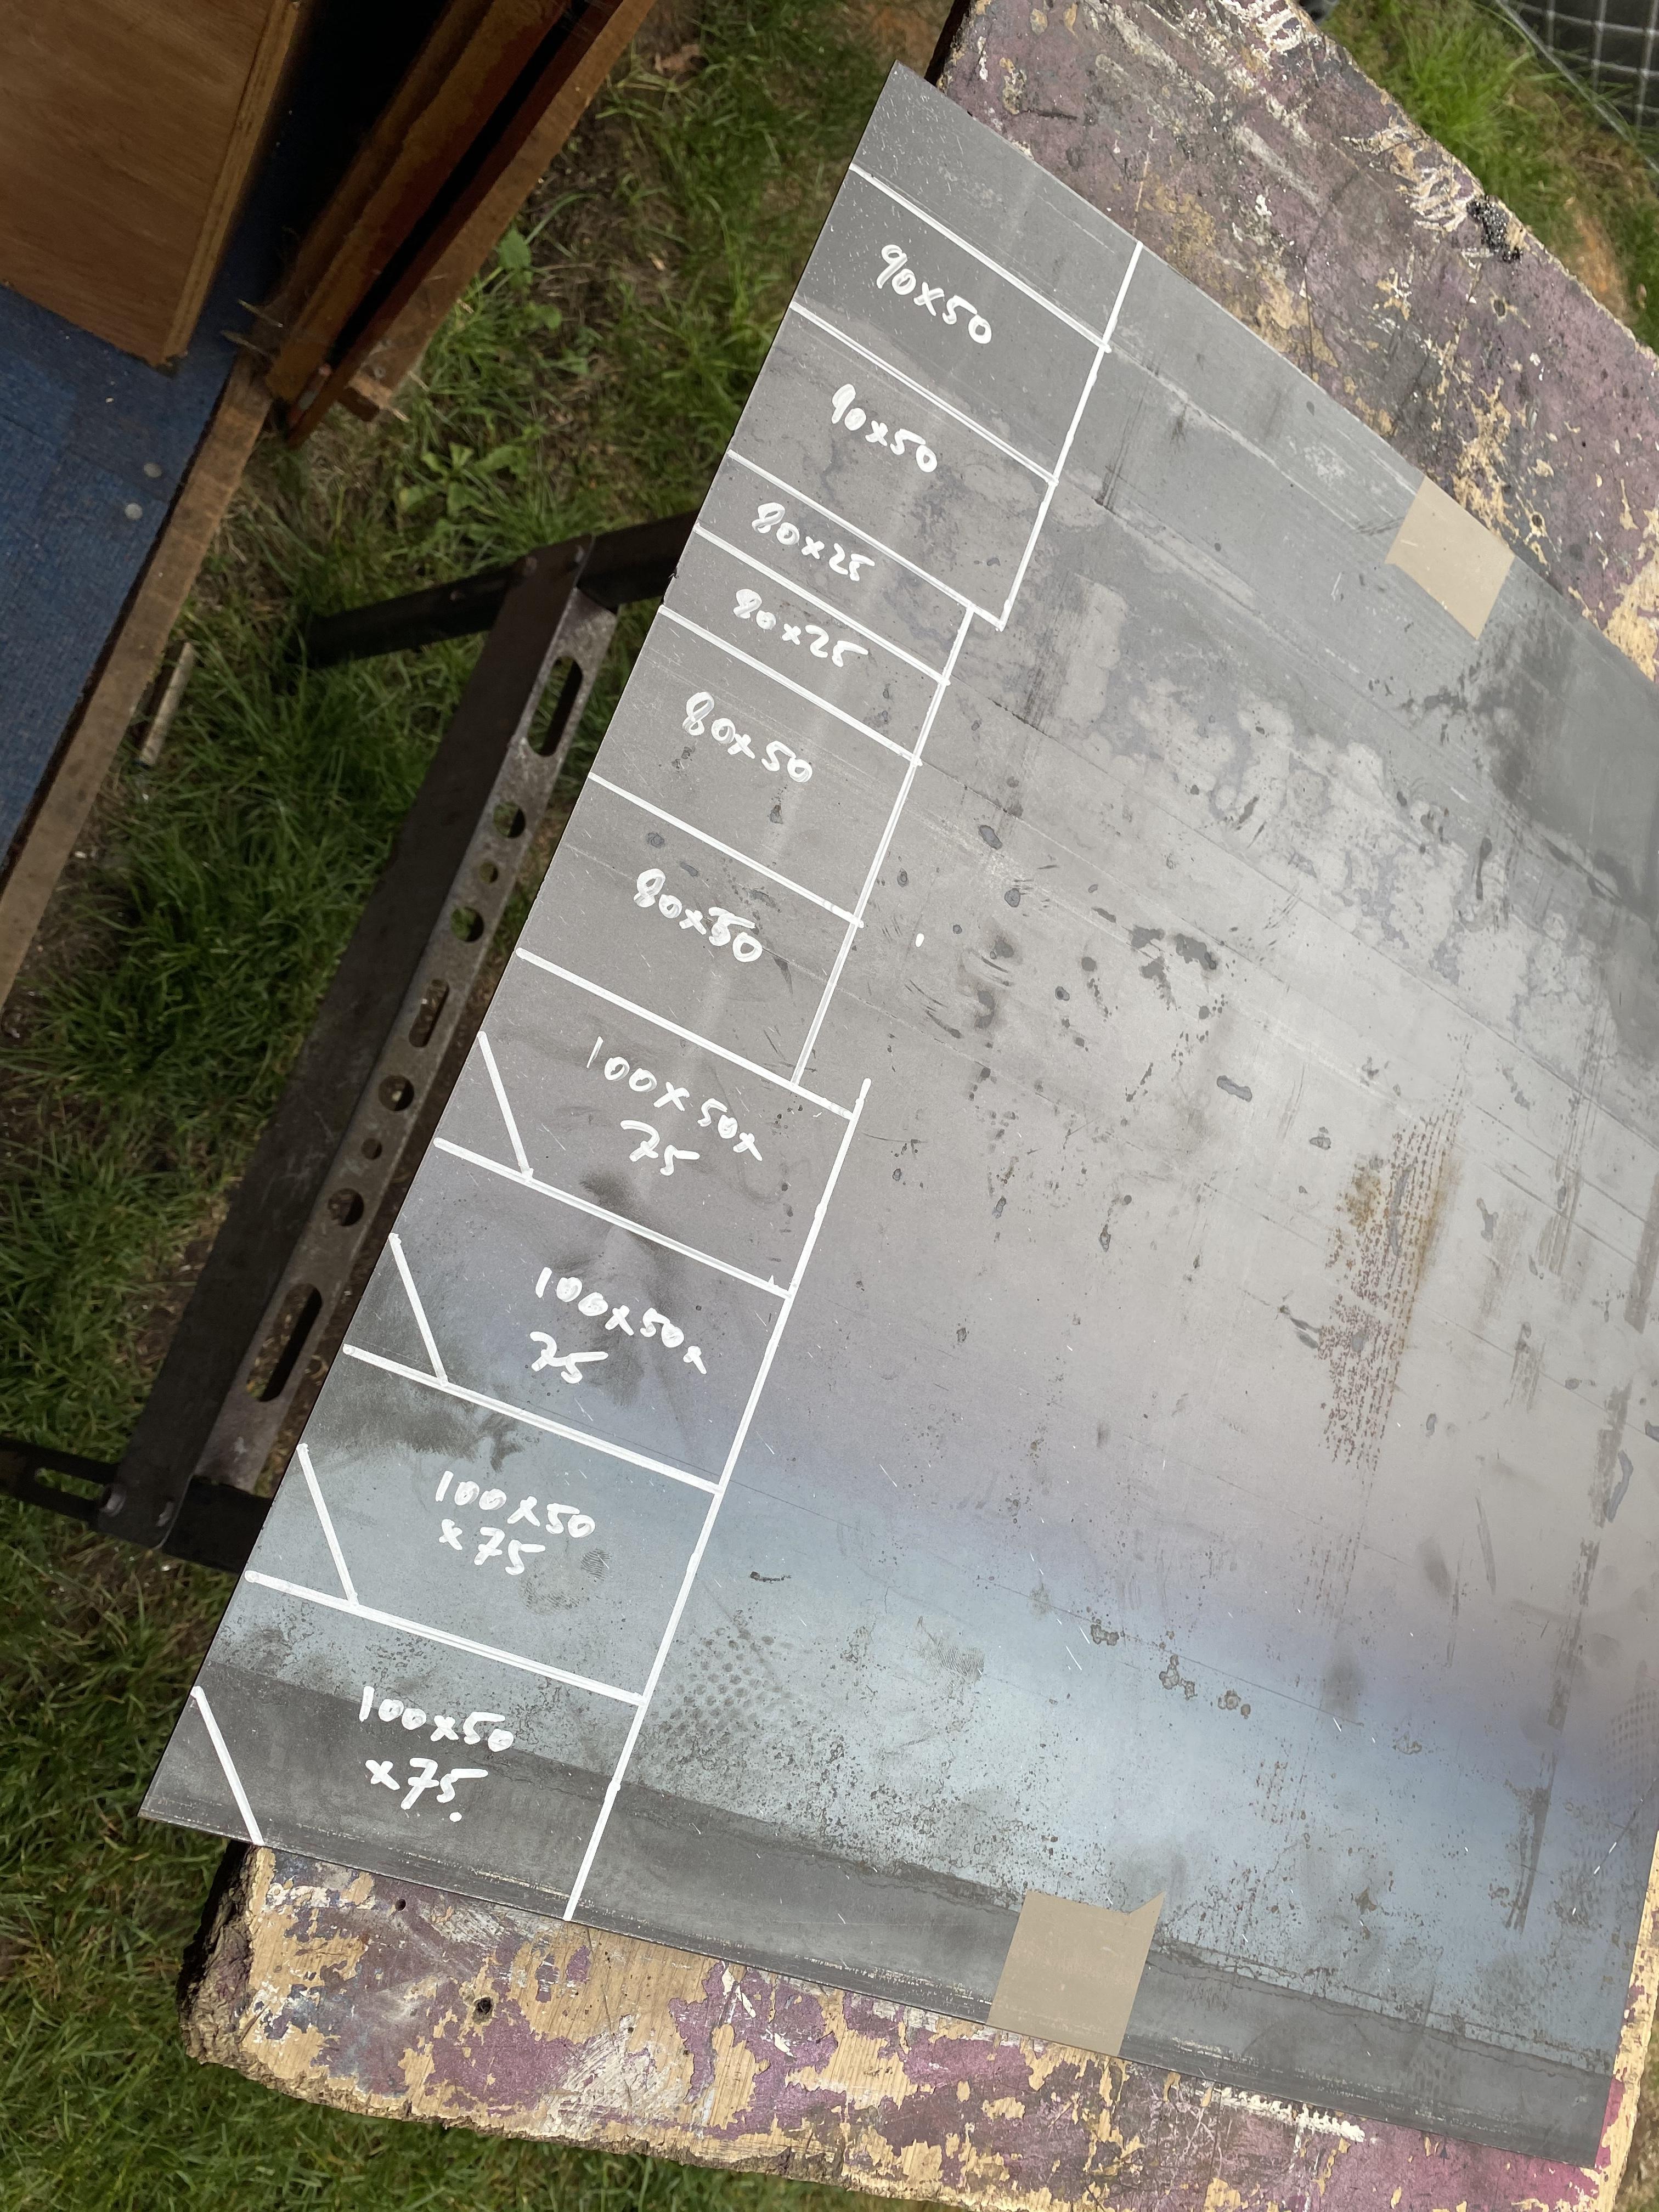
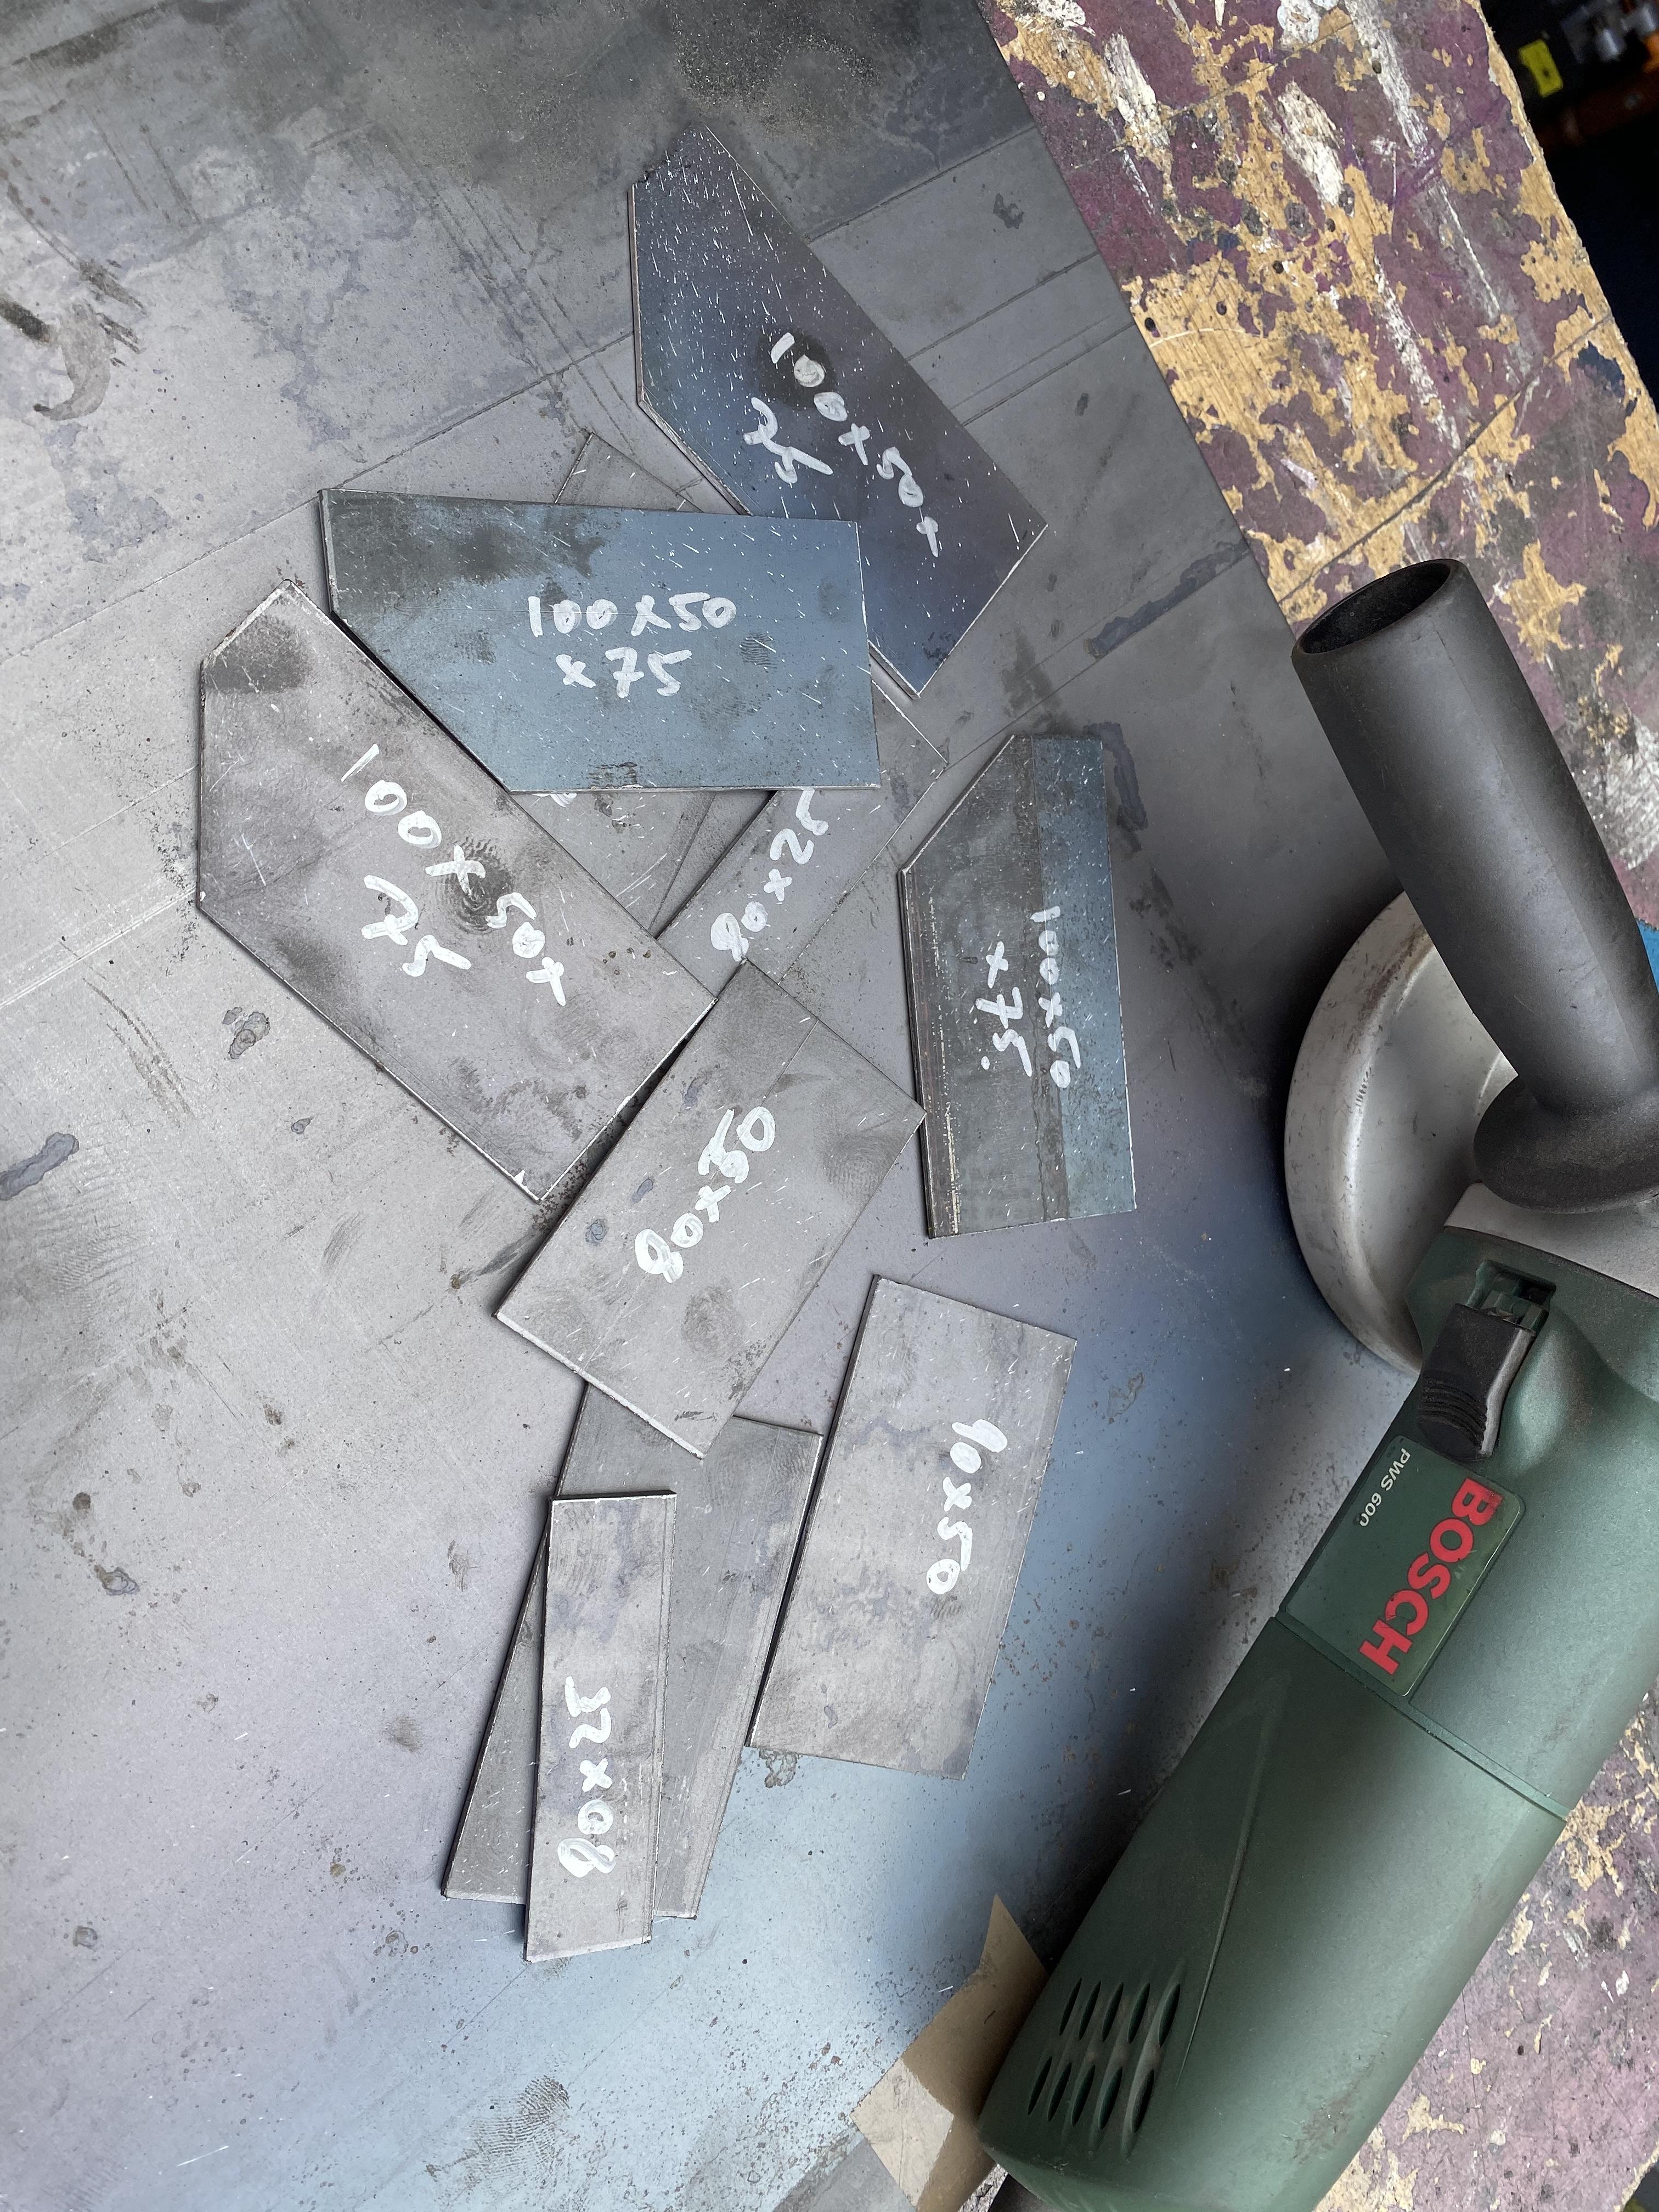
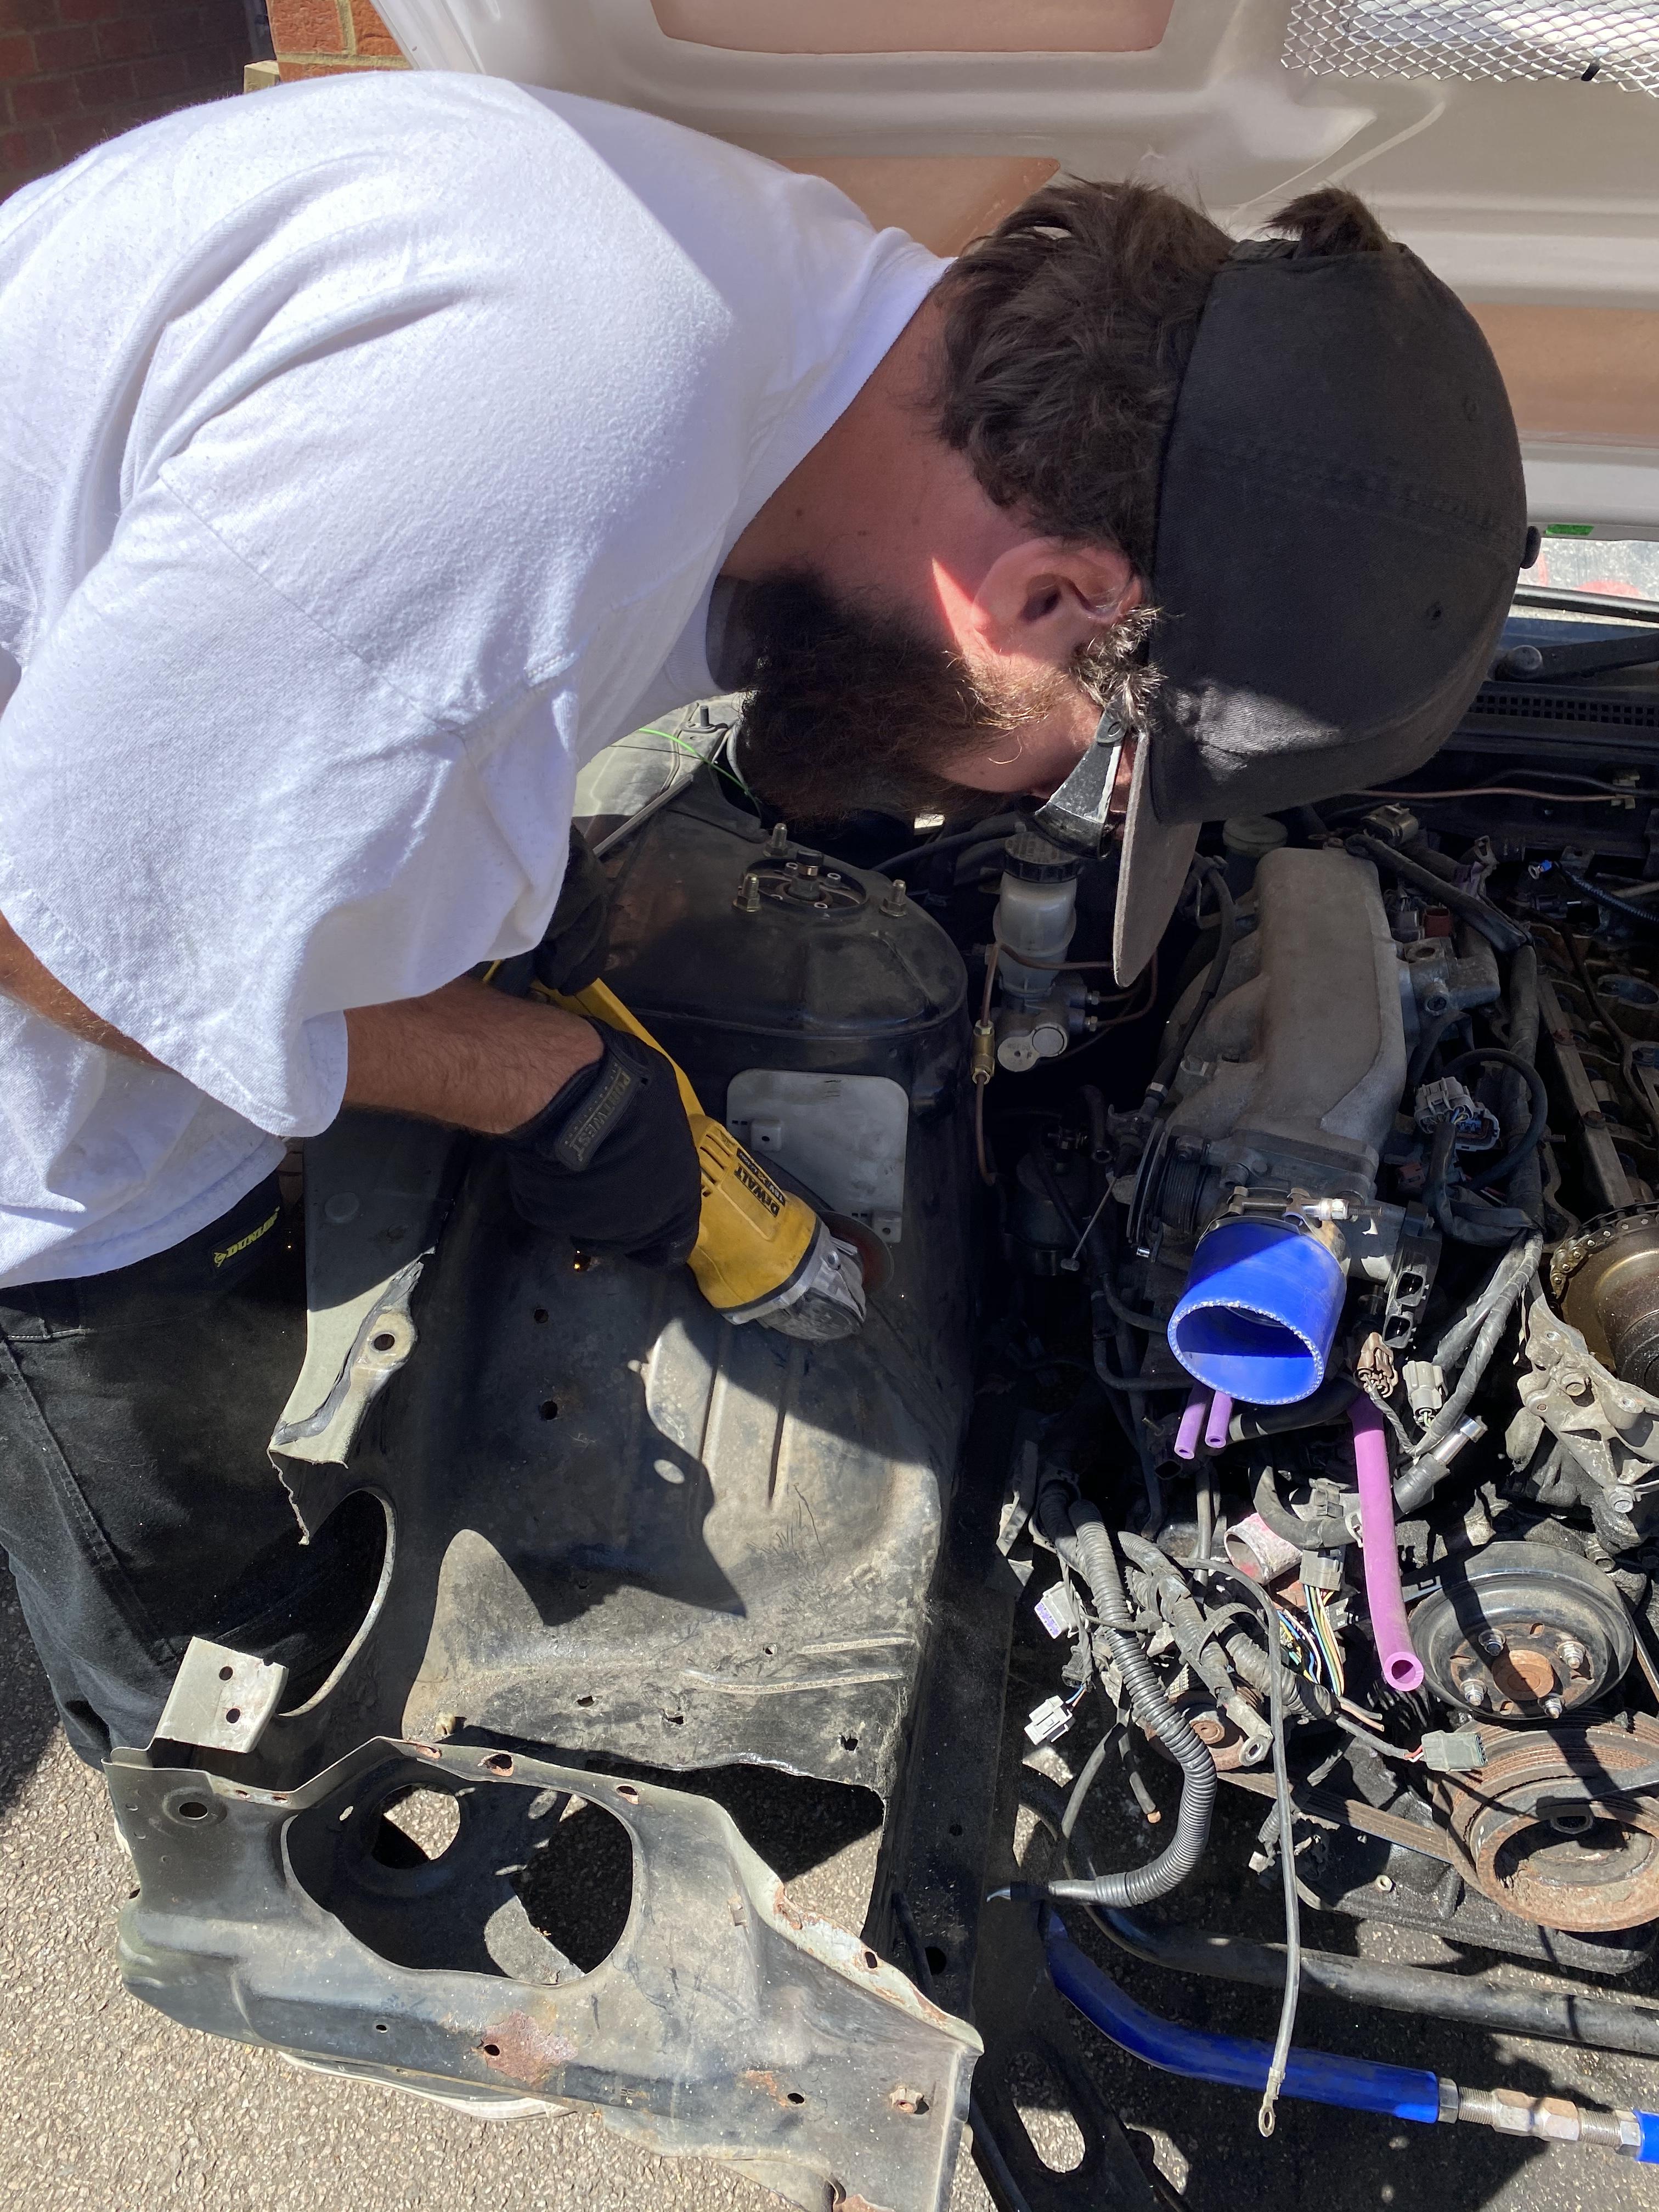
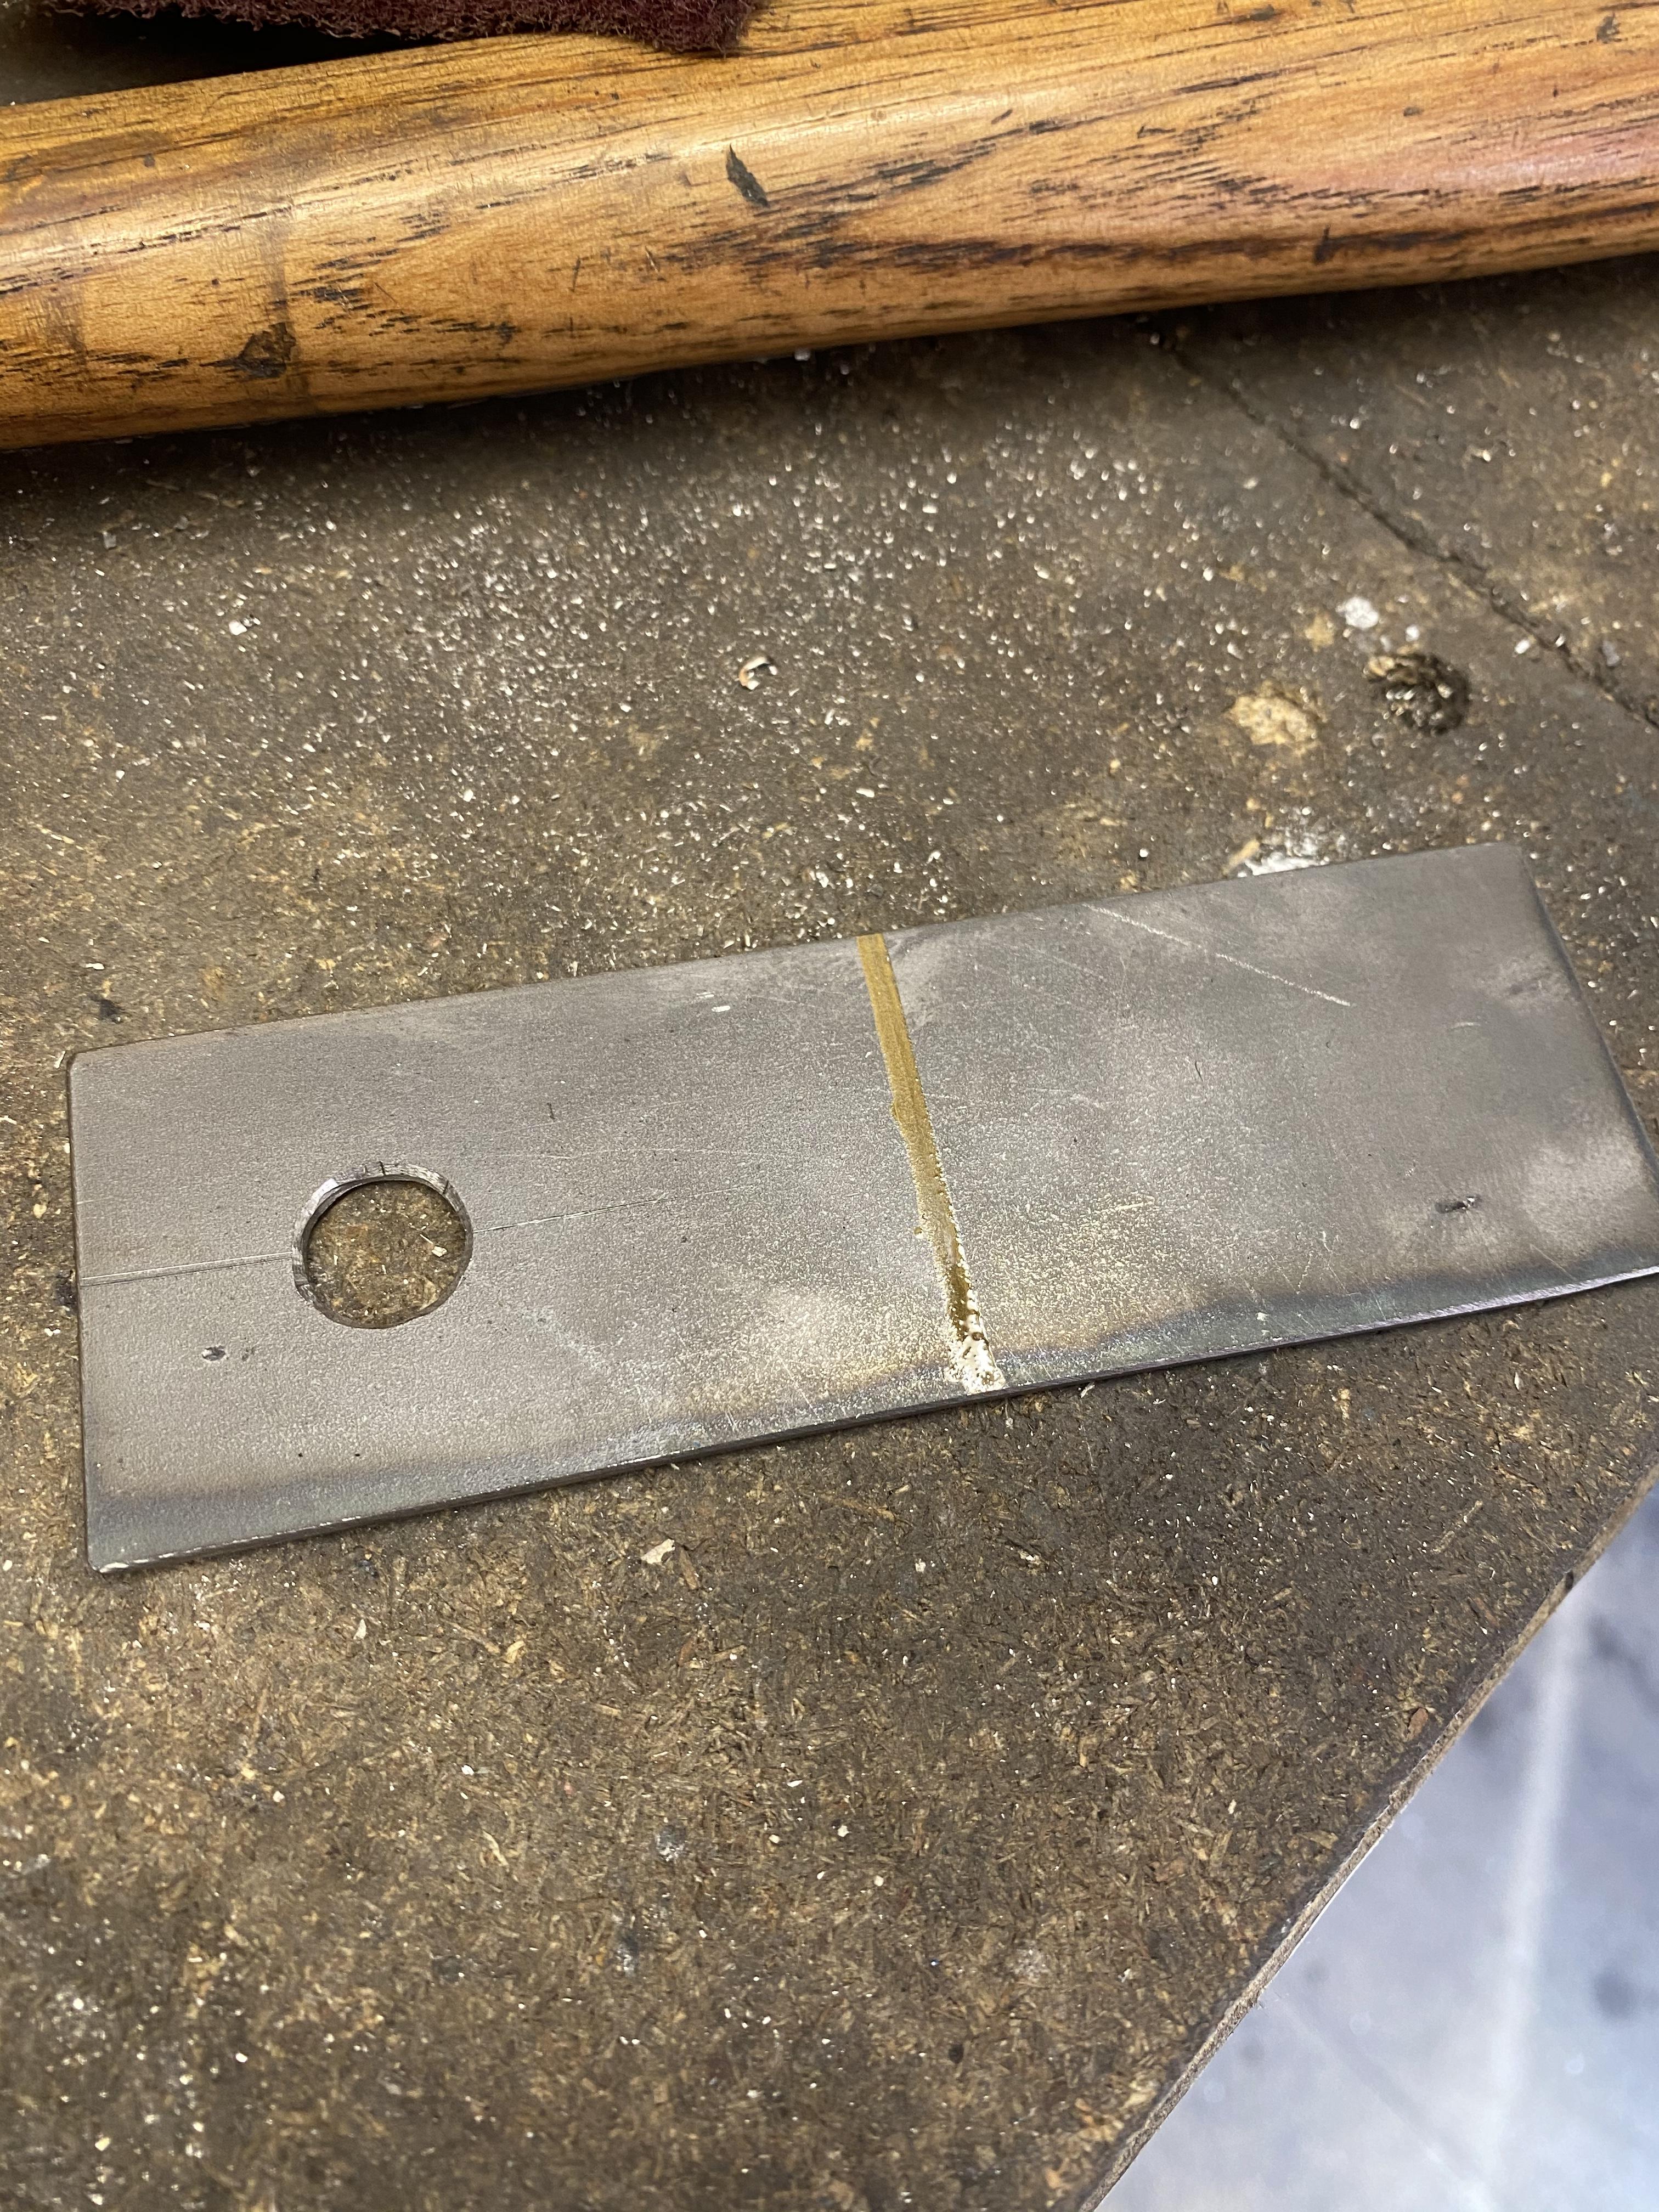
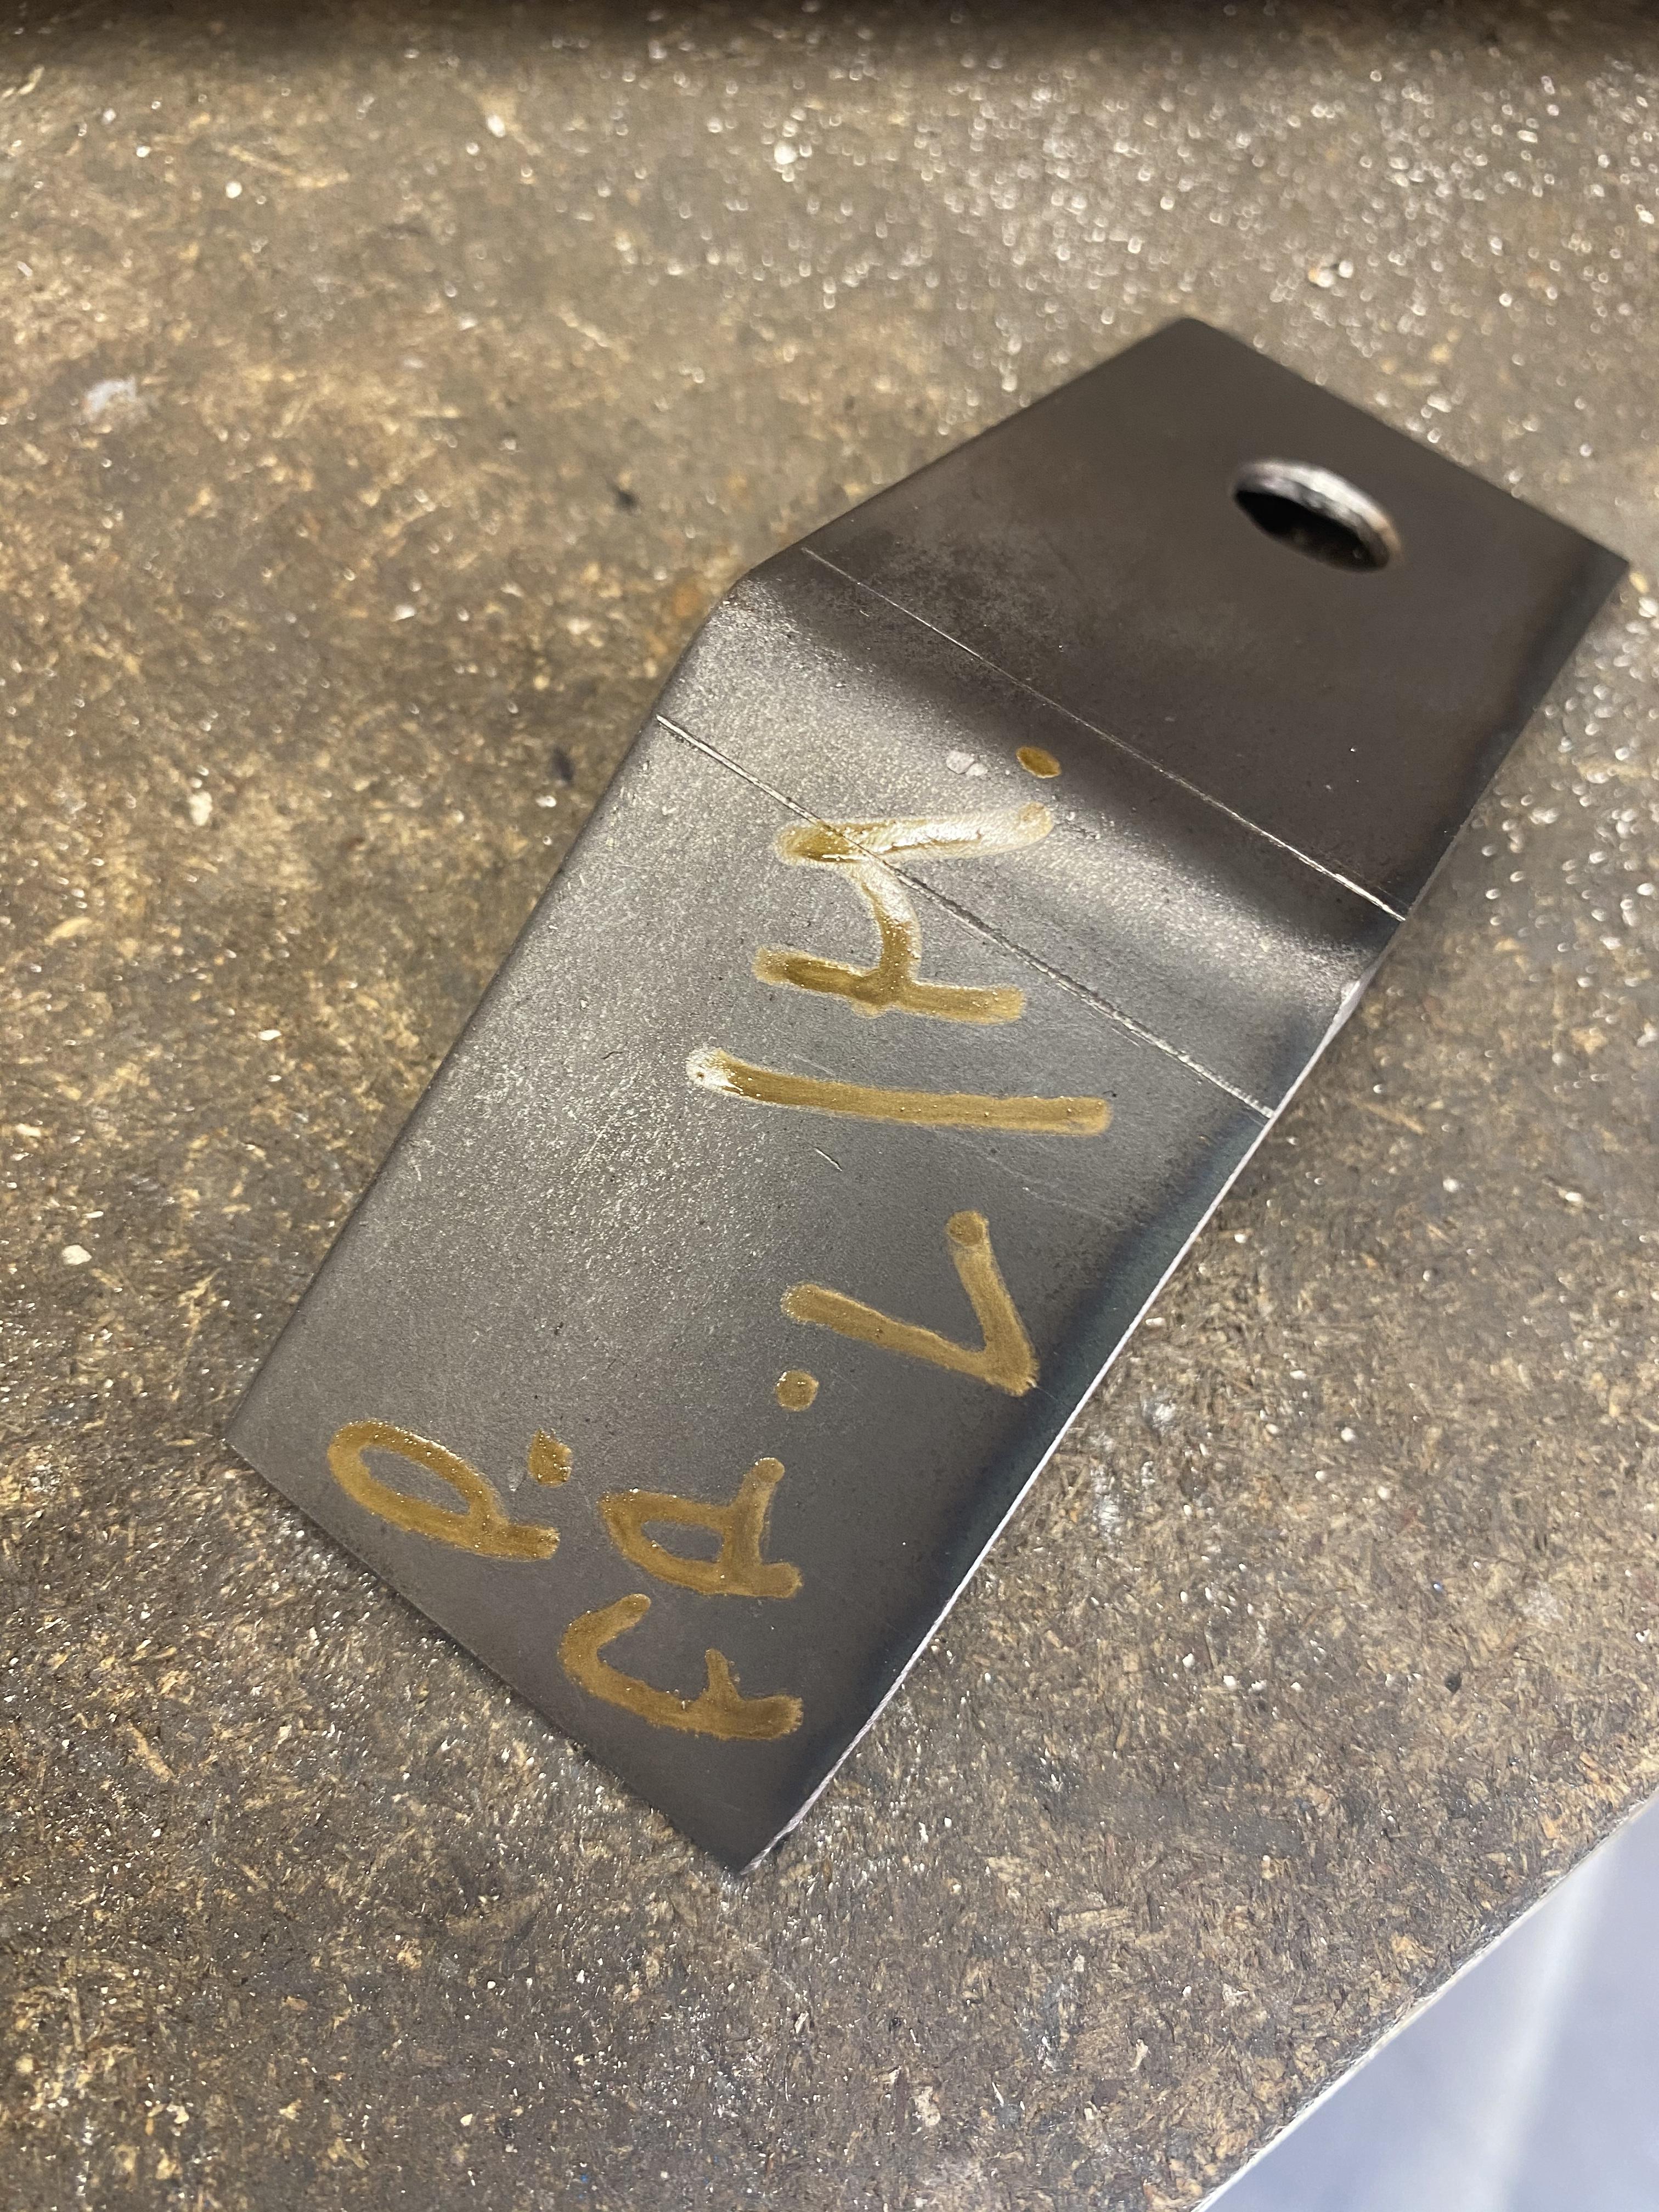
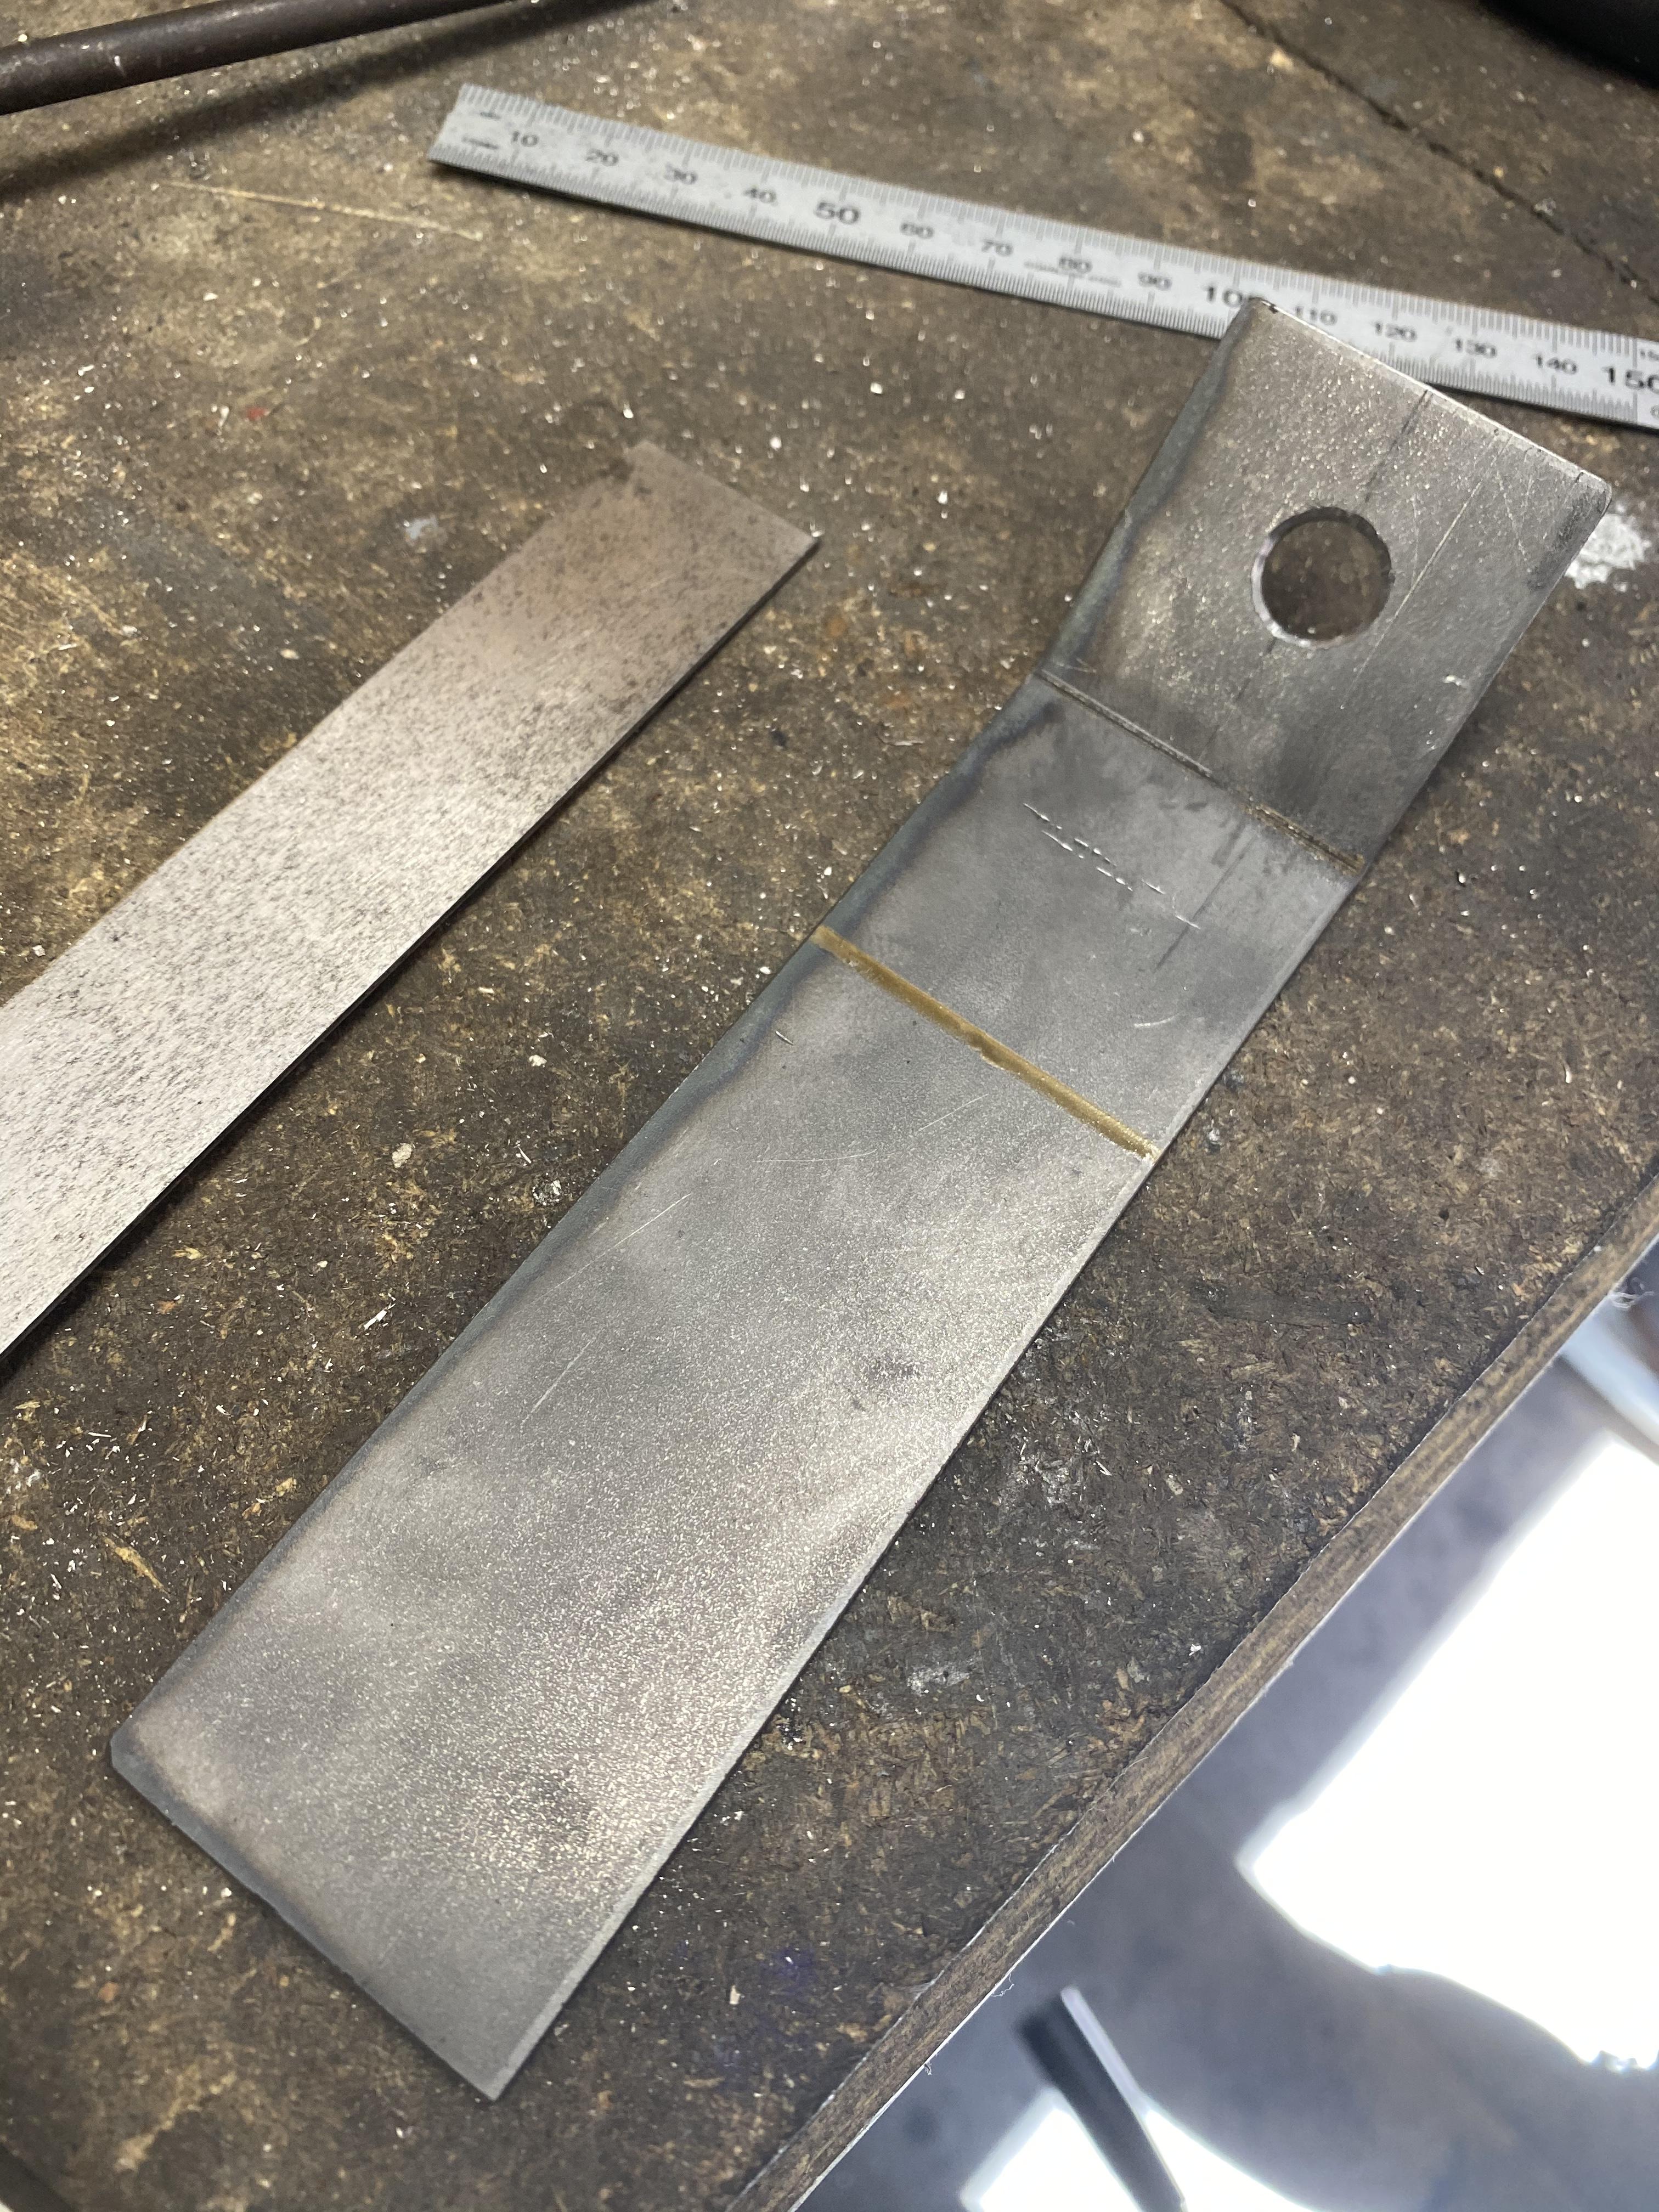
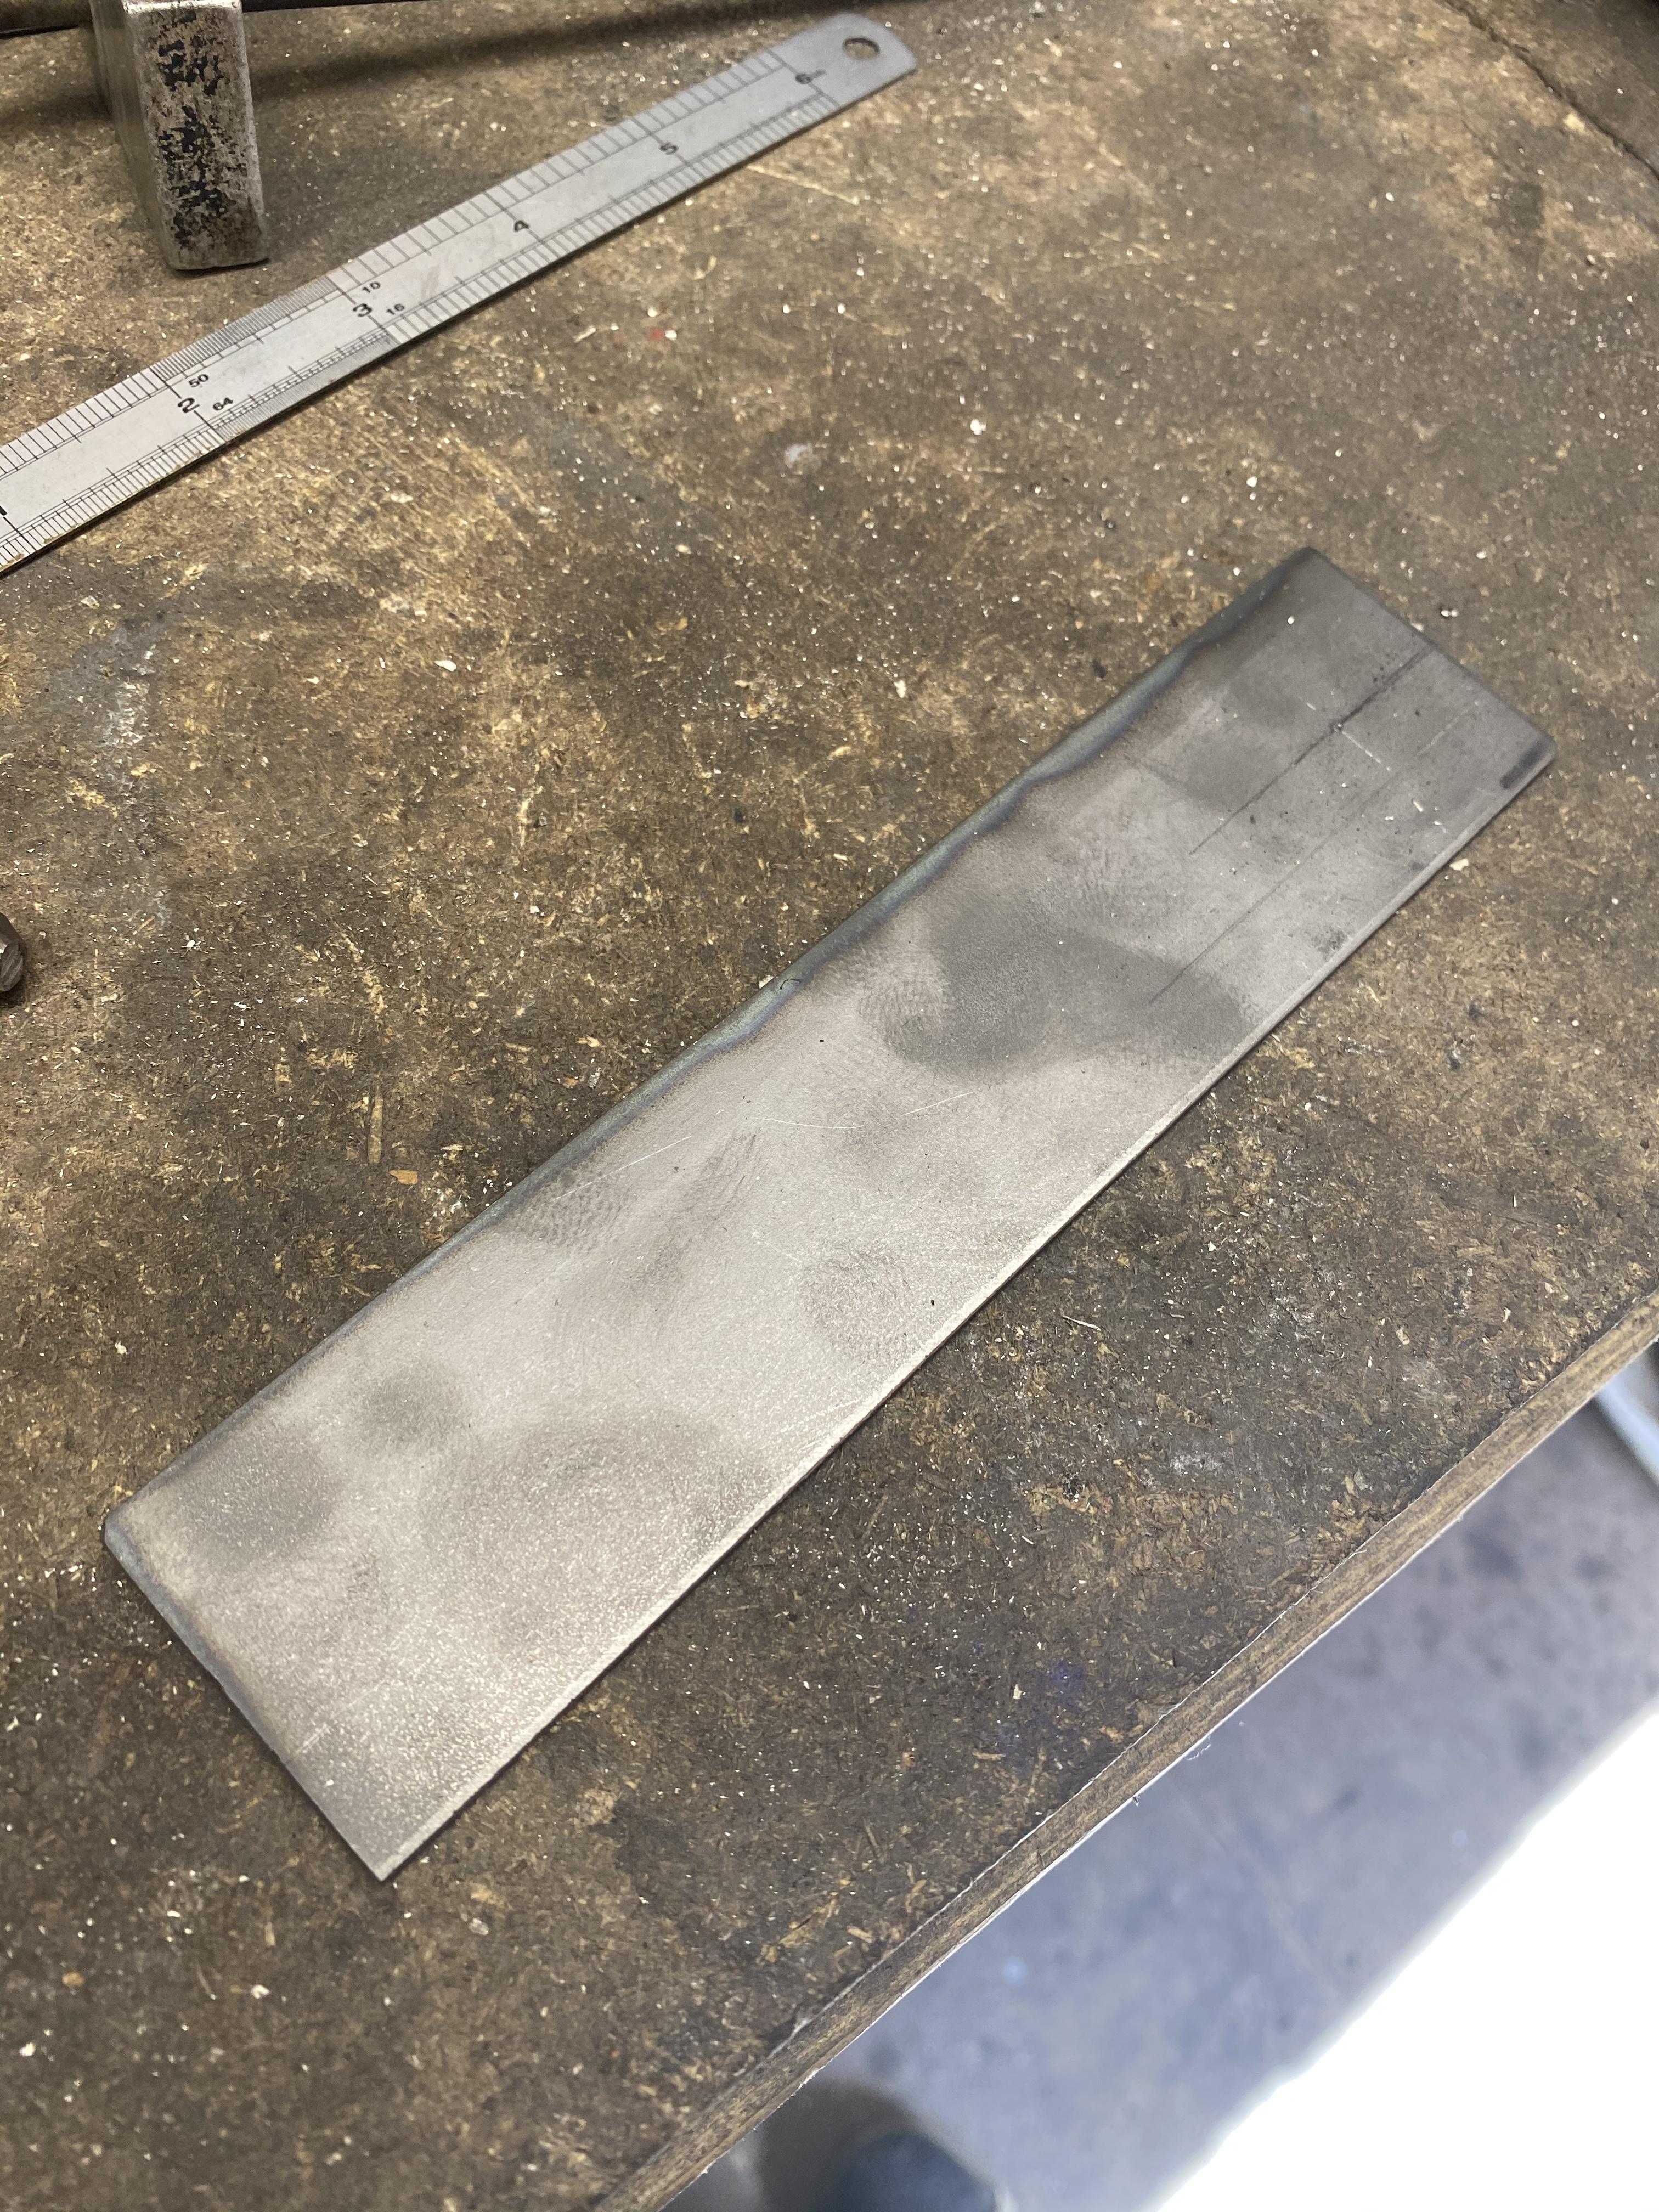
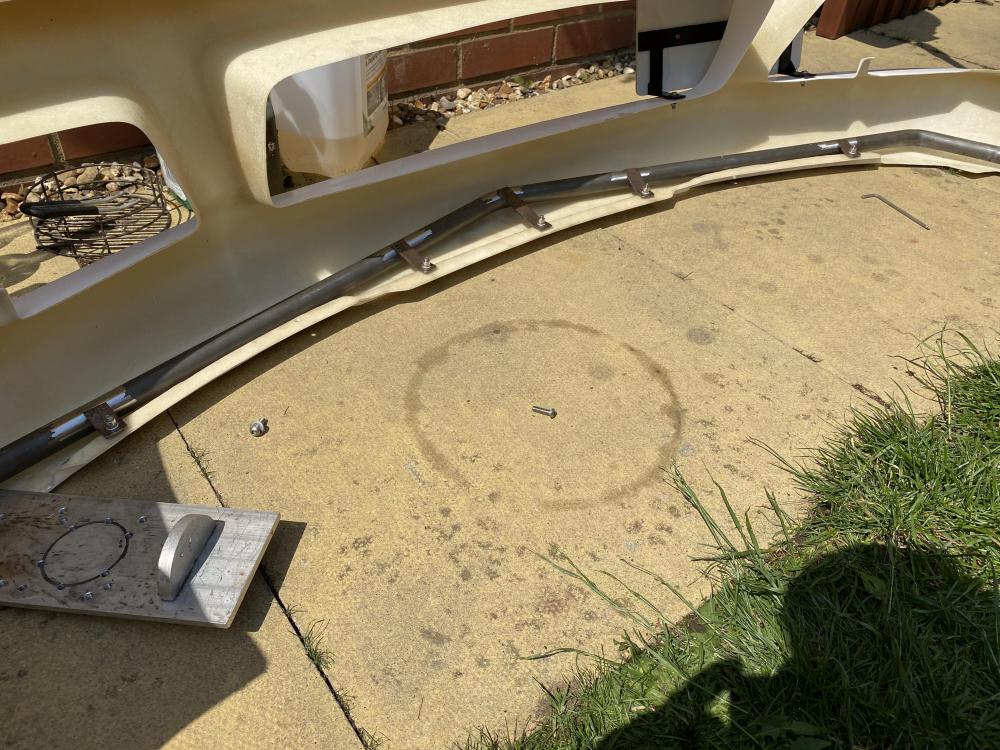
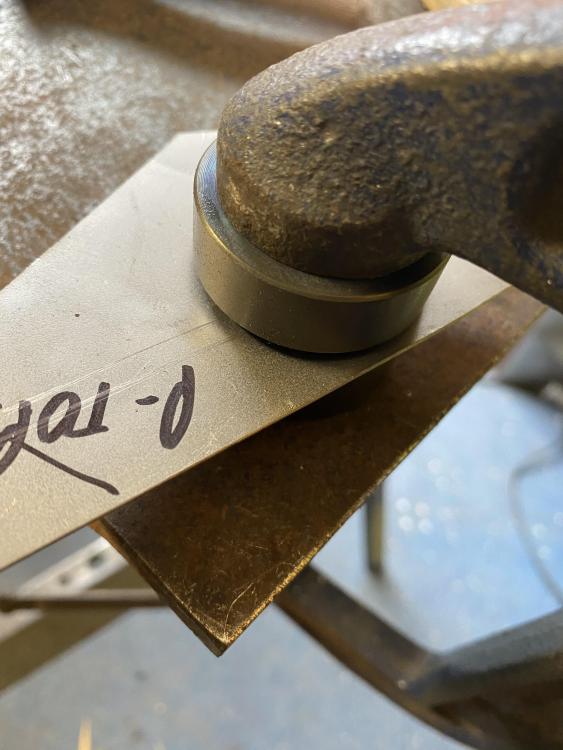
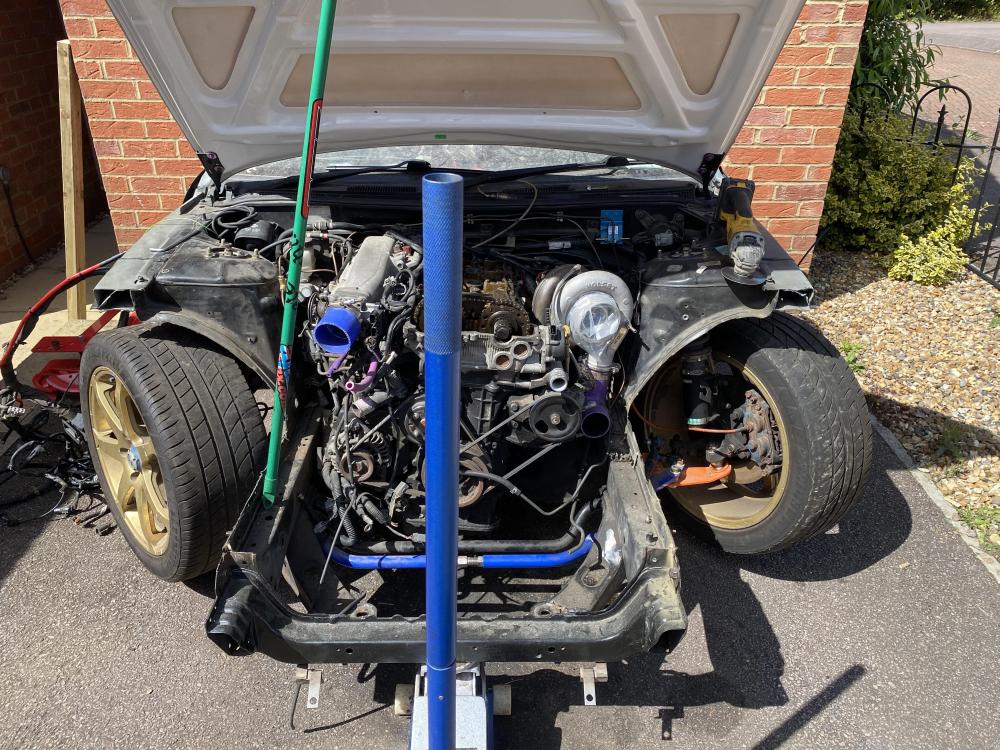
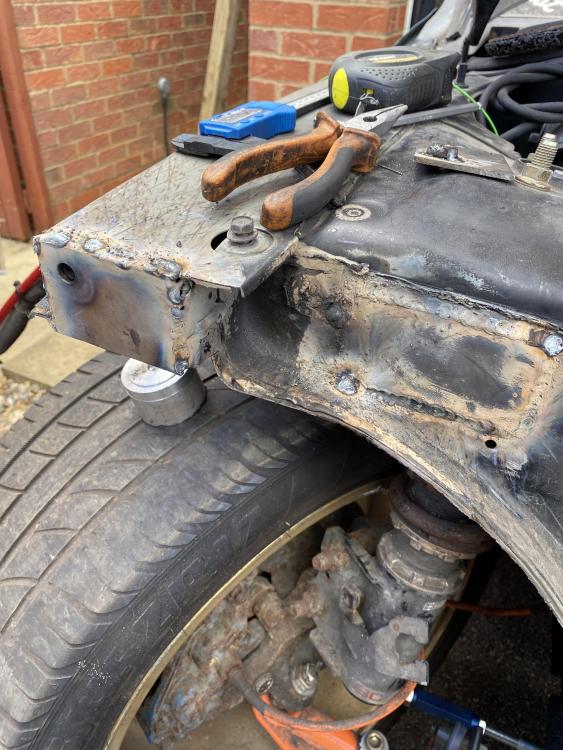
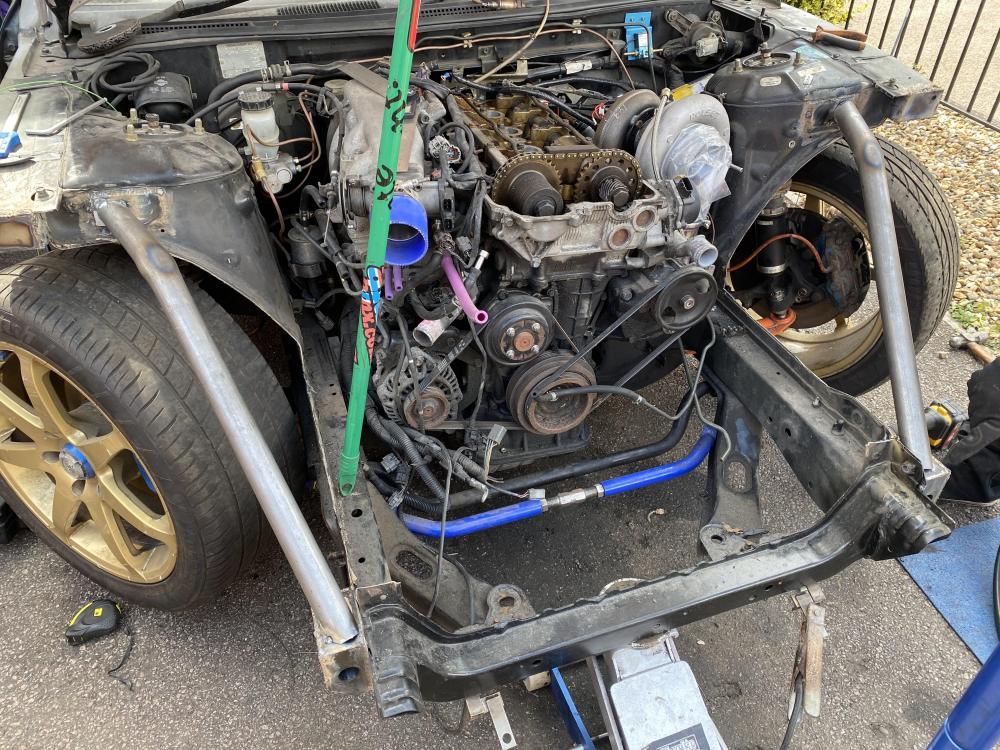
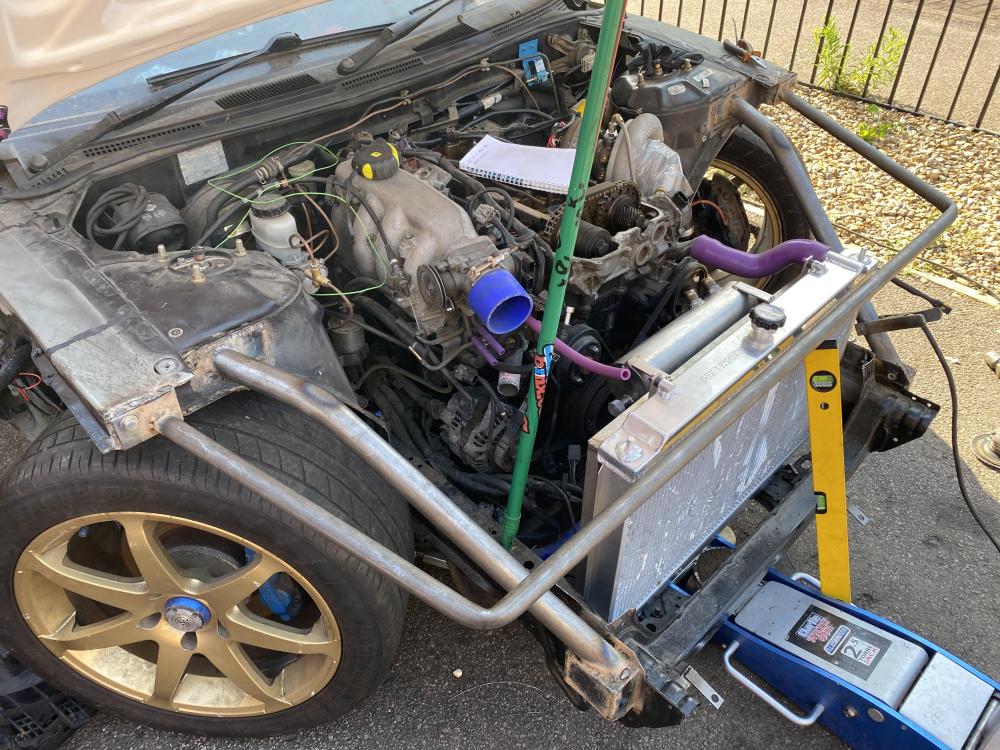
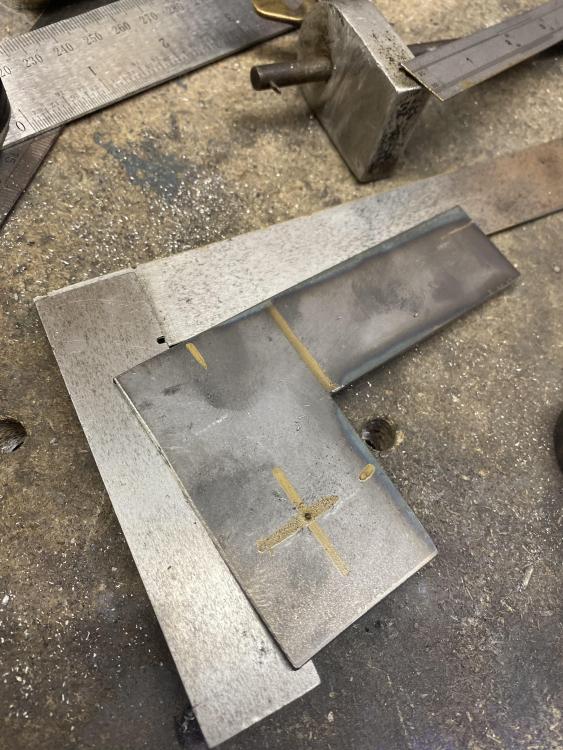
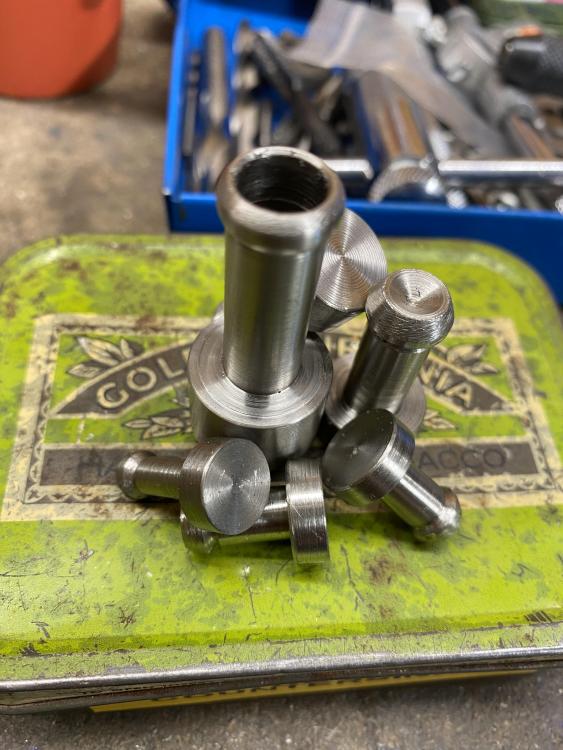
Started work on the tube front with a friend of mine. I machined some collars for a sliding system for the bash bar. Tubs were cut out first and chassis to turret braces welded to boxes. The front bar is removable to allow the engine to come out easily. Next up is some braces and radiator brackets are next on the list


-
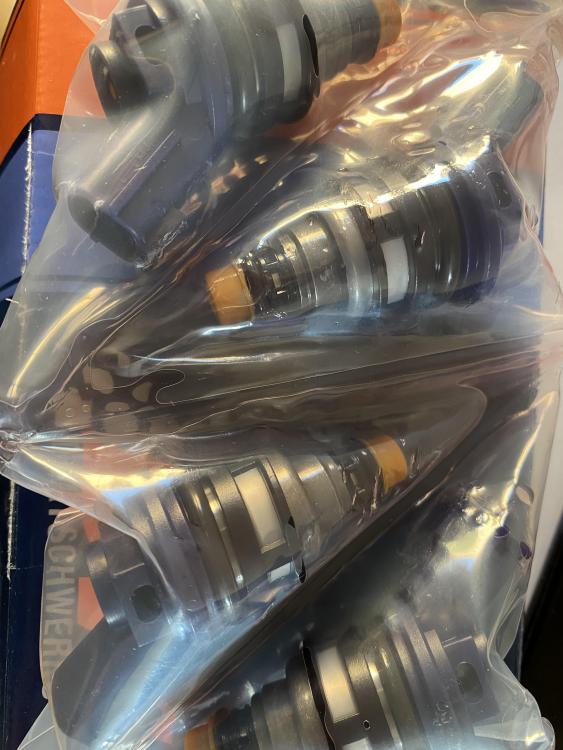
Cut and tacked up a passenger side solid seat rail. The drivers bucket seat will move to the passenger side to make way for a Bride seat in the drivers side. Deatschwerks 740cc injectors and a Kaaz 2 way LSD also arrived


-
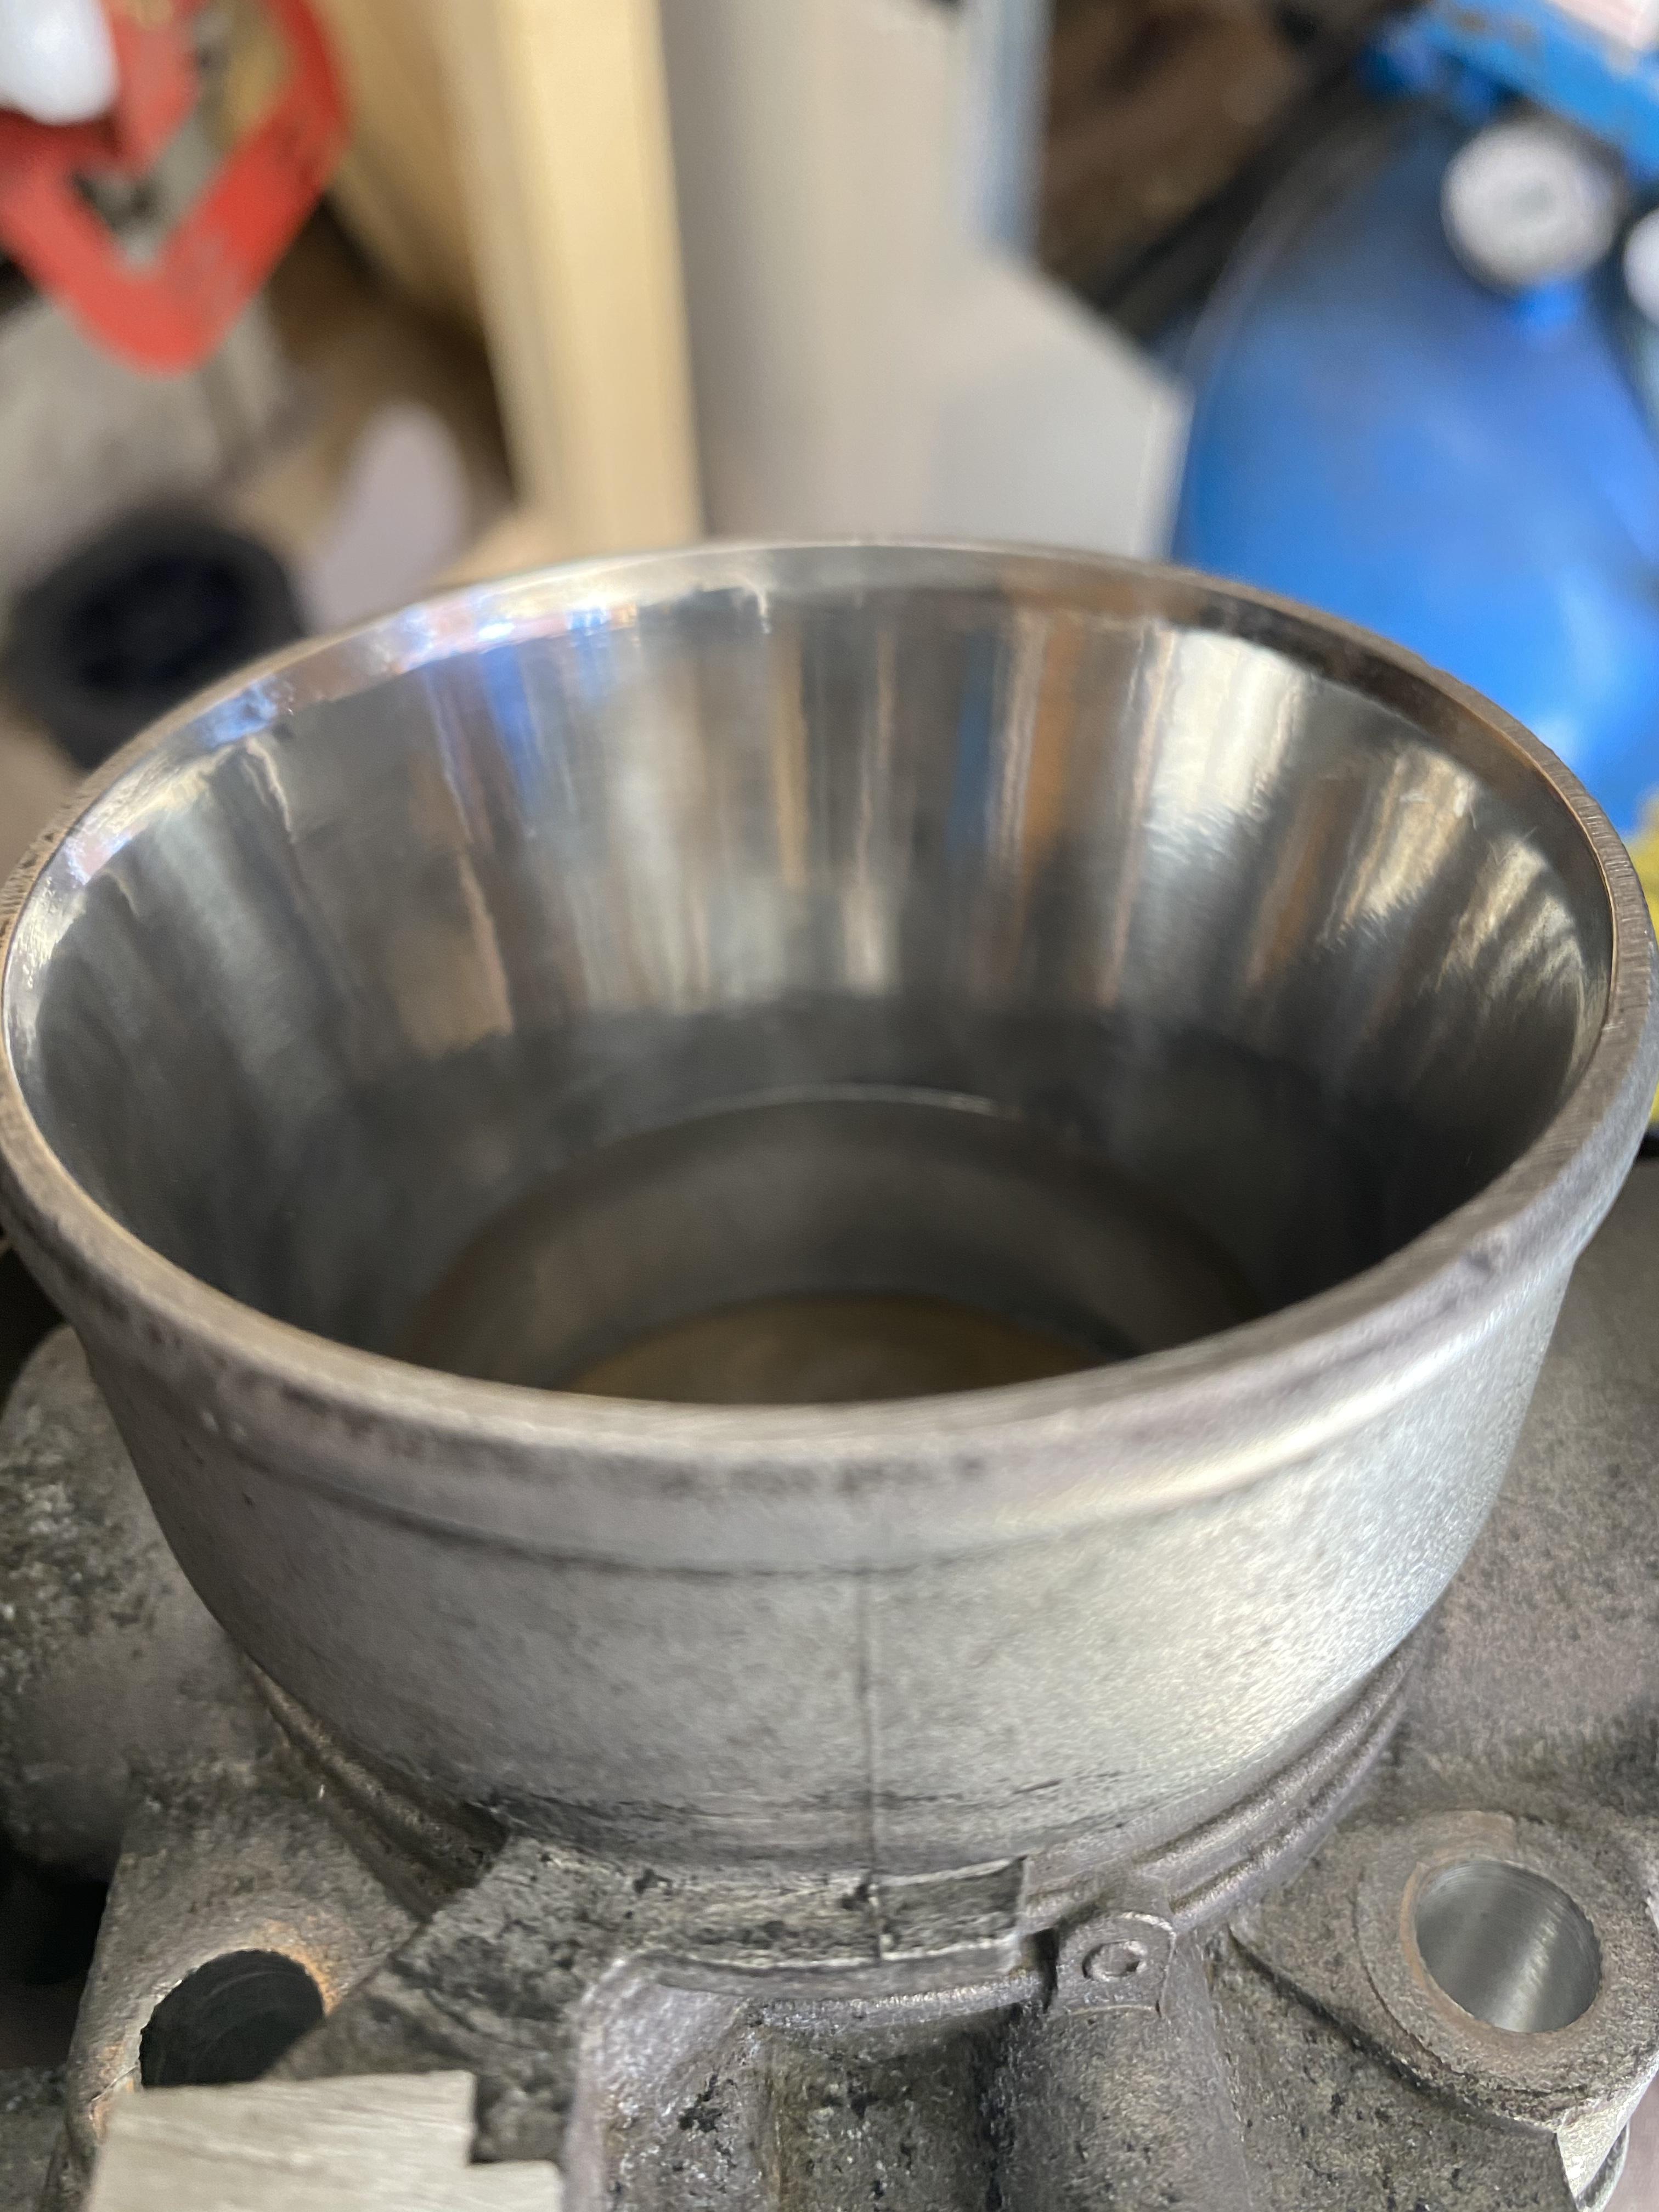
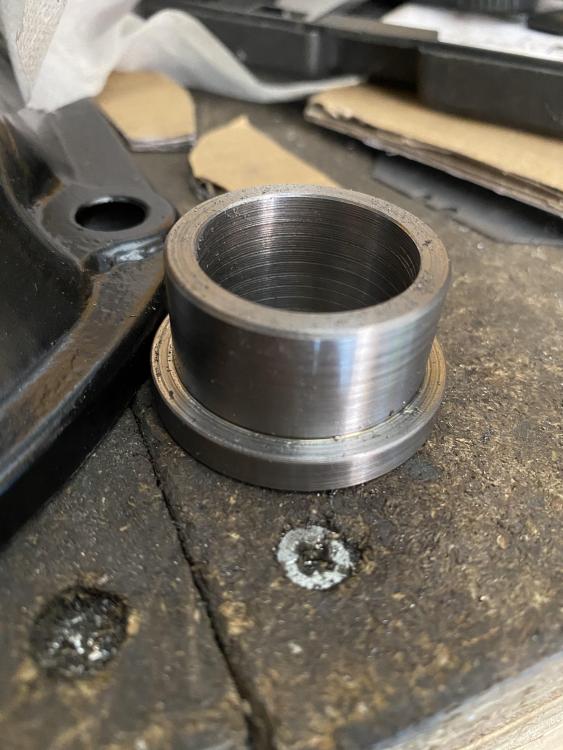
Machined a few hose blanks to remove the wax stat and various vacuum hose deletes. Whilst the throttle body was off I polished out the casting marks inside

-
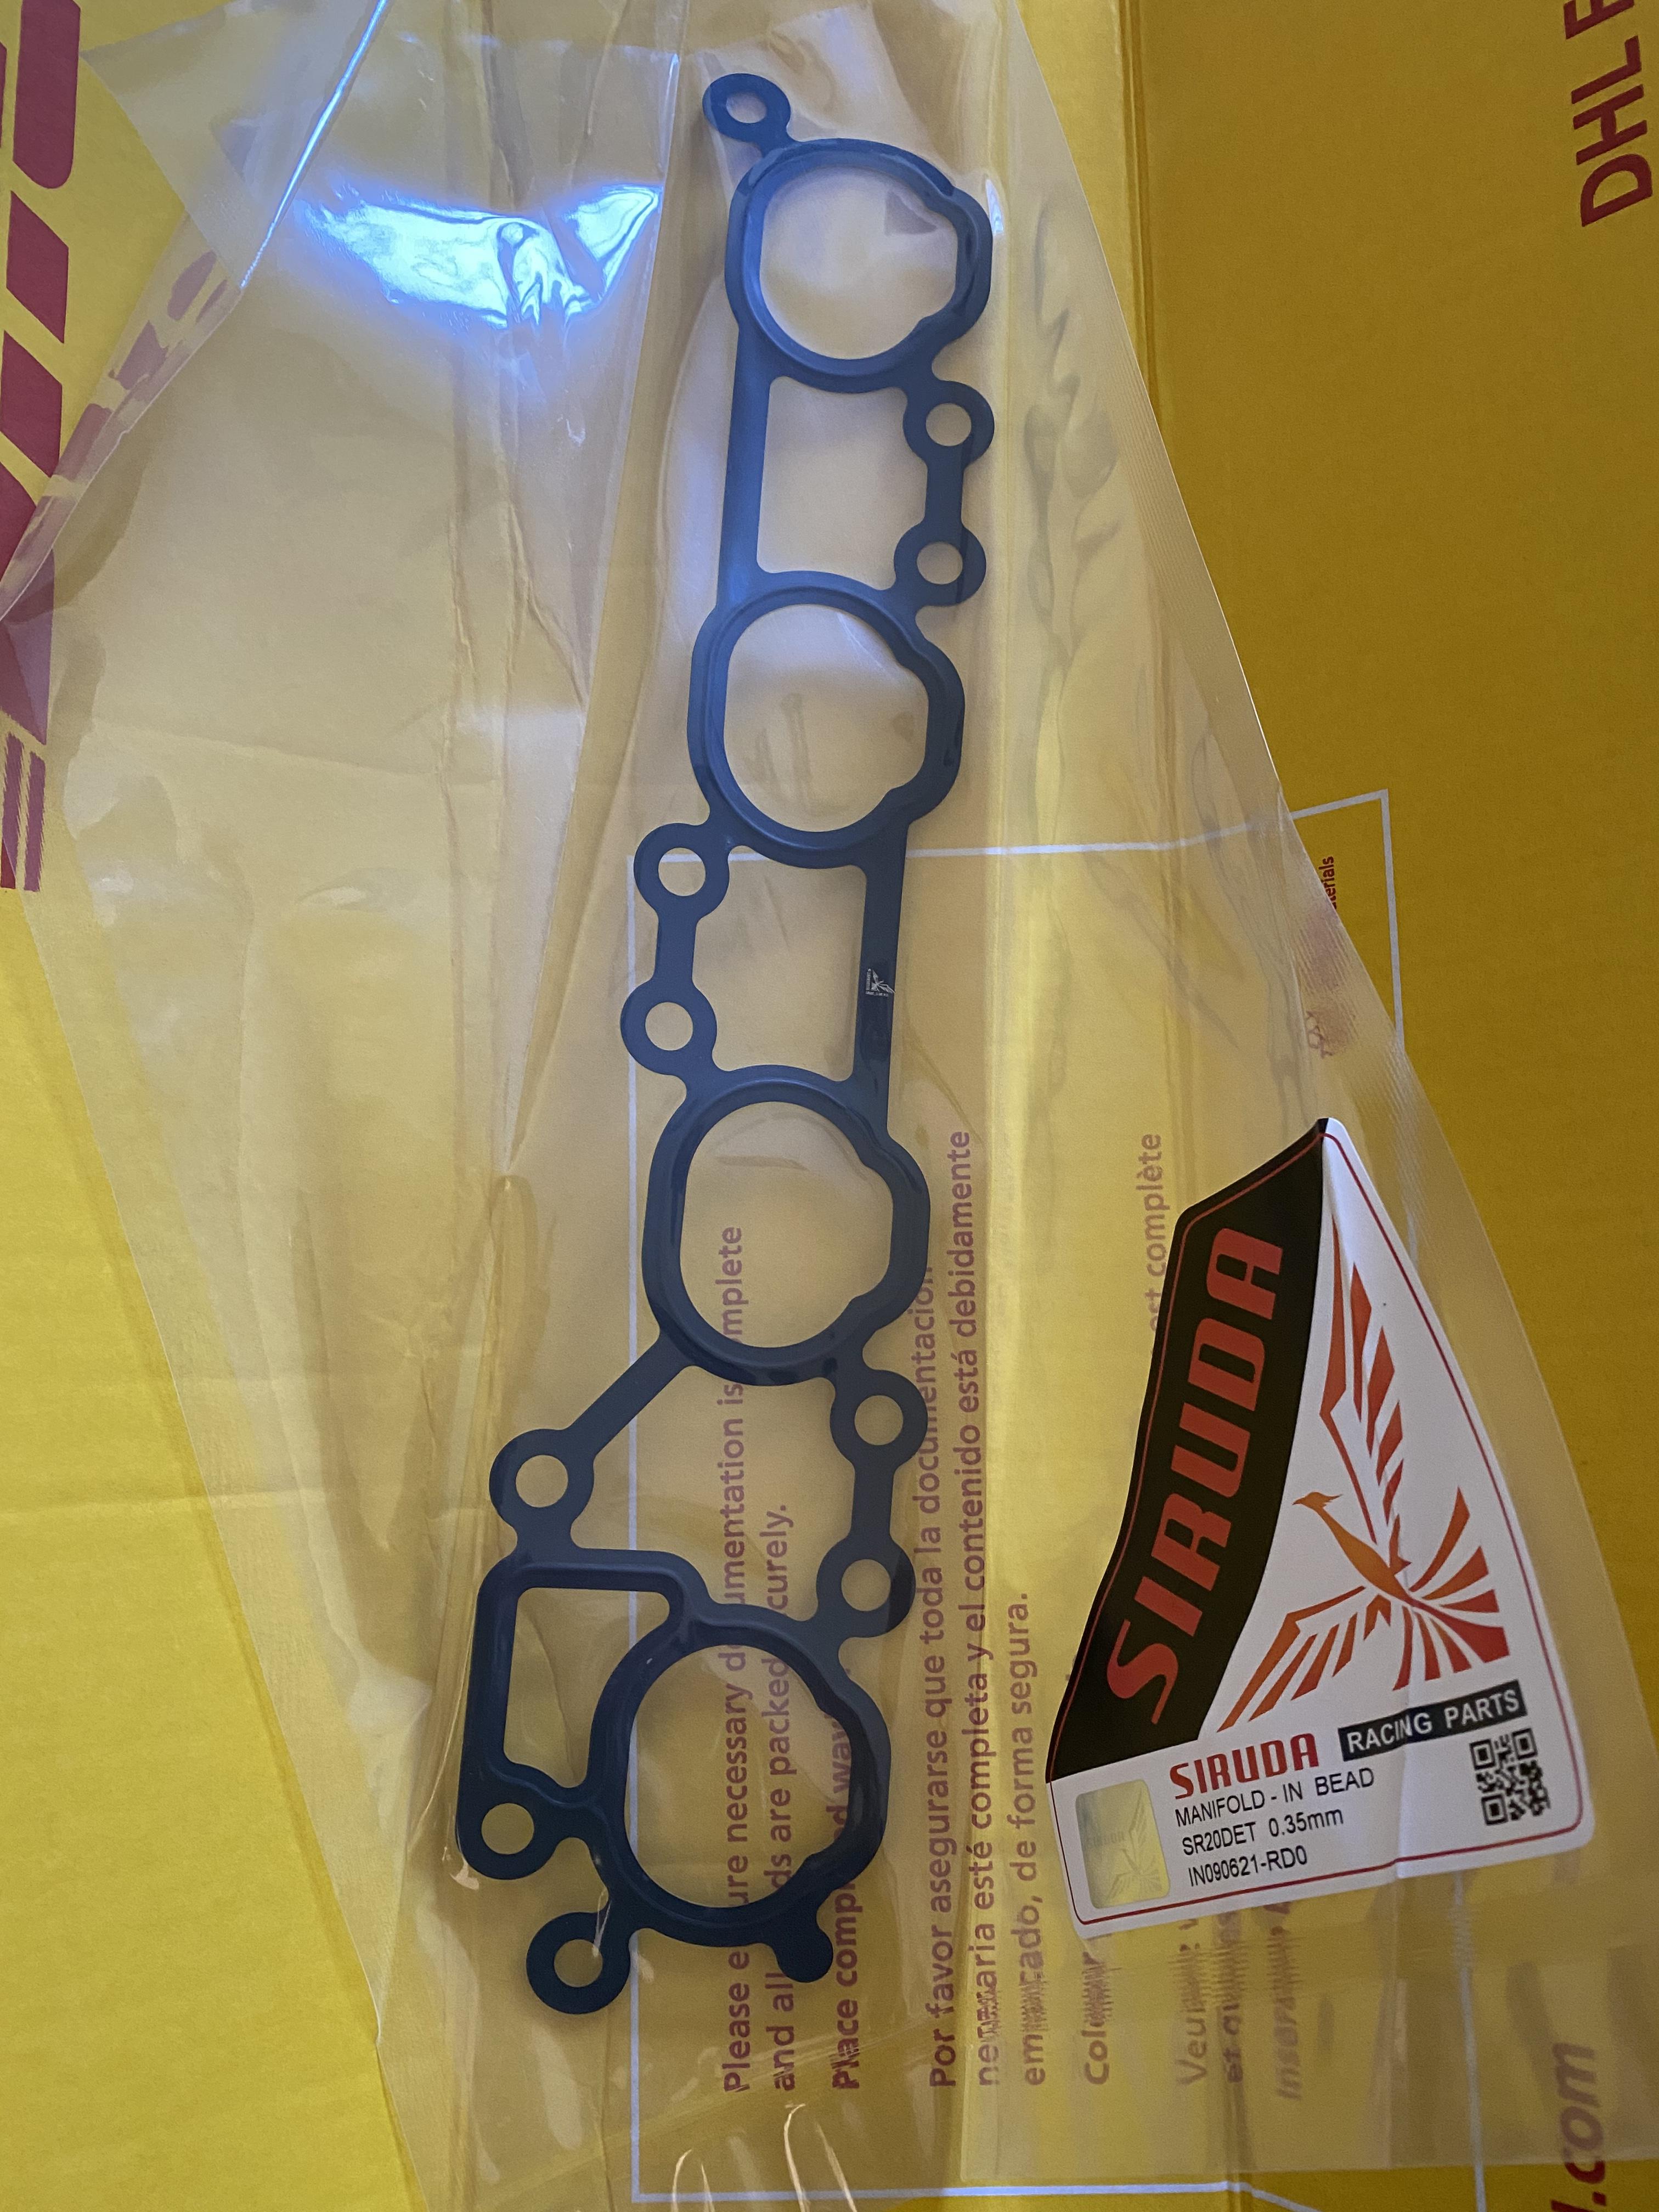
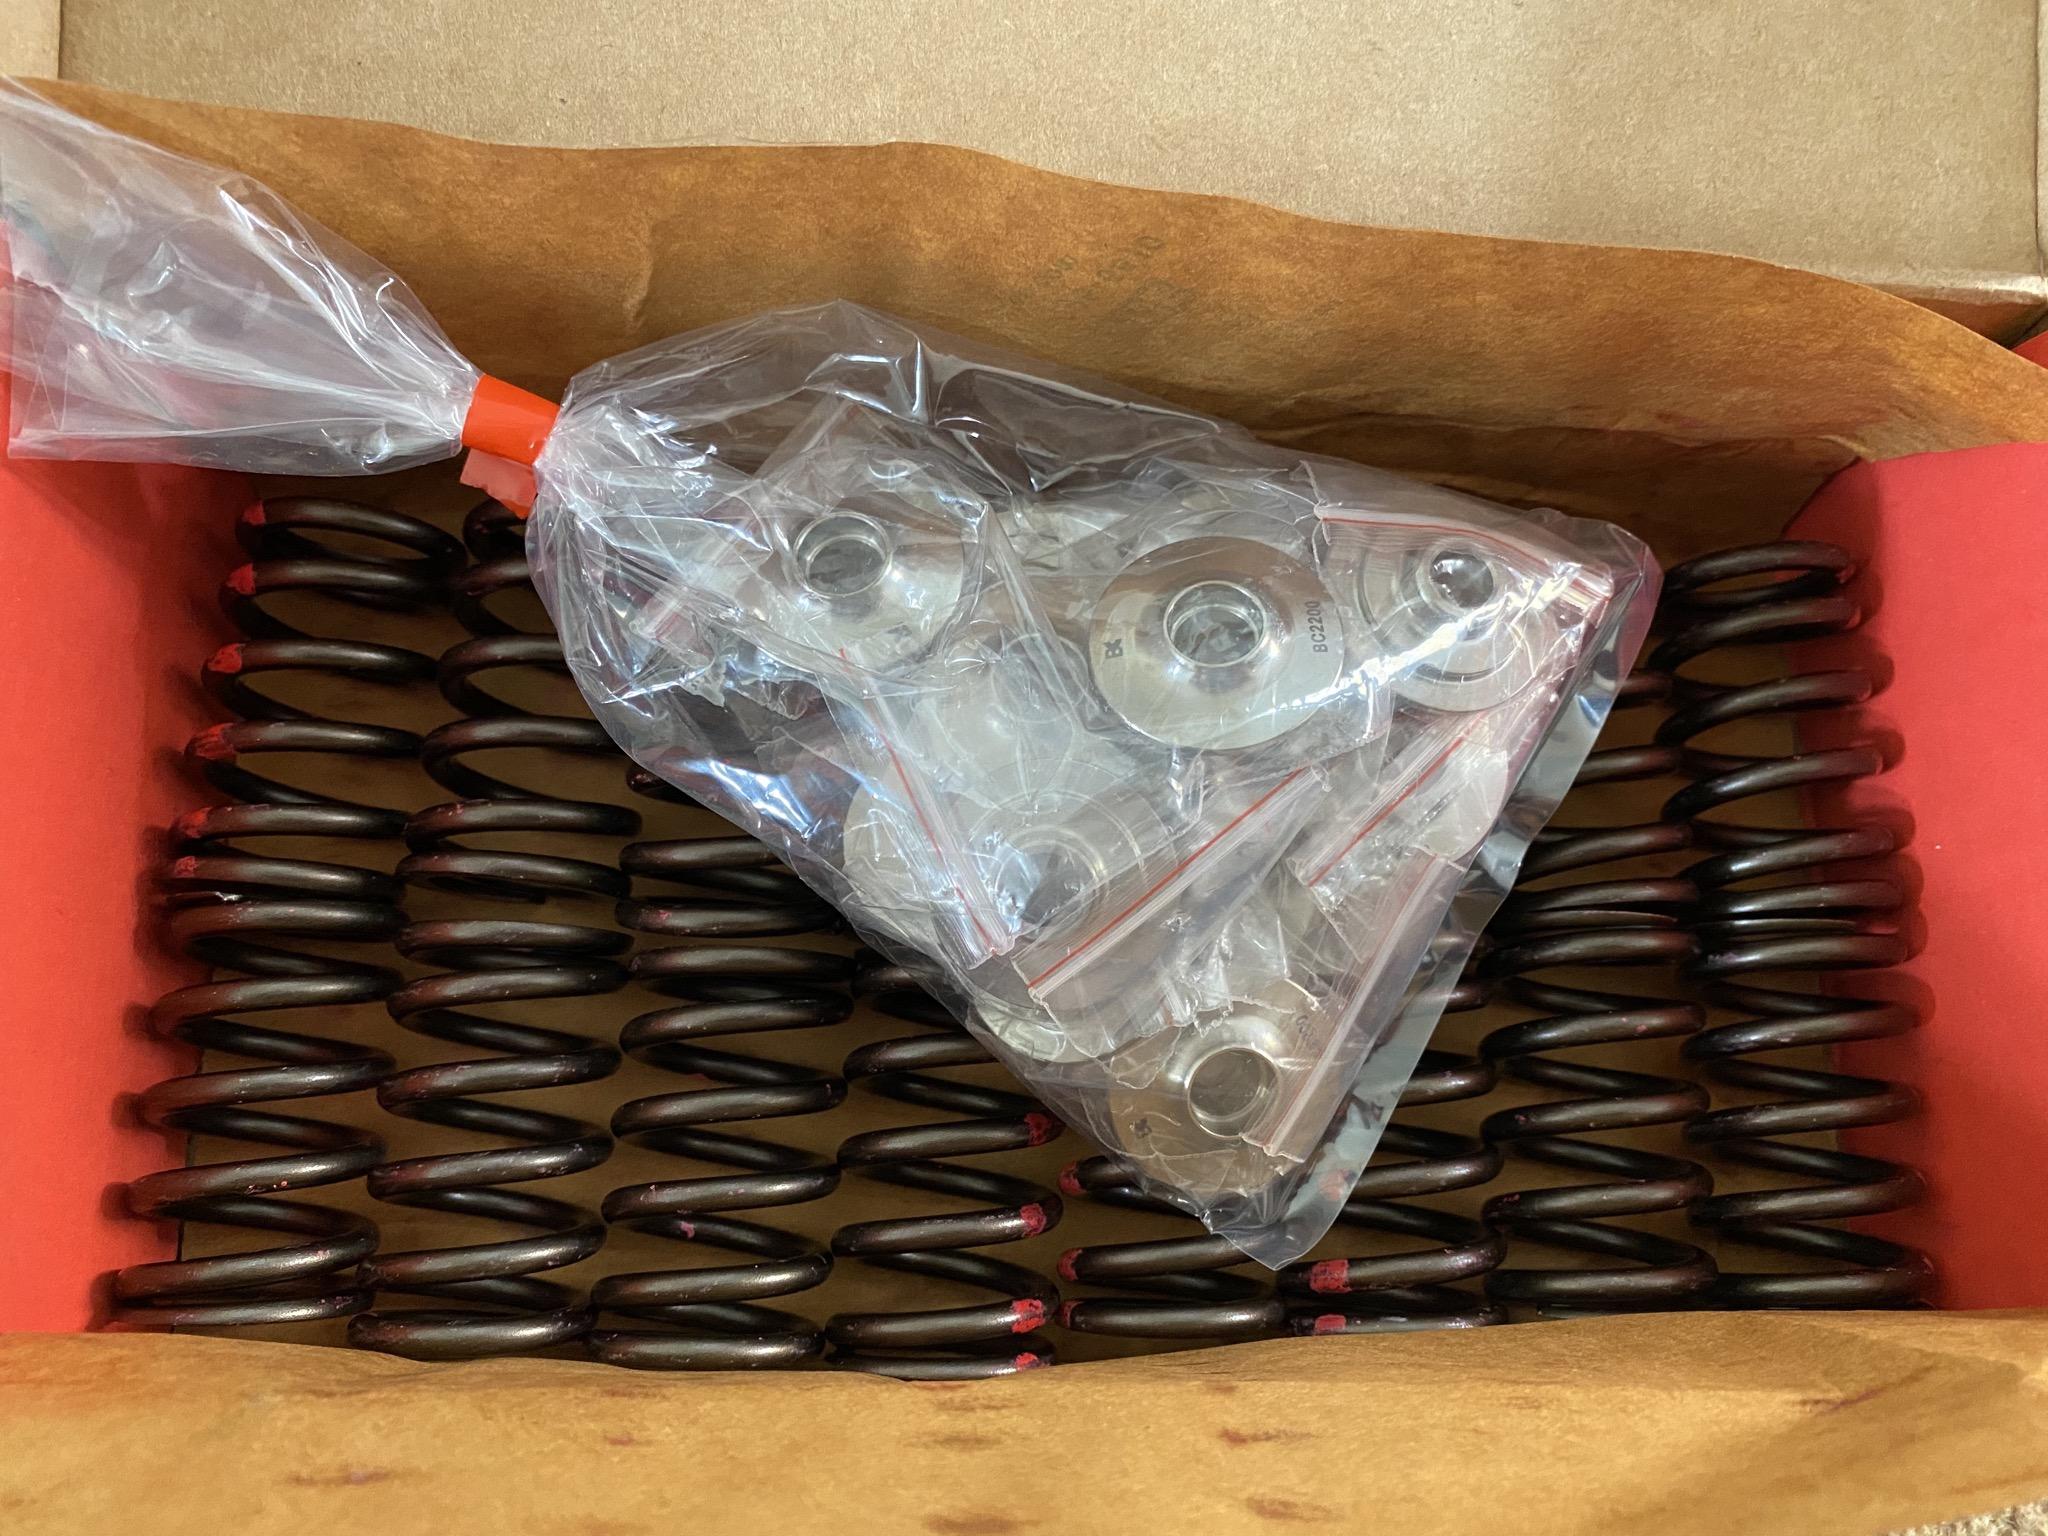
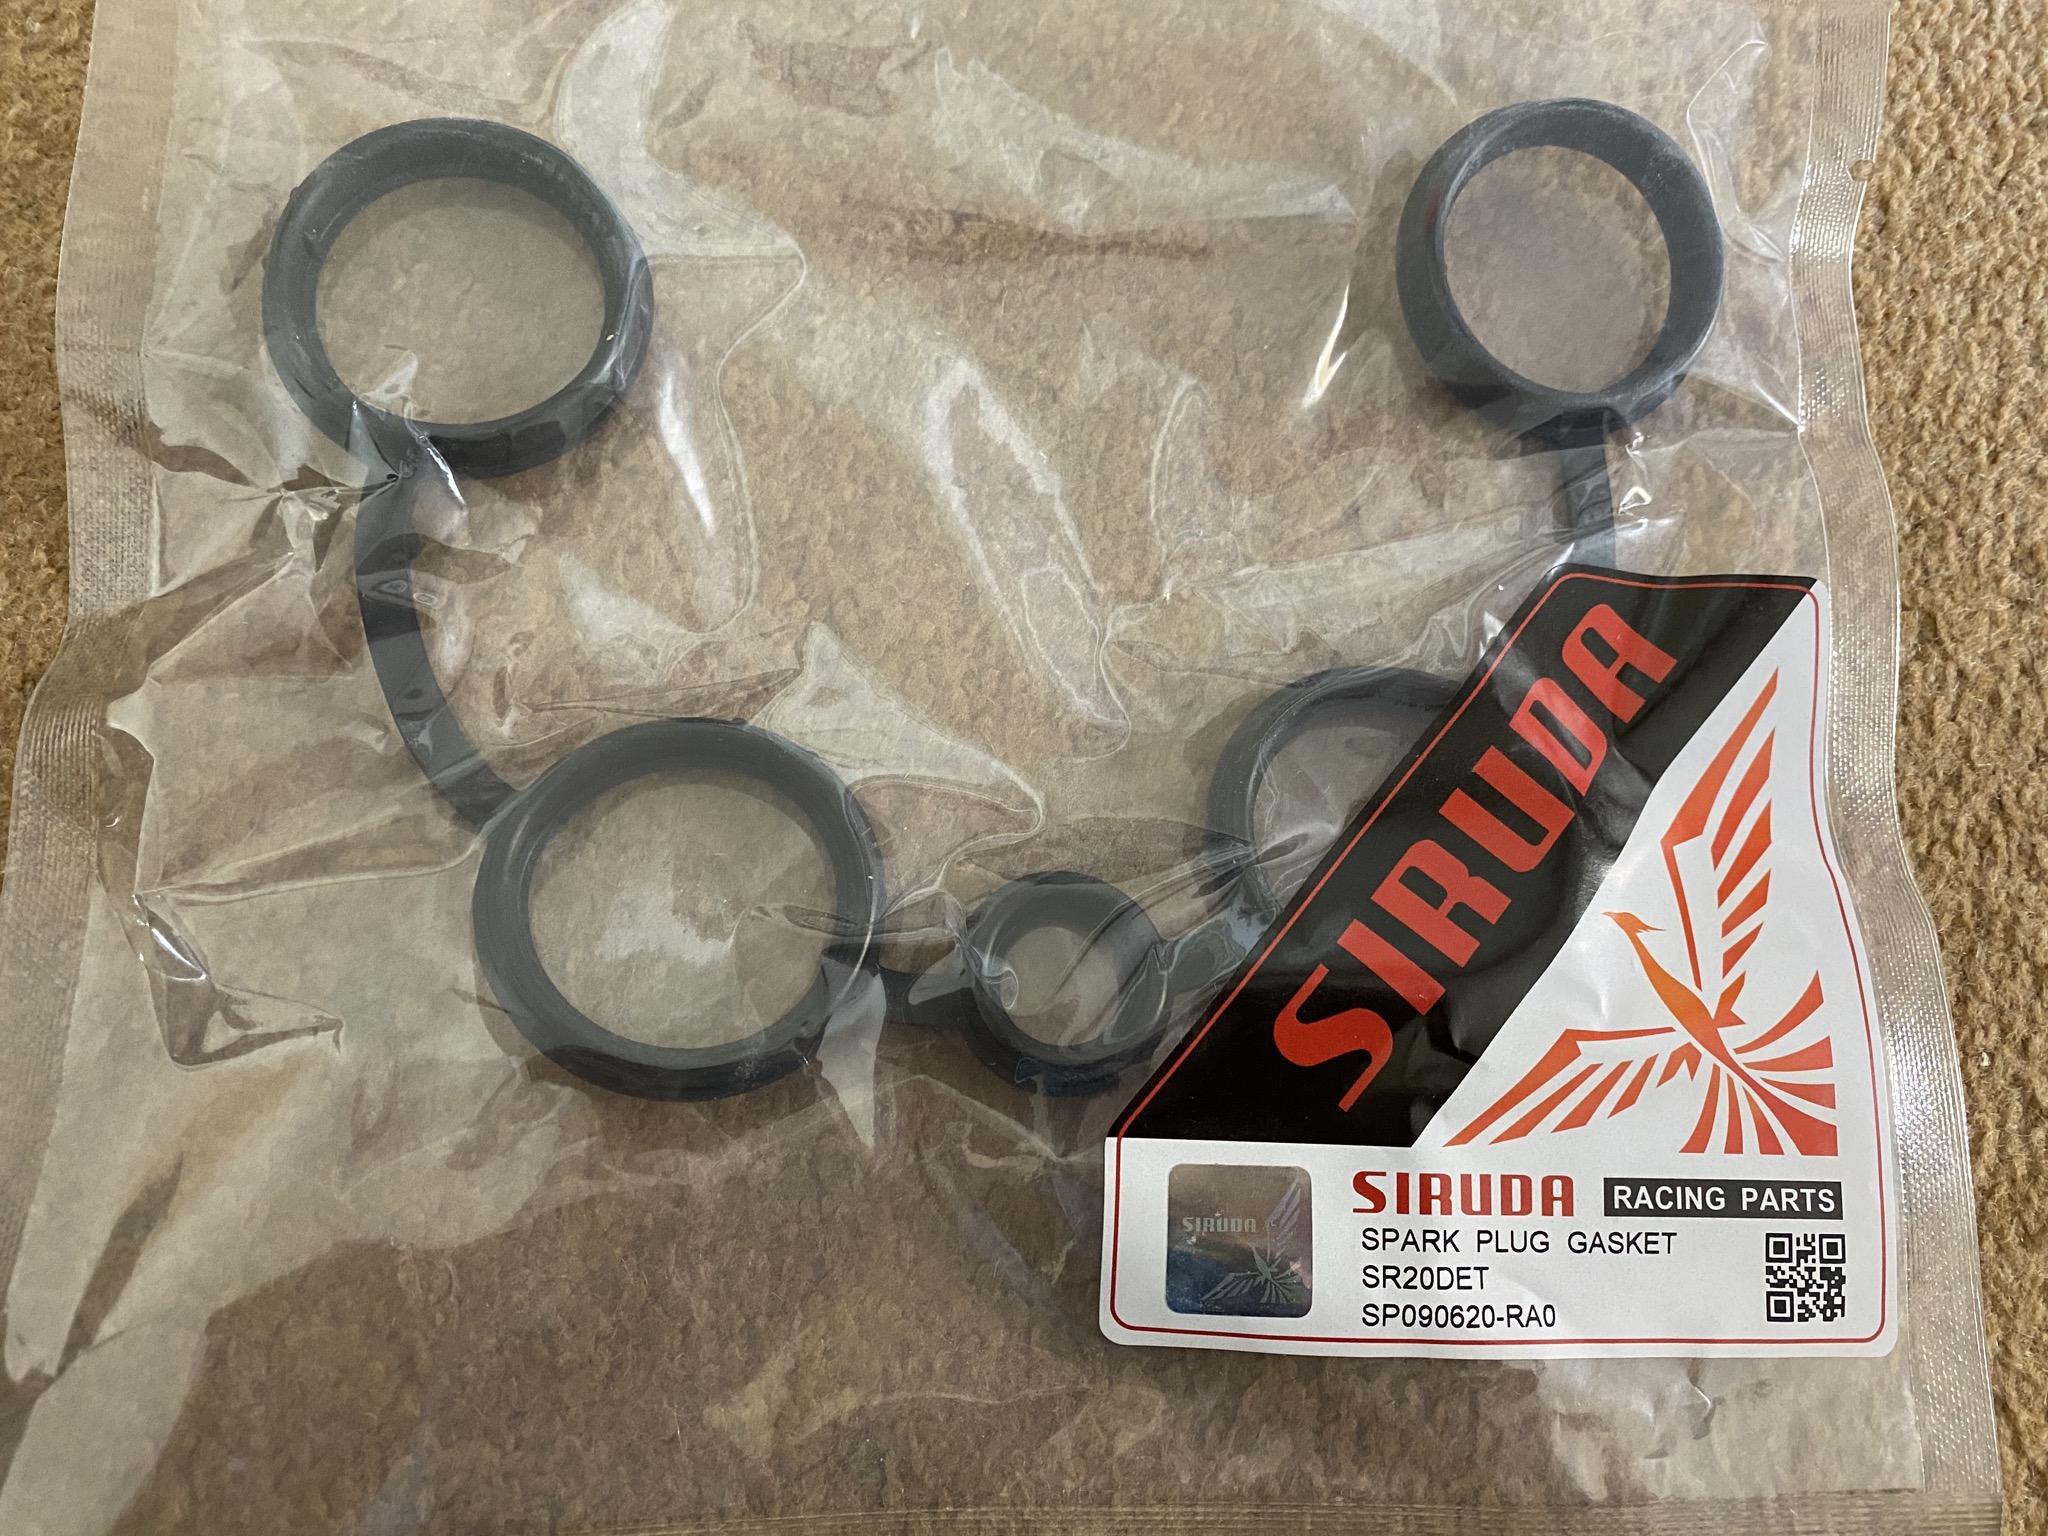
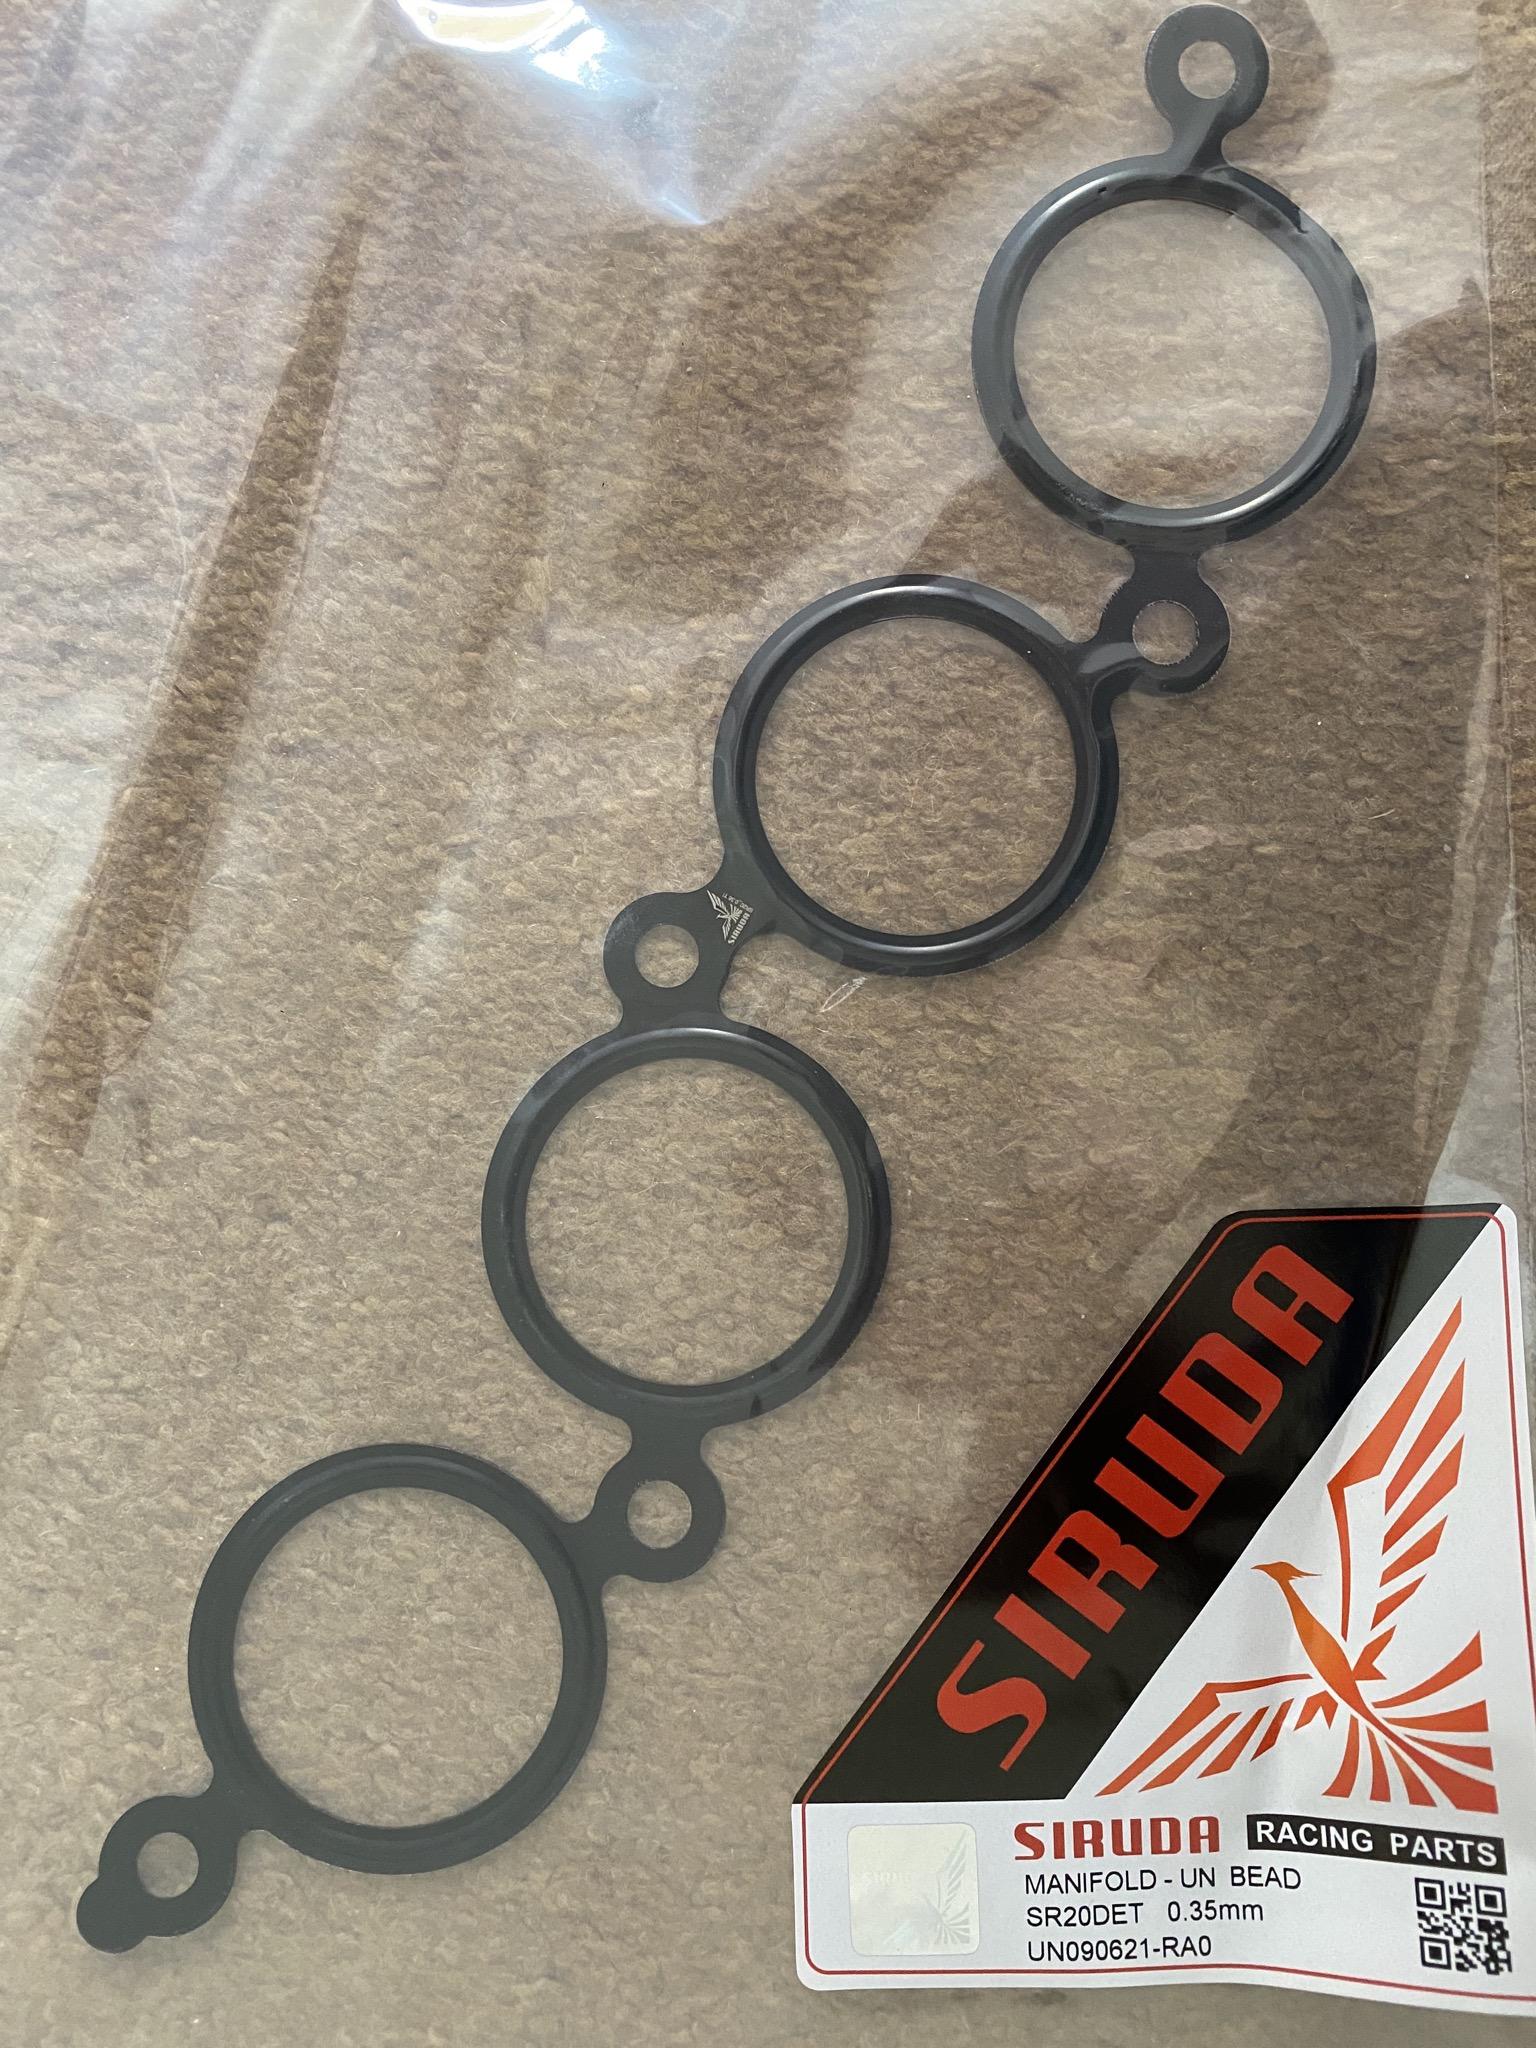
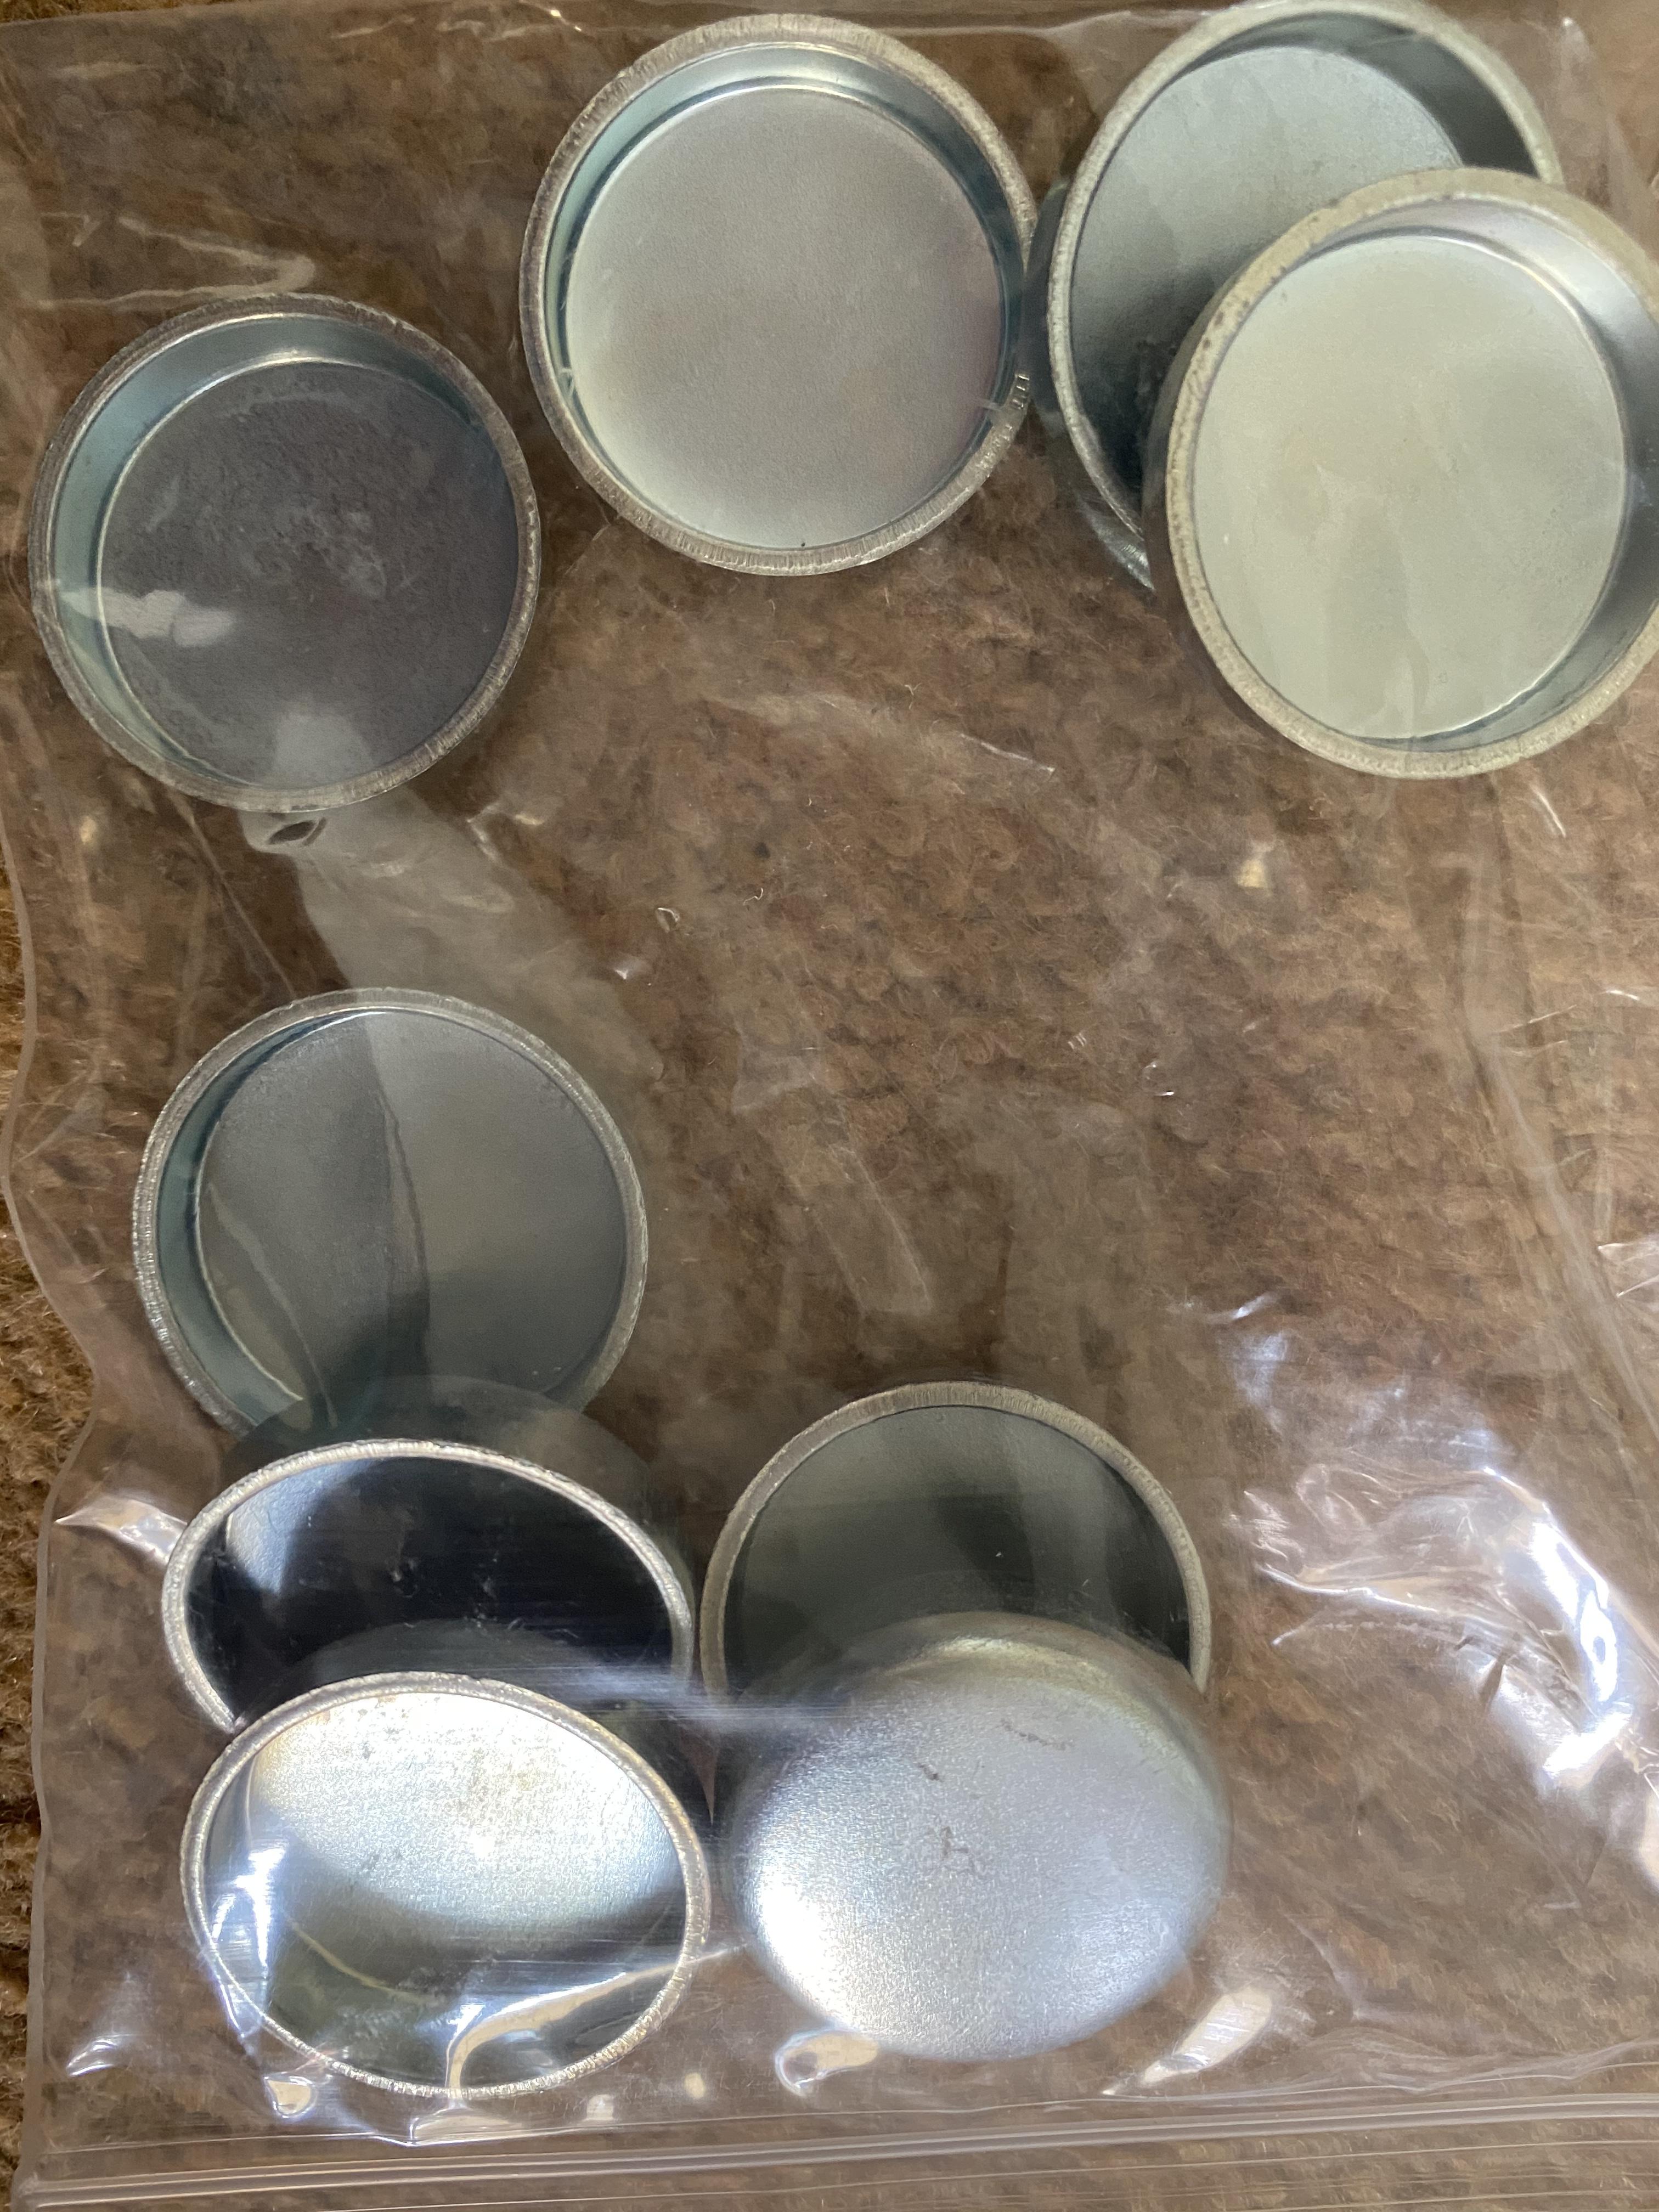
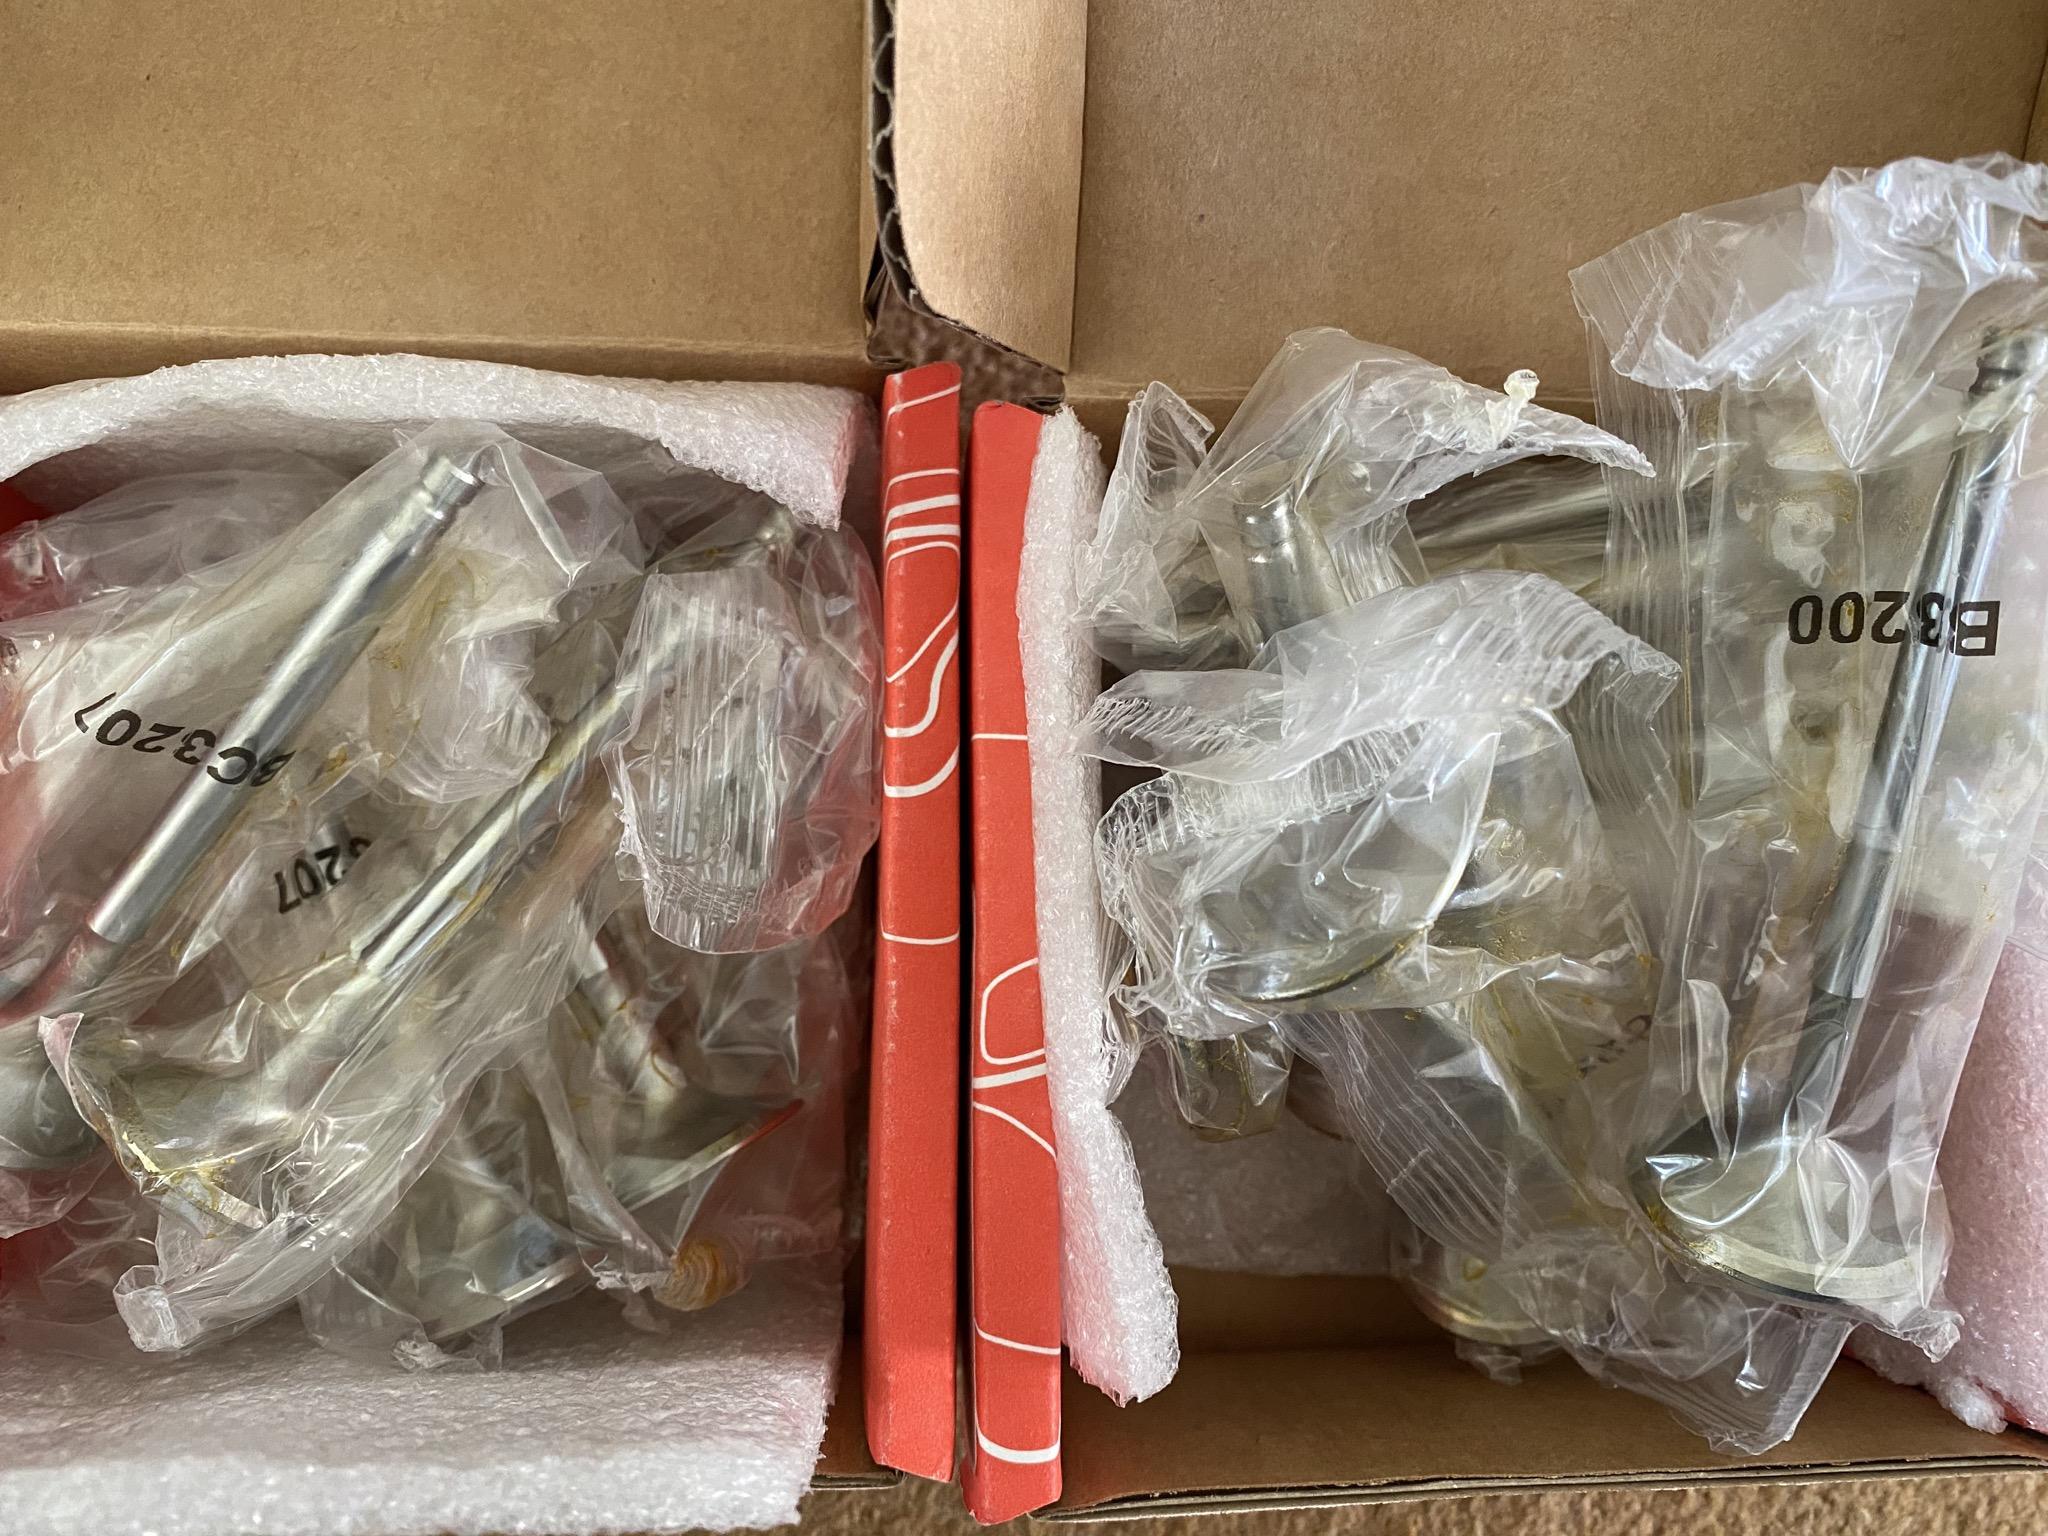
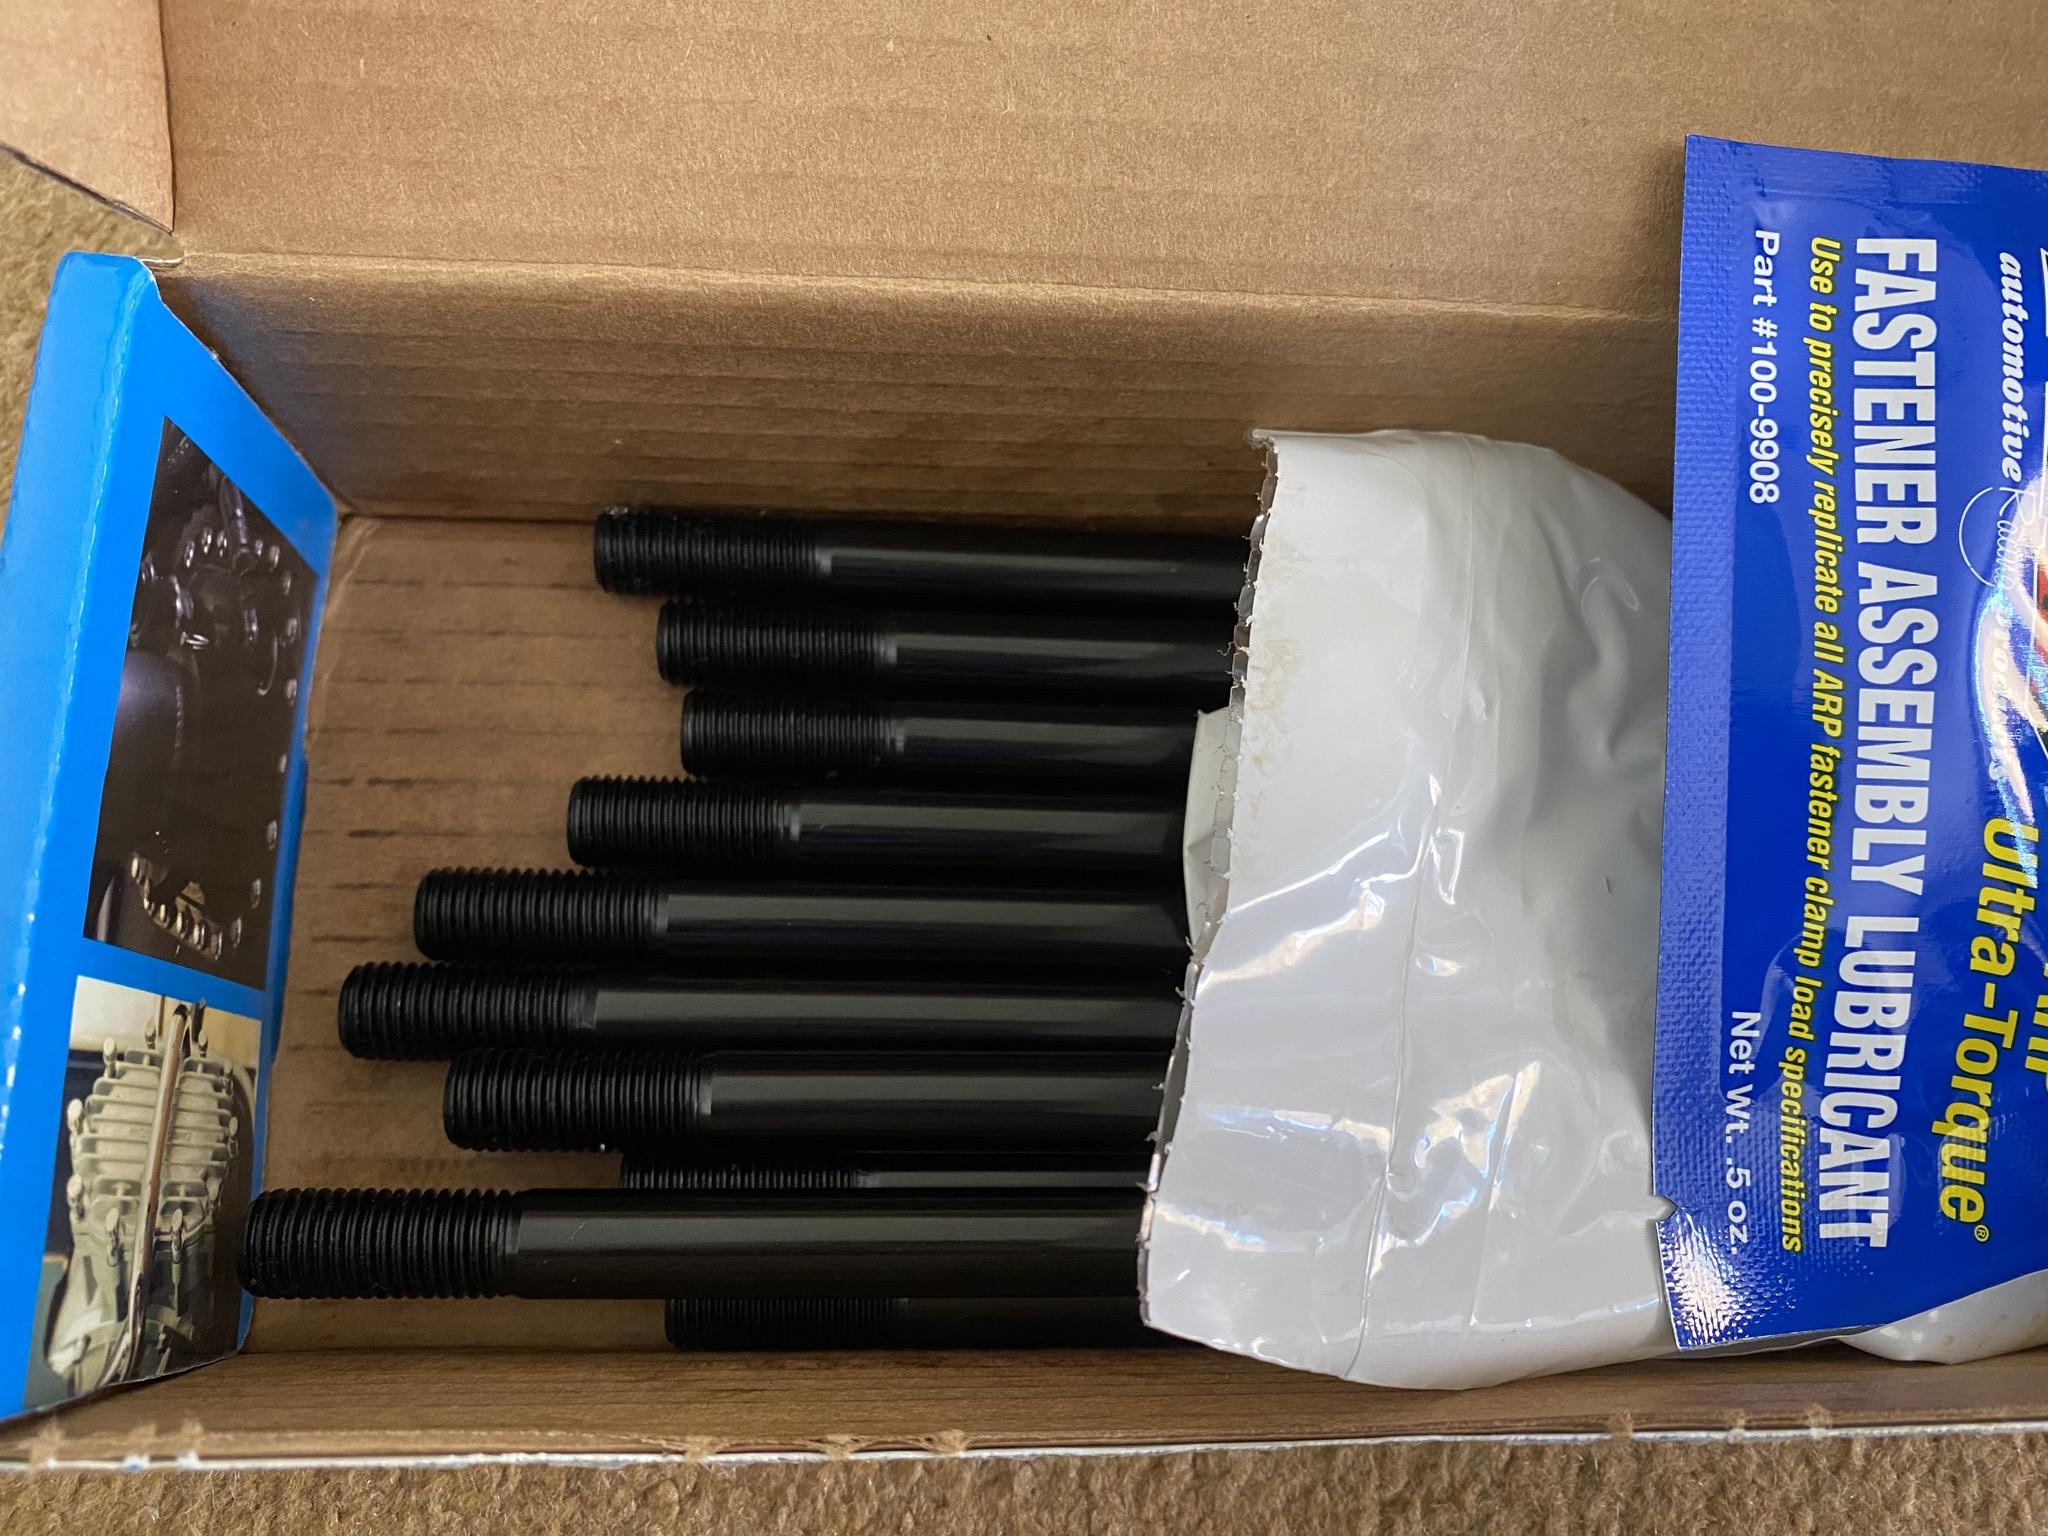
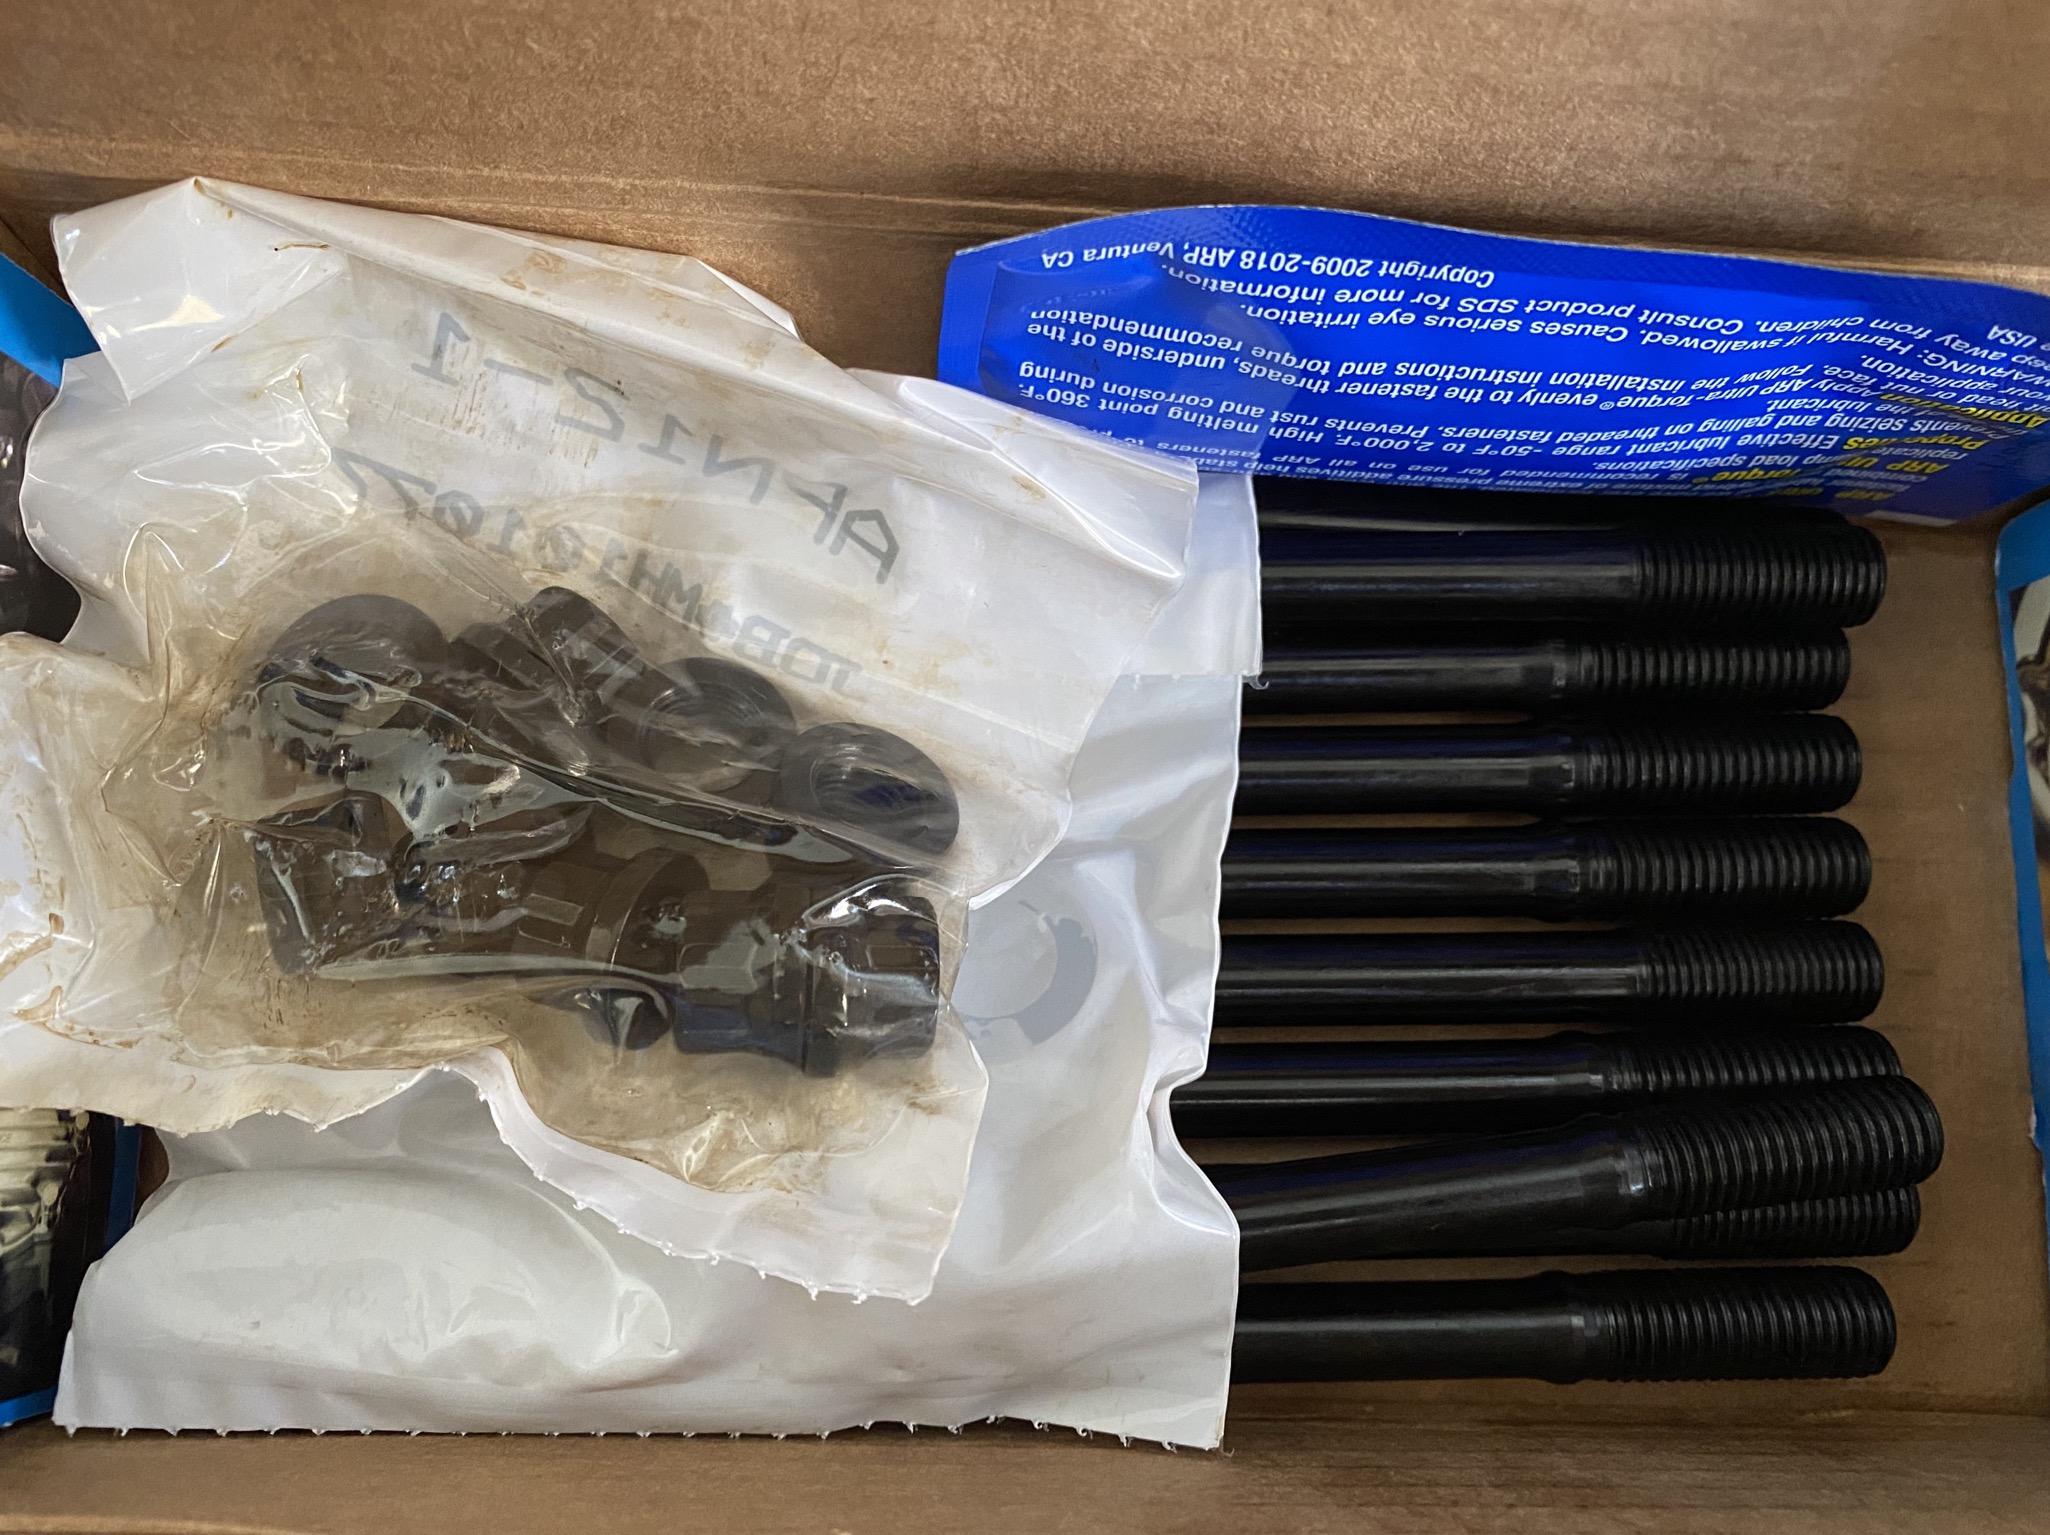
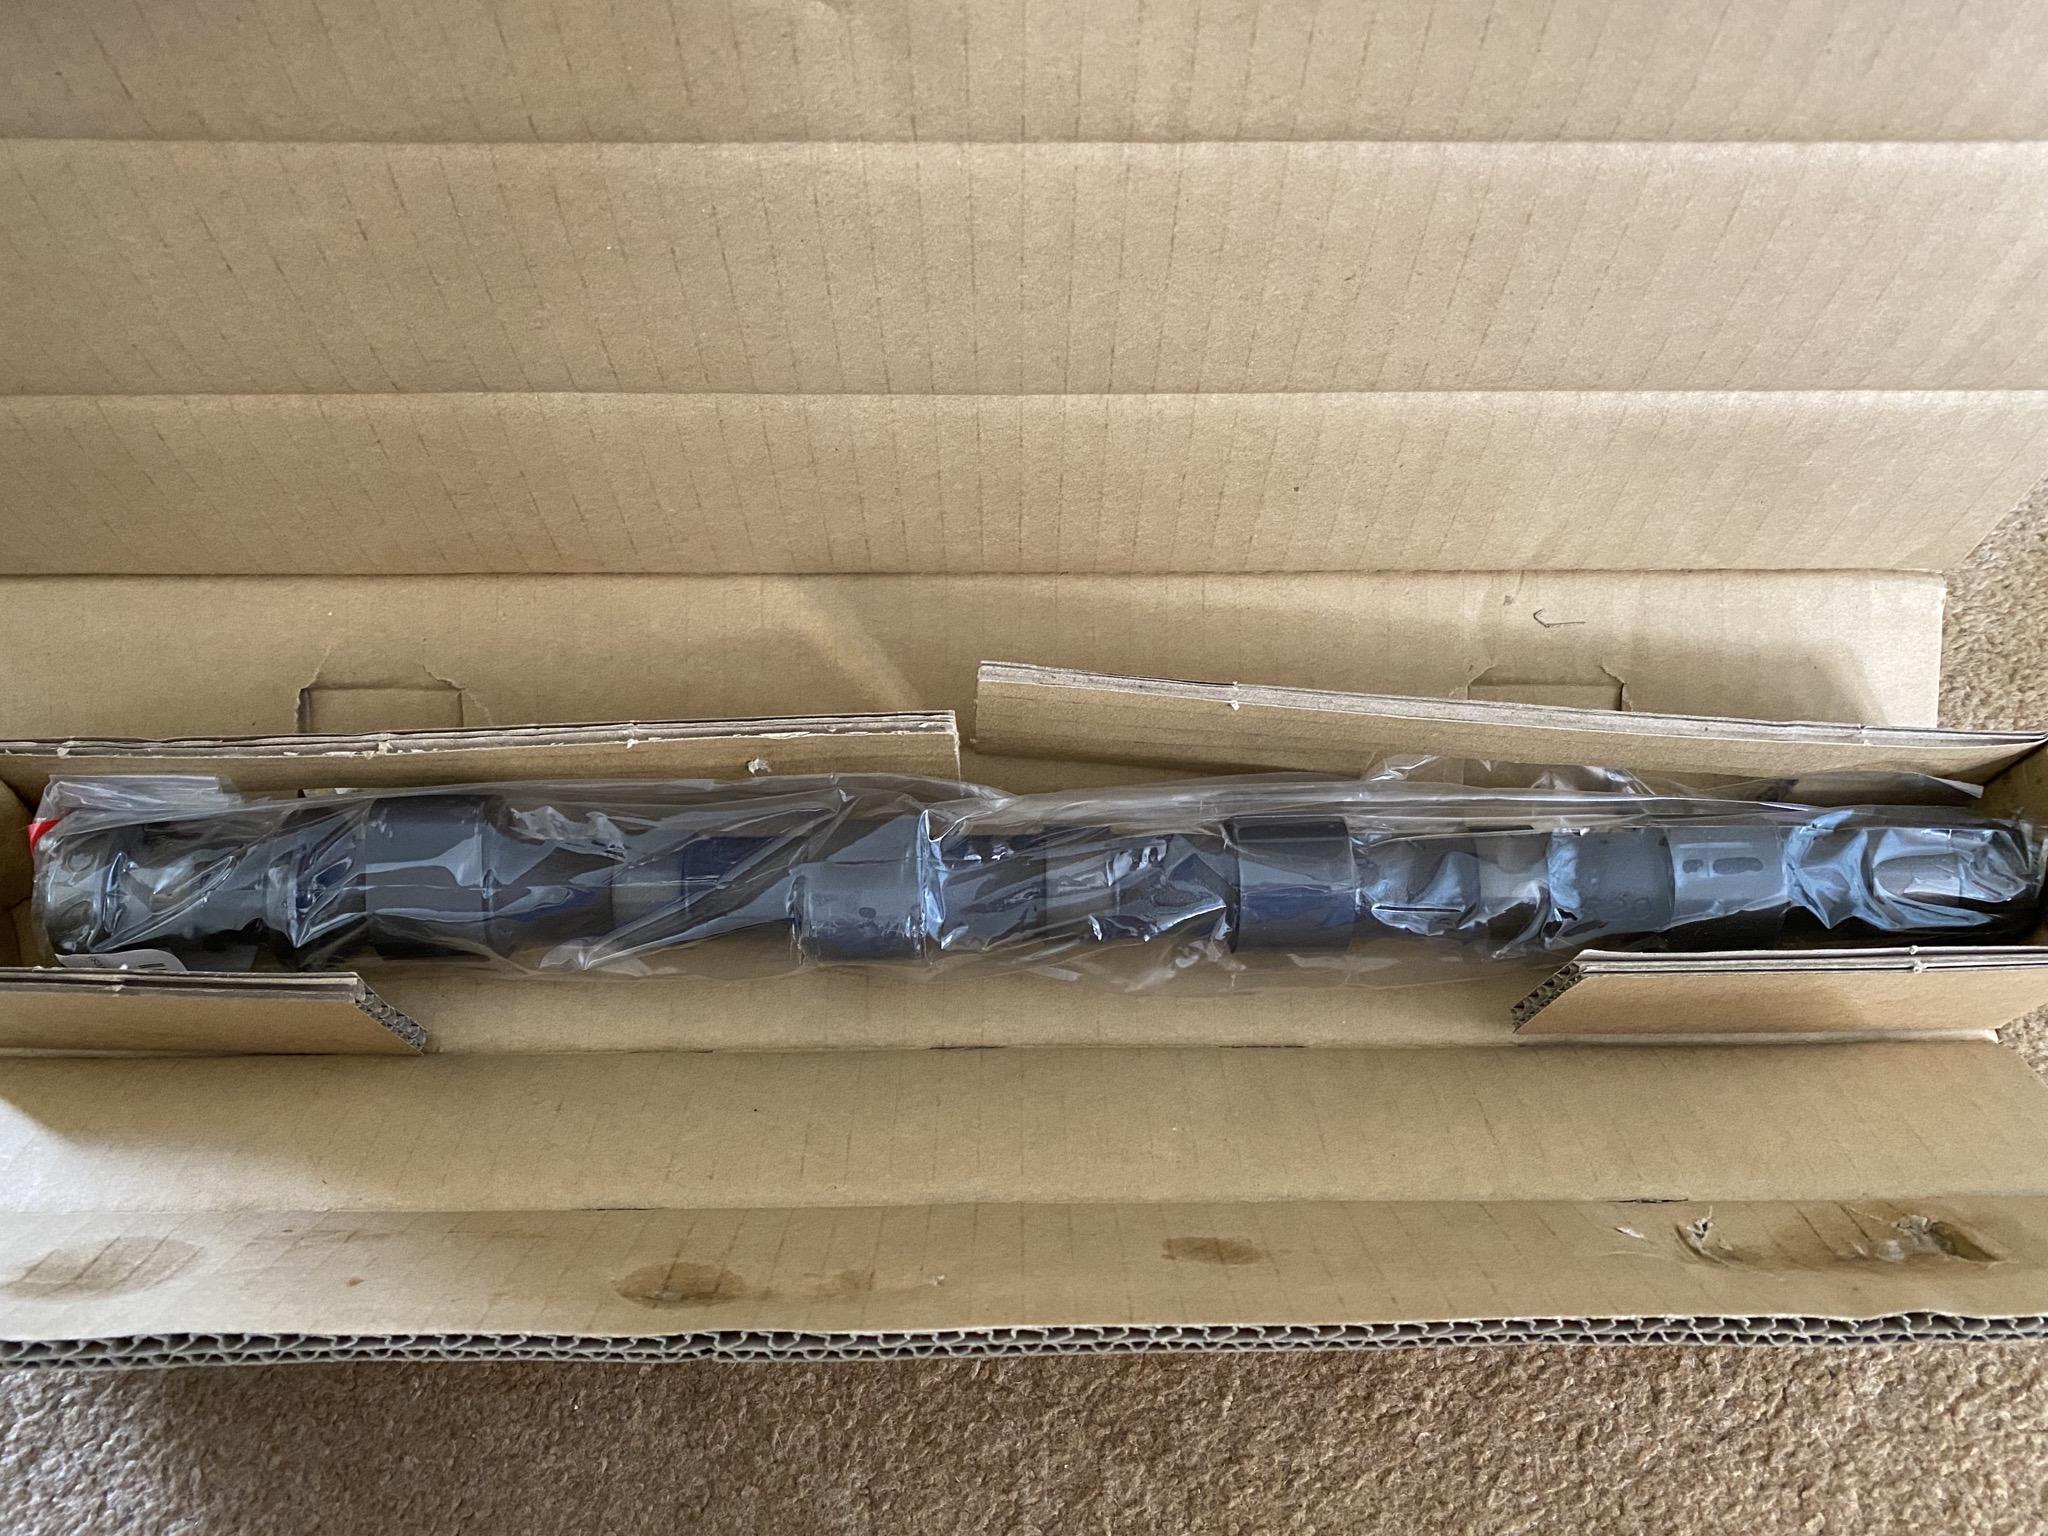
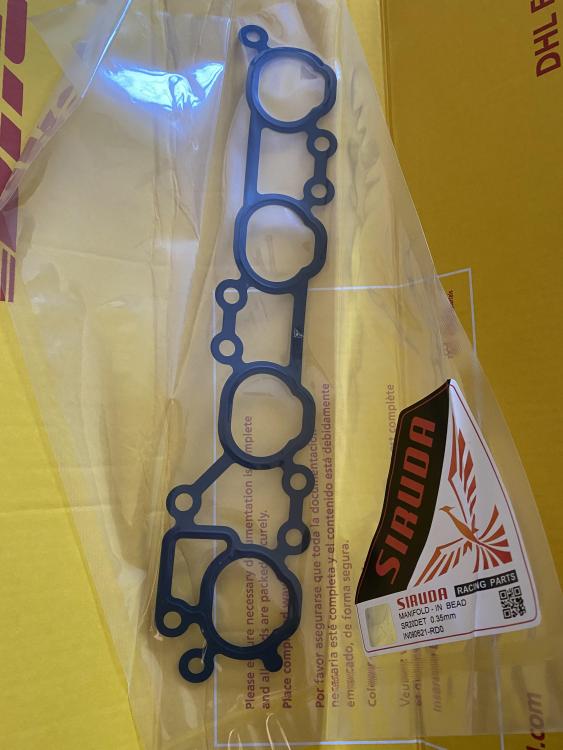
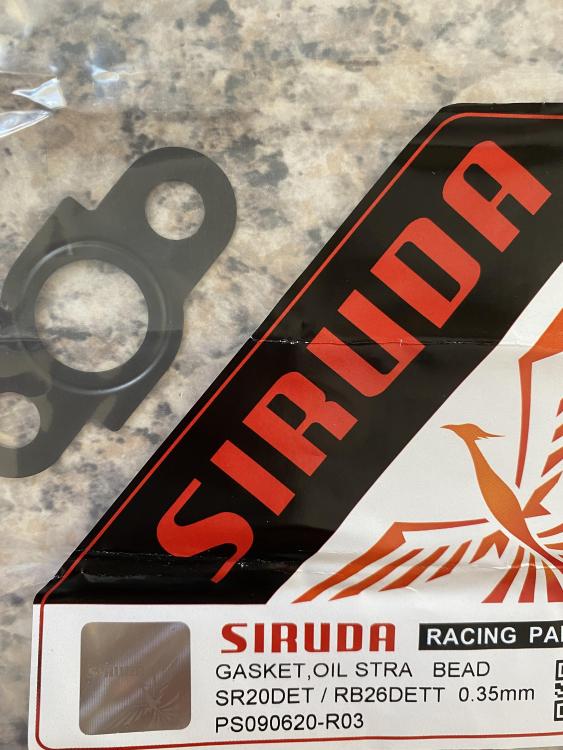
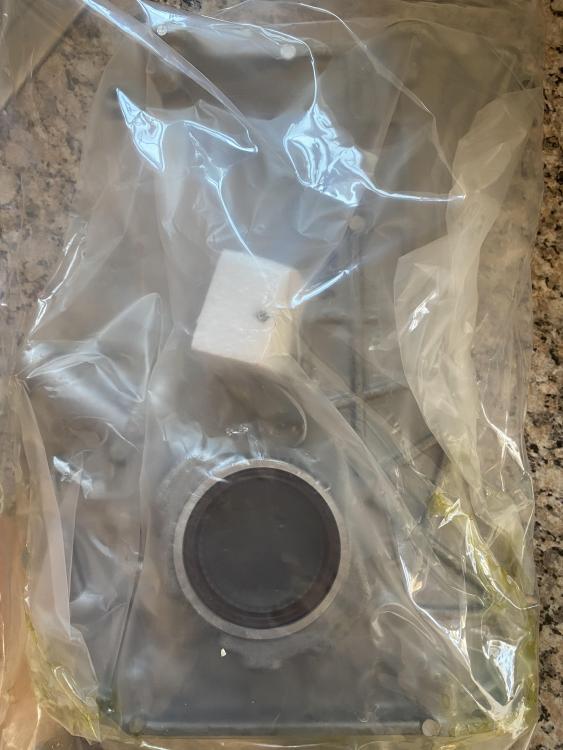
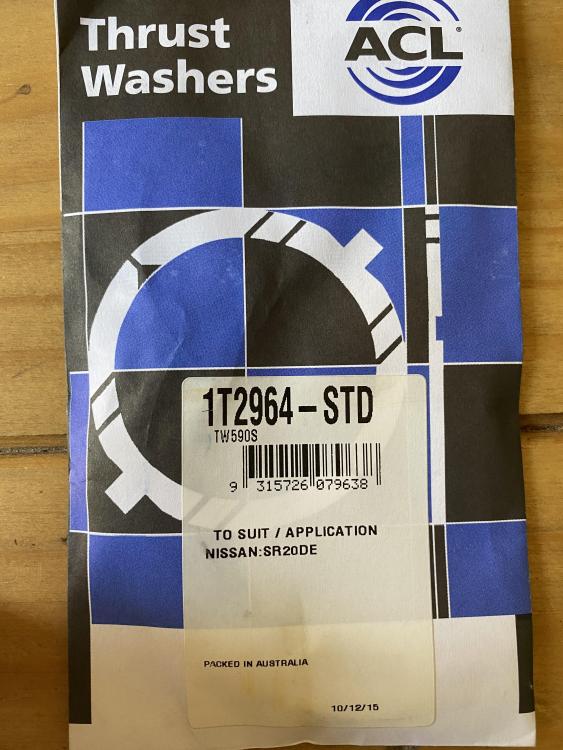
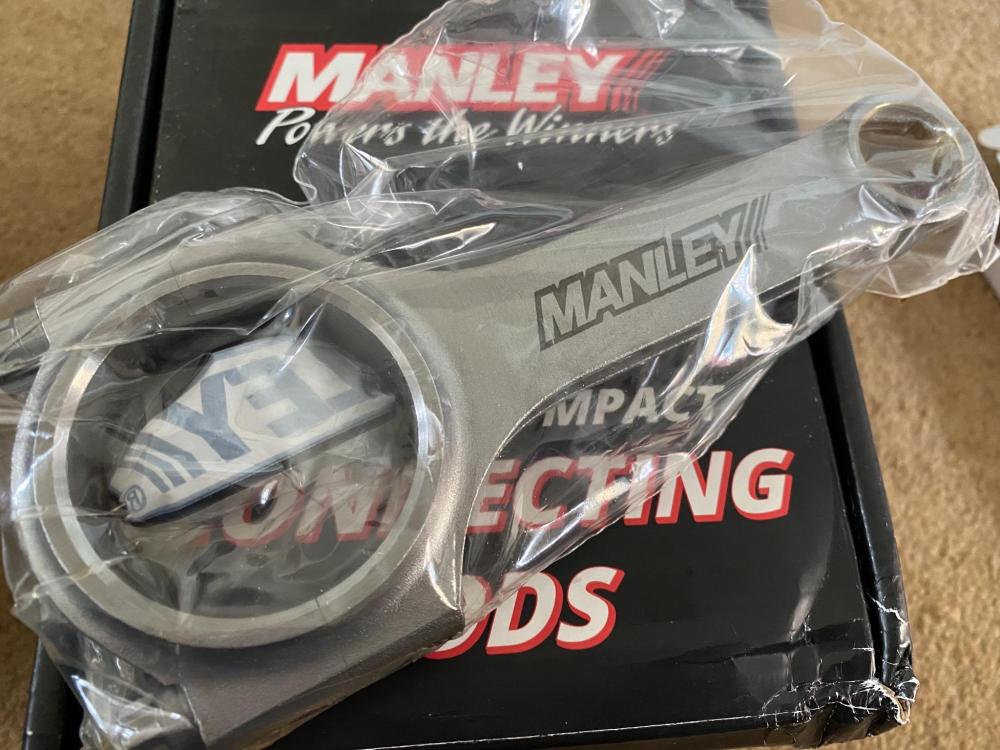
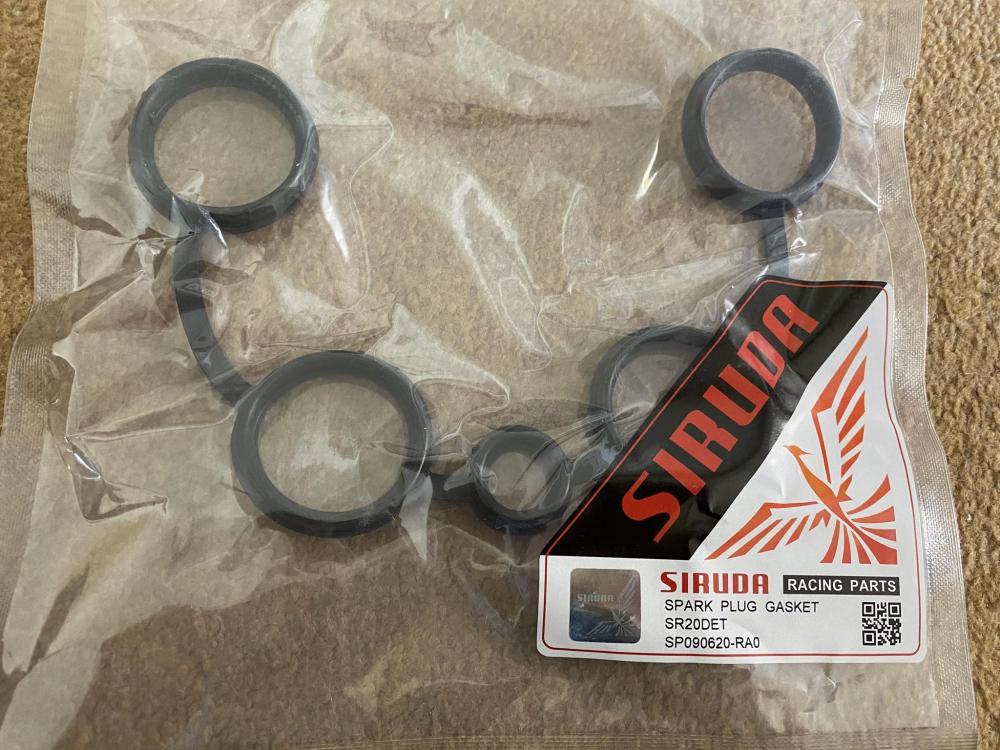
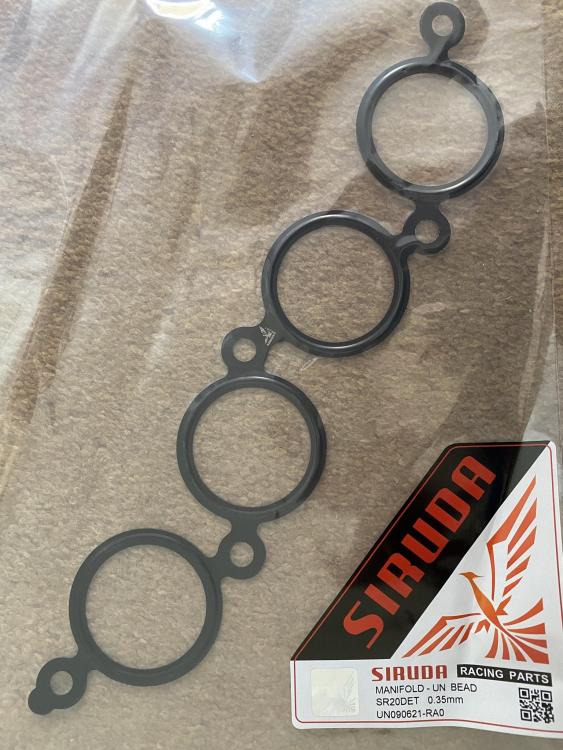
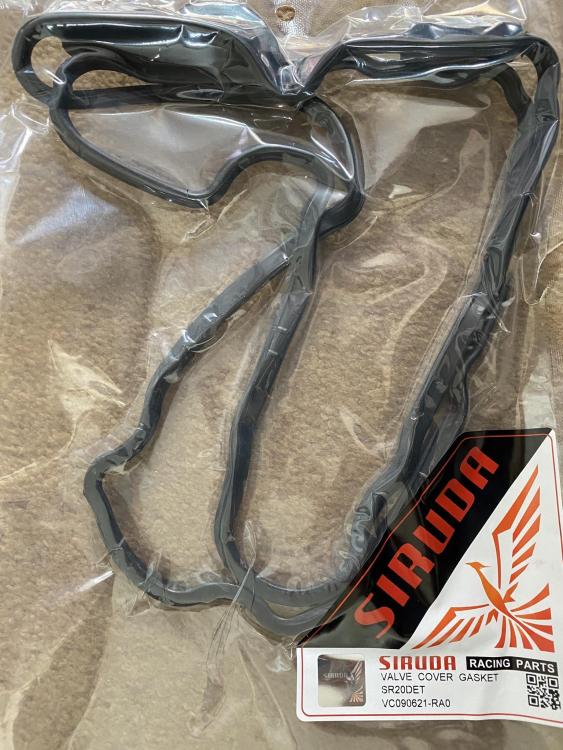
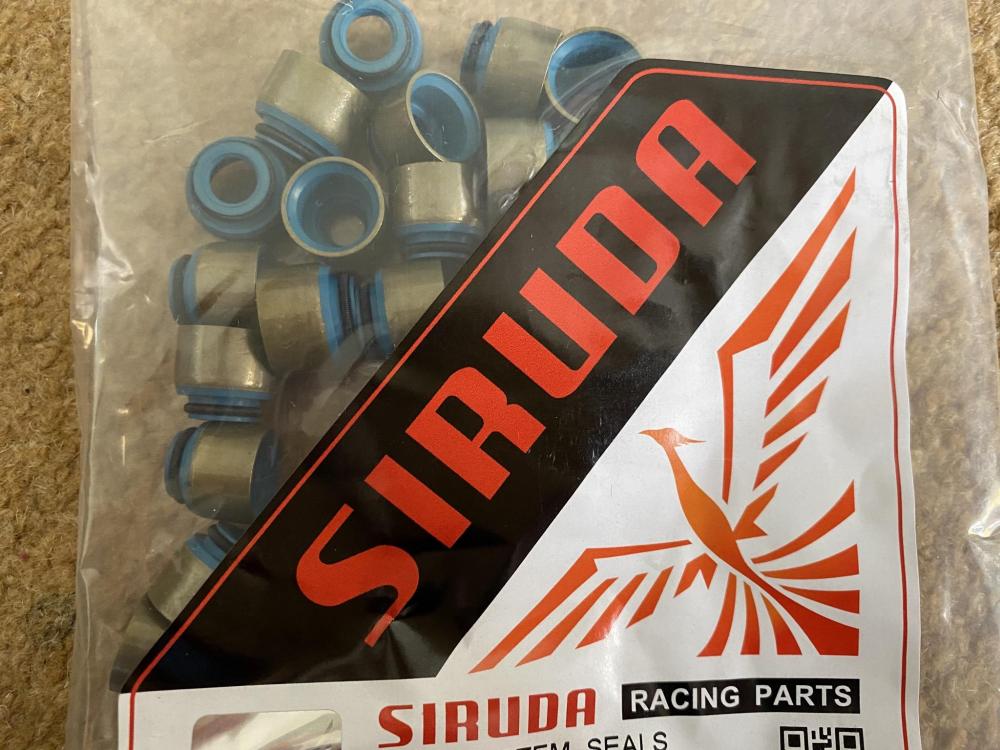
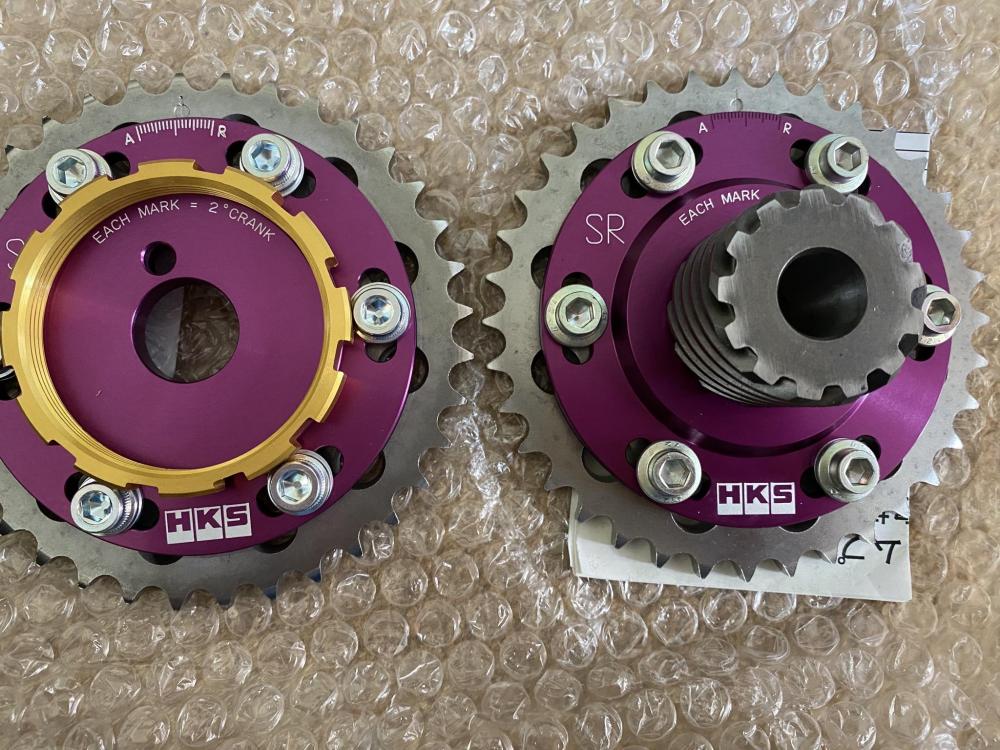
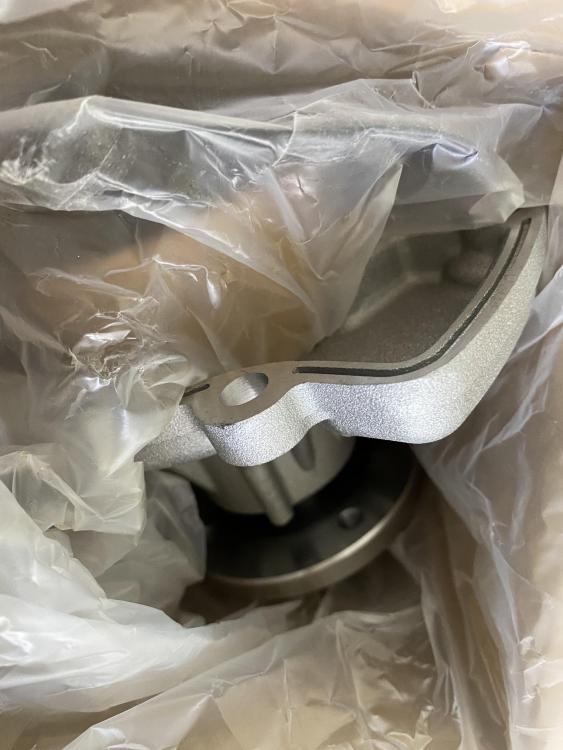
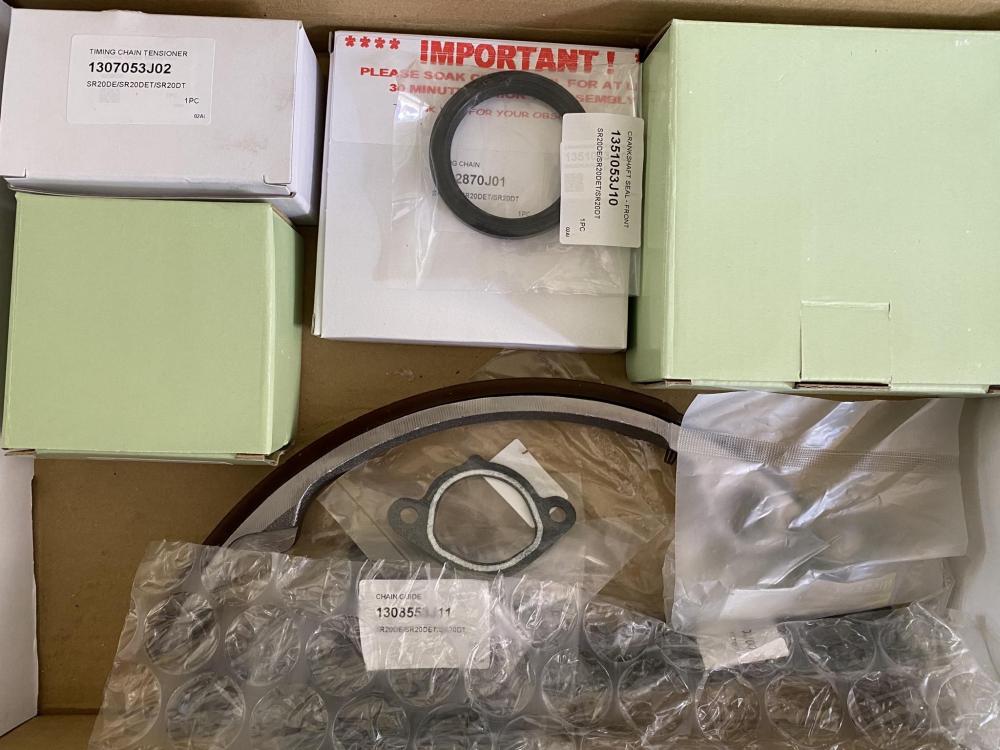
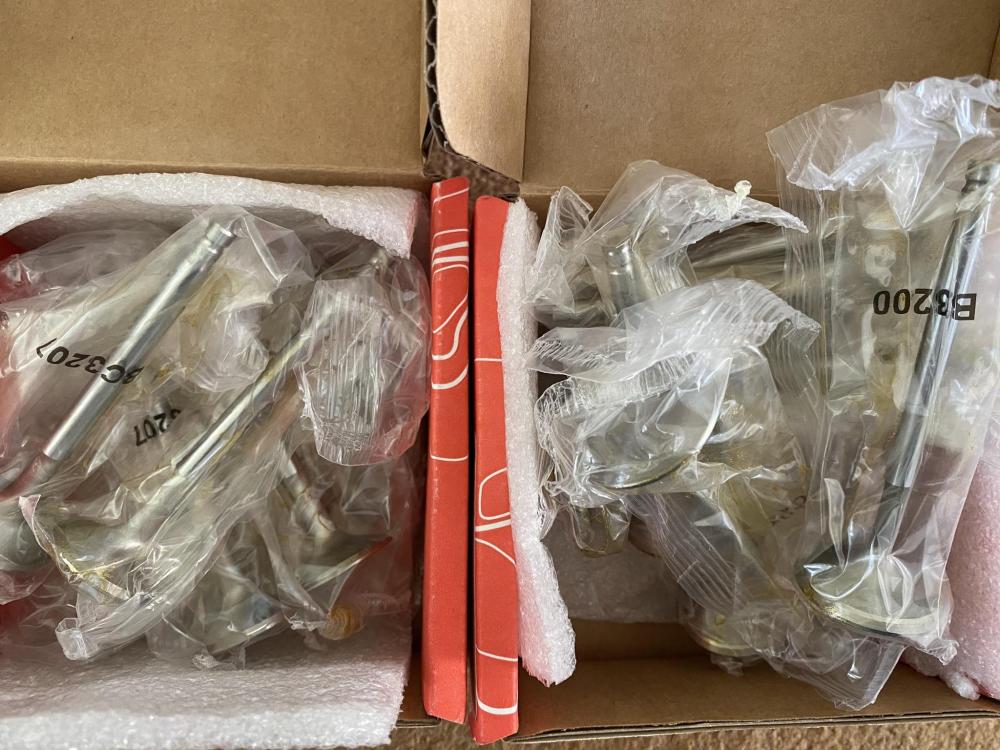
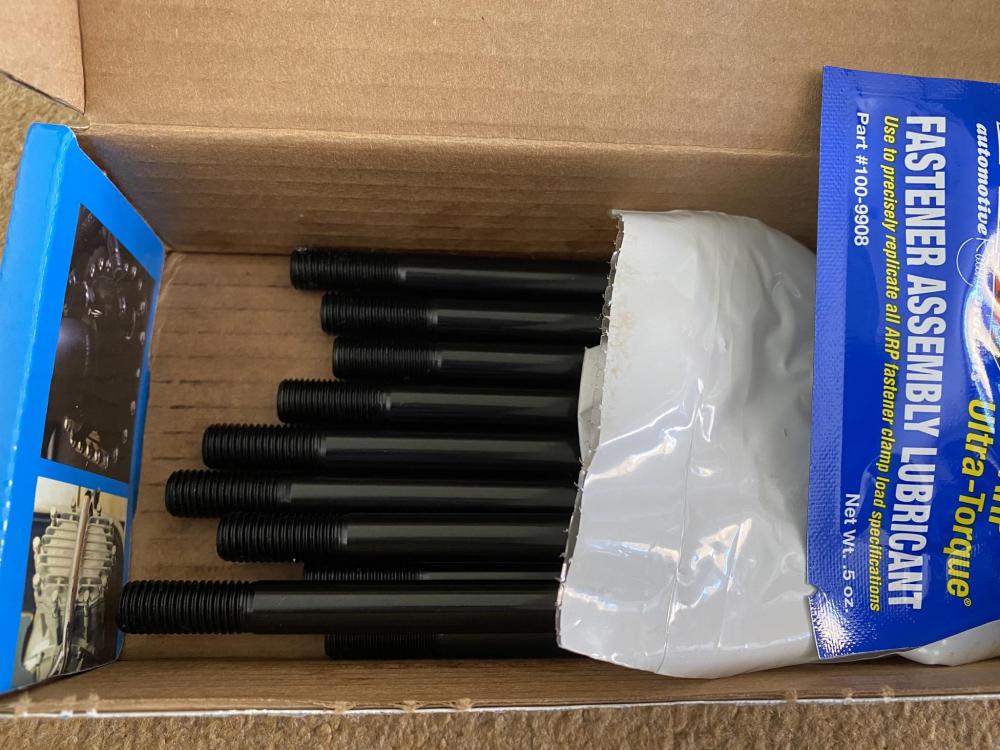
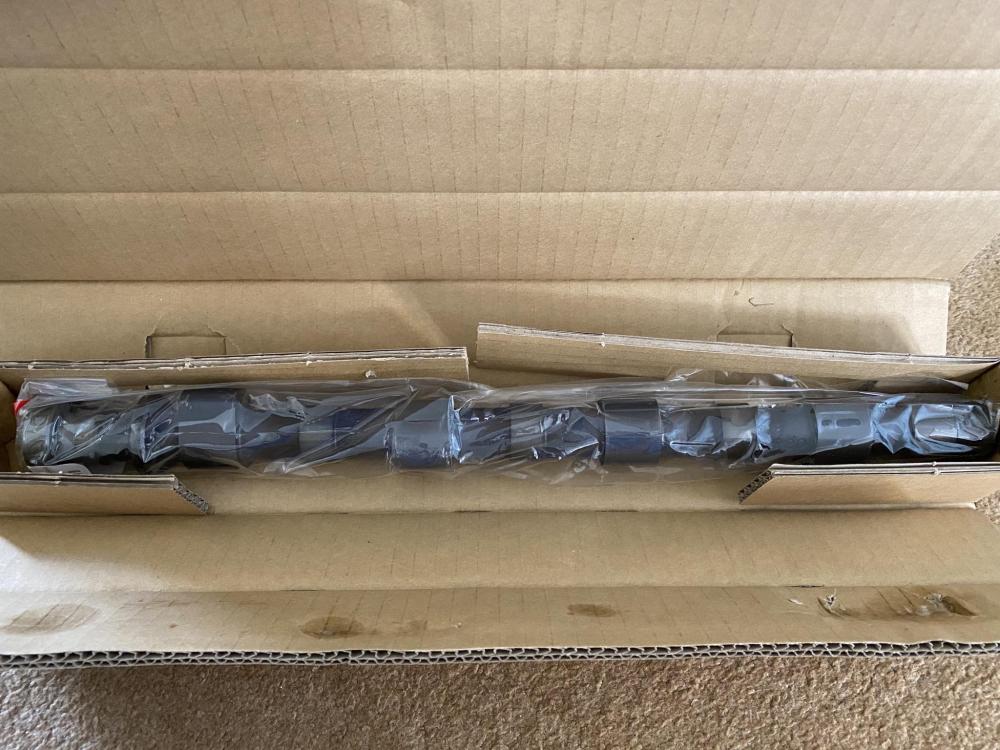
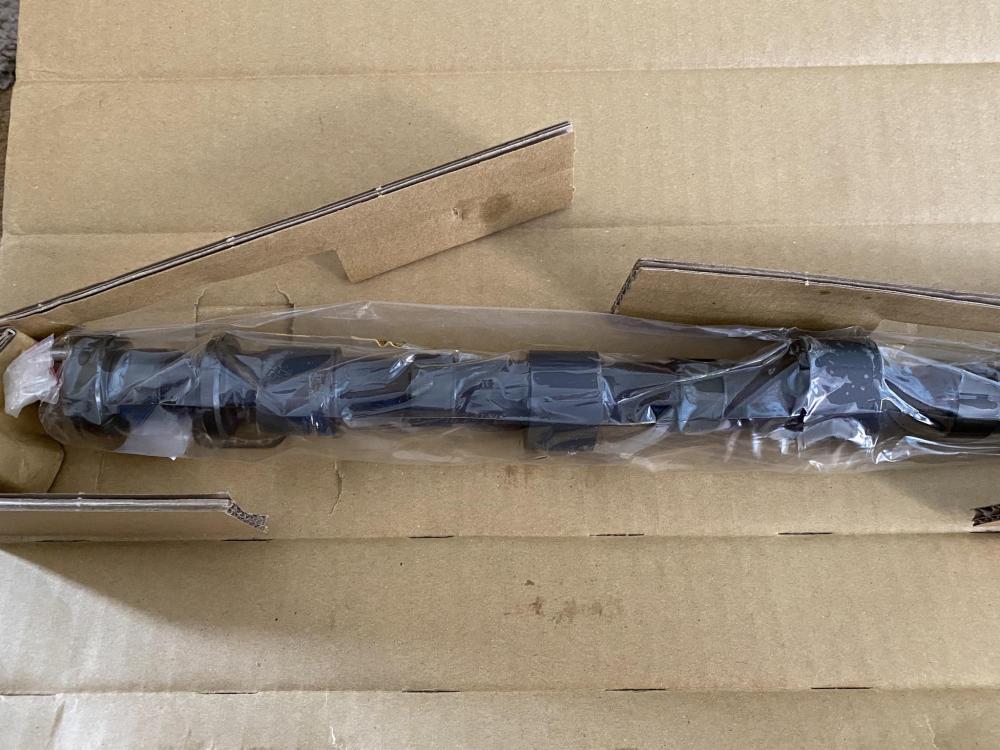
Pretty much all the engine parts have now arrived. Just need to order pistons, bearings and head gasket. Various Siruda gaskets SuperForma mechanical chain tensioner Oil pump BC valve springs and titanium retainers BC stainless valves HKS cam gears HKS 264/272 step 2 cams


-
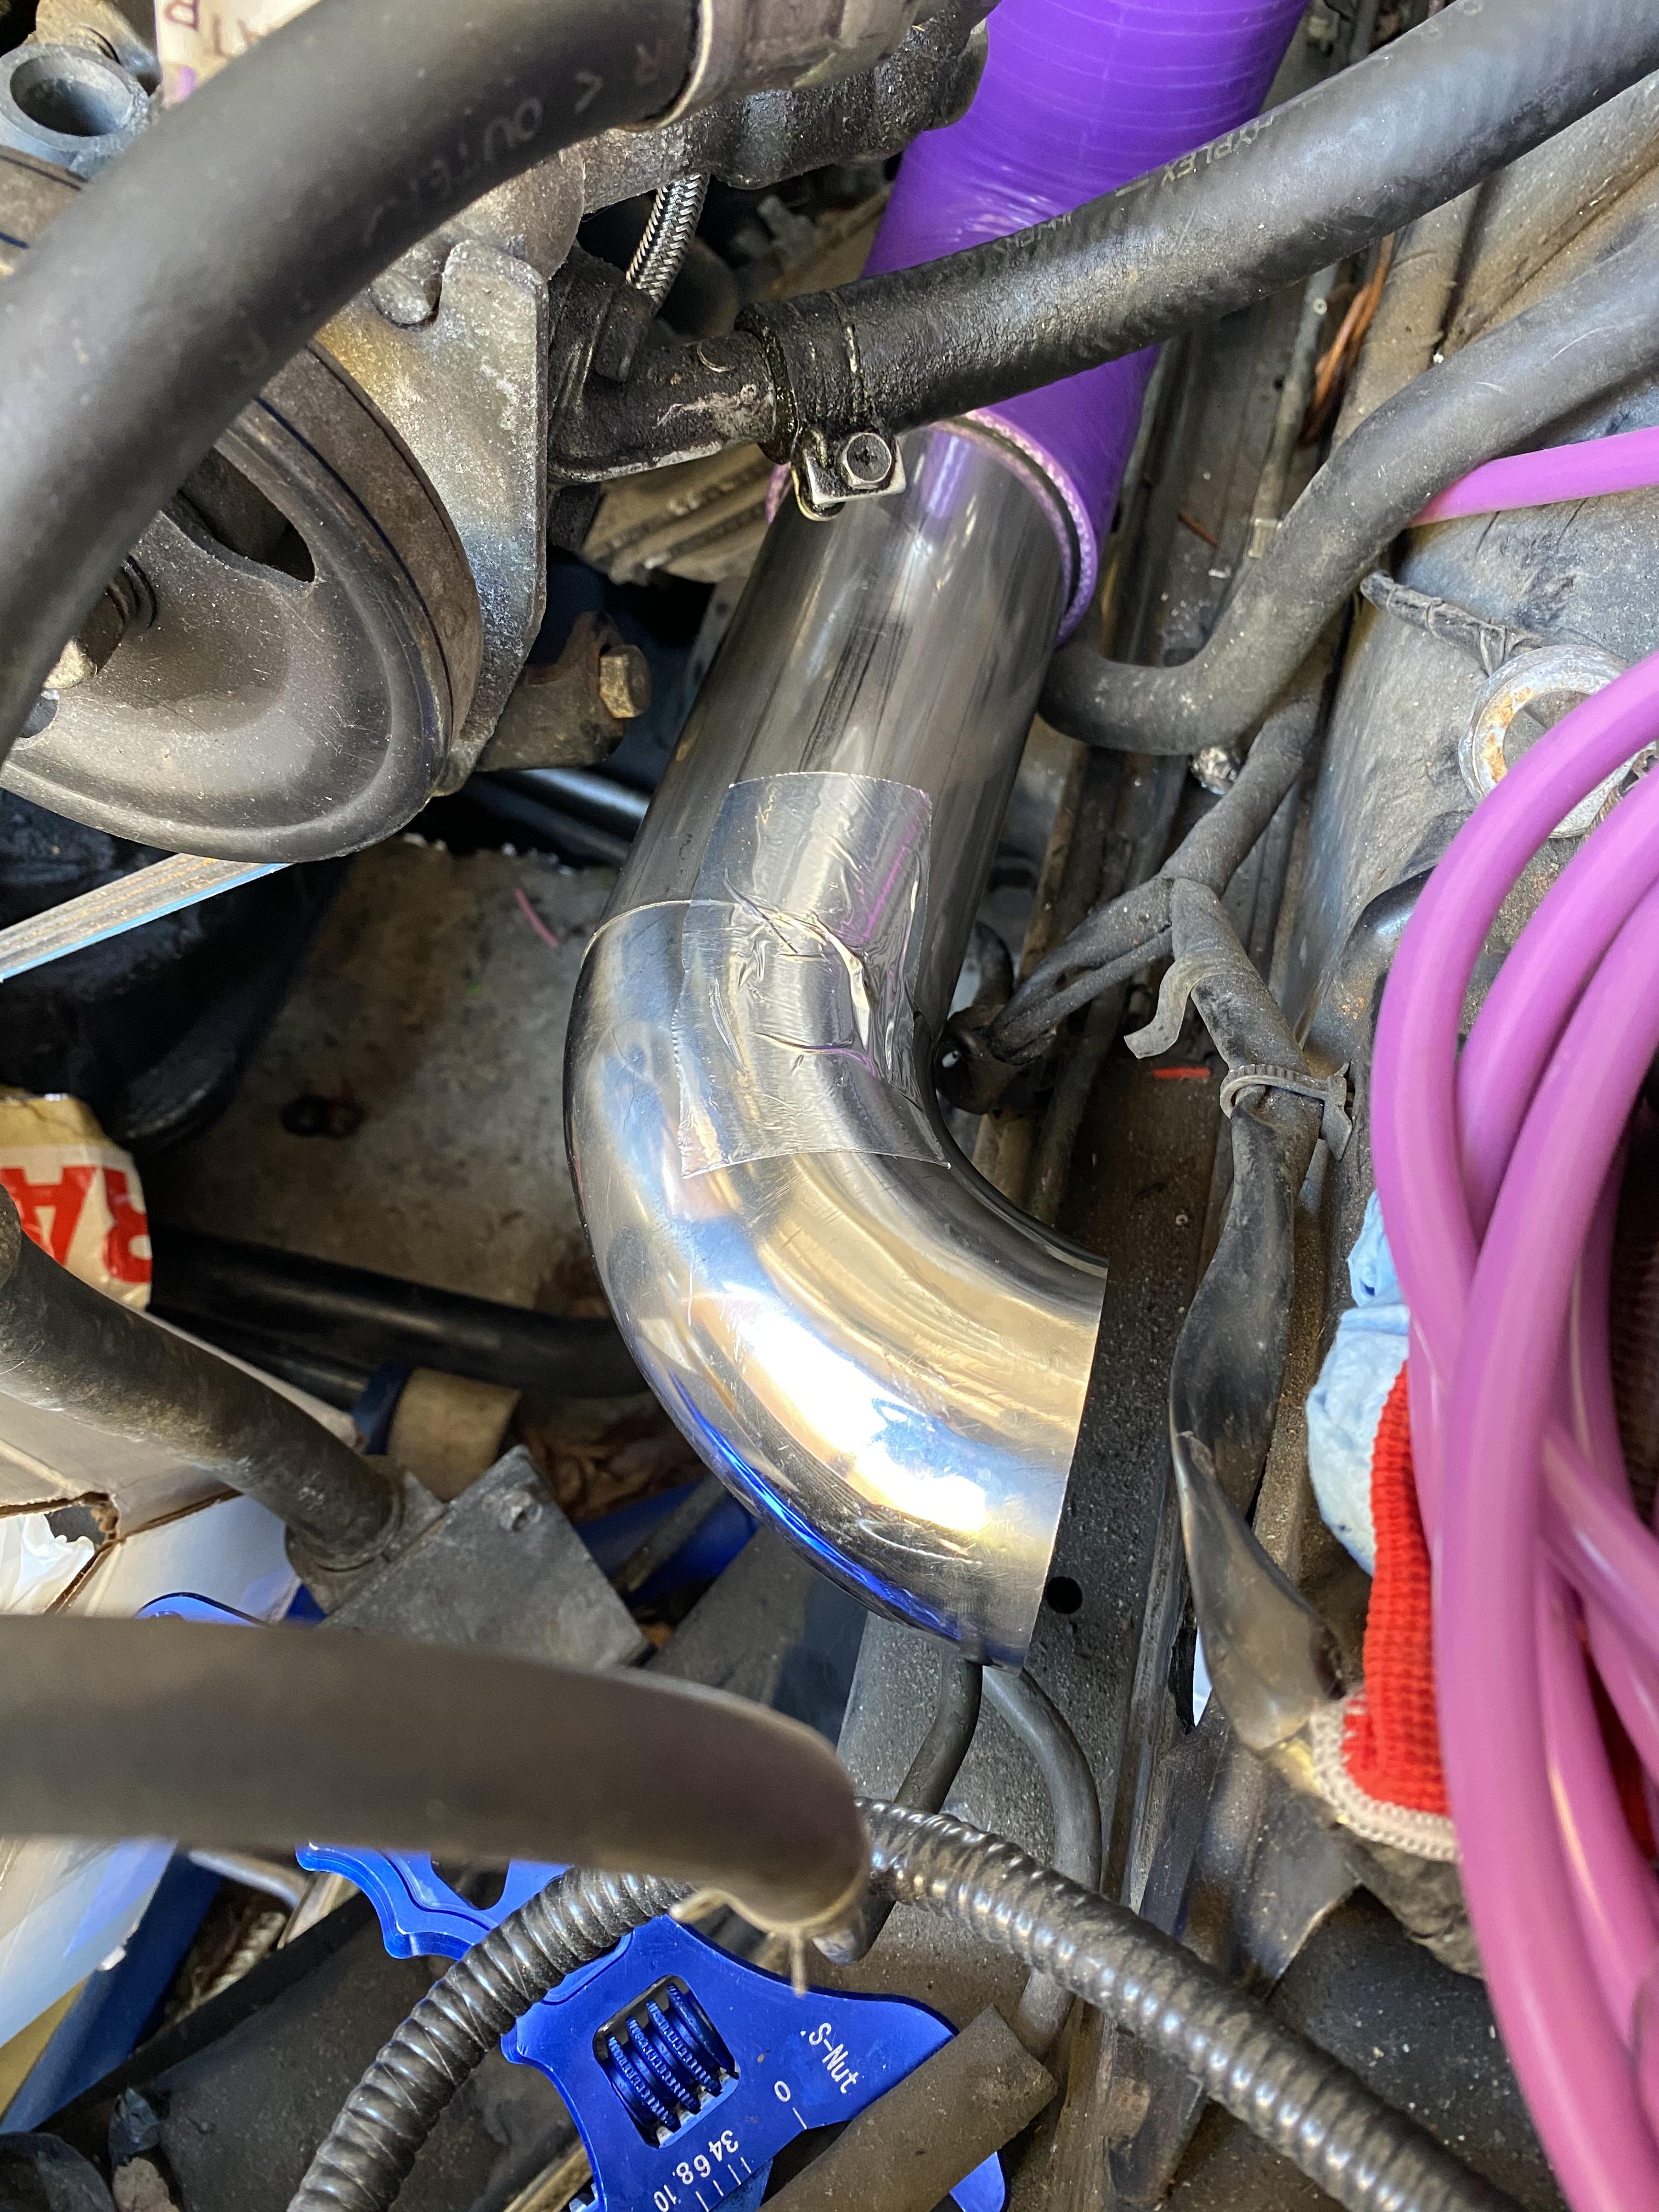
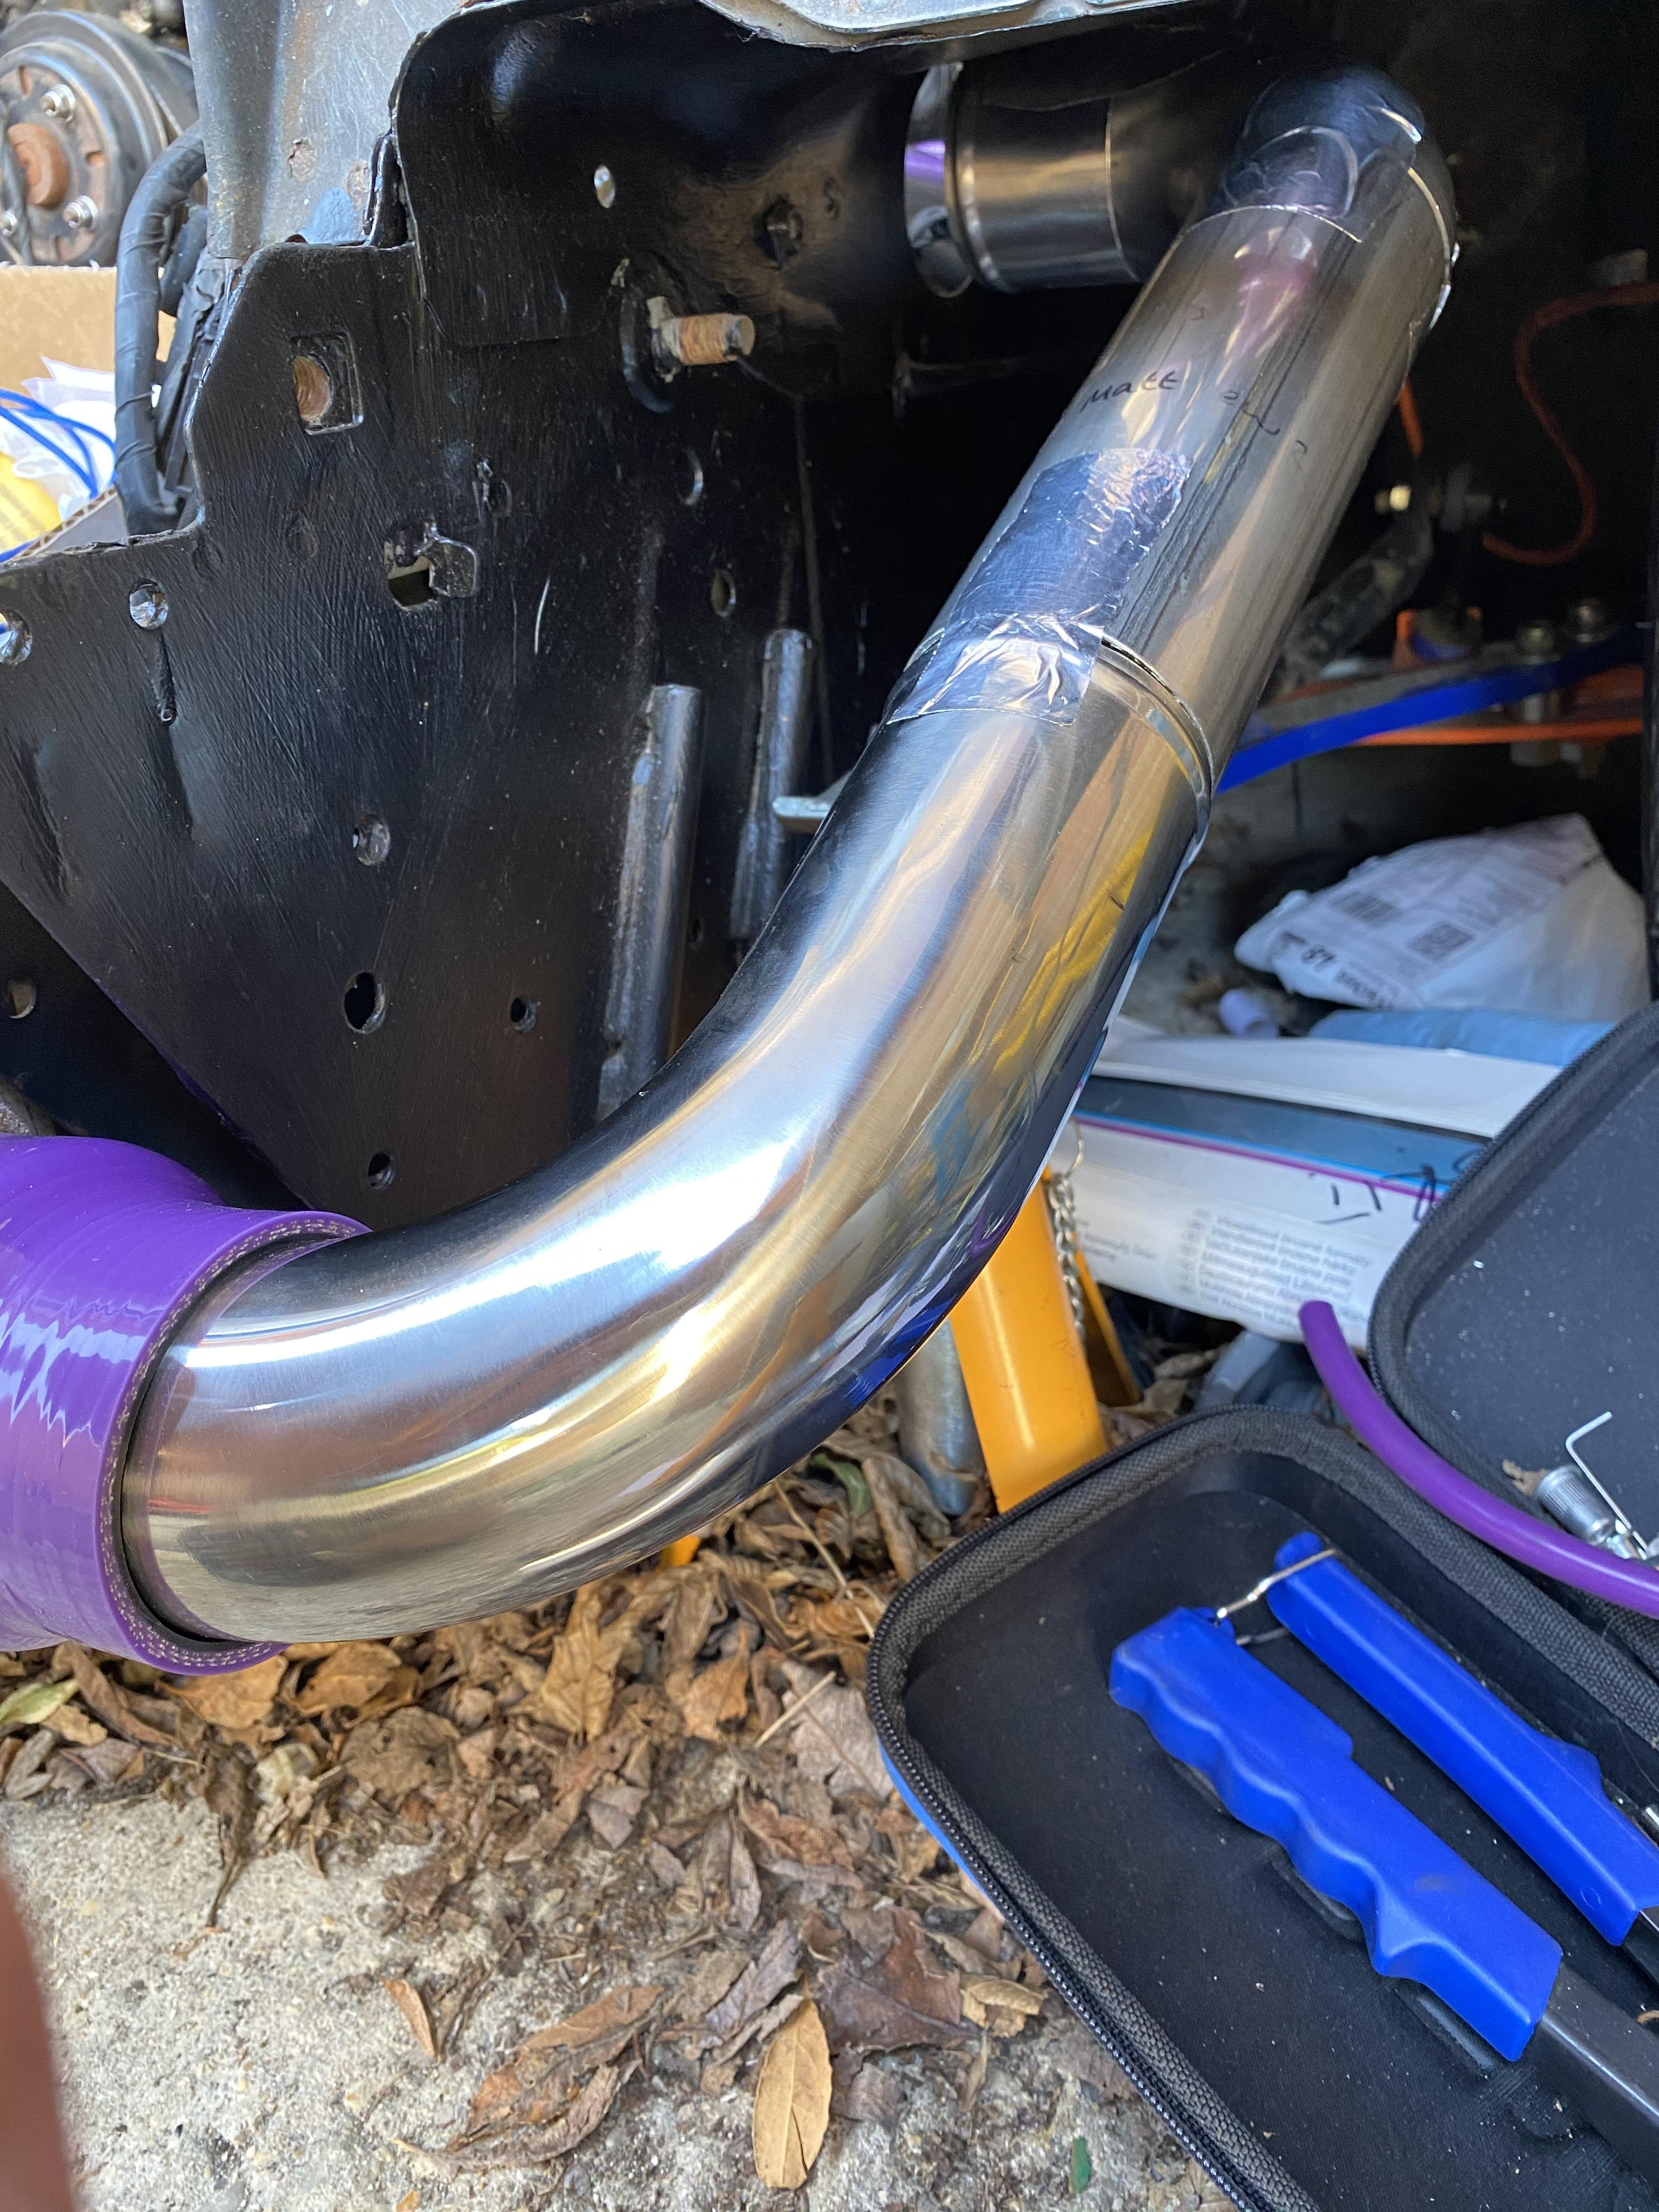
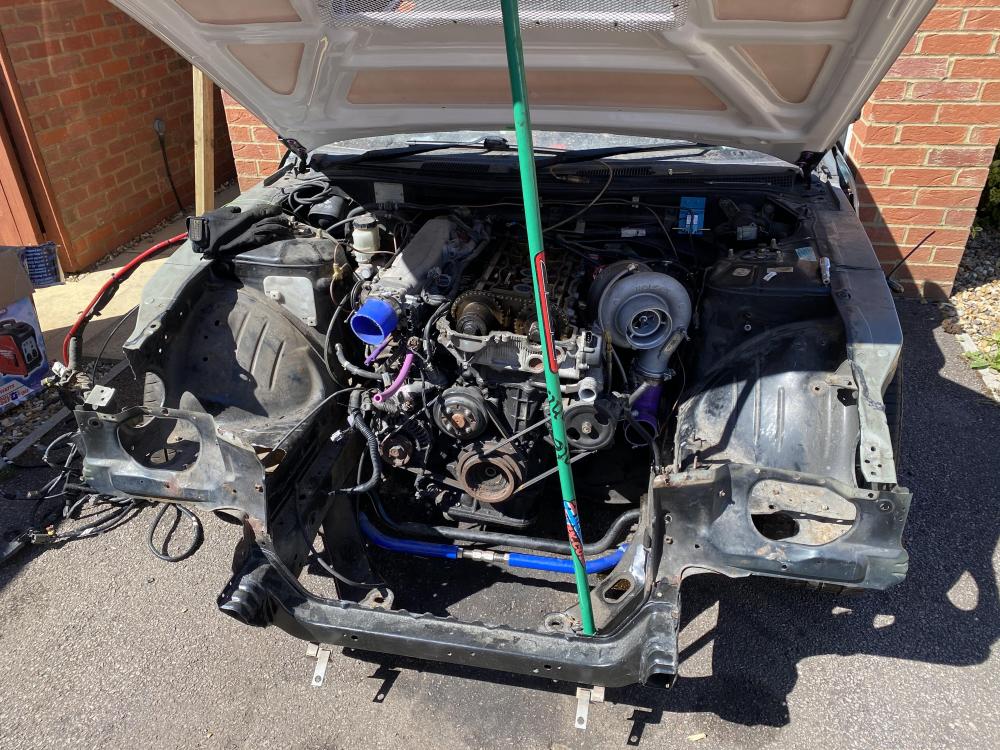
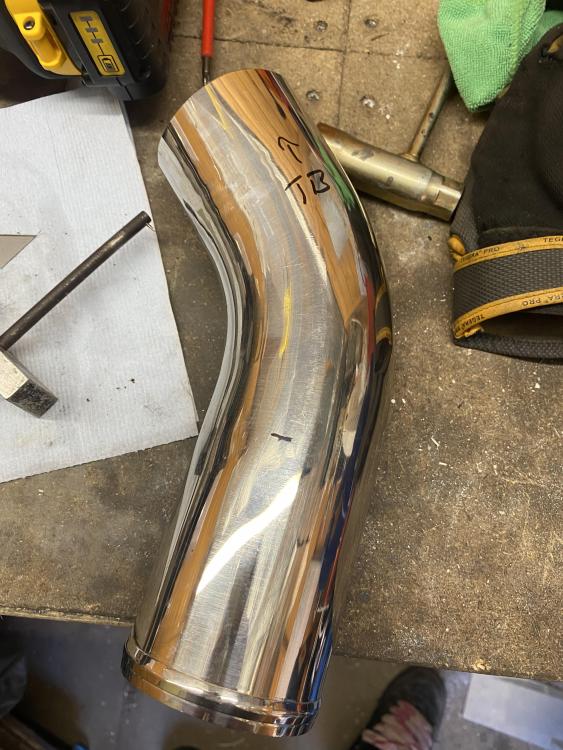
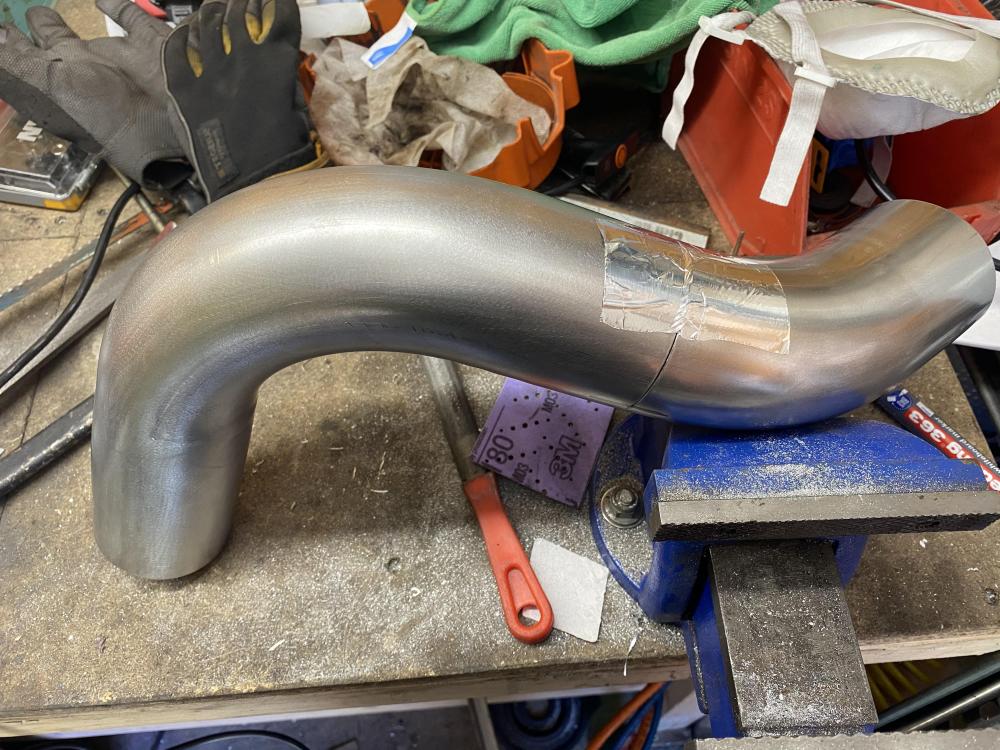
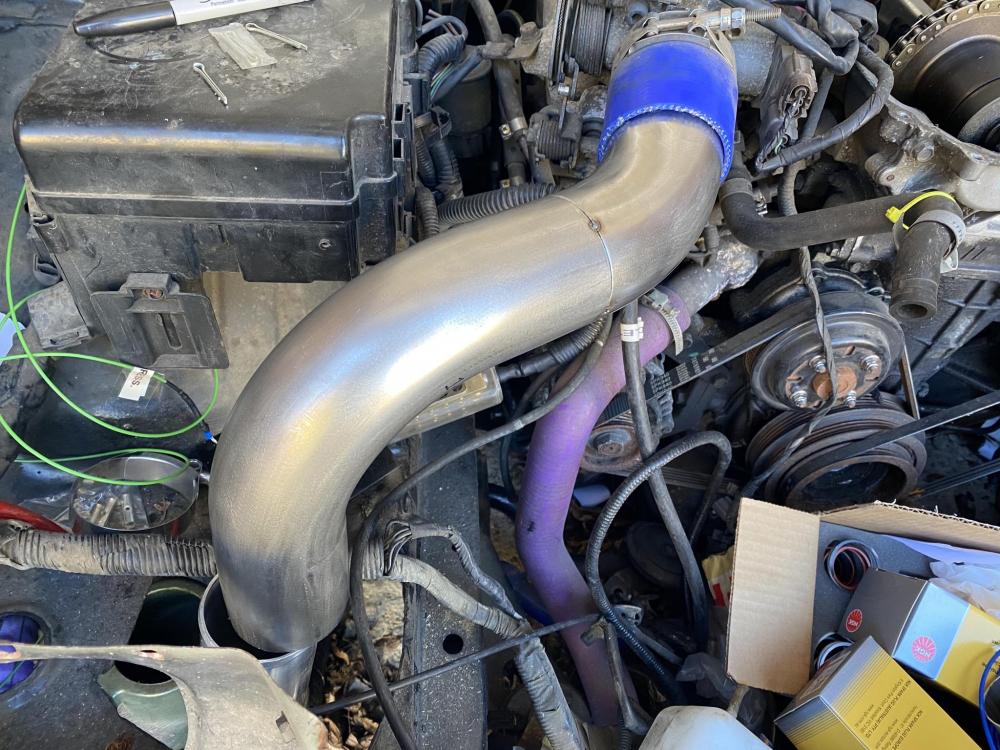
Been a while since I updated this so thought I’d spend some time uploading some photos of recent progress. Got the intercooler pipework cut and tacked together


-
I did that to both, the photo was taken before cleaning it up
-
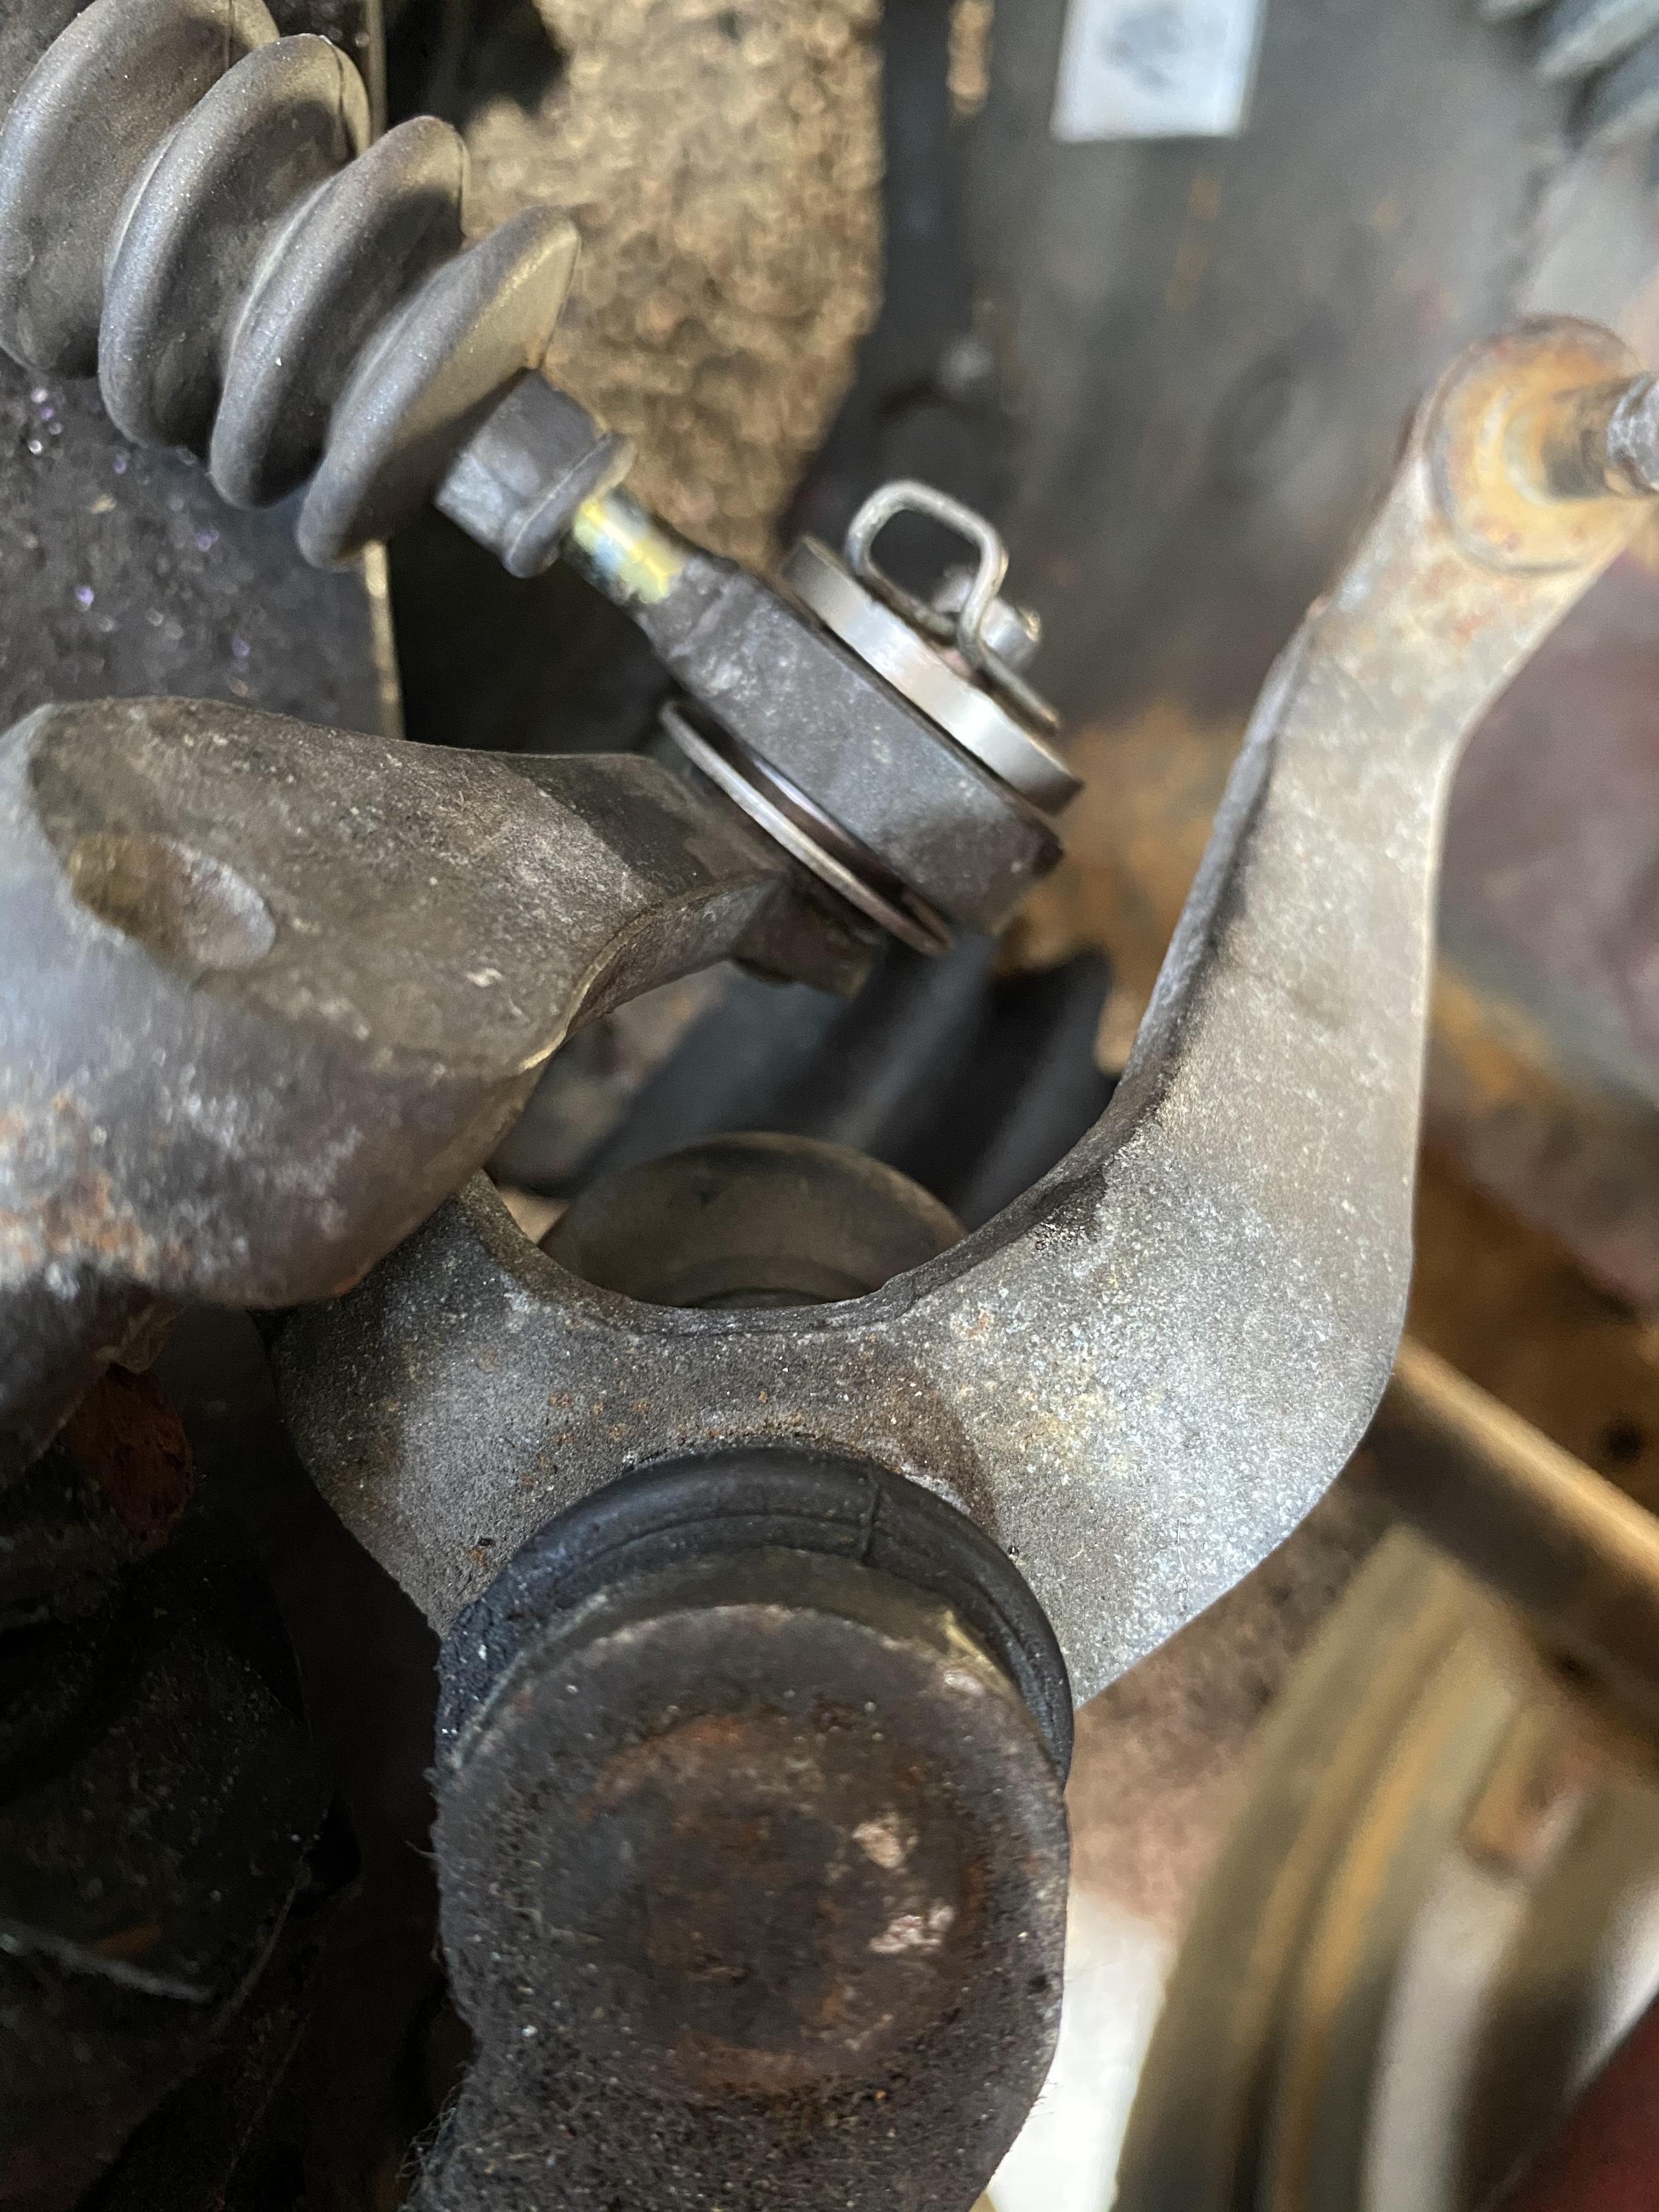
Seems fine apart from the slightly bent cable. Tightened up the selectors quite nicely. We shall see what happens when it’s back on the road though
-
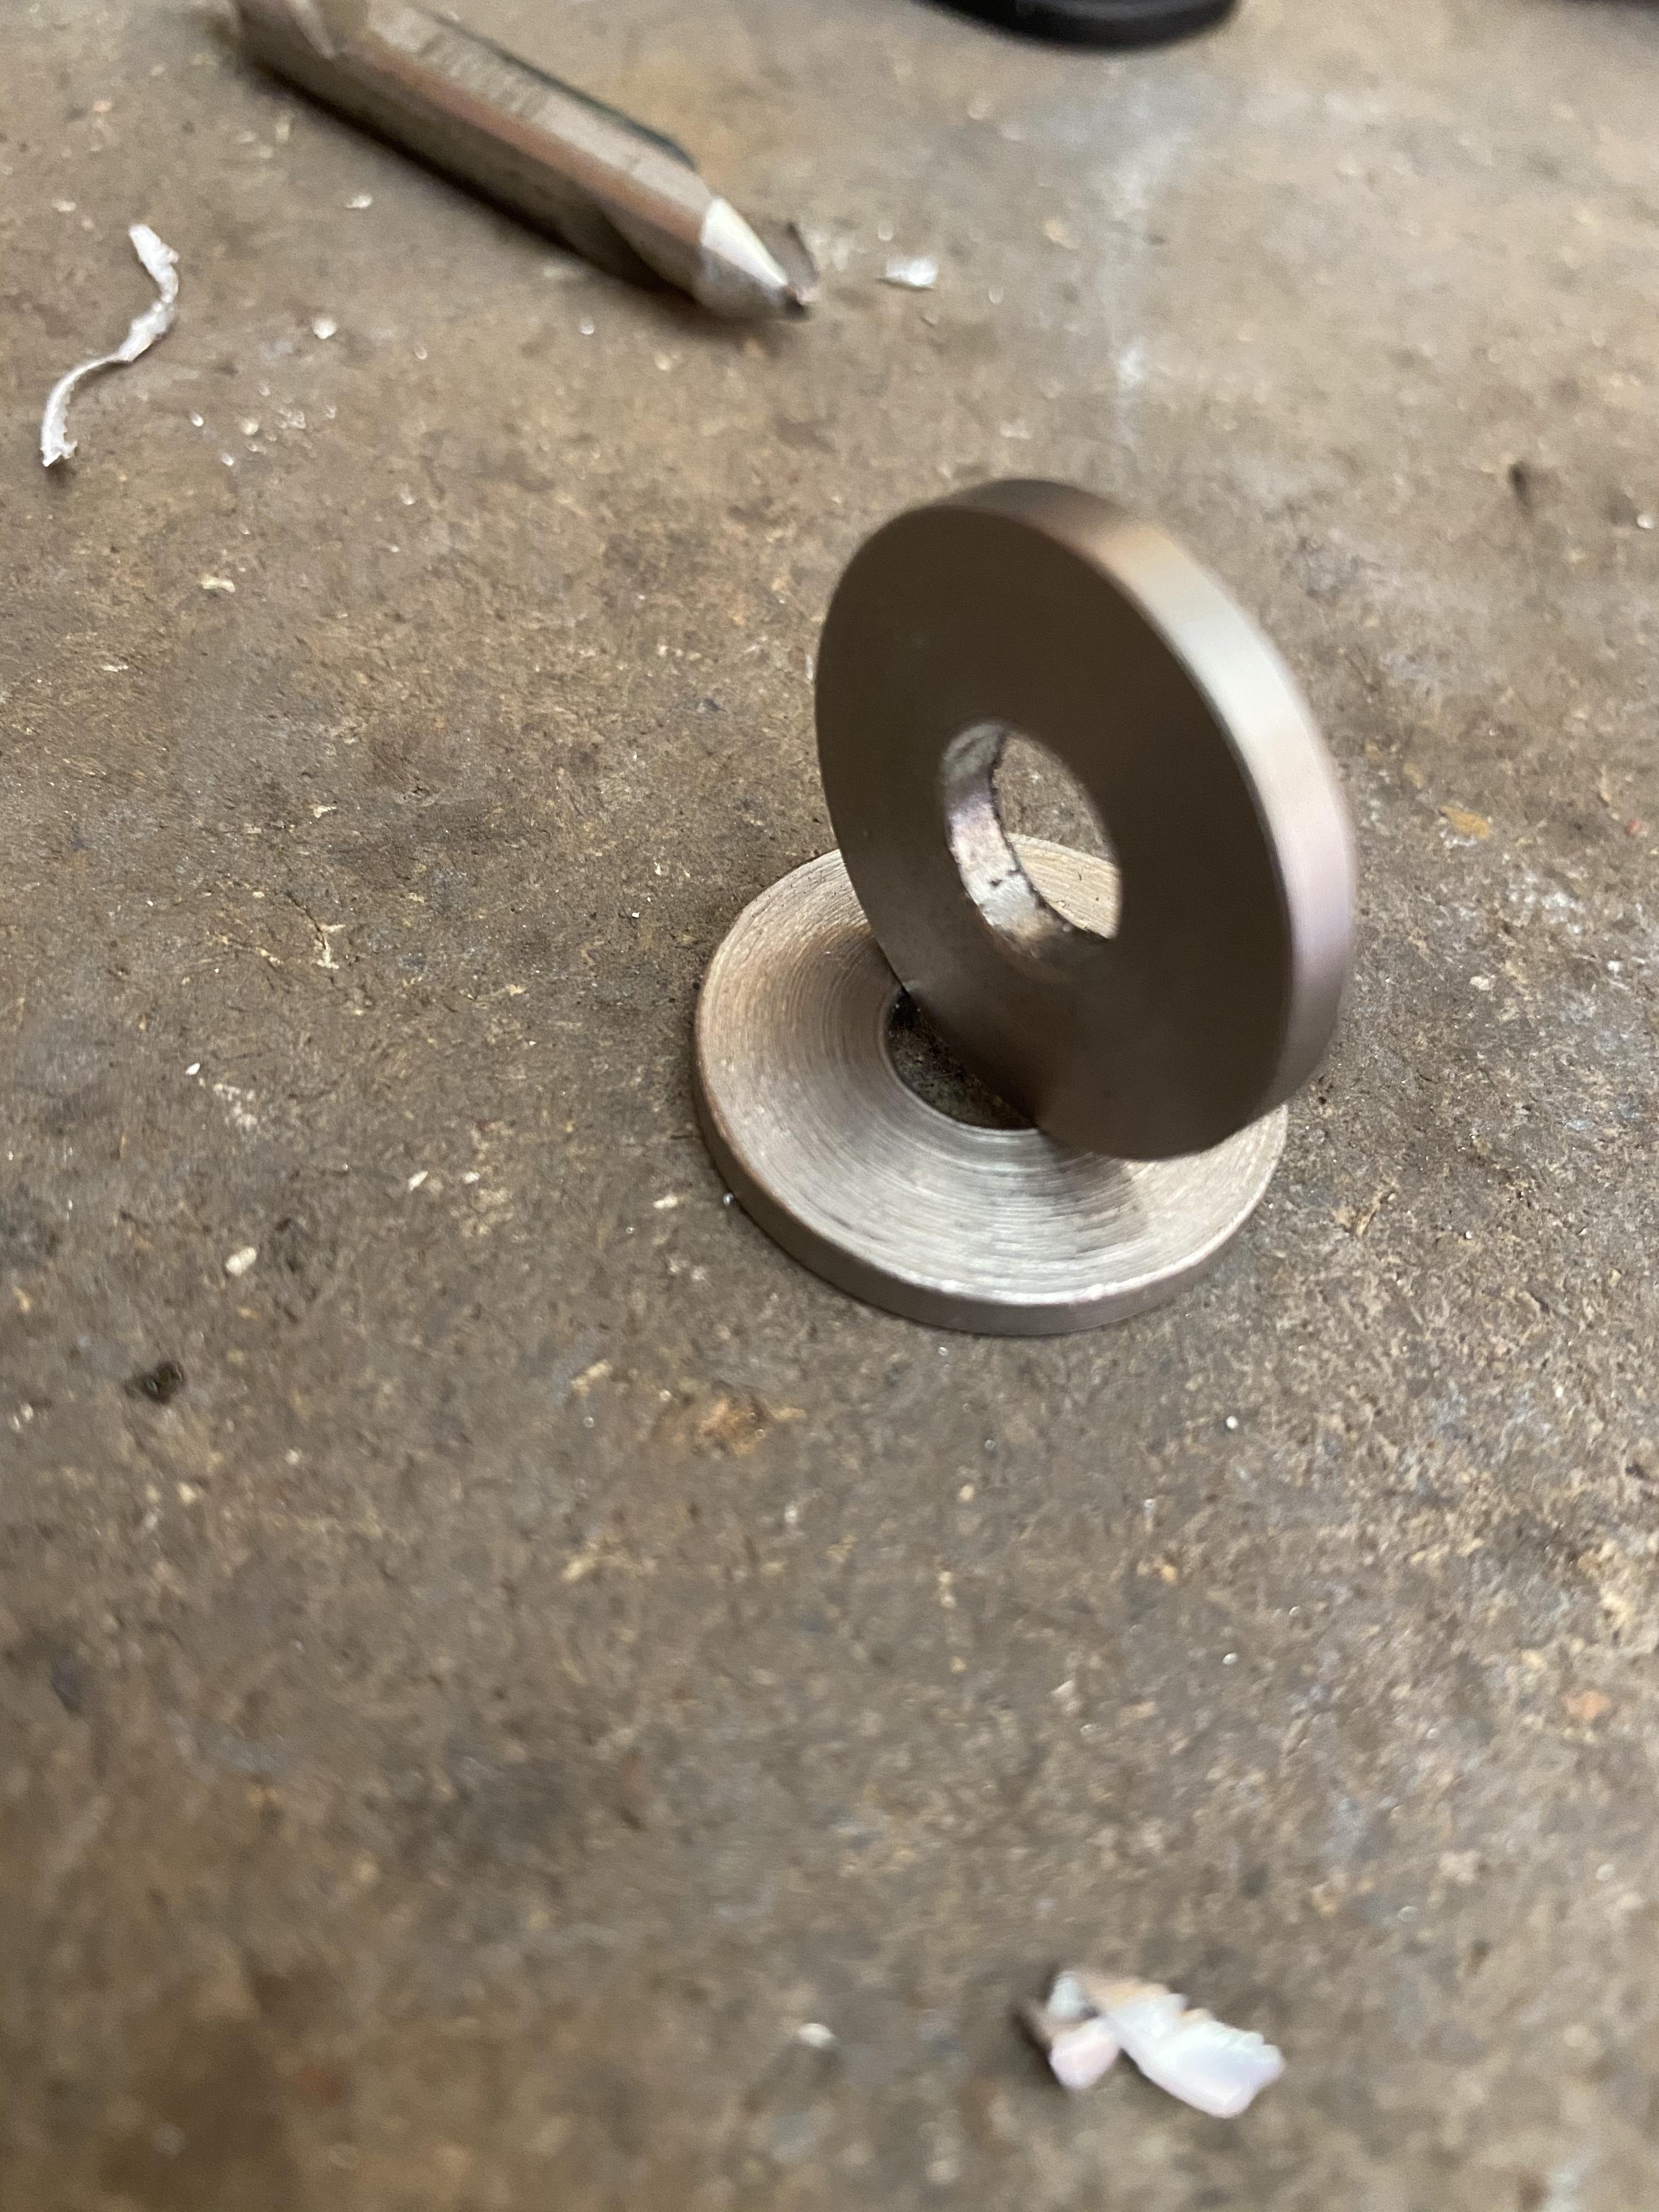
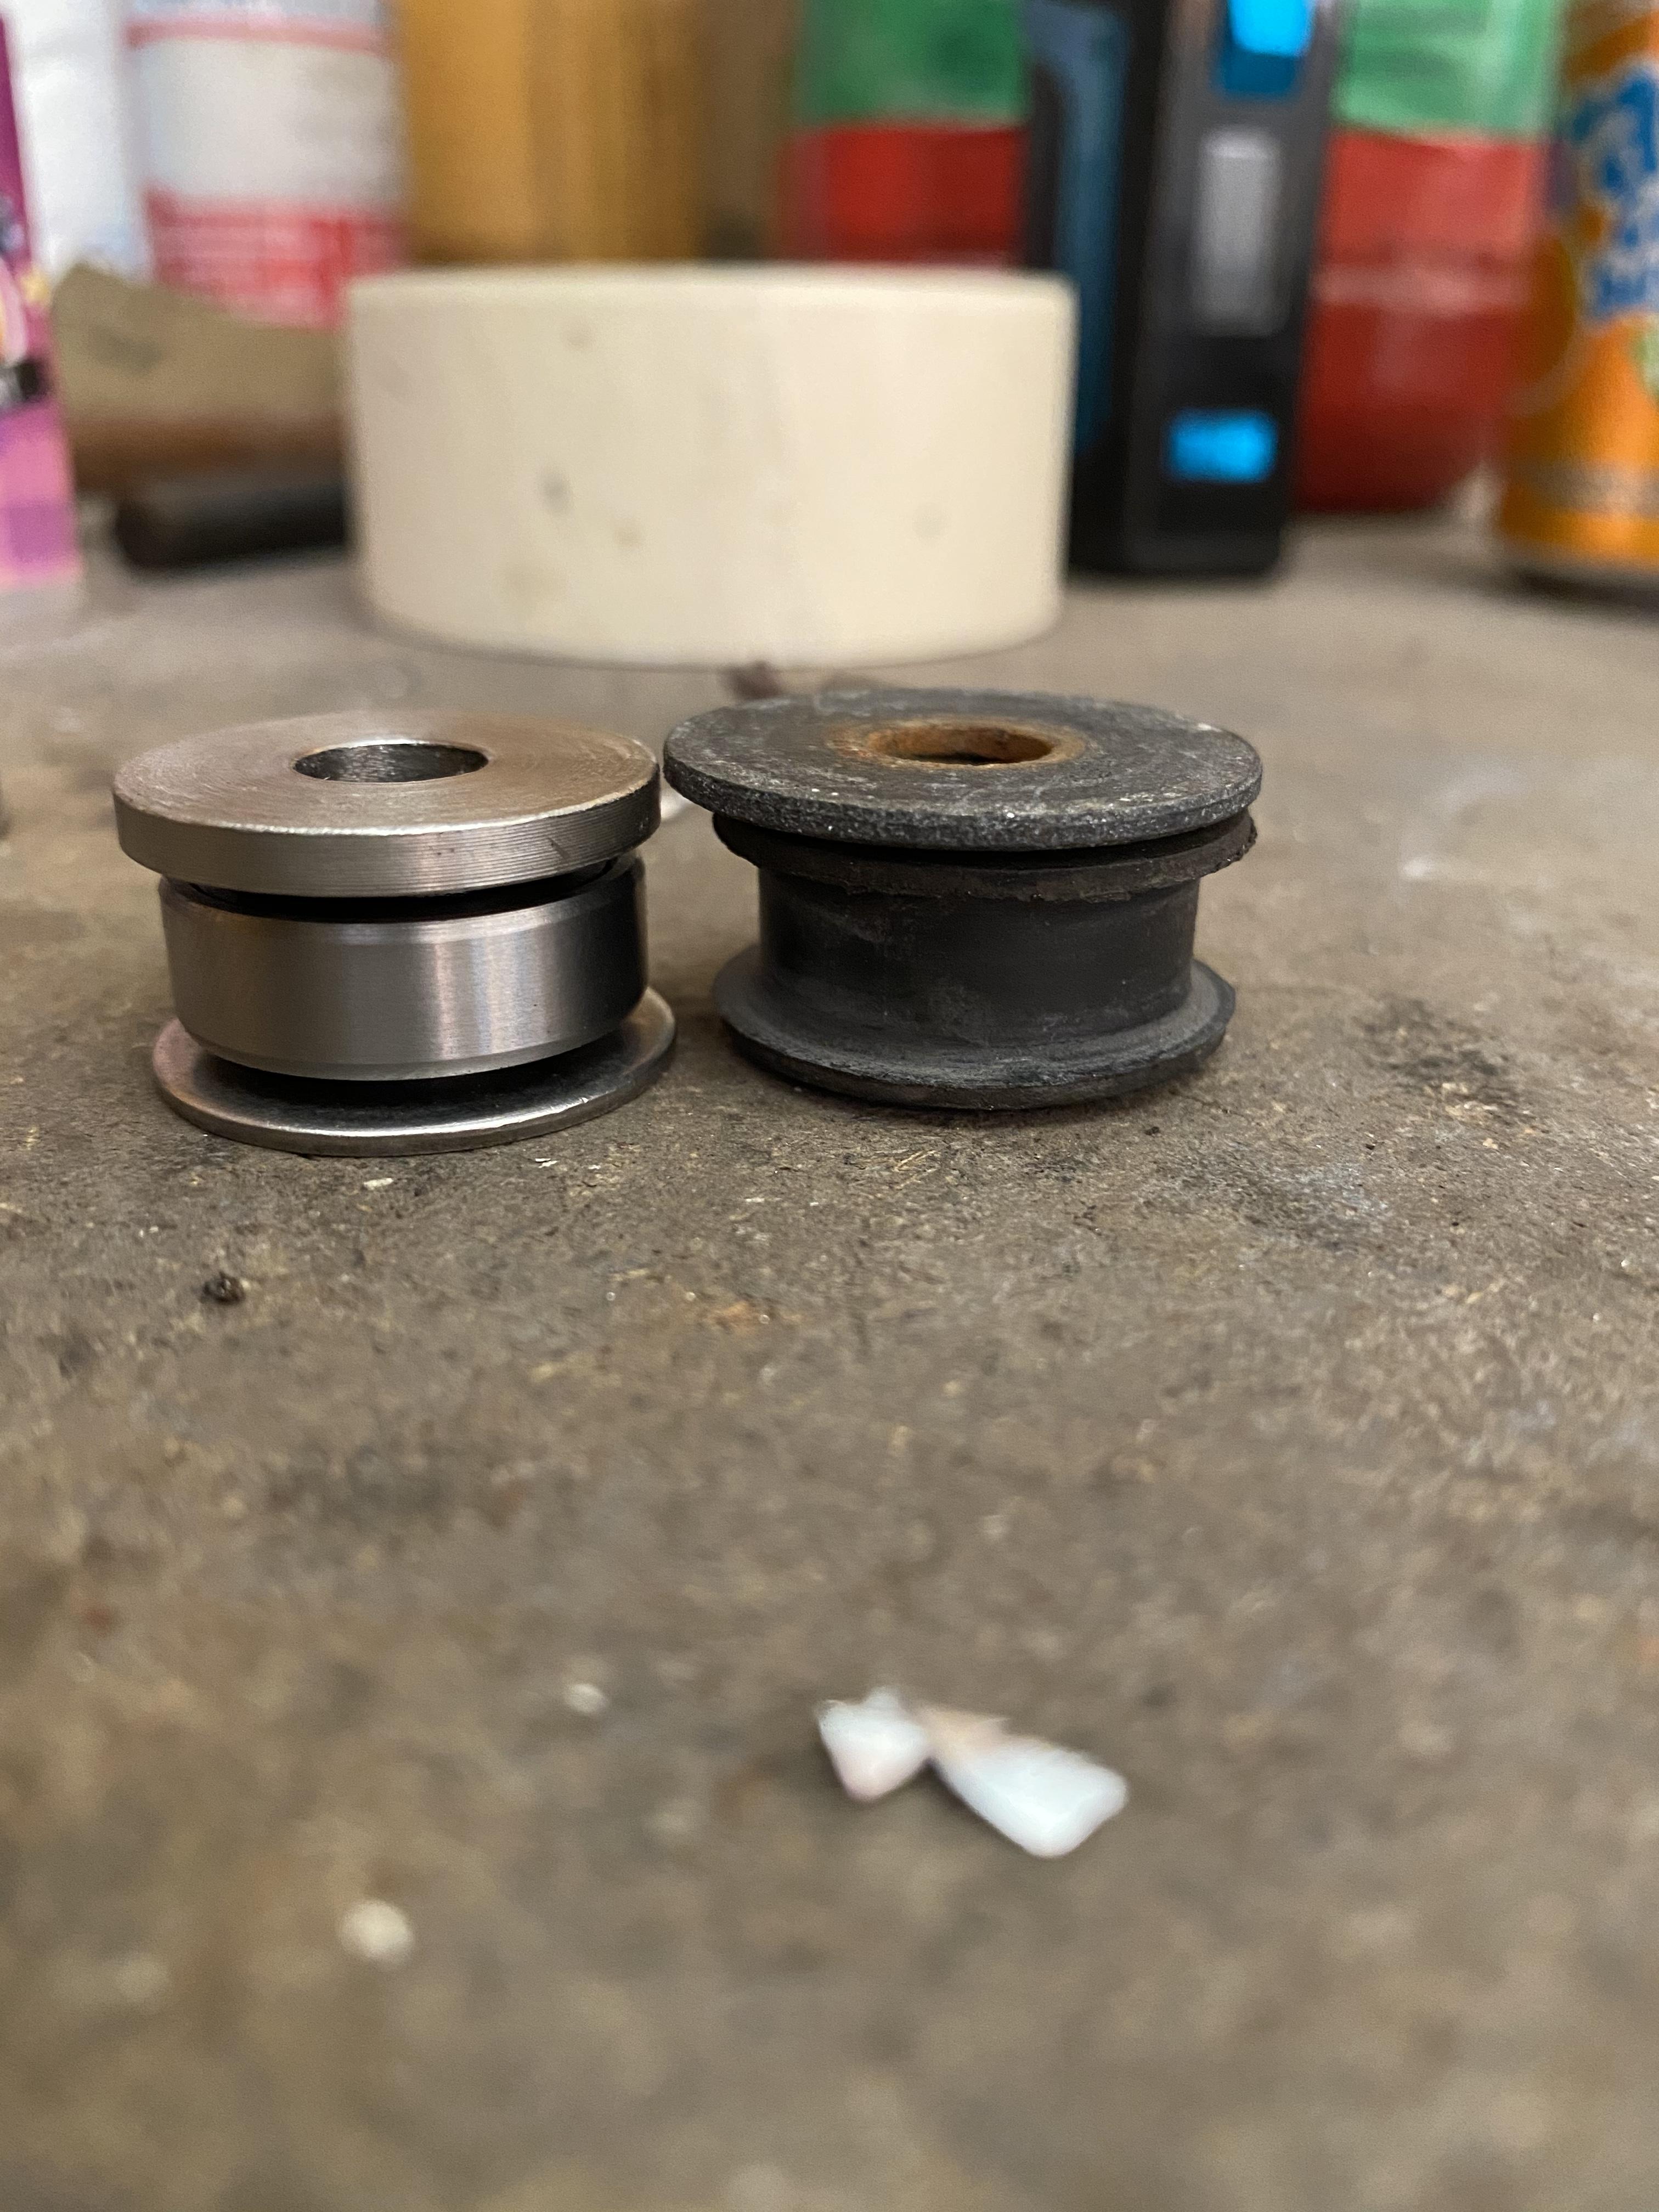
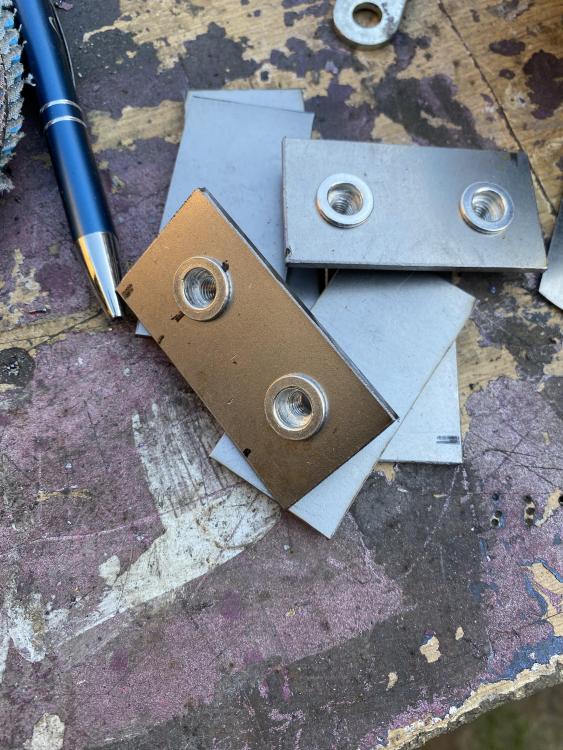
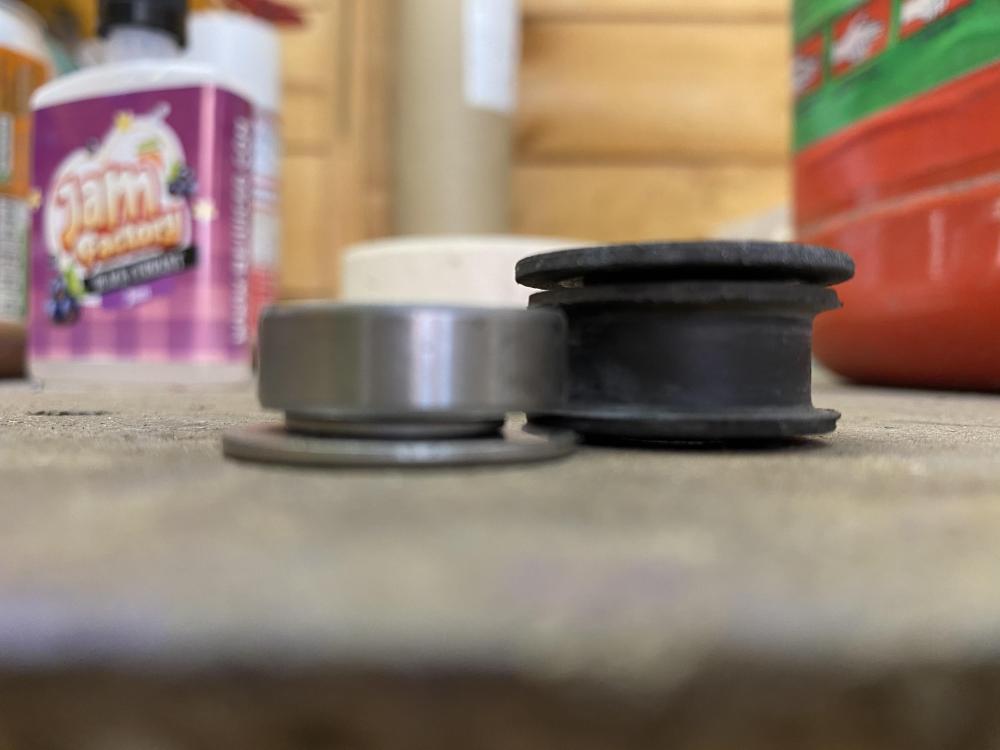
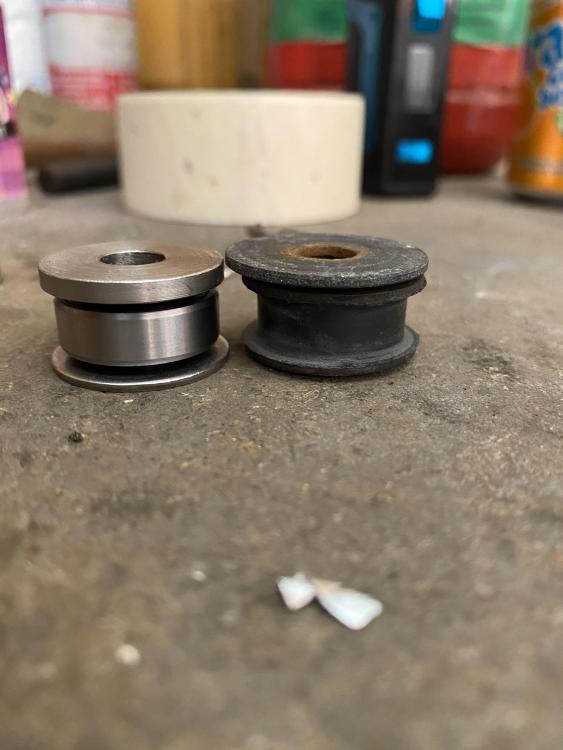
That’s where mine is from. The bearings have to be pressed in, I did it in situ and wasn’t quite as careful as I should have been. I used a big then a small washer at the back then the bearing then a small washer and a 3.6 mm washer. It has improved it just be careful when you press the bearings in. If you want I can post a pair of big washers to you at material cost?
-
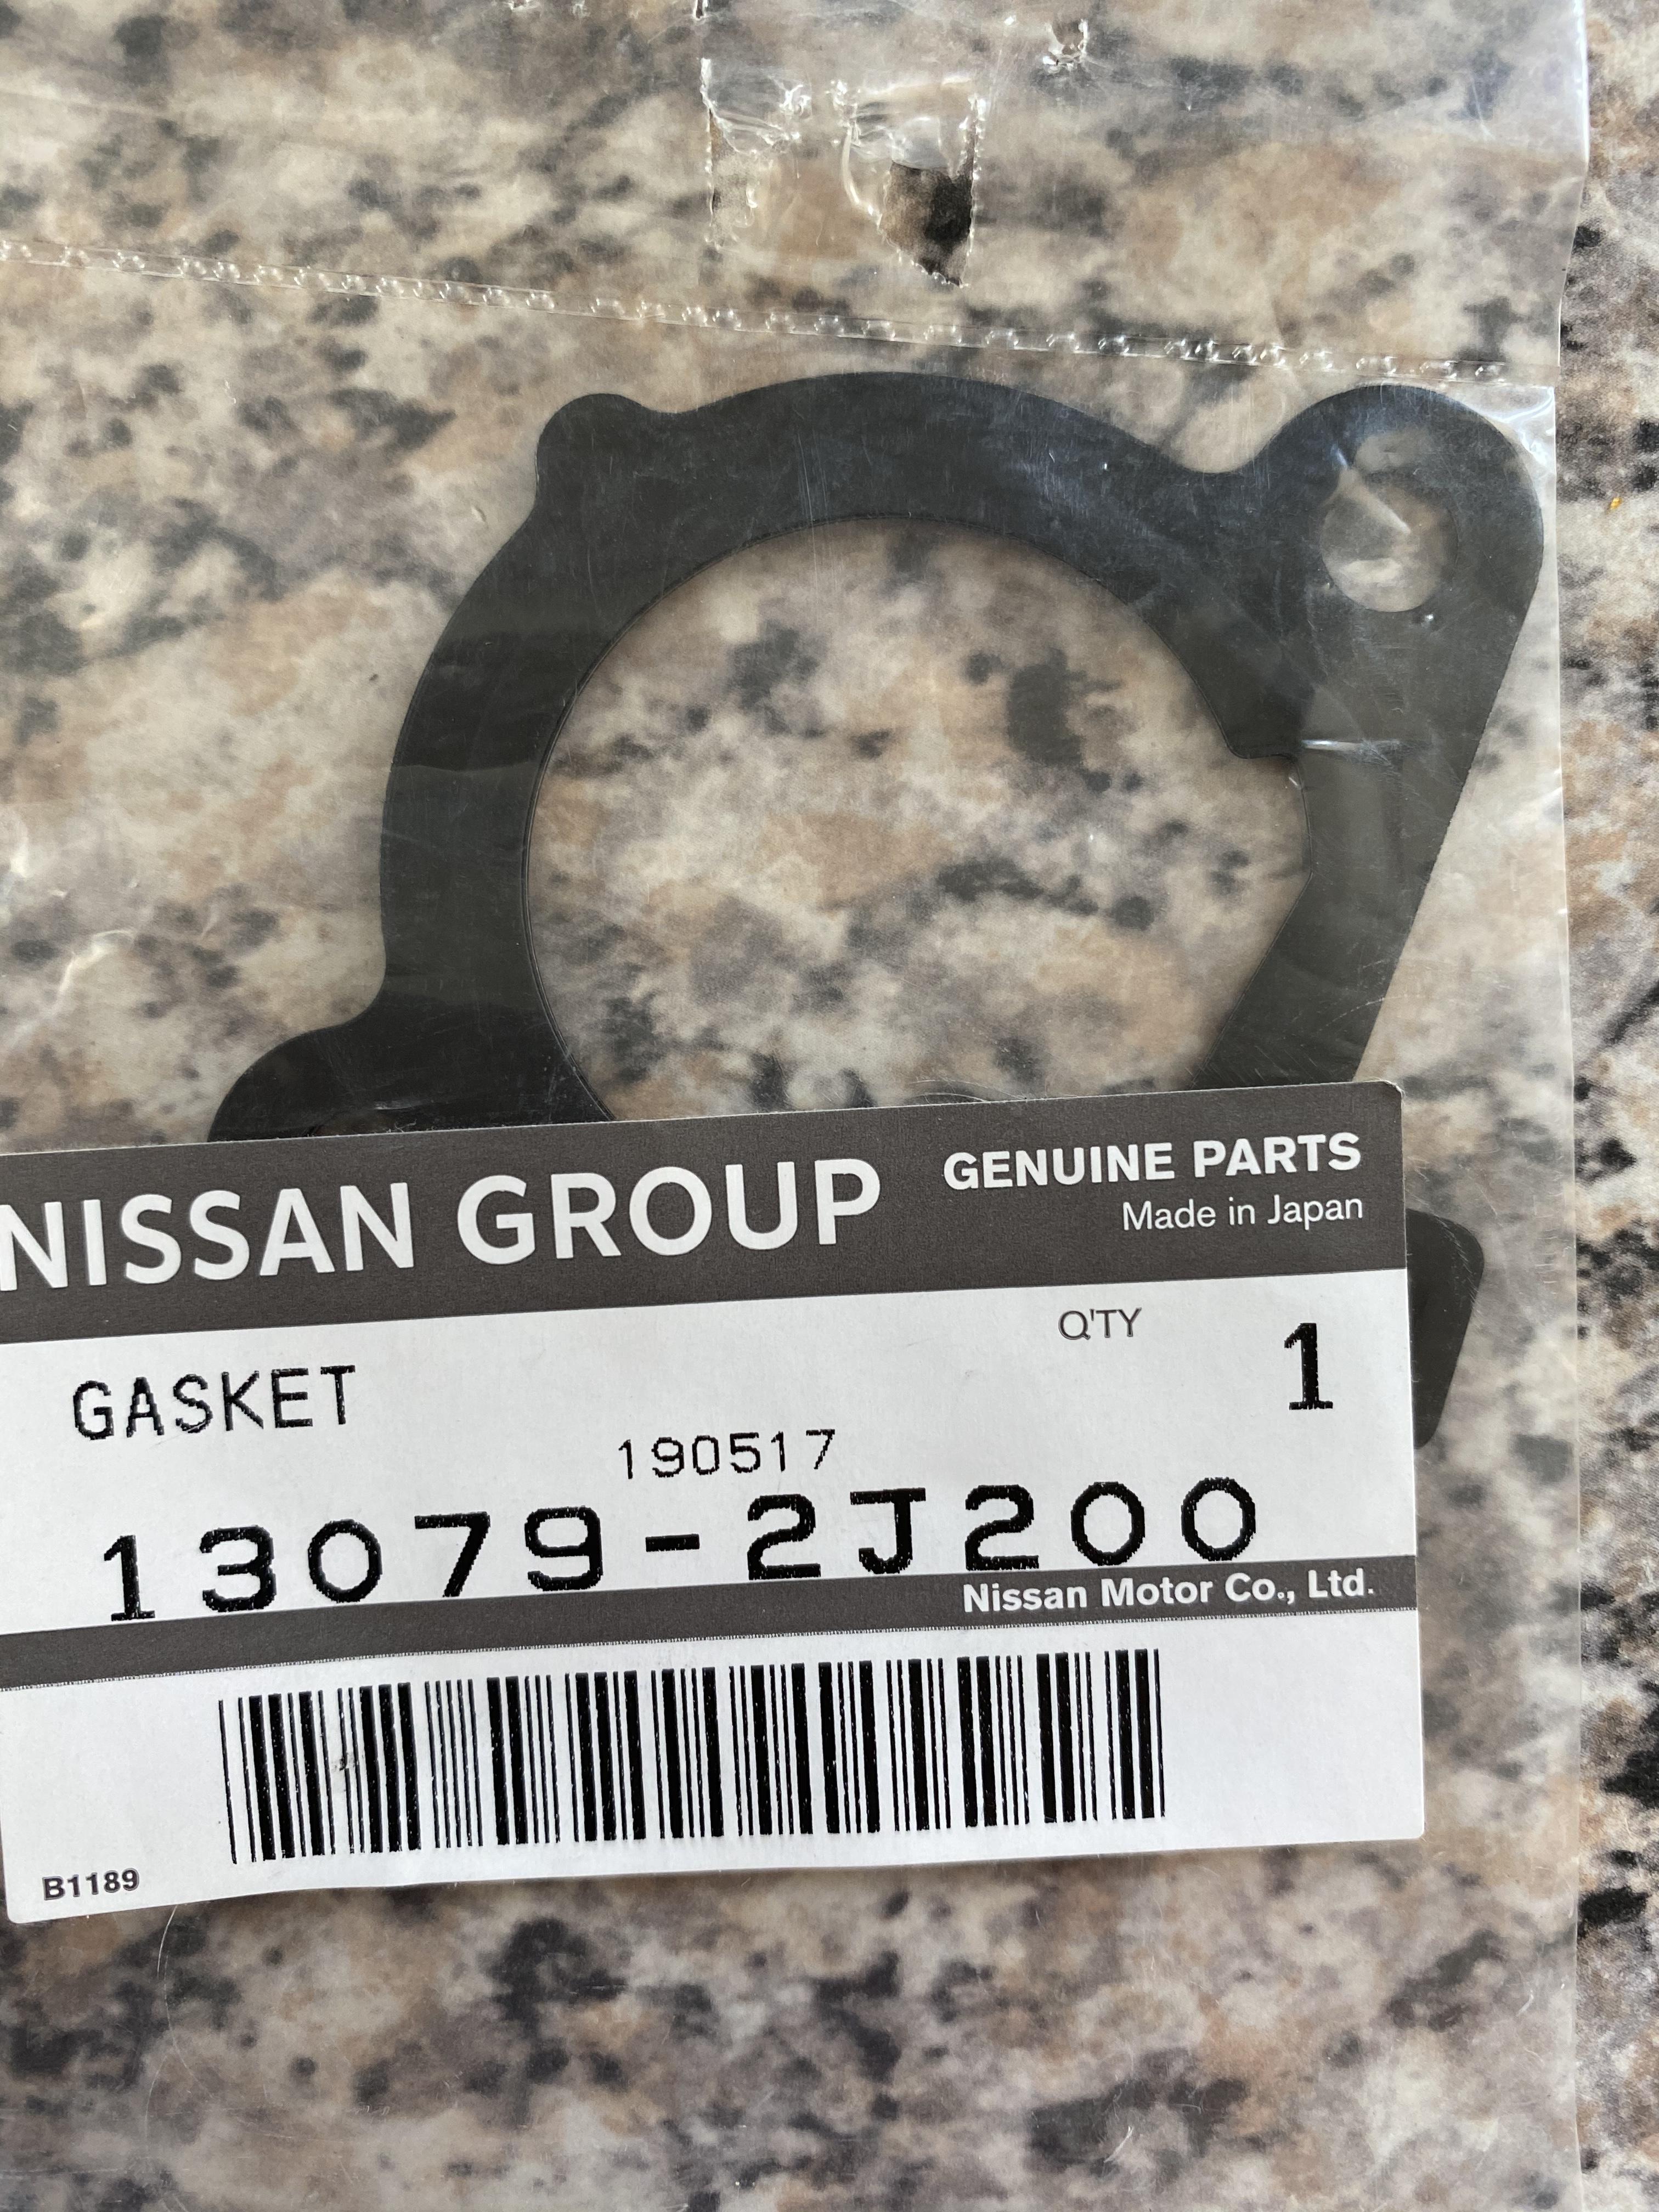
As the intercooler pipework was off I decided to fit the gear selector cable bearing kit I’ve had laying around for years. A job I will never bother to do again! I wasn’t too keen on number of washers with the kit so I machined up some thicker washers. Unfortunately one cable is now slightly bent and the gearstick doesn’t quite move to centre from 5th but nothing major. All fitted up and ready for the rest of the car to be put back together once the throttle body gasket arrives.


-
I’ve always run my idle around 1100 as the idle control and wax stat were shot so idle sometimes plummeted at a standstill and sometimes didn’t so I shall aim to maintain what I had already. Throttle response has always been pretty crisp so I shall probably leave the tps where it is