

Bean
-
Content Count
2016 -
Joined
-
Last visited
Content Type
Profiles
Forums
Wiki
Media Demo
Store
Calendar
Posts posted by Bean
-
-
18 hours ago, BMX-RIG said:
You reckon its something worth doing then, regardless of your setup?
Yep, theres no reason for it to be there.
-
Good work on the decat mate. Its a bit of a design flaw in them. I certainly noticed the difference after porting mine.
-
To engage the launch control on the emanage you just have to have the car stationary and foot flat on the floor, the emanage should hold the revs at what ever its been setup at.
-
Yeah not seen any in the UK they used to be on ebay a while back I think from Germany.
-
You could use those US spec bumpers for a table or a seat haha
-
Ive got the KYB SR specials on my GT with rsr lowering springs and the car is very stiff, it doesn't sit low either.
Ive a set of trd springs I planned to try to see if it softened it up a bit and maybe sat a little lower. They are hard to find the SR special shocks.
-
The Konis were very expensive when I remember camskill selling them. I cant see many people even bought them, only seen the odd set come up over the years.
In Japan there are plenty of options of stiffer KYB's but nothing over here.
-
always wondered about these but never seen any guys running them.
On my KP starlet I replaced bilstein inserts with gaz inserts and it was just a case of unscrewing the top of the strut and fitting the new one inside the tube.
-
9 hours ago, SKINY said:
So, the 2zz box just needs the 4efte bell housing swapped ? What about drive shafts ? Will the GT shafts fit ?
ive not heard of anyone fitting a 2zz box before.
-
its beat me. went to fit the shocks with the eibachs on and the lower shock bolt is snapped in the arm i must have done it ages ago and forgot about it. had the tig welder on it glowing red and tred to get some grips on it then tried drilling it and a big drill bit snapped in it then i tried to knock the drill bit out with a snap on screw driver and that got stuck and is smashed now lol. tried to remove the arm and that bolts seized too. had enough of it now. Will be at JAE in my GT4 instead ffs.
-
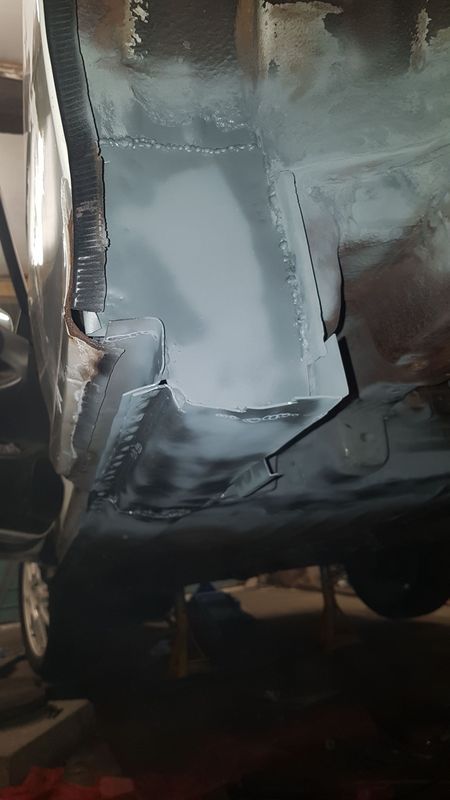
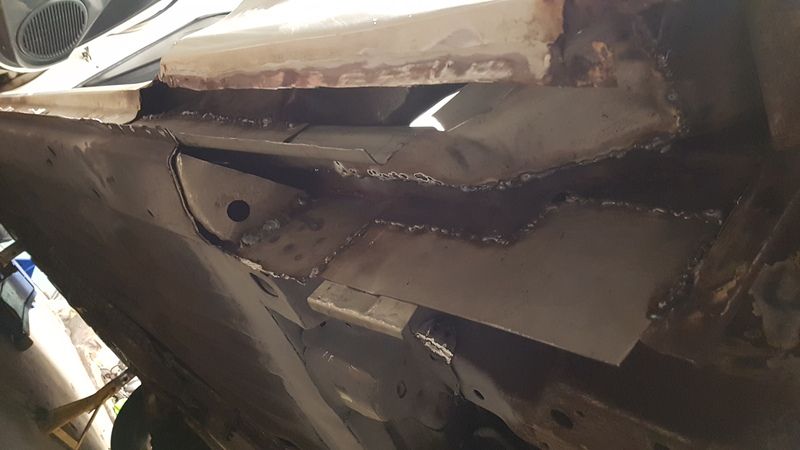
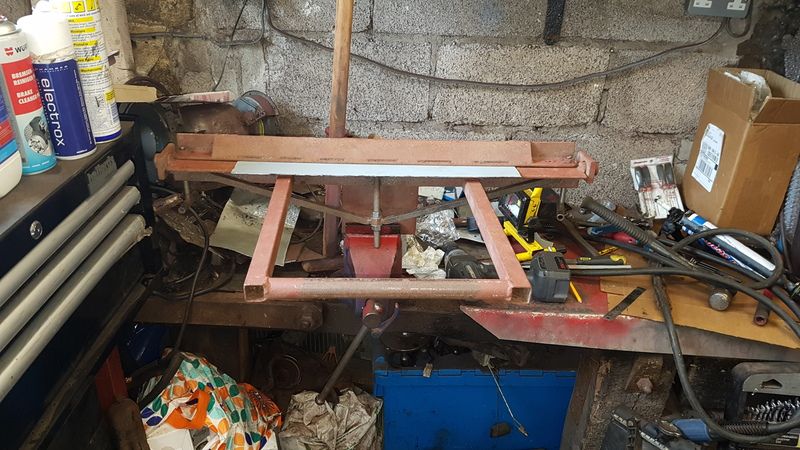
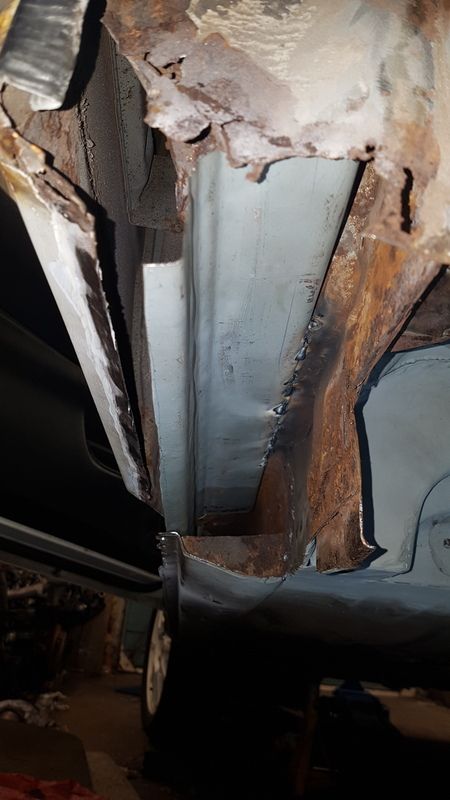
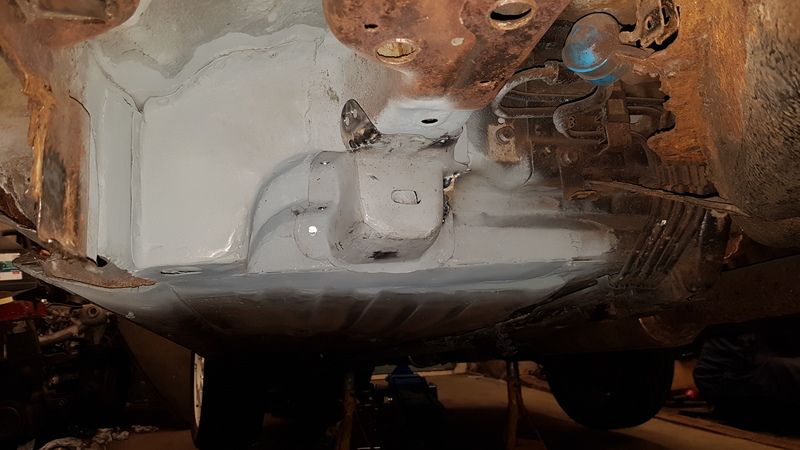
Been smashing this in the garage all weekend and today, feel like crap but got to bash on!
I made a new jacking point
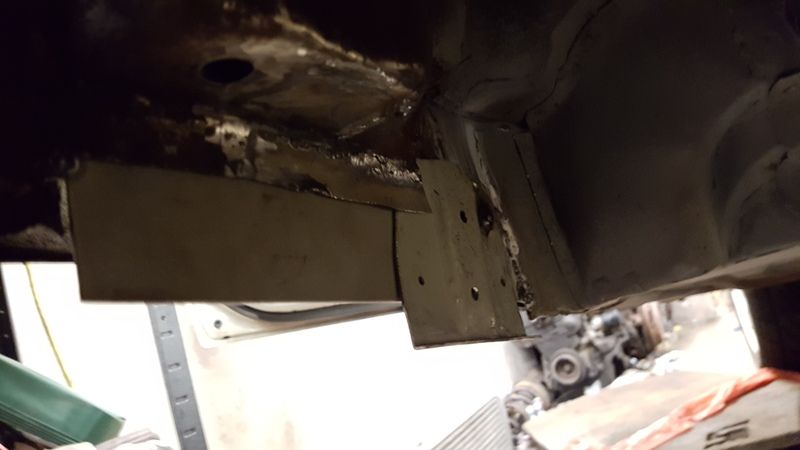
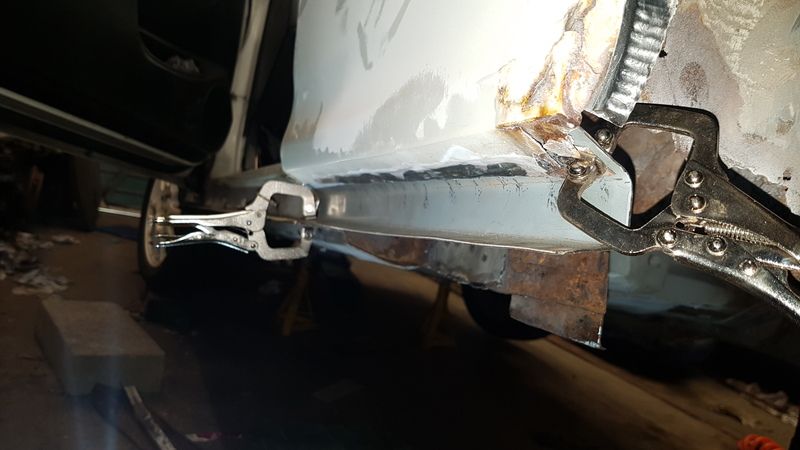
Starting to tack the new sill in place
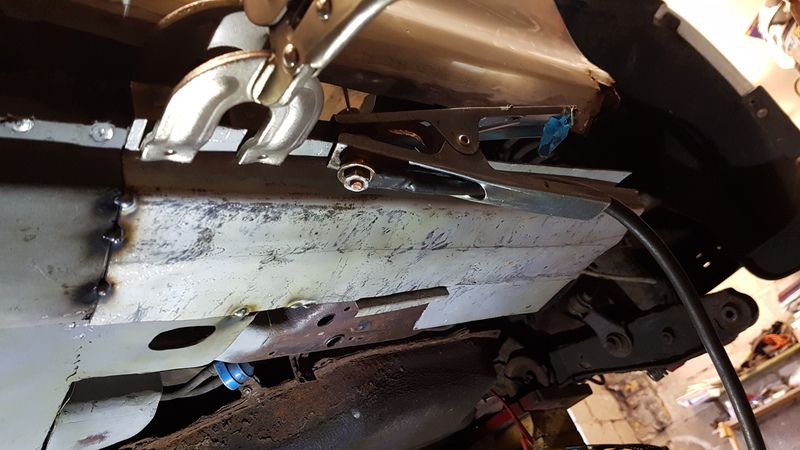
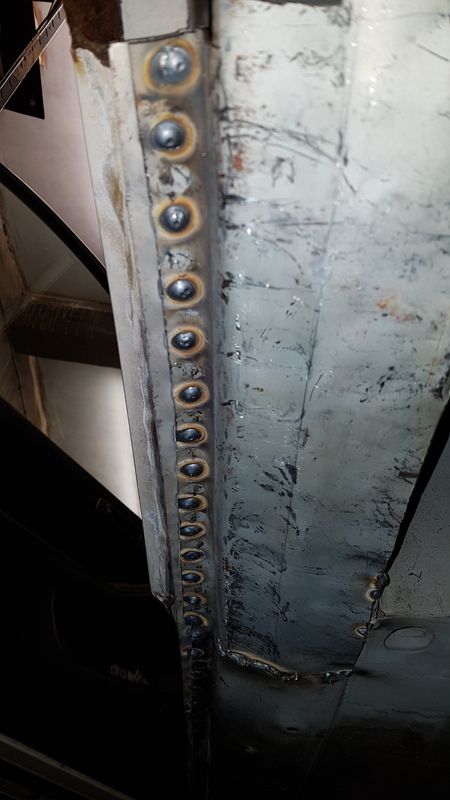
Holes drilled ready for plug welding onto the top piece of the sill.
Boom, all plug welded.
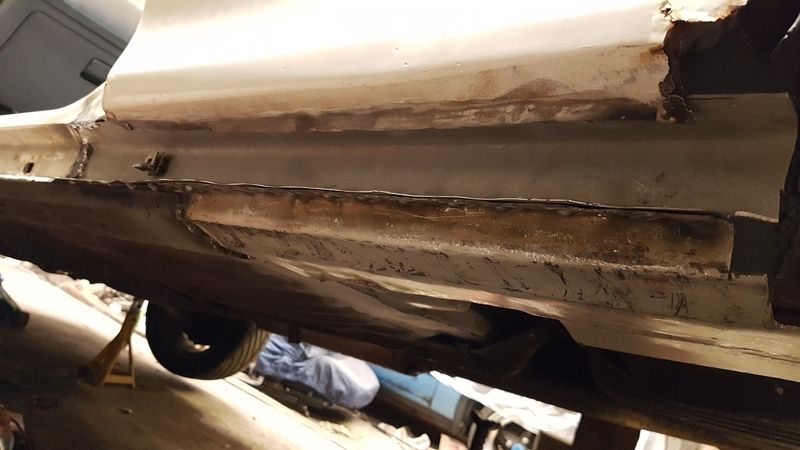
Clamping the back of the sill in place, this is all pretty thick stuff as the jacking point ties into this piece.
and welded in
There was loads of welding in the sill pieces and the pieces which make them up. Some were welded from underneath, some inside the car and some both. the sill is mega strong now, more so than factory i bet!
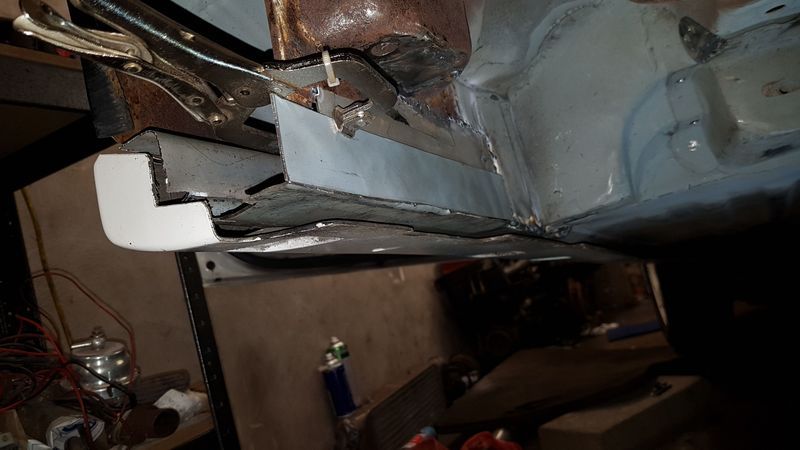
The sill is almost finished now, i just need to measure and make two of the square holes for the clips which mount the side skirts. i did one last night and it lined up spot on so hopefully the other two will go well.
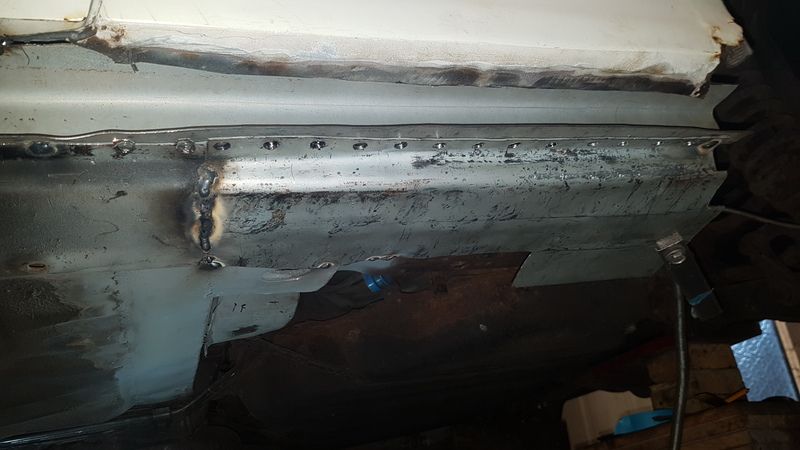
Also cut the rusty piece out of the wheel arch tub and welded this piece in then zinc primed everything.
Came in now for a rest and some tea! might go back out and do some more depends how many pims i have!
-
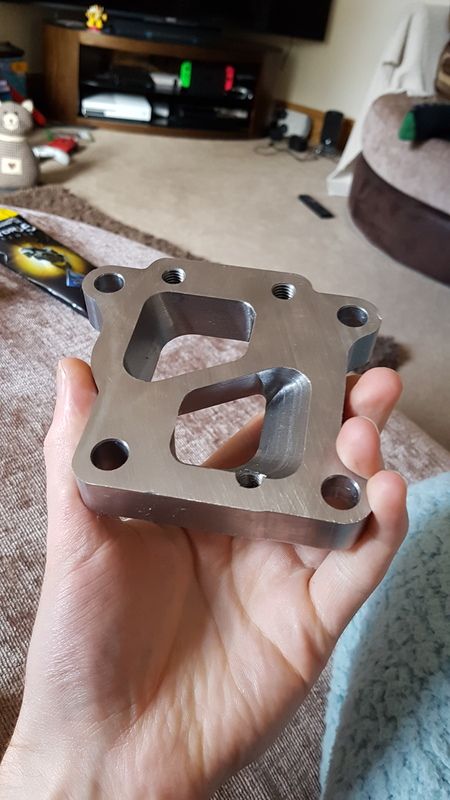
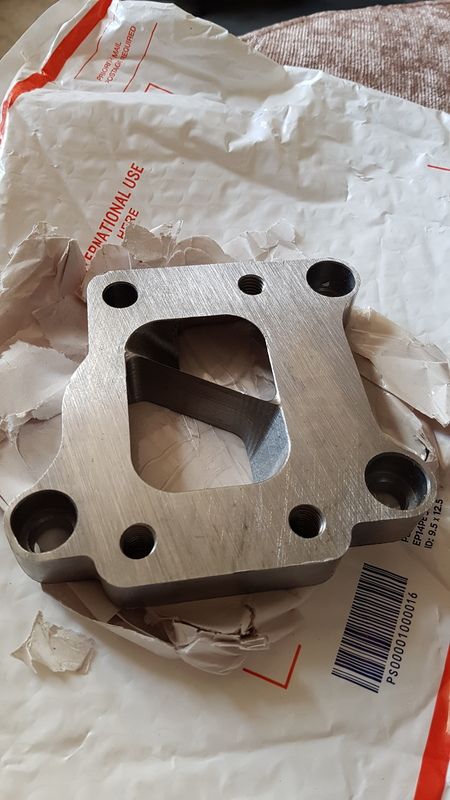
turbo adapter flange landed, hopefully this setup works.
Bit more progress
-
Great thread keep us updated!
-
looks a nice setup that!
-
My grinder died the other day, metabo one it was and a good one too wont be buying another one of those.
quick trip to screwfix and got this.
Also ran out of gas so had to go swap the bottle for a full one.
had a delivery of u pol gravitex stone chip, and tiger seal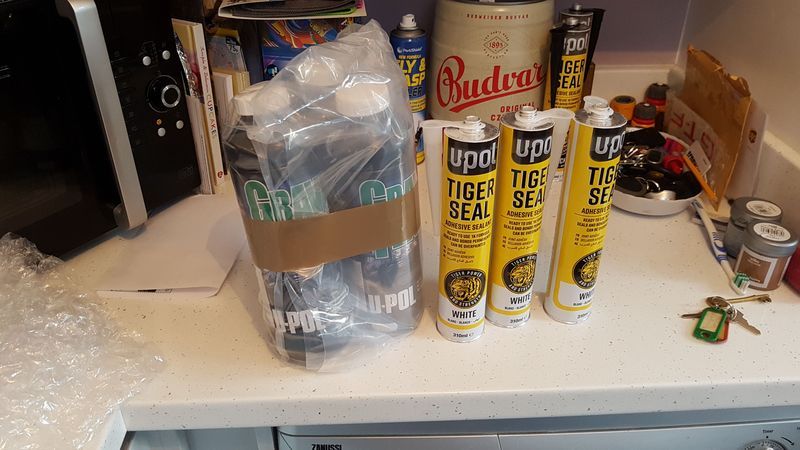
great stuff this used it on my gt4 rebuild and that came out great and still looks mint a few years later.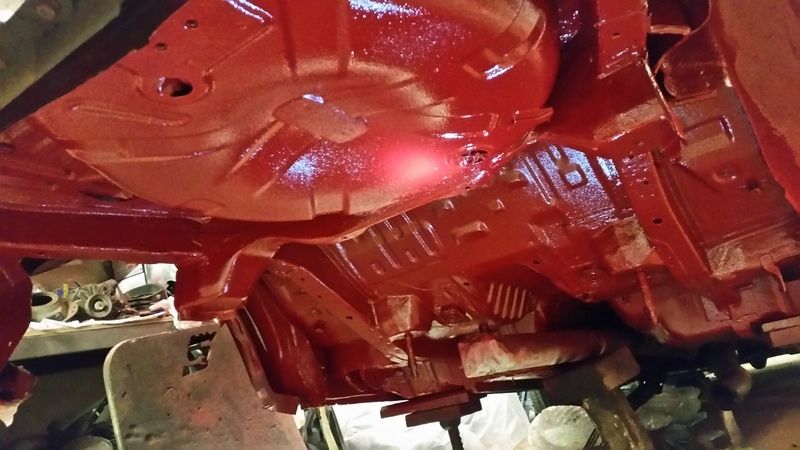
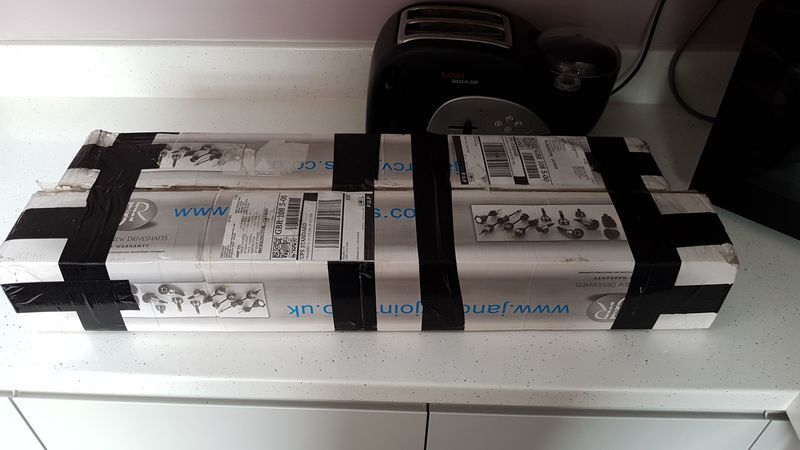
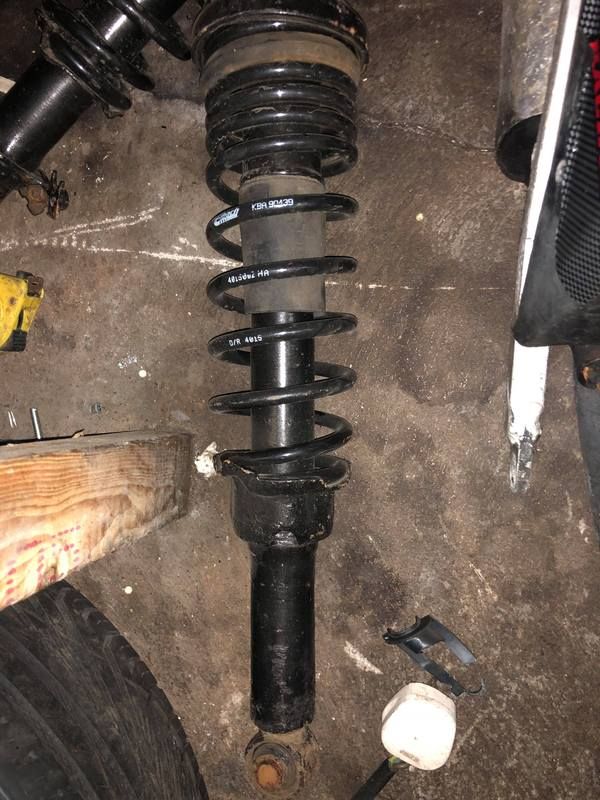
Also got a new set of shafts, just incase.
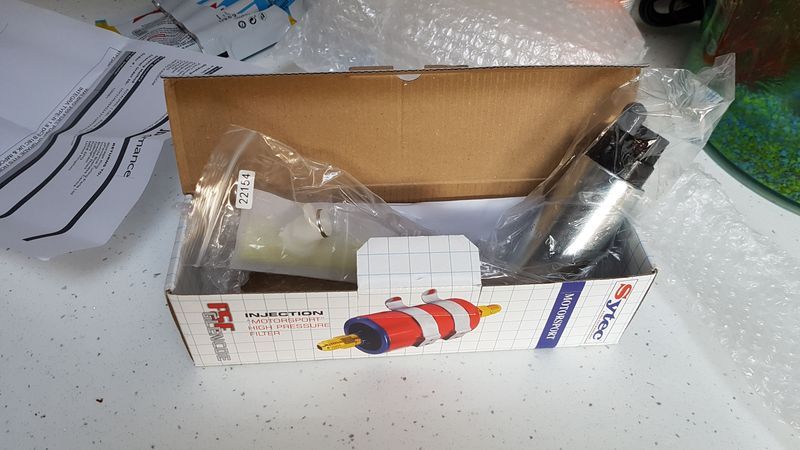
and a walbro 255lph pump
Back to the garage now!
-
On 8/19/2018 at 9:37 PM, matty gt said:
From yahoo auctions i used bidjdm section on rhdjapan wedsite very easy to do business with
That must have cost an absolute fortune. Looks a really nice system though.
-
On 8/17/2018 at 9:52 PM, Calum122 said:
Again, this is mental work. So much love going into this build.
Cheers mate, just finding it hard to keep at it!
Heresthe folder my mate lent to me. it came in handy yesterday.
this piece goes in the sill as a reinforcement piece.
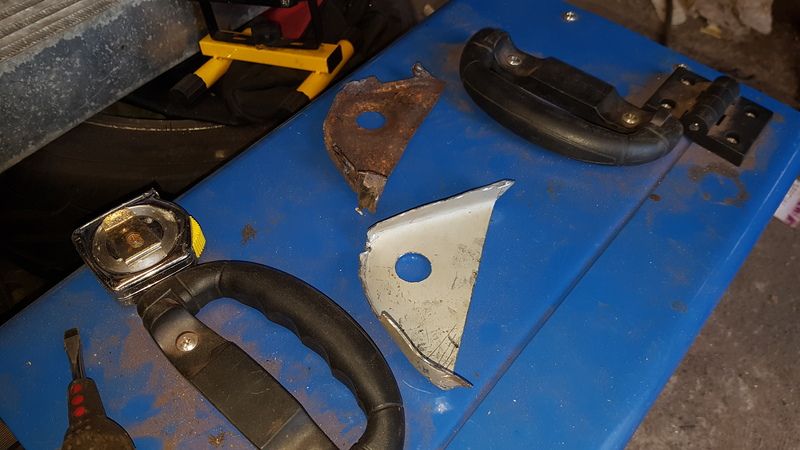
This is the piece i made with the folder.
This is a piece which is sort of like the top inner of the sill, it ties into the sill edge.
That was yesterdays work.
-
The exhaust looks great where did you get it from?
-
if you wanted the rust off the lower legs you could fill a bucket with boiling water with bilt hamber deox C leave over night and see how they come up. you might have to do it a couple of times but its great at eating the rust away.
-
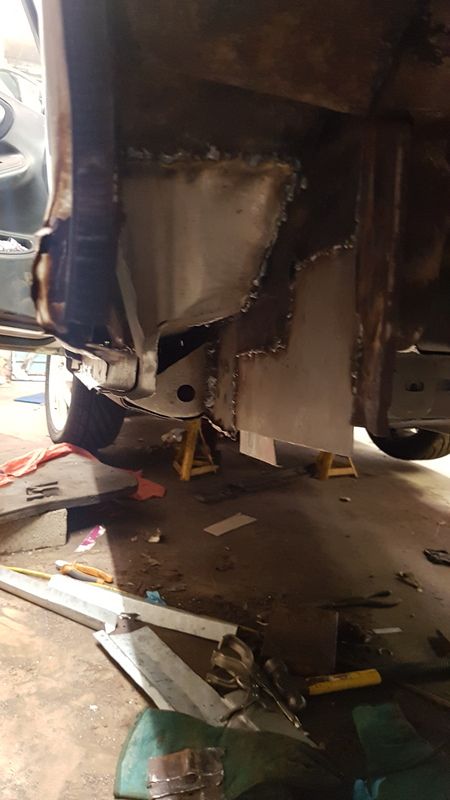
Been working on this quite a bit the past week or so after work.
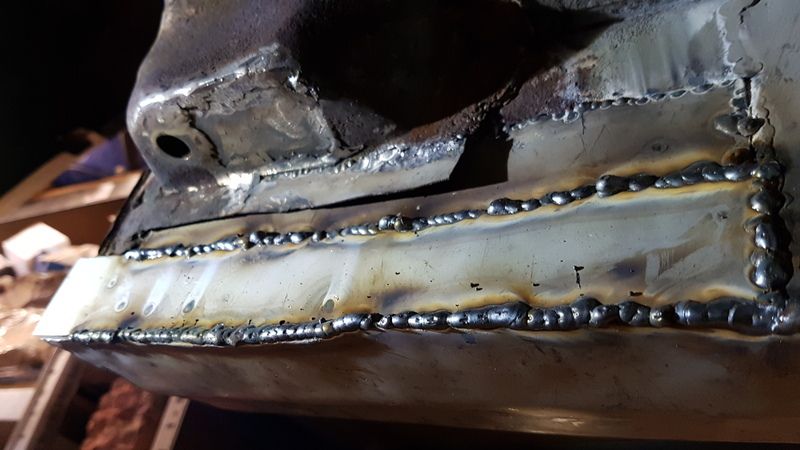
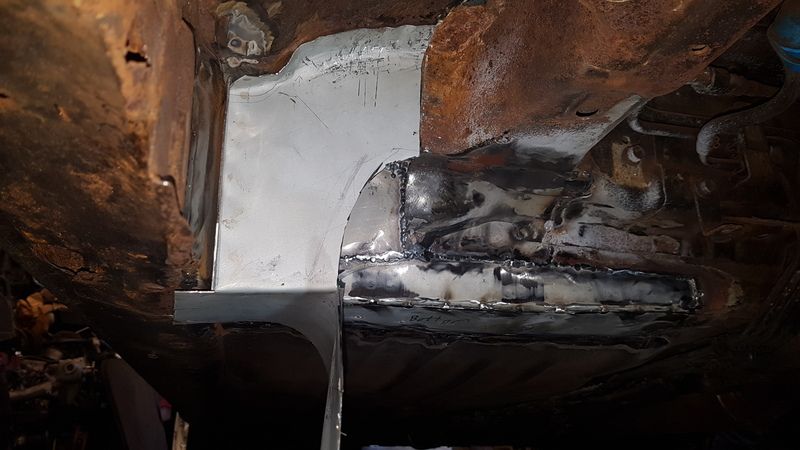
i got this bit welded in, took a bit of making this trying to get it close to how they come from the factory.

Then a bit of grinding, shaping and a bit more welding.
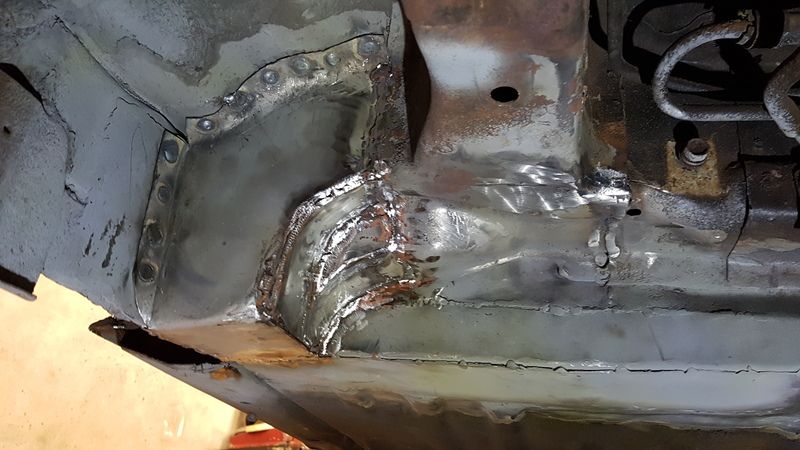
Then i painted these with electrox
This piece also has a reinforced piece inside in above the hole so this was welded in good and strong onto the new piece behind it, it was also welded onto the pieces around it.
Then i got the toe adjuster just tacked in place for now.
Also got a delivery of these.
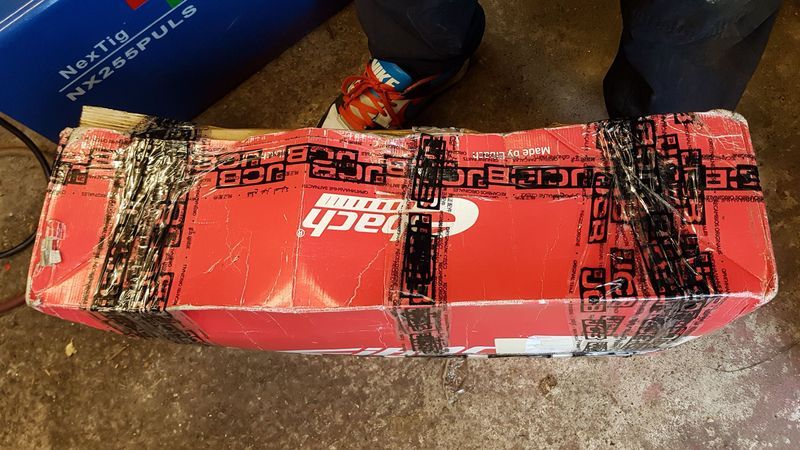
With various offers on ebay and opie oils ive also ordered:
a walbro 255lph fuel pump
bosch ev14 550cc injectors
the adpater plate i need to fit the evo td05h 10.5 turbo
u pol gravitex white stone chip
white tiger seal for sealing any seamsSo theres not many more bits i need to turbo the car, just the oil feed and return lines, t piece for the oil pressure switch, studs and nuts for the turbo manifold, and probably other odd little bits.
Ive started making new pieces for the sills but not got a pic yet. A mate dropped off his folder last night so that should help me.
-
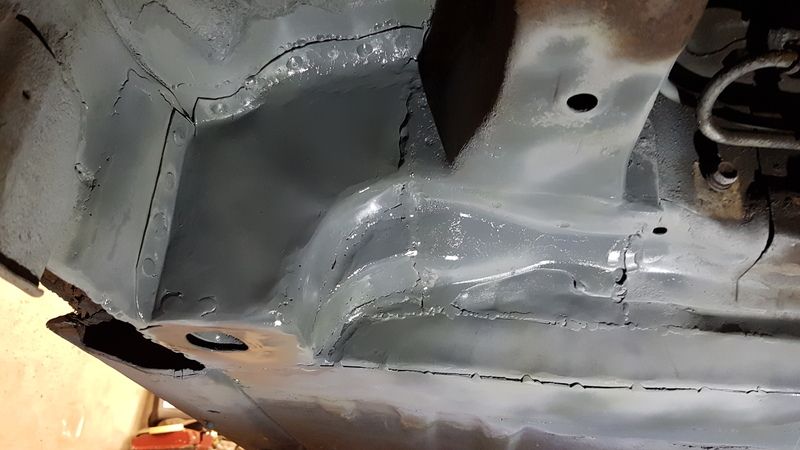
Started making up the next repair piece. im going to make this in a couple of pieces to try and get the shape similar to factory, this is the part which has a strengthening piece inside which they use to move the cars on the production line so it needs to be nice and strong.
-
yes those top speeds sound miles out actually.
-
On 01/08/2018 22:51:33, akyakapotter said:
to be honest i think my crank is worn hence leaking oil. That seal was new not long ago was a slight score mark on the crank when I installed it.
box is almost back in just need a little help lifting it in to place in the morning fill it with oil refit the other bits and cross my fingers.
cheers nick.
Im sure theres like an insert of something you can get if that's your issue. cant remember exactly now though.
-
Cant beat new parts.
I'm thinking its about time I treat my GT to some, just too much to do on the dc2 though.


372bhp TypeMr Gt Advance
in EP80/EP82 Progress Blogs
Posted
It might not be as bad on a stock ct9 with the standard waste gate penny. But the tongs have the port enlarged and a larger penny welded onto the wg flap. tbh the waste gate still cant really manage the boost that well, best to go ewg on hybrid ct9.