

JamesG
-
Content Count
108 -
Joined
-
Last visited
Content Type
Profiles
Forums
Wiki
Media Demo
Store
Calendar
Posts posted by JamesG
-
-
On 12/14/2021 at 5:54 PM, BMX-RIG said:
Great work as usual james. Always enjoy reading what your up to.
Its crying out to get mapped surely…
Thanks Tyler, good to hear.
Yeah it is really, been a little bit unsure which route to go down with regards to the management. Ive decided it would be better to go straight for a standalone ecu set up similar to your own. Going to start putting some funds aside for it and will see how things go next year.
-
20 hours ago, Patches said:
Nice effort with the fuel tank, well done for taking the time and doing it properly!
Thanks mate, yeah really pleased with it. Looks so much better than it did.
5 hours ago, Claymore said:
Thanks Claymore, found your thread on the walbro pumps helpful to make sure I got the right one
.
-
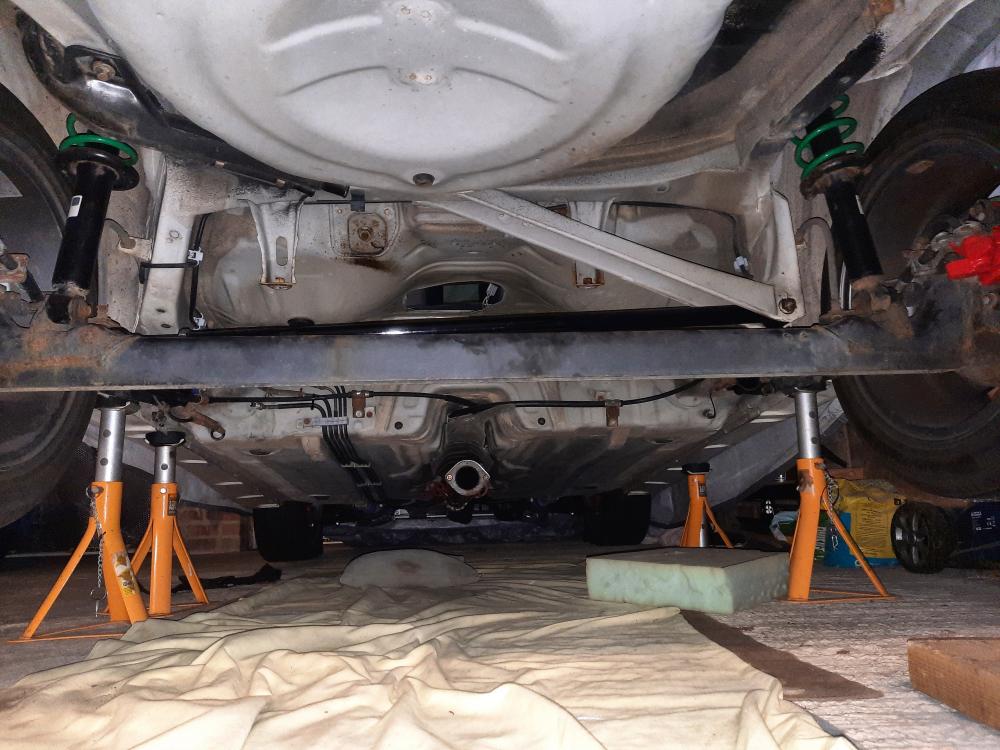
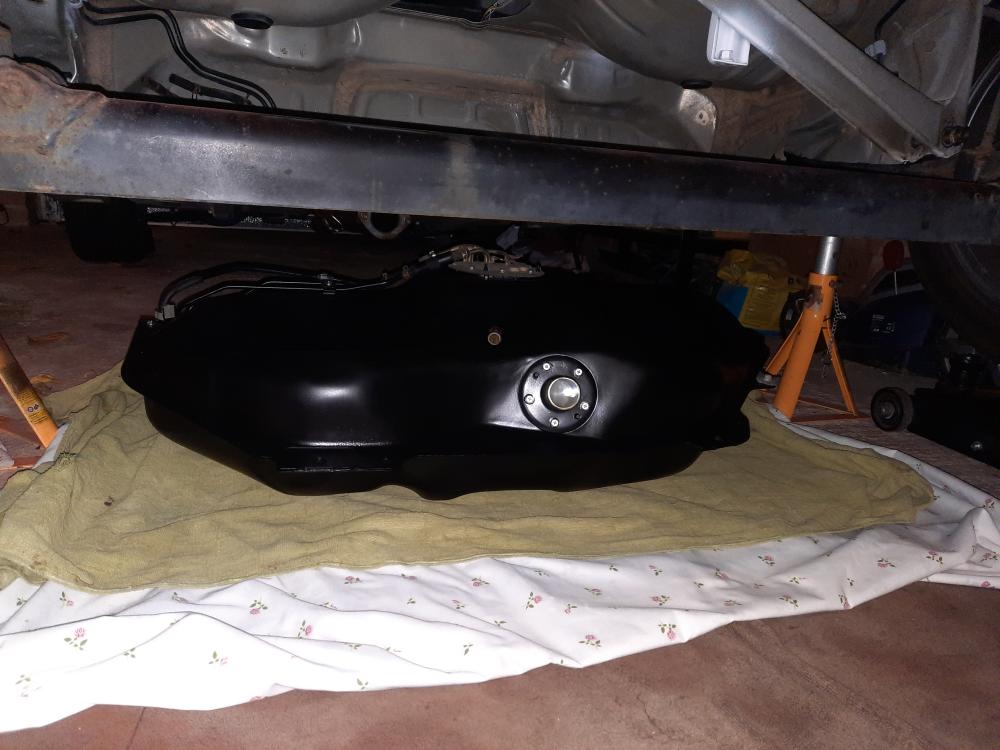
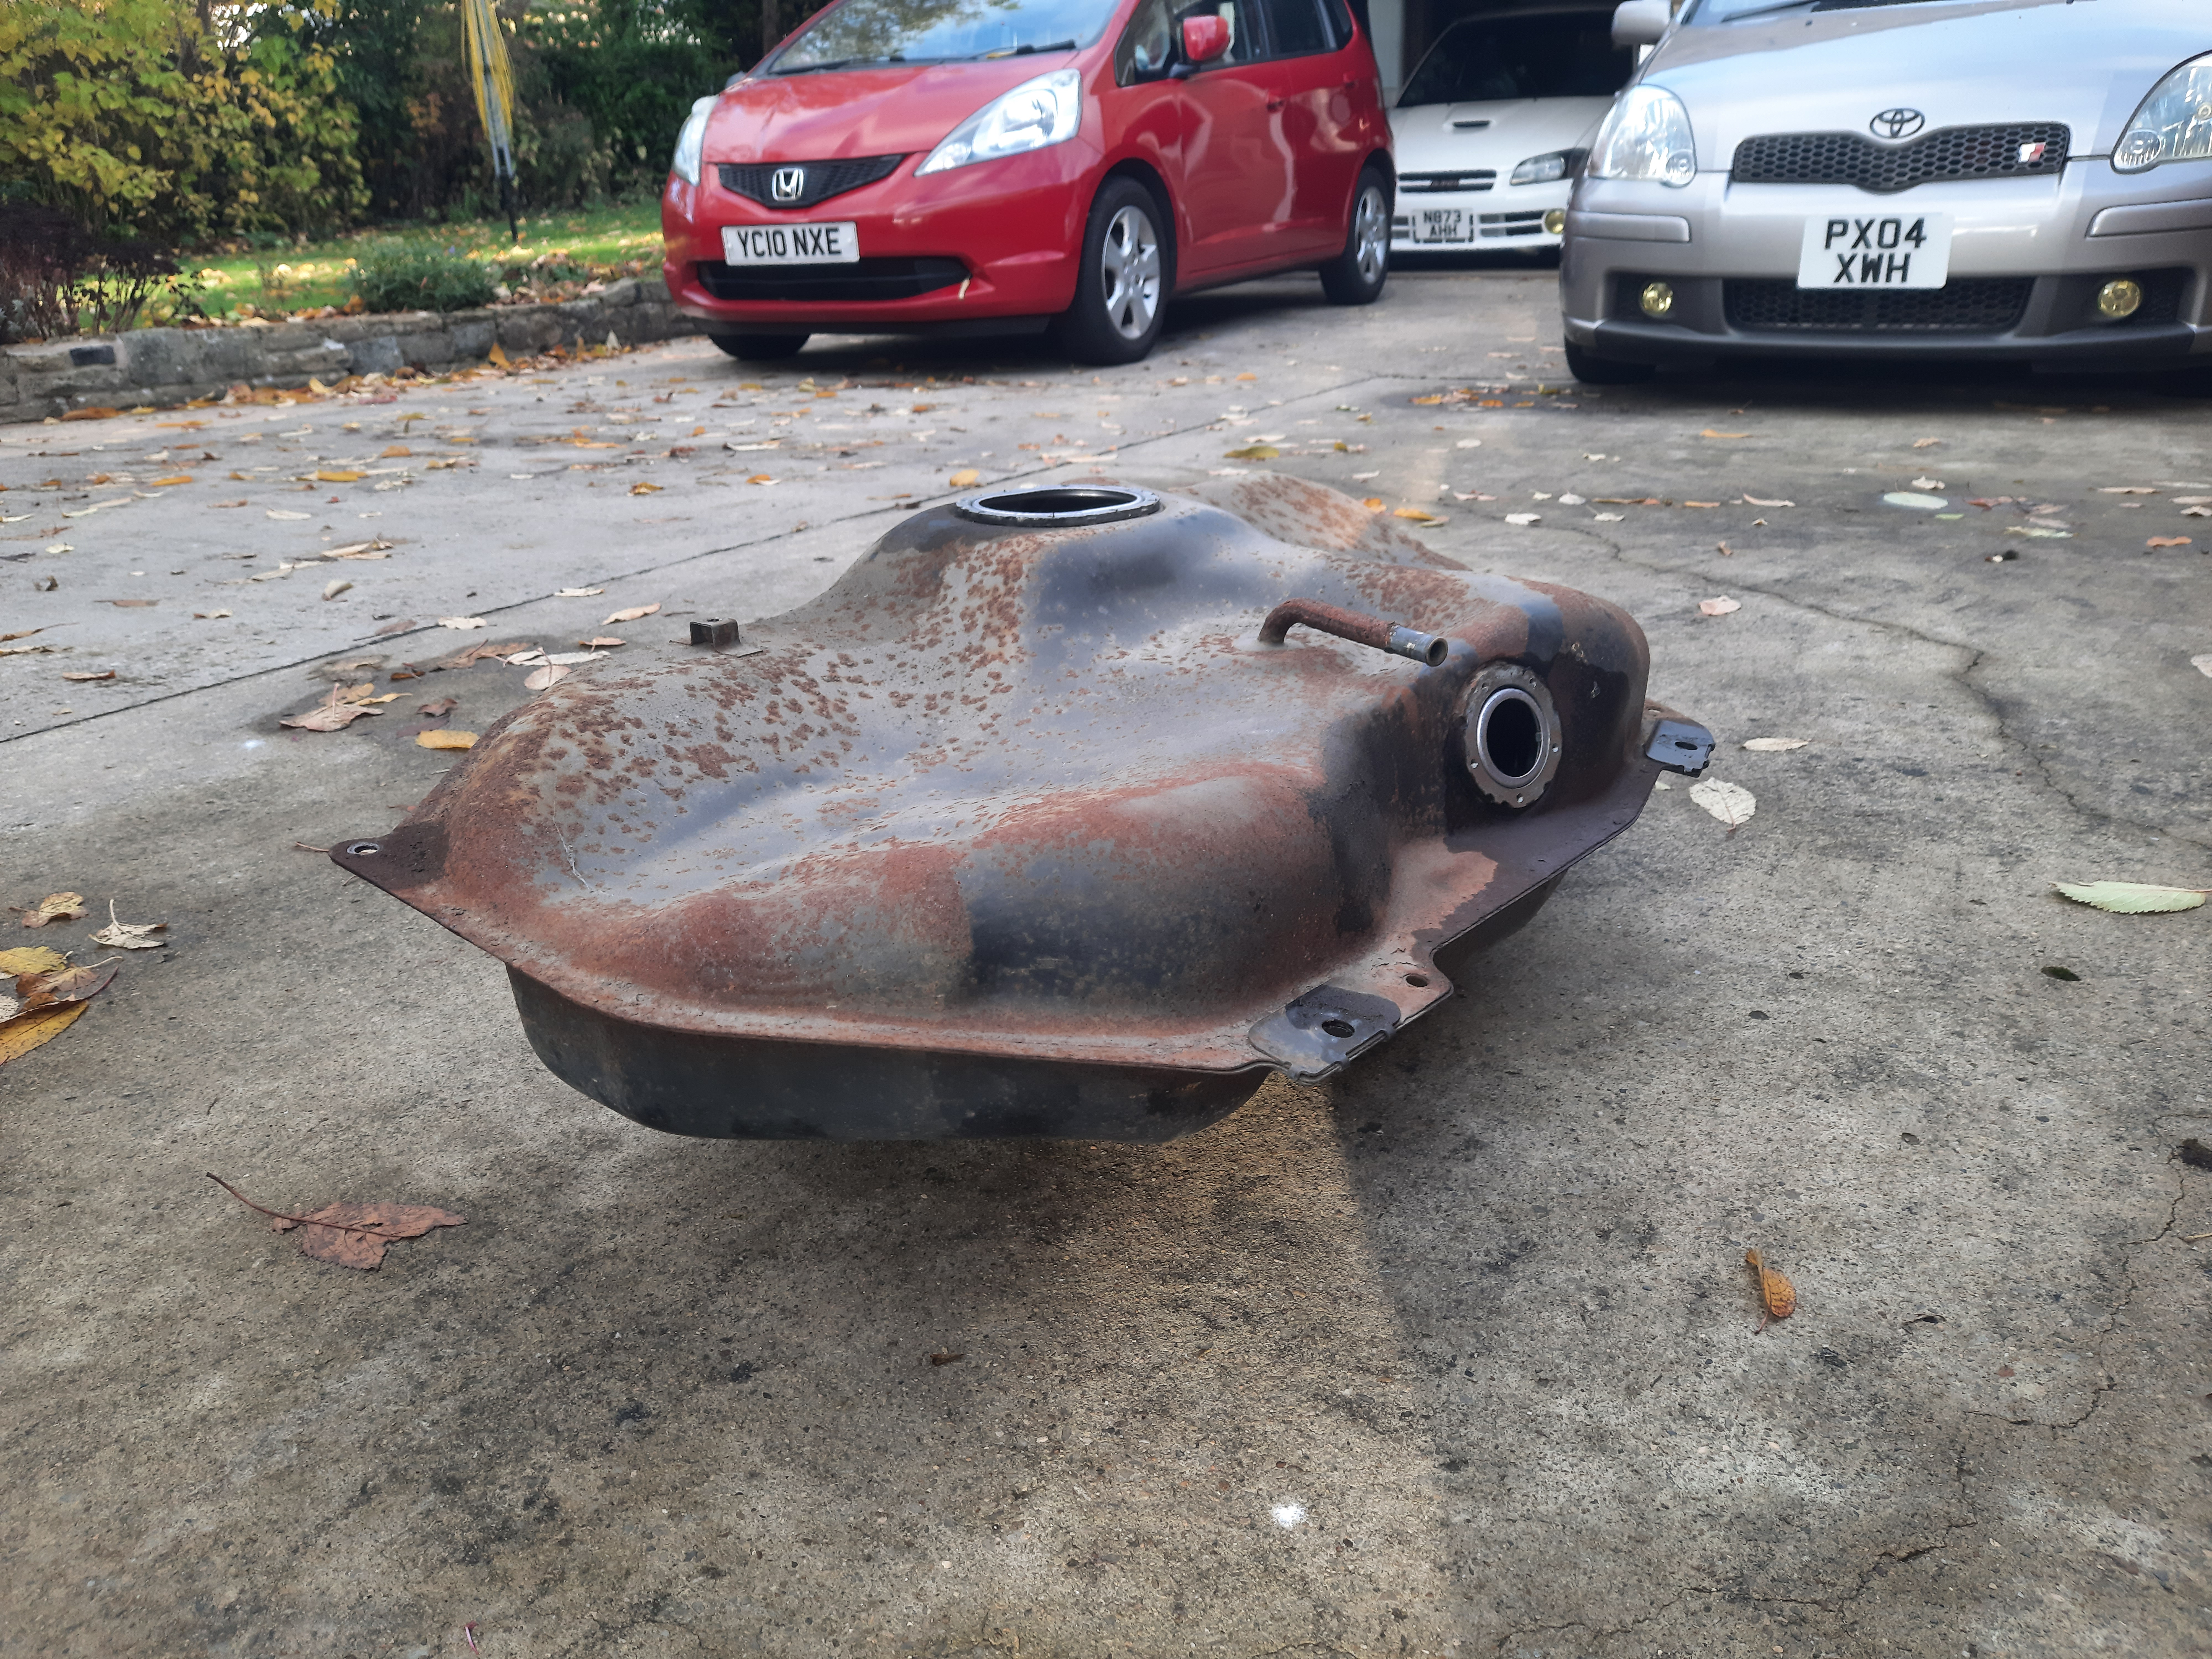
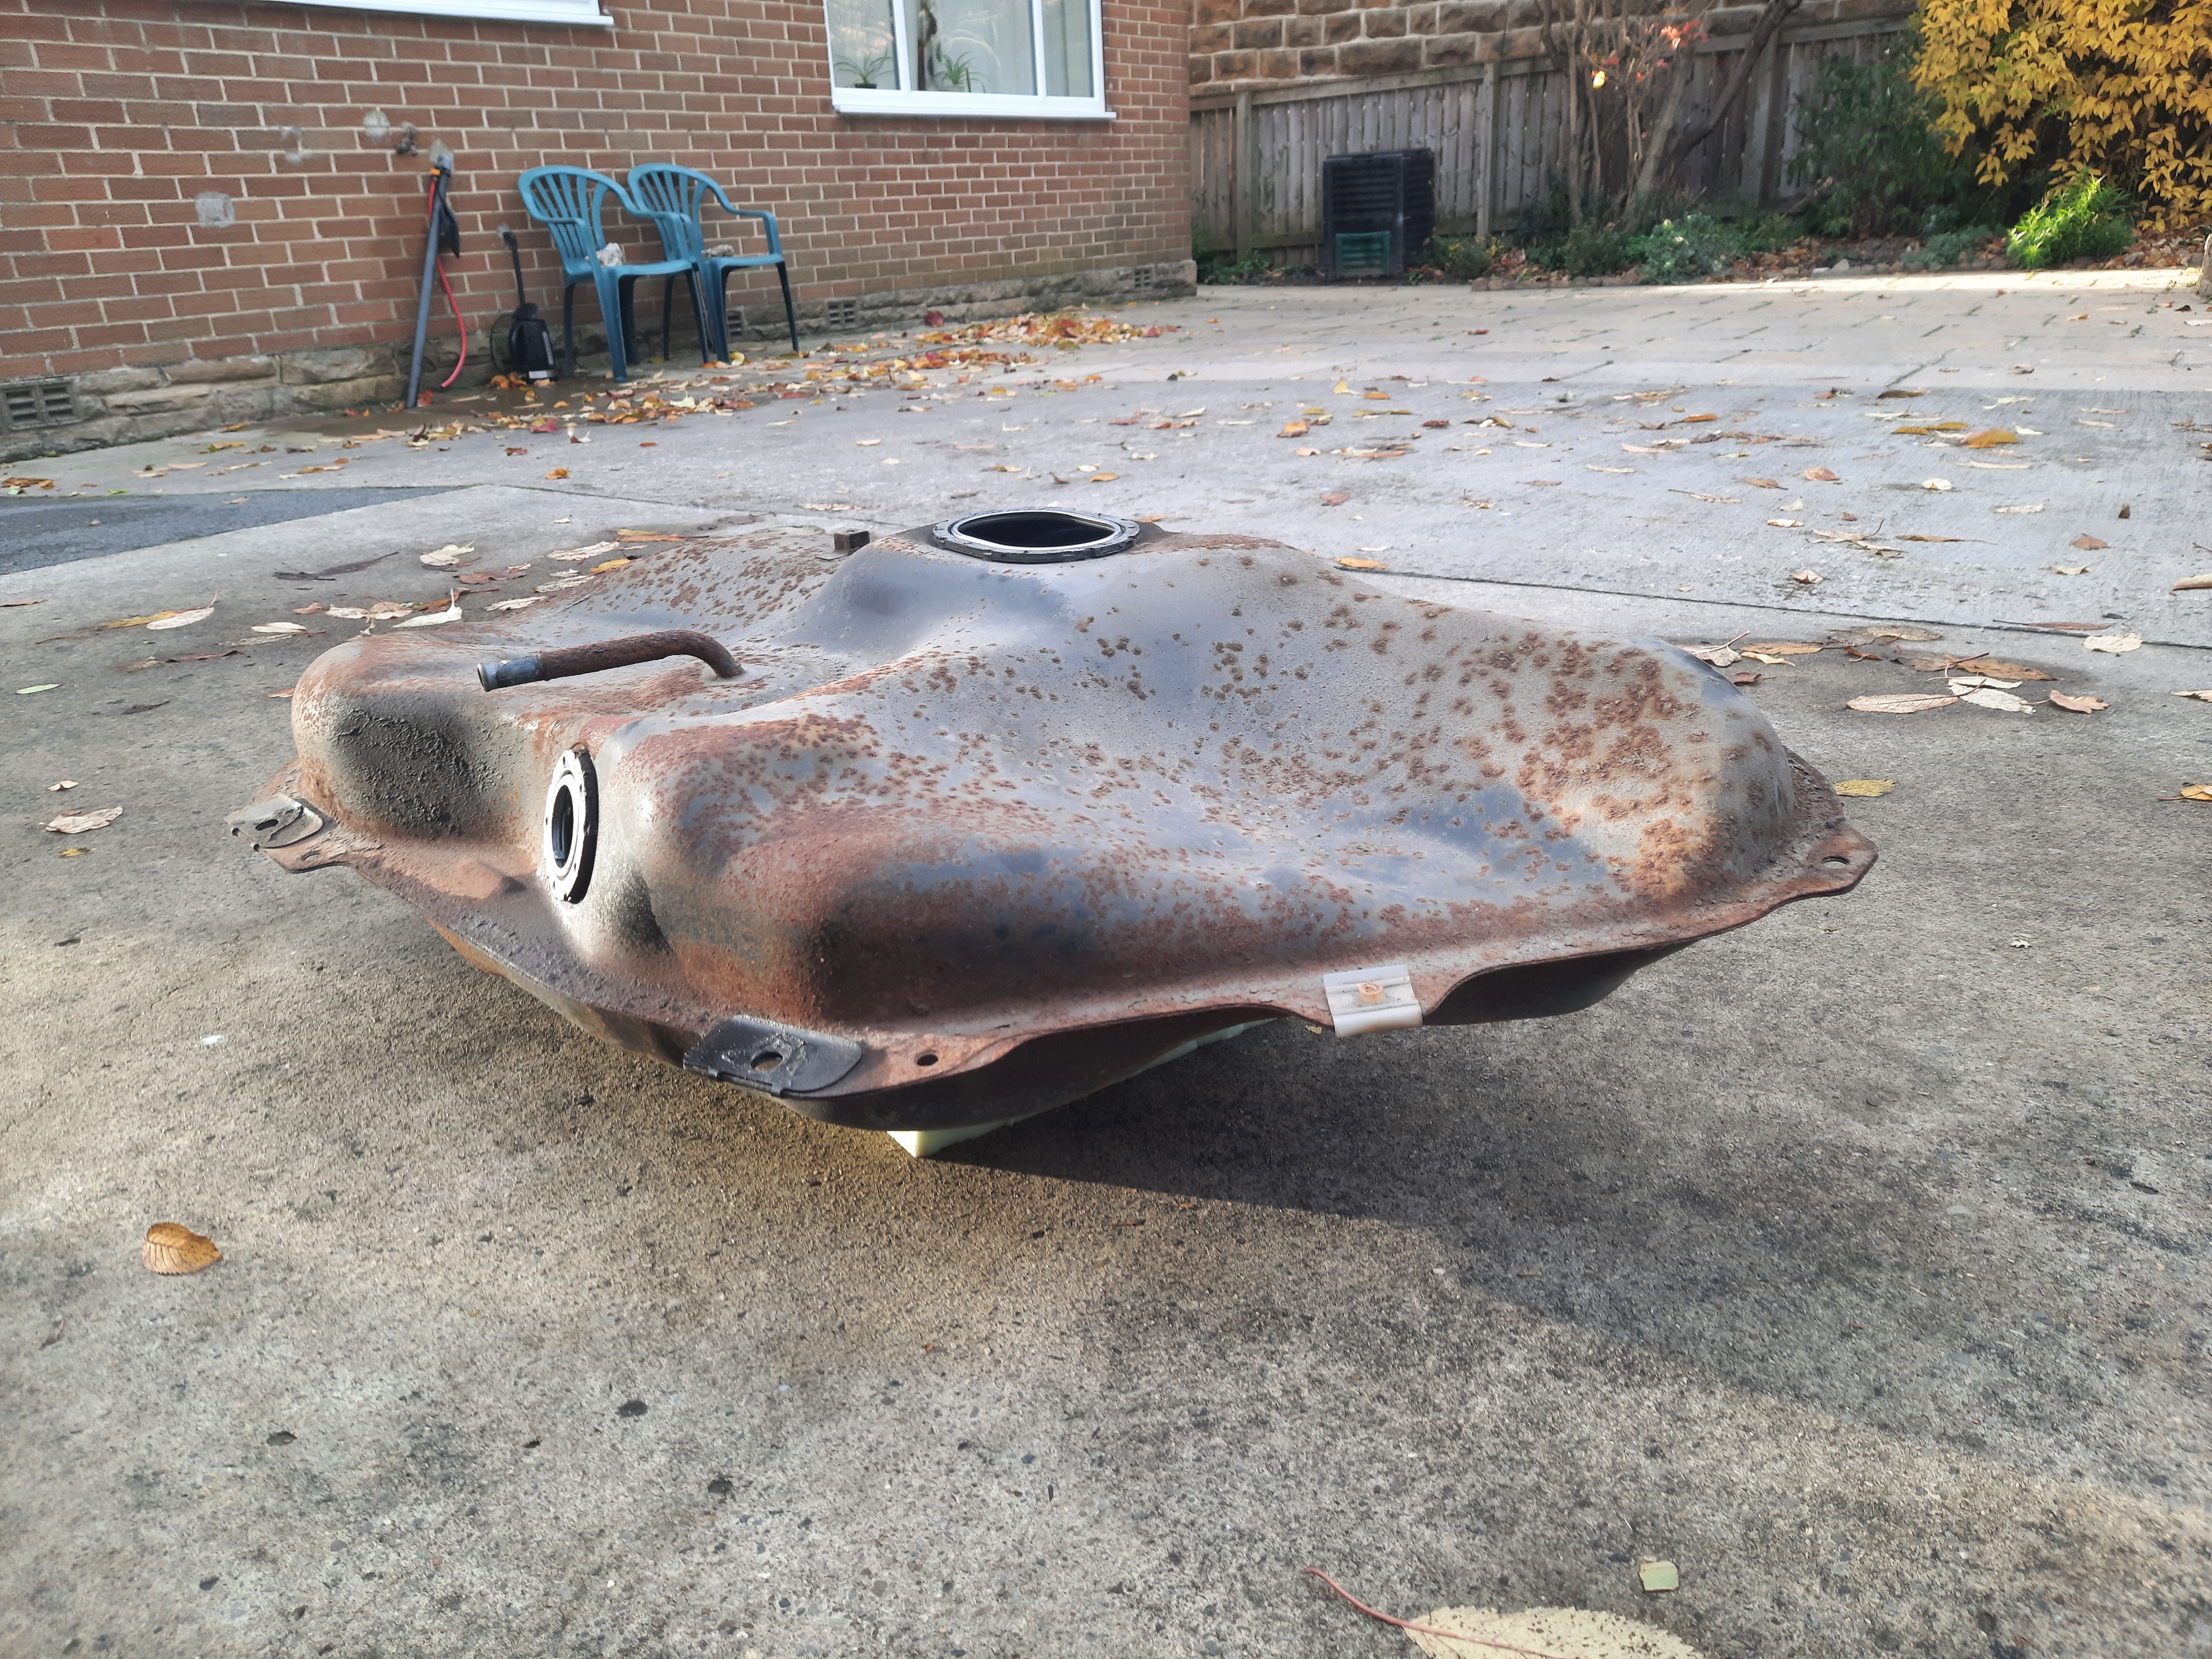
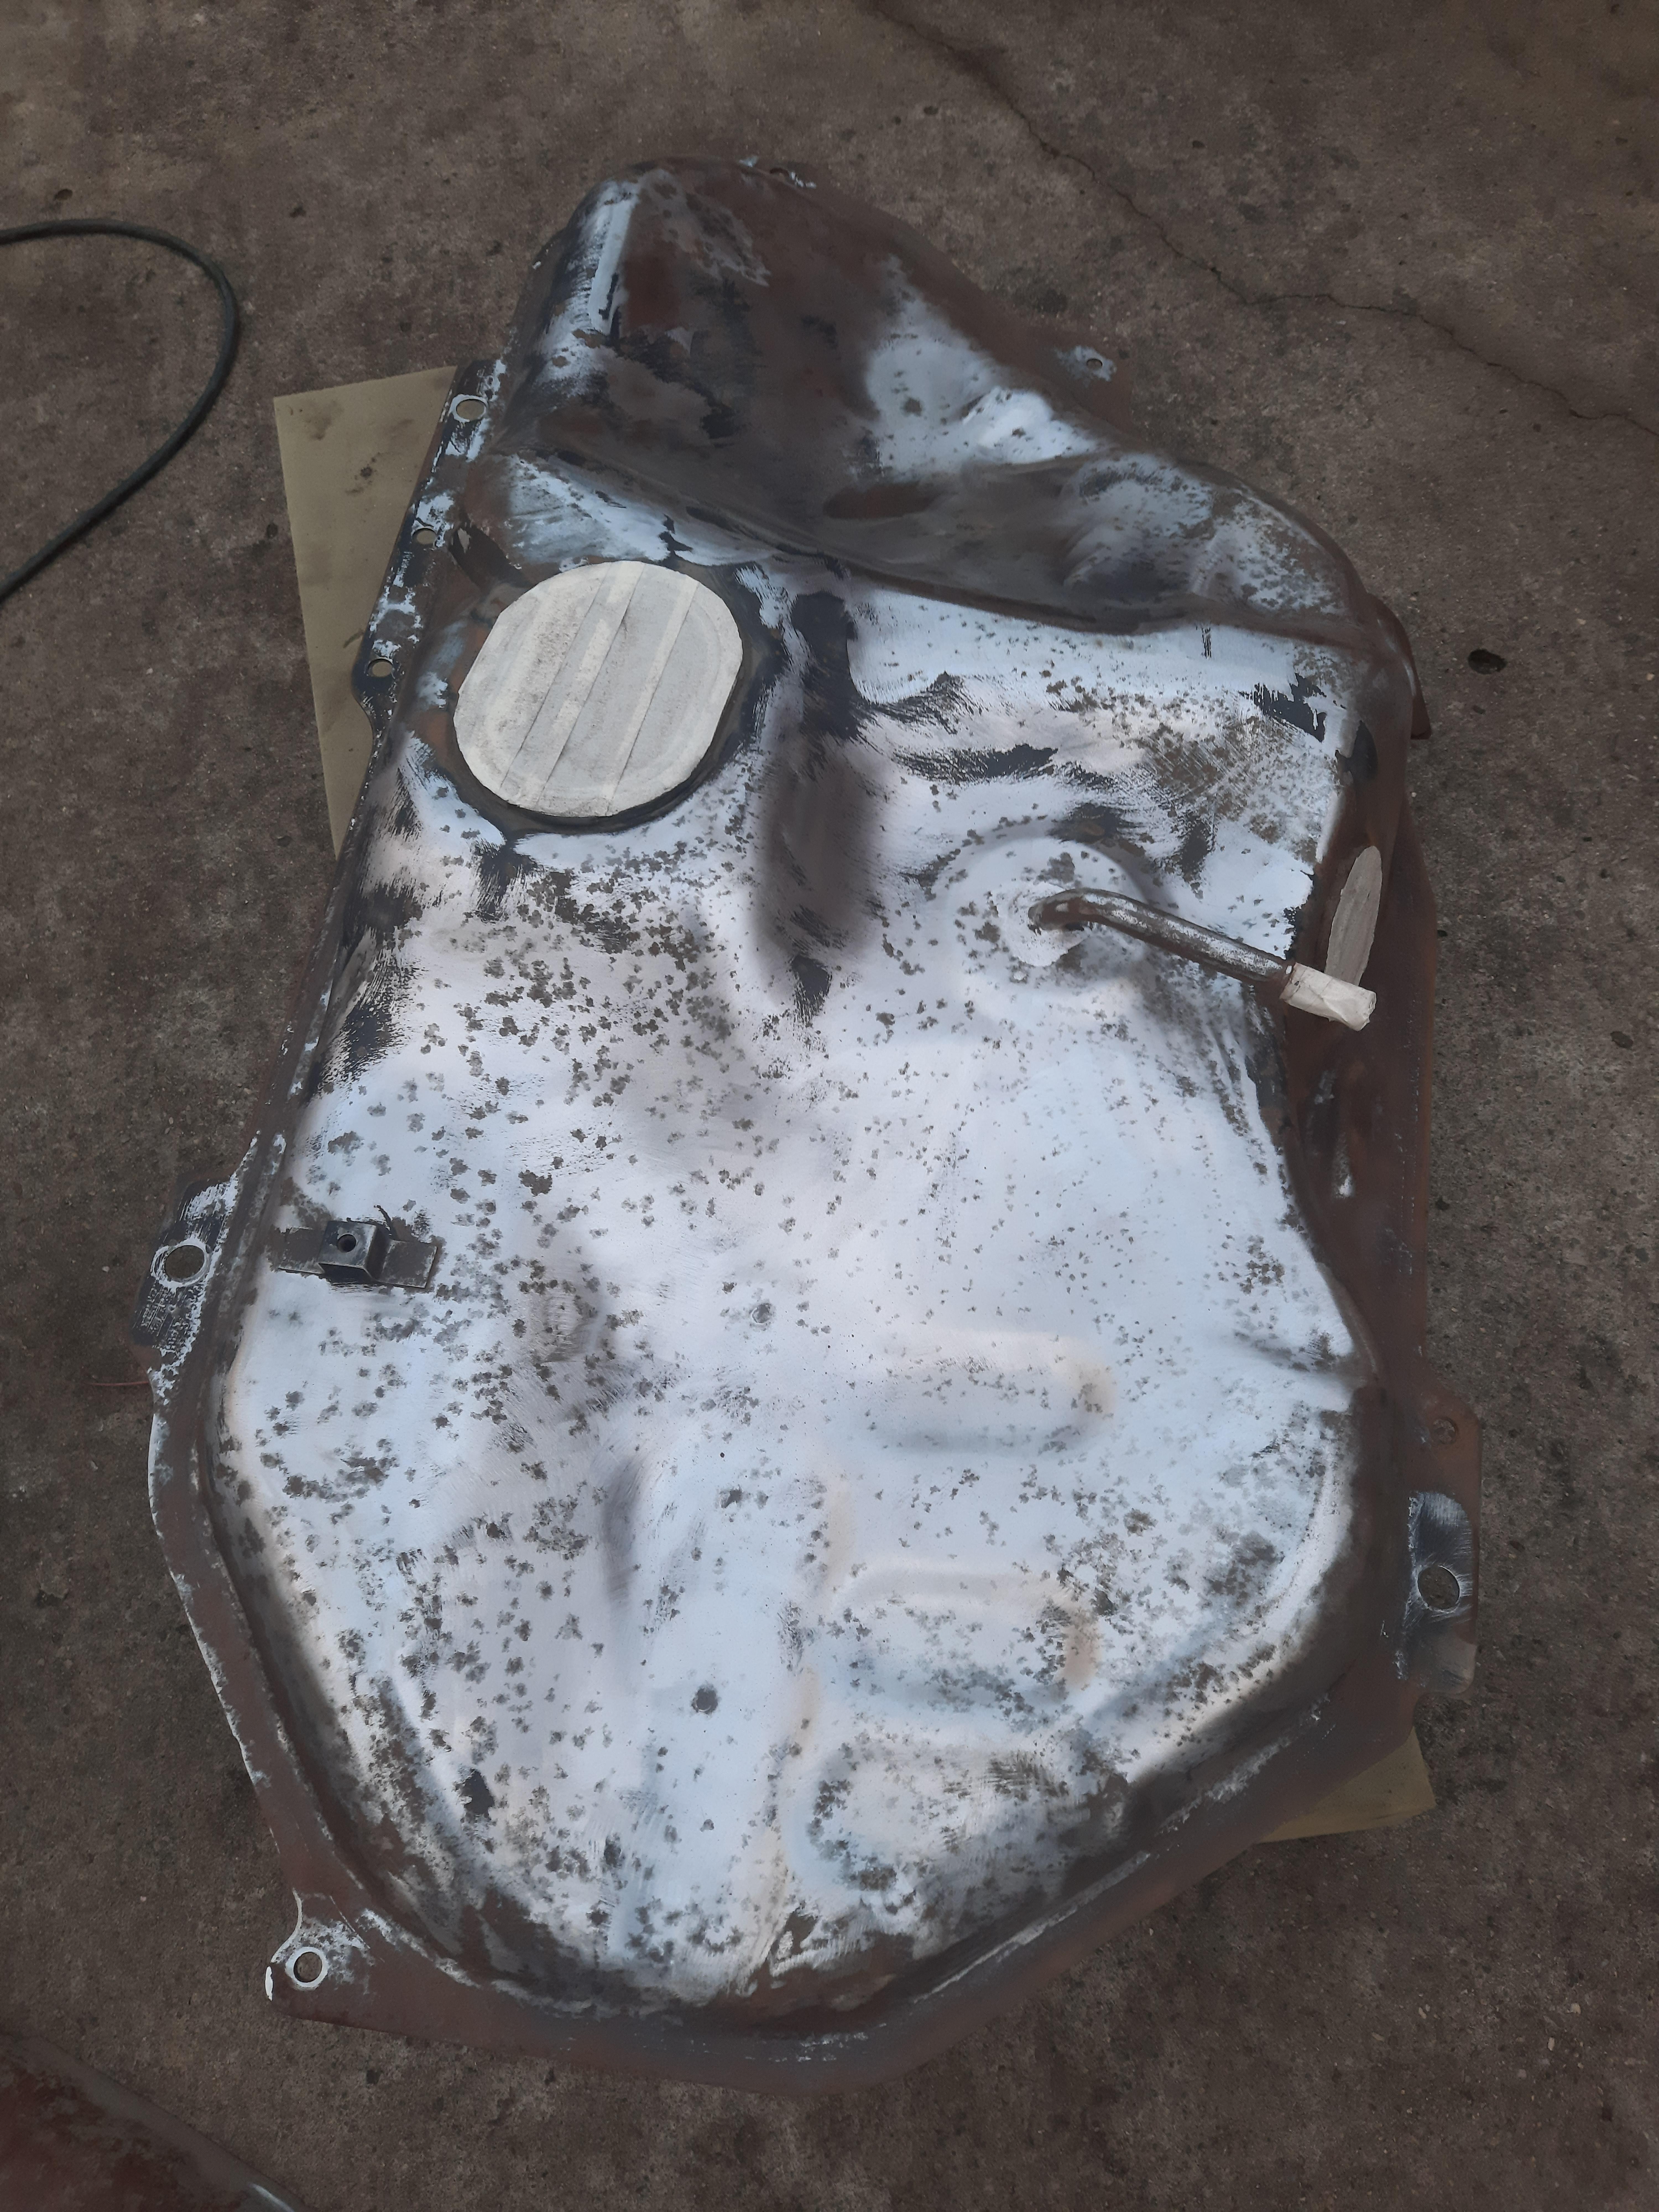
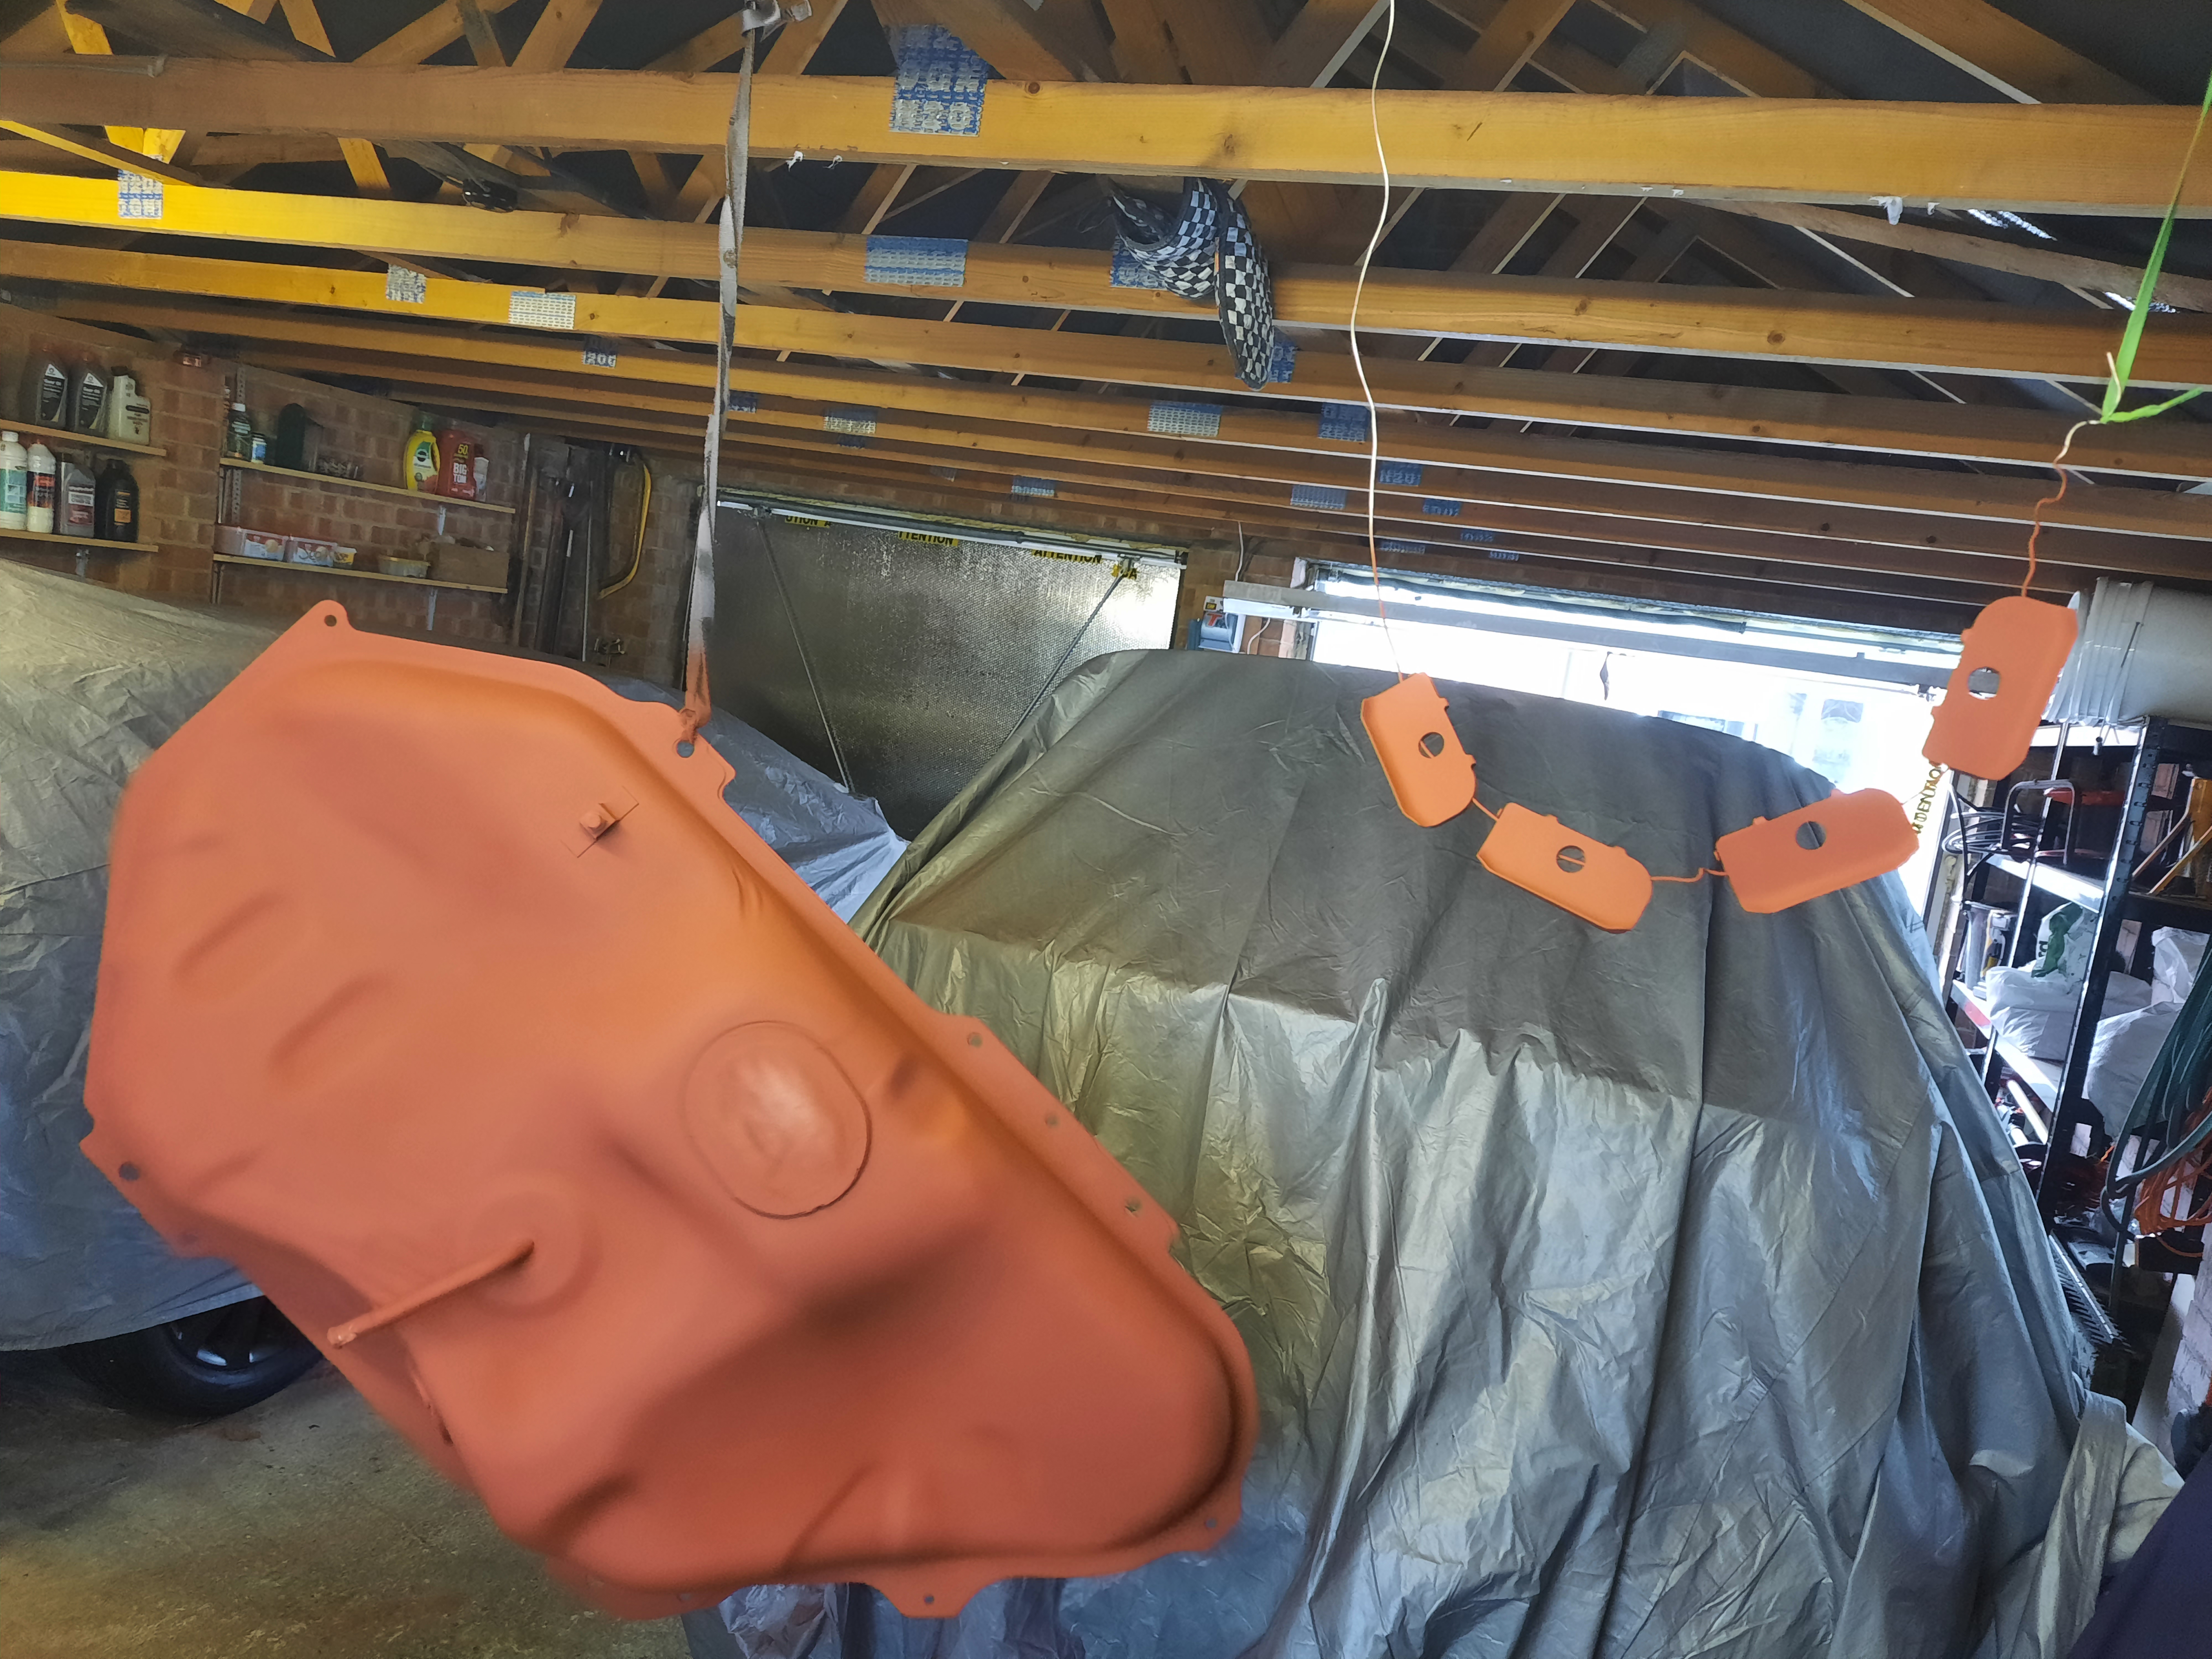
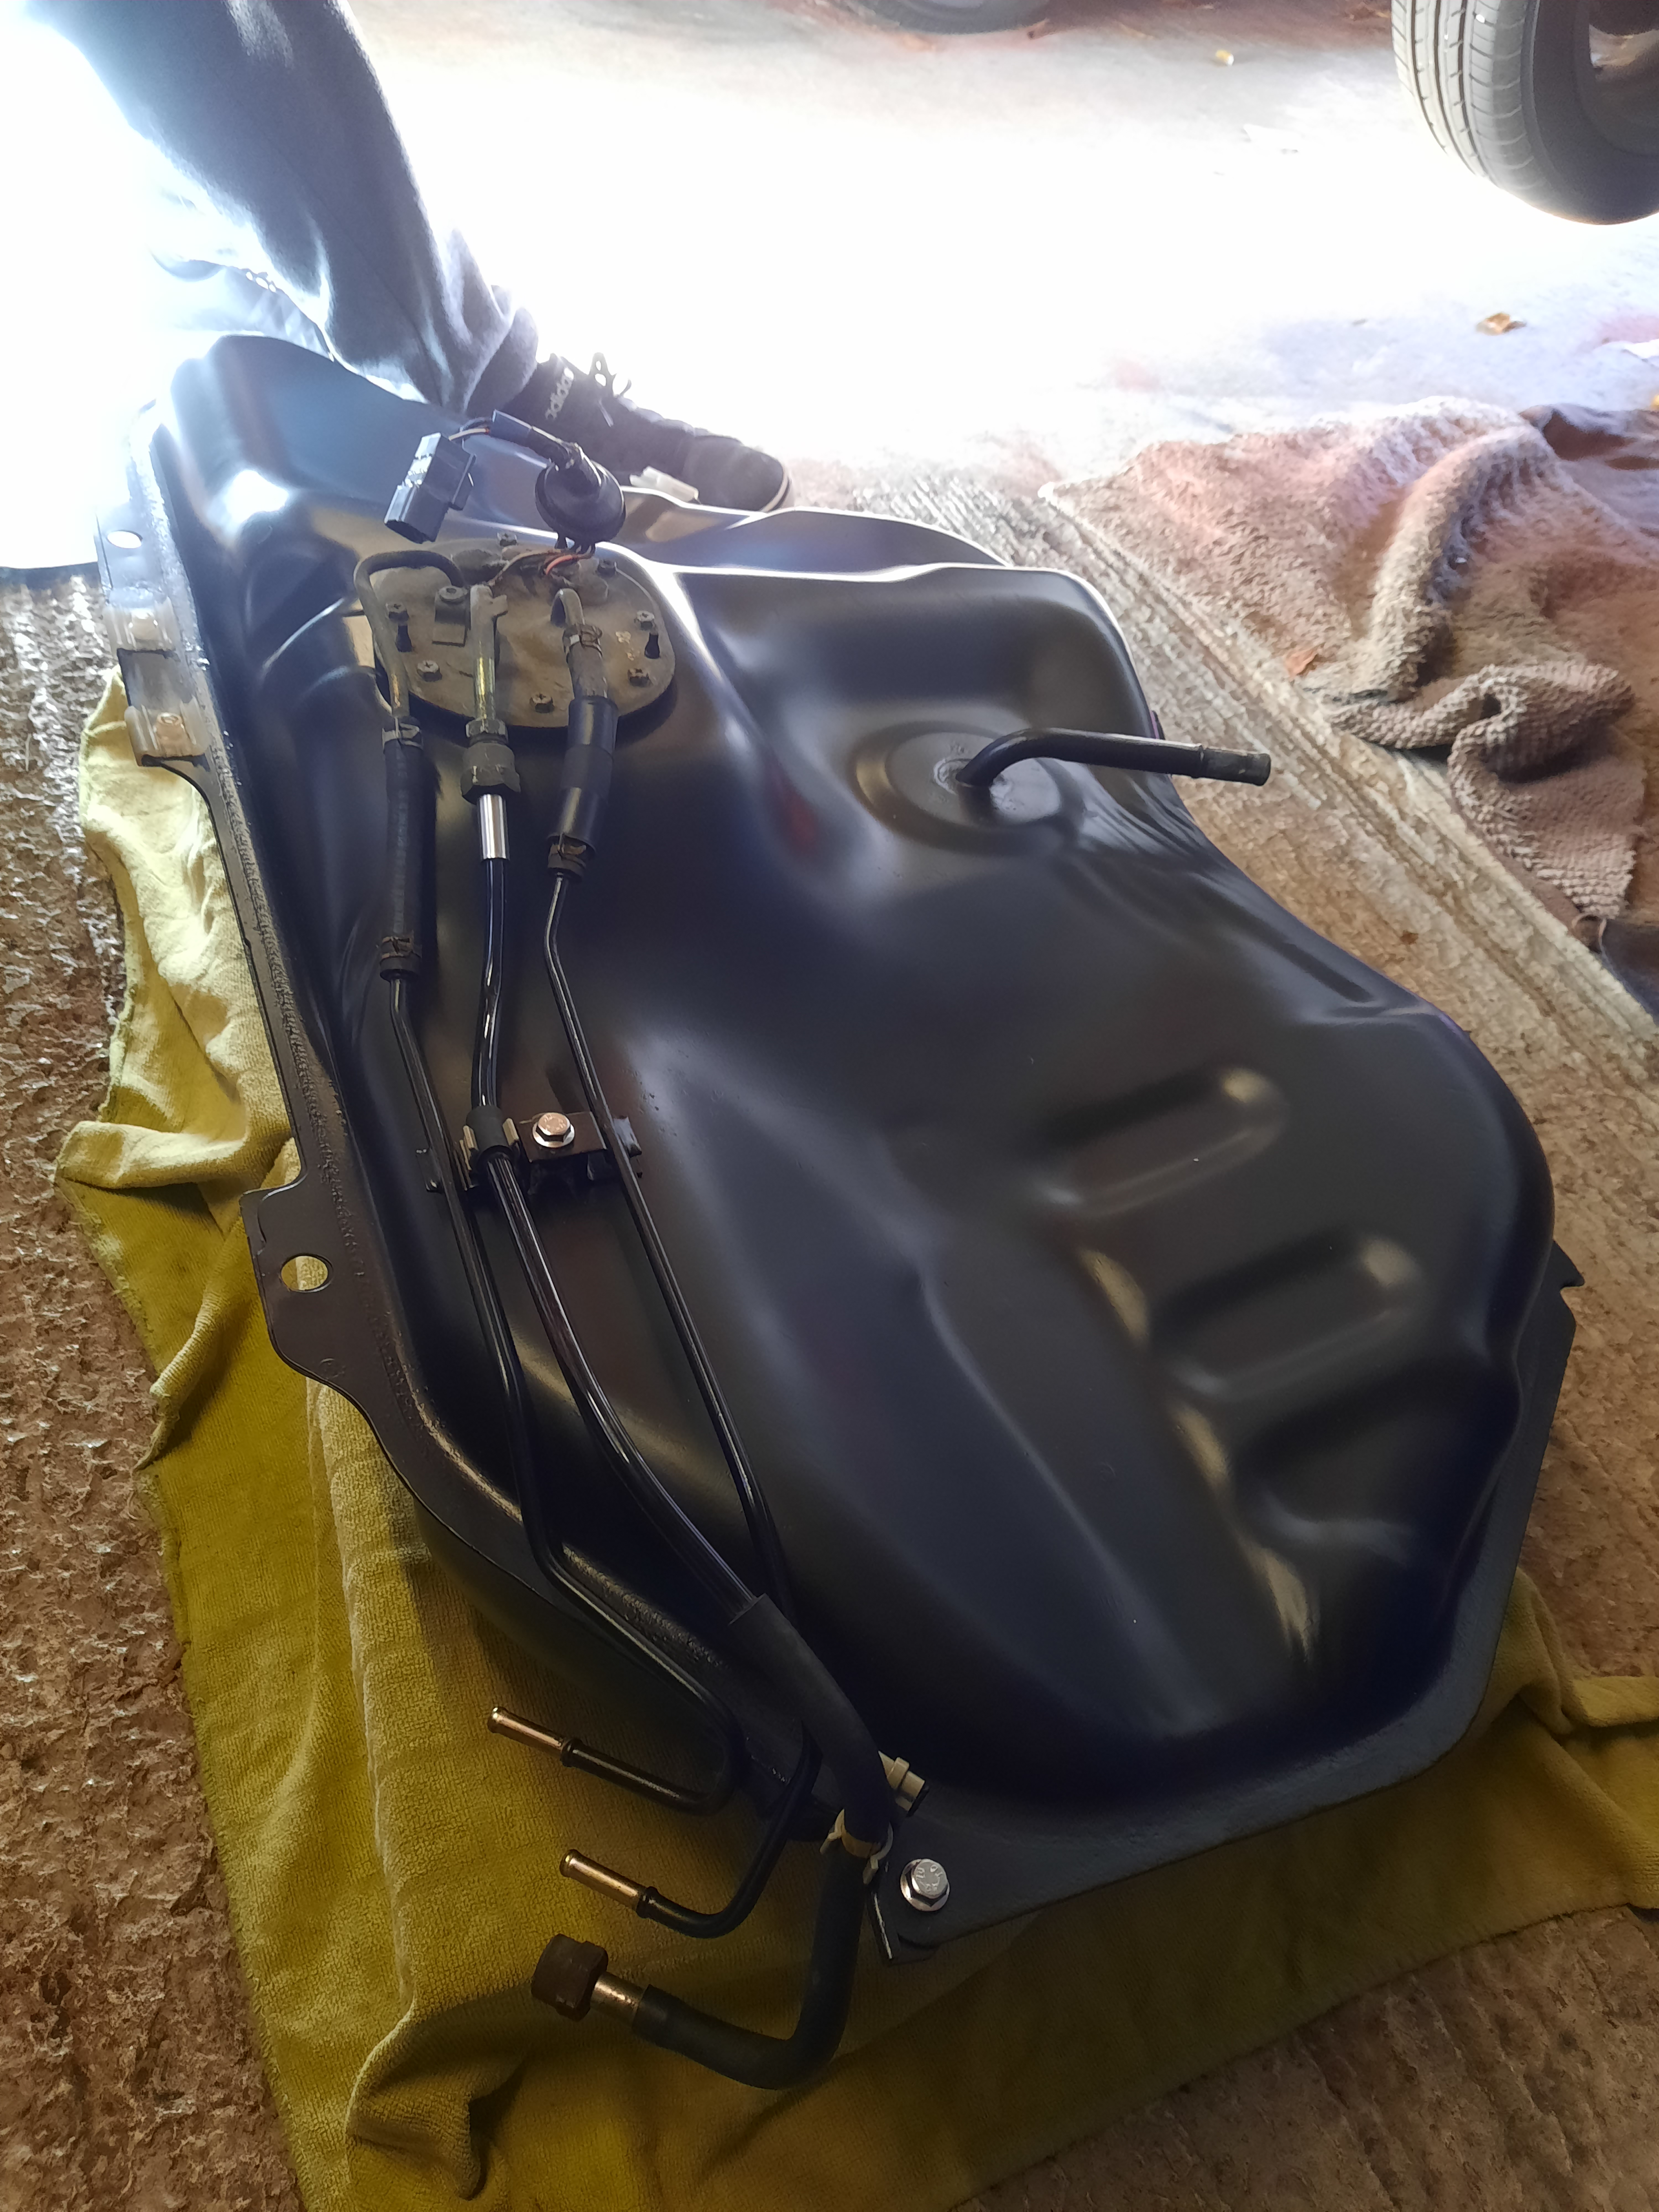
Got to work on removing my fuel tank over the past few weeks. Managed to get it off the car after draining all the fuel out and disconnecting everything attached.
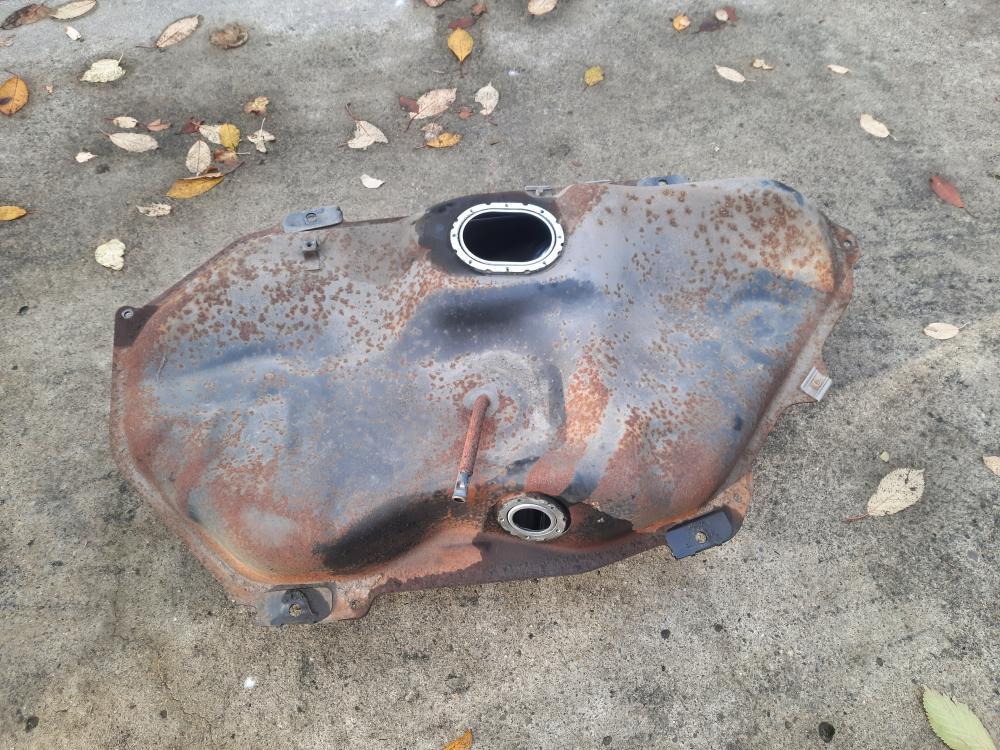

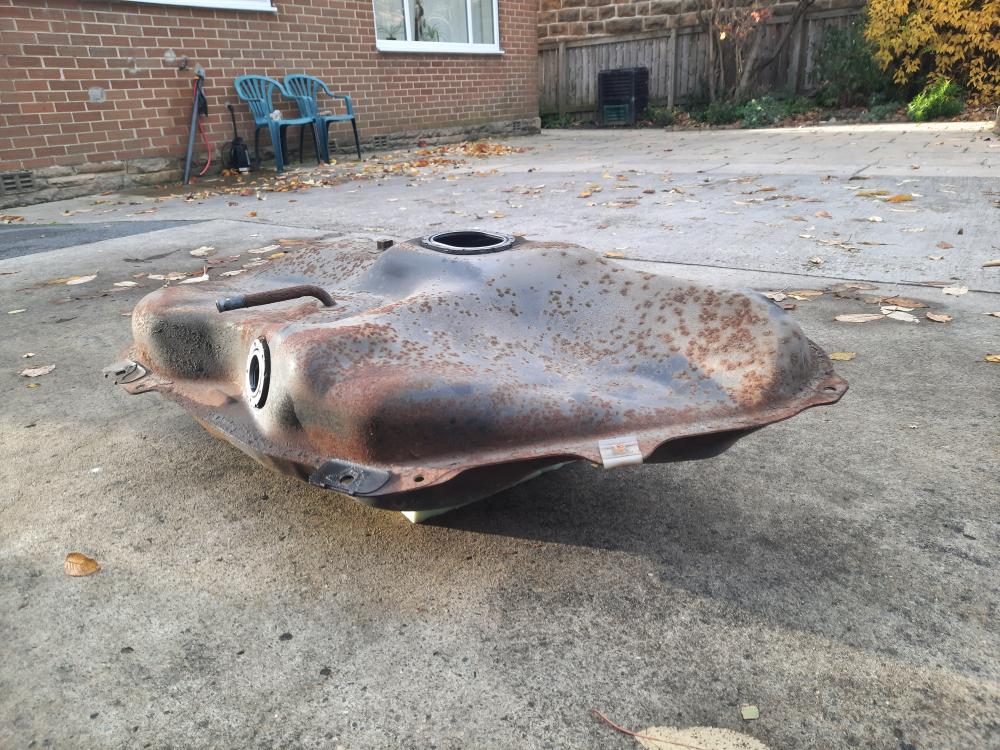
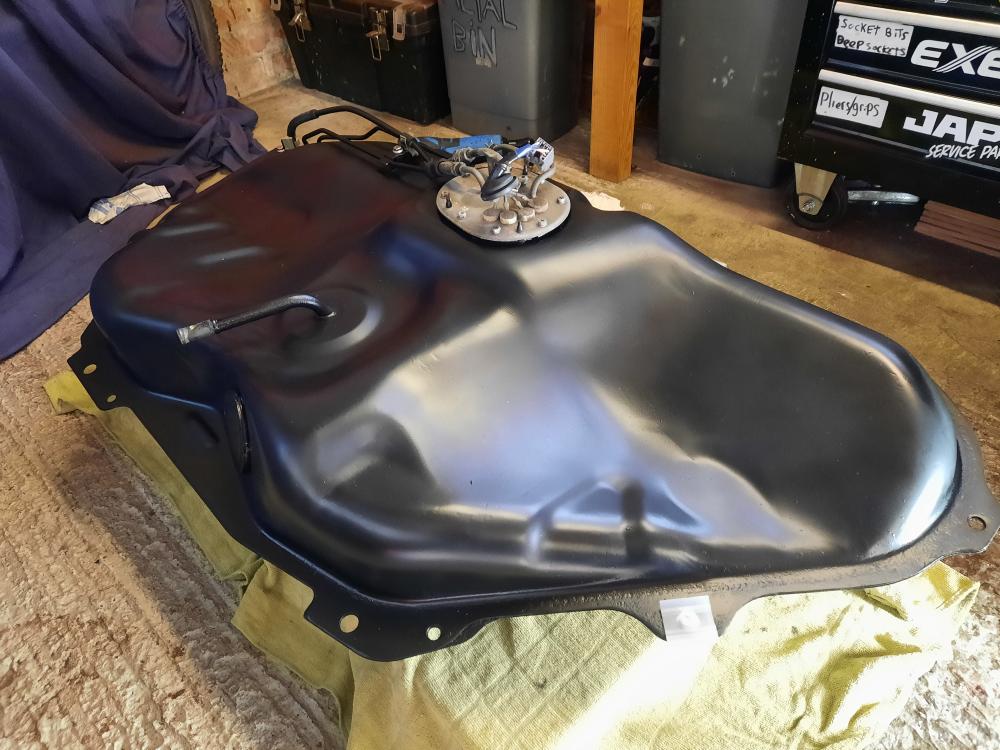
As you can see there was quite a lot of surface corrosion so got to work buffing it back to bare metal.
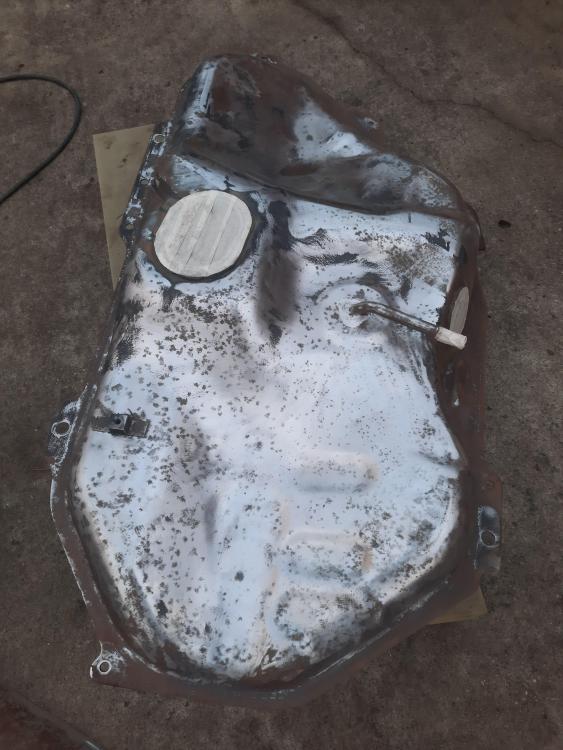
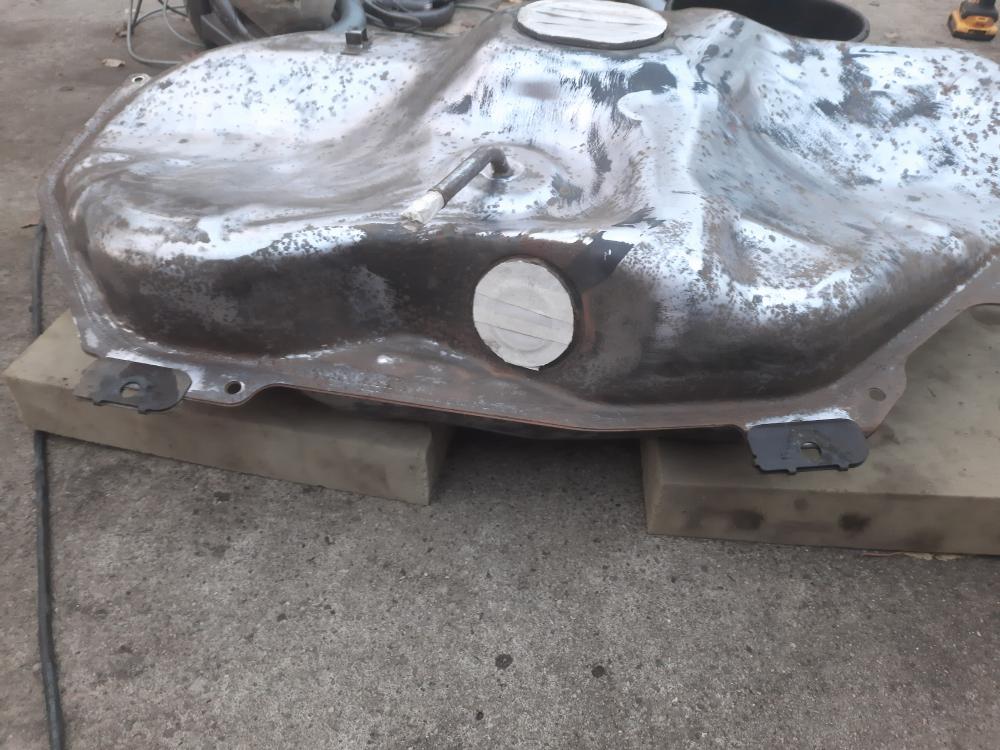
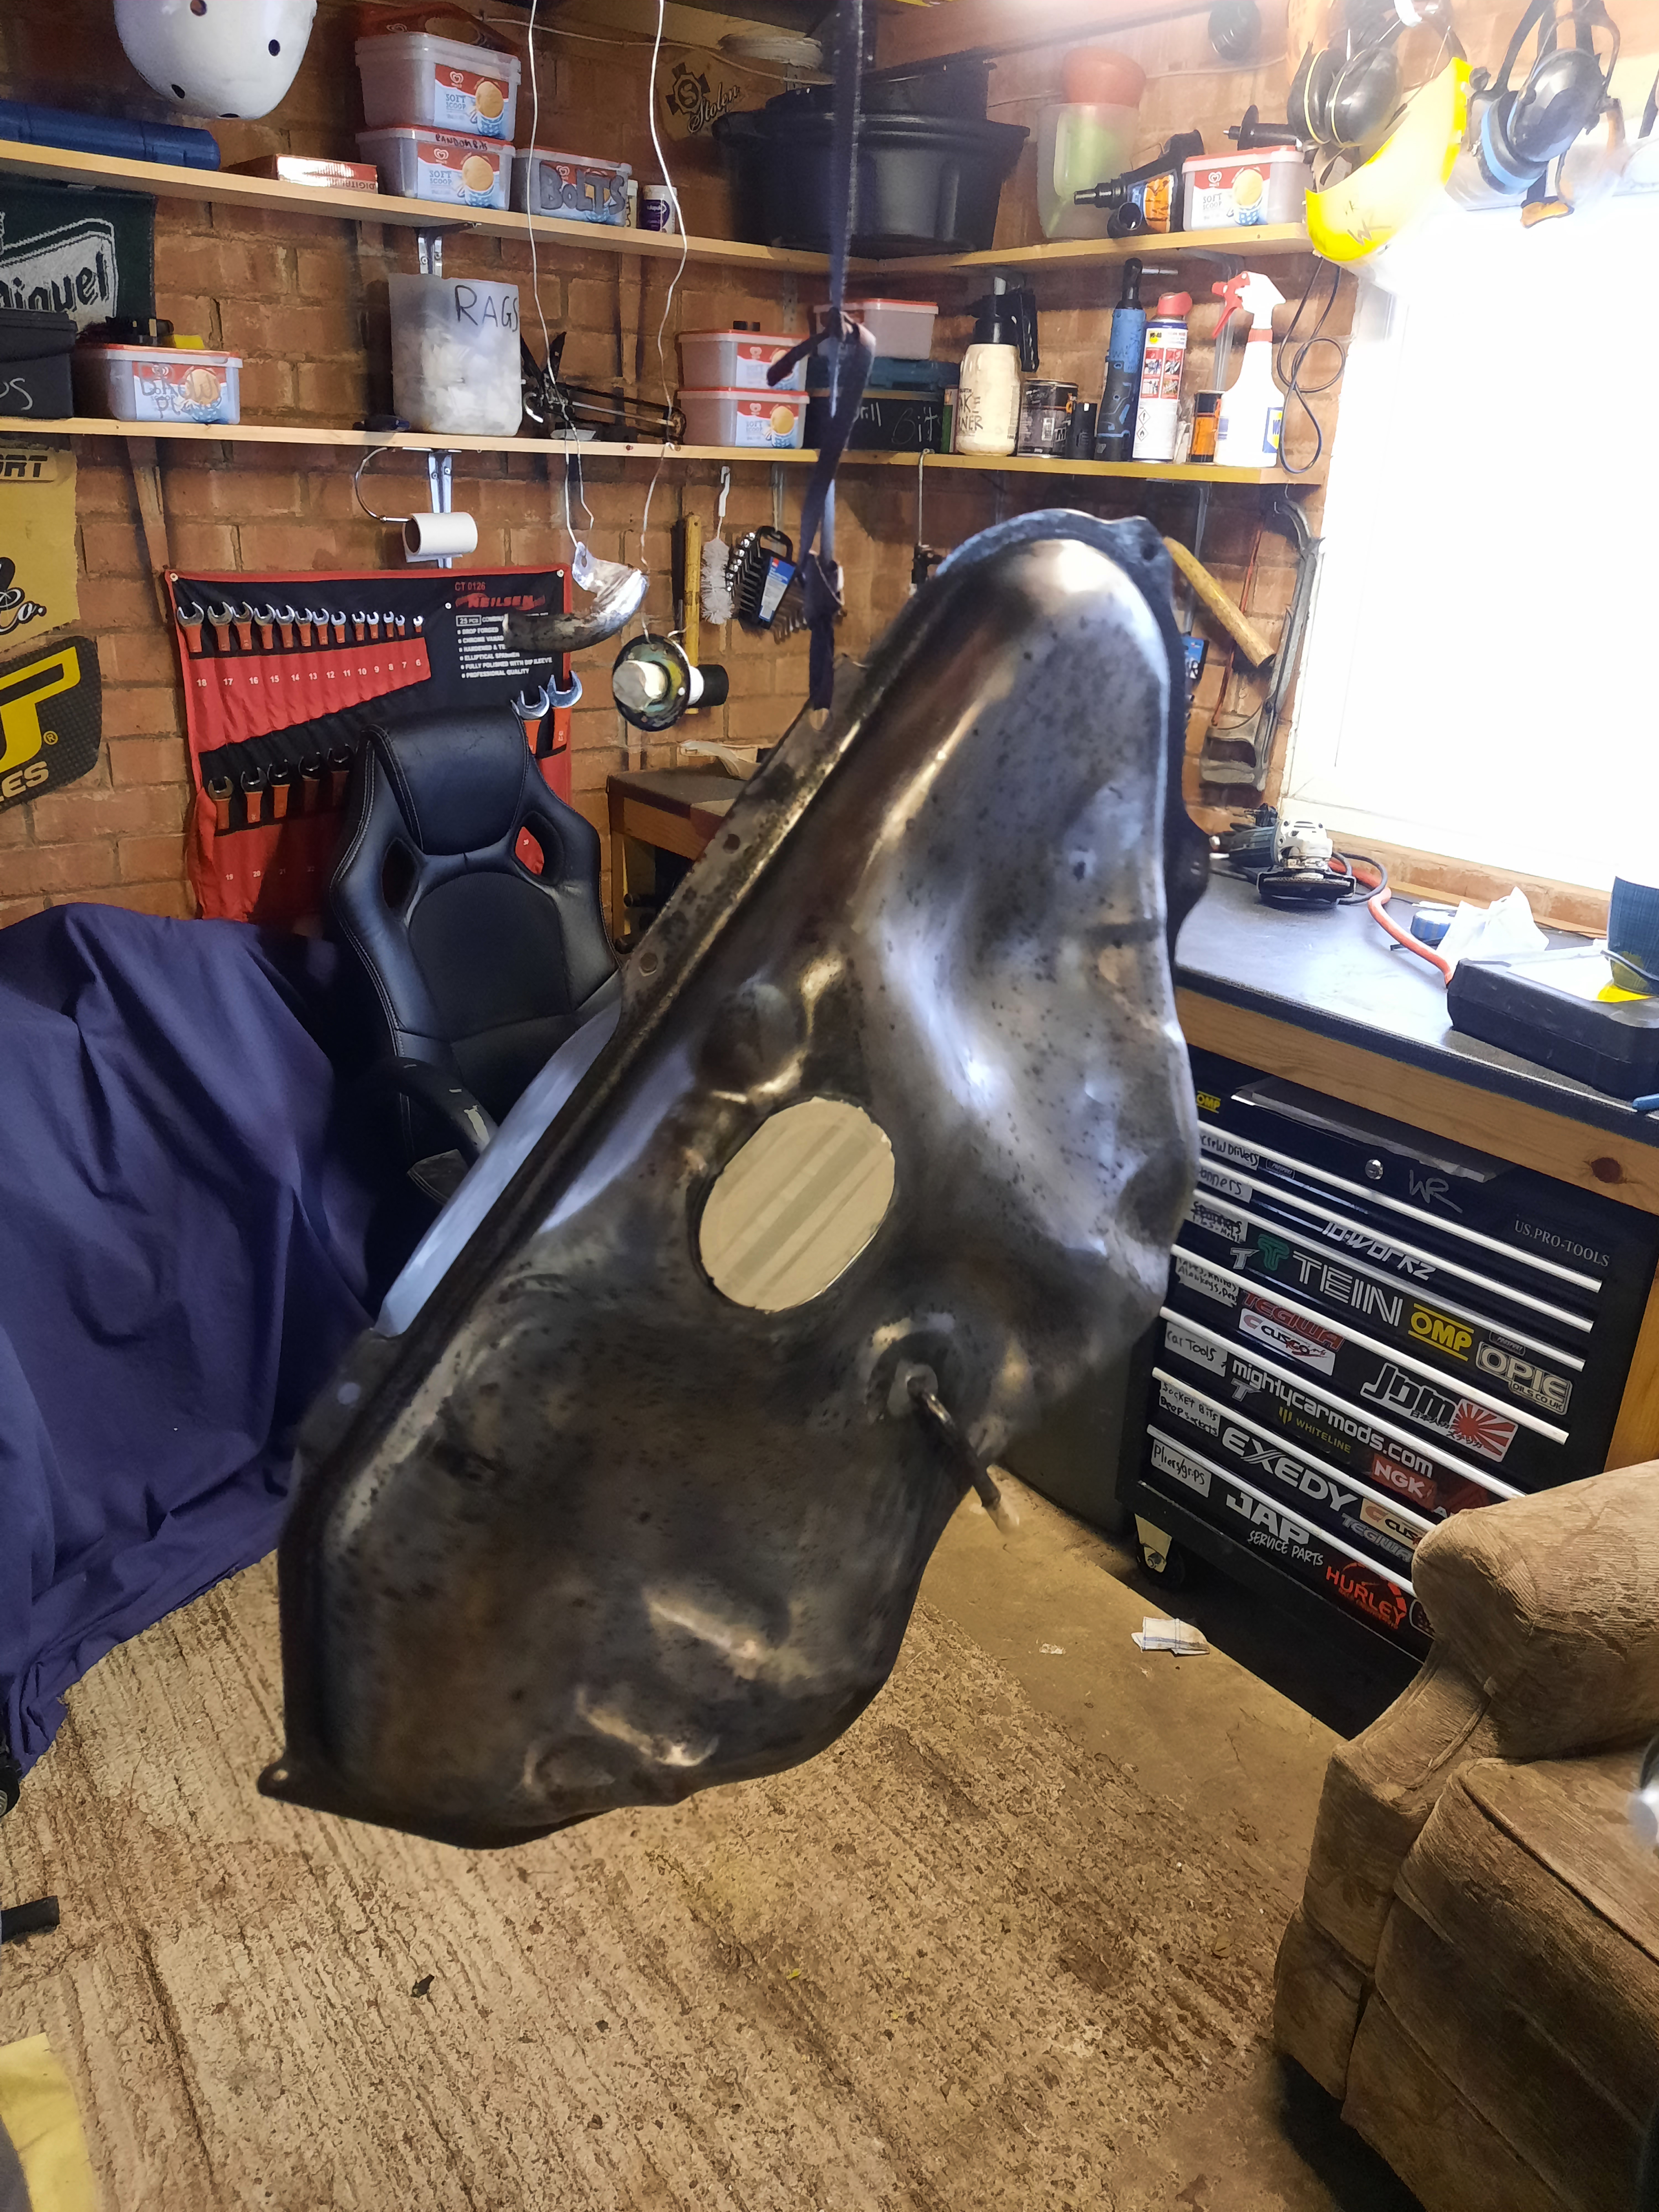
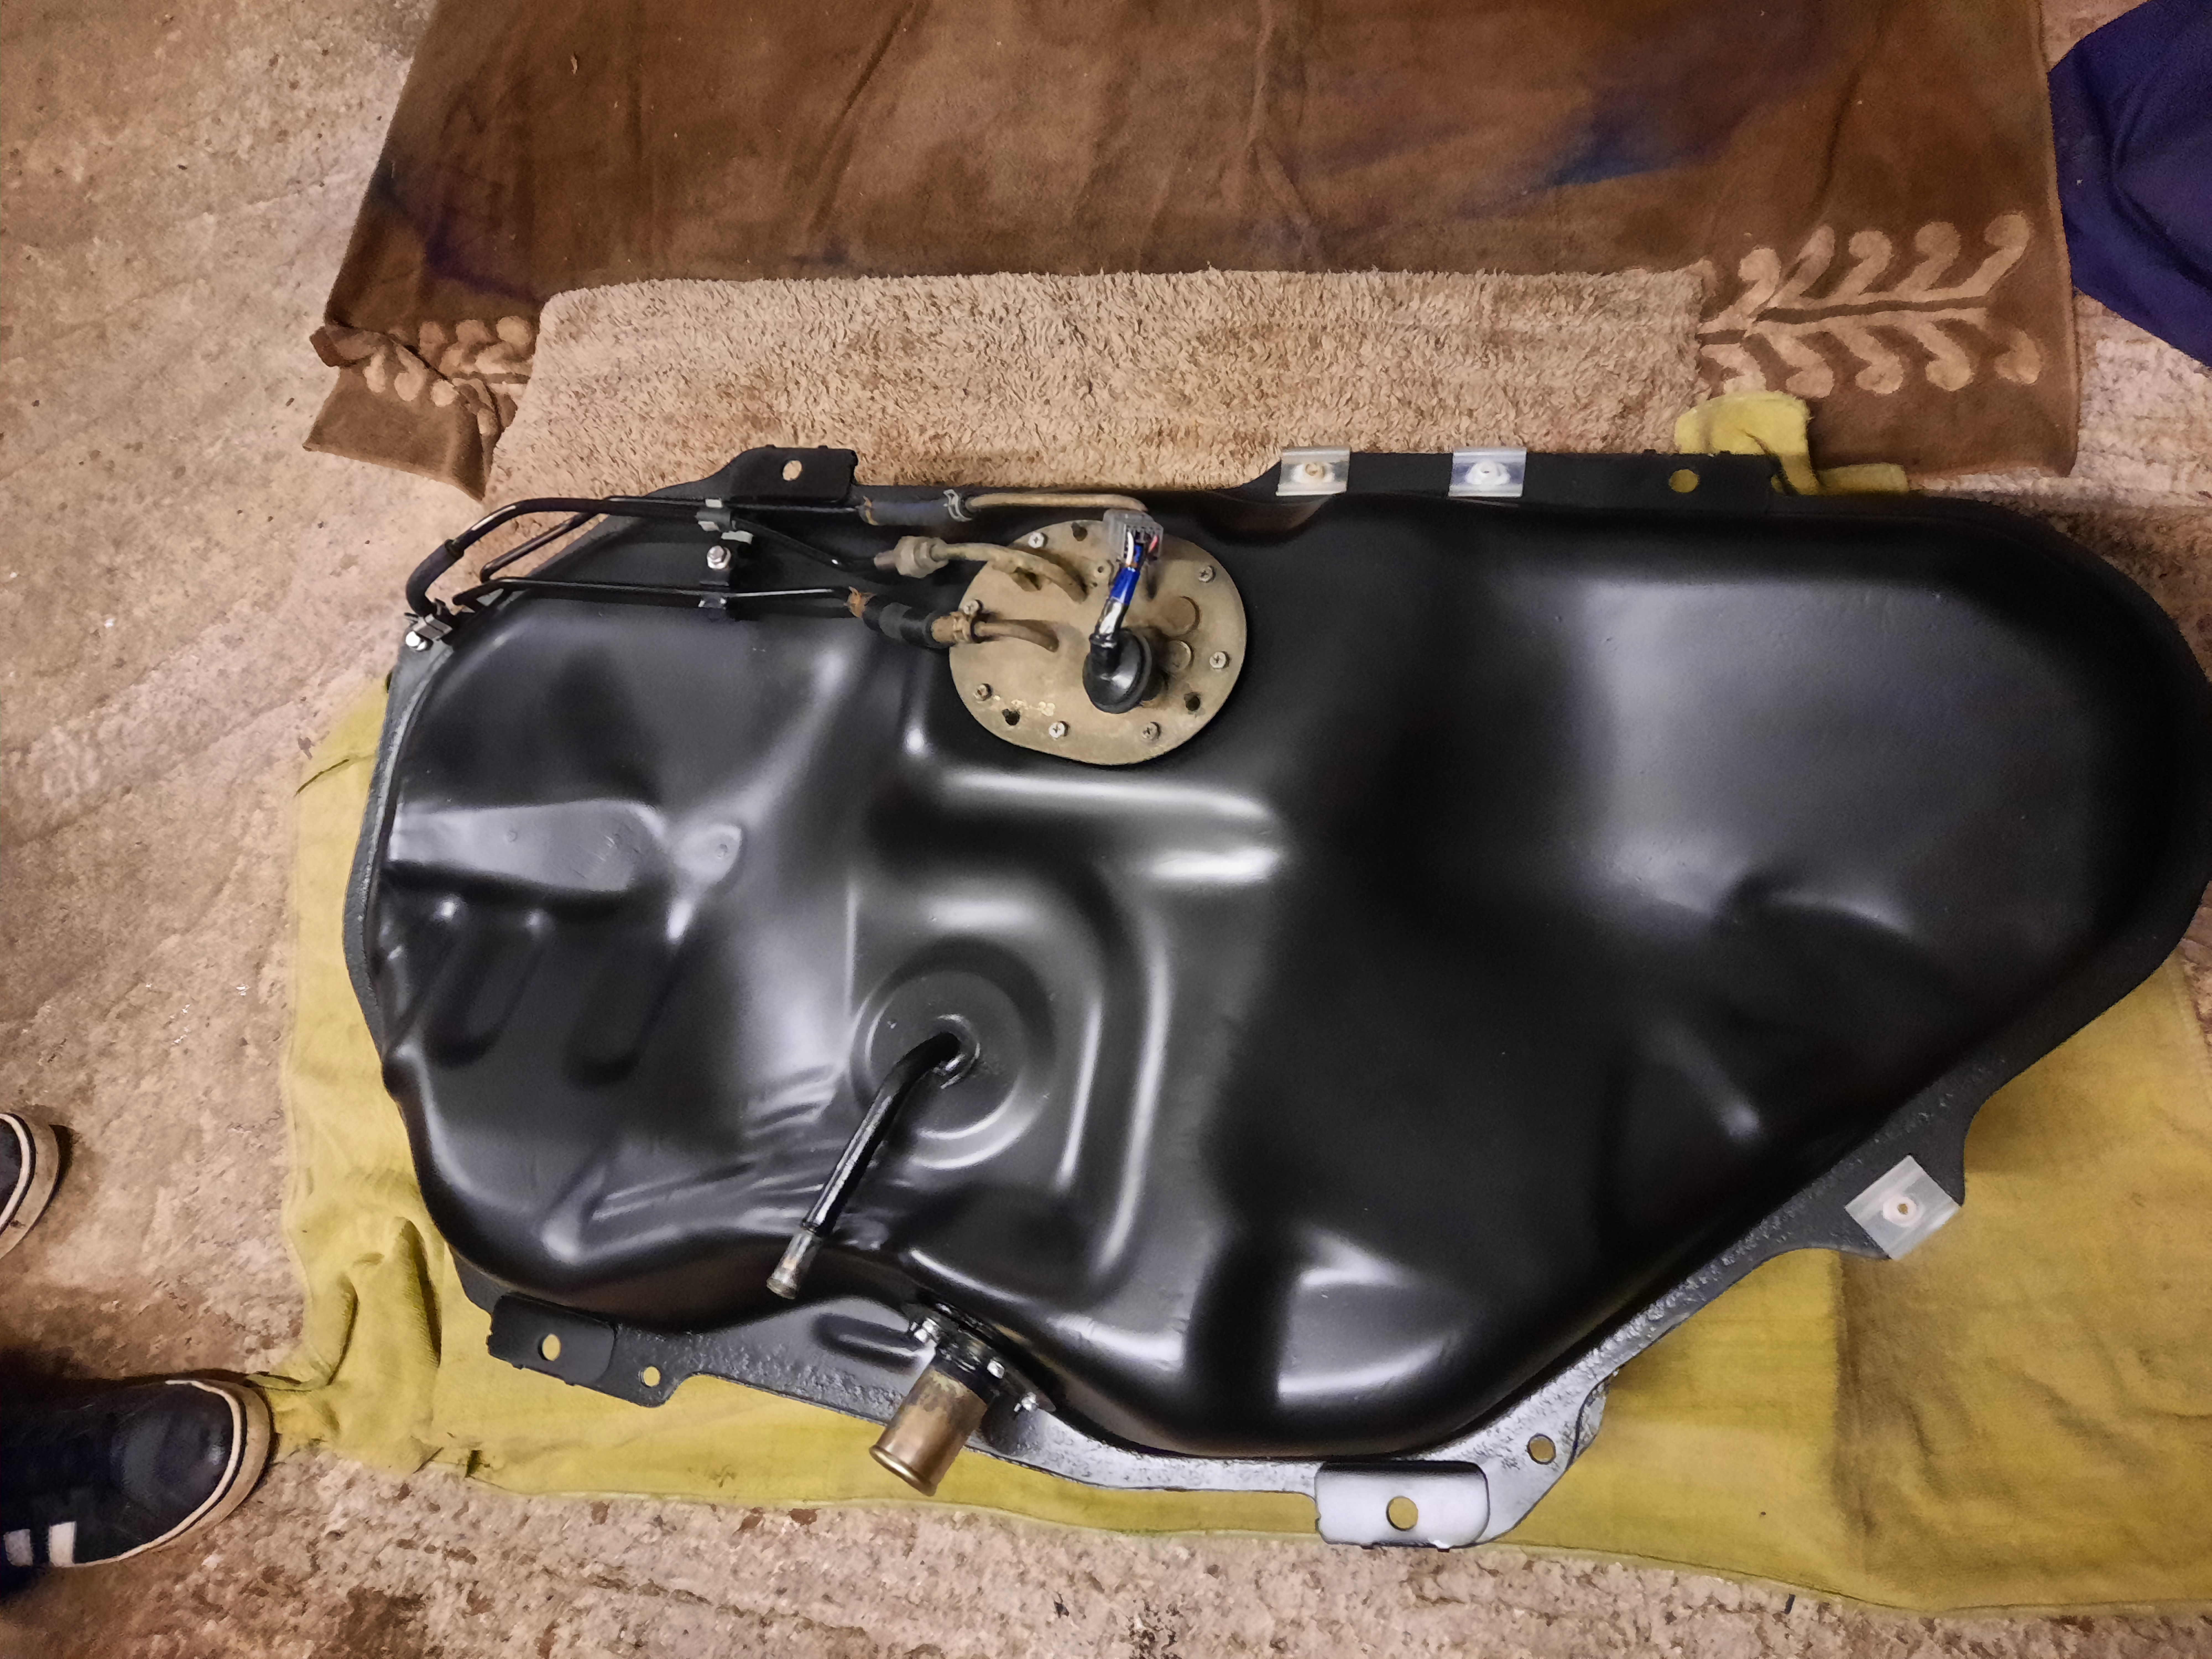
Once I was happy I gave it a good clean and hung it up for painting in the garage.


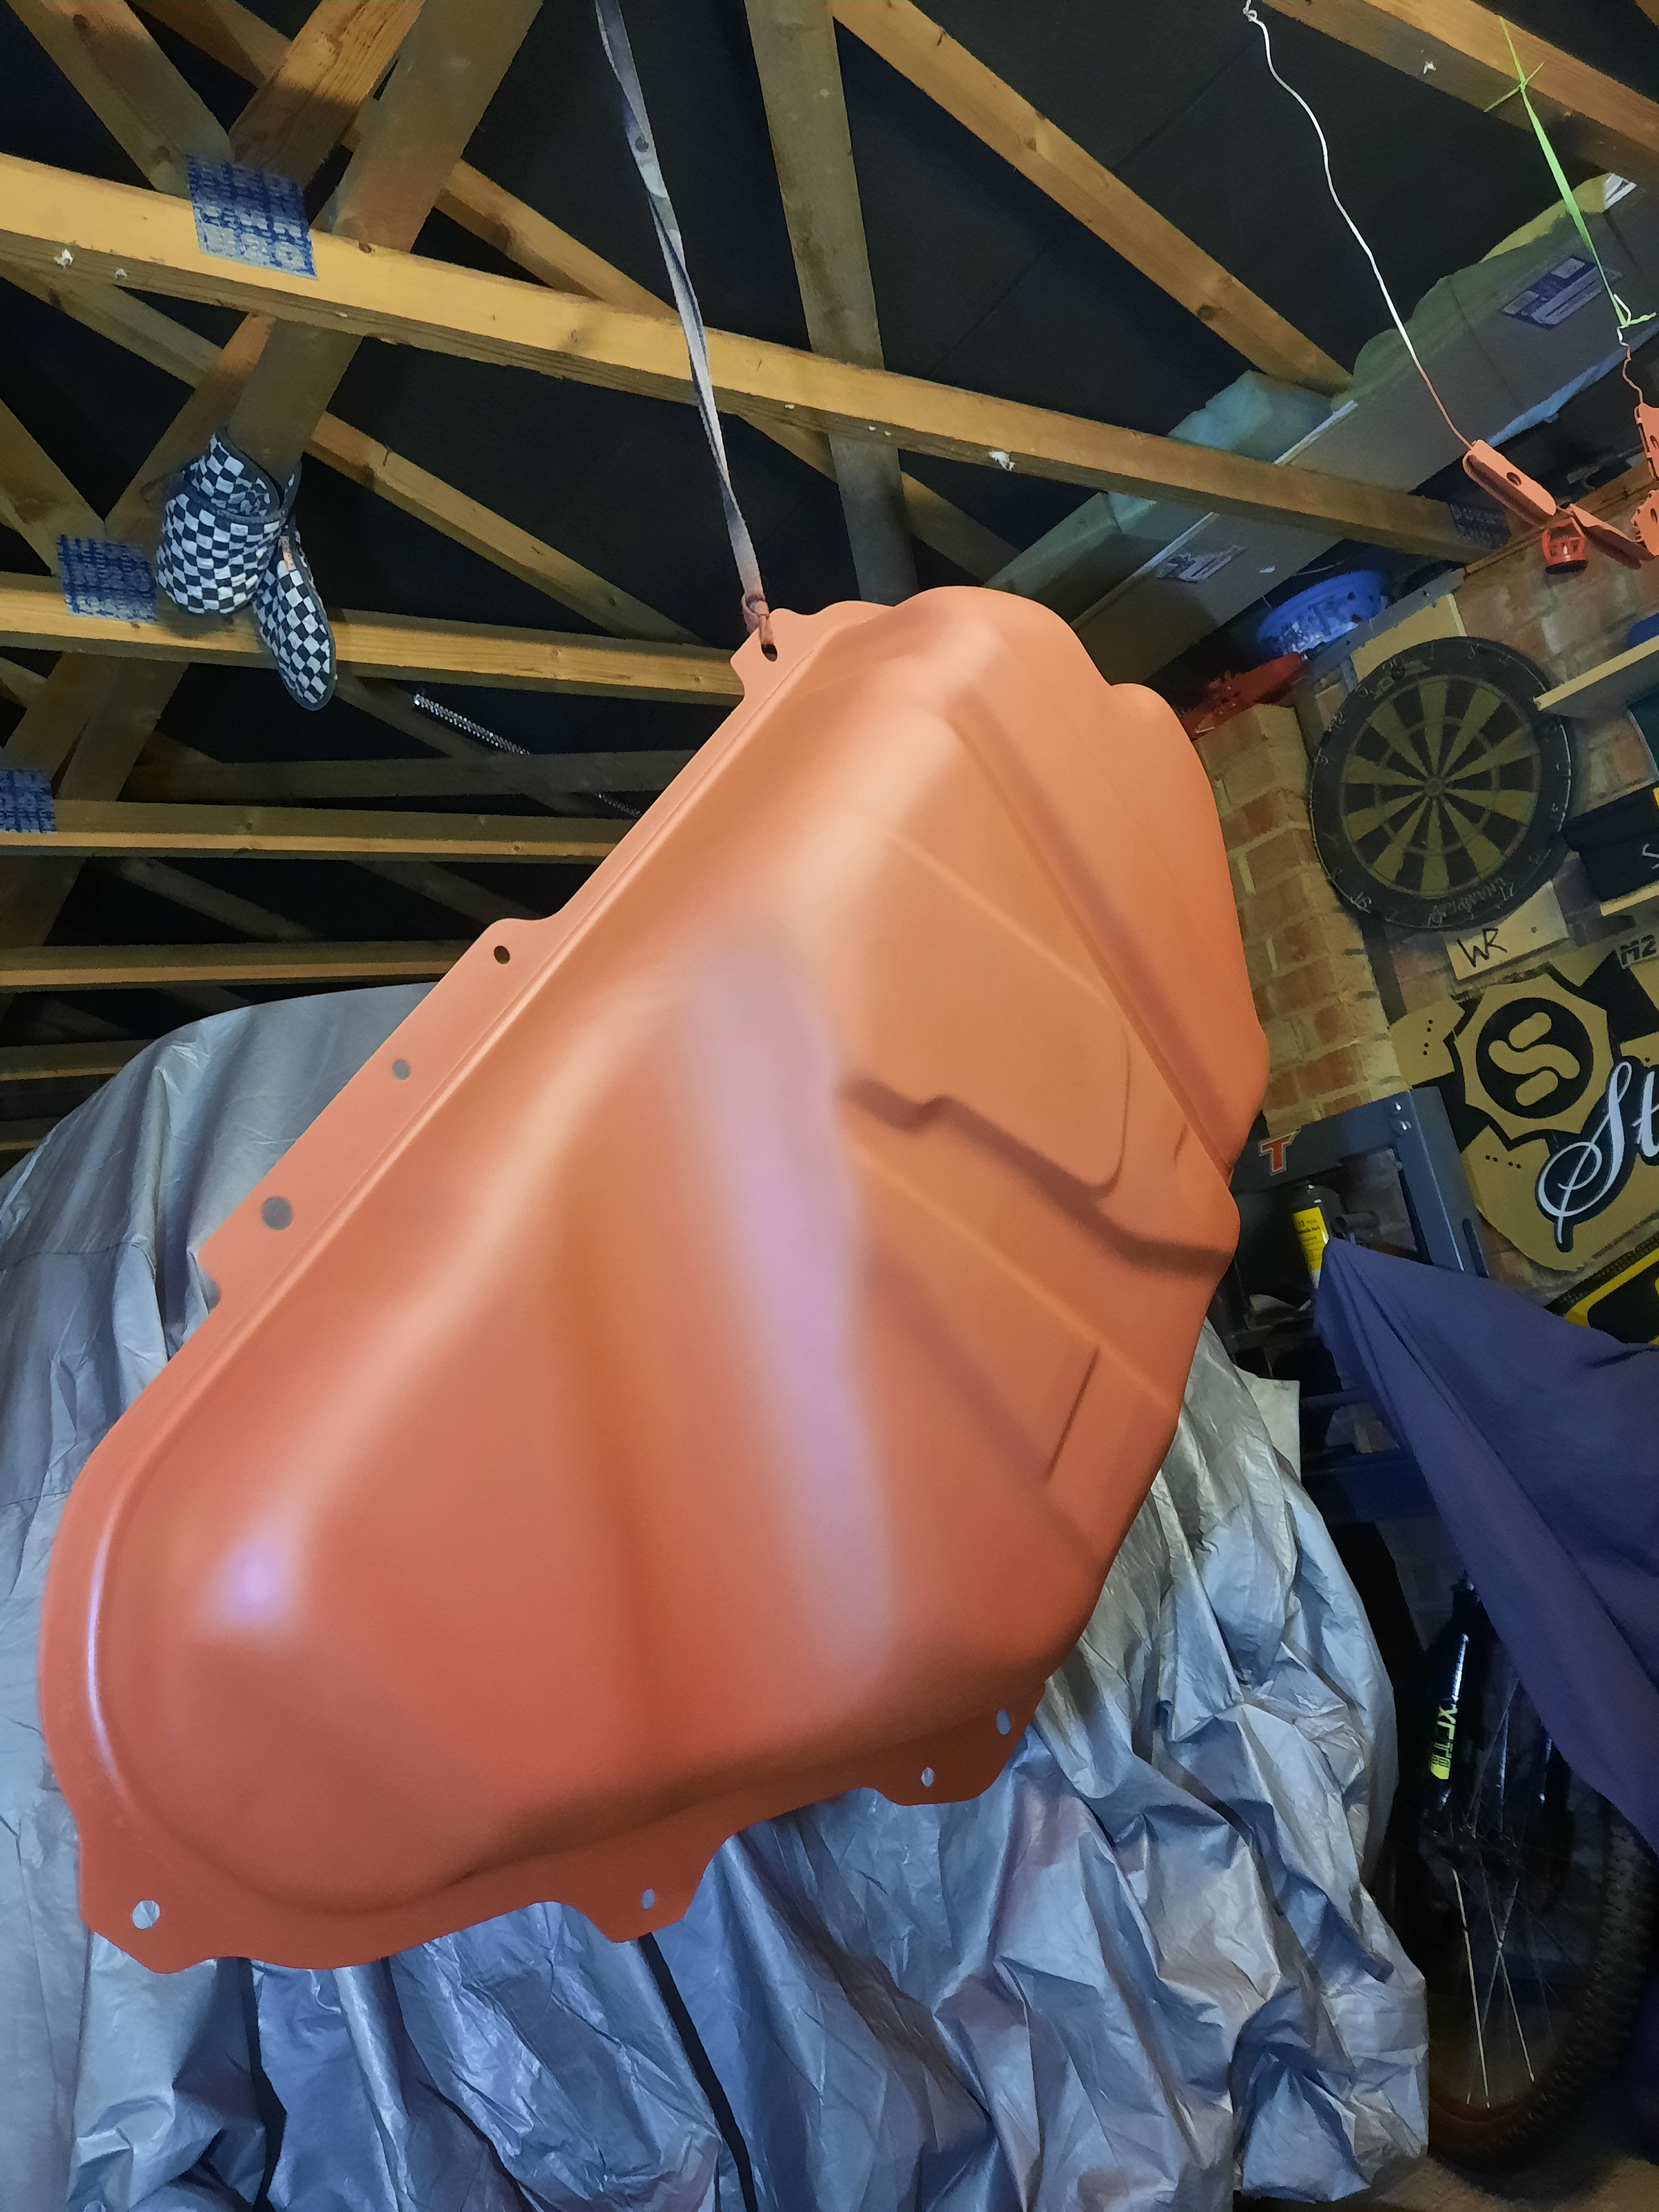
Started by giving it a few coats of red oxide primer to protect the bare metal.
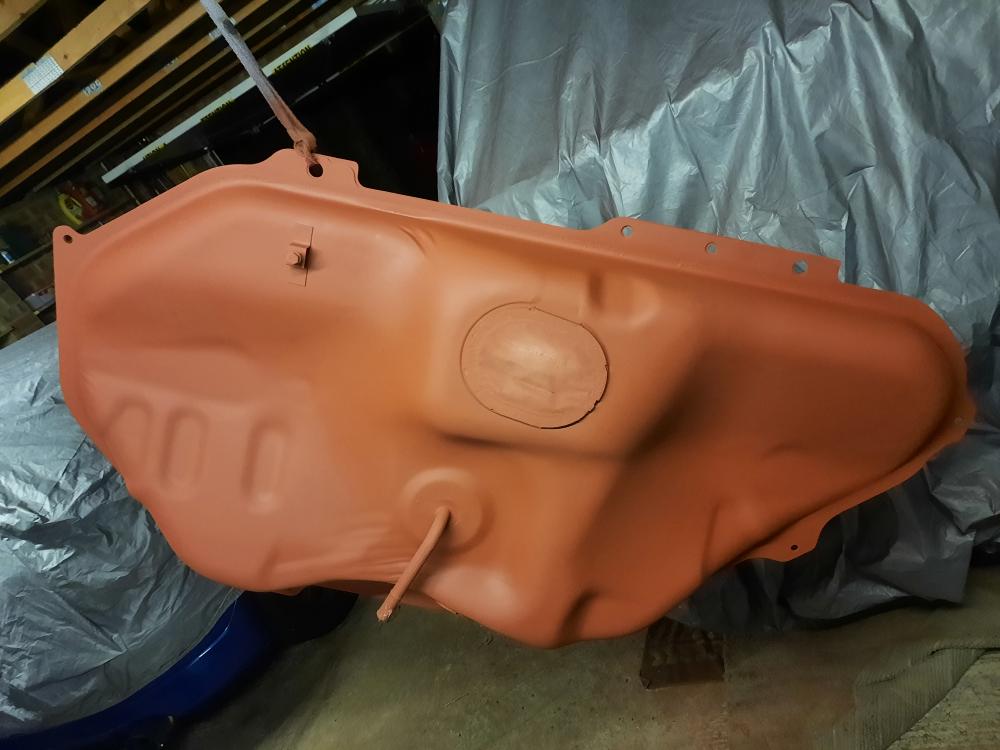
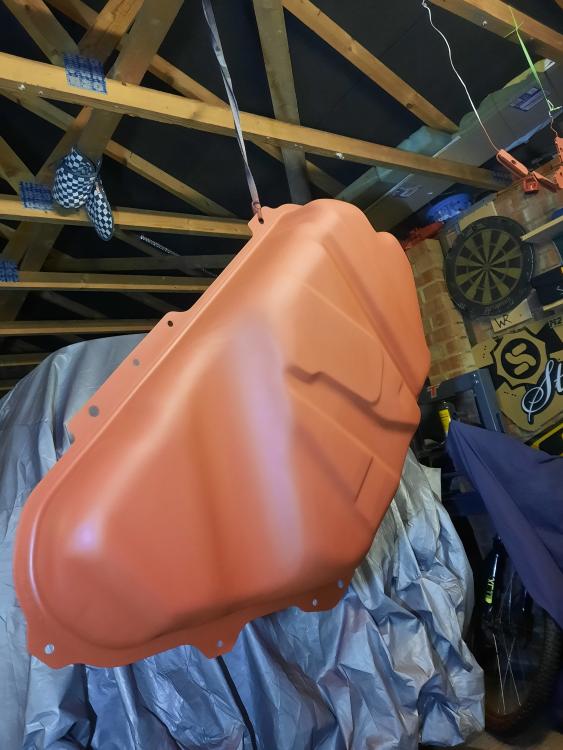
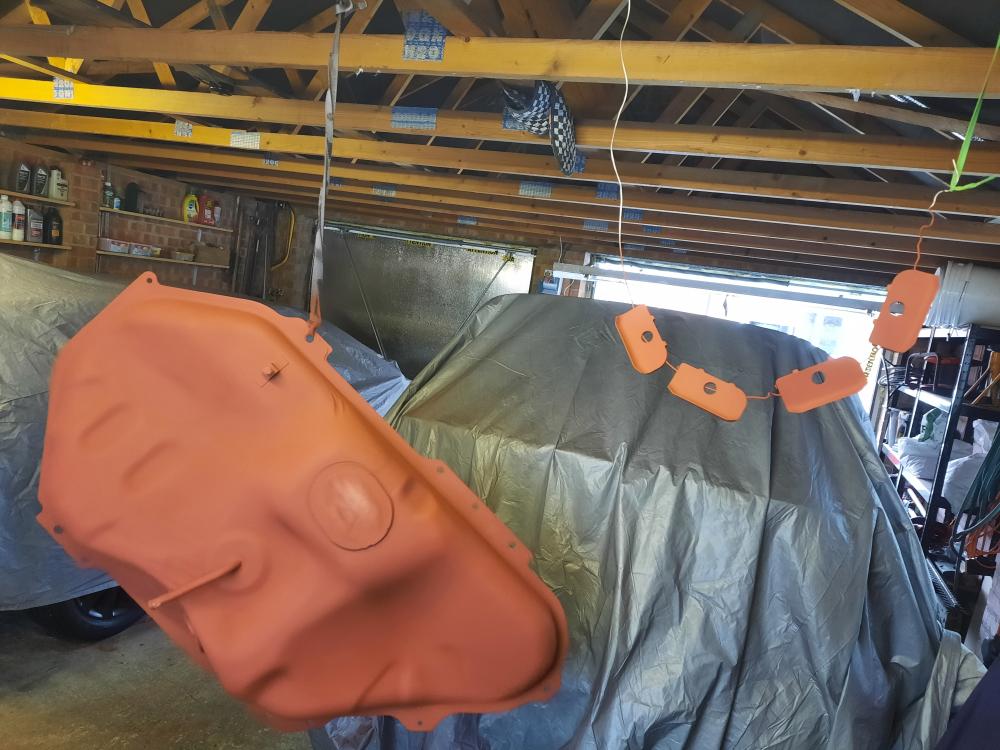
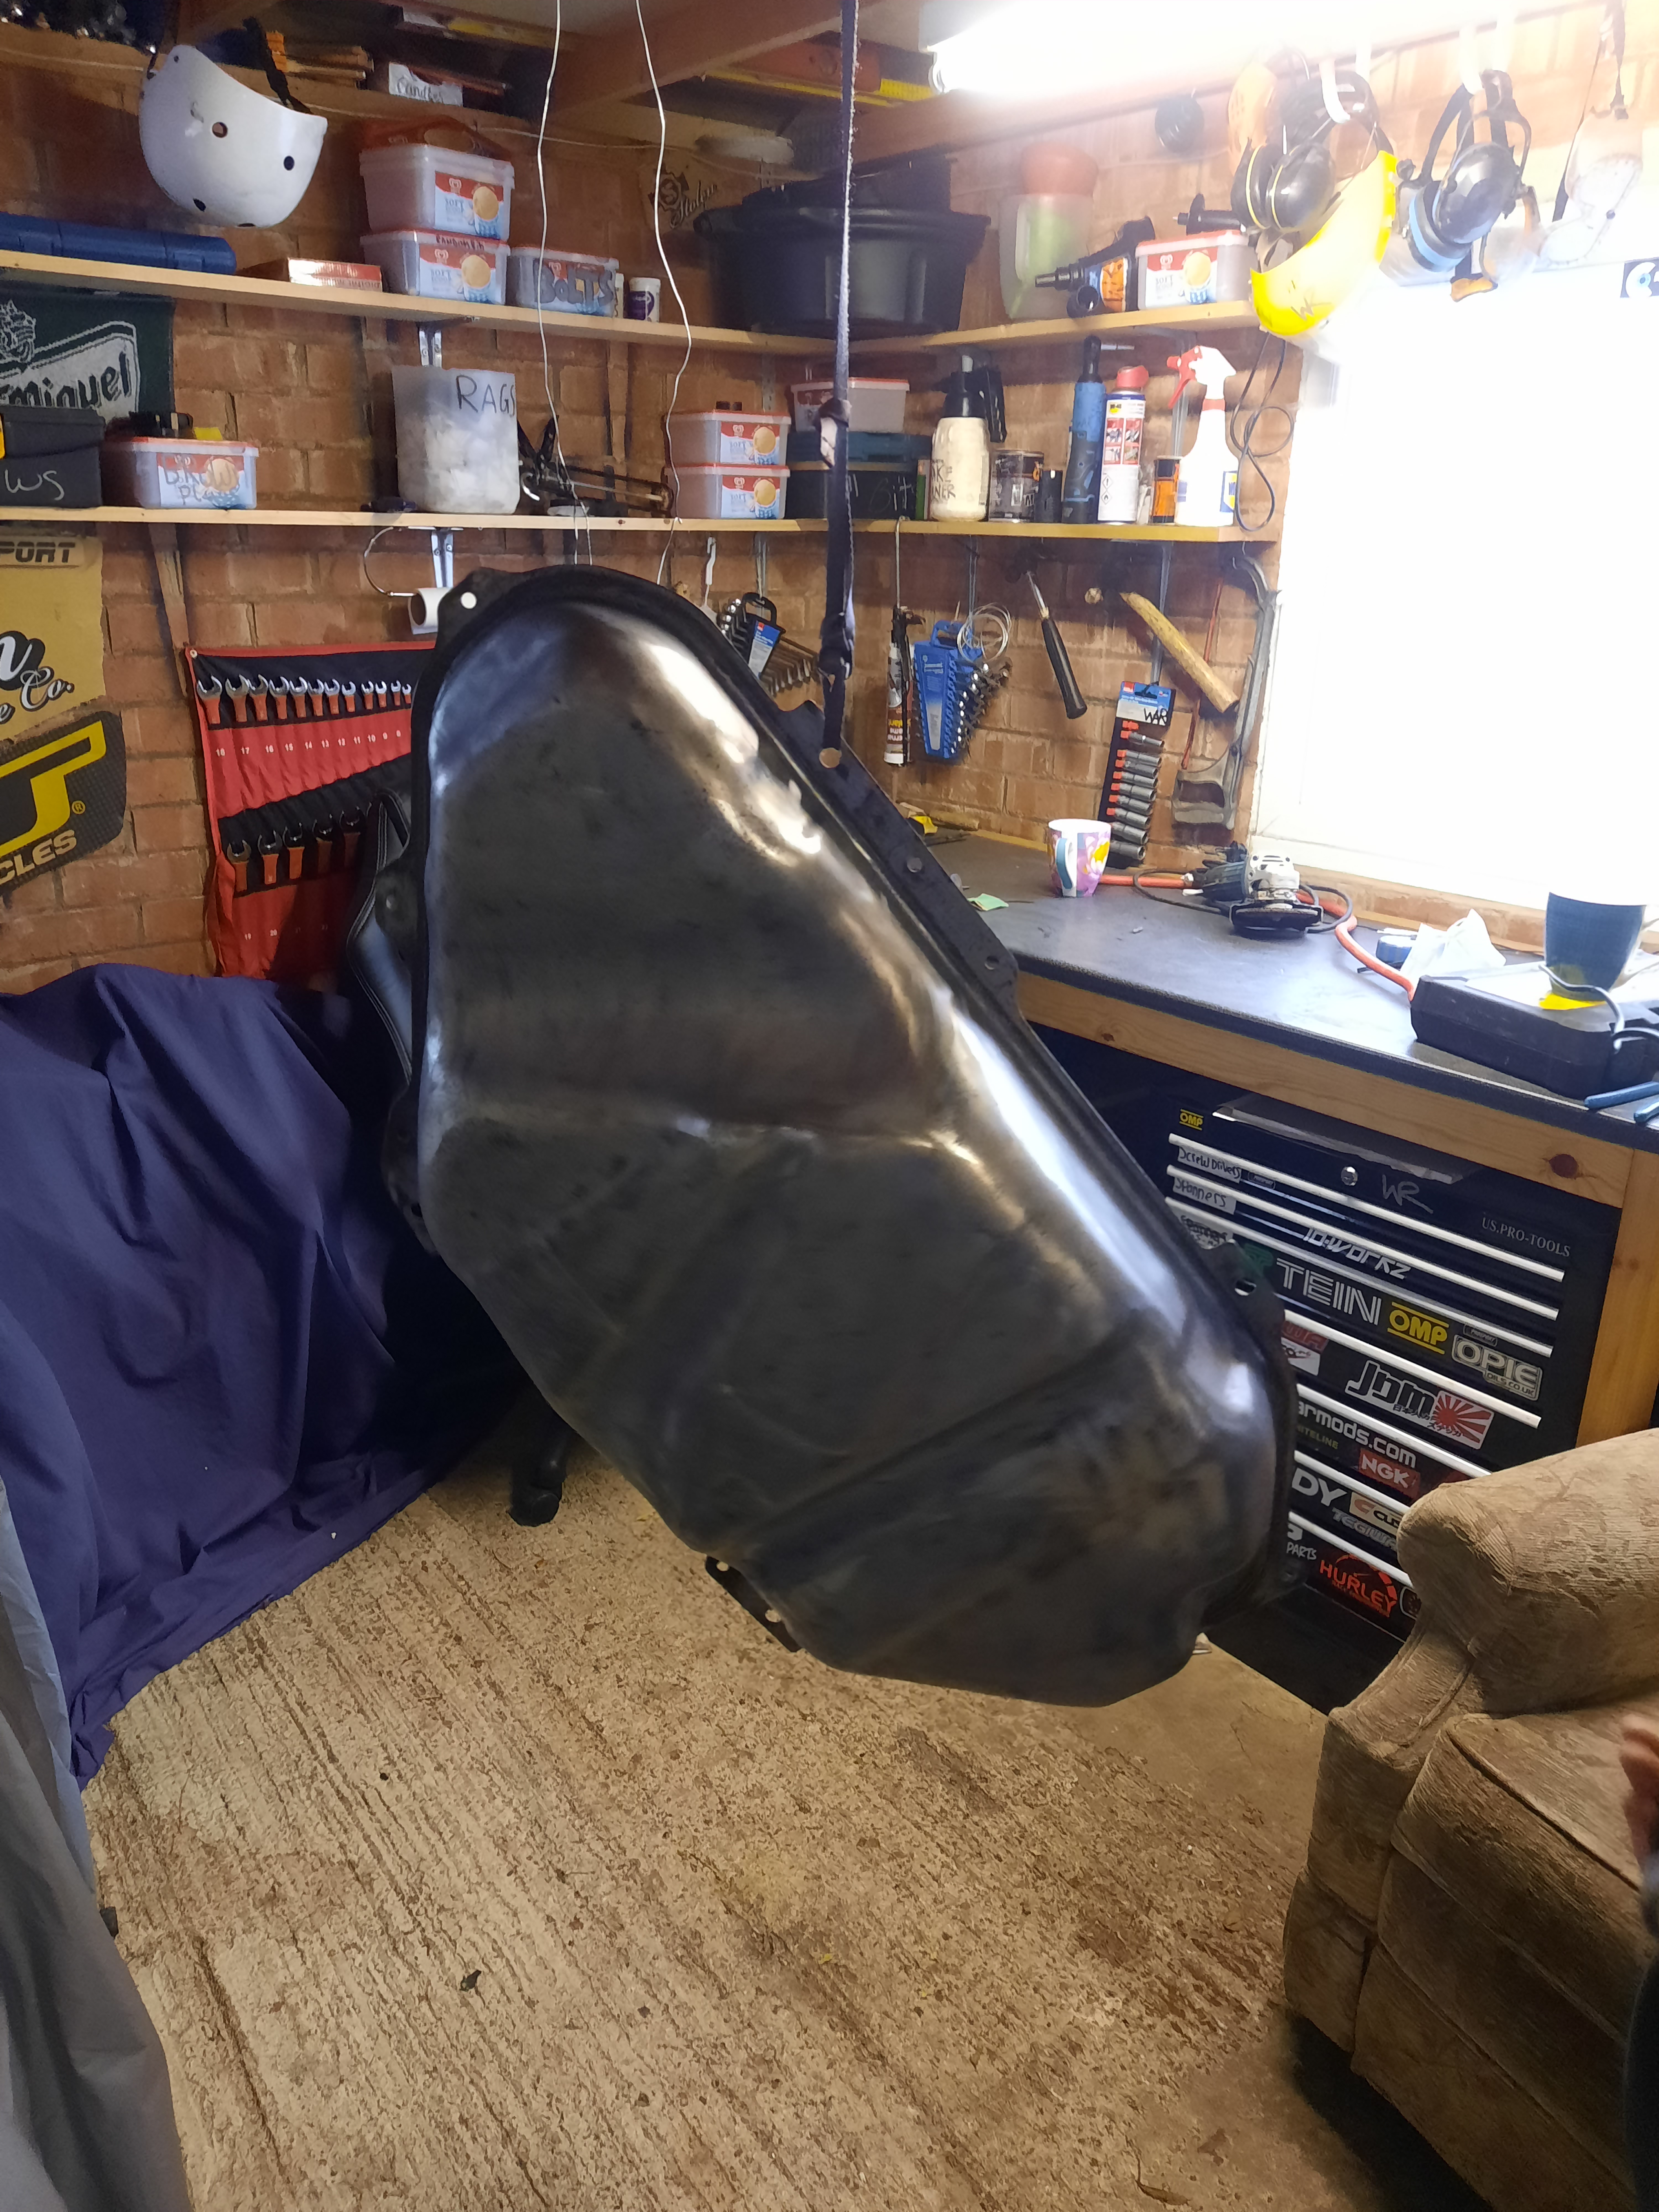
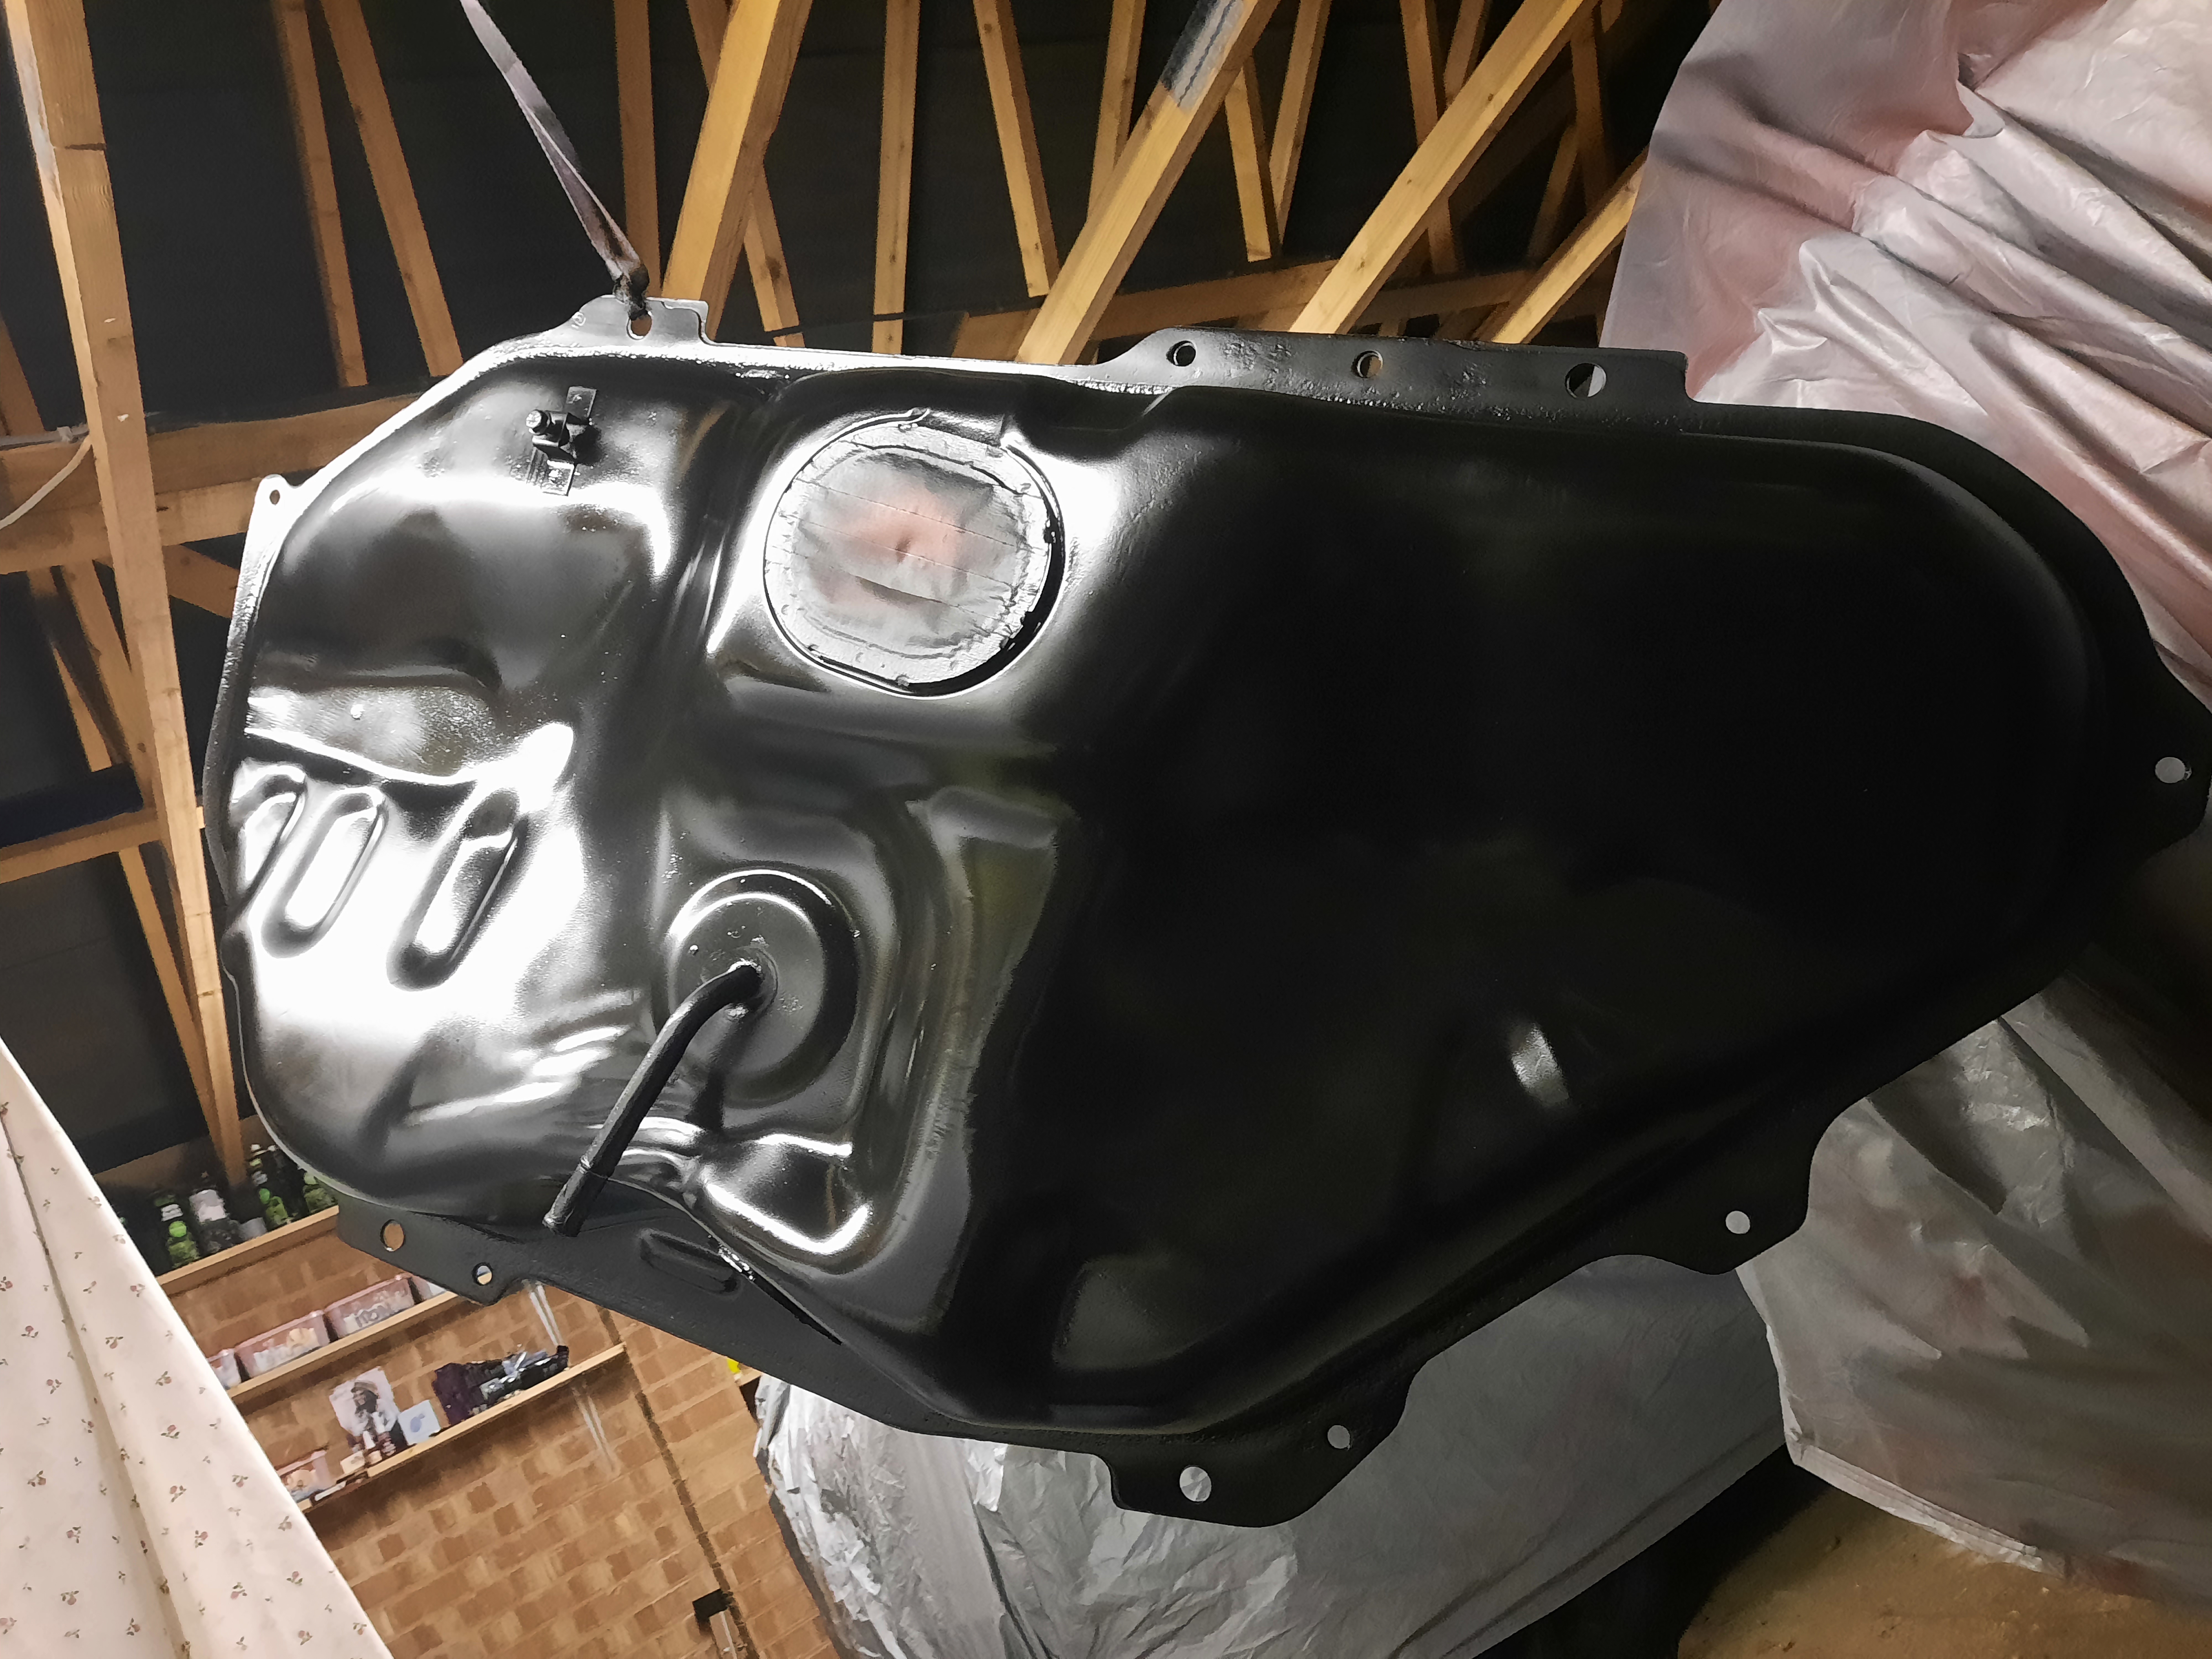
Once that was fully dry we went over it with some coats of black and left it to dry.

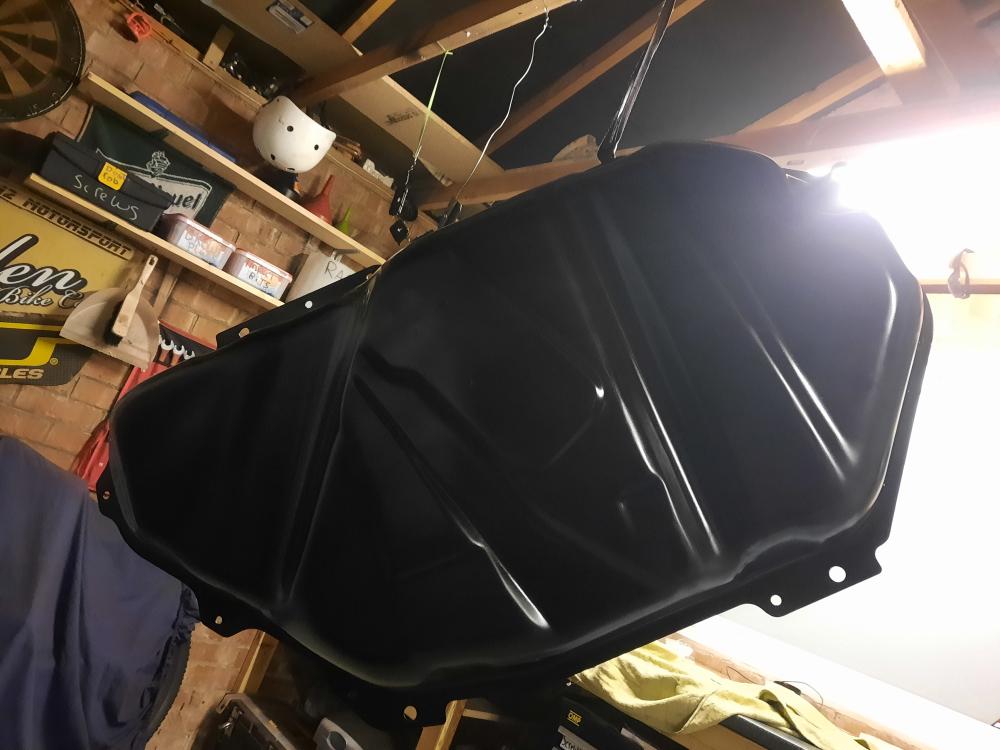
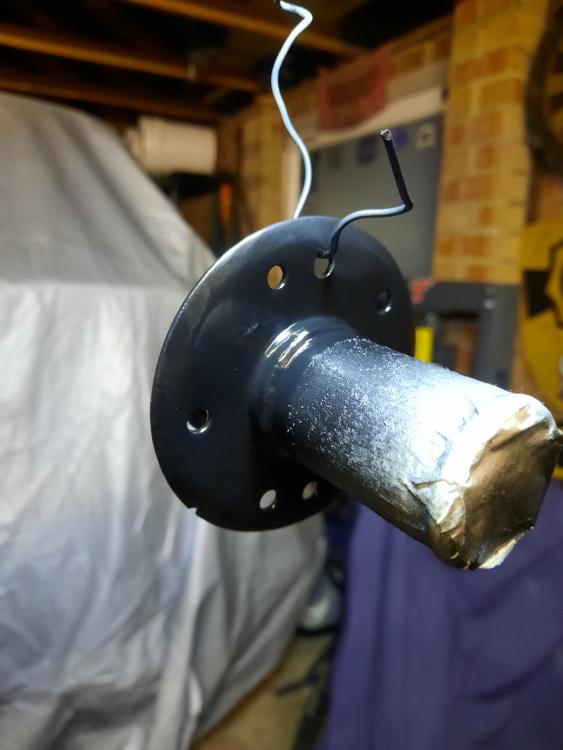
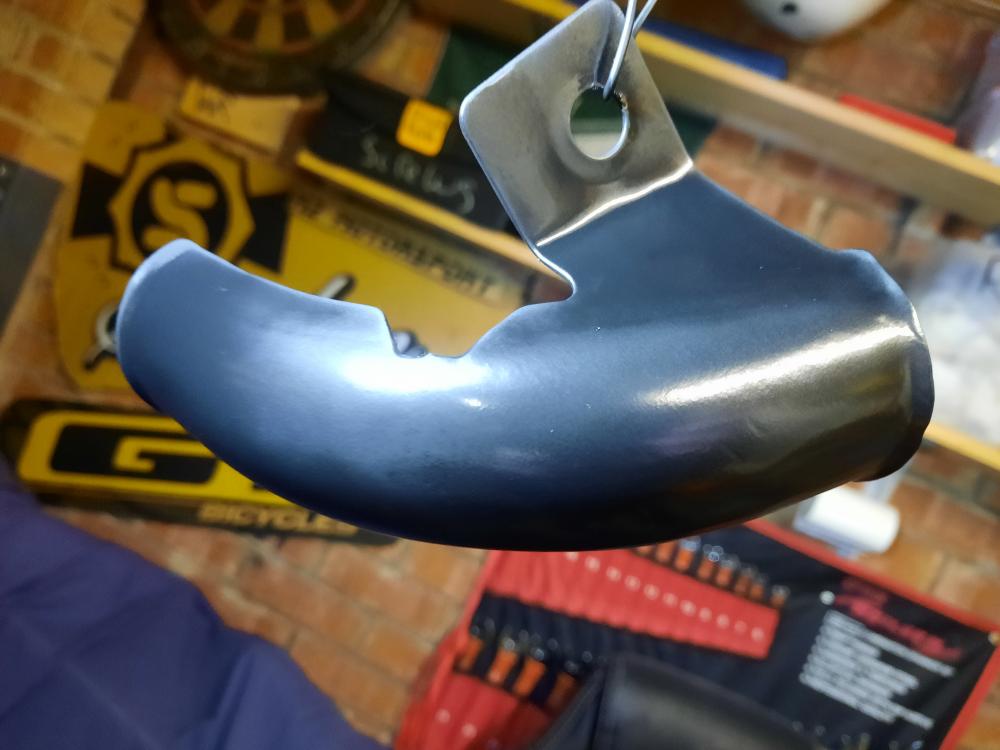
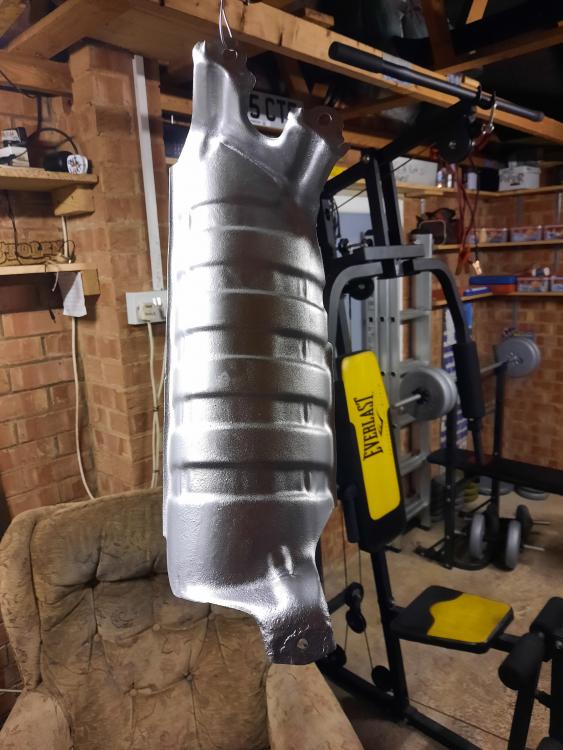
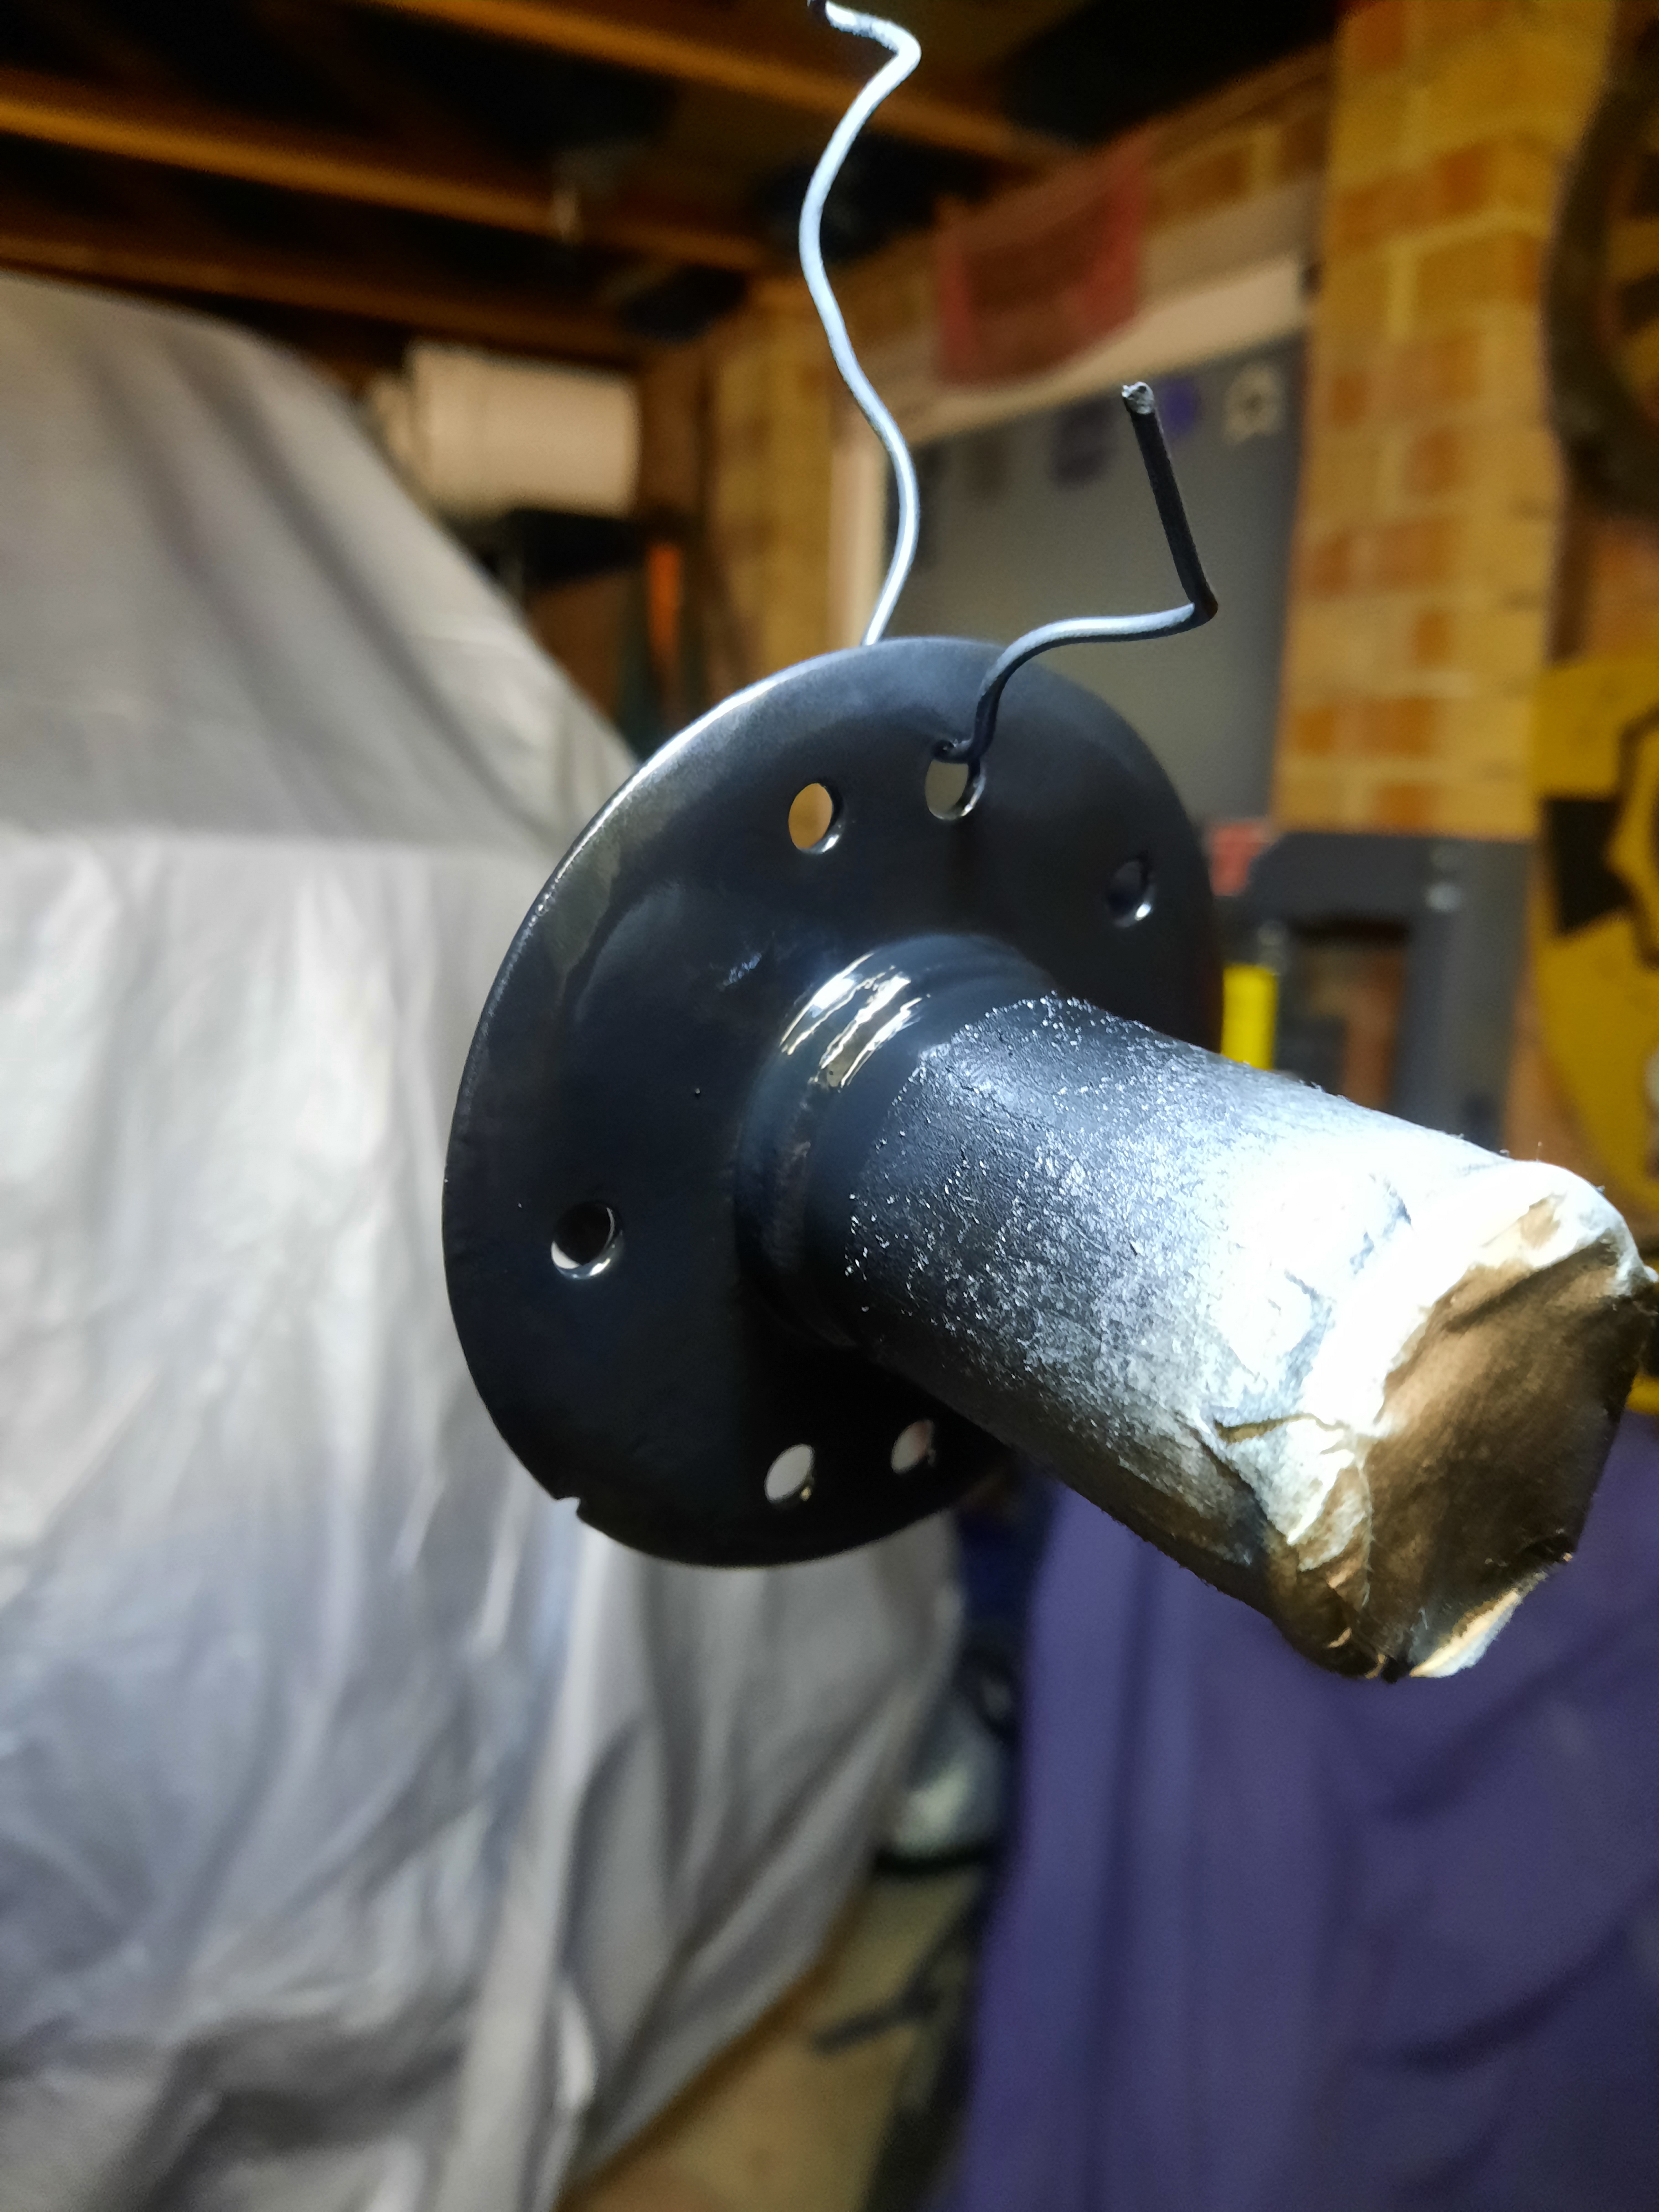
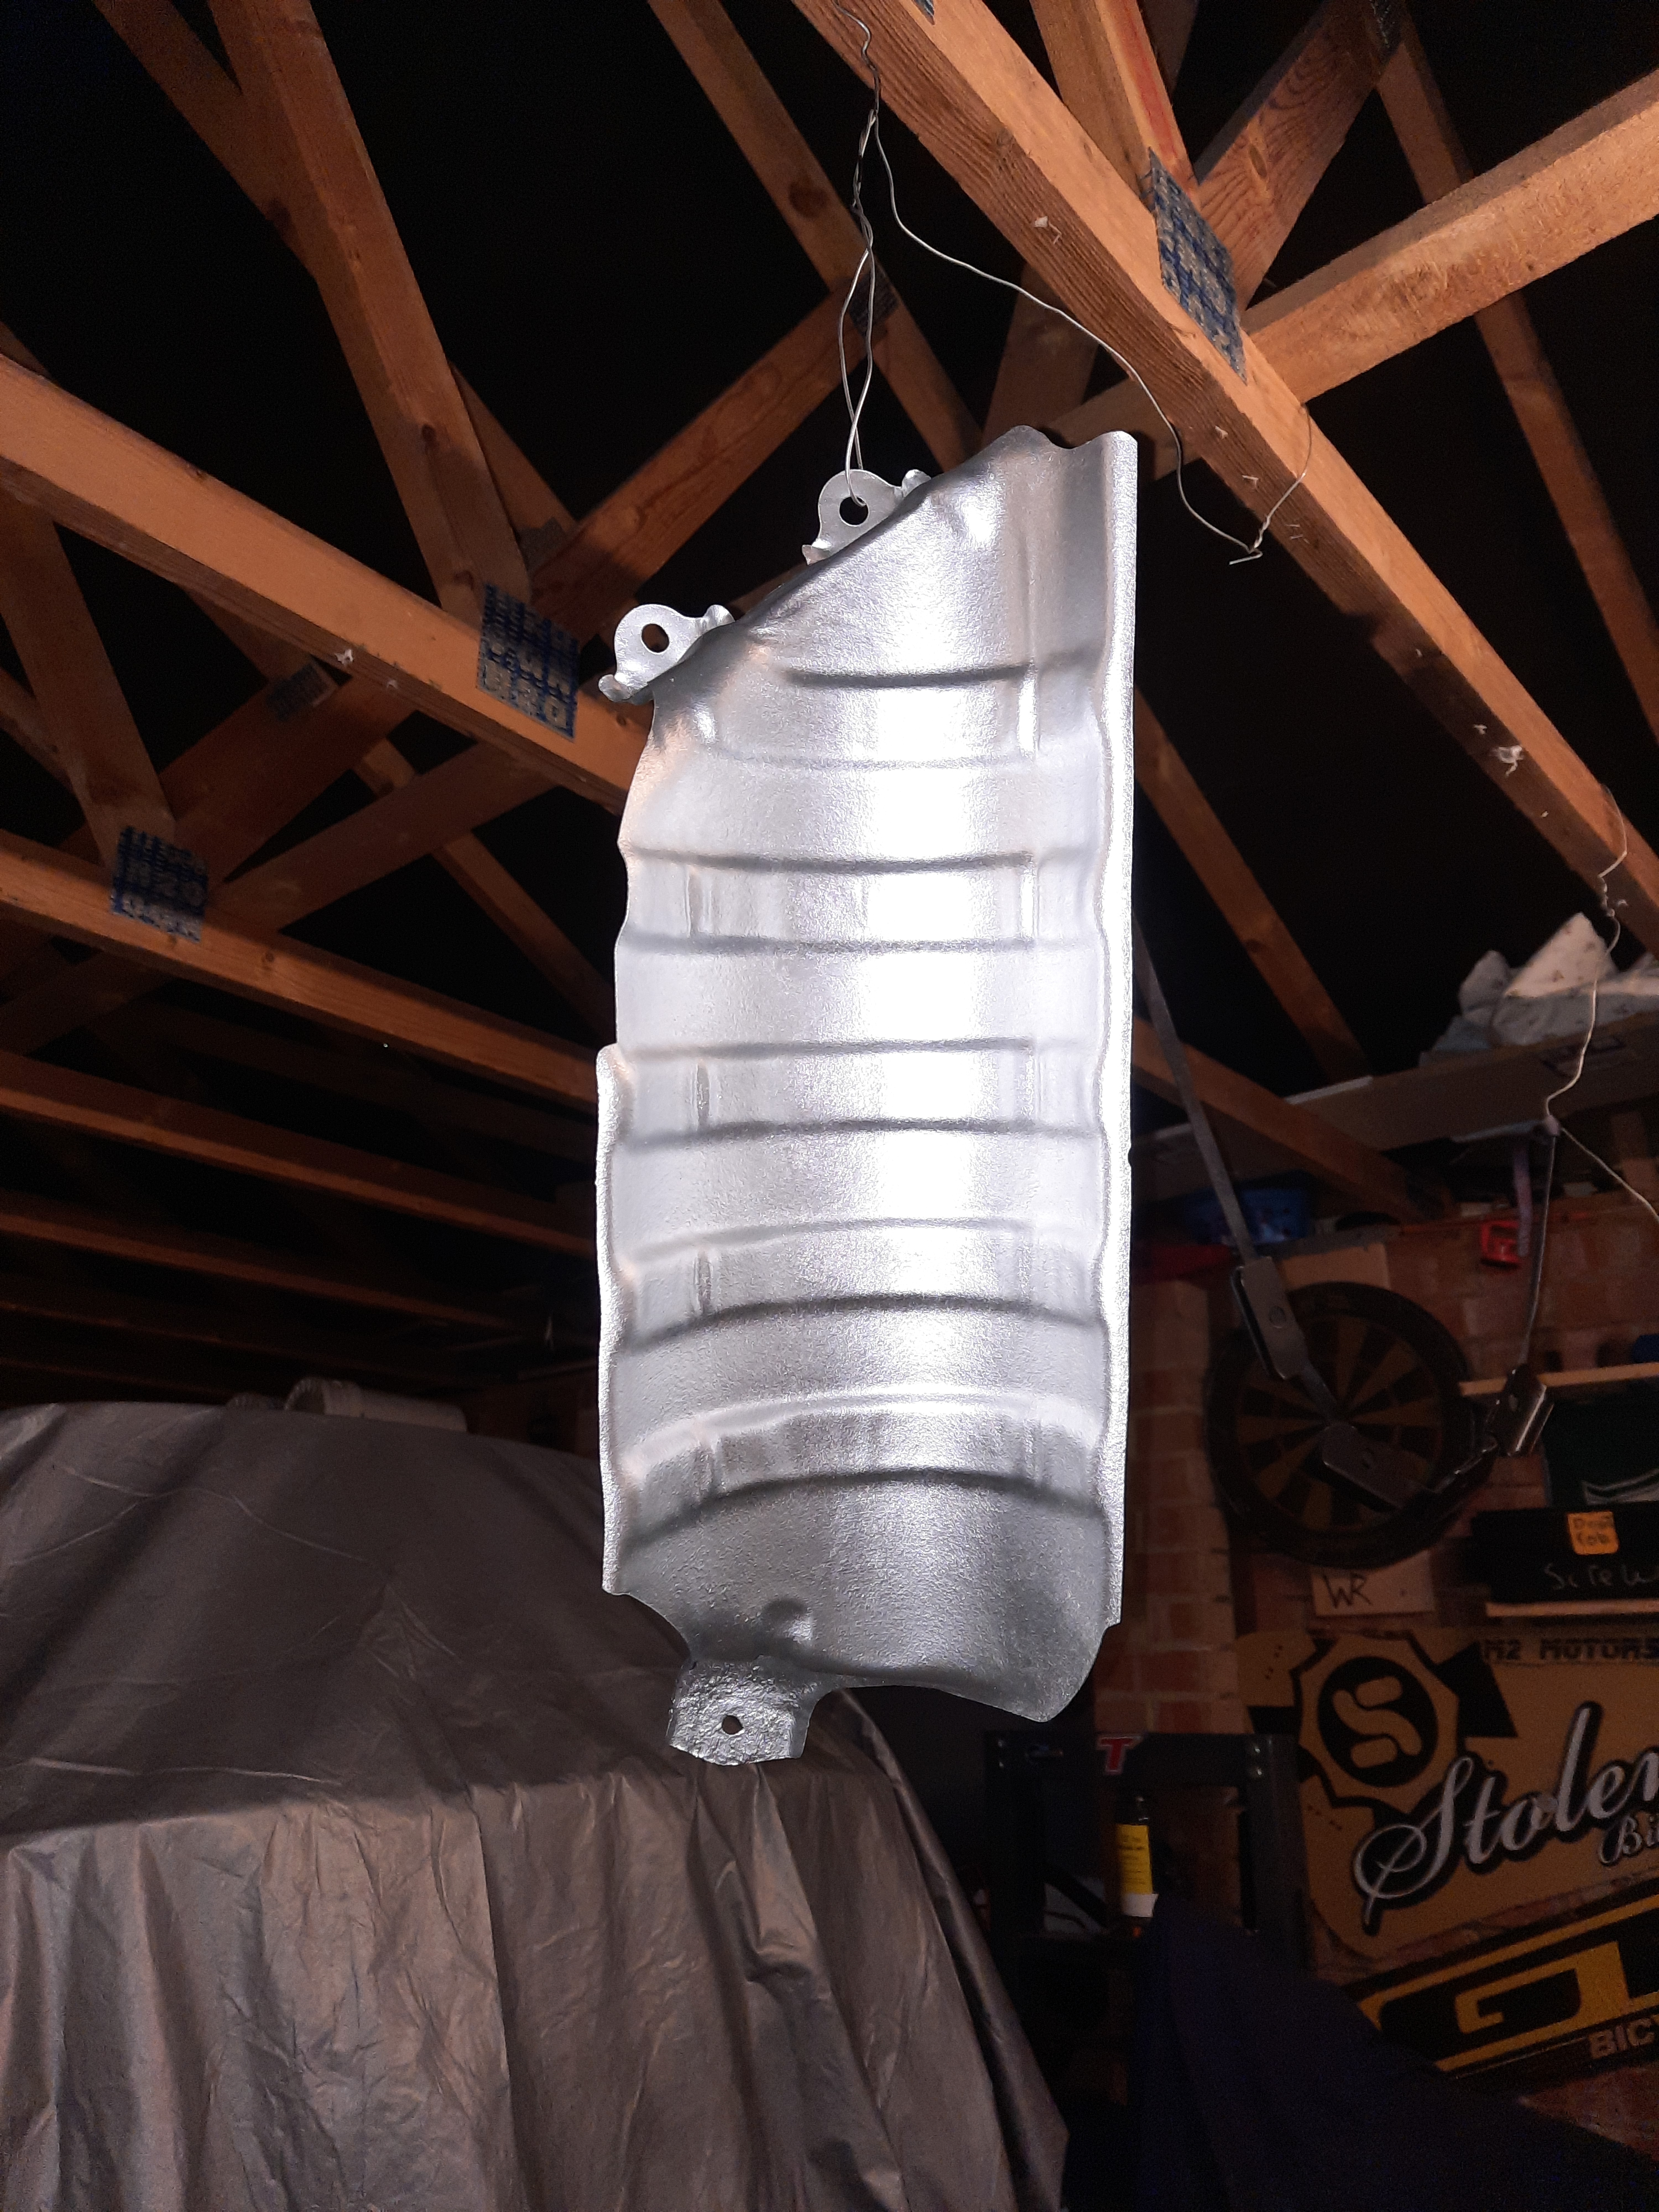
Also painted the fuel filler takeoff, the filler neck piece and the fuel tank heatshield.

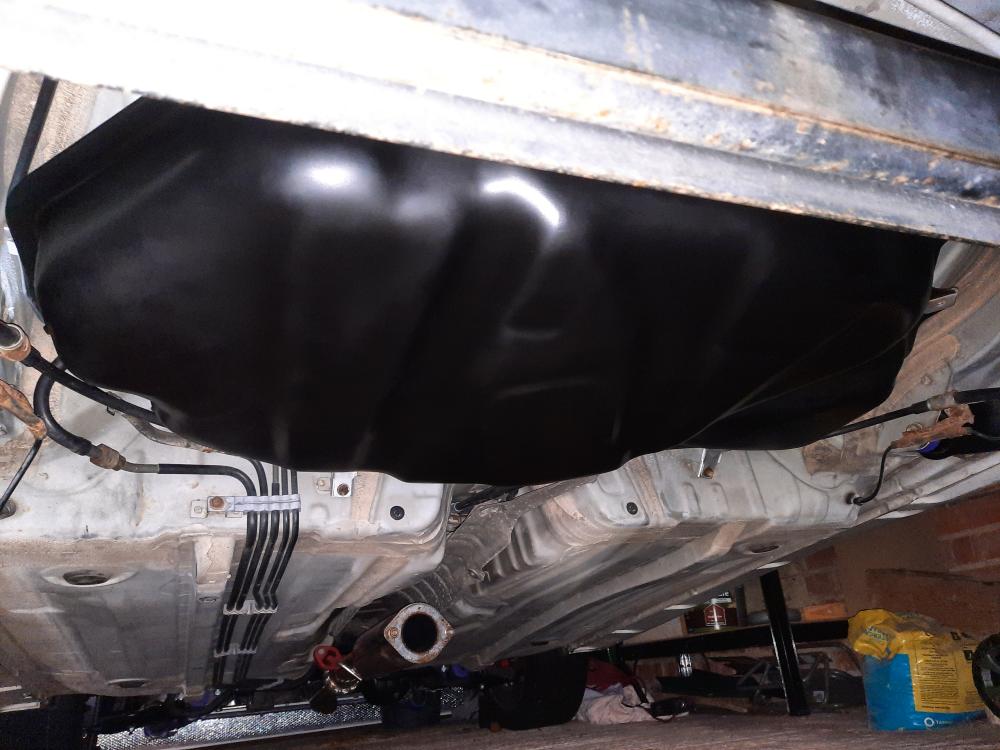
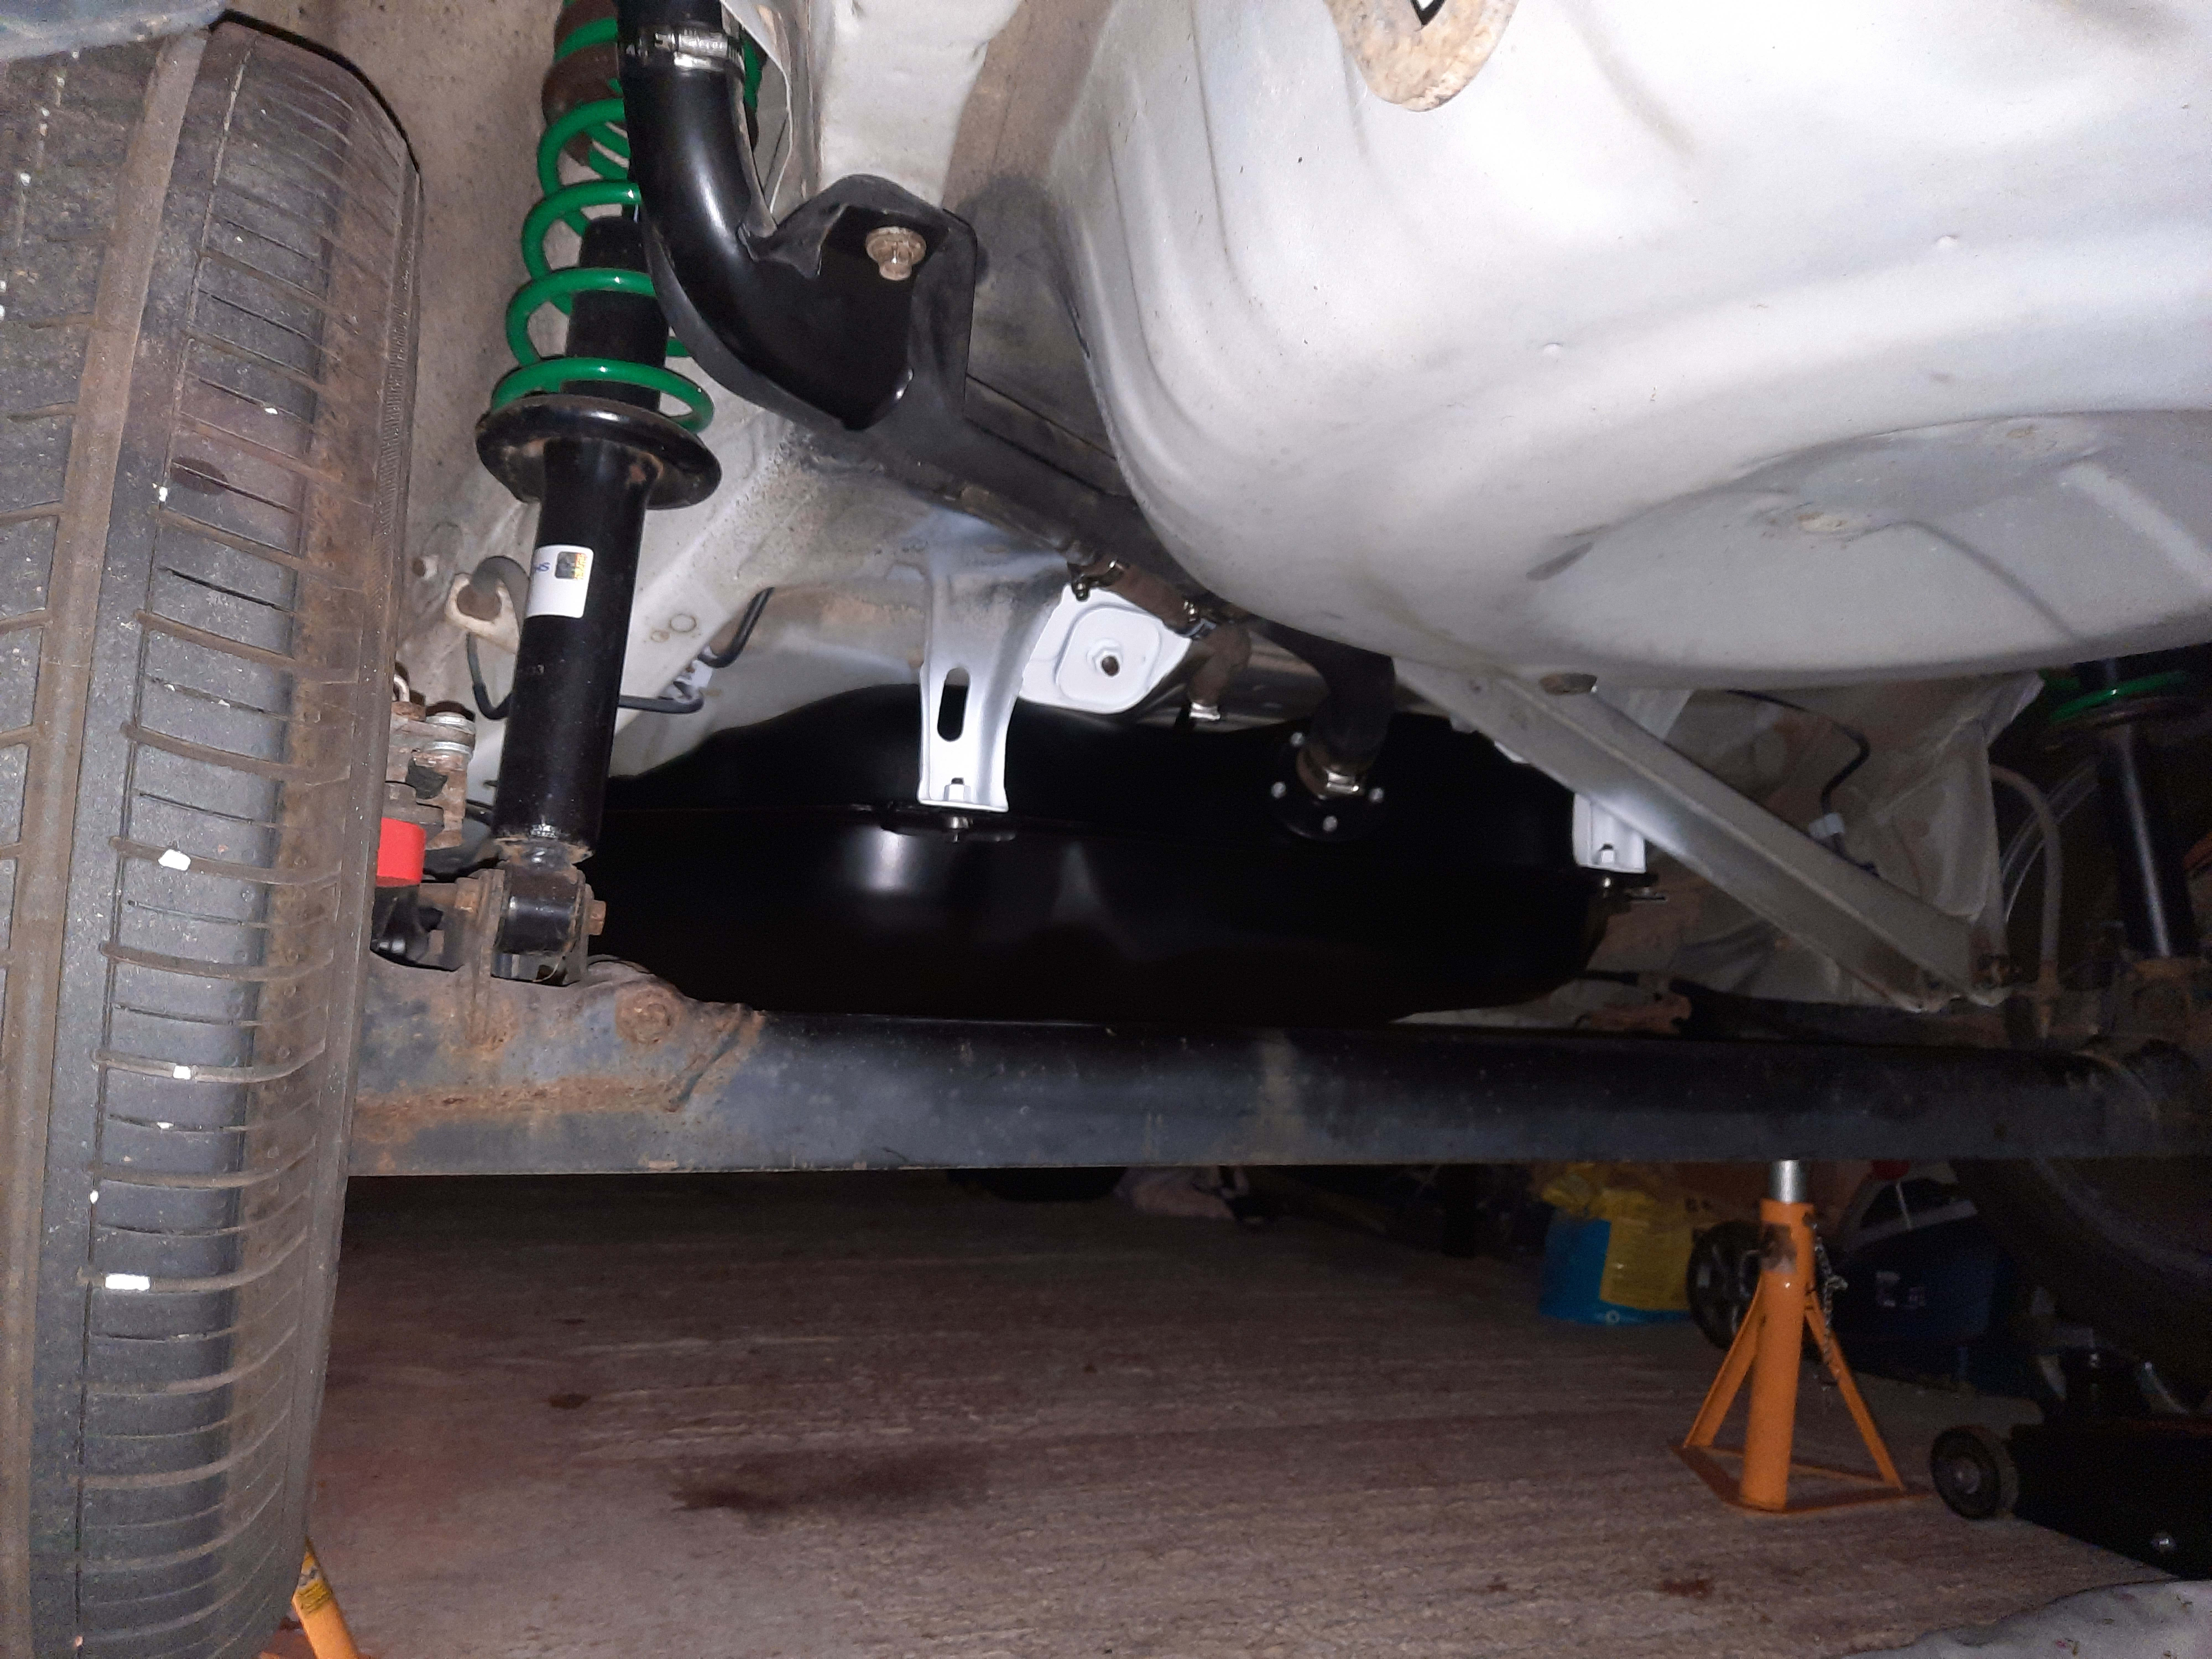
Overall the chassis above where the fuel tank sits looks really good, gave the area a good clean while the tank was off to remove any dirt. Found a few small areas of surface corrosion that needed some attention, so sanded the rust off and gave them a coat of zinc primer followed by 040 white to protect.
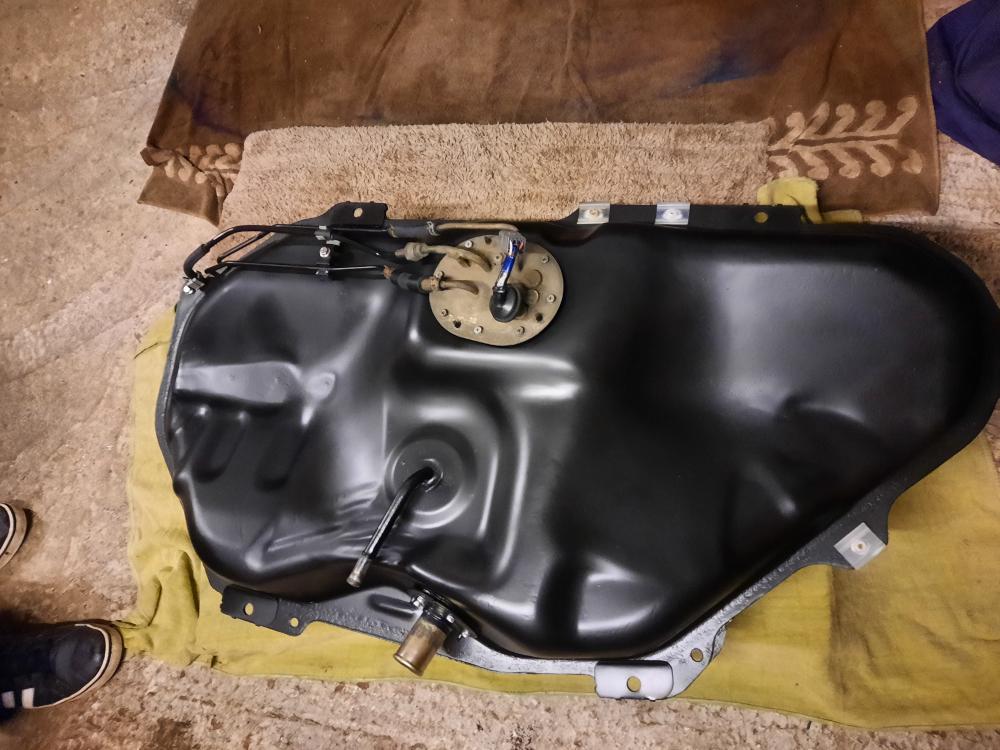
Once that was done I started prepping the tank to go back on. Firsty by installing and wiring in a new walbro 255 fuel pump to replace the stock unit.

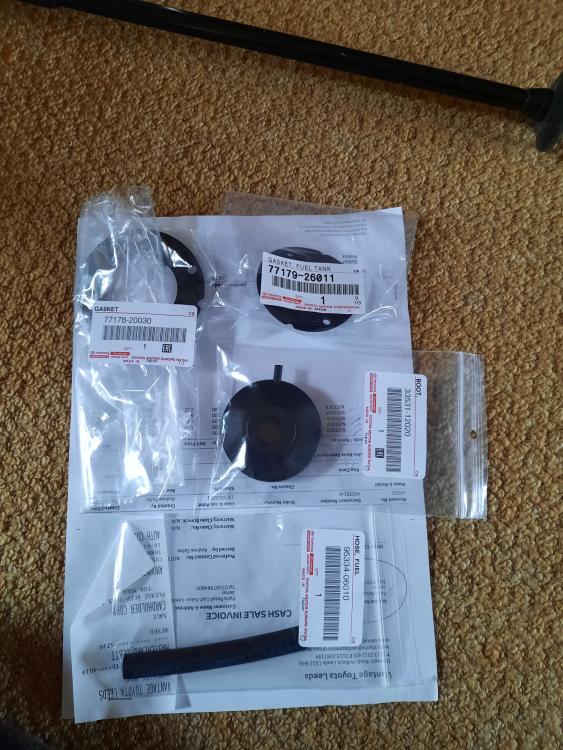
Then the pump went back in with a new gasket, followed by the new fuel lines to replace my rusted ones.
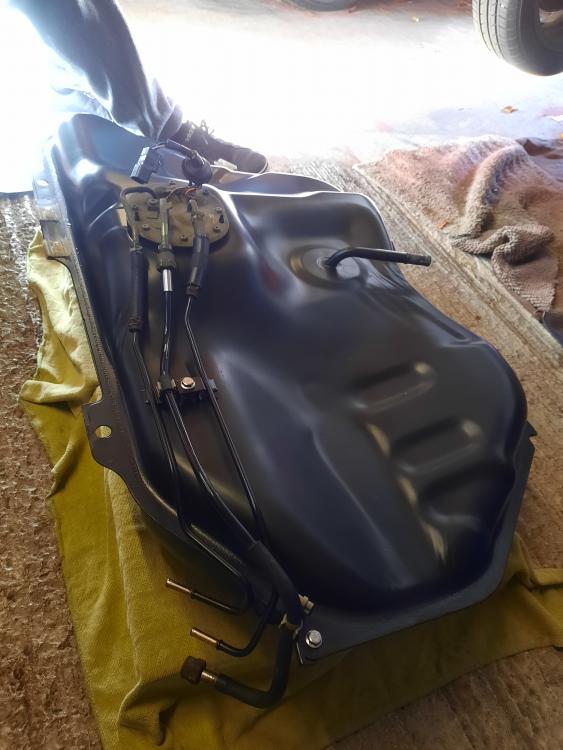
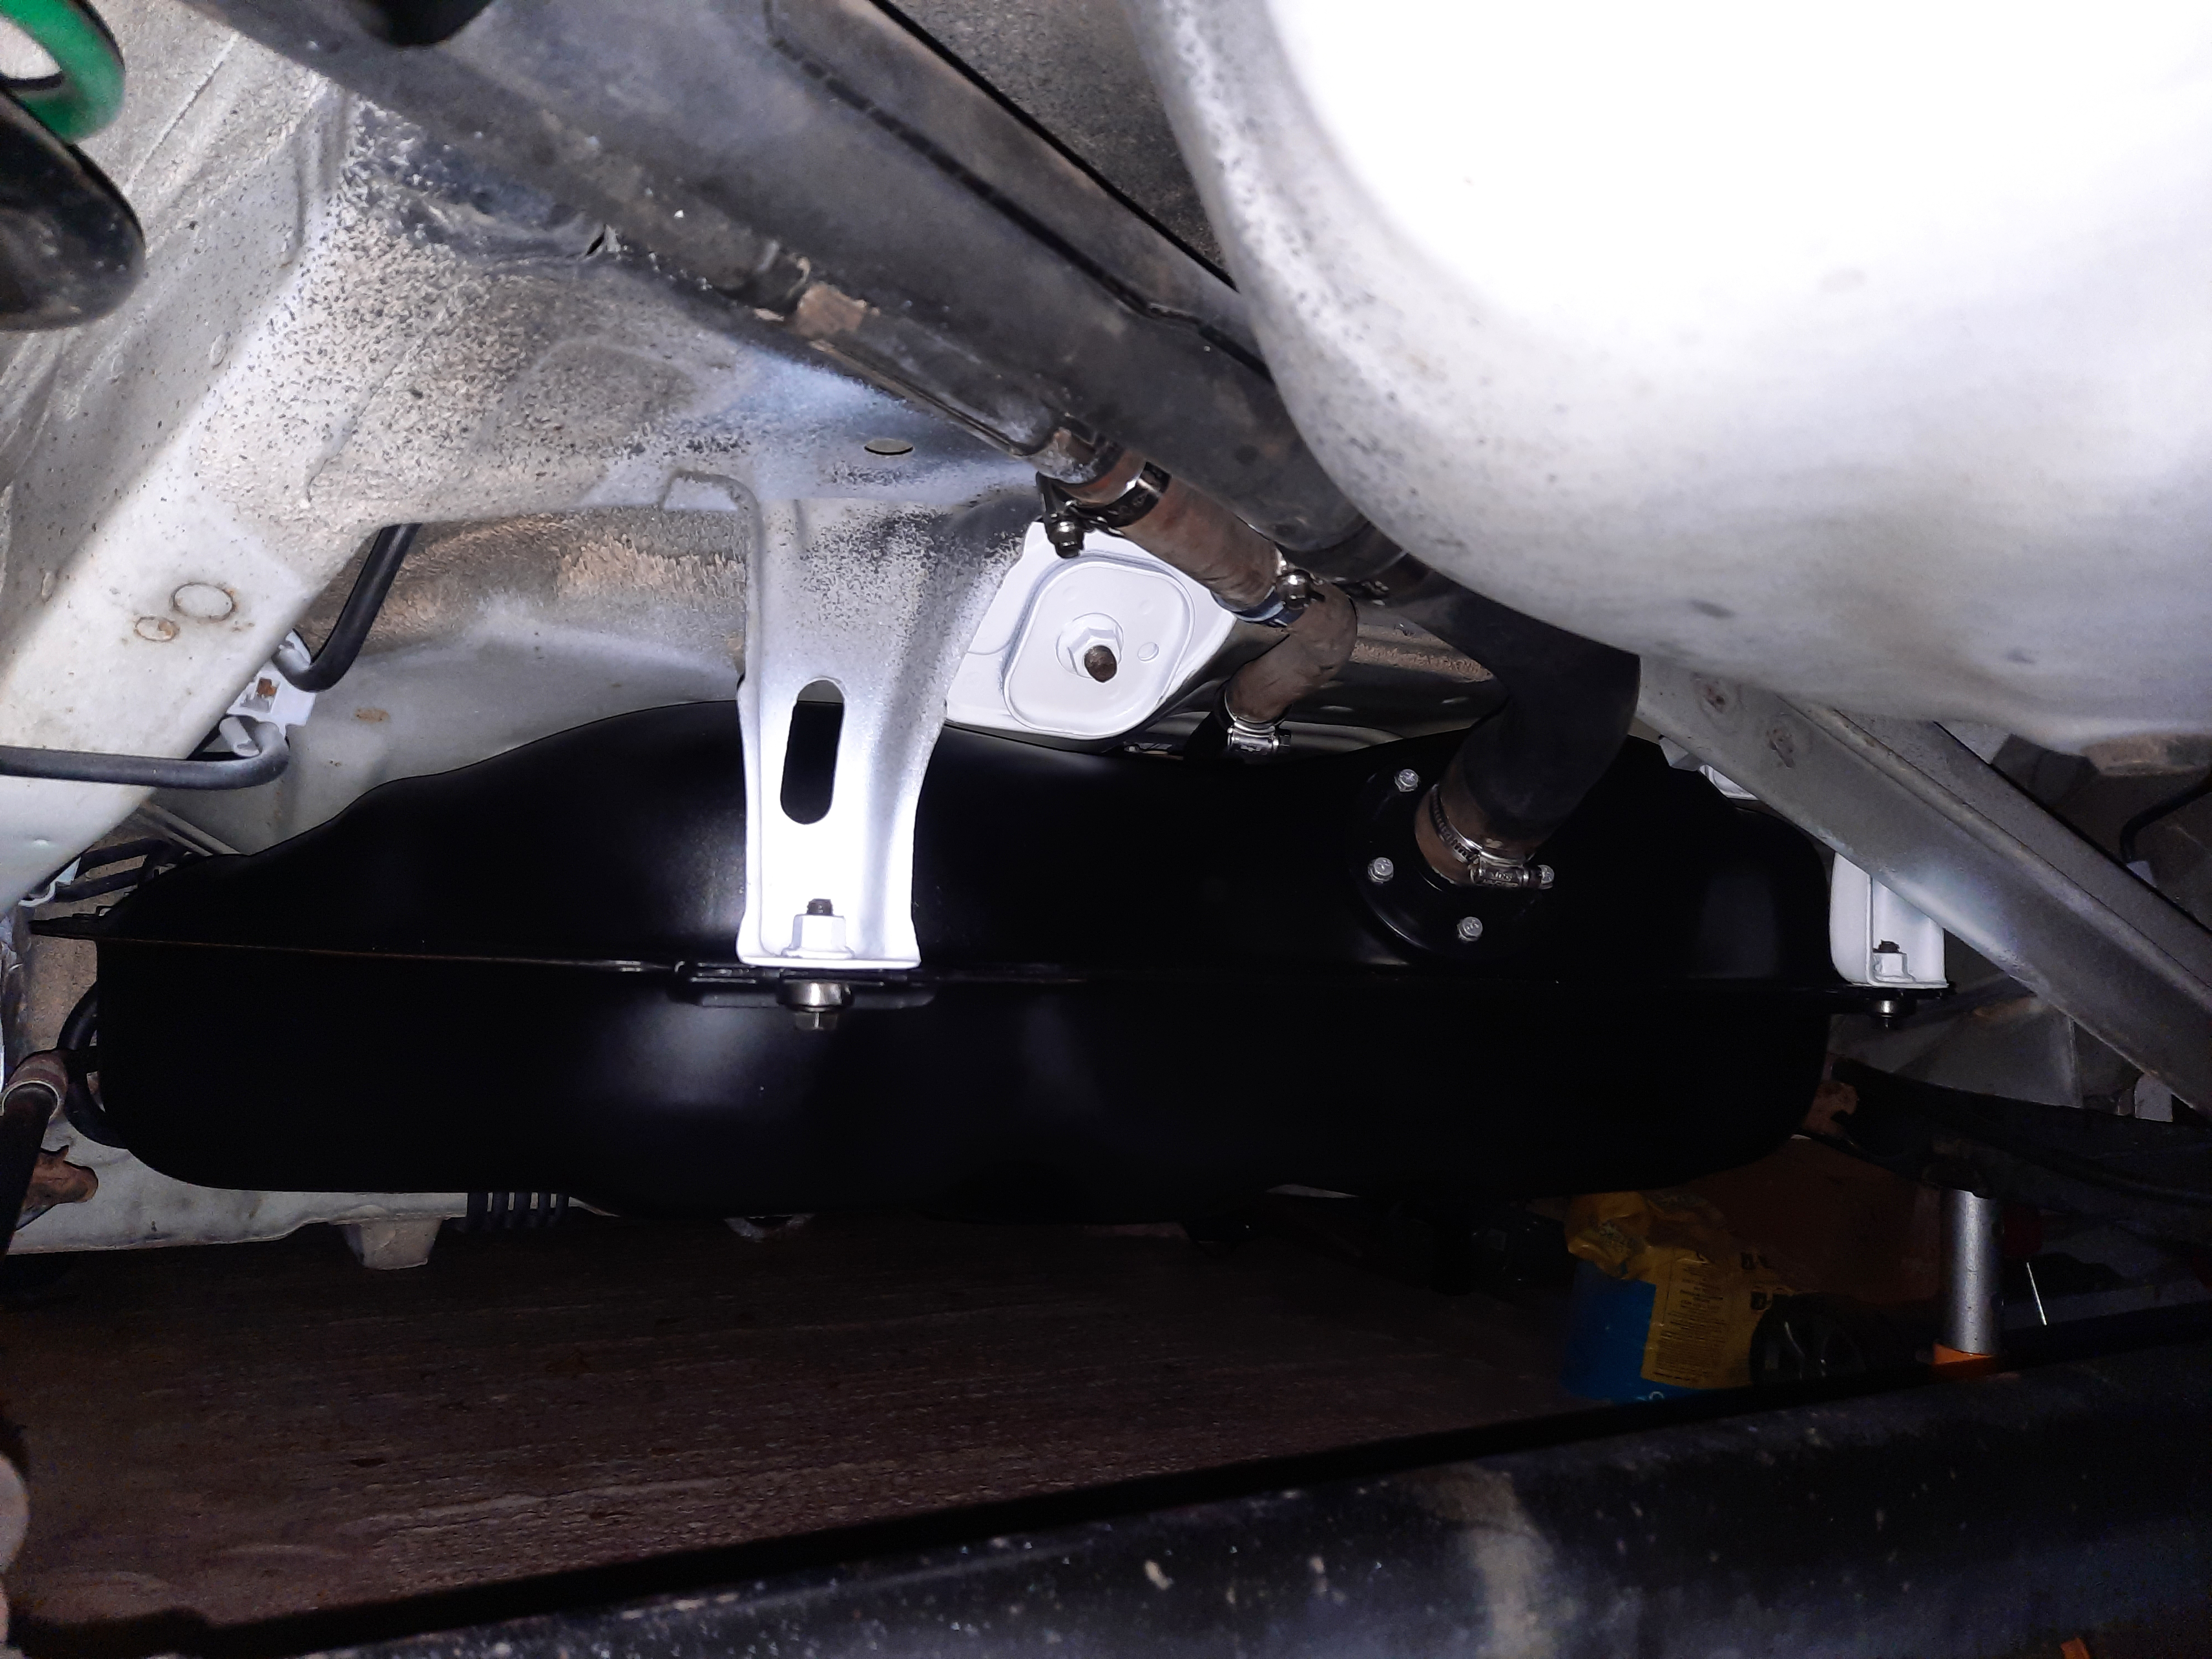
I put the fuel filler piece back on with a fresh gasket and put all the metal and plastic clips back on. Then it was ready to be bolted back up into place.
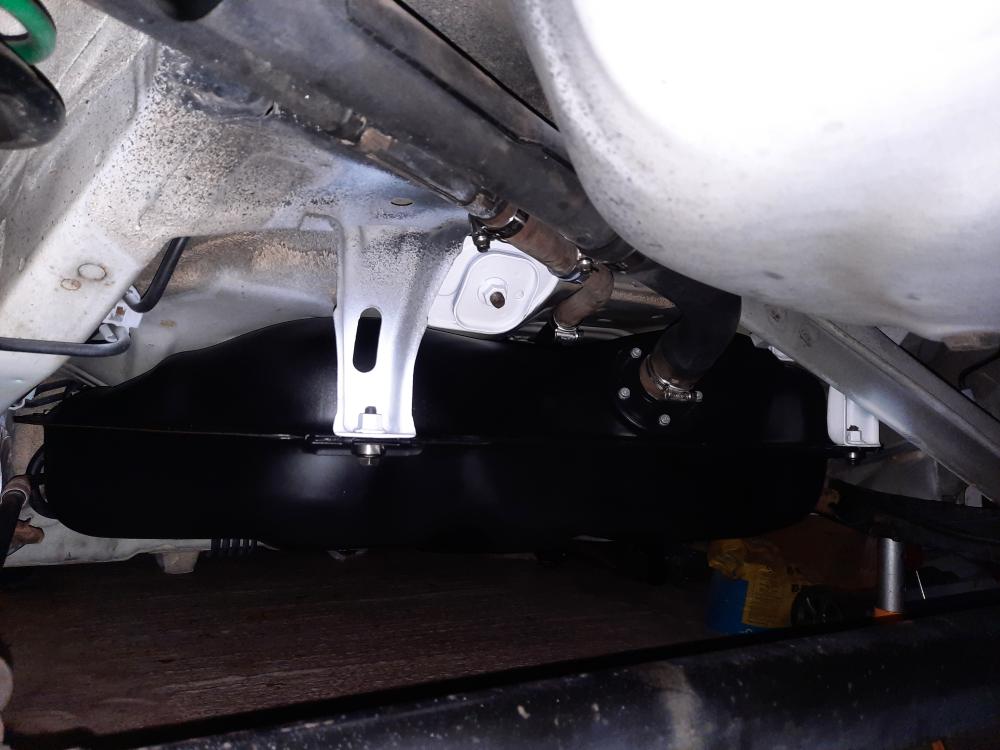
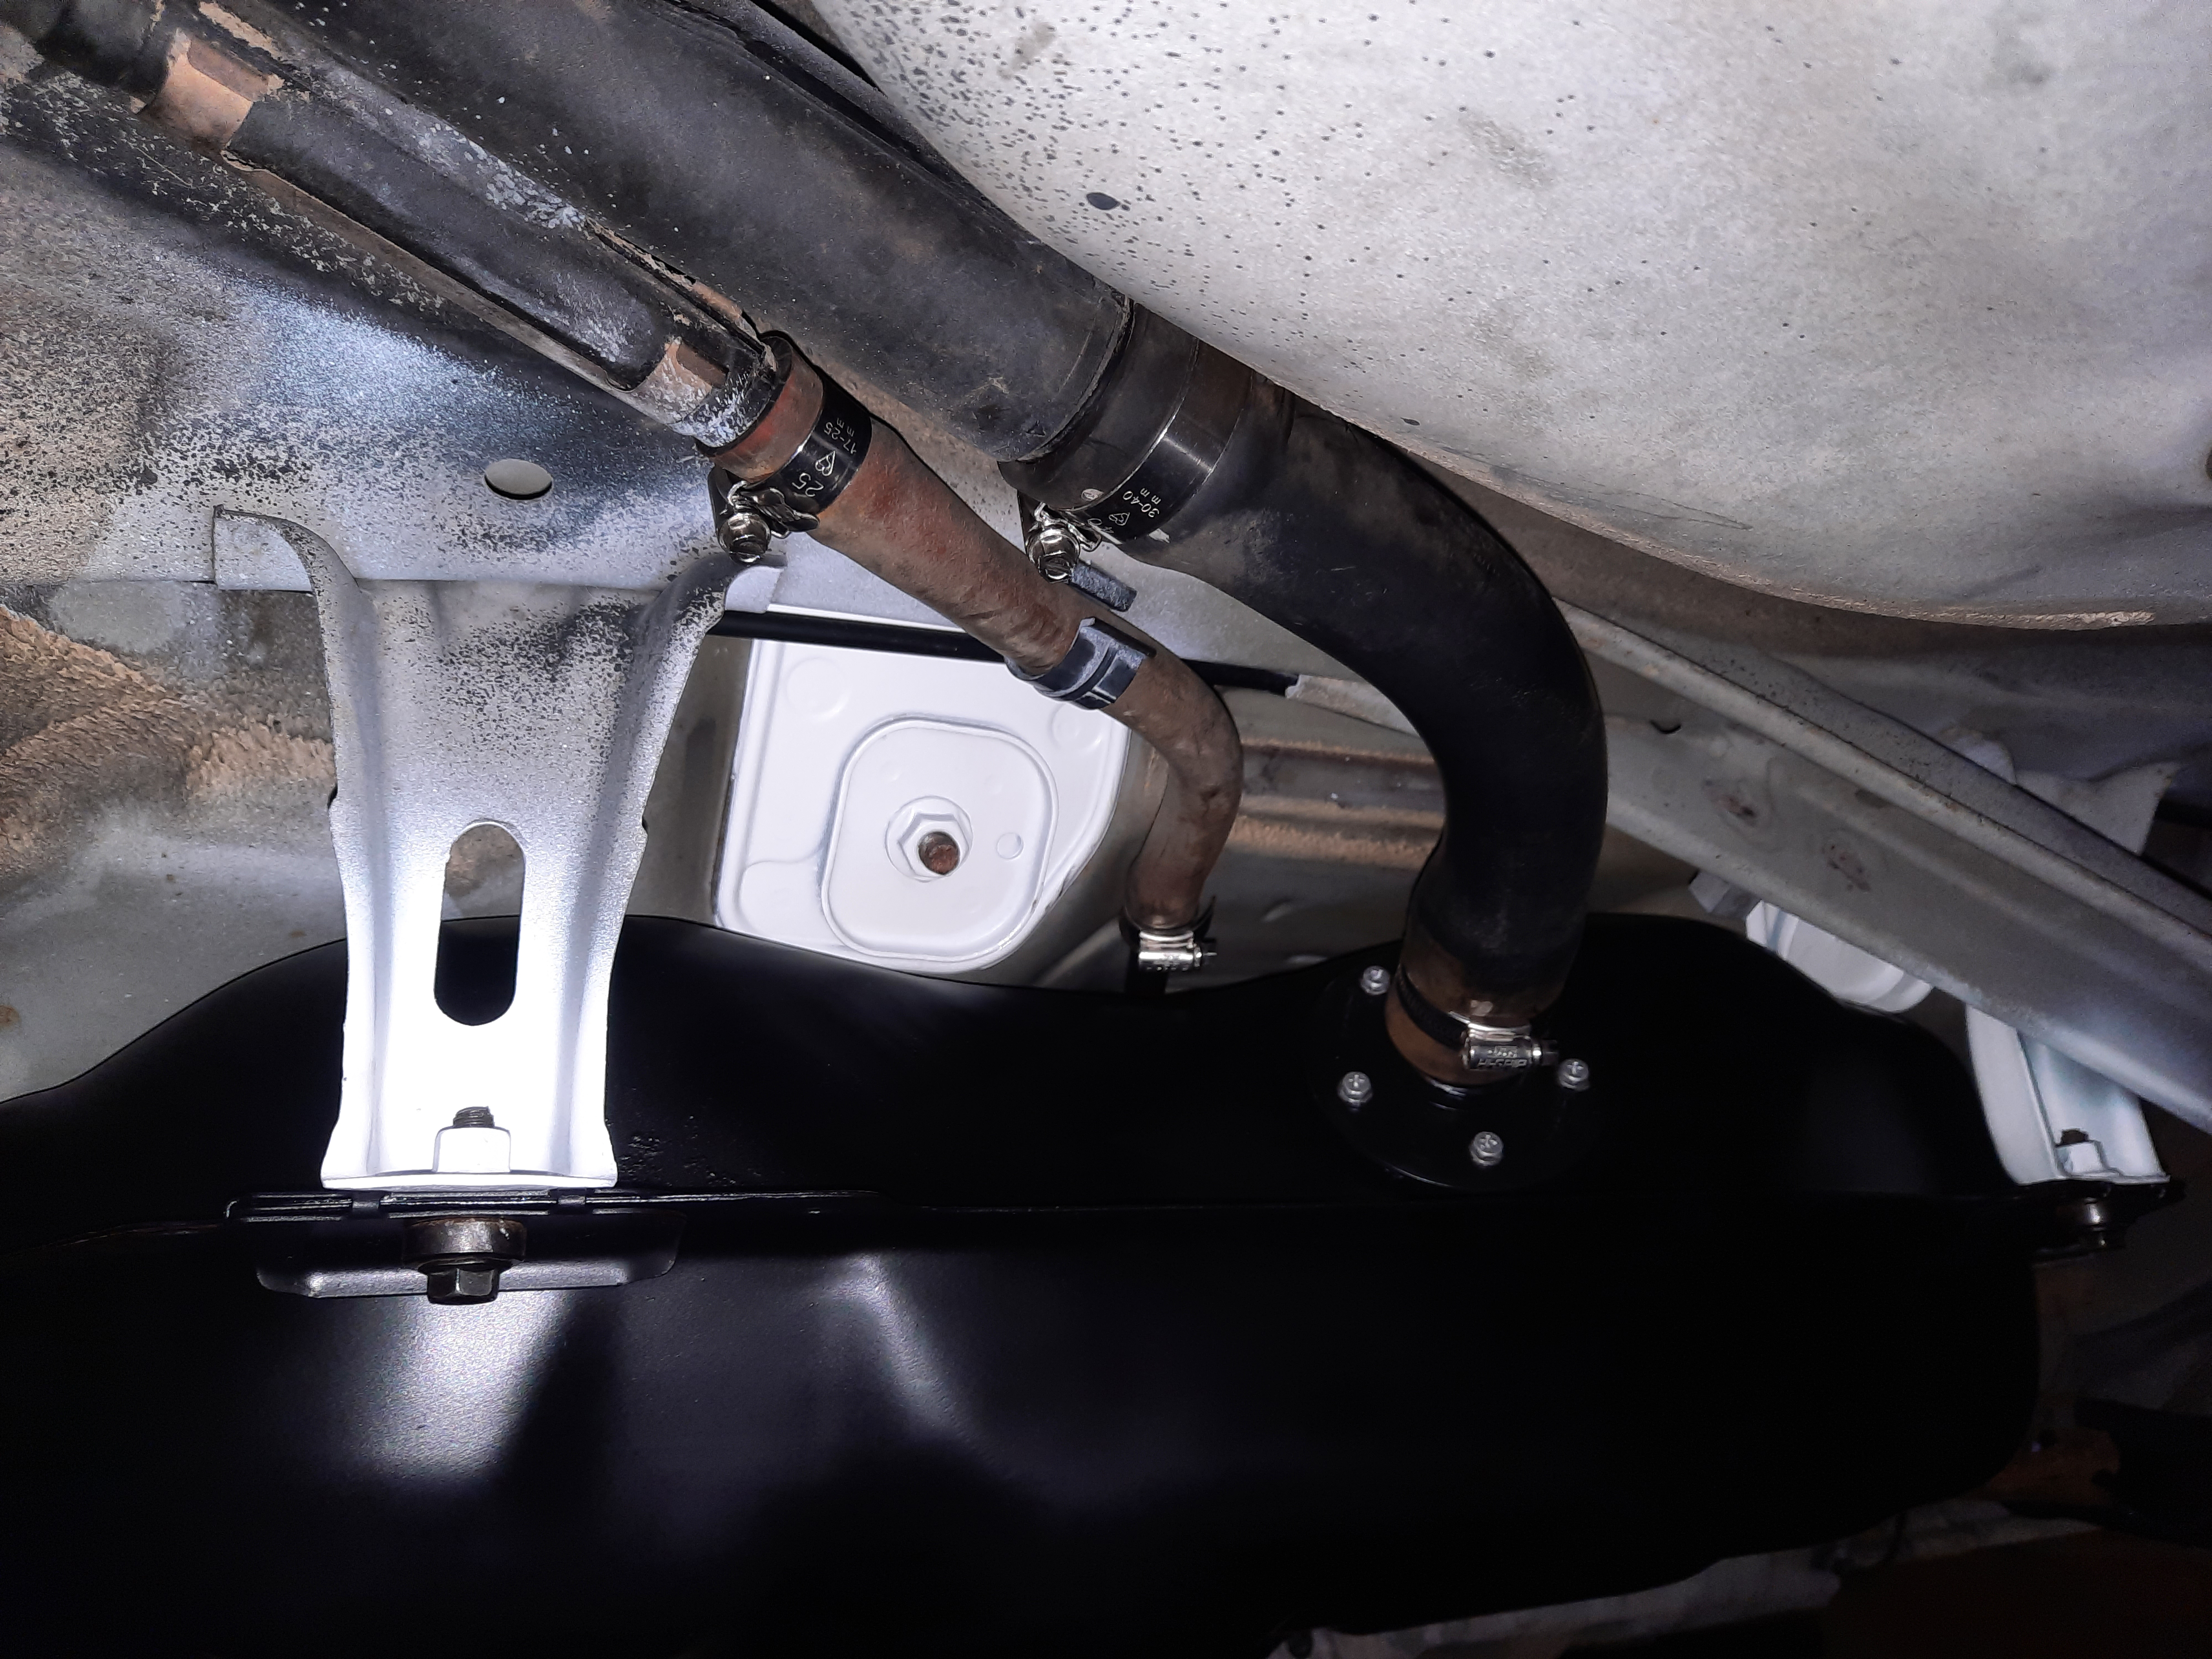
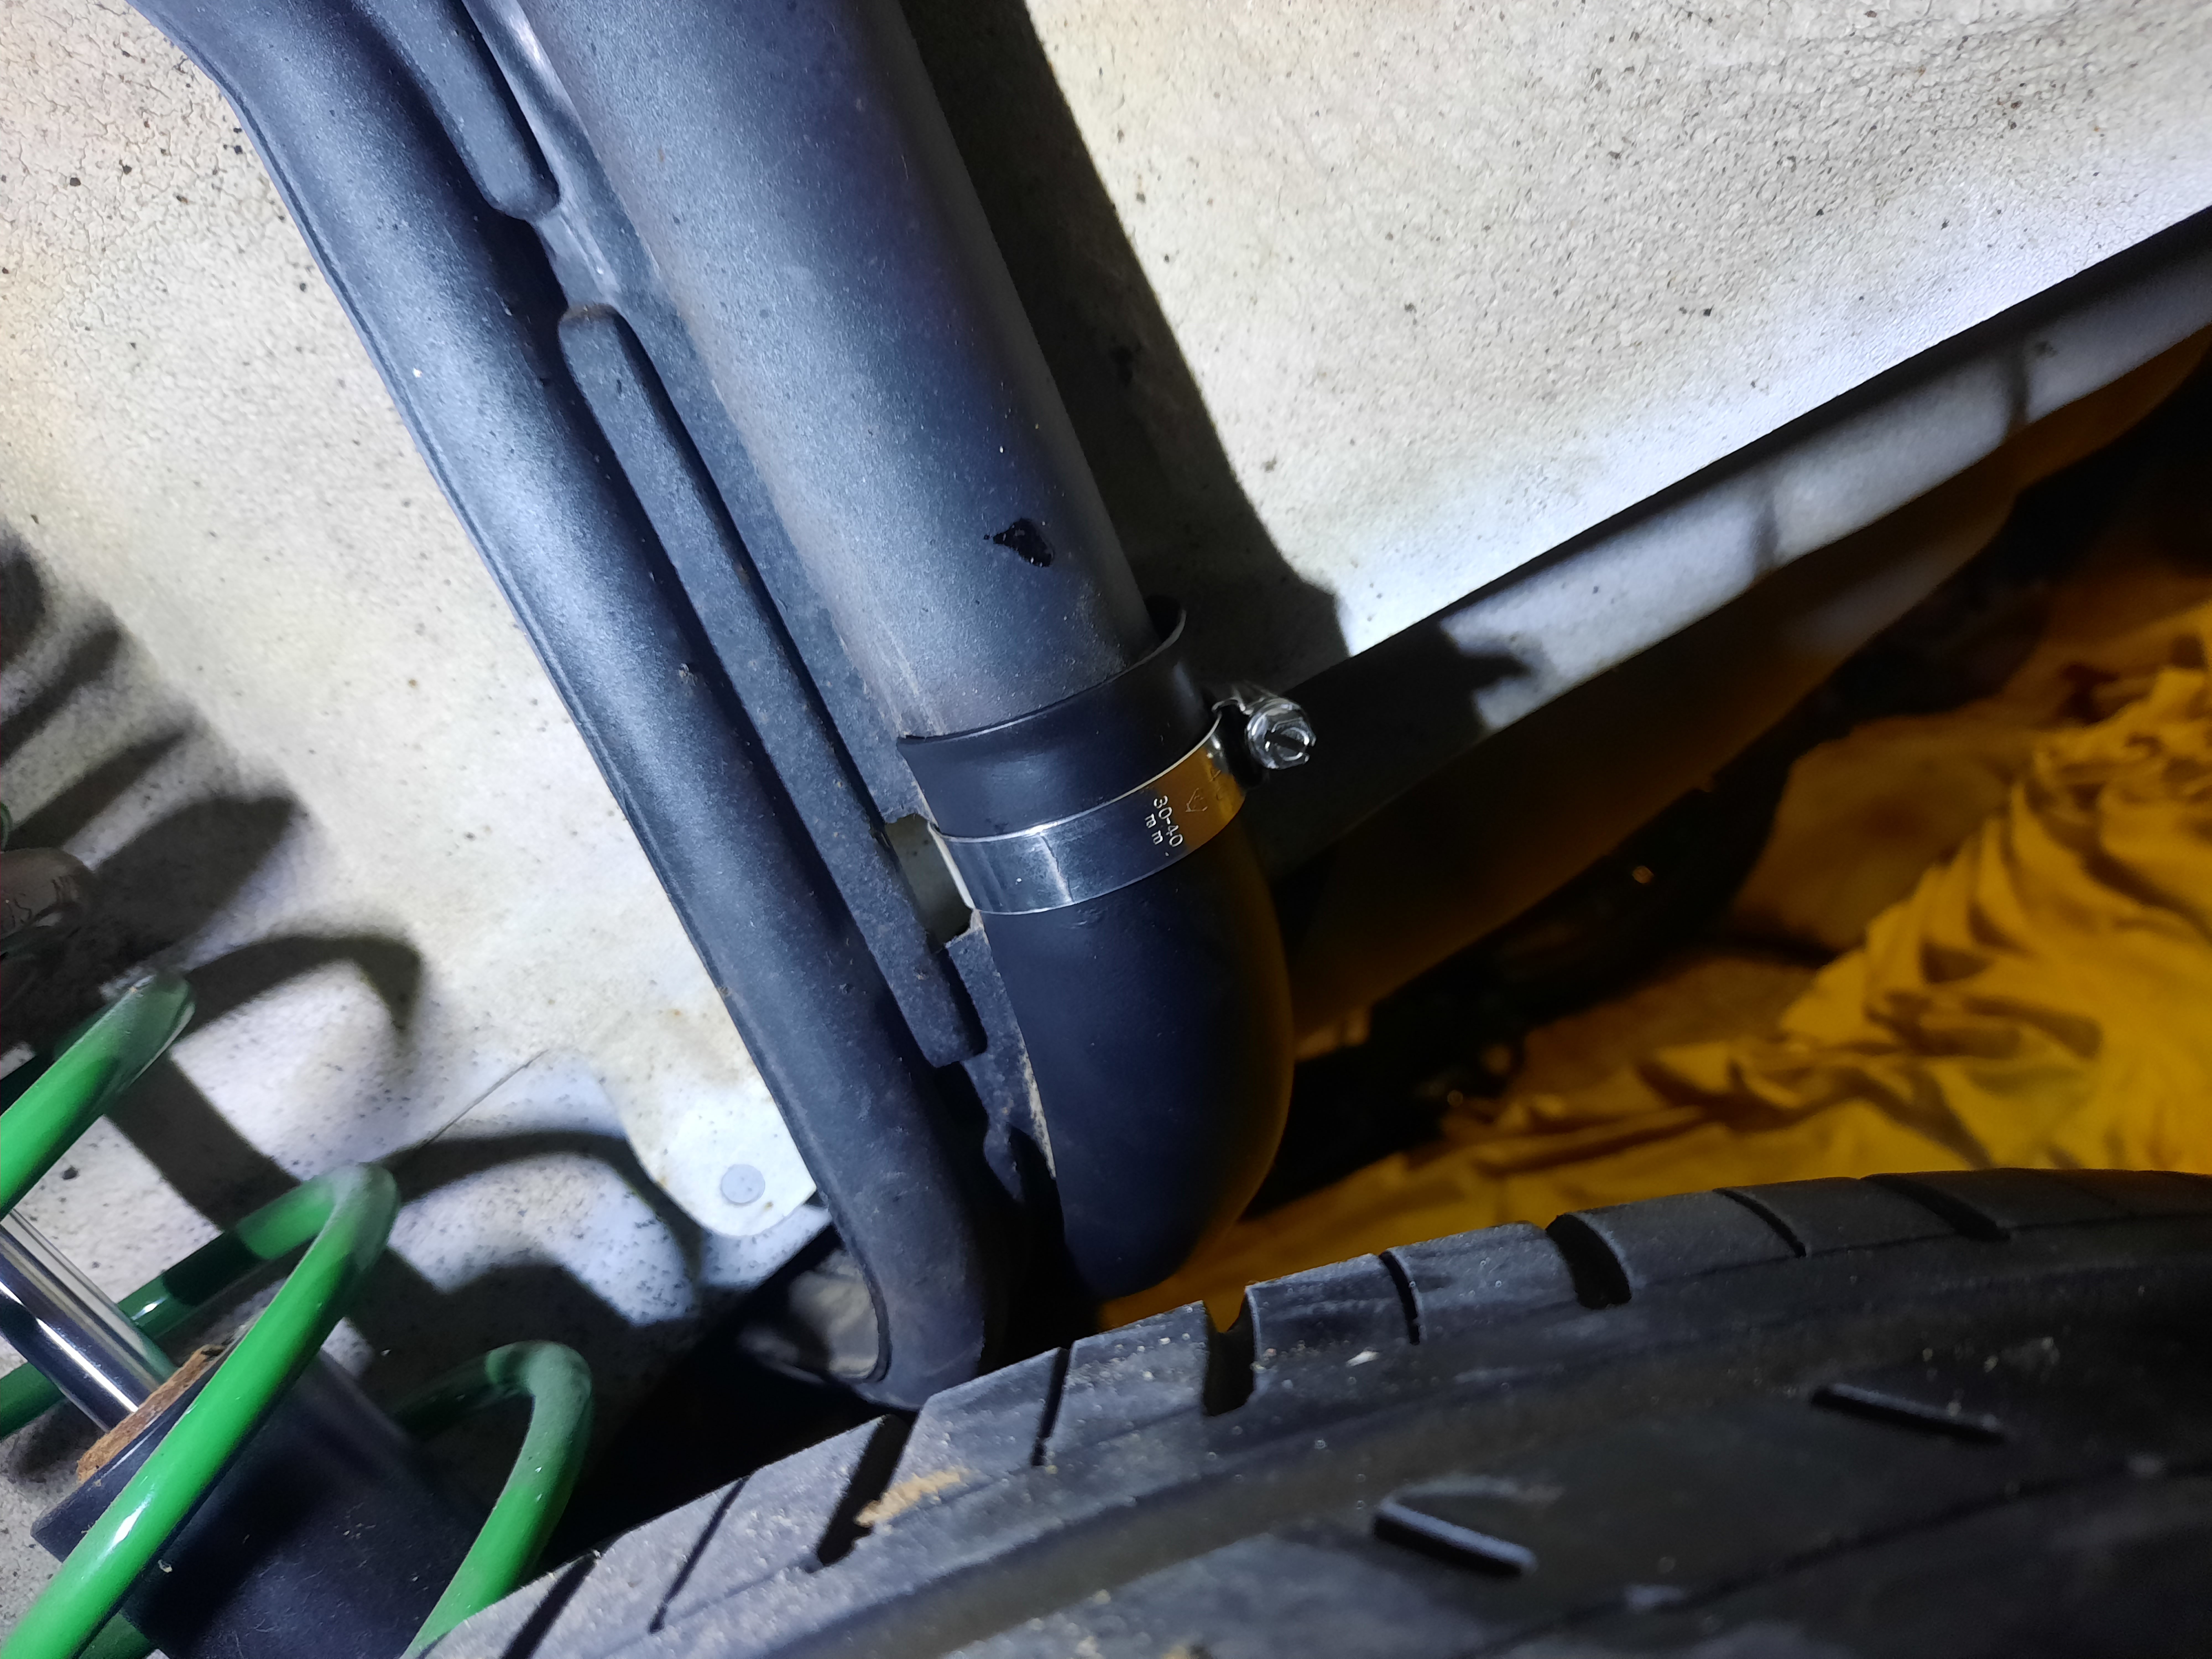
Bought some new stainless steel hose clips for the filler neck hoses, I did try to replace these hoses with new ones from toyota but they are now discontinued along with the smaller hoses that connect the fuel lines. They will do for now but may have to find an alternative in the future.


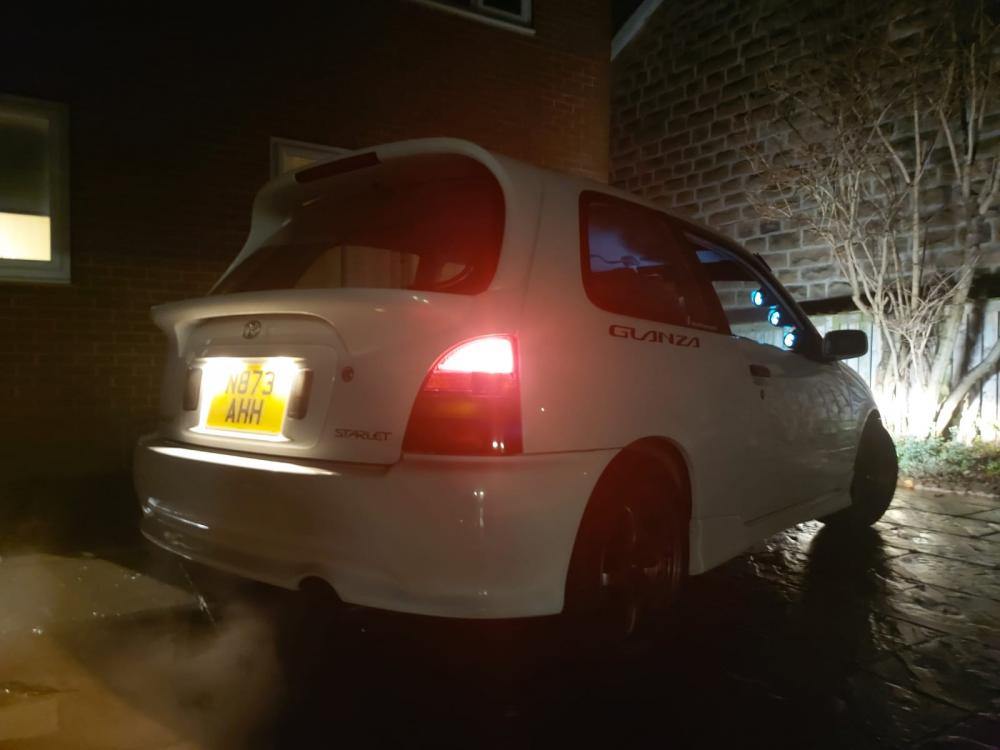
Once everthing was connected up and put back together I dropped the car down, filled it up with 20 litres of V power and started it up to test. All is running smoothly with no leaks, the walbro is a little louder than the stock pump but that dosent bother me. Hopefully it should help protect the tank in the future and make it last a little longer.
Still got a few other jobs planned to keep me busy while the car is off the road for the winter.
-
On 11/1/2021 at 11:21 PM, Pikey009 said:
Well done for actually getting some parts from him, all I achieved was a complete waste of my time and then I almost got scammed out of money. Pipes look good mate
Thanks mate, yeah he was okay with me but seems Ive had better luck than others with him.
-
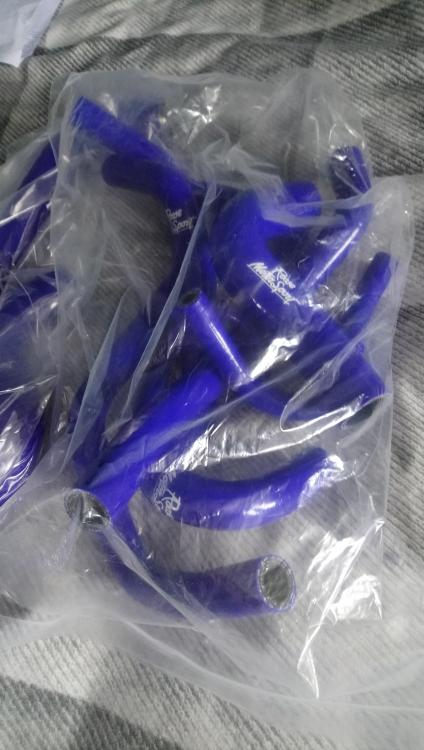
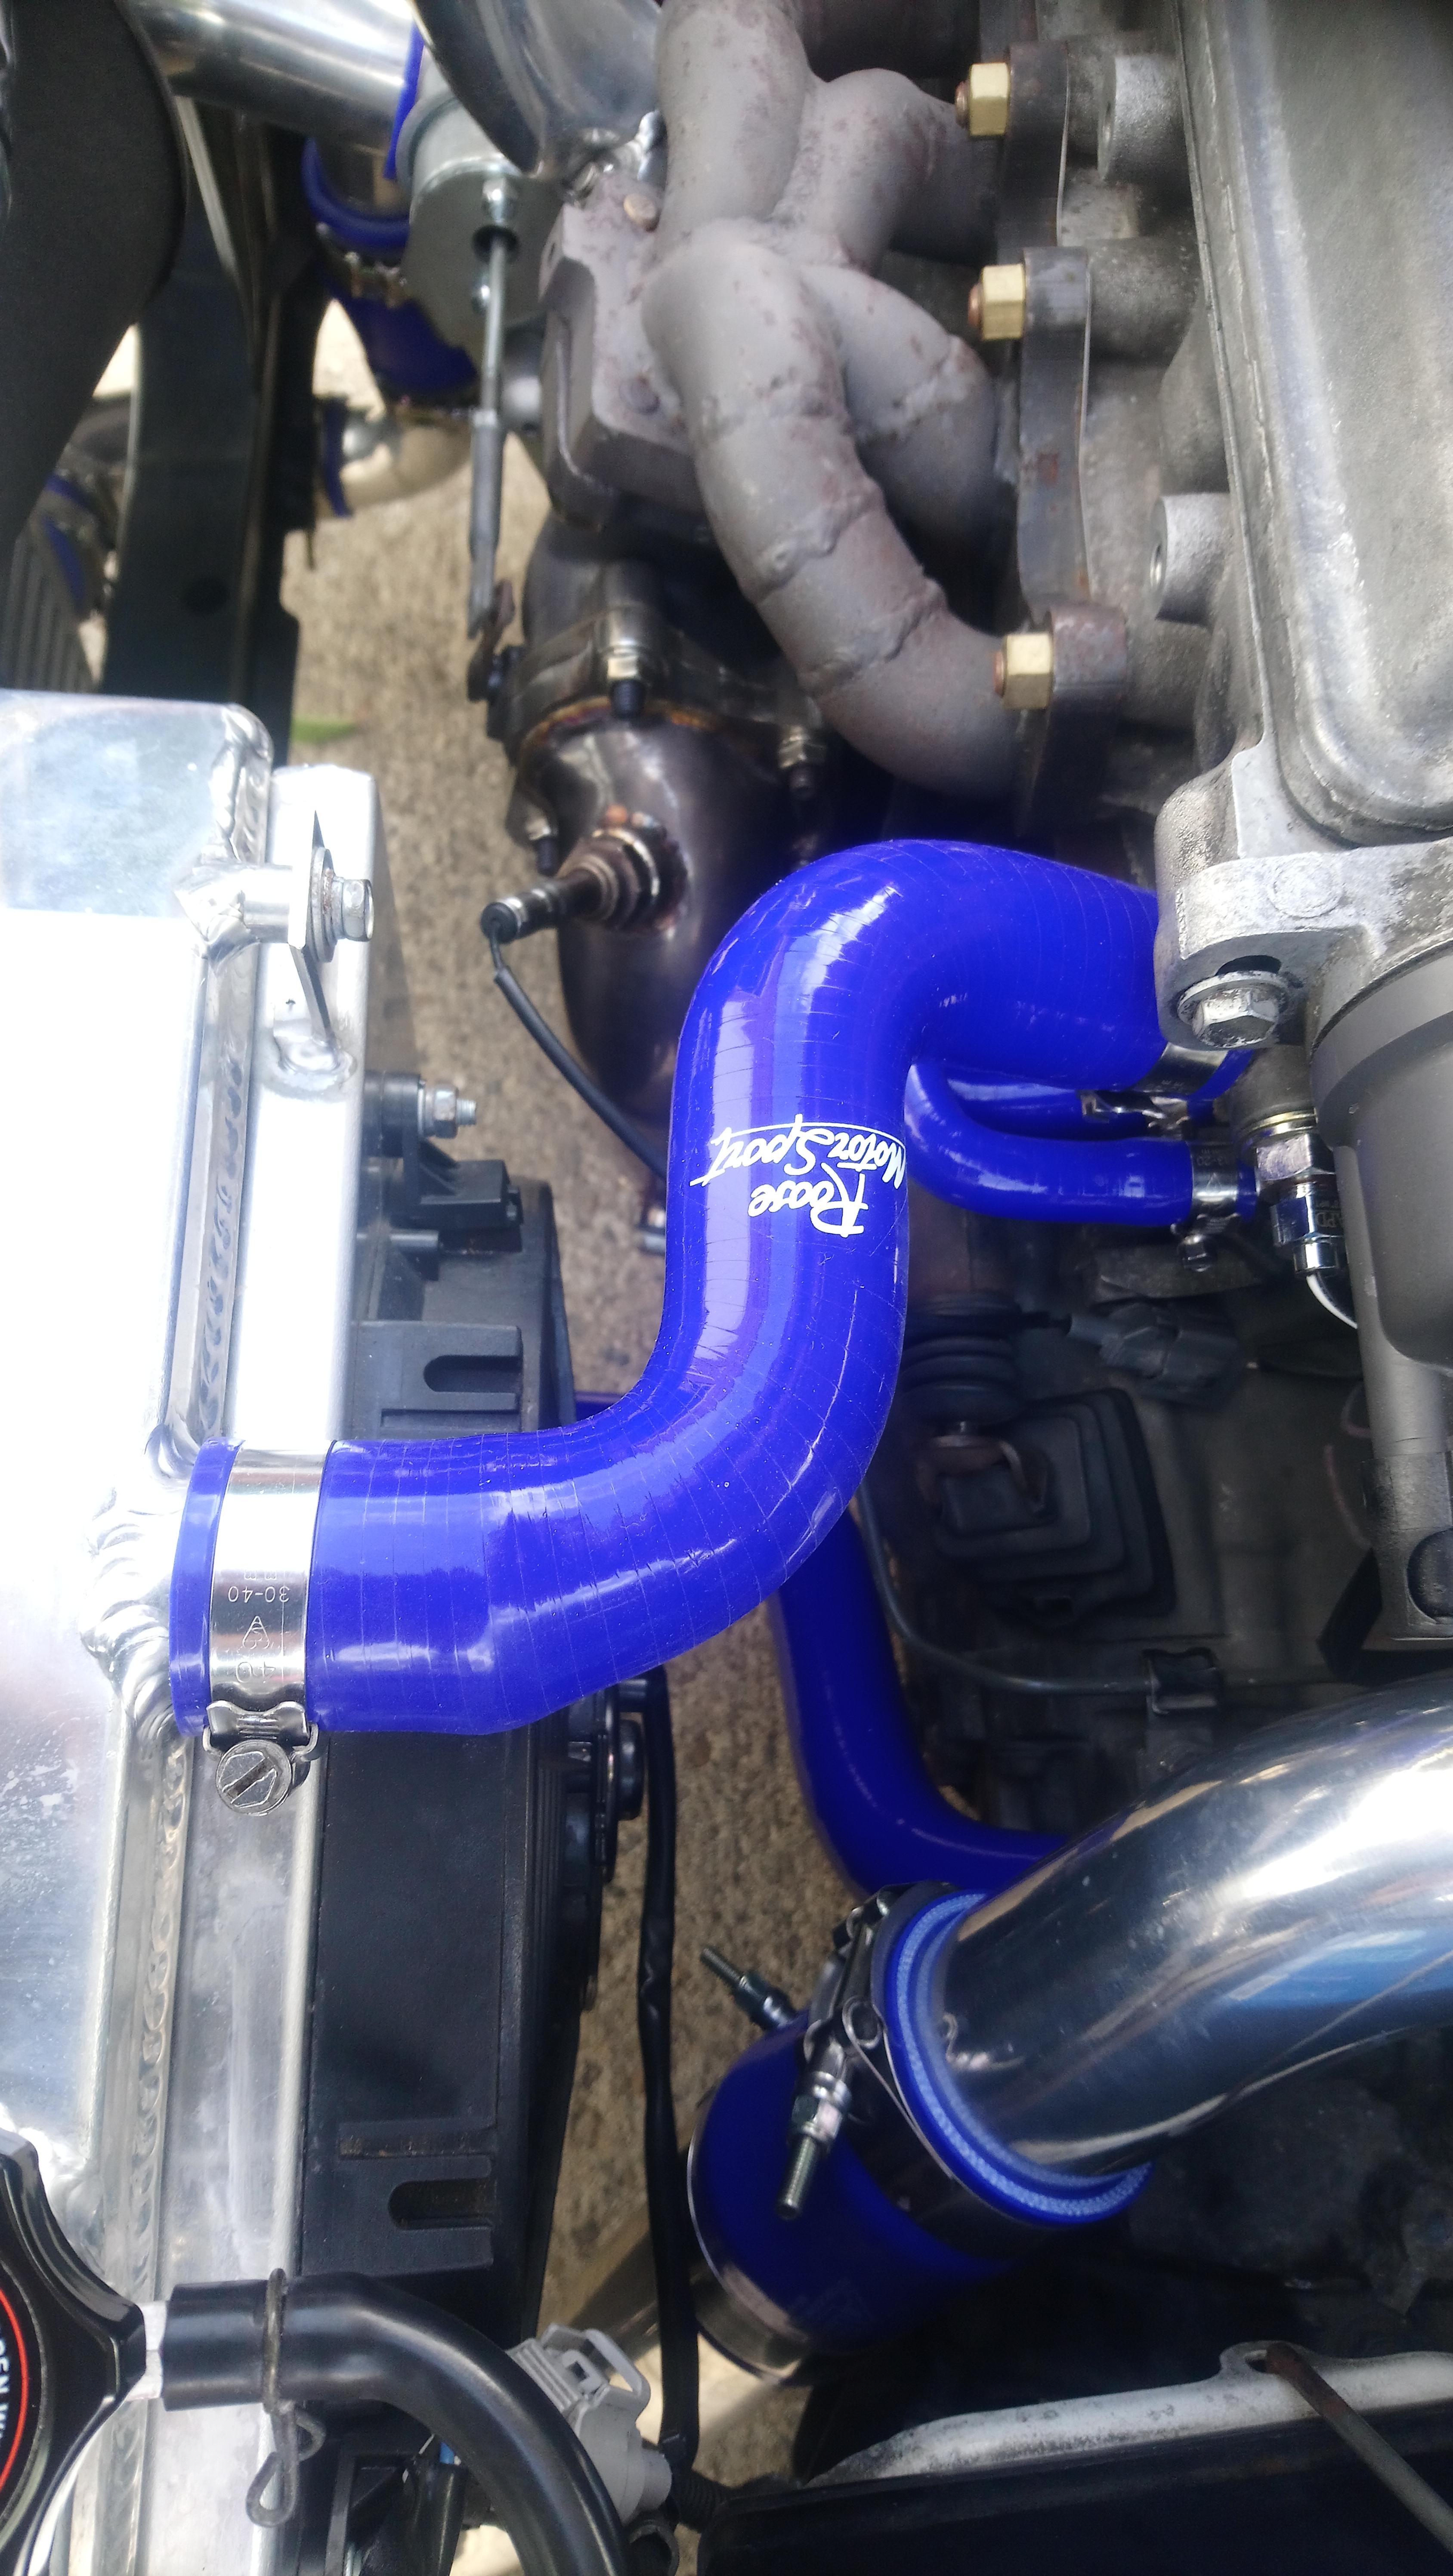
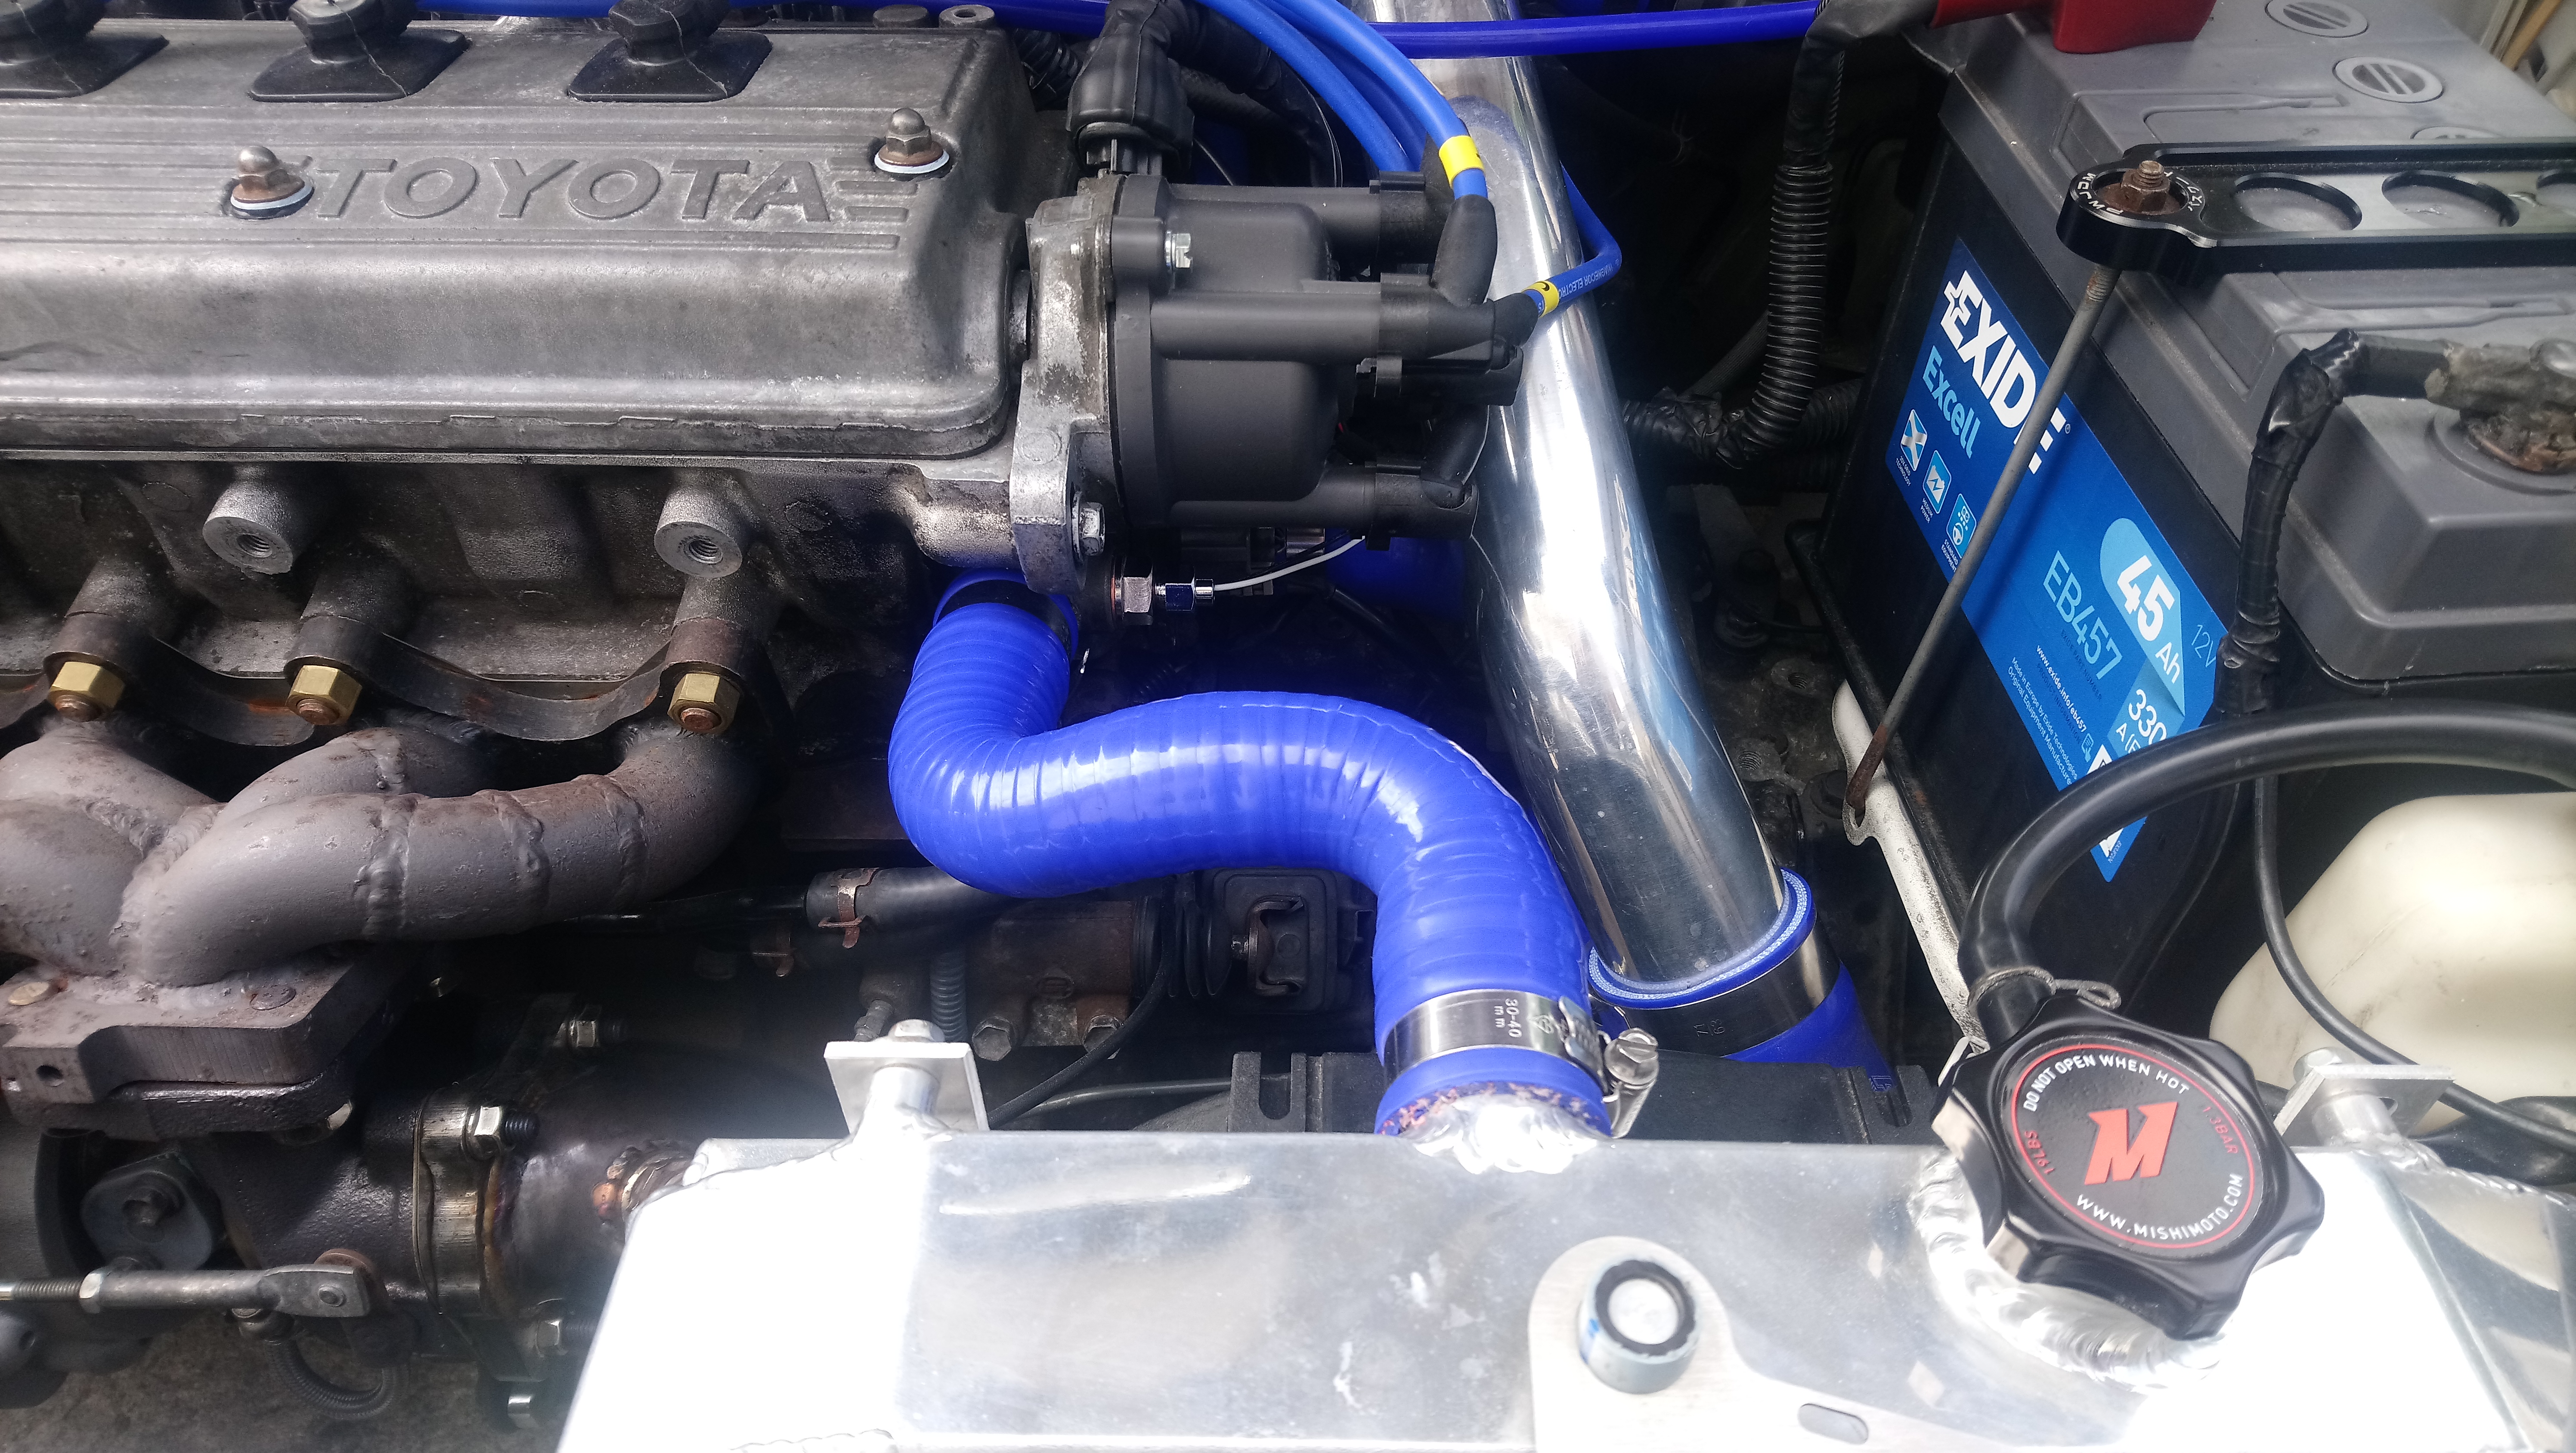
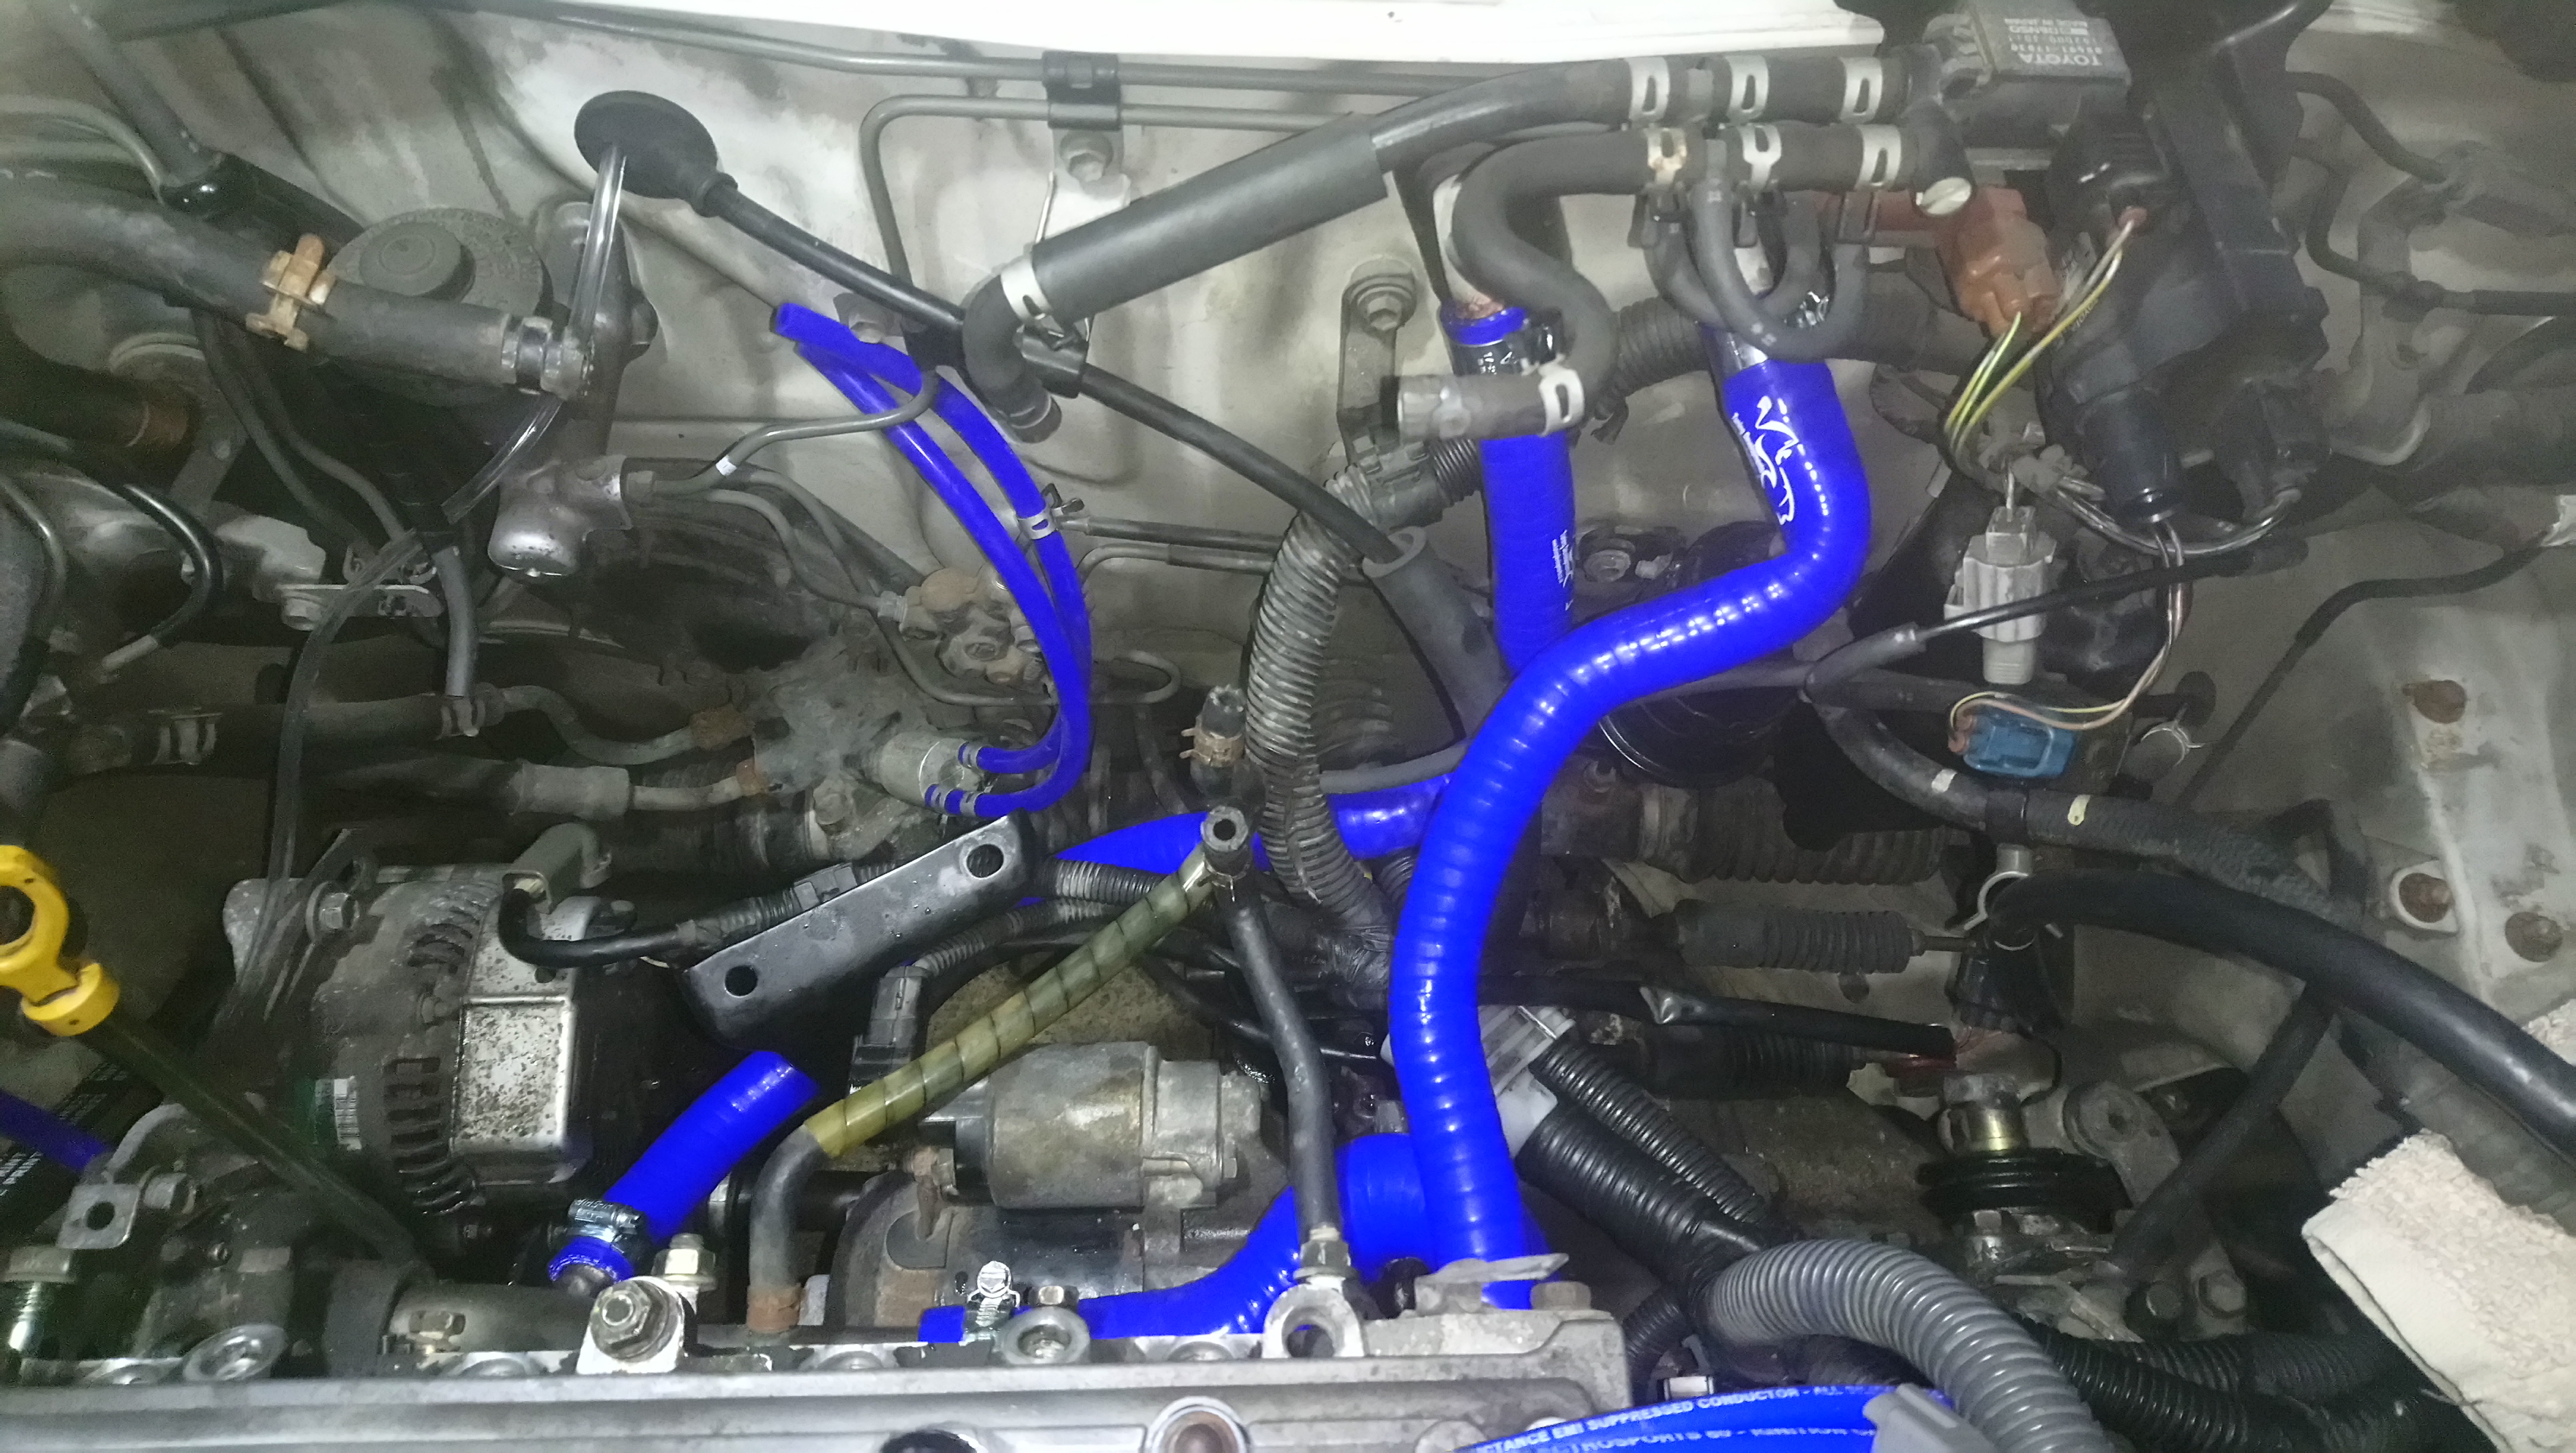
Haven't updated this in a little while. Ended up having to swap out the tuning developments hose kit for a roose motorsport one after a lot of issues with the TD hoses leaking coolant through the cords. The roose hoses seem to be much better quality and I havent had any more leaks since fitting them.

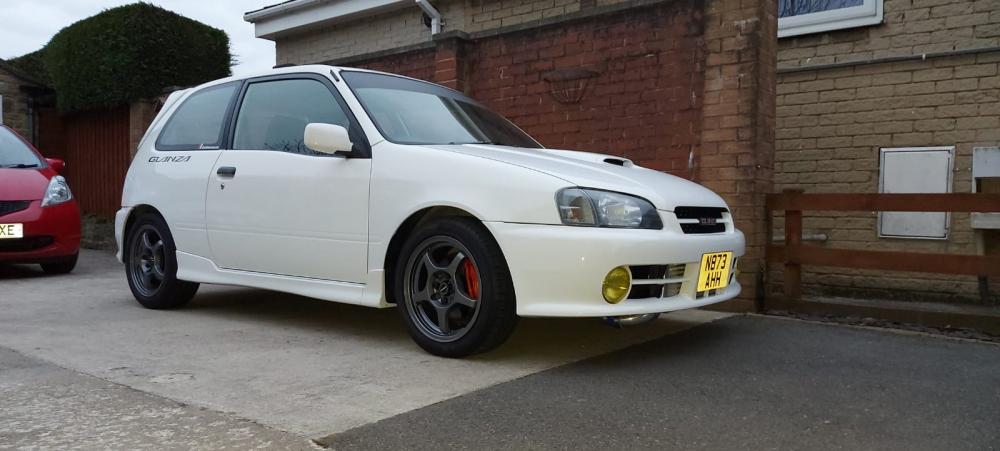
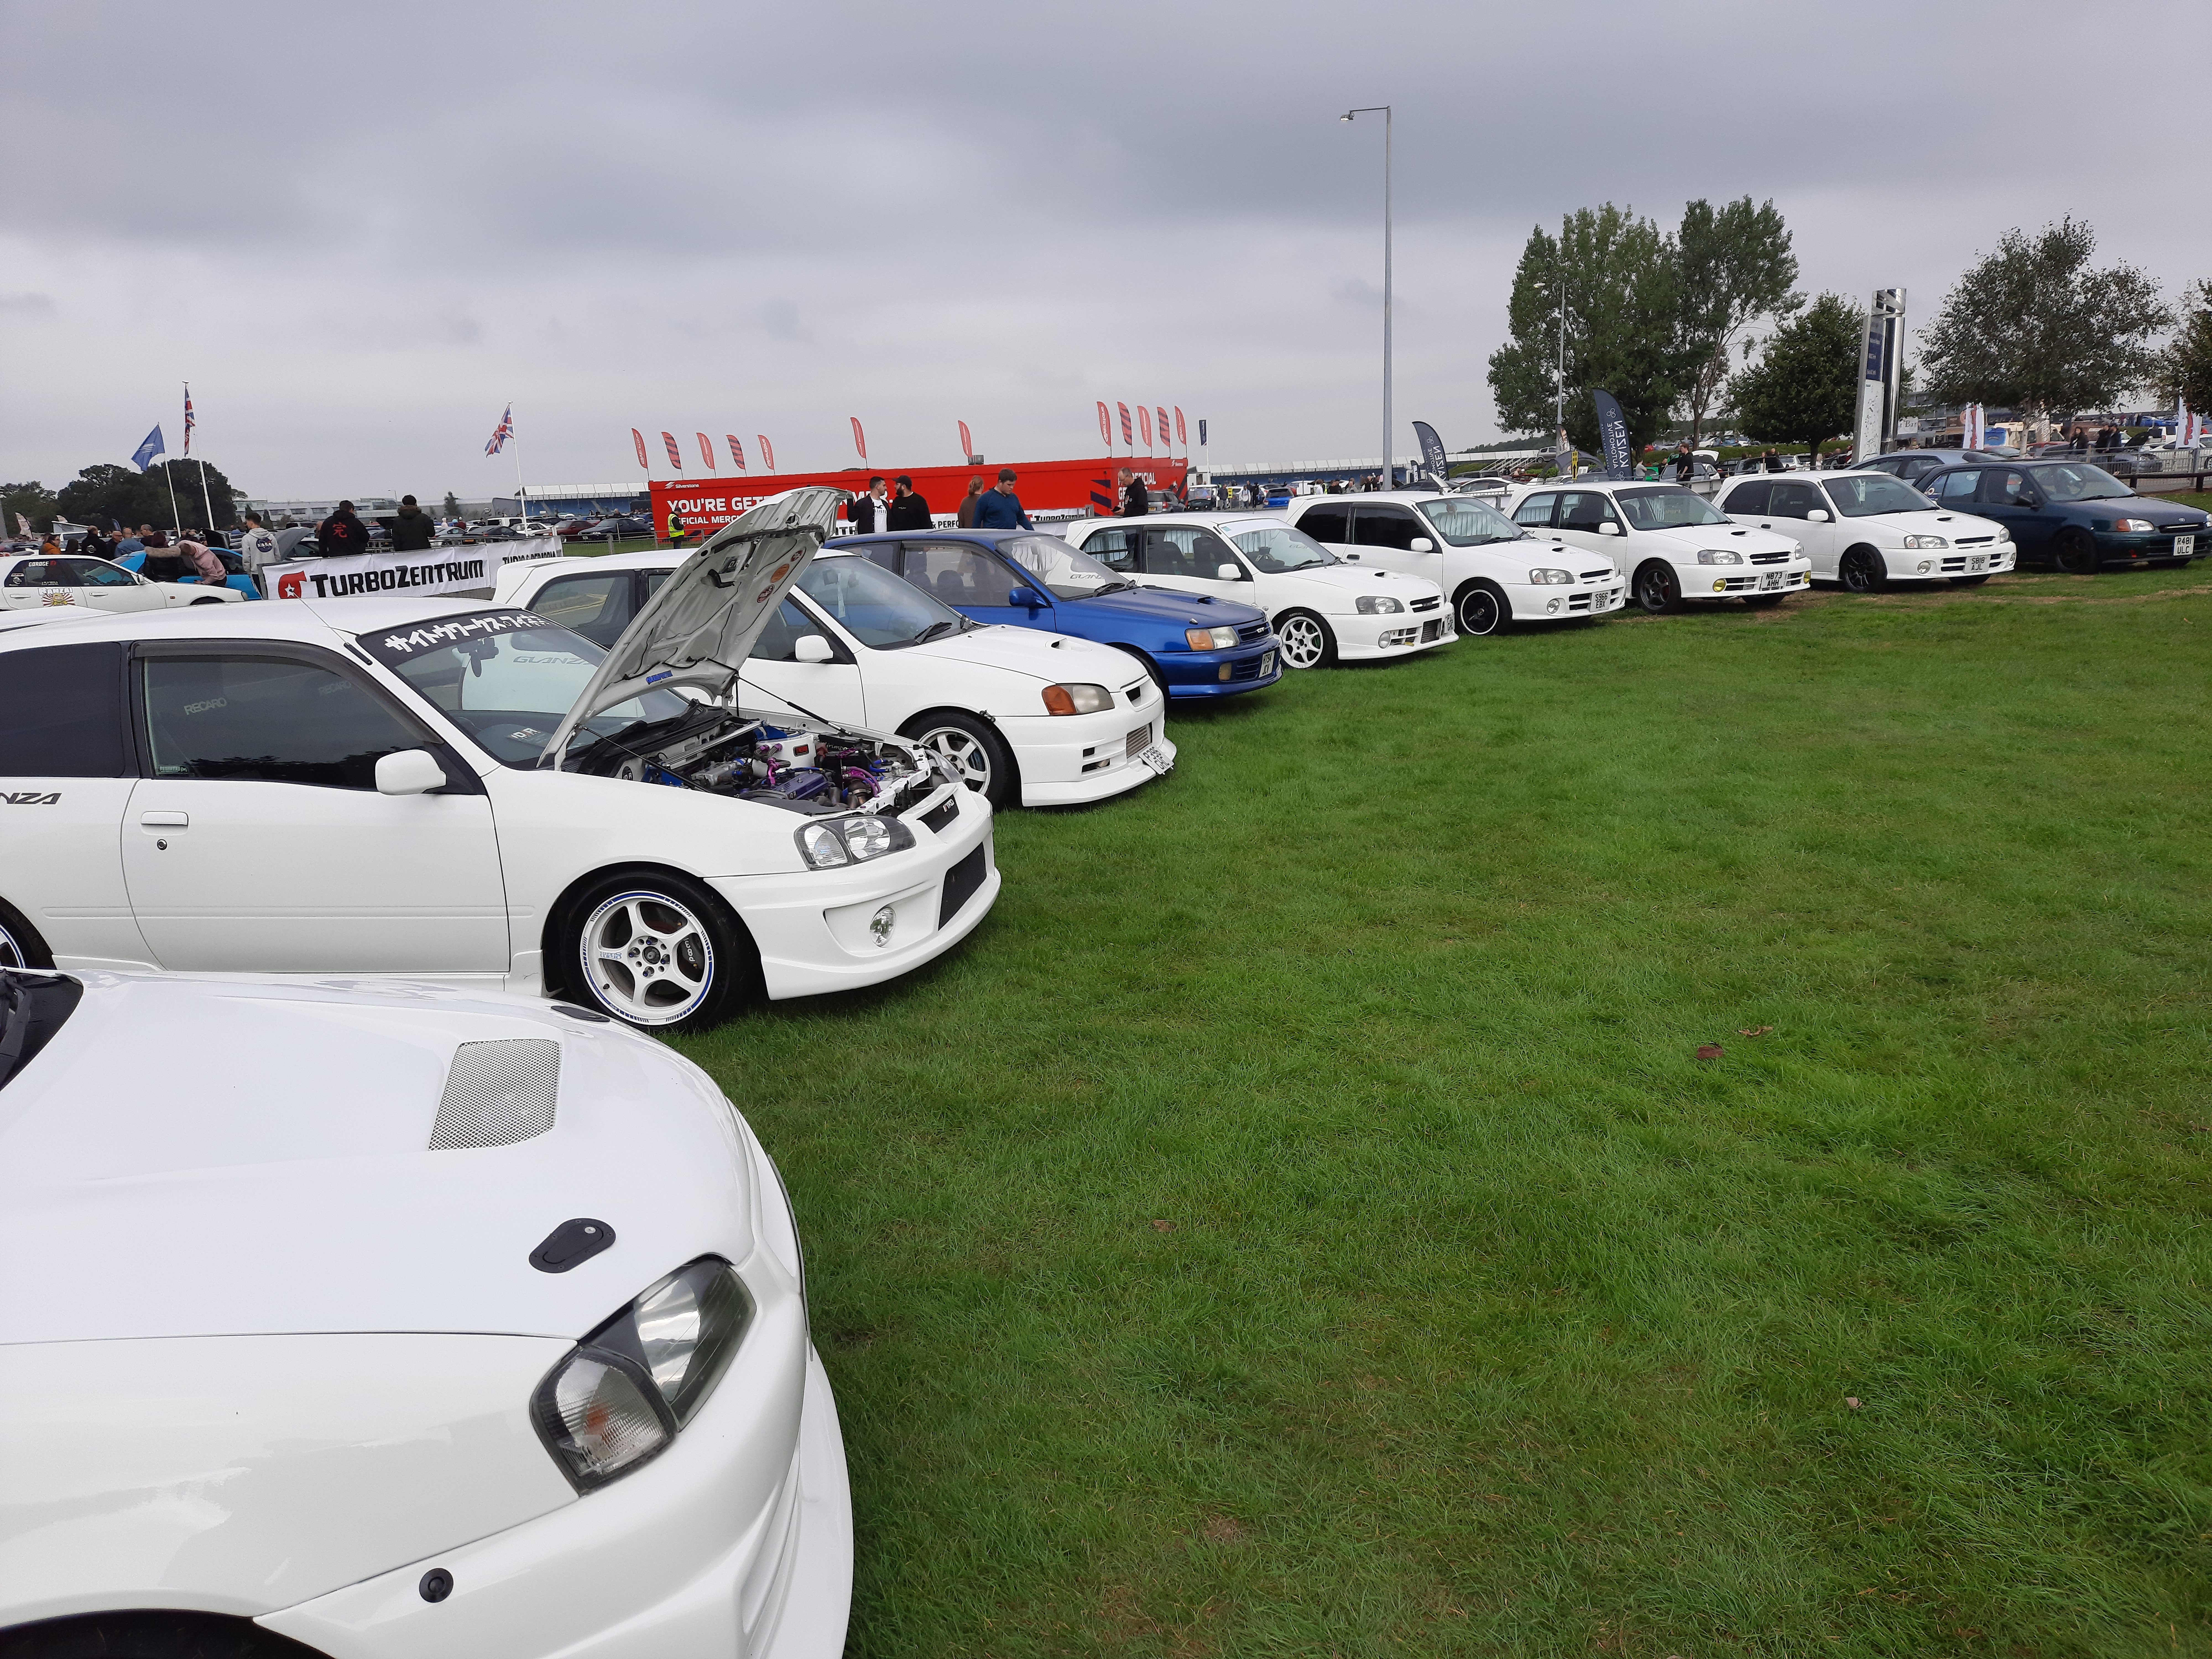
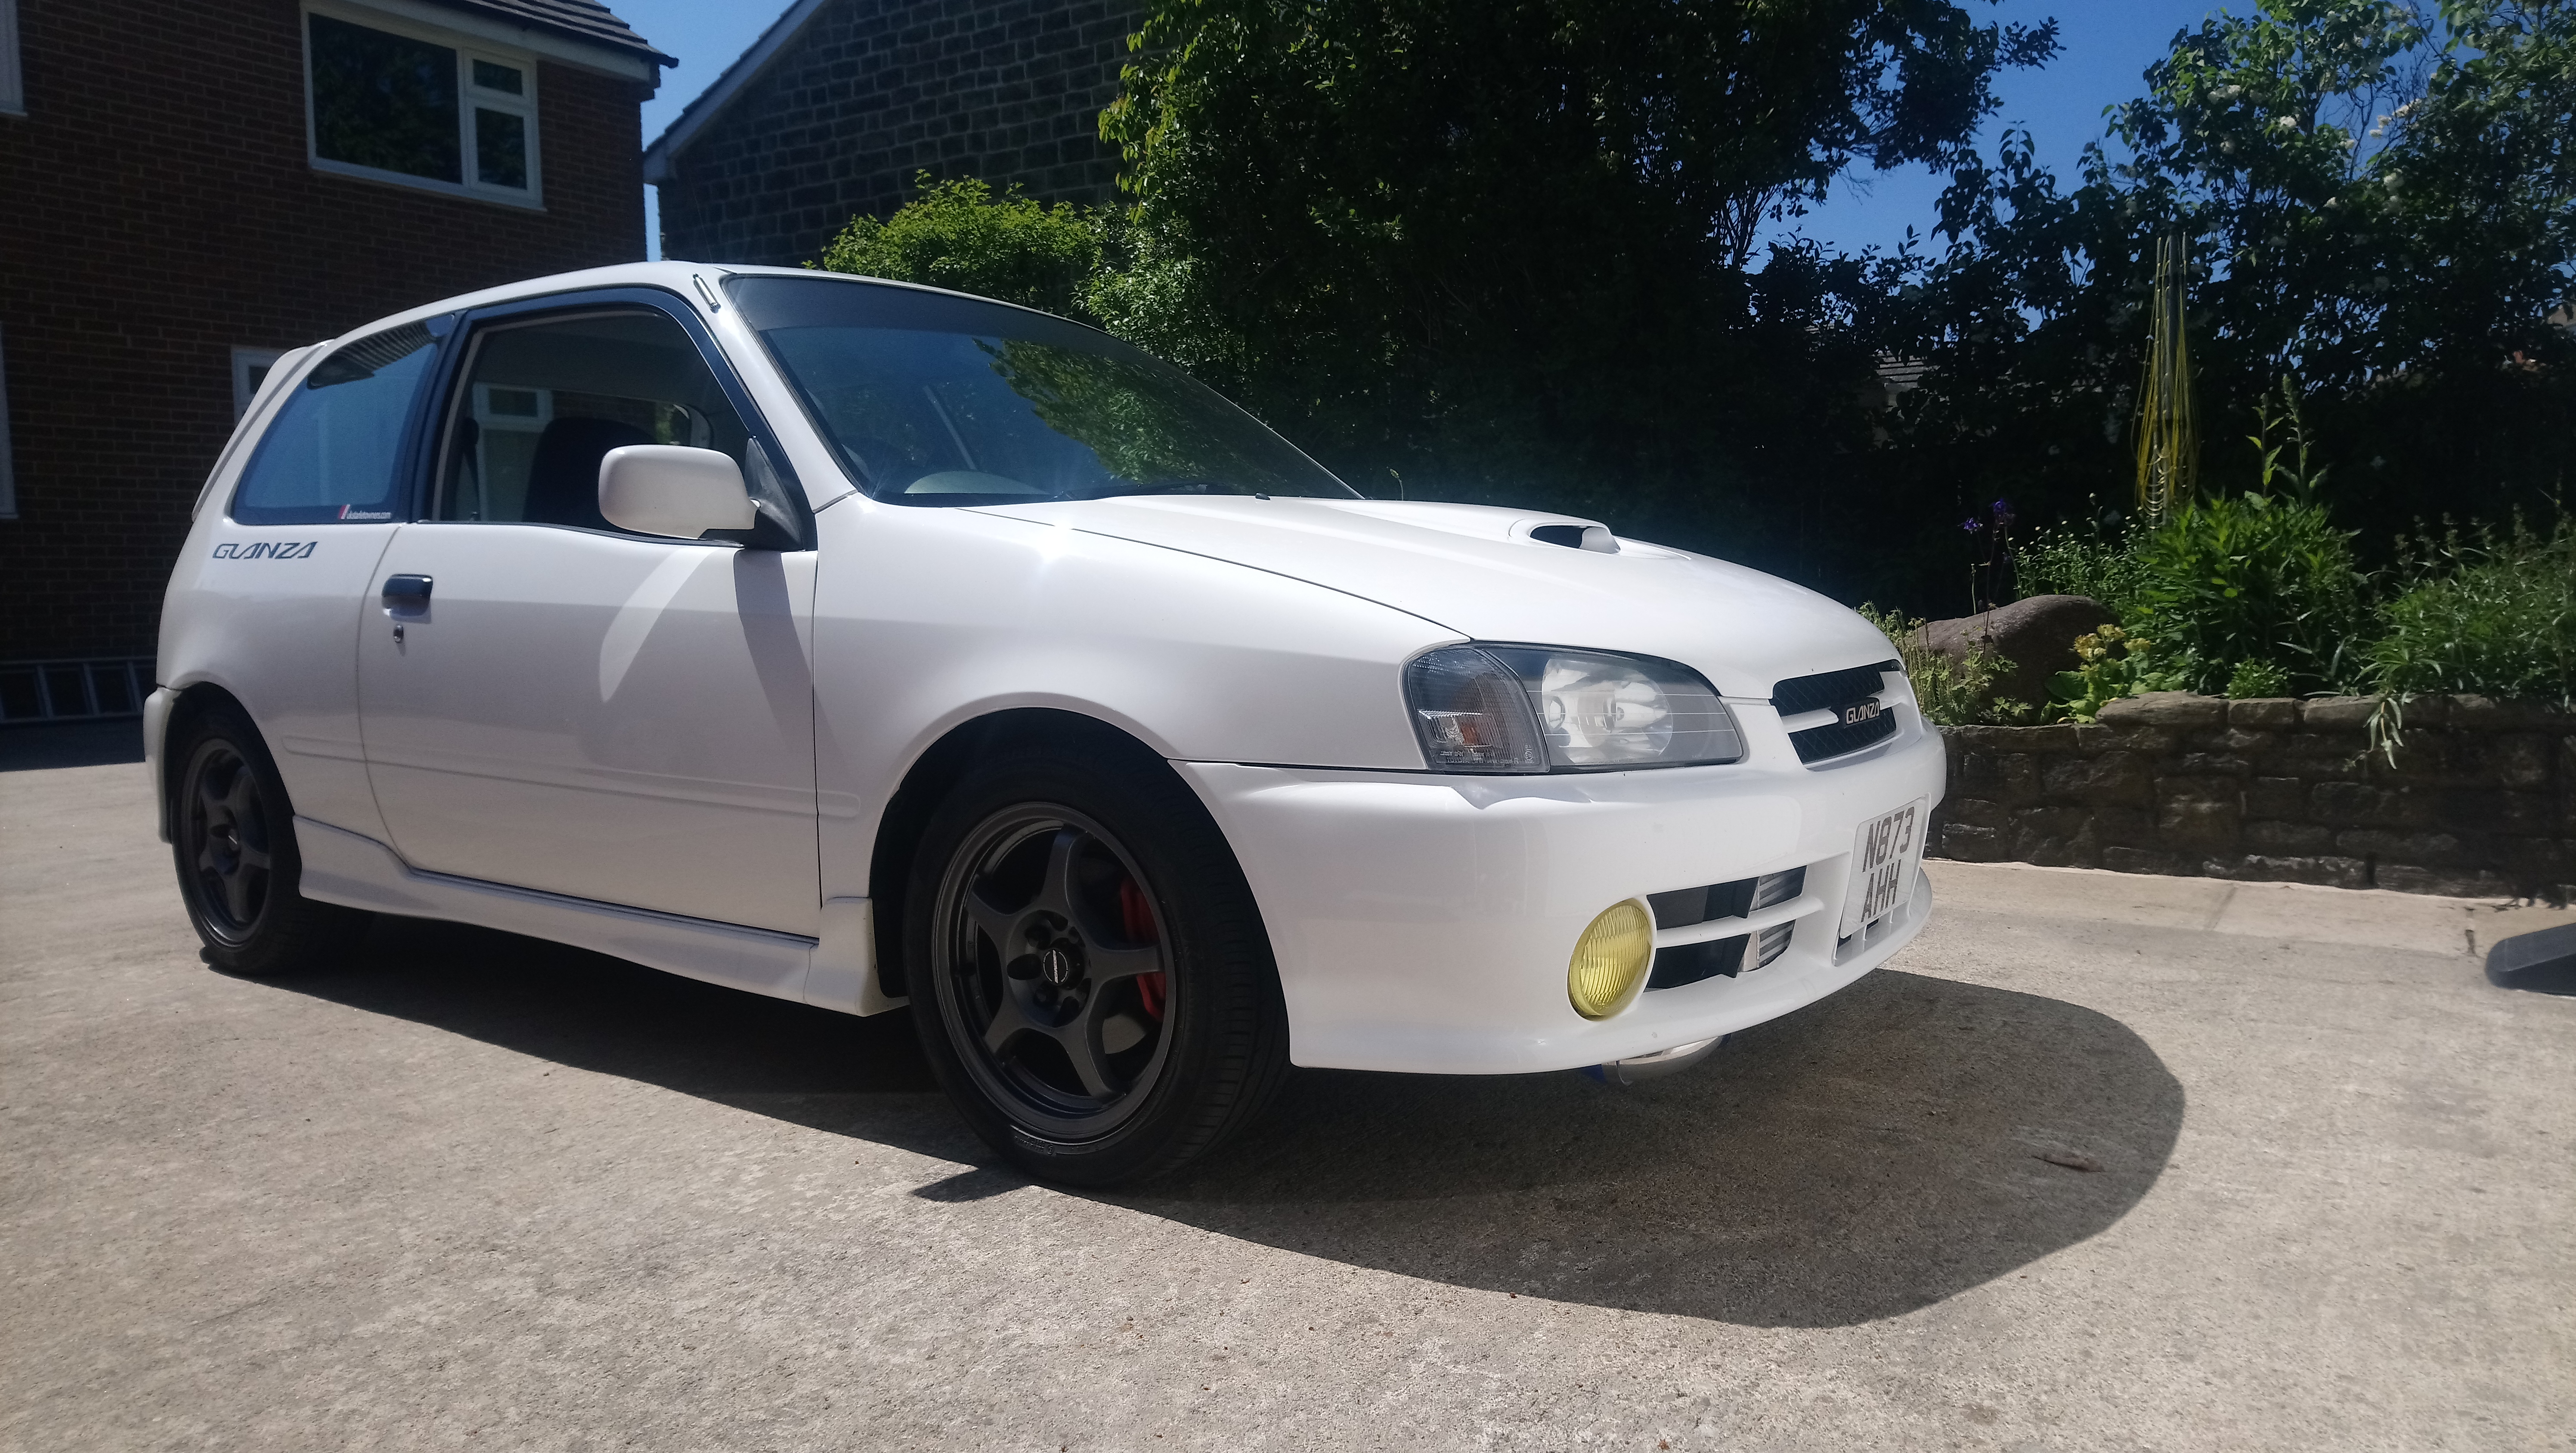
I Took the car down to Japfest at silverstone in september and went on the UKSO's stand.
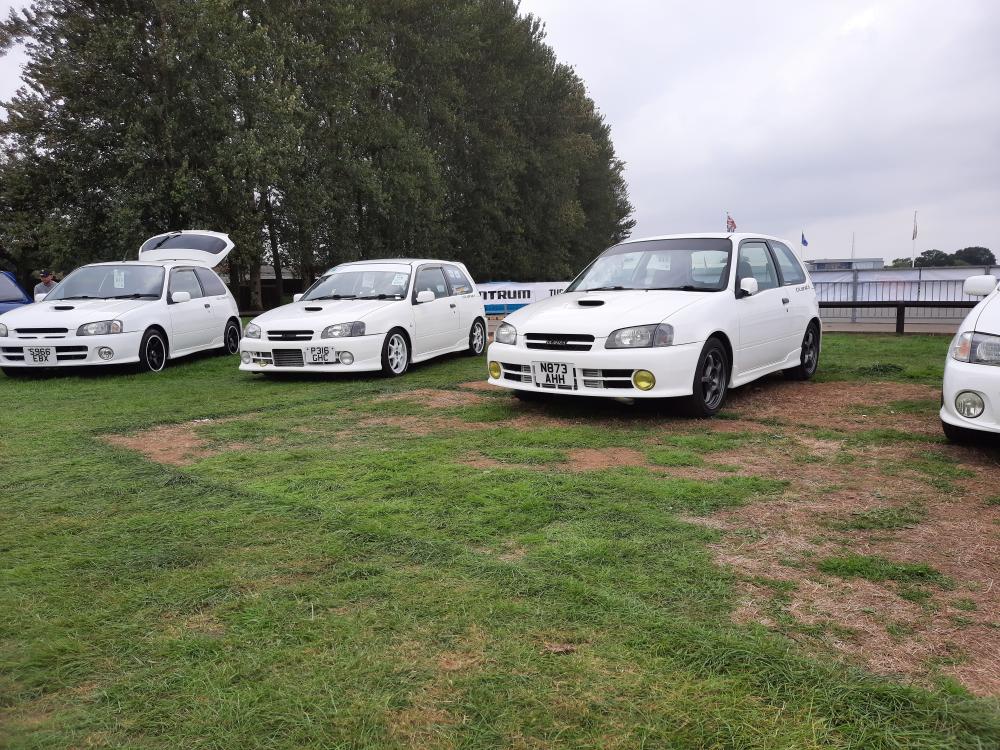
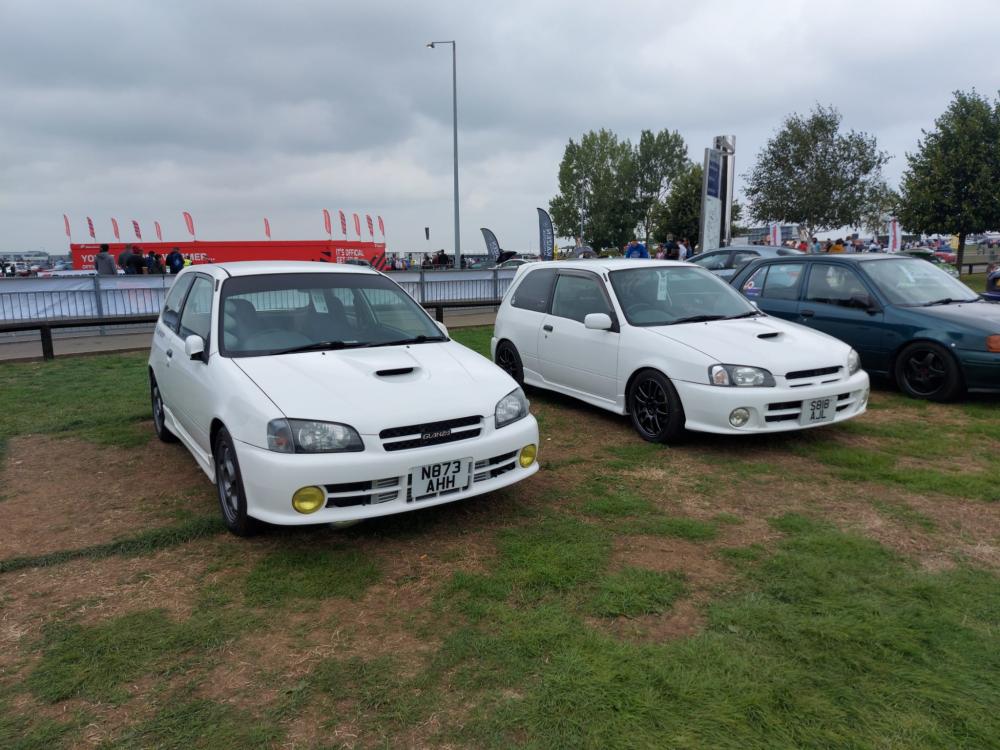
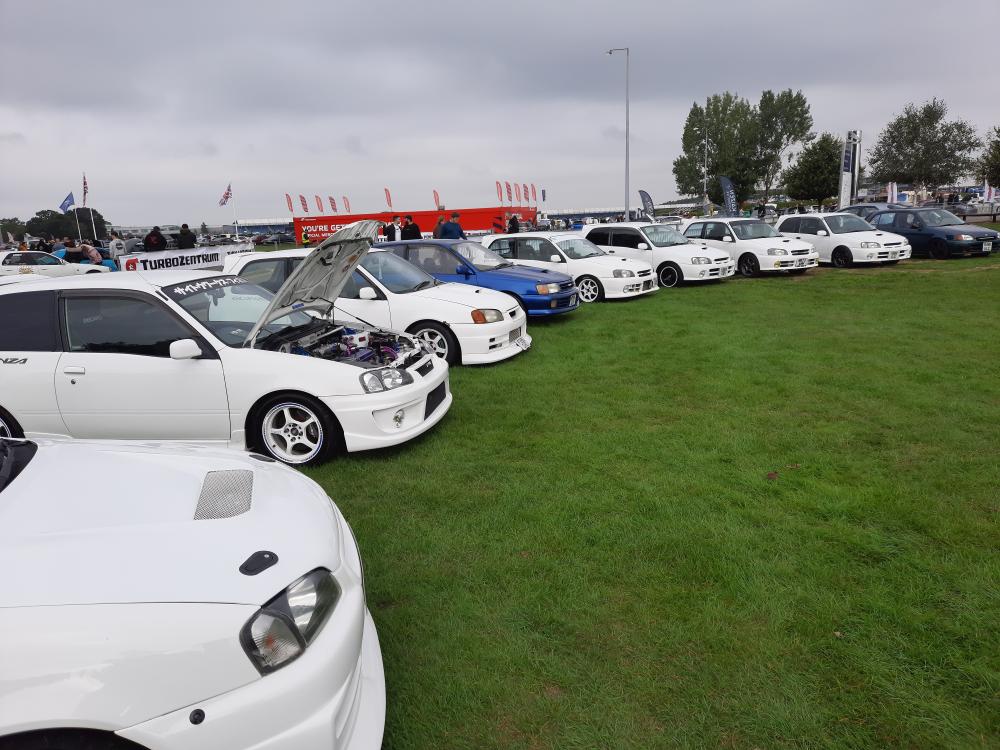
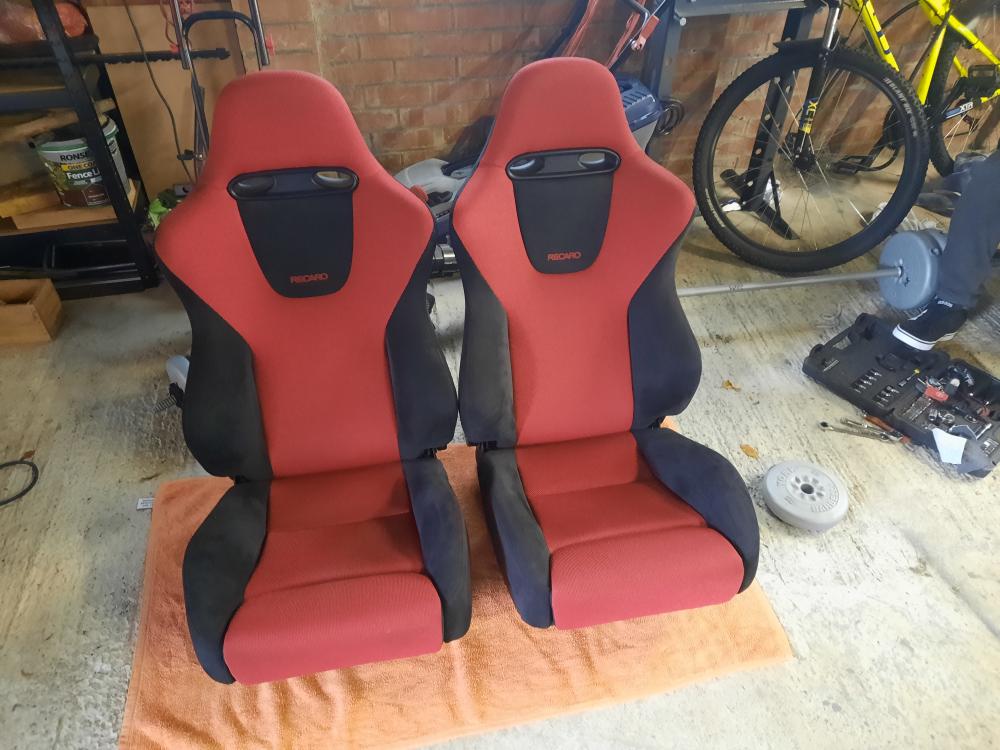
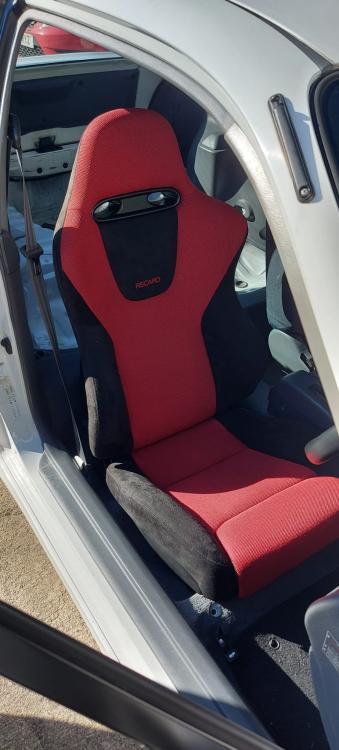
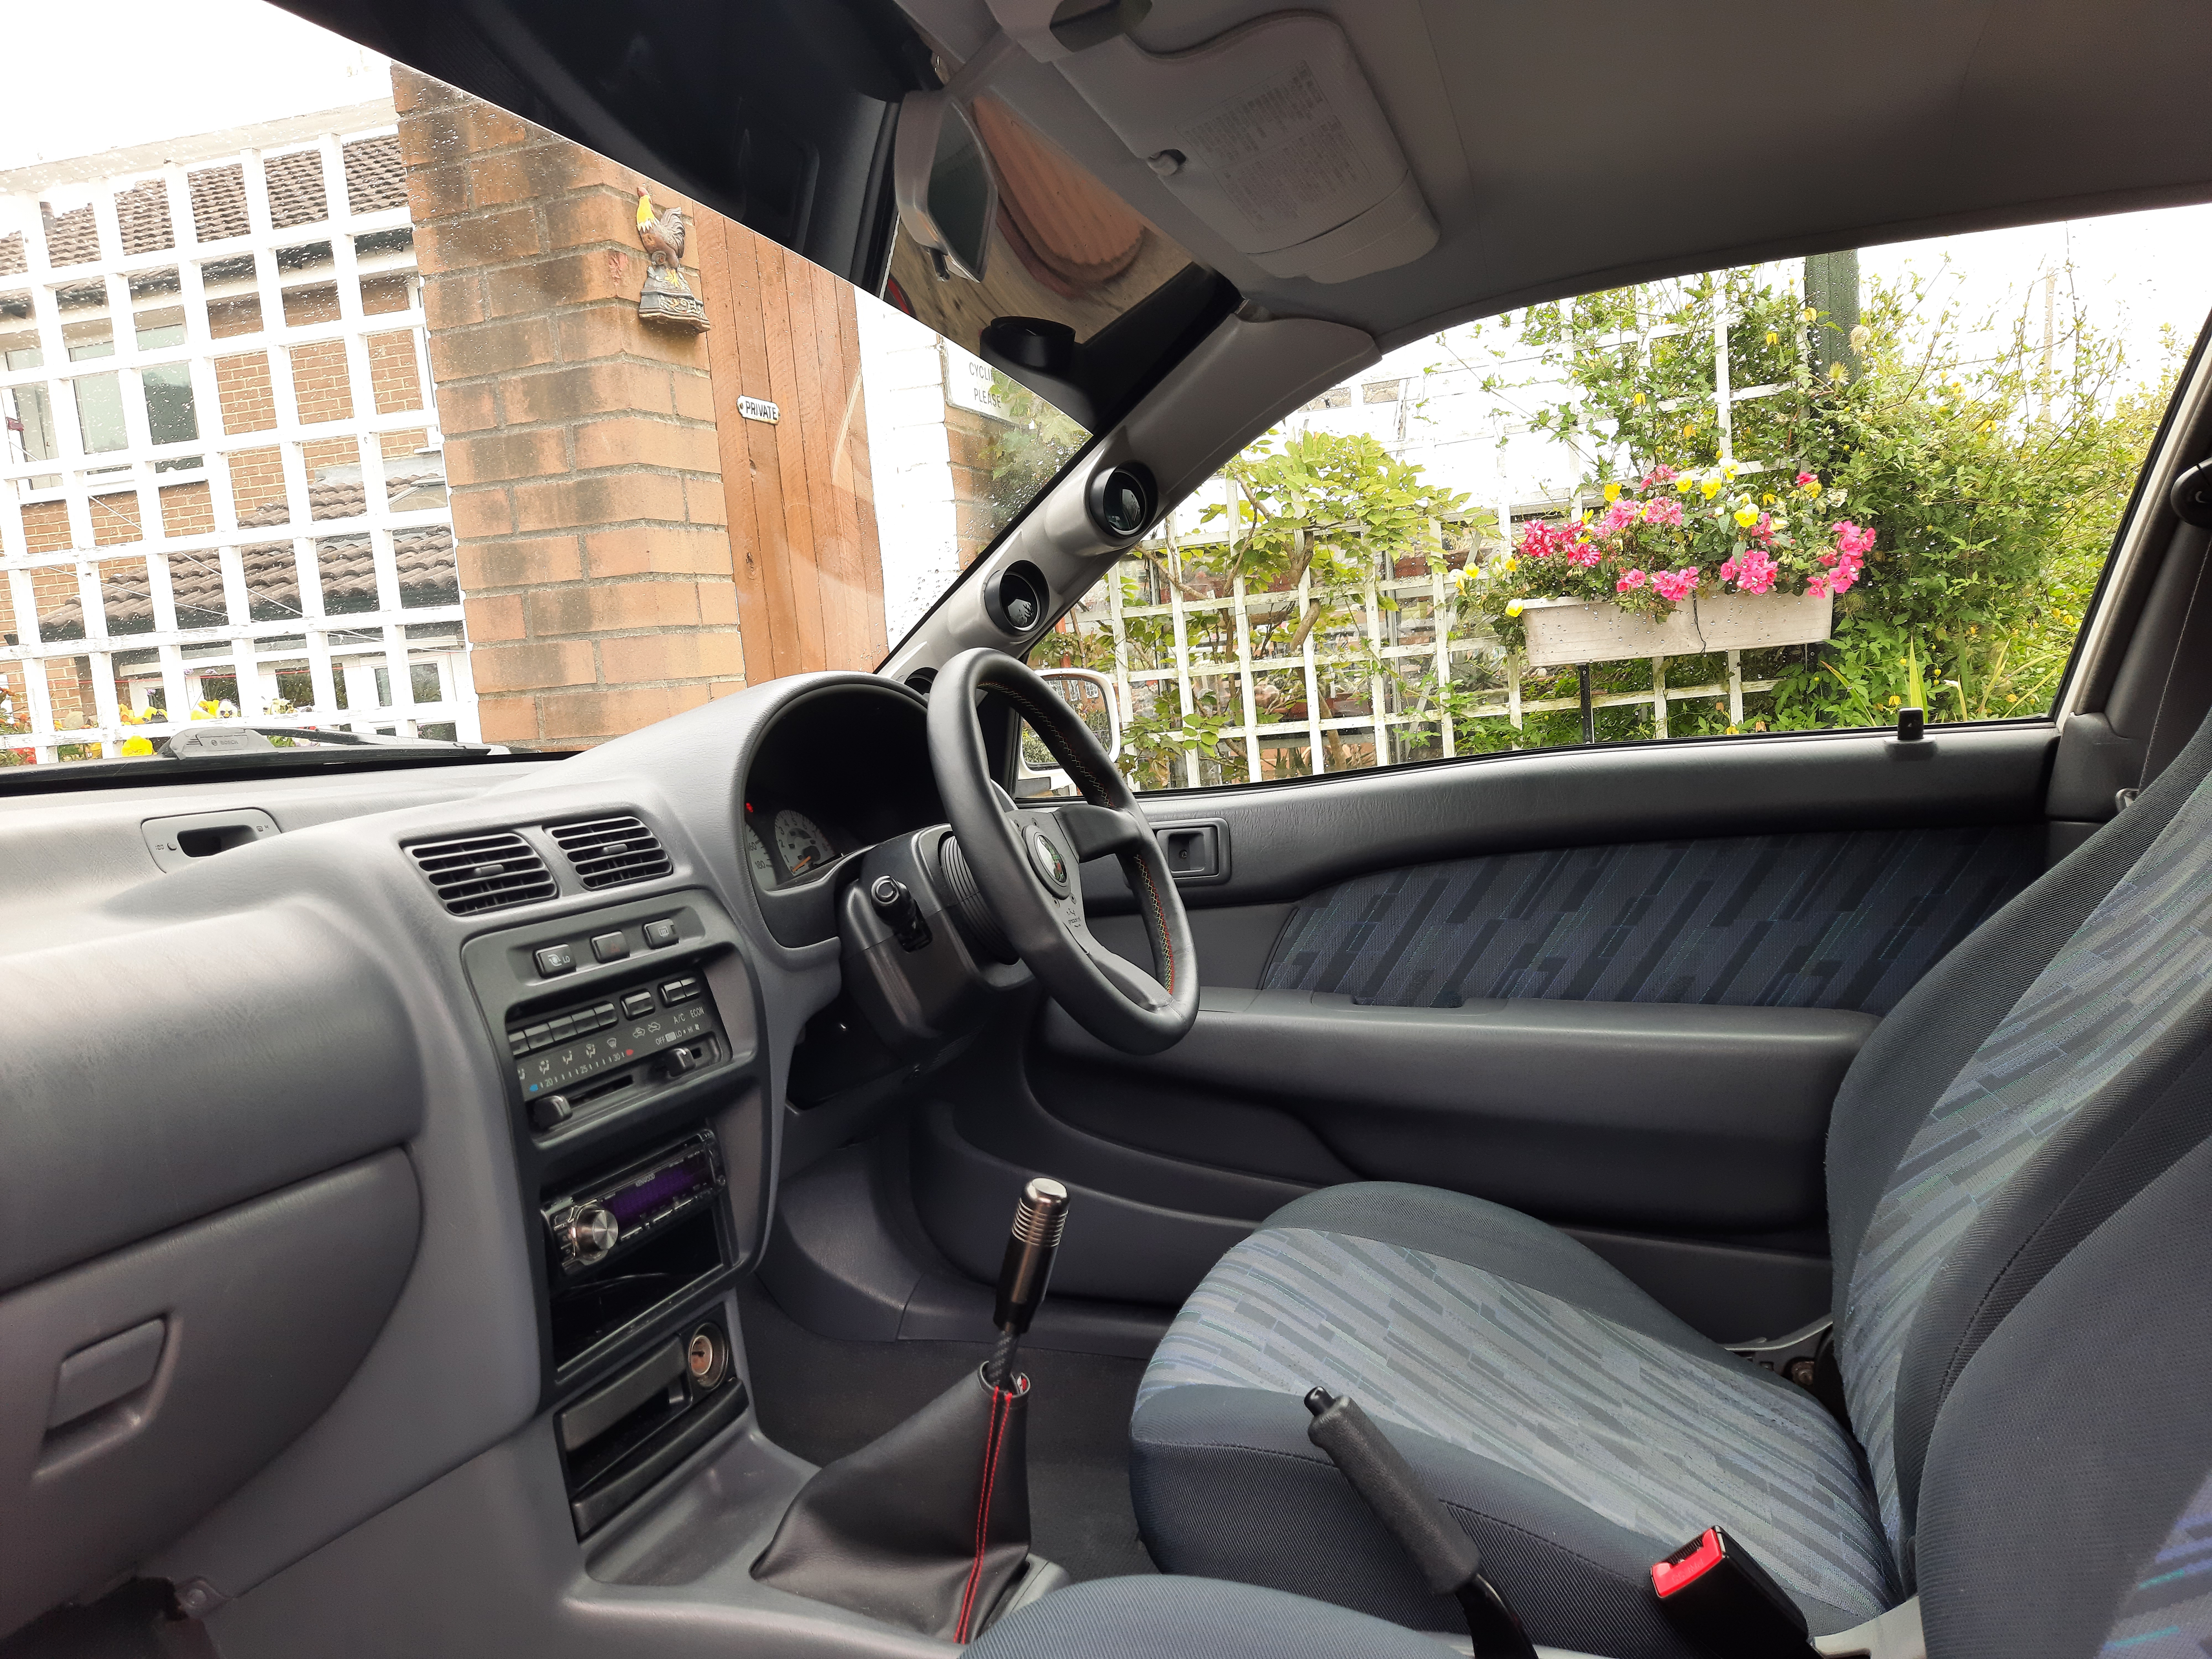
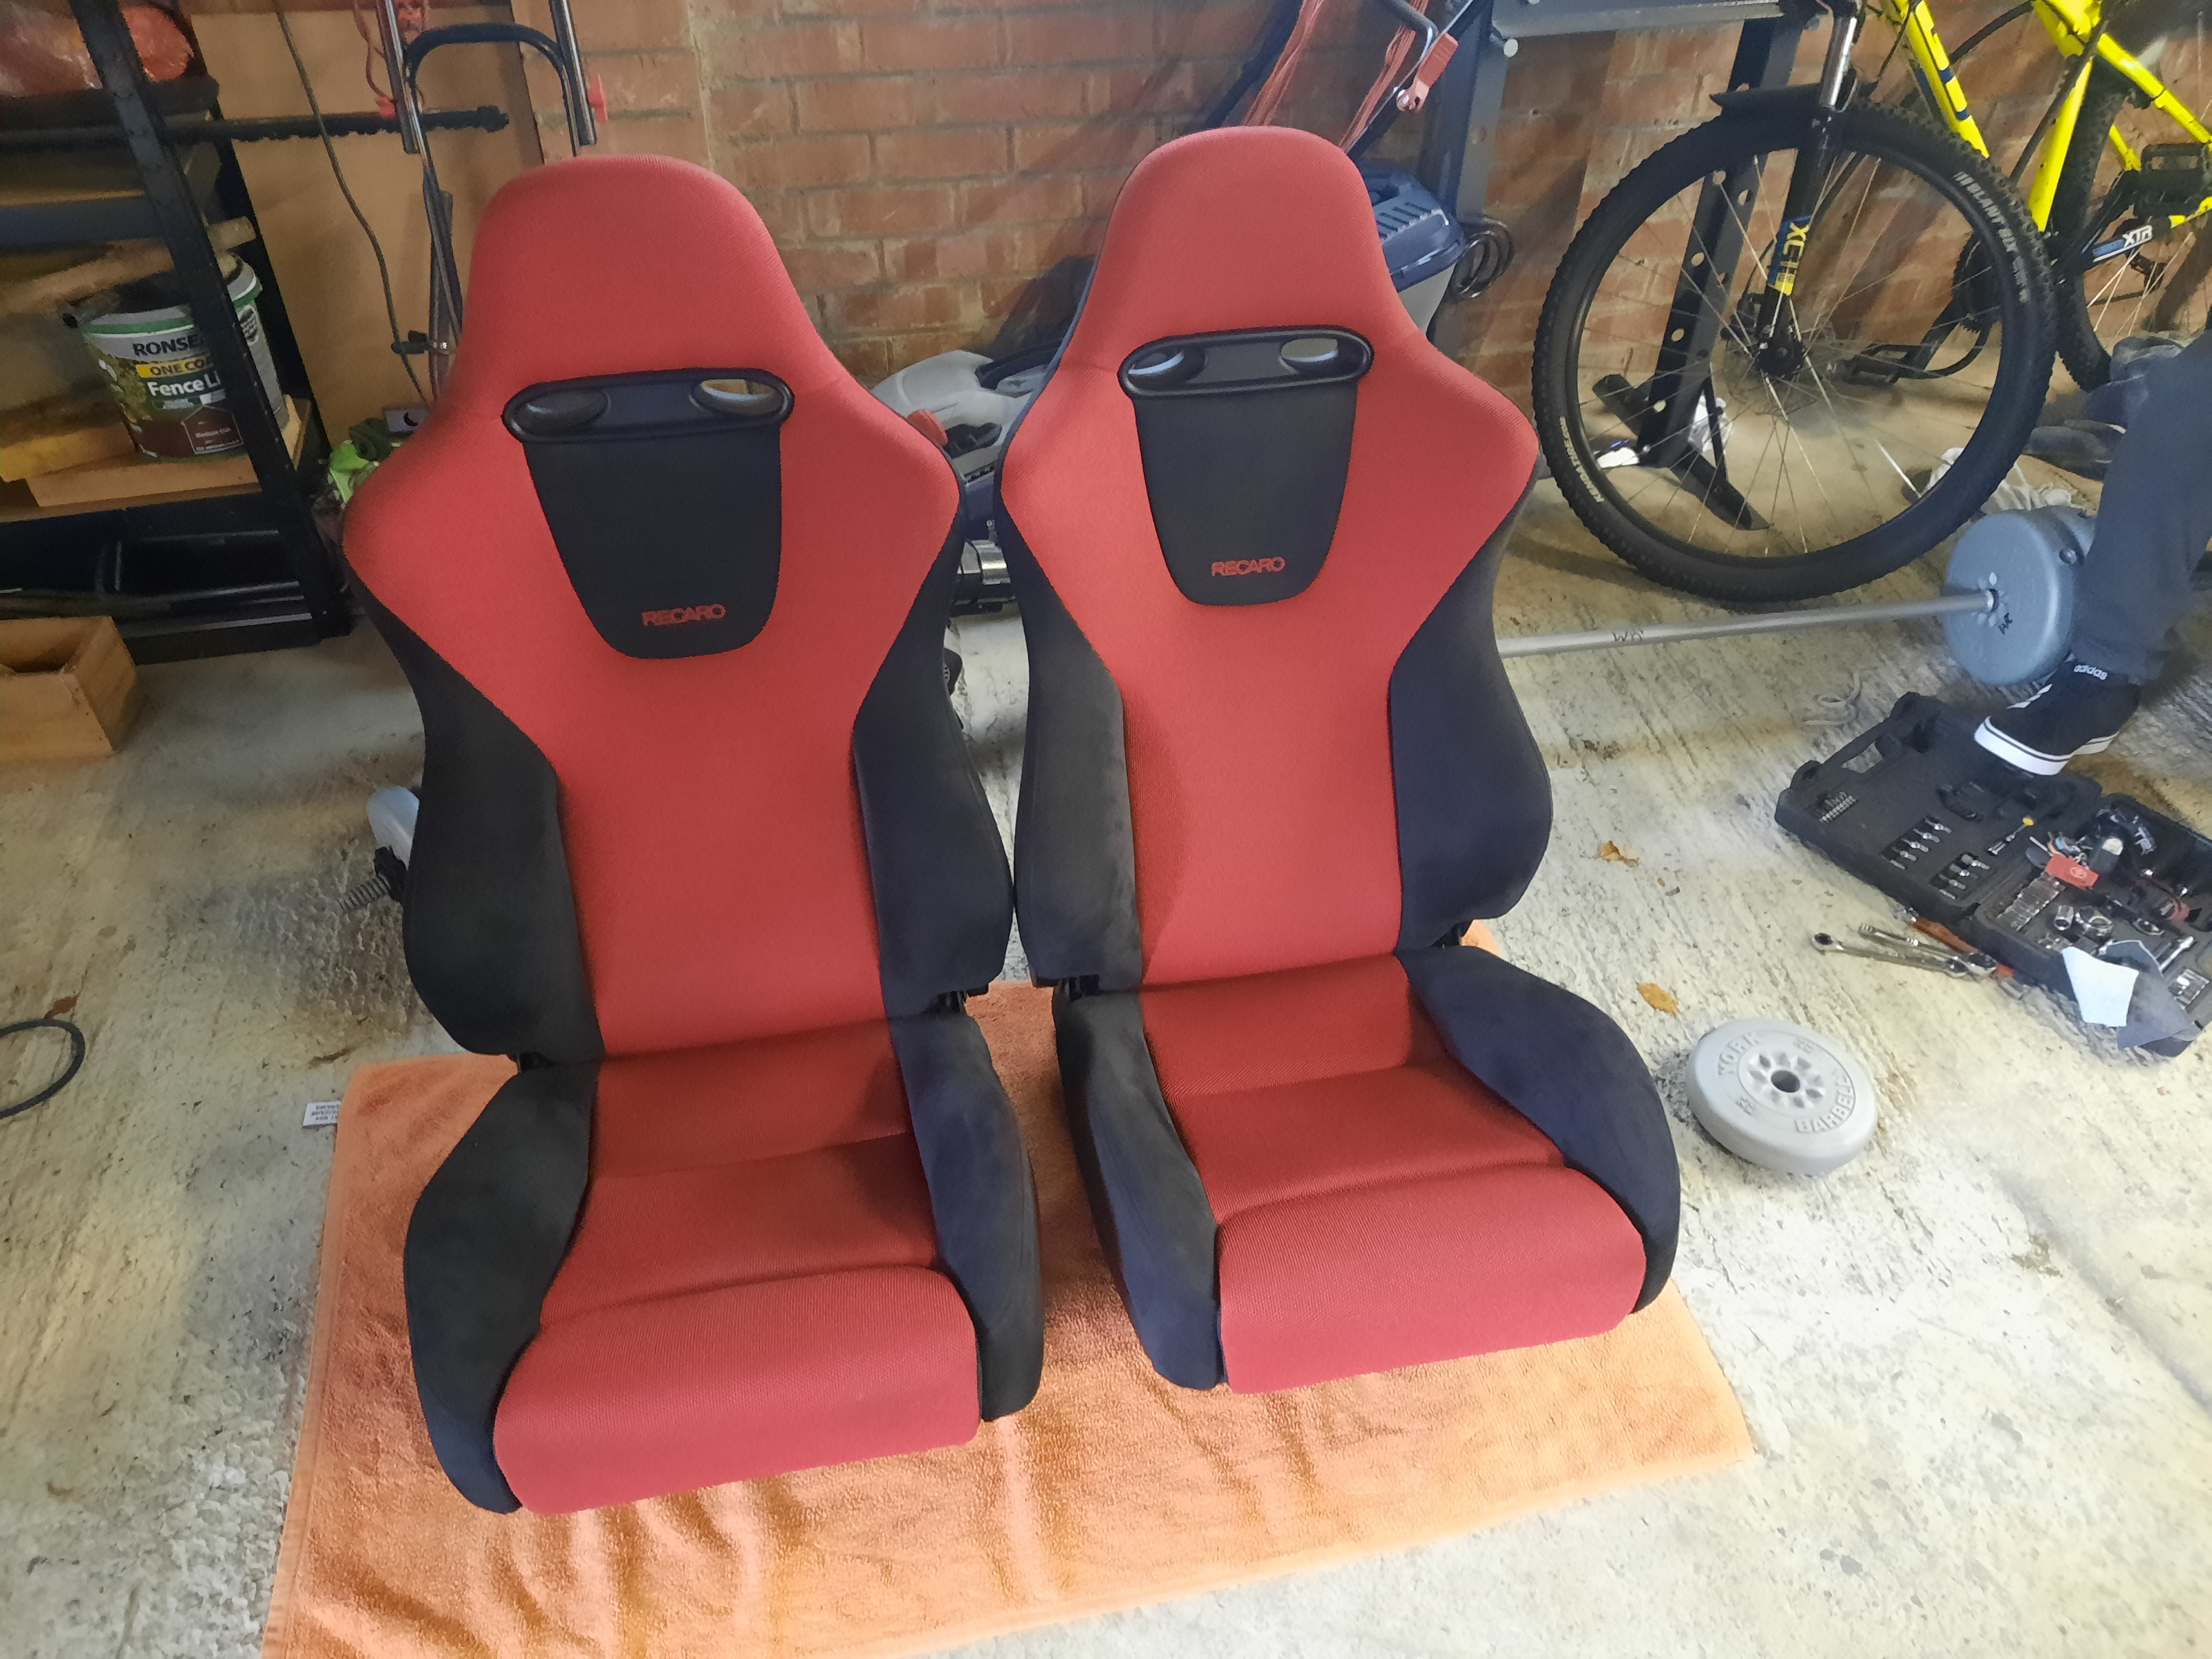
Had a good day and saw lots of starlets. First time ive done a long trip in the car and it drove well, did around 300 miles there and back. One thing I did pick up on though was that the seats weren't very comfortable or supportive and I feel like I should be sitting a little lower.
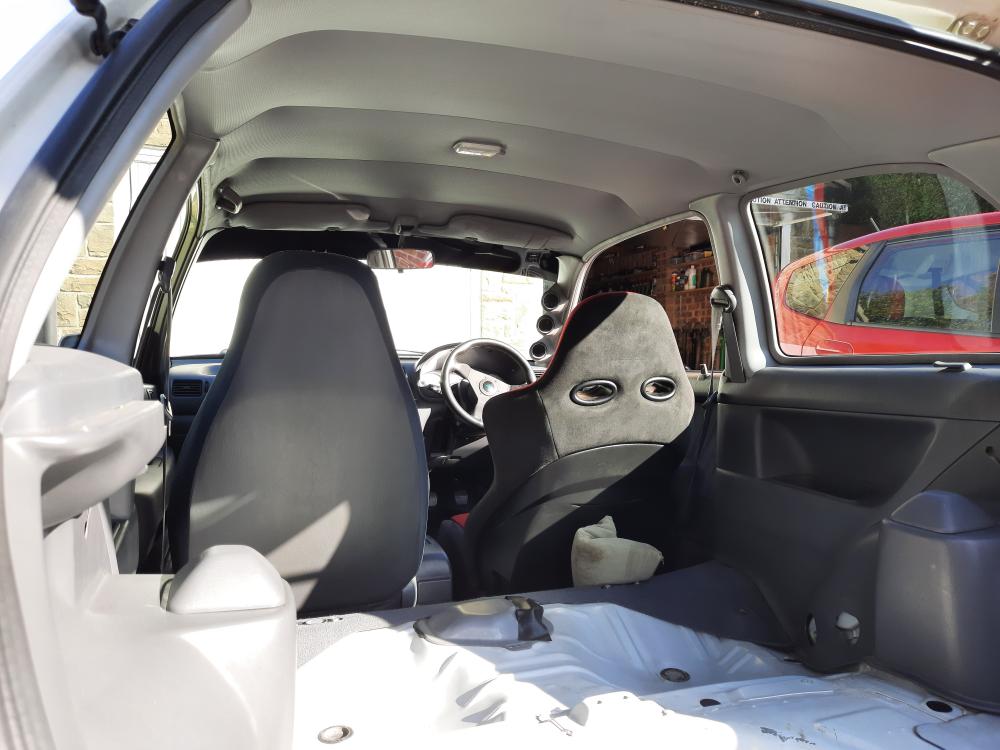
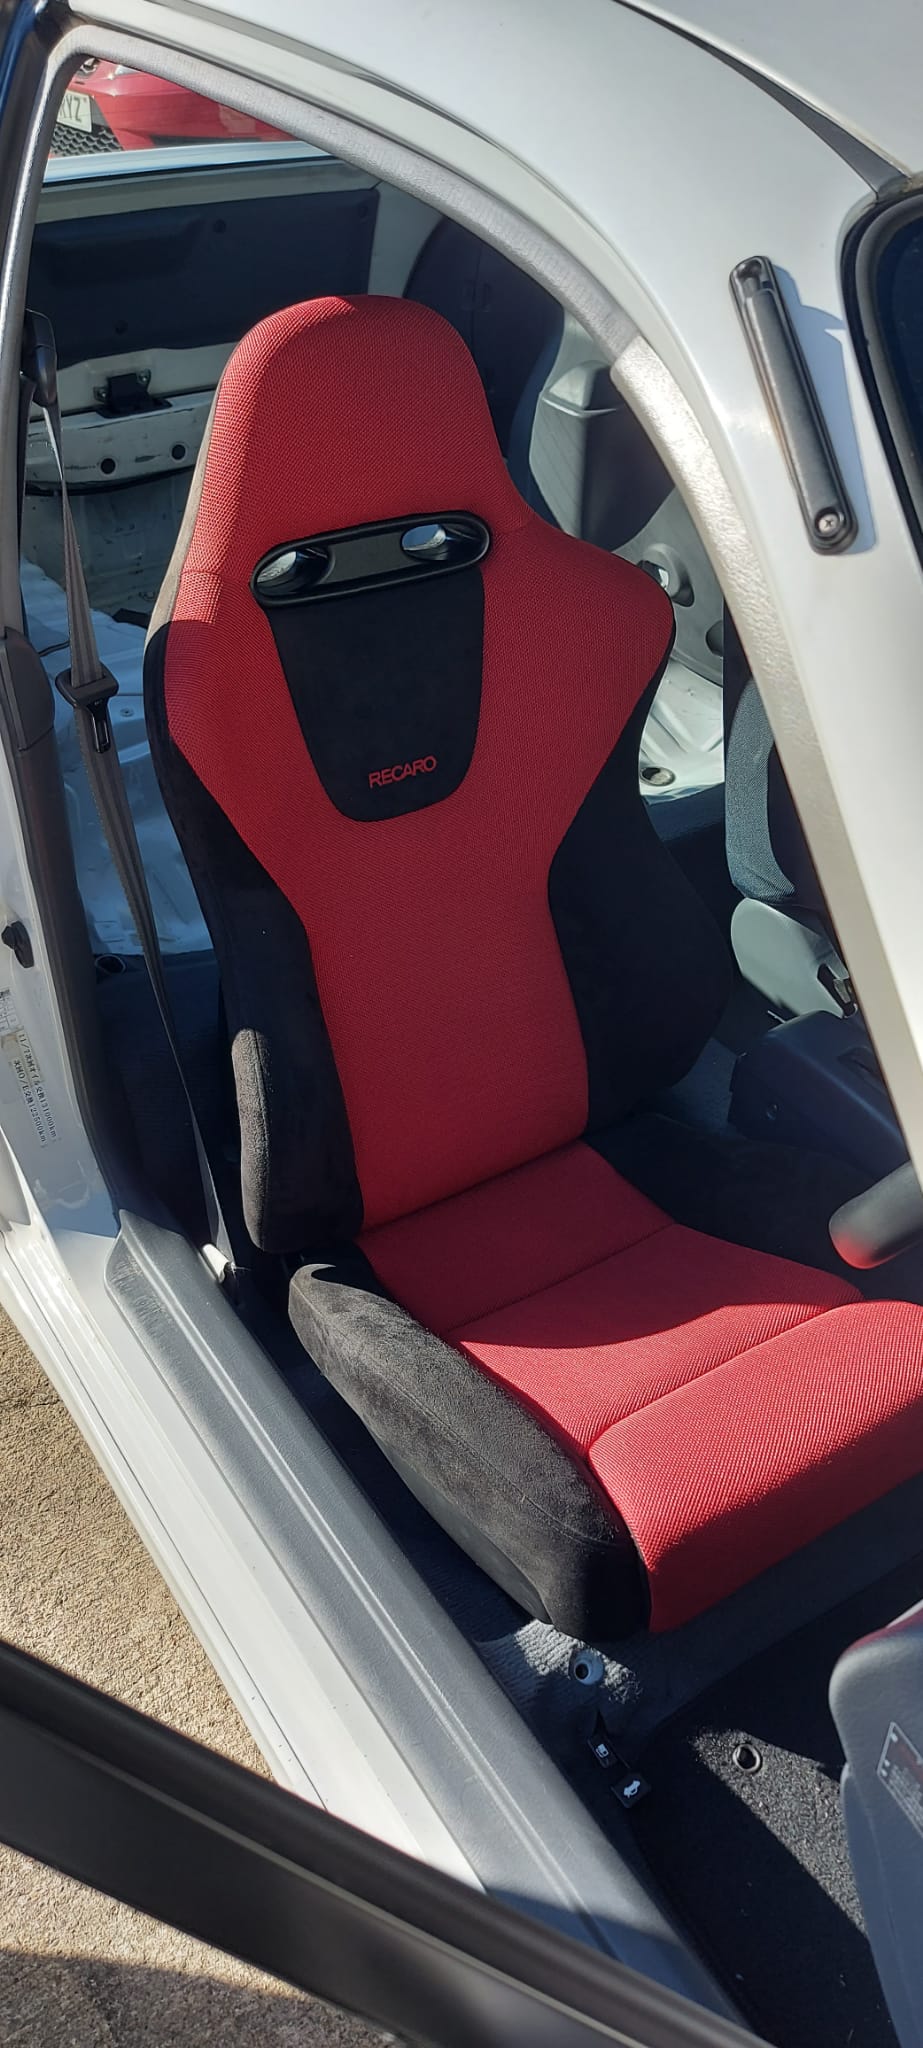
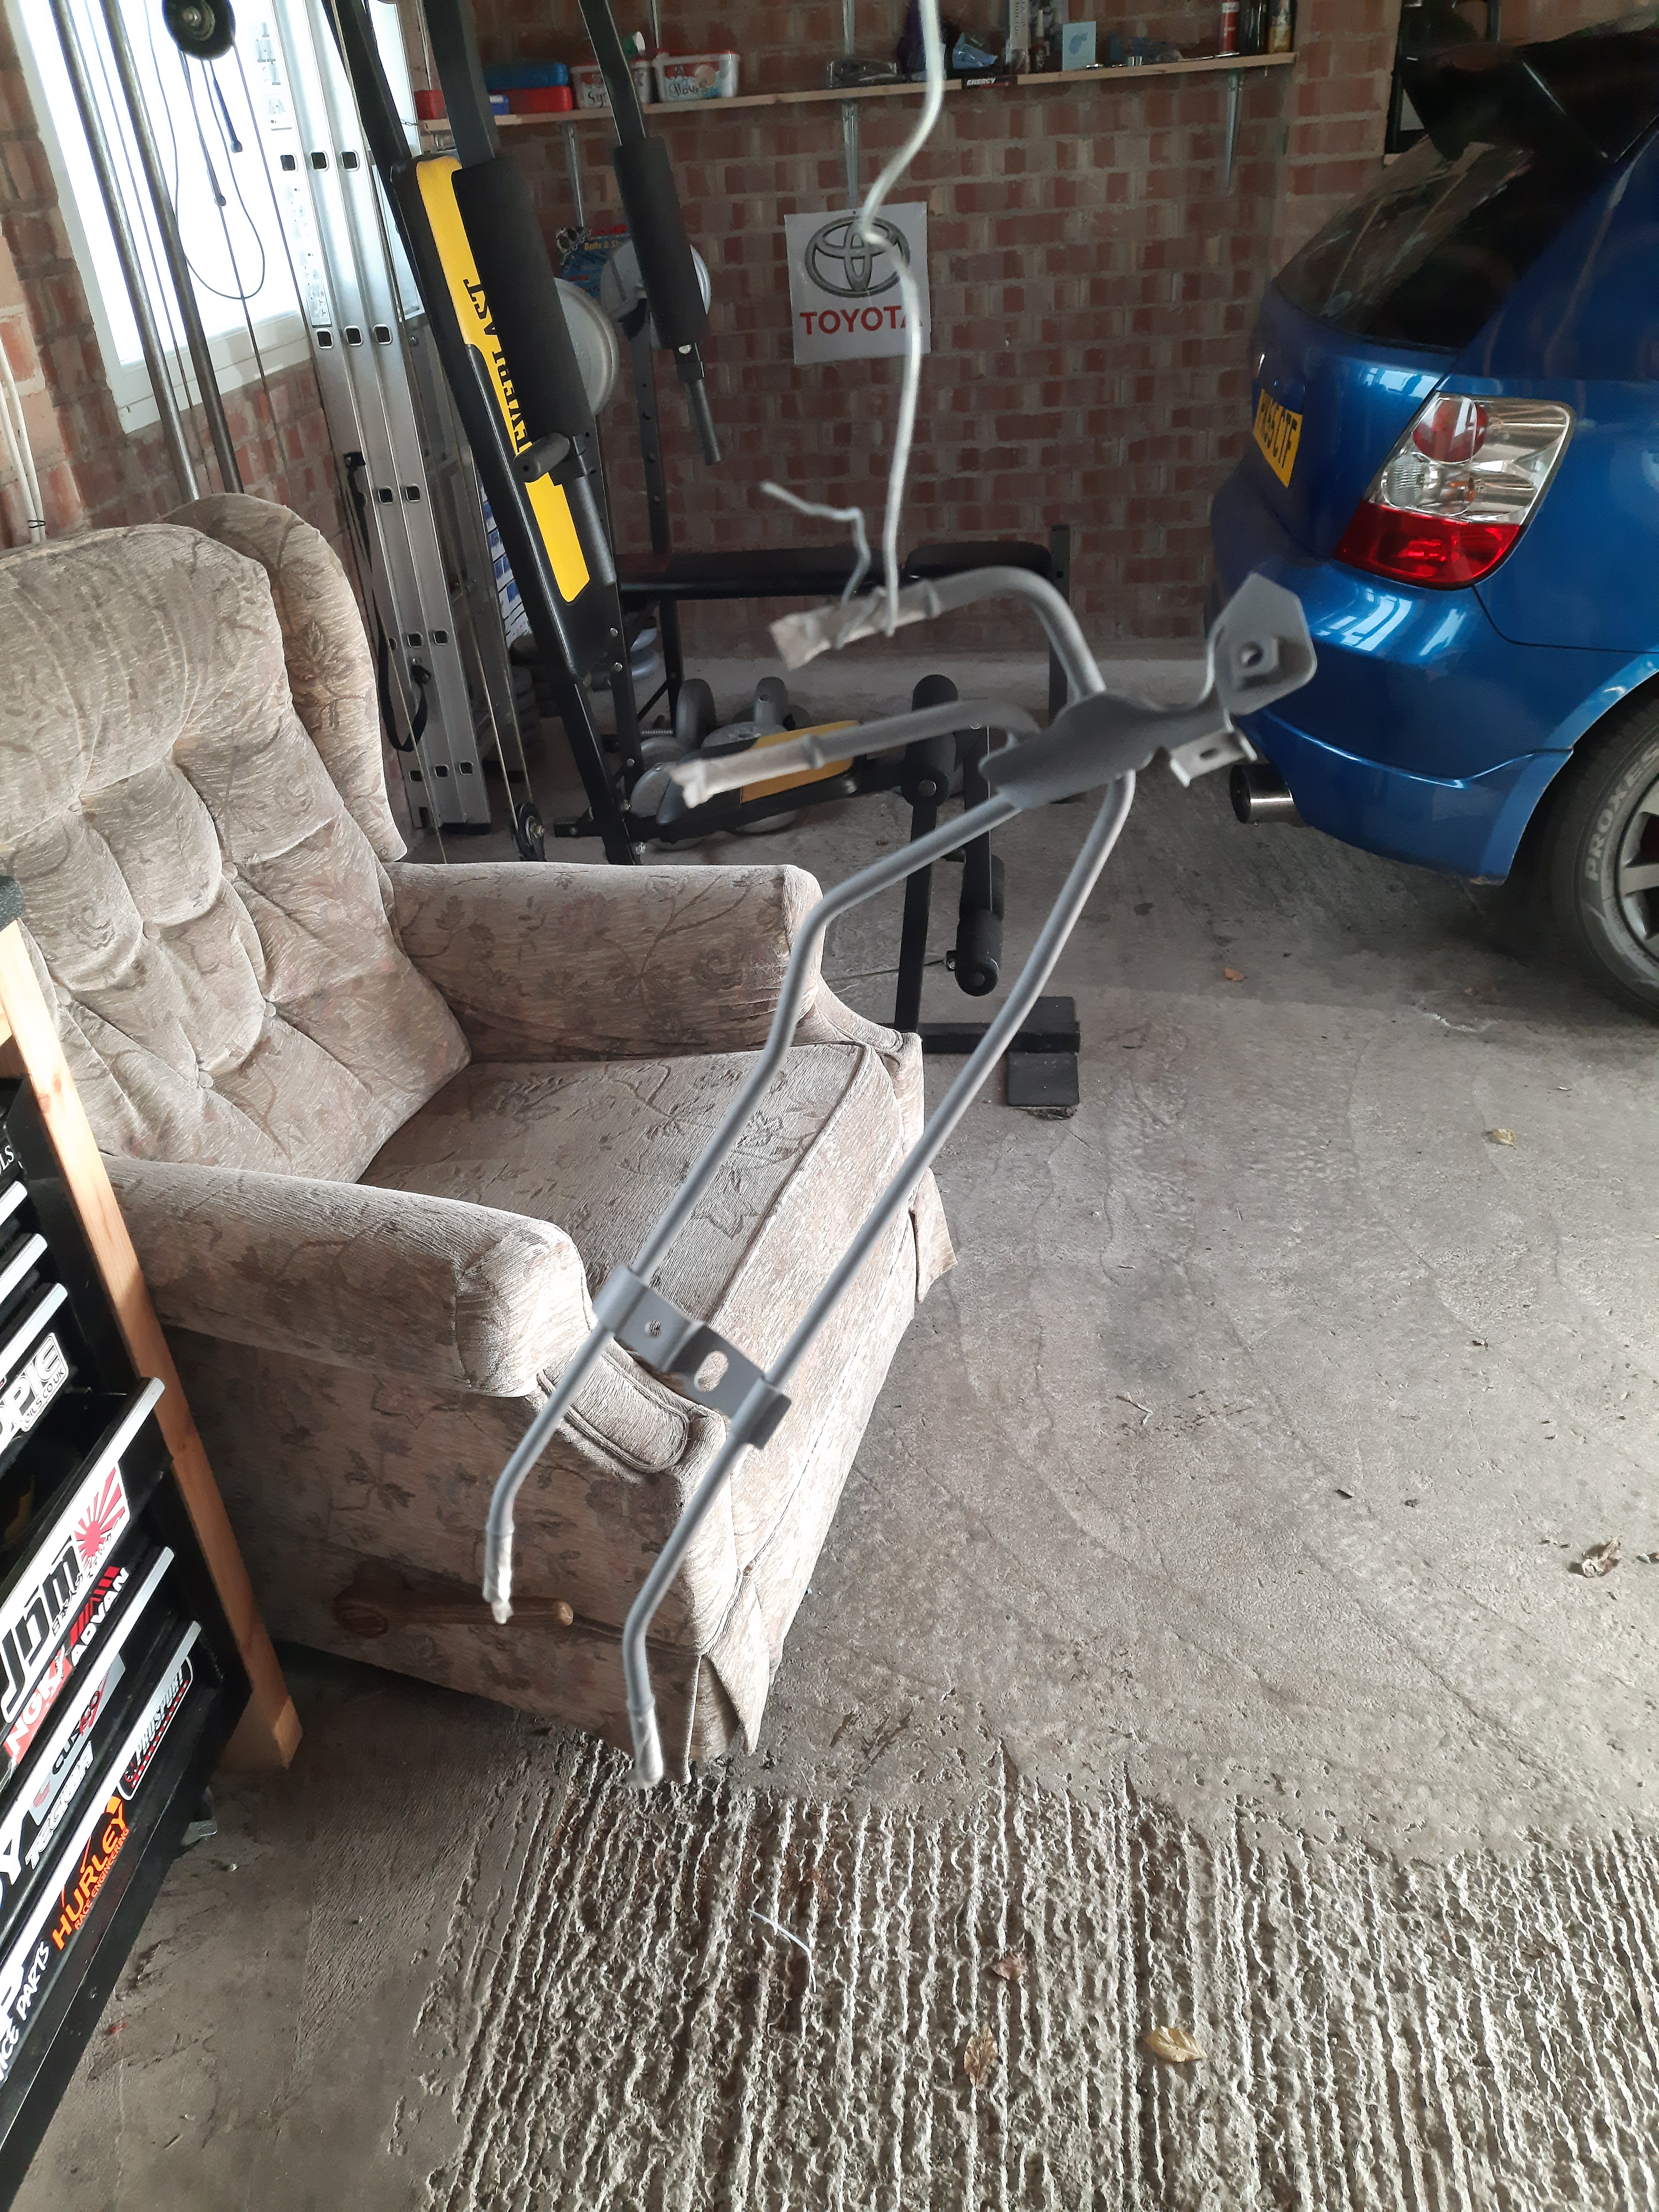
So a few weeks later I decided to get these premier edition ep3 seats. Did a test fit in the car, just waiting for some rails to get them fitted now.
Got a few other plans lined up over the winter including dropping the fuel tank to clean it up and repaint.
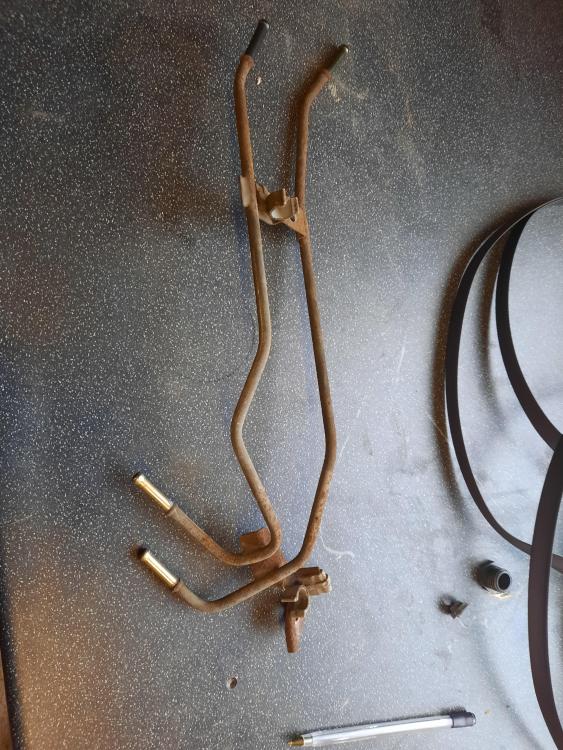
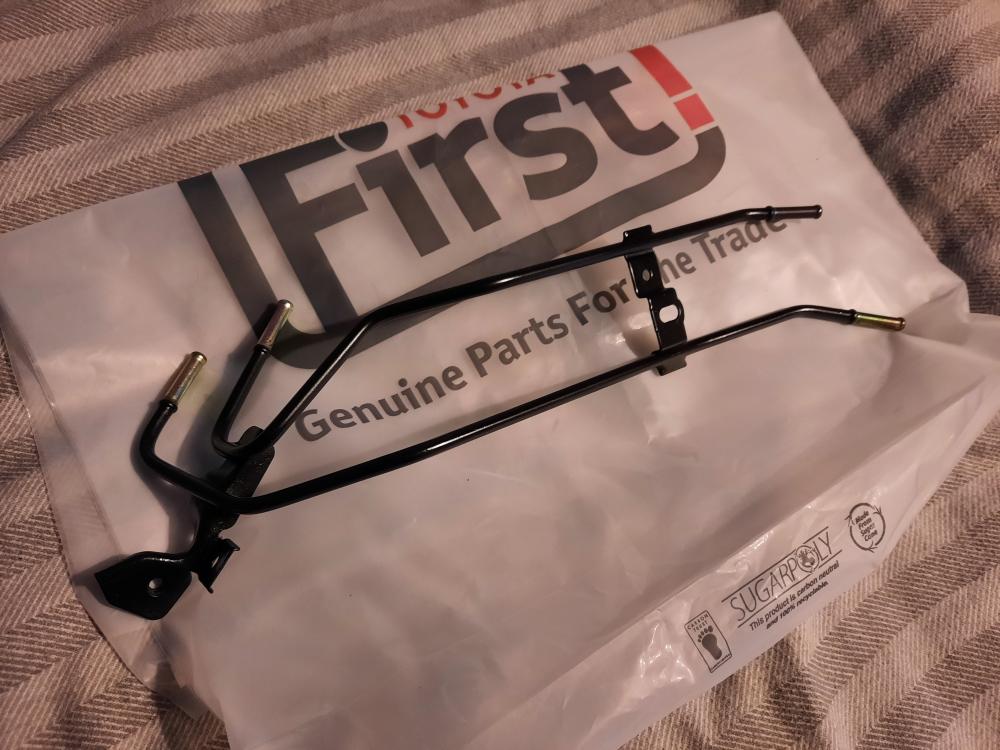
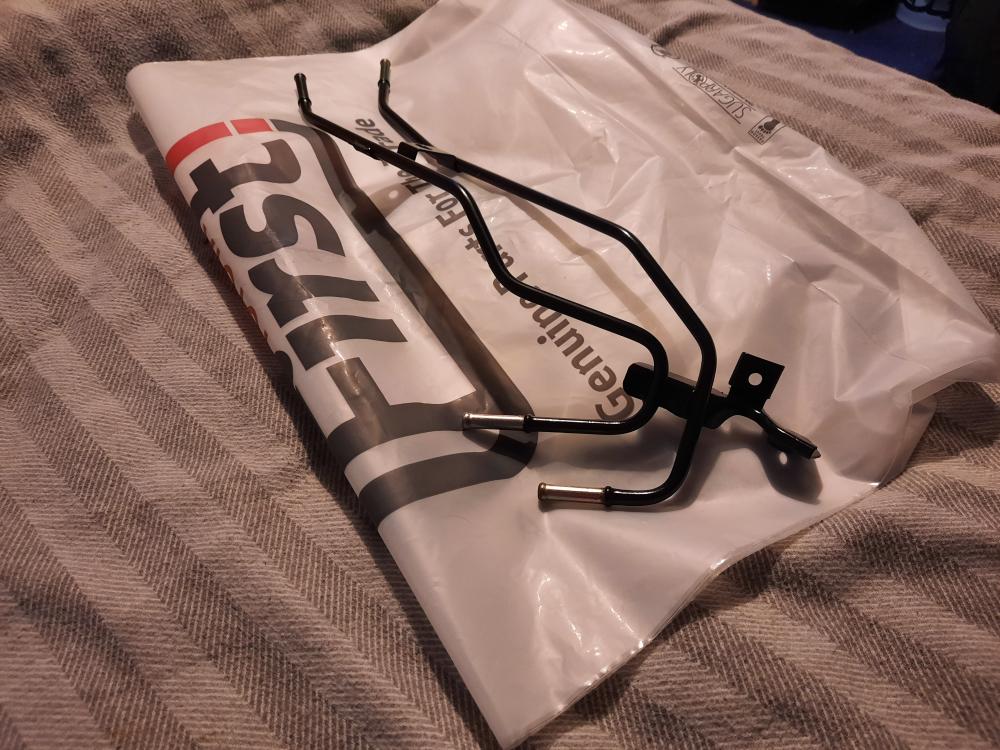
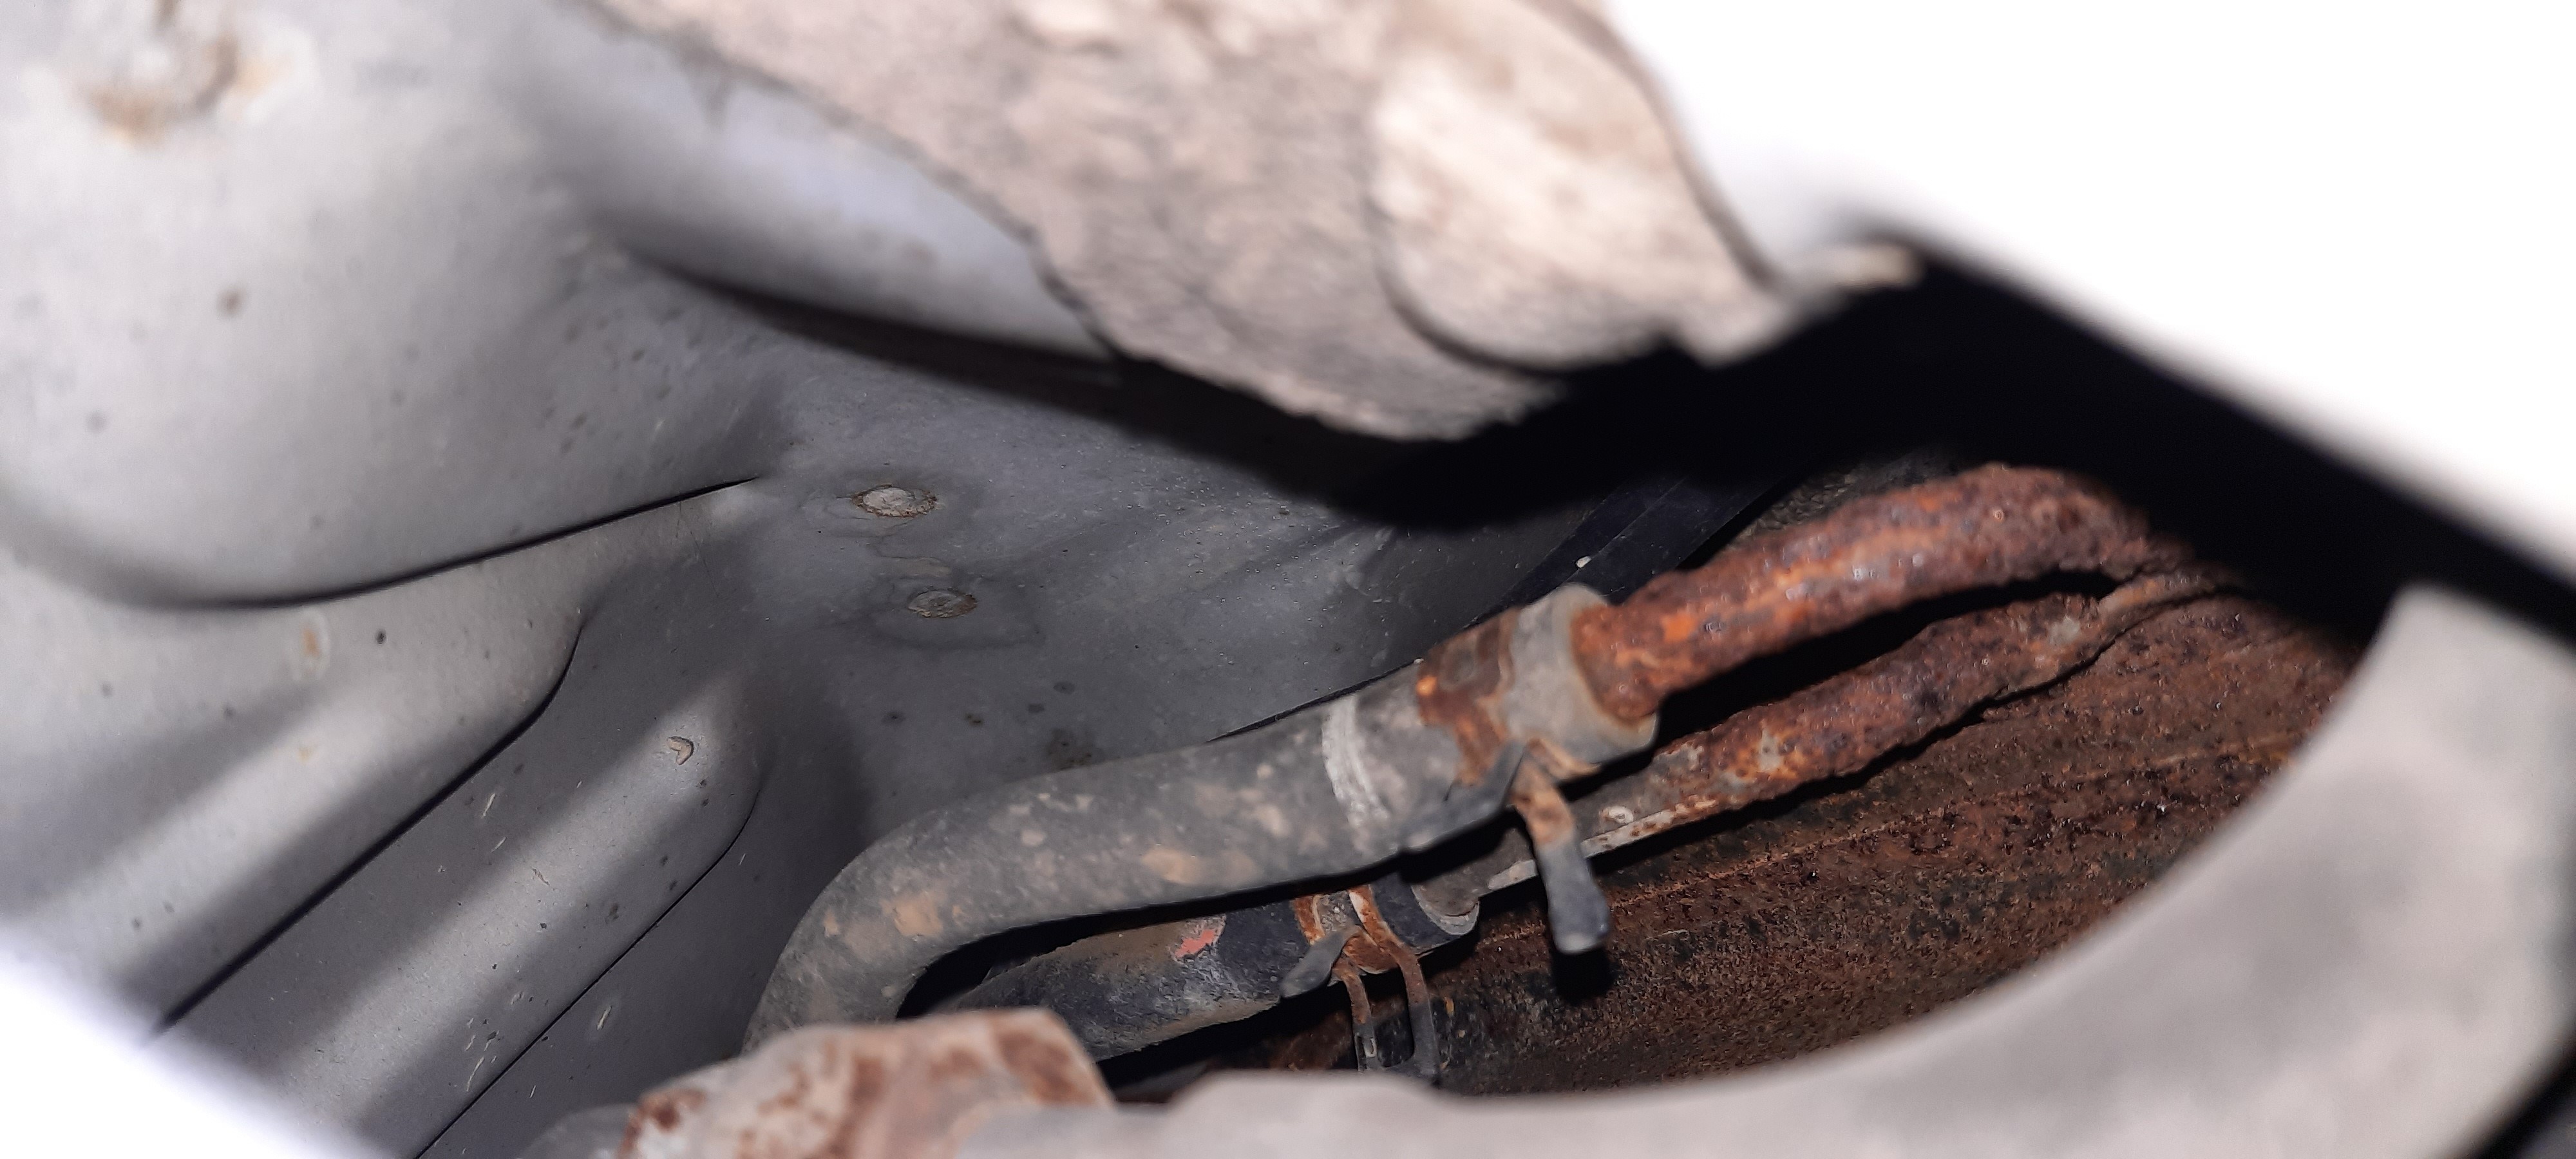
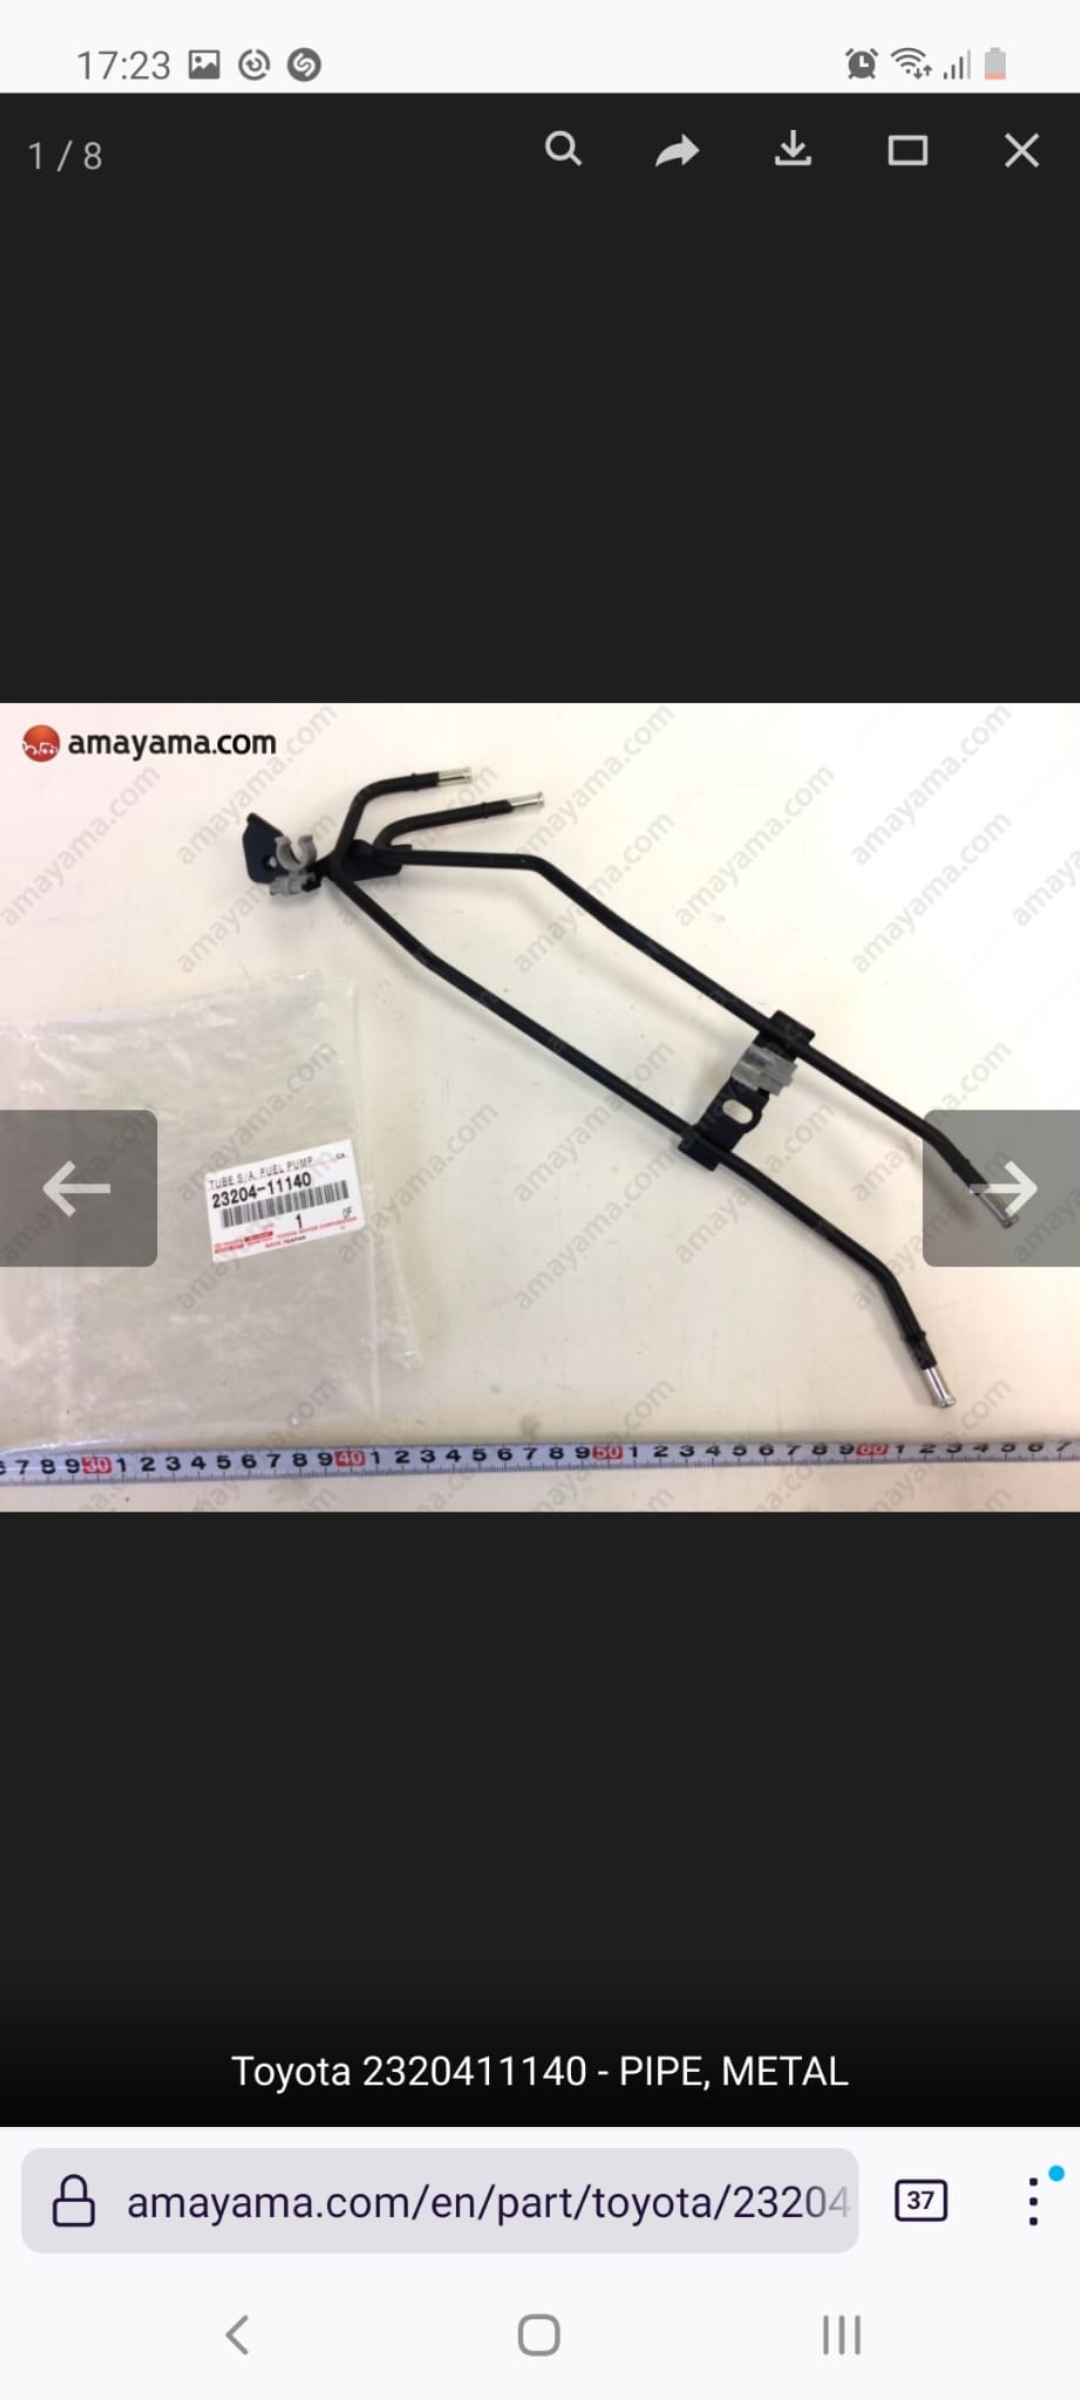
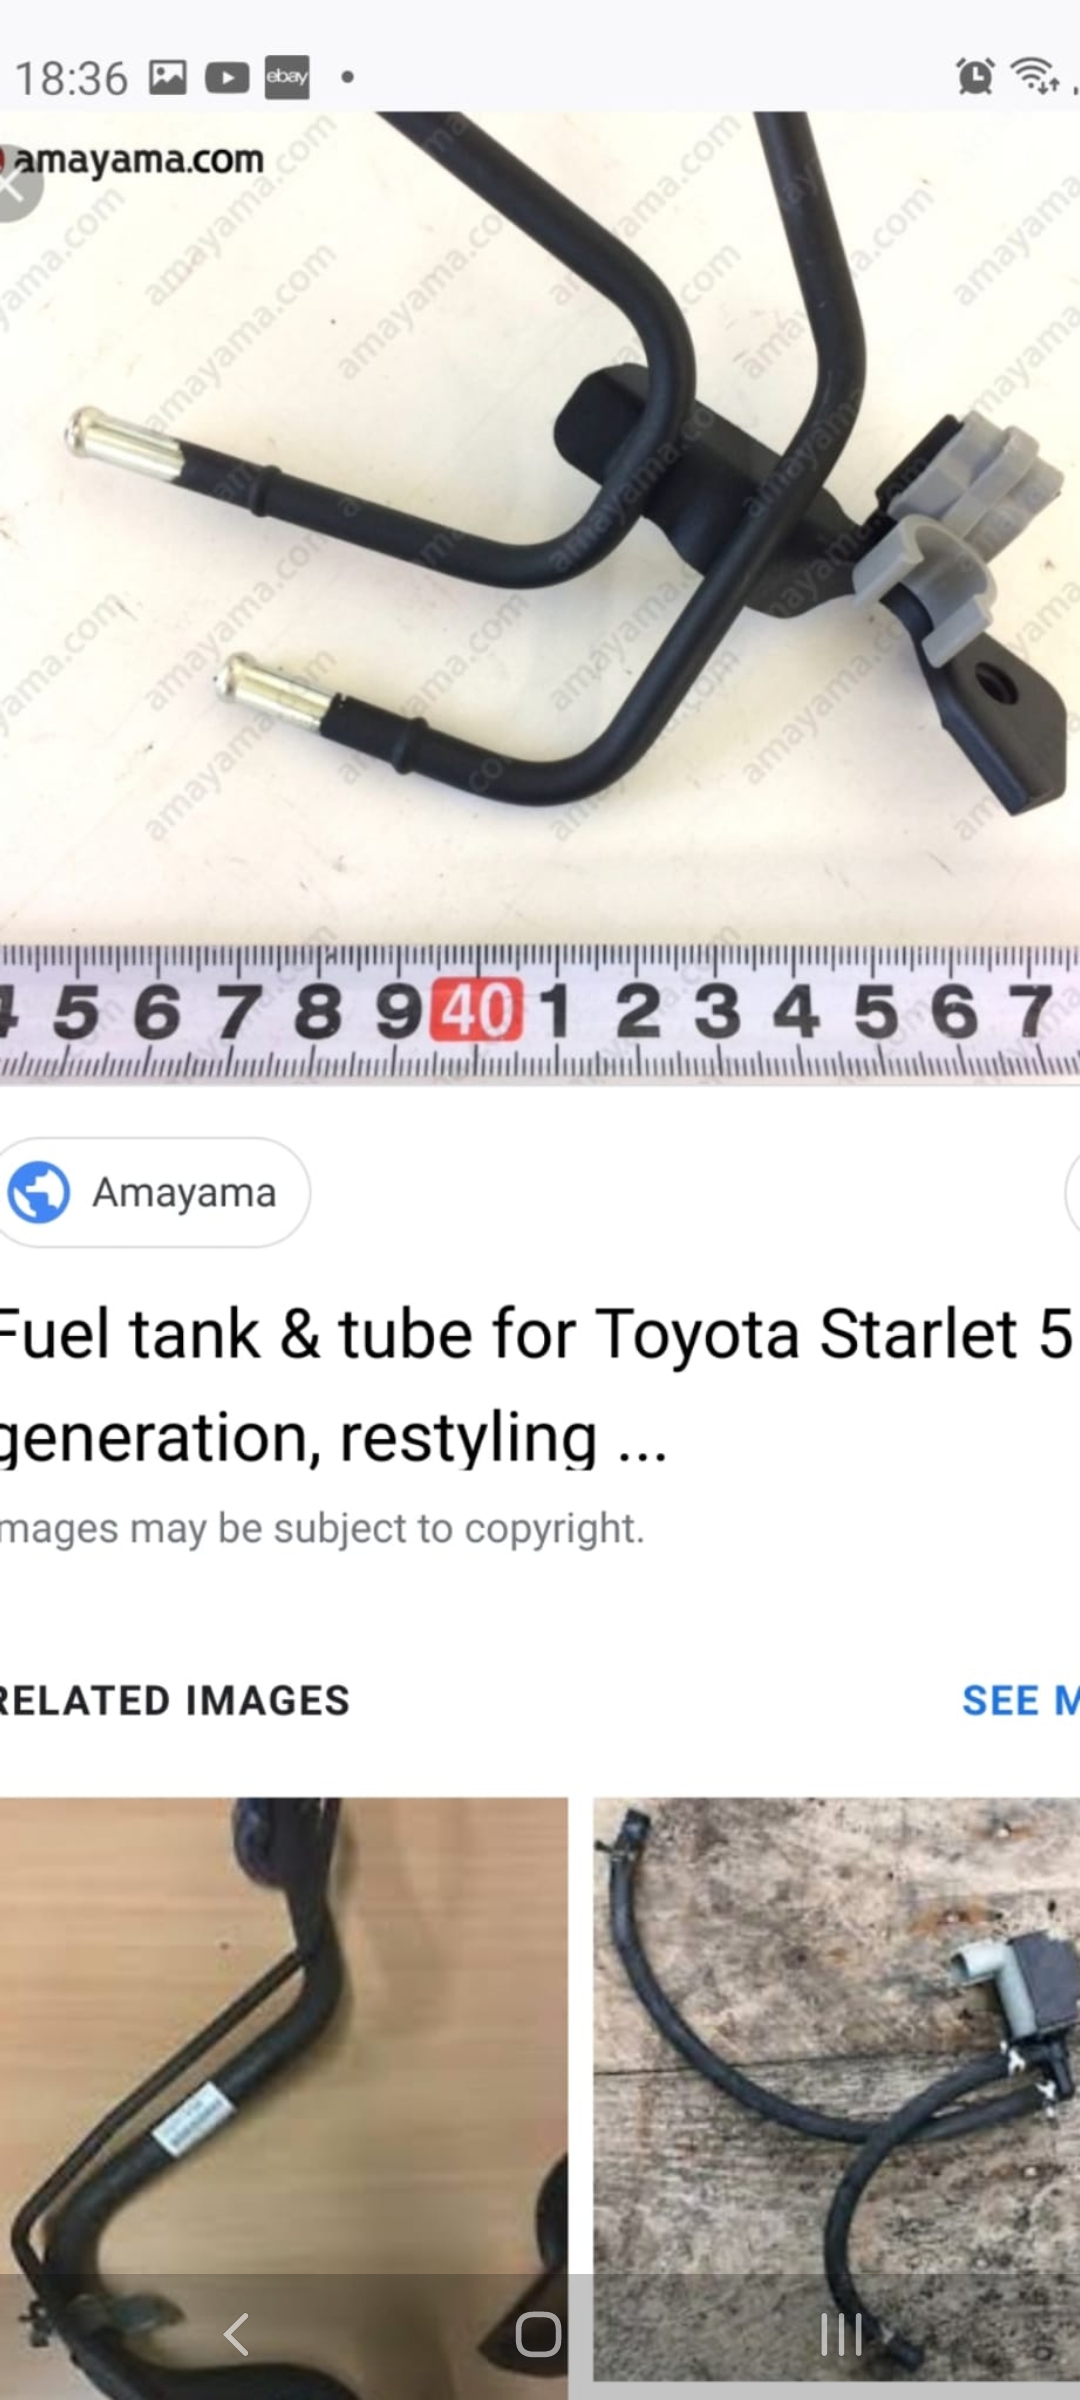
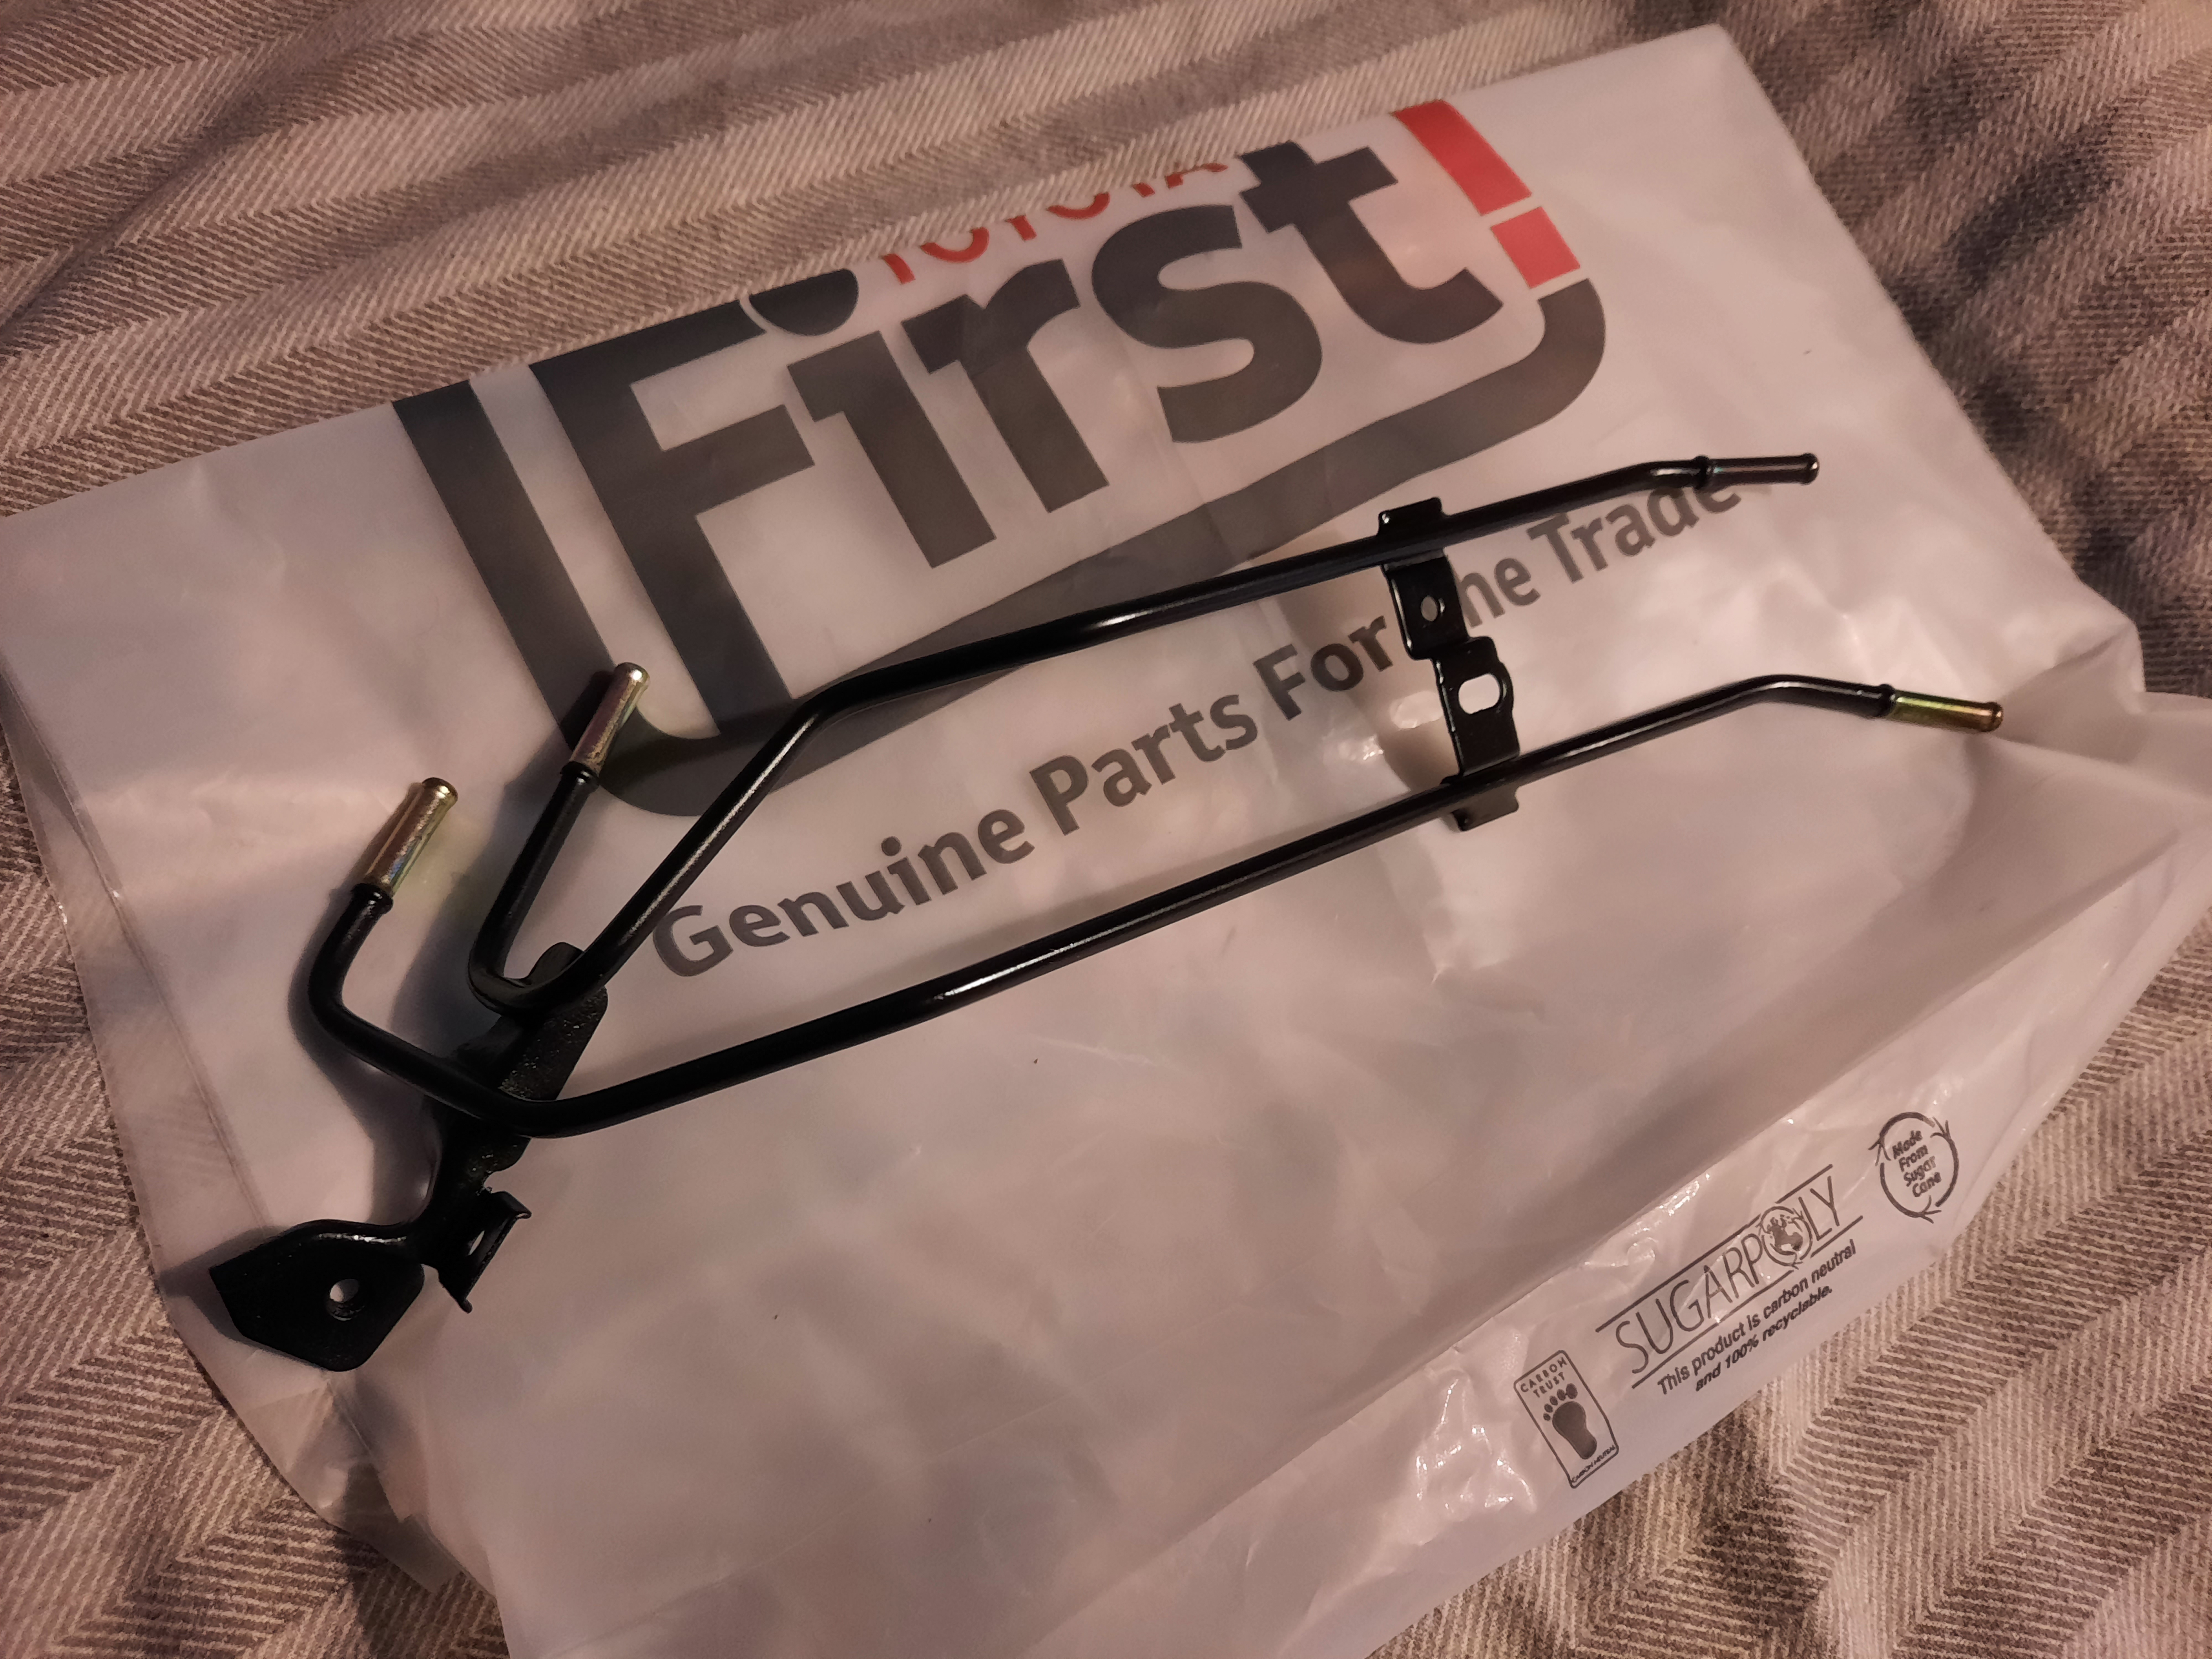
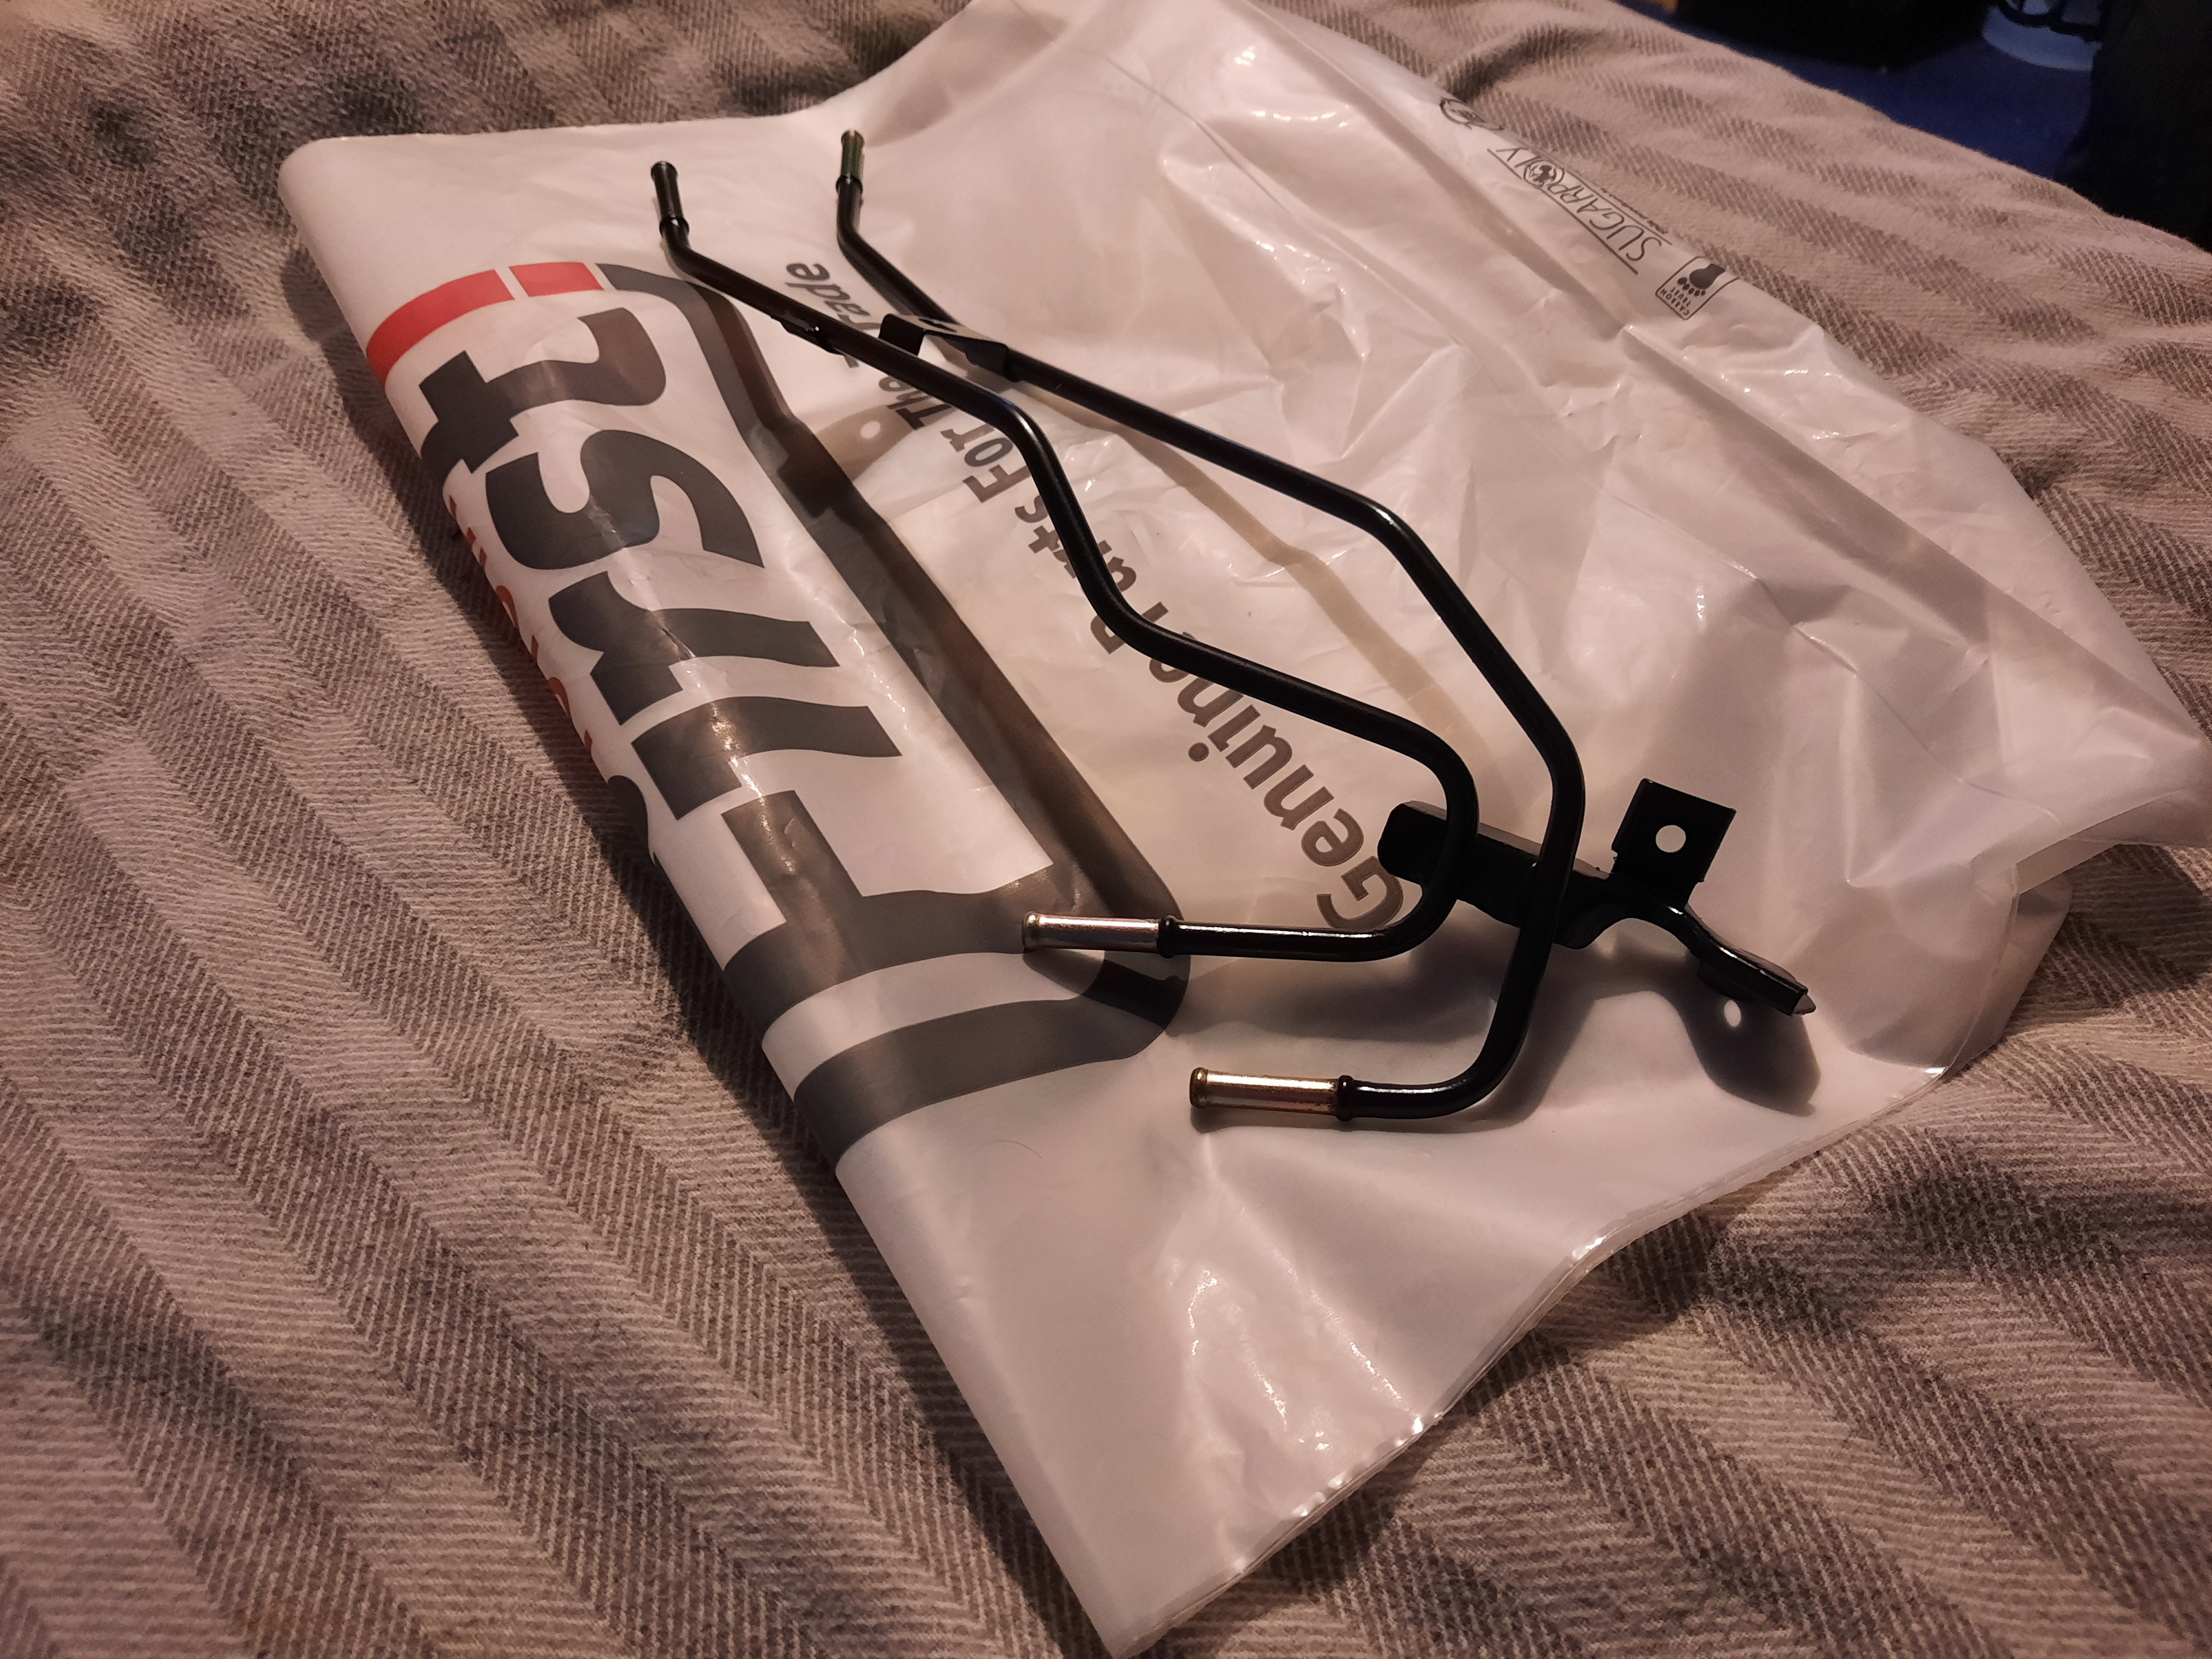
Looking under the car I noticed these metal fuel pipes were quite rusty and didnt really look salvageable.

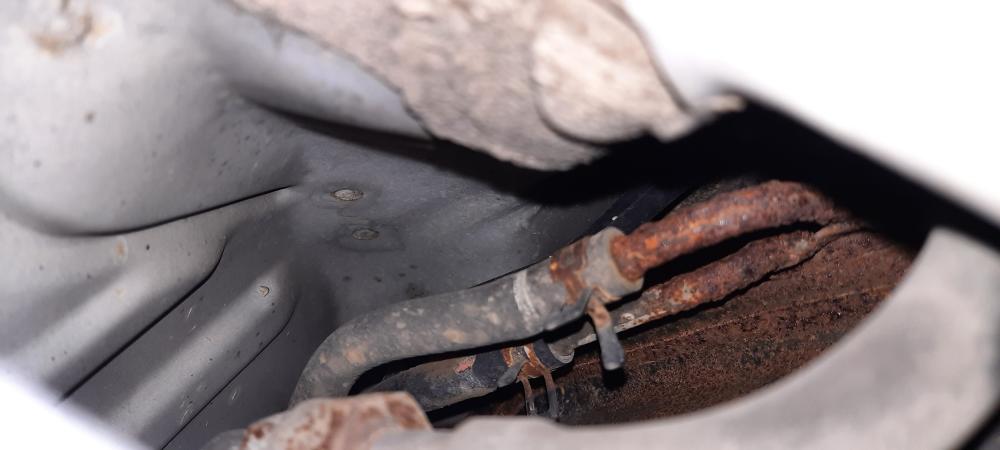
Tried to order the replacement part from toyota with some other fuel tank gaskets and parts but unfortunately it is now discontinued.
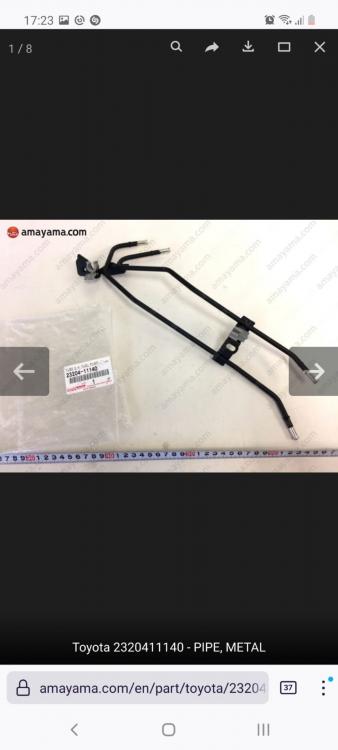
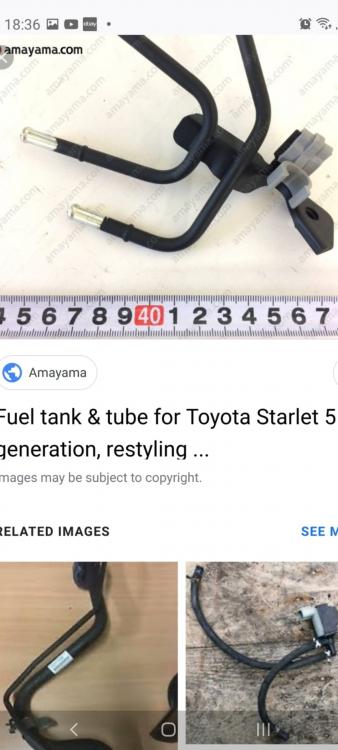
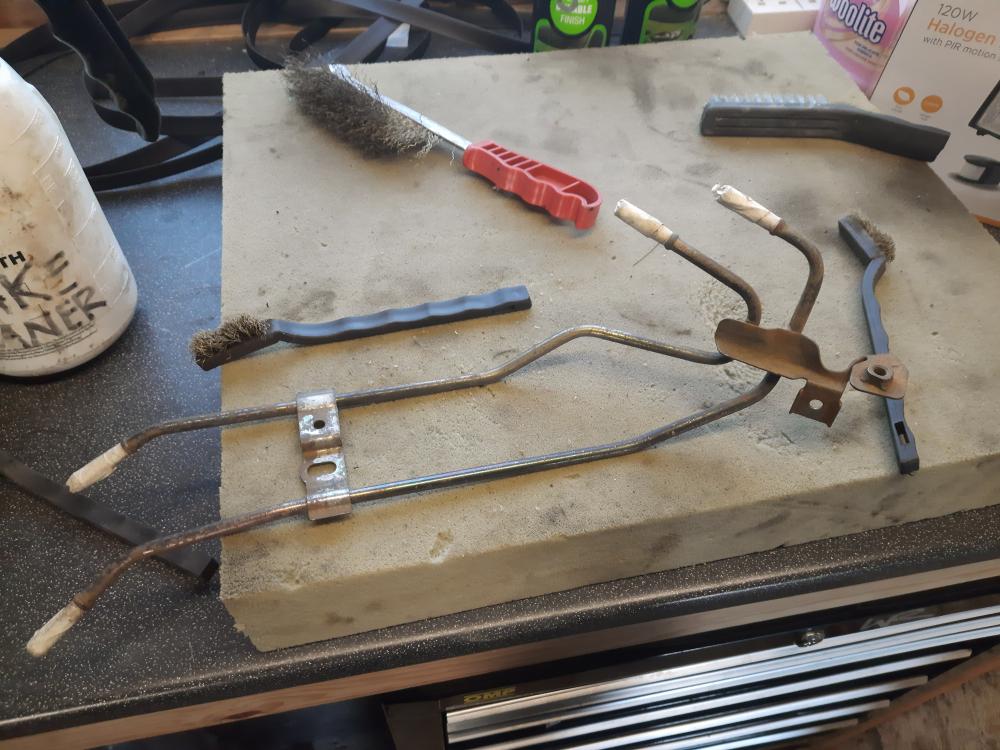
So went to a starlet breakers in bradford this weekend and luckily he had one in good condition.
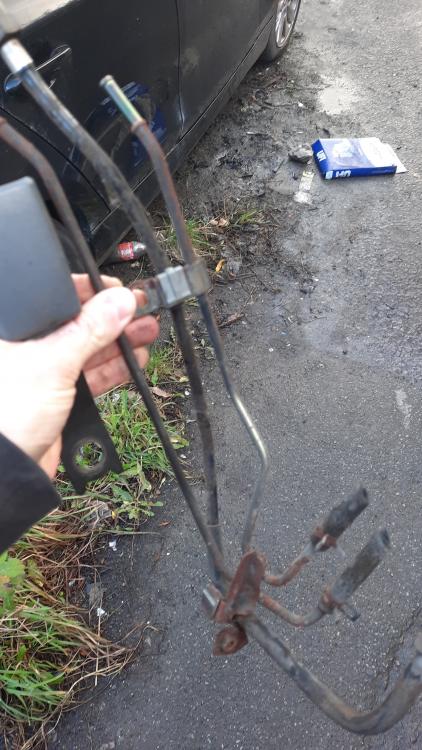


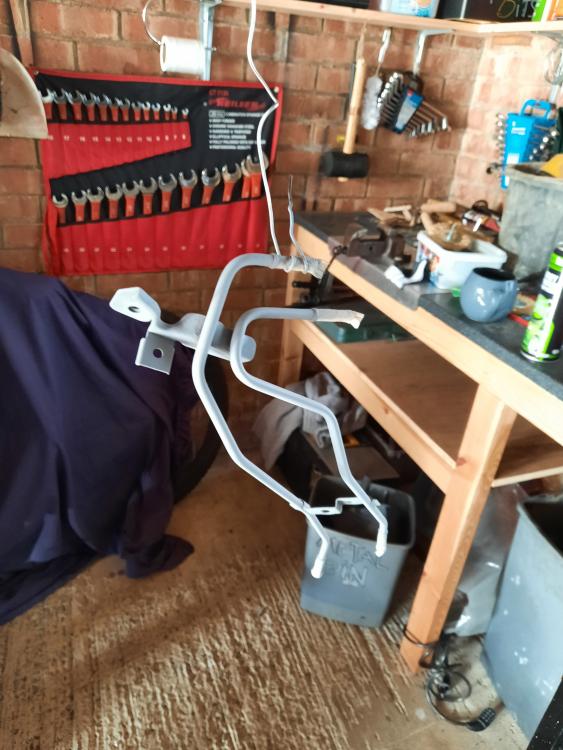
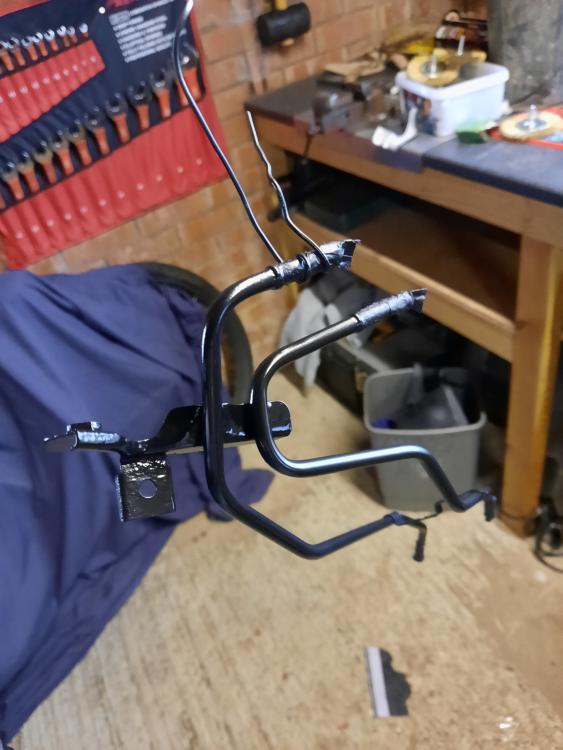
Cleaned it up and removed all the surface rust before giving it some coats of paint to protect it.
Ready to fit when I drop the tank now.

-
On 8/3/2021 at 8:11 AM, jellybaby said:
I would invest in oil pressure gauge as well dude as the oil light will come on but it comes on to late and bye bye bottom end
Yeah thats the plan, looking at tee'ing into the oil pressure switch on the front of the block for a sensor.
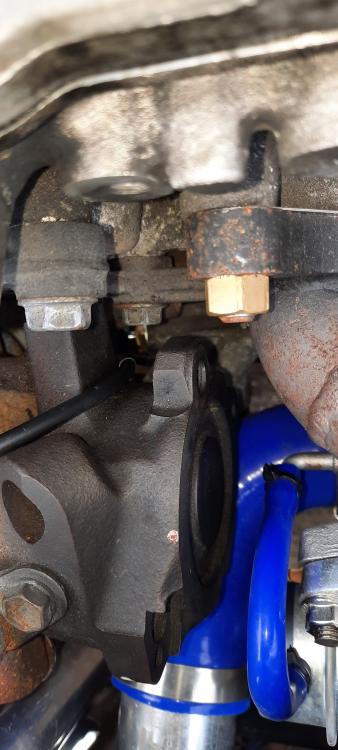
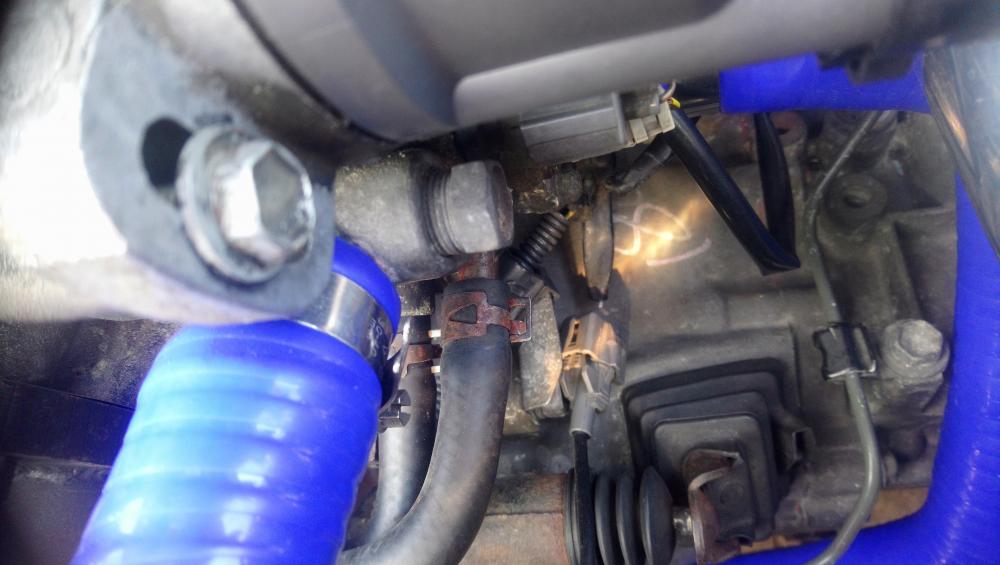
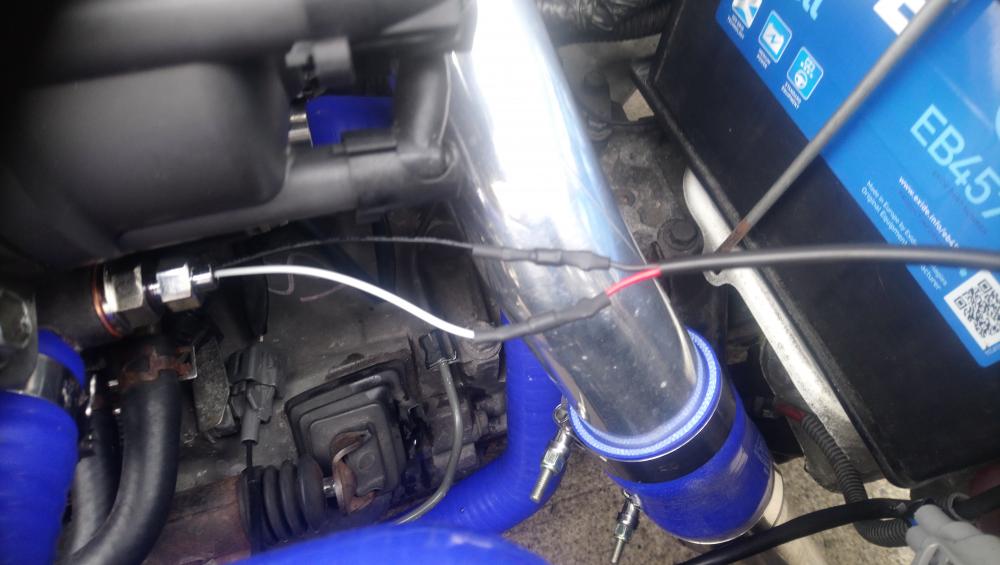
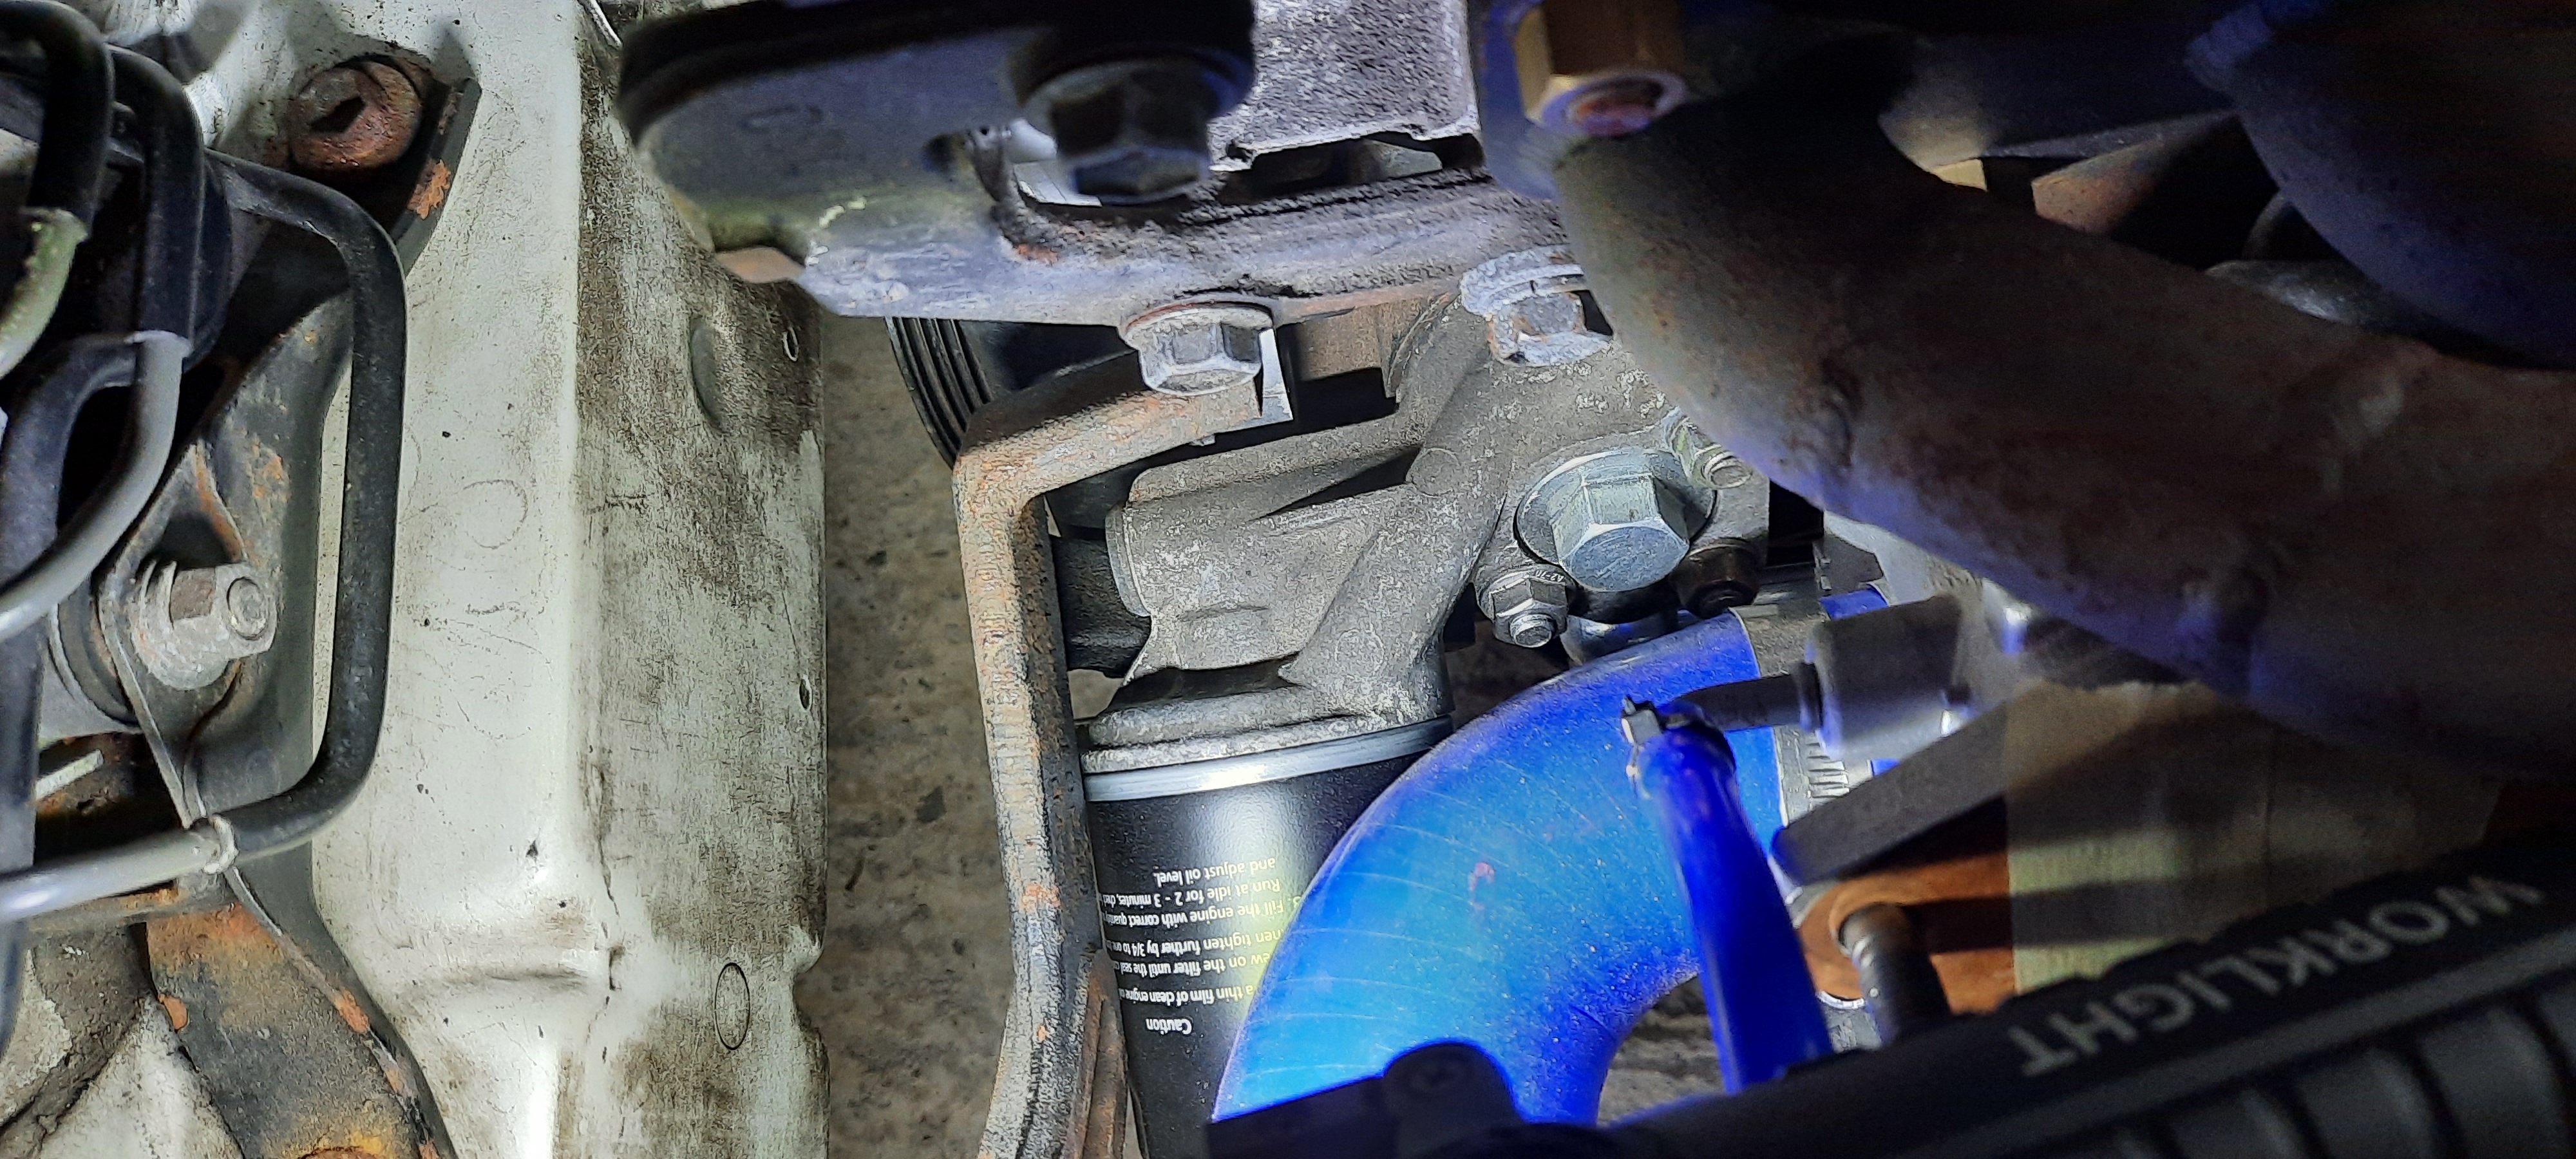
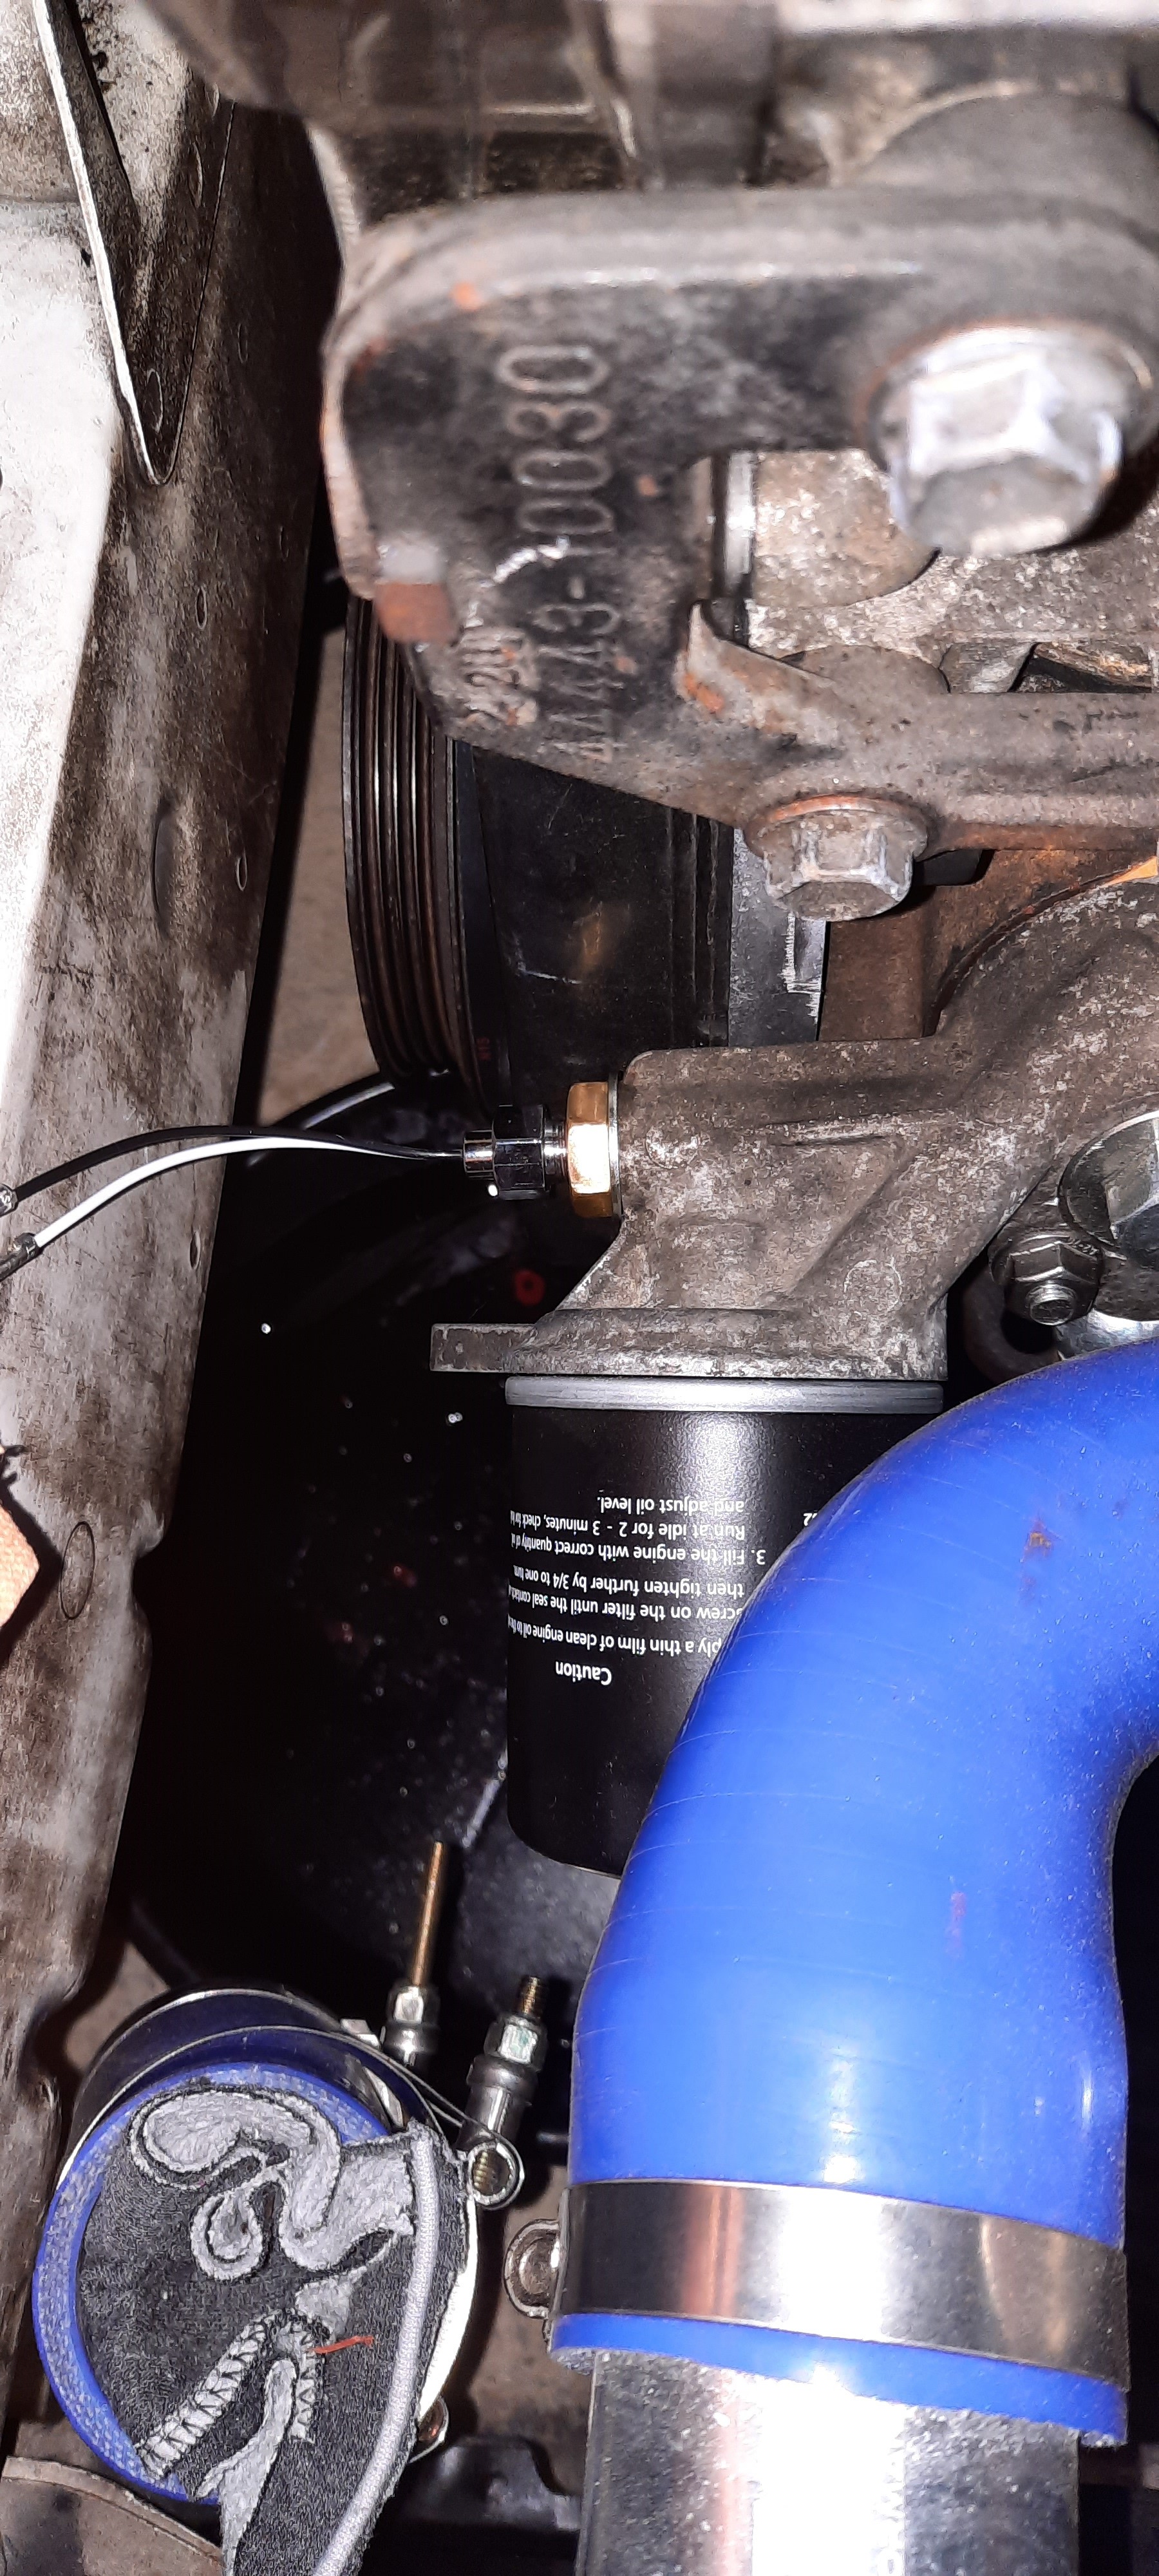
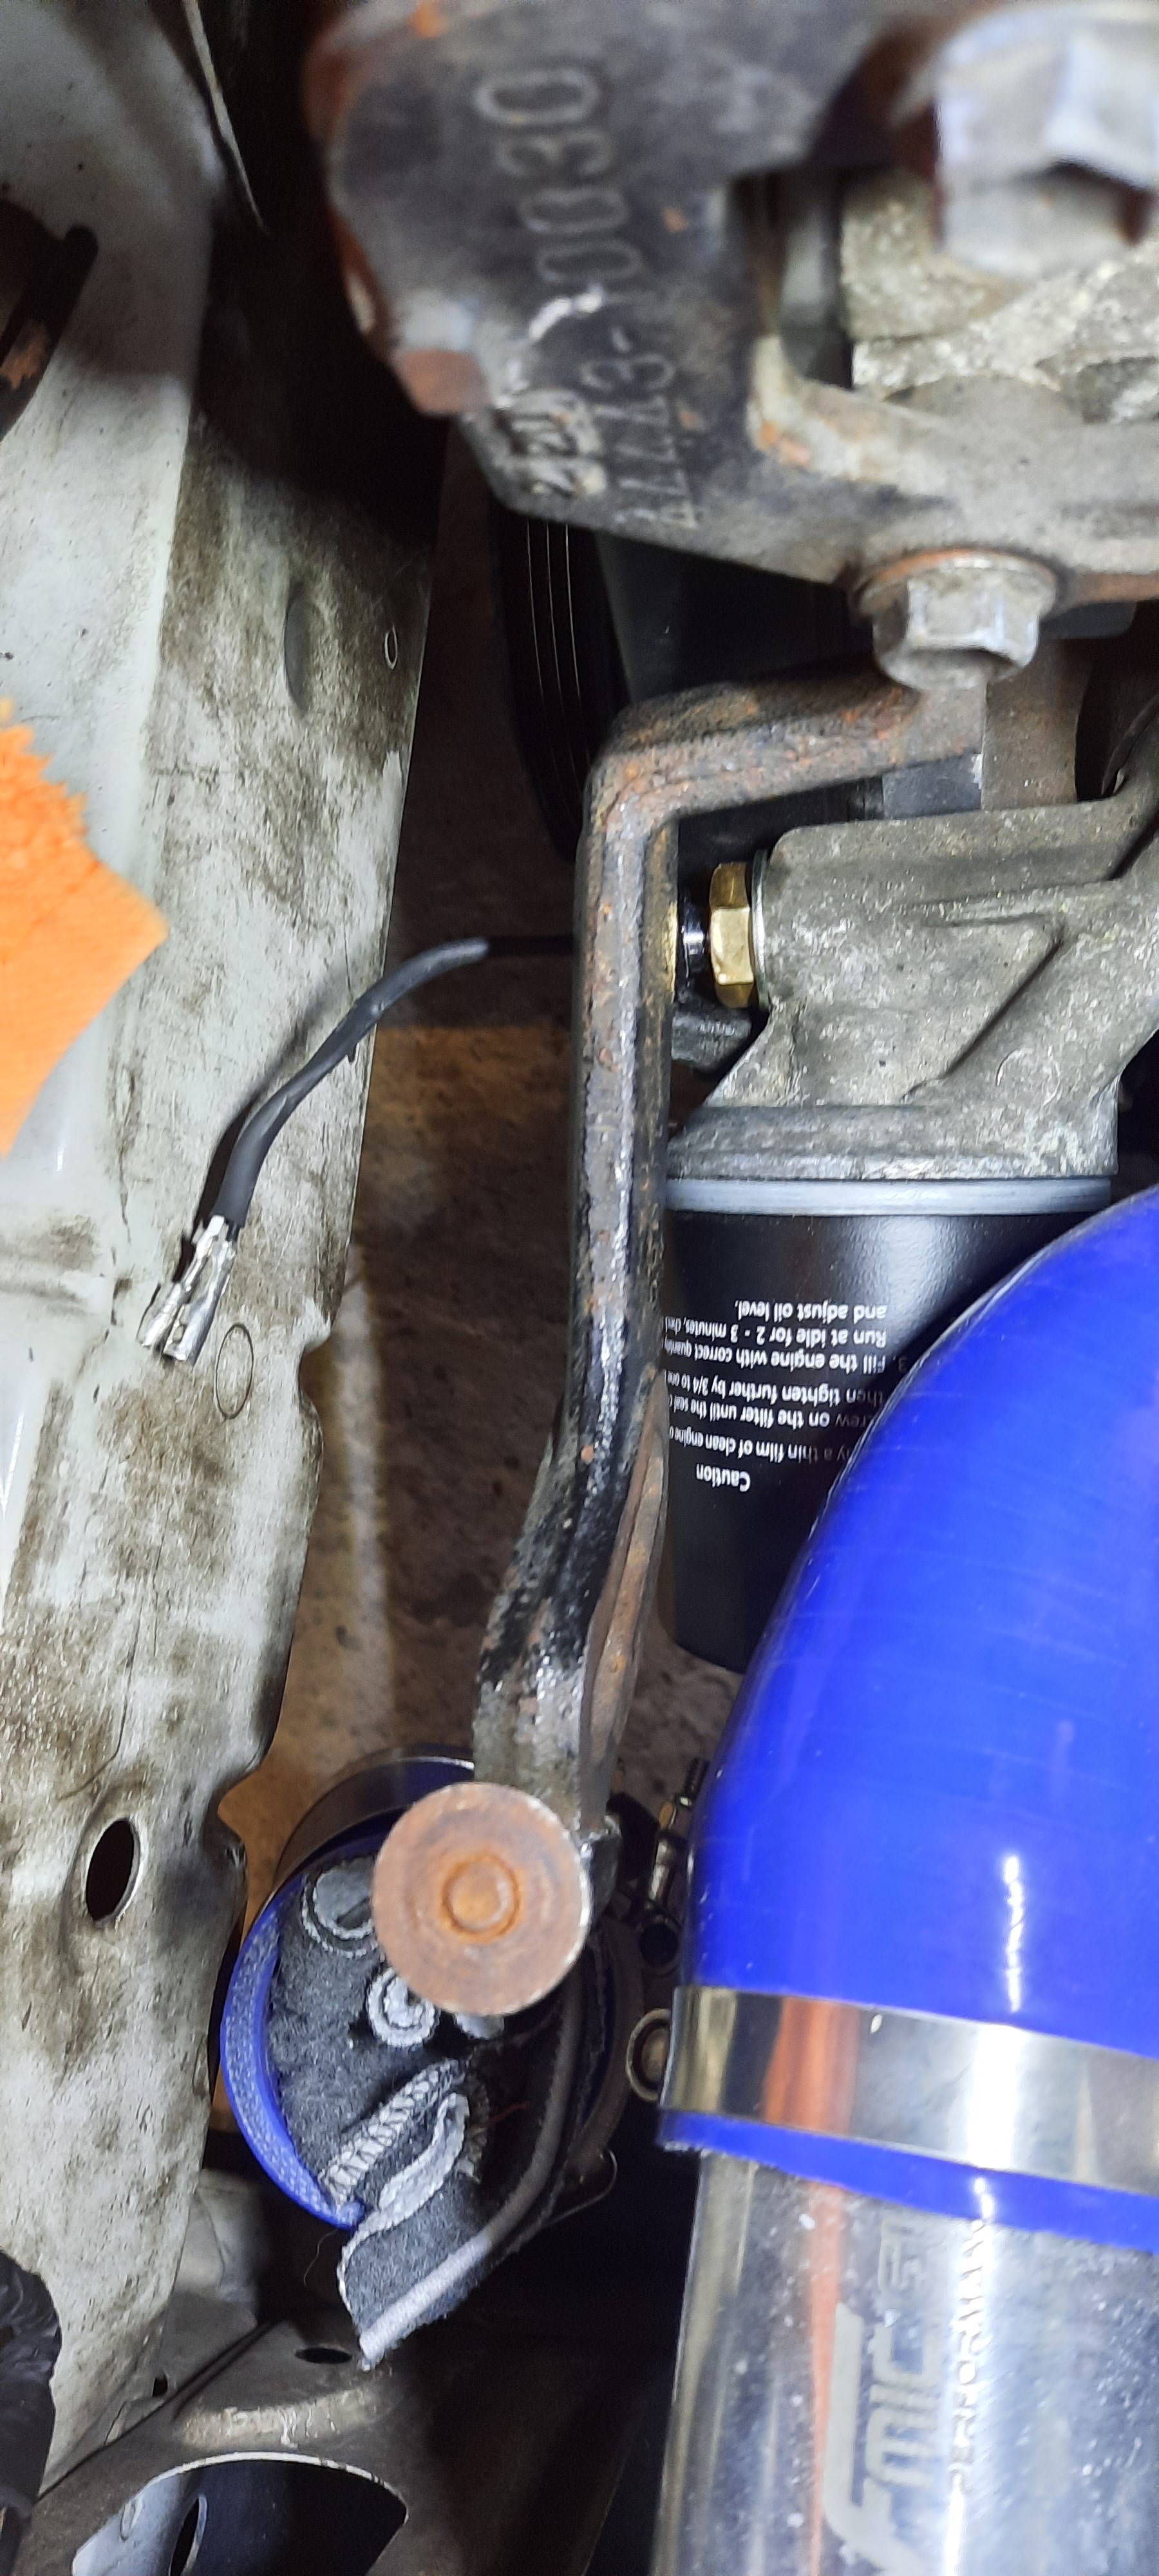
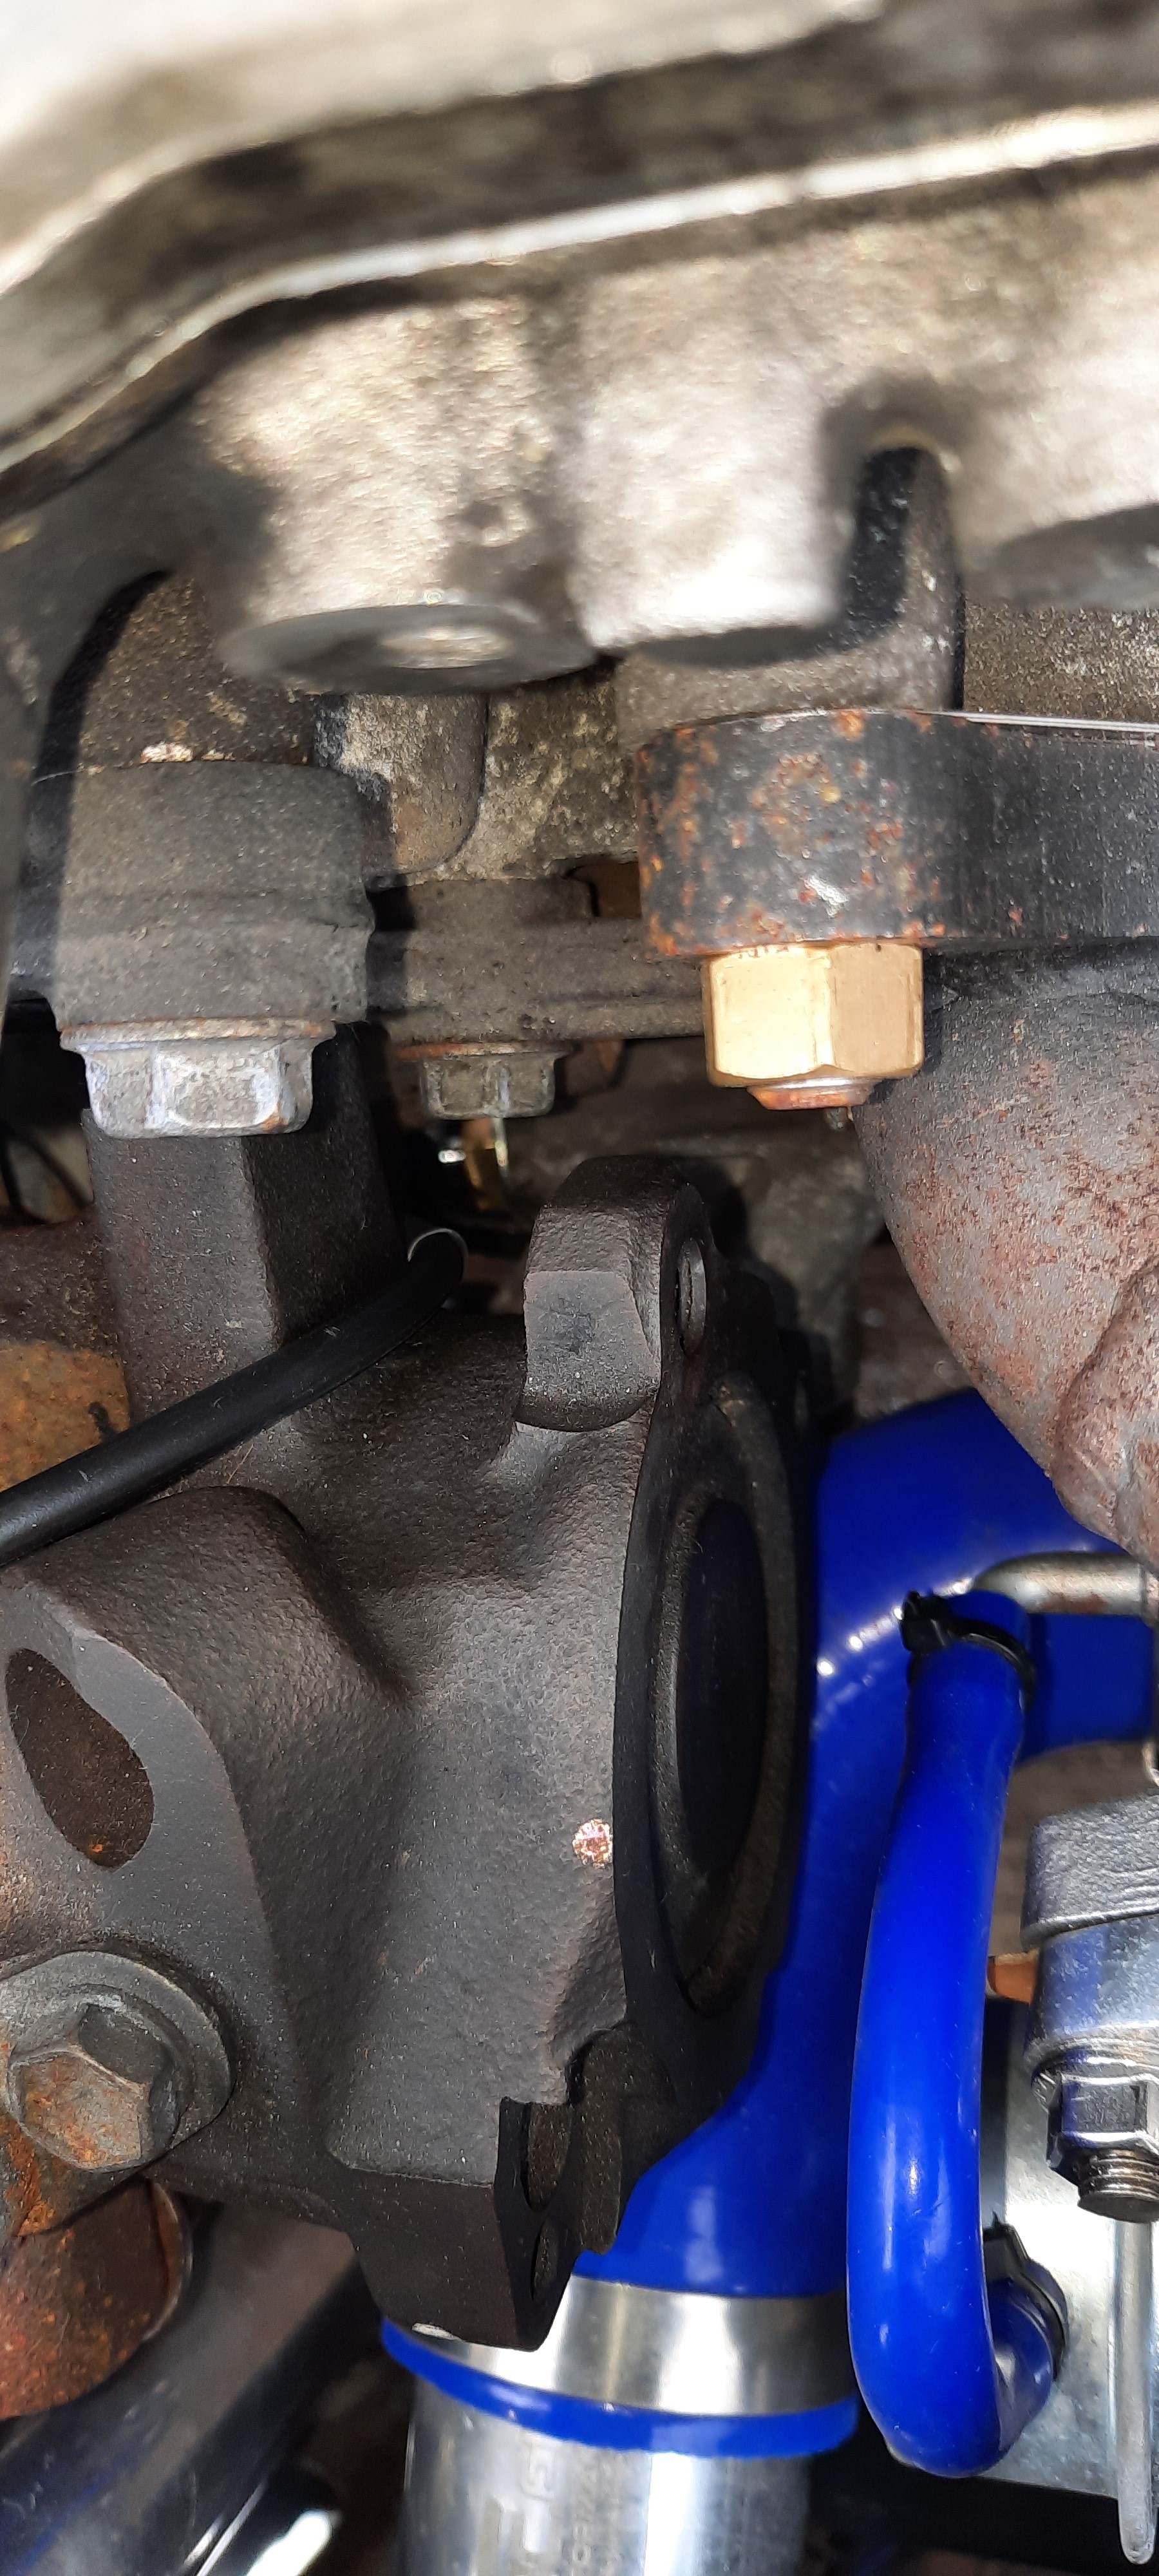
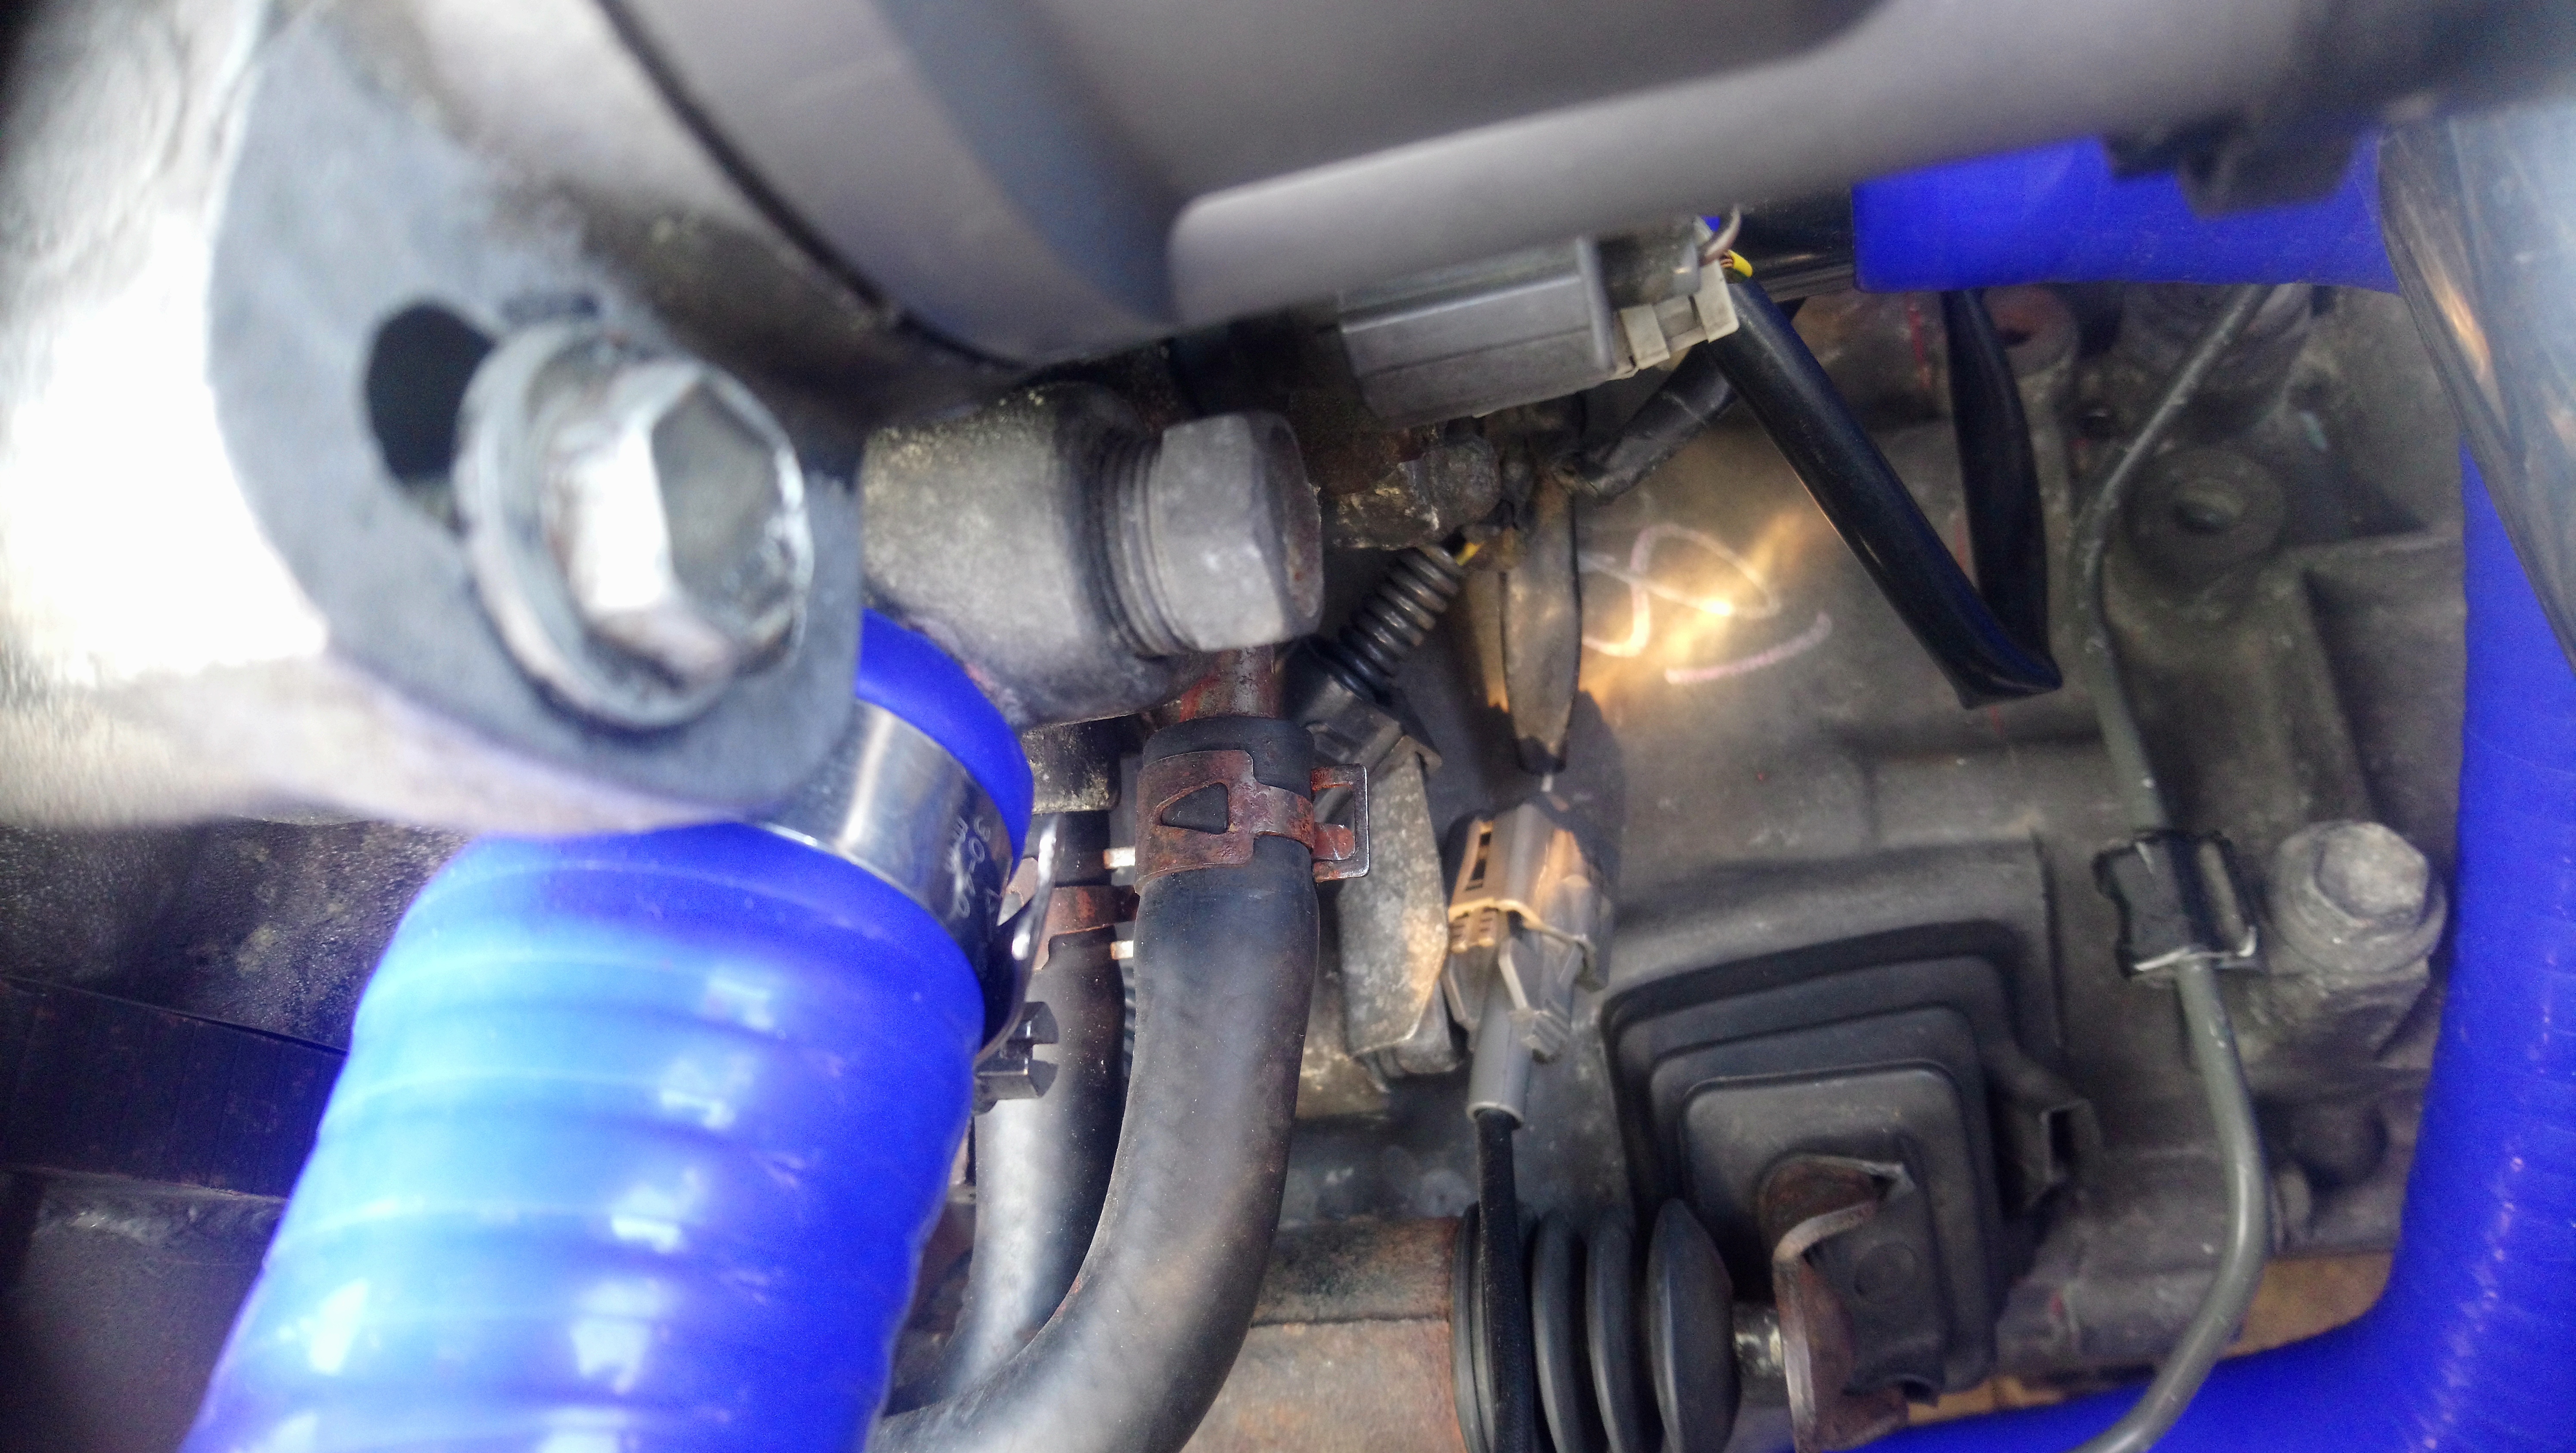
Added an oil temp gauge to fill the last gauge pod this week. Used the spare port in the oil filter housing to fit the sensor, another M16 x 1.5 to 1/8th npt adapter was required. I used locktite 545 thread seal on both fittings to prevent leaks. I then had to drill a hole into the lower power steering bracket to run the wire through.

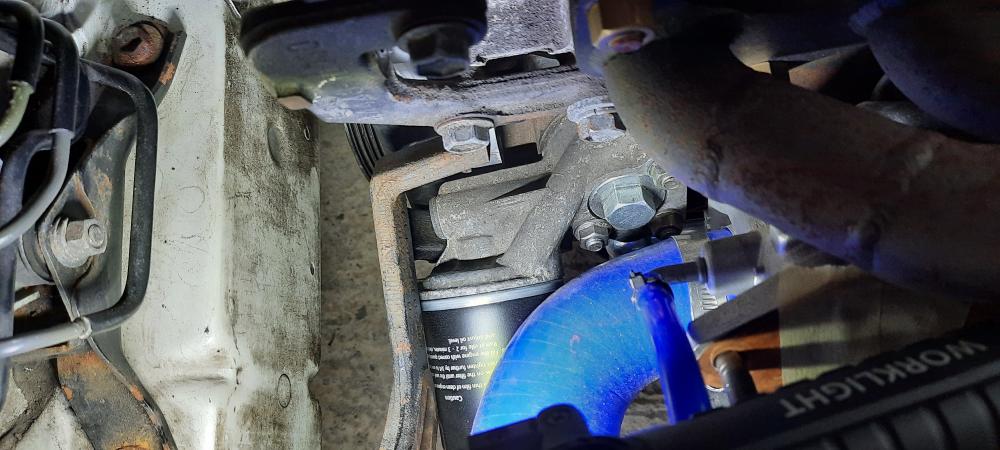
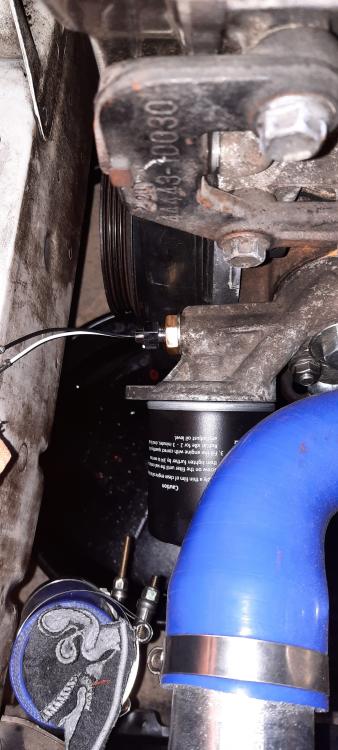
I ran the wire around the back of the power steering pump out of the way of the belts and up through the firewall.
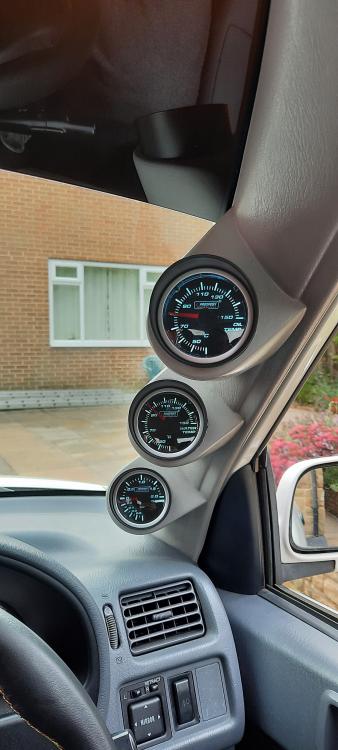
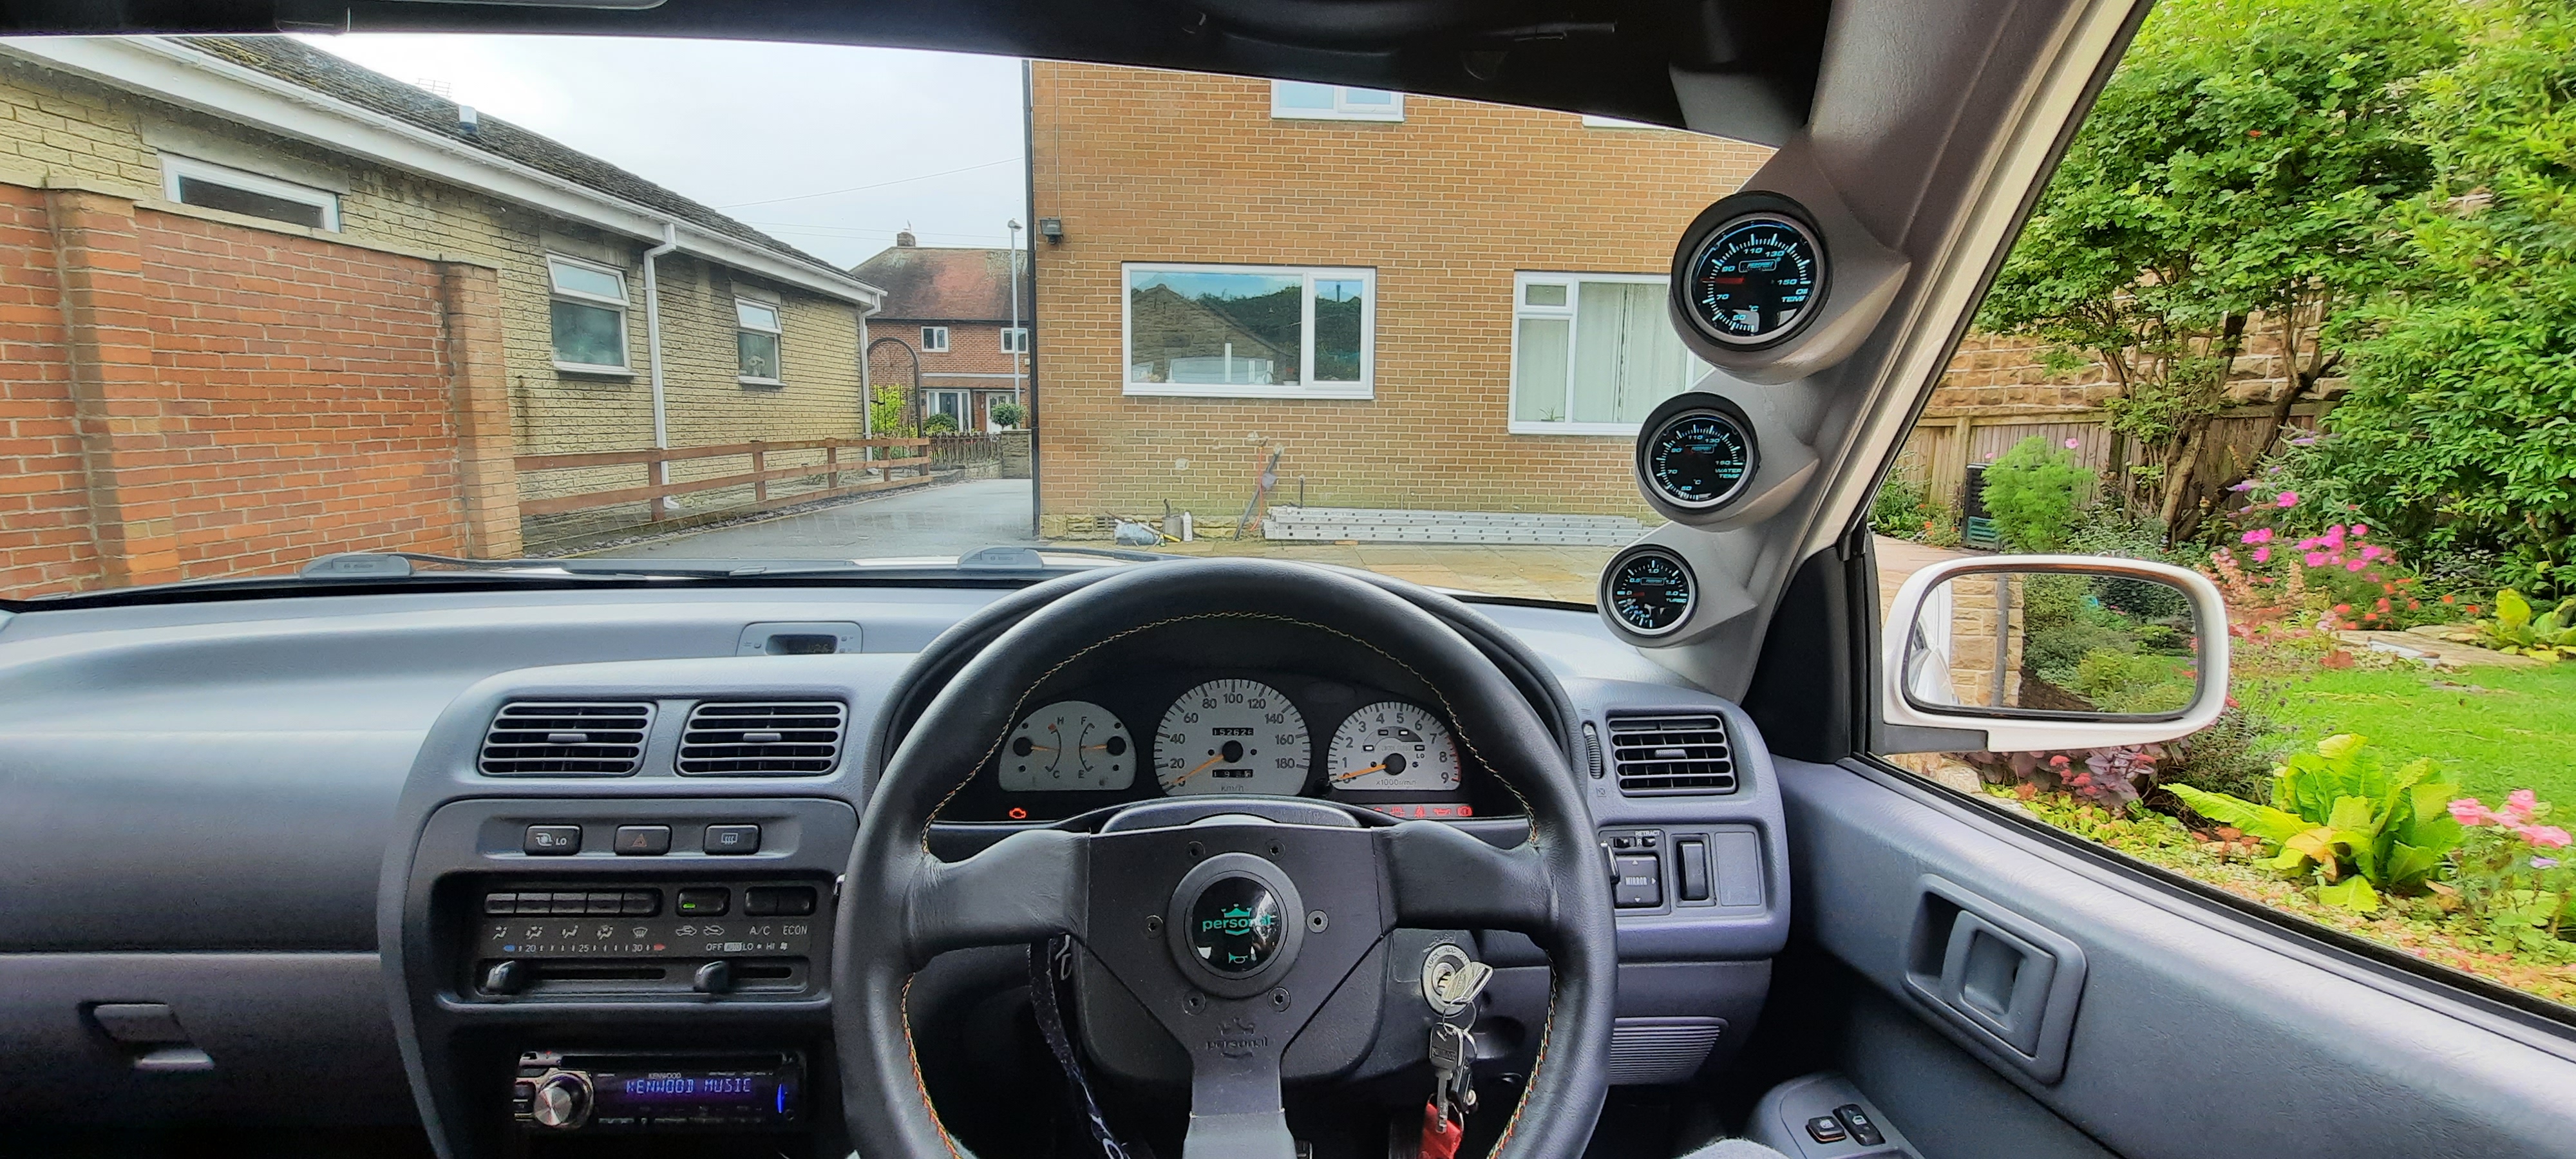
Got the gauge wired up inside and all works smoothly. Pleased with the interior, glad to be able to keep a good eye on the temps now. Hopefully i'll add some more gauges in the future.


-
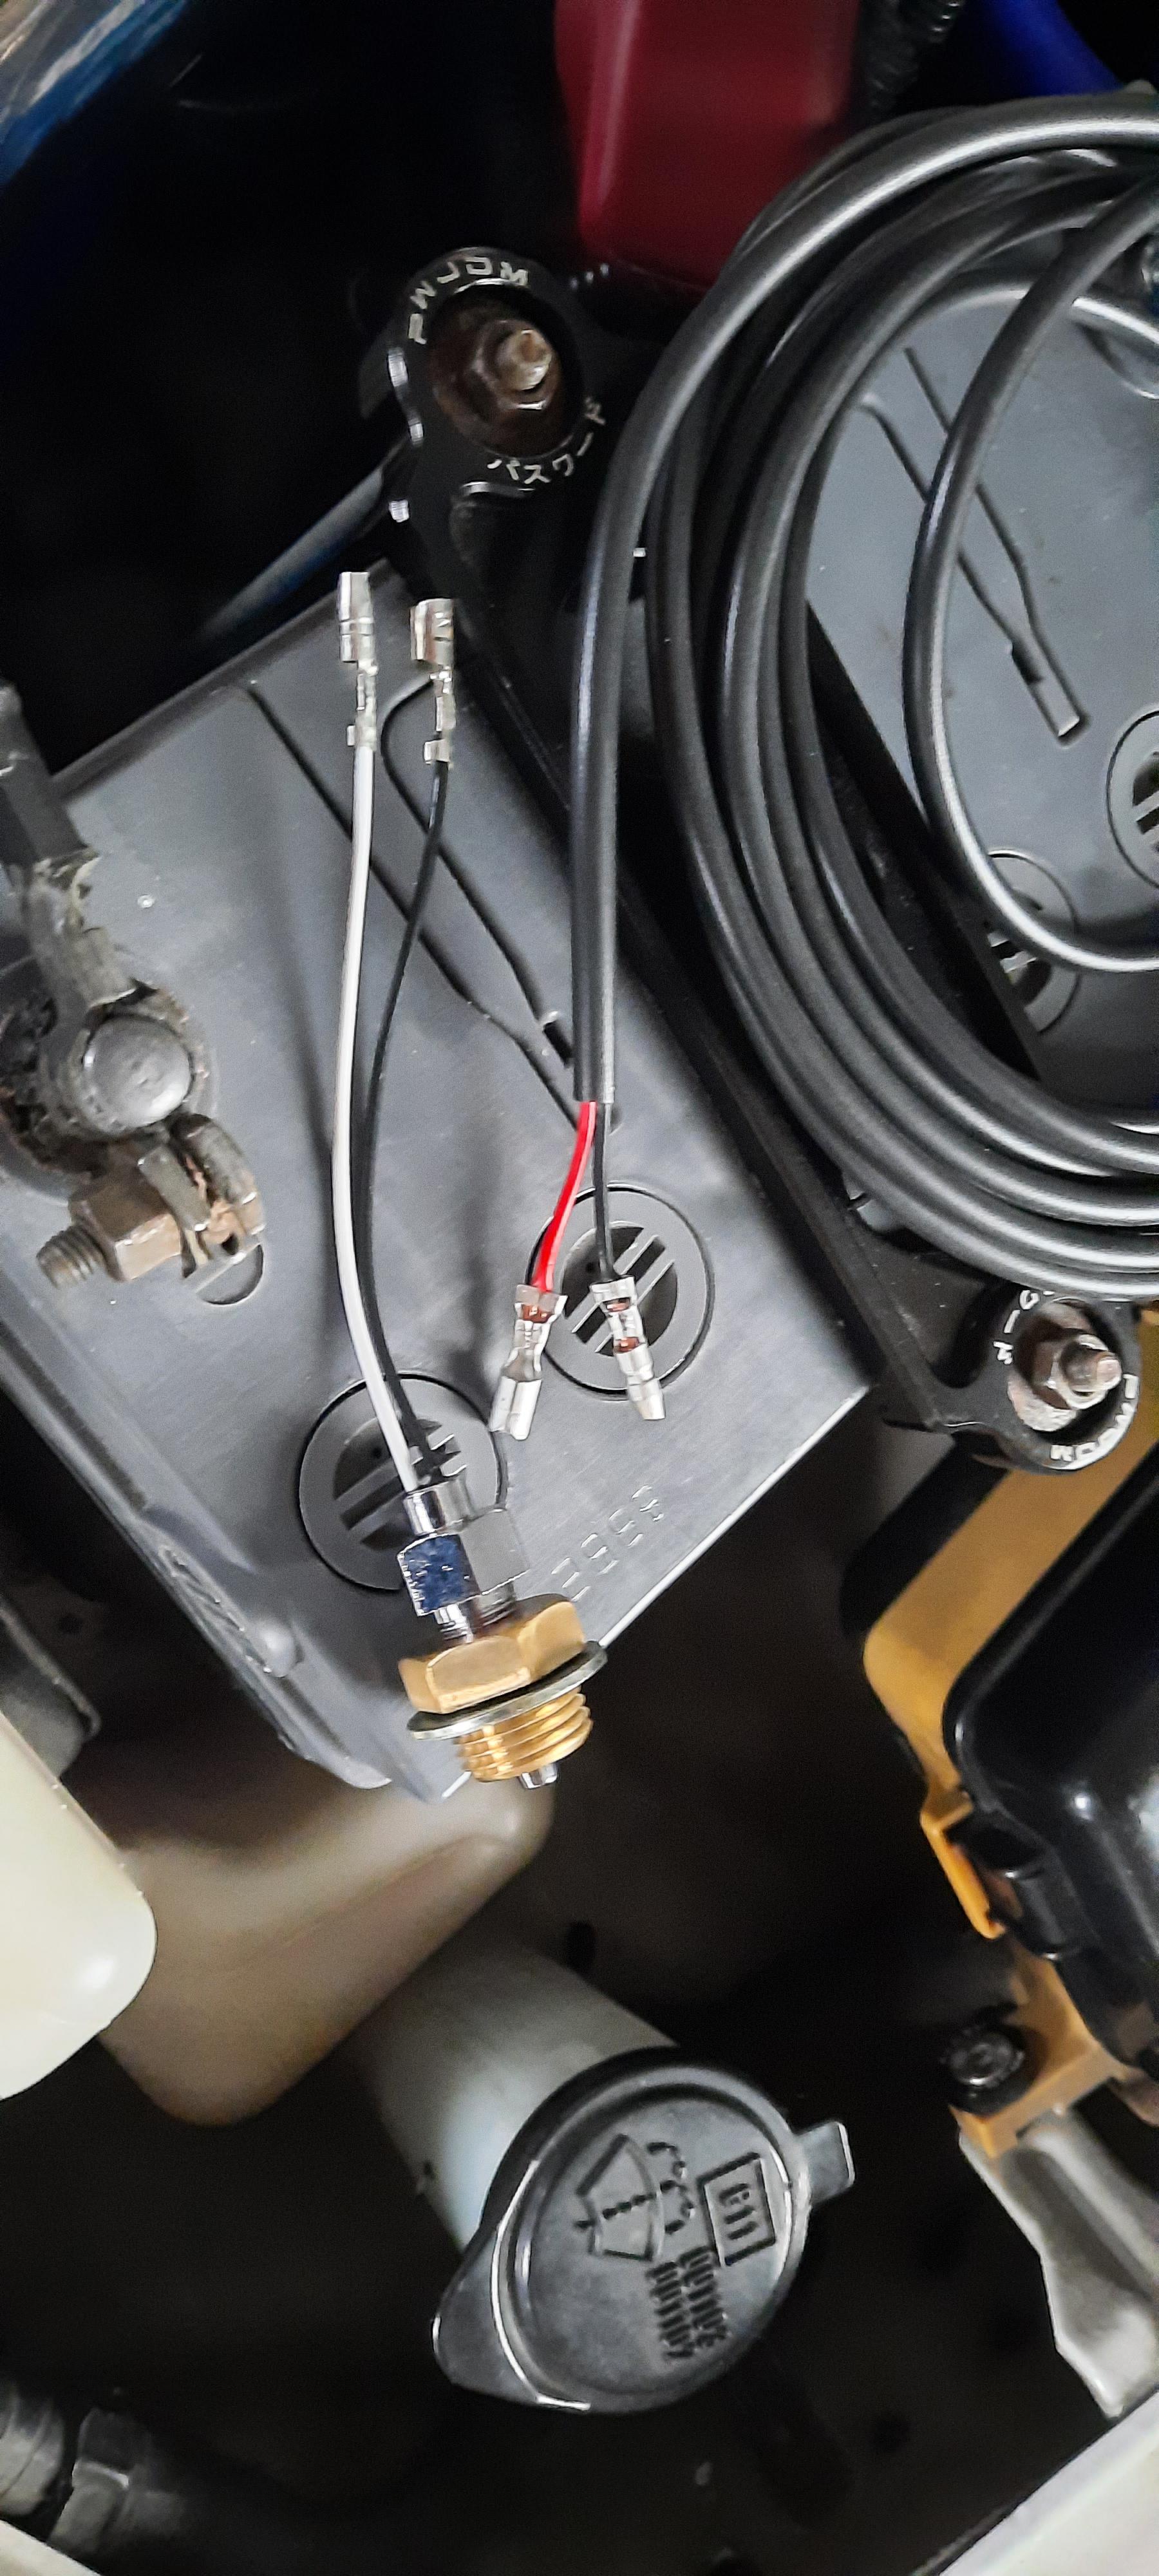
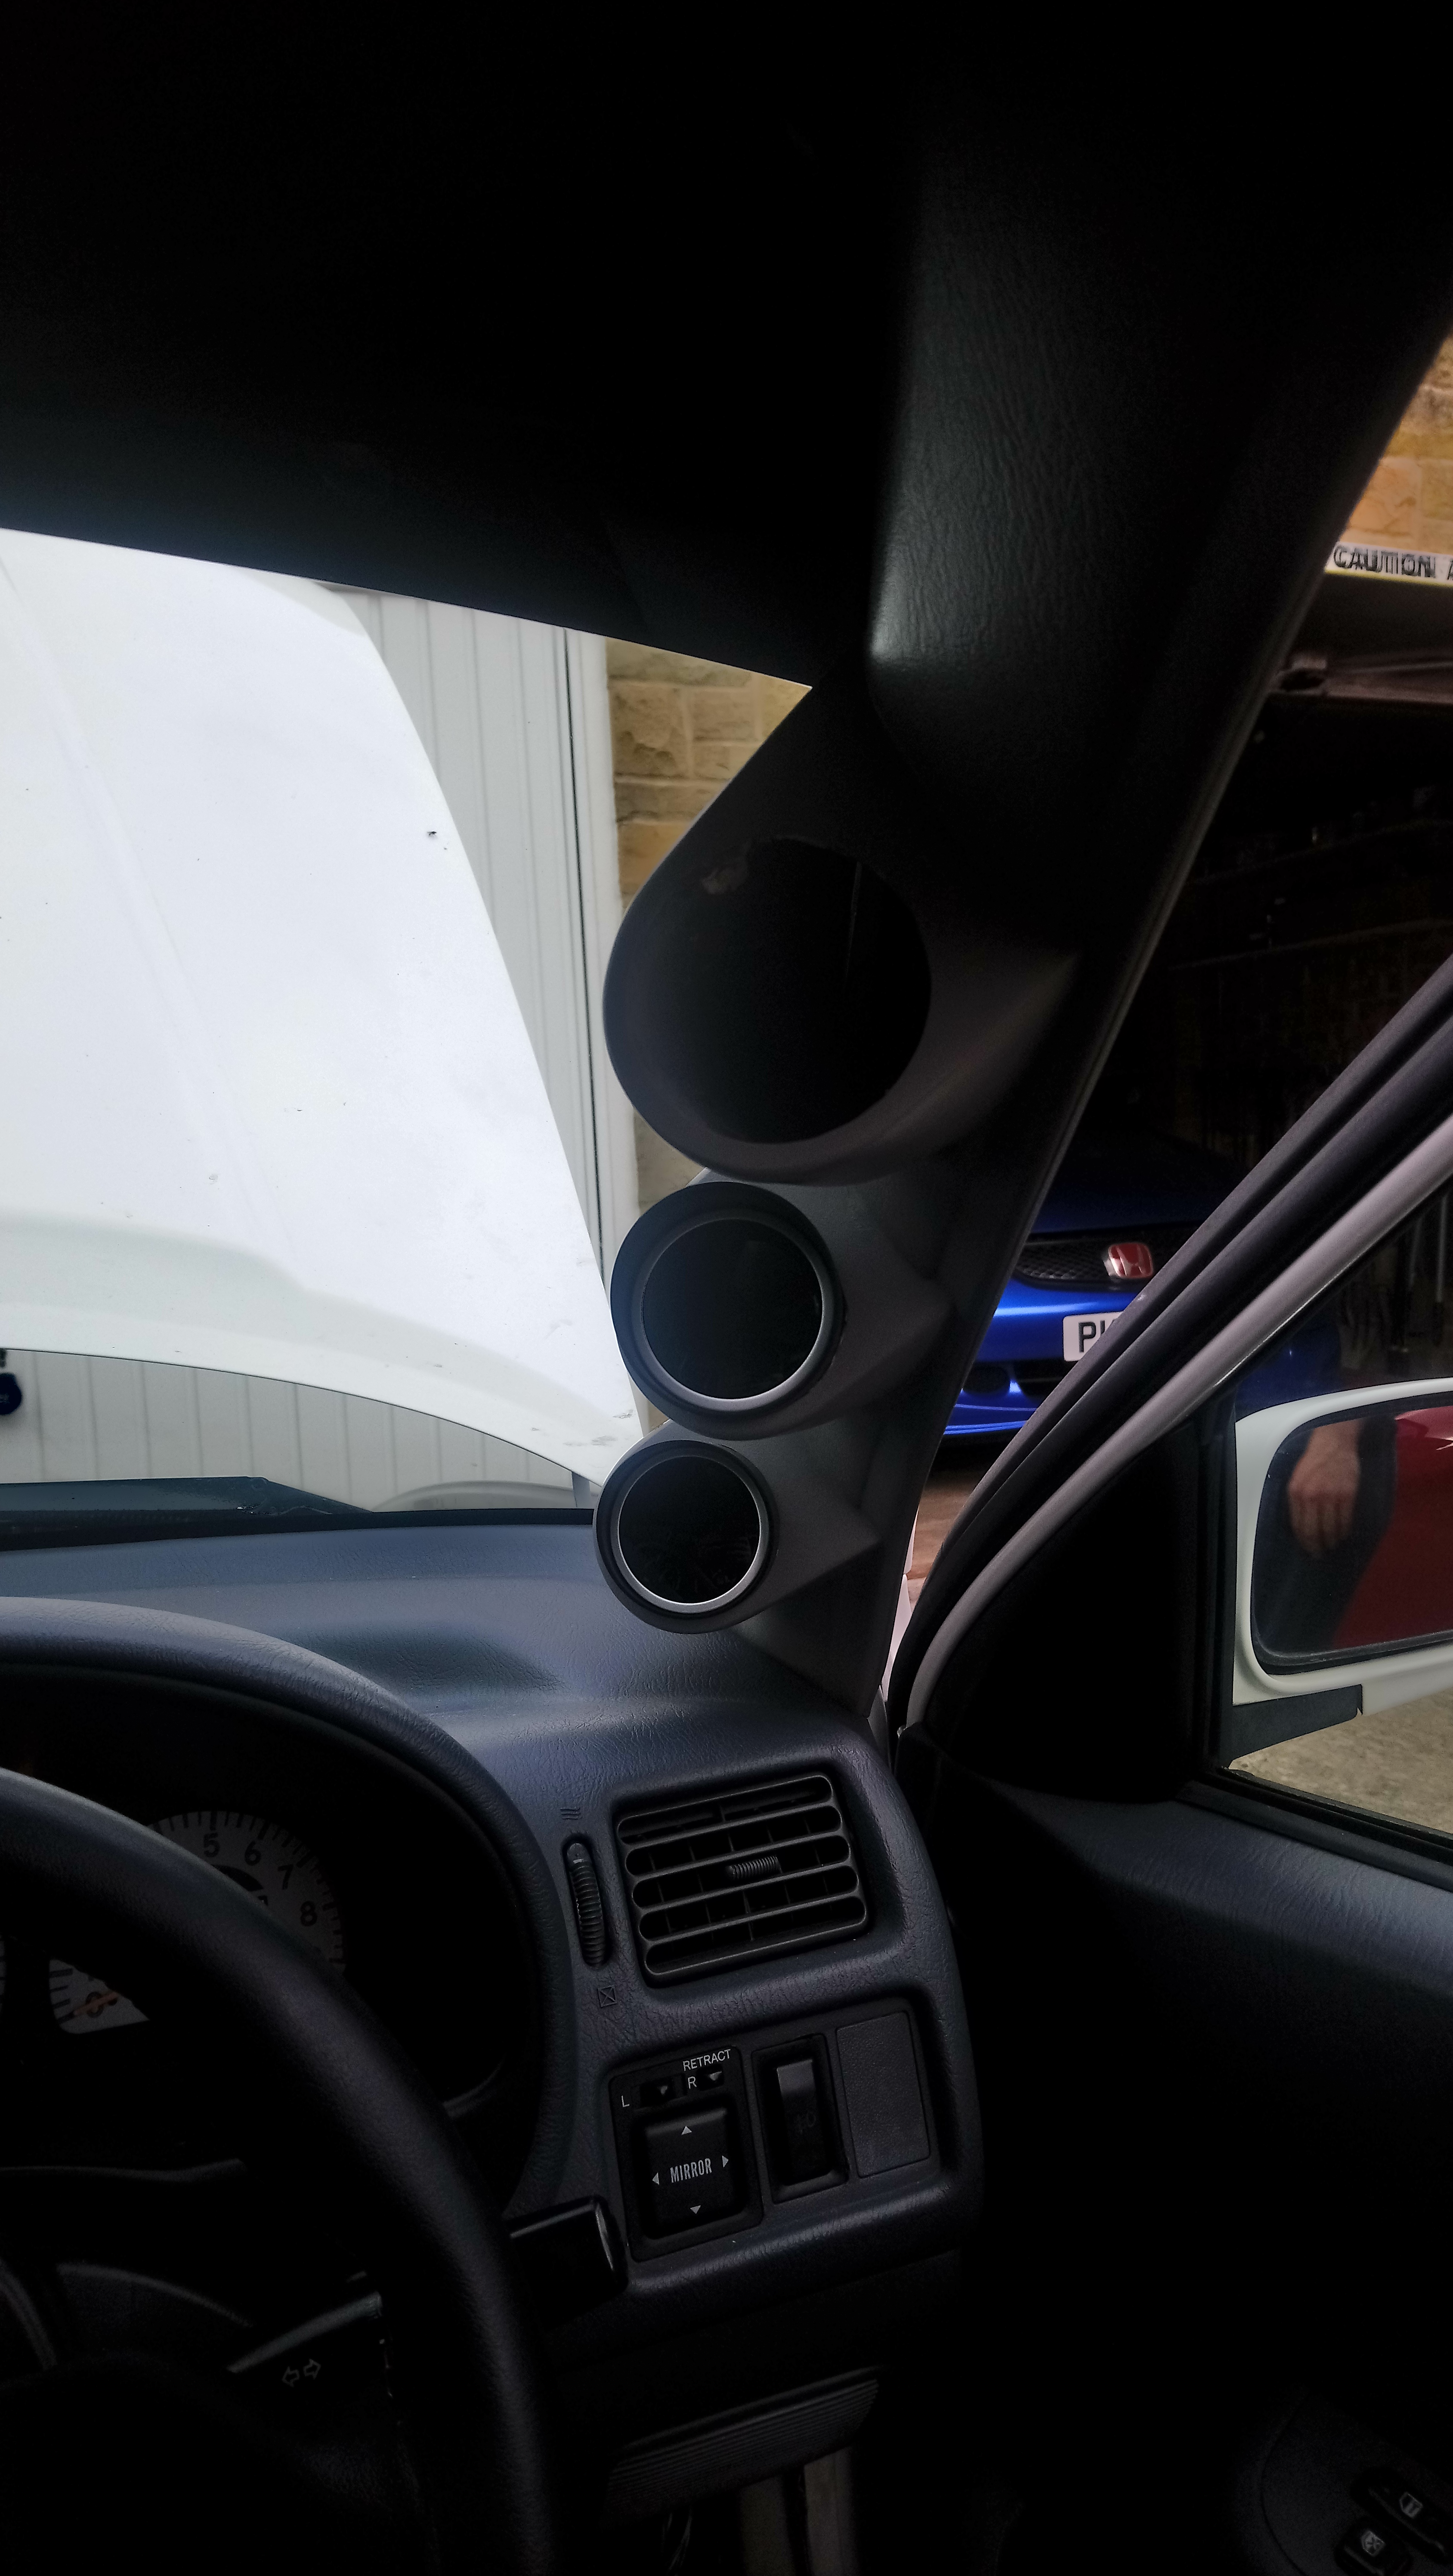
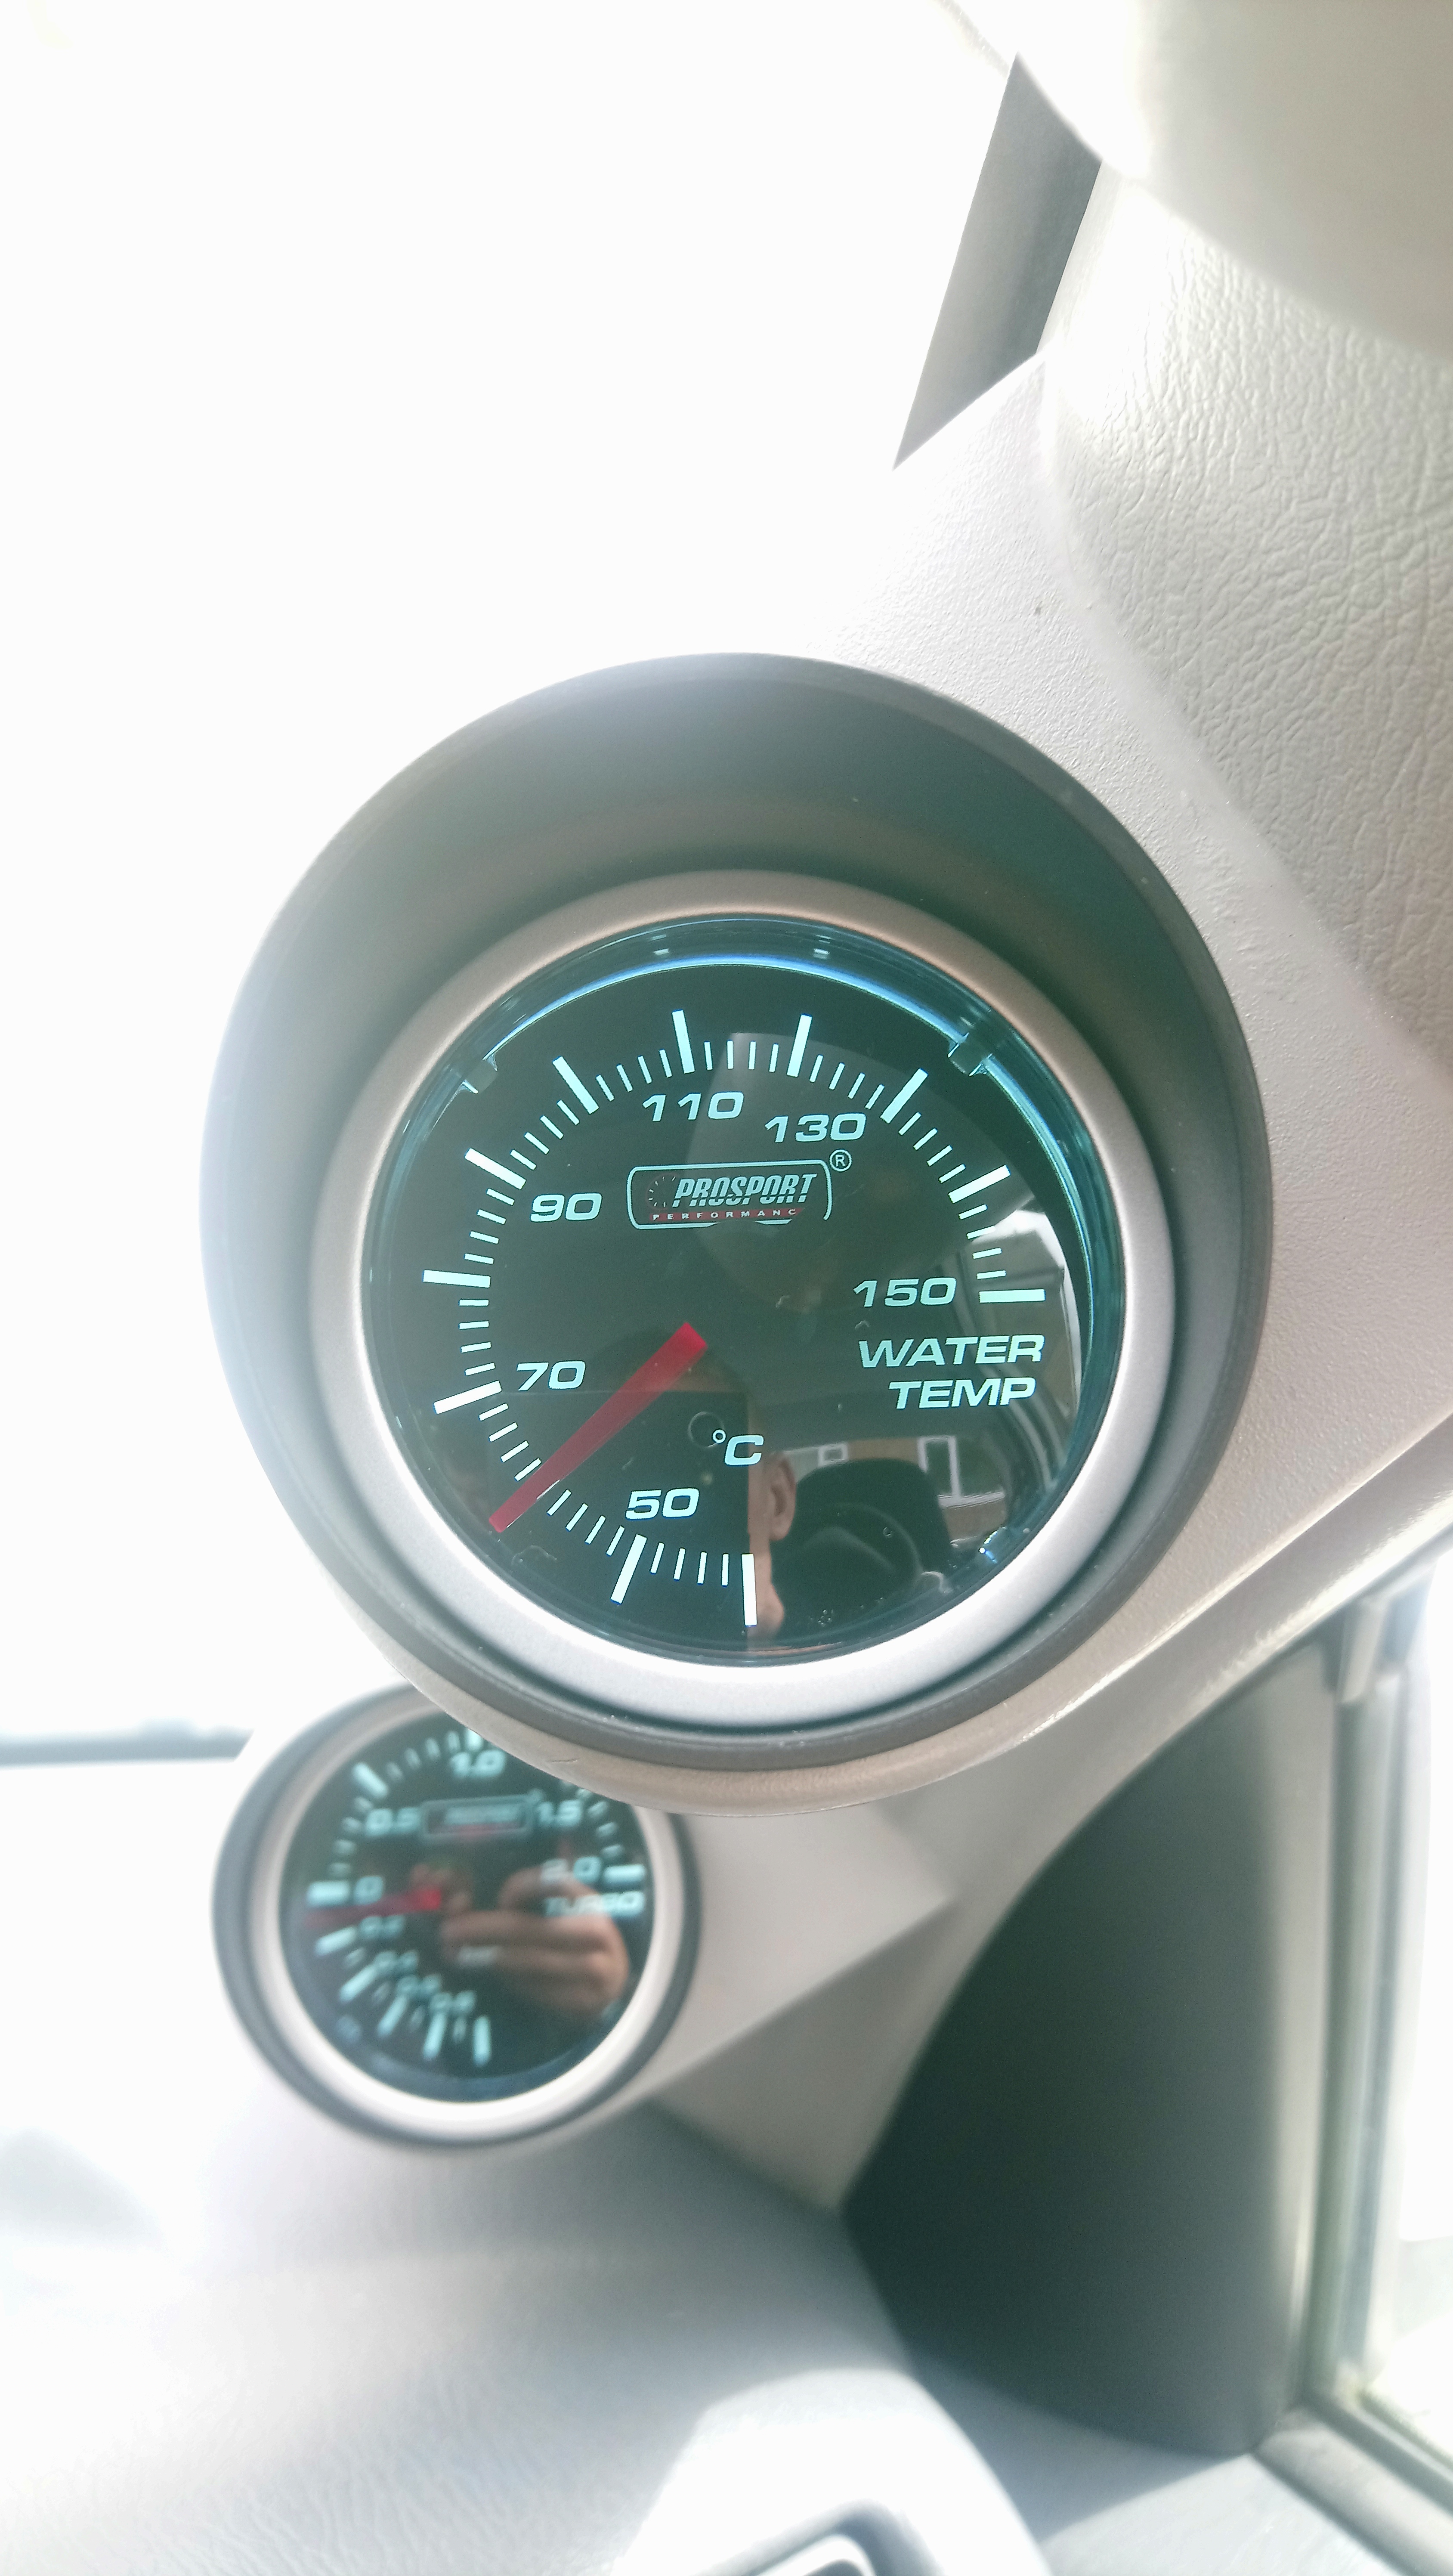
Fitted a new water temperature gauge to the car at the weekend, wanted to keep a closer eye on the temps as the stock gauge on the dash doesnt fill me with confidence.
Noticed there is a spare blanked off port on the thermostat housing on the glanza's, so decided to use that to plumb in the sensor using an M16 x 1.5 to 1/8th npt adapter. Once installed I wired it up with some crimping connectors and ran the wire through the firewall into the cabin.


Then I got the new gauge fitted into my a pillar gauge pod trim and got it all wired up. It only needed a 12v positive, a ground and a signal wire coming from the sender in the engine bay. Did all the connections with crimping connectors and also redid the wiring for my boost gauge with them as the wiring wasnt the best before.

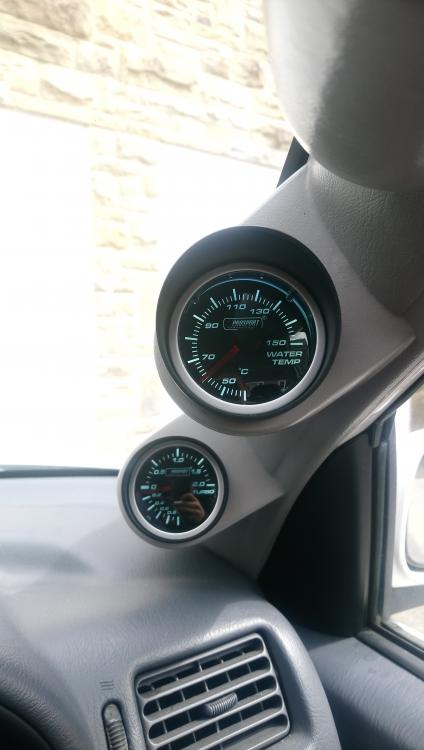
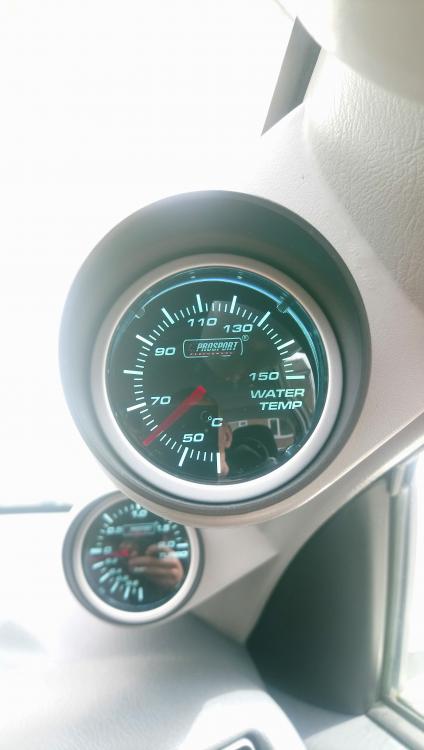
Pleased with how it turned out, should help me to monitor the engine temps a lot better. Just need to get another gauge to fill the last pod now.
-
15 minutes ago, BMX-RIG said:
Have both here James, pm me and we can get them sorted out.
Sound, pm sent
.
-
Looking for a single wire o2 sensor with the plug and a working interior light for my glanza.
Thanks
-
2 hours ago, Sam44 said:
i did the same recently and went from superpro bushings to powerflex. it was a mistake the superpro bushings are better, stiffer, less suspension deflection. i guess the reason for the powerflex bushings being so soft is to help ride noise/comfort.
Yeah think your right sam, the front wishbone bush is superpro and the anti lift kit is powerflex. I think powerflex do two different hardness options for every bush though depending on how stiff/soft you want the ride to be.
-
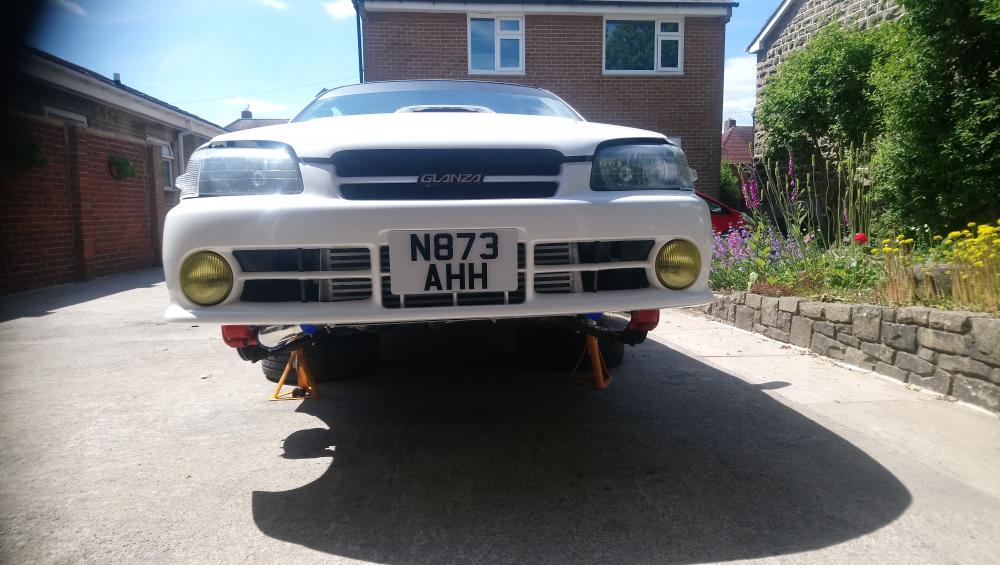
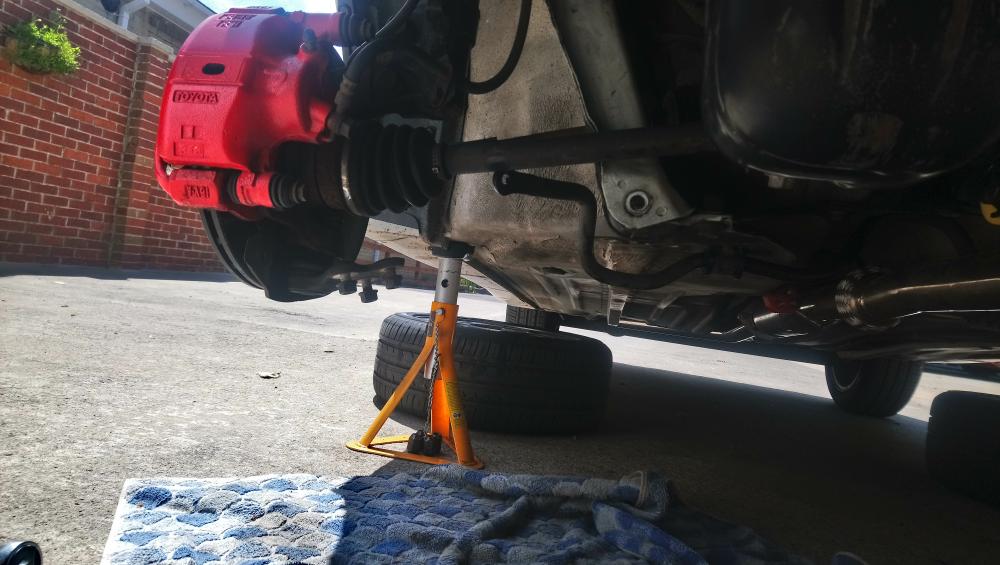
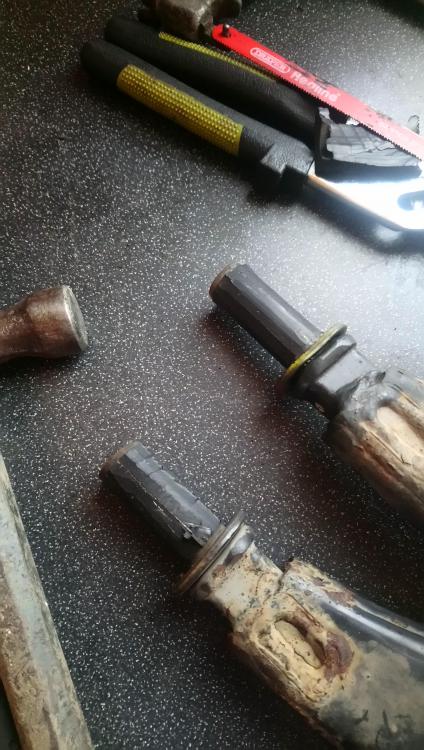
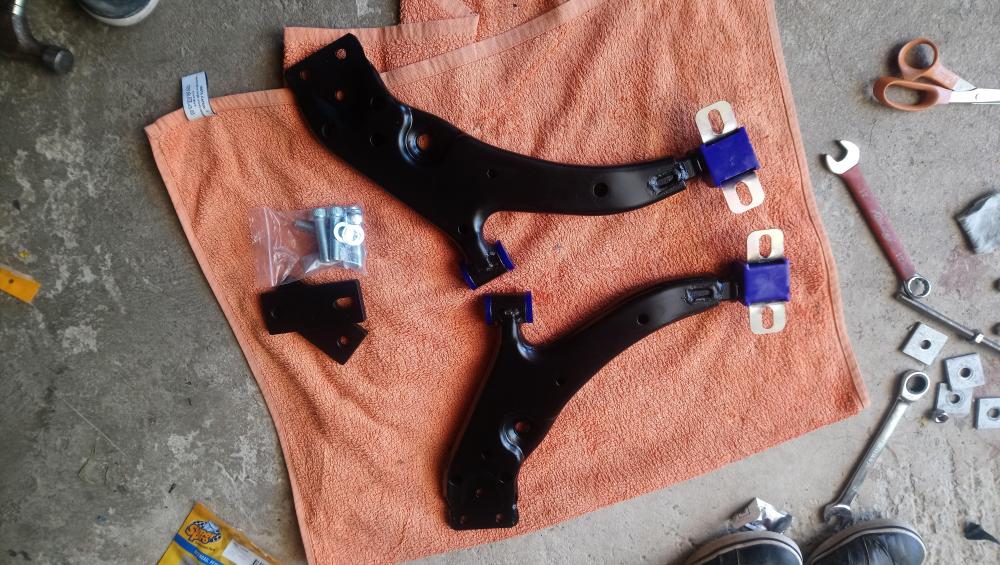
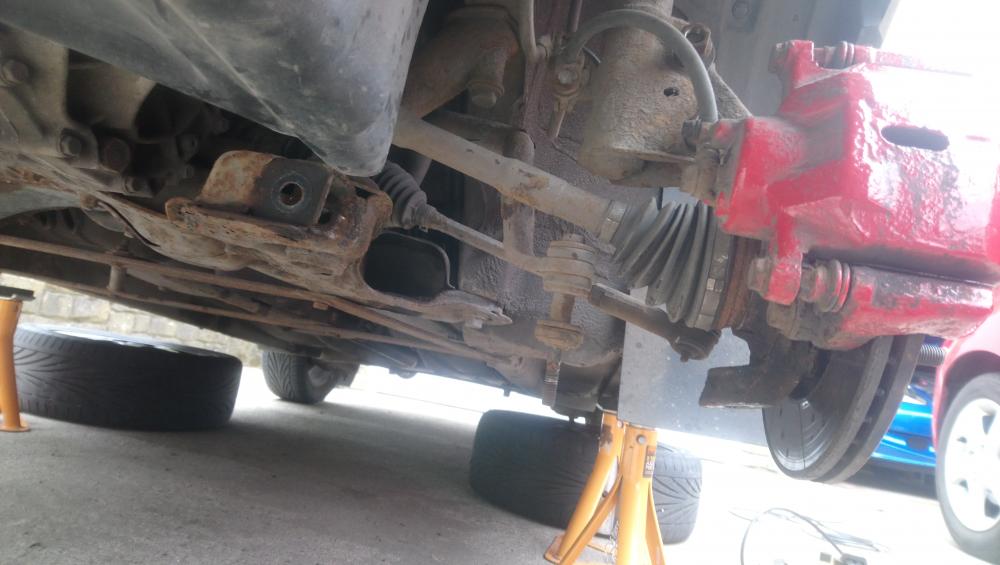
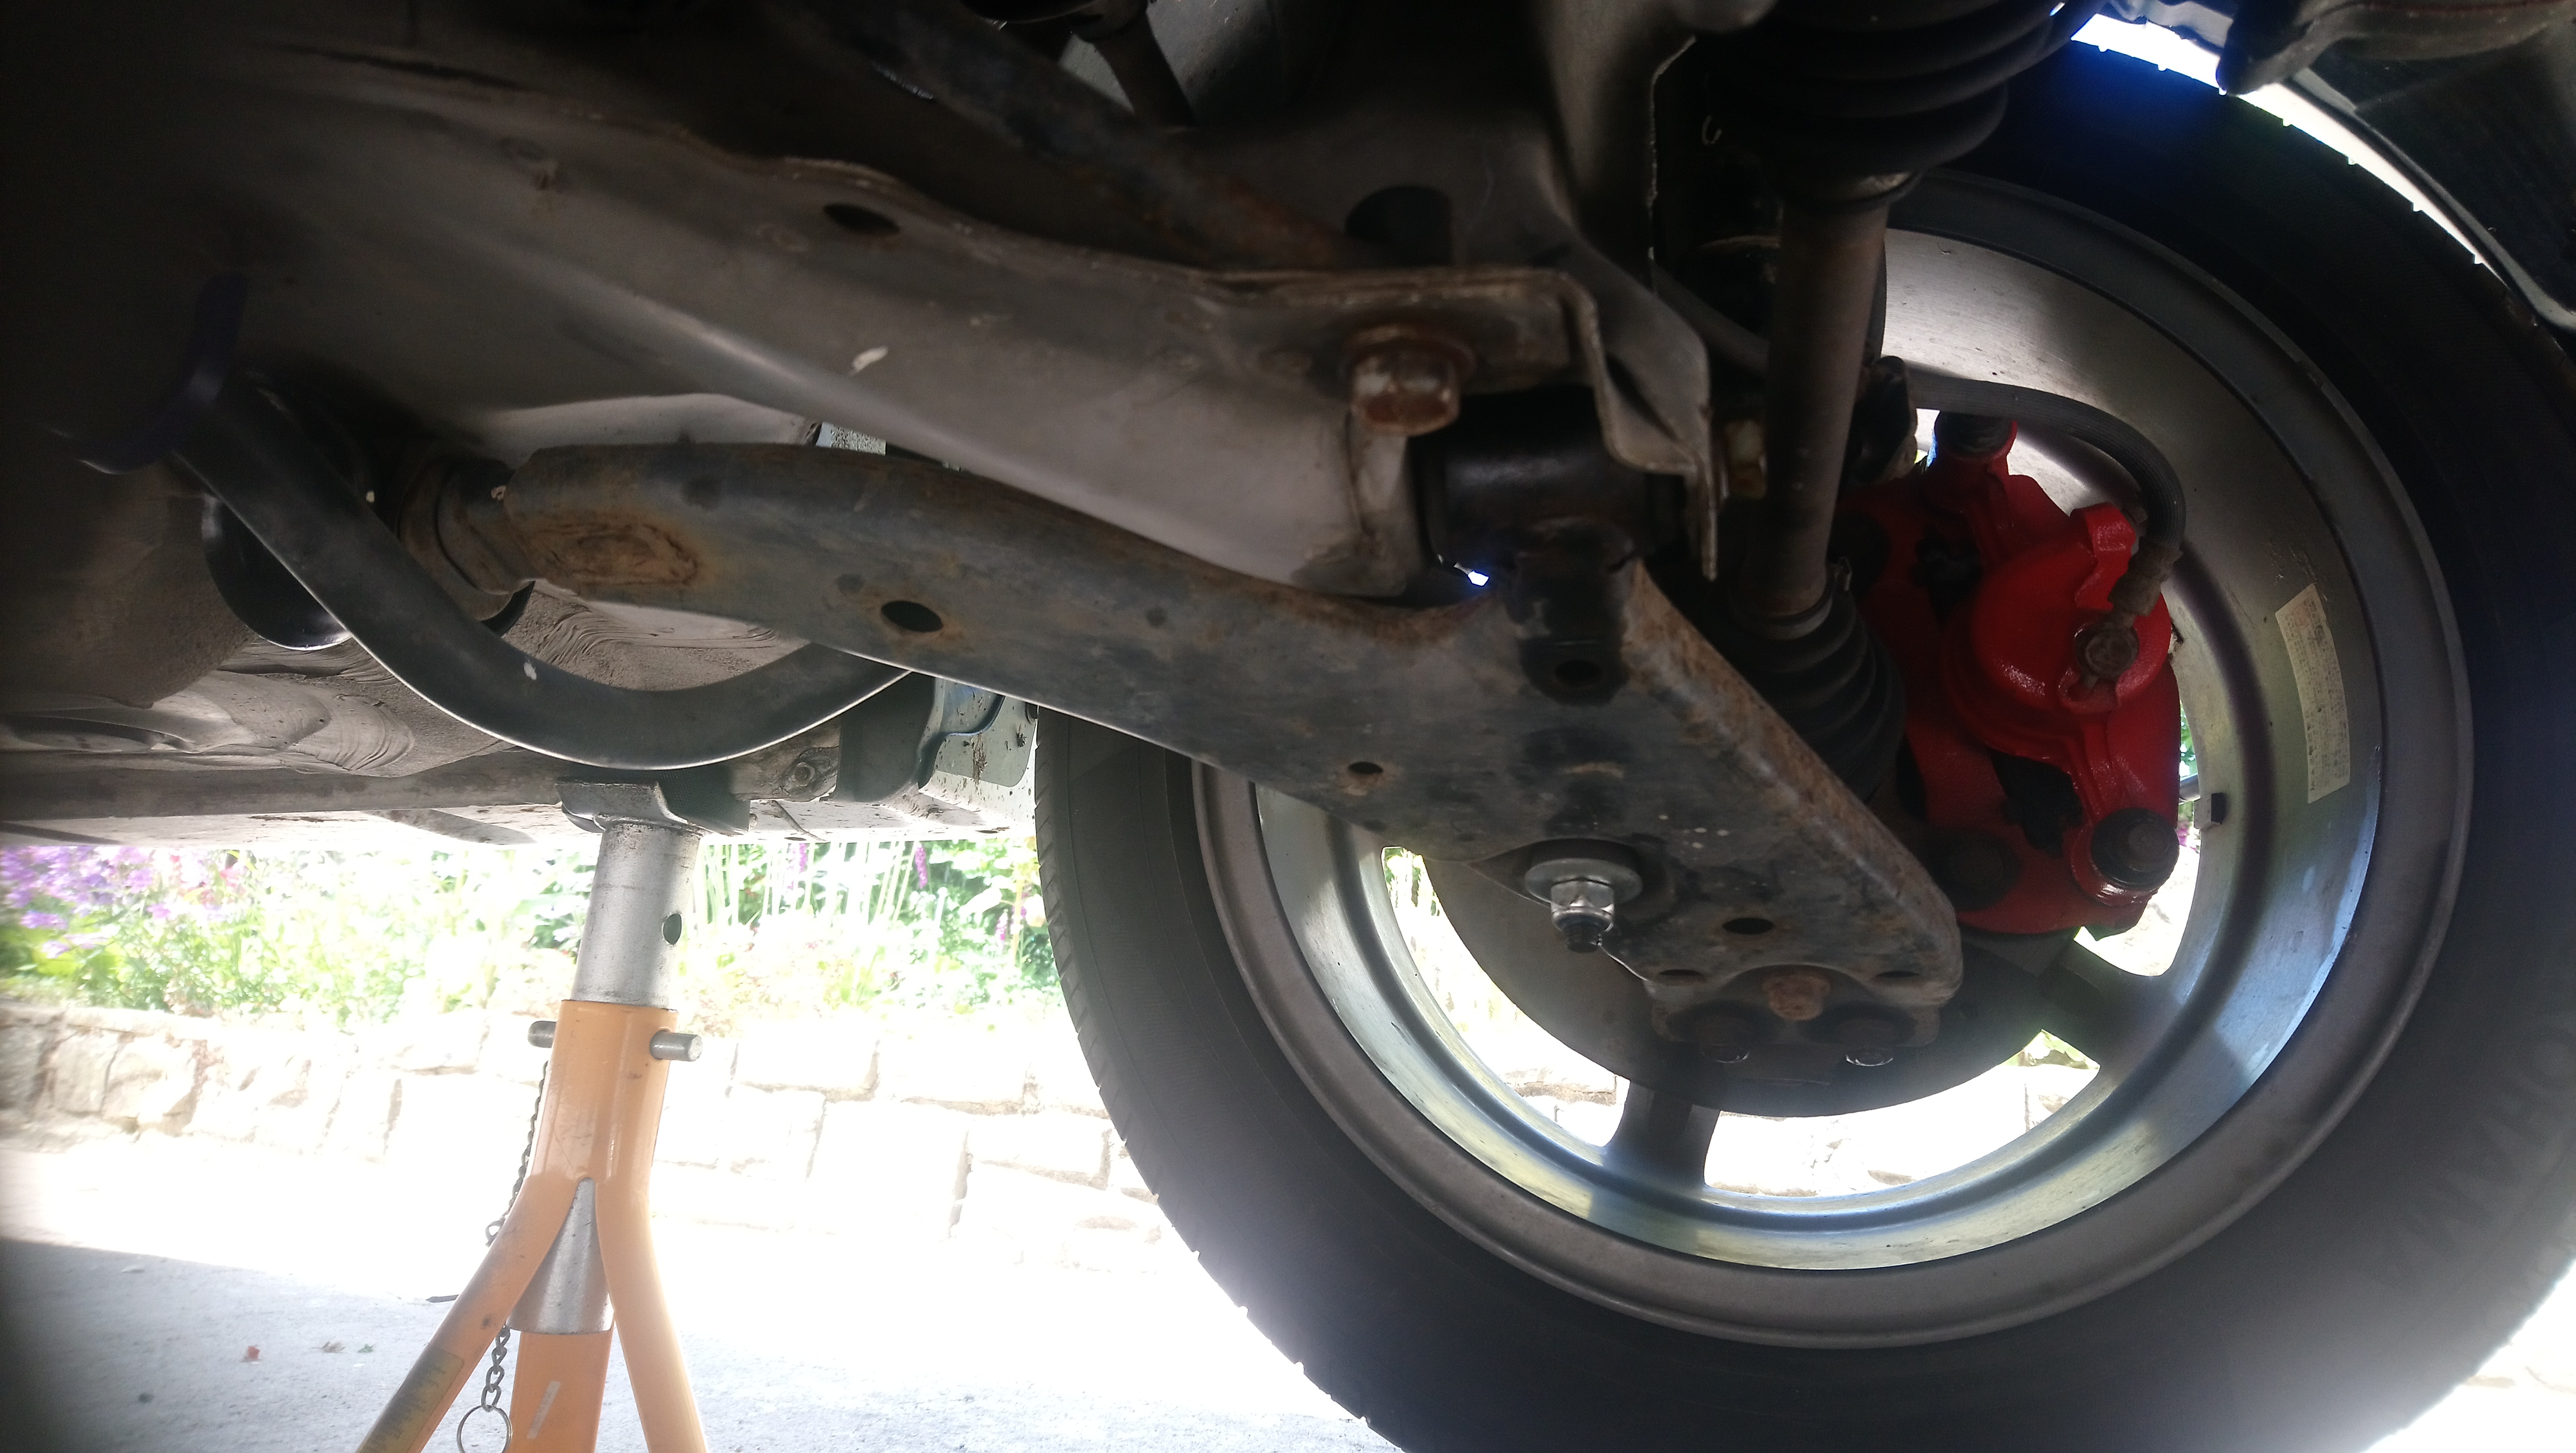
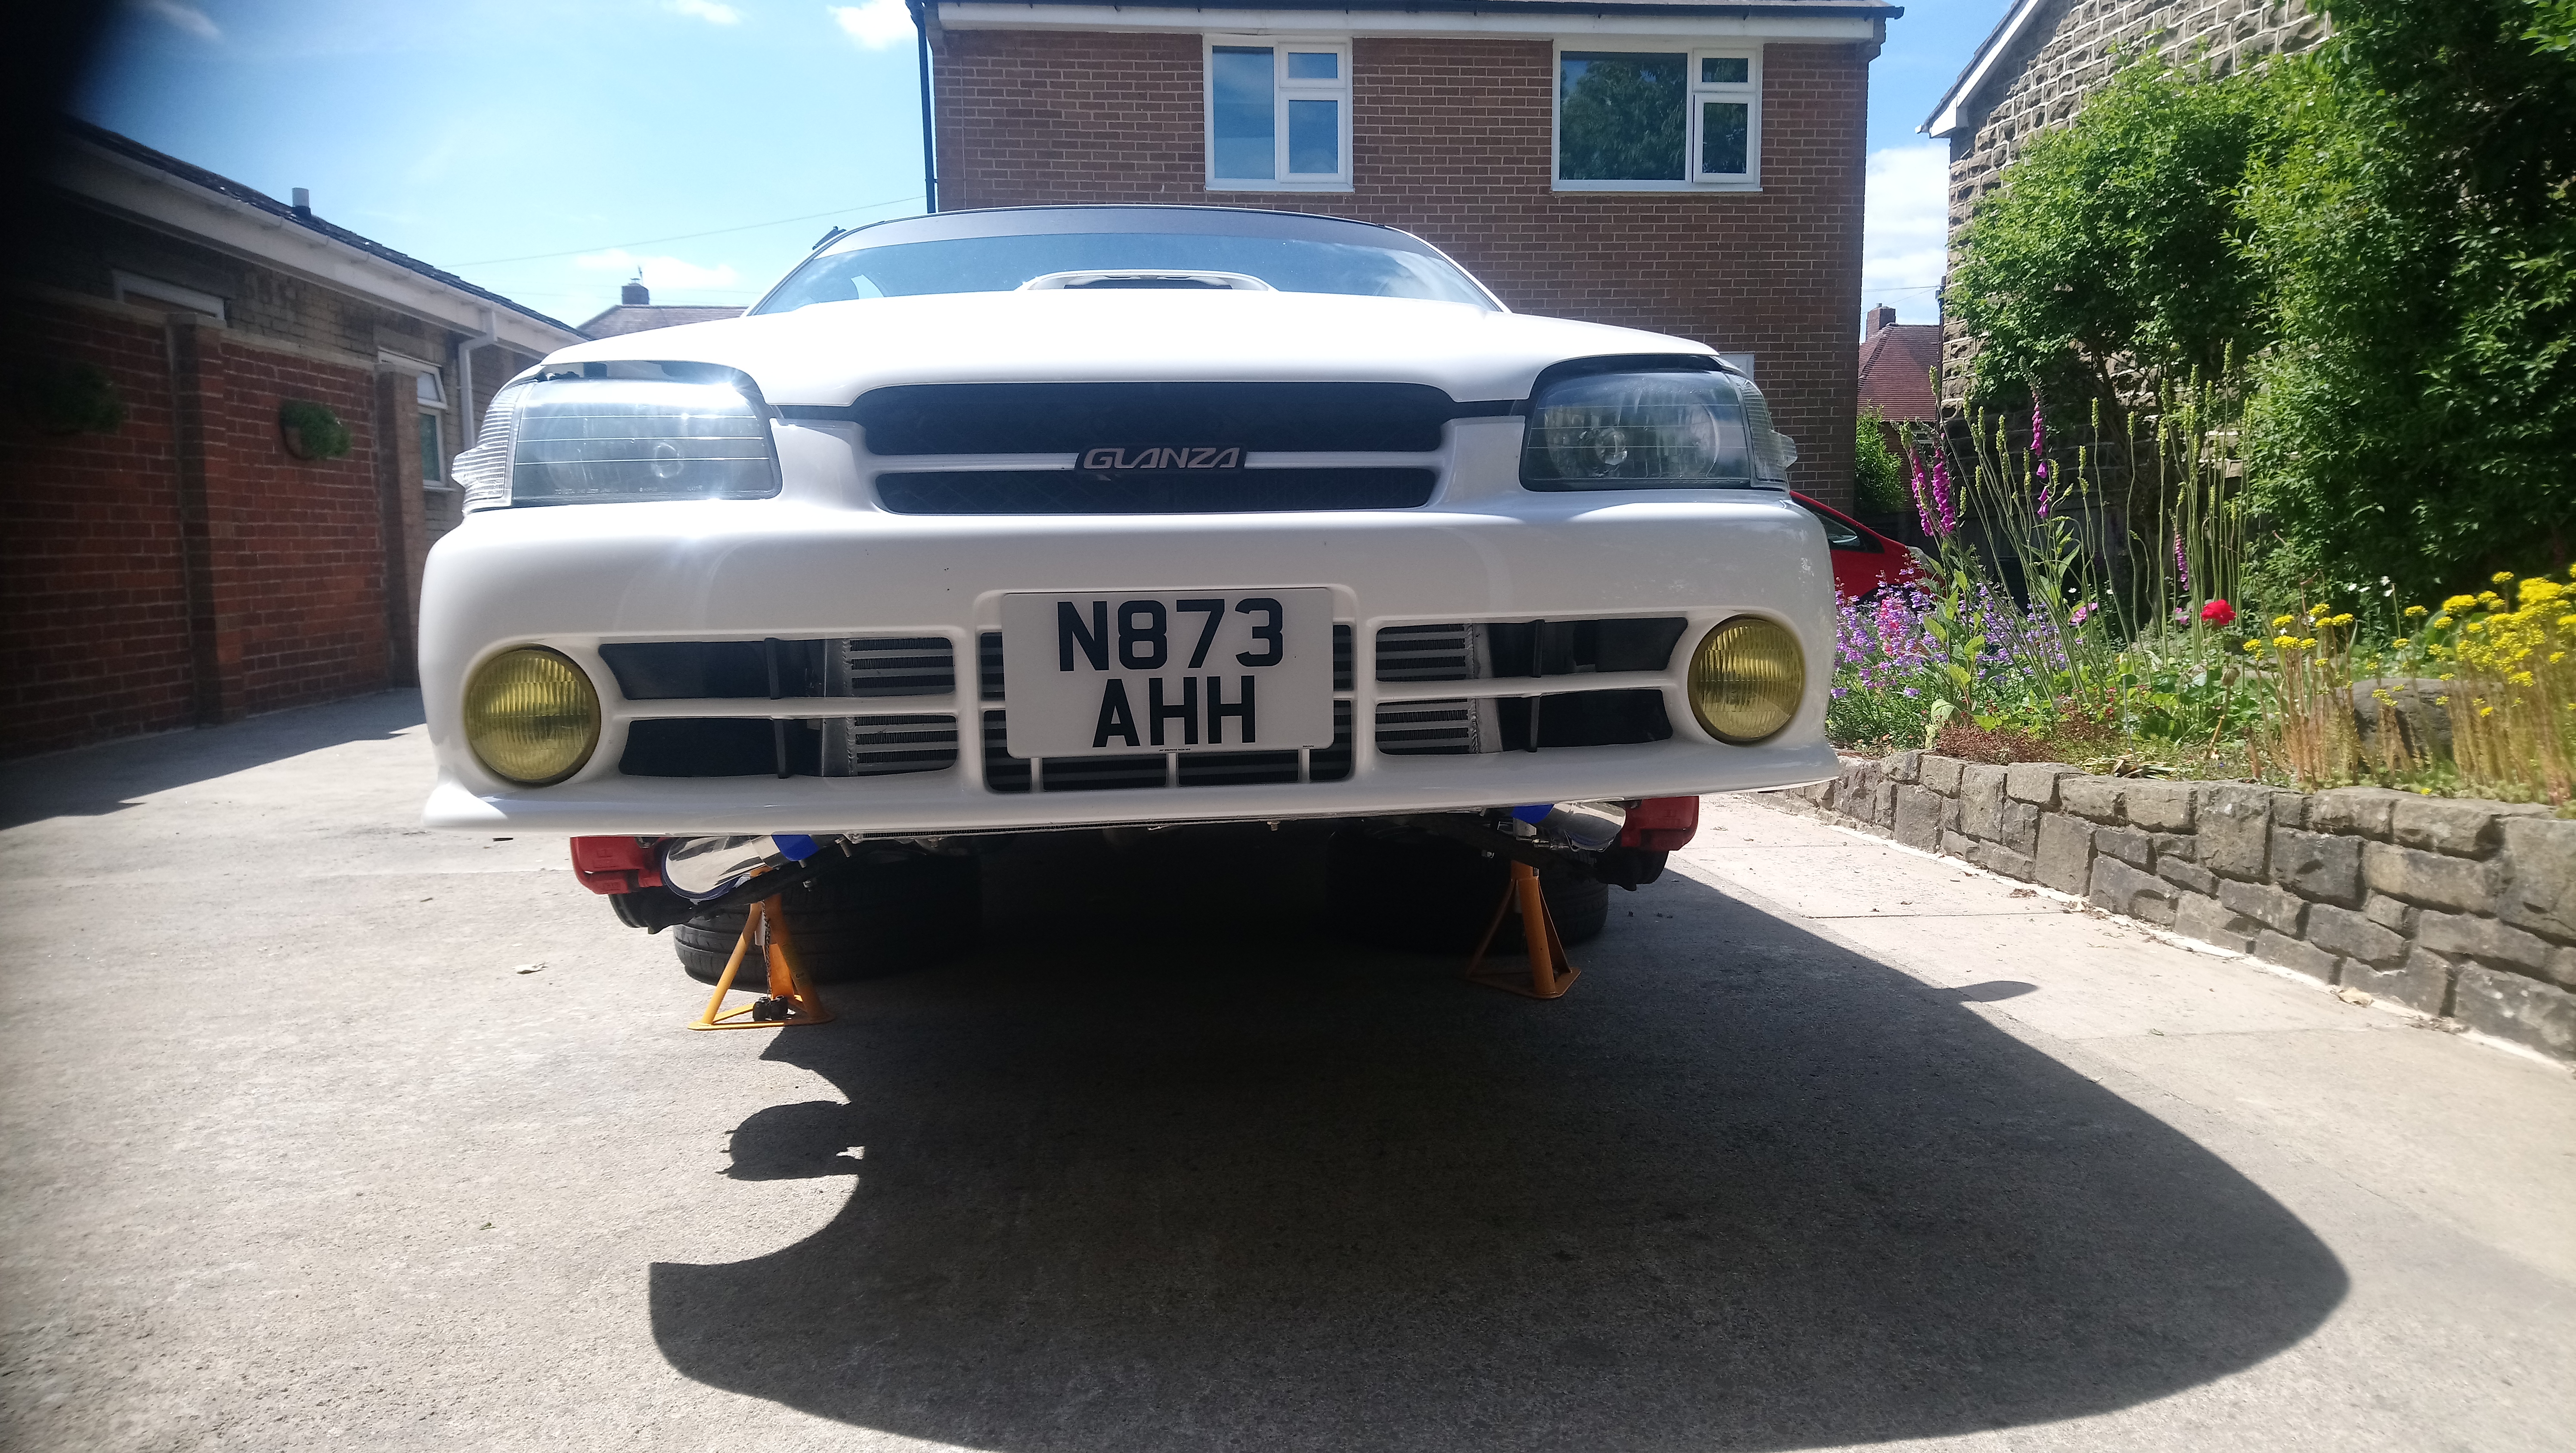
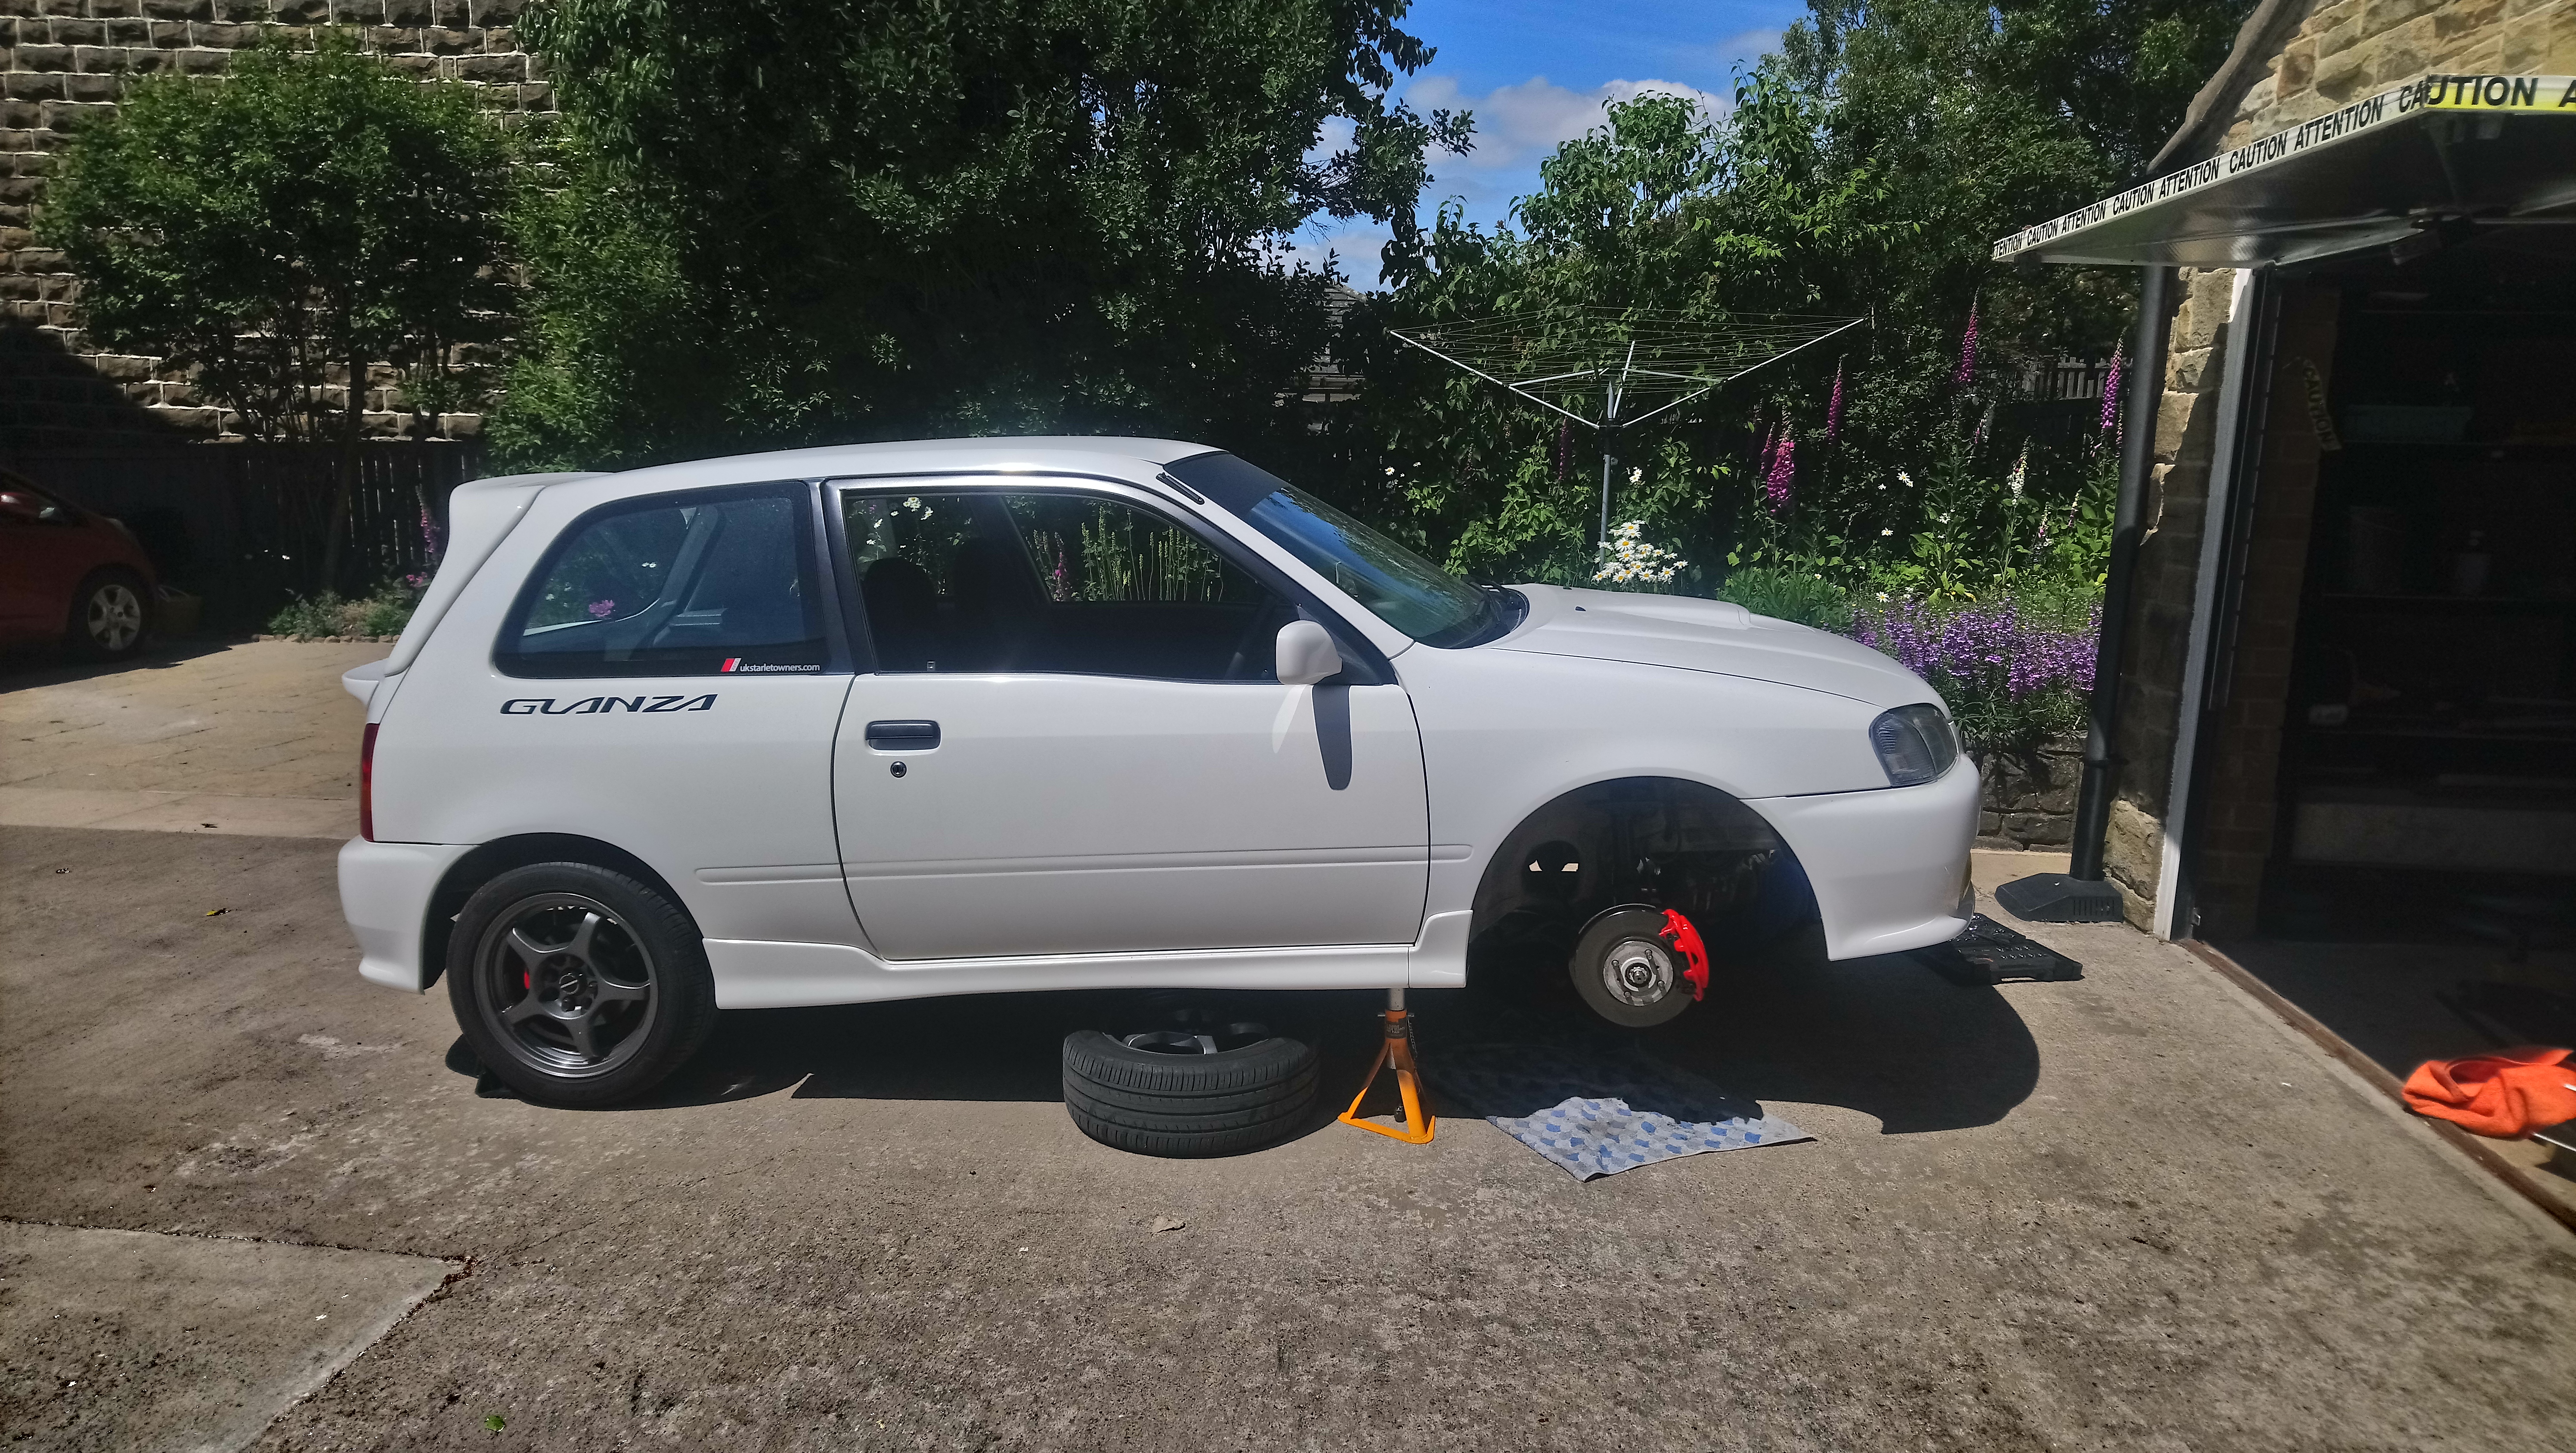
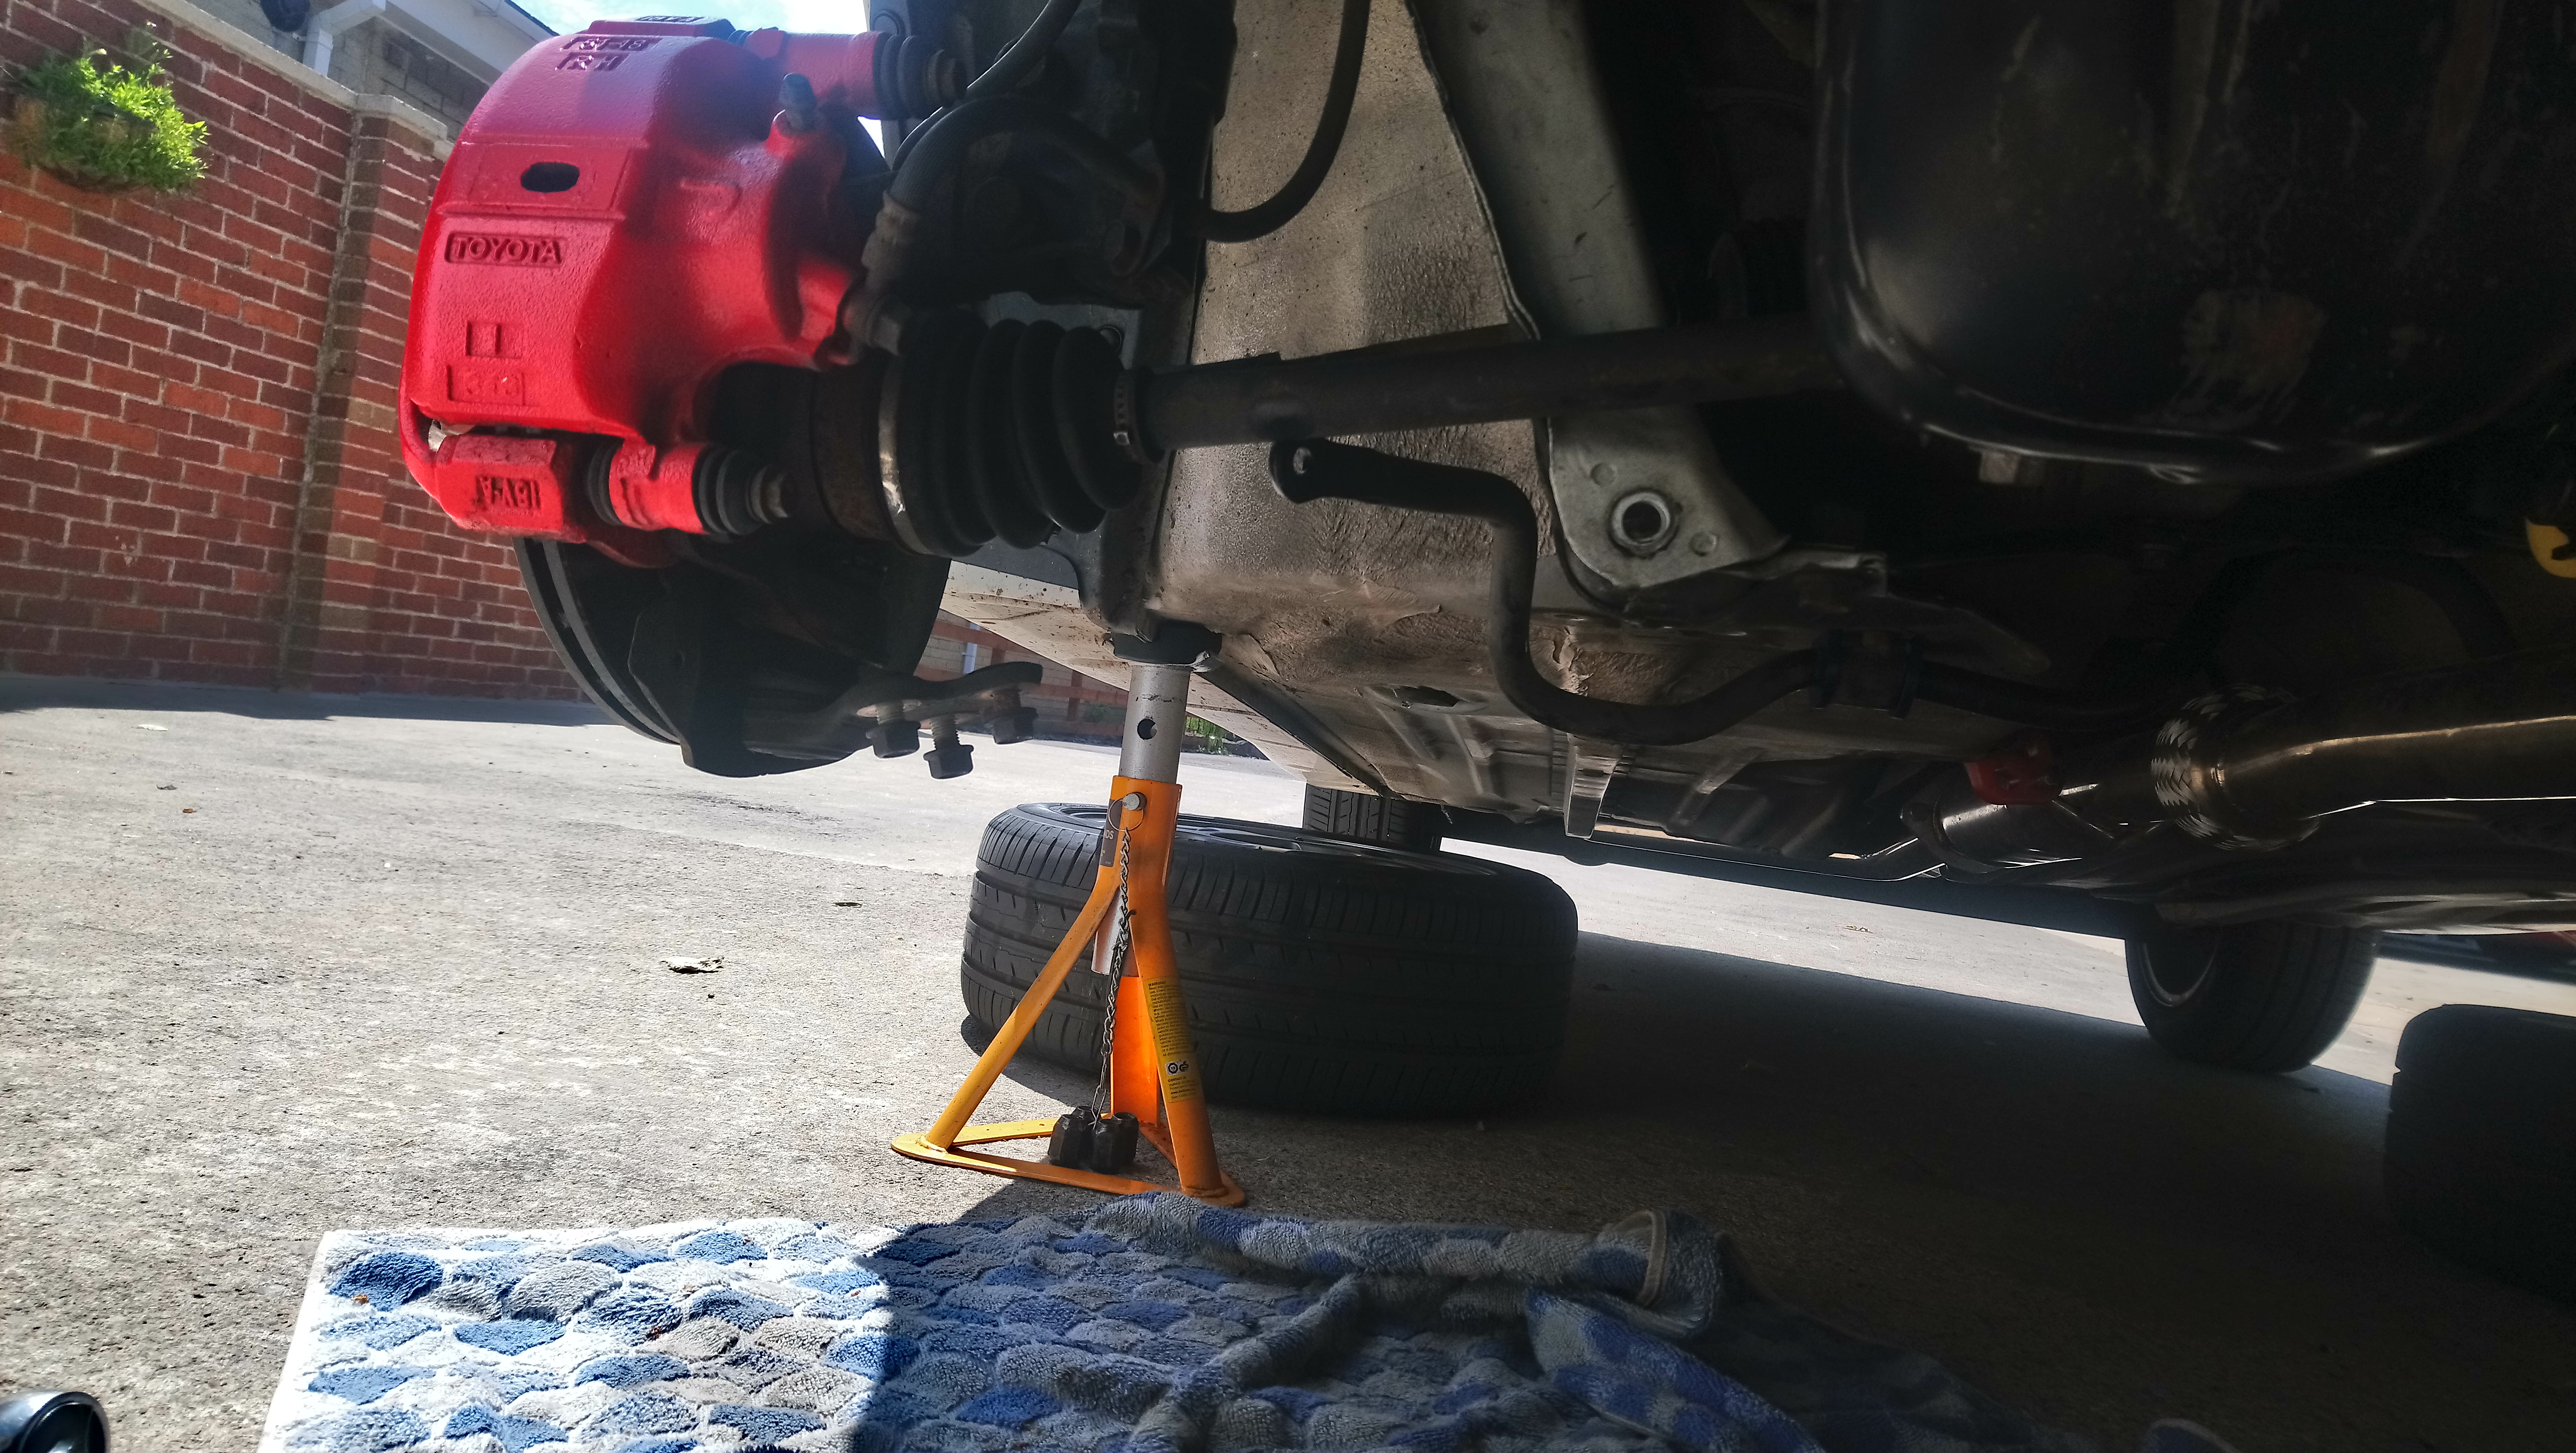
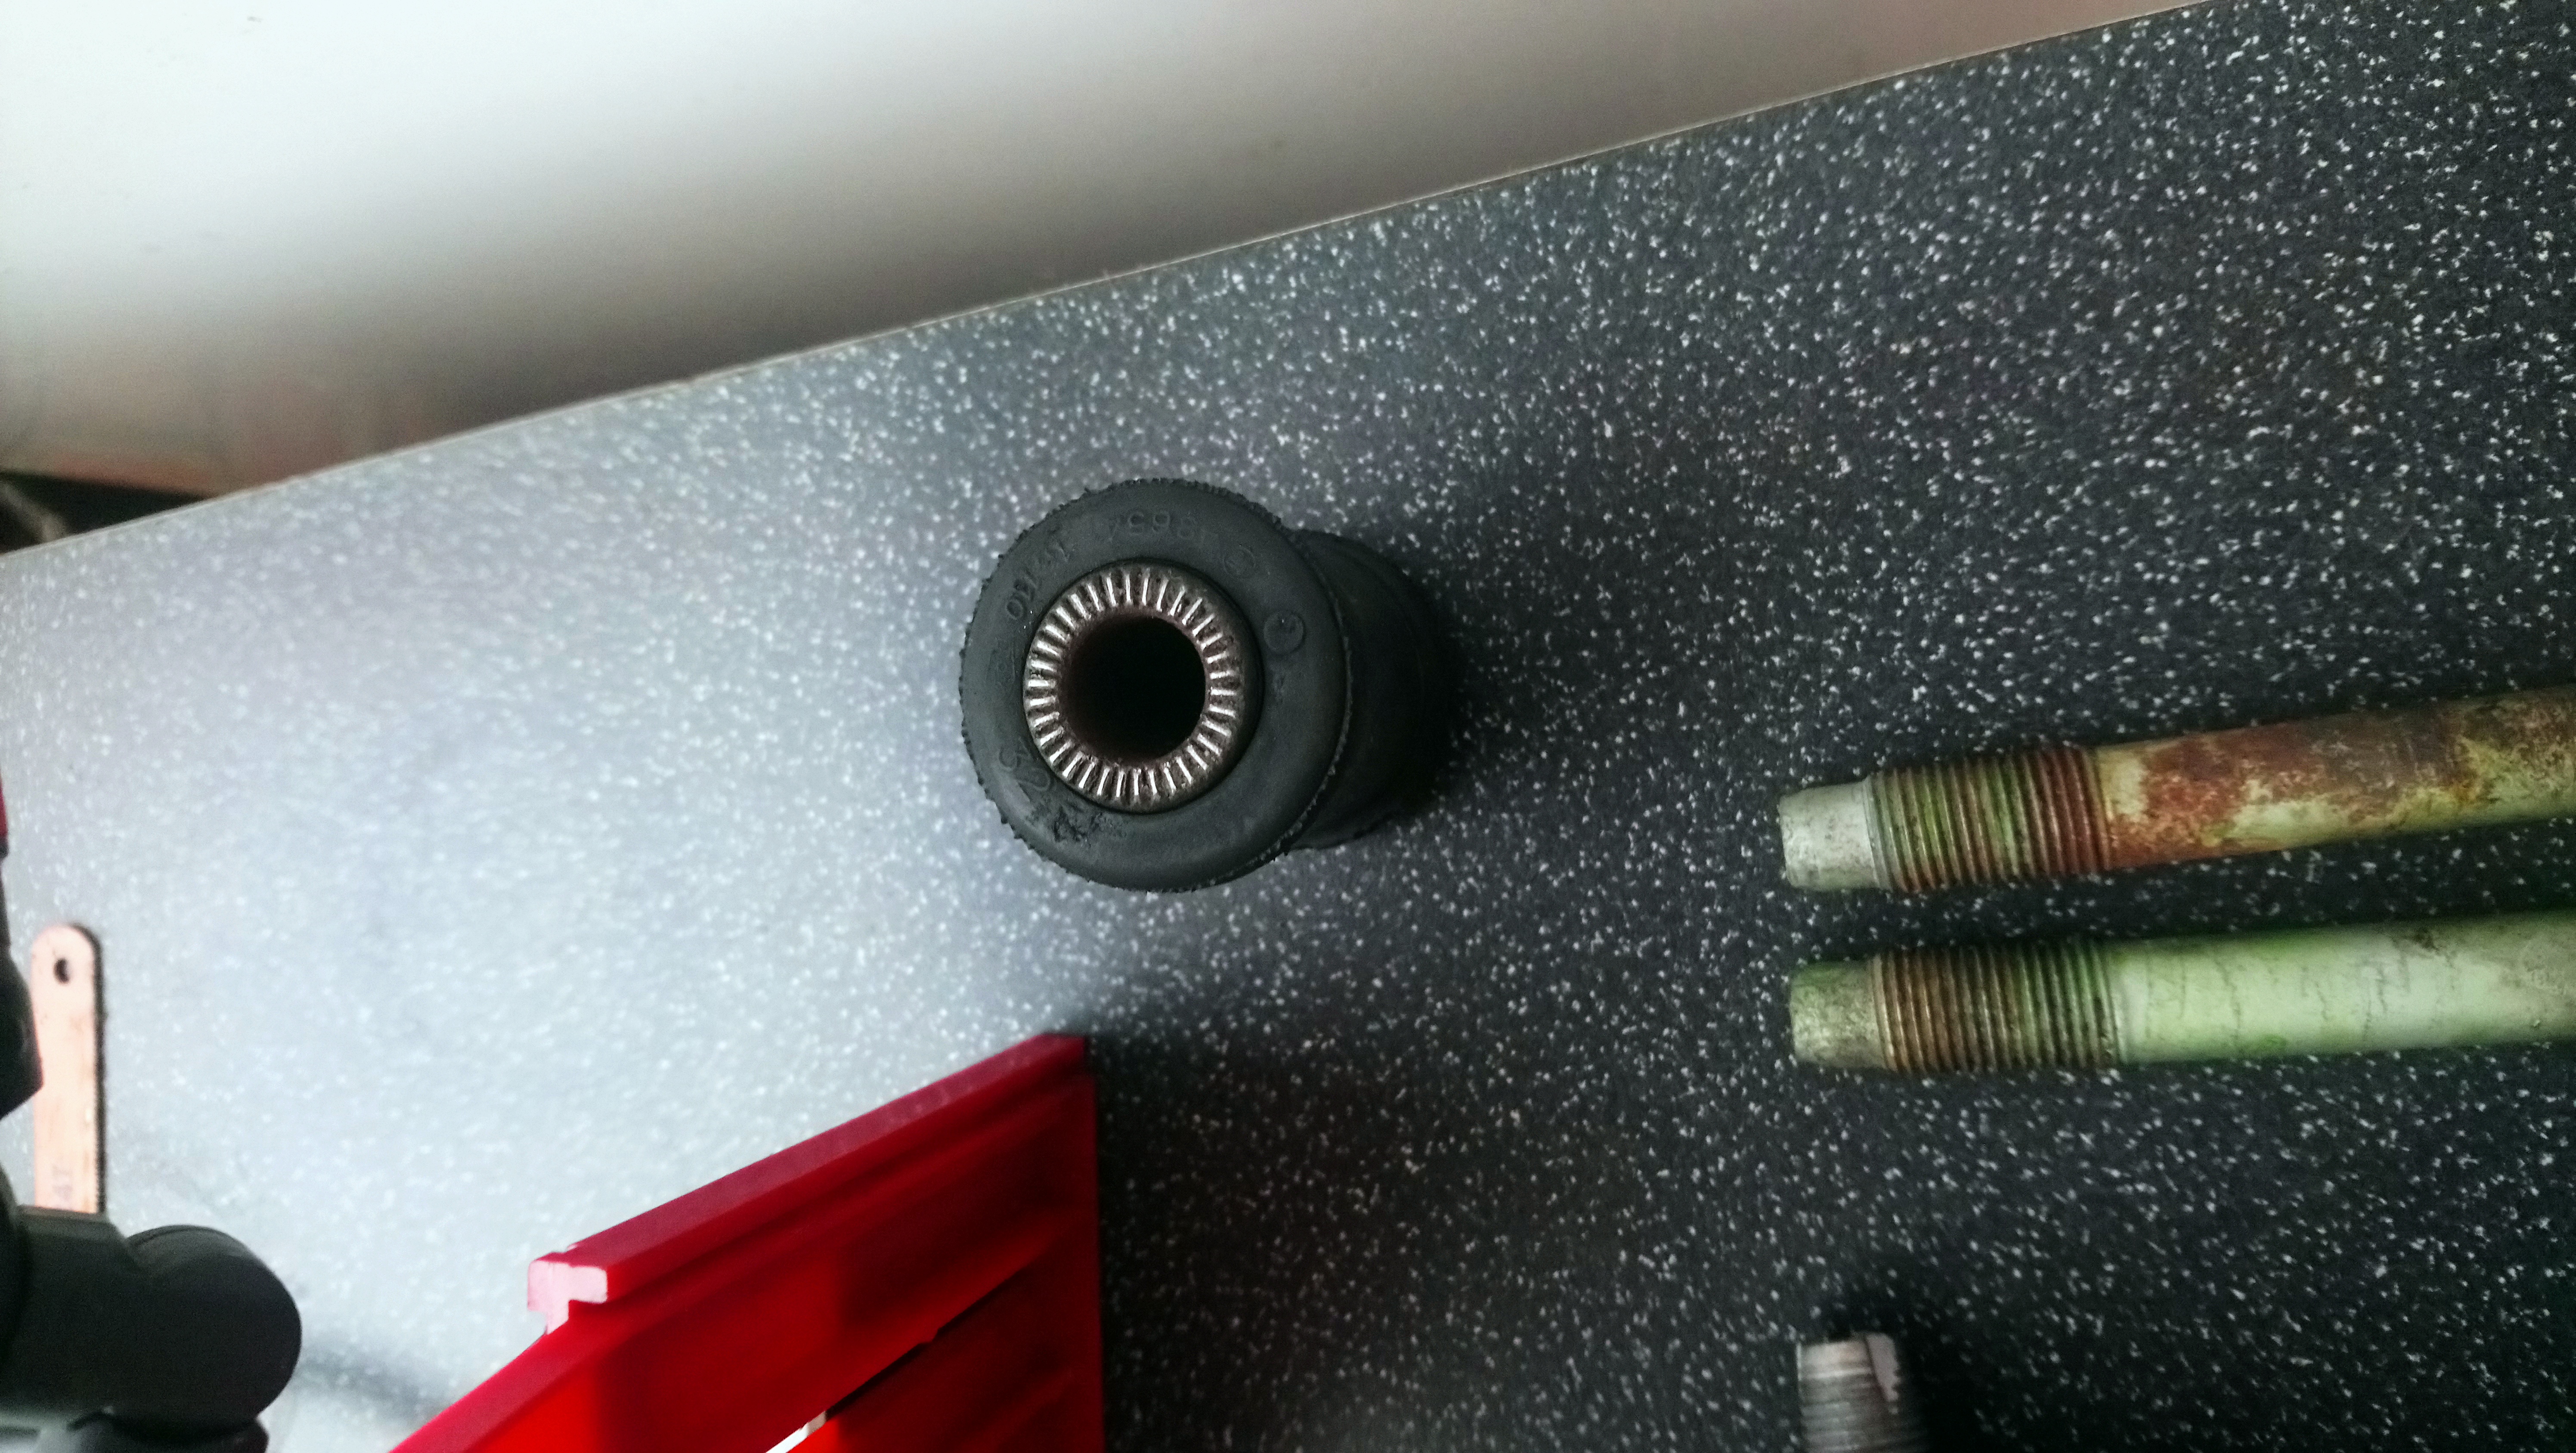
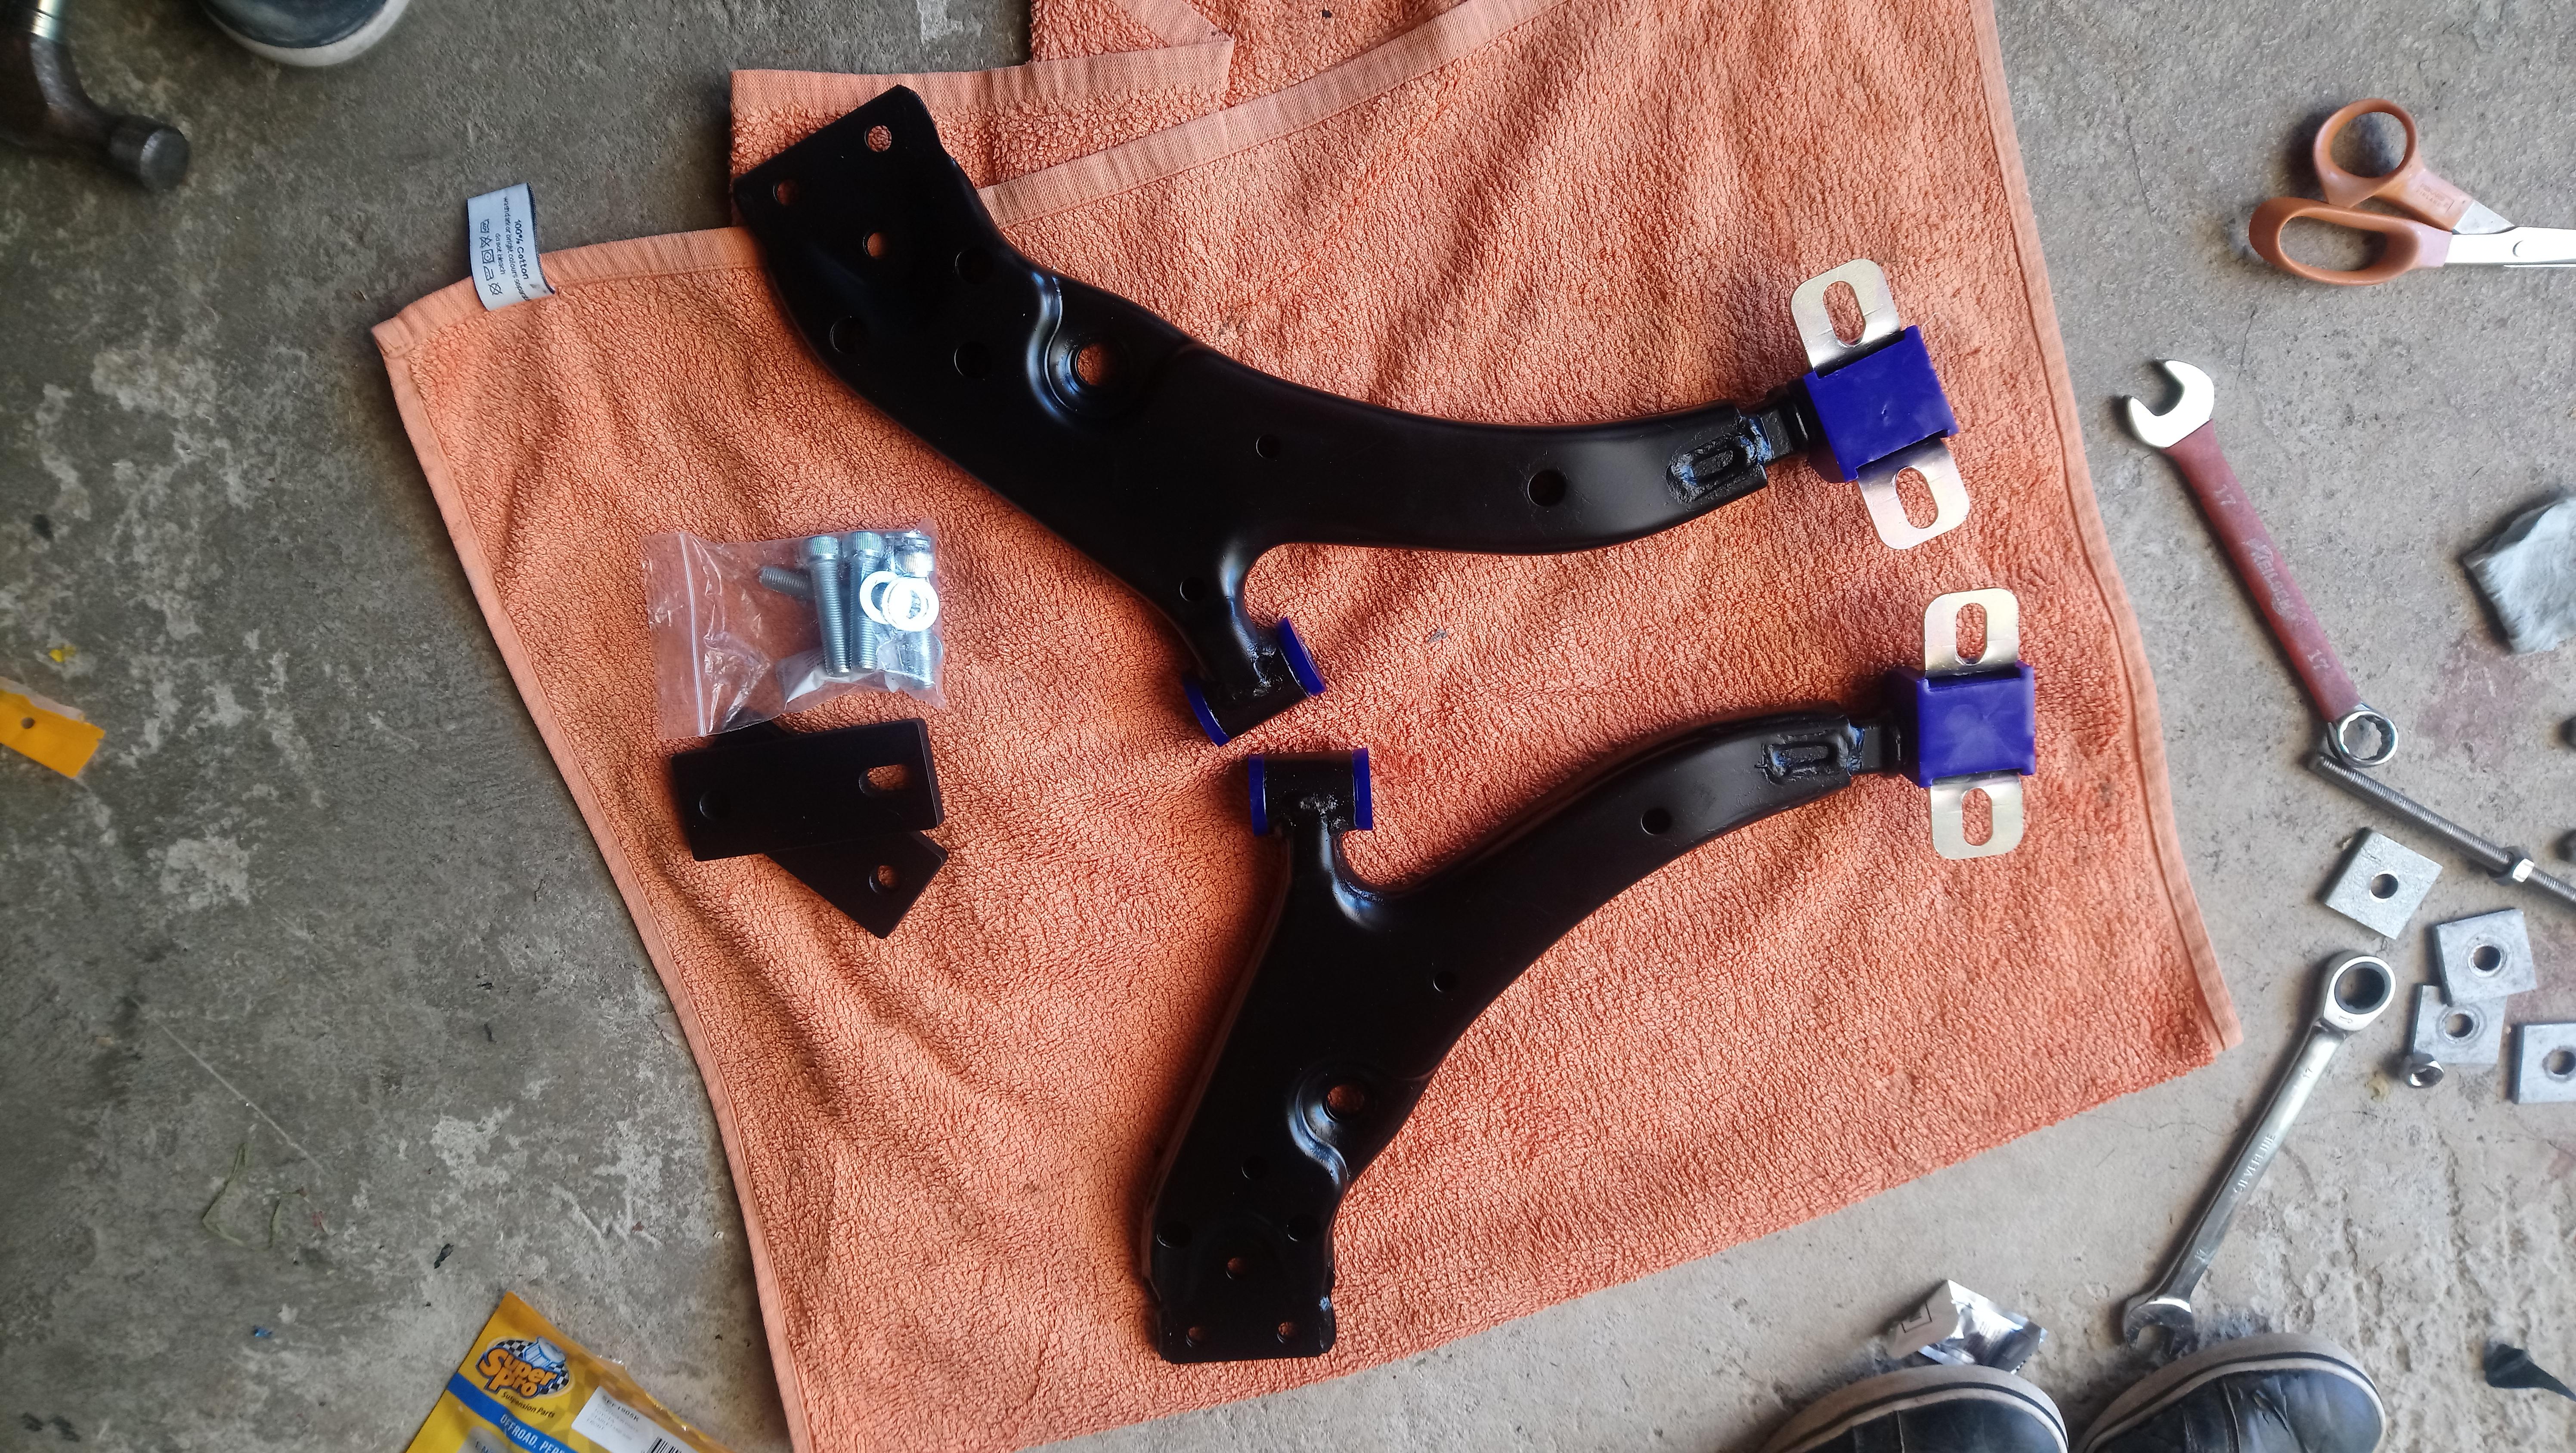
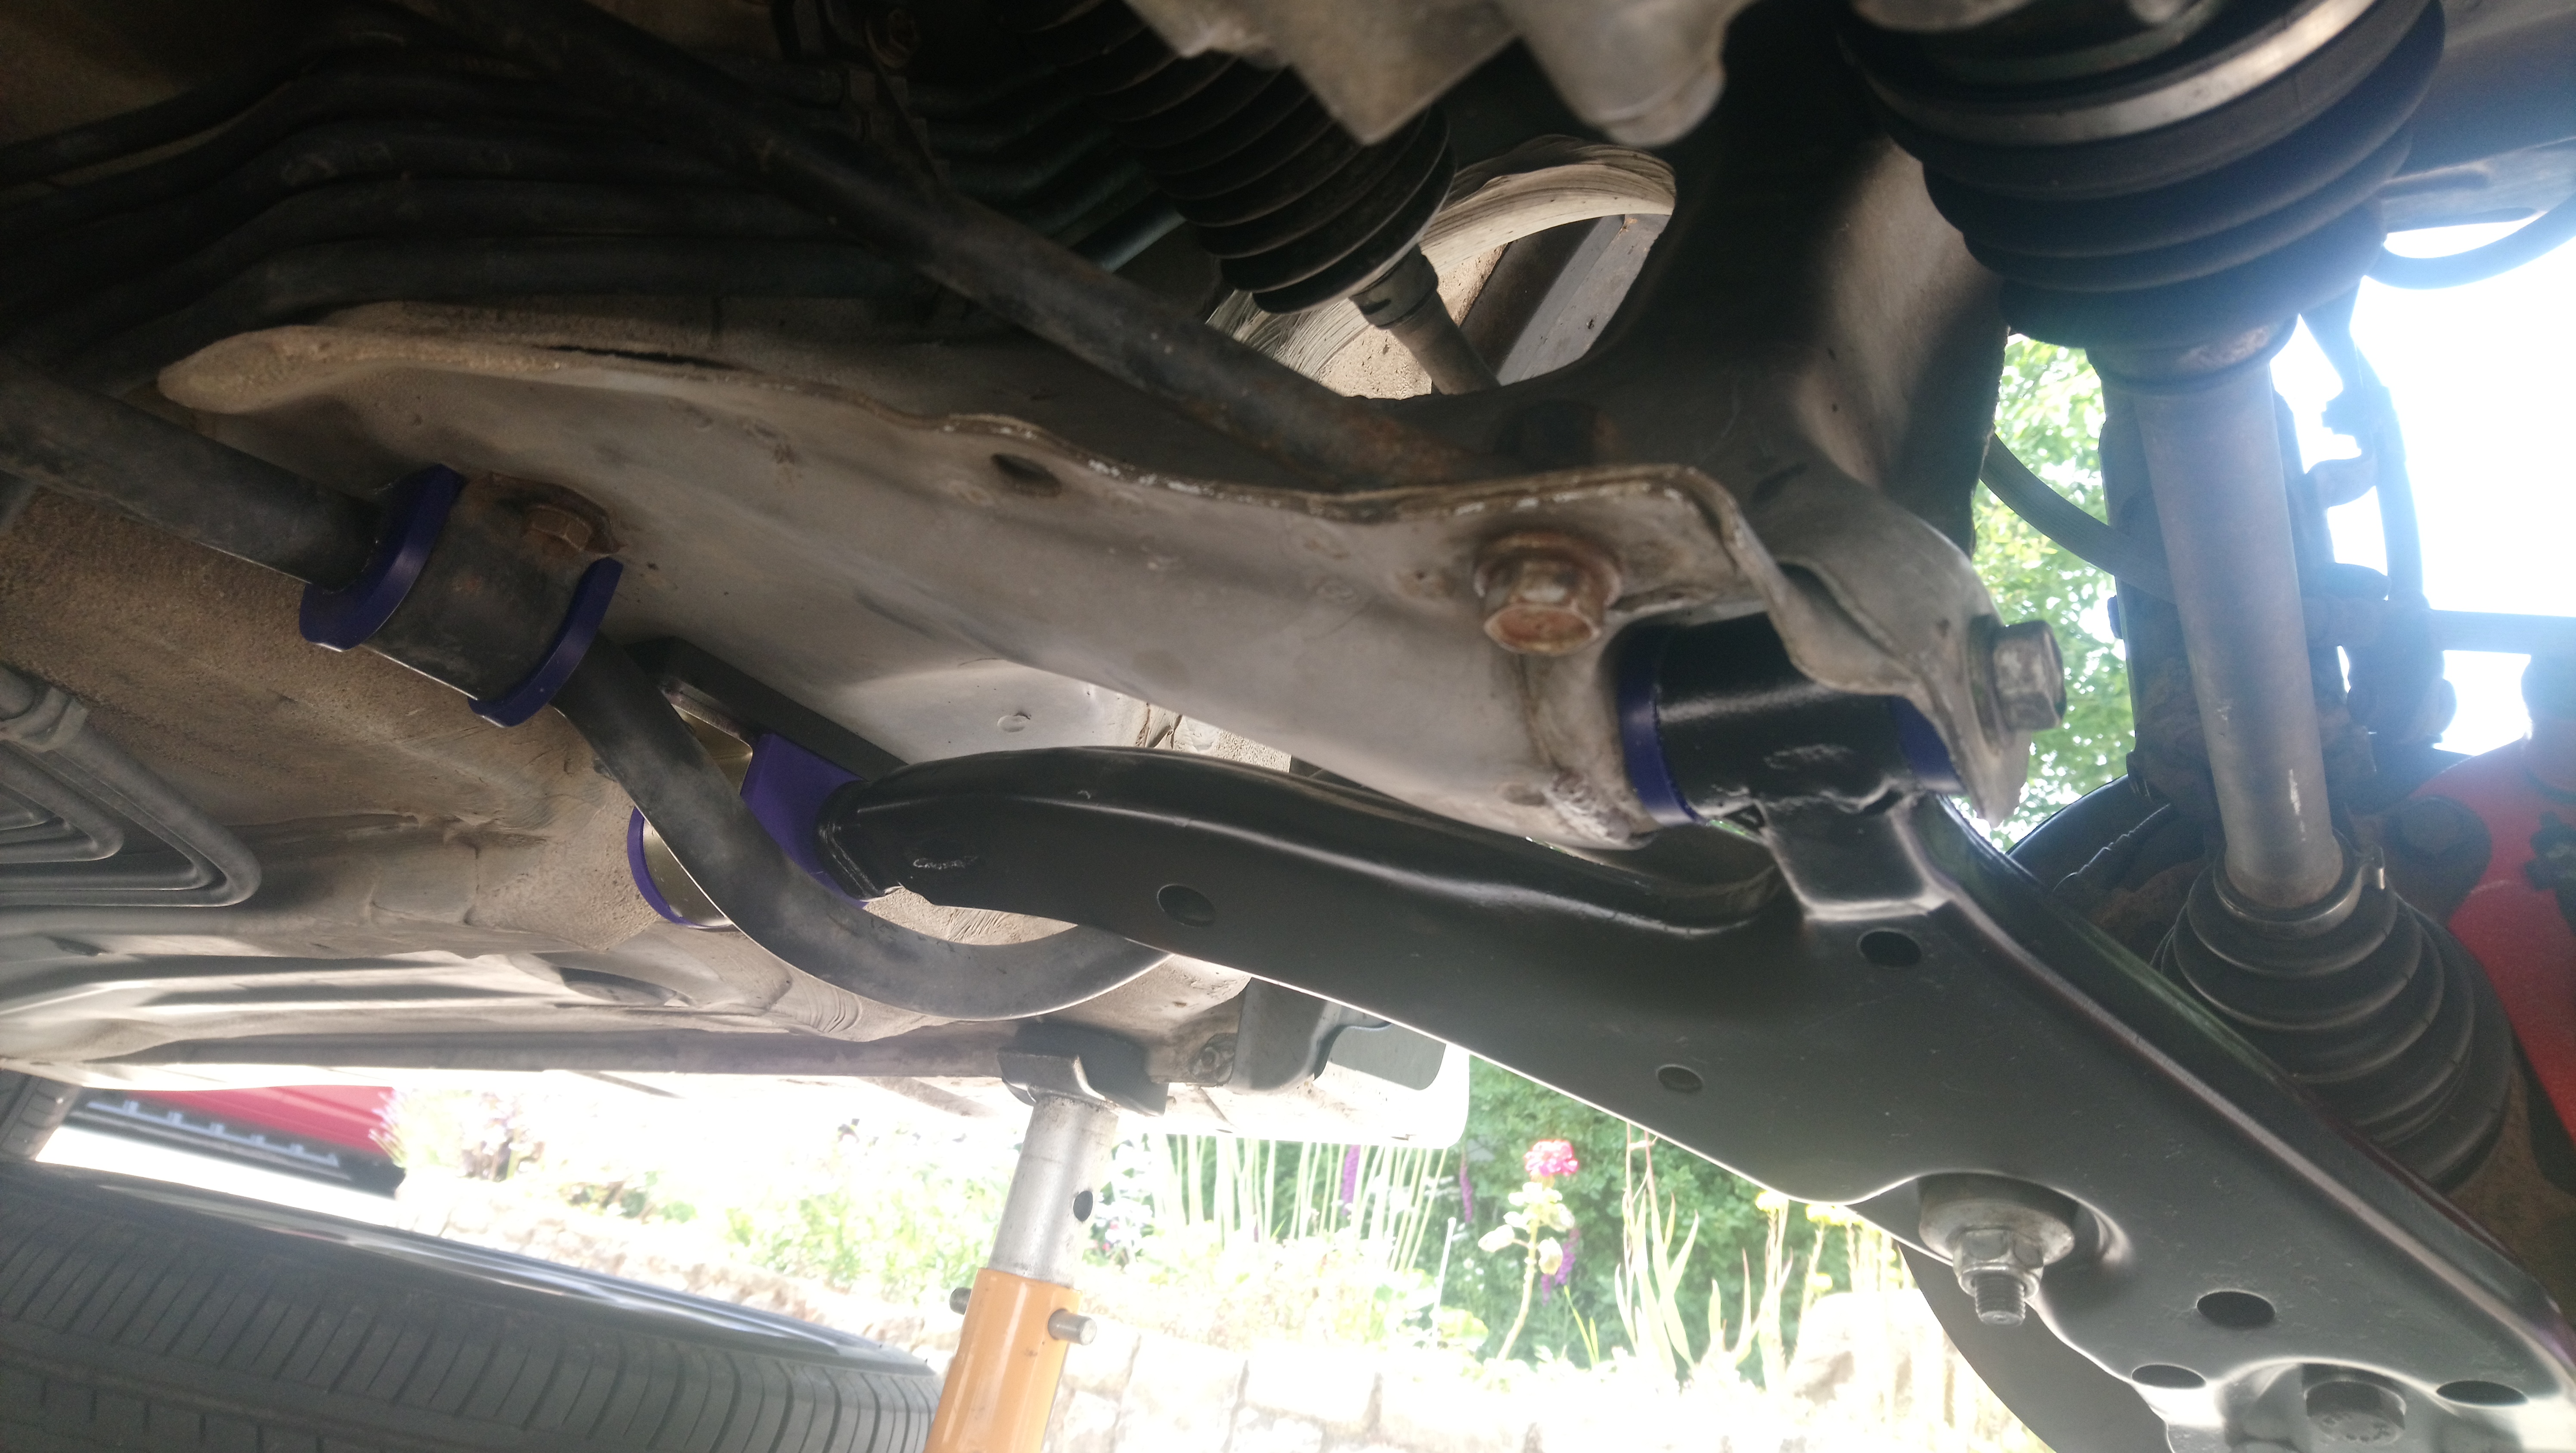
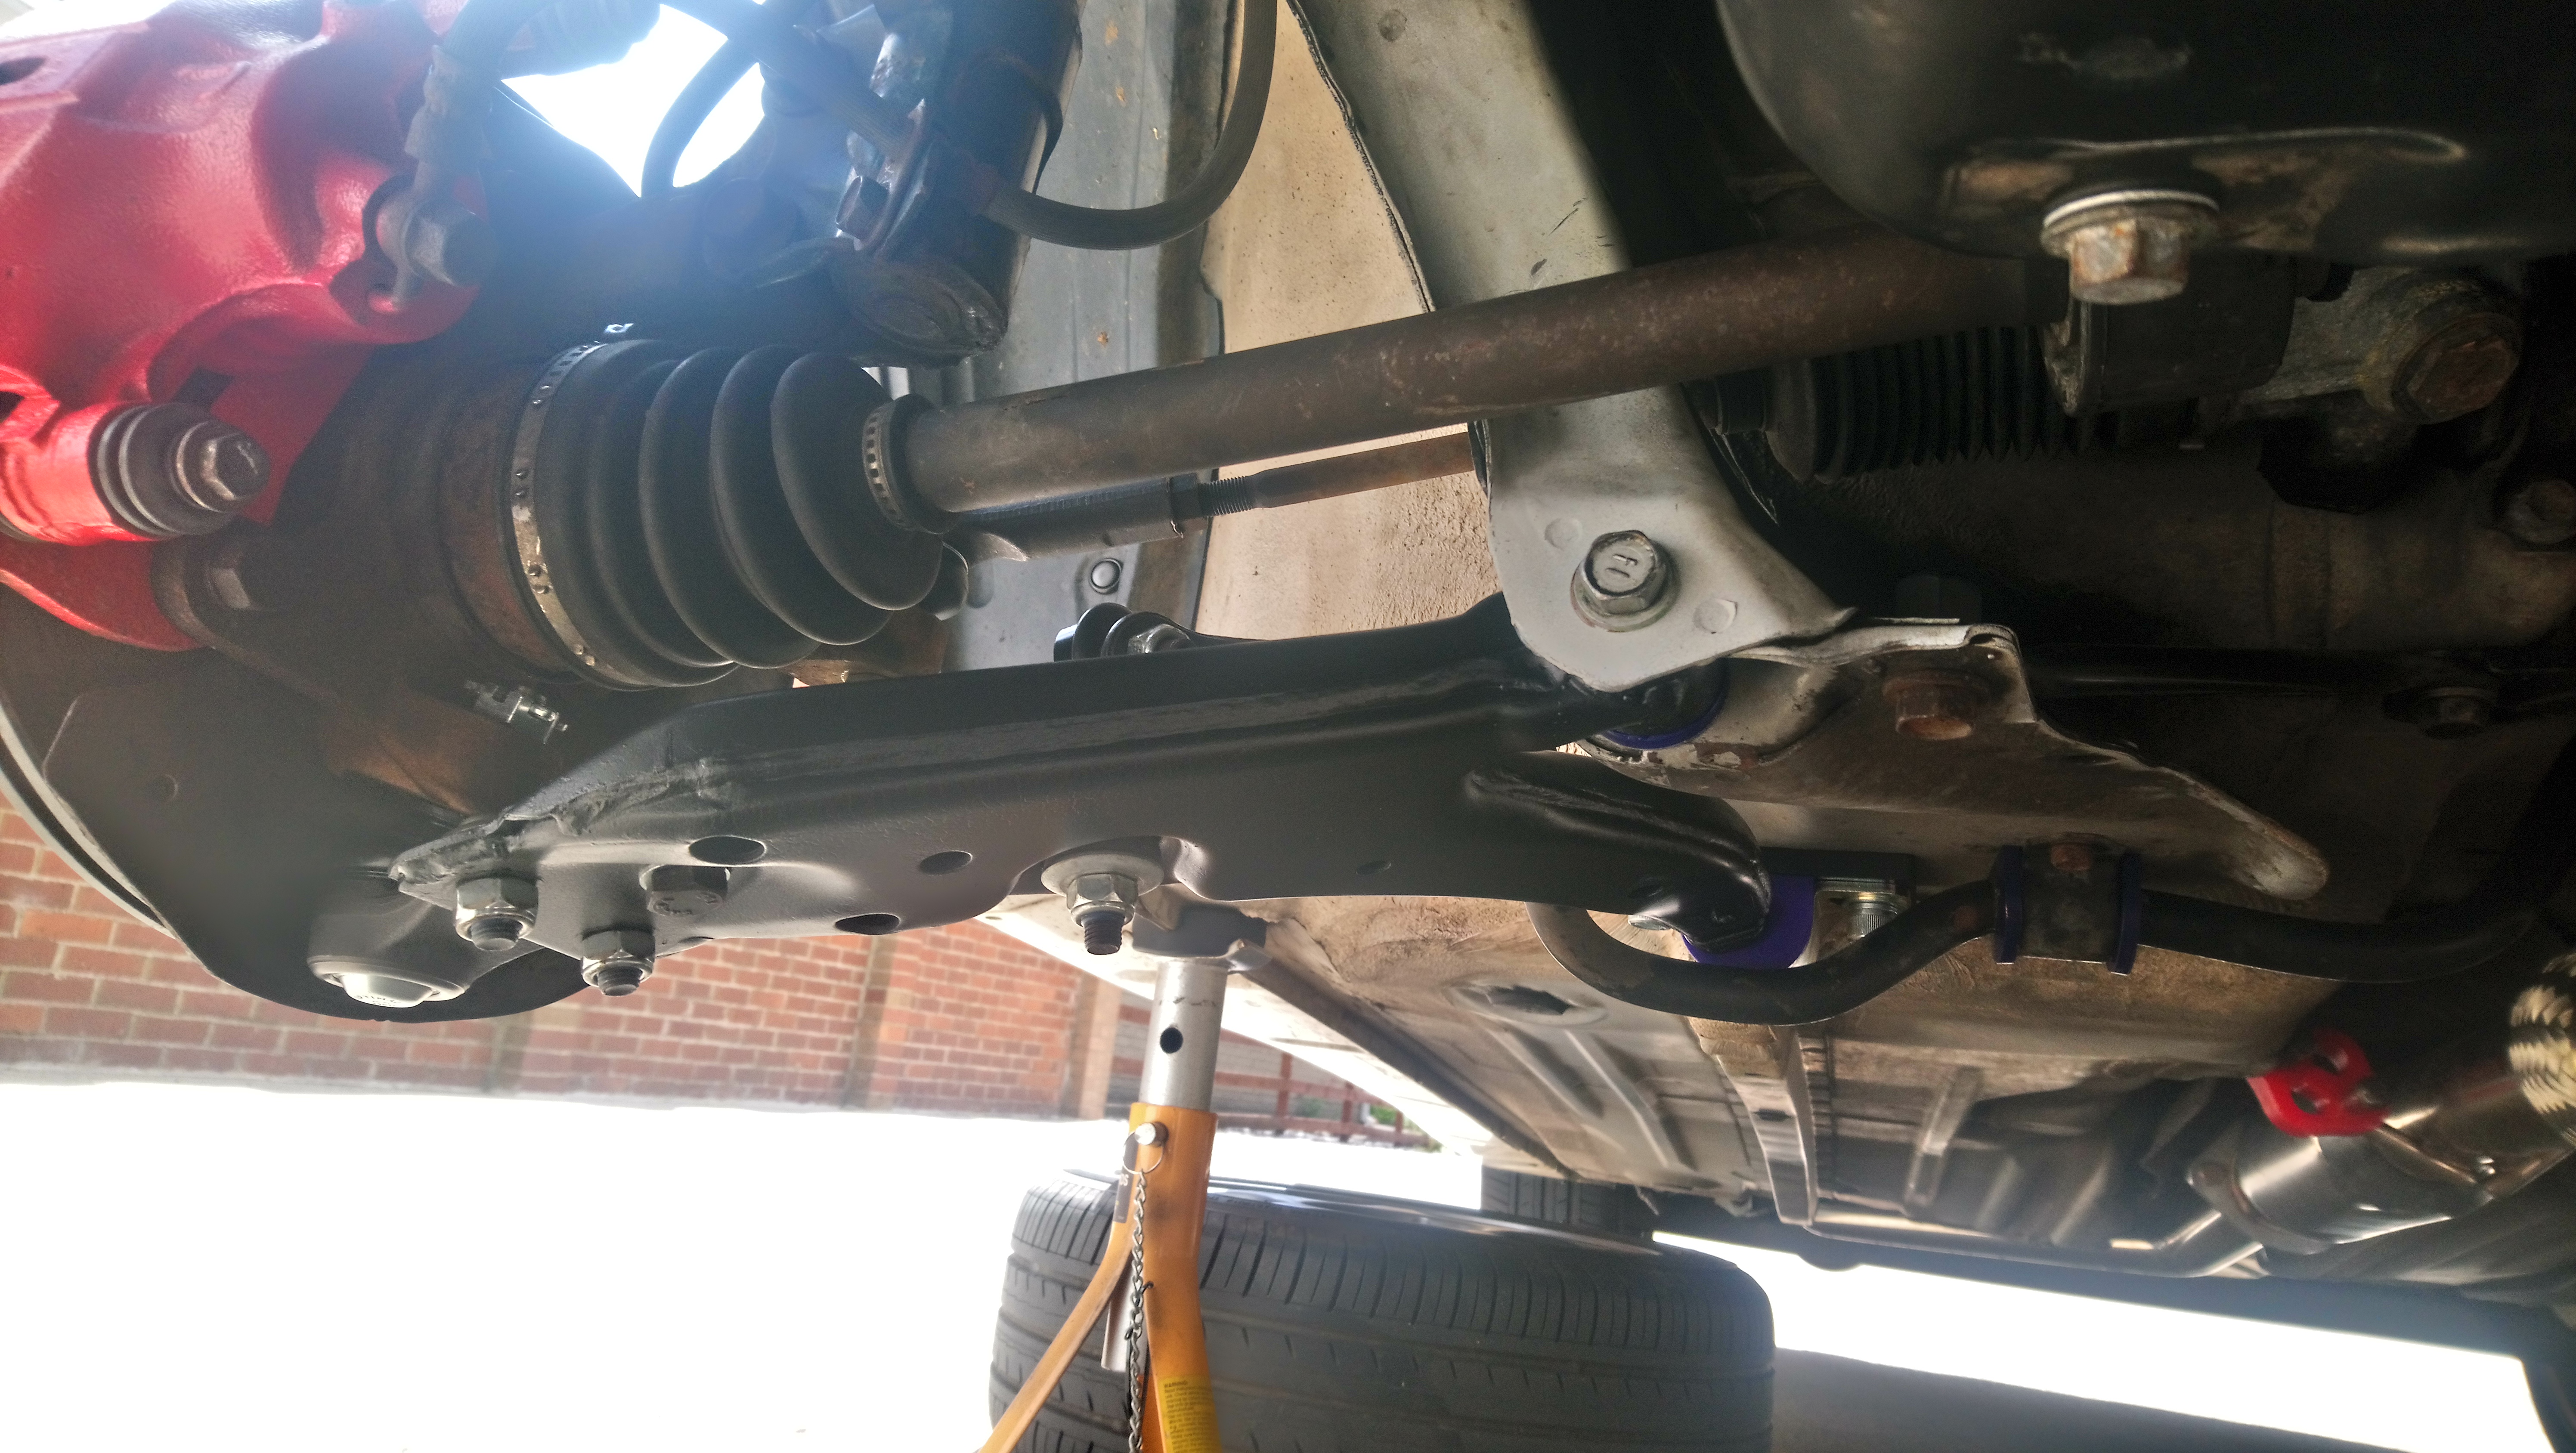
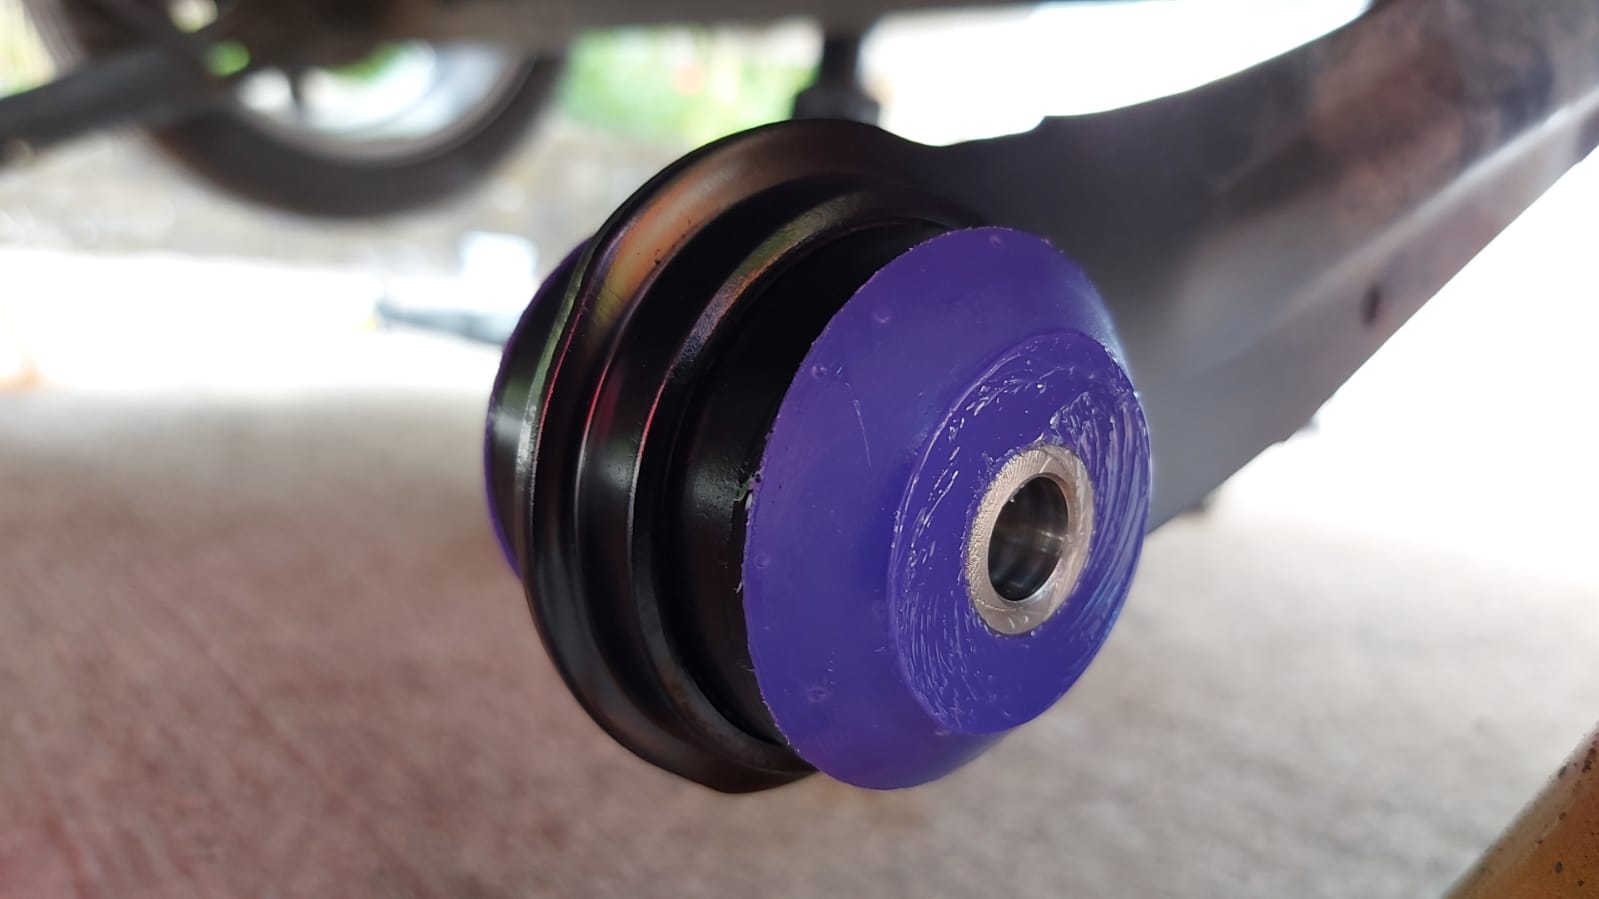
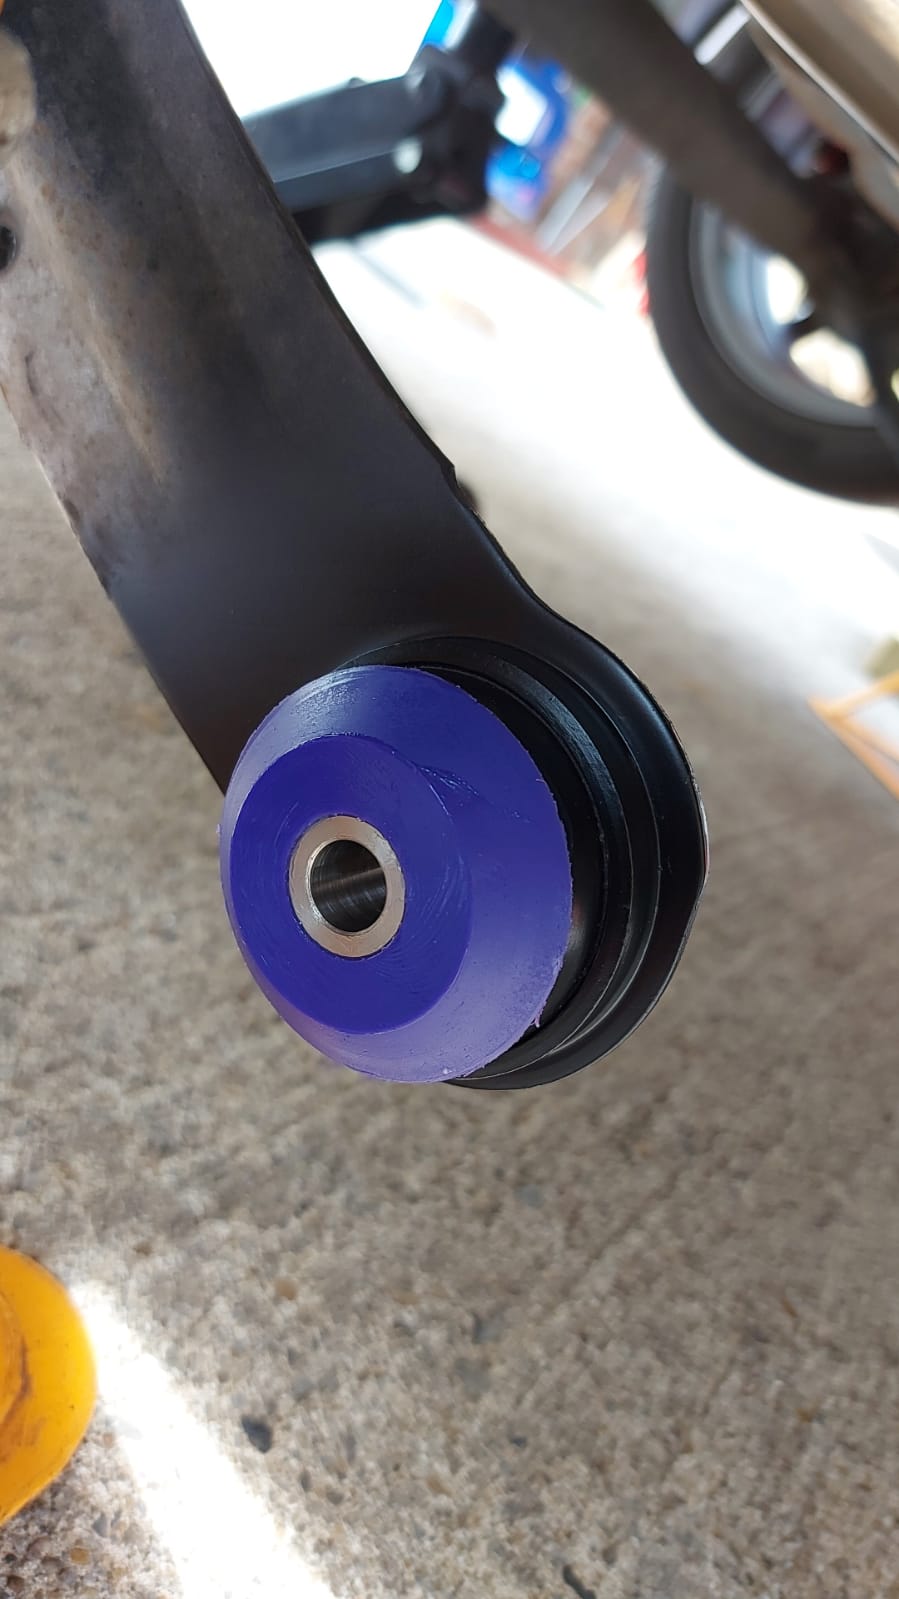
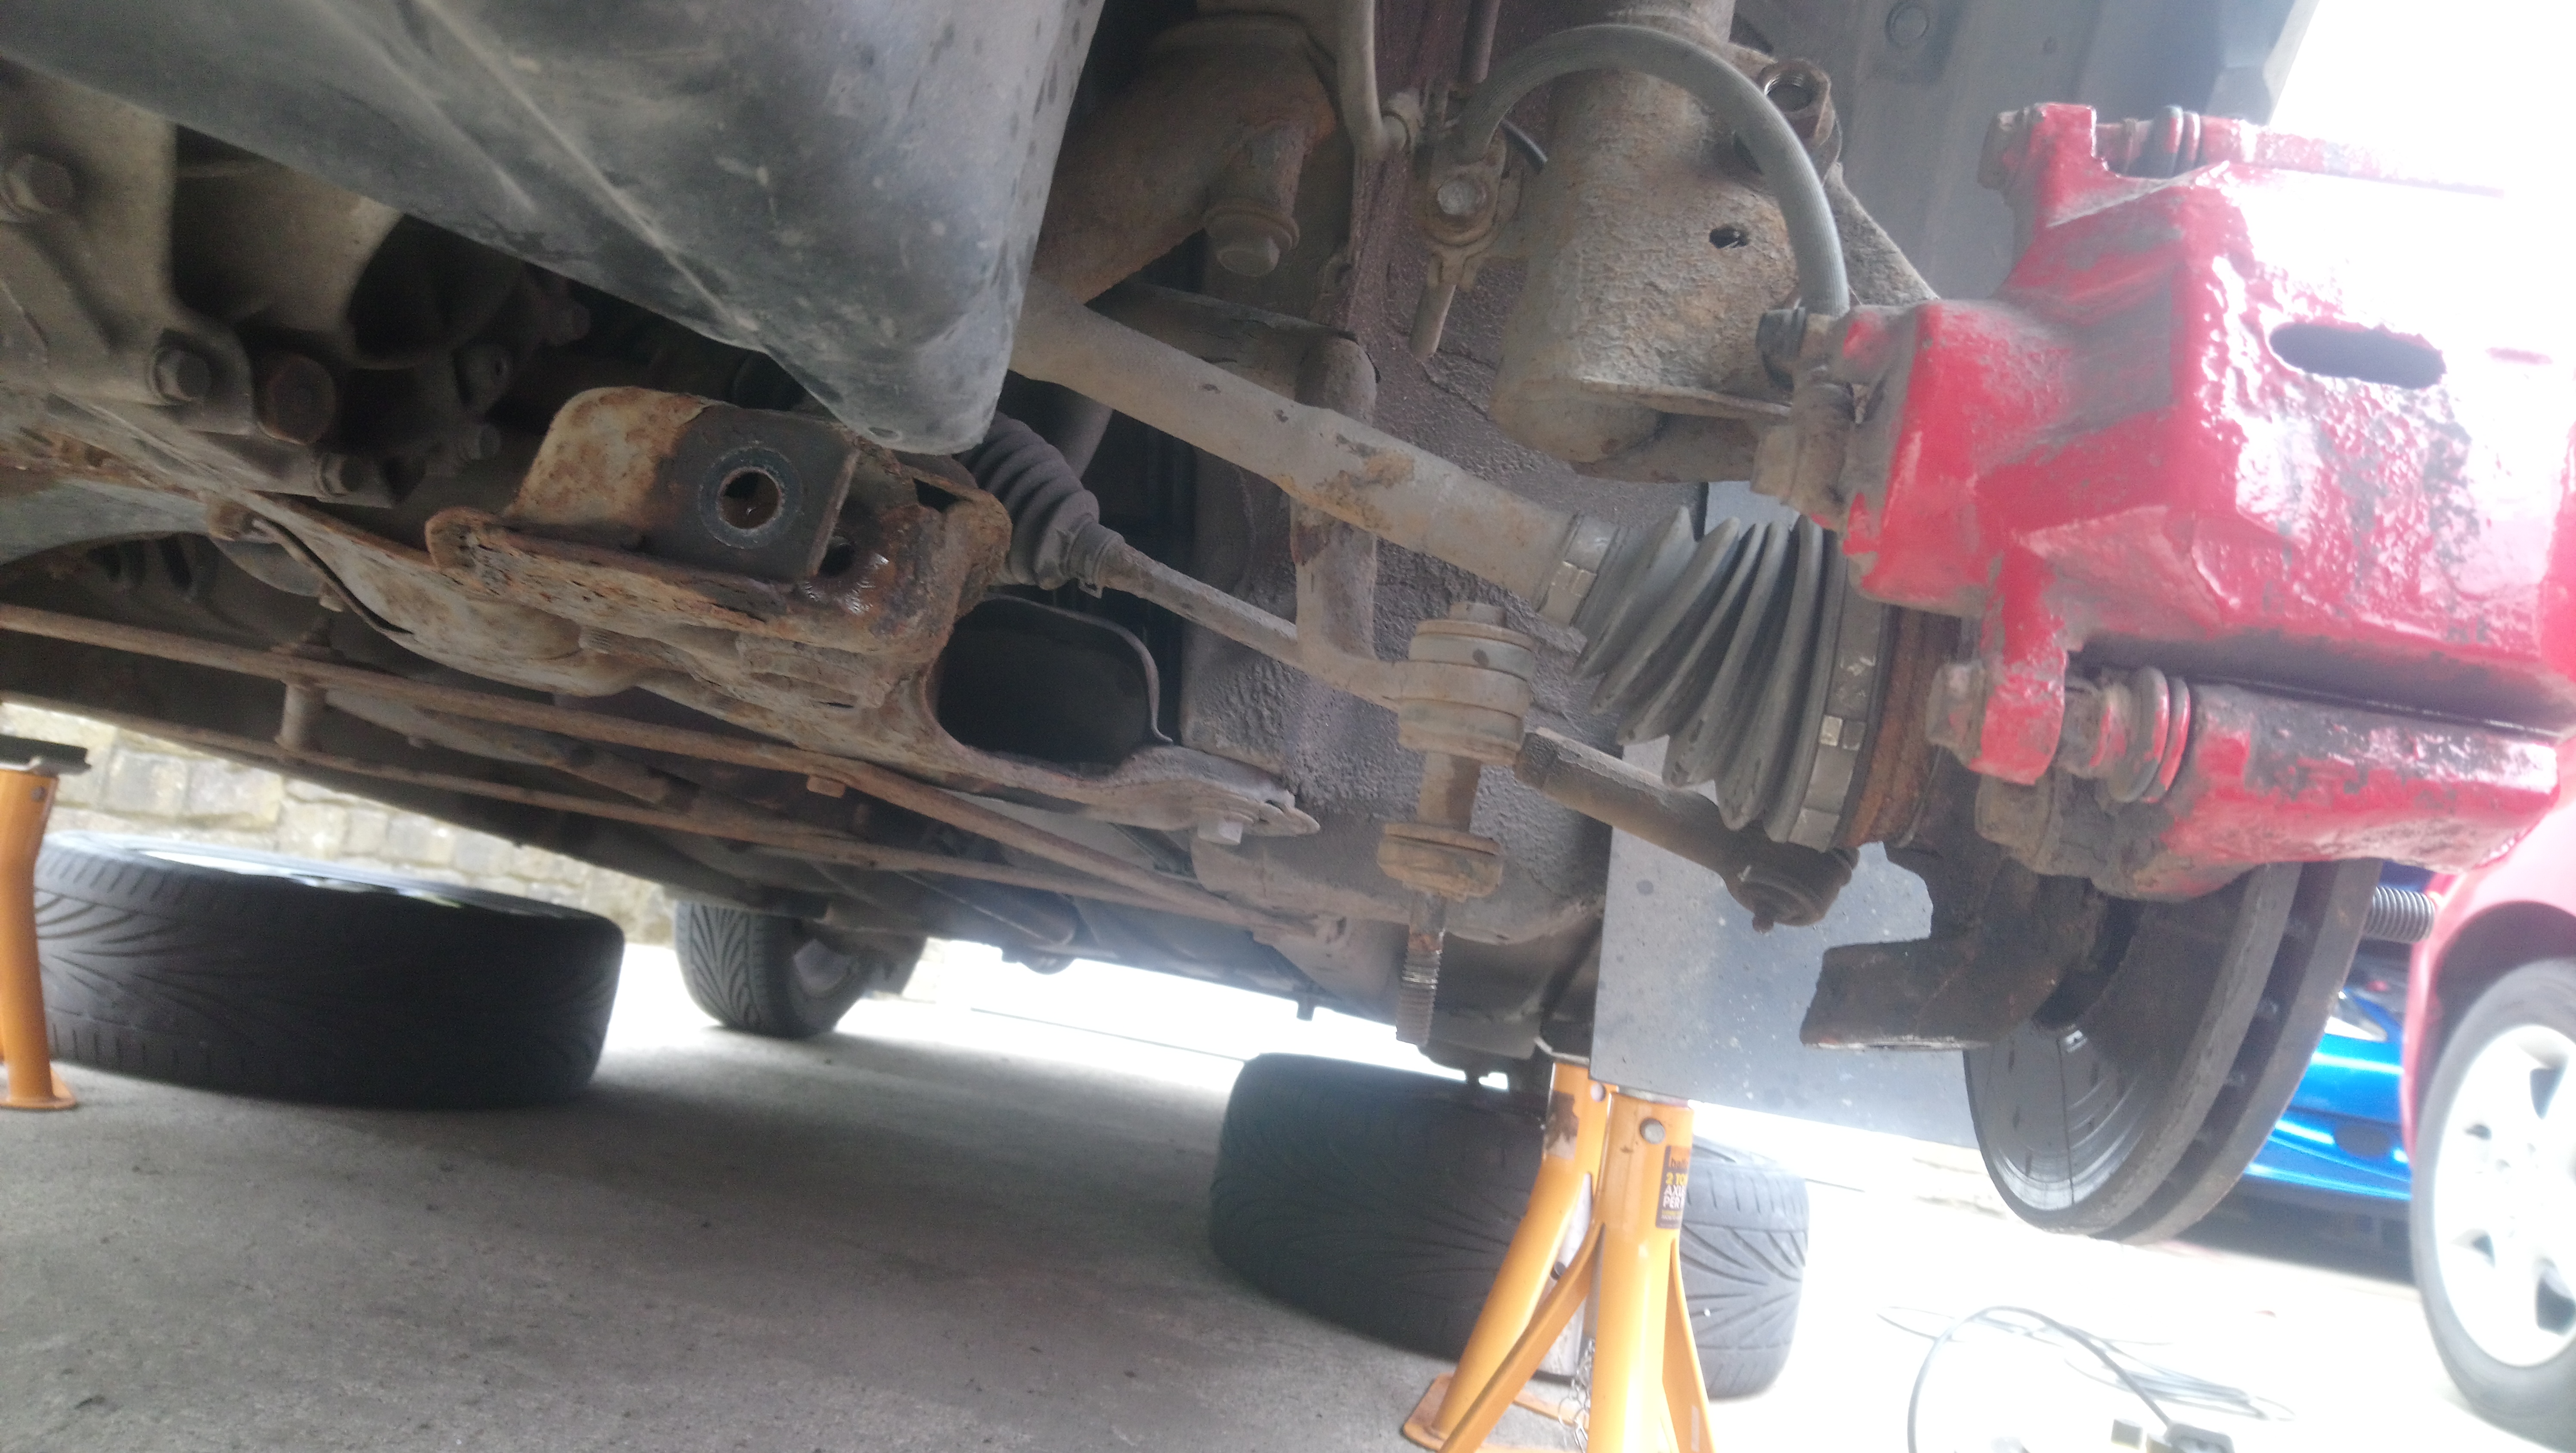
I bought an anti lift kit and new poly front wishbone bushes for the car recently. Had some time off work this week, so decided to get them fitted. Started by disassembling the front suspension and removing the wishbones from the car.


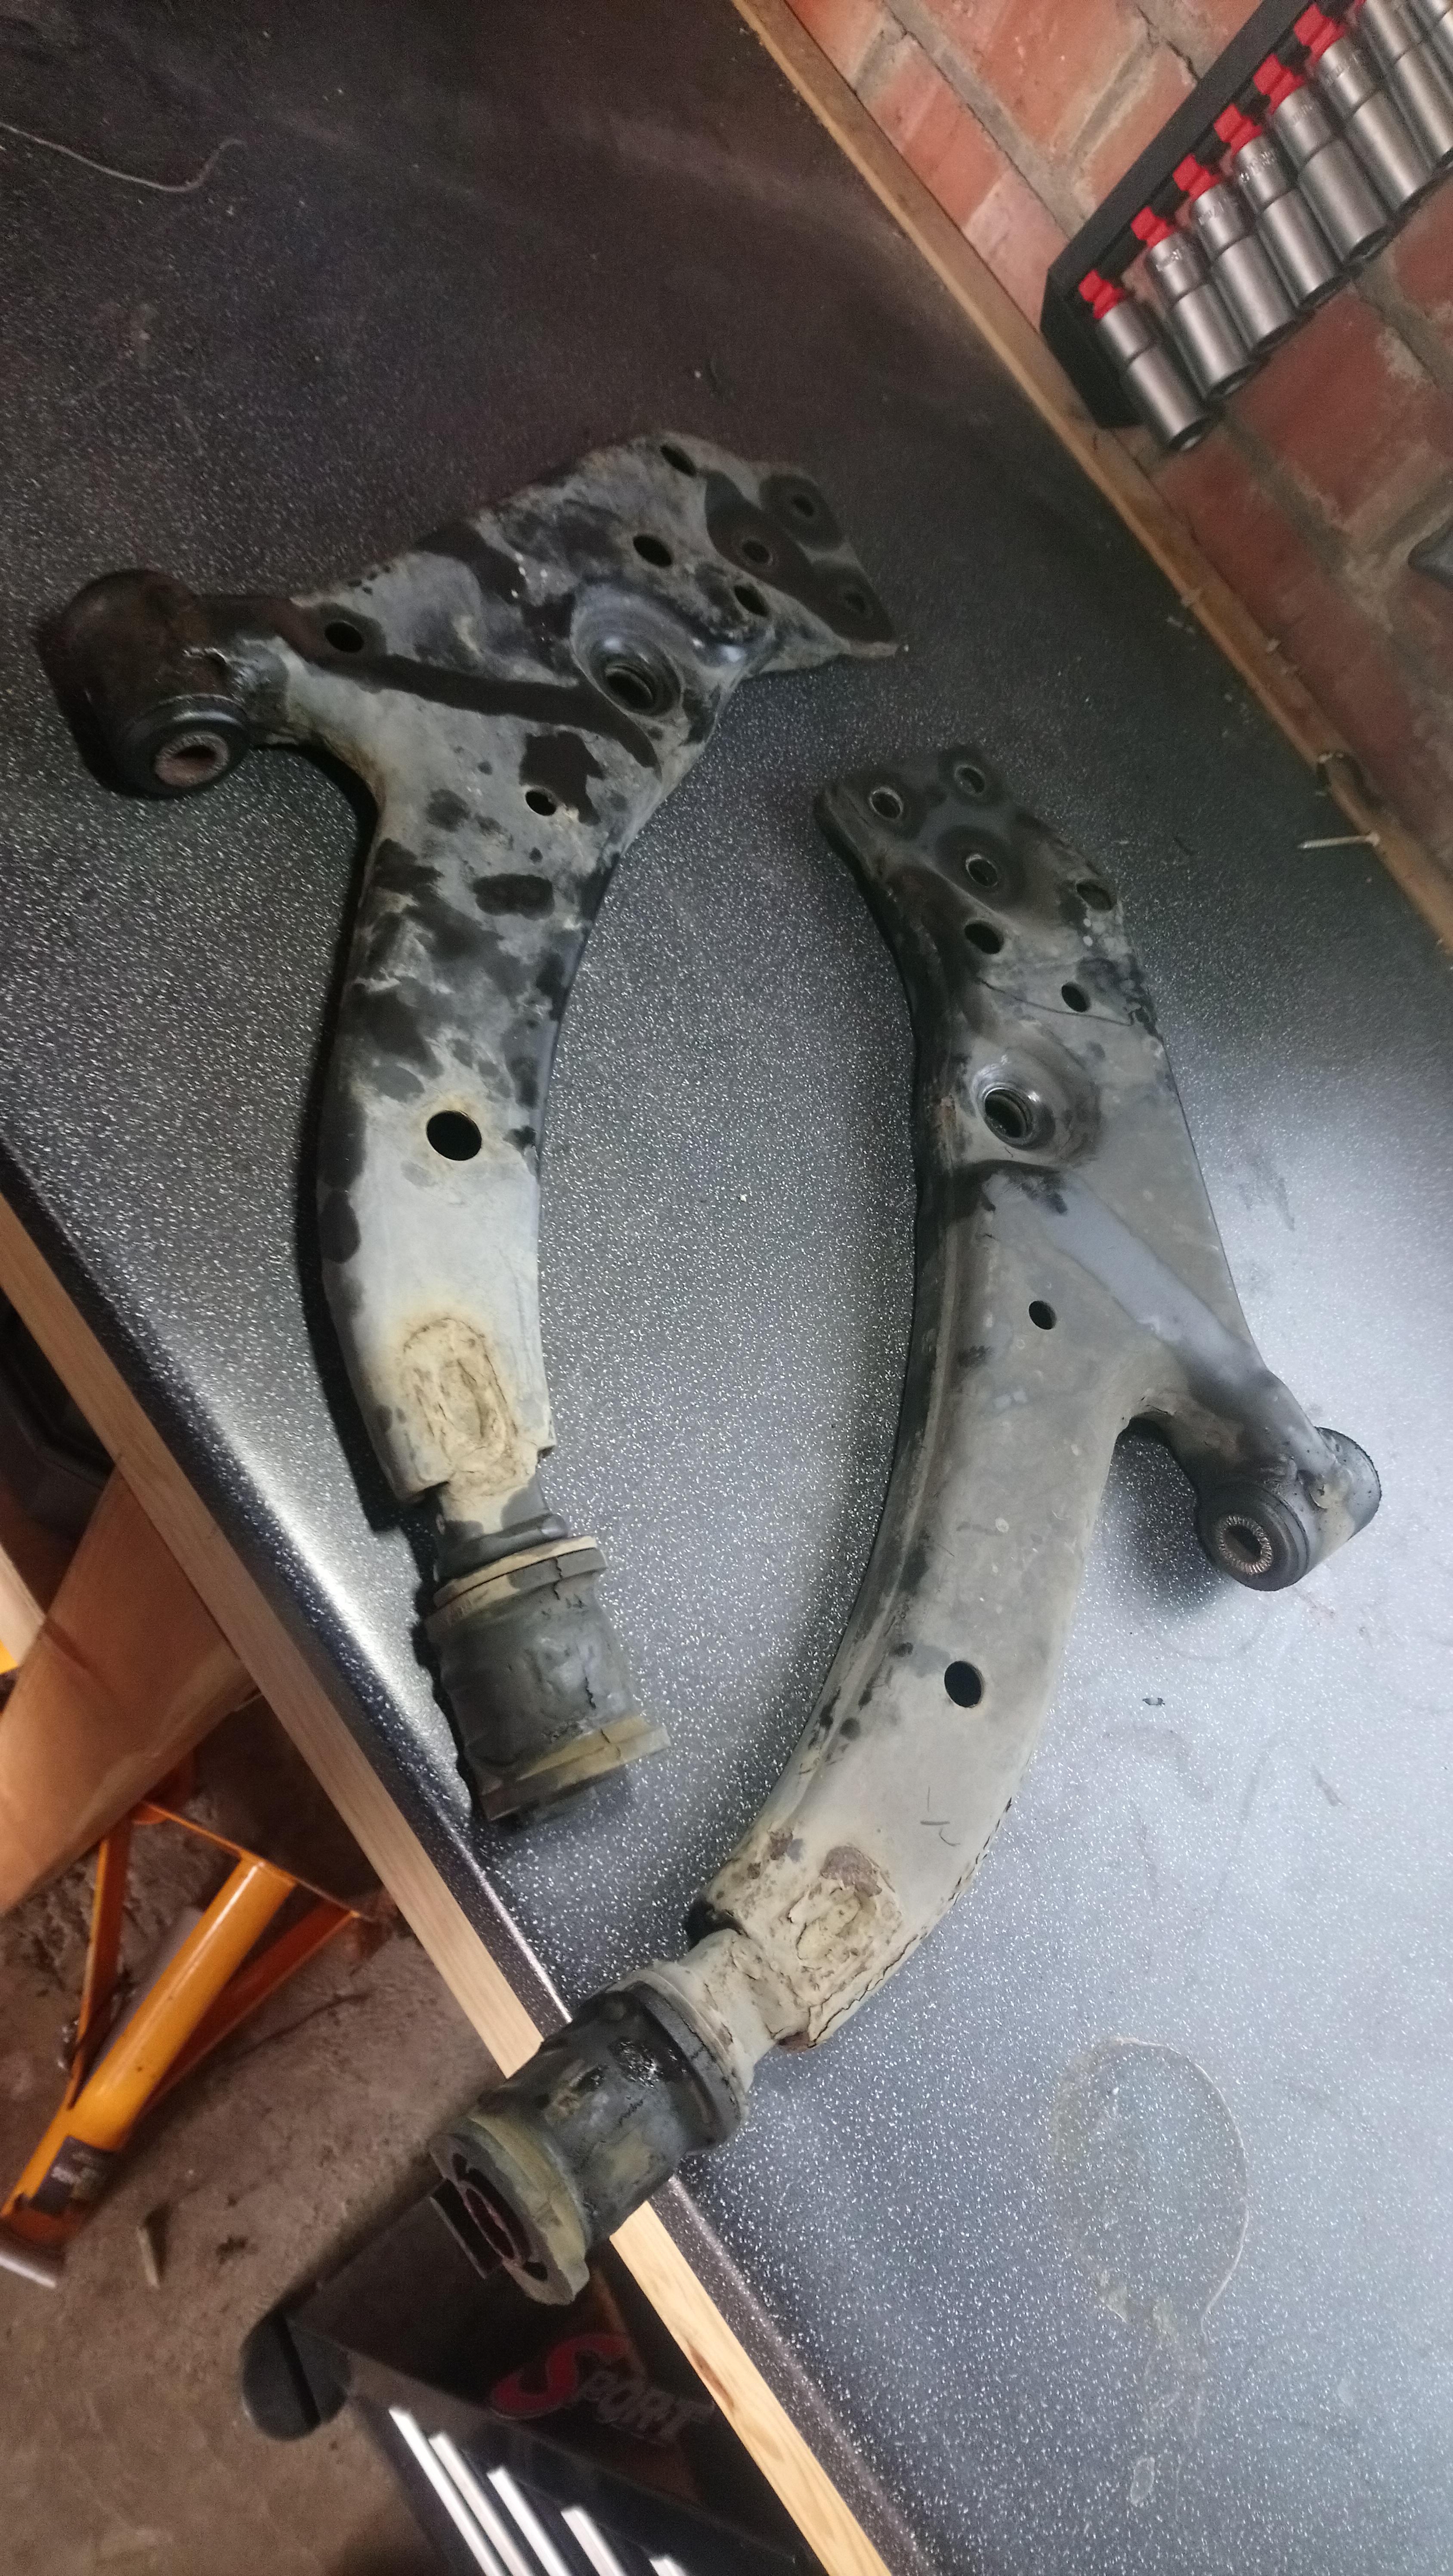
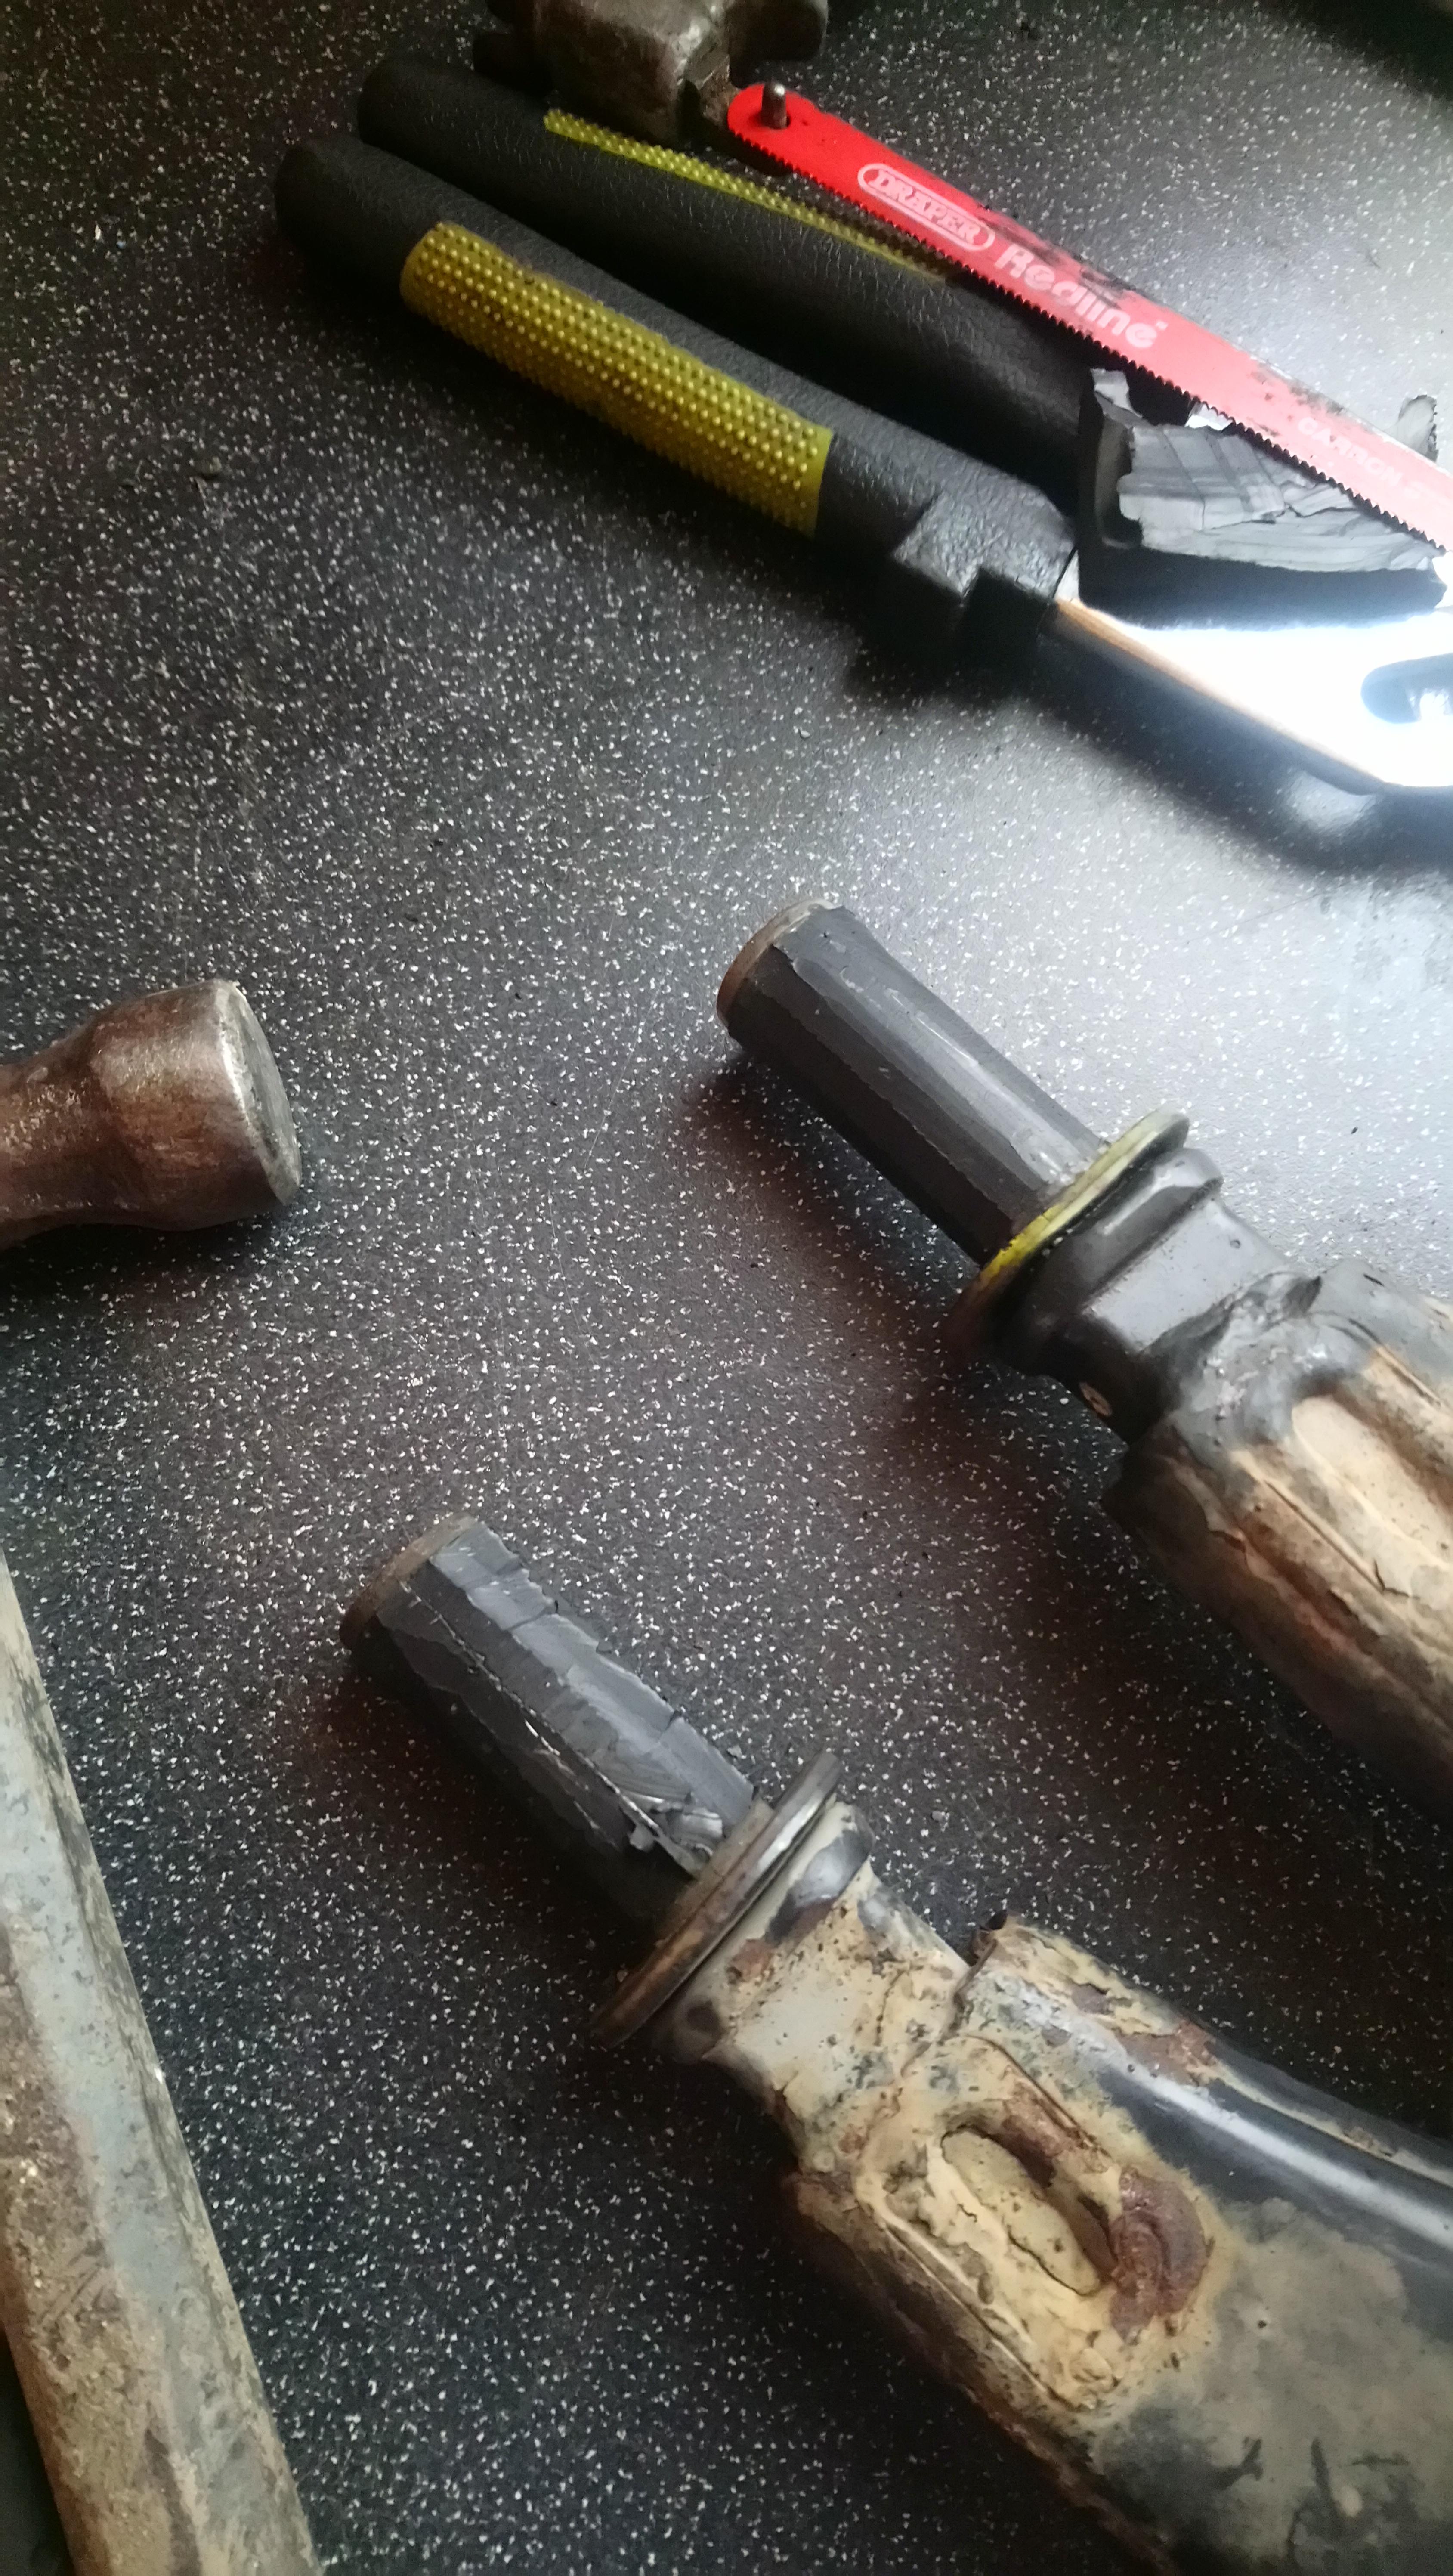
With the wishbones removed from the car I pressed out the front bushings fairly easily. I then had to cut off the rear bush and metal sleeve in order to fit the anti lift kit. I did this by grinding the sleeve back carefully untill it was almost through and then hitting it off the arm.

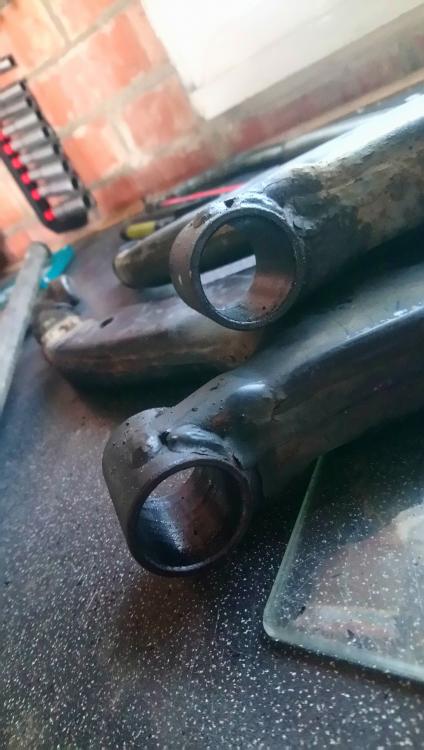
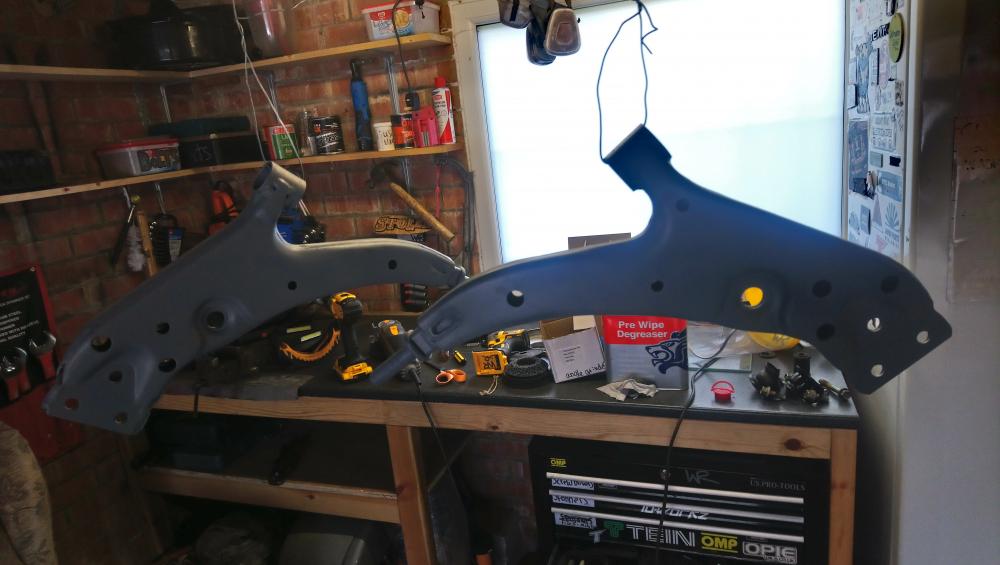
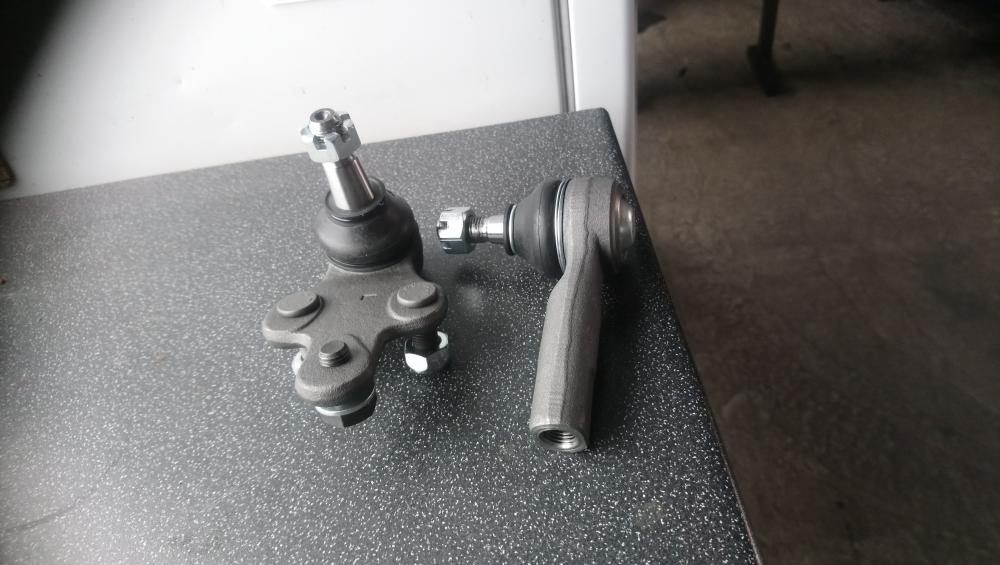
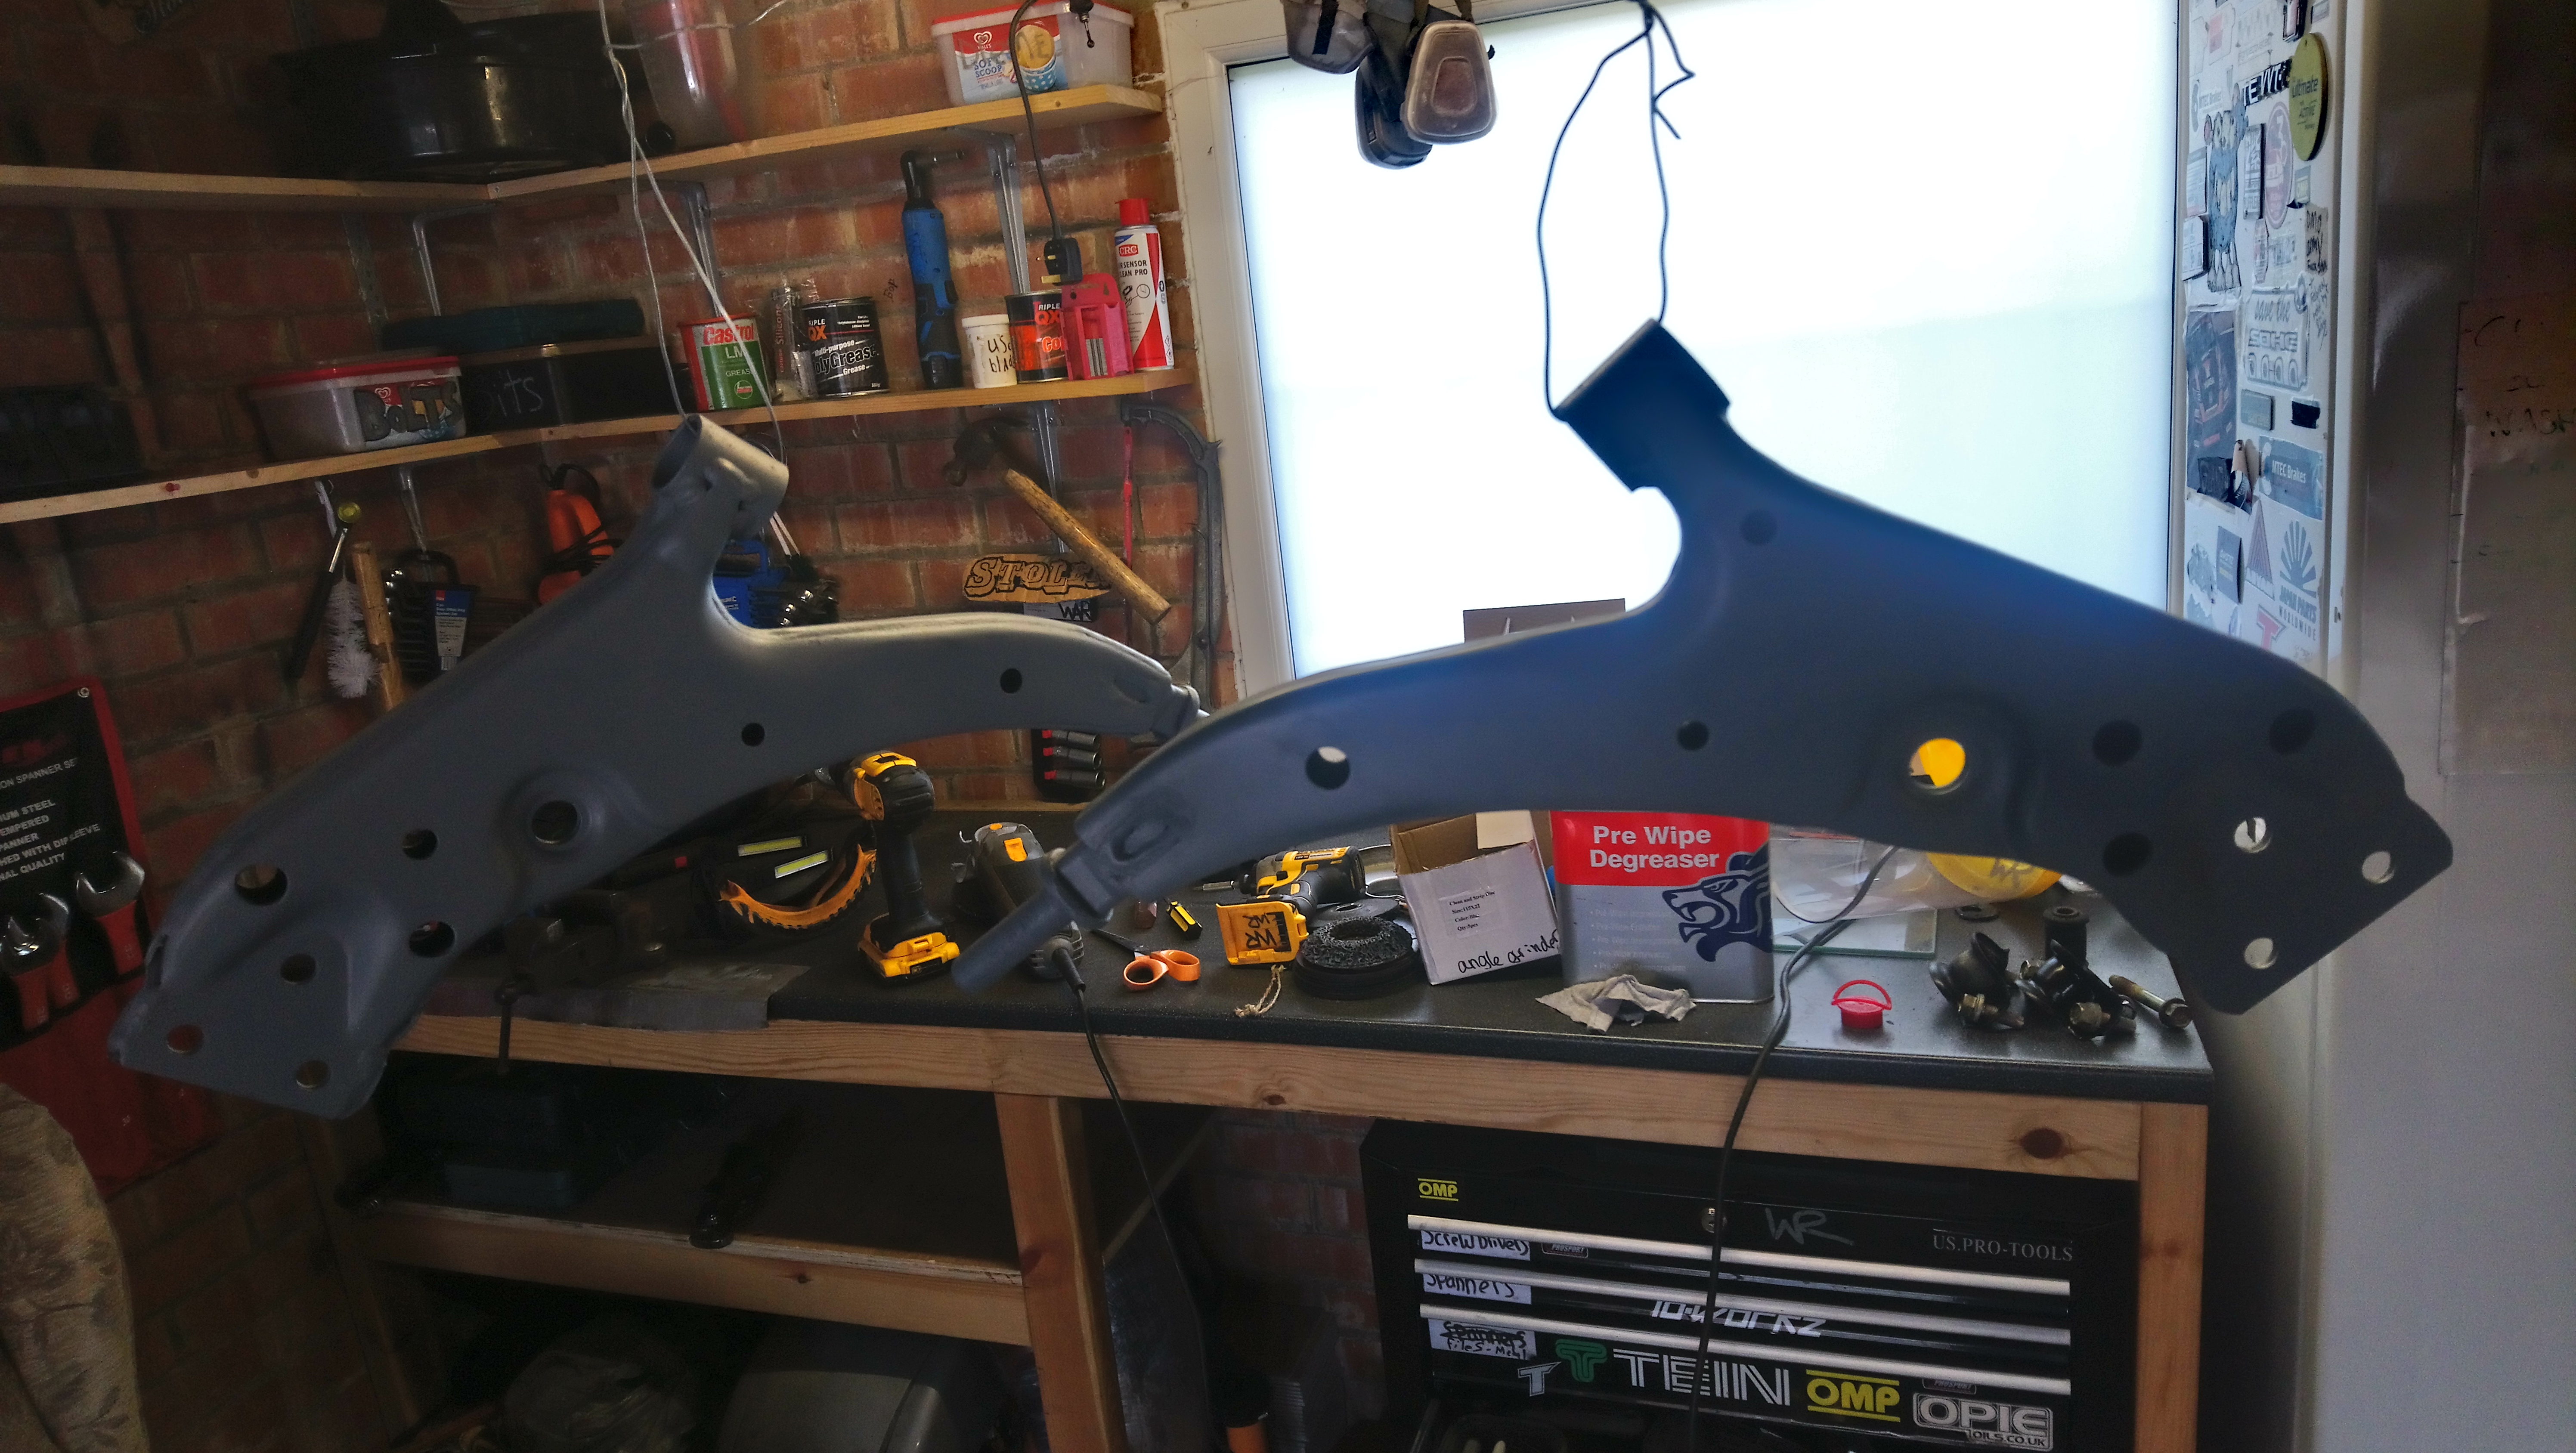
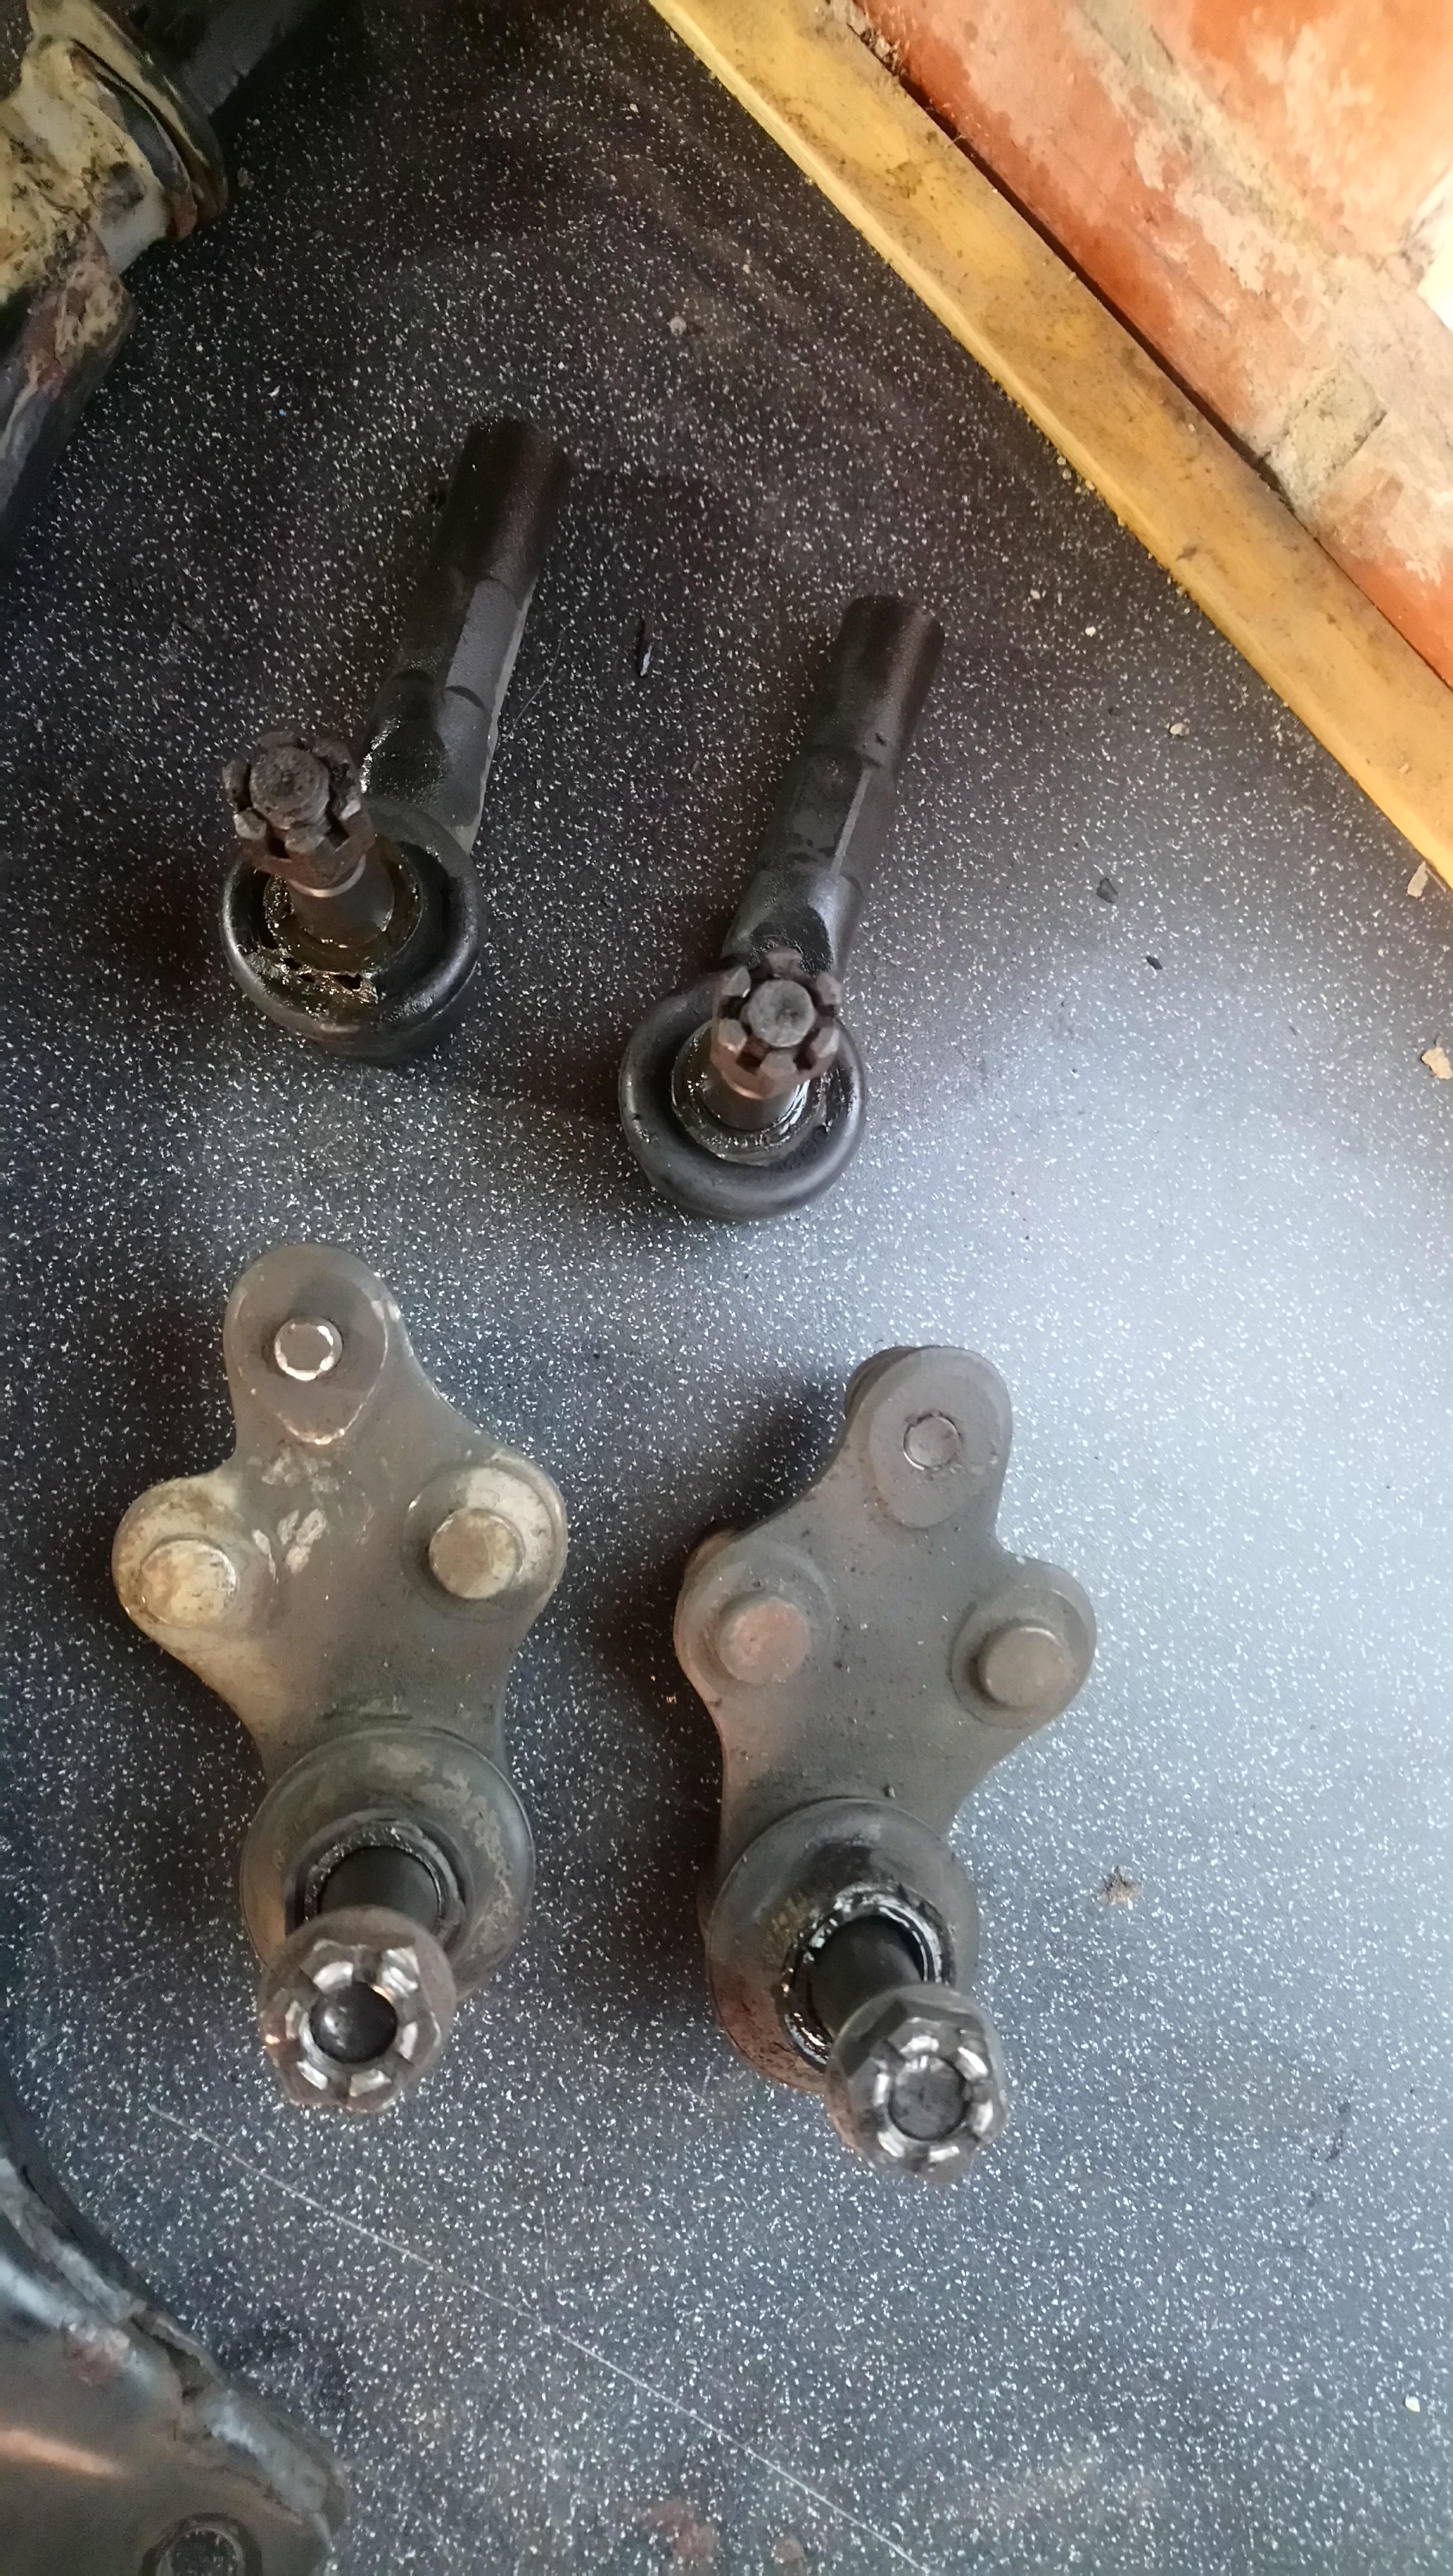
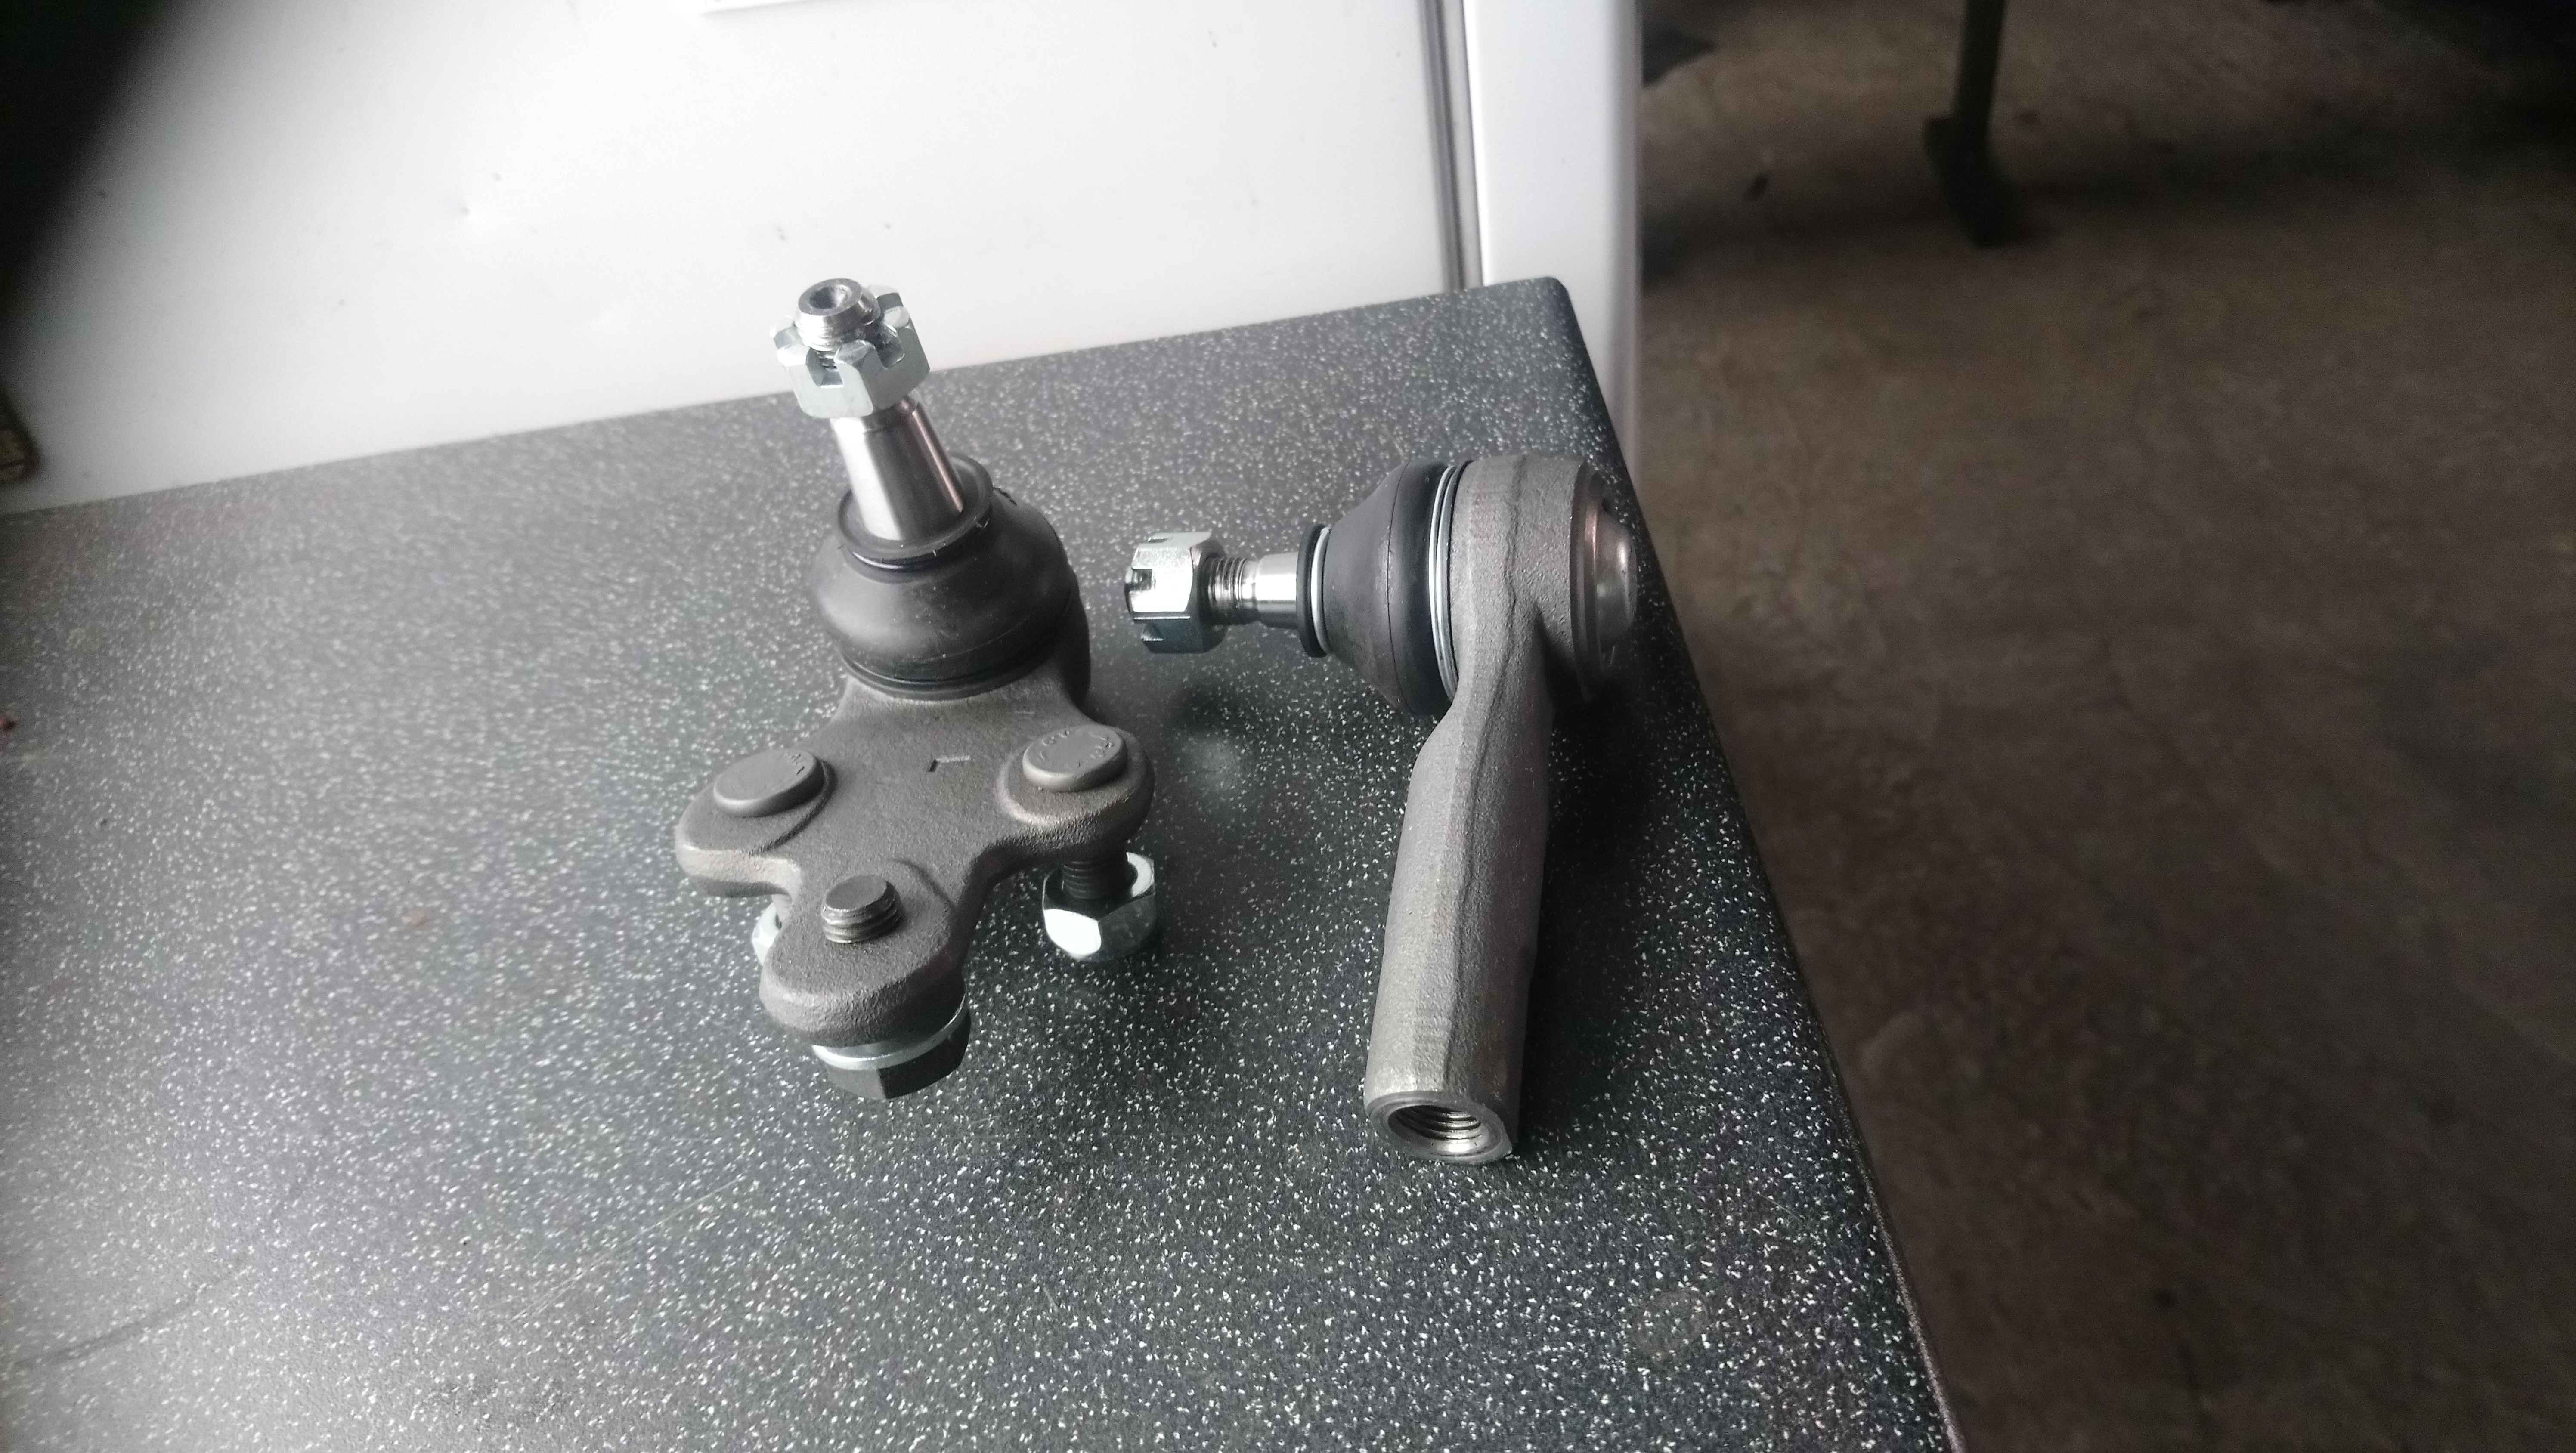
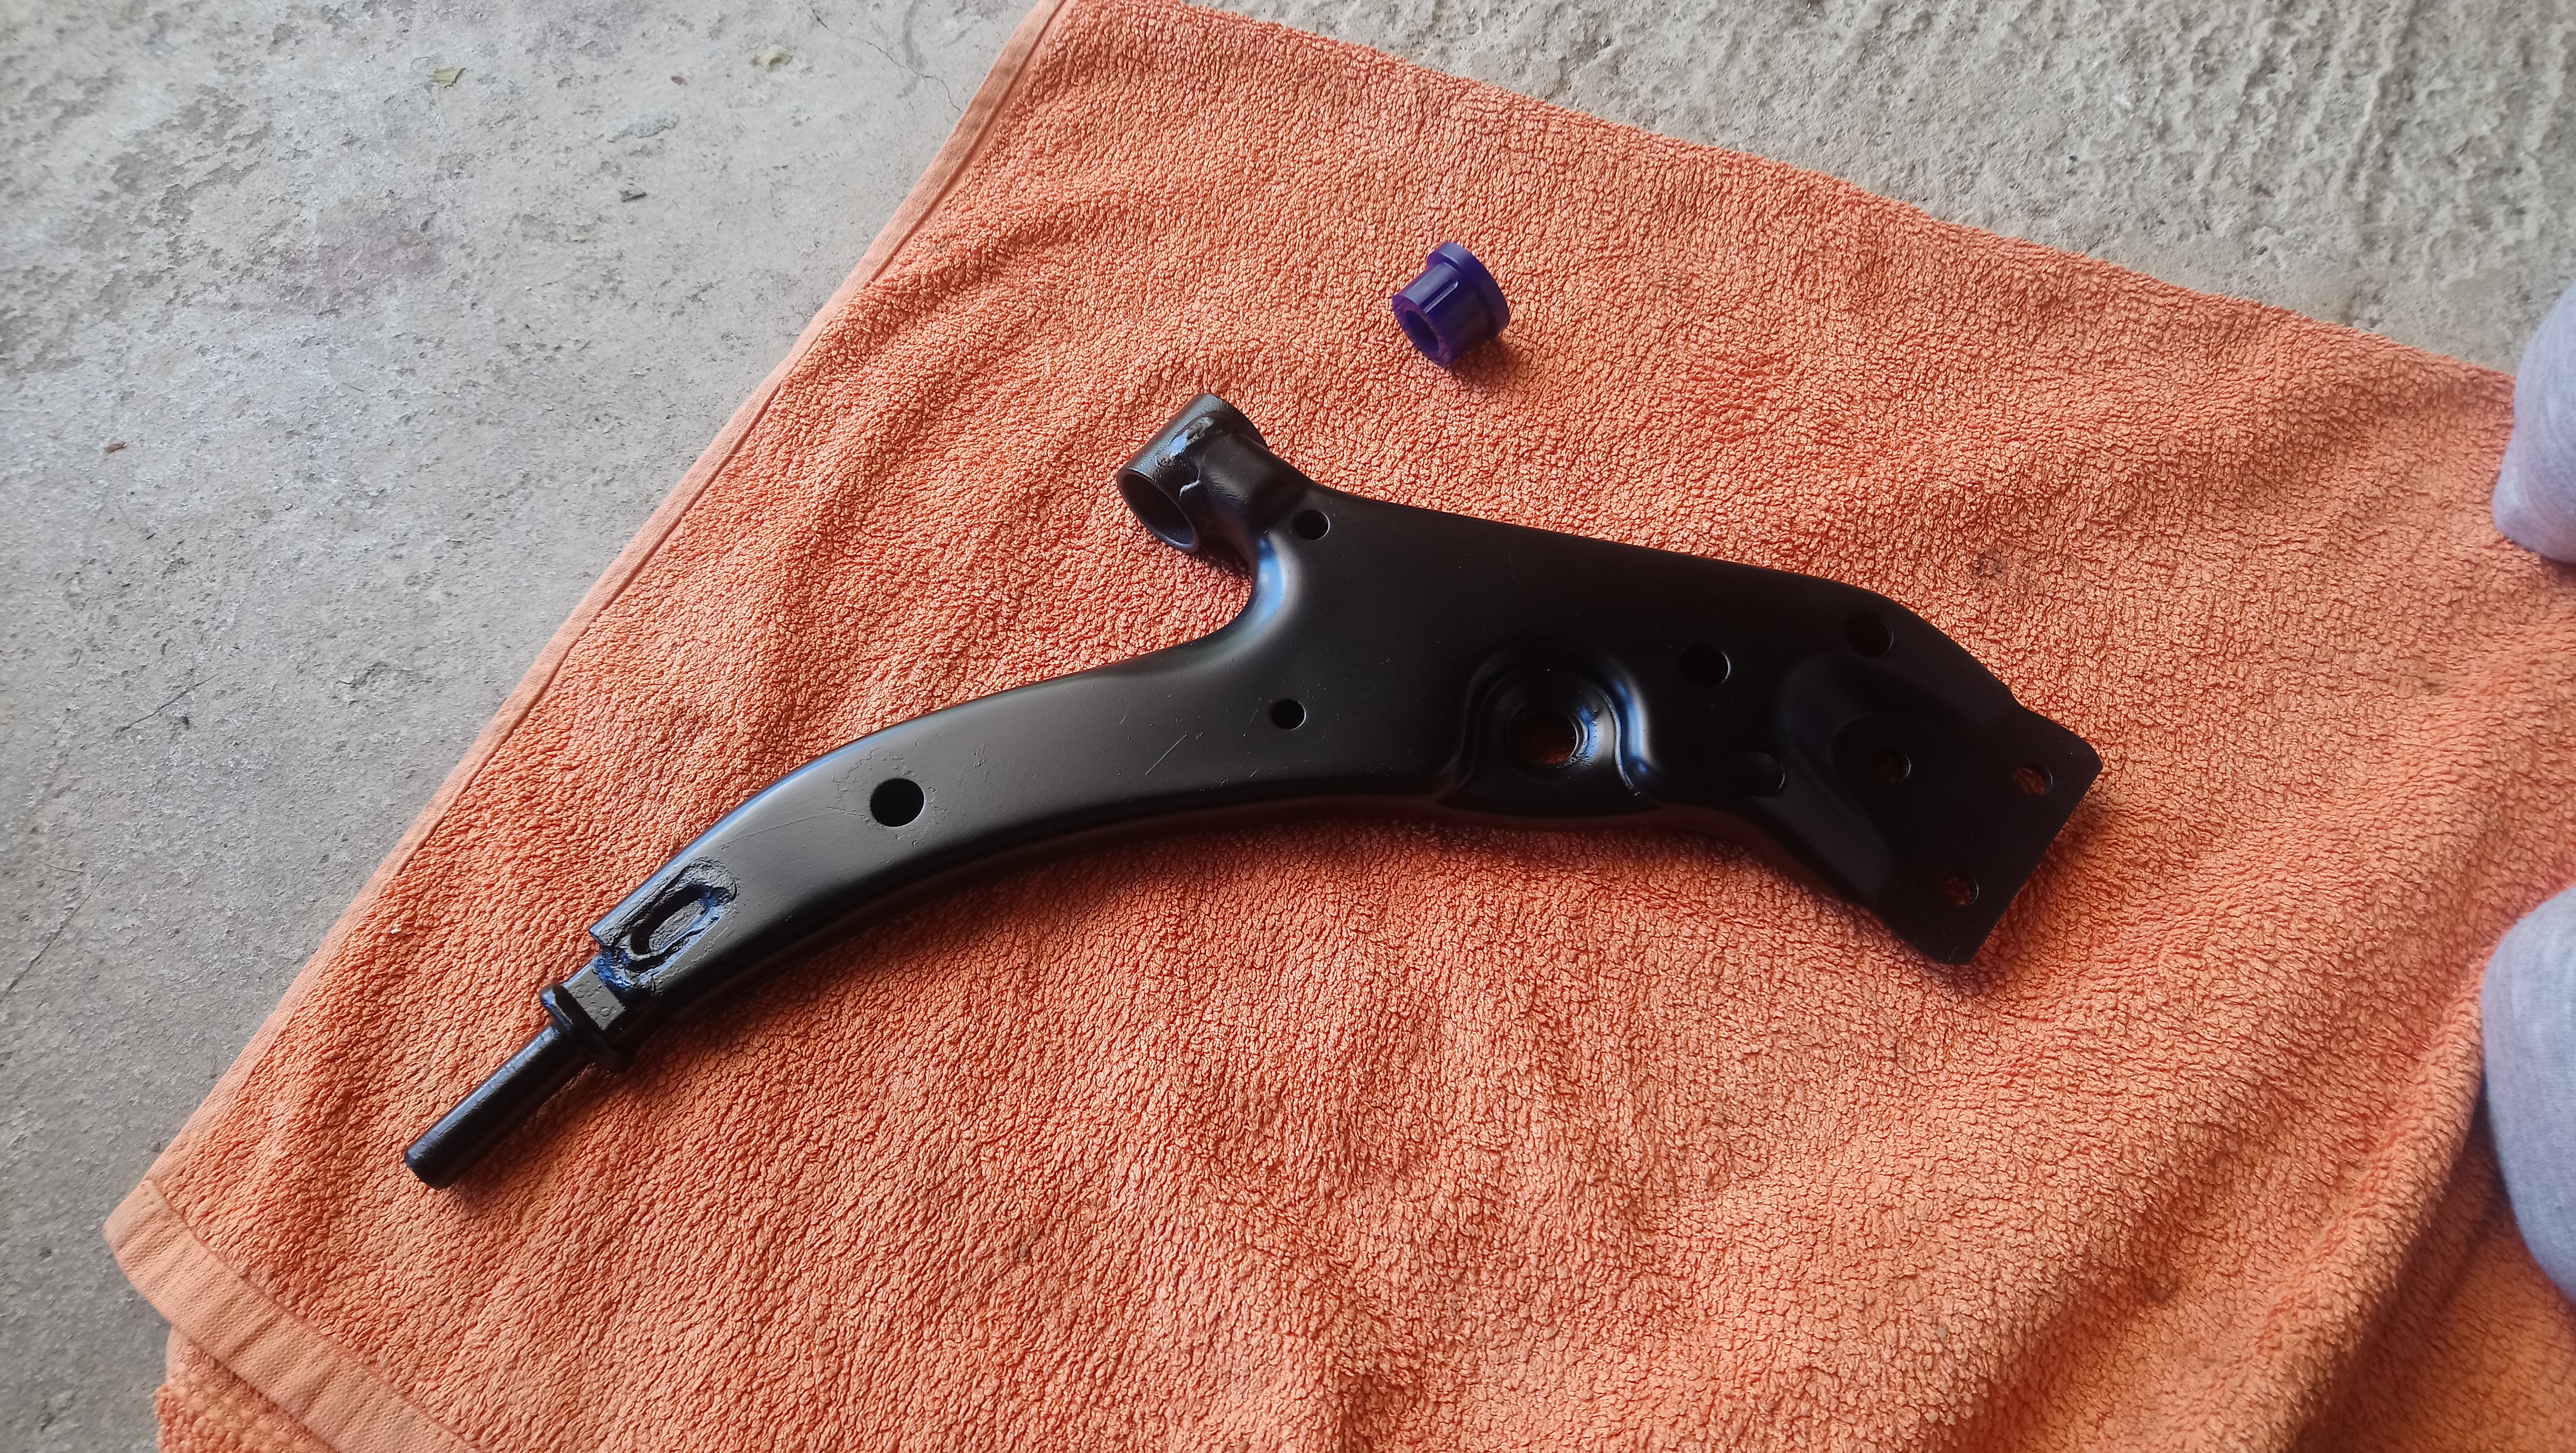
I then gave the wishbones a good clean up, buffed the surface rust off and gave them a few coats of paint to freshen them up. While they were drying I got the new track rod ends and ball joints installed.

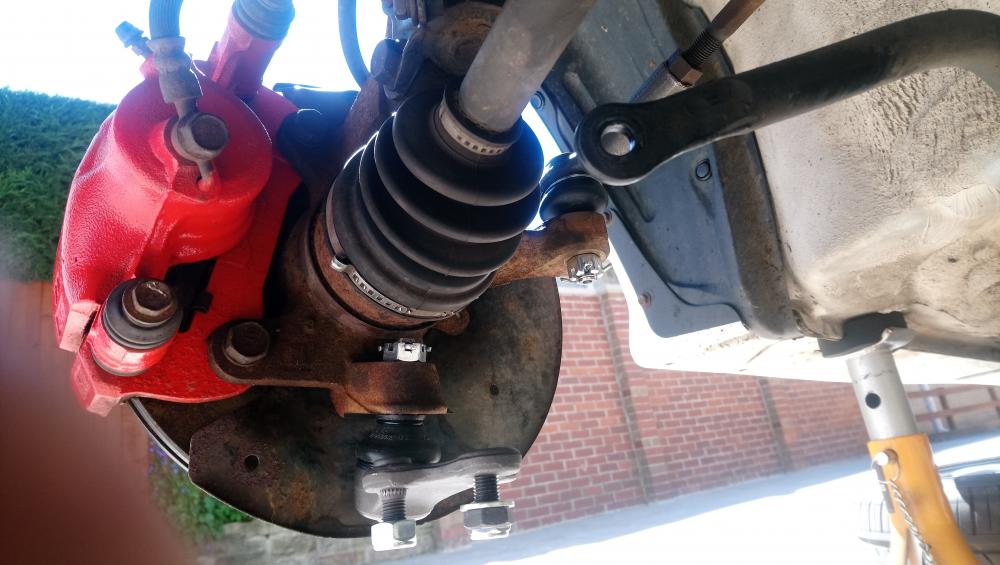
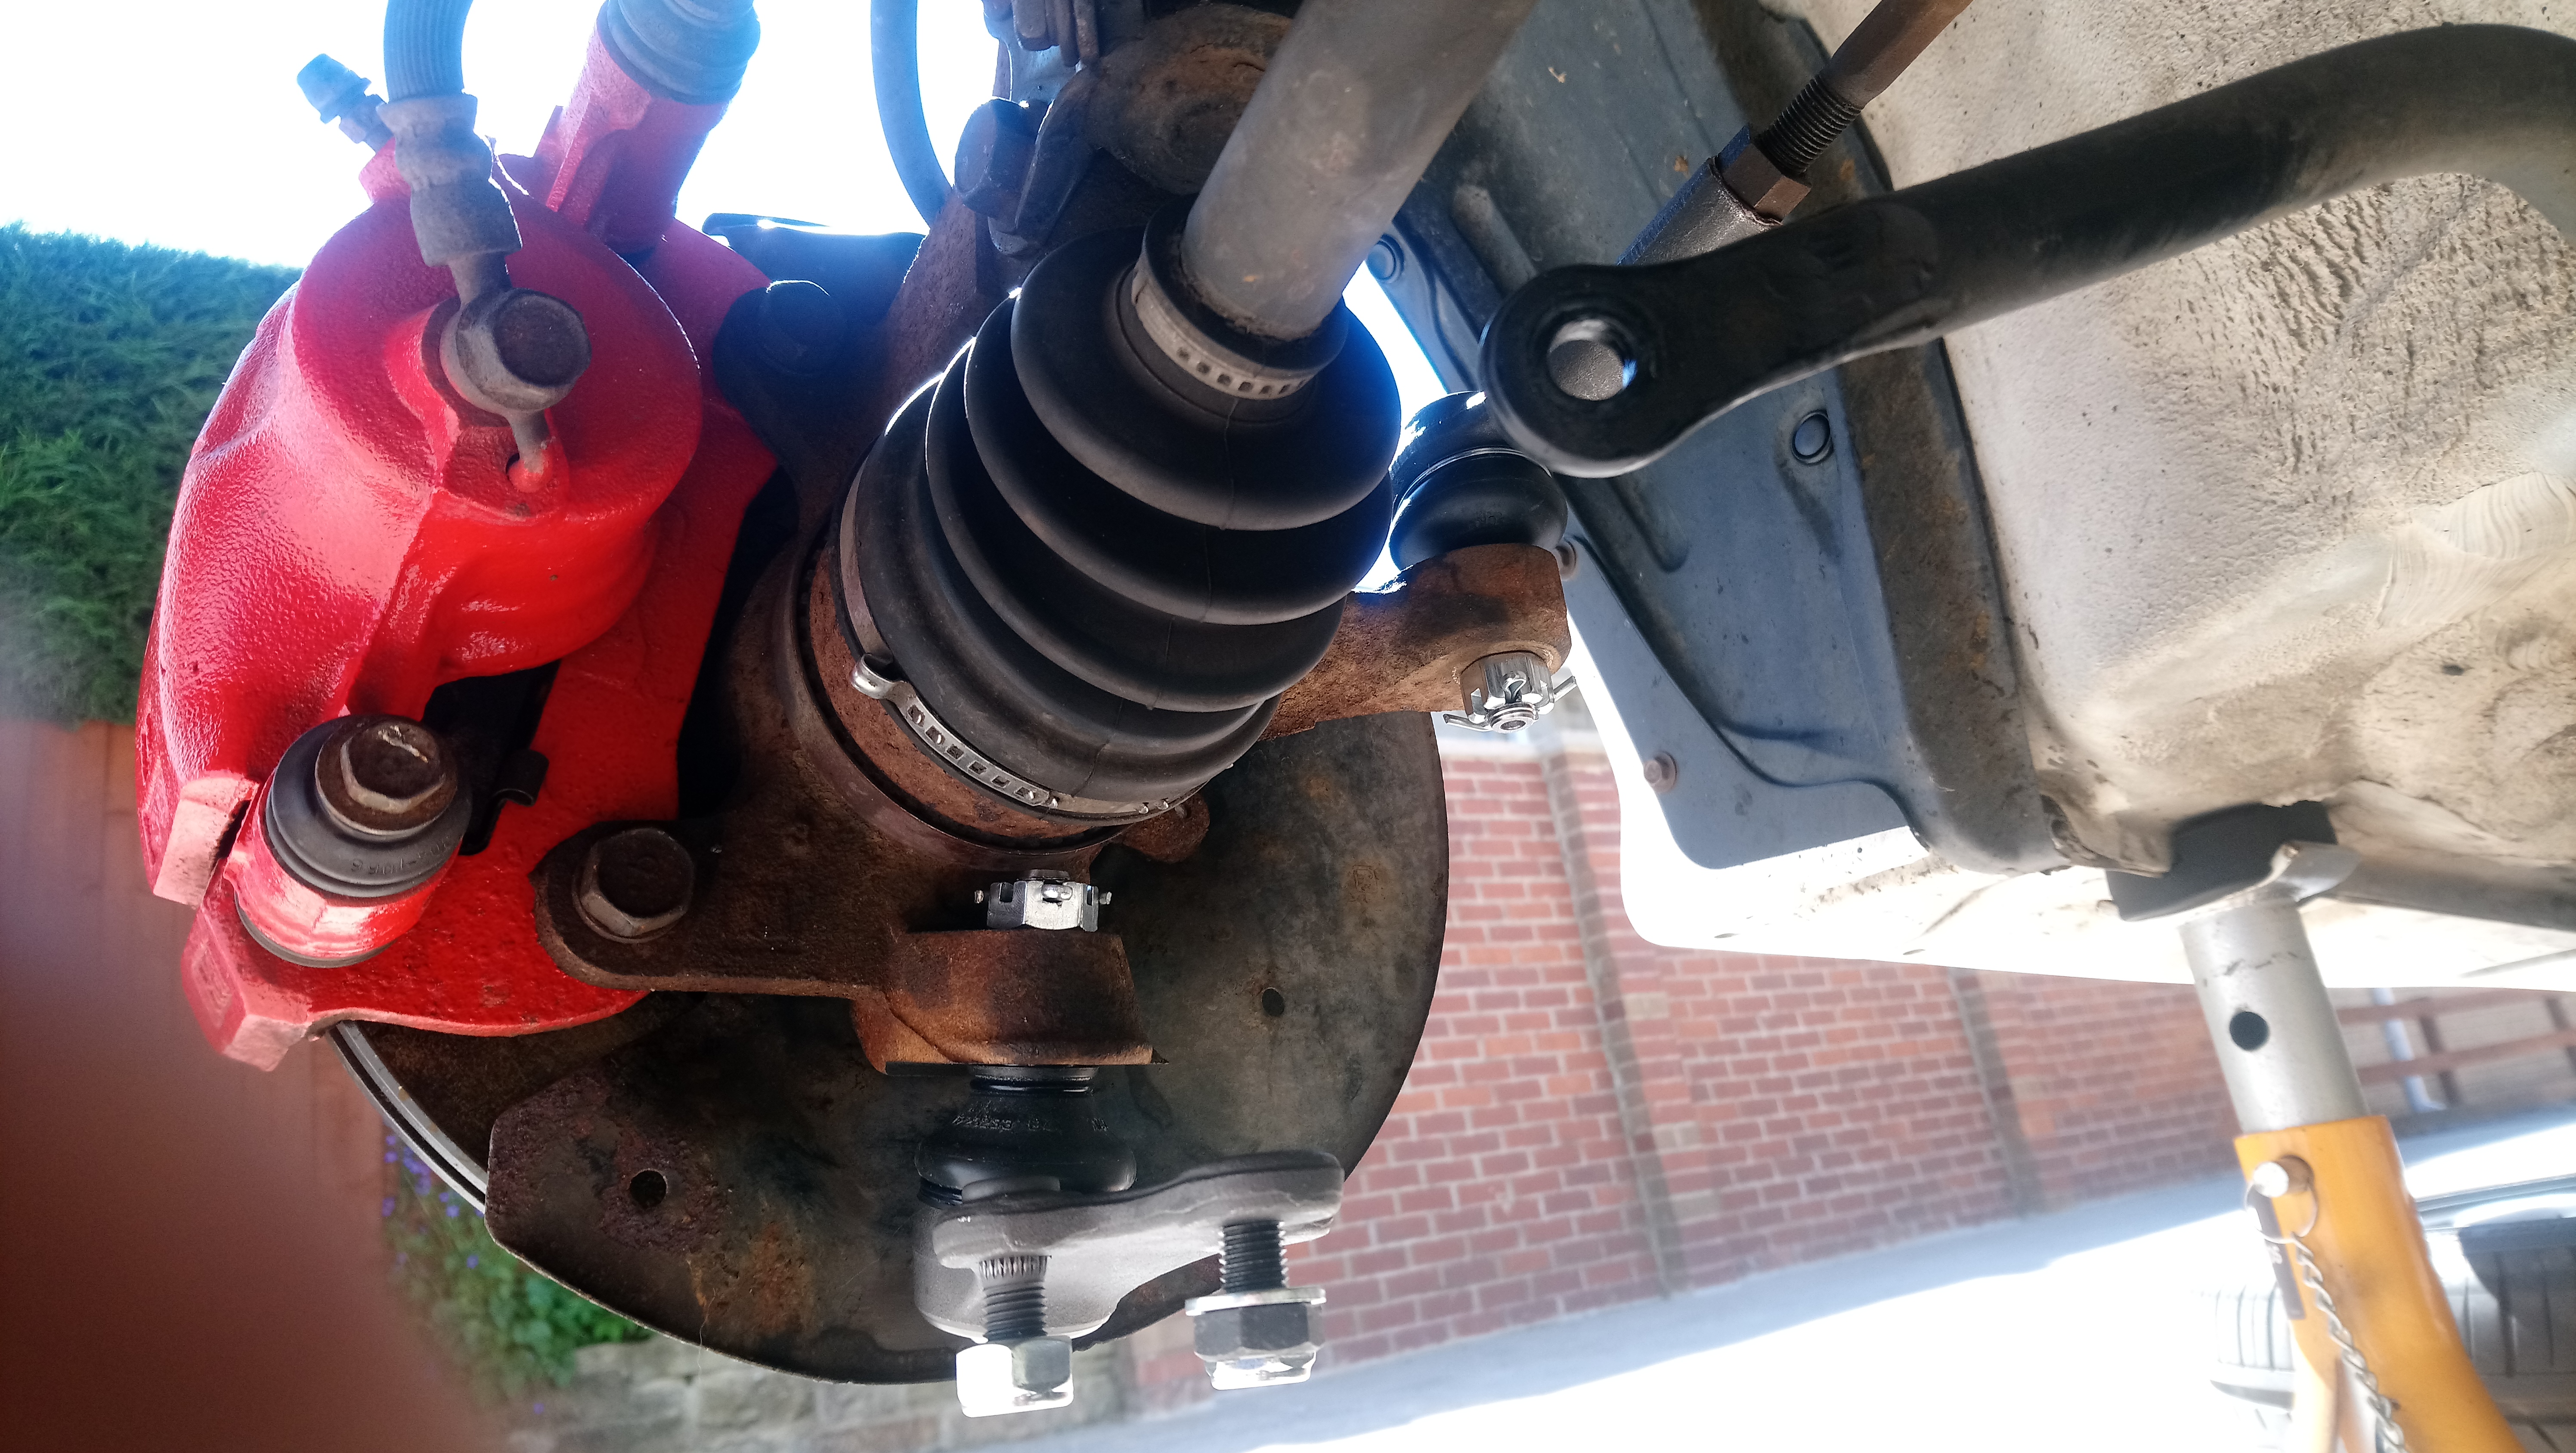
Once the wishbones had fully dried I fitted the new polybushes and got them installed back on the car. Before fully tightening the anti lift kit bolts I got my mate to pull the back of the arm as far out as possible while I tightened the bolts to give maximum castor.

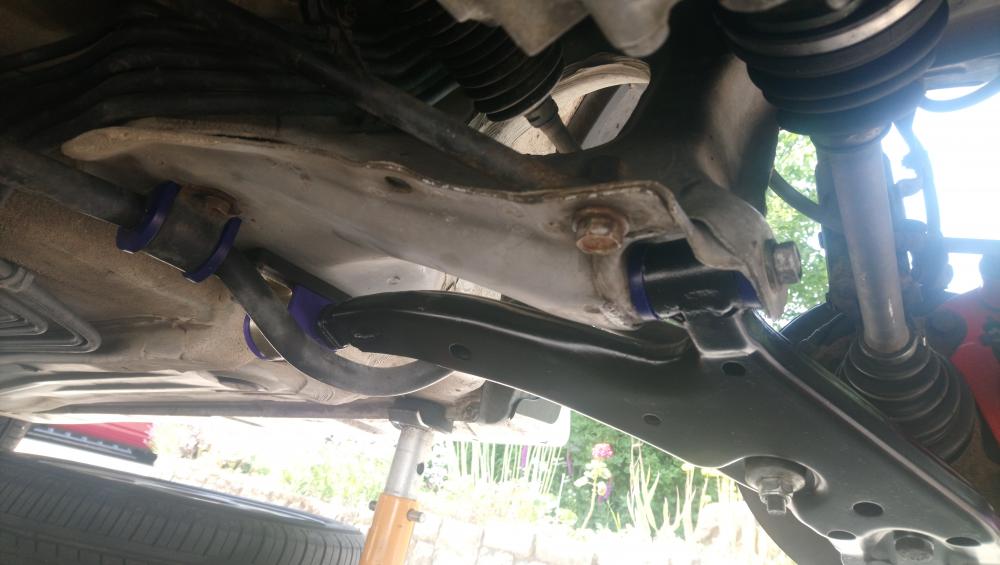
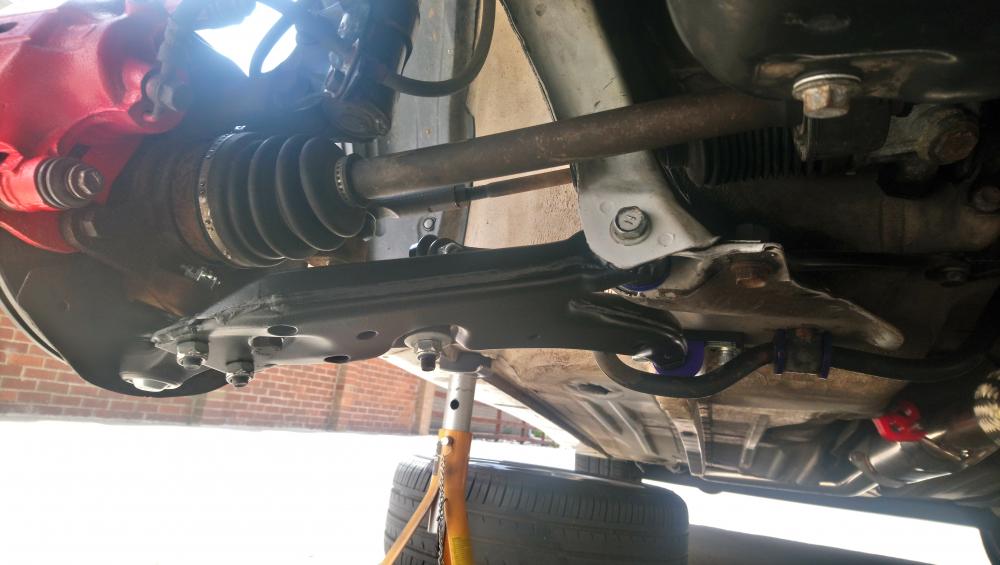

Really pleased with the end result, front suspension feels great now. Just need to get it for a proper allignment at some point, but it does drive fairly straight for the time being.
-
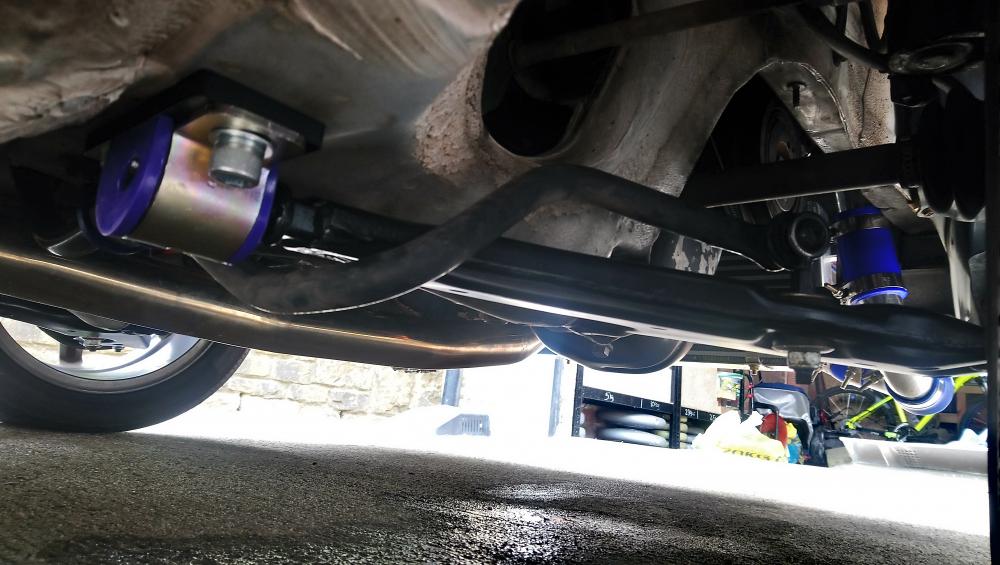
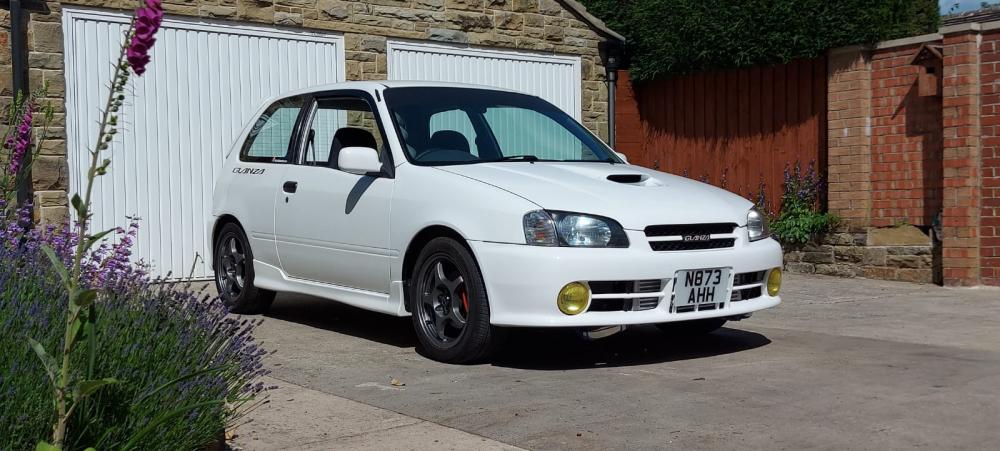
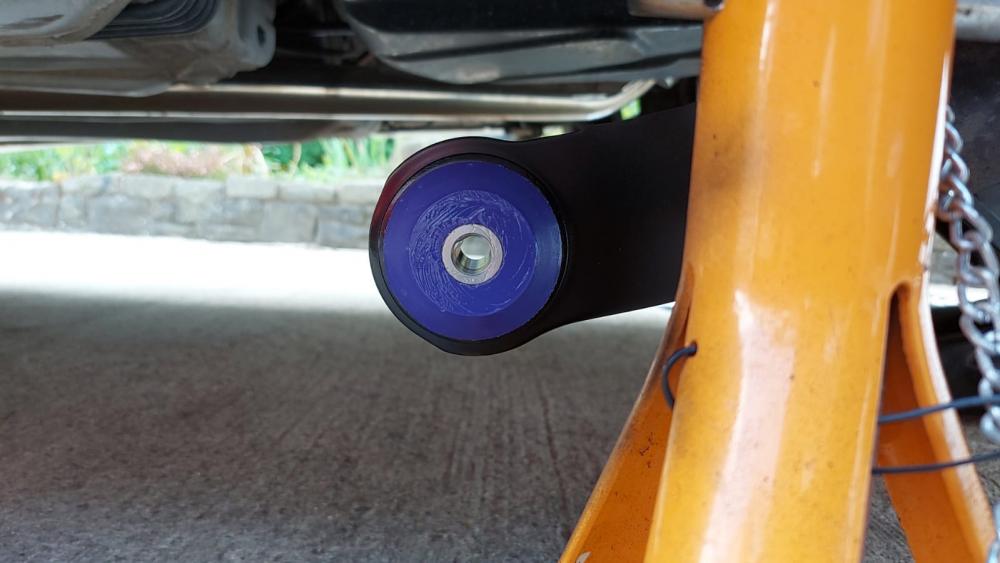
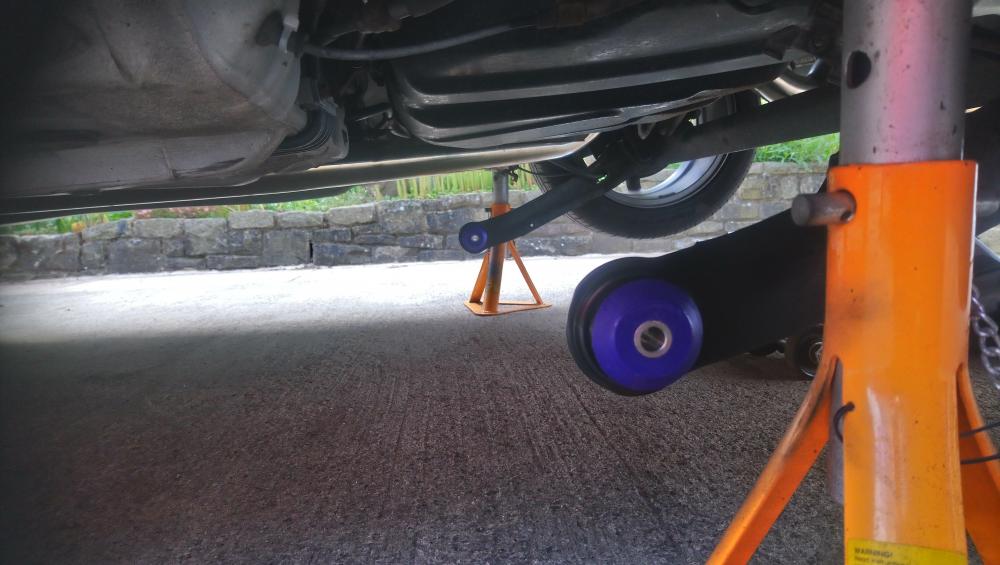
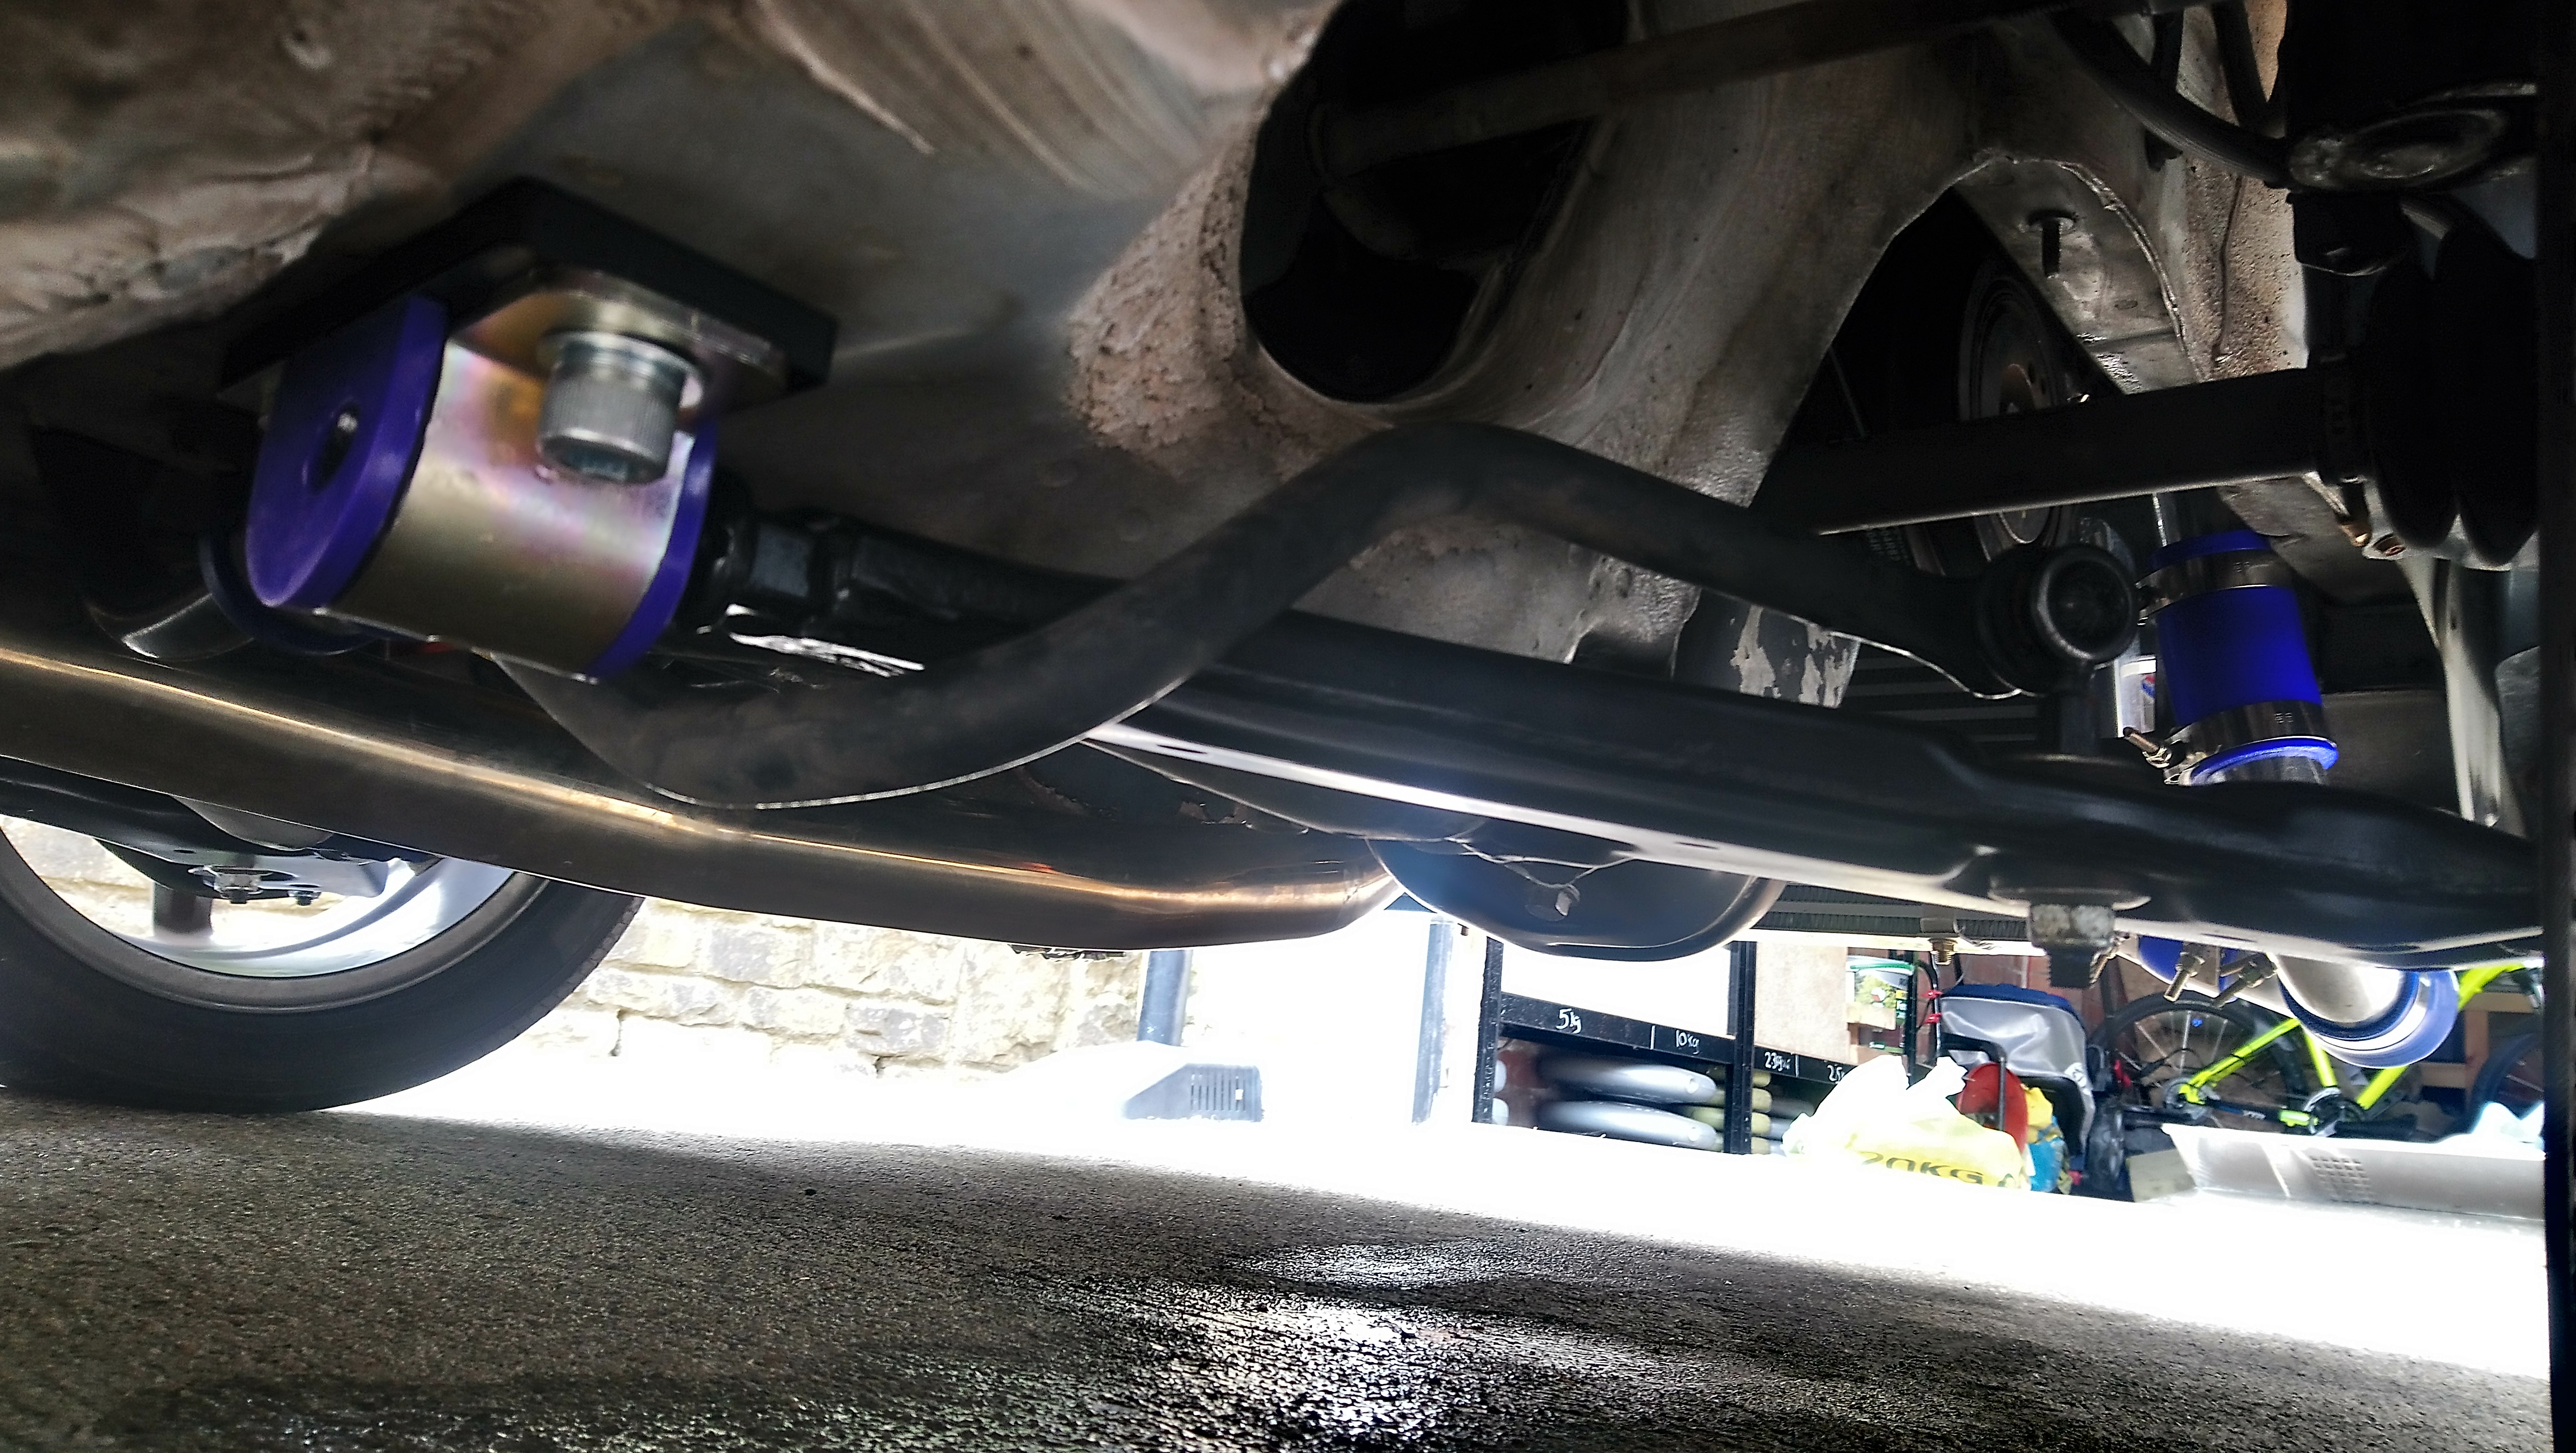
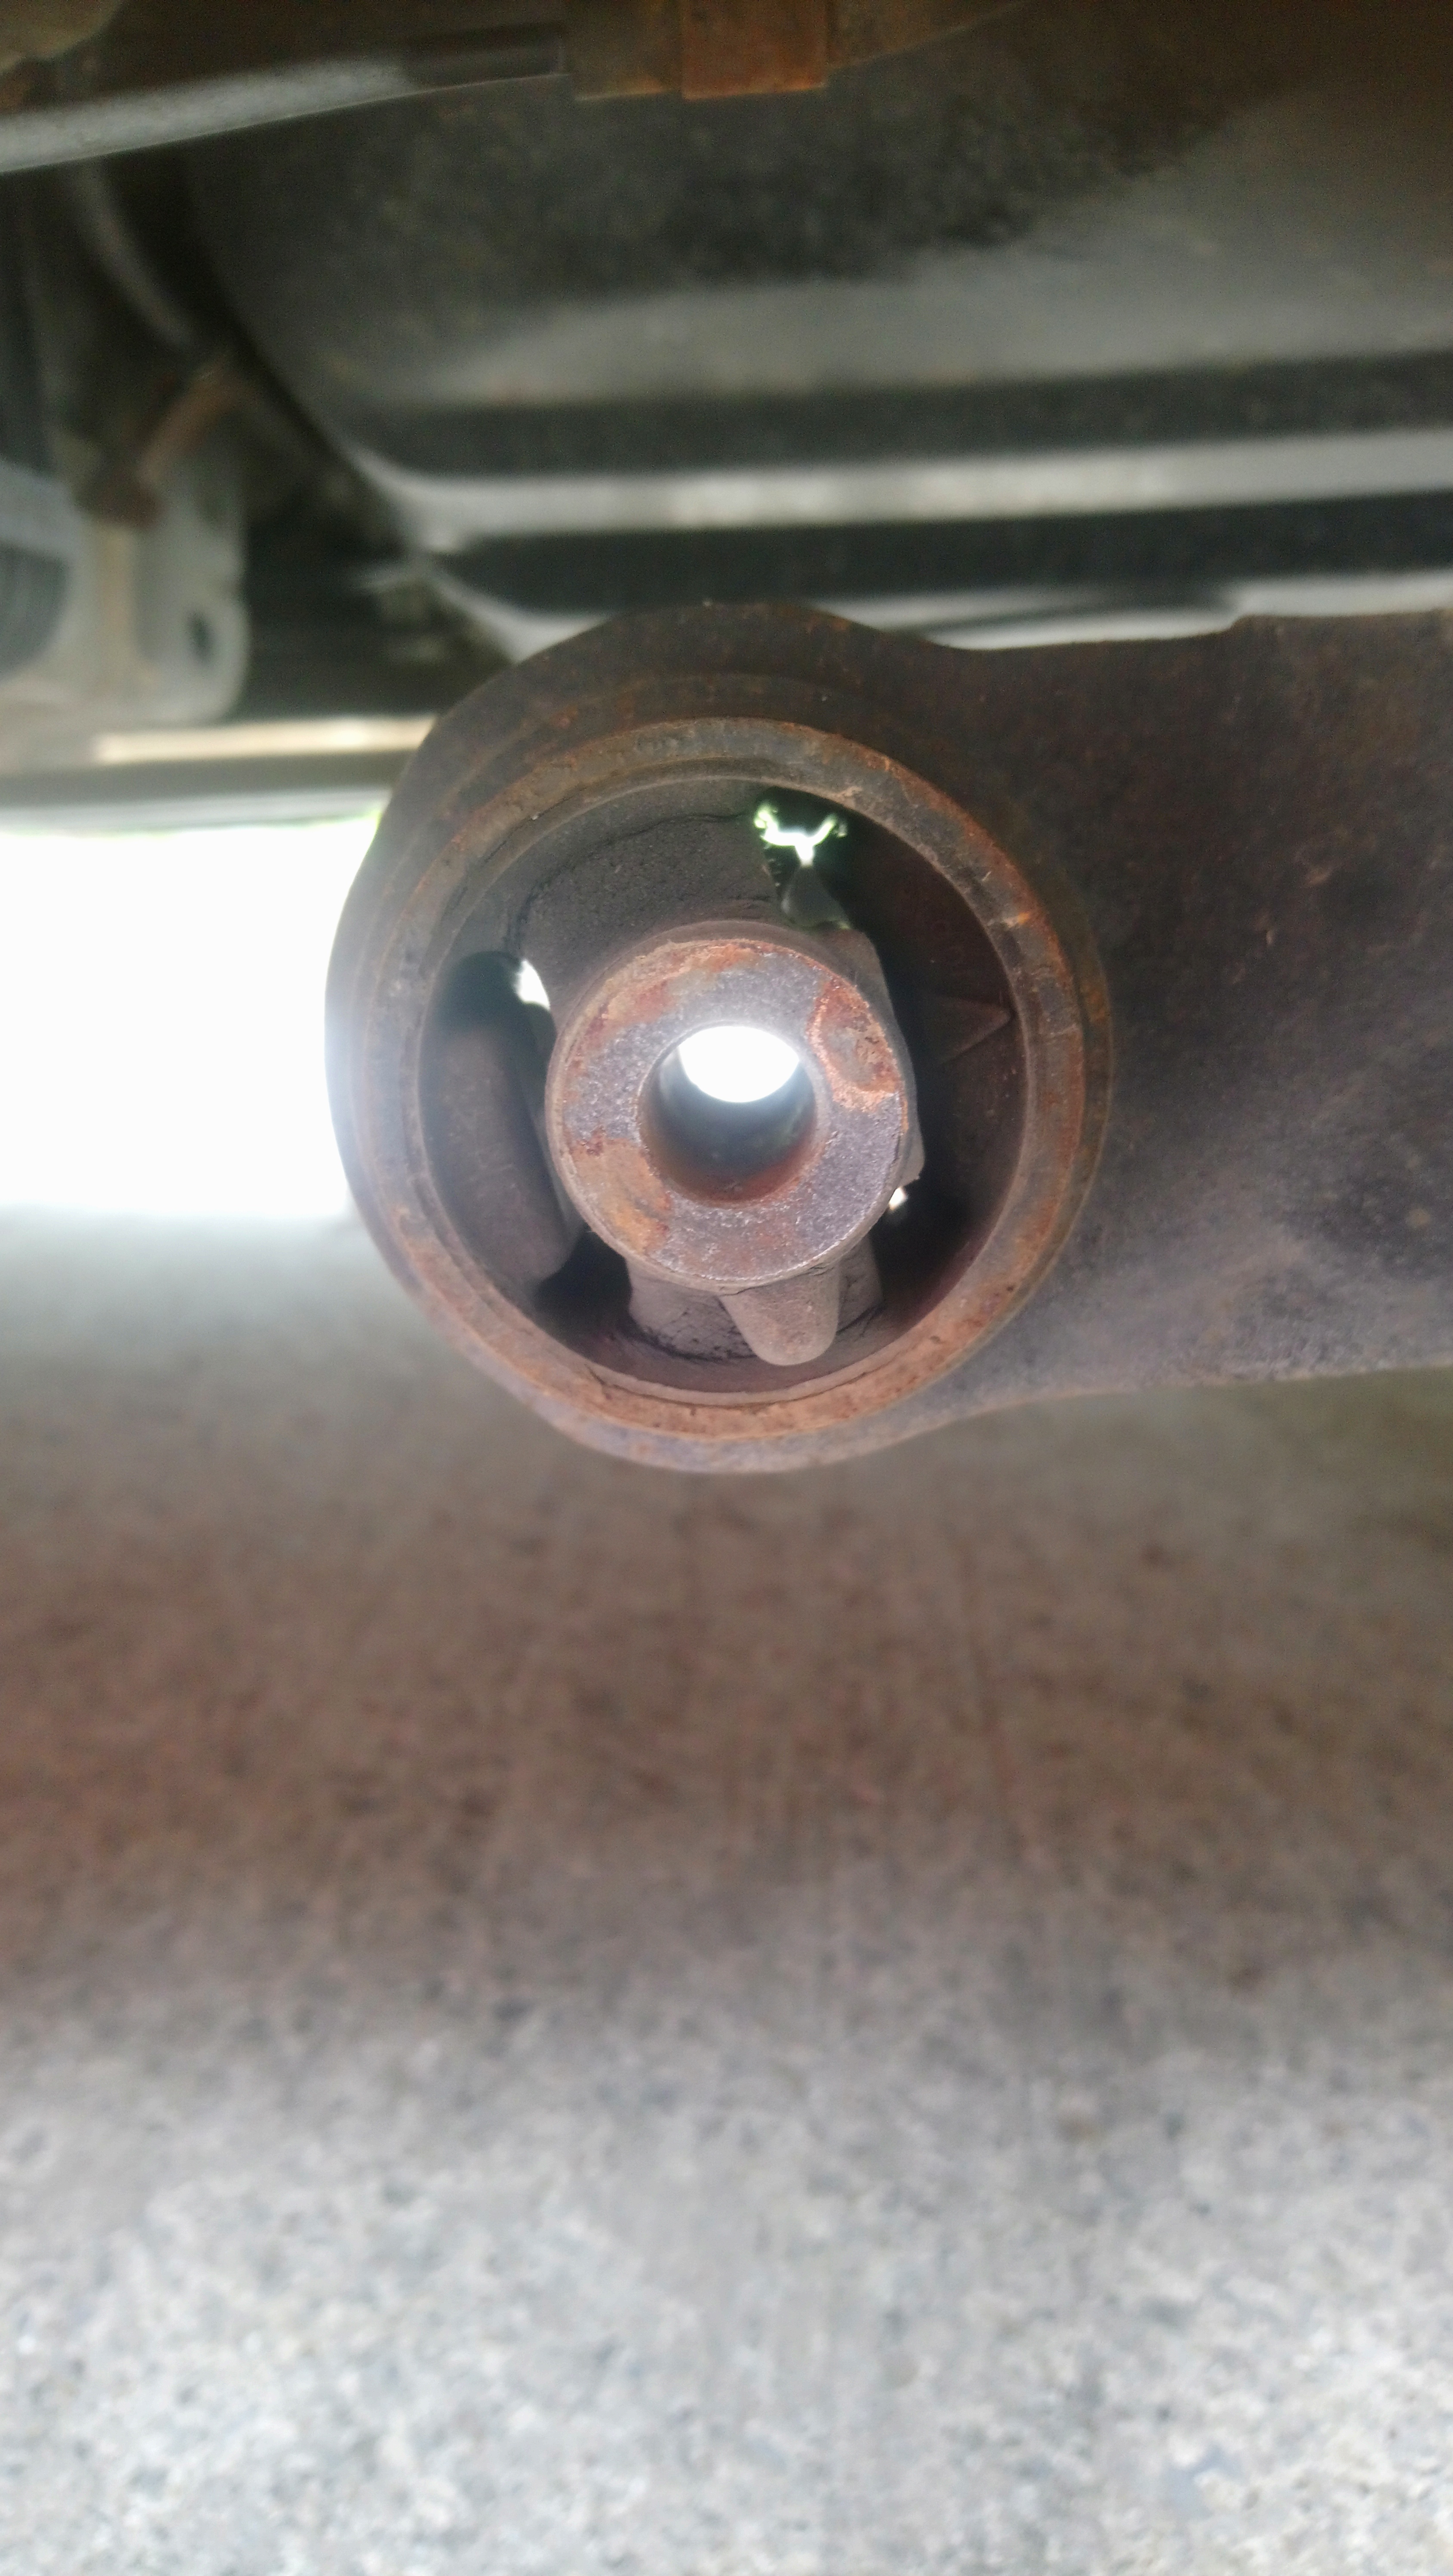
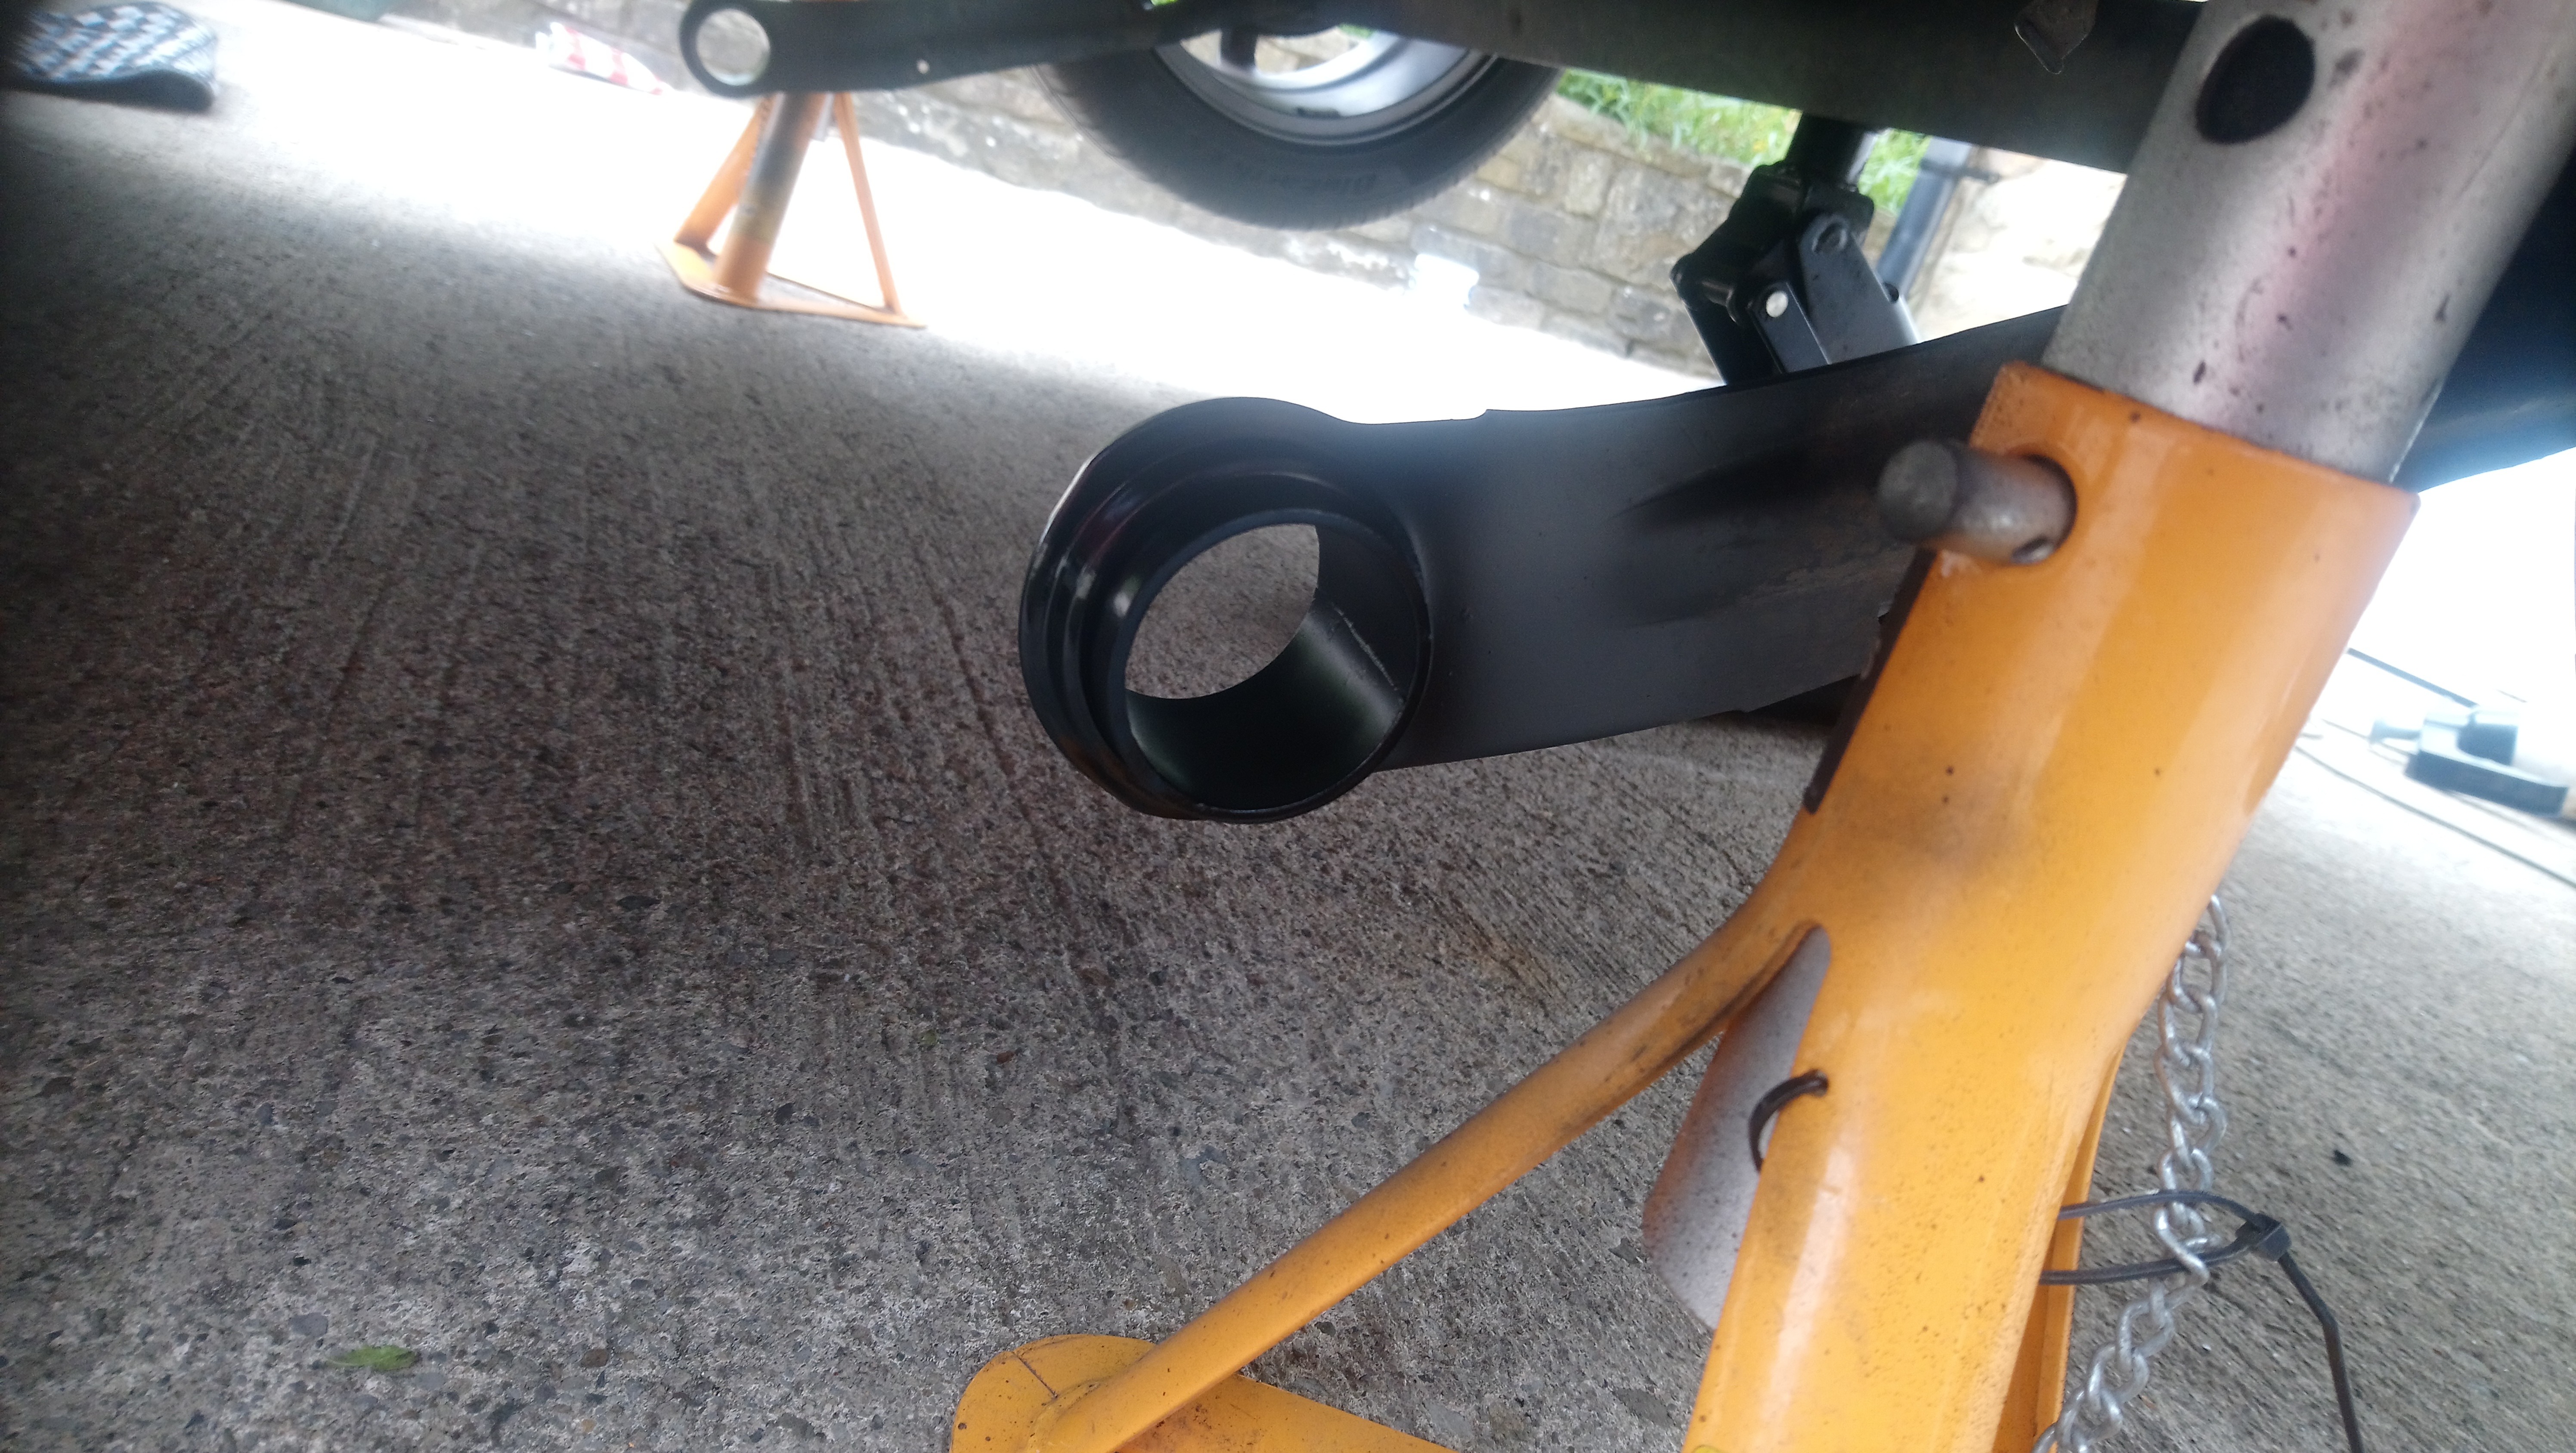
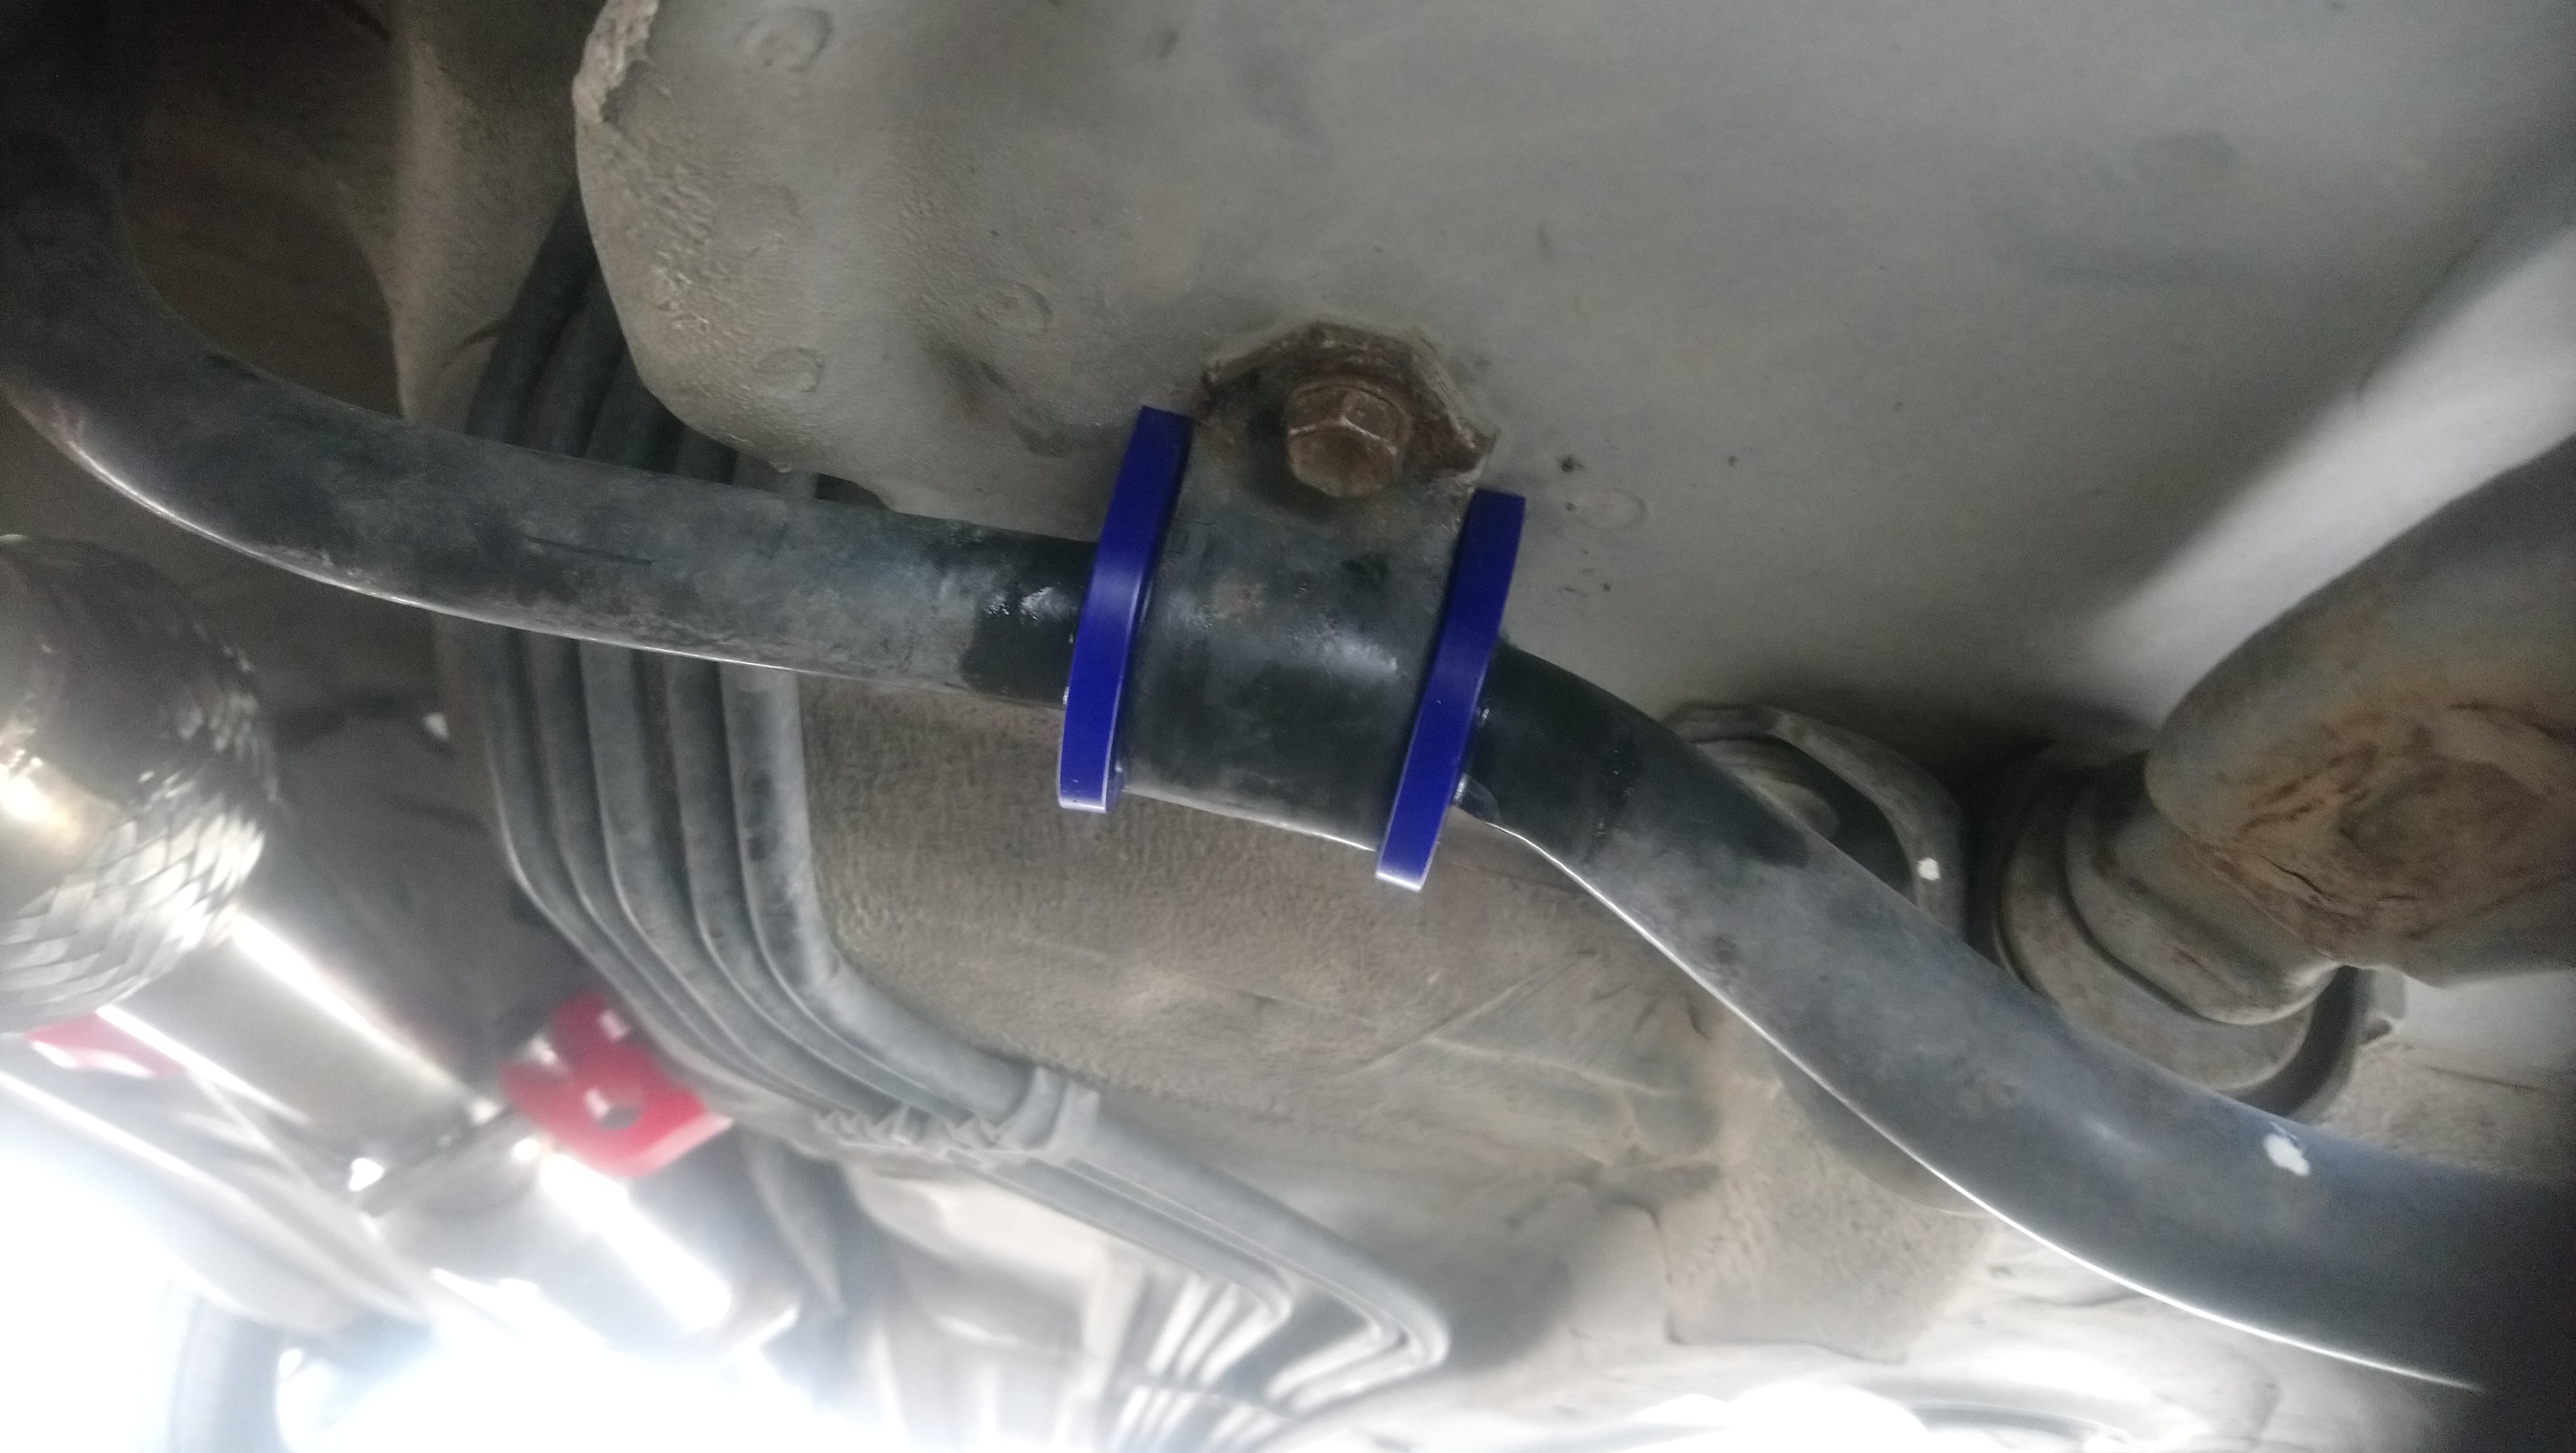
Polybushed the rear beam on my glanza today. I was able to do them with the axle still on the car by leaving the shocks attached and carefully lowering the front of the beam down on the jack untill the bushes were accessible.

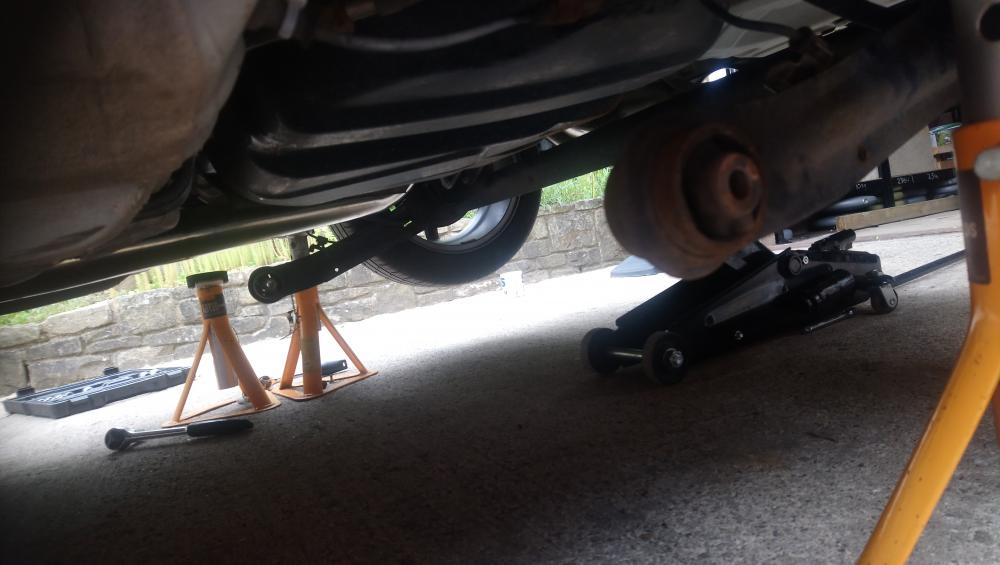
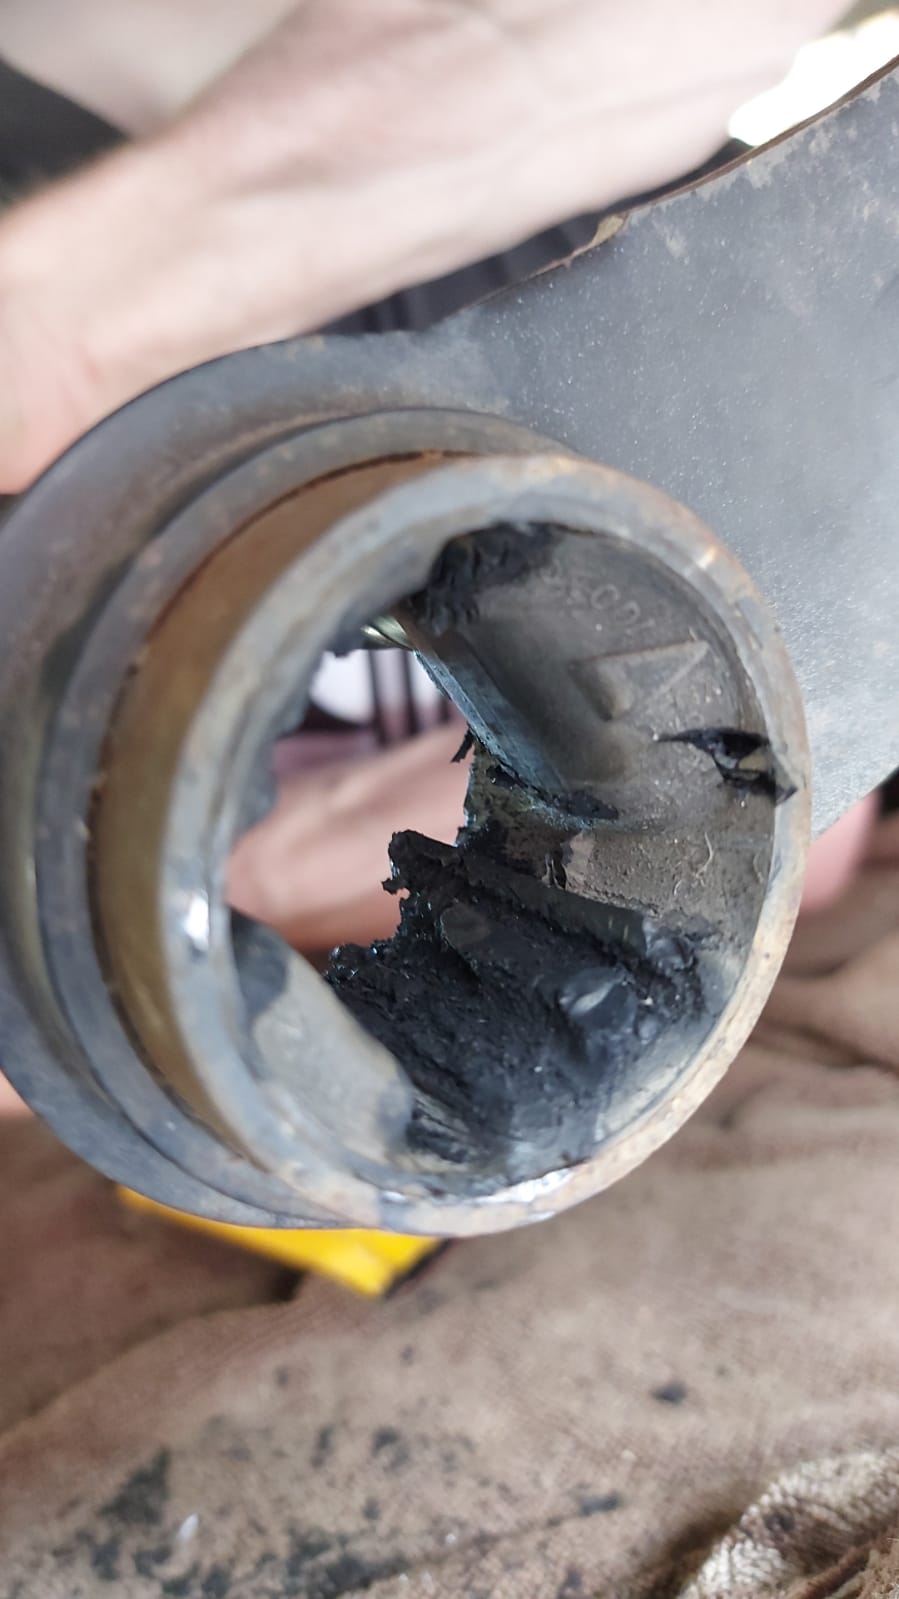
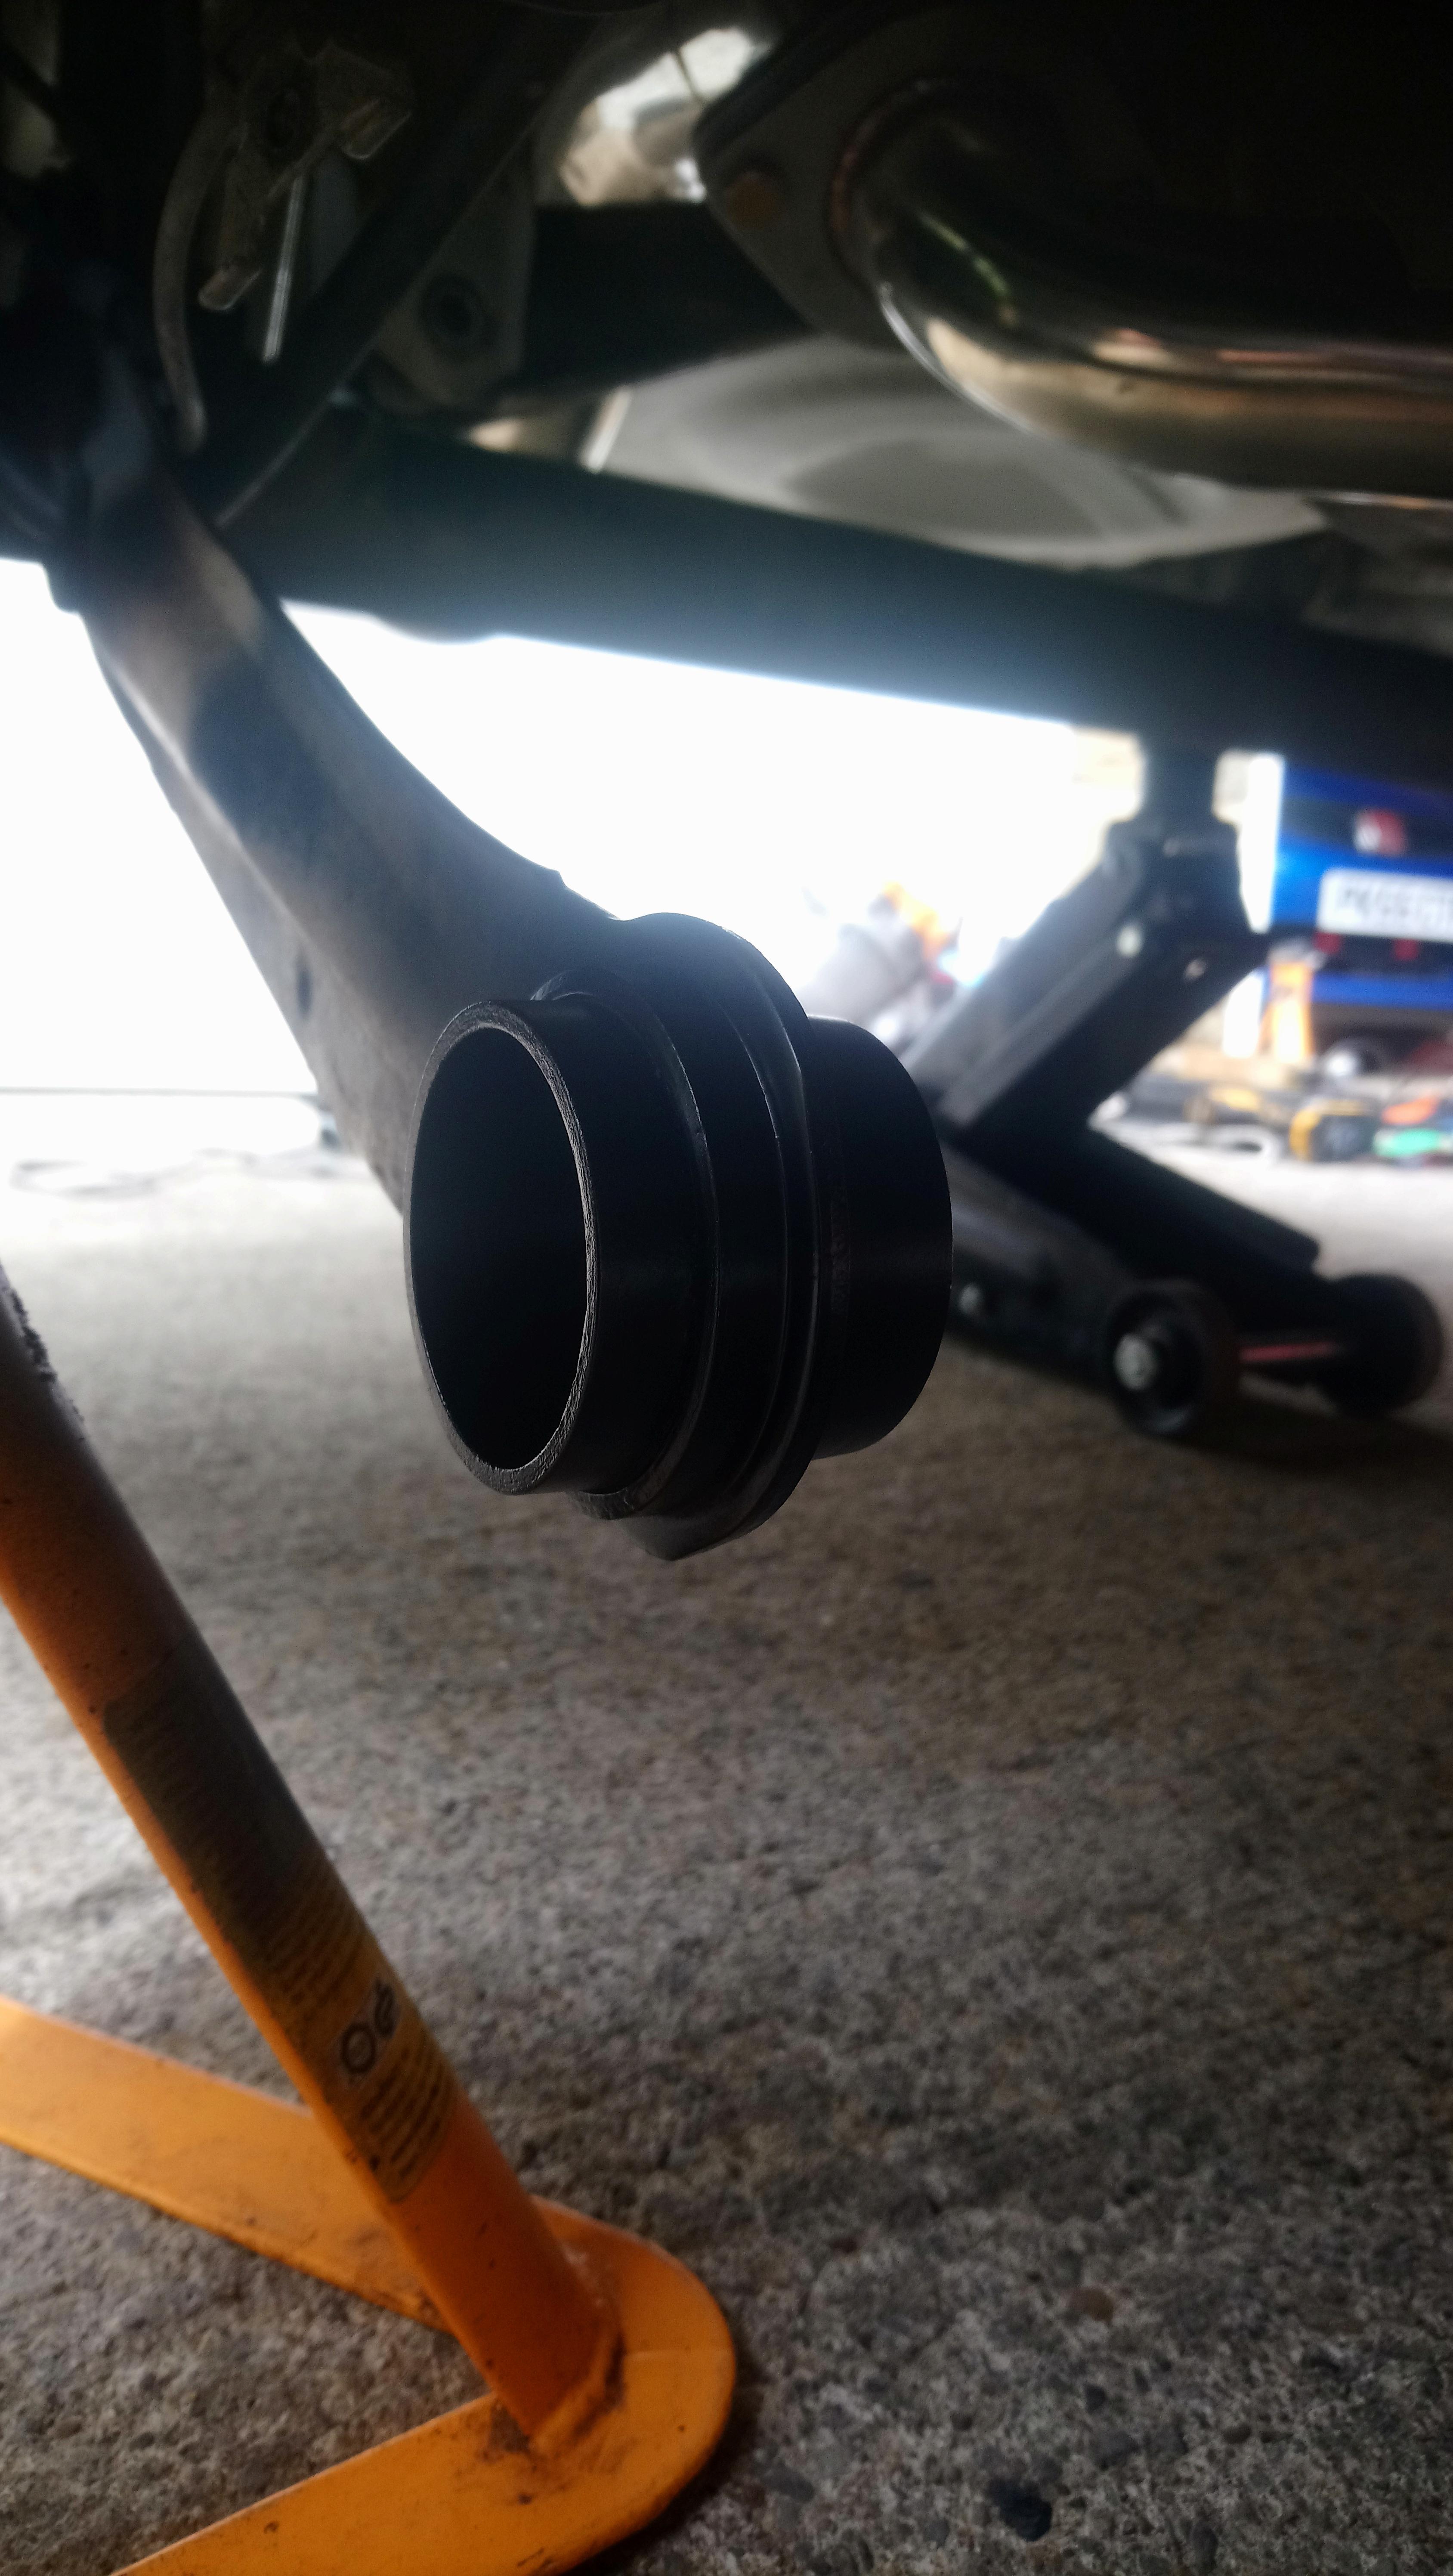
I removed the centre of the original bush by drilling and cutting it out. Then it was just a case of cutting out the rest of the remaining rubber bush. This took a while but eventually got it back to smooth metal. I gave both sides a quick coat of paint while I had the opportunity.

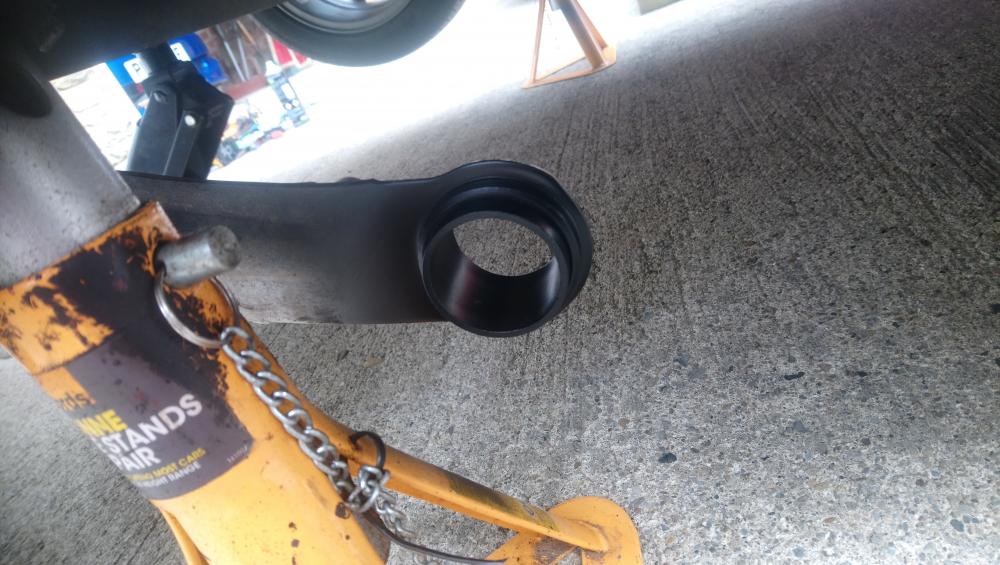

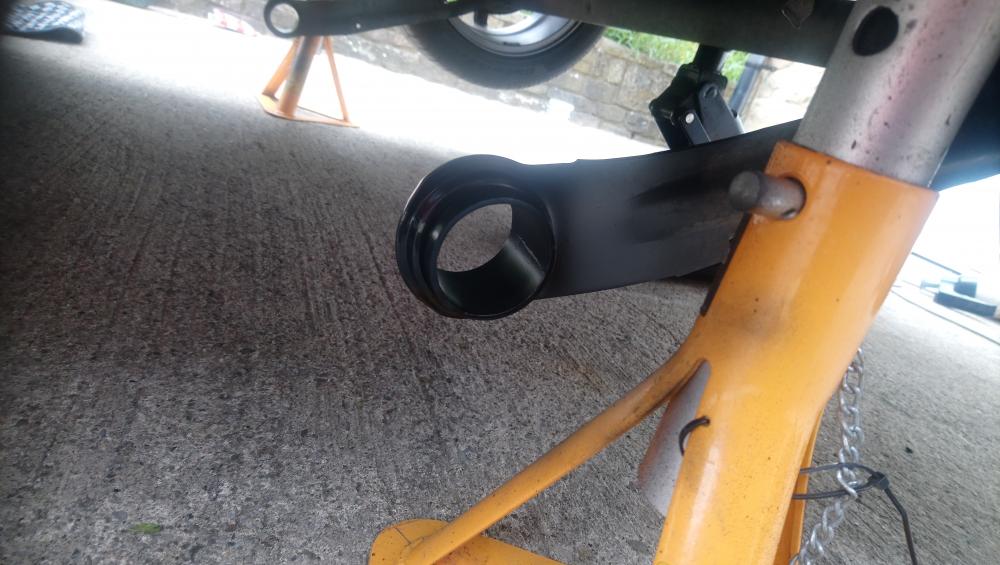
Once the paint had dried I installed the new poly bushes with plenty of grease and got the axle bolted back into the car. Job done, Havent had chance to test them out properly yet but should make a good difference.


-
34 minutes ago, Timmah said:
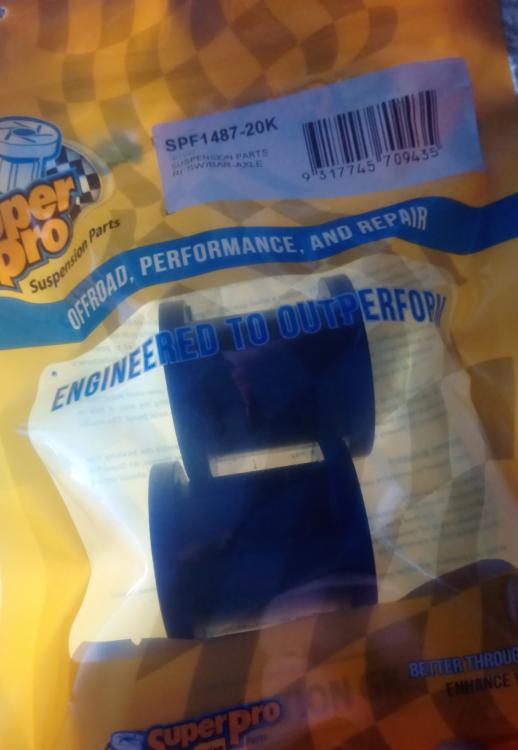
Are those roll bar bushes for the factory sized roll bar? Haven't been able to source anything locally for the stock one.
Yes mate there for the standard bar. They are 20mm internal diameter if that helps you
.
-
-
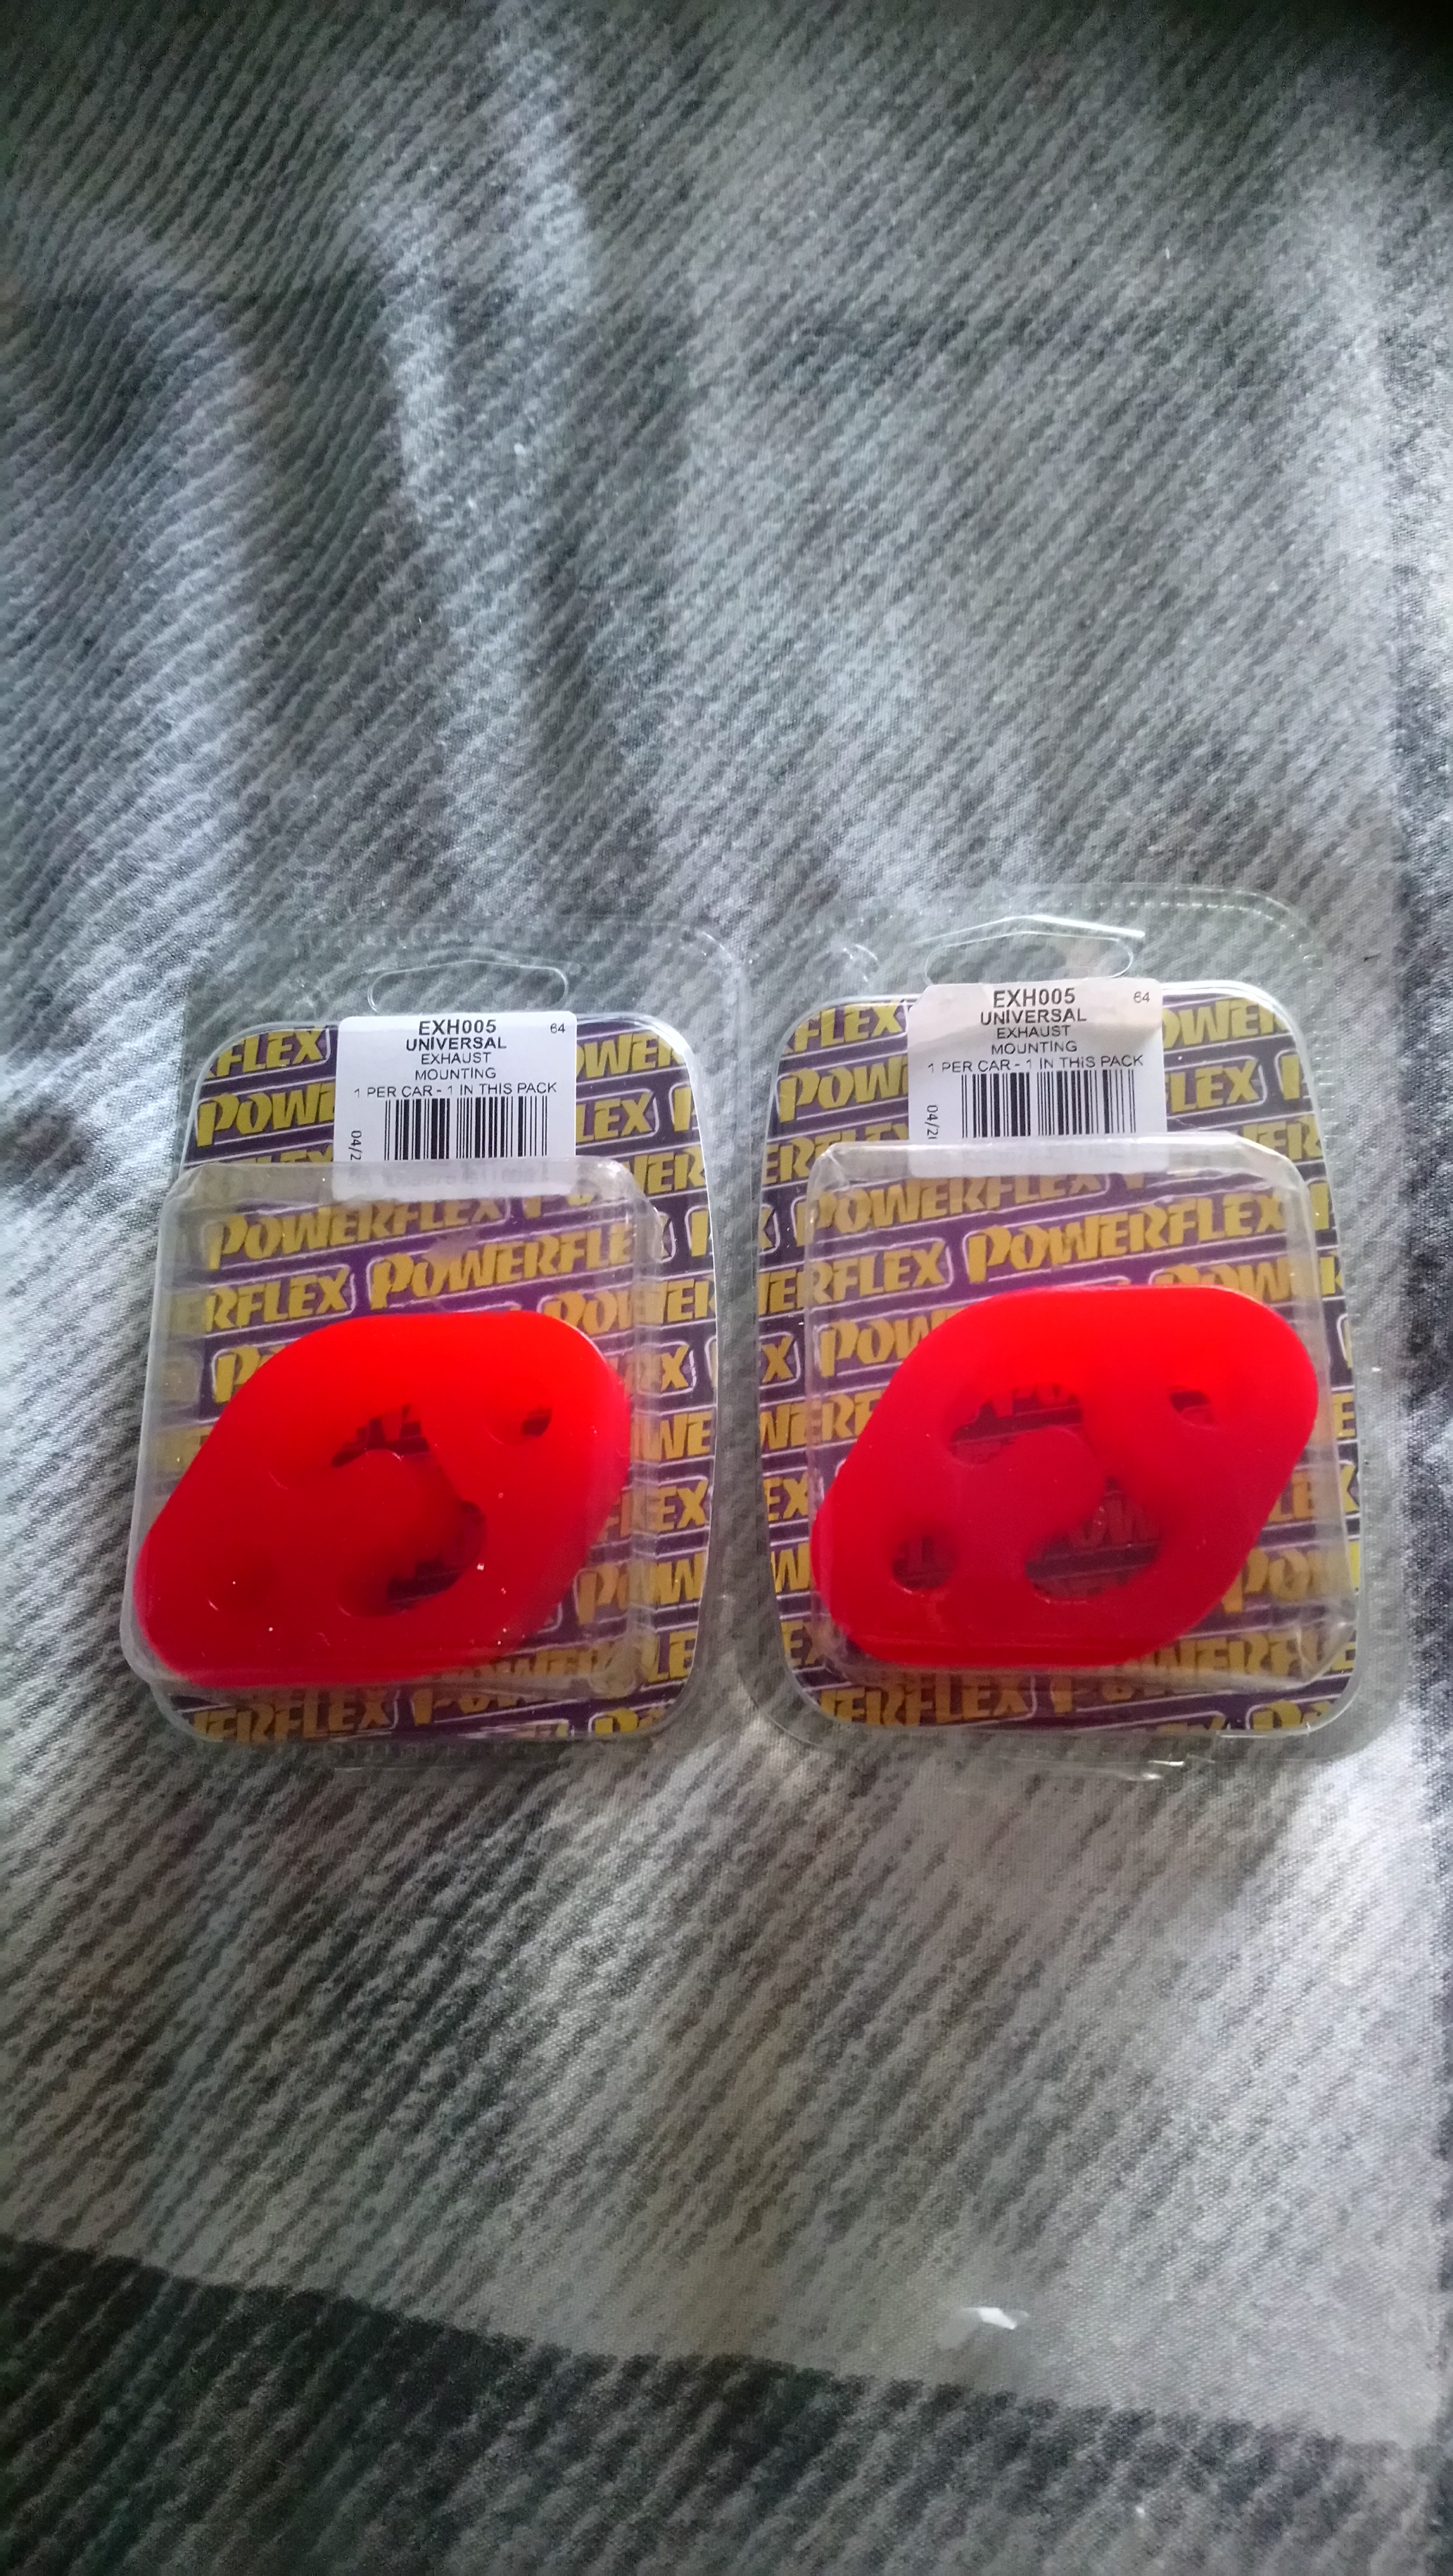
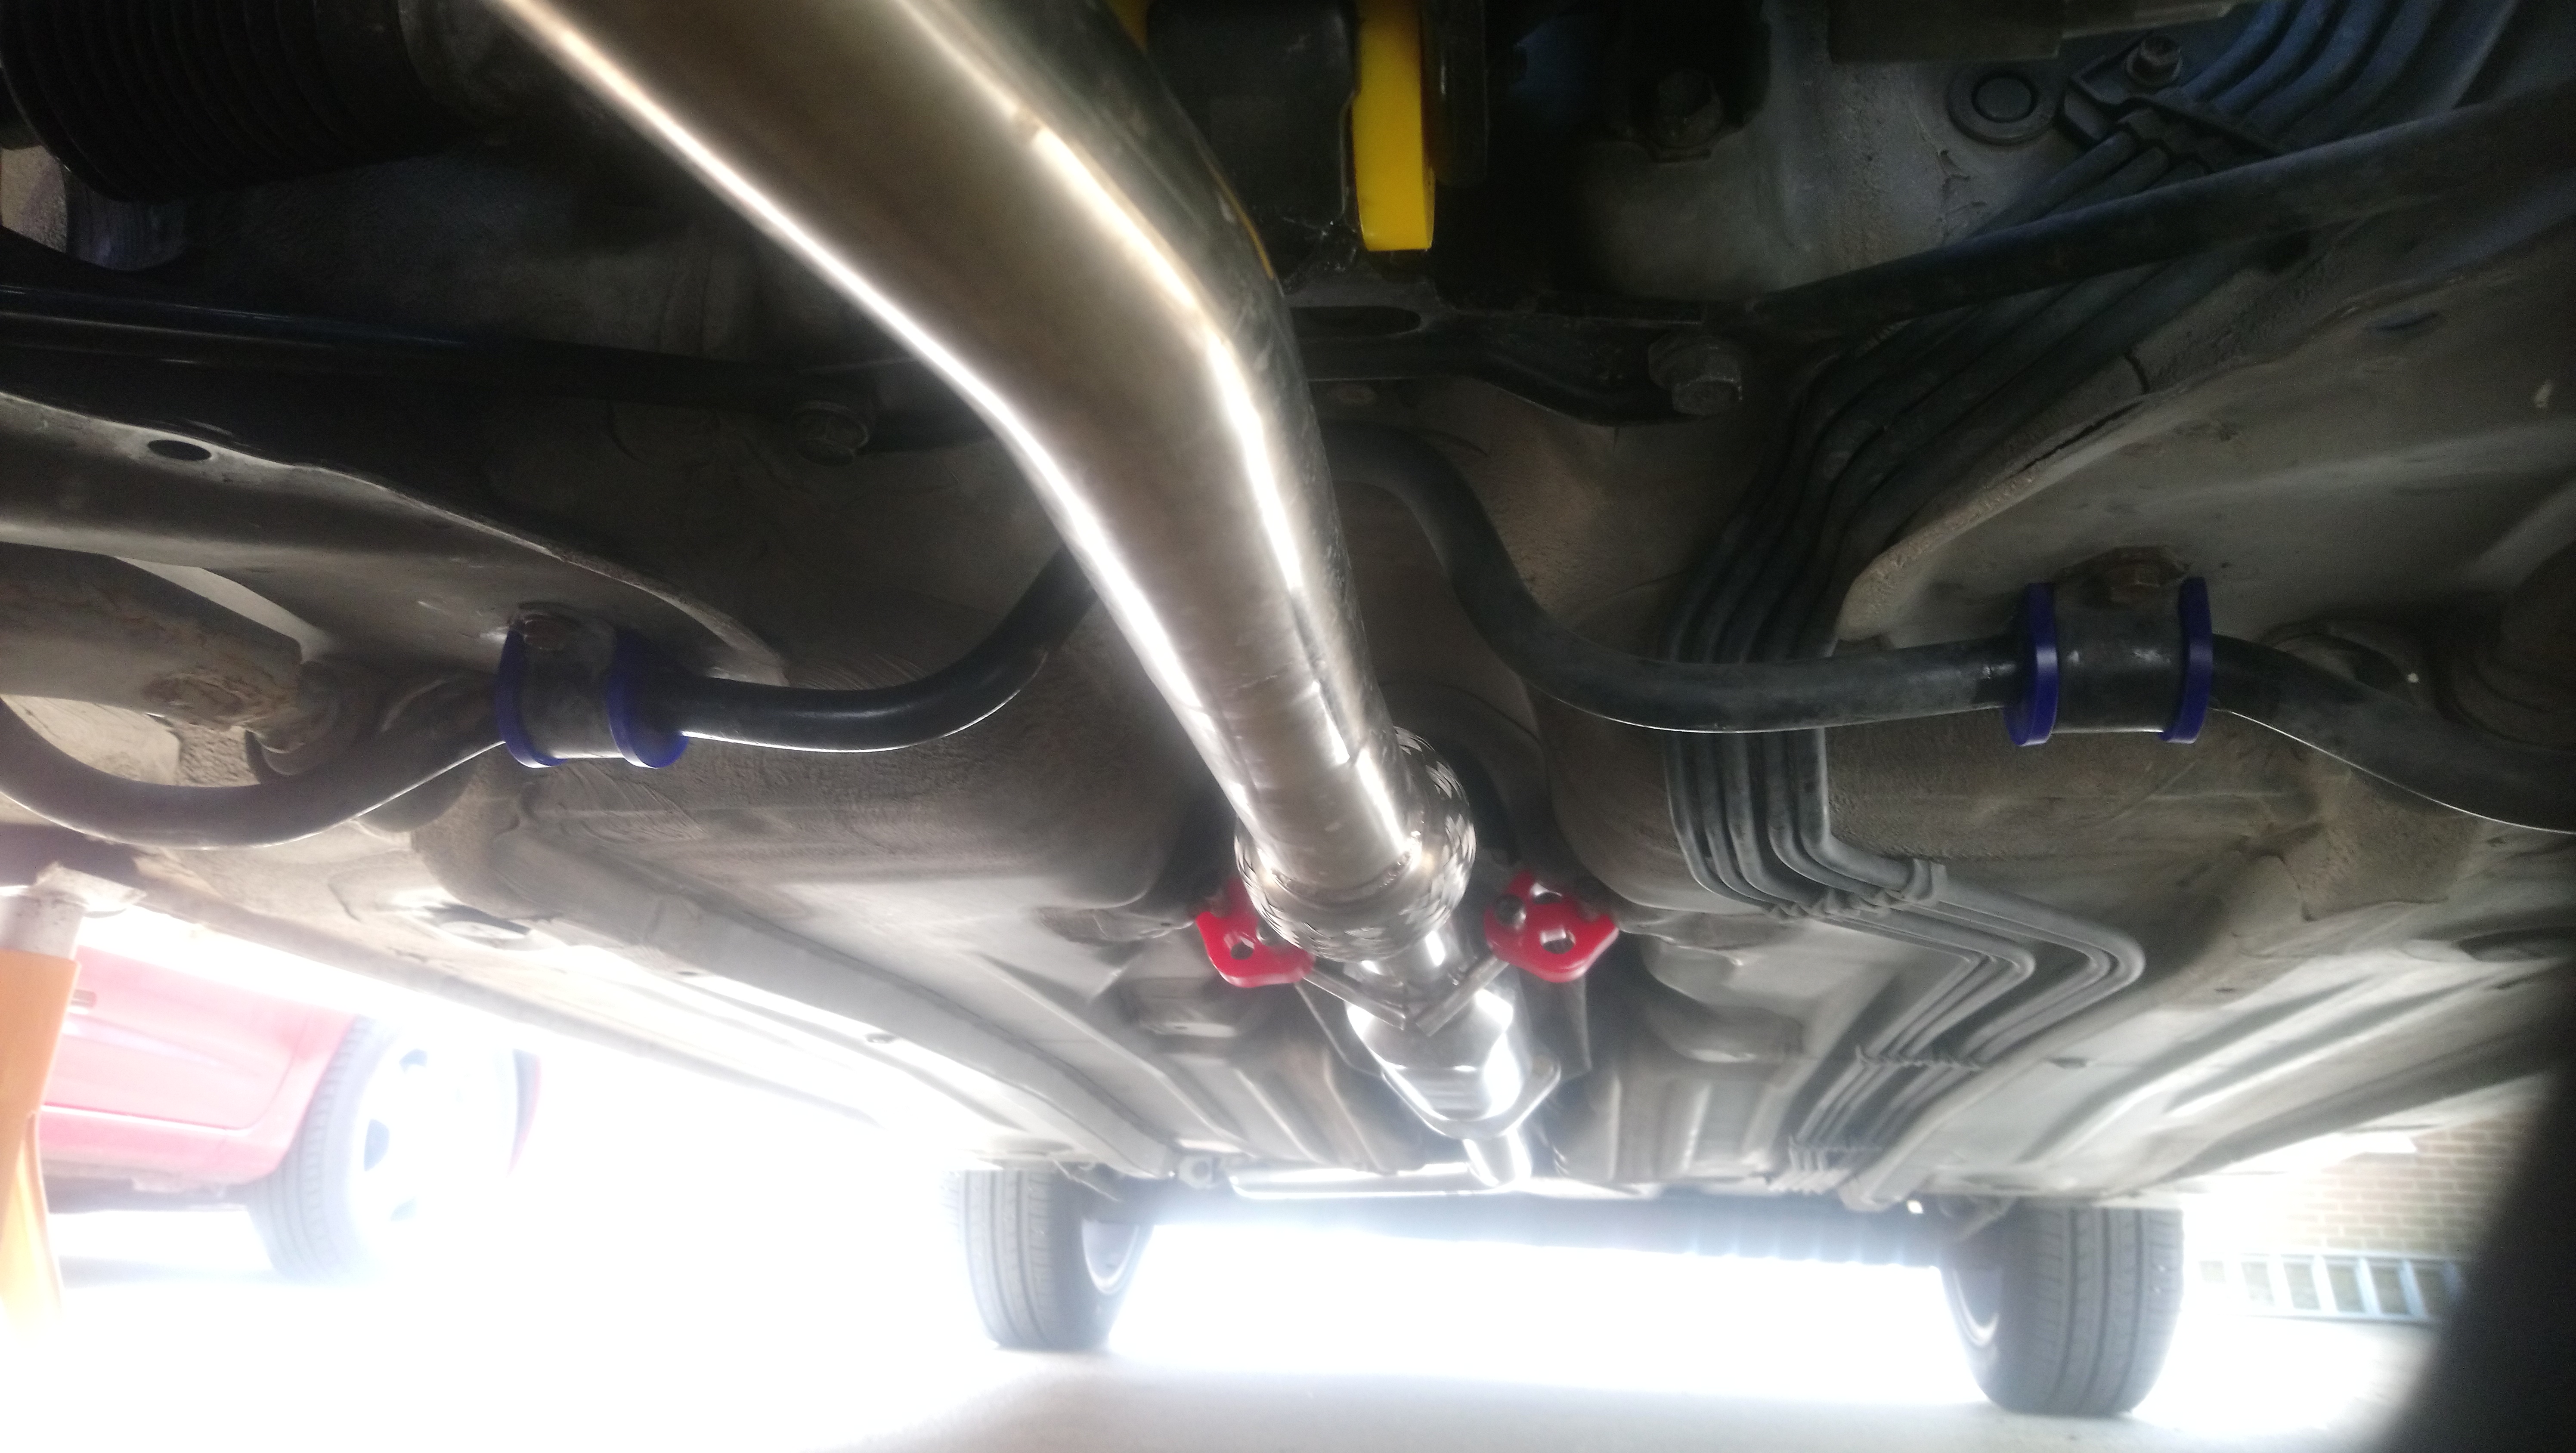
Made a few small upgrades to the car this weekend, Fitted some poly exhaust mounts and front anti roll bar d bushes. Really straightforward to install and both a nice improvement.

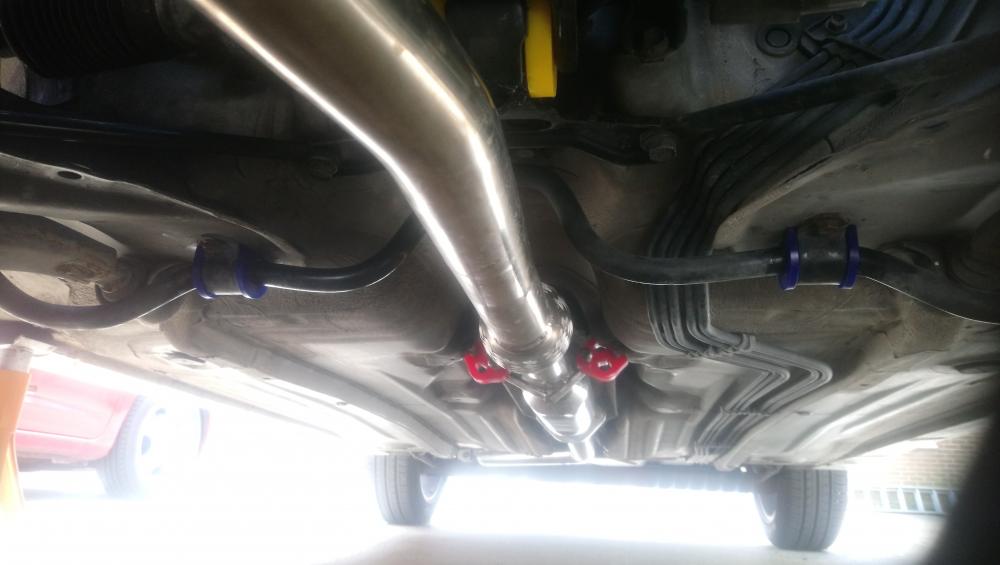
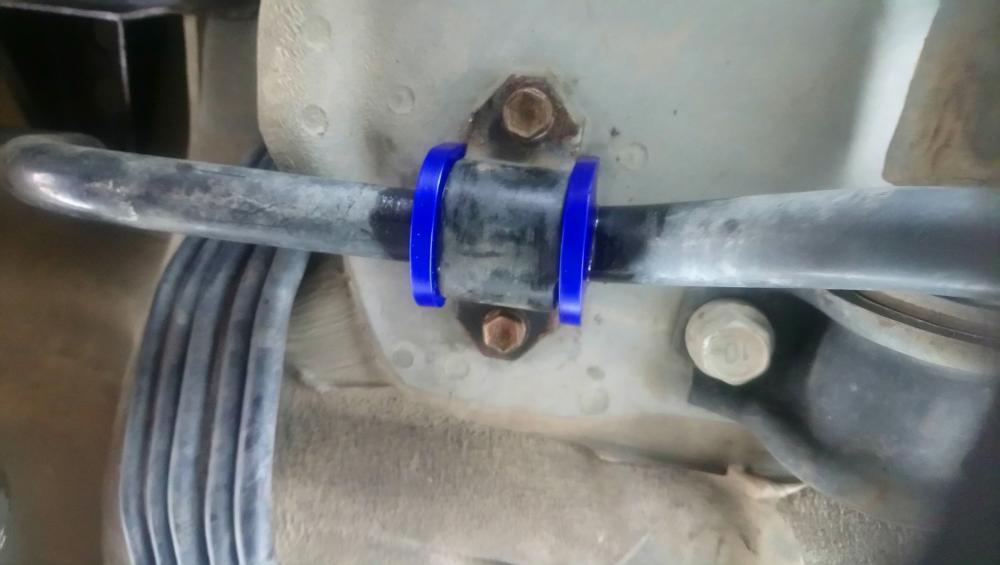

Had some really nice weather aswell, perfect for taking the car out and testing it
") .
.

-
20 hours ago, Pikey009 said:
Really good work mate.
Thanks bud.
4 hours ago, Sam44 said:Having a good catch up with everyone's build.
I highly recommend replacing all the hoses and especially the crap Toyota spring hose clips.
When I changed mine alot of the hoses had started to rot (age related) this in turn affects to clips.
Nice work. Very smart bay.
Thanks Sam. Yeah im not keen on the toyota spring clips either, much prefer the jubilee style hose clamps. A lot easier to work with
.
-
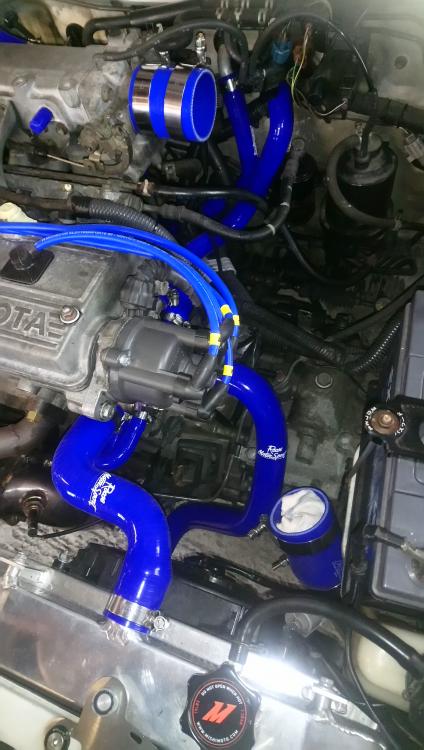
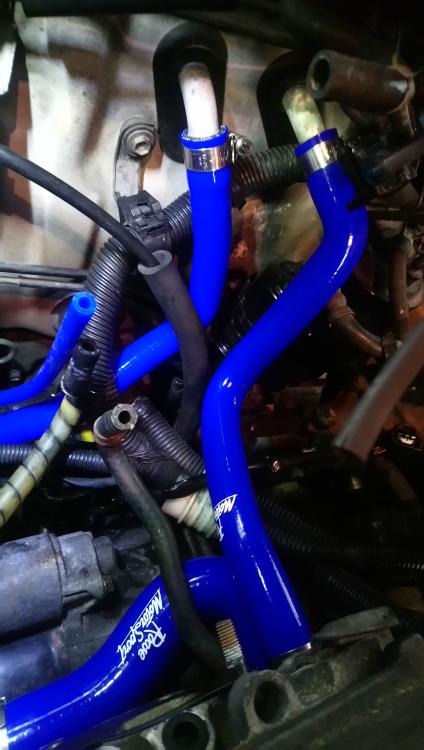
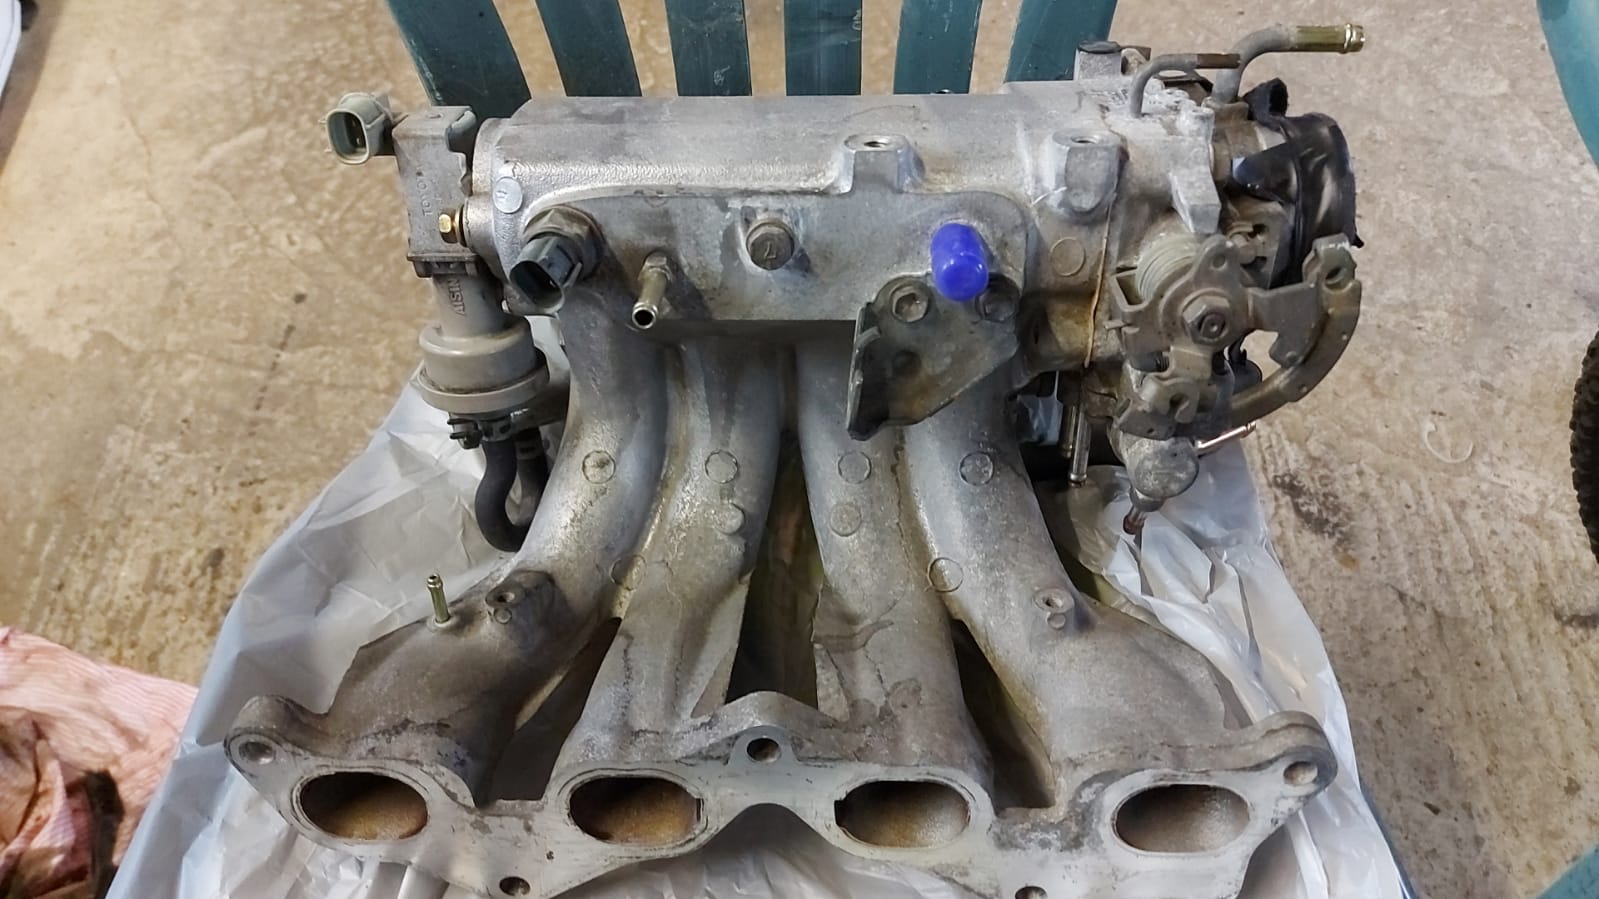
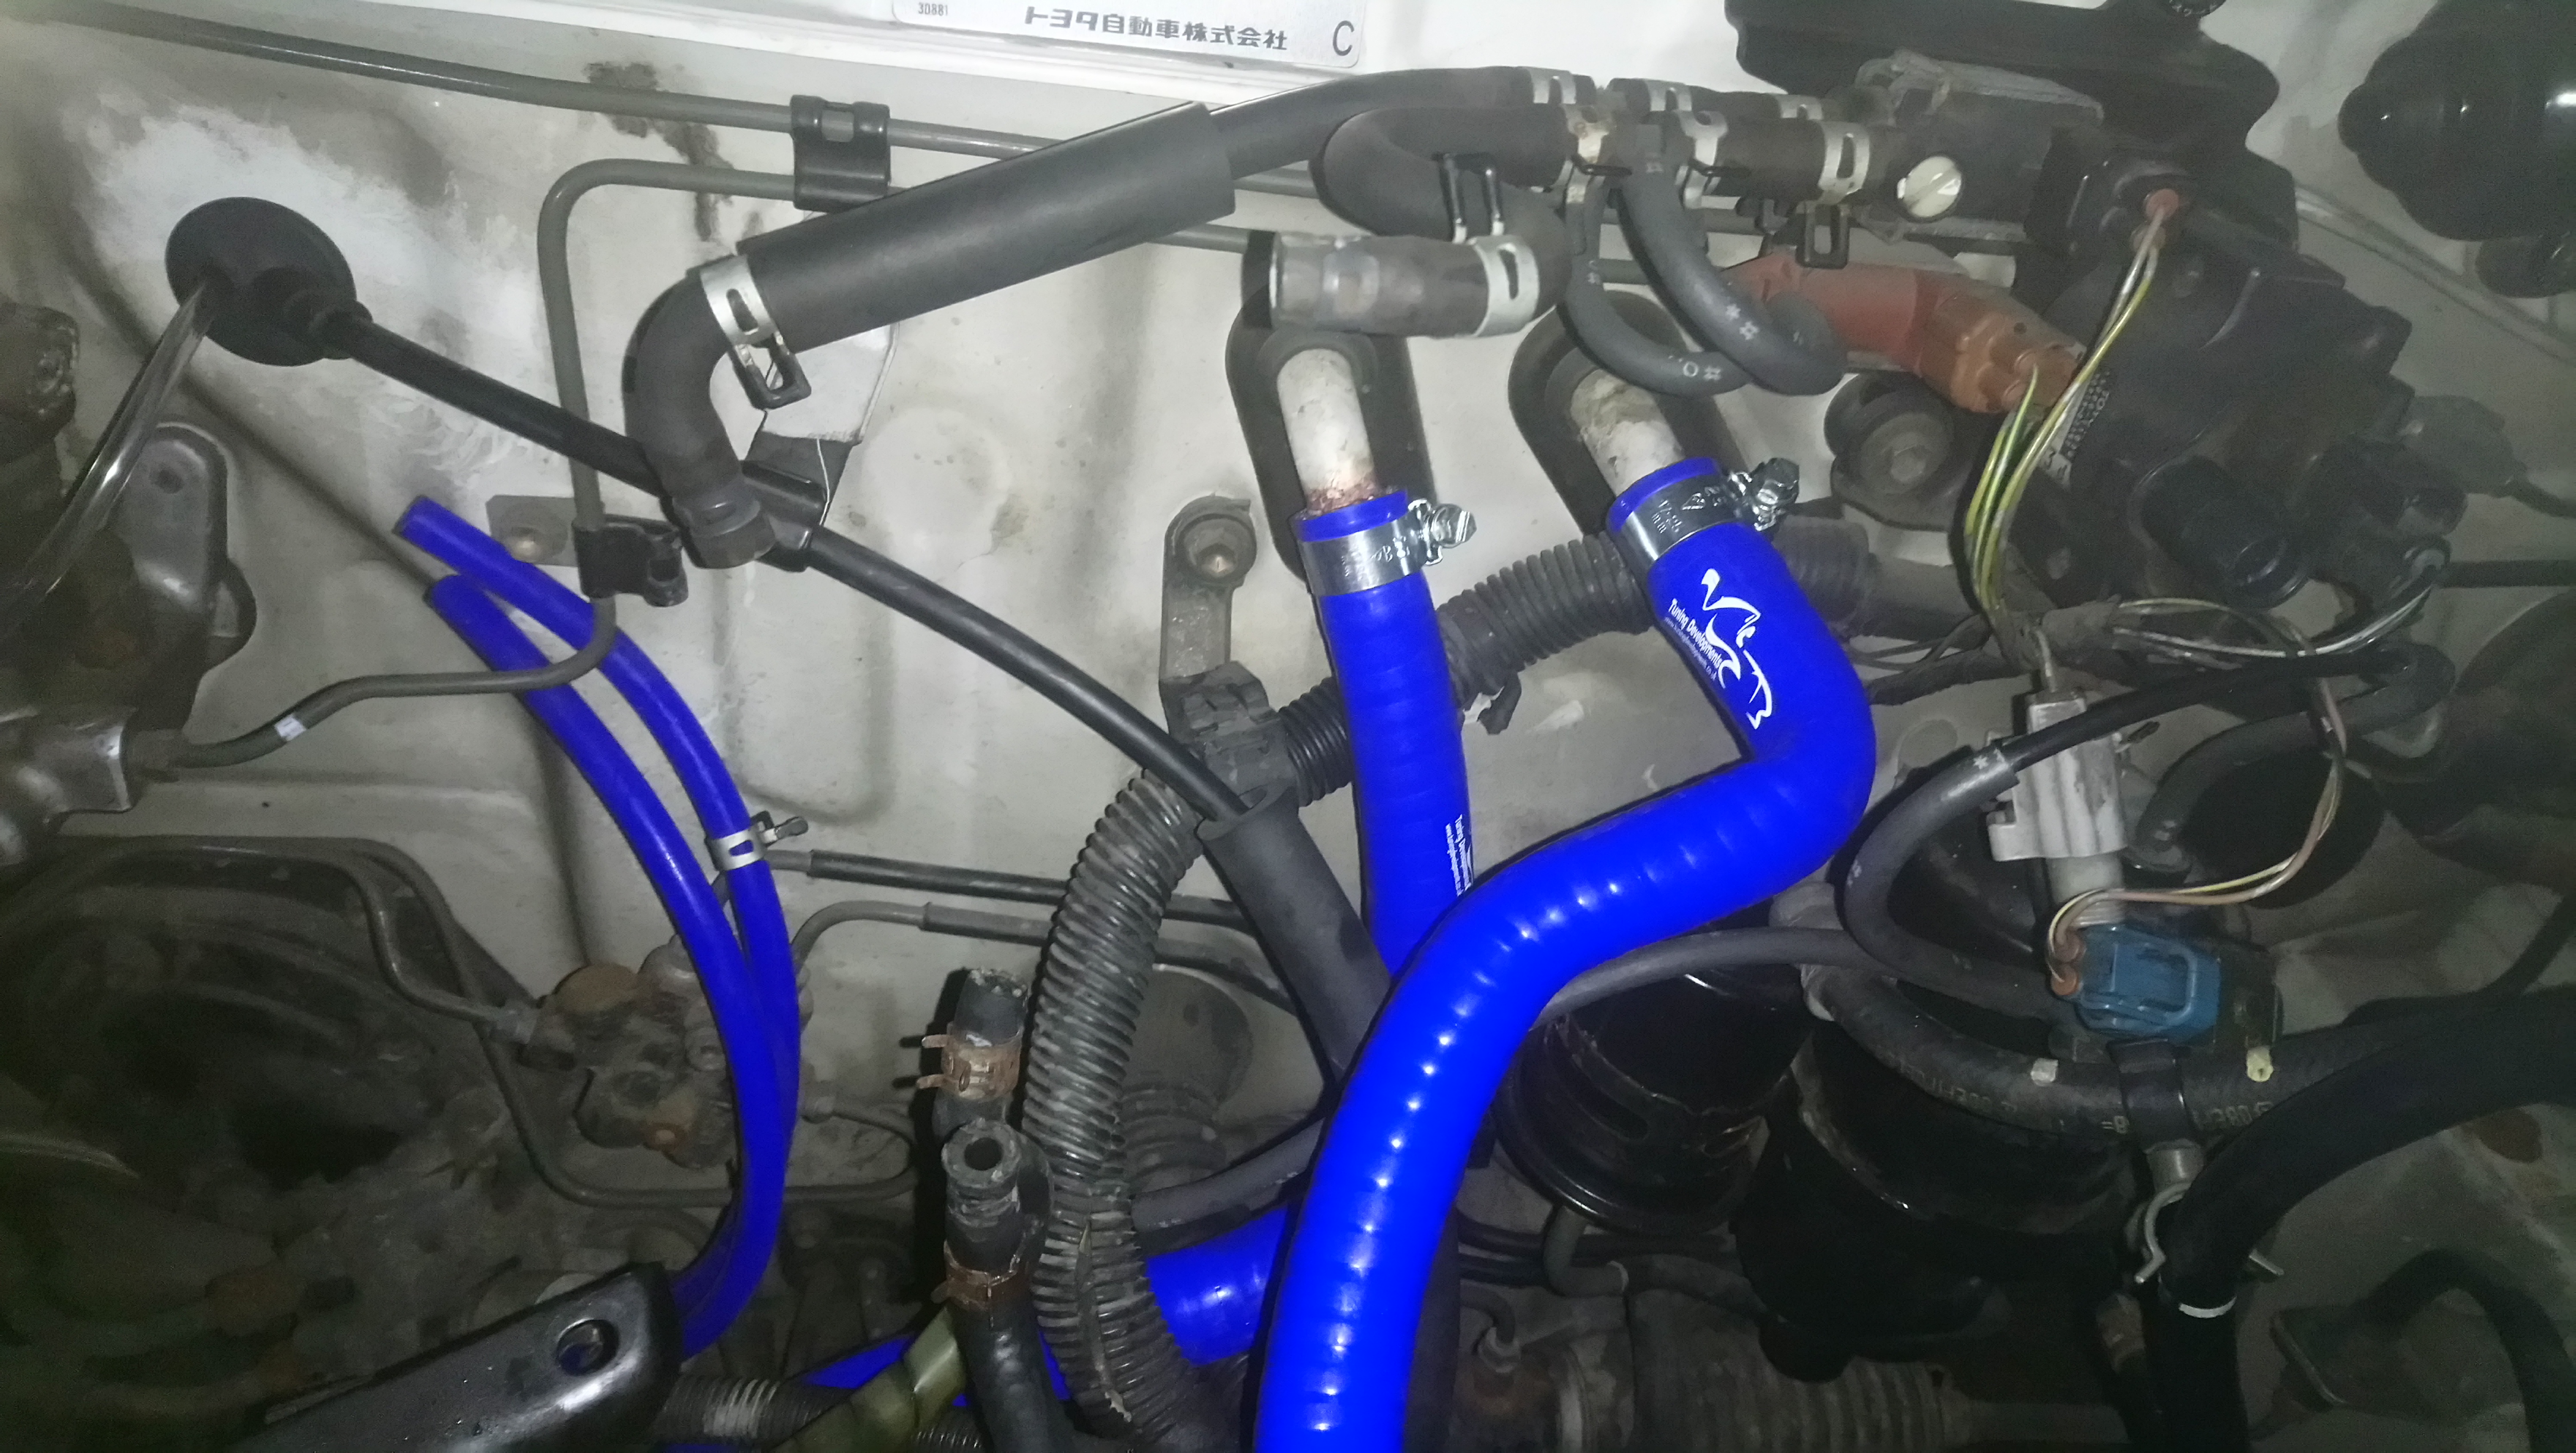
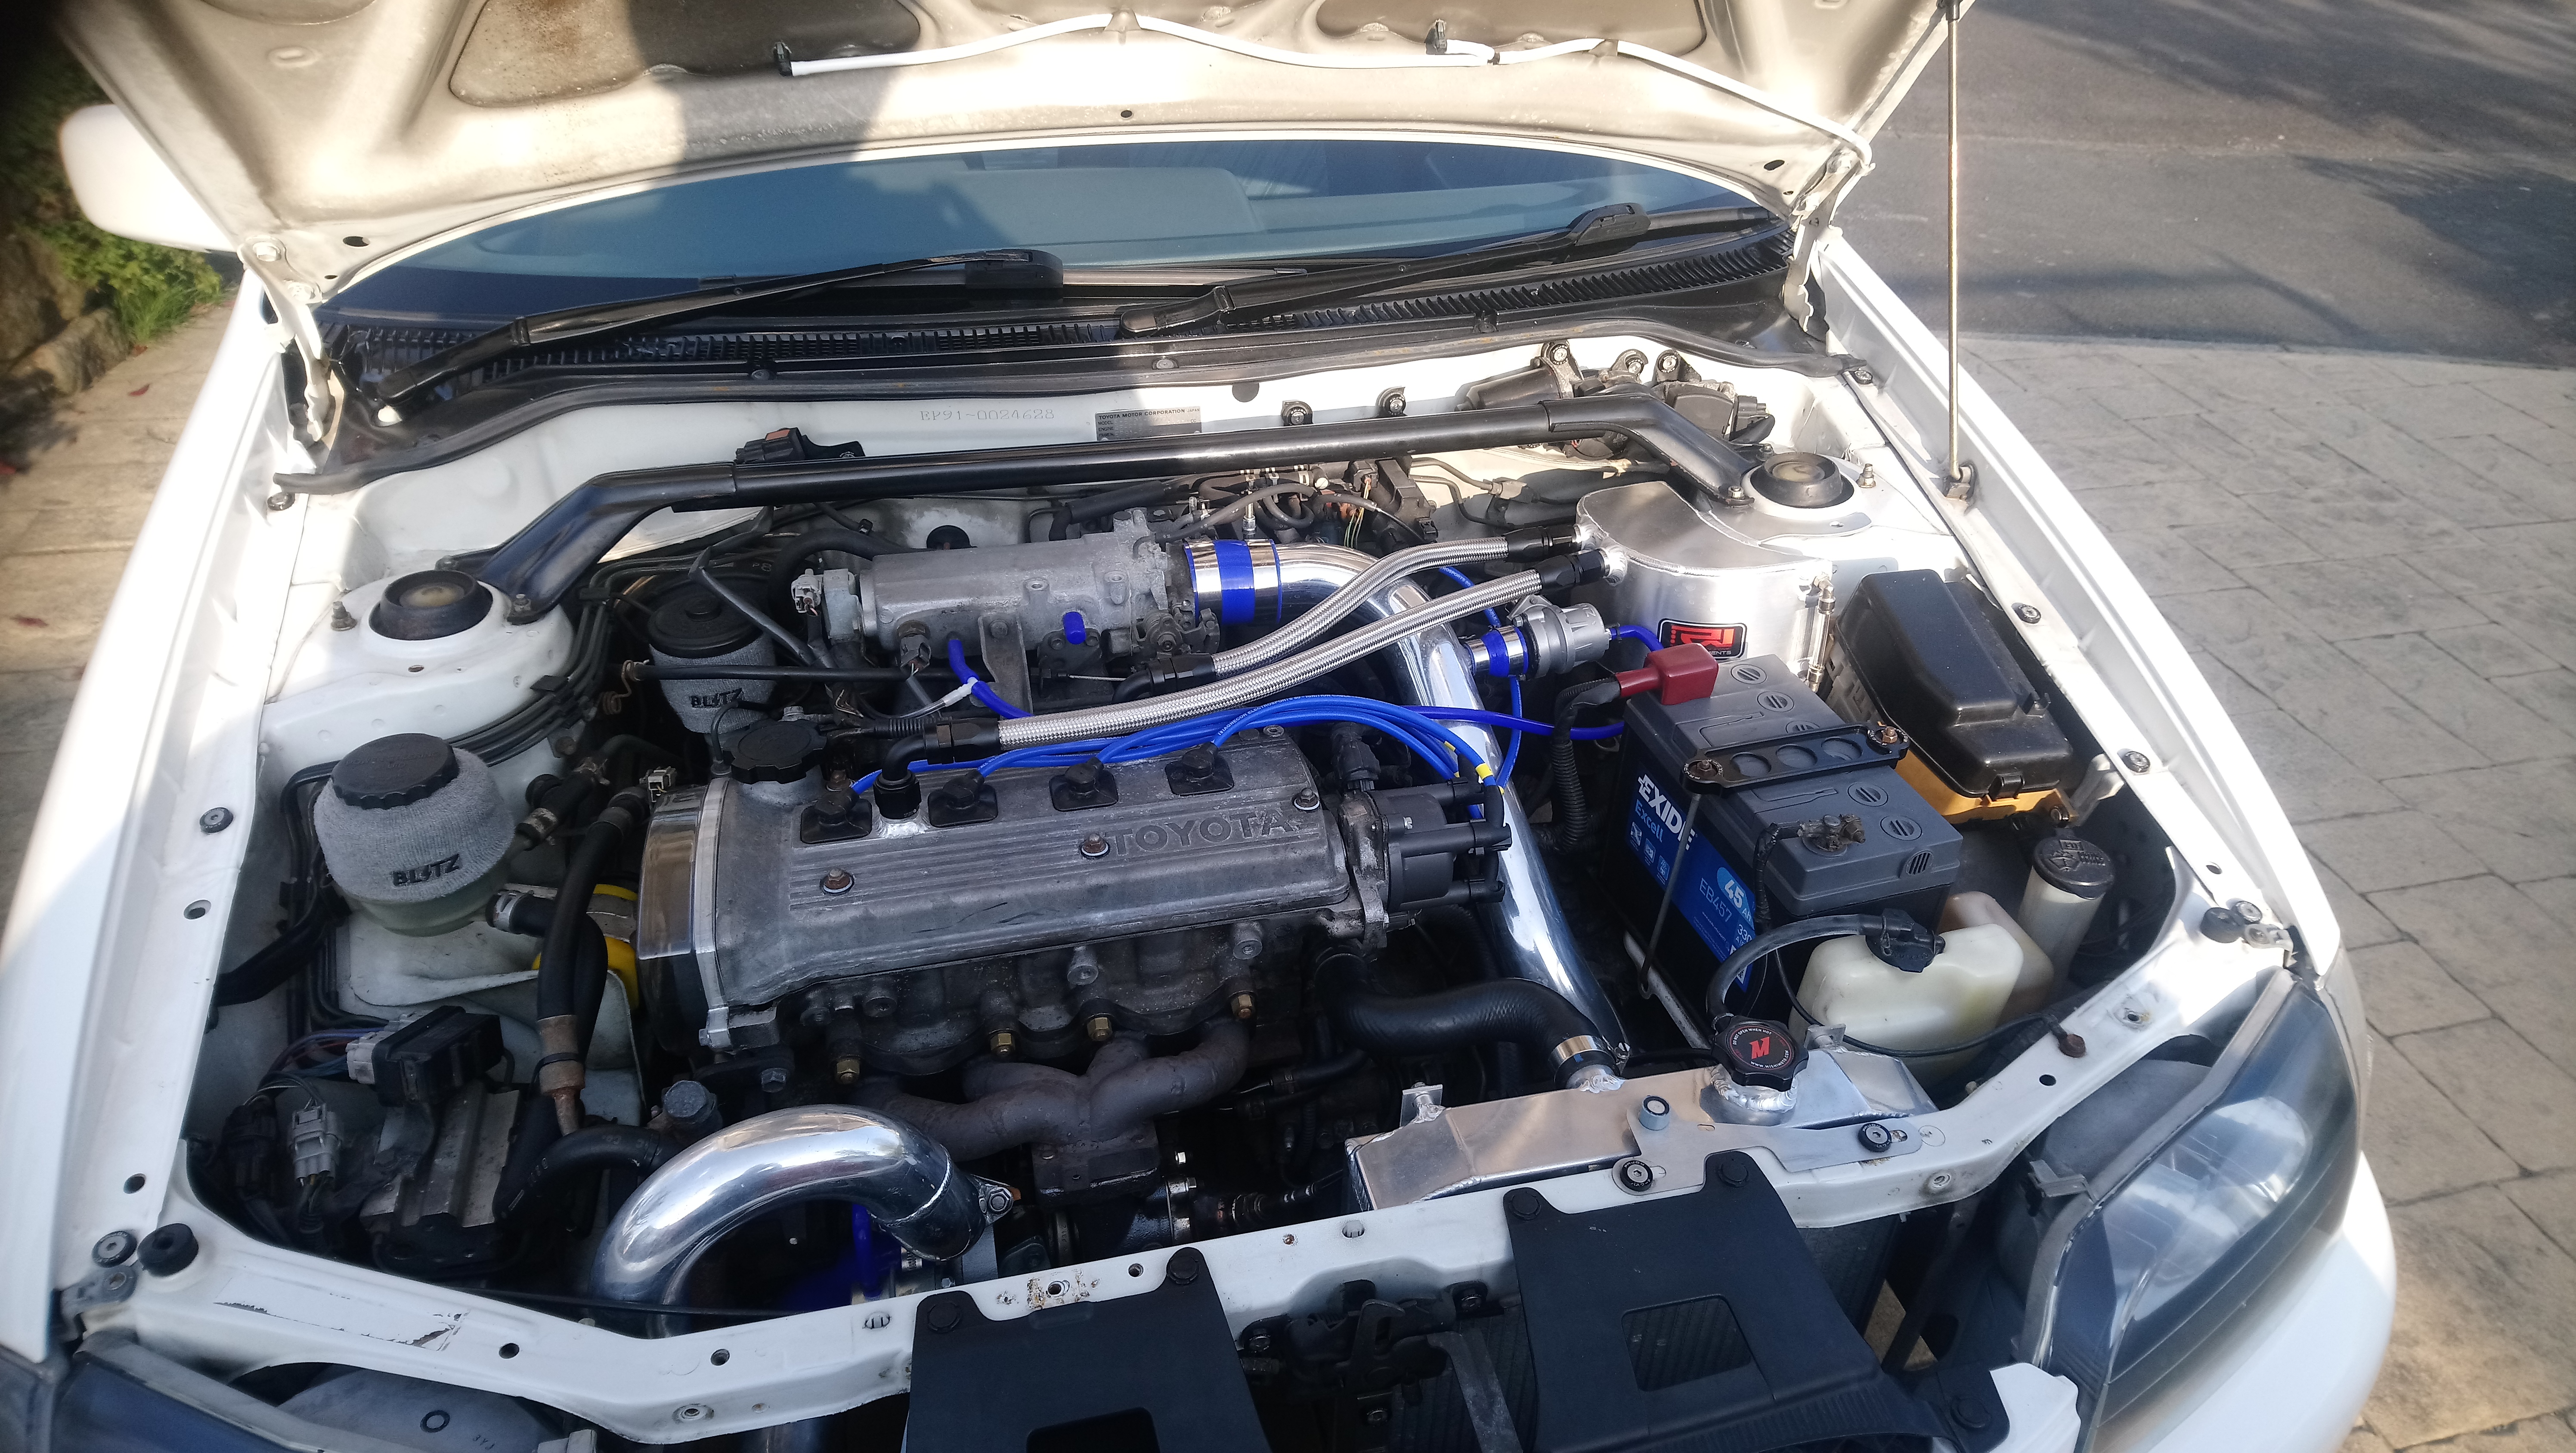
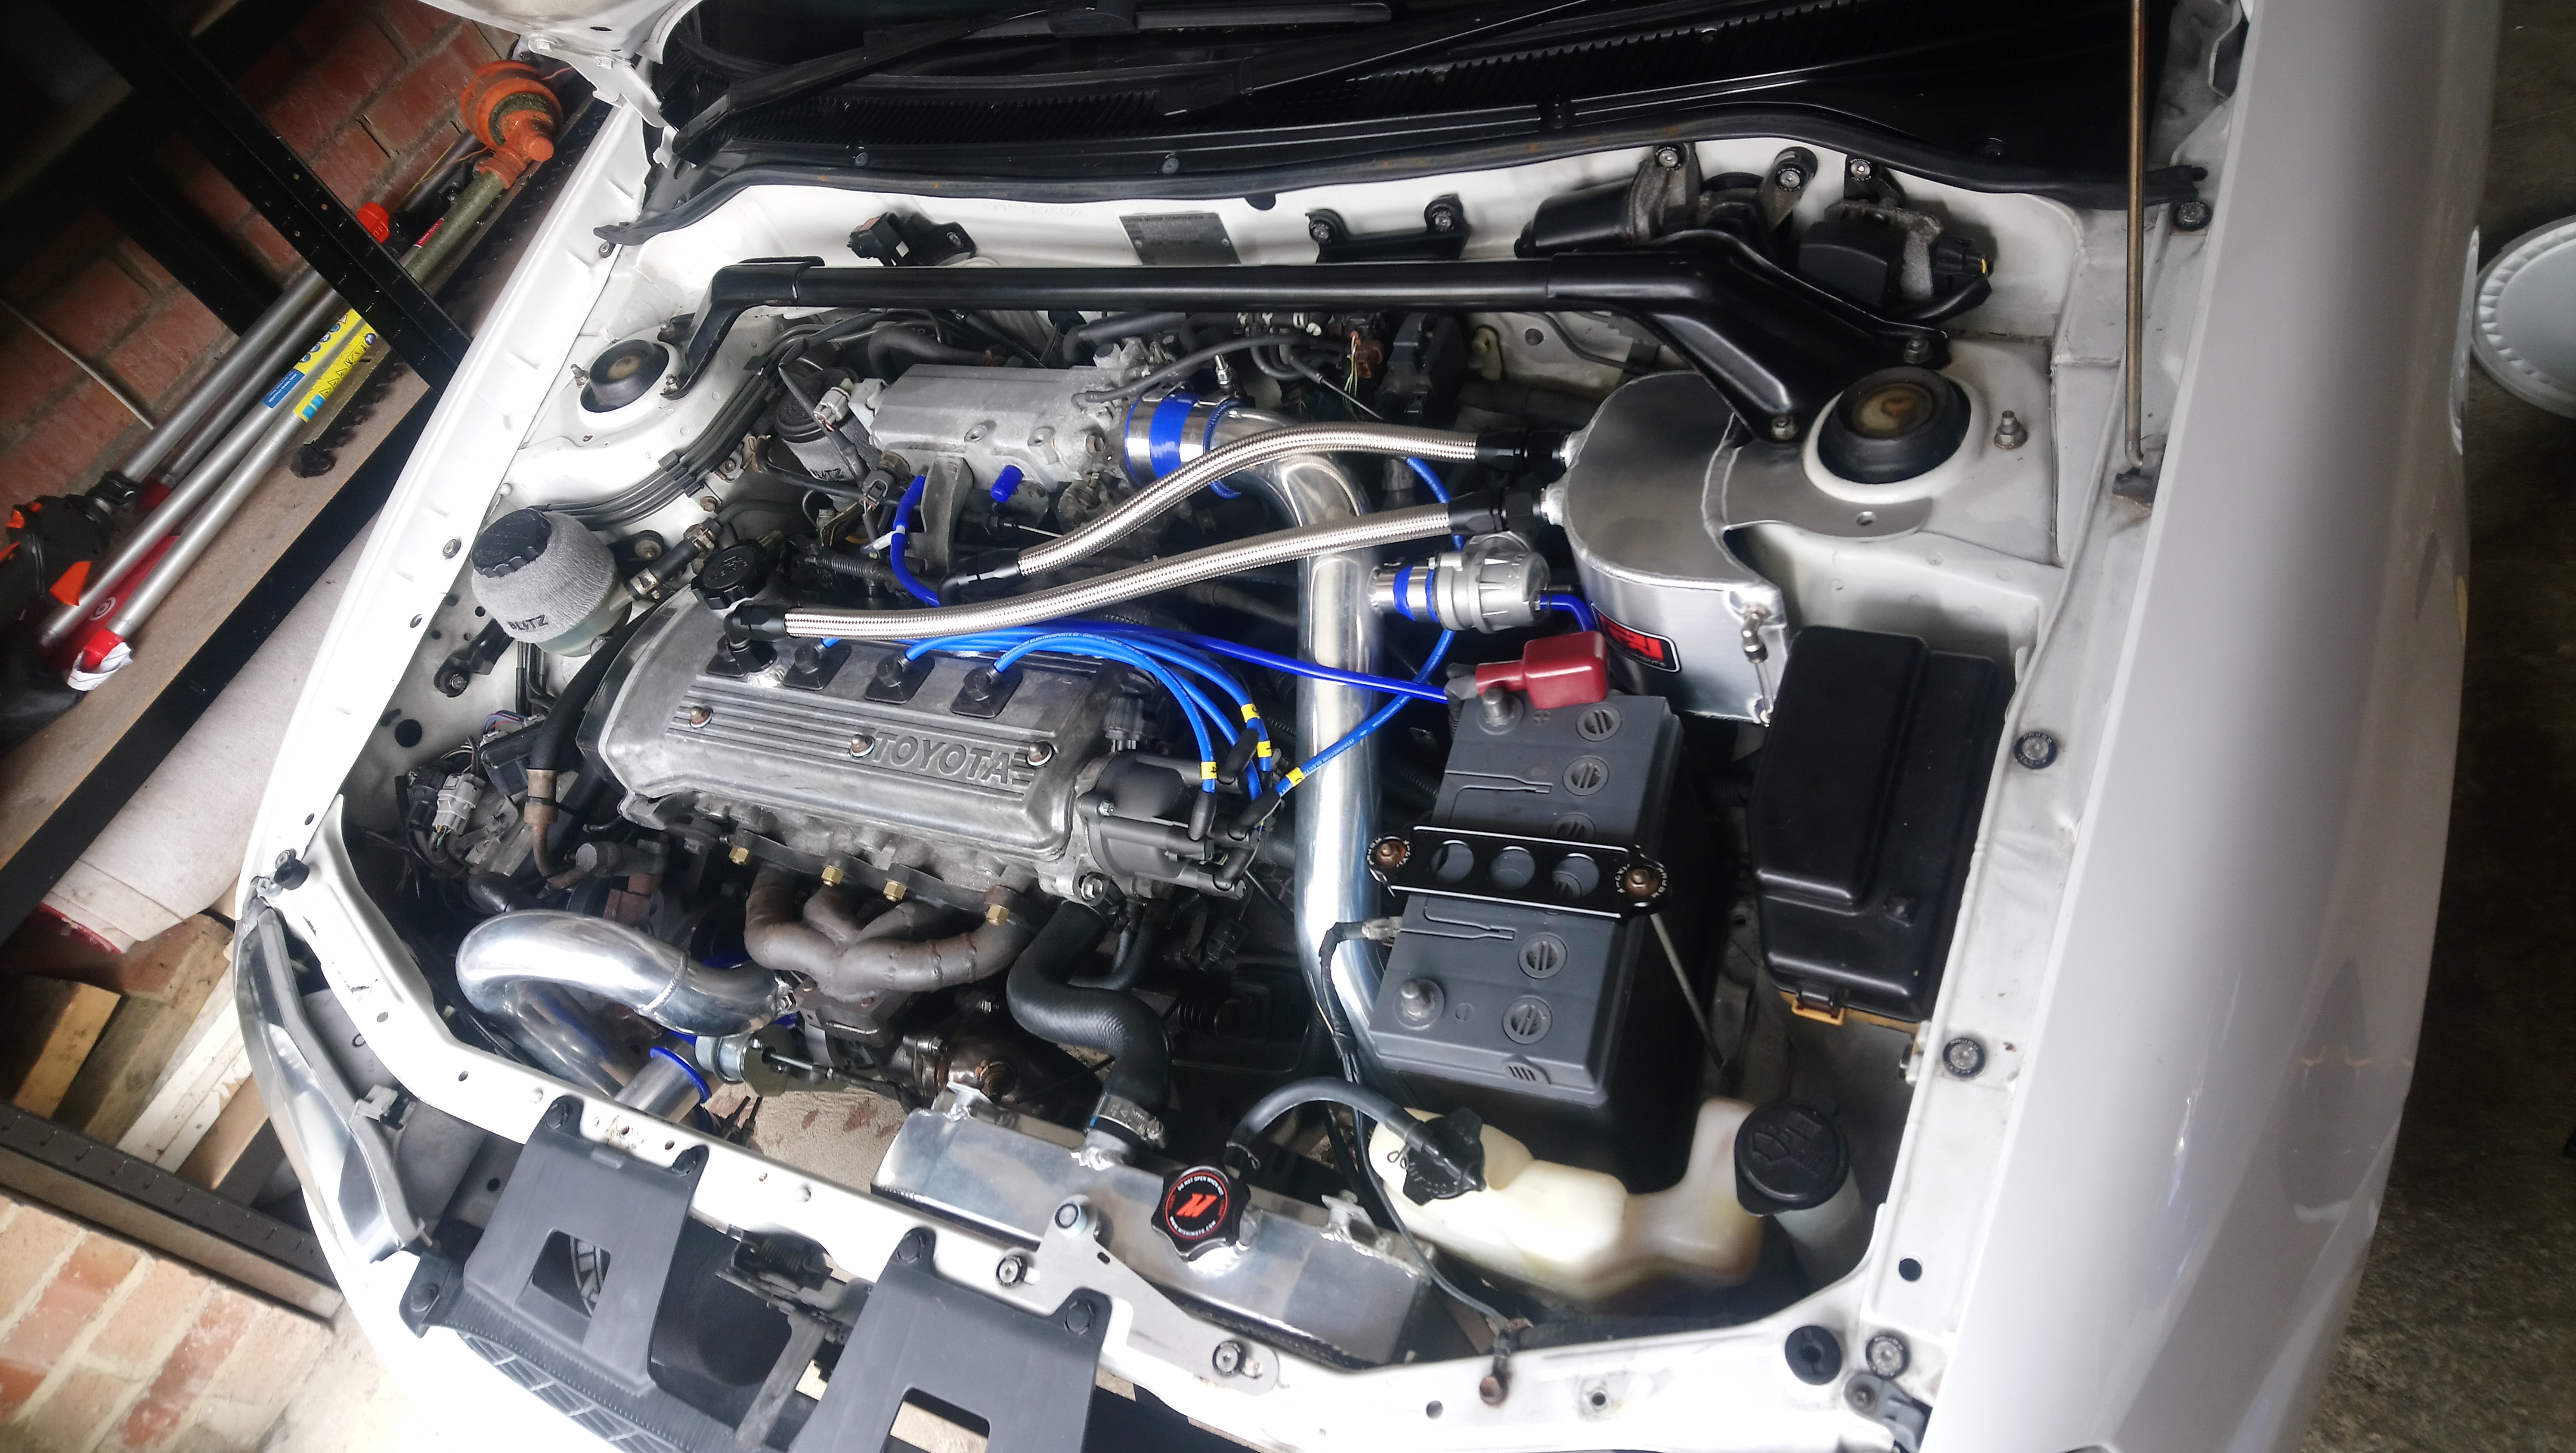
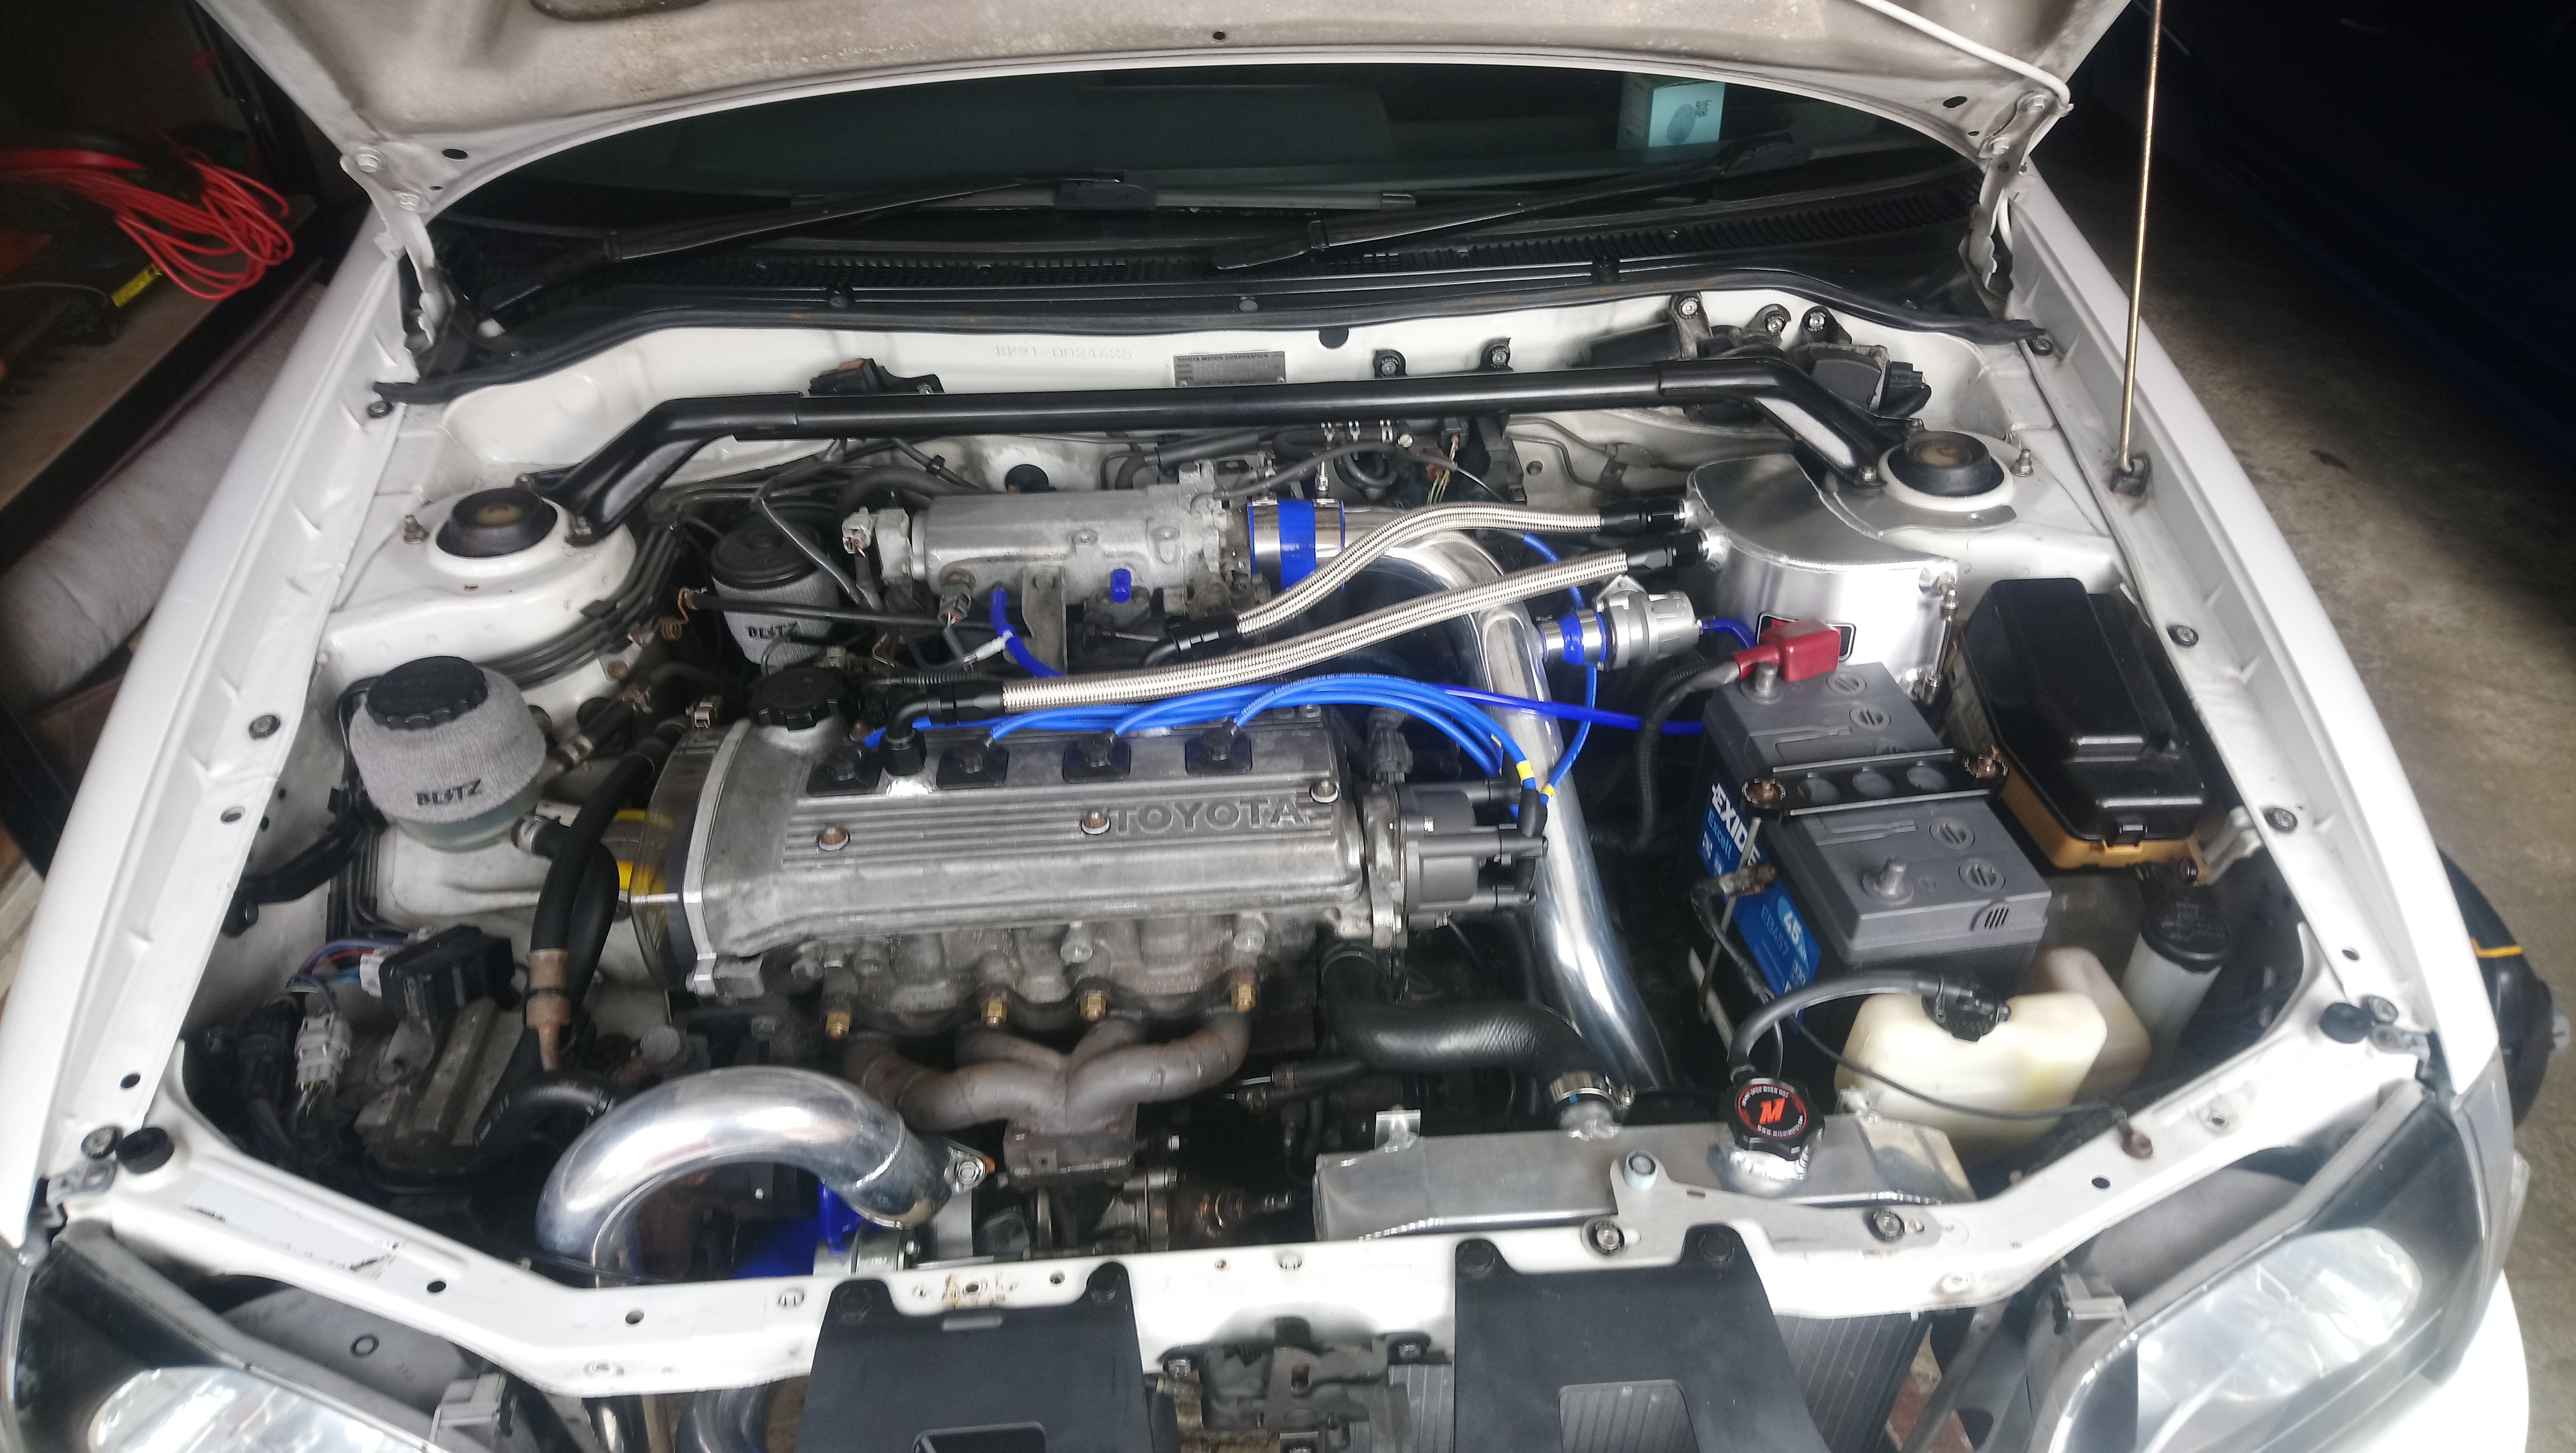
Been working on getting all of my coolant hoses swapped over the past few days. I decided it would be easier if I removed the intake manifold for access, so off it came. I took some pictures and made a mental note of where everthing was connected to save getting confused when putting it back together. It was a good opportunity to give it a clean up aswell as the back of the engine.
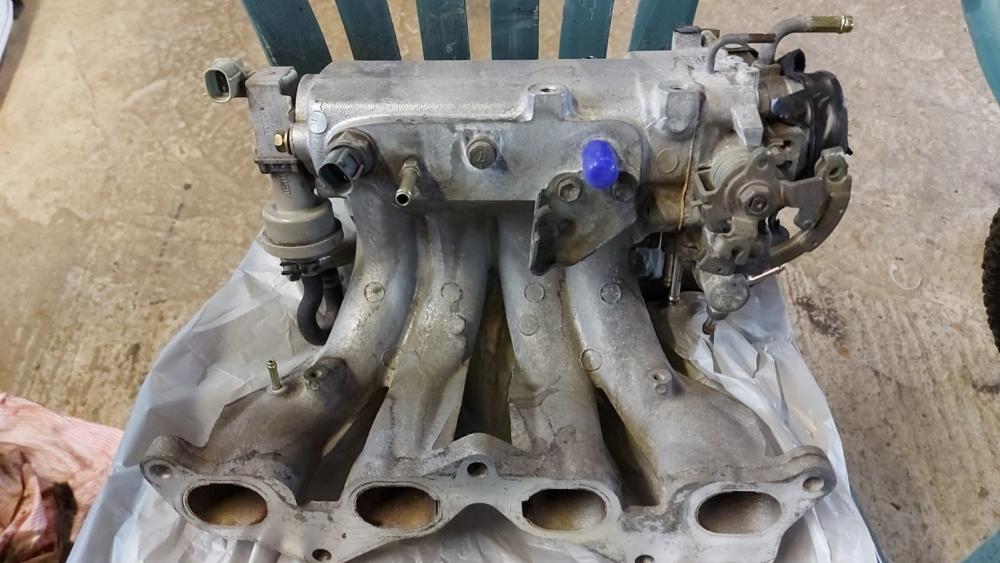
Next I went about changing all the coolant hoses at the back, the original heater matrix hoses had turned soft and were worn out. I also changed both vacuum lines connecting the intake manifold to the steering rack as one was torn.

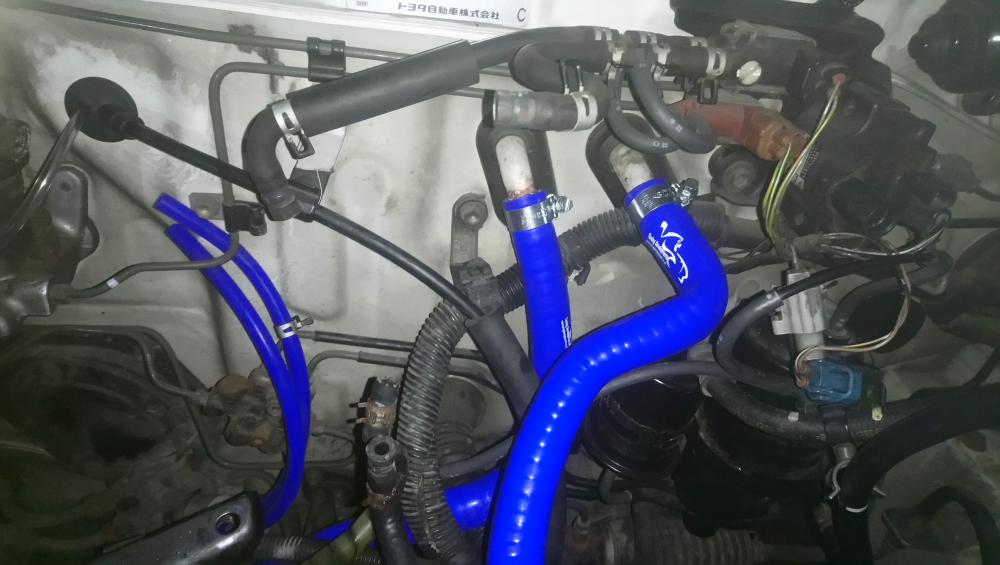

With that done and everything cleaned up, I changed the throttle body gasket and put the intake manifold back on with a new toyota gasket. Then it was just a case of connecting everything back up.
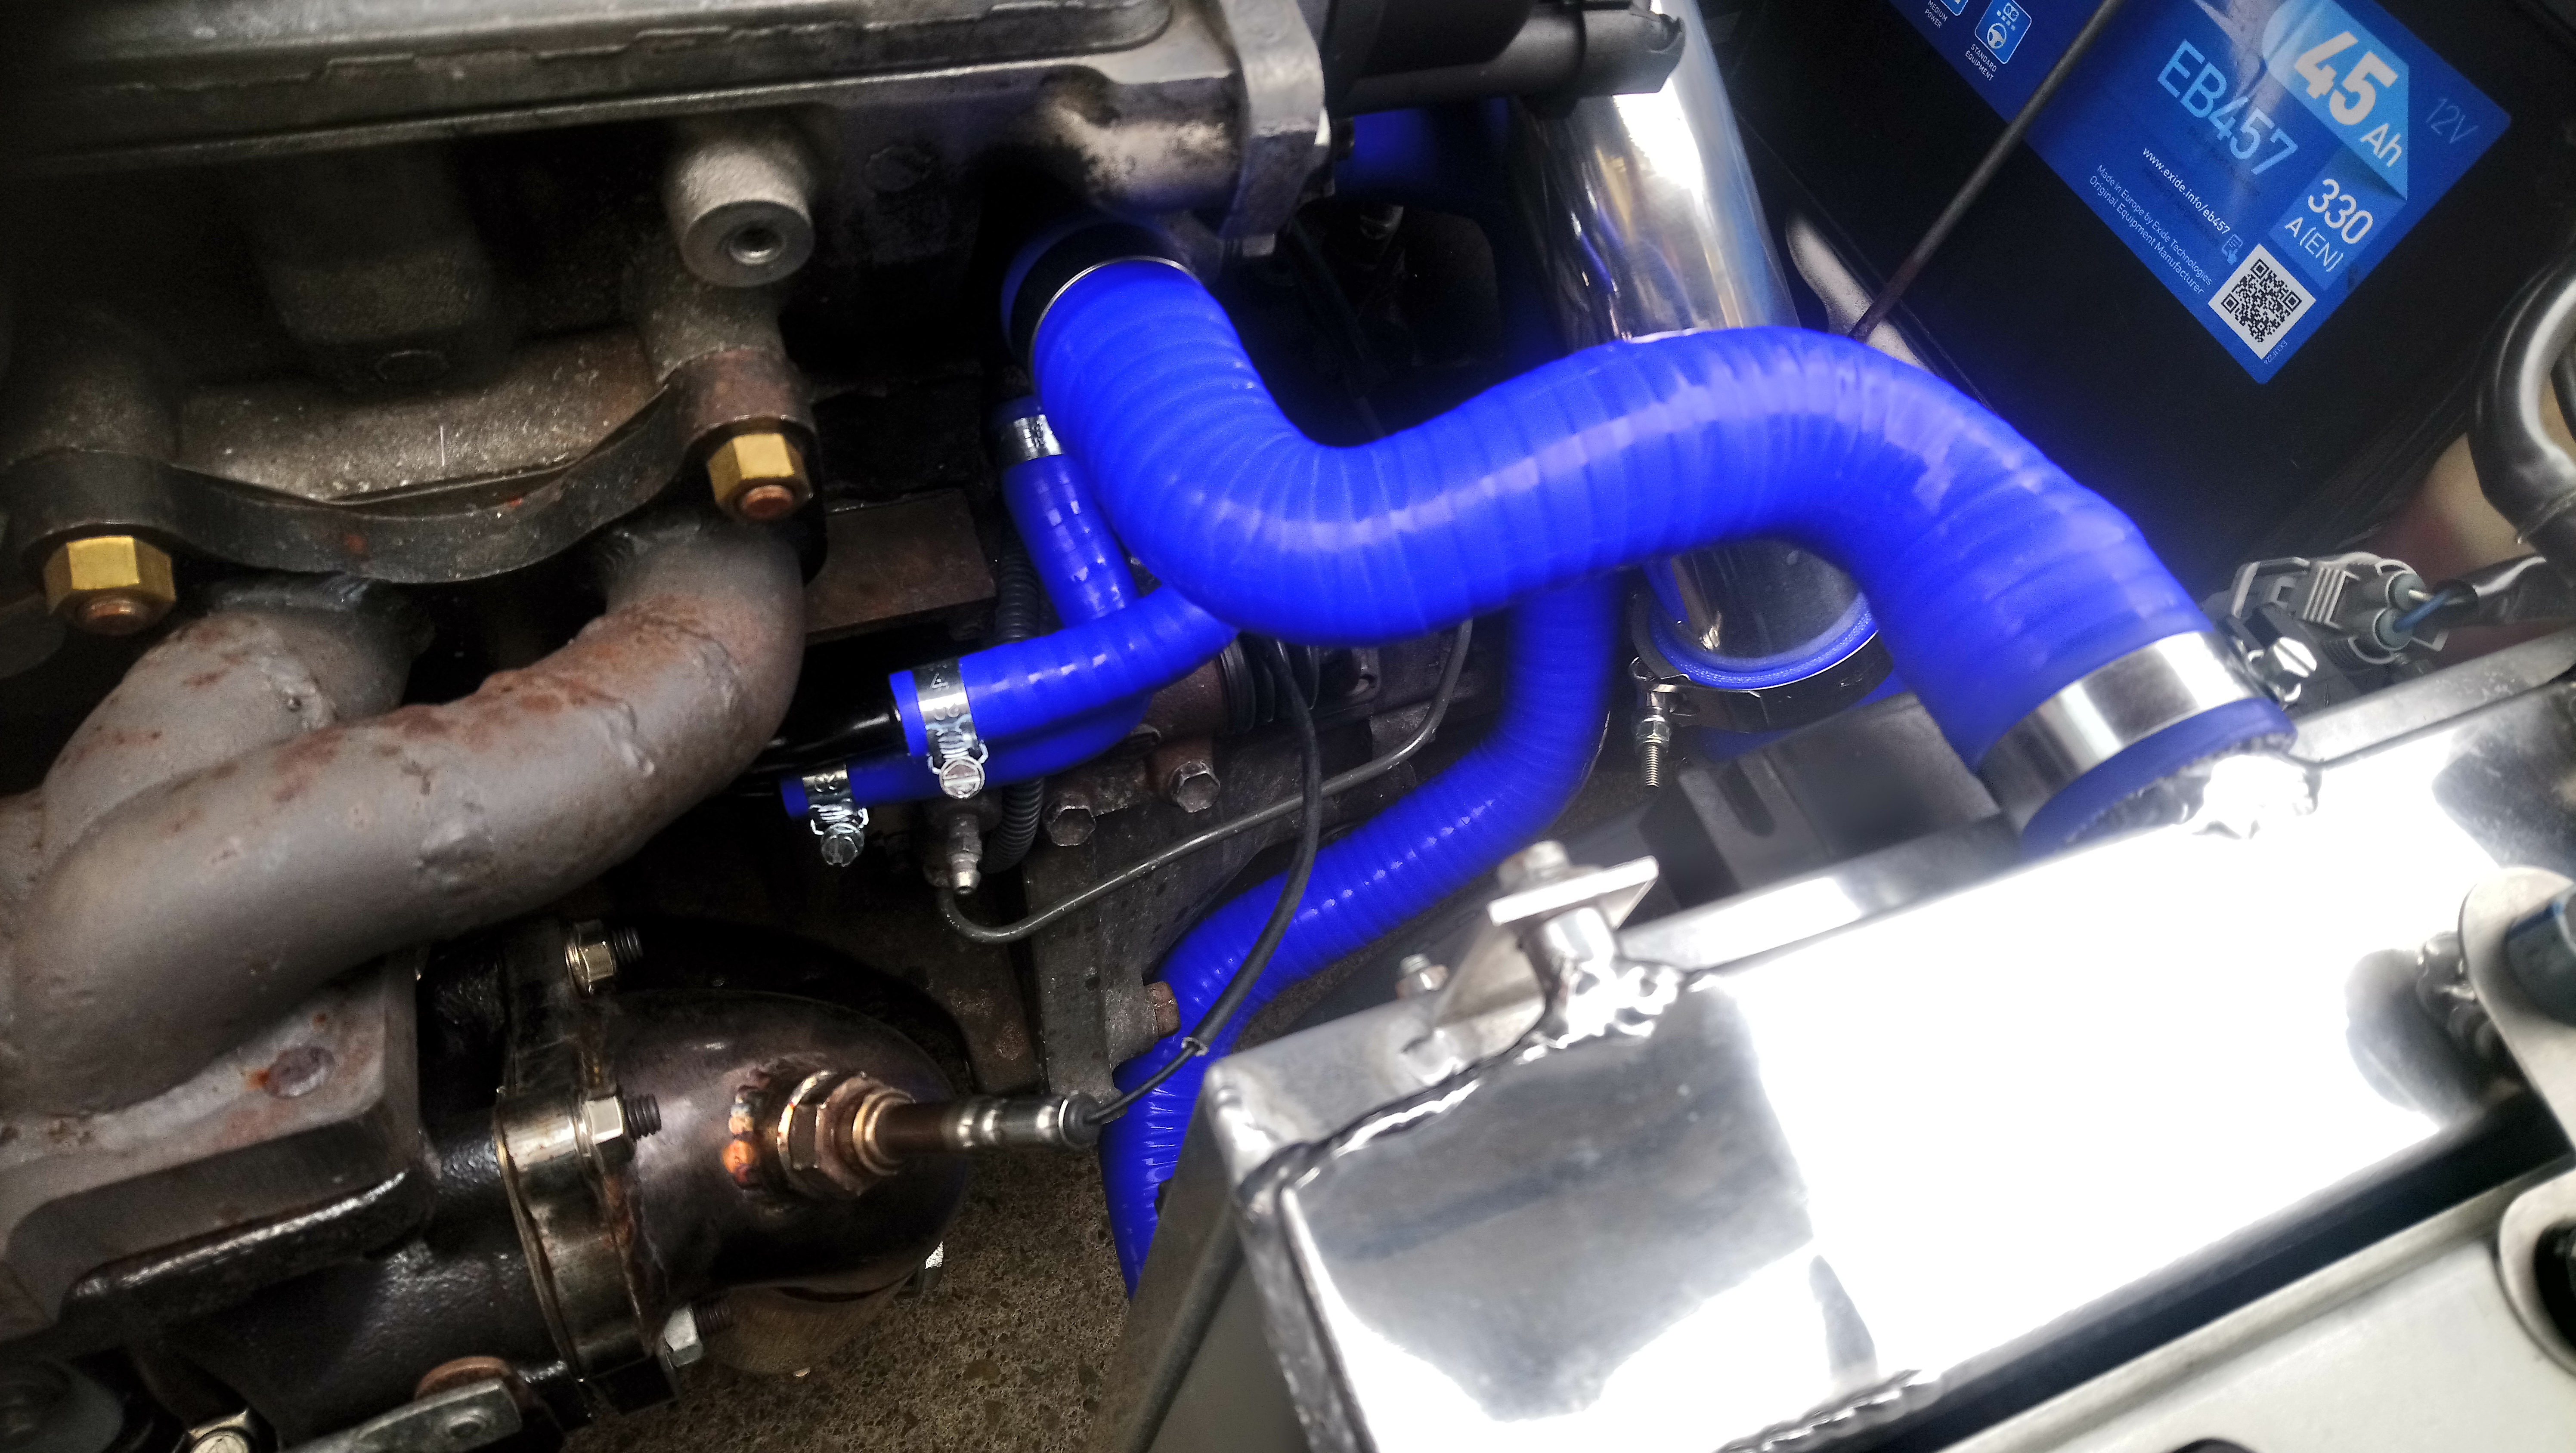
I then reinstalled the rad and fitted the new silicone radiator hoses, I had to cut the top hose down a little to suit the civic radiator. Fitting the 28mm hoses over the 32mm civic rad outlets can be a little tricky so i put them in hot water for a minuite or 2 before squeezing them over.
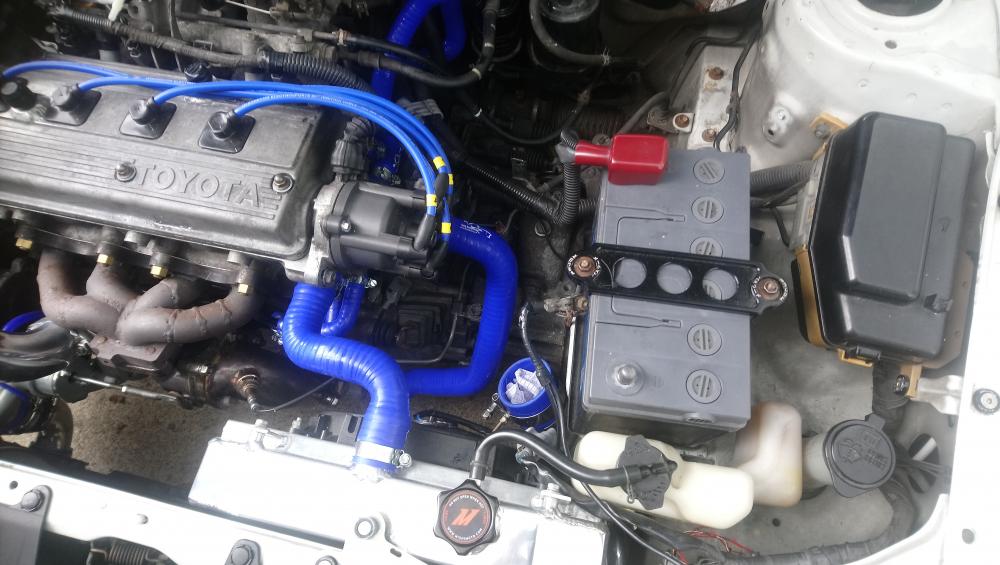
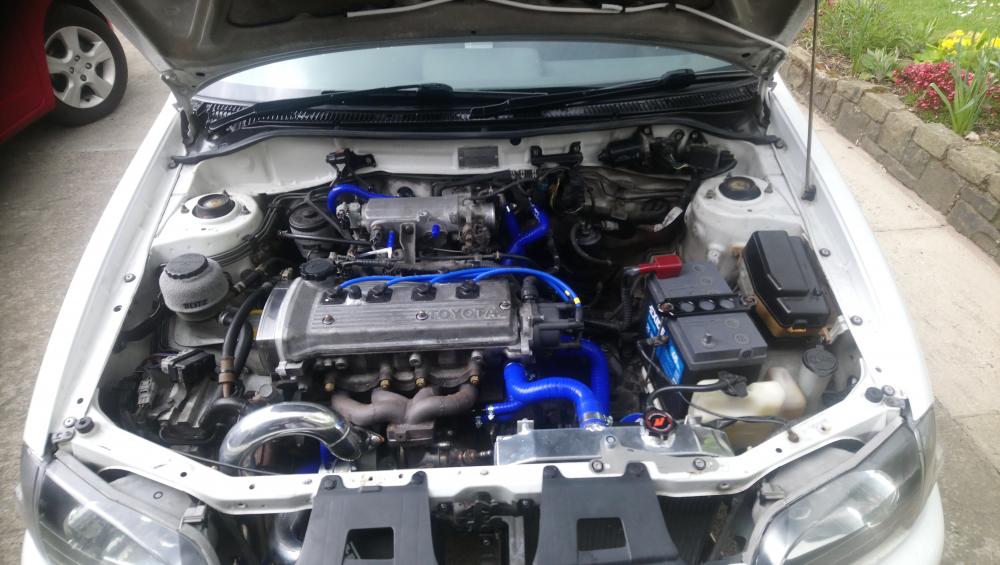
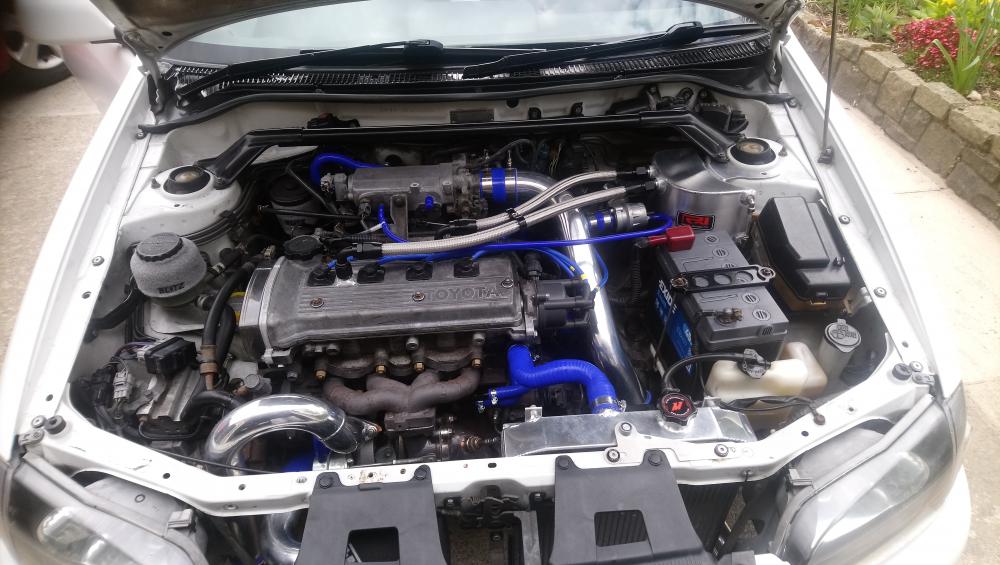
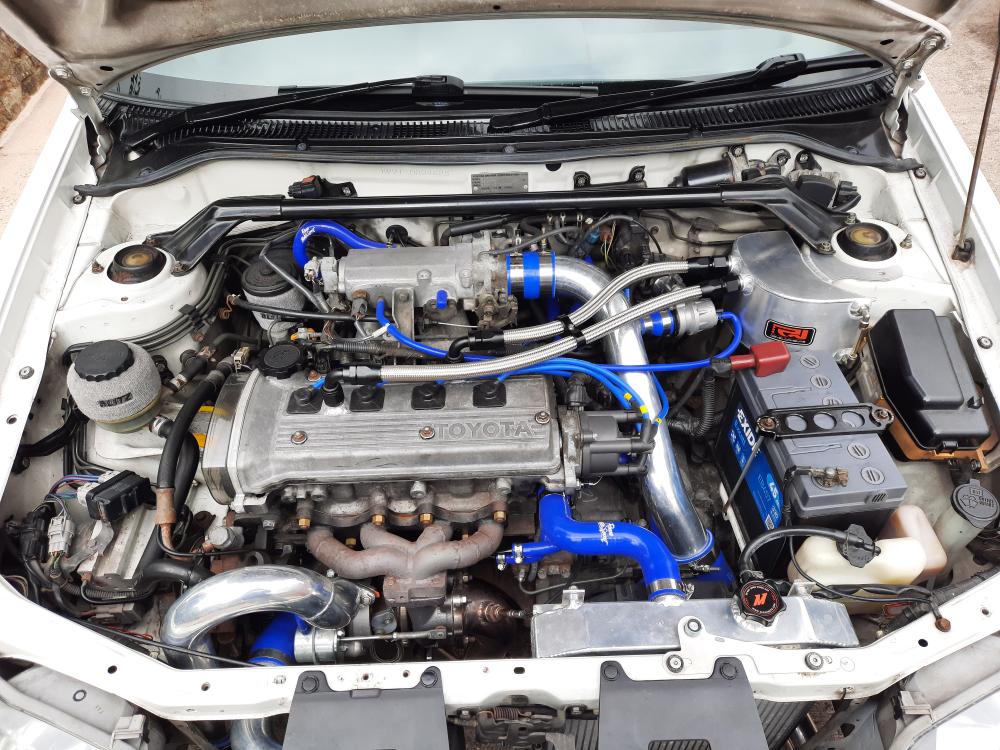
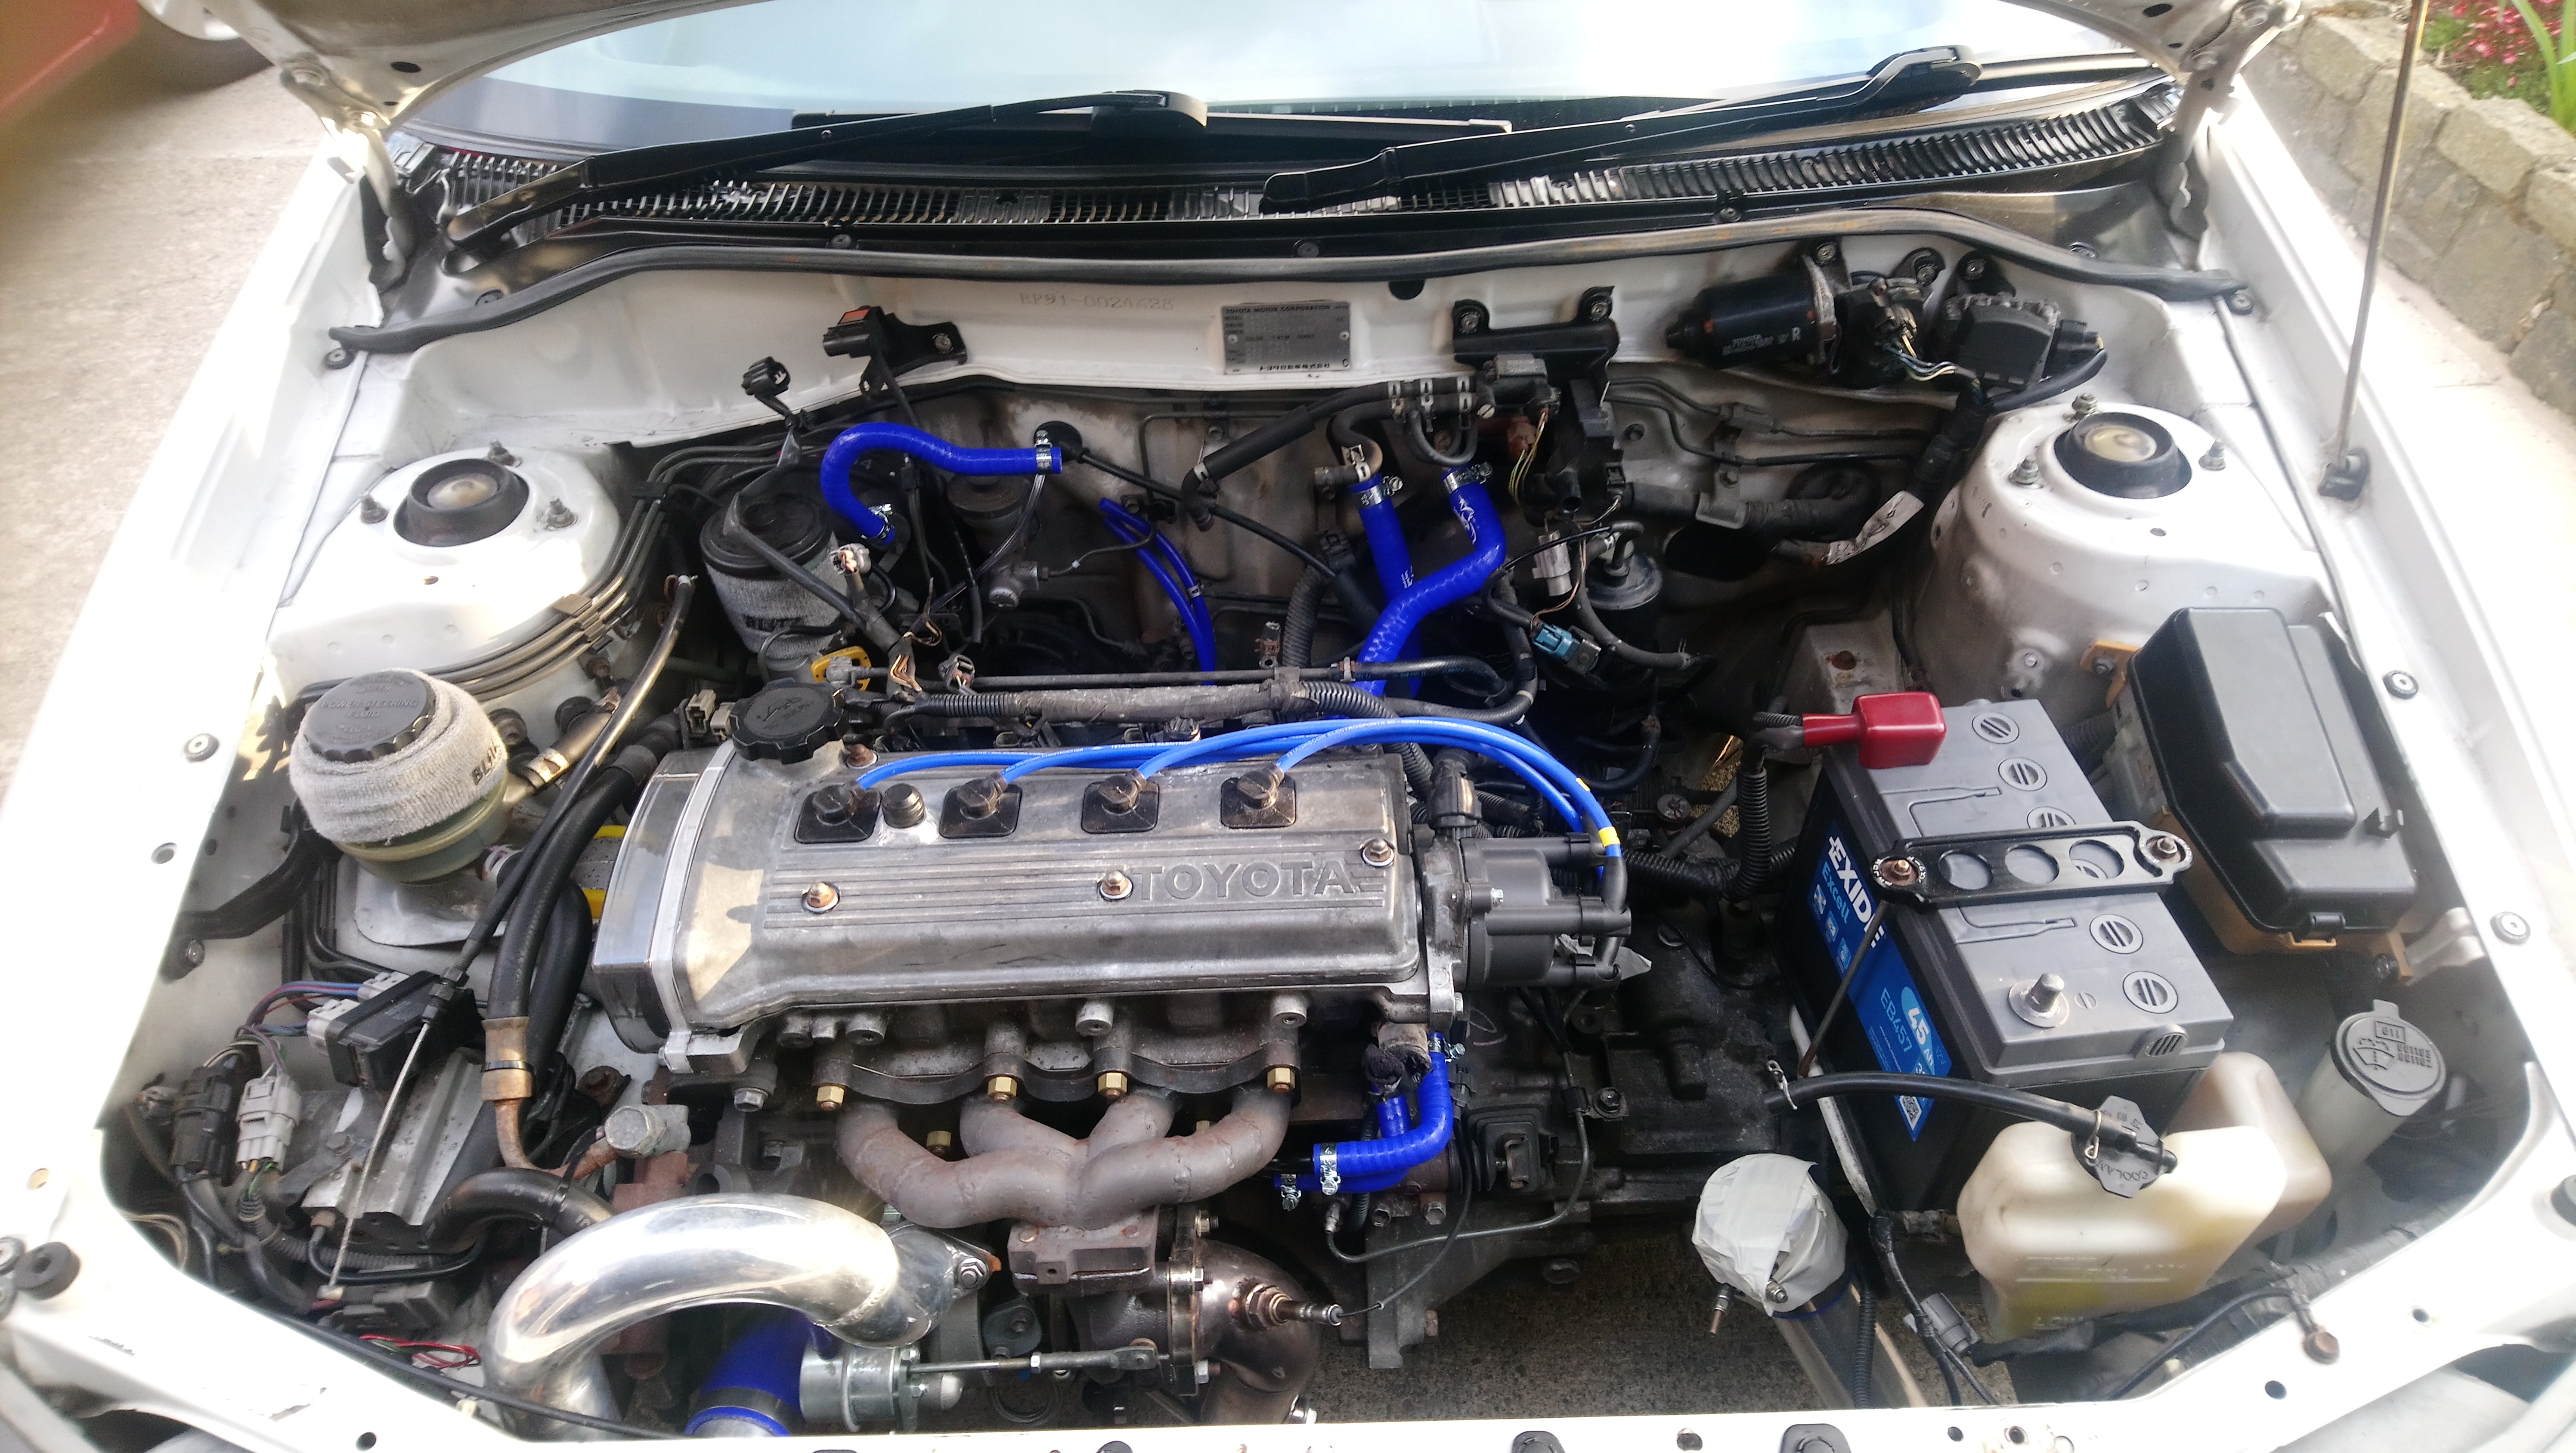
I finished putting the rest of the engine bay back together today, filled the radiator with coolant and bled the system. Pleased with the end result and glad to have the car back up and running.
-
Good work with this mate, really tidy GT. Liking the front mount, looks like a good bit of kit with the short route hot pipe
.
-
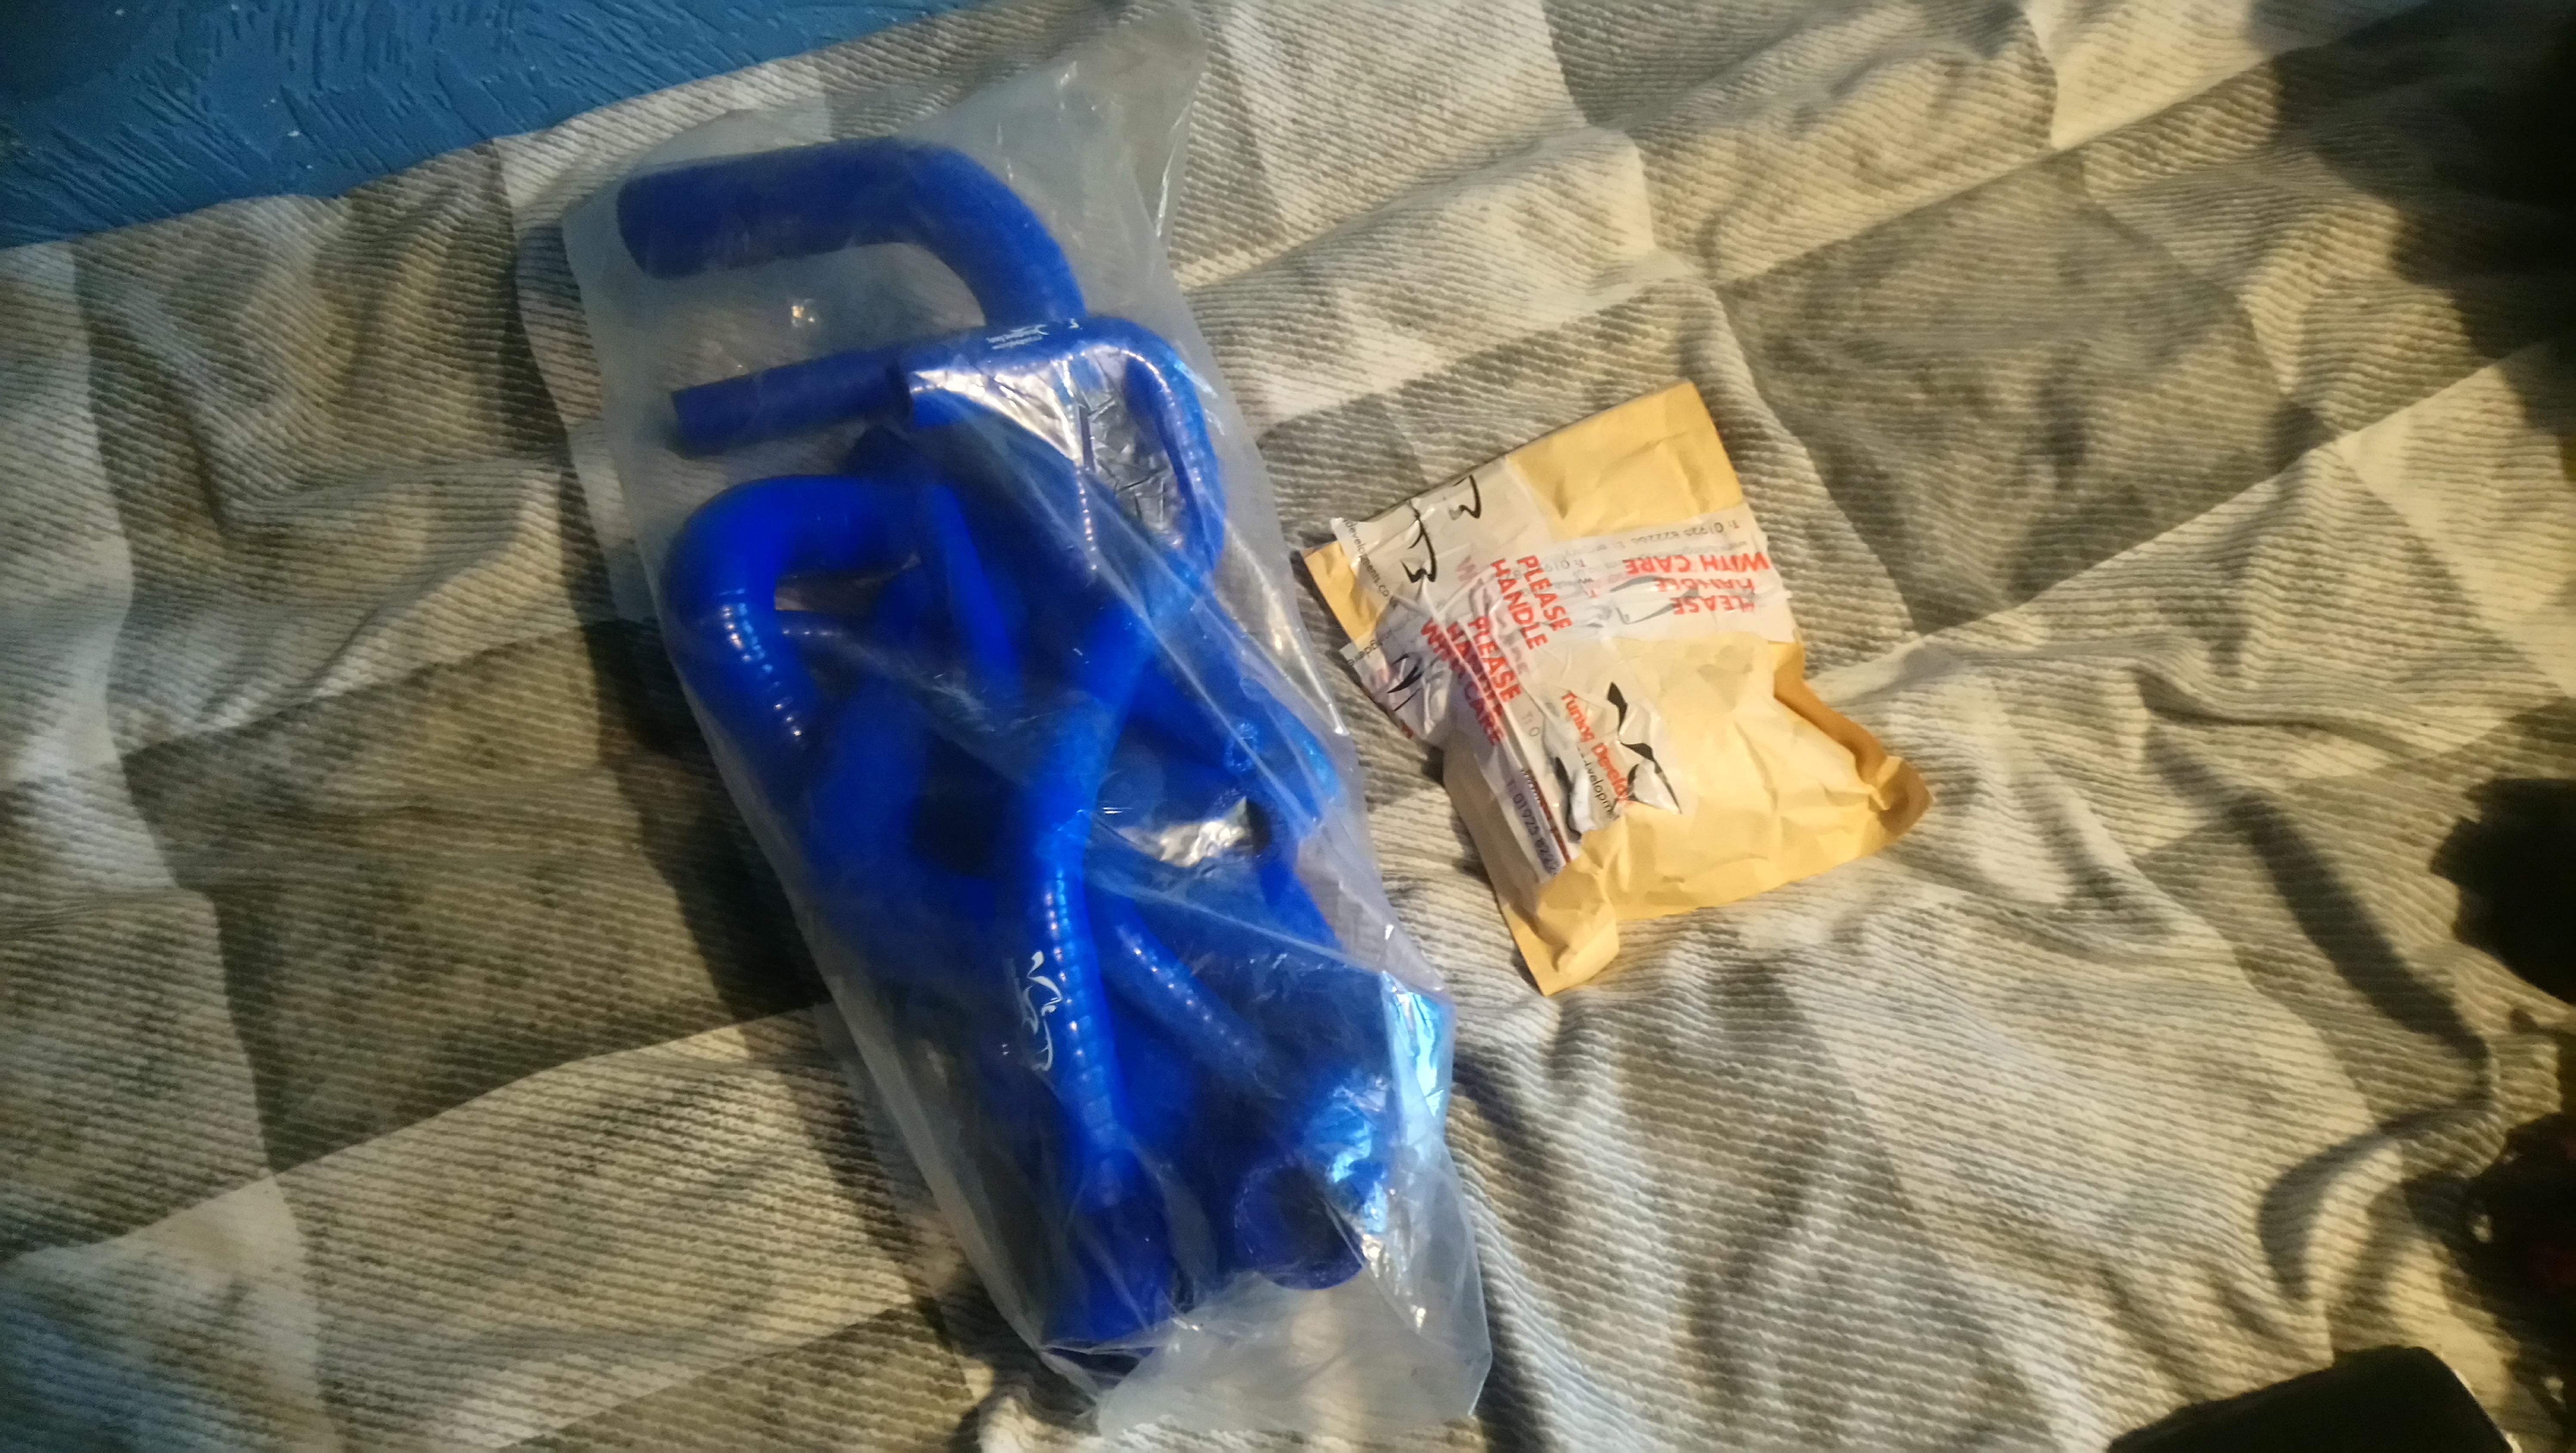
This arrived from Mike at tuning developments this week, a full silicone engine hose kit with jubilee clamps. Looking forward to getting them installed.

-
18 hours ago, Pikey009 said:
Nice build thread mate. The rocker and can set up is well worth it isn’t it
Thanks bud yeah definitely. Really pleased with it, fits the bay so nicely.
-
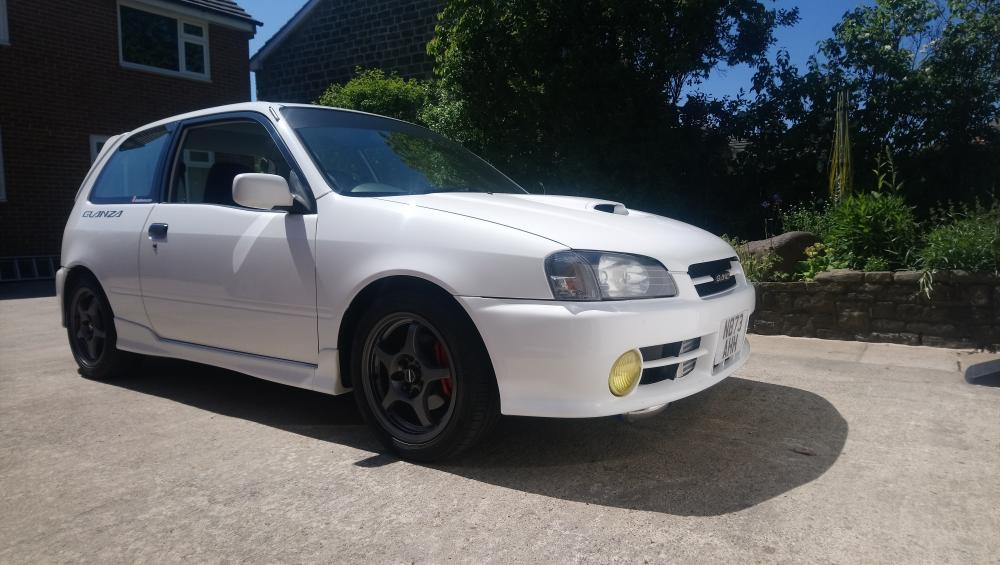
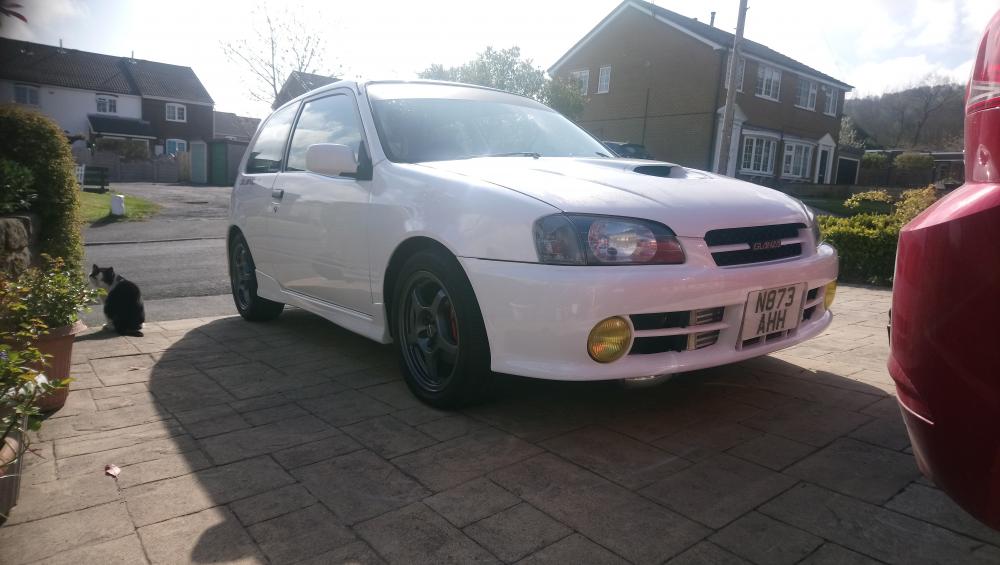
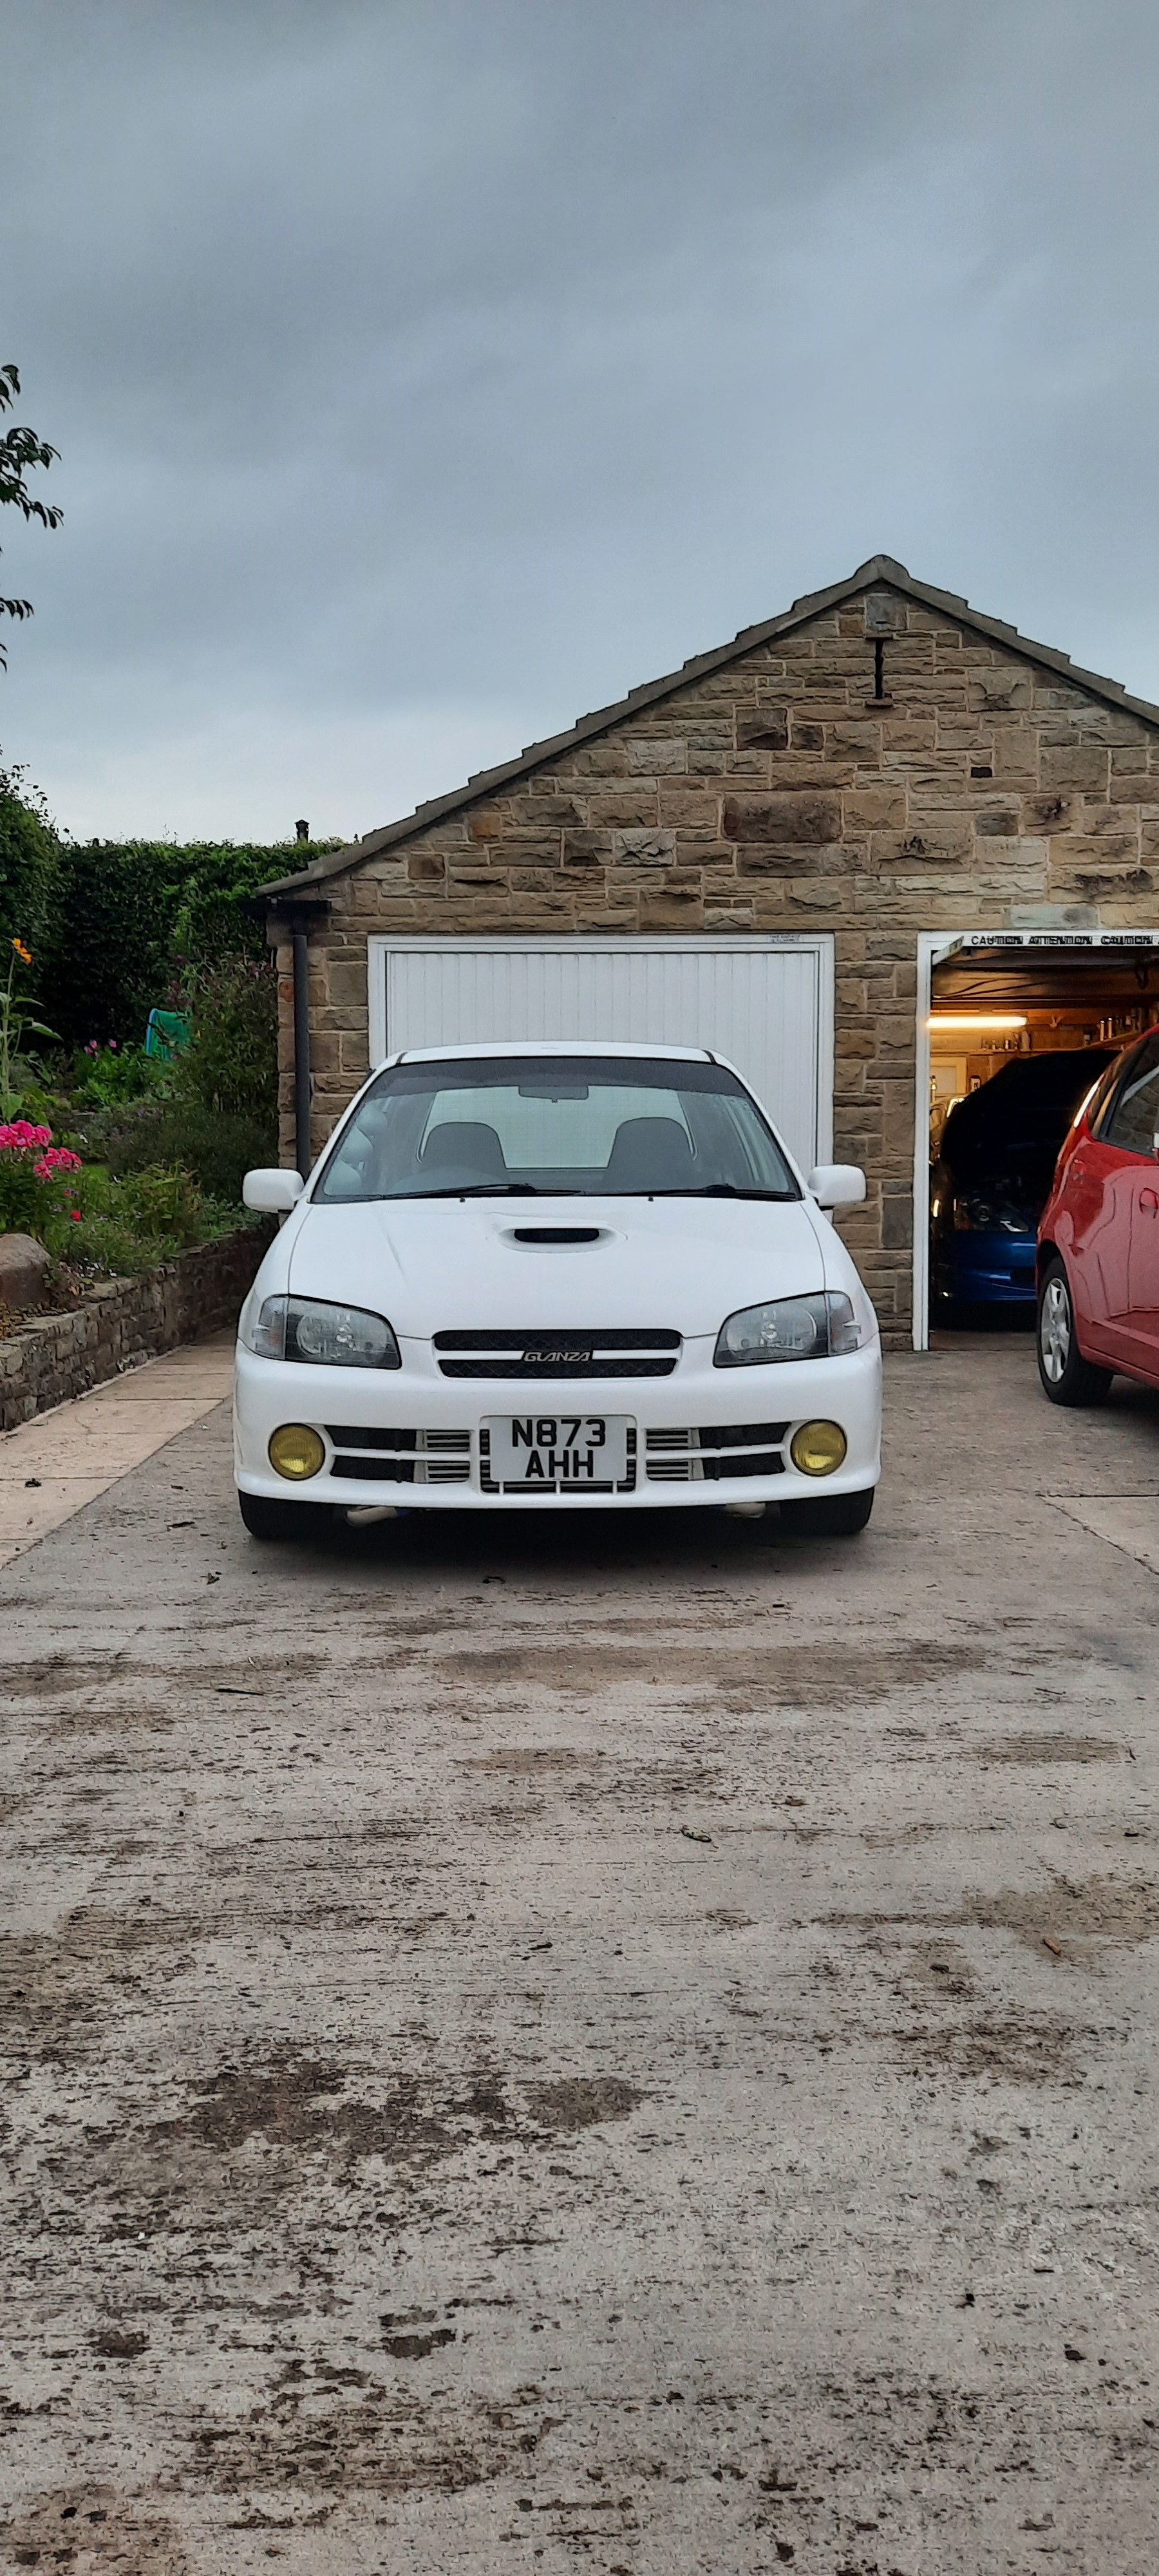
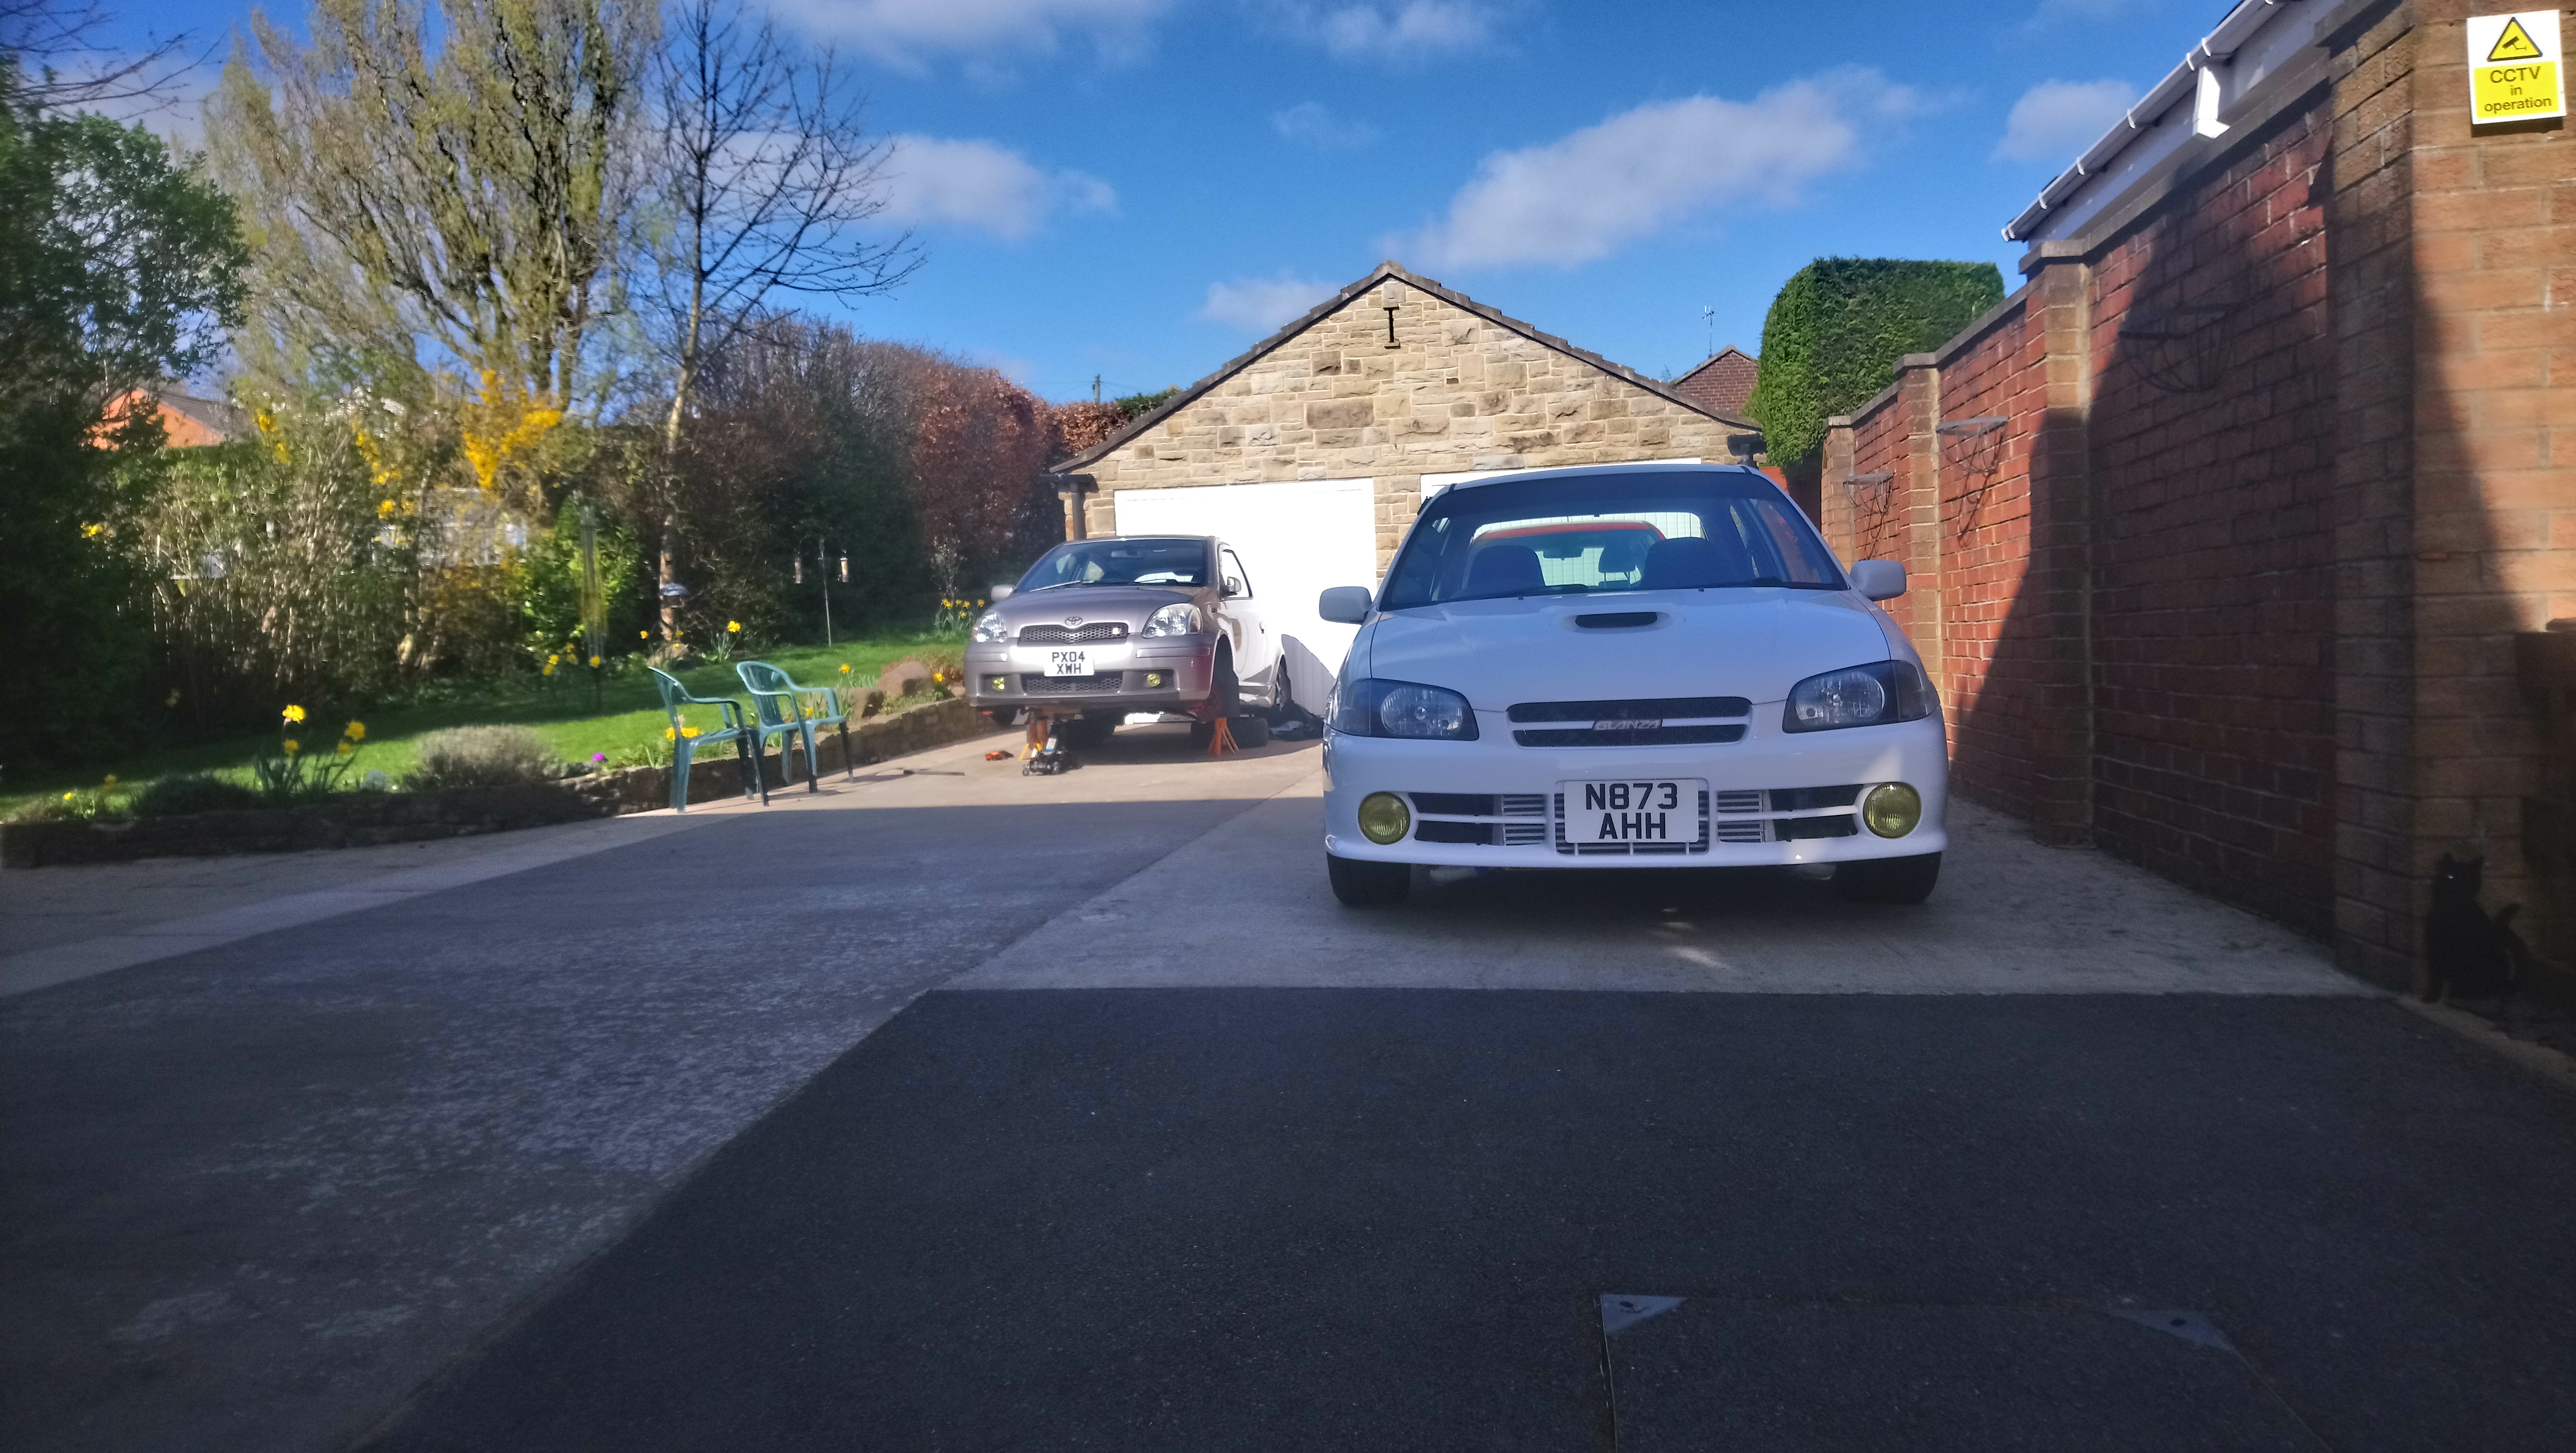
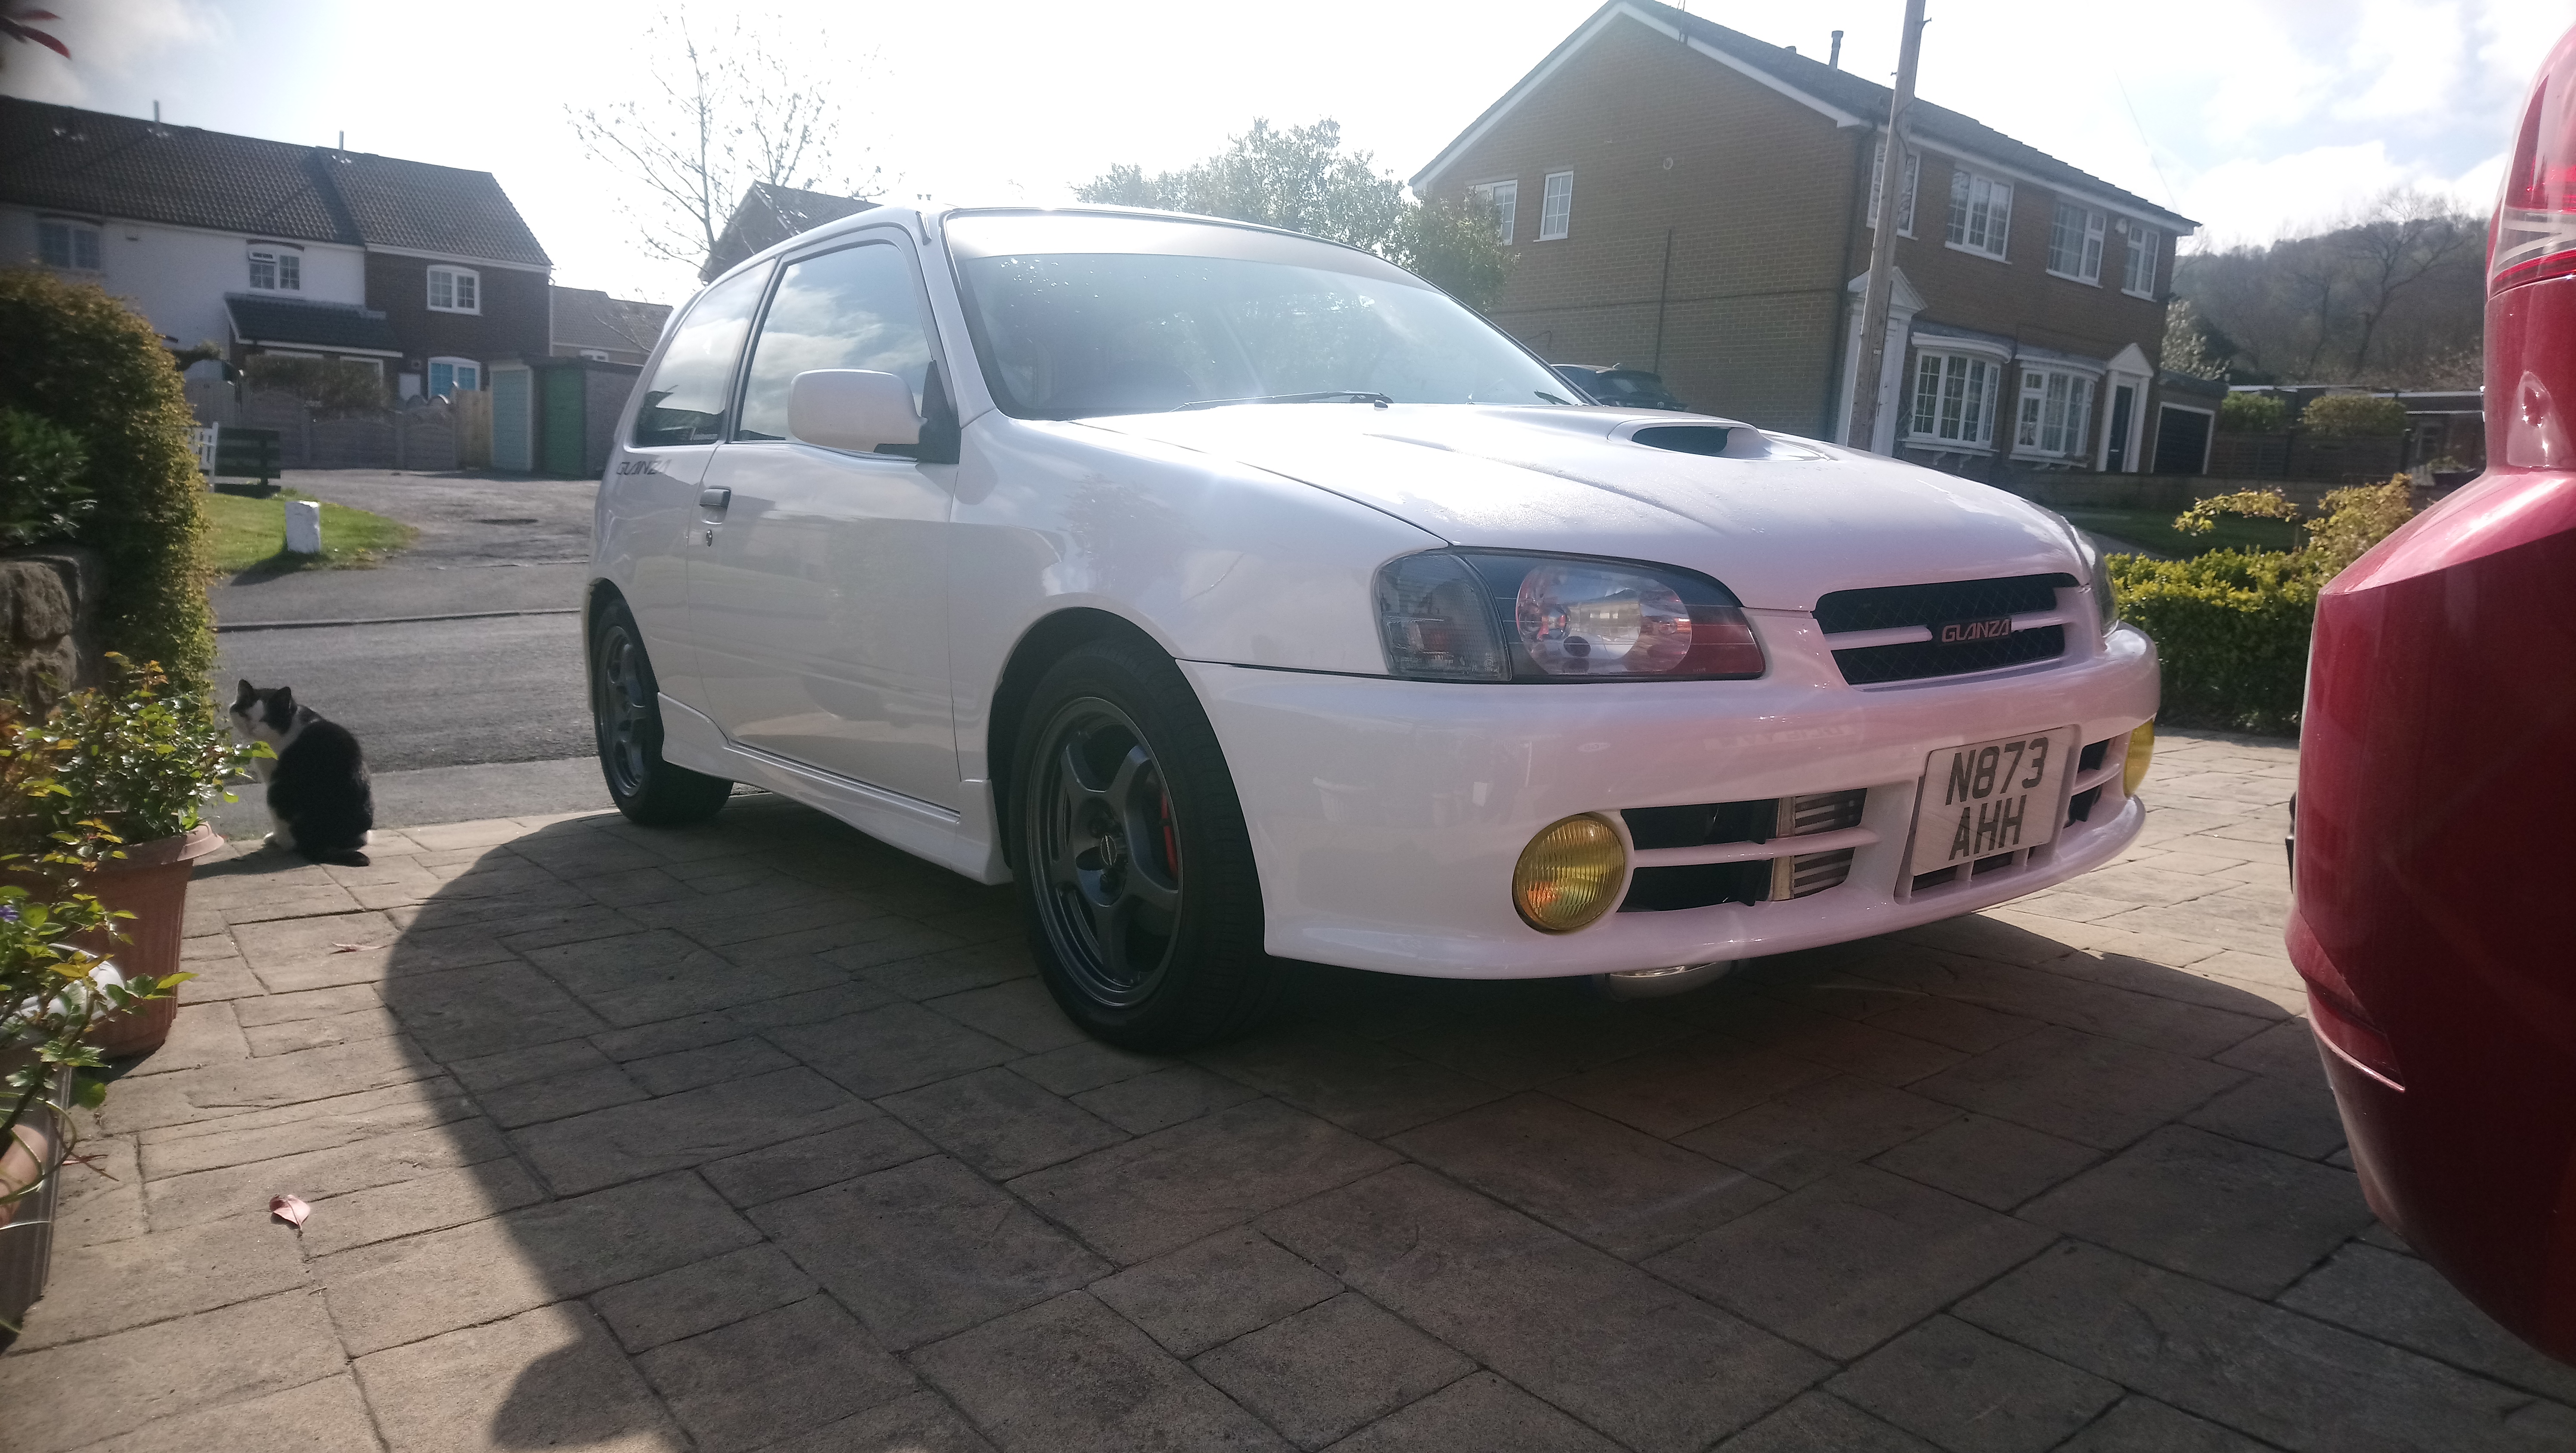
Got the car out for the summer recently, seeing as the weather has started to improve and most of the salt has gone away. I swapped out the boss kit for a 96spec one and now the horn works as it should. I also did an oil and filter change and put a fresh tank of fuel in after sitting over winter.
The car drives really well after the turbo refresh and other improvements. Porting the wastegate seems to have helped the boost creep and it dosent creep up to fuel cut levels as easily as it did before. Allthough I have only taken it to around 5.5K rpm, set to 0.6 bar.

Had to put a pair of new control arms on my daily yaris to get it through the mot this year so it was out of action for a little while. Fair to say they were past their best and a bit of a battle to change. Anyway got it sorted and through for another year.


I took the glanza on a short drive up to my mates house this morning, When I got there I opened the bonnet to find coolant had sprayed all over the bay. Turned out one of the heater matrix hoses at the back had developed a small hole in it and had fired coolant everywhere.
Not what you want but i got it all cleaned up and am thinking about replacing all the old hoses with a full silicone hose kit. They all look quite worn out and feel soft and perished. Might even take the intake manifold off for better access and to give it a good clean along with the back of the engine. Just means the car is out of action for now, so a bit dissapointed.
Hoping to get the car to Japfest later in the year all being well. Should be a good trip, hopefully see a few of you chaps there
.
-
13 hours ago, RoyalDutchie said:
Great progress as always. The 3 spoke steering wheel does look way beter and more modern.
Did you turn the rad cap to the very end? By the looks of it we have the same rads and when I had it positioned like that it did look great but didn't completely seal the system and it never build pressure inside the system and just leaked a wee bit(I would imagine it is even worse on hot days). Could squeeze out coolant by just squeezing the coolant pipe on top. Just a small note and imo a thing to check to make sure it seals well.
Thanks mate,
Yeah the rad cap is twisted on fully, its just a replacement cap I bought as the one that came with my rad didnt look great and was turning rusty. Probably just sits in a different position on mine.
3 hours ago, Sam44 said:Waw what a transformation. Real nice well put together project.
Thanks Sam
1 hour ago, Claymore said:I had a Momo boss on my previous car and from memory it had a horn ring already in it. Maybe there is an accessory from HKB?
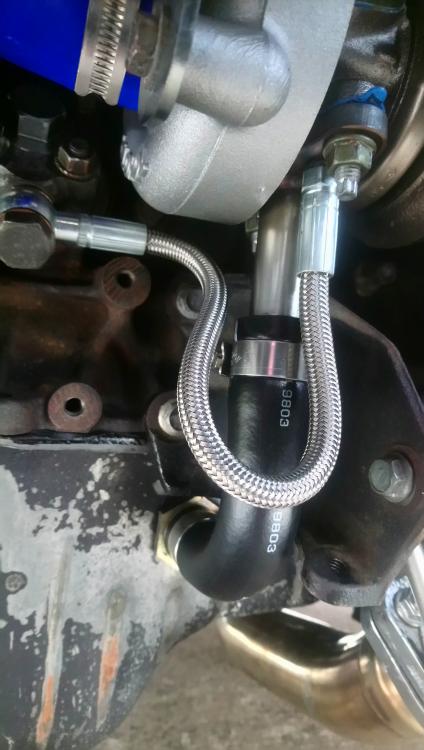
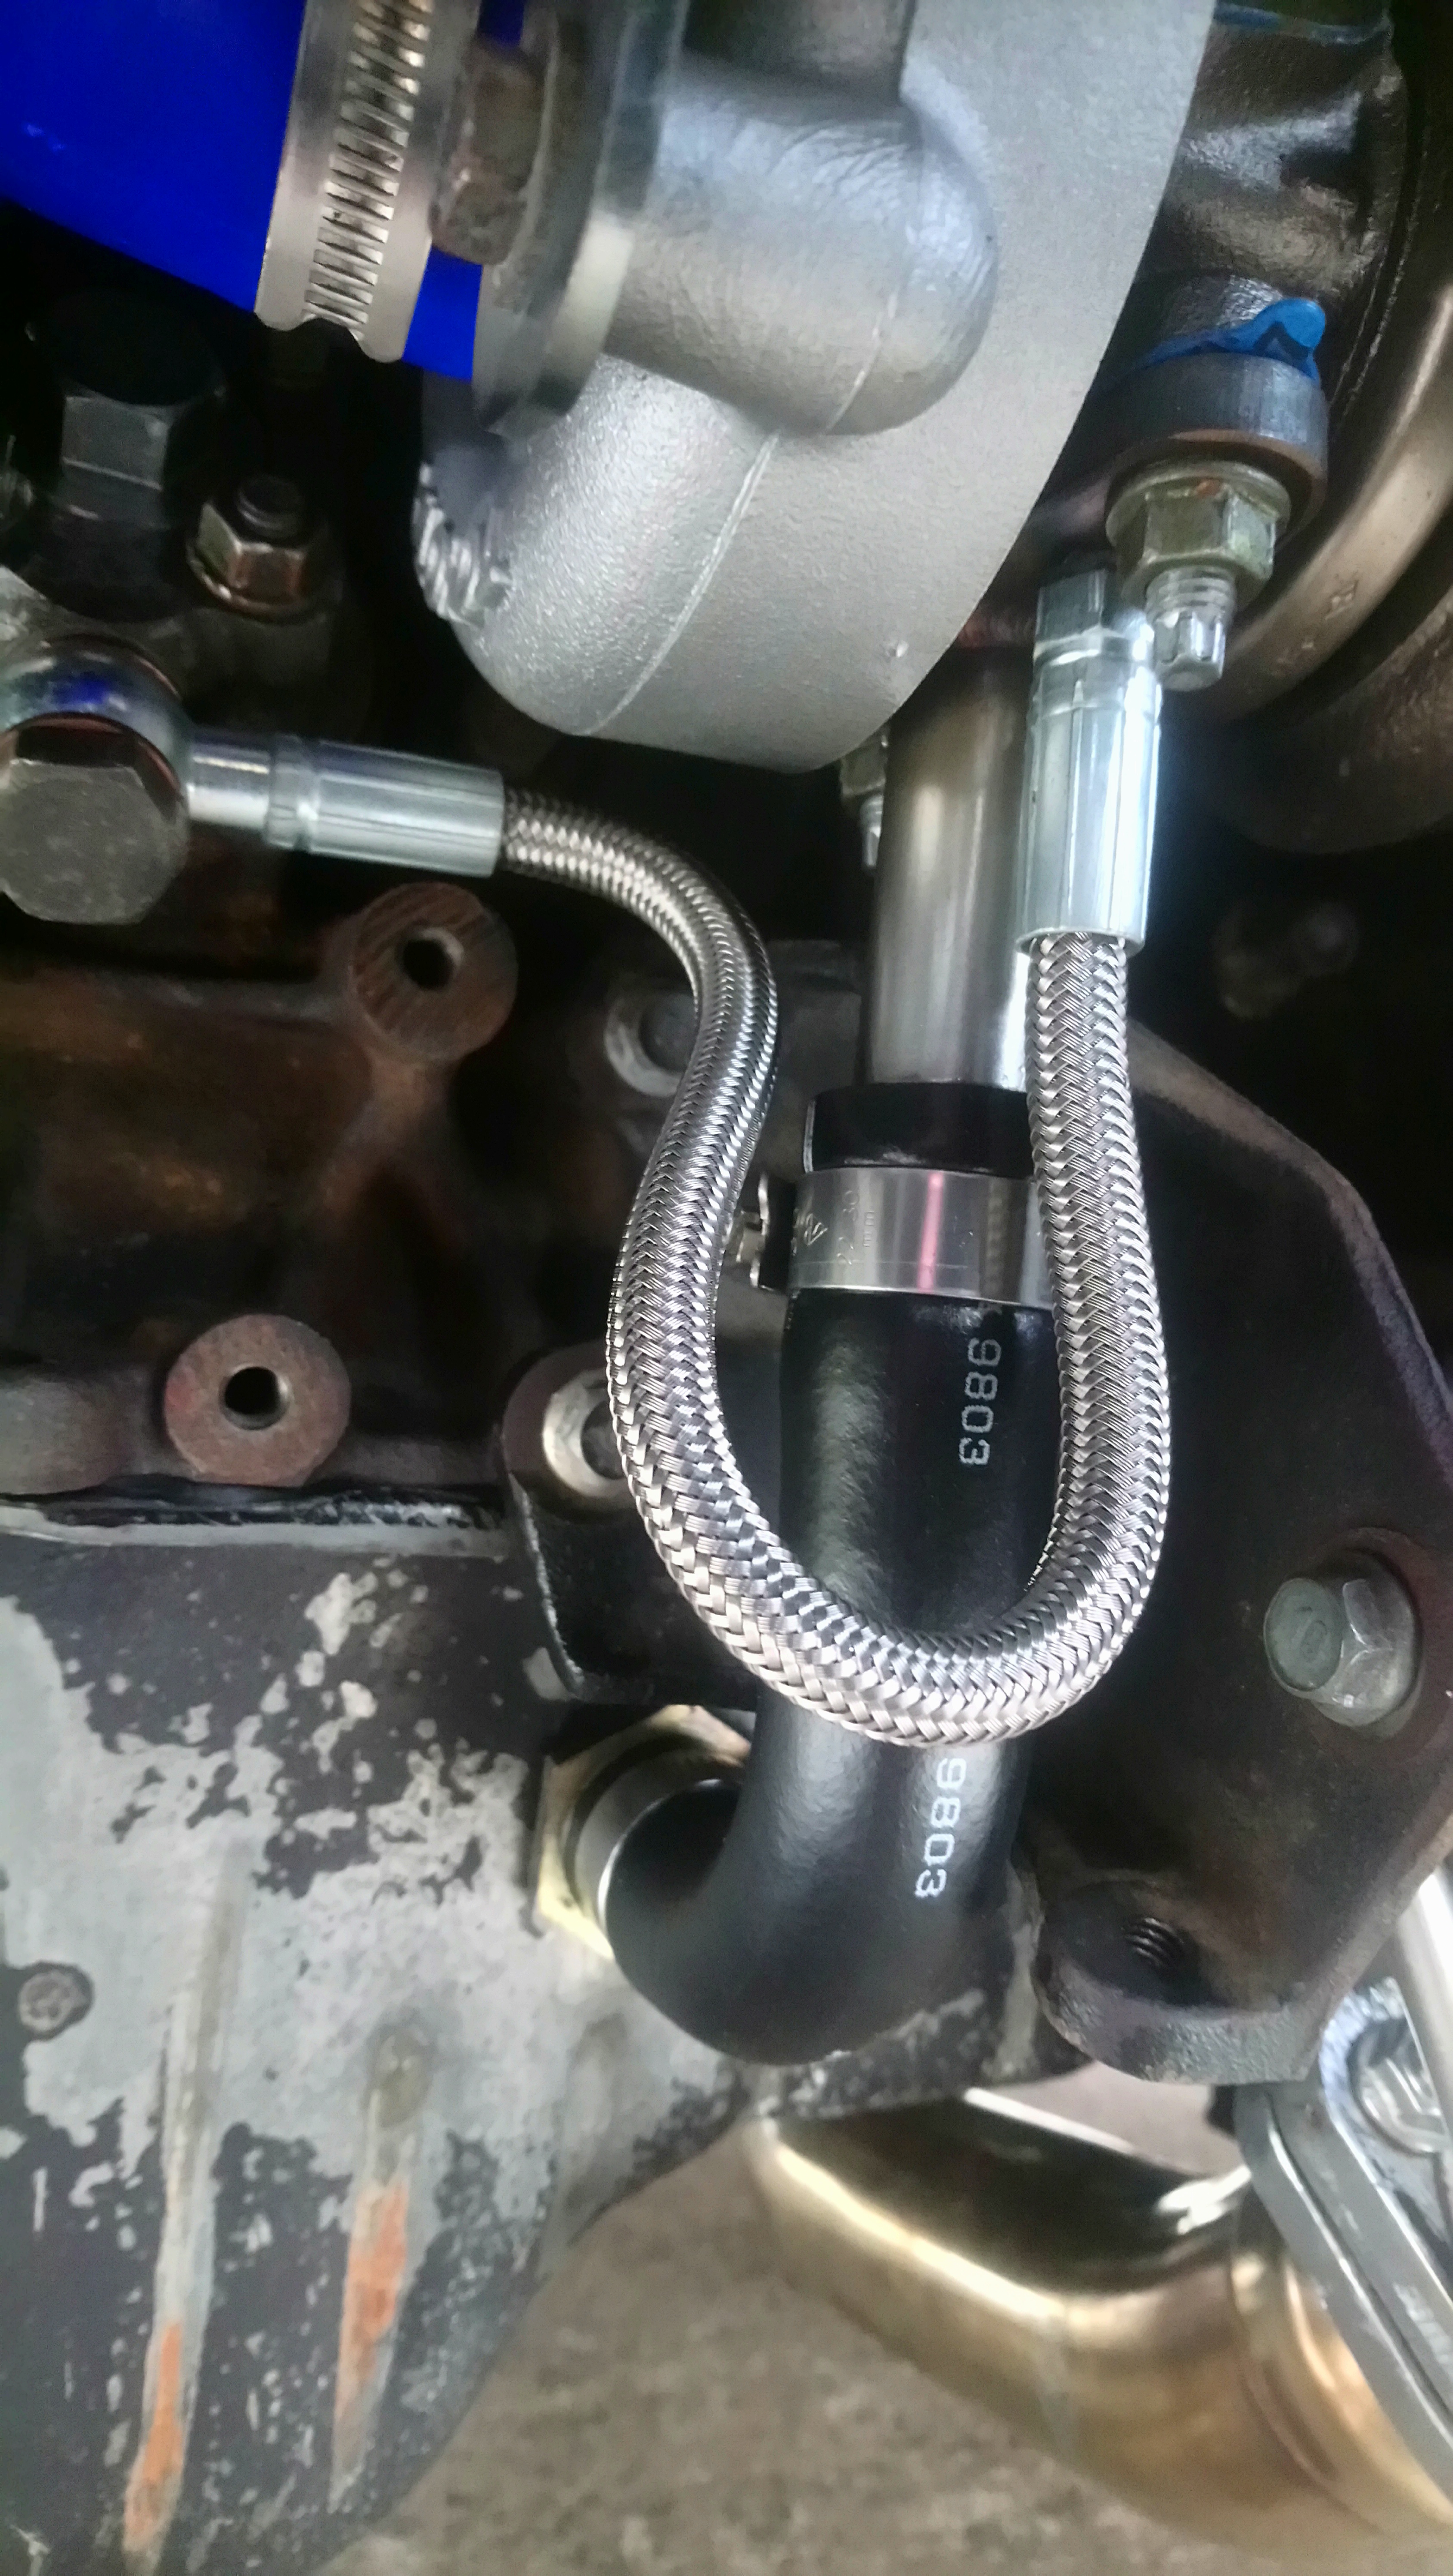
That's the same oil feed / return I've ordered too! Would have preferred if the oil filter end was a 90 degree fitting to stop the hose from needing to bend but if it works it works. Or if the hose was longer it could be looped round anticlockwise and across.
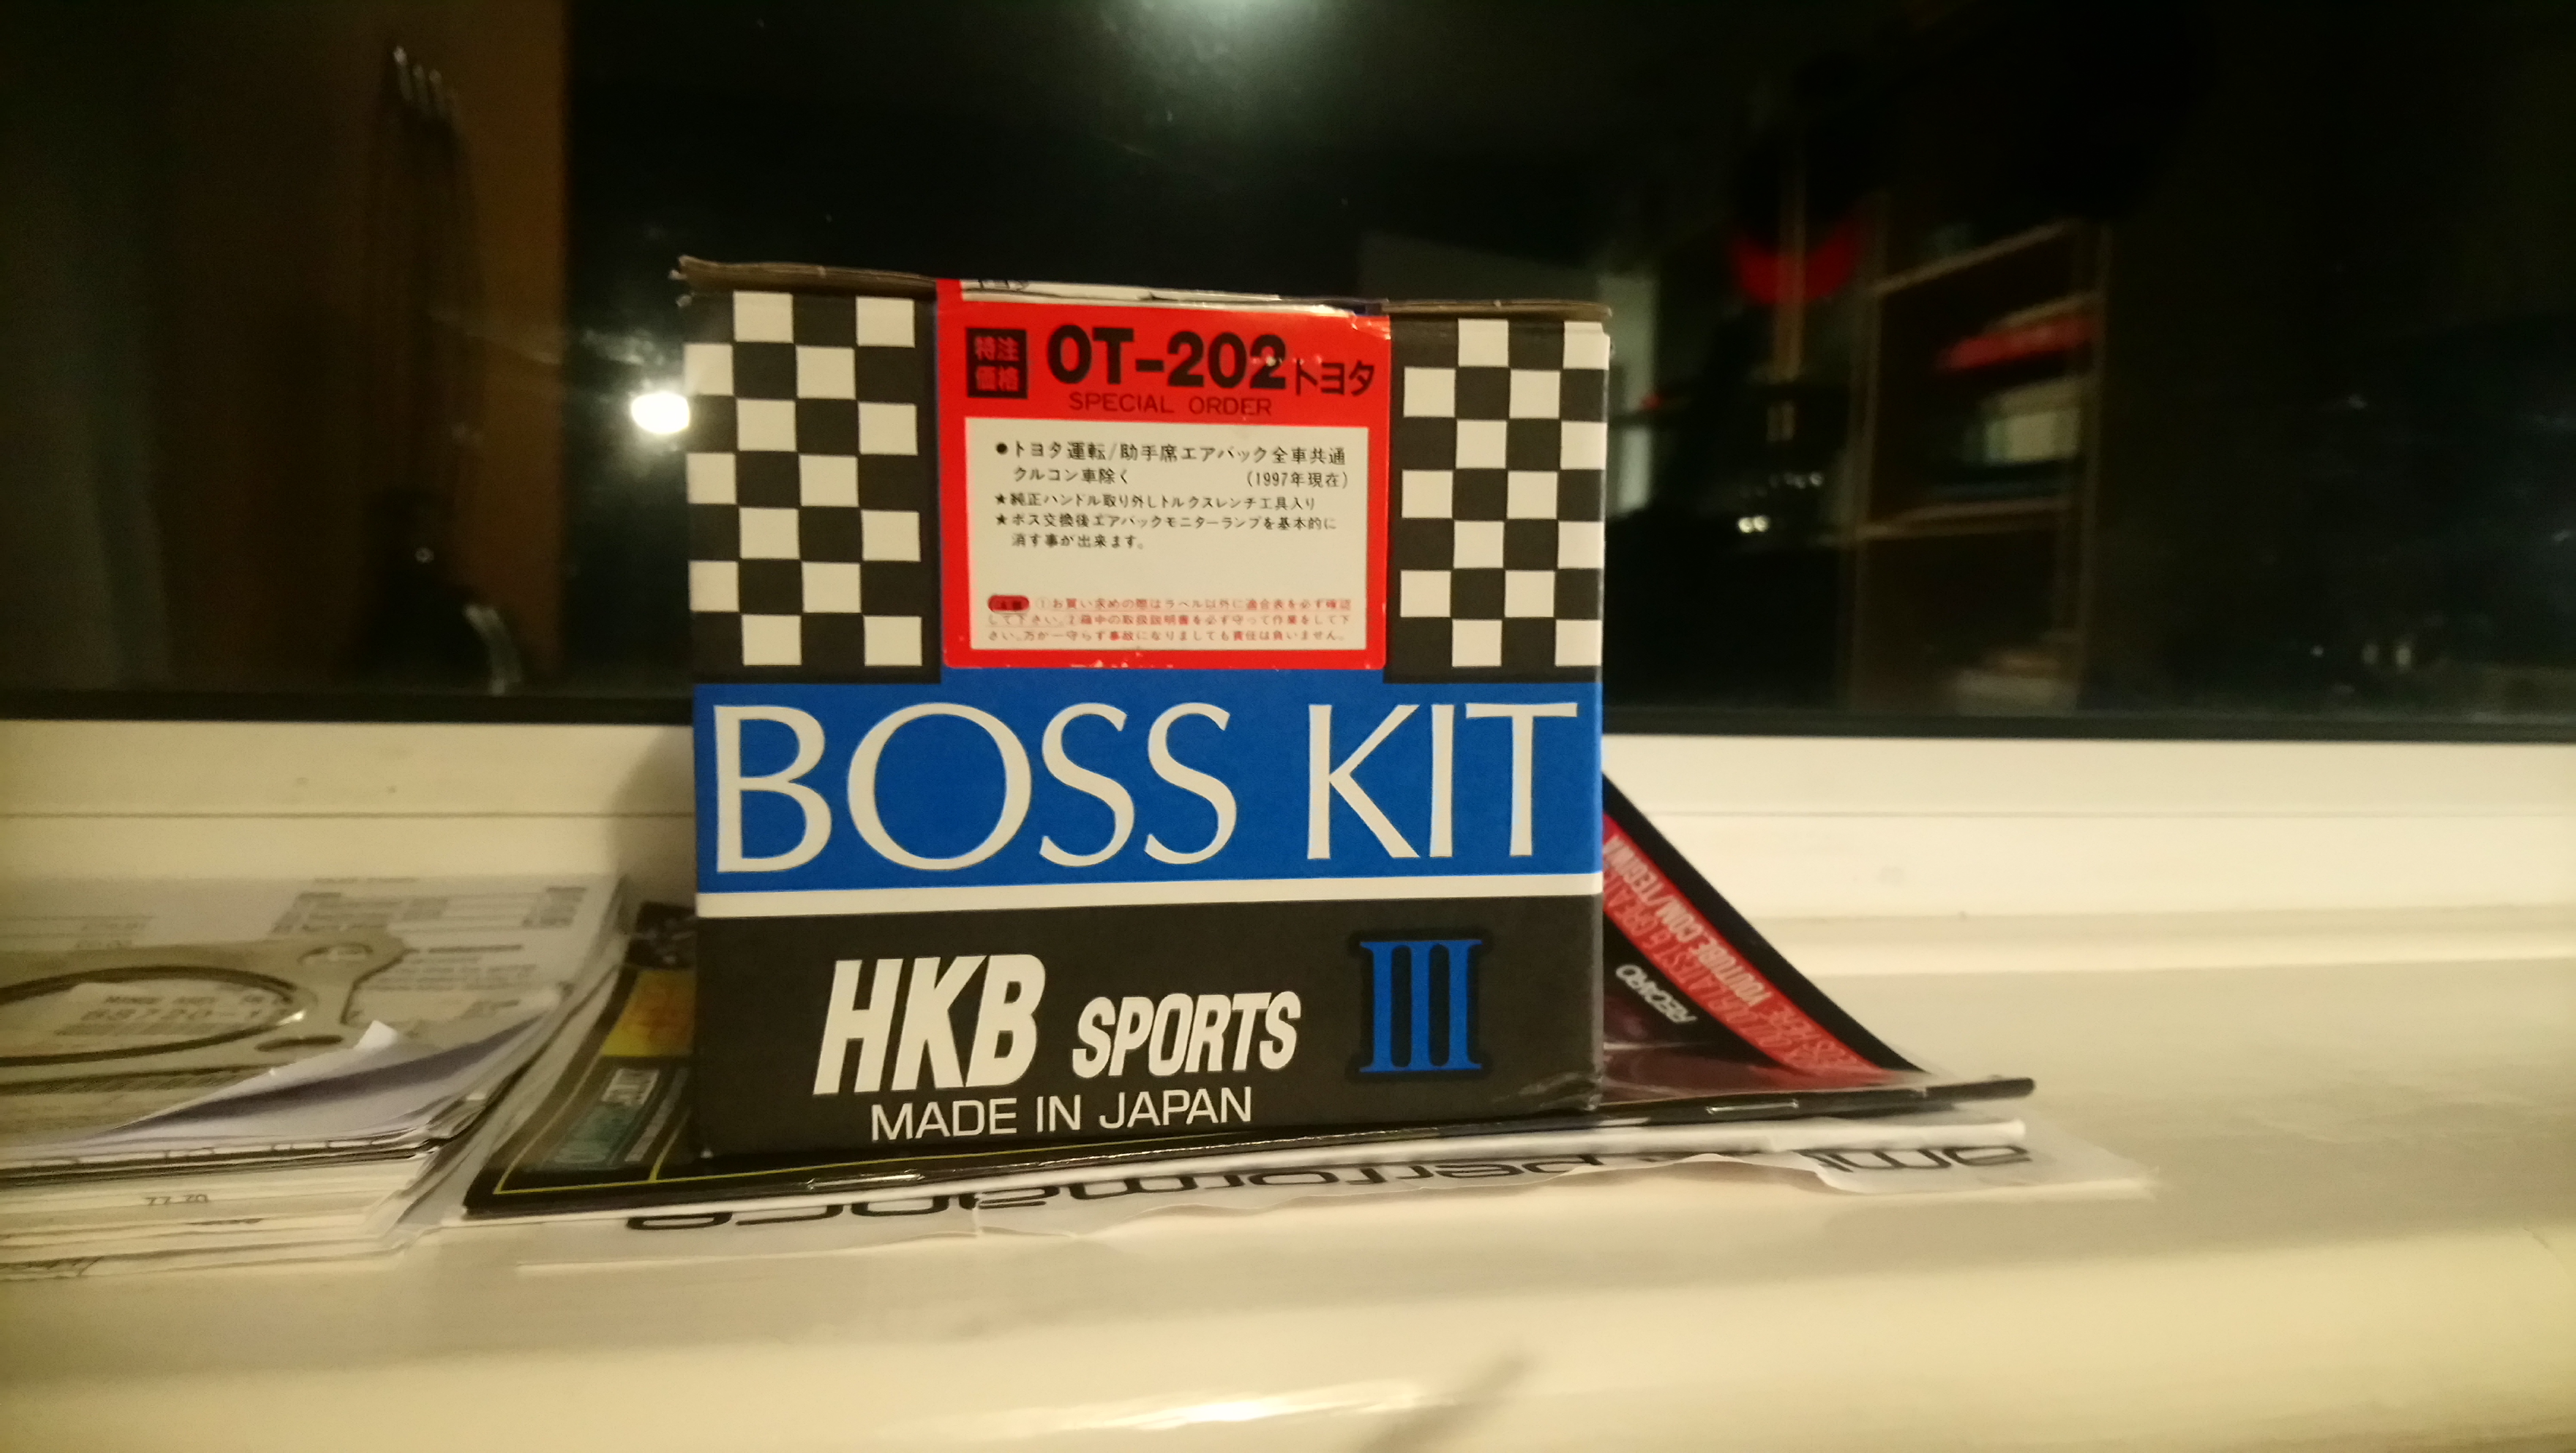
Yeah Ive been looking into the boss kit, it looks like I've bought a boss kit for a 98 spec by mistake. It's not very clear but there are two different hkb boss kits, the OT48 for the prefacelift and the OT202 for the face-lift. Oh well, you live and learn.
I know what you mean about the oil feed. I thought the same but like you say if it works it works, a lot of people seem to have used them in the past on here without issues.
-
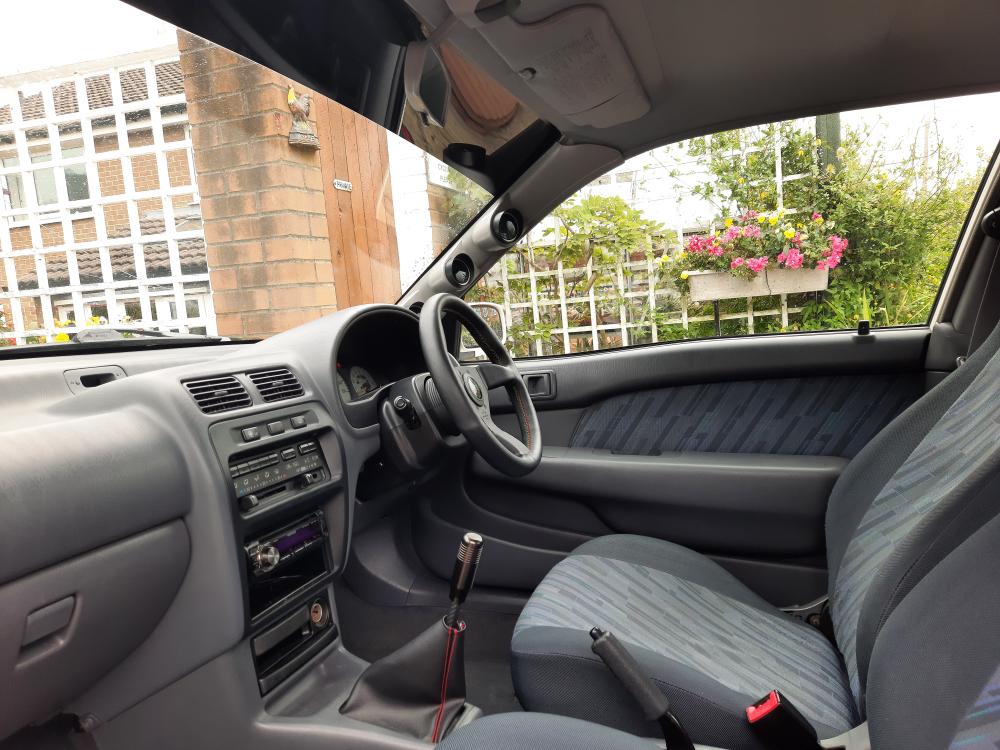
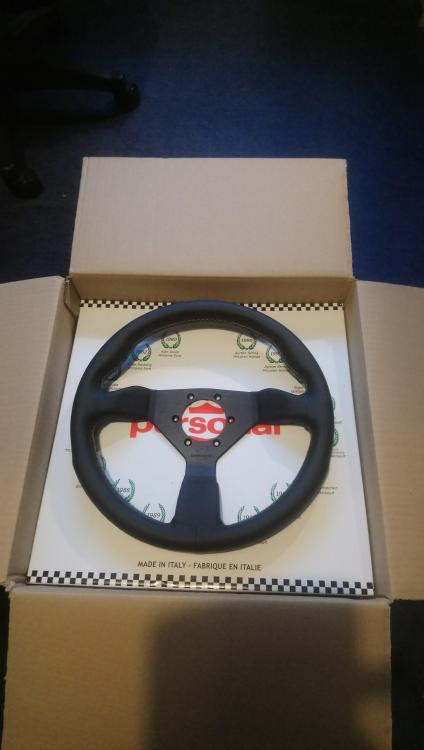
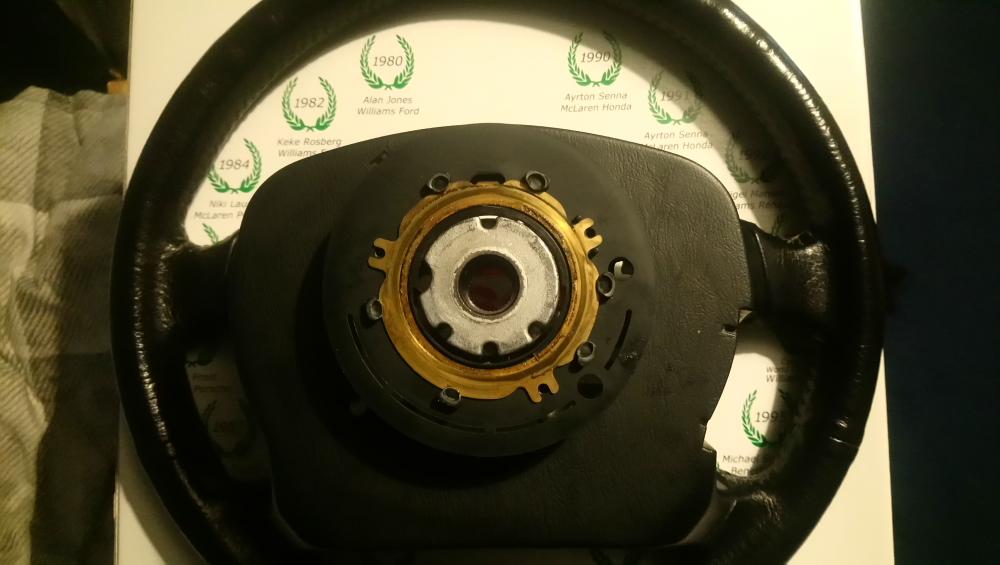
Ive been looking to replace the standard steering wheel on my glanza for a while now. It has seen better days, the leather on the wheel has worn away and it is in overall poor condition. I originally wanted to put a facelift glanza wheel on but found out they are incompatible with different air bag and horn connections. So I opted for a HKB boss kit and a personal 330mm leather steering wheel.

Got it fitted this week, Feels a lot better to use and drive with over the original. I did encounter one problem though, the 96 wheel uses a metal ring electrical contact on the back for the horn. Not sure how I can make the horn work with the new wheel, any other 96 spec owners encountered this problem?

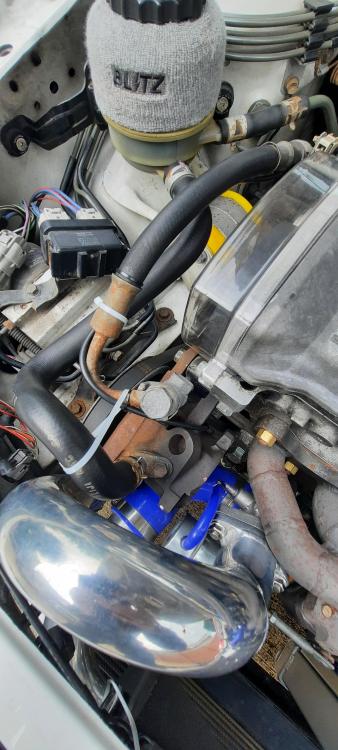
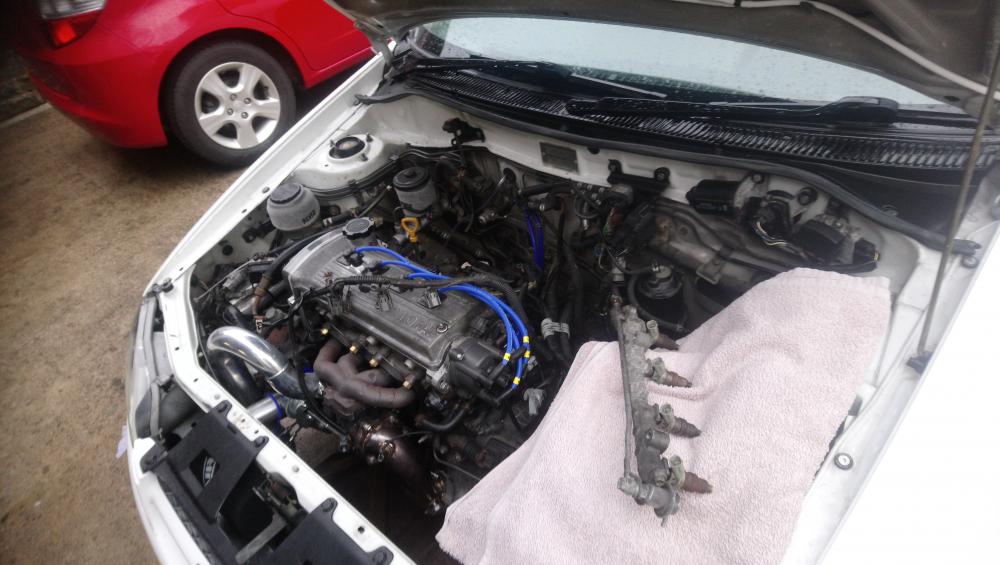
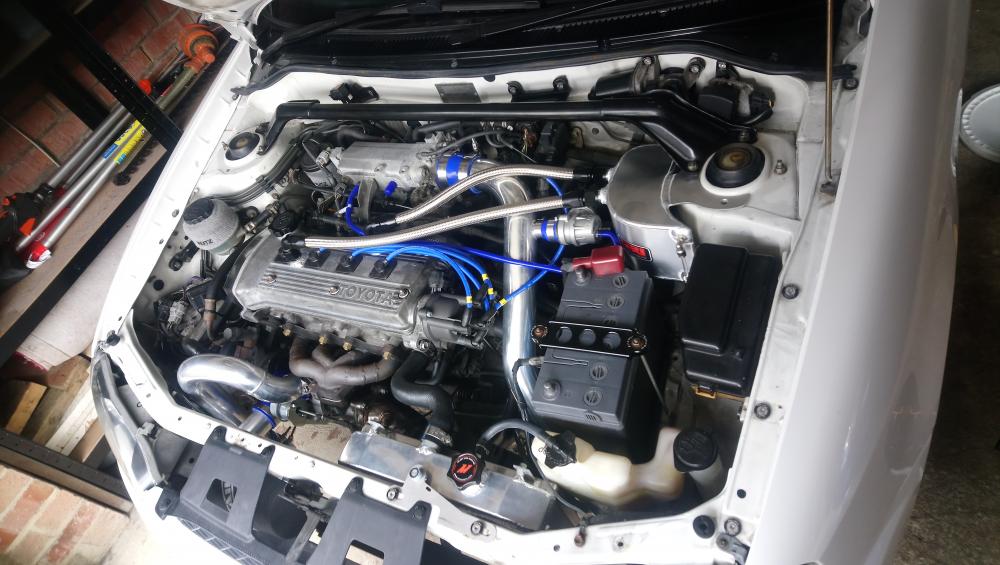
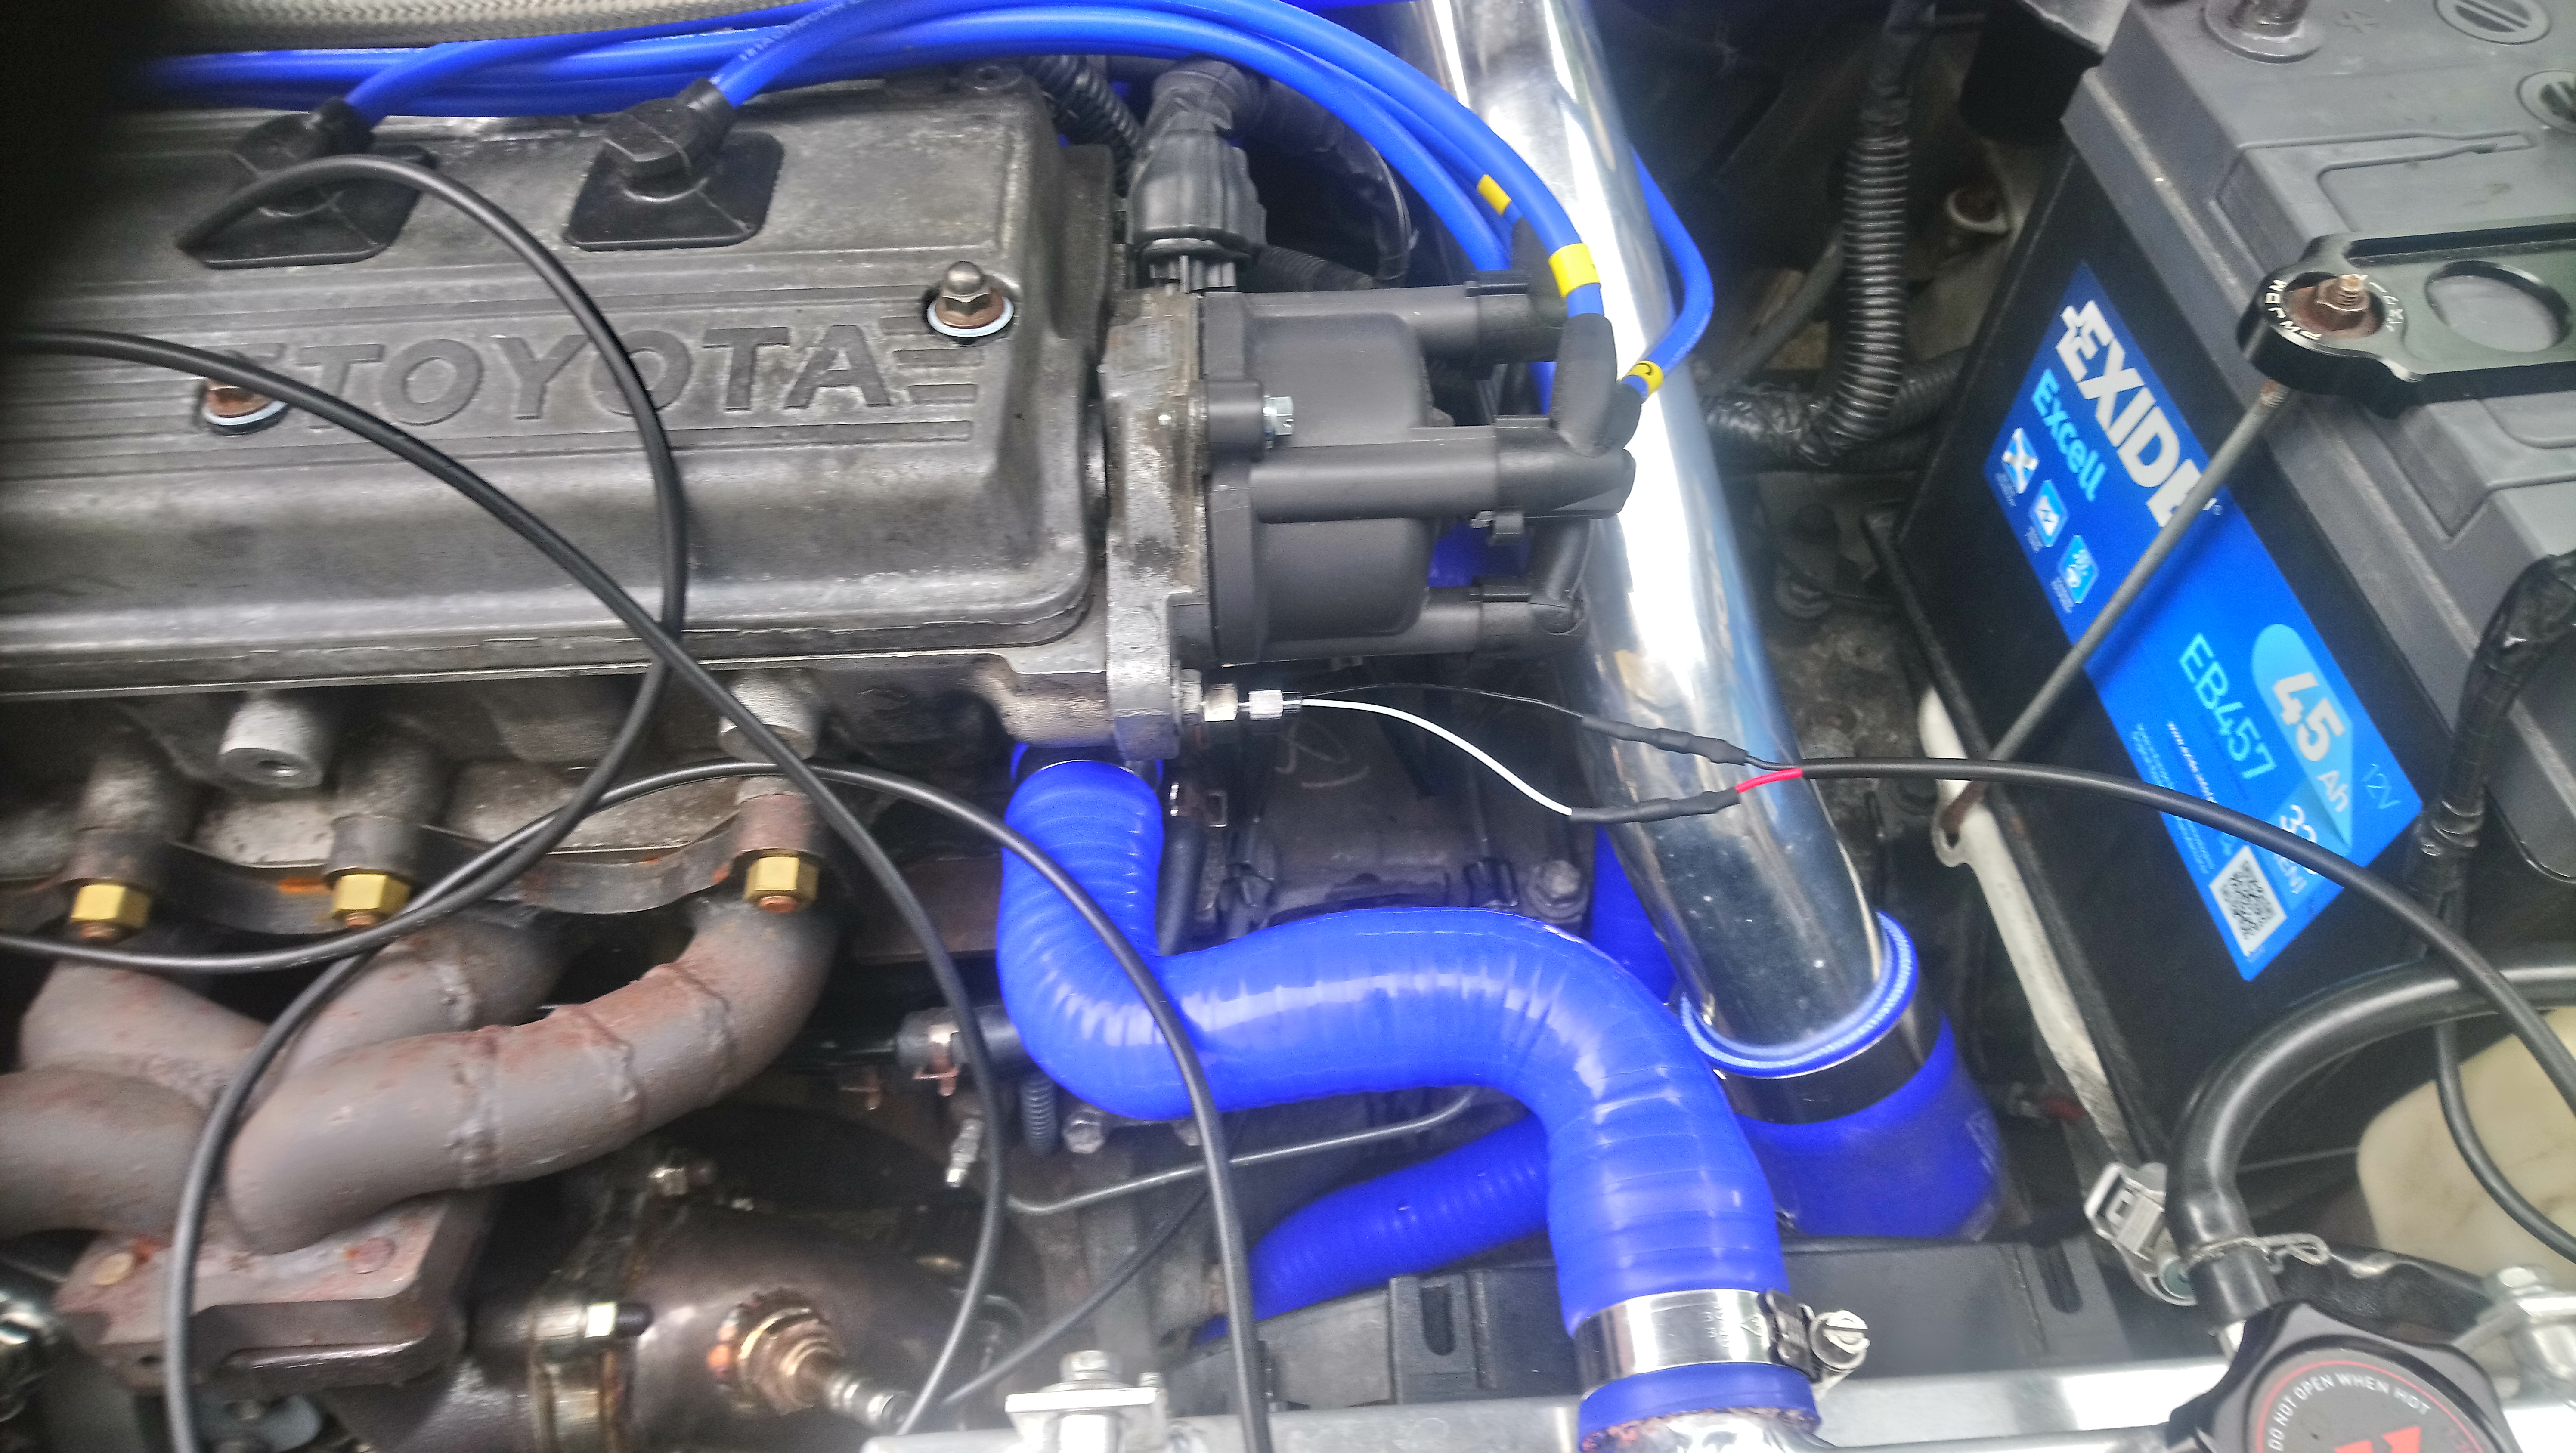
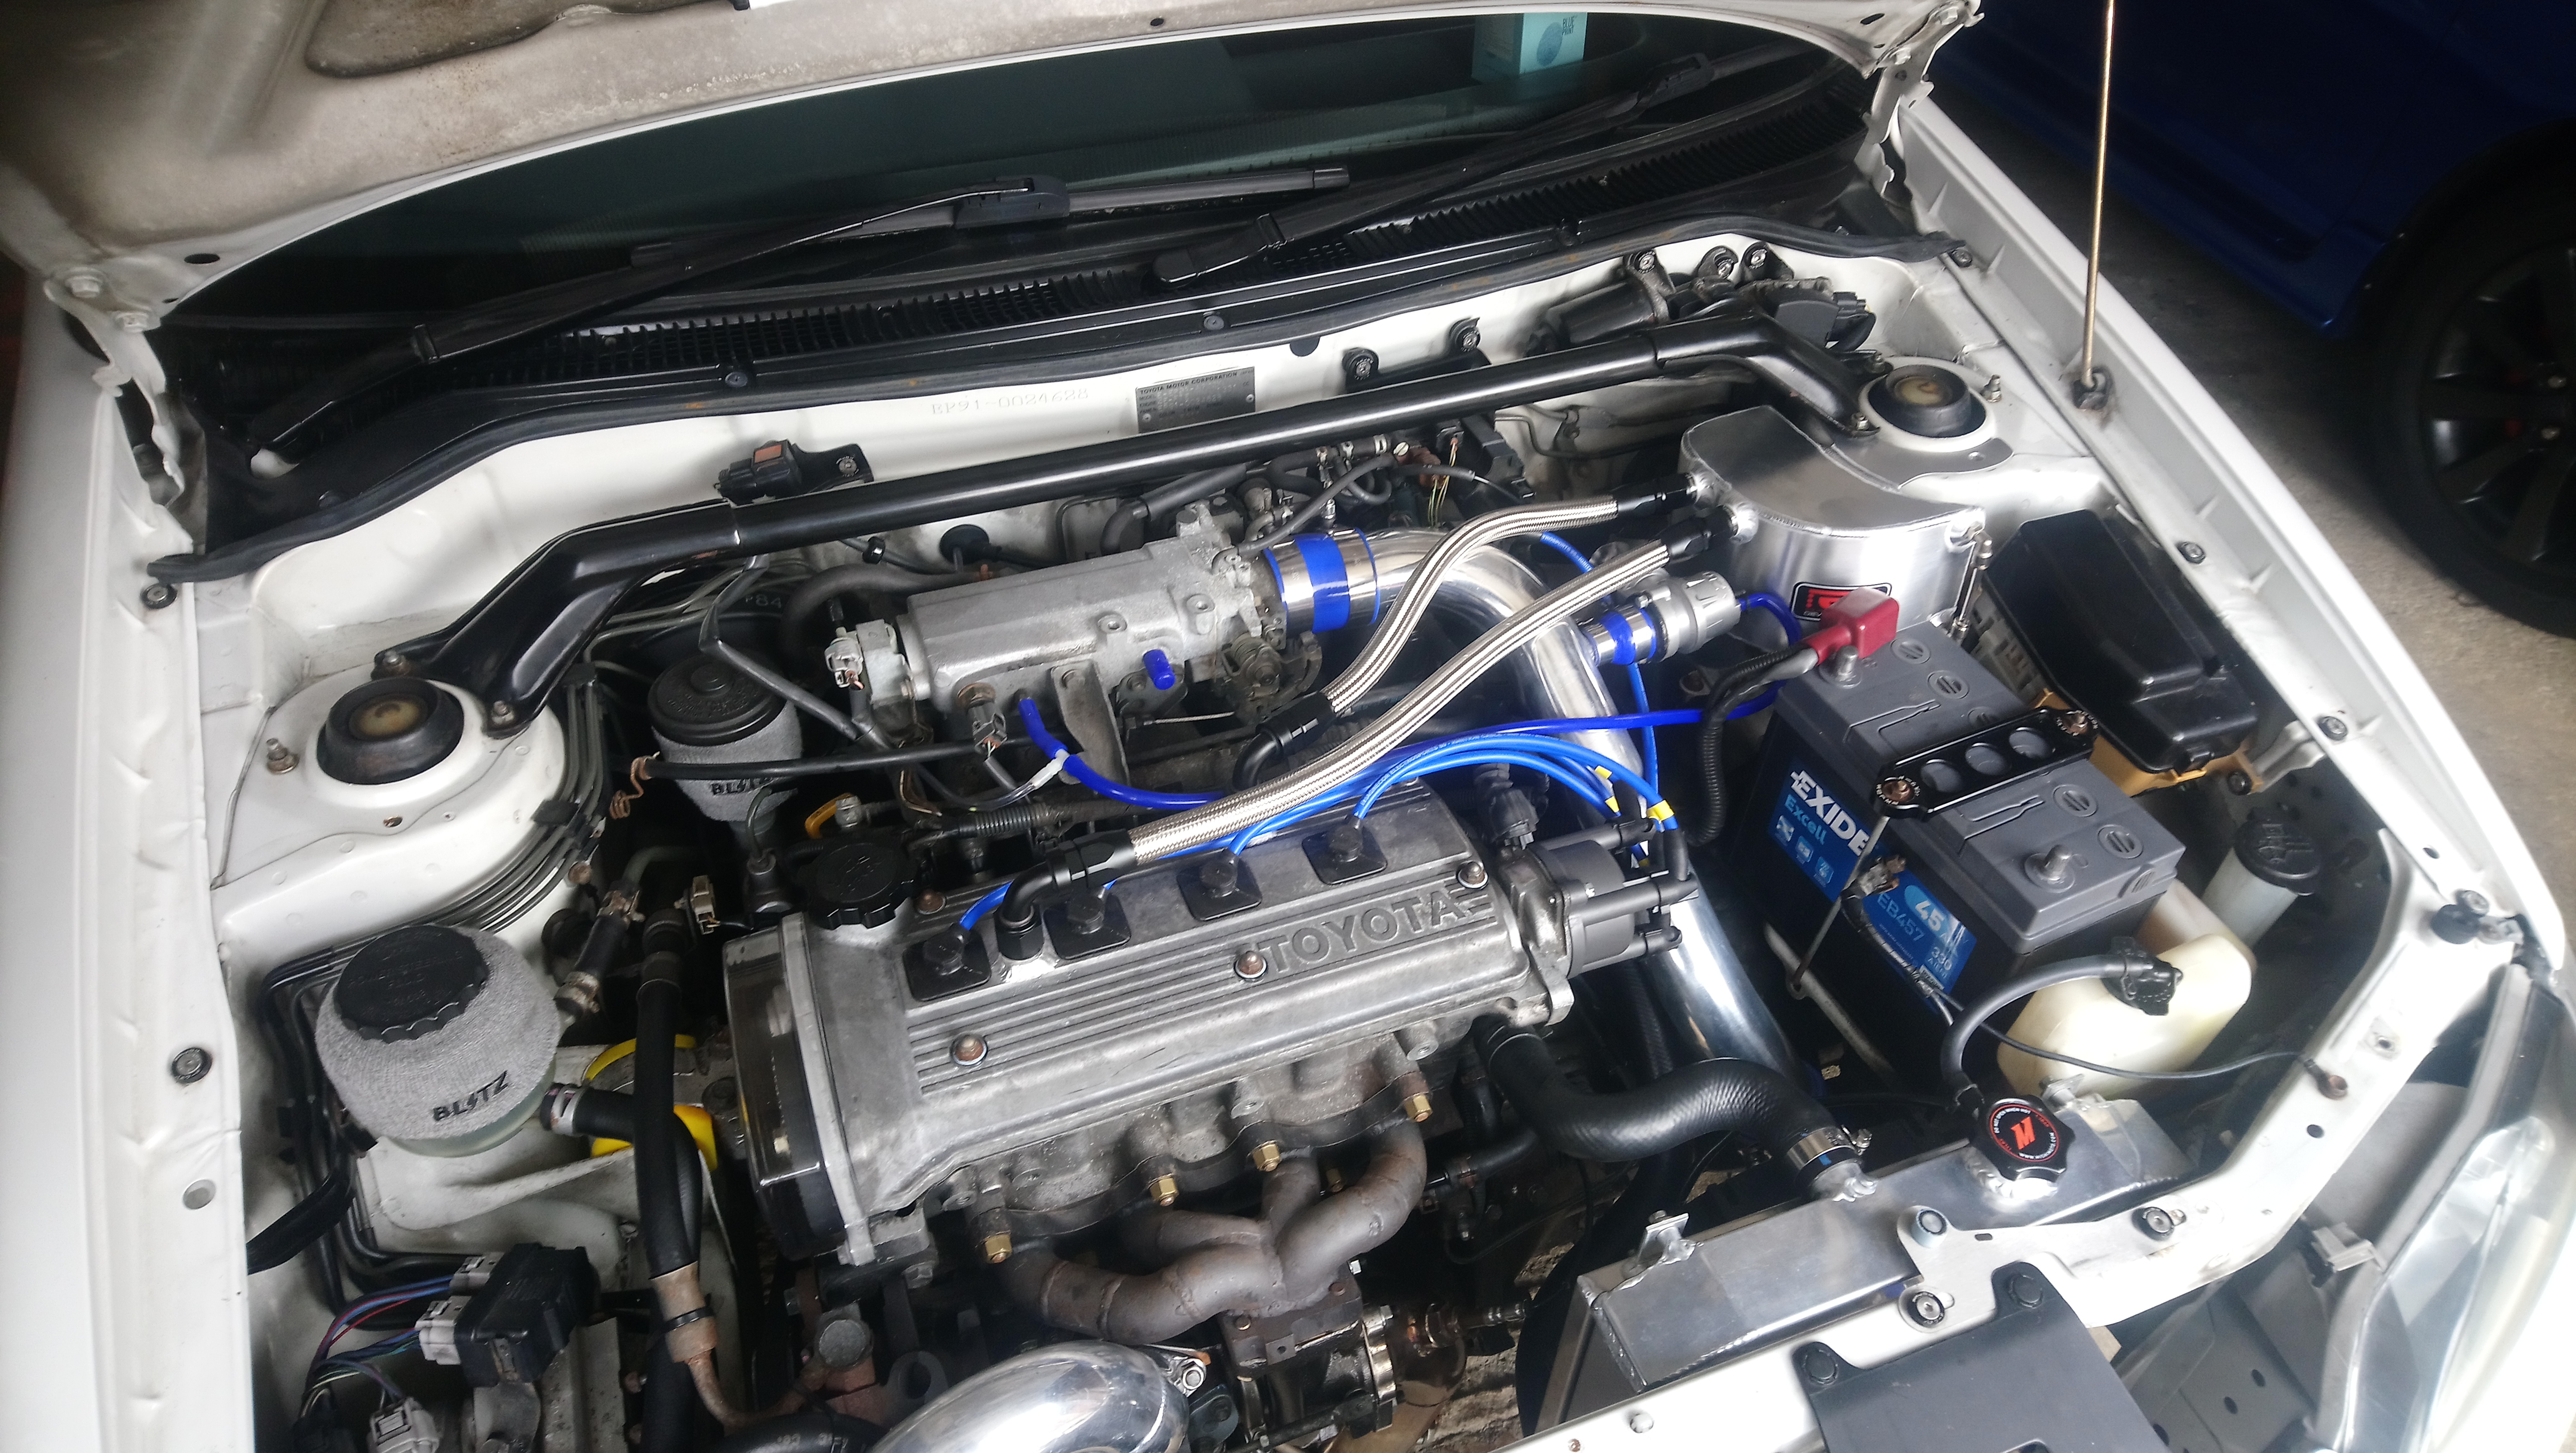
Fitted my racetech braided oil feed, was a little fiddly to install but I think Ive routed it correctly.
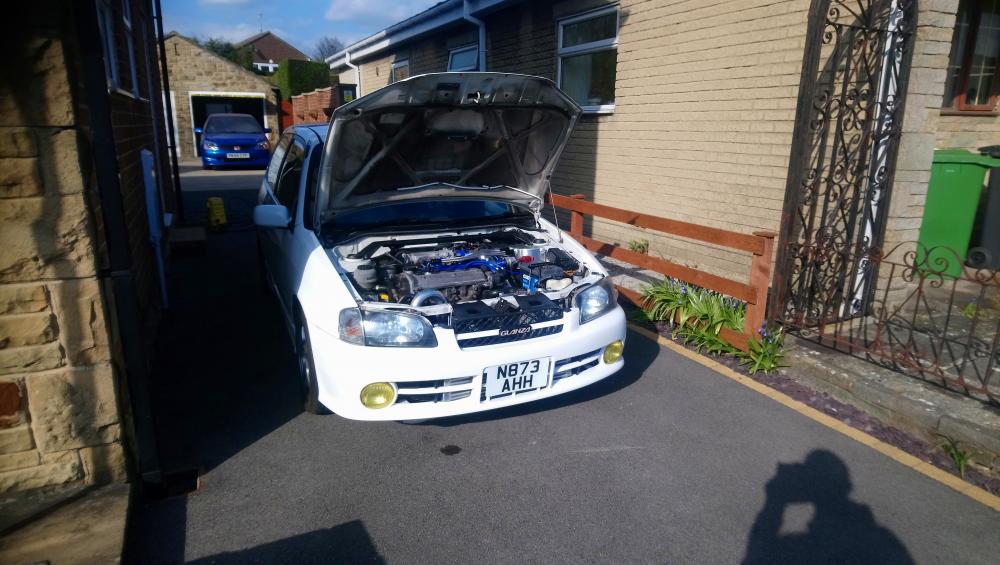
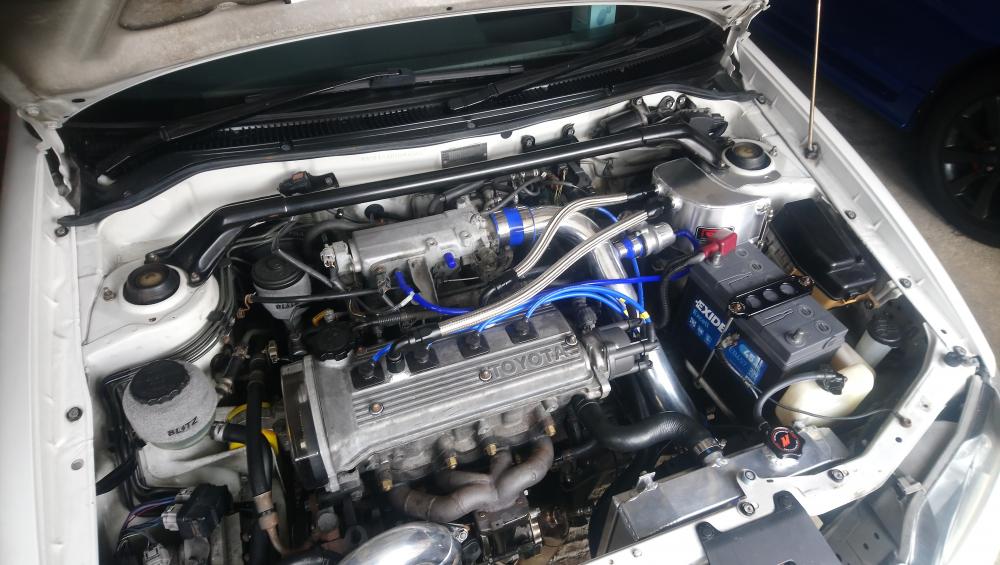
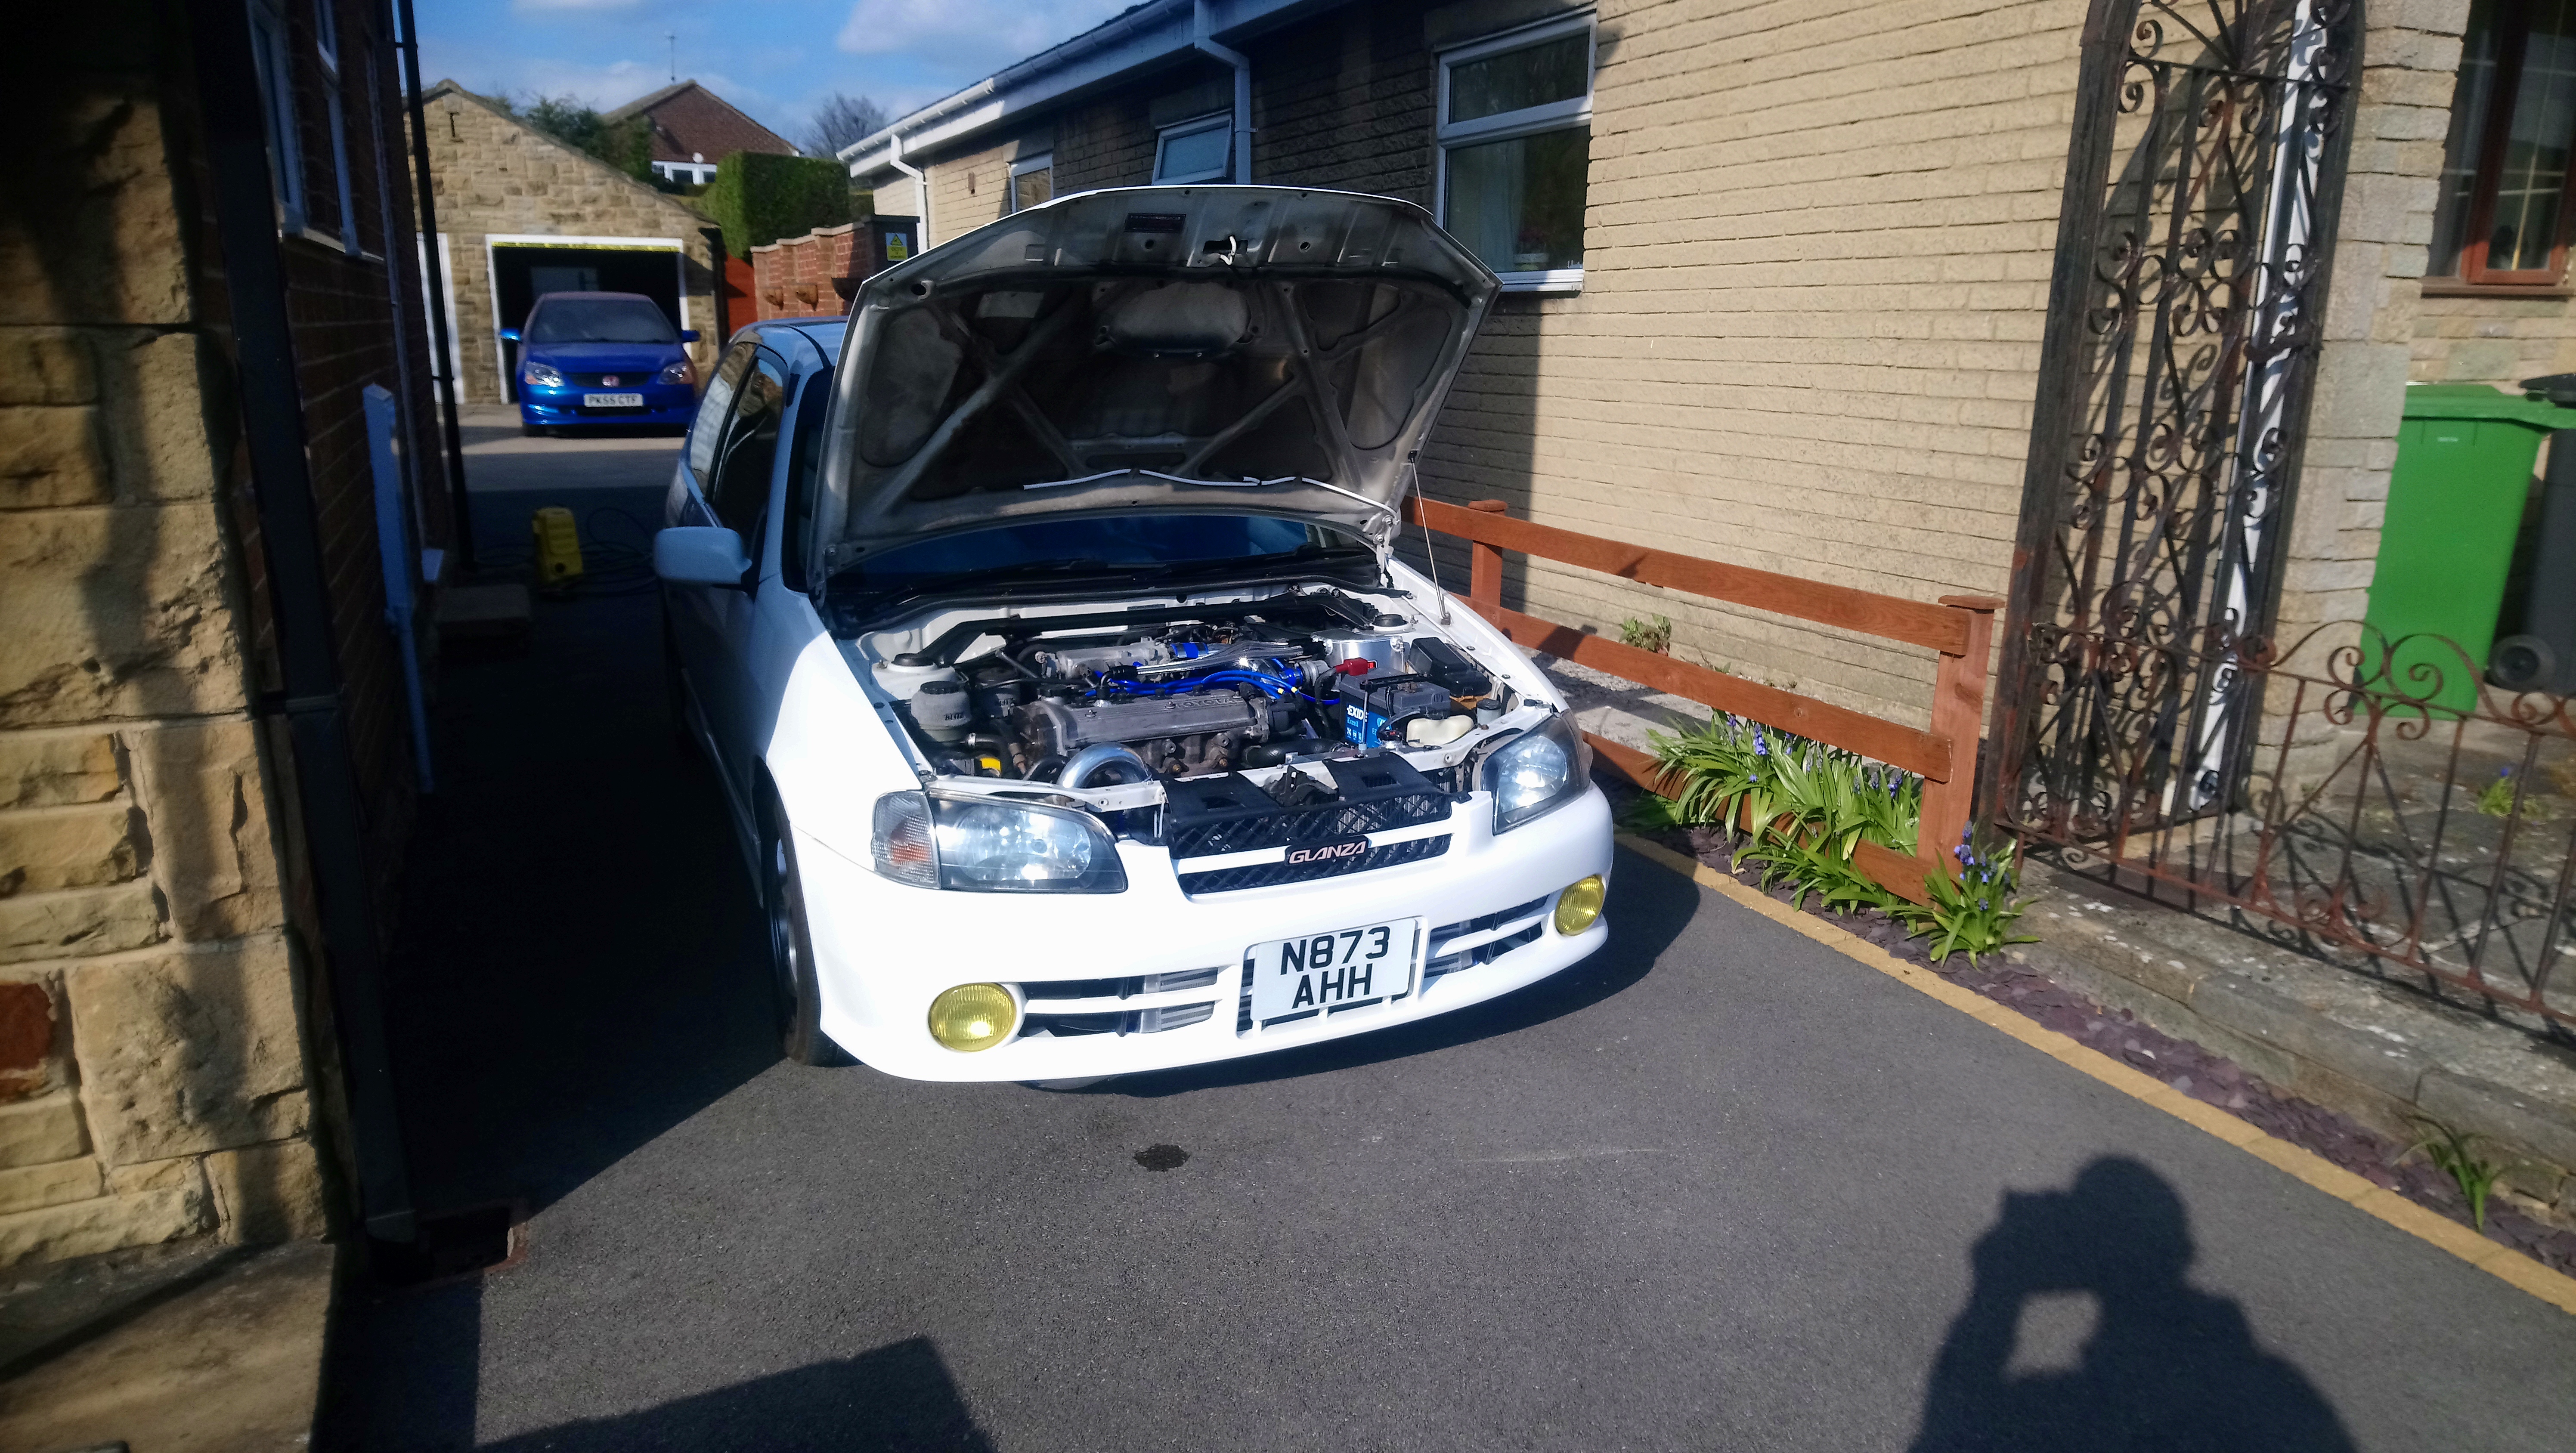
Also got some better pictures of how the engine bay is looking. Wont be too long now untill I can get it back on the road.

-
Good work as always Claymore, really well detailed write ups. If its any consolation the same bolt snapped on mine when removing the undertray to fit the lower half rad bracket. I used a small reverse drill bit and was lucky enough for it to grab the bolt and spin the rest of it out the thread. Keep it coming, Looking forward to seeing the finished article 👍.


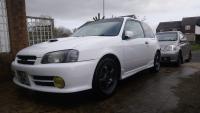
James's 96 Glanza V
in EP91 Glanza Progress Blogs
Posted · Edited by JamesG
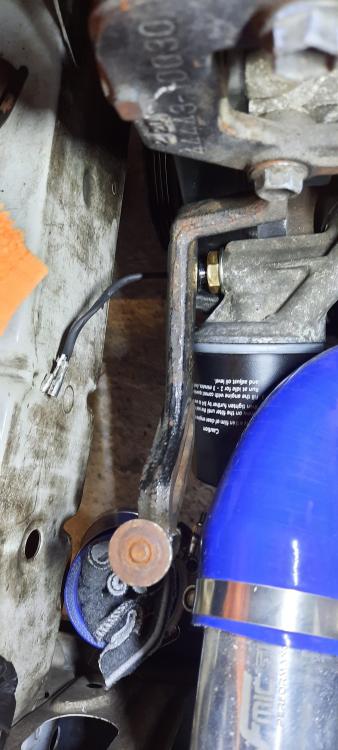
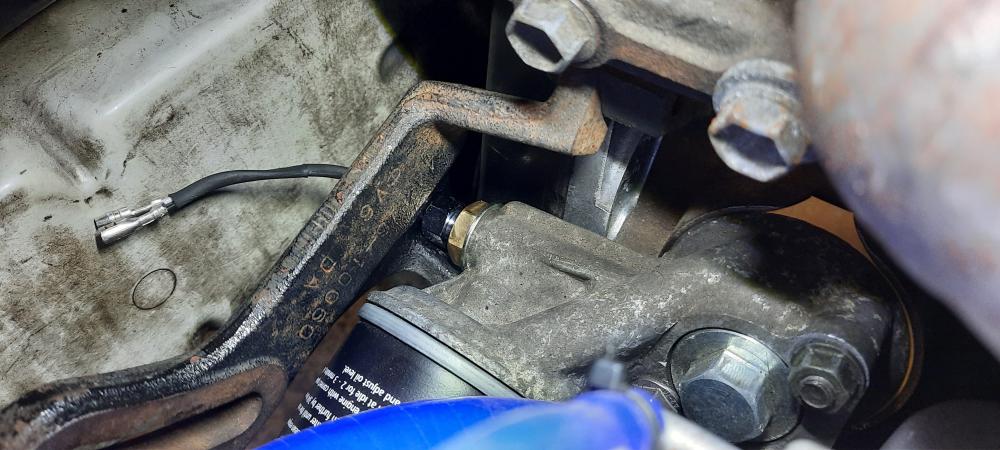
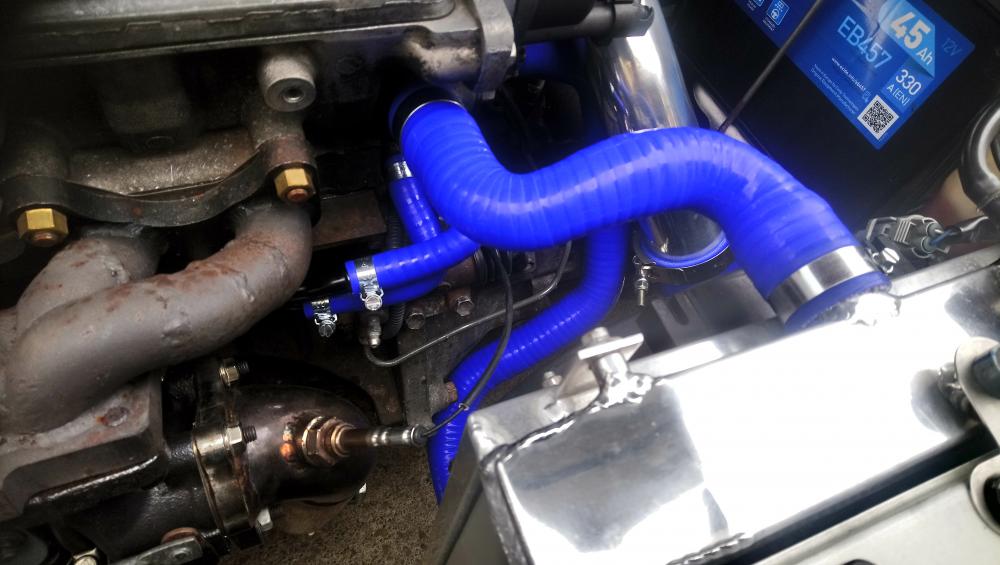
Added an oil pressure gauge to the car this week. Bought a prosport gauge and used a remote adapter line that fits into the factory oil pressure switch to fit the sensor.
I had to make a bracket to mount the adapter and sensors just above the gearbox.
Also added a heat protective sleeve to the oil line because of its location near the turbo and downpipe.
I decided to carefully disassemble and remove the insides of the dash clock so that I could run the wires for the gauge neatly through the dash. Got the gauge wired in and up and running. Just need to stick it down to the dash with double sided tape.
I ran the car to test it and im getting around 5-6 bar oil pressure on cold idle dropping to around 2-3 bar when the engine has warmed up, so quite pleased. It would definetly alert you a lot quicker than the factory warning light in the event of low oil pressure.