


JamesG
-
Content Count
108 -
Joined
-
Last visited
Content Type
Profiles
Forums
Wiki
Media Demo
Store
Calendar
Posts posted by JamesG
-
-
On 1/15/2021 at 8:52 AM, Sam44 said:
really enjoying your build, great work. the ct9 b you have there are a rare item. well worth keeping in great condition.
Thanks Sam

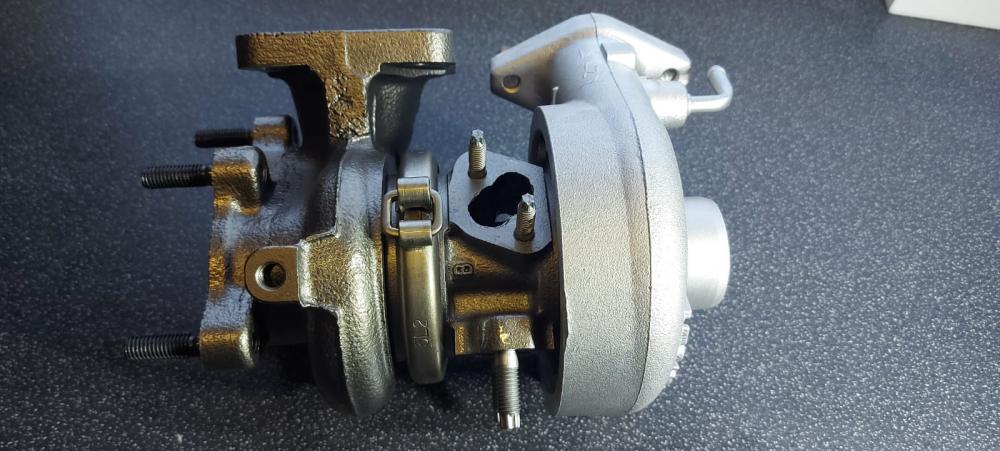
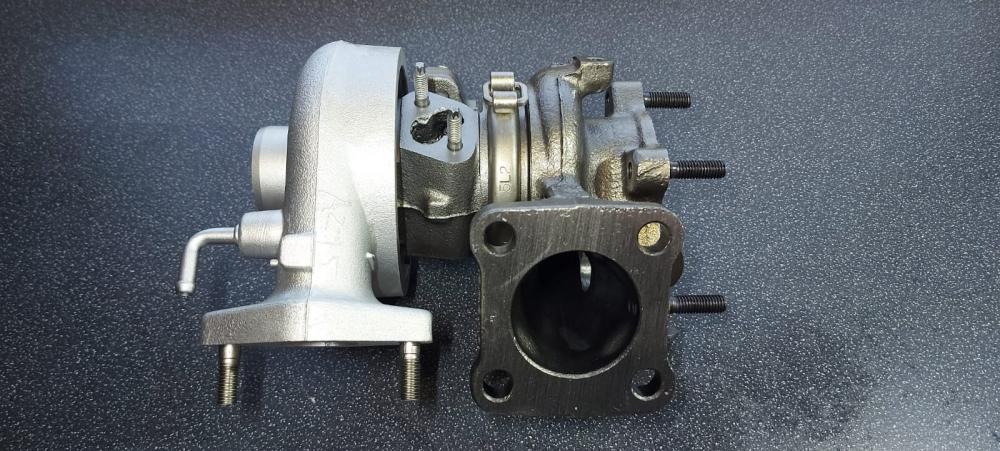
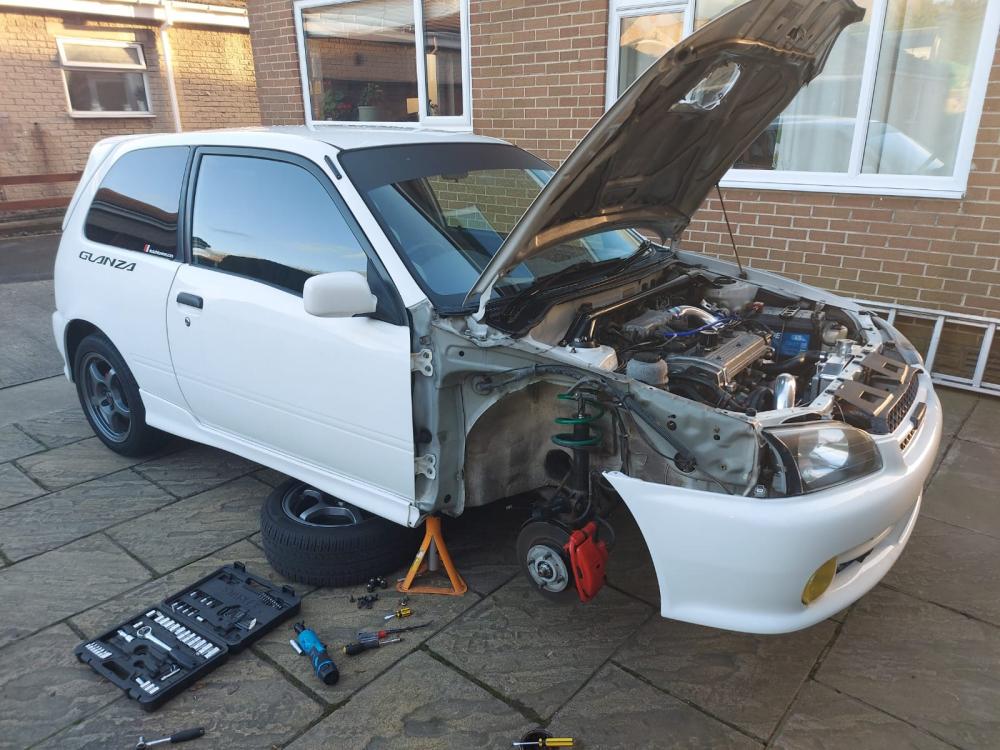
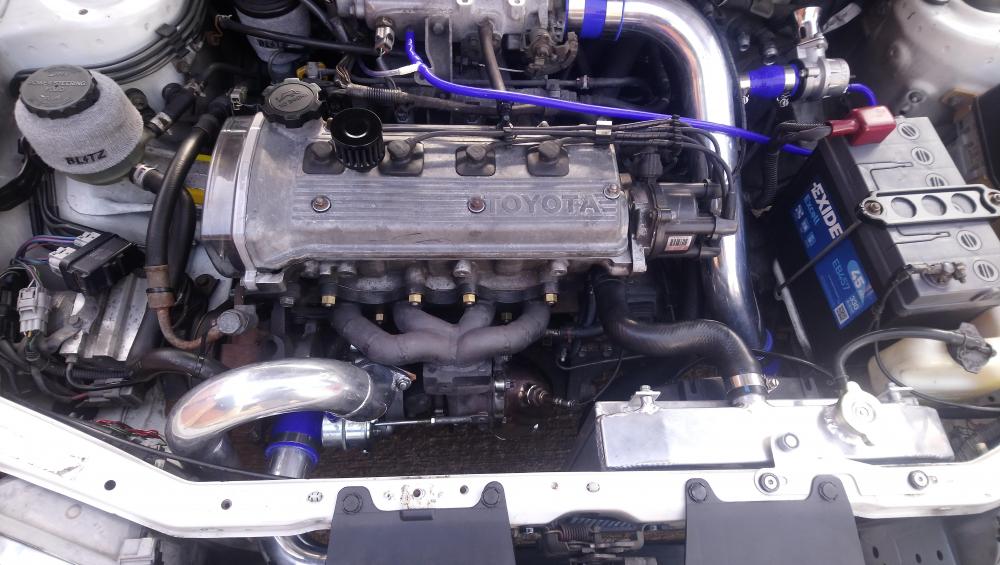
Made a start putting it back together and got some more pictures
")


-
1 hour ago, Charlie Thompson said:
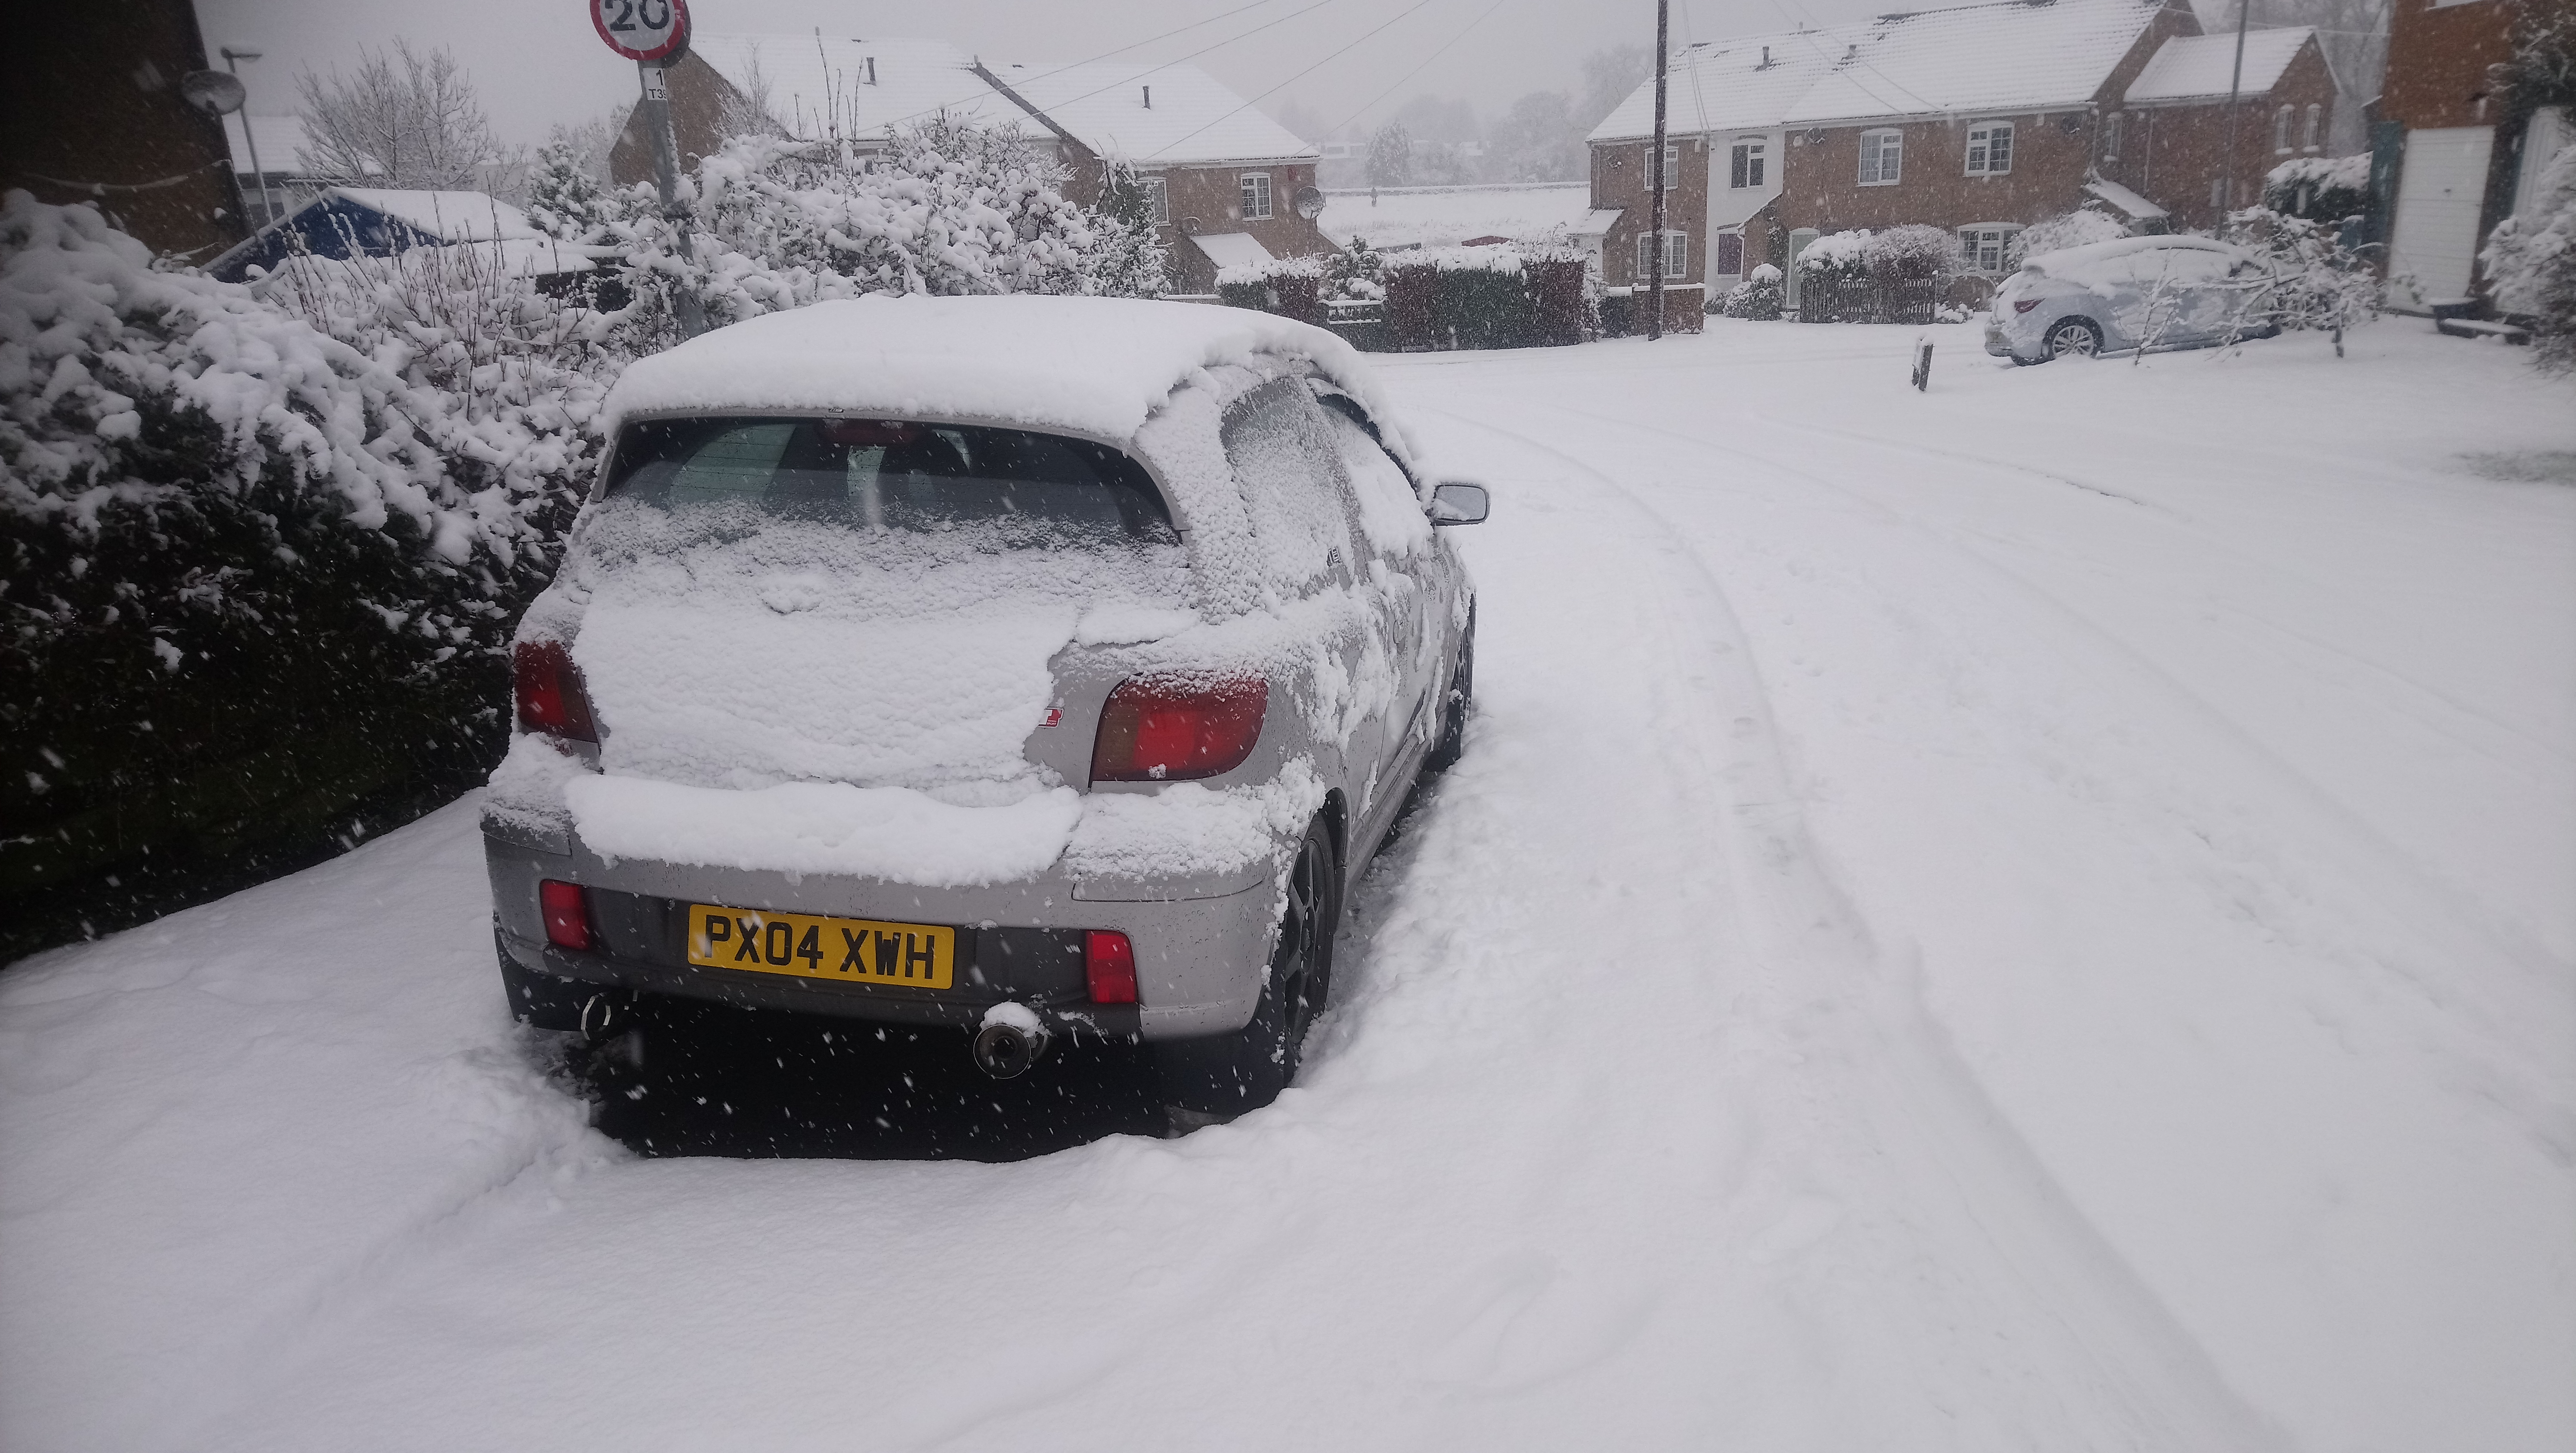
It’s coming on well mate! Just aswell you’ve got it hidden into storage to avoid all the snow 😃 if you don’t mind me asking what sort of money did it cost to have your turbo overhauled? As I’m about to change my manifold so may get the turbo done while it’s in bits
Thanks charlie, It was £240 for a full overhaul and a little extra to port the wastegate. Well worth doing in my opinion though. Been keeping an eye on your thread, That paintjob is looking great, look forward to seeing it all back together
.
-
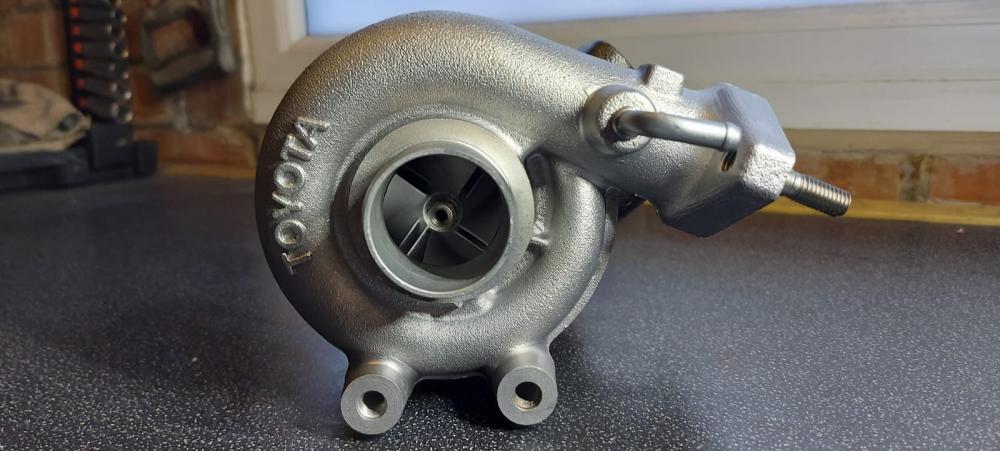
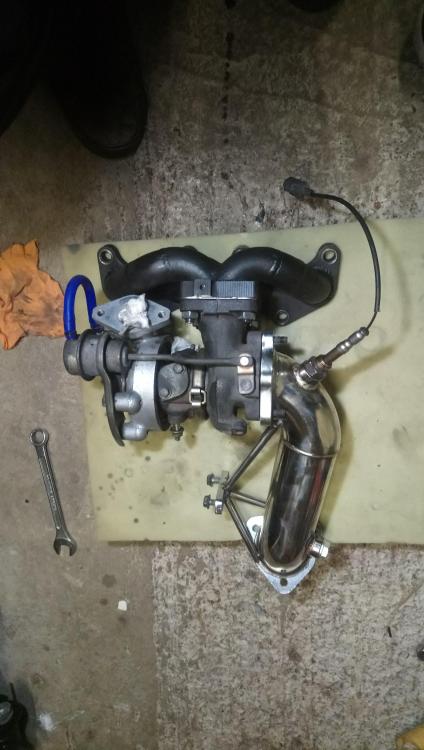
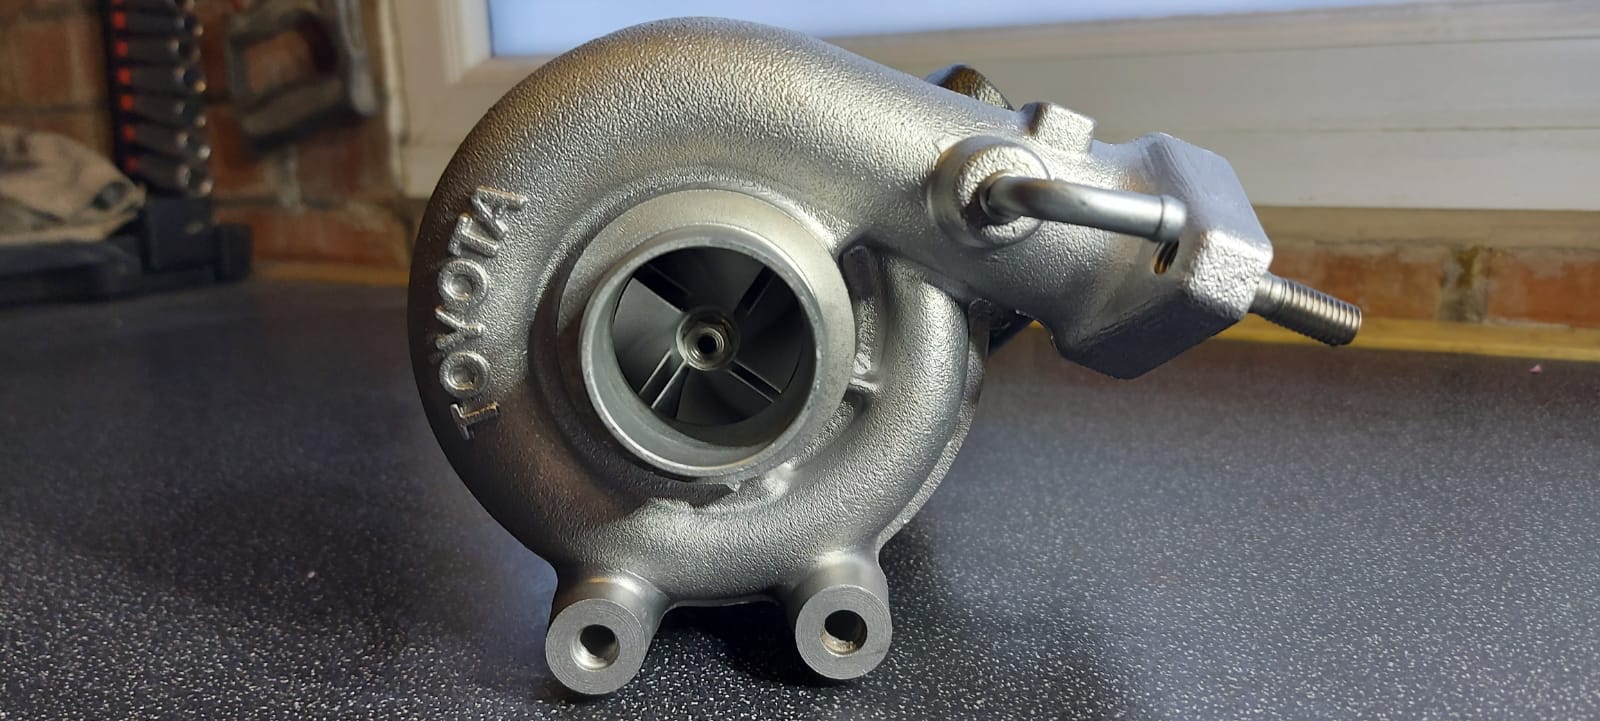
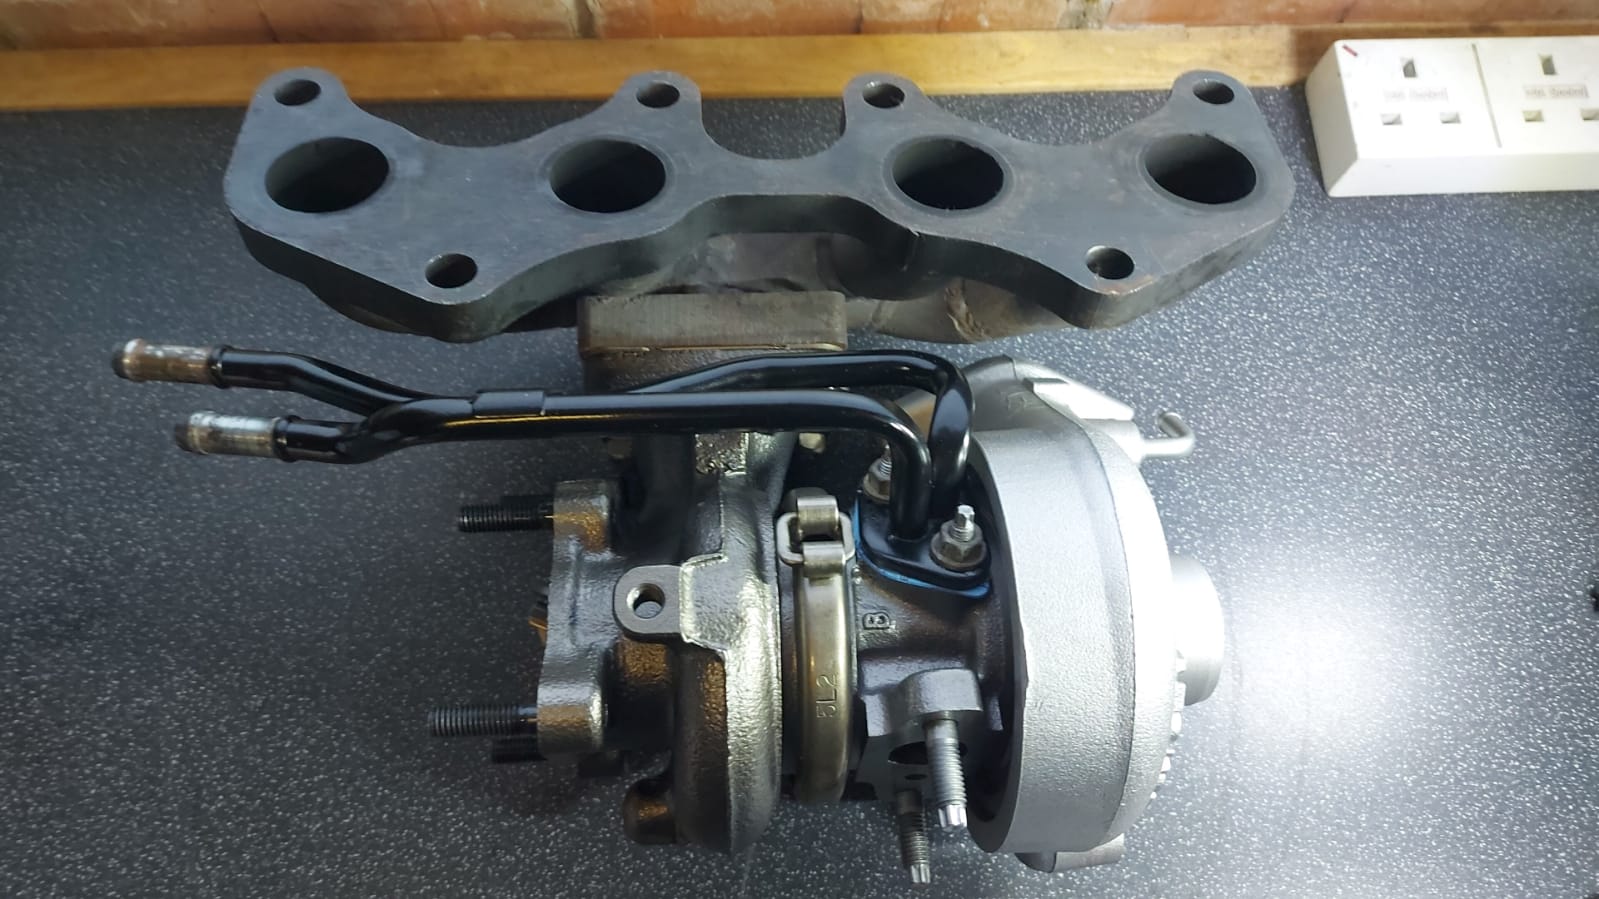
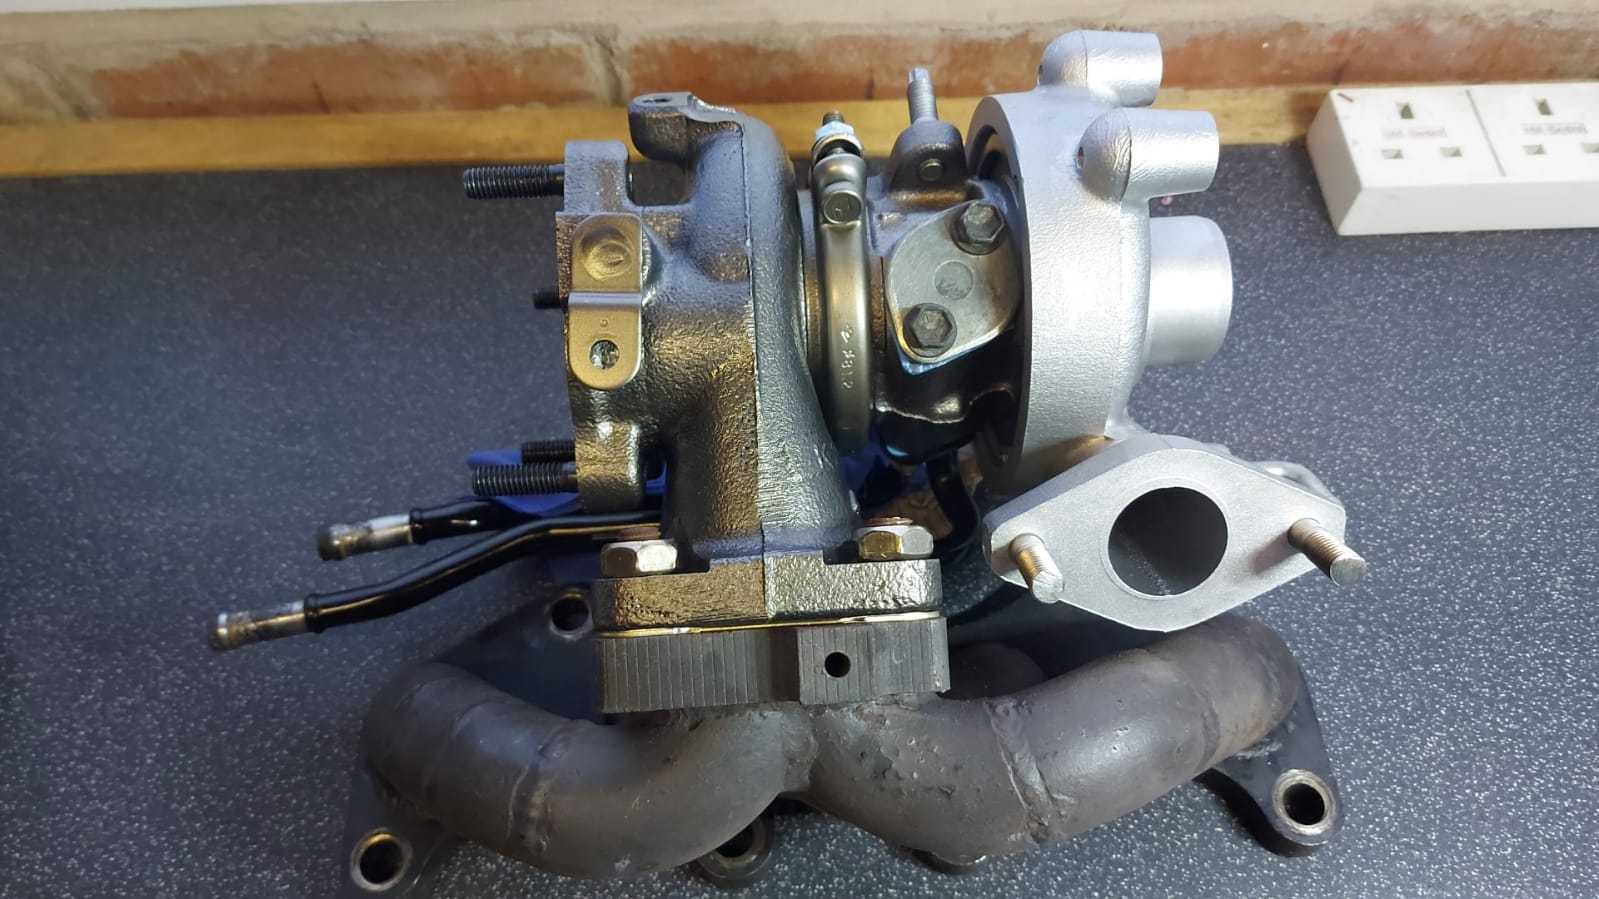
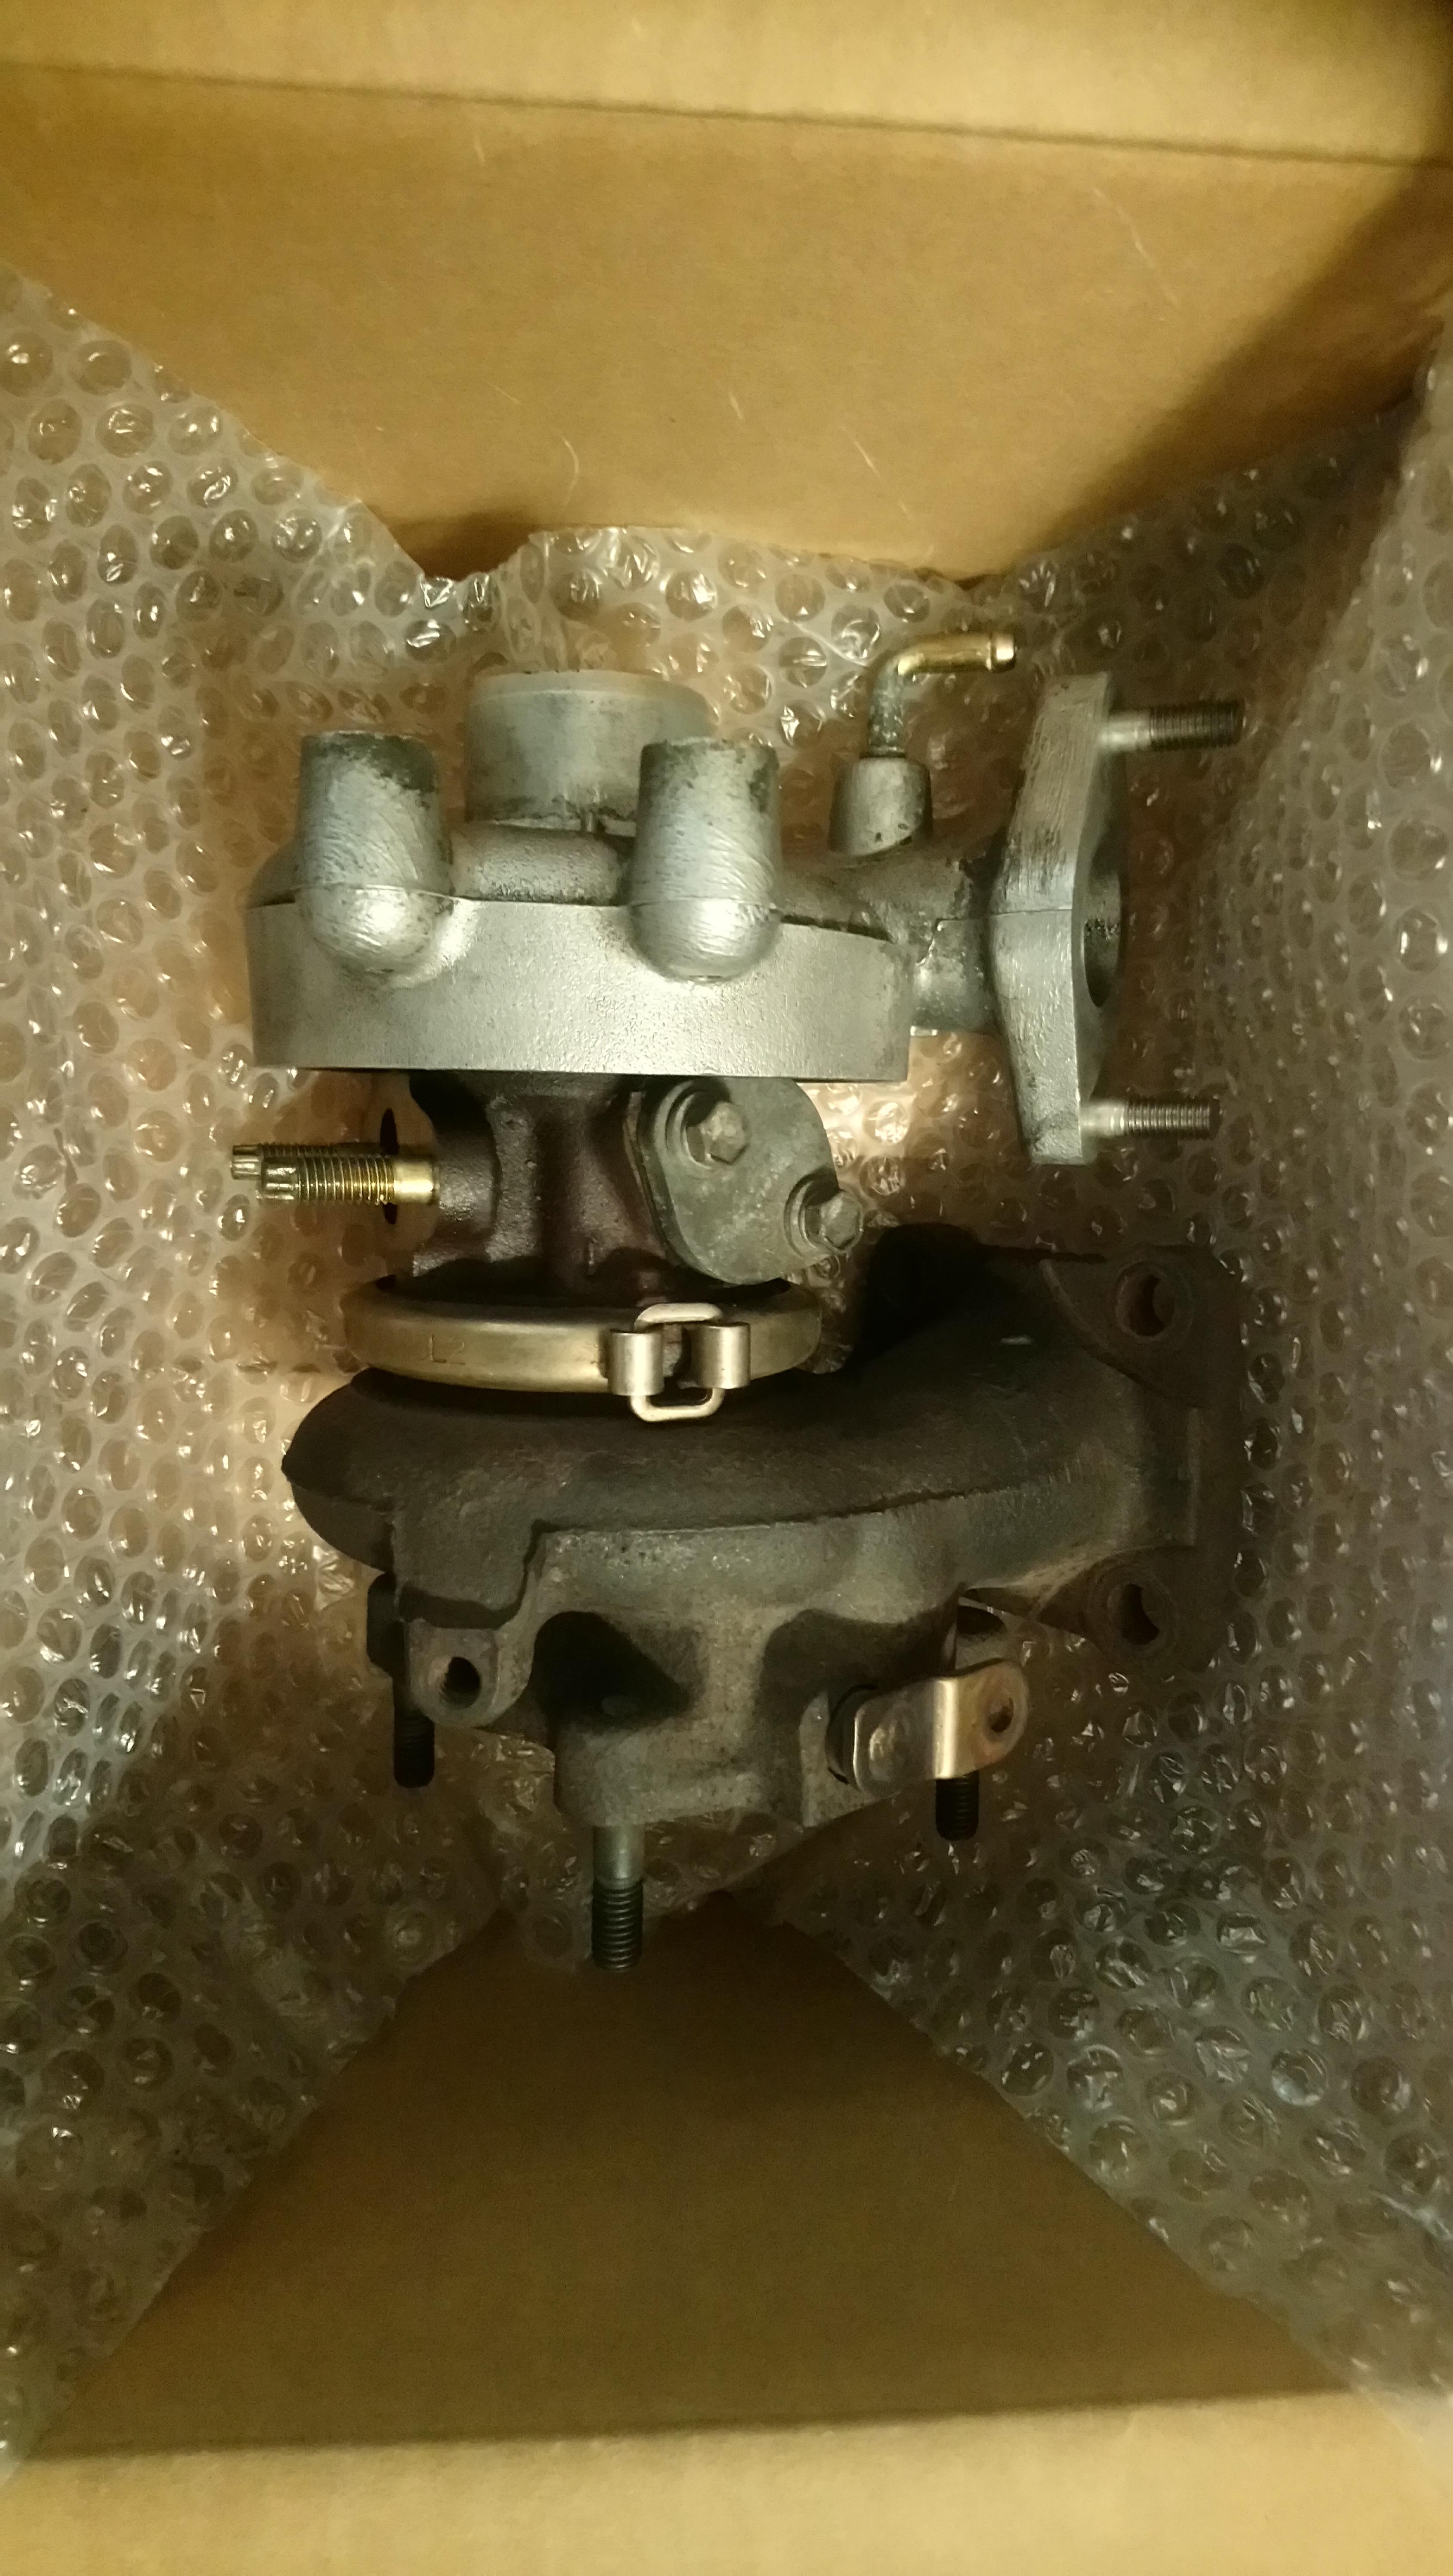
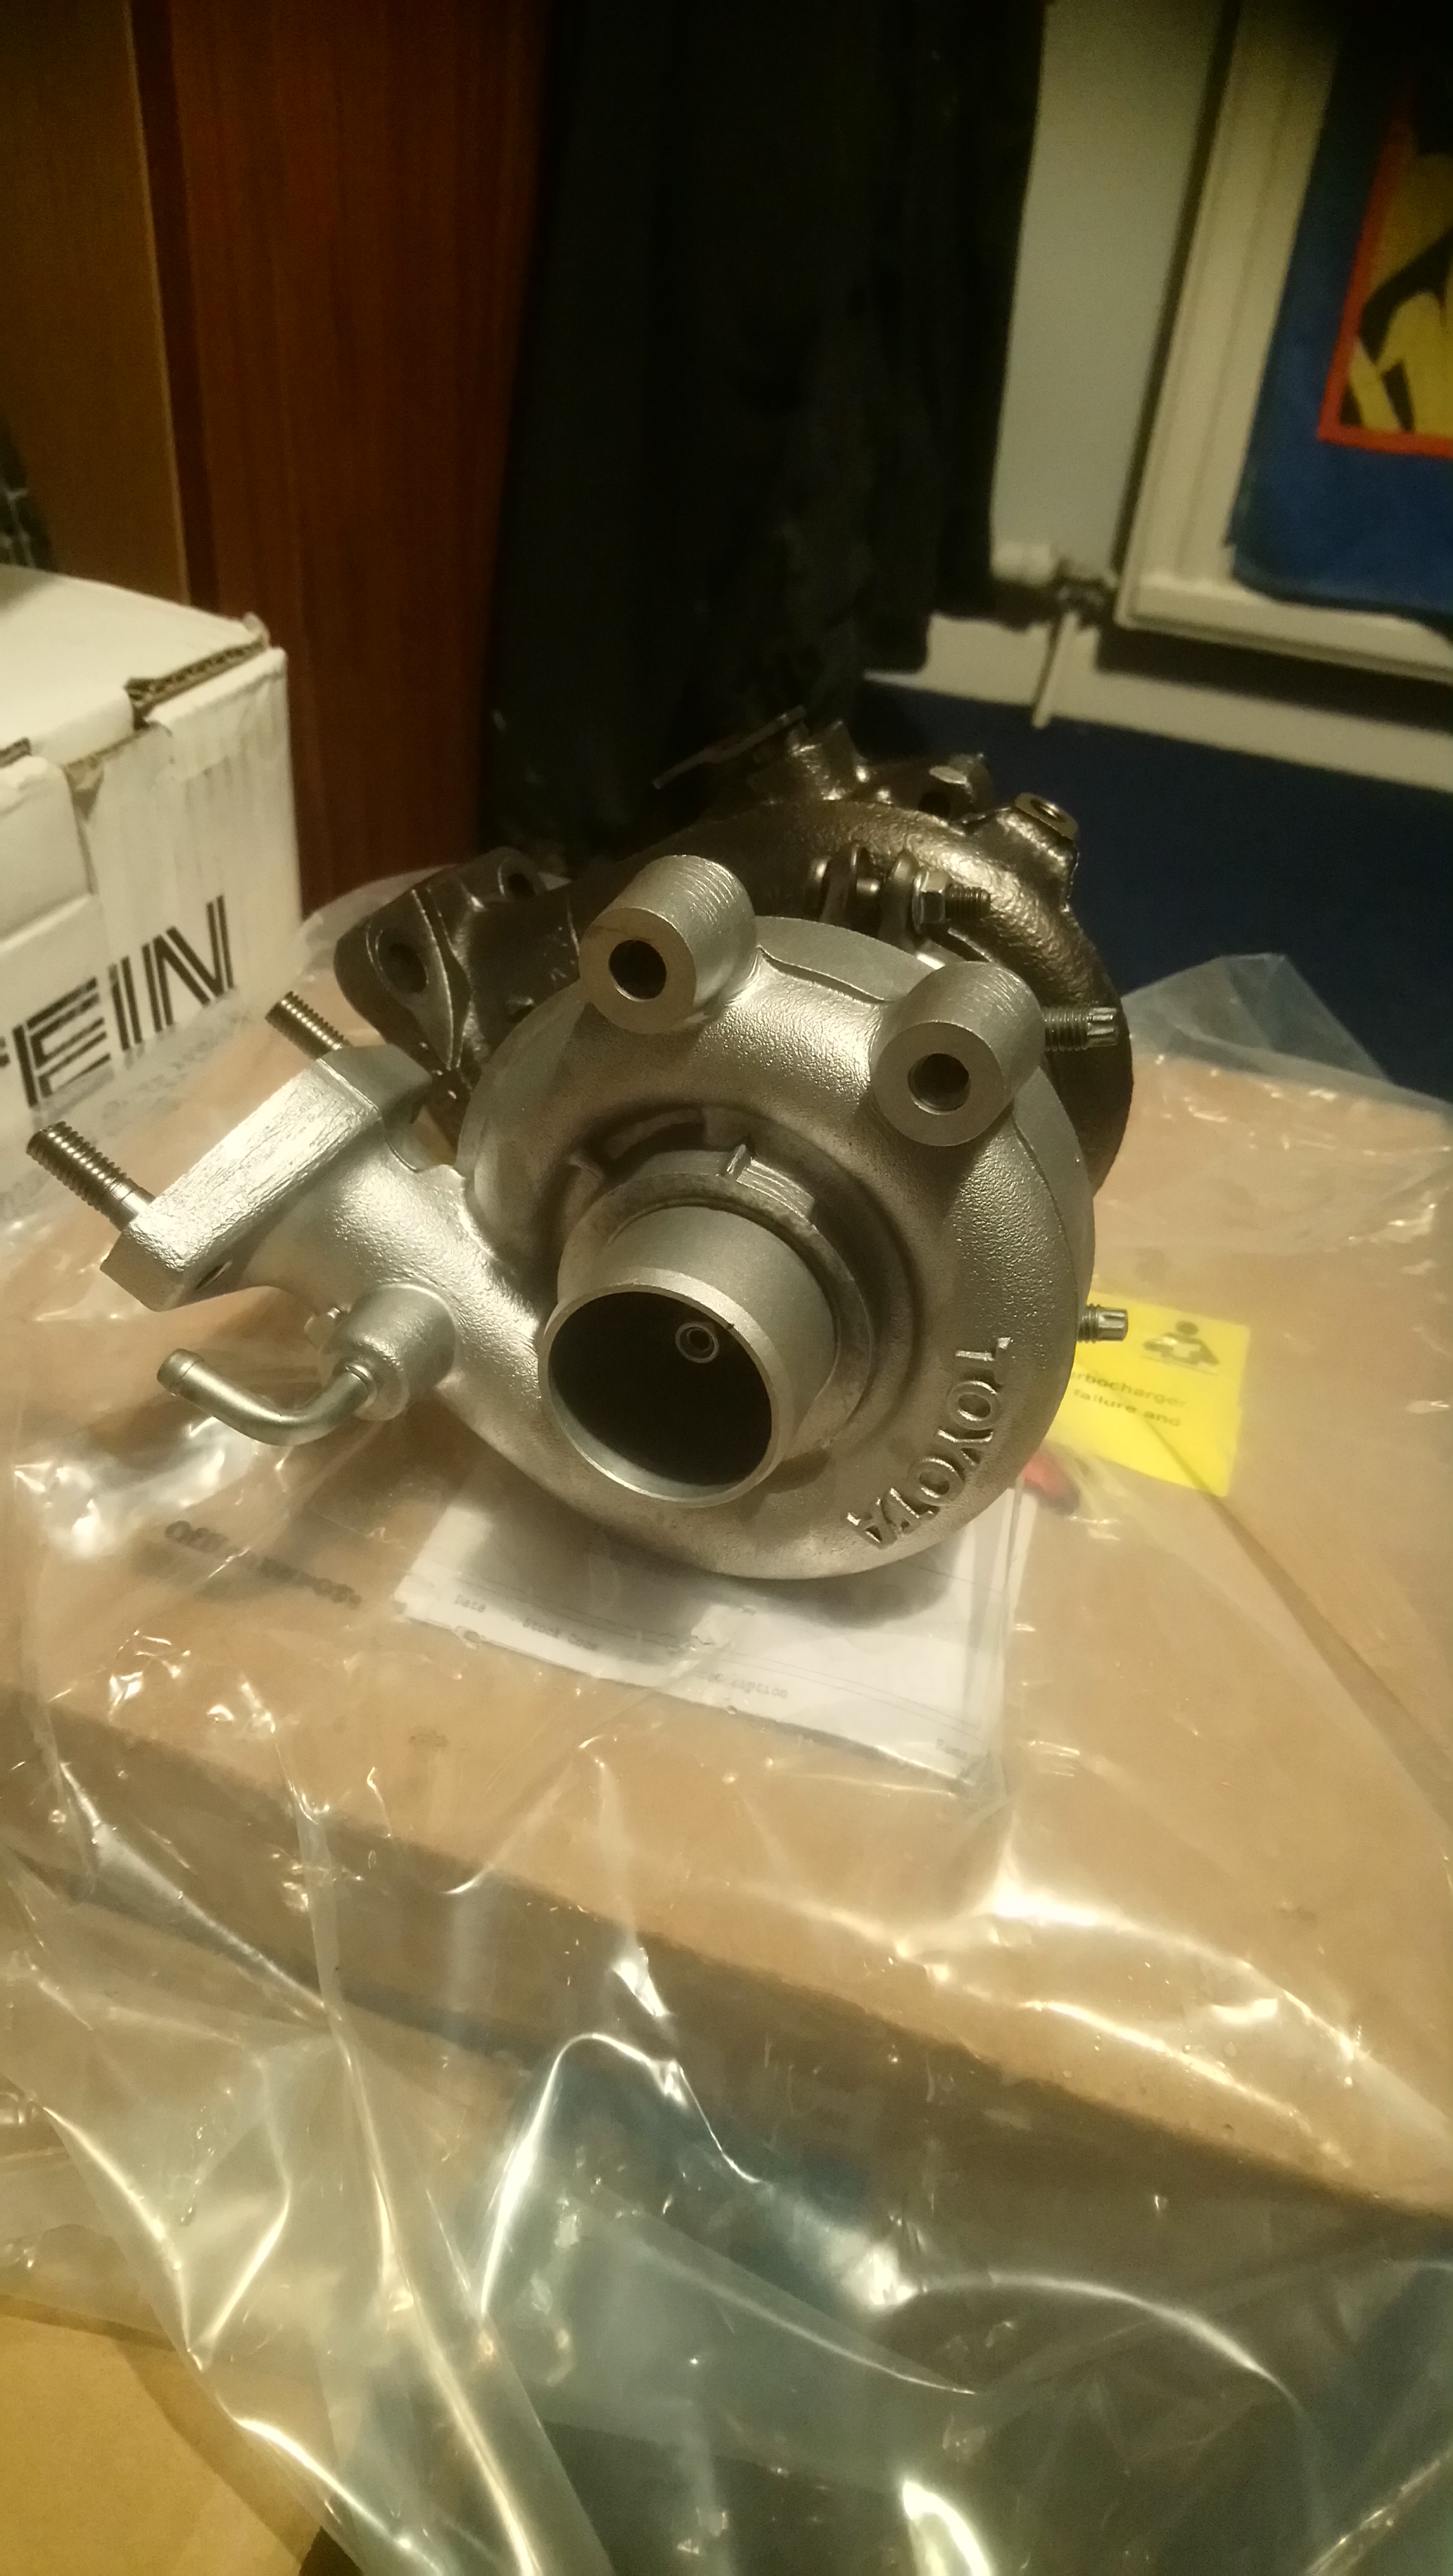
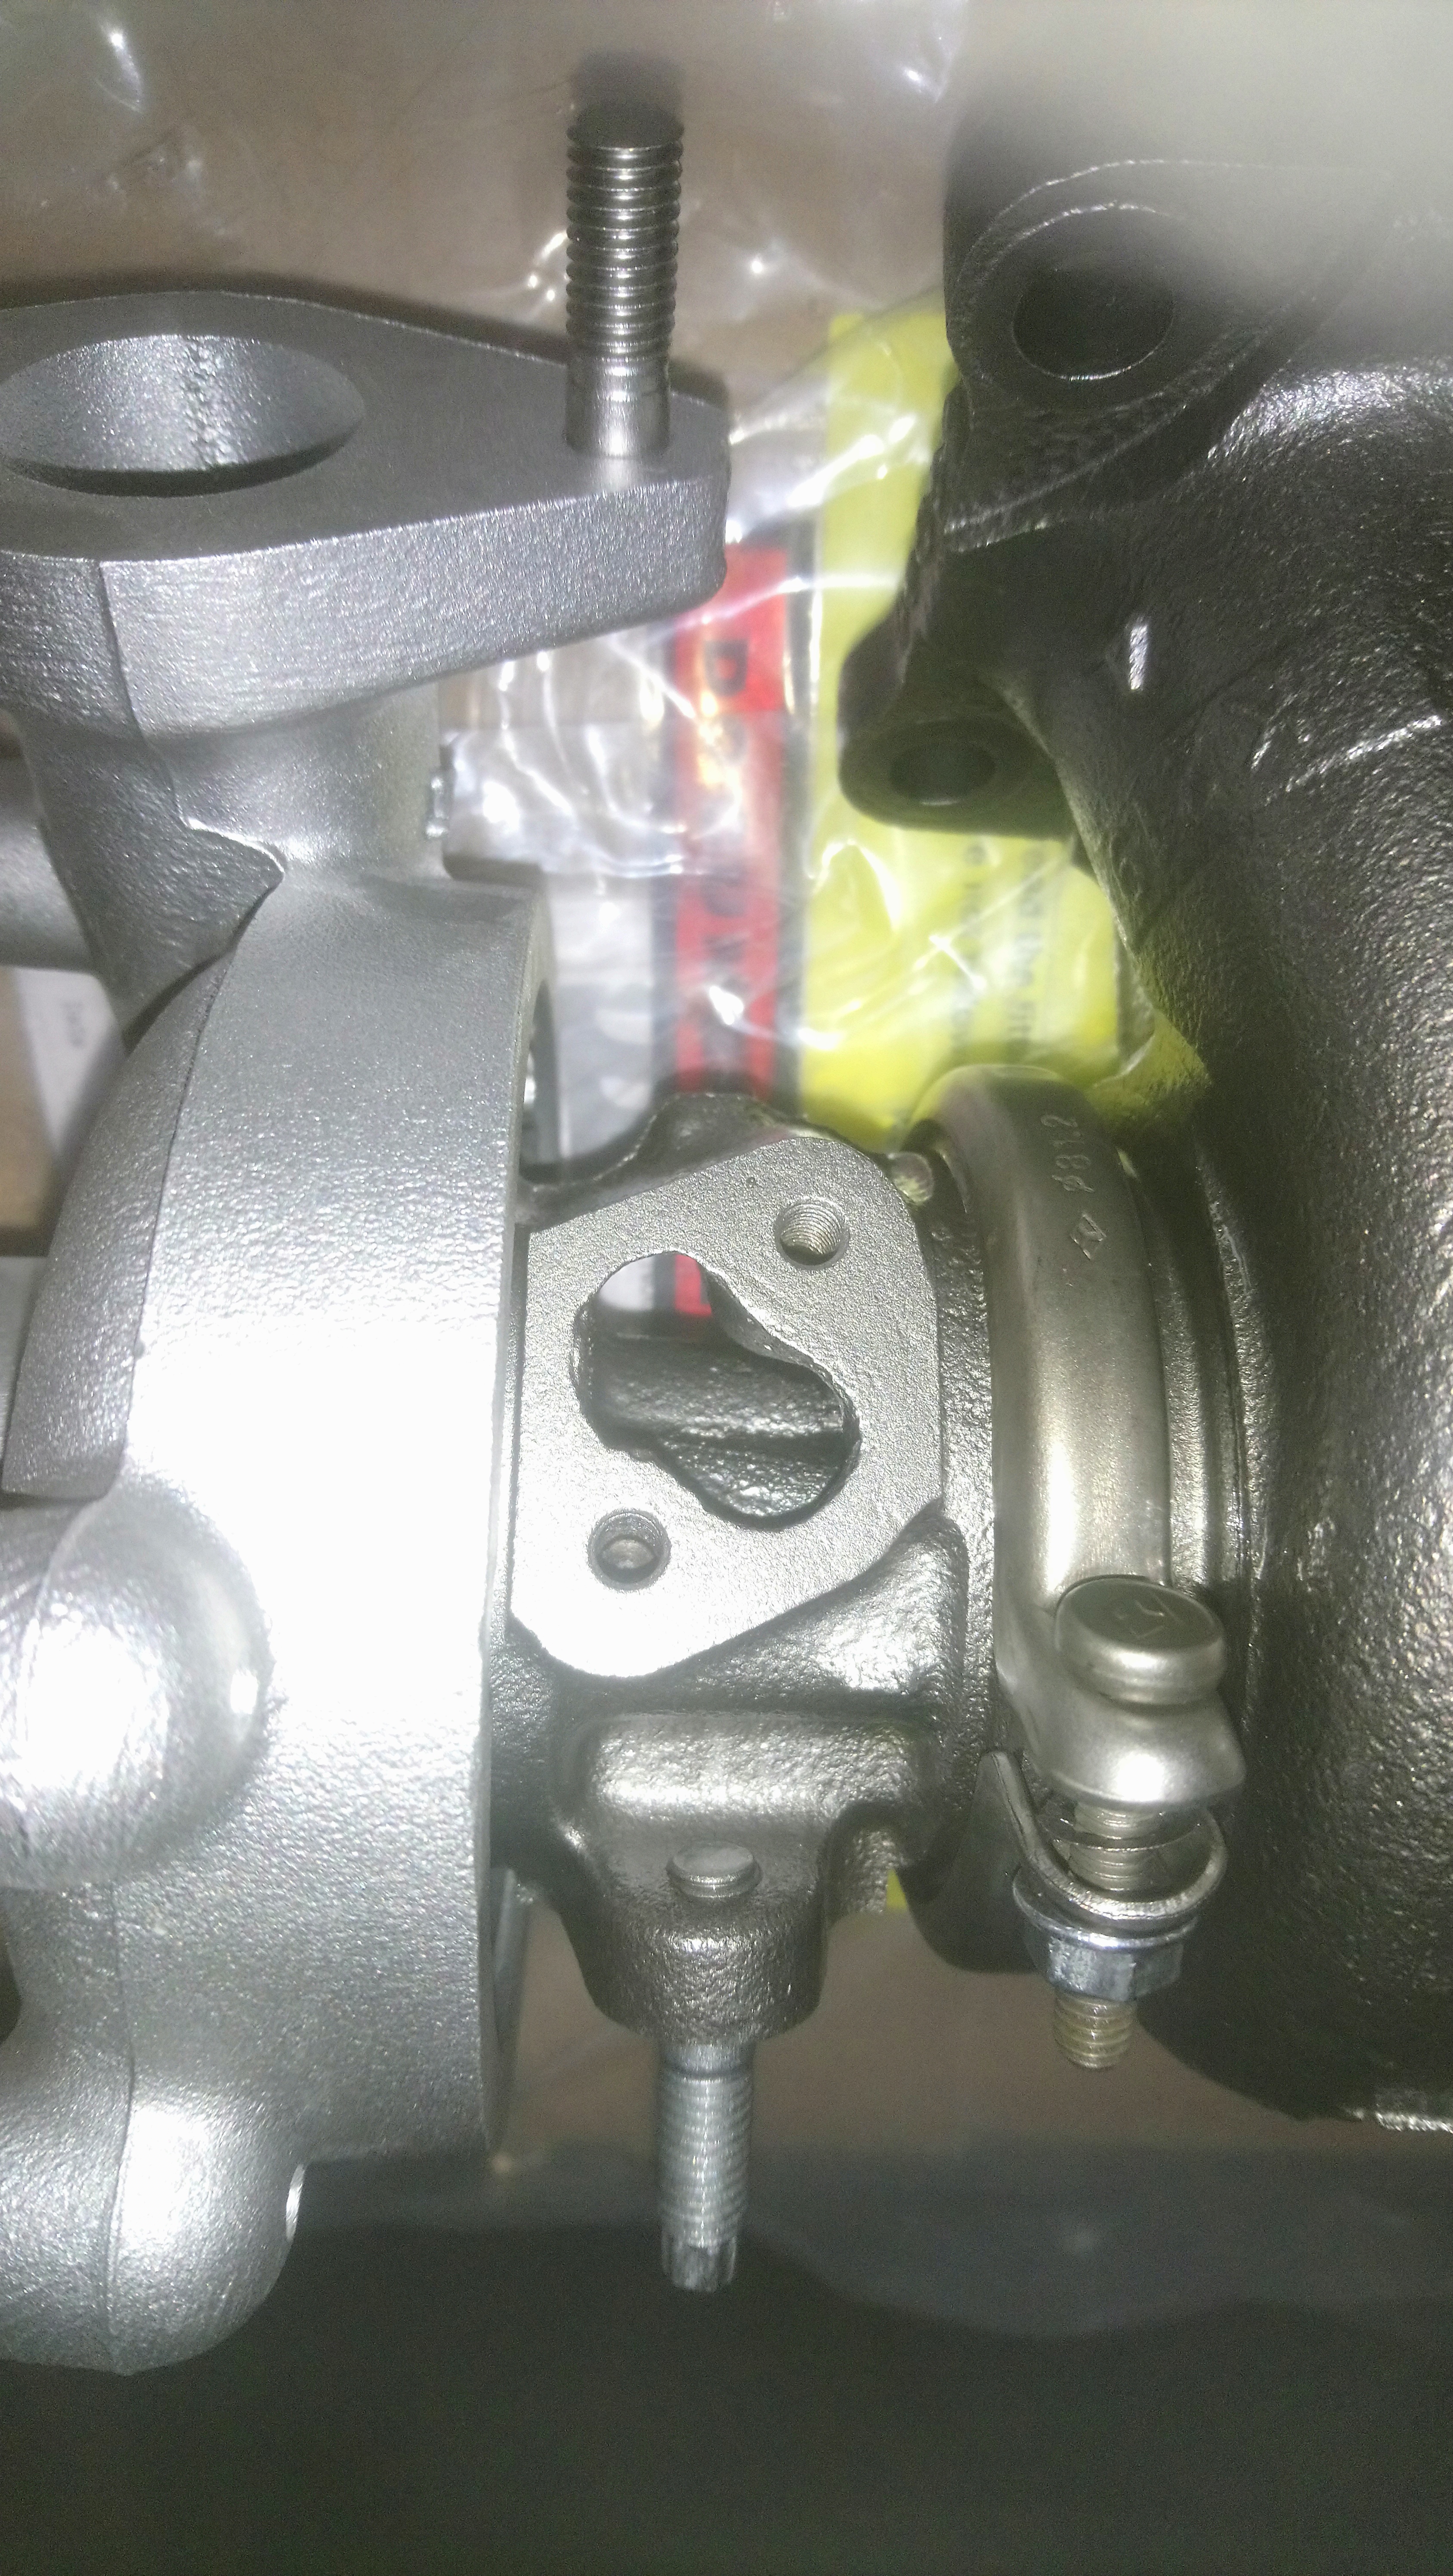
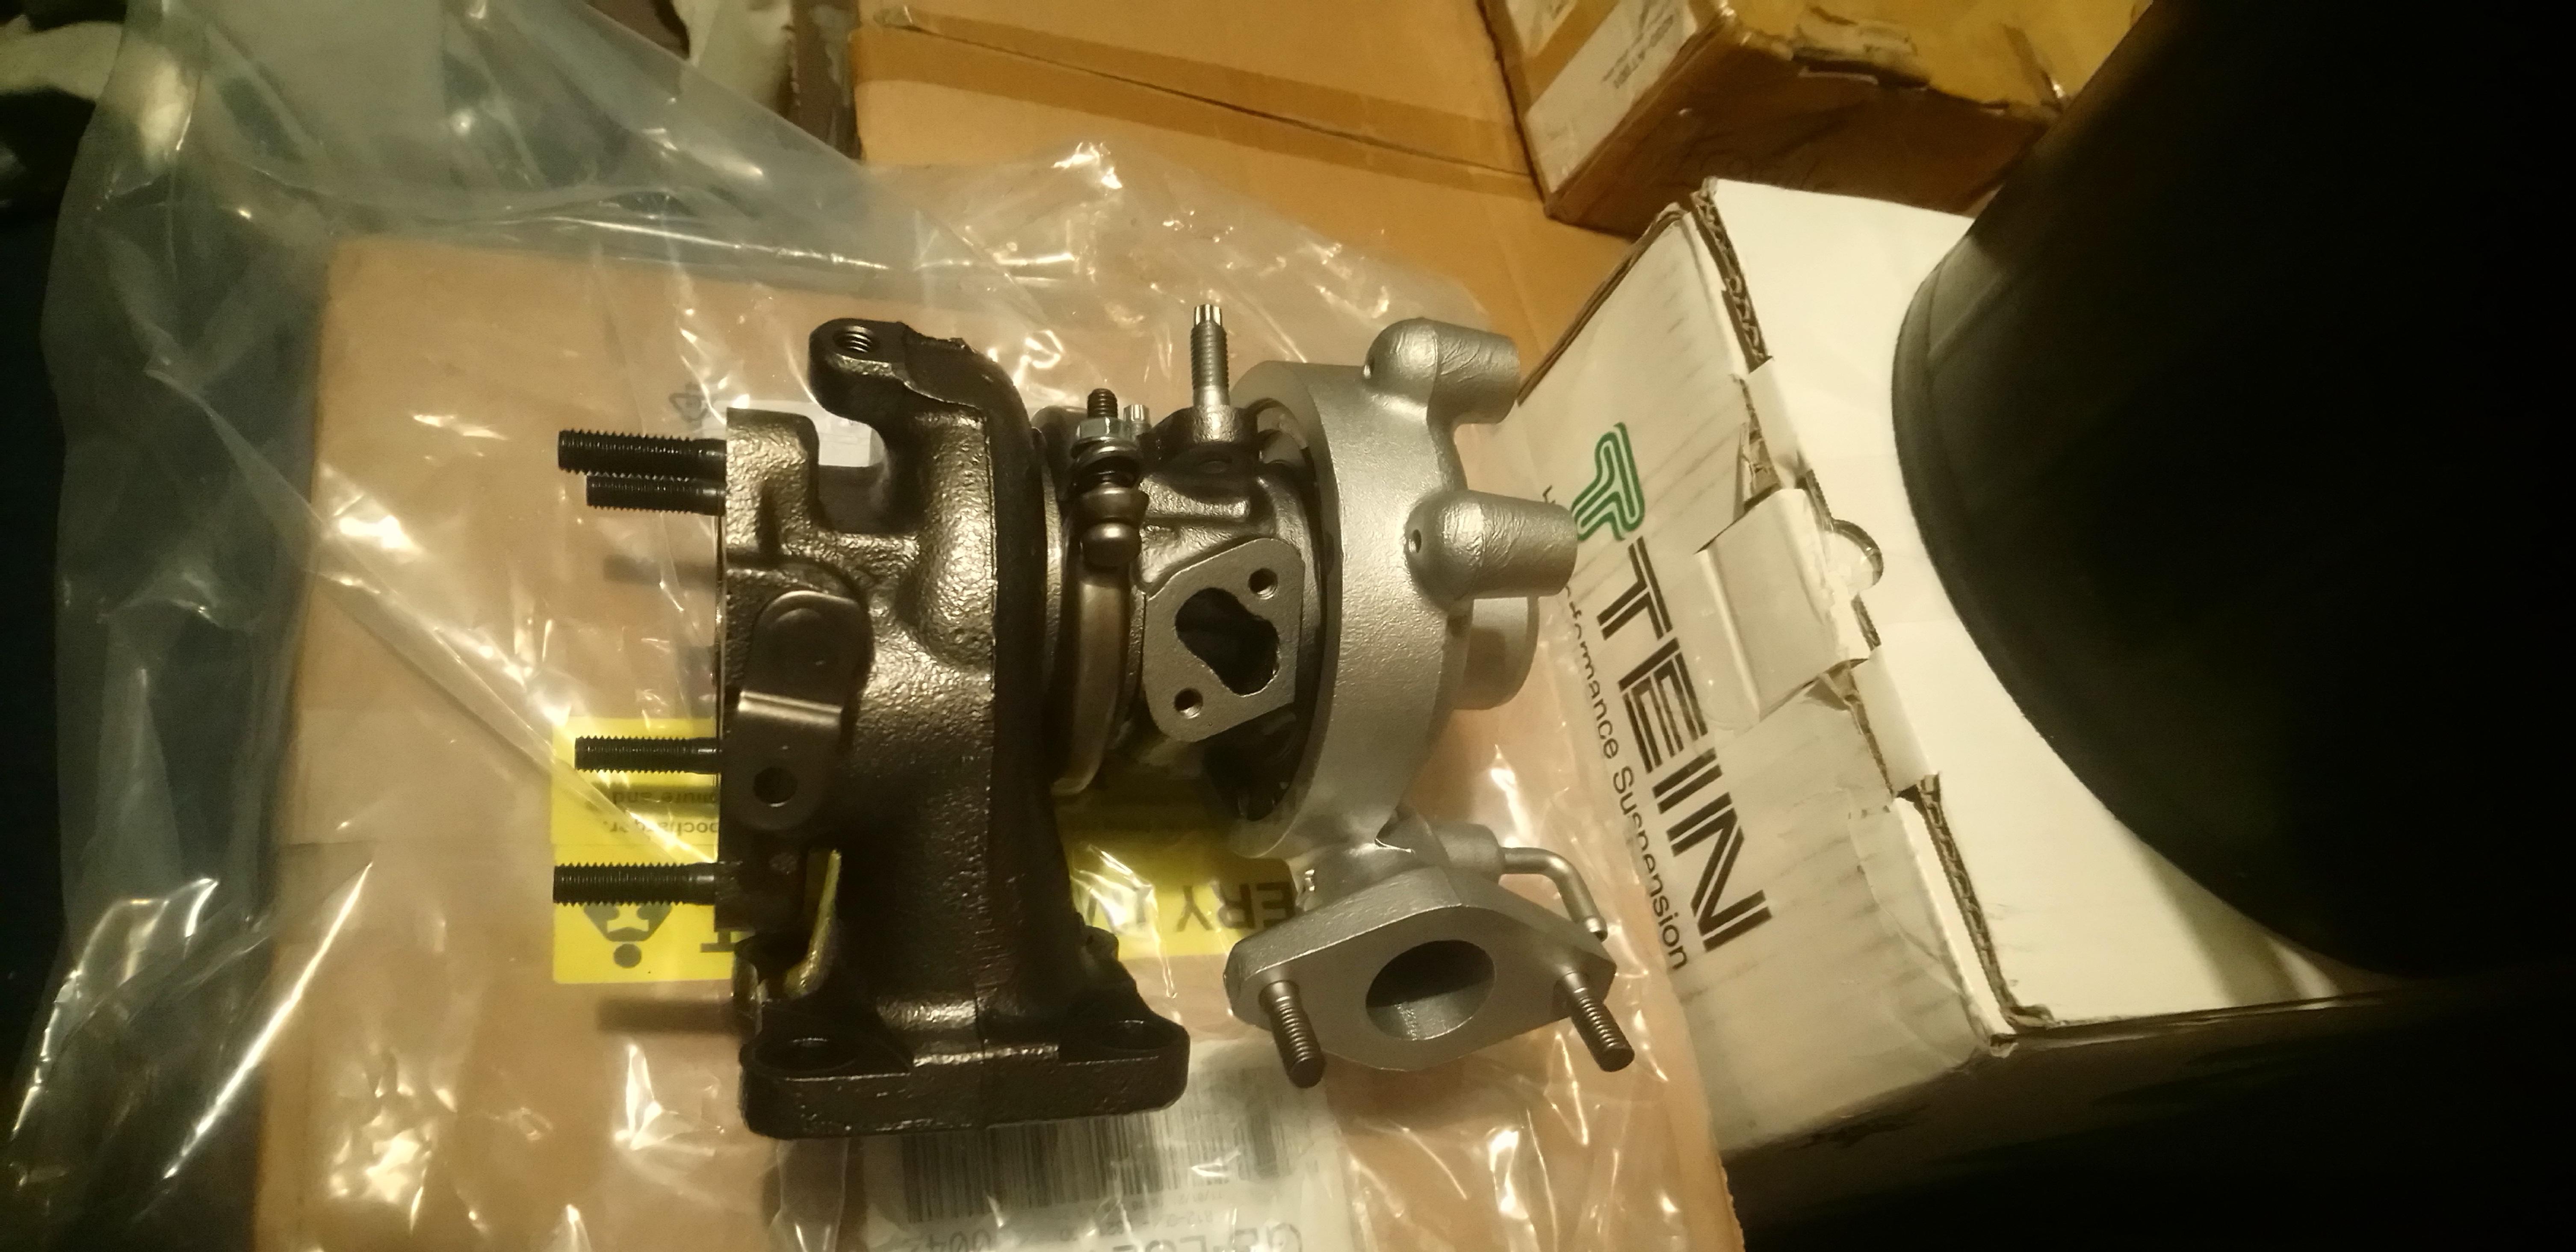
Decided to take my ct9 off over christmas to be sent off to midland turbo for a refurb. I believe its the original turbo so wanted to get it refreshed for peace of mind before upping the boost. I painted the turbo water lines in a heat proof black while they were off.


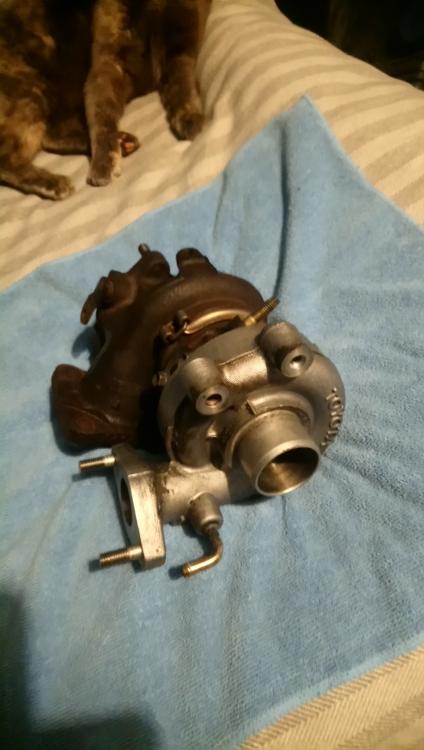
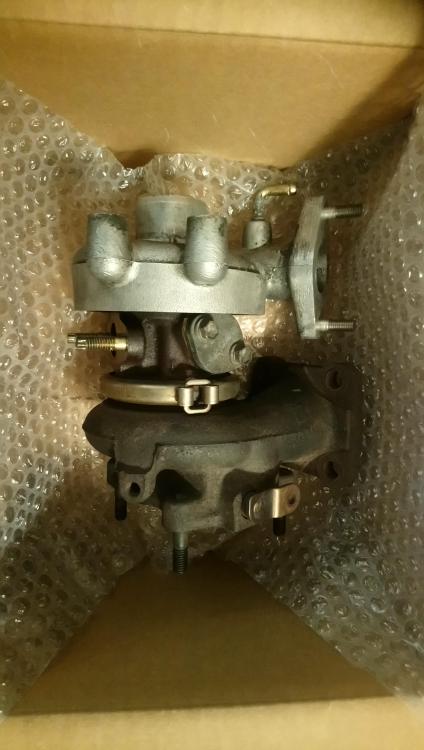

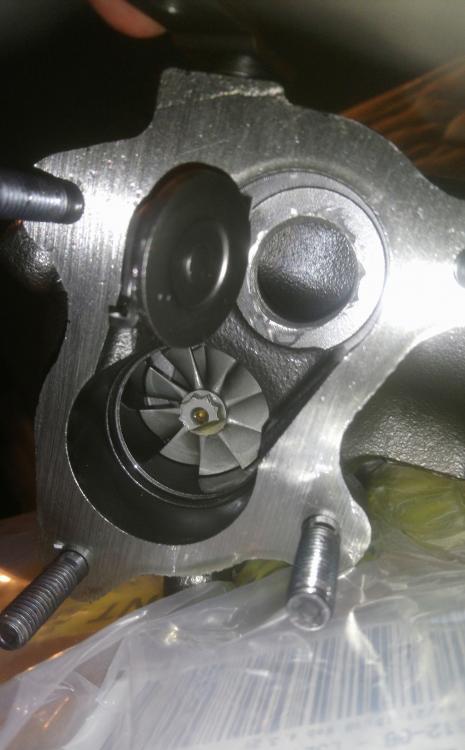
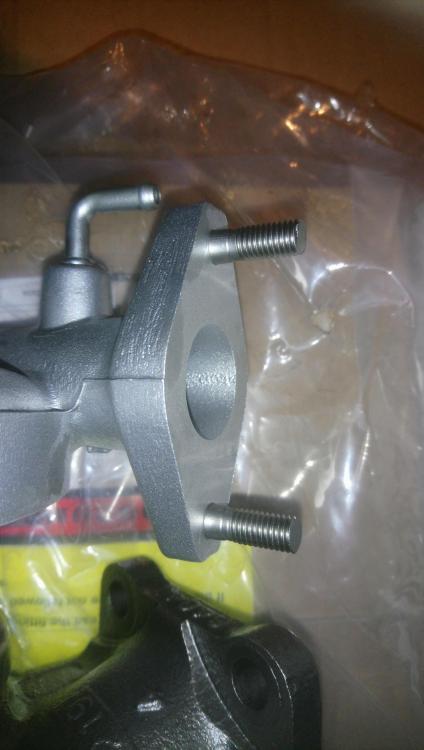
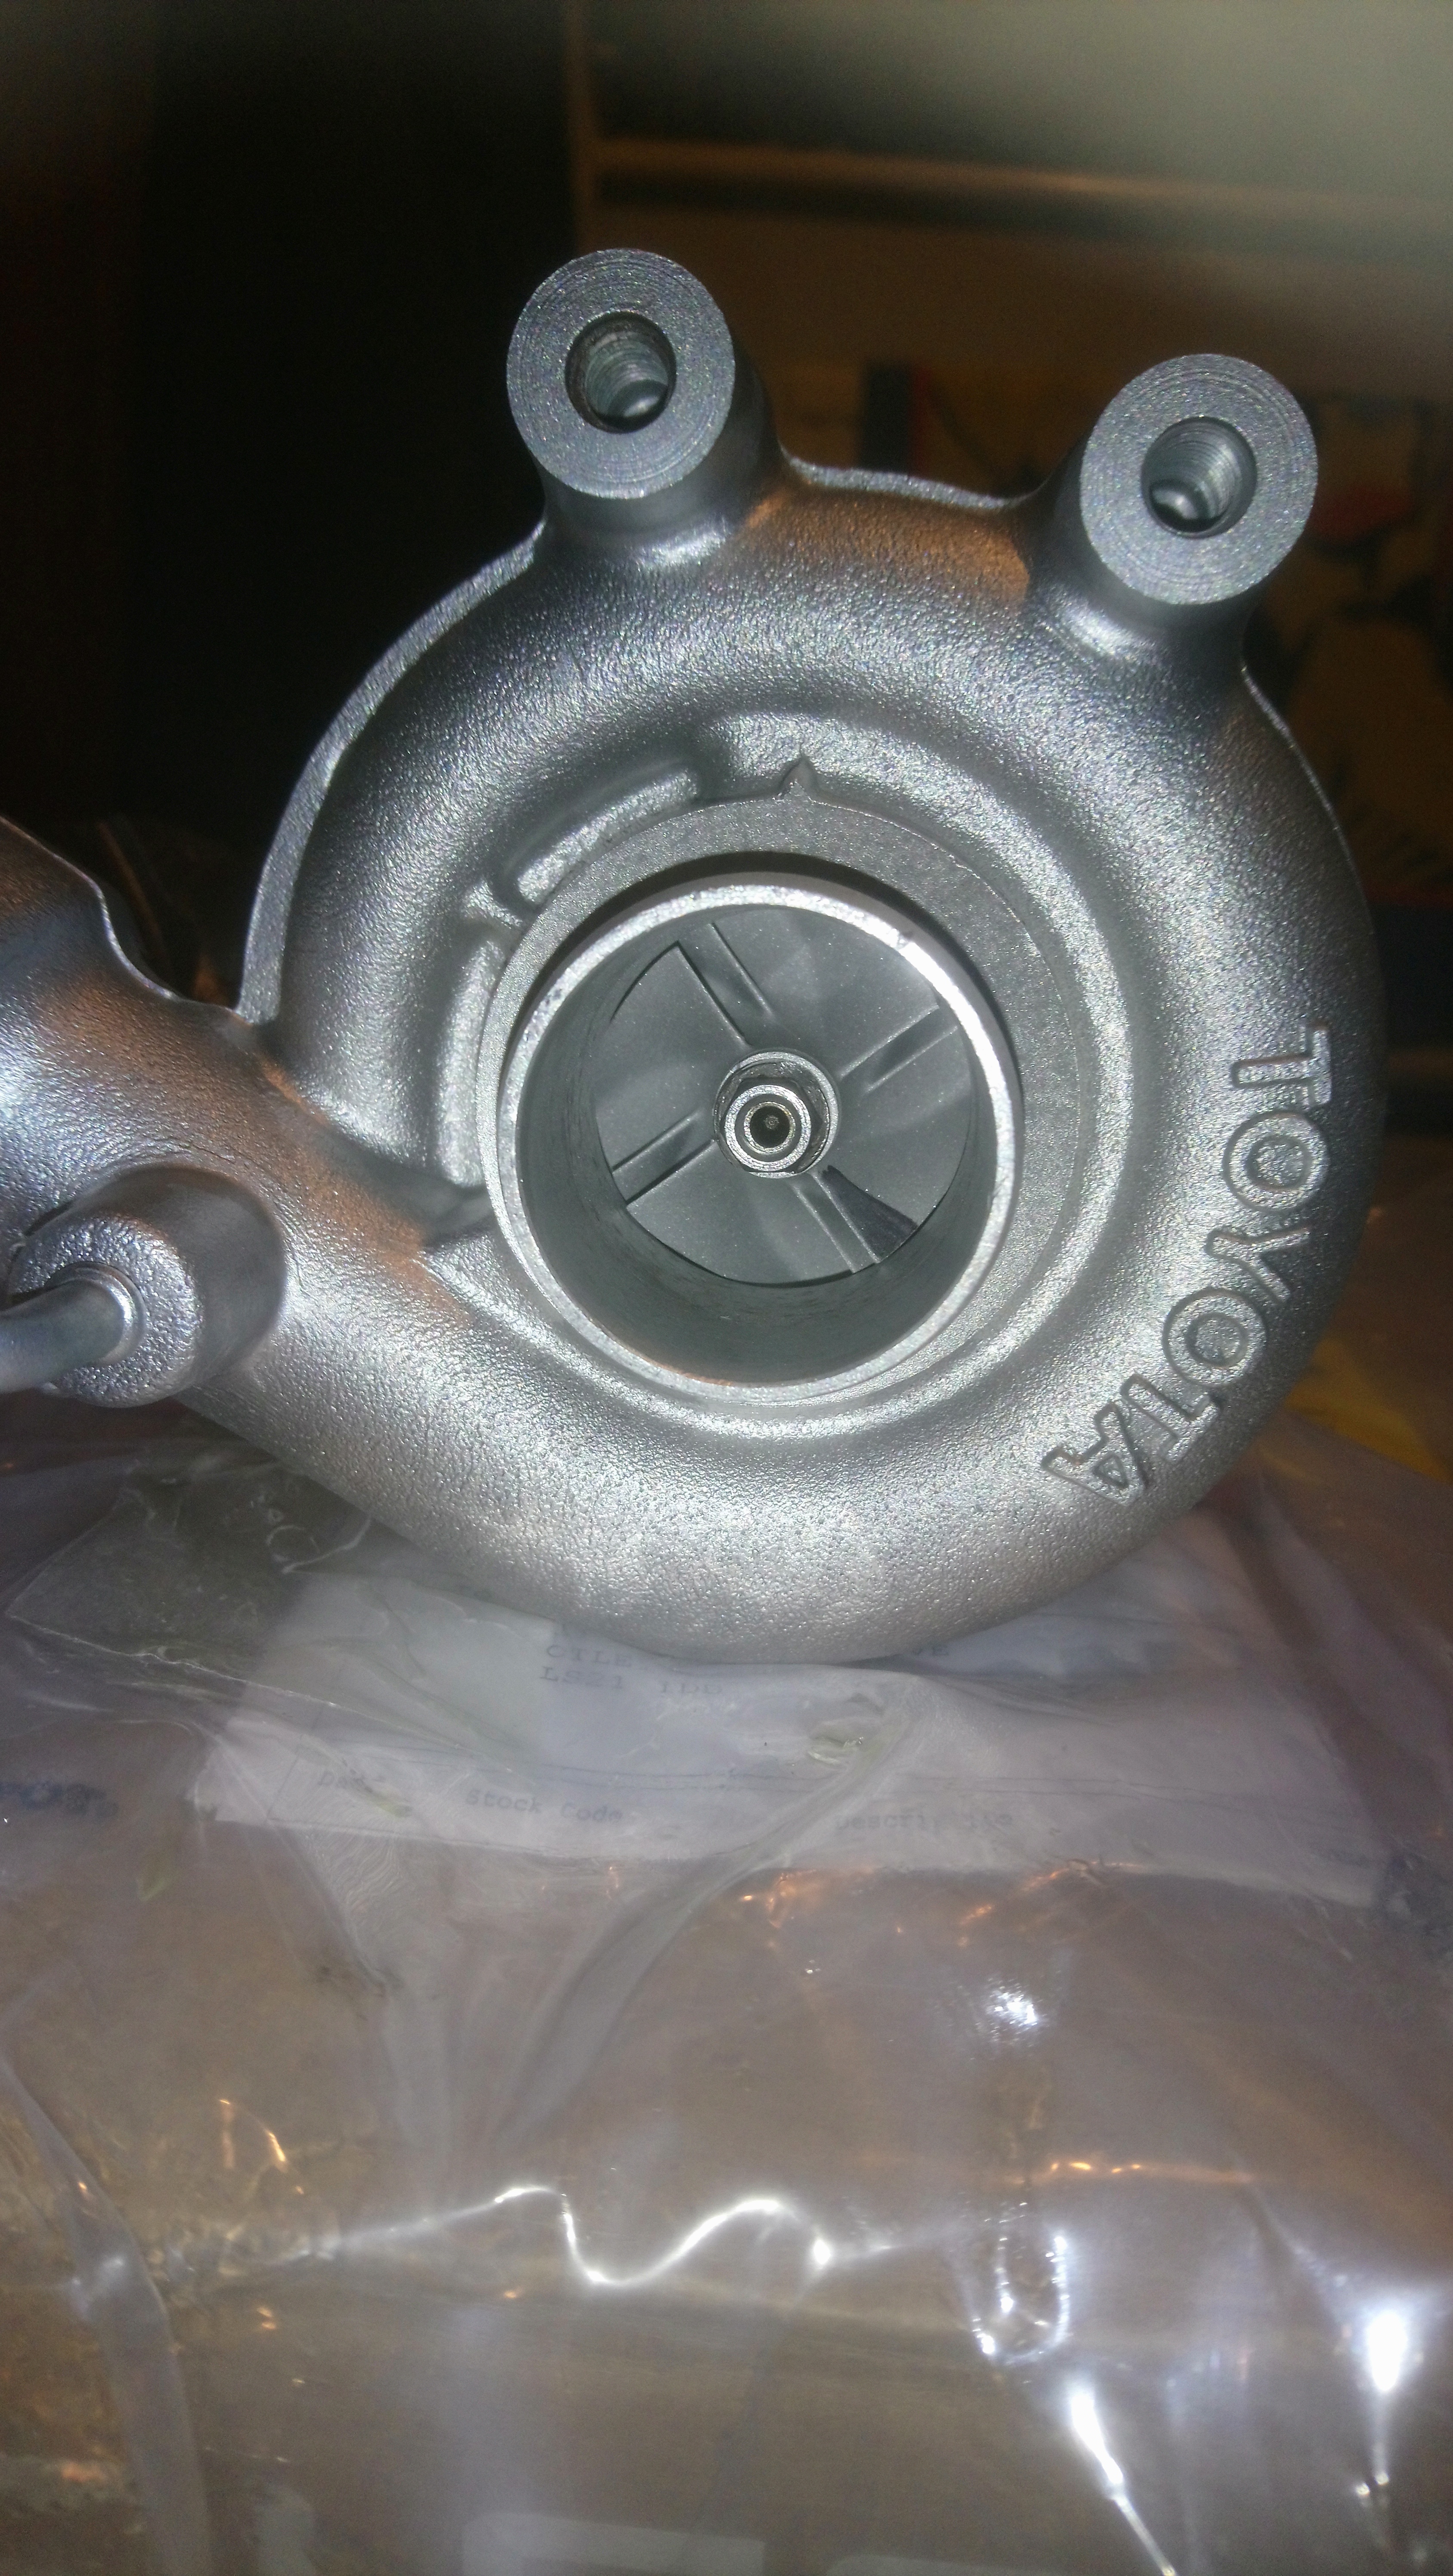
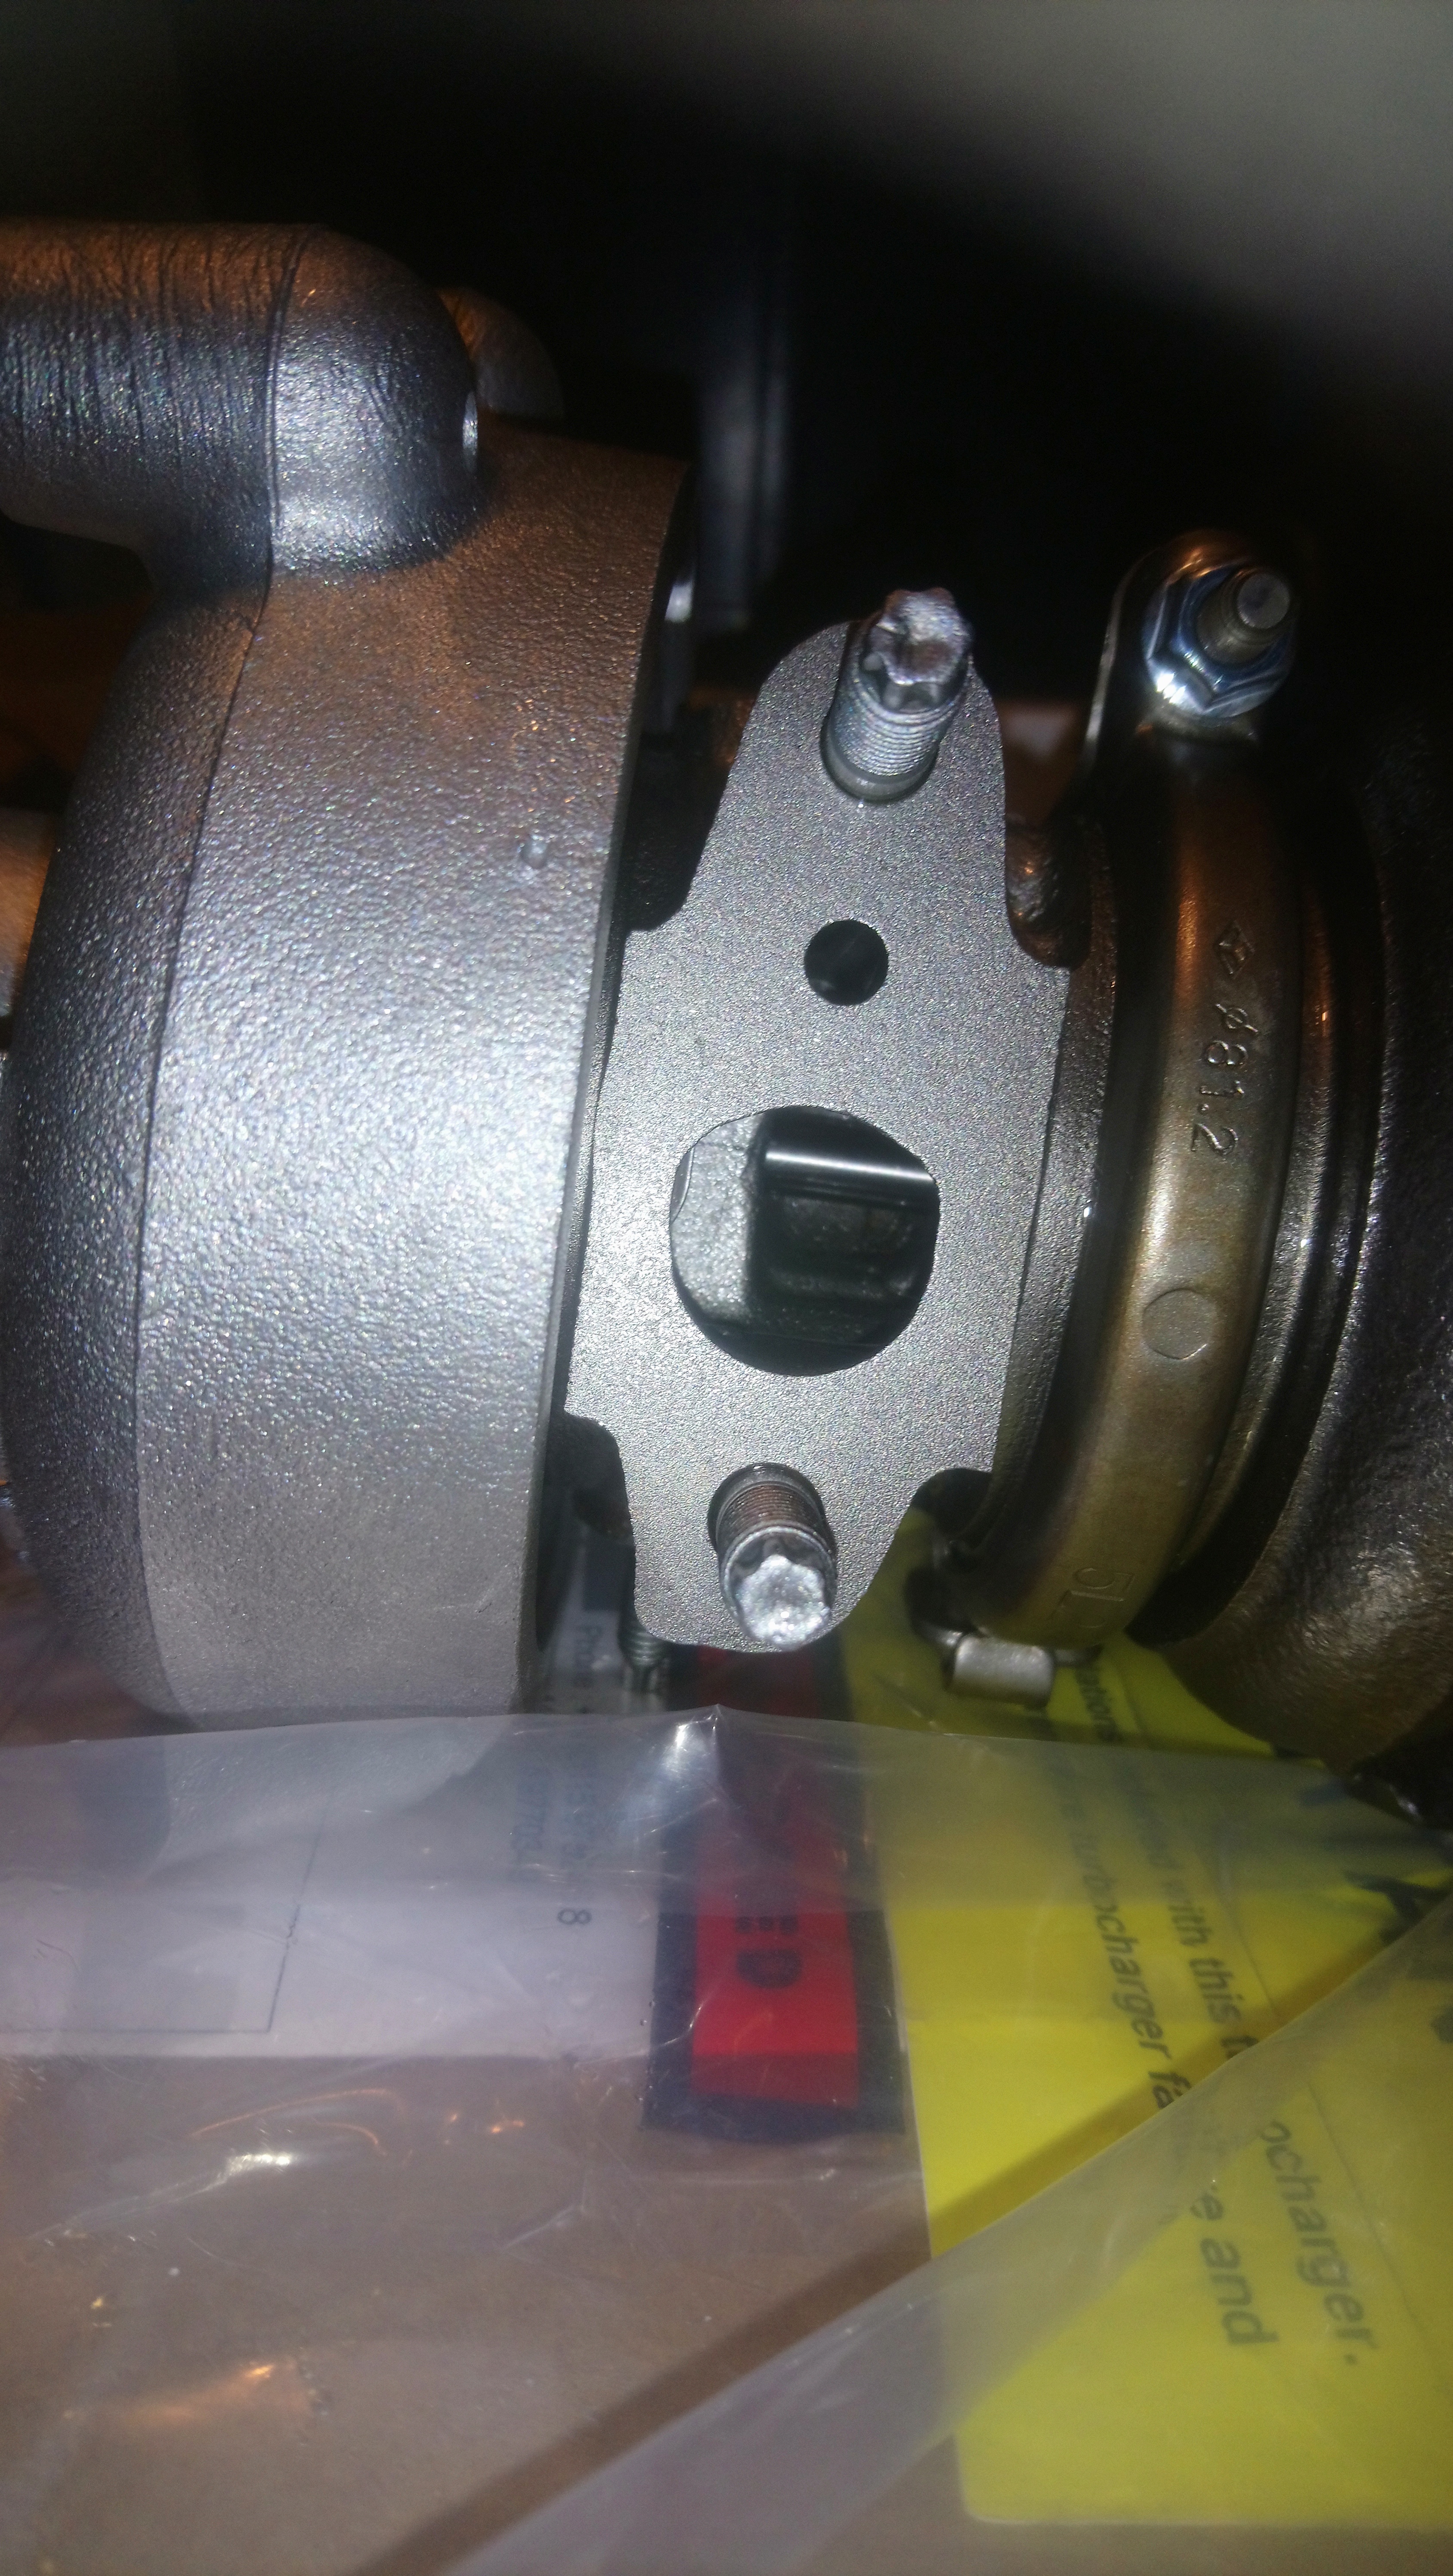
Recieved it back this week, really pleased with the work. Its had a full refresh including new seals, all mating surfaces machined flat and a really good cleanup inside and outside. Also got them to port the wastegate out a bit to try and stop some of the boost creep I was having. Would definetly recommend them to anyone who needs their turbo rebuilding, really good service.


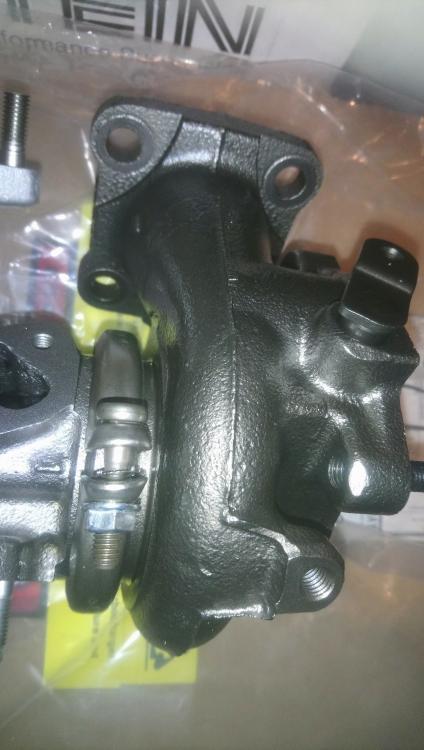

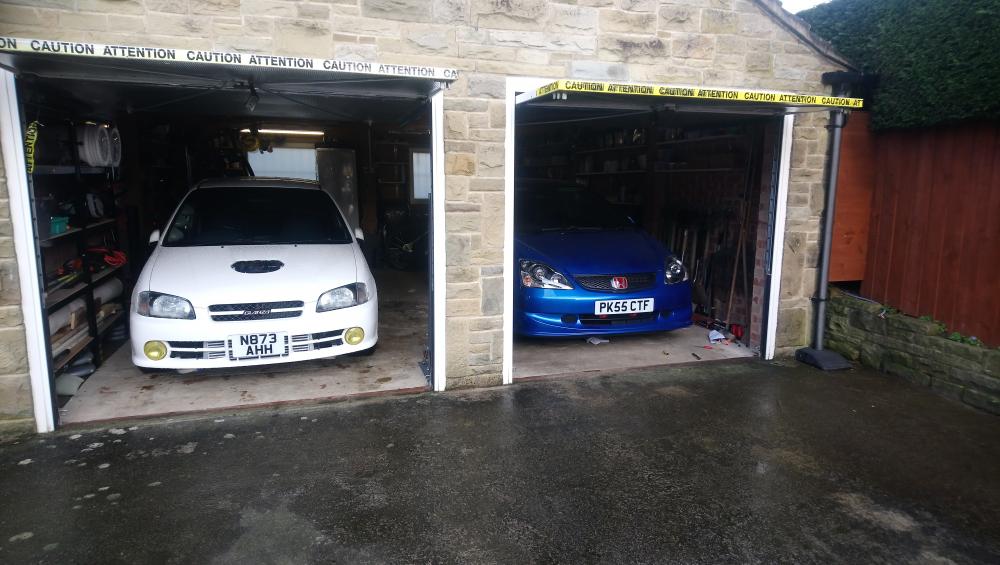
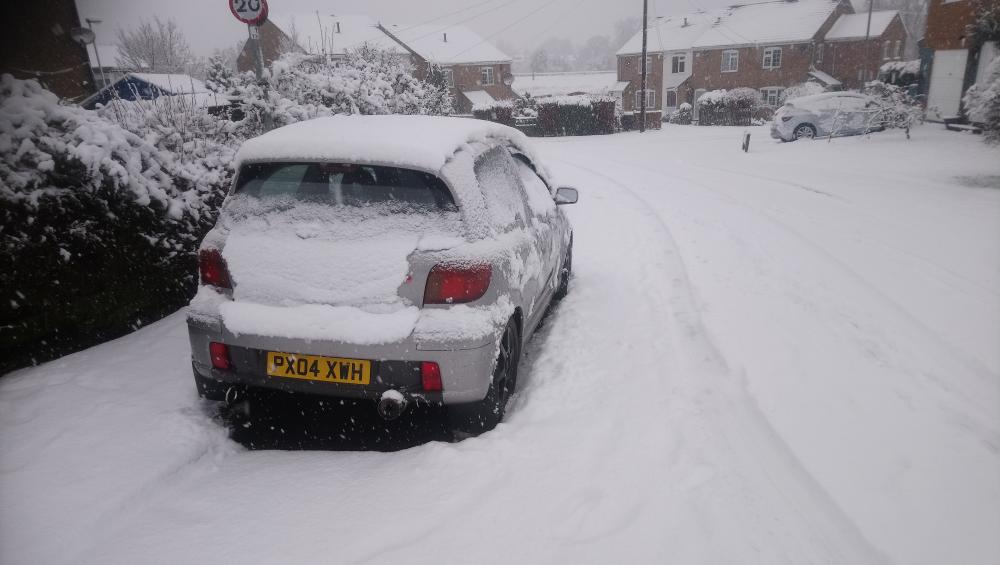
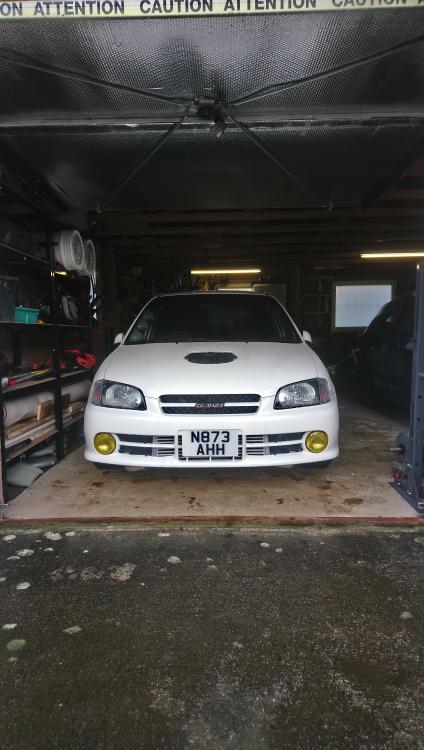
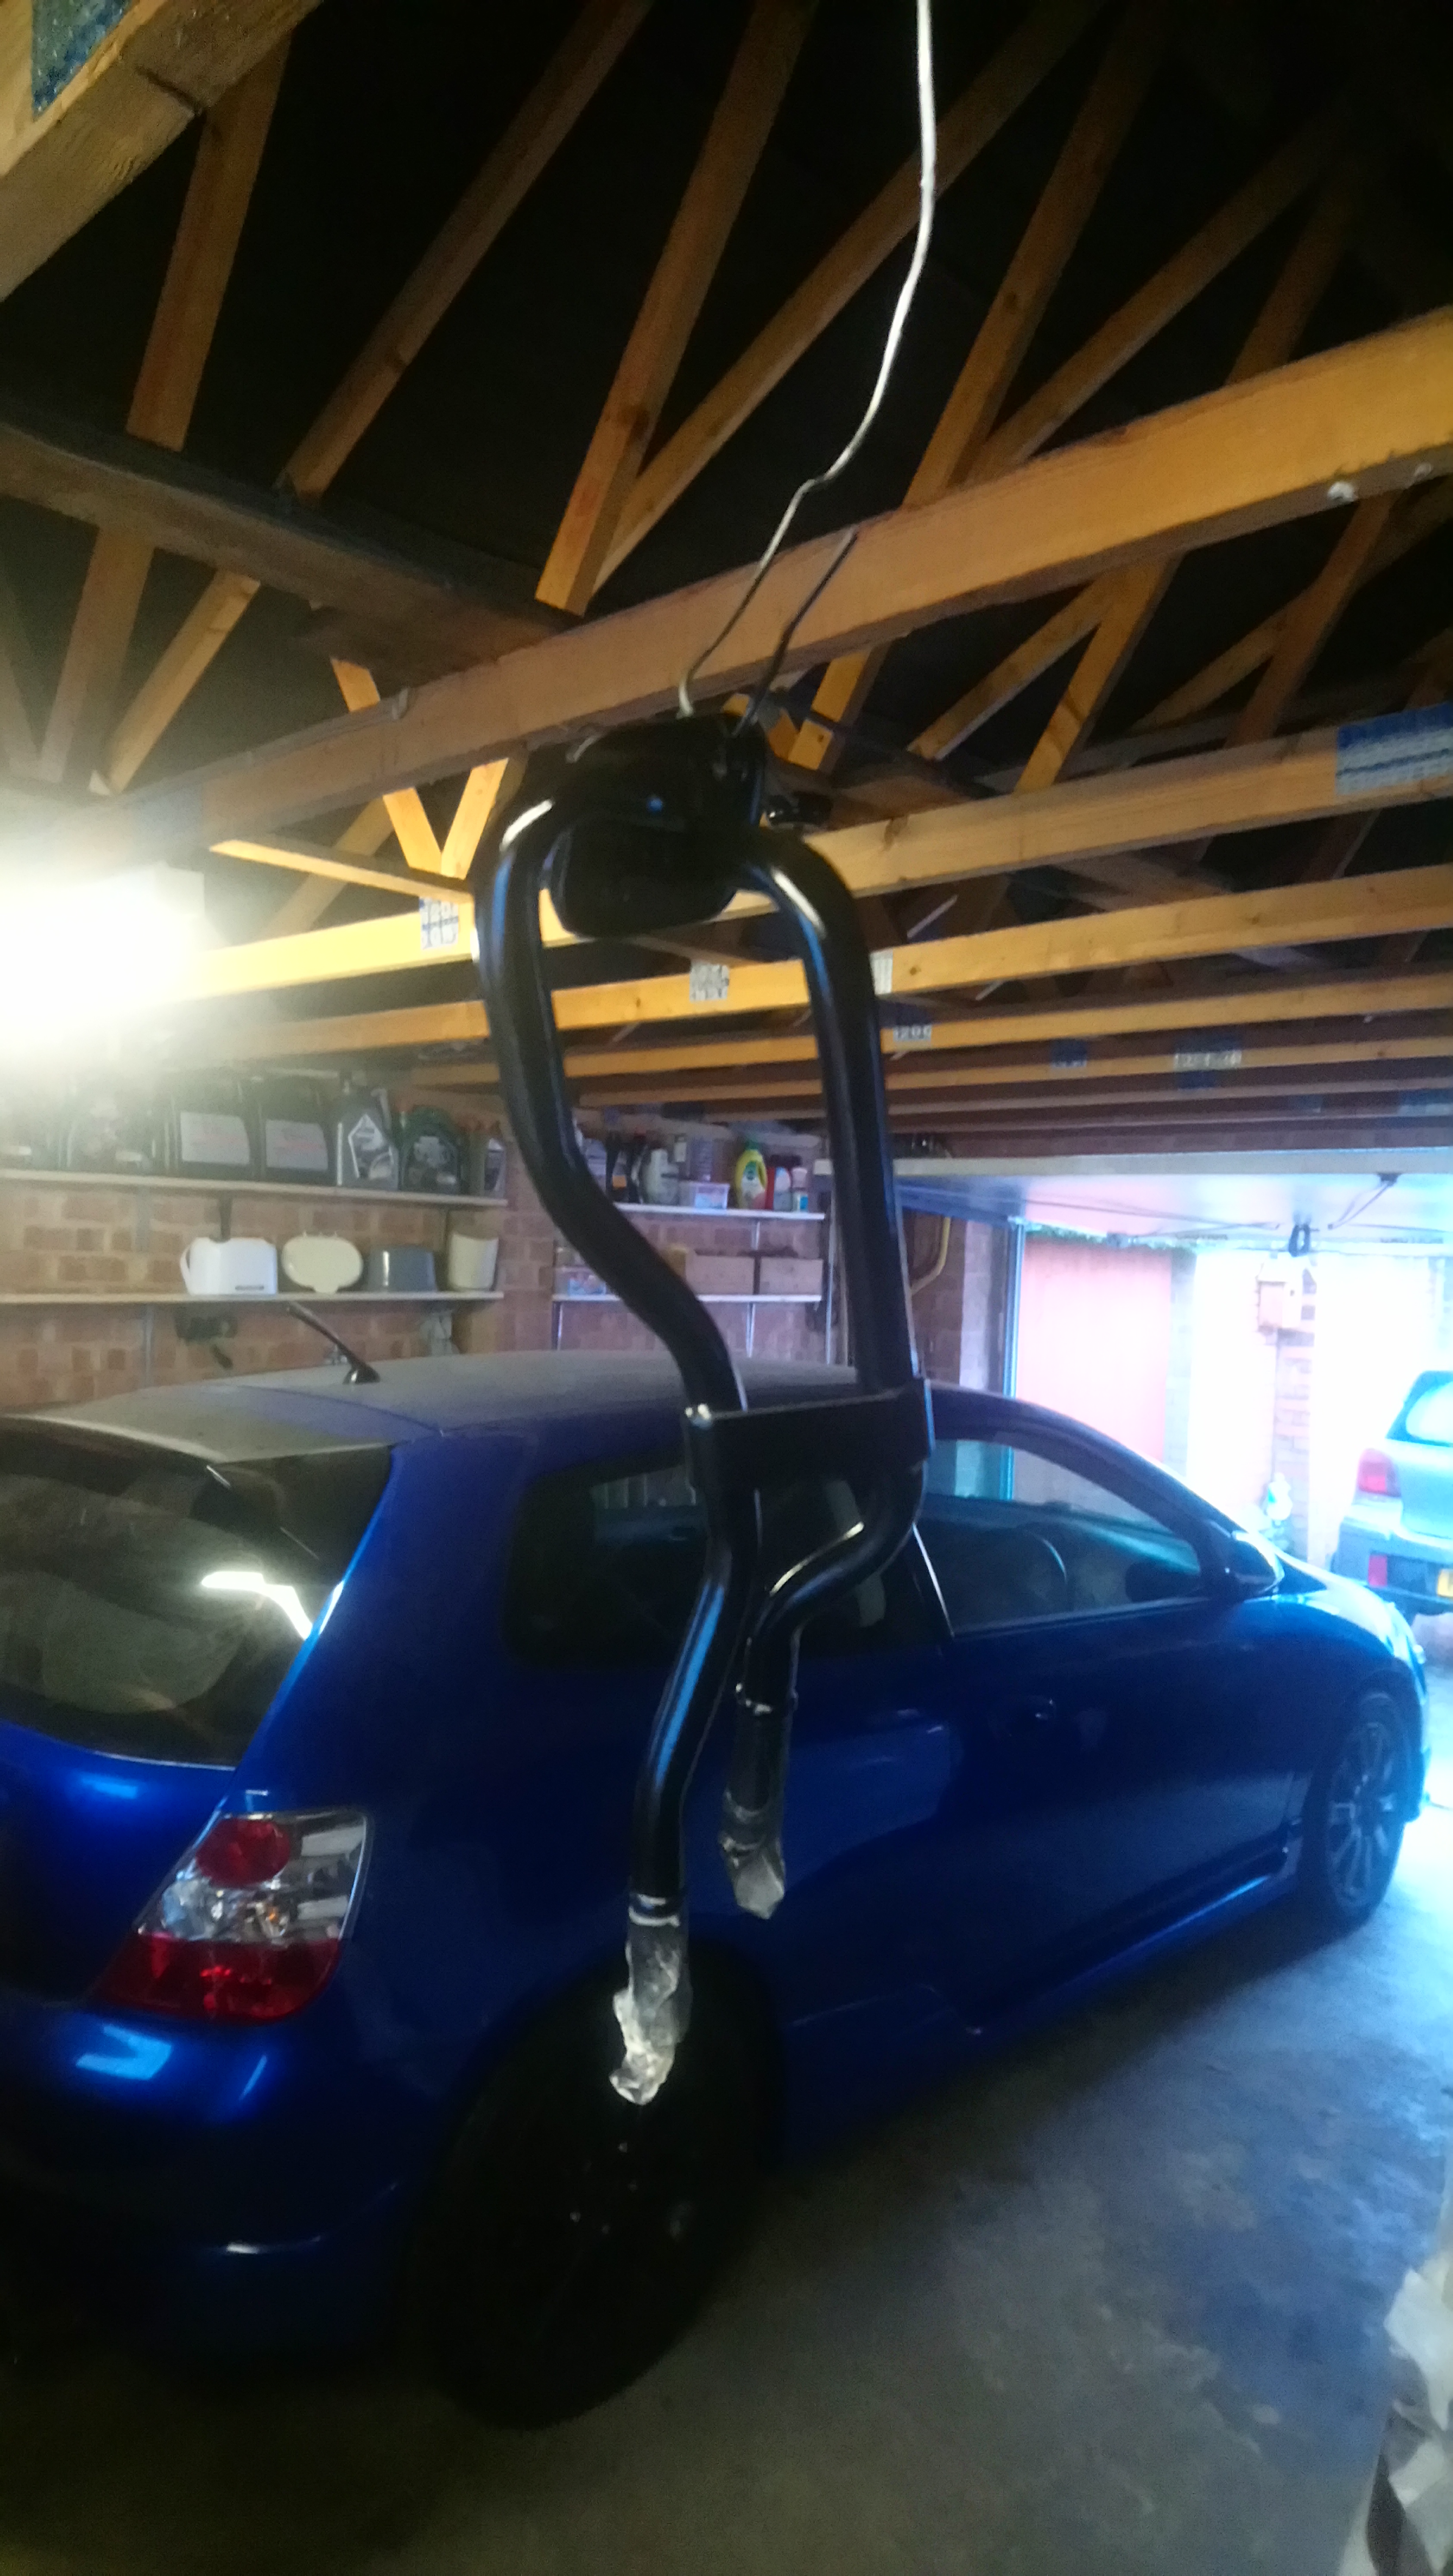
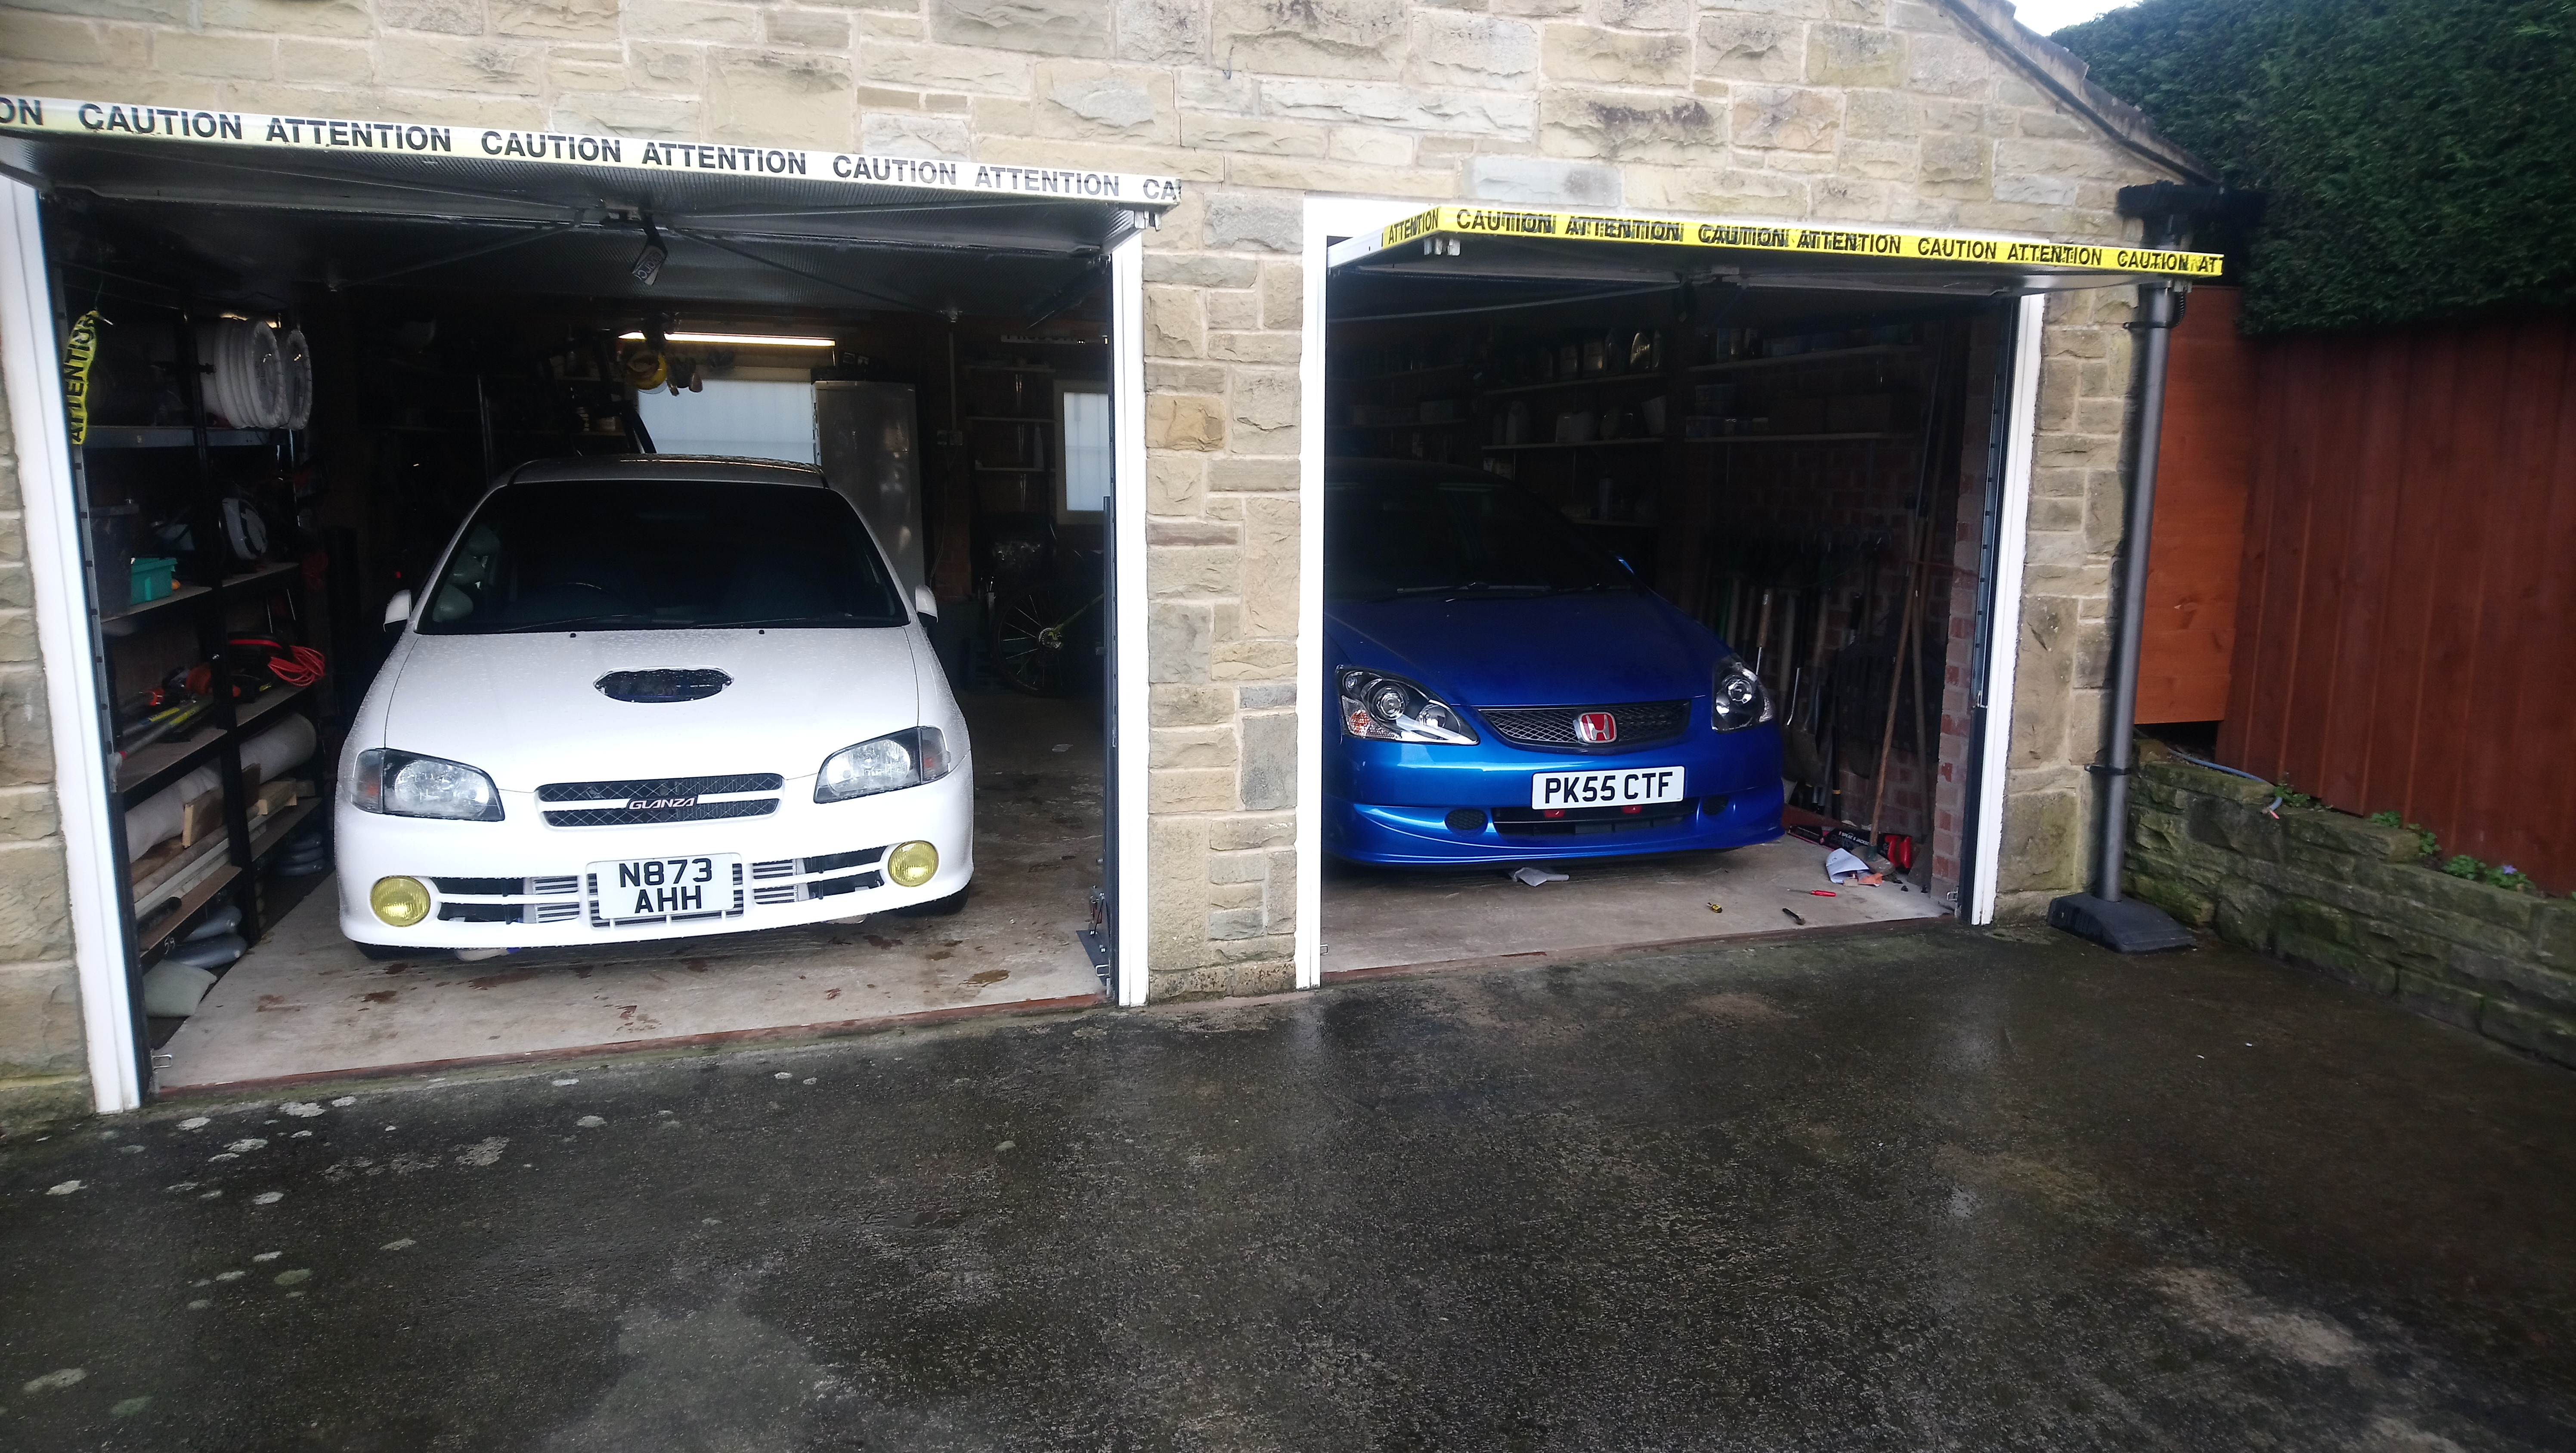
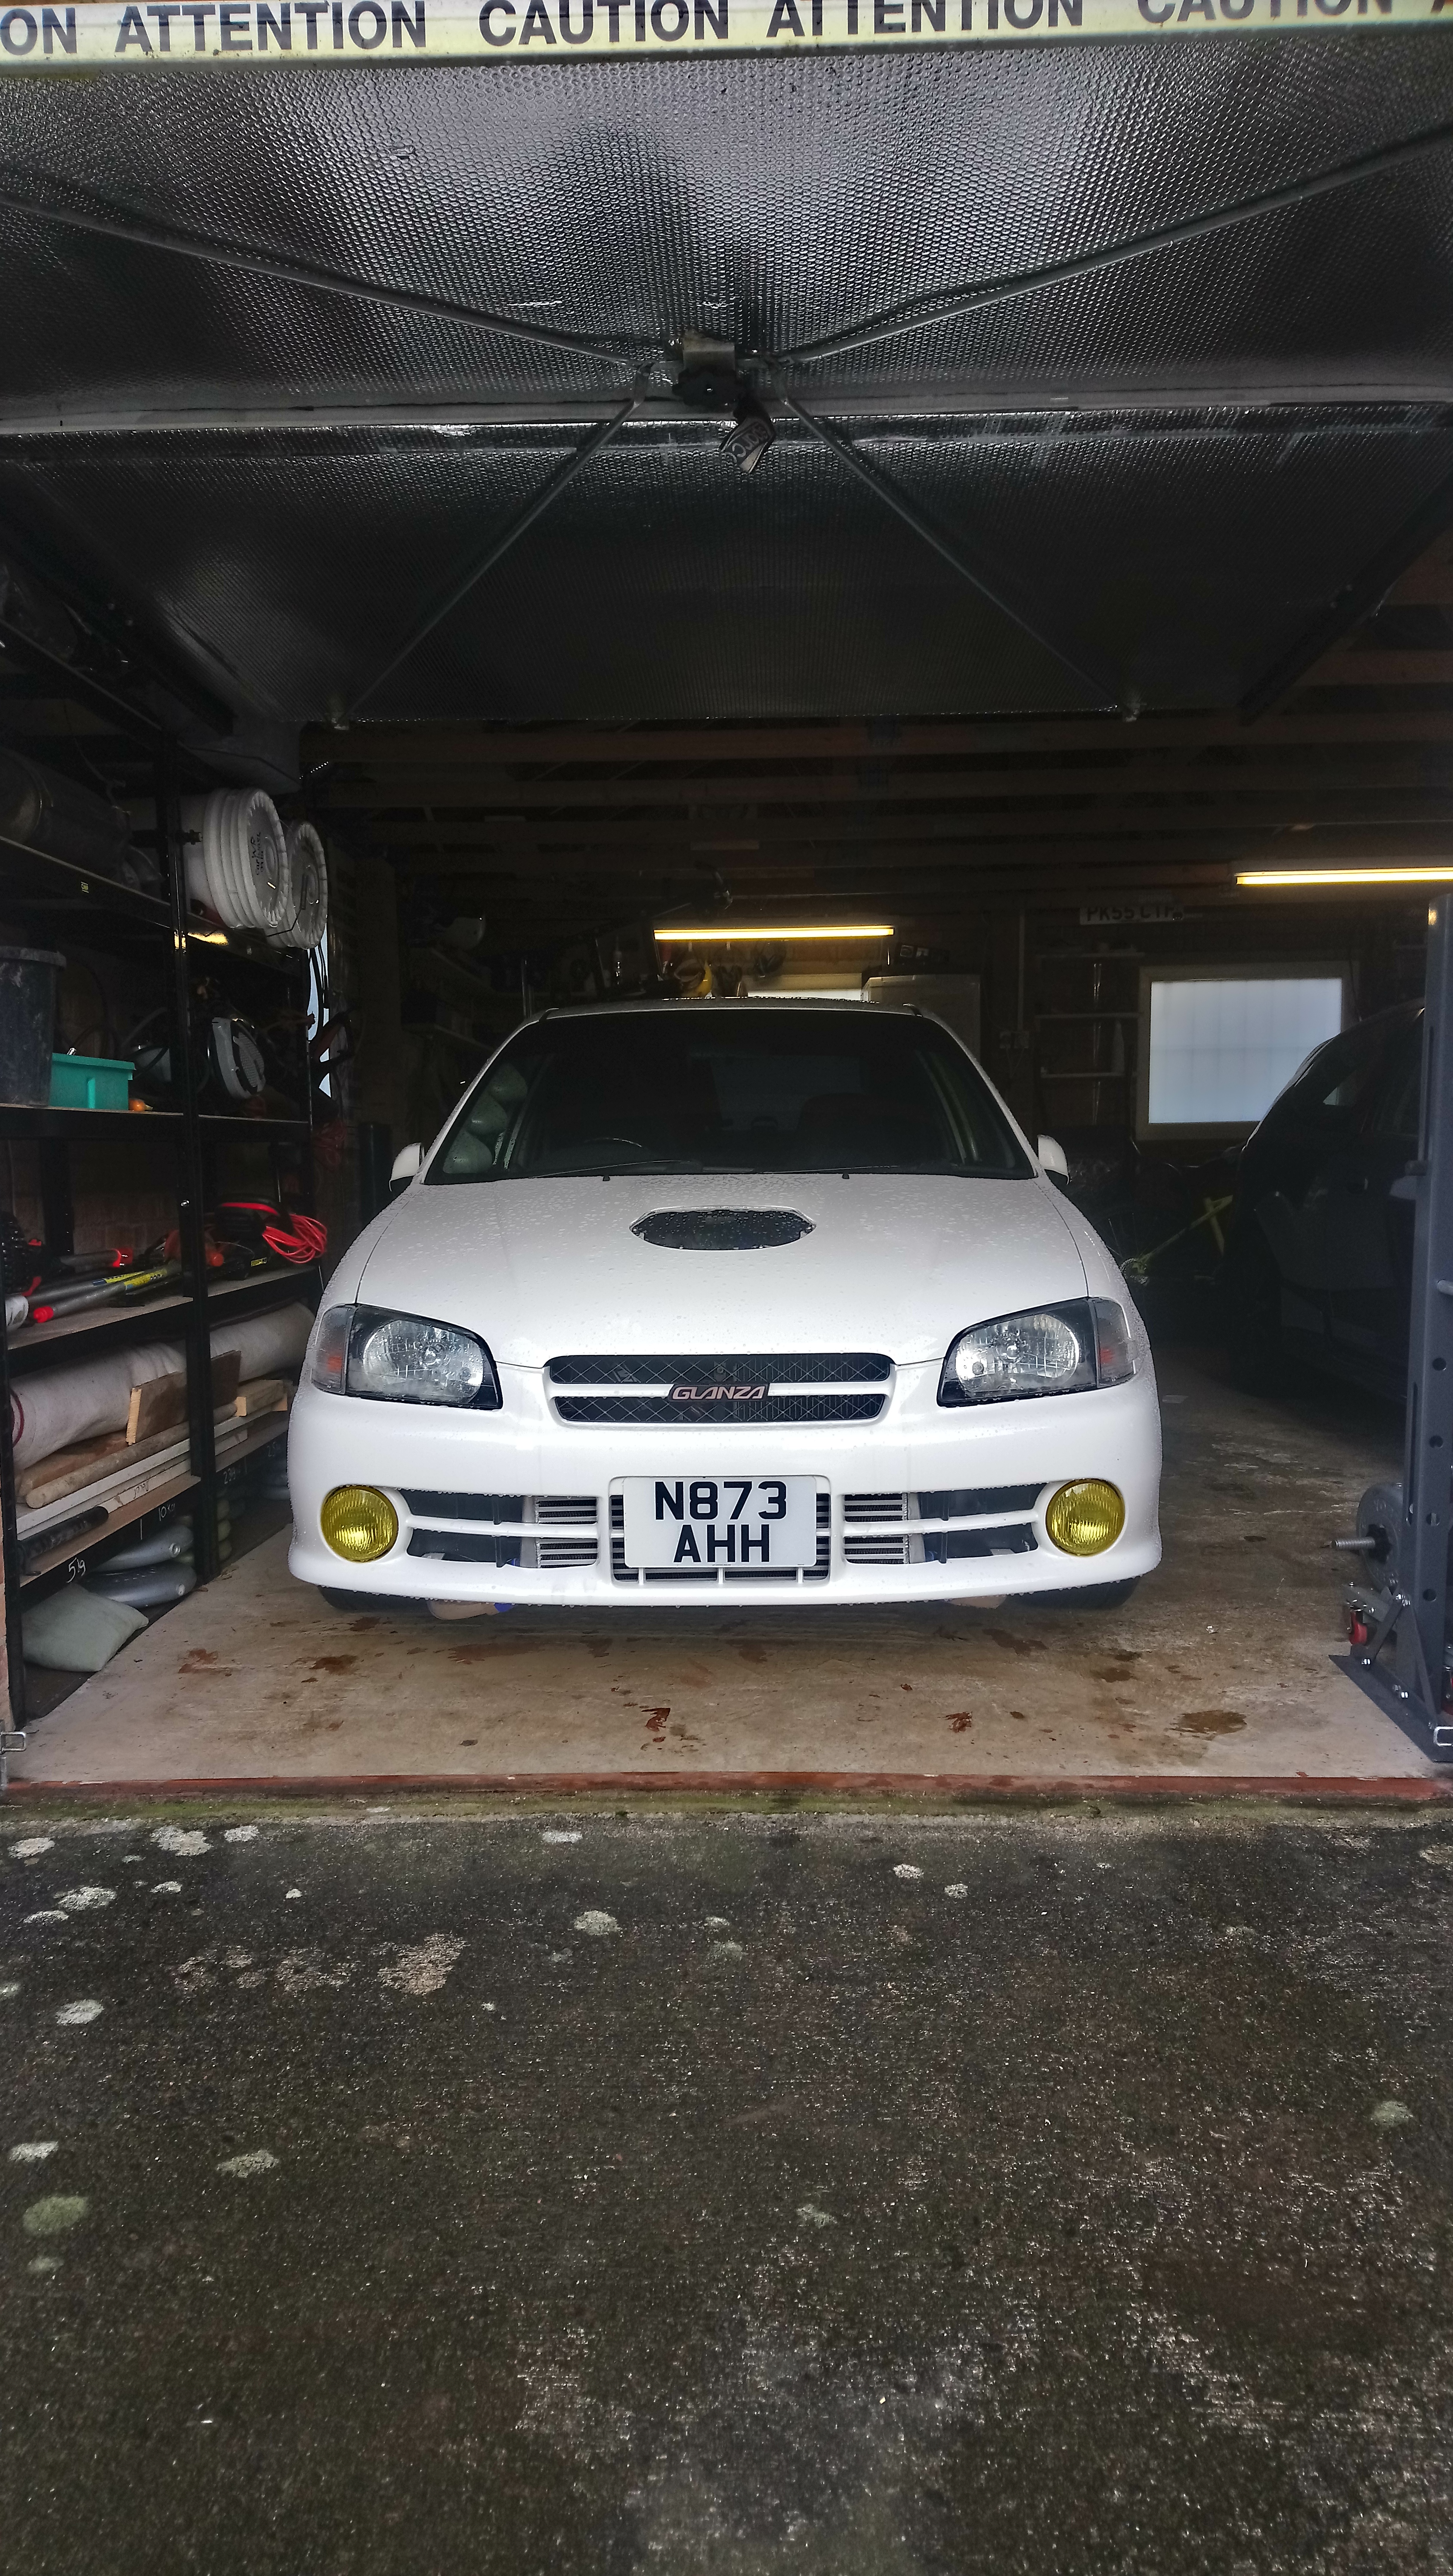
Looking forward to getting it back on the car now. Ive managed to get it into dry storage for the rest of the winter months in my mates garage. Just hope we can get this covid situation under control soon so we can get it back together for spring. Had a fair bit of snow here in Leeds today so glad its tucked away
") .
.
-
21 hours ago, Claymore said:
Good stuff mate, I'm sure you're aware from my thread, but if you go the A/N fitting route on the rocker cover just be sure all the swarf from drilling is cleaned out afterwards.
Thanks bud, yeah im aware of that however wont be doing any drilling. Just going to get the fittings welded ontop of the existing holes on the rocker.
-
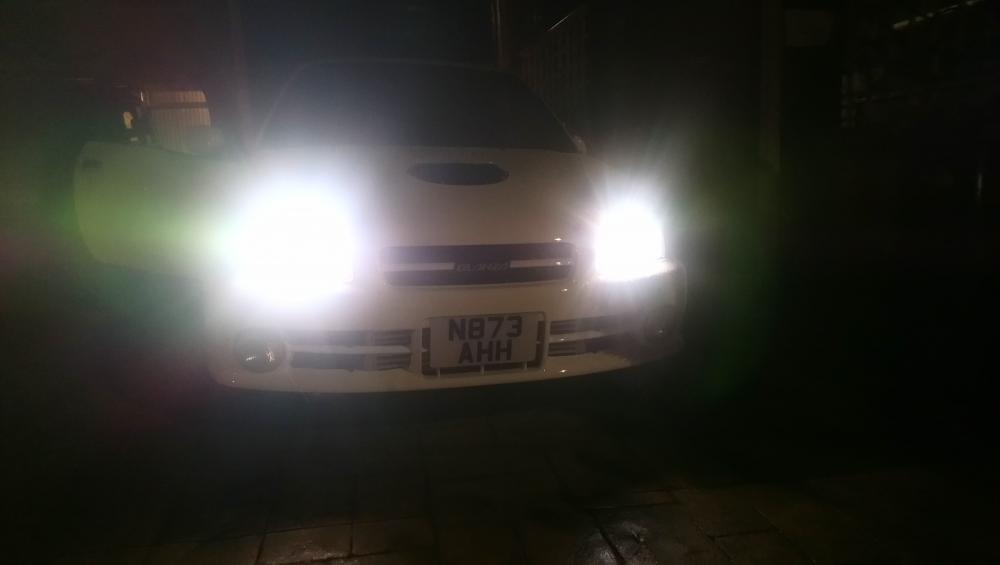
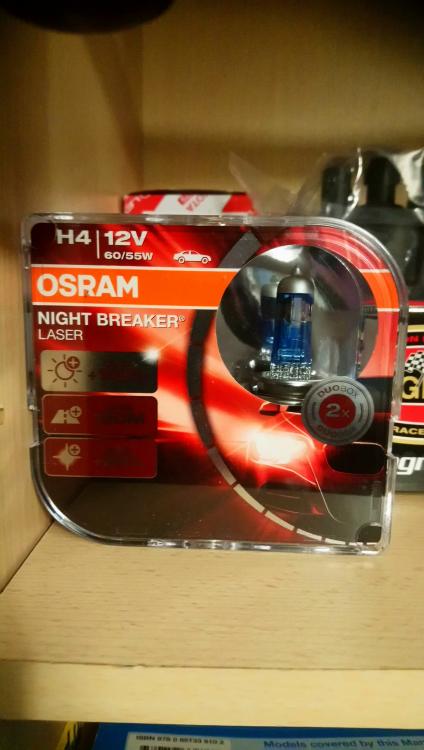
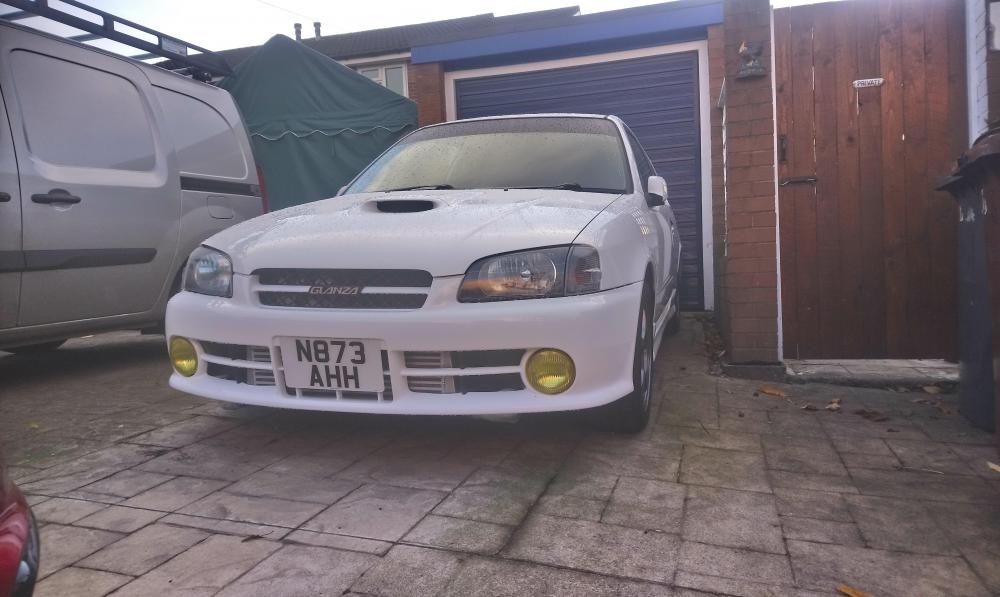
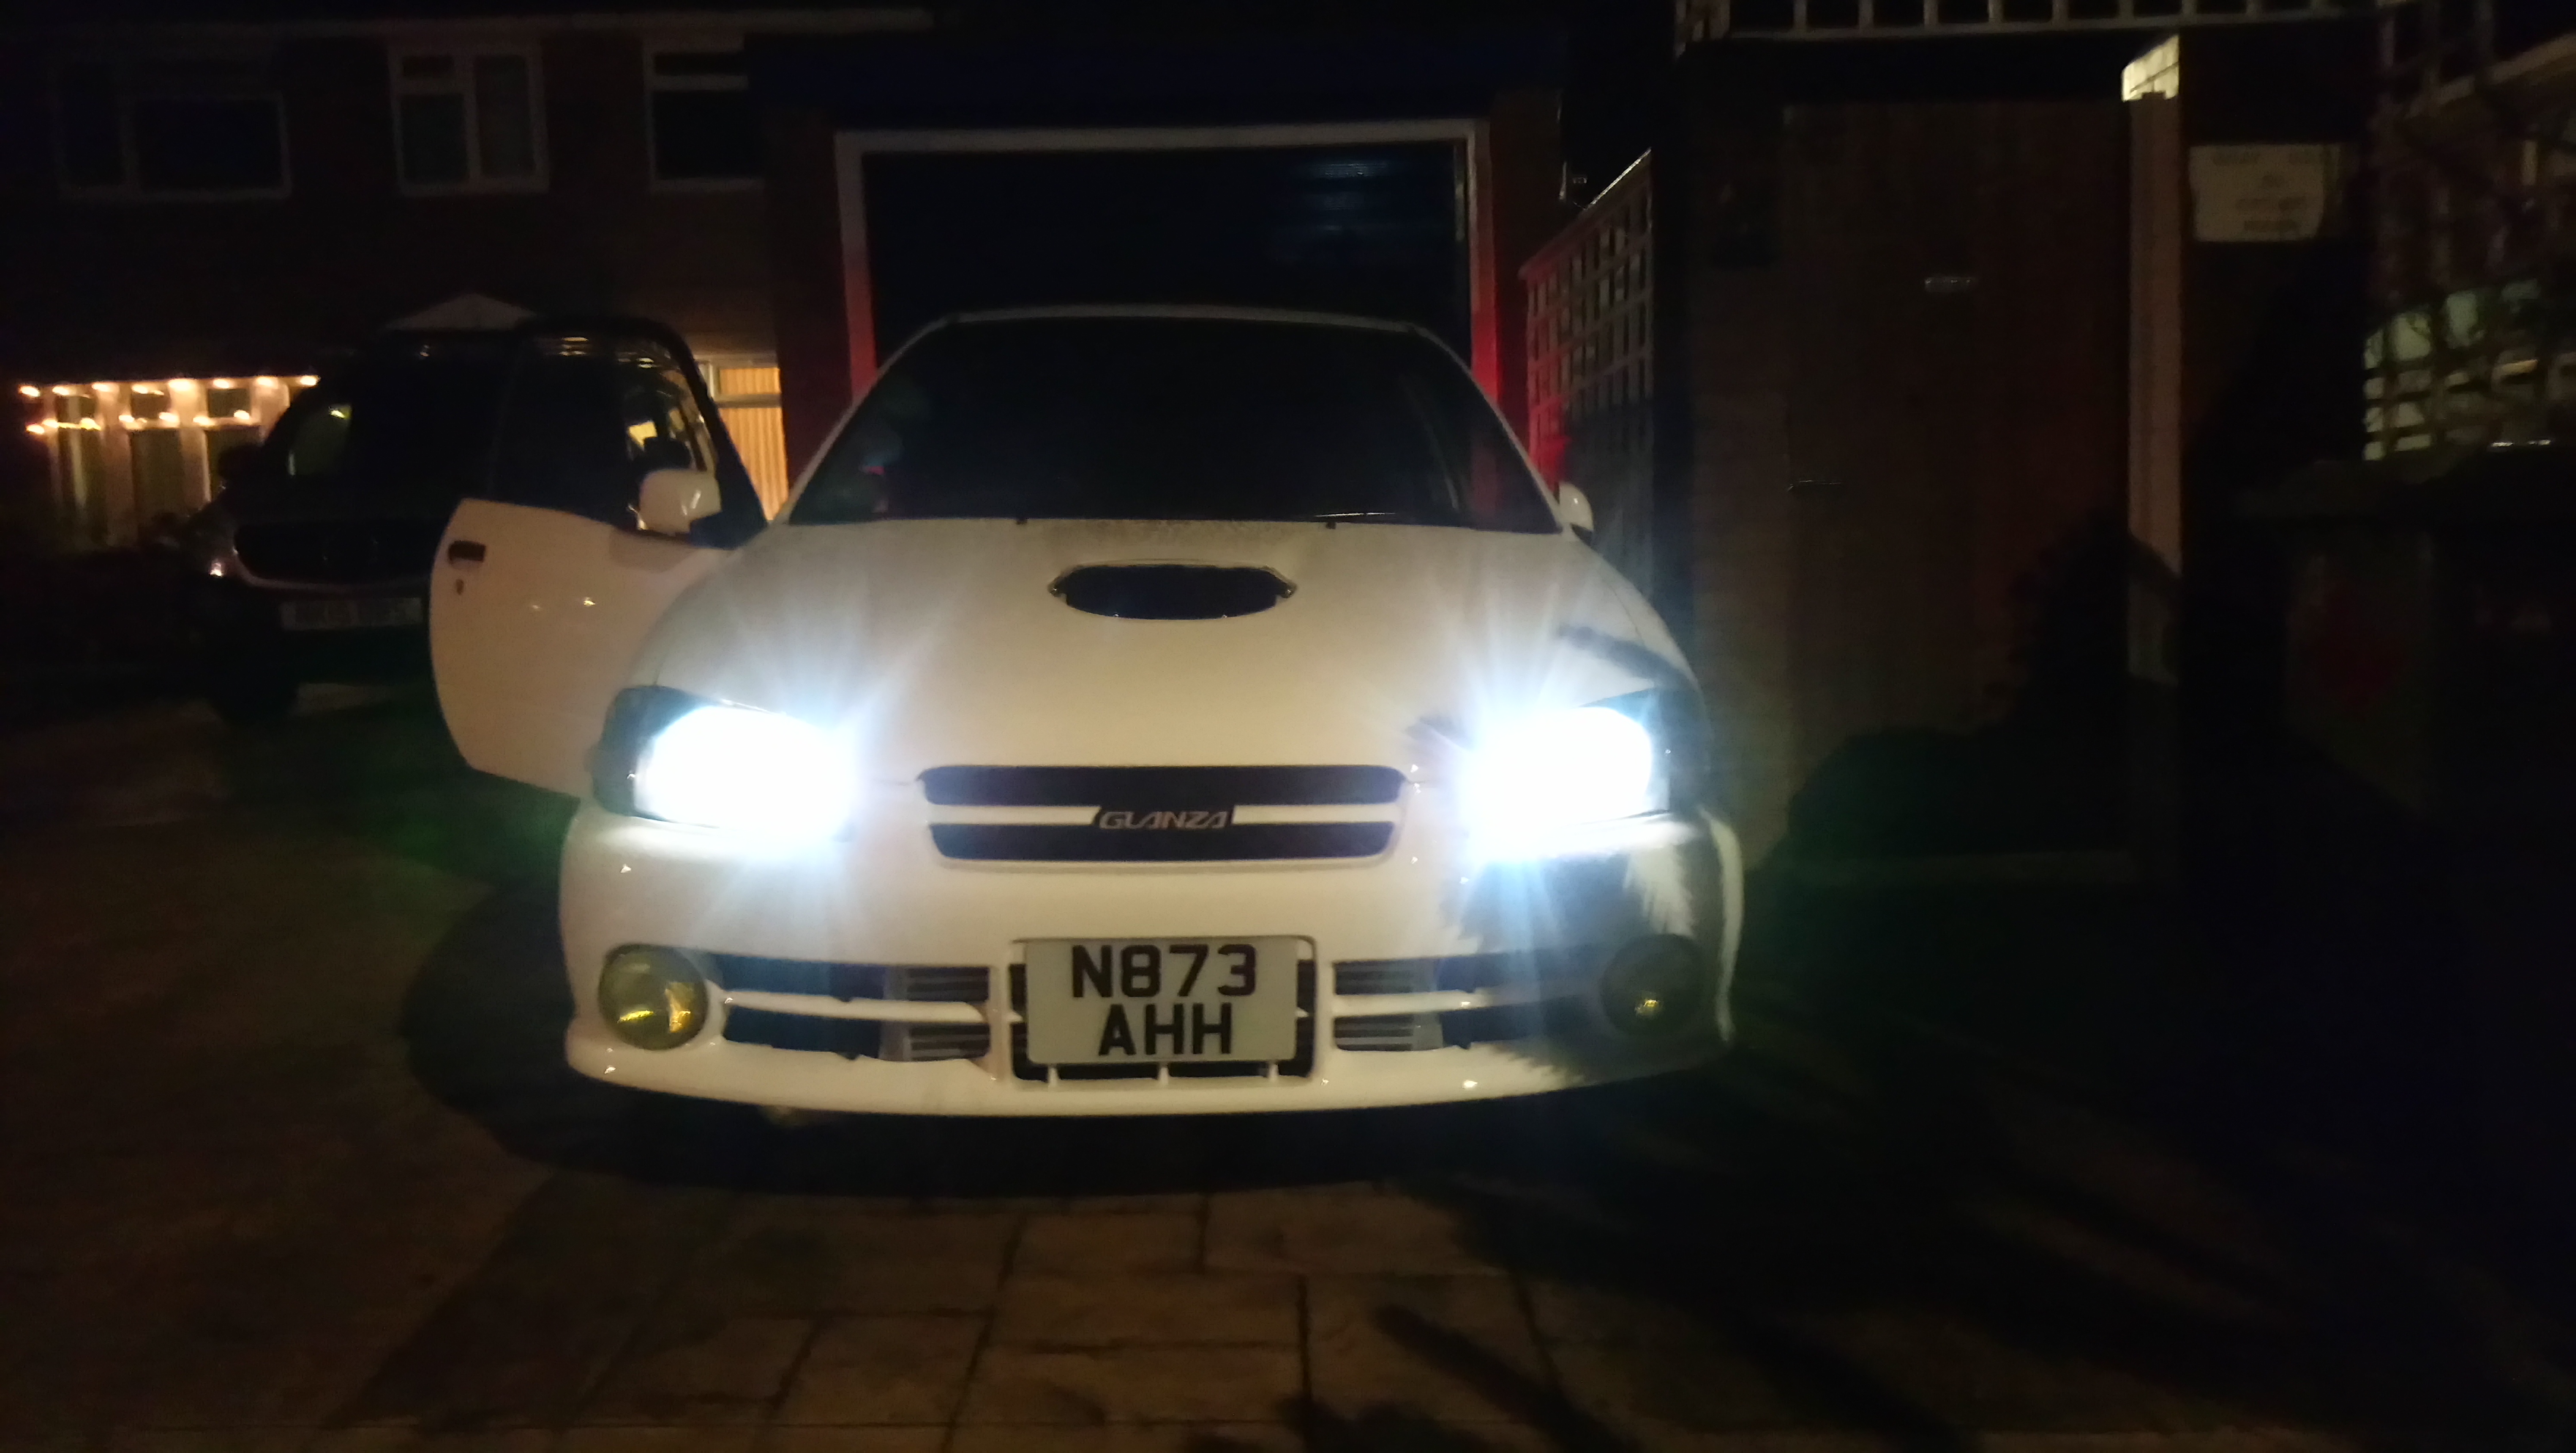
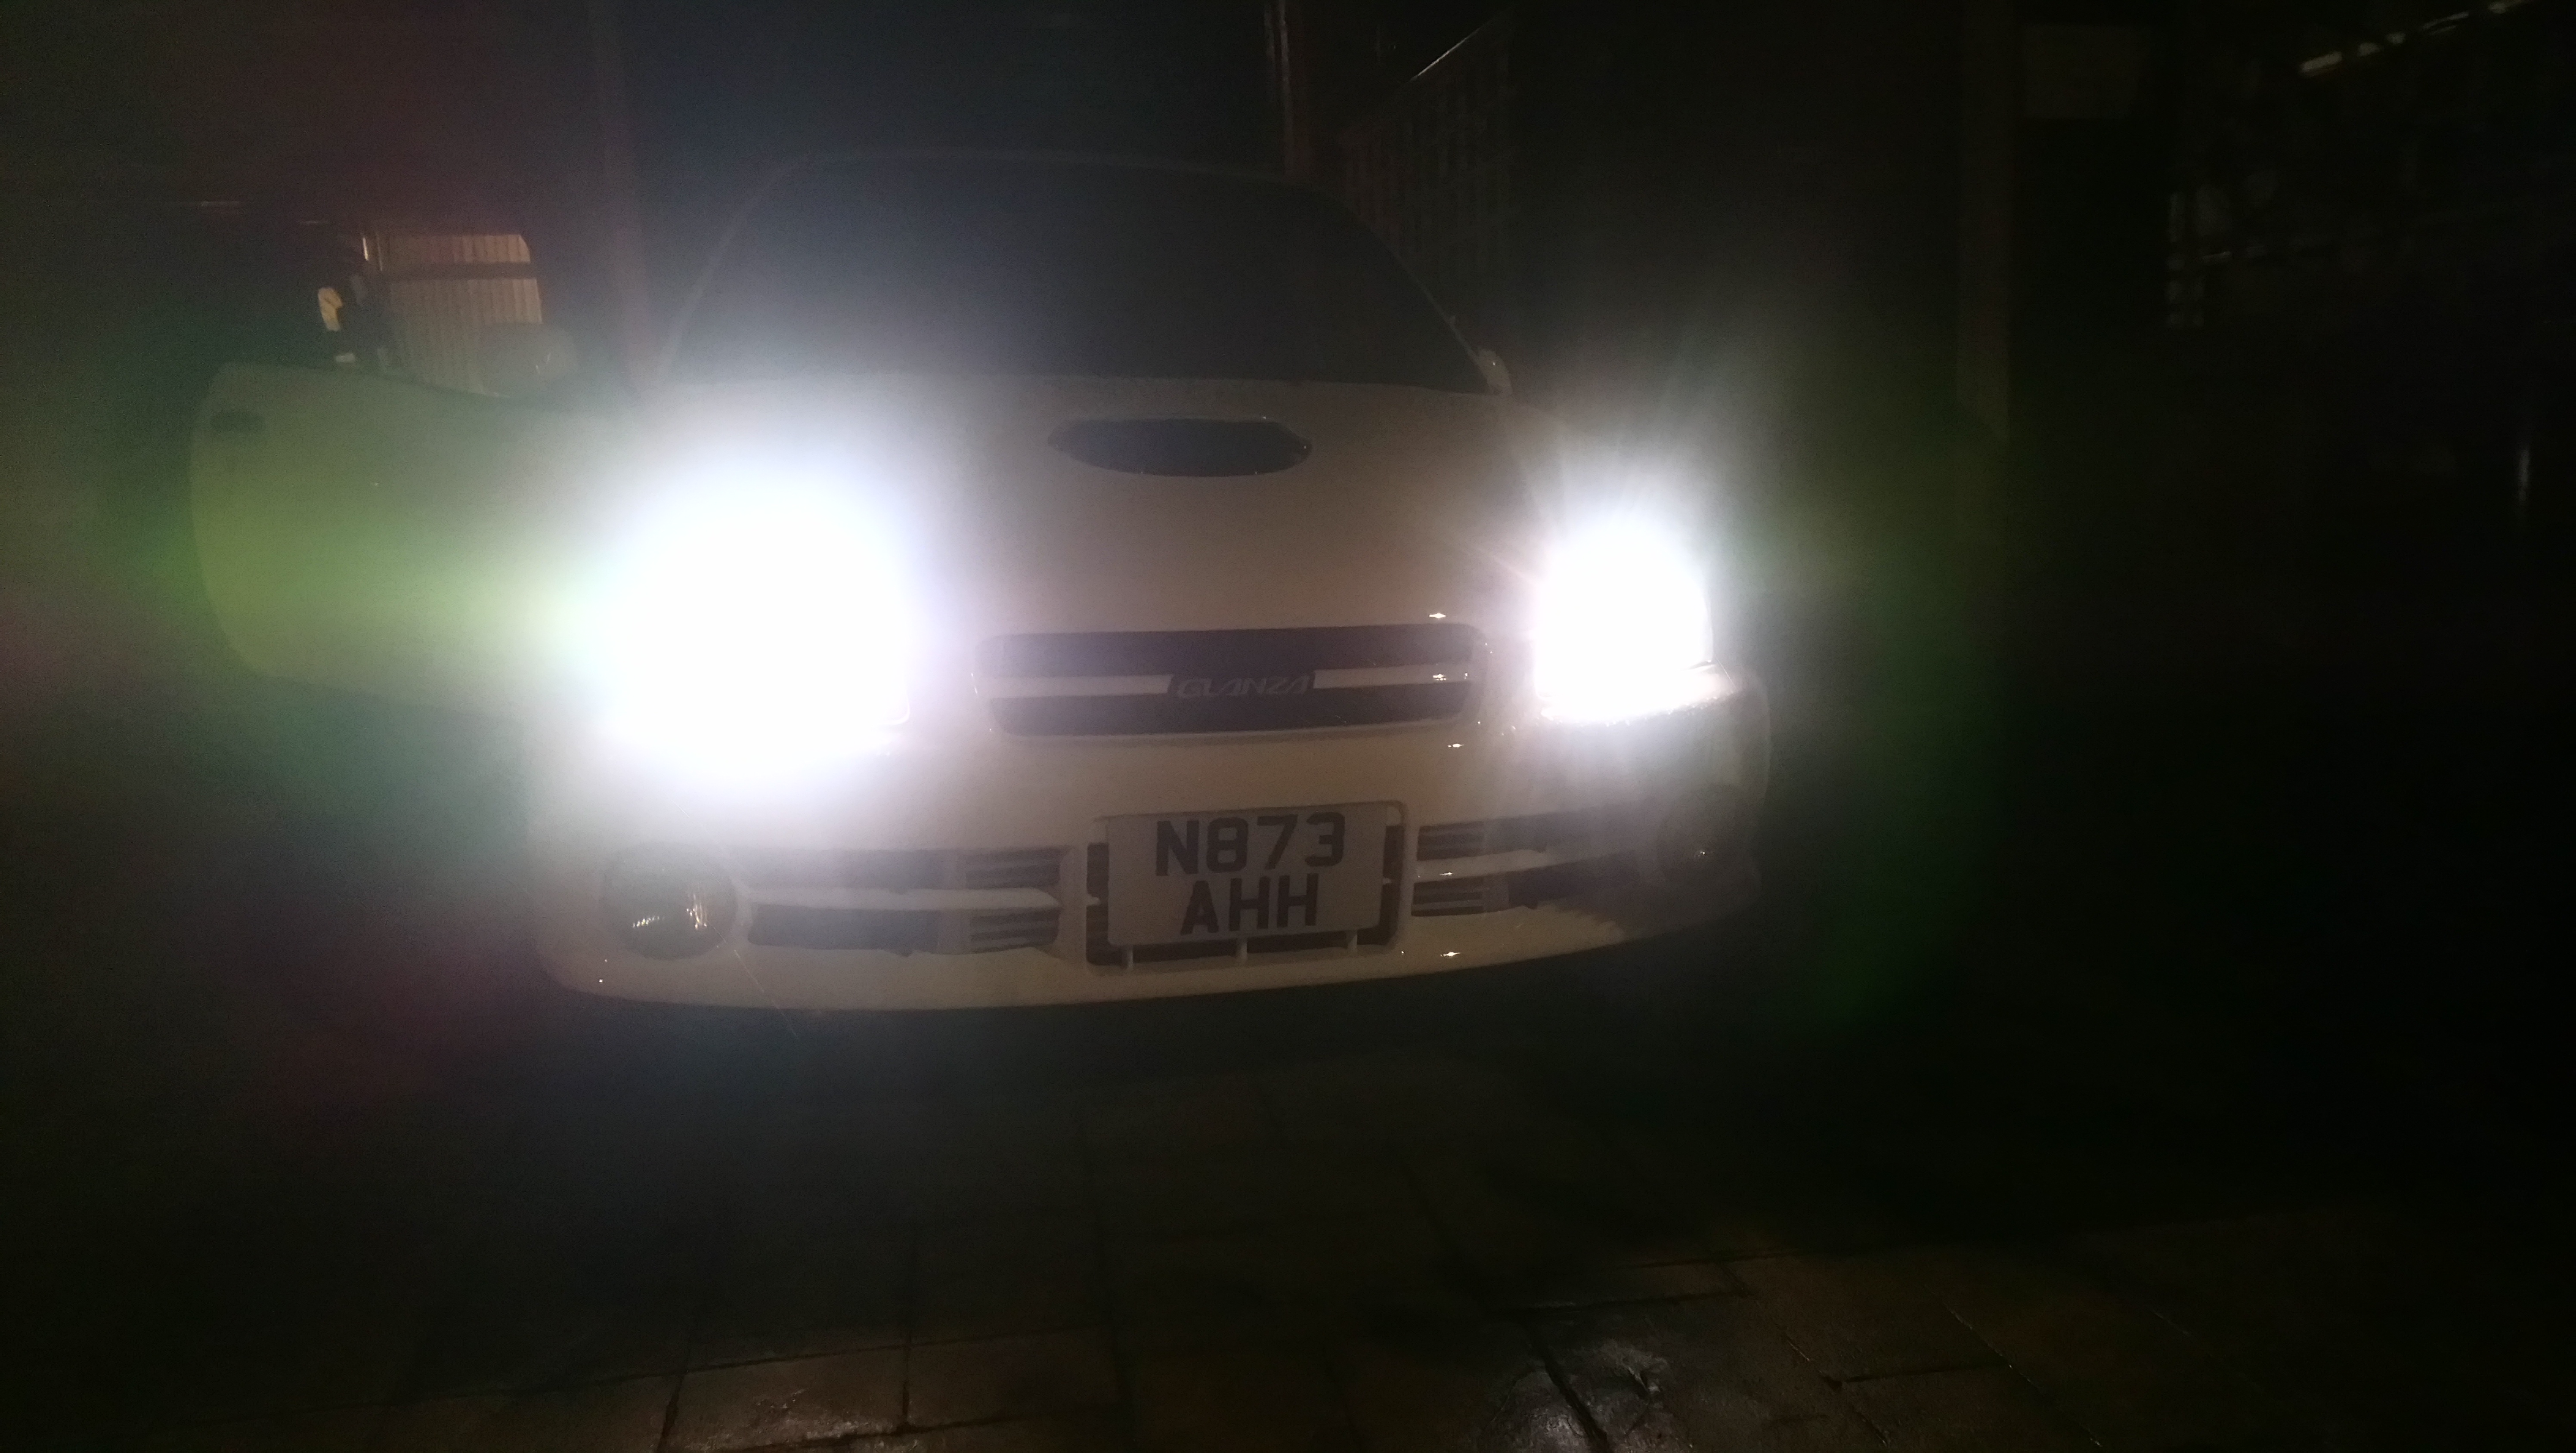
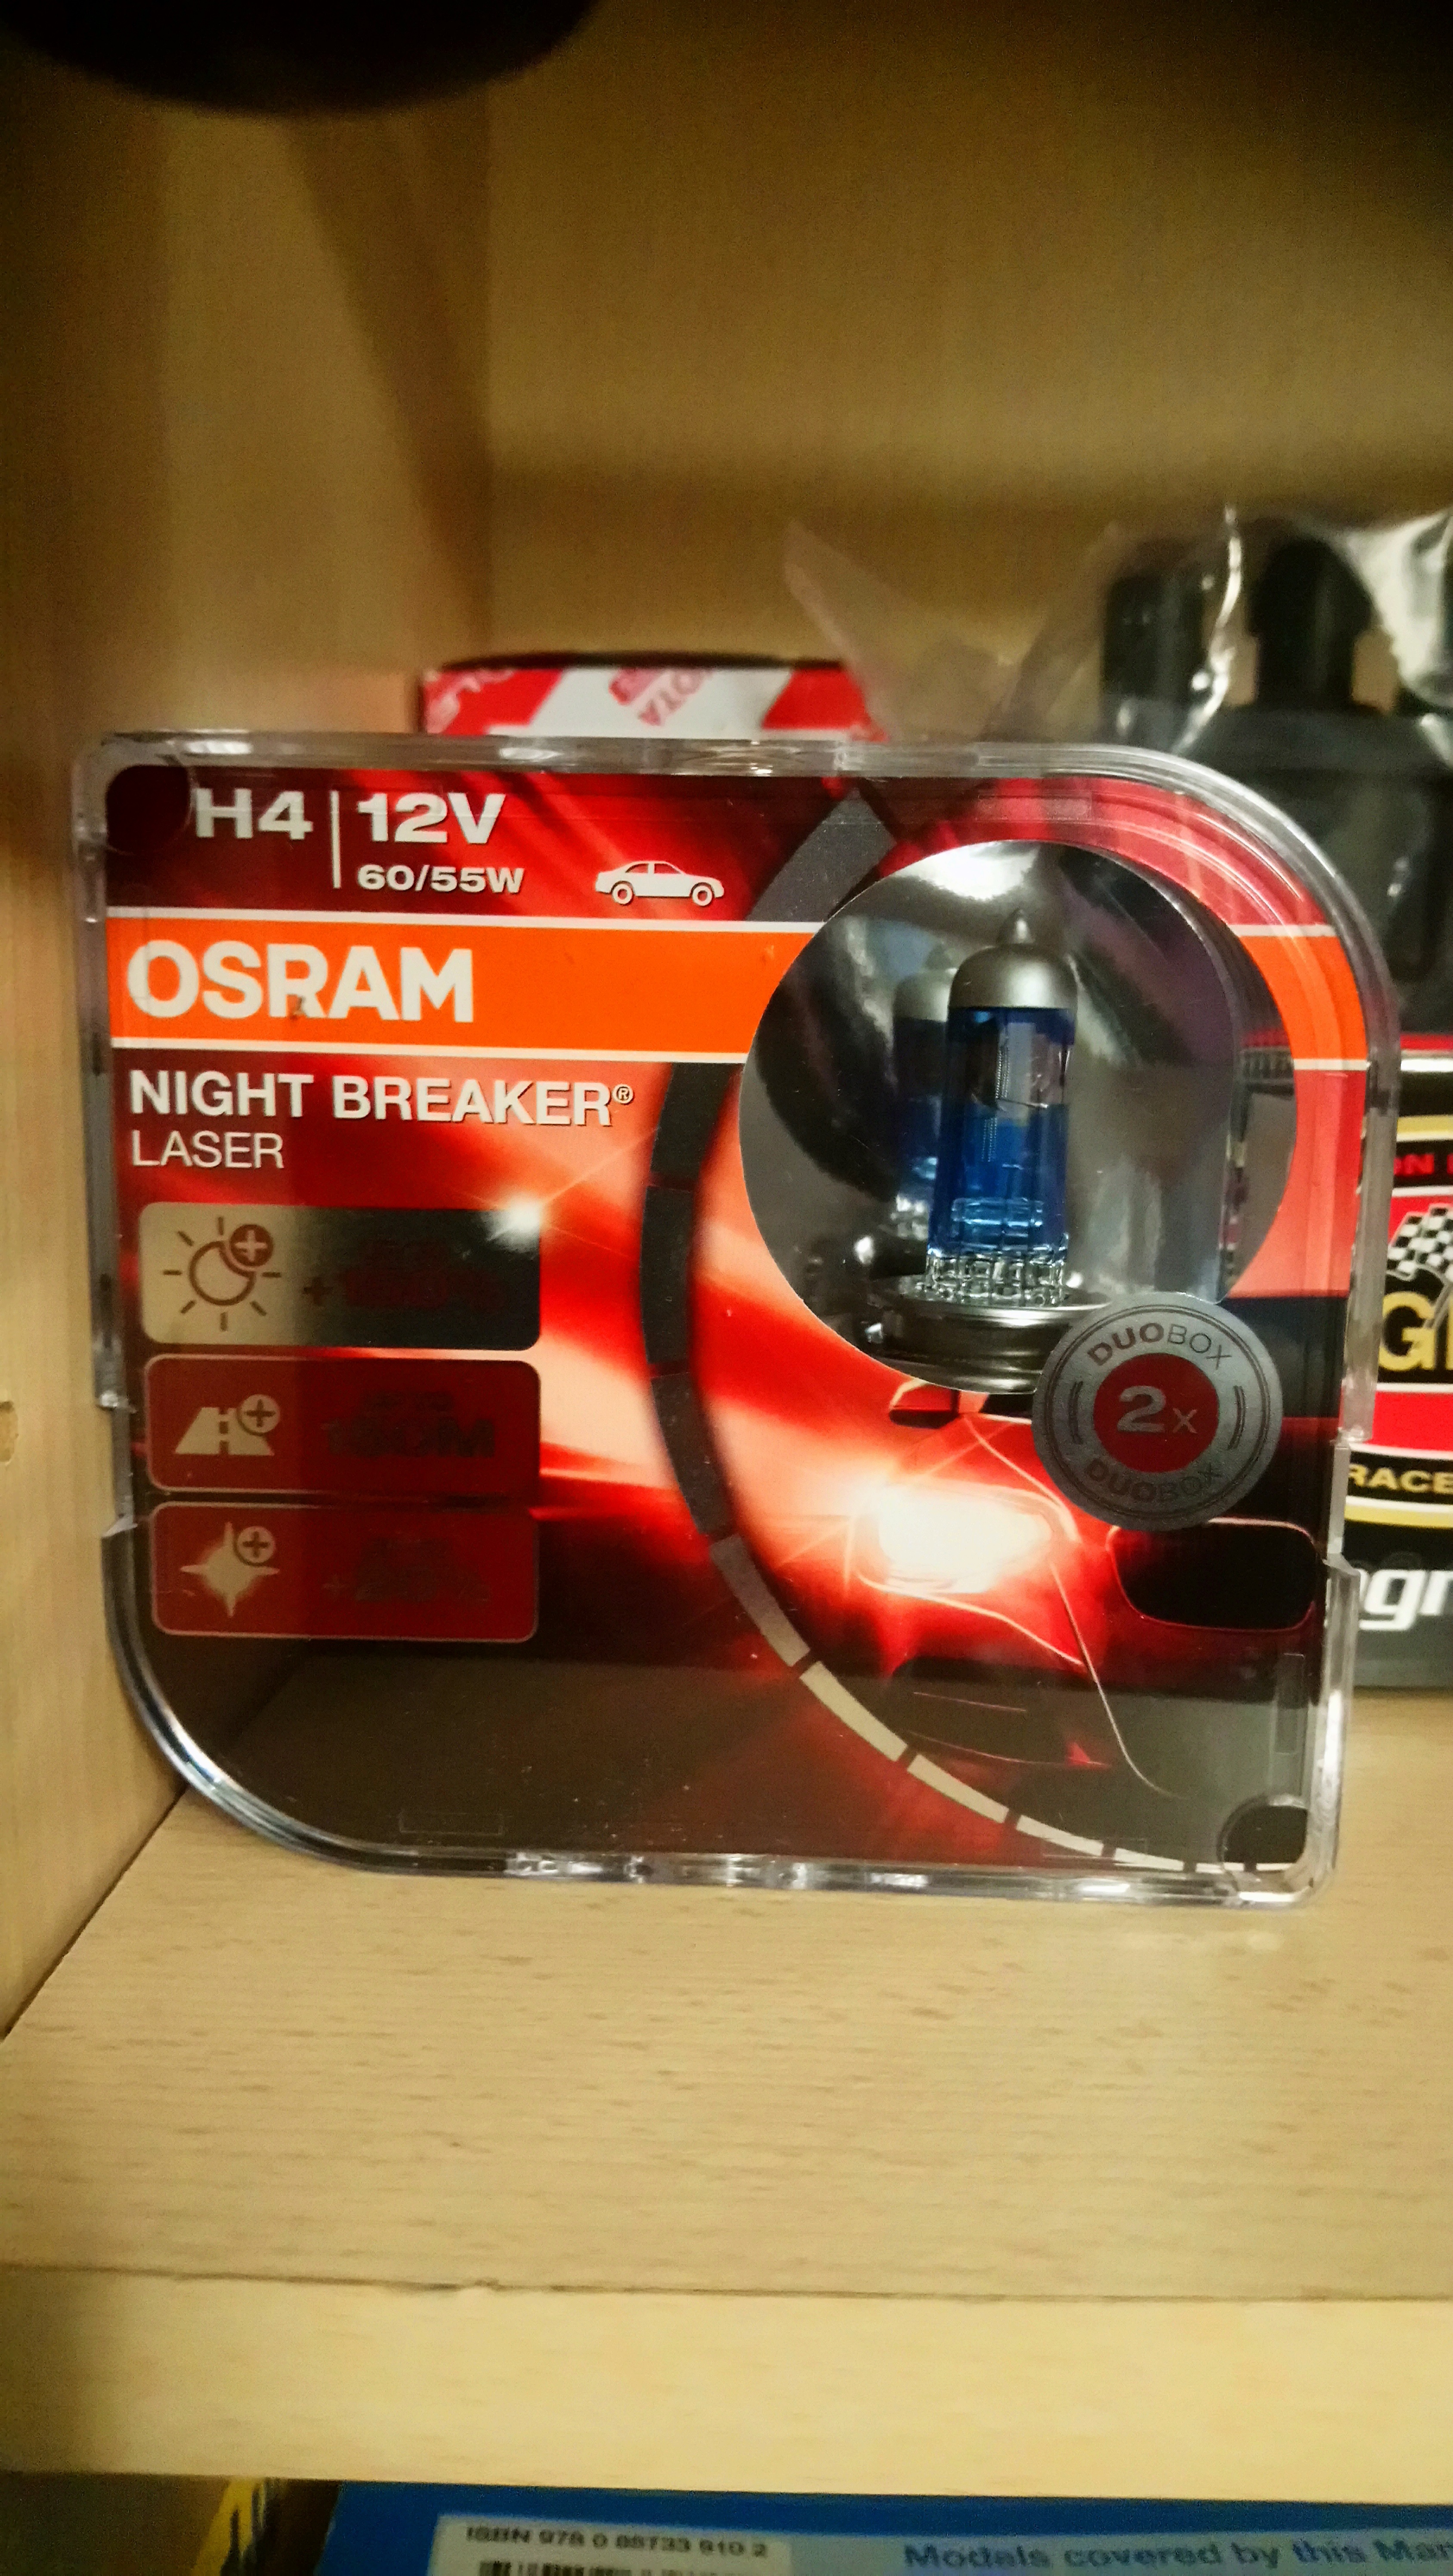
Fitted some new headlight bulbs to the car at the weekend. So much brighter now, a good improvement over the ones that were in there.
Side lights

Dipped beam
Ive got some time off work over christmas so started doing some jobs on the car.
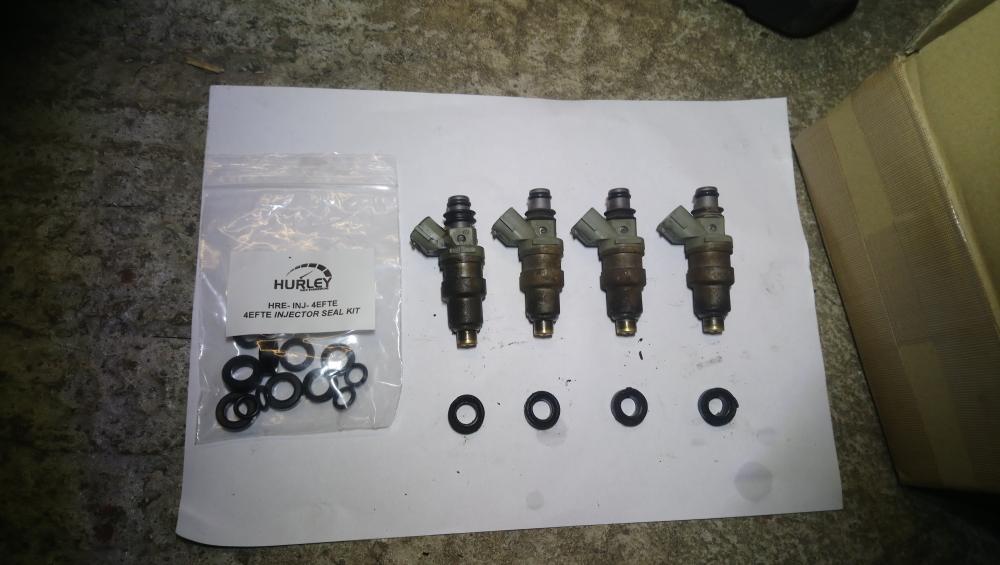
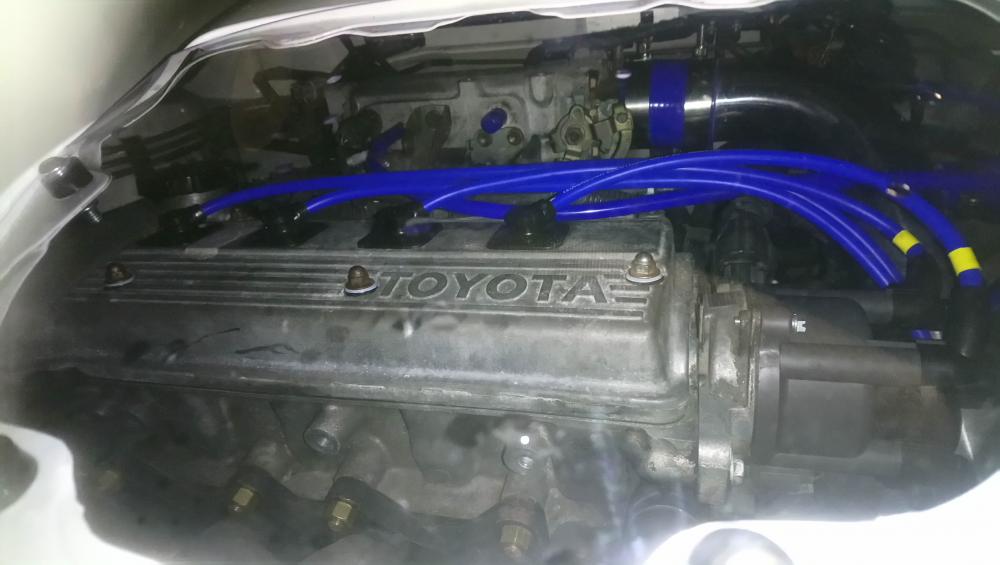
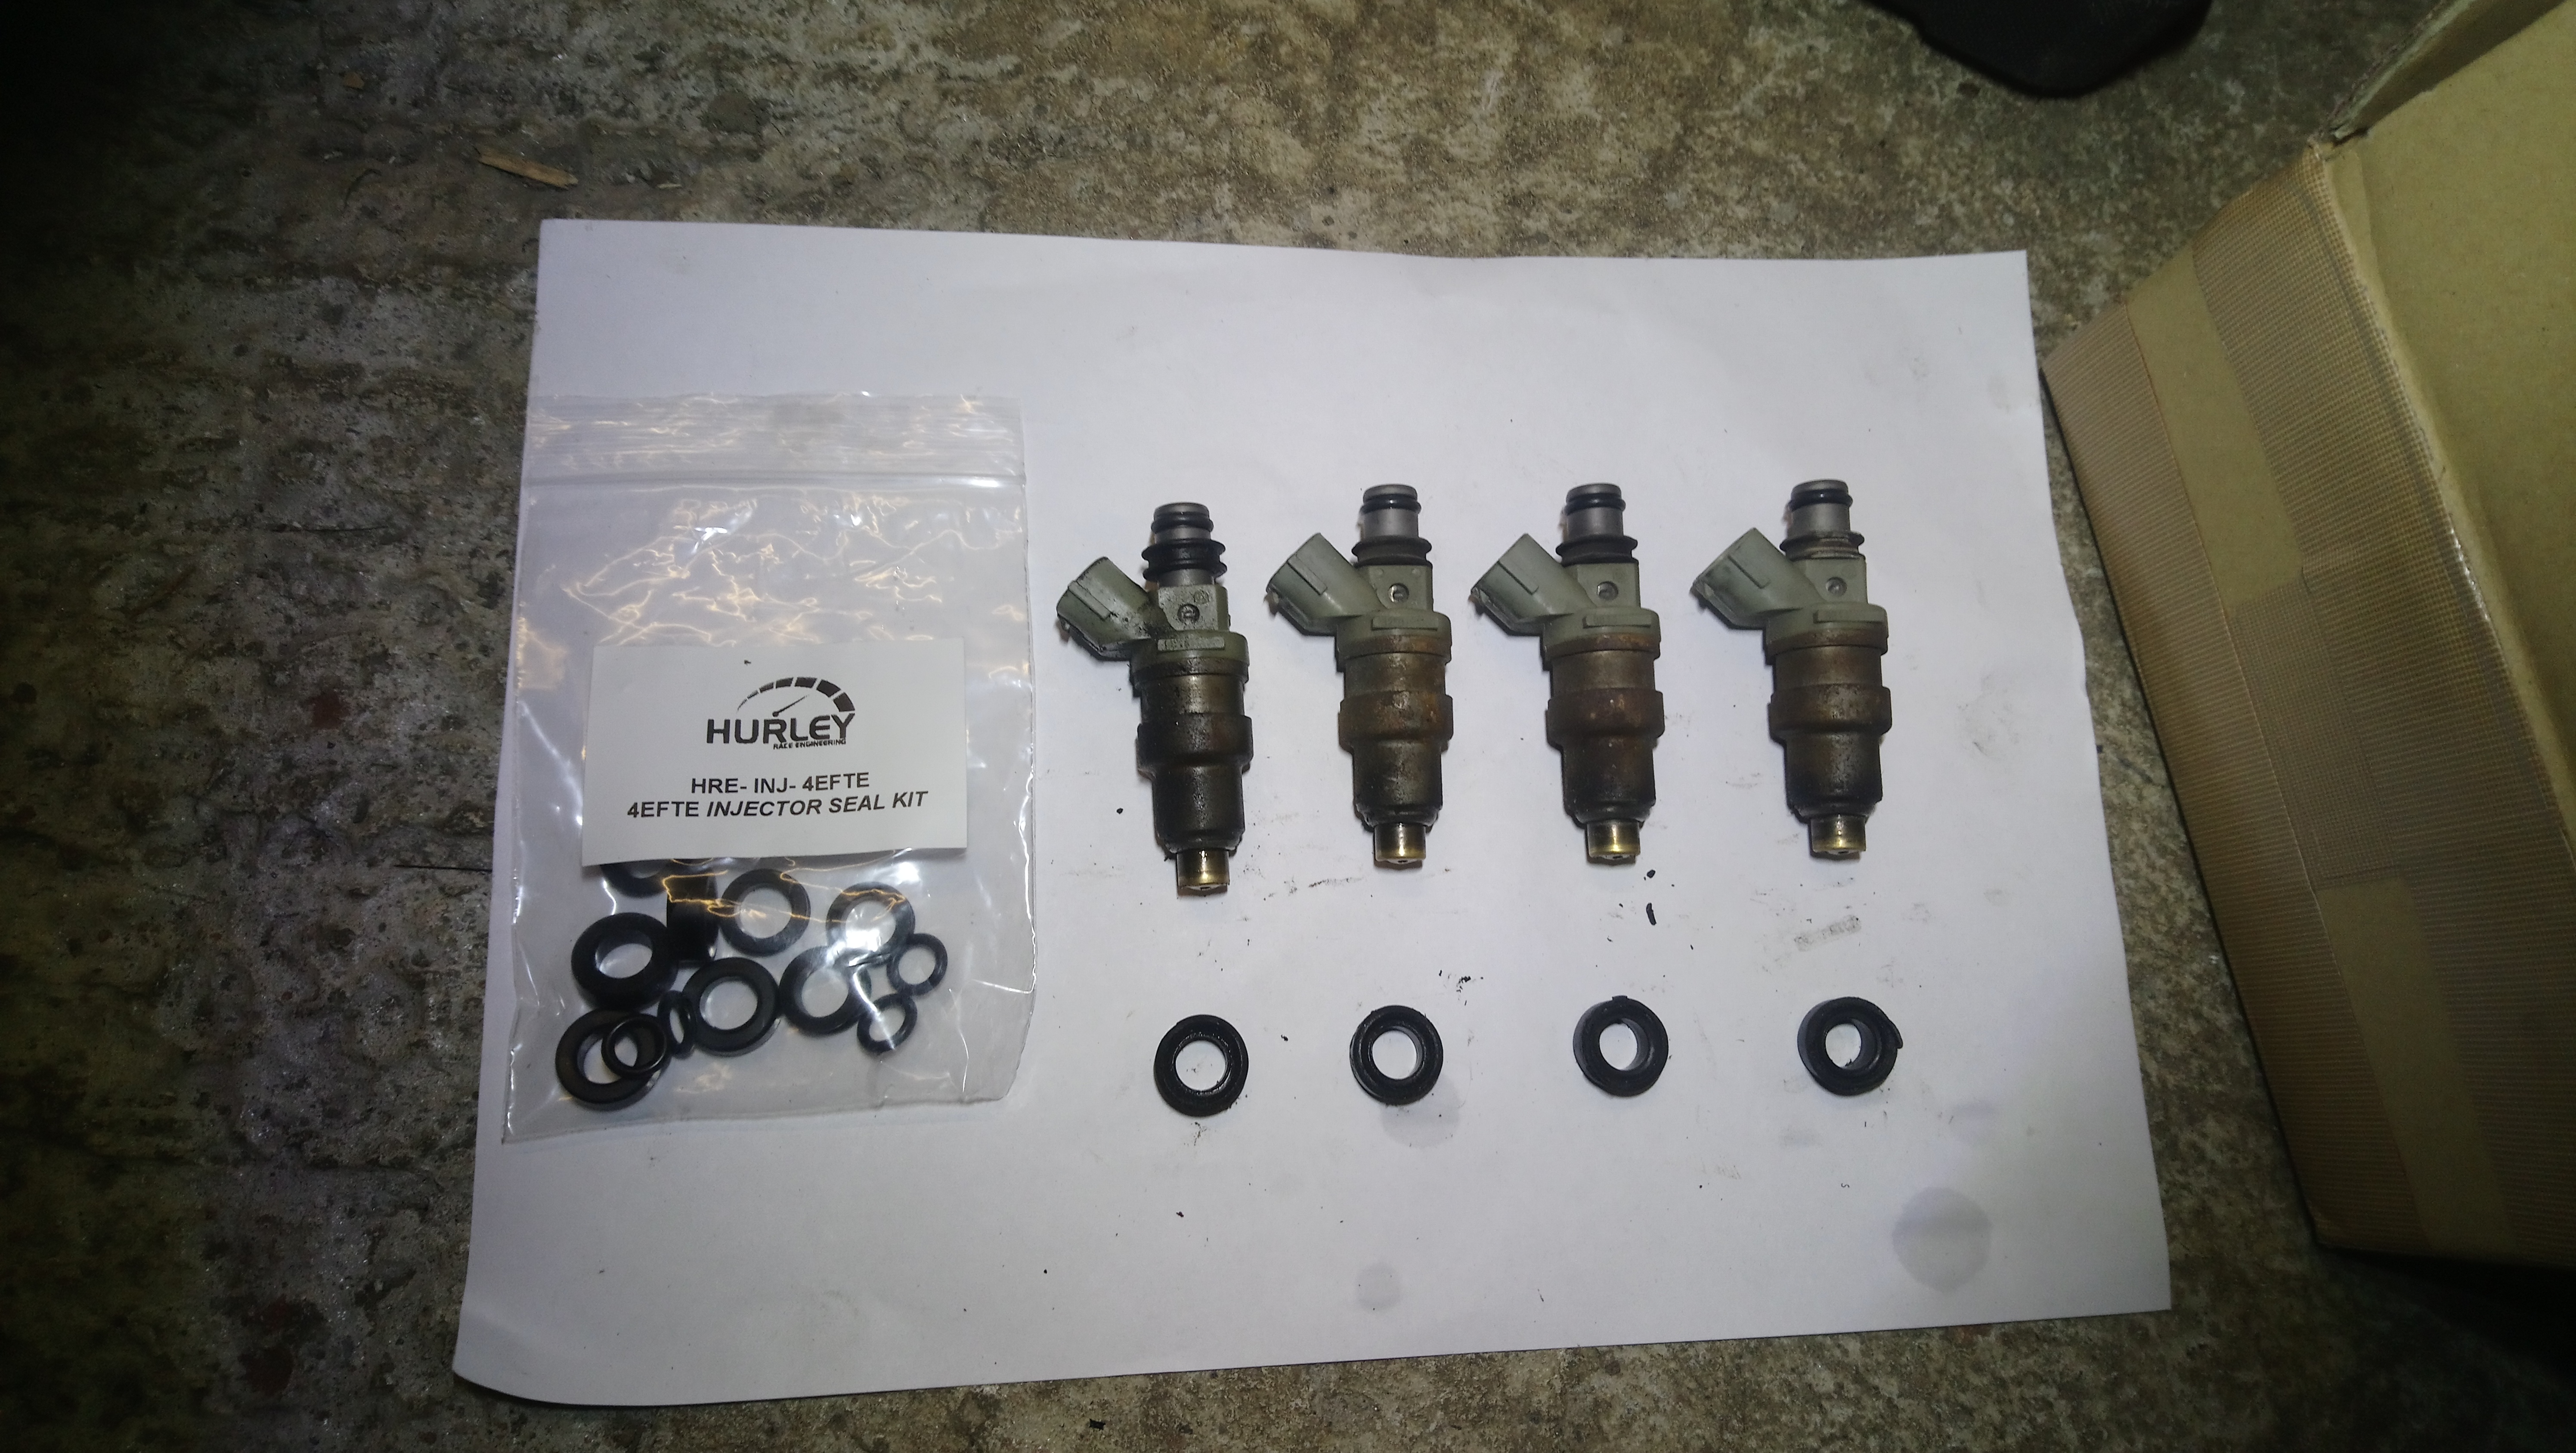
I wanted to change the fuel injector seals as they looked perished and worn, so removed the injectors from the fuel rail and swapped the seals out for some fresh ones. I used a little bit of silicone grease on the new o rings to prevent them snagging.
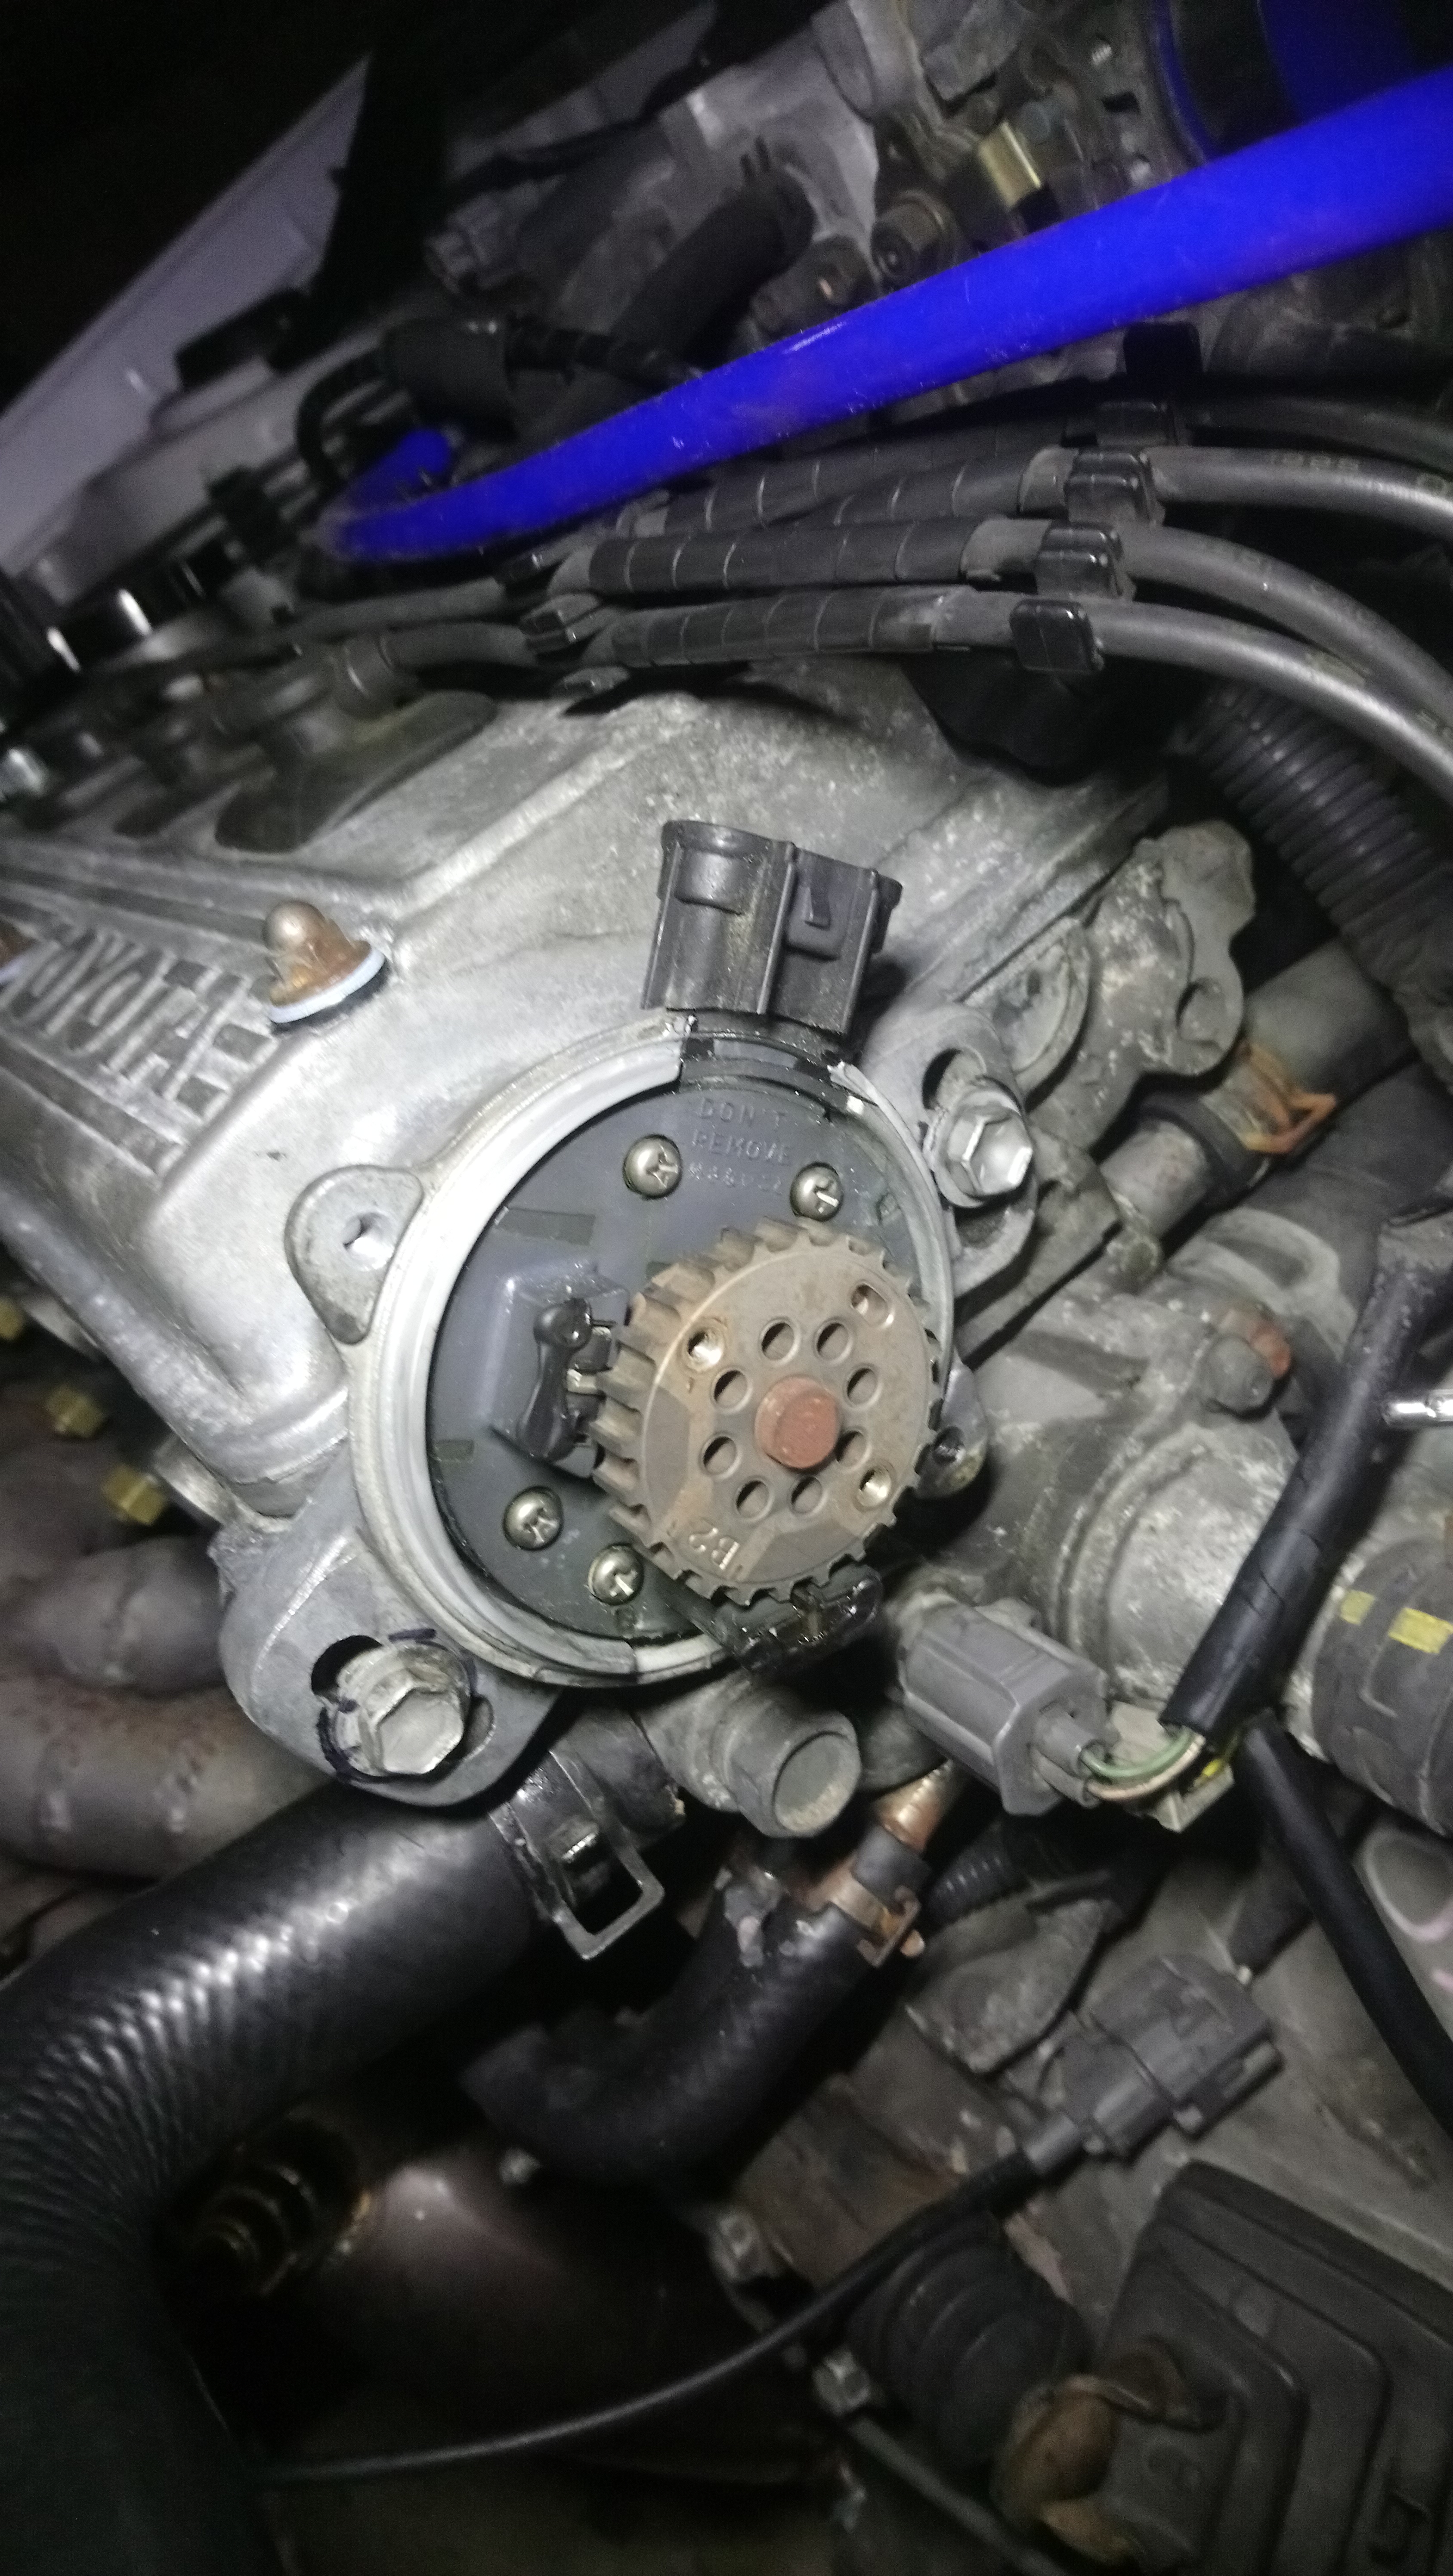
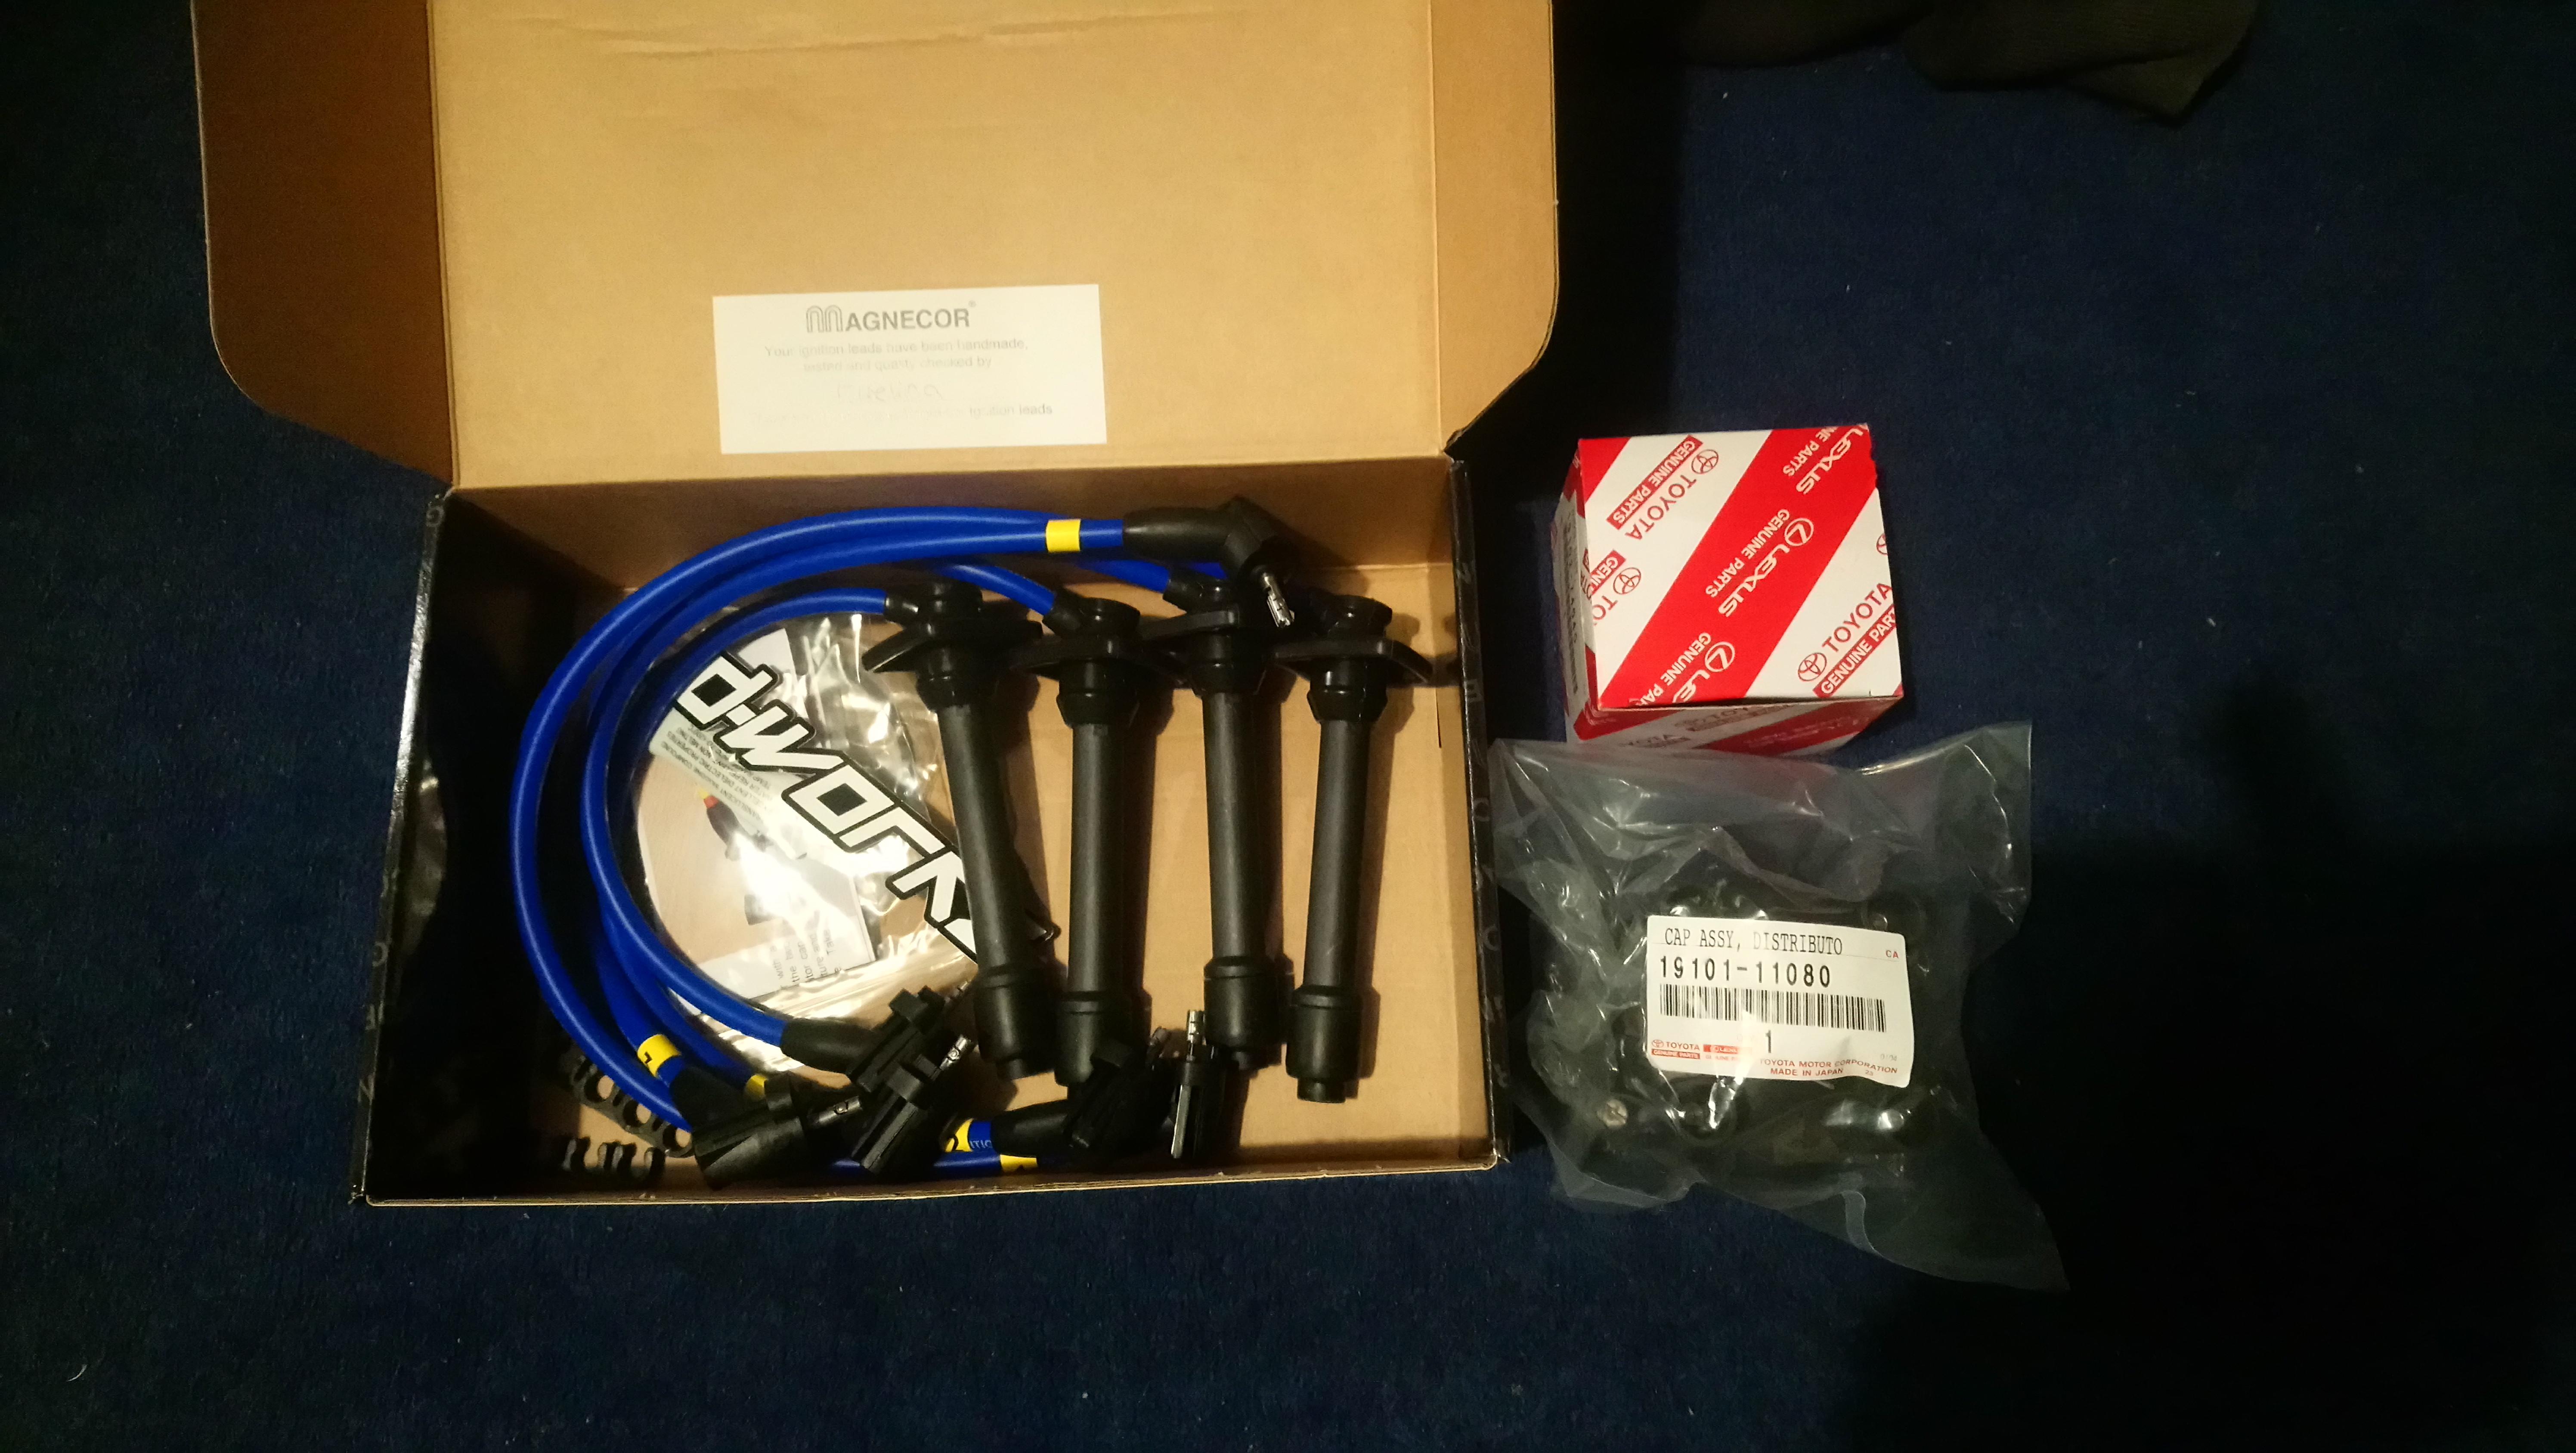
I fitted my new dizzy cap and rotor arm.


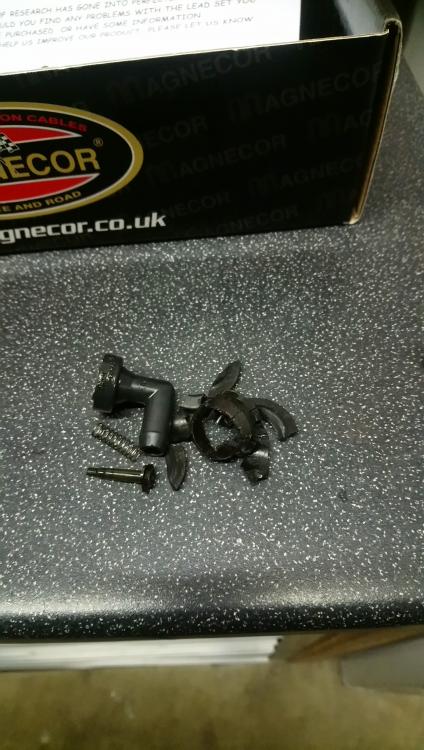
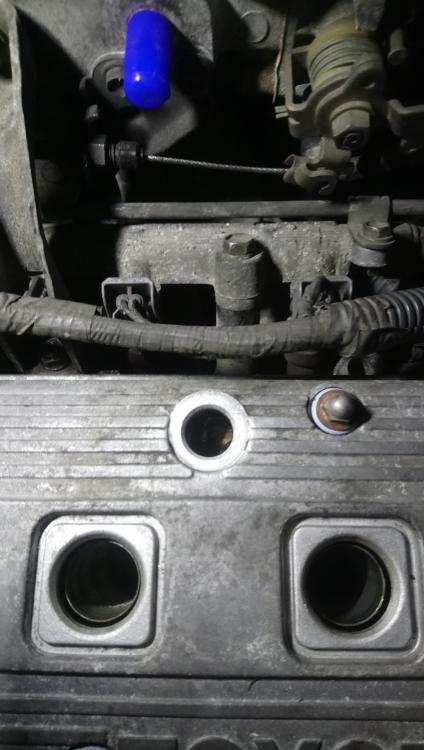
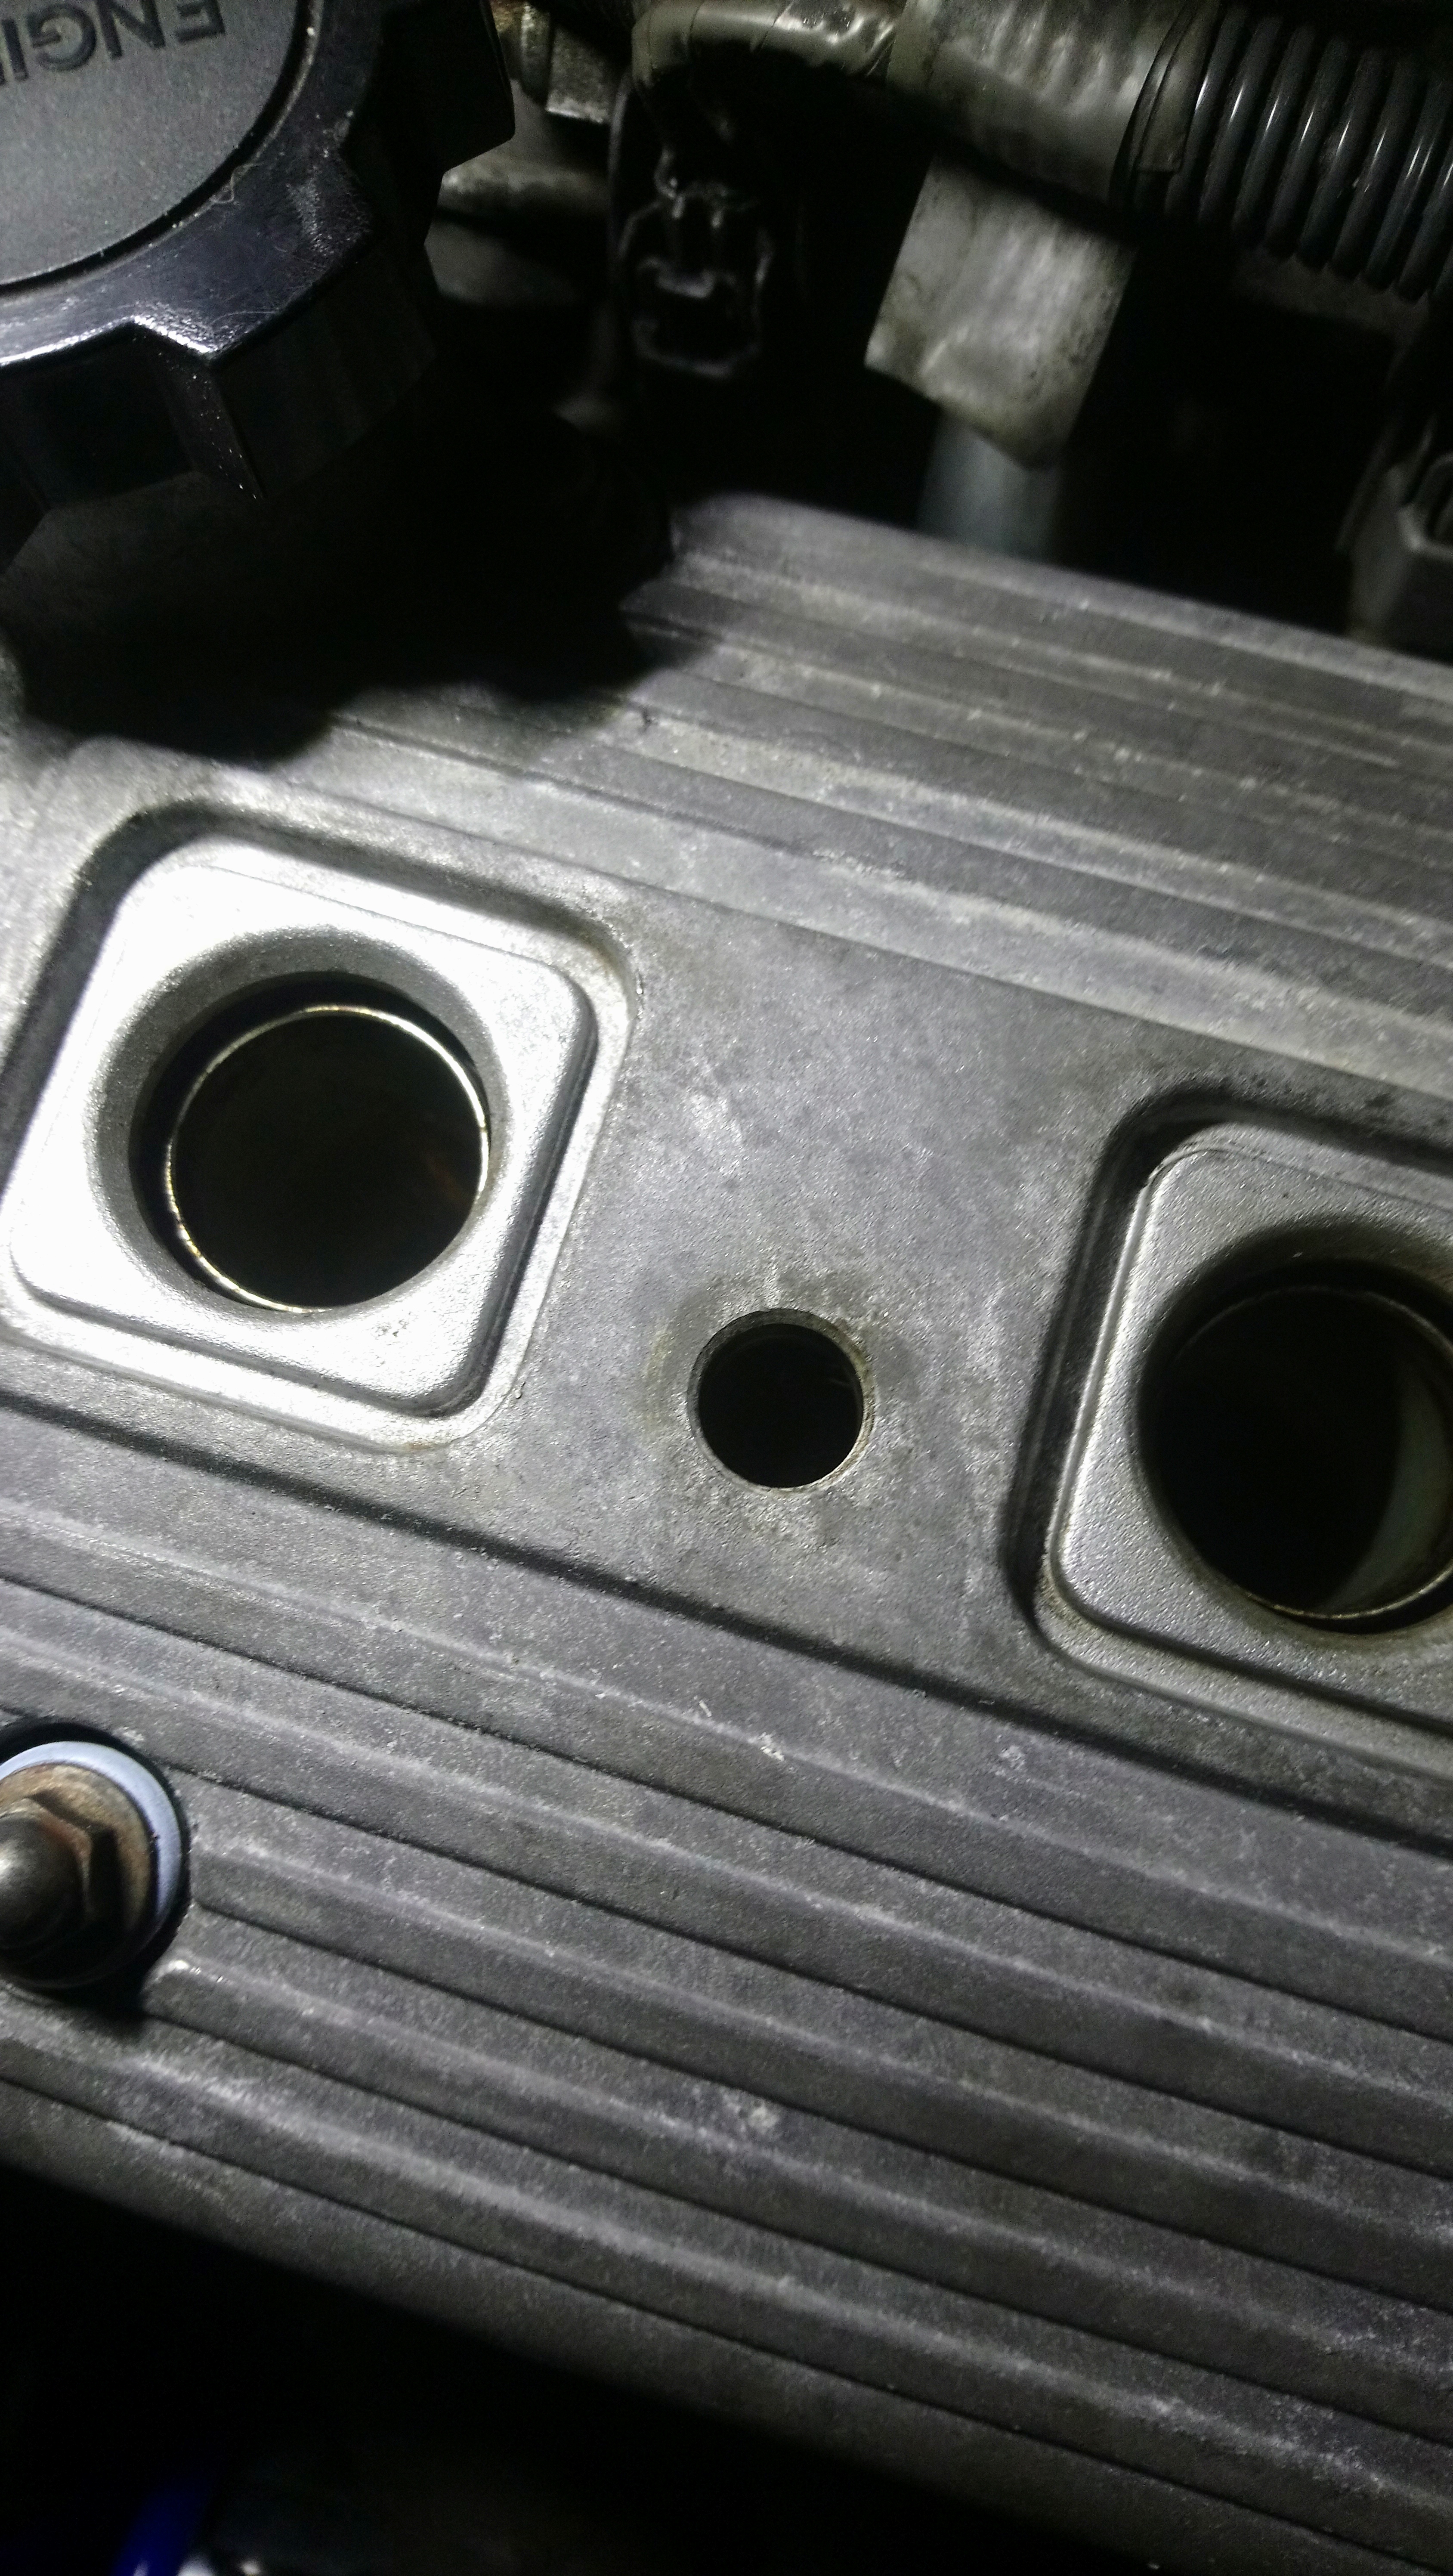
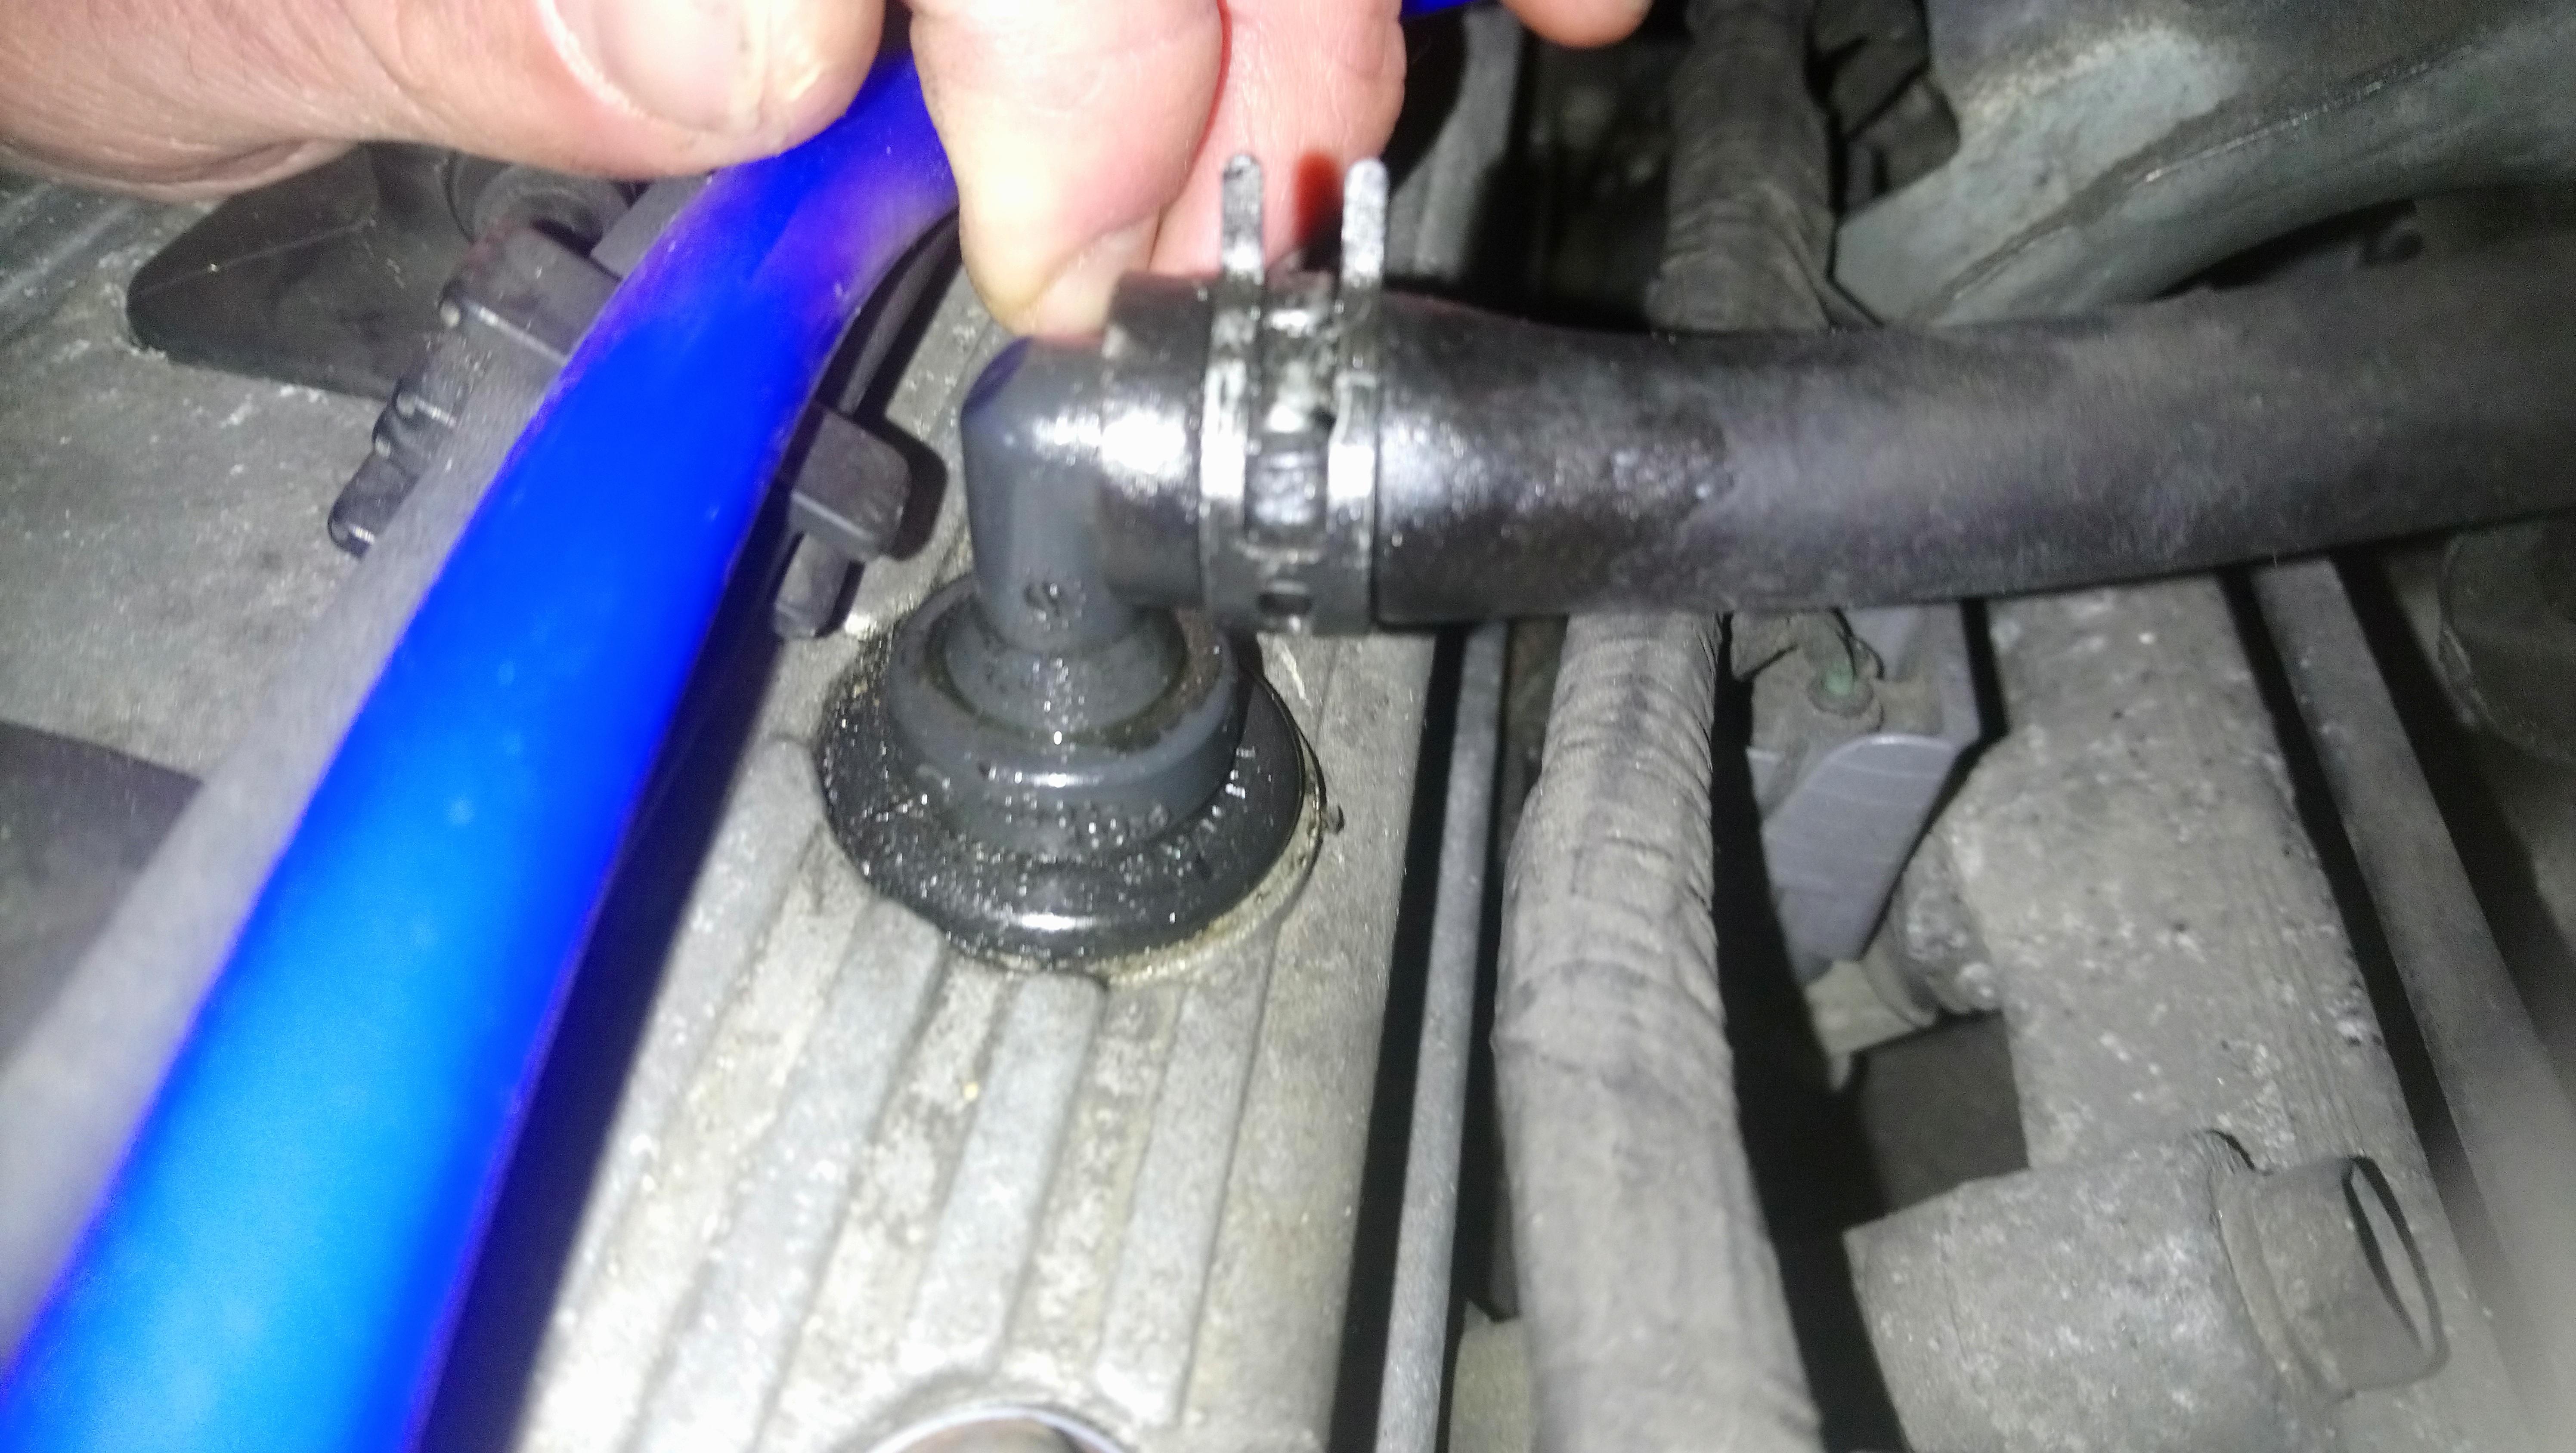
I then set about removing the pcv valve from the rocker cover, It was a pain as the plastic had gone so hard and brittle. Took me a while to carefully remove it piece by piece without dropping any down into the rocker cover baffle area. I also pulled the other breather tube out ready for an AN fitting to be welded on instead.
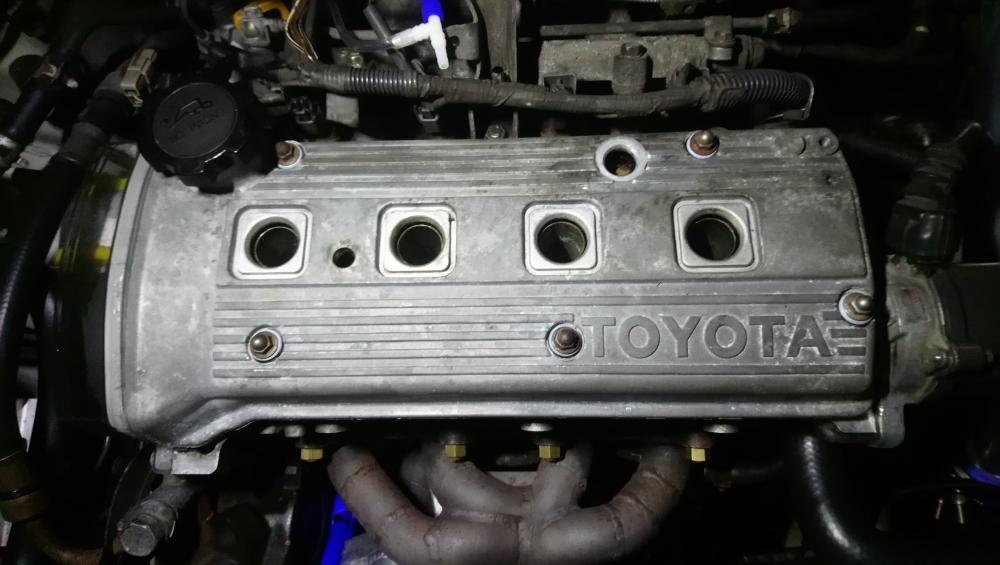
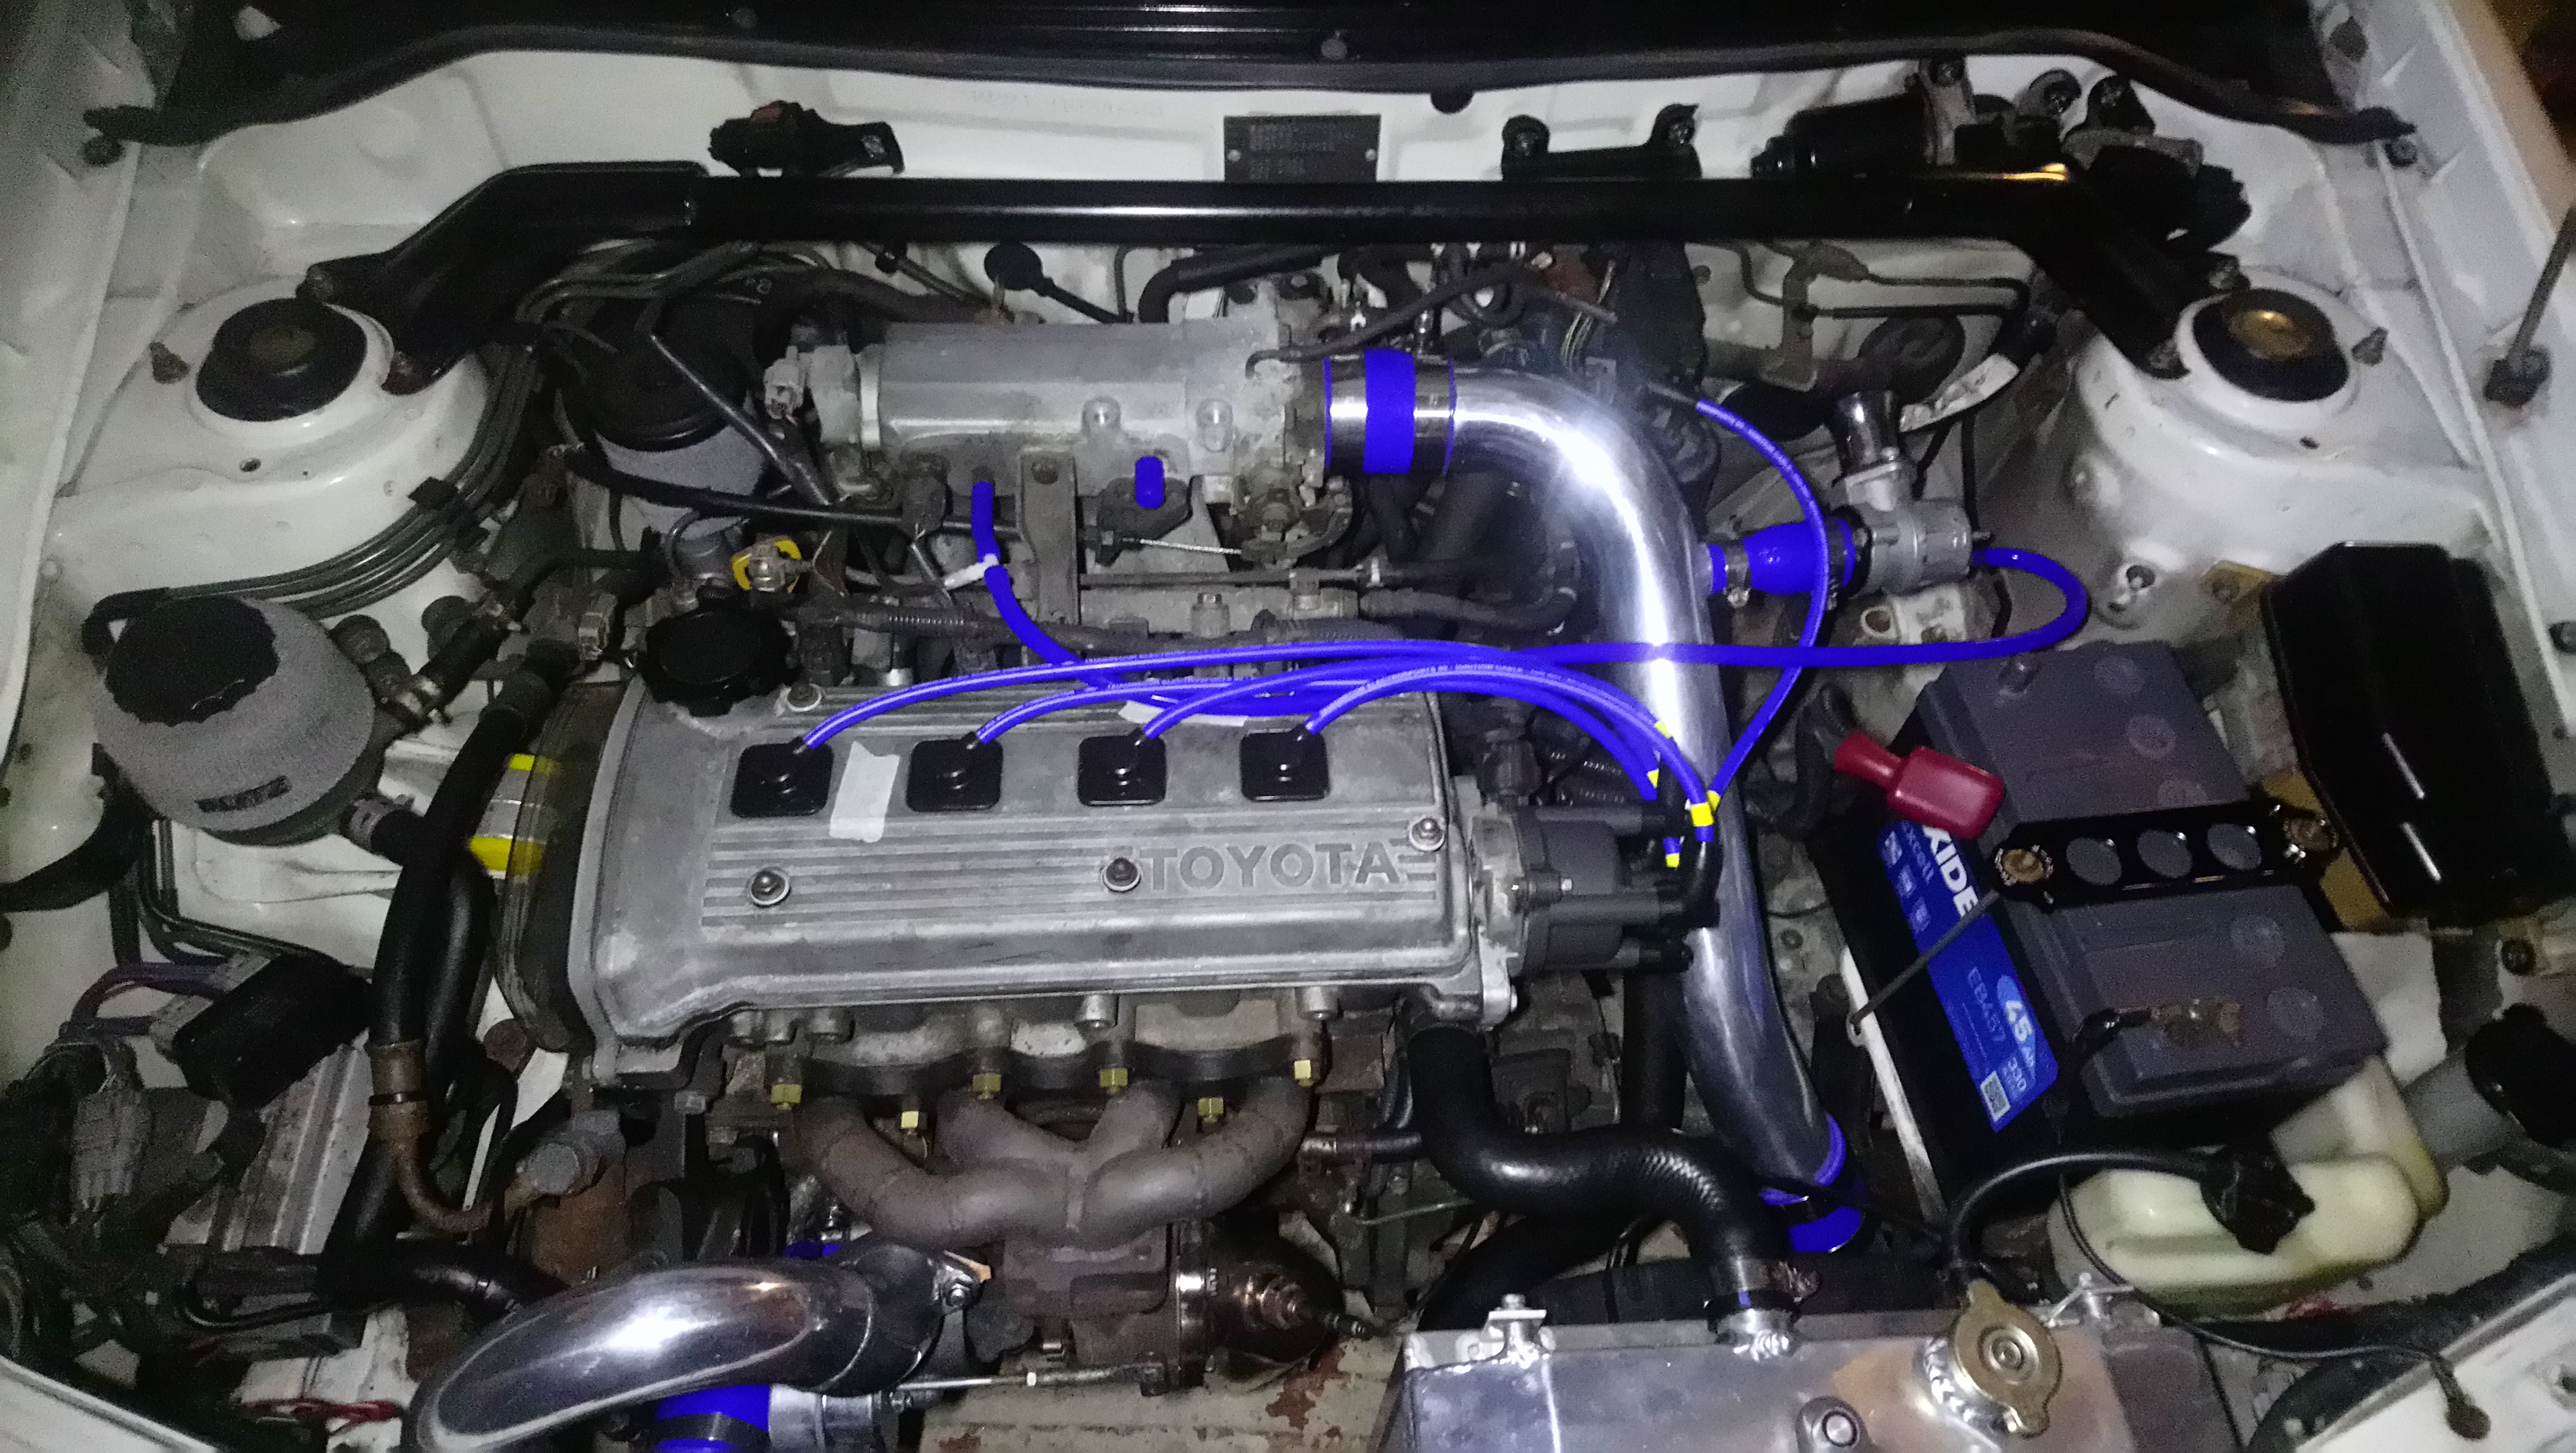
Also test fitted my new magnecore leads. Pleased with them, thinking about doing the rocker cover in a crinkle black once its had the AN fittings welded on for the breather setup.

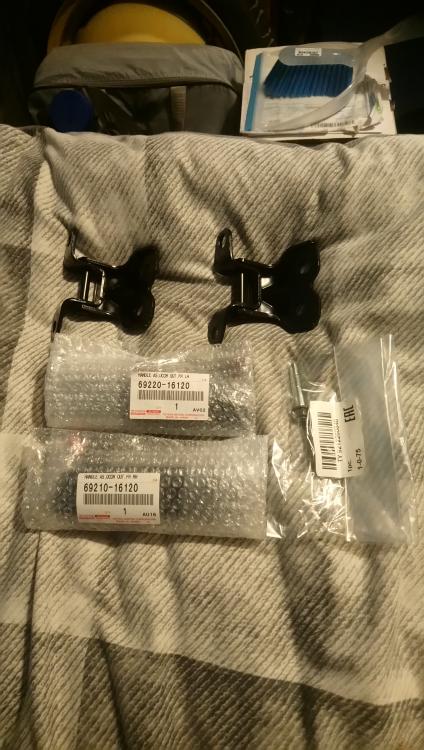
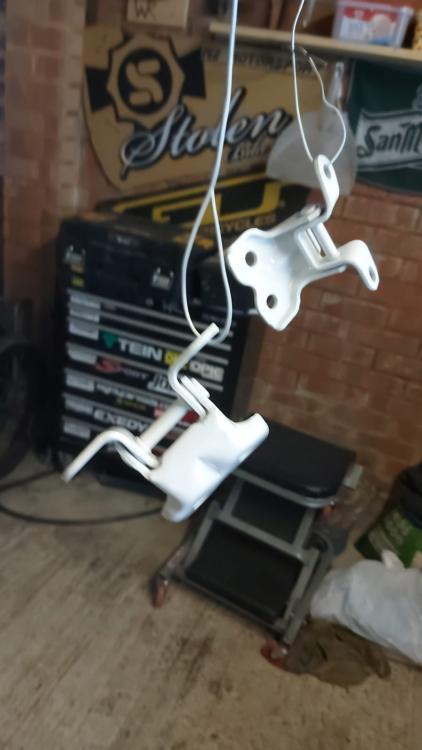
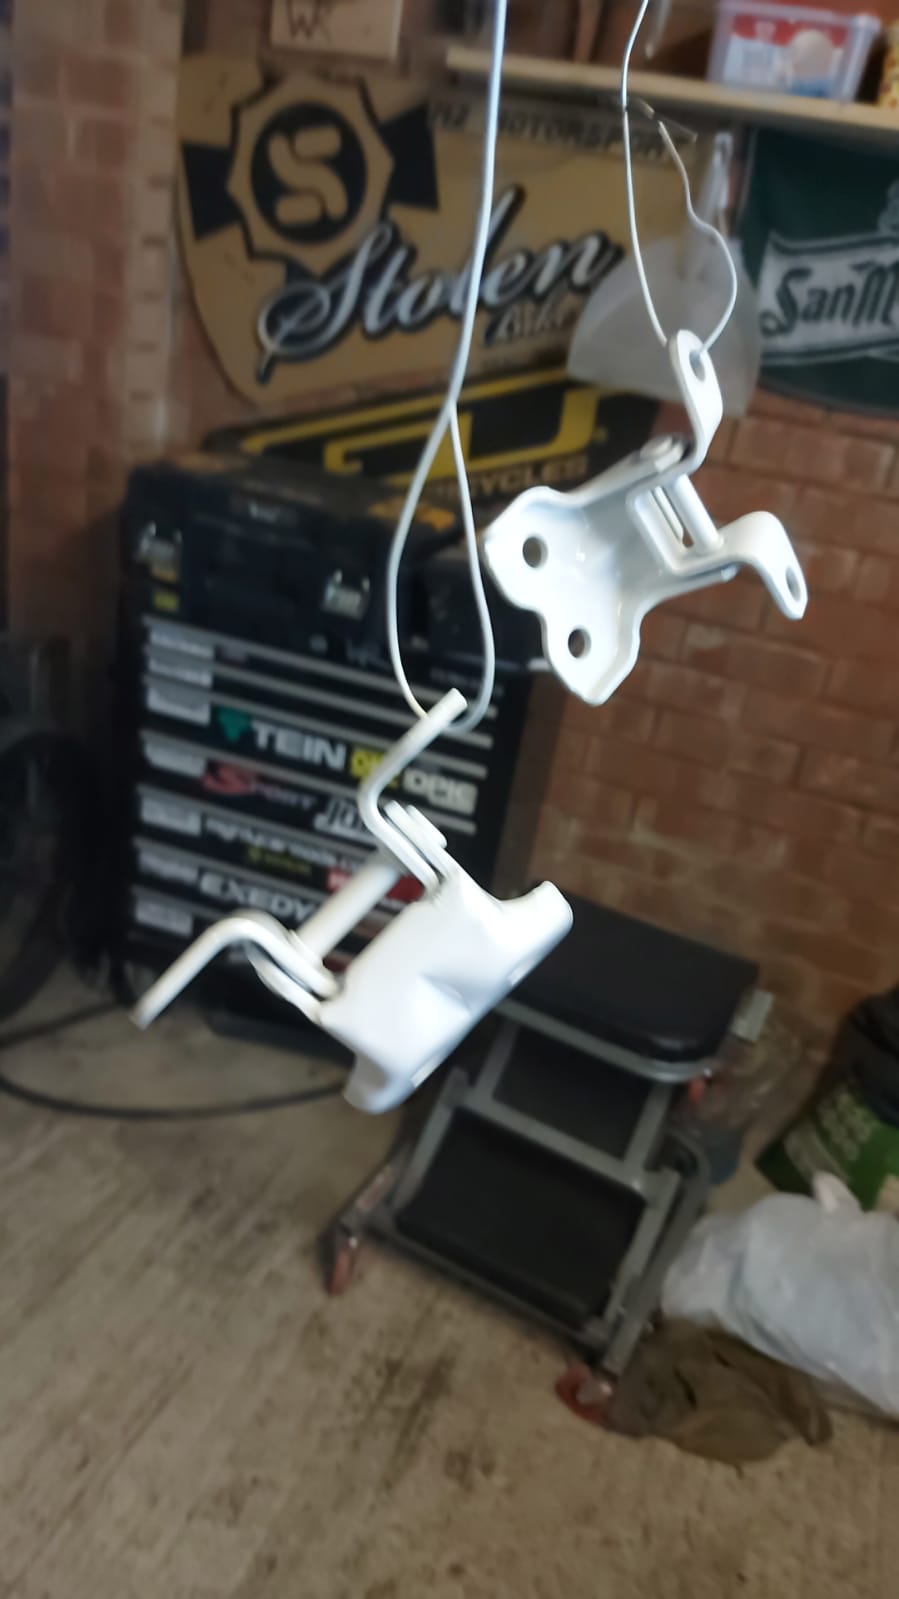
Some more genuine toyota bits arrived too. Two more door hinges to fix my sagging doors and a pair of new door handles as one of mine has snapped inside. Got the hinges painted and installed, a bit of a pain to get to them but the doors shut properley now
.
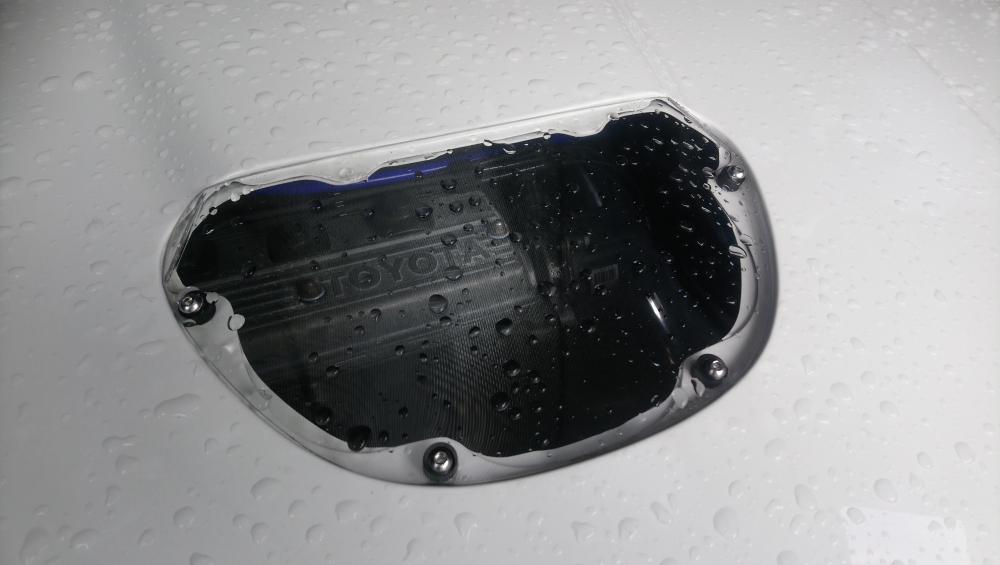
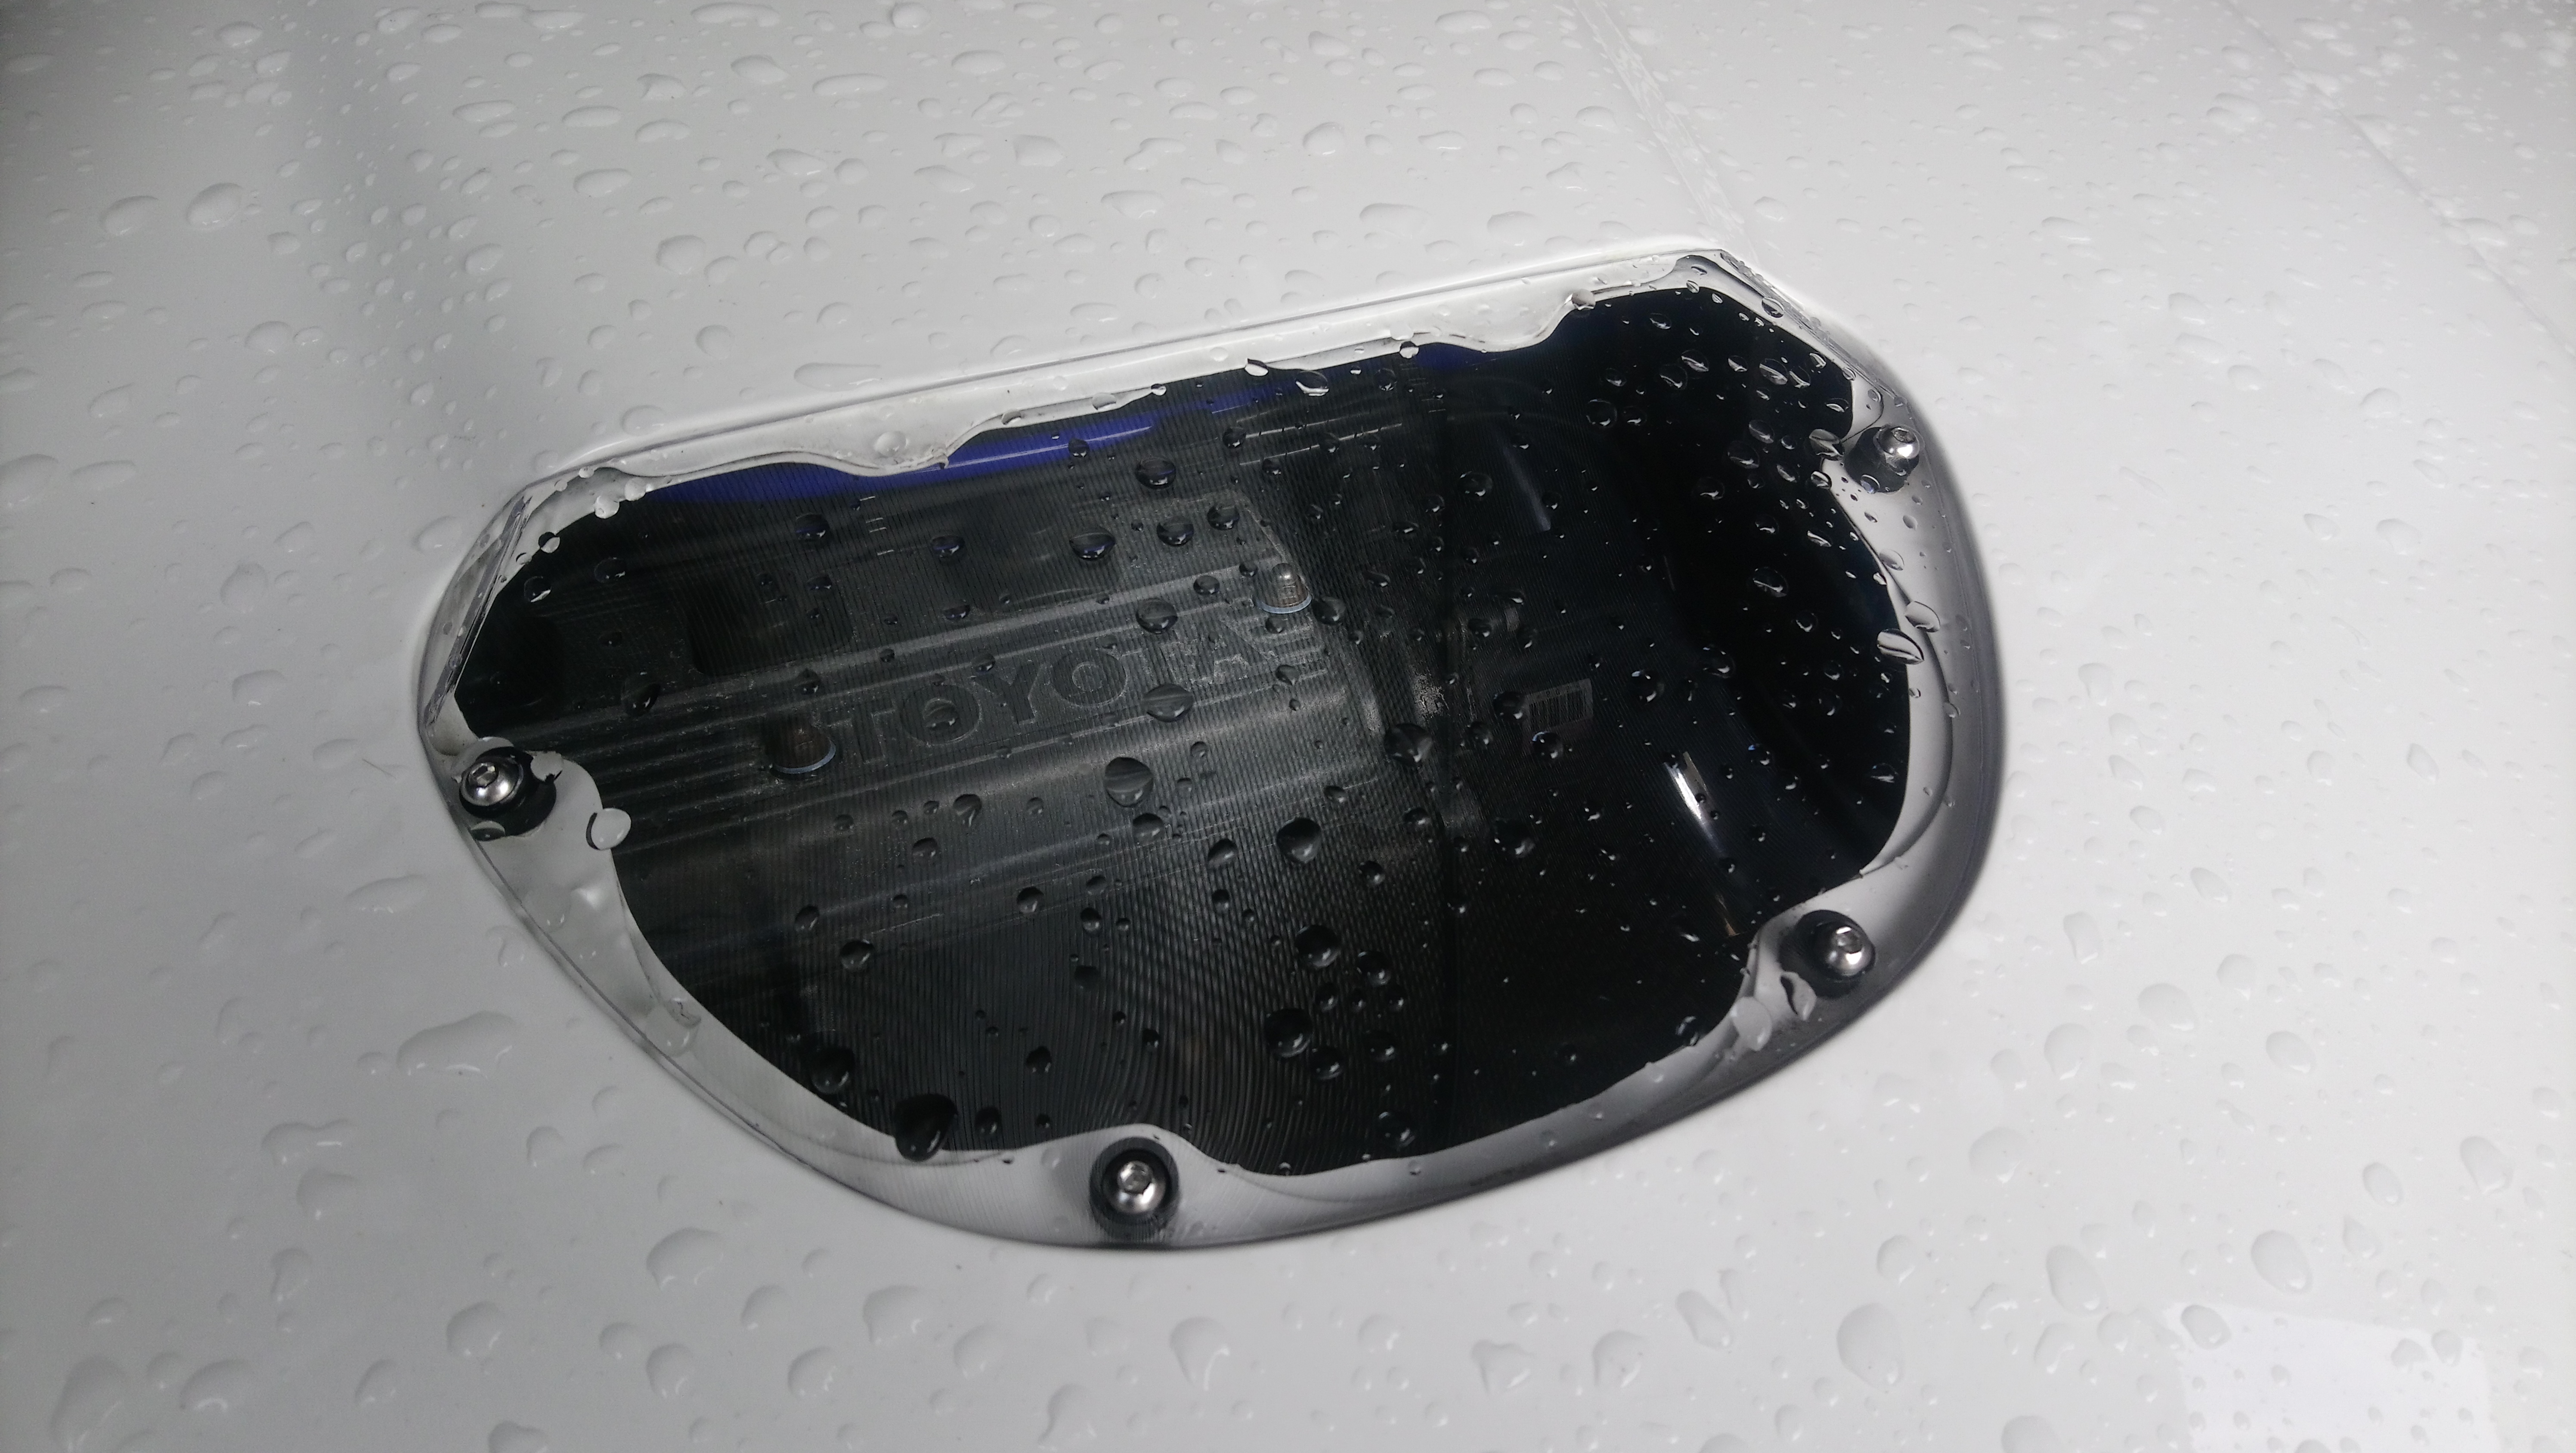
Rocking a JD tuning clear scoop on the car at the moment, picked it up on ebay a while ago. Looks cool, its useful for keeping the water out but the scoop will be going back on for summer as I think i prefer the look of it.
-
52 minutes ago, Welton02 said:
Merry Christmas! (ish)
I still having gotten it running. I’m currently stuck with unbolting the turbo from the manifold. Have you done this before? I have trouble undoing the two nuts on the engine side. I use a regular 14mm spanner and I’m not strong enough to undo it 😂. I couldn’t find a pipe to fit the spanner for more torque. Have you got any suggestions or ideas?
Hi Welton, I found it easier to remove the manifold and turbo together and separate them off the car. You might just want some offset ring spanners to remove the manifold to head nuts. Also you will probably need to remove the radiator for more room to work
-
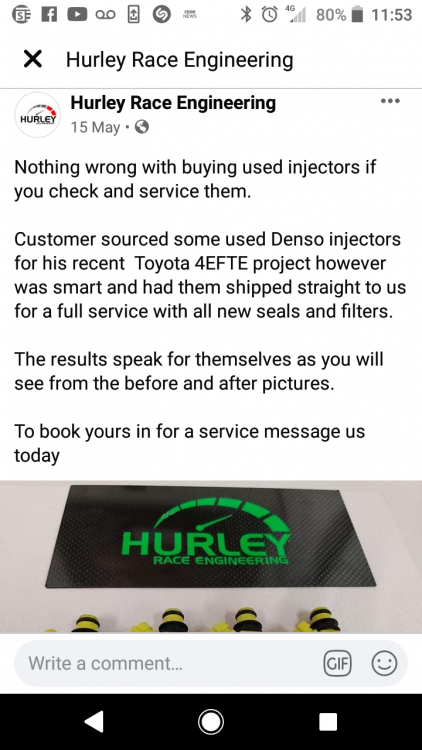
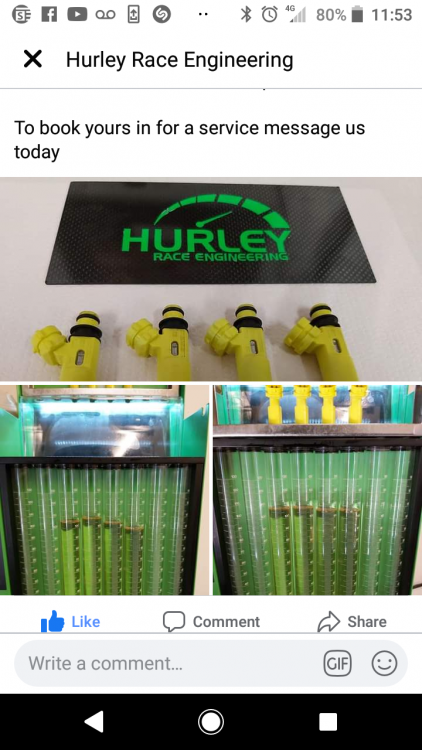
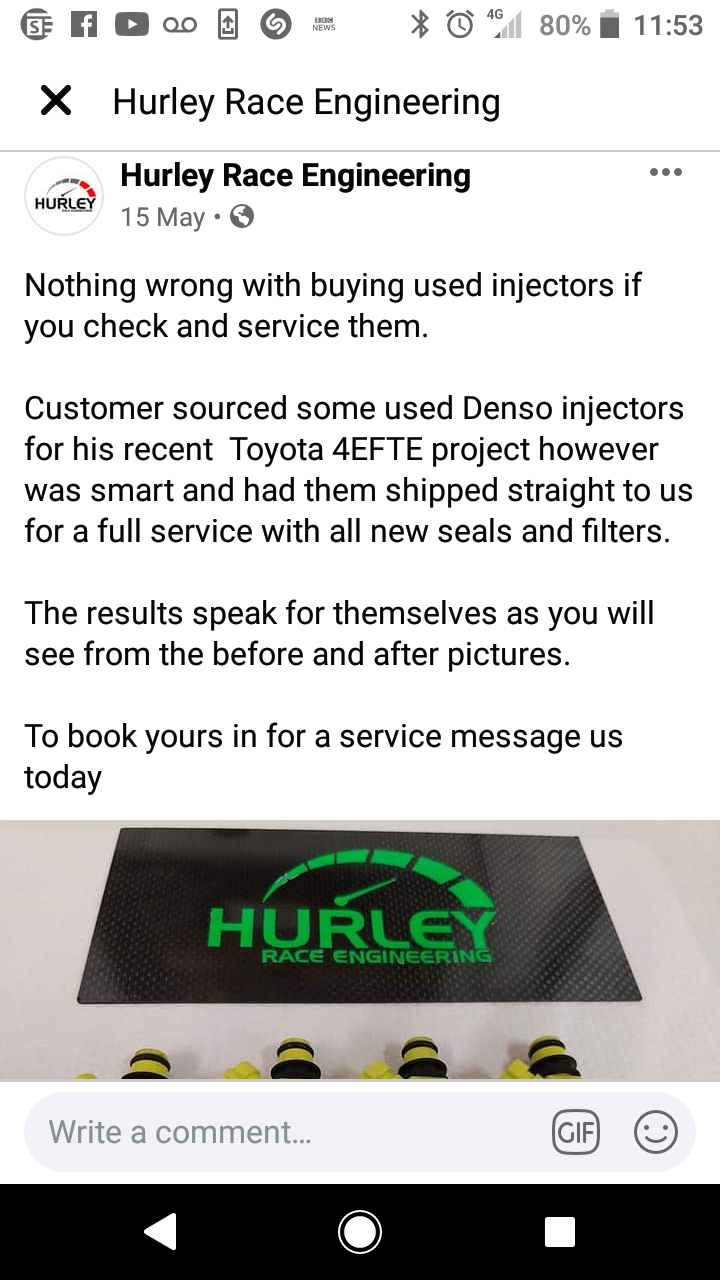
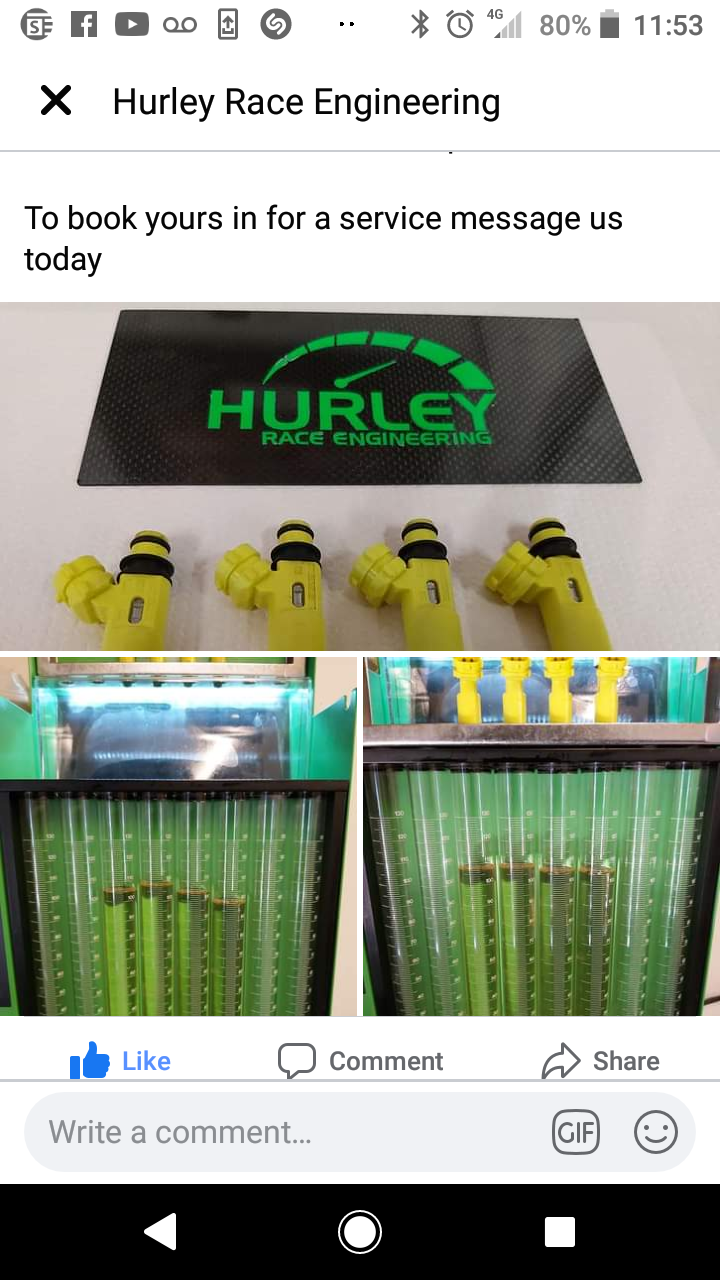
I've seen that Hurley race engineering offer a clean and flow test service Claymore 👍.
-
Looks great this, nice work
. Has the wastegate been ported at all or is it standard size? Be interested to see how it does on the dyno at td.
-
On 11/27/2020 at 8:59 AM, Claymore said:
Nice work as always mate, deffo good to have a summer and winter car.
Thanks buddy yeah sure is, missing driving it already but just not worth it with the winter road conditons. Hopefully be able to get some jobs done over winter ready for next year anyway
.
-
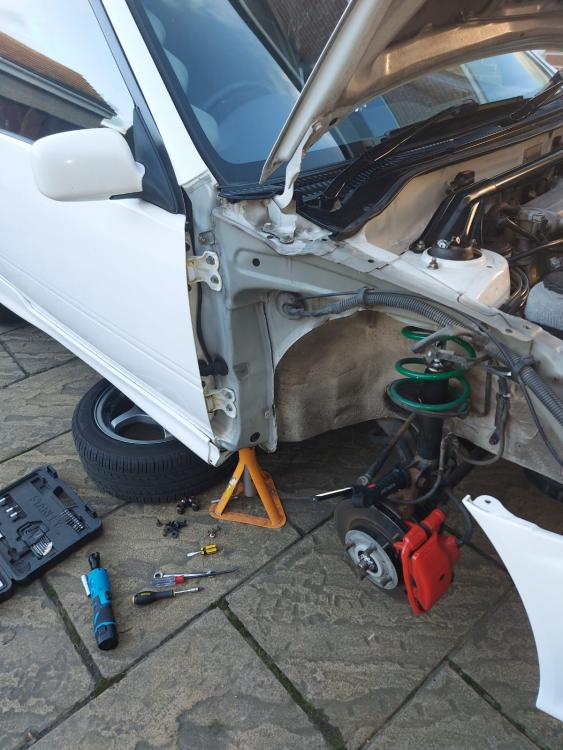
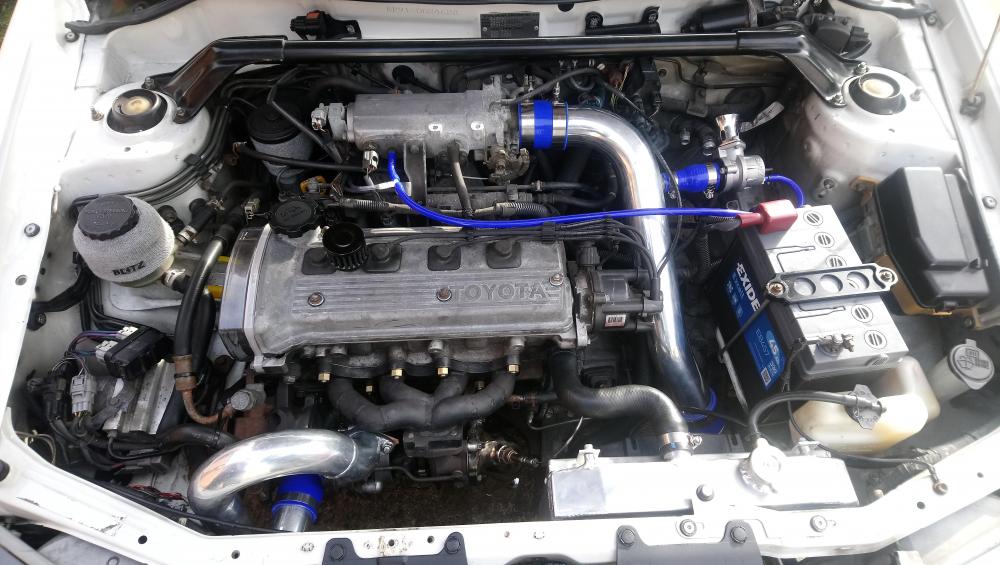
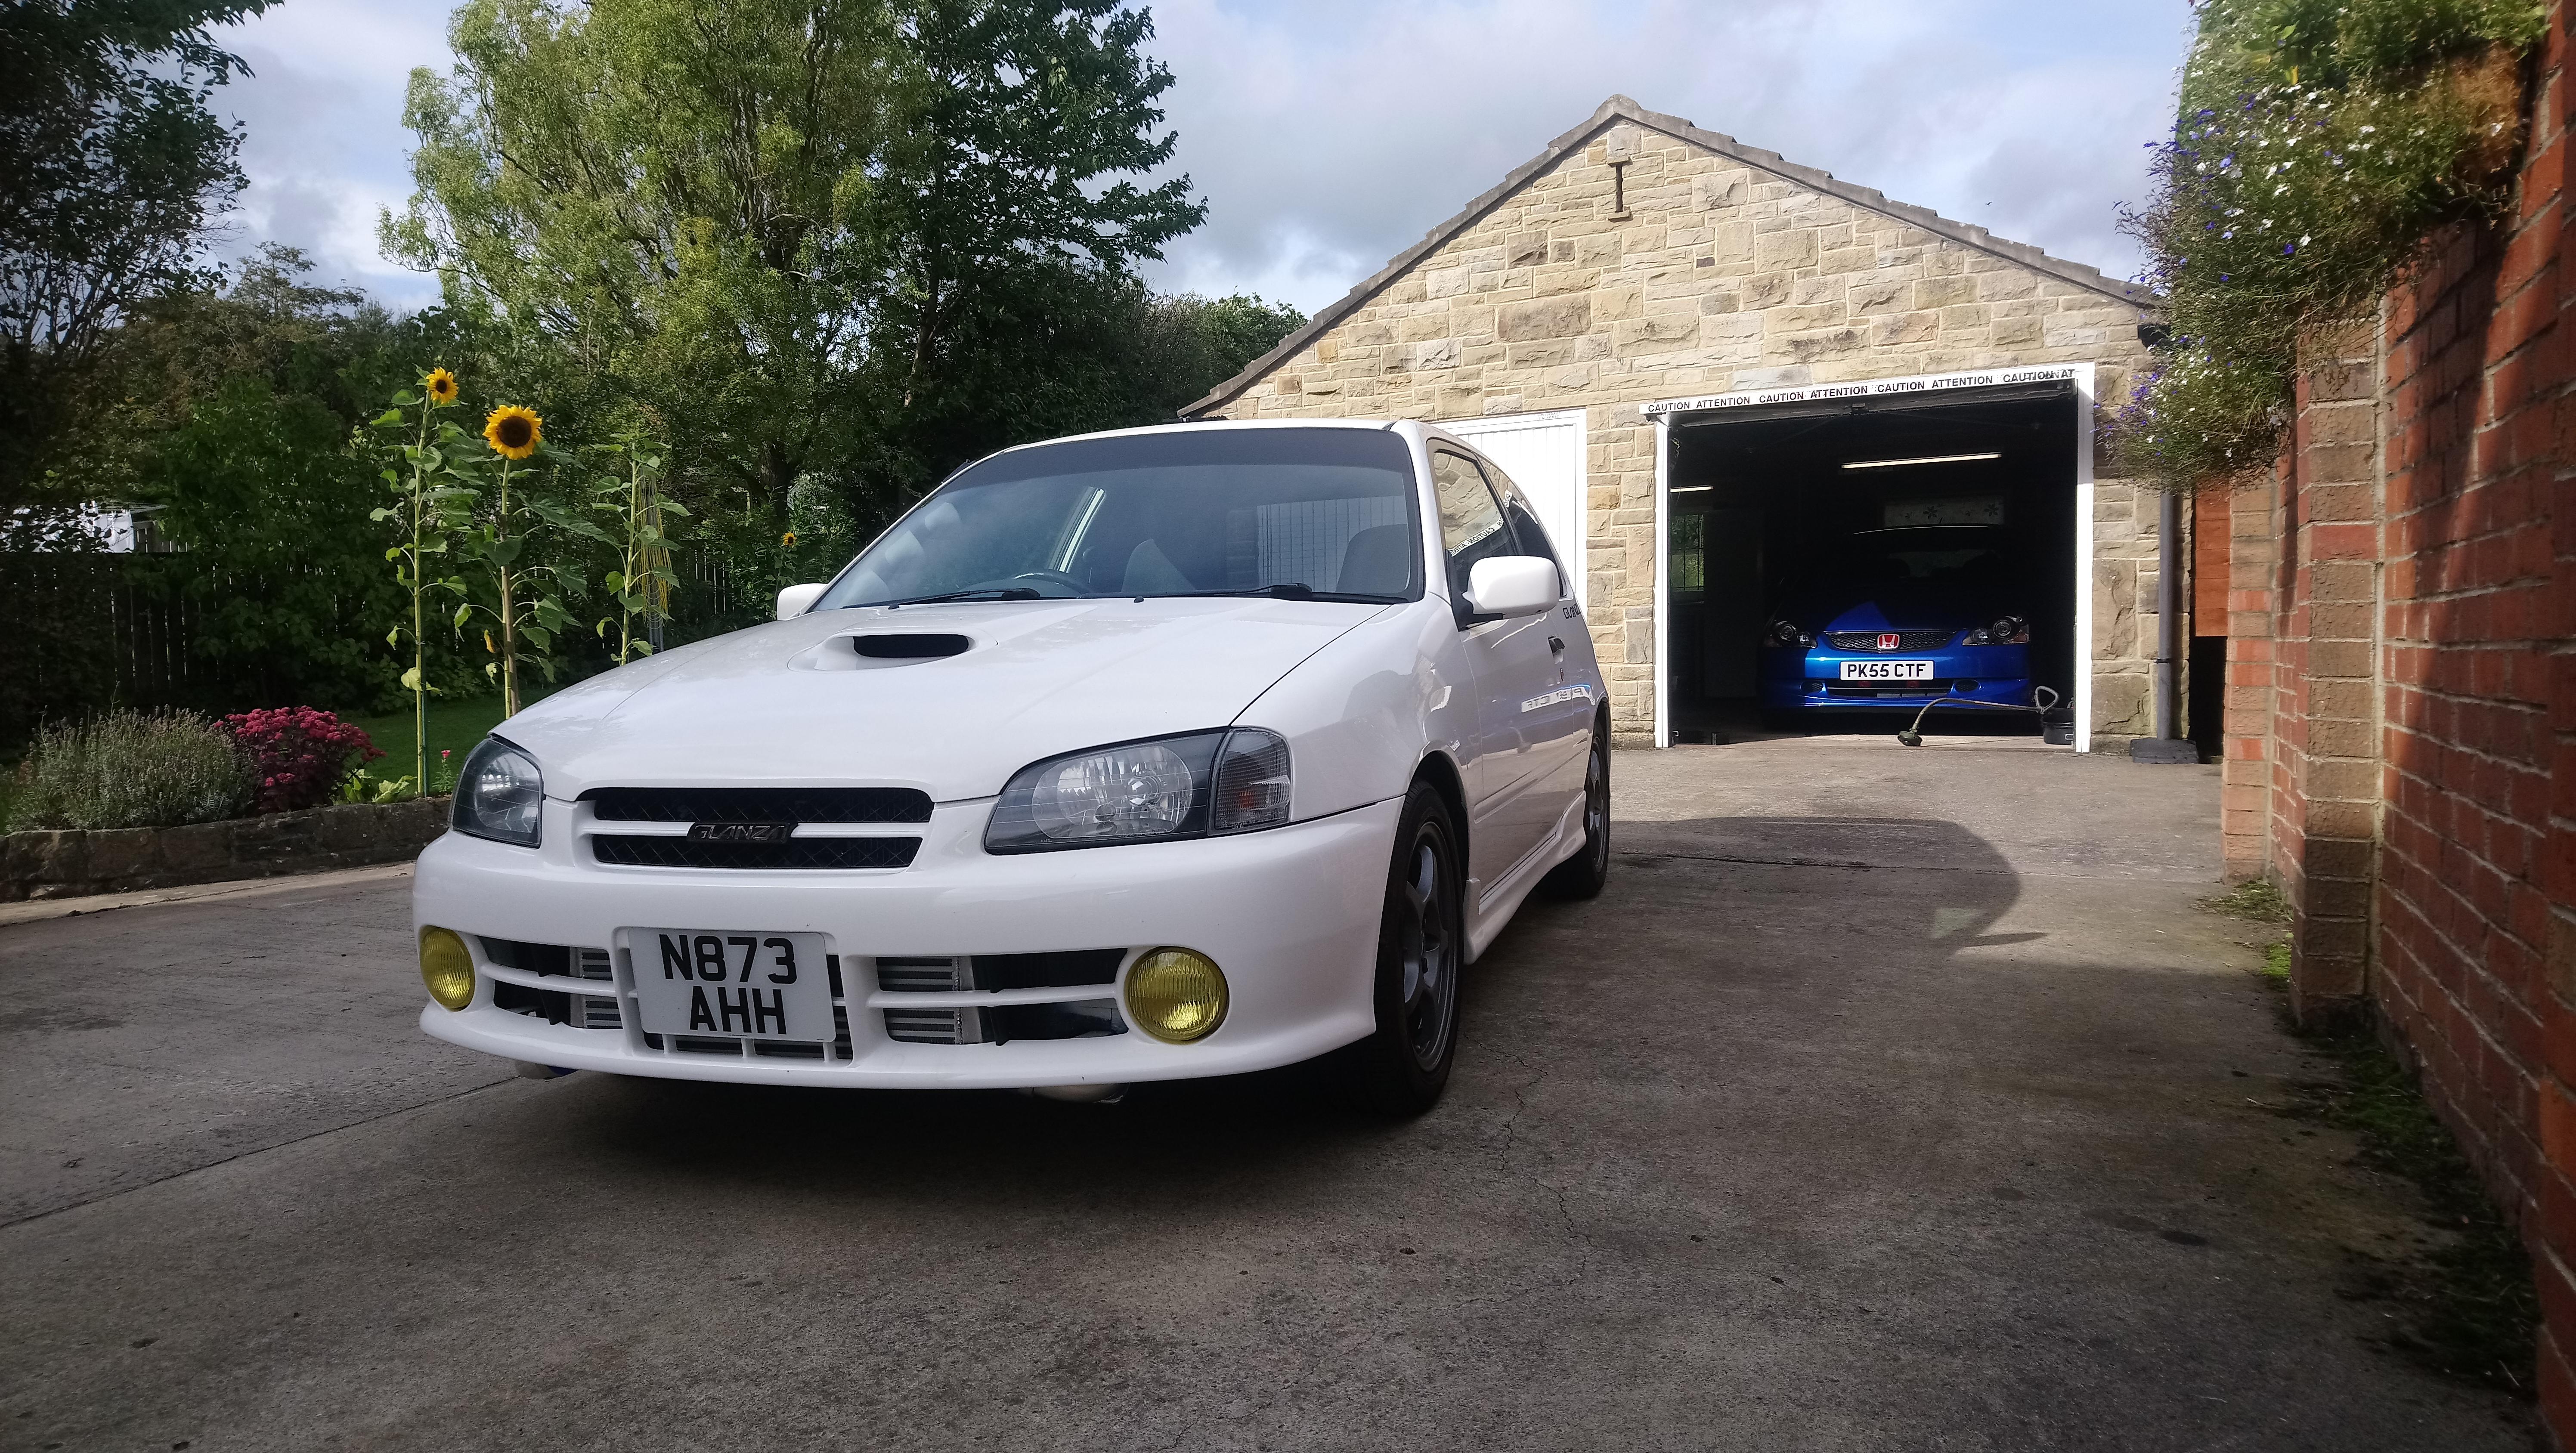
Haven't updated this in a little while, but taken the car off the road for winter now. Ideally need to get myself a garage space to keep it away from the elements but its tucked up on the driveway for now.
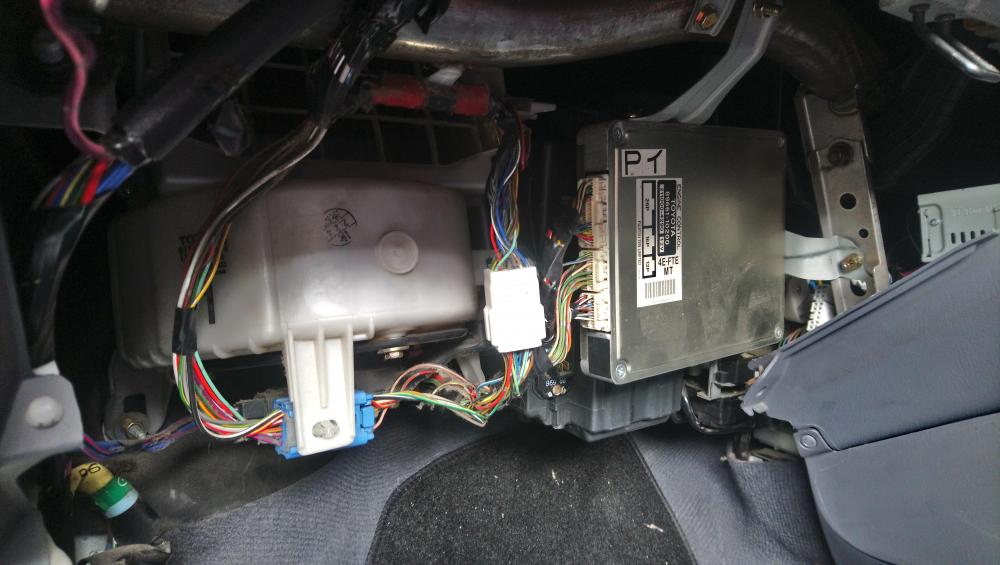
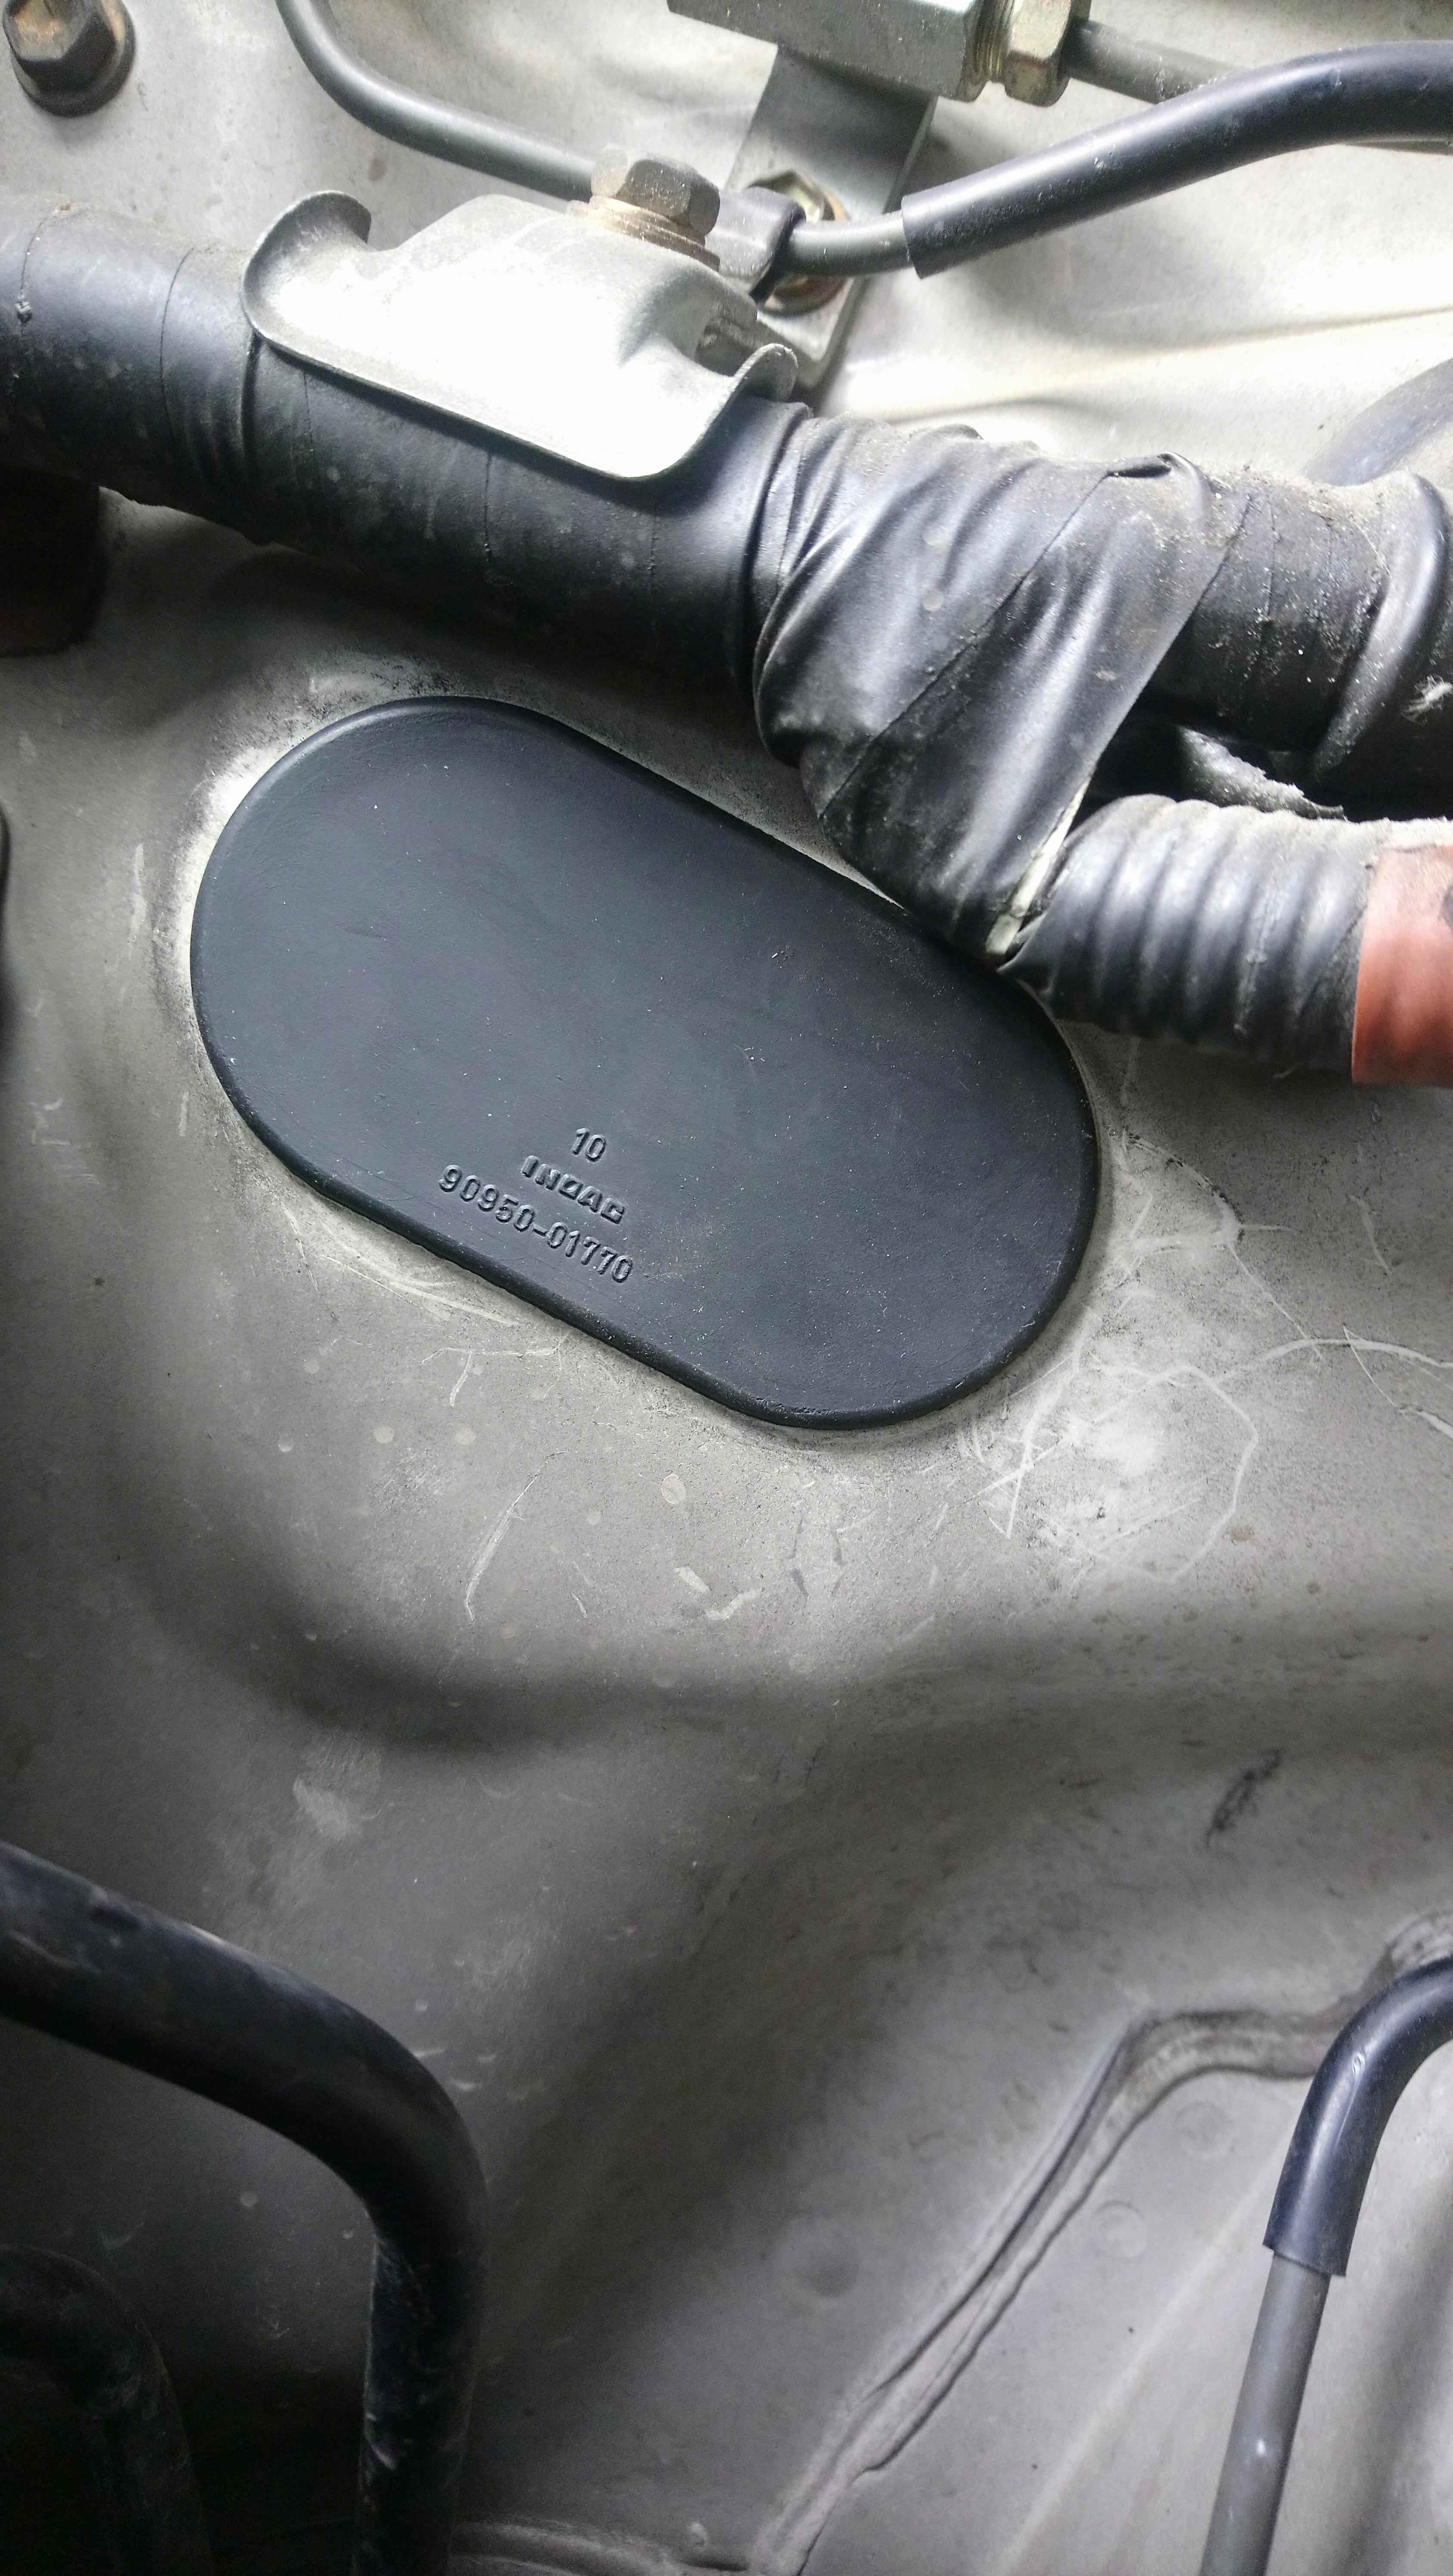
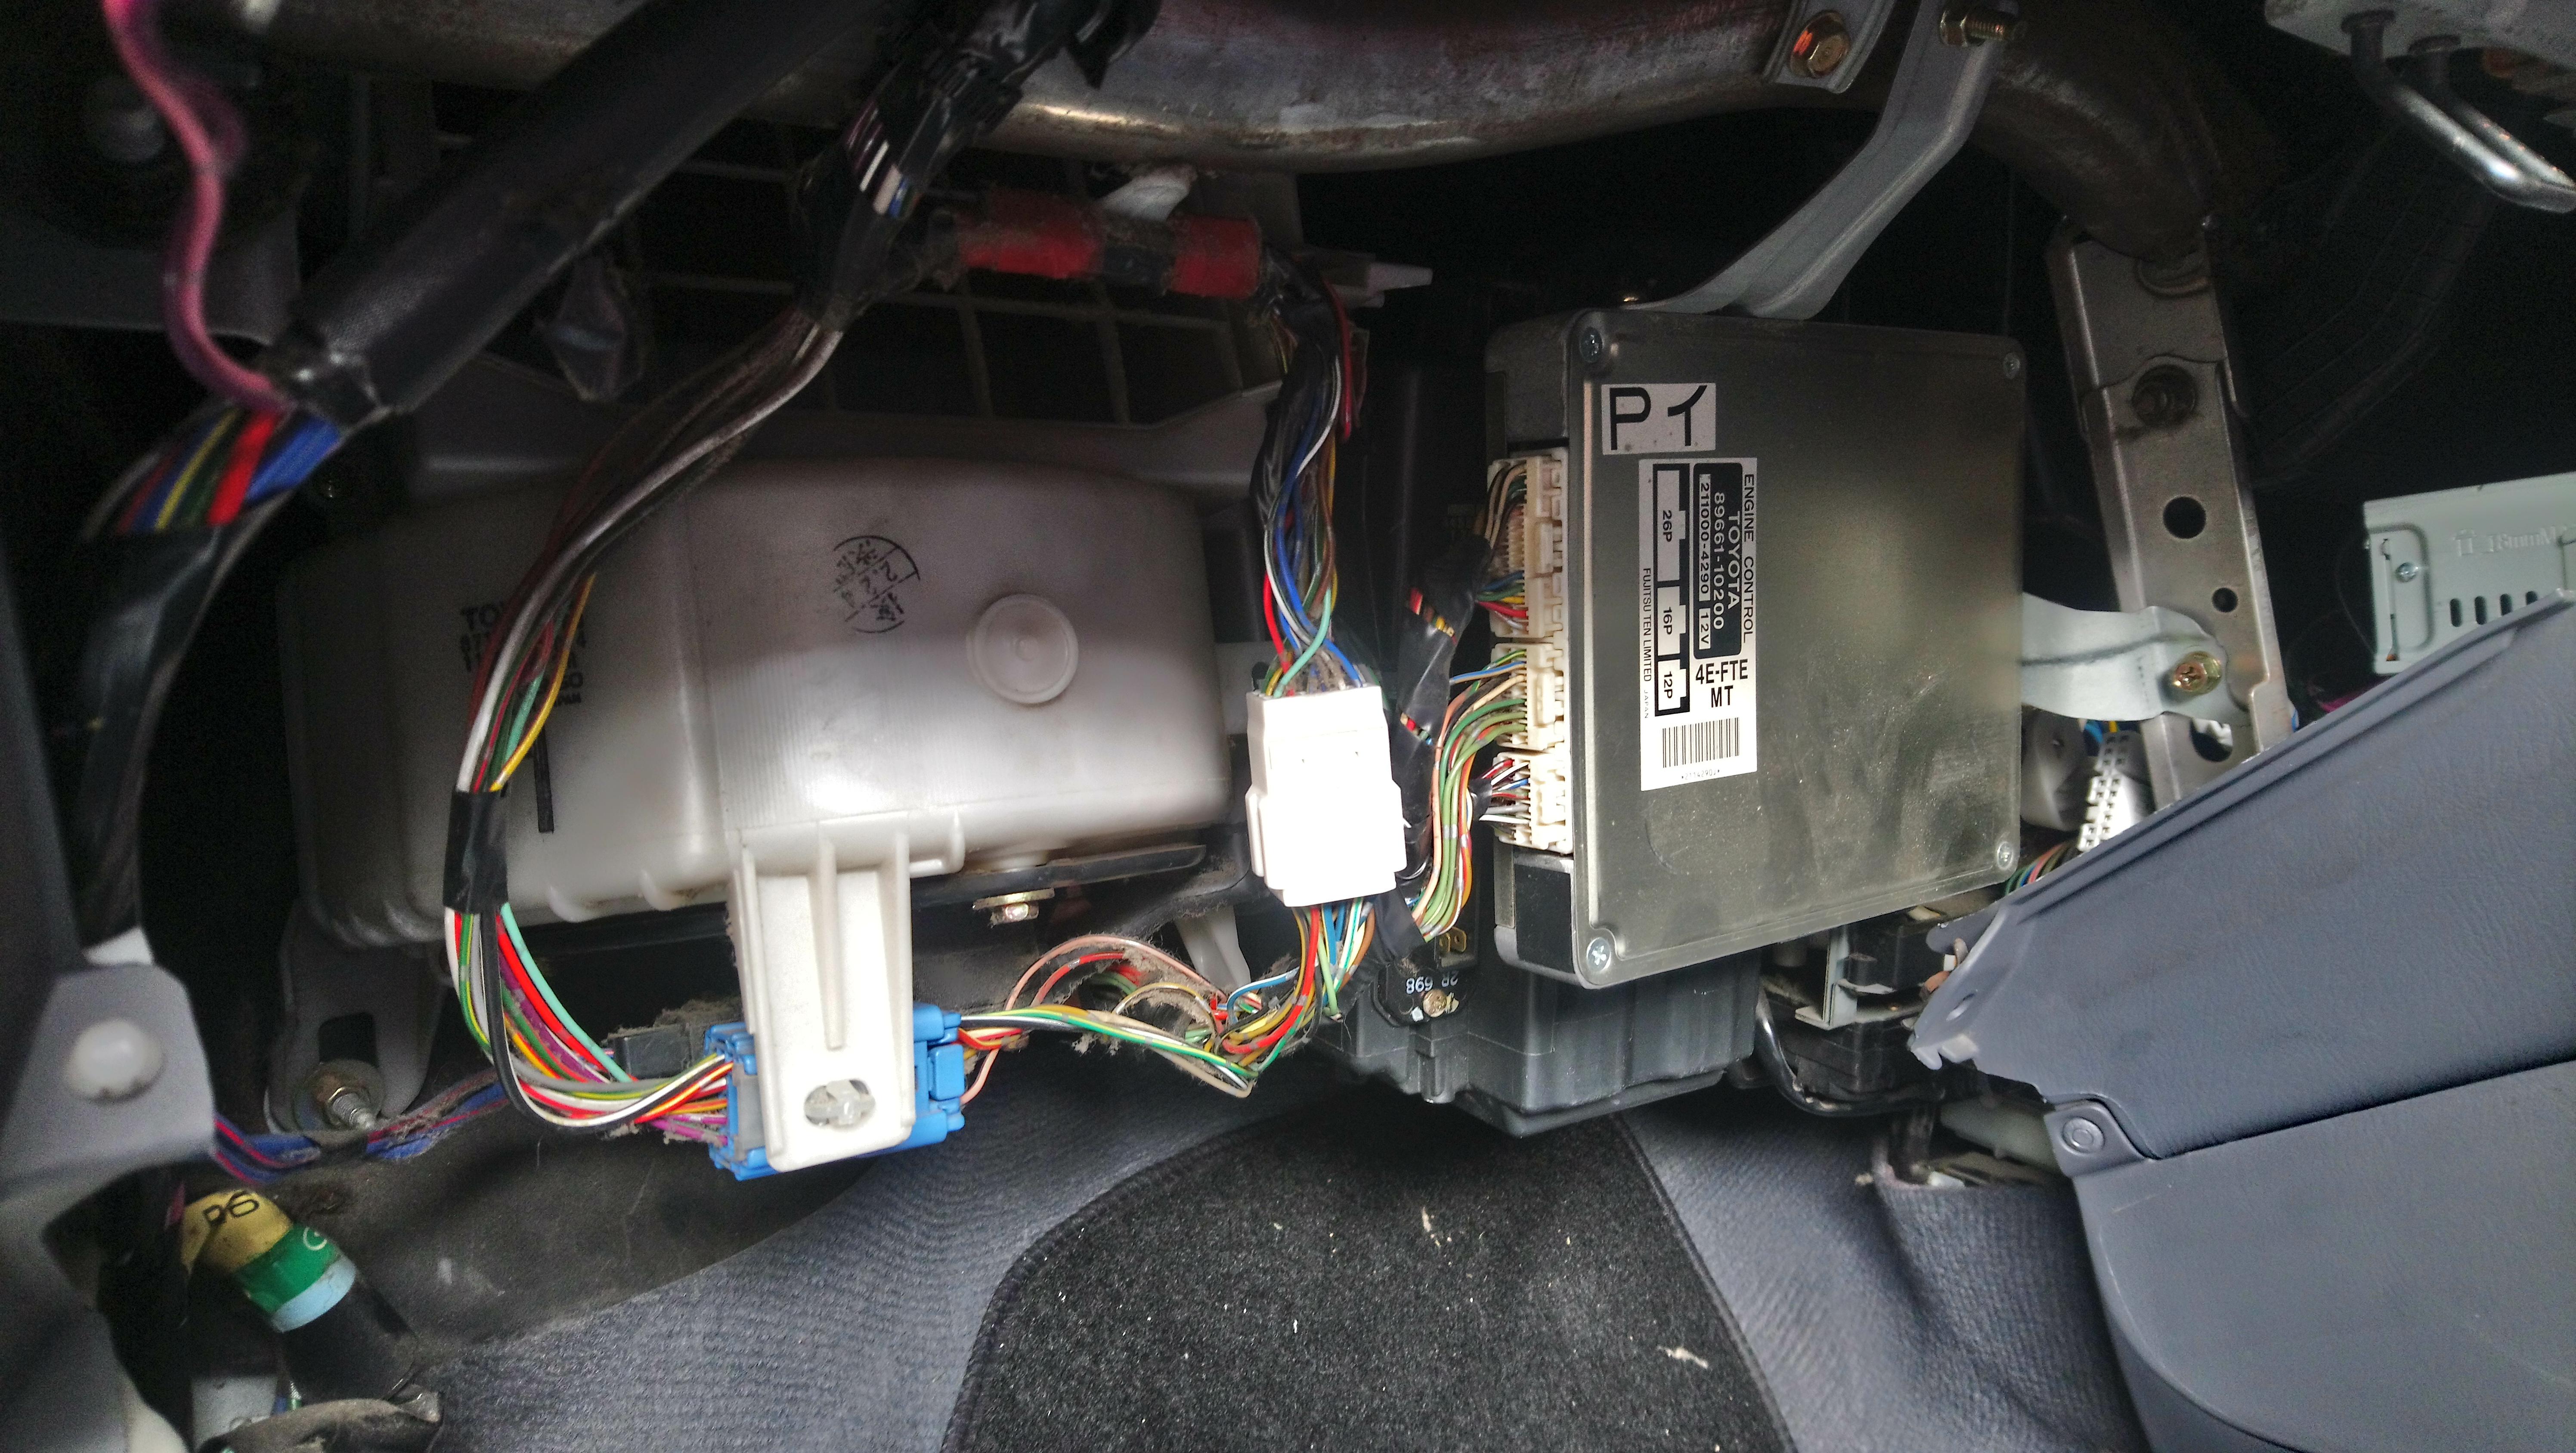
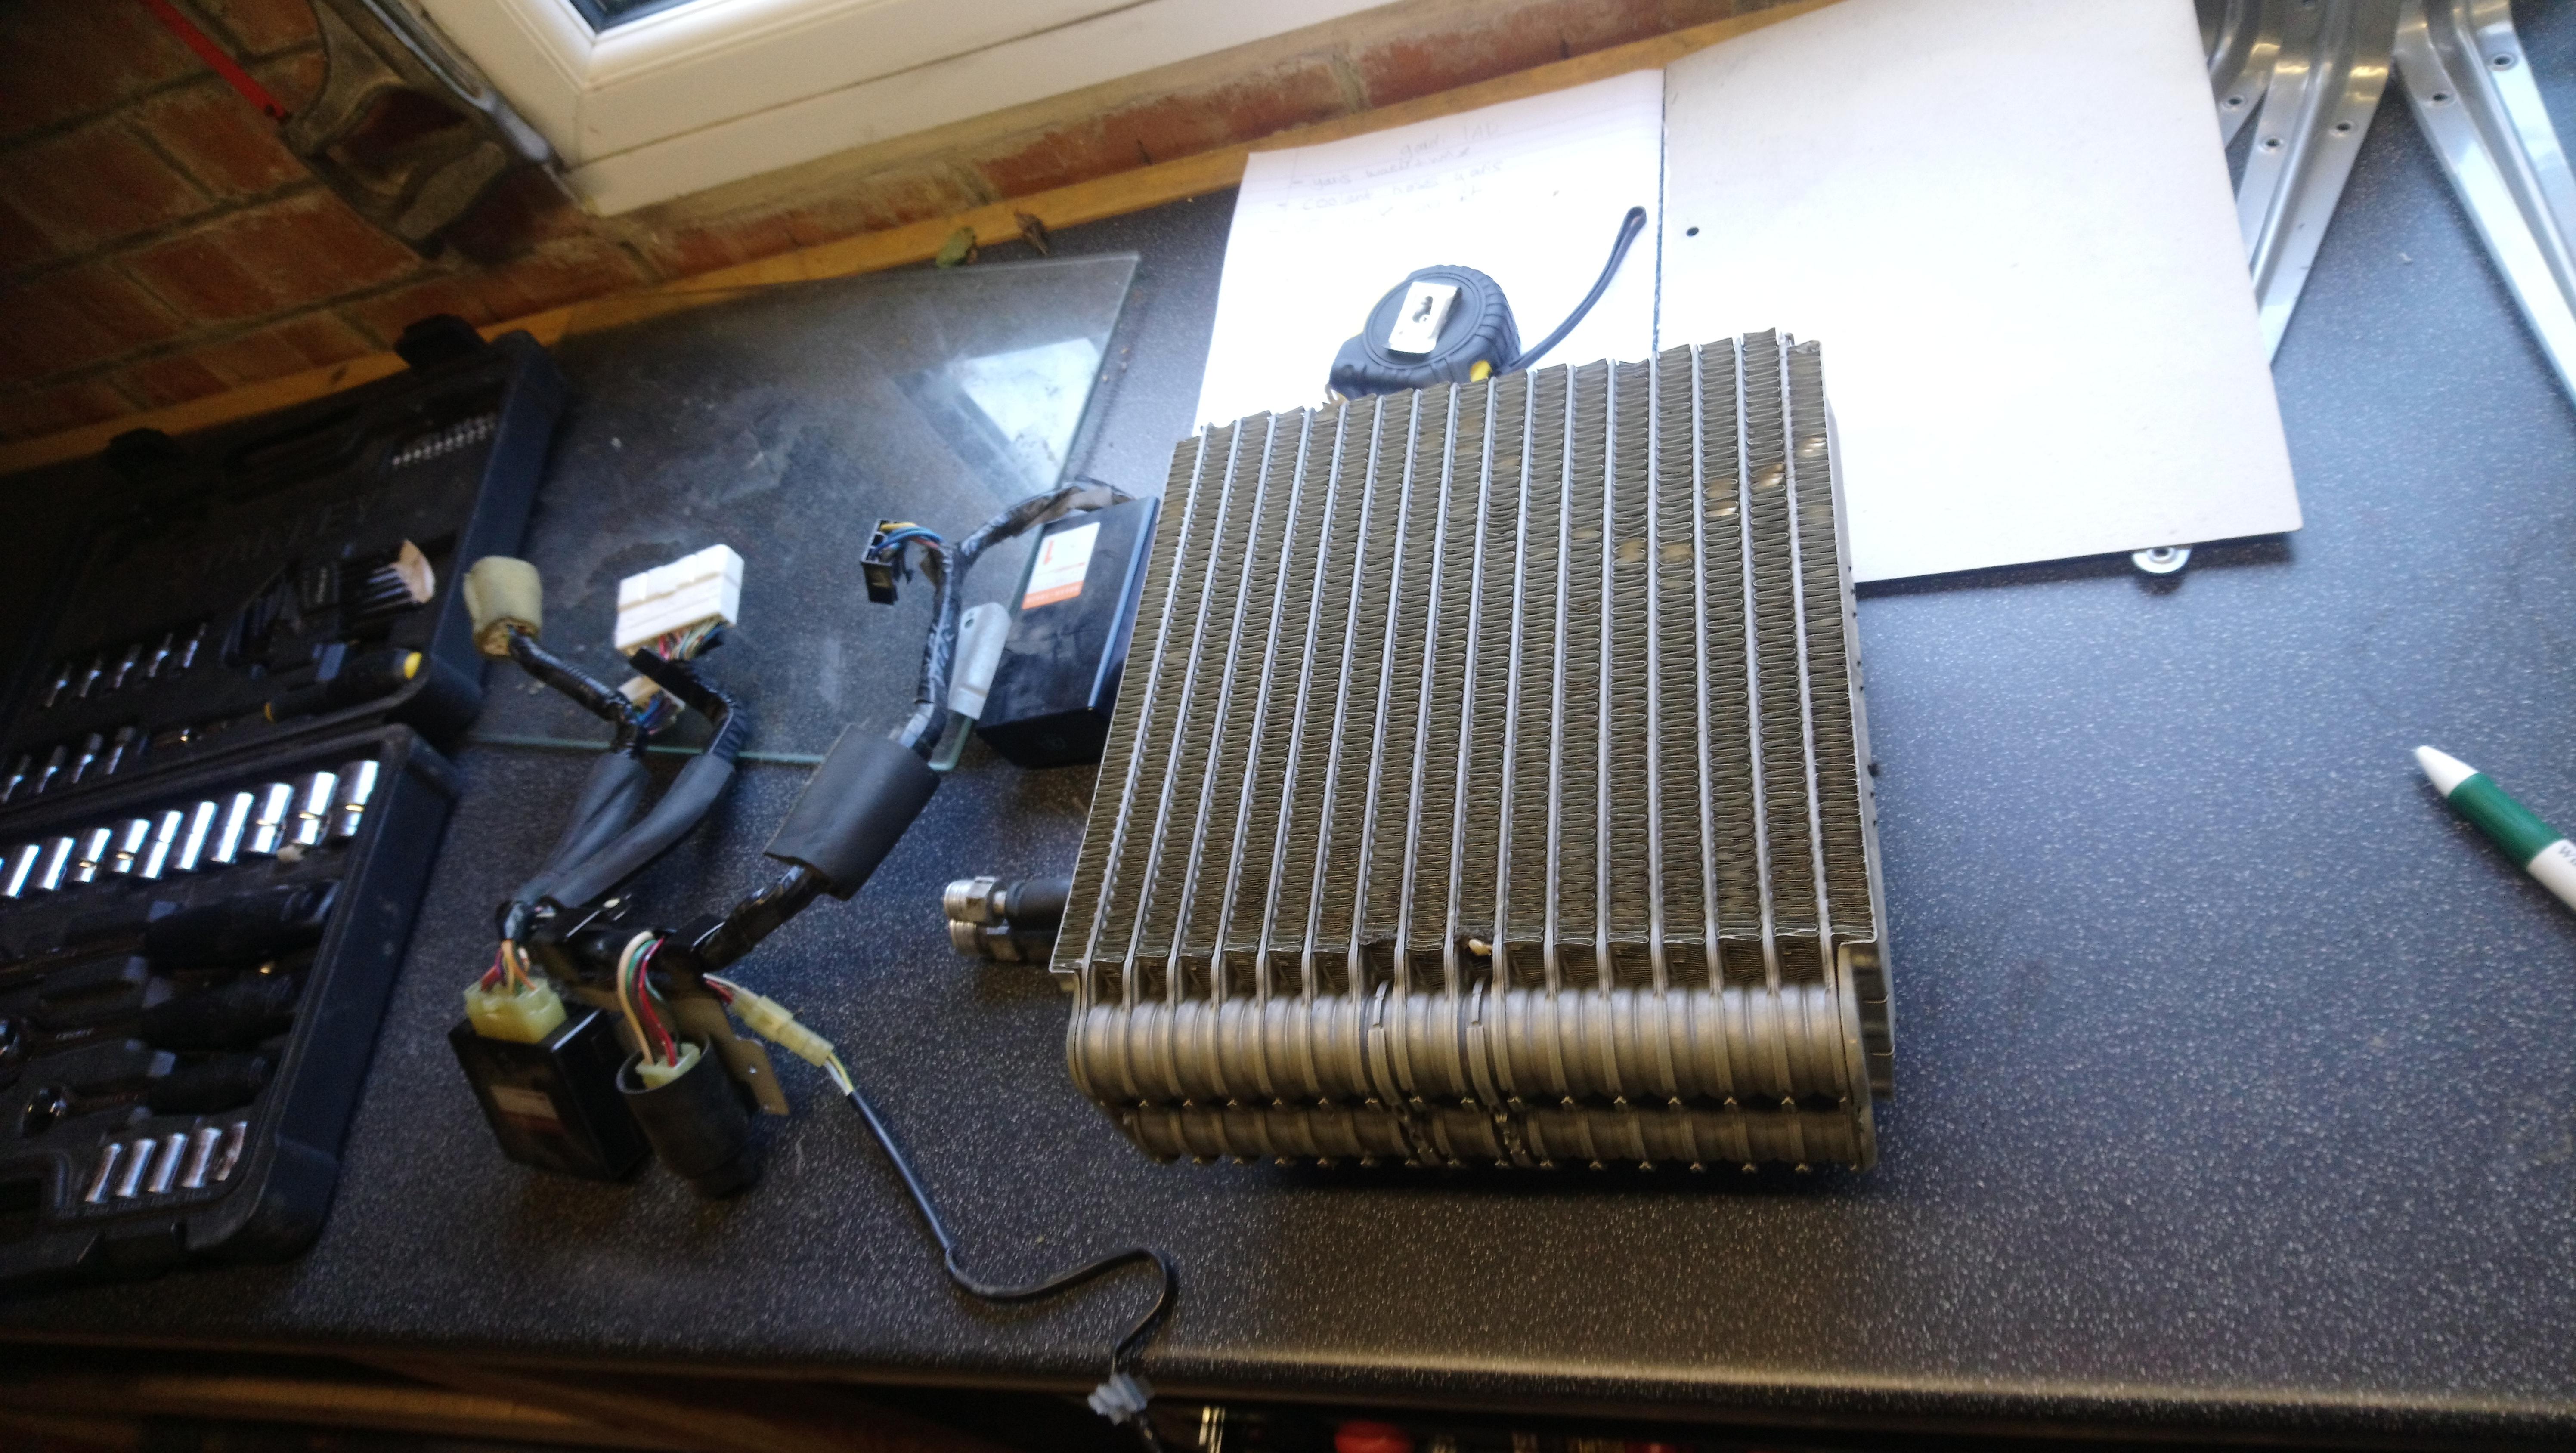
Still I've had the chance to get a couple of small jobs done on the car recently. I wanted to remove the remaining part of the ac system and the two ugly pipes that are visible in the engine bay, so removed the glovebox and pulled out the ac condenser from inside the heater box. Was a bit fiddly but easily done, also picked up an non ac starlet grommit for the firewall
. Very mucky in parts of the bay, the whole thing needs a good clean down at some point.


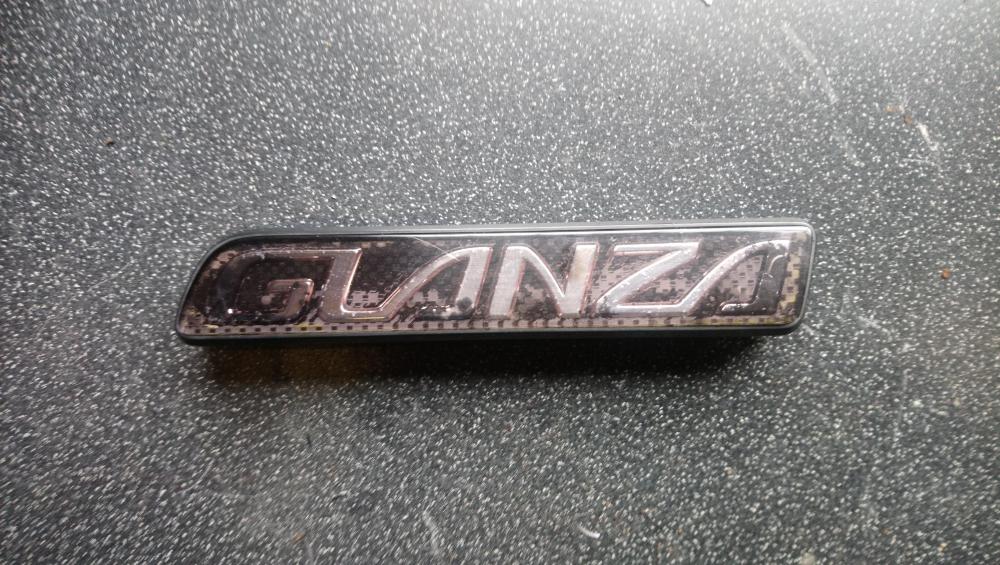
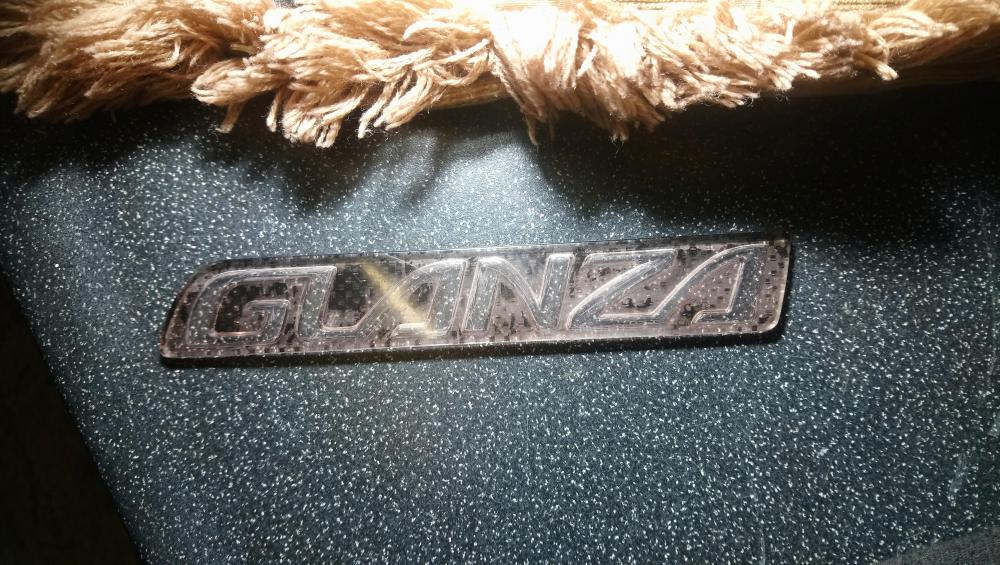
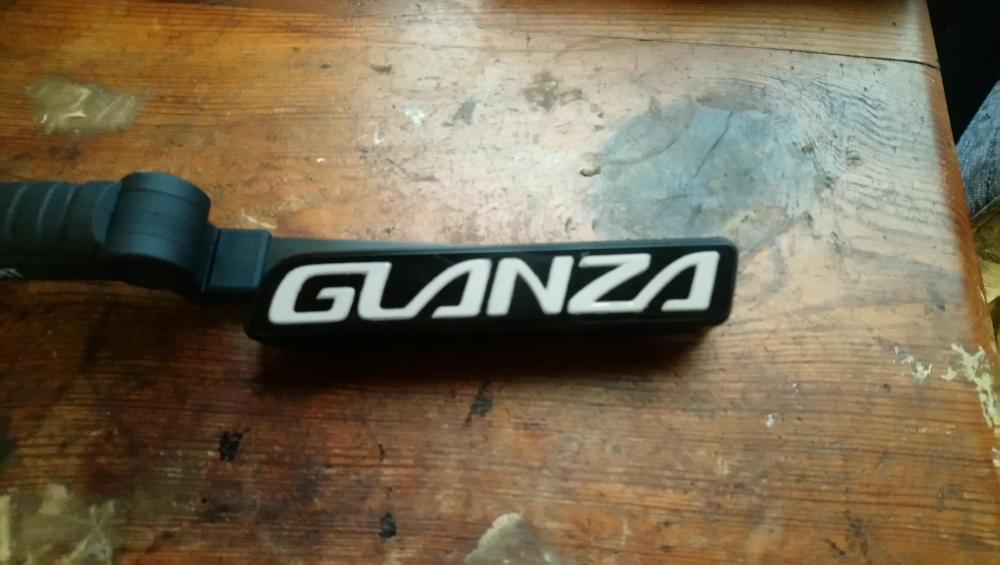
Also had a go at refurbing the front glanza grill badge as mine had seen much better days and toyota have discontinued them completely. I seperated the front part of the badge from the backing plate and scraped out all the old lettering. I then painted the lettering white, waited for it to dry and gave the back a few coats of black. Came out pretty good, its not perfect but looks a lot better than it did.
Ive also started to get some parts together for the car in preparation for next summer. An ignition overhaul kit including a new dizzy cap, rotor arm and some blue magnecor ignition leads
. A selection of silicone blanking plugs, going to see what the car sounds like with the bov blanked and some 6mm and 8mm blanks for plugging holes on the intake manifold.
Ive ordered a catch tank and breather set up from Dean at RW developments as my PCV valve looks rather tired. I figured instead of replacing the pcv valve id rather have a free flowing breather set up ready for when I turn the boost up.


Hoping to get down to tuning developments for a map next year. I would like to turn the boost up to around a bar and see how the car goes, I feel like it has the right supporting modifications now and should make a decent power figure.
-
Looks awesome Claymore, super clean. Keep it coming
.
-
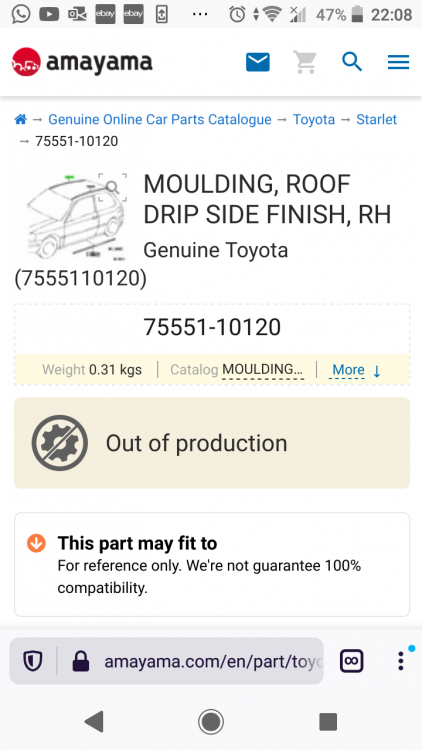
Yeah, these are listed as discontinued on amayama now too. Sad times, was hoping to pick a fresh pair up for mine
 .
.
-
Good work Claymore, really tidy job of reinstalling the rocker cover baffle. Might have to do similar with mine at some point, thinking about removing the pcv valve and having some AN fittings welded on for a catch tank setup. Cars looking great, wheels suit it nicely
-
Yeah I saw this last night, be interesting to see what they do with it. I believe Marty and Moog confirmed in the comments that's its a 4efte engine from a turbo starlet.
-
10 minutes ago, Claymore said:
Great work as always mate. You might find in the colder weather that the boost increases slightly with the colder, dense air but you can always adjust it if necessary. It really is a great example of the early model. 👍
Thanks Claymore
yeah will keep an eye on it and turn it down slightly if needed. Feels great now though, pulls much more aggressively -
Great work Sam, you seem very knowledgeable with the technical side of things. Interesting thread keep it up
-
10 hours ago, Sam44 said:
Looks very professional and high quality tuned.
Thanks fella
-
9 minutes ago, RoyalDutchie said:
Looking good some quality parts going into the starlet. I'm looking into some breather mods for mine, did you notice any over boosting yet with the decat and exhaust?
Thanks, I have been quite lucky so far and not had much boost creep. I know ct9s can be bad for overboosting and hitting fuel cut because of the size of the internal wastegate but at the moment it seems to be doing okay.
-
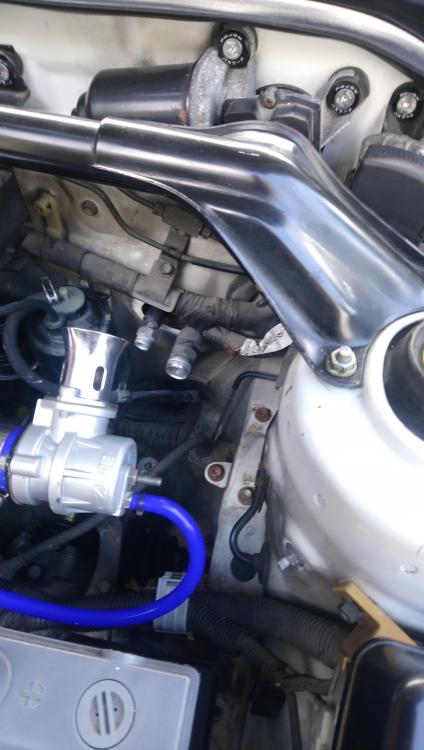
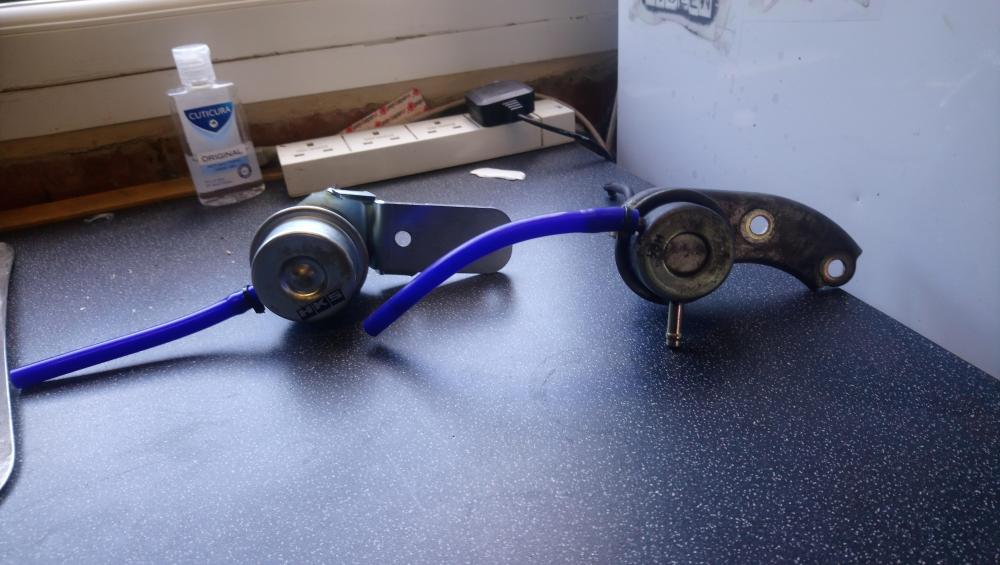
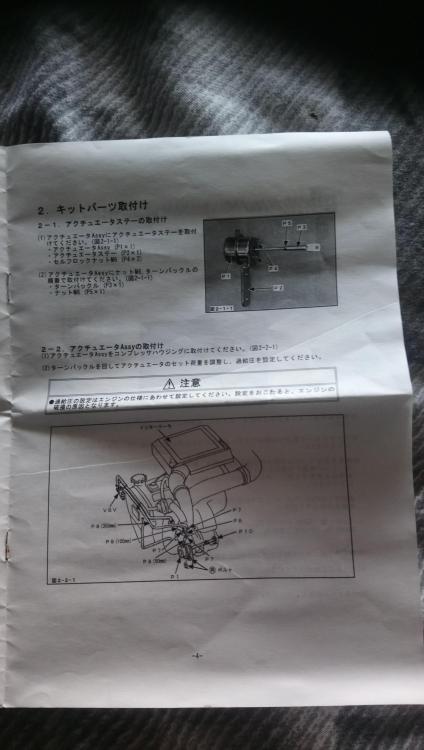
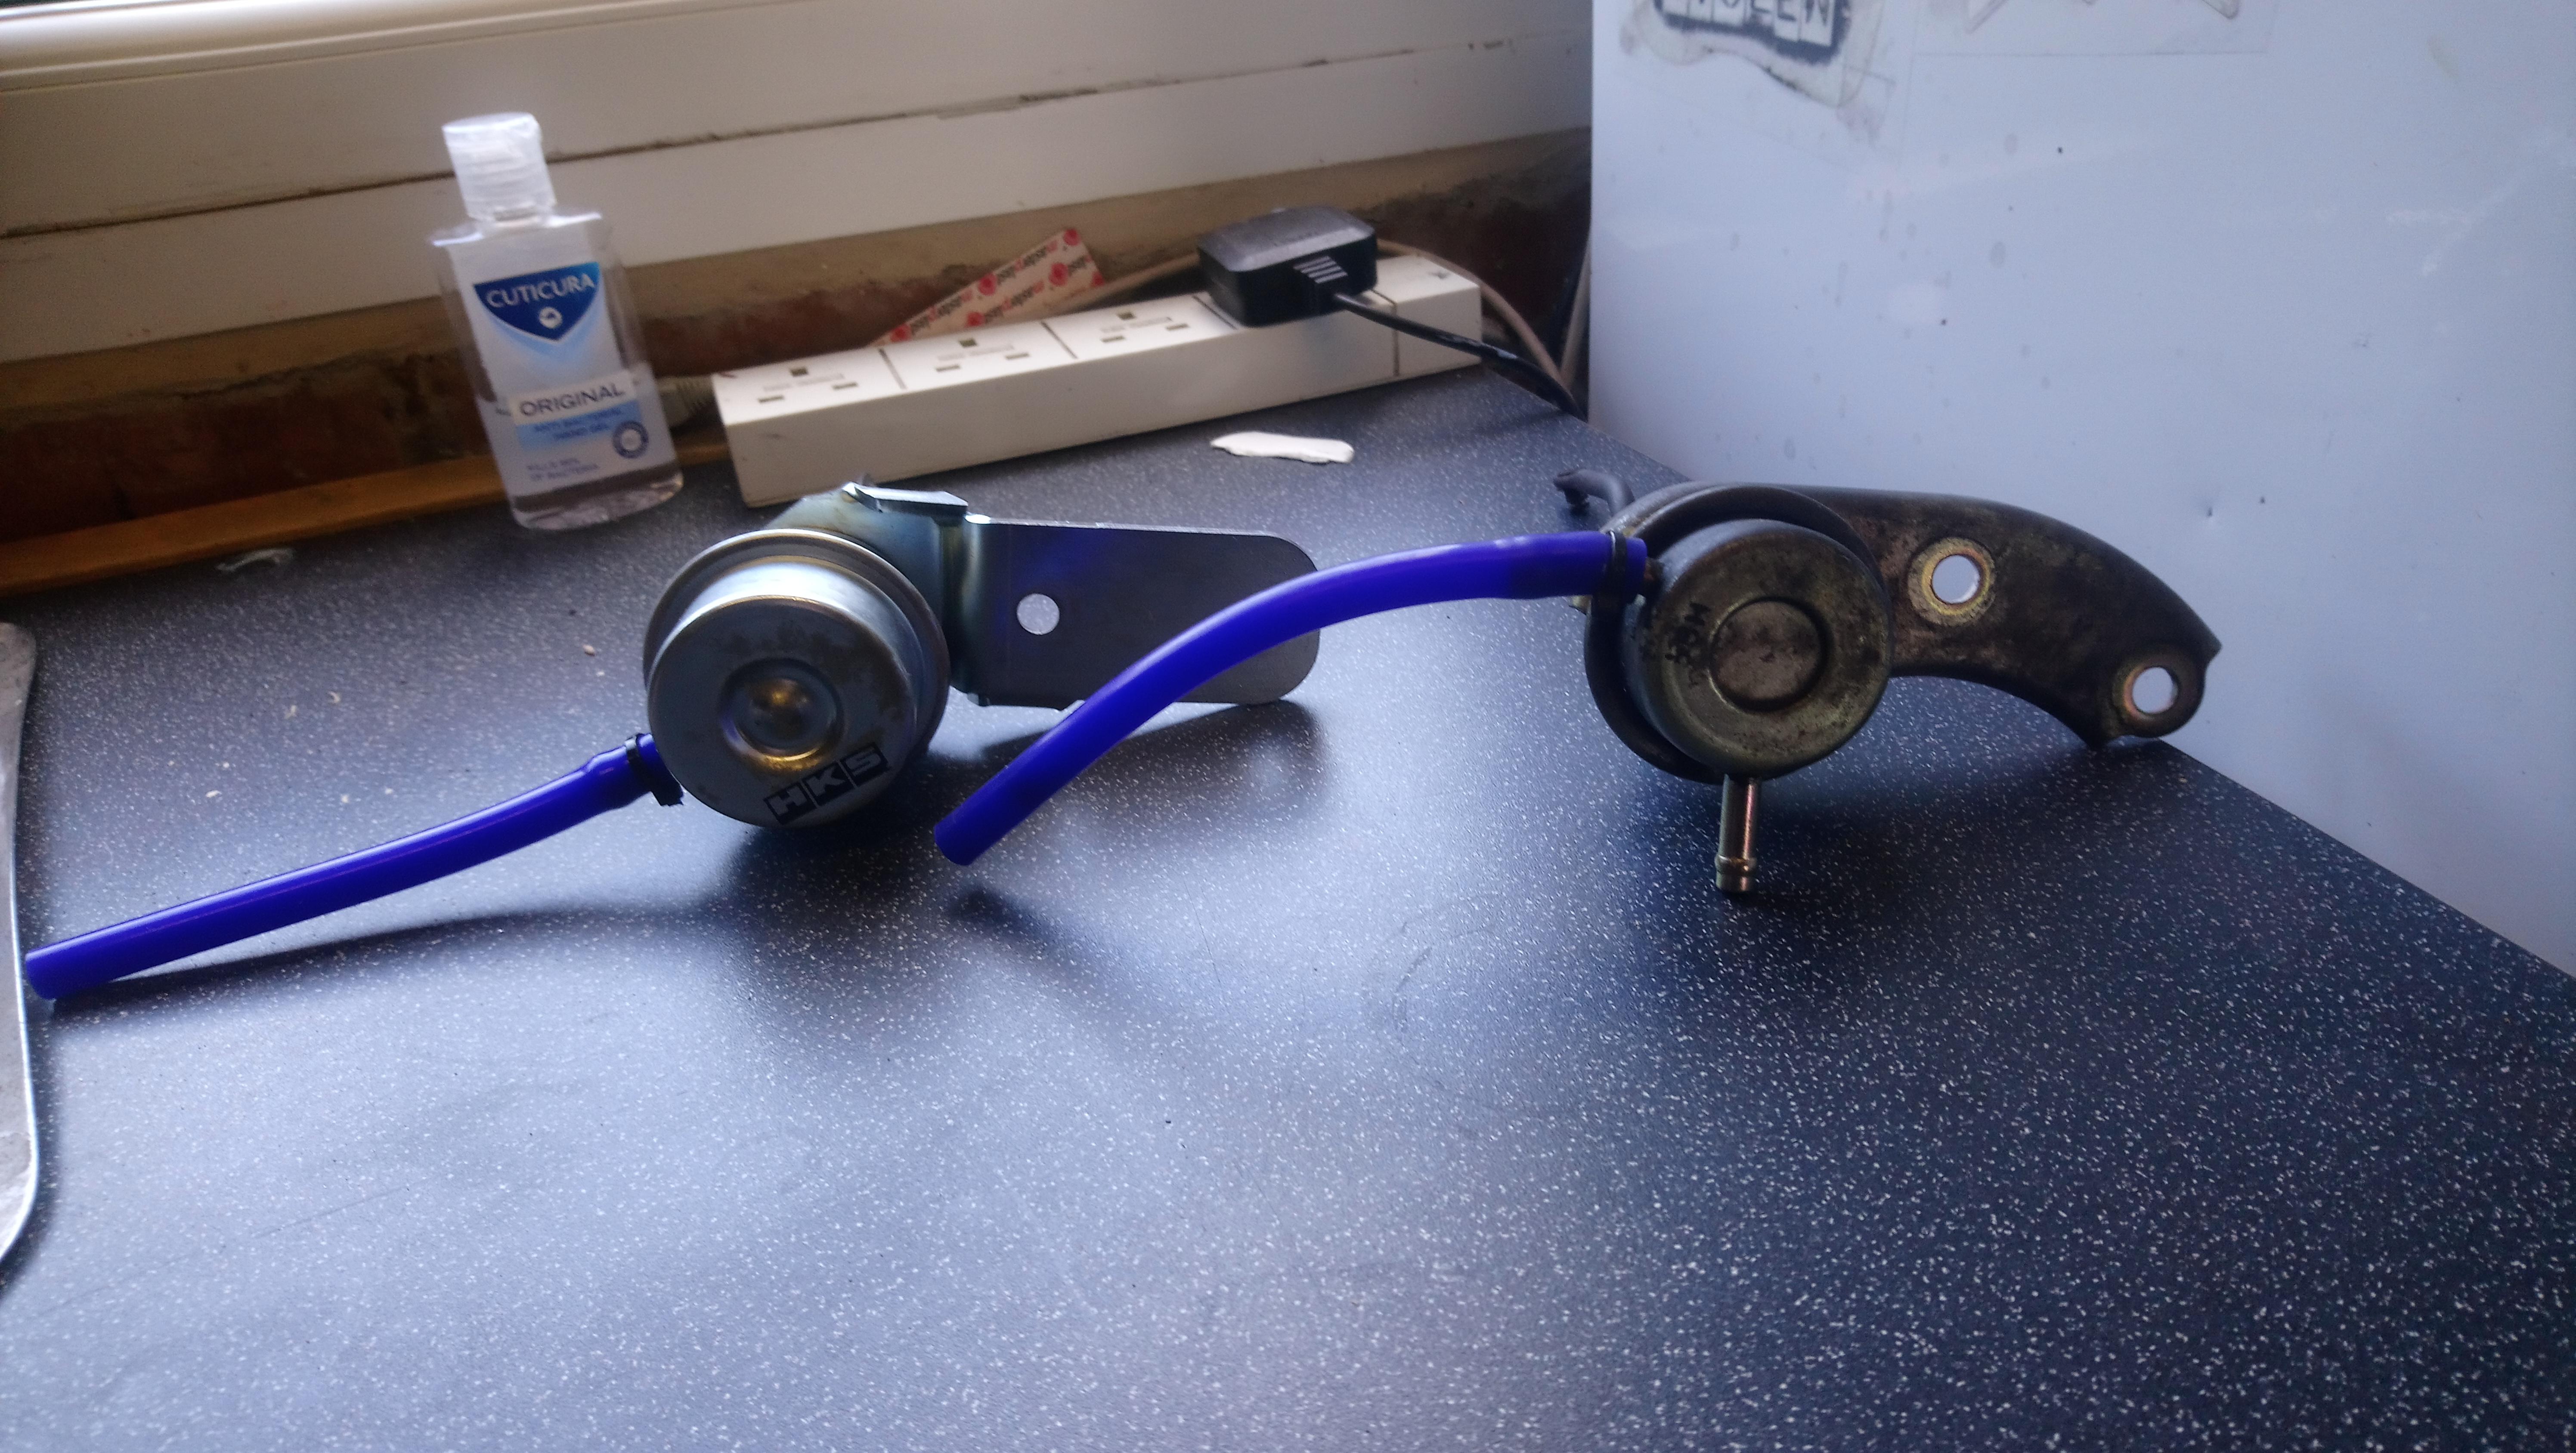
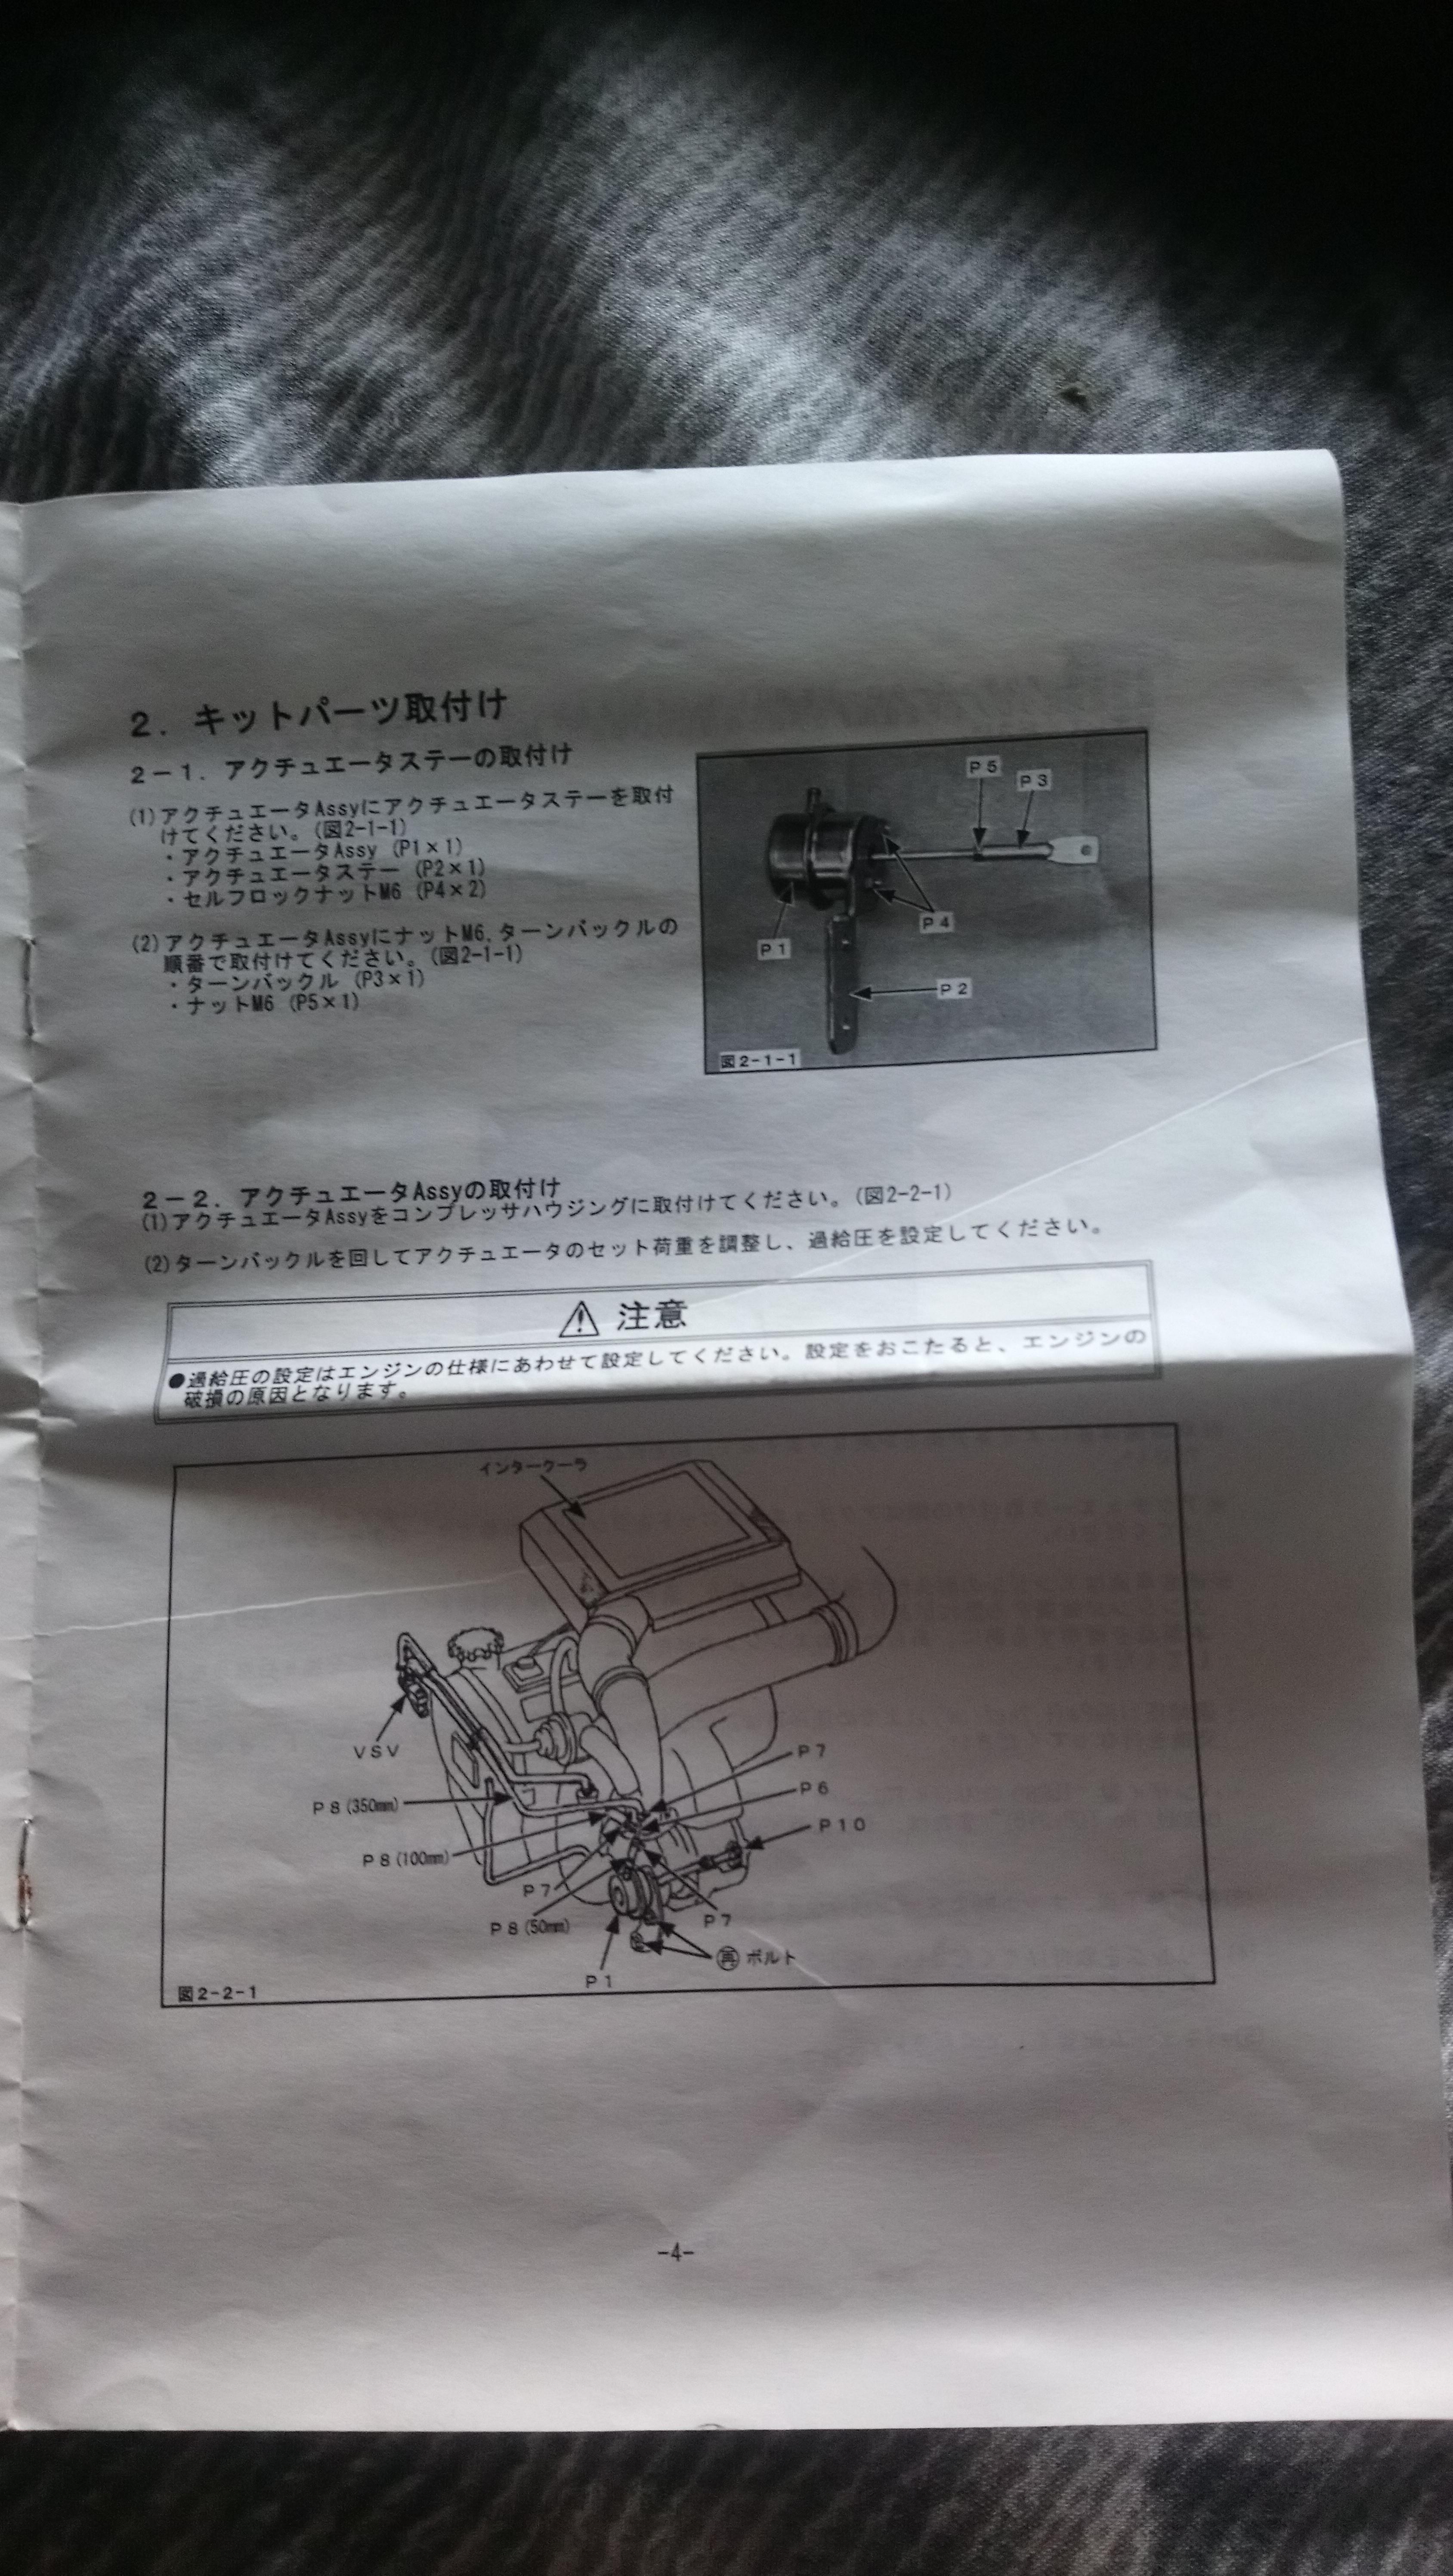
So this arrived earlier in the week. A HKS adjustable actuator that I picked up on facebook, It has barely been used and came in the original box with all the bits and instruction manuals.

I have noticed after installing the new manifold and downpipe that the car will hit peak boost when i put my foot down and then the boost level will drop off through the rest of the rev range. I put this down to the stock actuator spring being weak and not holding the boost pressure. So wanted one of these to hold the desried pressure through the range aswell as having the ability to up the boost in the future.
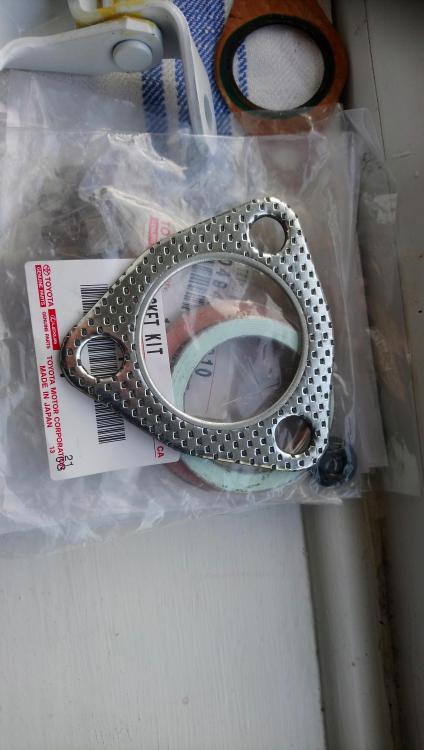
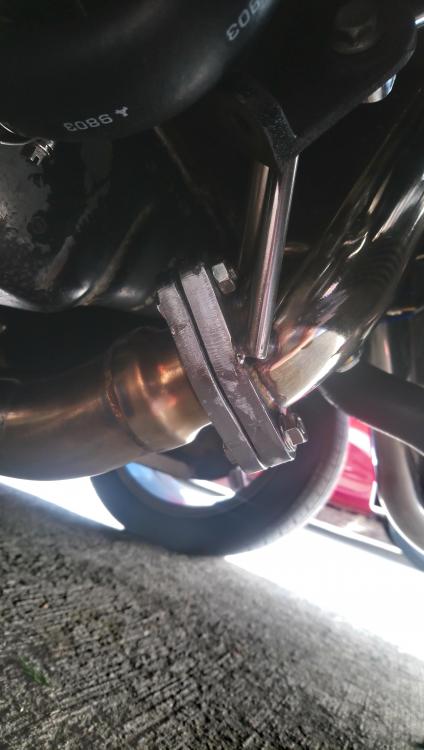
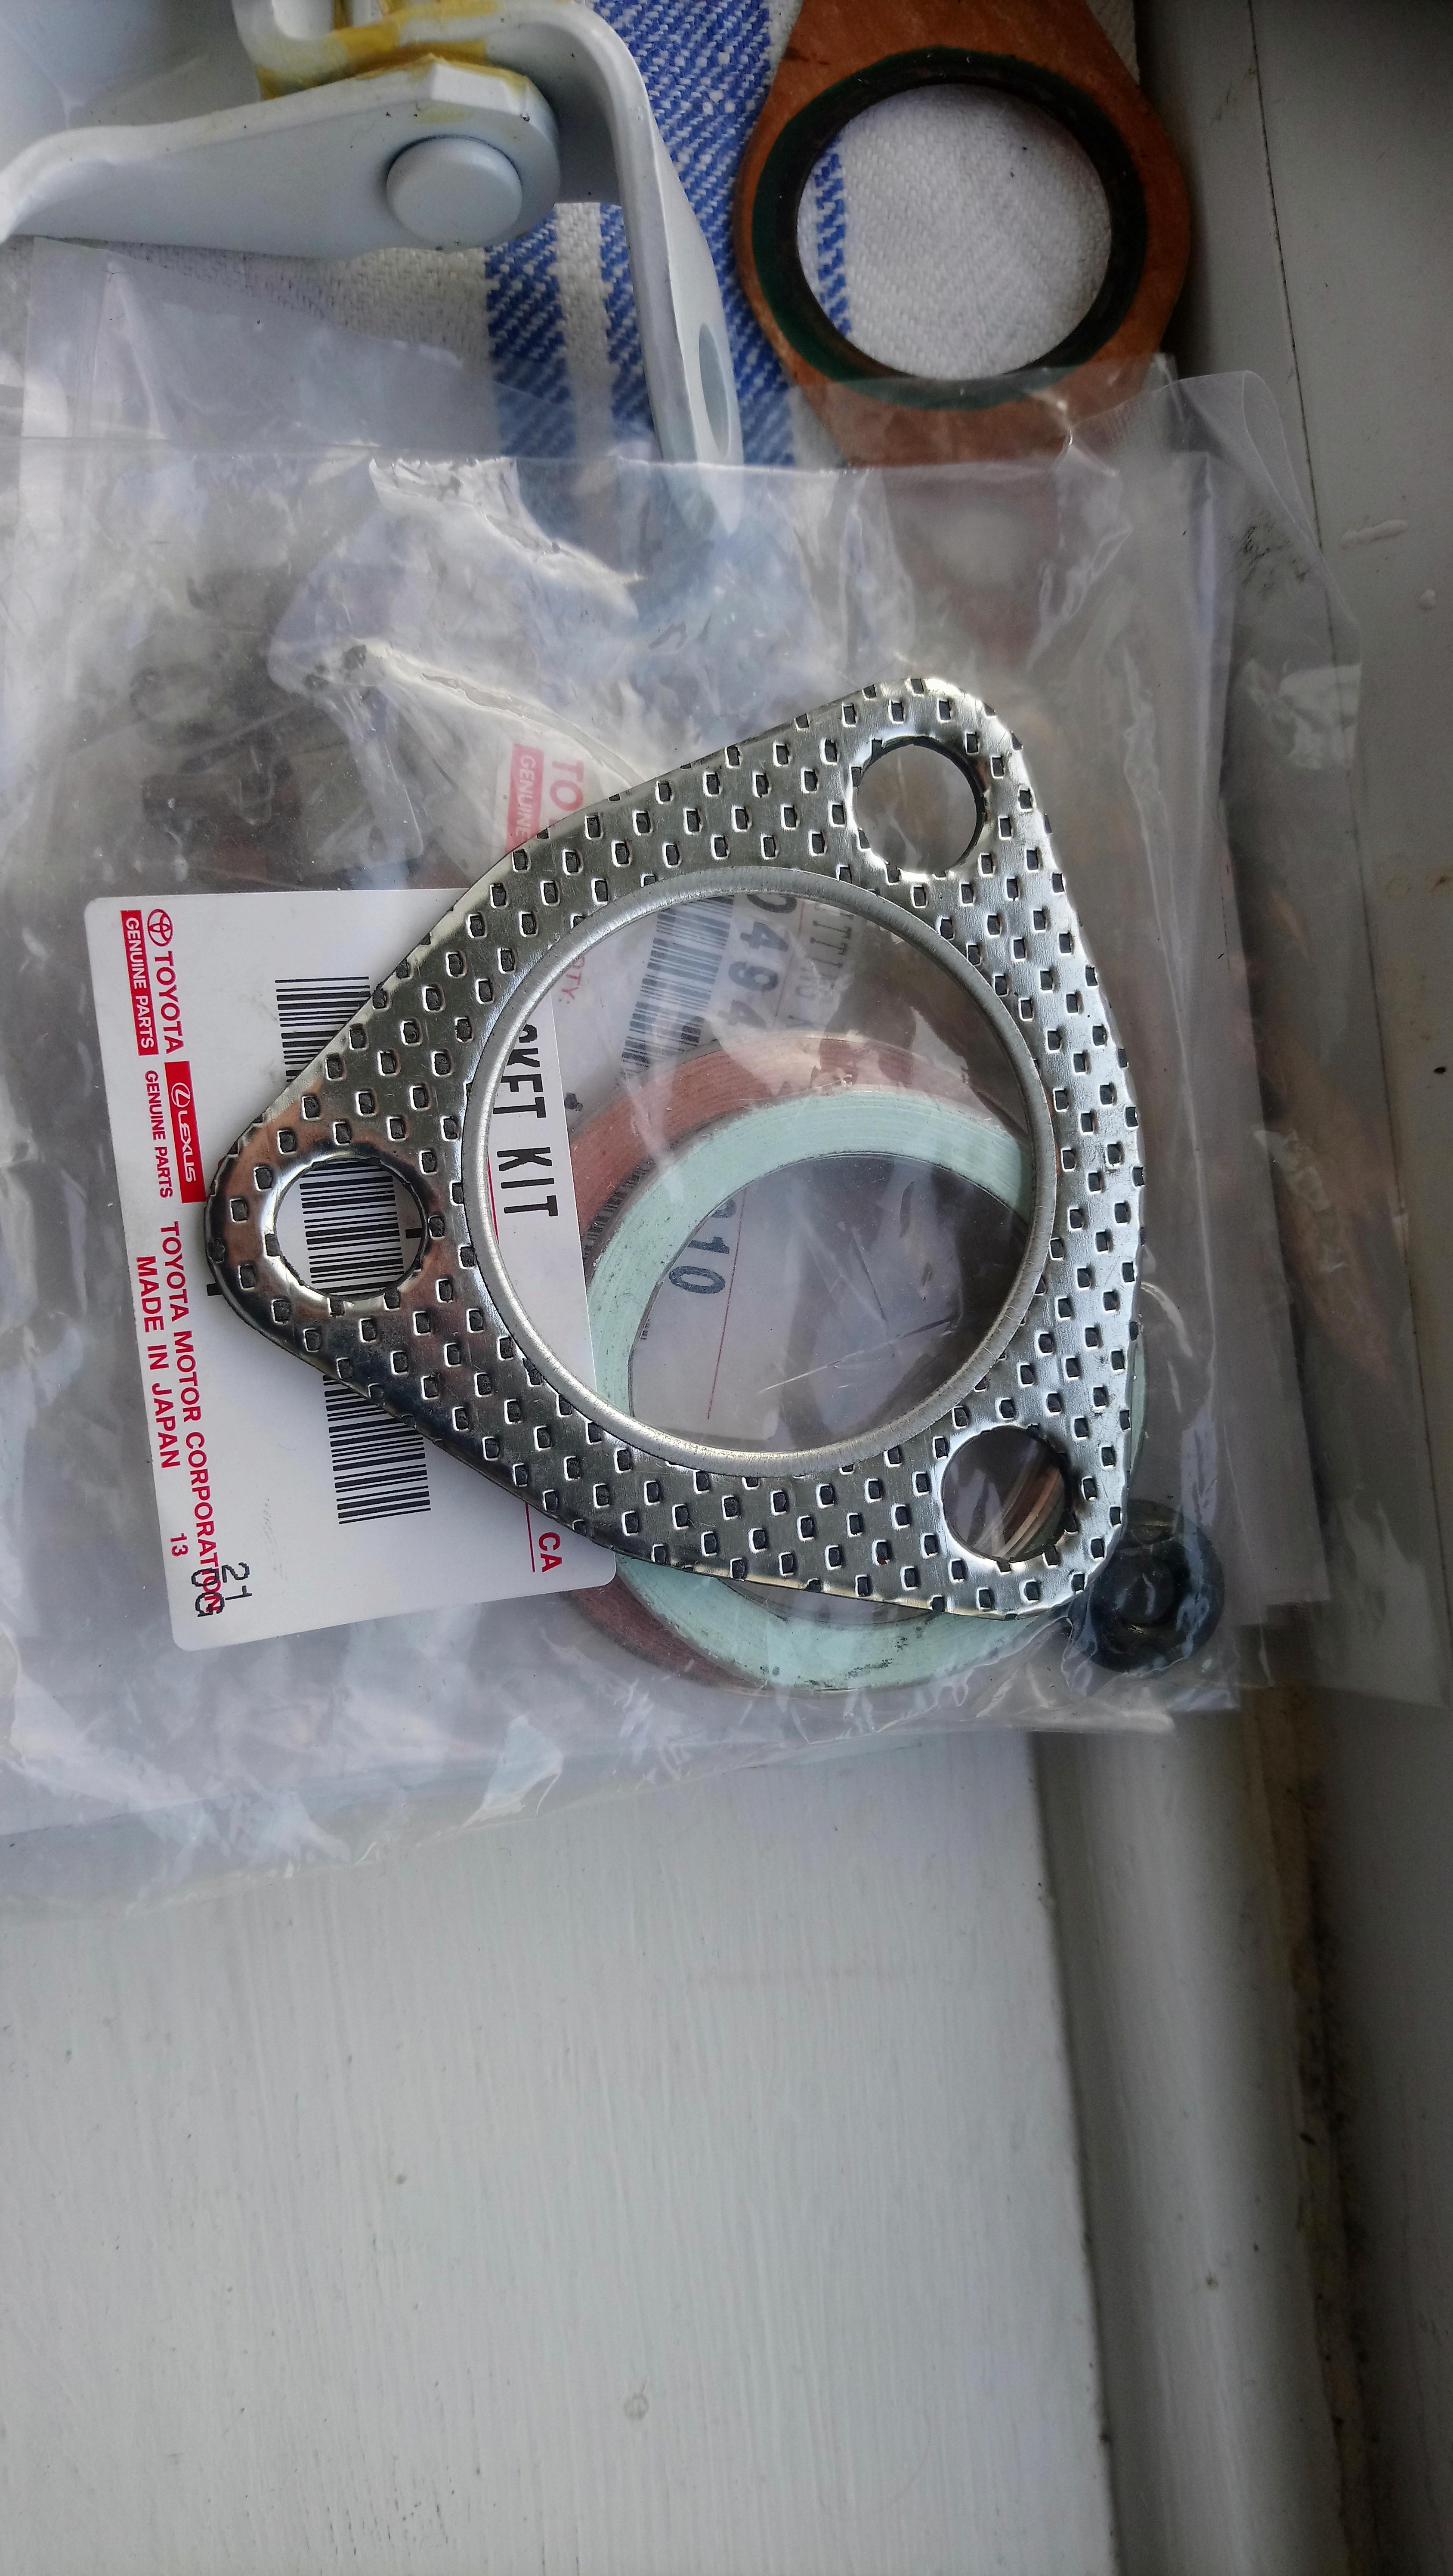
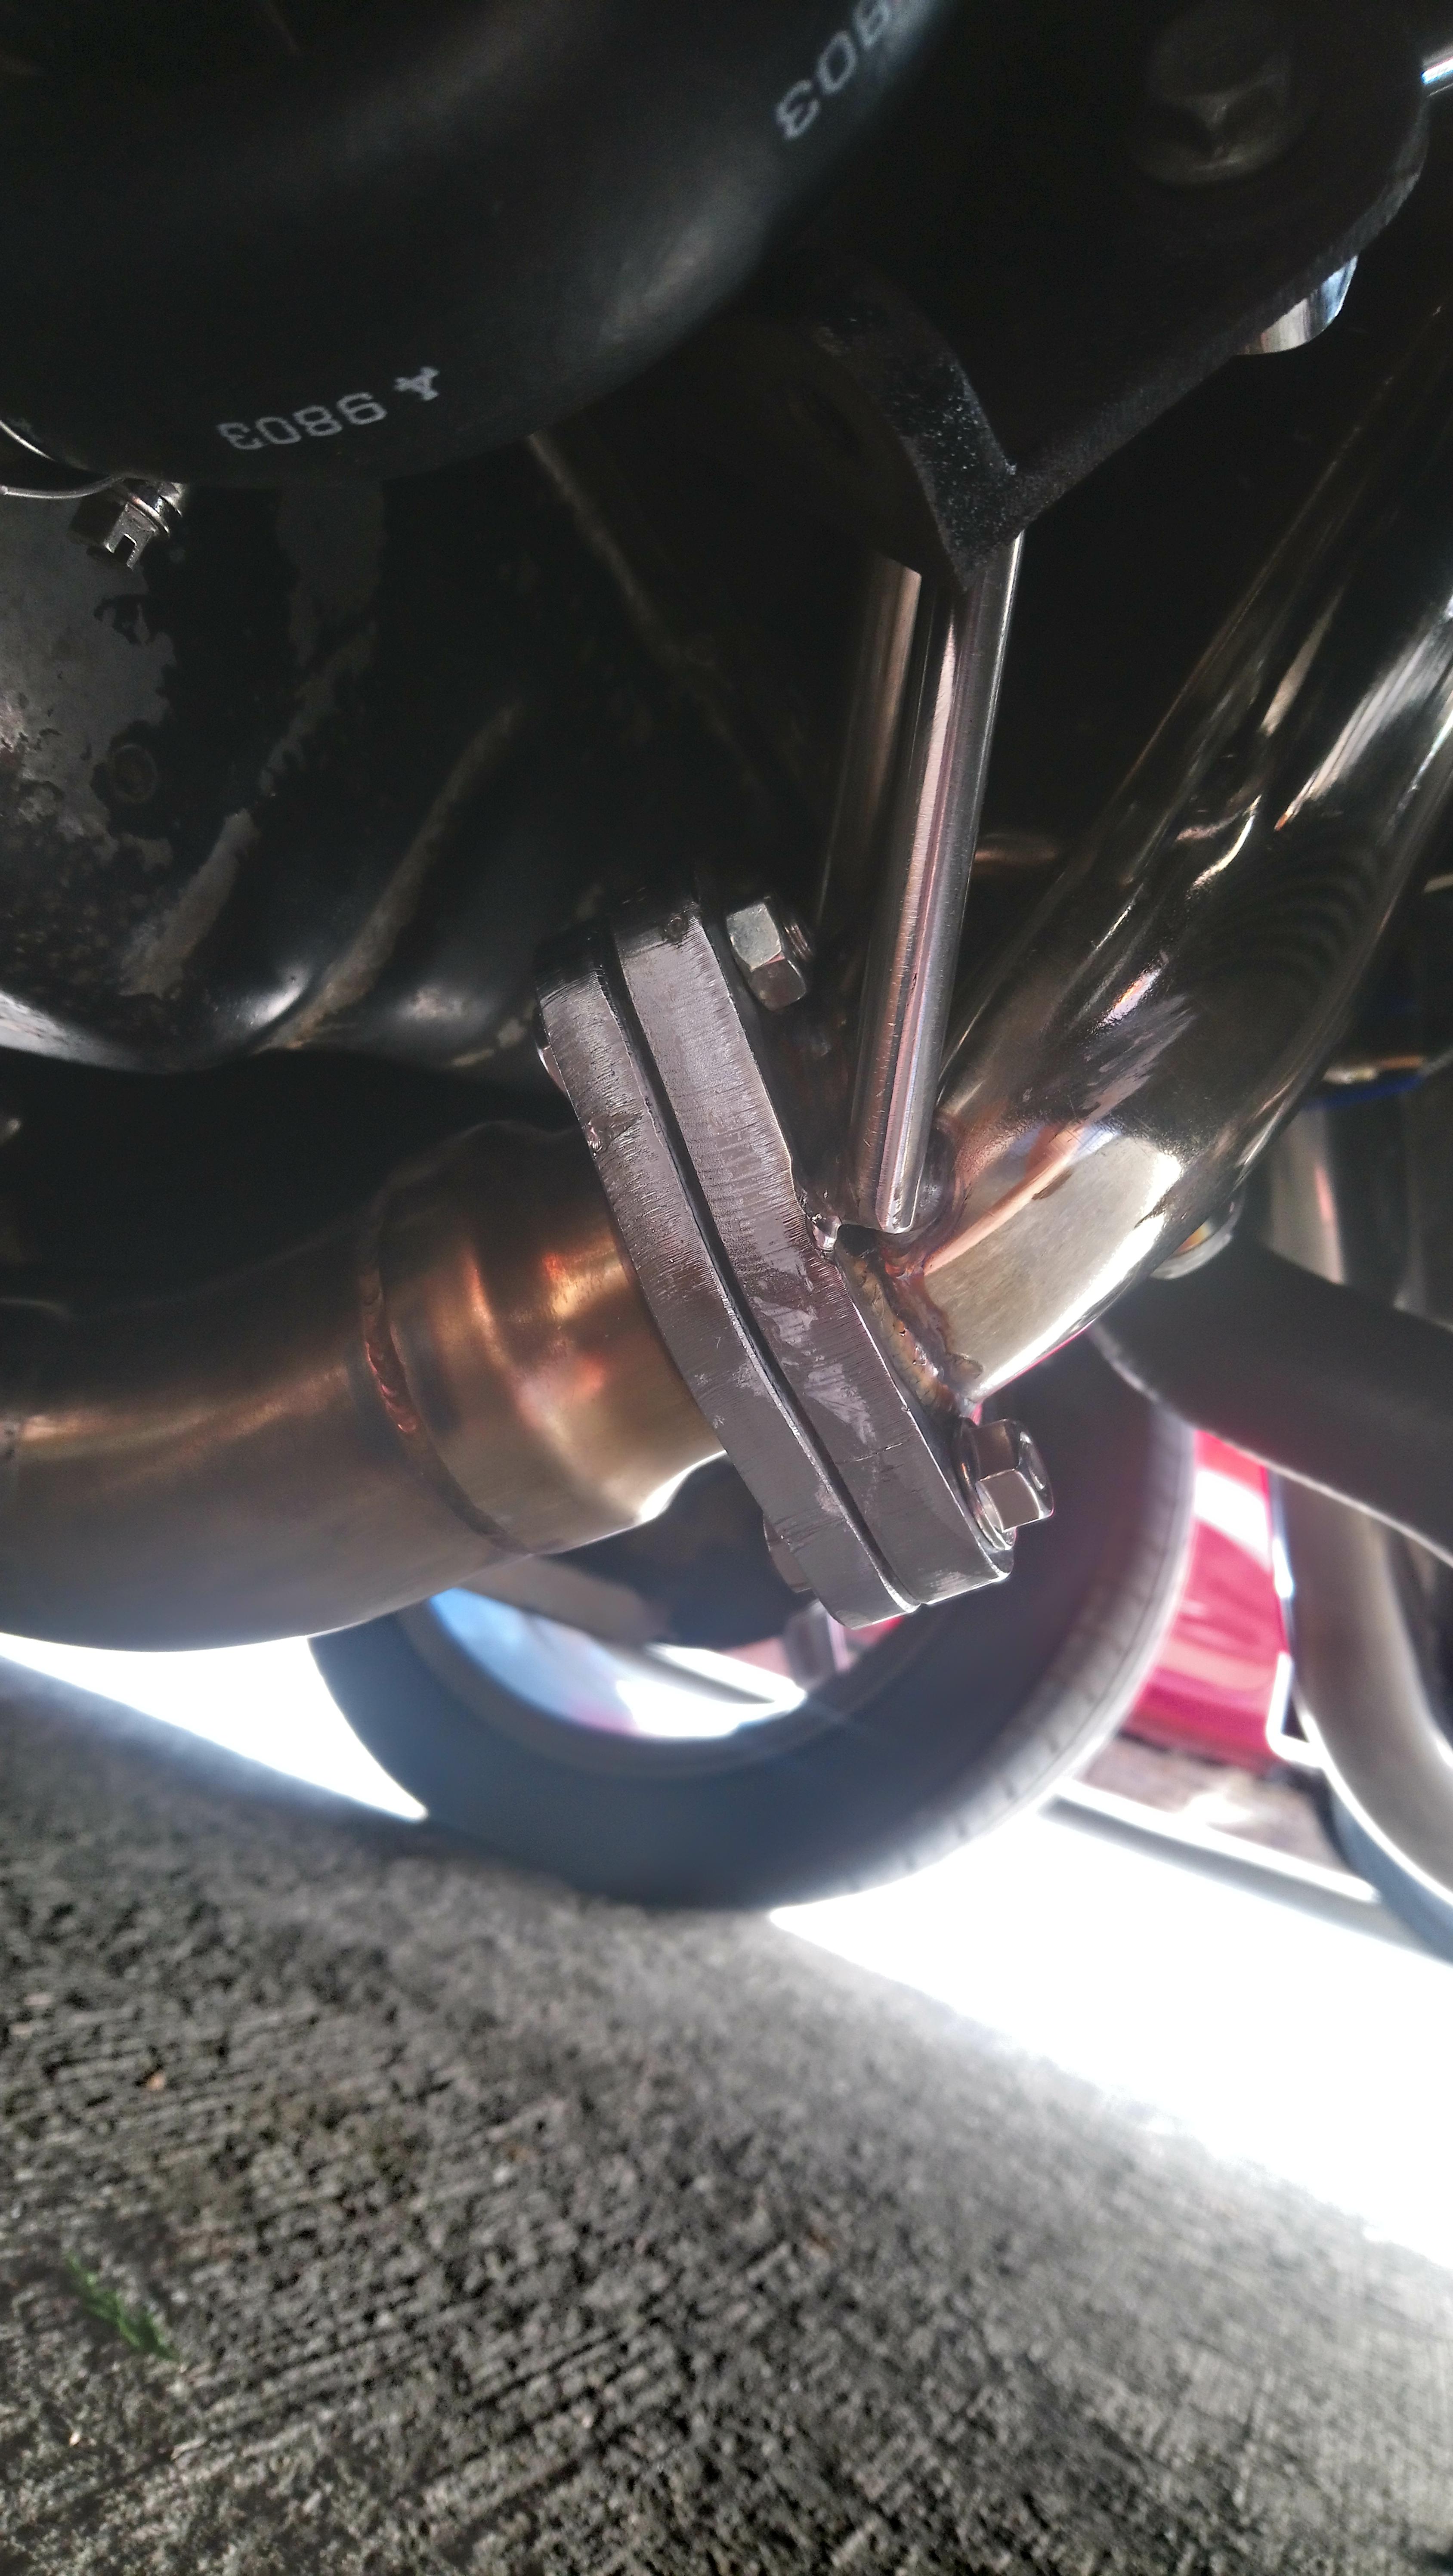
I also bought an exhaust gasket for where my exhaust joins onto the downpipe. I didnt have one before so ended up using exhaust paste, but after measuring it up i found this gasket on ebay that is a near identical fit
.
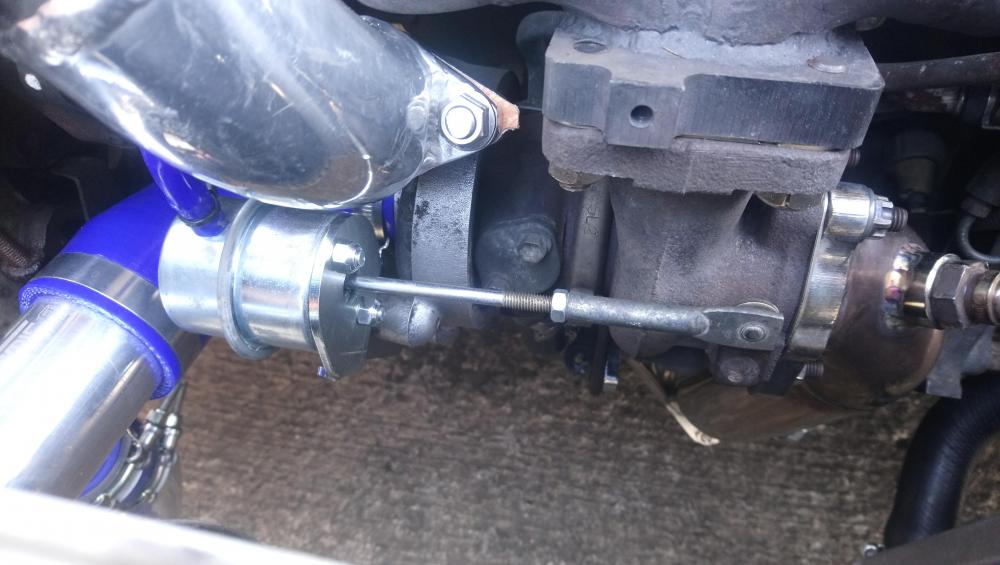
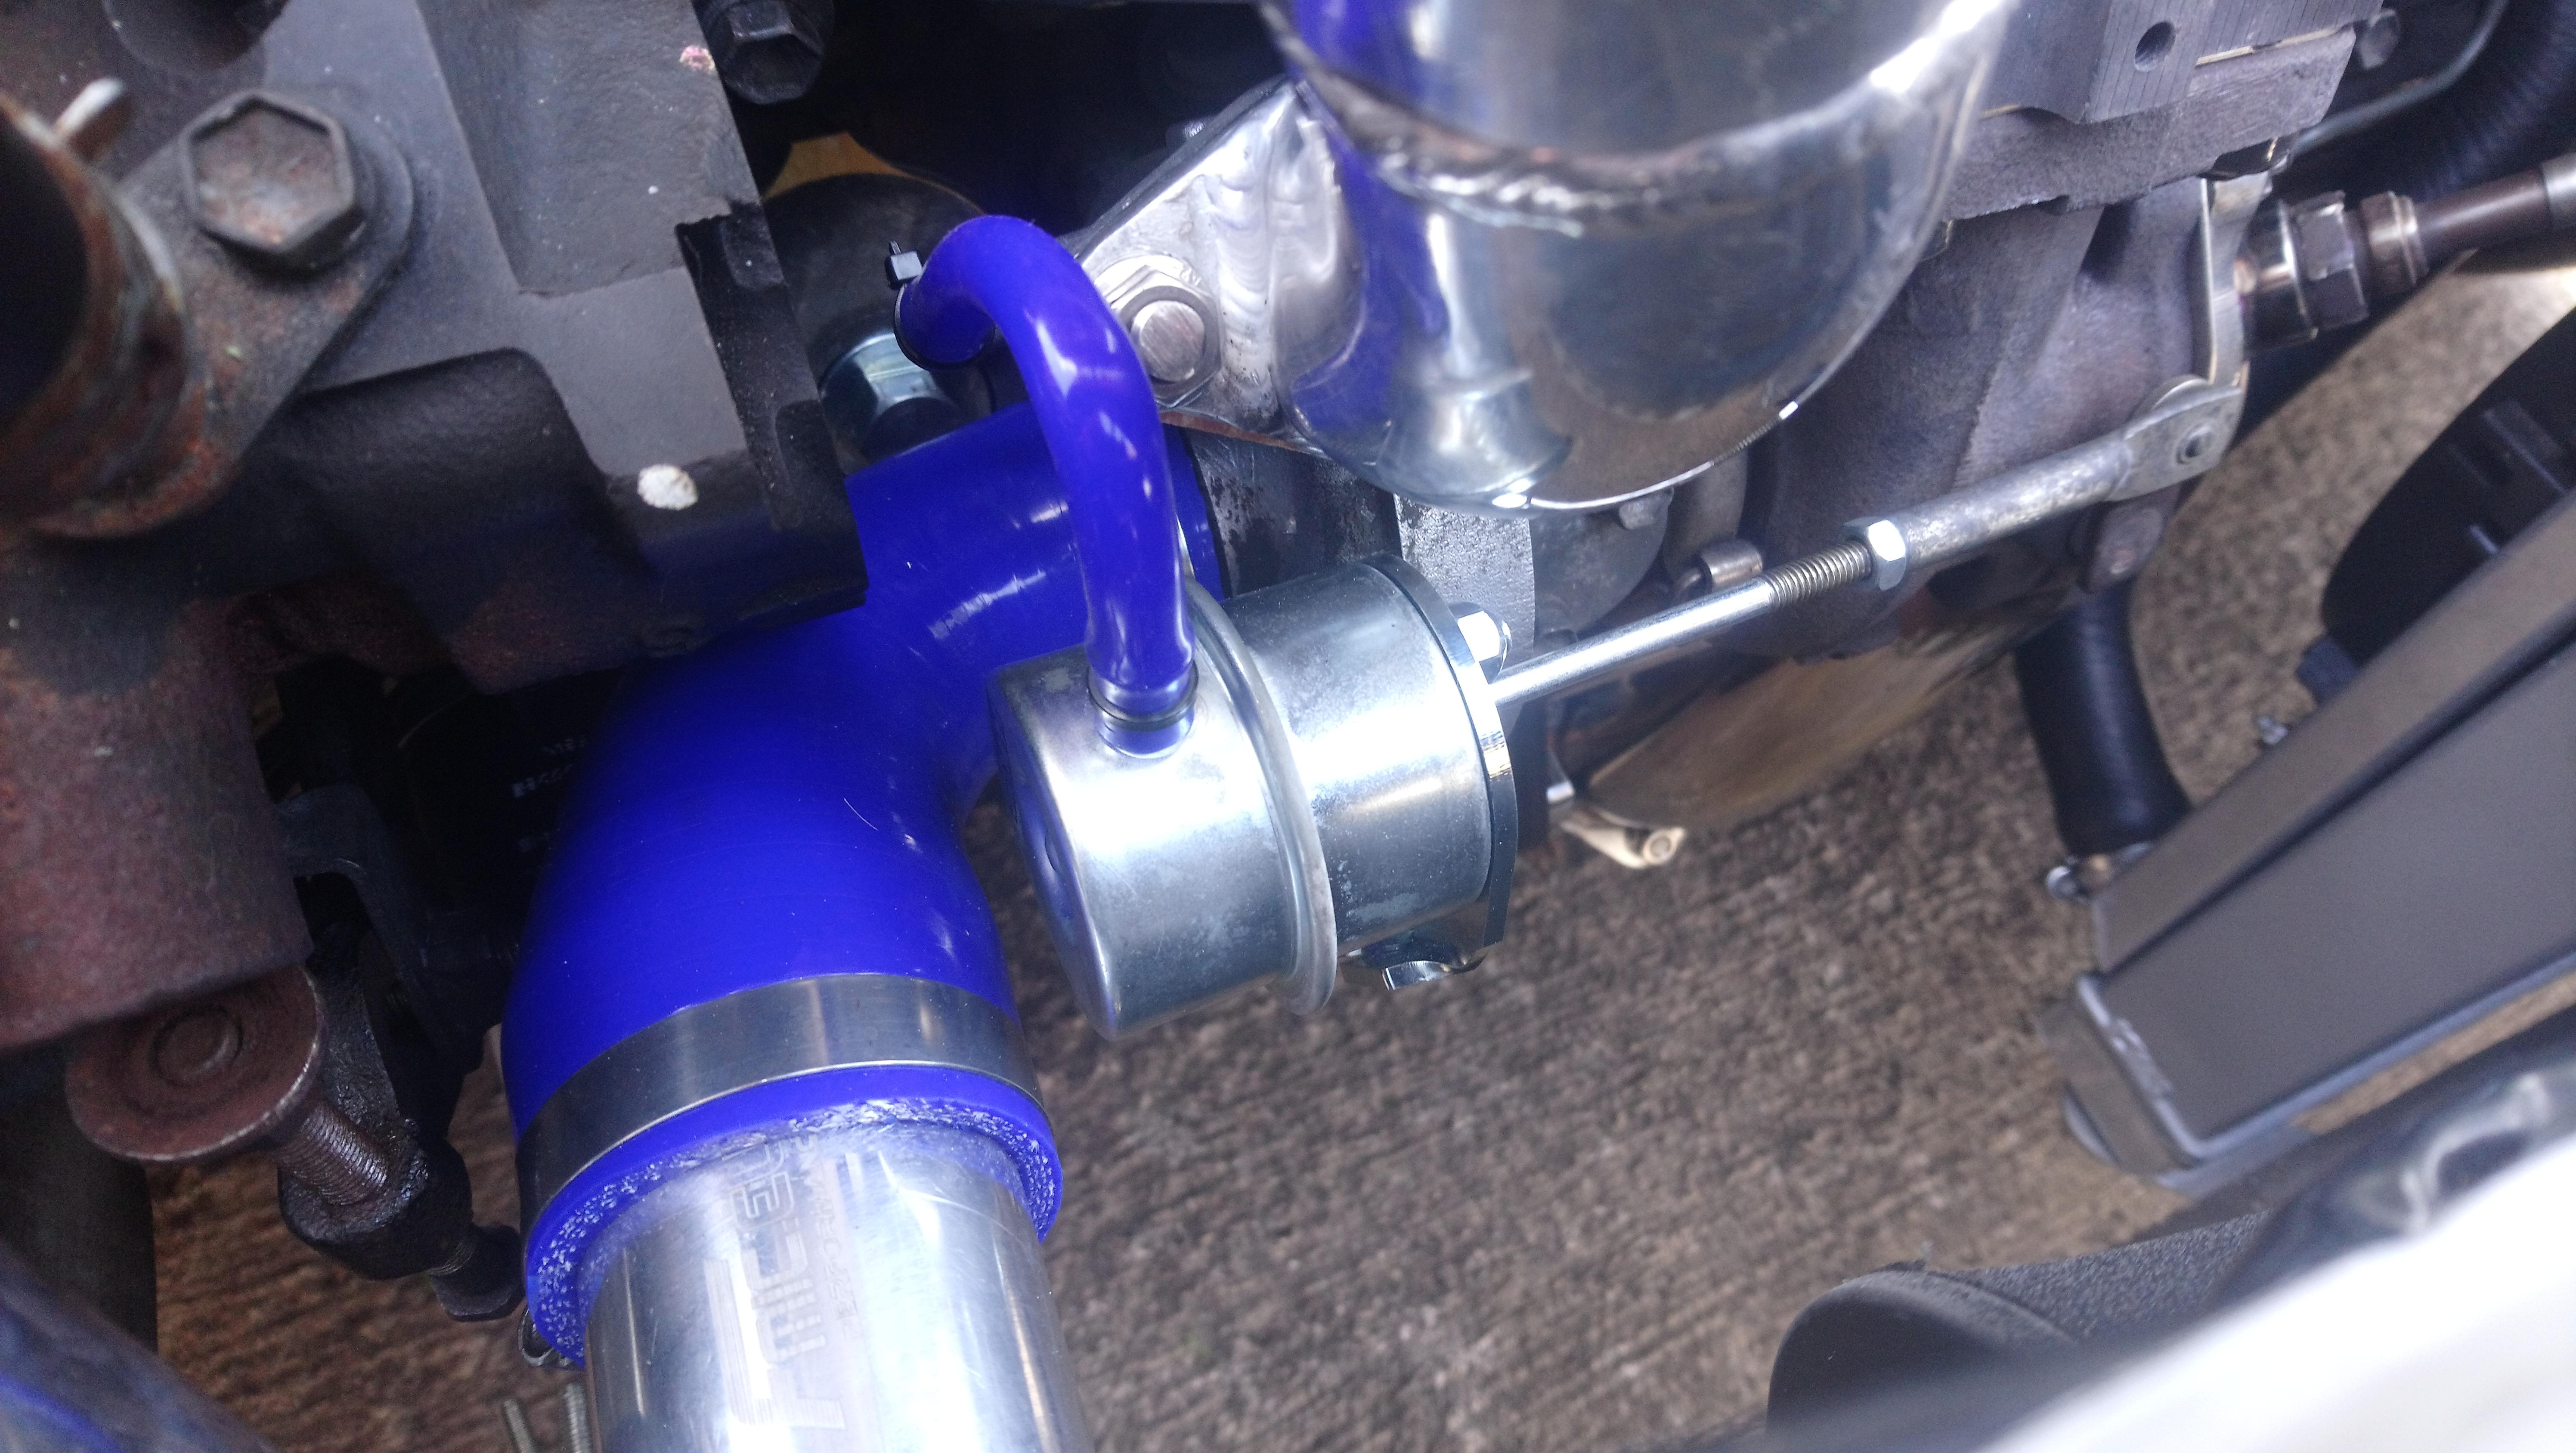
Fitted the hks actuator today, started by removing the small metal e clip that holds the actuator to the wastegate flap. This was a bit of a pain to do but managed to do it in the end with a pair of longnose pliers . I think on the gt turbos there is just a bolt and nut holding the actuator to the wastegate, sounds like a better design to me. Once this was off there was just two bolts holding the actuator to the turbo and a vacuum line to remove.

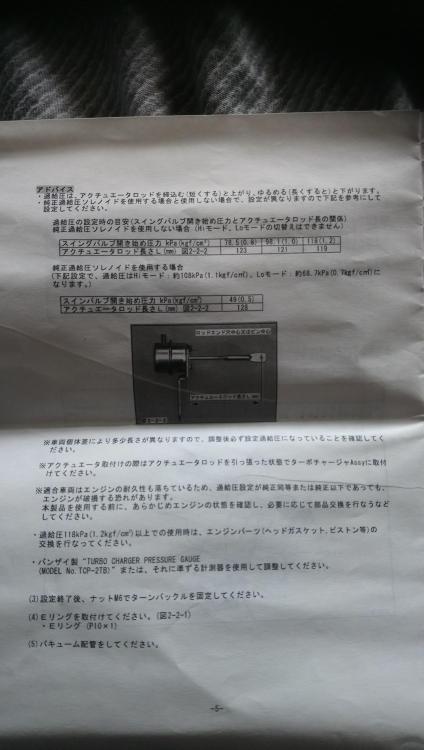
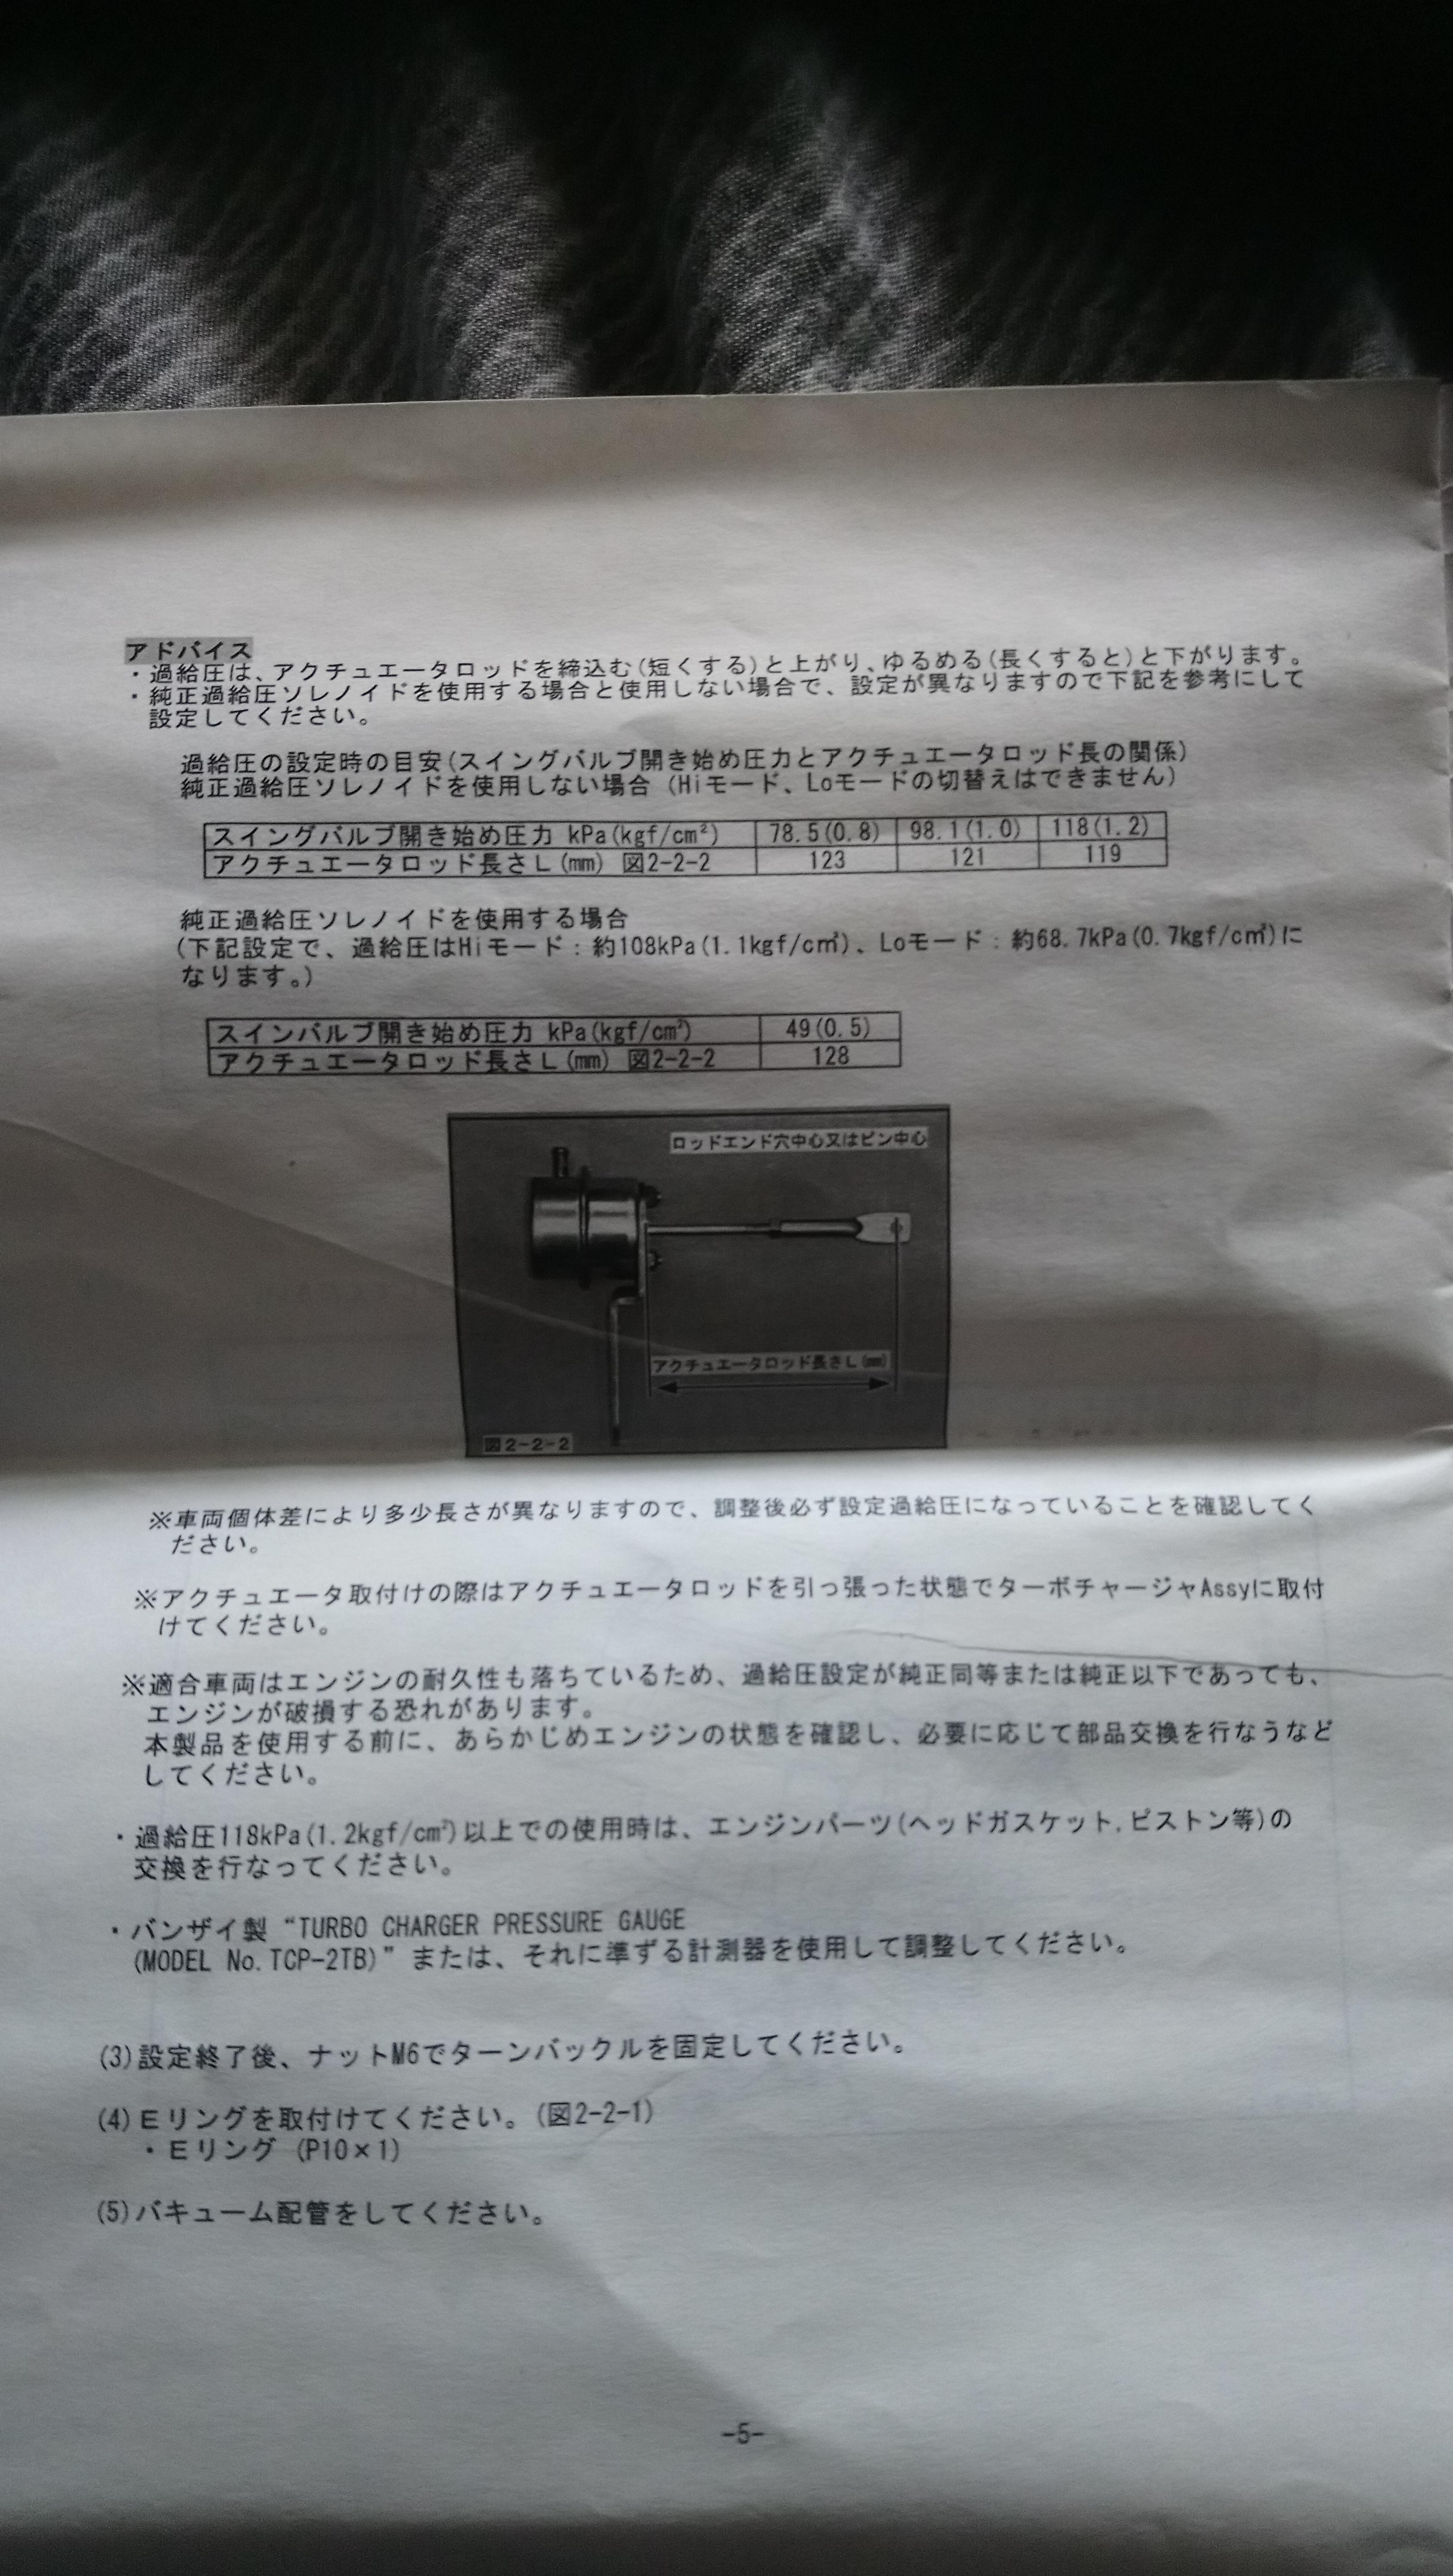
I then had to set the new actuator to the right boost pressure, the hks instructions give you different actuator arm lengths for different boost pressures. I wanted to set mine to around 0.7 bar to allow some boost creep so set the actuator length to around 125mm. I then got the actuator installed on the car and tightened the locknut.

I also fitted my new downpipe gasket, it was a pretty good fit. The bolt holes are slighty out of centre but as im using m 8 bolts instead of M10s it bolted up sound. It has sealed up better now and looks a lot neater than exhaust paste.
Took the car out to test the new actuator, It is now holding the boost at 0.7/0.8 bar just under fuel cut through the rev range. It doesnt drop off anymore and the car feels a fair bit quicker, may have to lower the boost slighty on the actuator yet as it does seem quite close to fuel cut but havent hit it yet so will see how it goes. Really enjoying driving the car at the moment, it sounds amazing and feels great to drive. Has come a long way since I bought it last year. I will be taking it off the road for winter soon so making the most of it before winter sets in.

-
17 minutes ago, jwhite said:
Great work fella, what’s your end goals with the car ?
Thanks mate, Im going to see how I get on with the standard ct9 for now but thinking about a hybrid ct9 setup or possibly even forging and going bigger turbo in the future.
I would ideally like to have the cars bodywork looked at and probably a full respray at some point down the line, although the paint is fairly decent overall there are a few areas that let the car down and it would make a big difference to have it sorted. Just been looking at yours and the work thats going in. Prep looks really good defenitely worth doing a thorough job to get it looking right at the end. Bodywork looks like real specialist stuff to me.
But apart from that im just going to carry on enjoying it, Its a lot of fun to drive even where its at now. Always wanted a turbo starlet so loving it at the minute
.
-
Really good read this, looks like a tidy GT and some great work going into it. Keep it up👍
-
8 hours ago, burty said:
Can they get body panels and rubbers etc? Really impressed mate good updates
Thanks bud, you can get all sorts of parts from them. I use https://www.nengun.com/oem/toyota/starlet-ep91-91670 to find specific part numbers and then just search by part number on amayama
.
3 hours ago, glanzadude said:Great read and super work on your car
Cheers mate
2 hours ago, ChristopherEP70 said:Excellent work. Have a few of those gauges in my car, other than getting them fitted in pod they seem pretty good quality
Thanks yeah I like the prosport gauges, really good quality for the money.
-
1 hour ago, Claymore said:
Great work as always James nice write up; I take it the Manifold is from tuning developments and the down pipe is Jperformance? Do they fit well or was some "finessing" required?
Also do you mind my asking, did you buy them from TD and Jperformance? Or just TD for both?
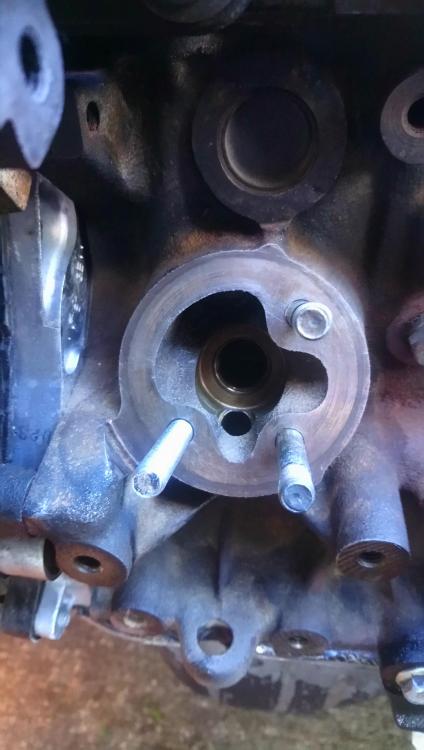
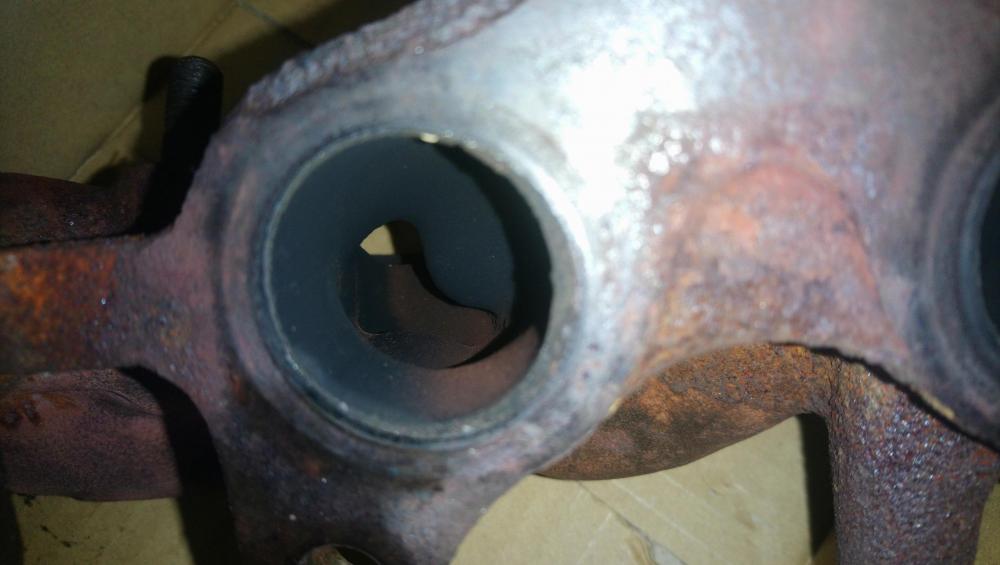
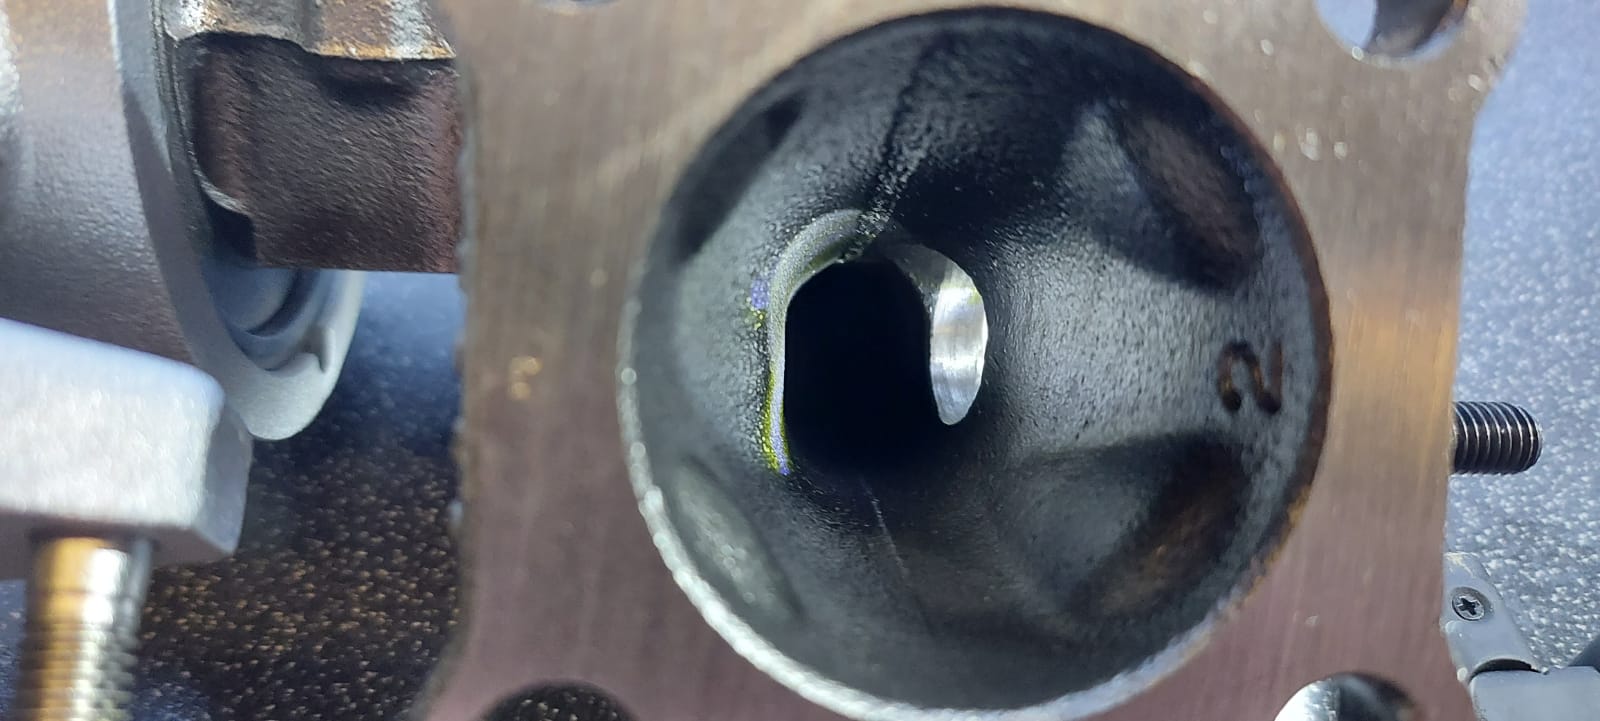
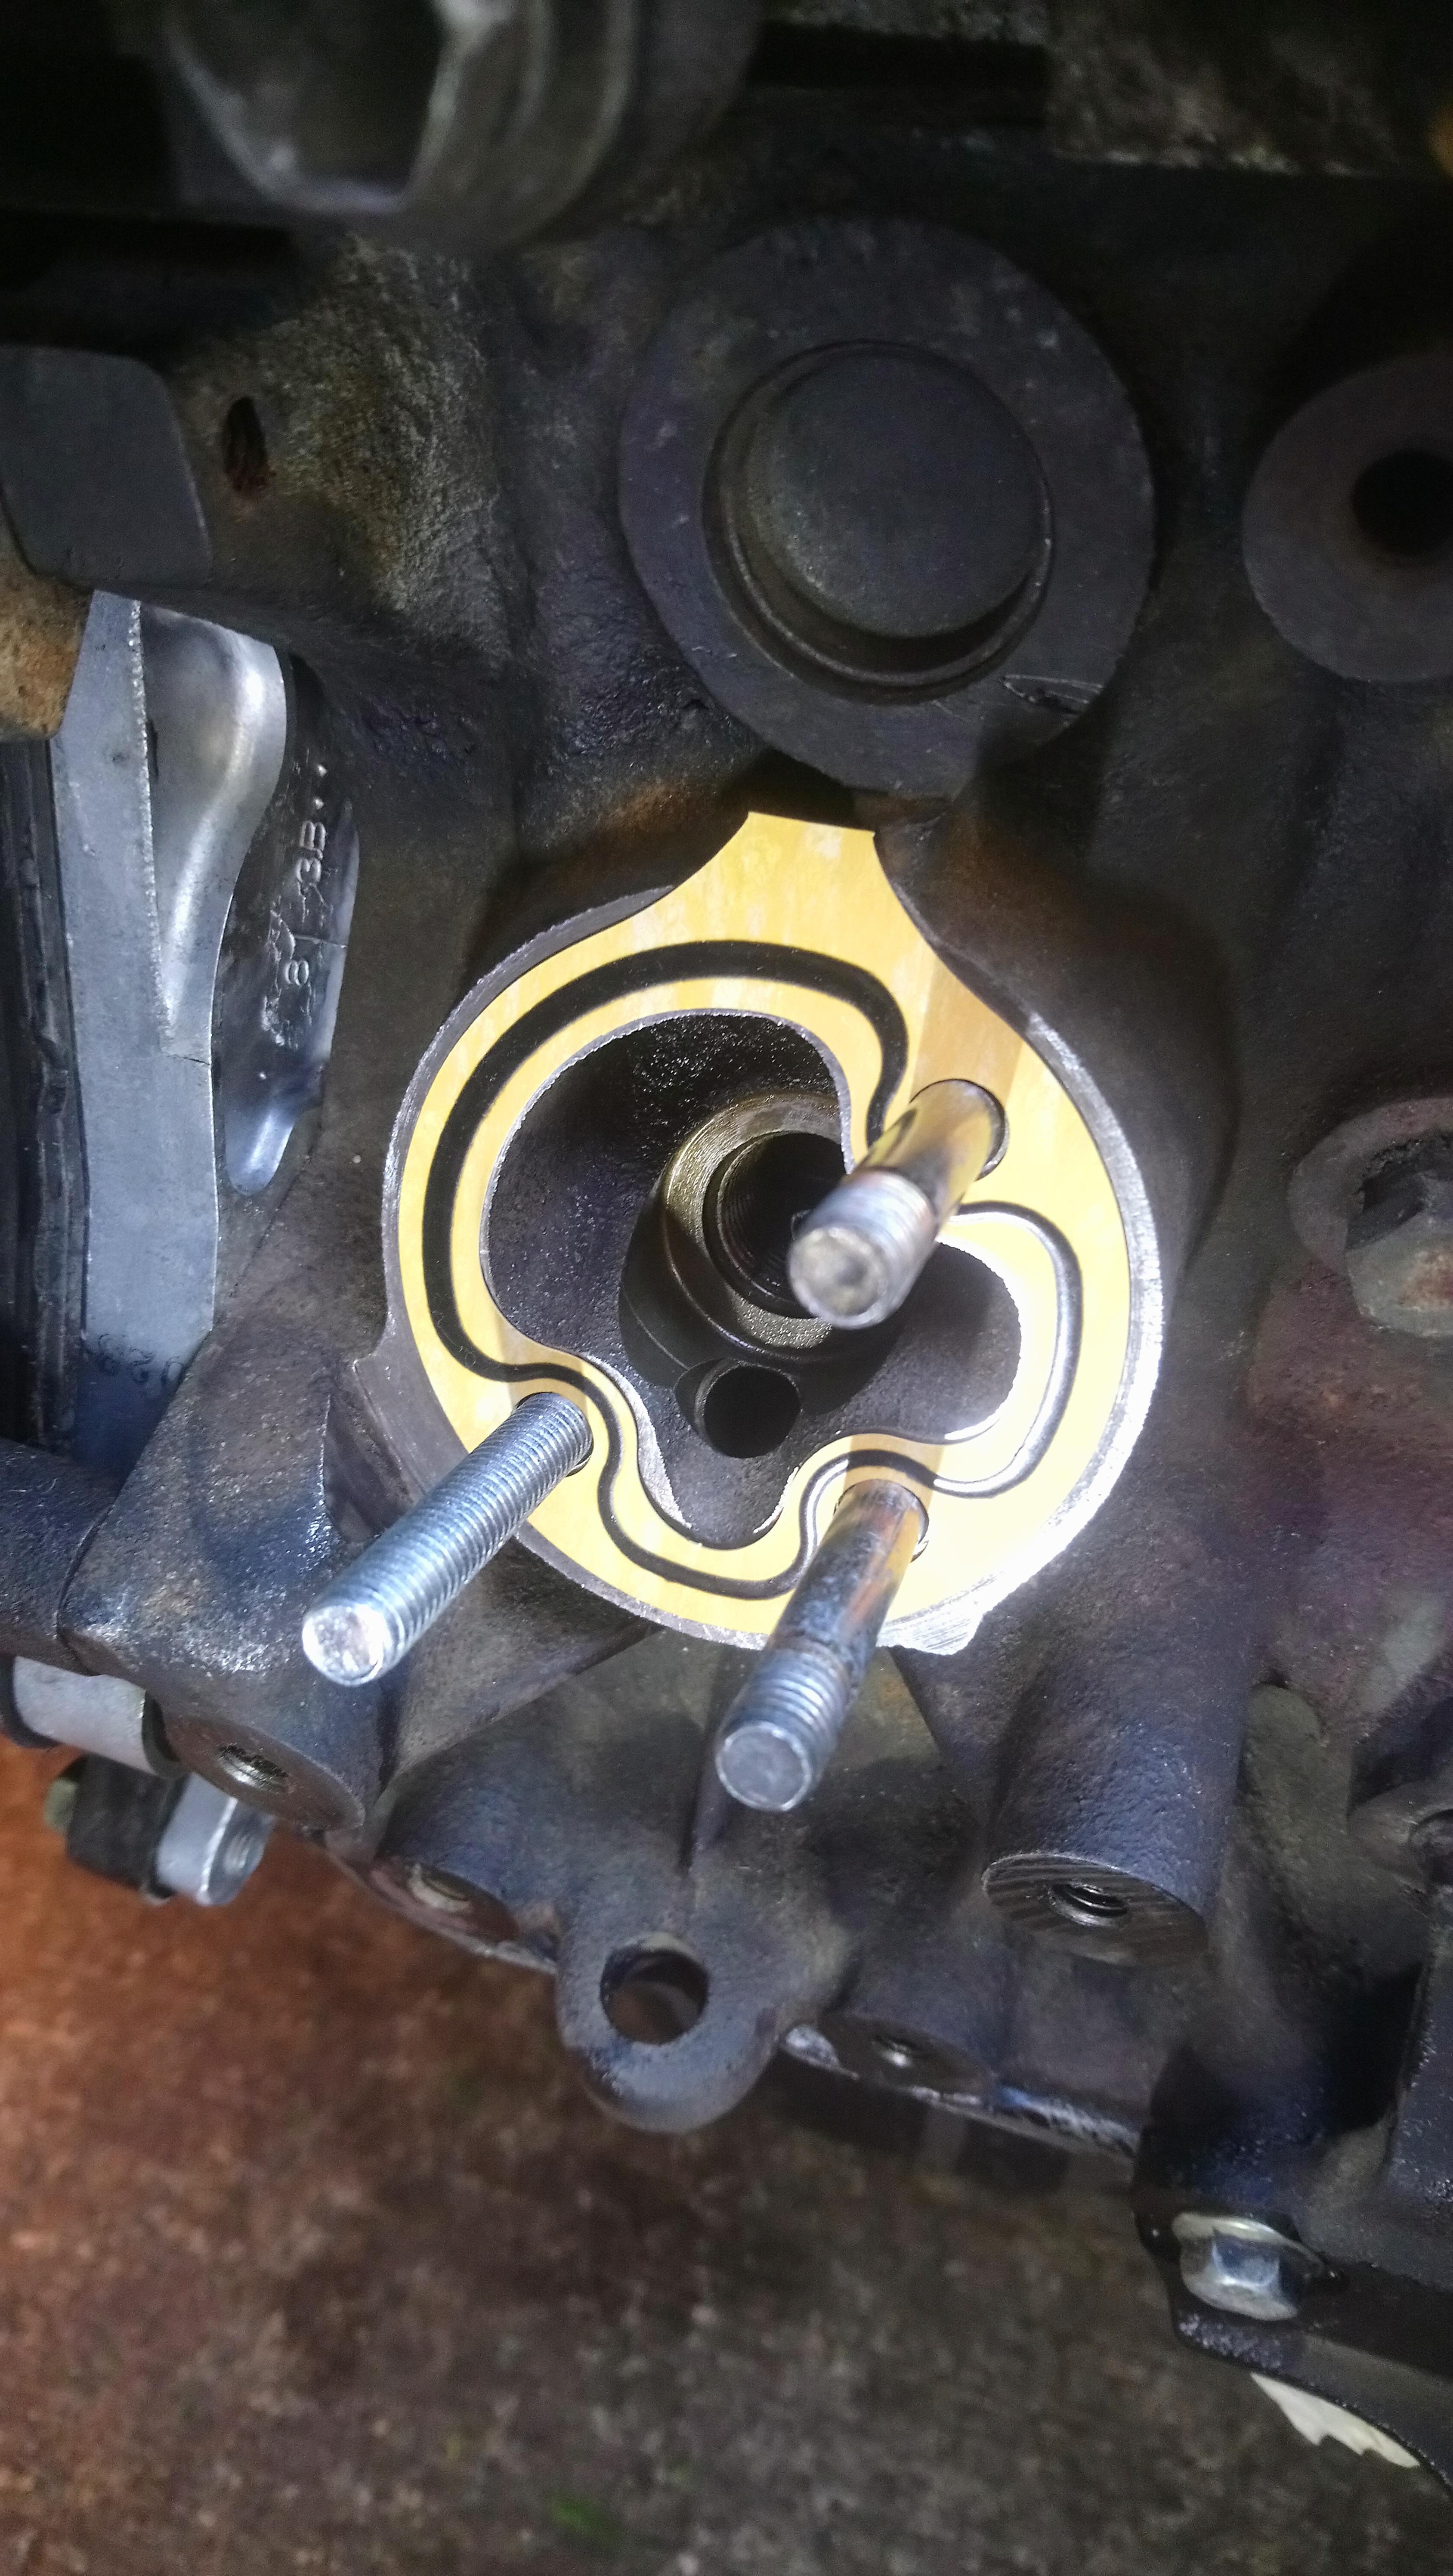
And yes, that stock third runner restriction is
 , probably only just good enough for stock power levels. Weirdly though when I looked at one I have here from the turbo side back up to the head flange side it doesn't look as bad!?
Thanks Claymore, I actually got the manifold and downpipe second hand of the same fella I bought the japspeed exhaust off a few weeks ago. Unsure of the brands but I think it could be a tuning developments manifold and possibly a gravity or j performance downpipe. No issues with fitment bolted straight up to my exhaust and the standard turbo oil feed fitment is still spot on
.
Was really lucky to get a good deal on these to say the TD manifolds are around £300 brand new. I have bourght a lot of stuff through mike at TD in the past and he has always been sound with me. Best speaking to him on the phone rather than ordering through the website really as its a bit out of date. Hes also told me in that past that J Performance have now stopped trading and ive heard some rumours that they will take your money and not send the parts, so wouldnt reccomend ordering through them myself.
Yeah wouldnt want to run anything above stock boost levels on the standard manifold really. I suppose toyota only made them to cope with the standard boost pressure.
-
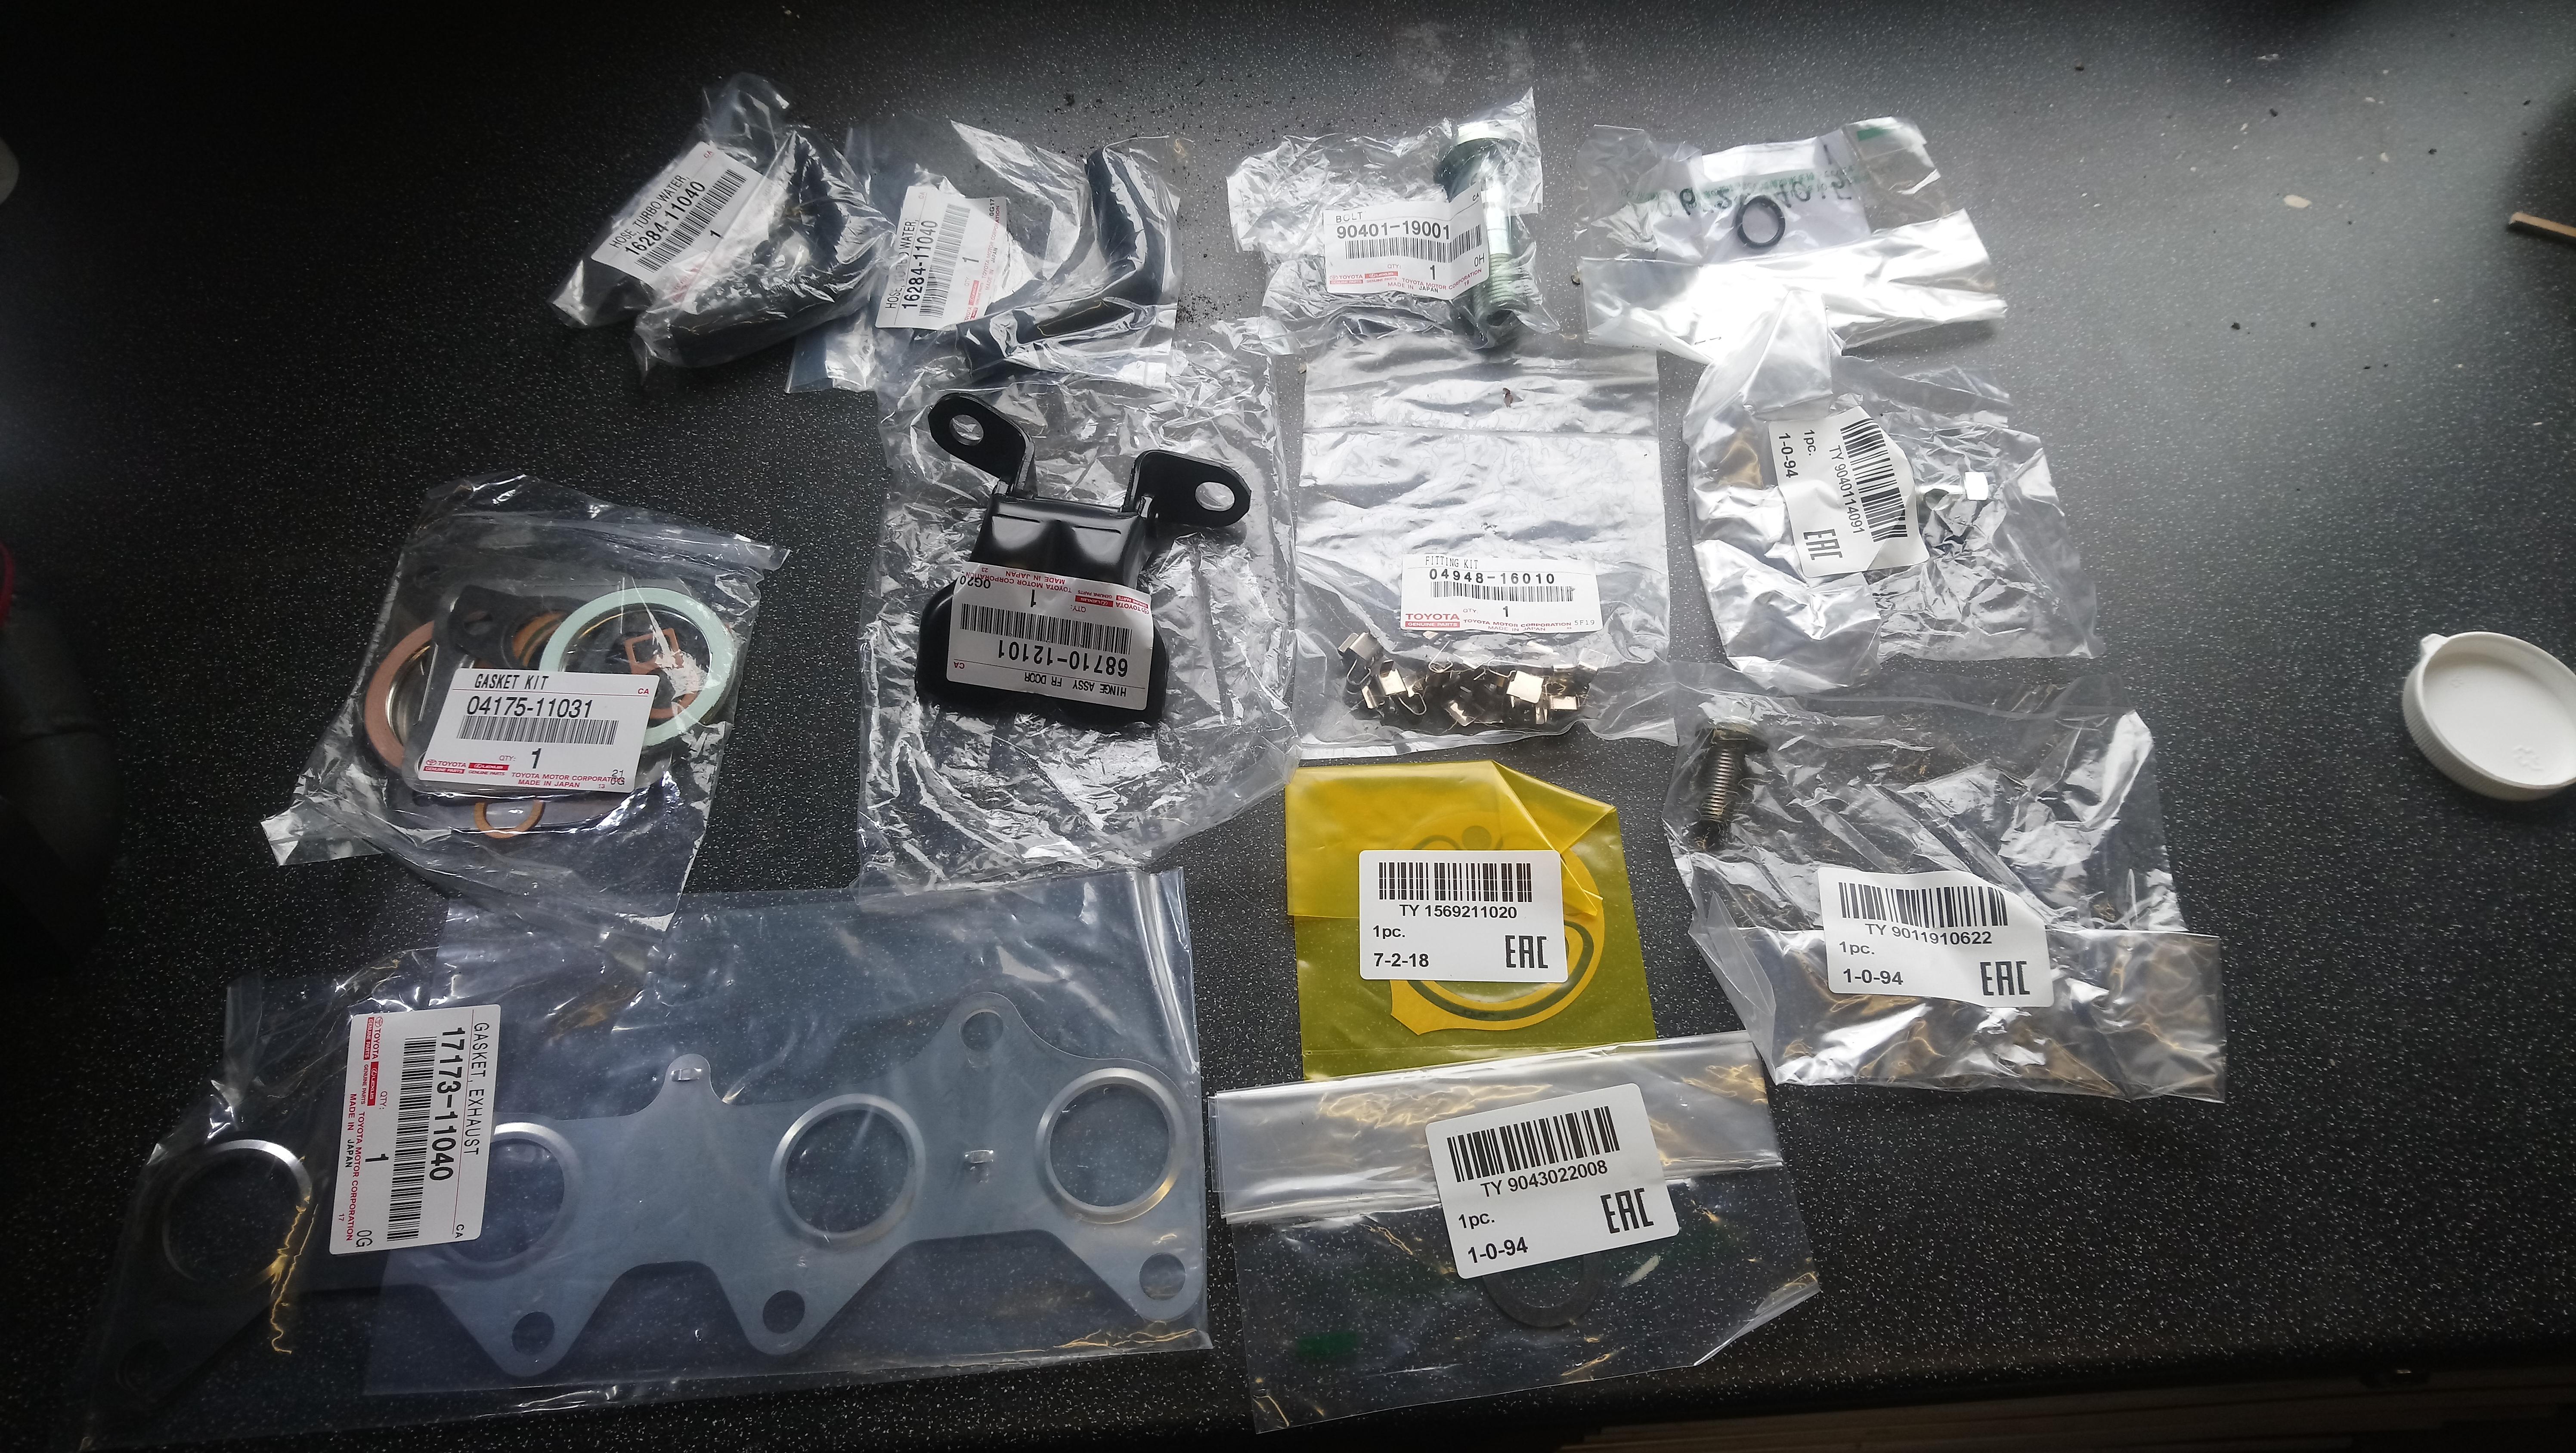
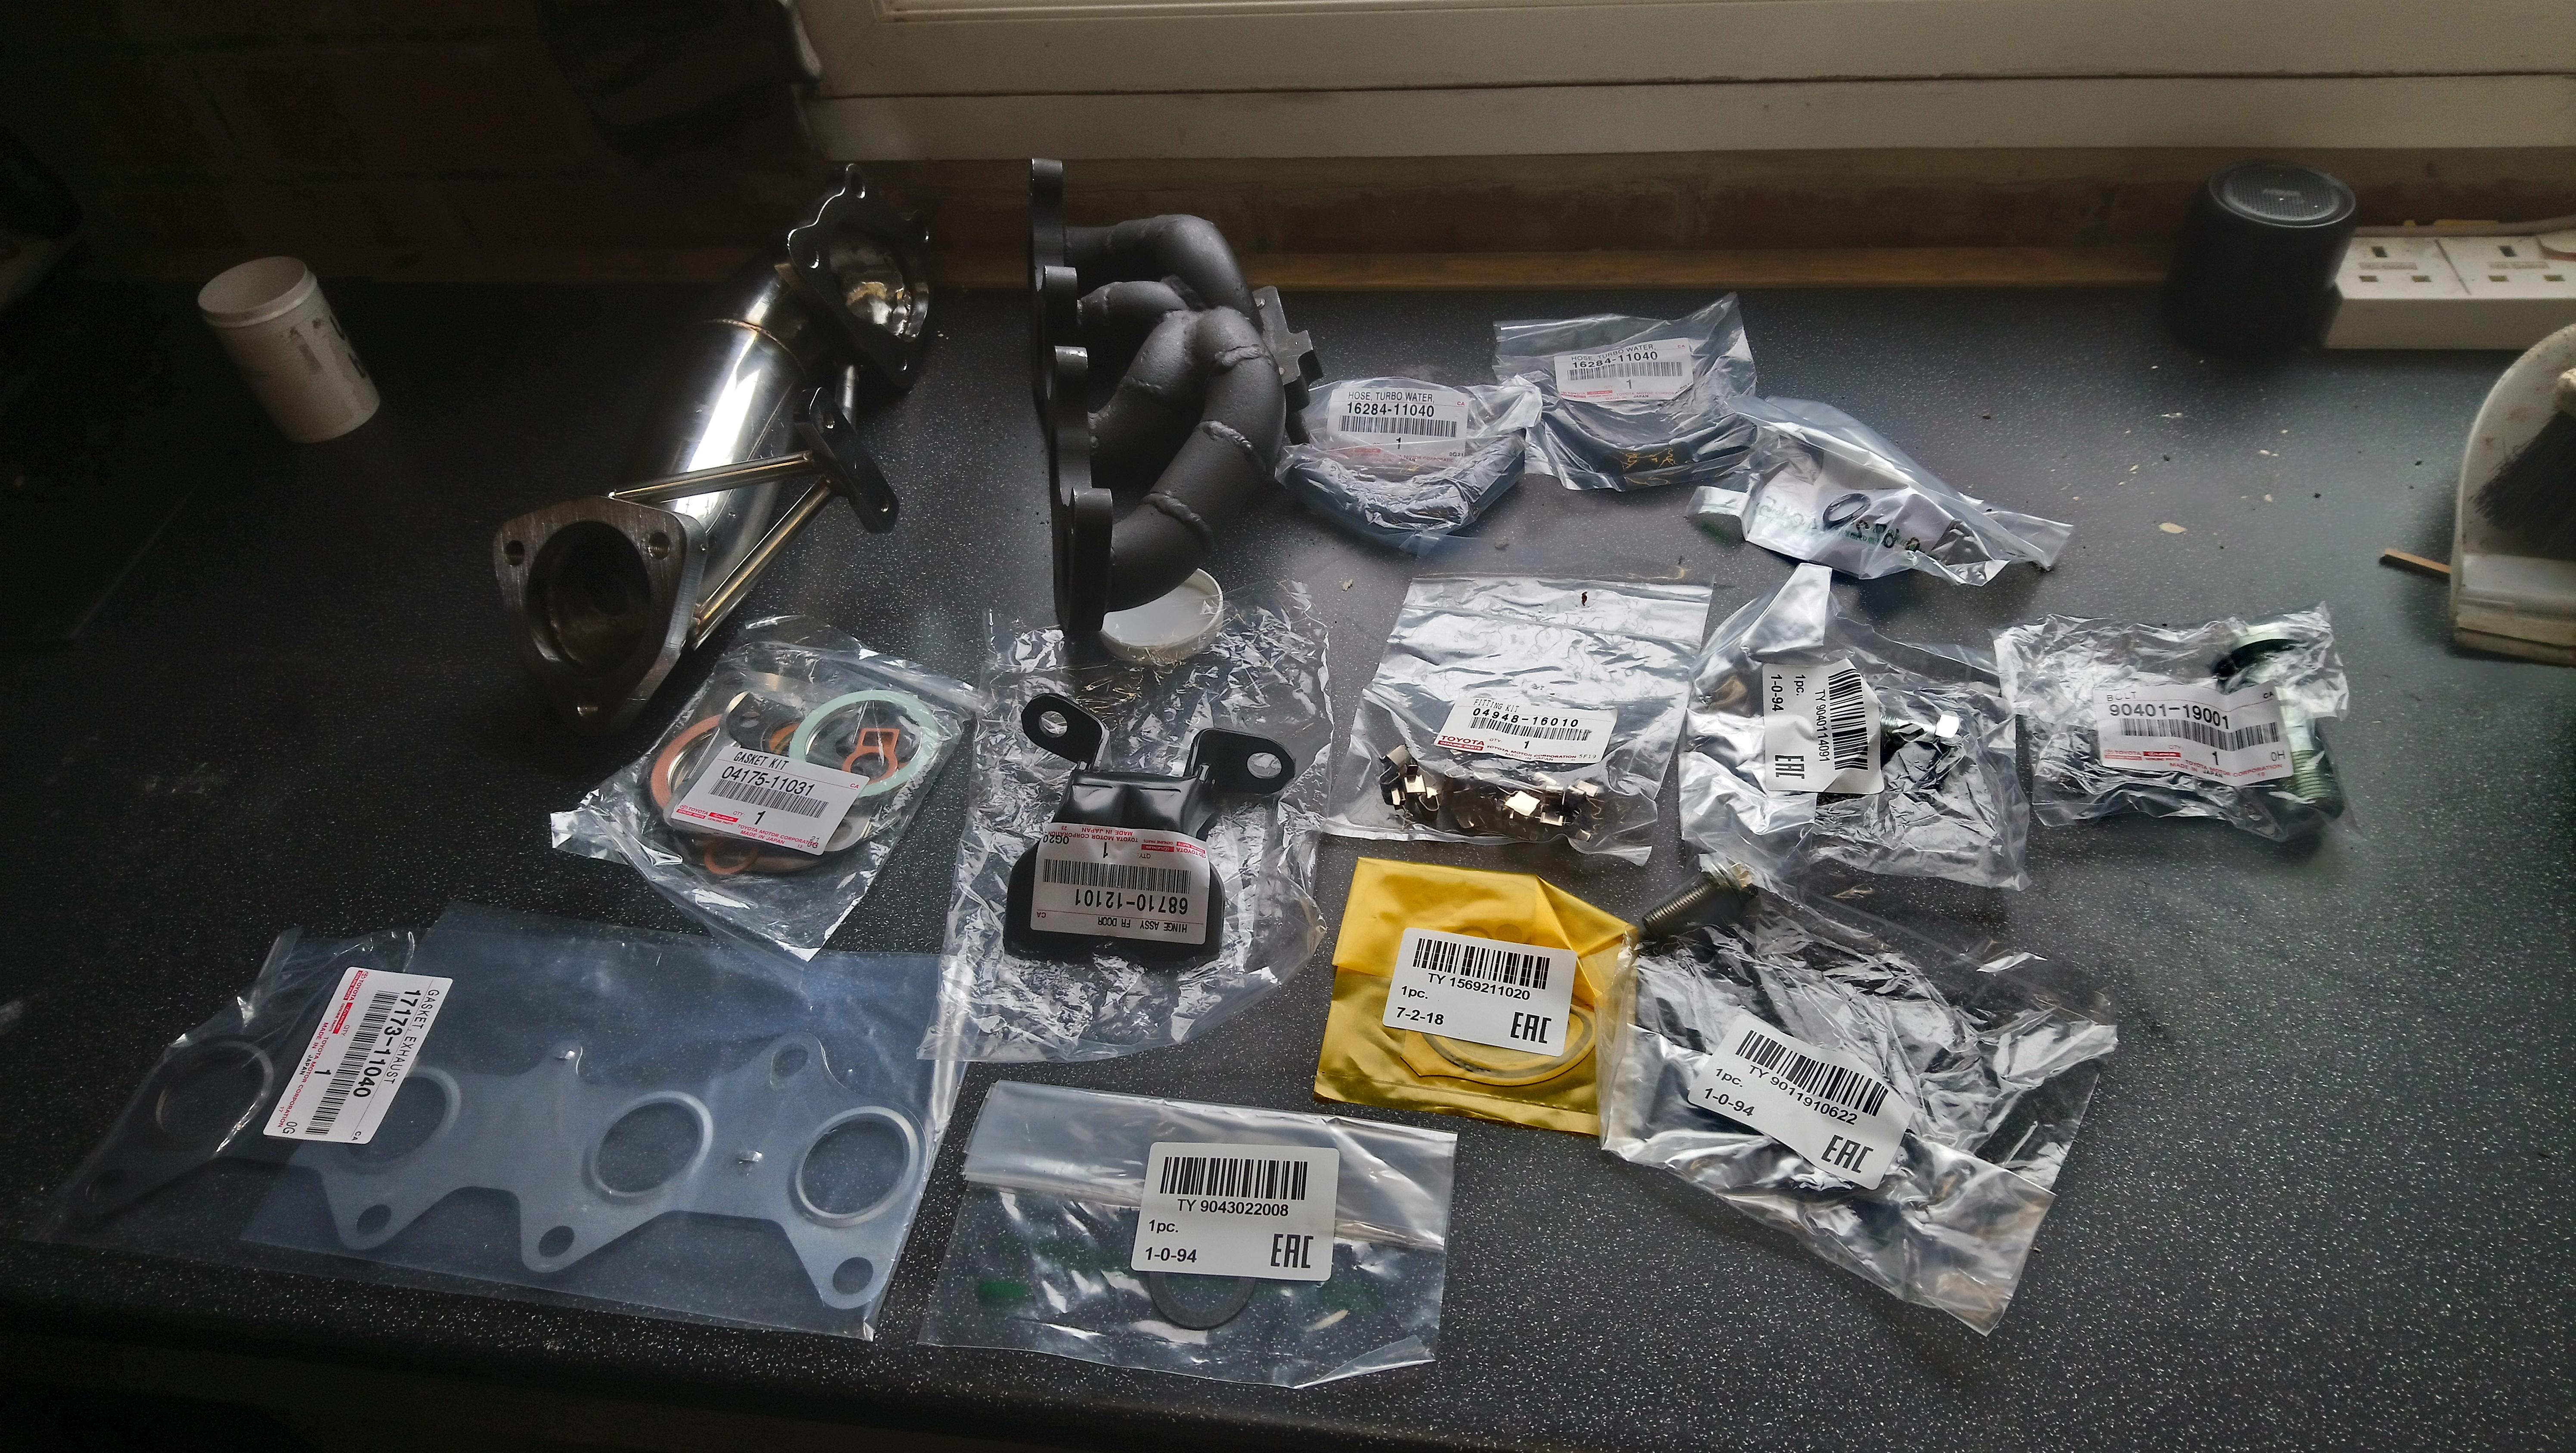
So my amayama order arrived last week, lots of brand new genuine parts direct from japan. It worked out a lot cheaper than it would of been from a main dealer and took just 4 weeks to arrive. Well worth doing for a big parts order, just got to bare in mind the import tax when it arrives in the UK.

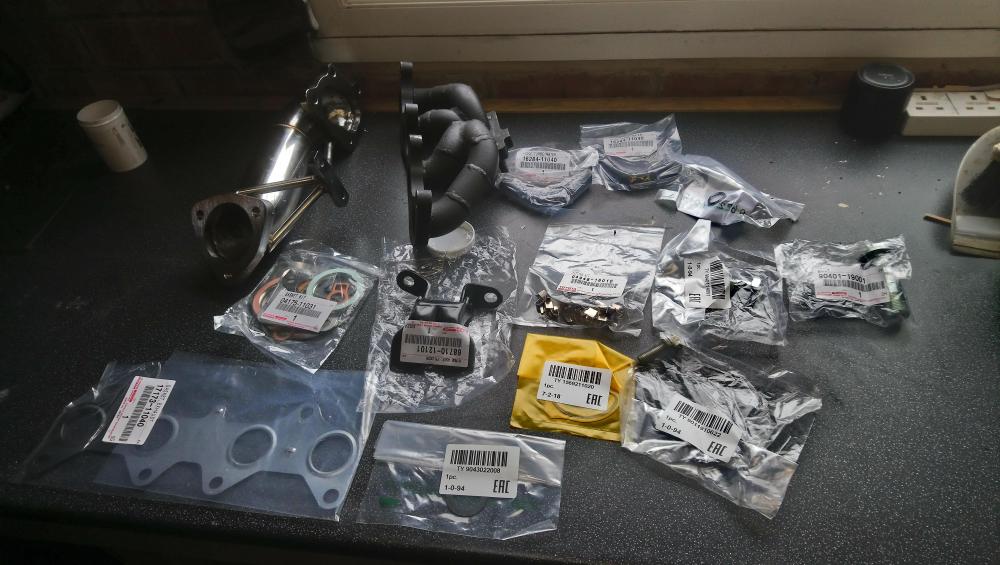
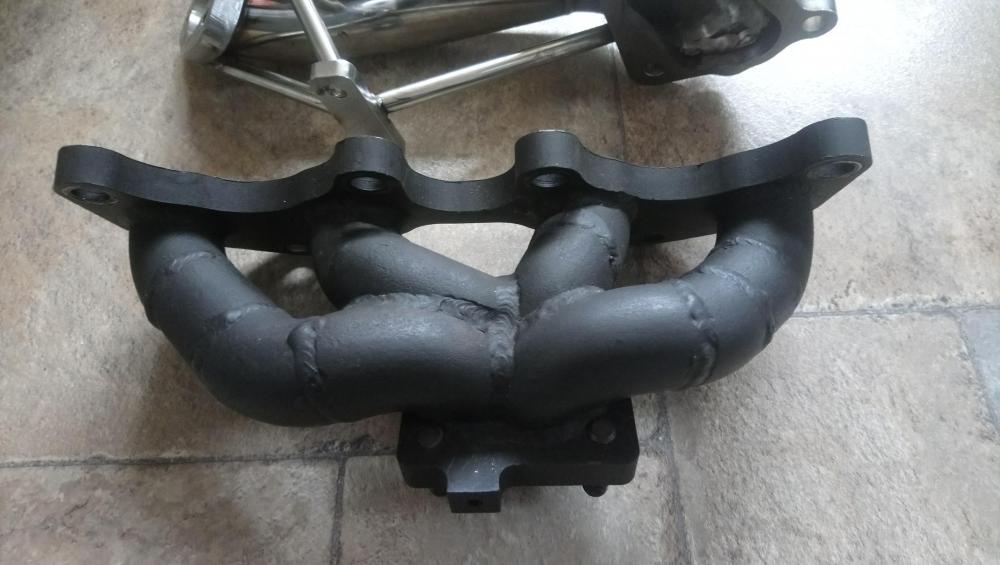
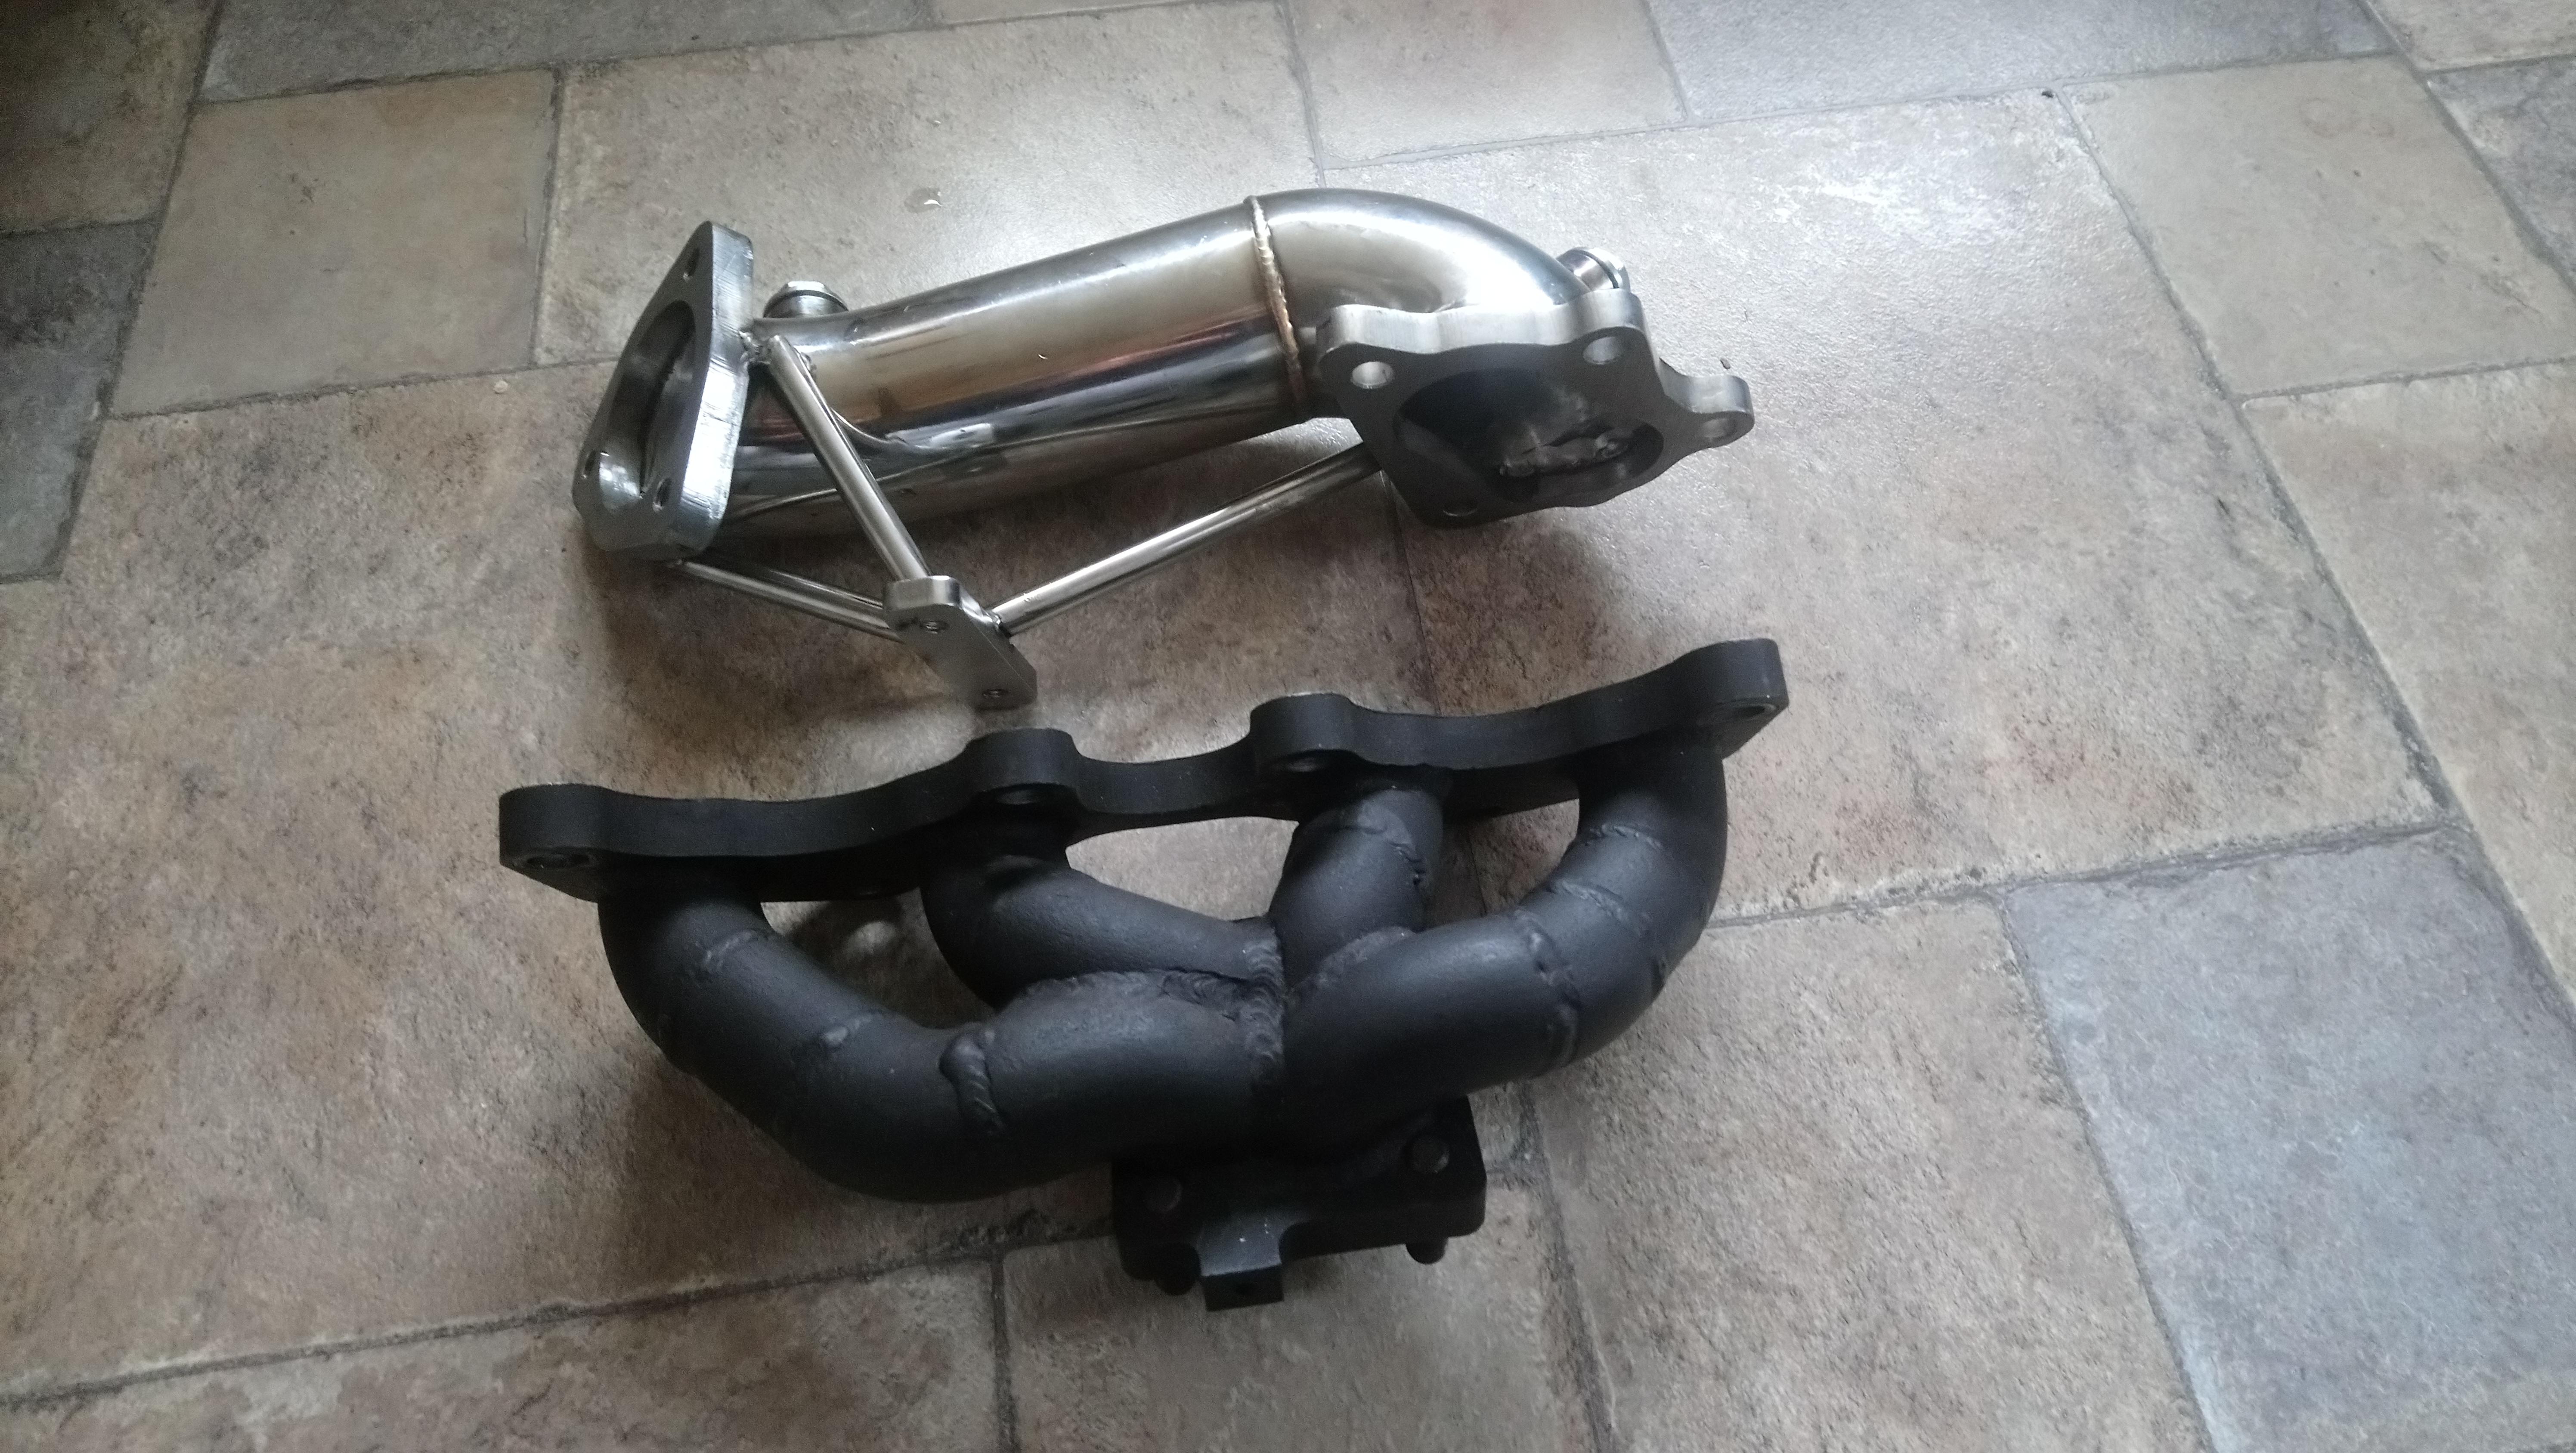
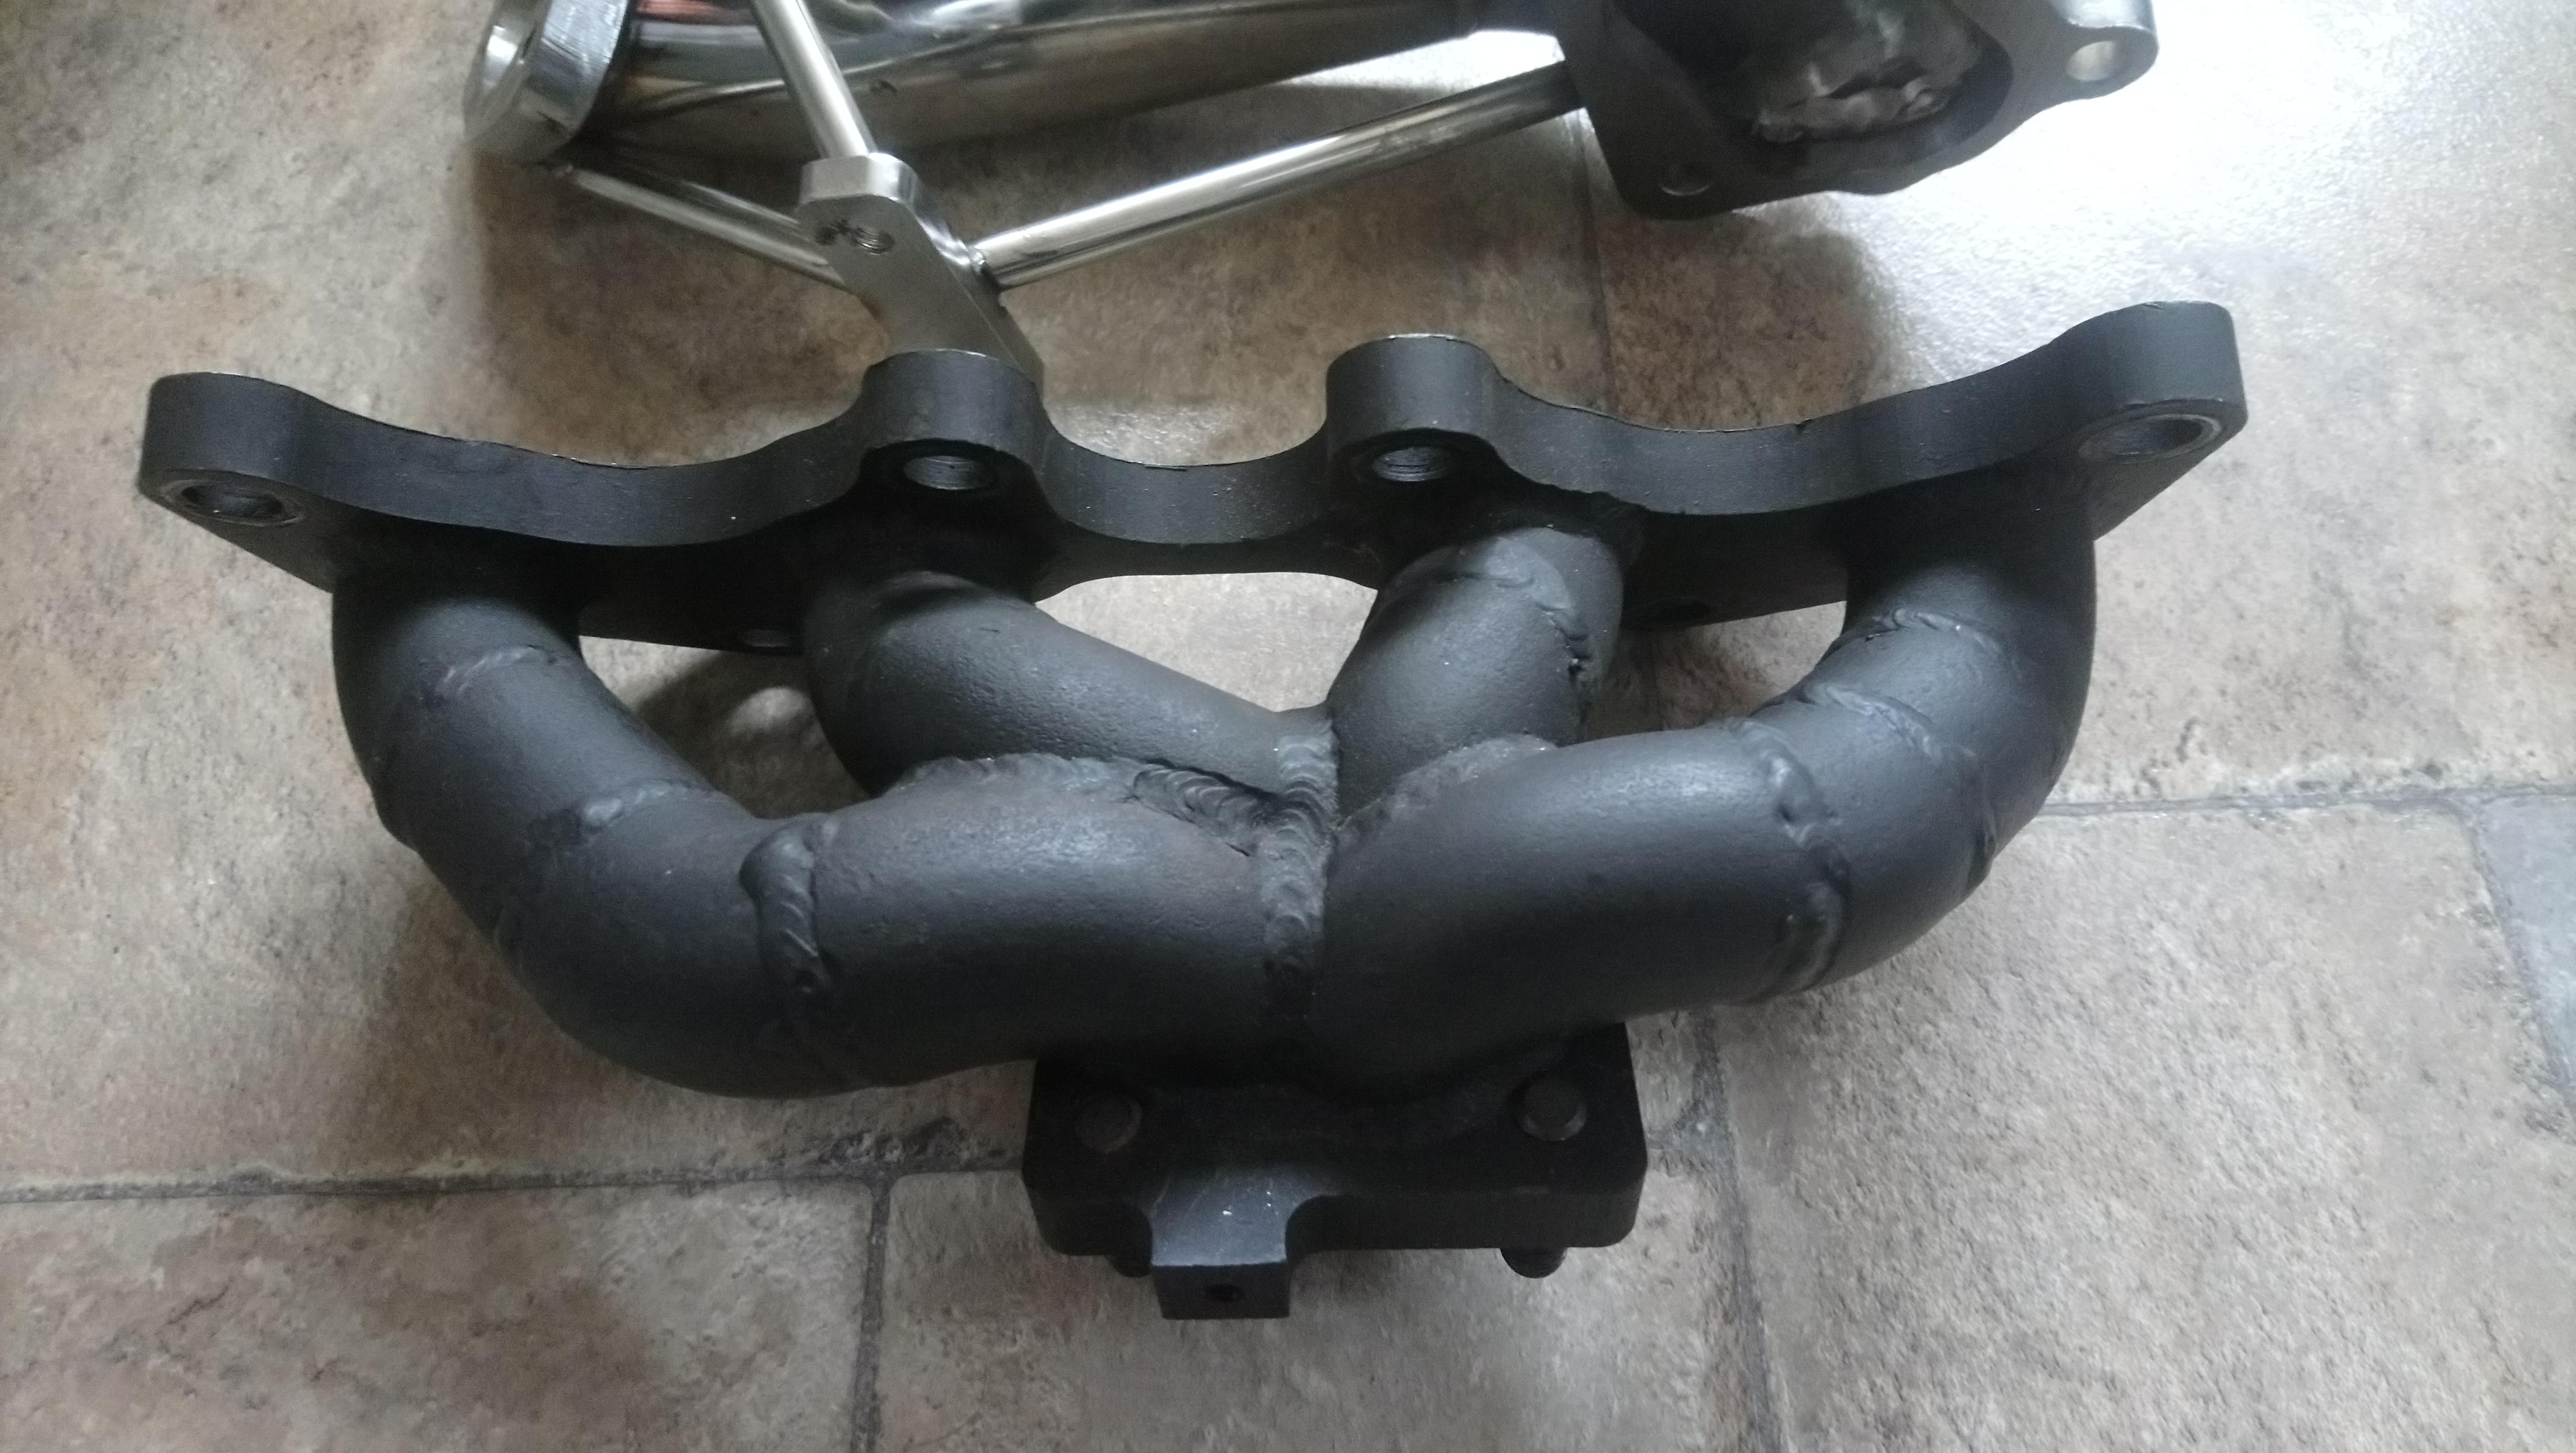
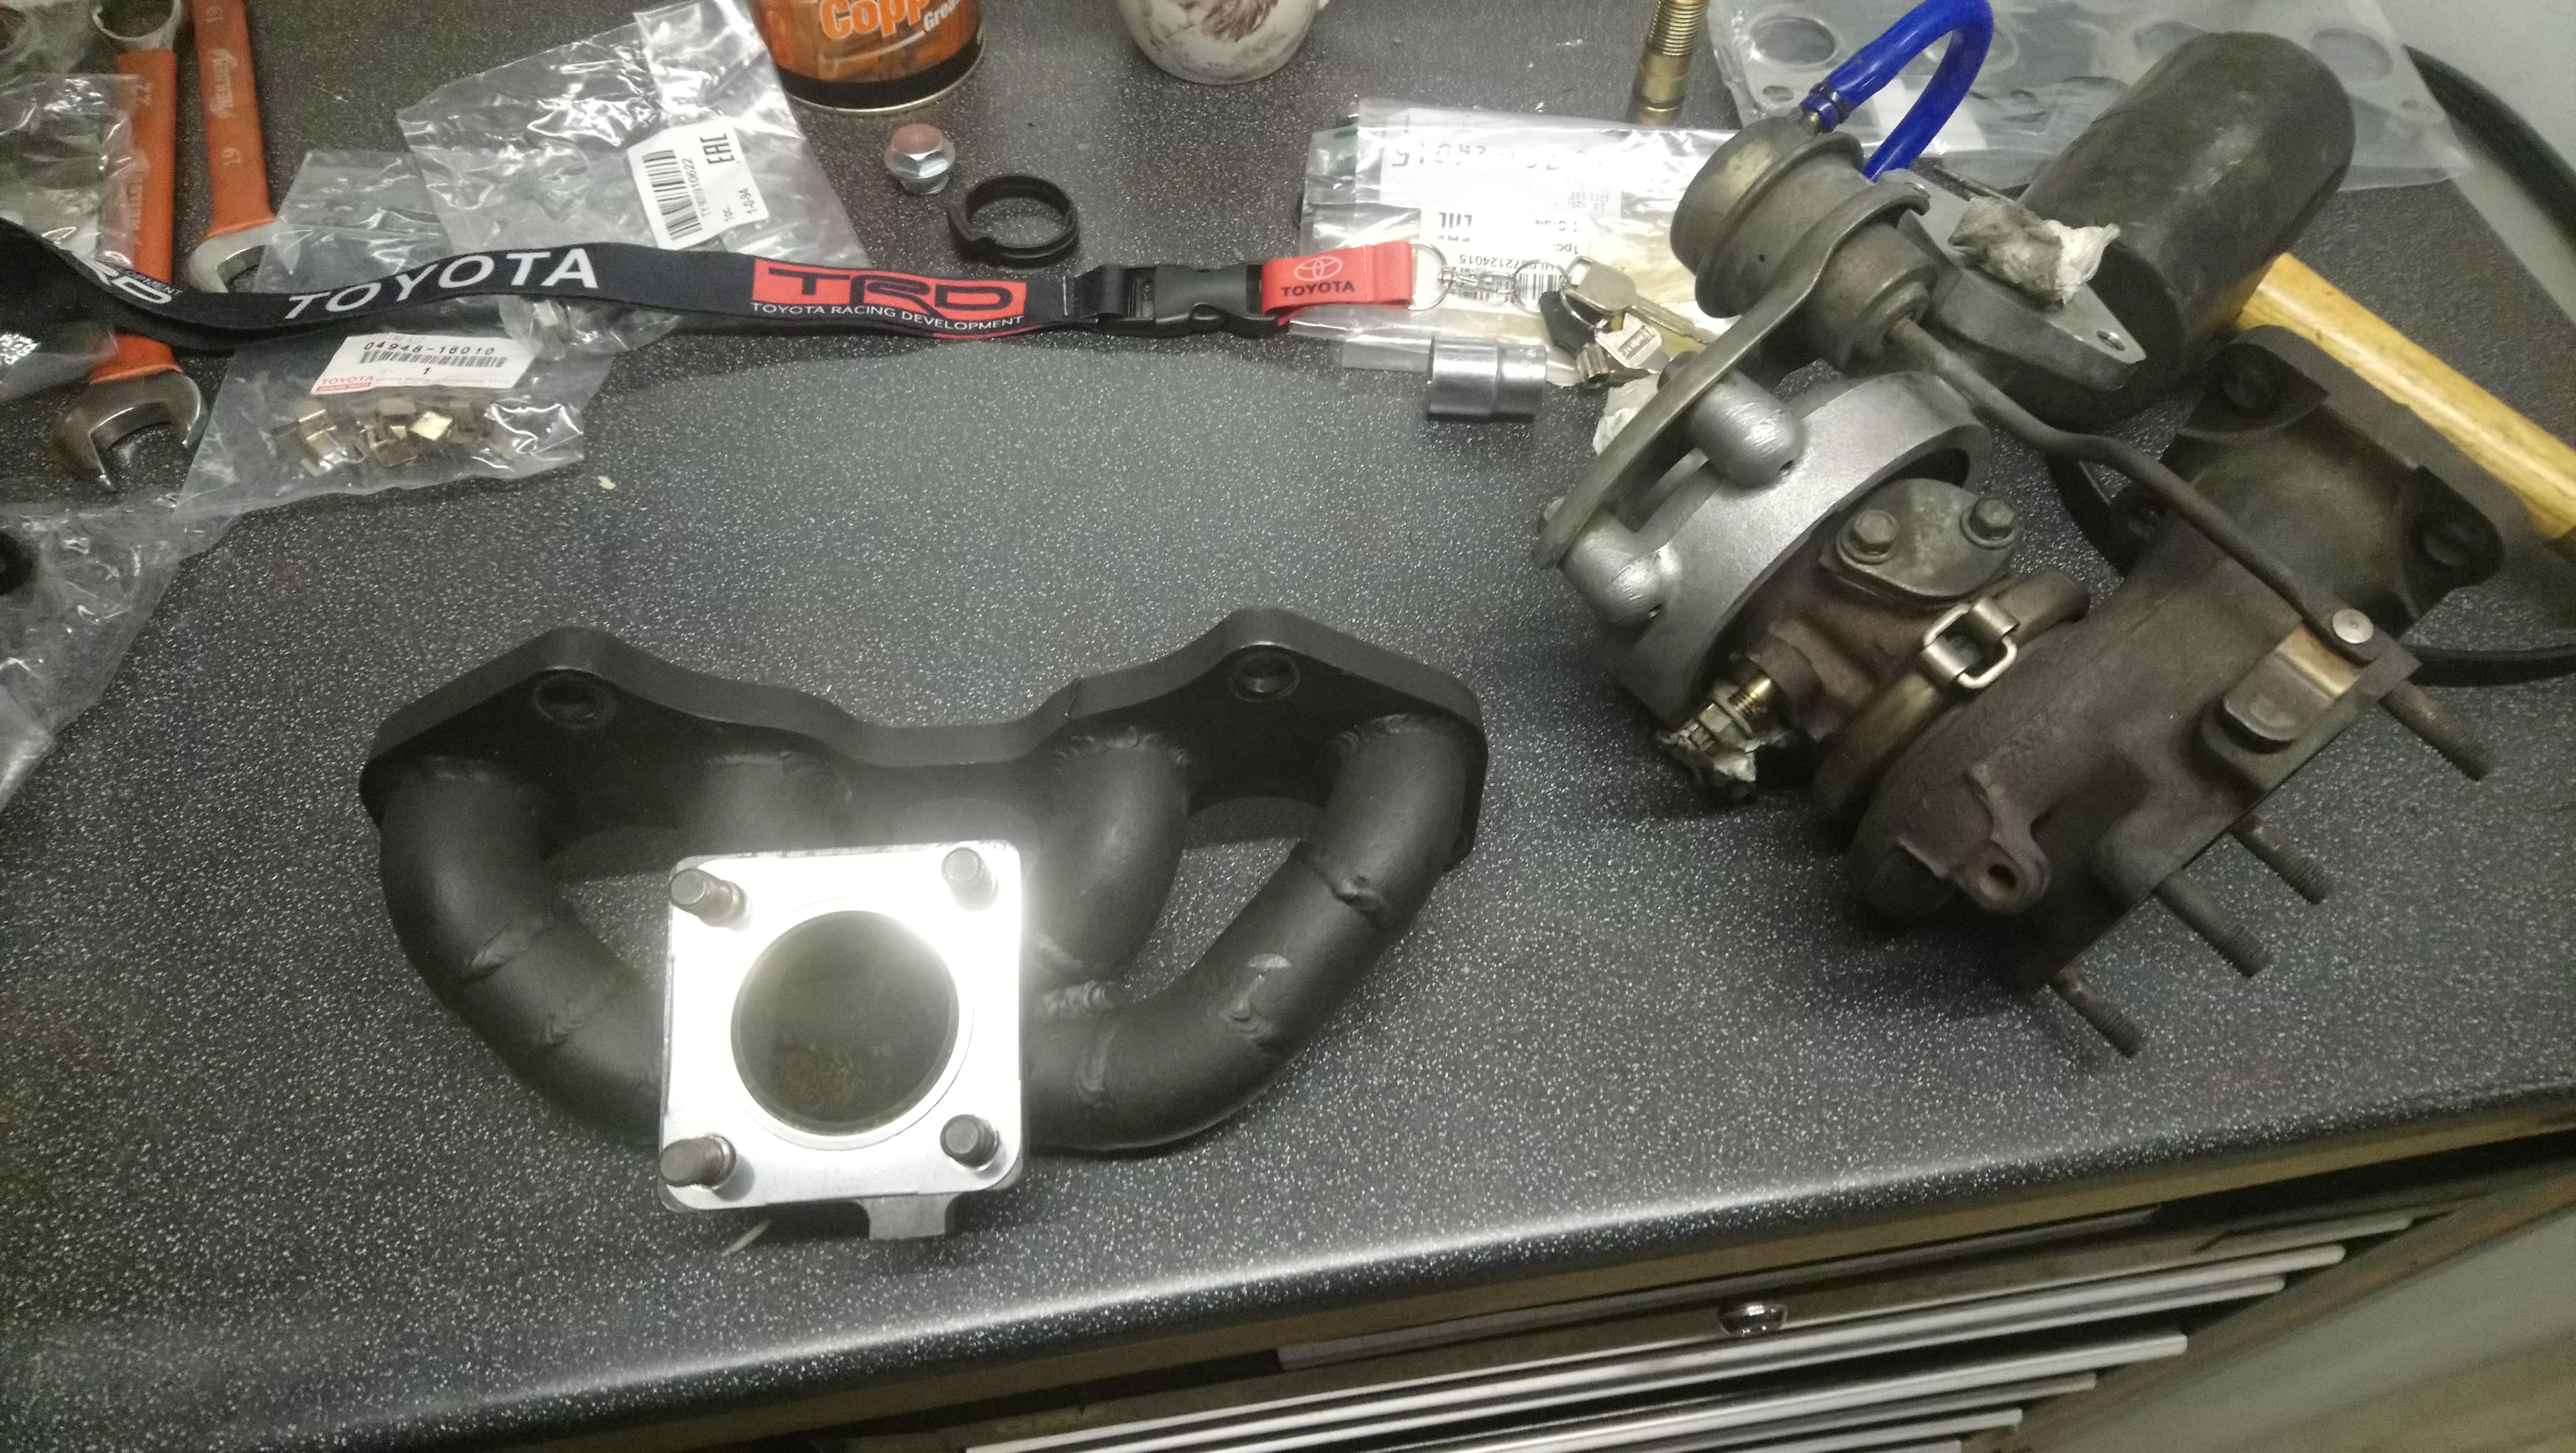
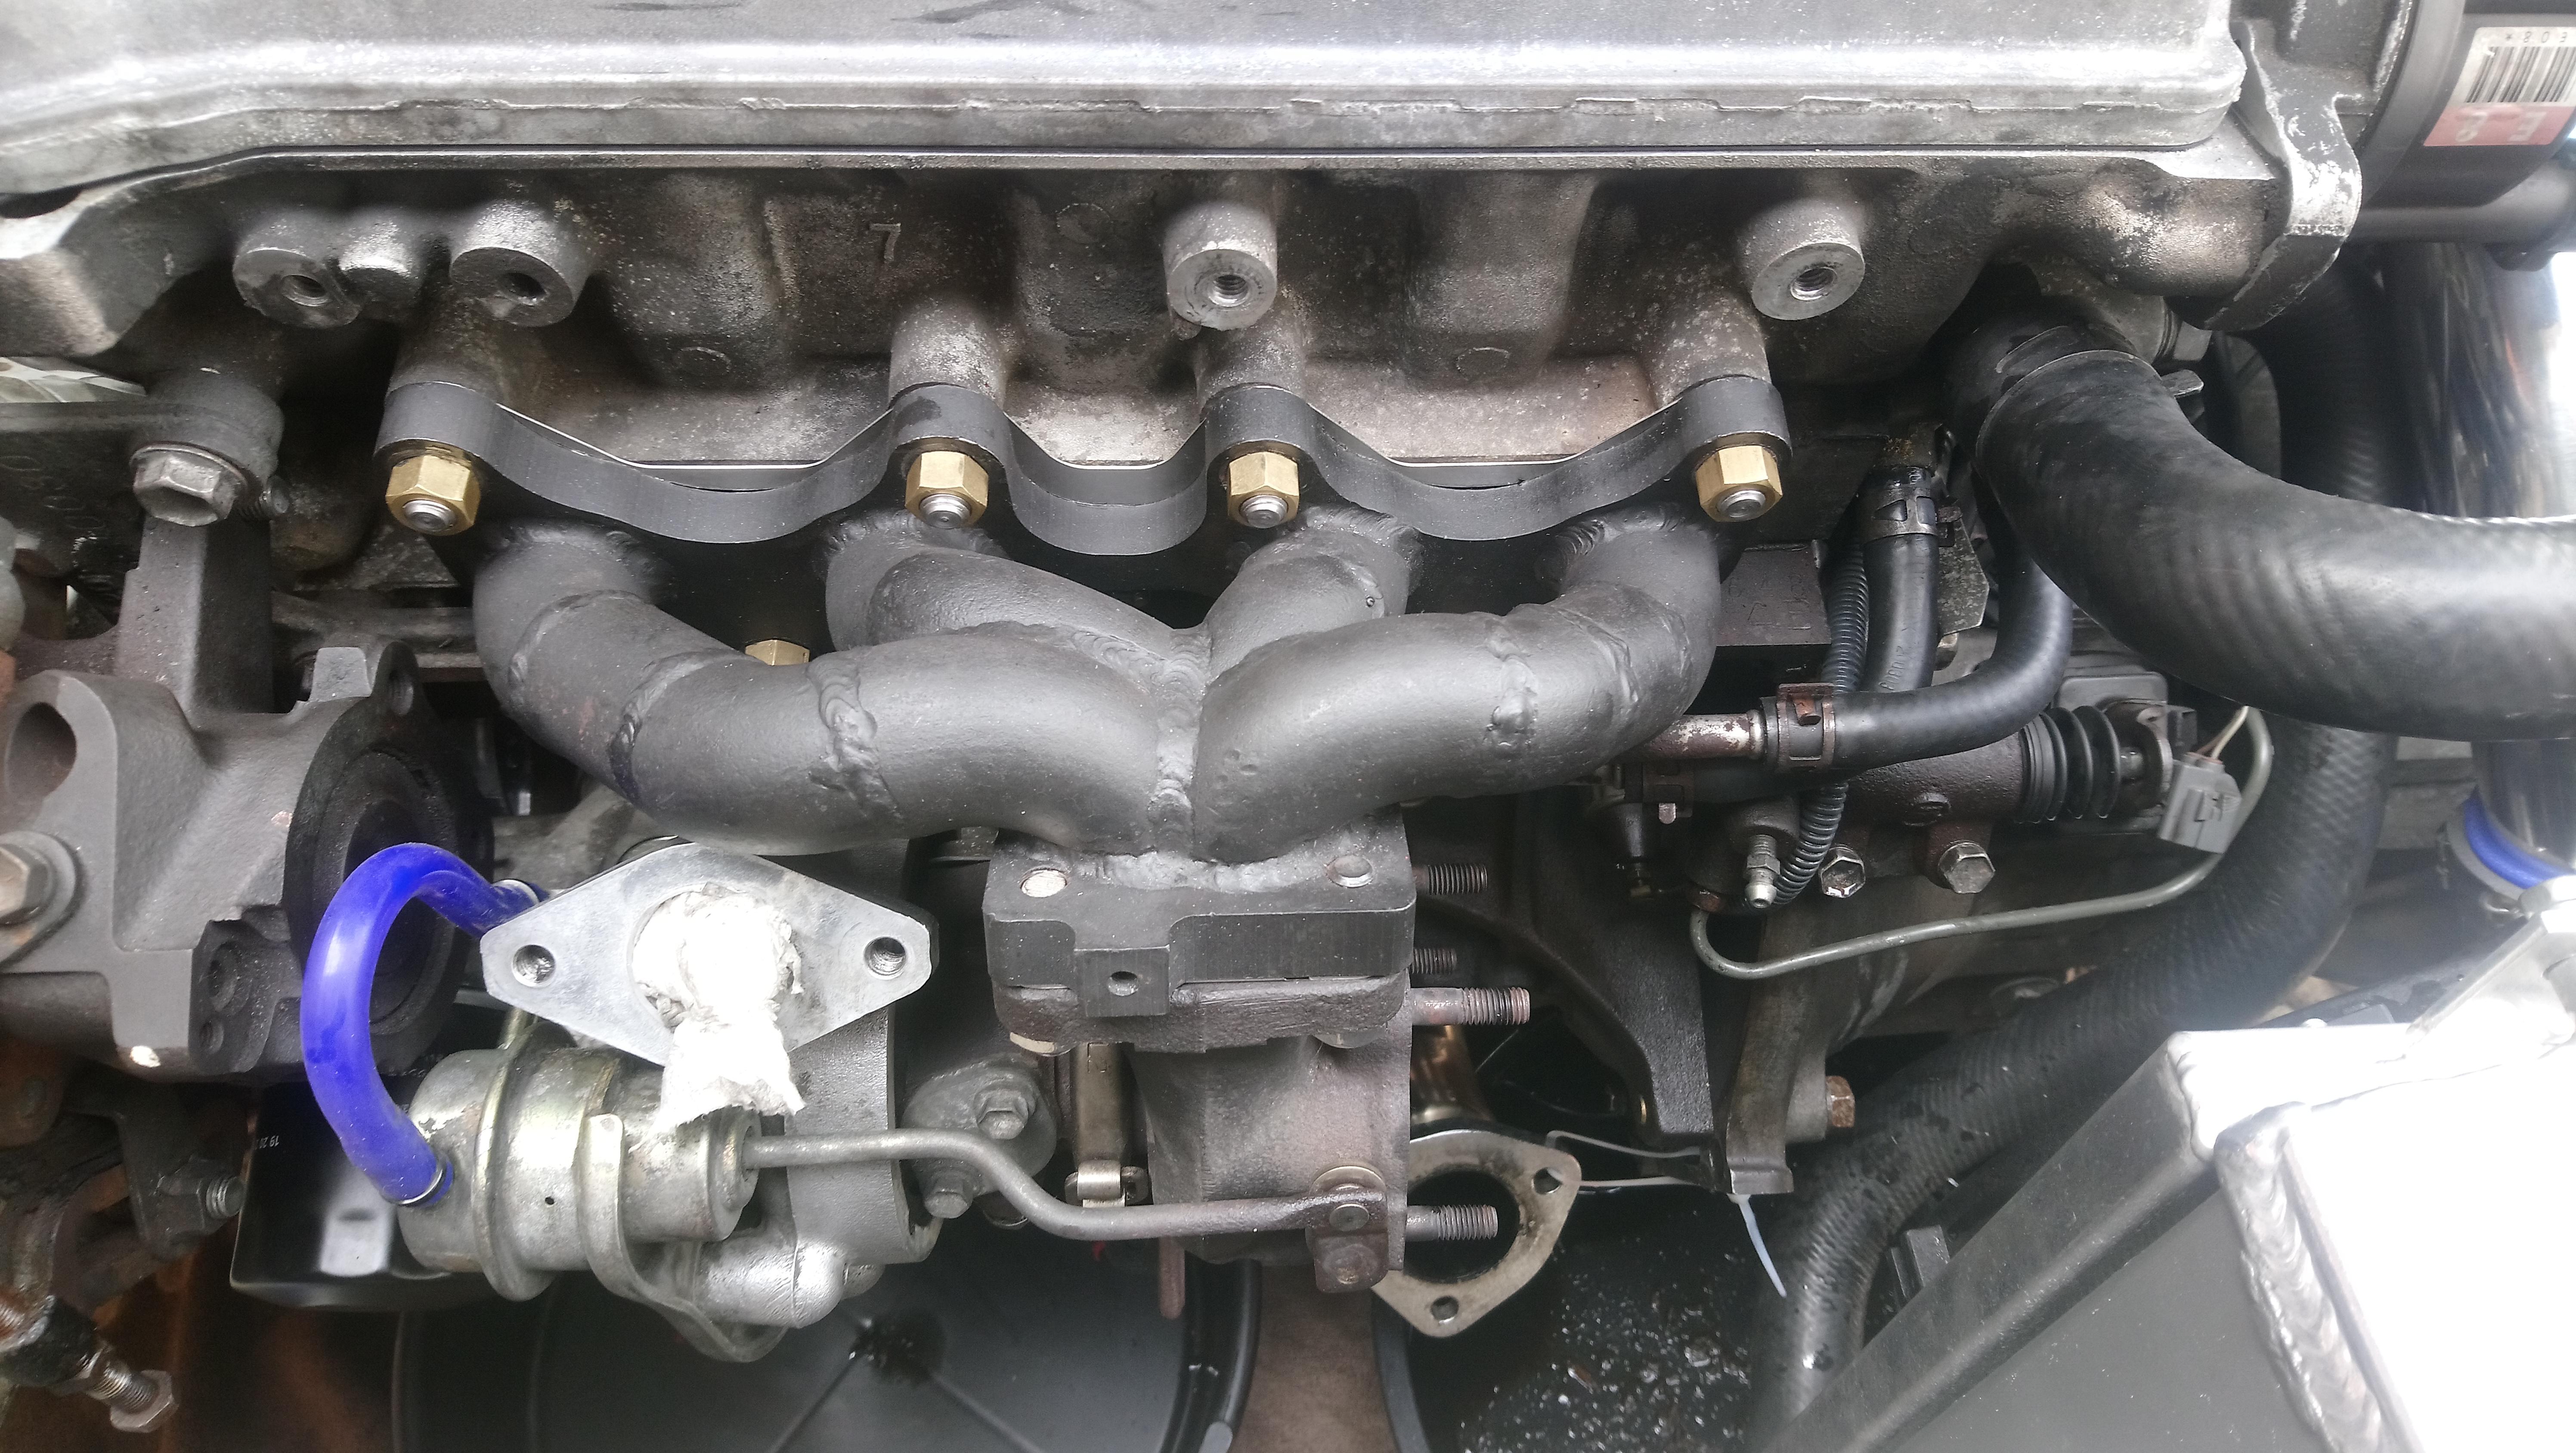
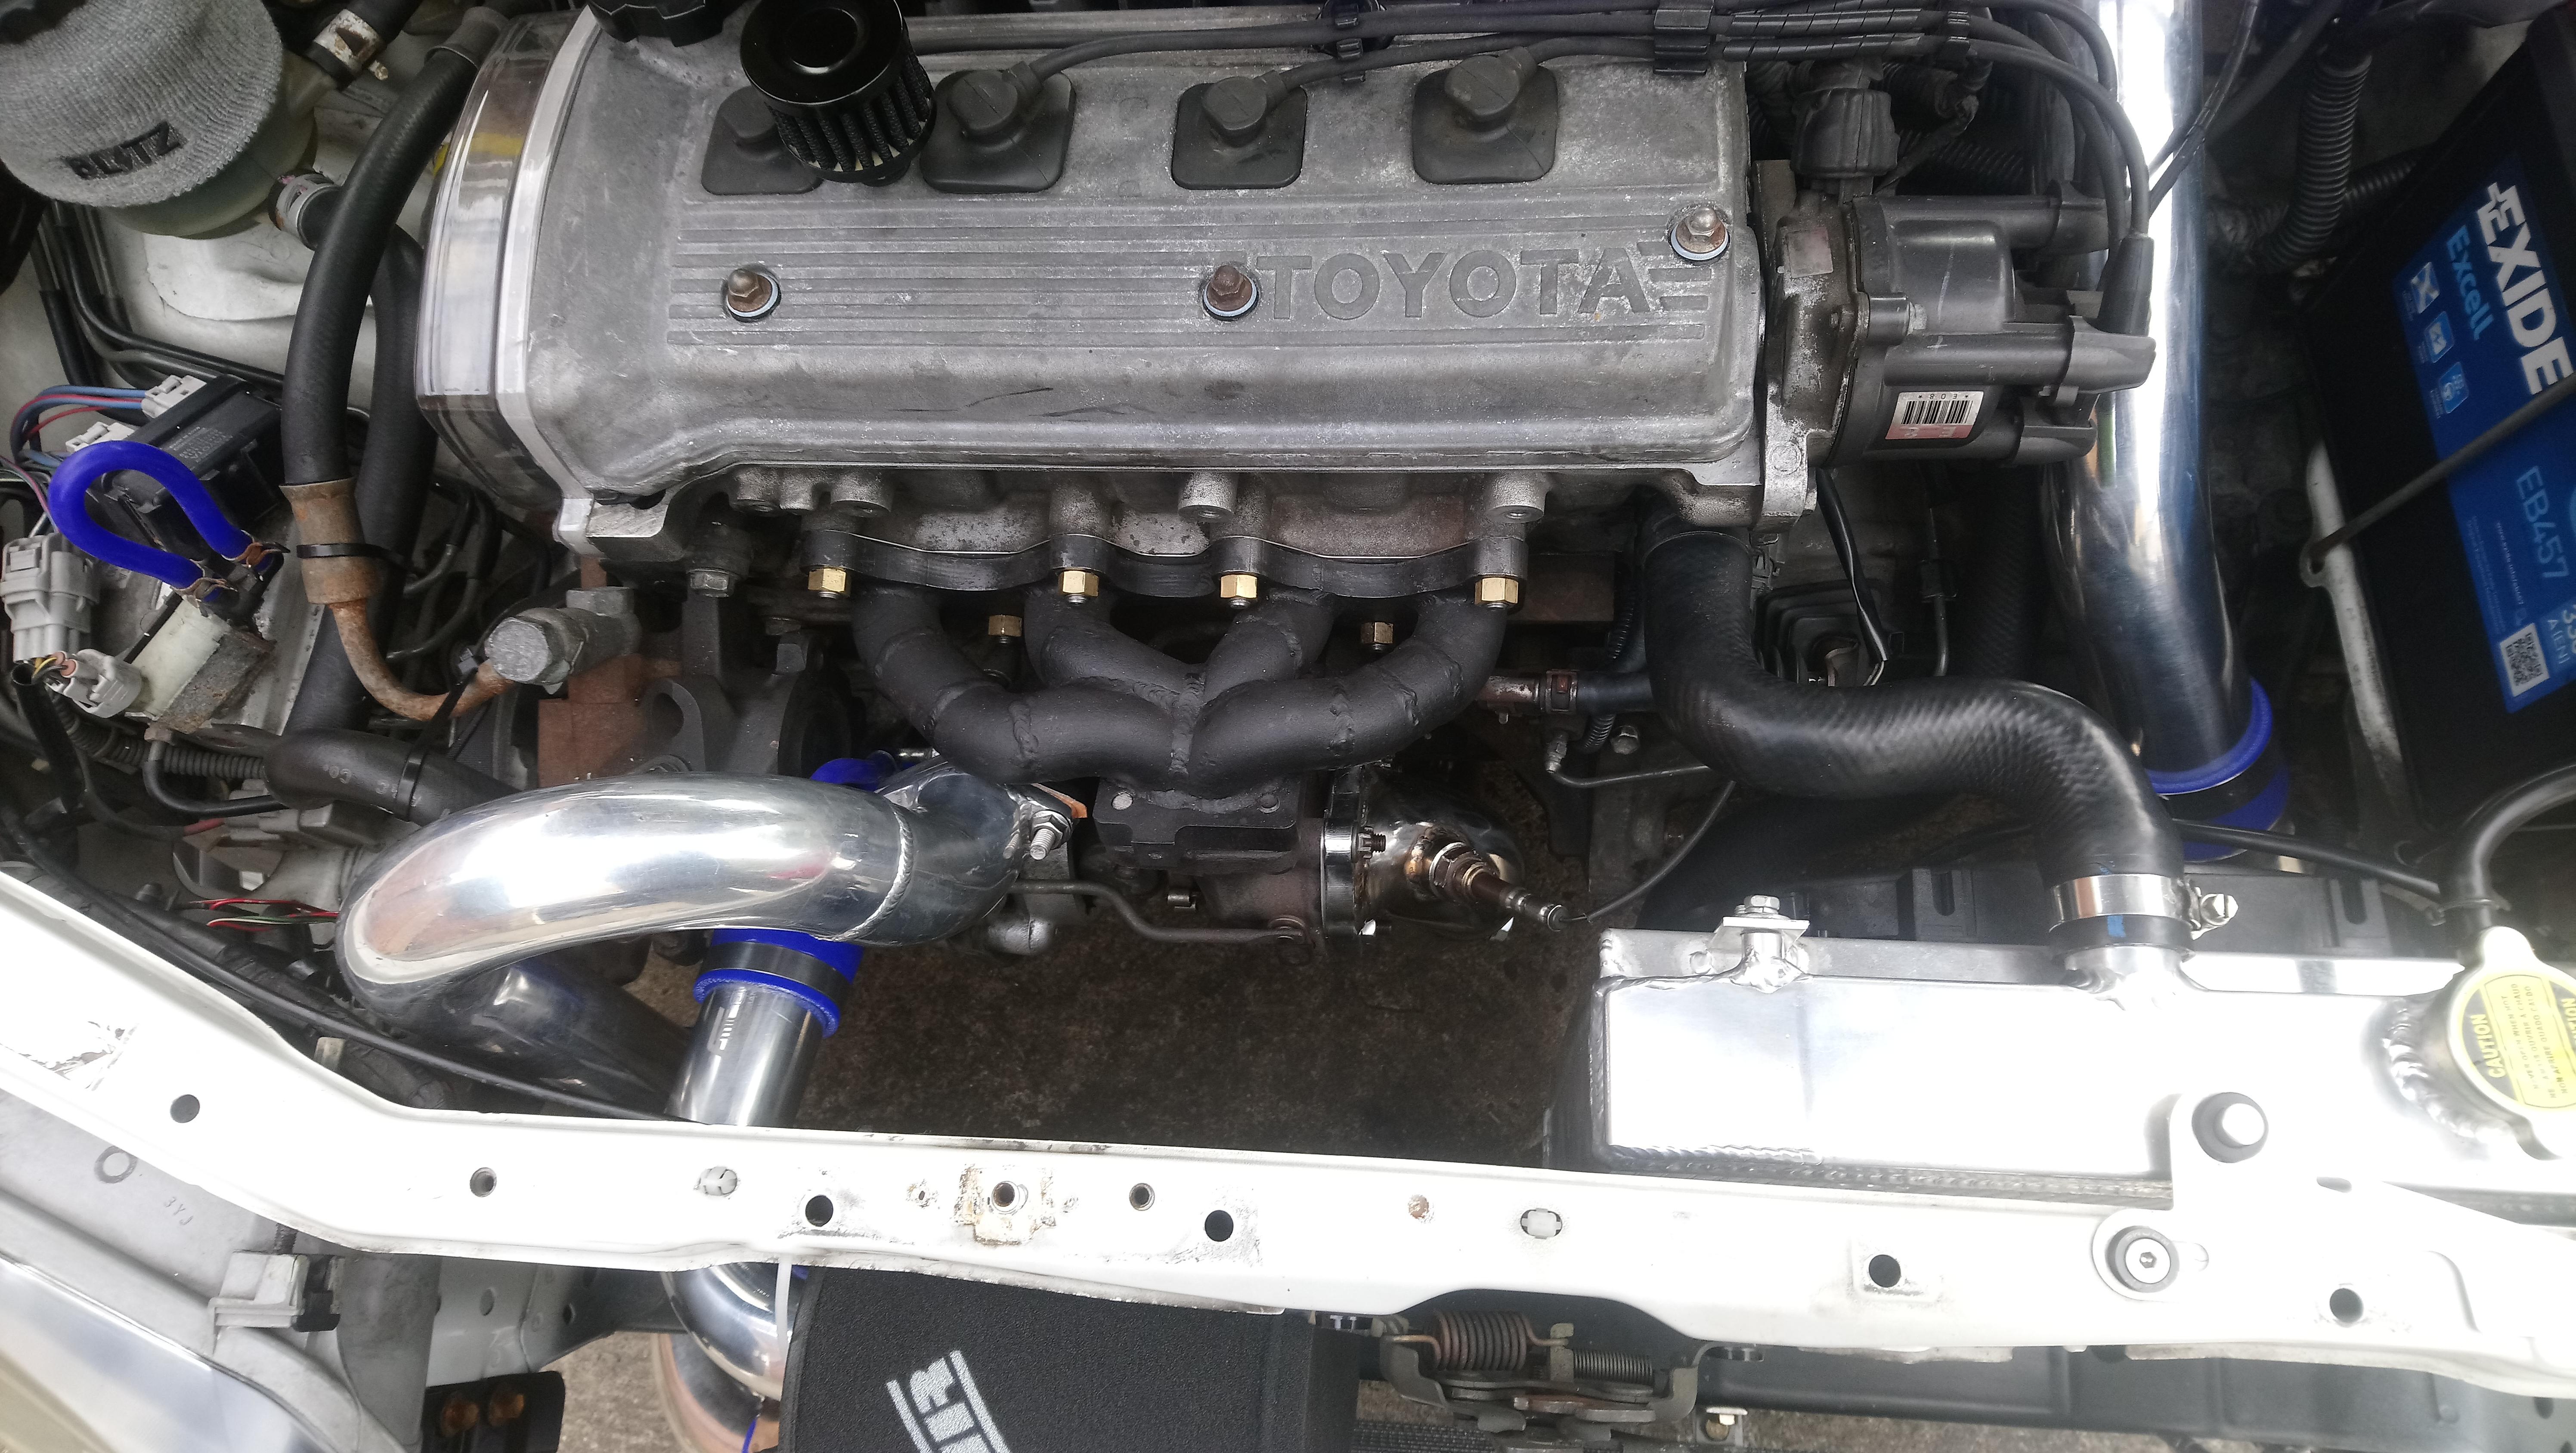
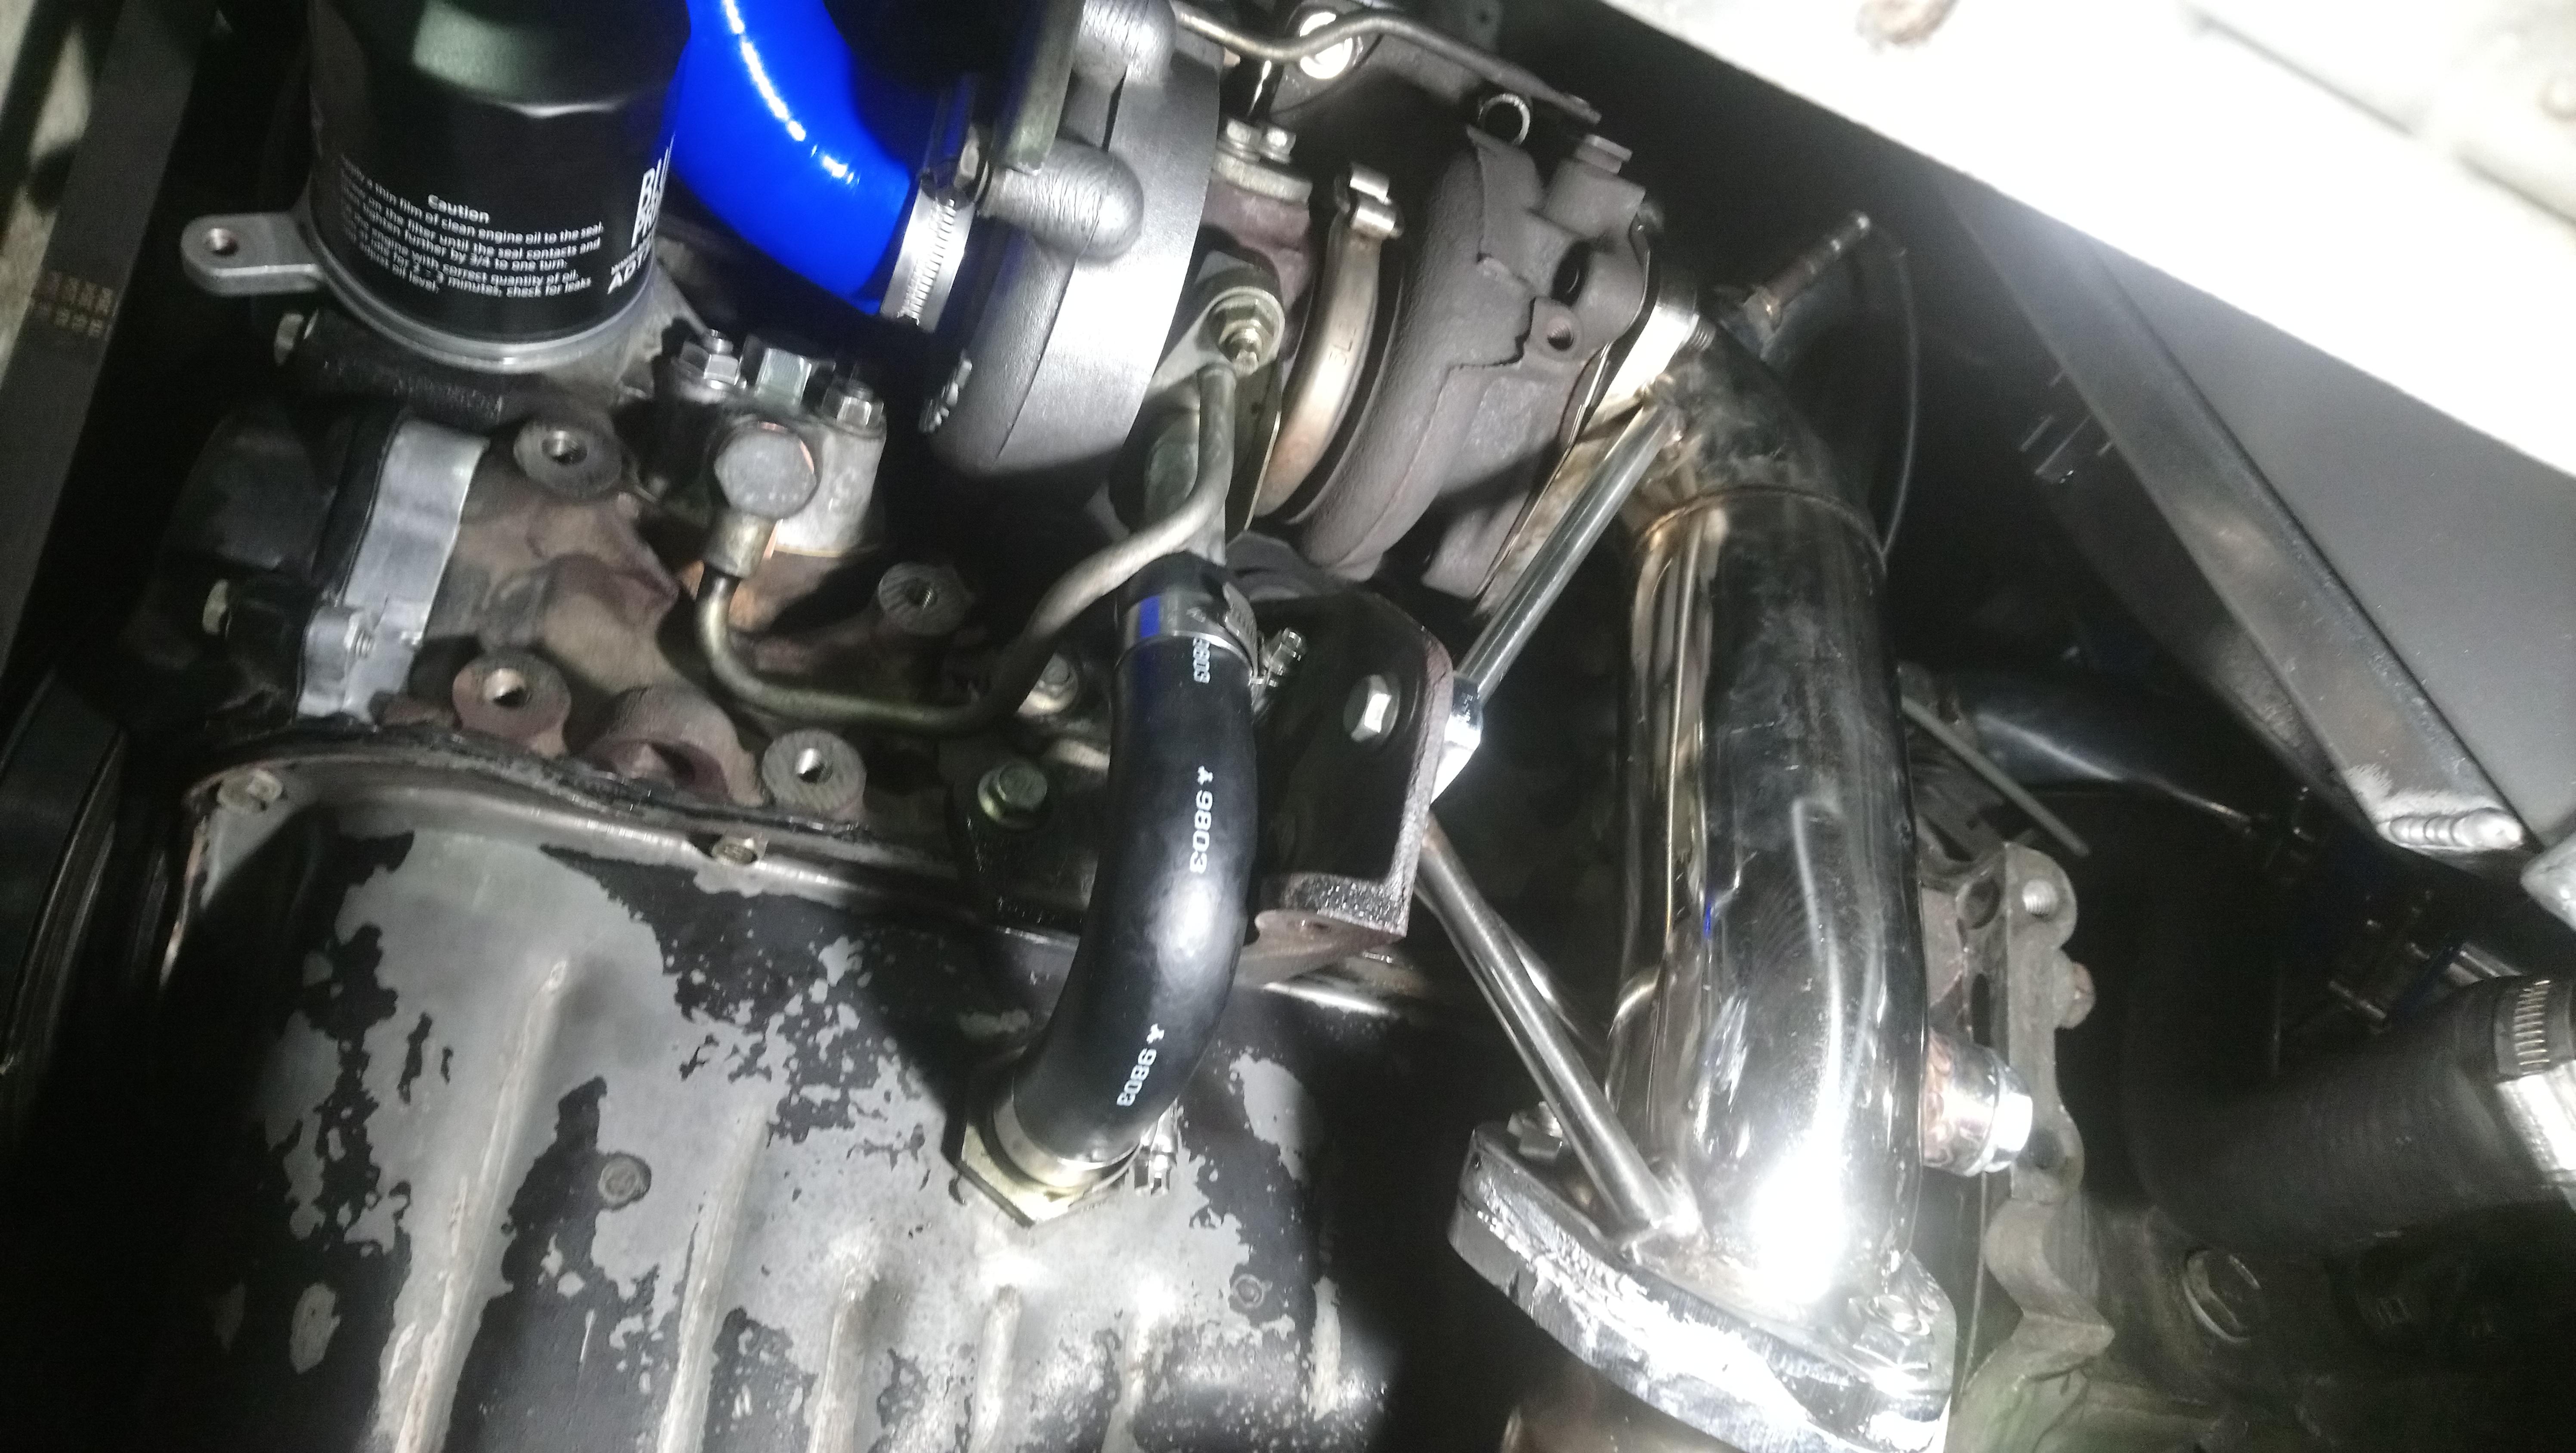
Also picked up a mild steel CT9 tubular exhaust manifold and a braced stainless downpipe. Got a really good deal on them and they are perfect for my setup
. Should help the car to breathe a lot better.

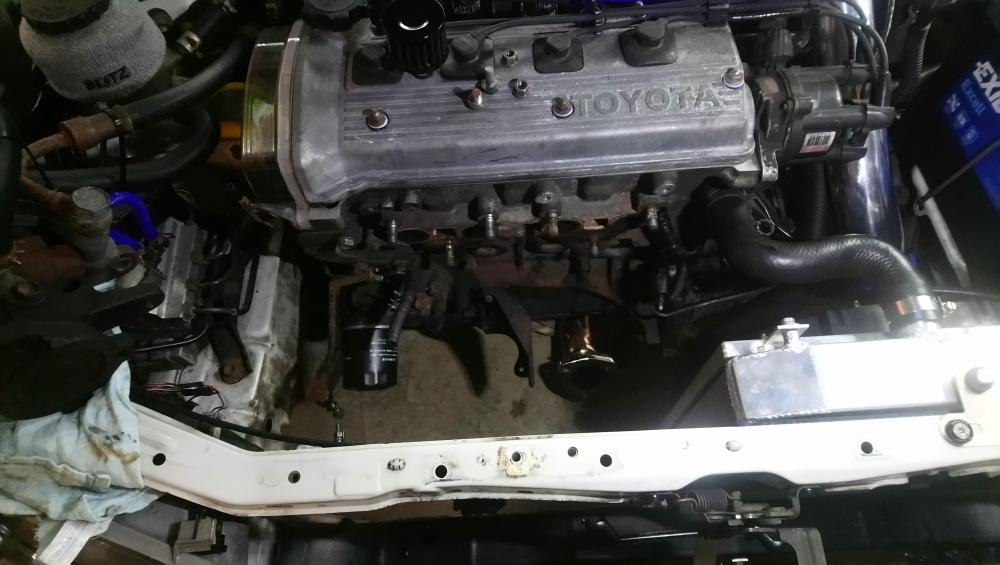
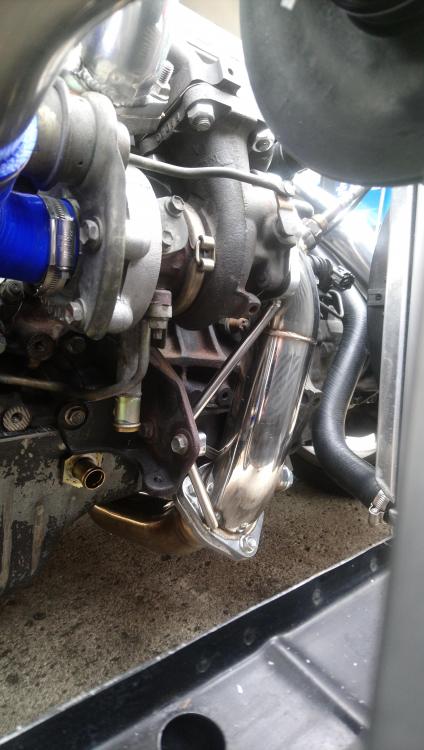
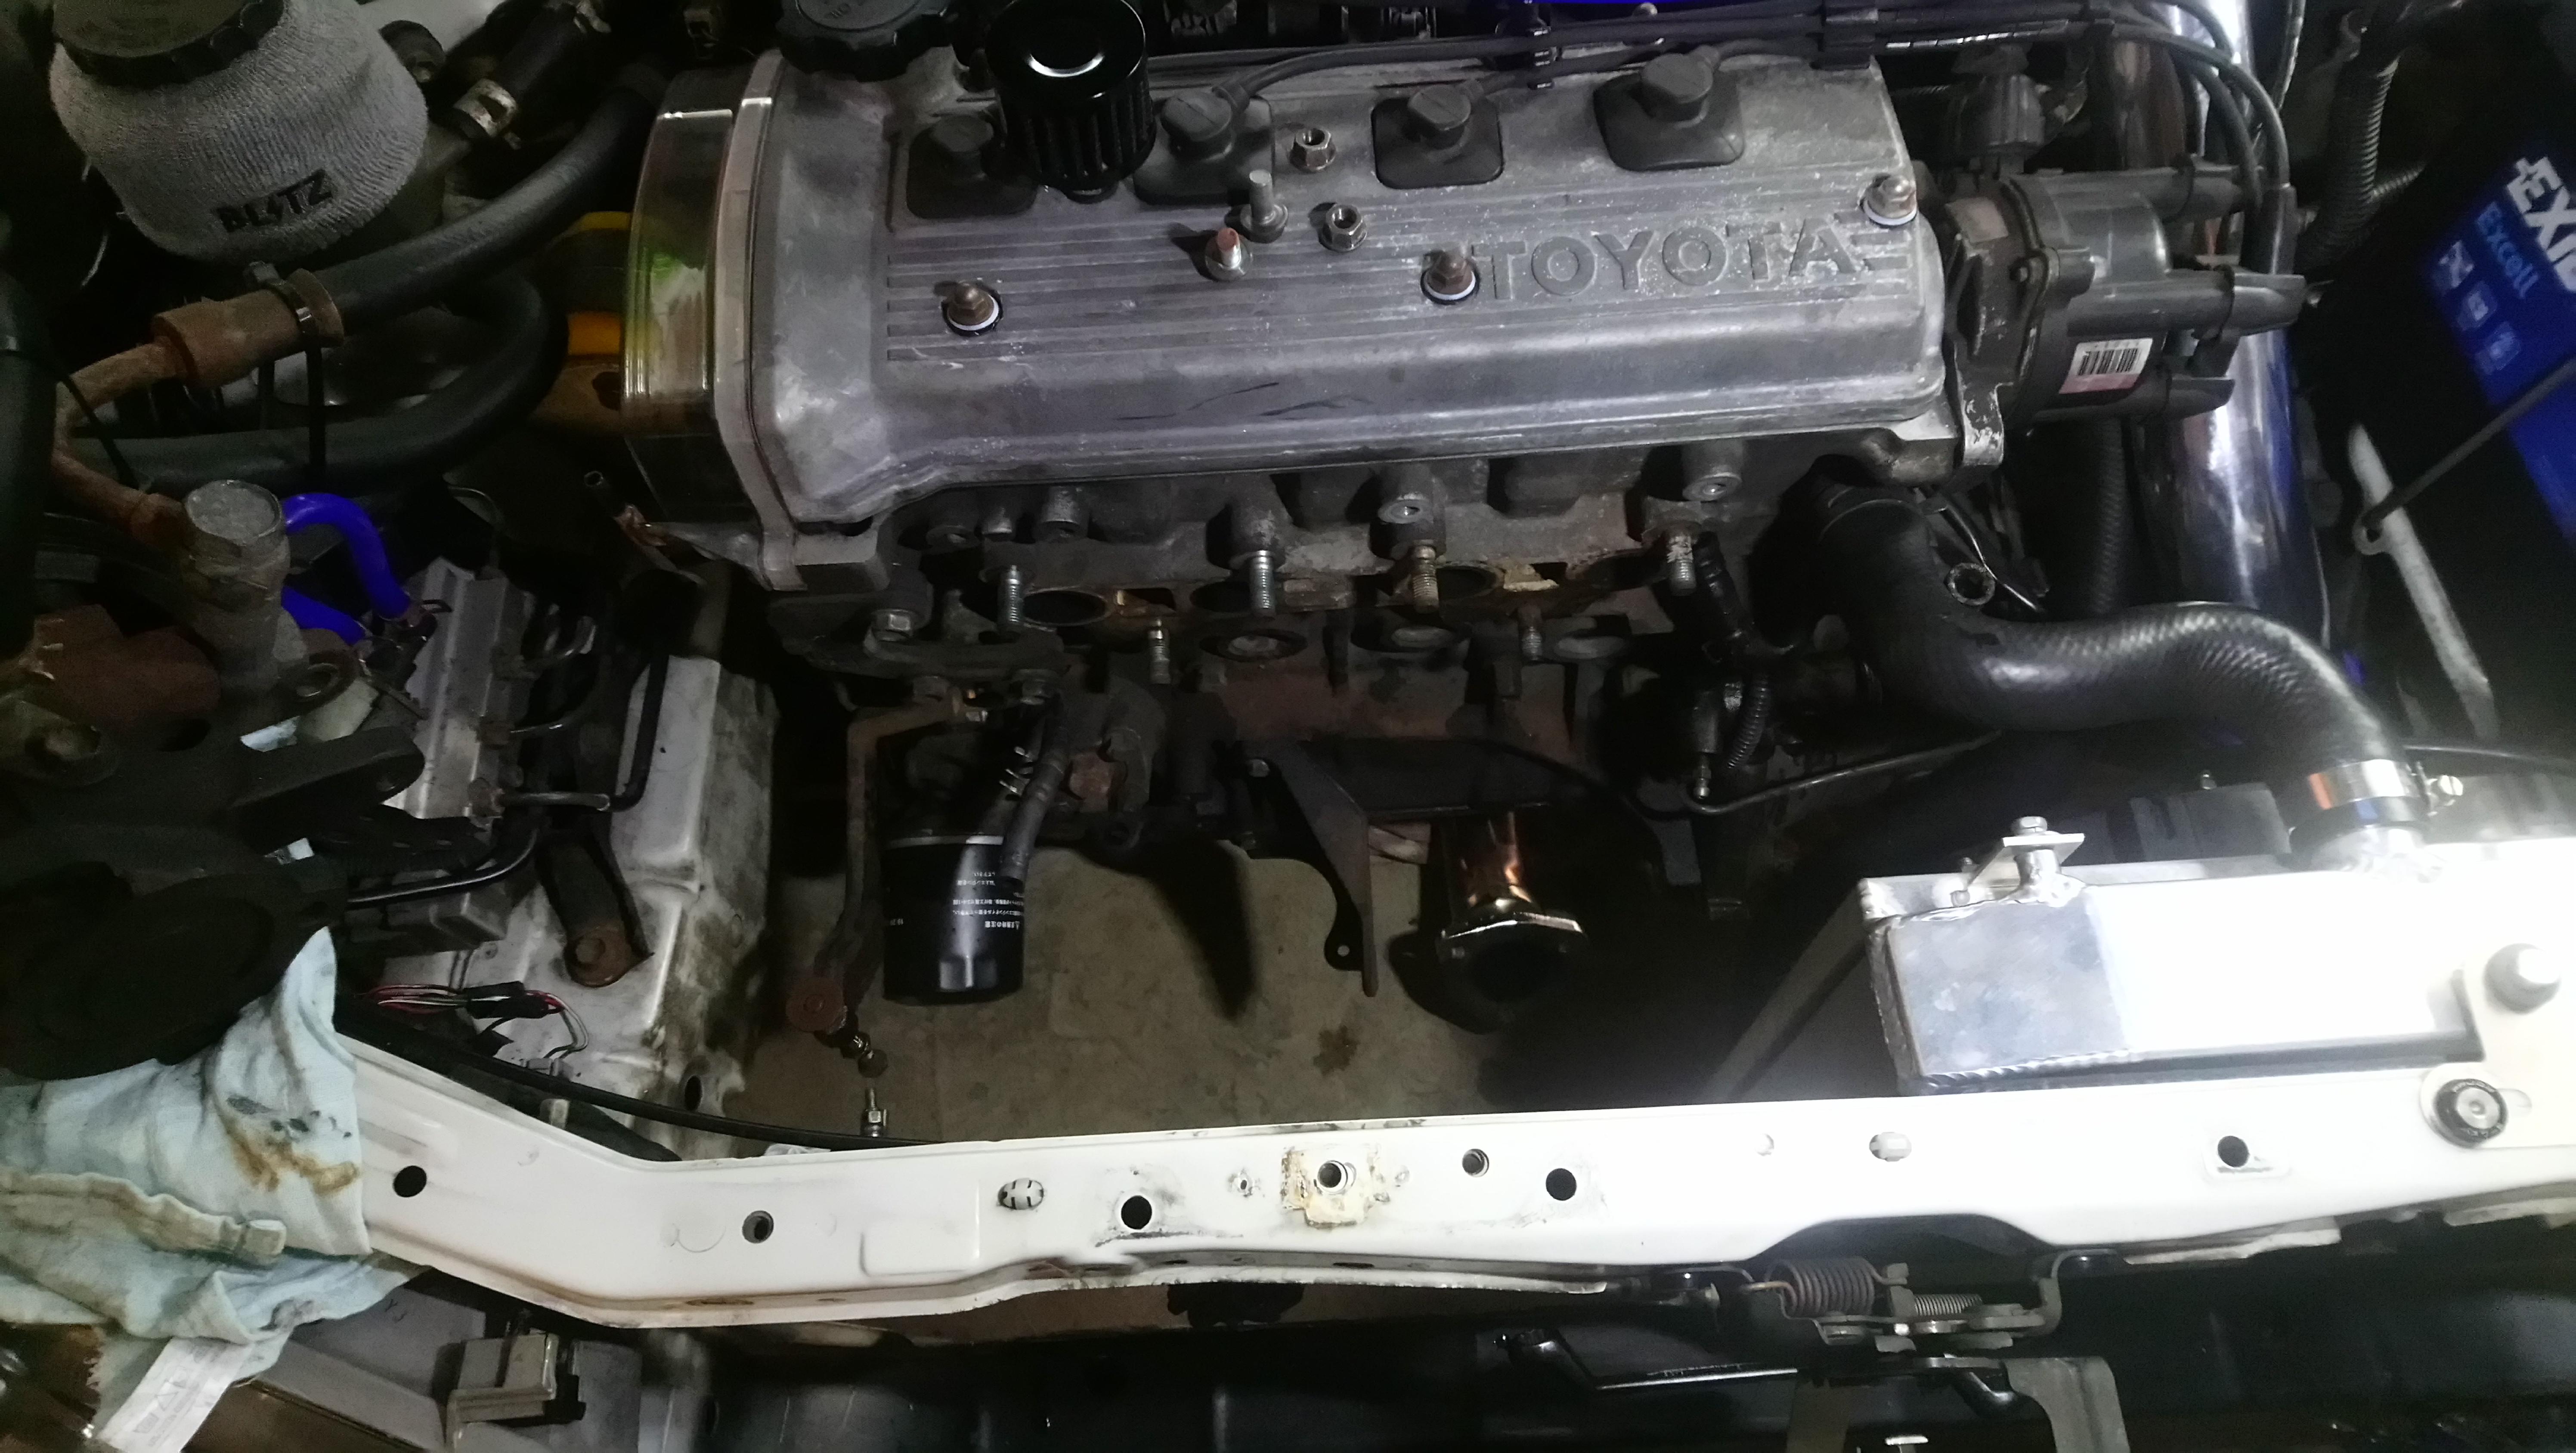
I started removing the exhaust manifold, the turbo and the stock cat. It was fairly simple, just had to remove oil and coolant lines from the turbo and pull the power steering pump up and out of the way to access some of the bolts.
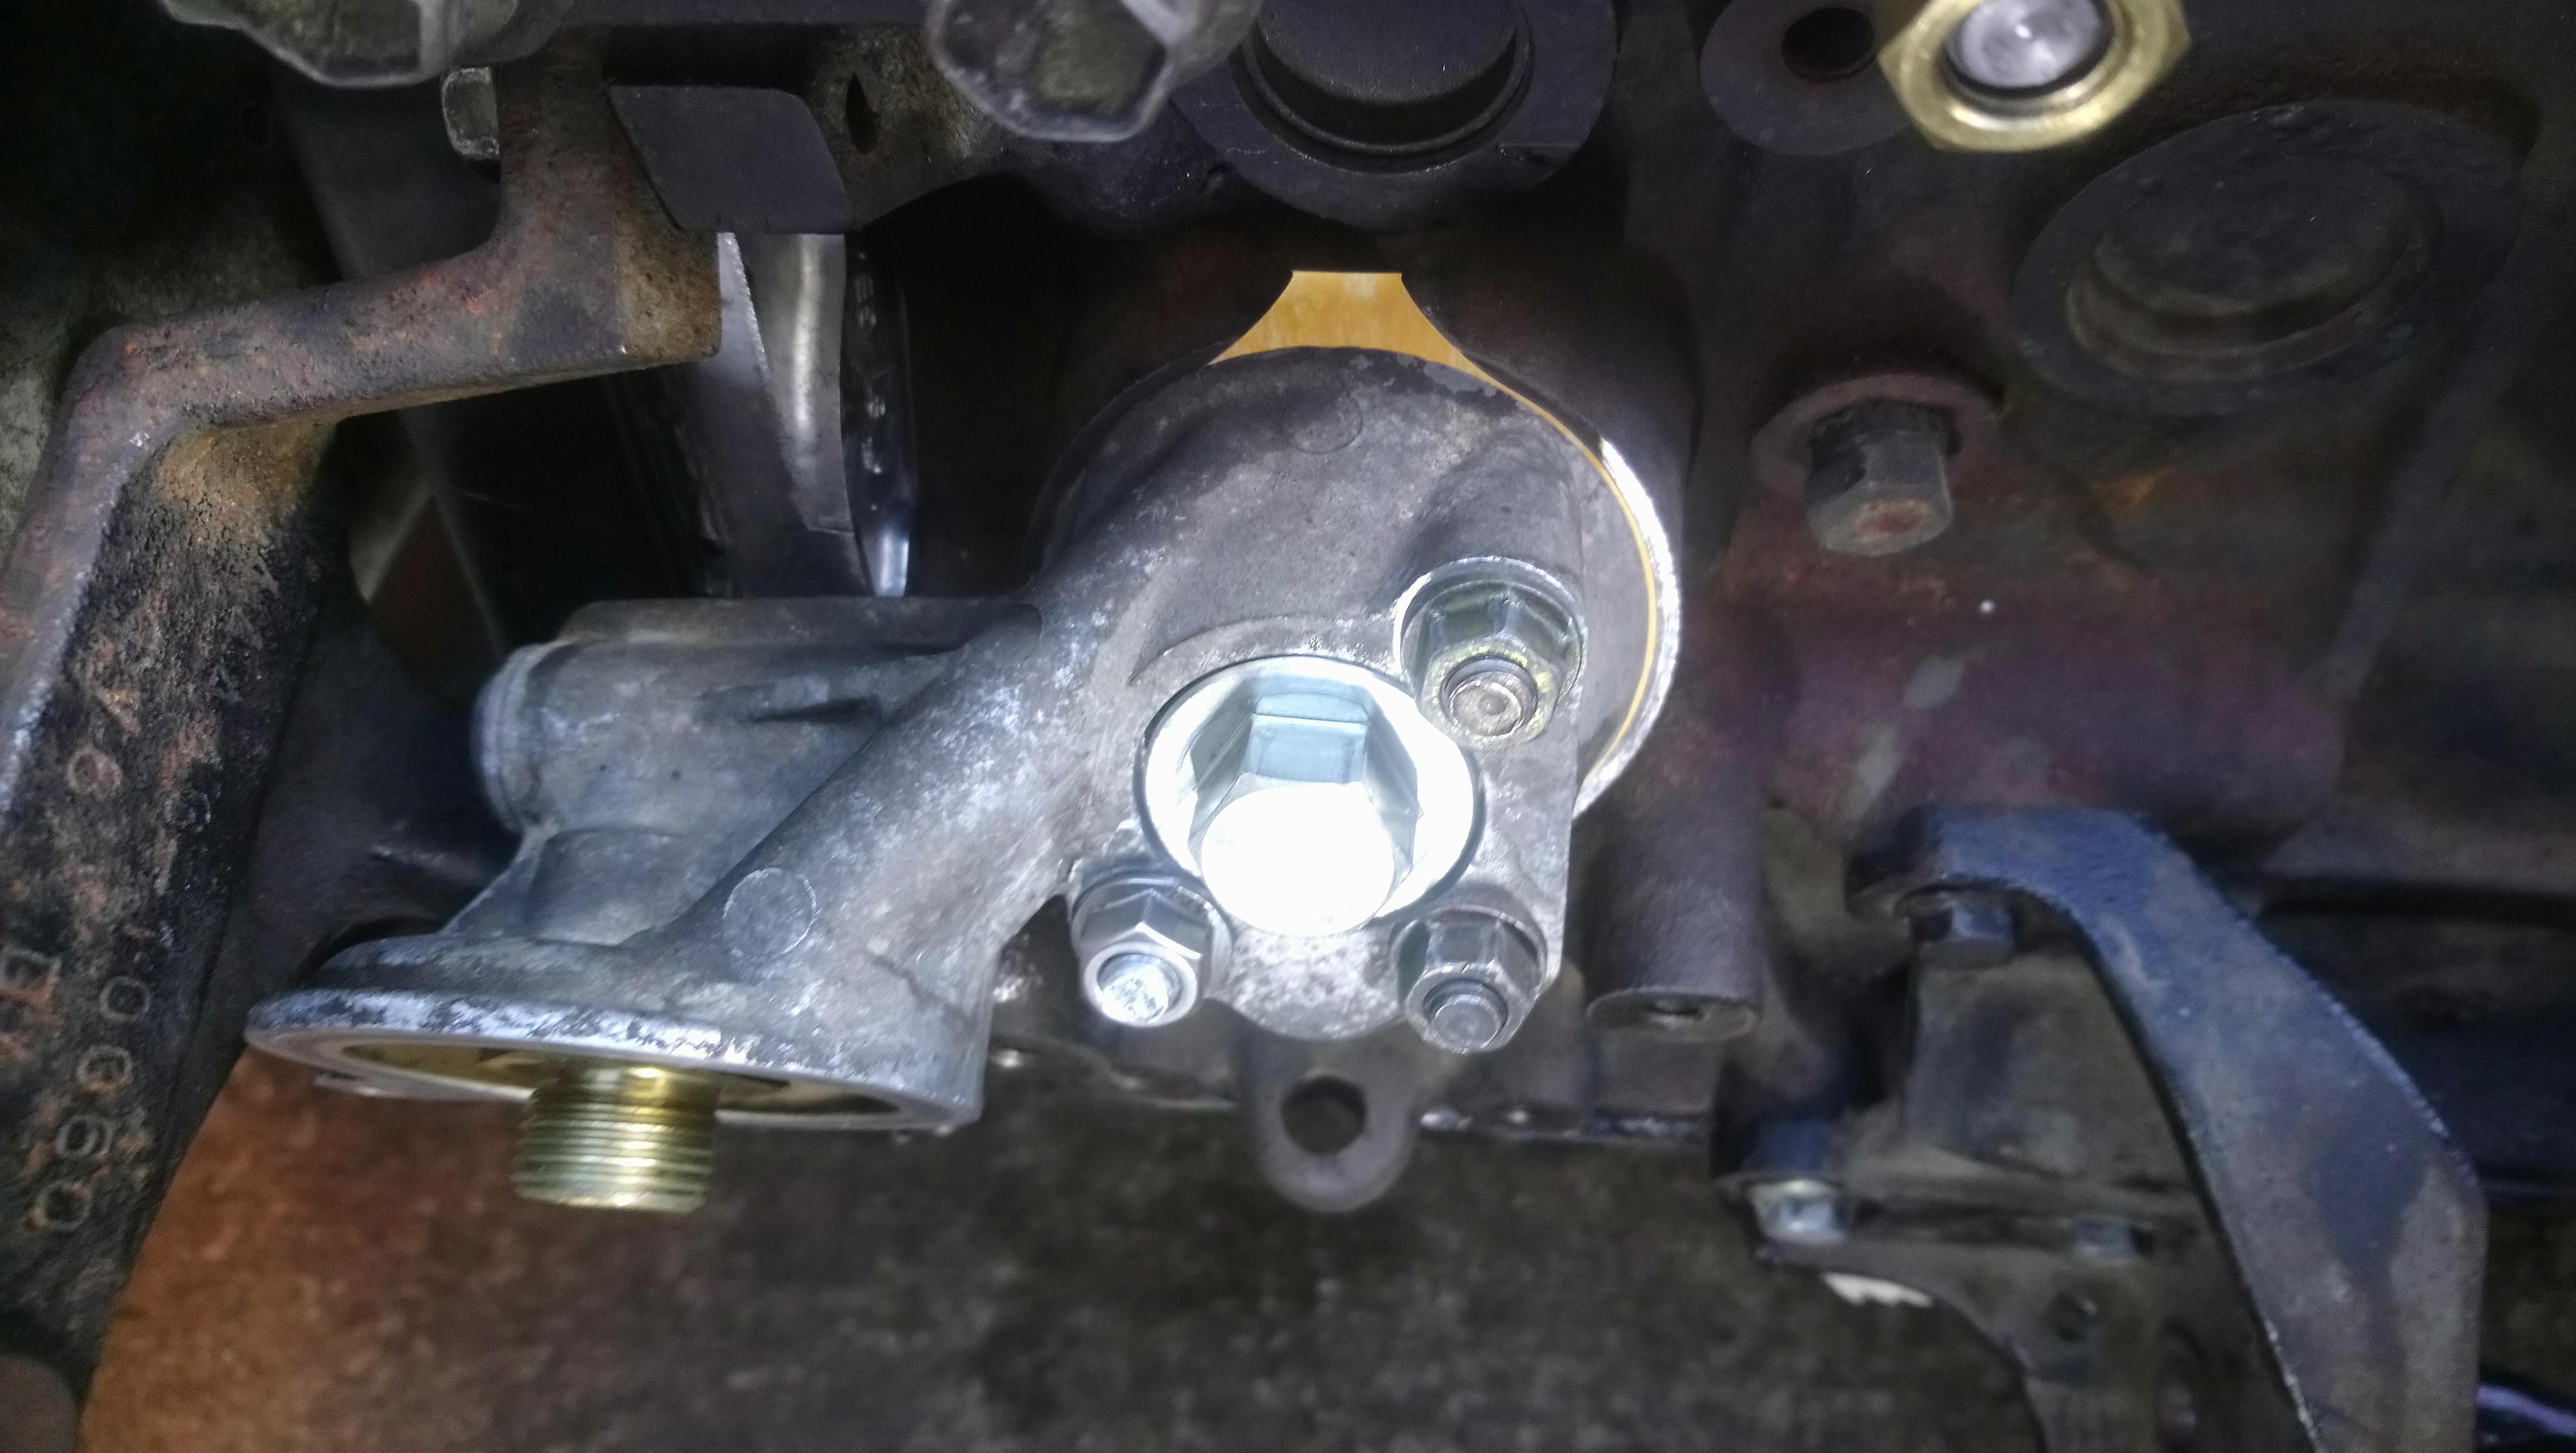
It was tricky to remove the o2 sensor from the stock cat as there wasnt much room to get a spanner on there but we managed it in the end. I replaced all of the old exhaust manifold studs with some fresh ones from tuning developments while I was in there and thought it would be a good time to replace the oil filter housing gasket.


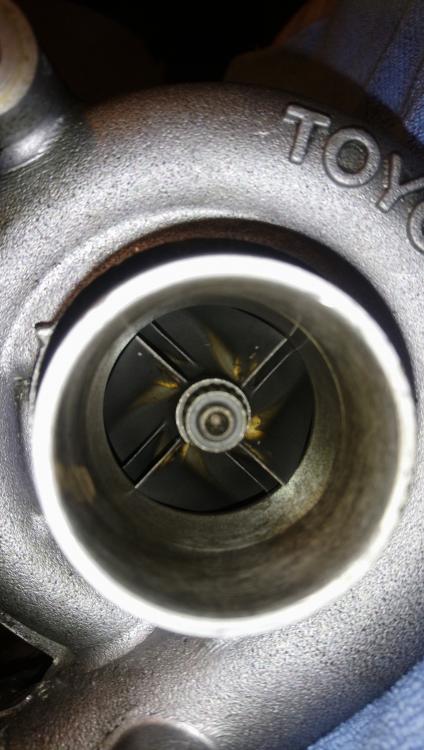
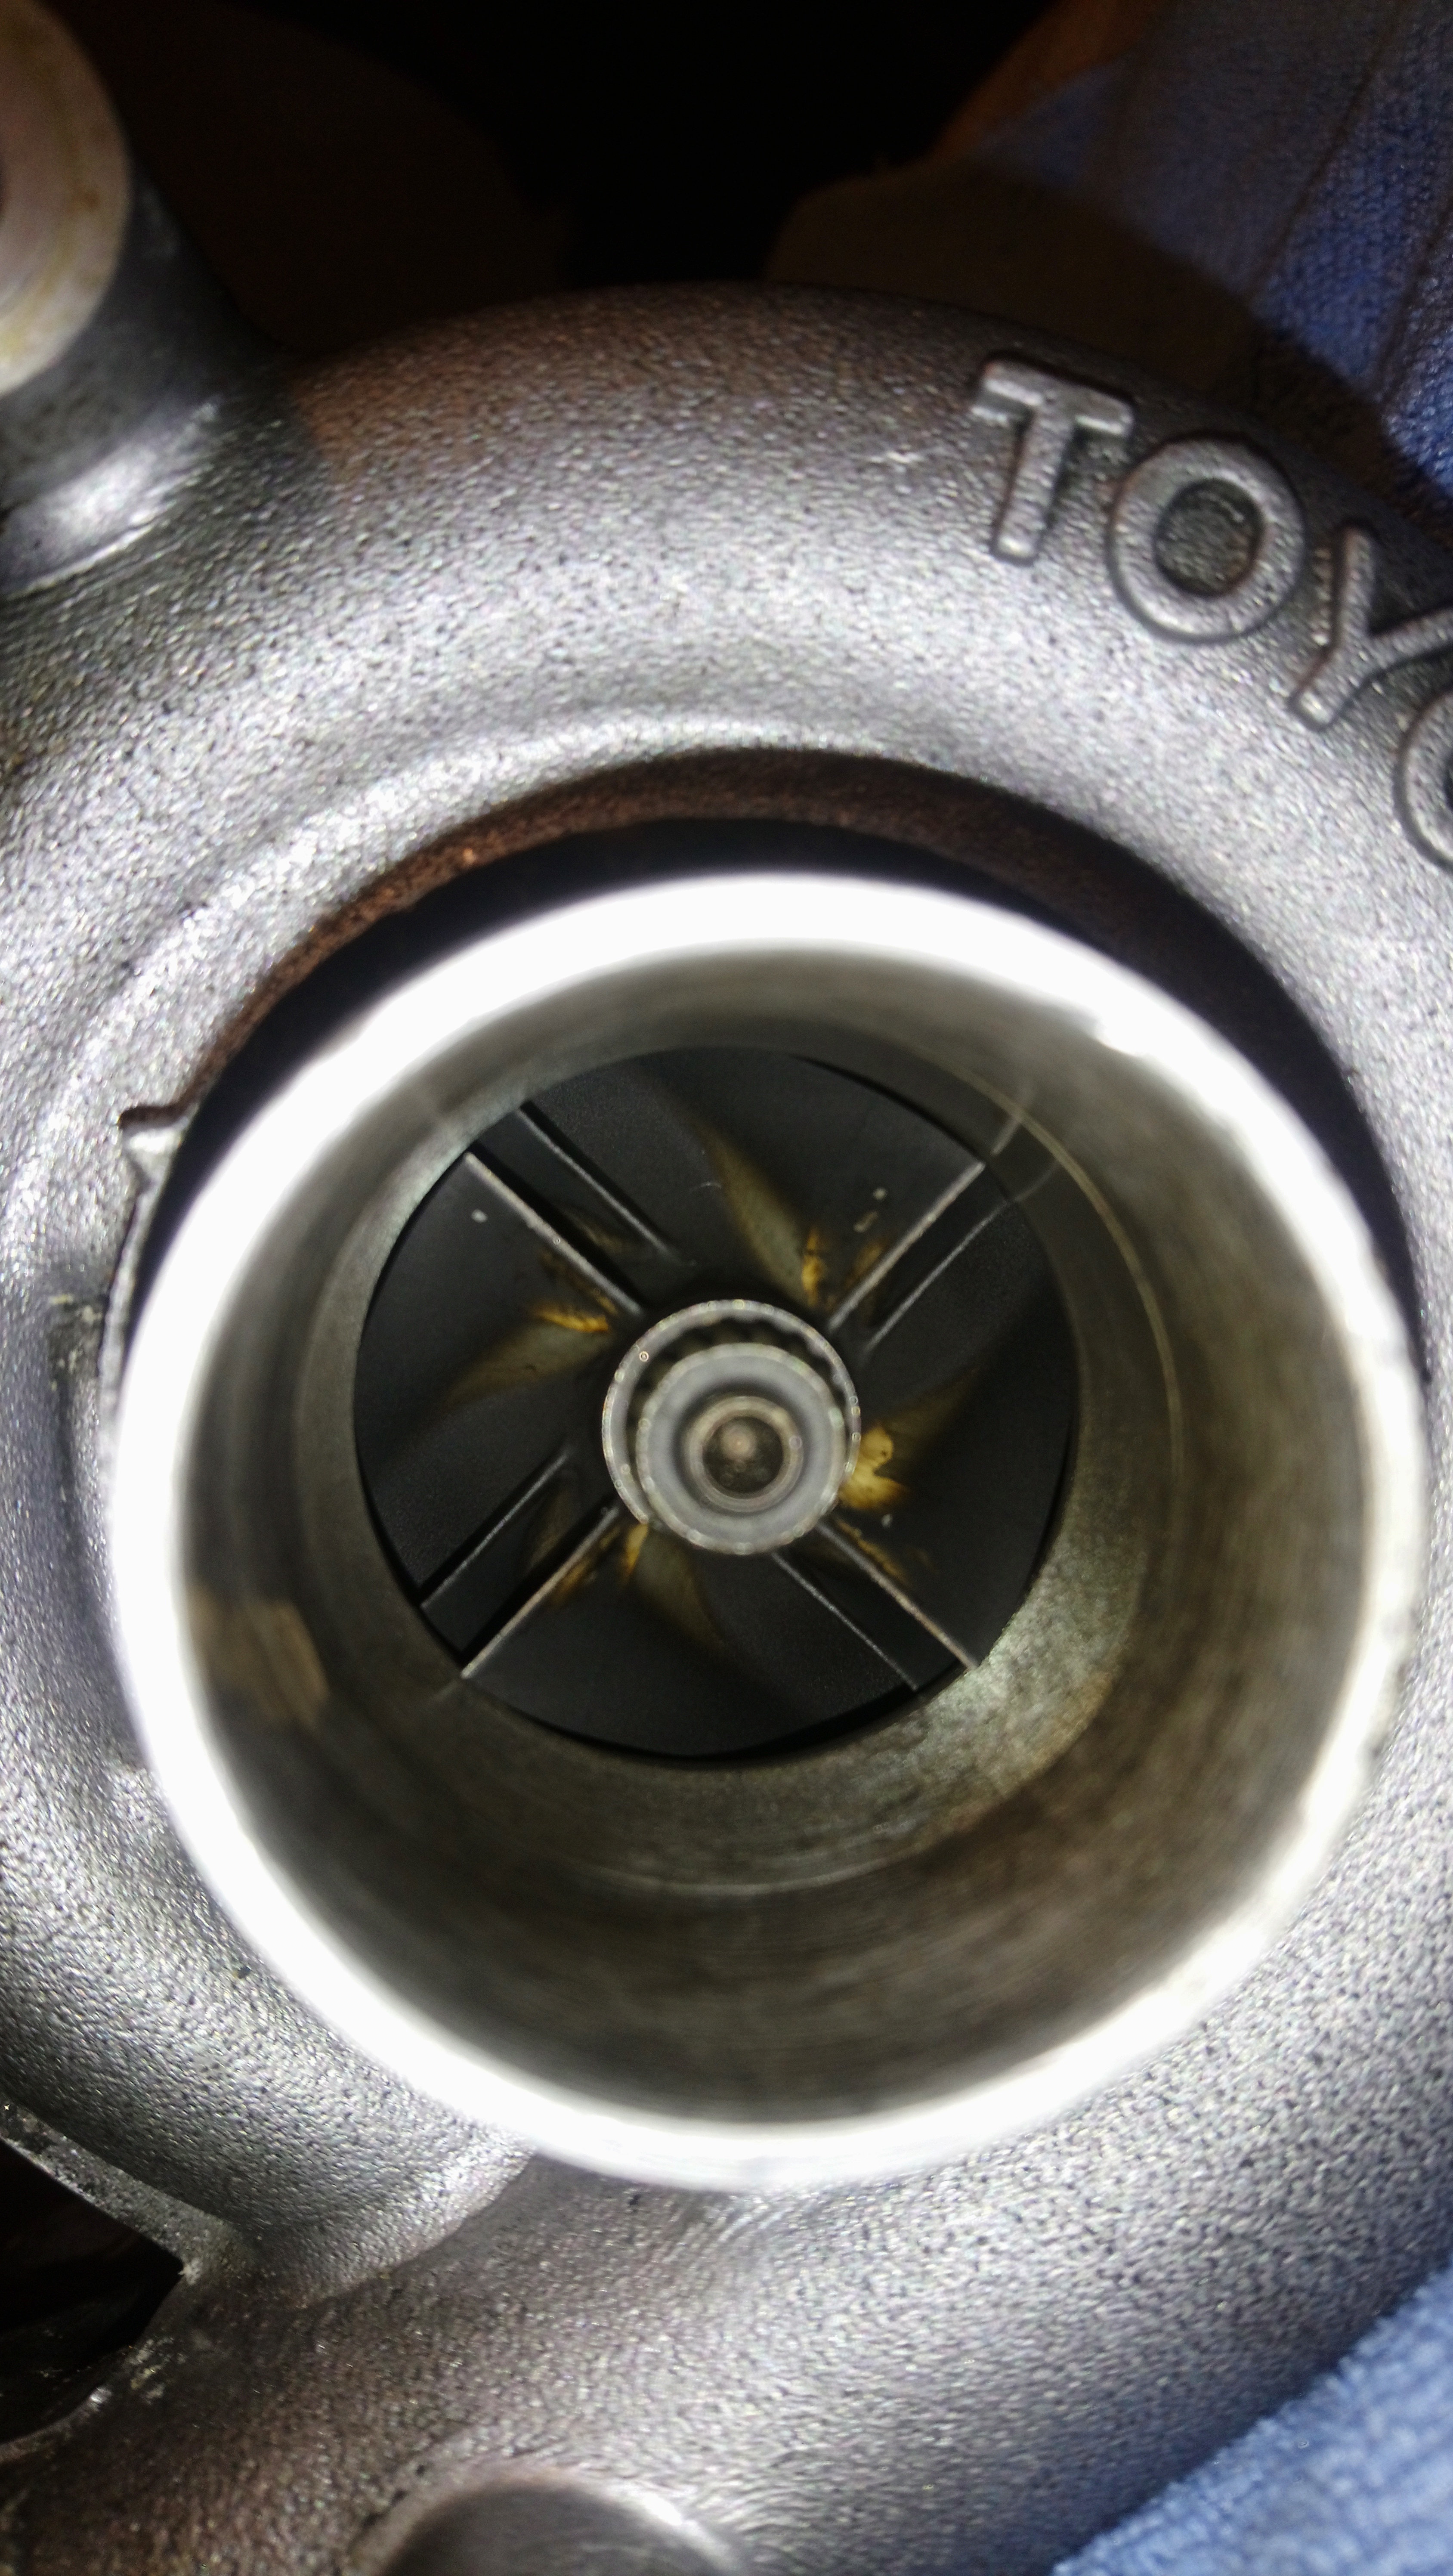
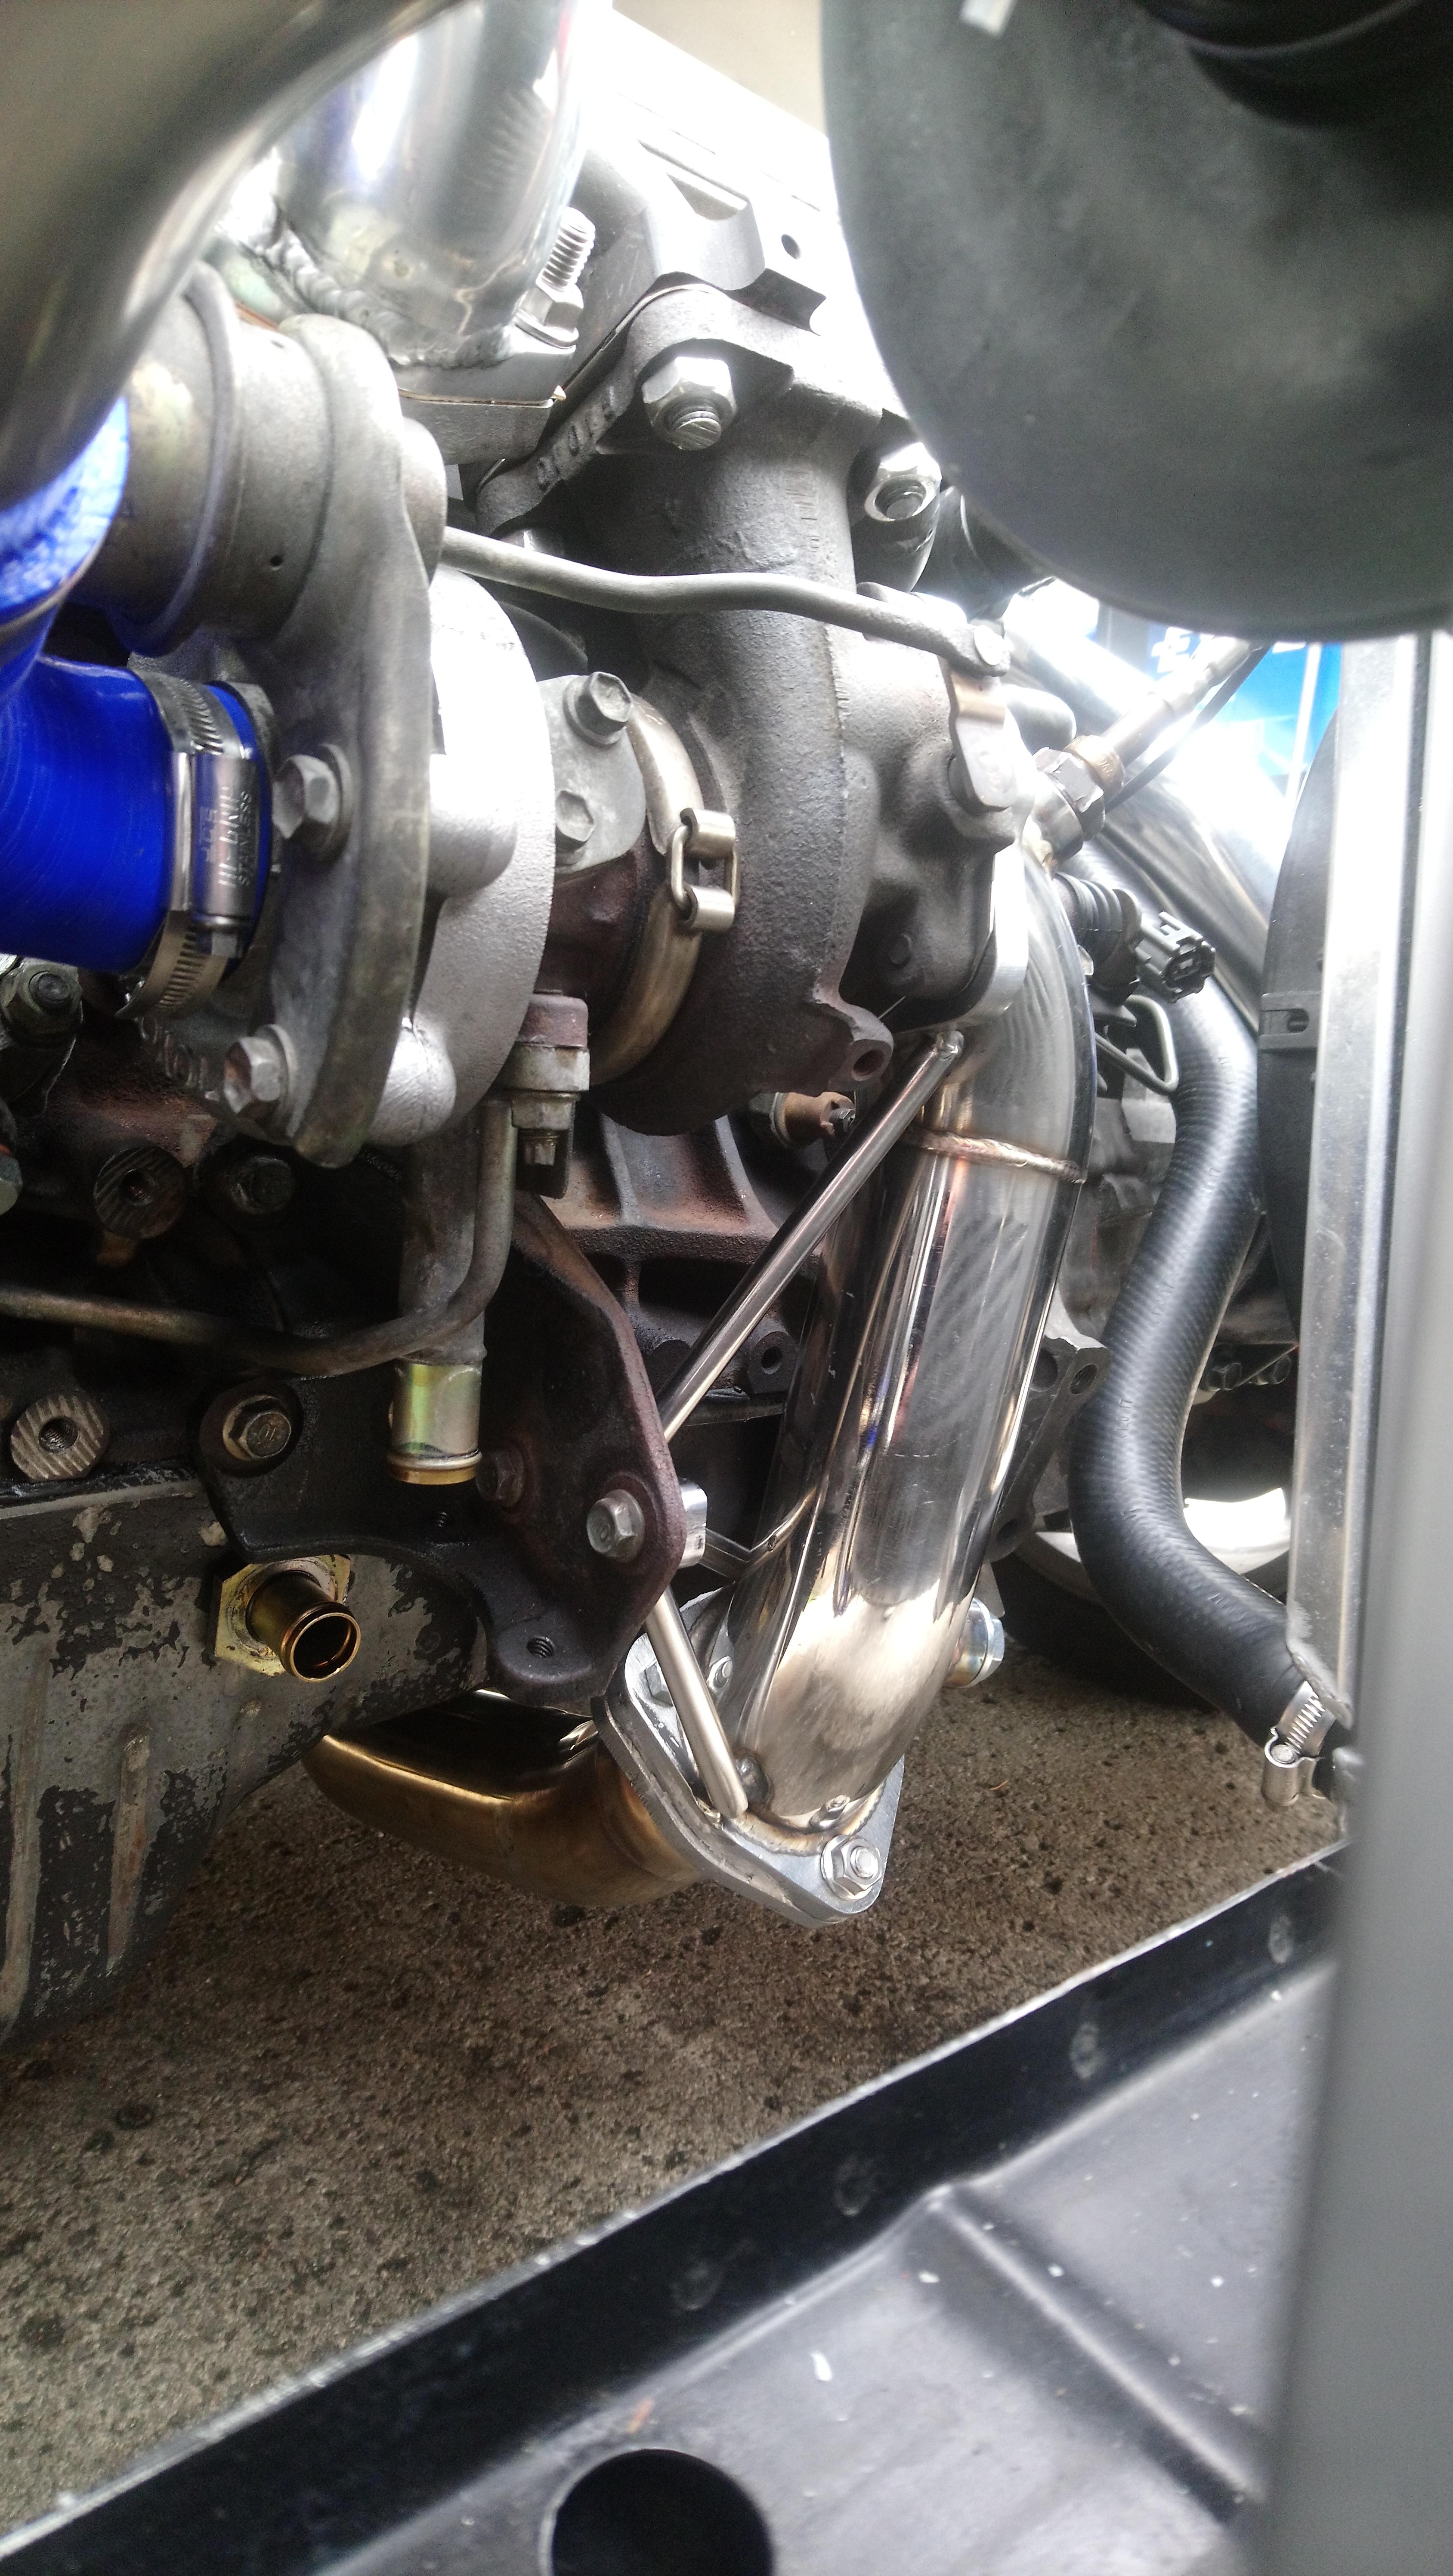
Next I seperated the turbo from the stock exhaust manifold. I spent a bit of time cleaning the turbo up as it was quite dirty and oily, but it looks in good shape overall with very little shaft play and no cracks in the wastegate. I bolted it up to the new manifold and started putting it all back on the car with my new gaskets and coolant hoses etc from toyota.


Once everything was bolted back up and I was happy we removed the efi fuse and primed the turbo with oil. Unfortunately upon the first start up we had an oil leak from the oil filter housing gasket I changed. I ended up having to strip it all down again to find that I had left some of the stubborn old paper gasket on the housing mounting surface.
An annoying setback however I ordered another gasket from idworkz, then spent a while scraping the rest of the old brown paper gasket off I had missed. Once it was completely smooth I installed the new gasket and bolted the housing back on before building everything else back up. I also gave the car a quick oil and filter change prior to priming again and starting her up. This time no oil leaks and running smoothly
.


Really pleased, the car feels as though it pulls stronger now I have freed up the restrictions in the exhaust system. It sounds great, you can hear a lot more noise from the turbo. The boost dosent seem to have crept up by that much either but will keep an eye on it, hopefully get some form of engine management next year.
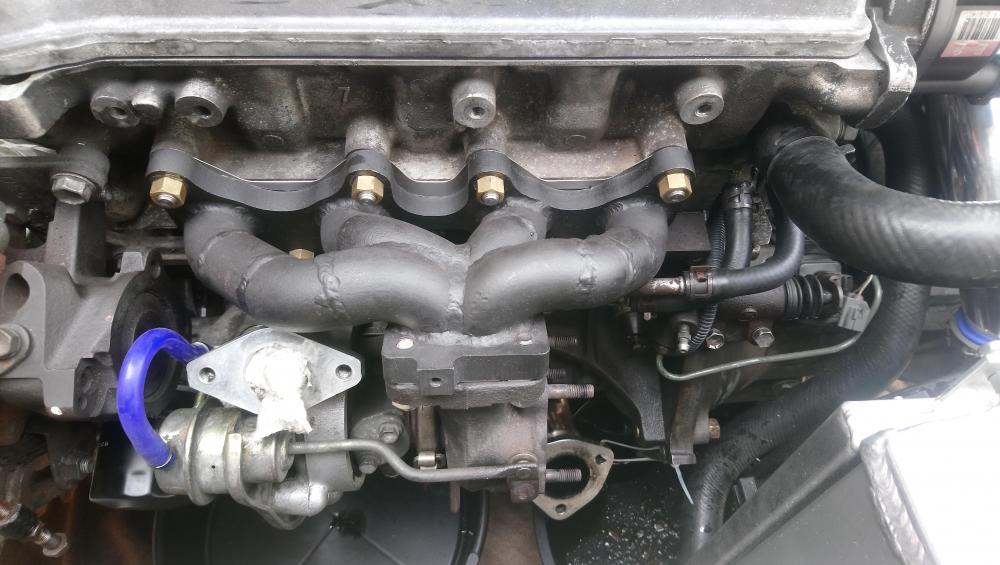
Good peace of mind to finally get rid of the stock 4efte mani because of the restriction in the thrid runner (see pic below).


James's 96 Glanza V
in EP91 Glanza Progress Blogs
Posted · Edited by JamesG
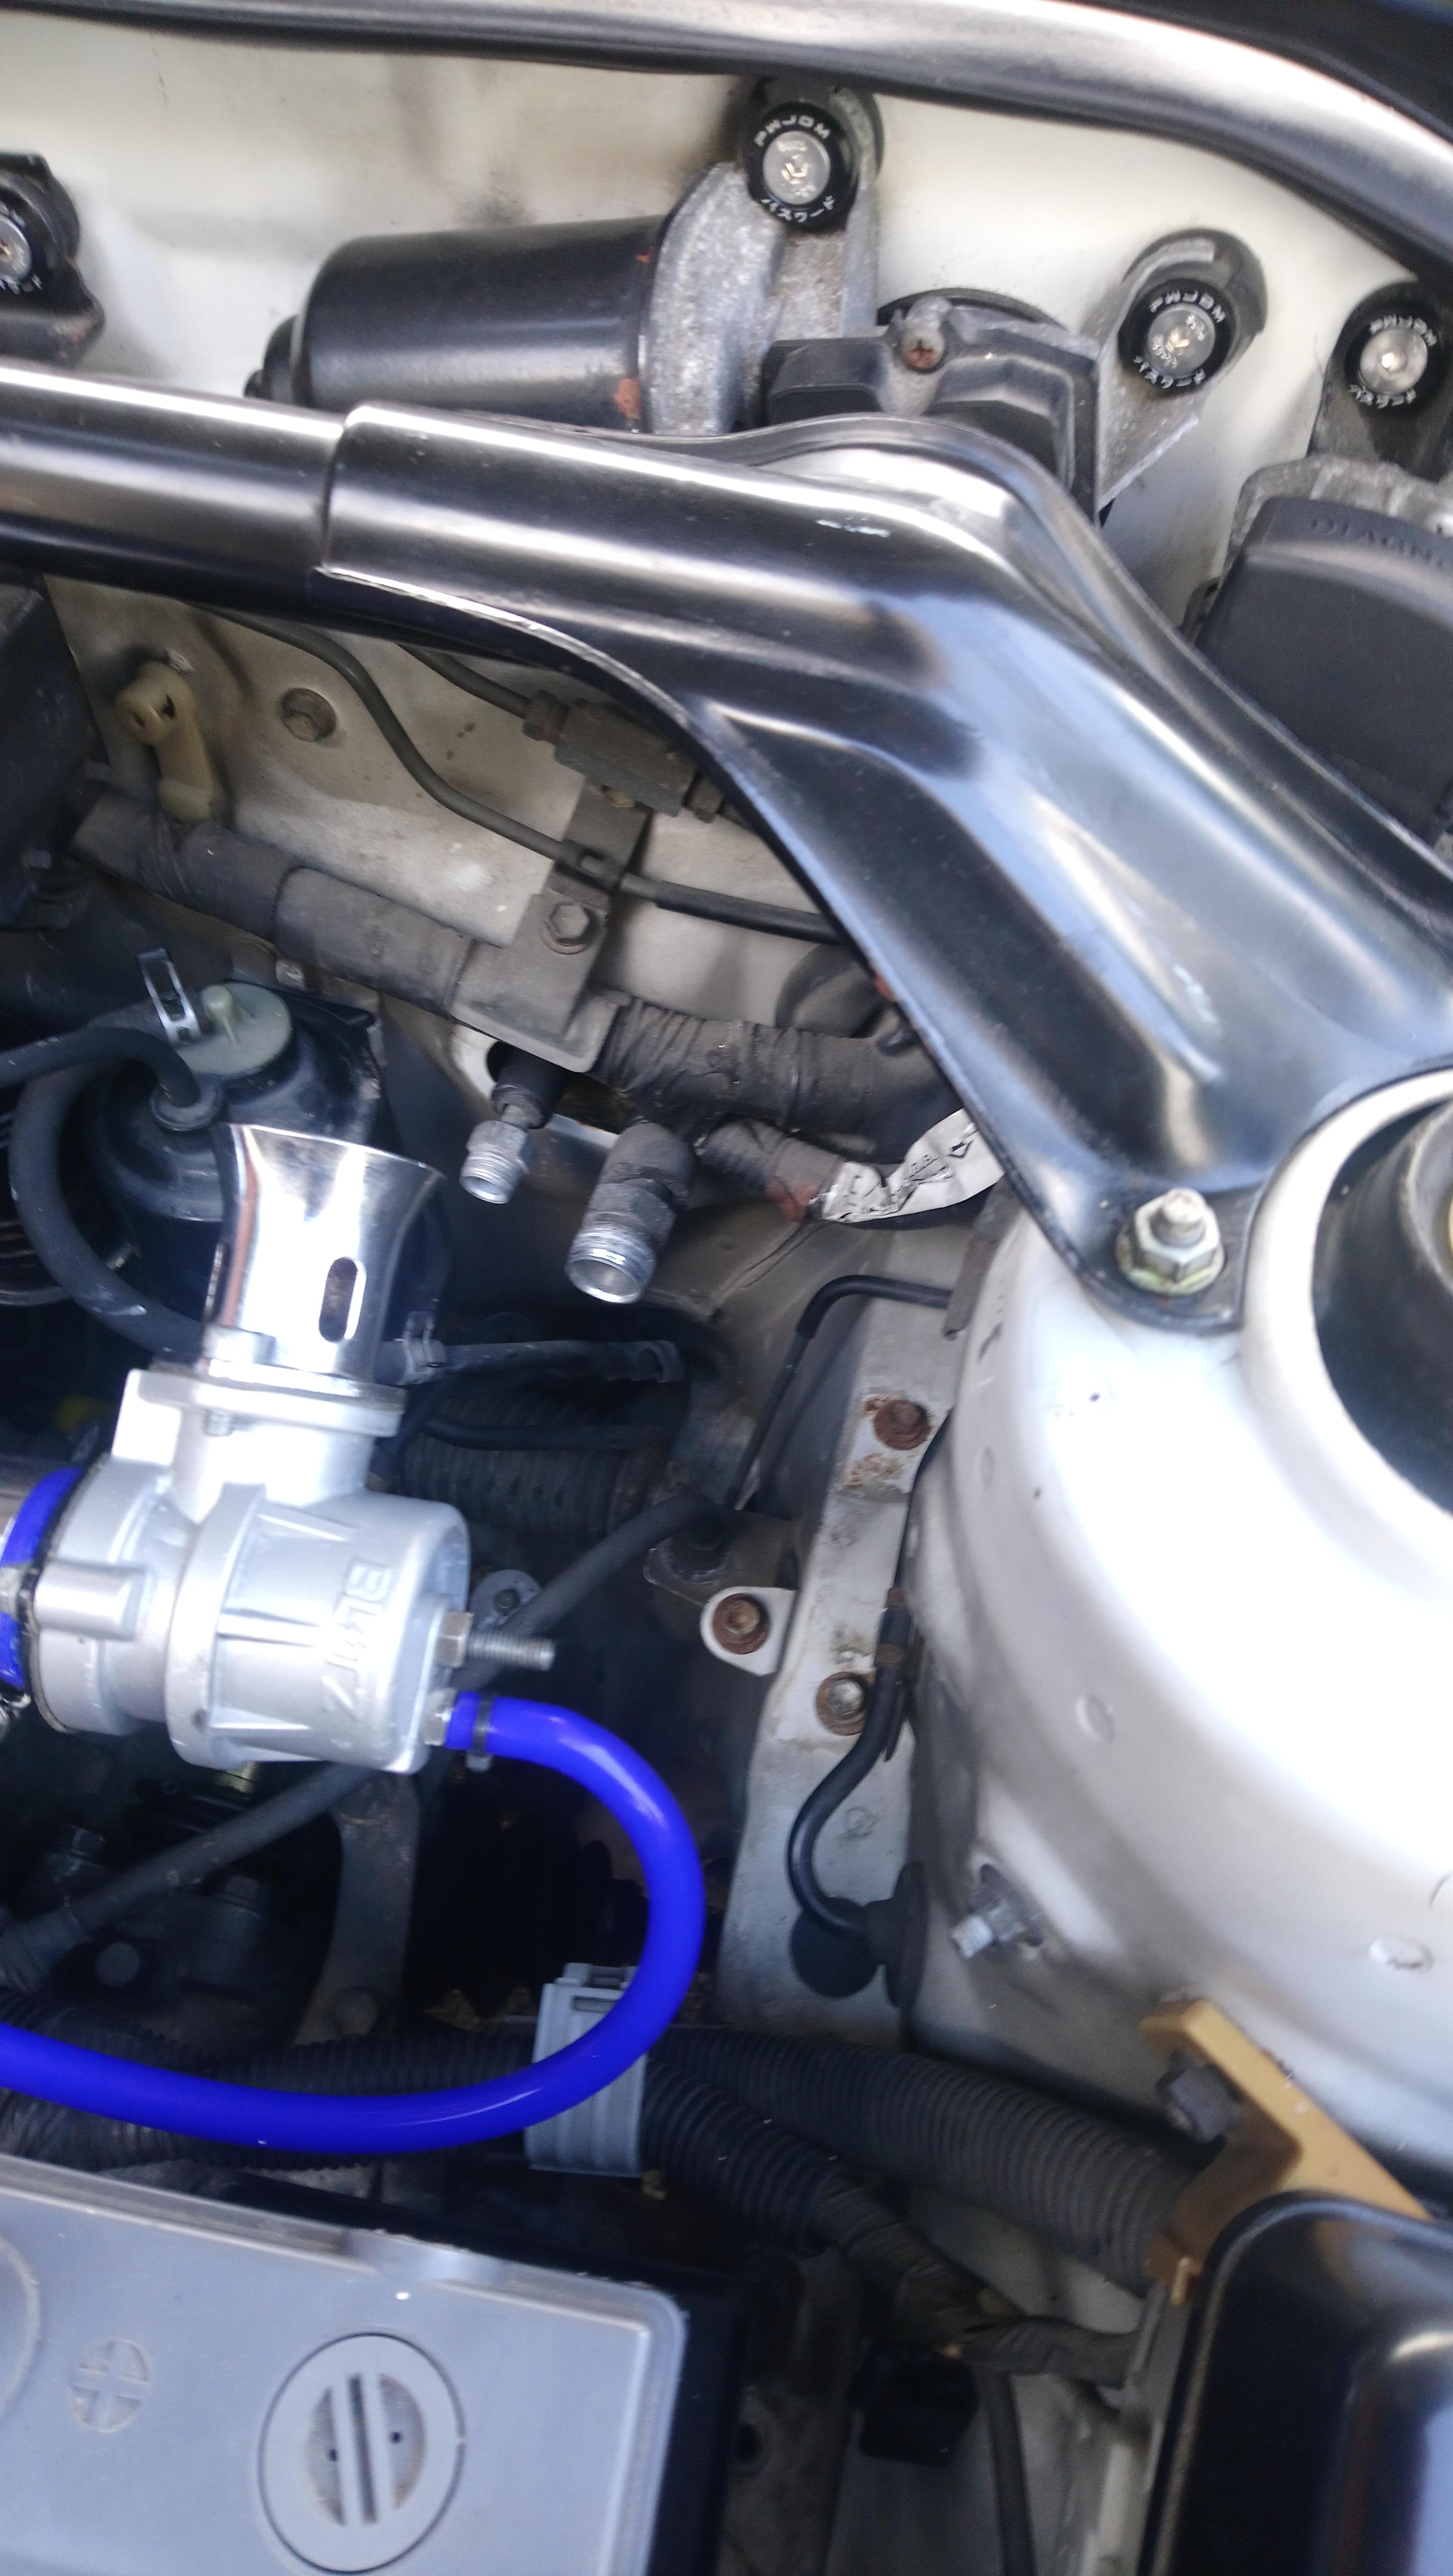
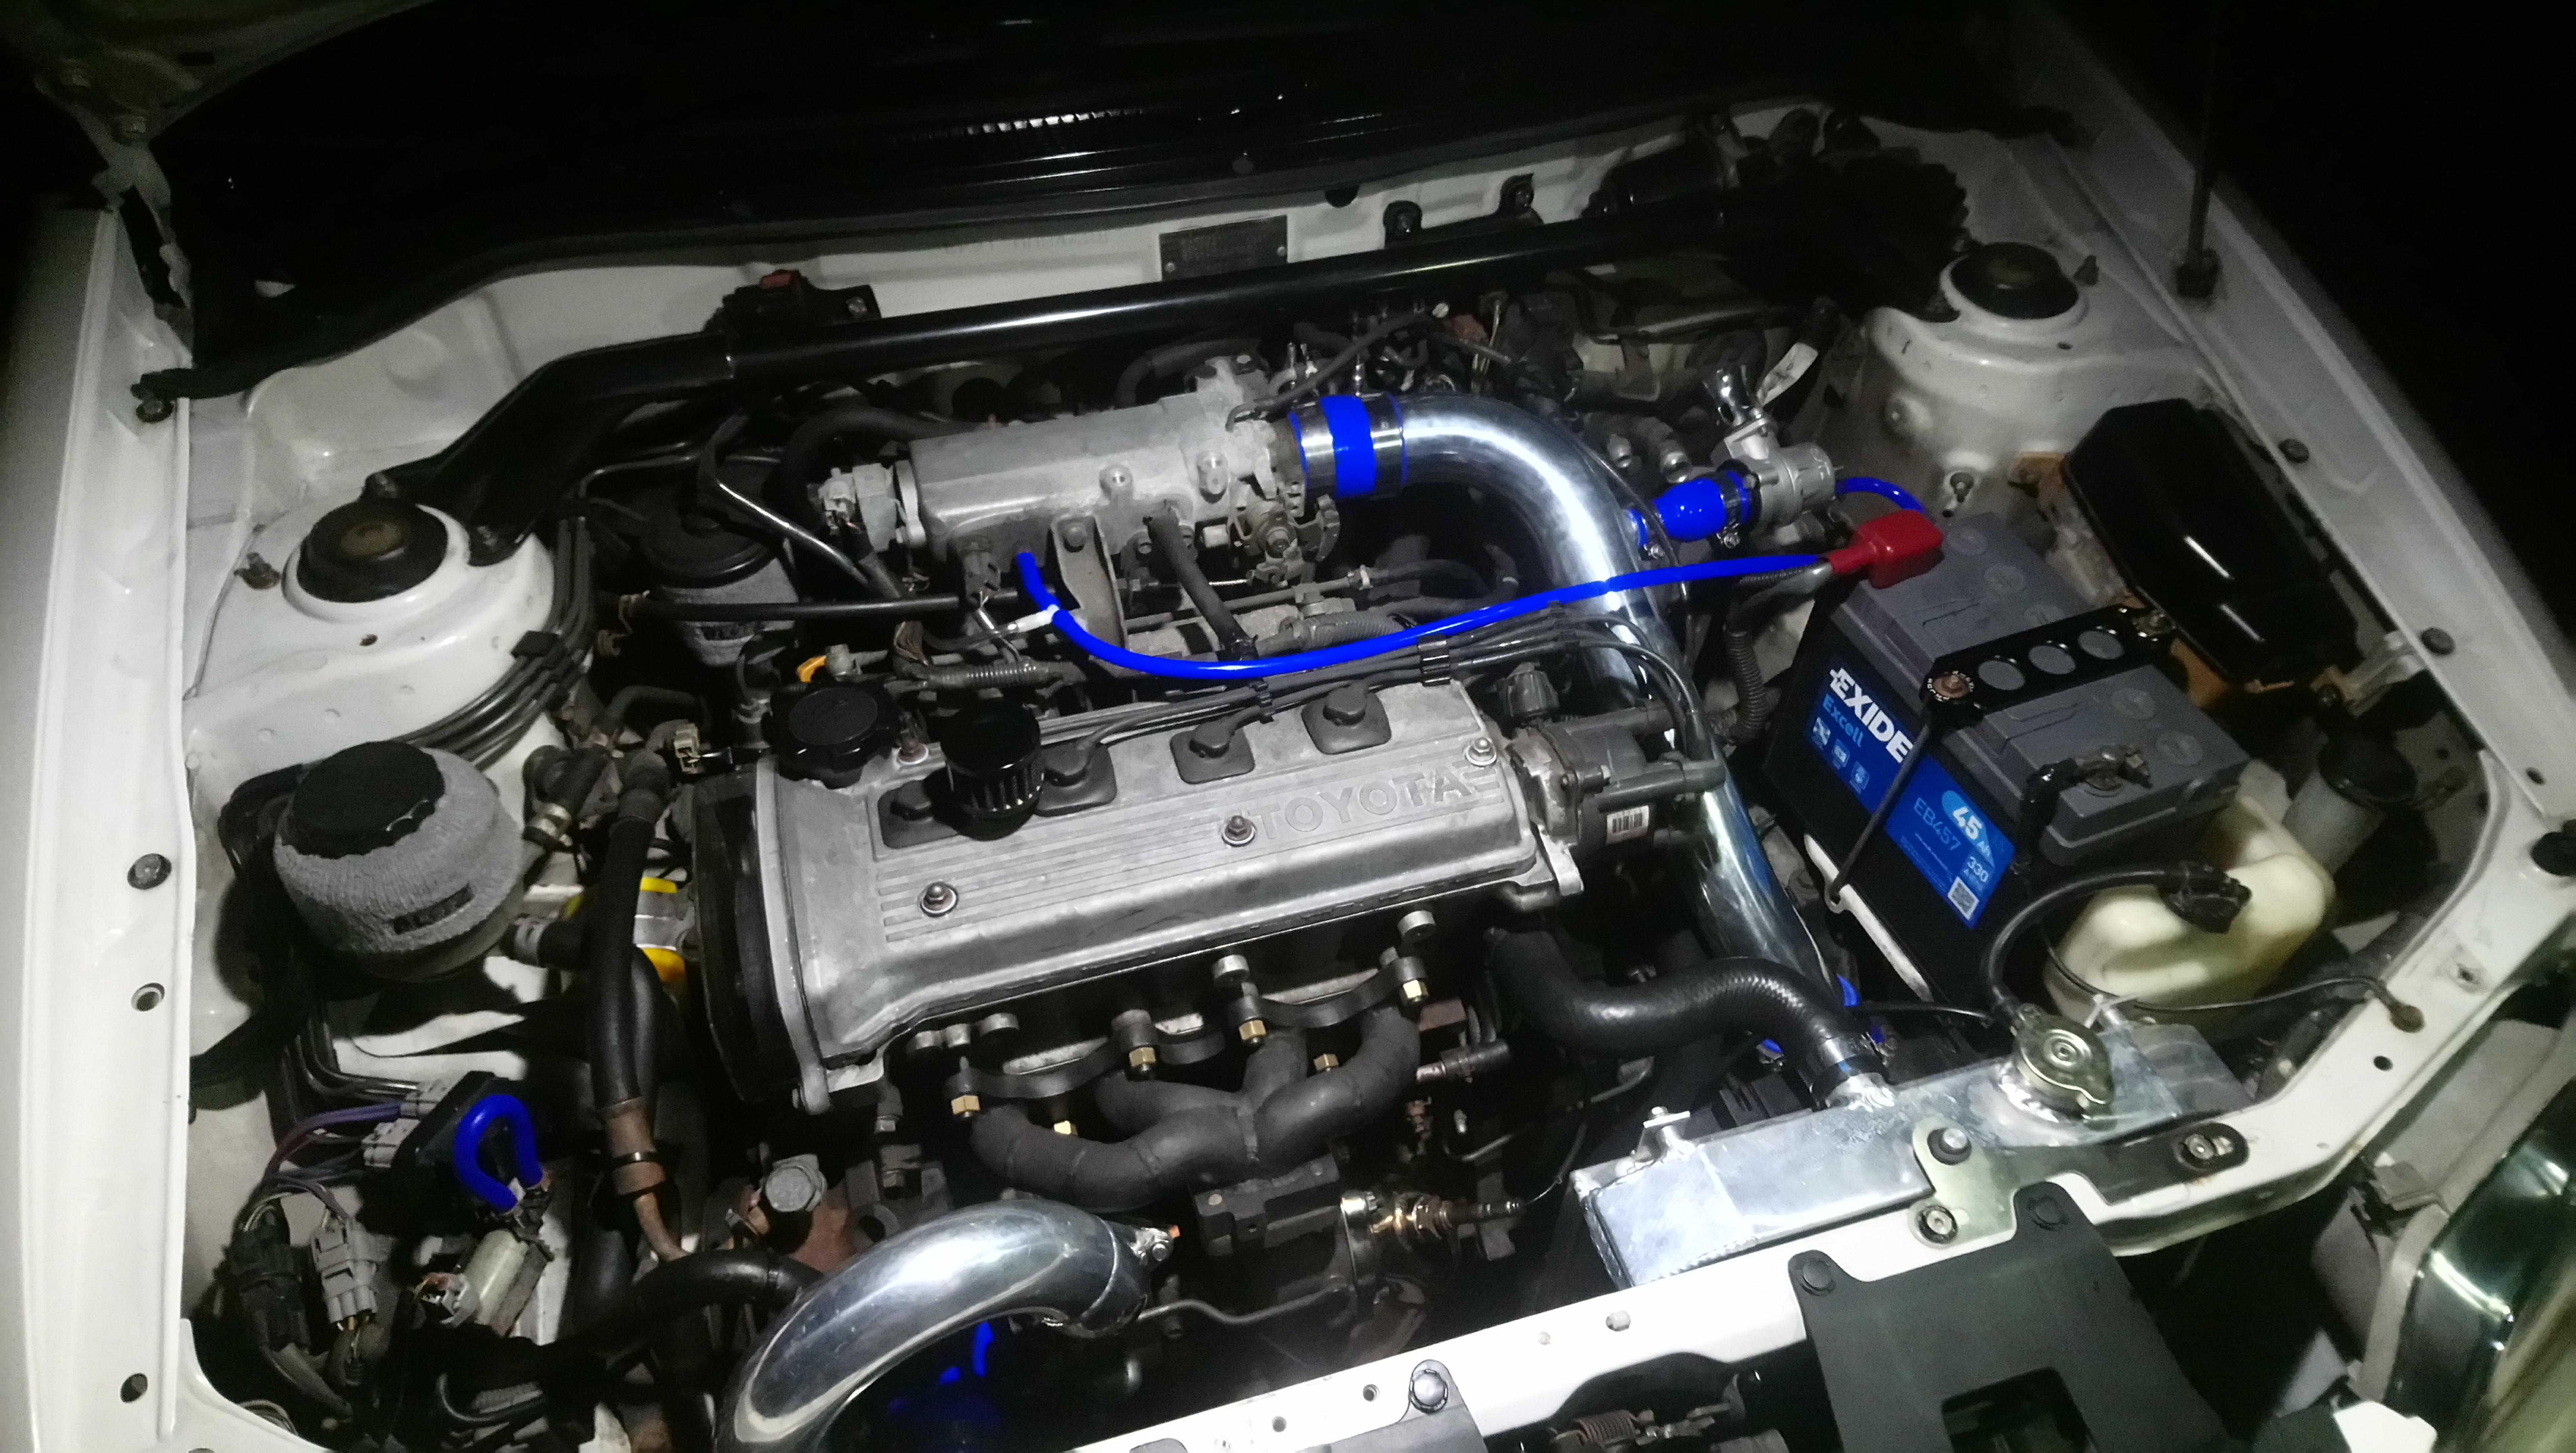
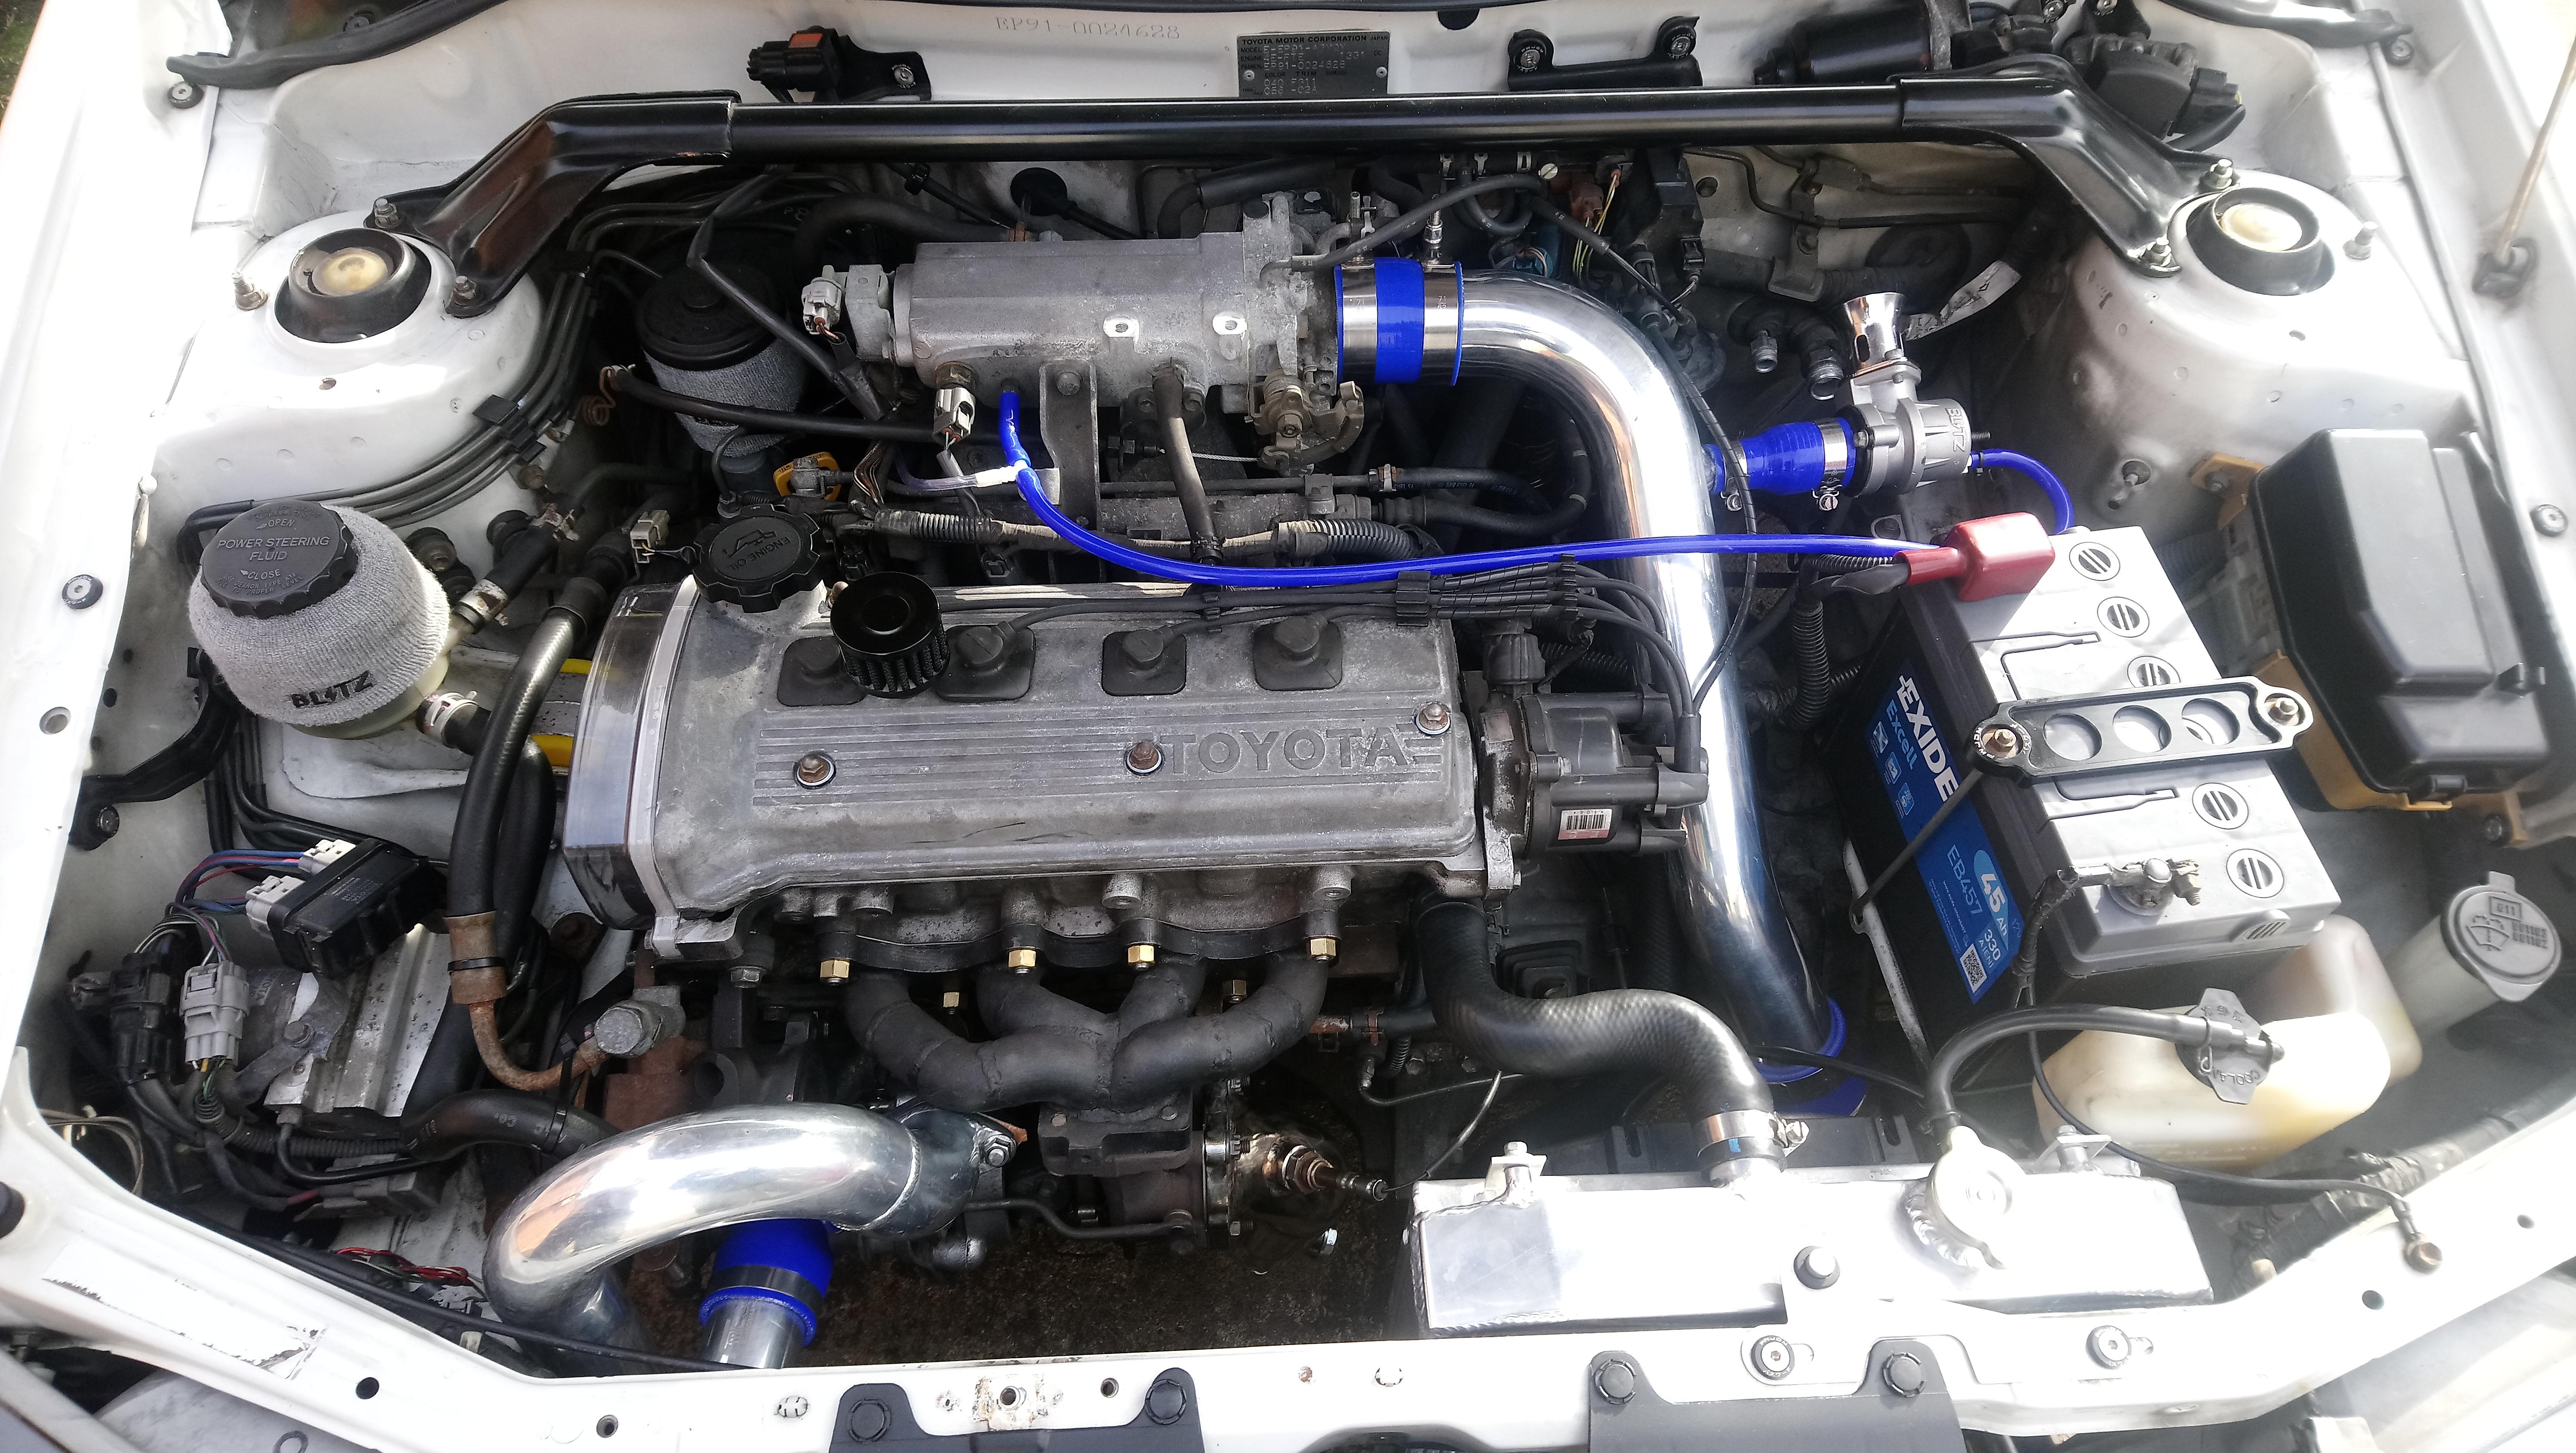
So Ive finished getting my turbo all back together and installed on the car. I also recieved my RW developments catch tank and an10 lines. Very pleased with them, really well made bit of kit.
I bought a 19mm breather filter for the port on the bottom on the tank.
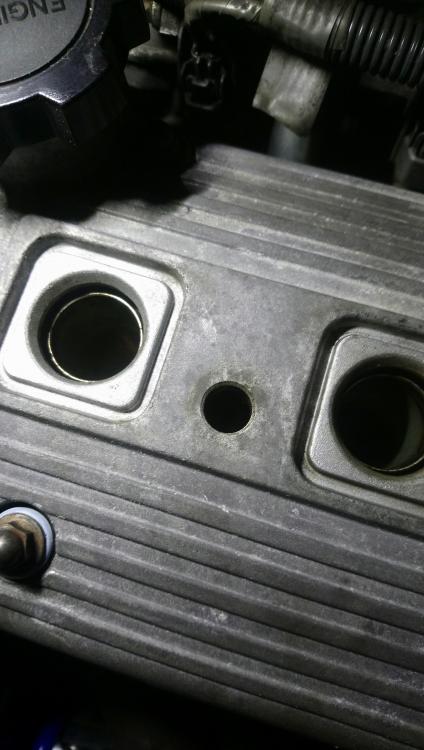
I then had to go about getting the an10 fittings welded to the top of the rocker cover. I didnt want to risk getting any swarf trapped in the baffle plate drilling the breather port out, so opted to just have the fittings welded ontop of the existing holes on the cover. The hole inside the an10 fitting is the same size as the breather hole with the tube pulled out so couldnt see much gain in drilling it out anyway.
Got the fittings TIG welded on by a local welder and there is no contamination inside the holes. I gave the inside of the rocker cover a quick clean before reinstalling.
Once it was back on I trial fitted the catch tank and lines, they look really tidy and suit the bay nicely") .
.
Also purchased a new racetech CT9 braided oil feed to replace the stock one. I have been after one for a while, looking forward to getting it installed.