


JamesG
-
Content Count
108 -
Joined
-
Last visited
Content Type
Profiles
Forums
Wiki
Media Demo
Store
Calendar
Posts posted by JamesG
-
-
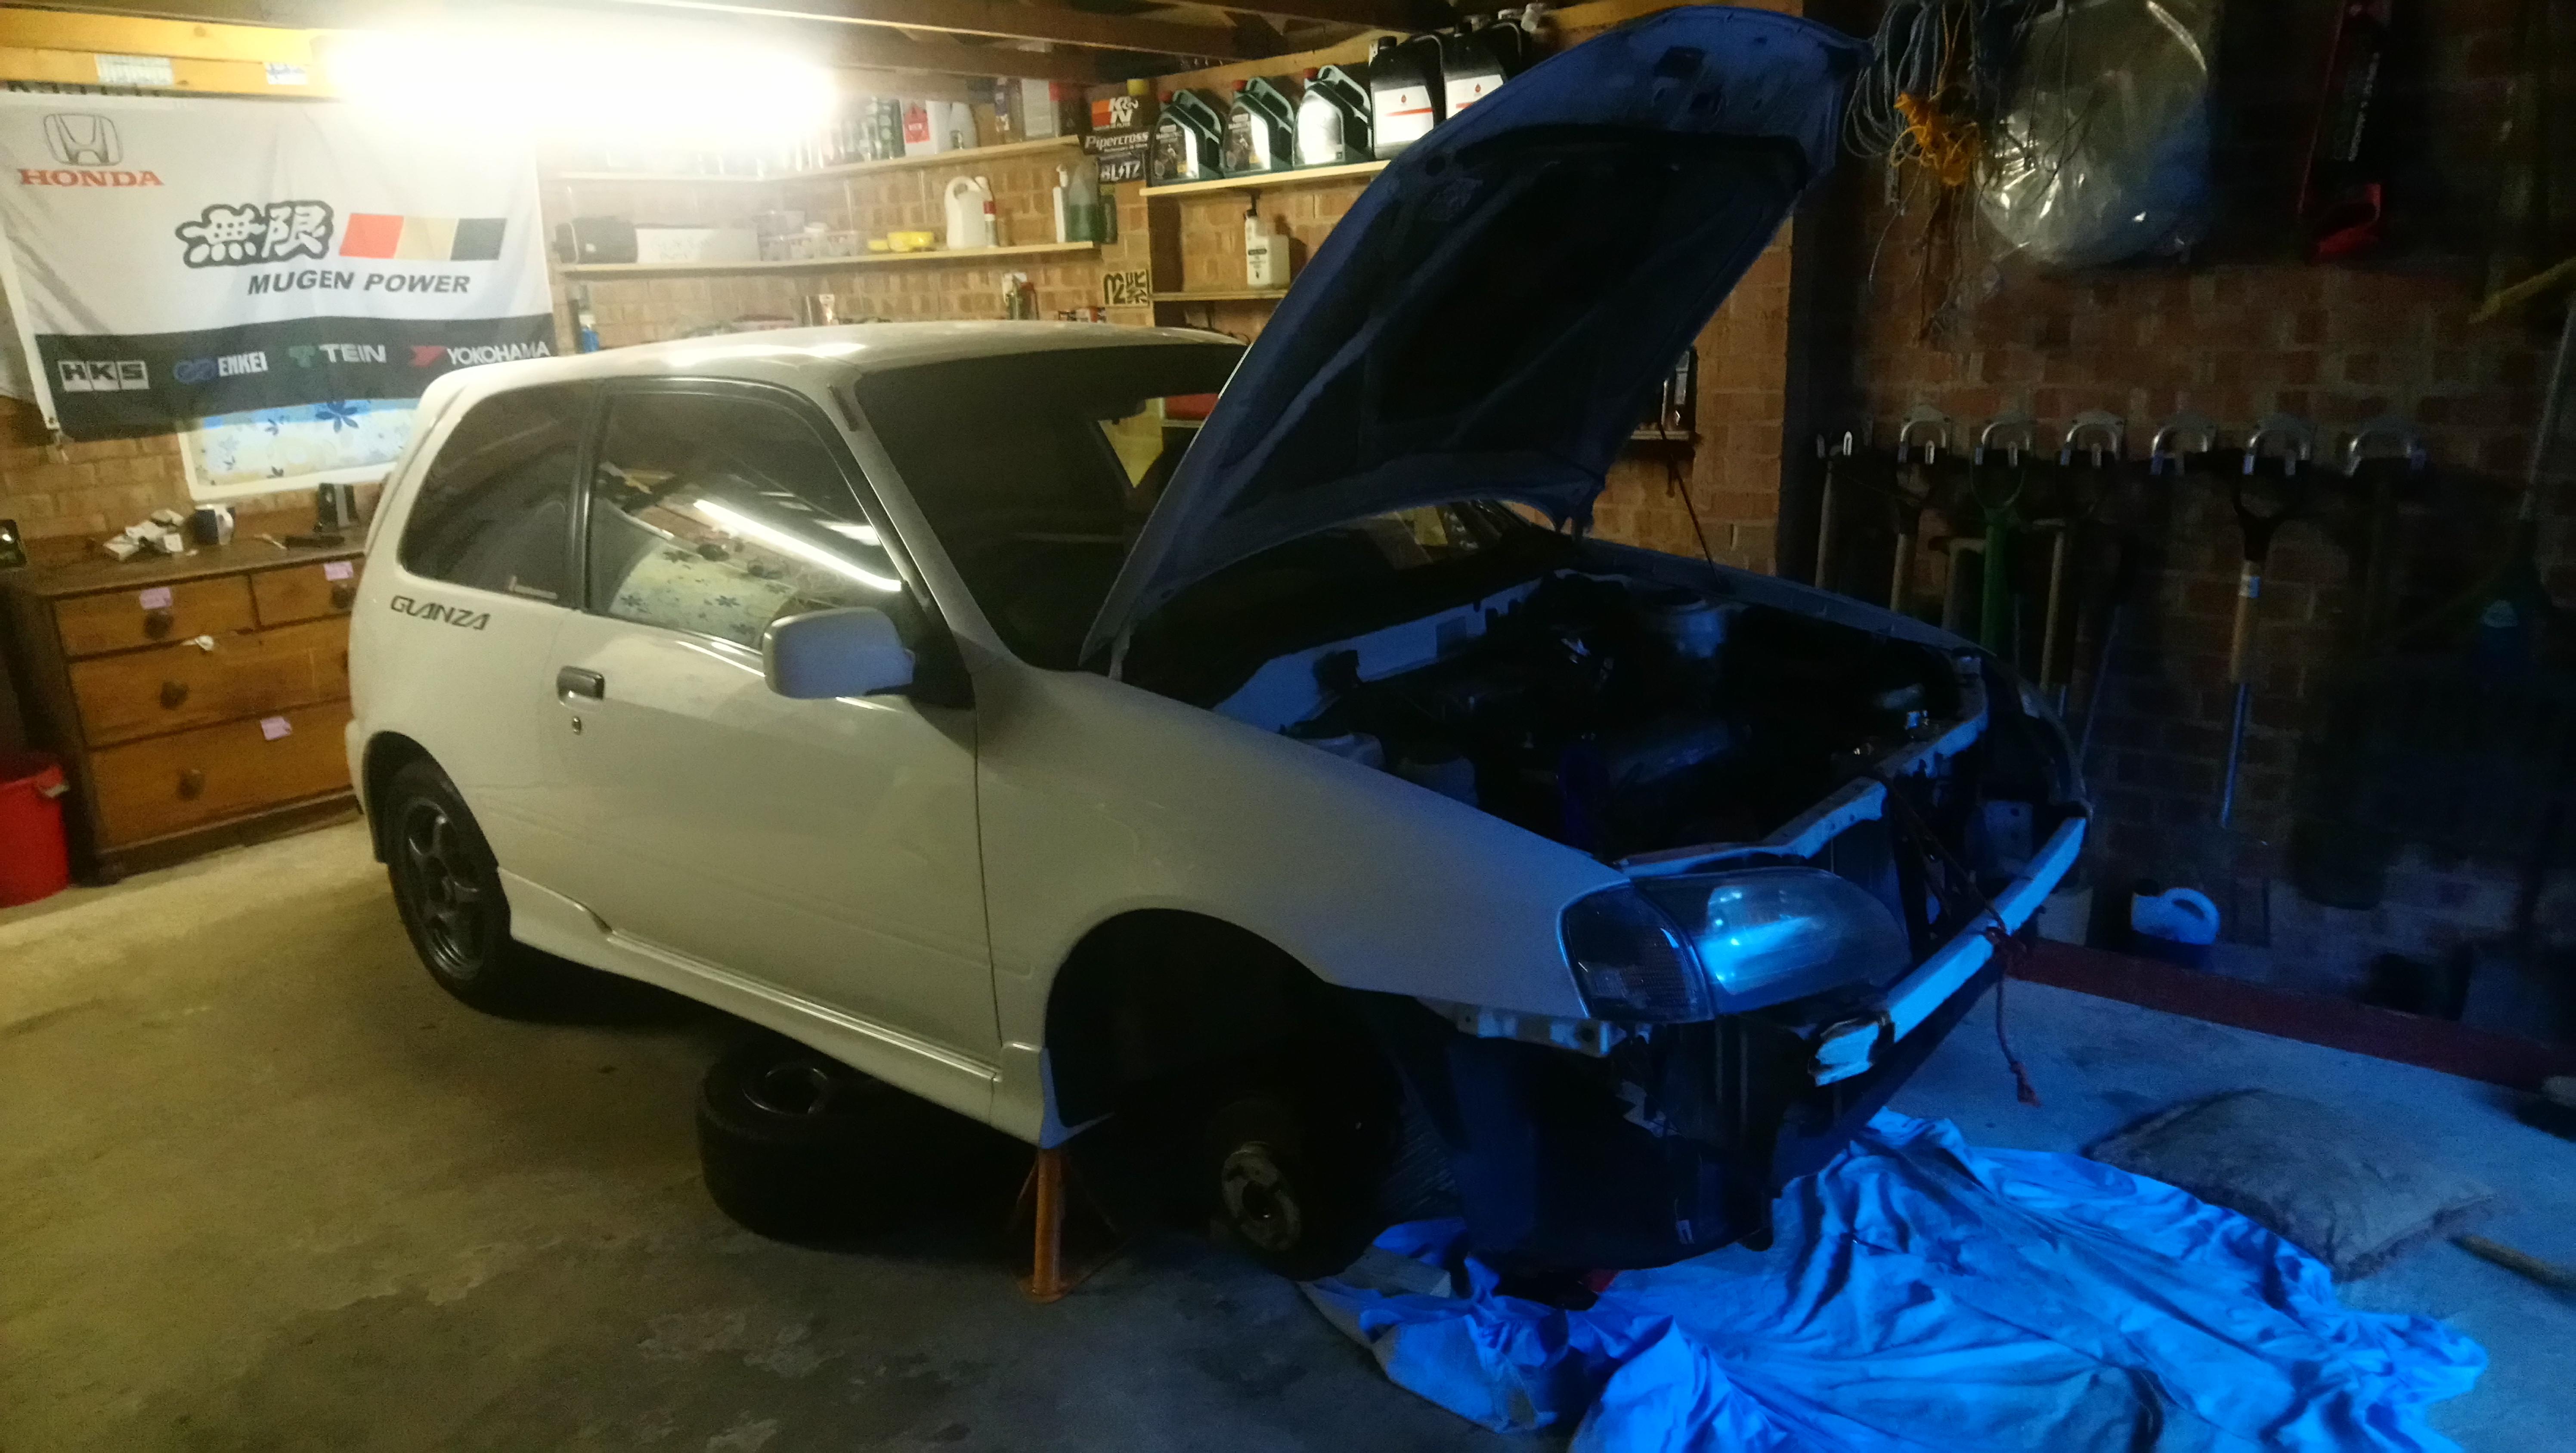
Started doing some work on my glanza recently as it has a small oil leak and I wanted to get to the bottom of it. Started gathering parts together and got the chance to get it up to my mates double garage to start tearing it down.

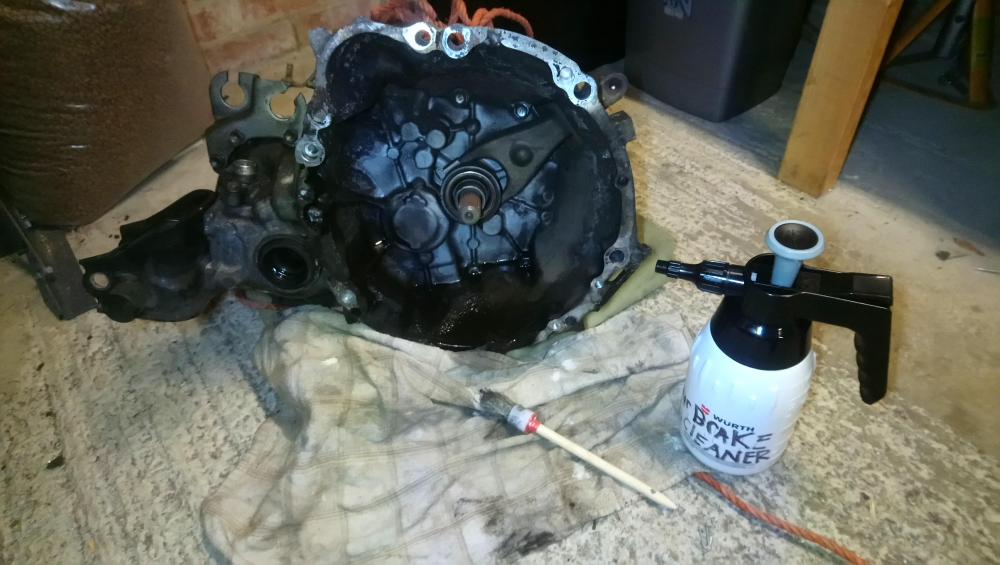
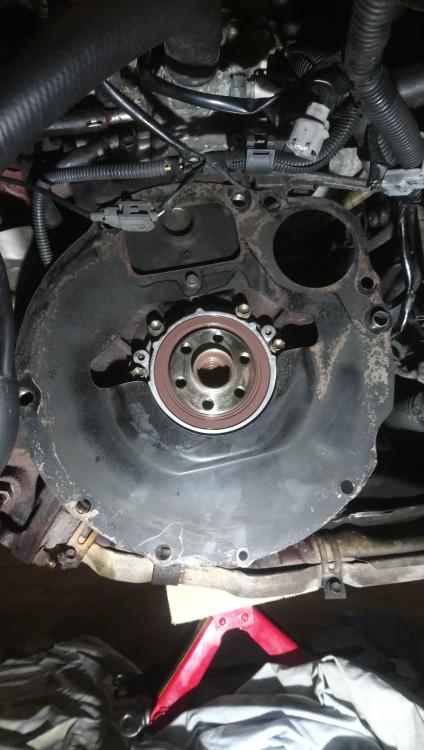
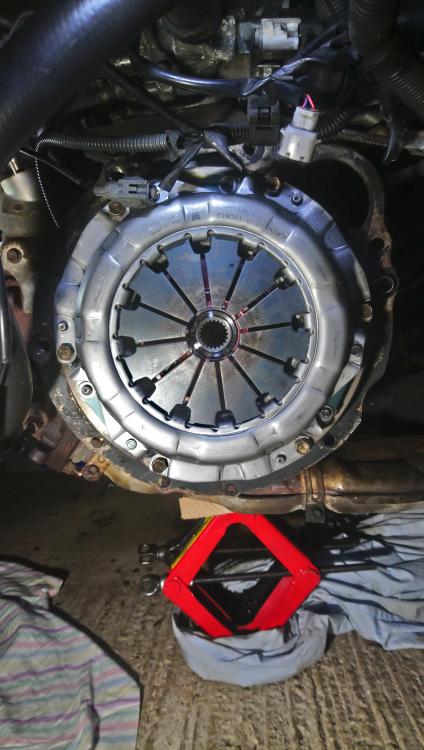
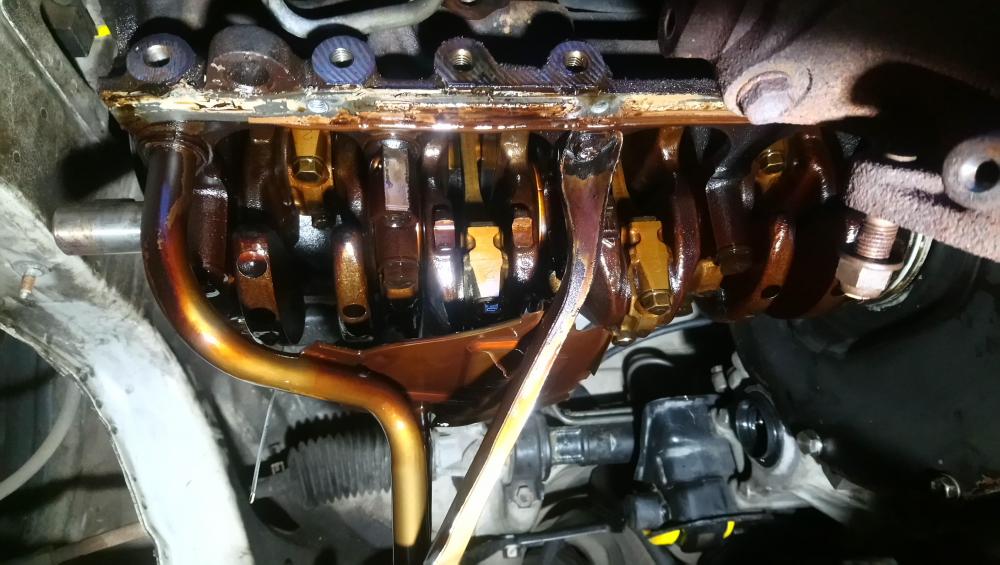
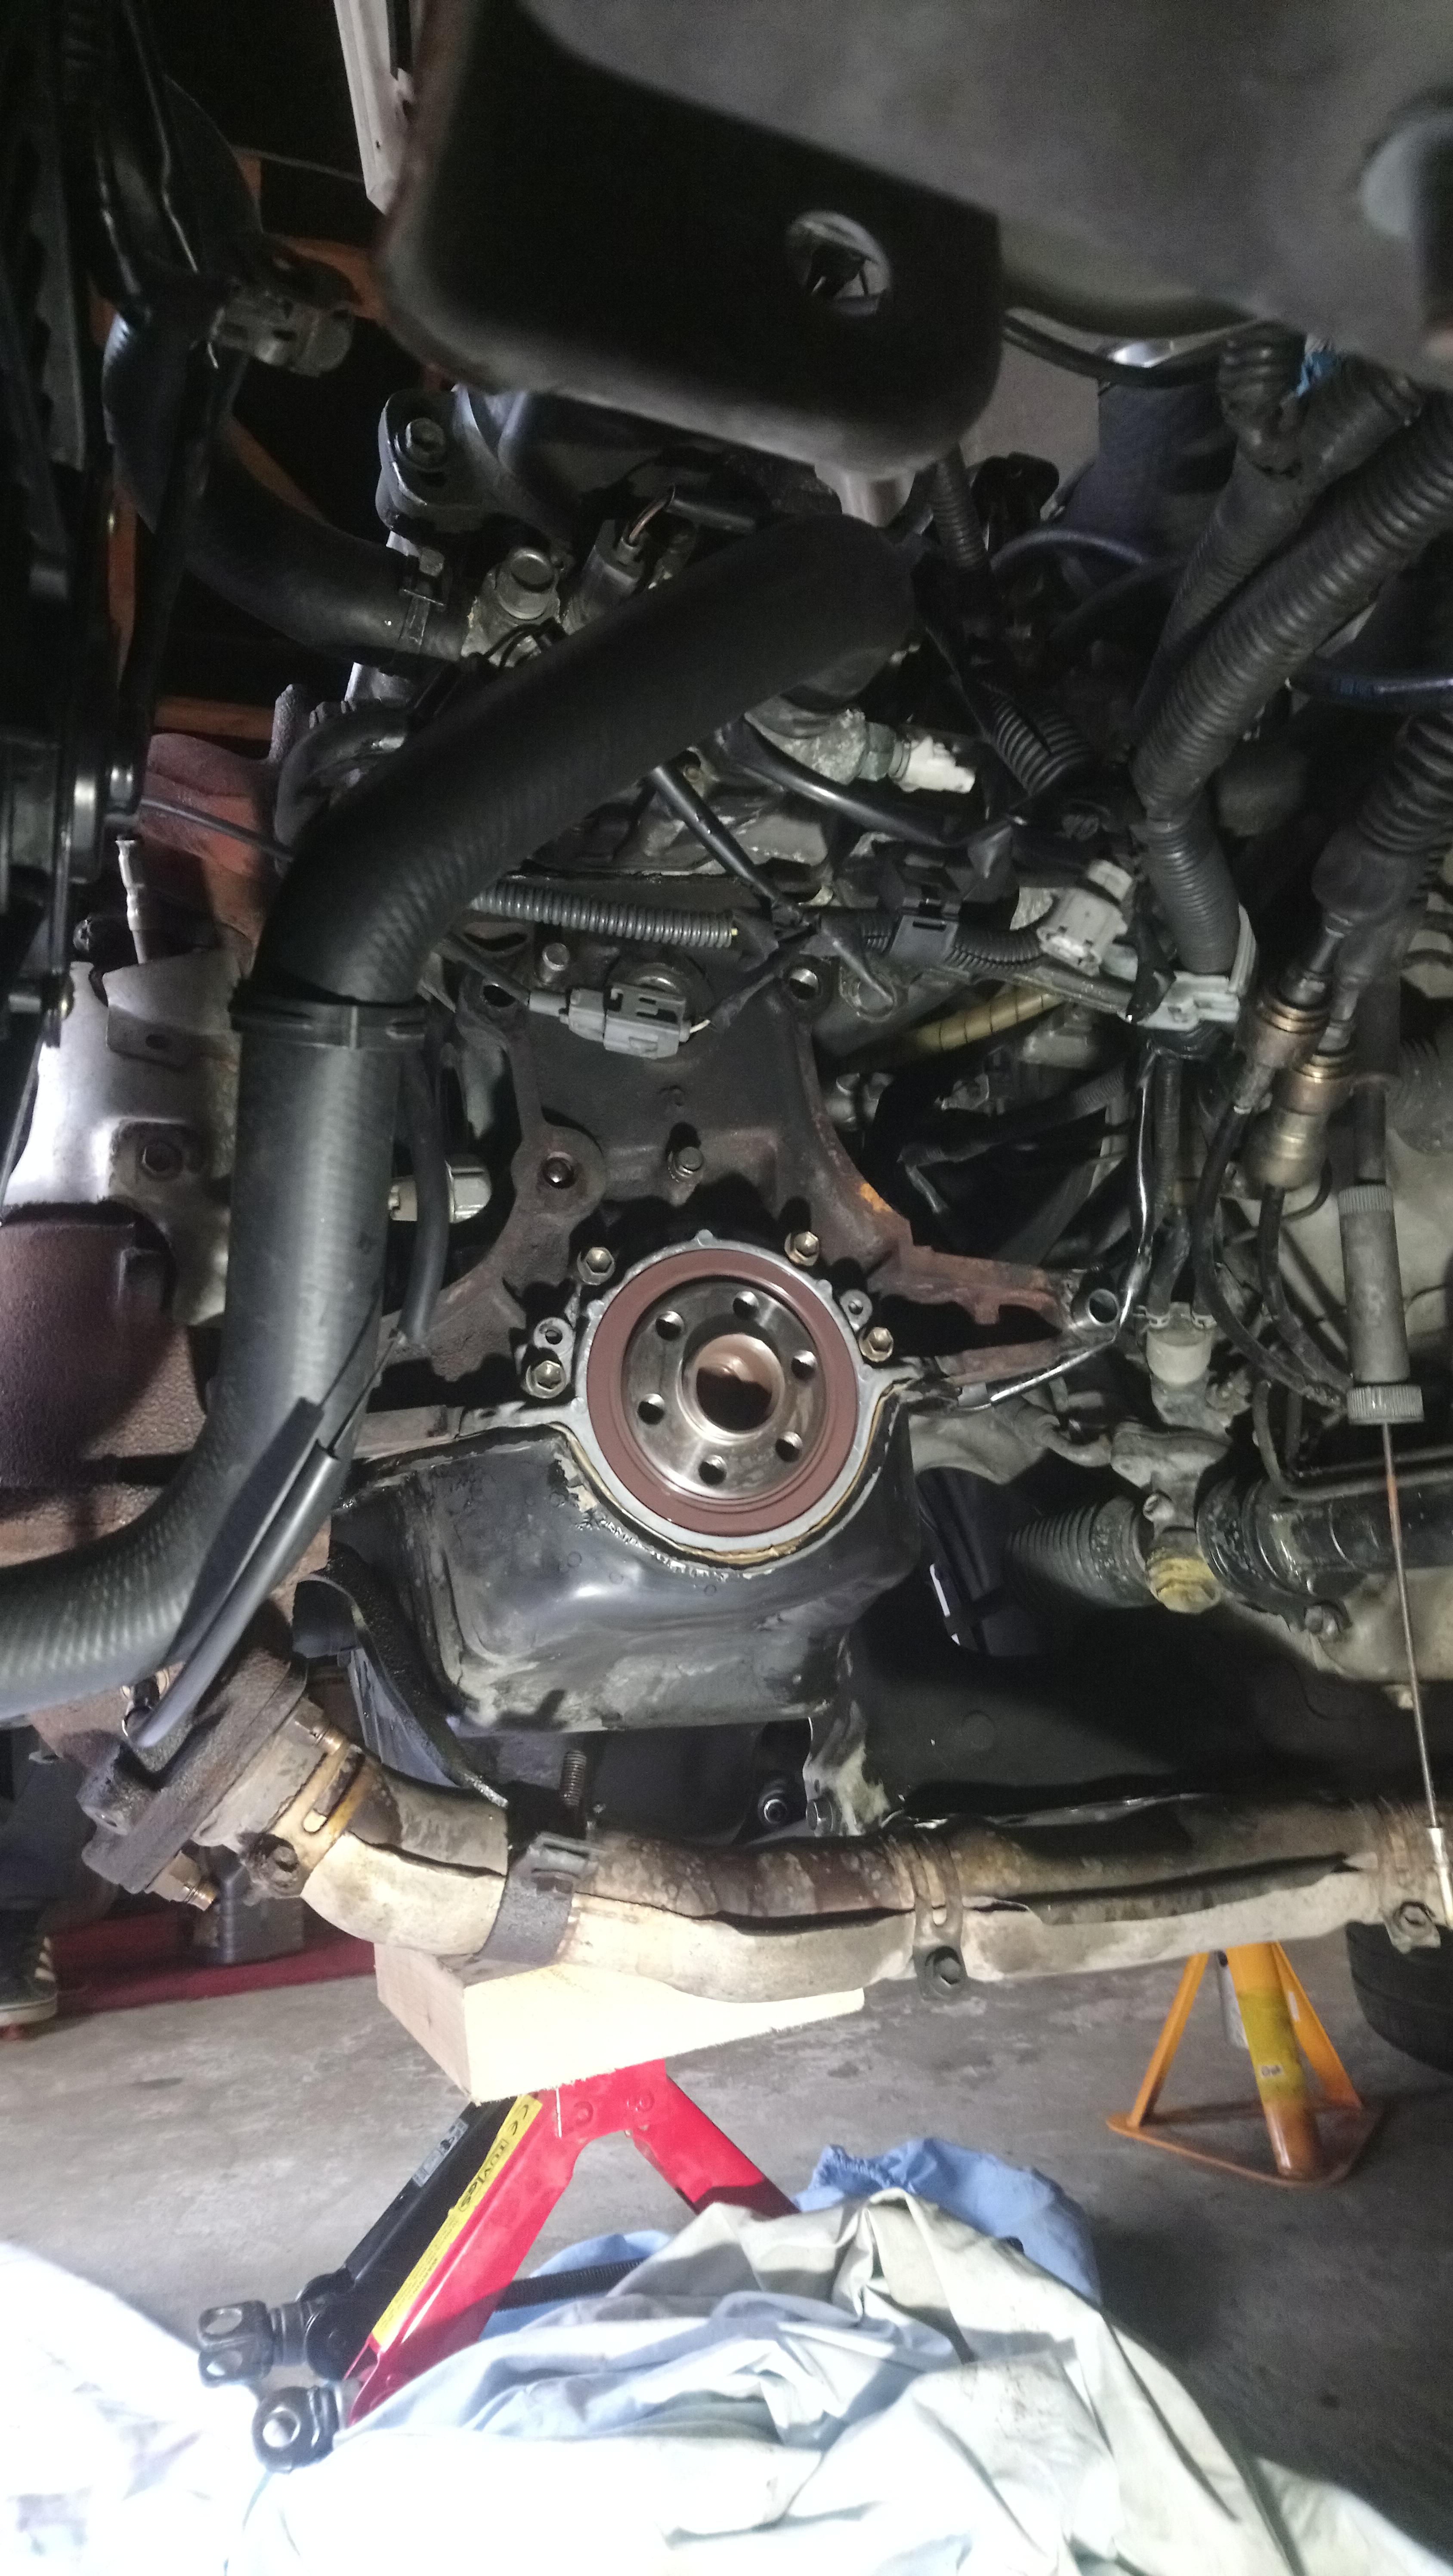
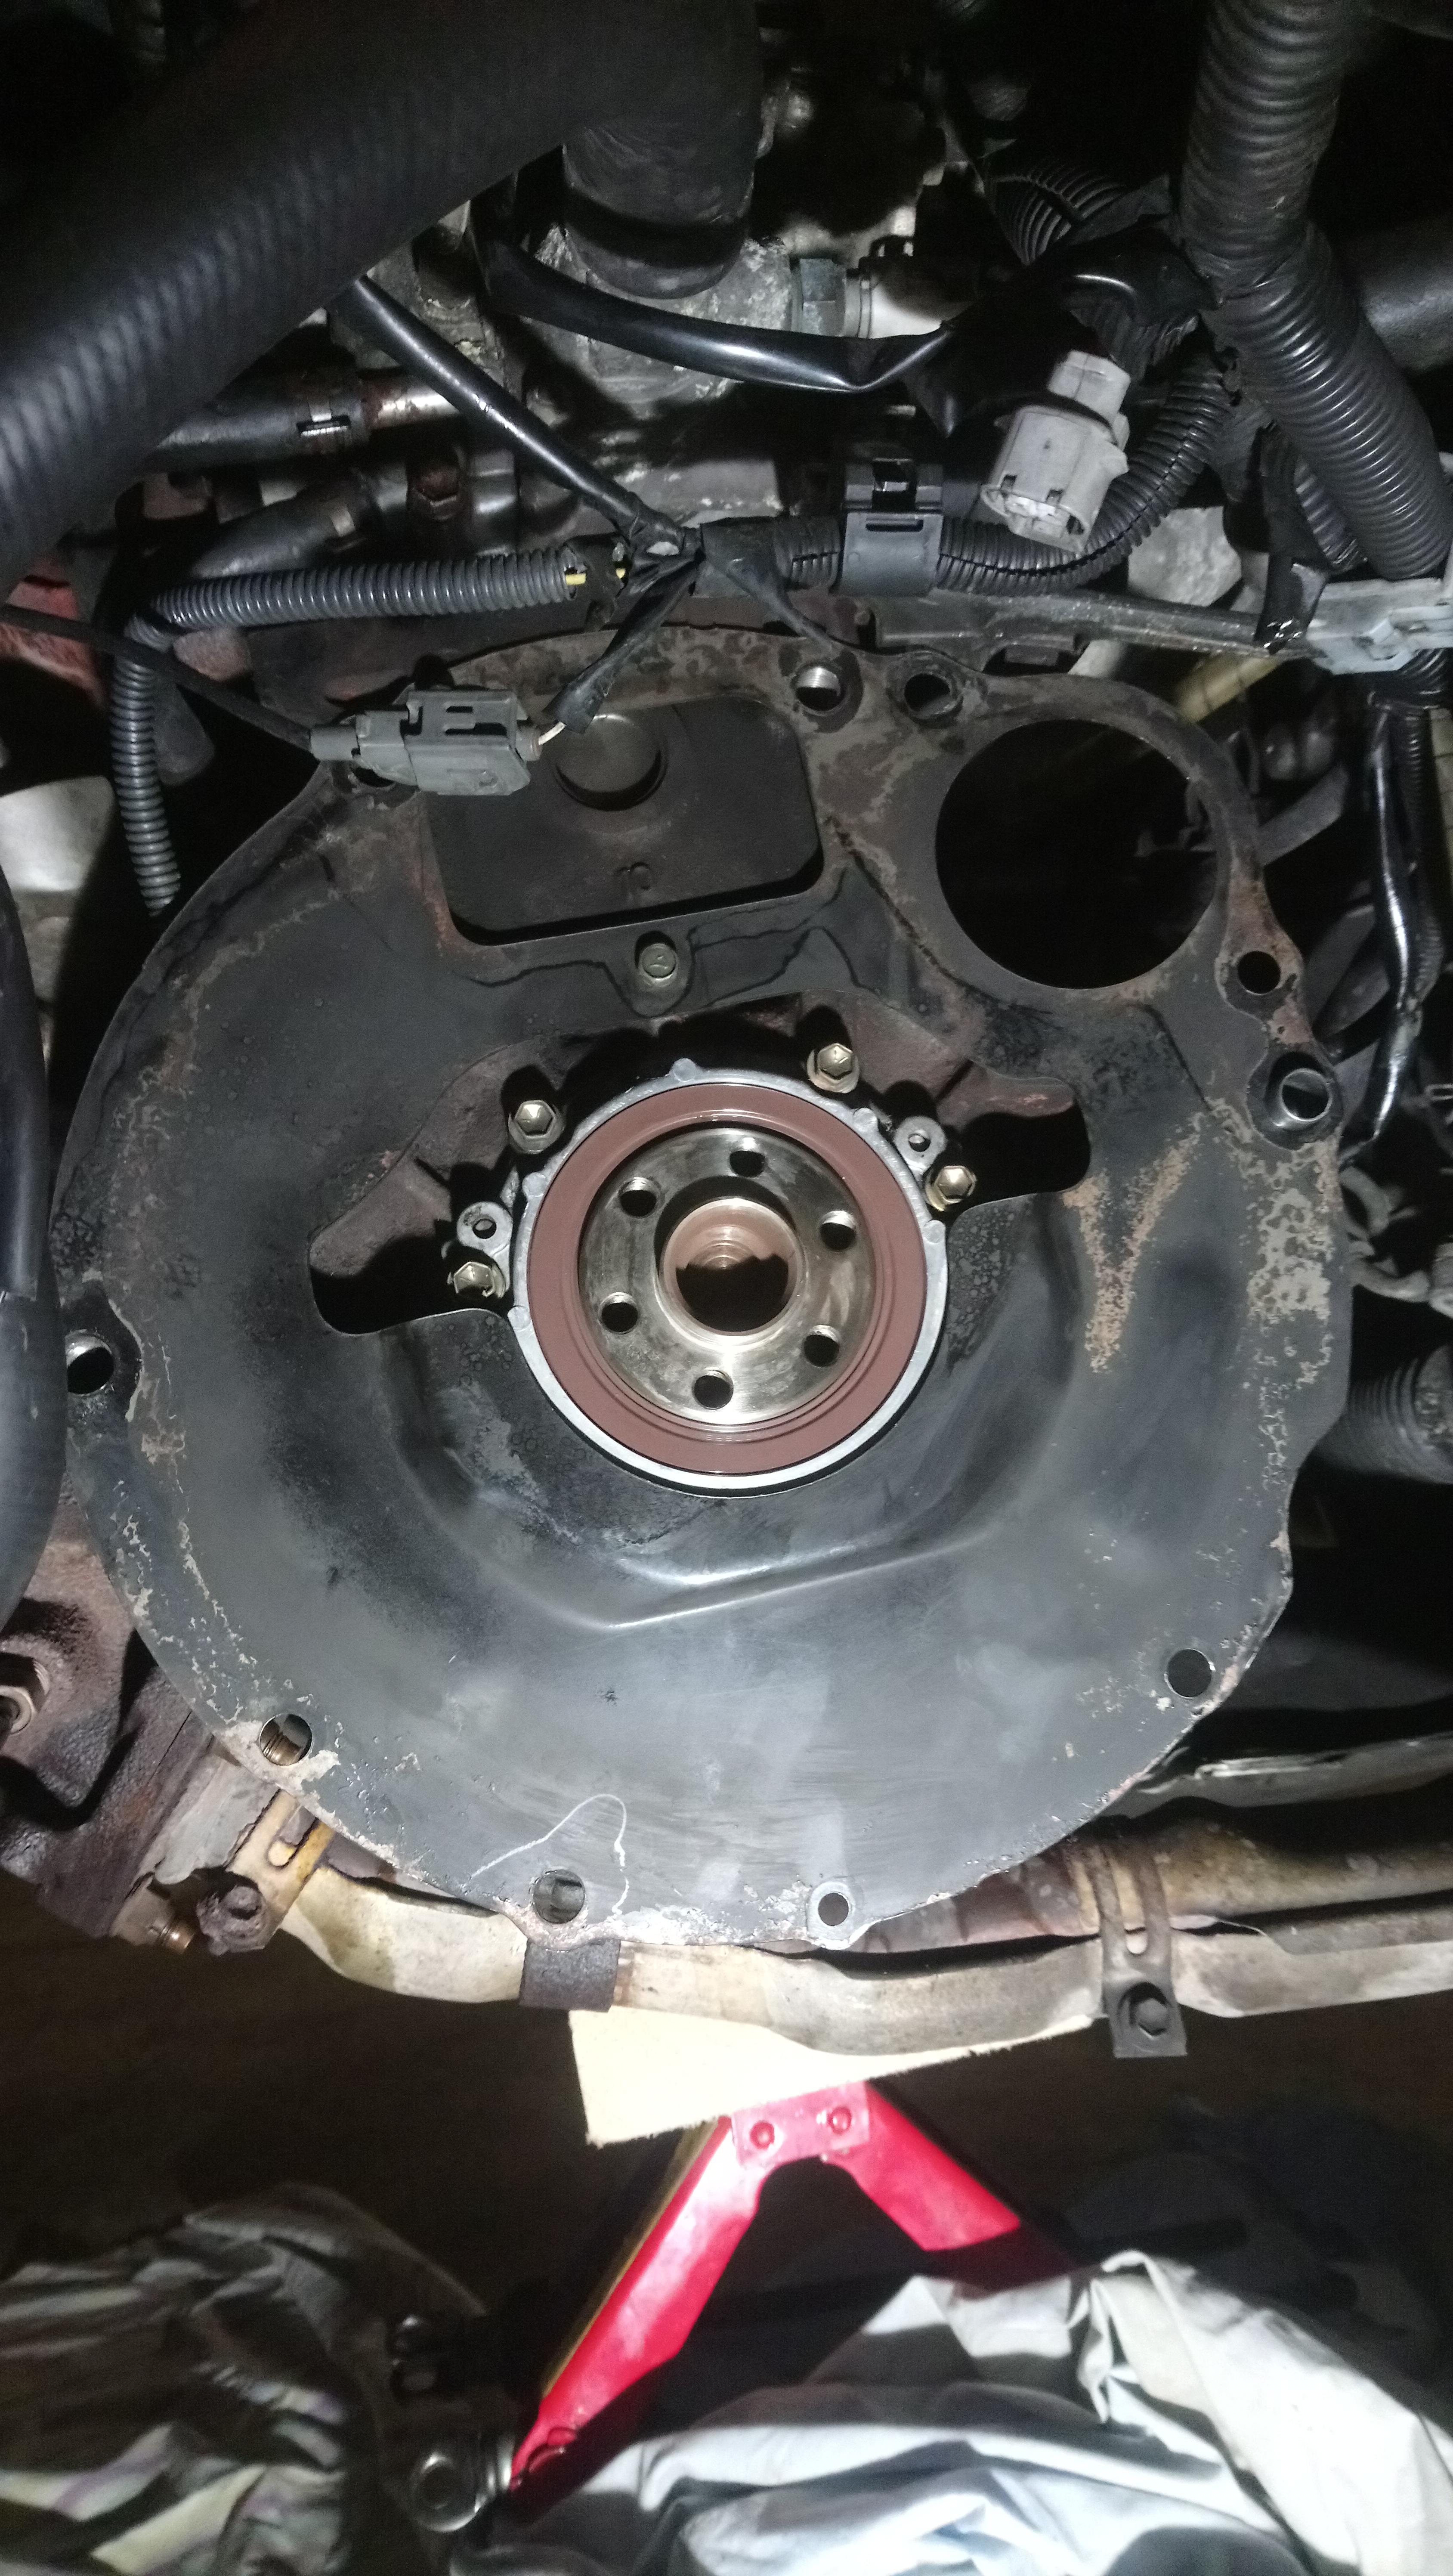
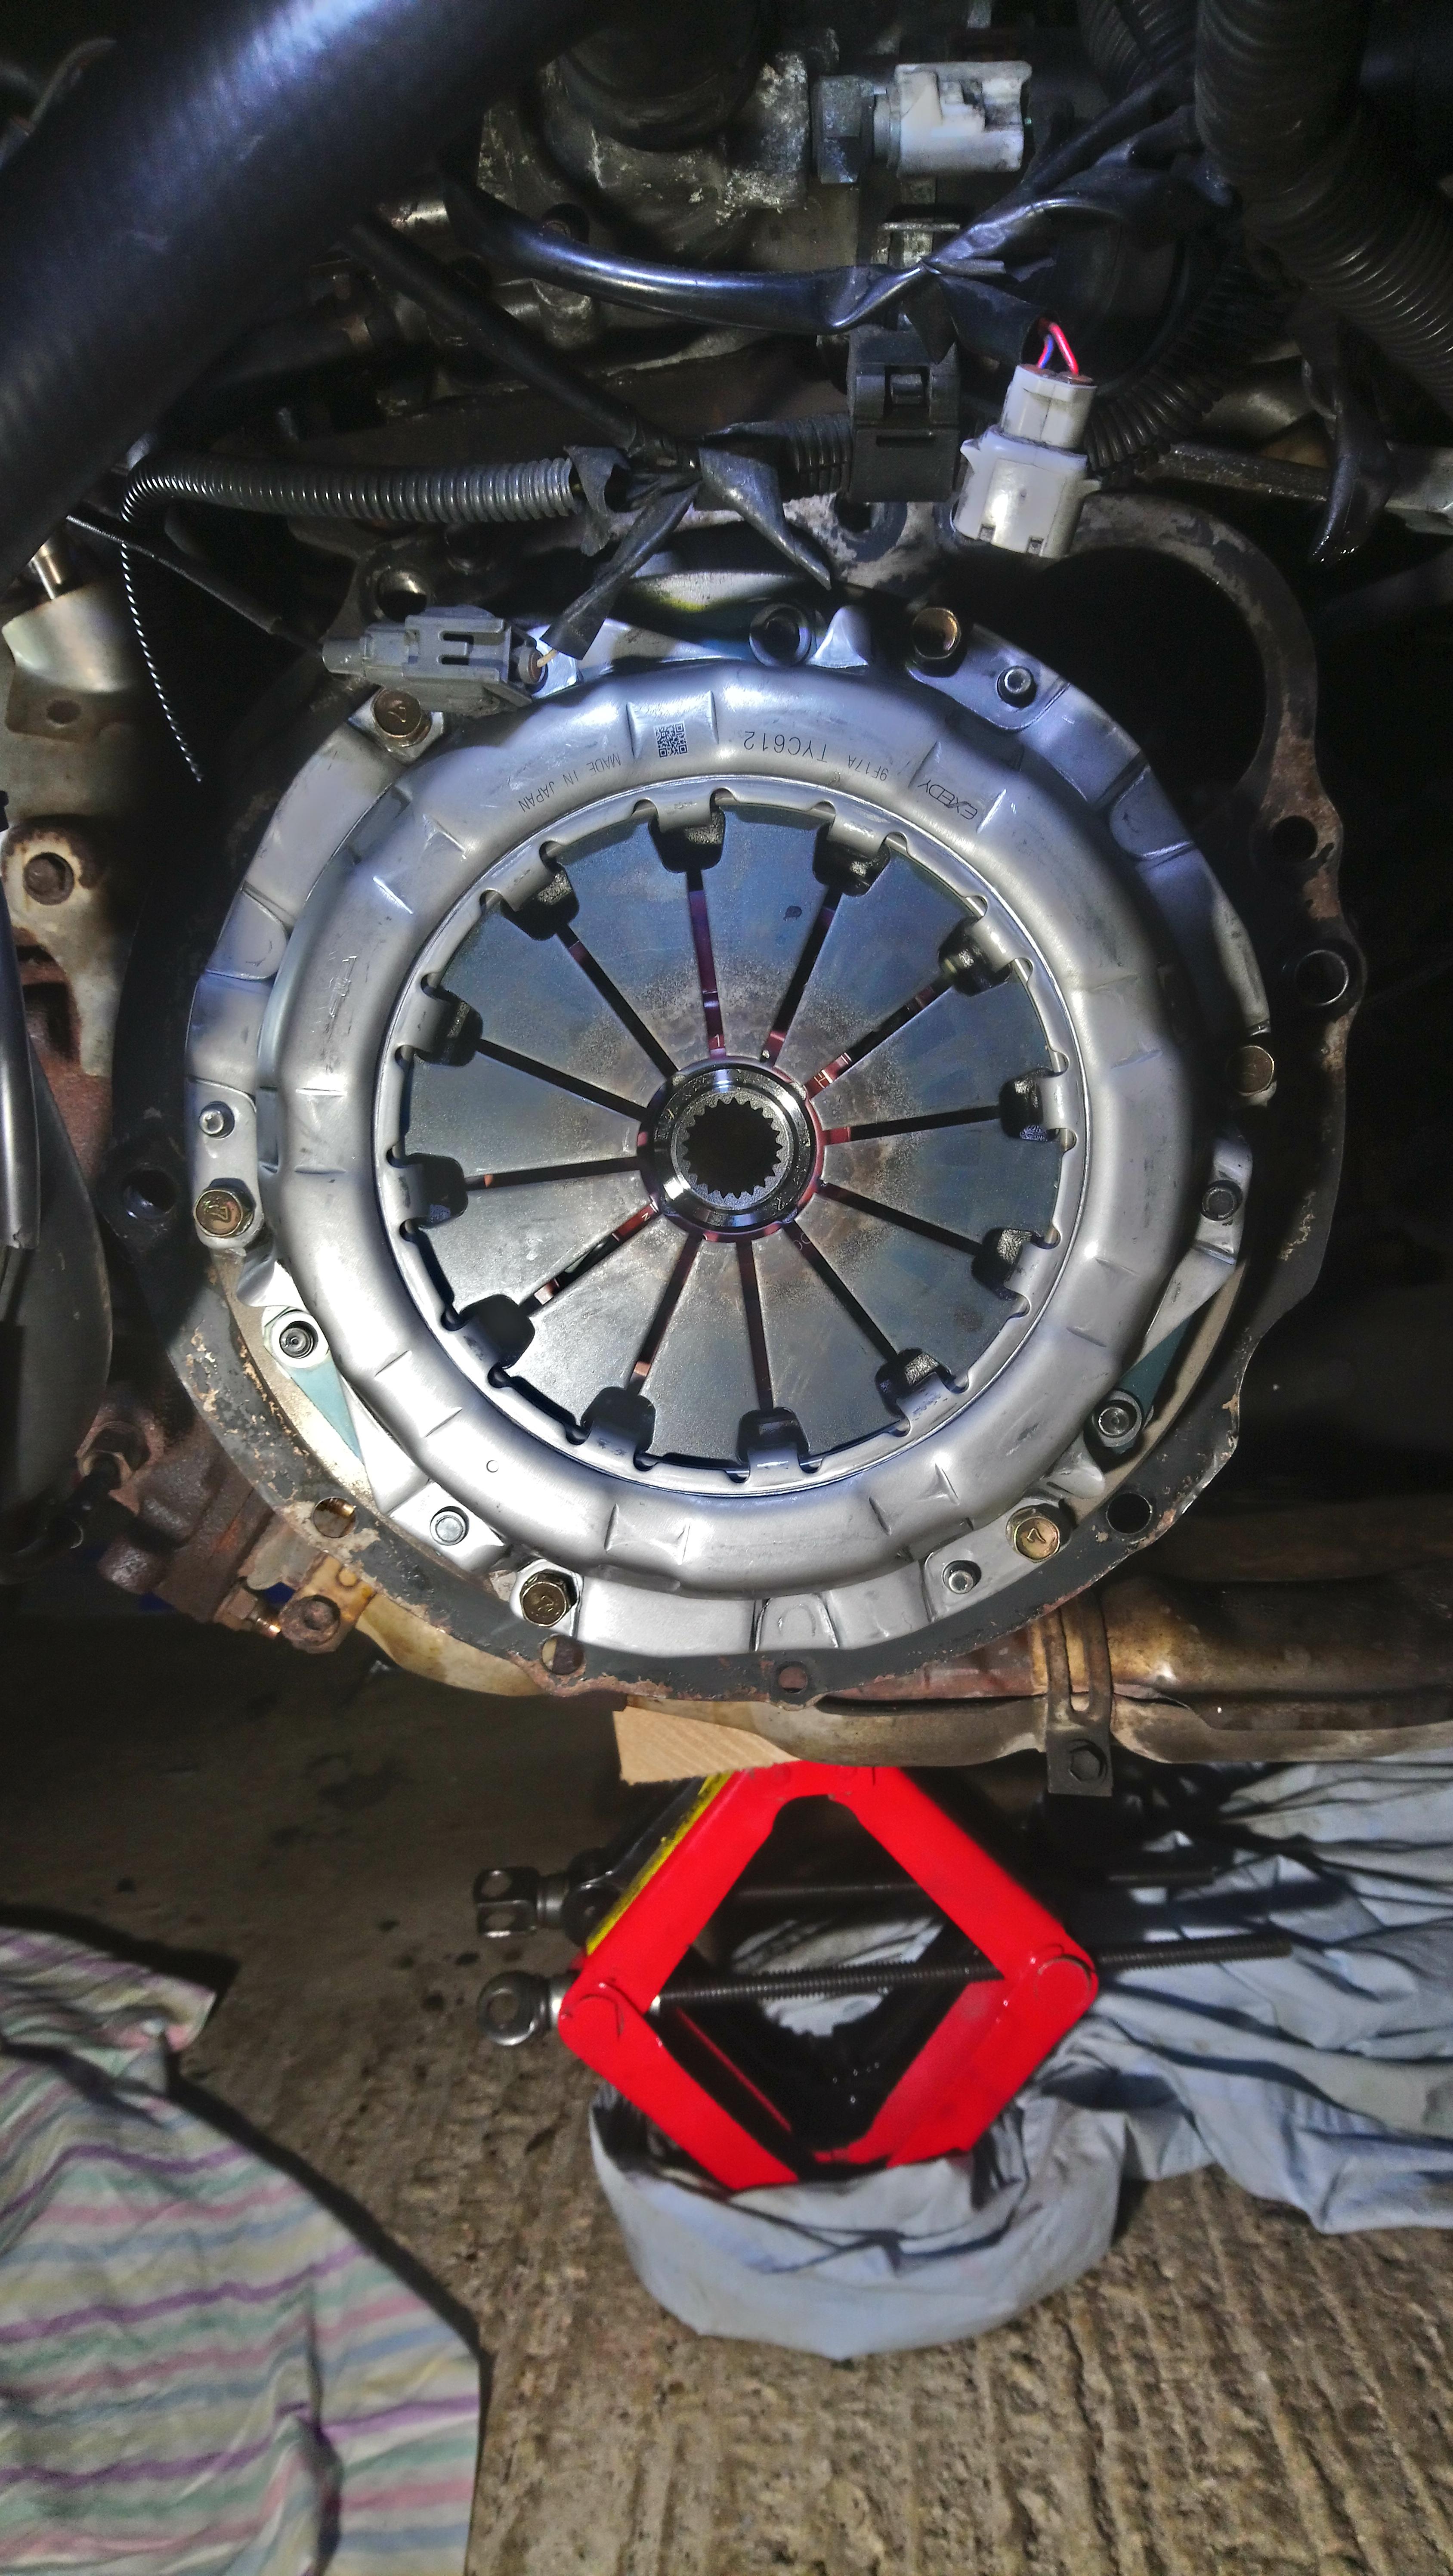
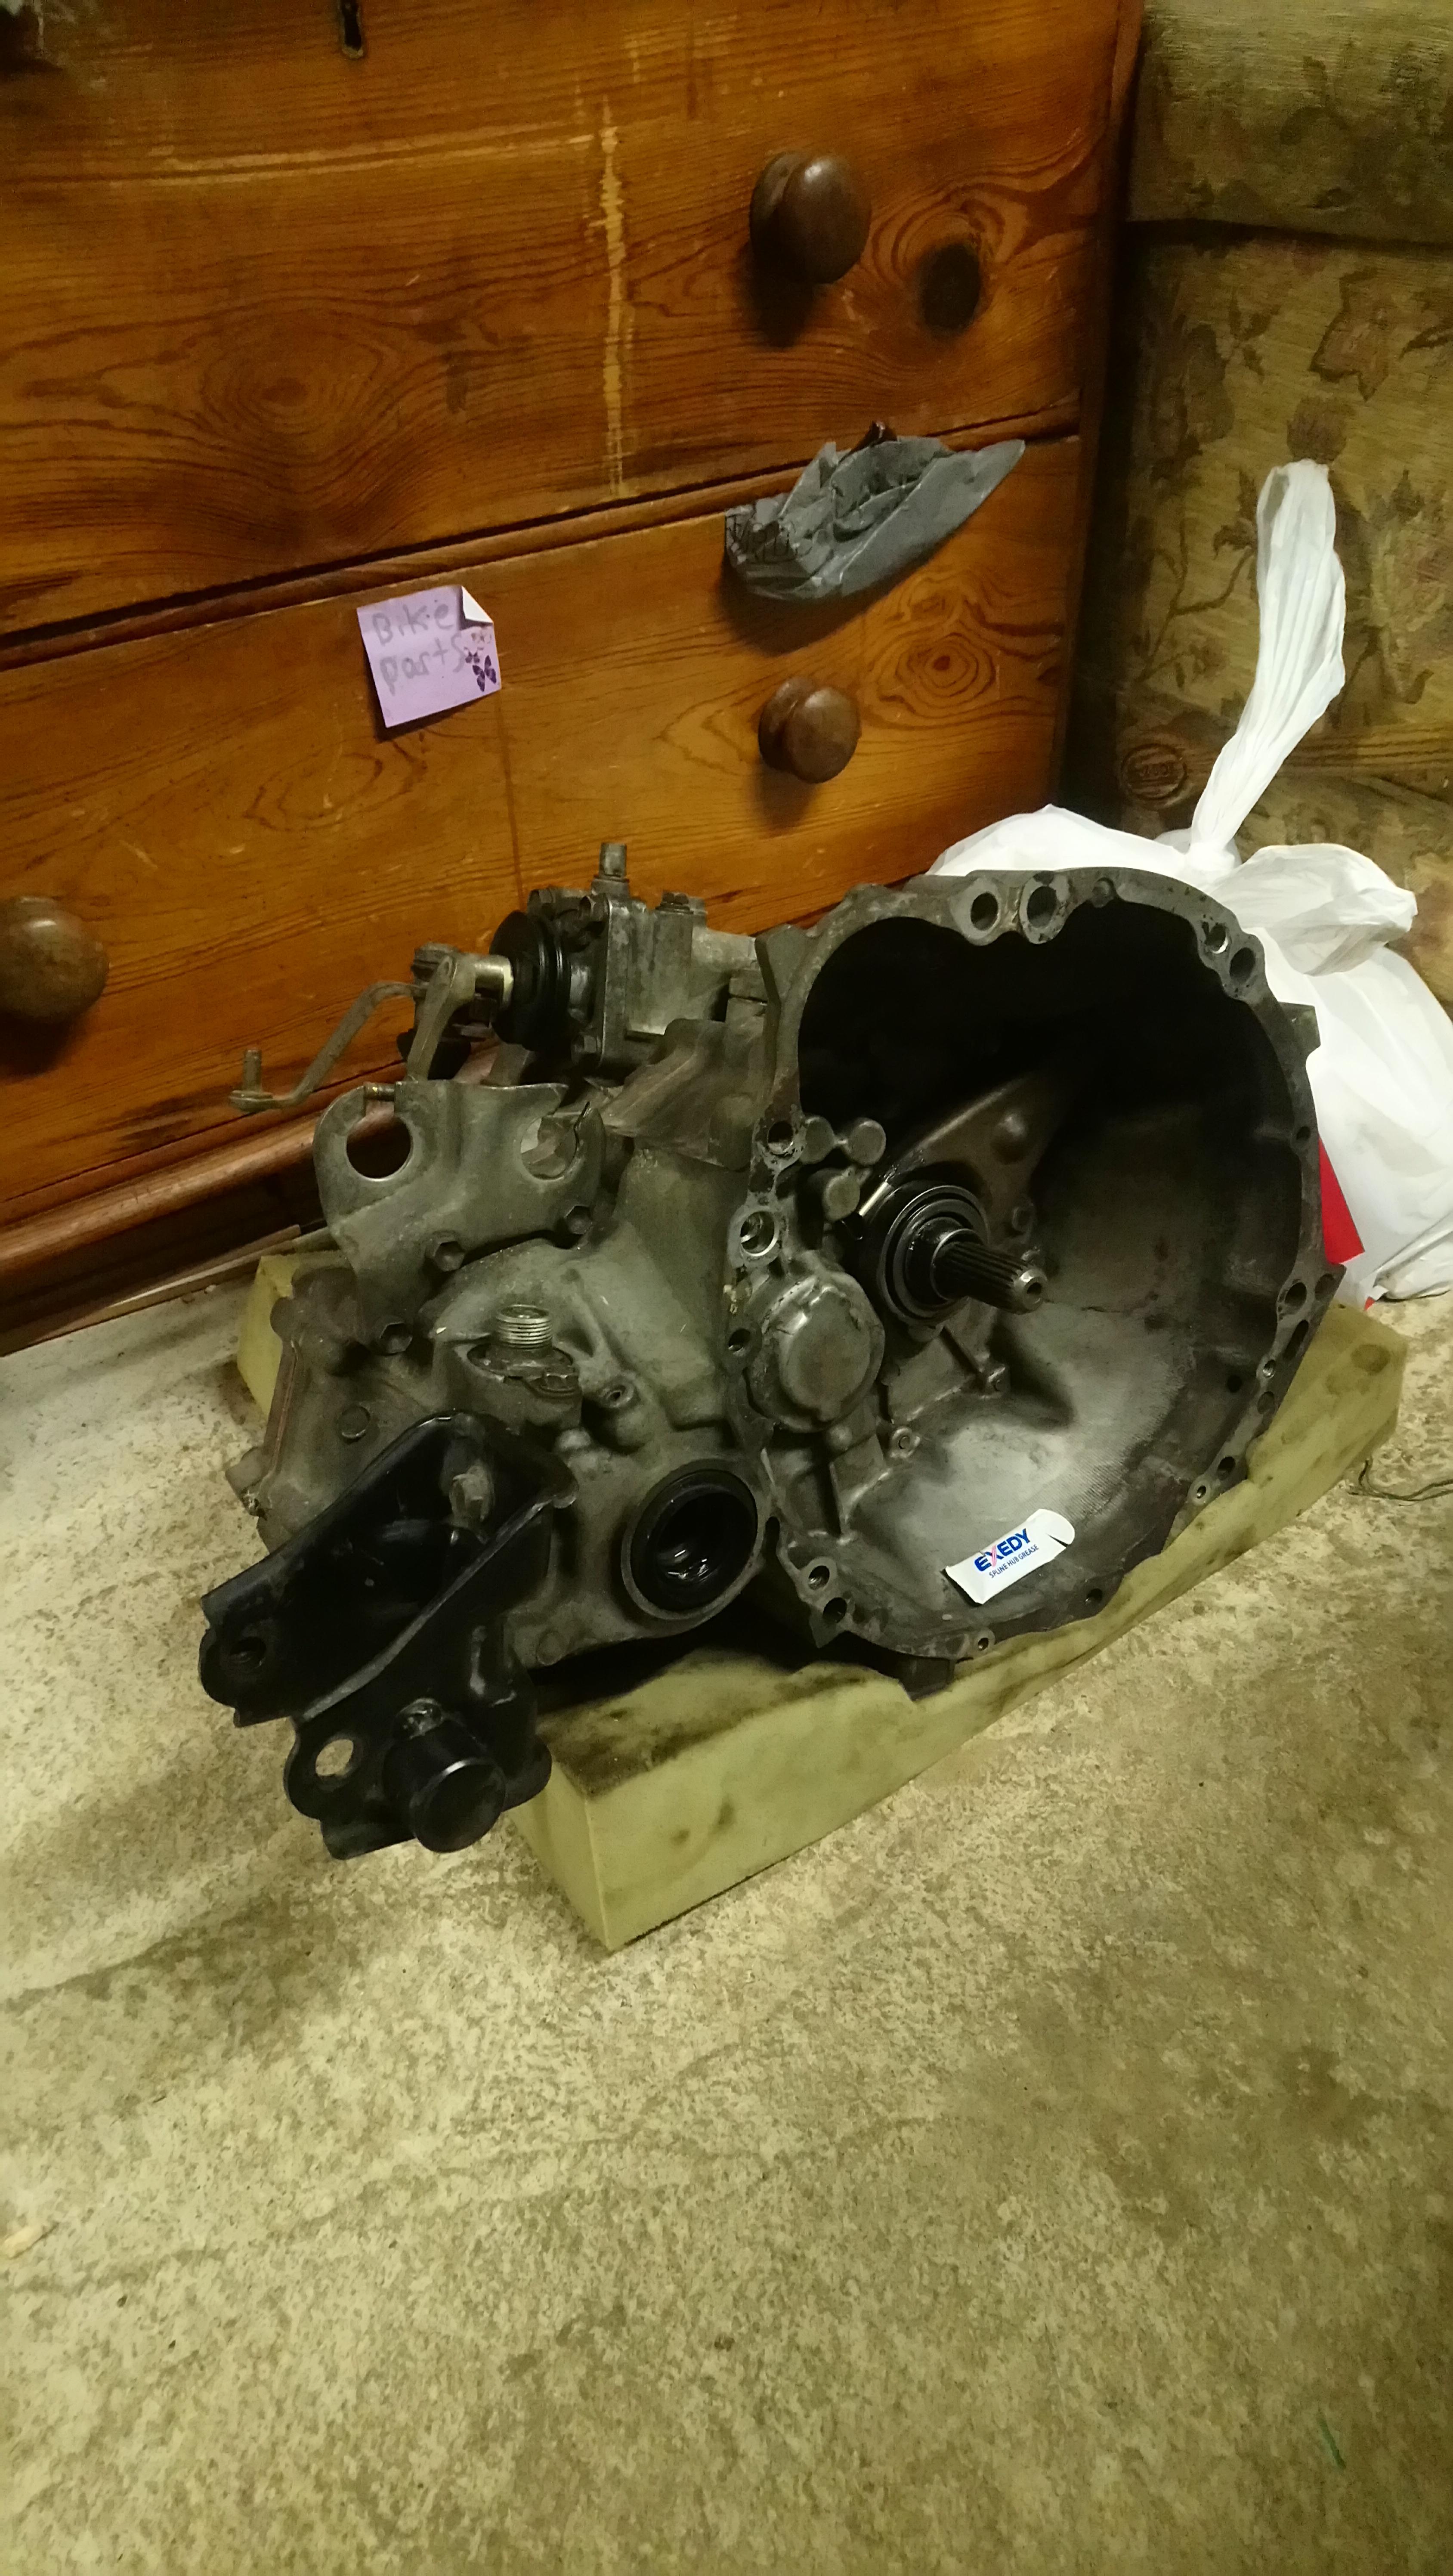
I started on the gearbox side, removing the gearbox, replacing the rear crank seal, replacing the clutch for an exedy unit, replacing both gearbox mounts for polybushes, cleaning all the grime of the components and putting in back together.

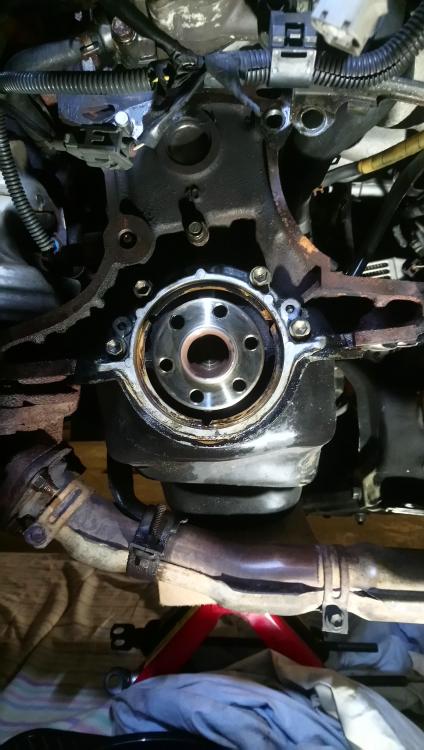

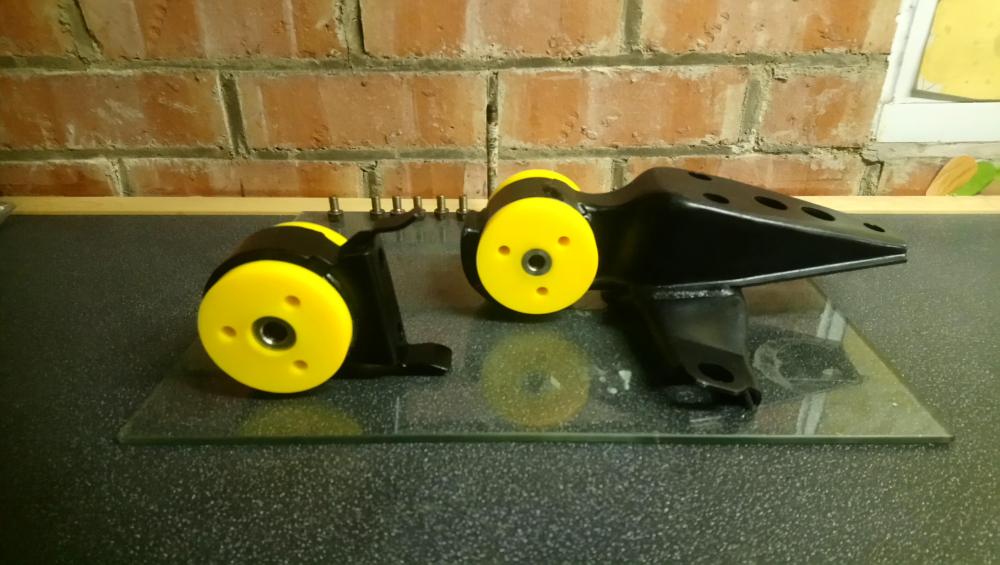


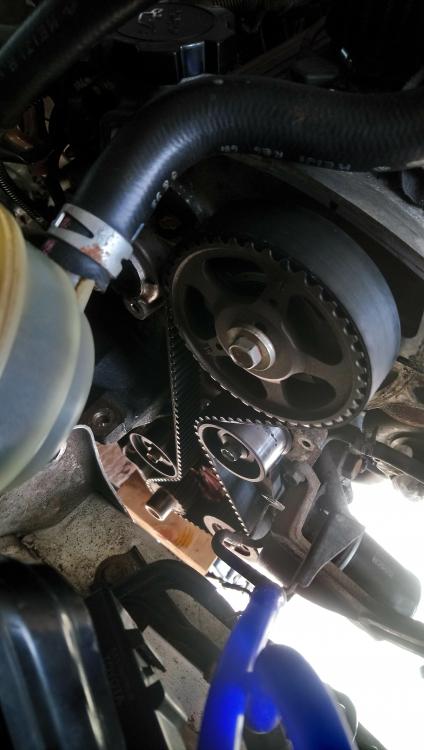
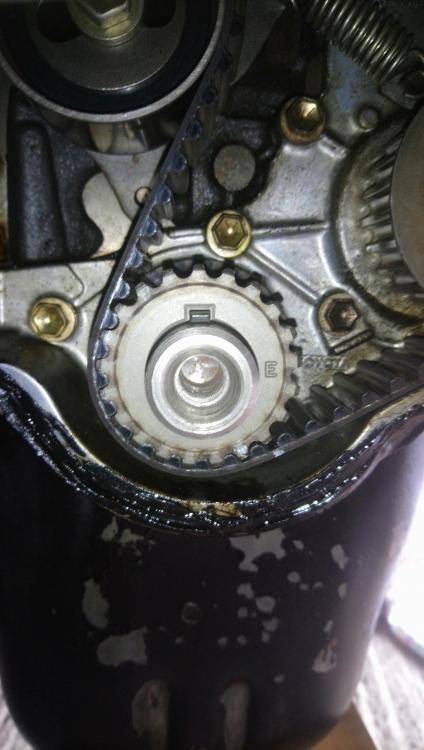
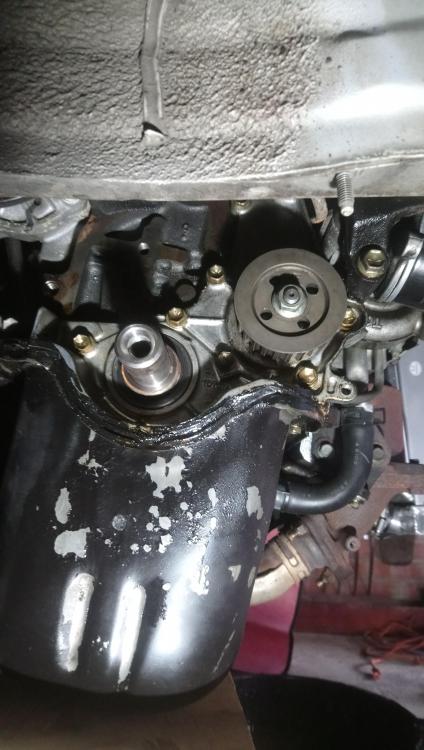
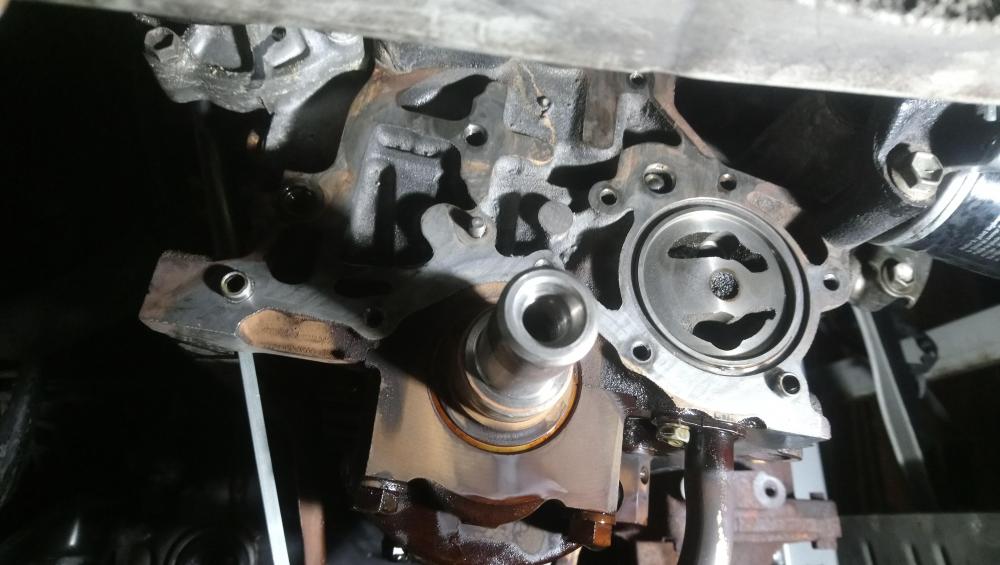
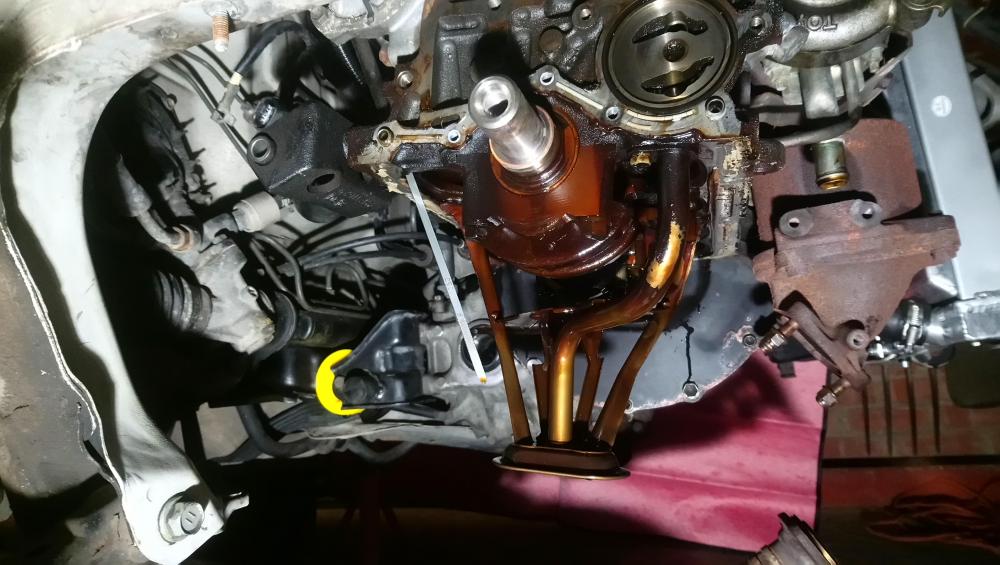
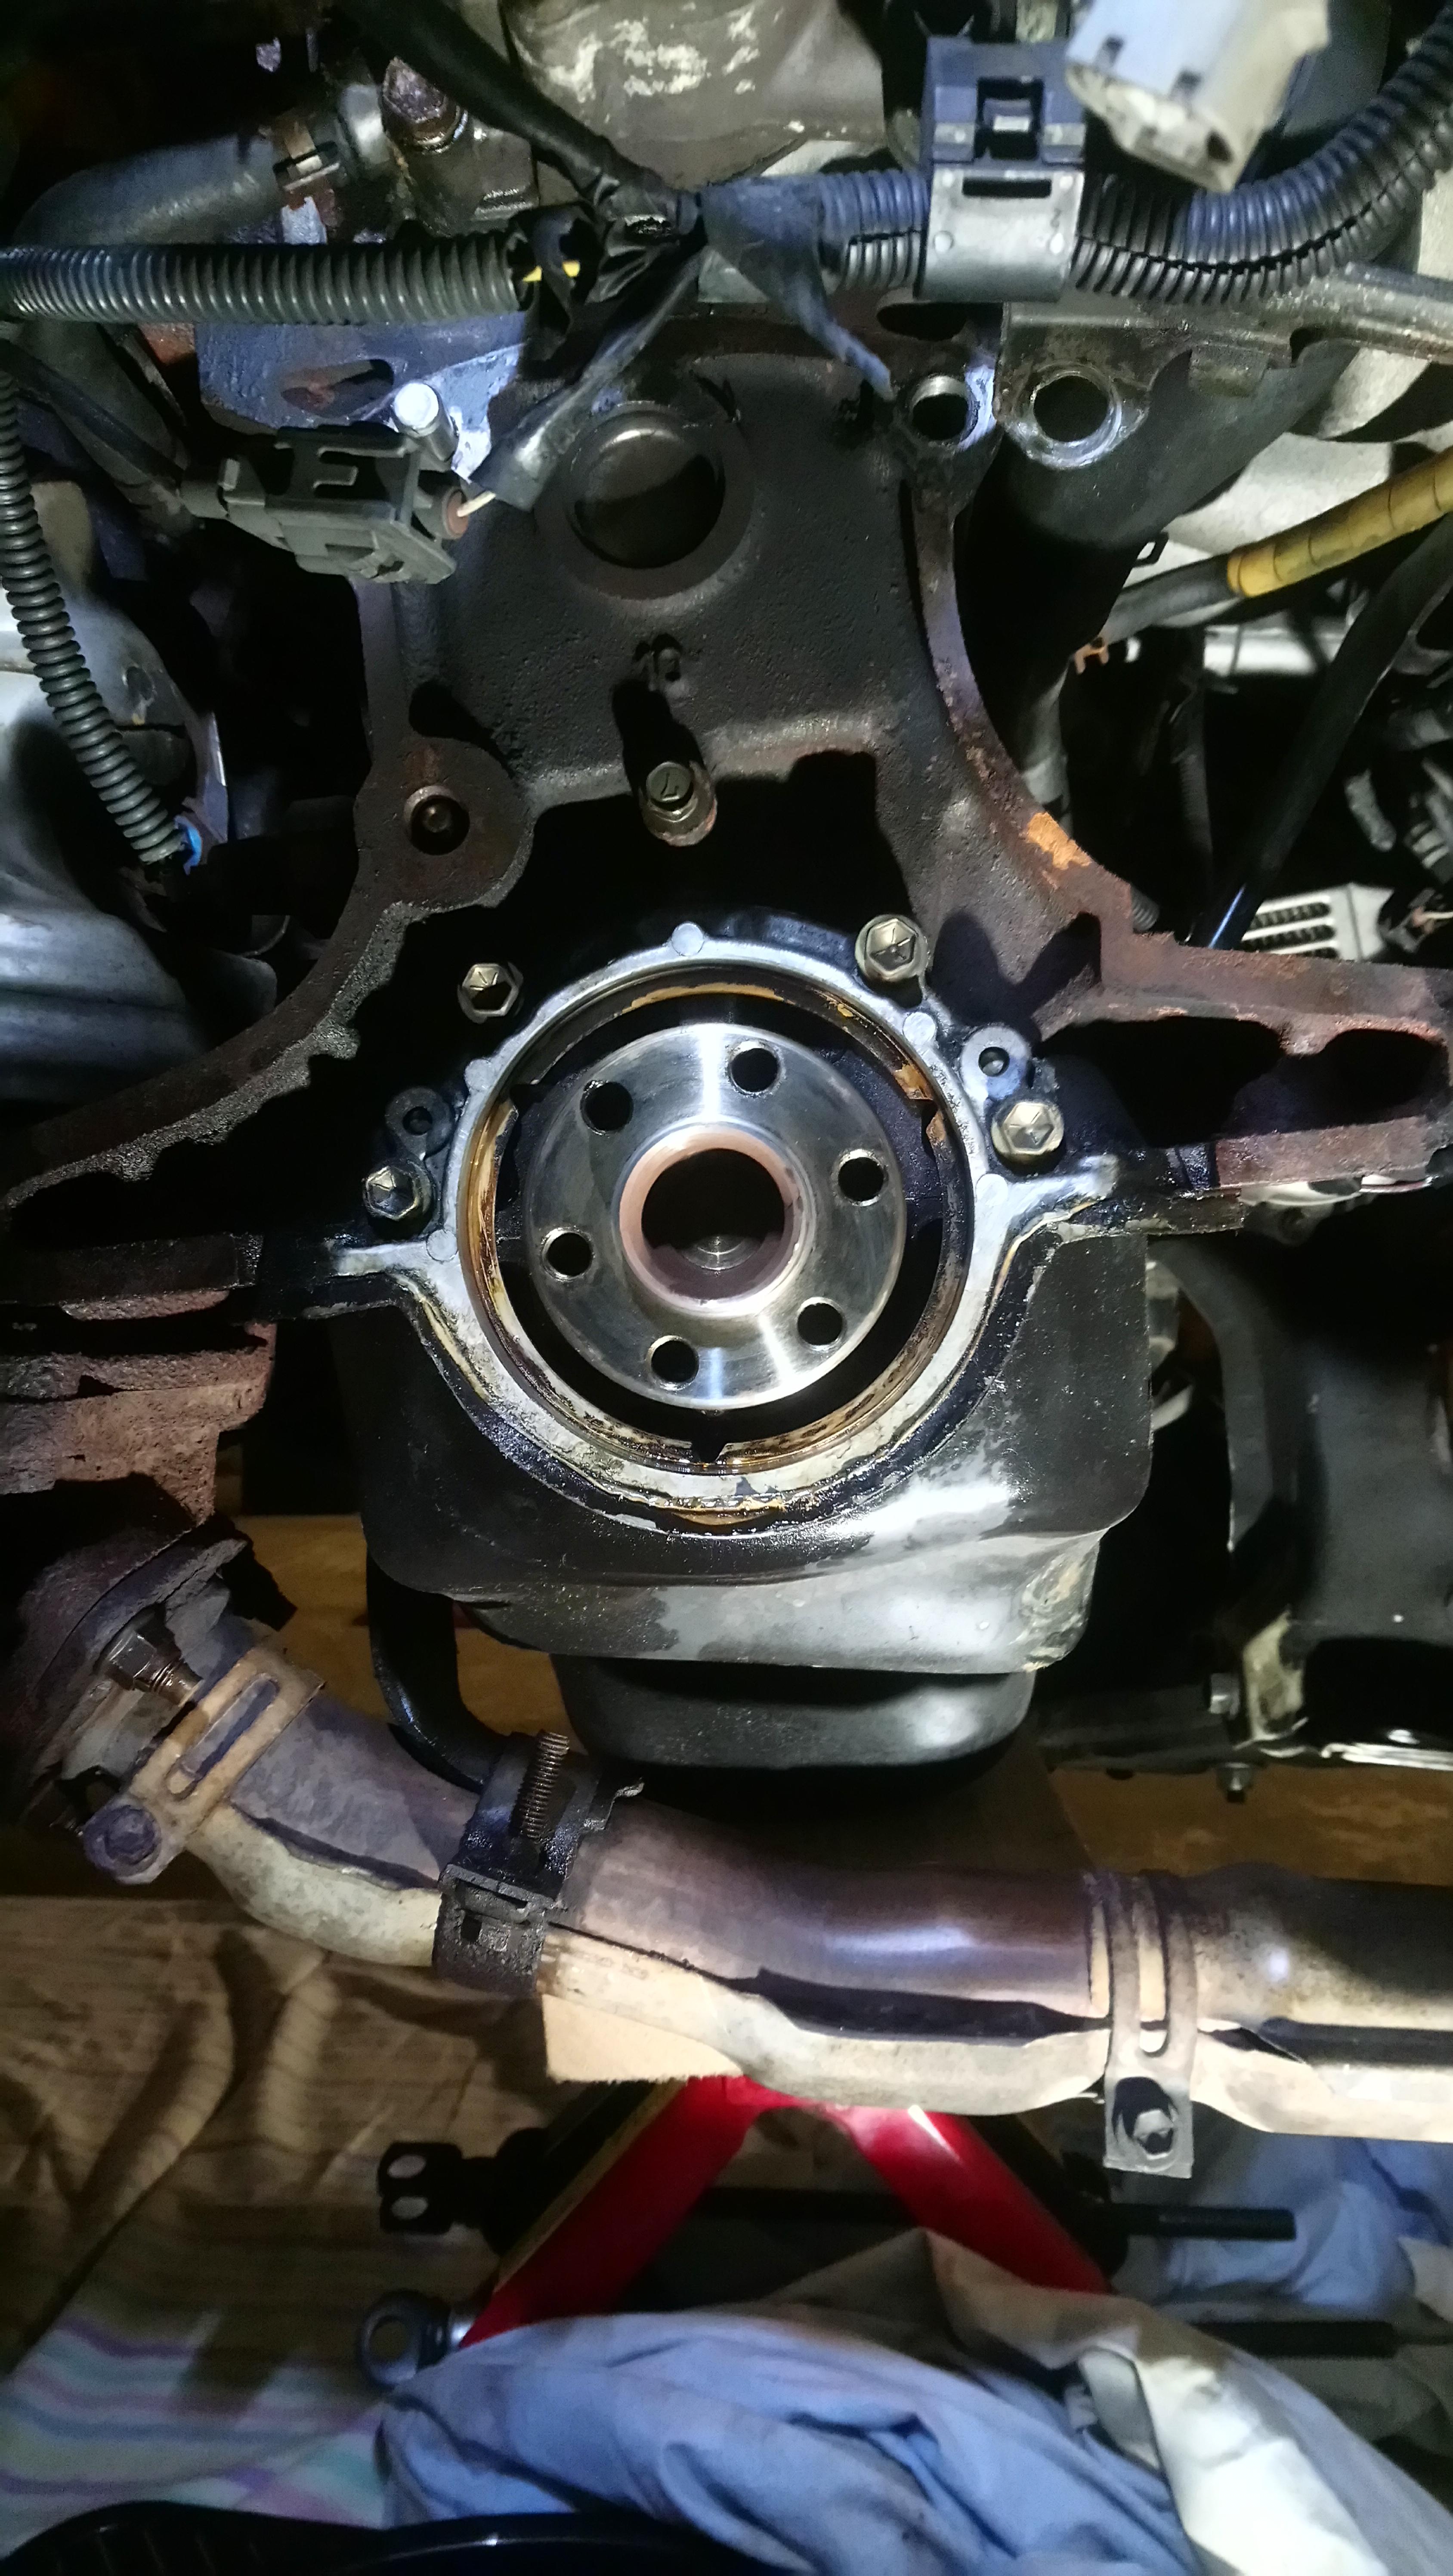
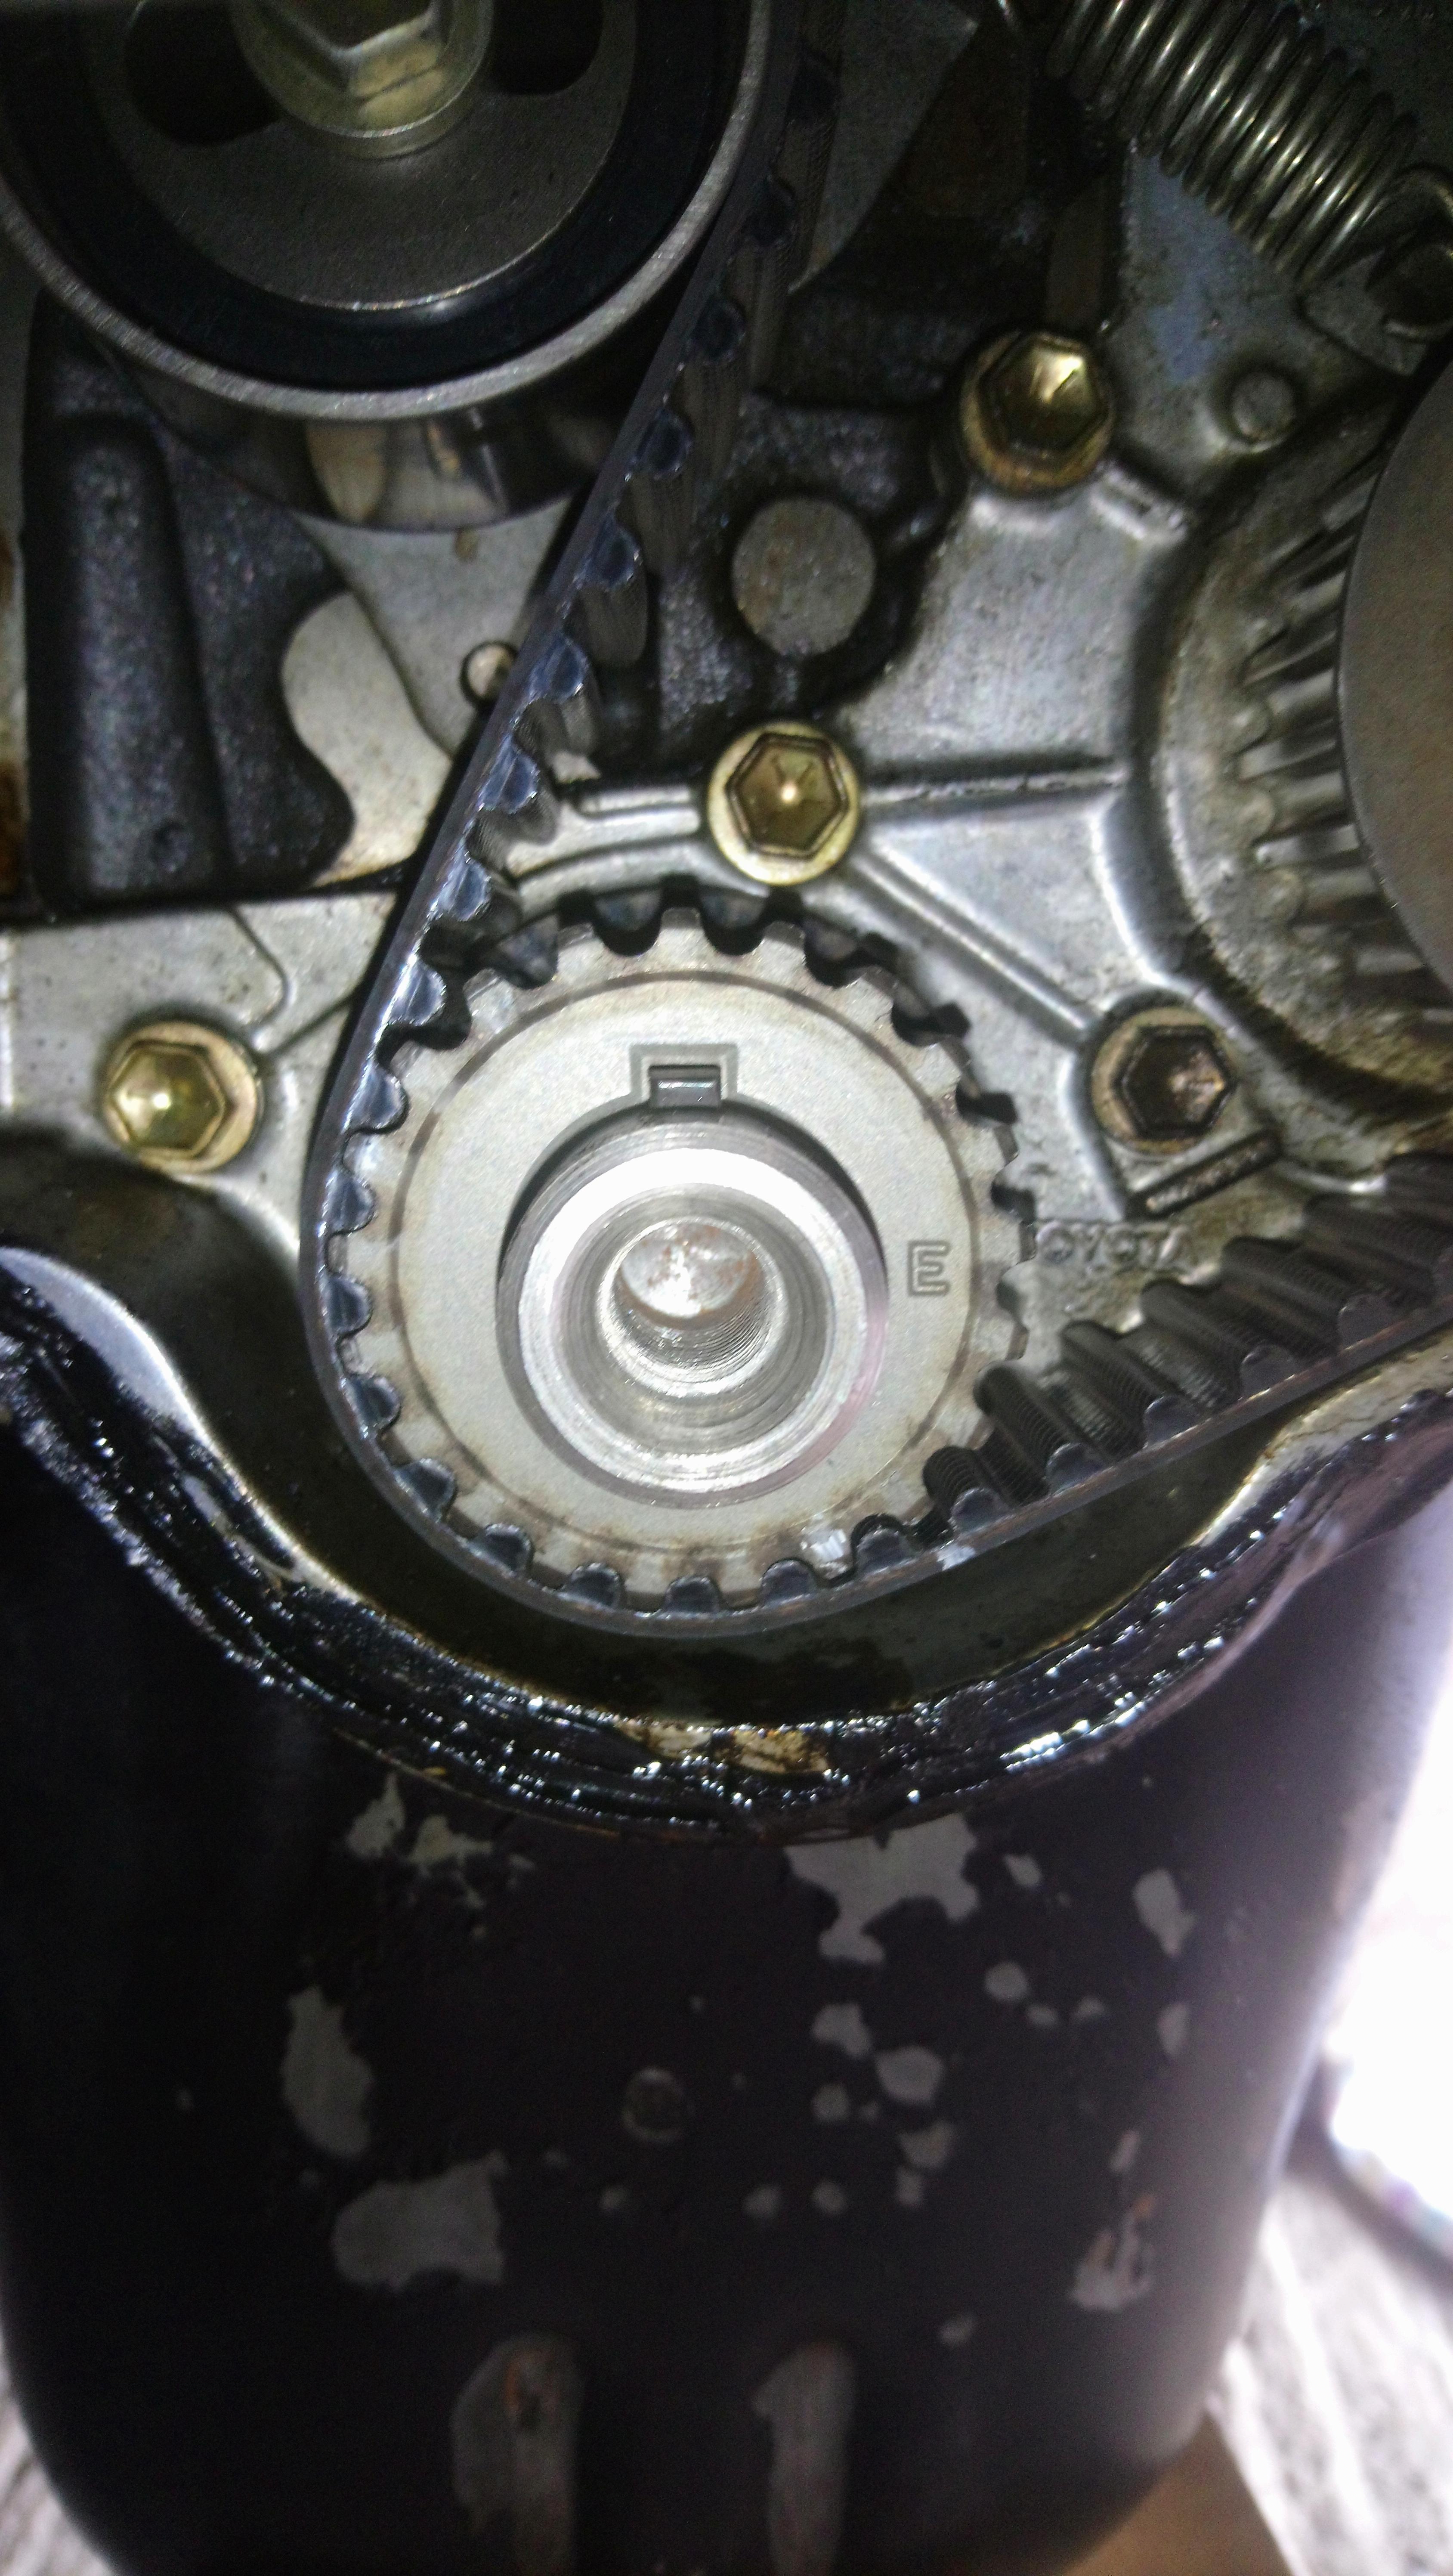
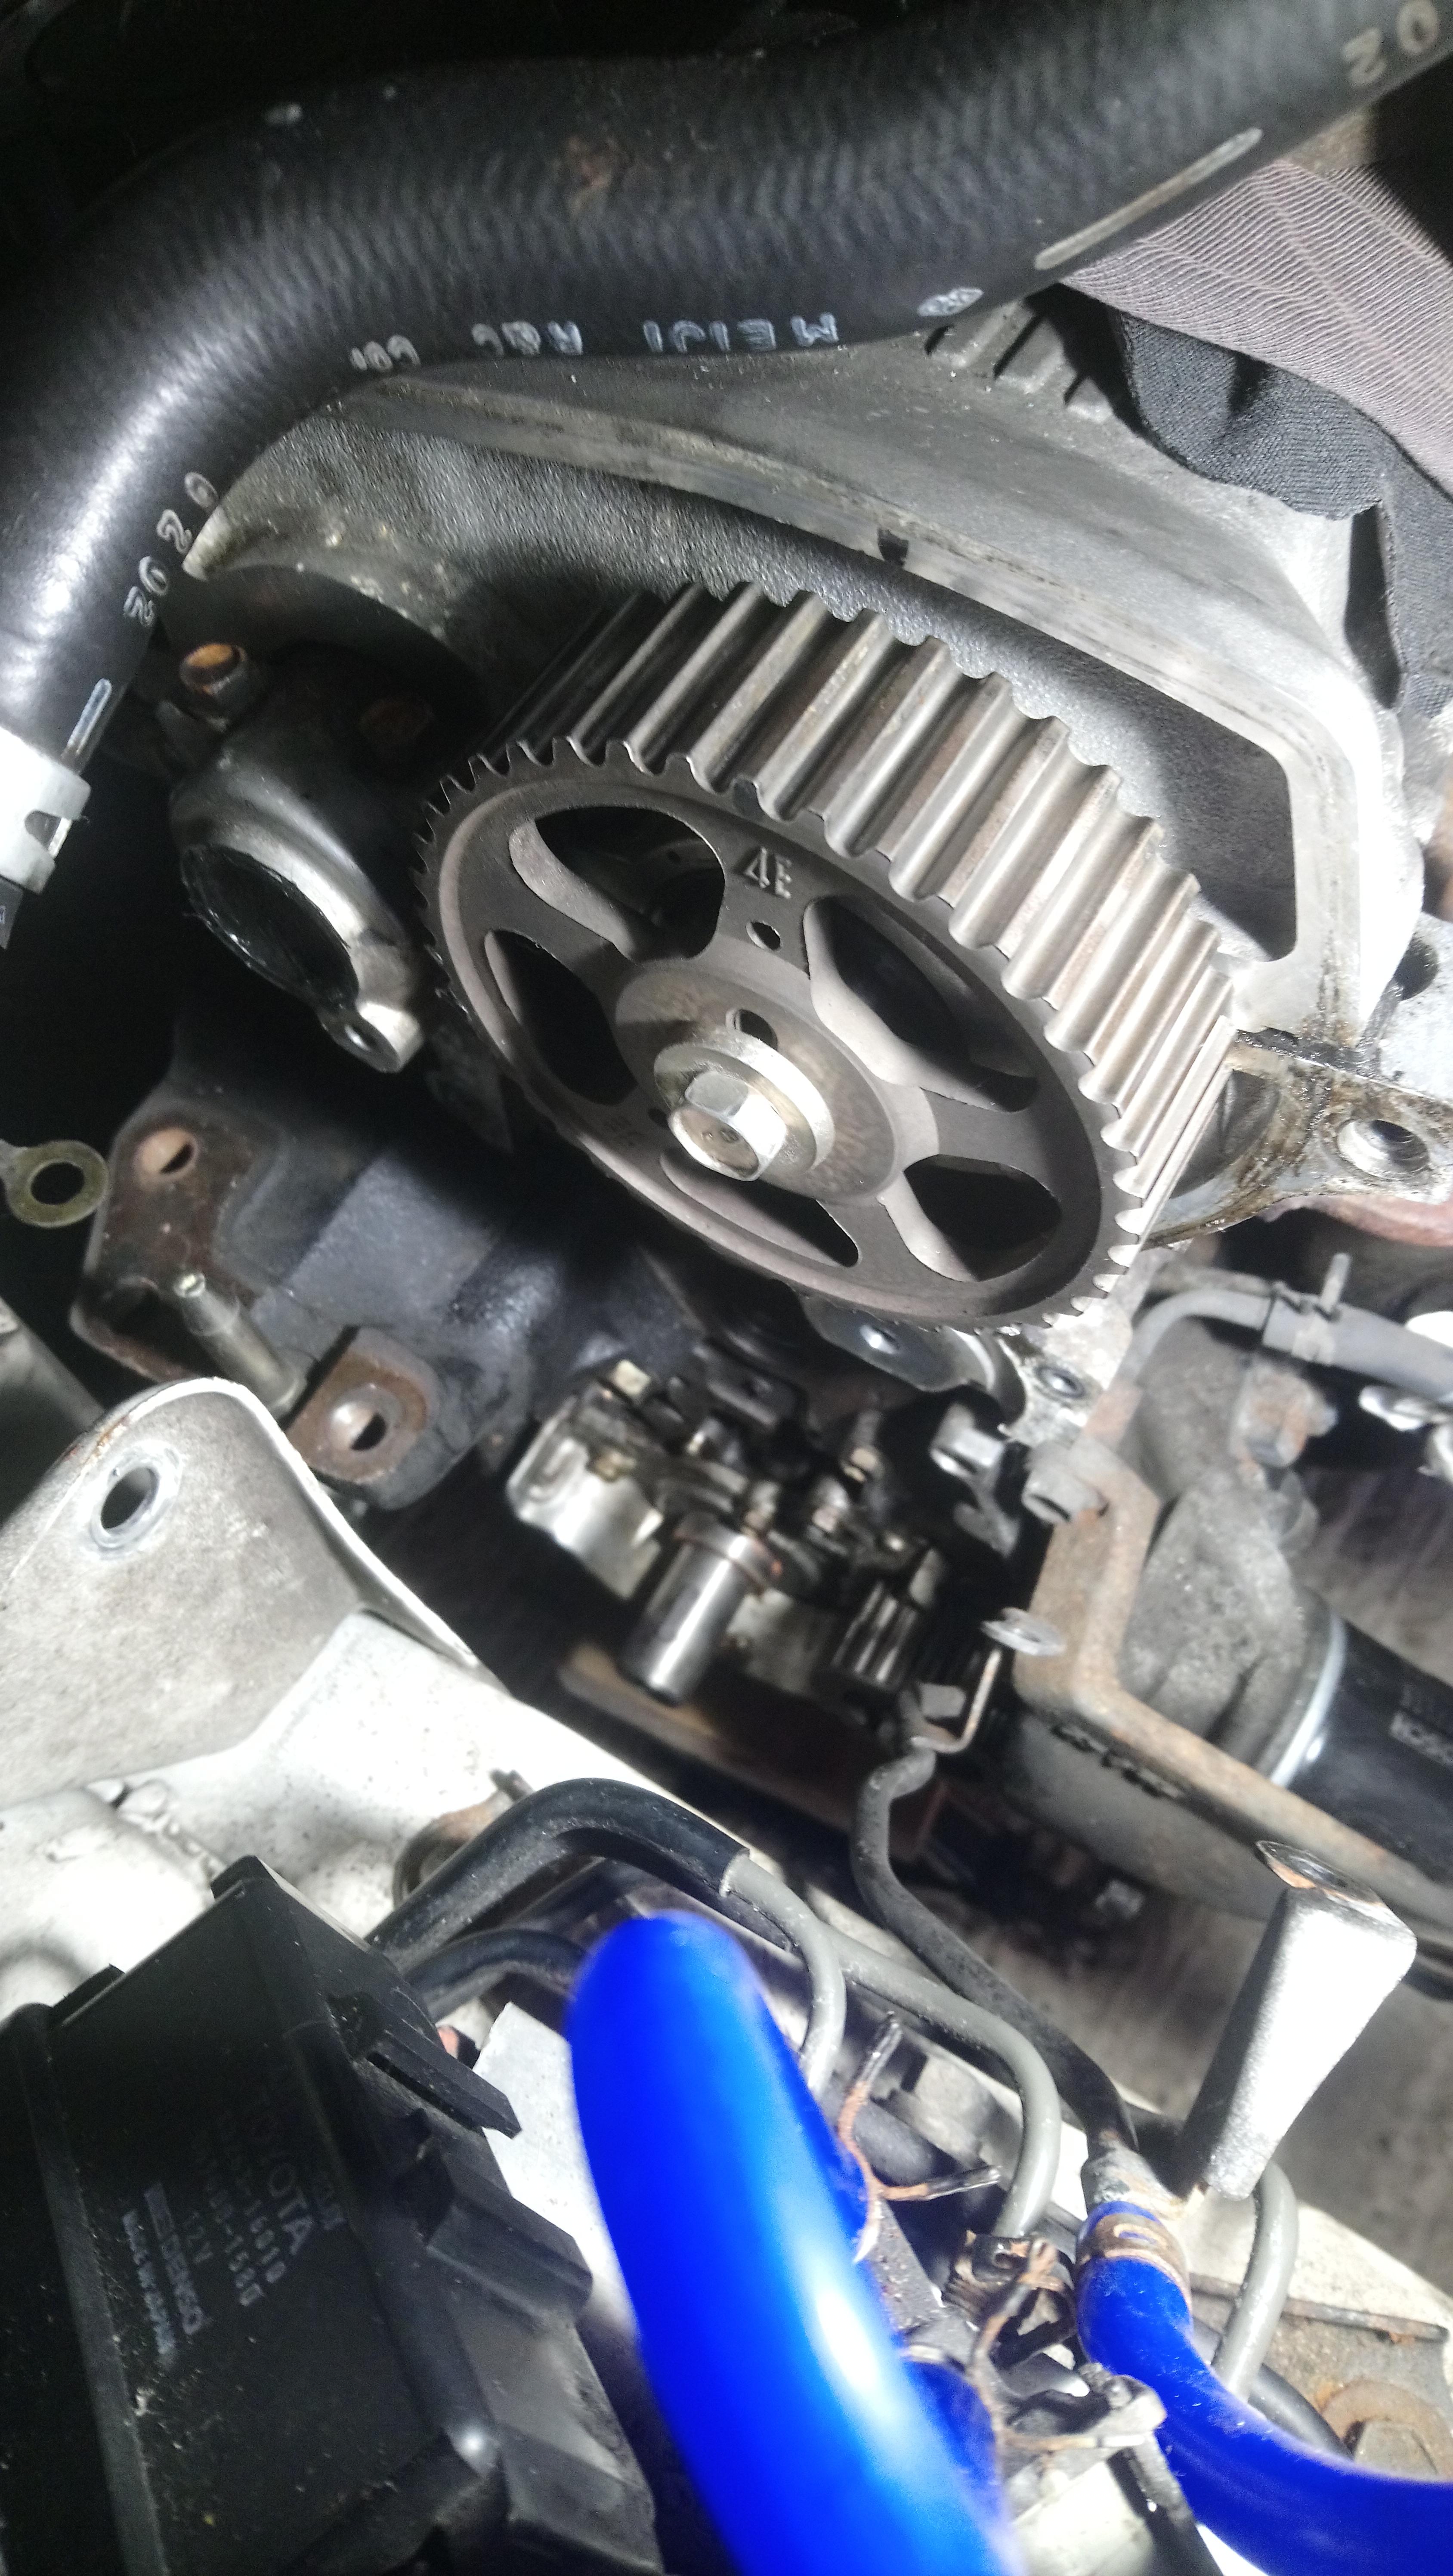
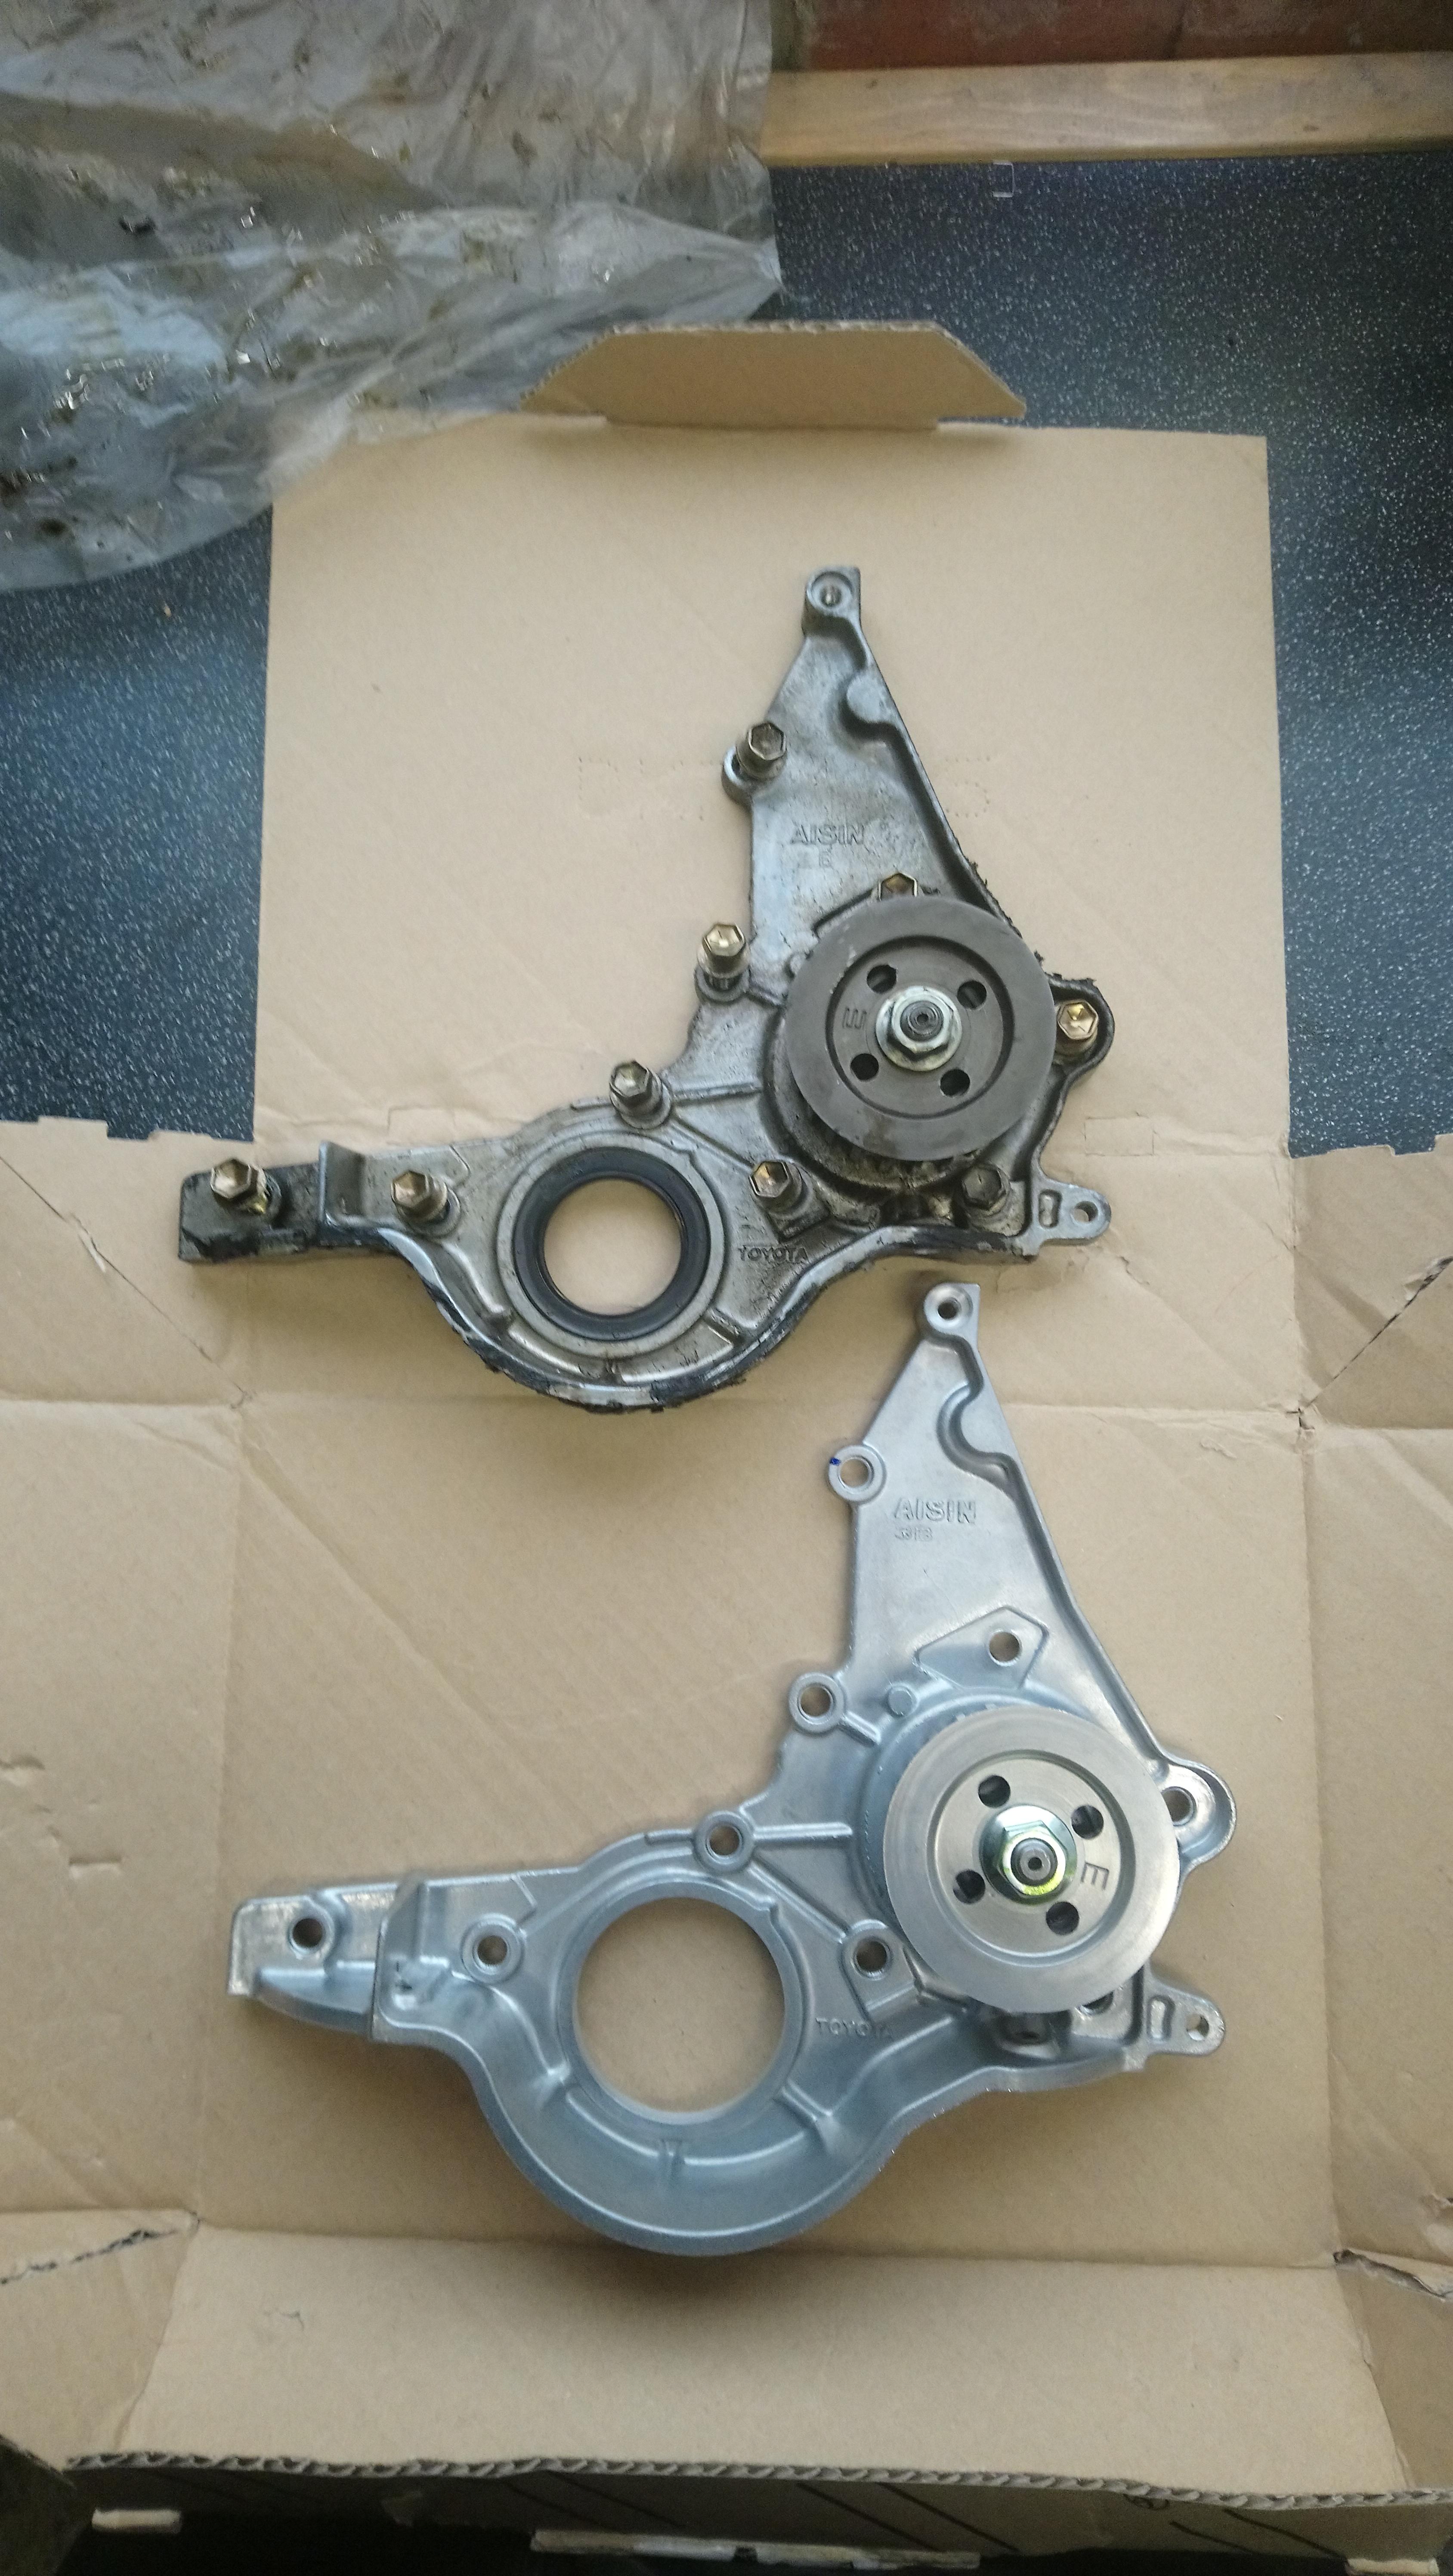
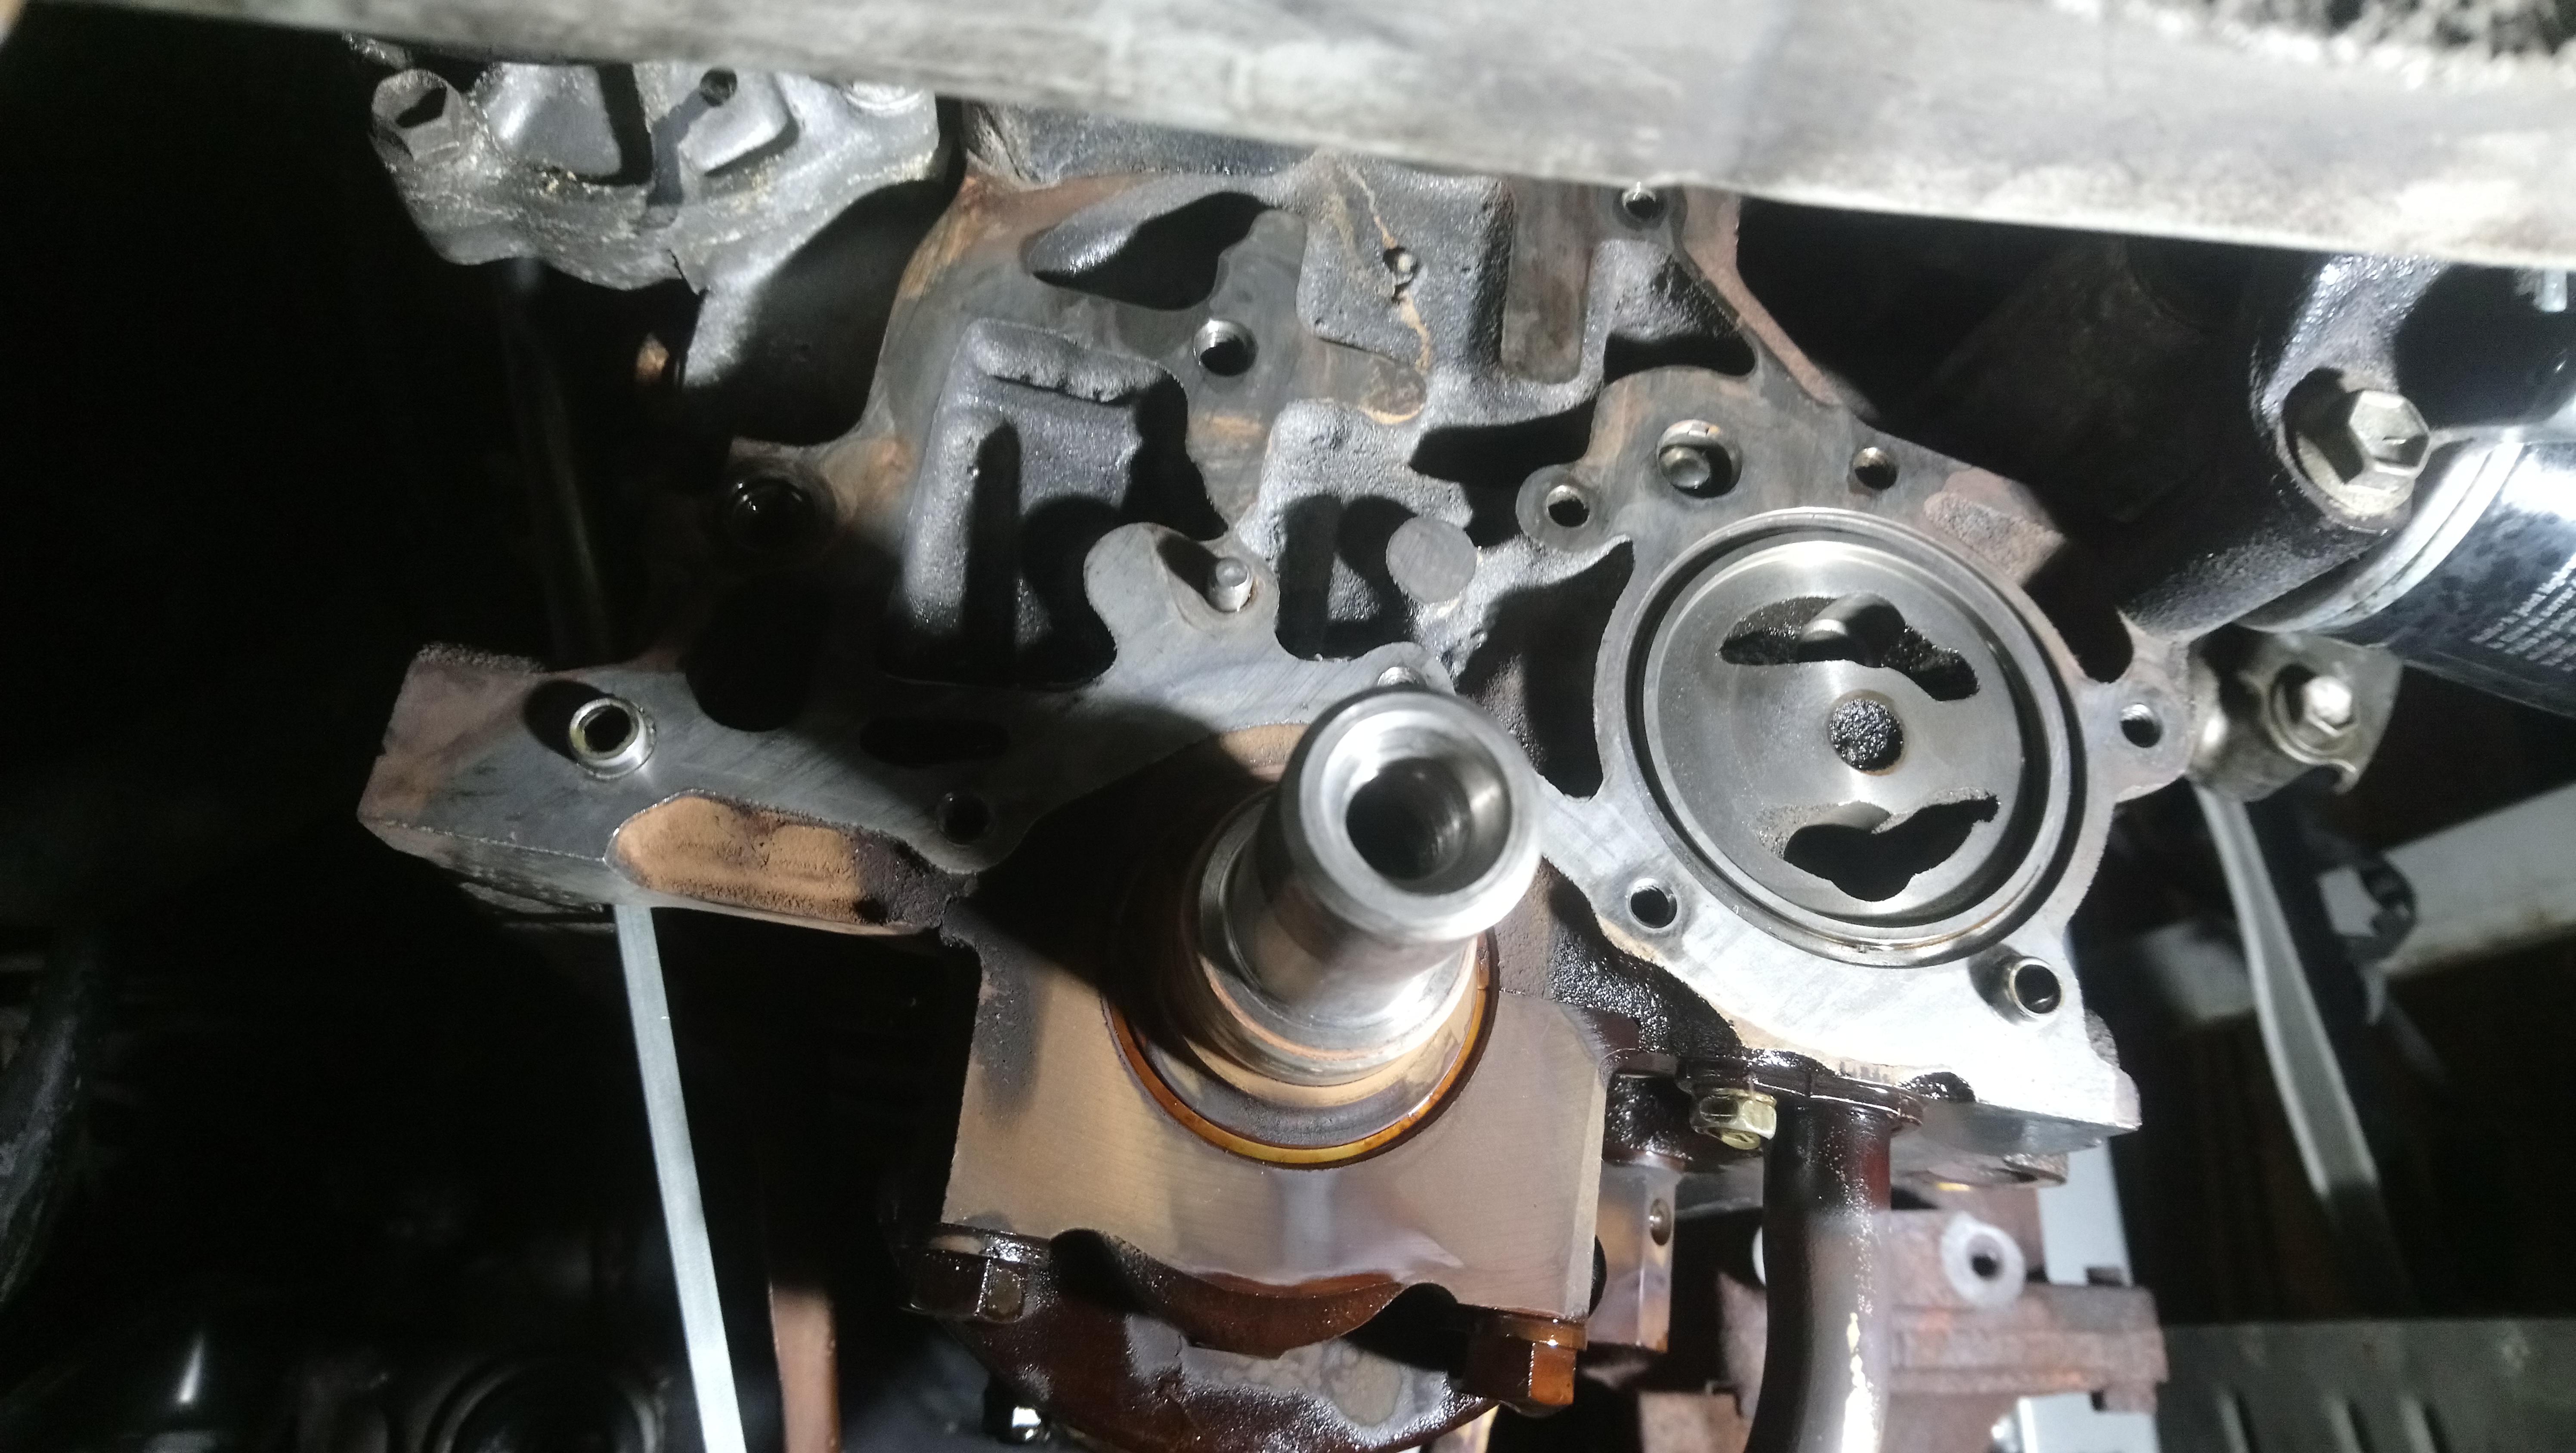
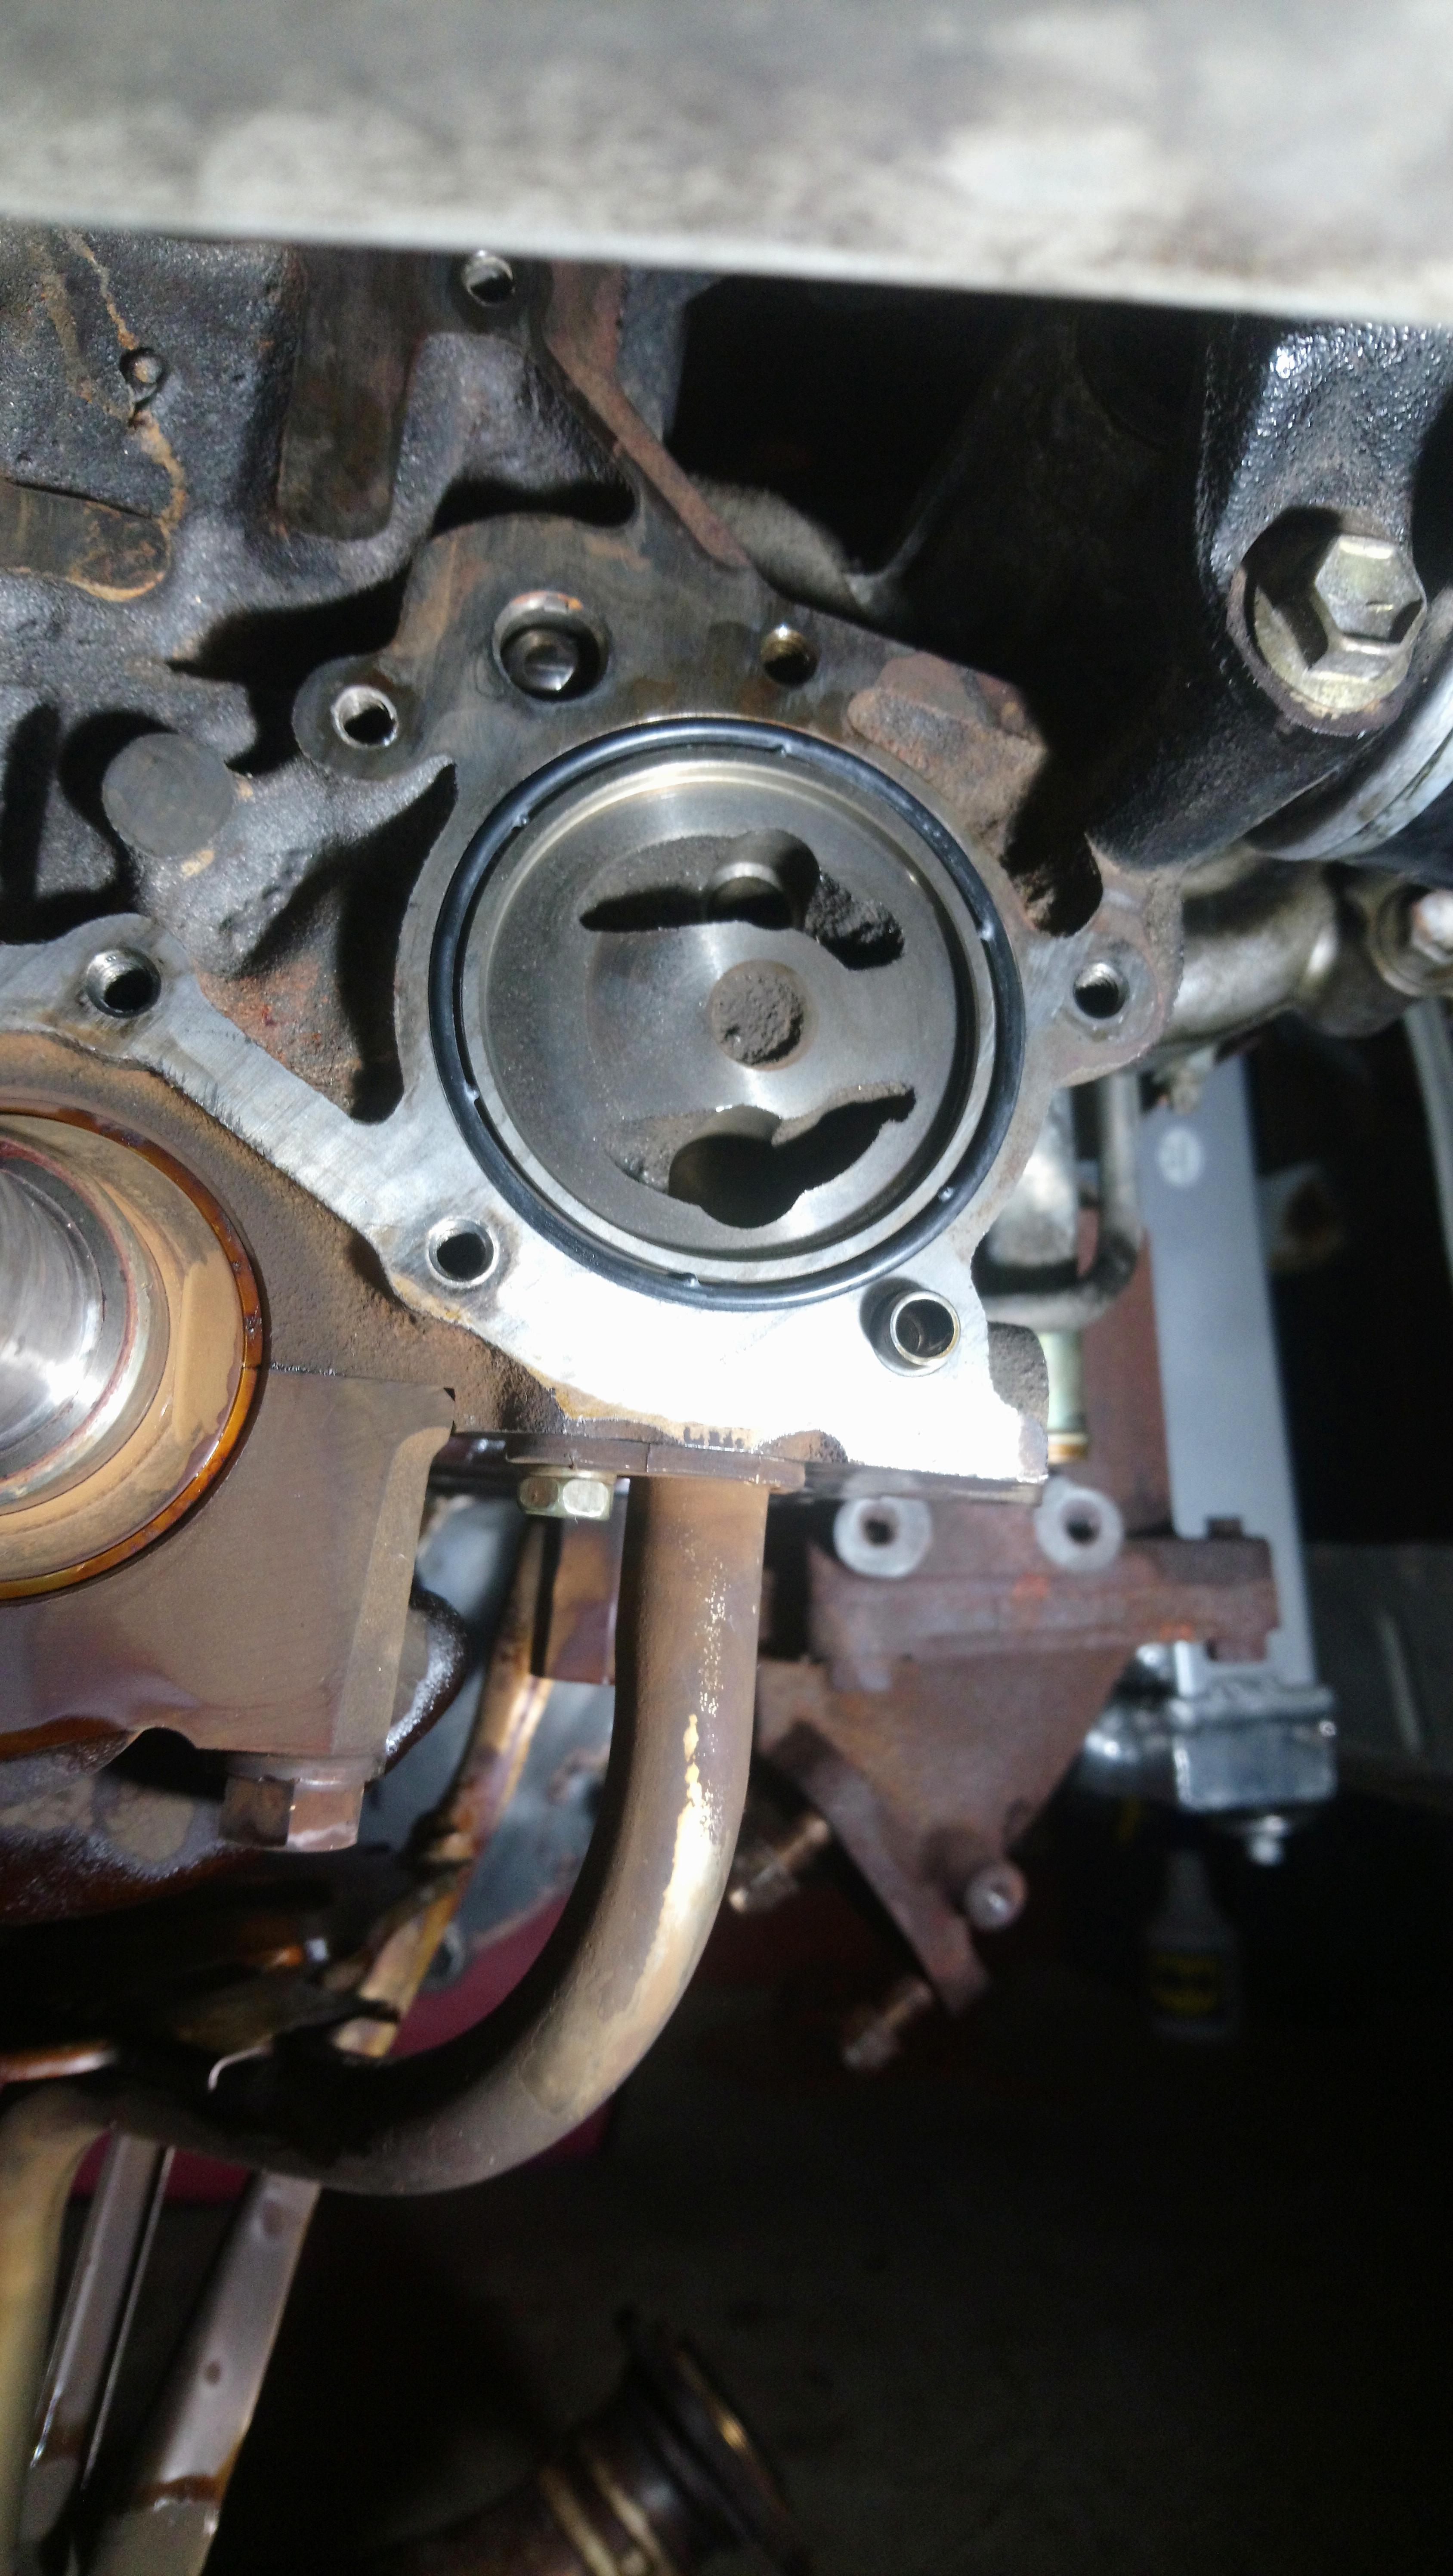
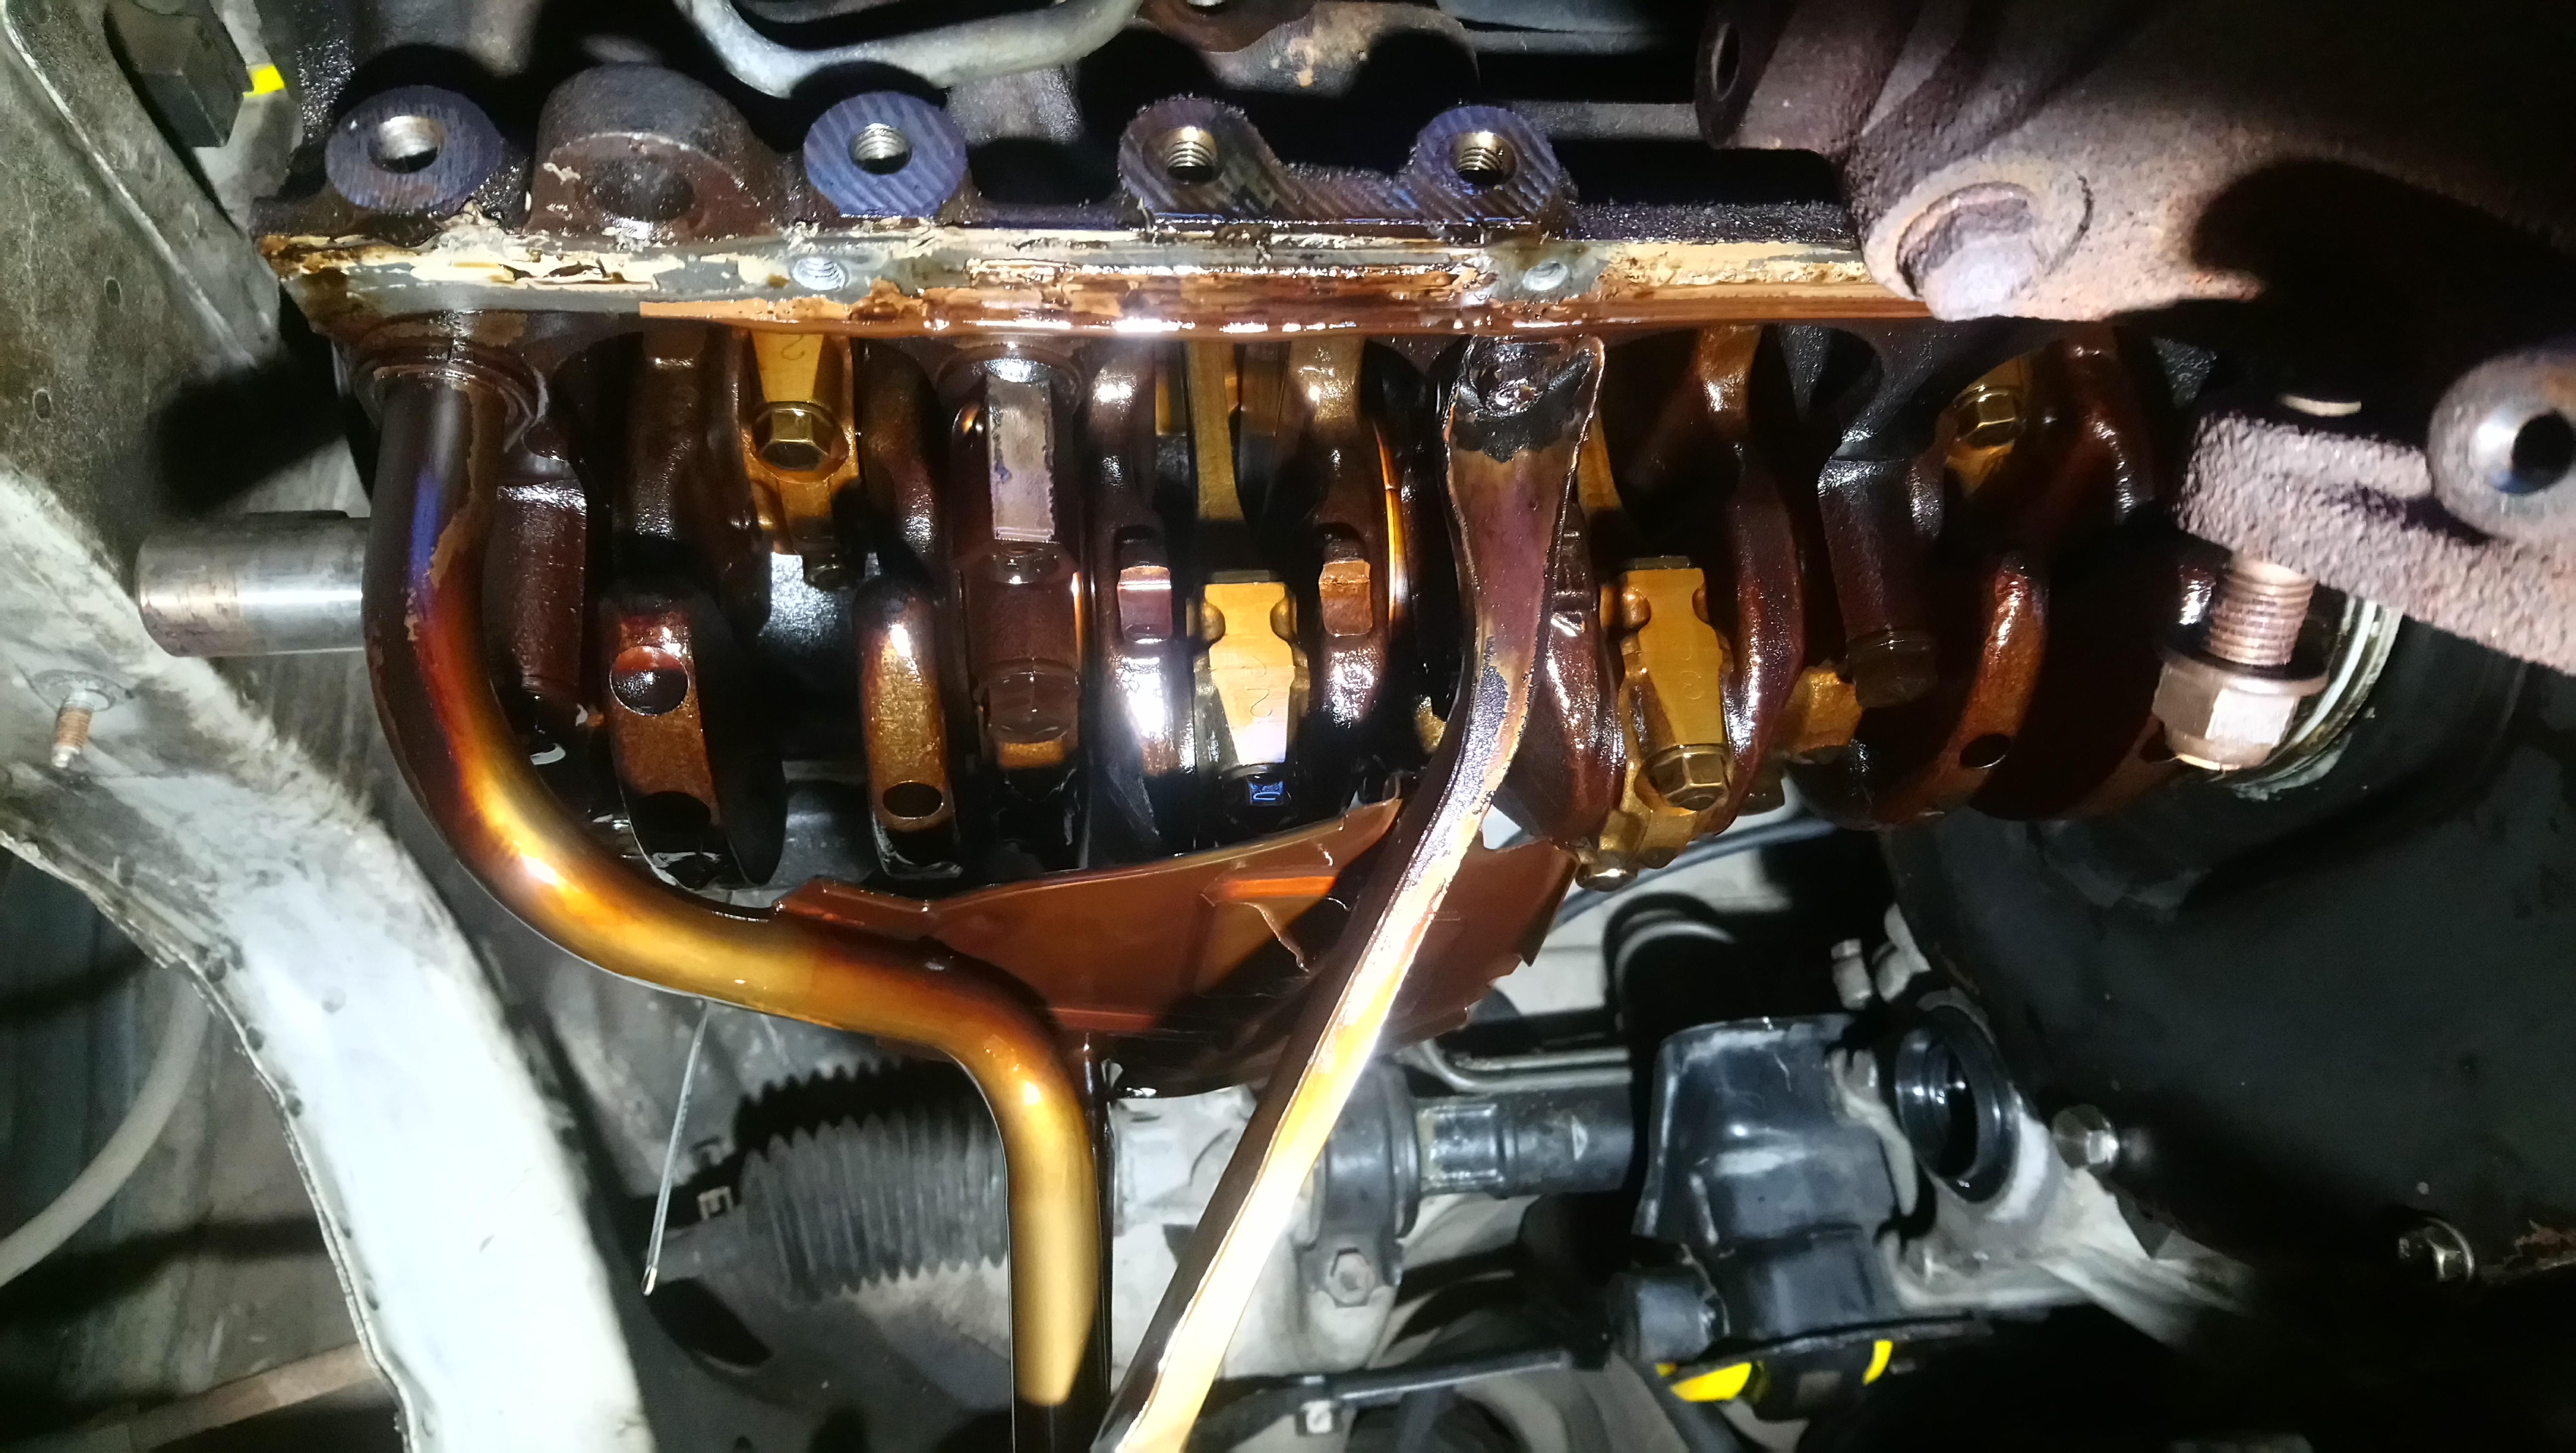
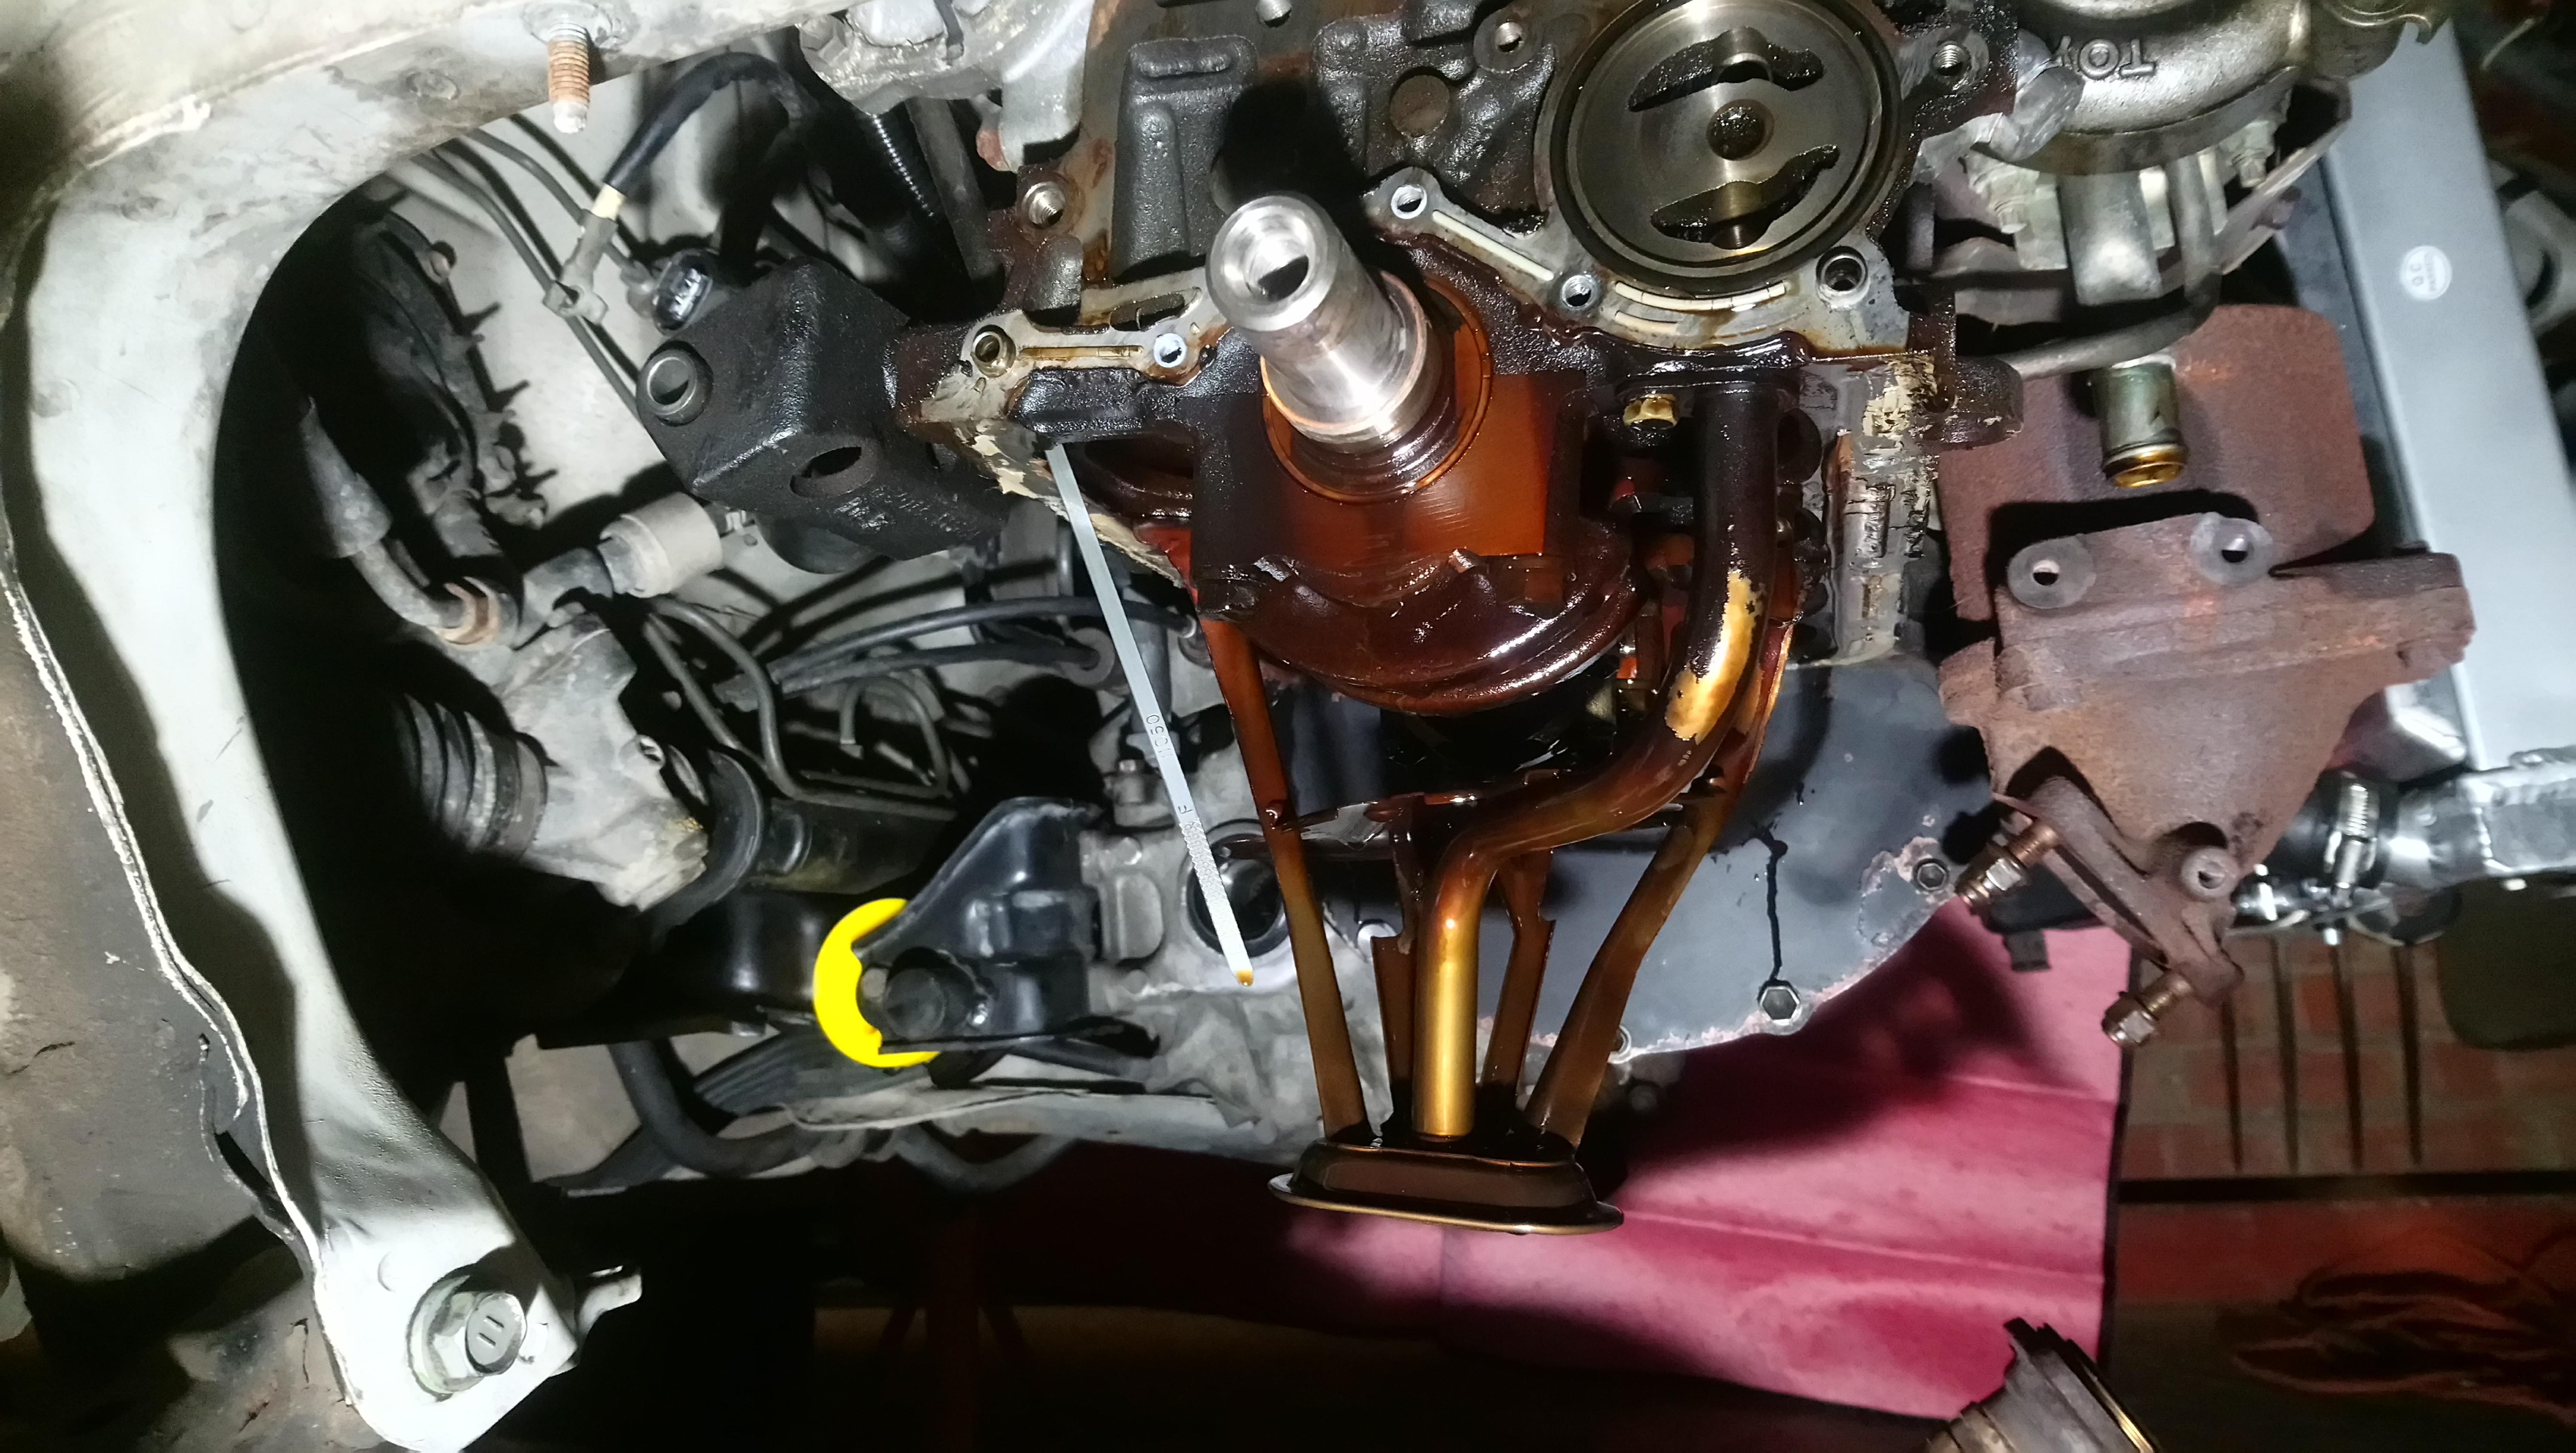
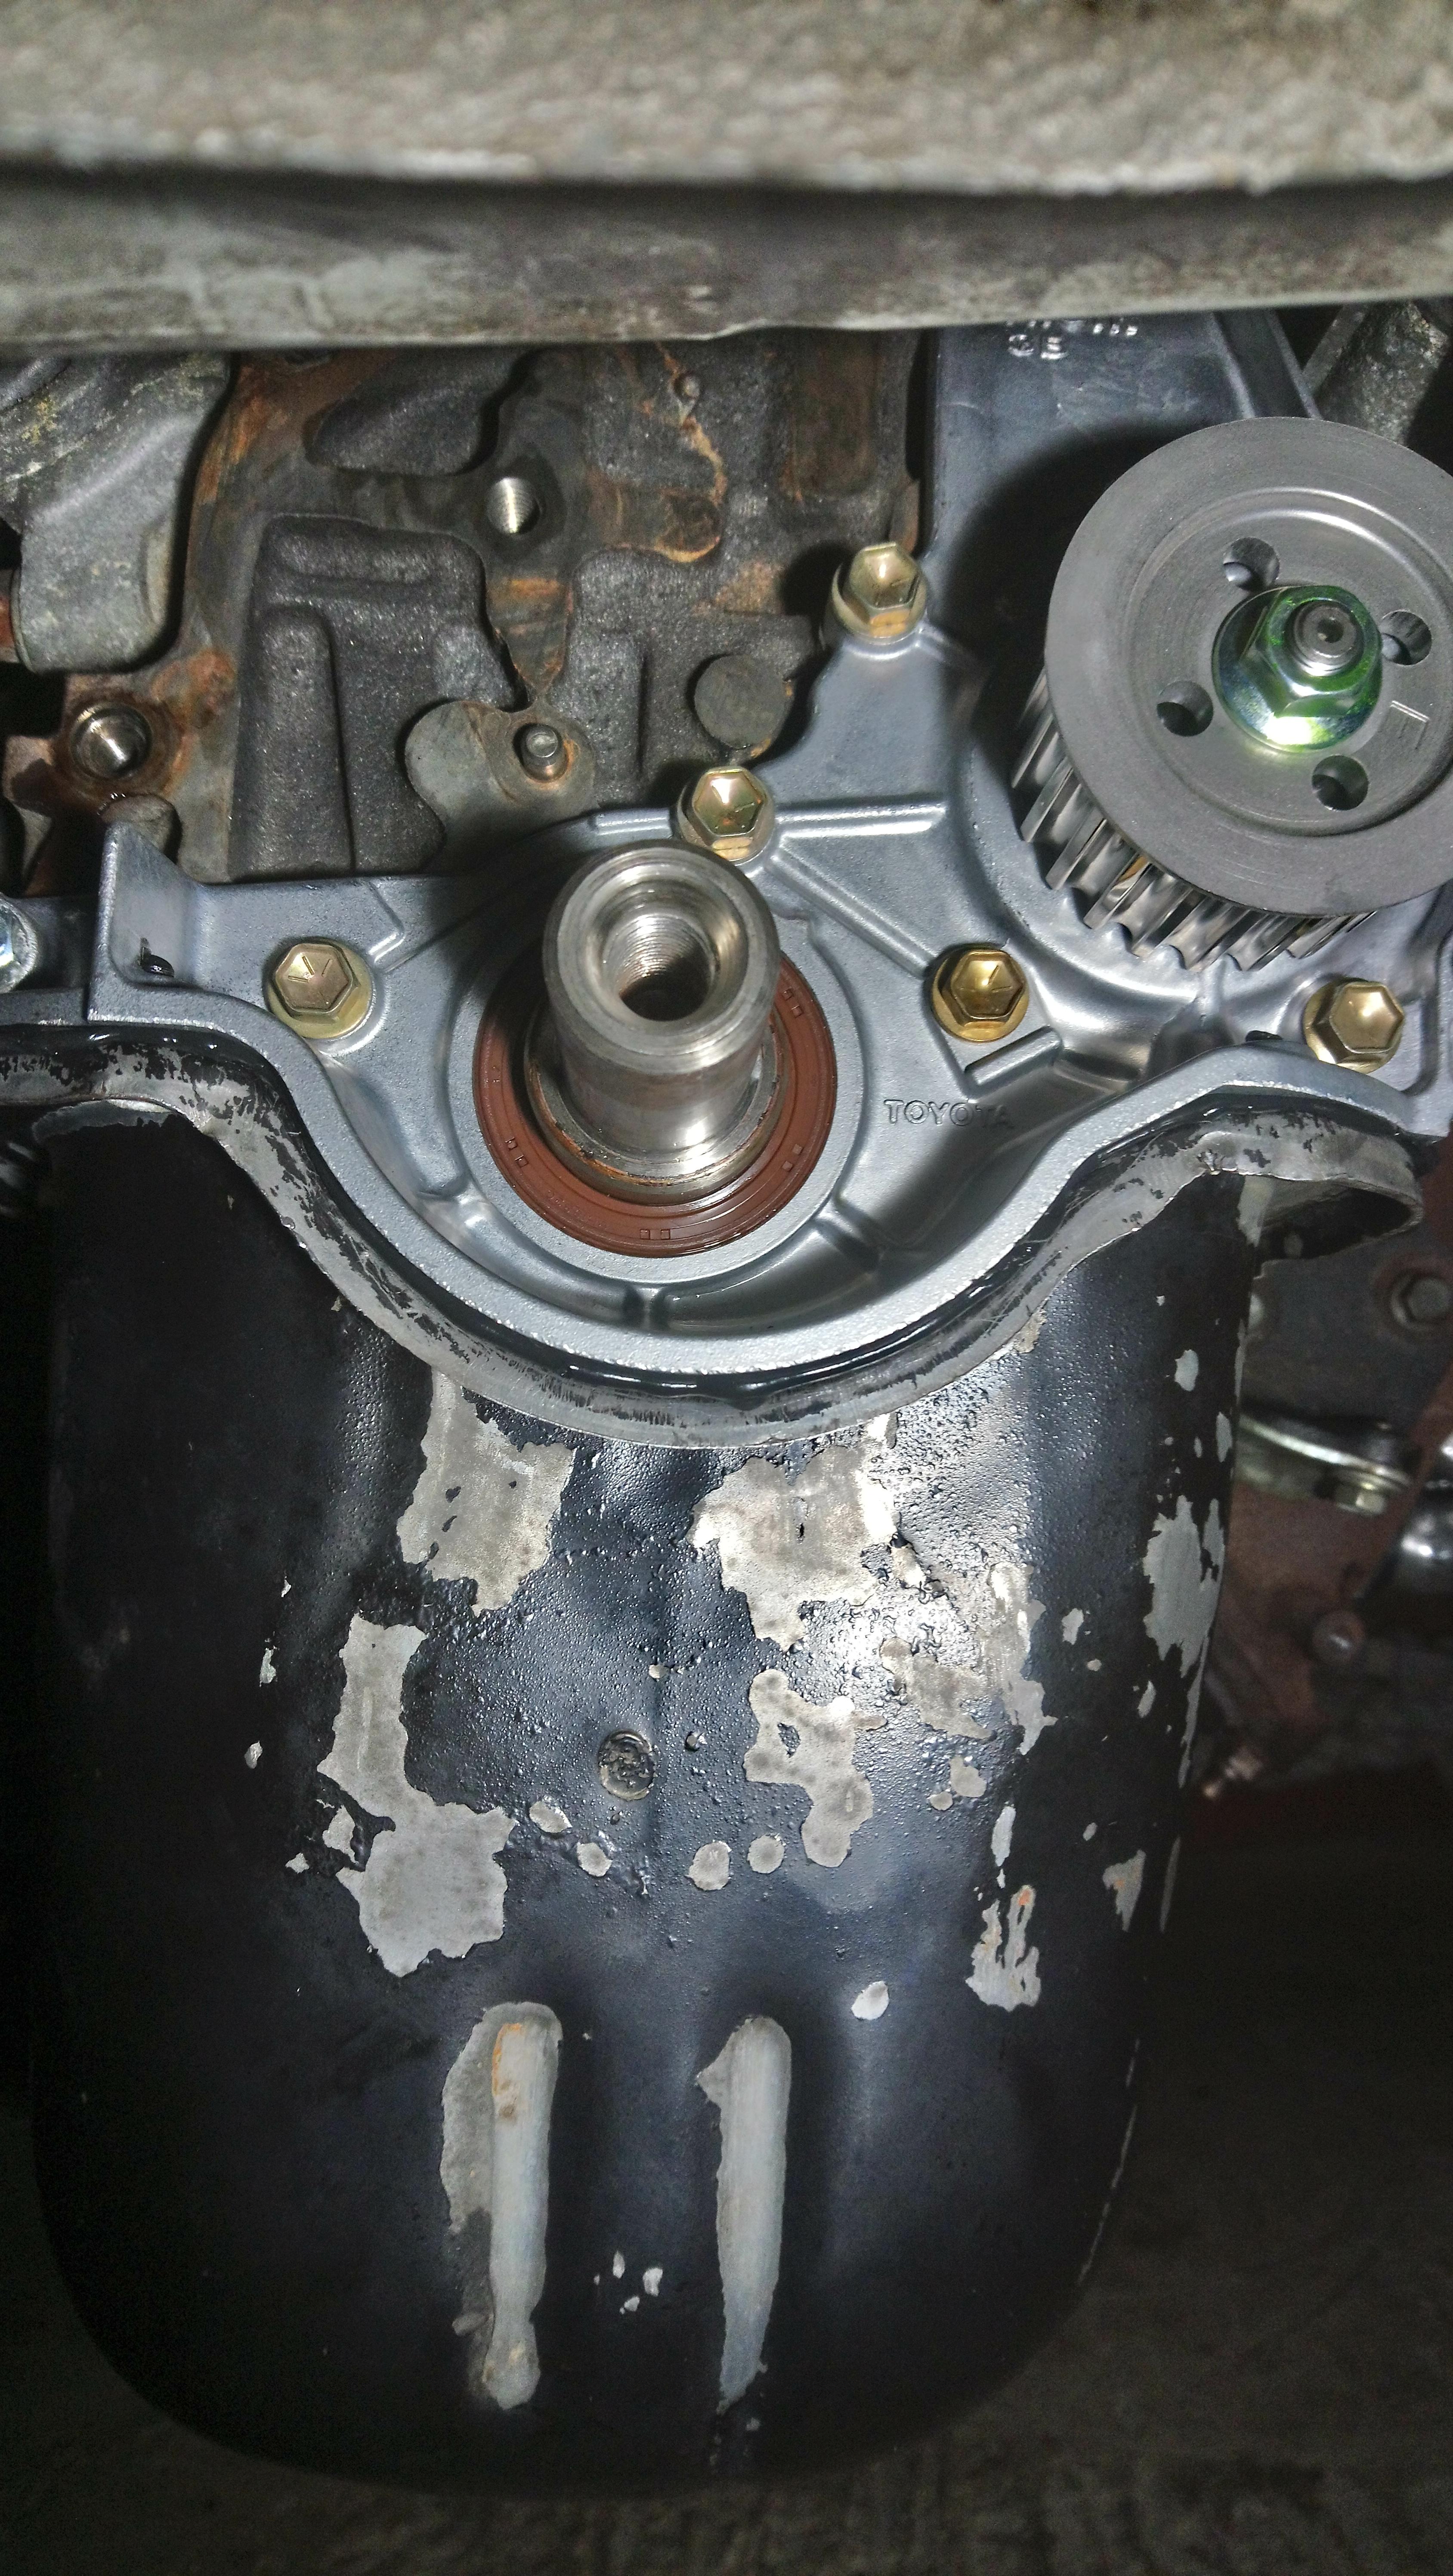
With that done and the box back on I moved onto the timing belt side of the engine and began to strip that side down. I unbolted the power steering pump and lifted it out of the way, removed the alternator, drive belts and top timing cover, turned the engine to TDC and removed the crank pulley using a harmonic balancer pulley puller which came in very useful to remove the pulley without damaging it. I was then able to double check timing marks and remove timing belt which allowed me to remove, replace and reseal the oil pump, replace the front crank seal, clean everything up and reseal the sump which was also leaking. I replaced the rubber seals that seal the oil pump to the block the top of the oil pickup and the dipstick seal and they were all like hard plastic on removal. The final engine mount was also polybushed while doing this.


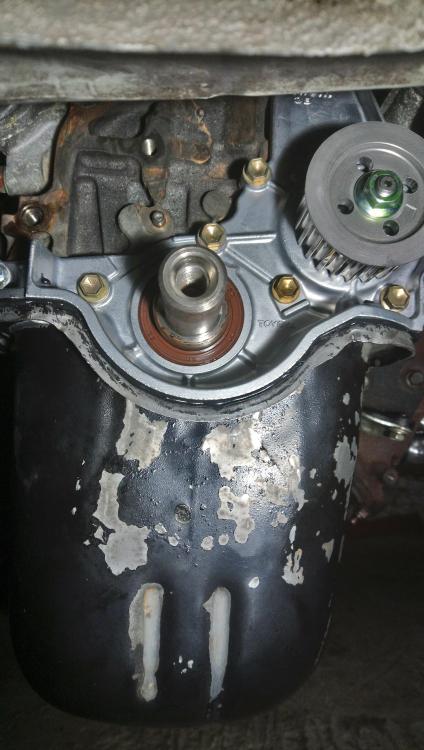
Now all i have to do is replace the water pump while im in there and put it all back together with a new timing kit, my JD tuning clear cam cover and fresh oil and coolant. Before running the car for the first time I plan to remove the efi fuse and crank the engine over to gain oil pressure before firing her up.
-
Okay bud will have a proper read through looks like a good build
-
Cheers mate lots more to come
-
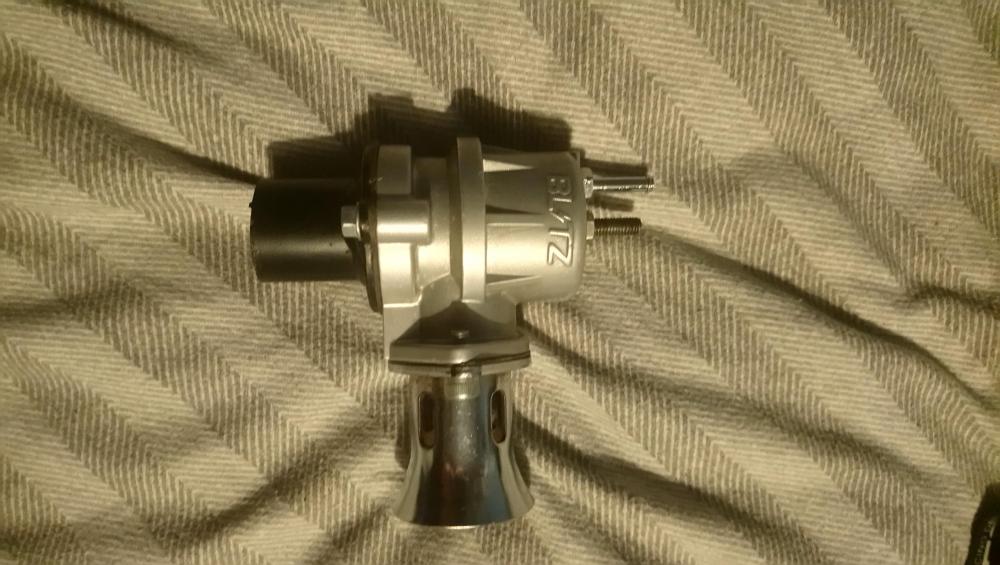
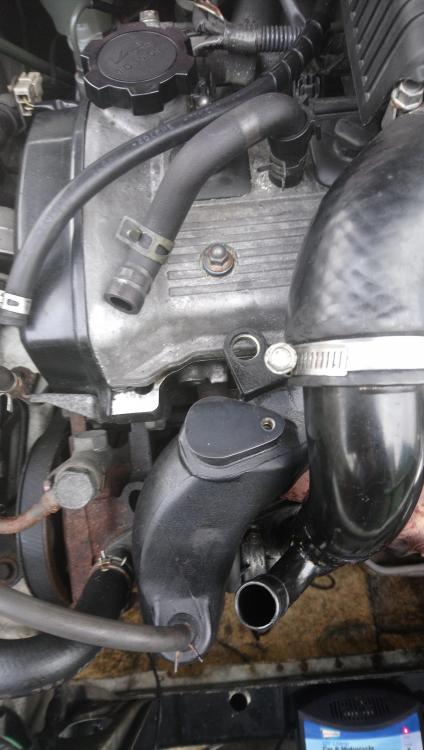
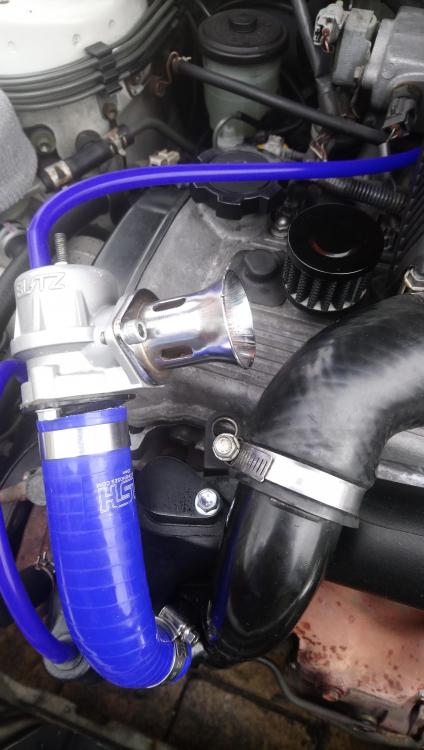
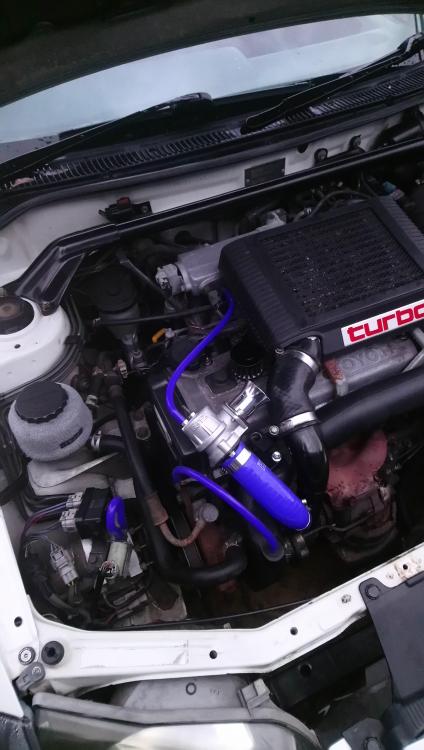
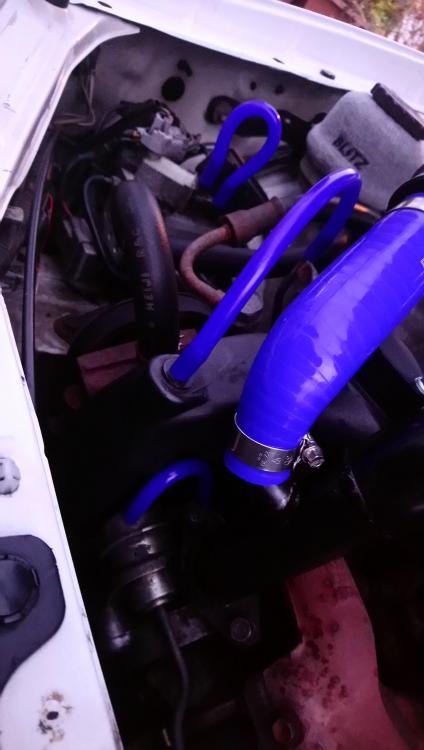
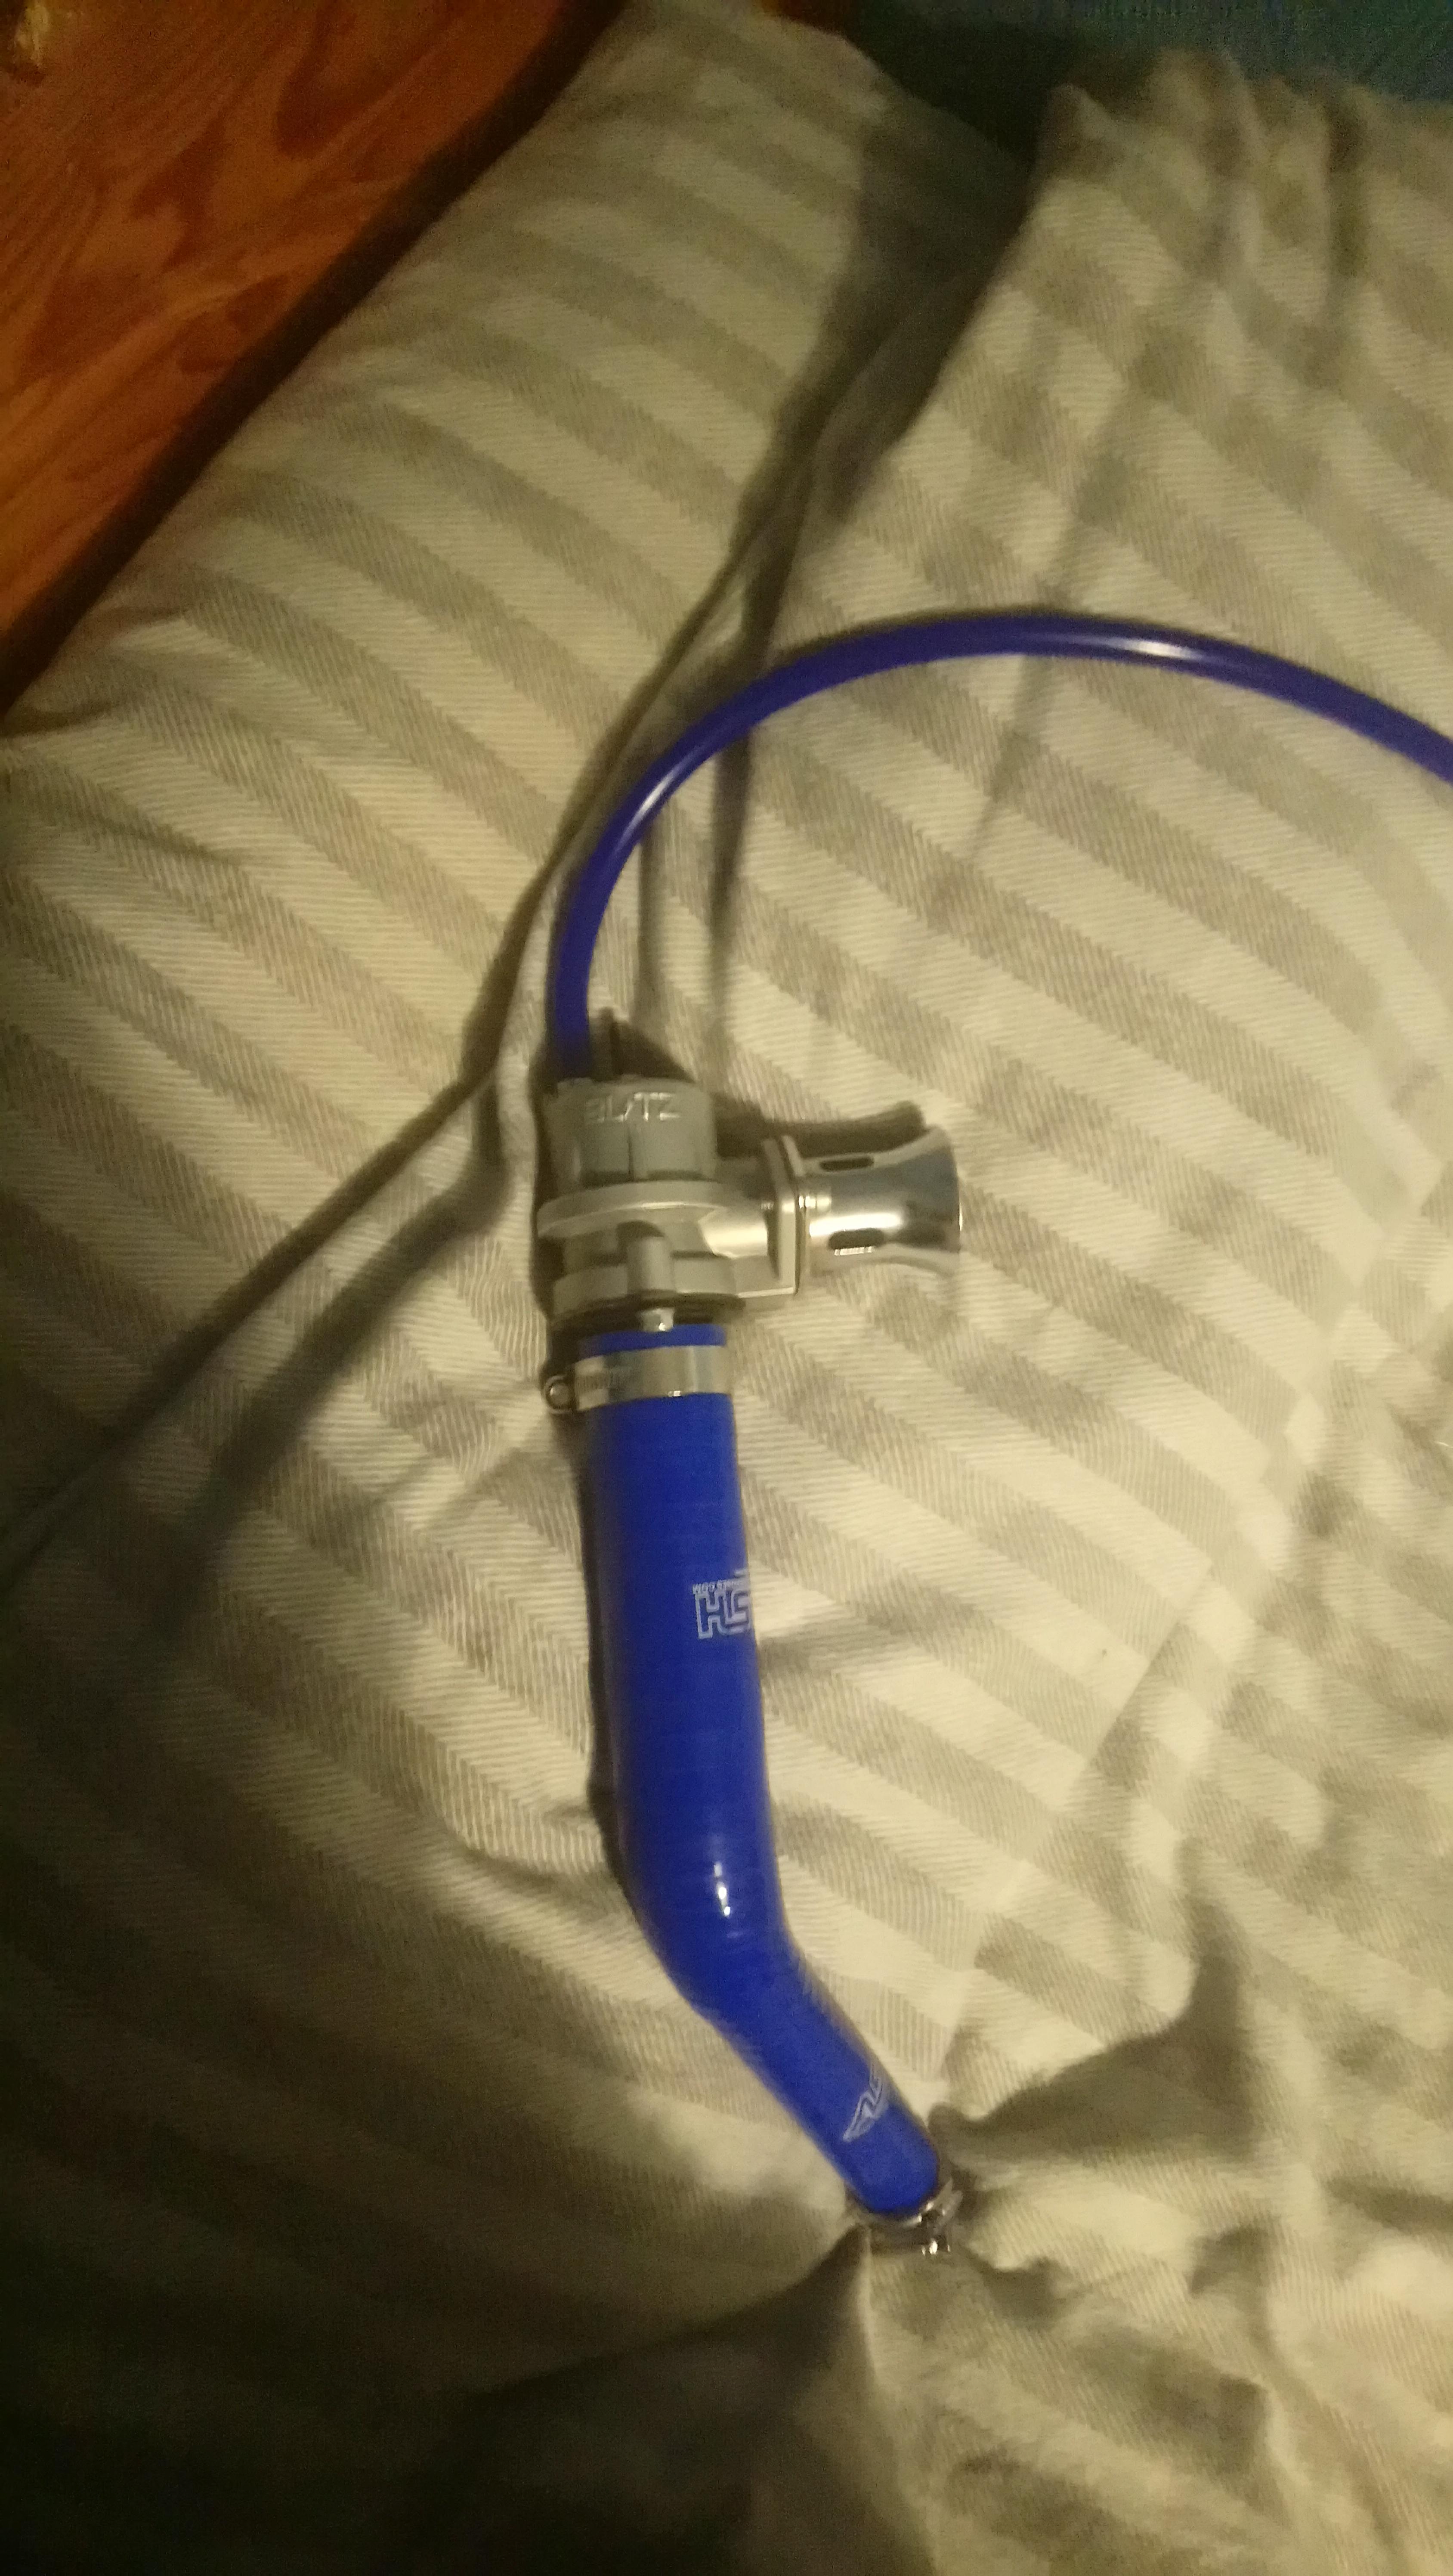
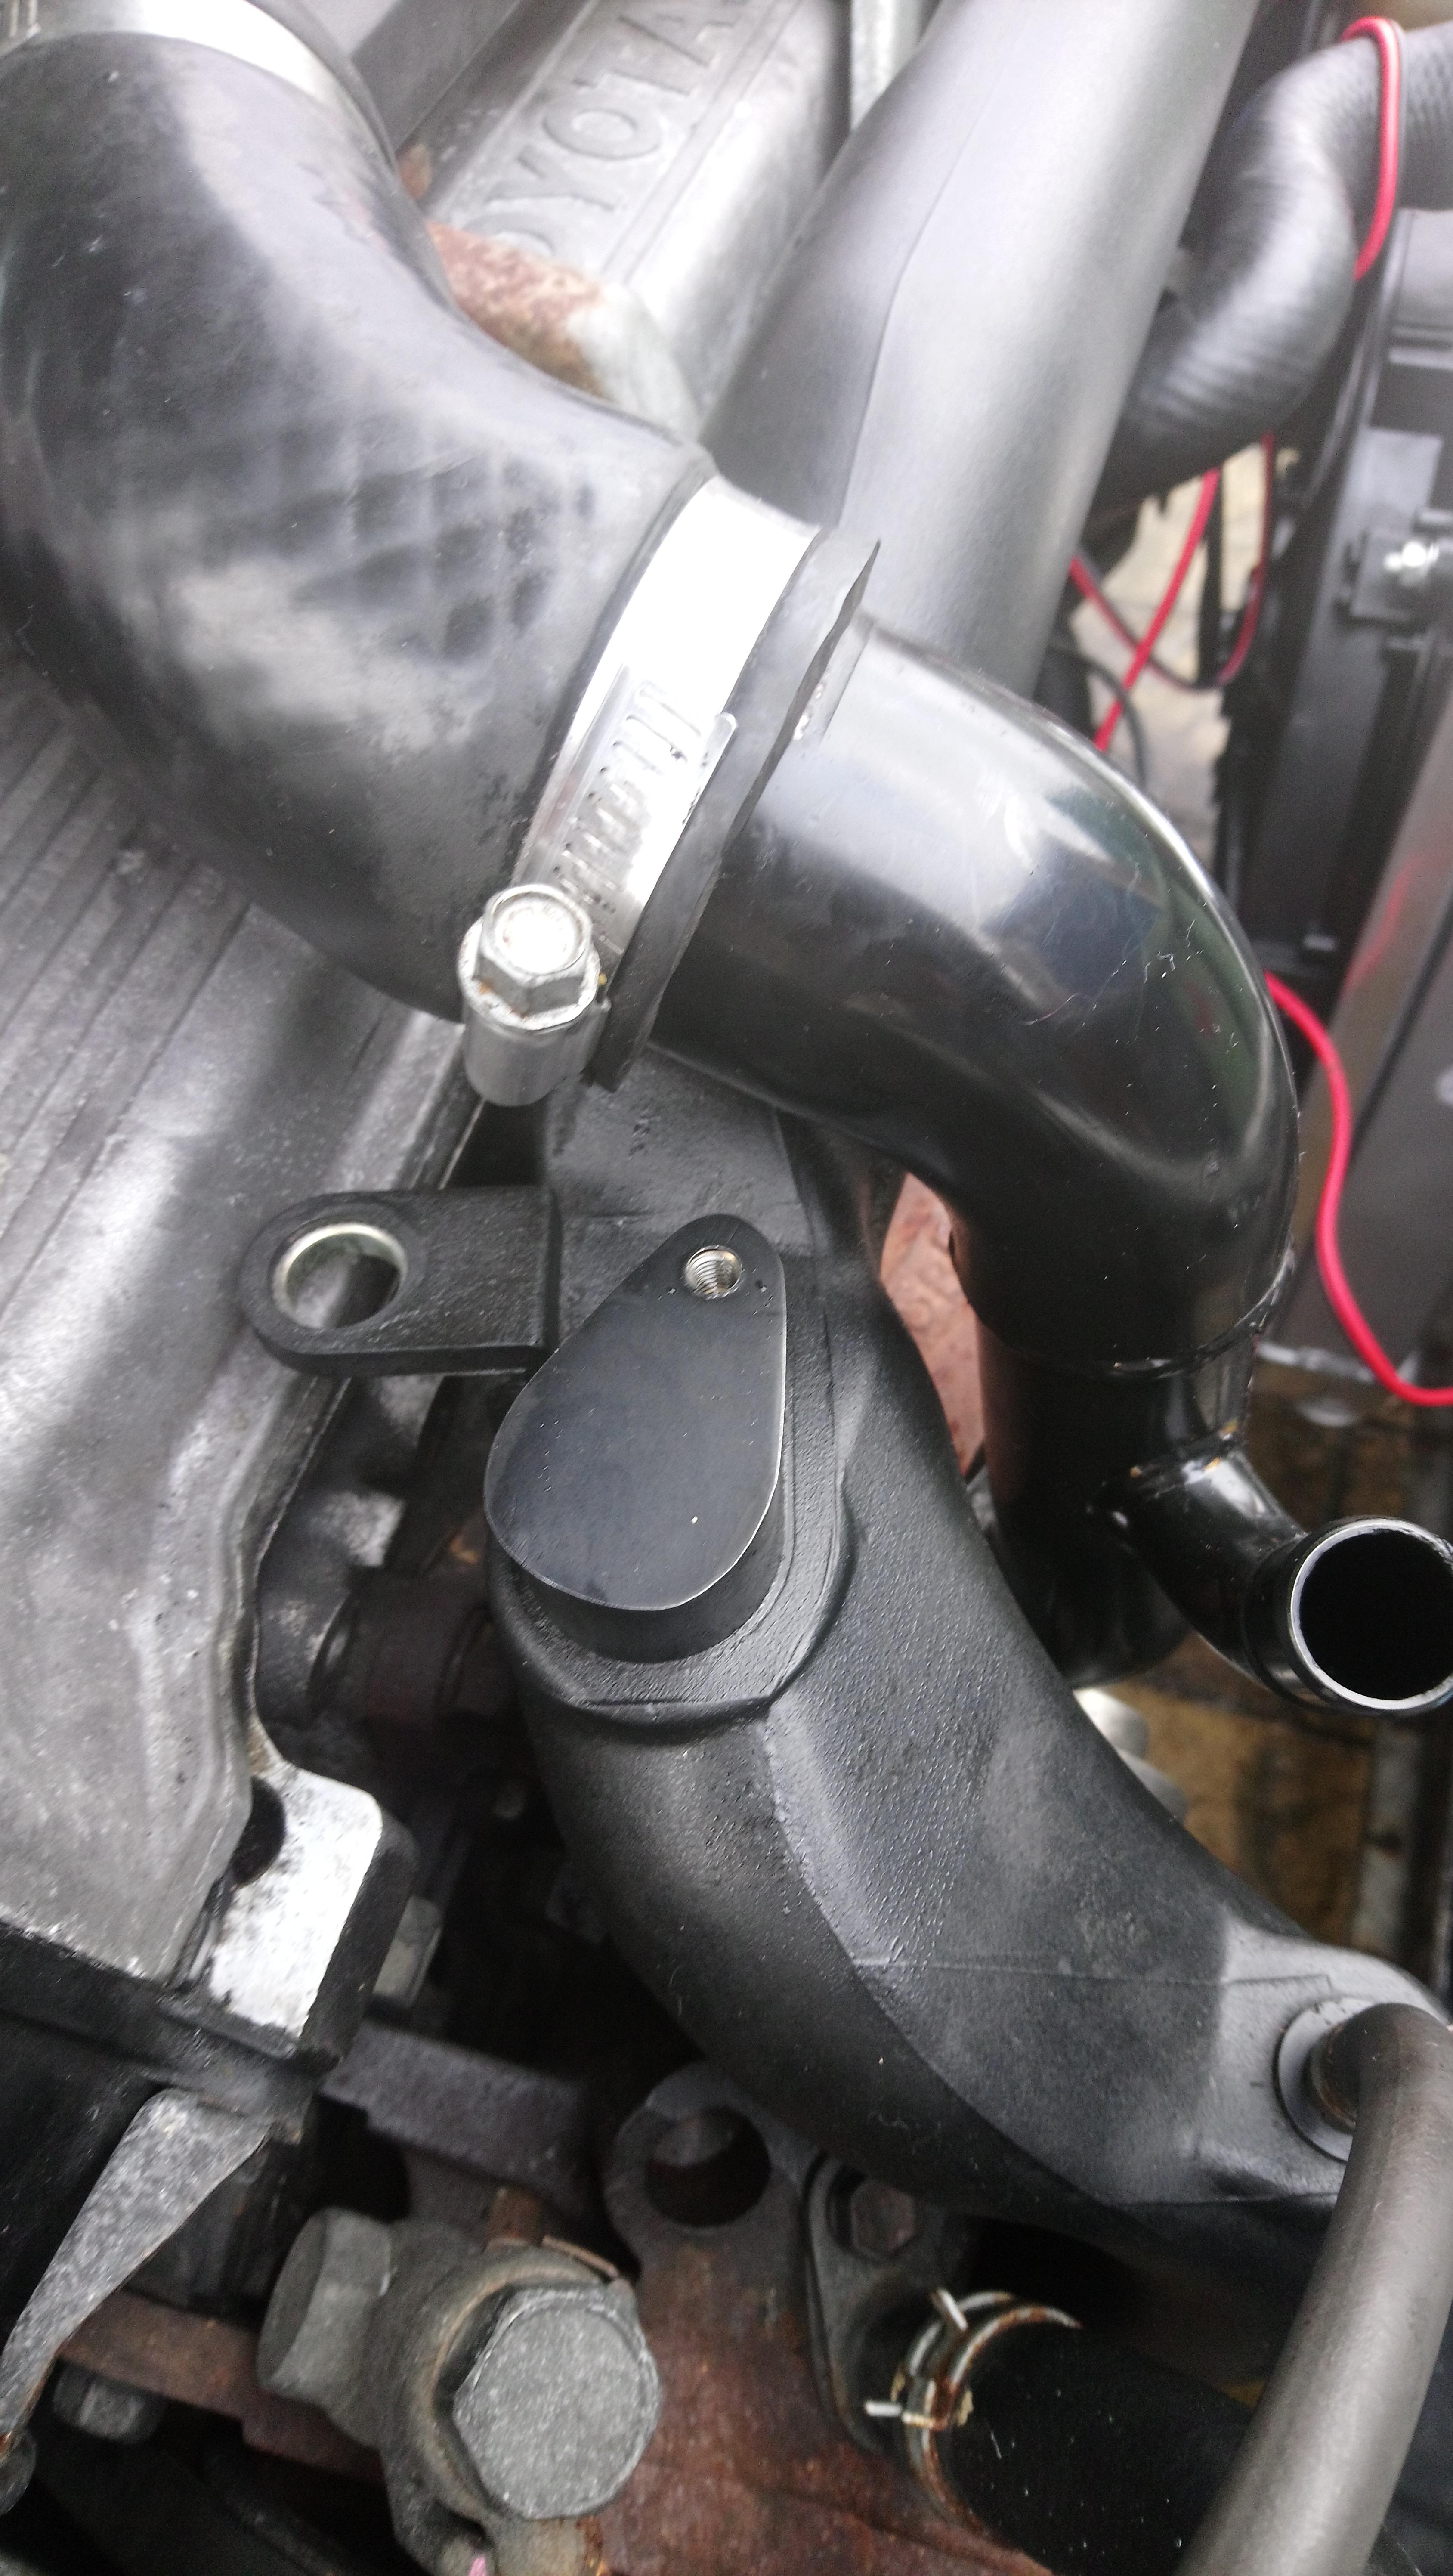
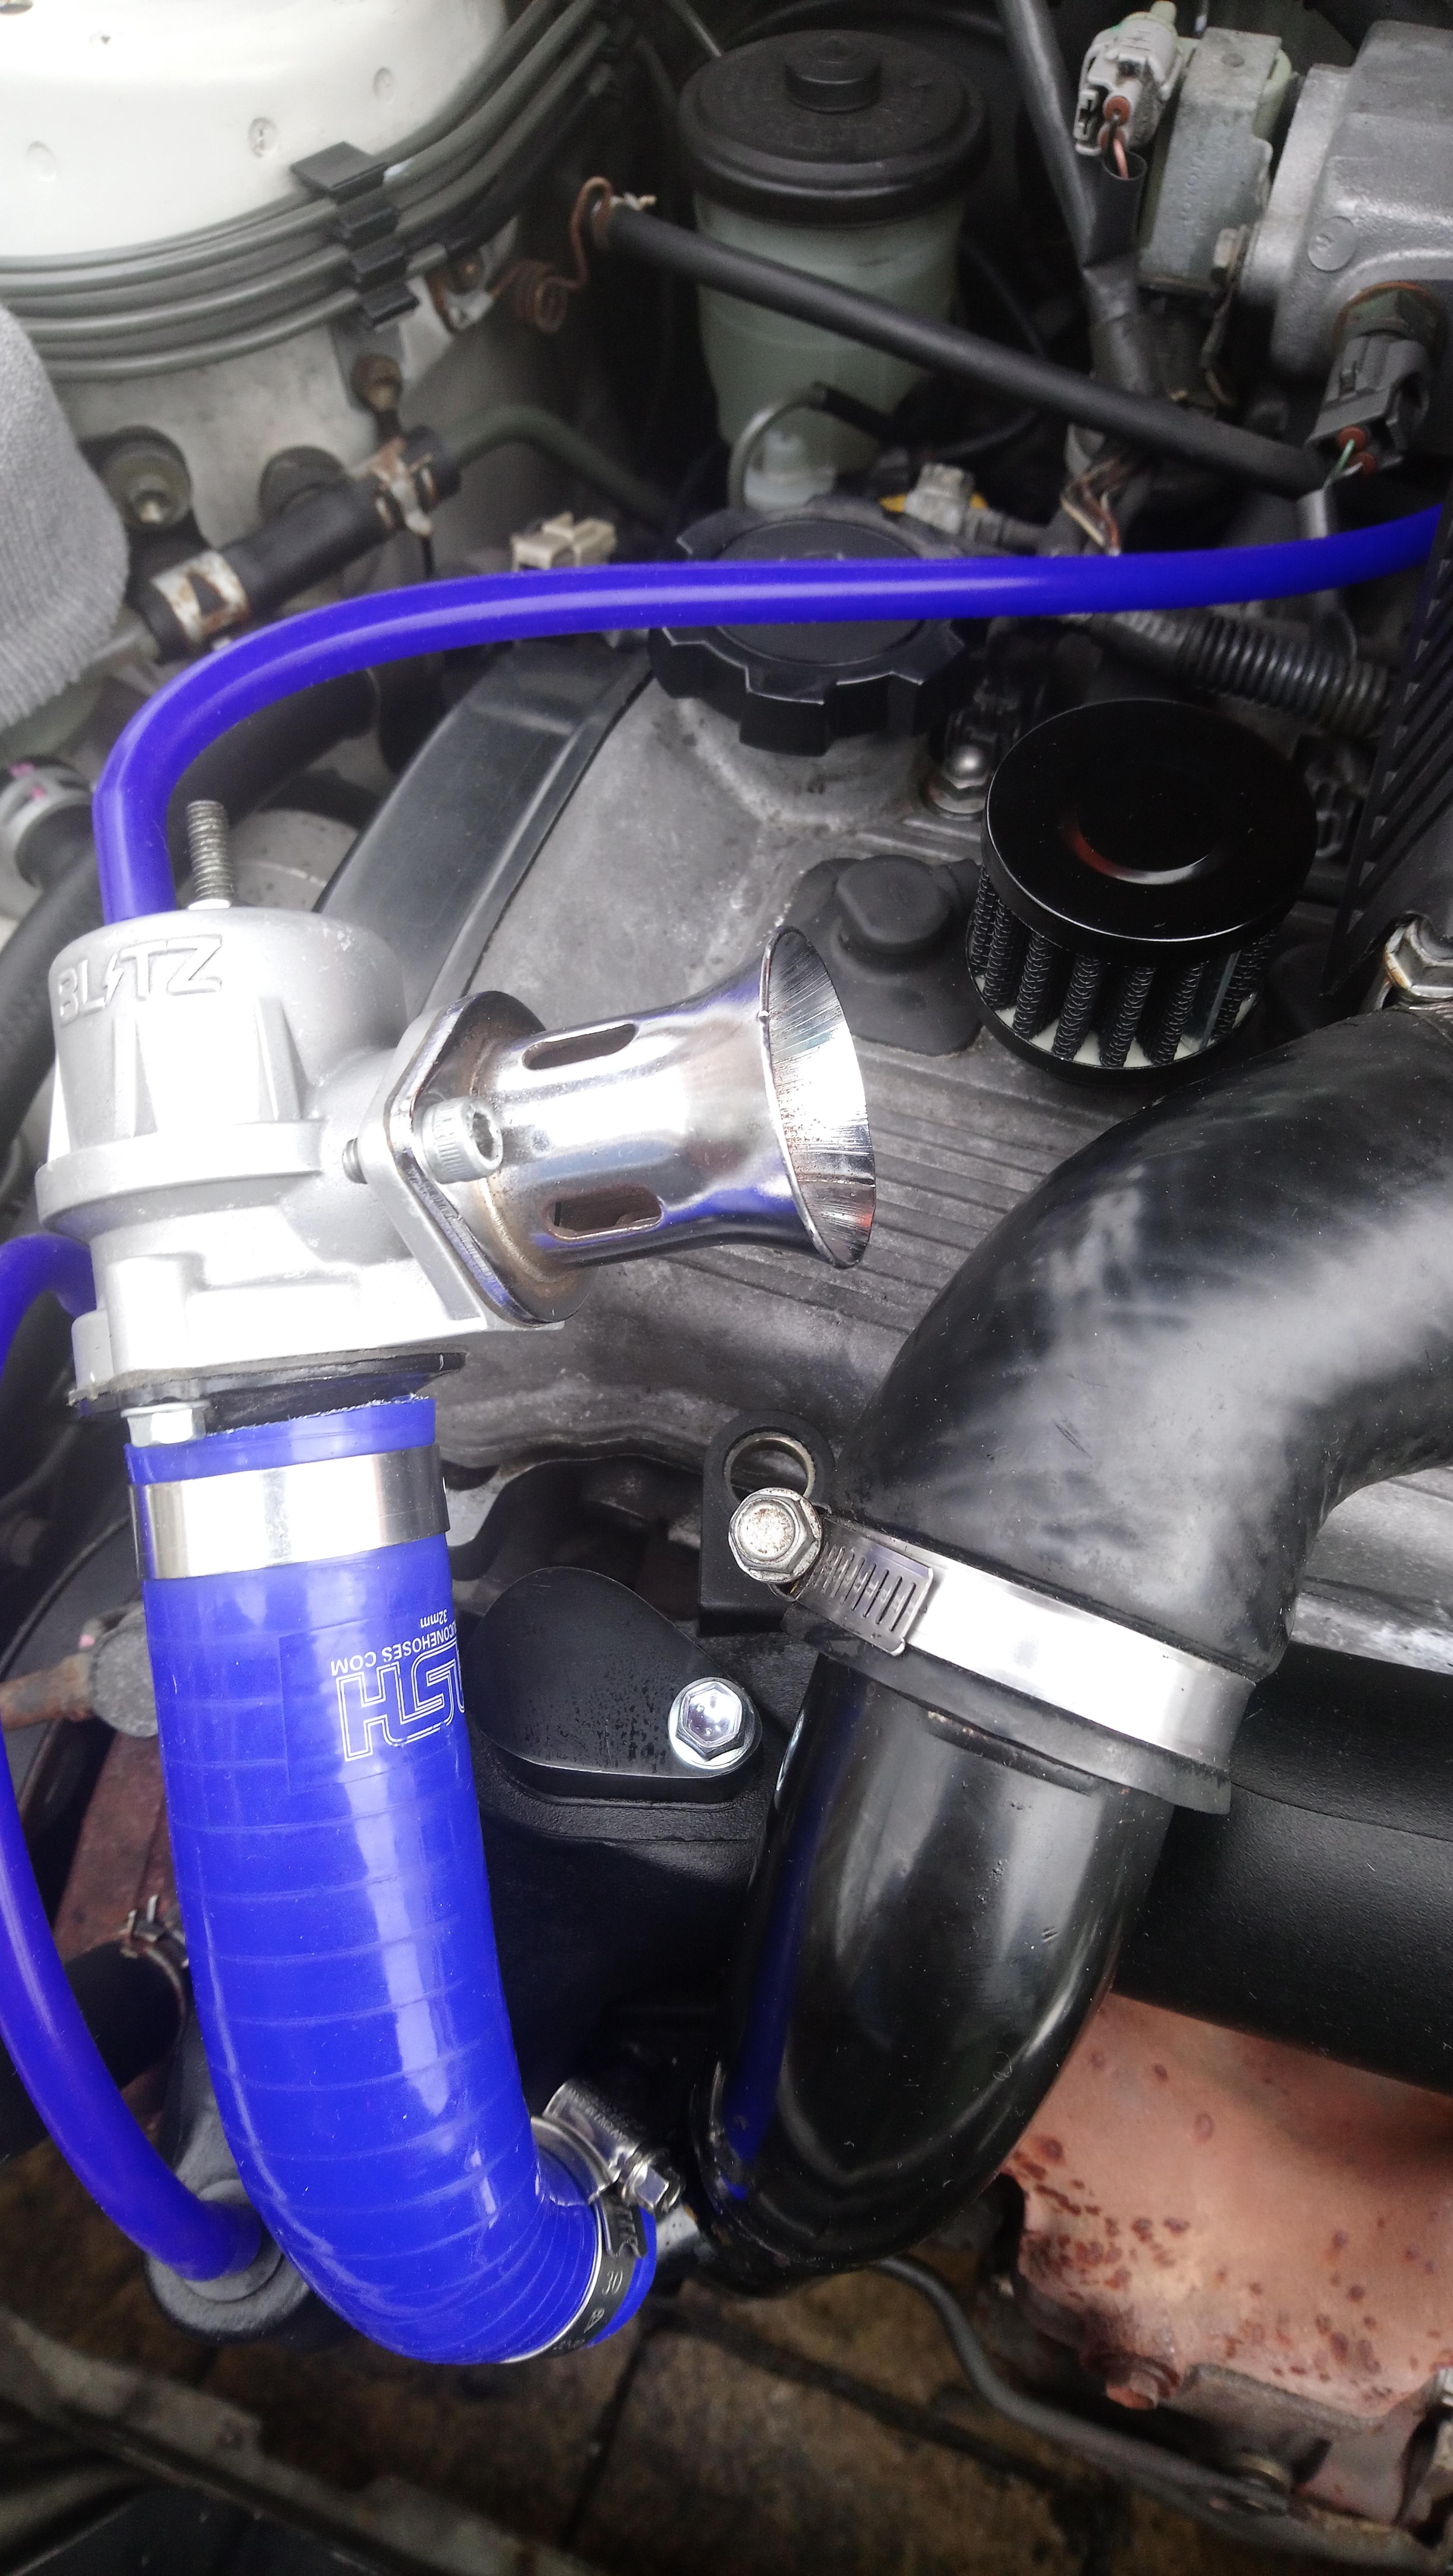
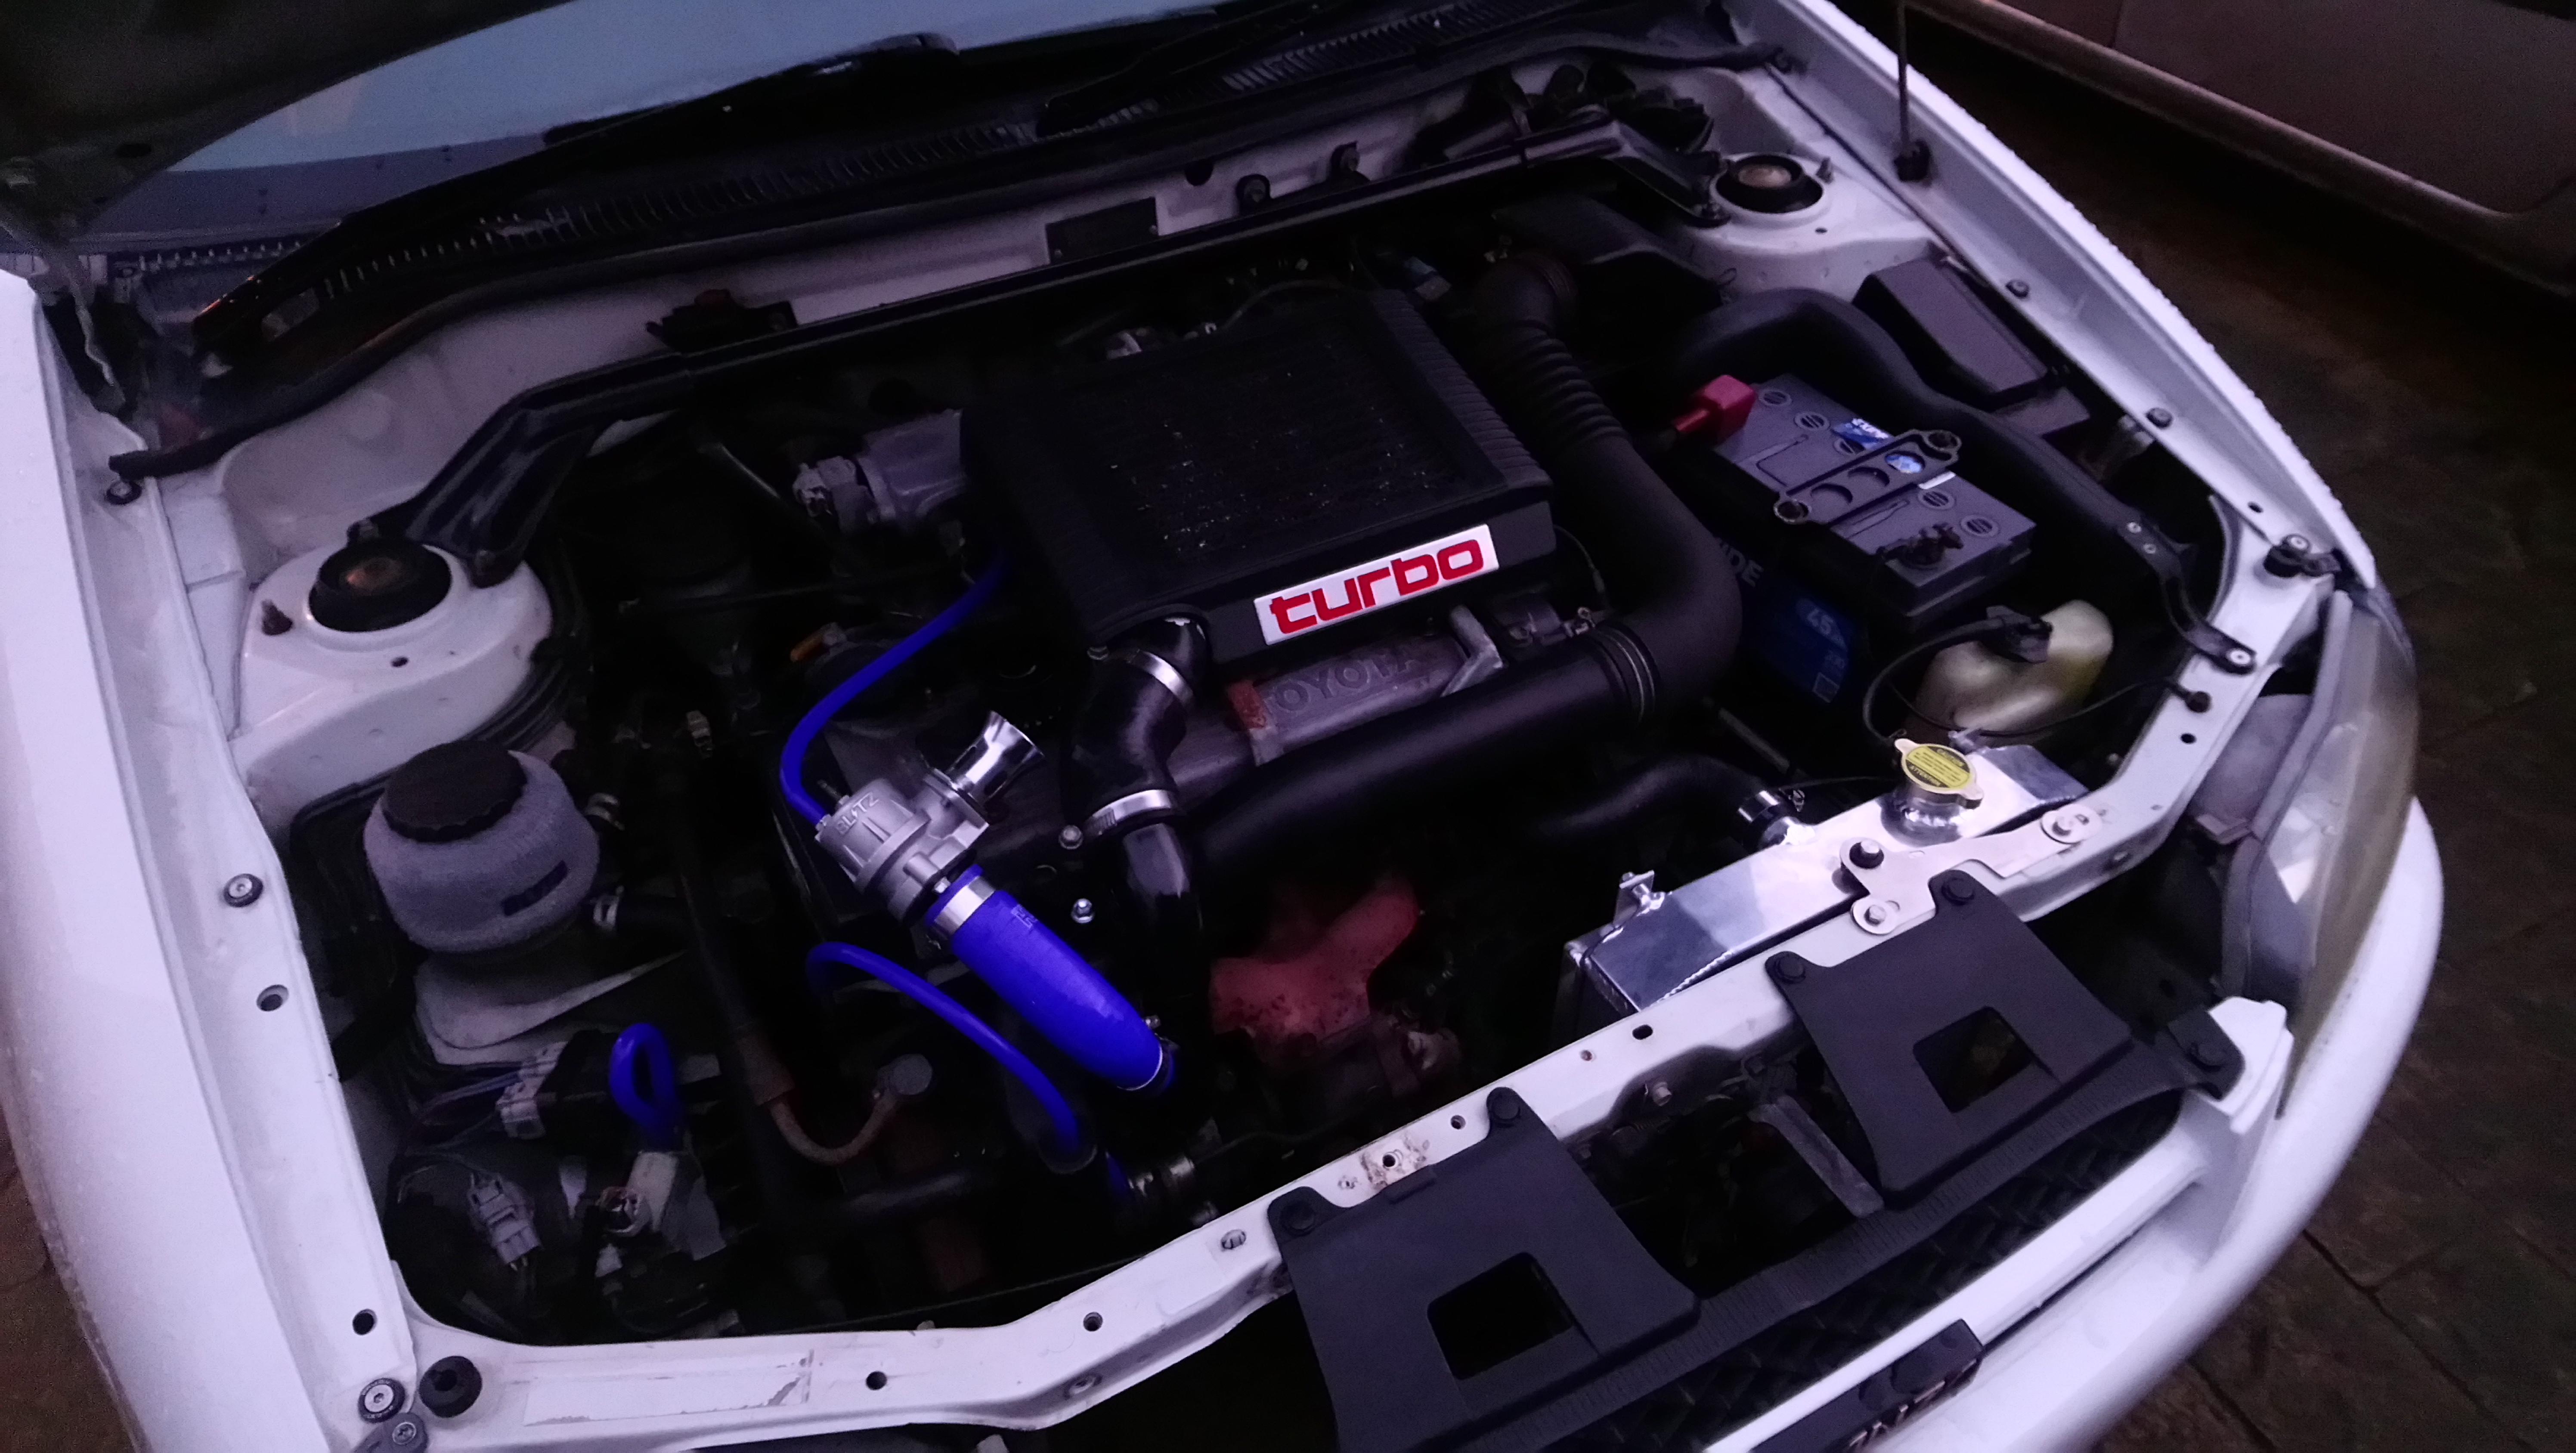
Last week I was able to pick up a blitz super sound blow off valve for the Glanza and this weekend I was able to get it fitted to the car and working. I purchased a small silicone 45 degree joiner which I cut to size to fit the bov onto the stock boost pipe, I then used some 5mm vacuum hose to link the bov to the throttle body, replace the rubber actuator hose and bypass the high low boost solenoid. As the stock blow off setup vents the crankcase vapour into the intake pipe I had to fabricate a blank to sit where the stock bov goes into the intake pipe and put a 12mm engine breather on the top of the engine. In the future I plan to put on a front mount intercooler and integrate the bov into the intercooler piping but for now it looks okay and sounds great.


-
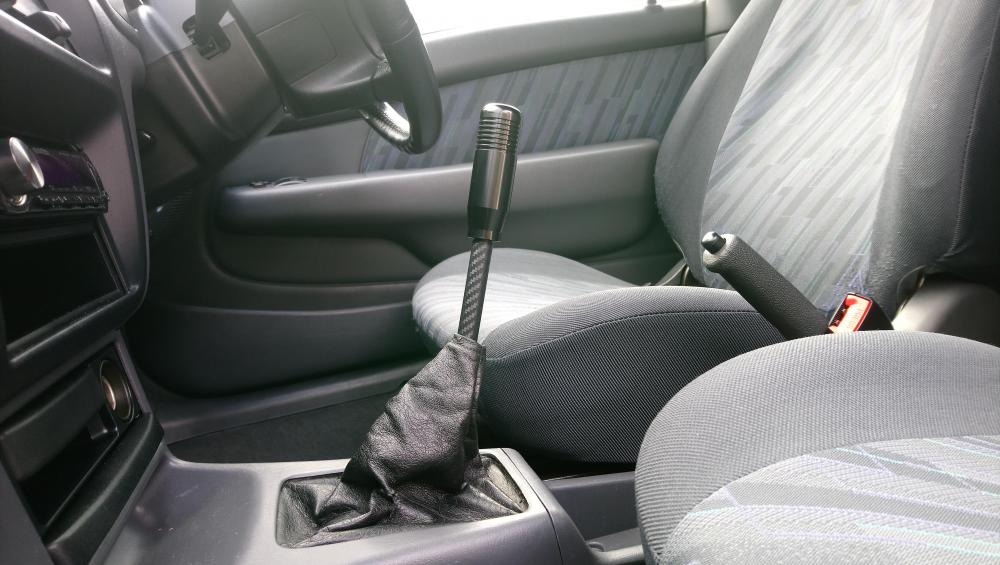
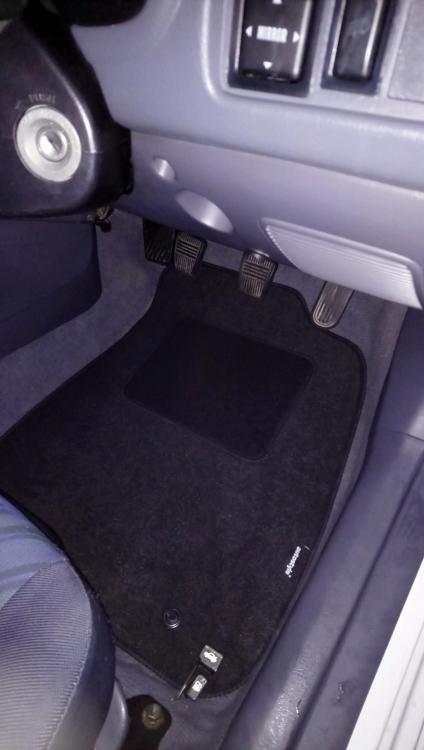
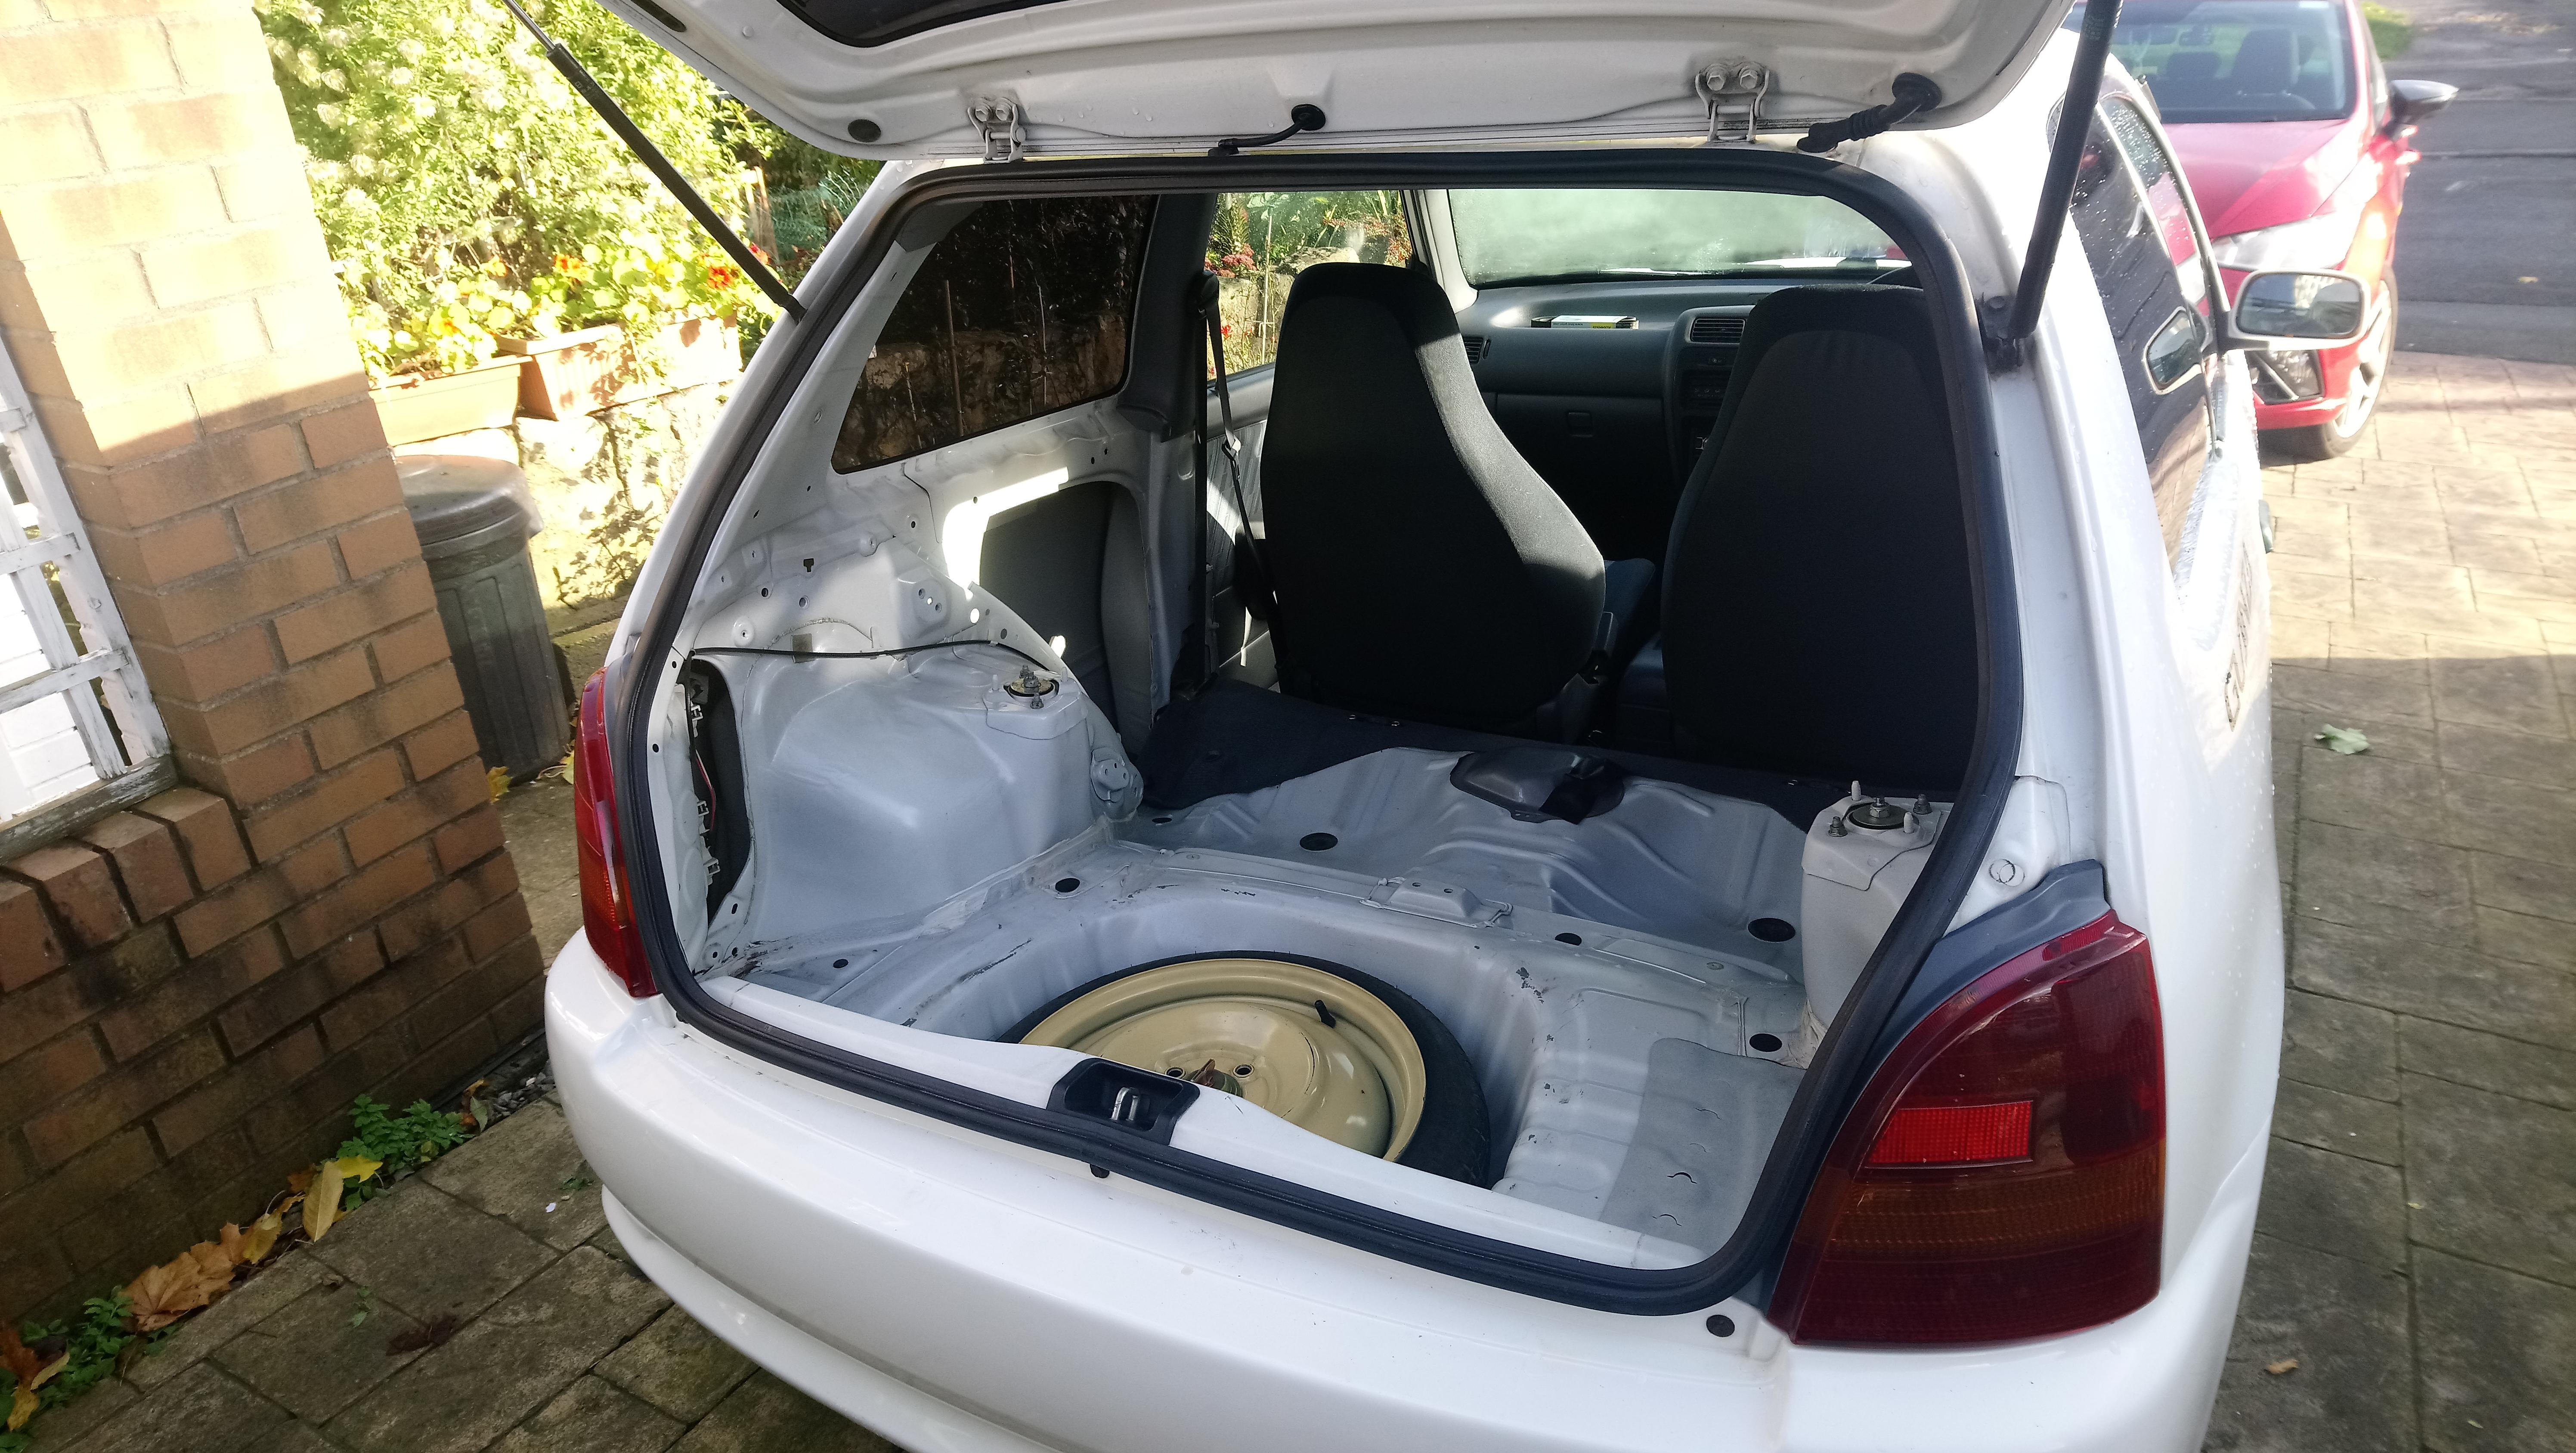
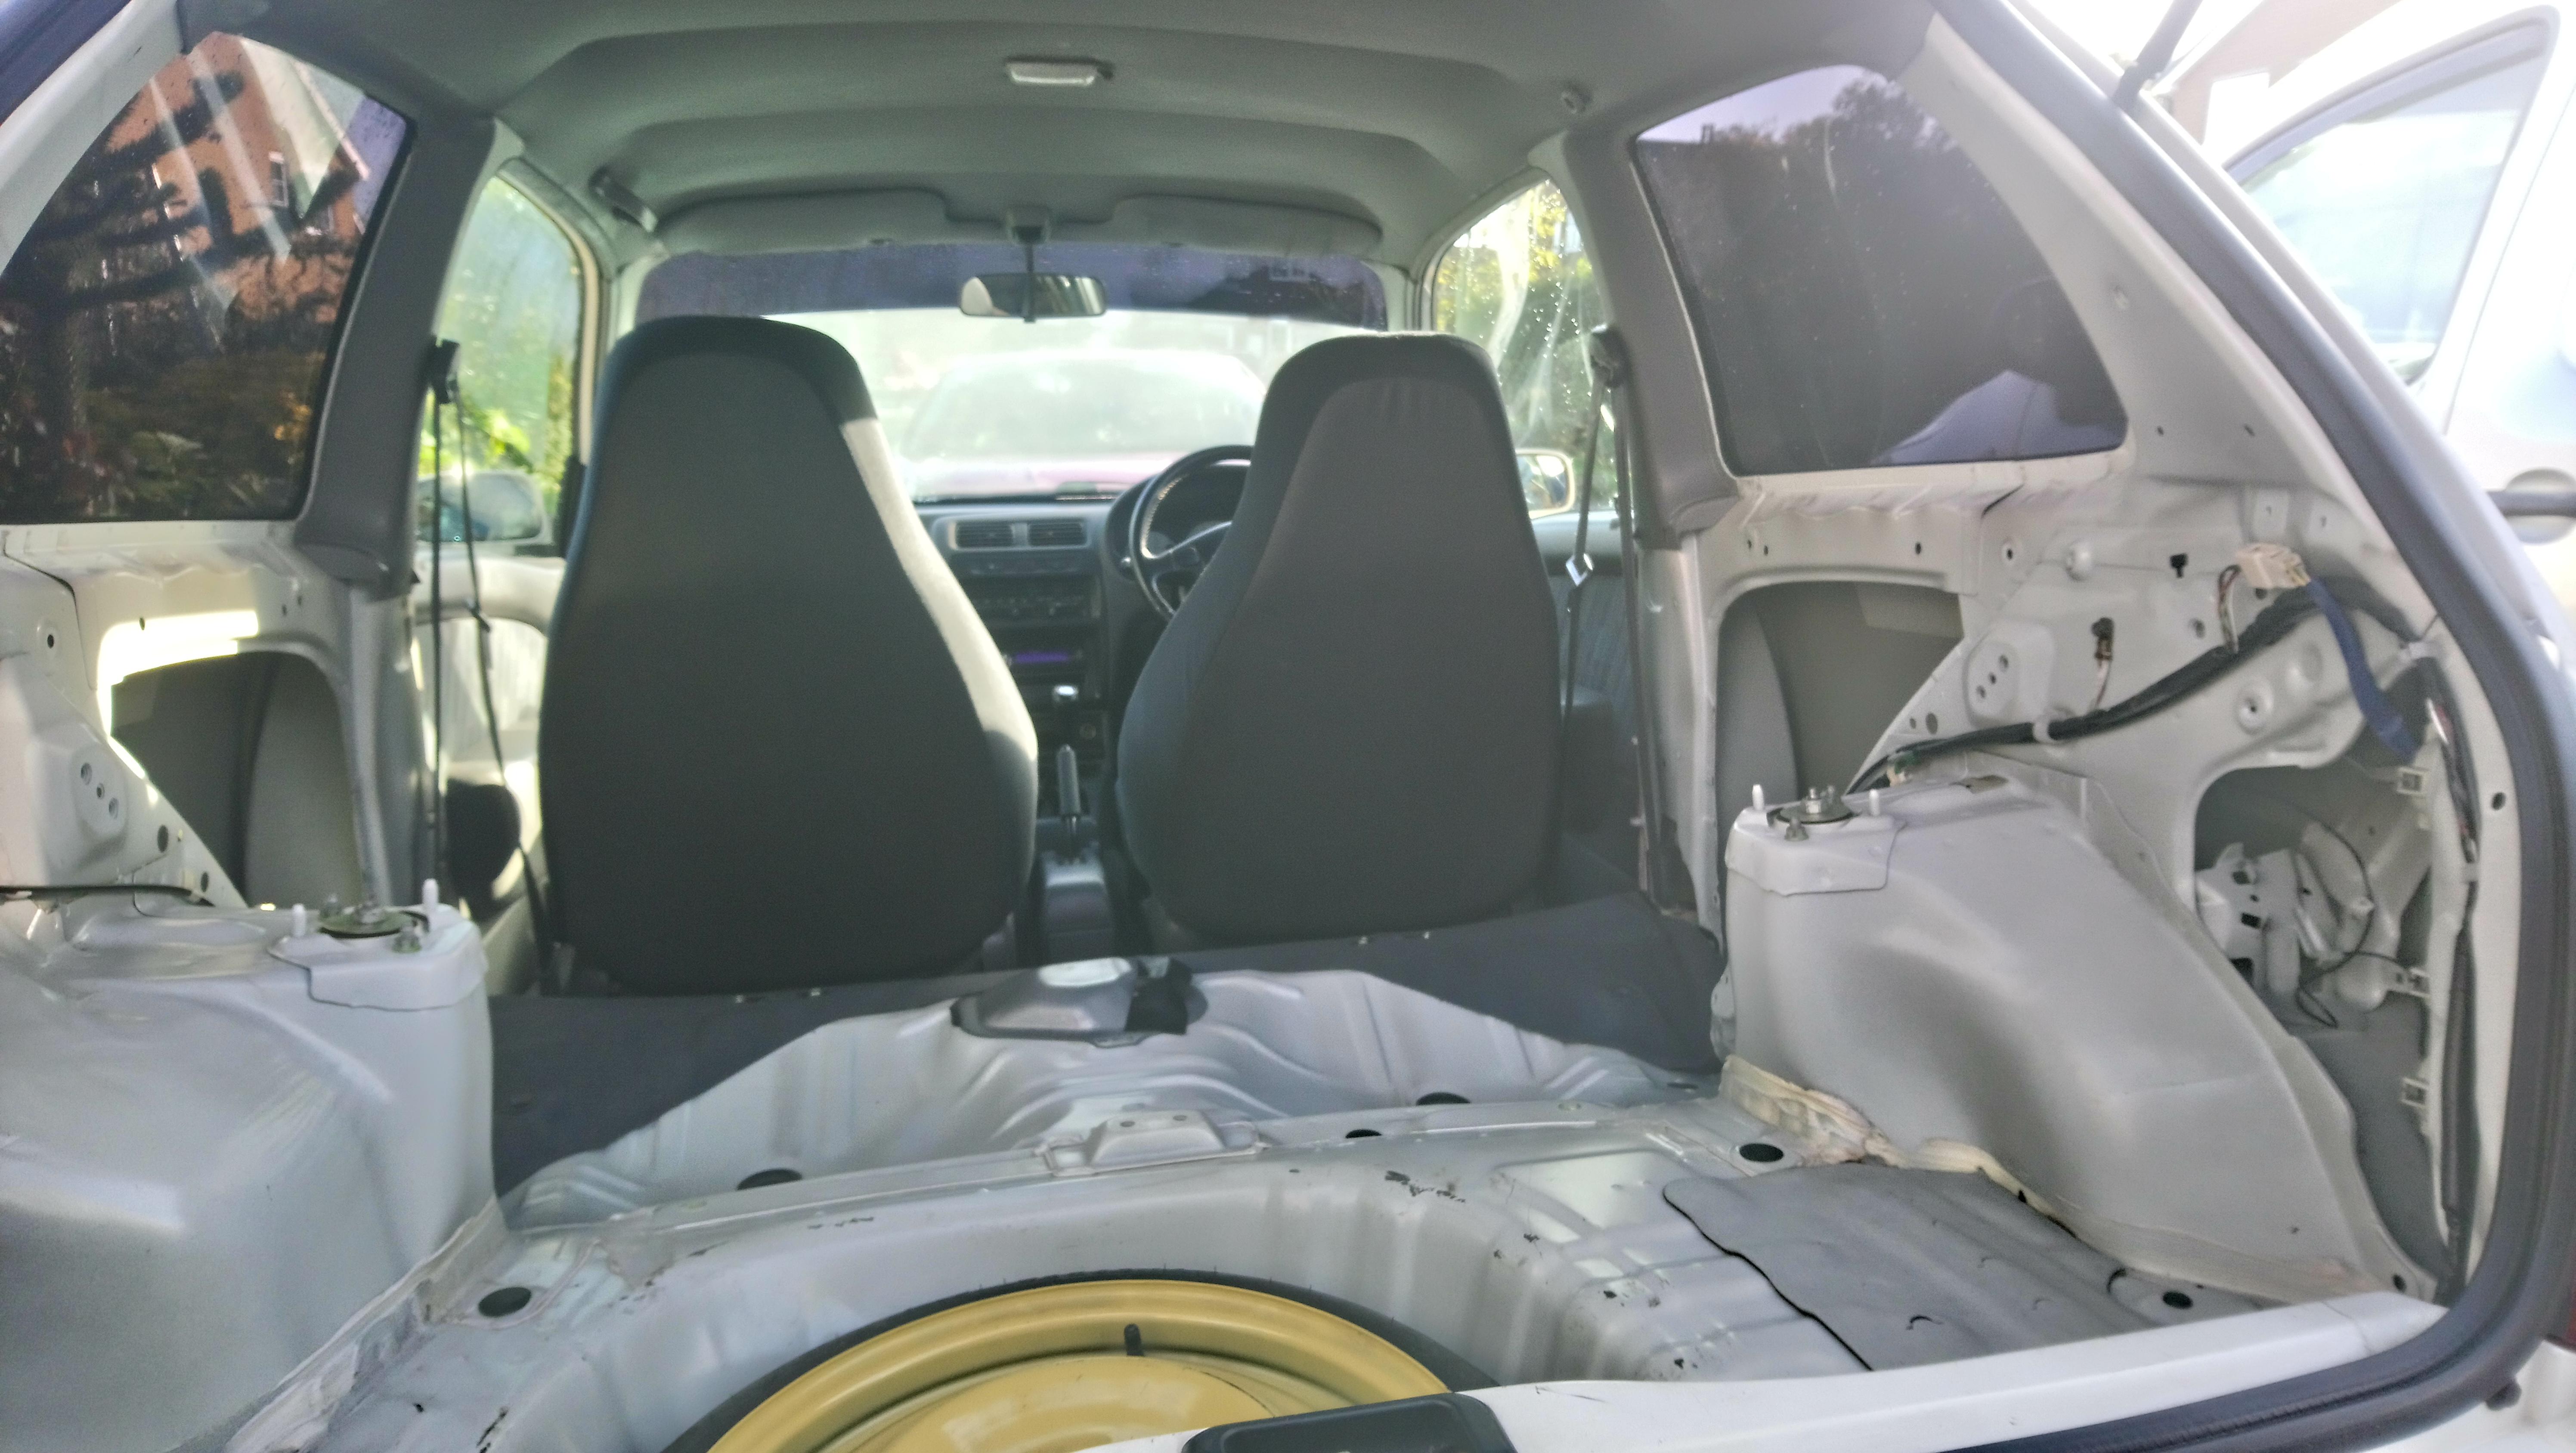
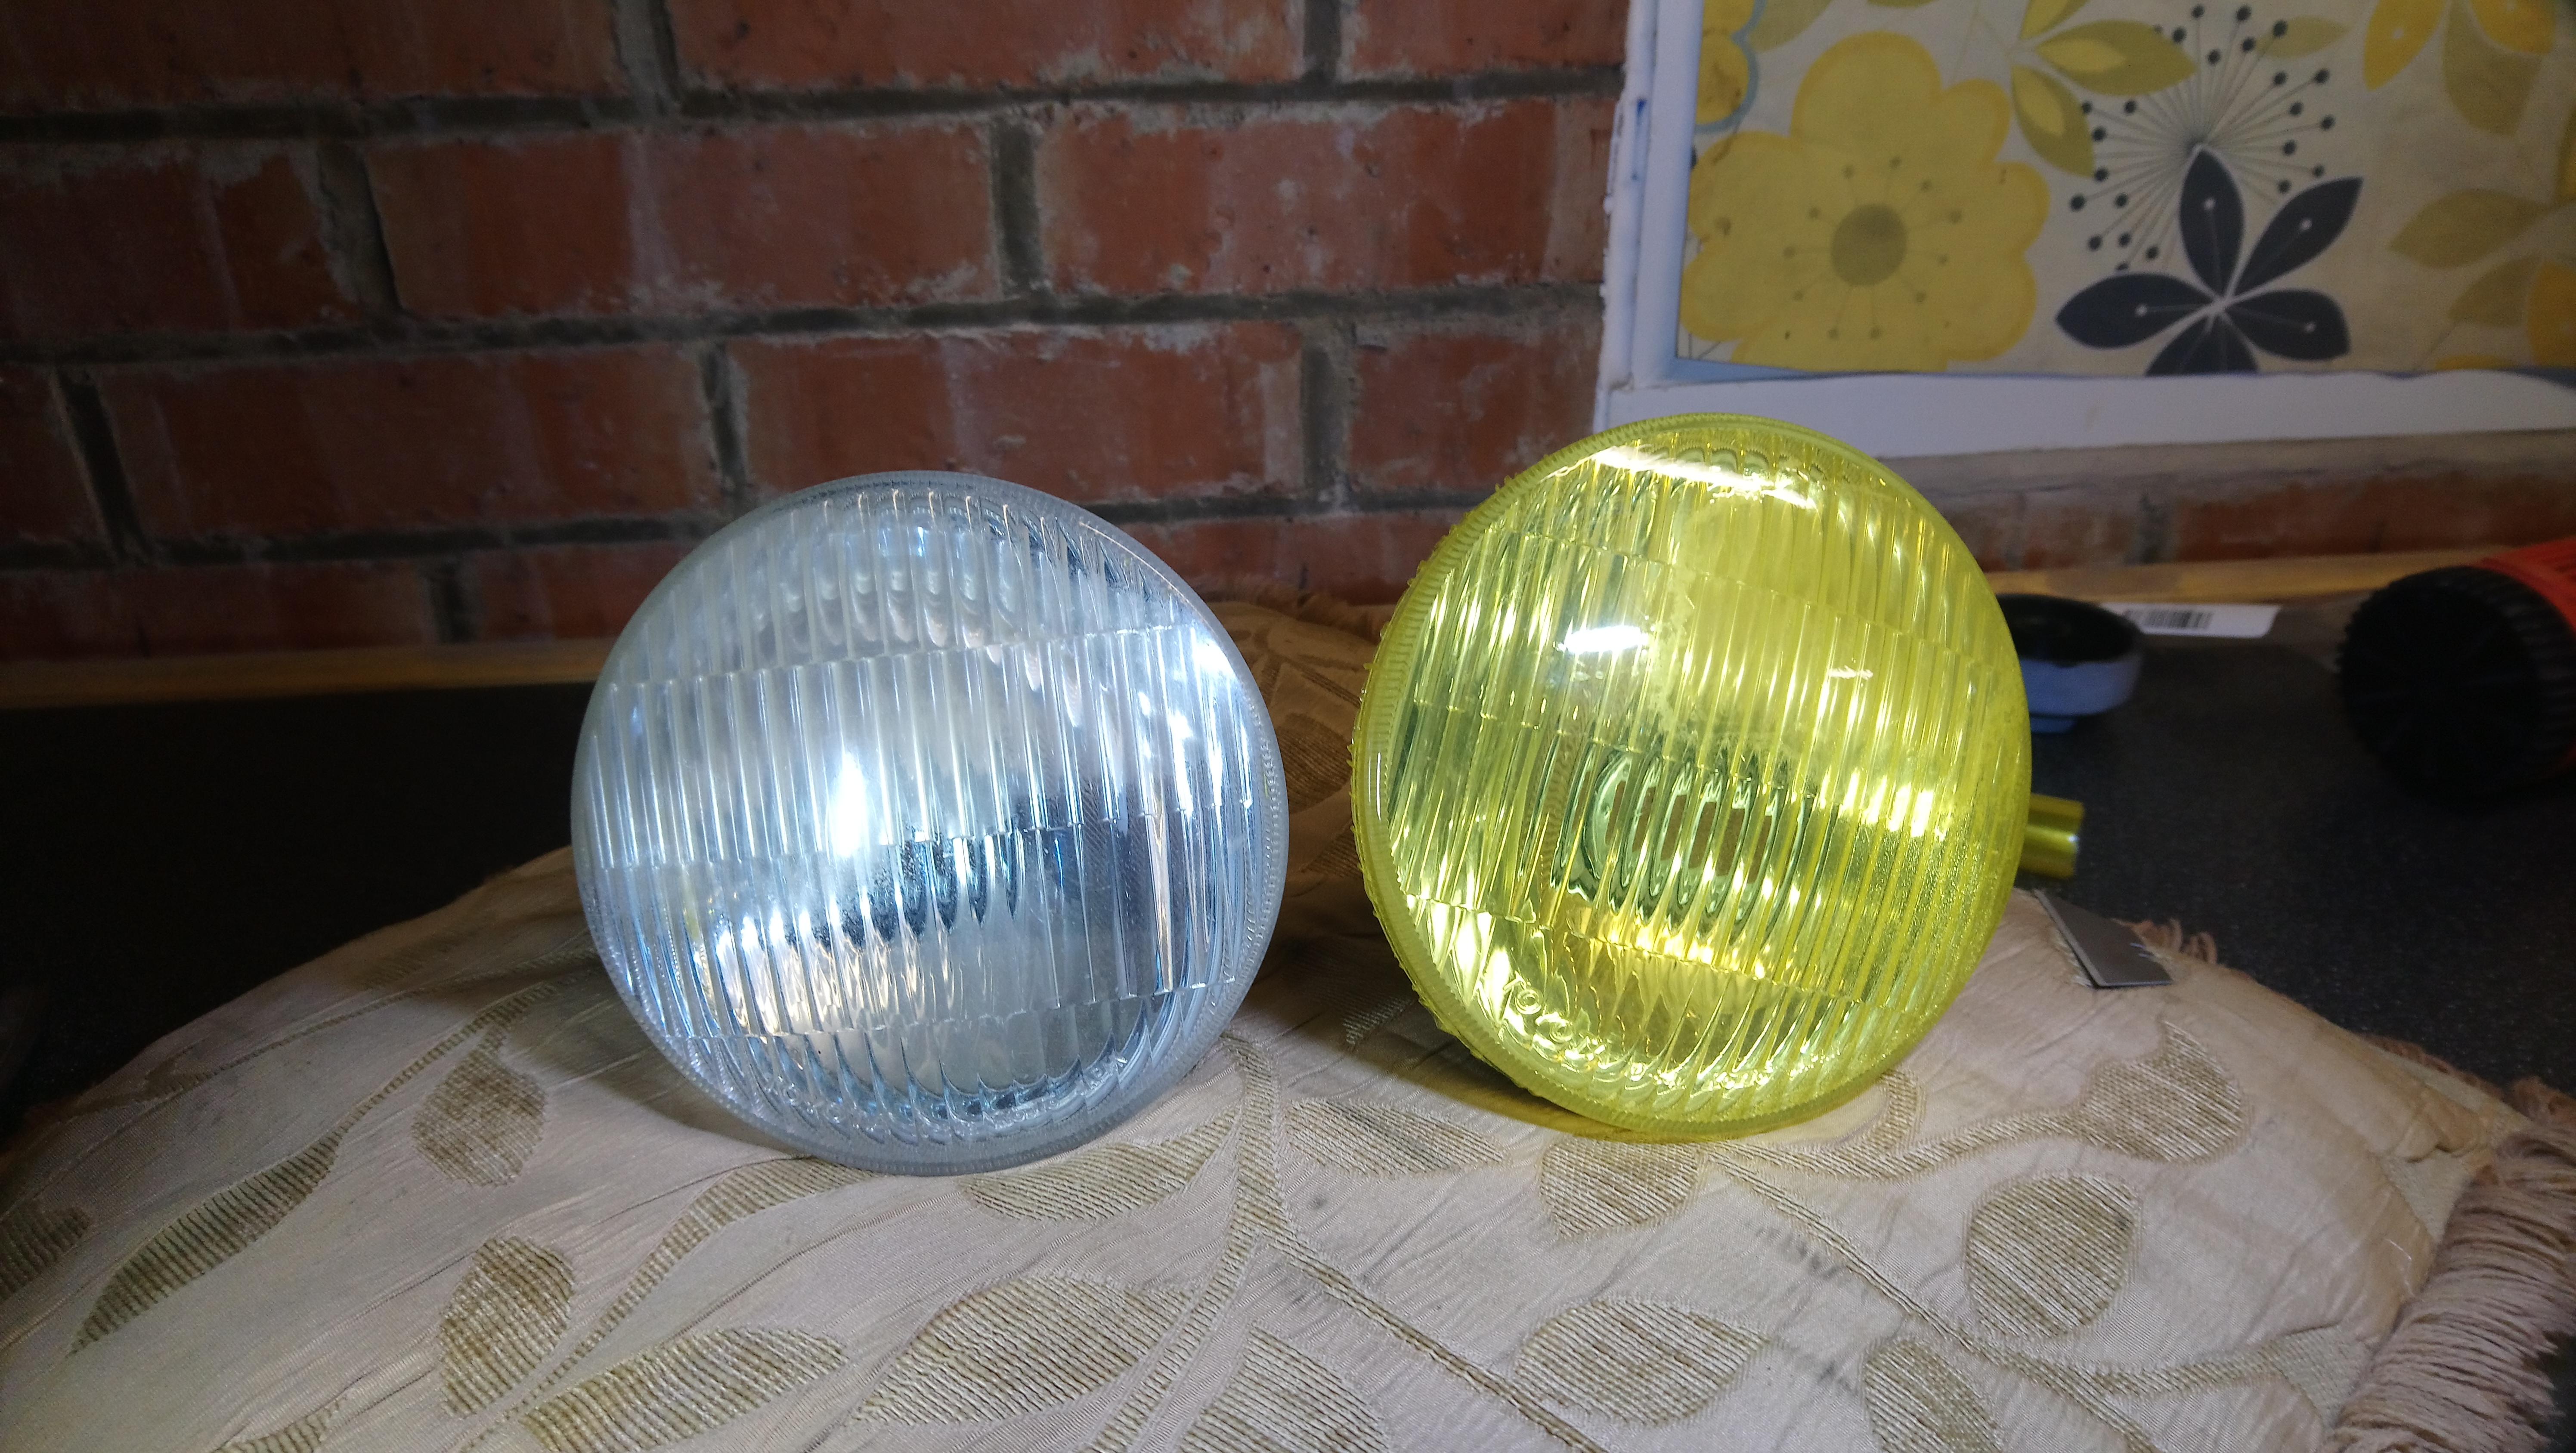
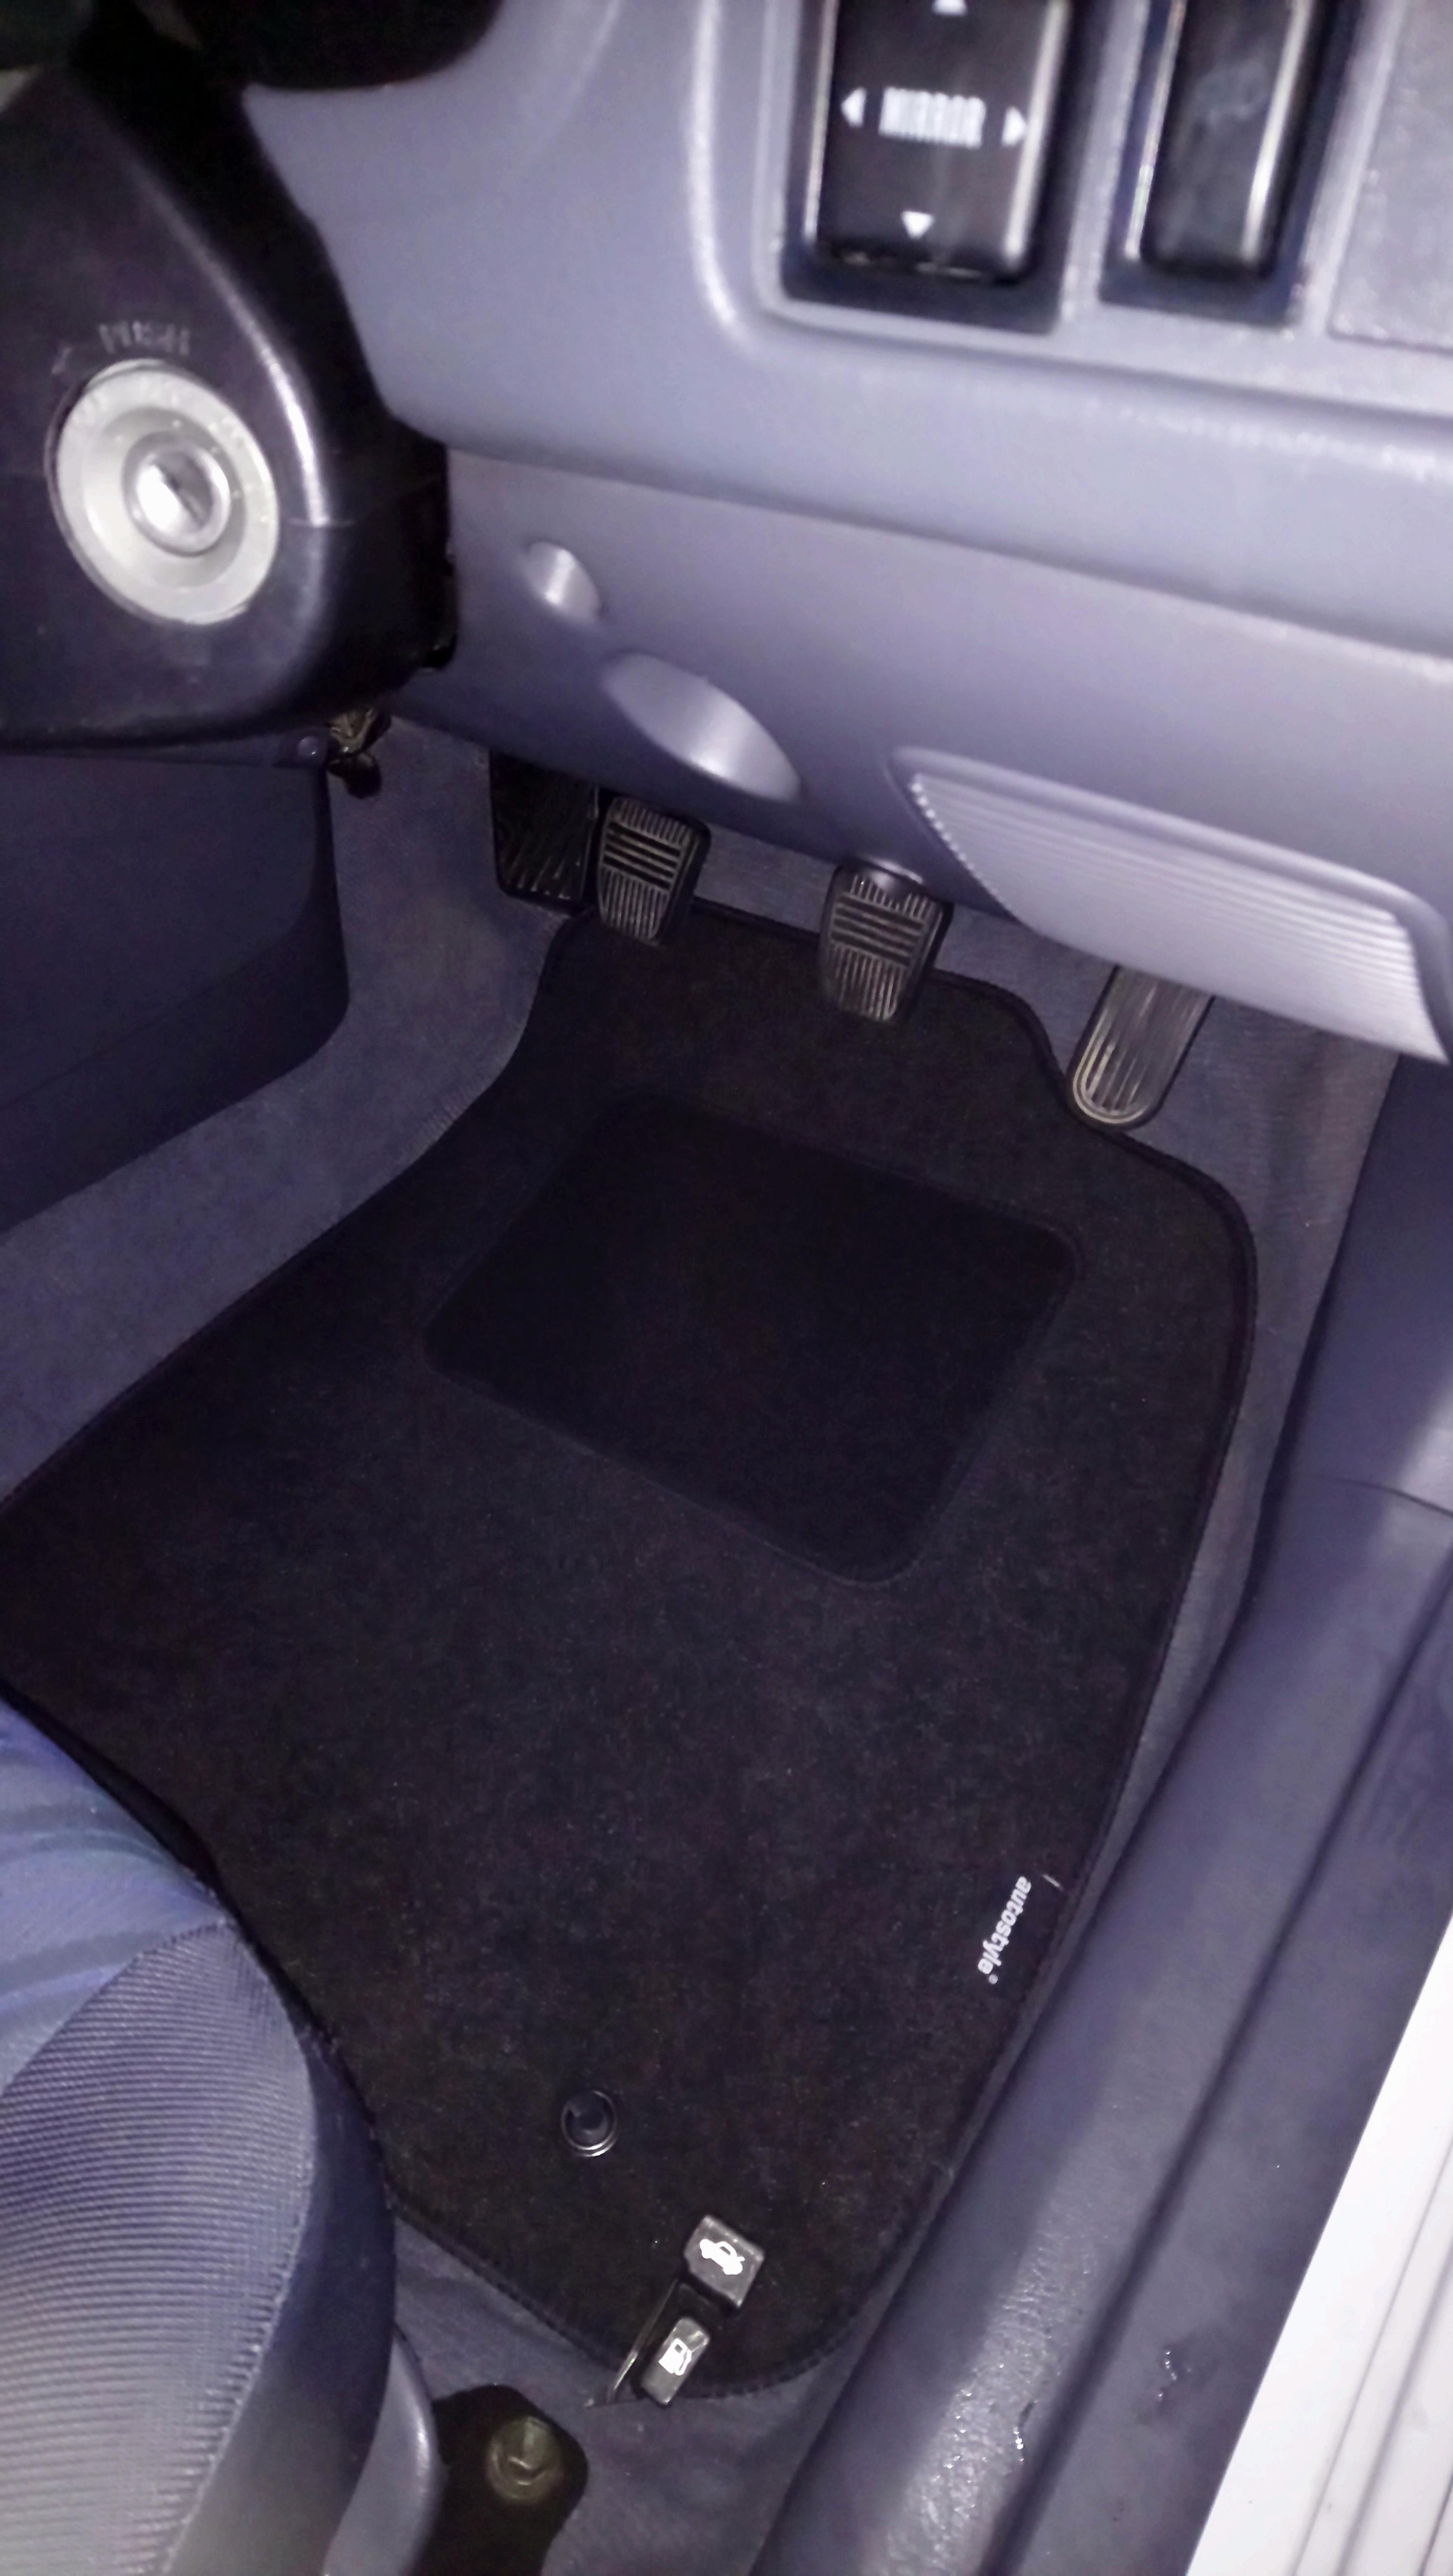
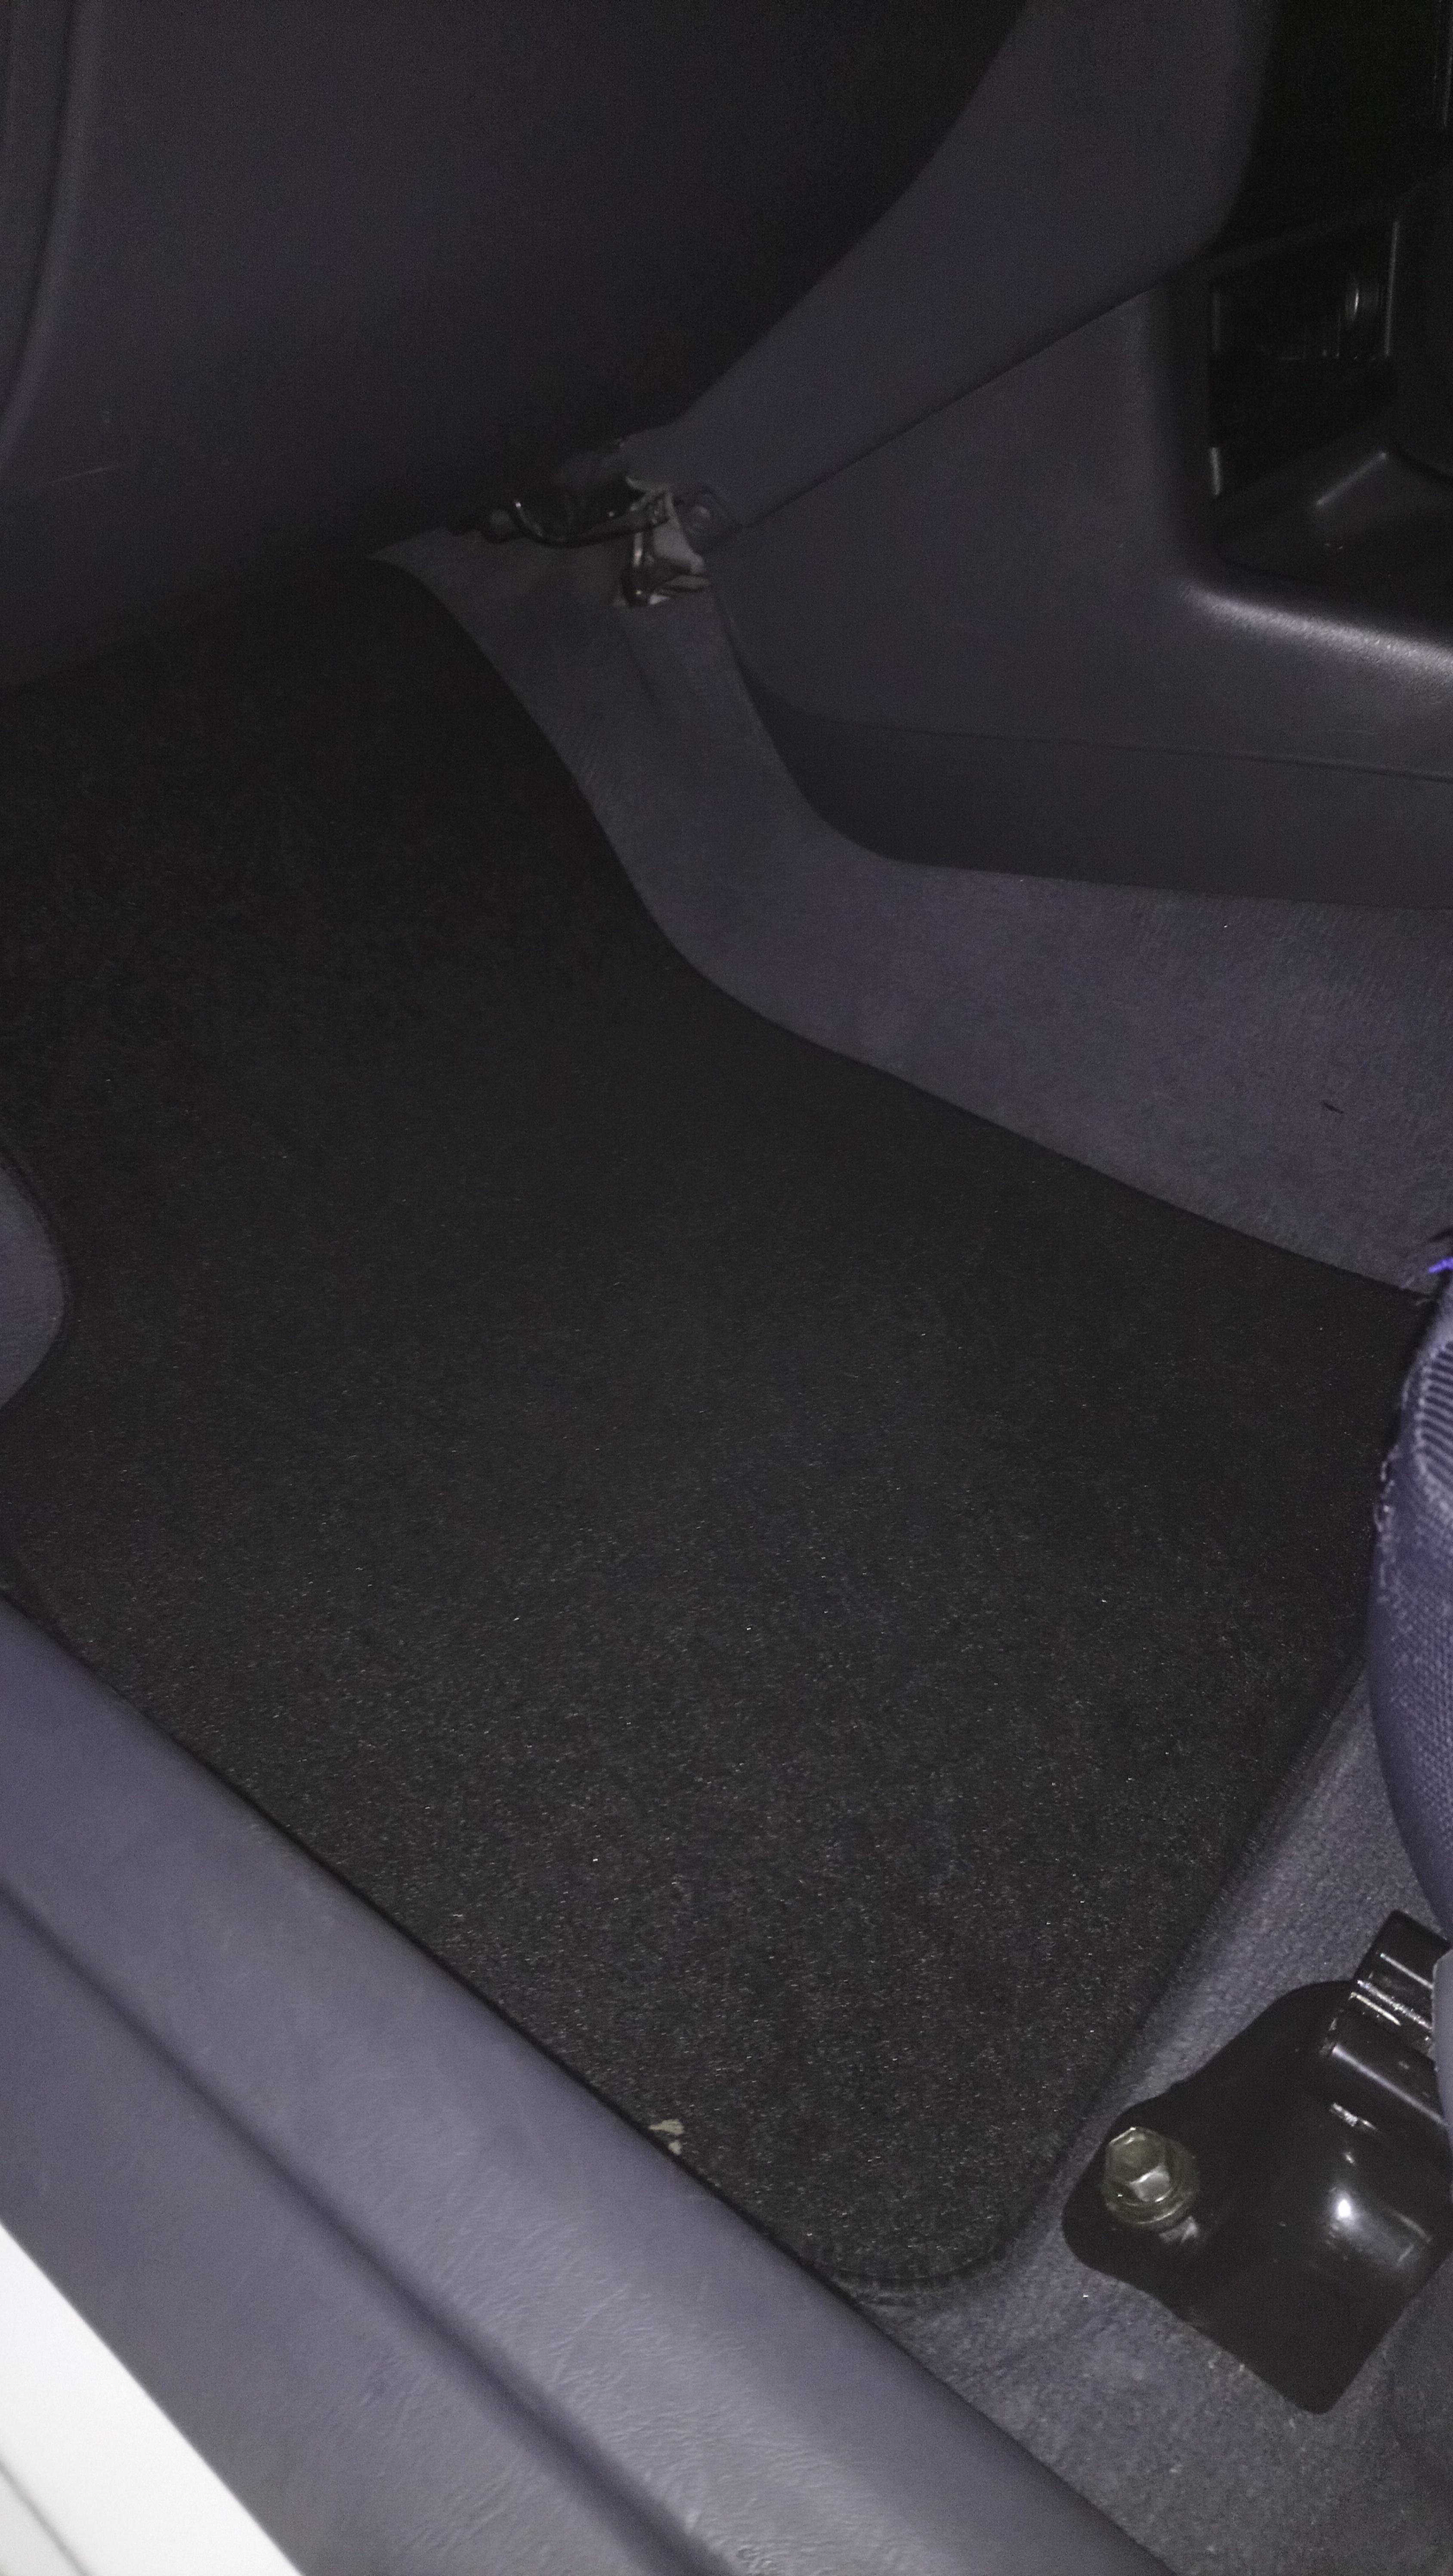
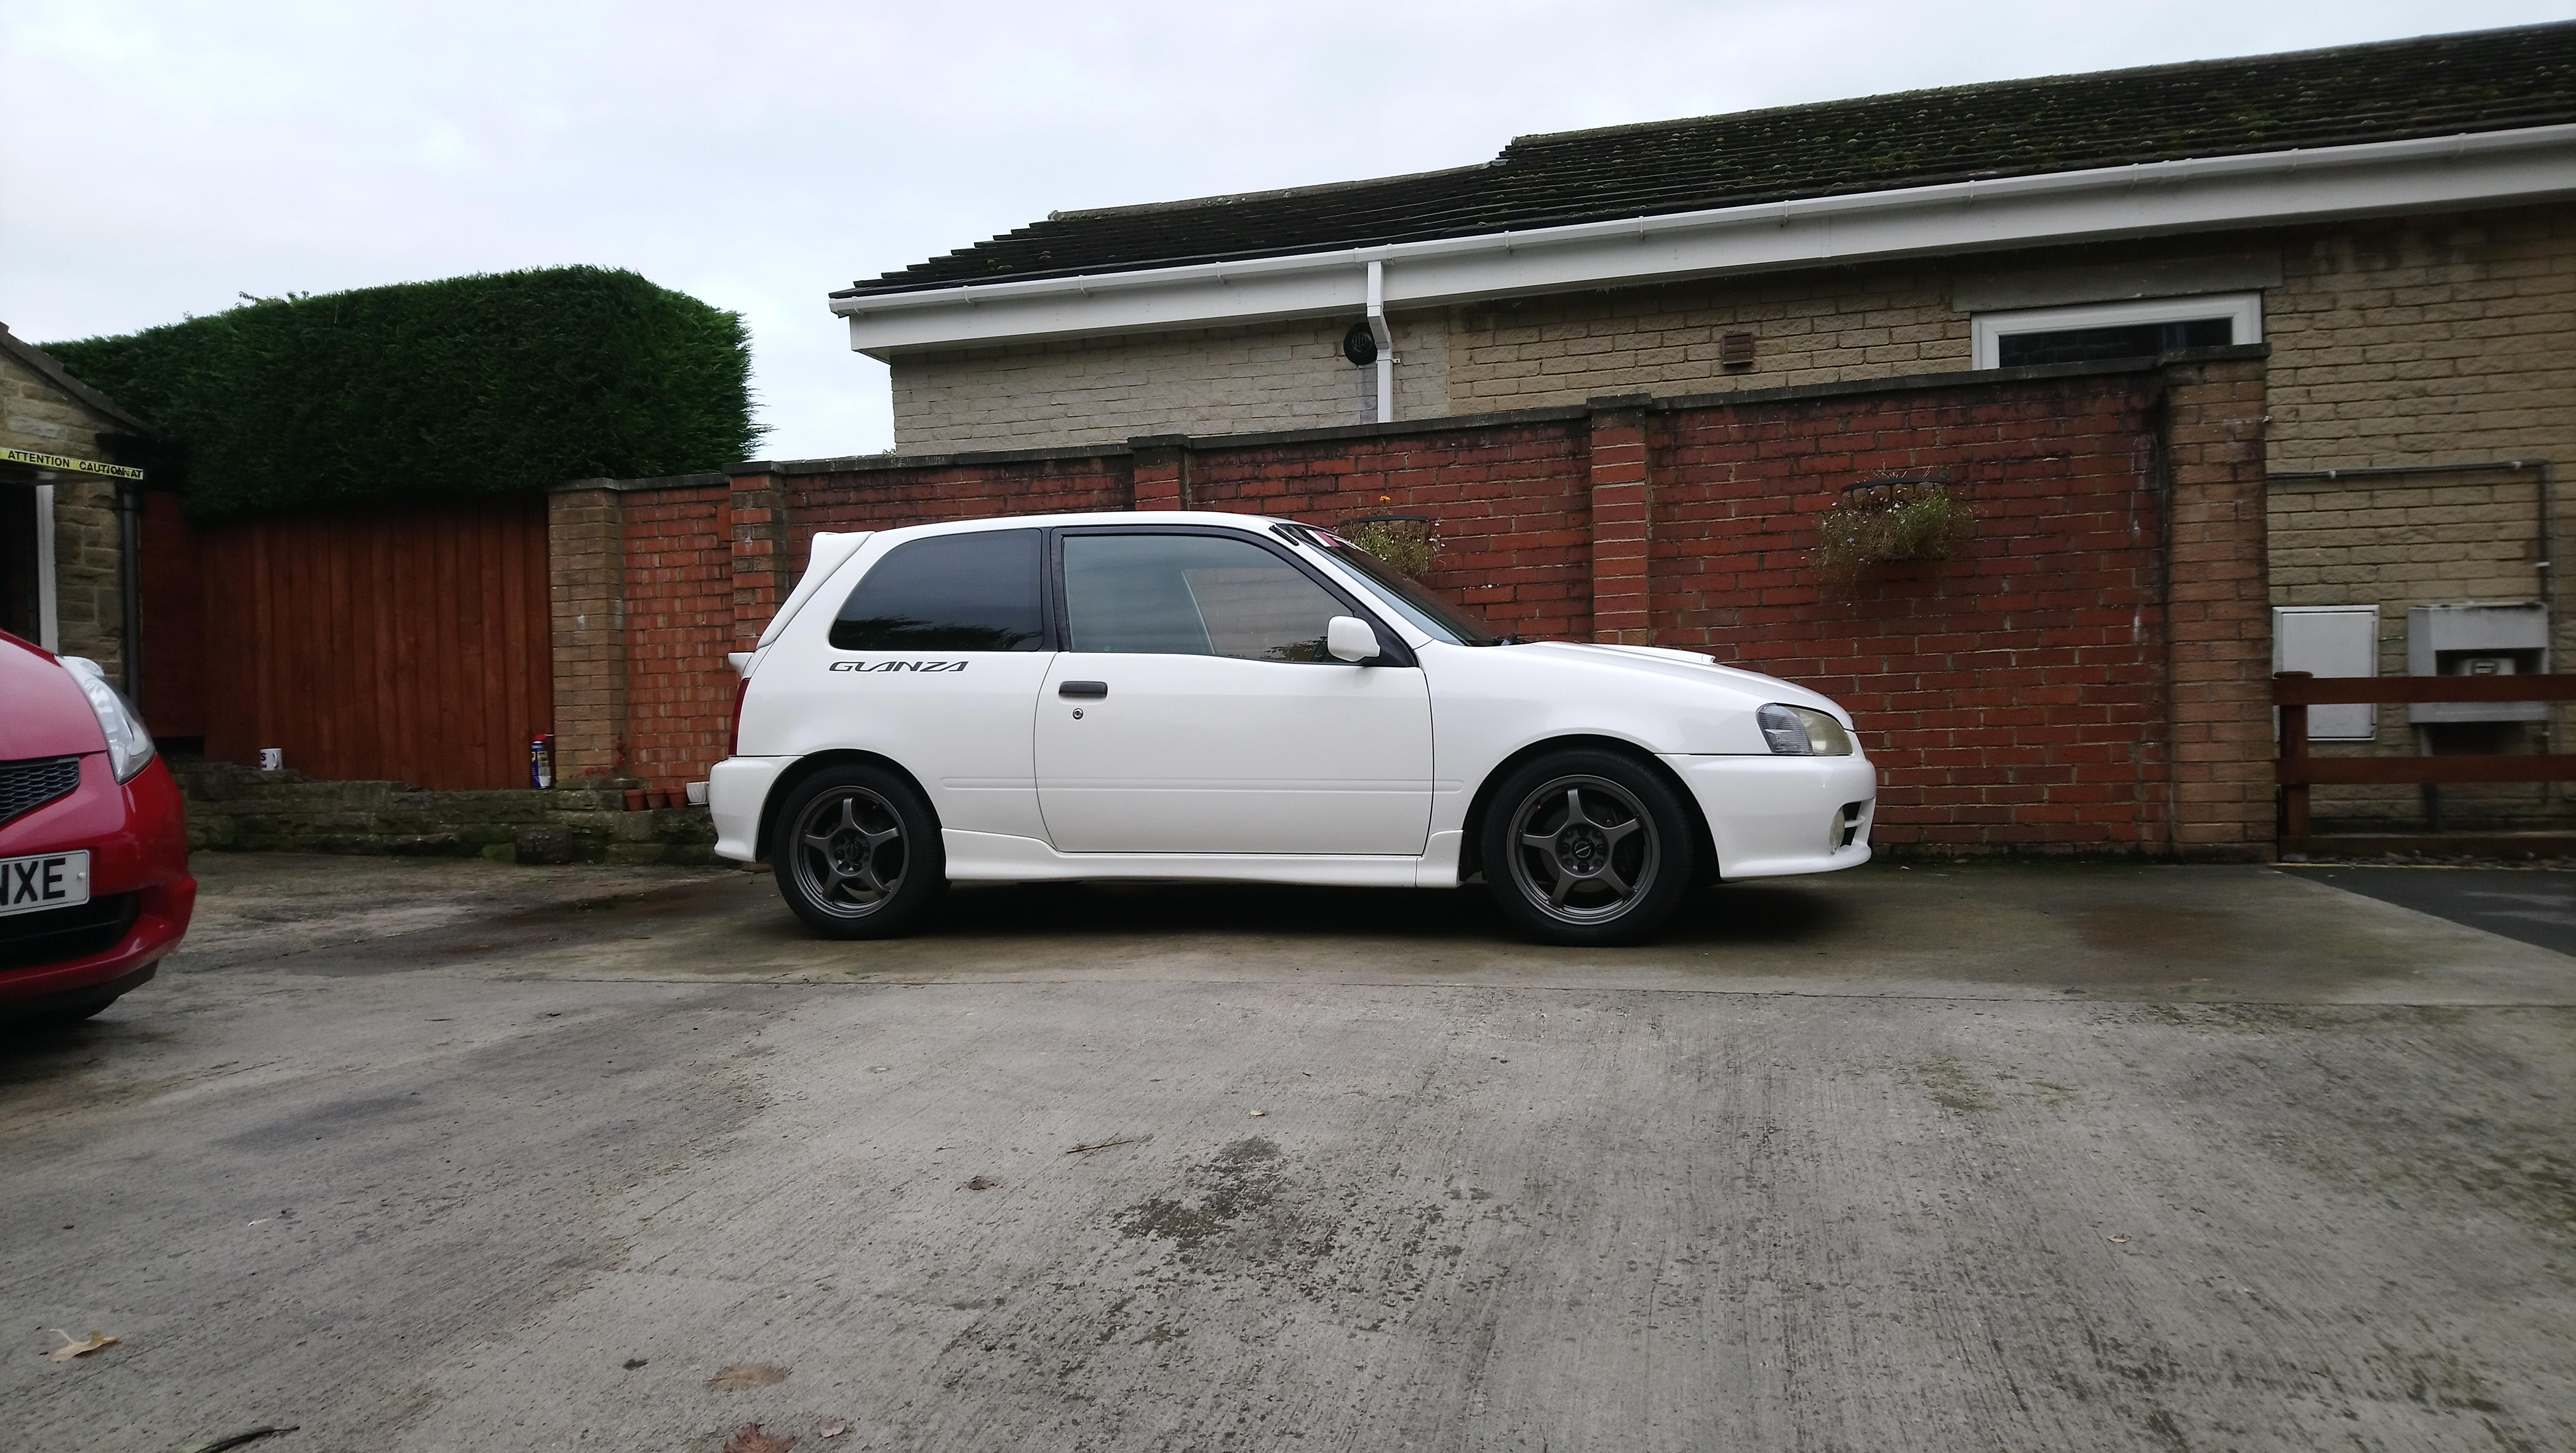
Over the next month or so I carried on making small improvements to the car. I removed the rear seats, fitted a new sunstrip, new gearknob, tinted the front fogs yellow, bought some custom mats for the car and gave the interior a good clean.


-
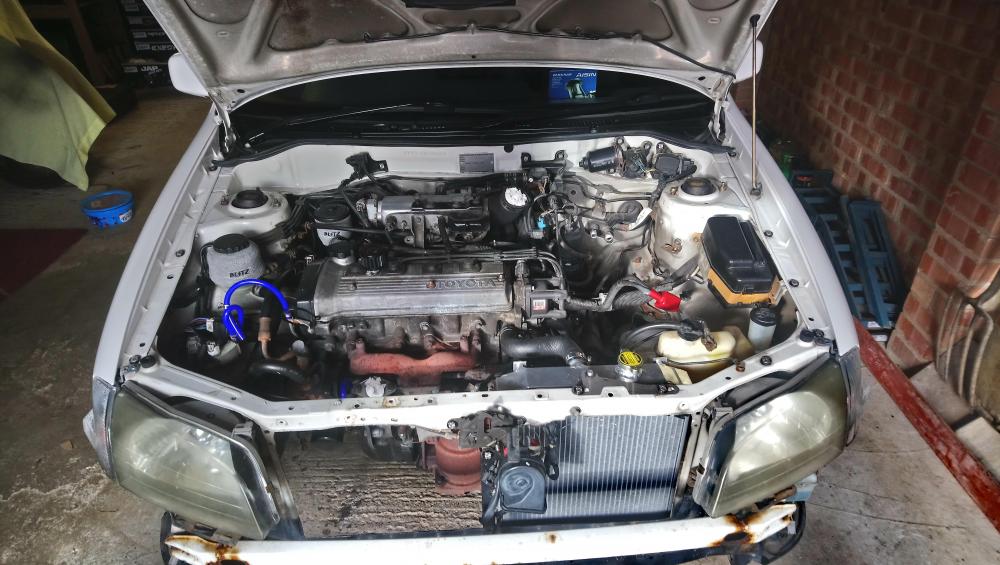
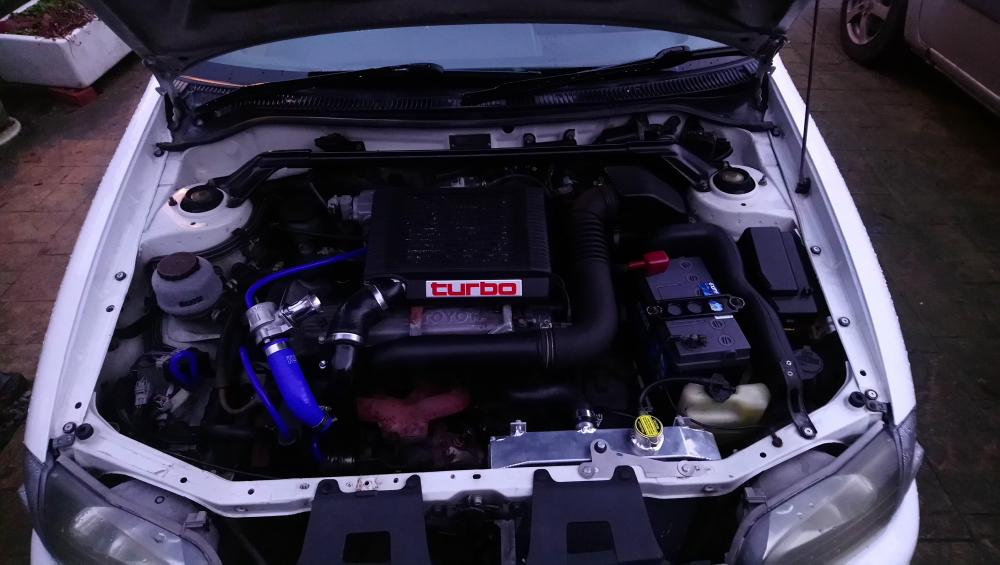
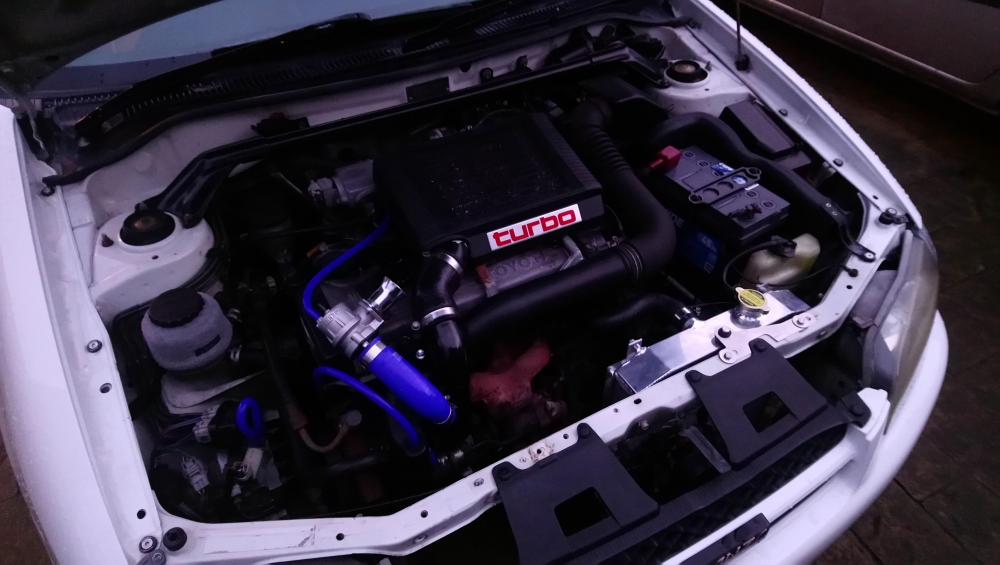
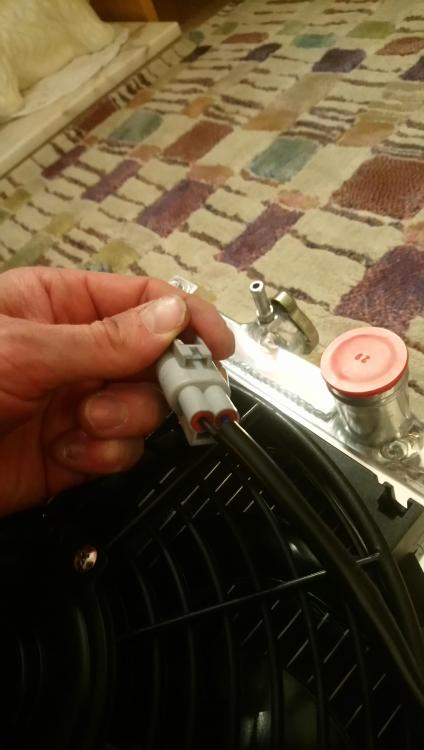
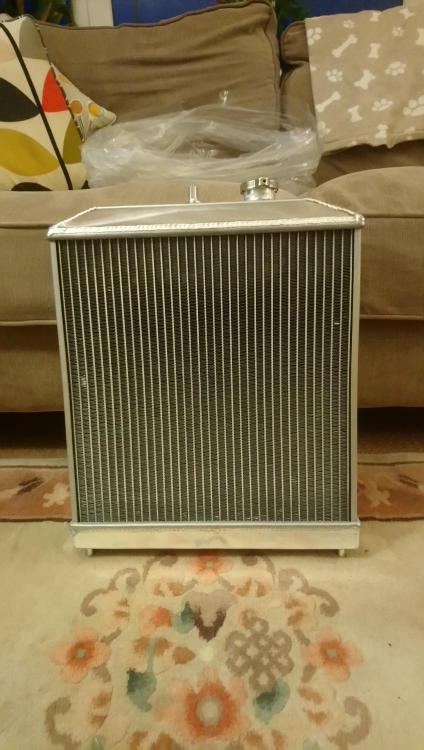
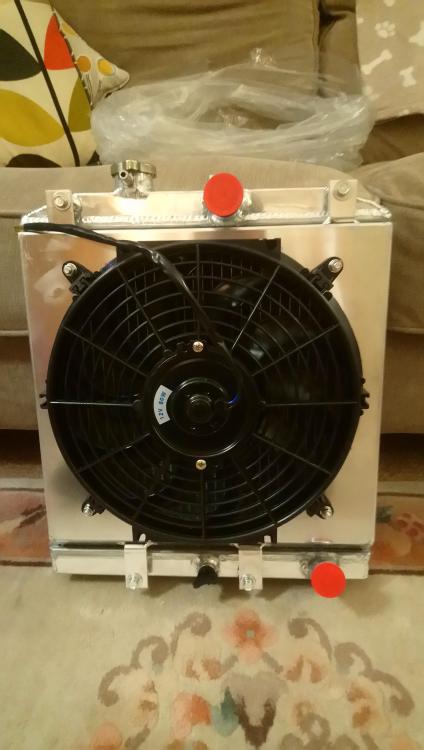
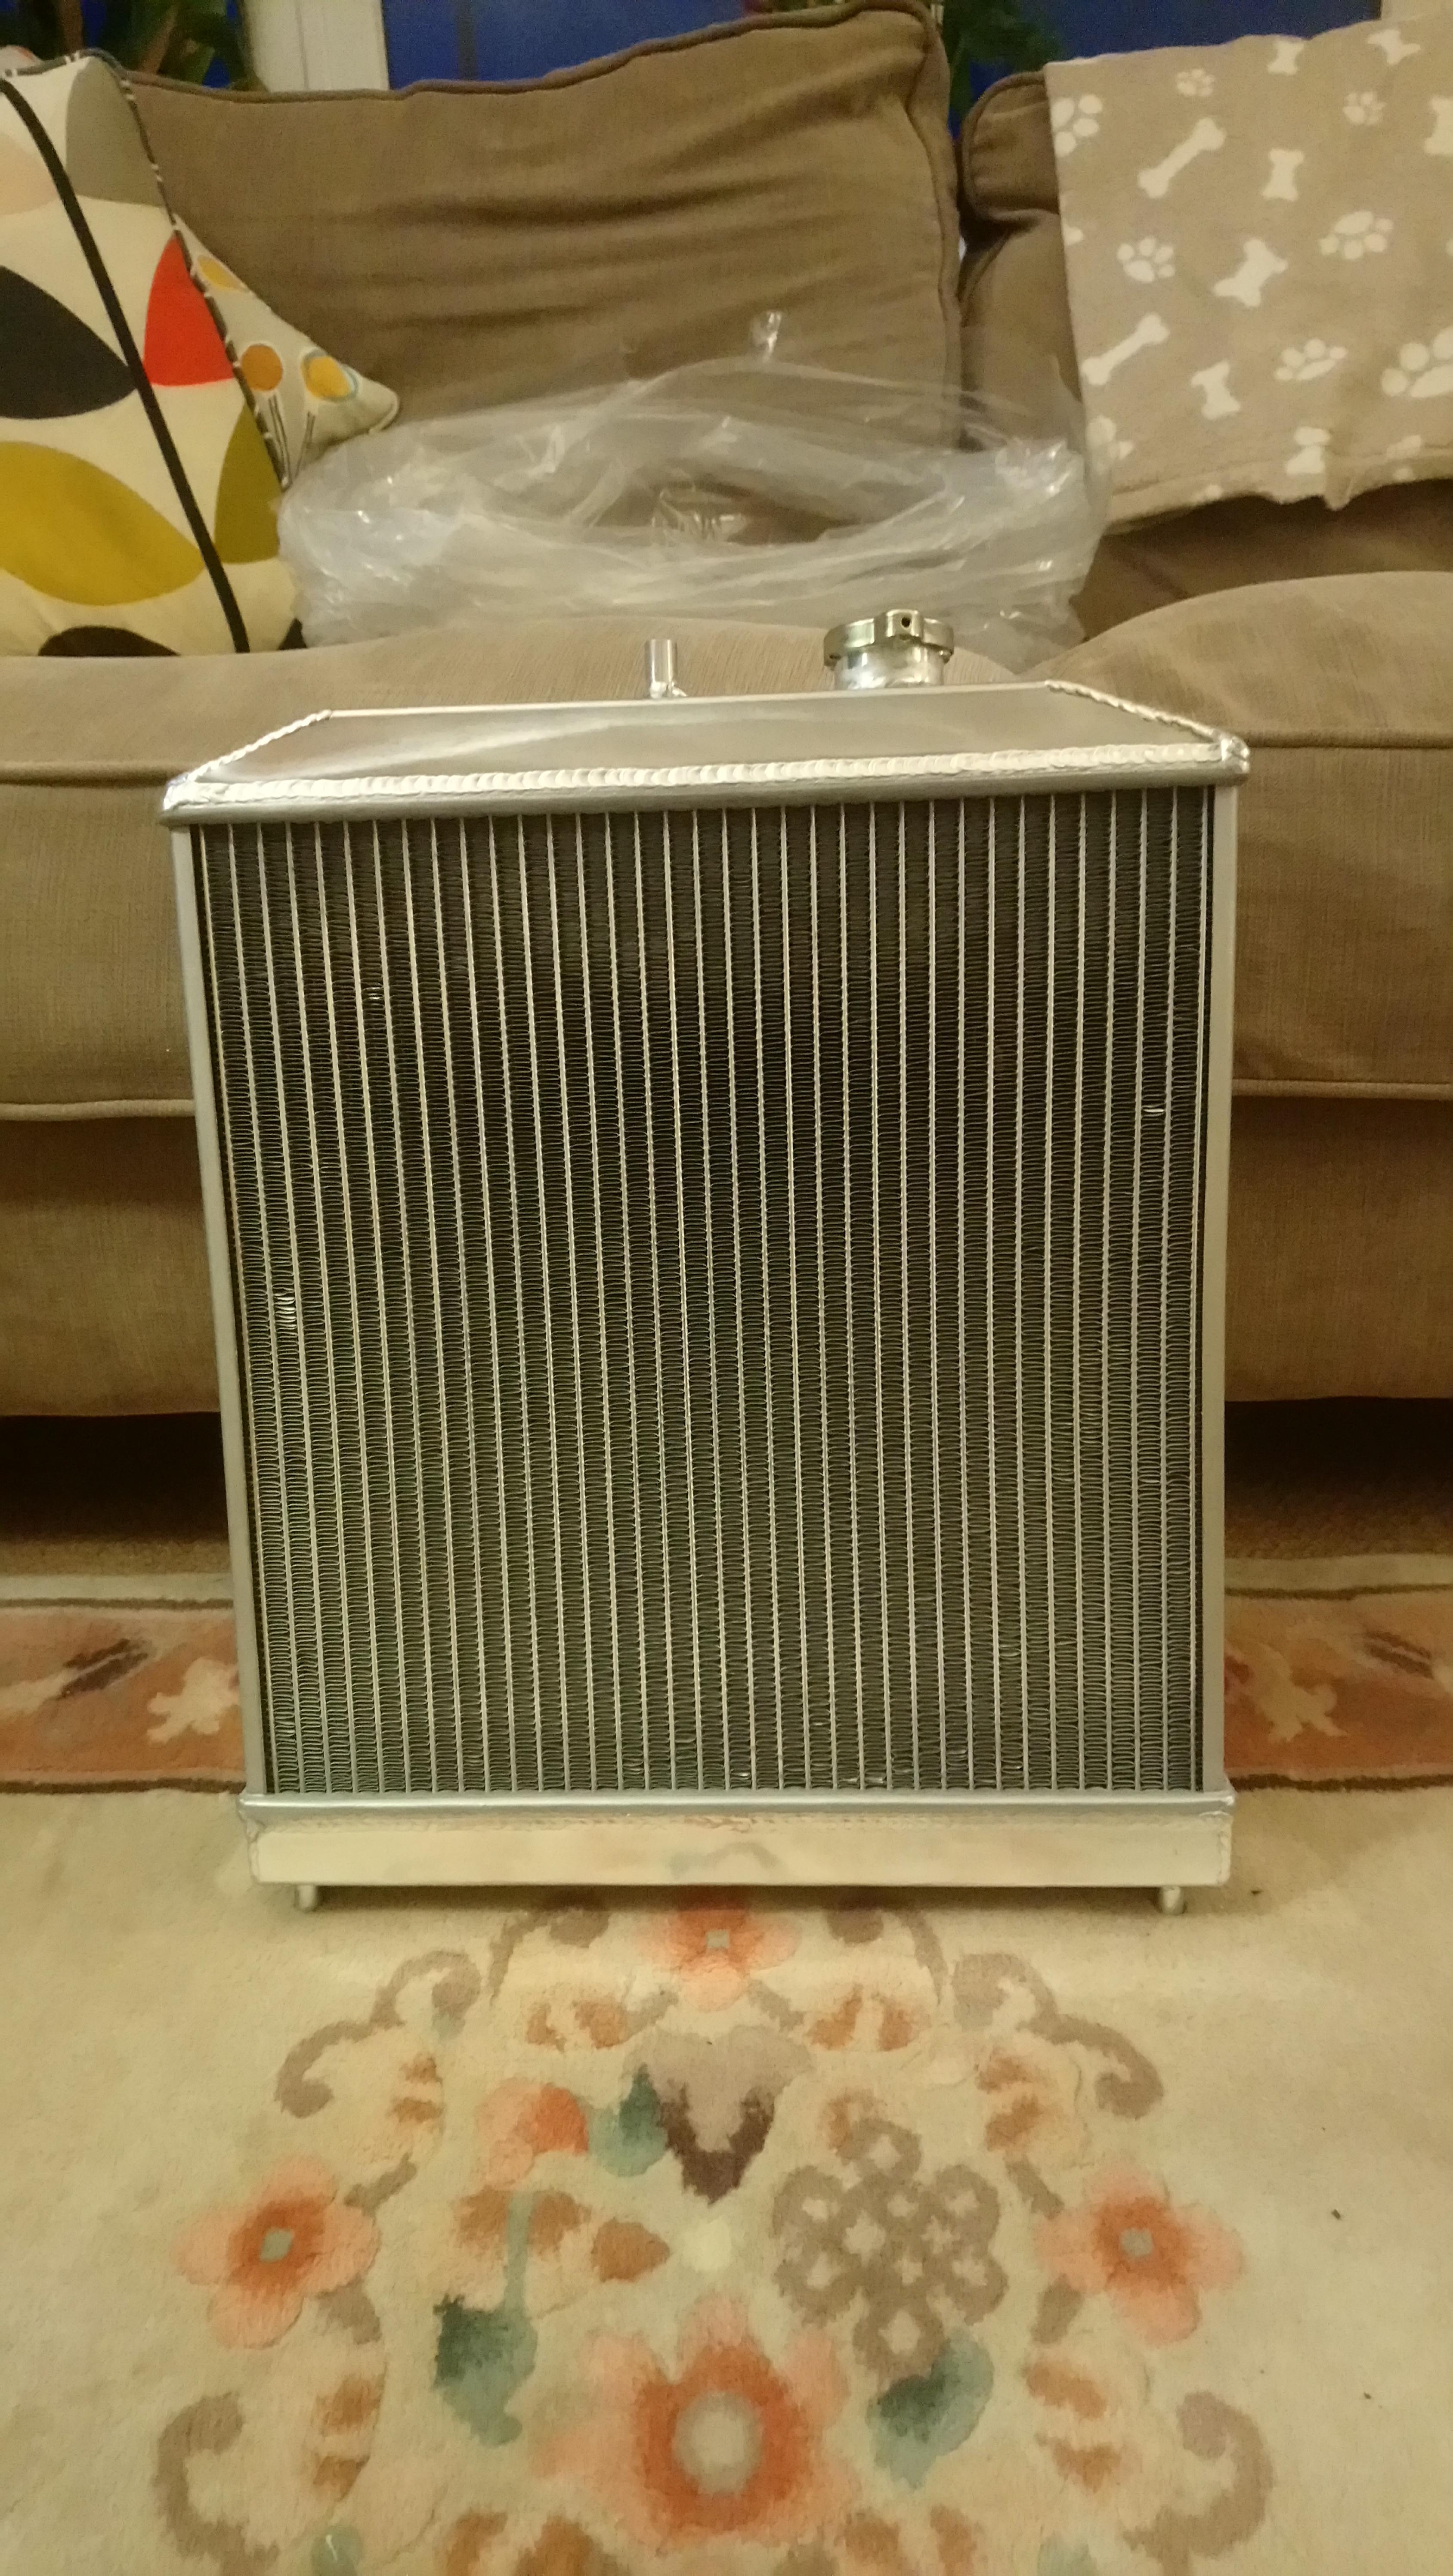
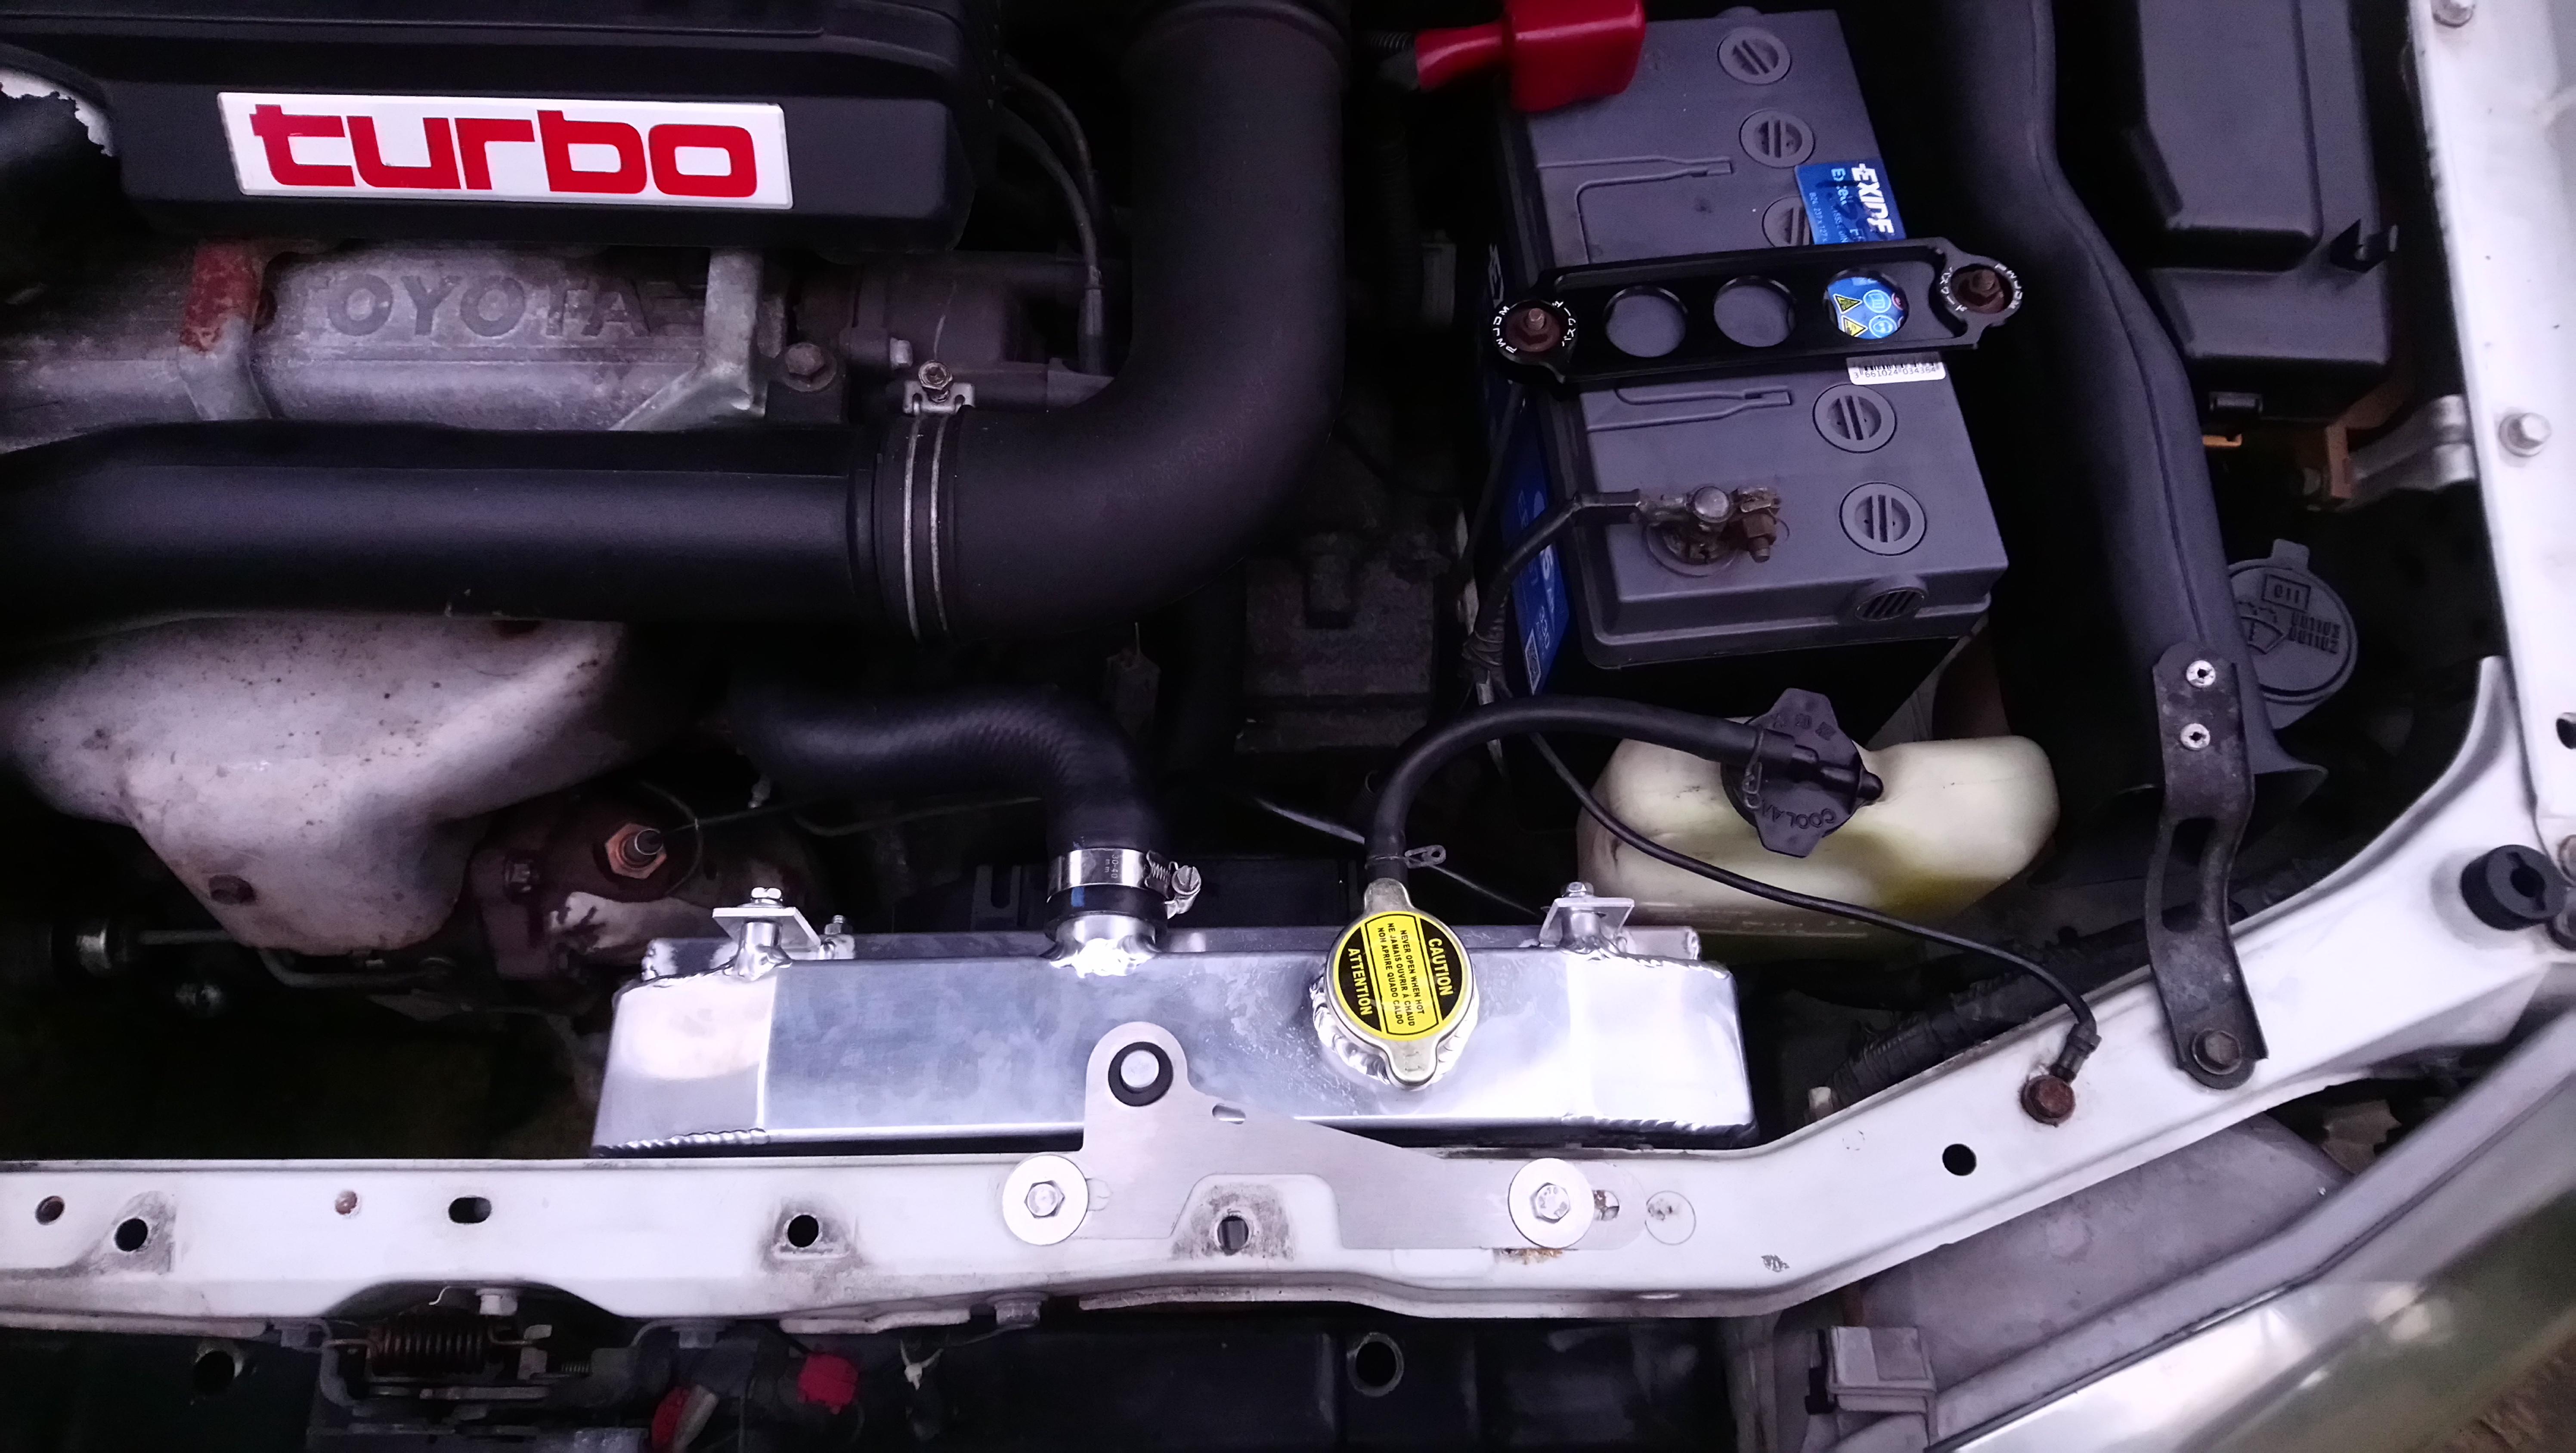
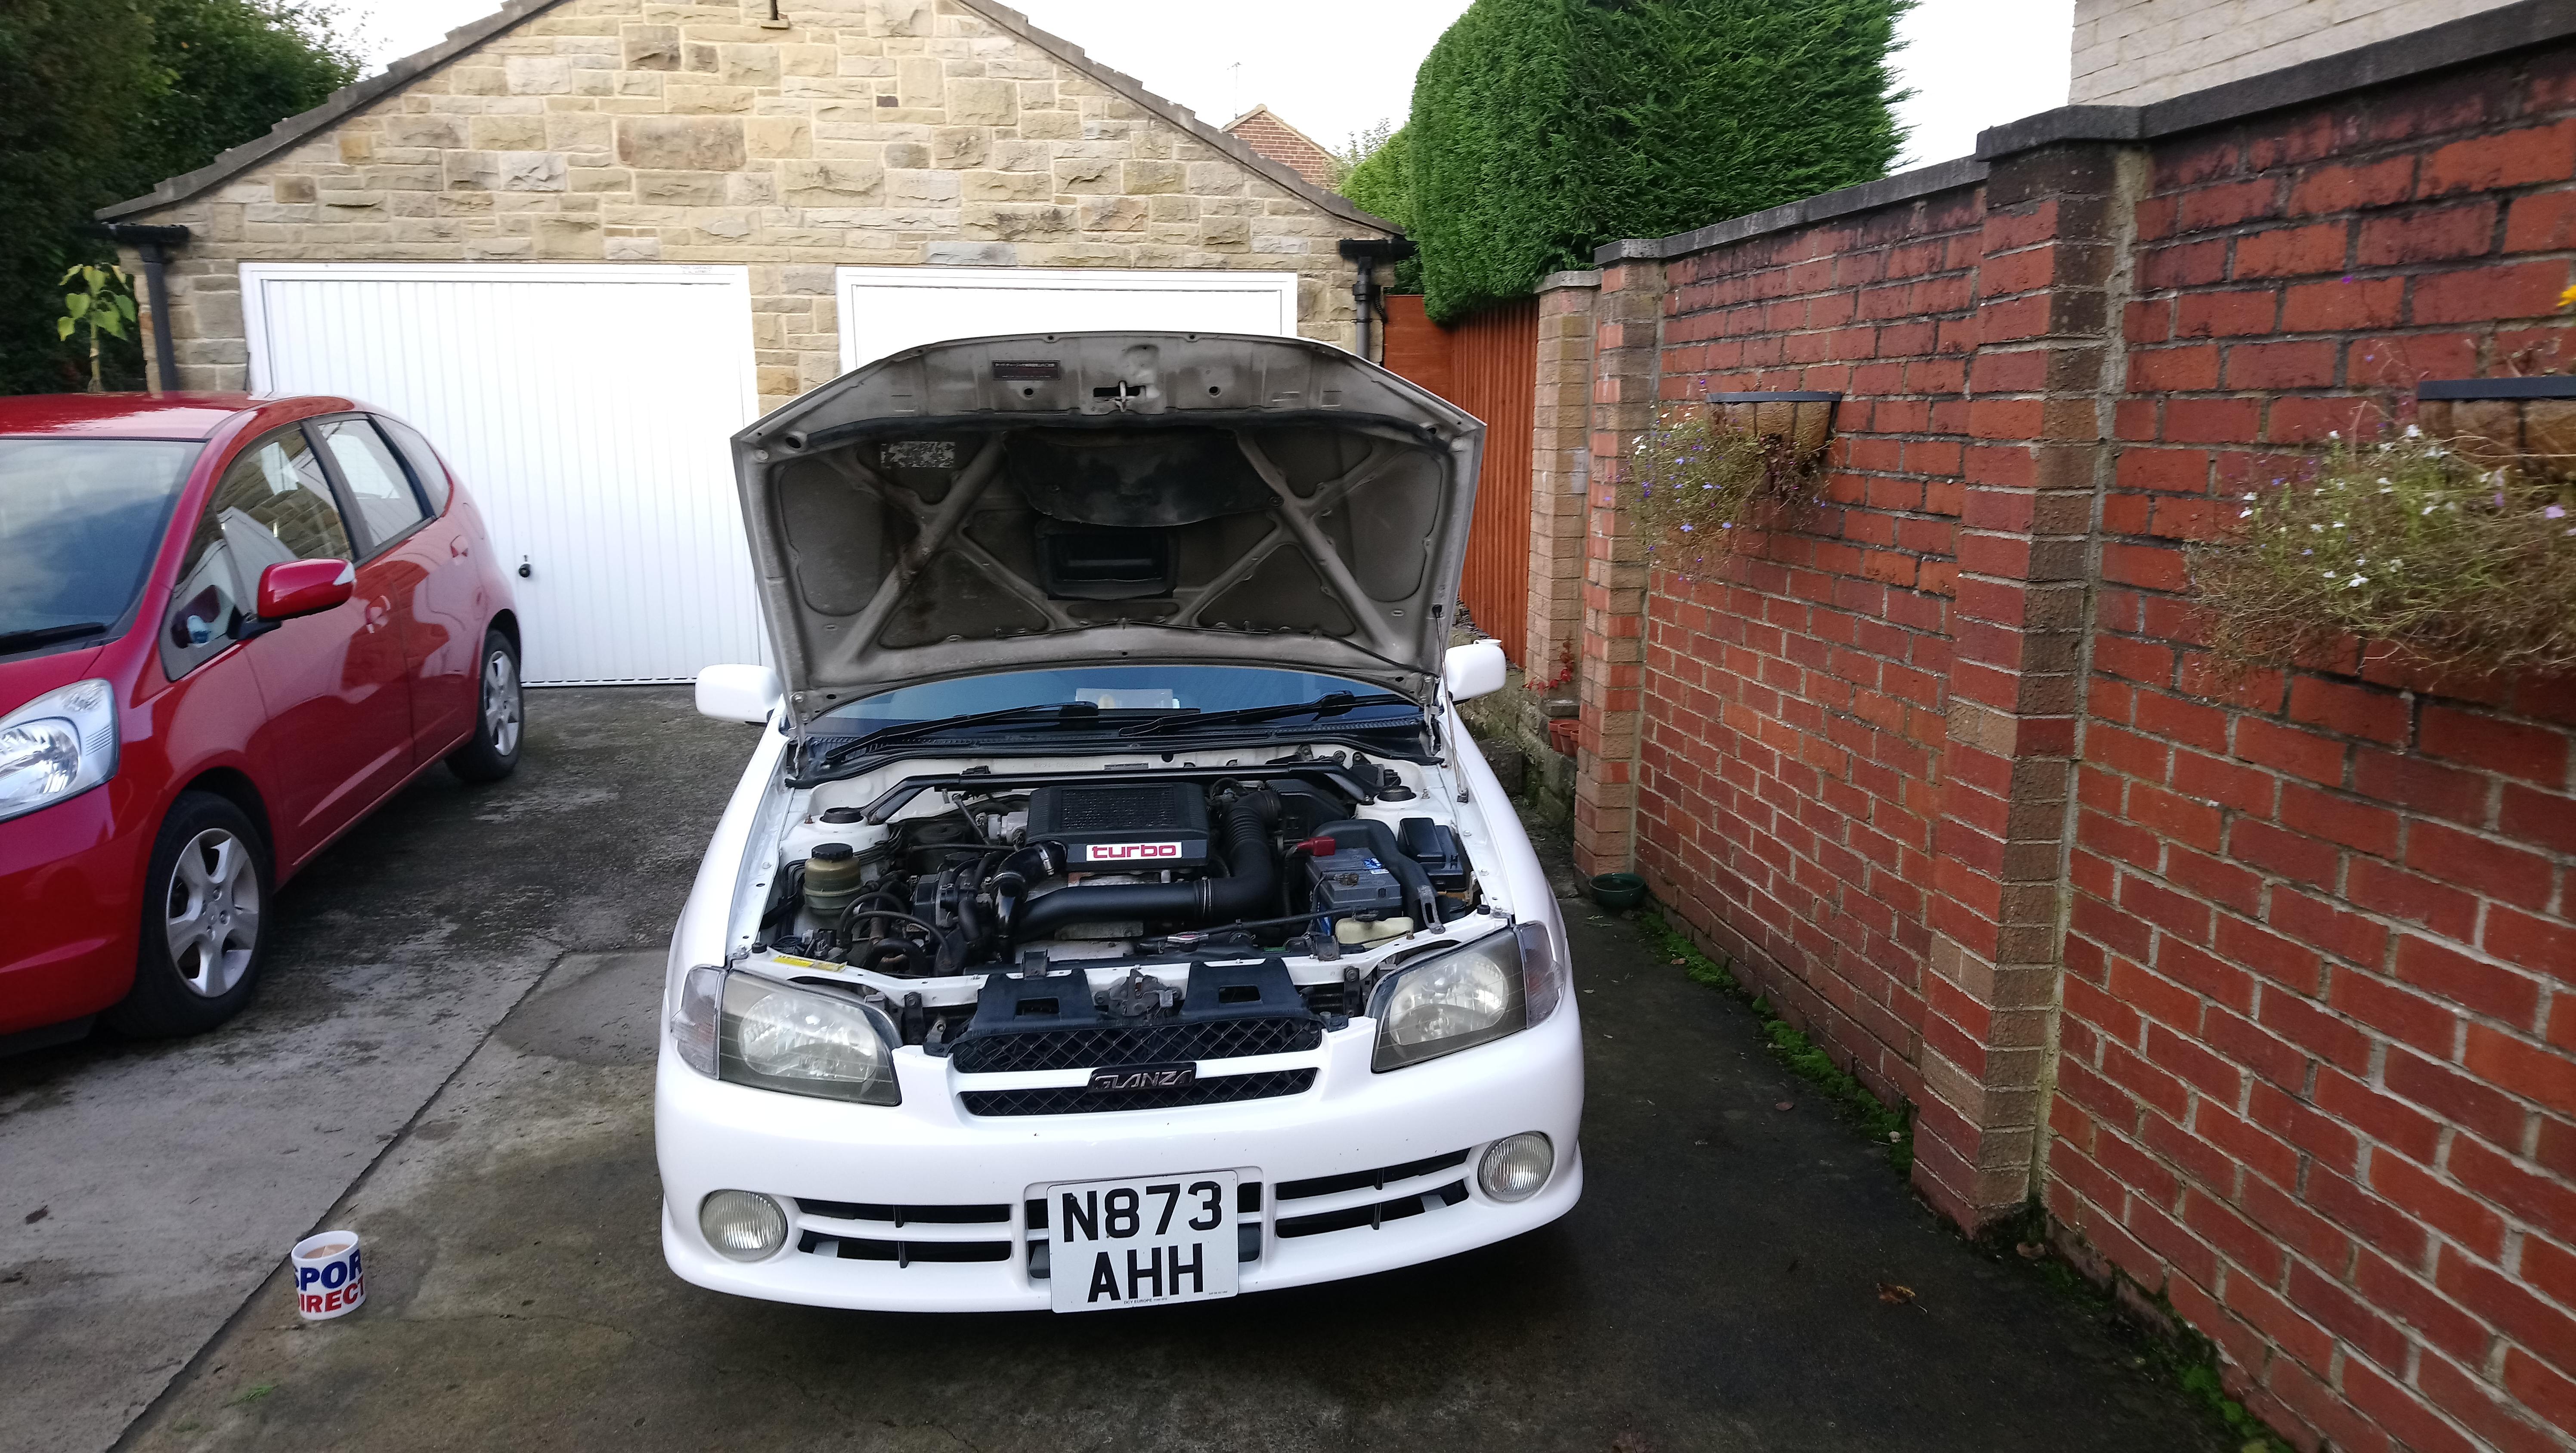
After getting the car home the following day me and a mate gave the car a quick service including an oil and filter change and new spark plugs. While doing this I noticed how tight it was at the front of the engine so a few weekends later I removed the air con and fitted a new alloy triple core civic half rad with fan and shroud to create more room to work. I had the air con system degassed and purchased a shorter belt to remove the pulley then it was just a case of removing the condenser and all of the pipework from the engine bay. I purchased a civic half rad mounting bracket kit from jd tuning on ebay to fit the rad and then just mounted the rad up to the standard starlet hoses with some new stainless hose clamps. I also found a Toyota fan plug connector on ebay which enabled me to wire the fan up to a stock plug which plugged straight into the car.

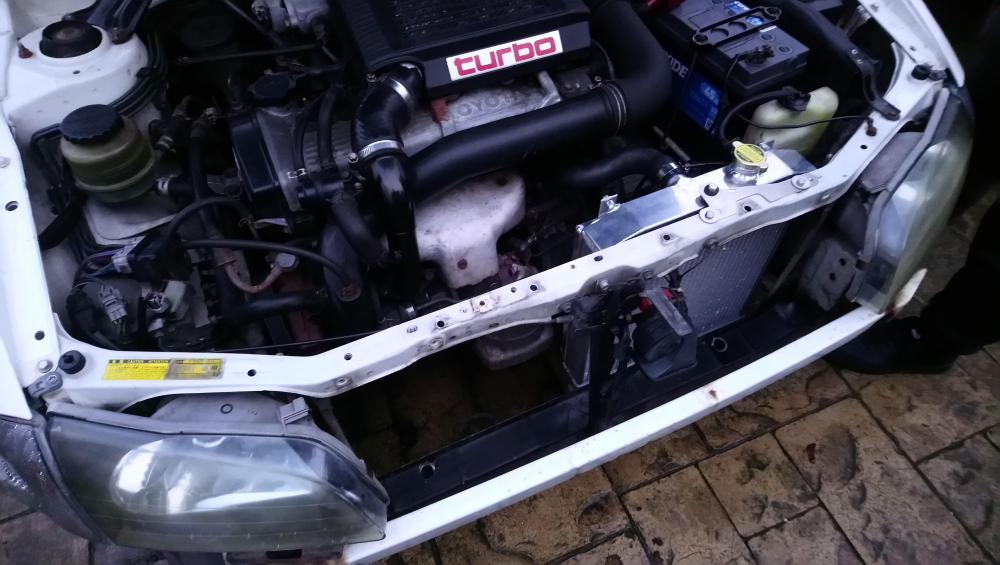
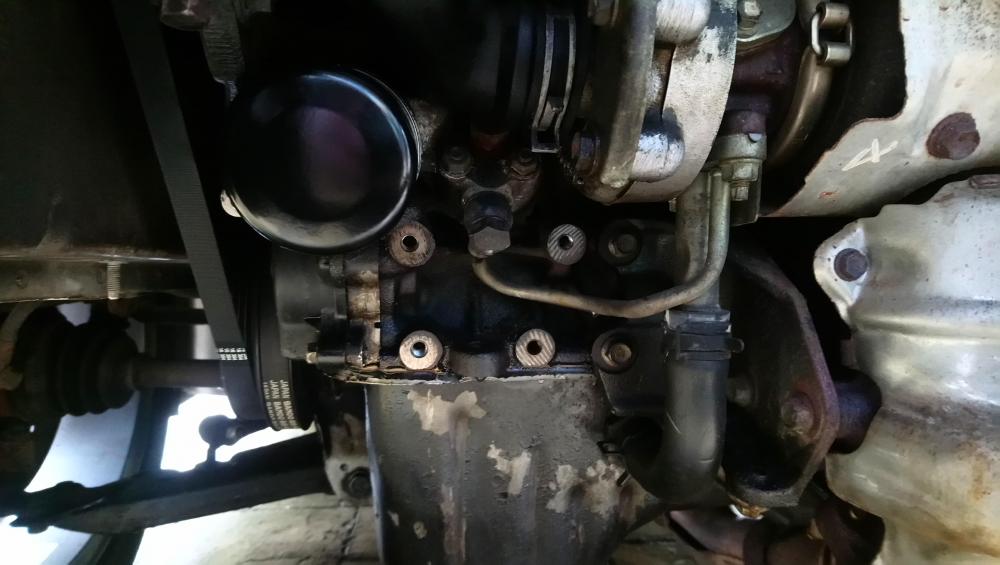
Once the air con was removed I noticed I appear to have a small oil leak coming from where the sump meets the engine. I plan to try and reseal the sump to see if that solves it, if not im thinking it could be the crank seal or something else behind the timing belt cover.

-
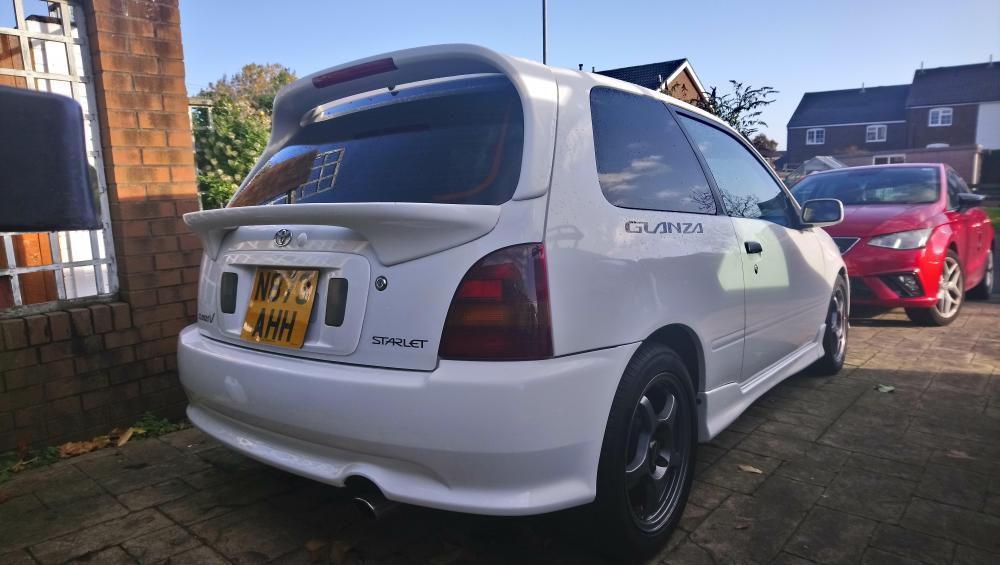
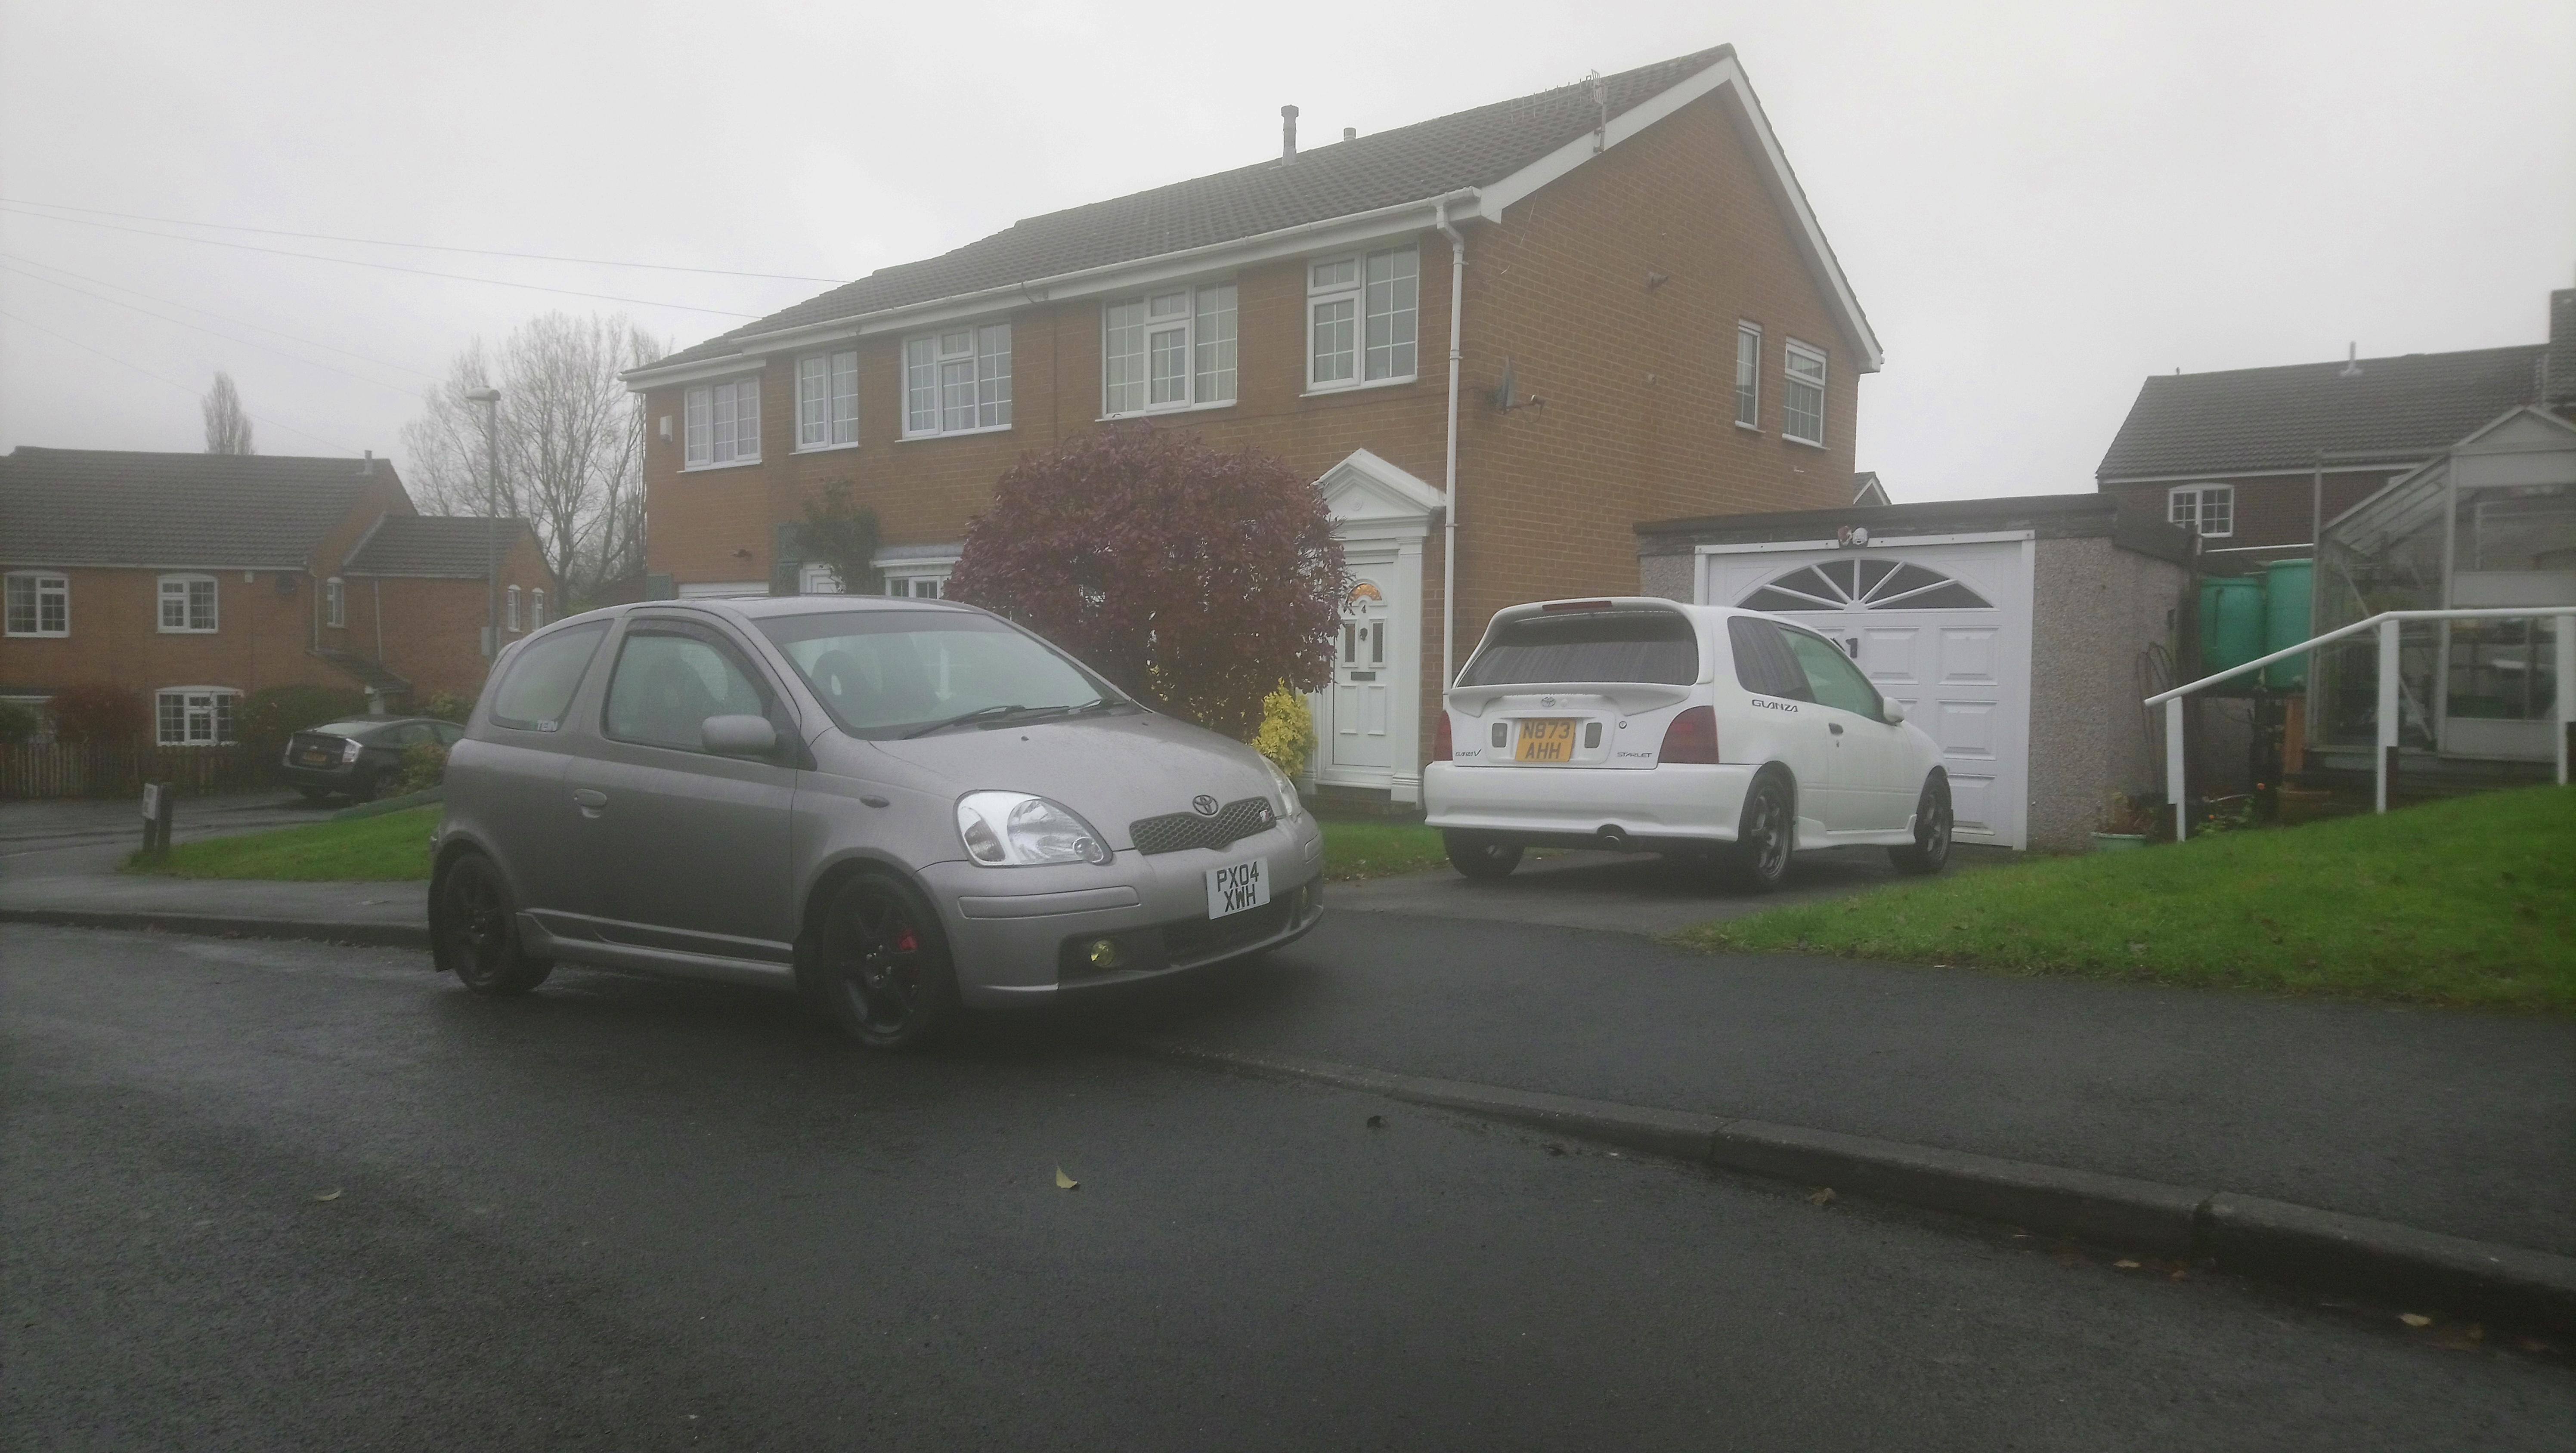
Hi guys thought I would start a thread for my Glanza. Purchased it in October after searching for a clean one for a fair while, it was imported by dcy in 2017 and is very clean for its age. It is a White 96 spec on 150000km which is stock barring some Schneider wheels that were put on in japan and a optional extra mid spoiler. I previously owned a Yaris t sport for 2 years however I have always wanted a clean Glanza to build on and plan to keep this car for a long time.
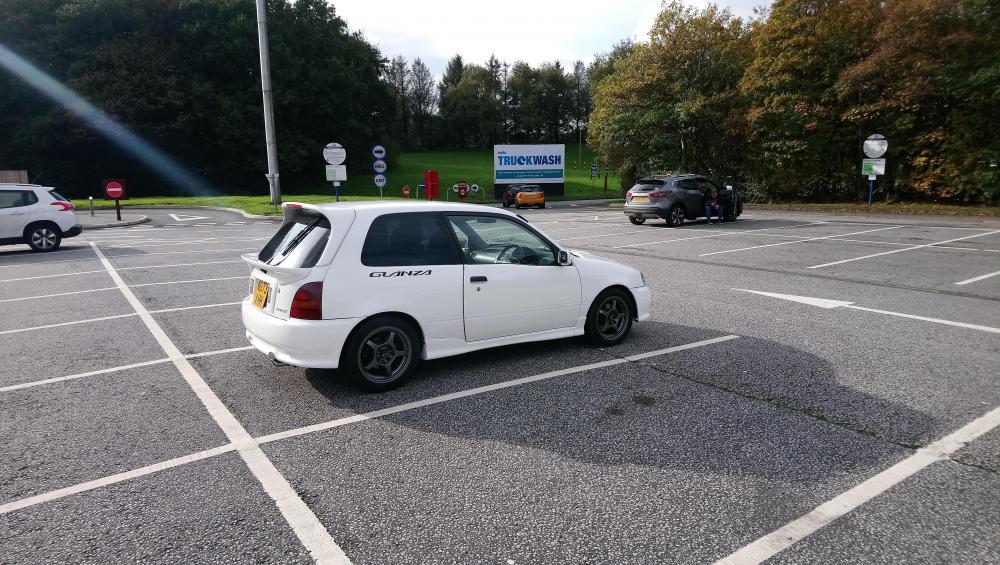


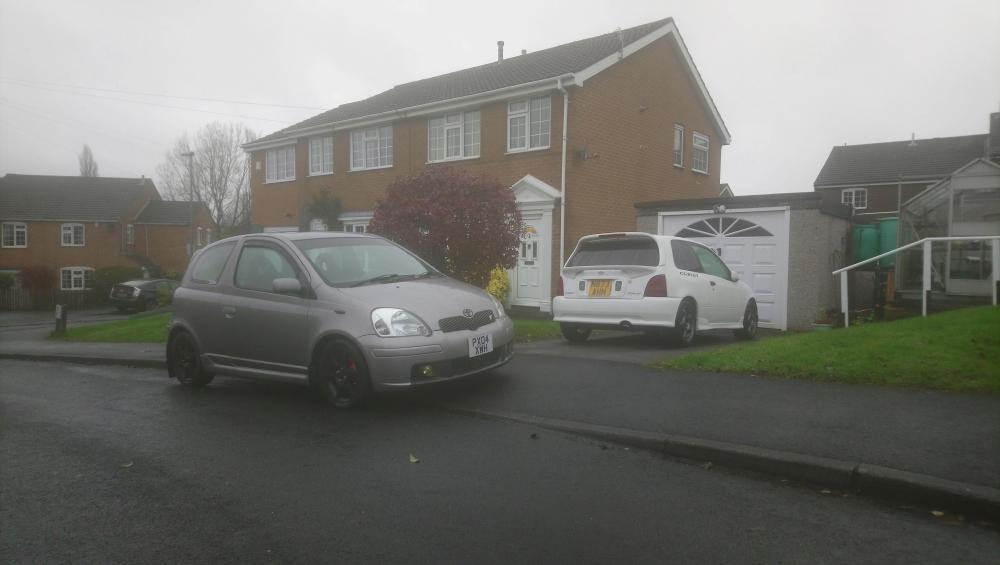
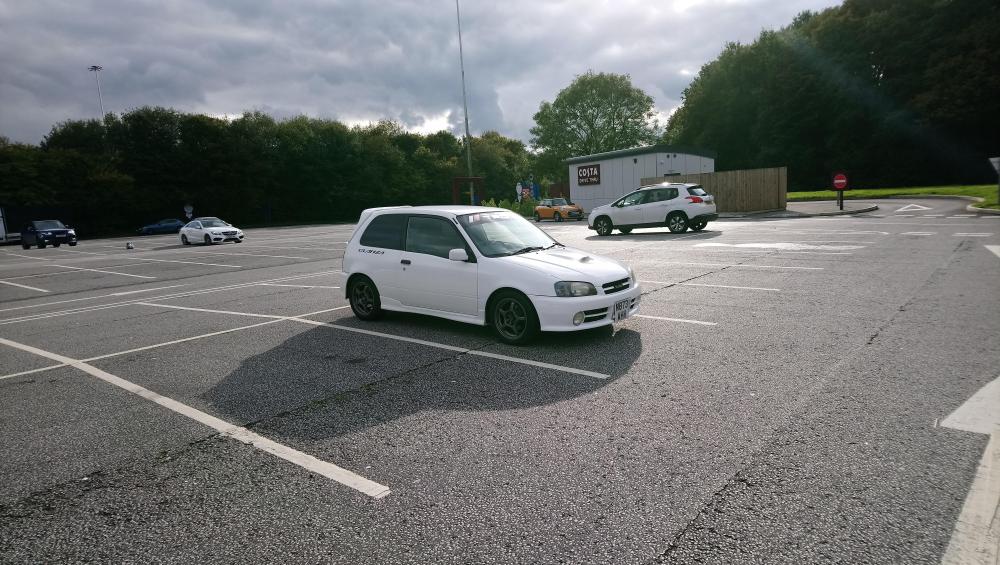
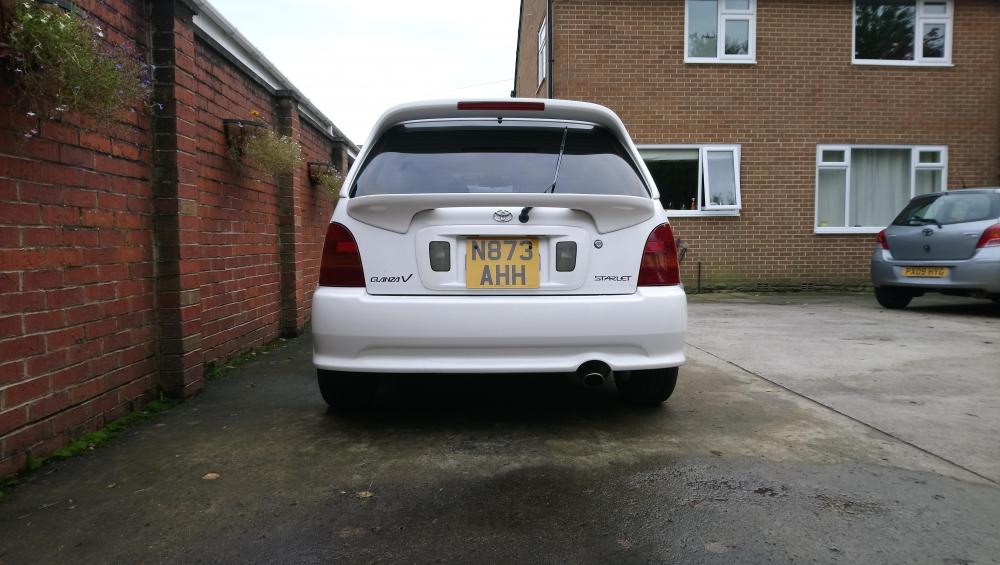


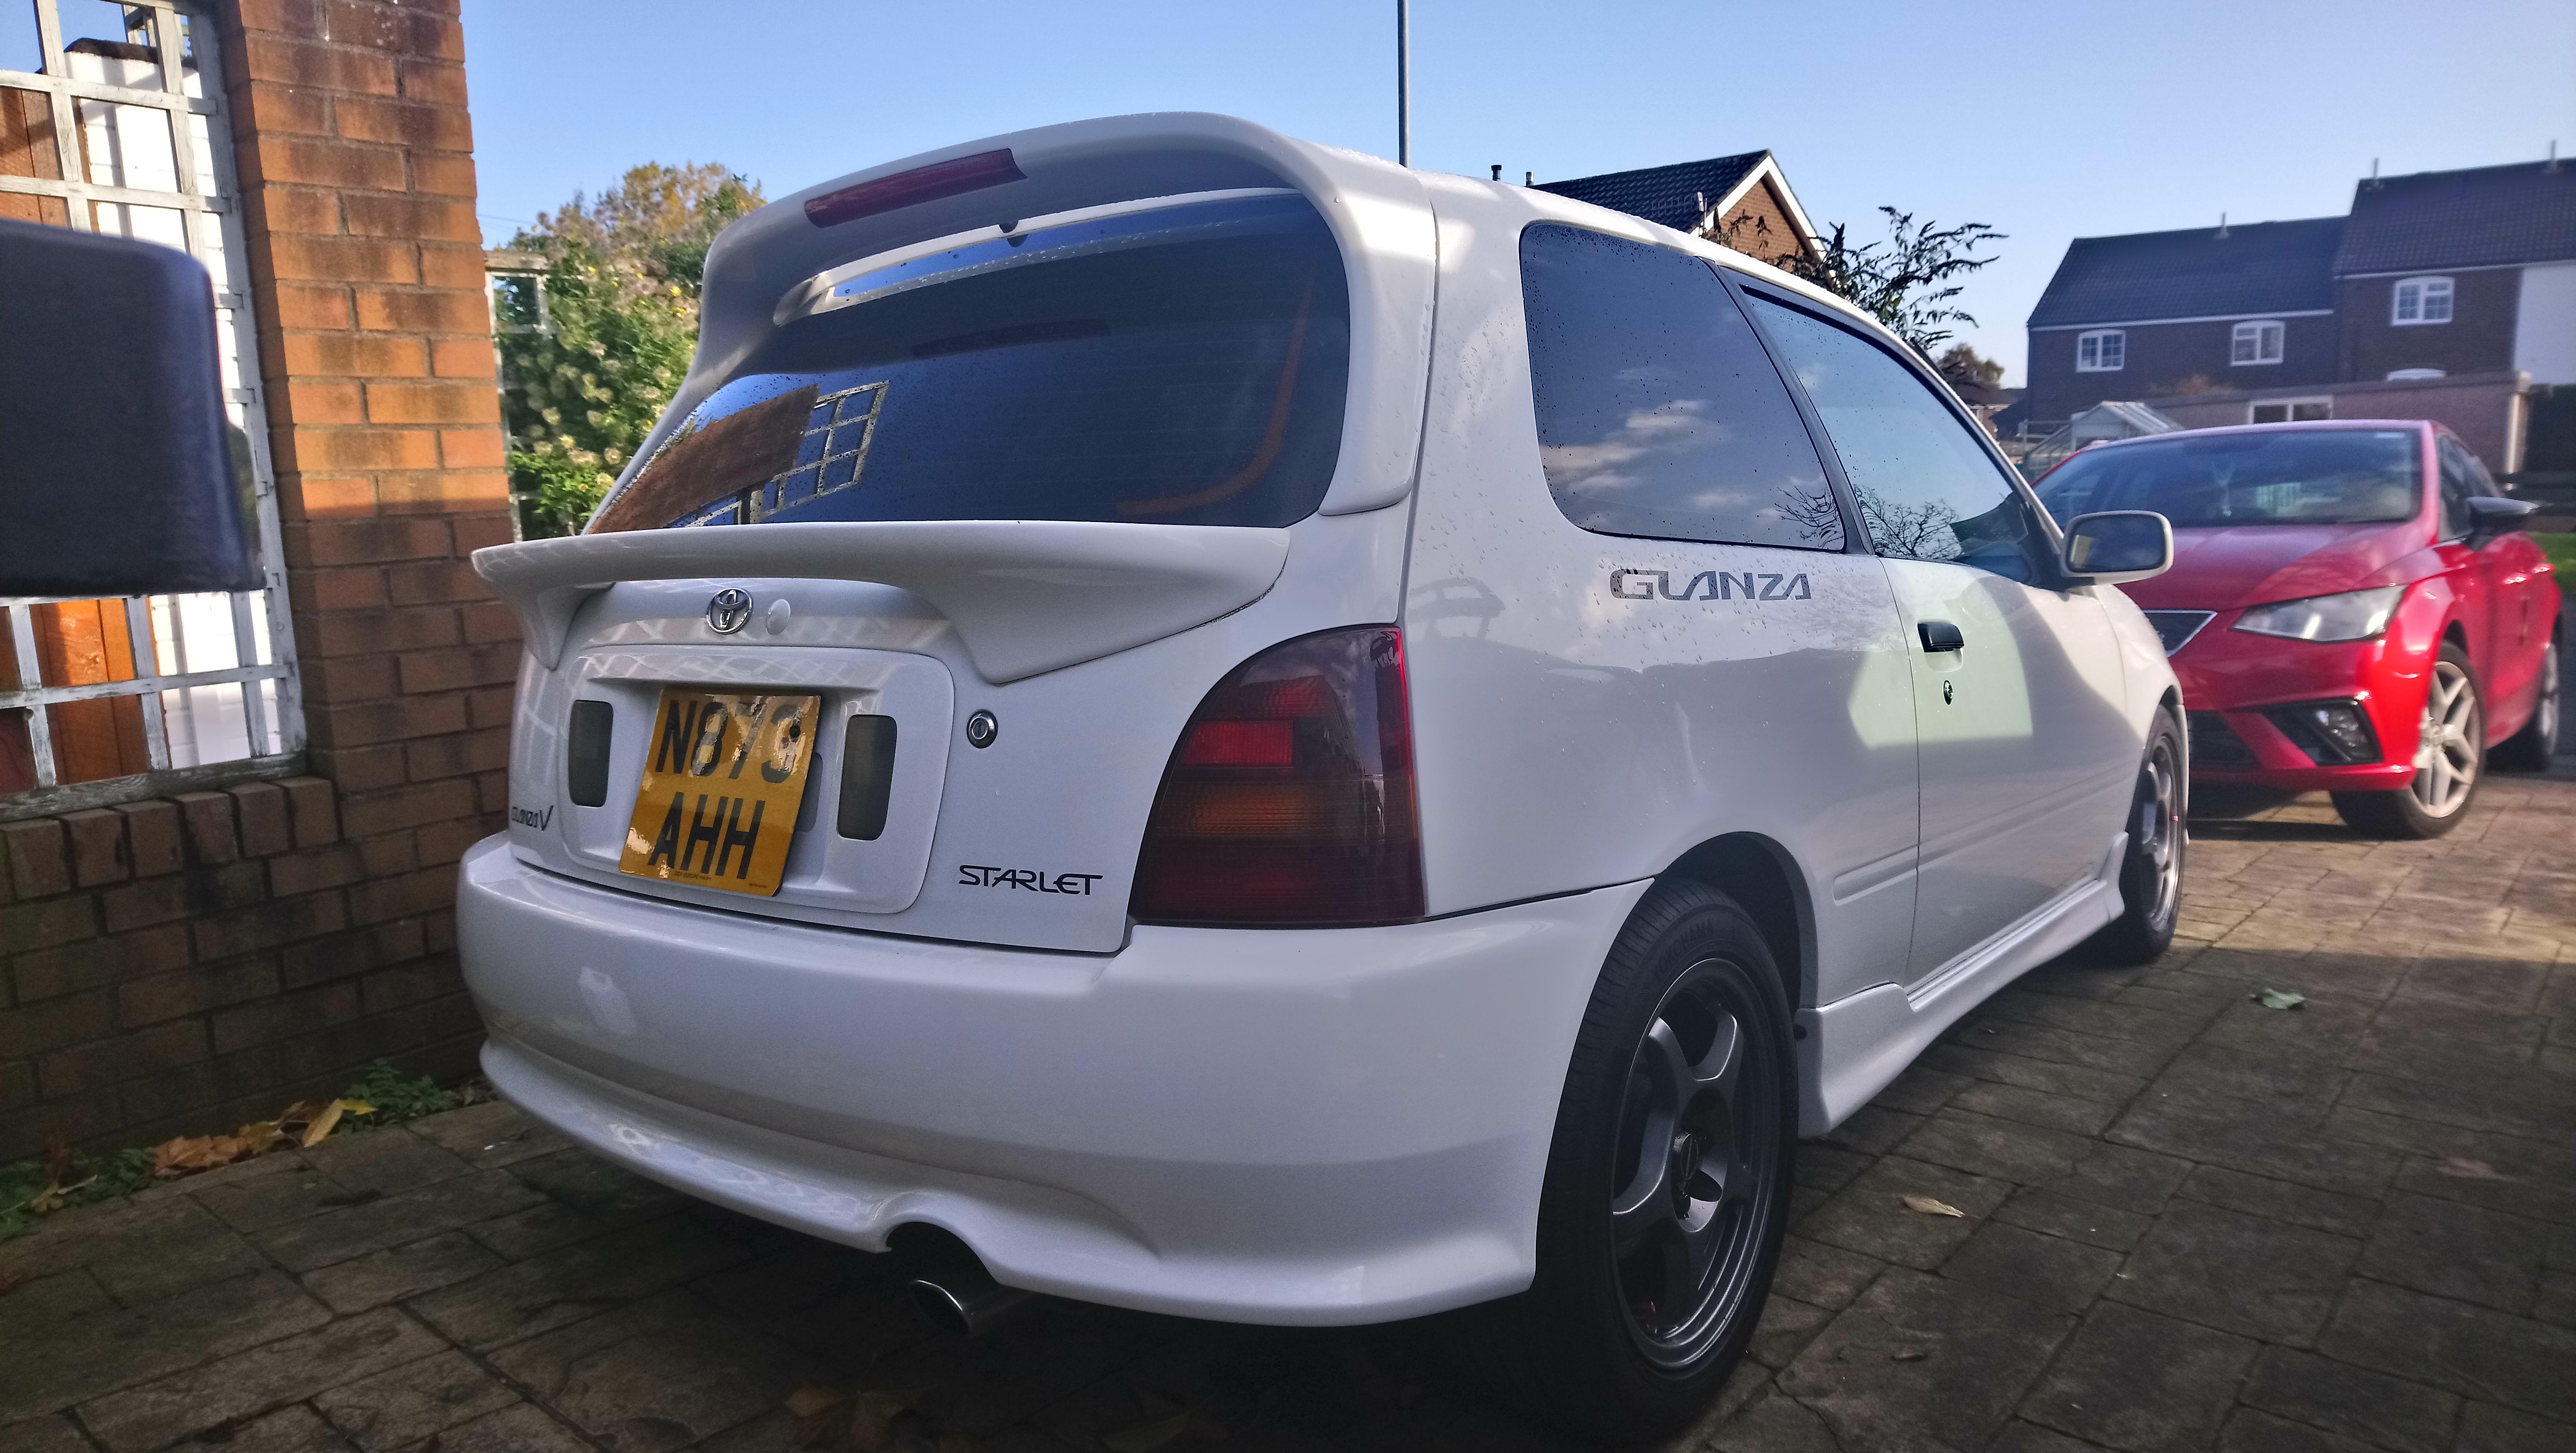


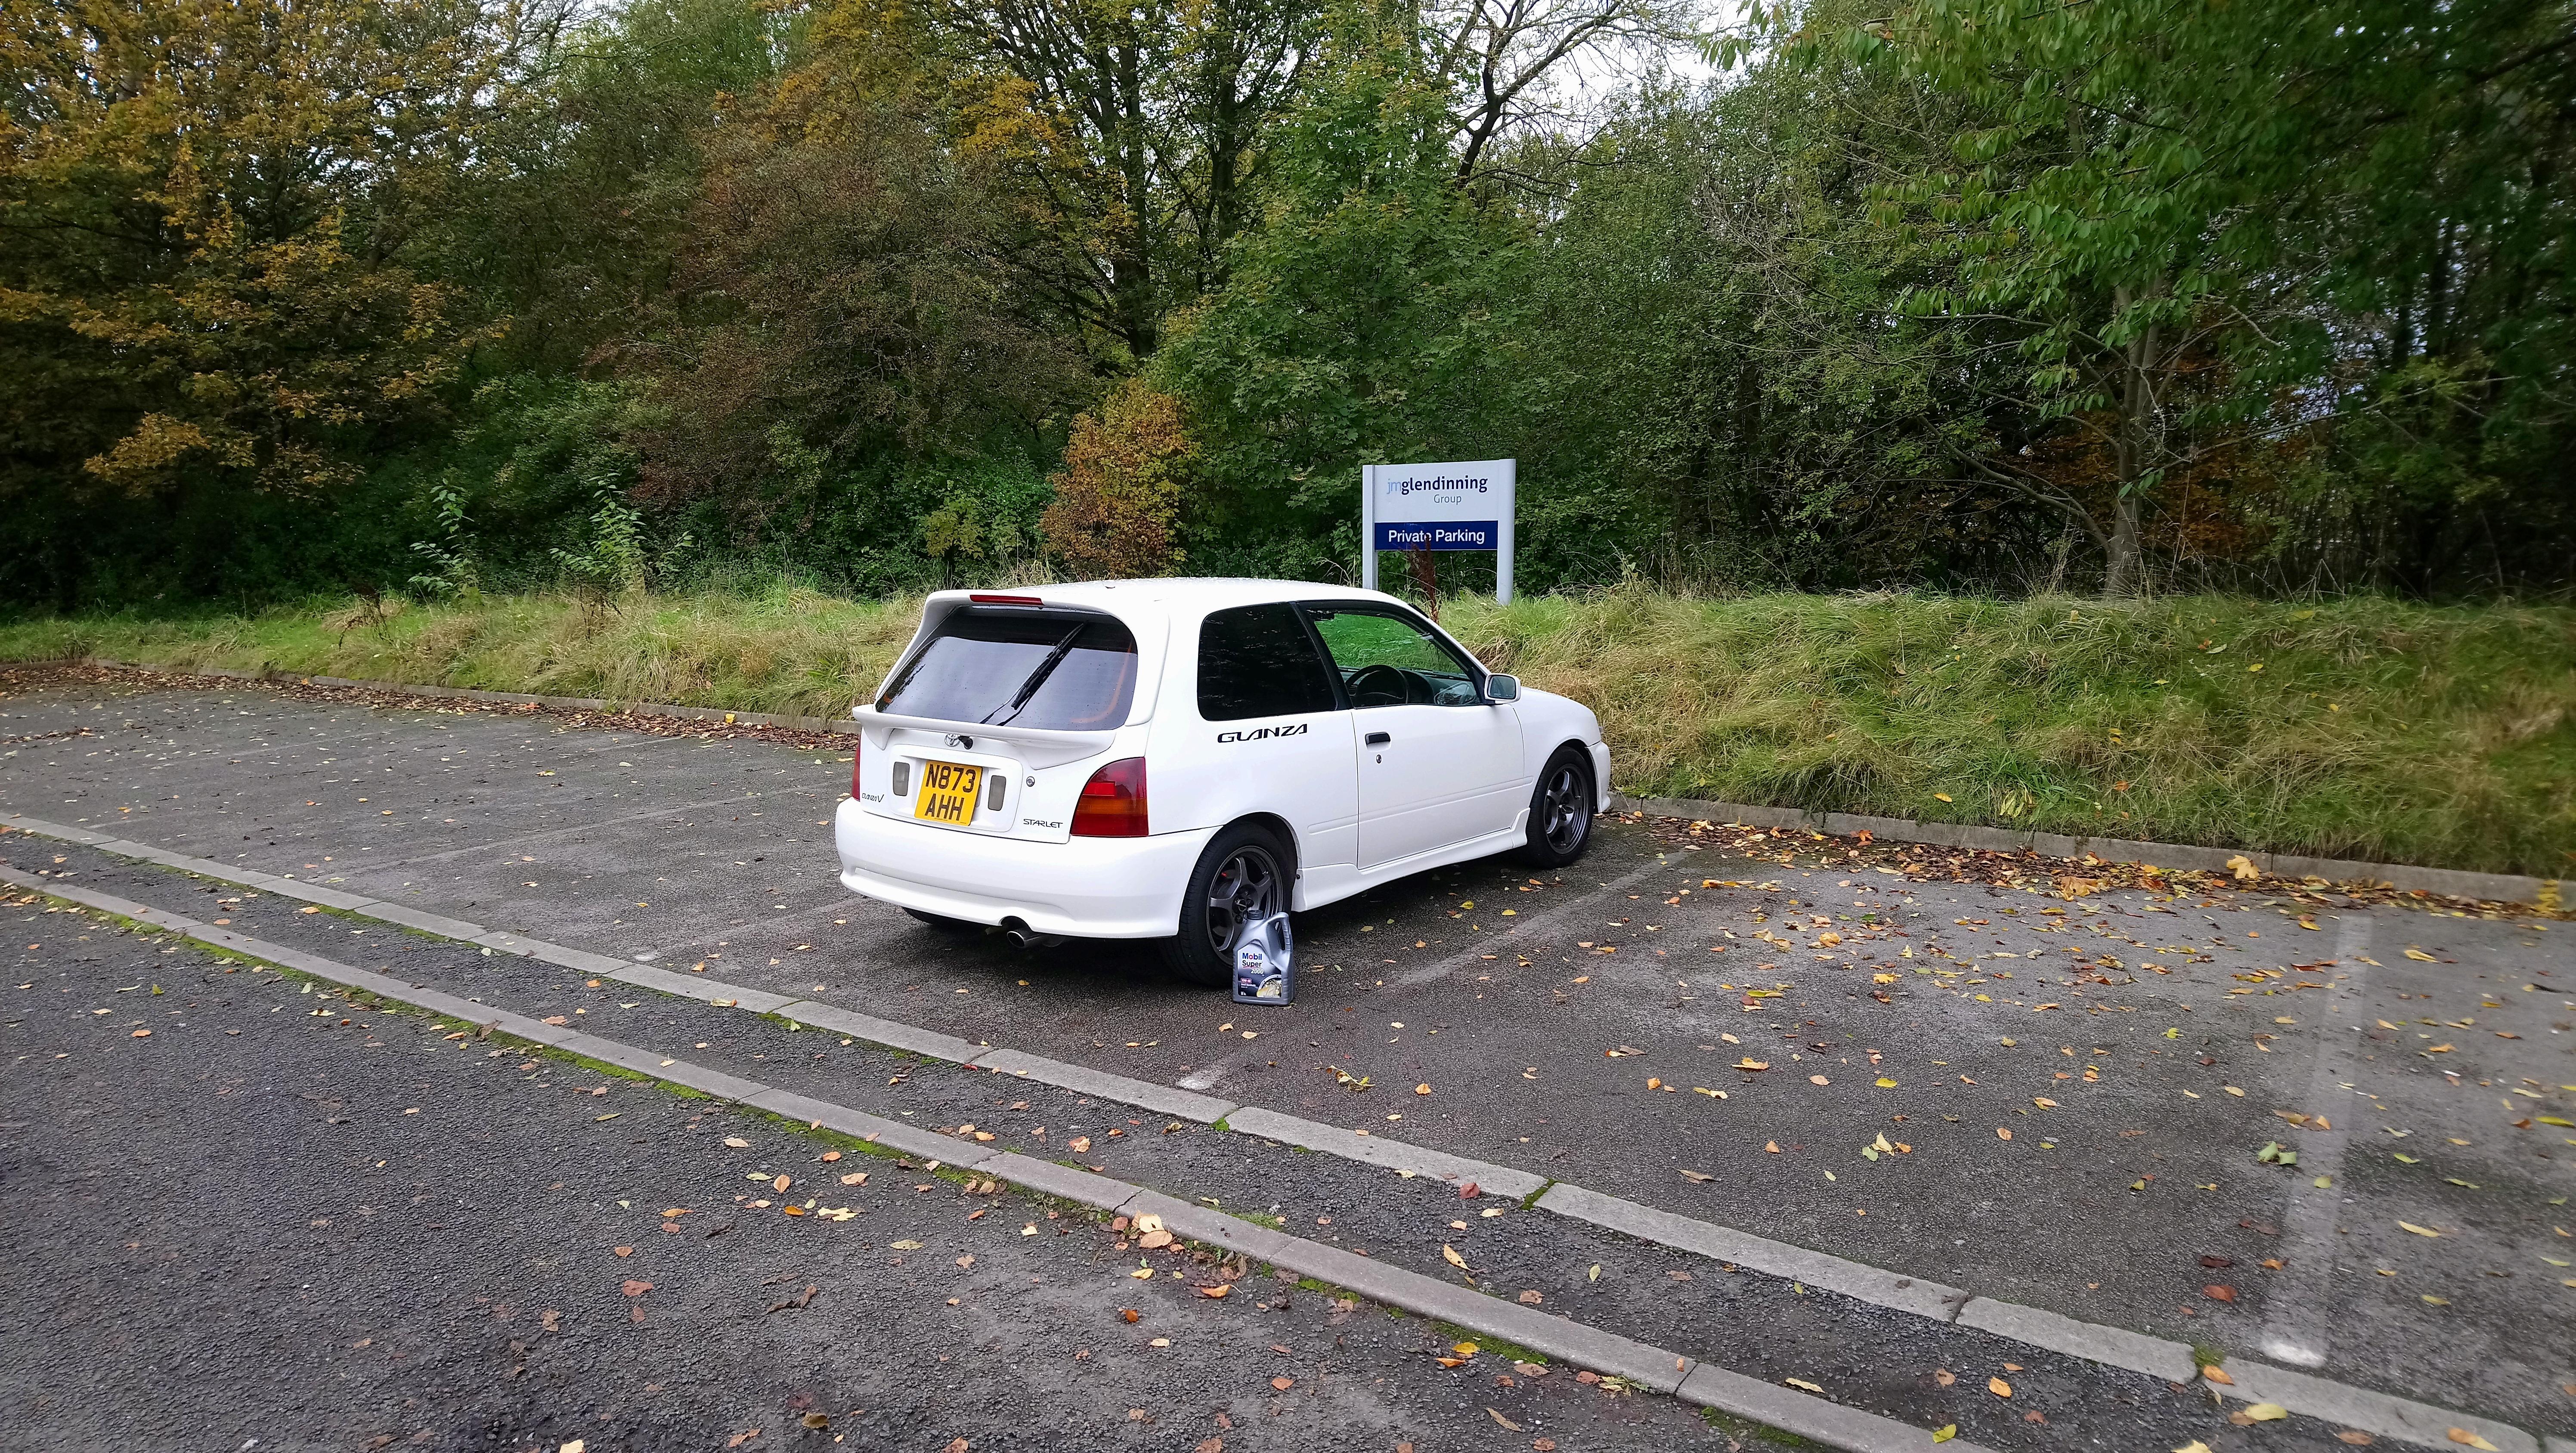


James's 96 Glanza V
in EP91 Glanza Progress Blogs
Posted
Yeah sure https://www.ebay.co.uk/itm/323885787224
I sent the seller a picture of the stock drivers mat with the dimensions of the hole so I could use the original clip👍