


federalman
-
Content Count
404 -
Joined
-
Last visited
Content Type
Profiles
Forums
Wiki
Media Demo
Store
Calendar
Posts posted by federalman
-
-
On 1/15/2023 at 10:22 AM, matty gt said:
Class build 👌 keep it up
Cheers just keep chipping away slowly at it
-
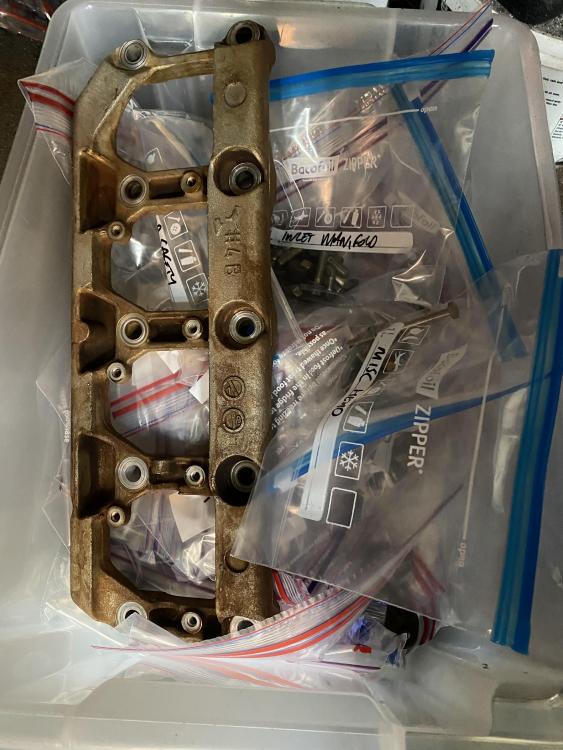
Now that Christmas is out of the way I had a bit of time today. Got the bores deglazed, not sure how long it’ll be sat as I need to find the time to file fit the rings so I’ve left it as a scuffed surface for now. I’ll get the finished home pattern into it when it comes to building it as it’ll need a final clean down anyway.
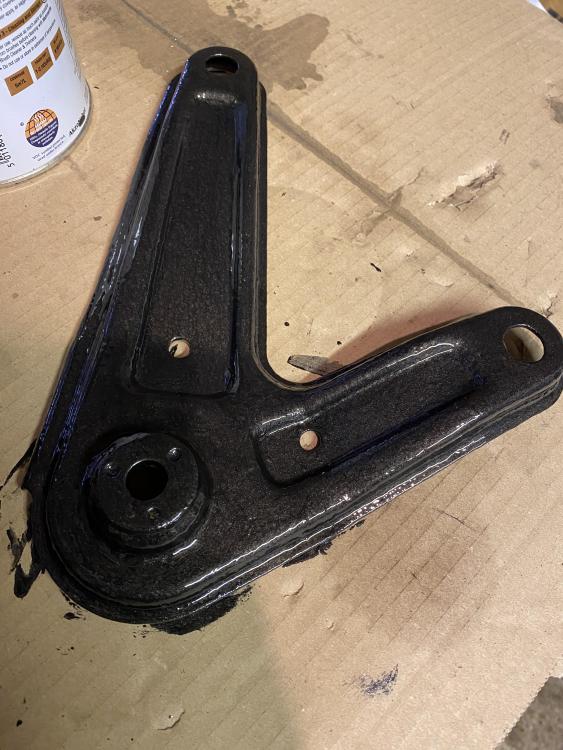
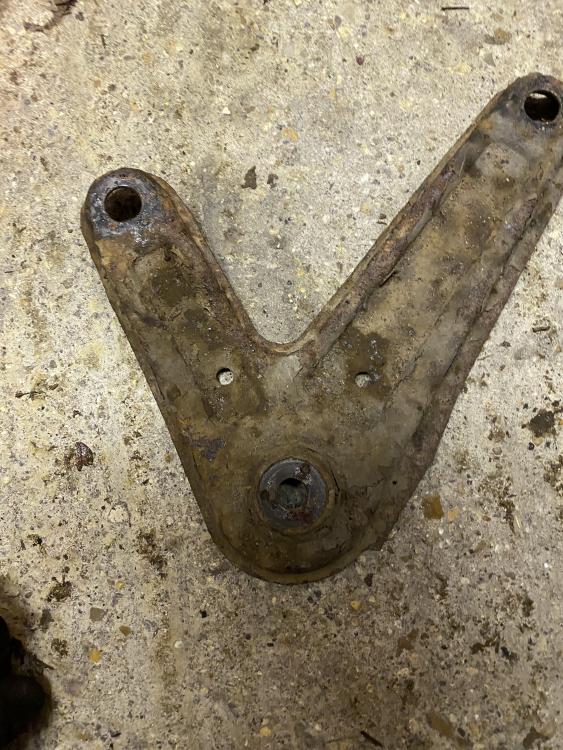
Both boomerangs are off the rear subframe now so I’ve cleaned them up and painted the top. Once it’s dried I’ll get the underside done. Next up is cleaning out the diff casing and painting it before fitting the Kaaz 2 way. Not looking forward to pulling the subframe off but I’ve got some solid mounts that need fitting and I may well brace it whilst it’s out

-
On 11/12/2022 at 6:25 PM, shorty said:
Nice! I had a mate who was an s13 nutter, although he always wanted an s14a
I originally wanted a Chaser but I couldn’t insure one back when I was 20 so a 14 it had to be
-
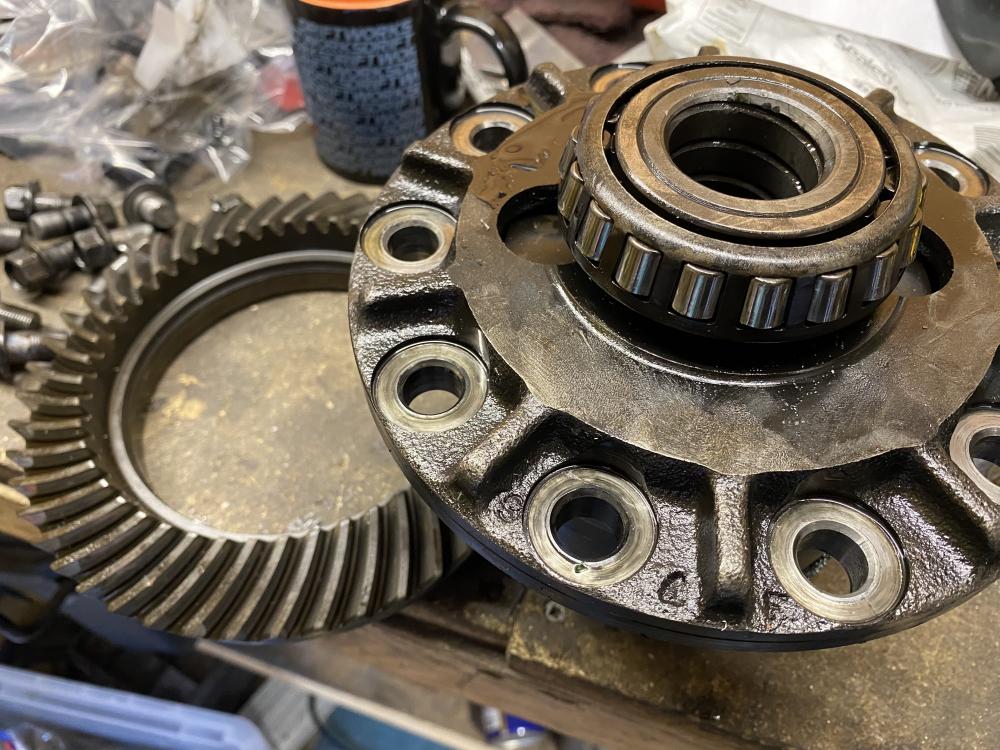
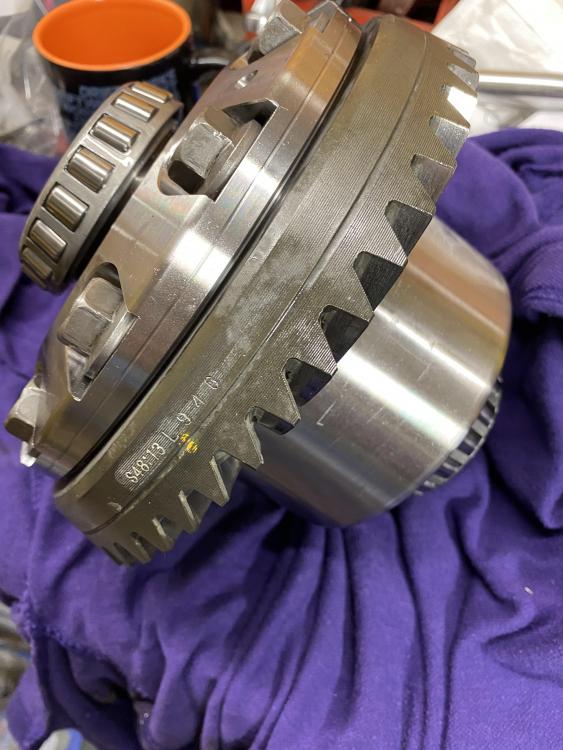
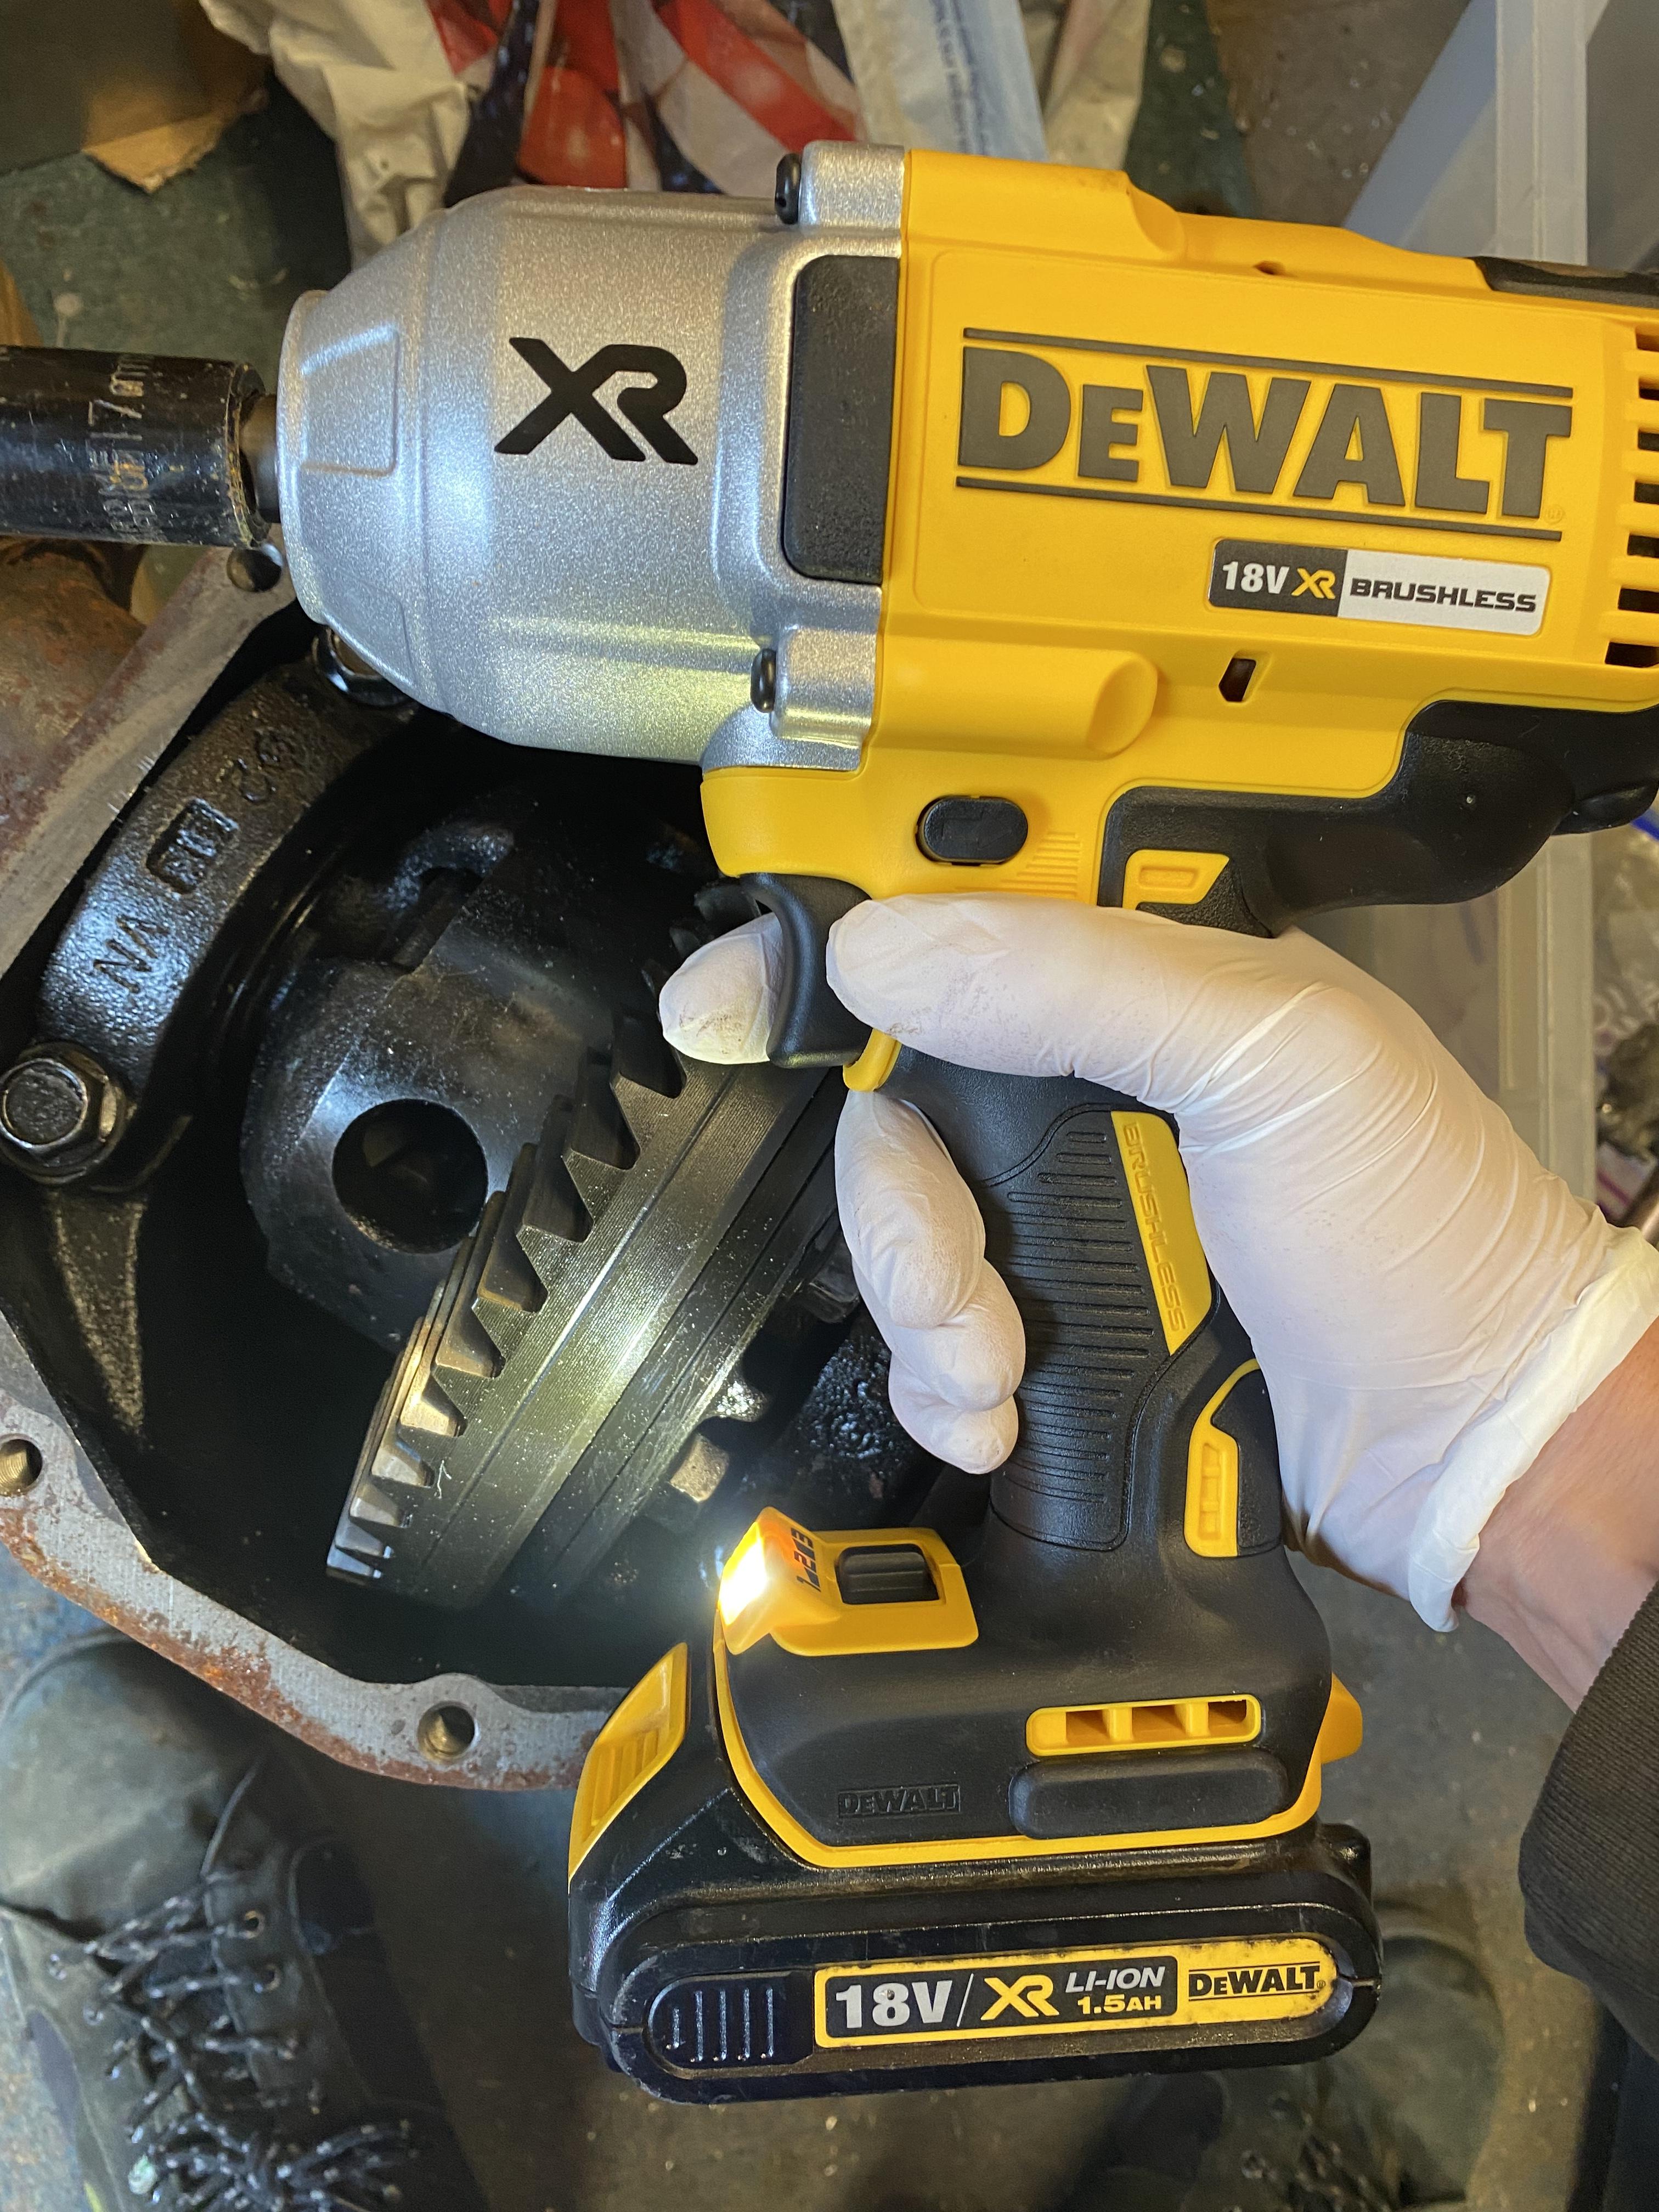
Todays job: get the diff sorted. Getting out the bolts on the ring gear put me in hospital with myocarditis and nearly killed me. So I’ve now got hold of a huge Dewalt impact as my air one wasn’t big enough. Safe to say the gear is now on my Kaaz 2 way. Just need to clean the casing inside and out and stick some paint on it and it’s ready to be put back together. Once we drop the subframe I can fit the new diff and replace the diff mounts and sub frame mounts, both sets are going to solid from the original rubber. Every mount will then be solid and every arm is rose jointed

-
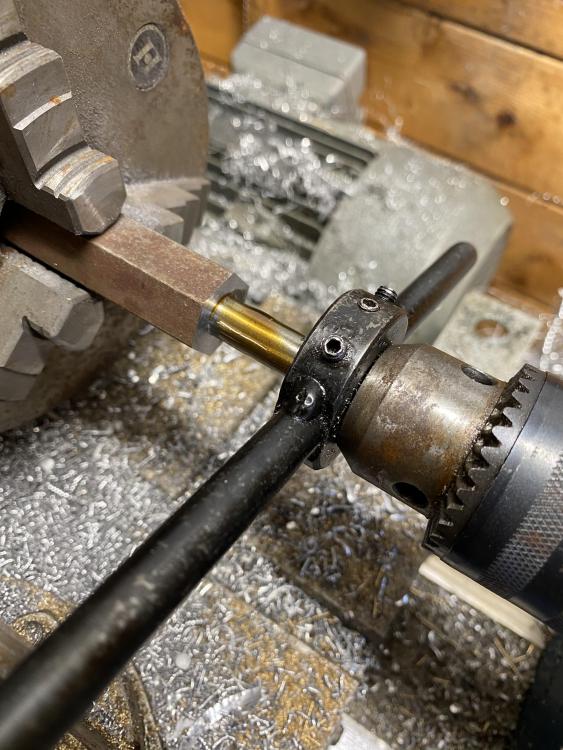
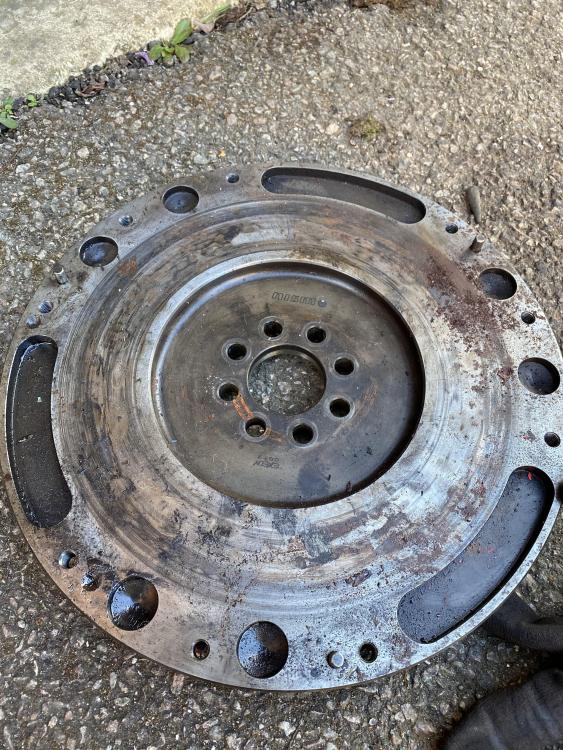
Pulled out my Nismo flywheel, unfortunately I couldn’t get out the dowels and it won’t fit in my lathe. Luckily my brother in law has a bigger lathe at his work so we can machine it and get a decent surface back on it
-
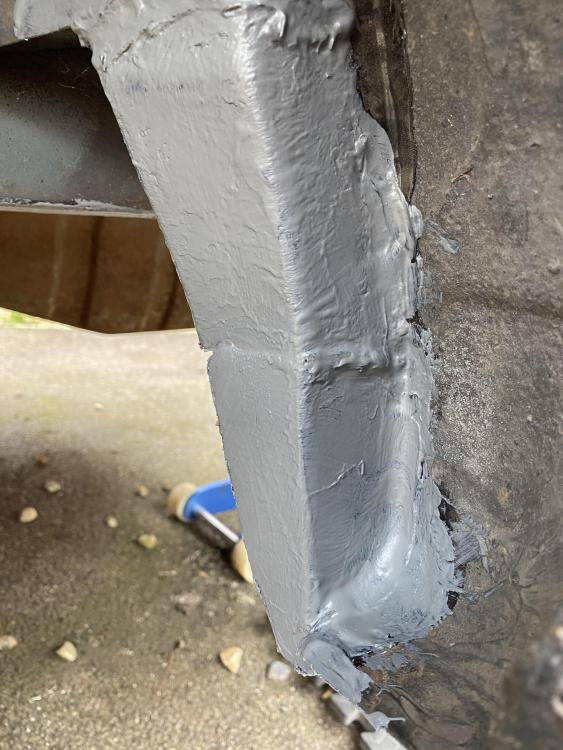
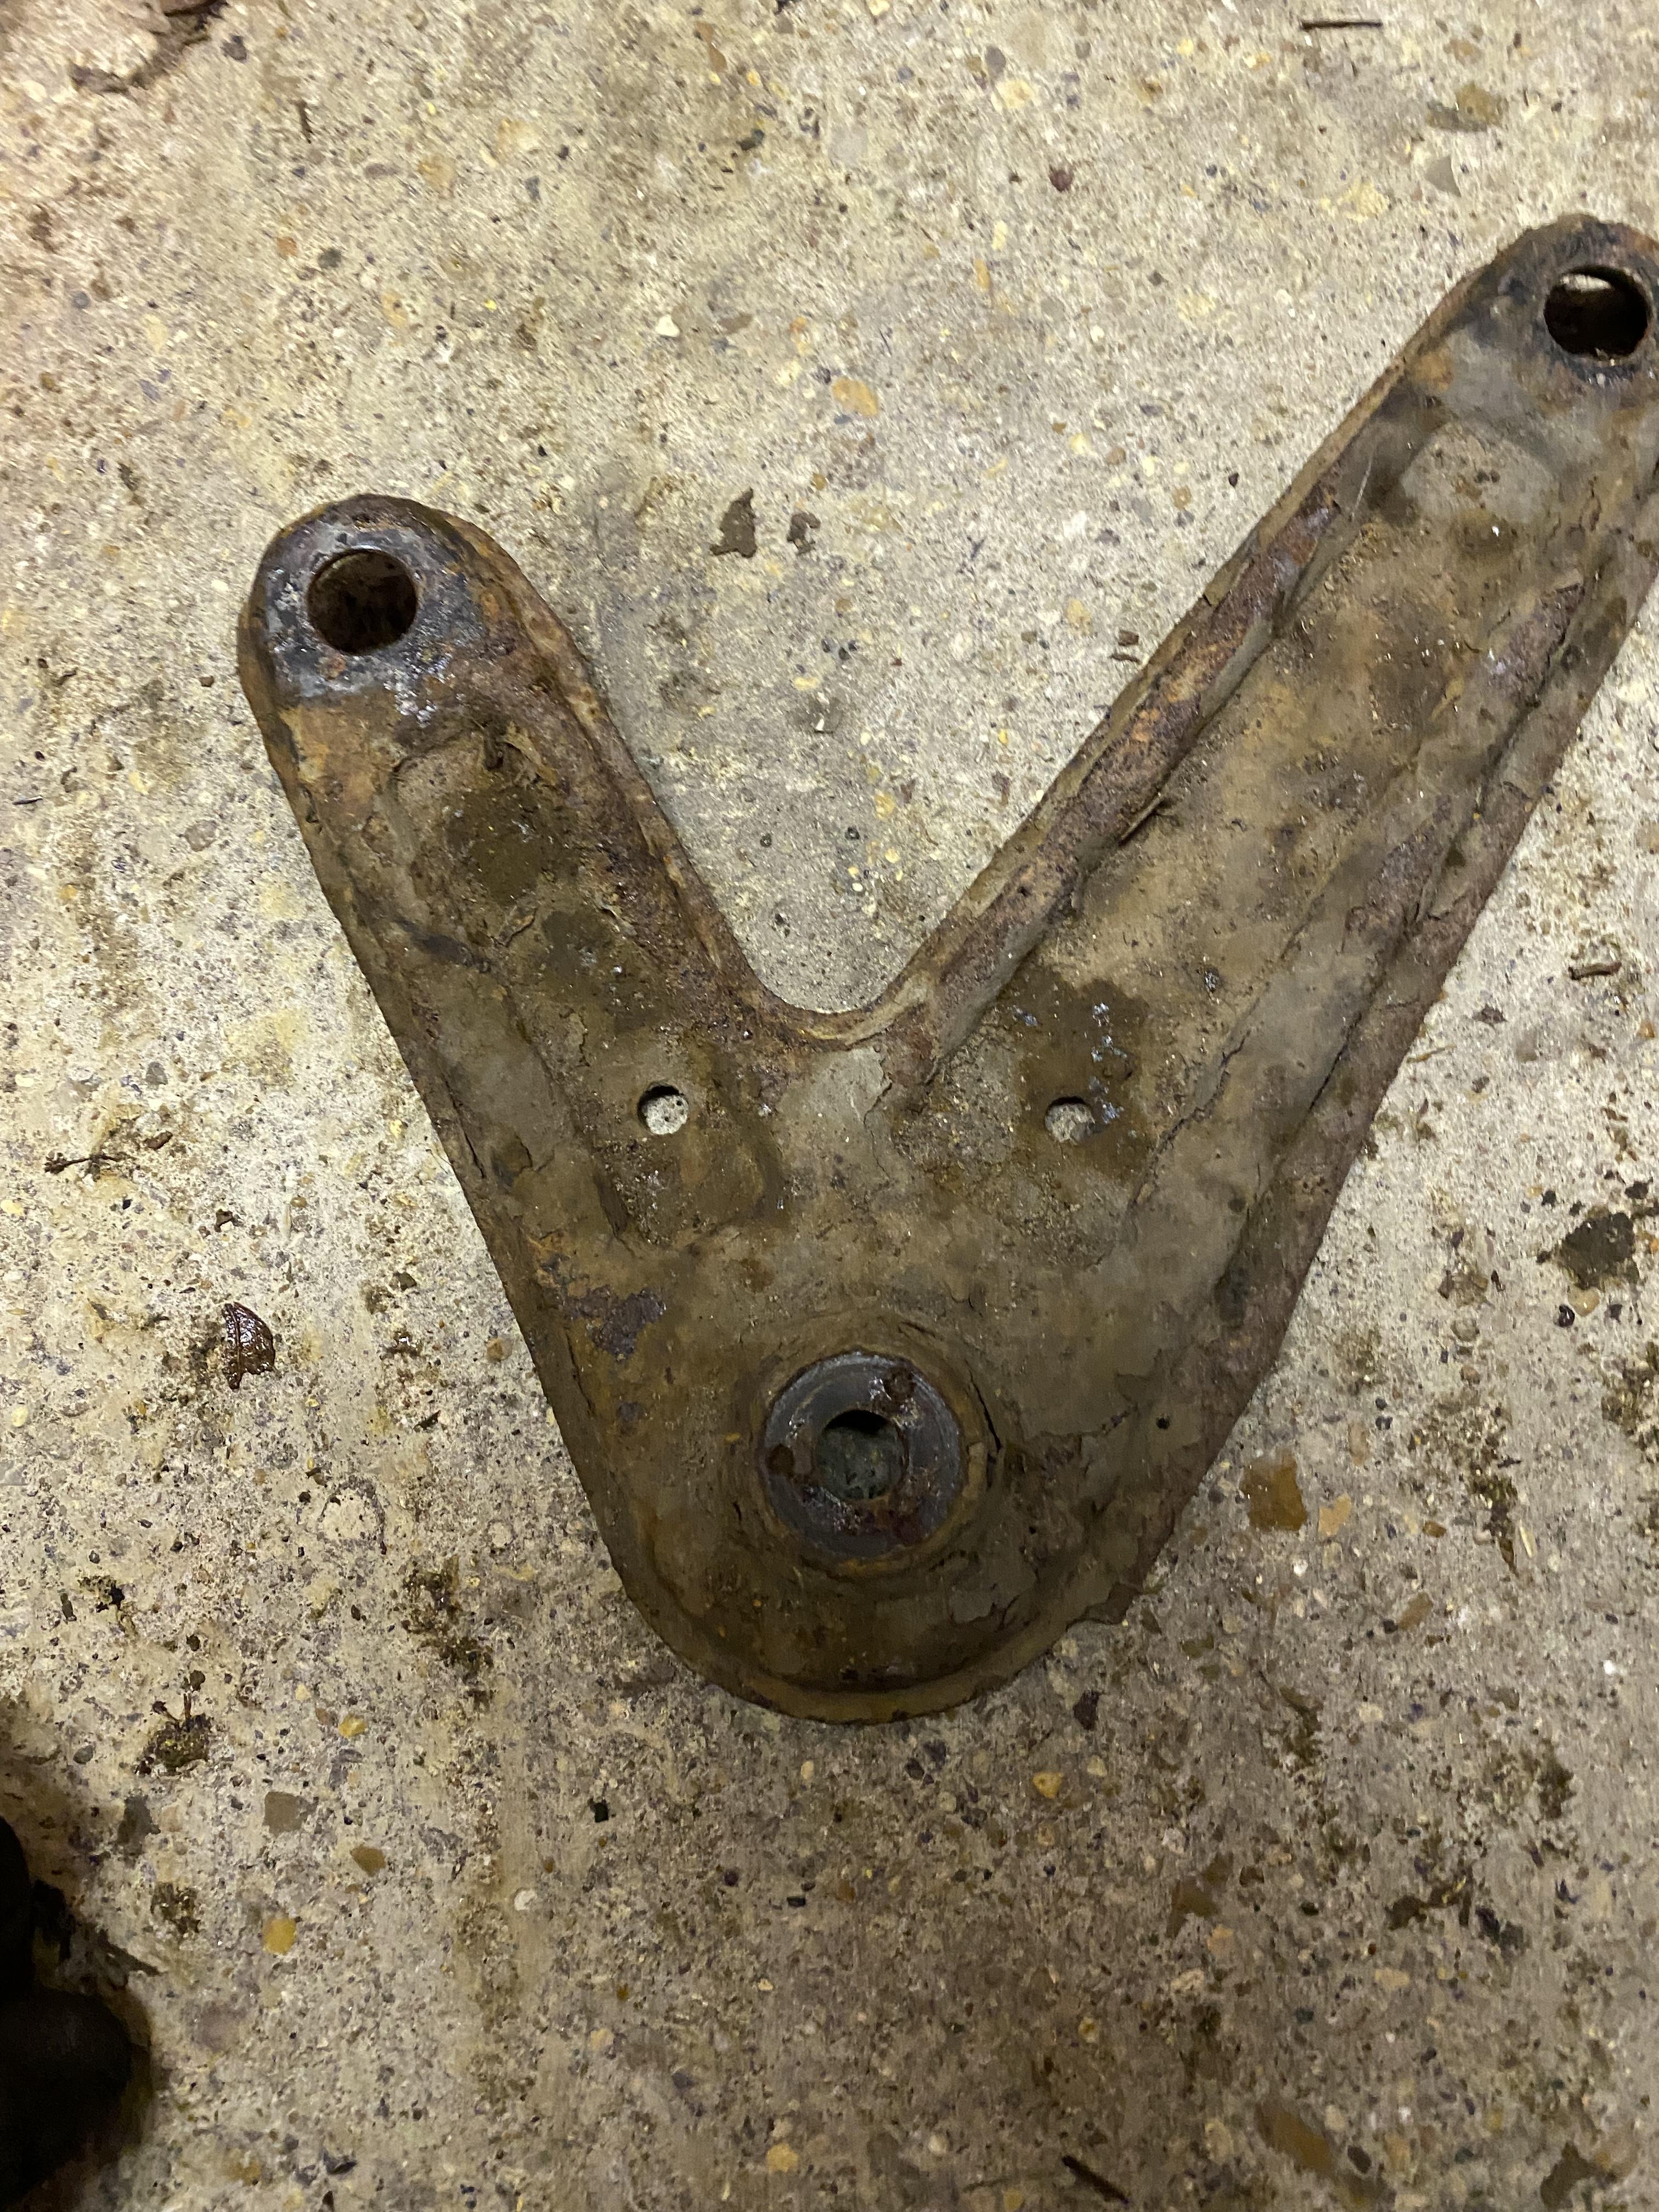
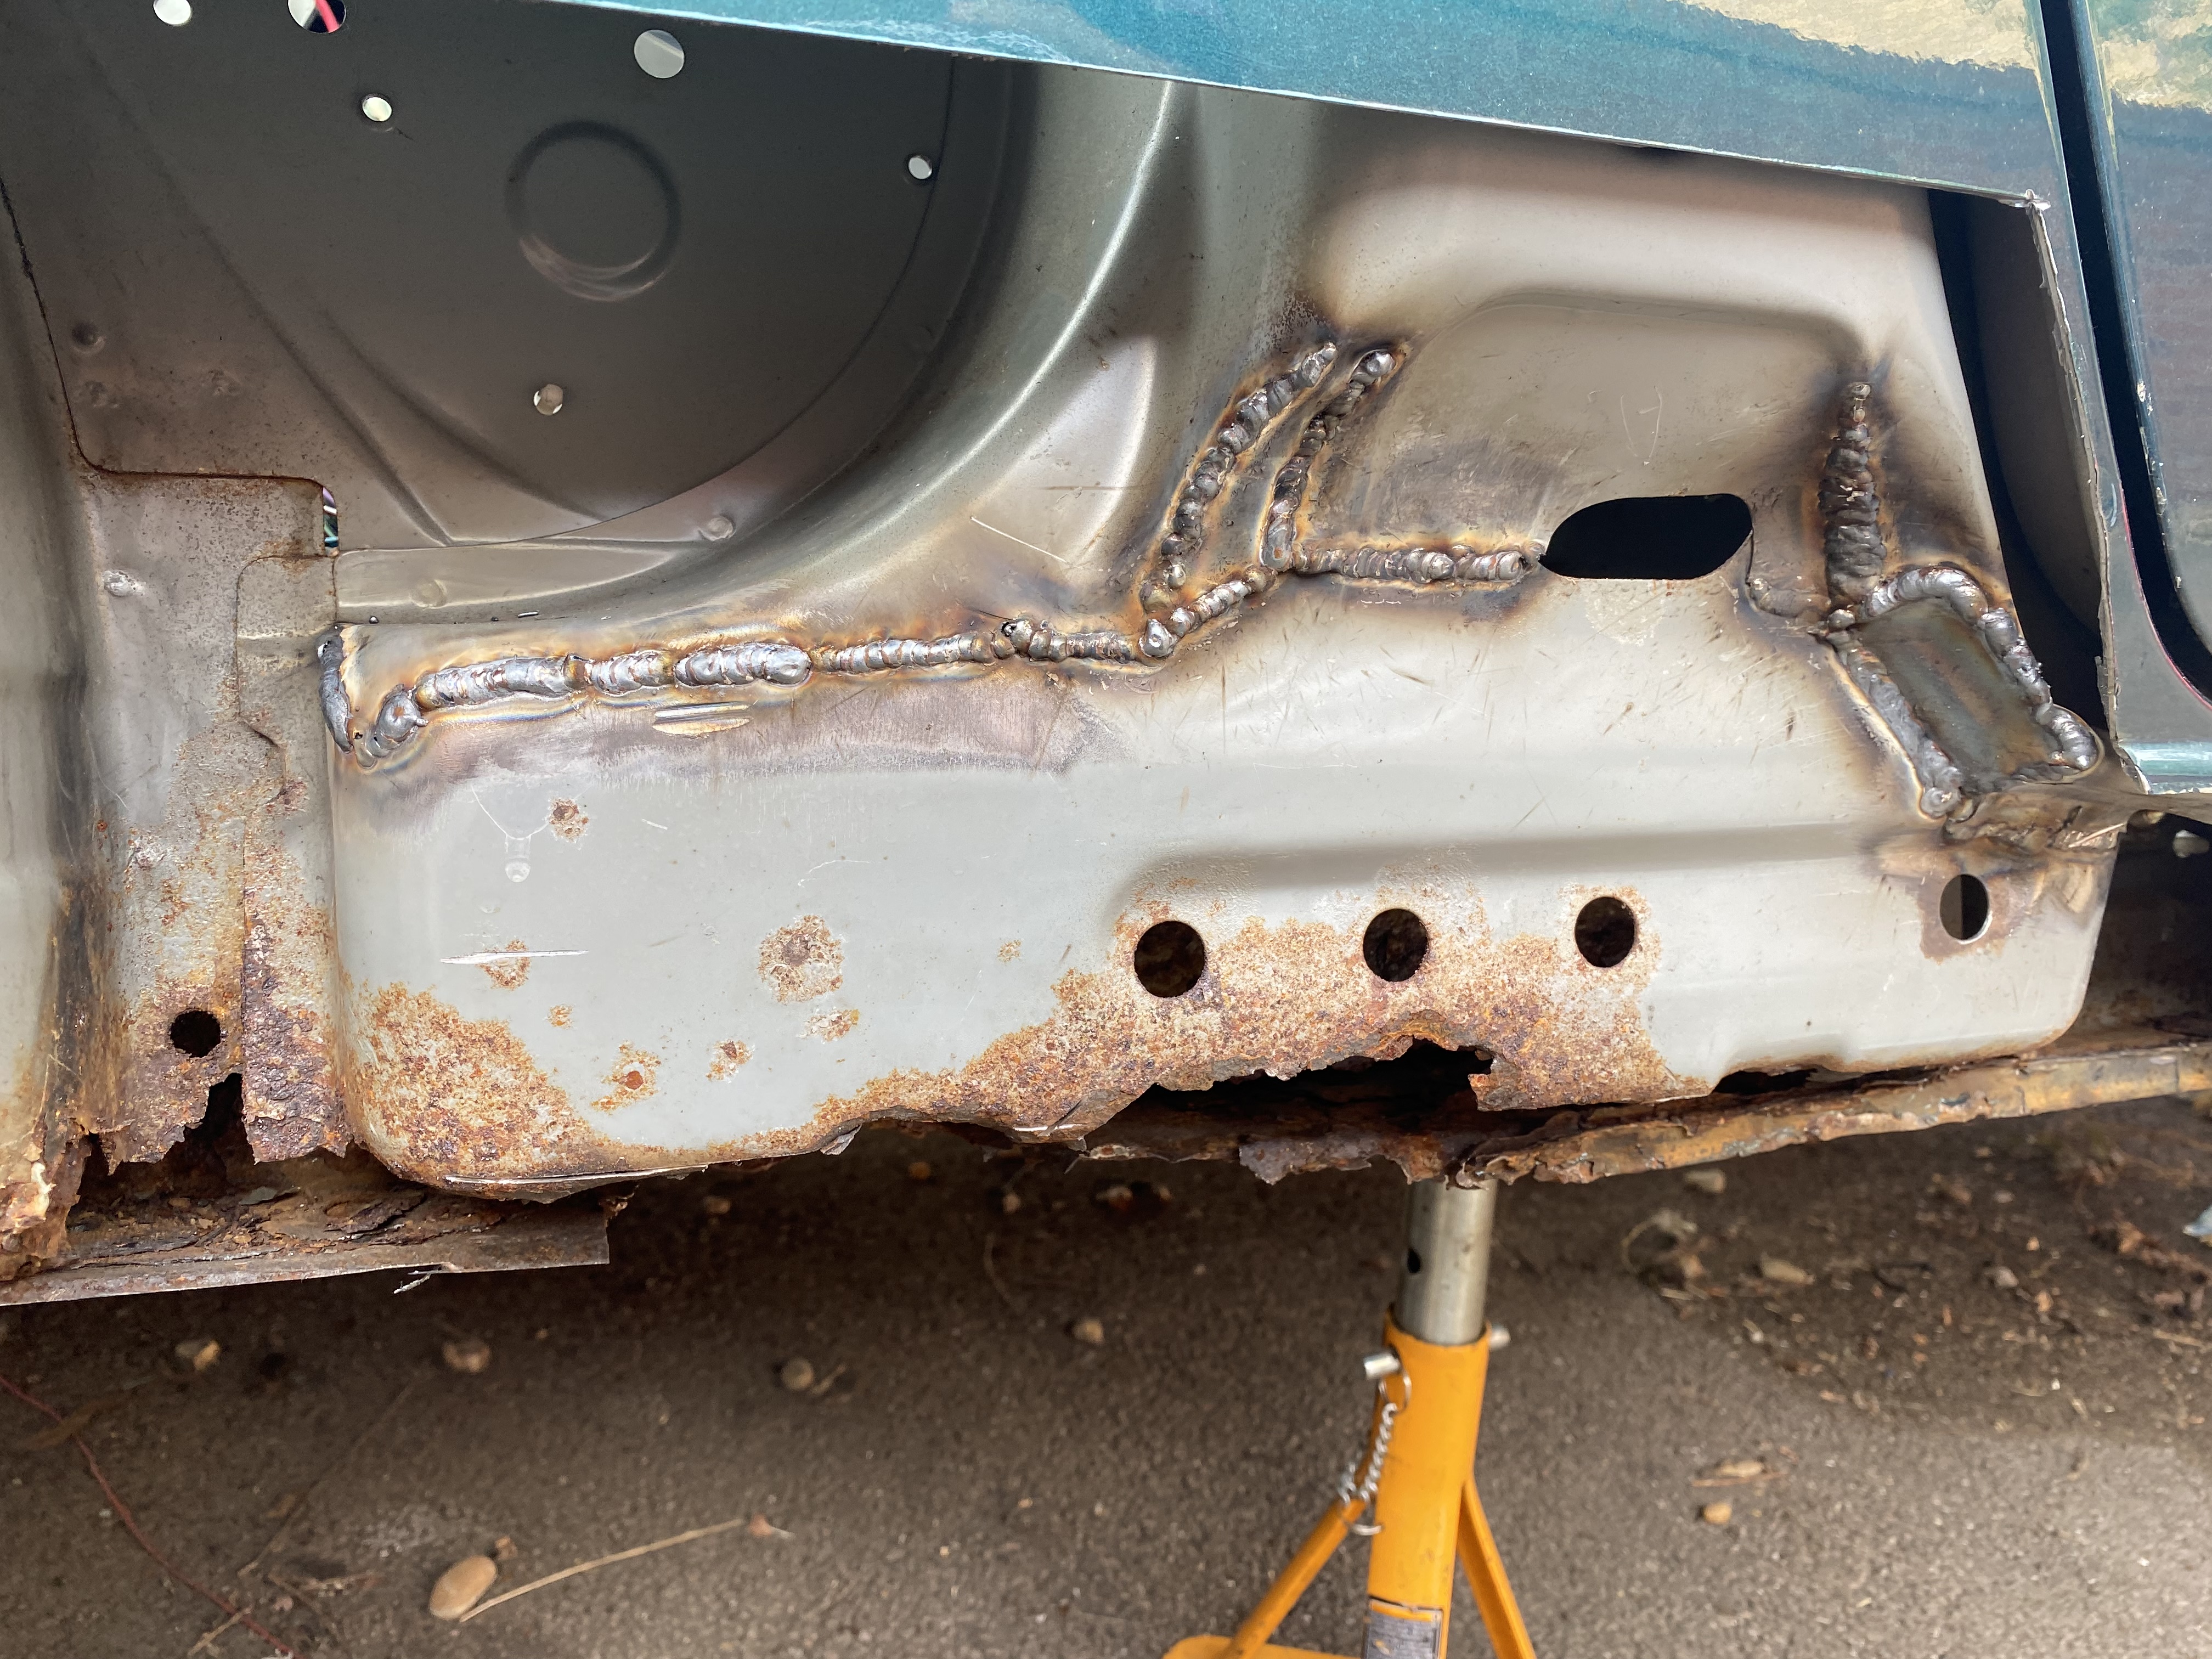
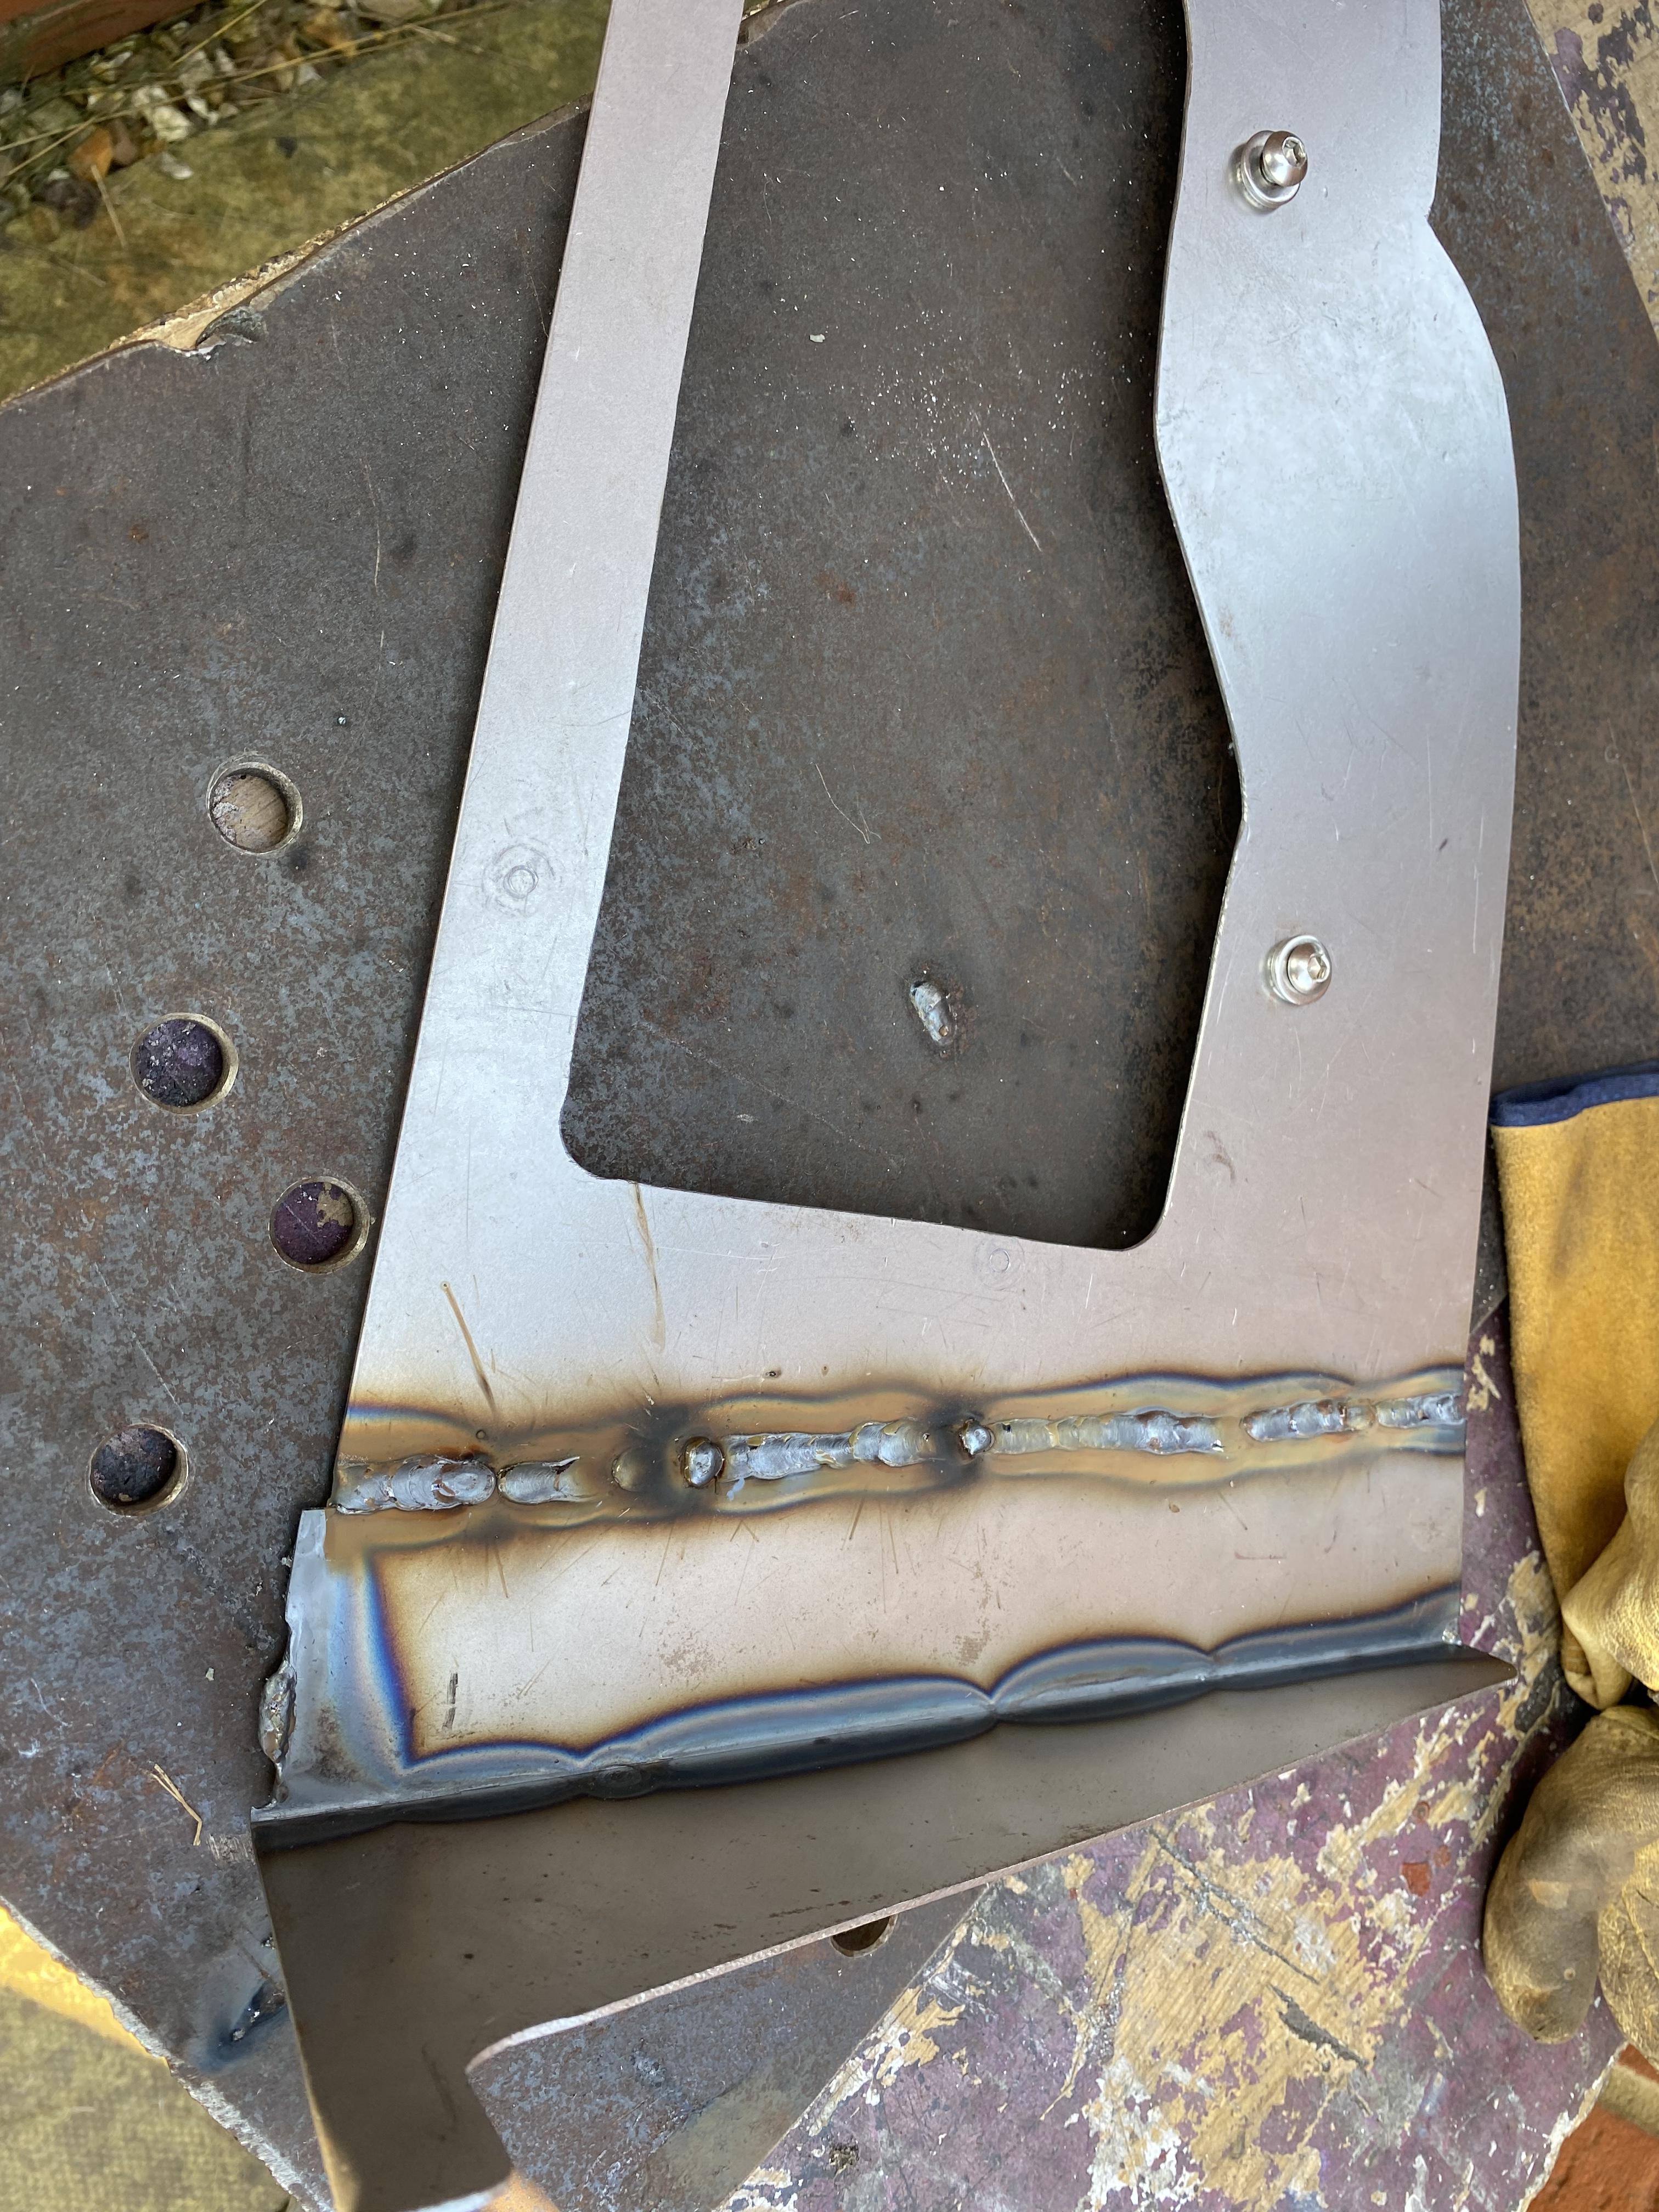
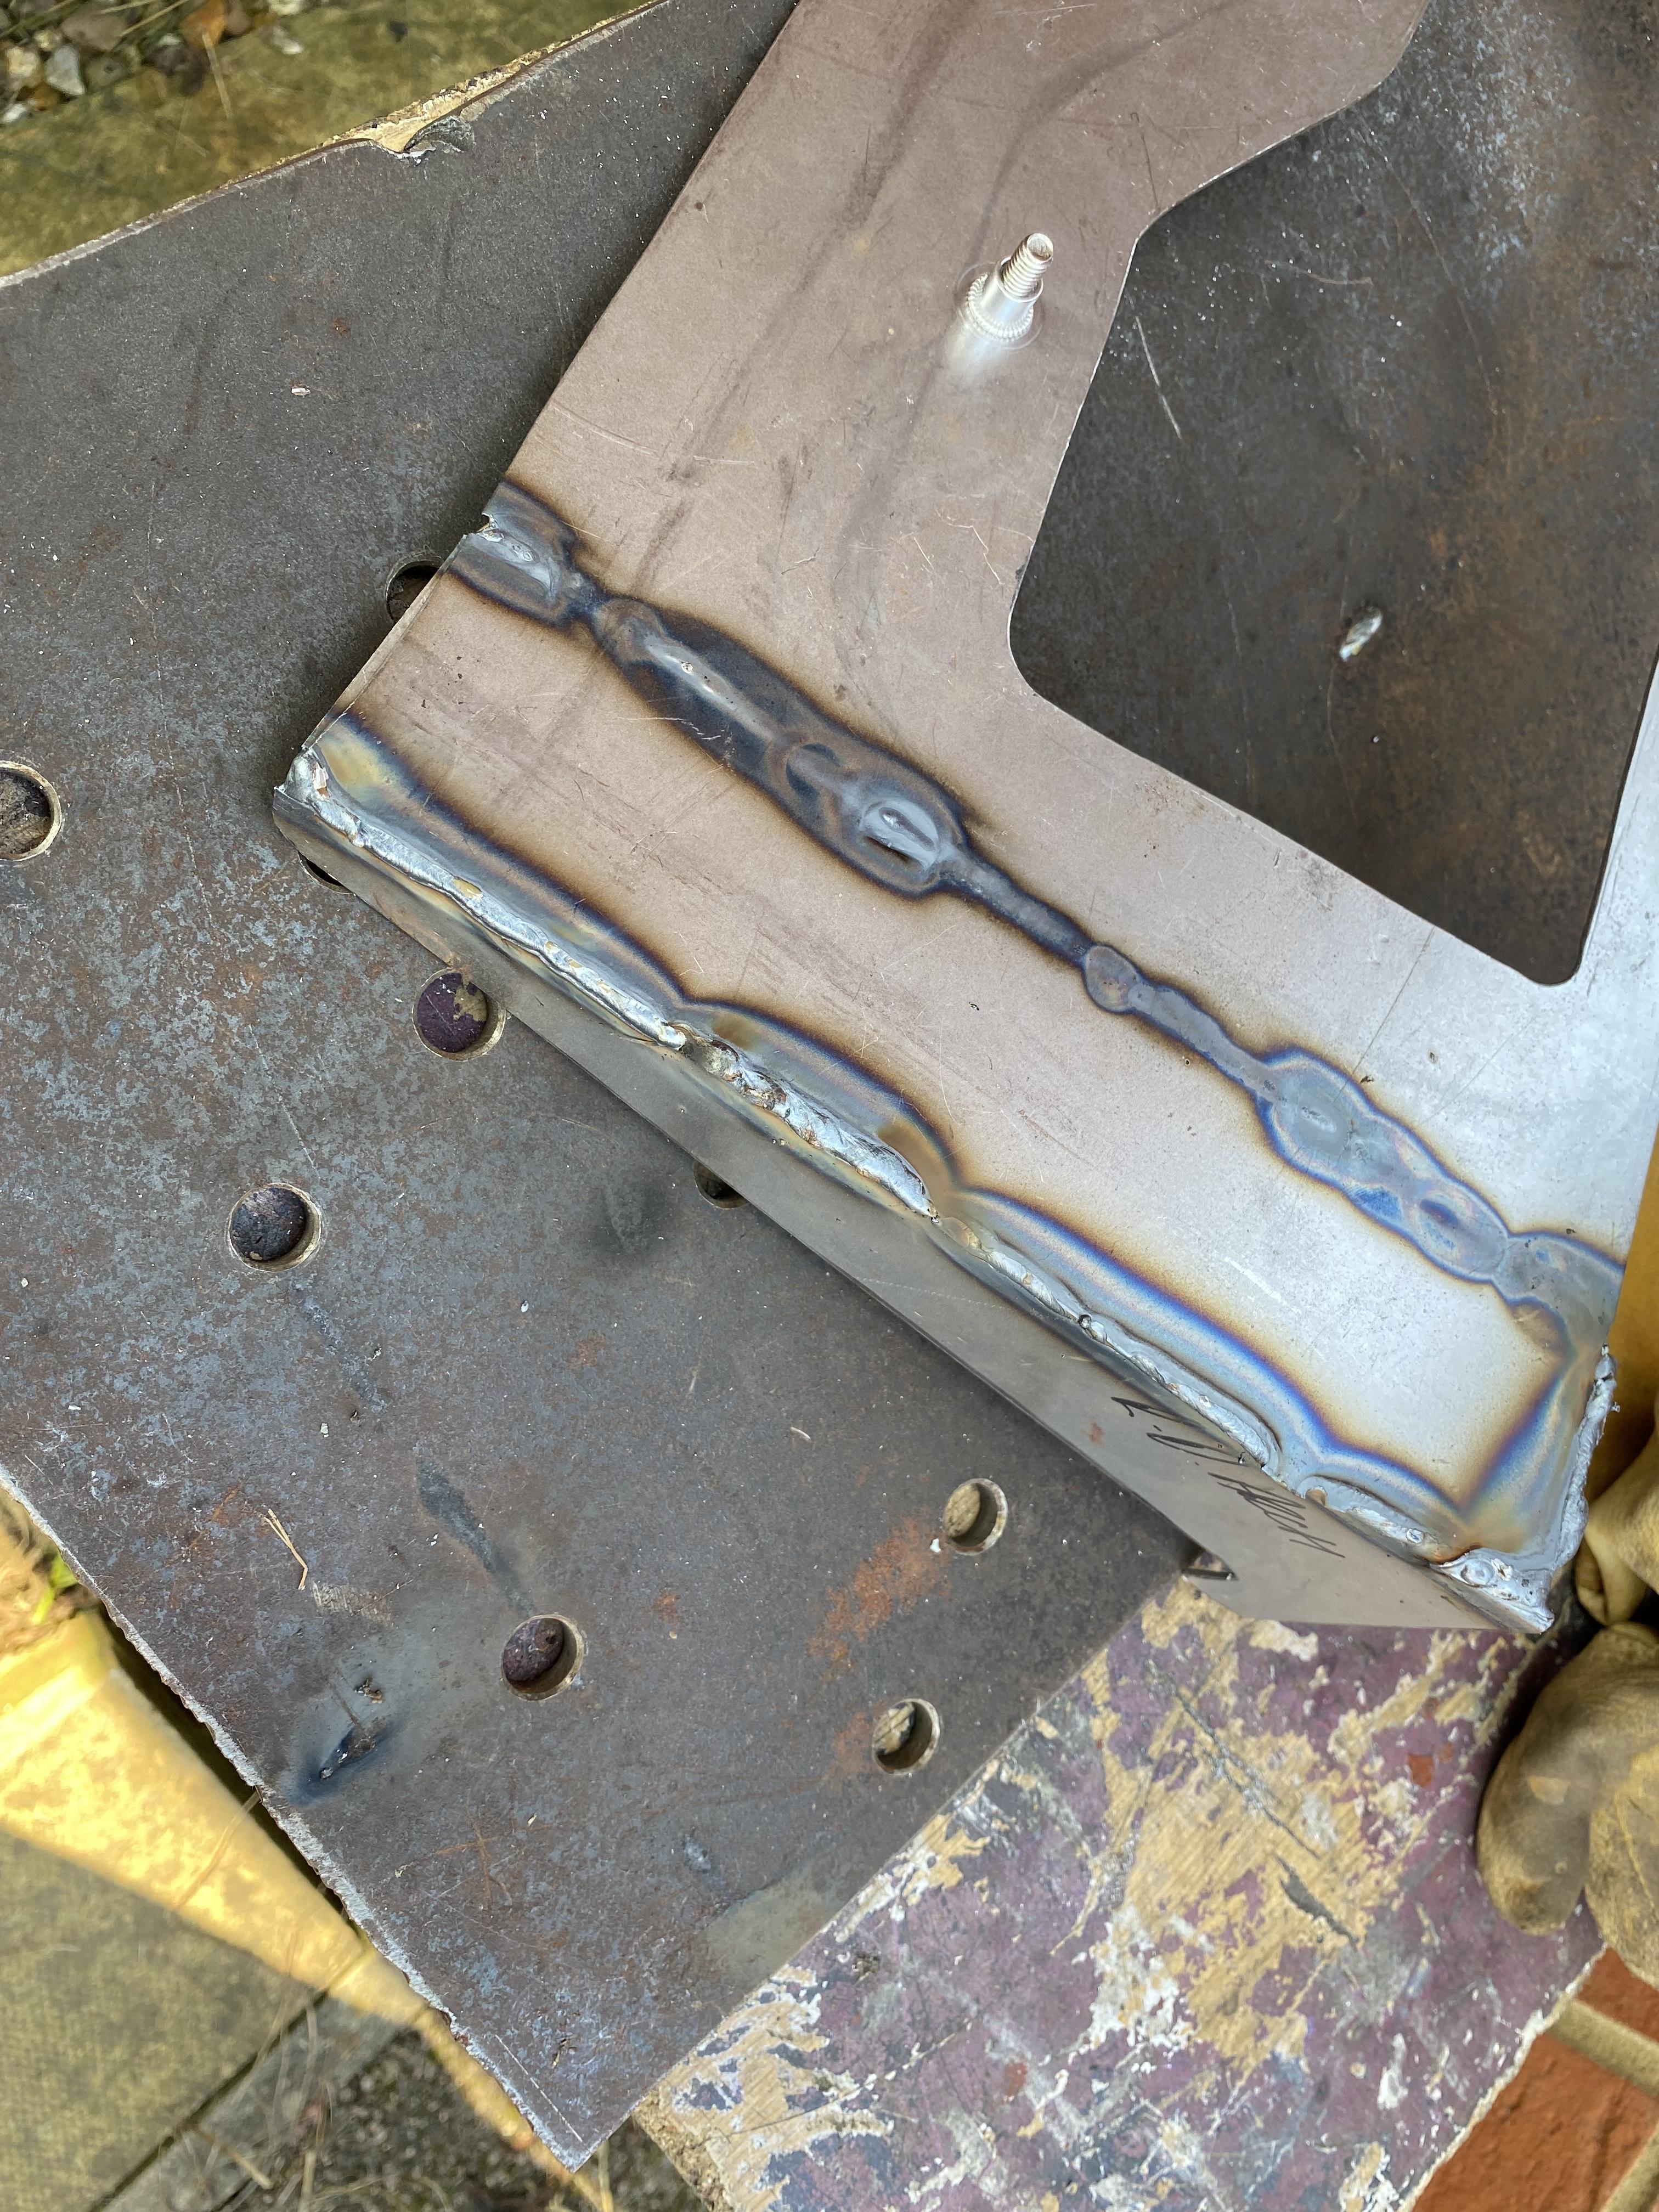
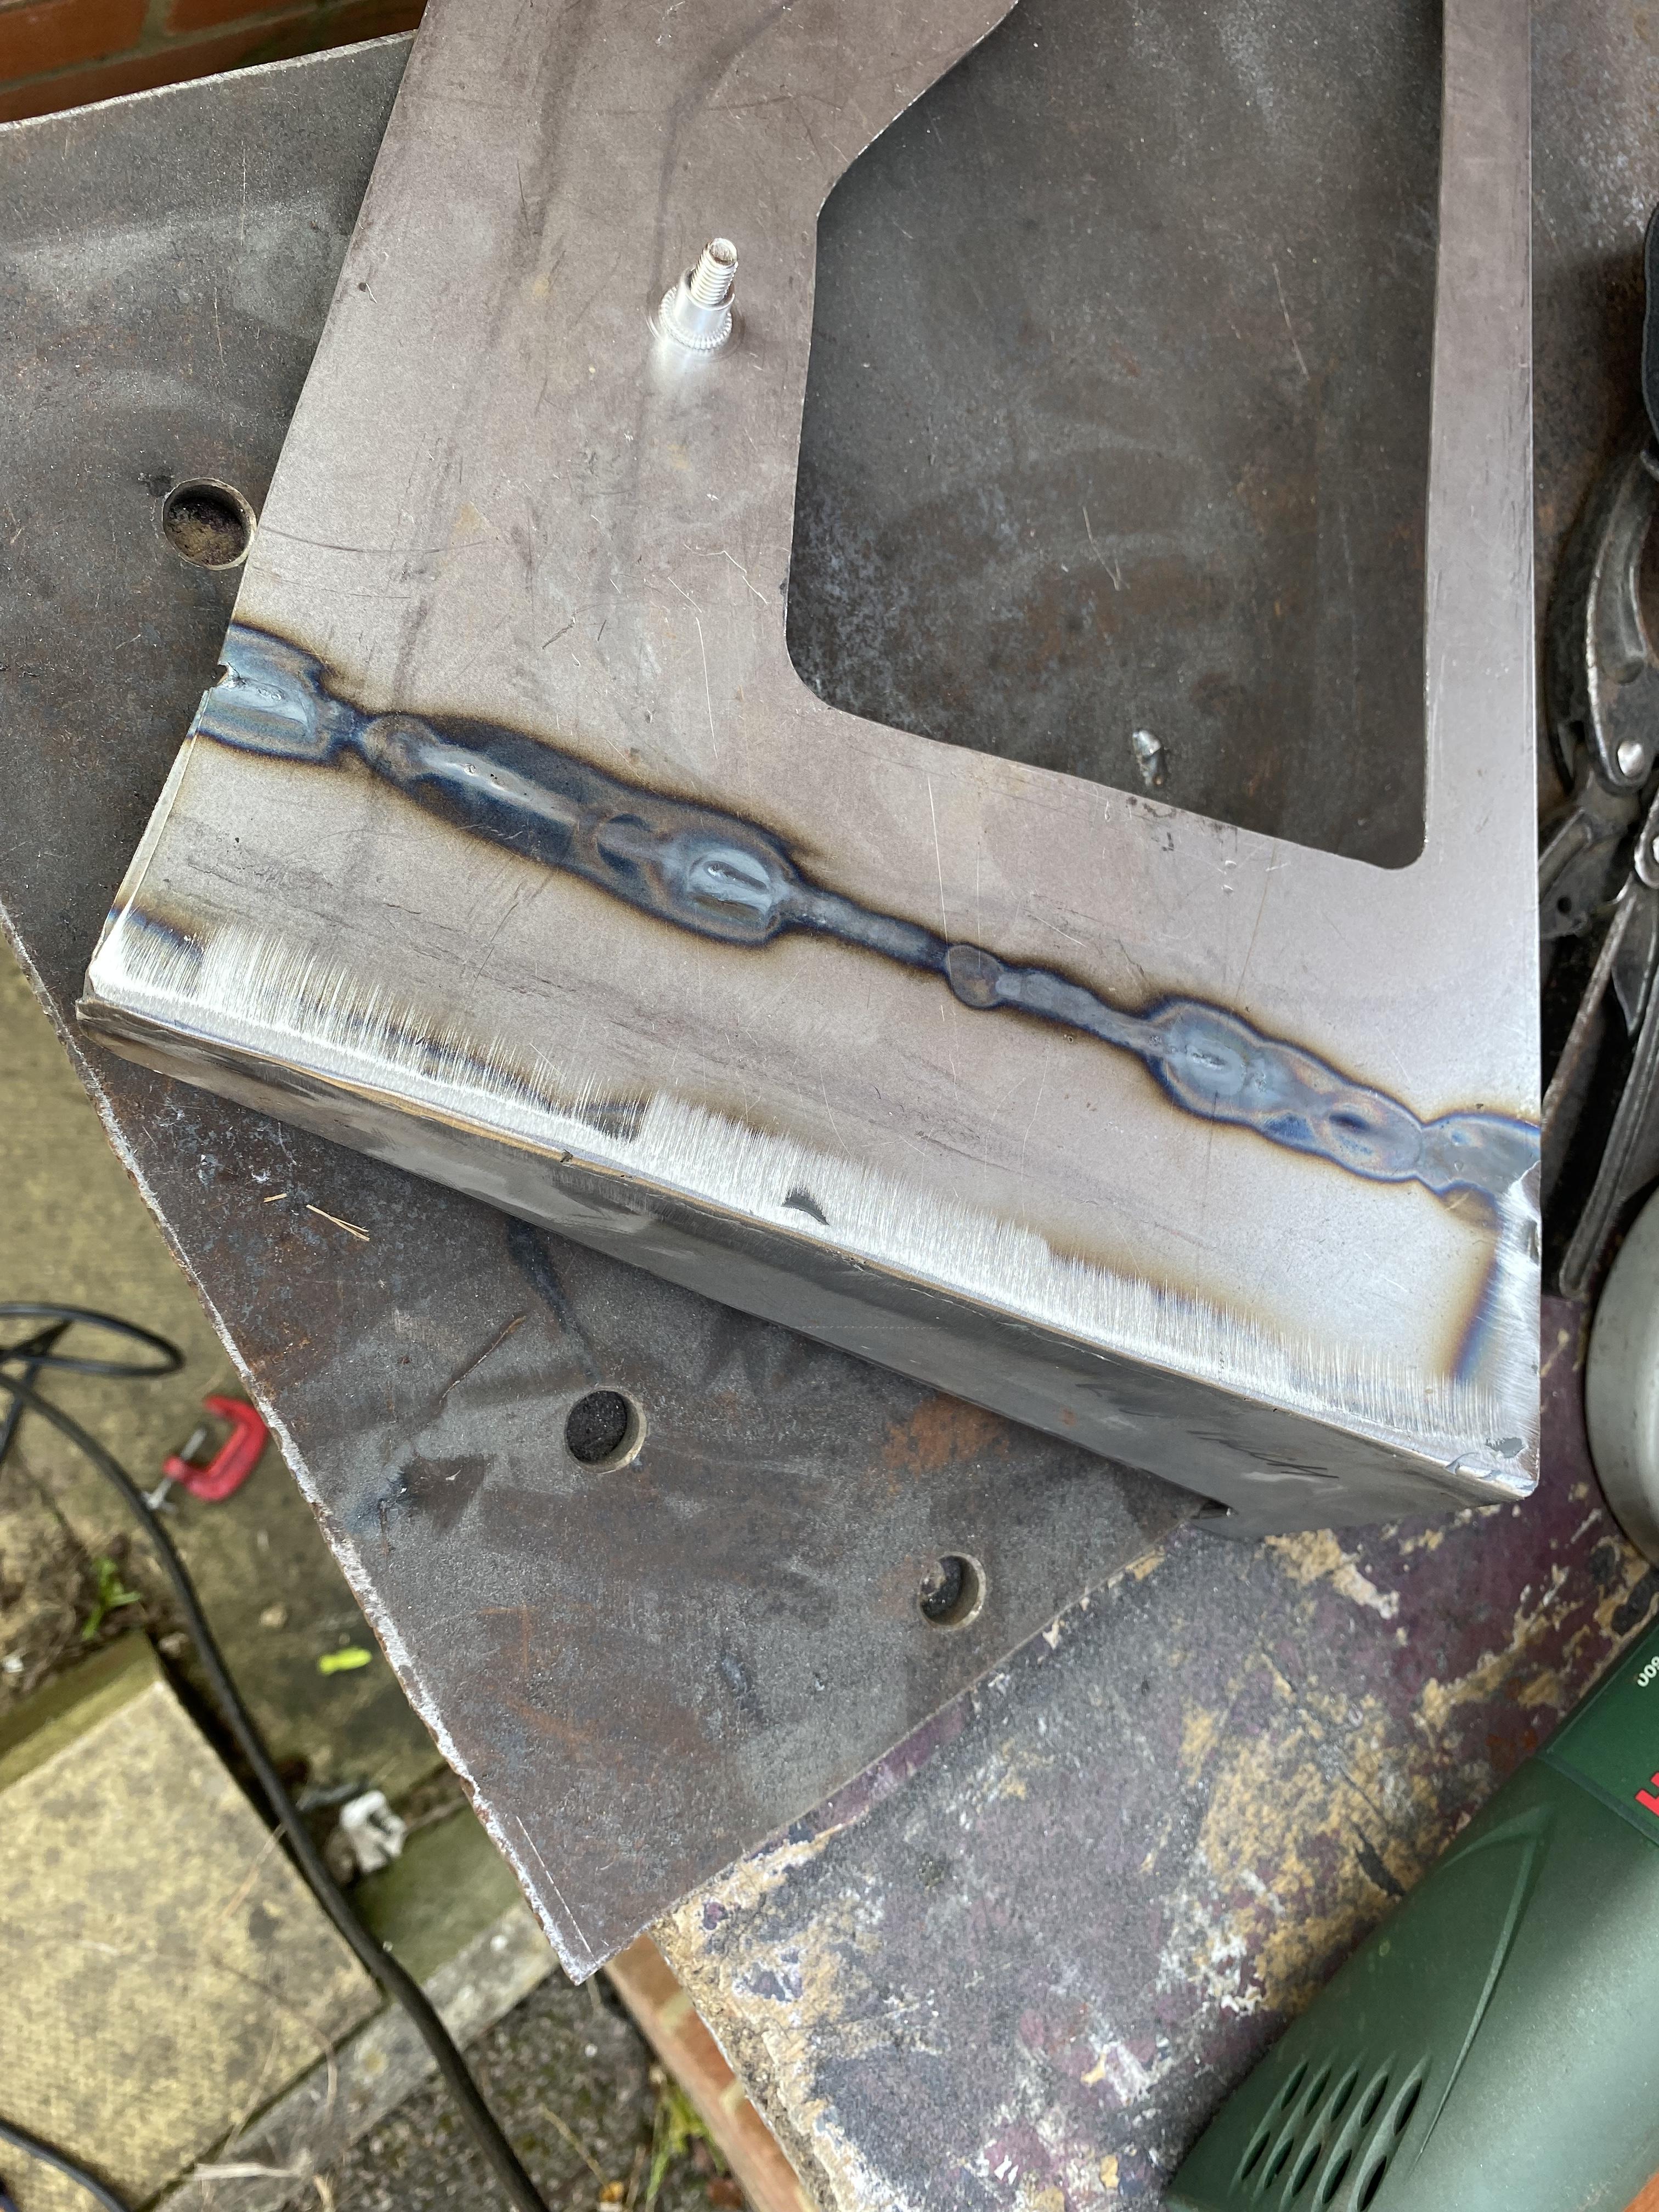
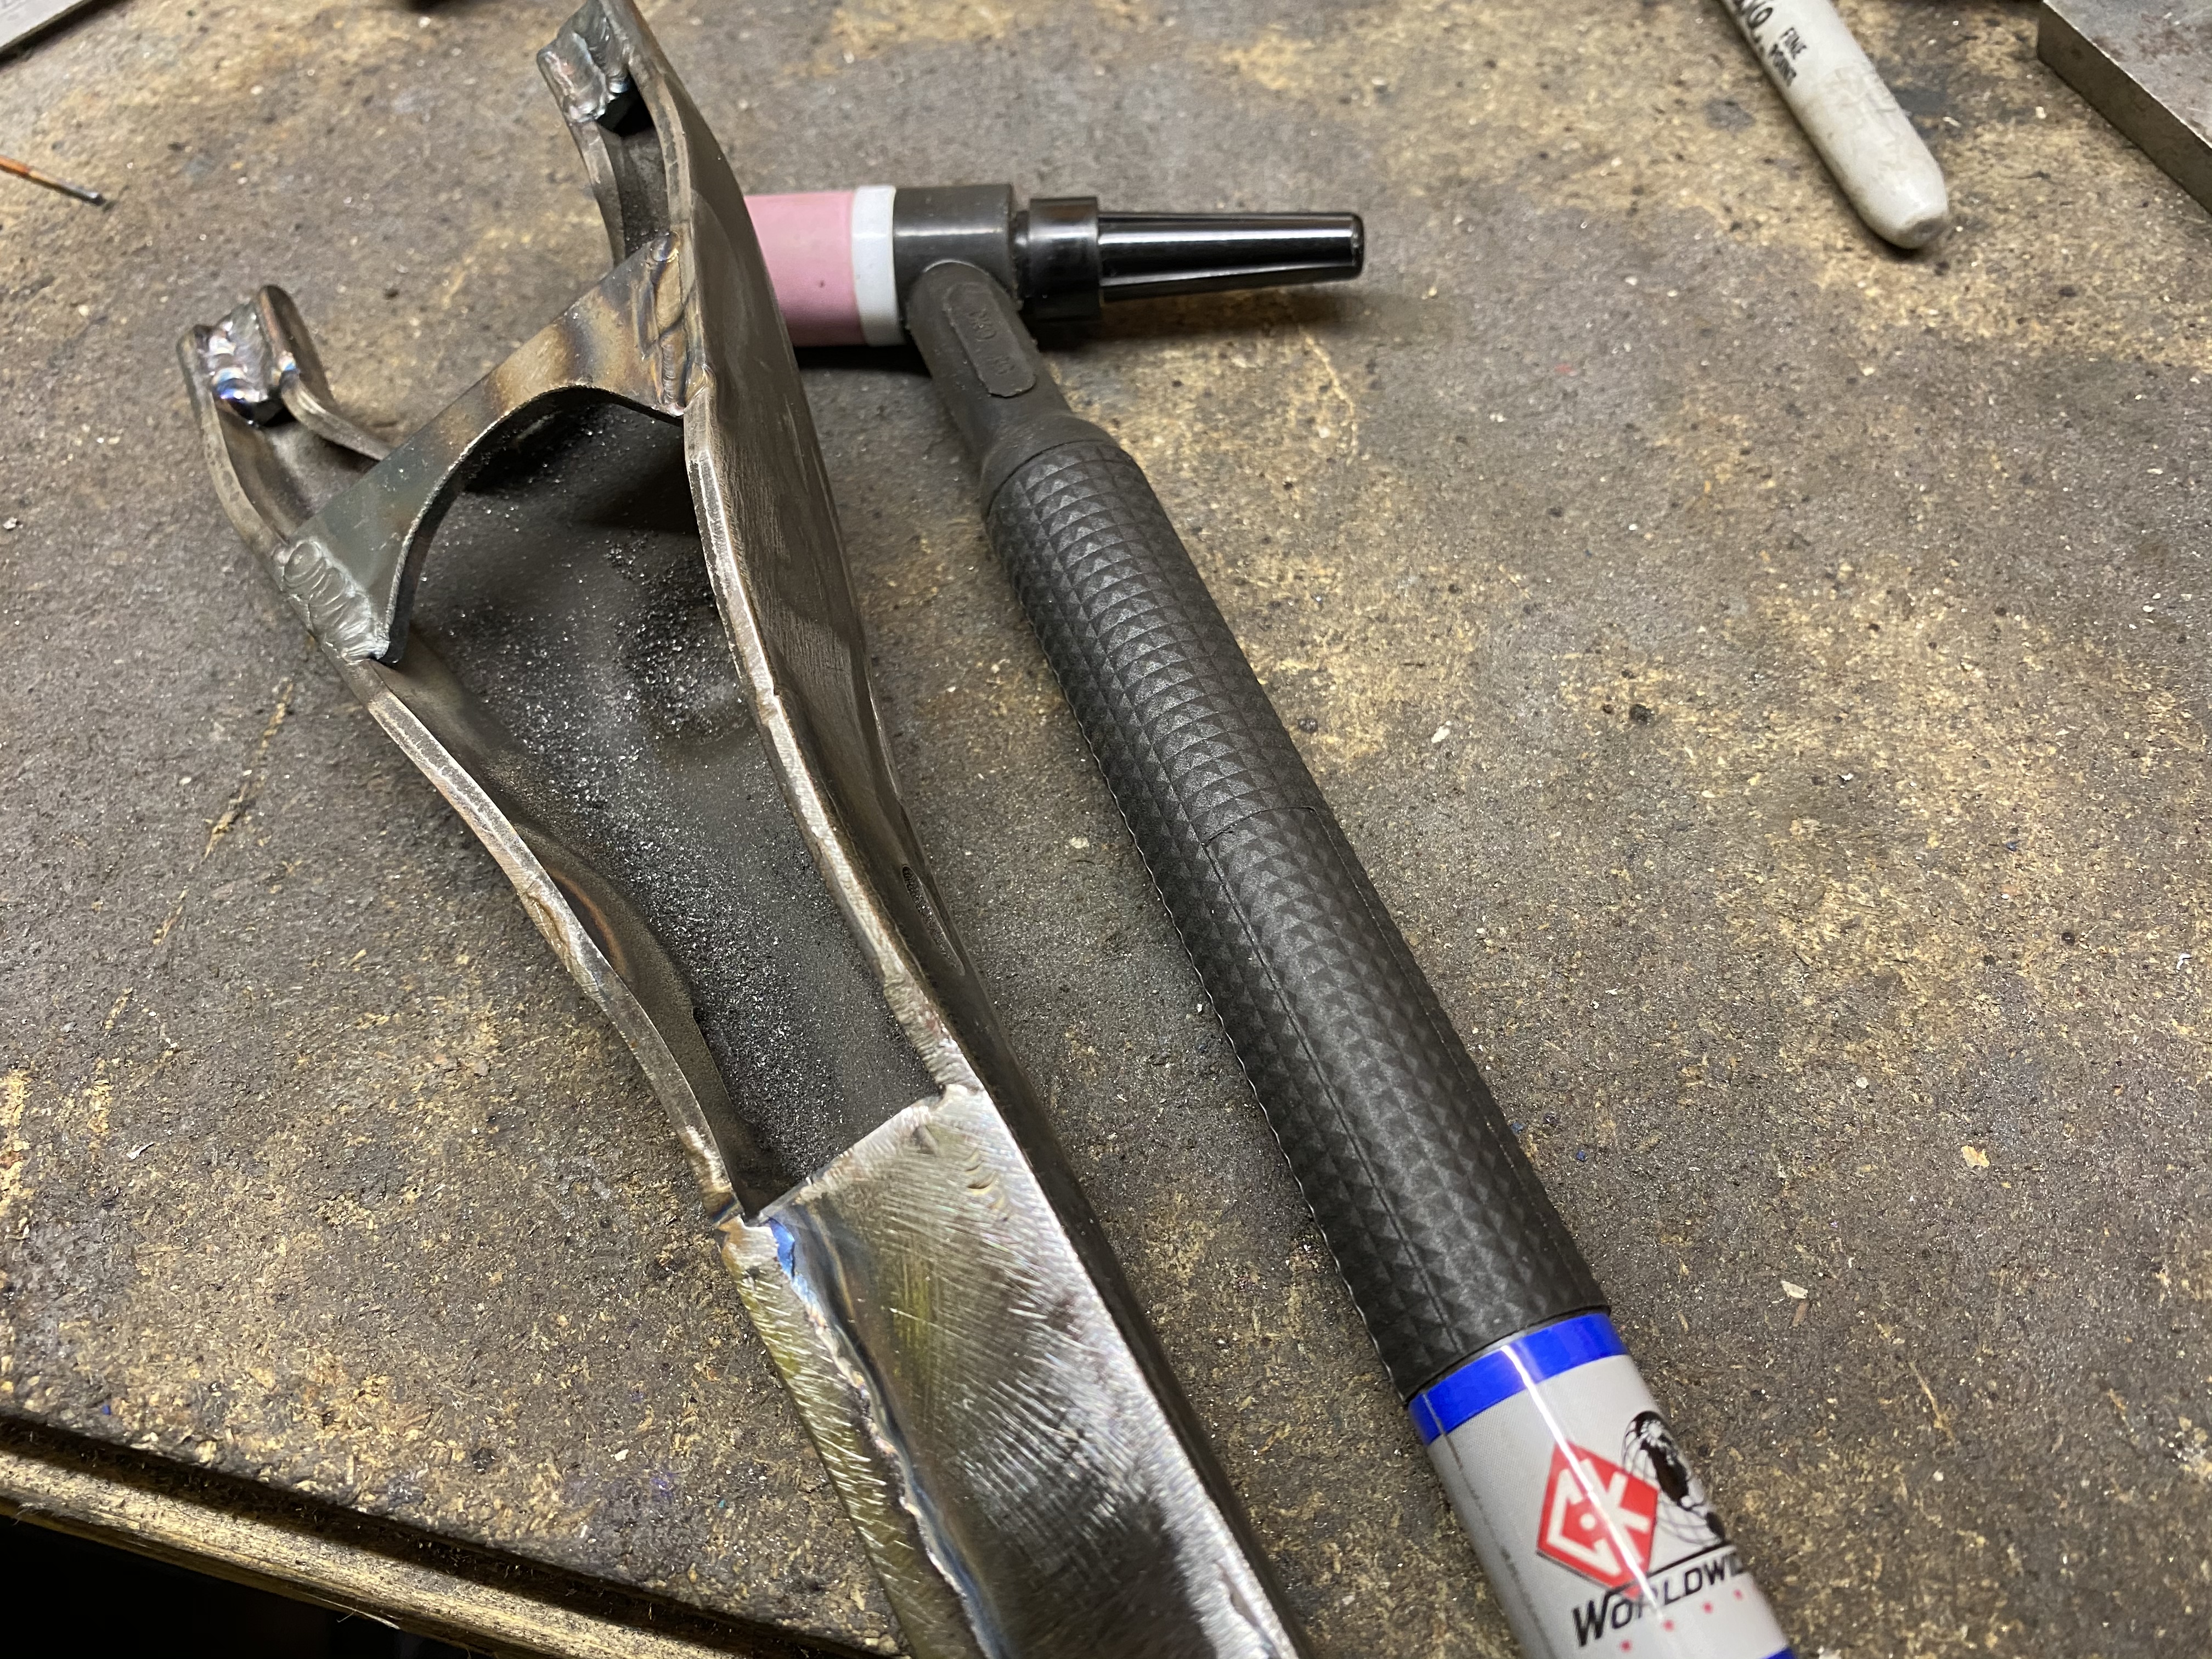
Had a hand from my brother in law starting to get the rot cut out here. Found more as we went along and had to cut out some of my rear arch to access the floor. As it was rotten around the boomerang mounts I have machined new threads and got some new bolts for both sides


-
Didn’t have much time for a while as our son was born but I’ve got a couple of posts to update the build. Progress is certainly slow but I’m slogging away at it getting bits done where I can.
Got the rest of the head built a couple of months ago

-
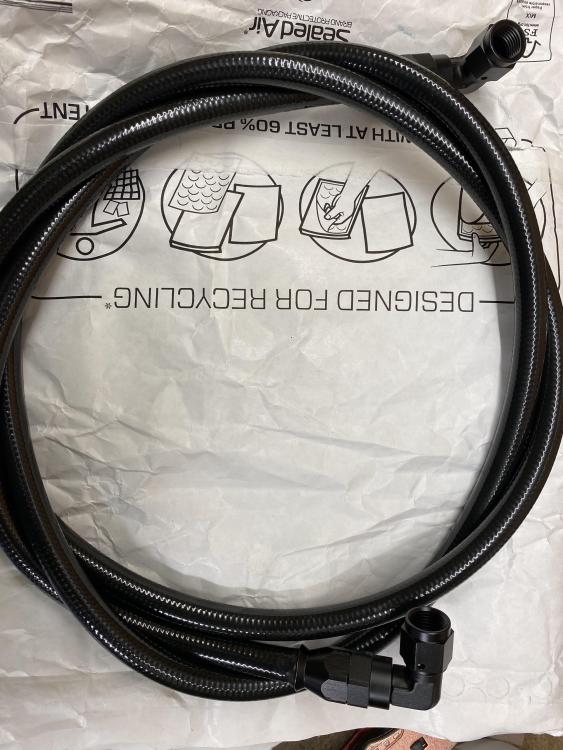
Got the high pressure power steering line made up in PTFE hose and fittings
-
On 2/13/2022 at 8:33 PM, Sam44 said:
Oh yeh love that engine is it the sr20?.
Sorry if I've asked before. Can't beat abit of engine work.
Yeh it is, didn’t want to follow the RB or JZ route every man and his dog goes down. To be honest the SR is a bloody good engine providing you build it right and actually take care of it
-
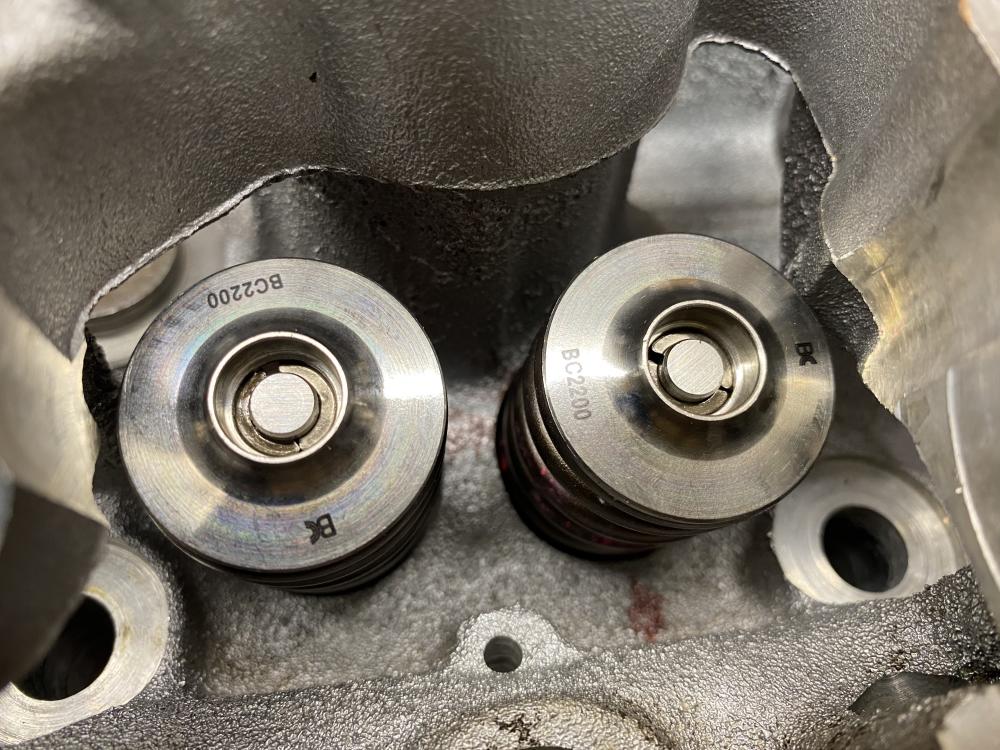
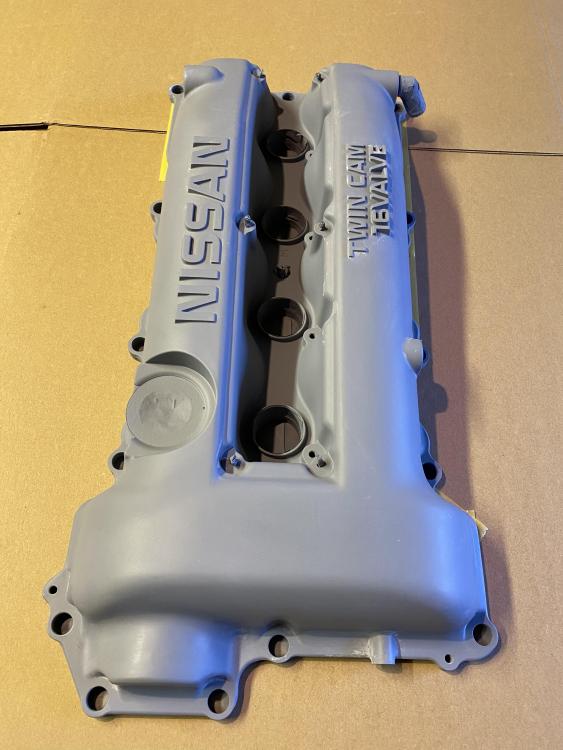
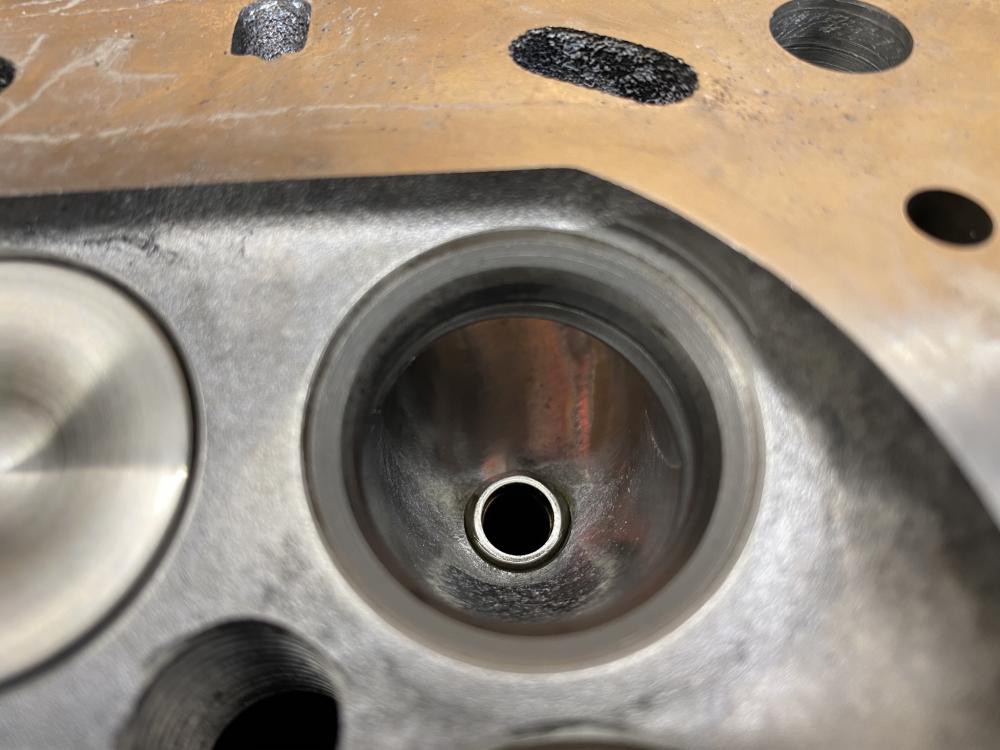
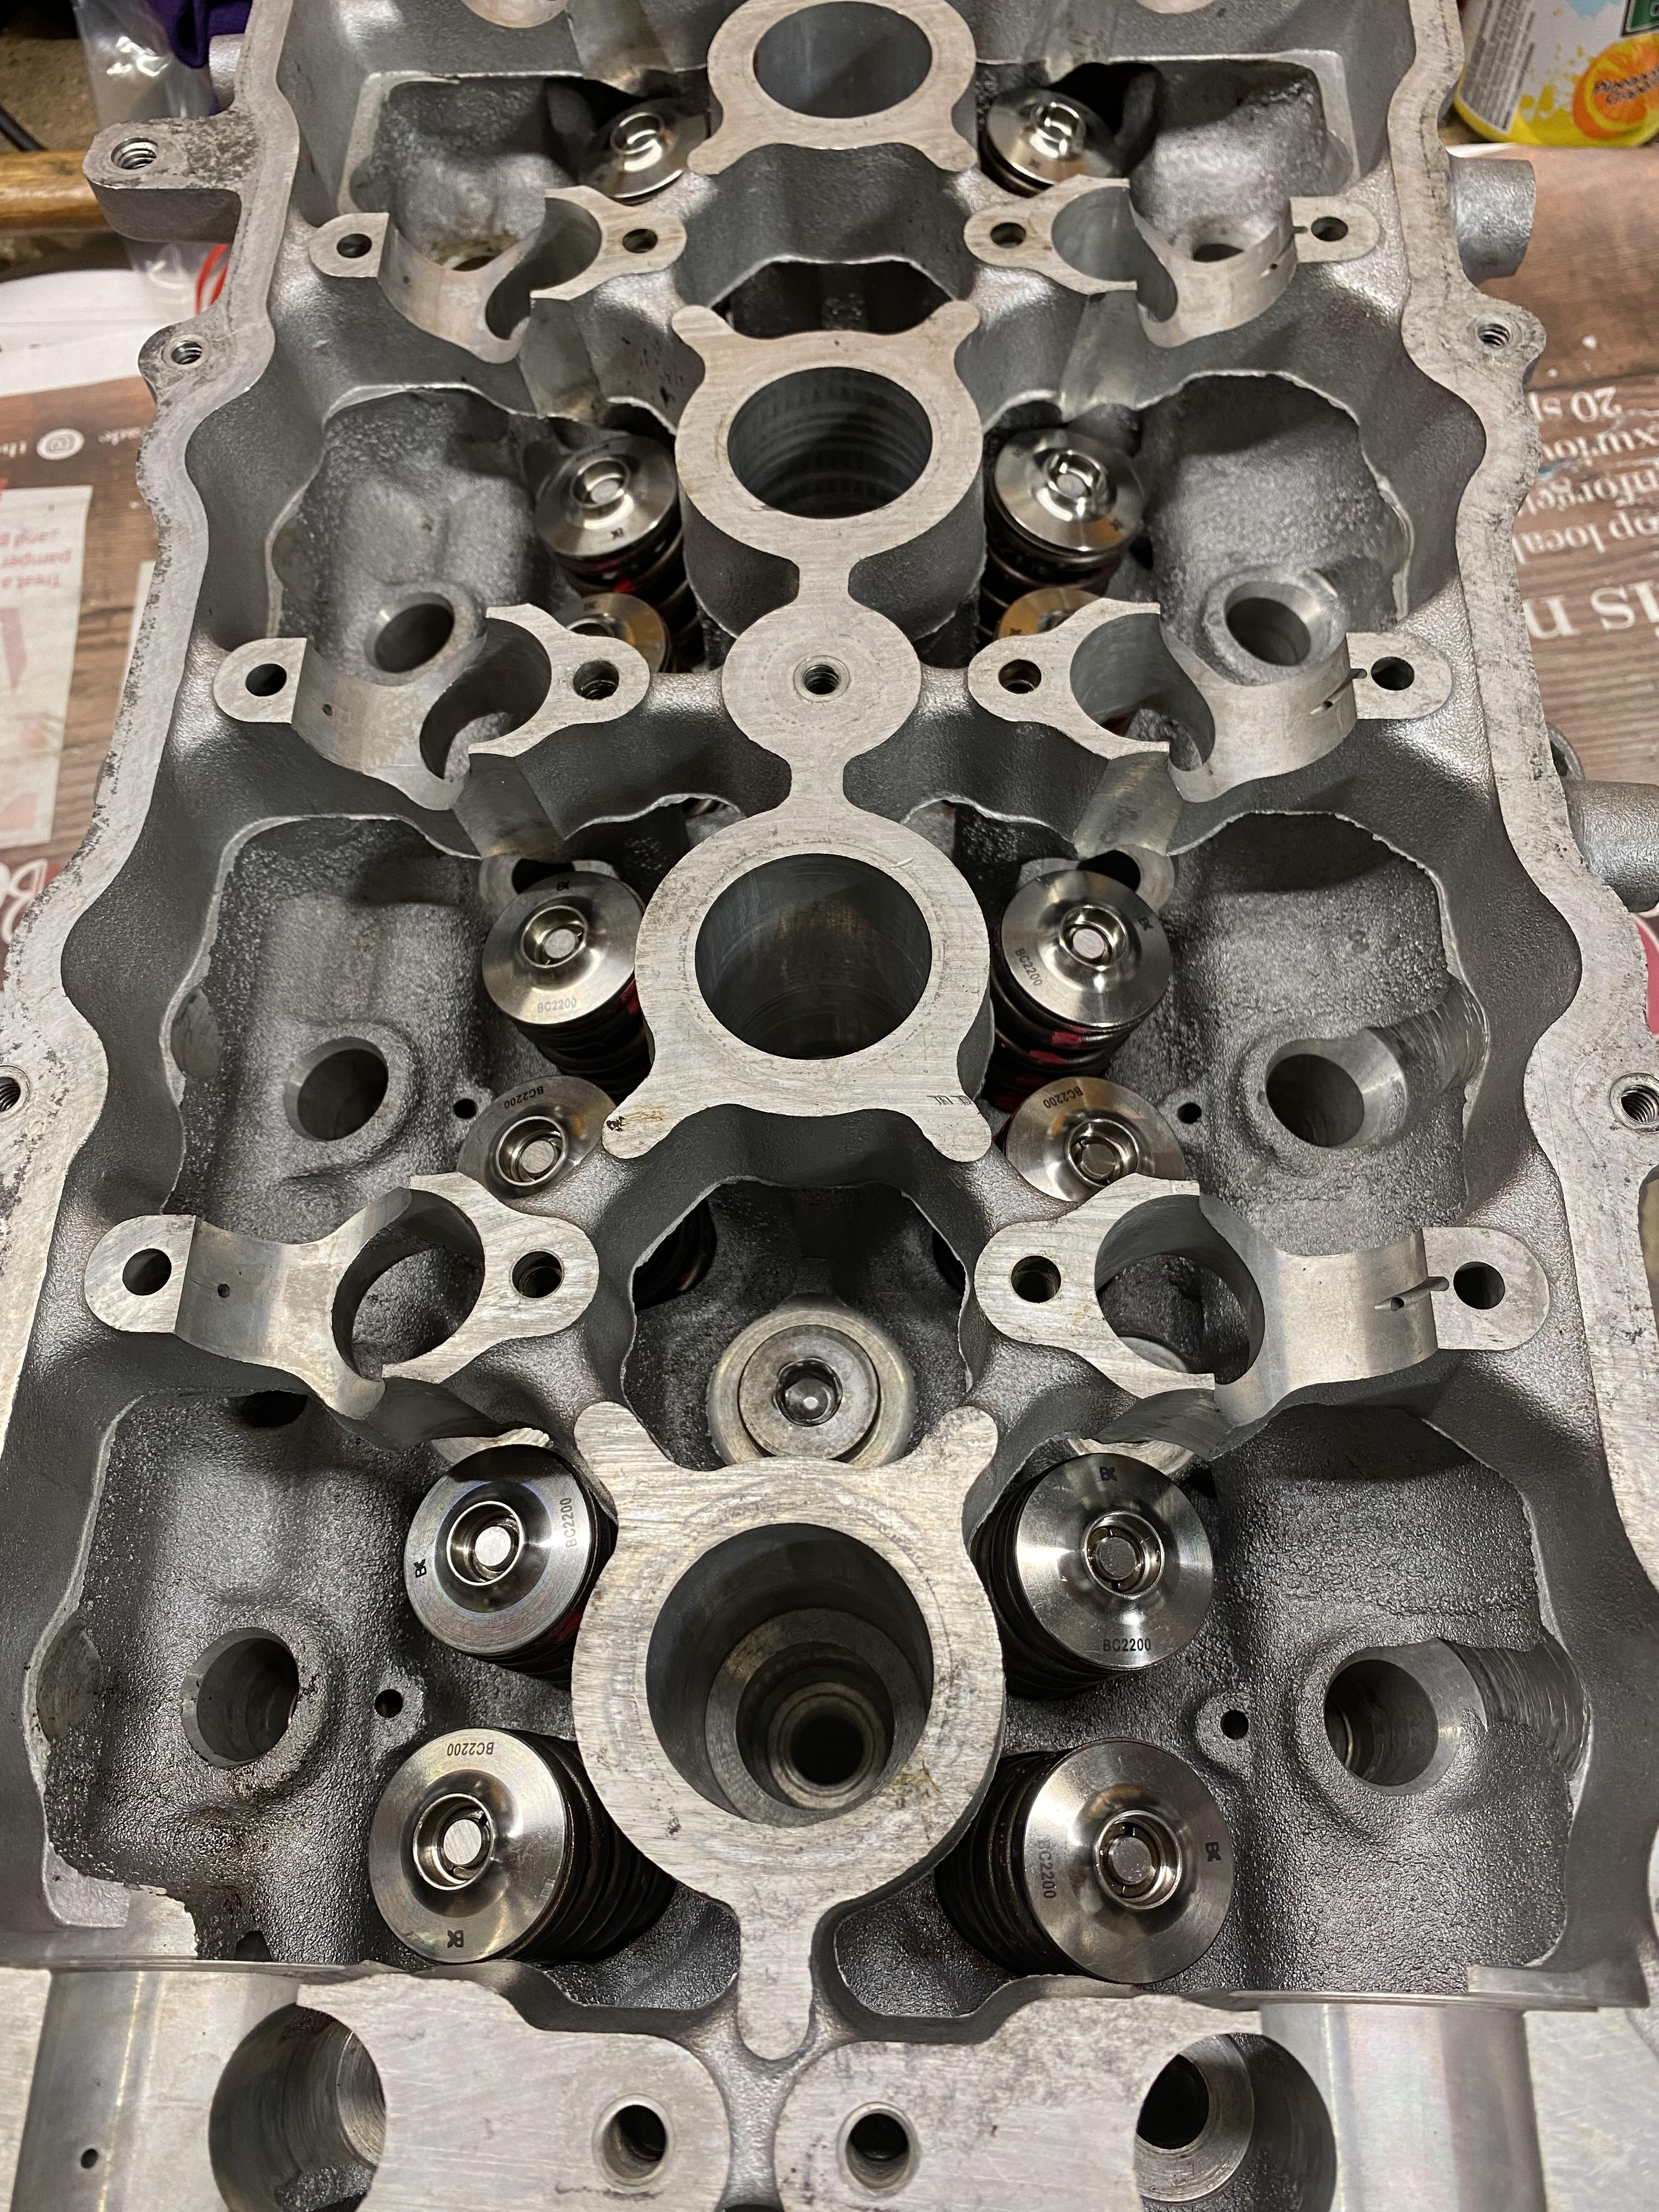
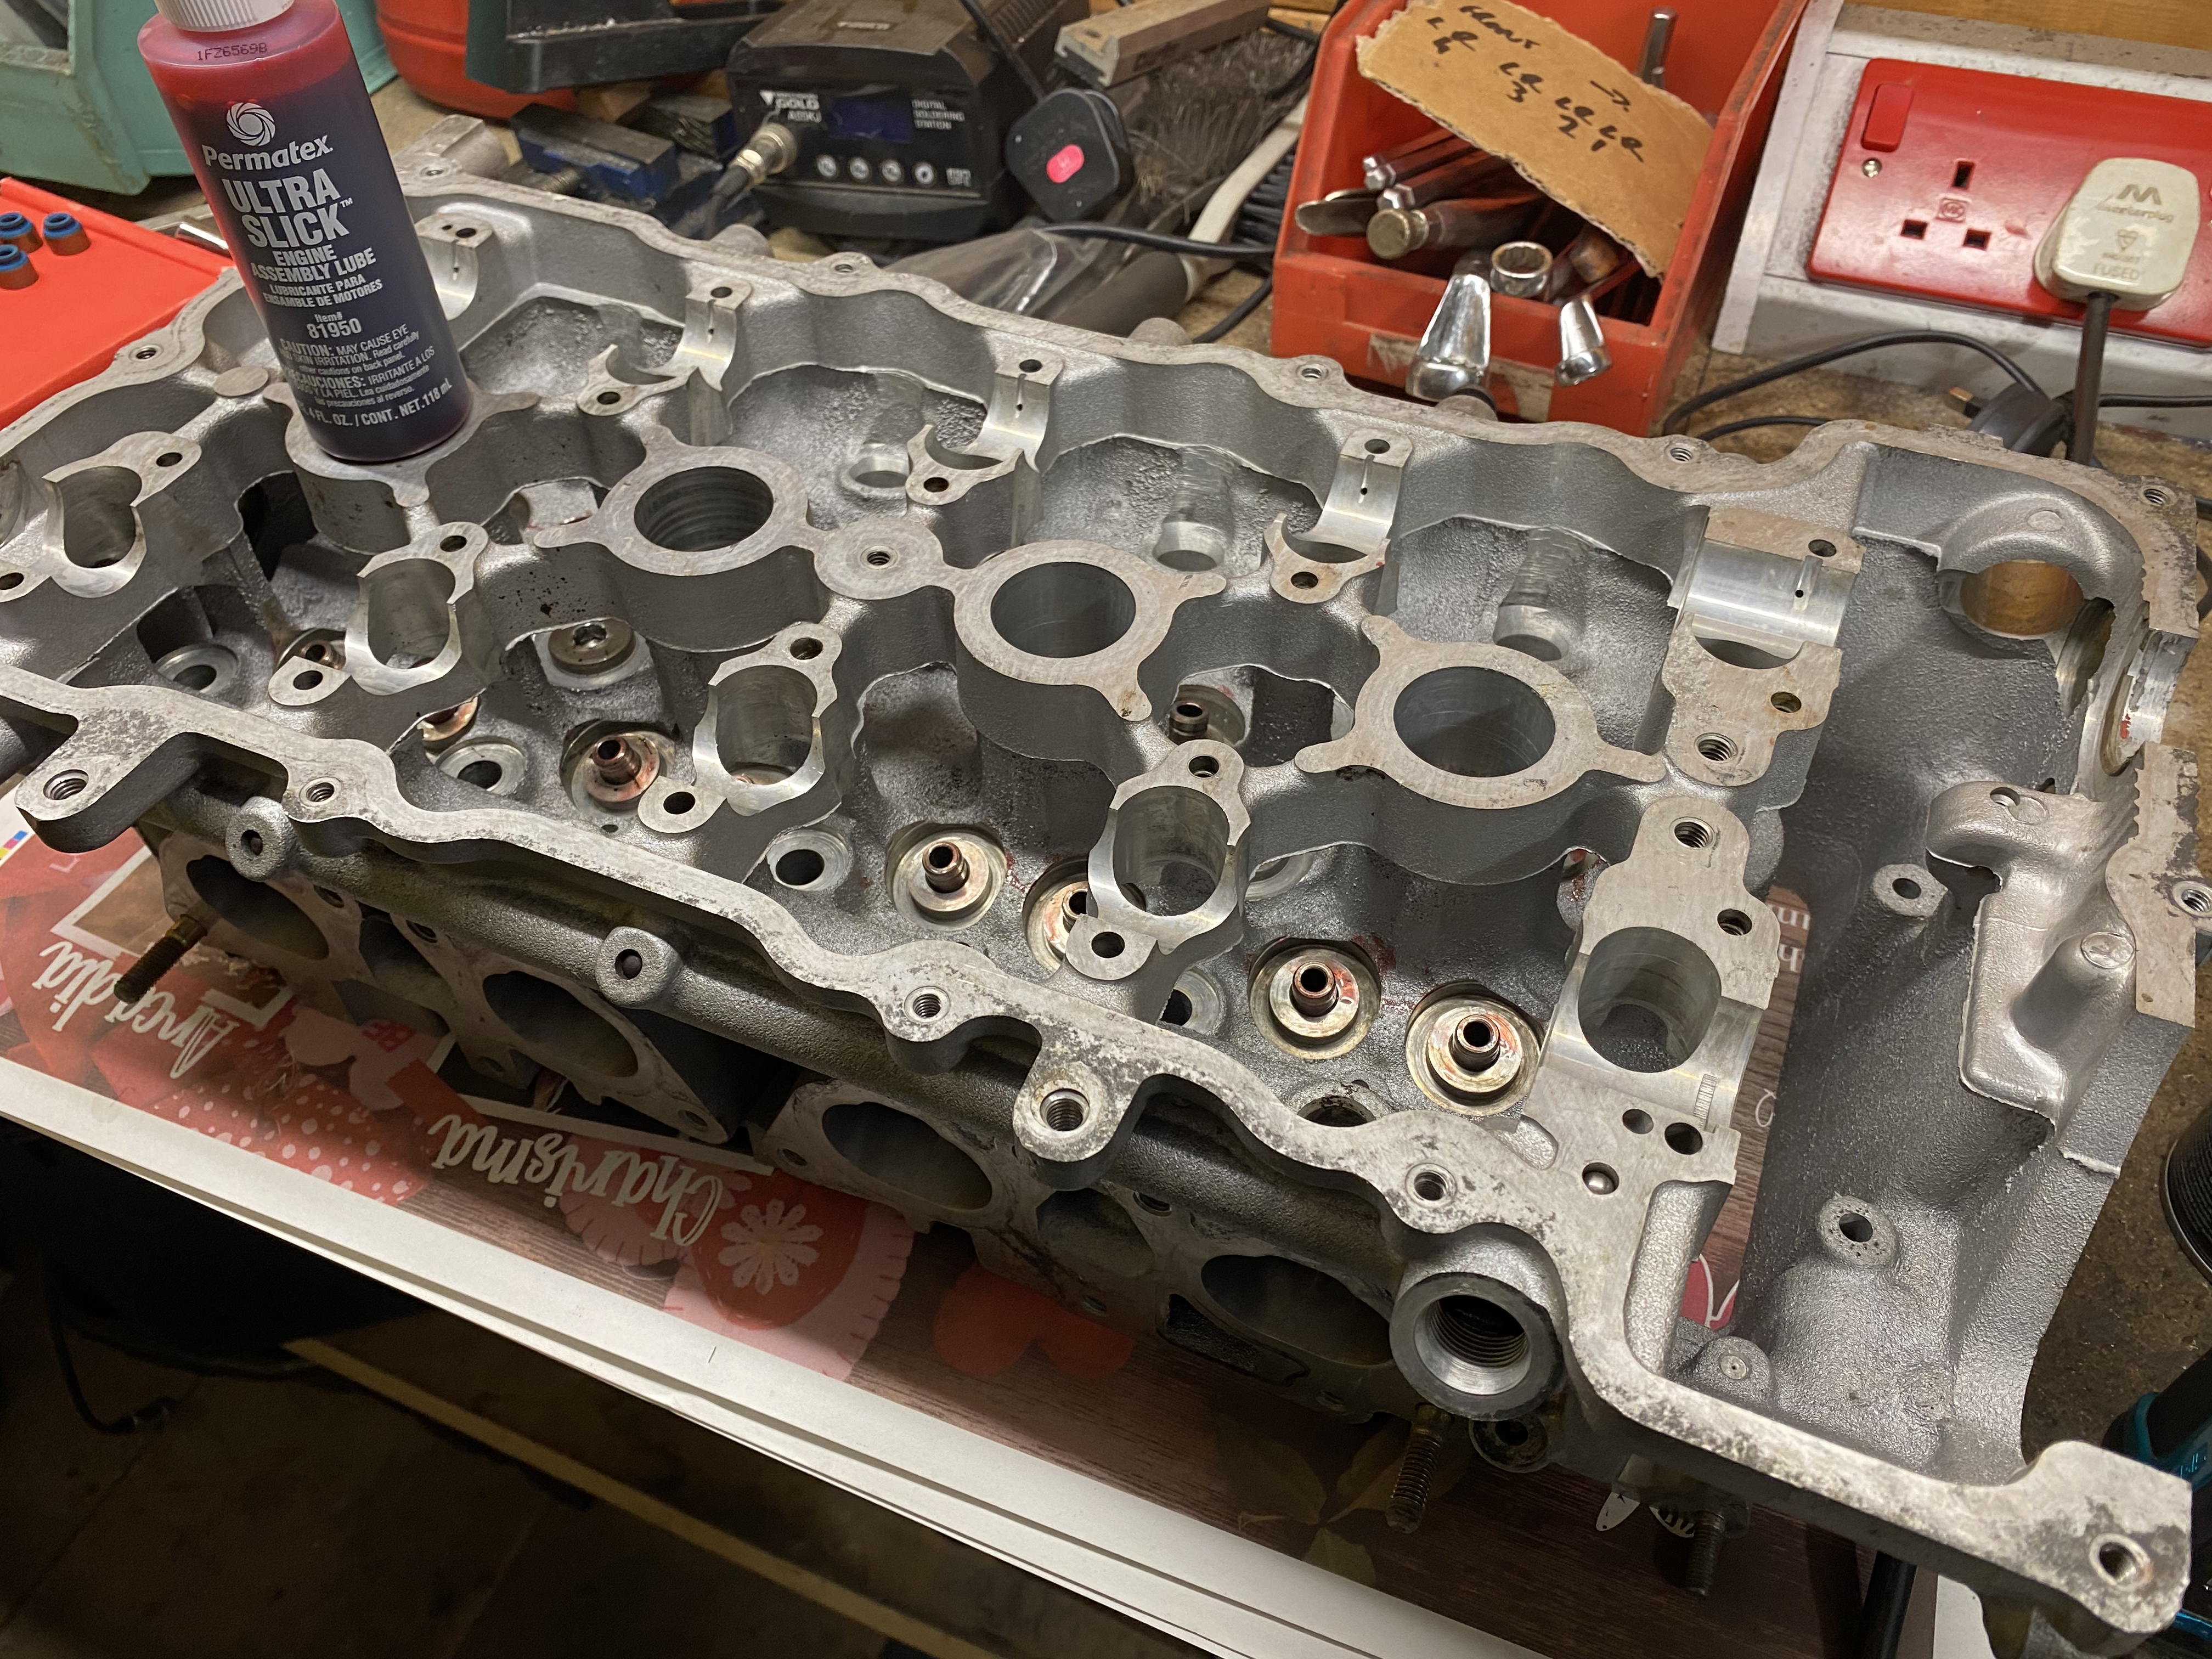
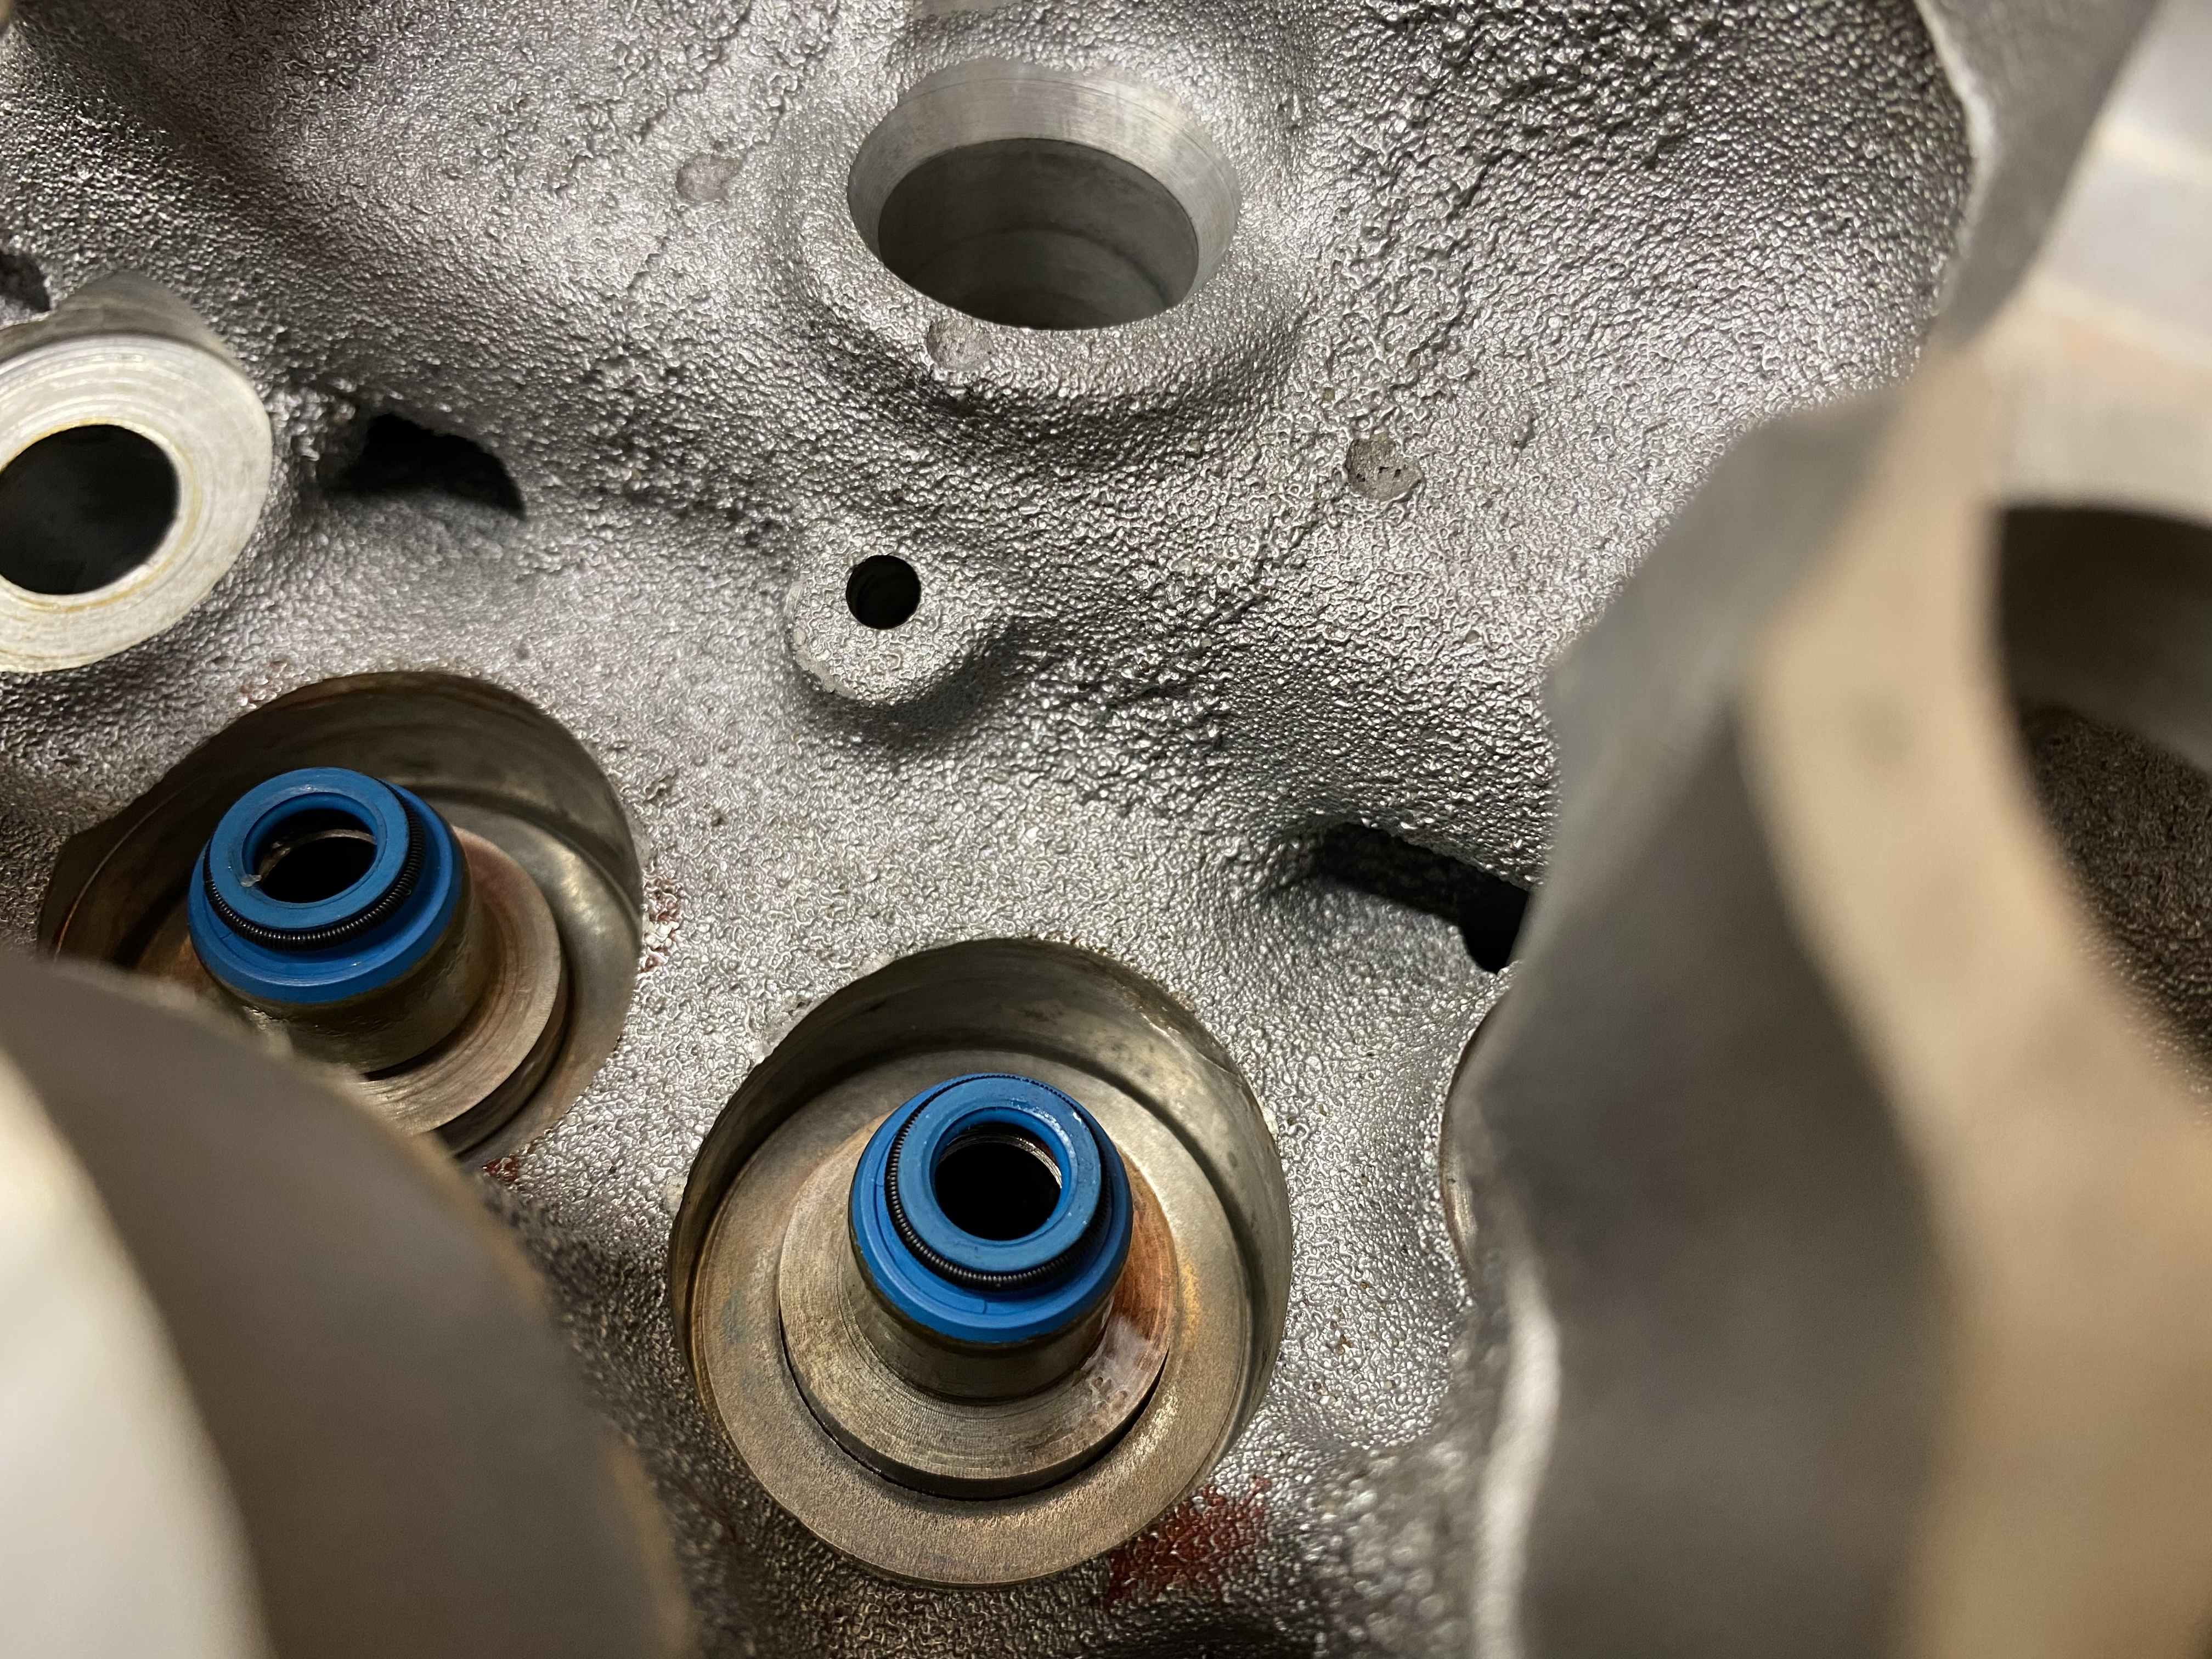
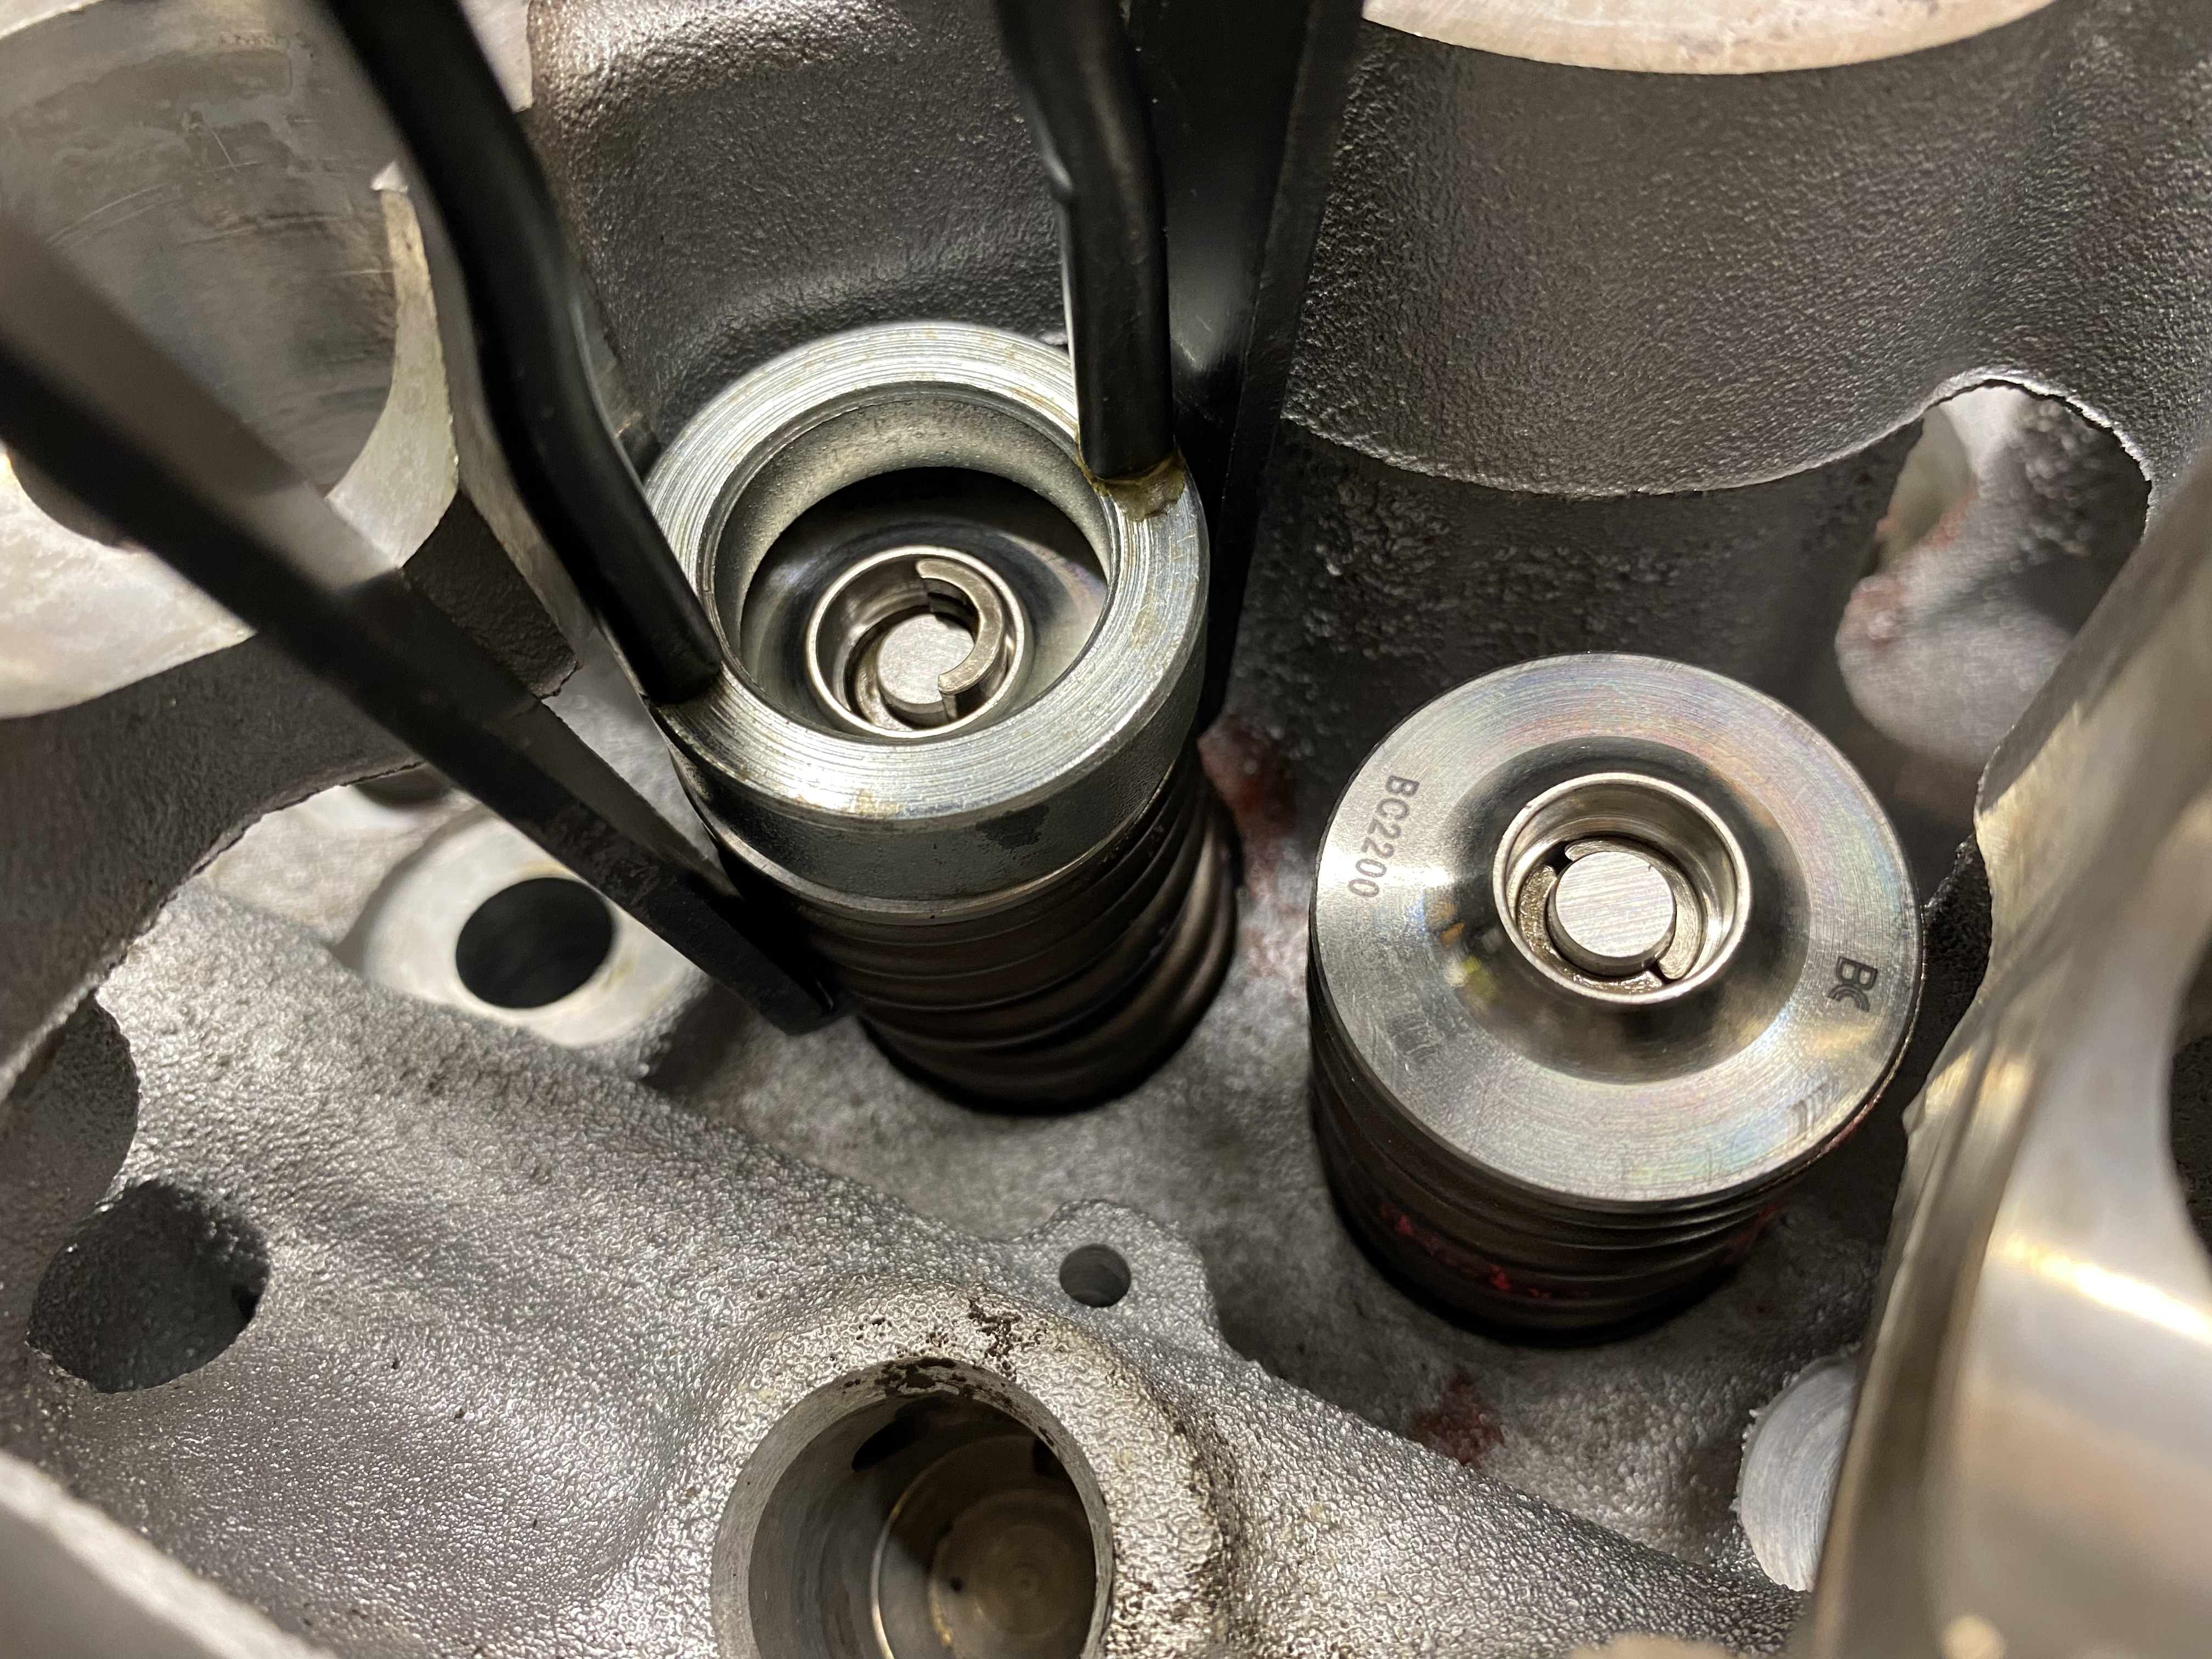
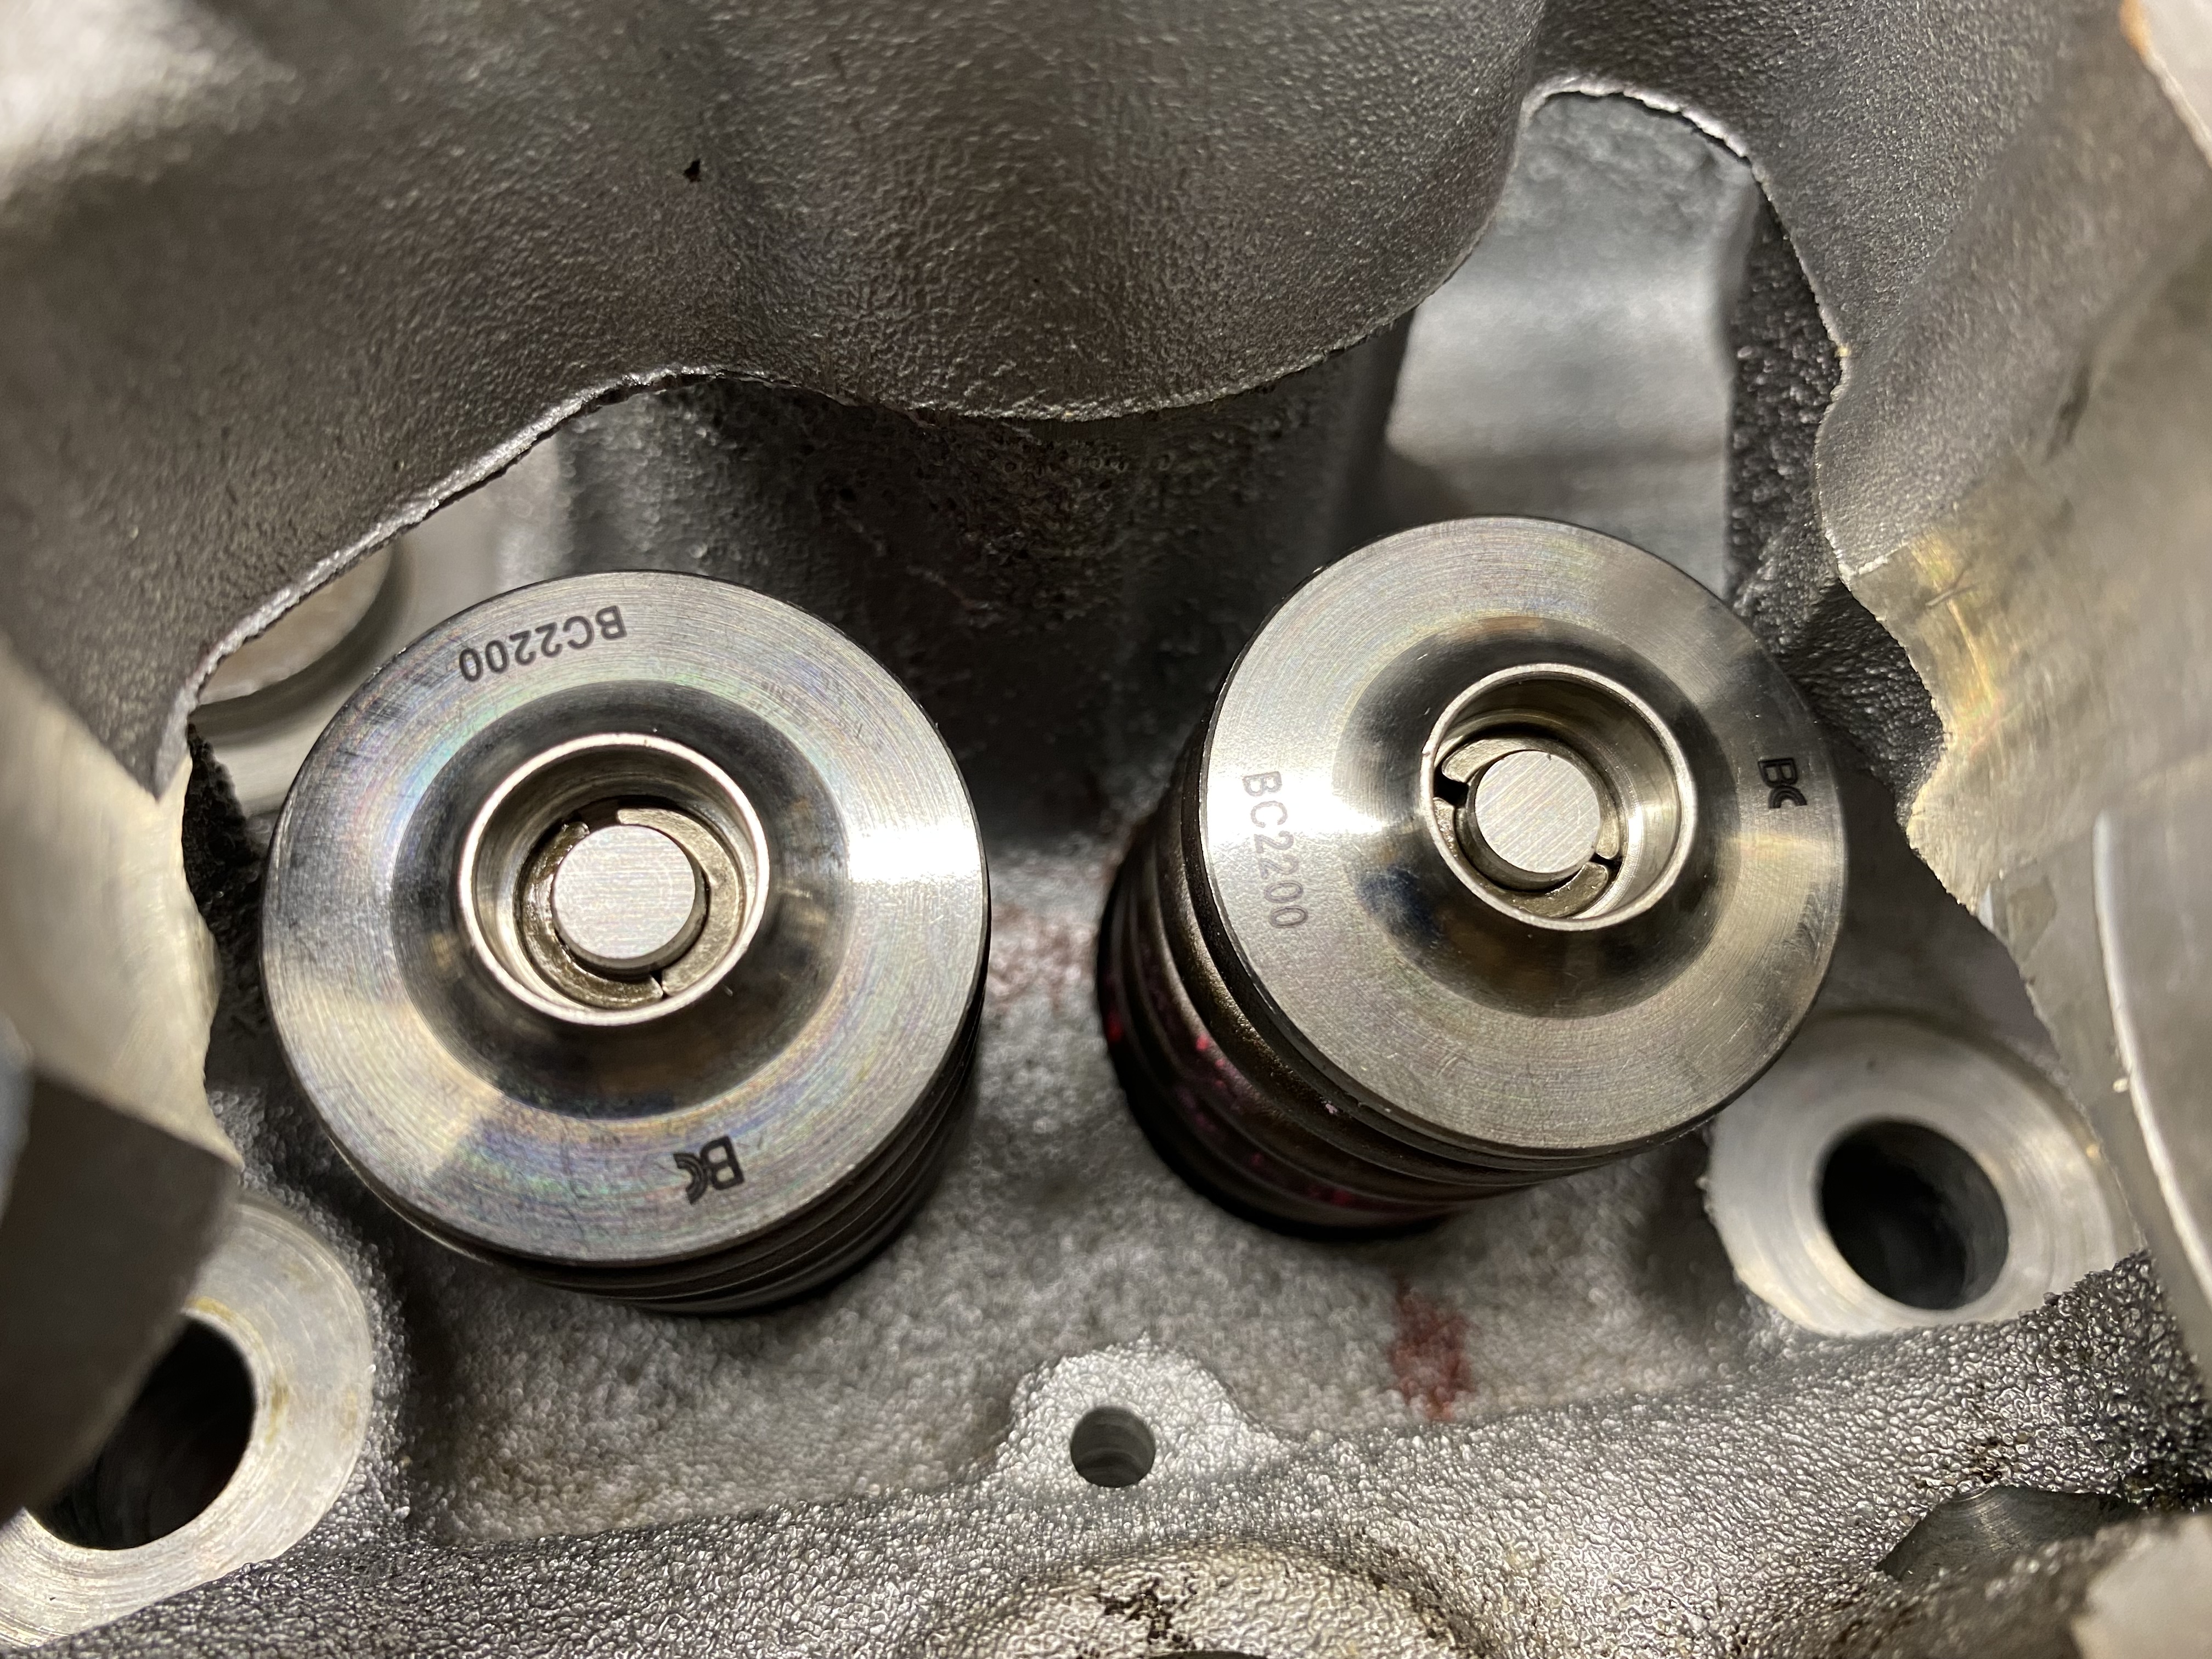
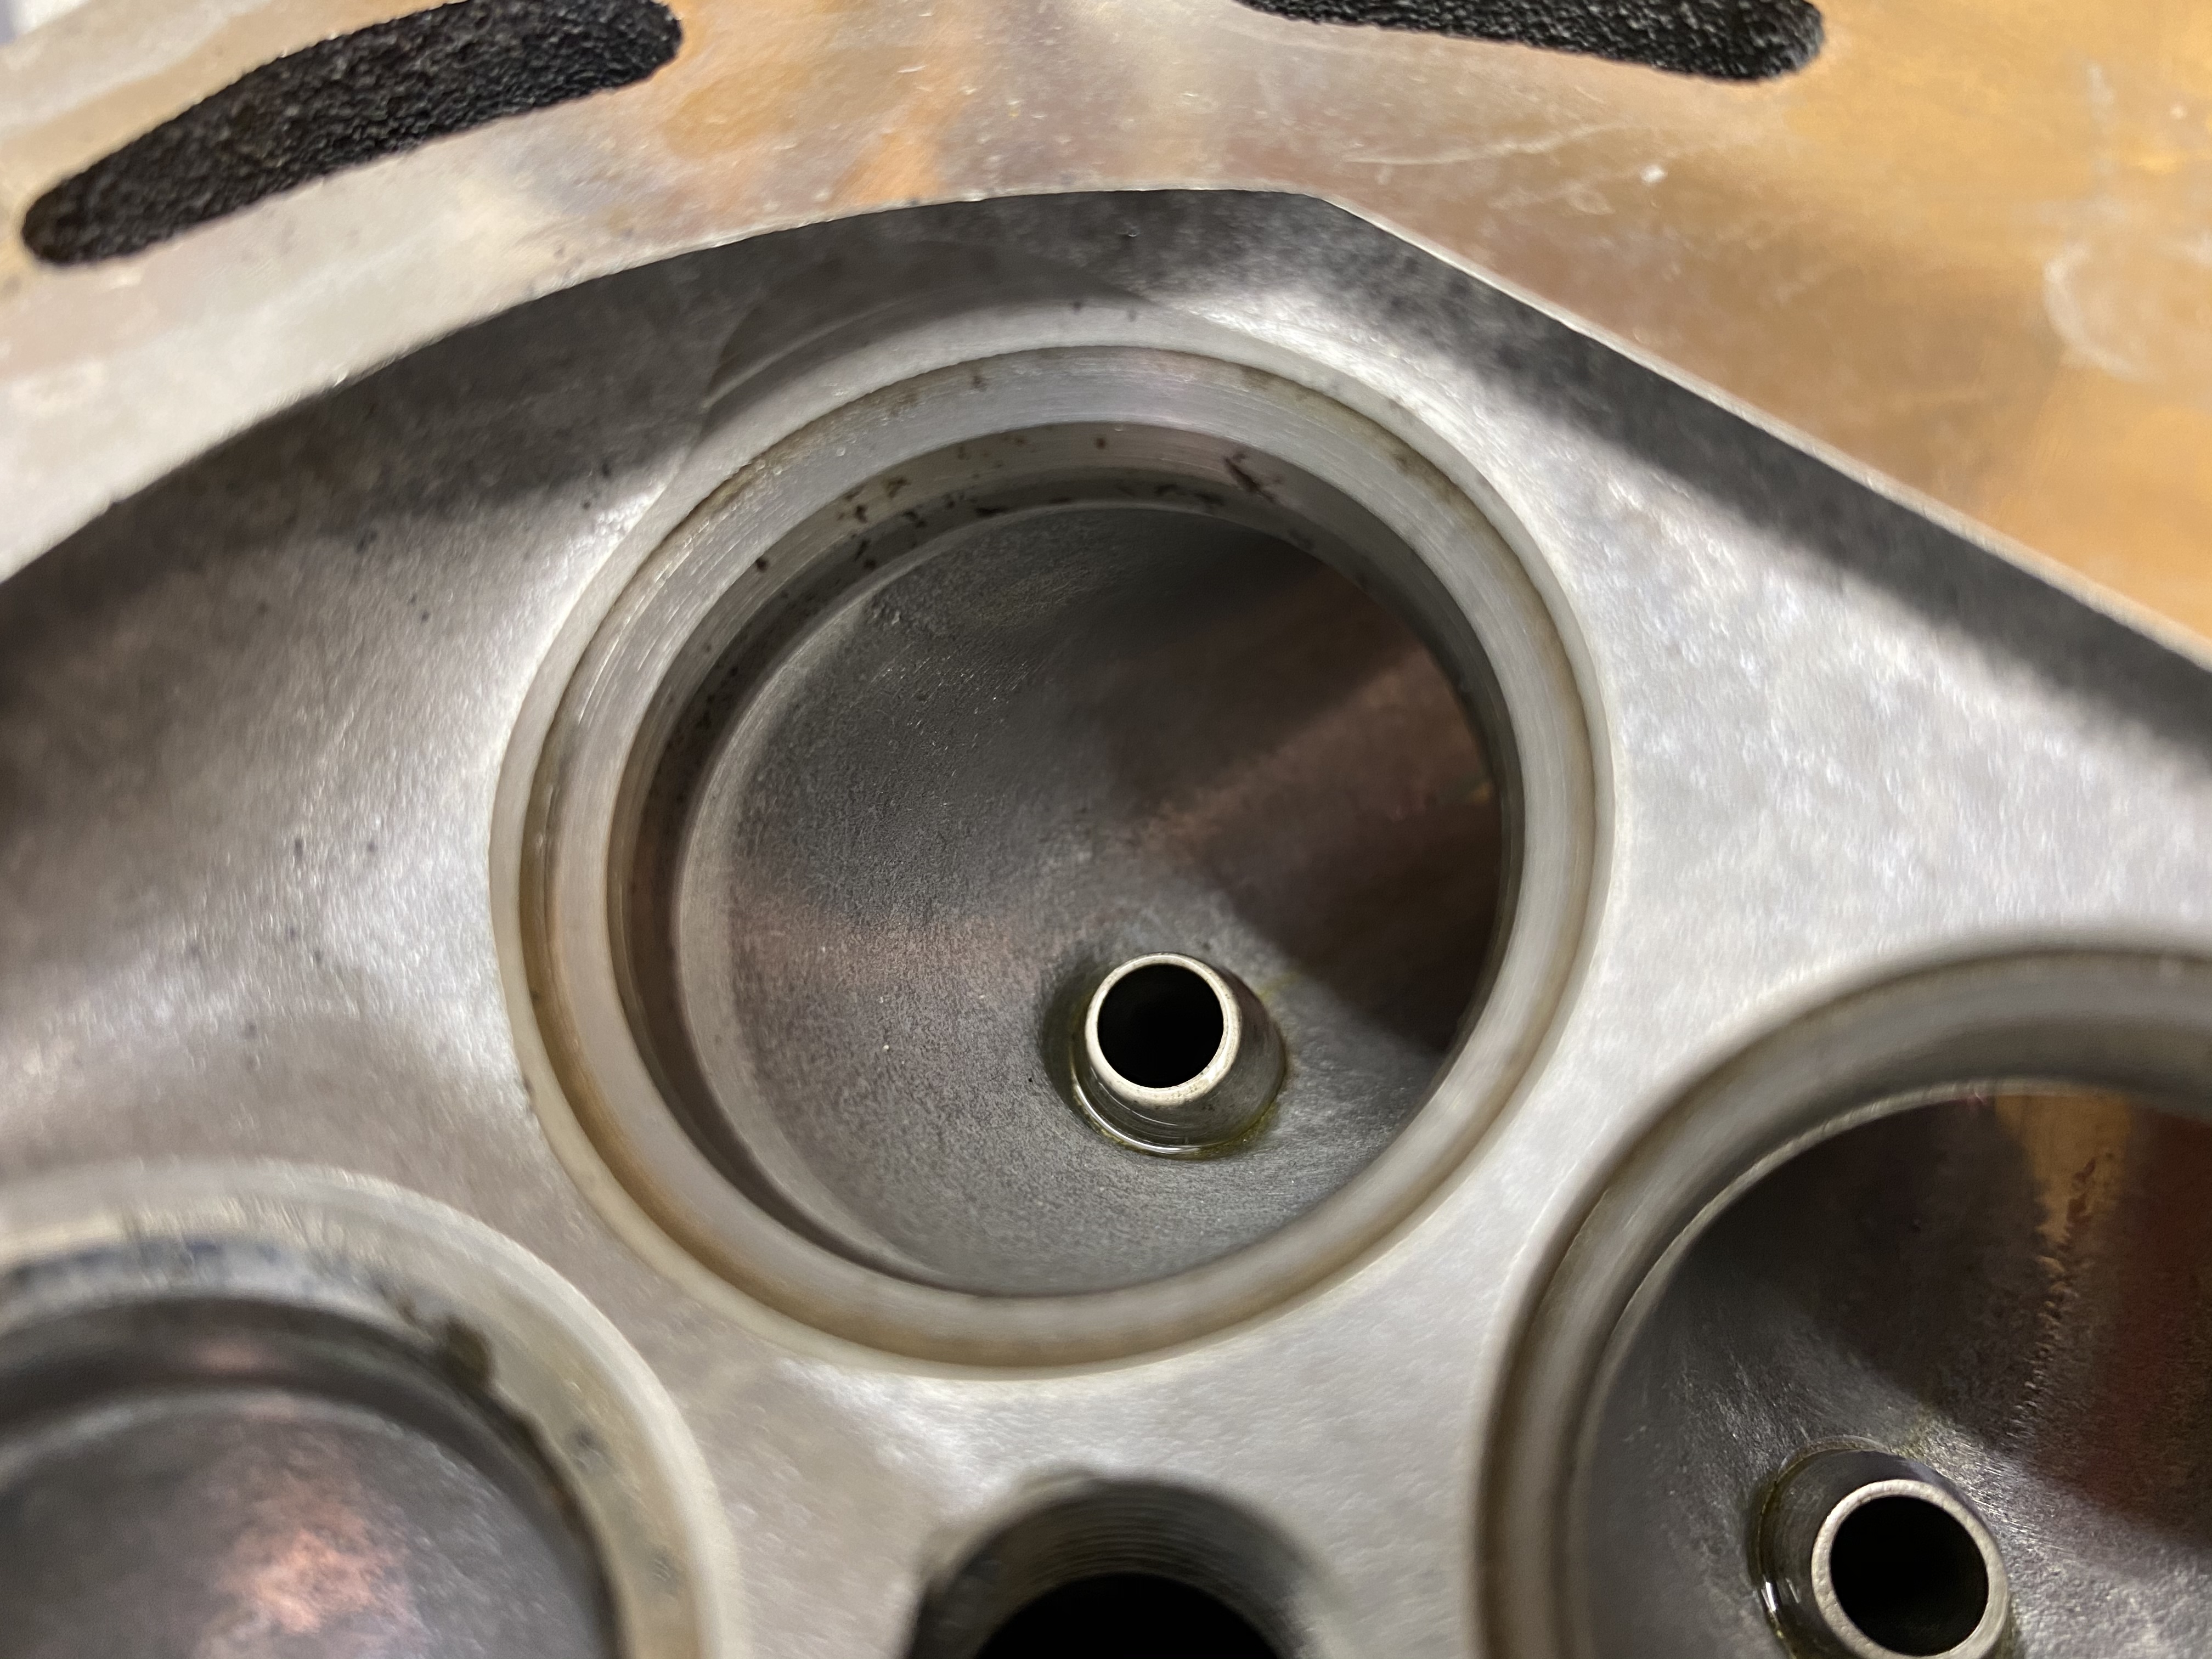
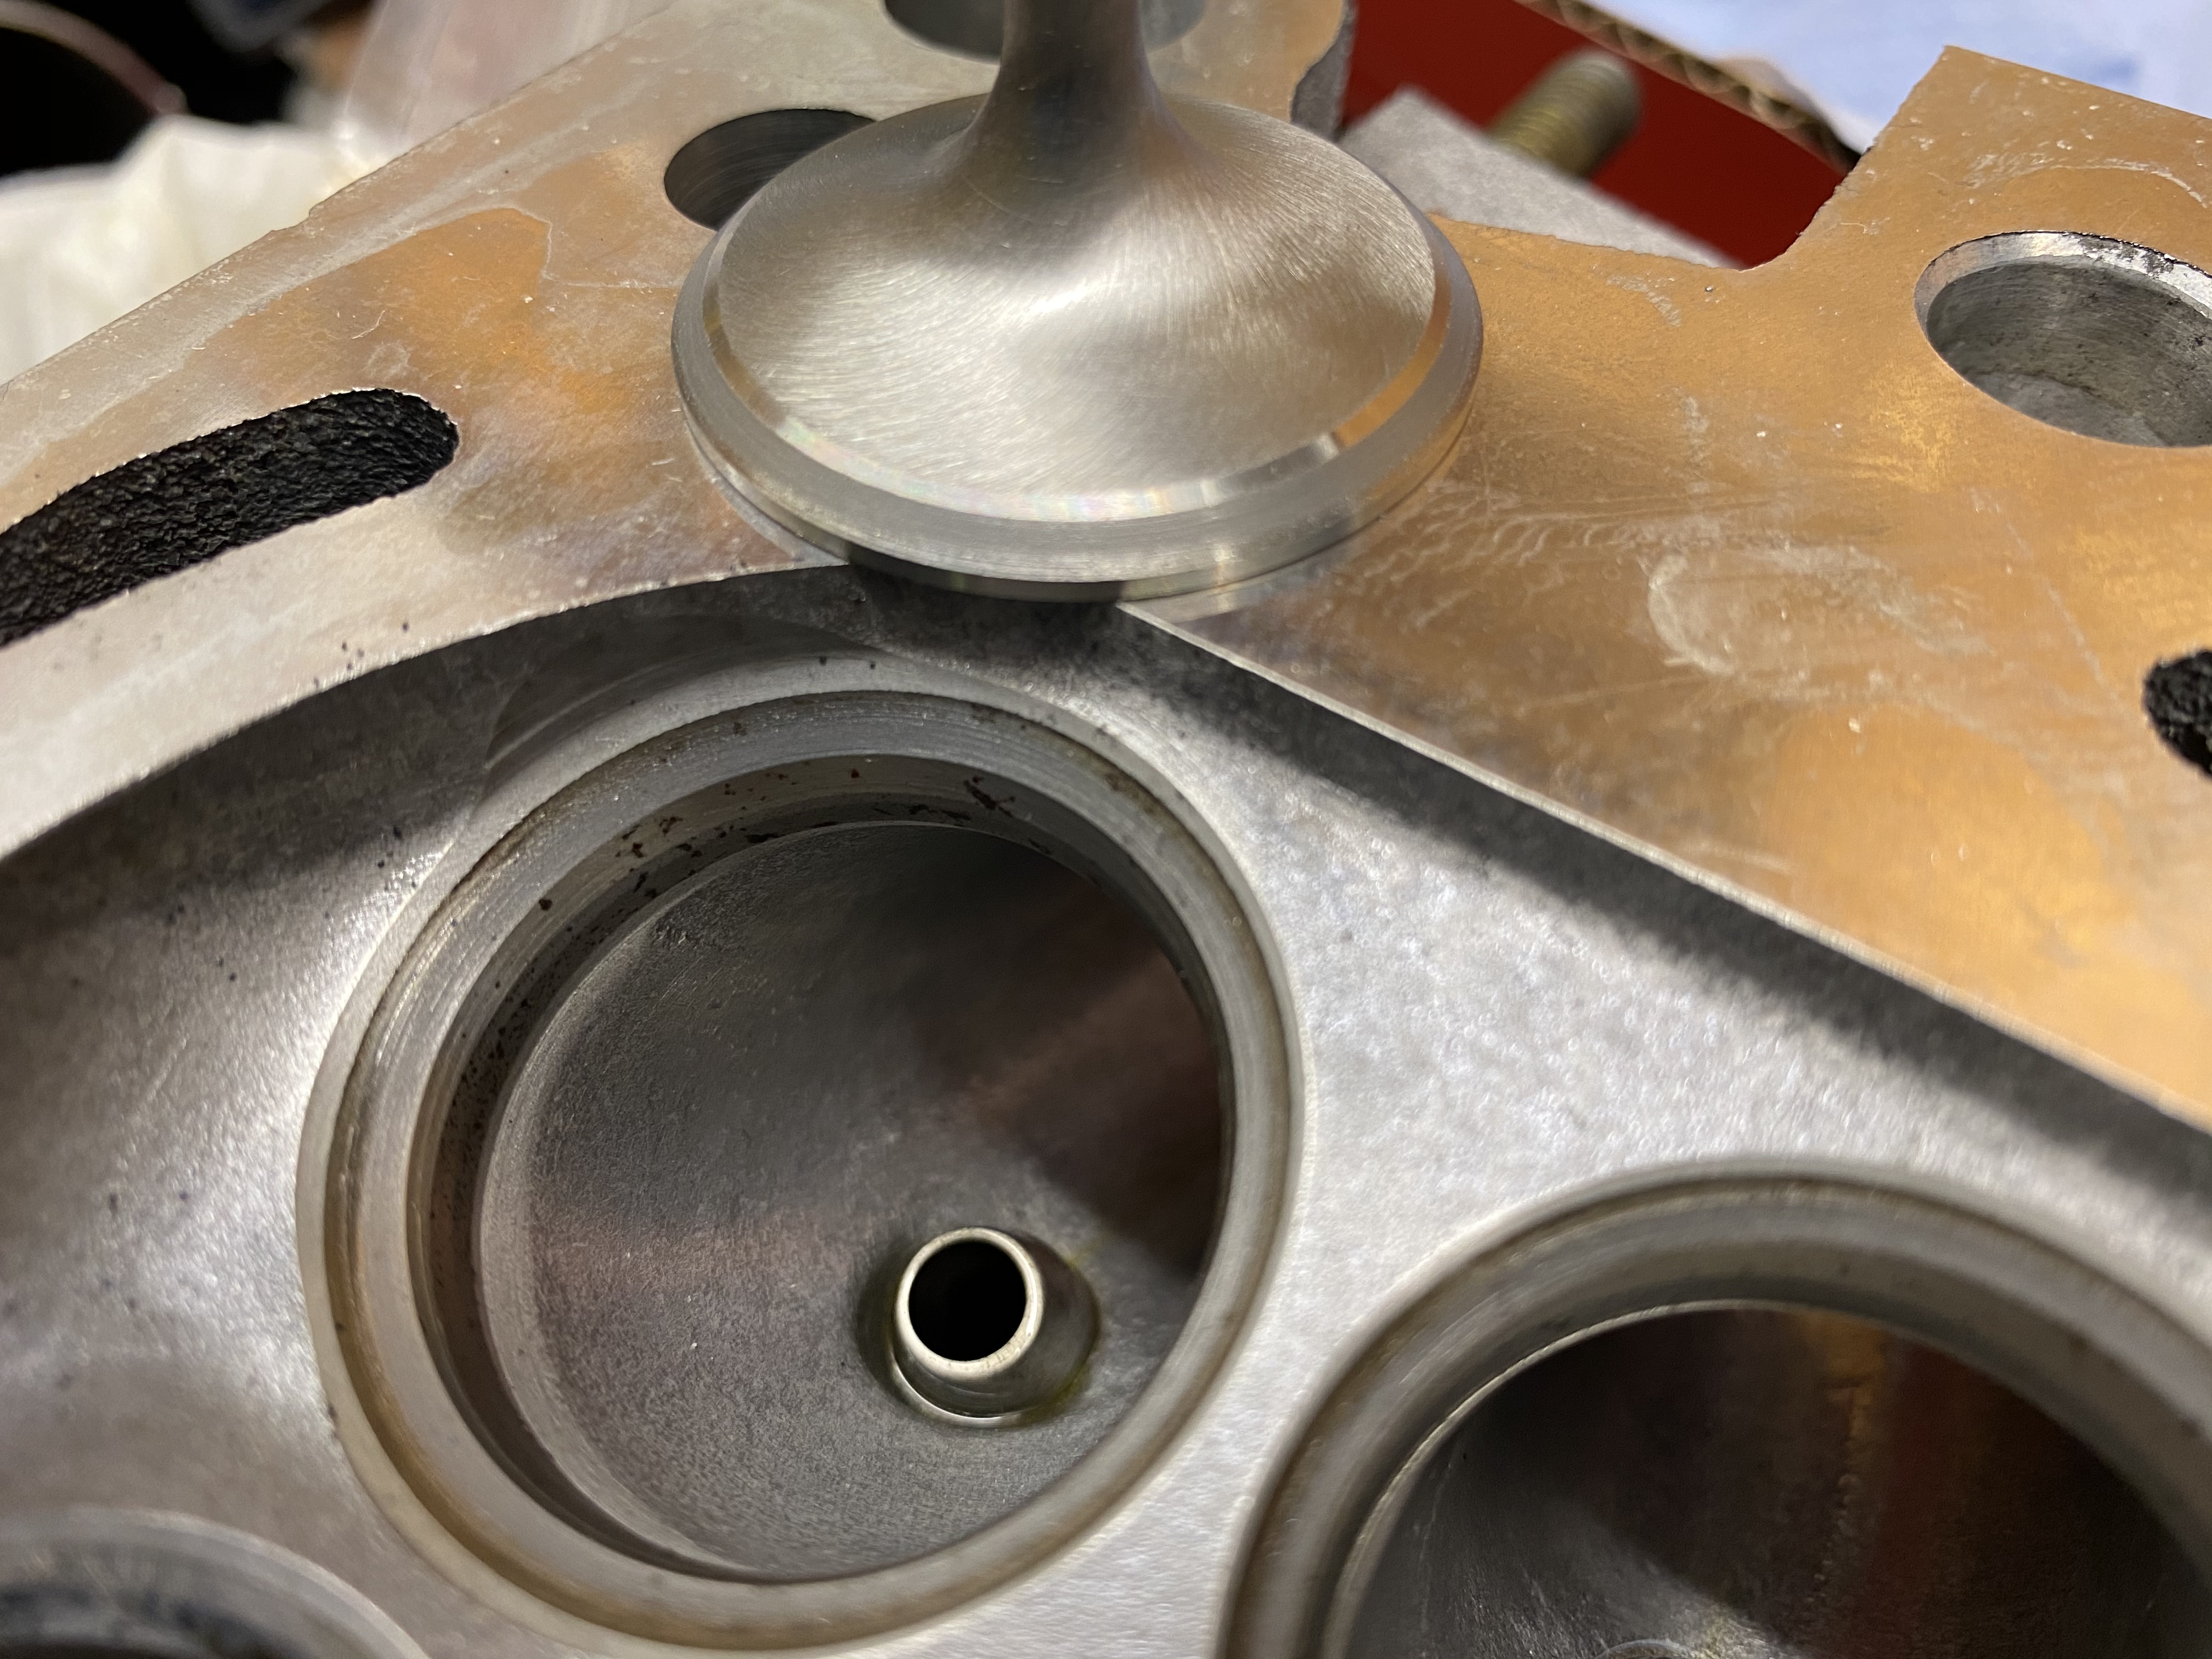
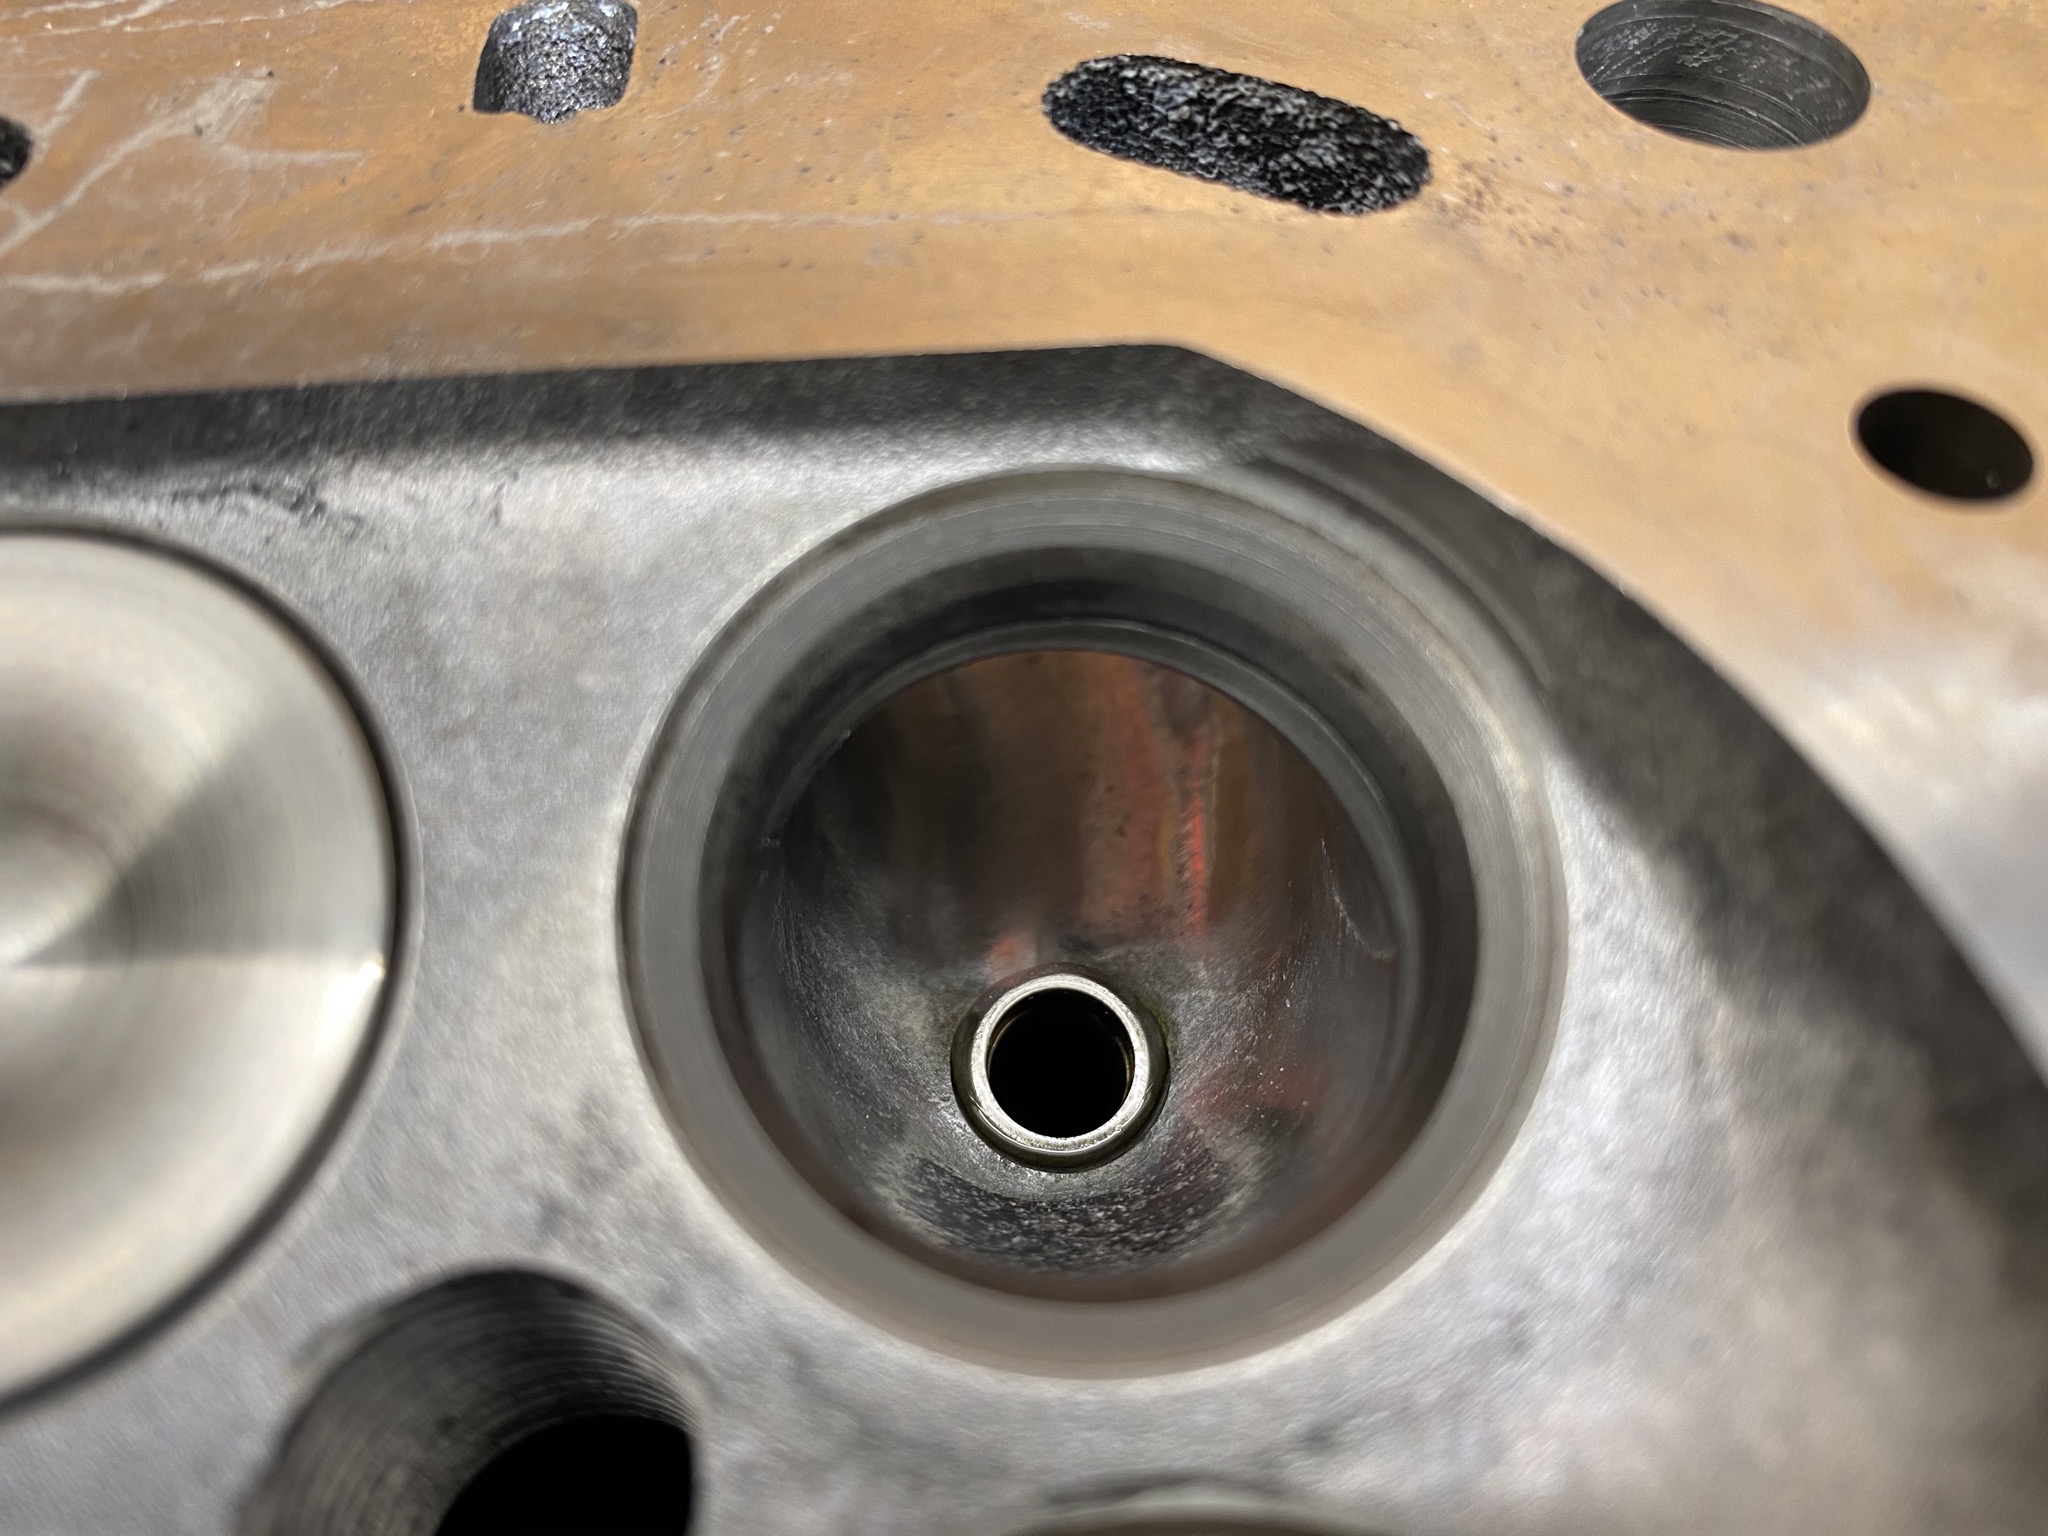
Had a bit of time spare today so I got a couple of the intake valves in. The head is spec’d as follows: BC valve springs, BC titanium retainers, BC stainless valves, HKS 264/272 cams step 2 cams, Siruda valve stem seals, HKS adjustable cam gears and VTC removed. I have lightly ported and polished the intake and exhaust ports and it has had a clean up skim.


-
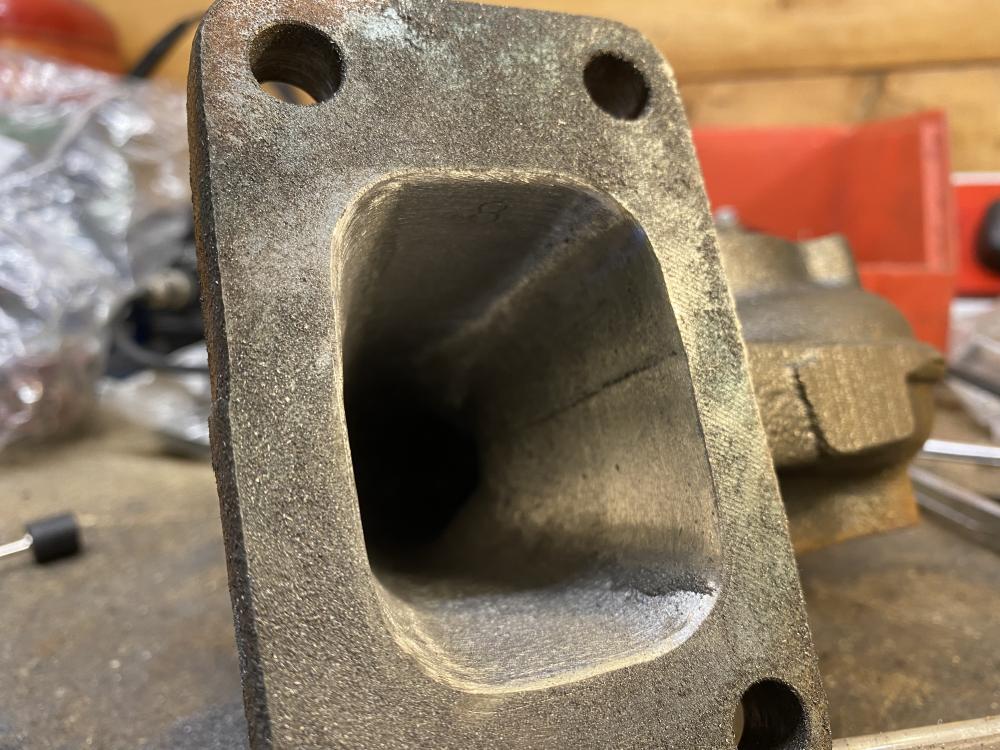
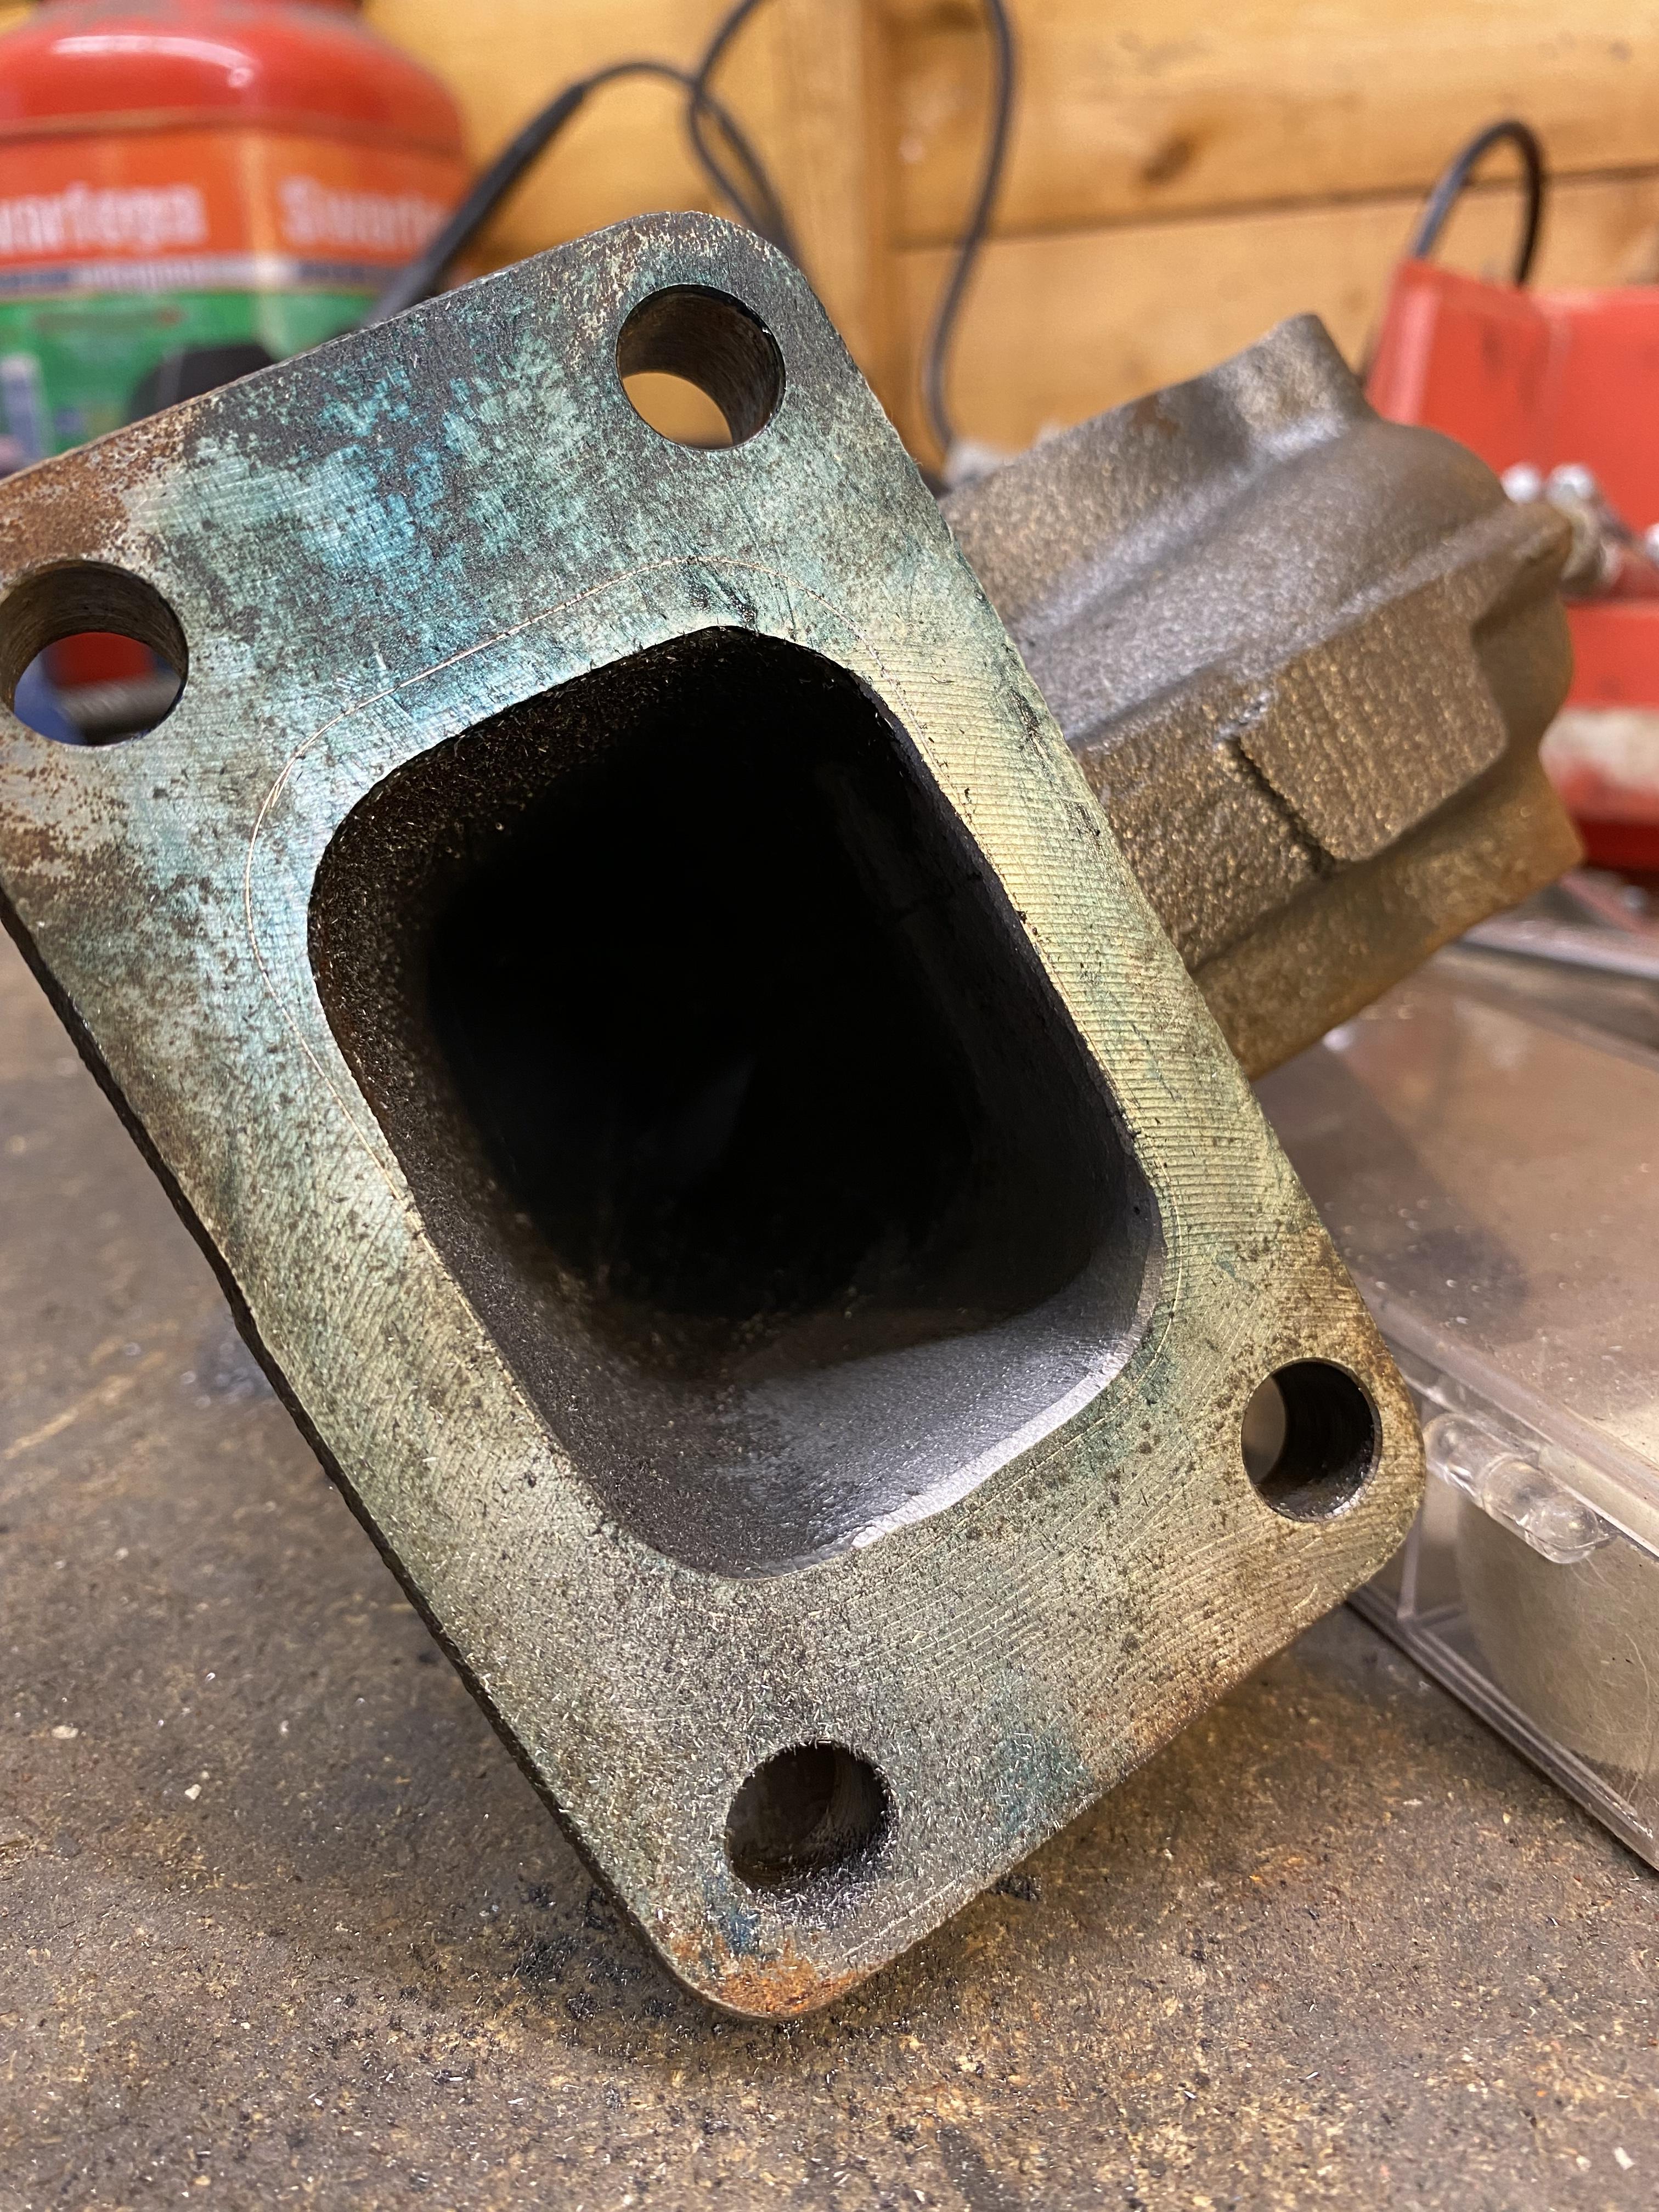
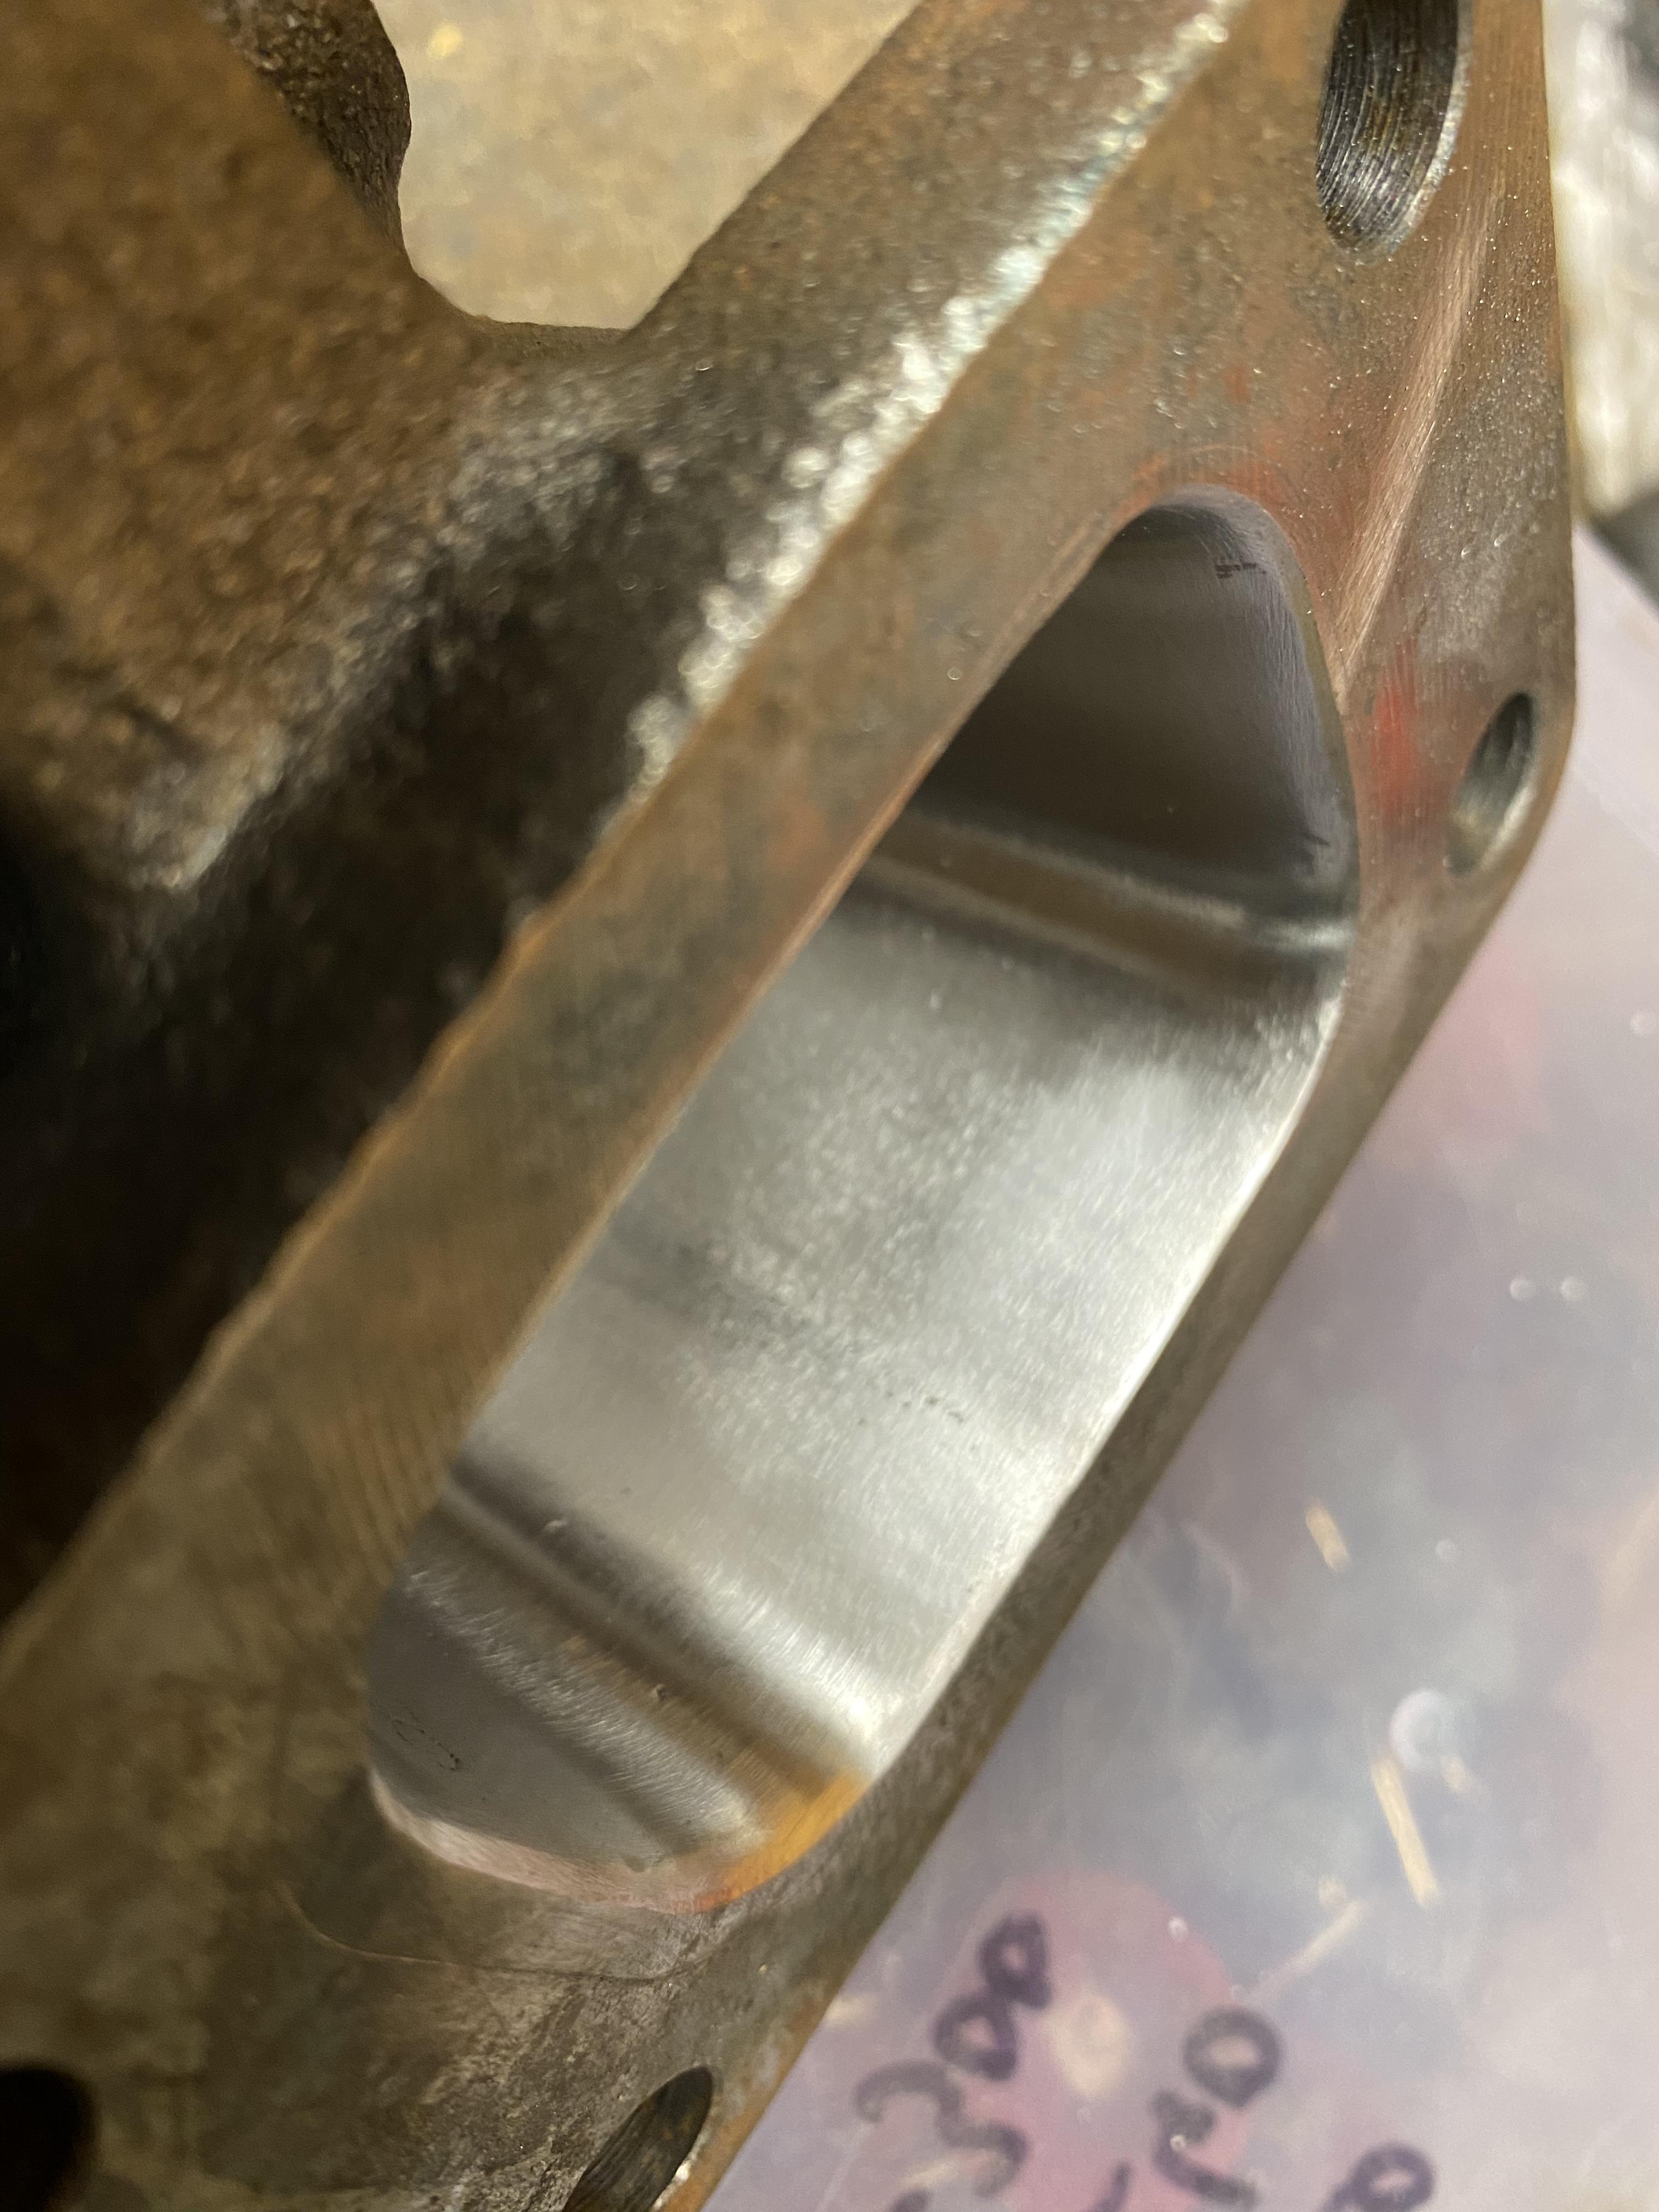
Decided to clean up the inside or the turbine housing. The turbo is fairly big for a 2 litre so anything to get it to spool a bit faster is a win. Didn’t open it out as one side is a bit closer to the gasket than the other. Ground out the casting marks, smoothed with a sandpaper roll and then used some abrasive mops up to 400 grit. Looks much better than it did originally


-
On 1/2/2022 at 12:11 PM, Sam44 said:
I've always loved this colour. Nice touch.
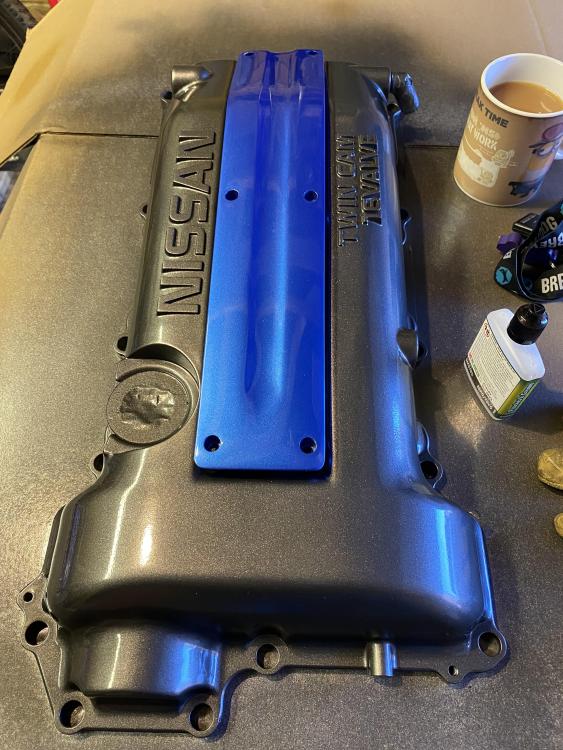
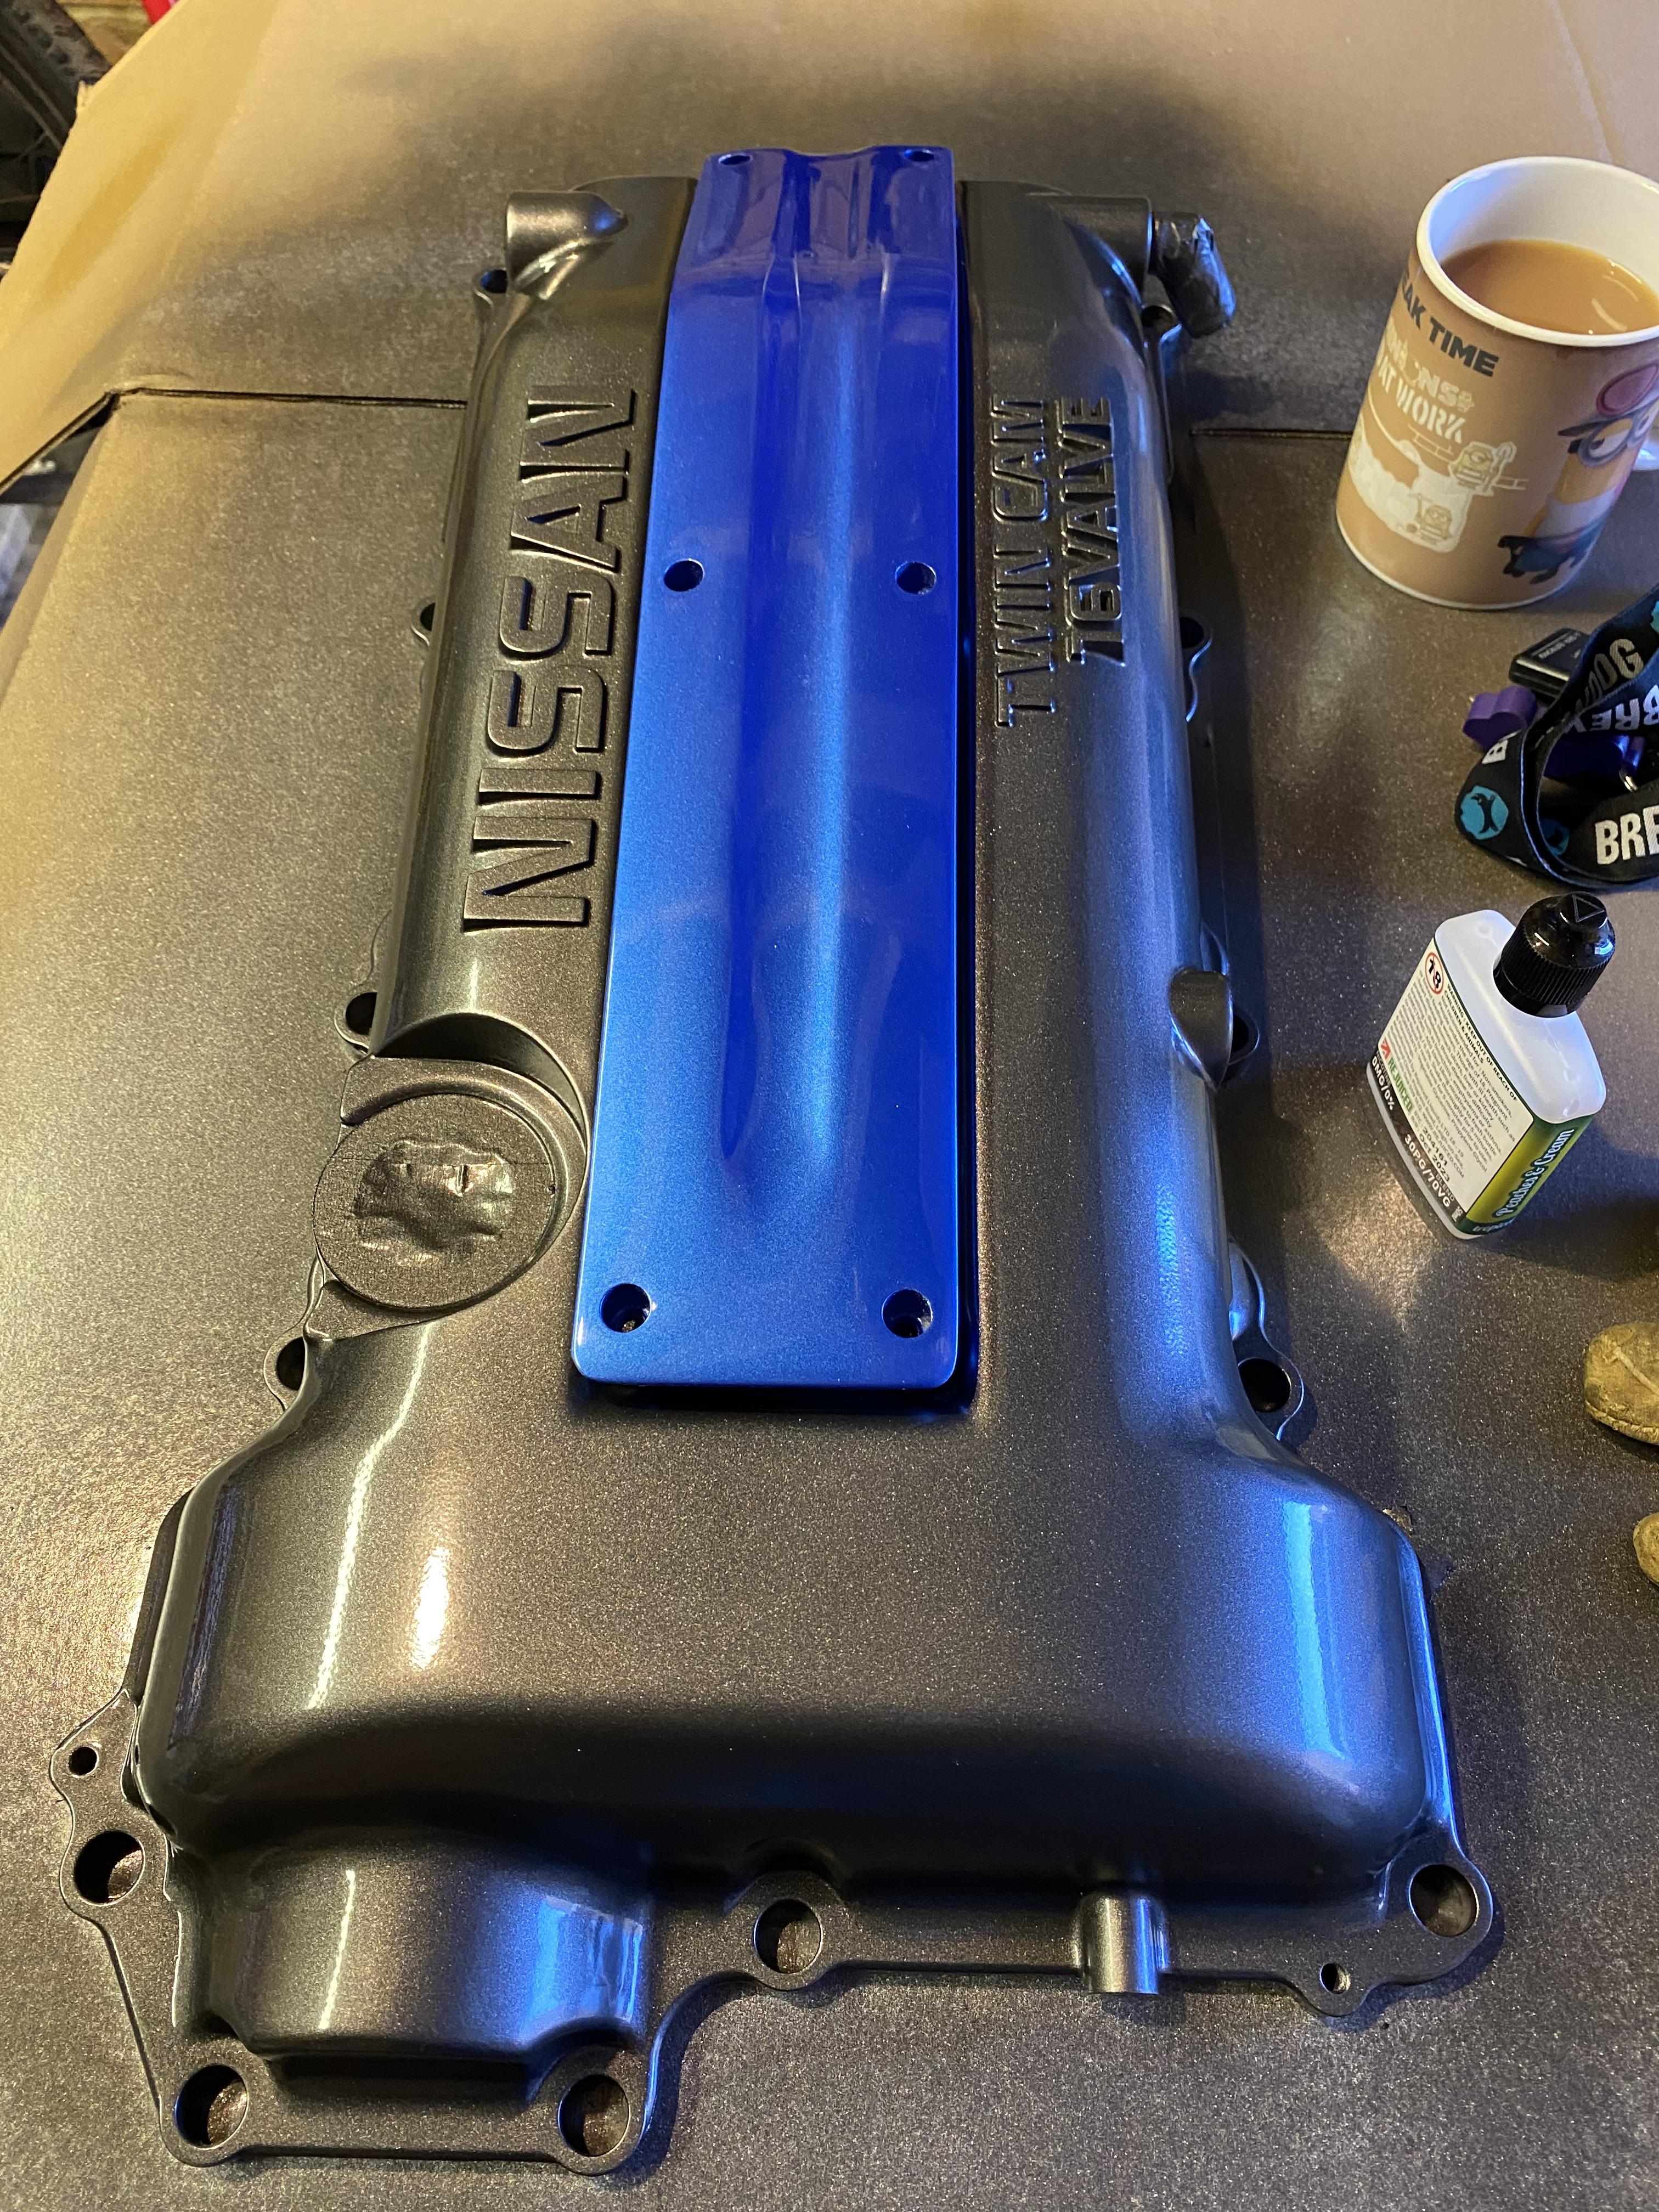
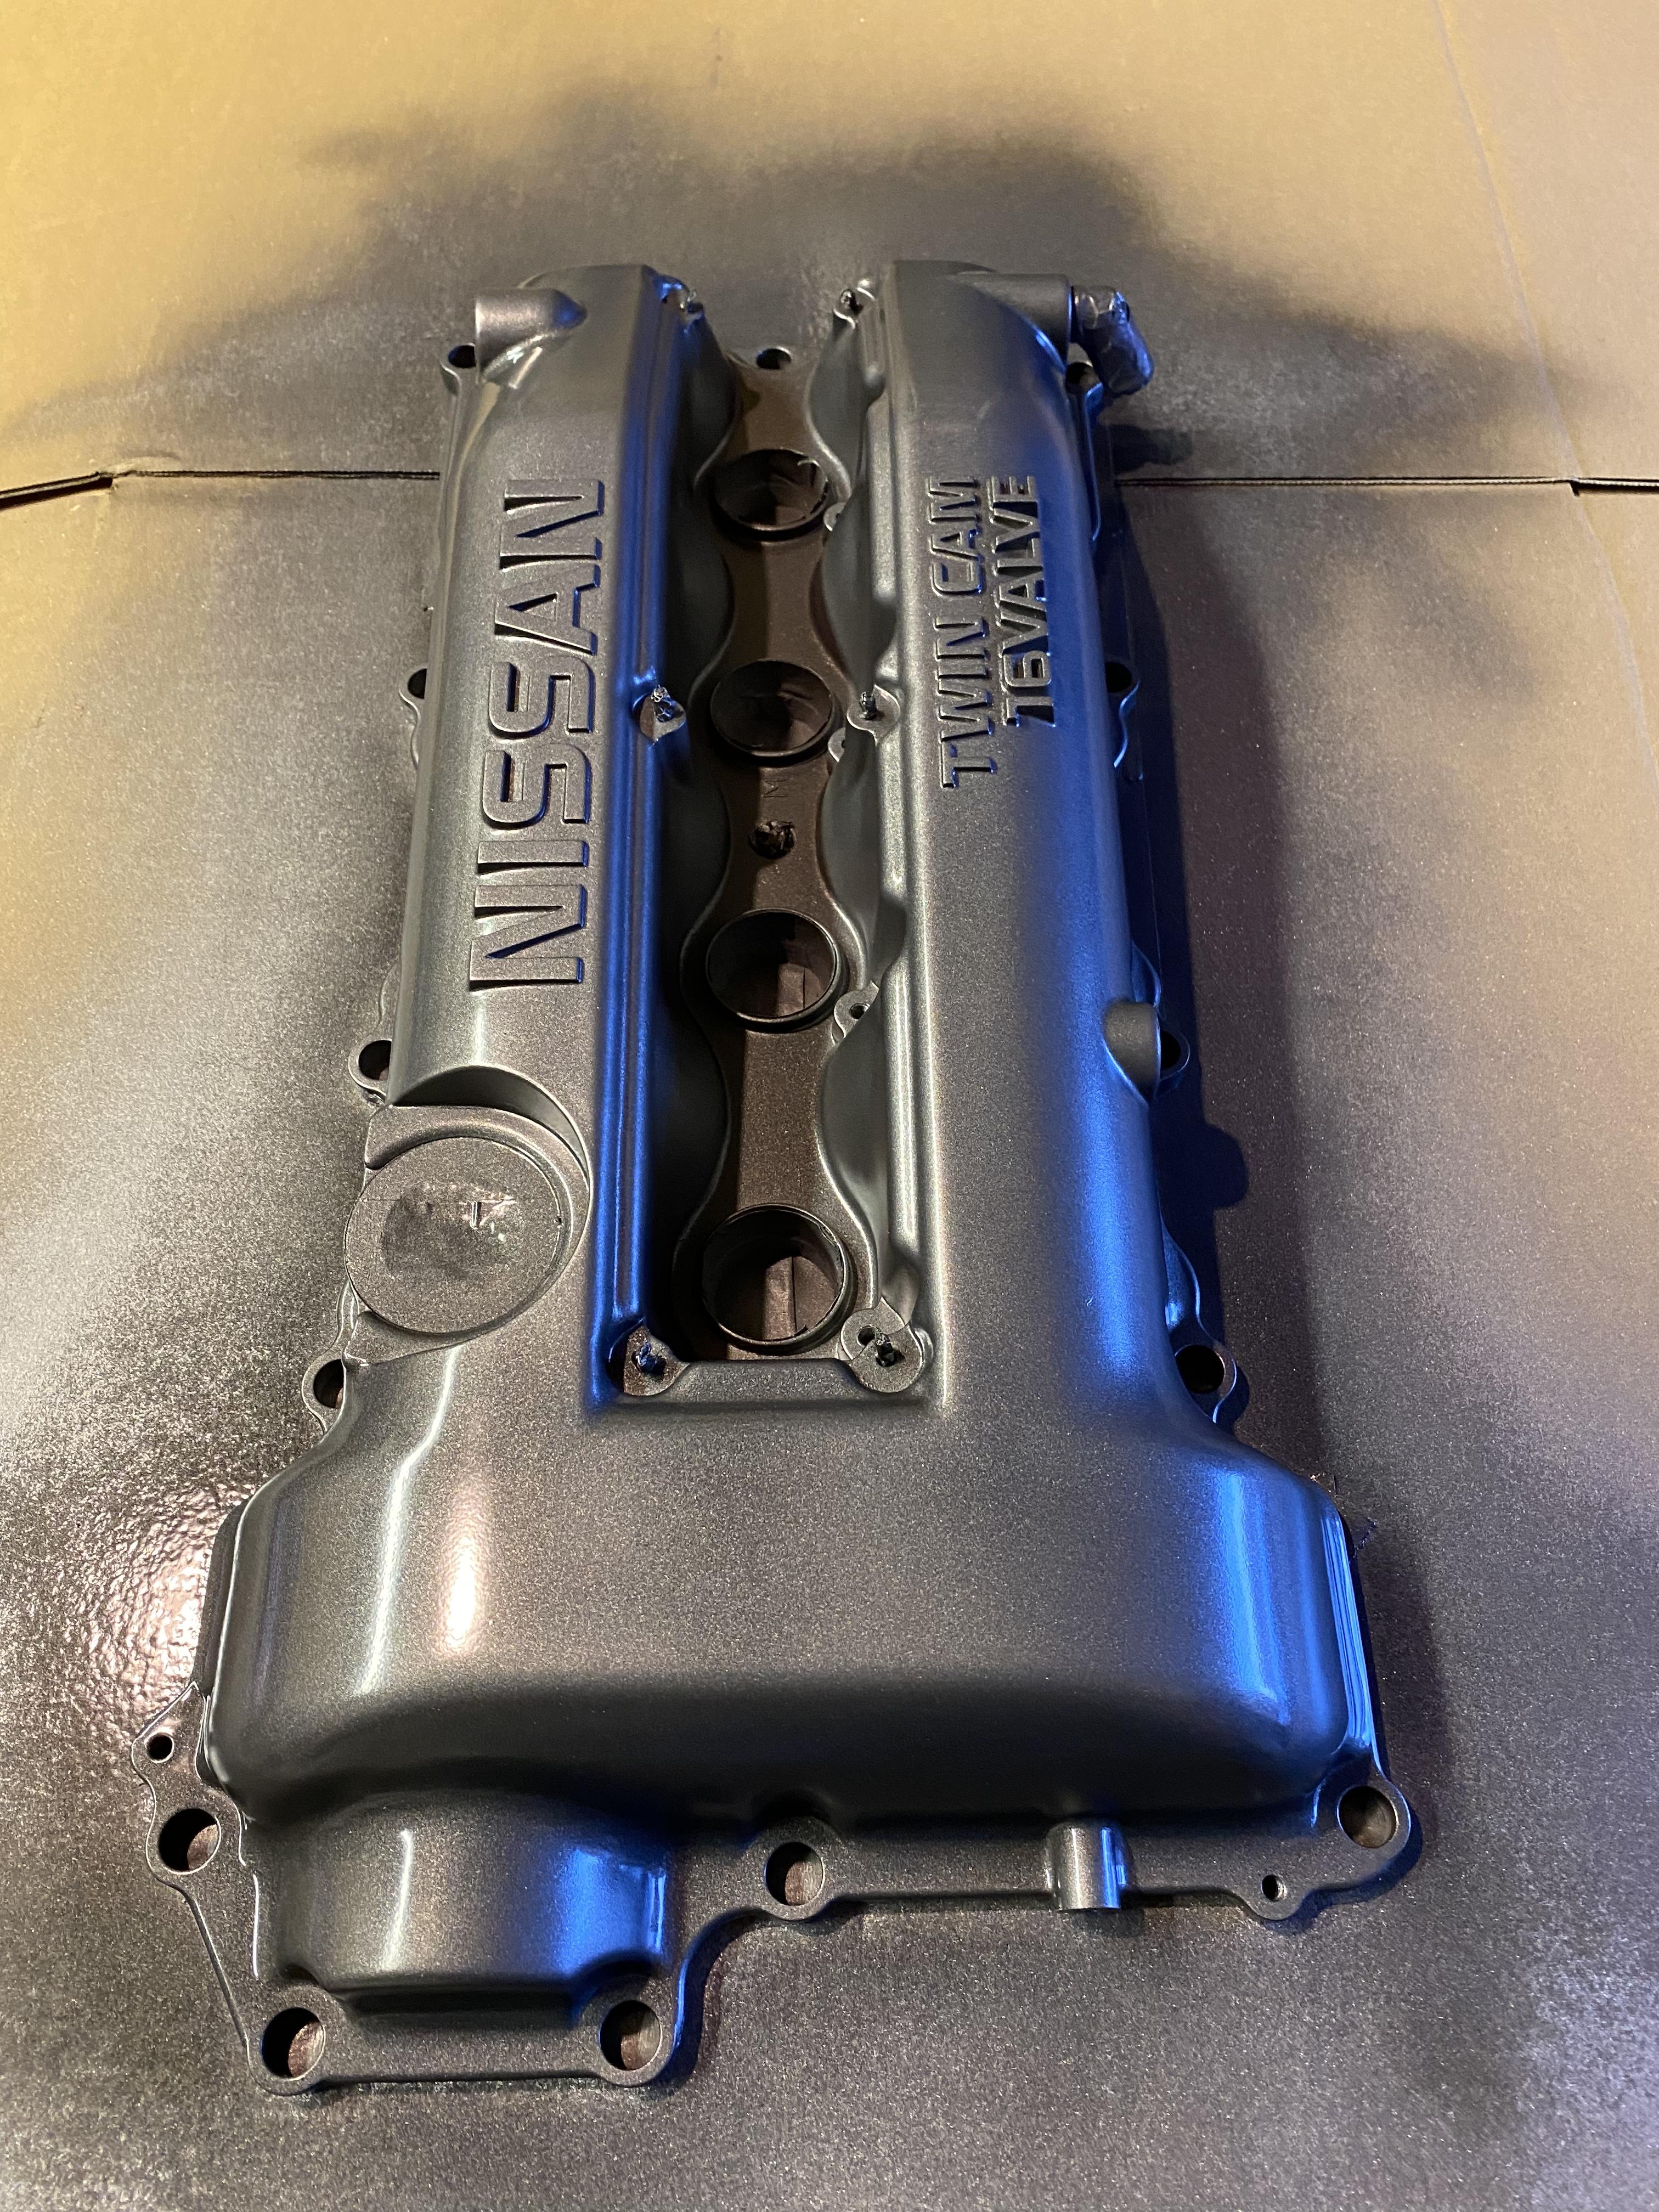
Yeh same here, figured it would go well with the blue coil pack cover and blue cam cover washers
-
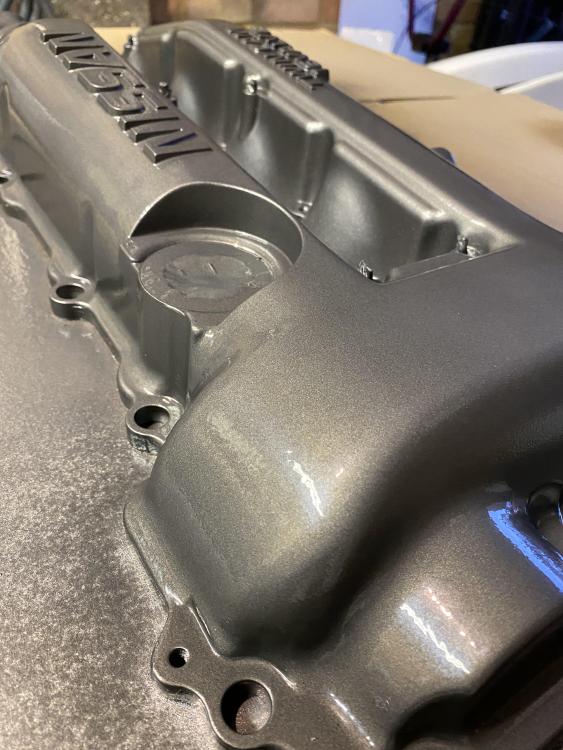
Terrible weather and general life has put paid to any welding work so far so I decided to paint the cam cover. Was going purple but I thought metallic gun metal would make the coil pack cover stand out more

-
I’ve got a race tech stainless manifold on mine I’ve been running that years and it’s never split made from what looks like sch10. I was running an eBay special sub £100 manifold on my s14 for a while with absolutely no issues and judging by the colour of it I’ve had it glowing a few times. I’d give one of those a go, as long as it’s got some bracing/add some bracing to it I can’t see it being an issue
-
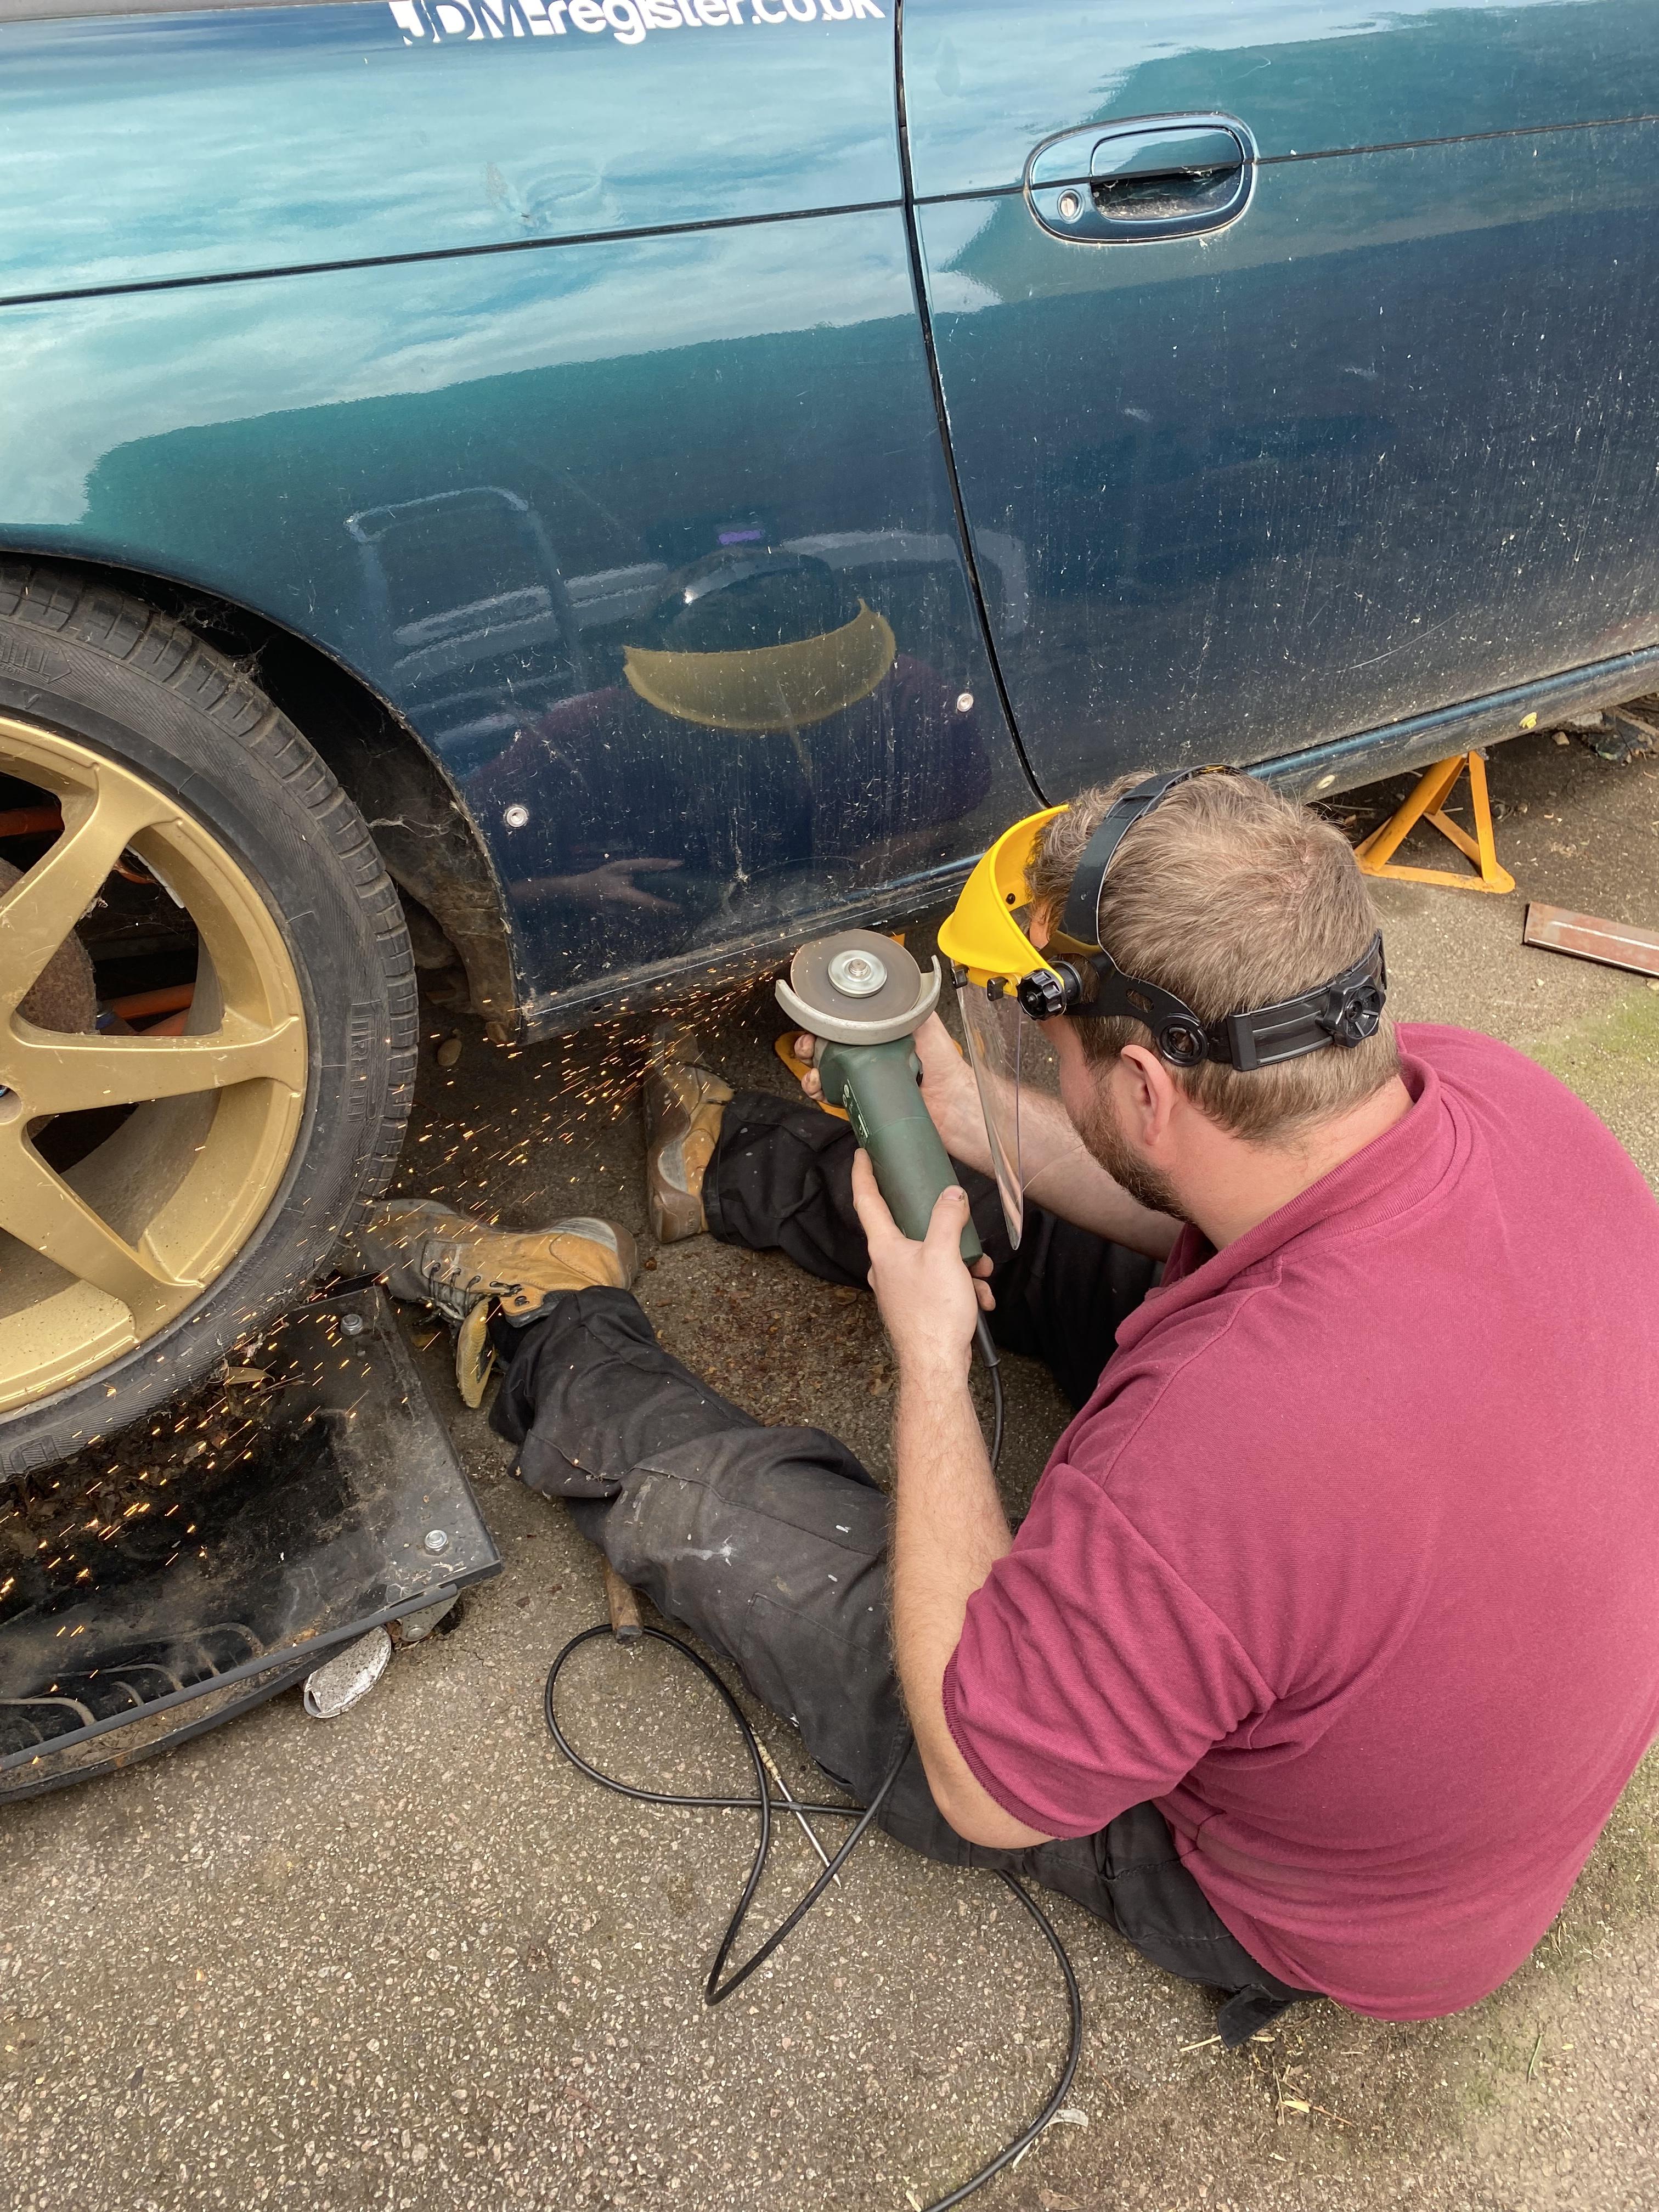
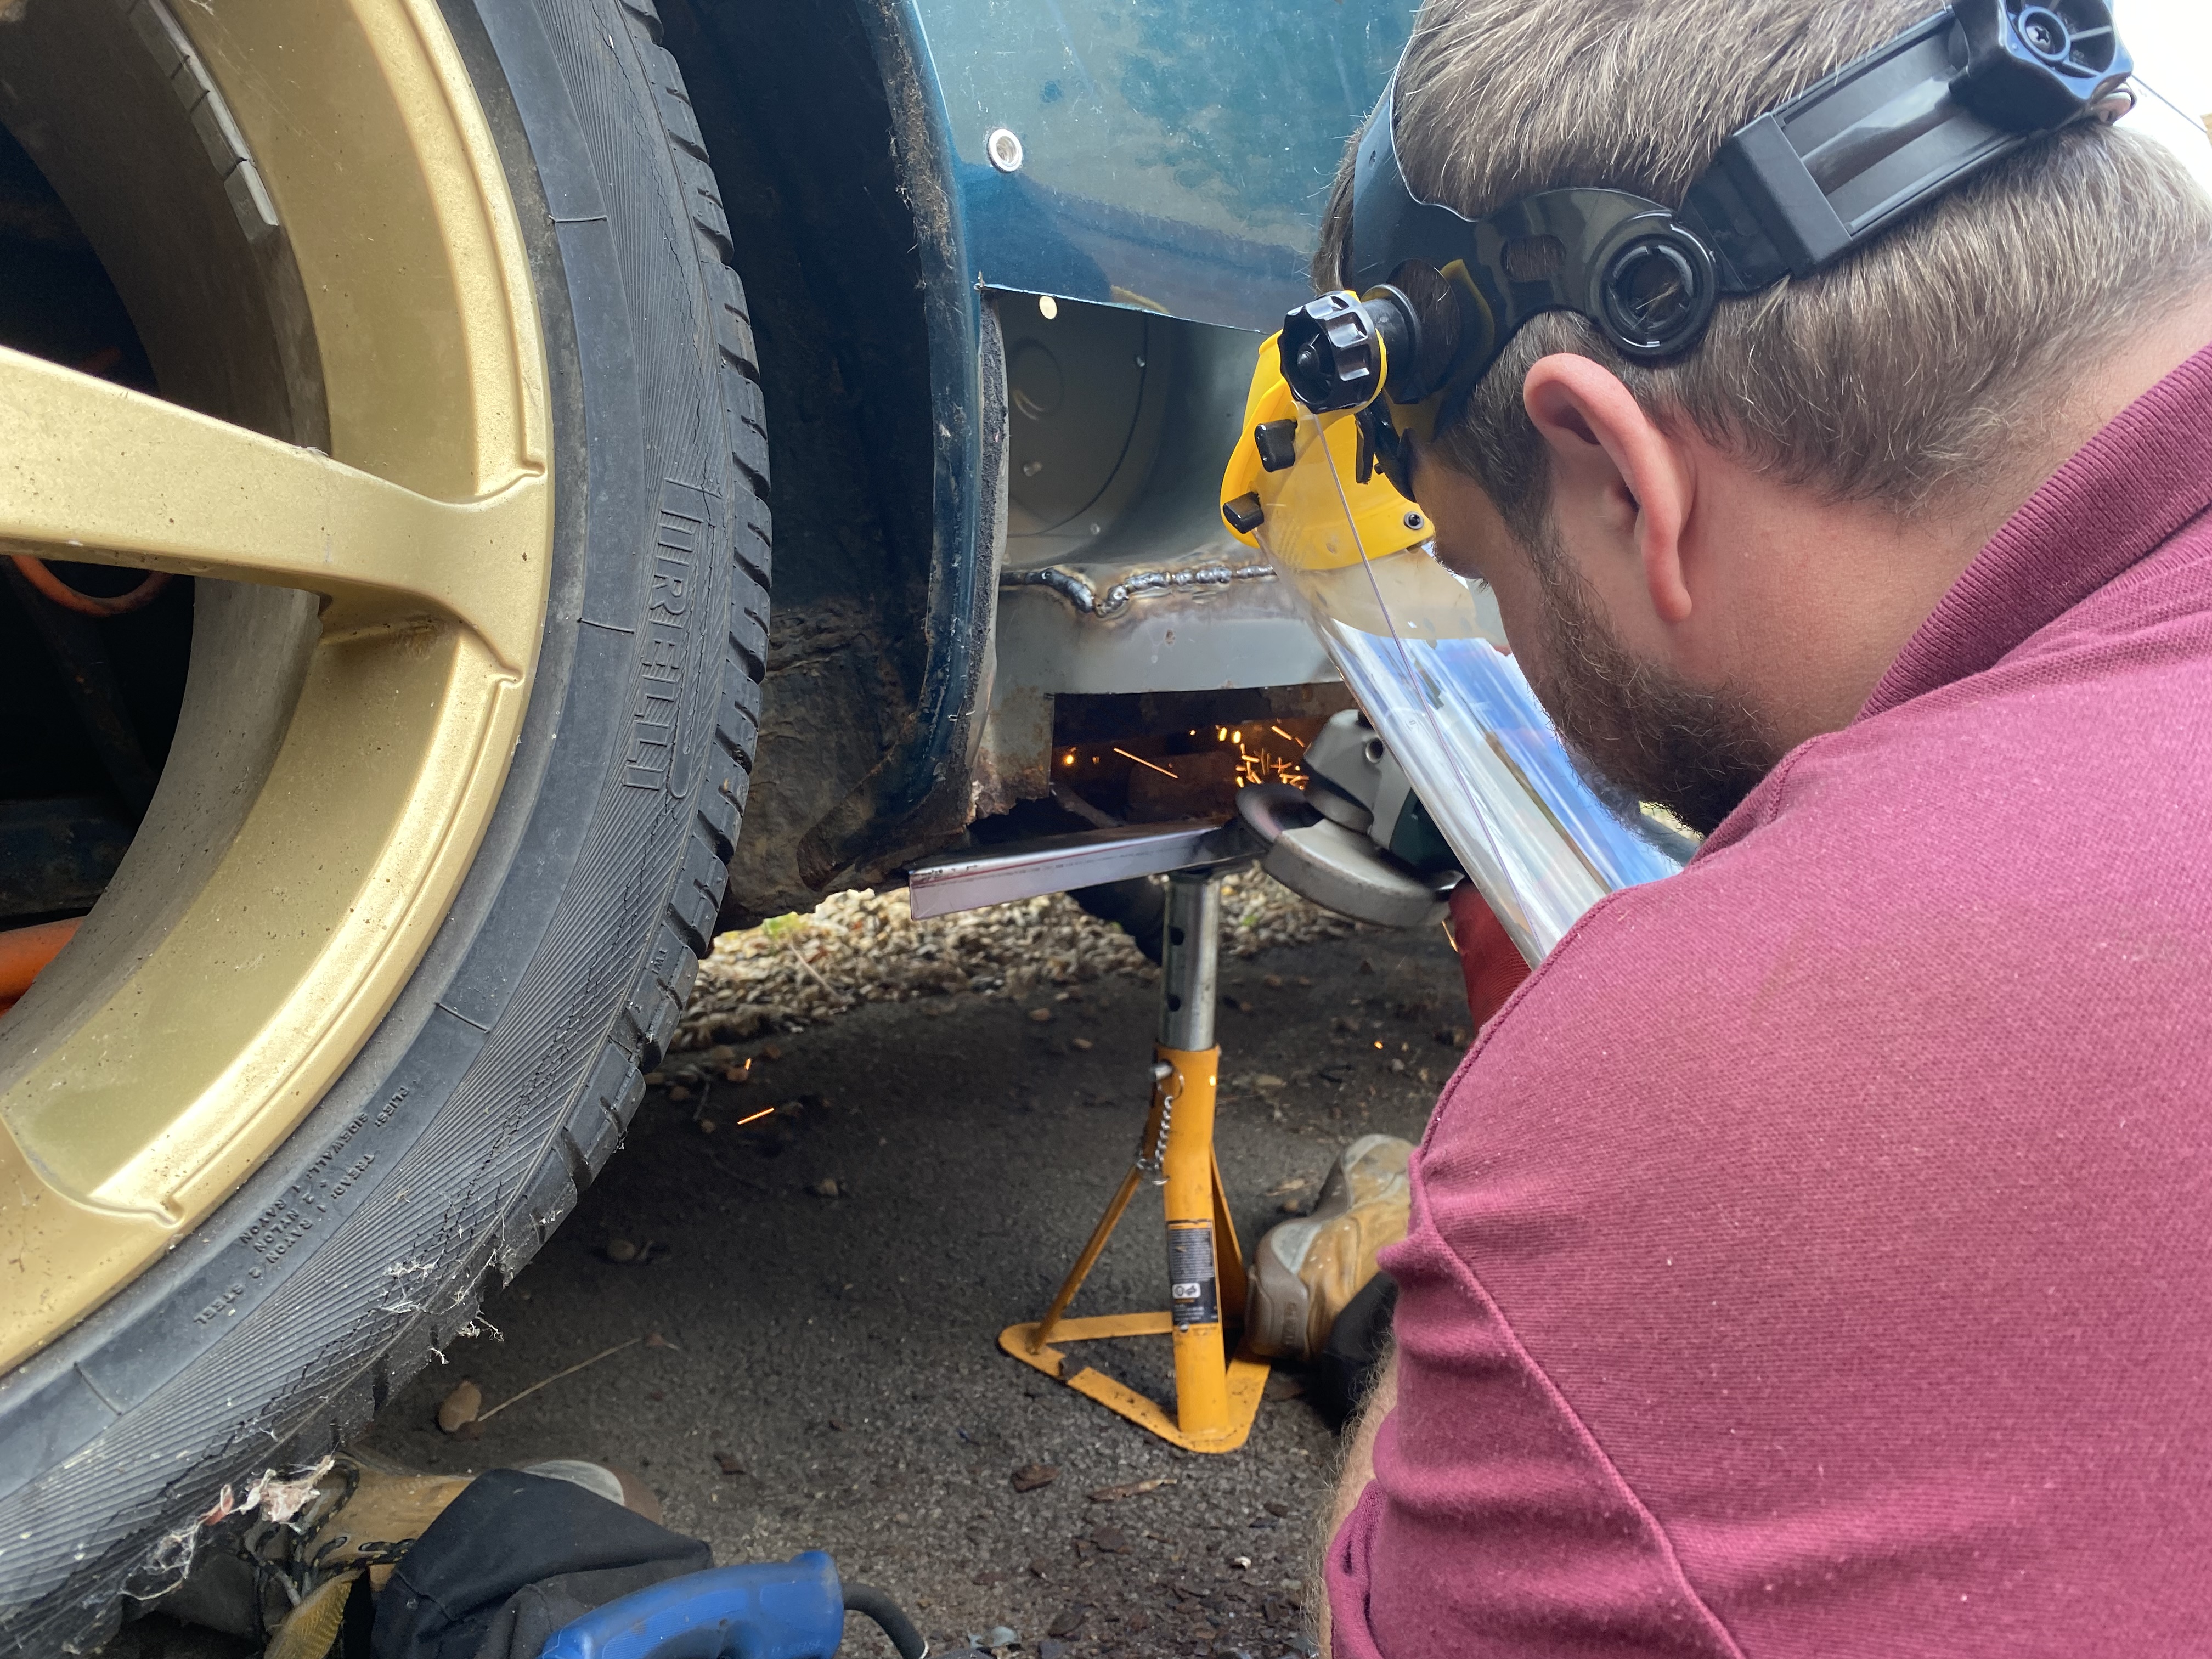
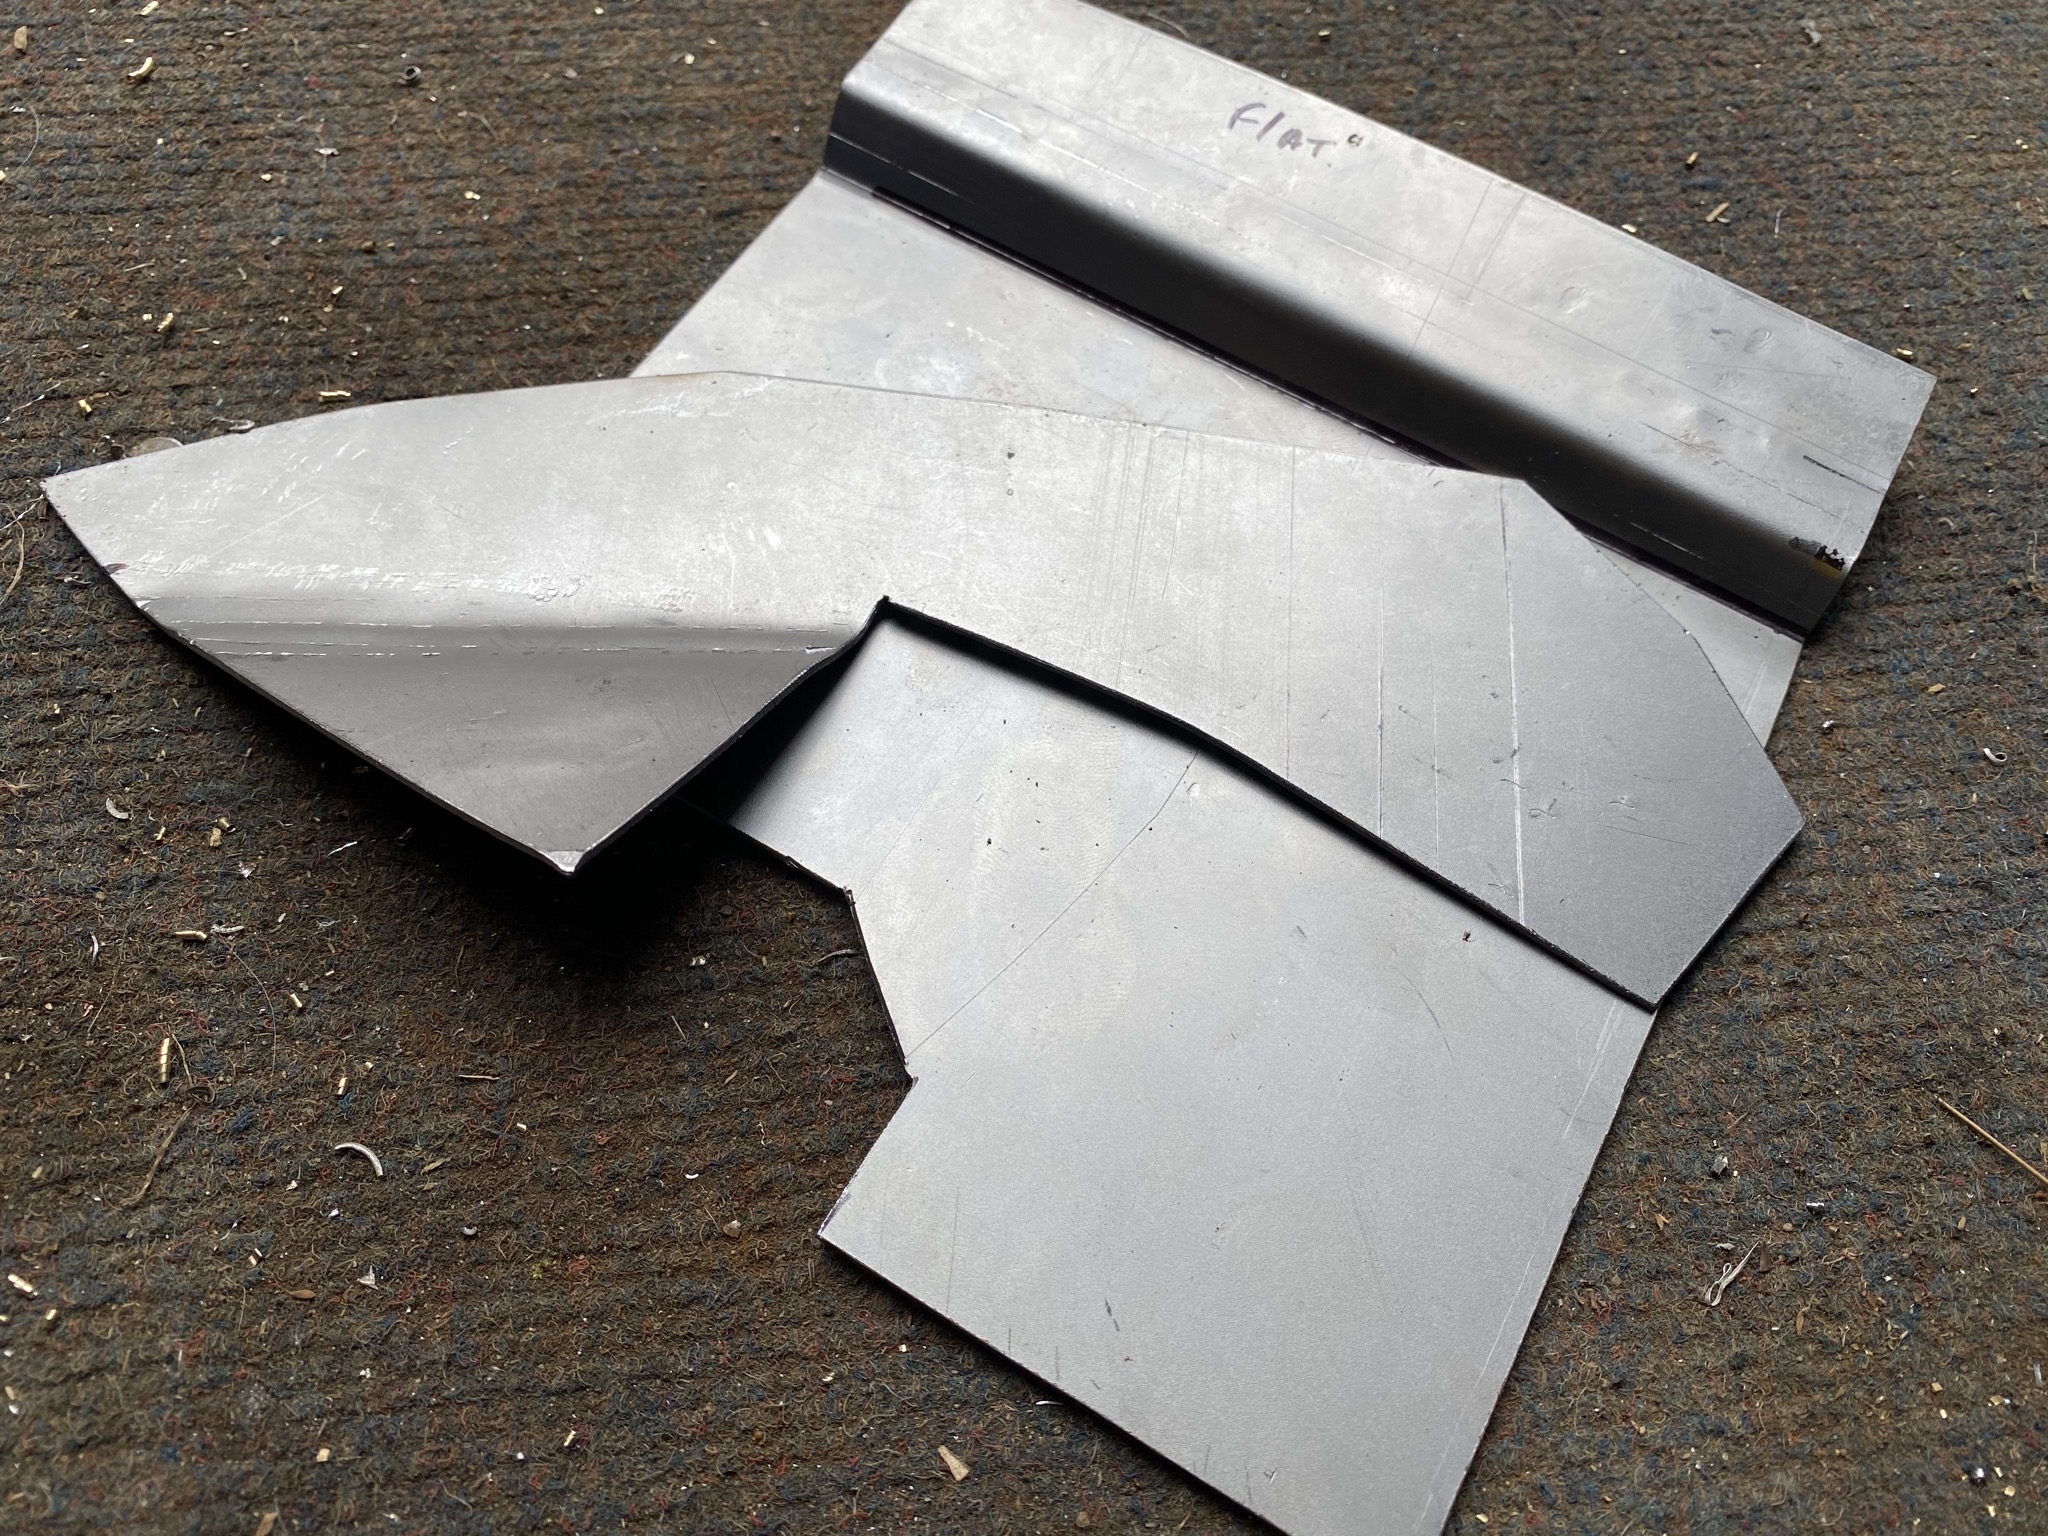
Got yet another panel done for the rear. It’s an awkward spot in the boot that’s impossible to cut and no doubt weld in. Haven’t got this welded in yet as it was a bit too warm the other day and the mask kept steaming up. Managed to fabricate the first part and clean it up as well as mostly cut out the rust it’s replacing. I shall need to weld in part of the rear arch to this then it’ll be on to the floor and hopefully the sills. Overall there doesn’t appear to be too much rot left to deal with, certainly not compared to some that are currently for sale


-
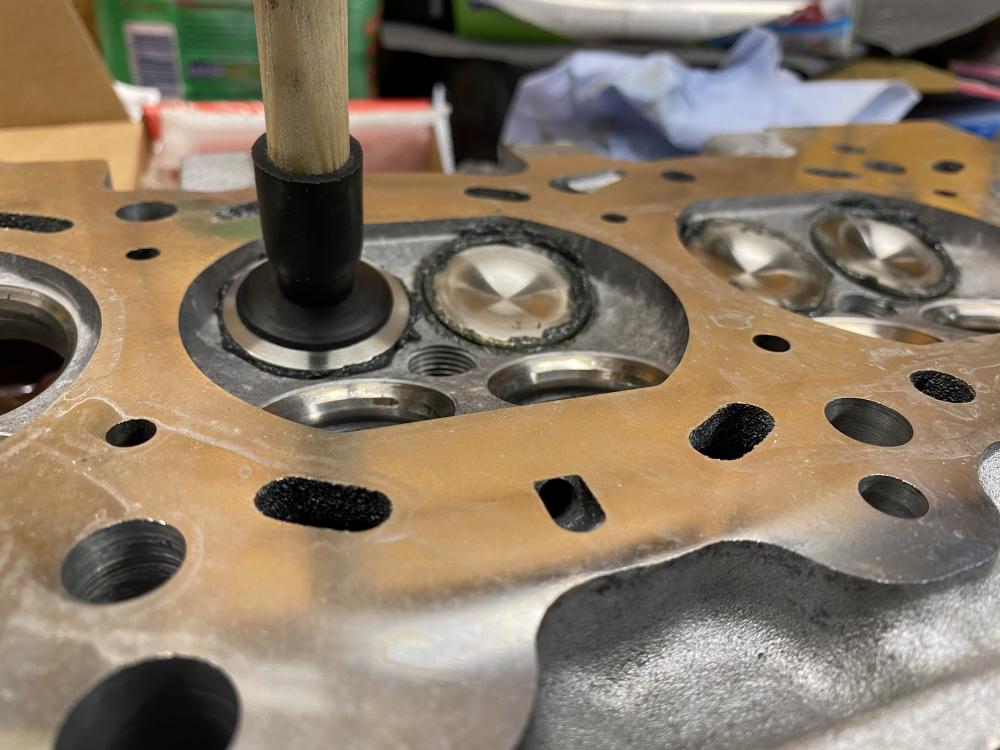
Got all the valves lapped in so the head is now ready to build up. I repolished the exhaust ports as I weren’t completely happy with them.
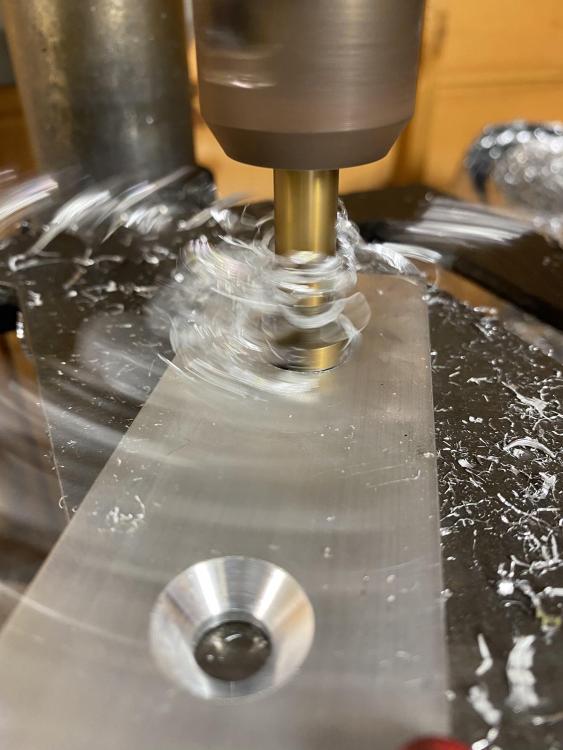
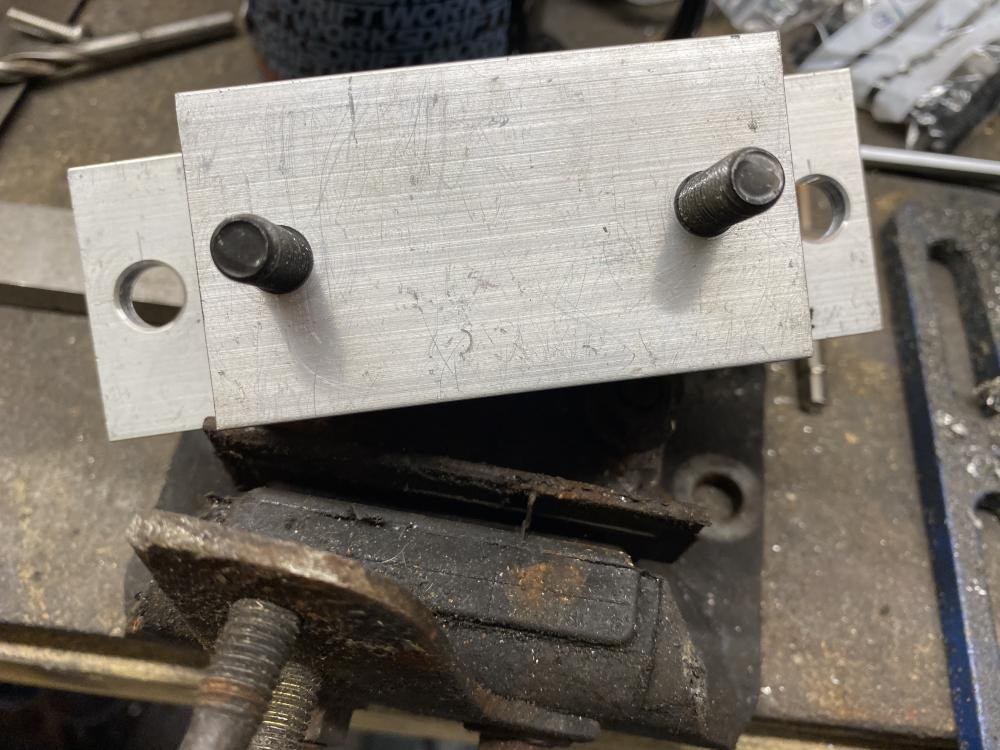
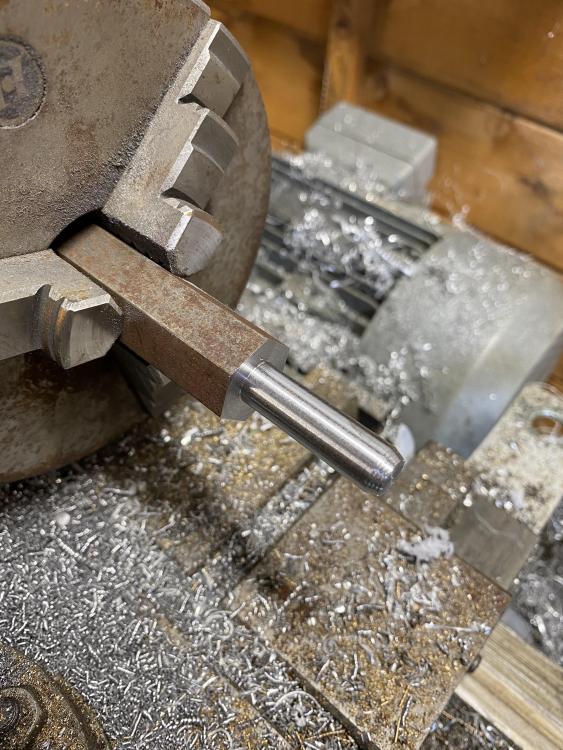
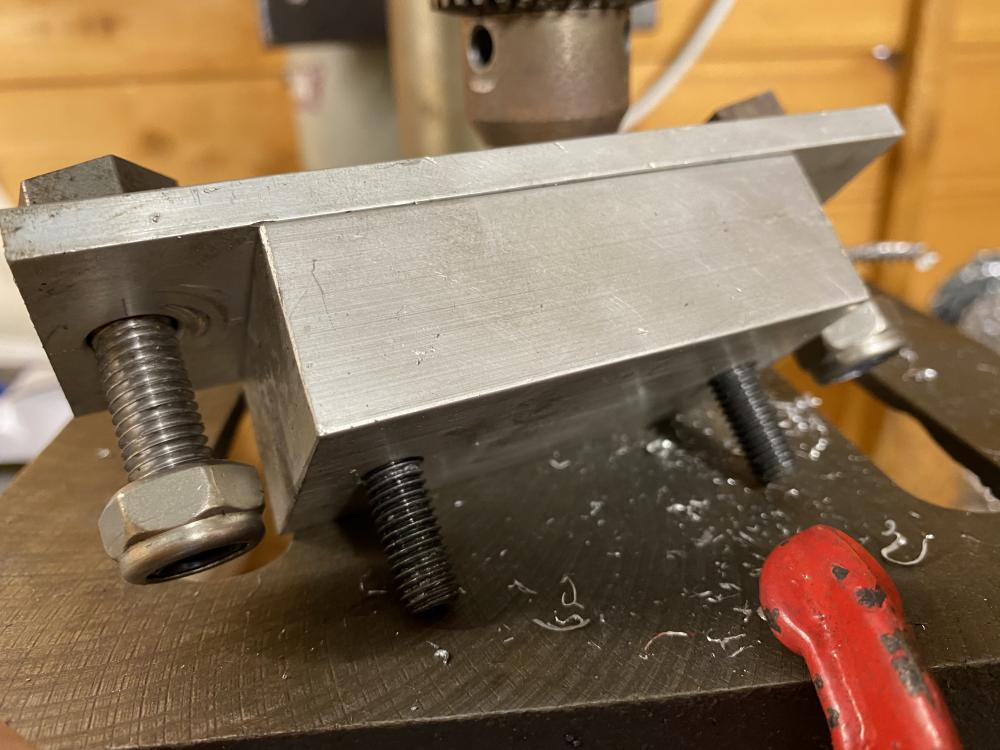
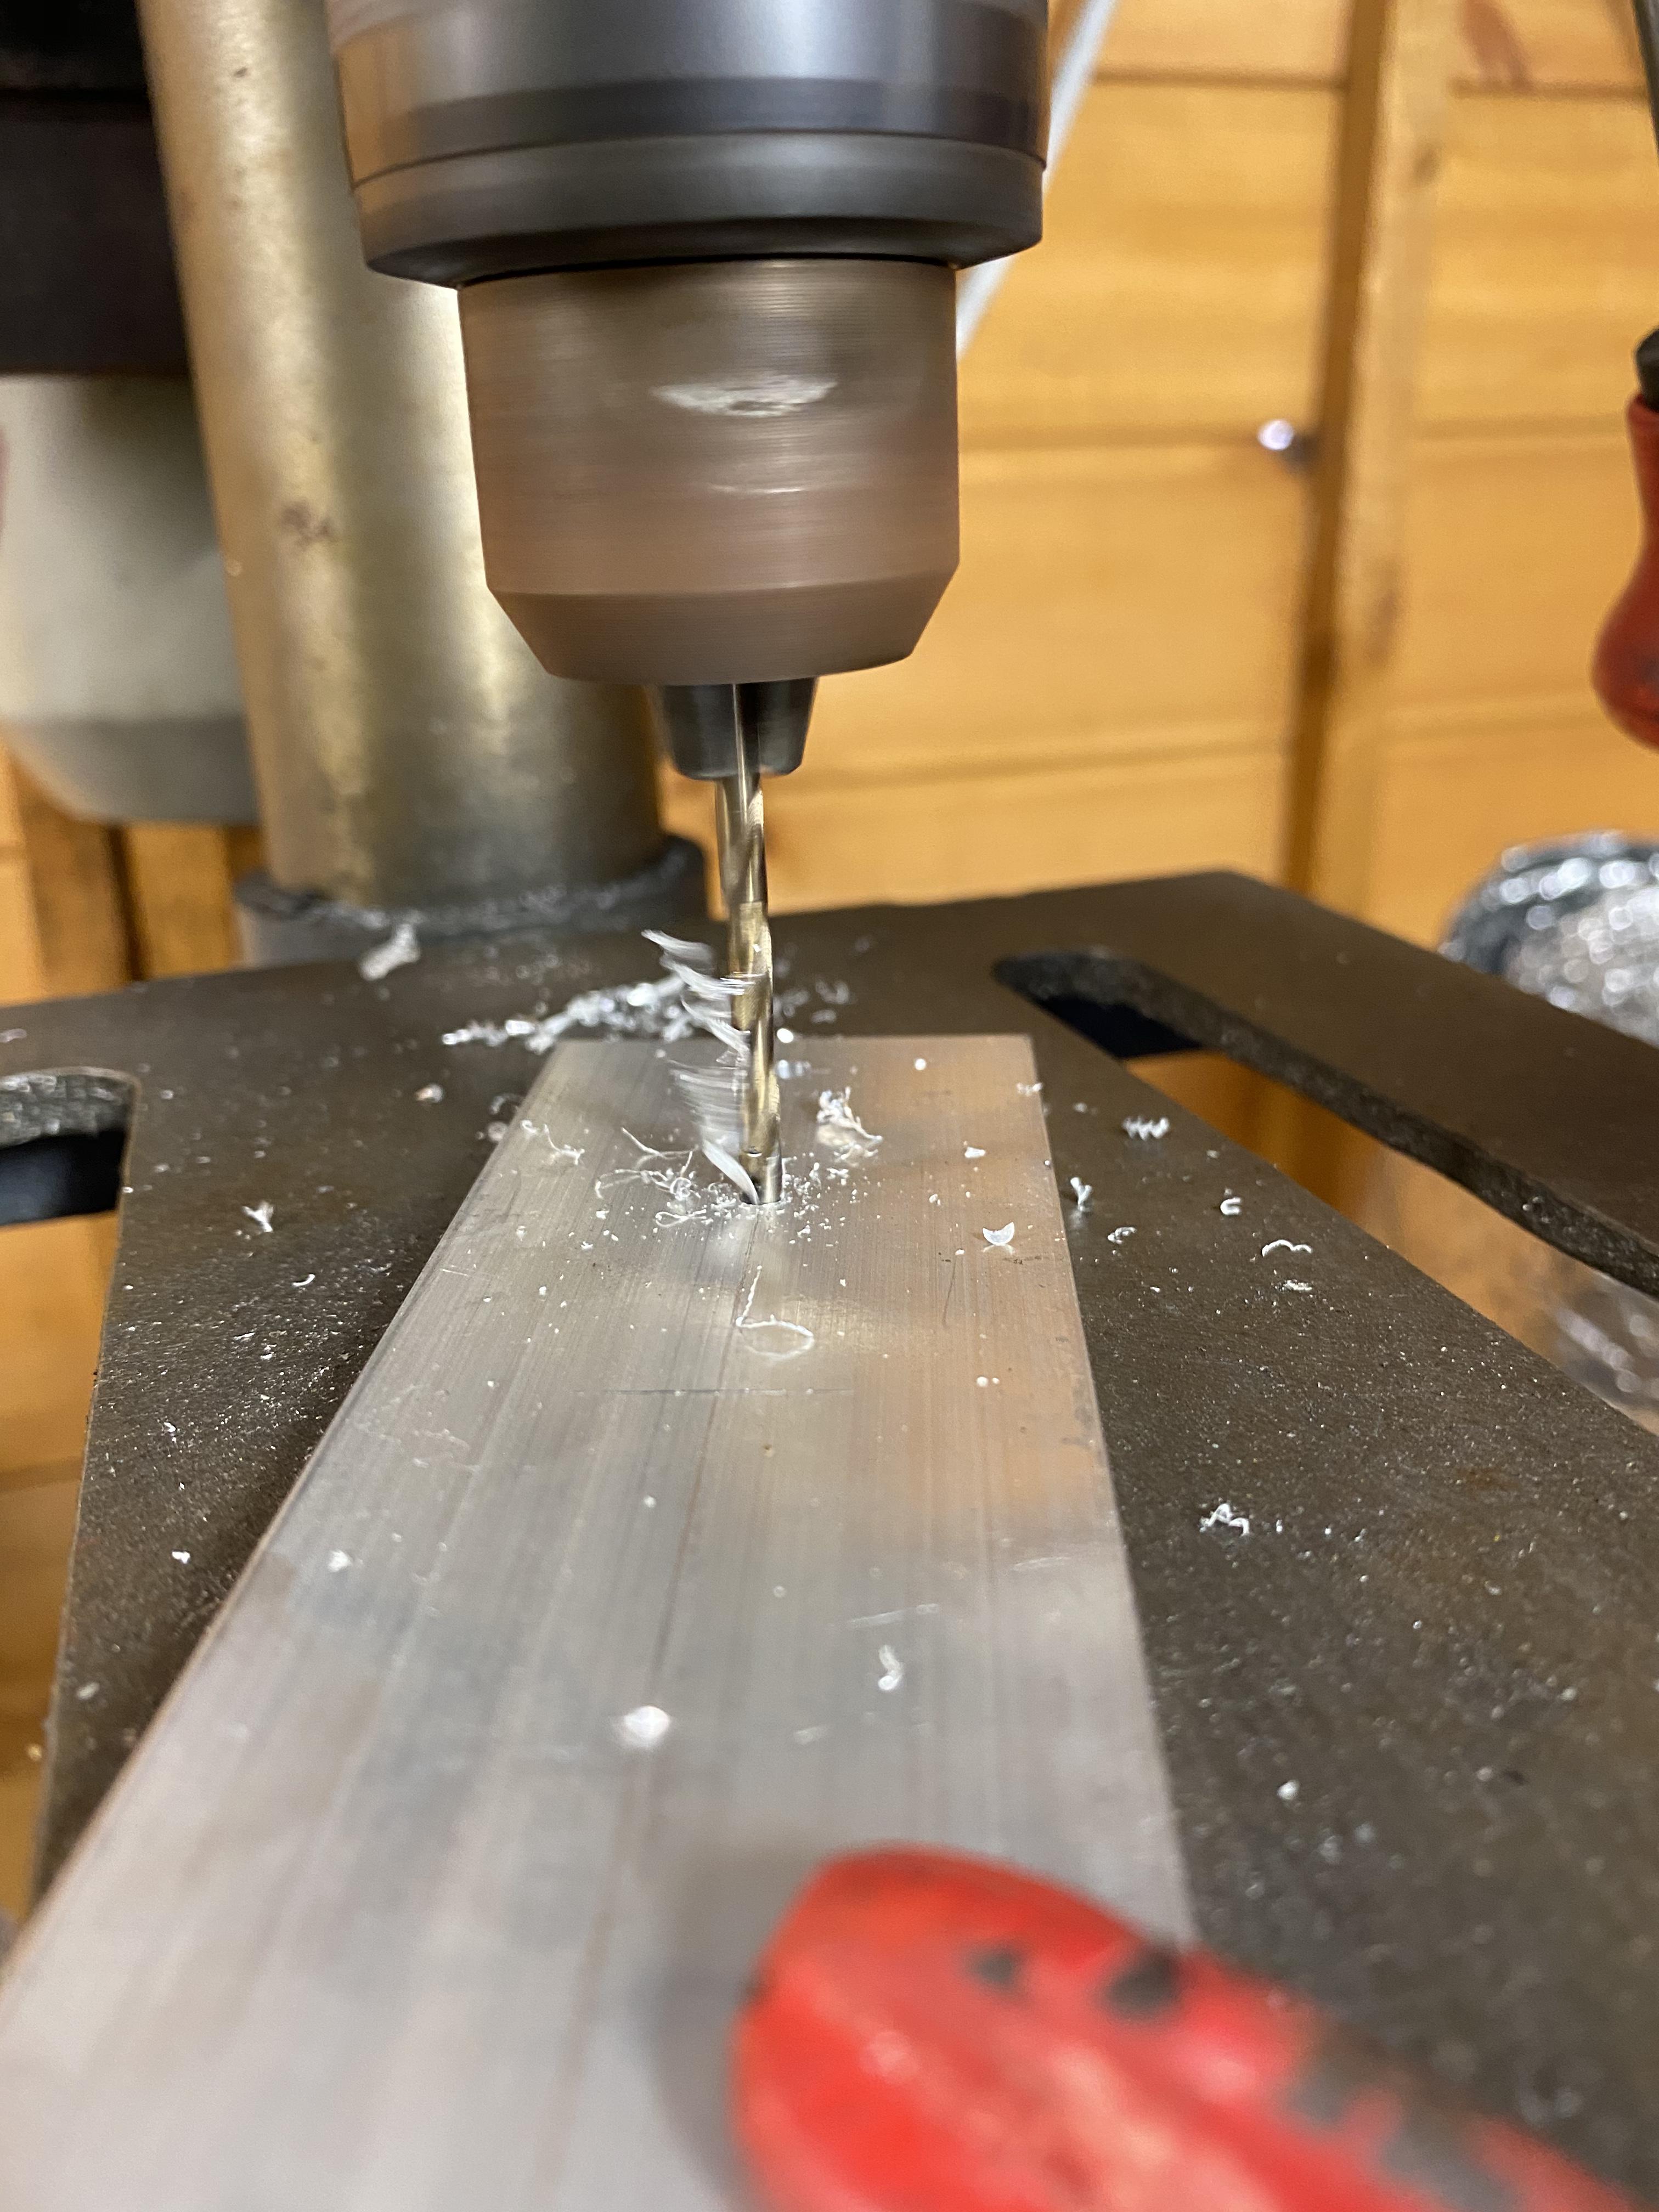
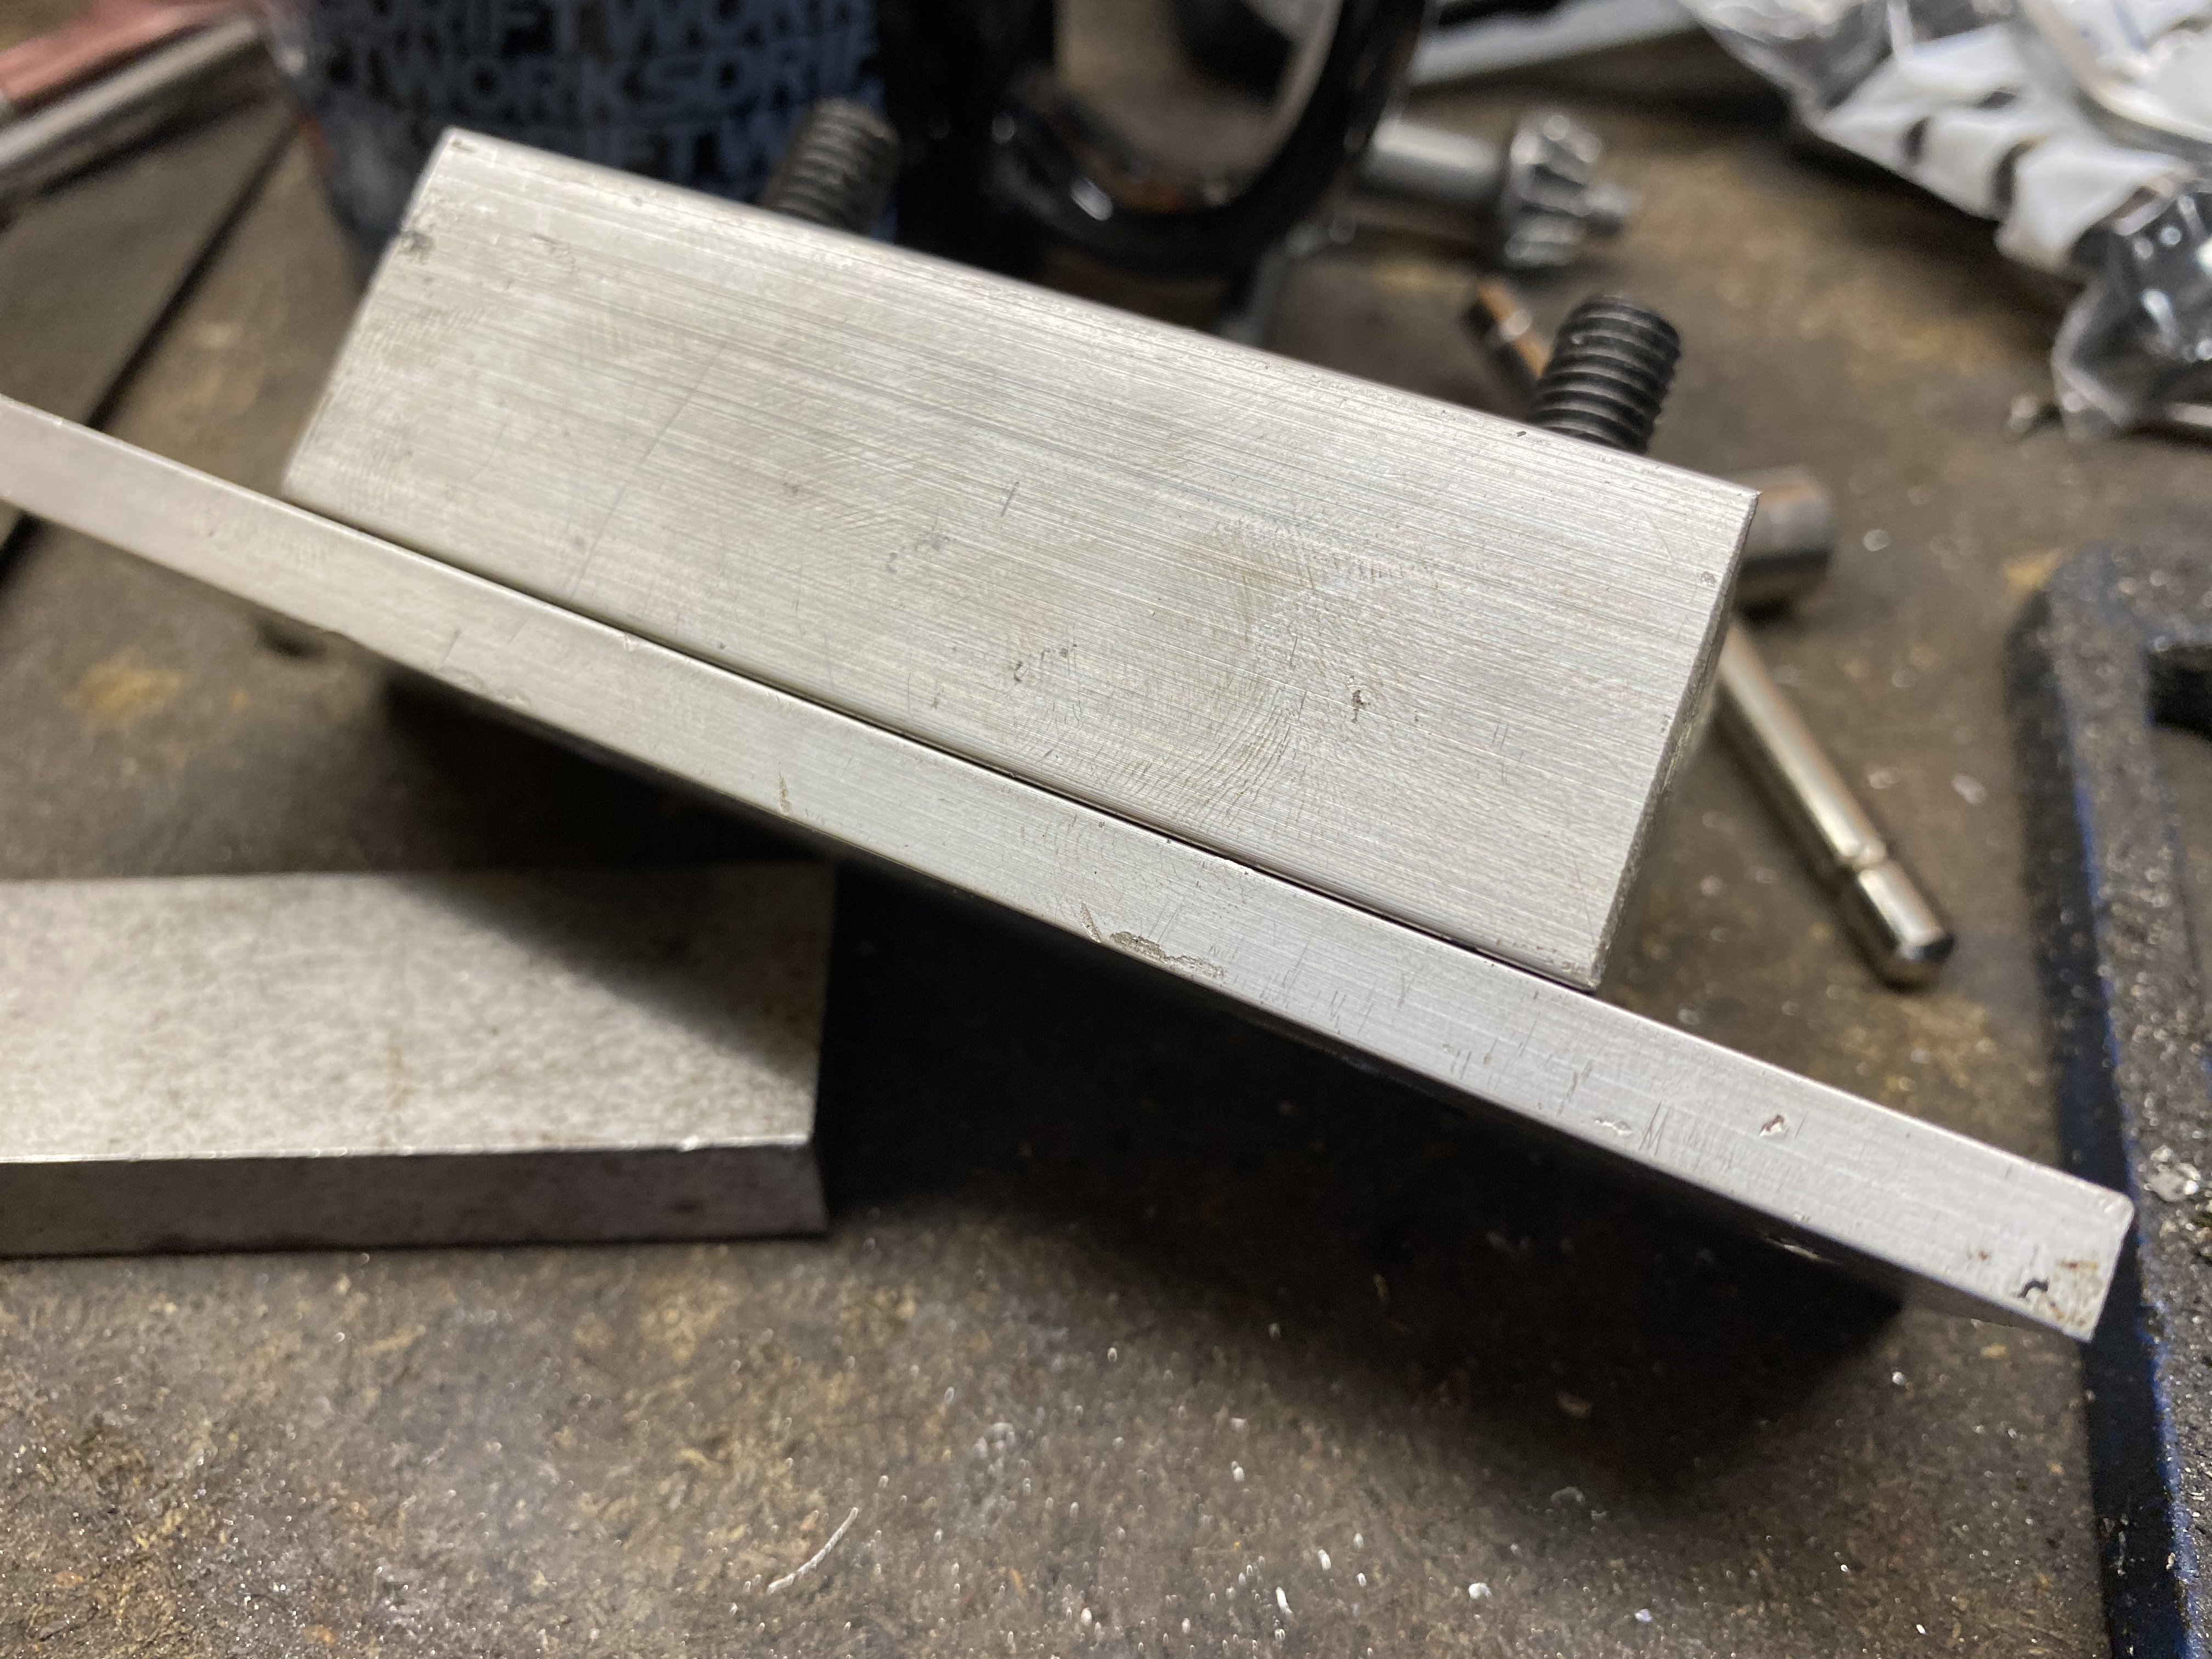
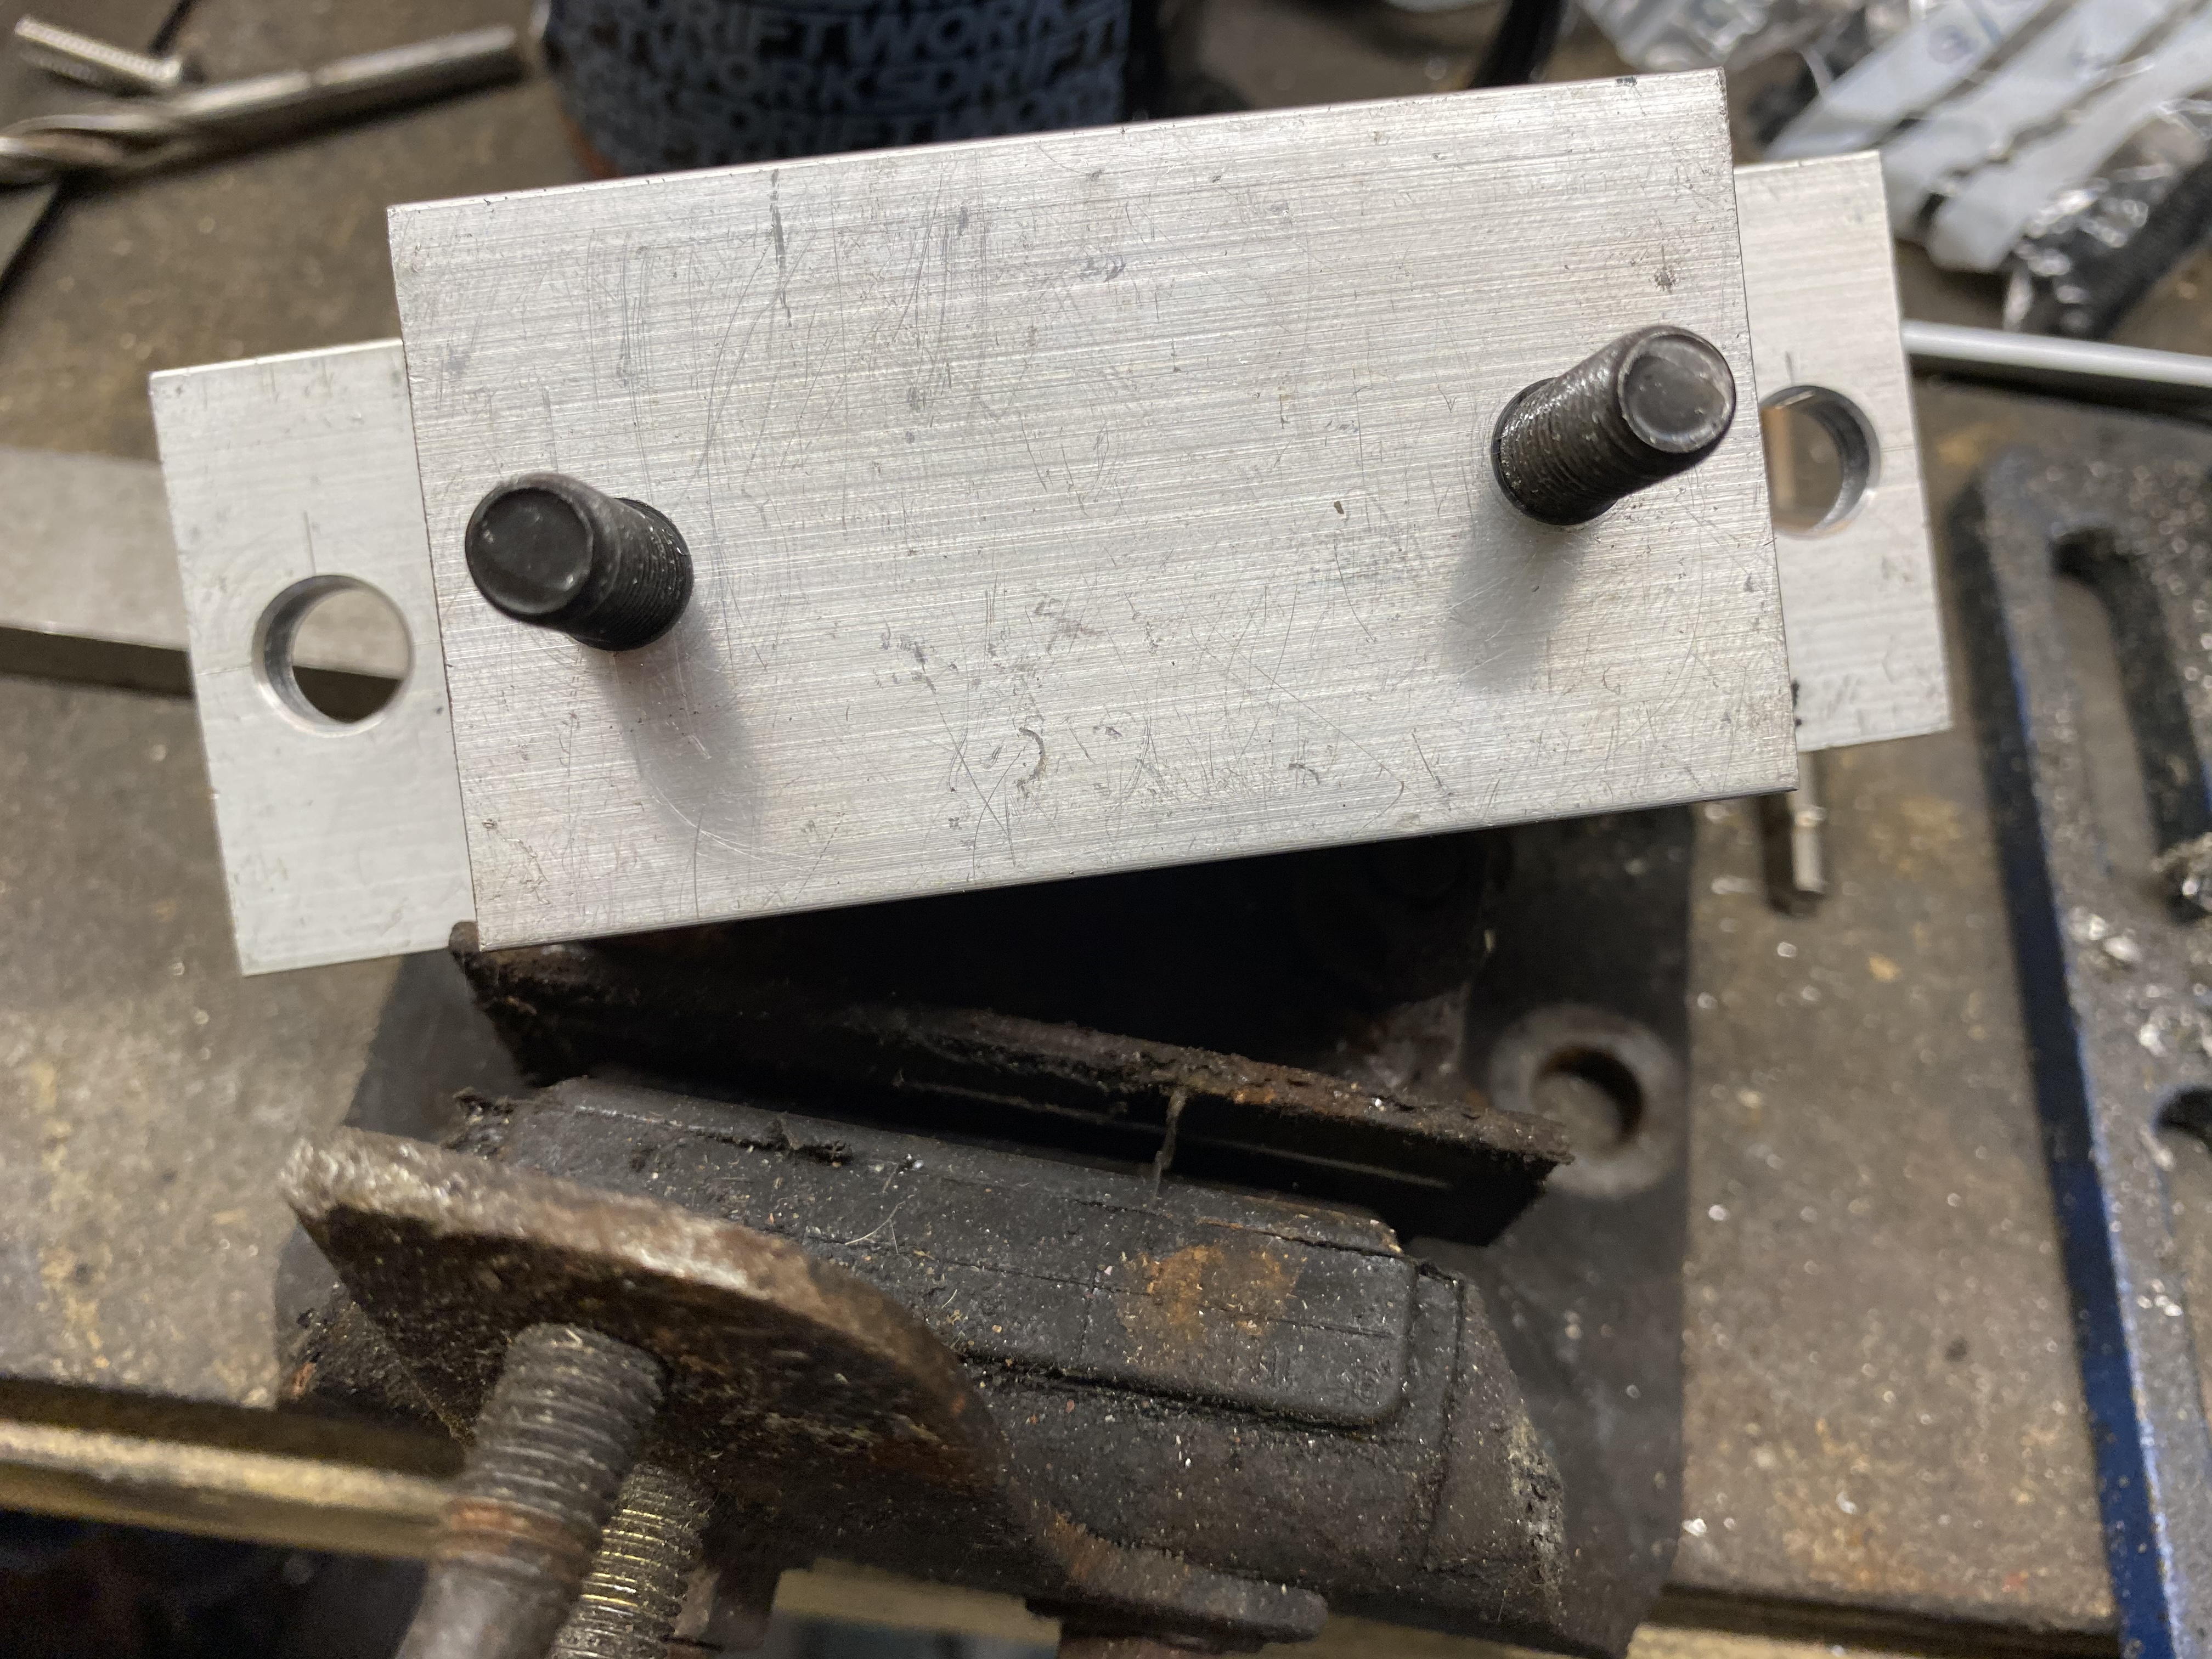
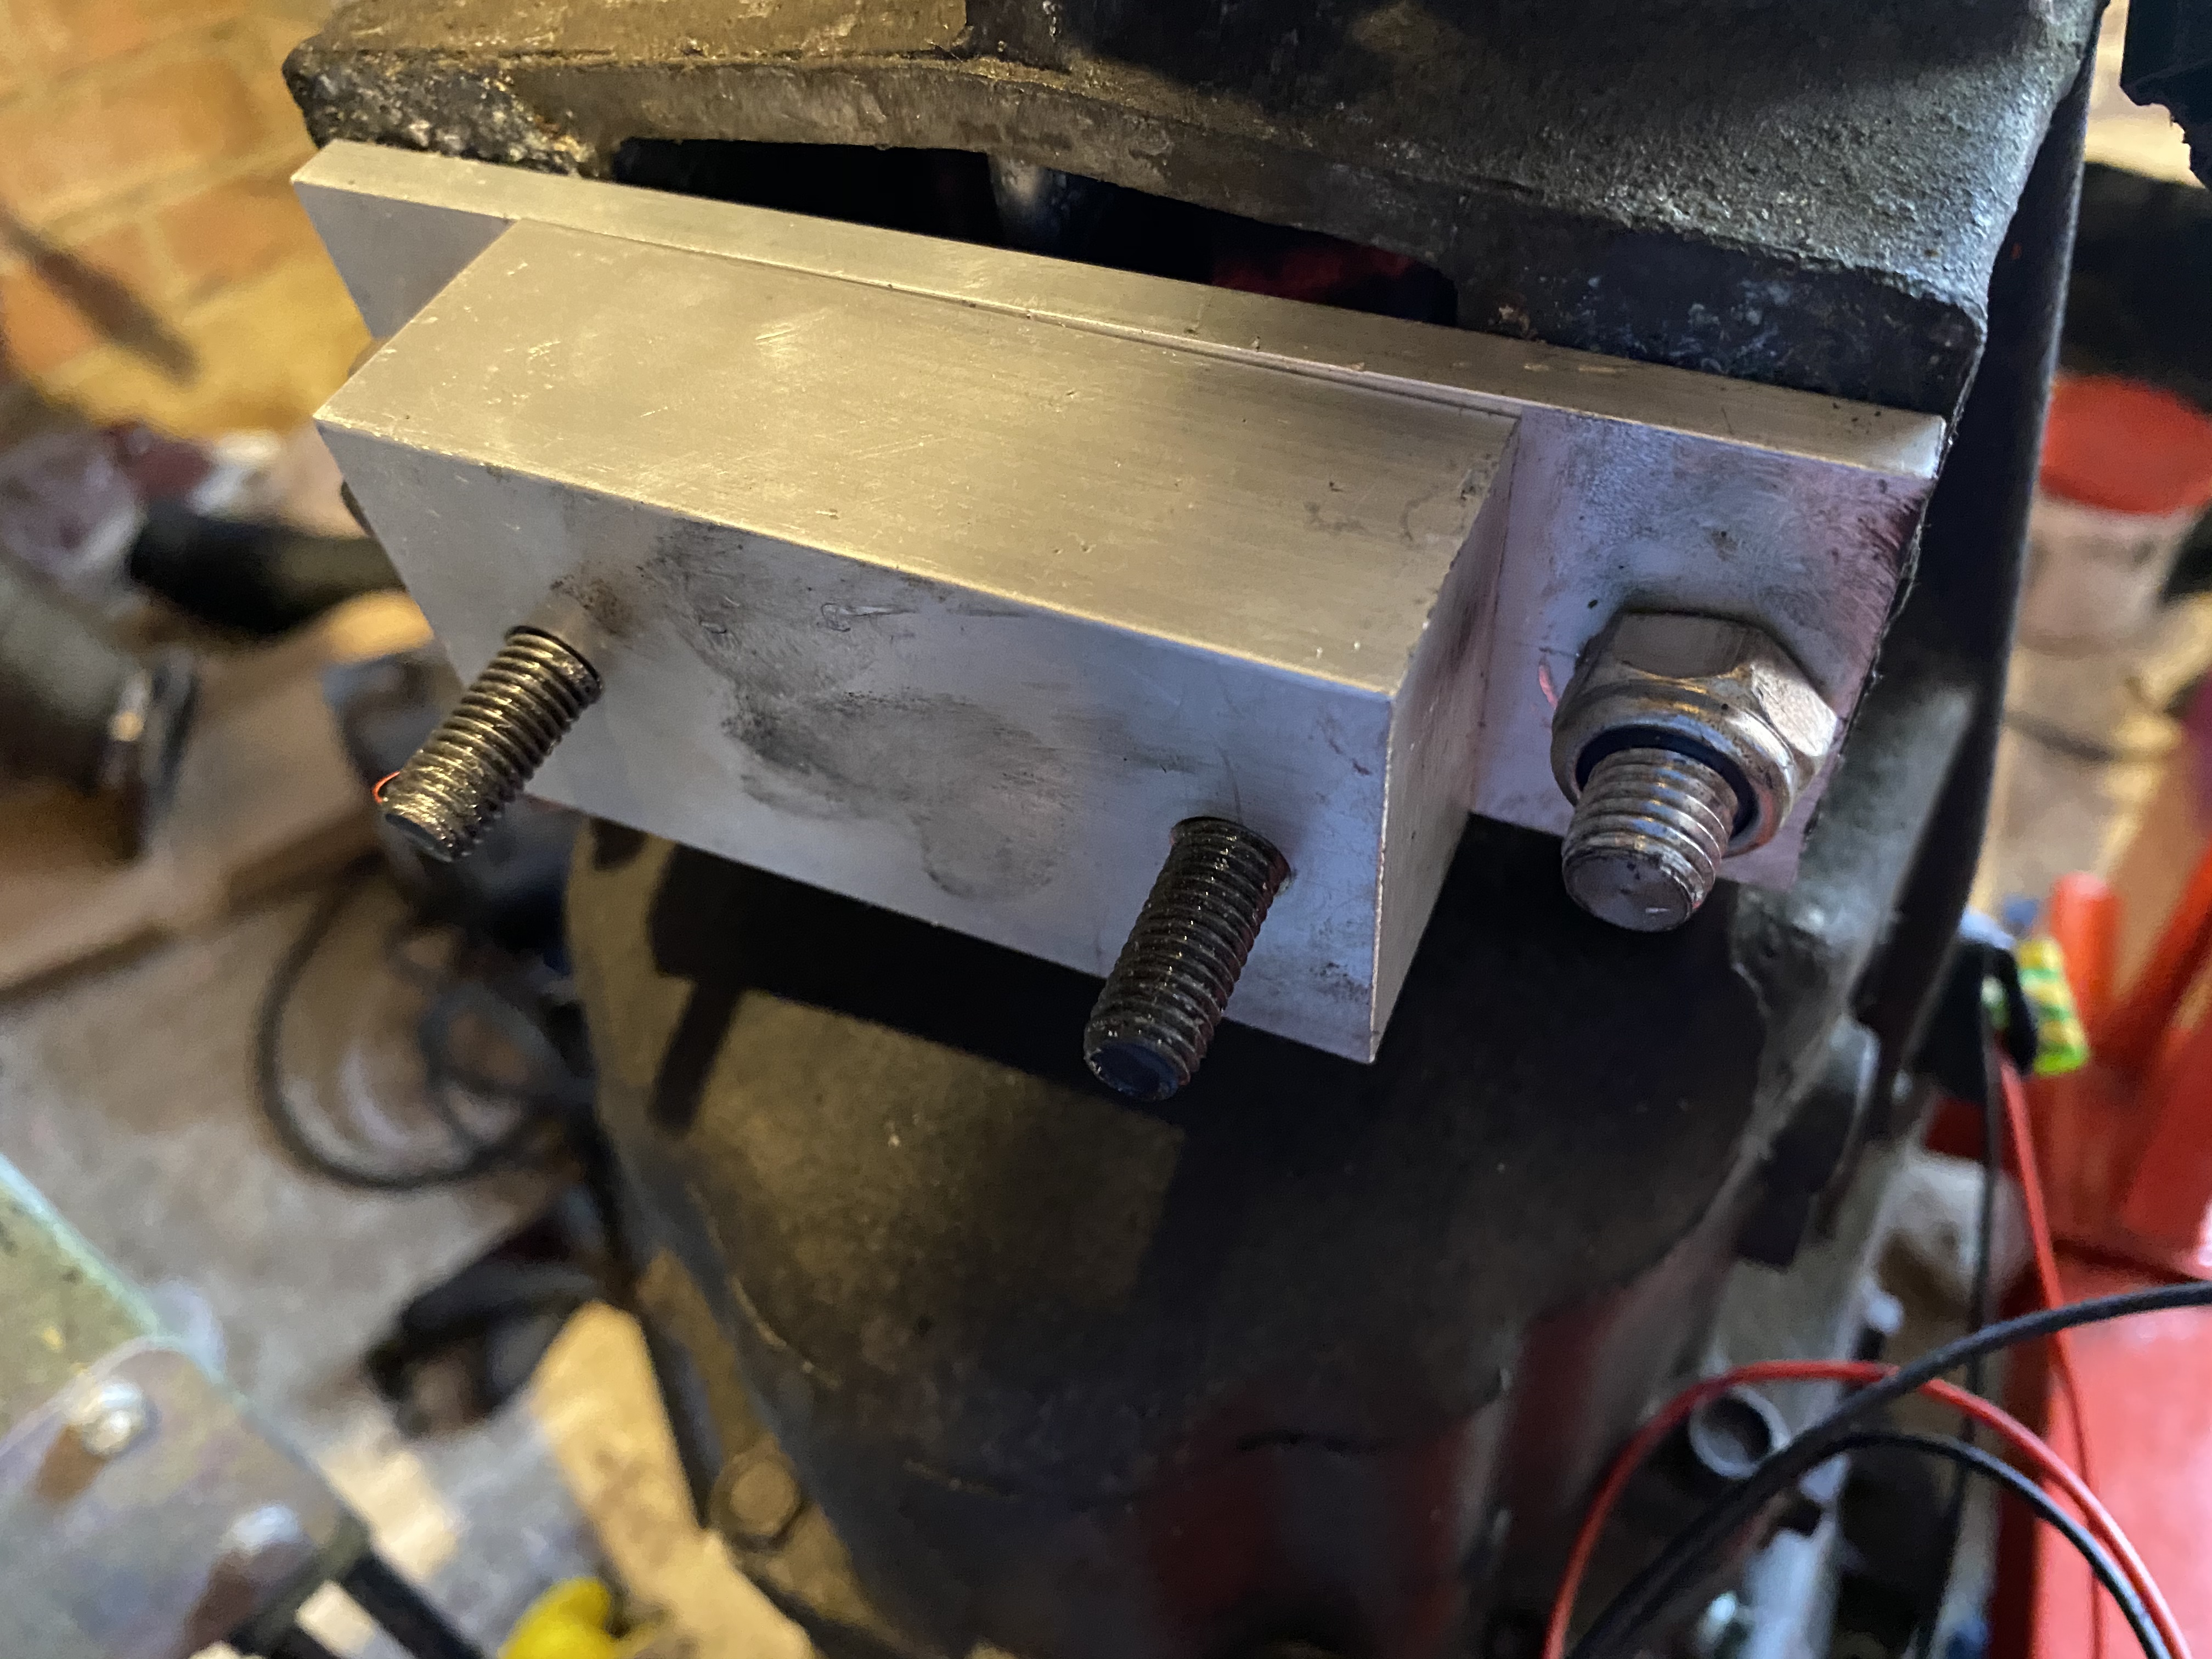
I decided to go with a solid gearbox mount, as I don’t have a mill I made a 2 piece mount that bolts together. The countersunk bolts that hold the parts together also make up the studs to hold the mount to the chassis. I machined 2 bolts from some hex bar as this holds in the gearbox slots better than a standard bolt.
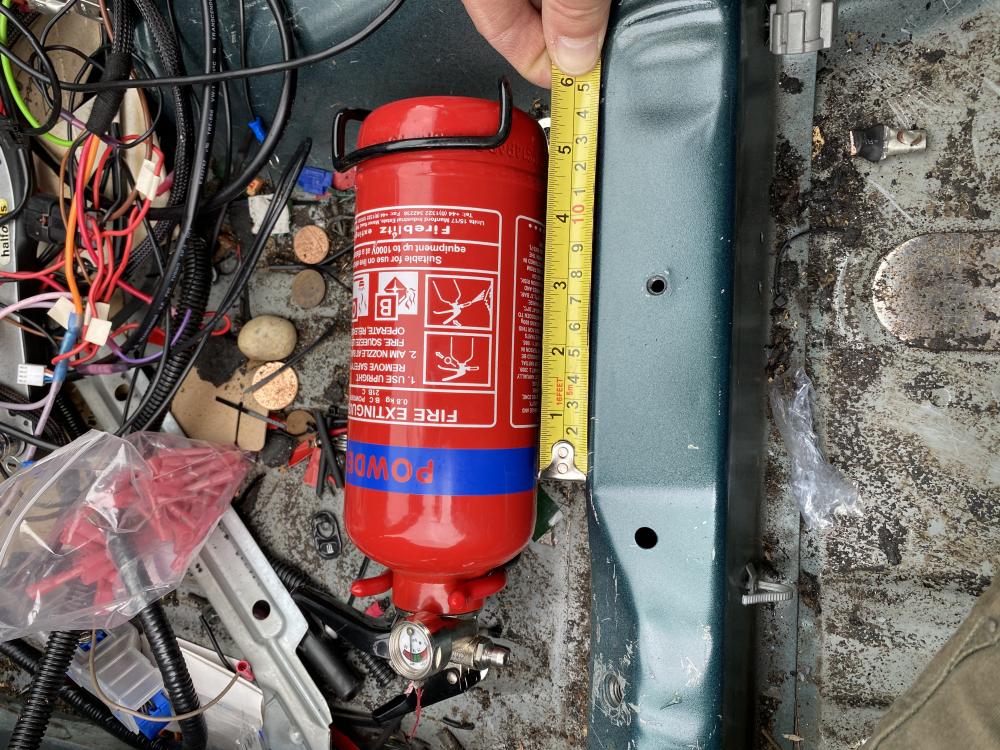
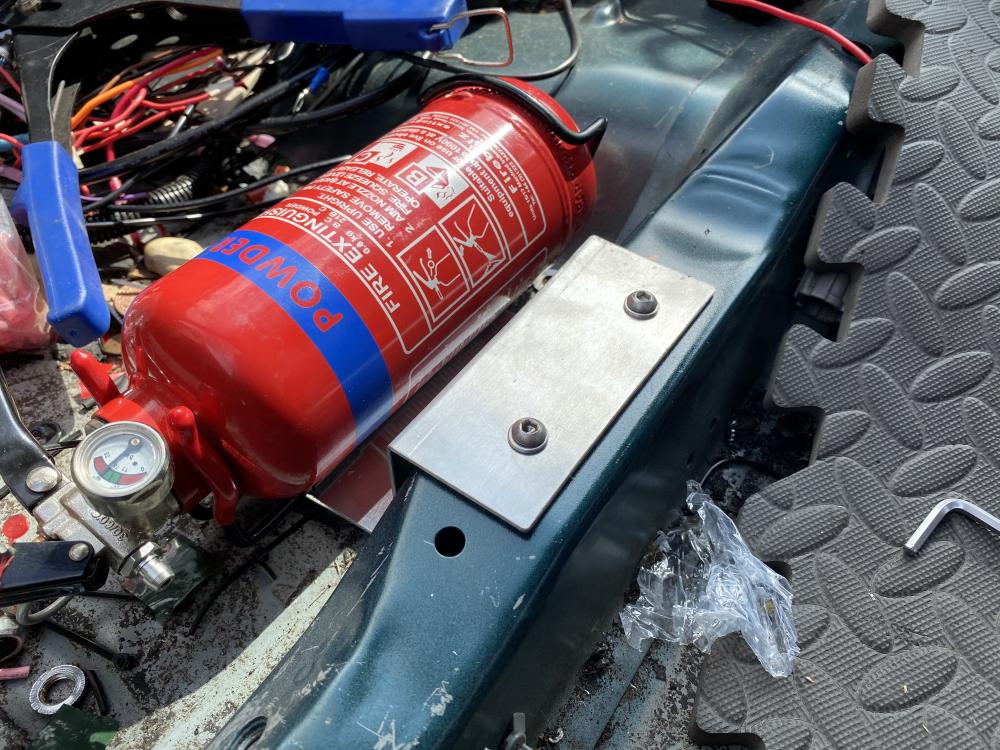
Next up was an under seat fire extinguisher bracket. Quite a simple design in aluminium with 2 bends.
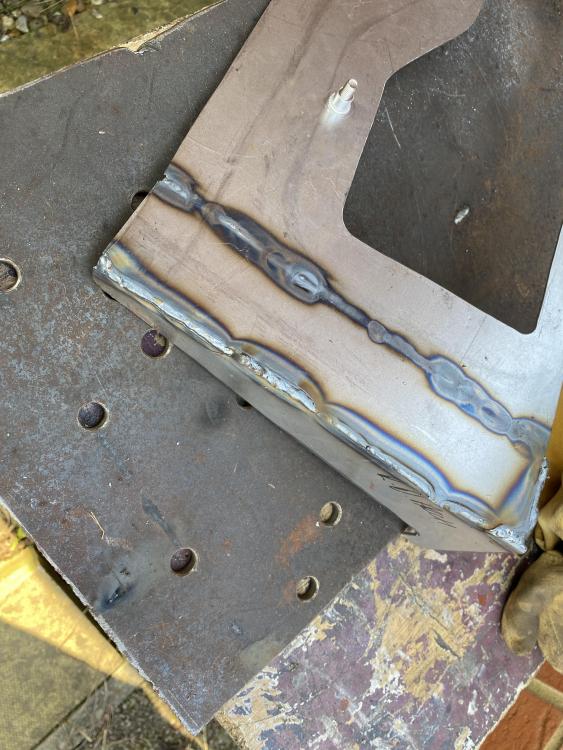
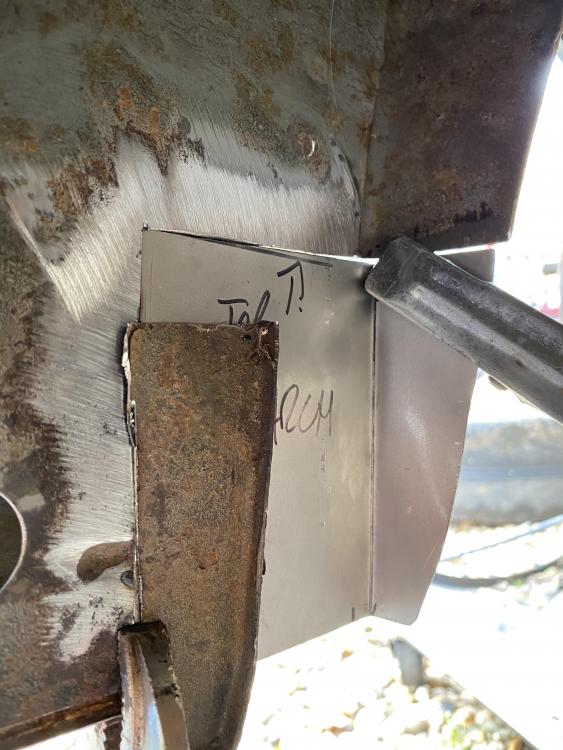
Over the past couple of weeks I started making up the repair panels and patches so I can cut out the rust. I’ve not welded to rusty car metal so I was quite happy with the final result of the first plate. I have a fair bit to rebuild on the right hand side of the rear arch and I’m hoping to get that welded in next weekend.
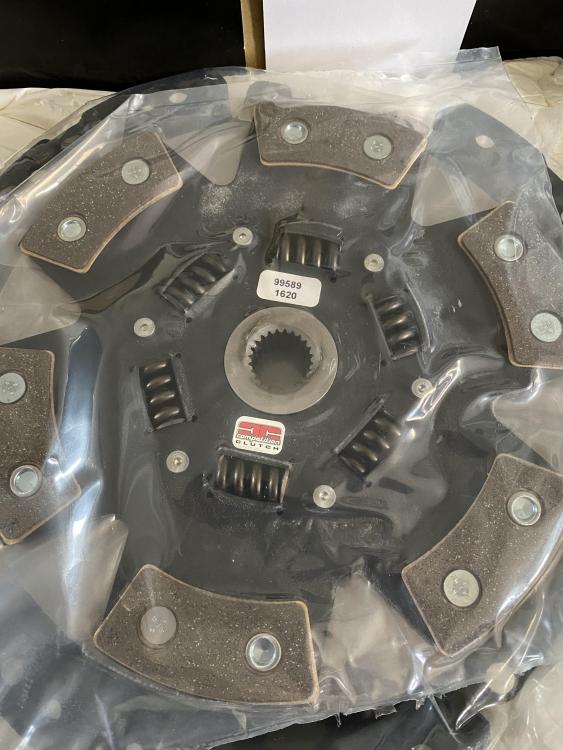
Finally I got a Competition Clutch stage 4 6 paddle clutch. I’ve been running one of these in the starlet for a while and it’s been great, I hope it stands up to the abuse it will end up getting.


-
Well it’s certainly been a minute! Got a few bits and pieces done over the past few months though with a lack of time and bad weather when I’ve actually been off it’s been quite slow.
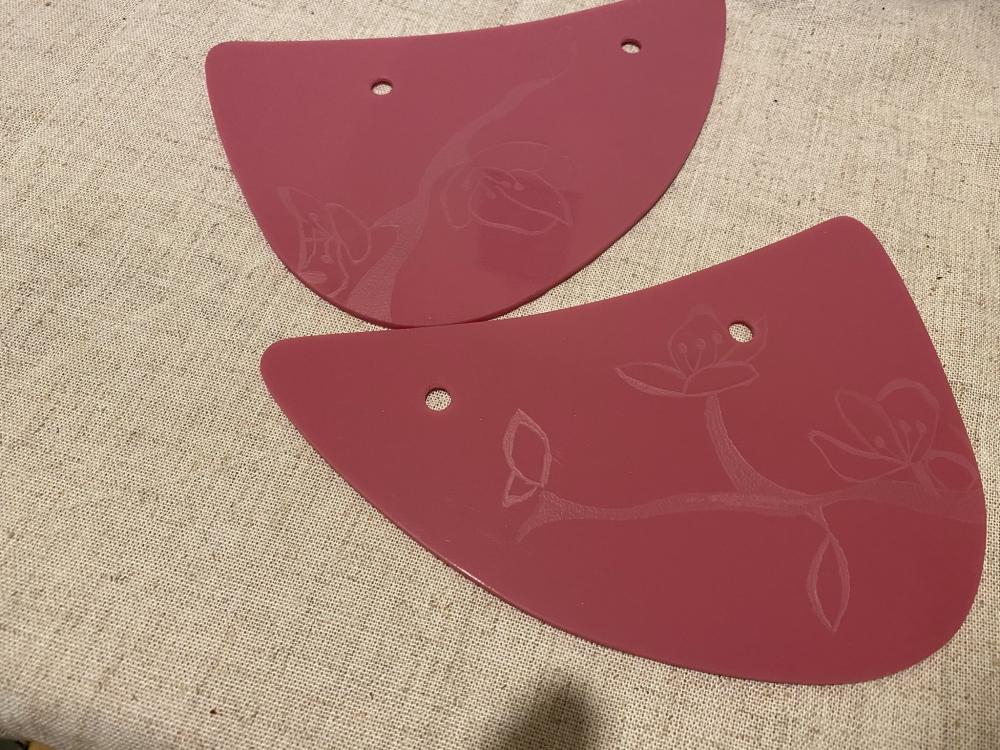
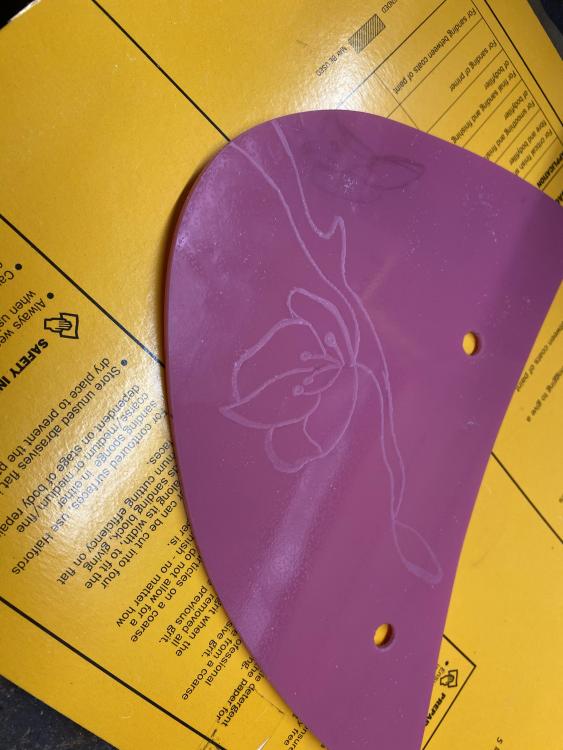
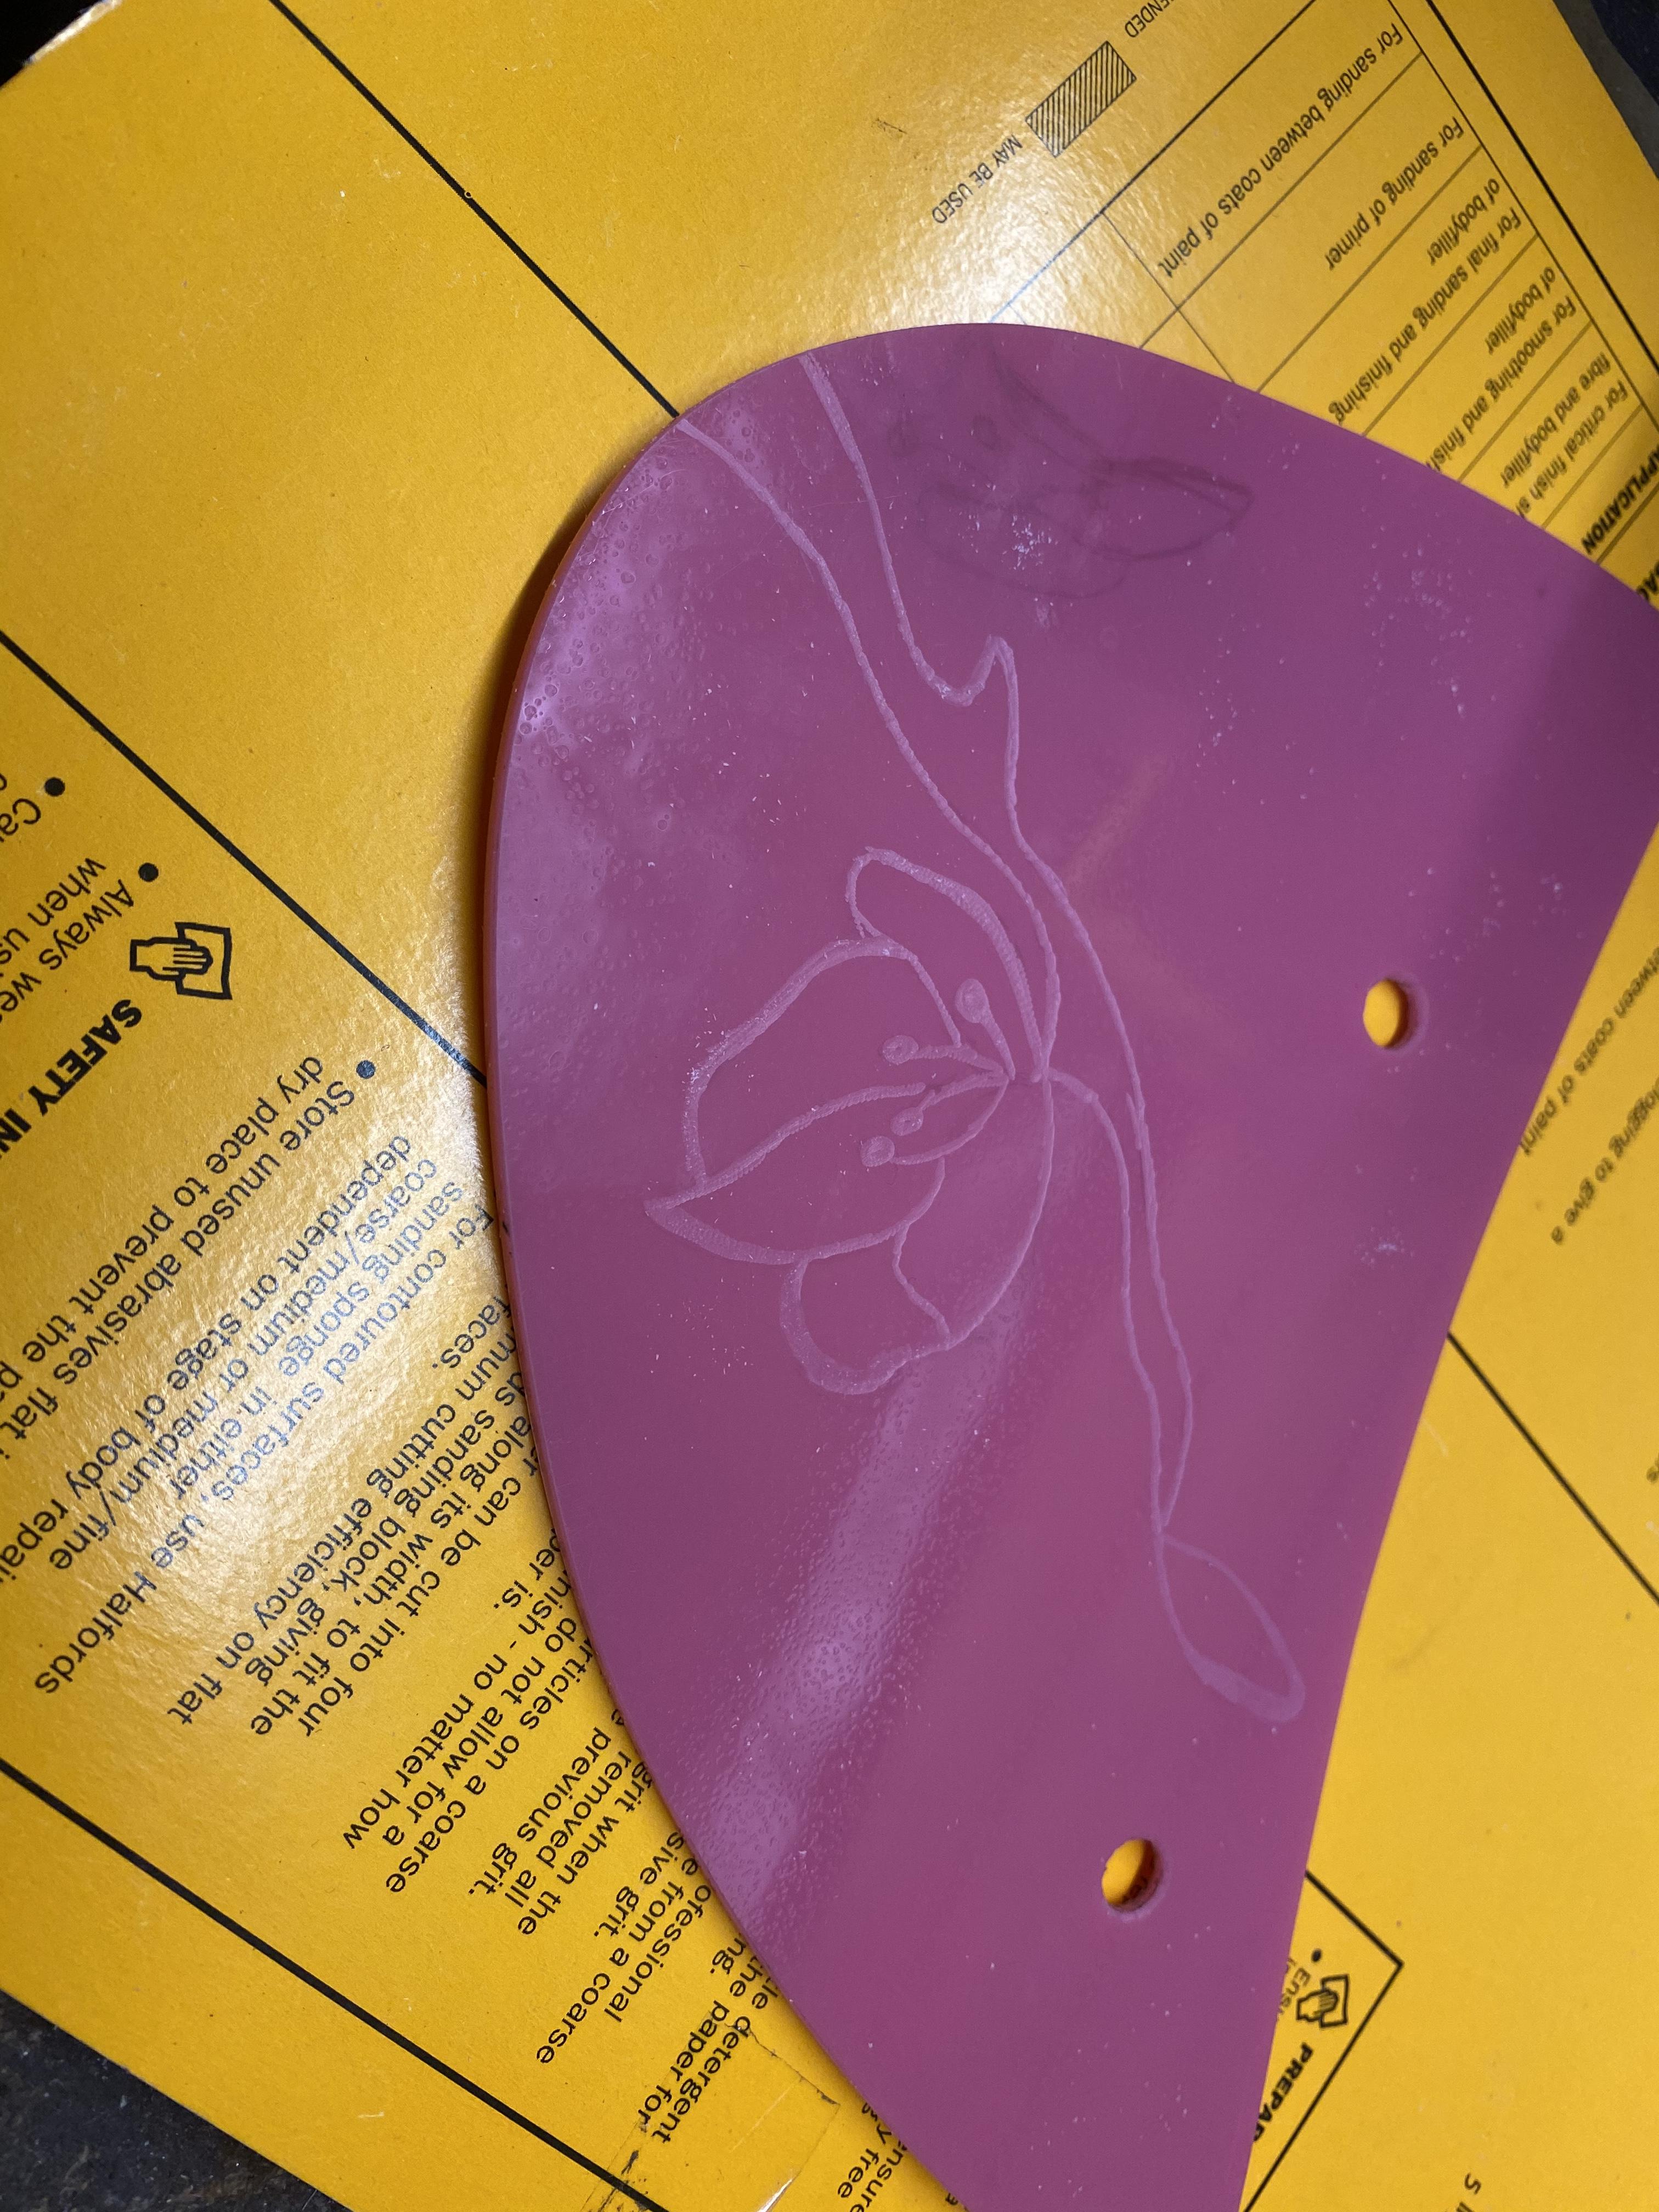
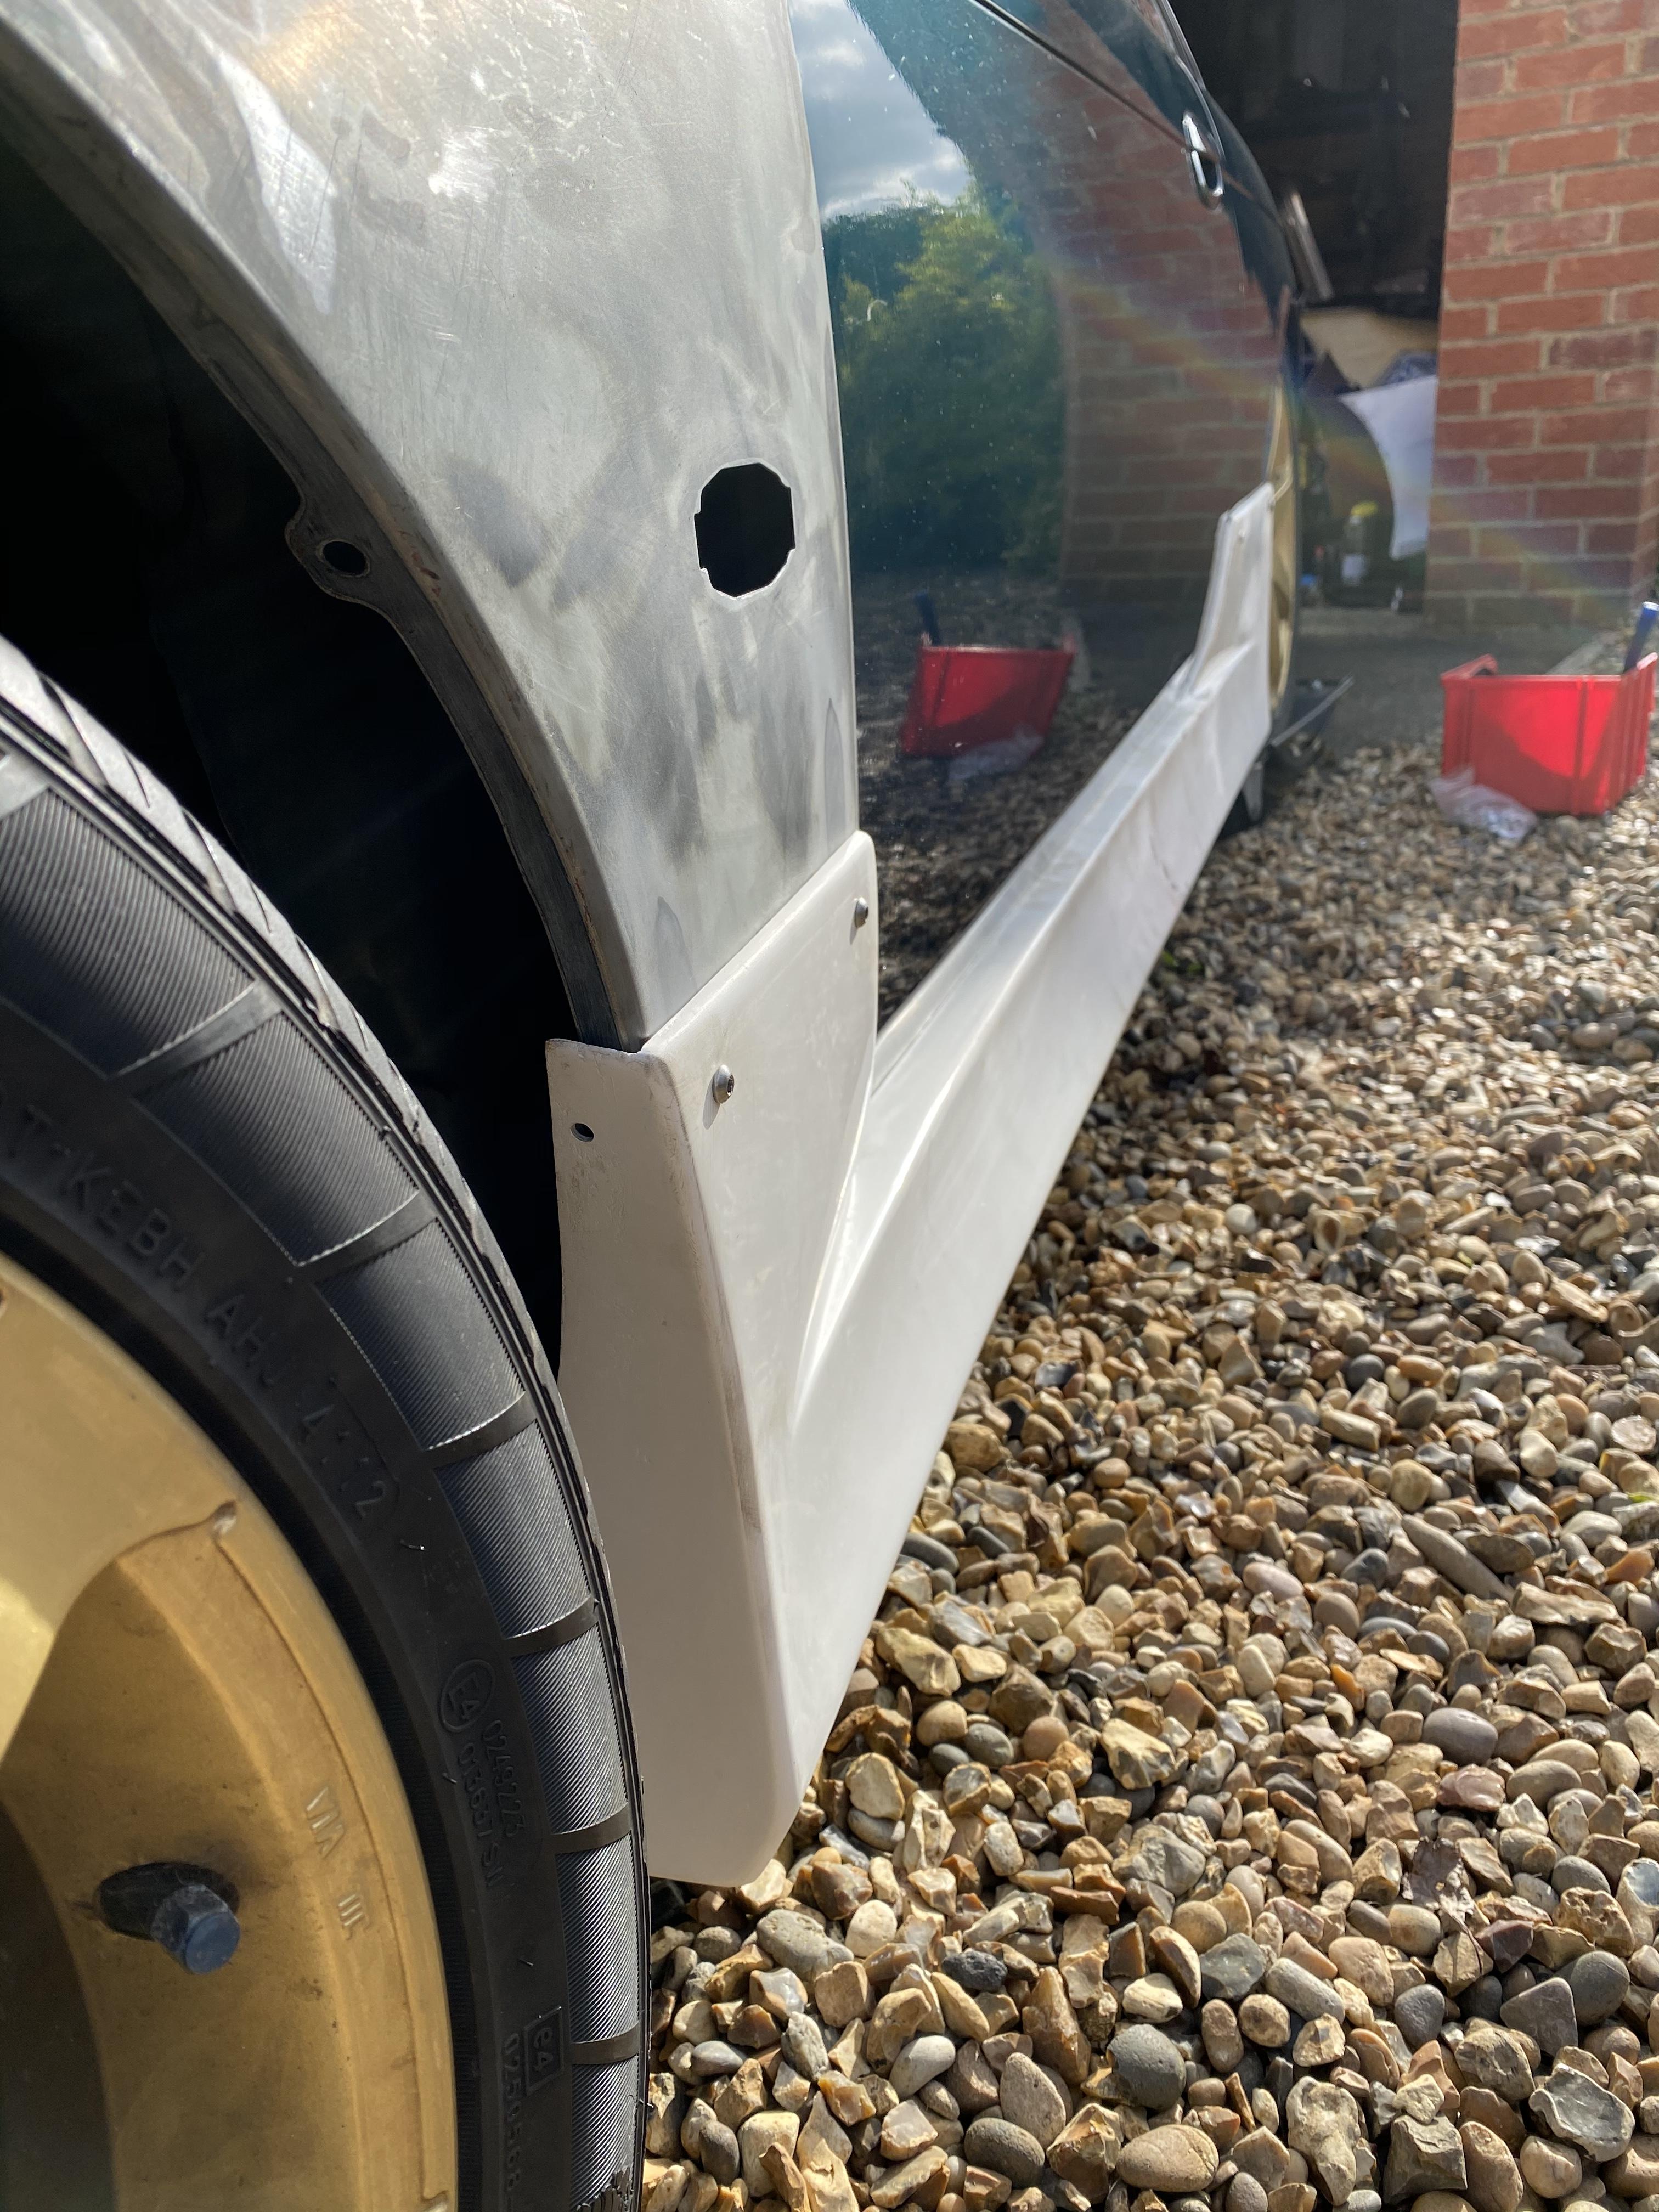
I decided I wasn’t too happy with the spoiler end plates, I got some pink Perspex from work and made some new ones. Art isn’t my strong point but the cherry blossom didn’t come out too bad.
I got a Nismo lightweight flywheel, cleaned that up last week and it looks far better than in the photo.
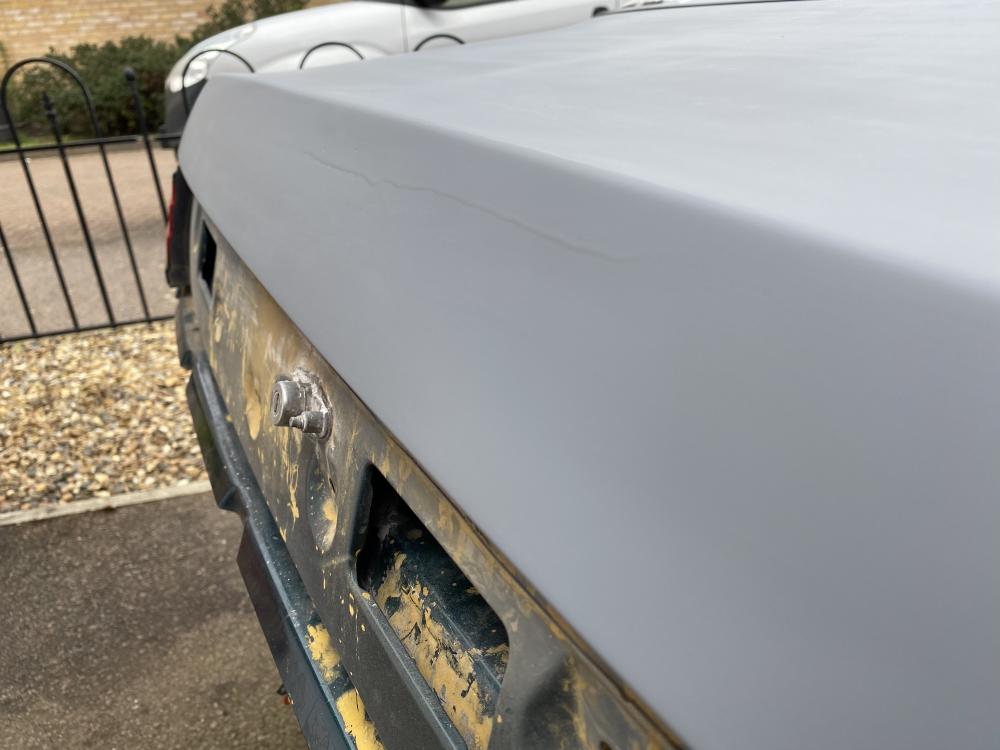
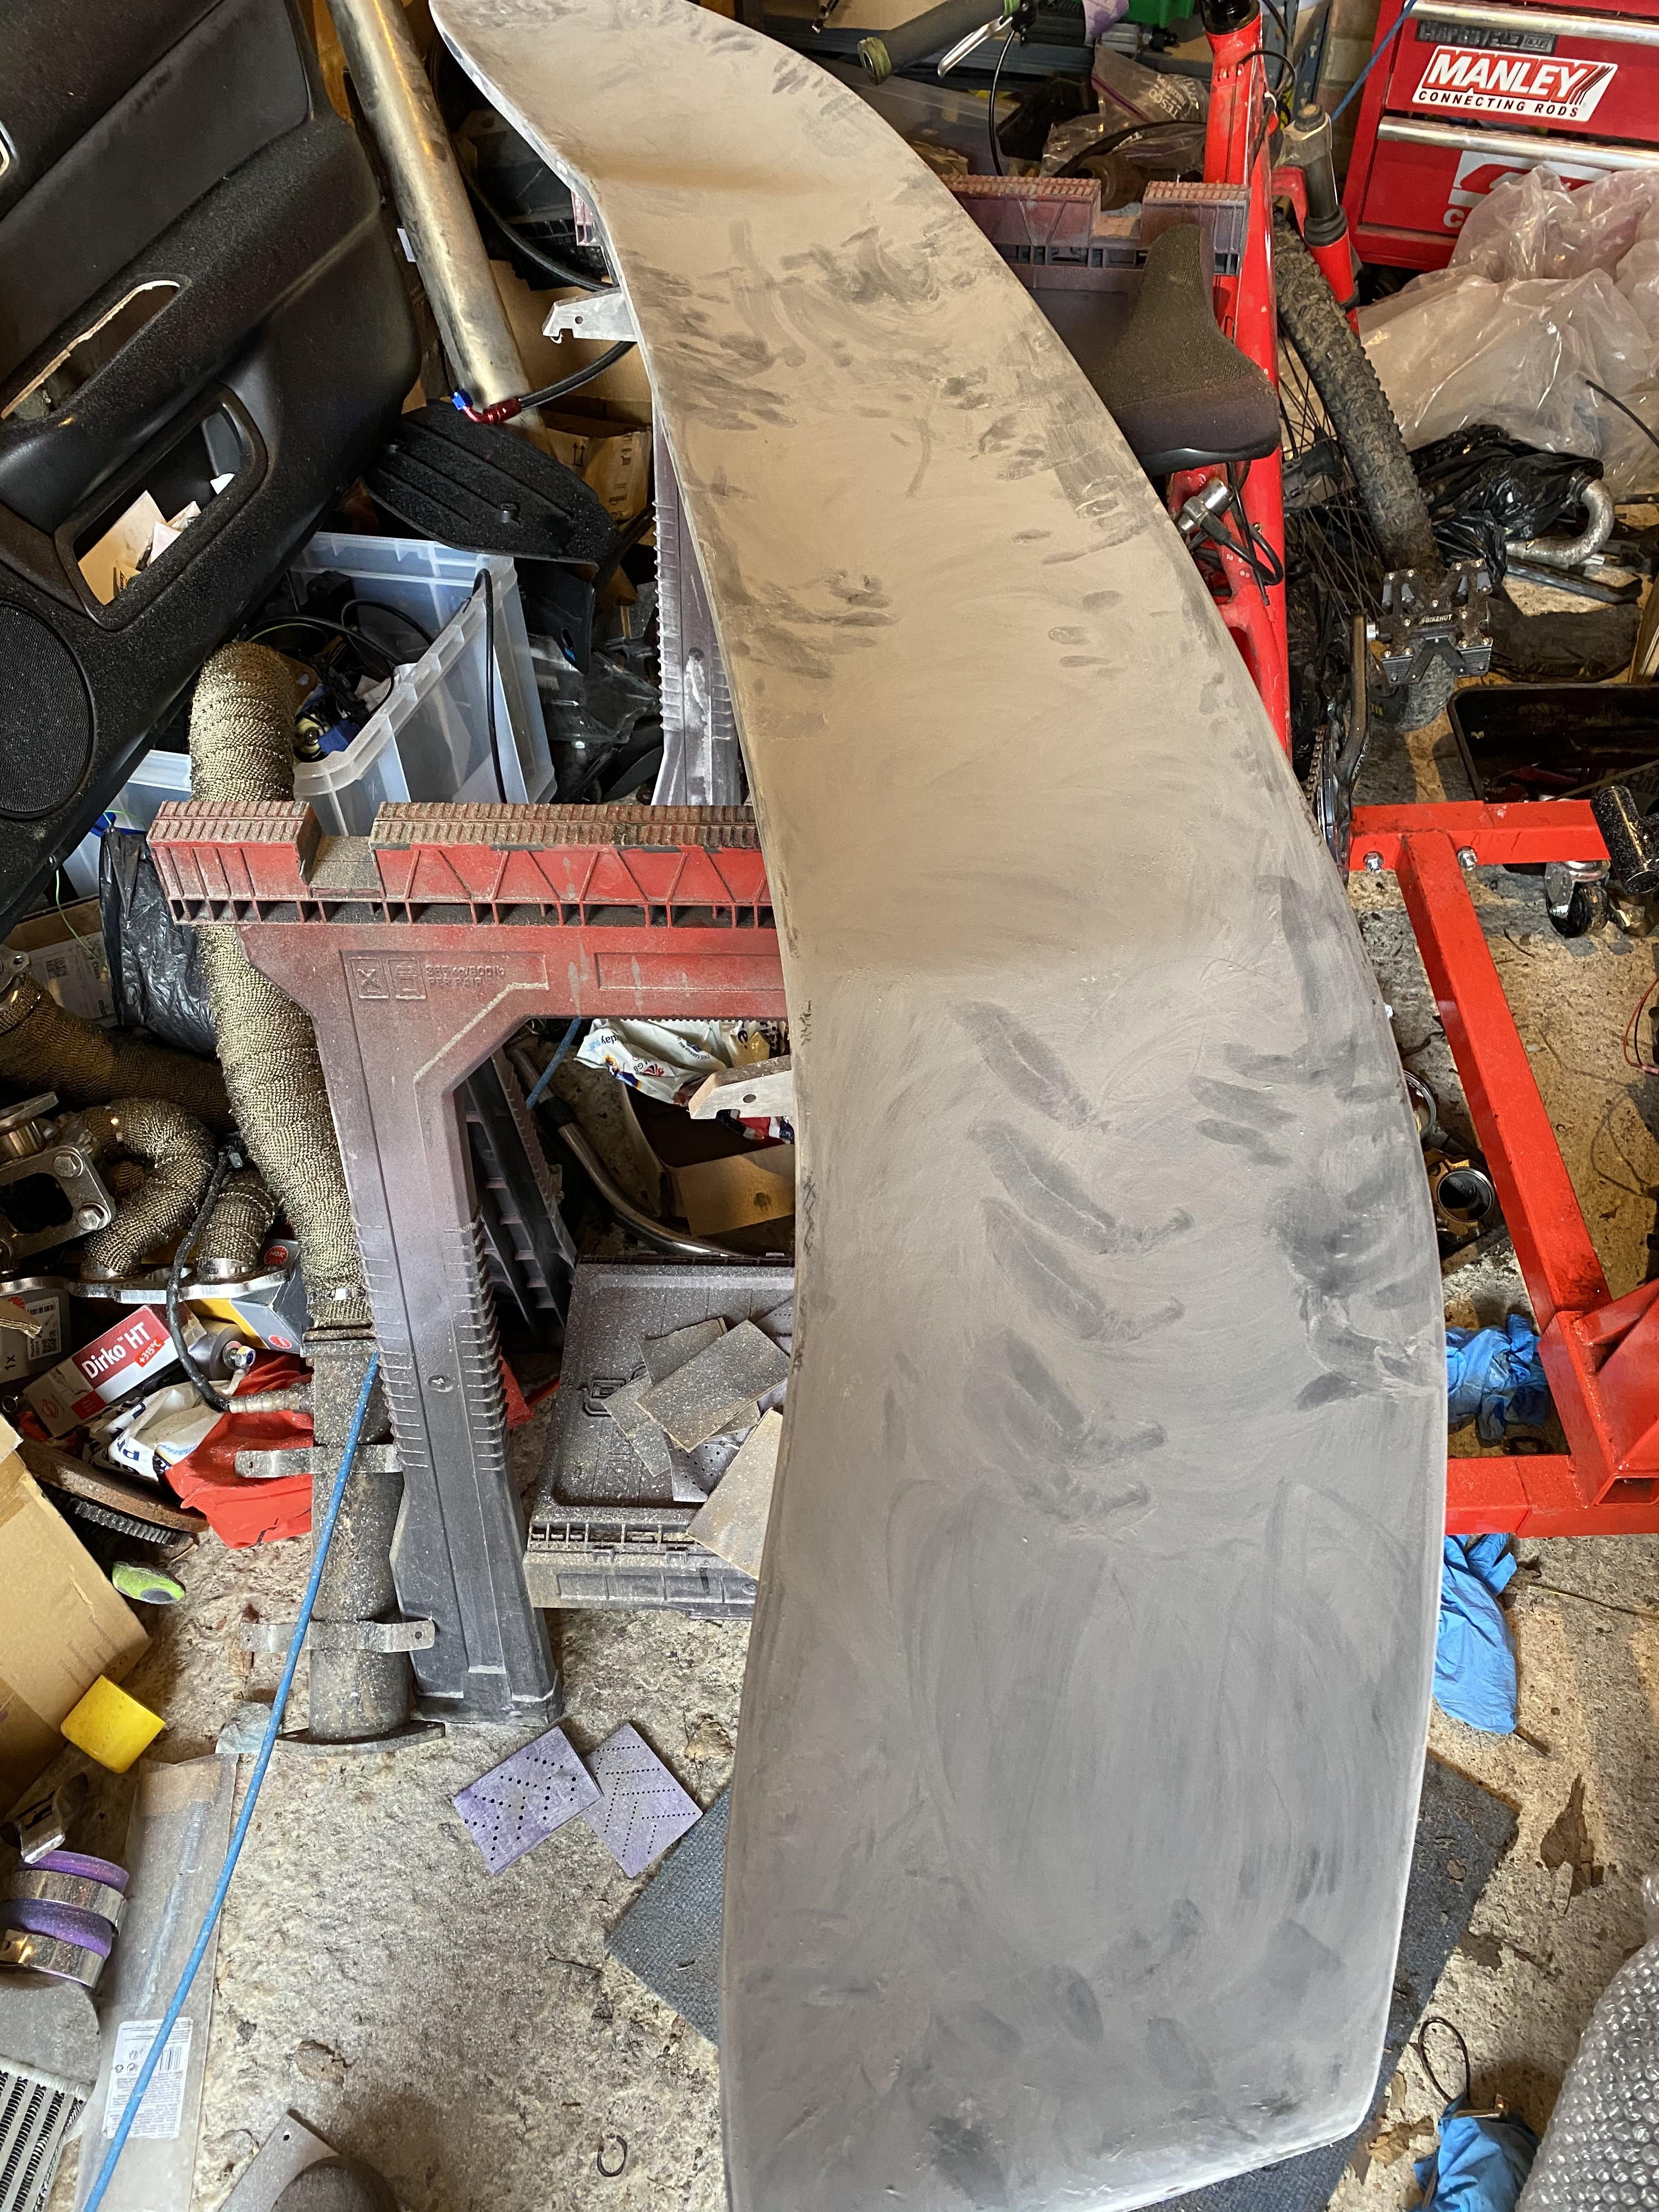
I’ve had to repair the spoiler itself as it got damaged under the cover with how windy it has been.

-
On 4/8/2021 at 11:46 PM, BurtEP82 said:
Really enjoy reading the updates to this build. A lot of major work happening and being done right. Clearly a capable man with a capable wife. Looking forward to your end result, keep the updates coming 👍🏻
Thanks, I’m actually an electrician by trade, everything machining wise I learnt from my old man
-
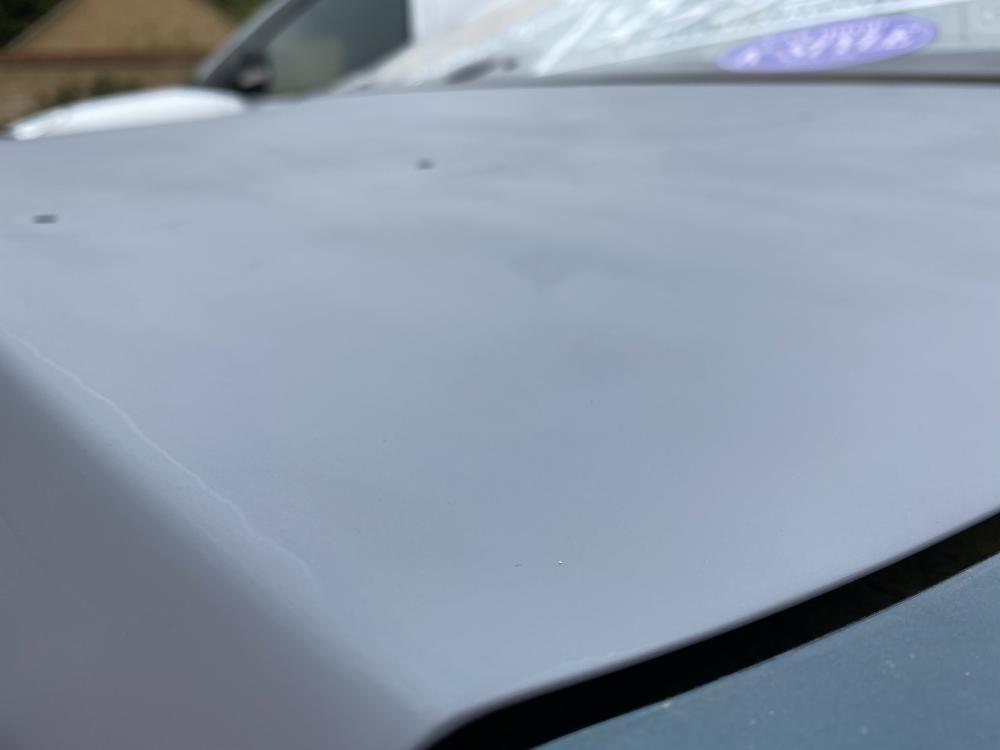
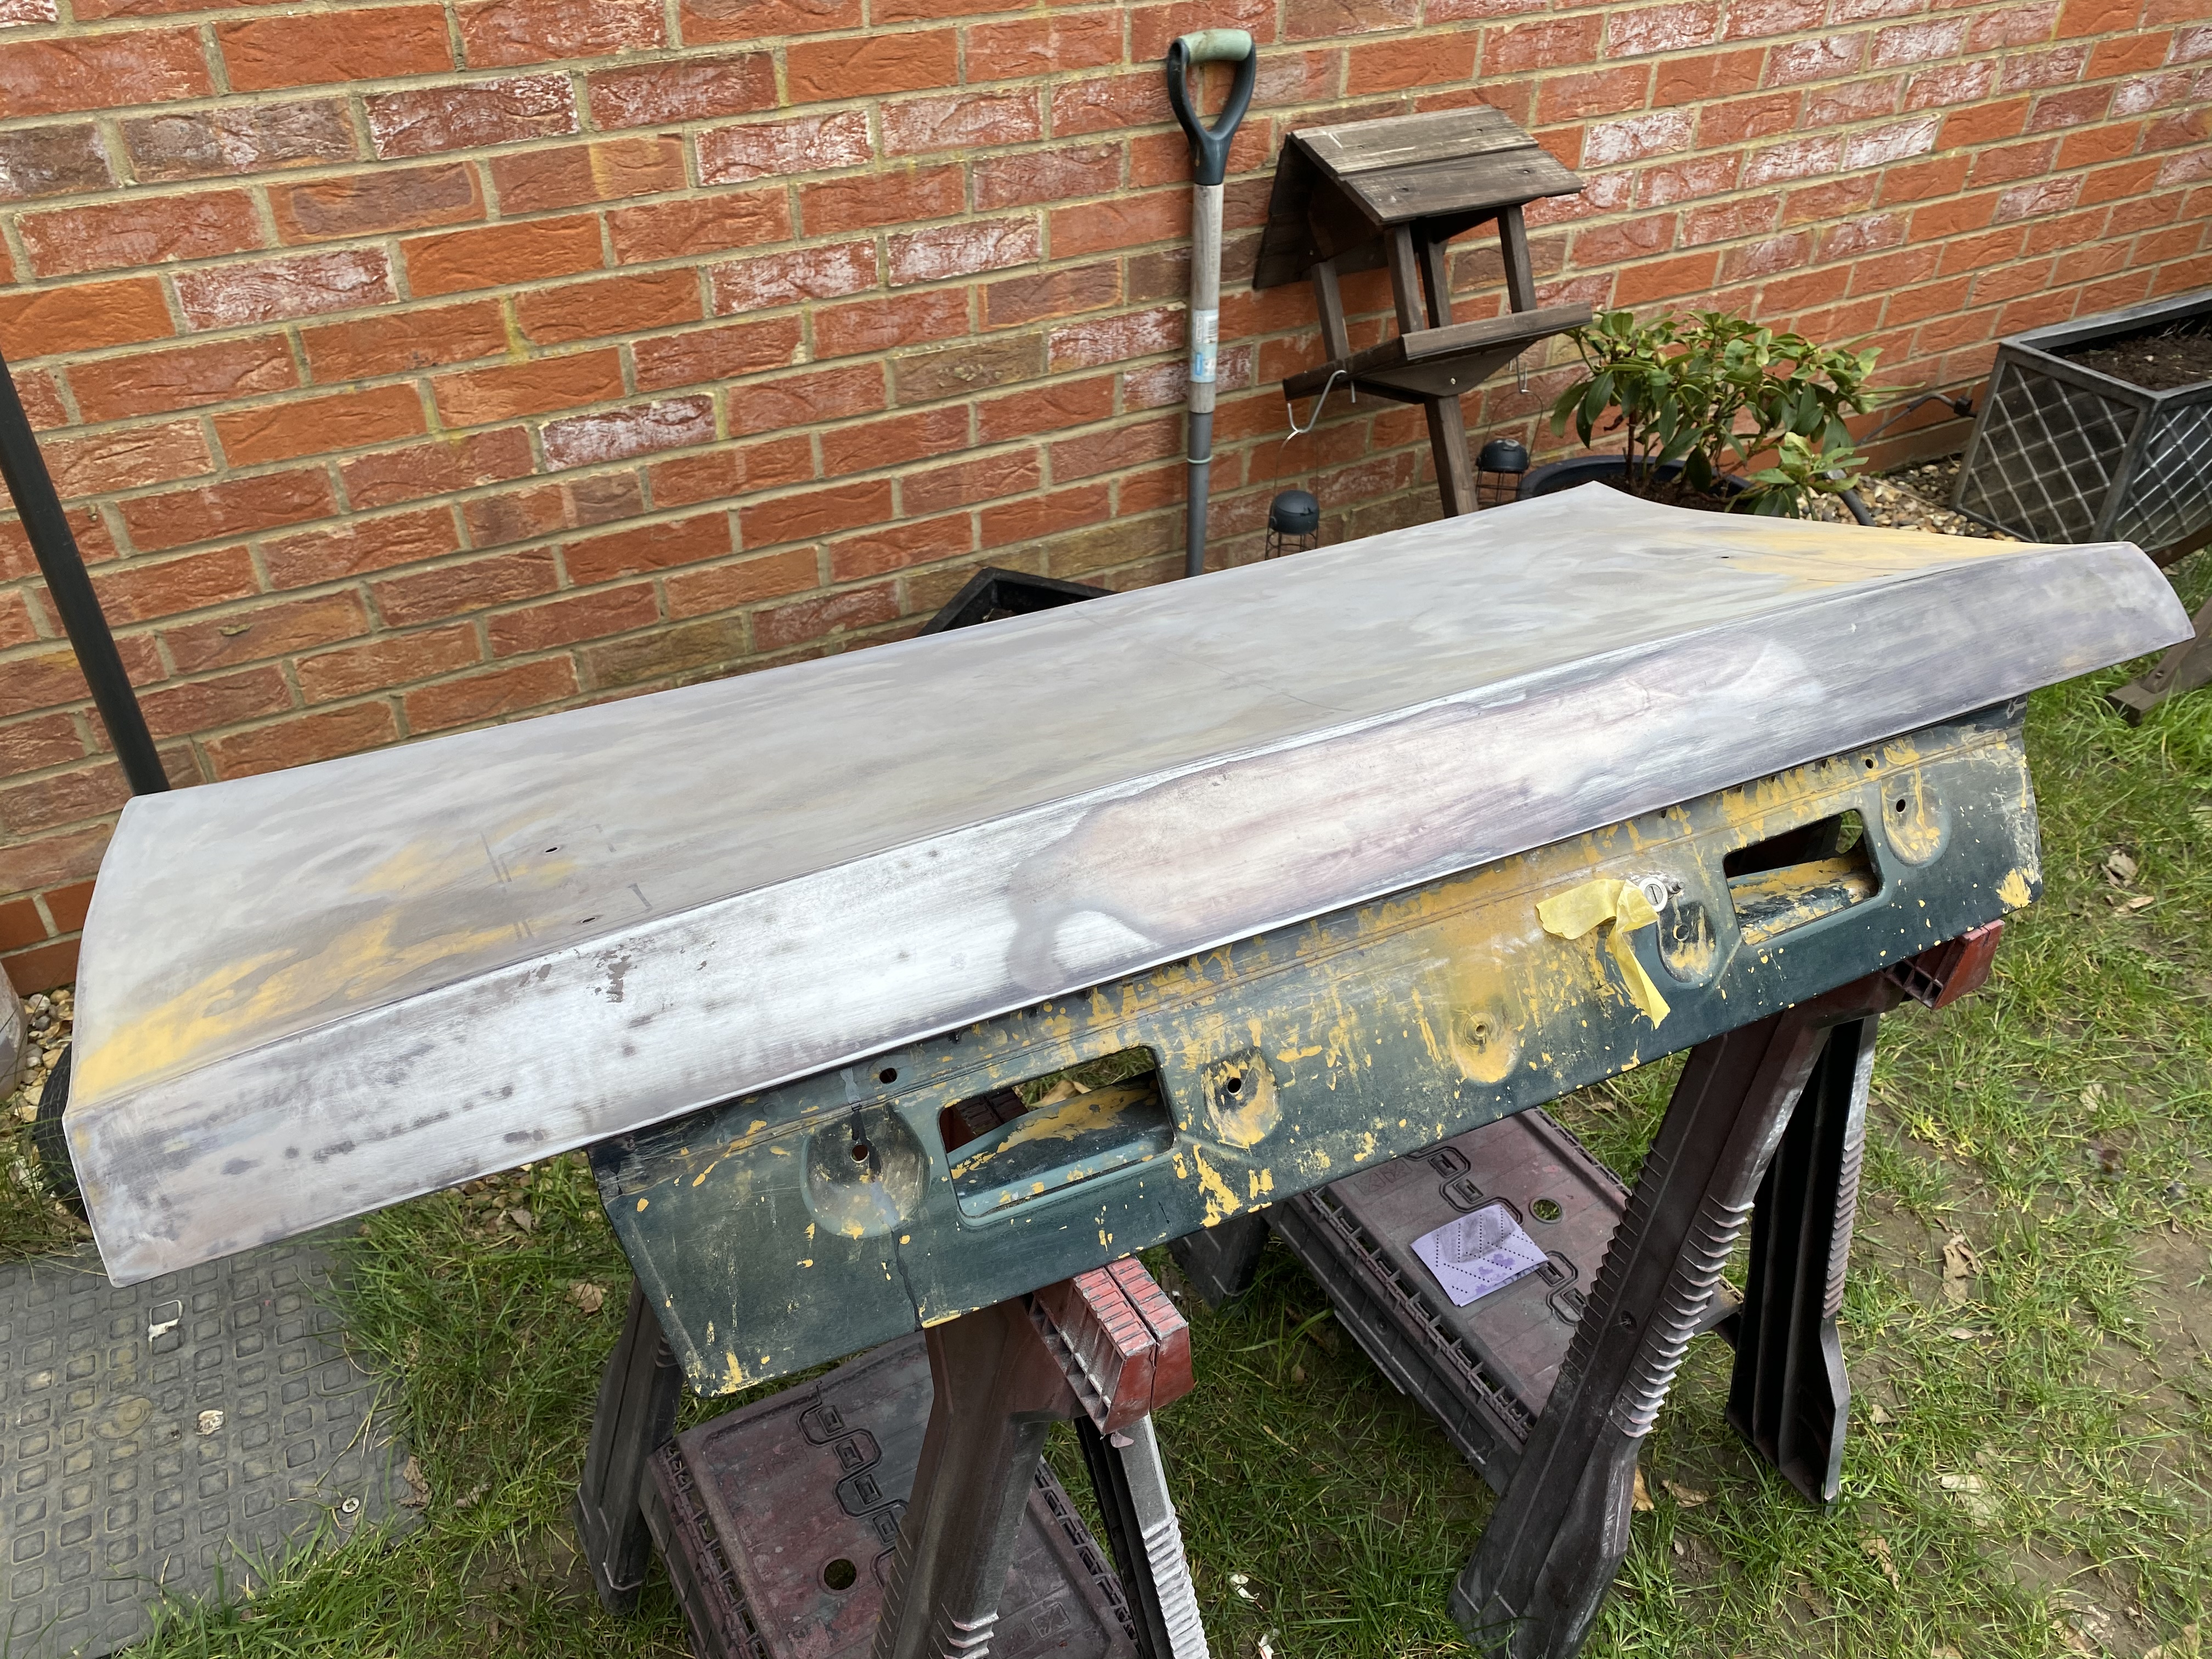
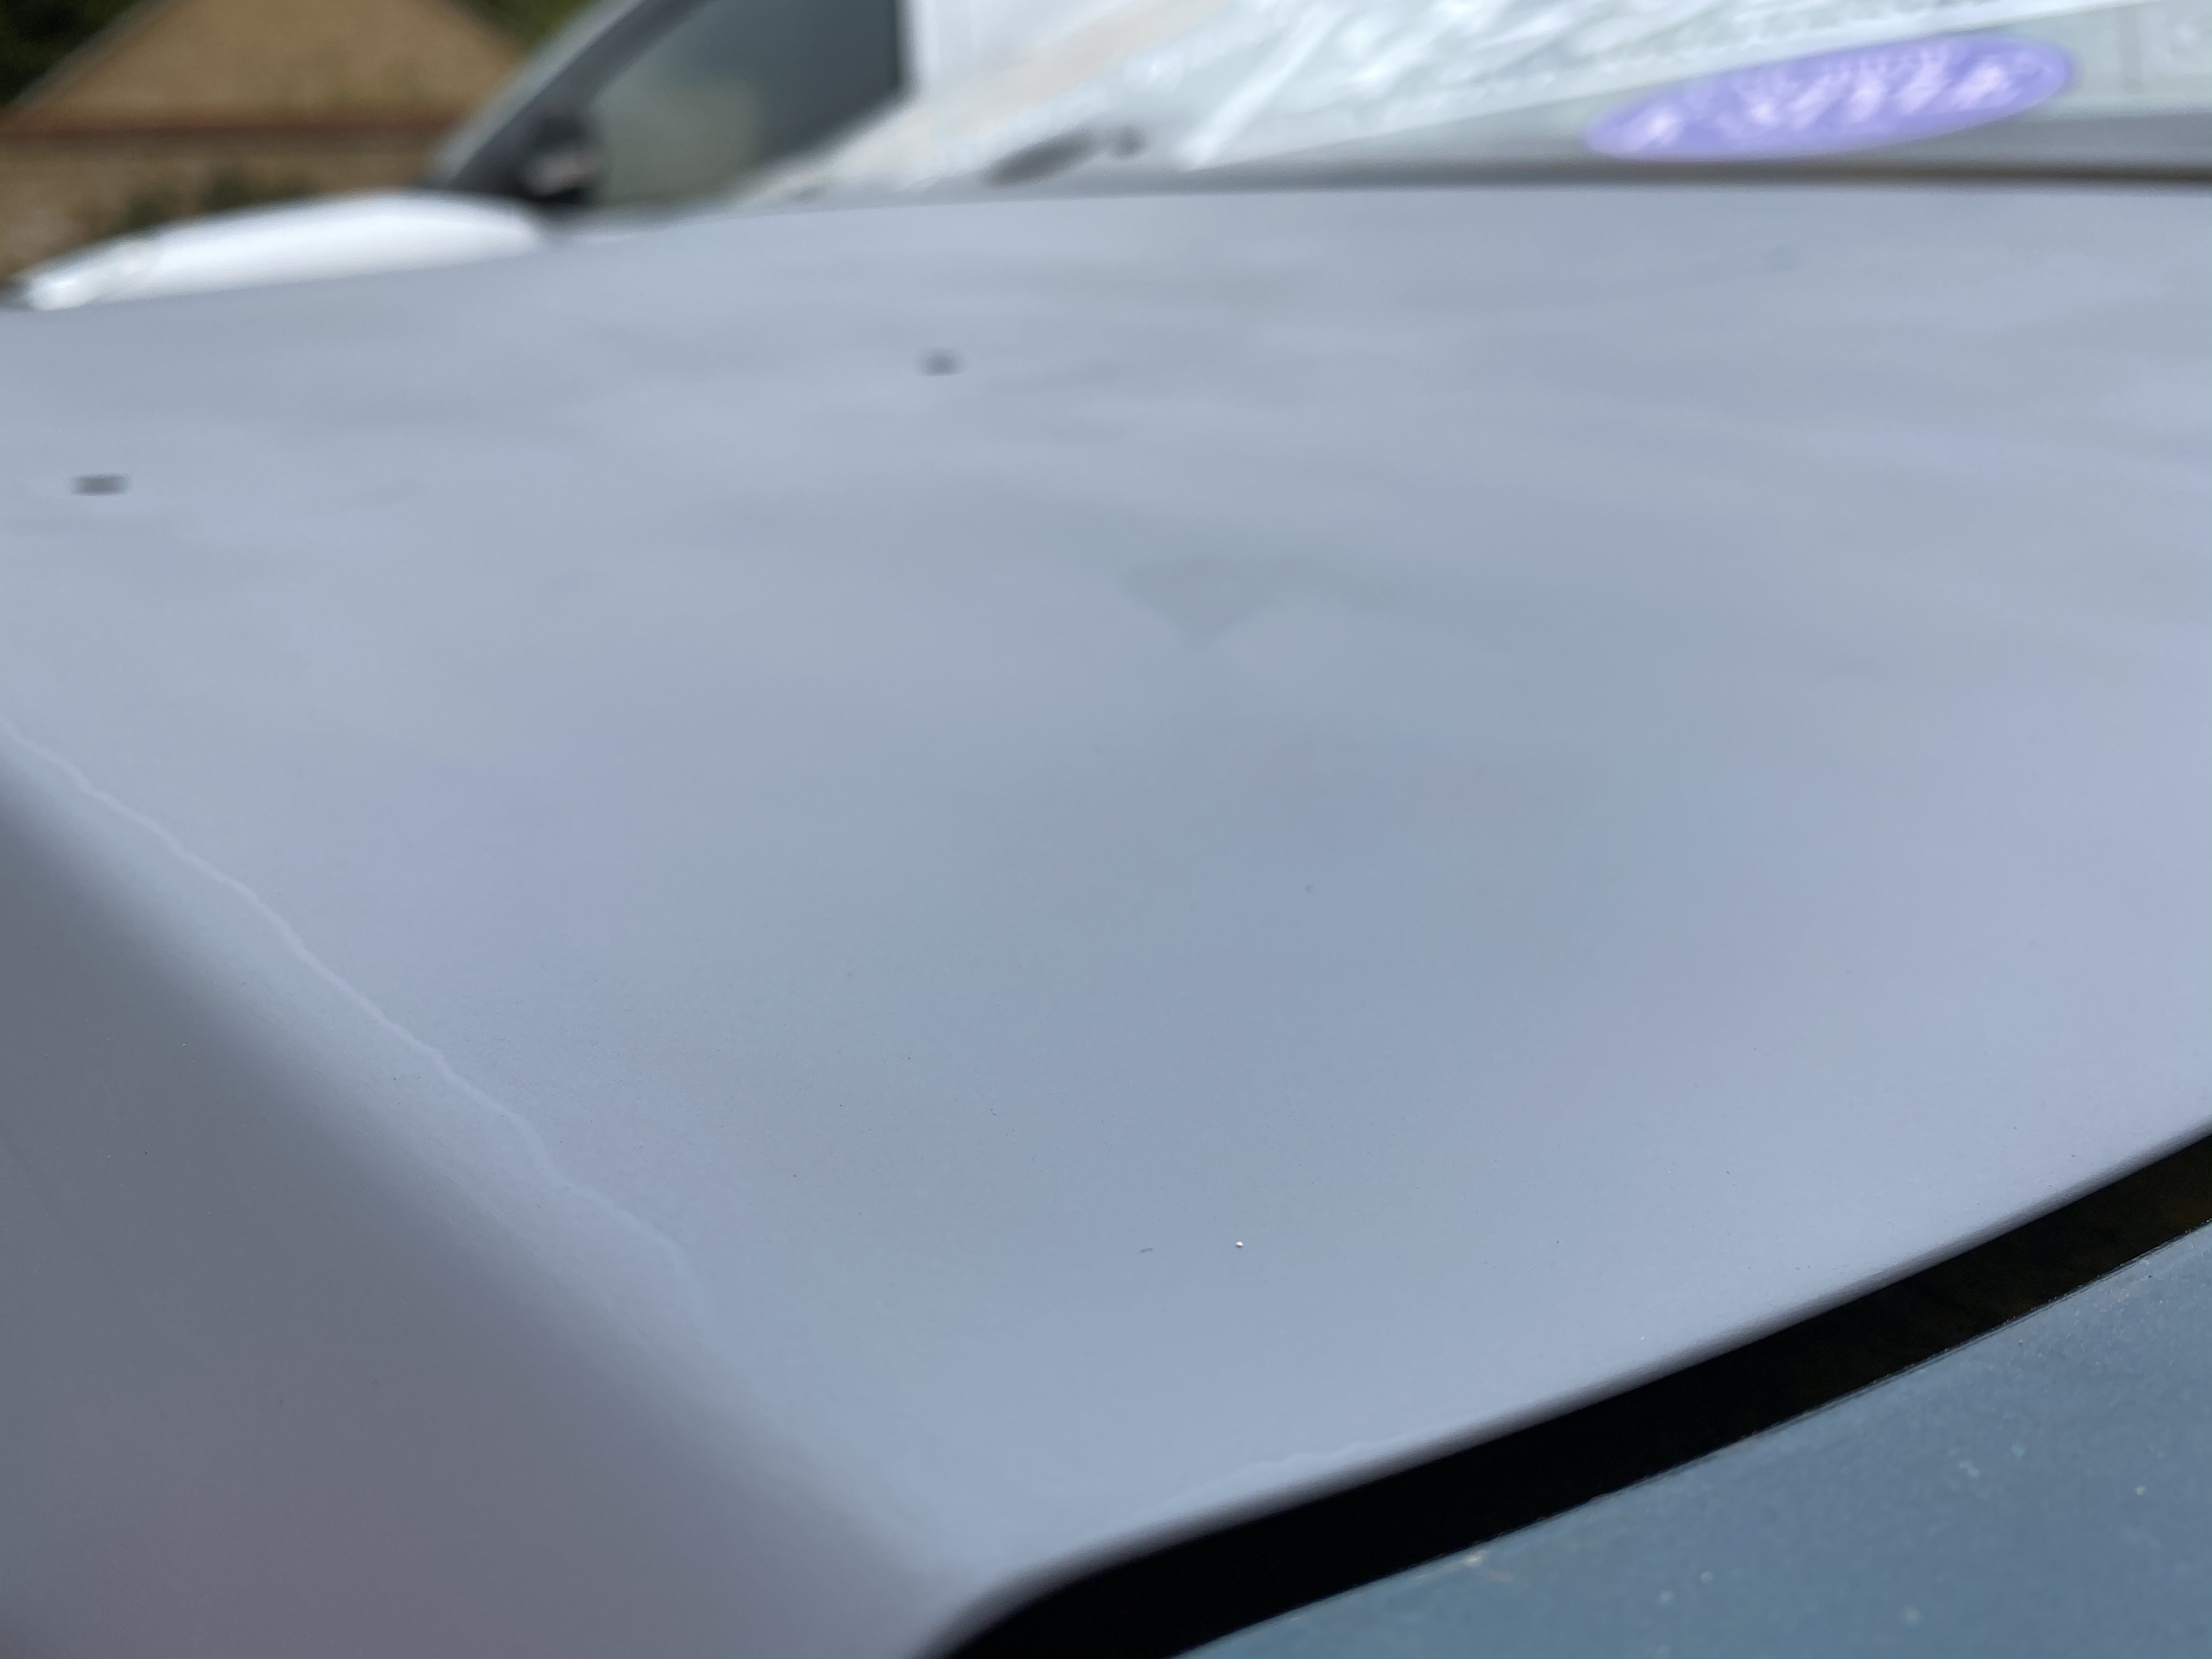
Done a bit more work on it over the past few days. The boot had gone a bit rusty where the car cover has held water so I got a coat of primer on it. A few runs in it but it’s good enough for now until I repaint it. Thankfully the original spoiler holes and third brake light can’t be seen.
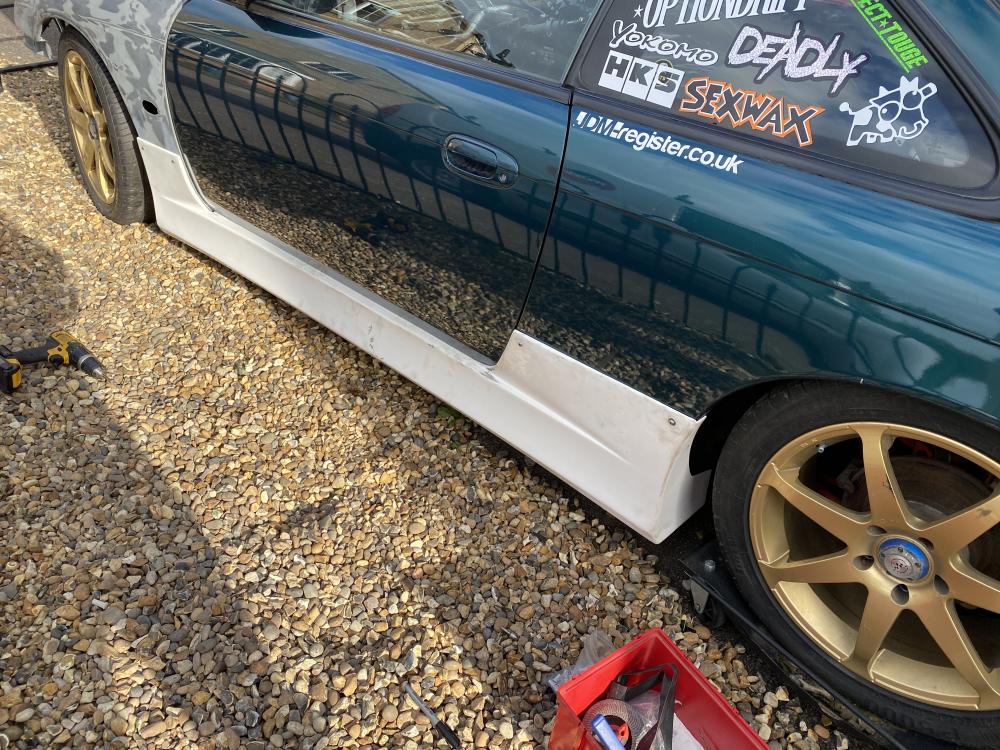
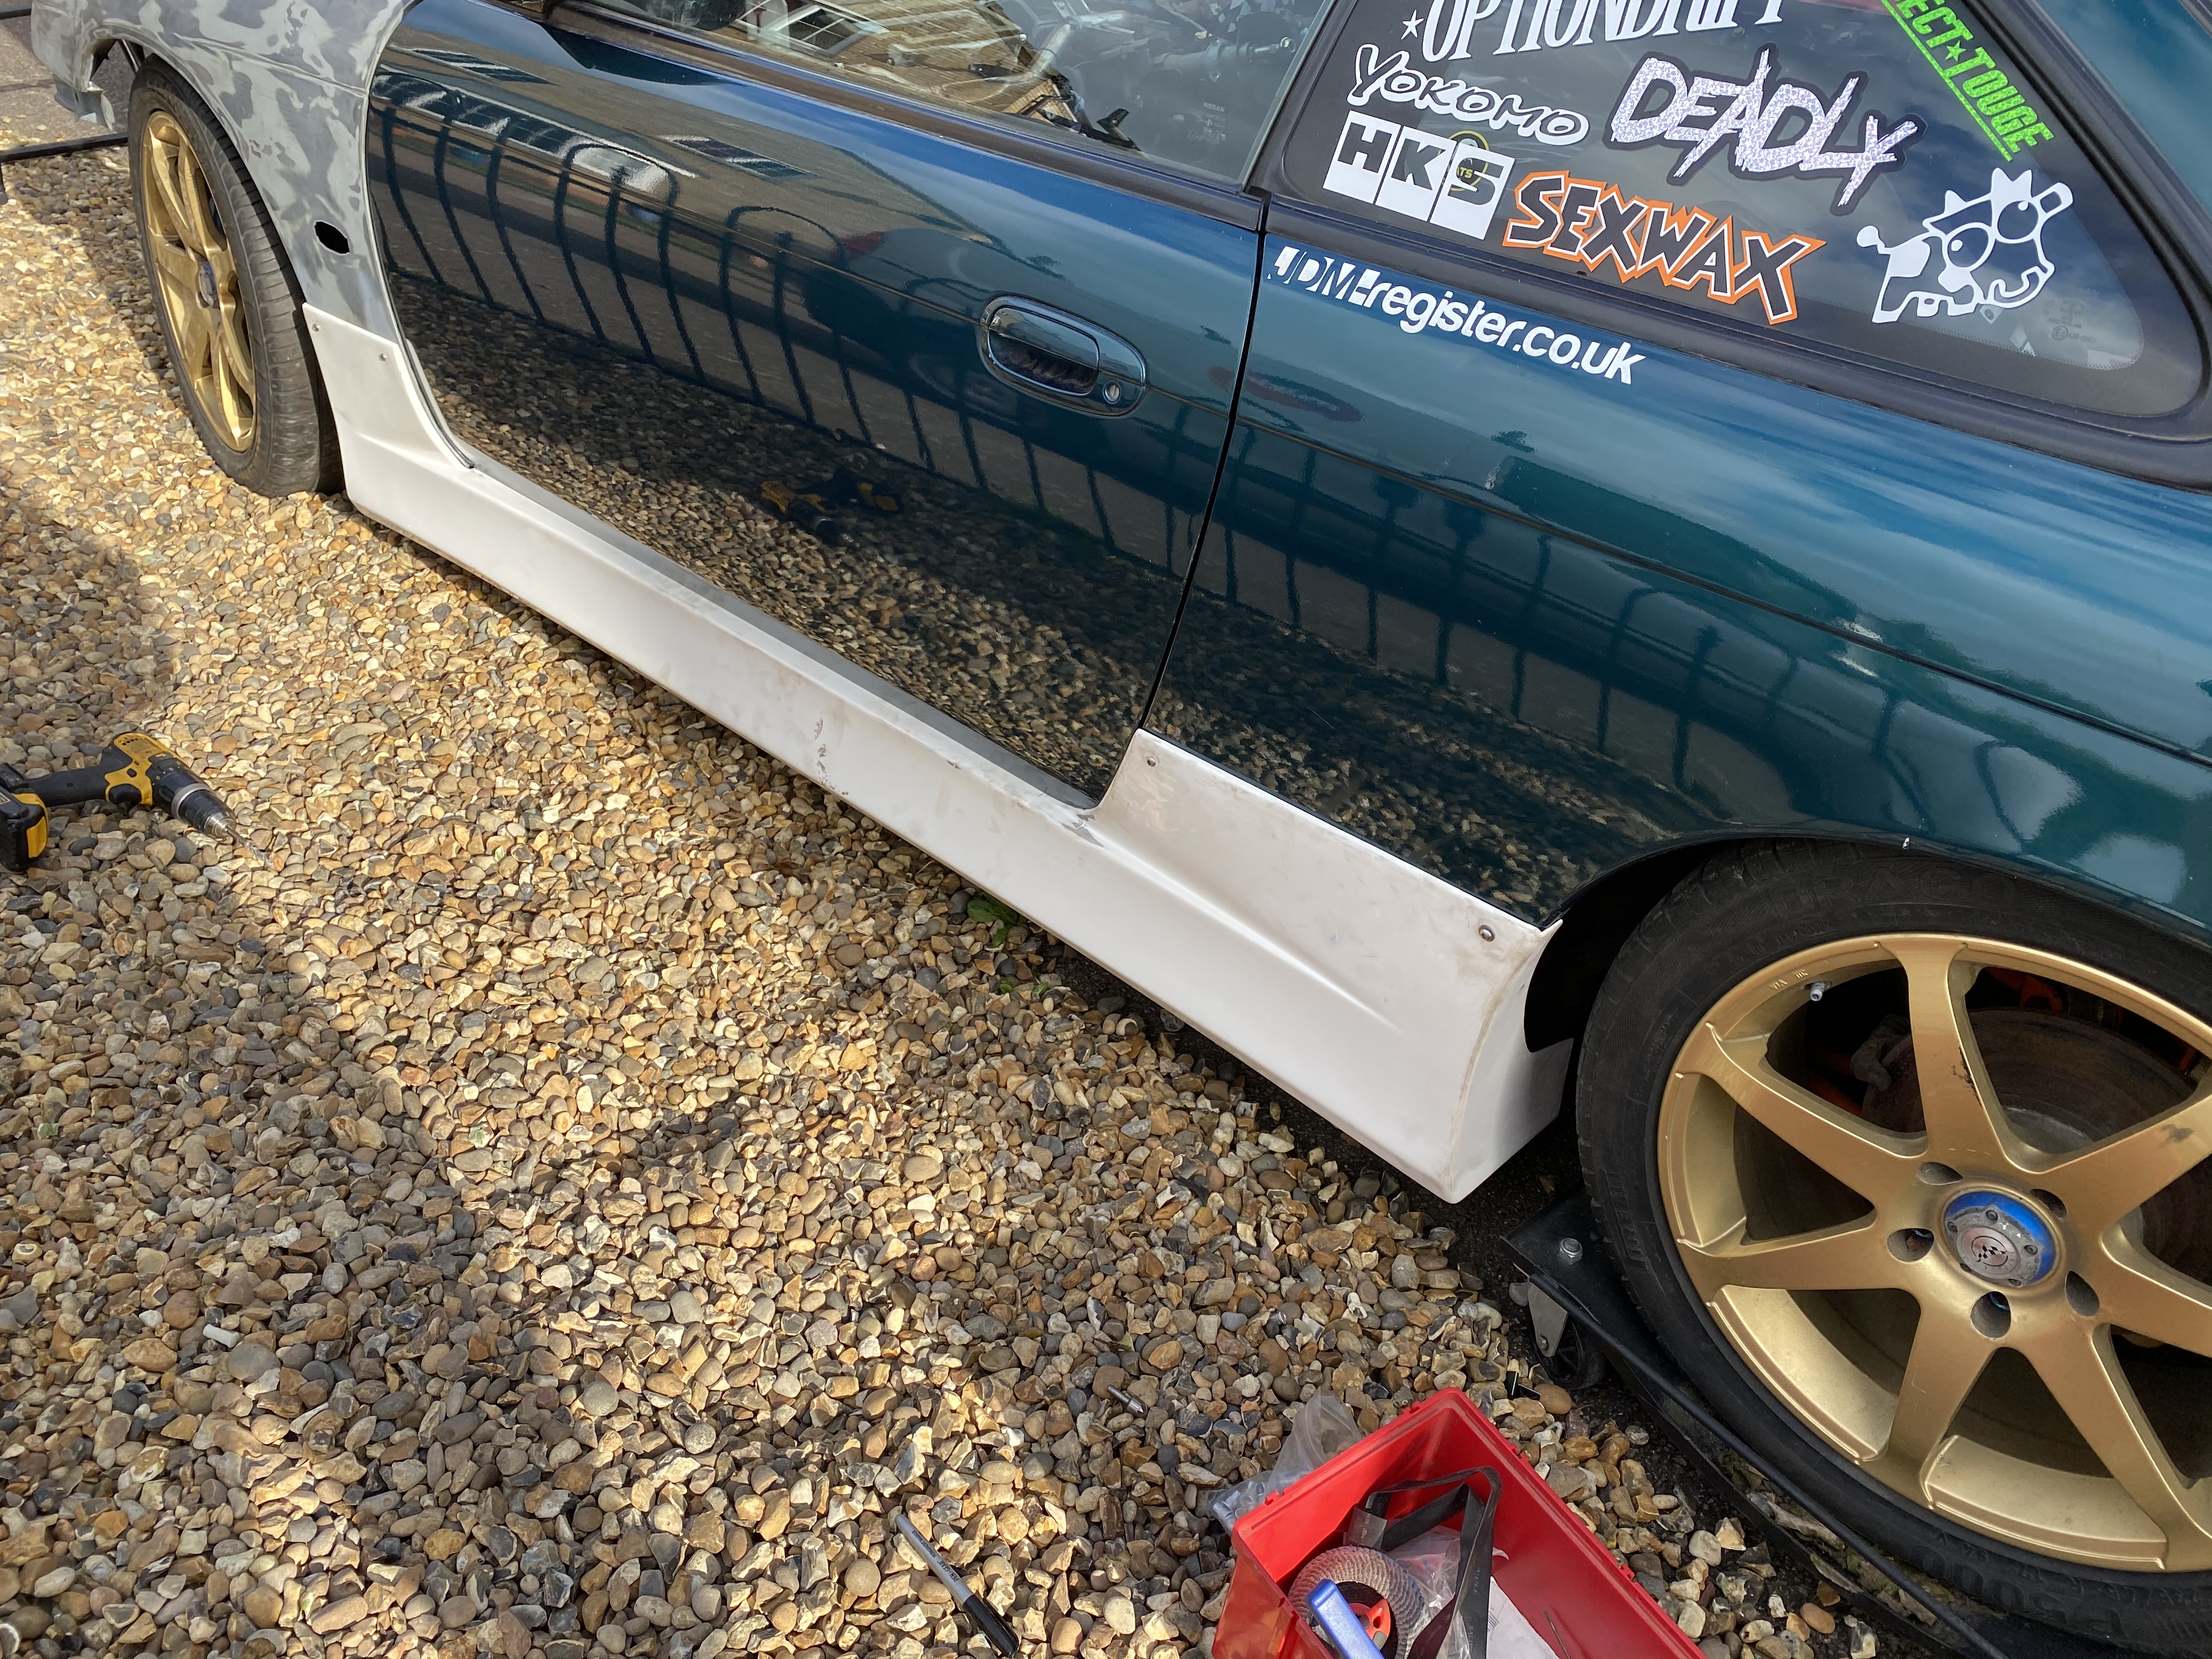
Got the passenger side skirt on today, need to get the drivers one on next hopefully tomorrow


-
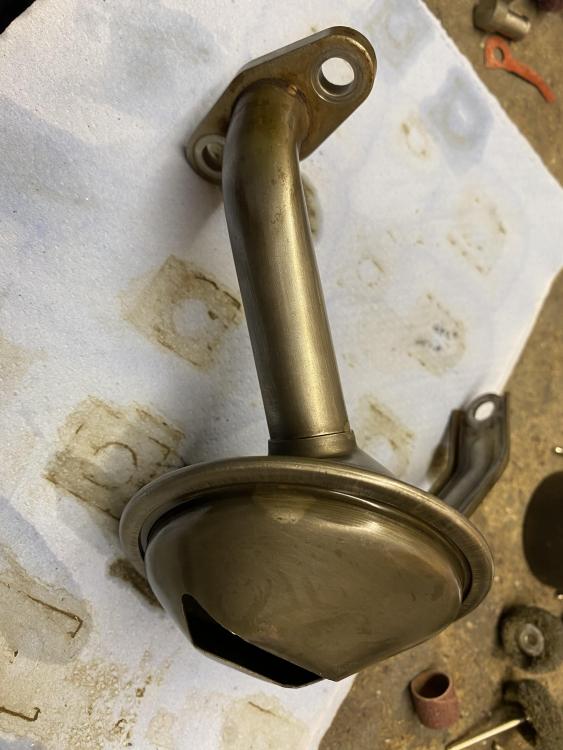
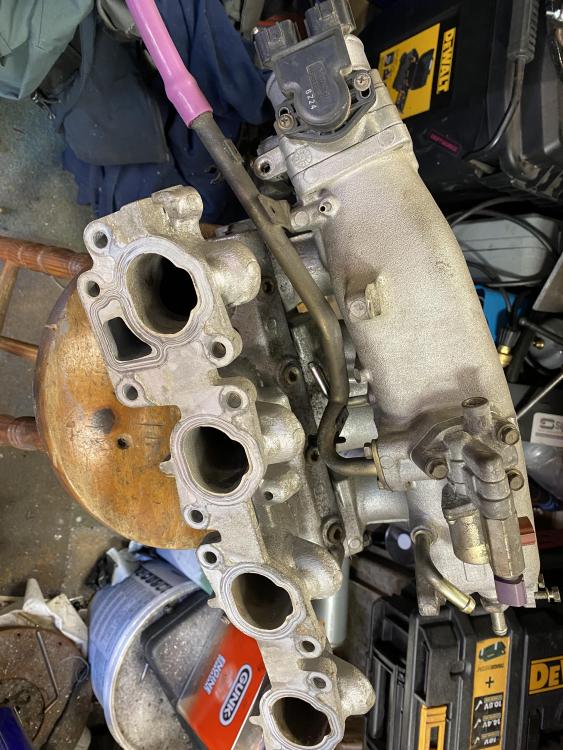
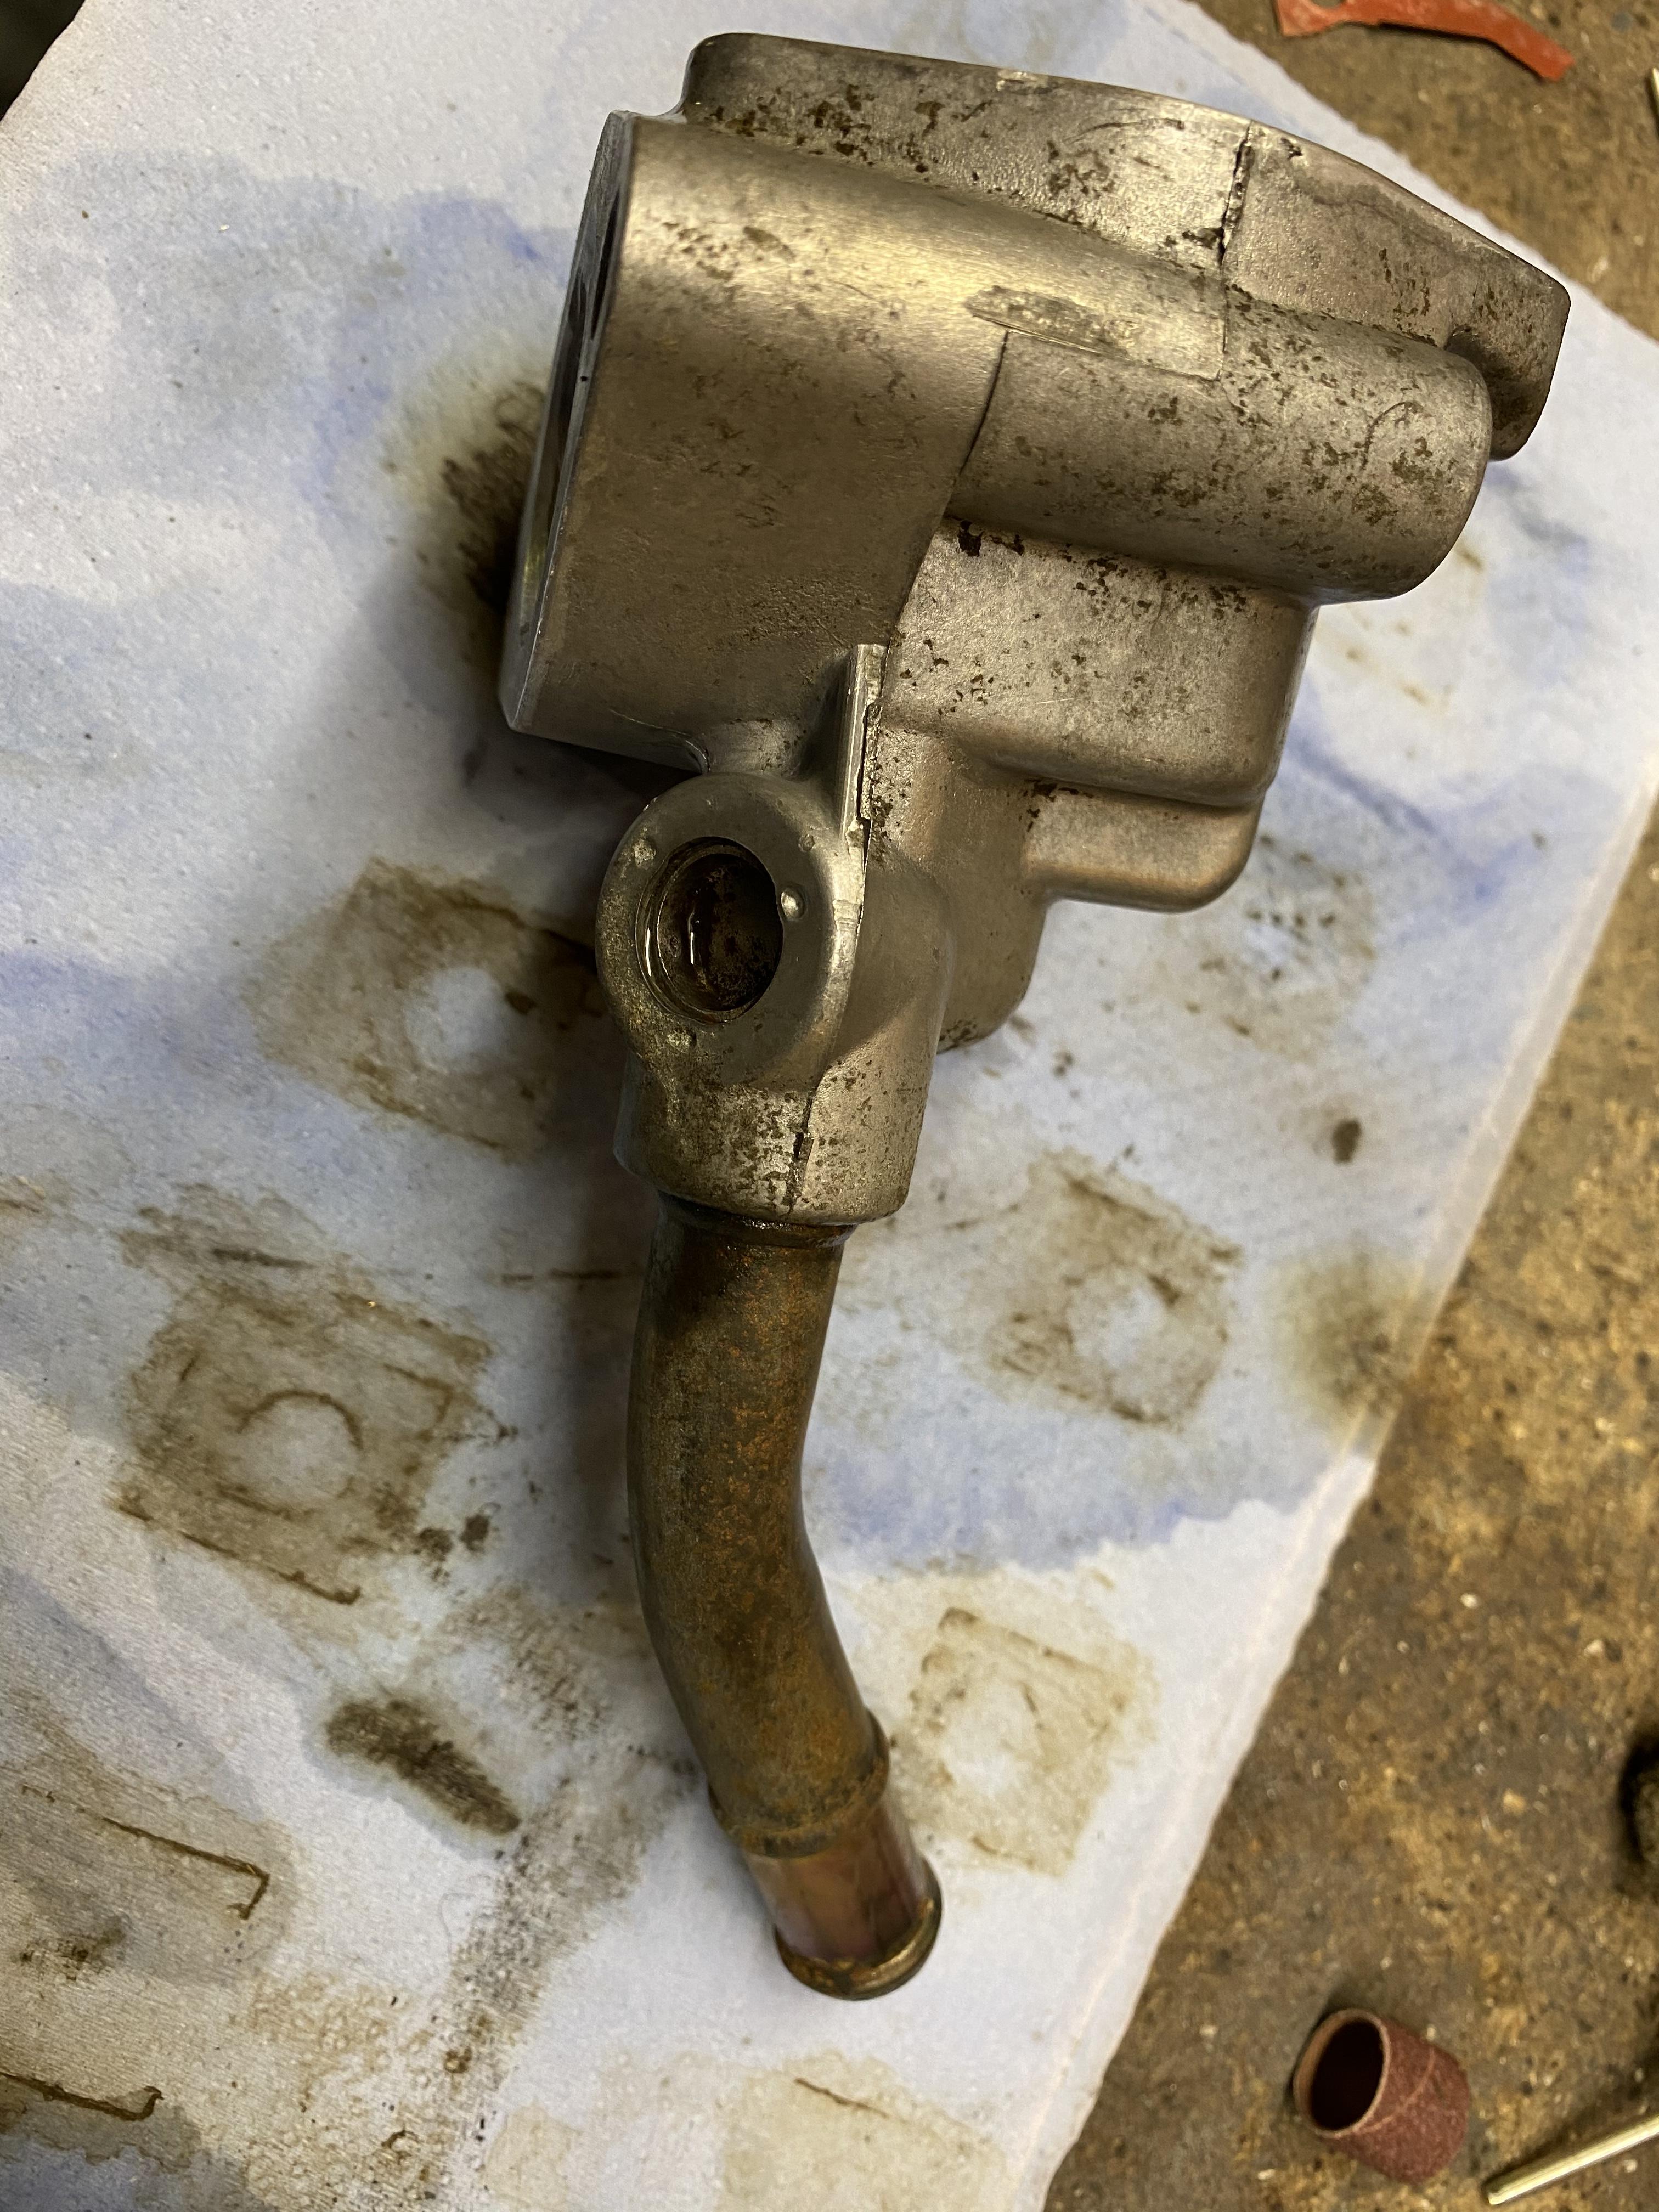
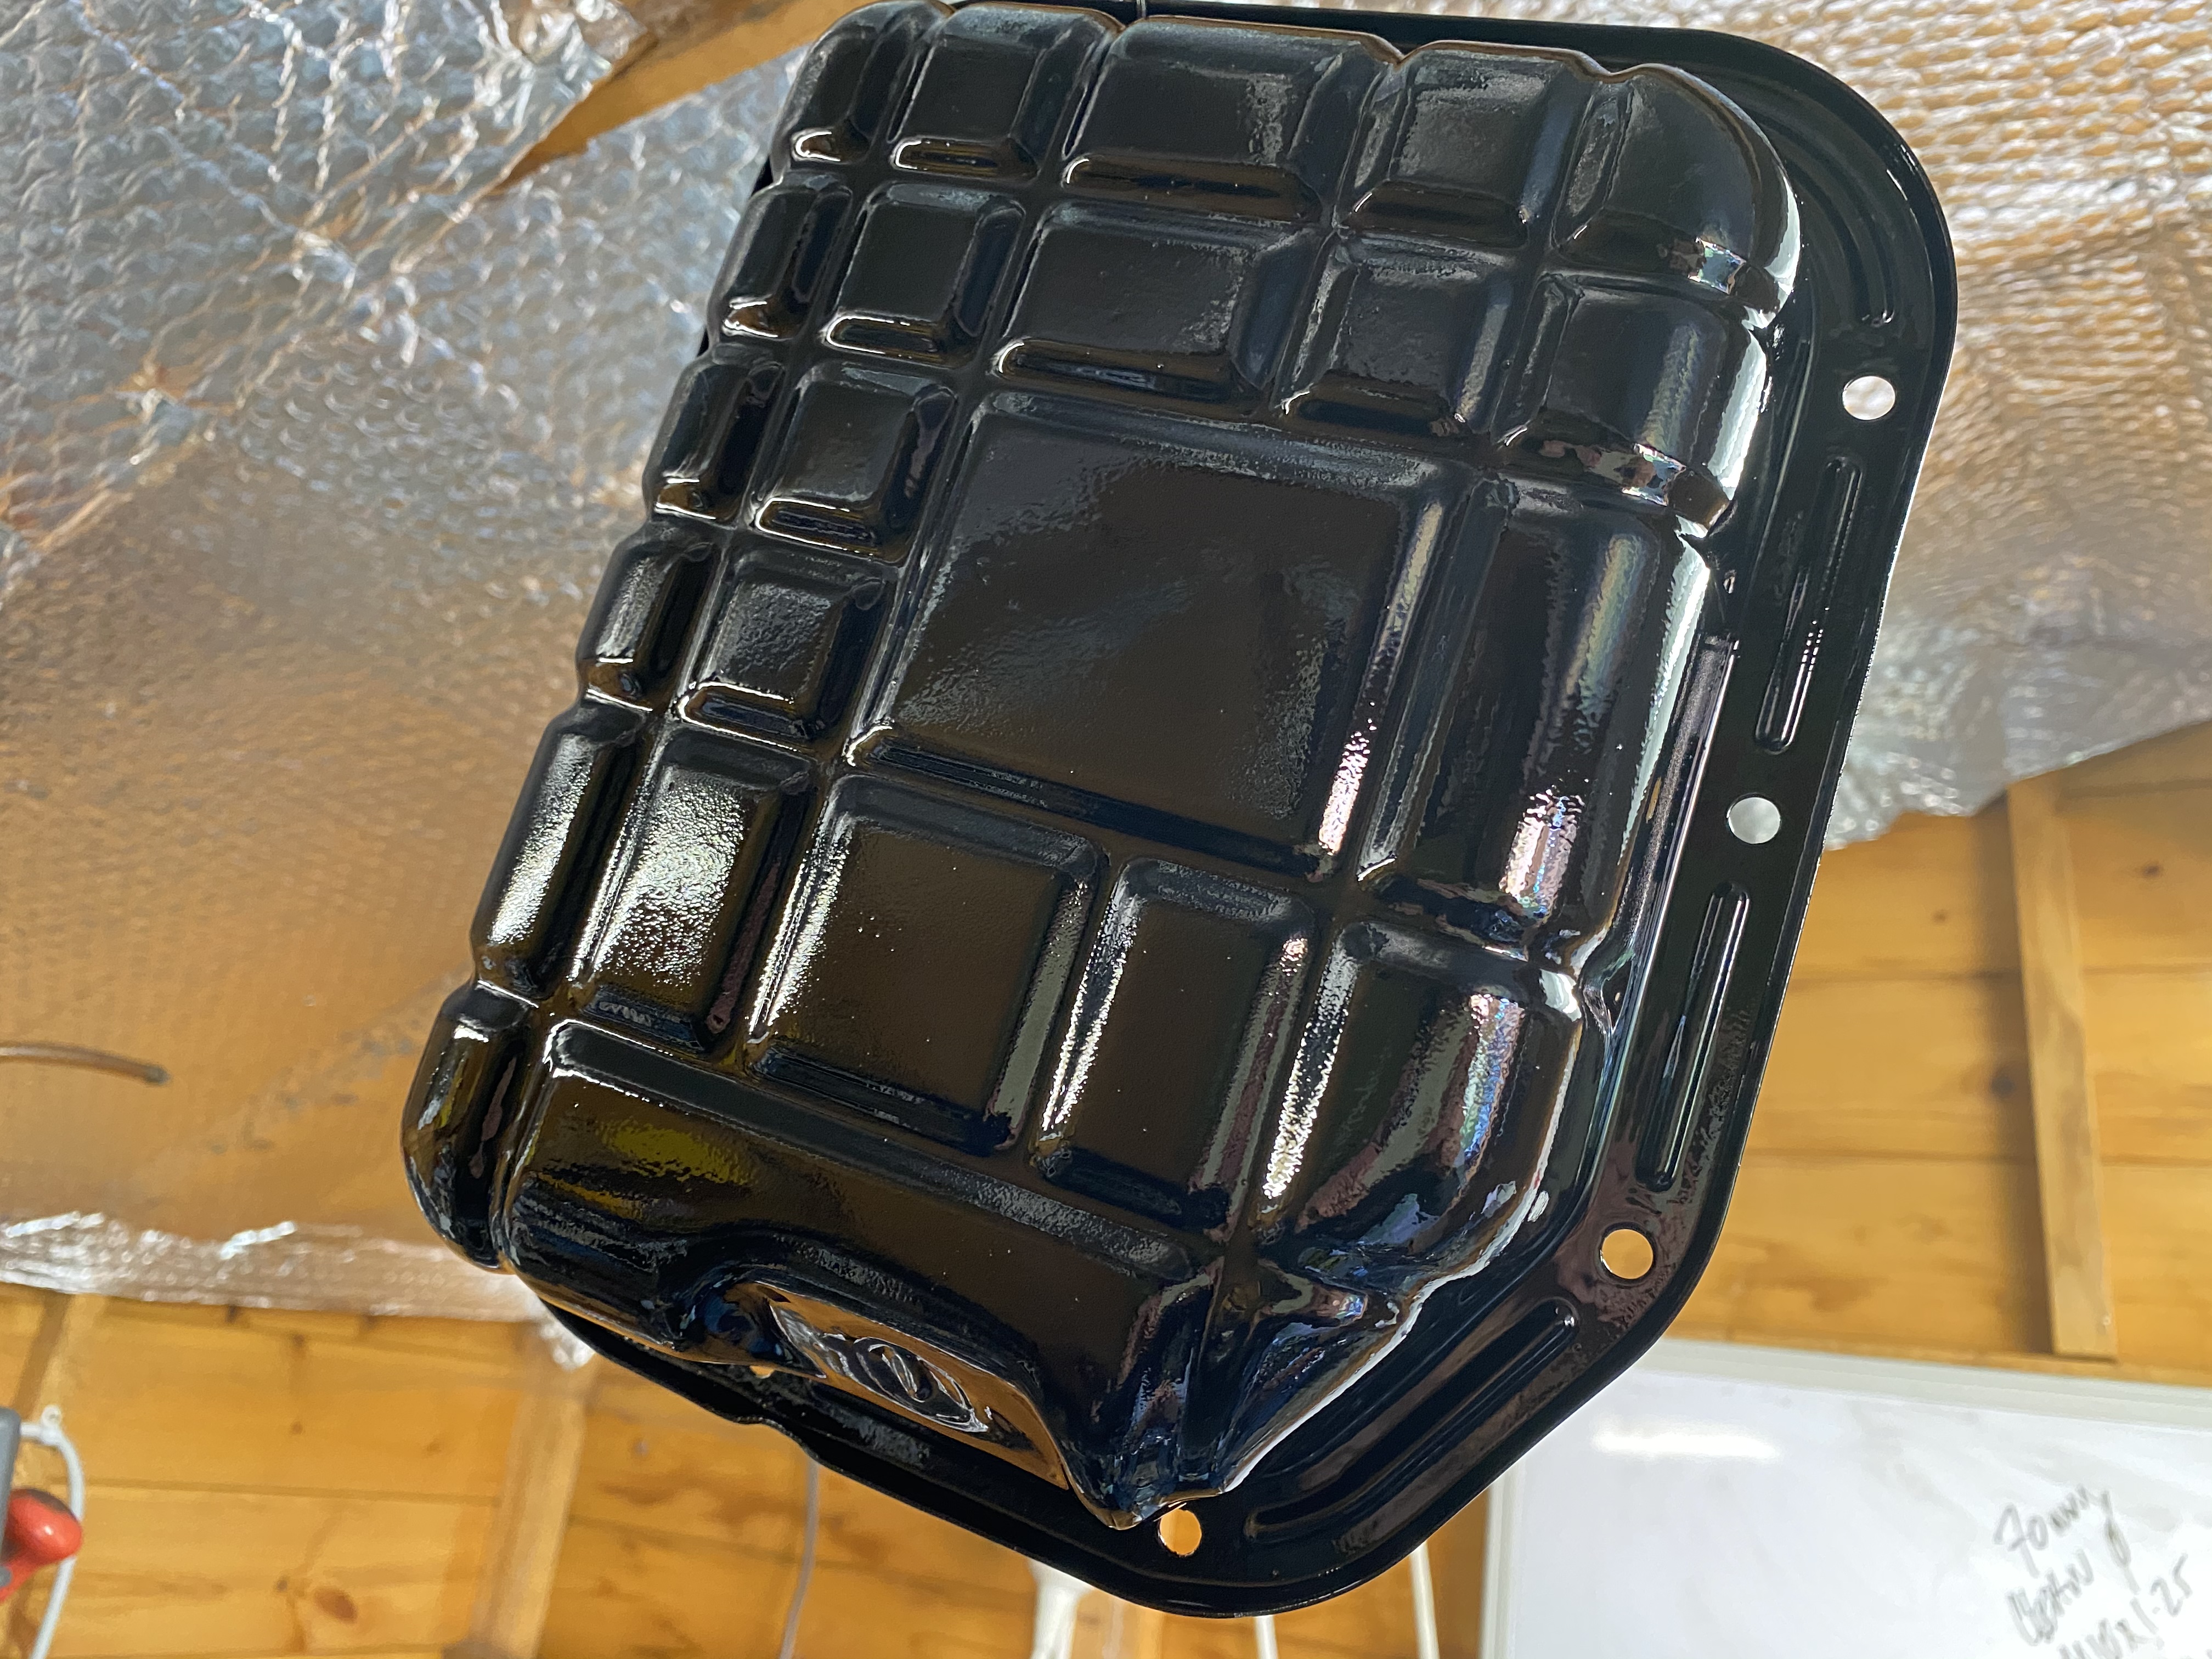
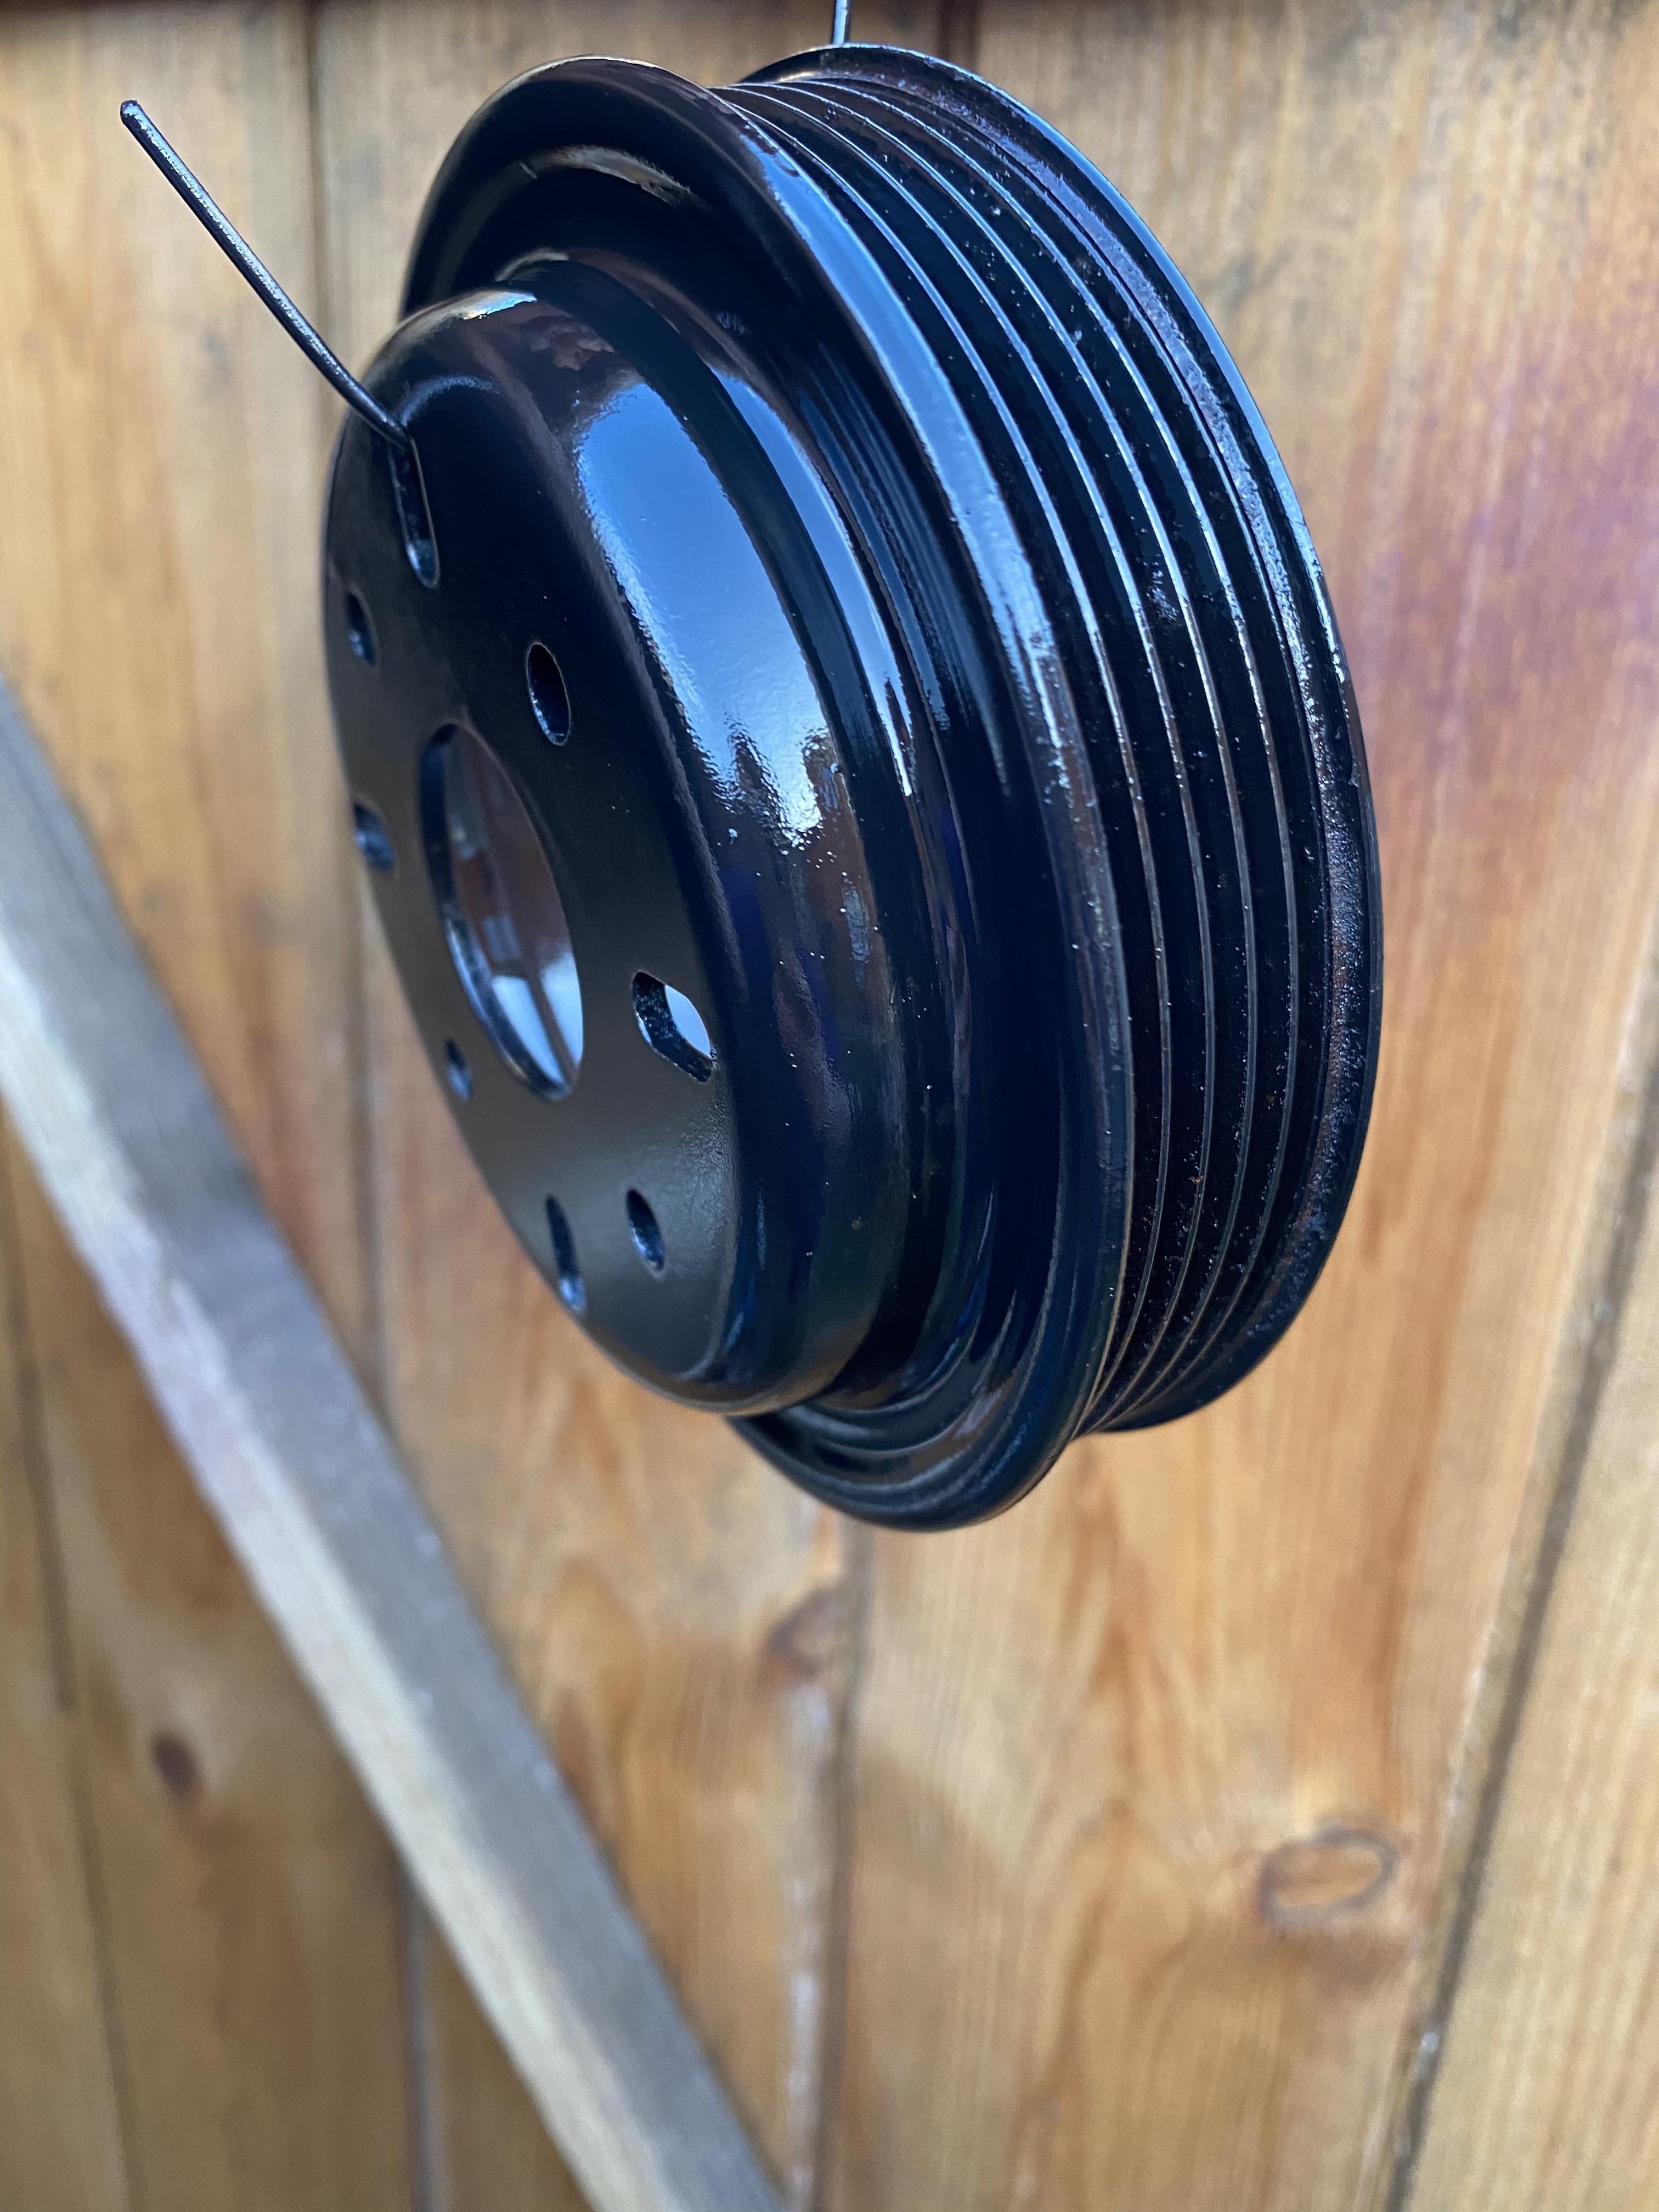
Been working away at cleaning everything that needs to go back in the engine. I’ve also painted the oil pan and water pump pulley, though I’m still debating machining an under drive pulley for that. Got myself a strobe kit for the engine bay as well, quite a way off needing that yet but as the dash is out wiring is an absolute doddle currently. Cleaned up the inlet manifold as well as years of the original breather system has coated it in a sticky oily film and replaced all the gaskets


-
Progress has slowed as the weather has been pretty shite. Got the head, block and crank back from Cambridge Rebores having had the head skimmed, head and block chemically cleaned and the crank polished. Thankfully the marks from the old bearings breaking up have been removed with just a polish so that’s a bonus.
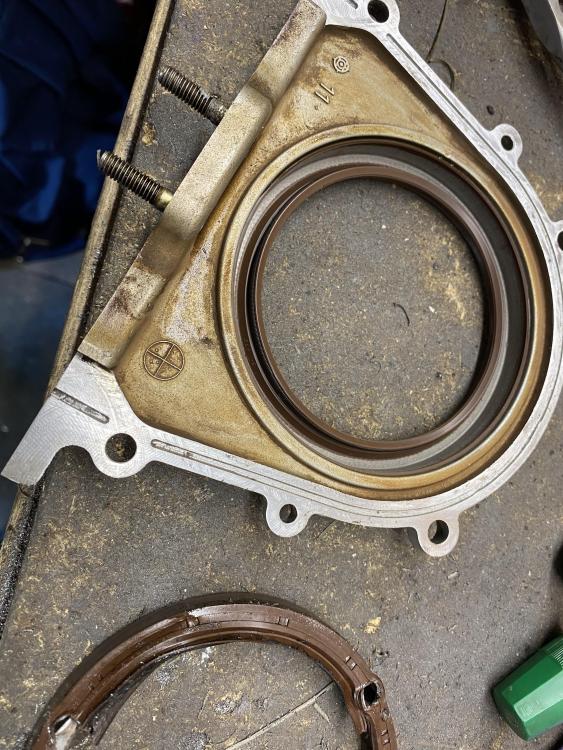
Fitted the front and rear main seals and the front gearbox seal. Still waiting for my clutch and upgraded pivot to turn up from France. I have also anodised the engine mounts, i was hoping to dye them purple but I anodised them a bit hard so they didn’t take in the dye but at least they won’t corrode.
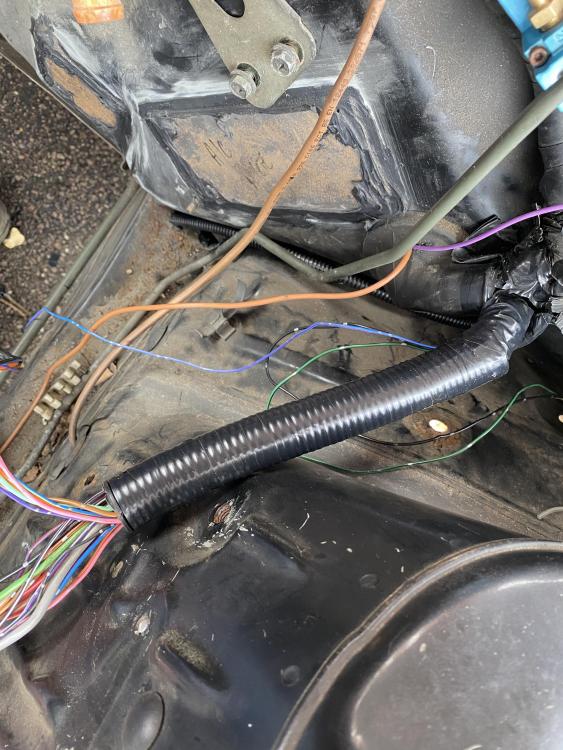
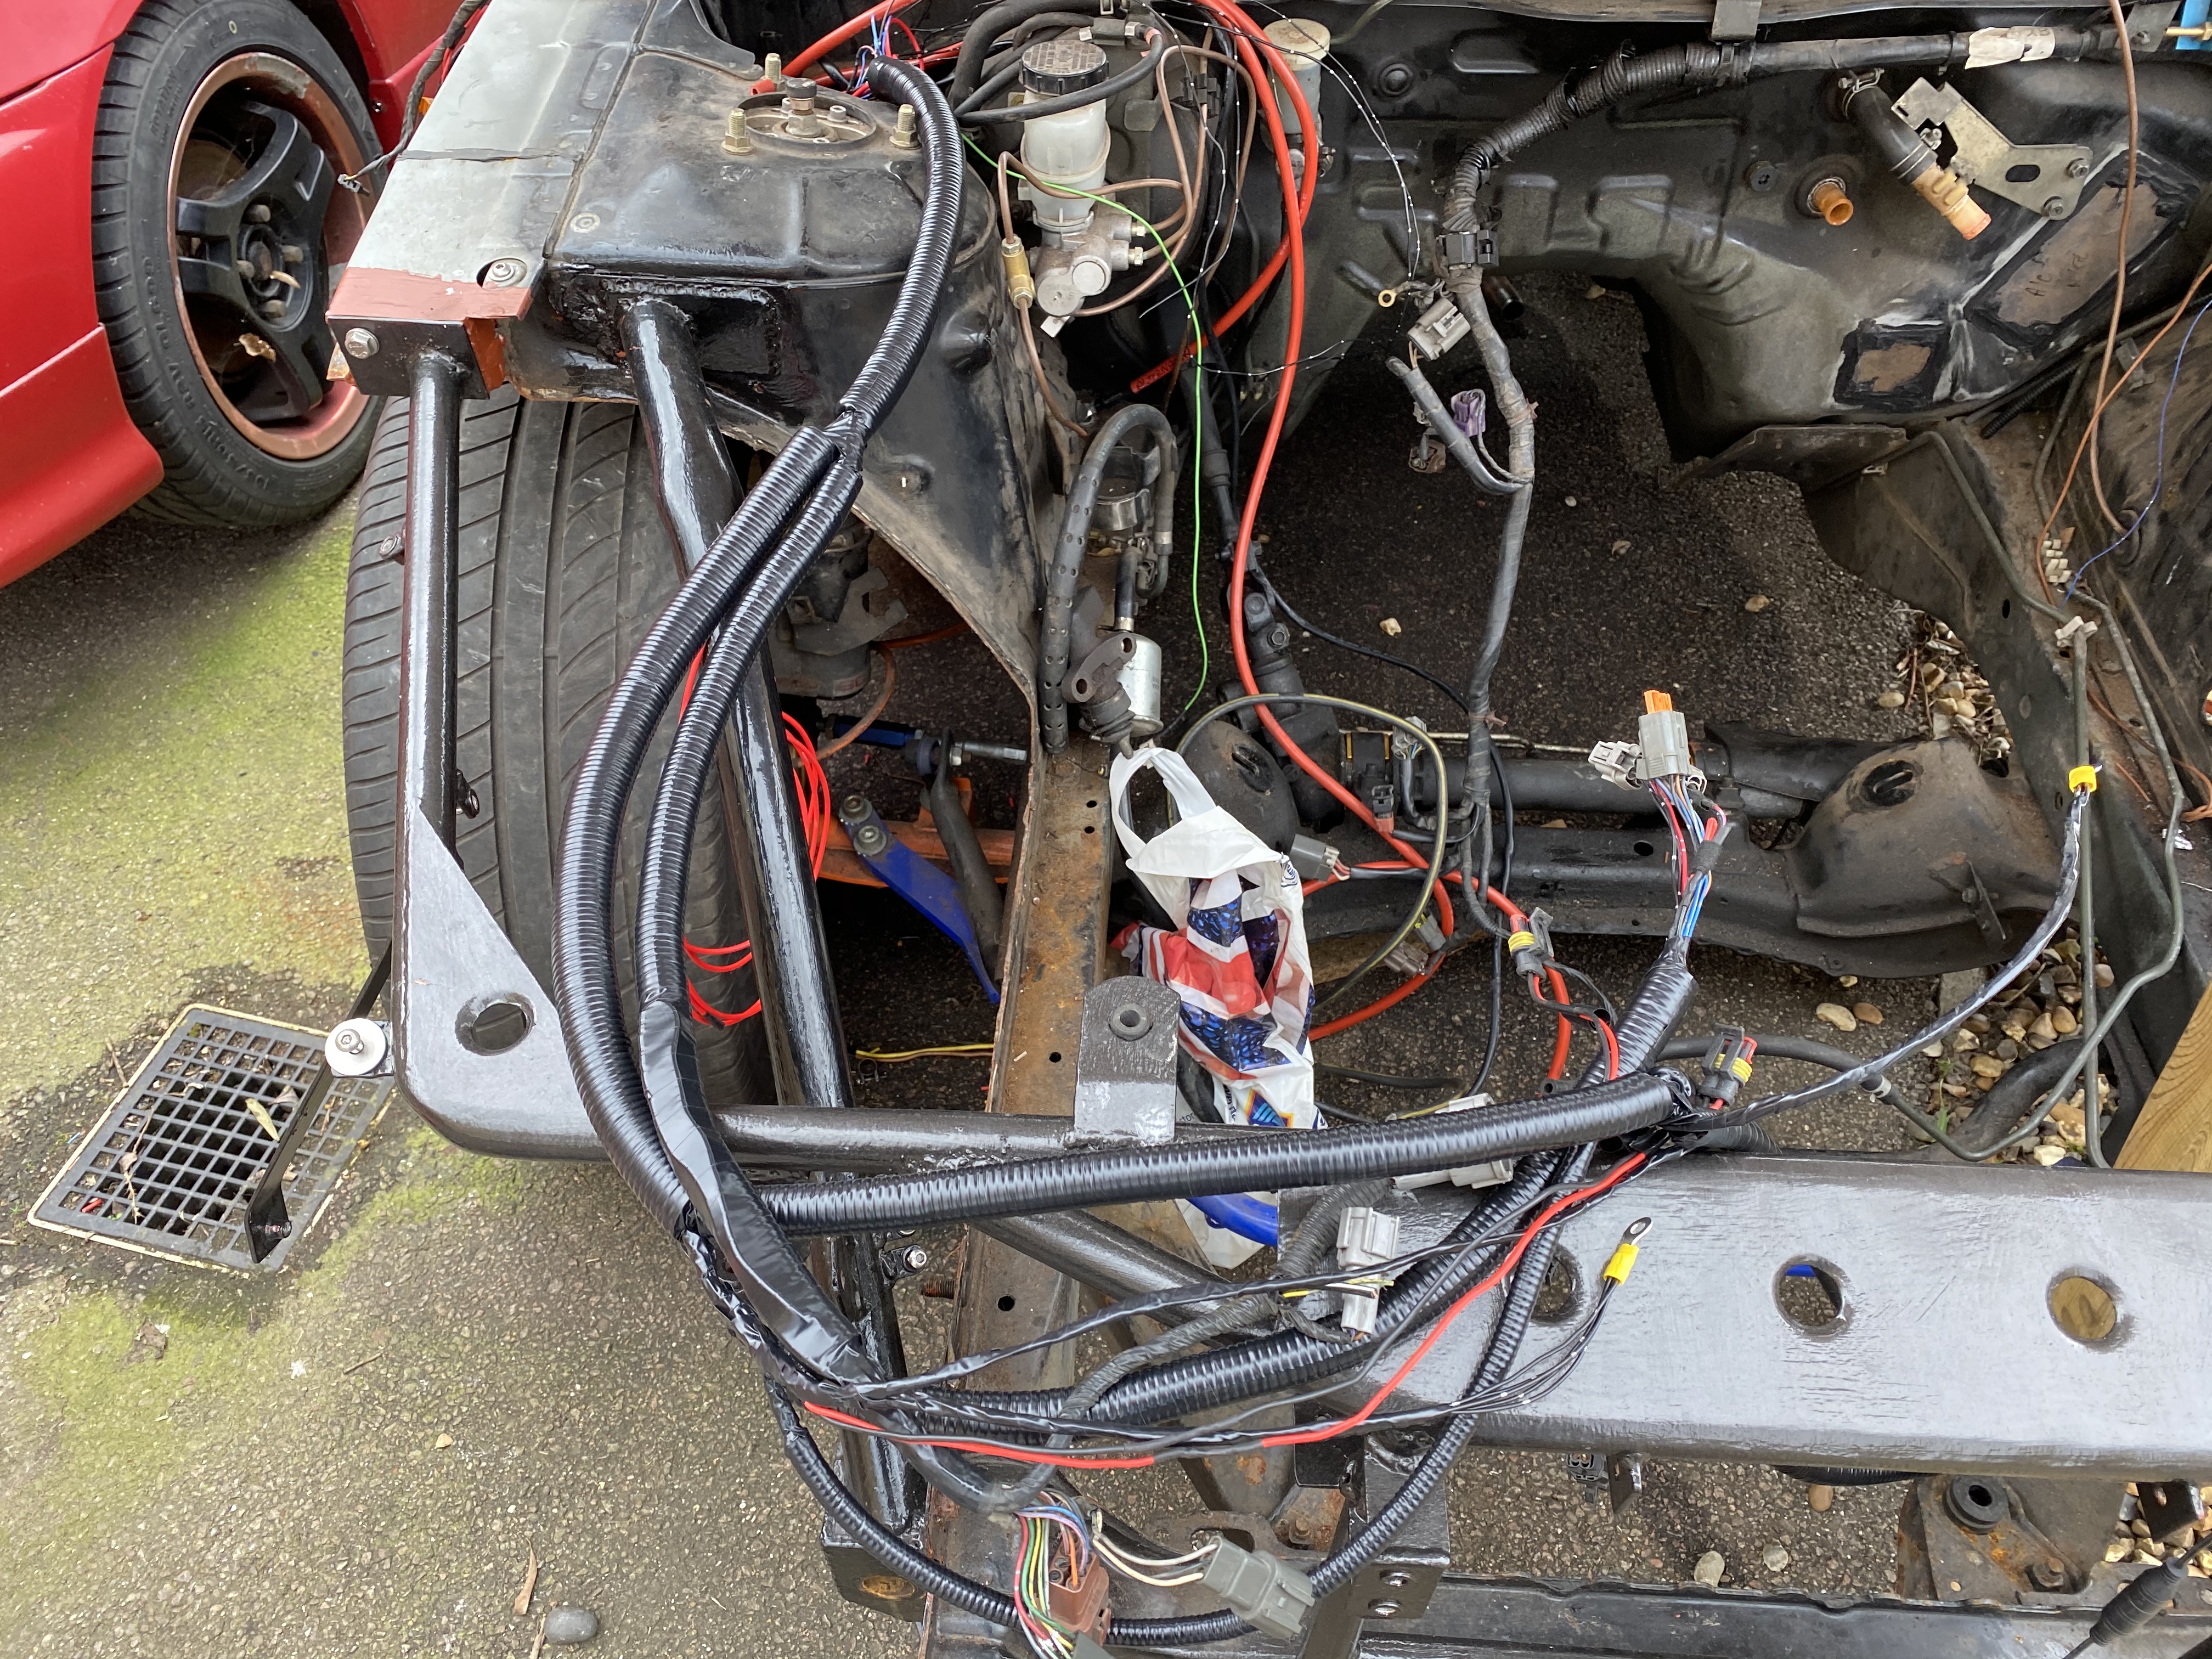
Started to finish off the wiring in the engine bay, the majority is now done and I repaired a couple of bits on the engine loom. Everything has been wrapped in flexible cover and then taped up so it looks as factory and neat as possible. I’ve still got a bit of wiring to inside the car and then the interior can go in. I’ve still got a lot of mechanical work to get down, mainly on the rear end

-
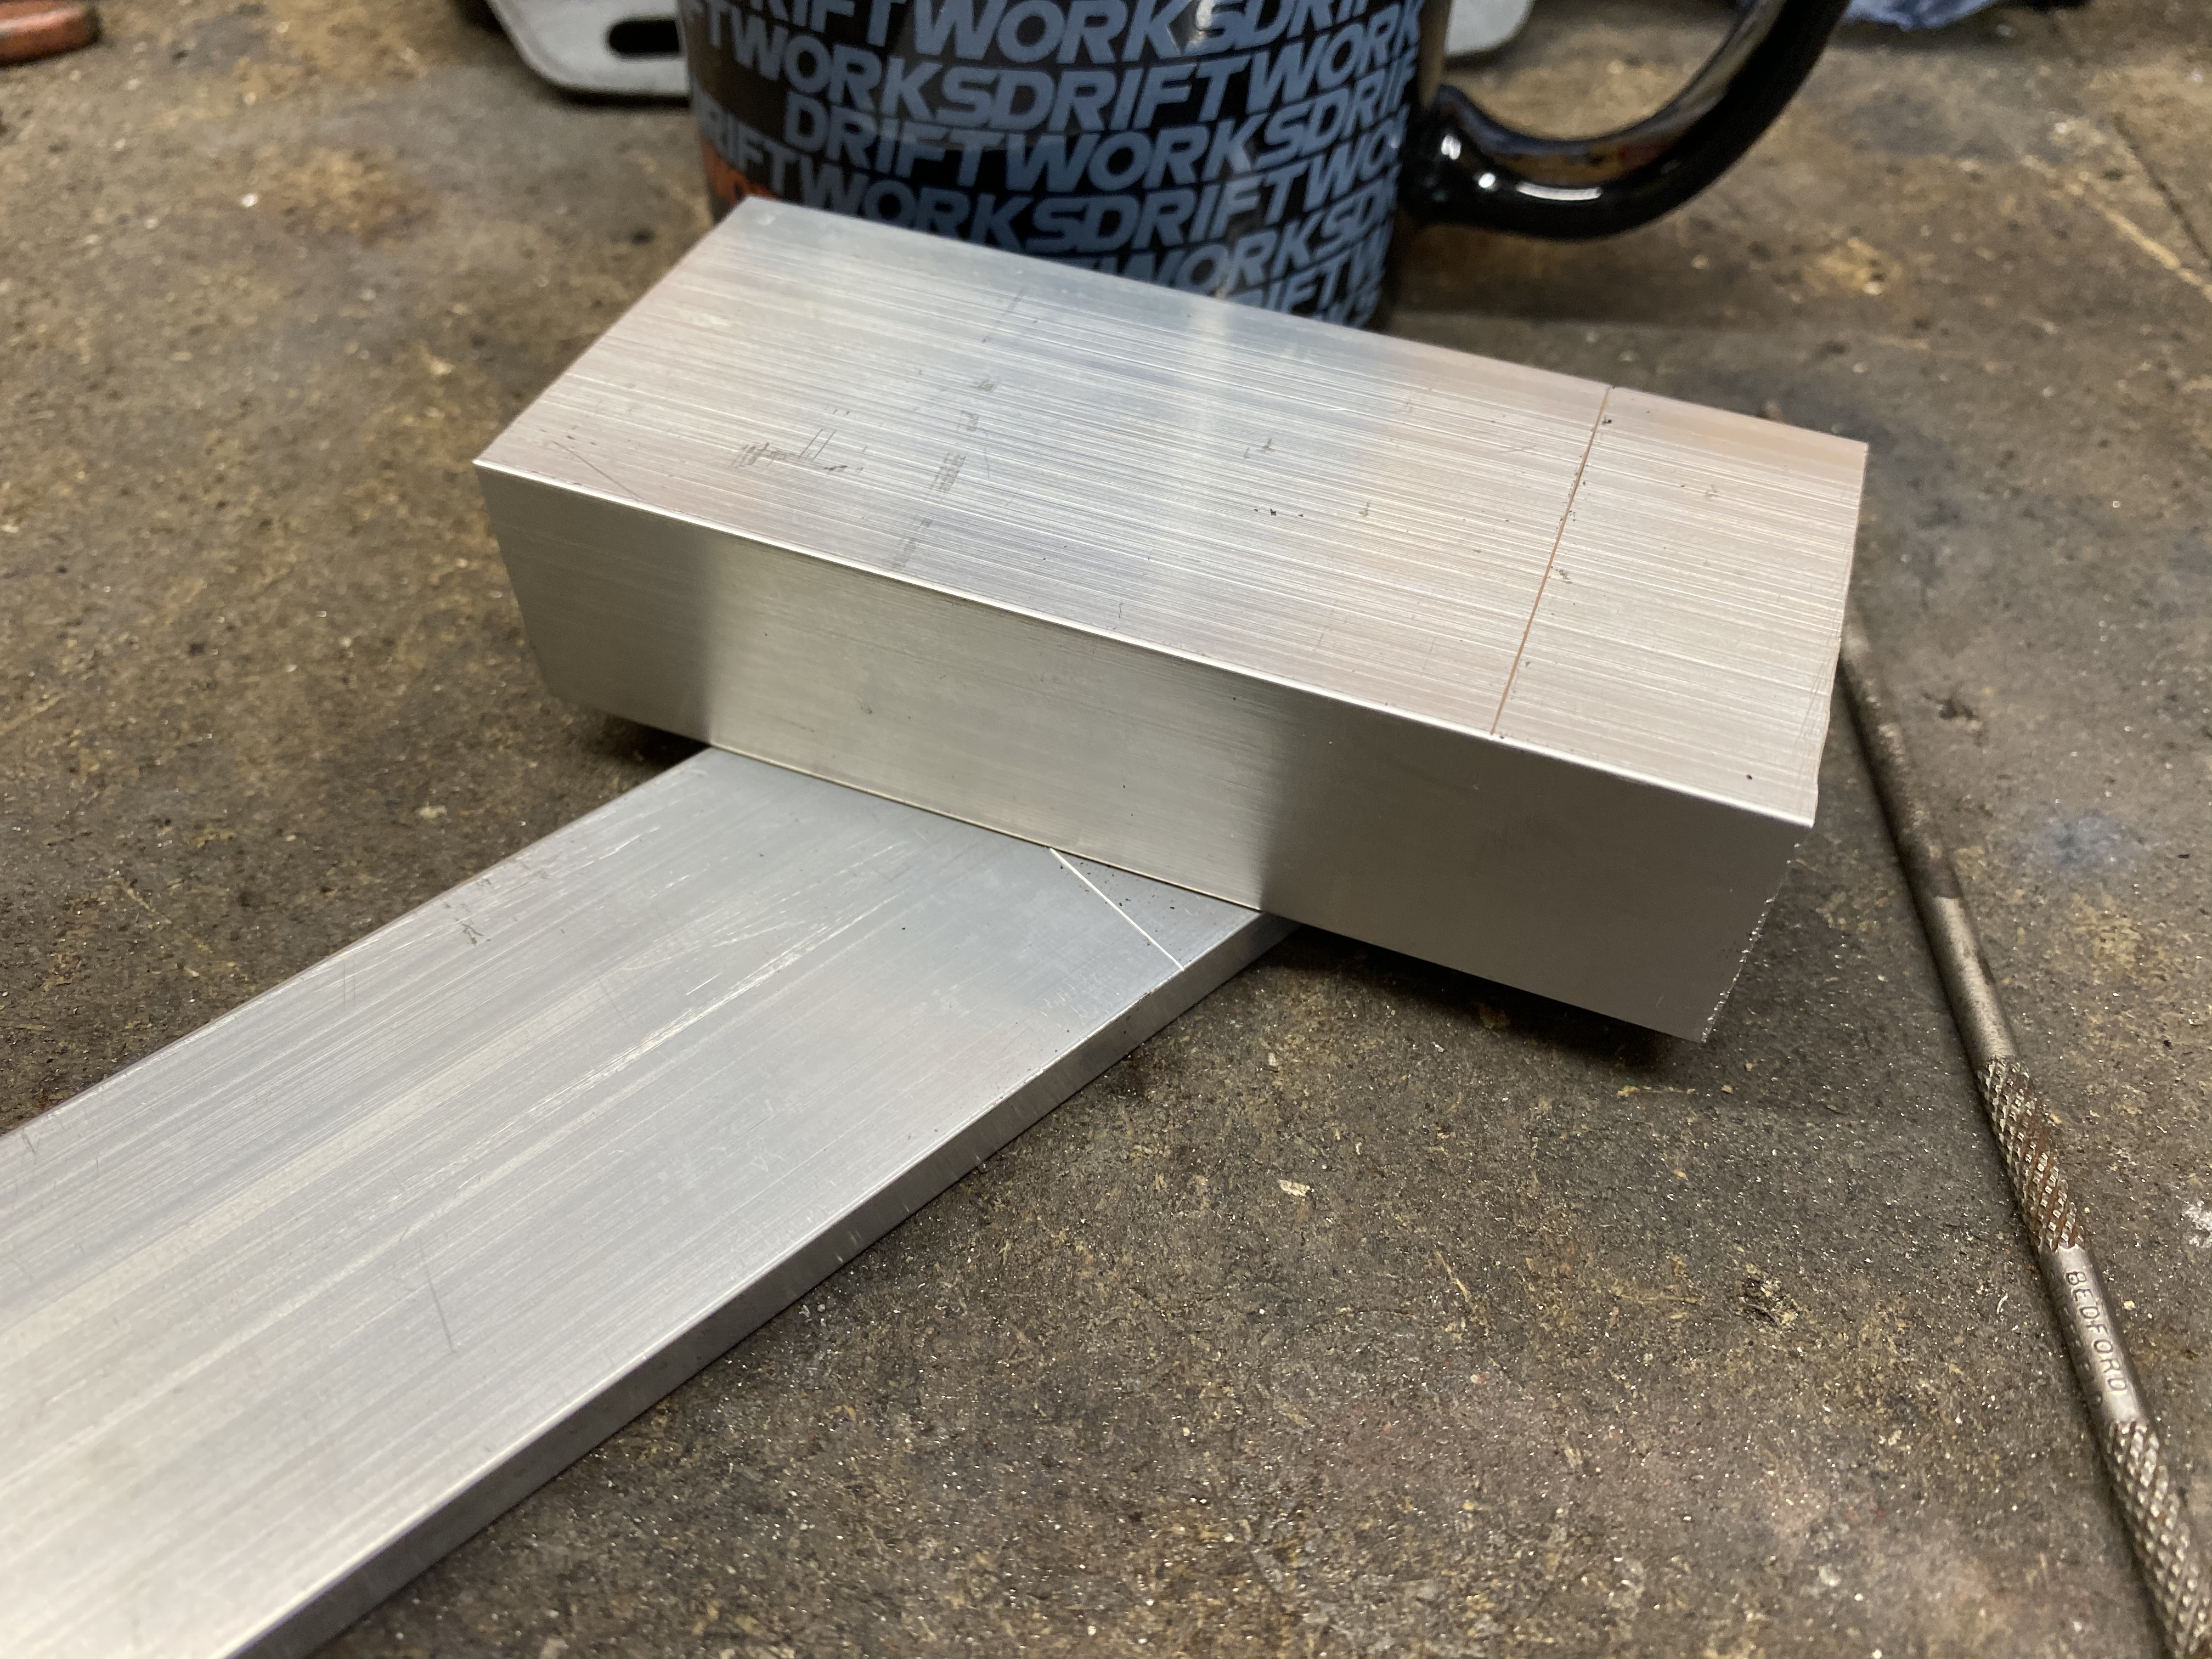
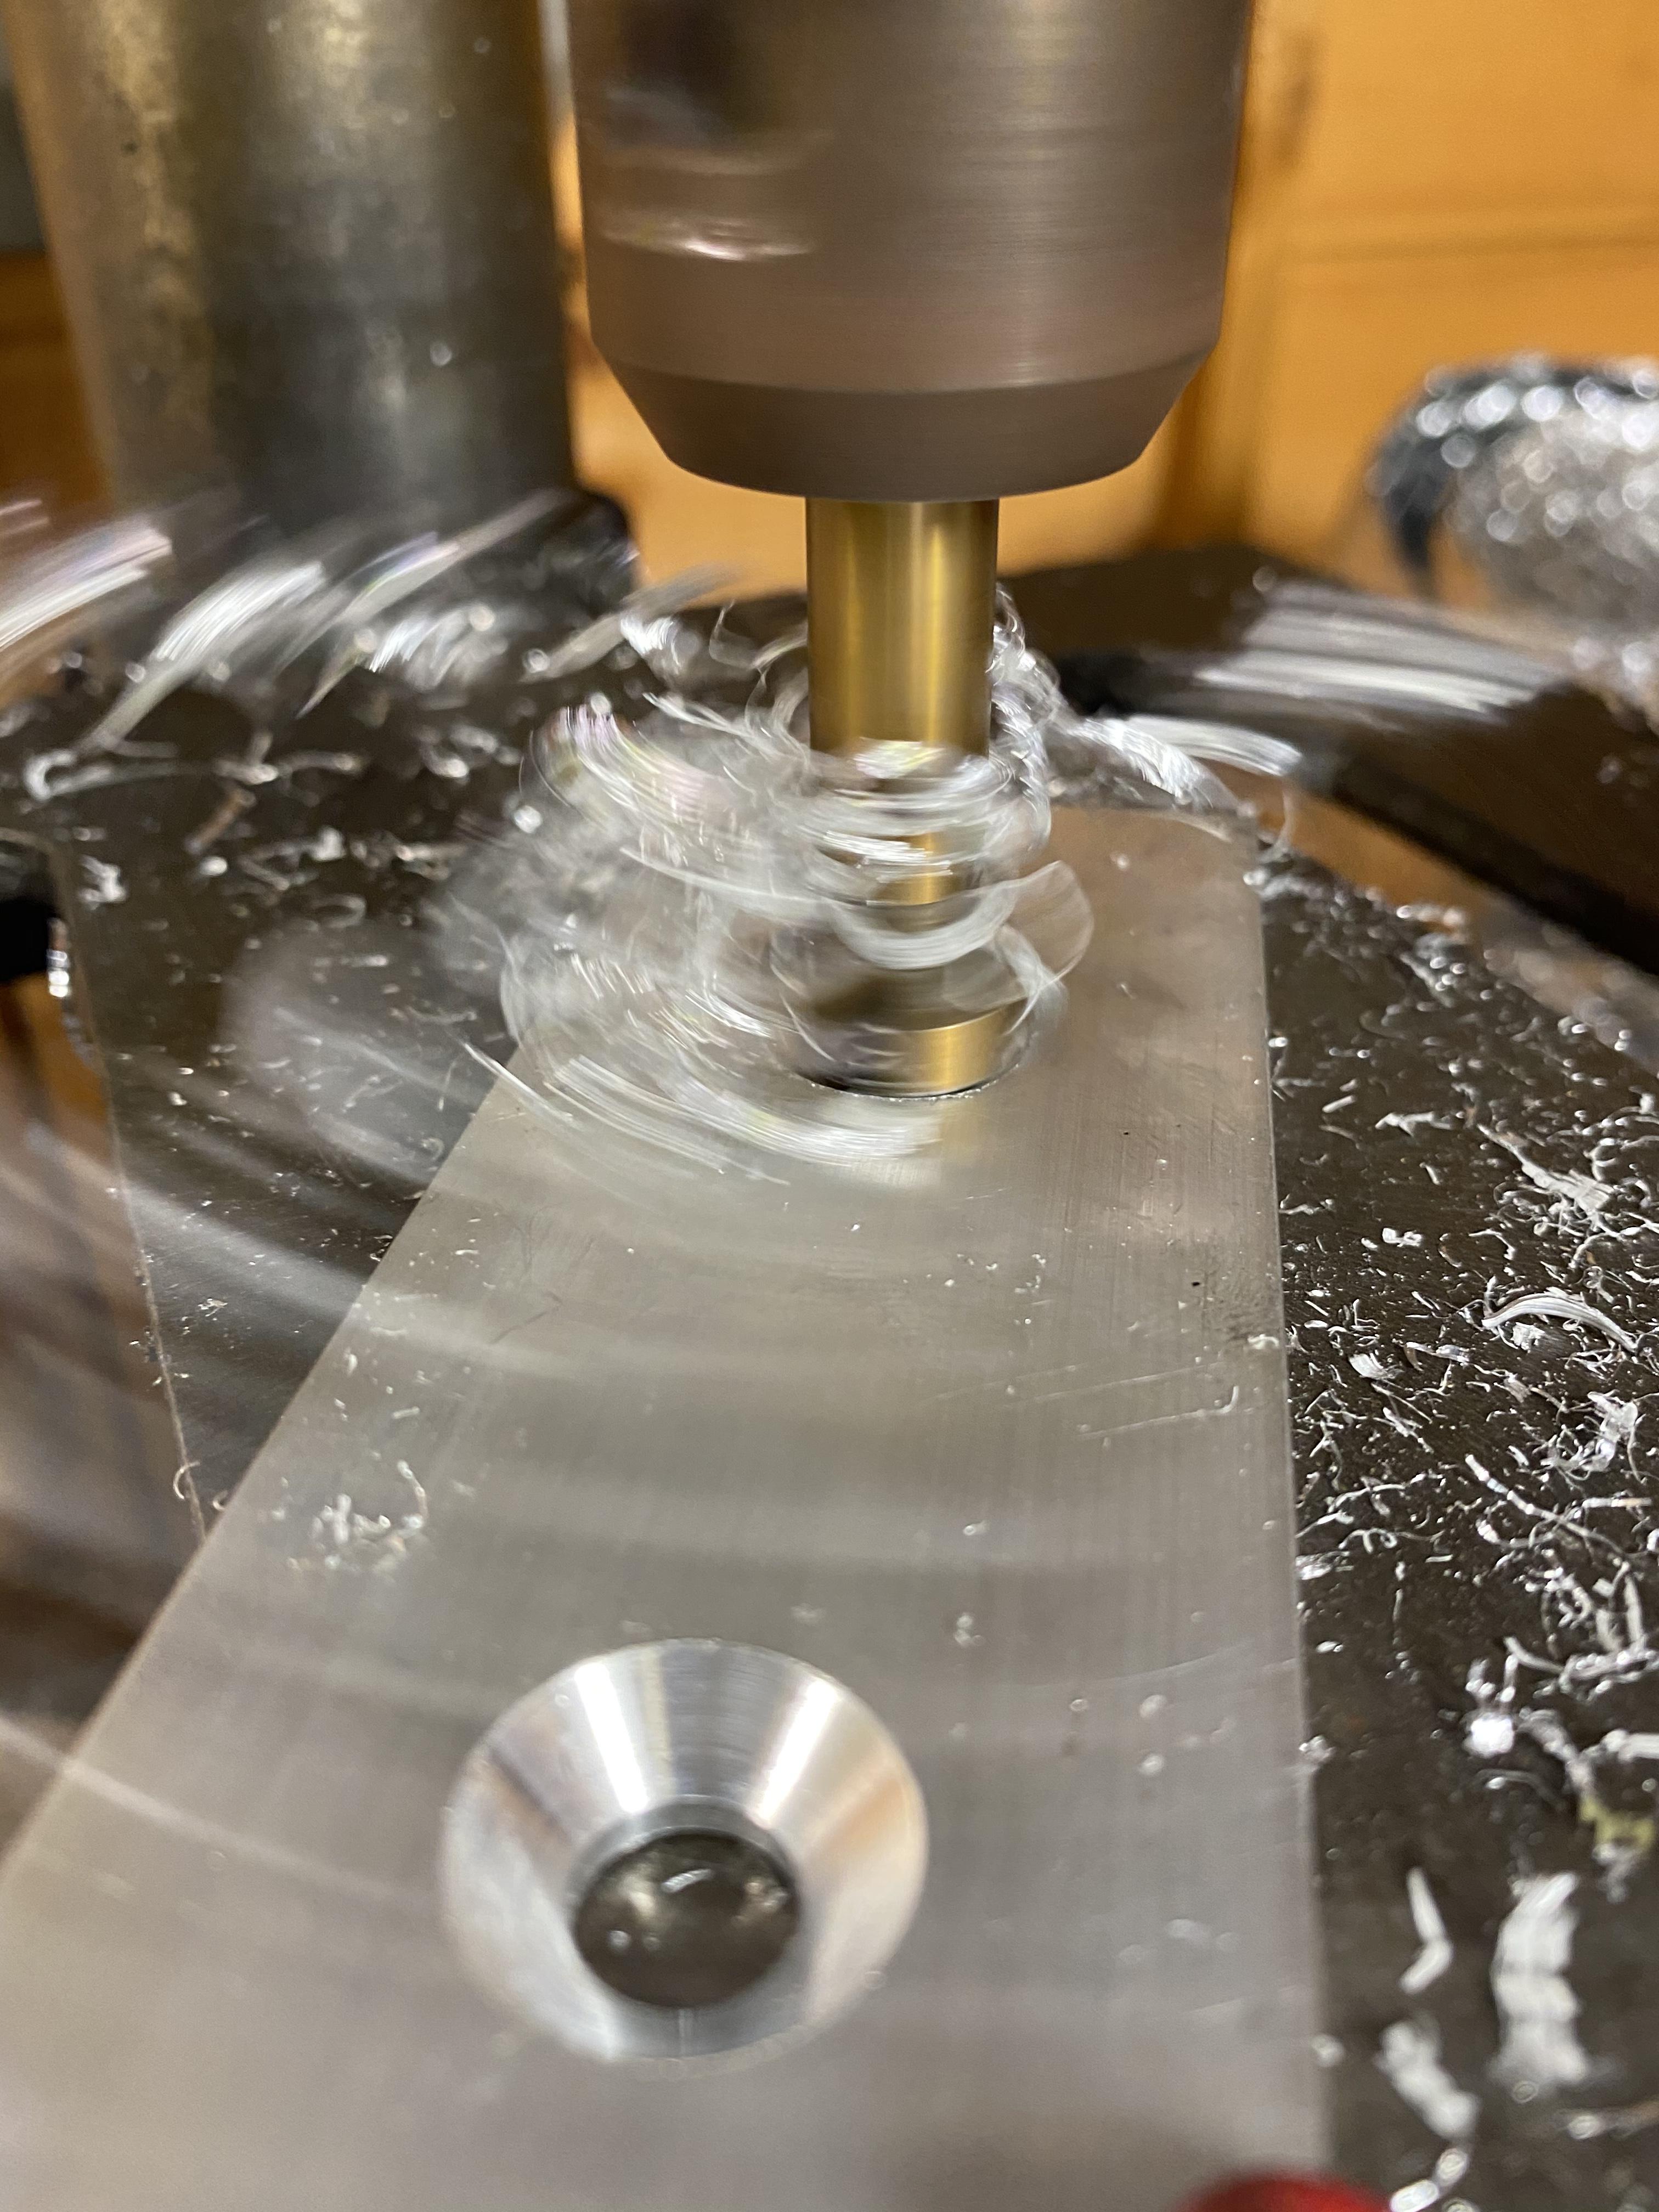
Made up some solid aluminium engine mounts from some 2” 6082 bar with m10x1.25 threaded bar. Probably cost me around £15 compared to the £80 or so elsewhere. Just need to order some new nuts and then anodise them


-
Decided to reinforce the clutch fork and ordered a reinforced clutch pivot and stage 4 white bunny clutch kit from competition clutch

-
54 minutes ago, Claymore said:
Now that's a turbo! Should spool well with the smaller back housing. What size is it HX??
Great fabrication /machining as always.

It’s a super HX35. Bit of a weird turbo as it has a water cooled core and an 8cm turbine. Thanks for the kind words, I do try


S14a major rebuild
in Other Motors Progress Blogs
Posted
Bit light on the pictures and it’s certainly been a while. Got the front bearing out of the rear diff and cleaned it up and painted it. Been doing some of the welding work but I can’t find any photos of that.
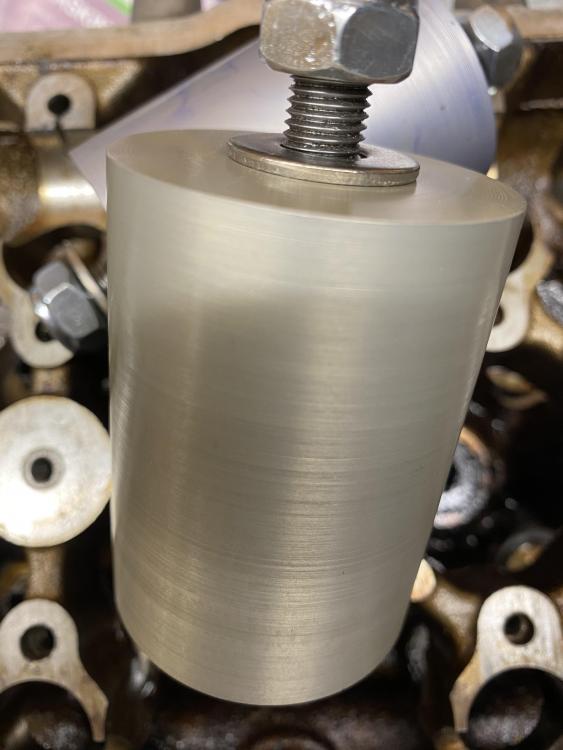
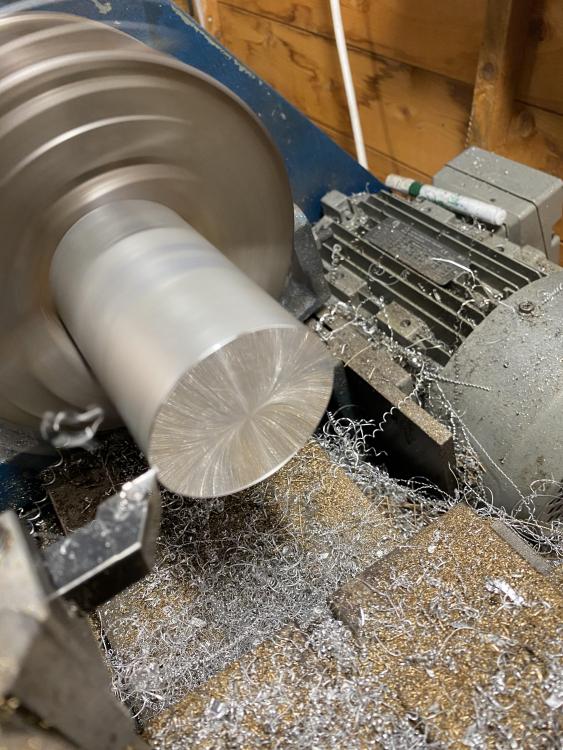
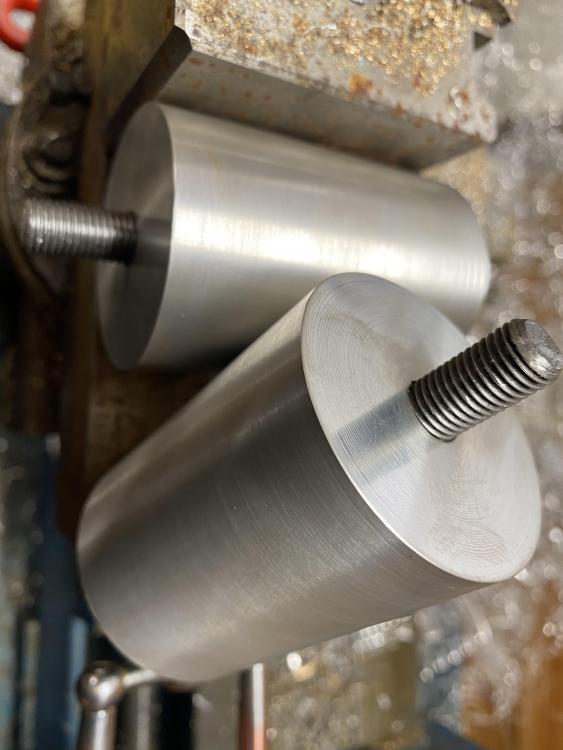
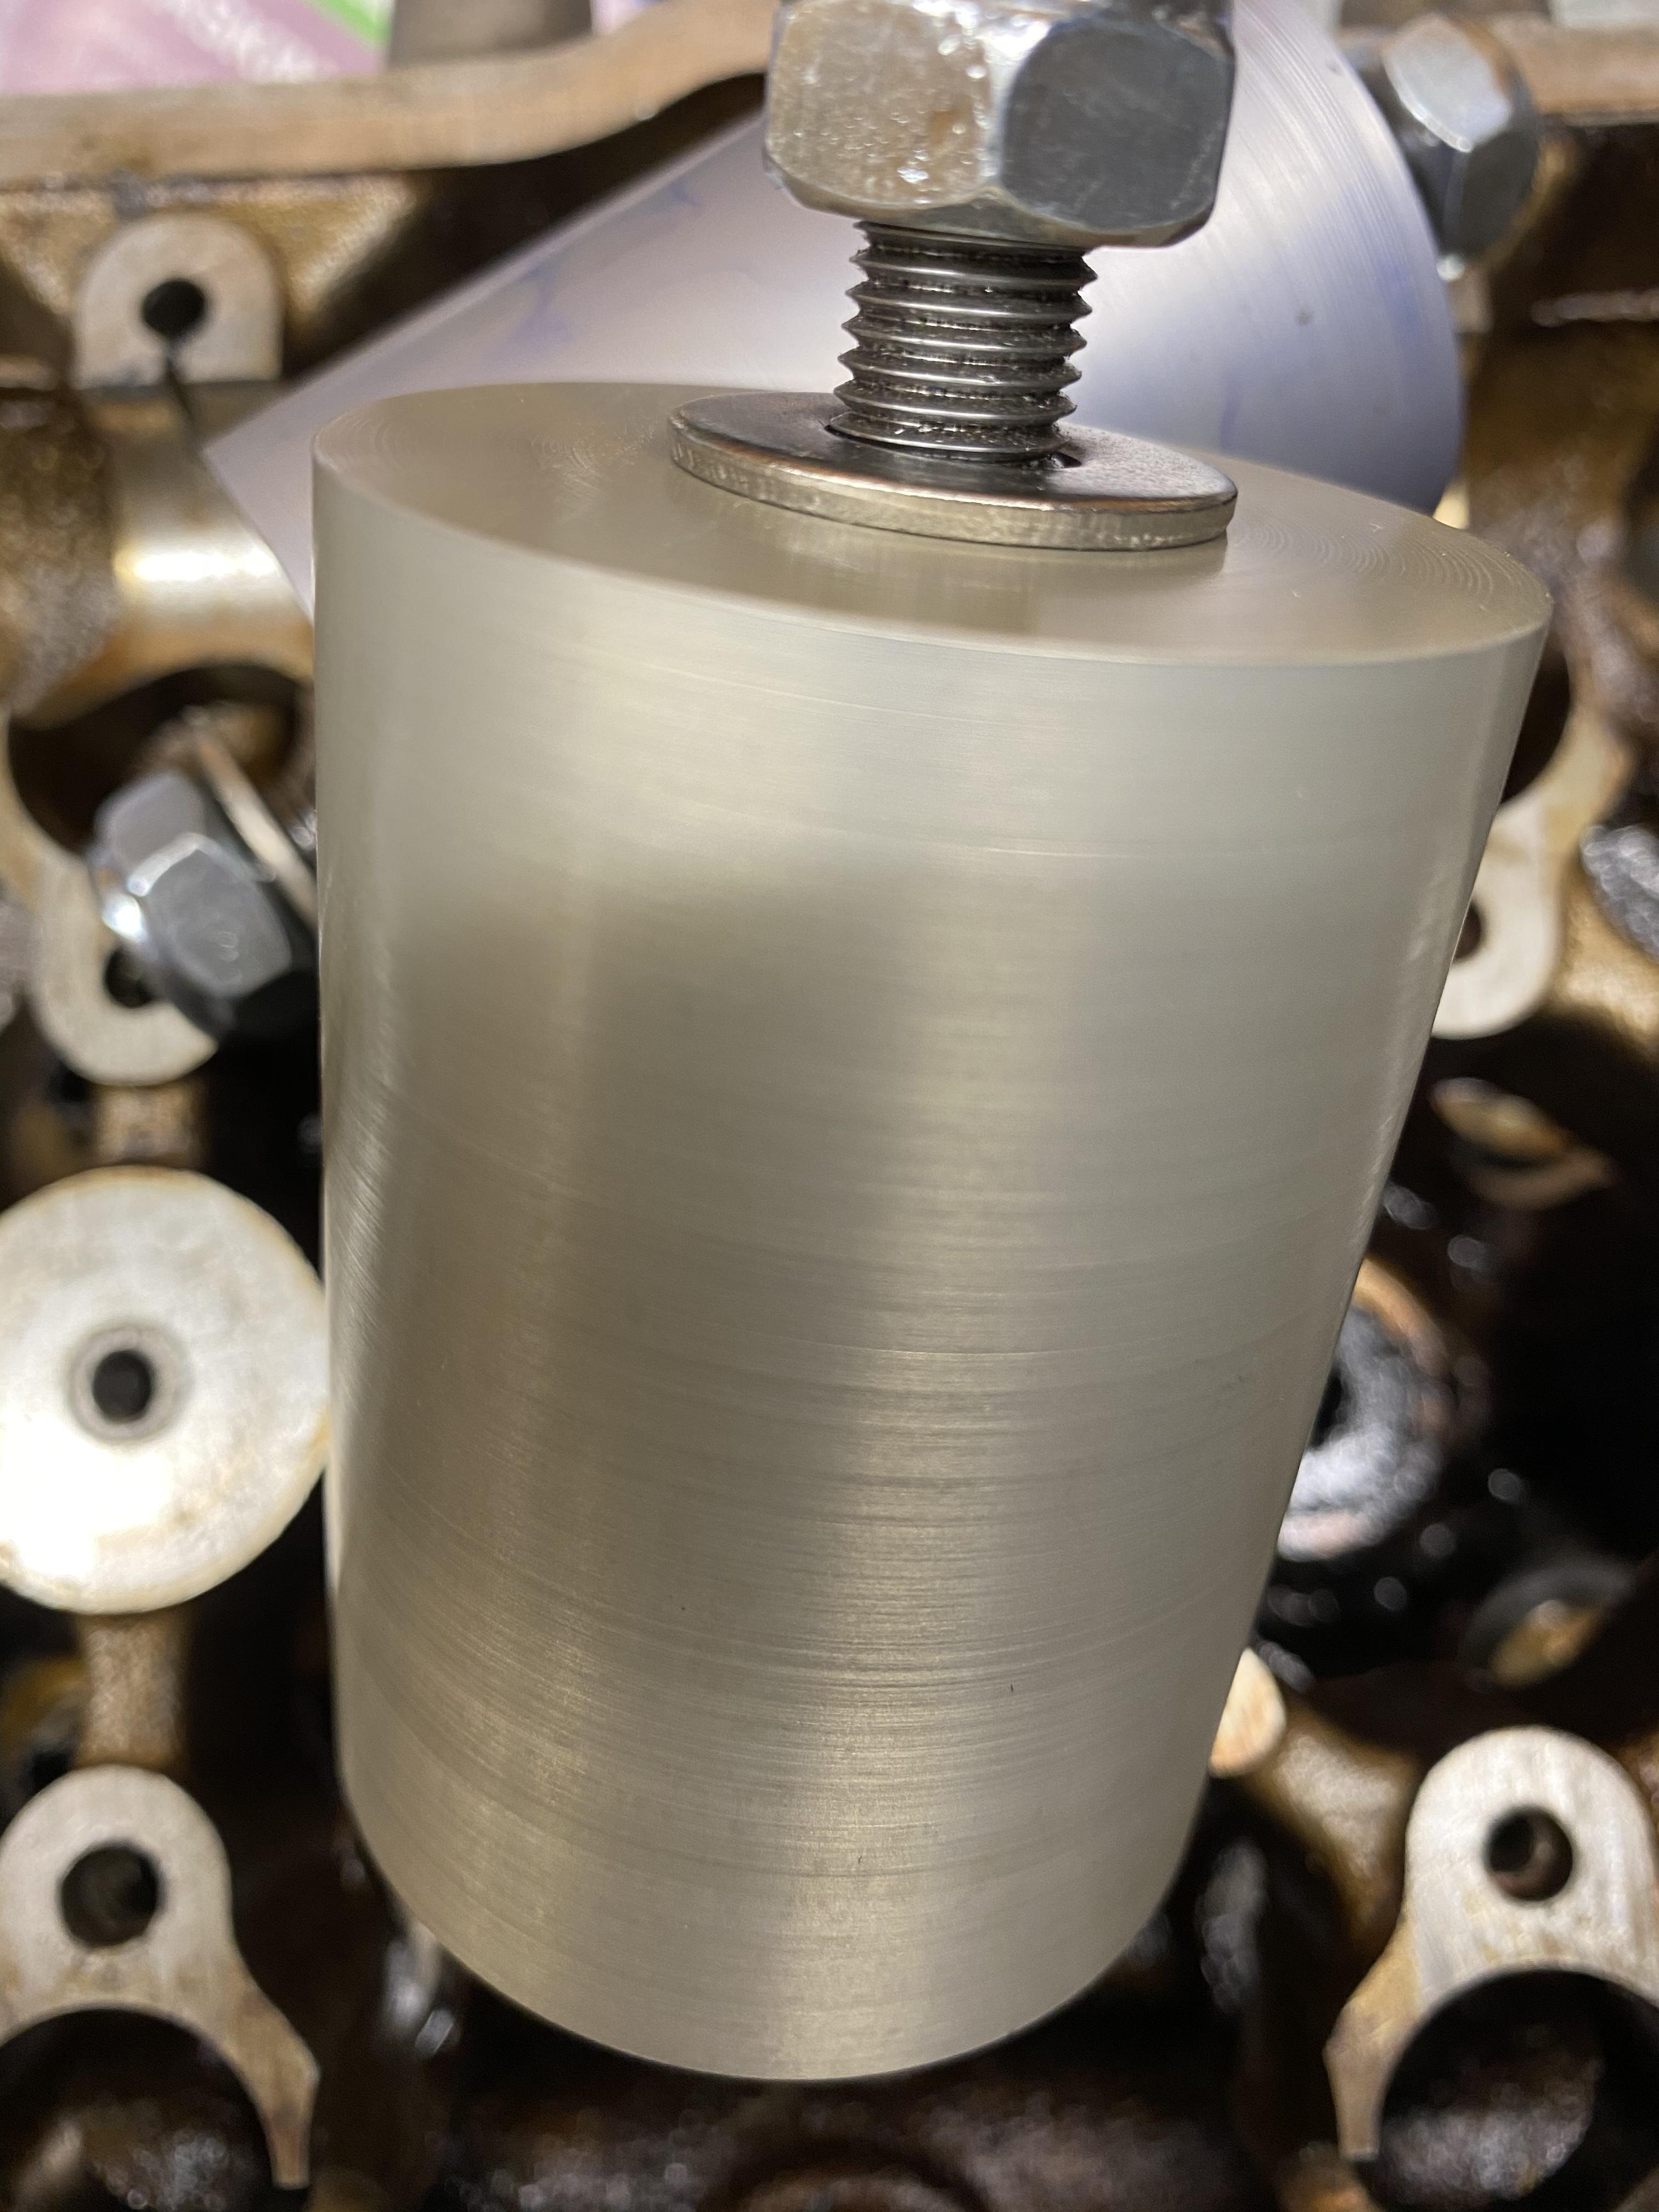
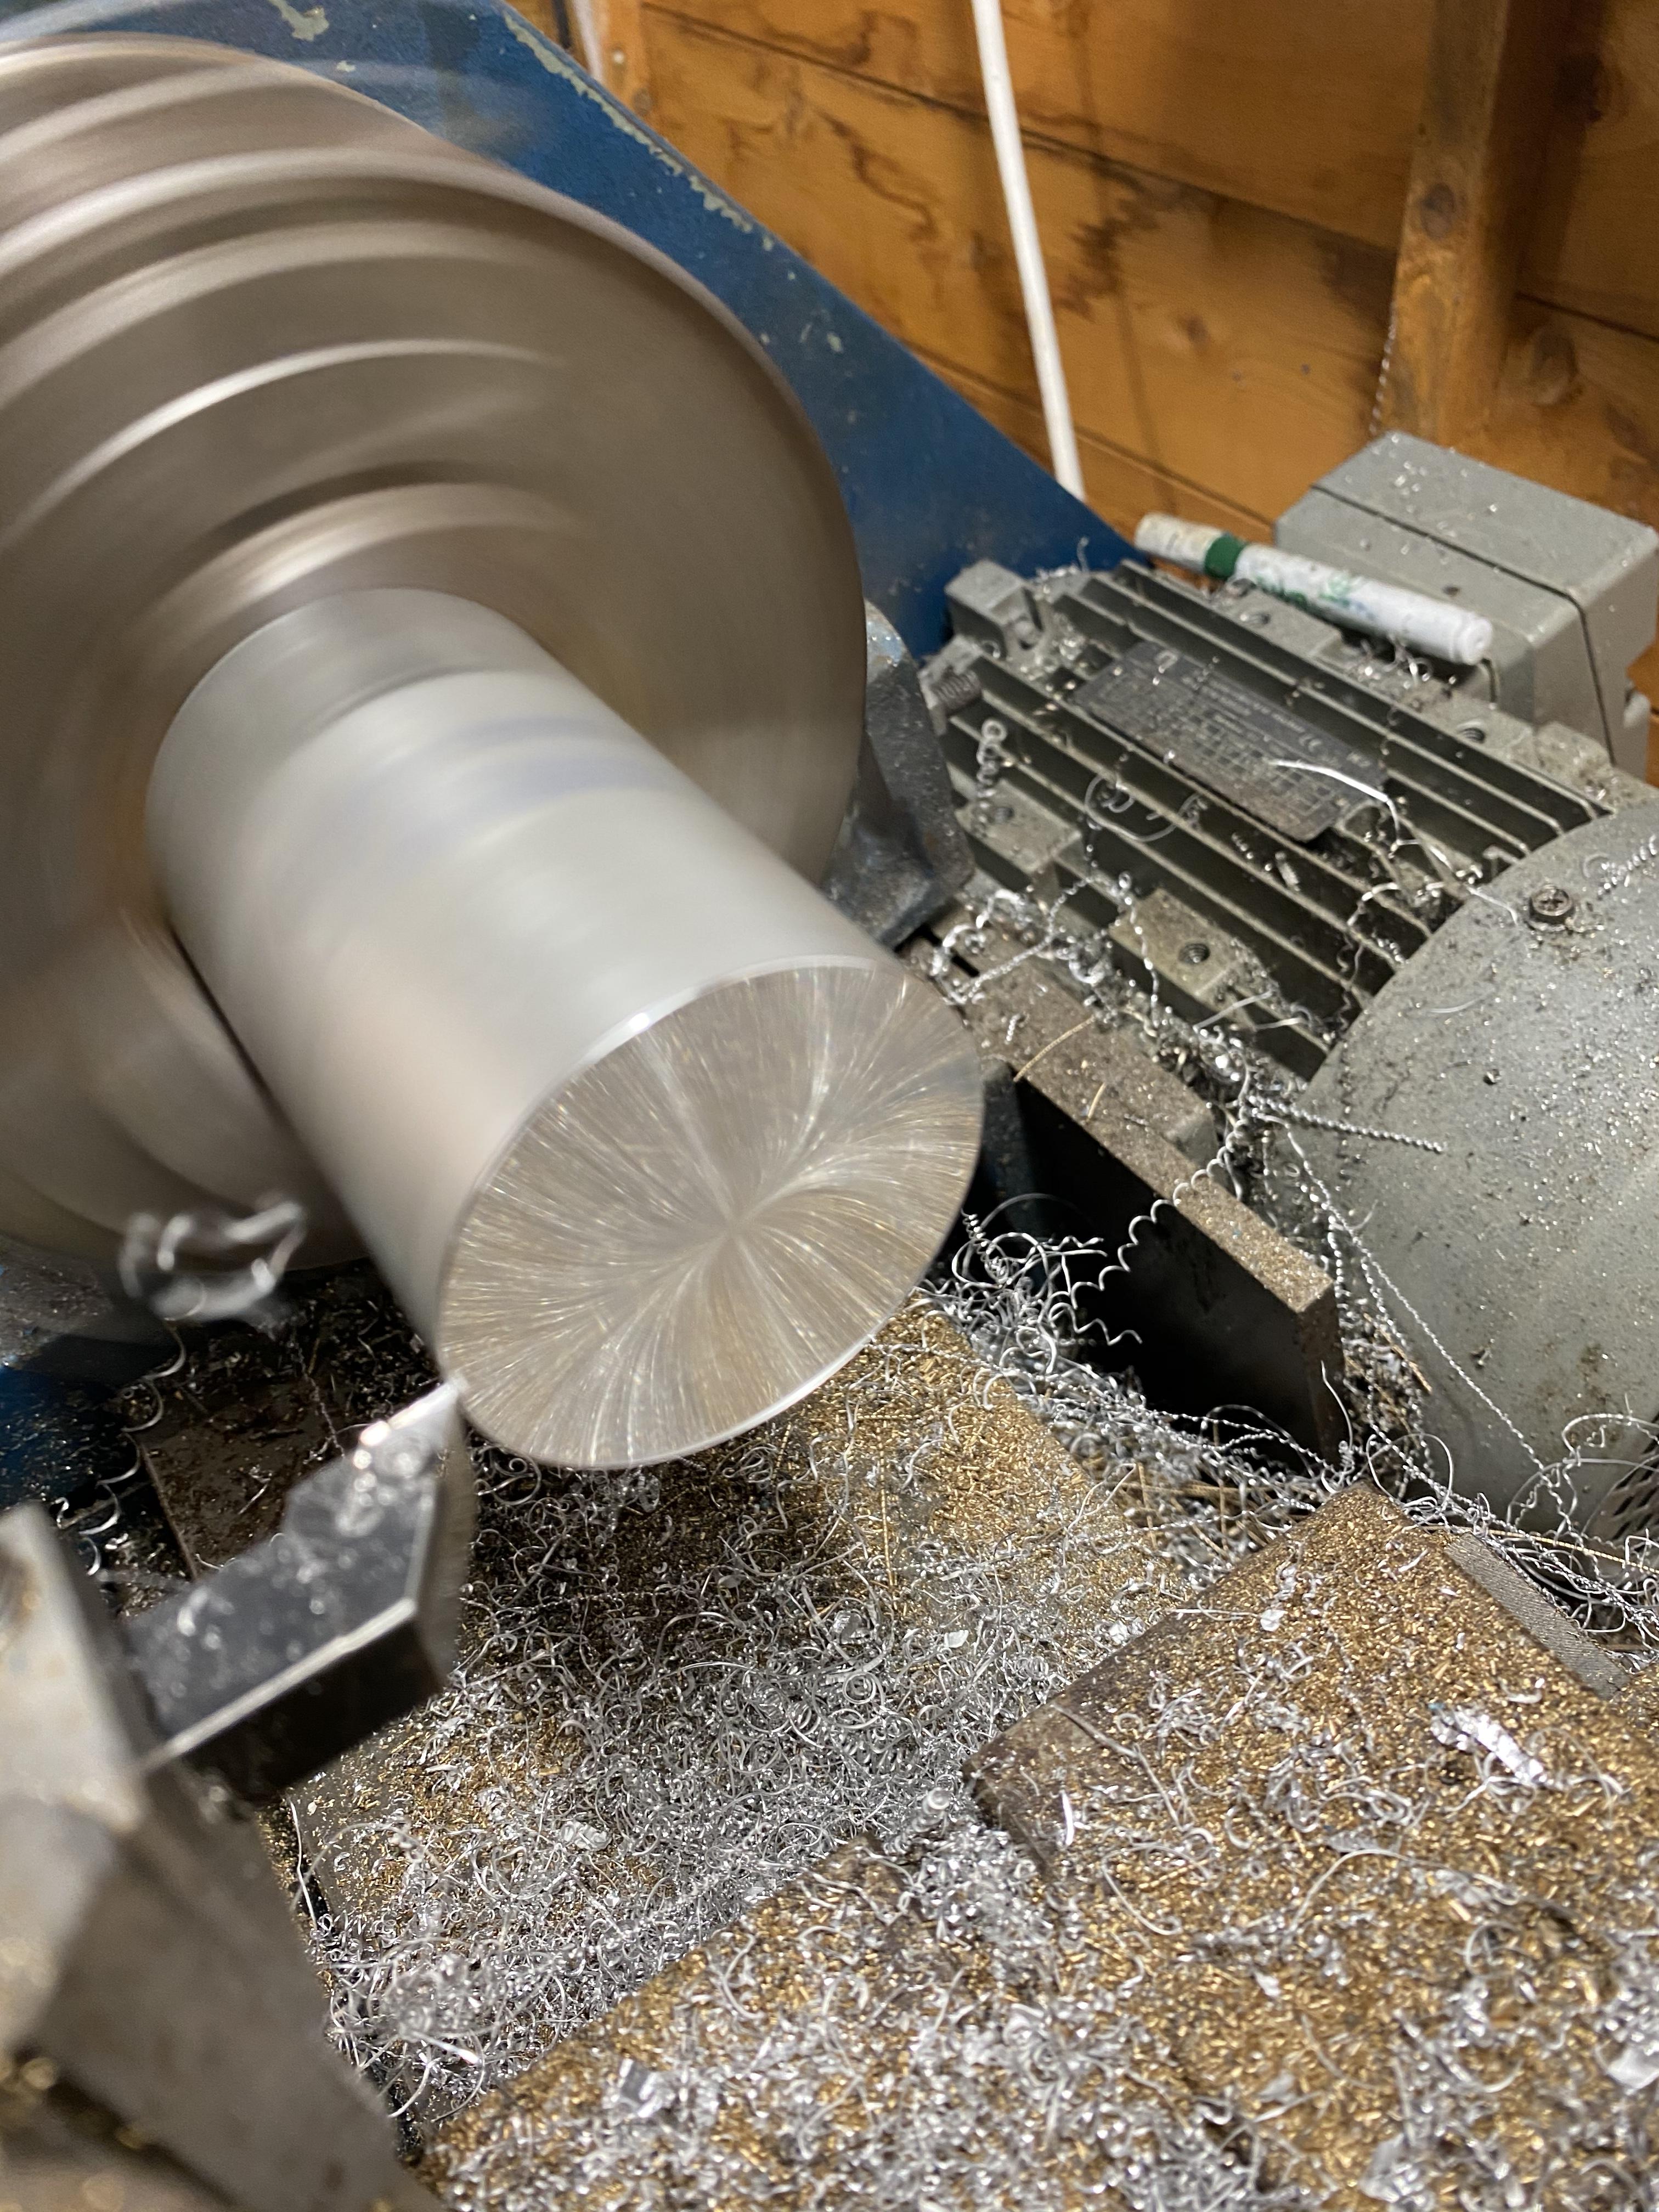
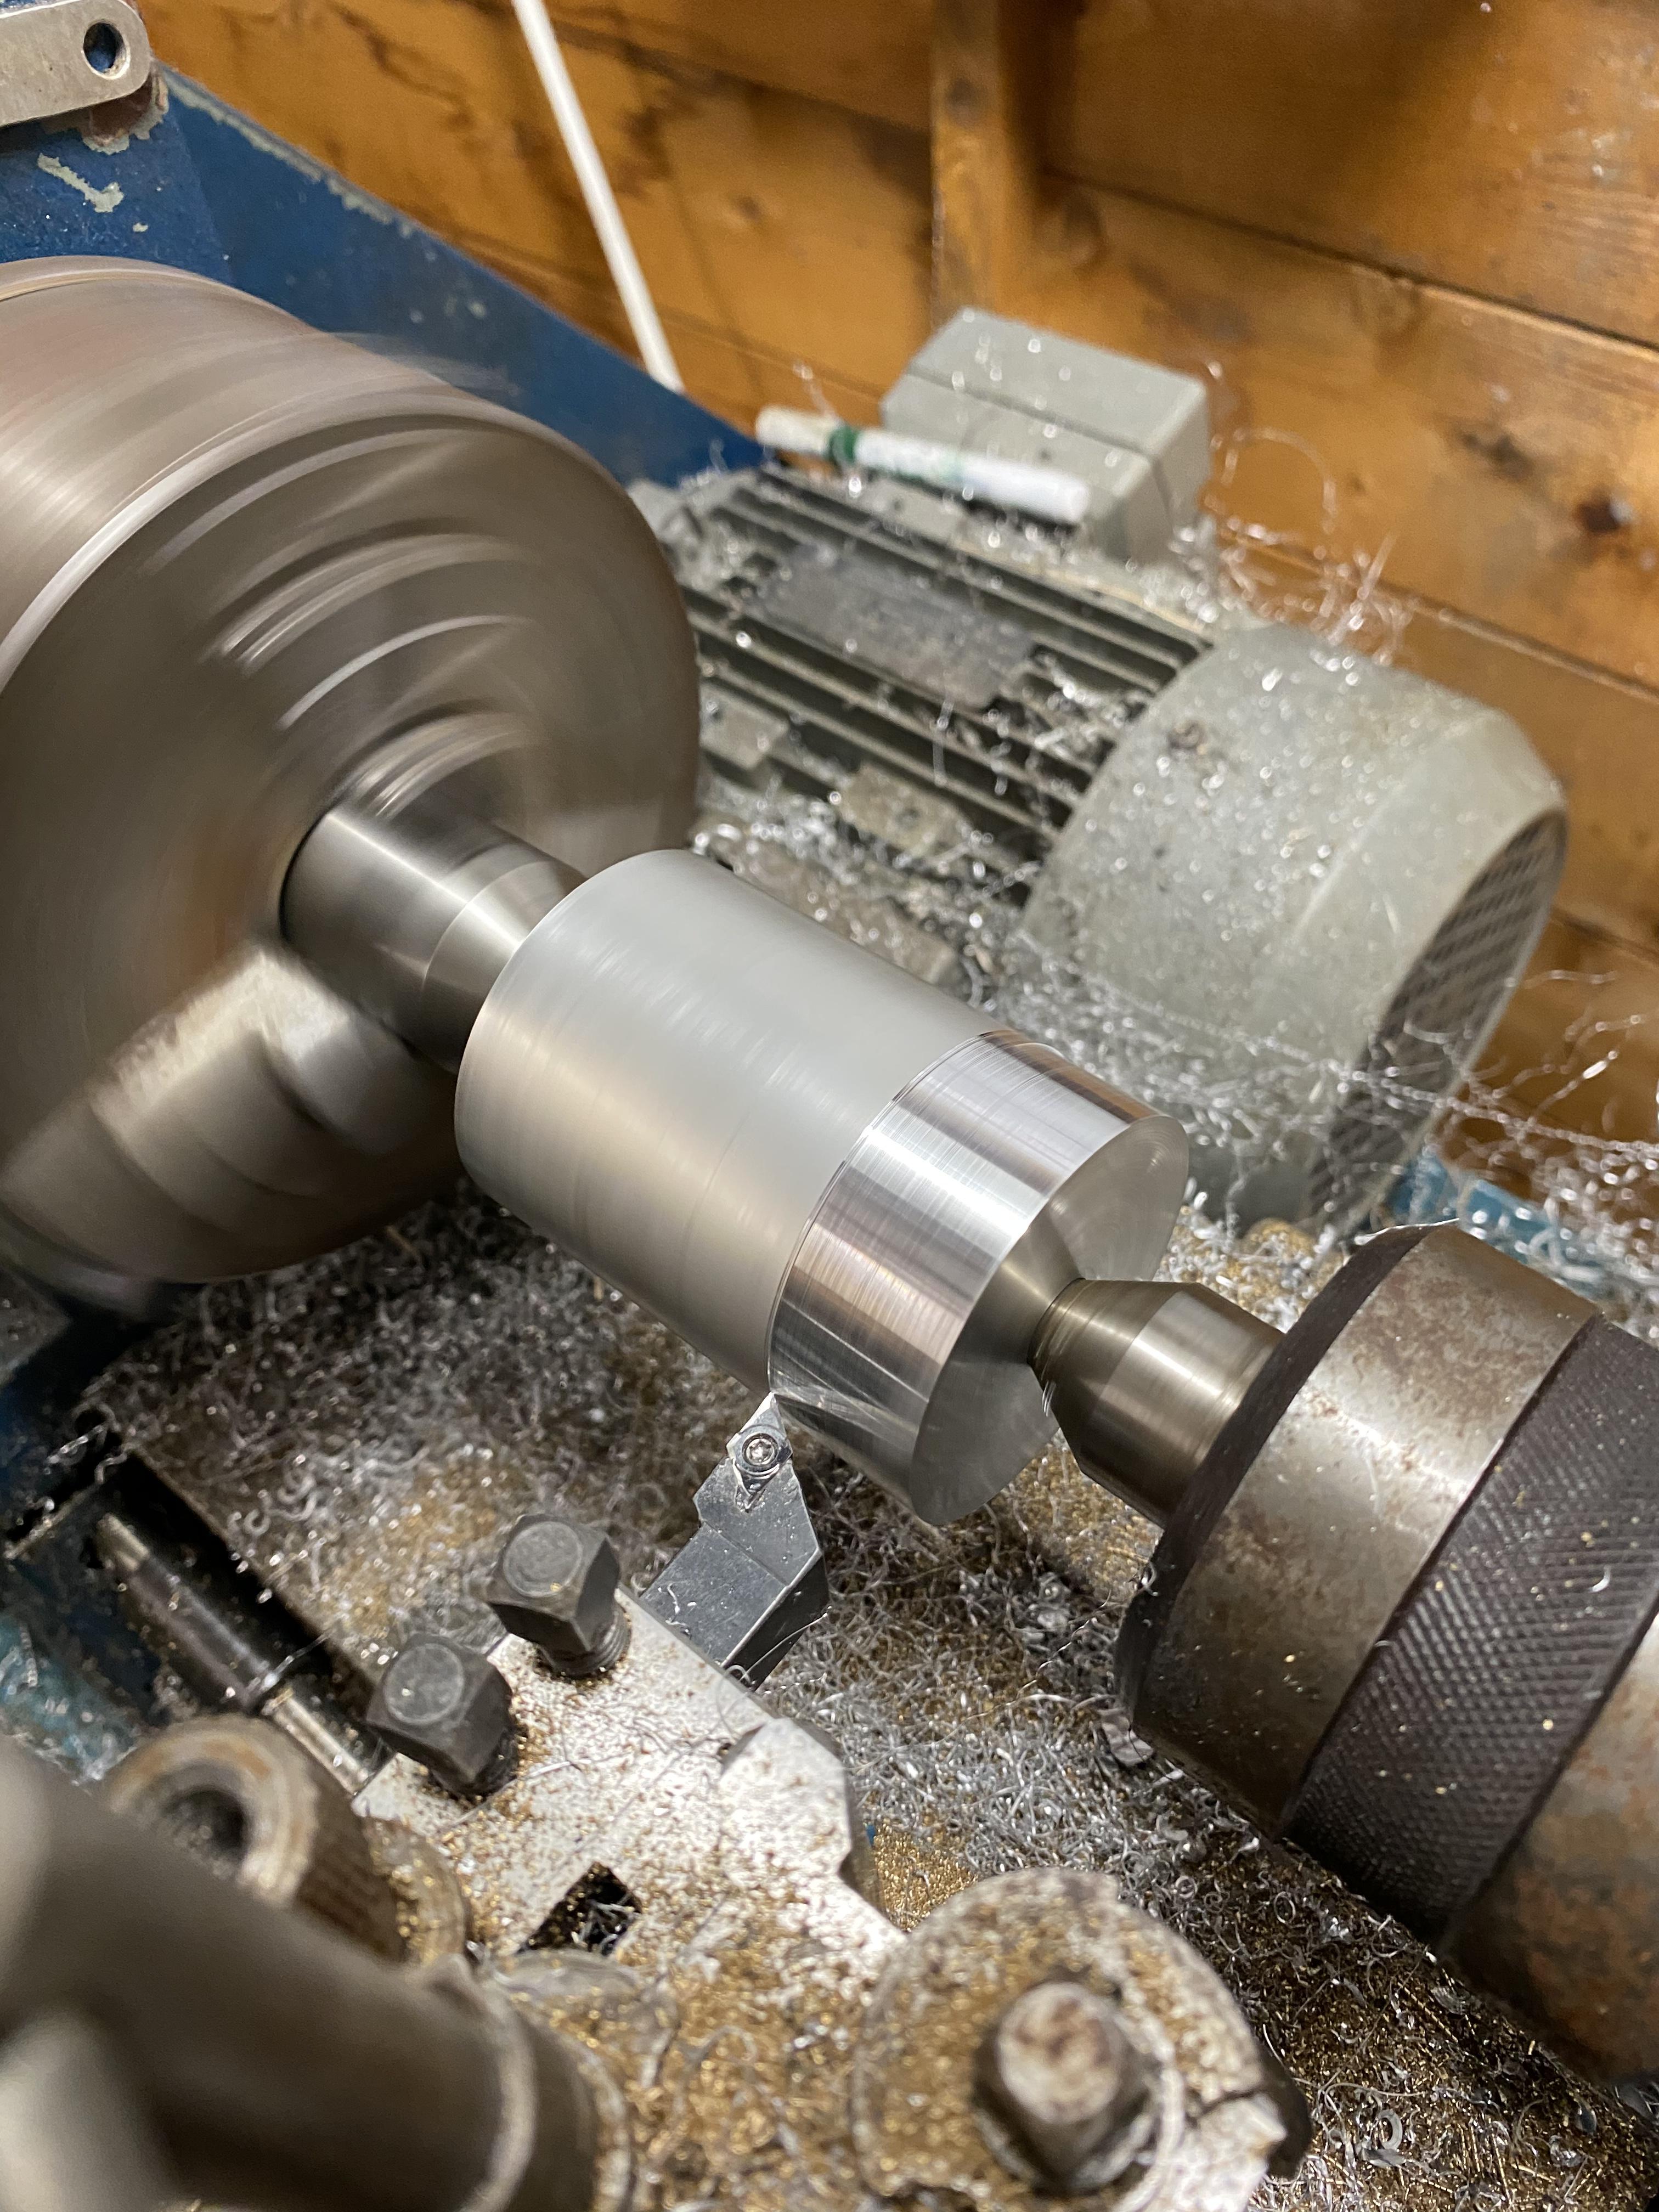
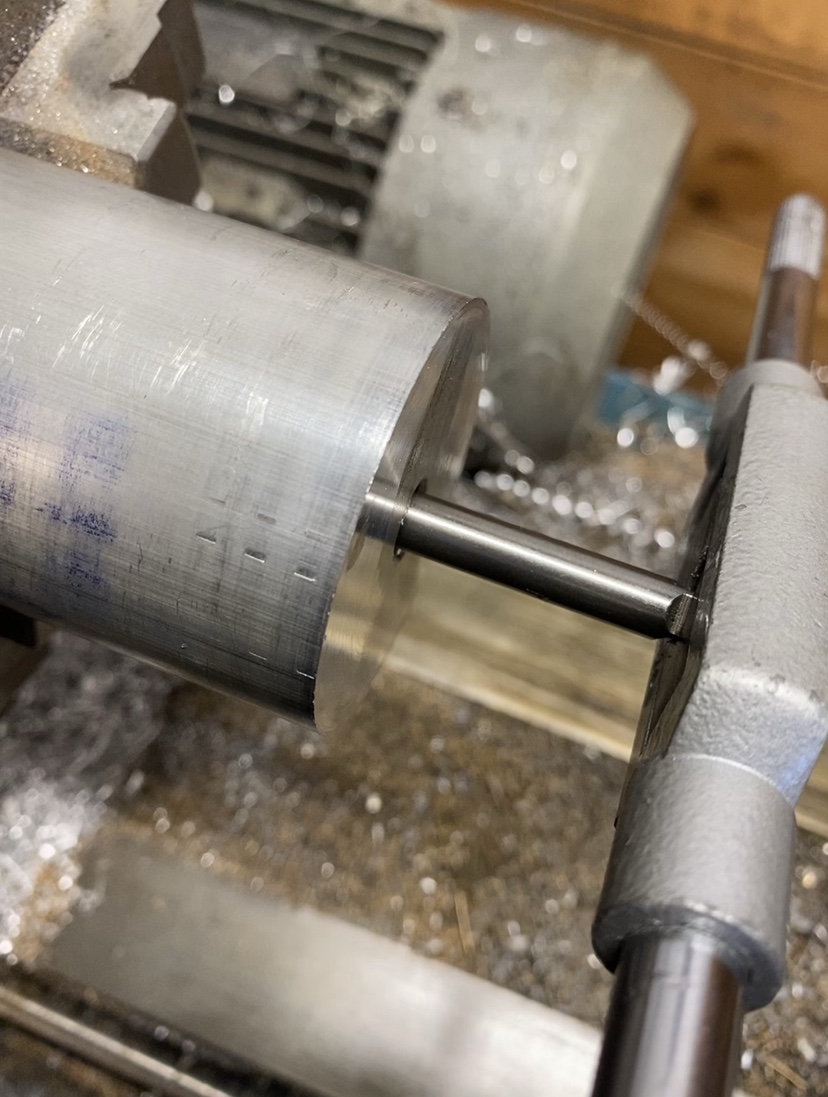
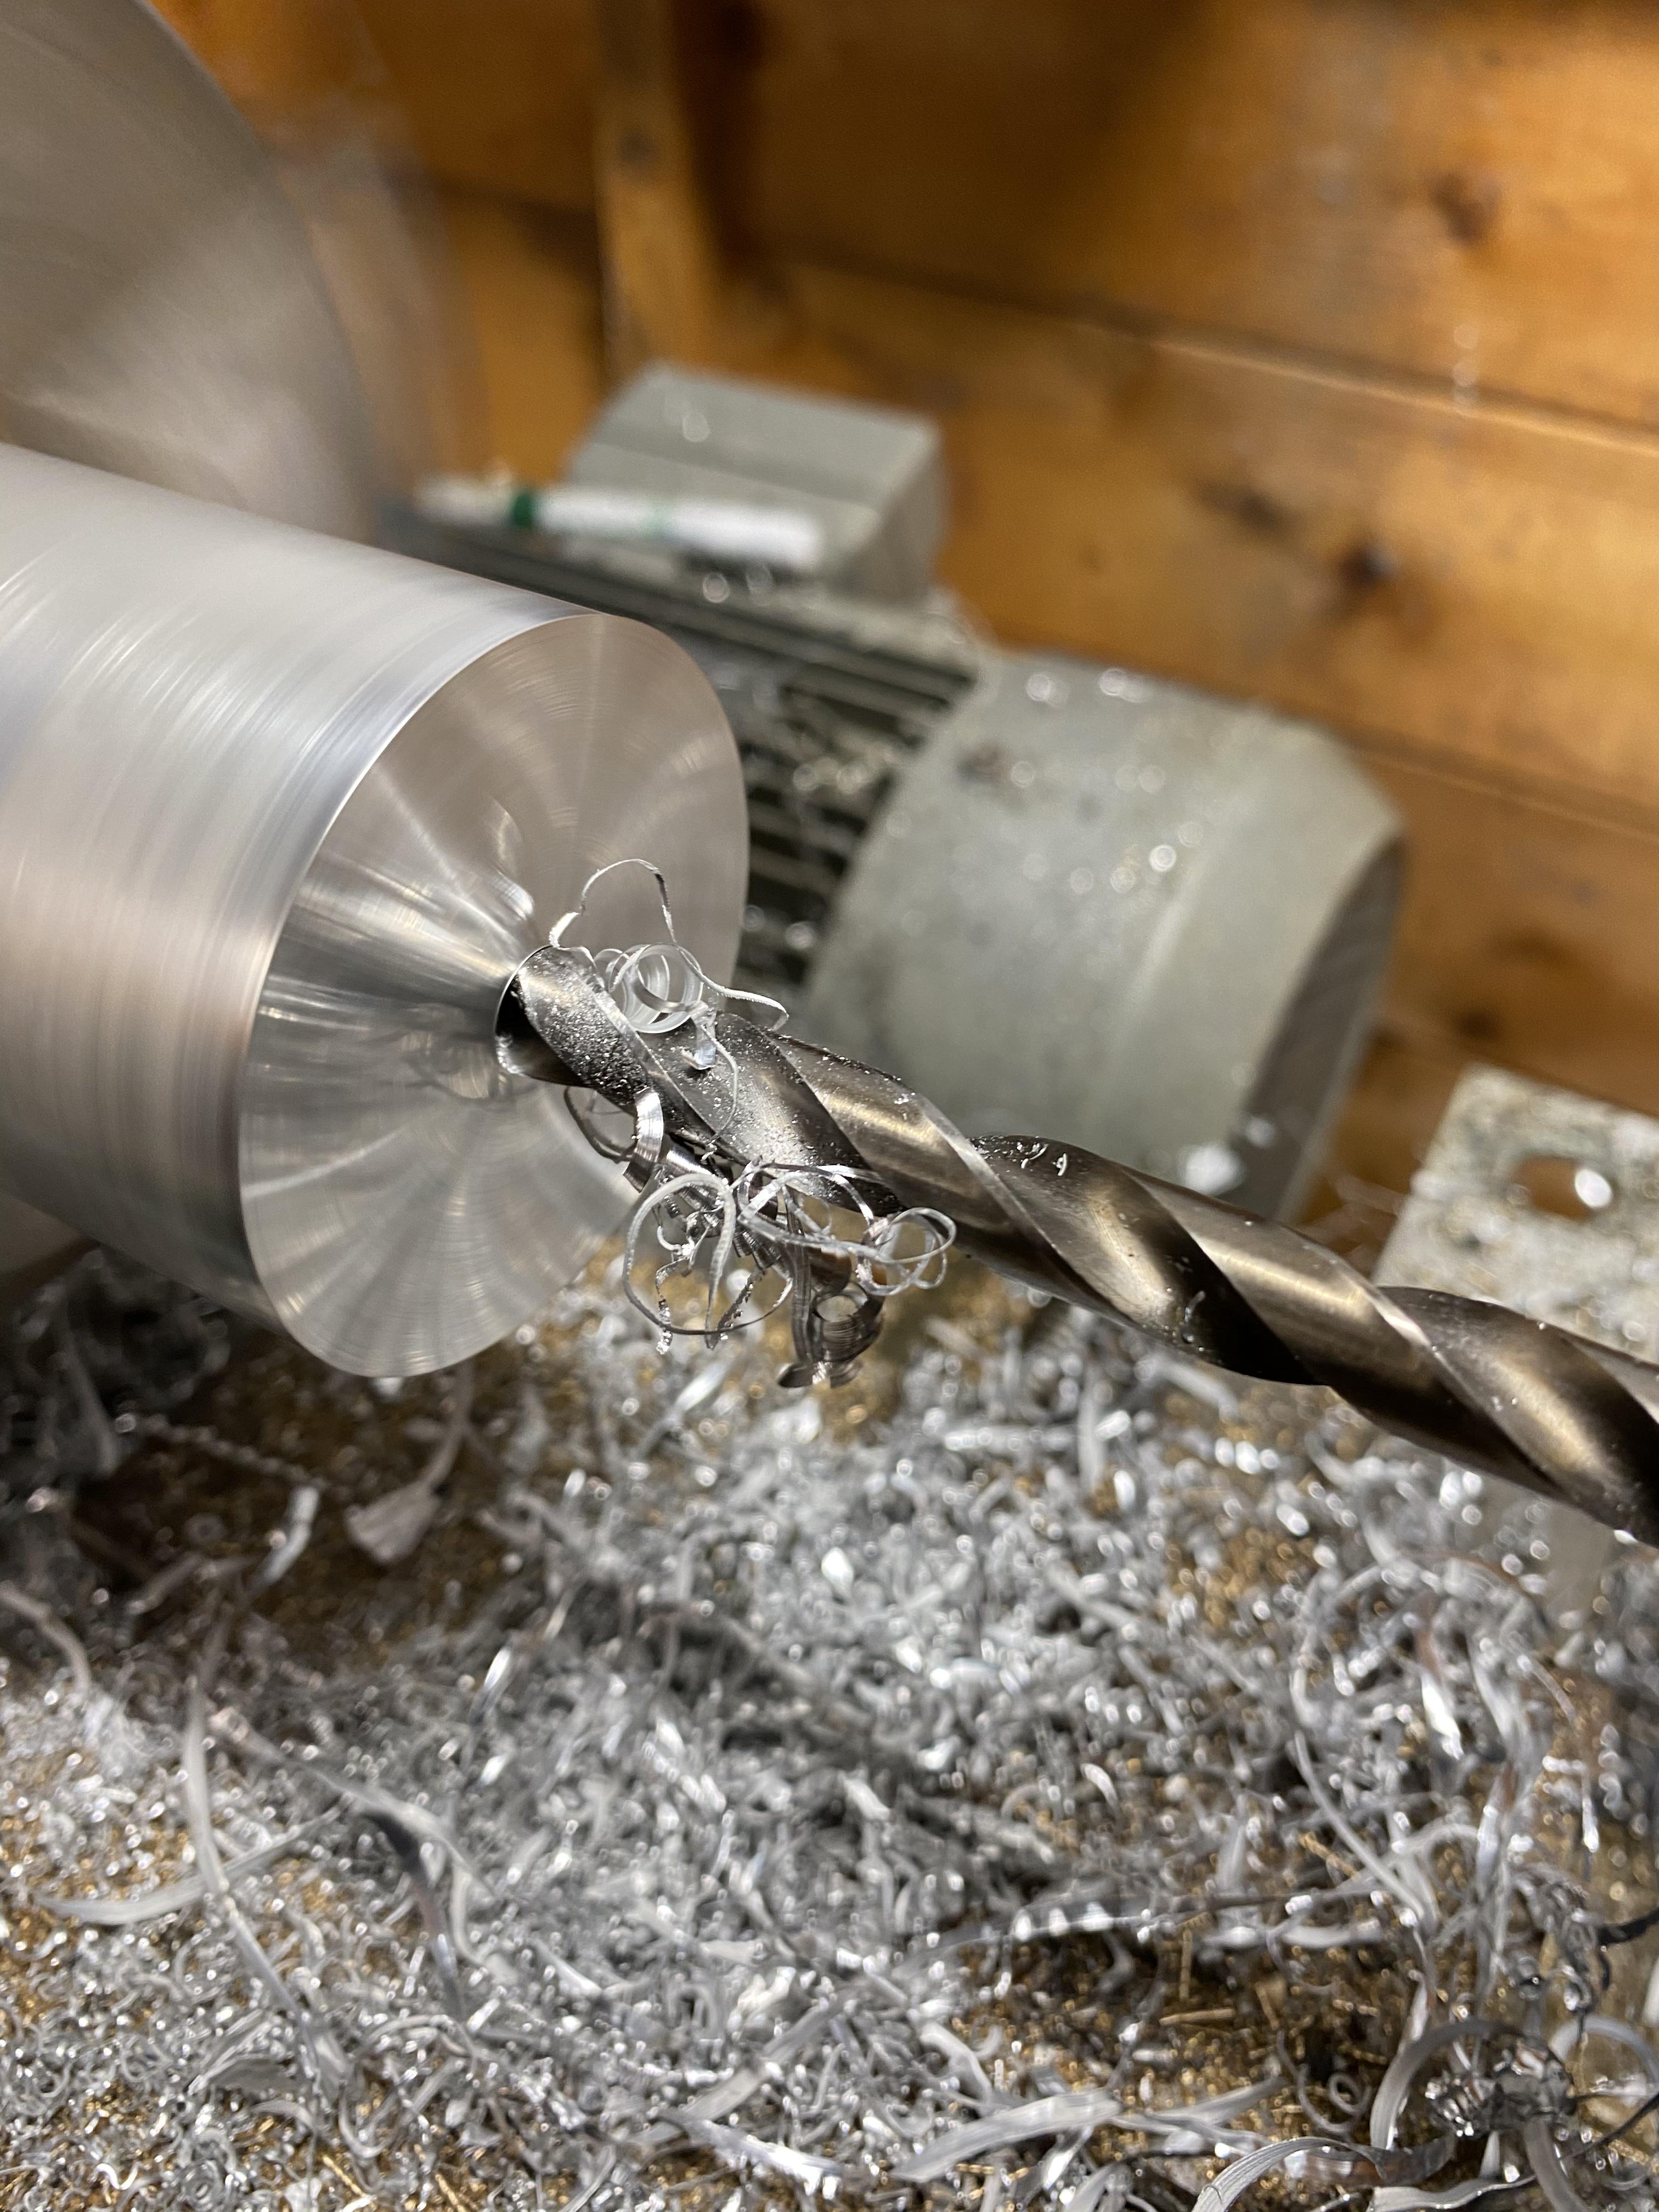
Big lump of aluminium in the lathe: machined a tool to push the rings into the bores and got those file fitted and labelled up. Need to get the pistons on the rods and start building the engine and finish the welding. Car can go back together then