


federalman
-
Content Count
404 -
Joined
-
Last visited
Content Type
Profiles
Forums
Wiki
Media Demo
Store
Calendar
Posts posted by federalman
-
-
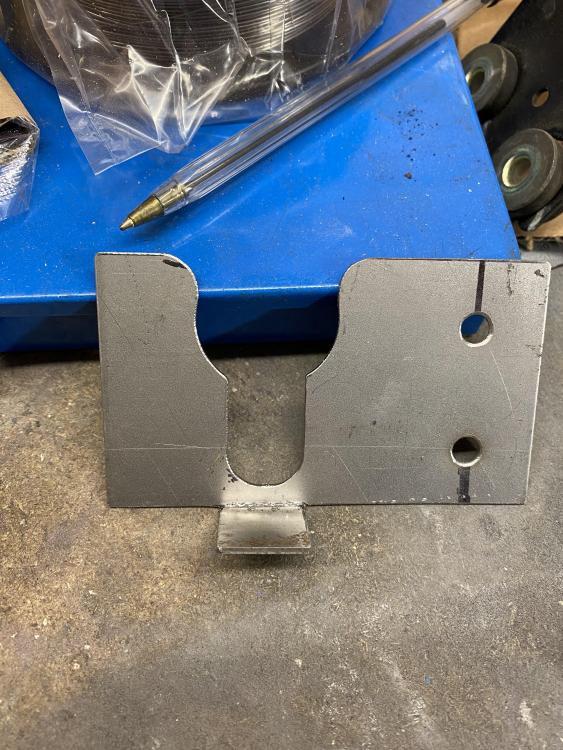
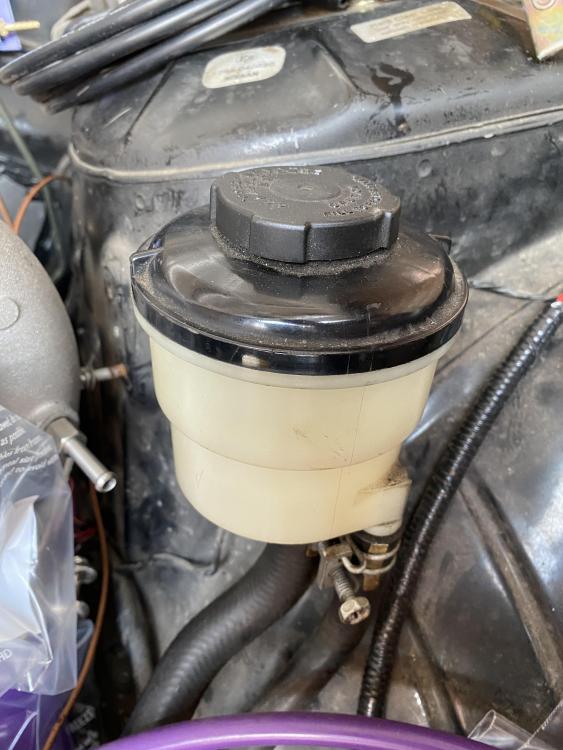
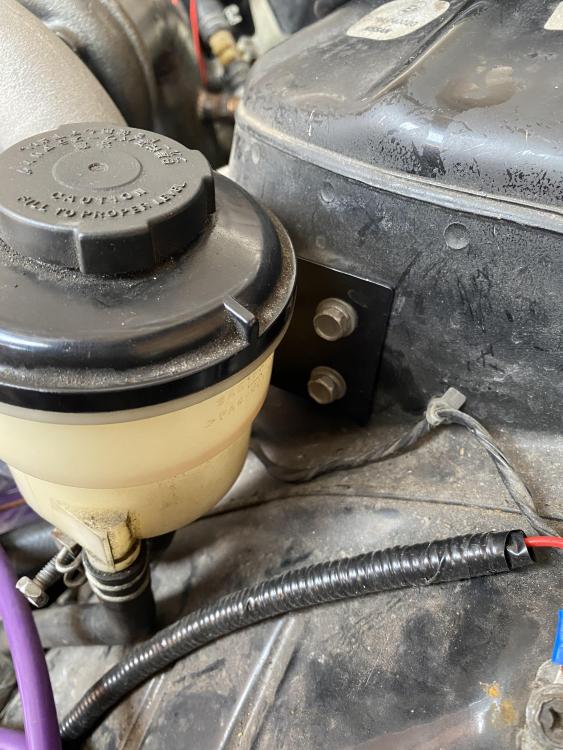
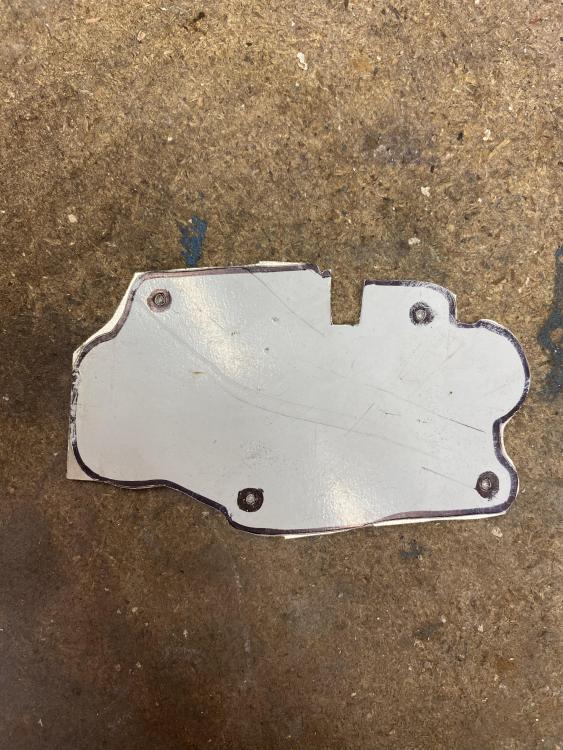
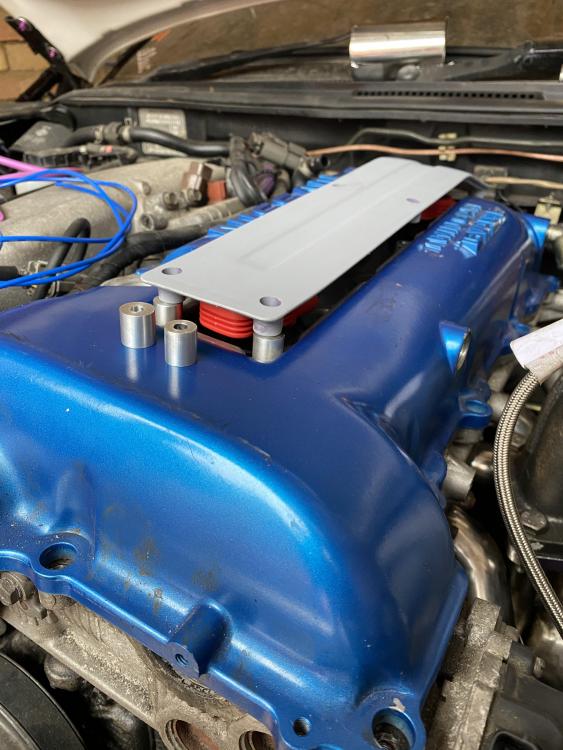
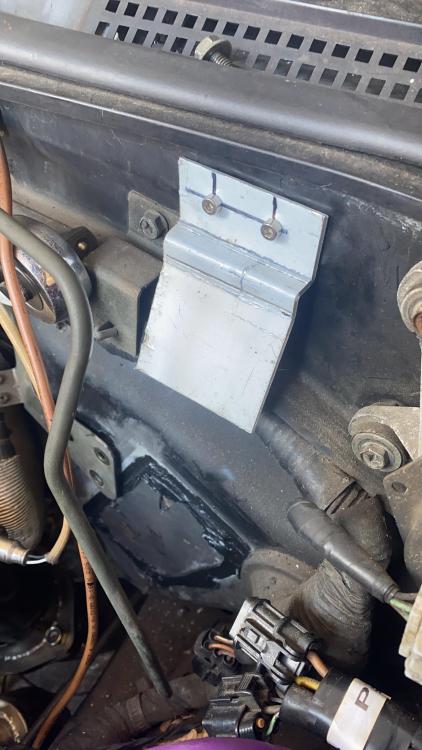
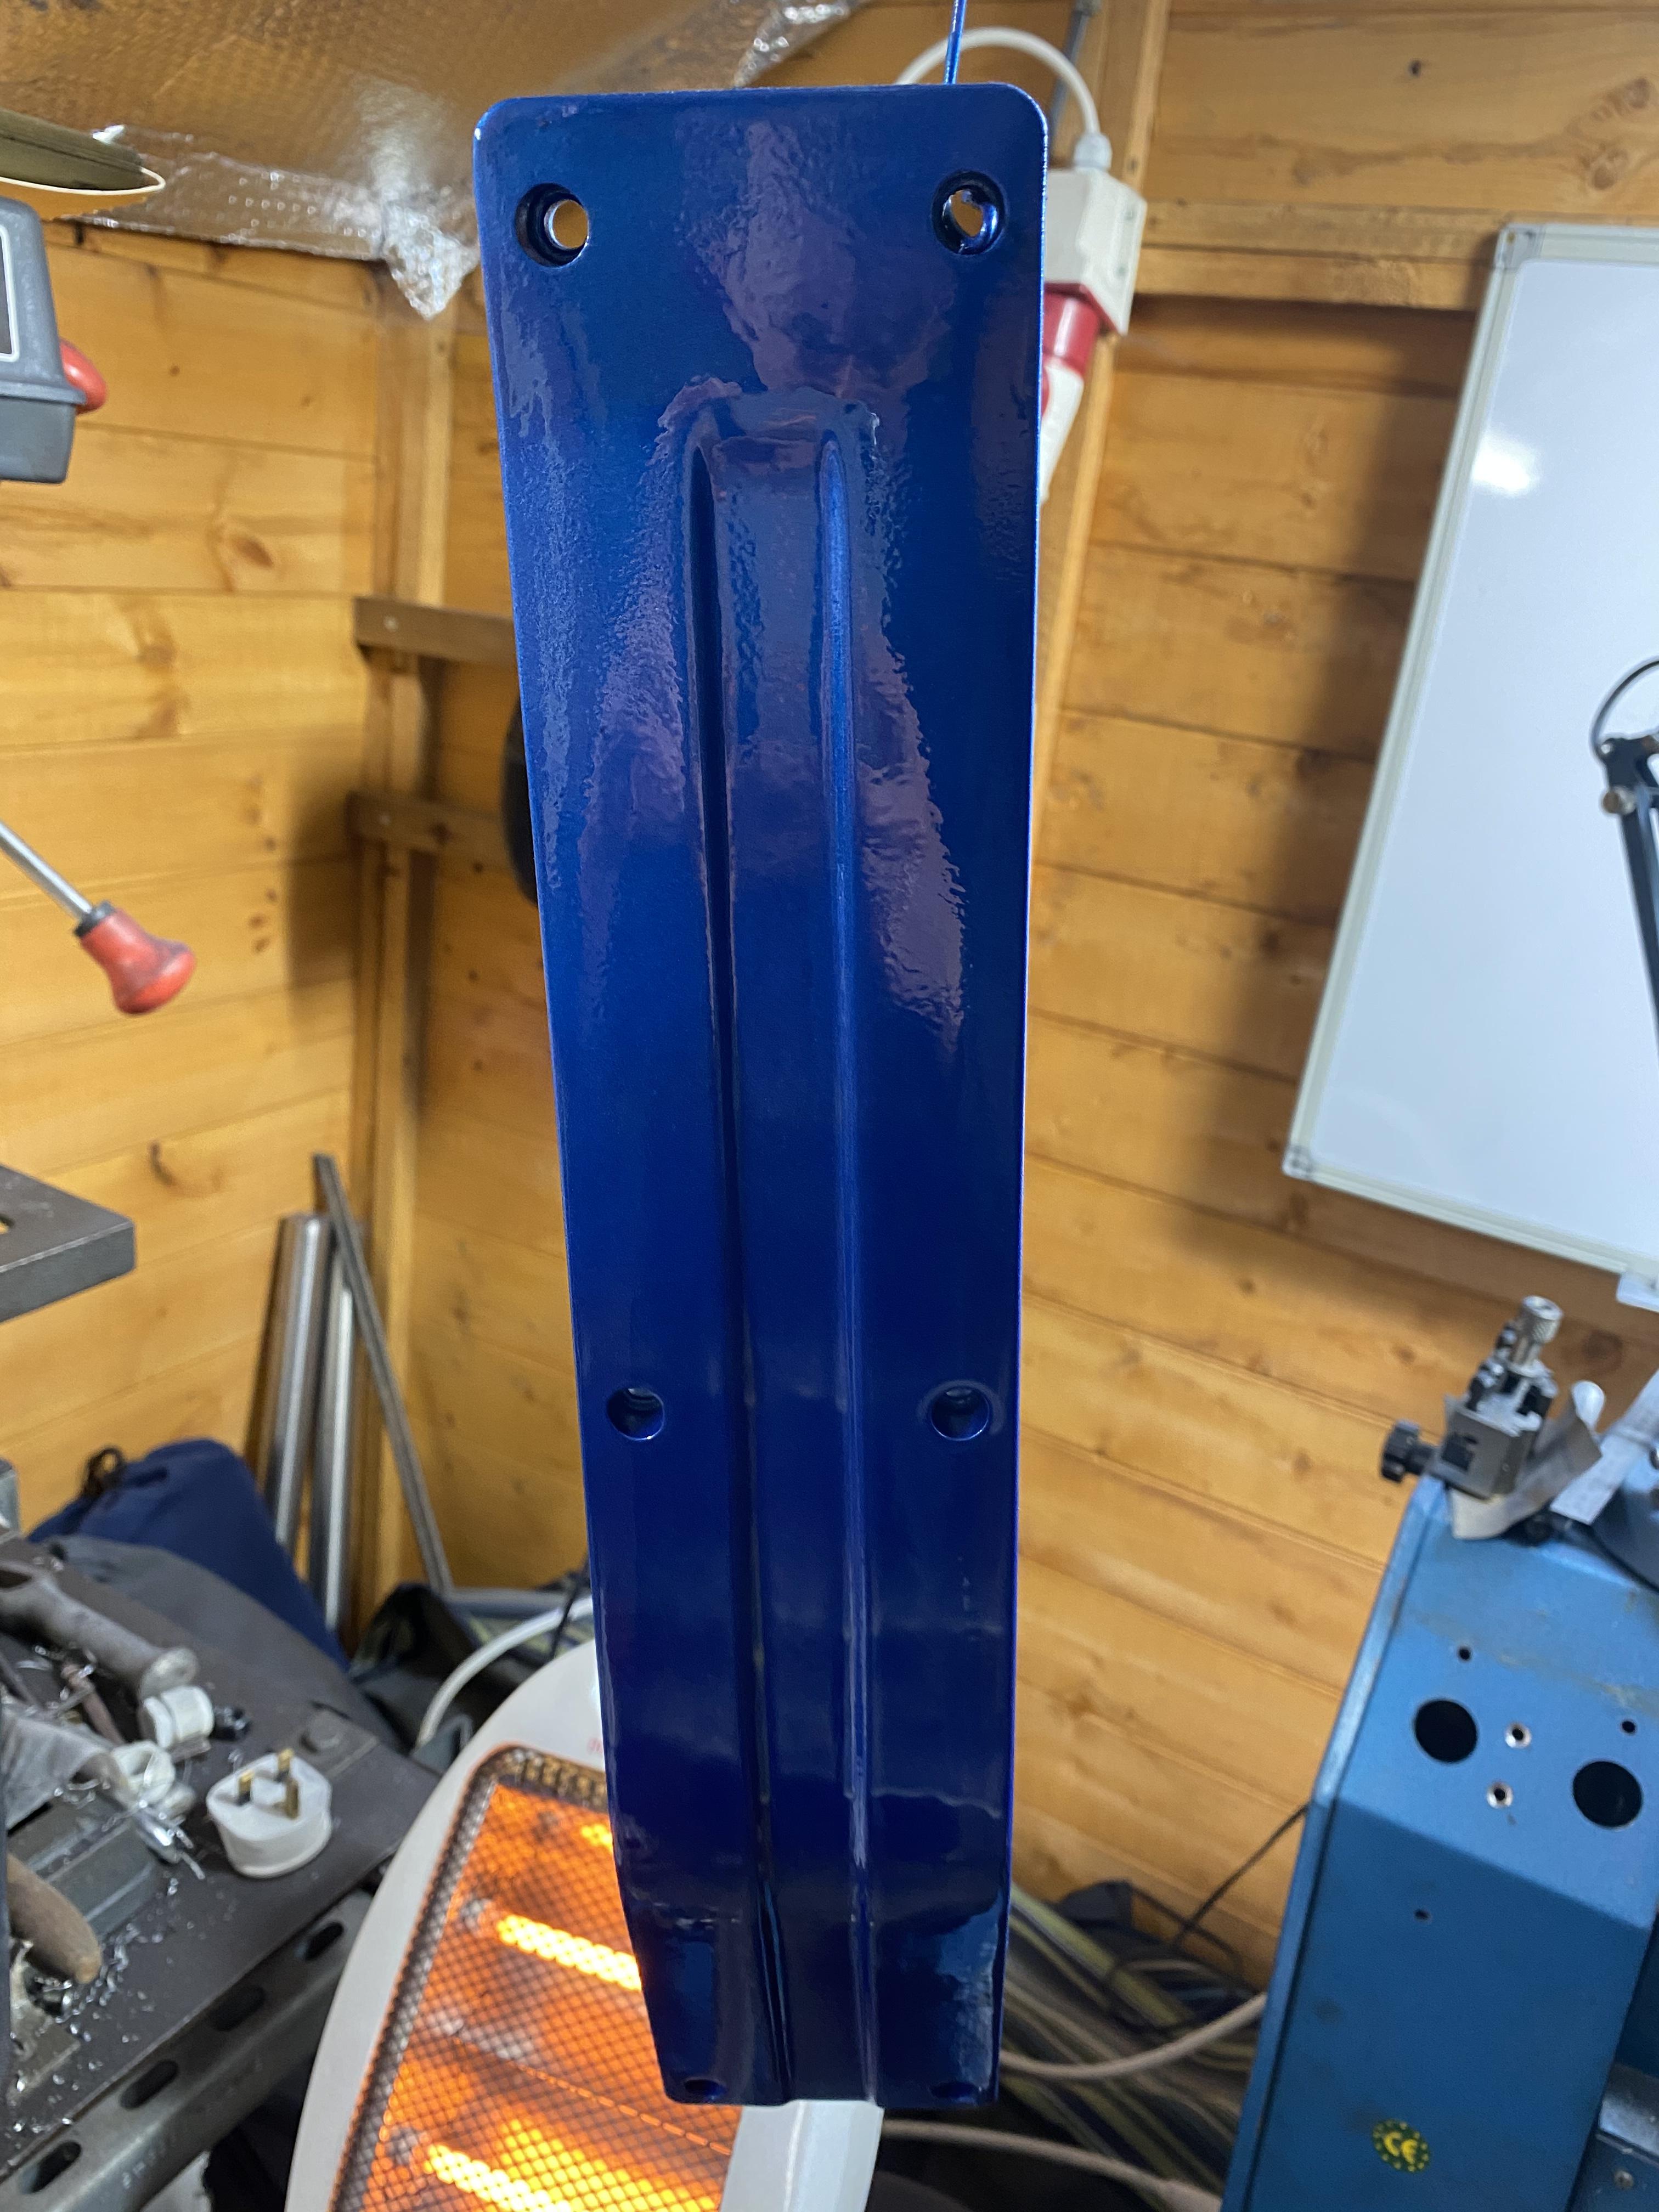
The original mounting place of the power steering reservoir fouls the vac line on the turbo so I fabricated a new bracket. The top bolt is an original and the bottom bolt was a nutsert addition.
-
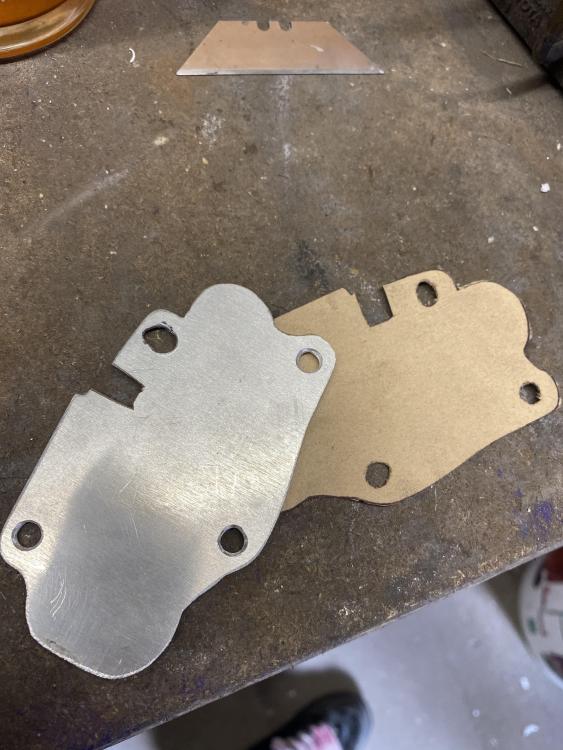
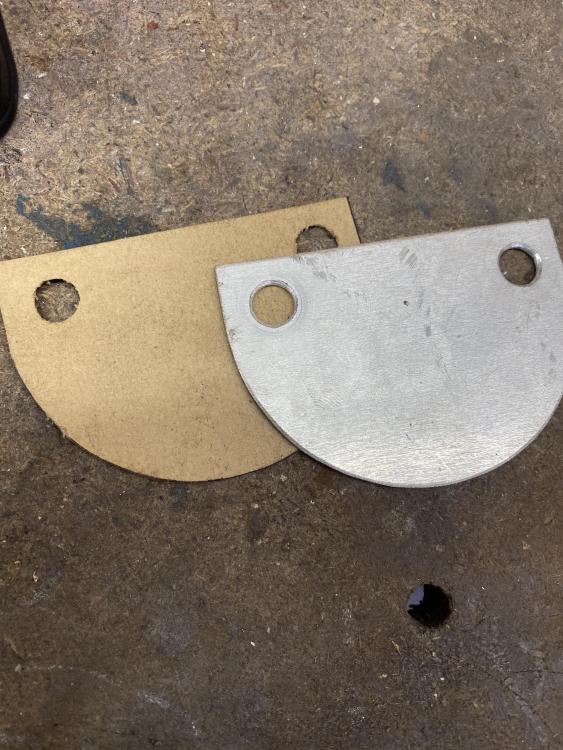
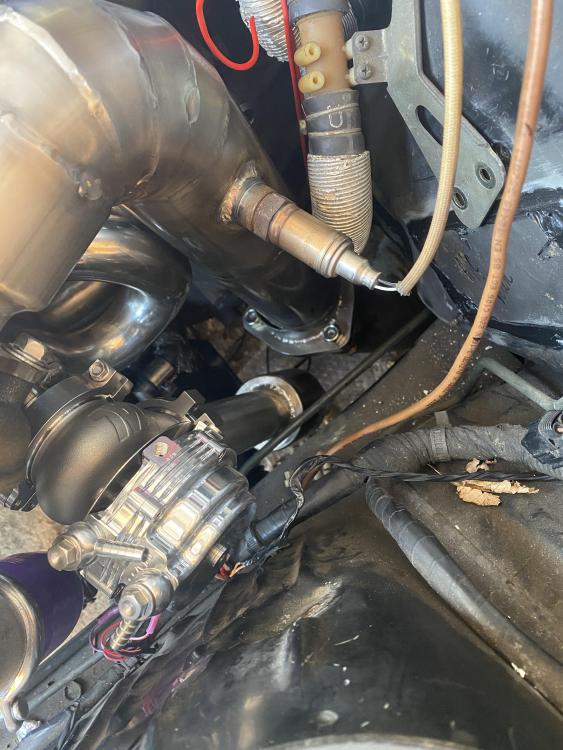
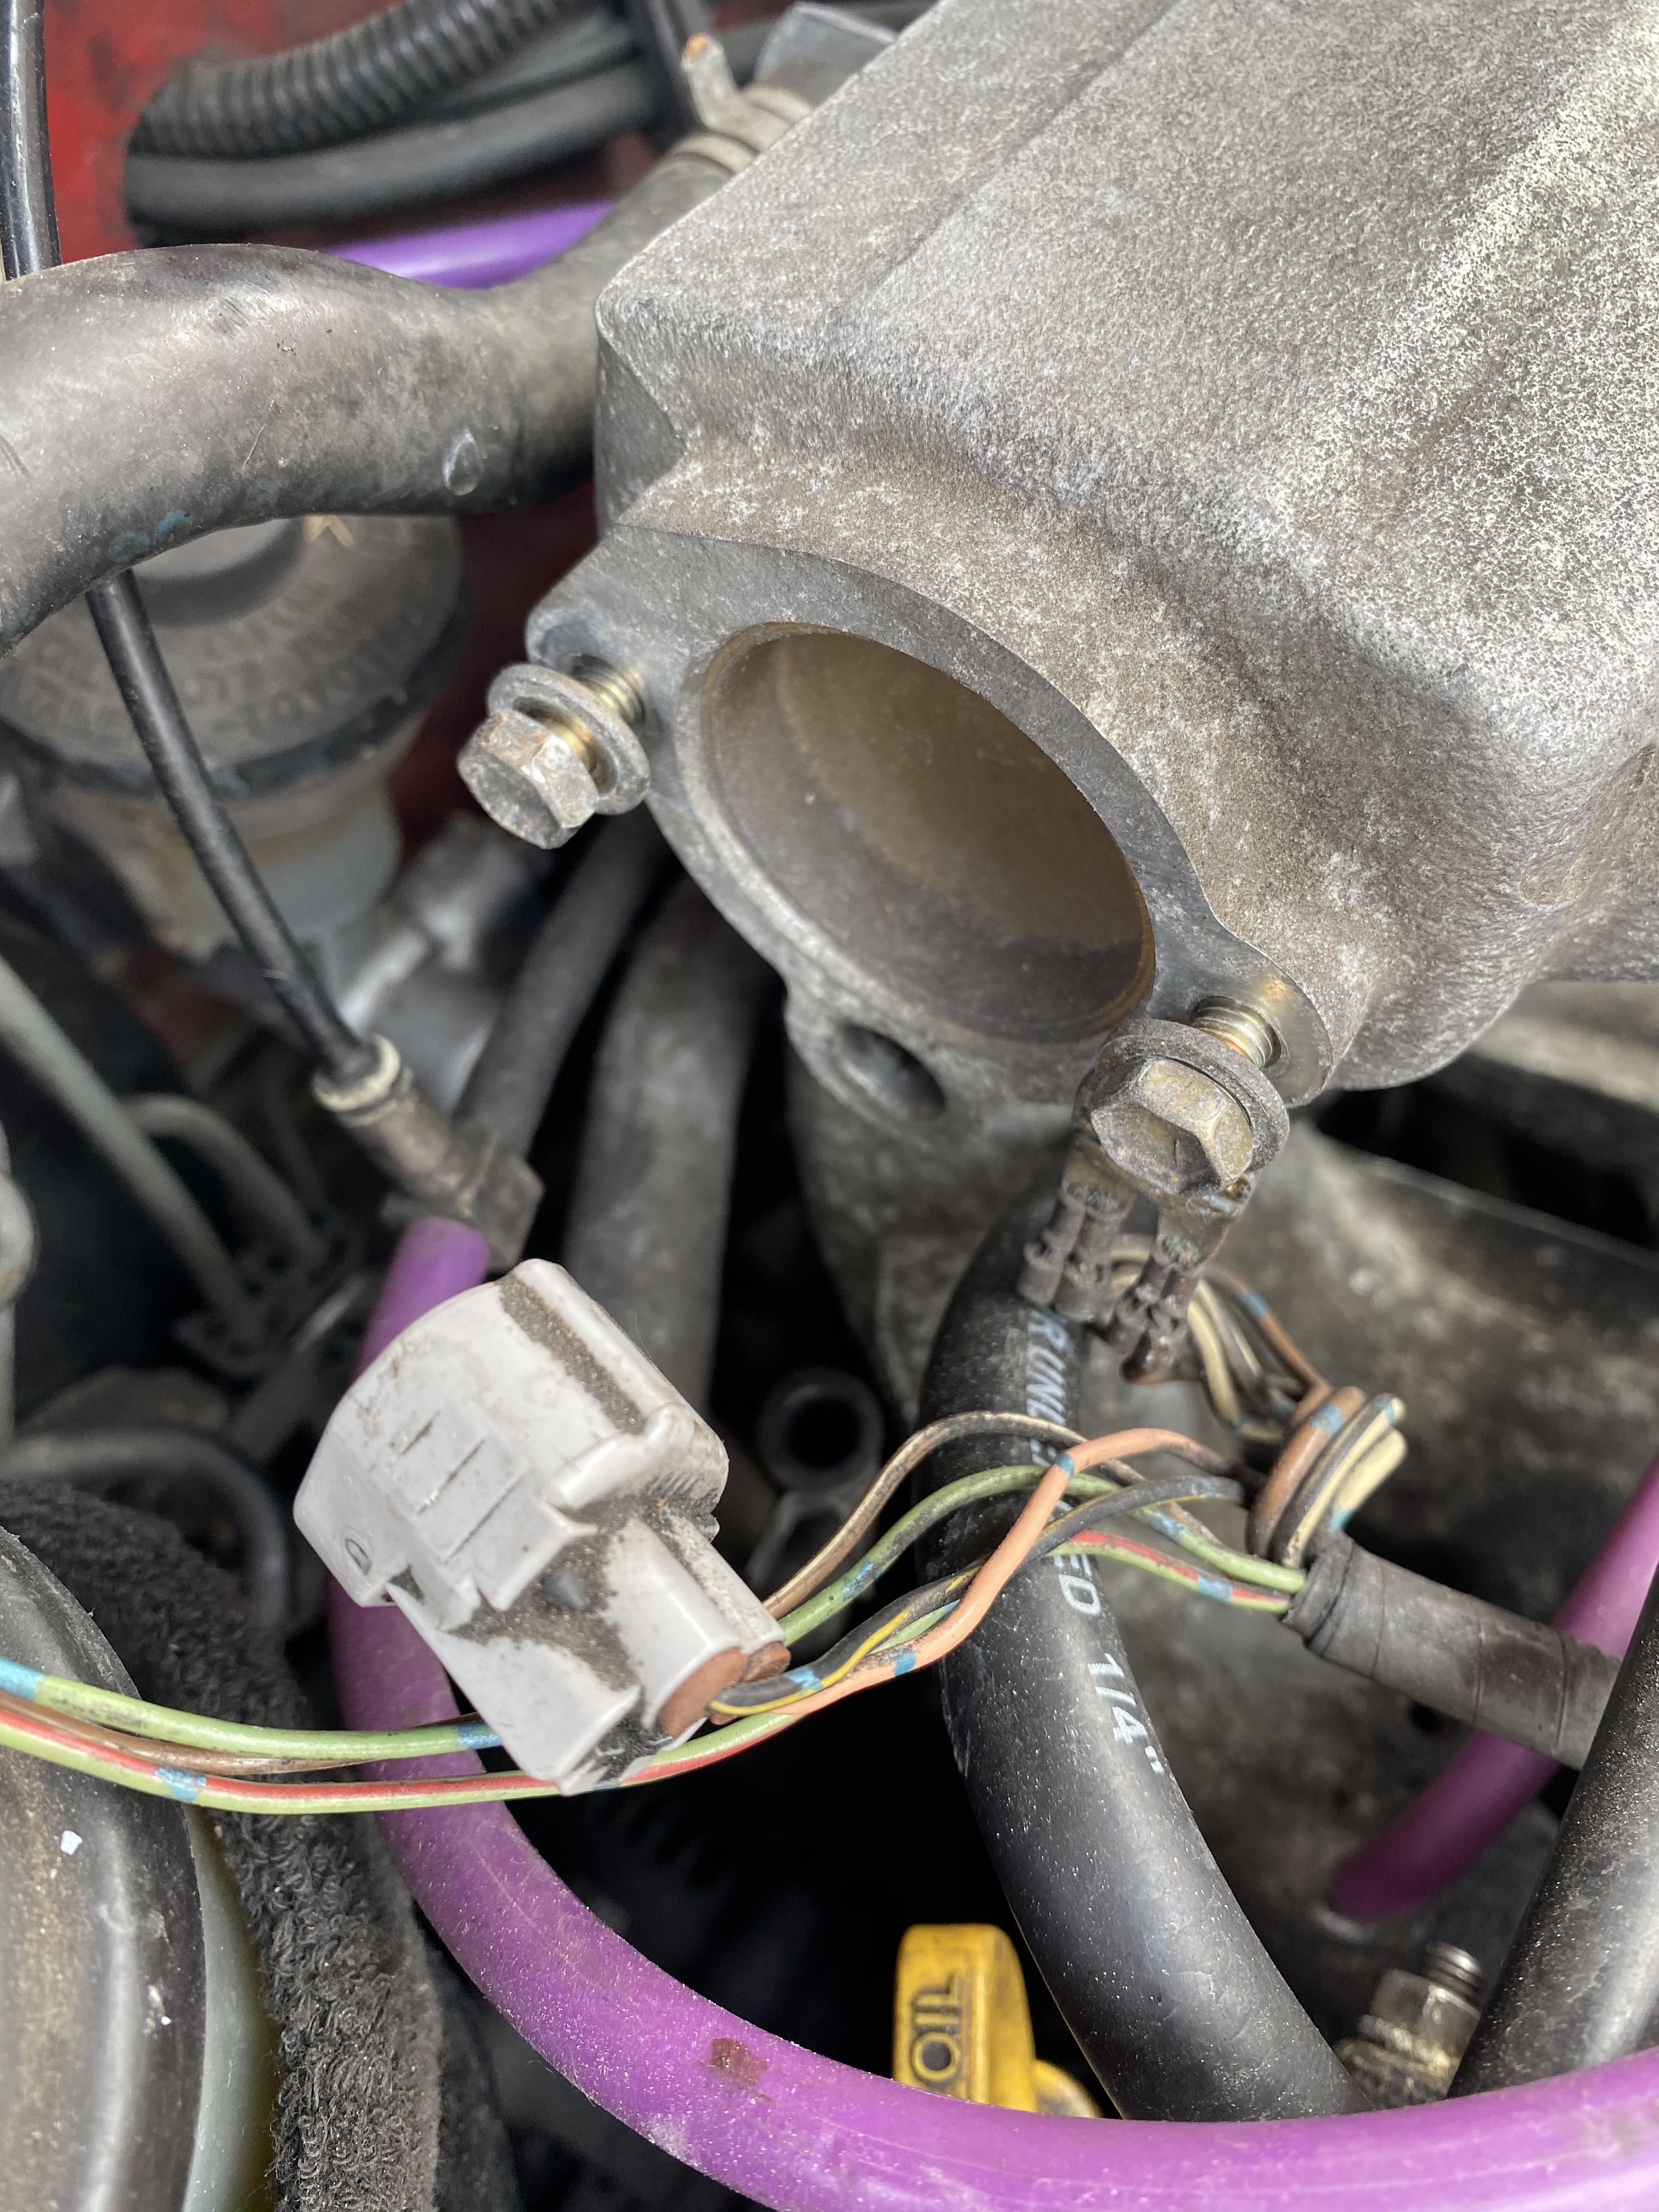
Next up was fully removing the wax stat. It seems this can also cause idle problems so I decided to do a full delete rather than the chemical metal mod it seems most people tend to do.
I made a template which if anyone else reading this wants to remove the wax stat I still have and I can send them a blank of it.
Tomorrow’s job is blanking off the vacuum lines and joining up the coolant lines that originally ran to this

-
I’ve had a few jobs that have been needing to be done for a good few years but I’ve never bothered to get them done. As the car is currently off the road for a few bits for the MOT that was due in February I decided to add these on to the list as well.
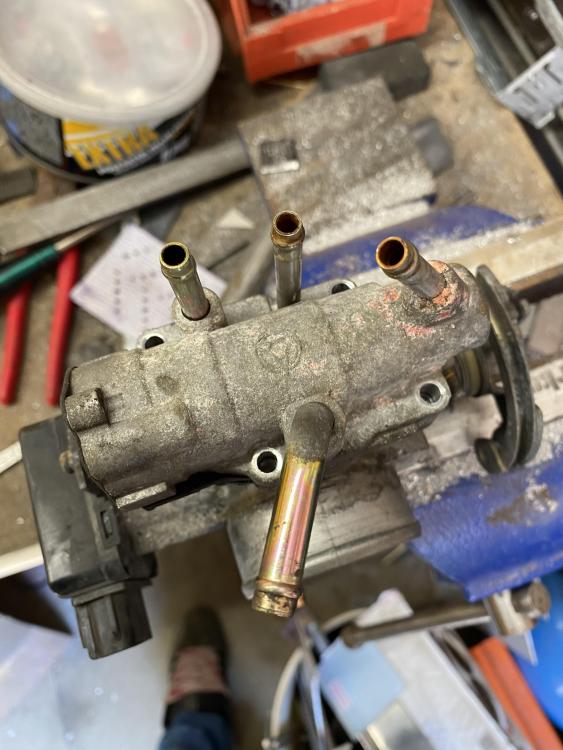
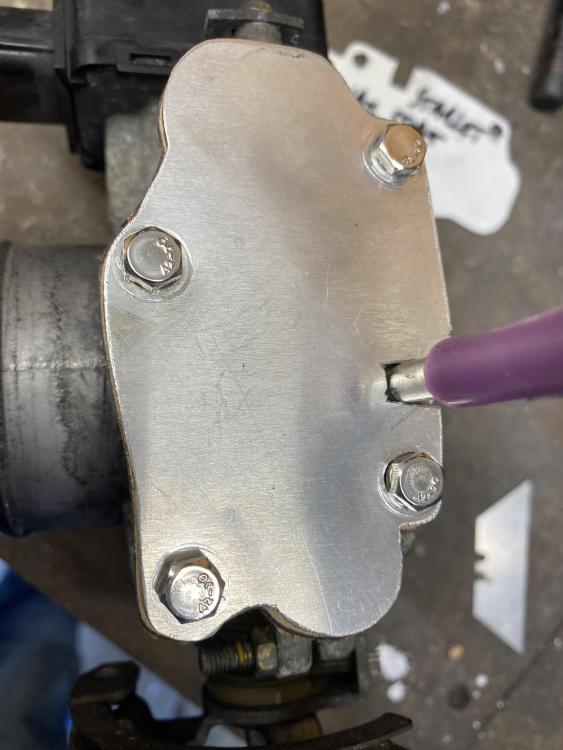
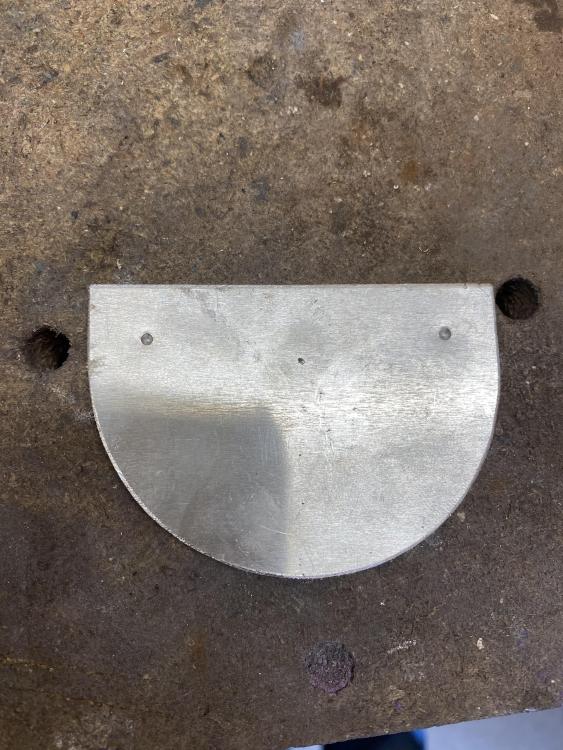
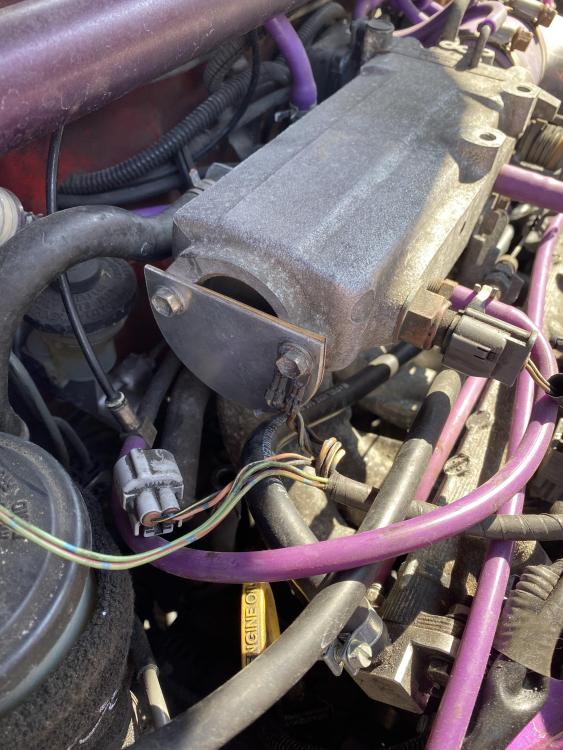
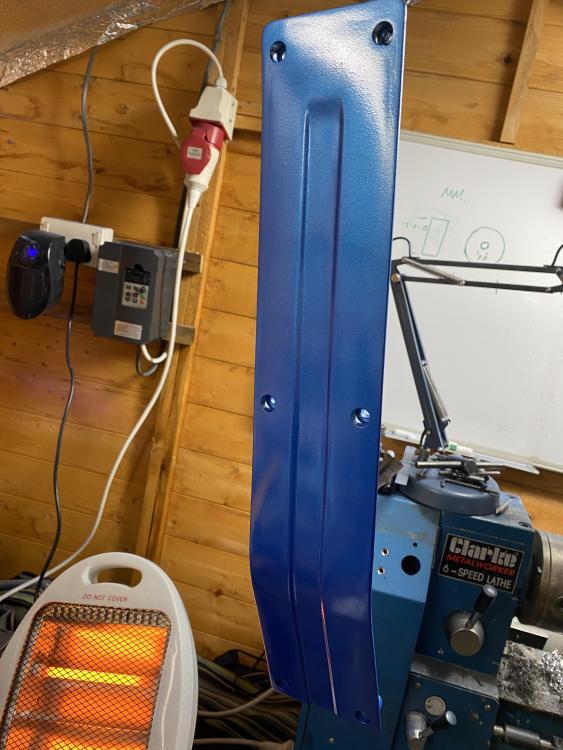
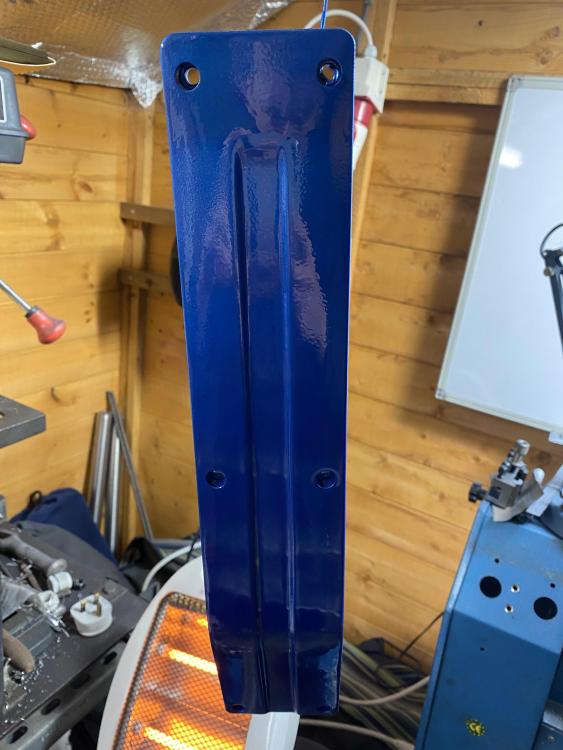
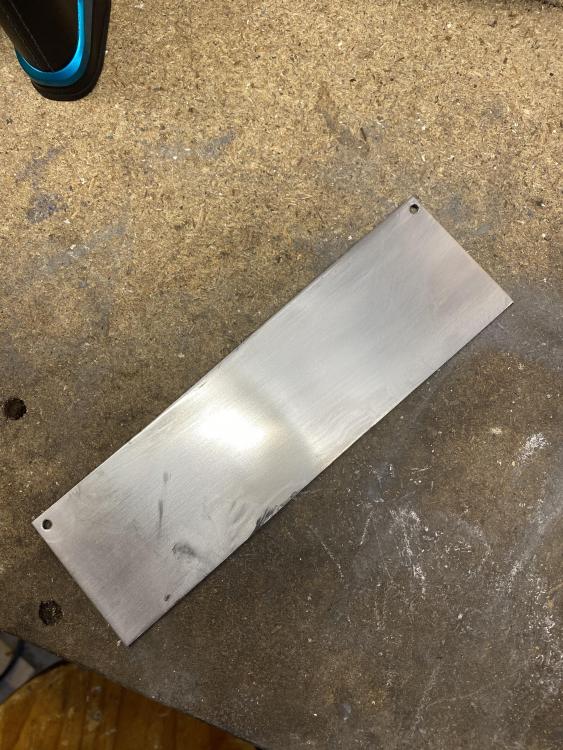
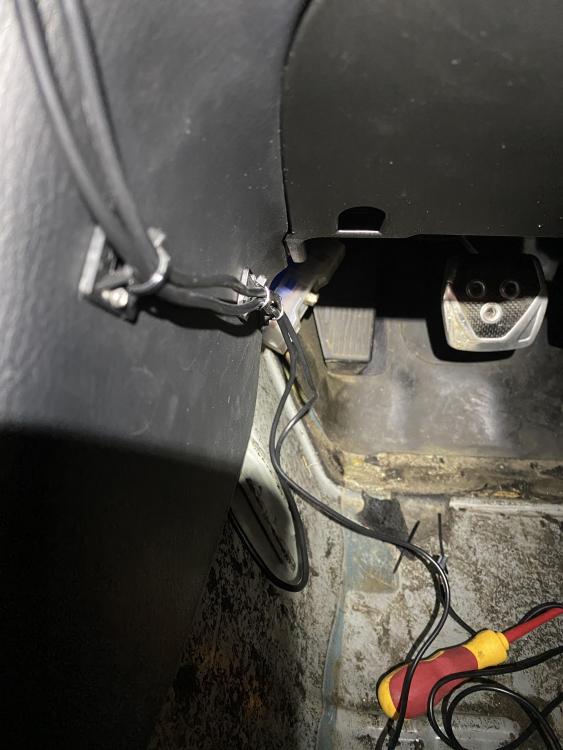
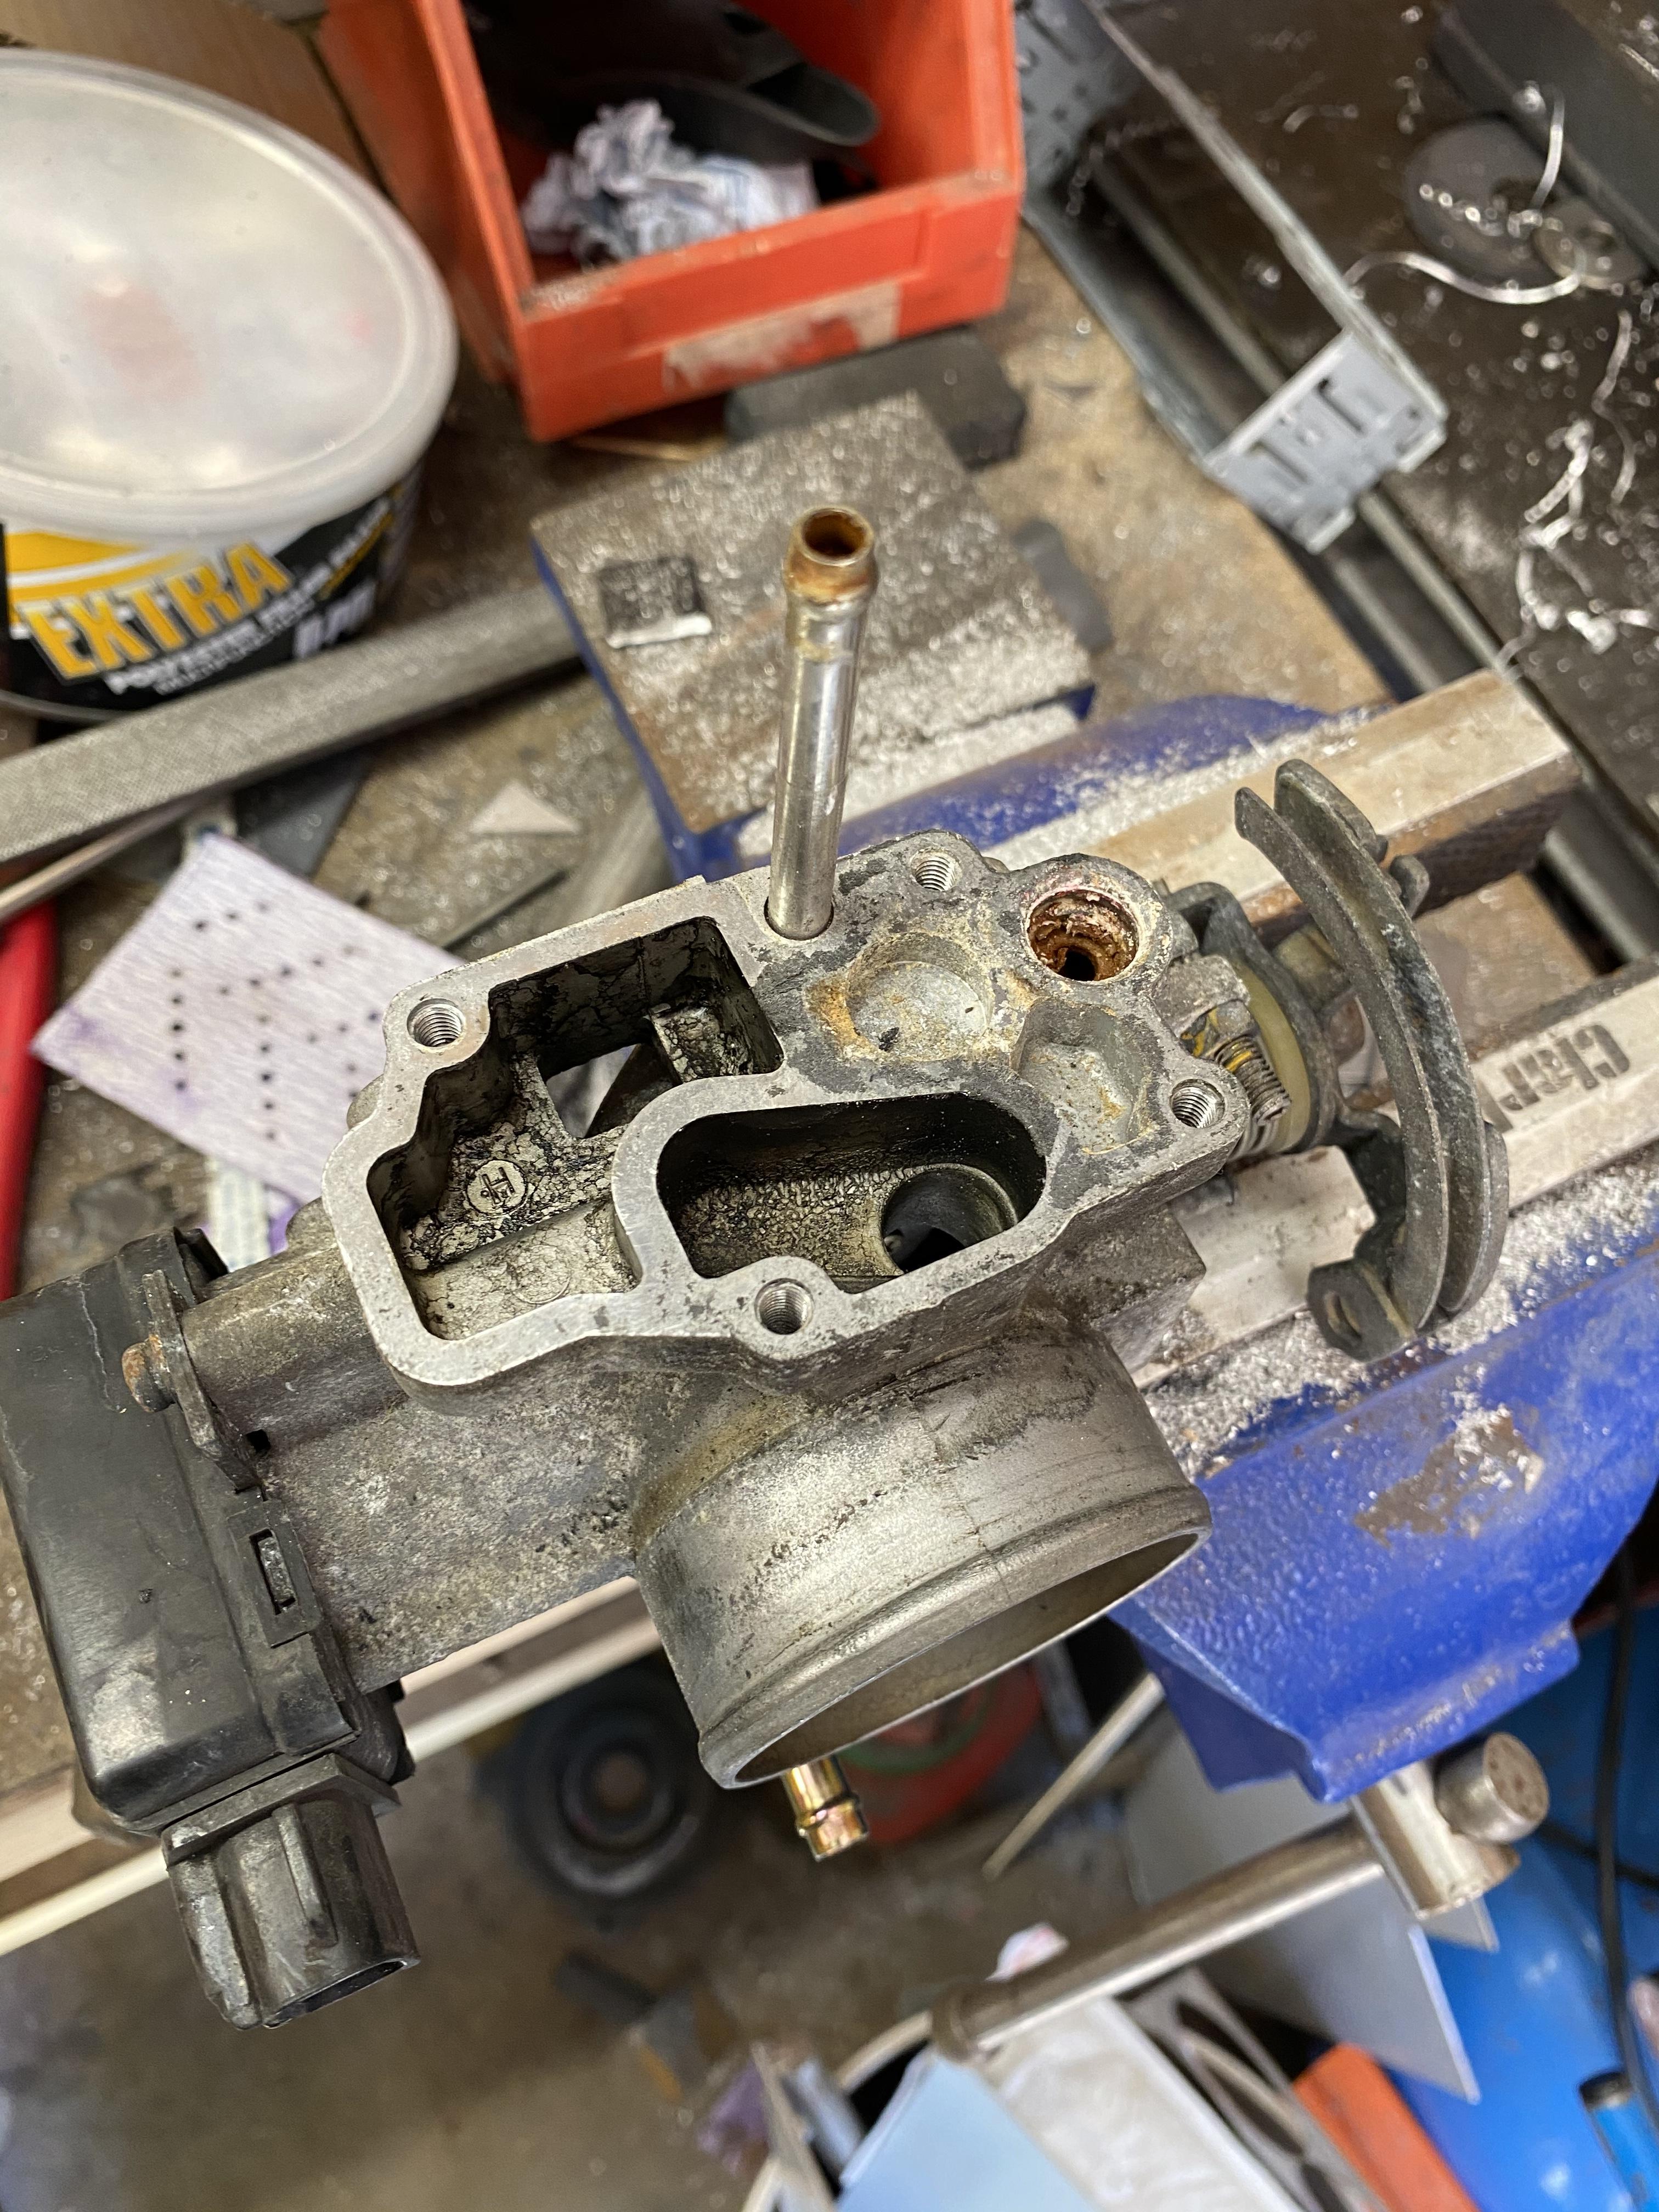
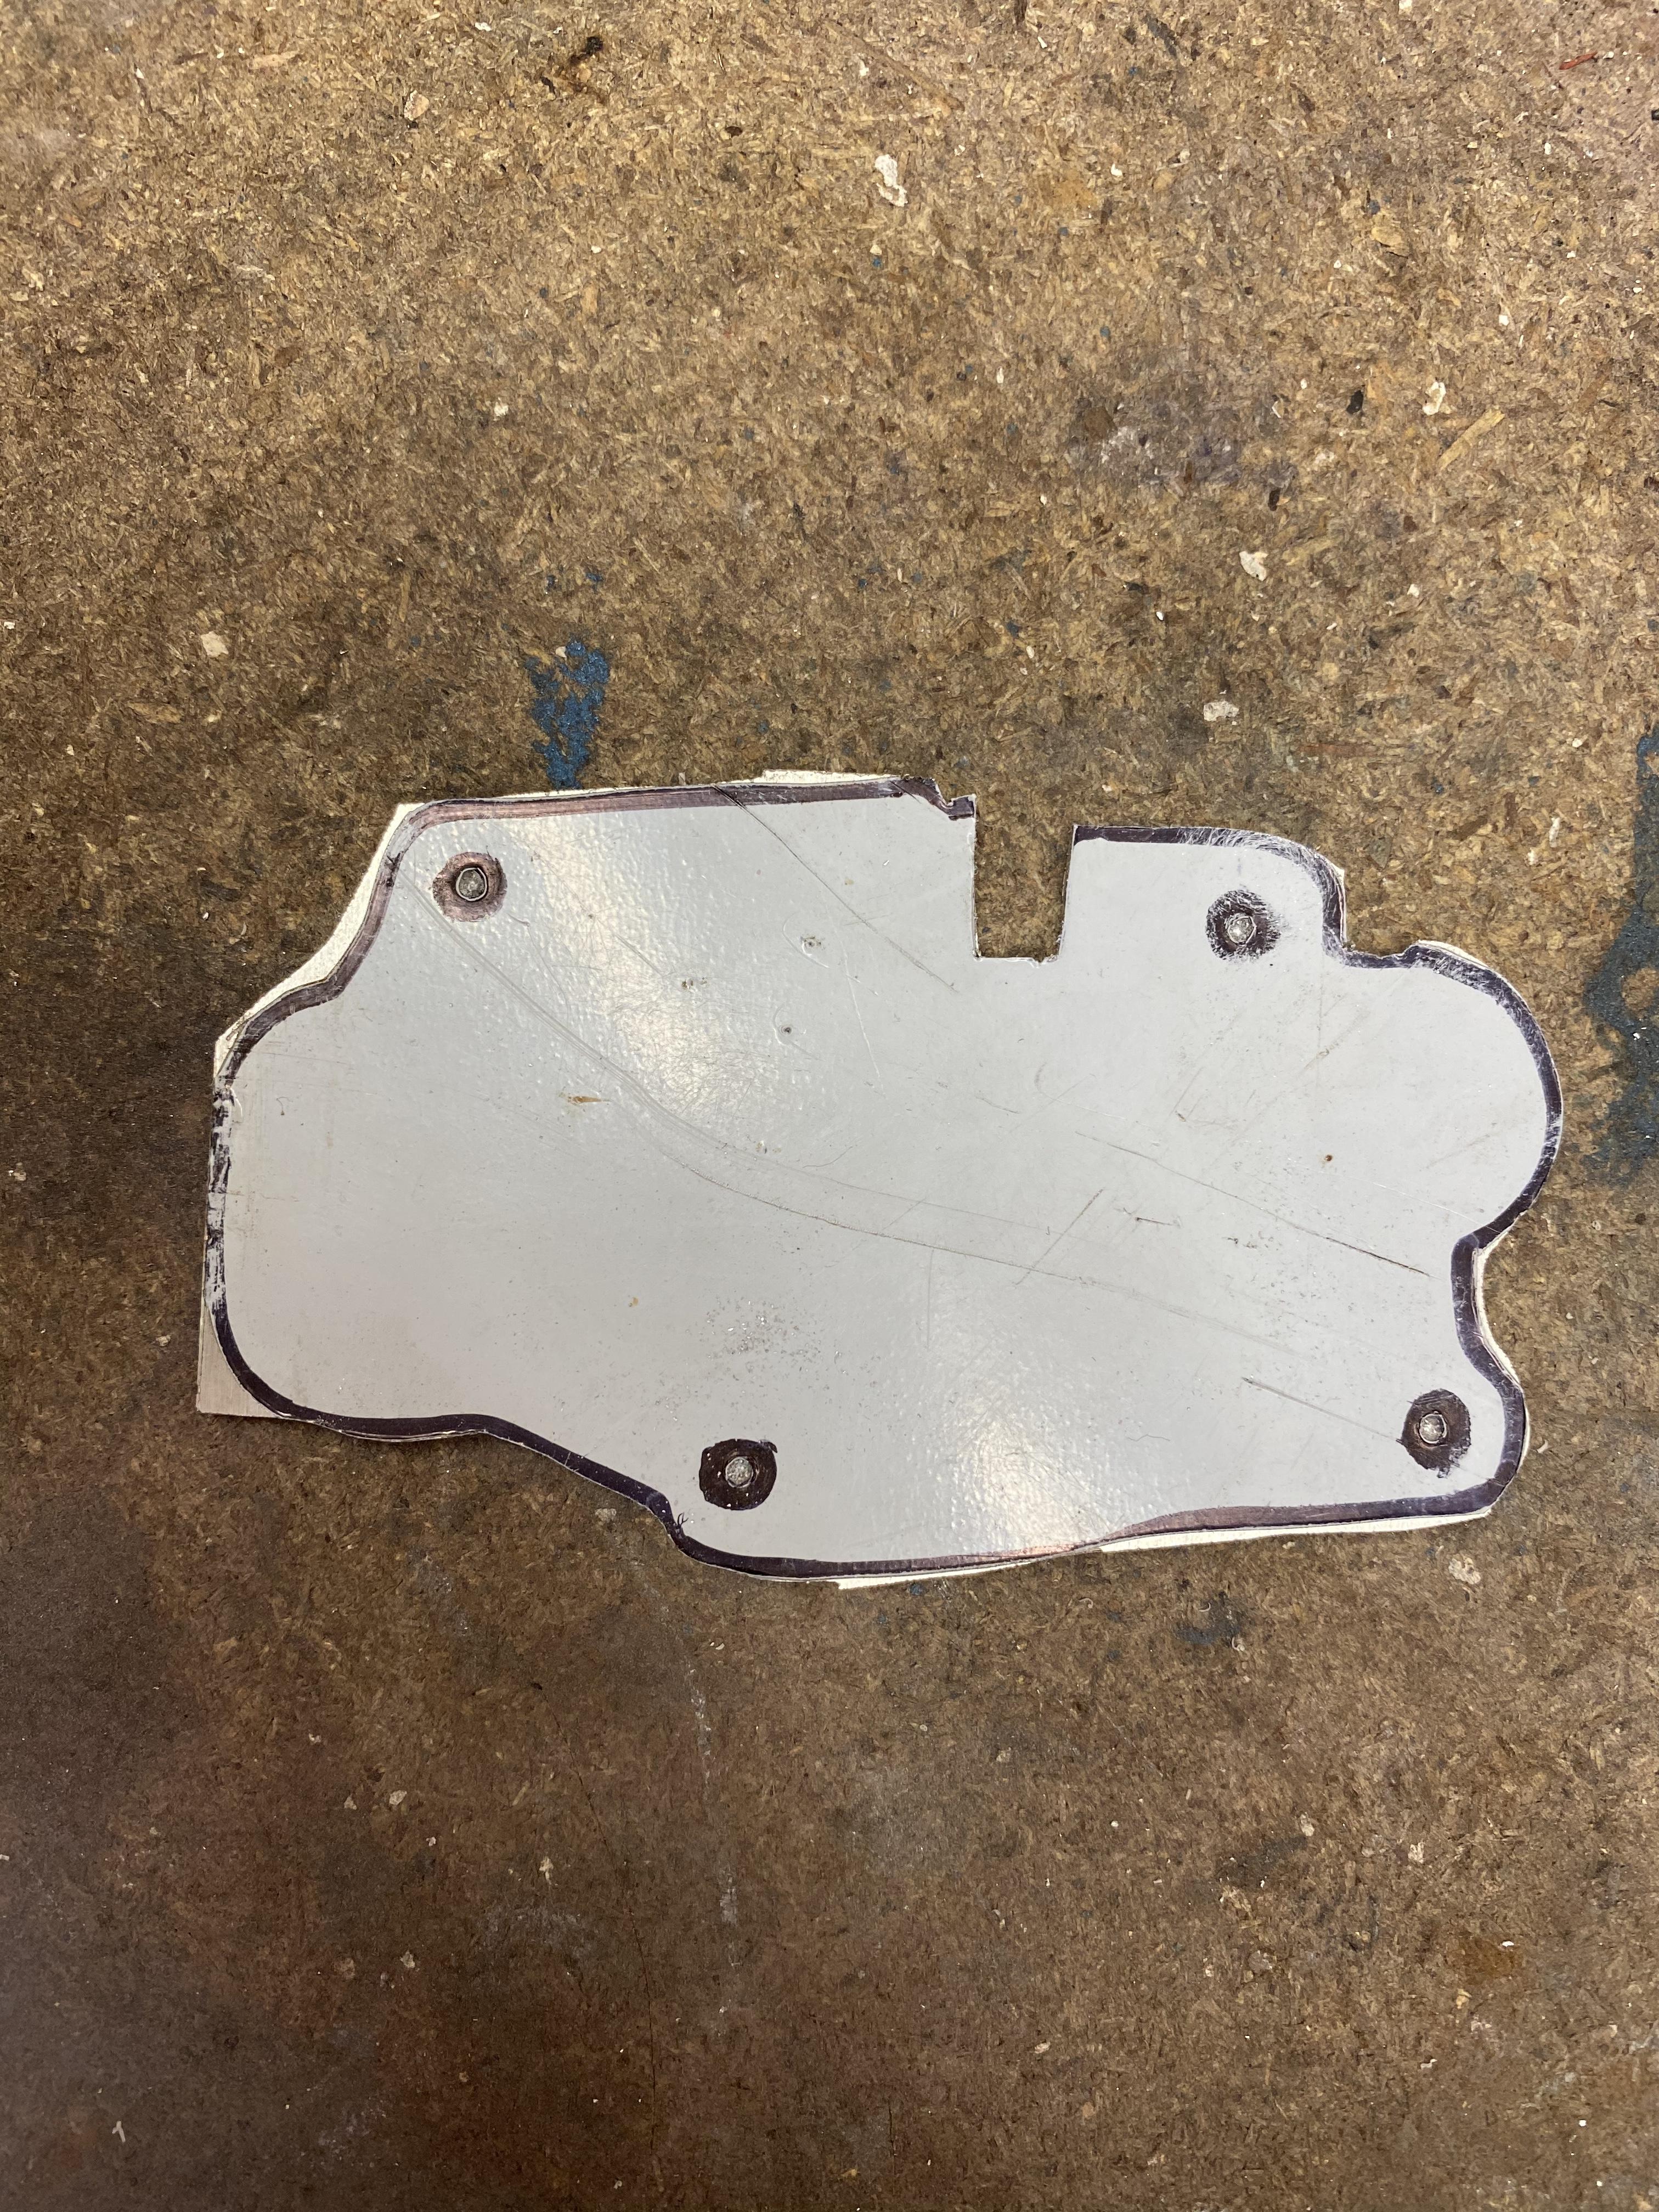
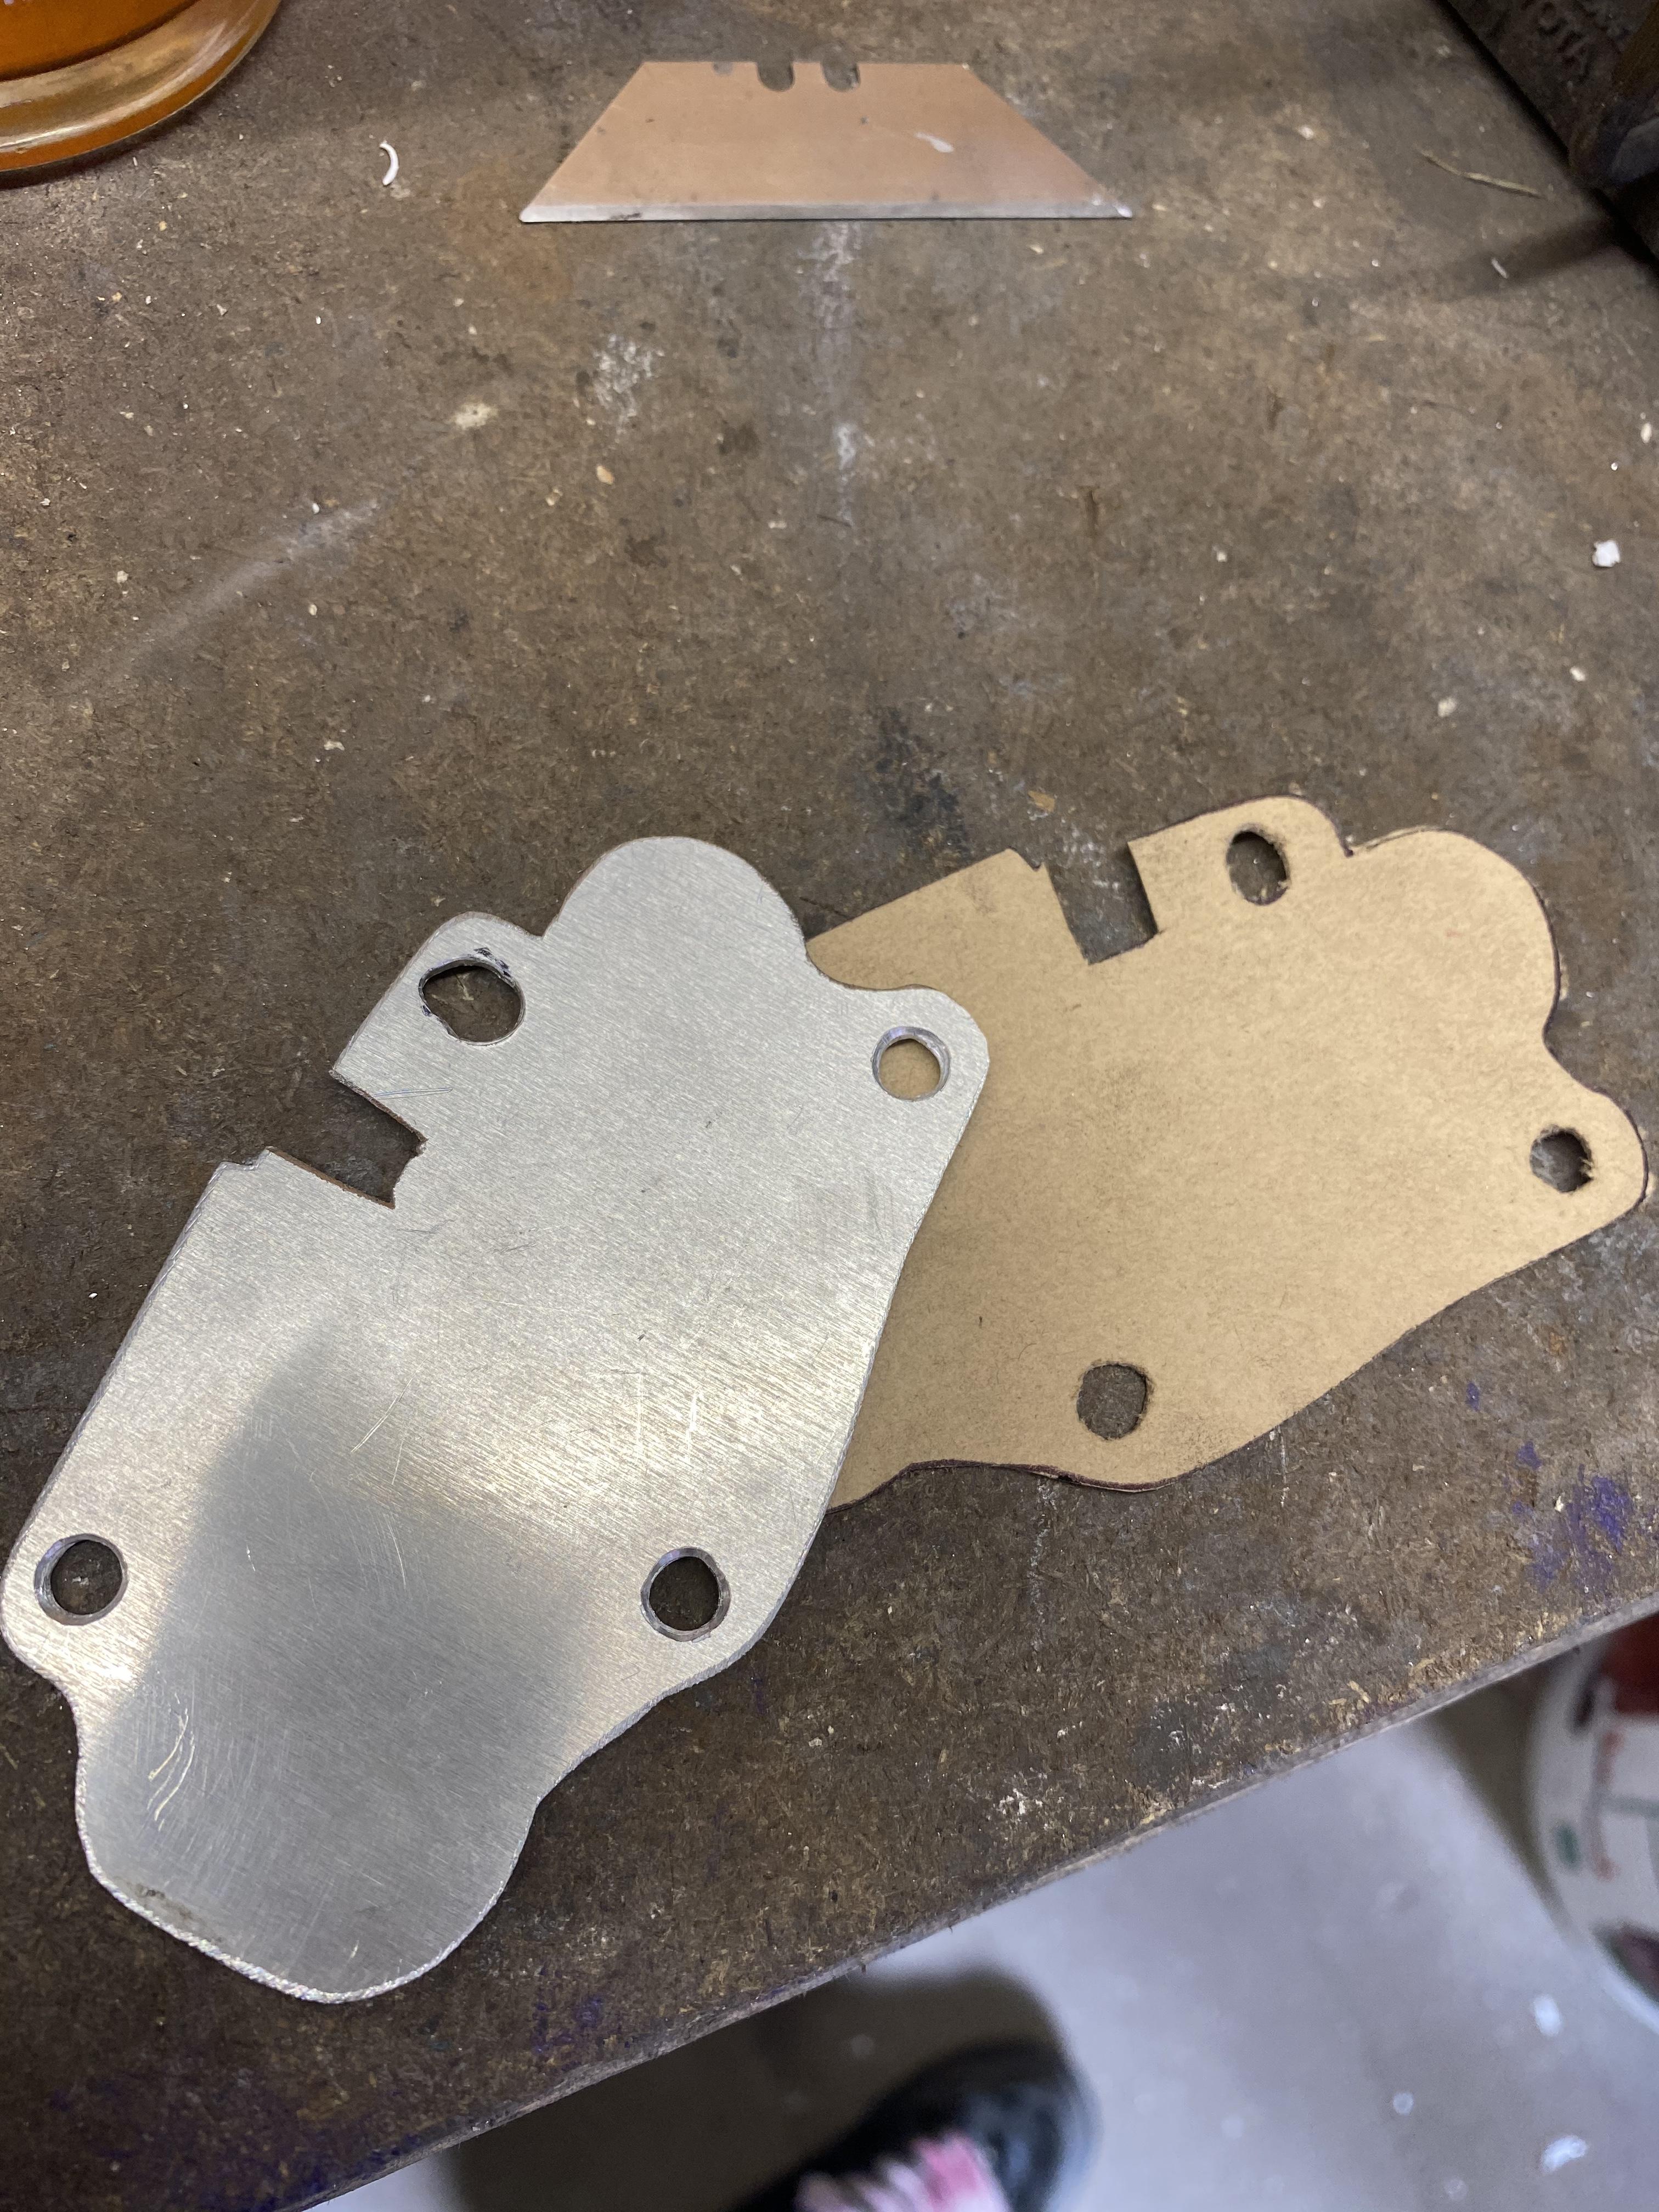
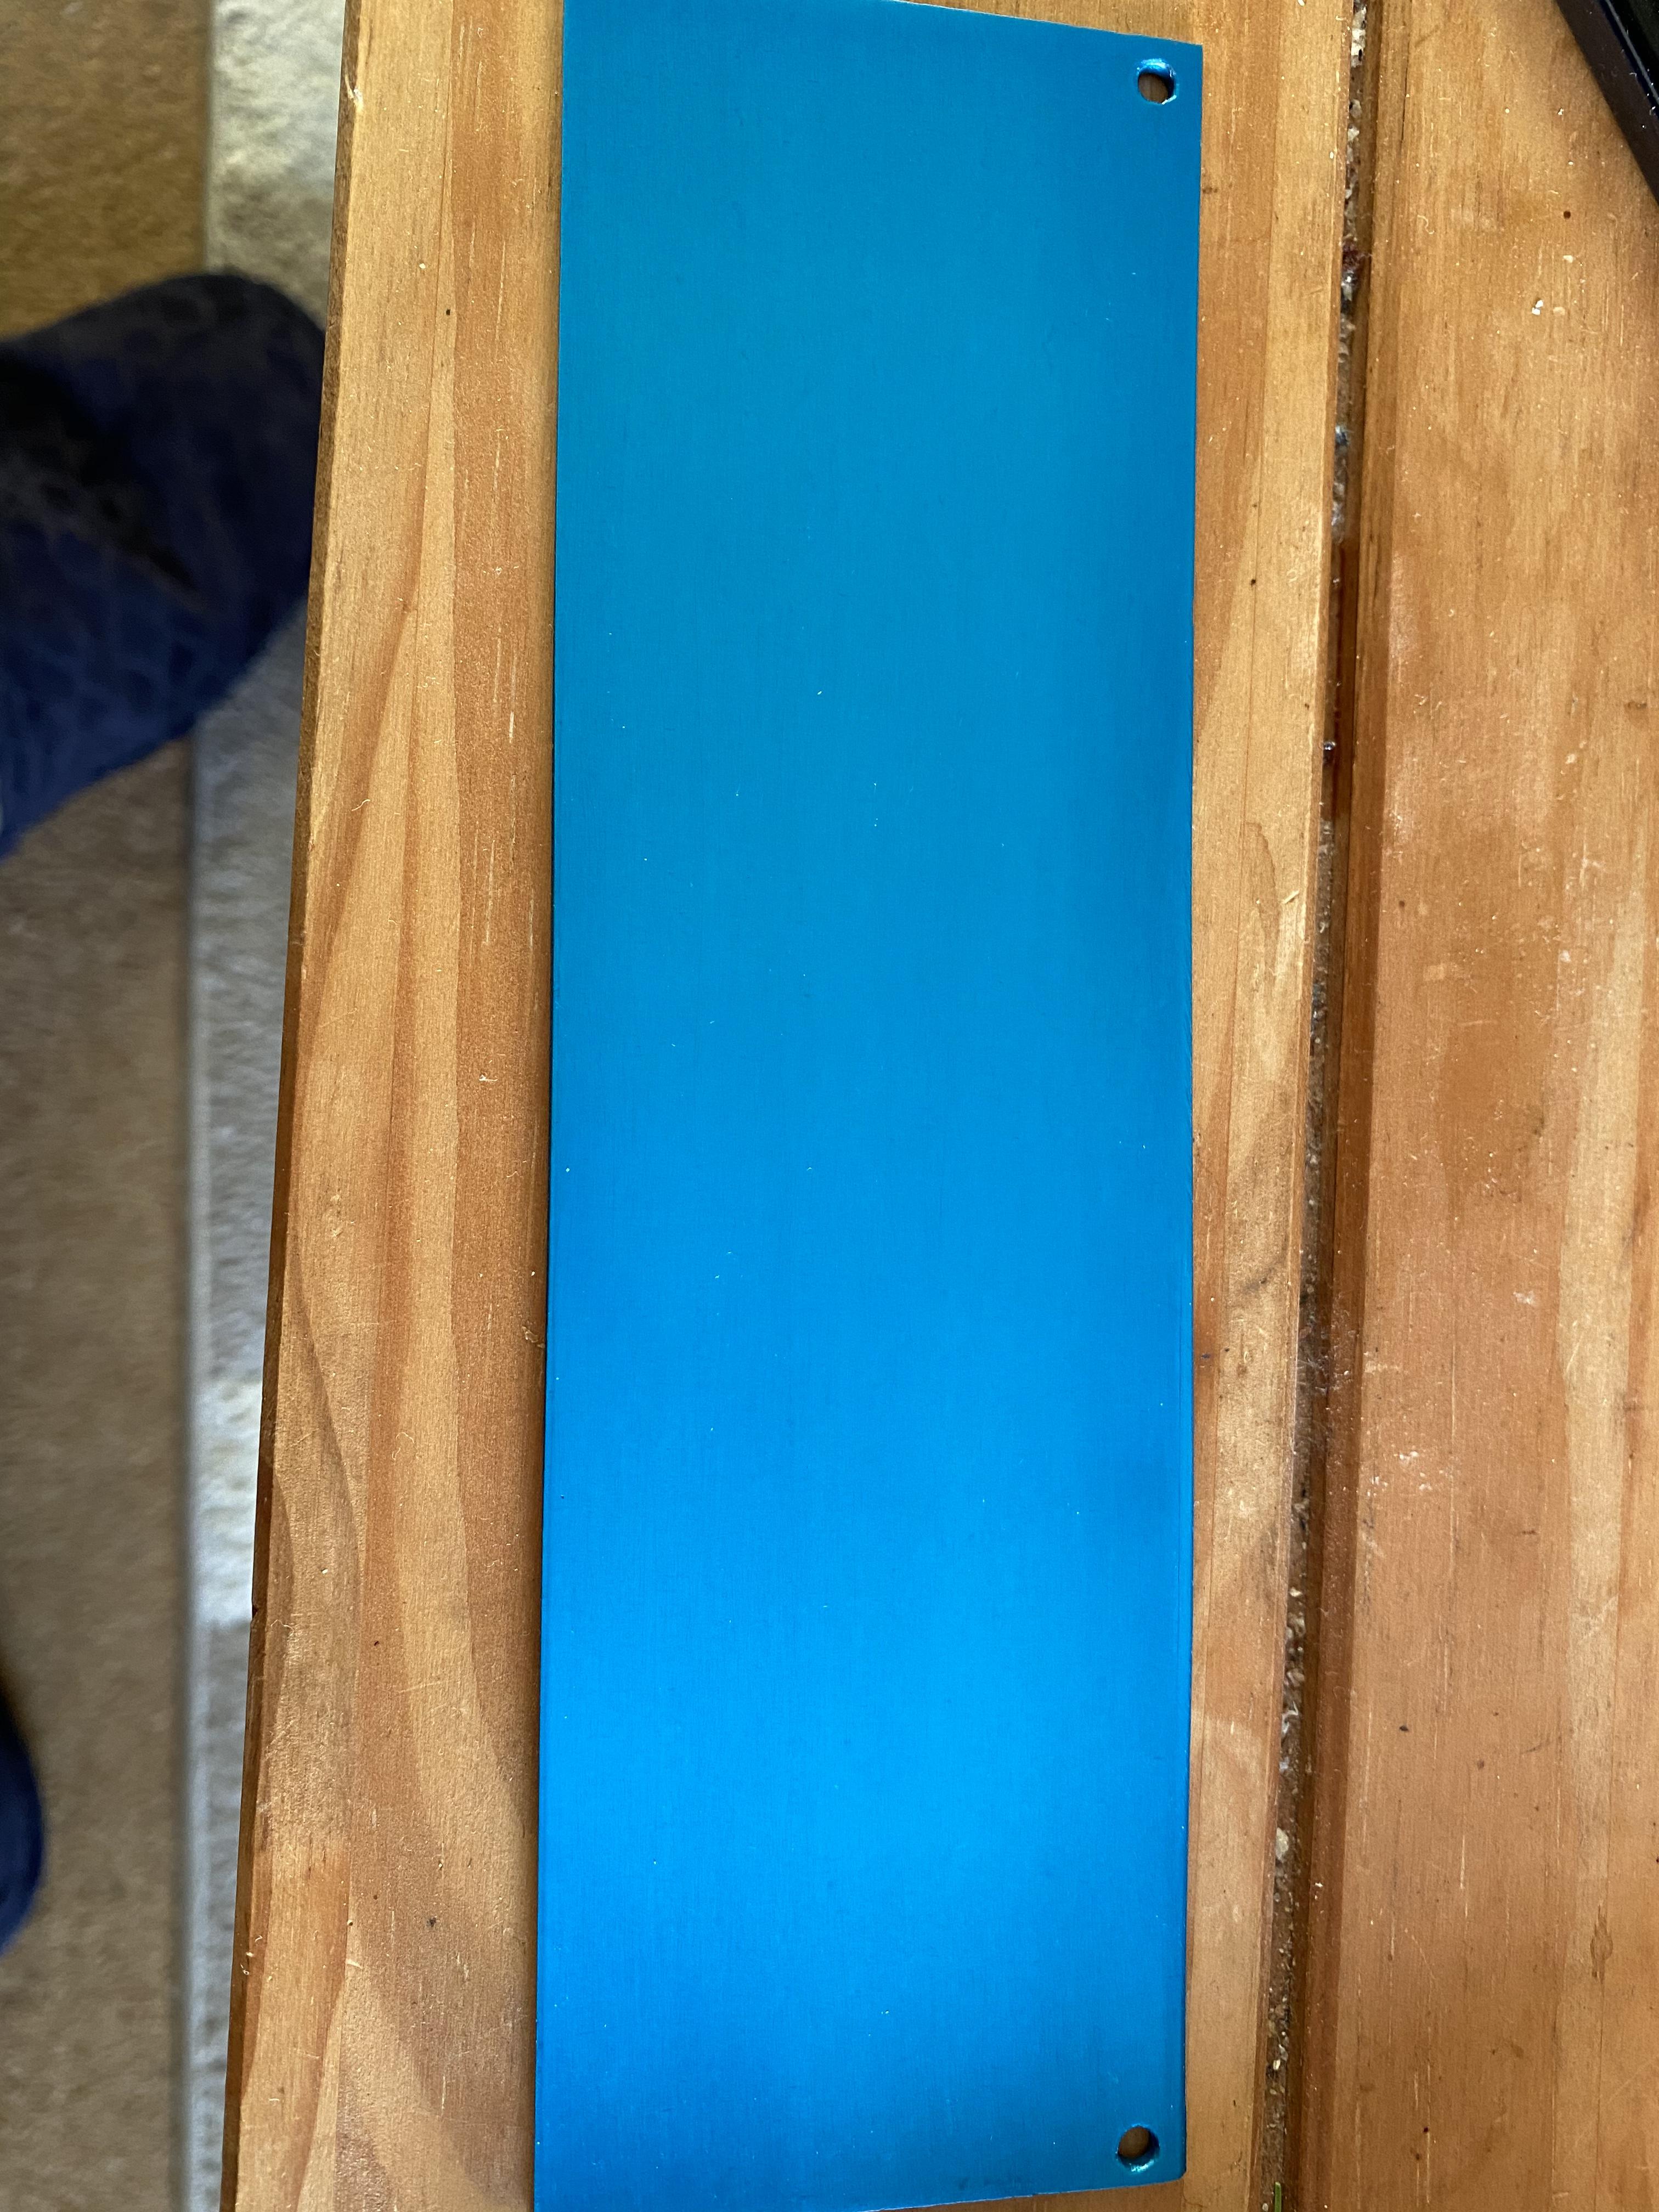
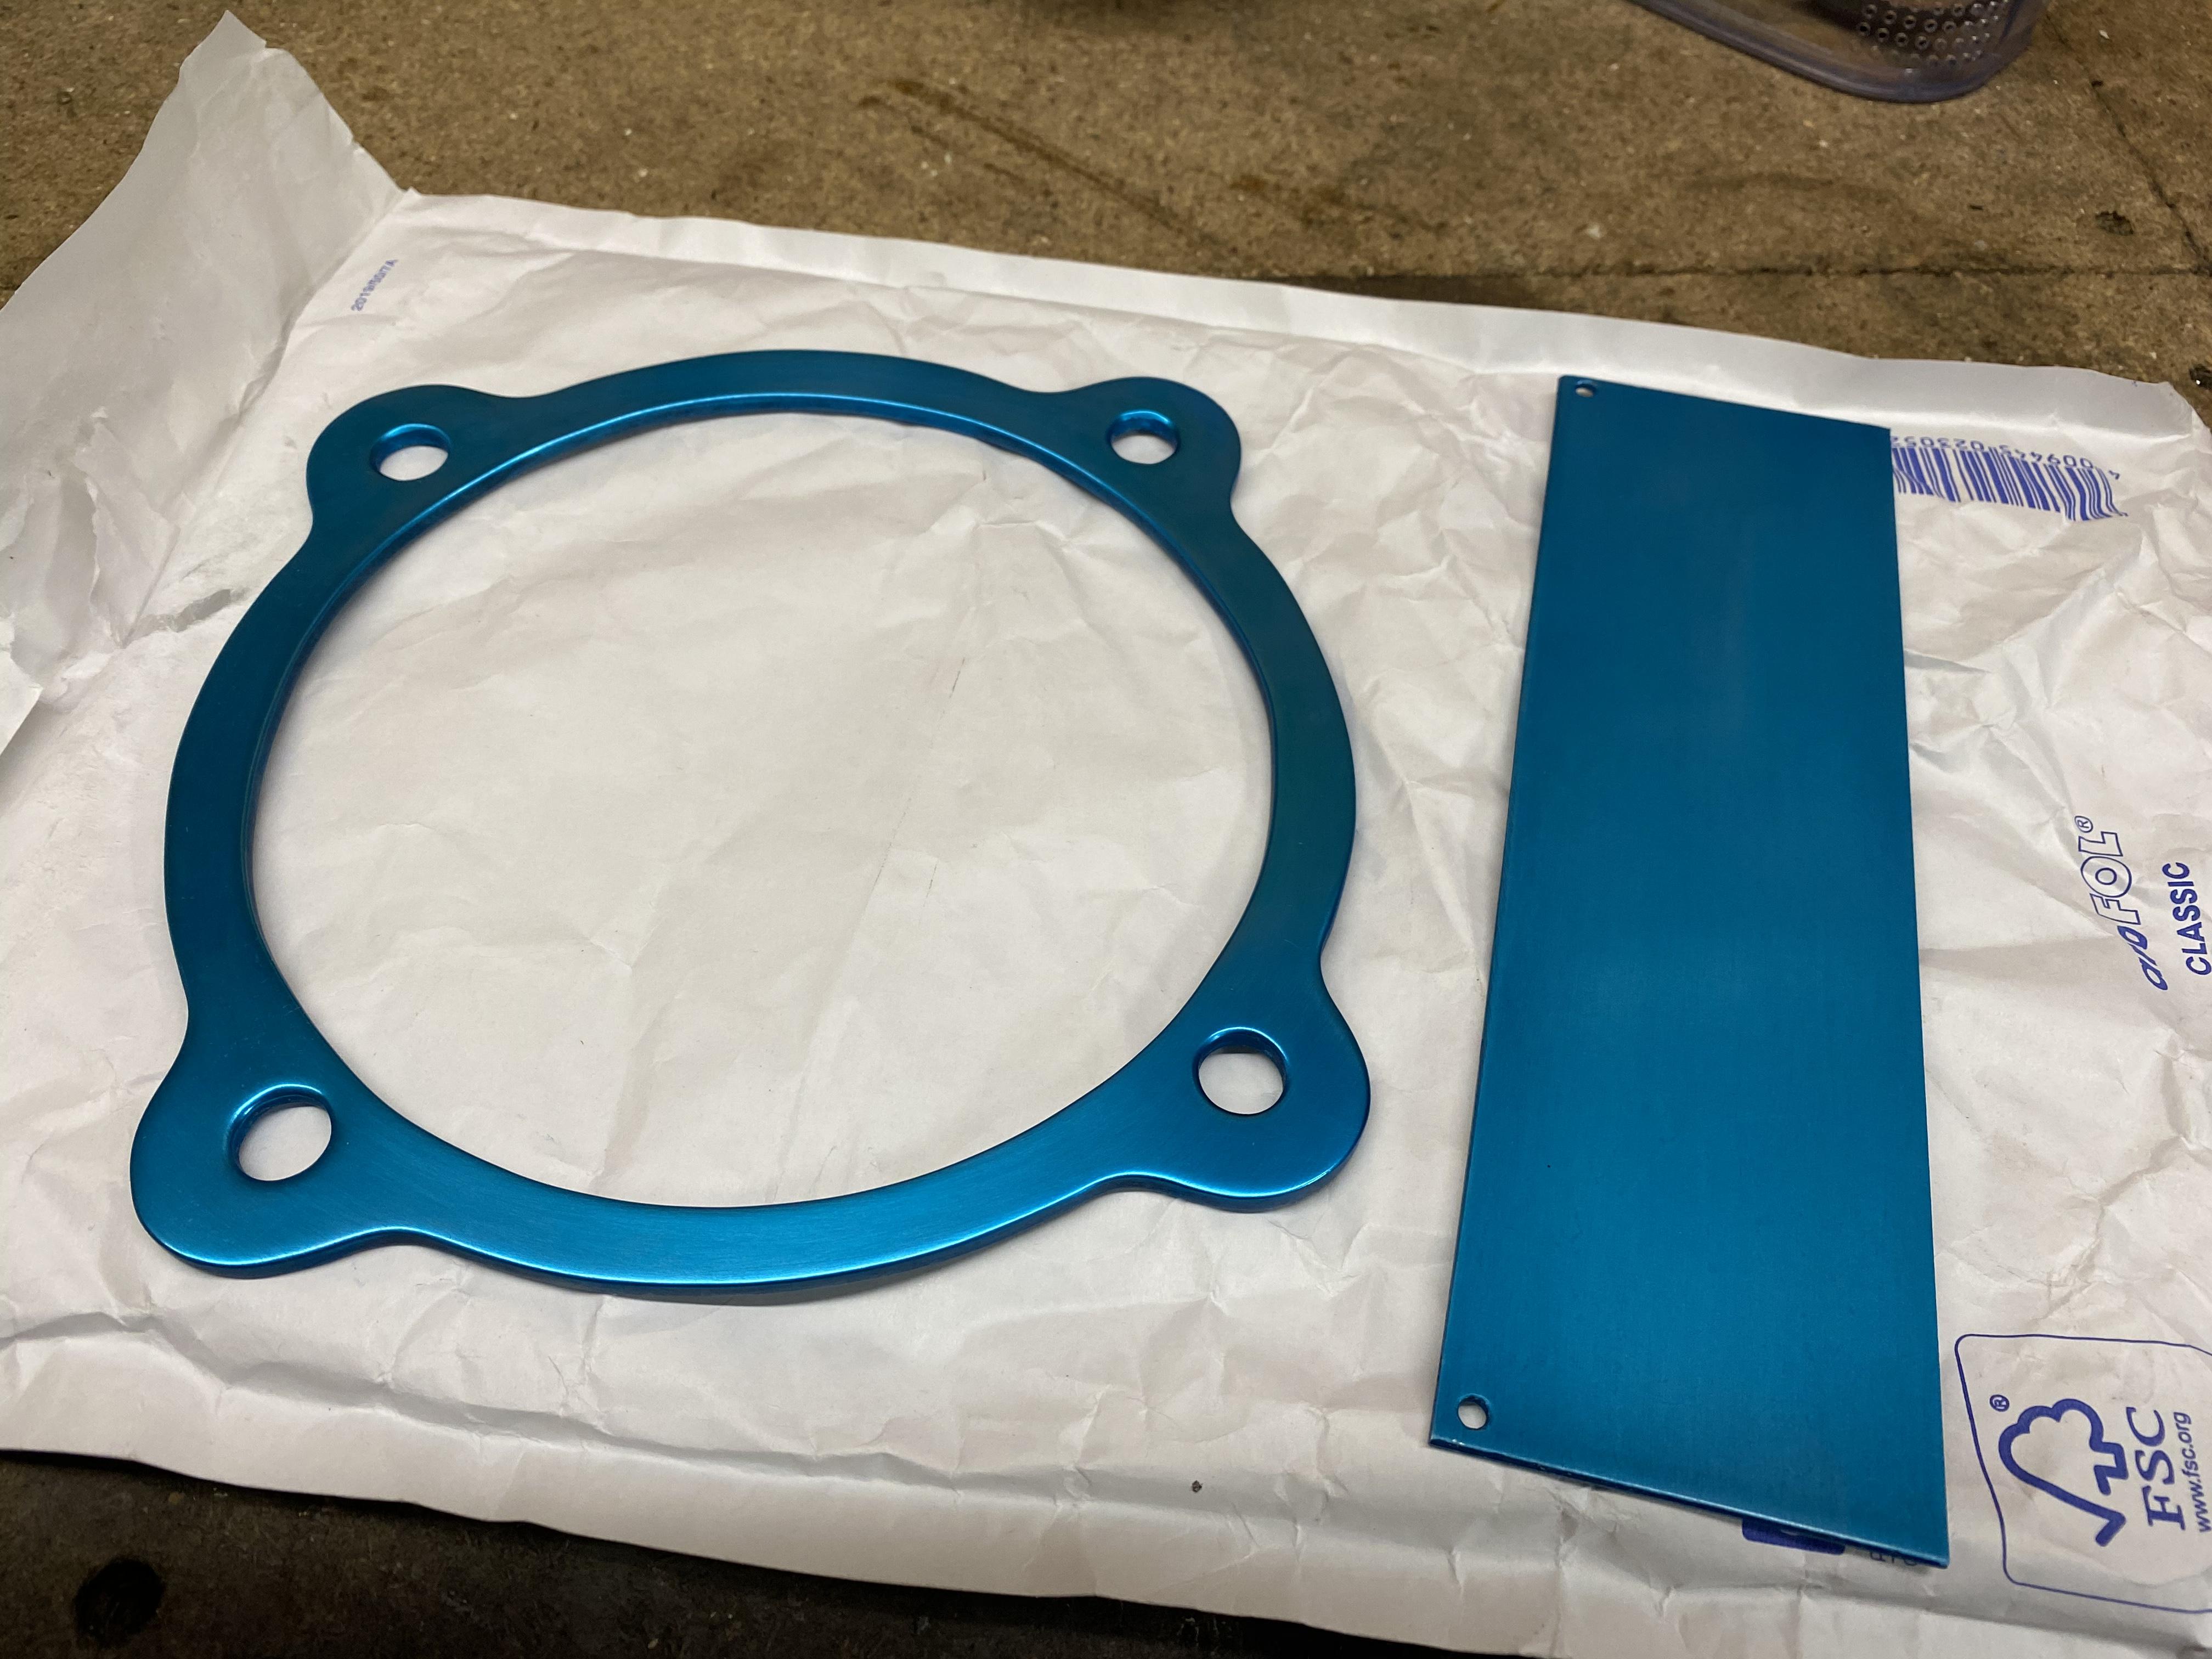
first up was removing the idle control valve. I’ve never had this thing idling properly and I’ve tried a couple of times to clean the idle control valve out but as the copper foil was broken I decided to completely remove. I made up a blanking plate that bolts into the original holes rather than removing the inlet and threading a bolt into it. Made a gasket from some flexoid gasket paper and some instant gasket later the job was done.

-
Nice one cheers for that I’ll see what I can do with it
-
How did you remove the wax stat? Did you link the two coolant lines together and put a plate where the stat should have been? Do I need to bridge anything on the idle control valve plug?
-
5 minutes ago, Sam44 said:
Great idea this
Seemed to be the easiest way, aluminium especially cam covers can be a nightmare to weld so using stainless removed that problem. Think I used 1mm stainless sheet and M3 dome head Allen key bolts they can’t rattle loose but you can drill the tops off and get a pair of grips to remove the thread from the cover
-
Yeh I know where the iacv. I’ll go hunting for the wax stat
-
Where are you located? I did mine on my s14; used stainless plate threaded in some small stainless bolts and then put a TIG tack on each to the plate to stop them coming undone. I didn’t trust thread lock.
-
Mine does that. Looking to remove the wax stat and idle control valve
-
Looking to remove the wax stat but I’m not sure where it is can anyone point me in the right direction? Idle control valve many moons ago had the little copper film broken when I pulled it apart to clean it so I’m looking at removing that and controlling the idle via the screw on the inlet manifold. Do I need to bridge anything to remove the idle control valve or just blank it off?
-
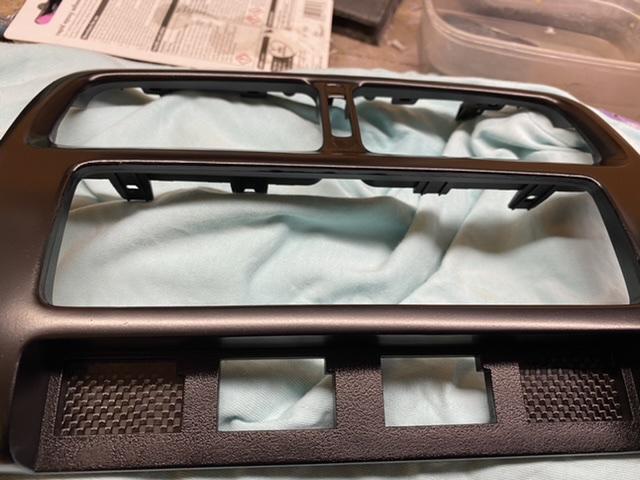
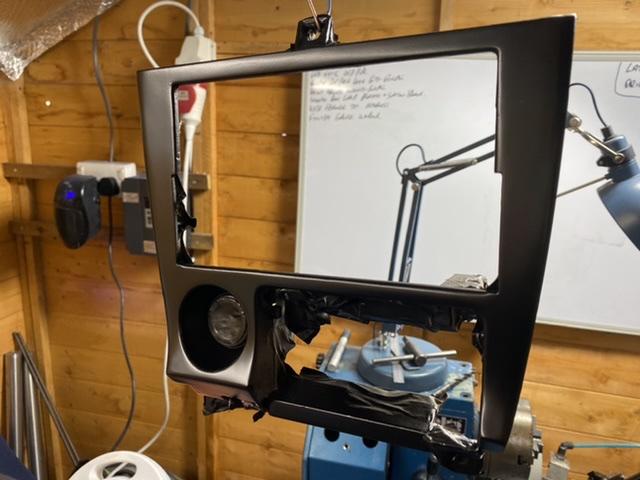
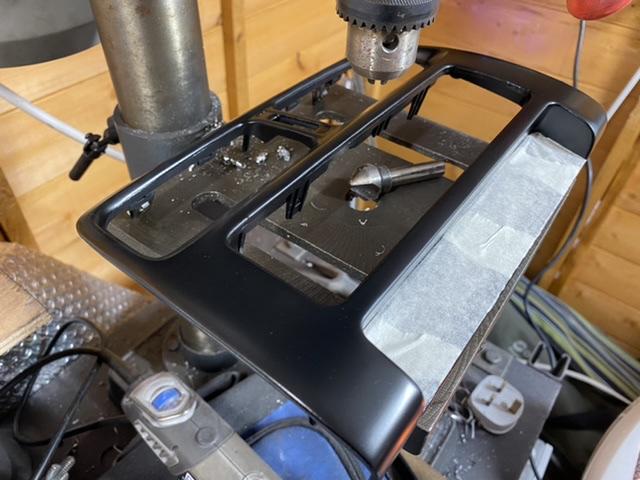
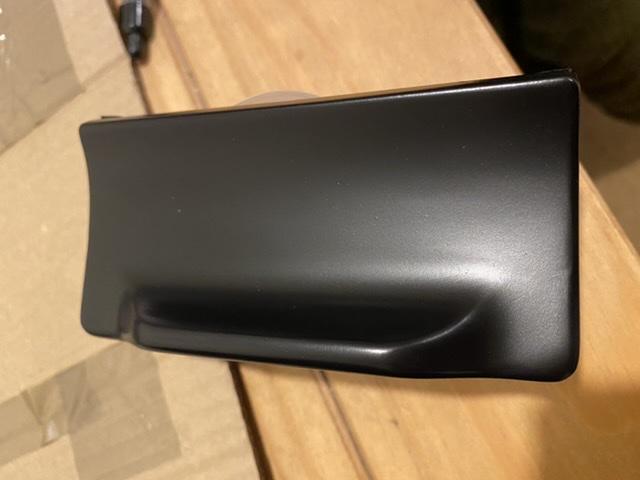
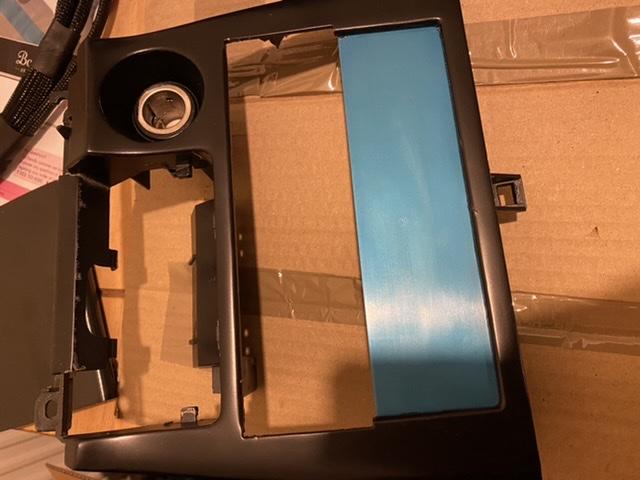
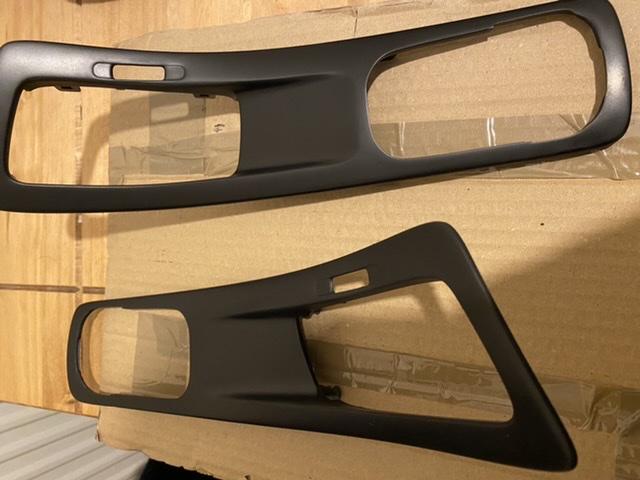
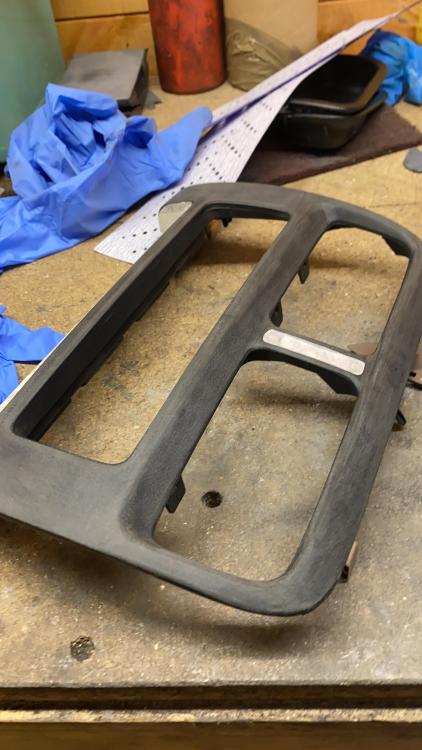
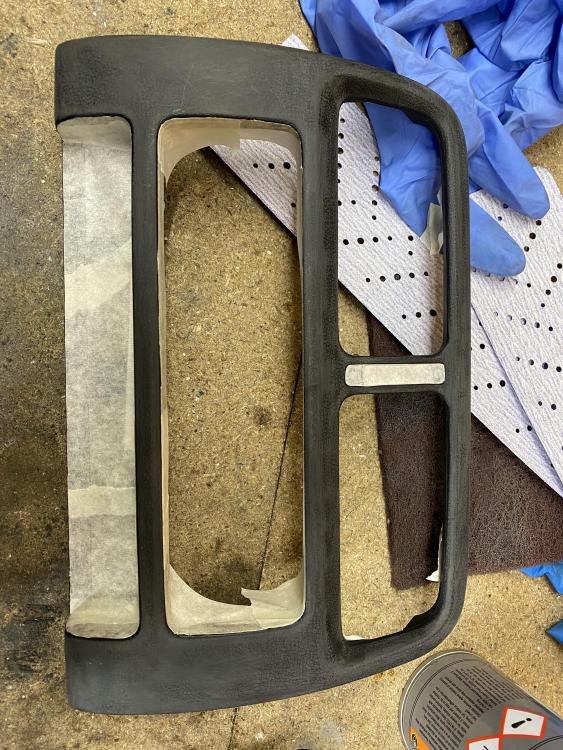
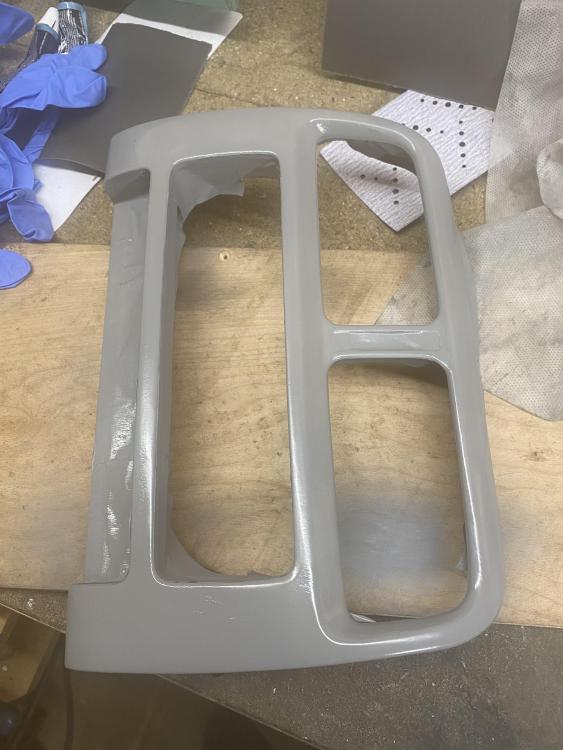
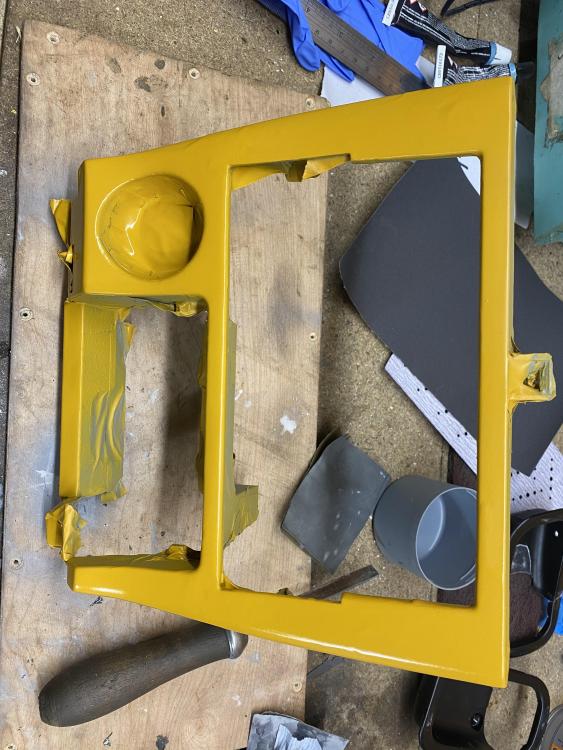
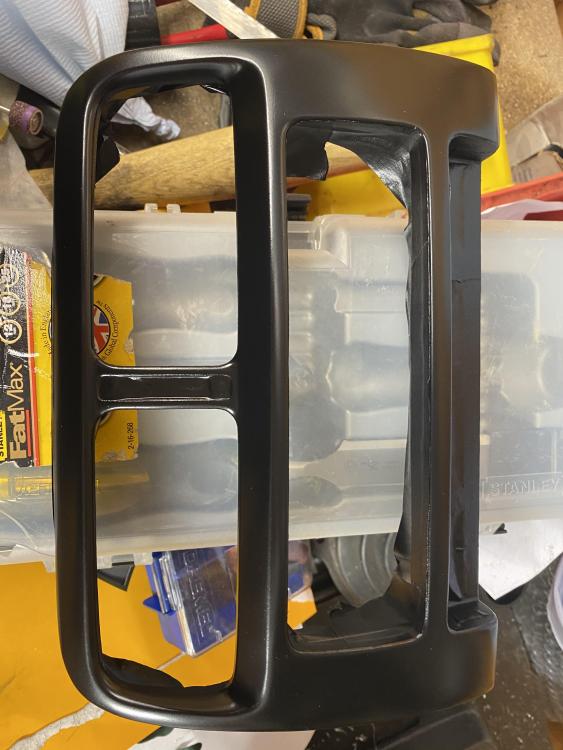
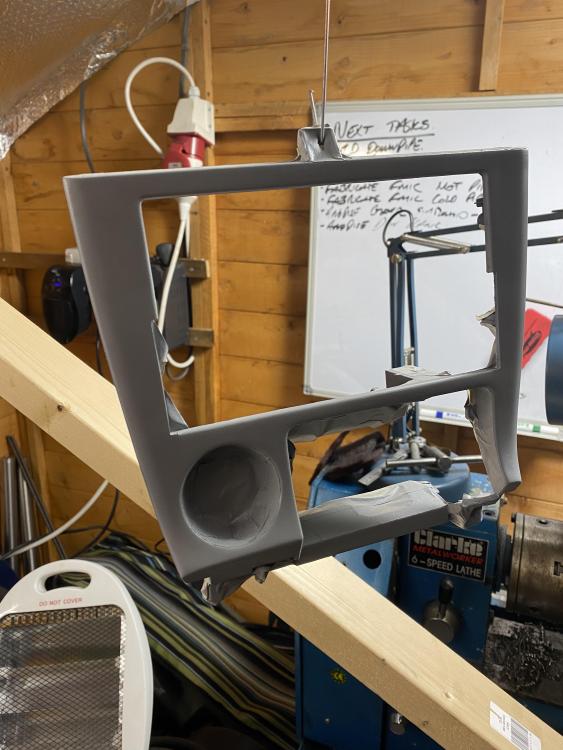
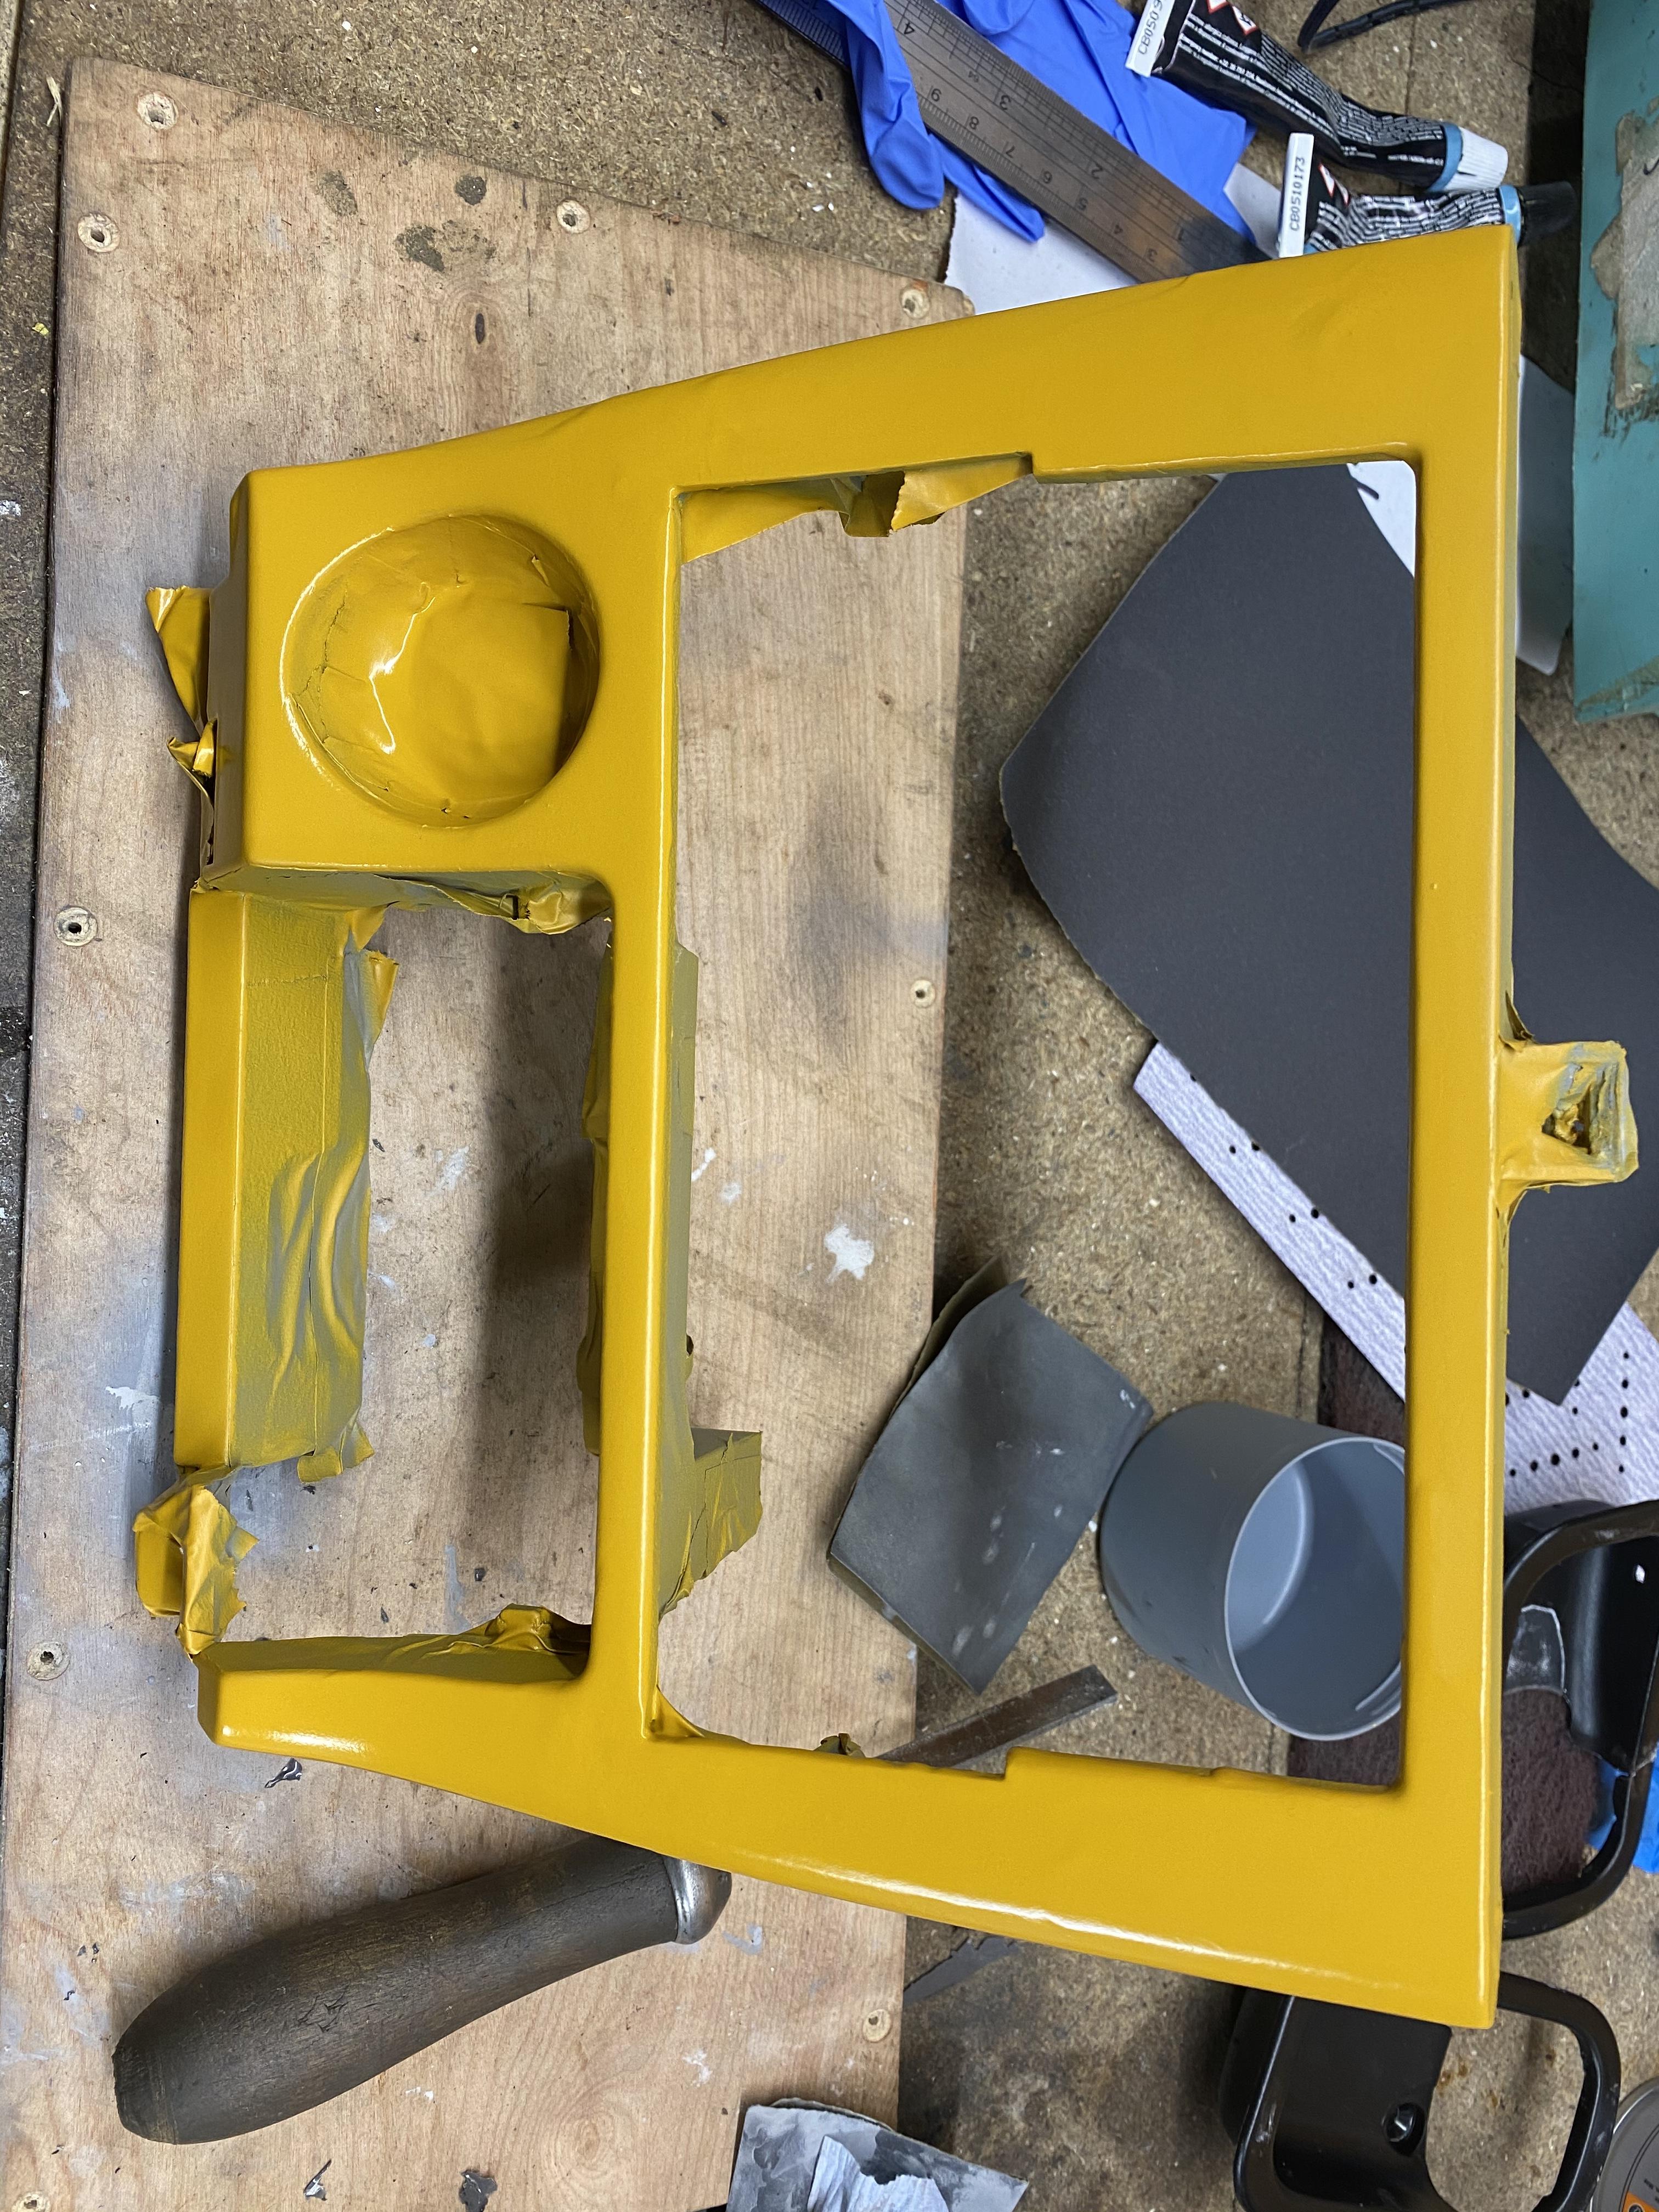
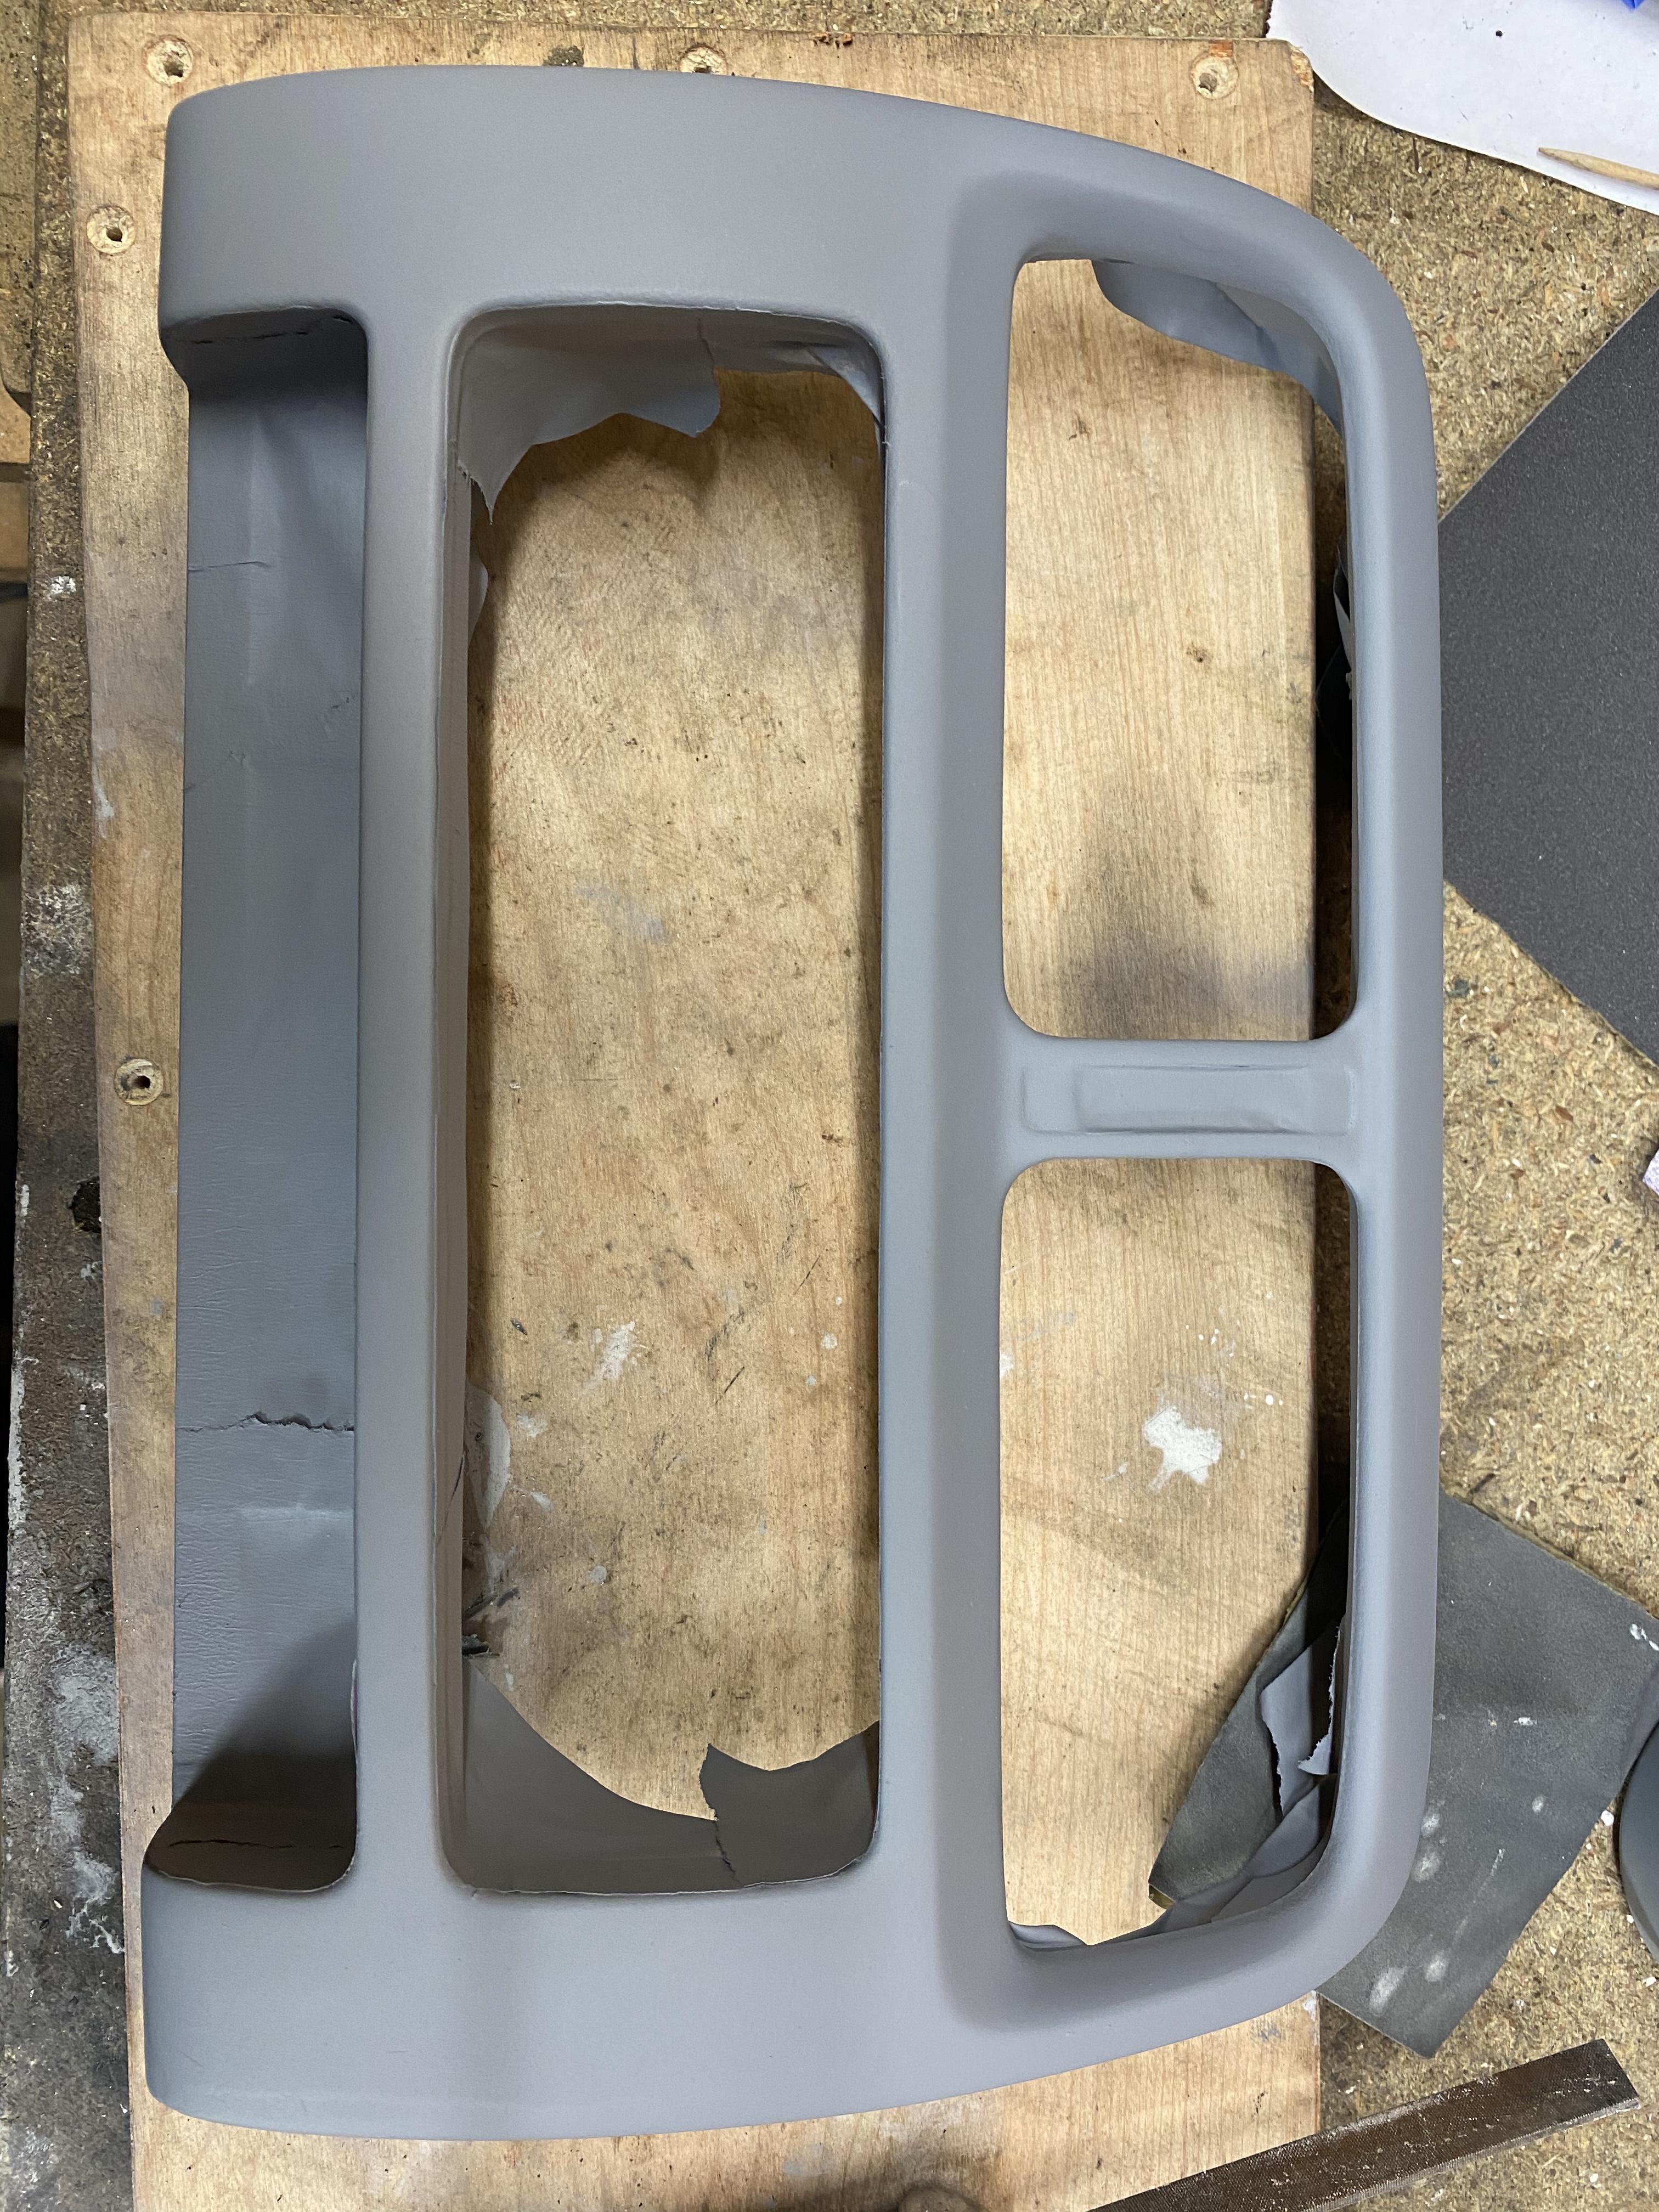
Quite a few bits id finished but hadn’t uploaded. Interior trim is now smoothed, black and satin lacquered to protect it. Currently all in bubble wrap as I still have gauge wiring to do before I can put the interior back together.
I have 8 metres of 1” CDS ready to fabricate the front and I got some aero catches off a friend for my 30th. Still a way to go but there is plenty happening. No progress of late however as someone hit my van on my way to work so I’m currently recovering from a bad back and shoulders. Hoping that’ll fully heal soon as I’ve got so much to do
-
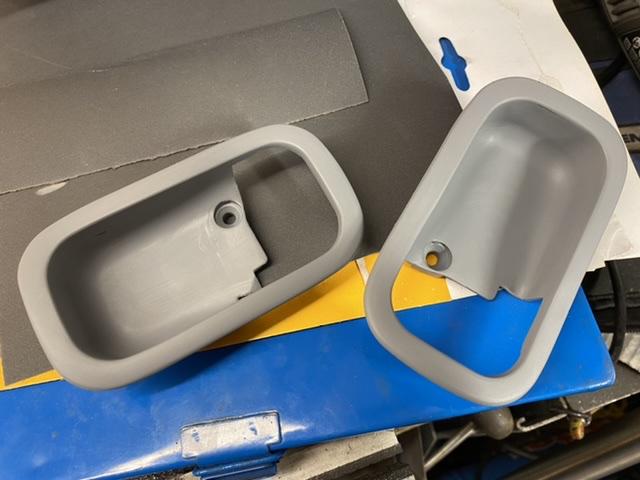
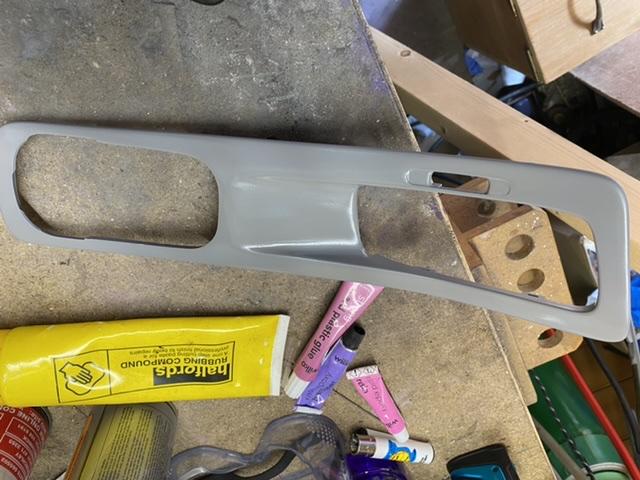
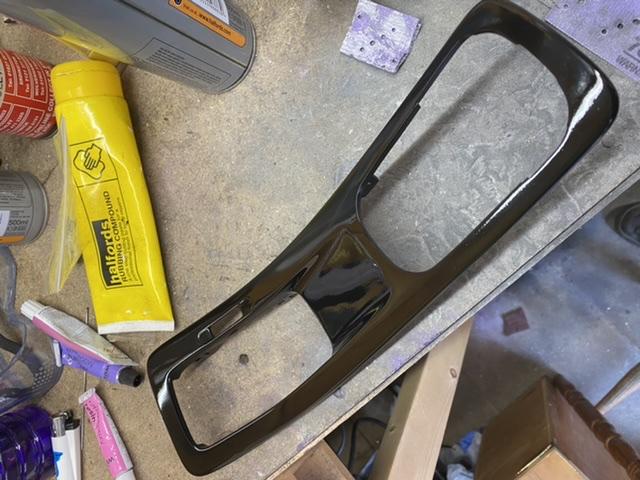
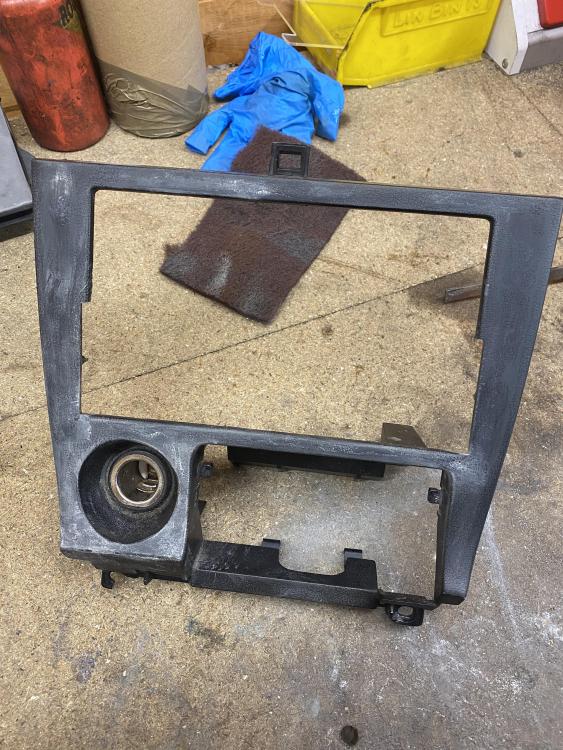
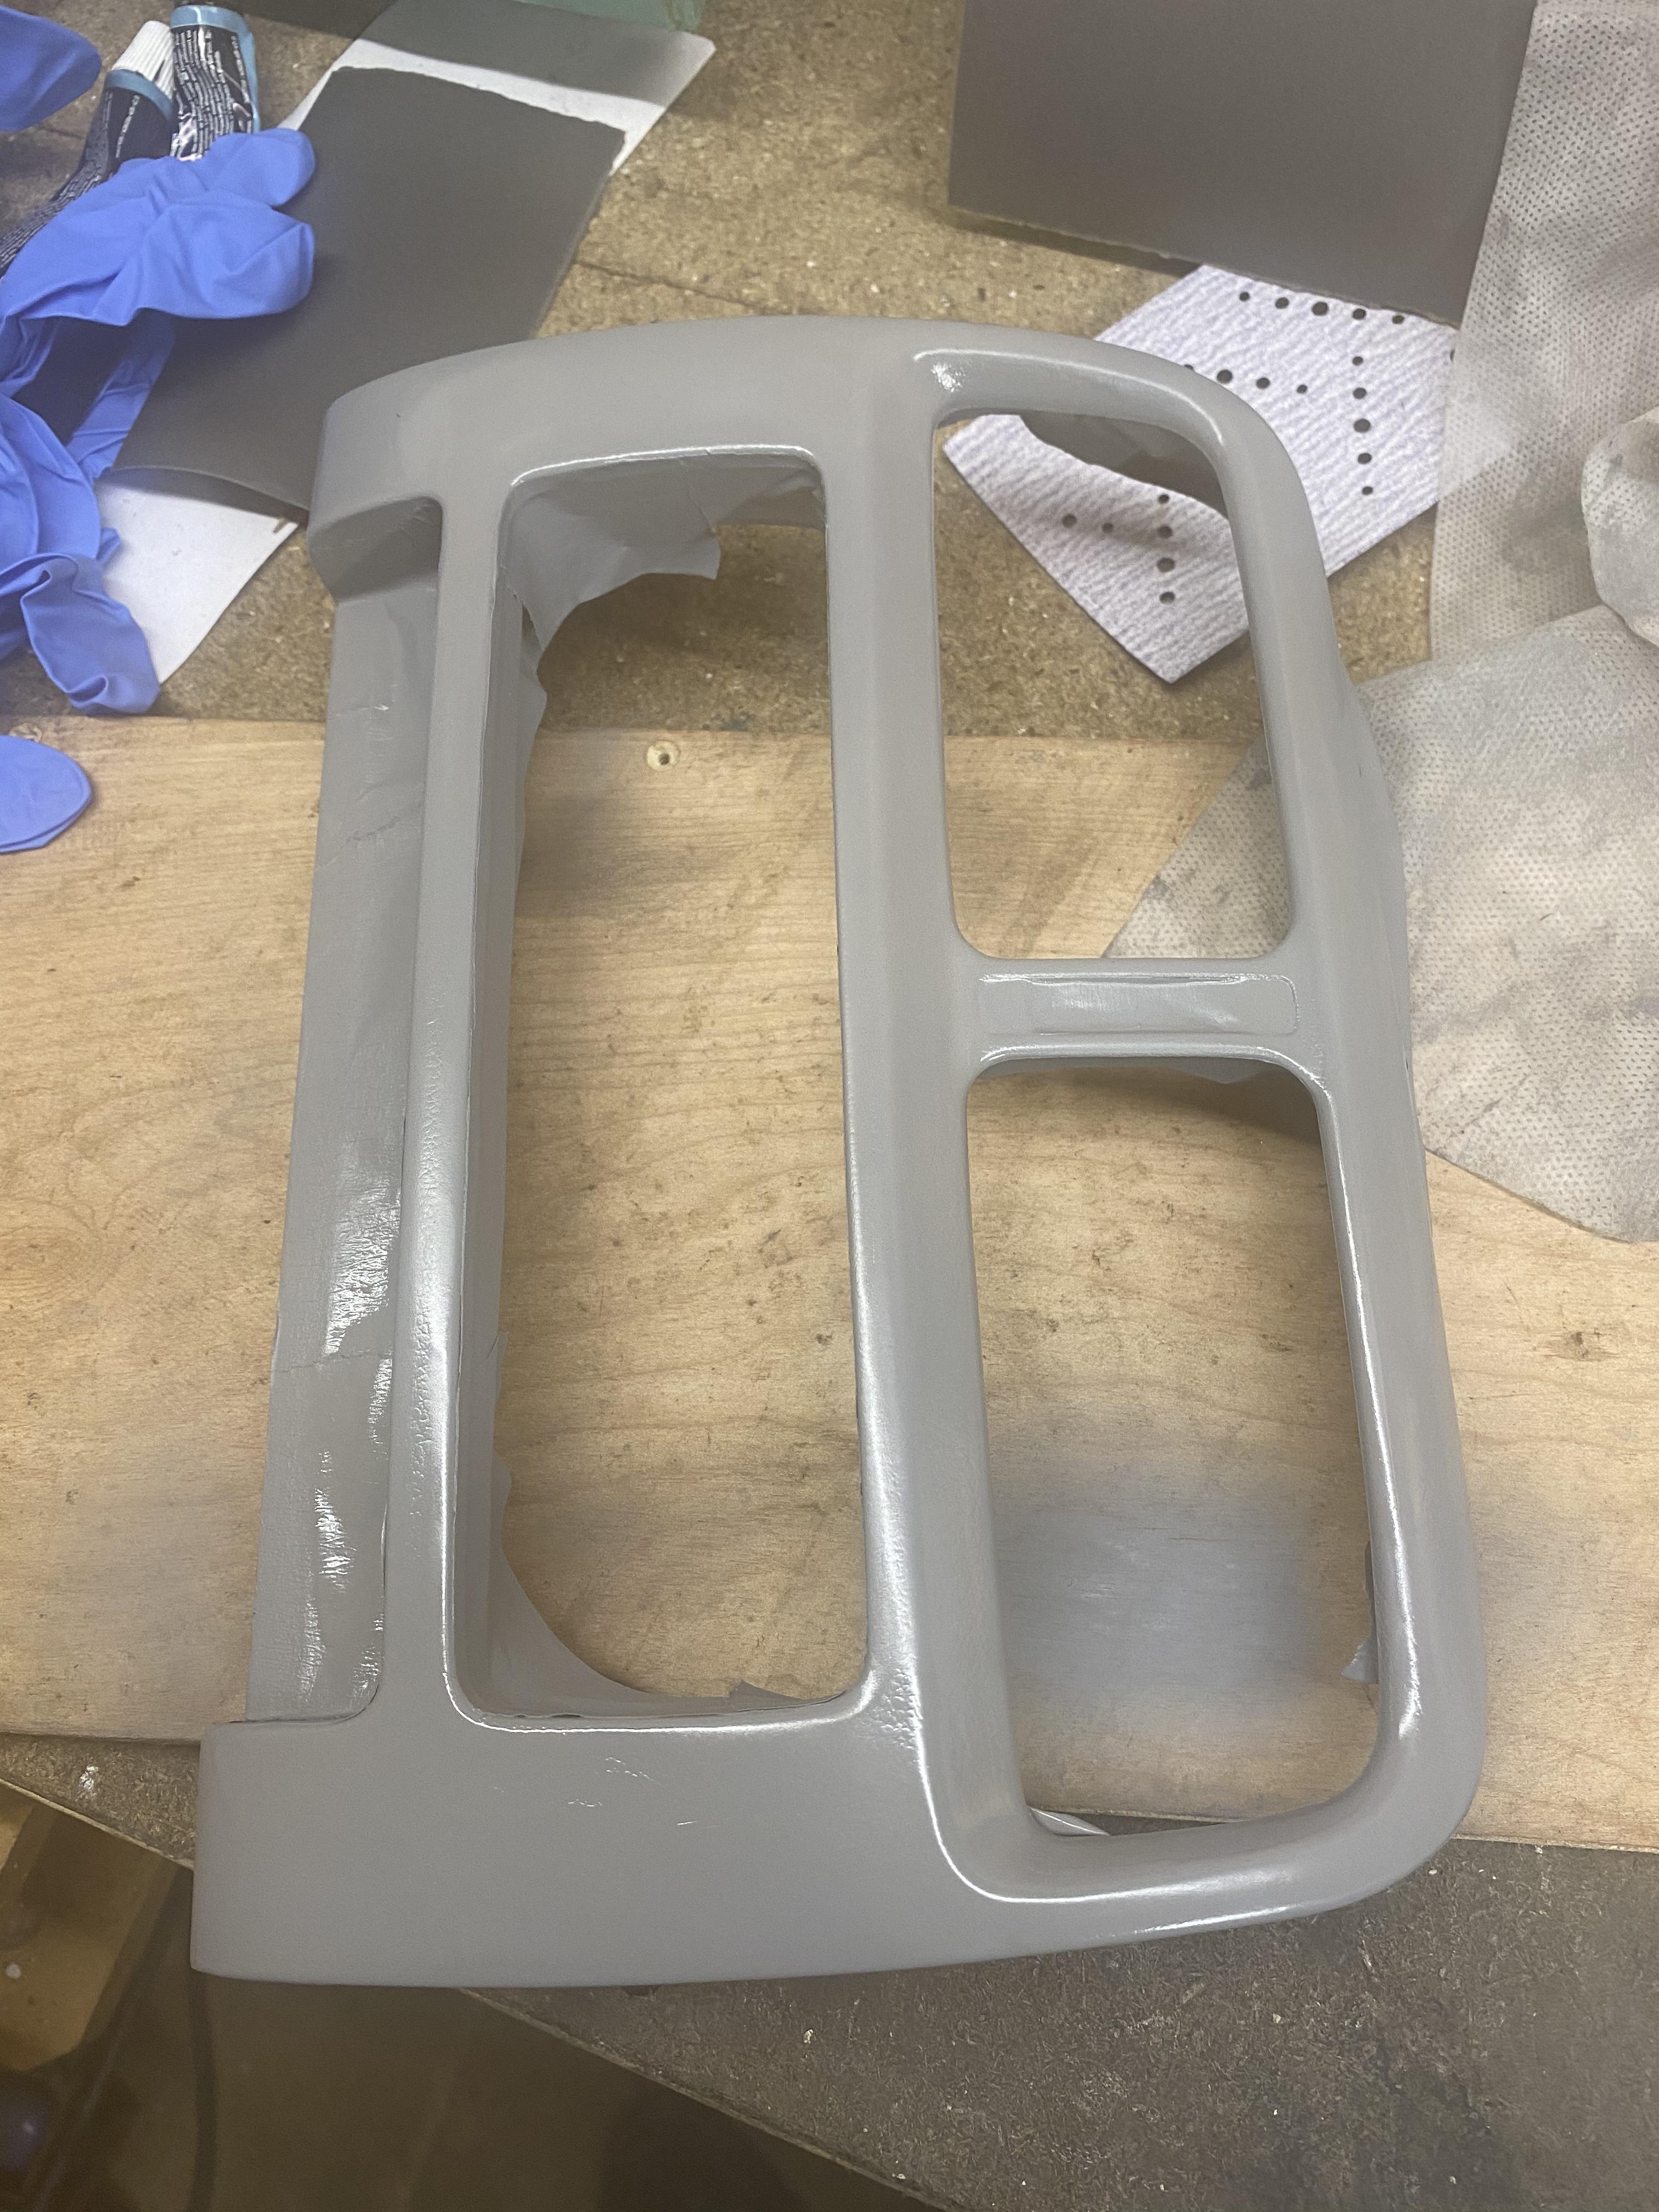
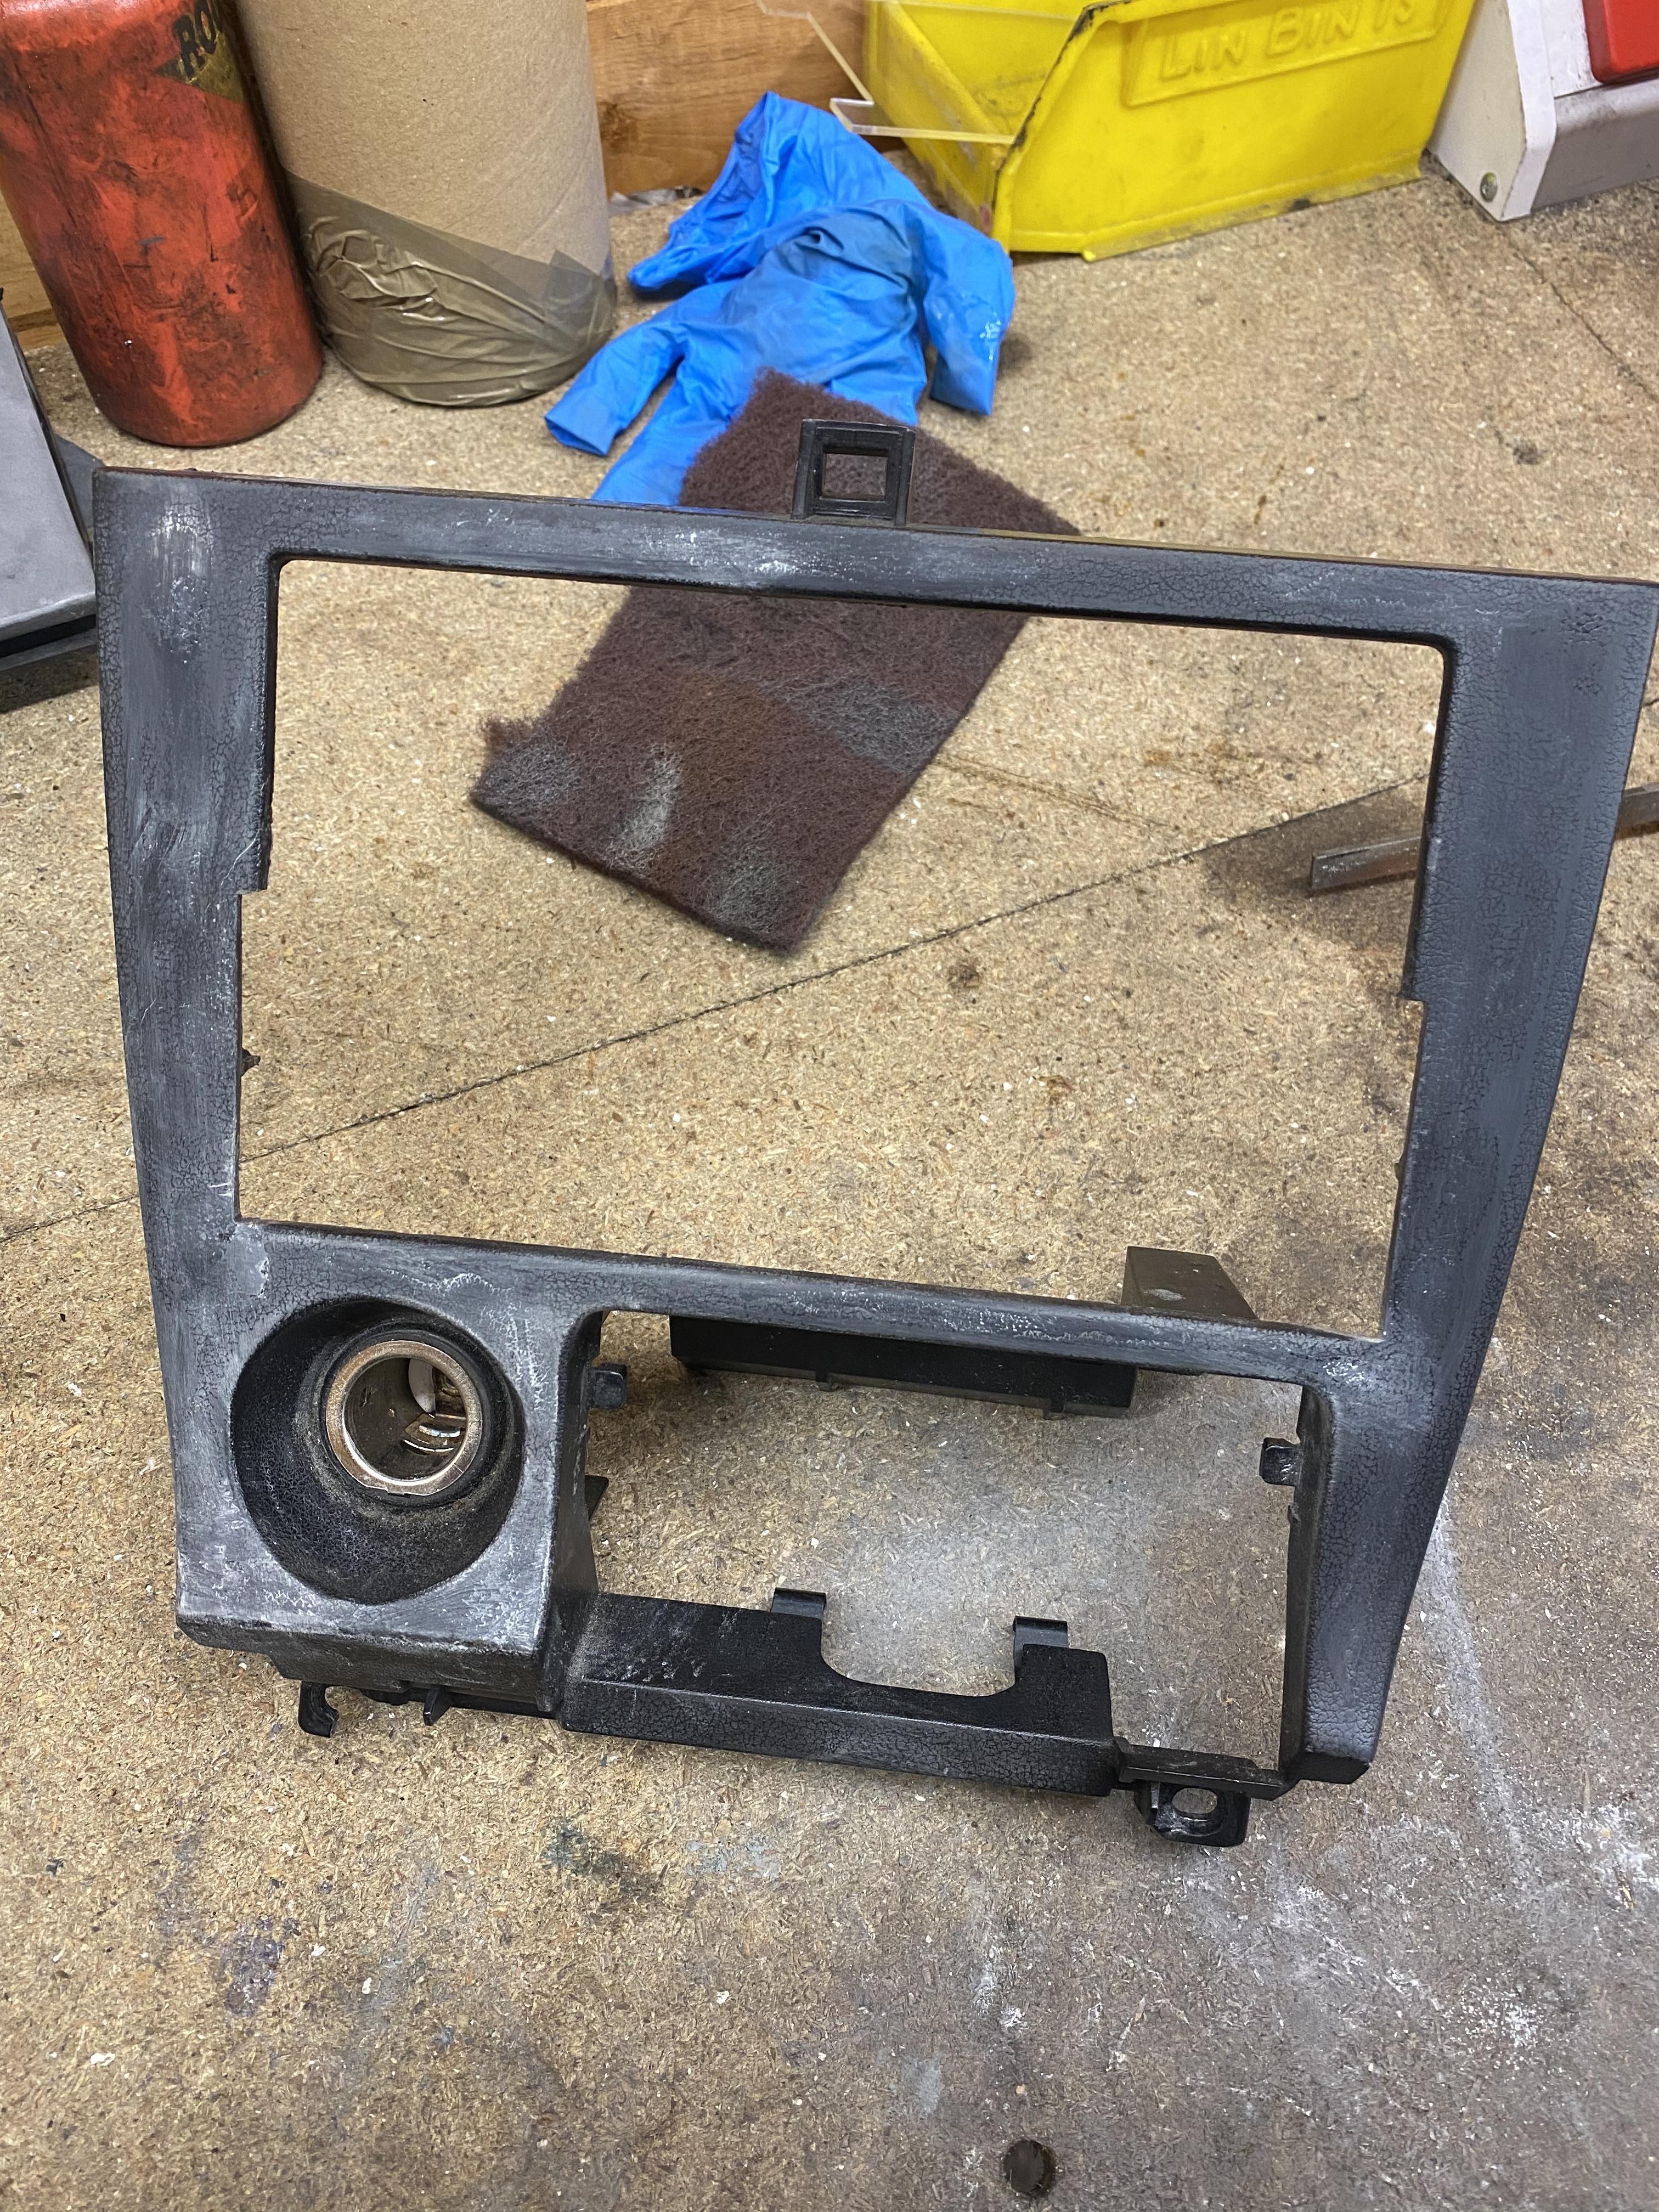
Few bits have happened. I finished off the heater controls and stereo surround. Just need to do all the plastics on the door cards now.
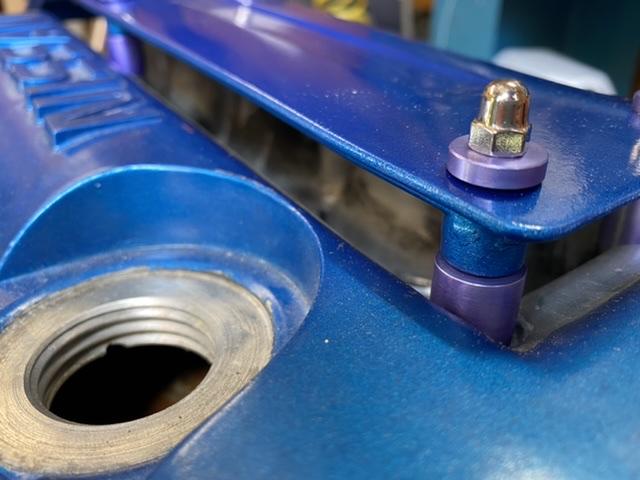
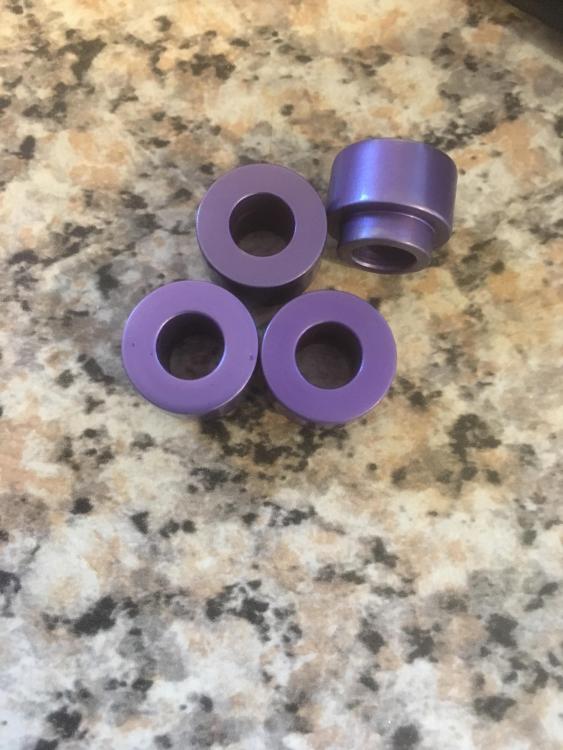
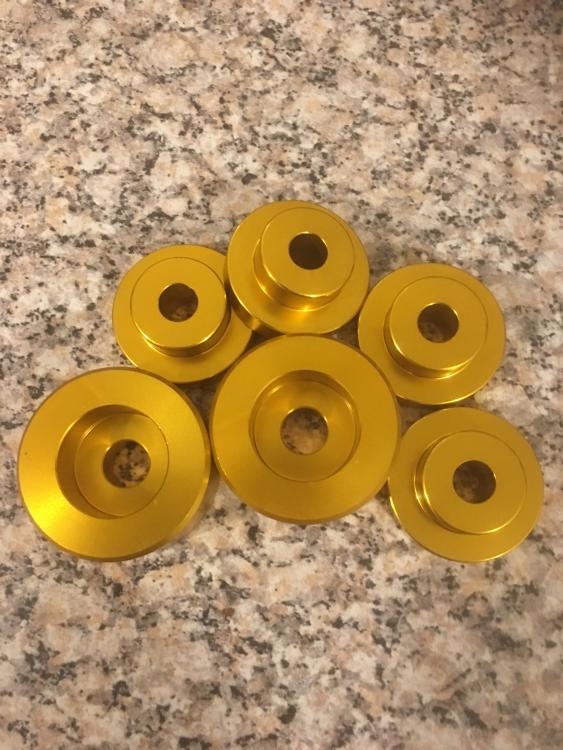
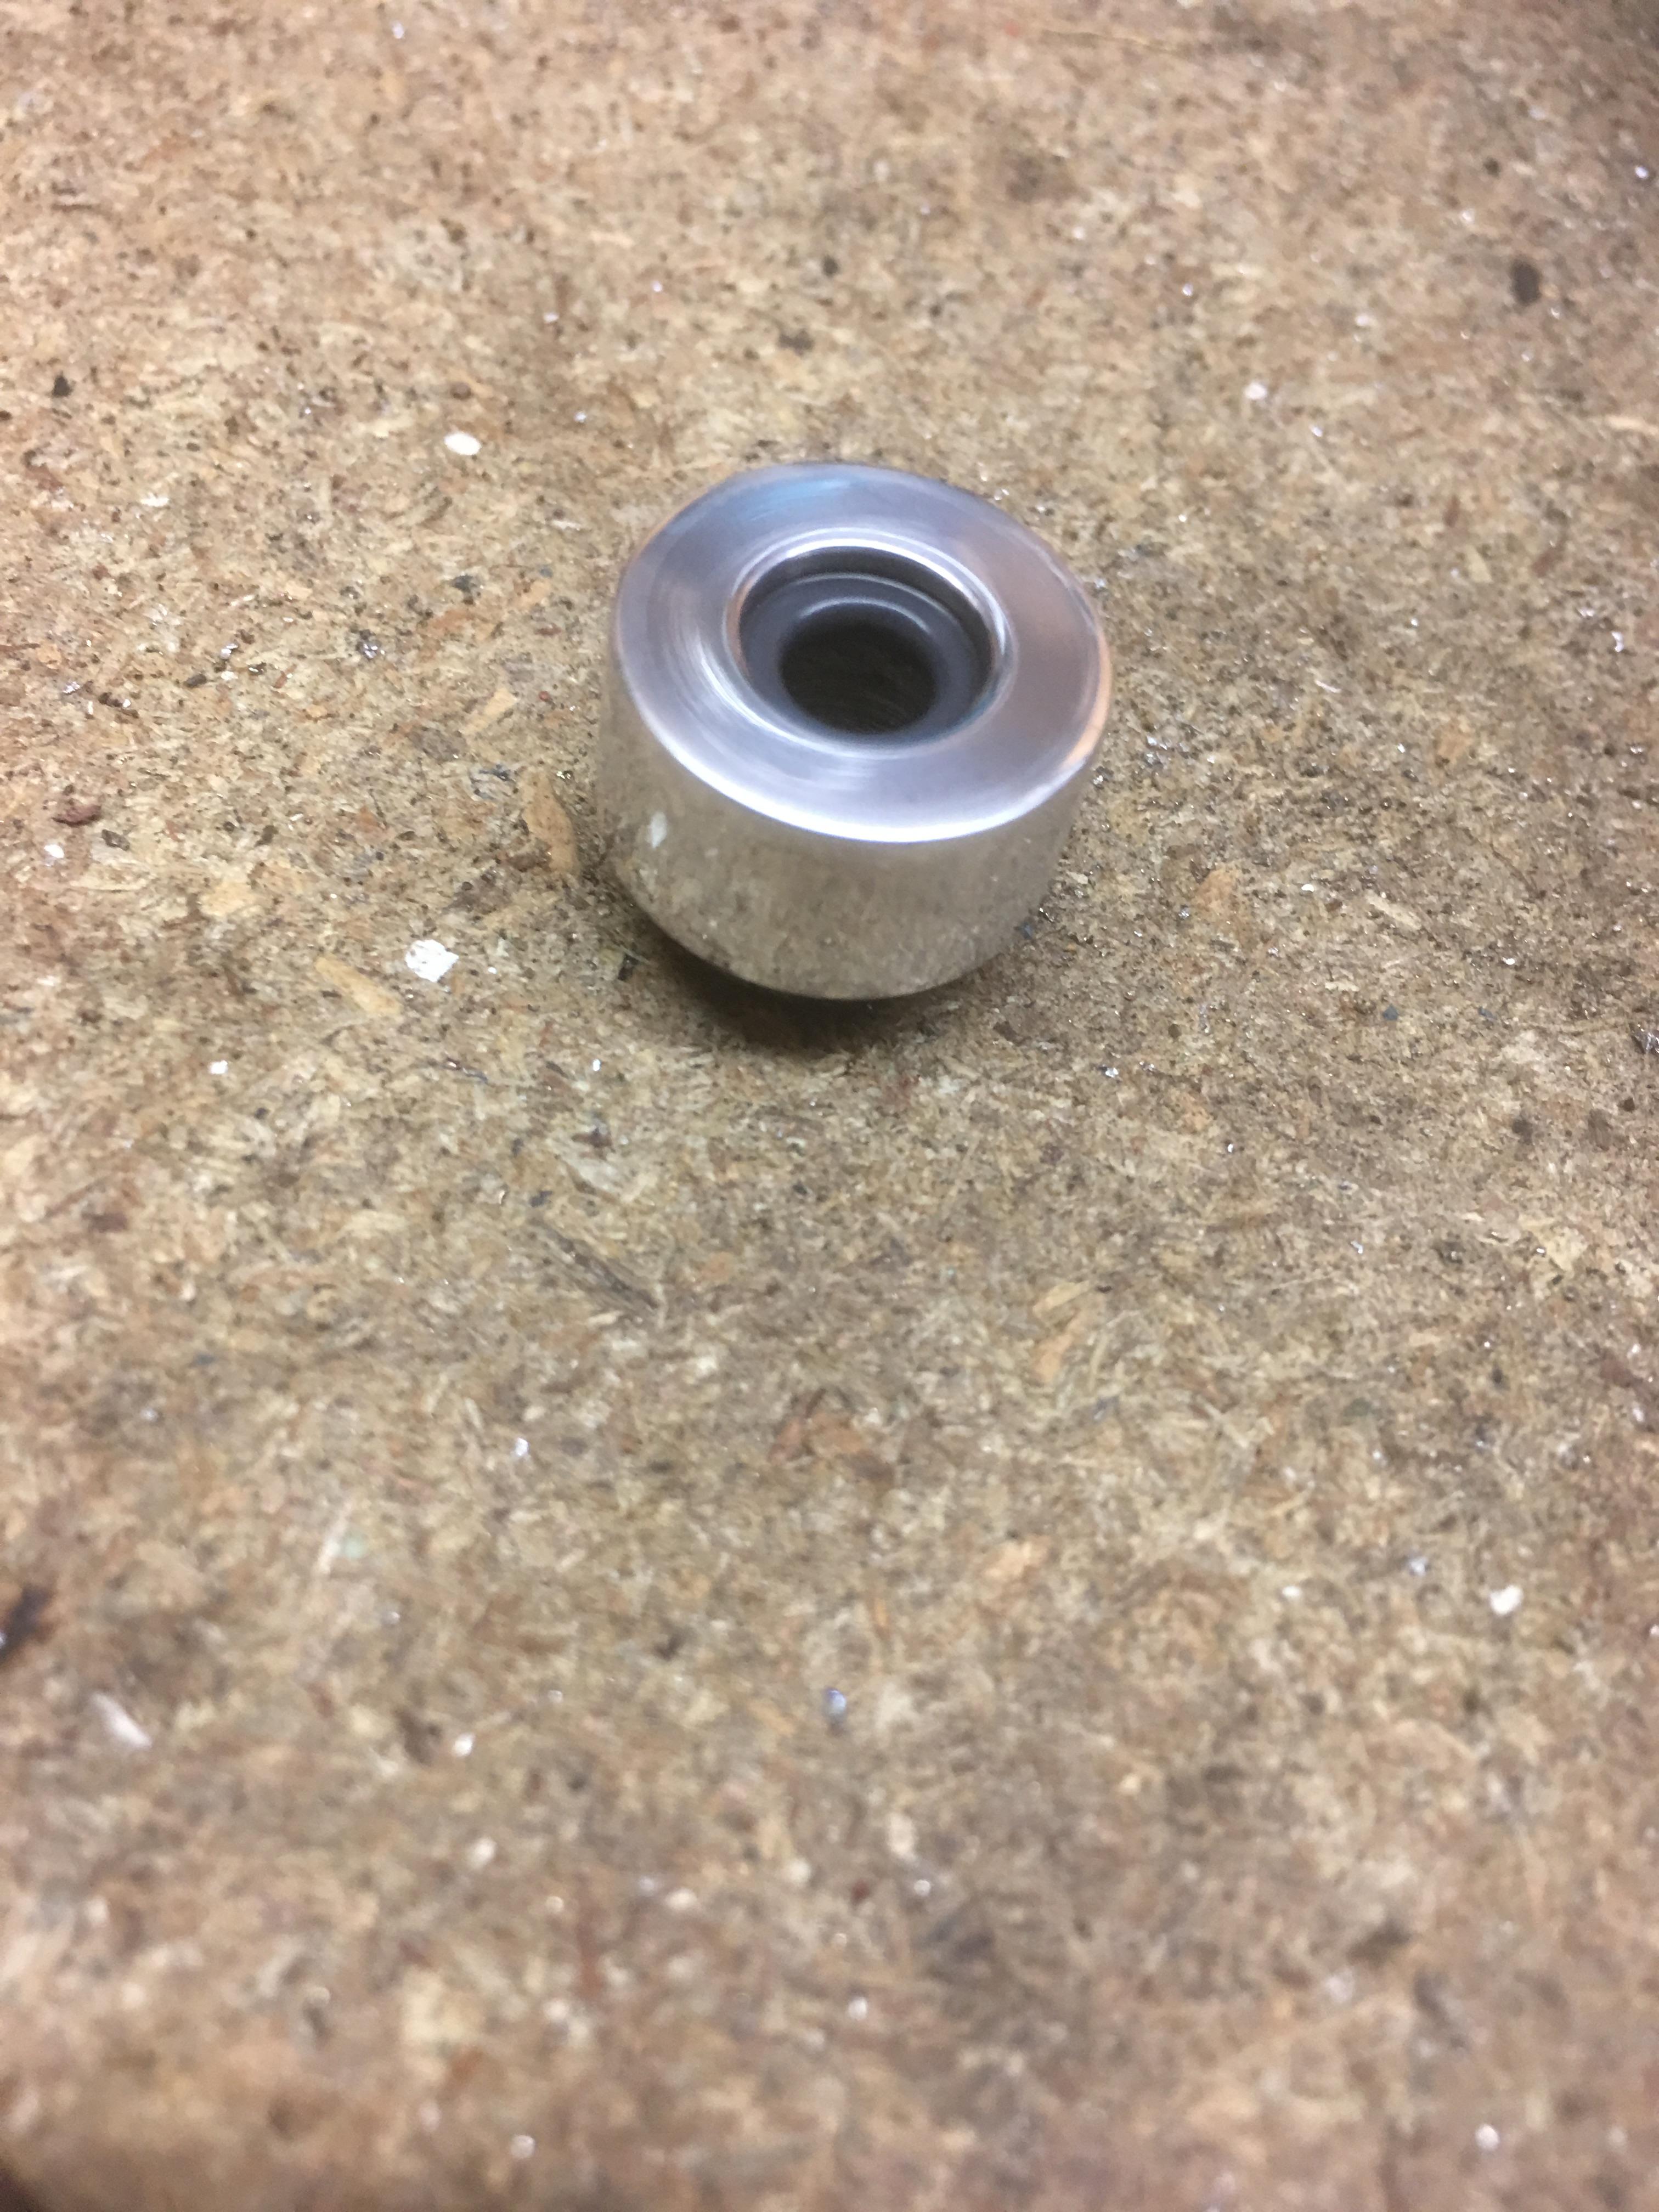
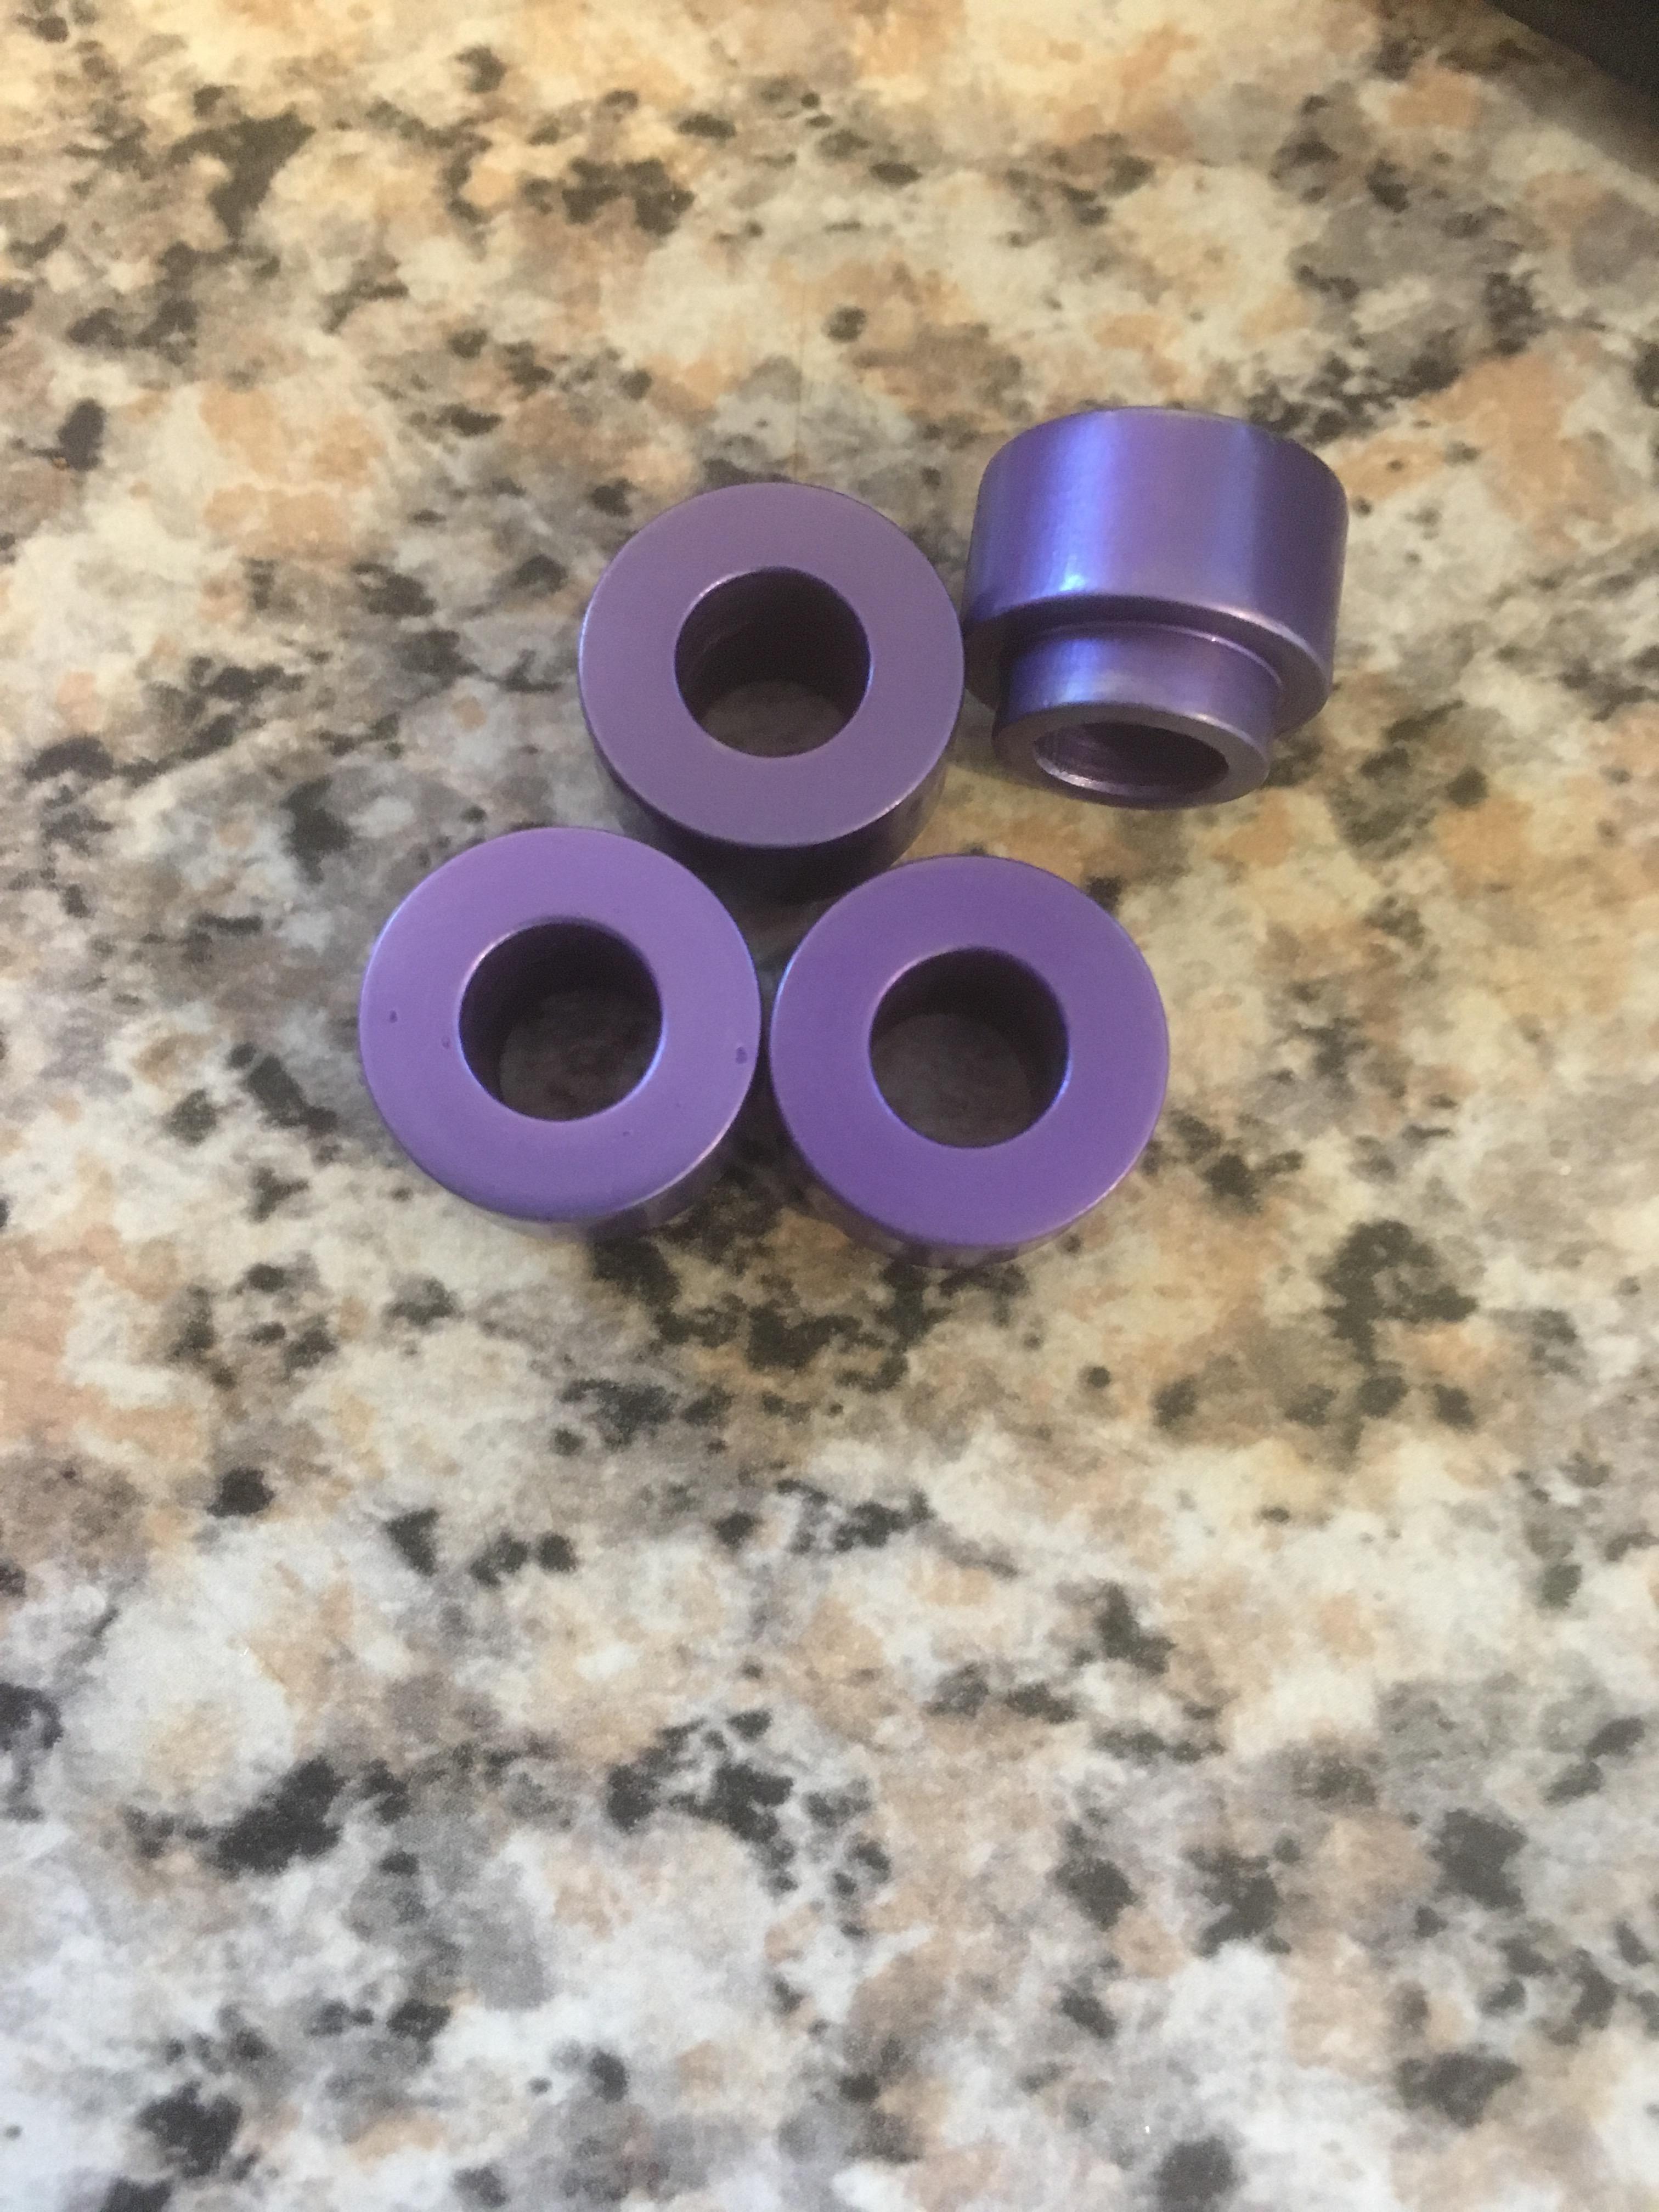
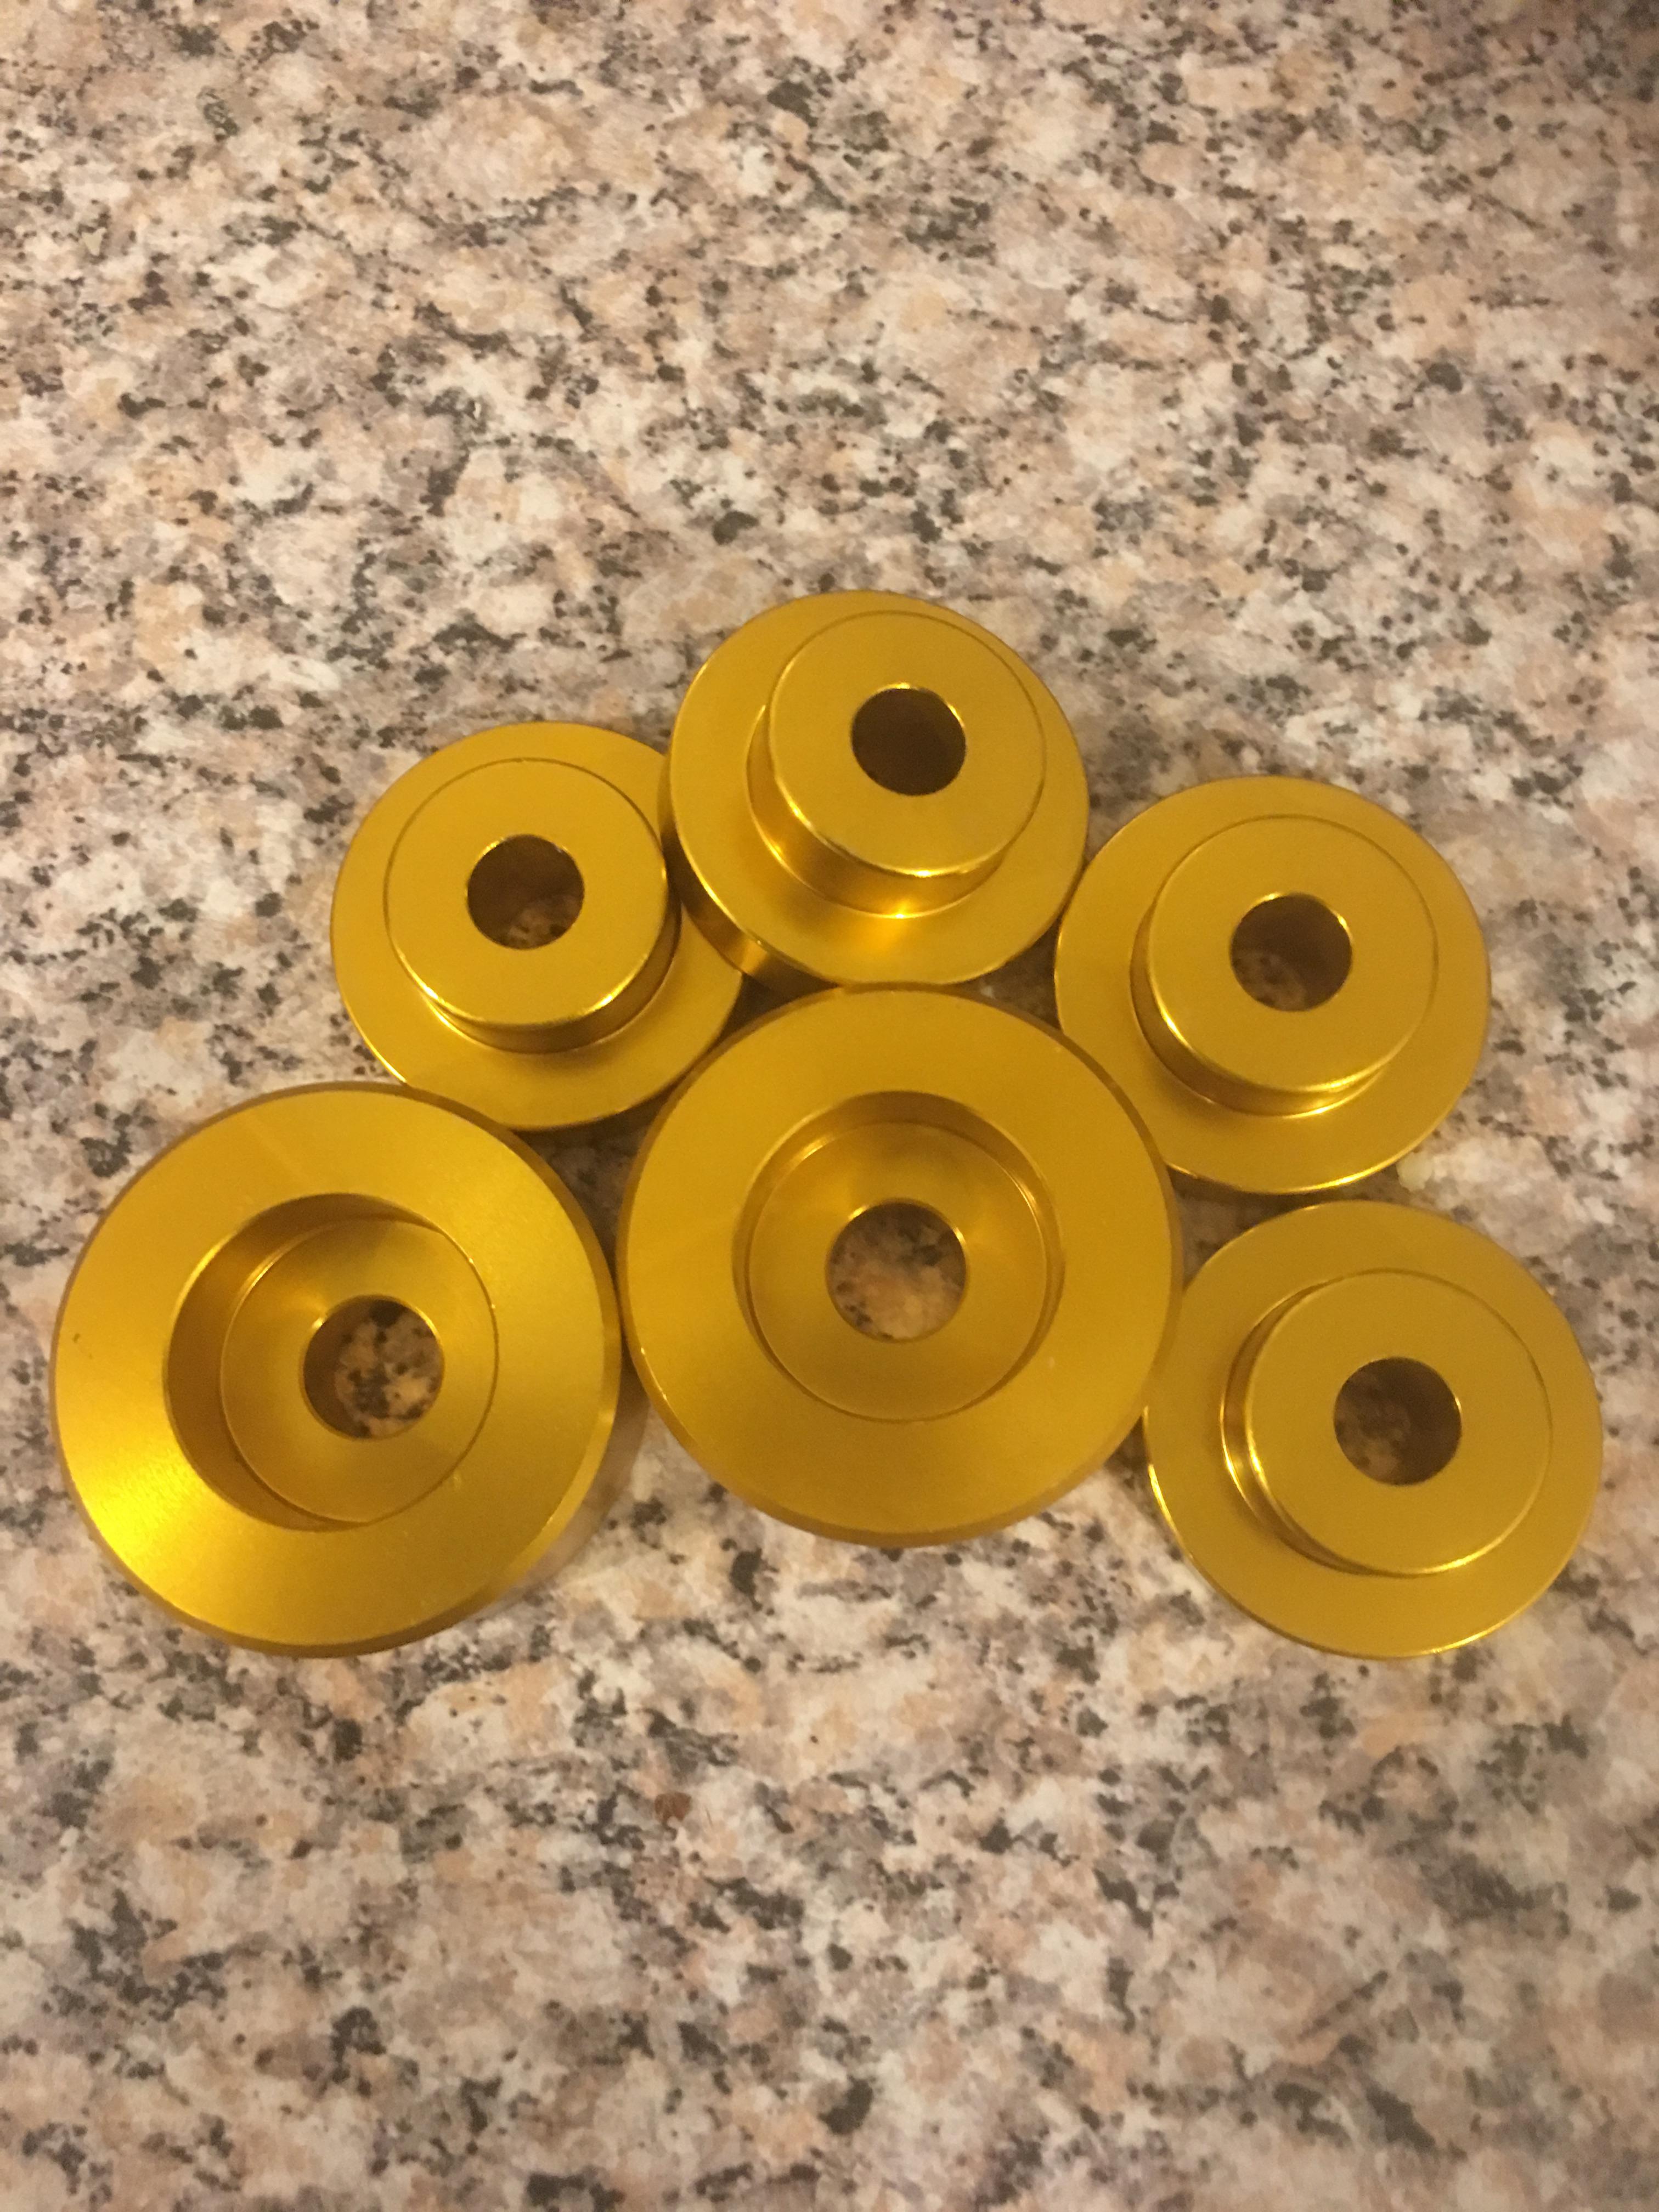
Unfortunately I wasn’t 100% sure on coil packs so I opted for the R8 ones as the information was pretty obvious on them. These sit a bit higher than another Audi type. I’m not keen on the look of the coil packs sitting there. So decided to get back on the lathe and machine some spacers. These need anodising and I’ve got some finishing washers to machine over the weekend.
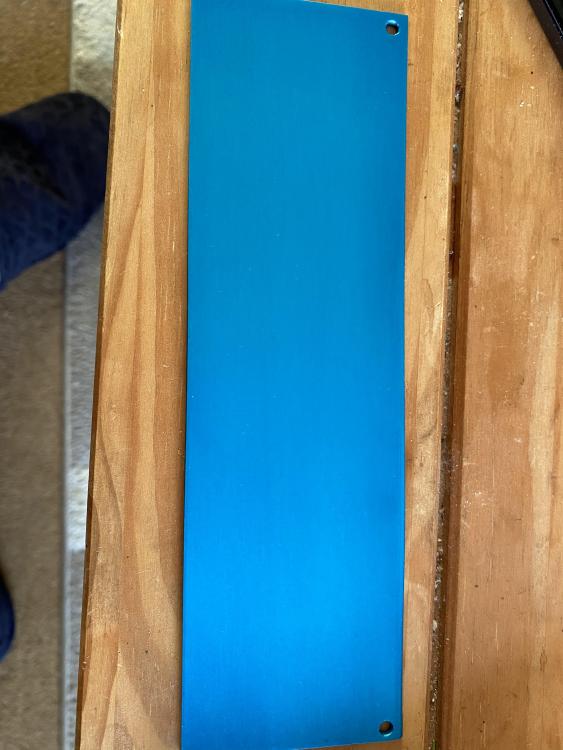
Didn’t like the lettering on the coil pack cover so I’ve smoothed that out and painted it in a pearlescent blue I had kicking around


-
On 2/11/2020 at 7:51 AM, Sam44 said:
There's some great builds on here.
Keep it up skills of plenty going on.
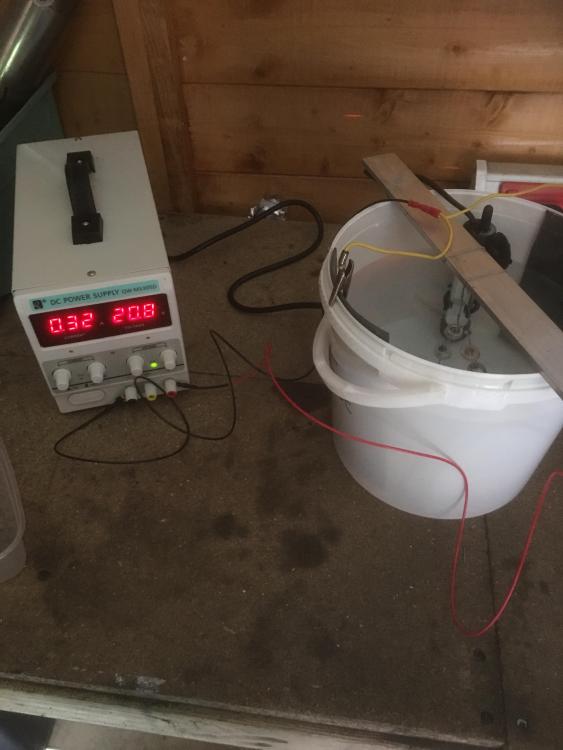
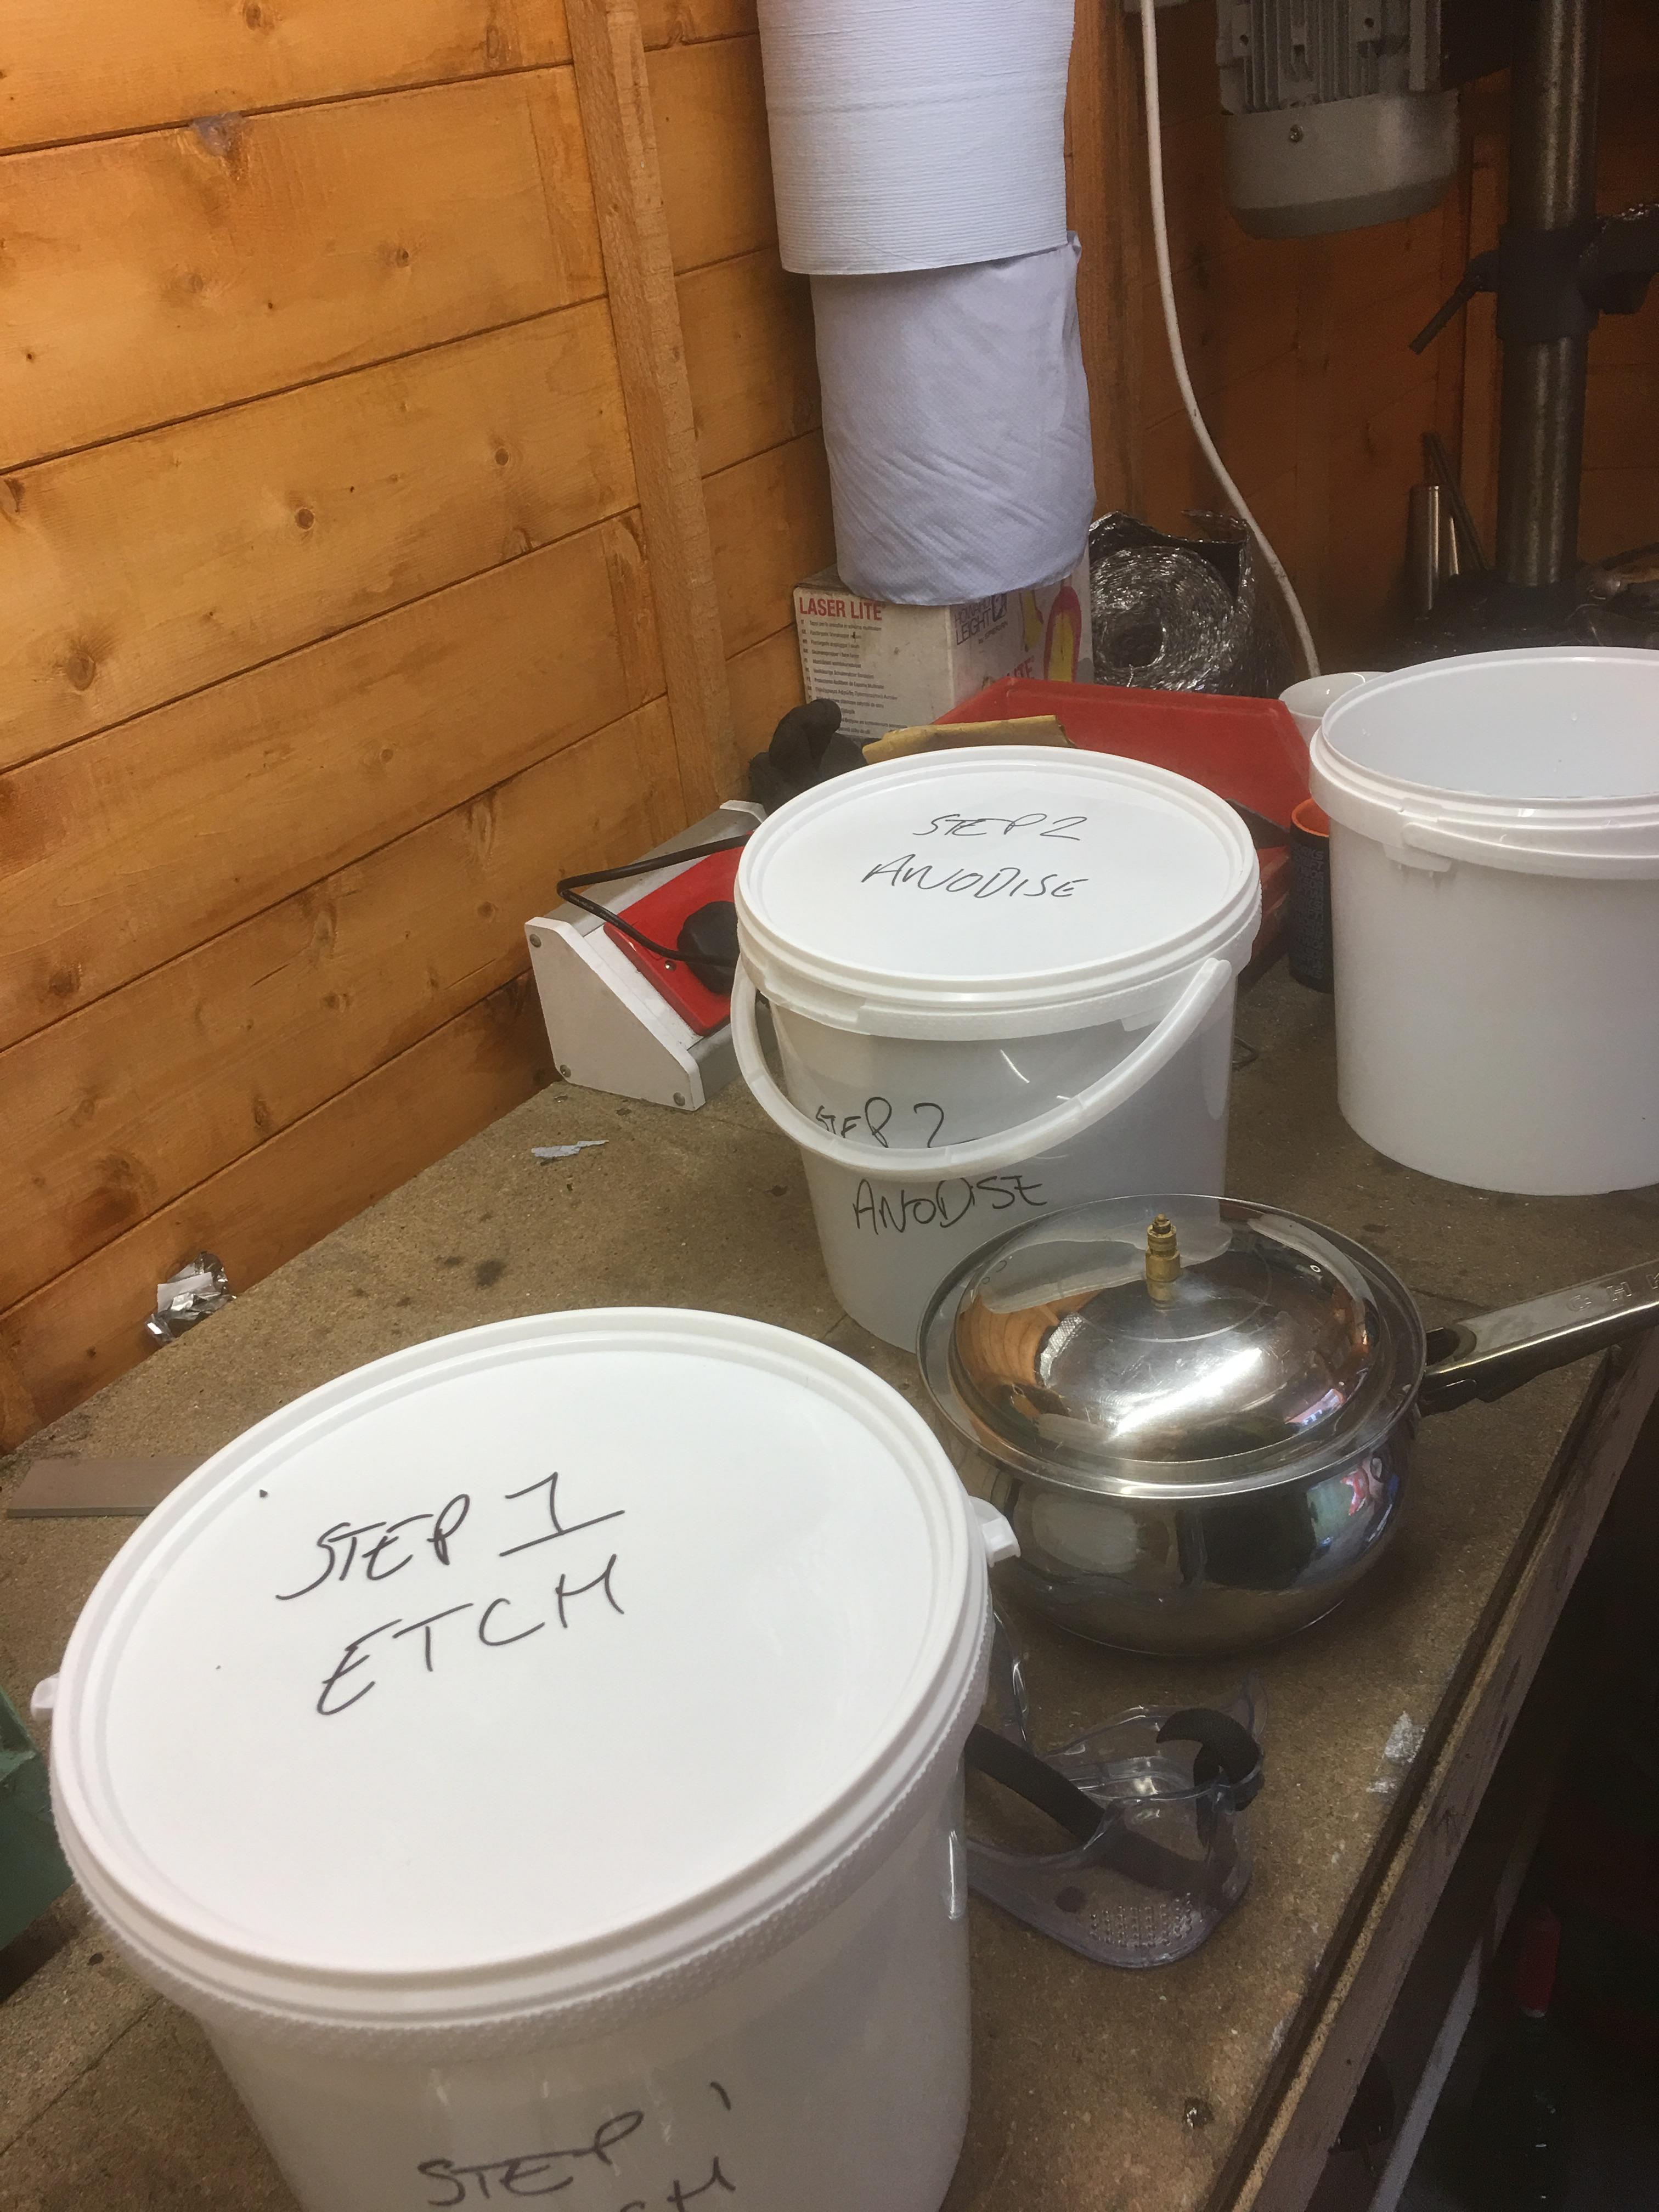
Thanks the whole anodising process was a suck it and see moment really. I had no idea what to do so I got a kit and a couple of colours and used YouTube.
I’m not 100% happy with the work but I’m an electrician I just learnt bits off my old man and have it a go
-
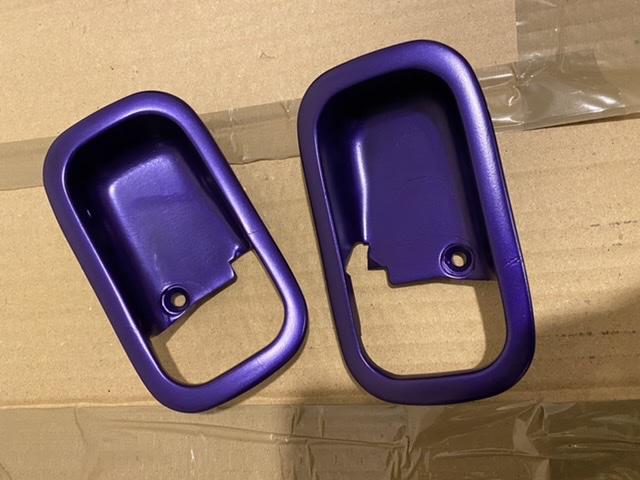
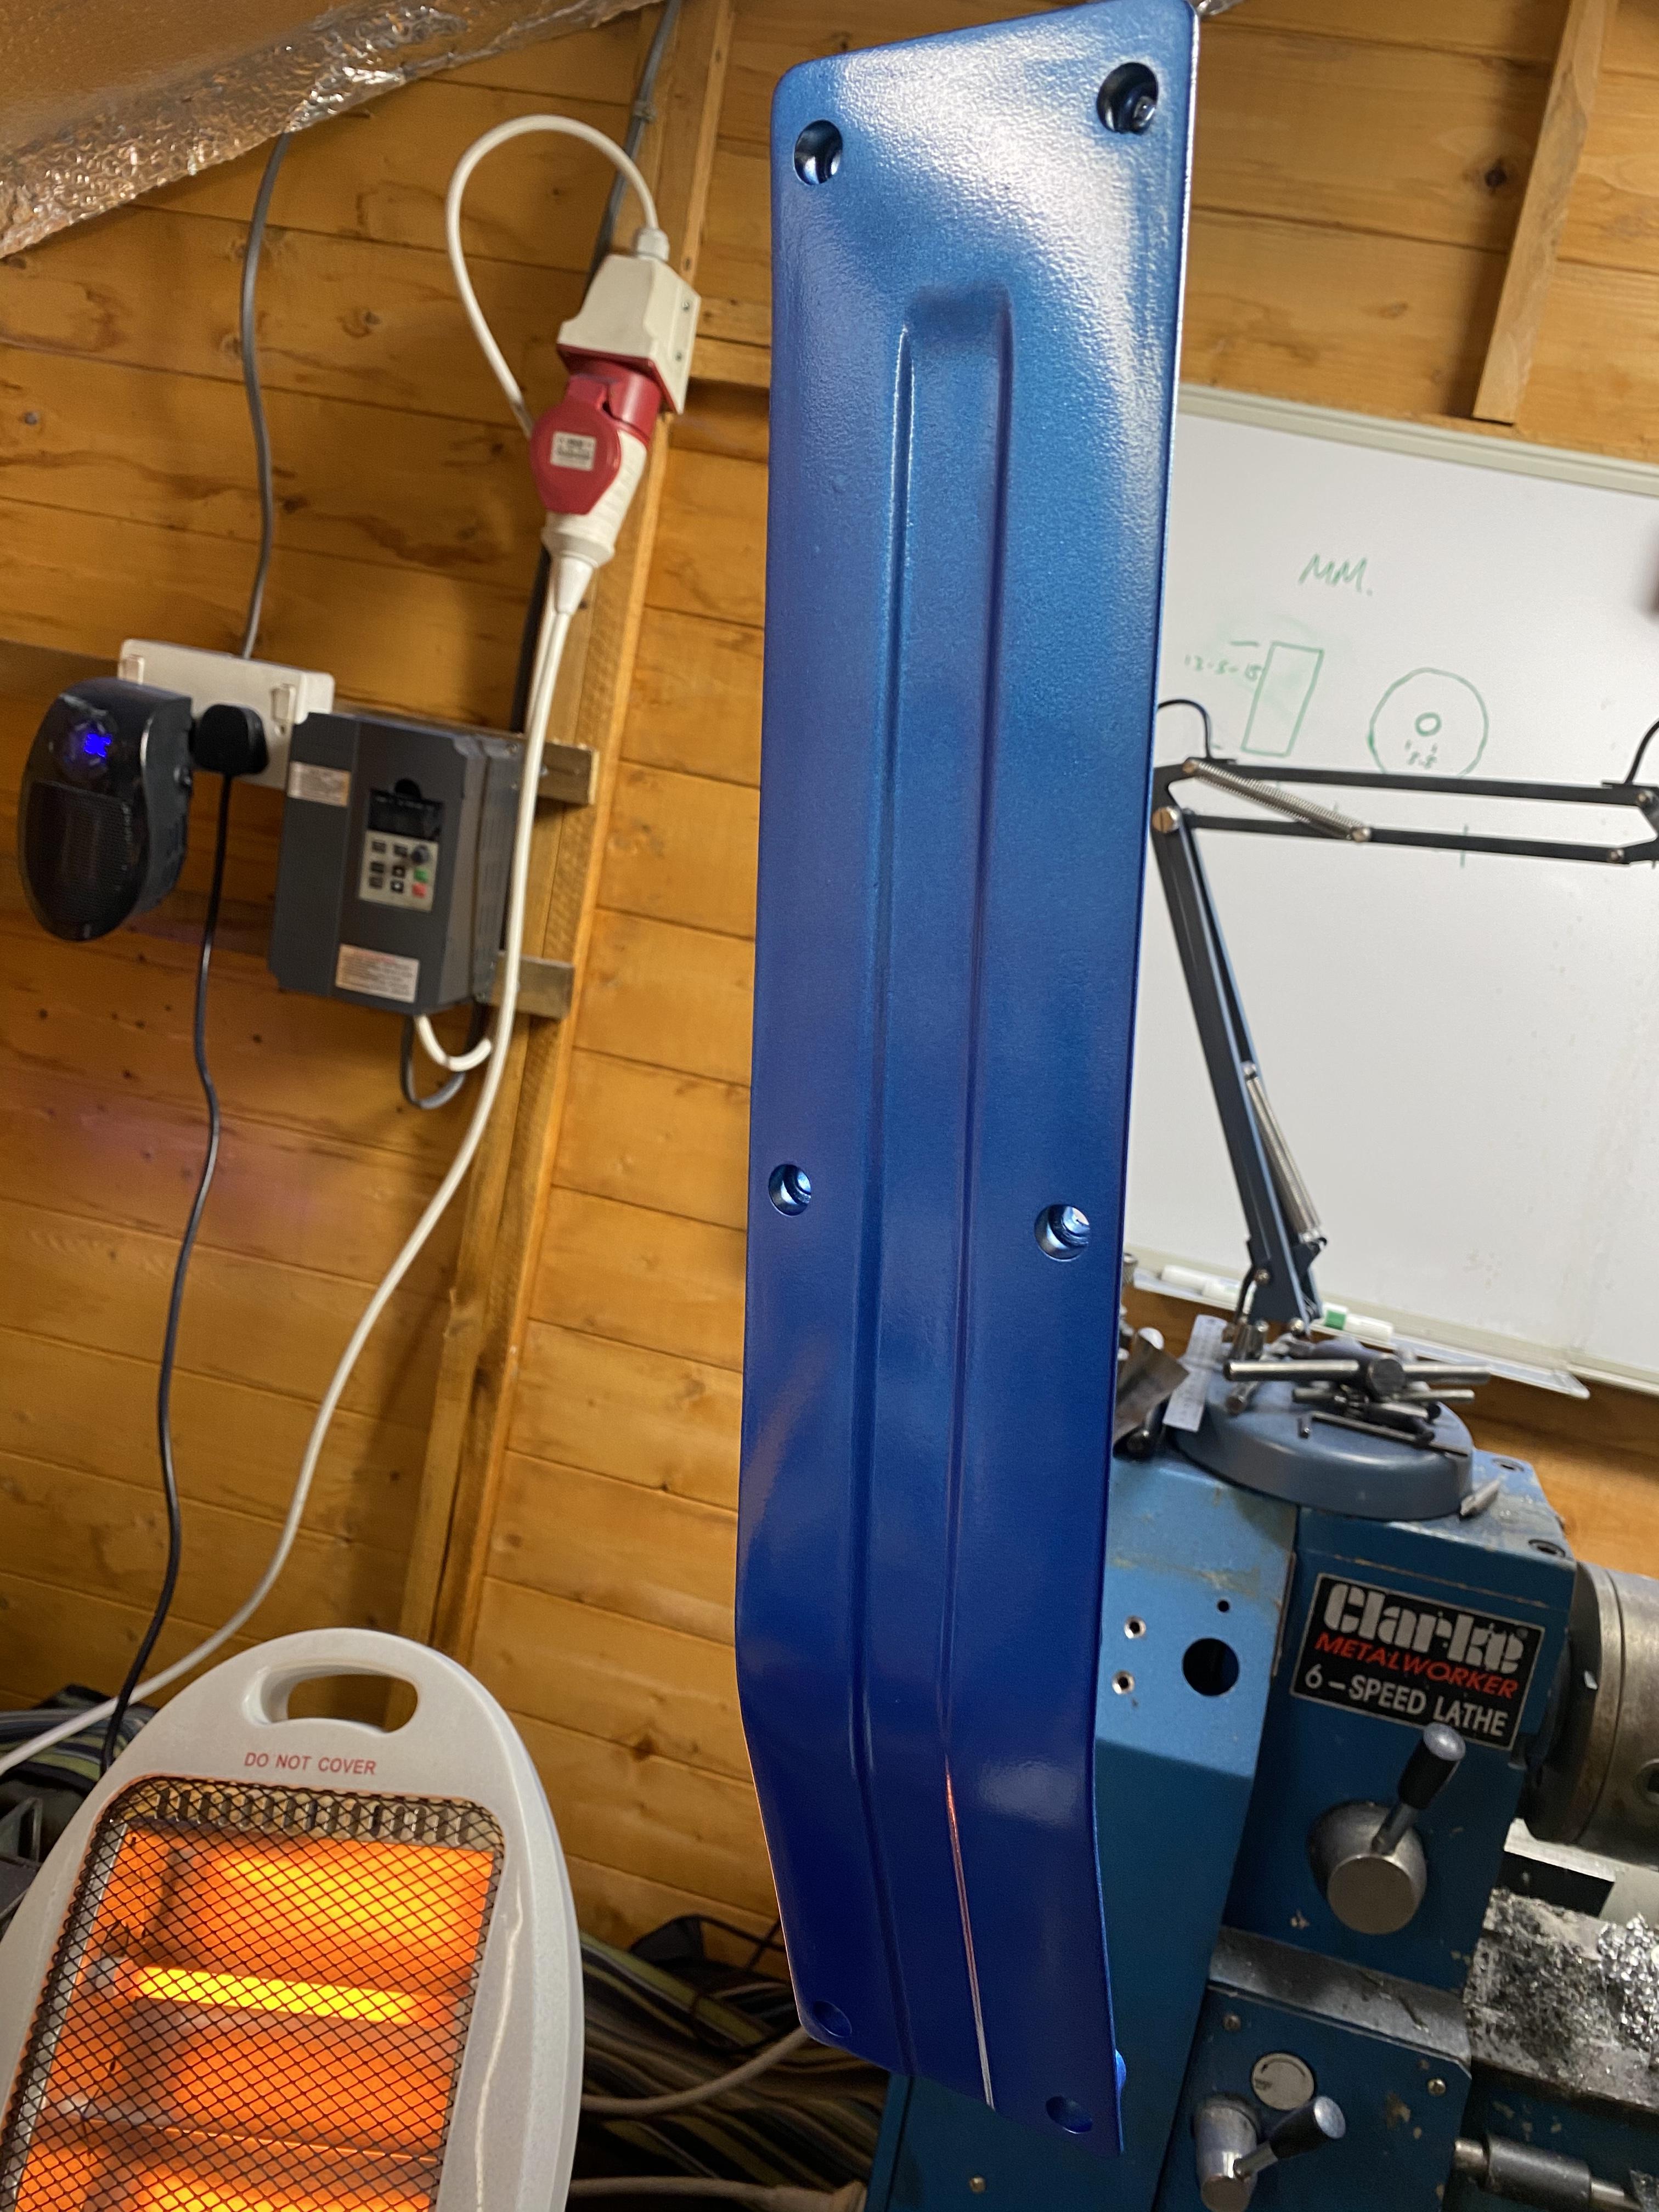
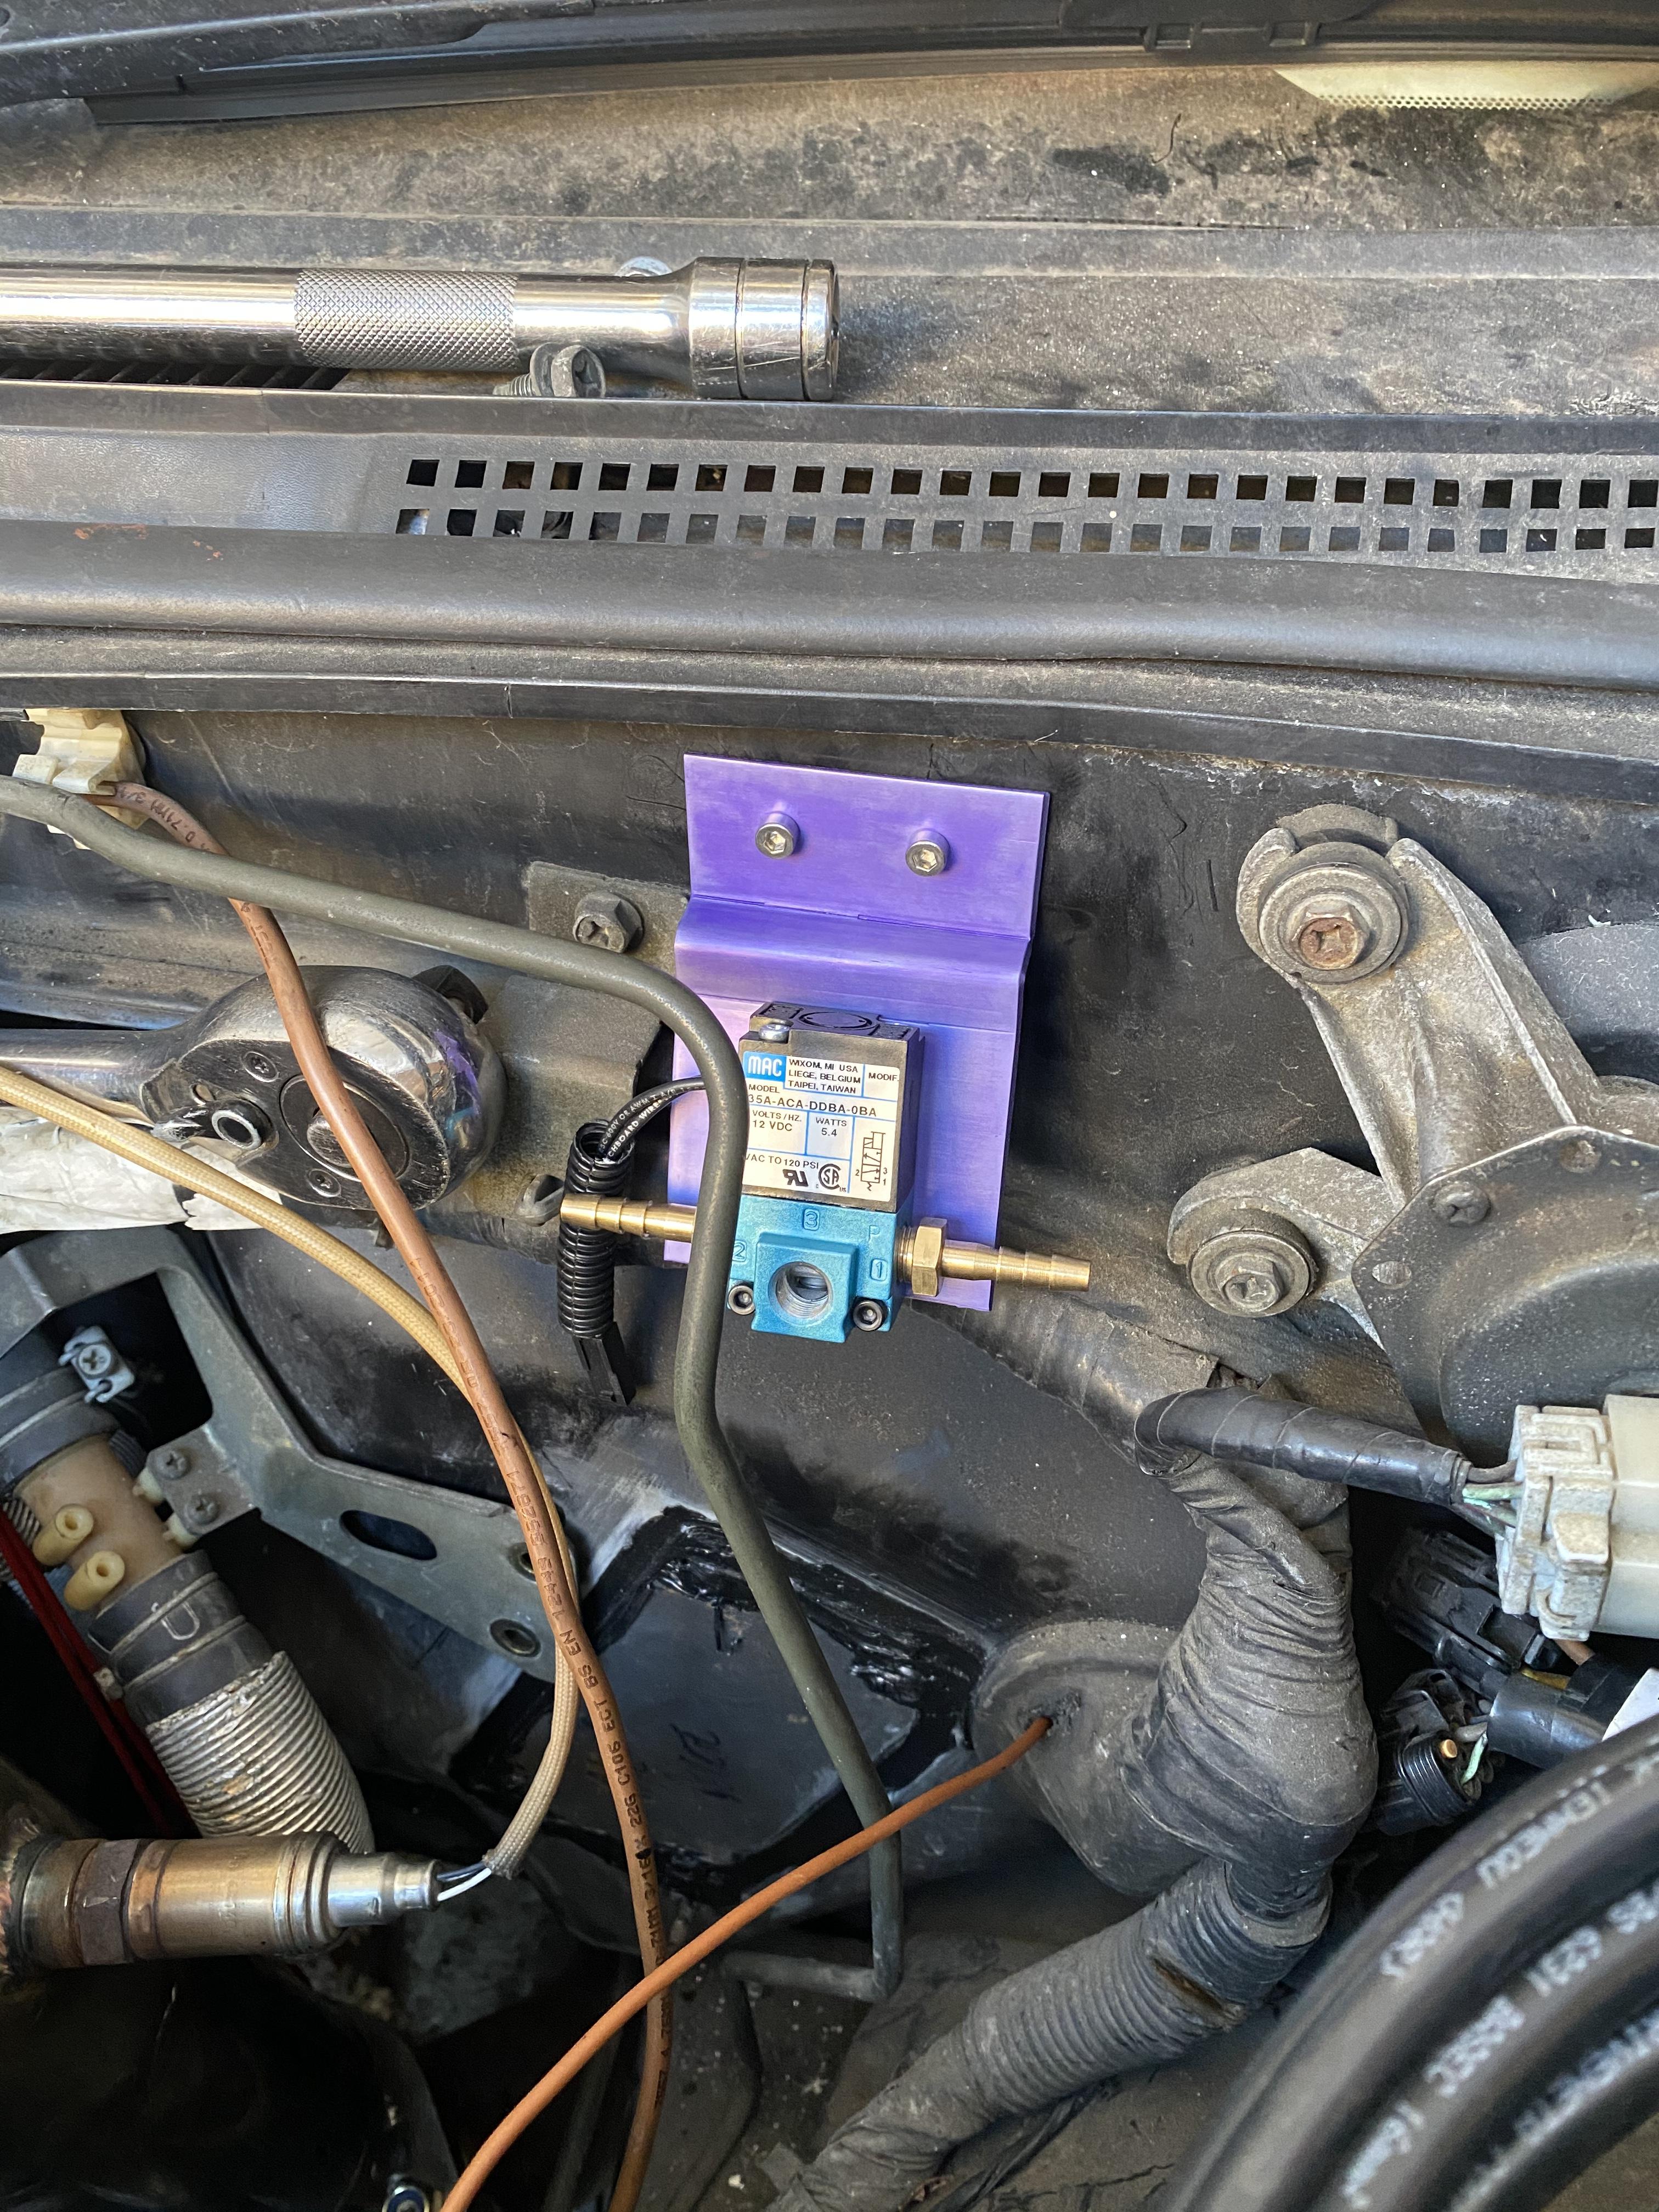
Got the bracket for the boost controller solenoid anodised. Had to make up a new plate for the stereo as the original gauge mounting plan didn’t work. Anodised that and the gear stick surround and I’ve now started work on cleaning up and spraying the centre console satin black. I will also do the door handle inserts and heater controls the same.


-
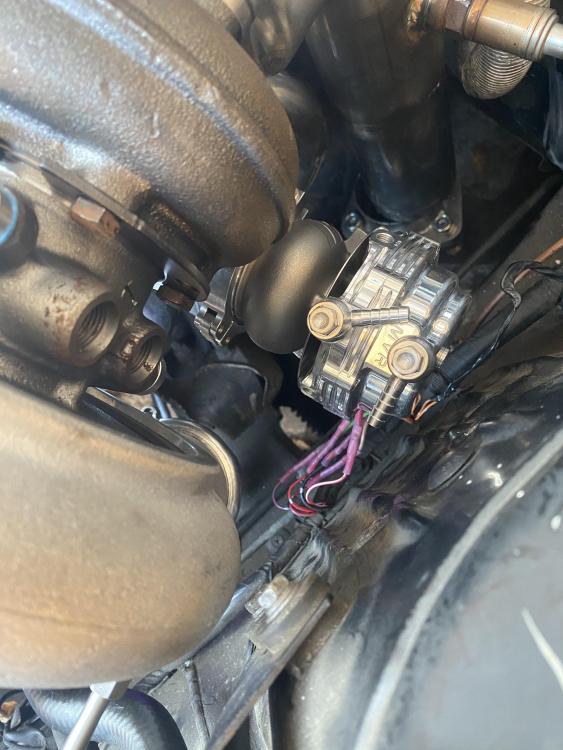
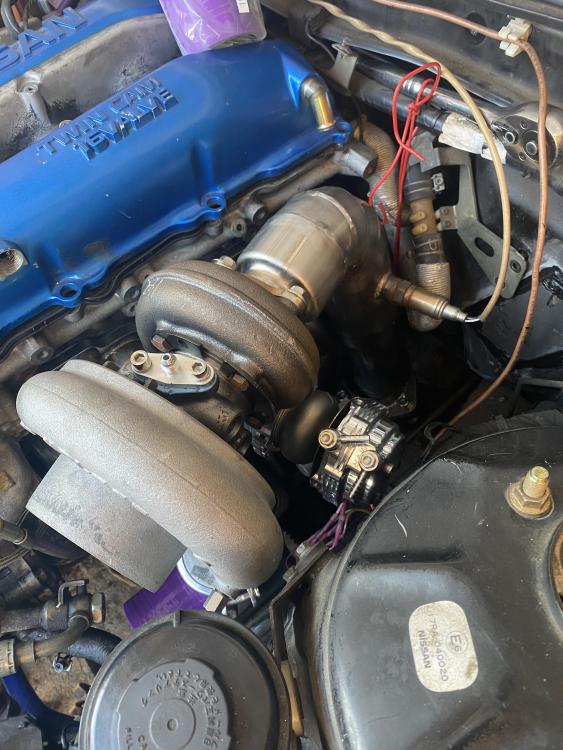
Had a day off today so got the Tial MVR 44 fitted up, it just squeezes between the engine and turret. Some billet engine mounts will stop the engine moving and the wastegate hitting anything.
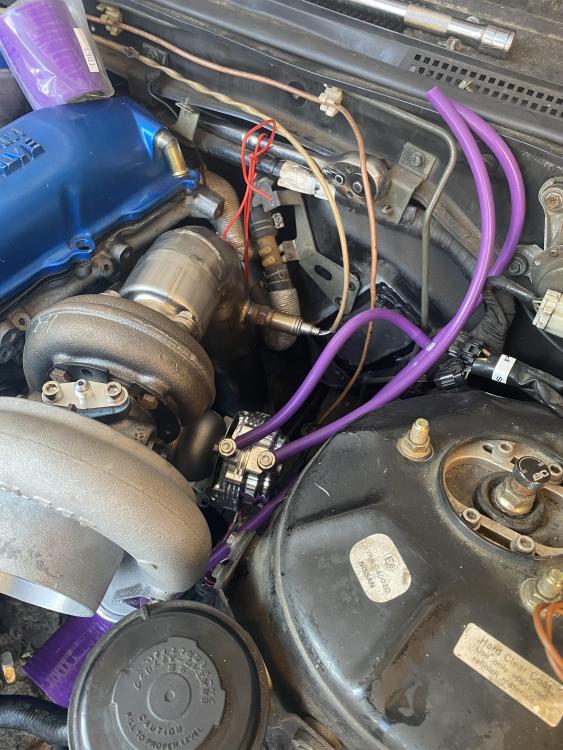
Plumbed the boost controller in and made up a bracket for the solenoid to mount to. Just need to get a decent finish on it and I can then anodise it.
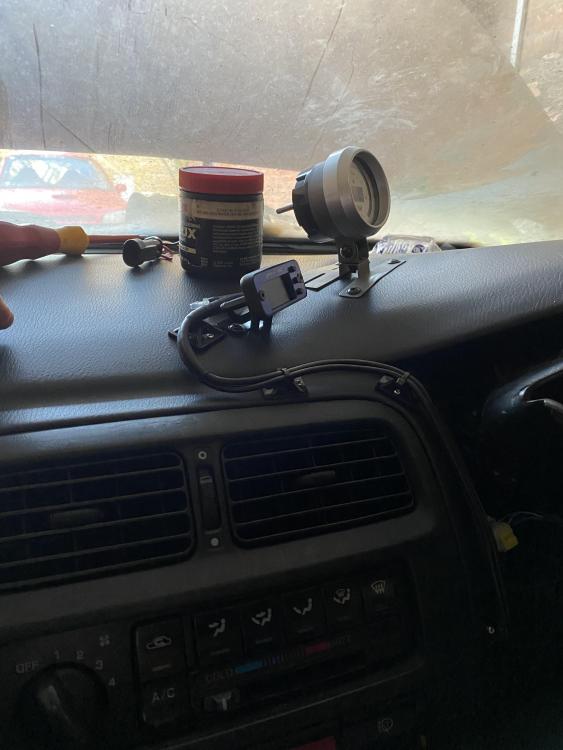
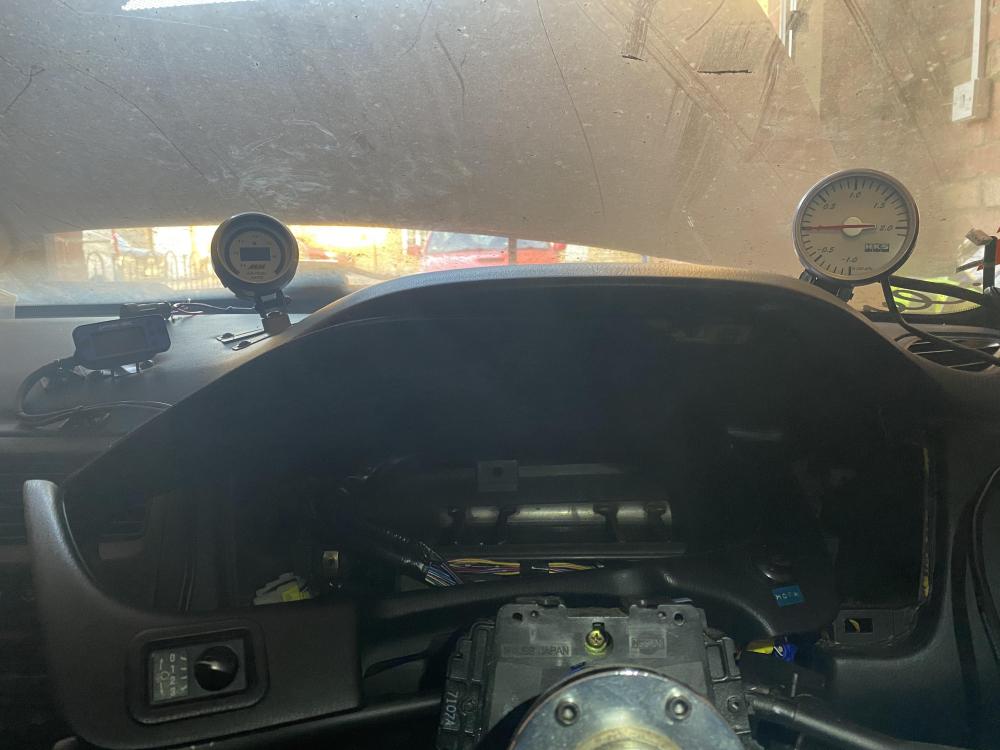
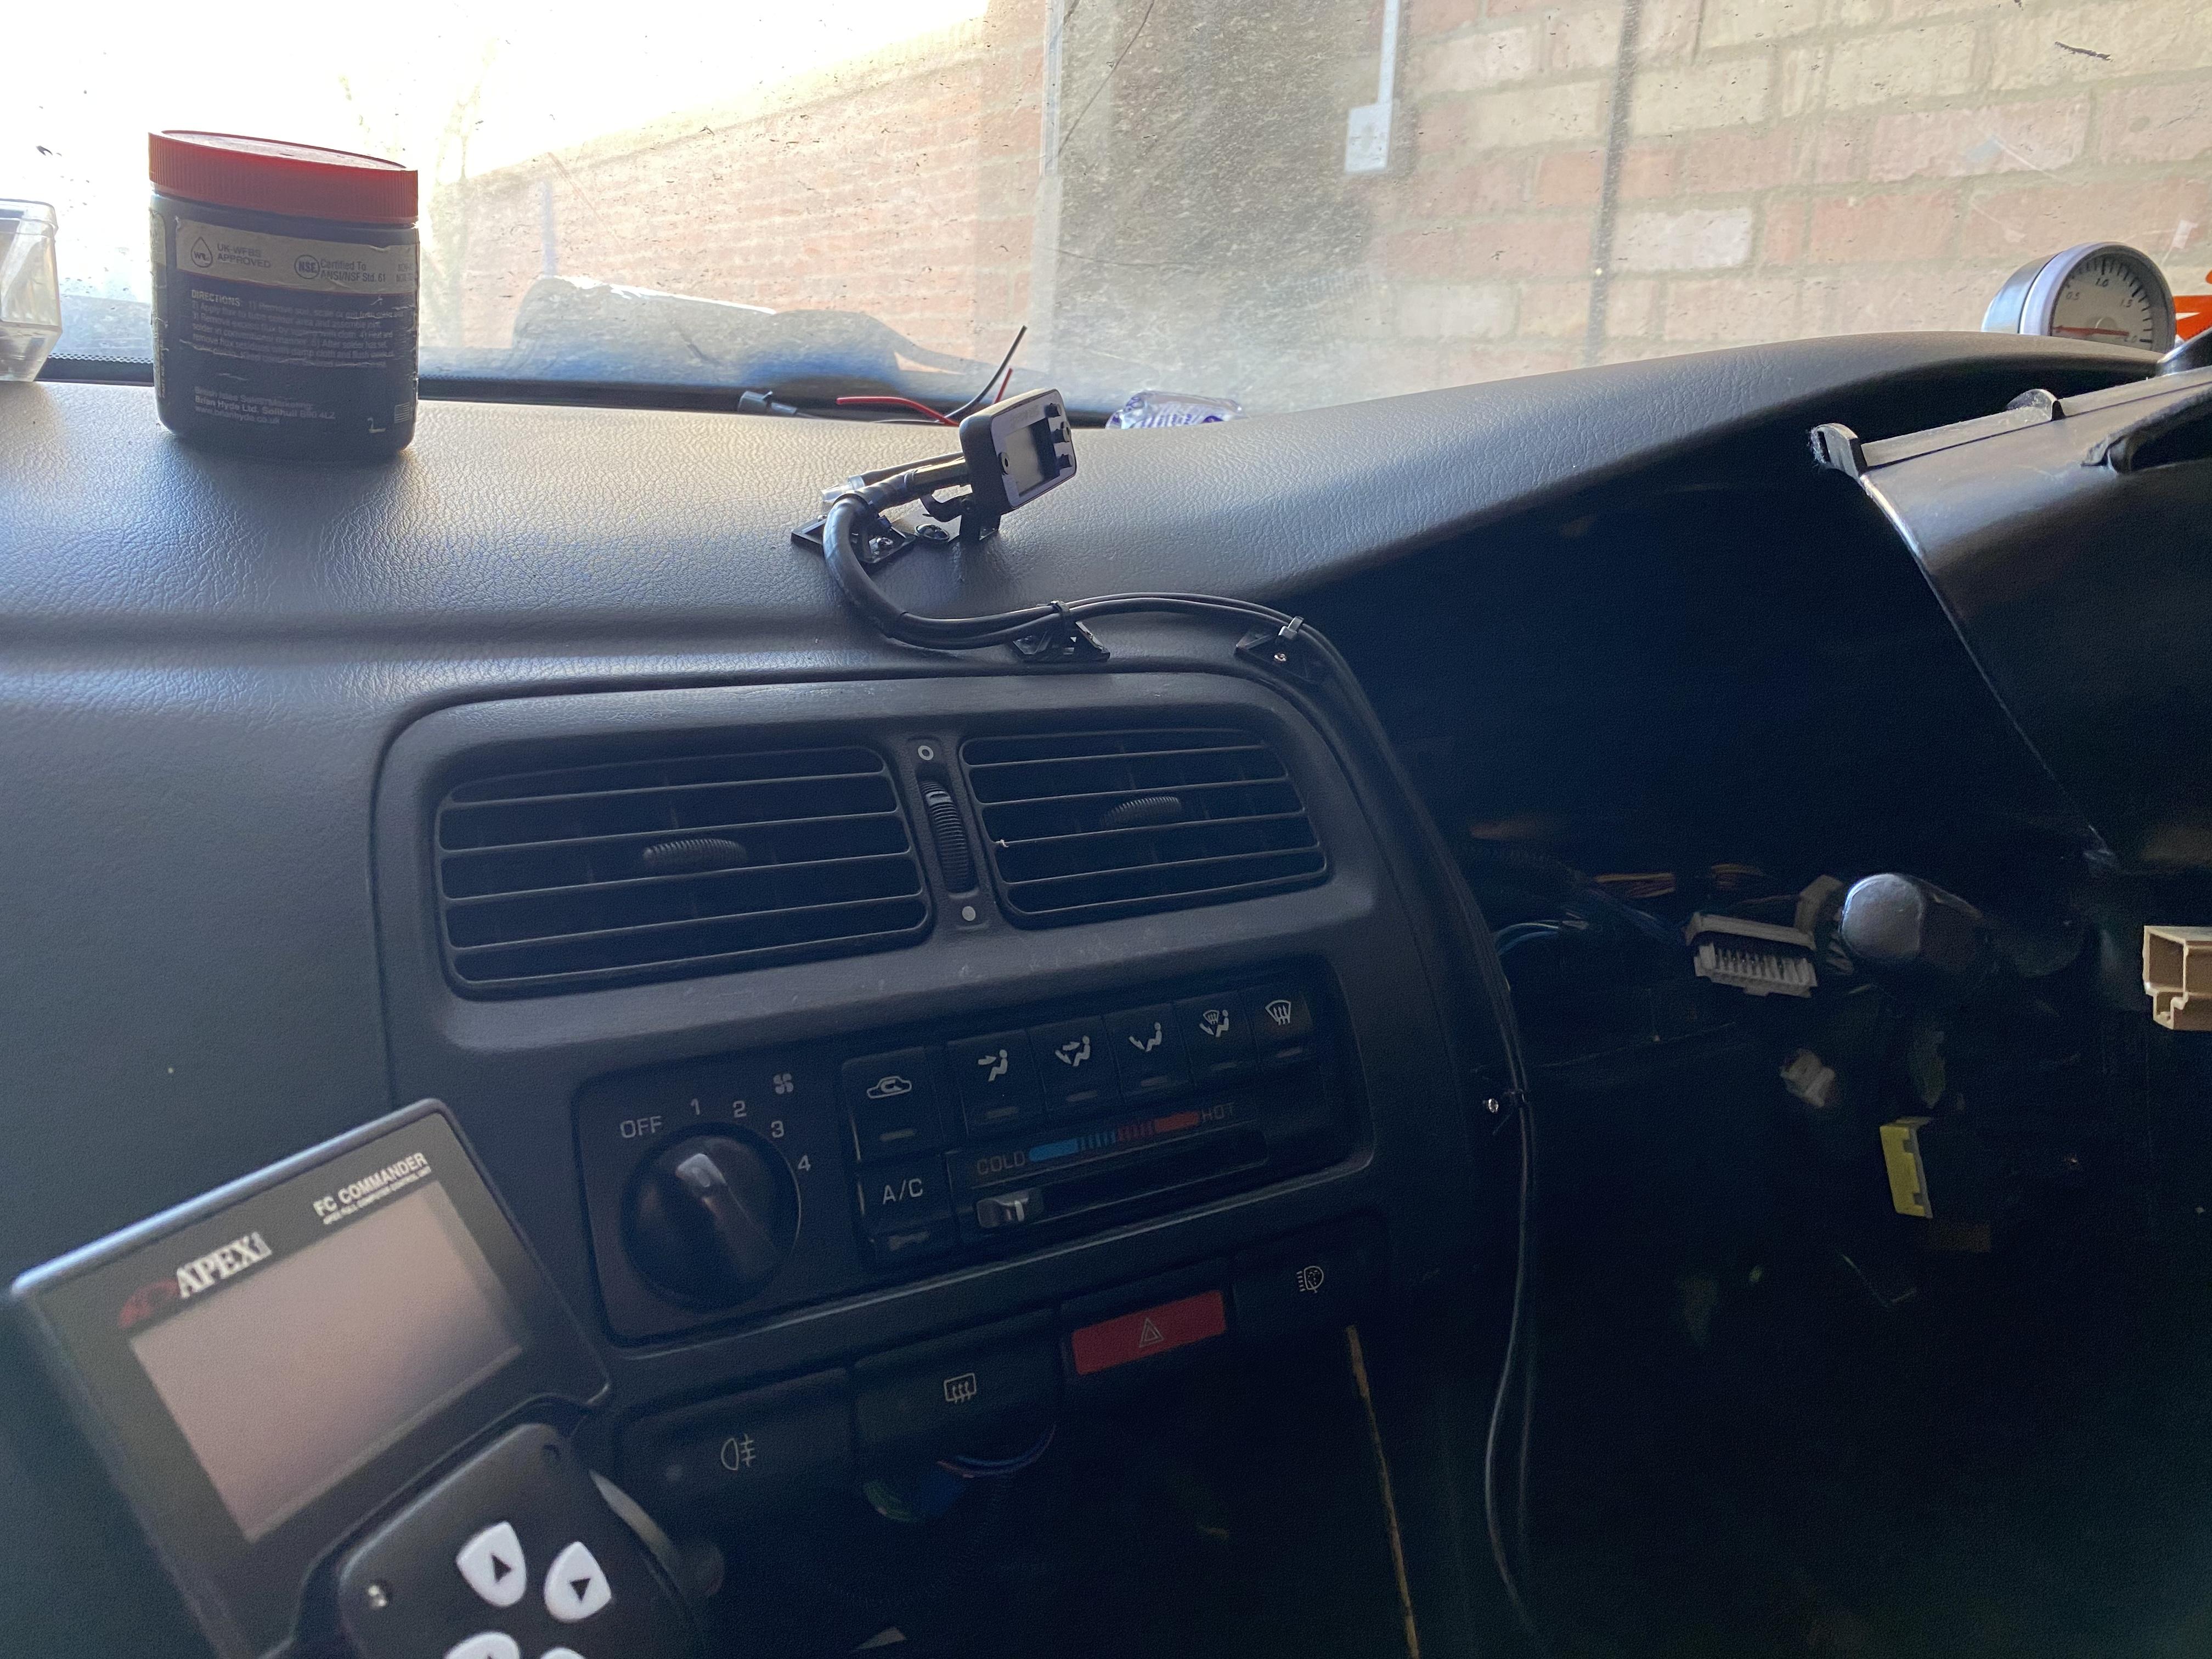
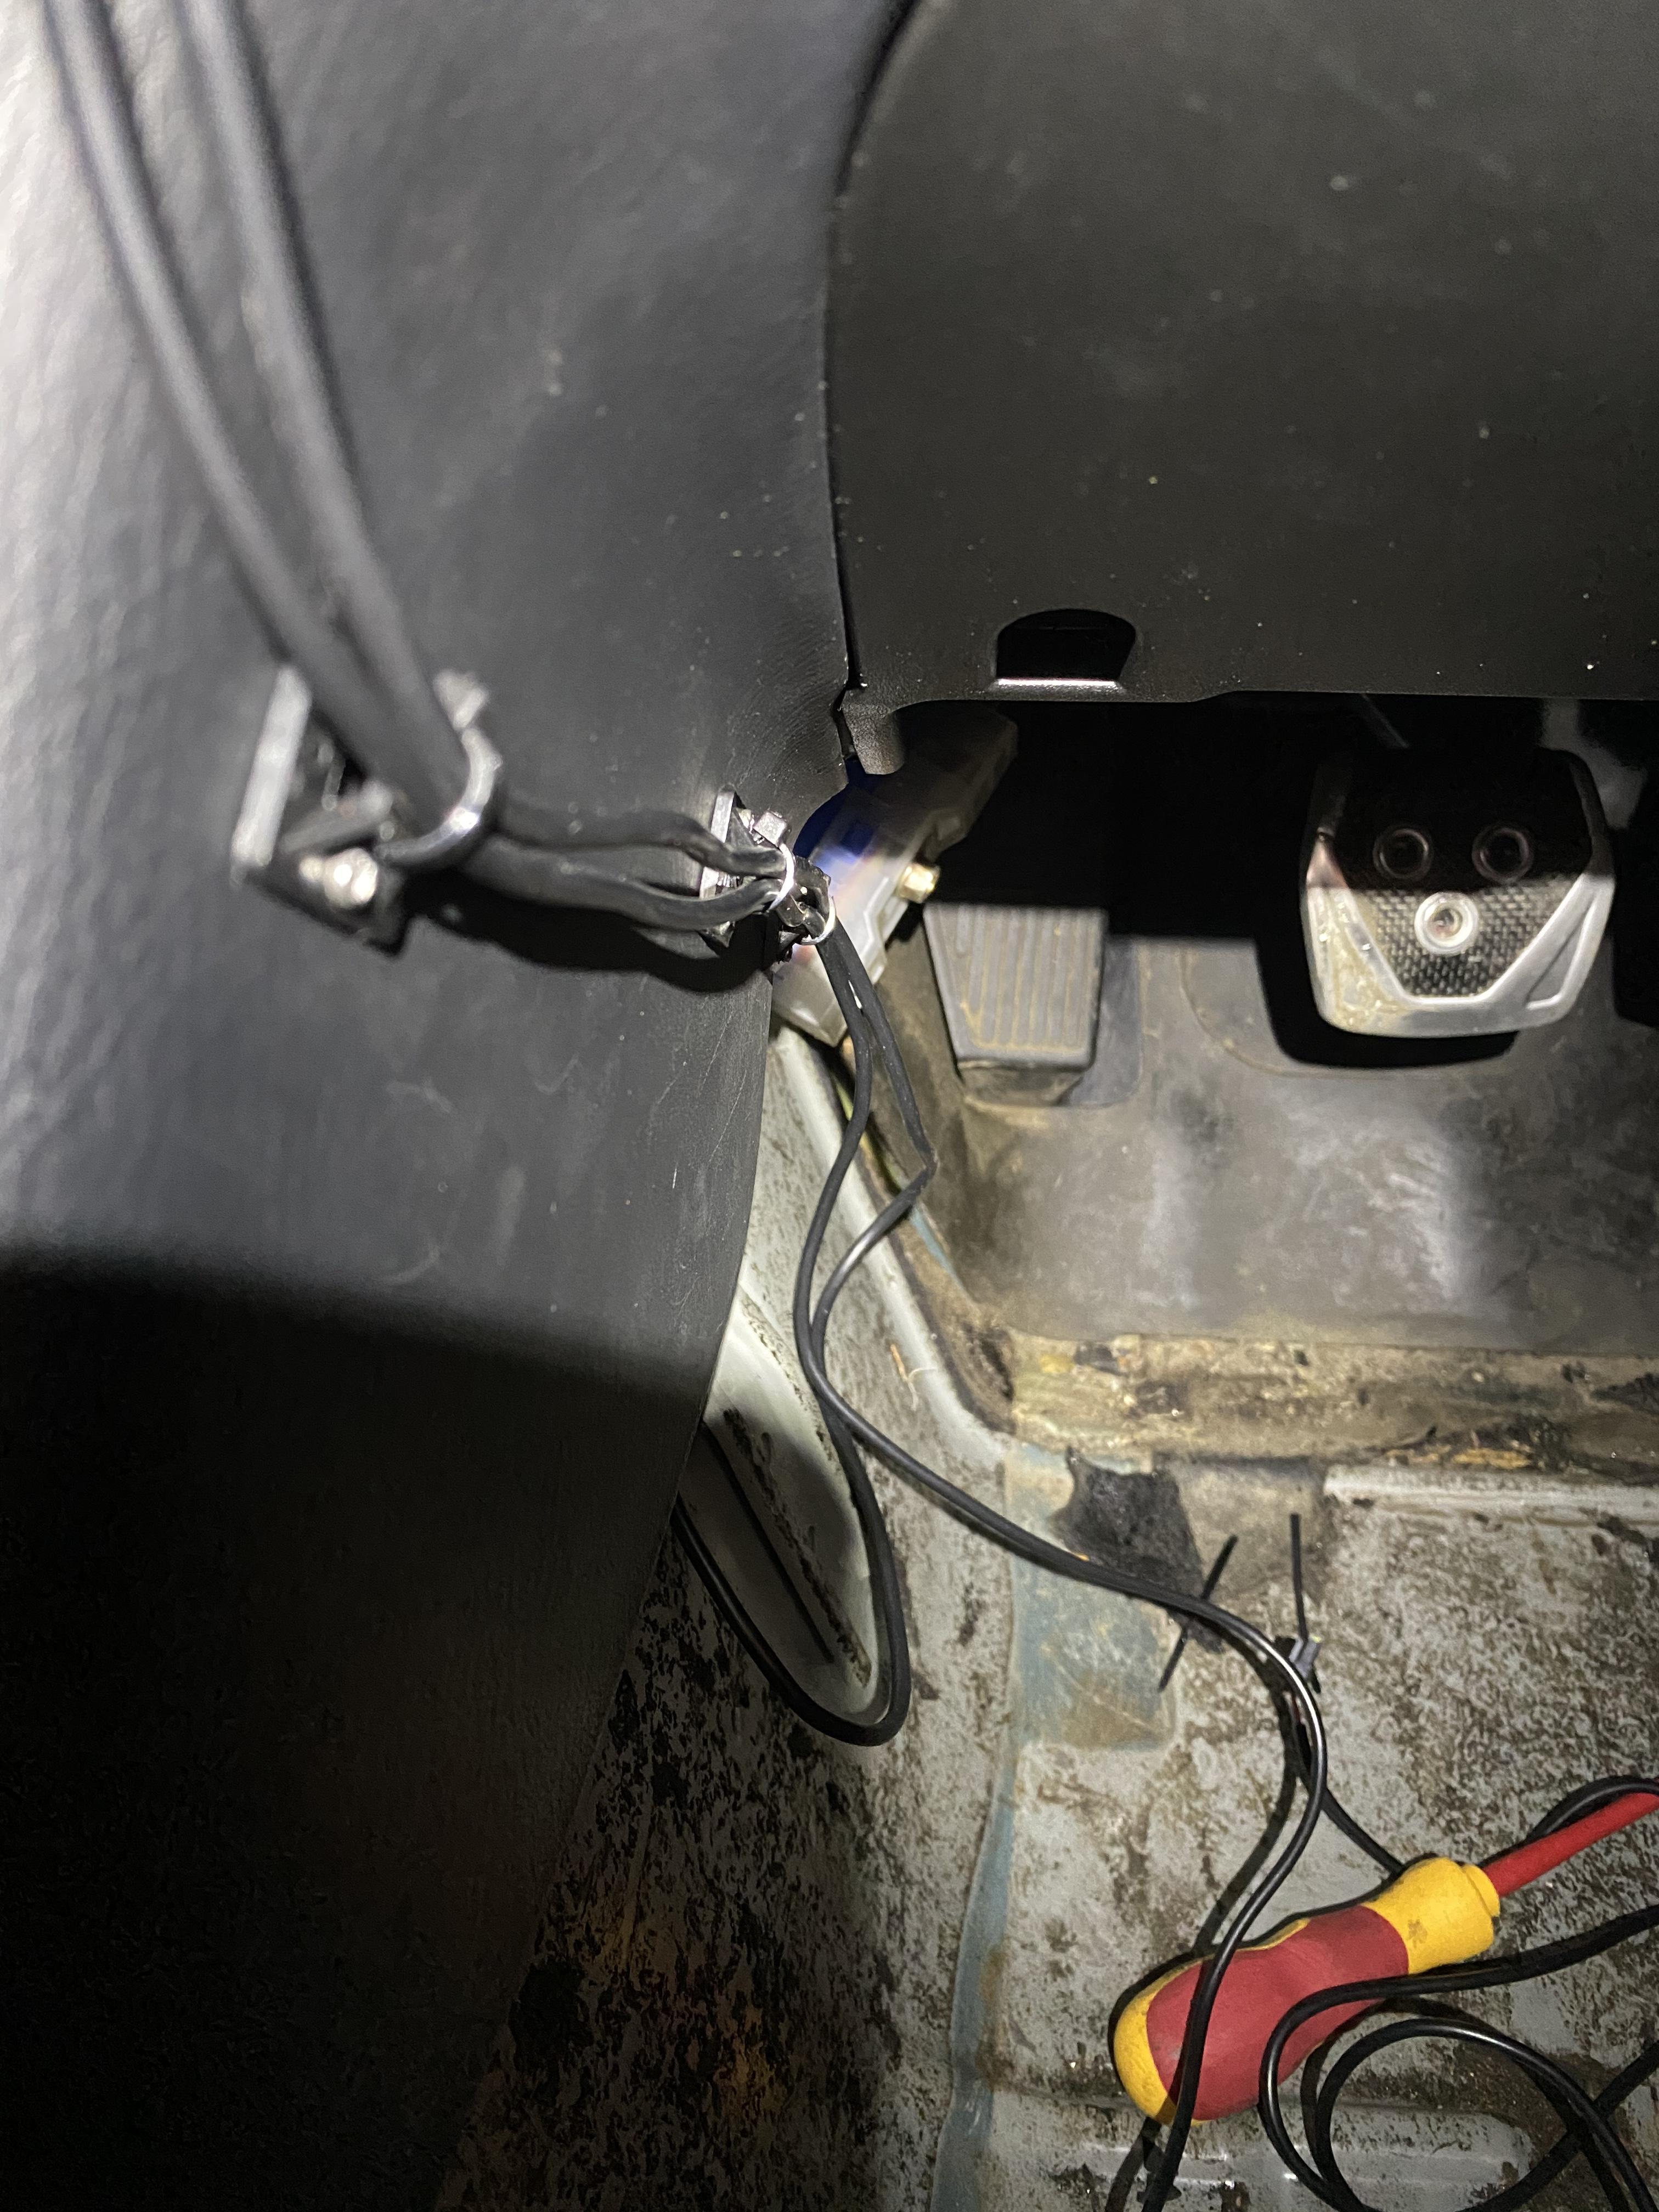
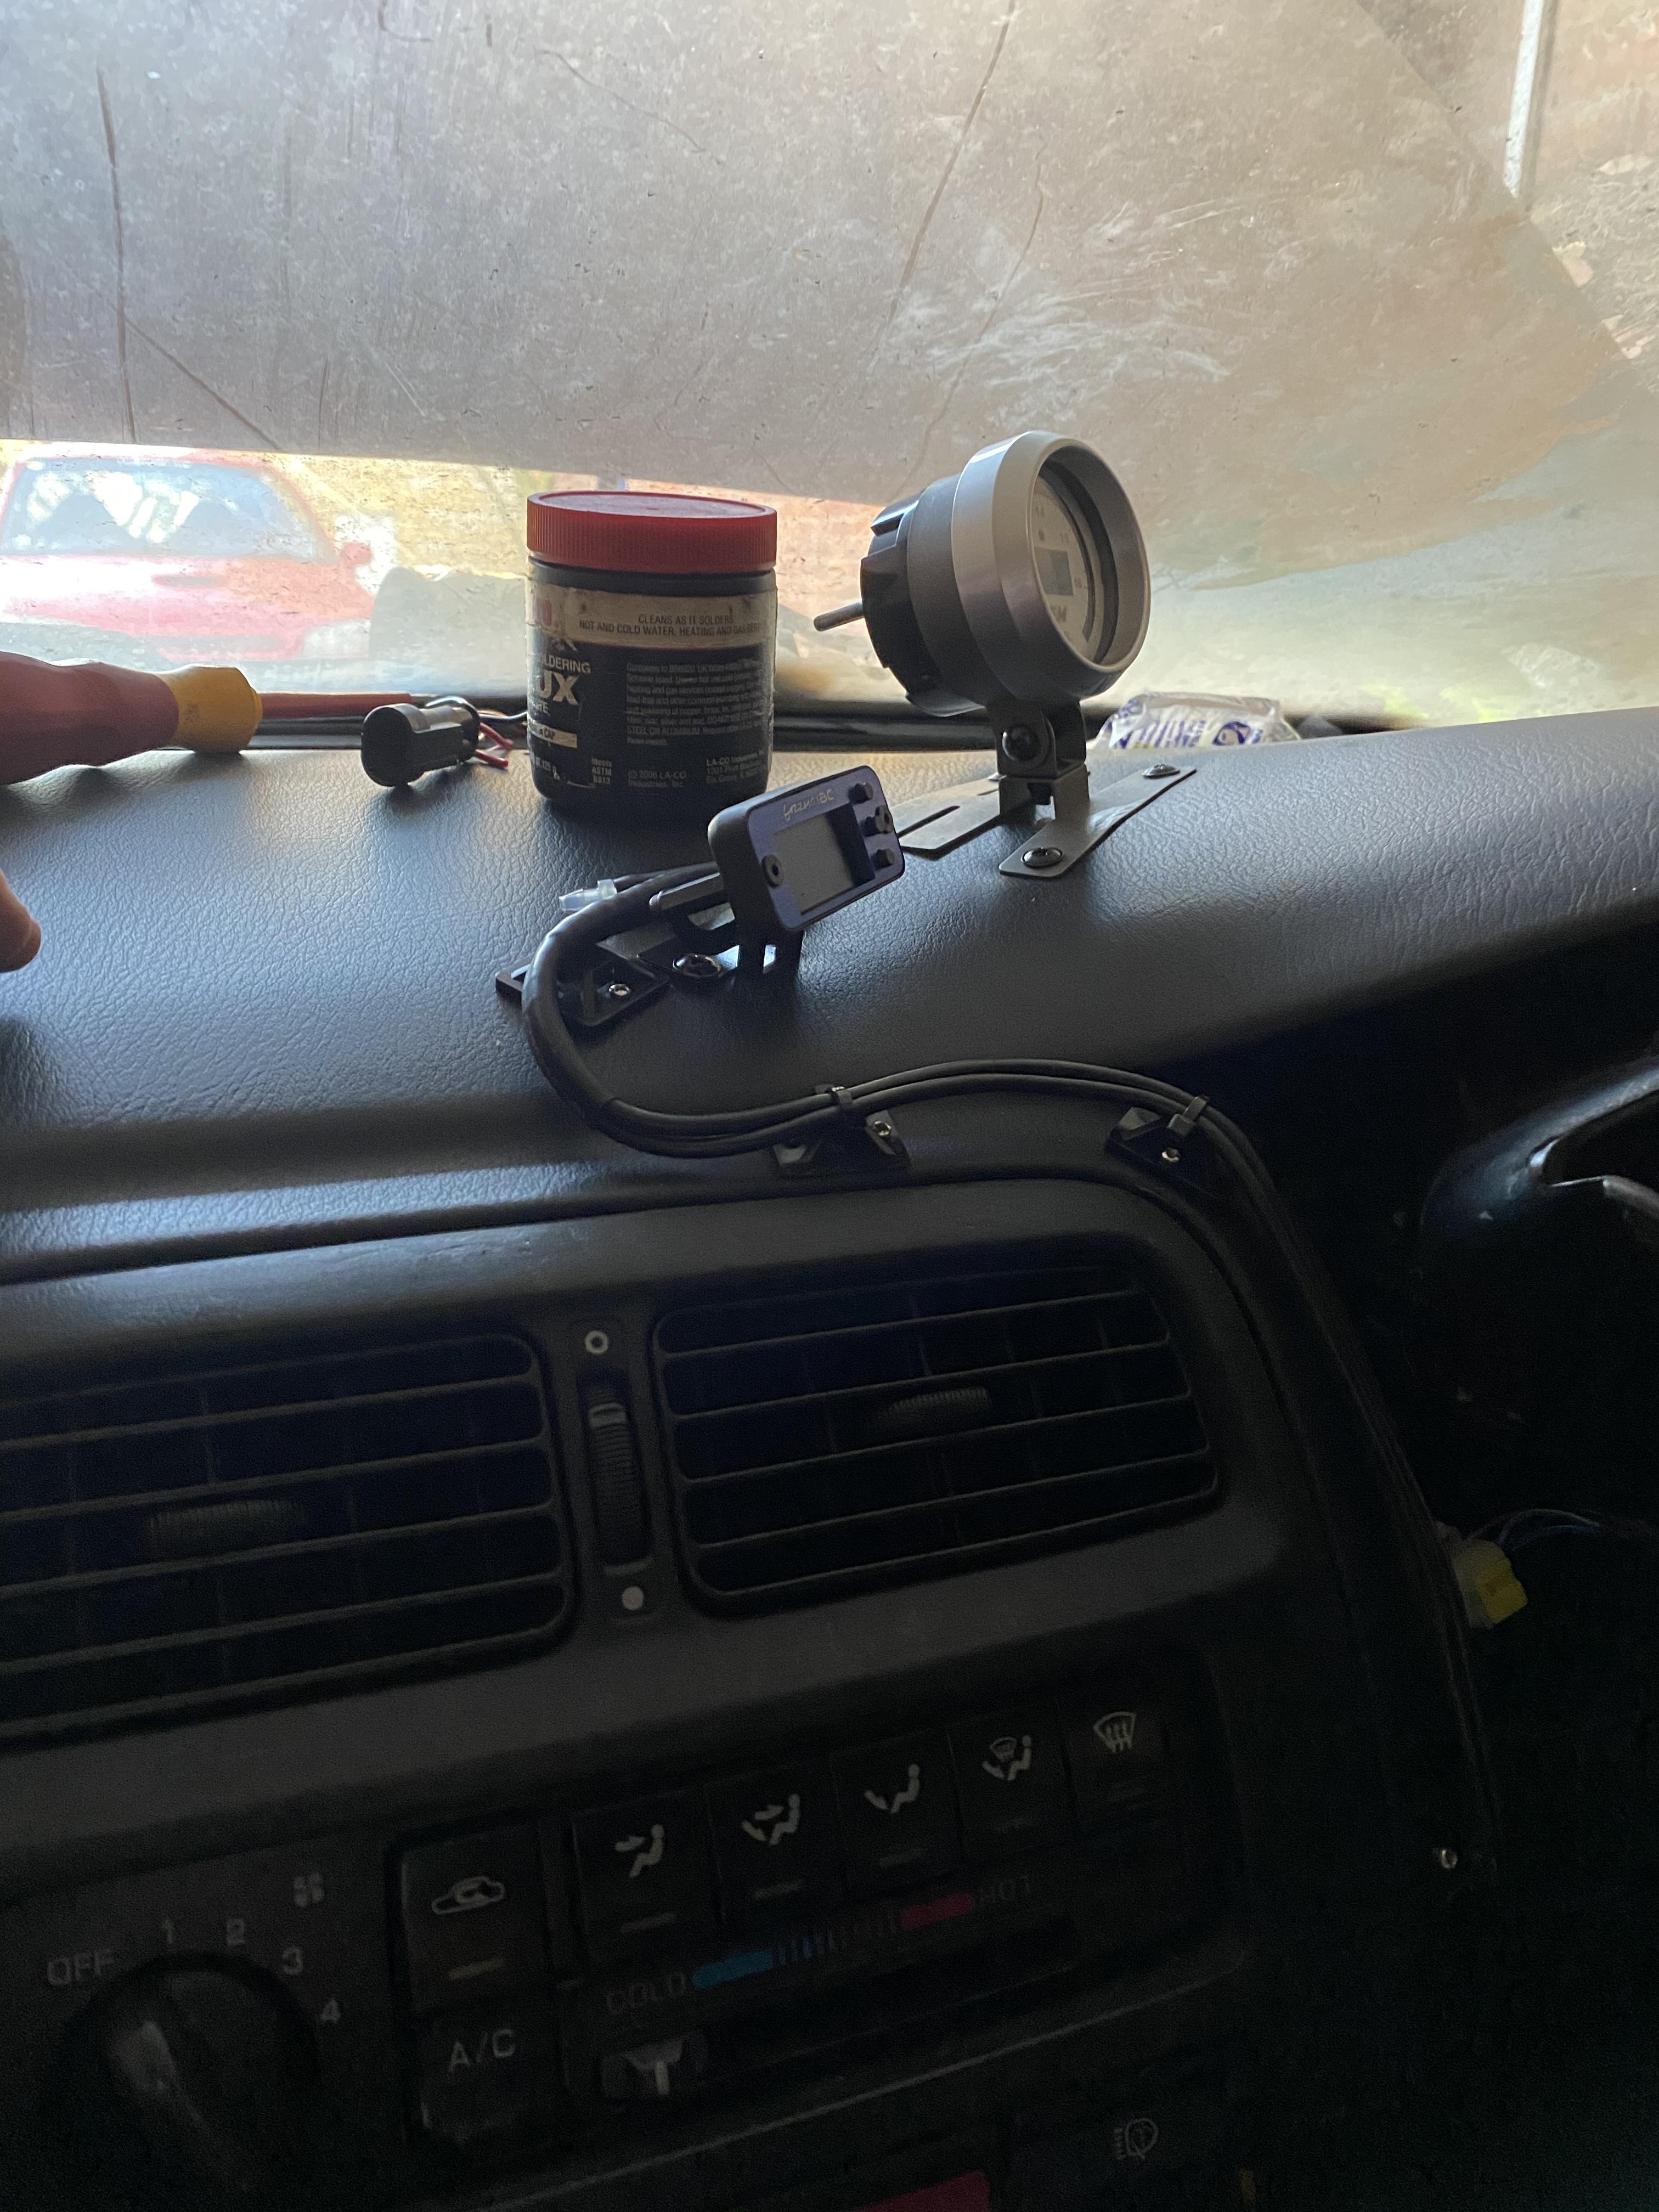
Got the wideband, boost gauge and boost controller mounted on to the dash. The original plan was to get the oil pressure and water temperature gauges mounted above the stereo but I found today the gauges are just too big. So I shall get another 2 gauge brackets and mount them behind the boost controller.


-
Type in car audio splitter block on eBay and there’s loads of different types
-
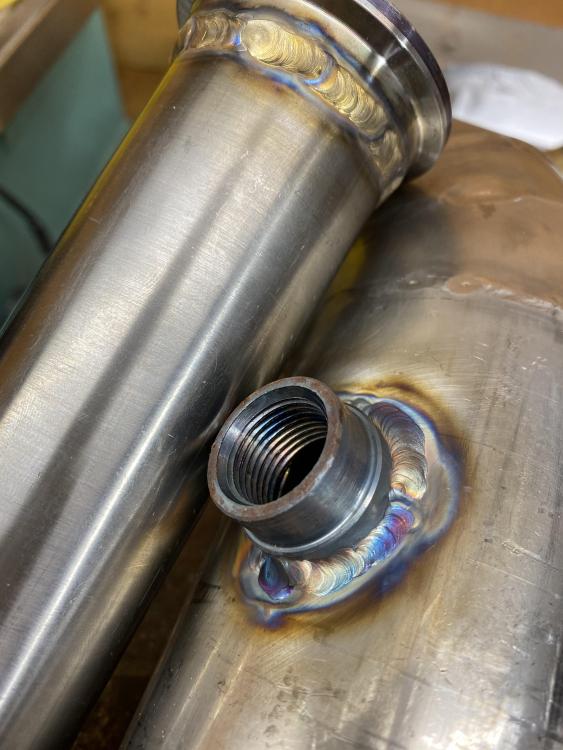
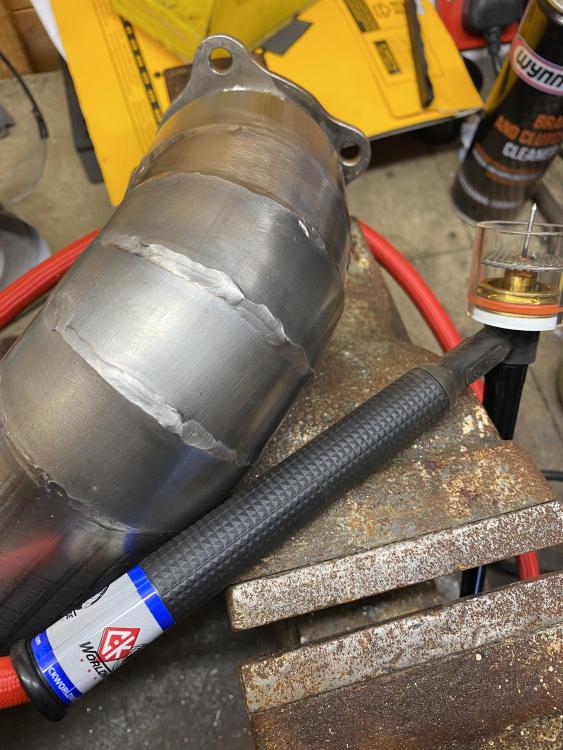
Had a bit of time off the car over Christmas but back on it now. Got most of the downpipe welded up, got 4 racks to cut and reposition the flange that’s bolts to the rest of the system as that’s off by about 10mm. Welded a boss into it for the lambda sensor and the screamer pipe now has a v band on it. Next up is the intercooler pipework and I can finally pull the engine
-
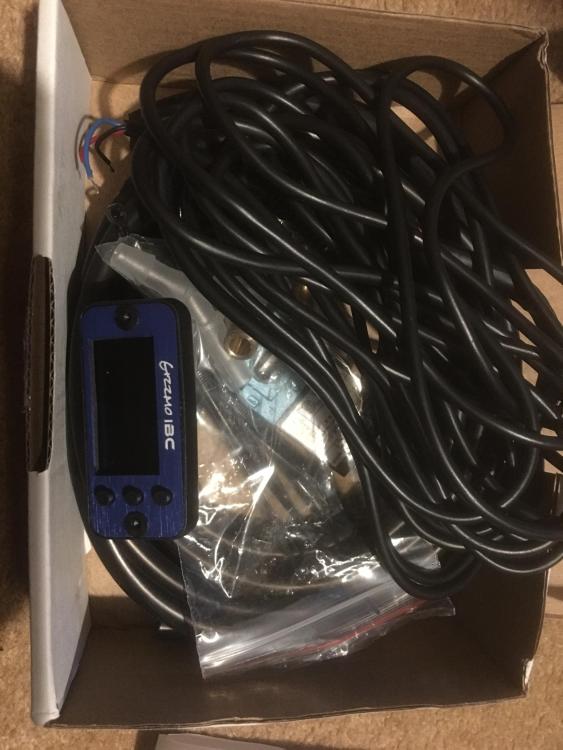
Ordered a Gizzmo boost controller. These seem to have some good reviews so I thought I’d give it a go, for the money they seem pretty good.
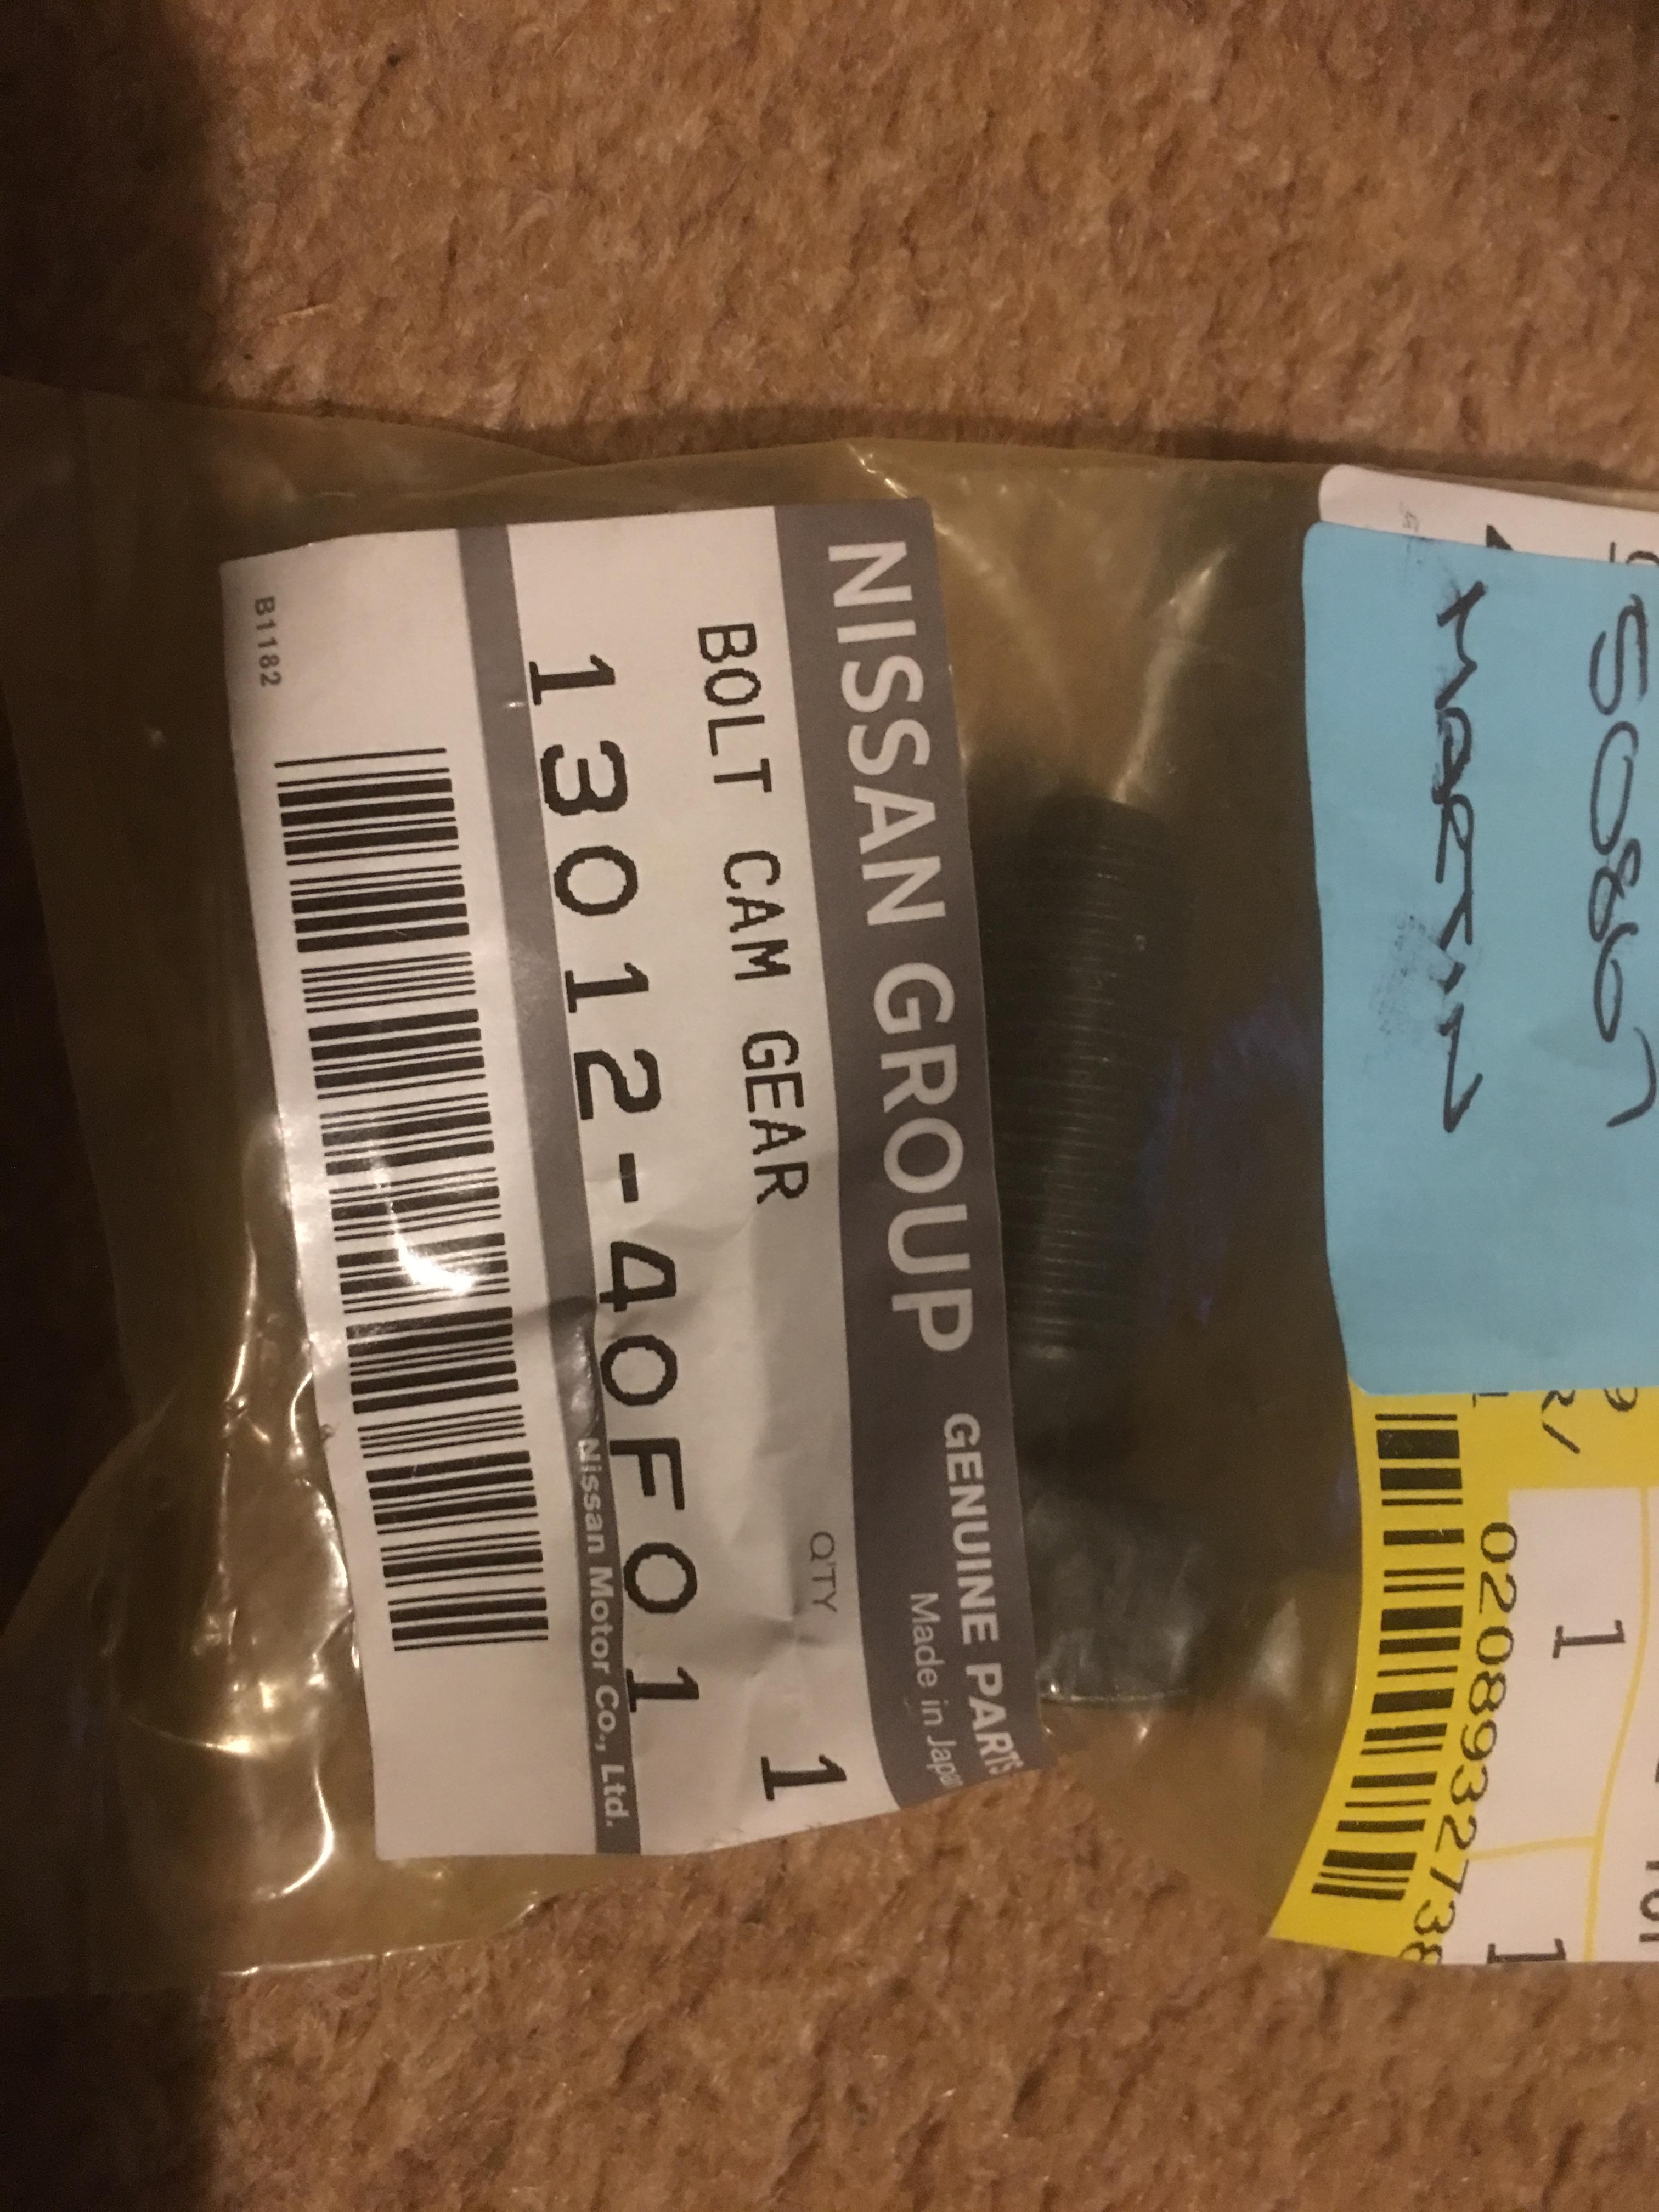
Managed to get an s13 sr20 cam gear bolt from Nissan to fit adjustable cam gears.

-
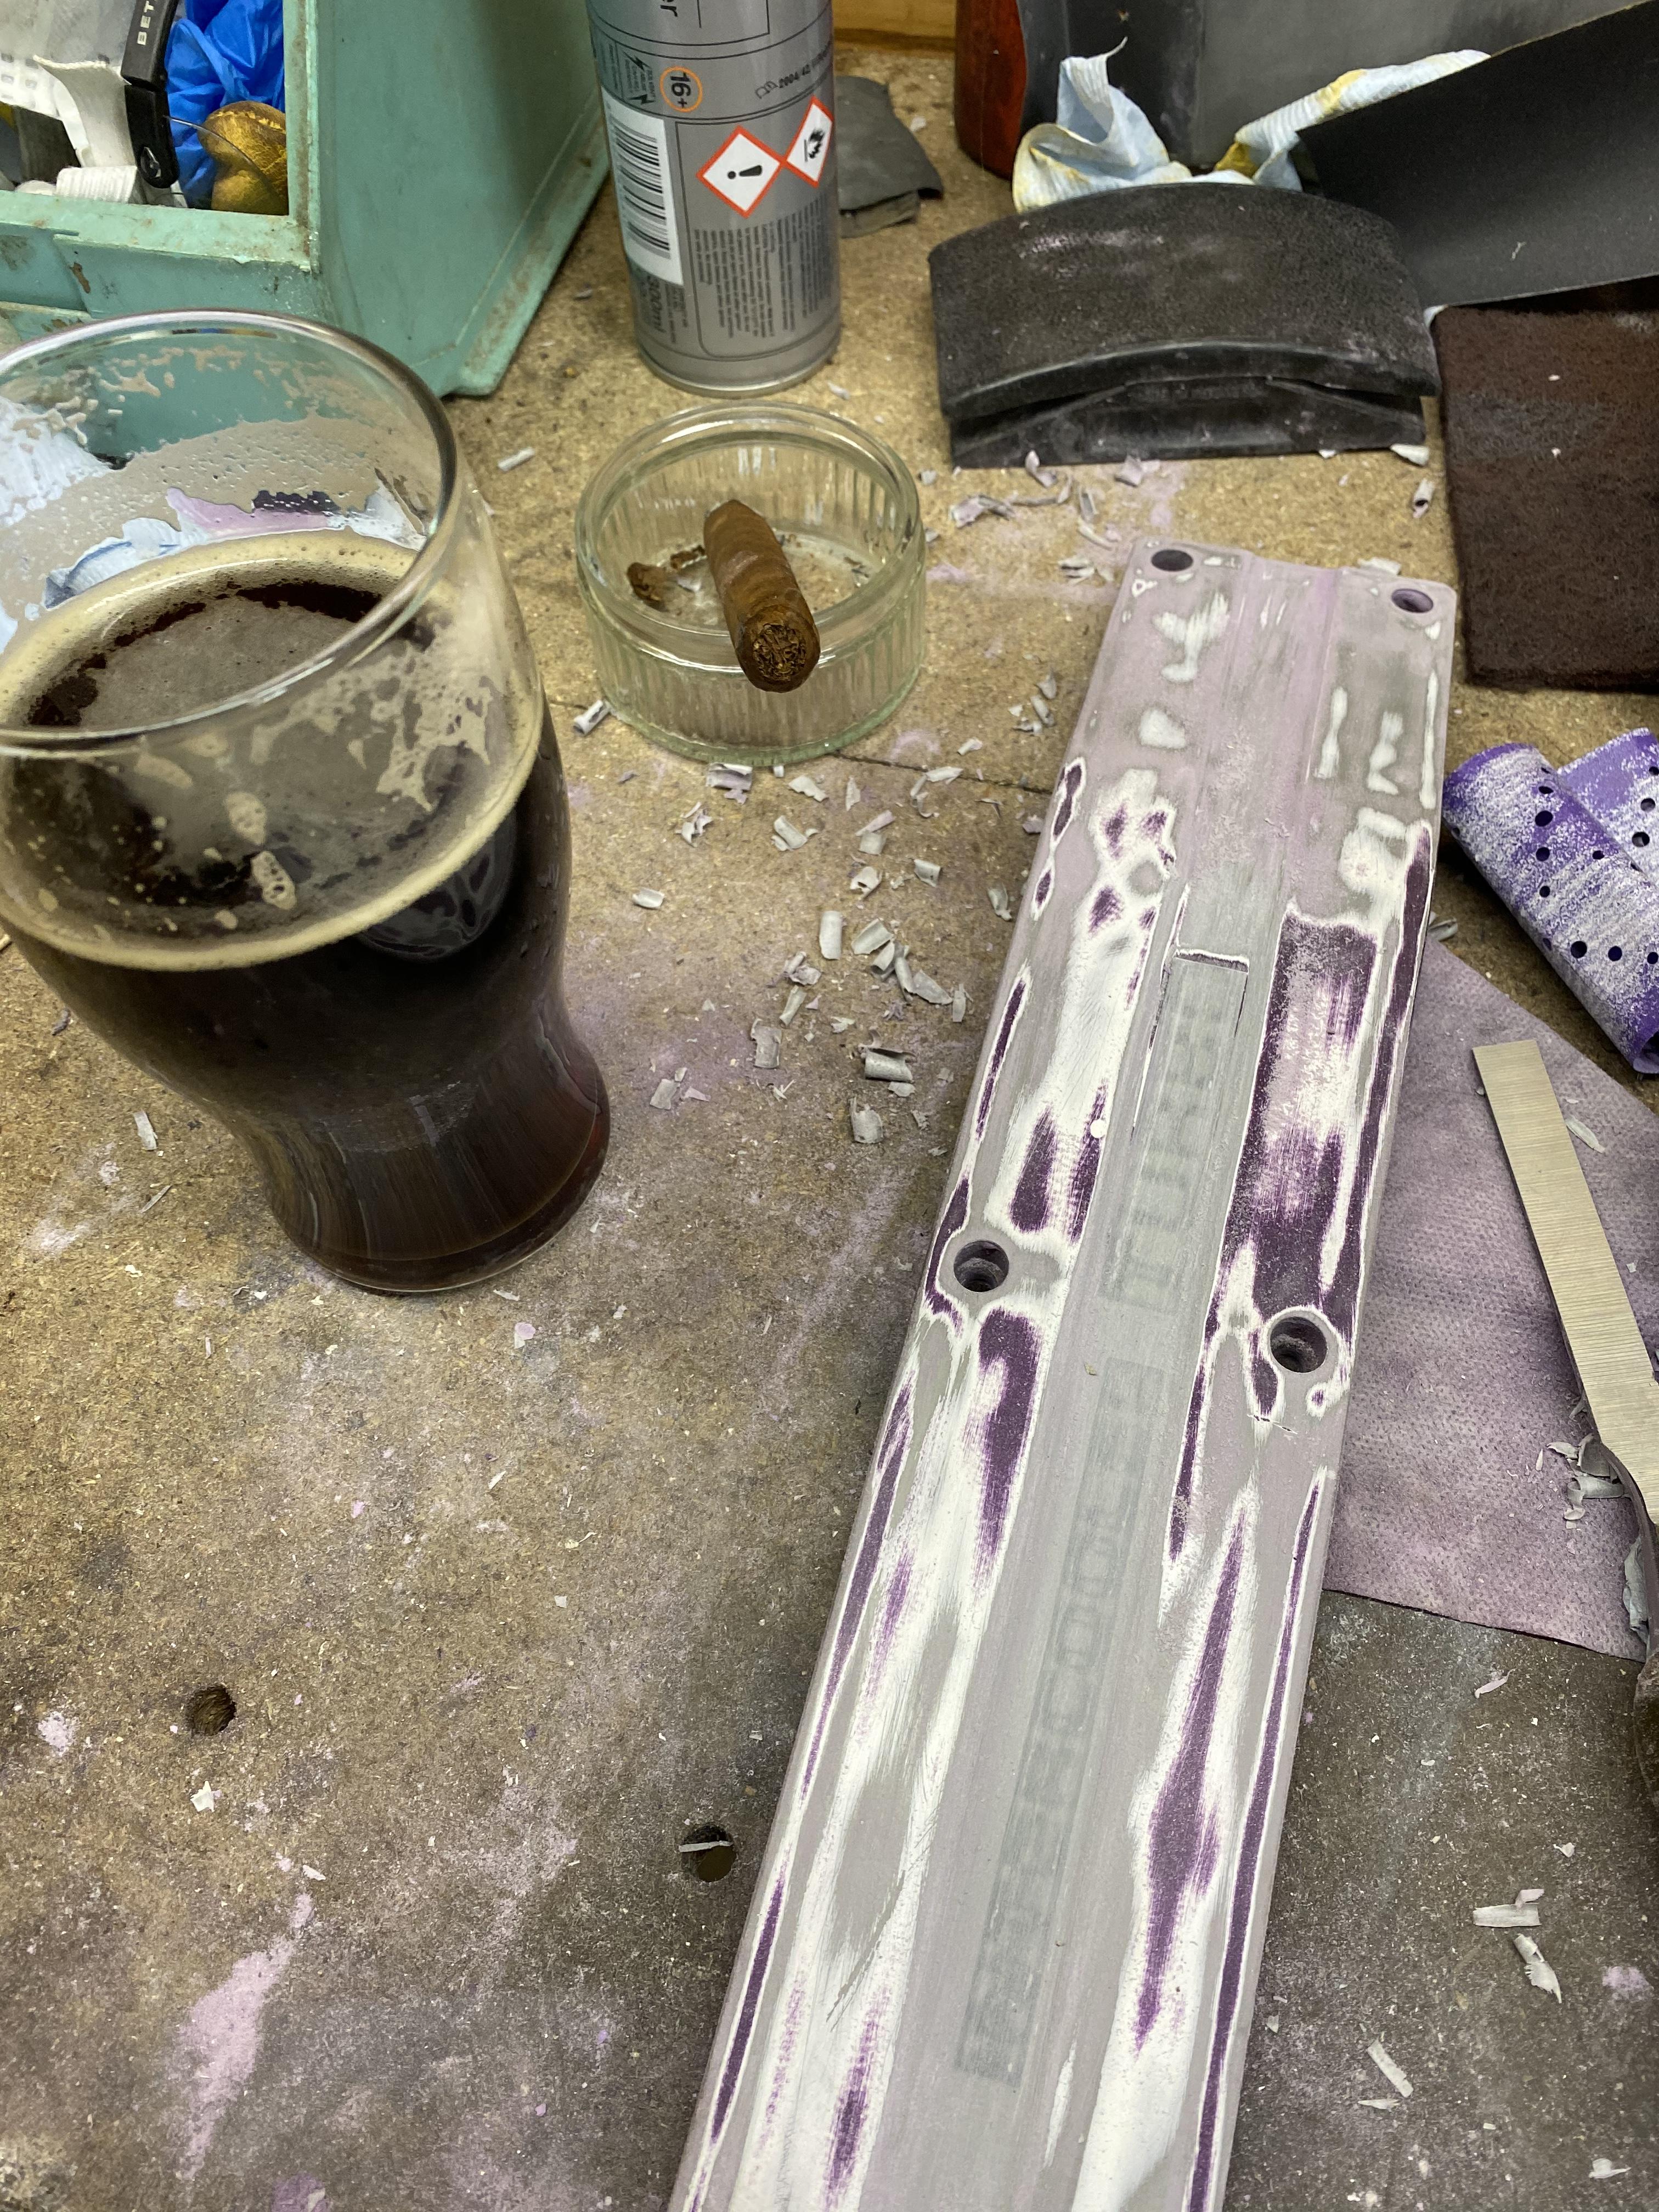
Polished up the gear stick surround washers today and anodised them. Never had any dealings with this process before and with so many variables I had no idea what to expect. But overall I’m quite happy with the result. I don’t think one was quite clean enough as a bit of the colour was a little blotchy. I need to get another tank heater to warm up the dye as this was only at outside air temperature. Ended up with a really nice satin finish on the parts.


-
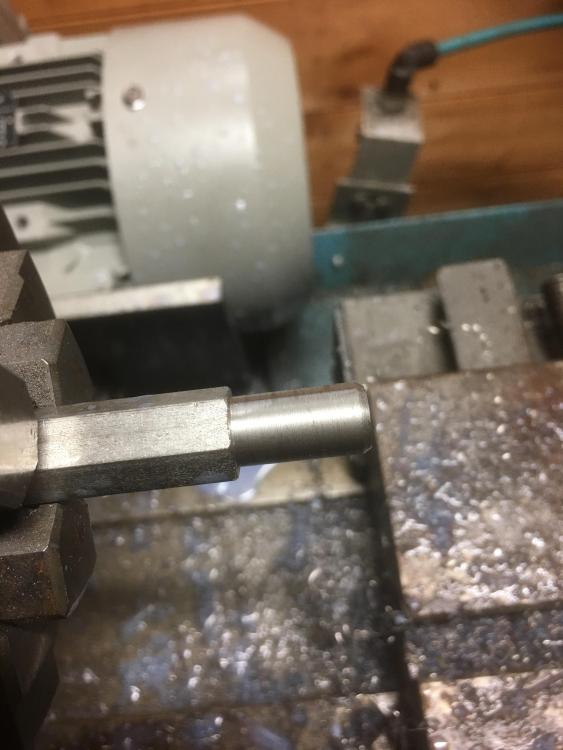
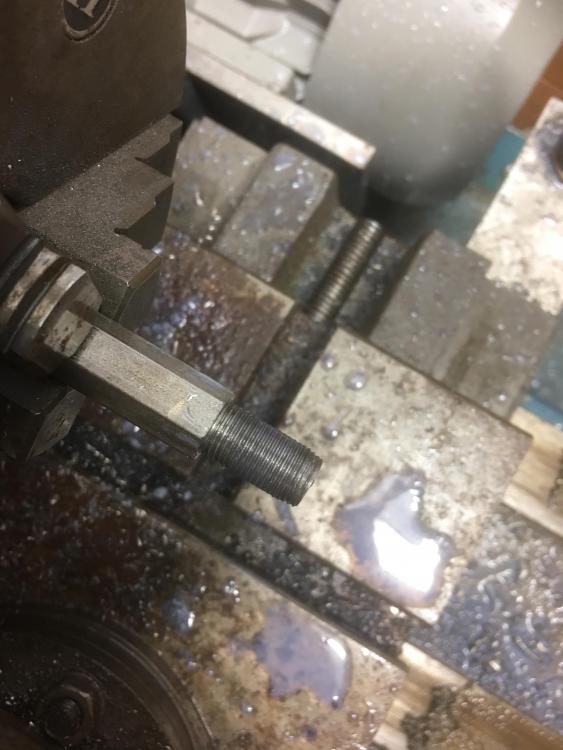
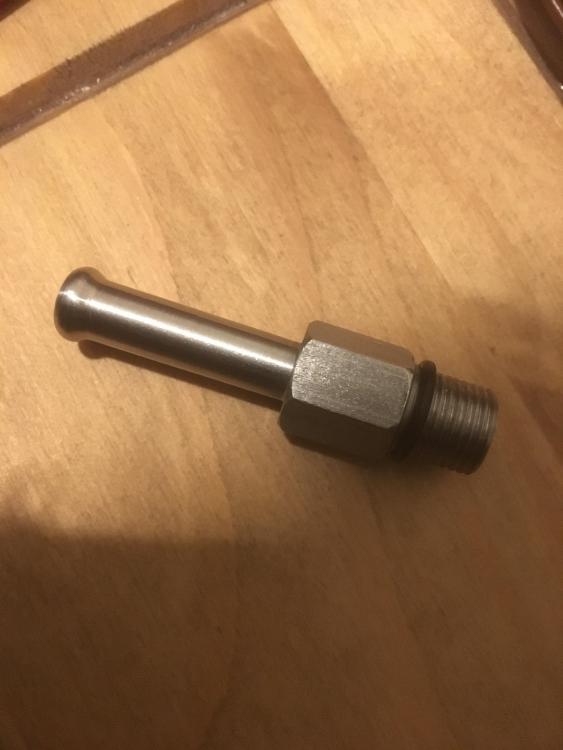
On 12/2/2019 at 8:07 PM, Bean said:
Nice job one a Vac fitting 👍
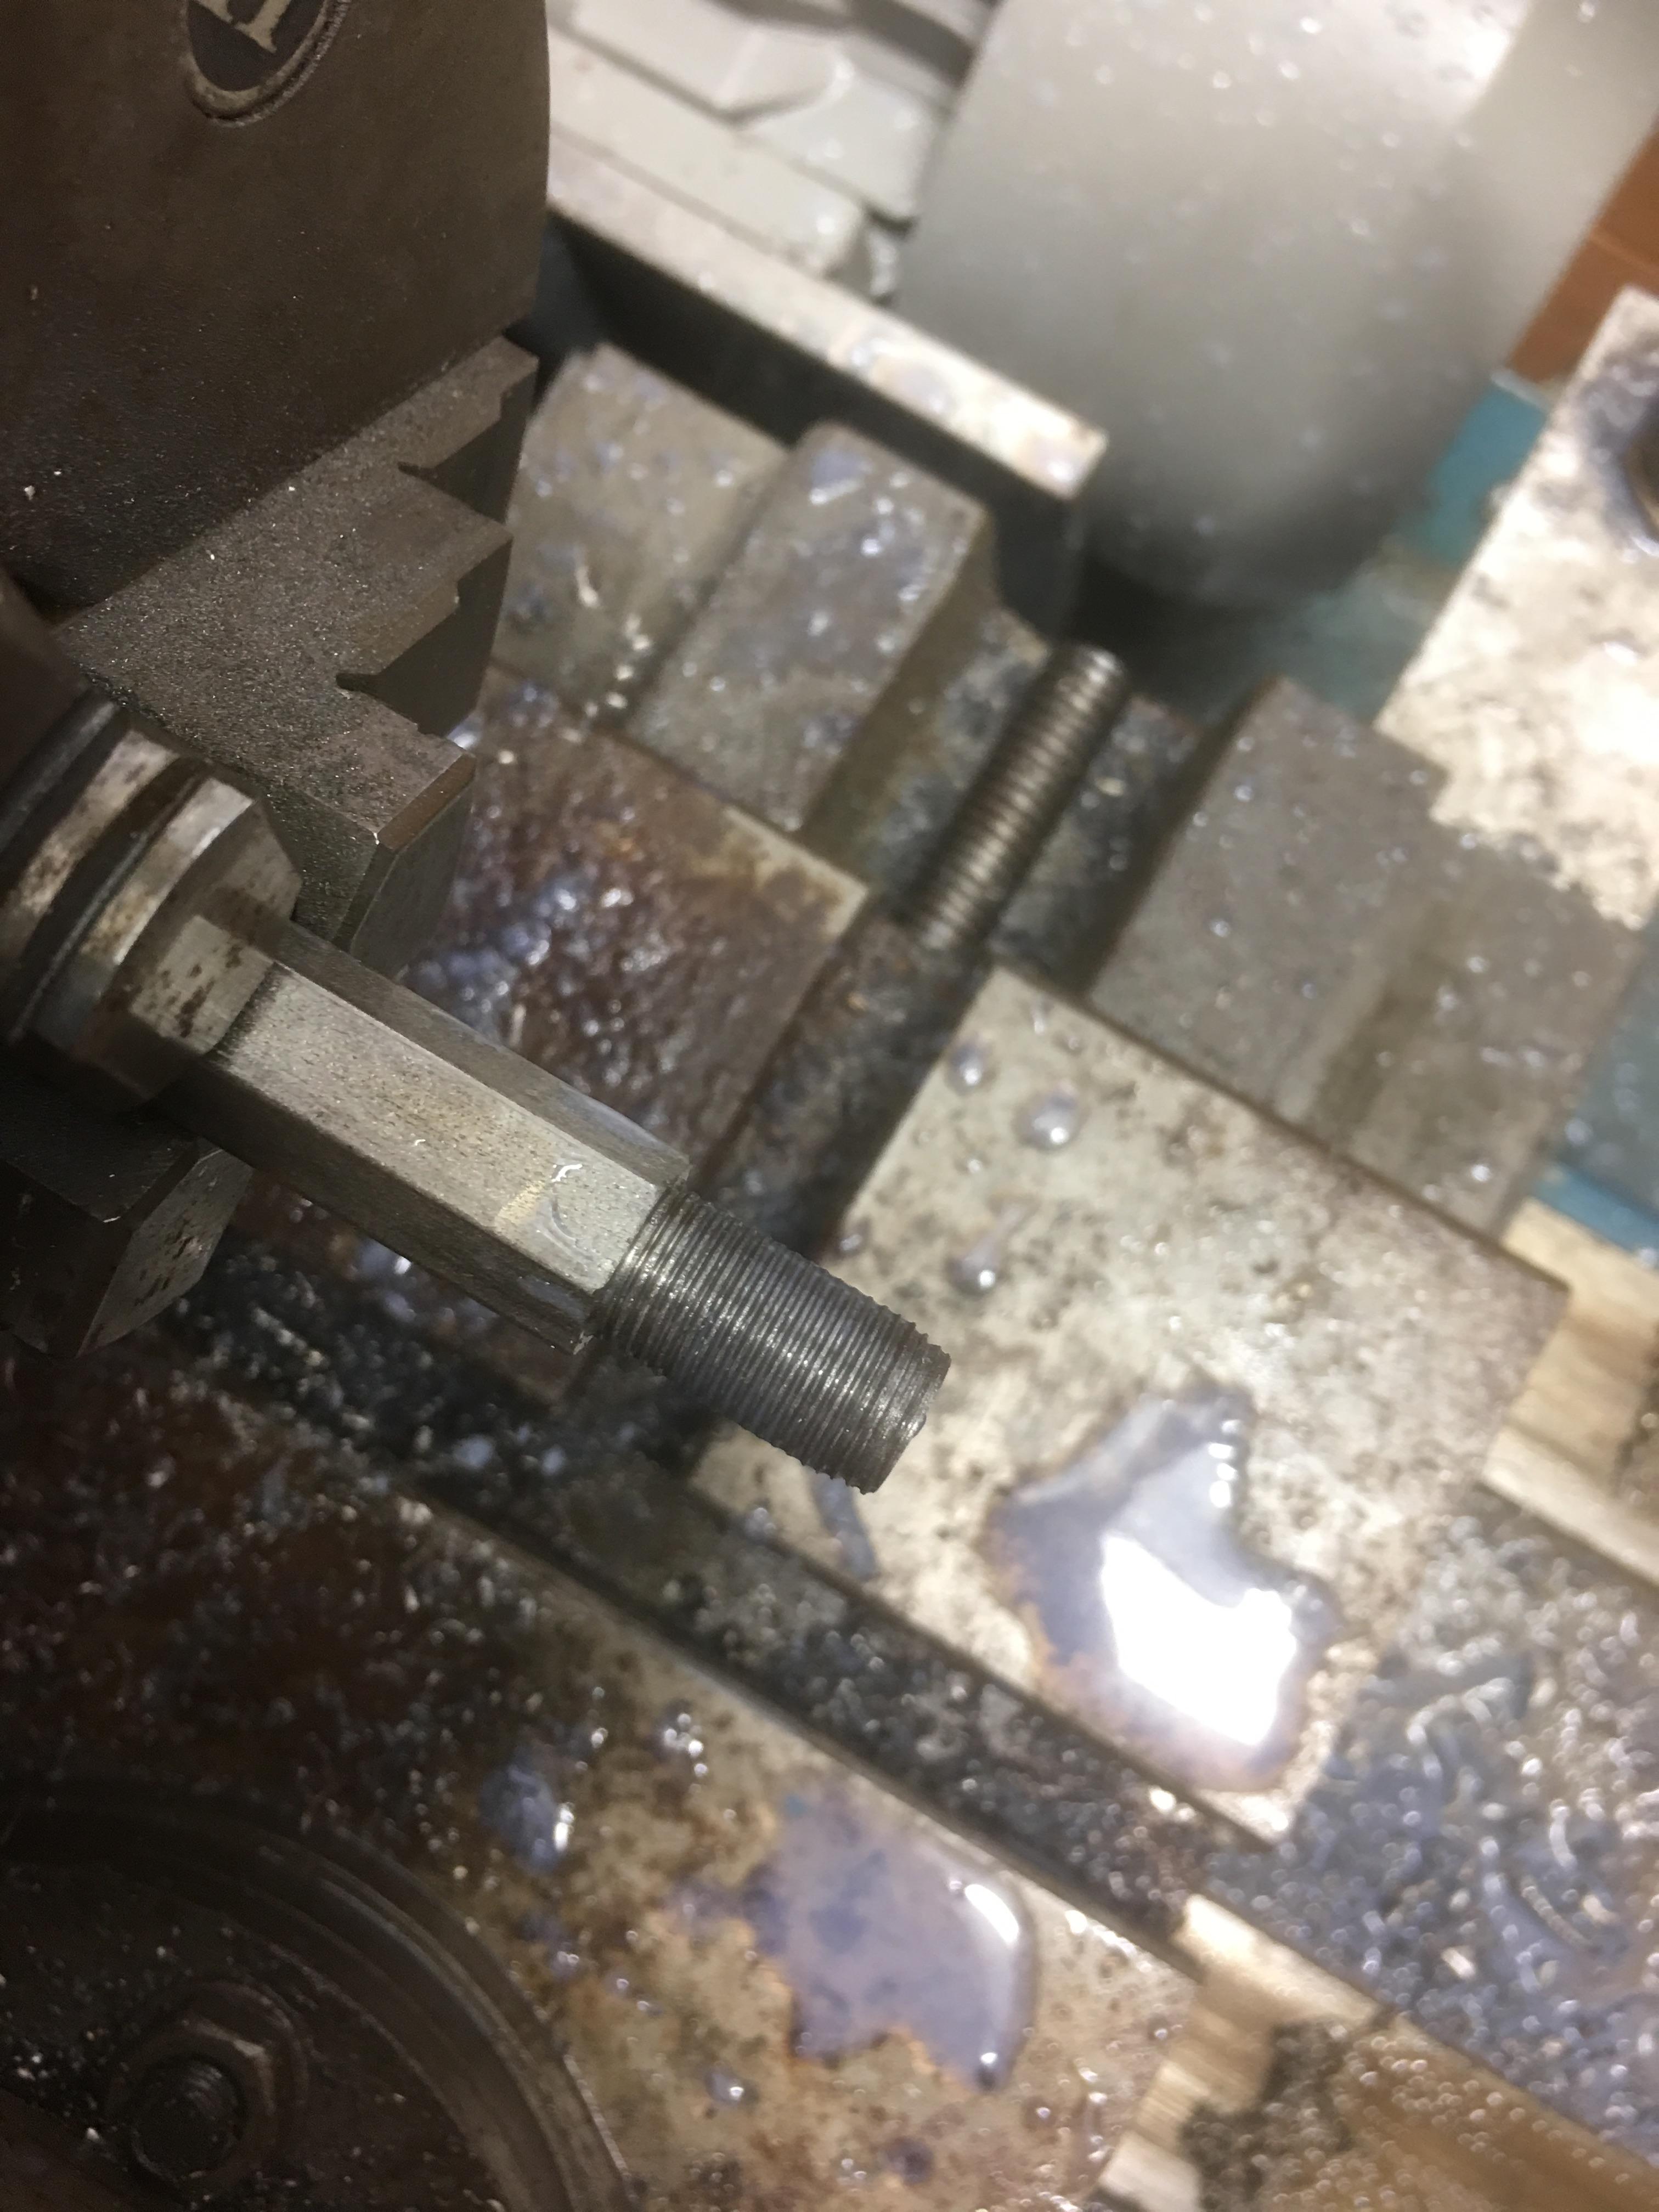
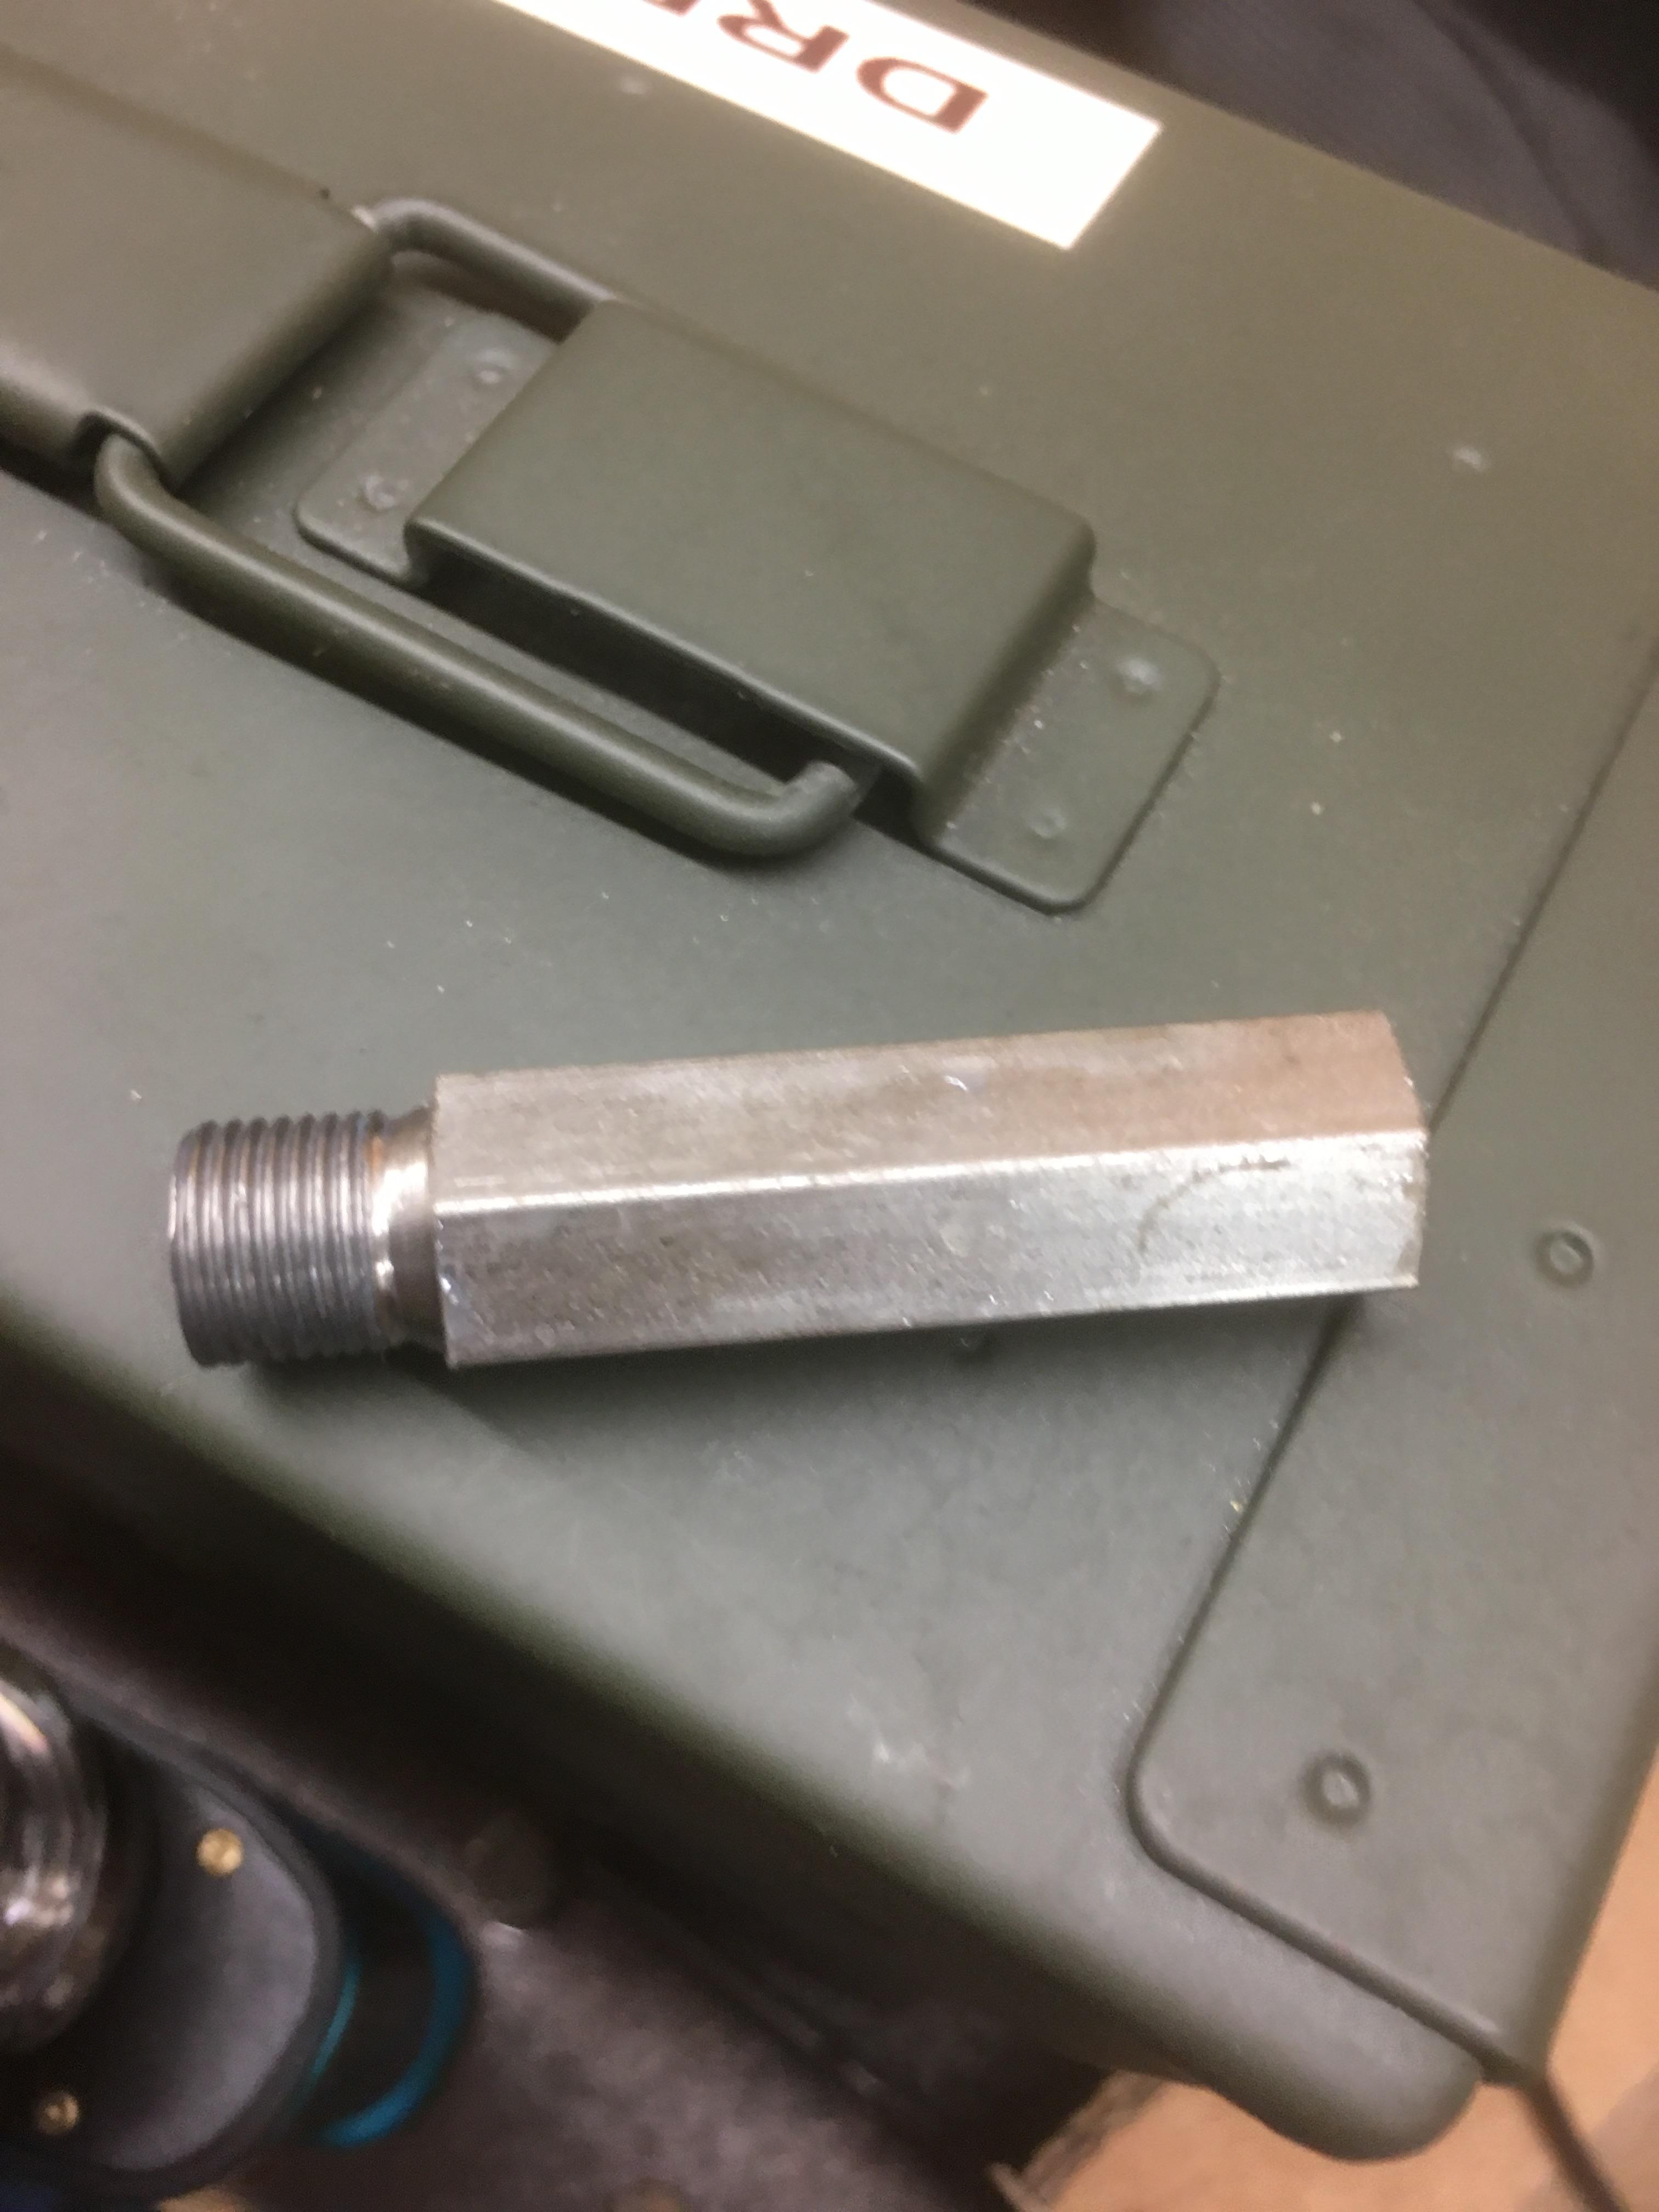
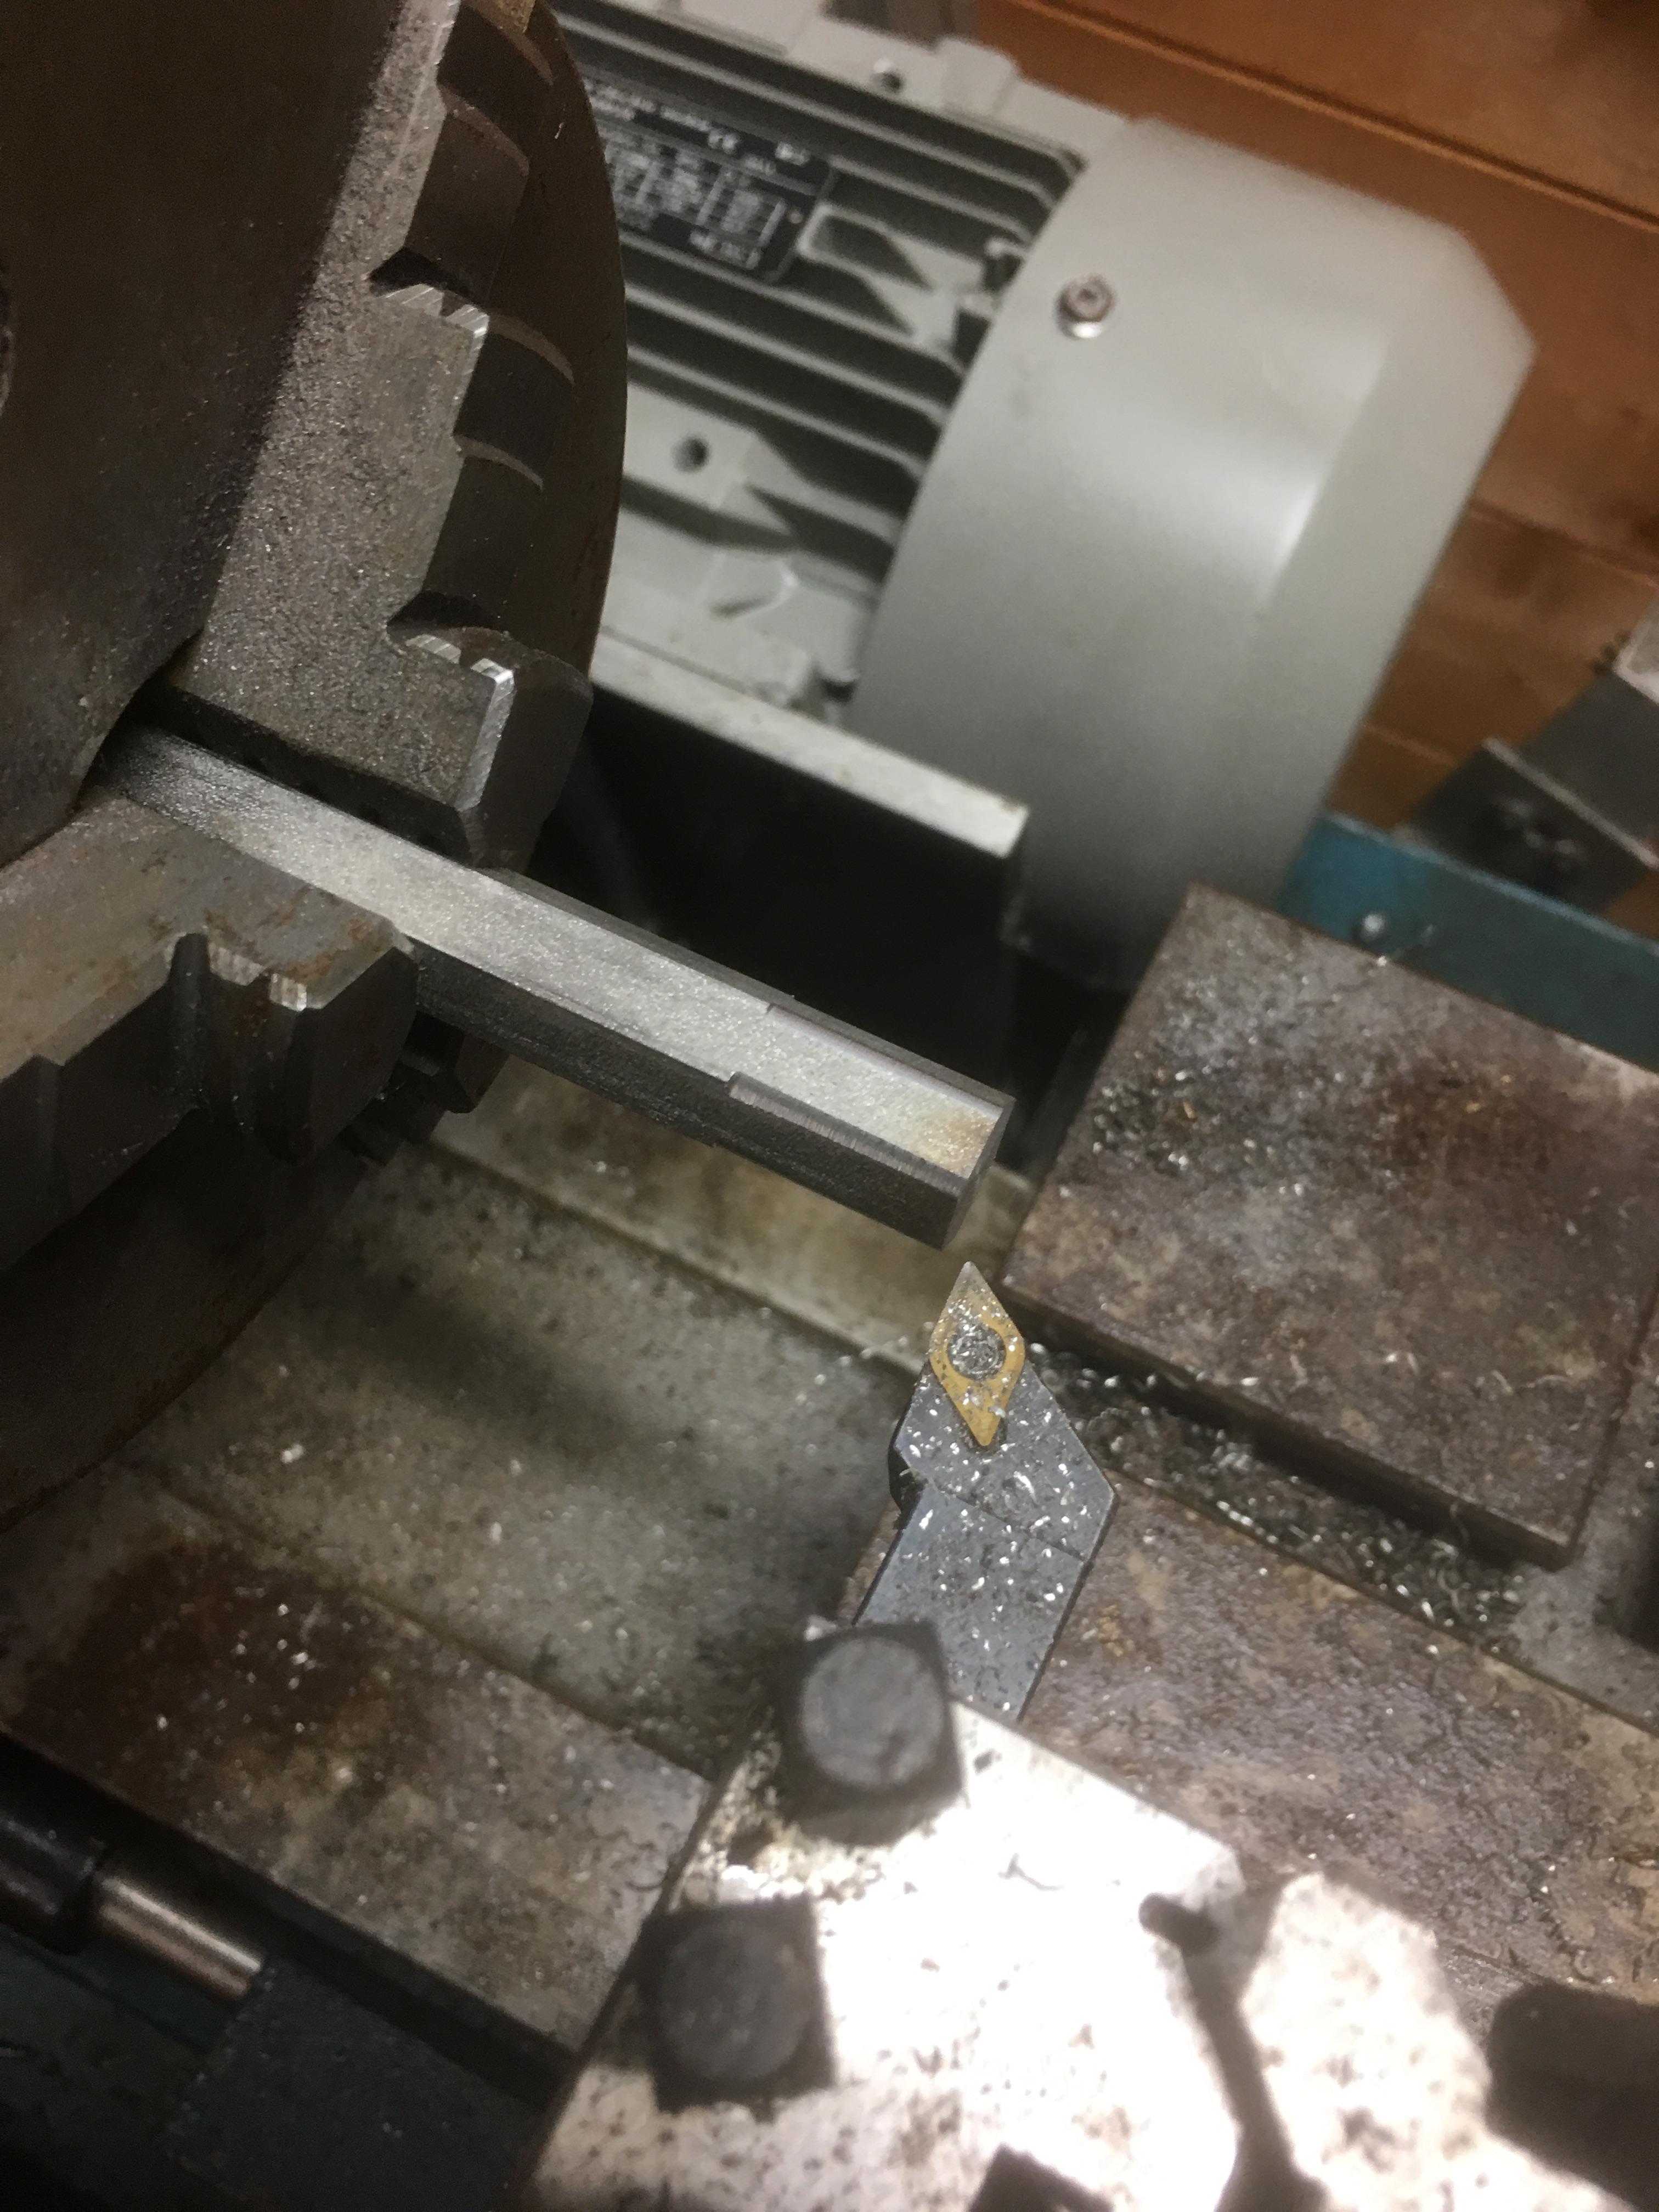
Cheers, couldn’t find exactly what I was after in stainless so I got some bar and turned it myself.
-
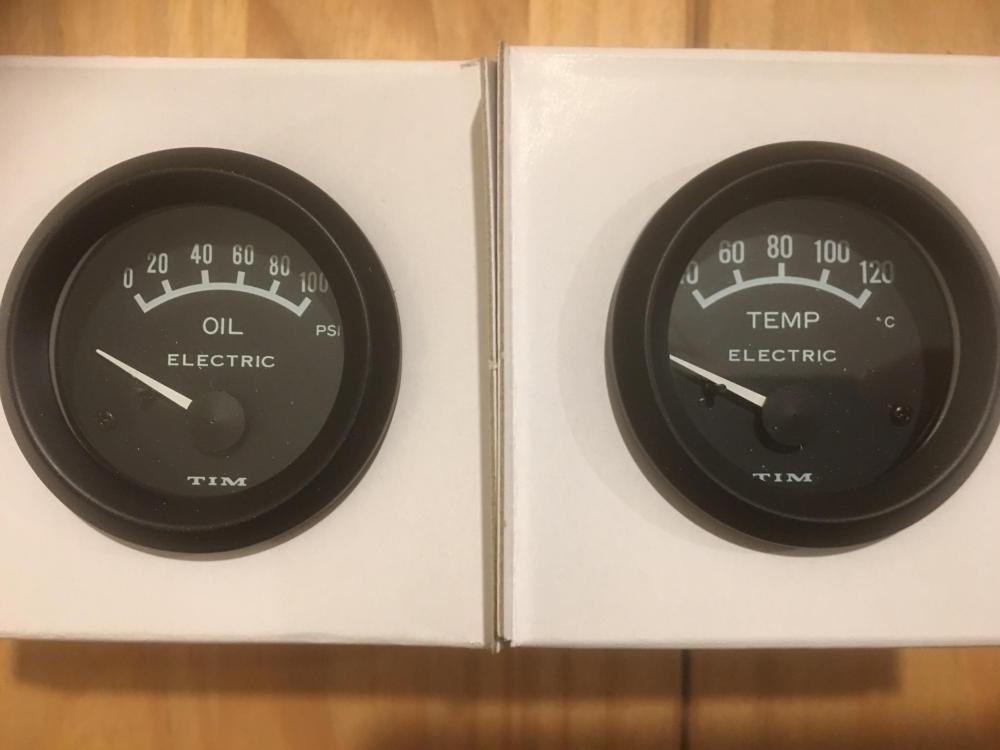
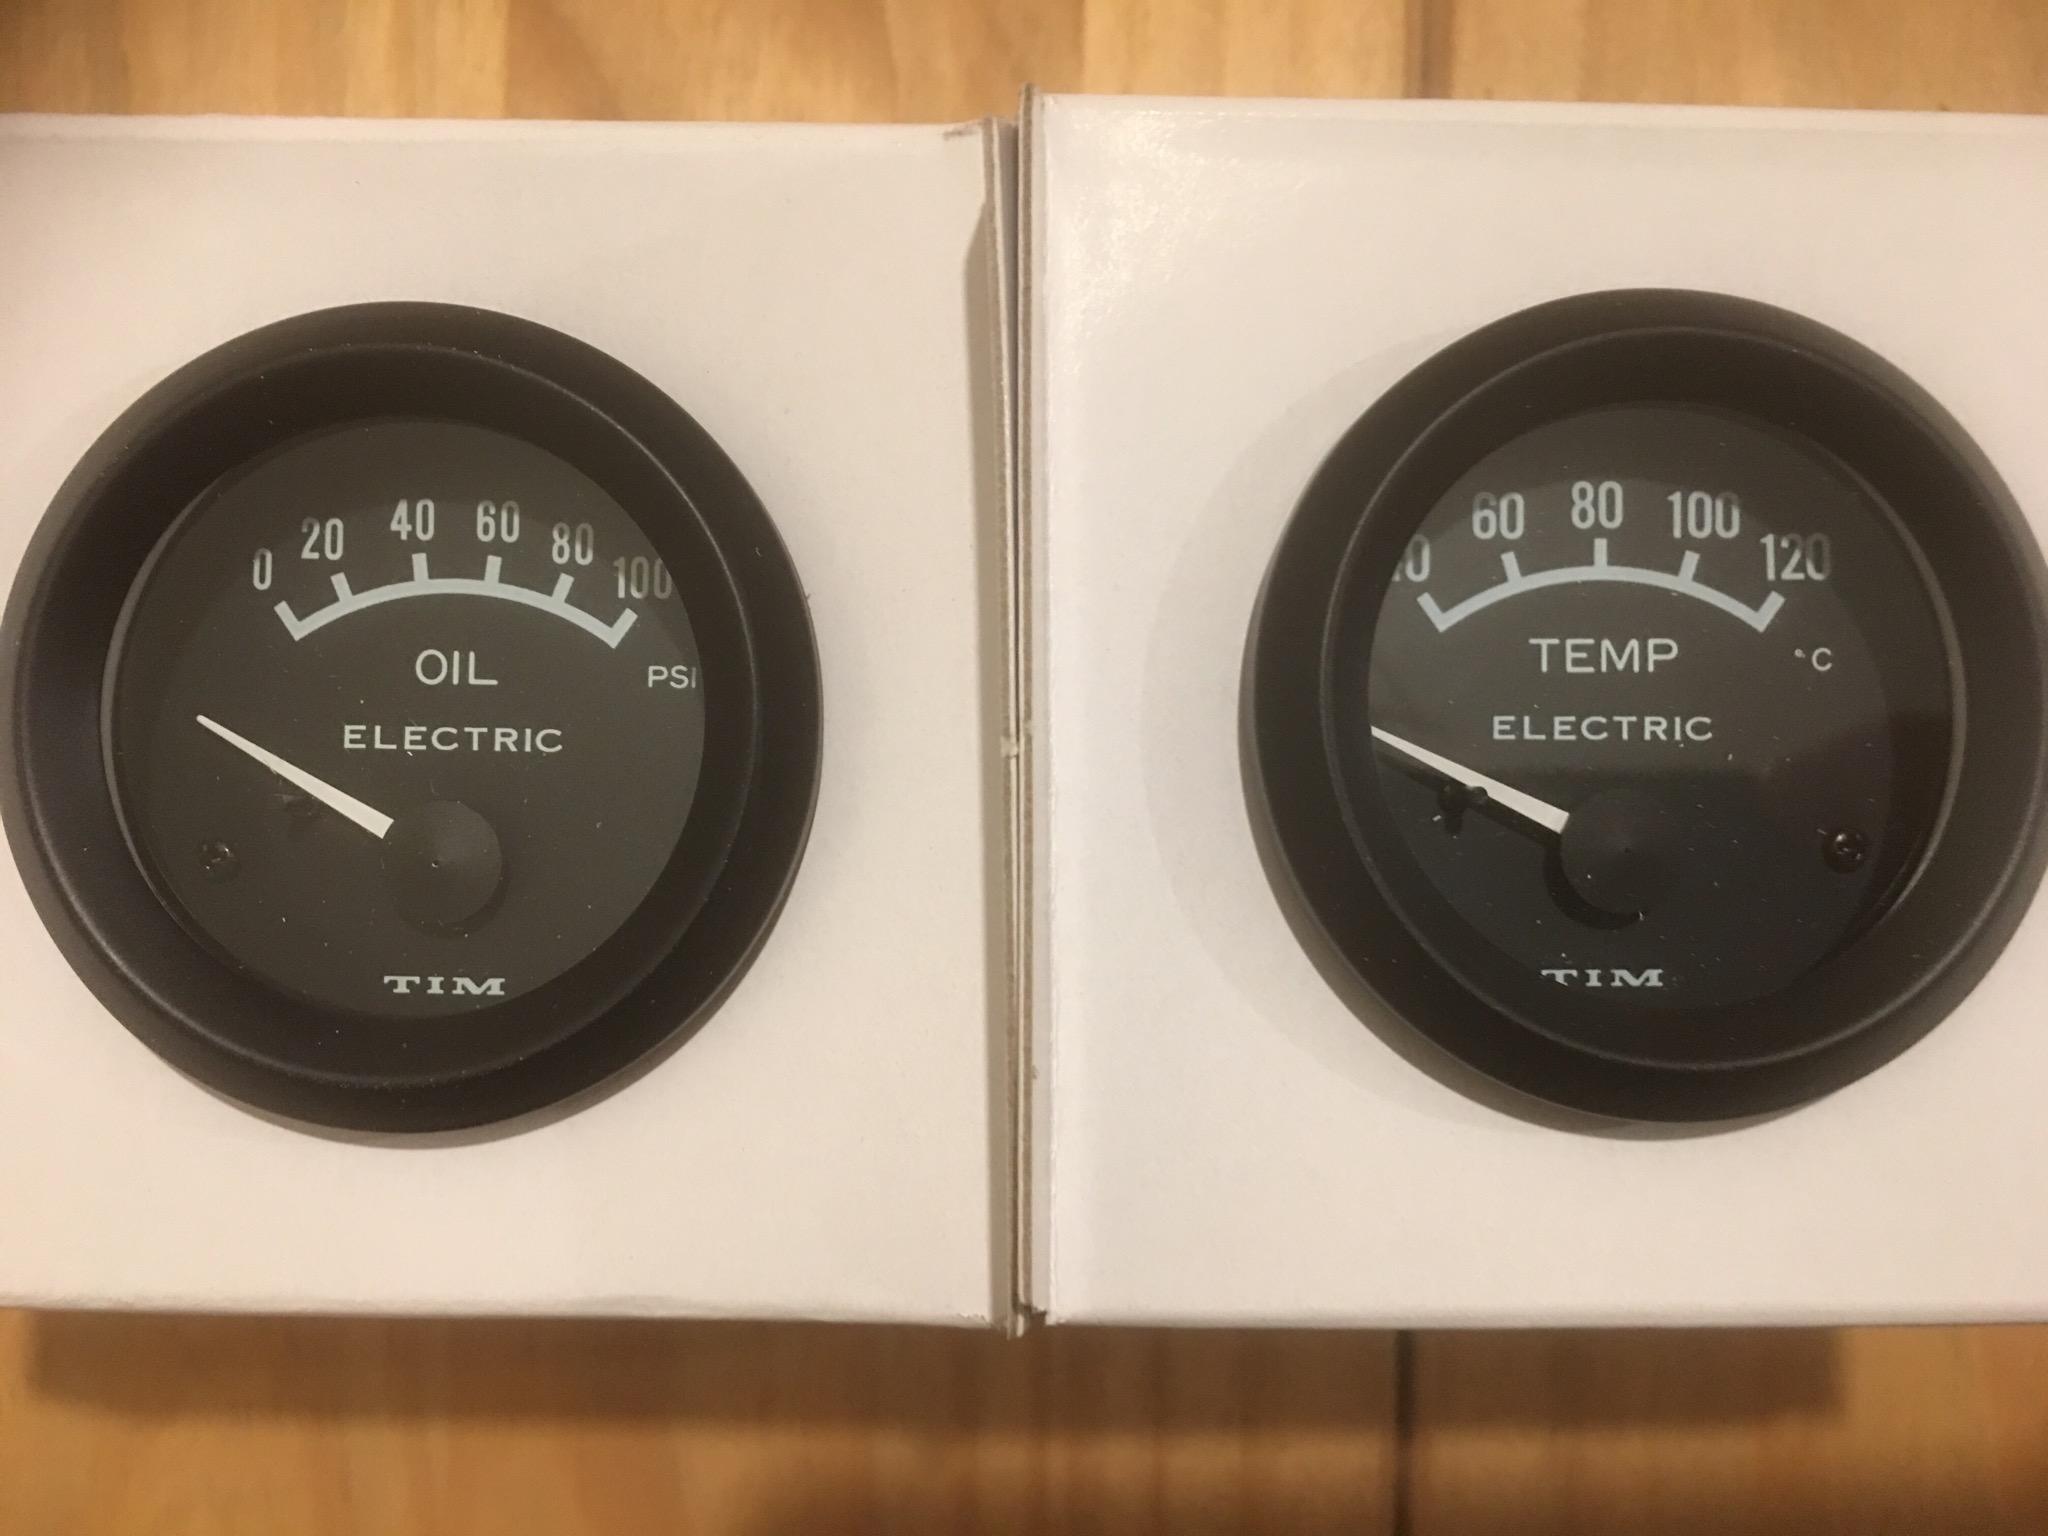
TIM electric oil pressure and water temperature gauges turned up today. Need to adjust the gauge panel to fit and then anodise it before wiring these in.
-
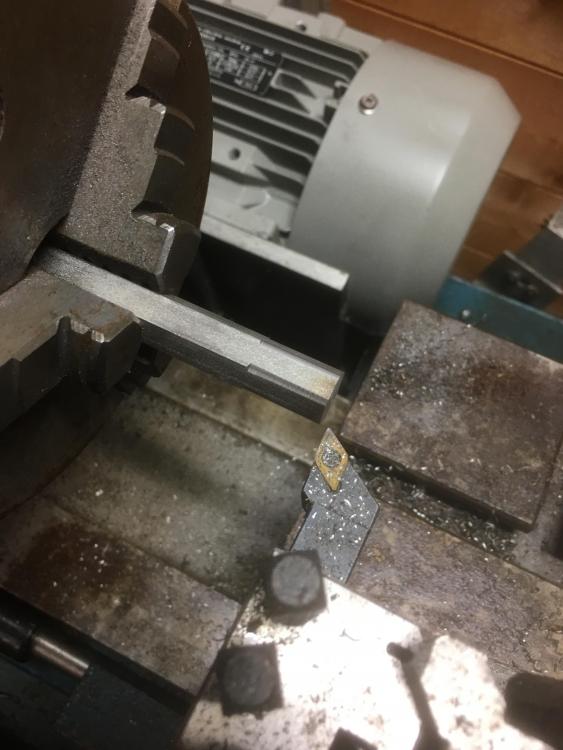
Finally got the lathe up and running so today I machined up an air fitting to a run vac line from the compressor housing to the wastegate and boost controller

-
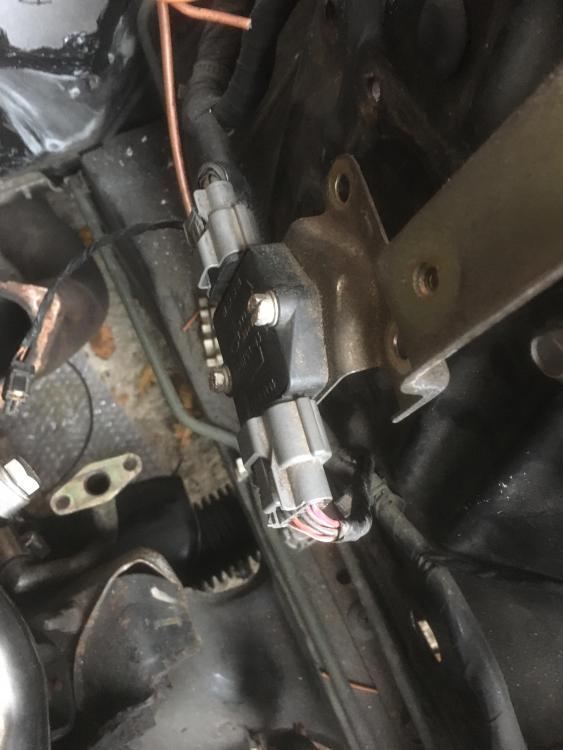
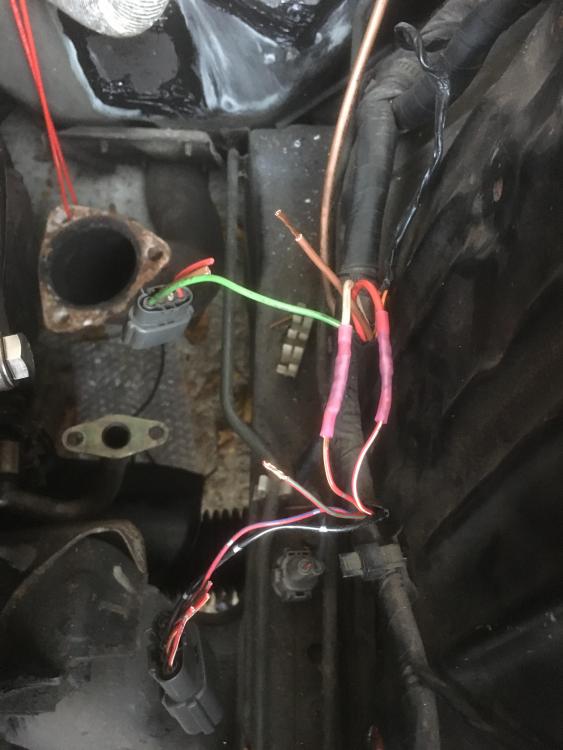
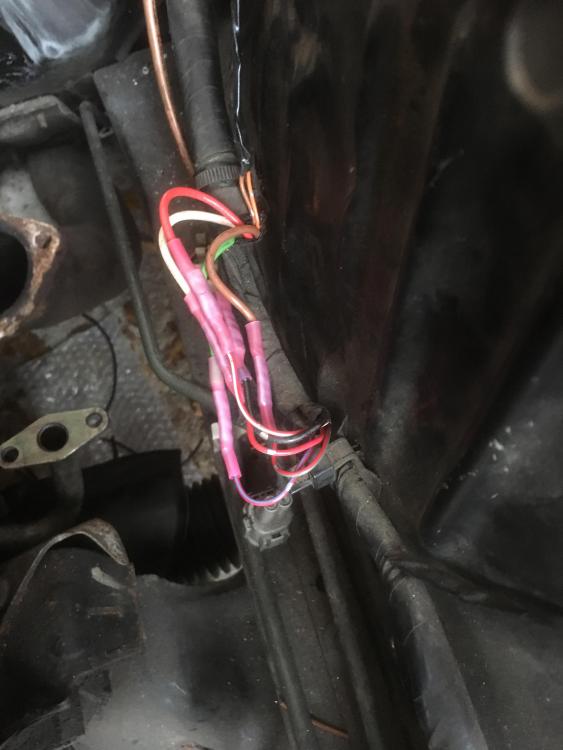
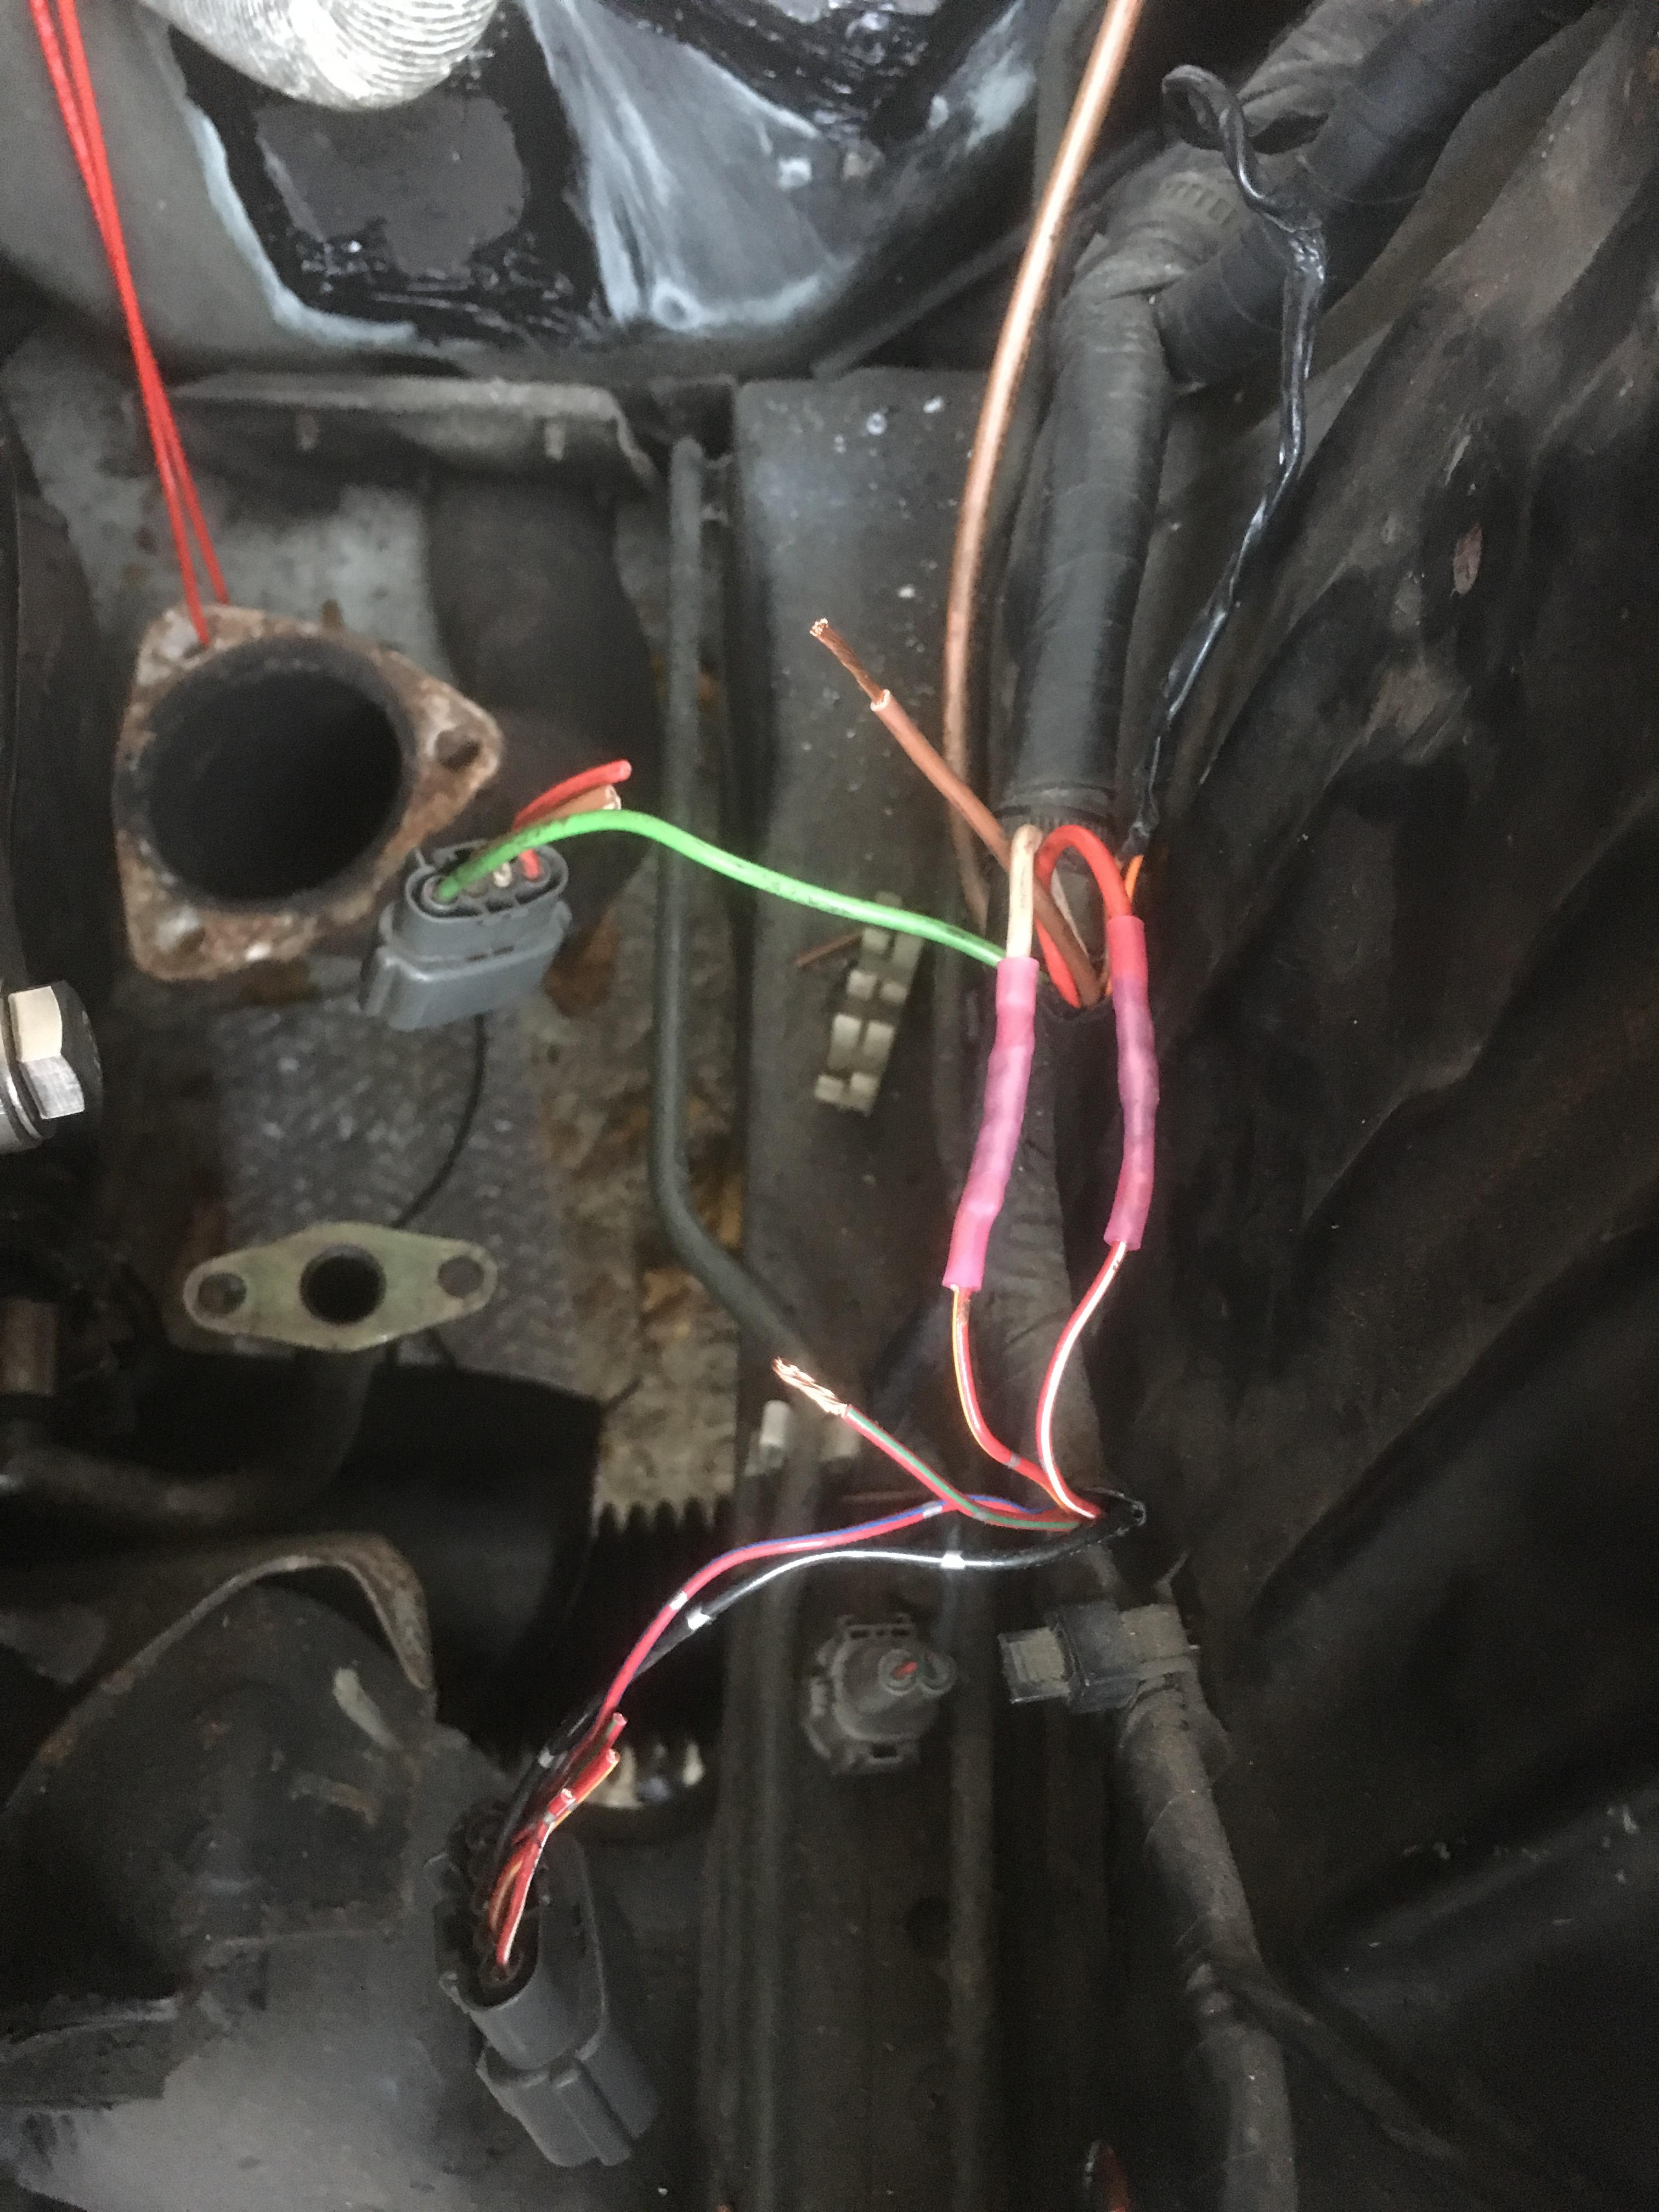
Got to removing the original igniter chip as the R8 coils are COP. Just need to waterproof that section and cloth tape it once the engine is out and I can get to the loom easier.
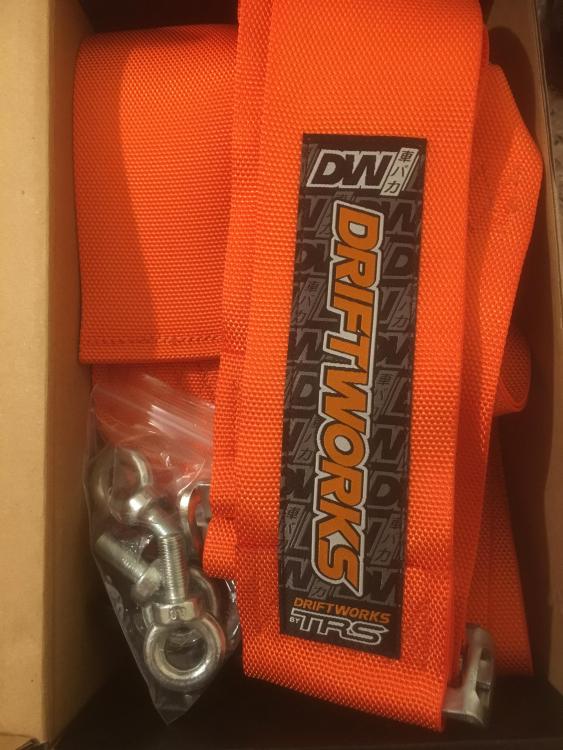
Ordered a second 4 point harness as the passenger seat is being swapped to the Cobra I was originally running
-
Starting to get some more bits arriving for the intercooler hot pipe, diff mounts and fuel rail adapter. I’ve still got the down pipe to weld up and adjust the flange to join the rest of the system as well as the intercooler then I can move on to pulling the engine


S14a major rebuild
in Other Motors Progress Blogs
Posted
Decided on a change of colour for the cam cover, it will end up the same as the Starlet: a Naoki Nakamura inspired theme instead of the light blue.
Took forever to strip with paint stripper but it gave a better finish than just sanding would have. It’s now in primer and once fully hardened it can be packed away ready for painting further down the line.