

federalman
-
Content Count
404 -
Joined
-
Last visited
Content Type
Profiles
Forums
Wiki
Media Demo
Store
Calendar
Posts posted by federalman
-
-
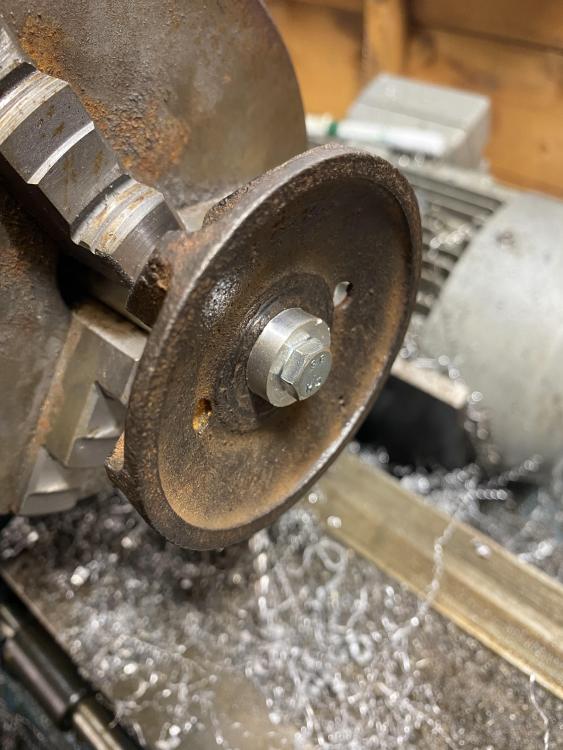
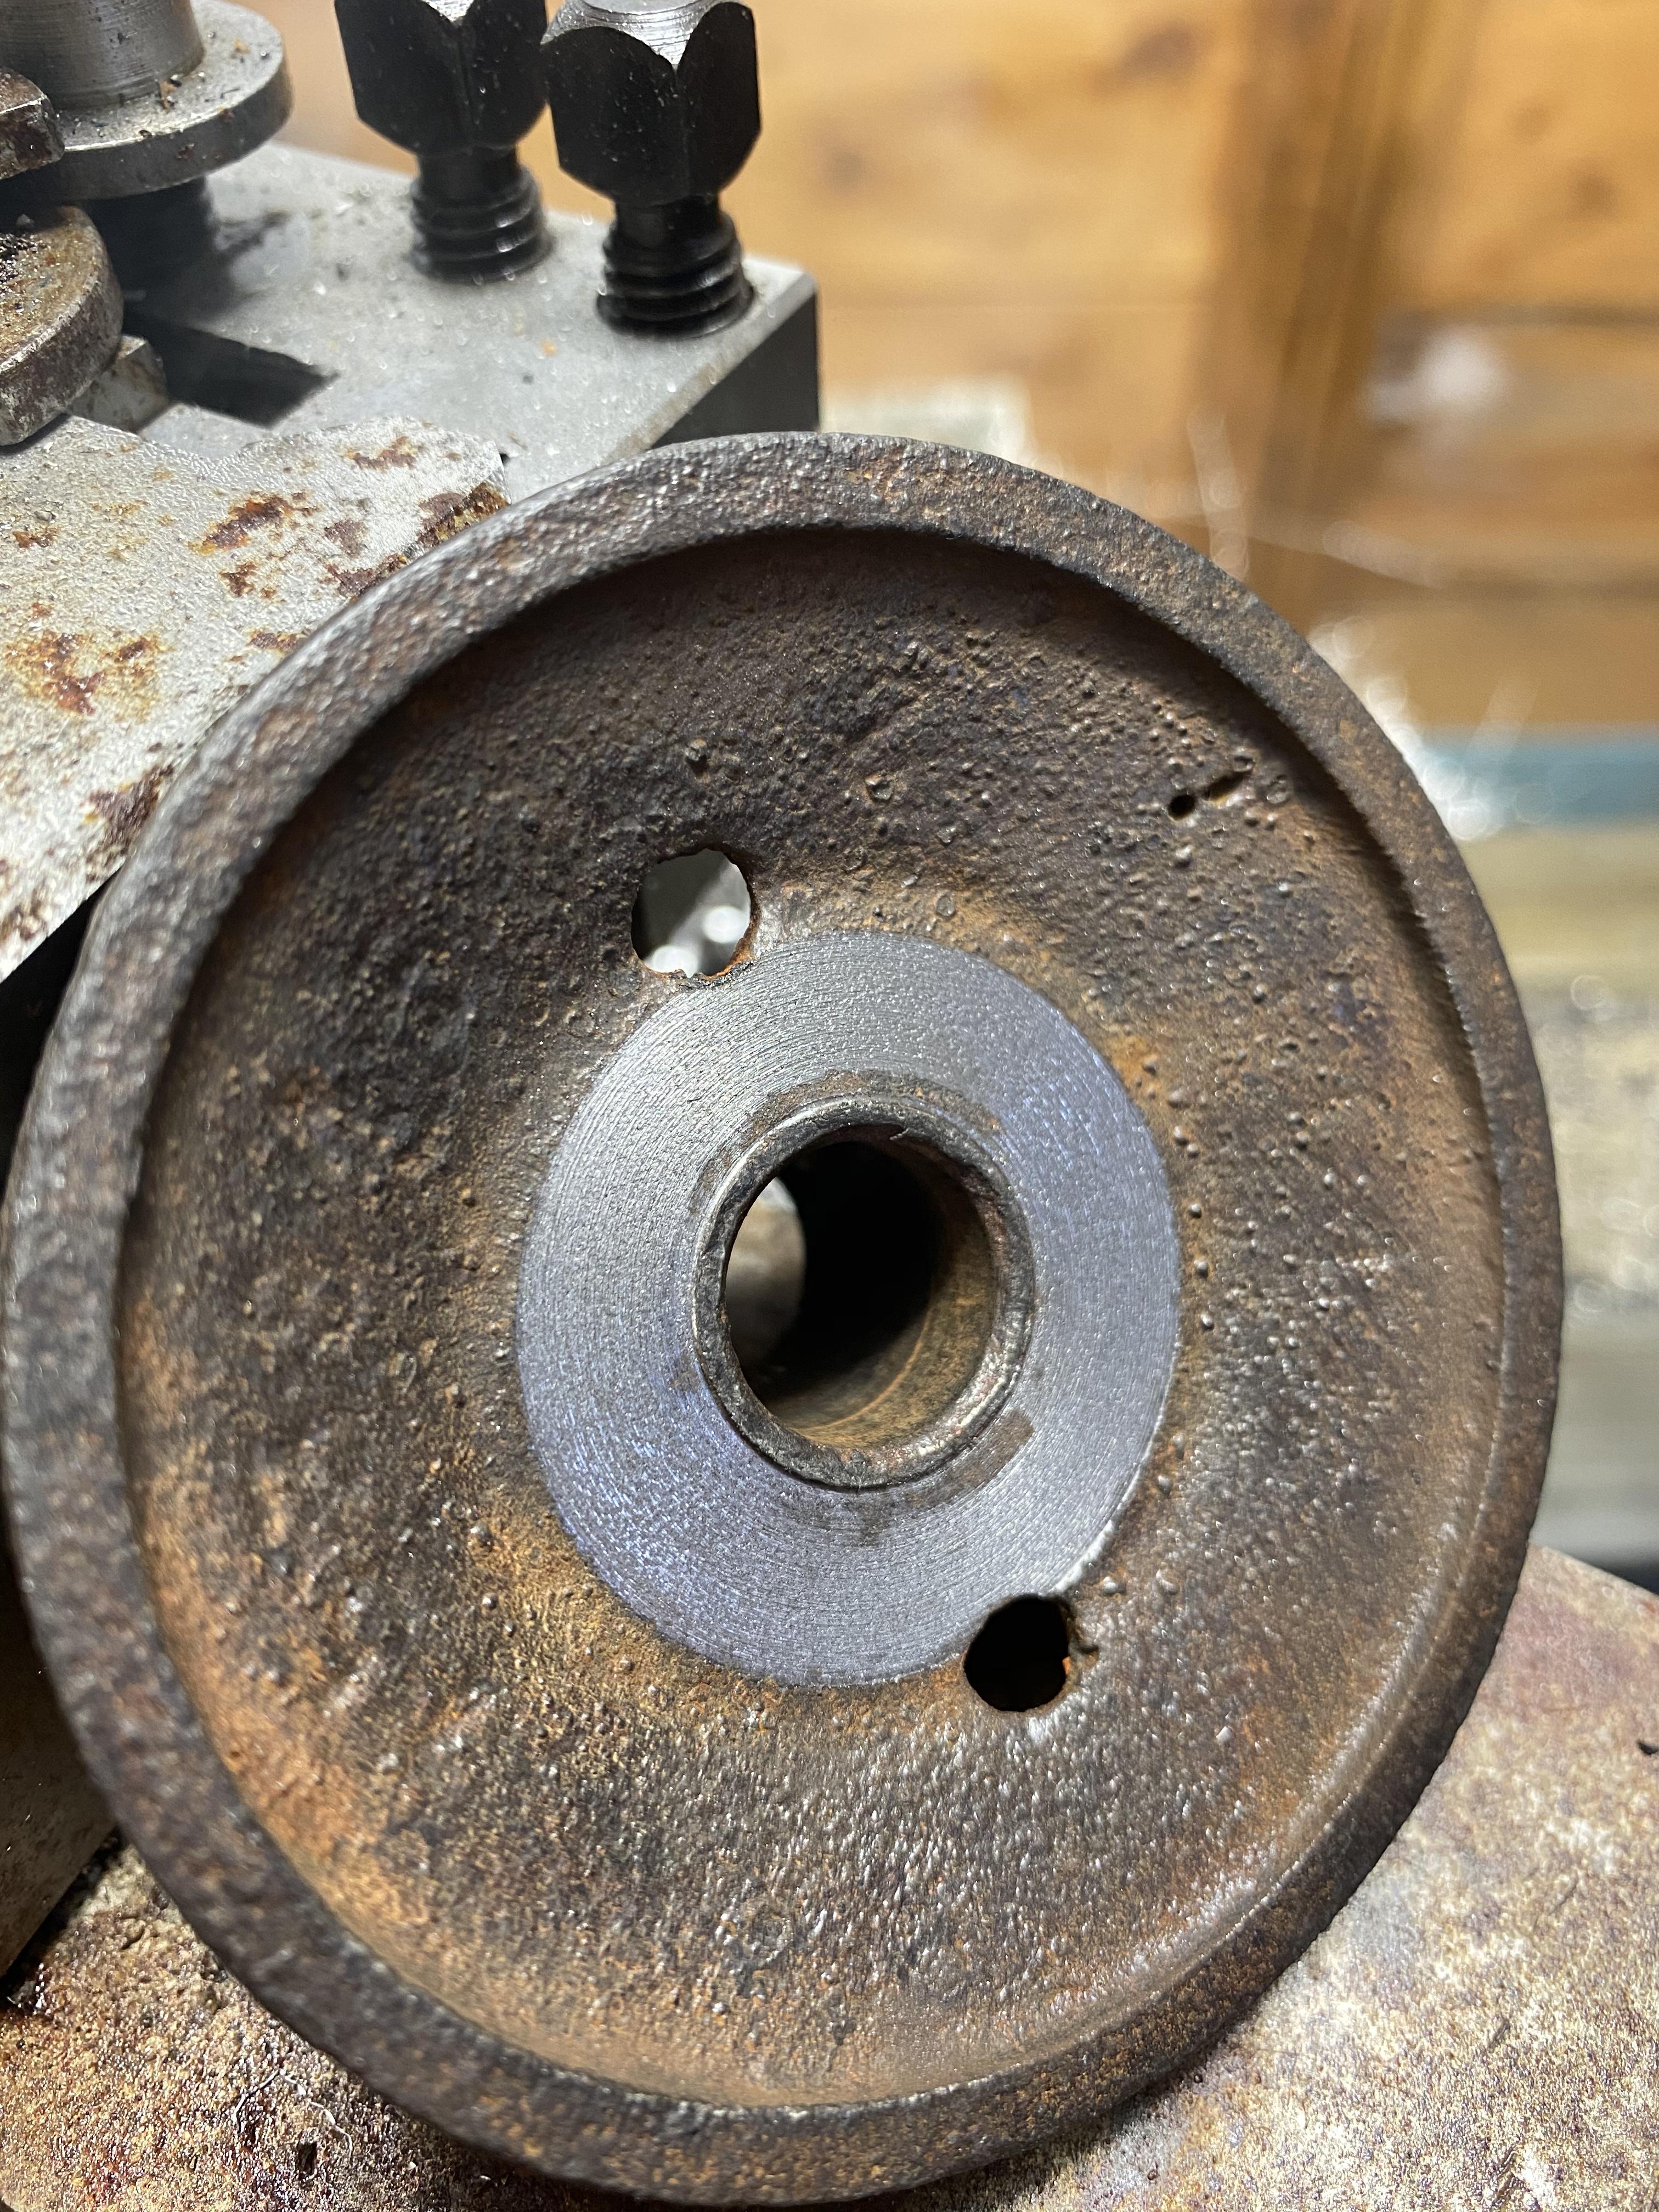
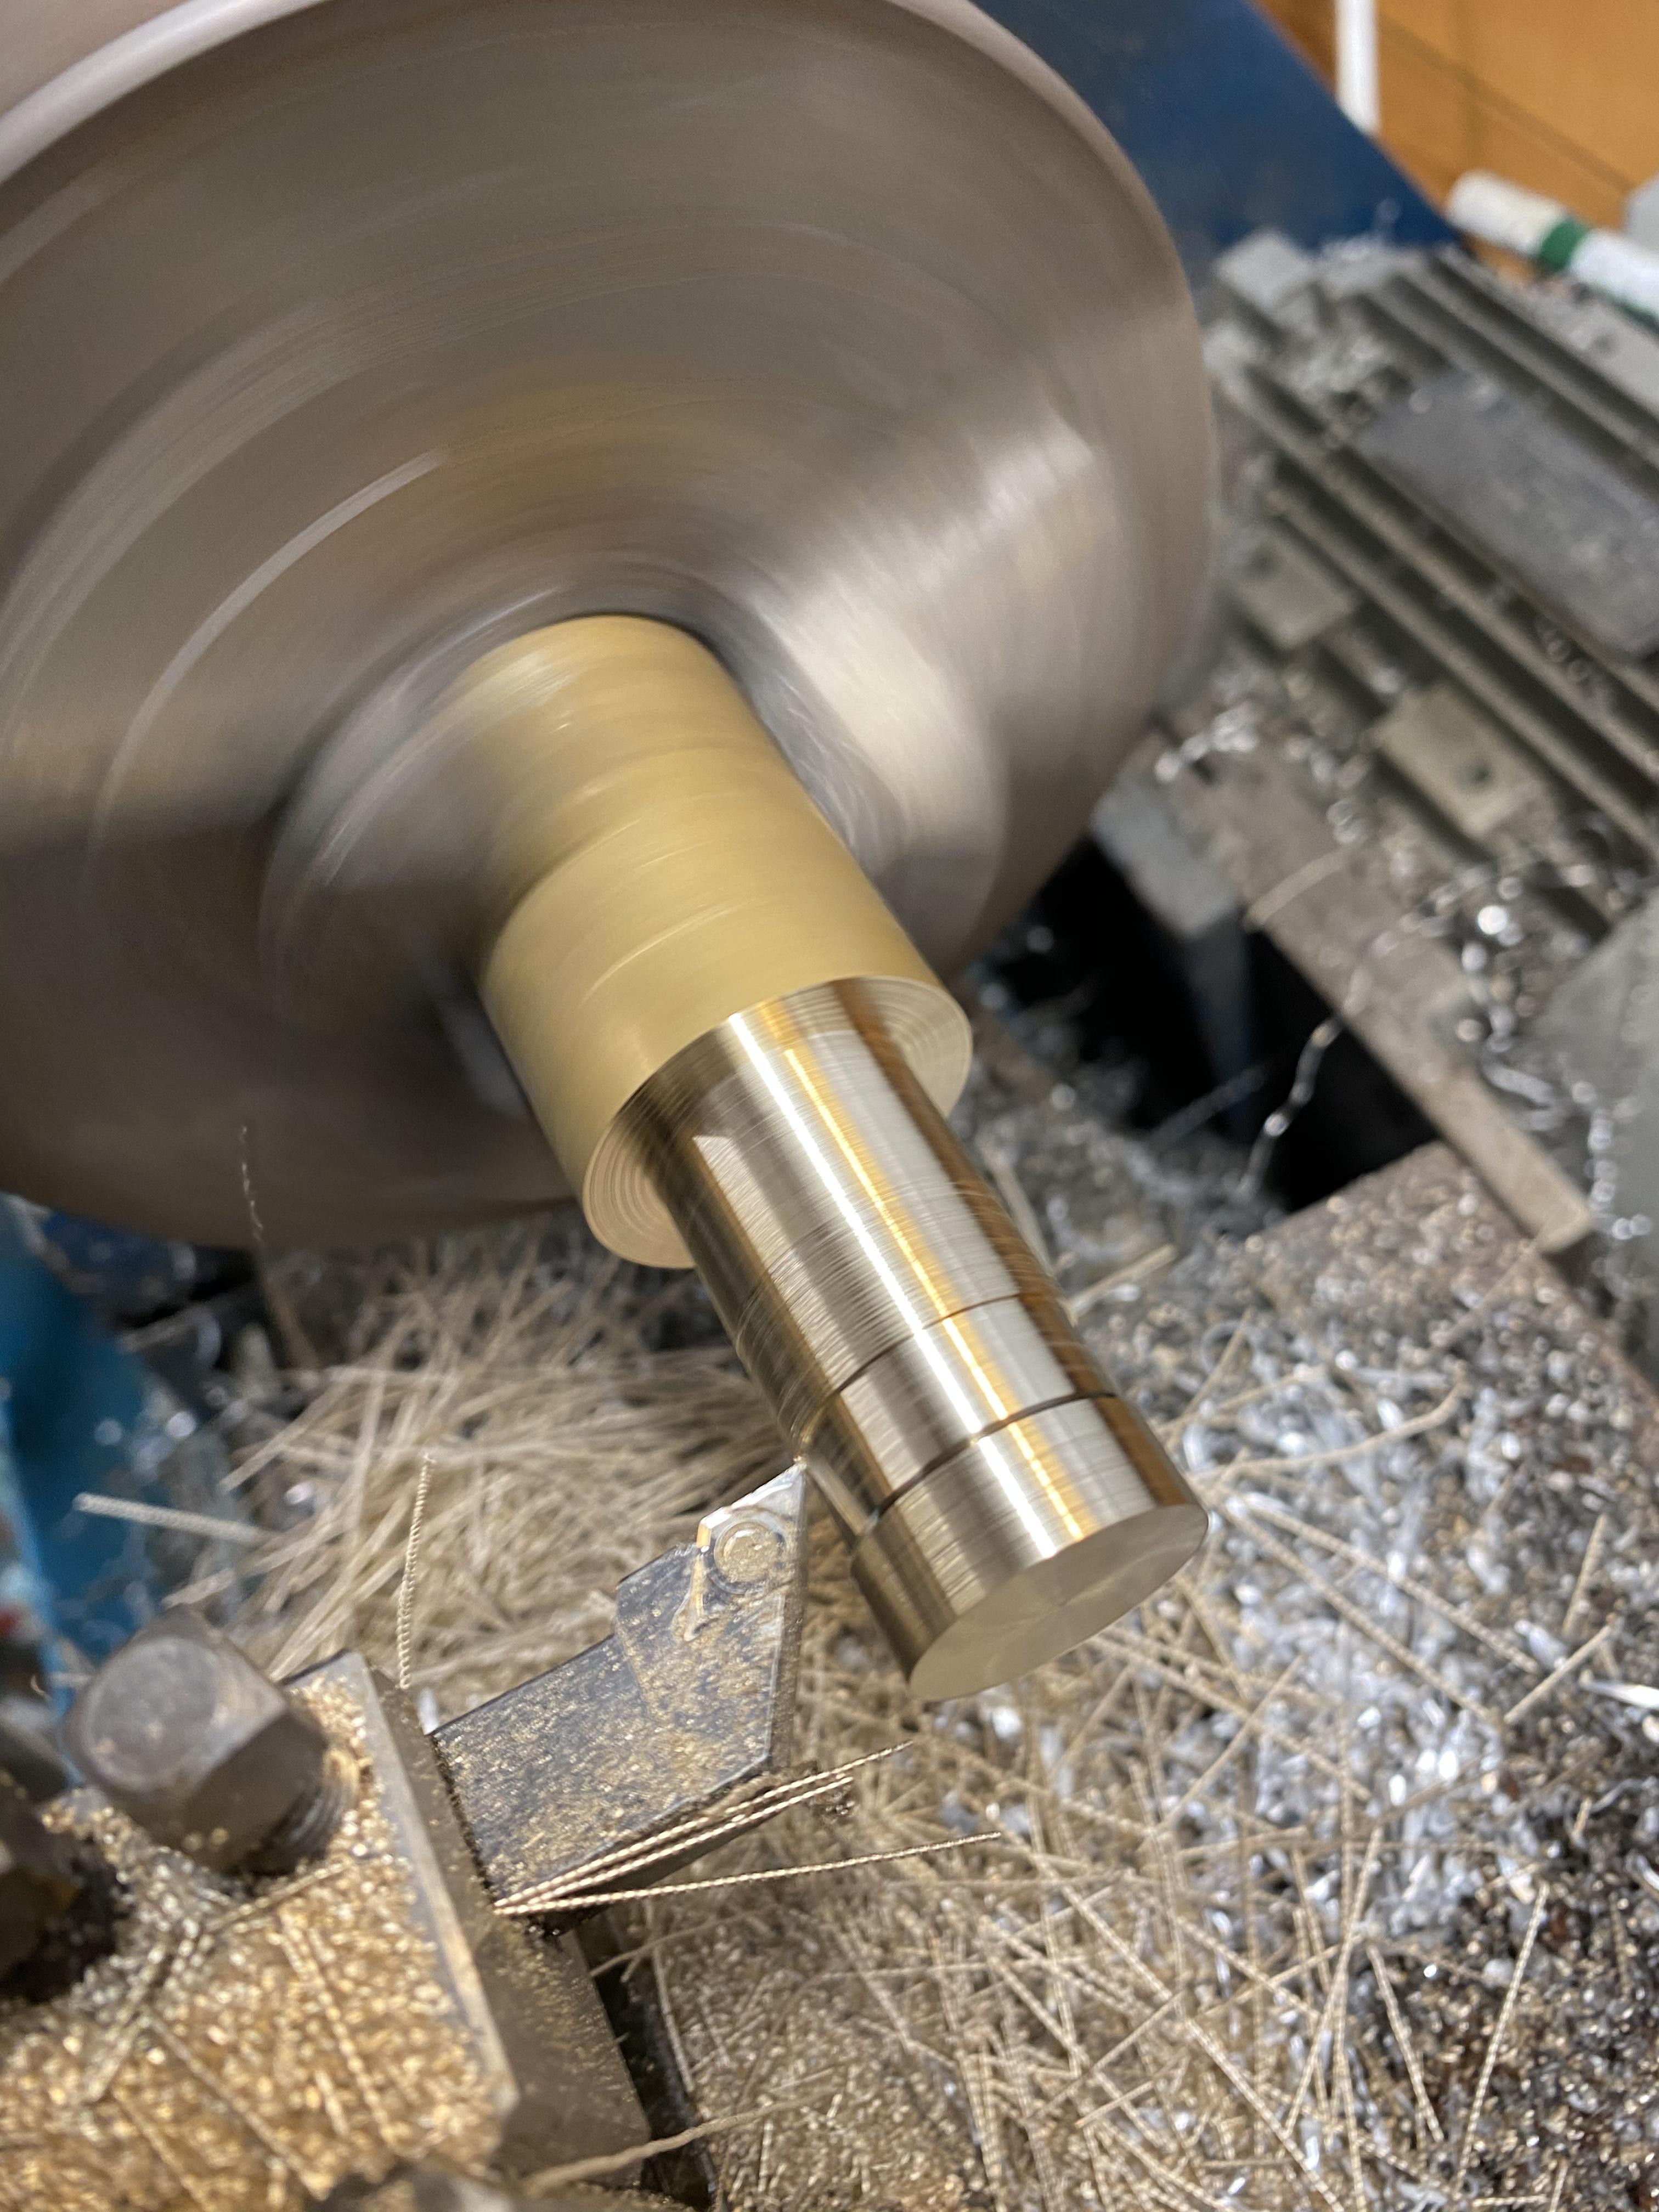
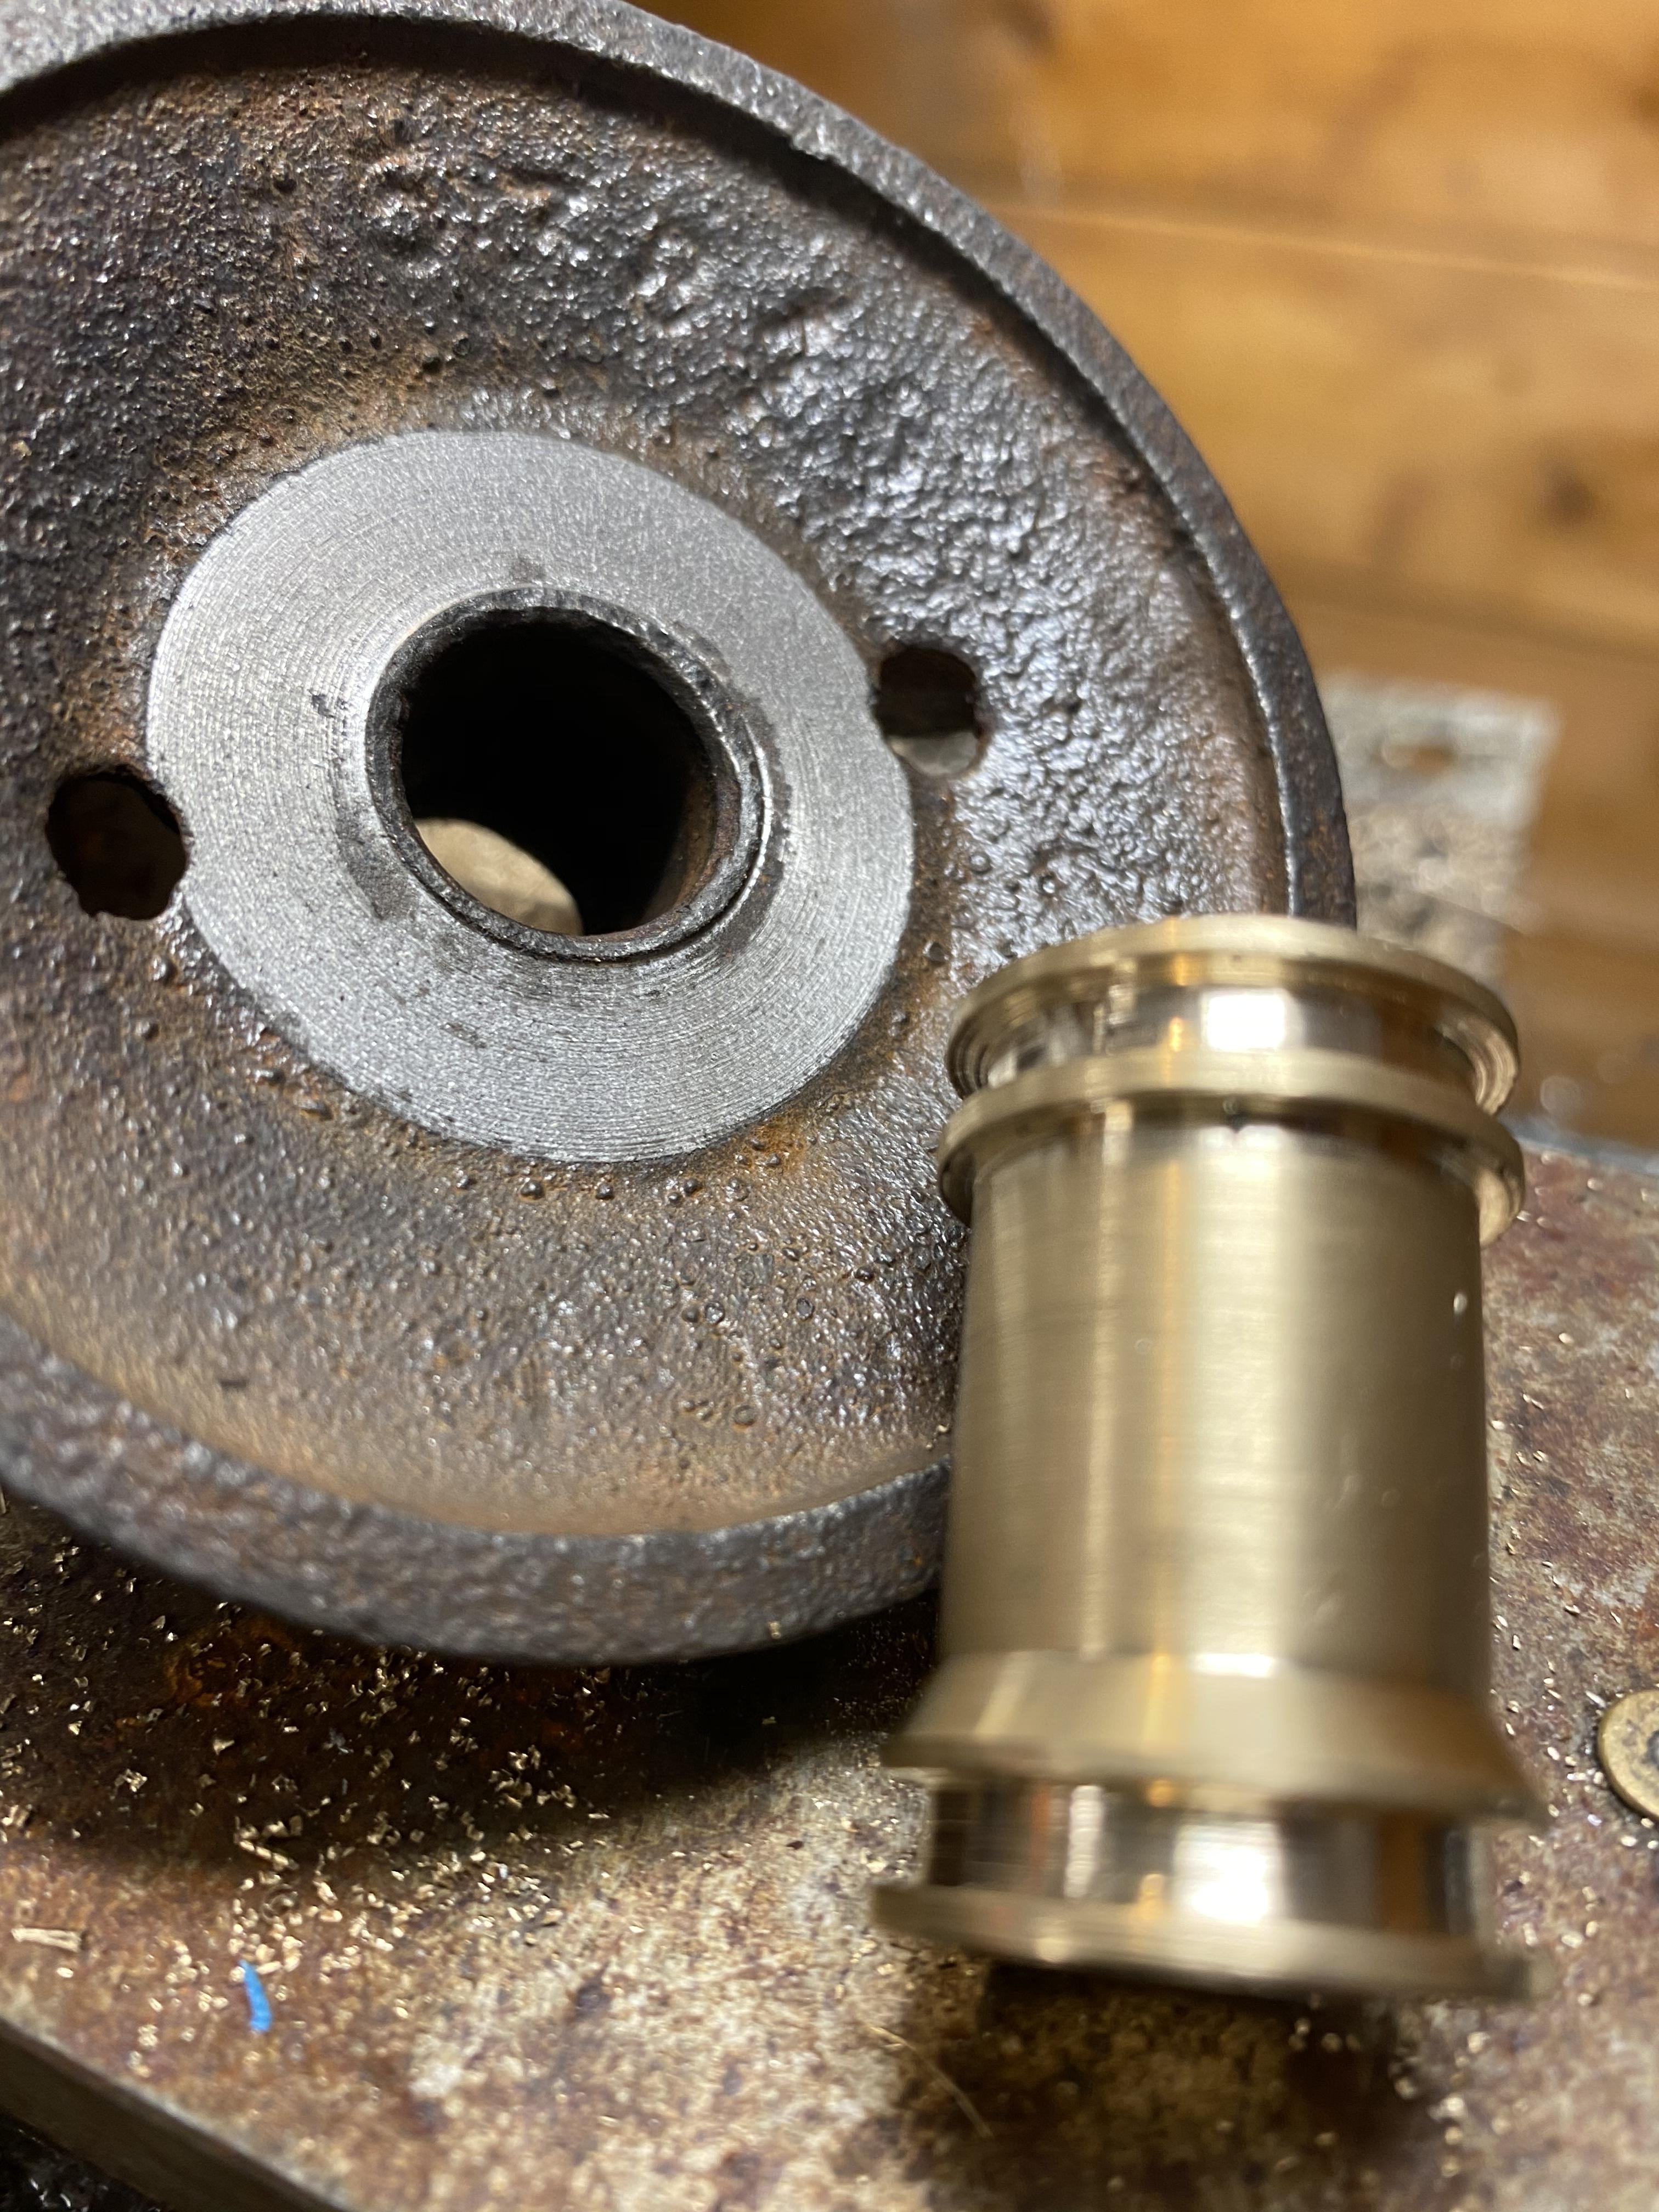
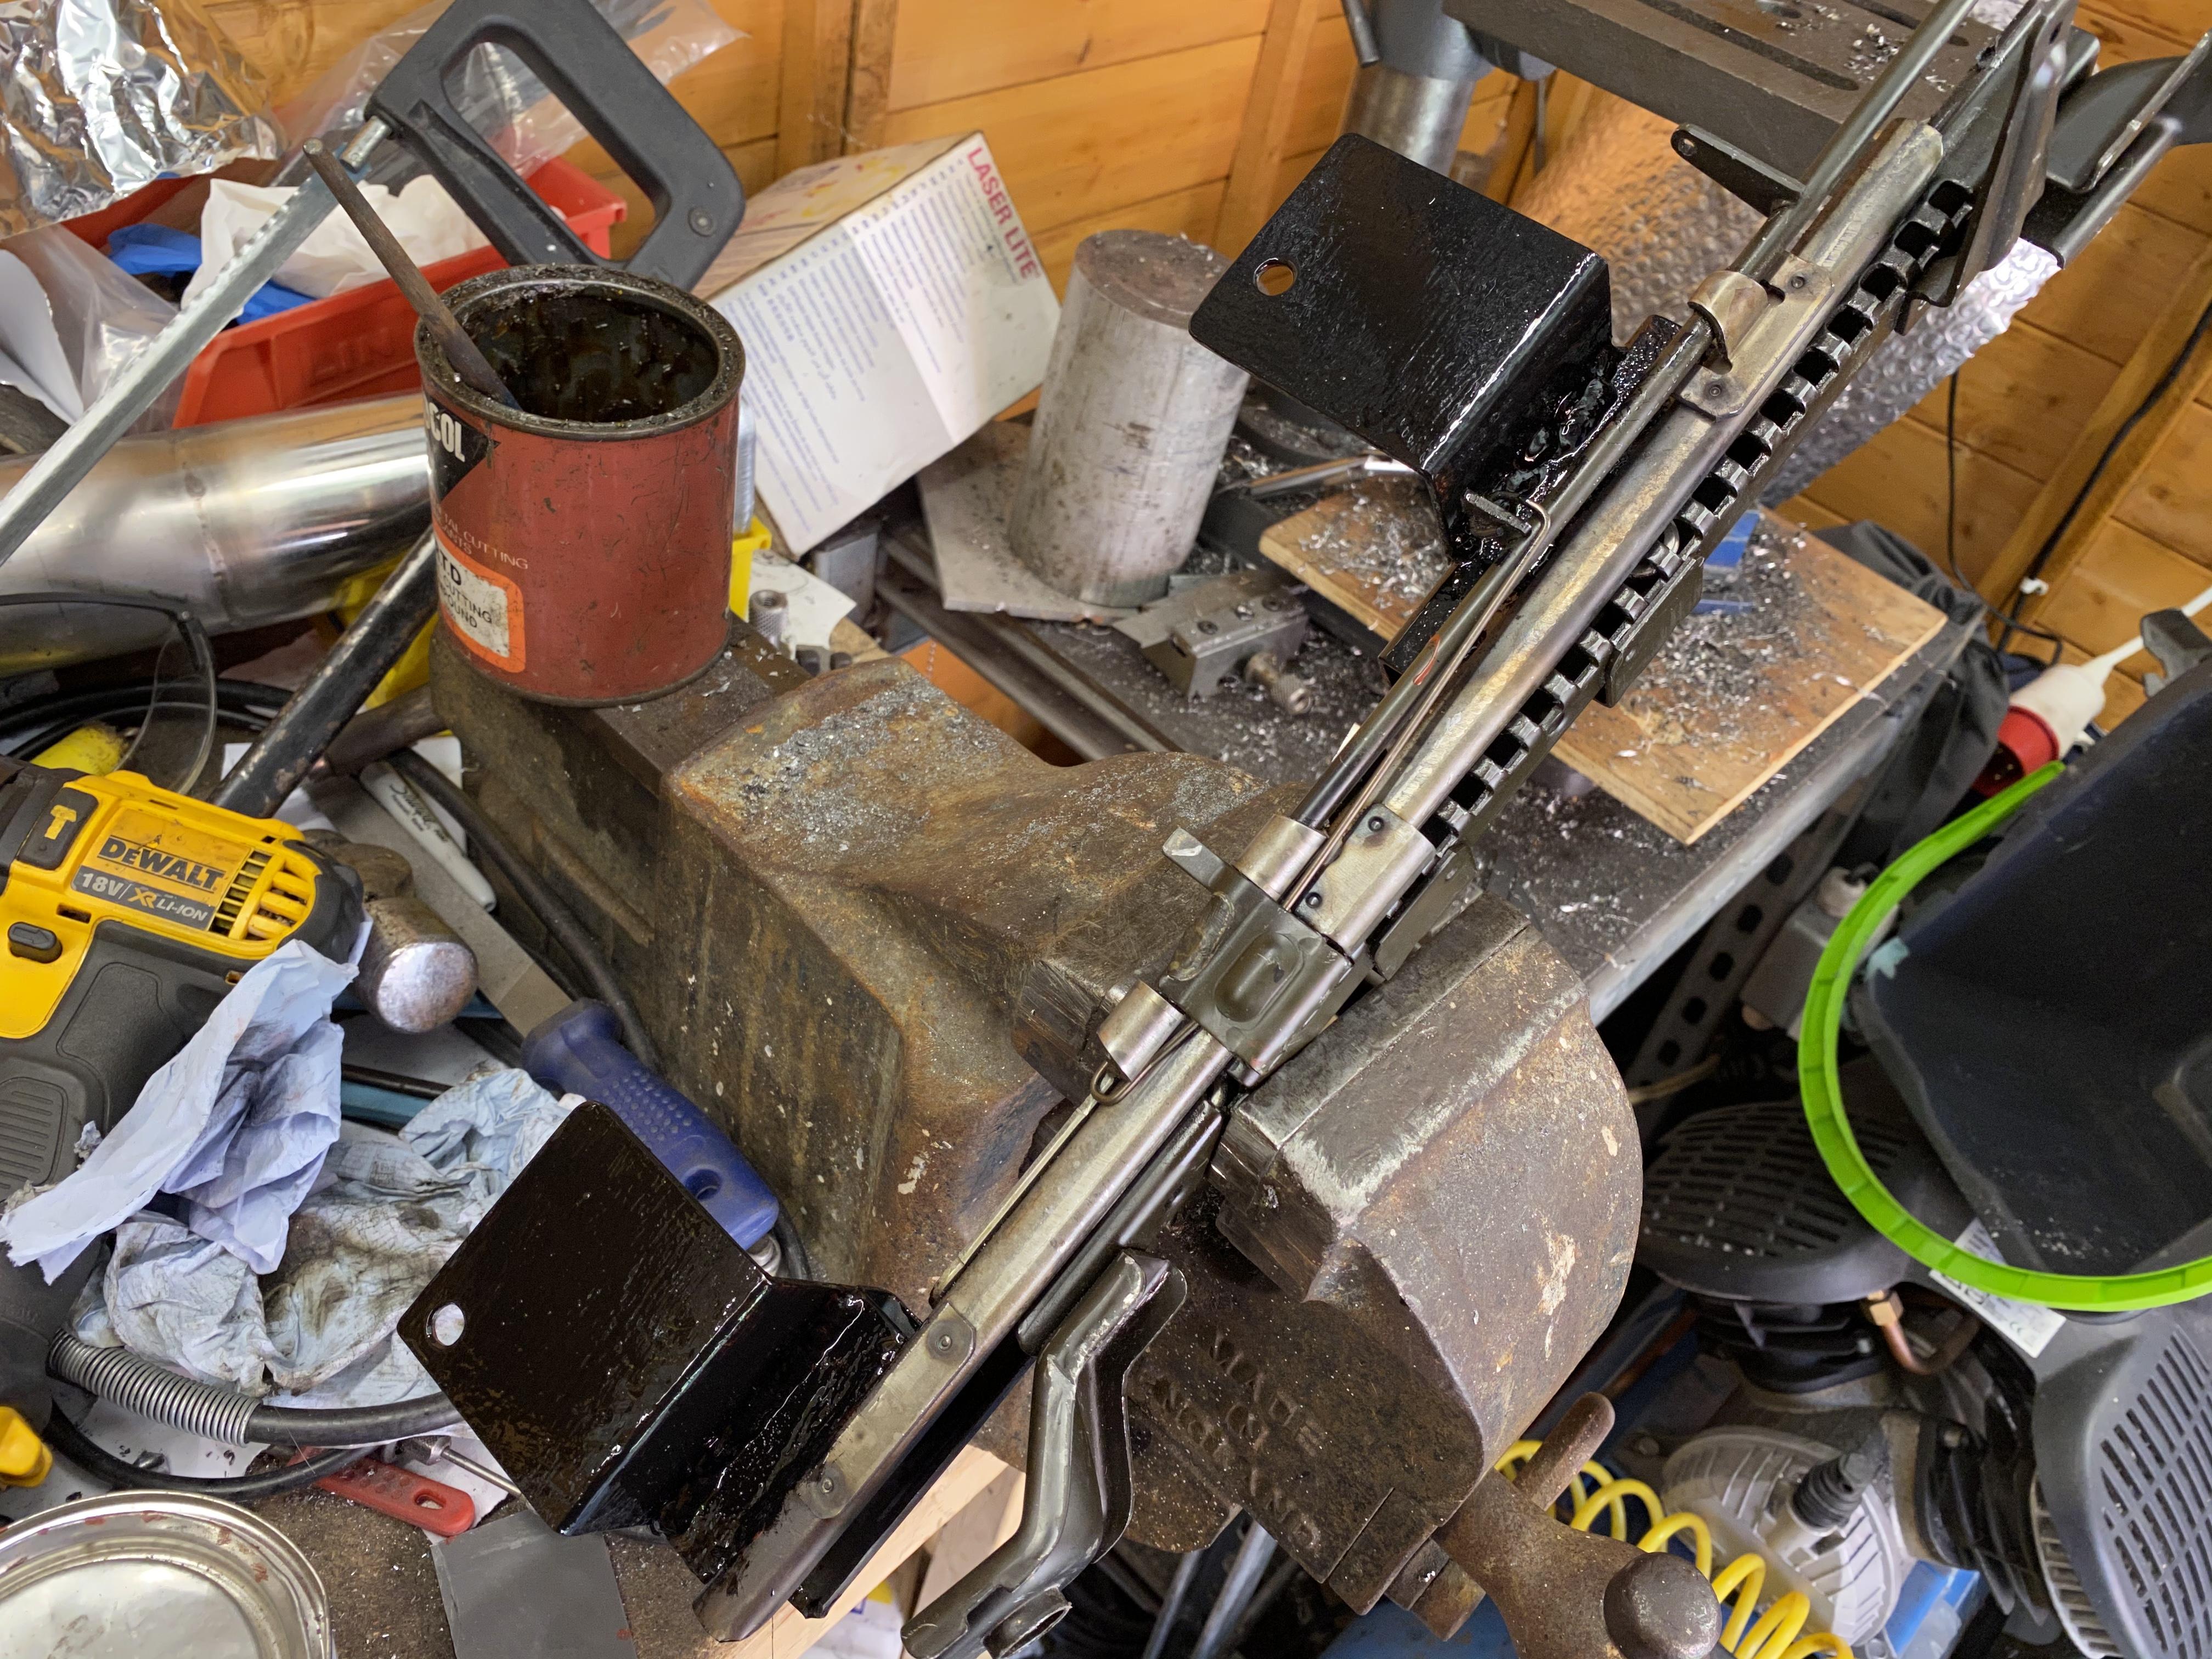
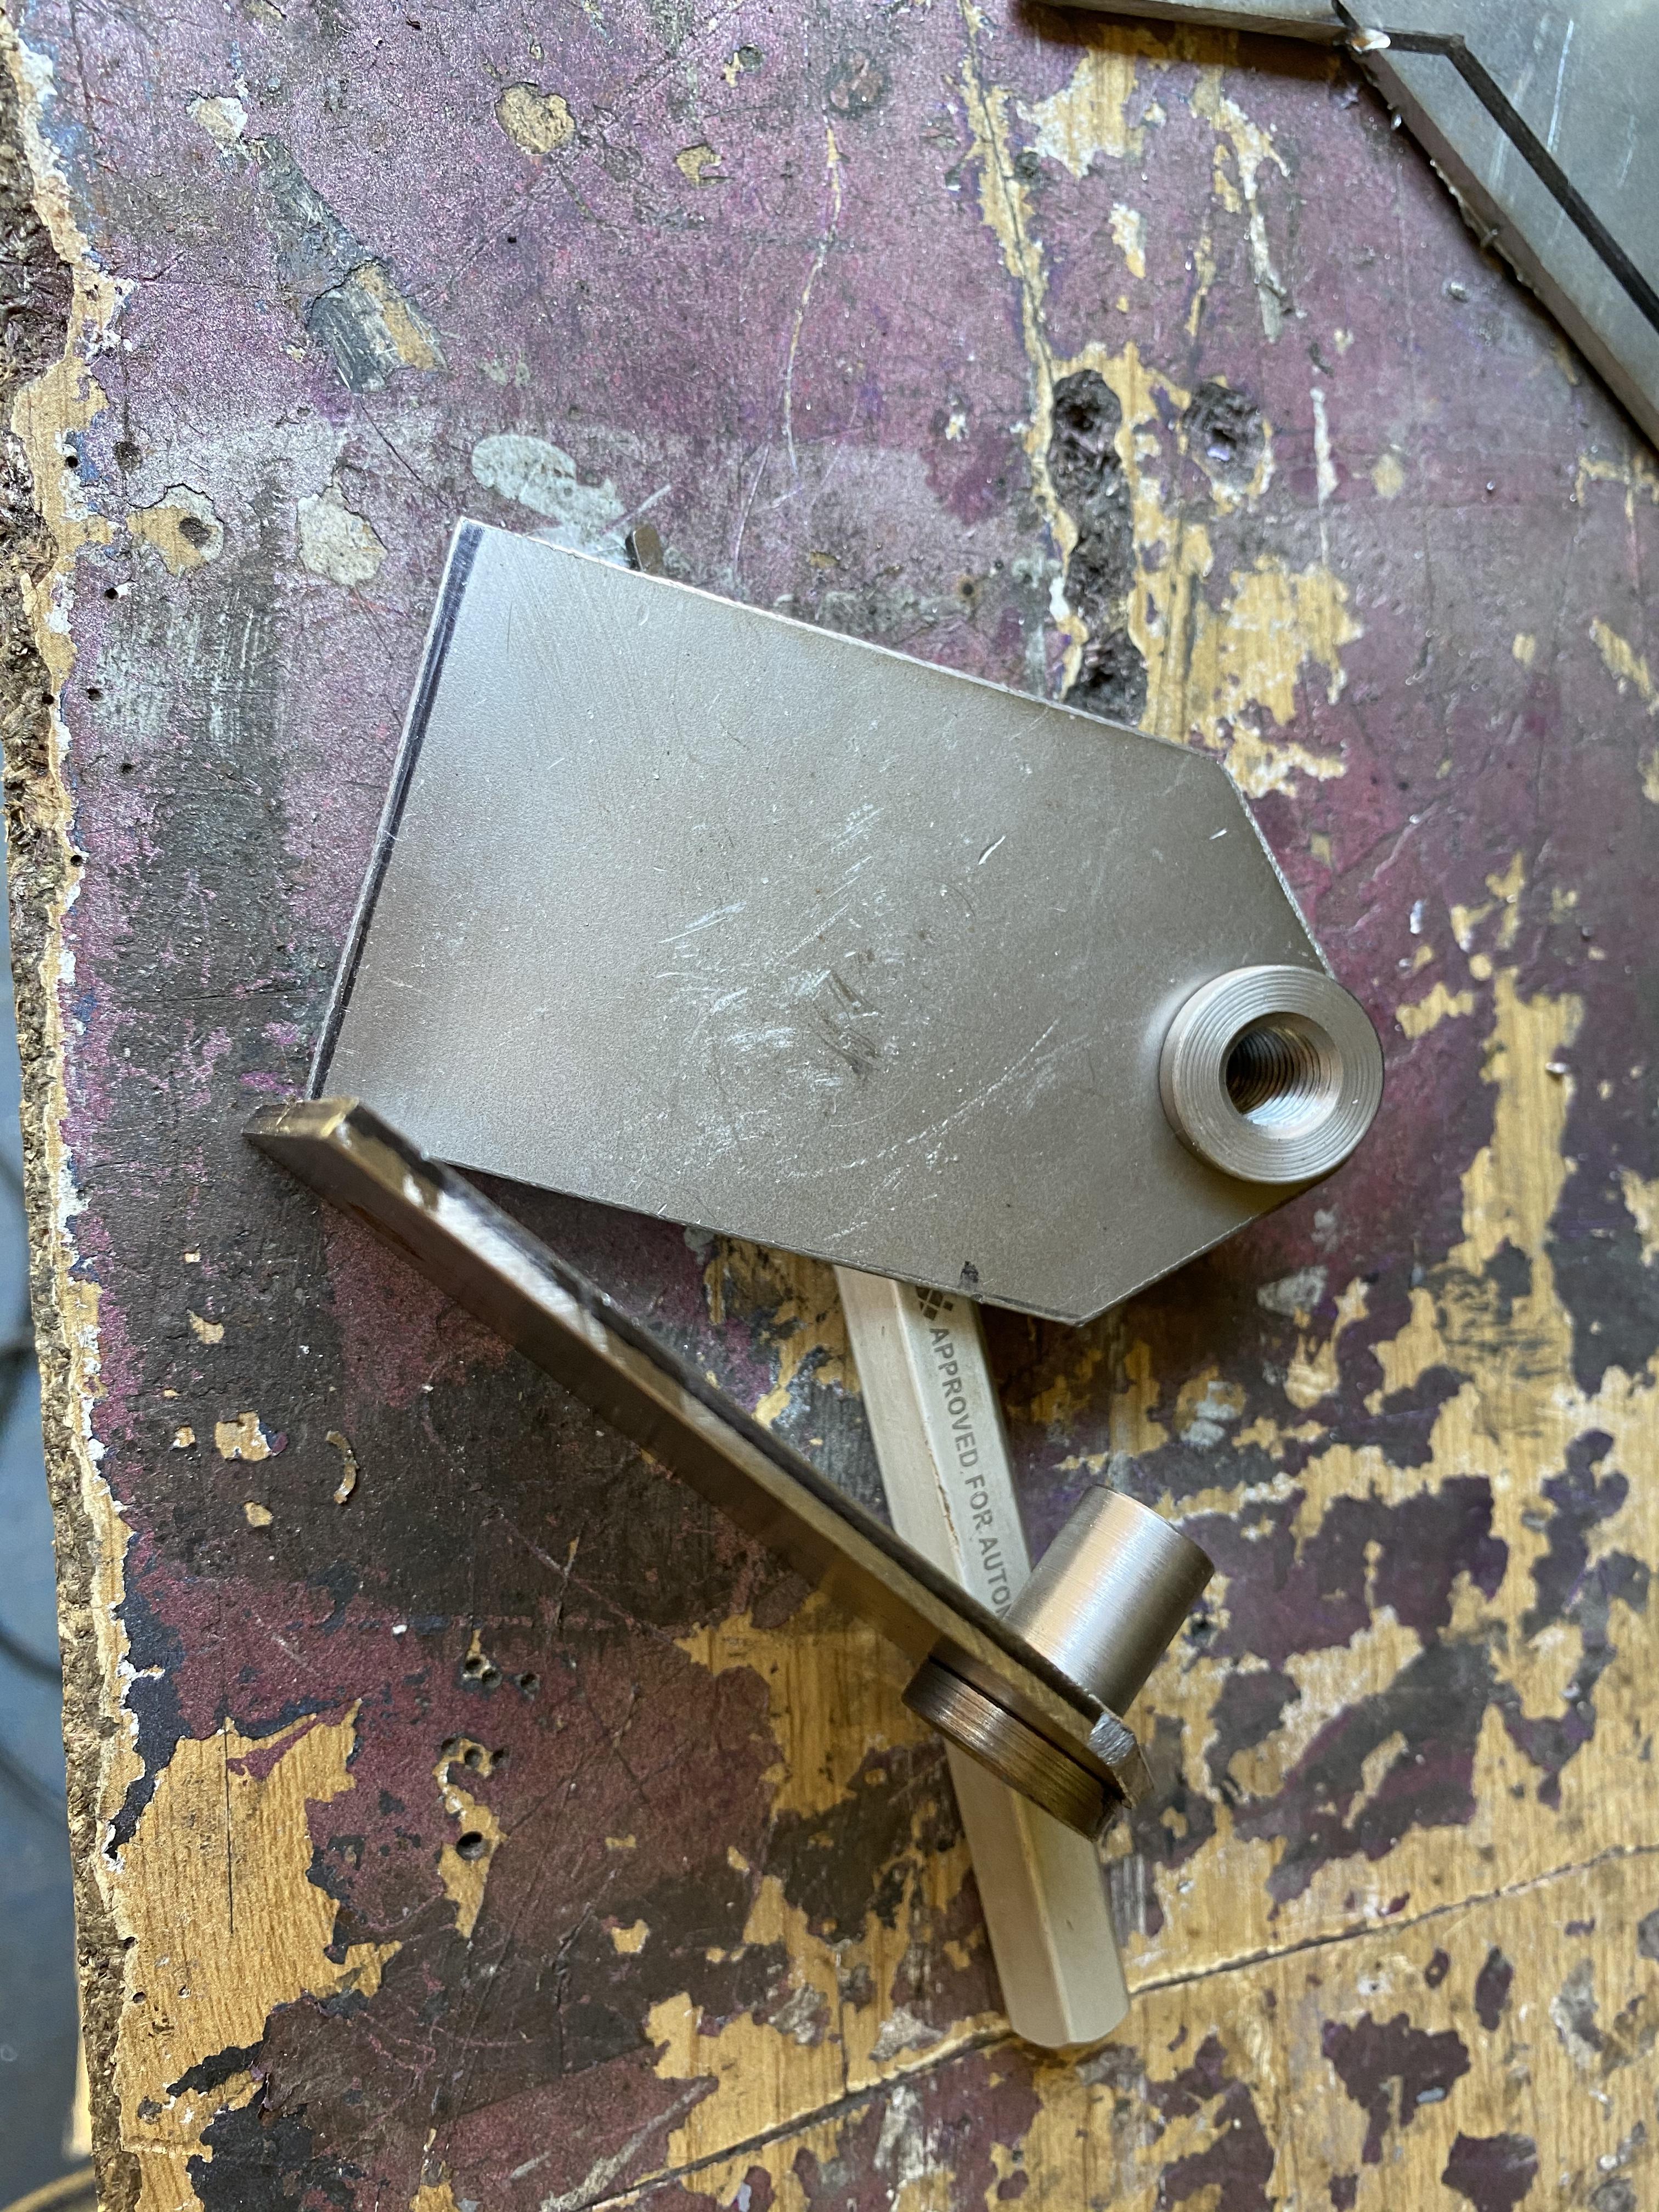
Had a slightly different project to help with: machine a new water pump part in brass as the original steel had rotted and face an impeller for a TR7


-
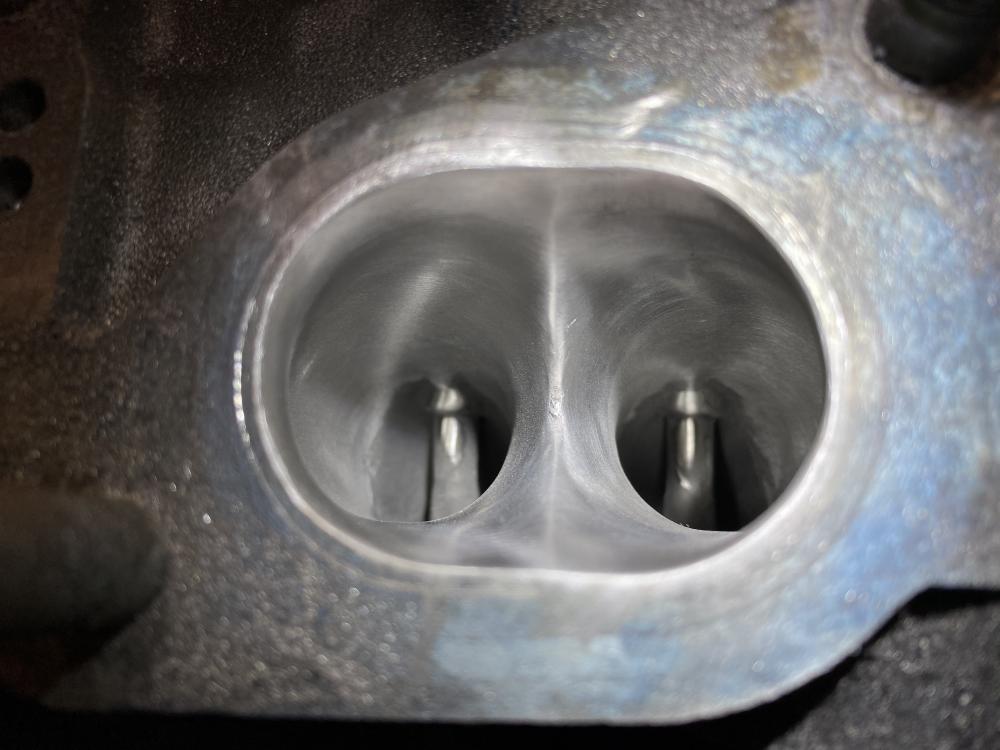
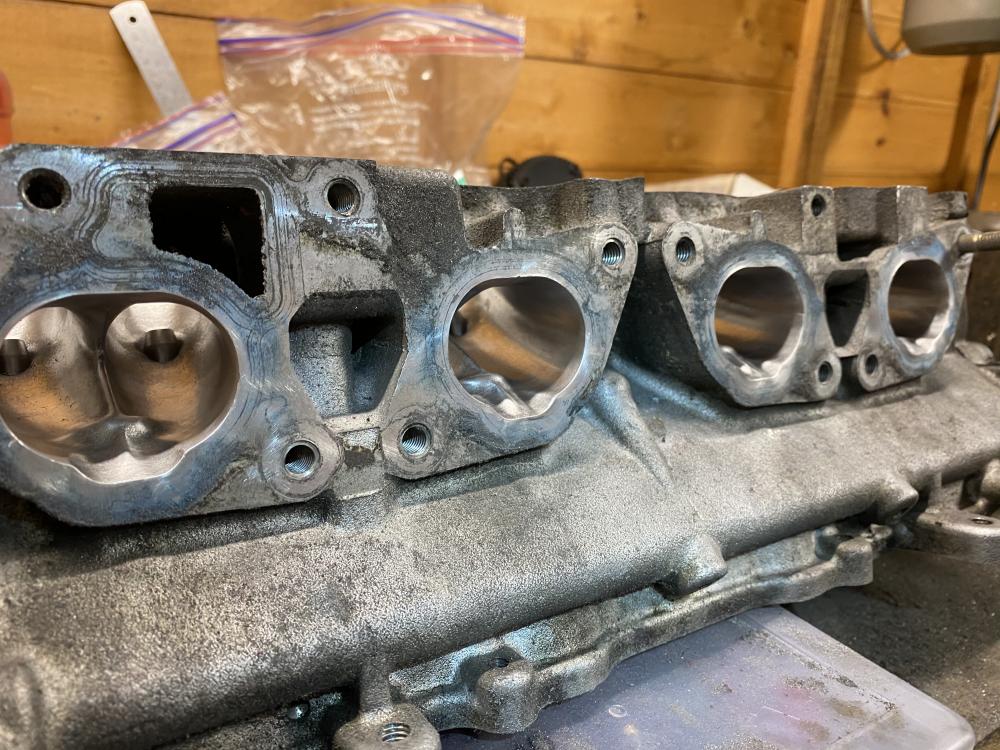
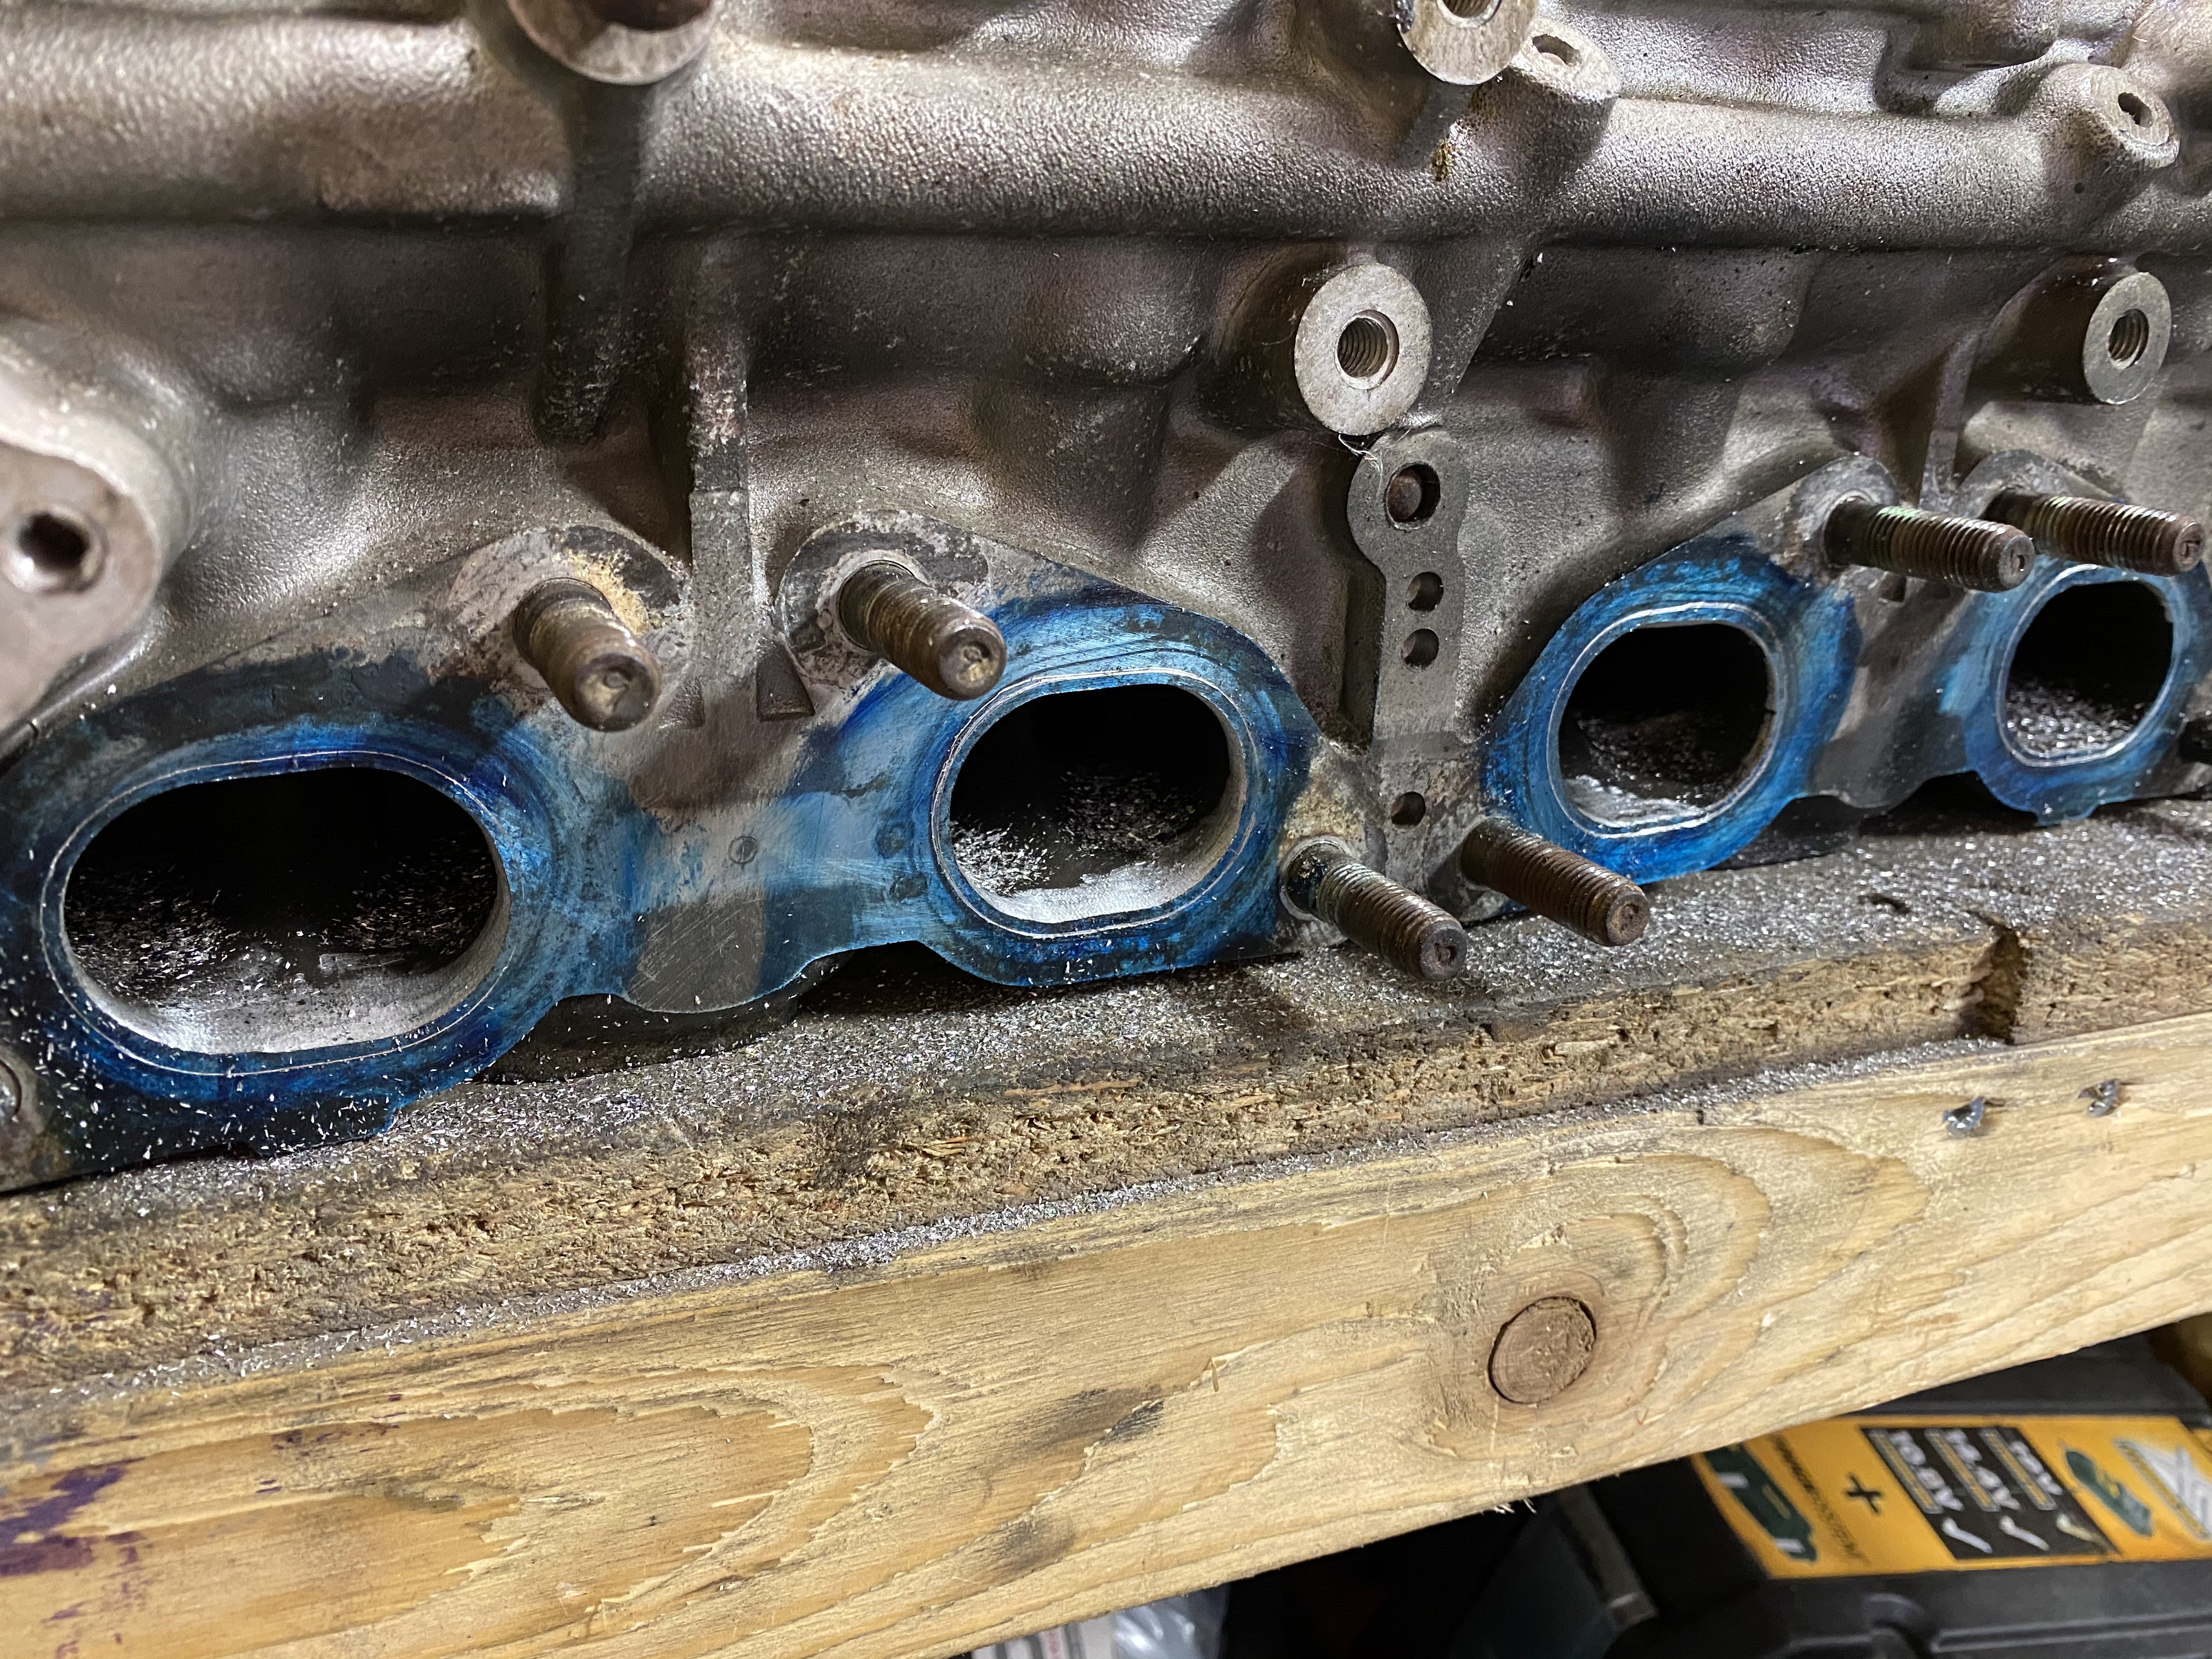
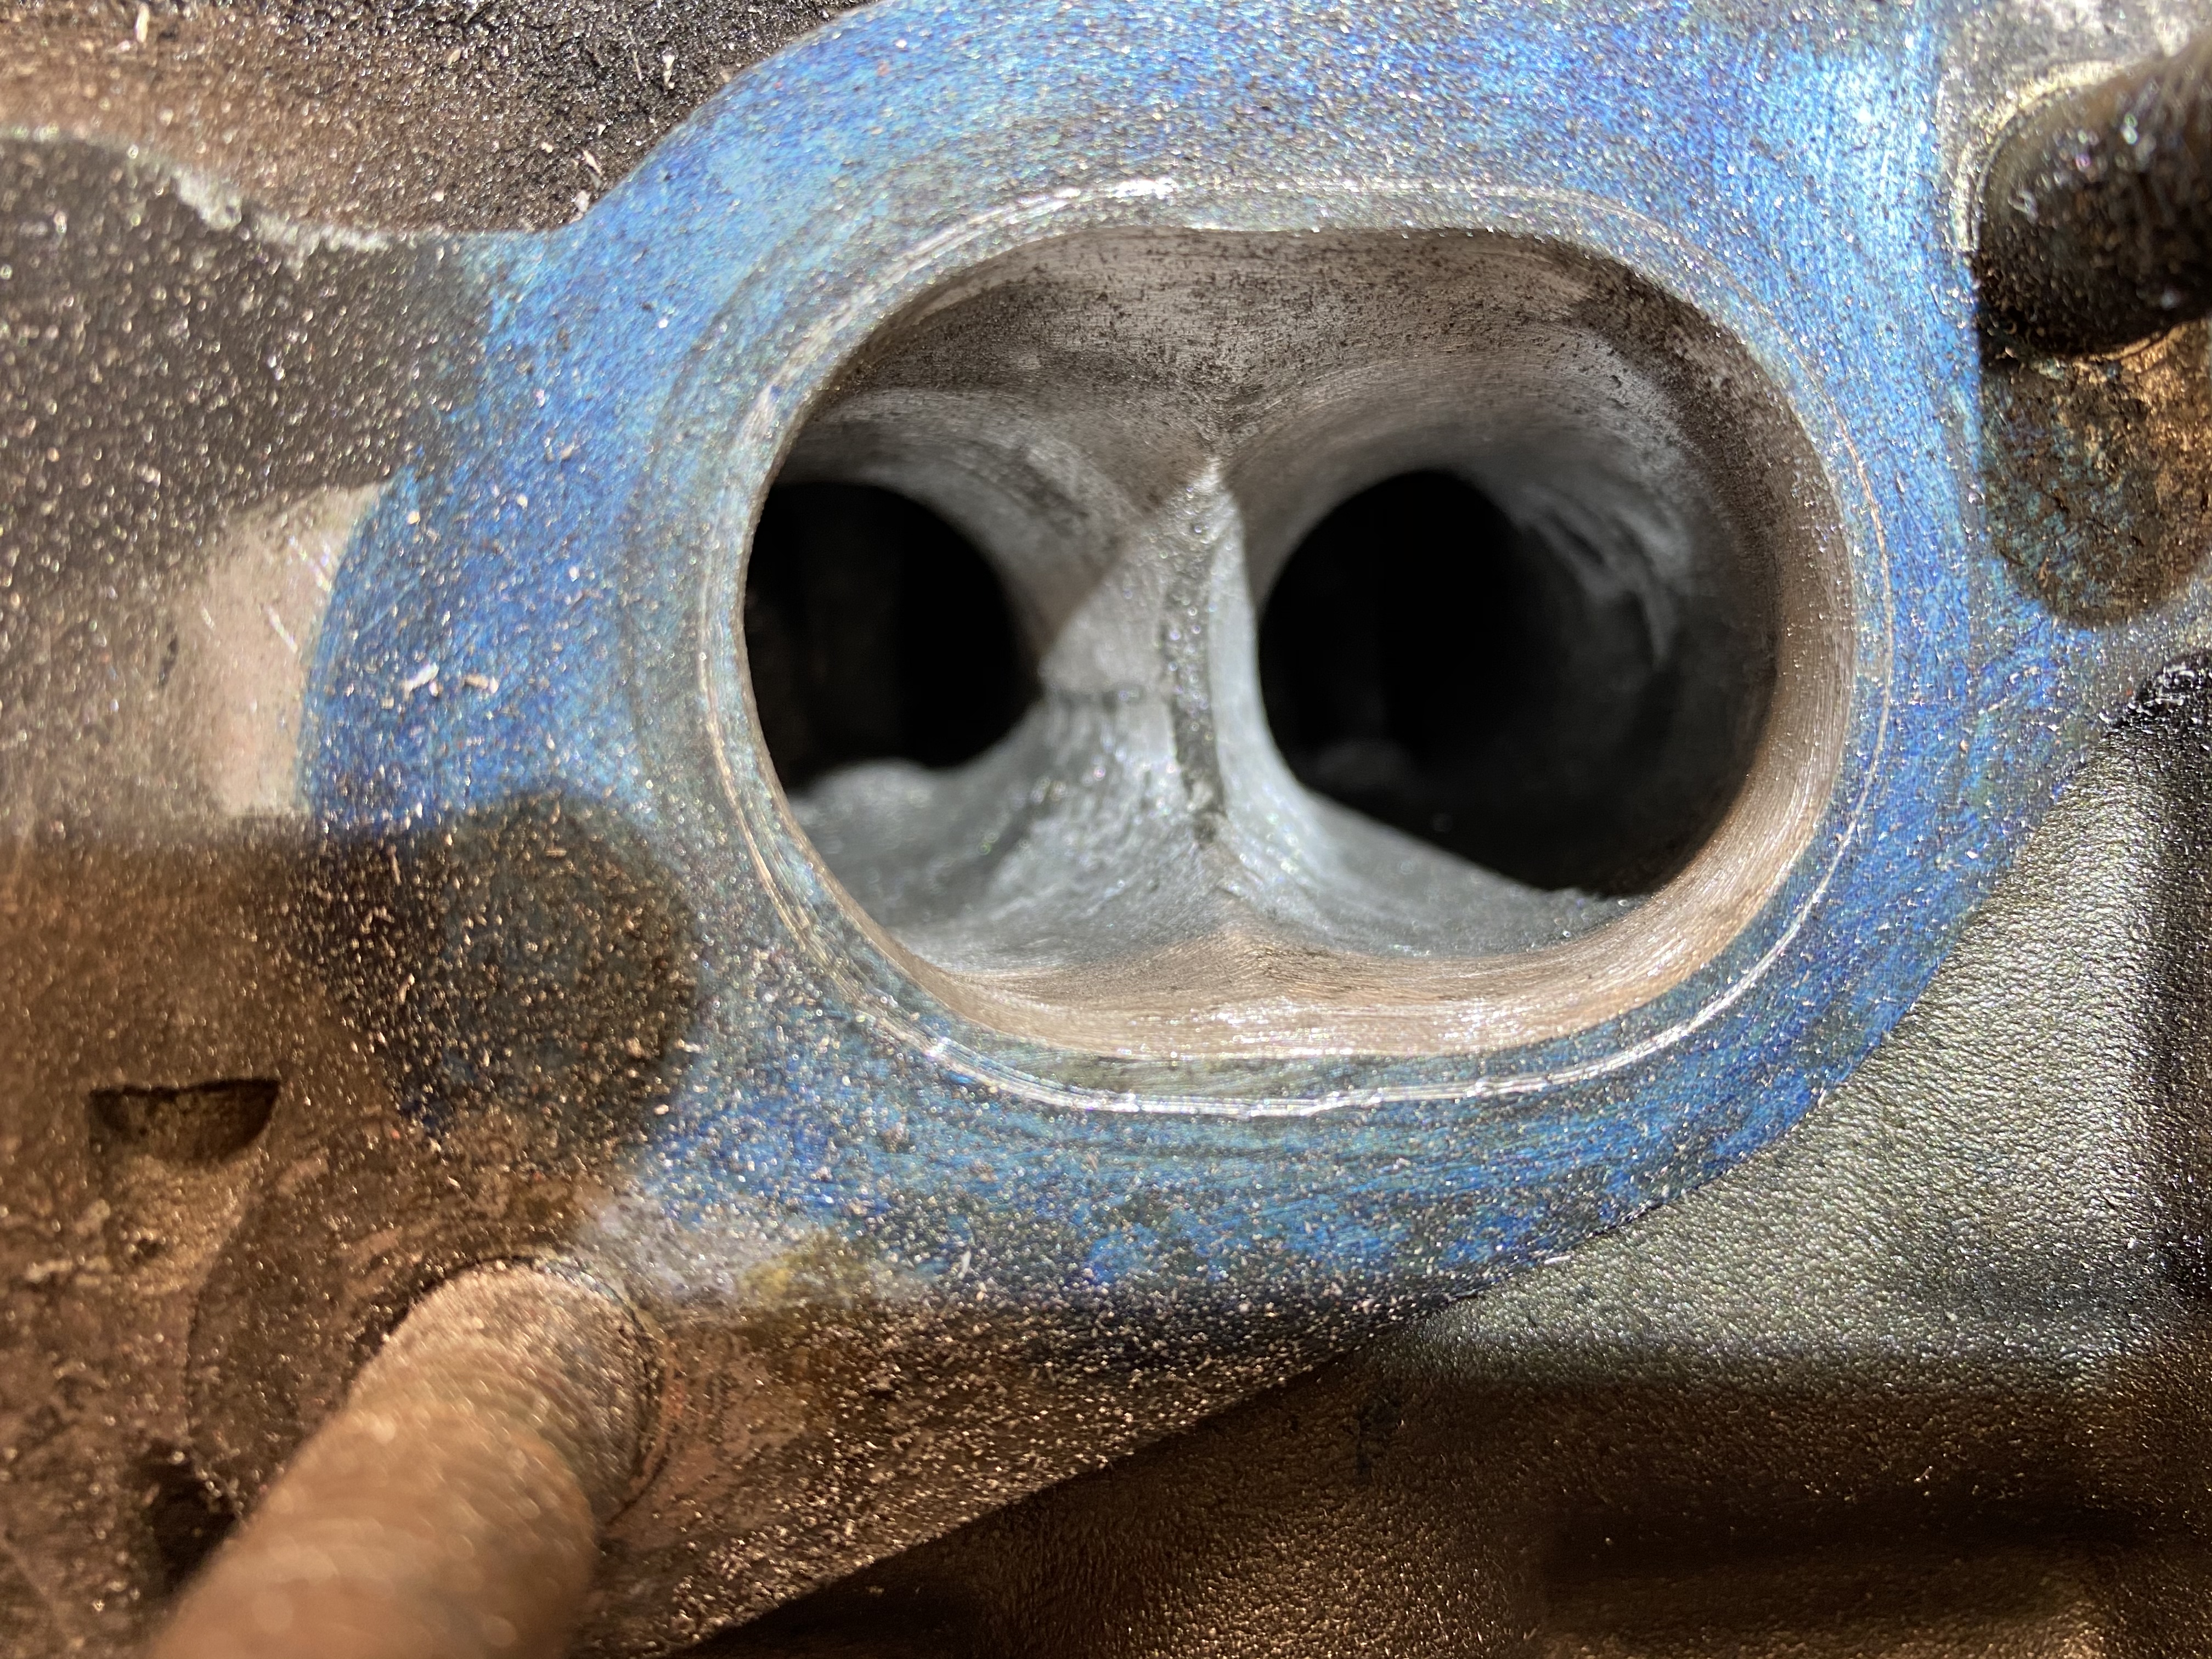
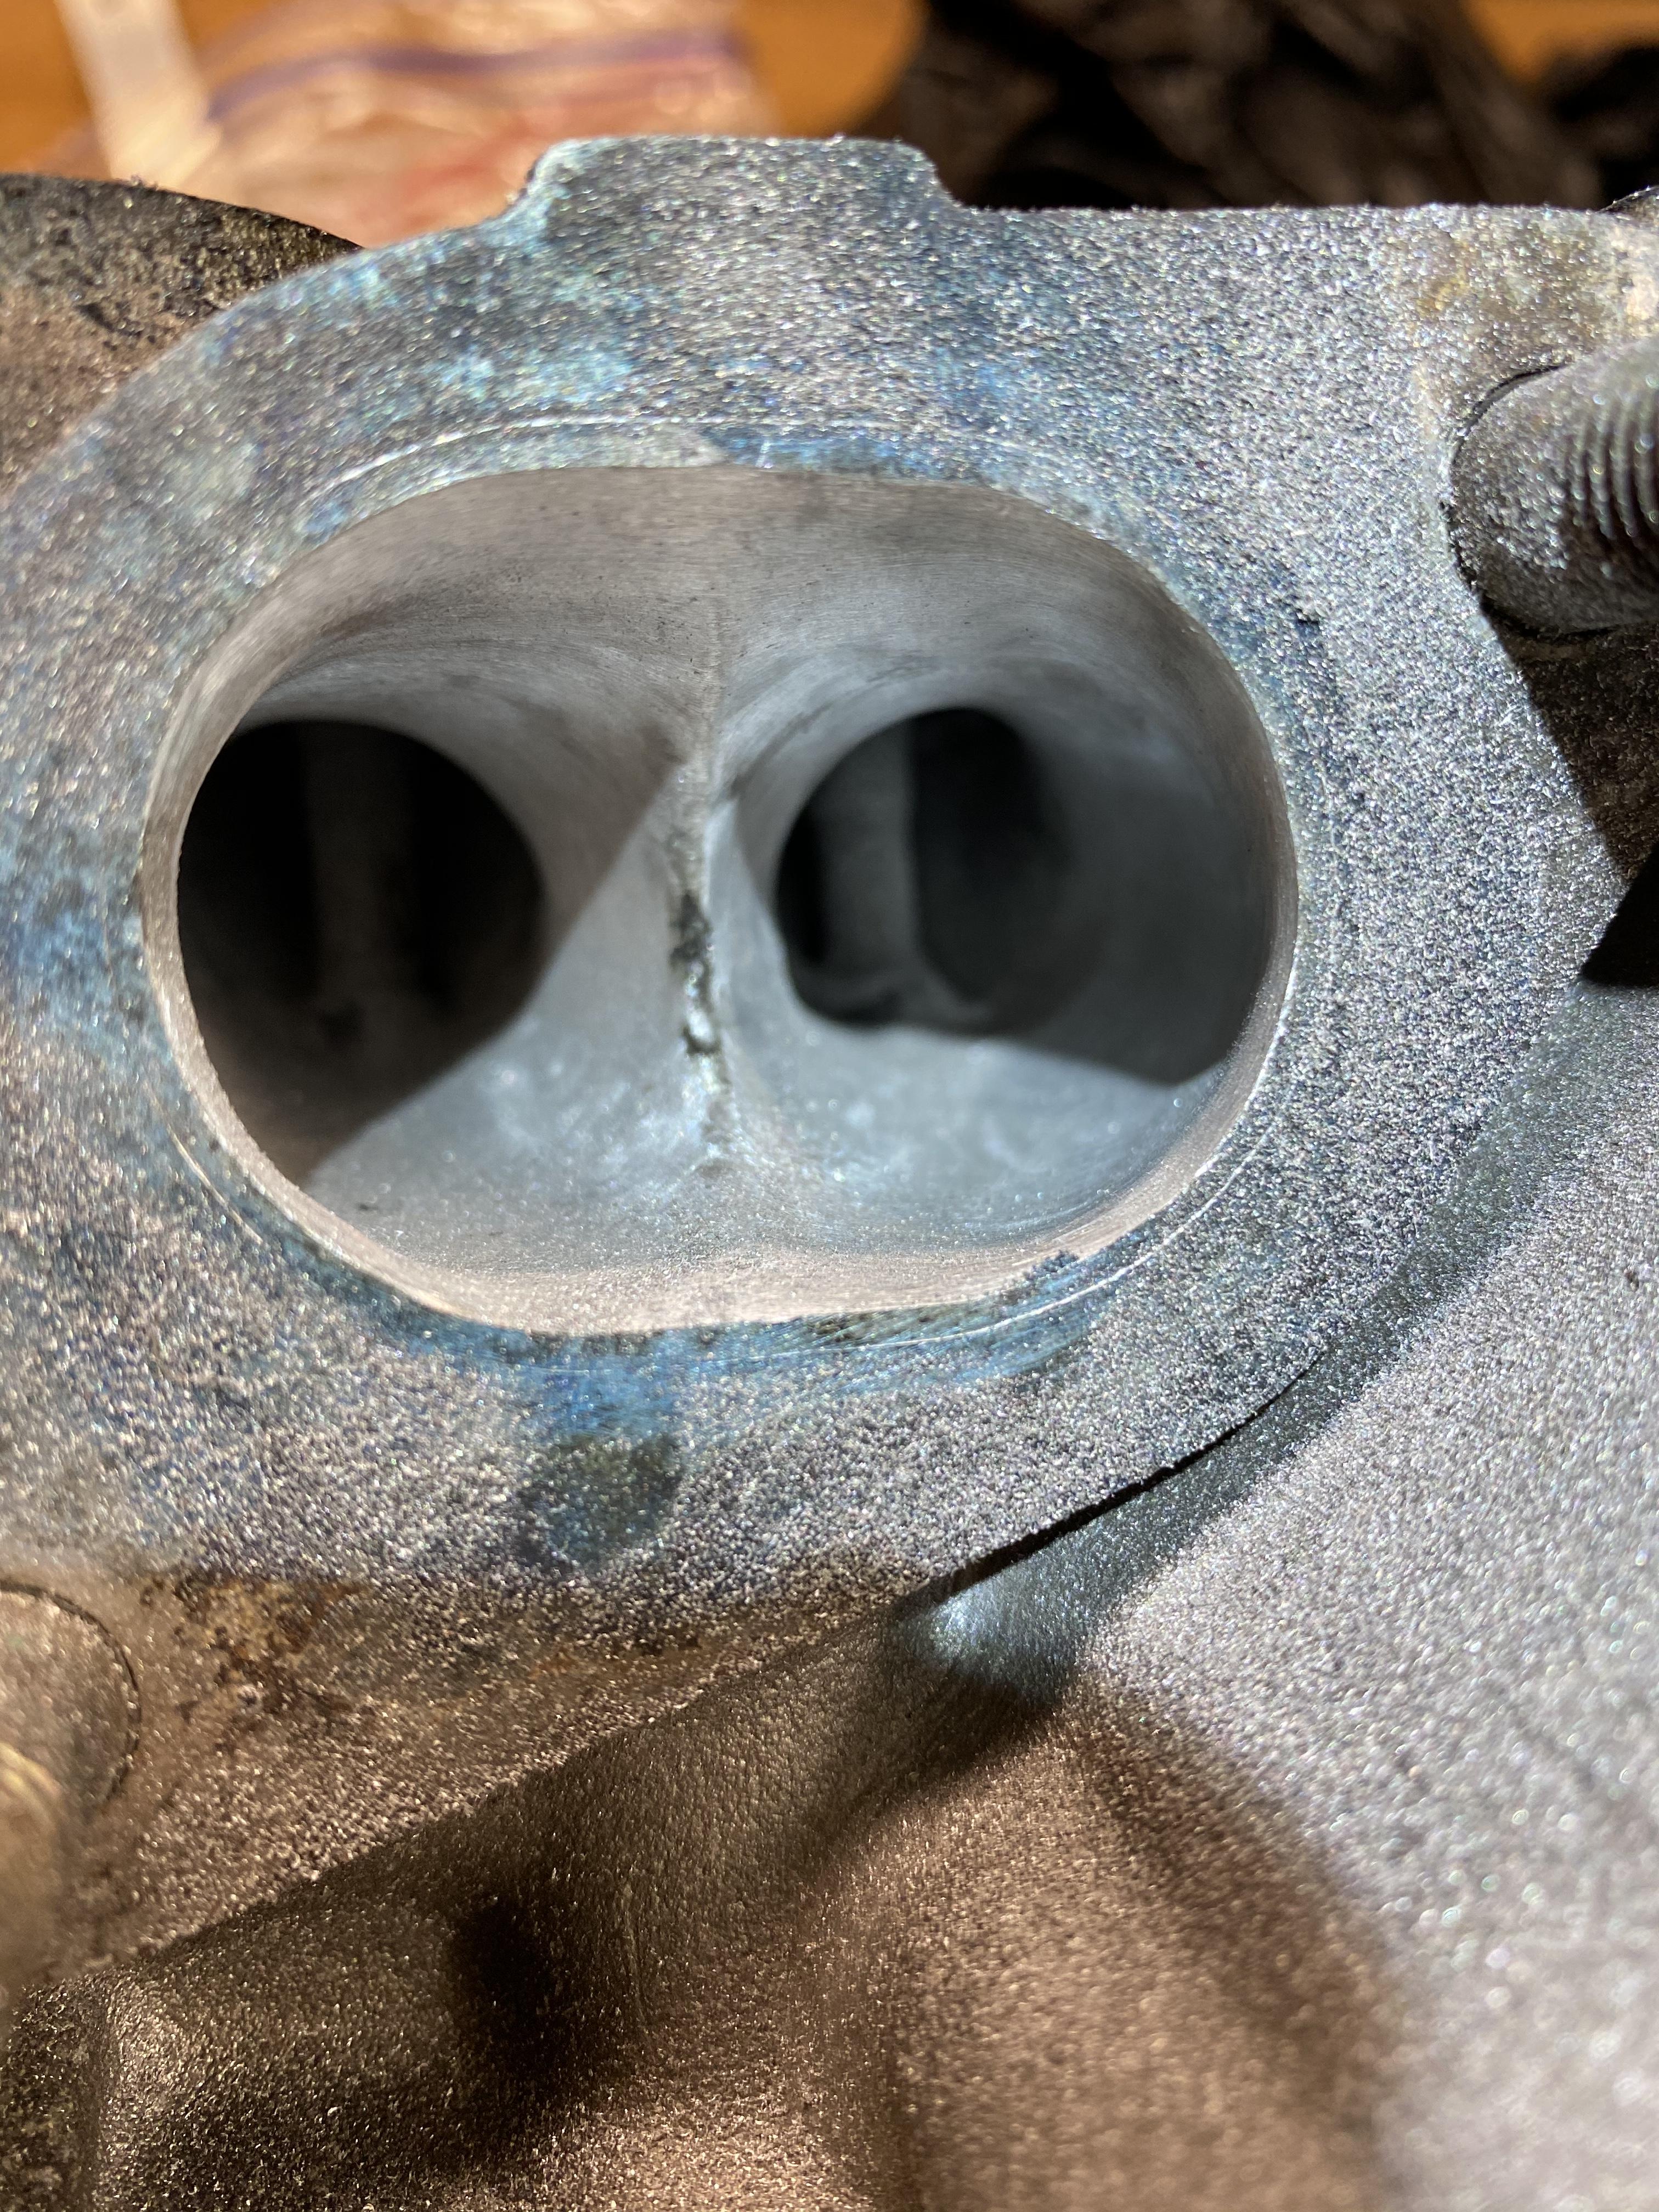
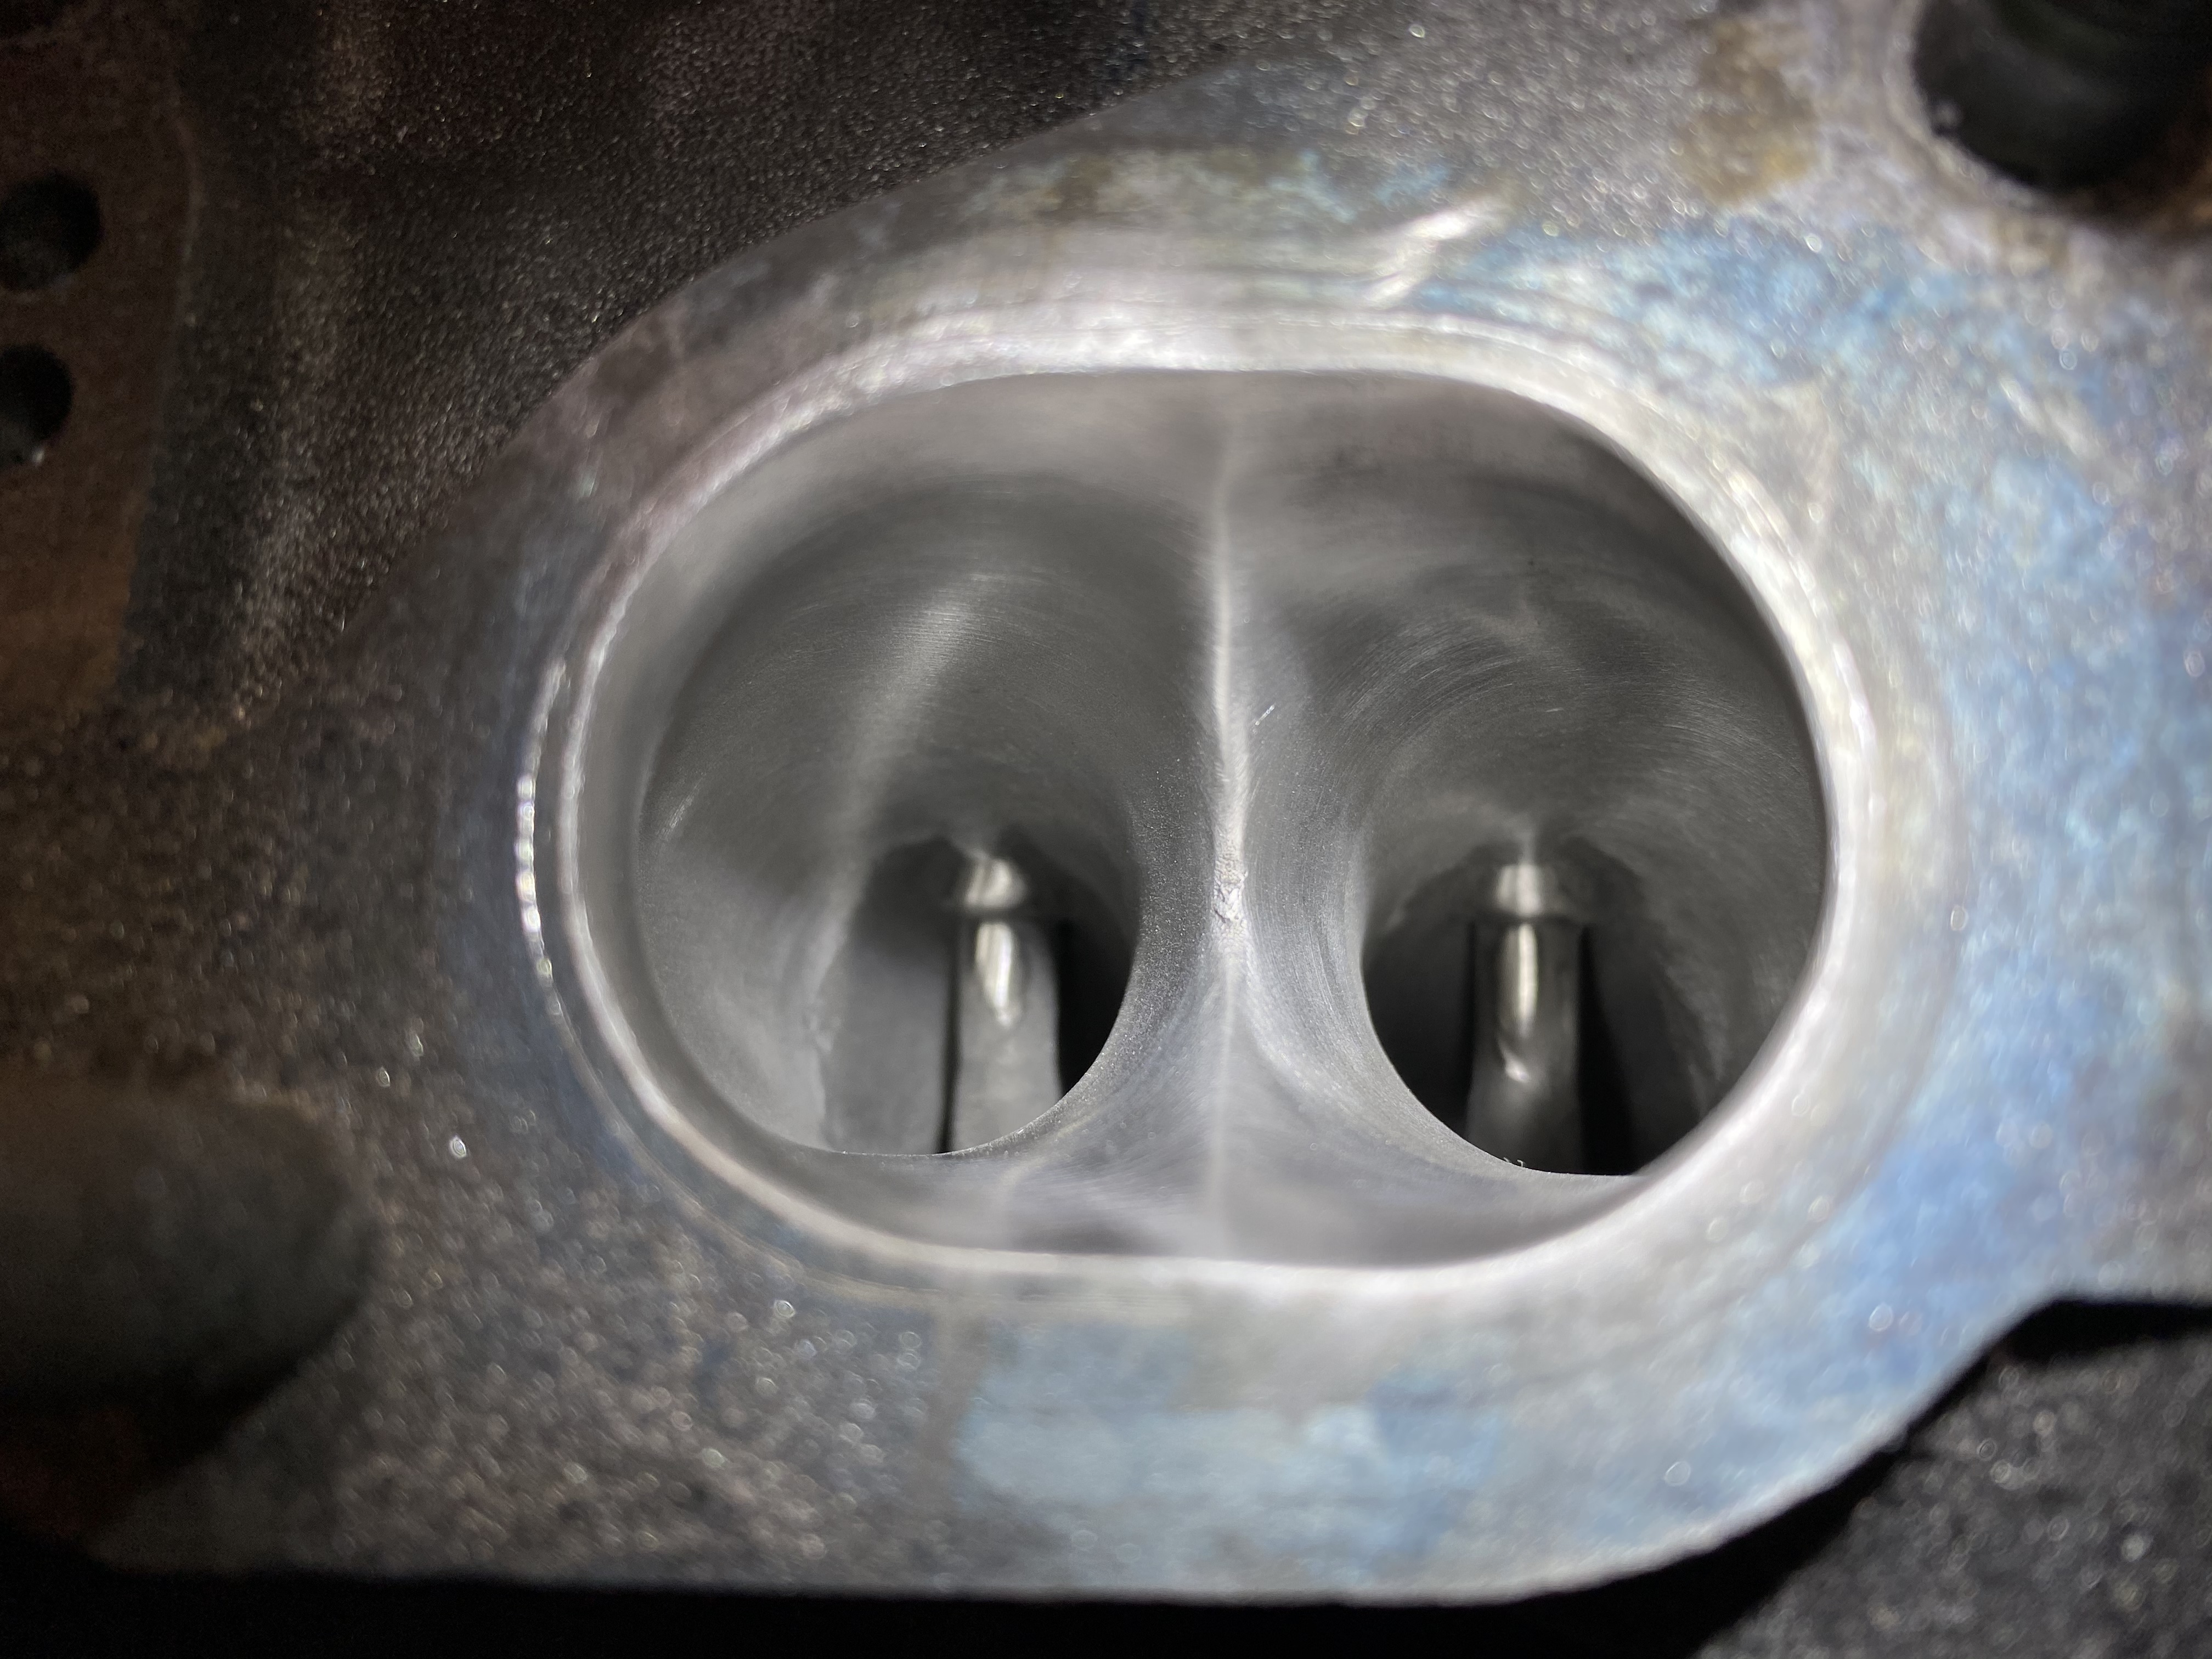
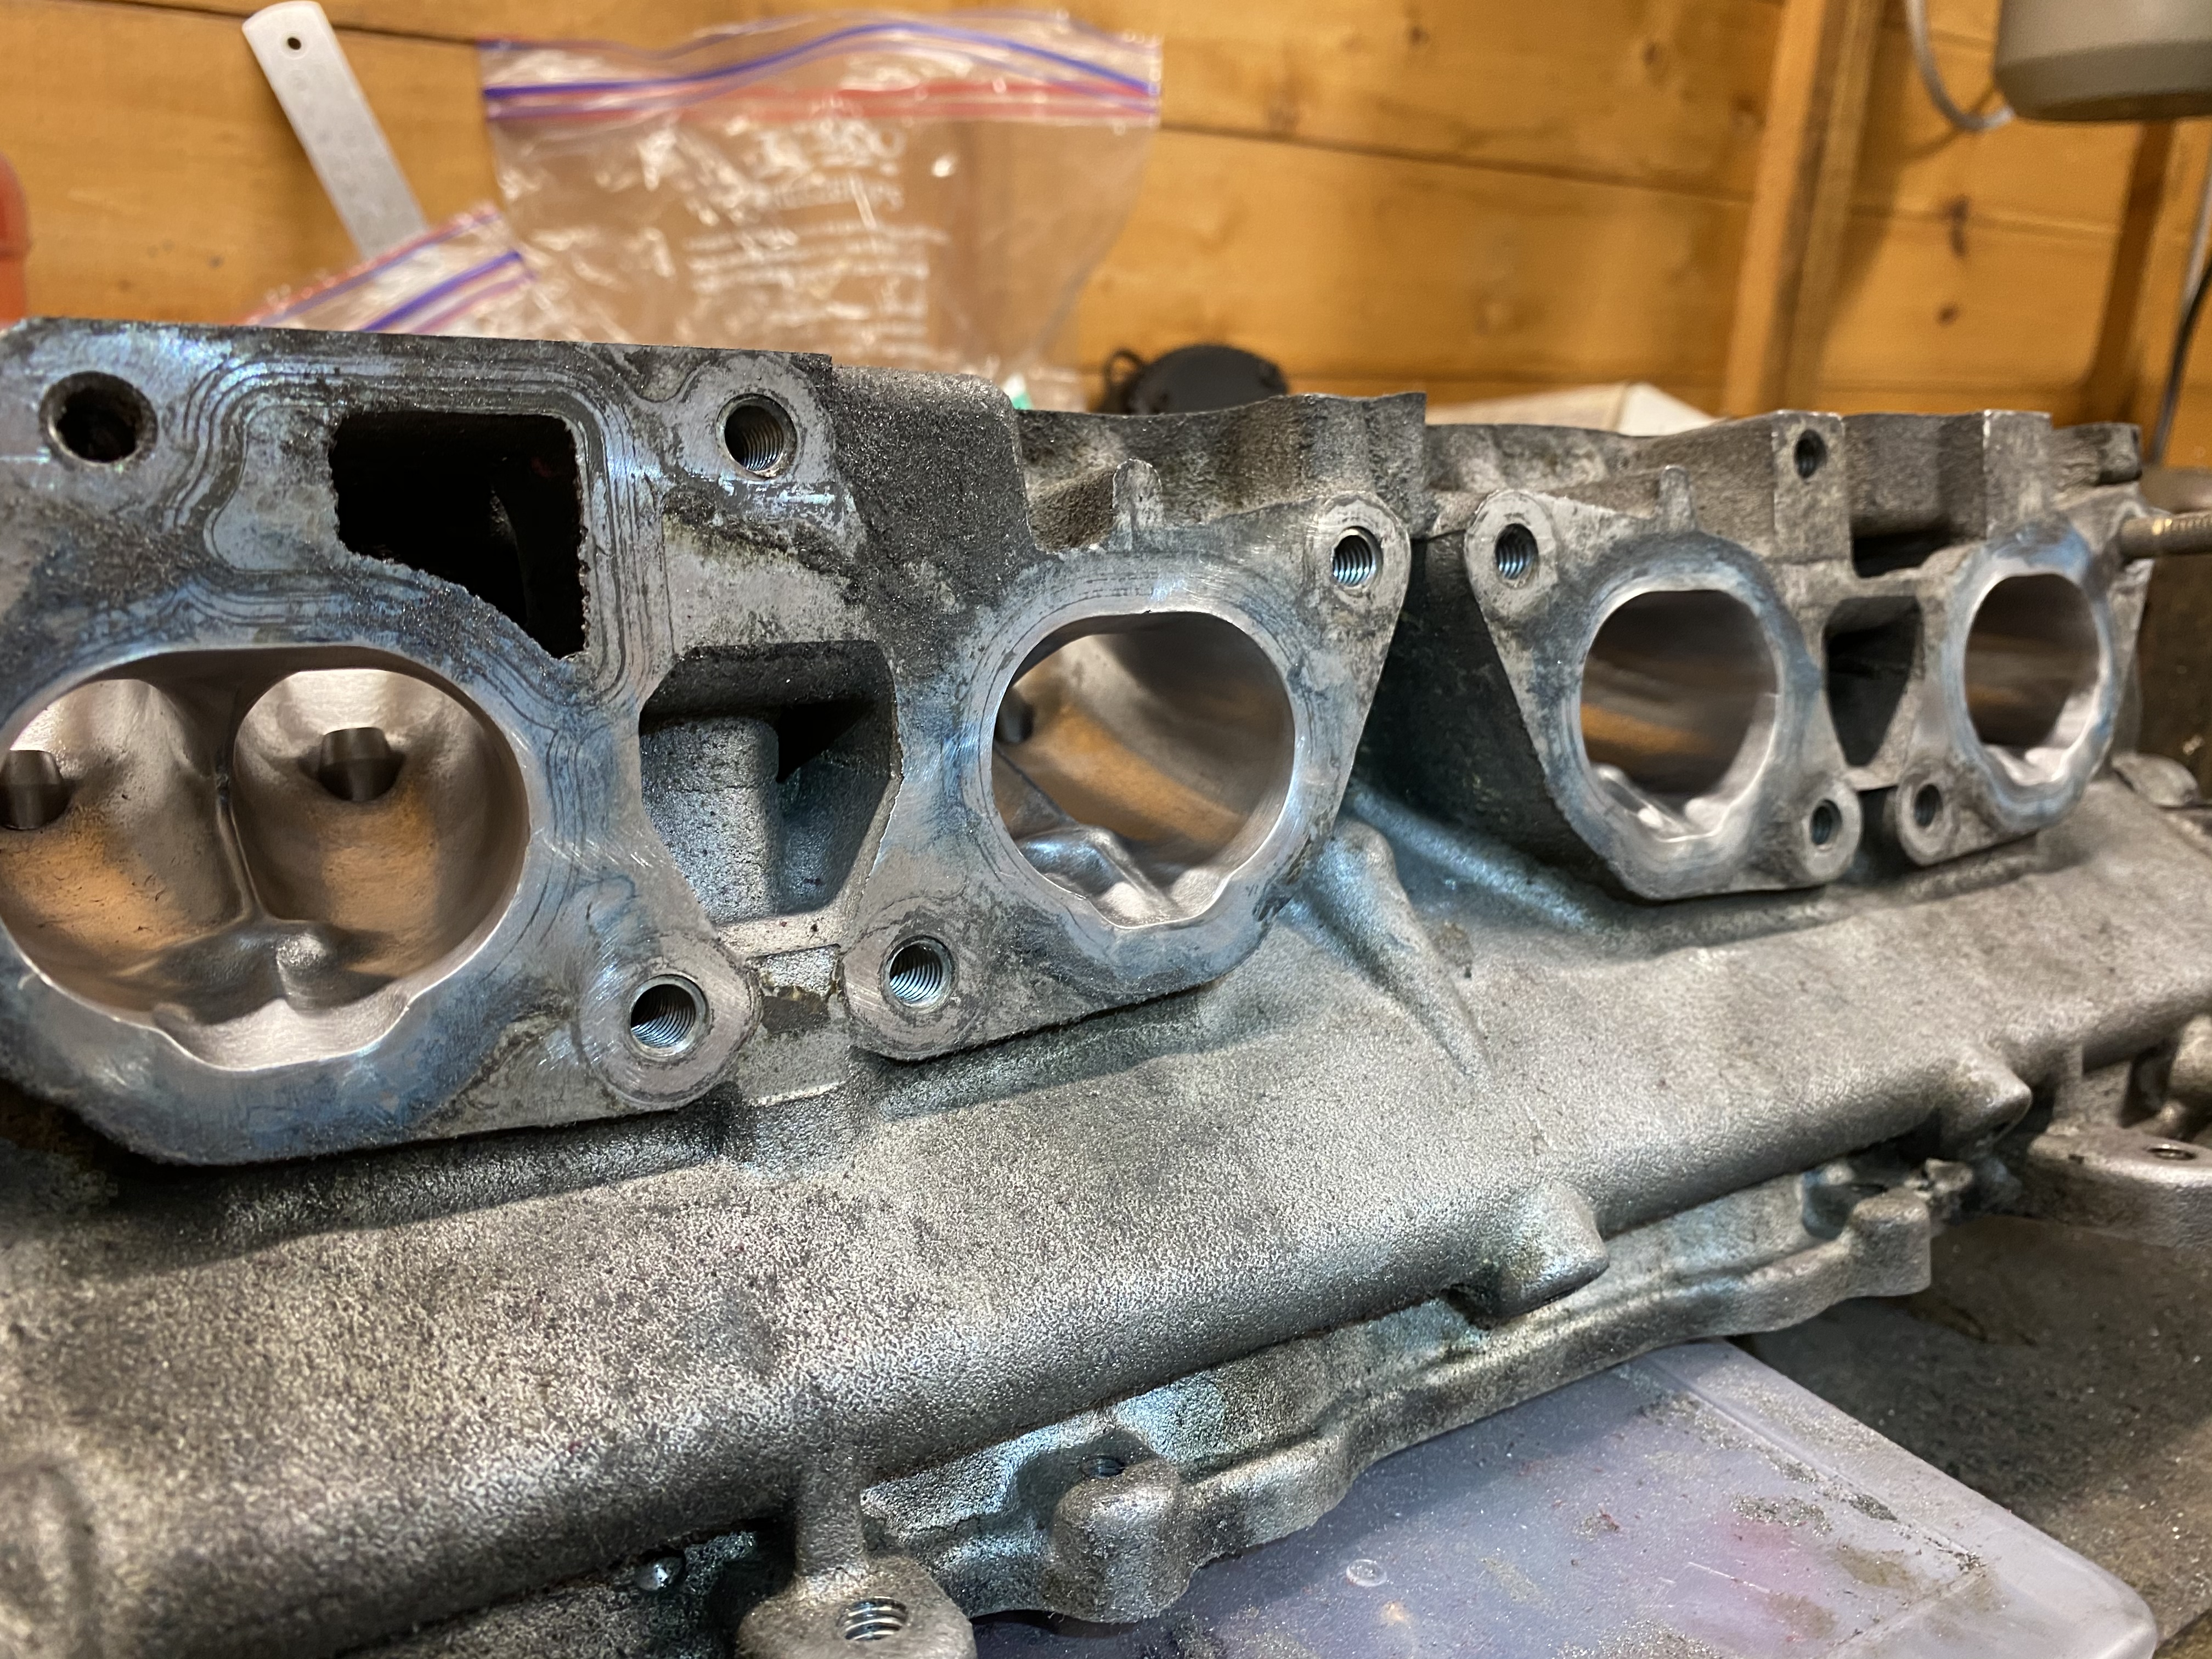
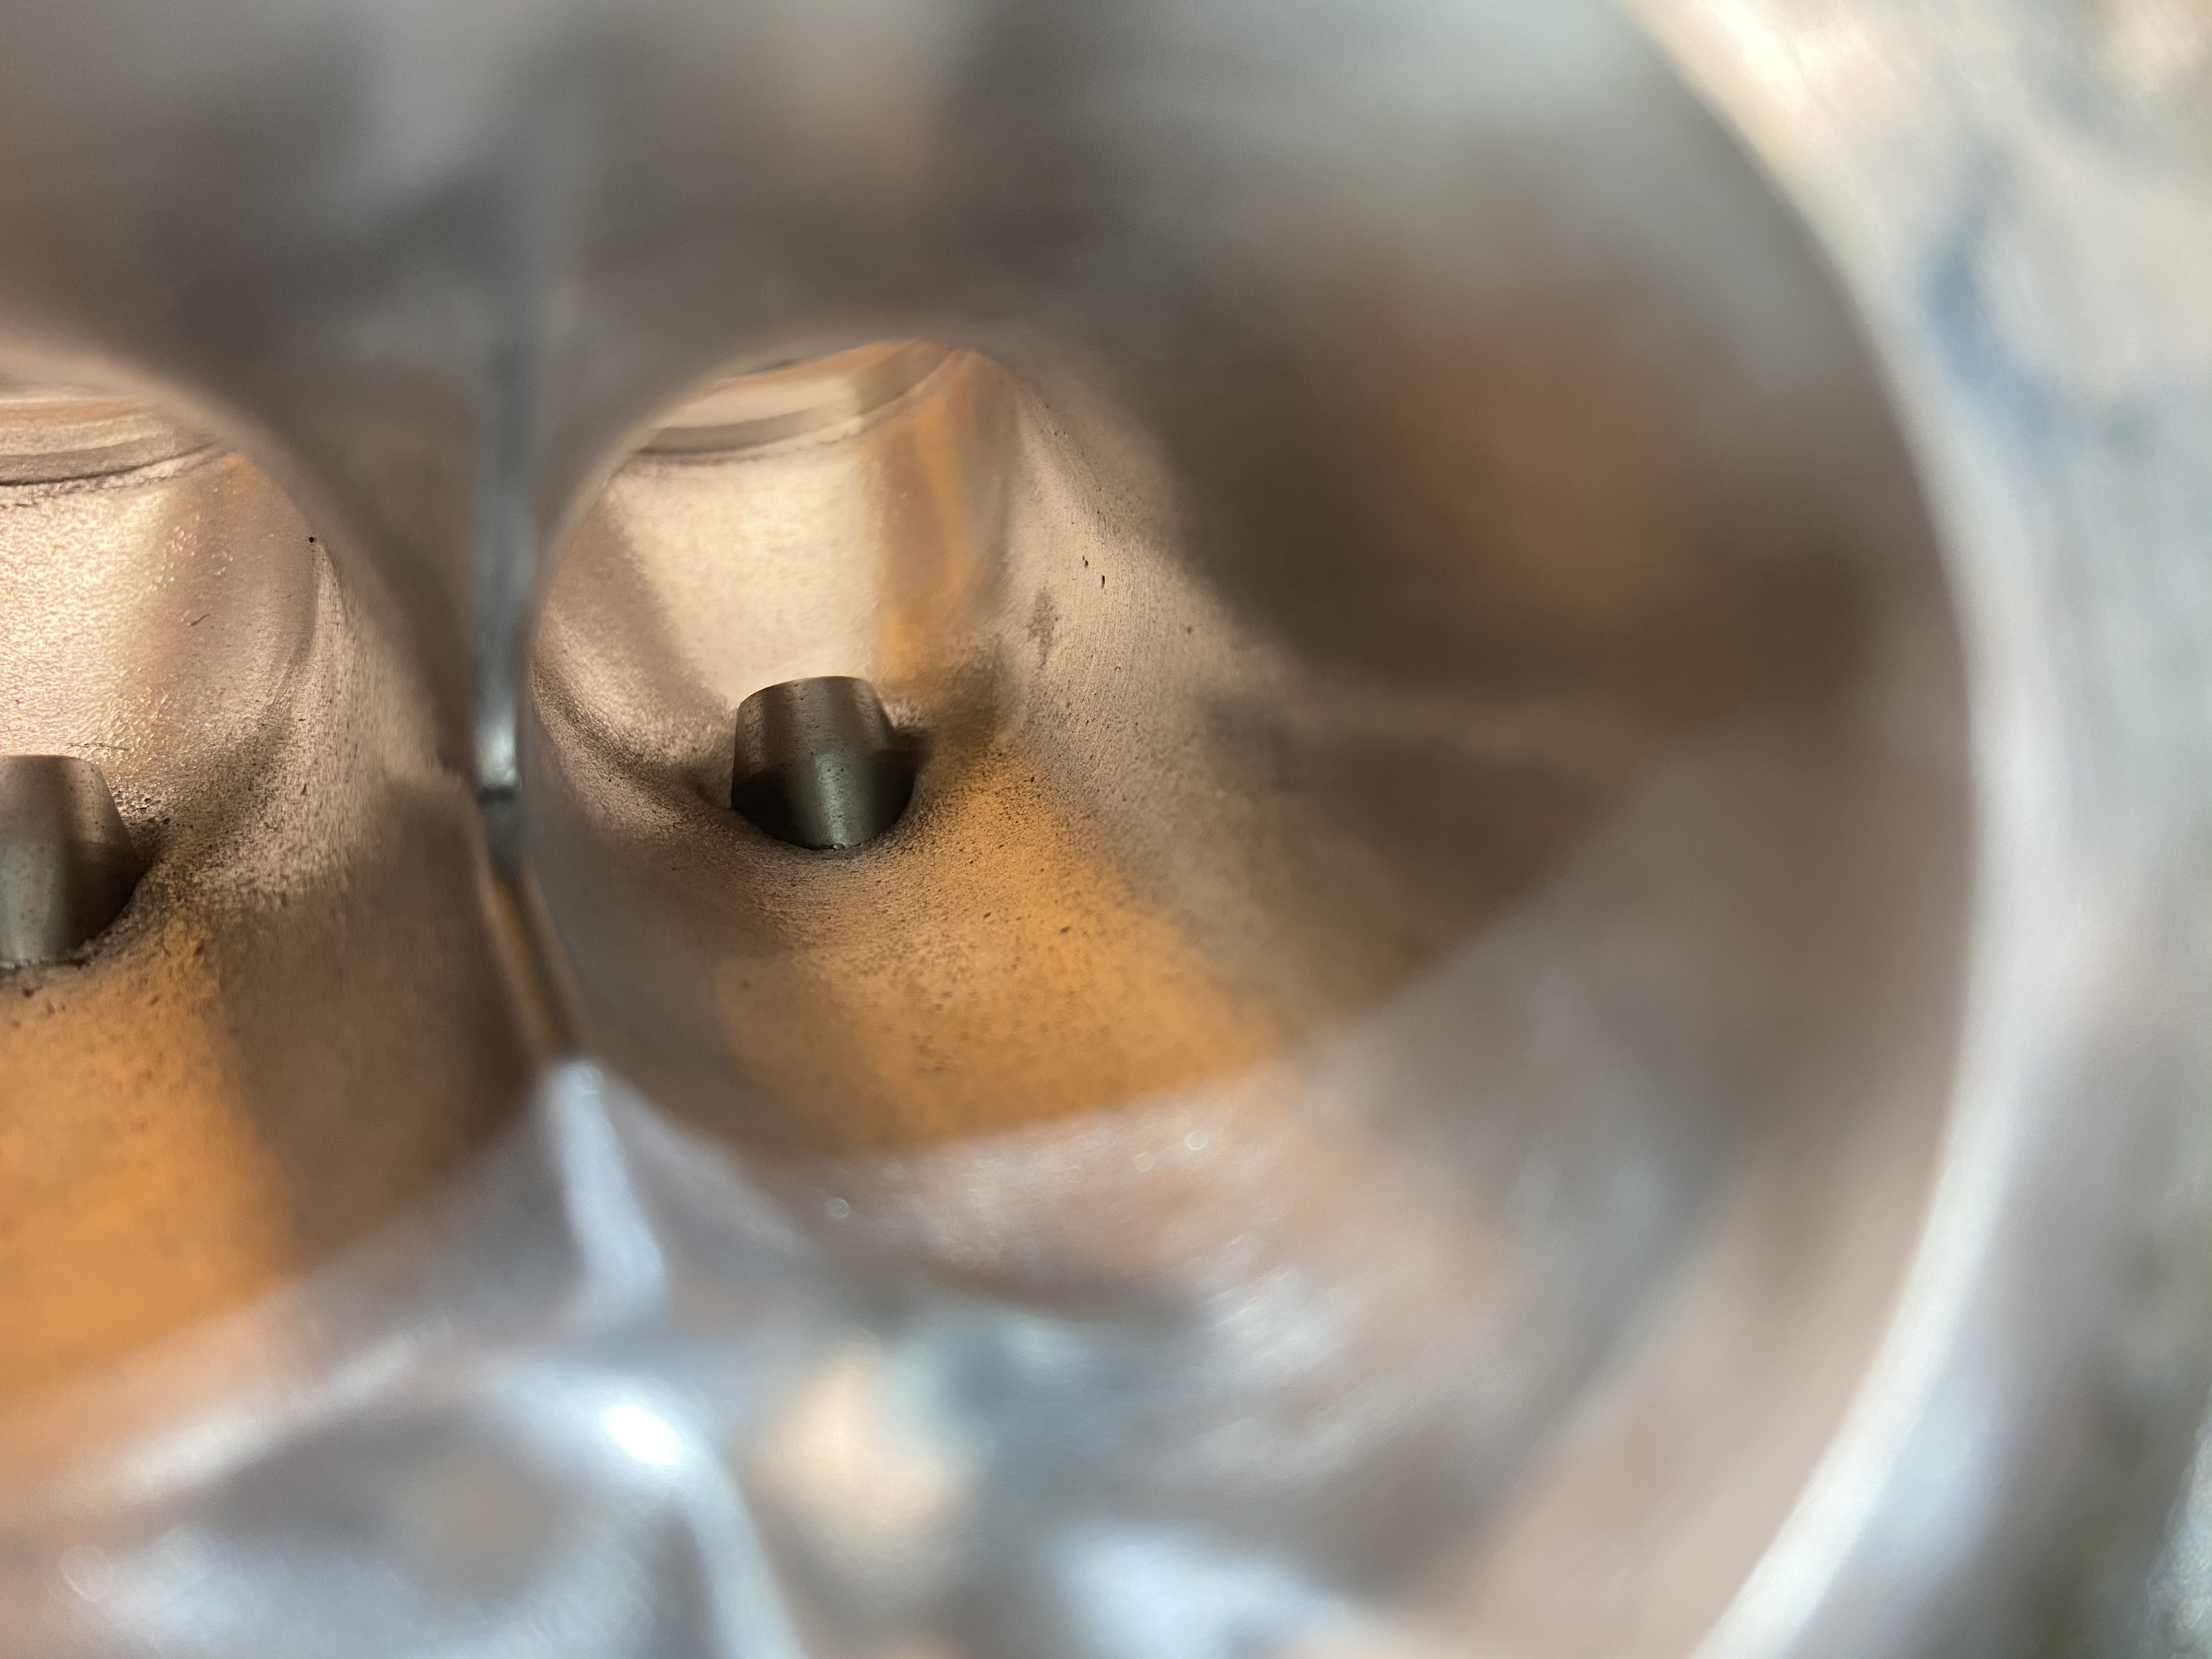
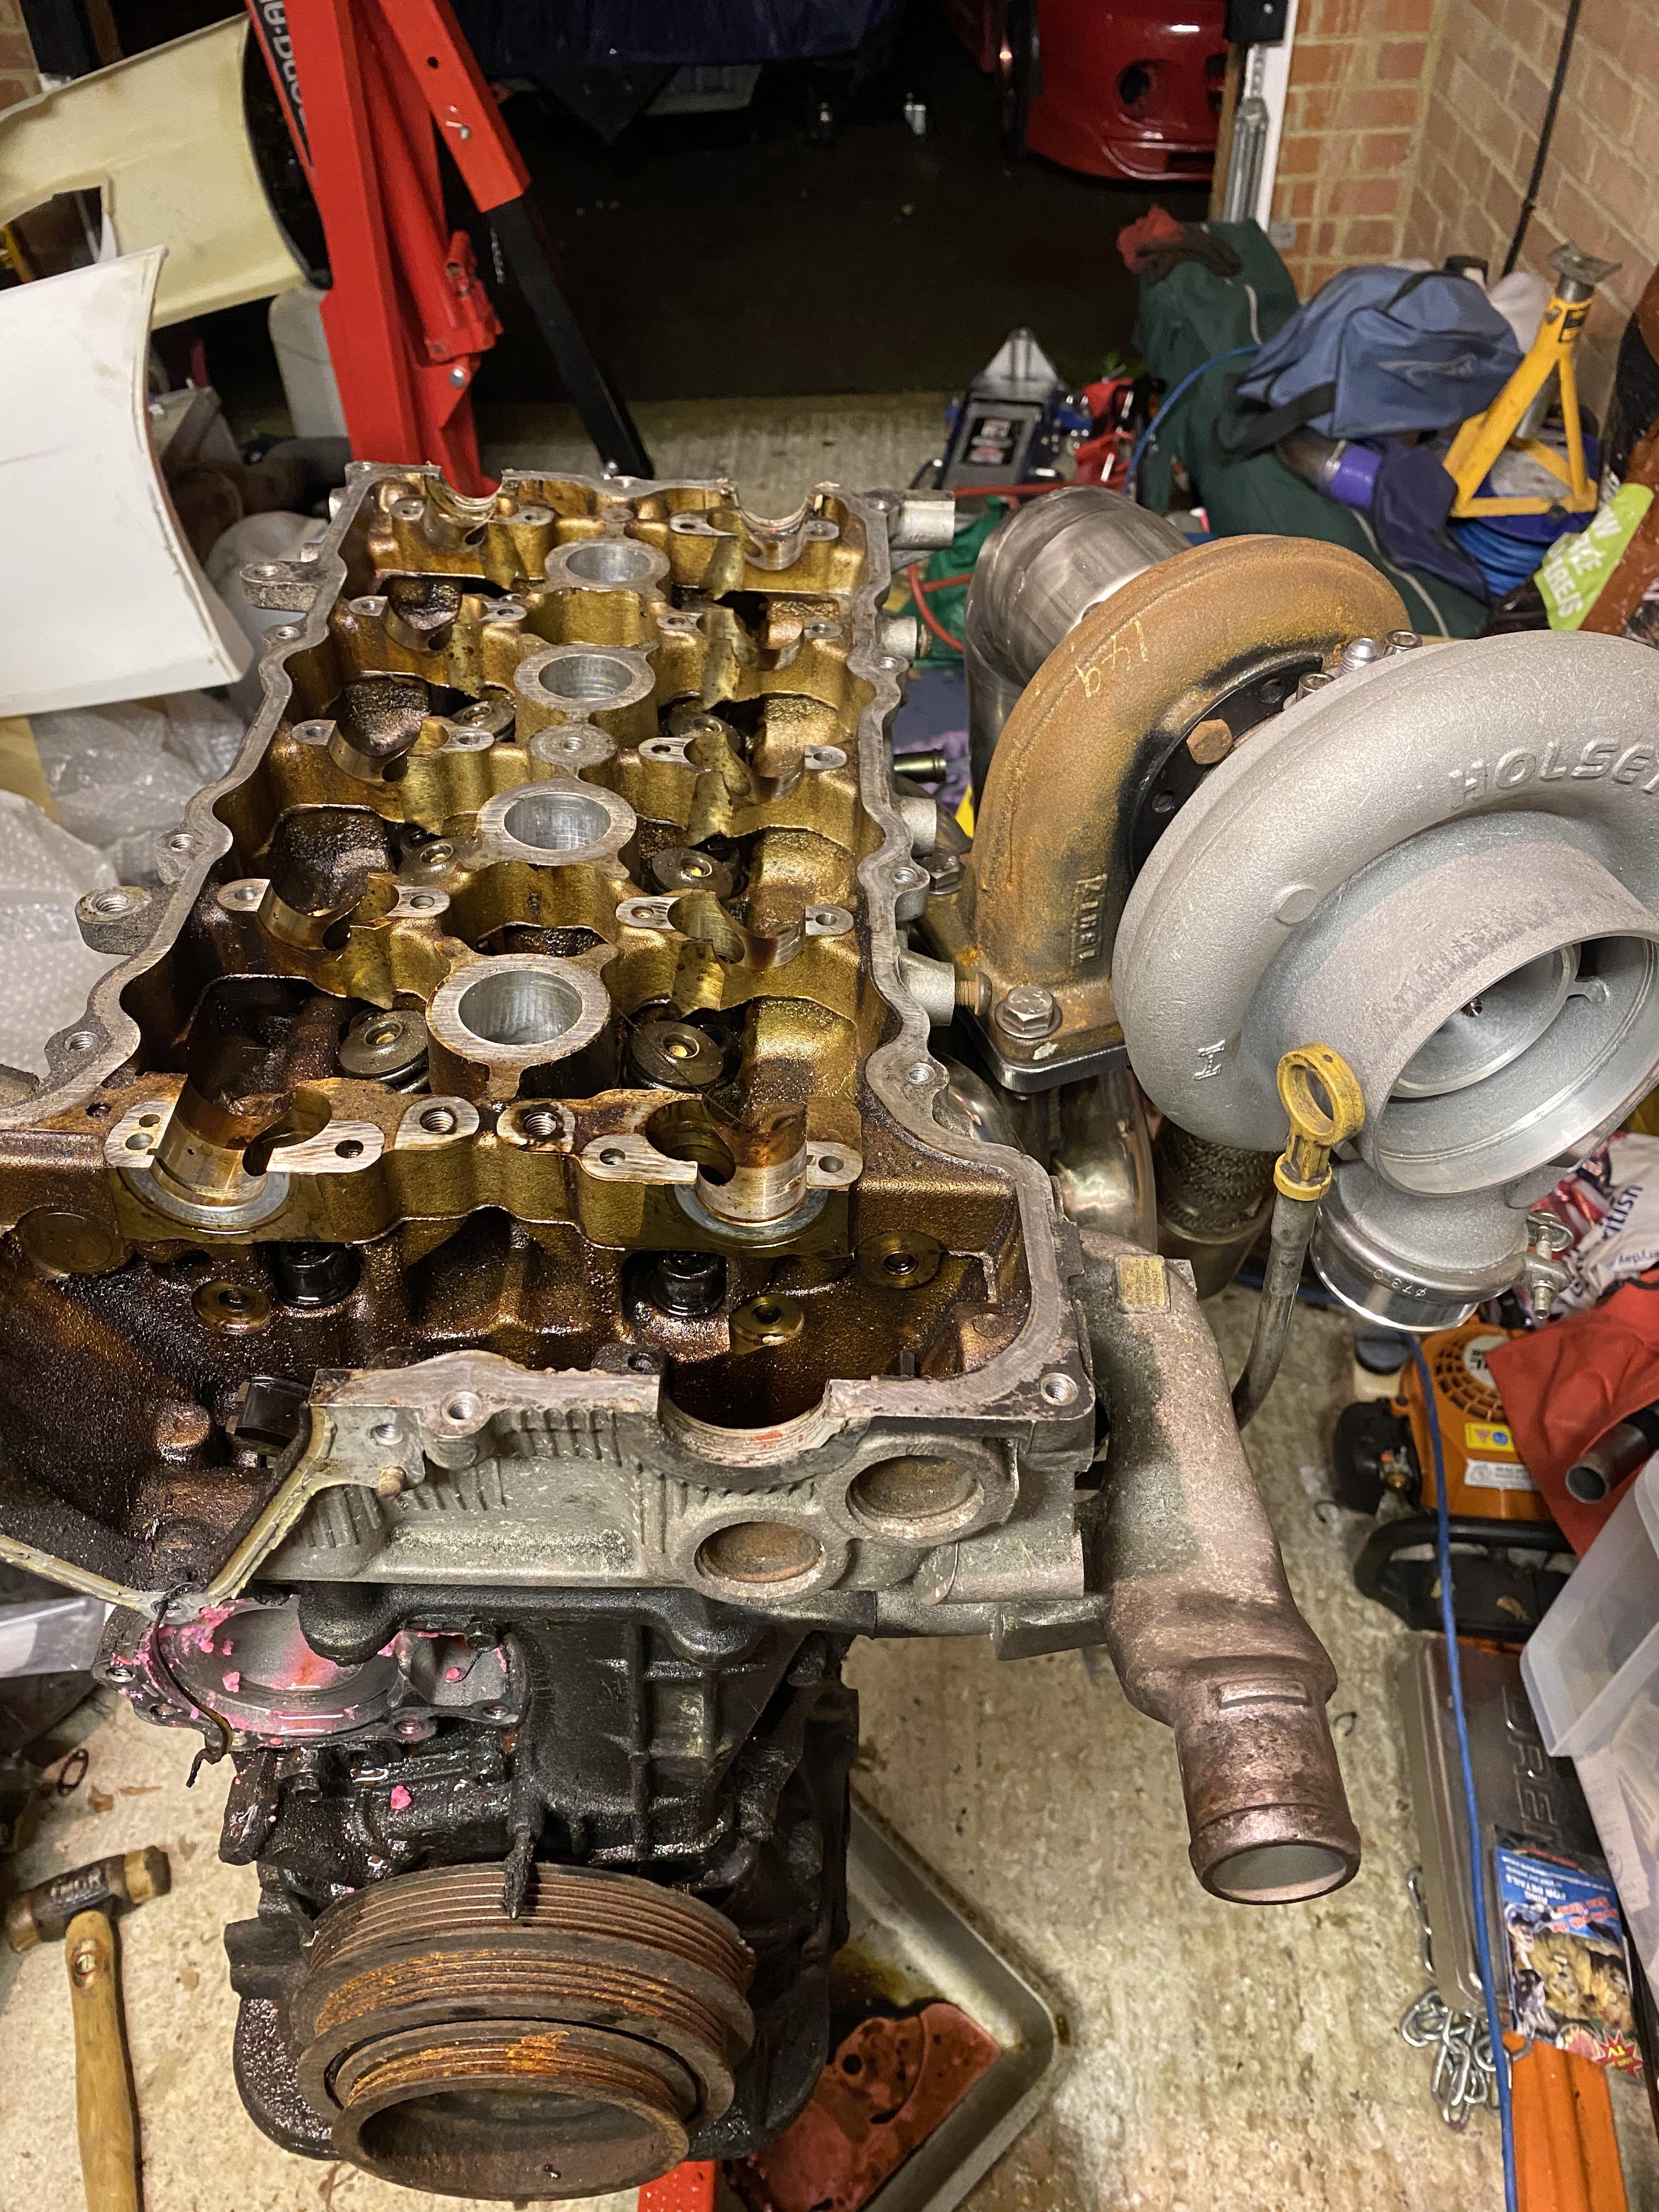
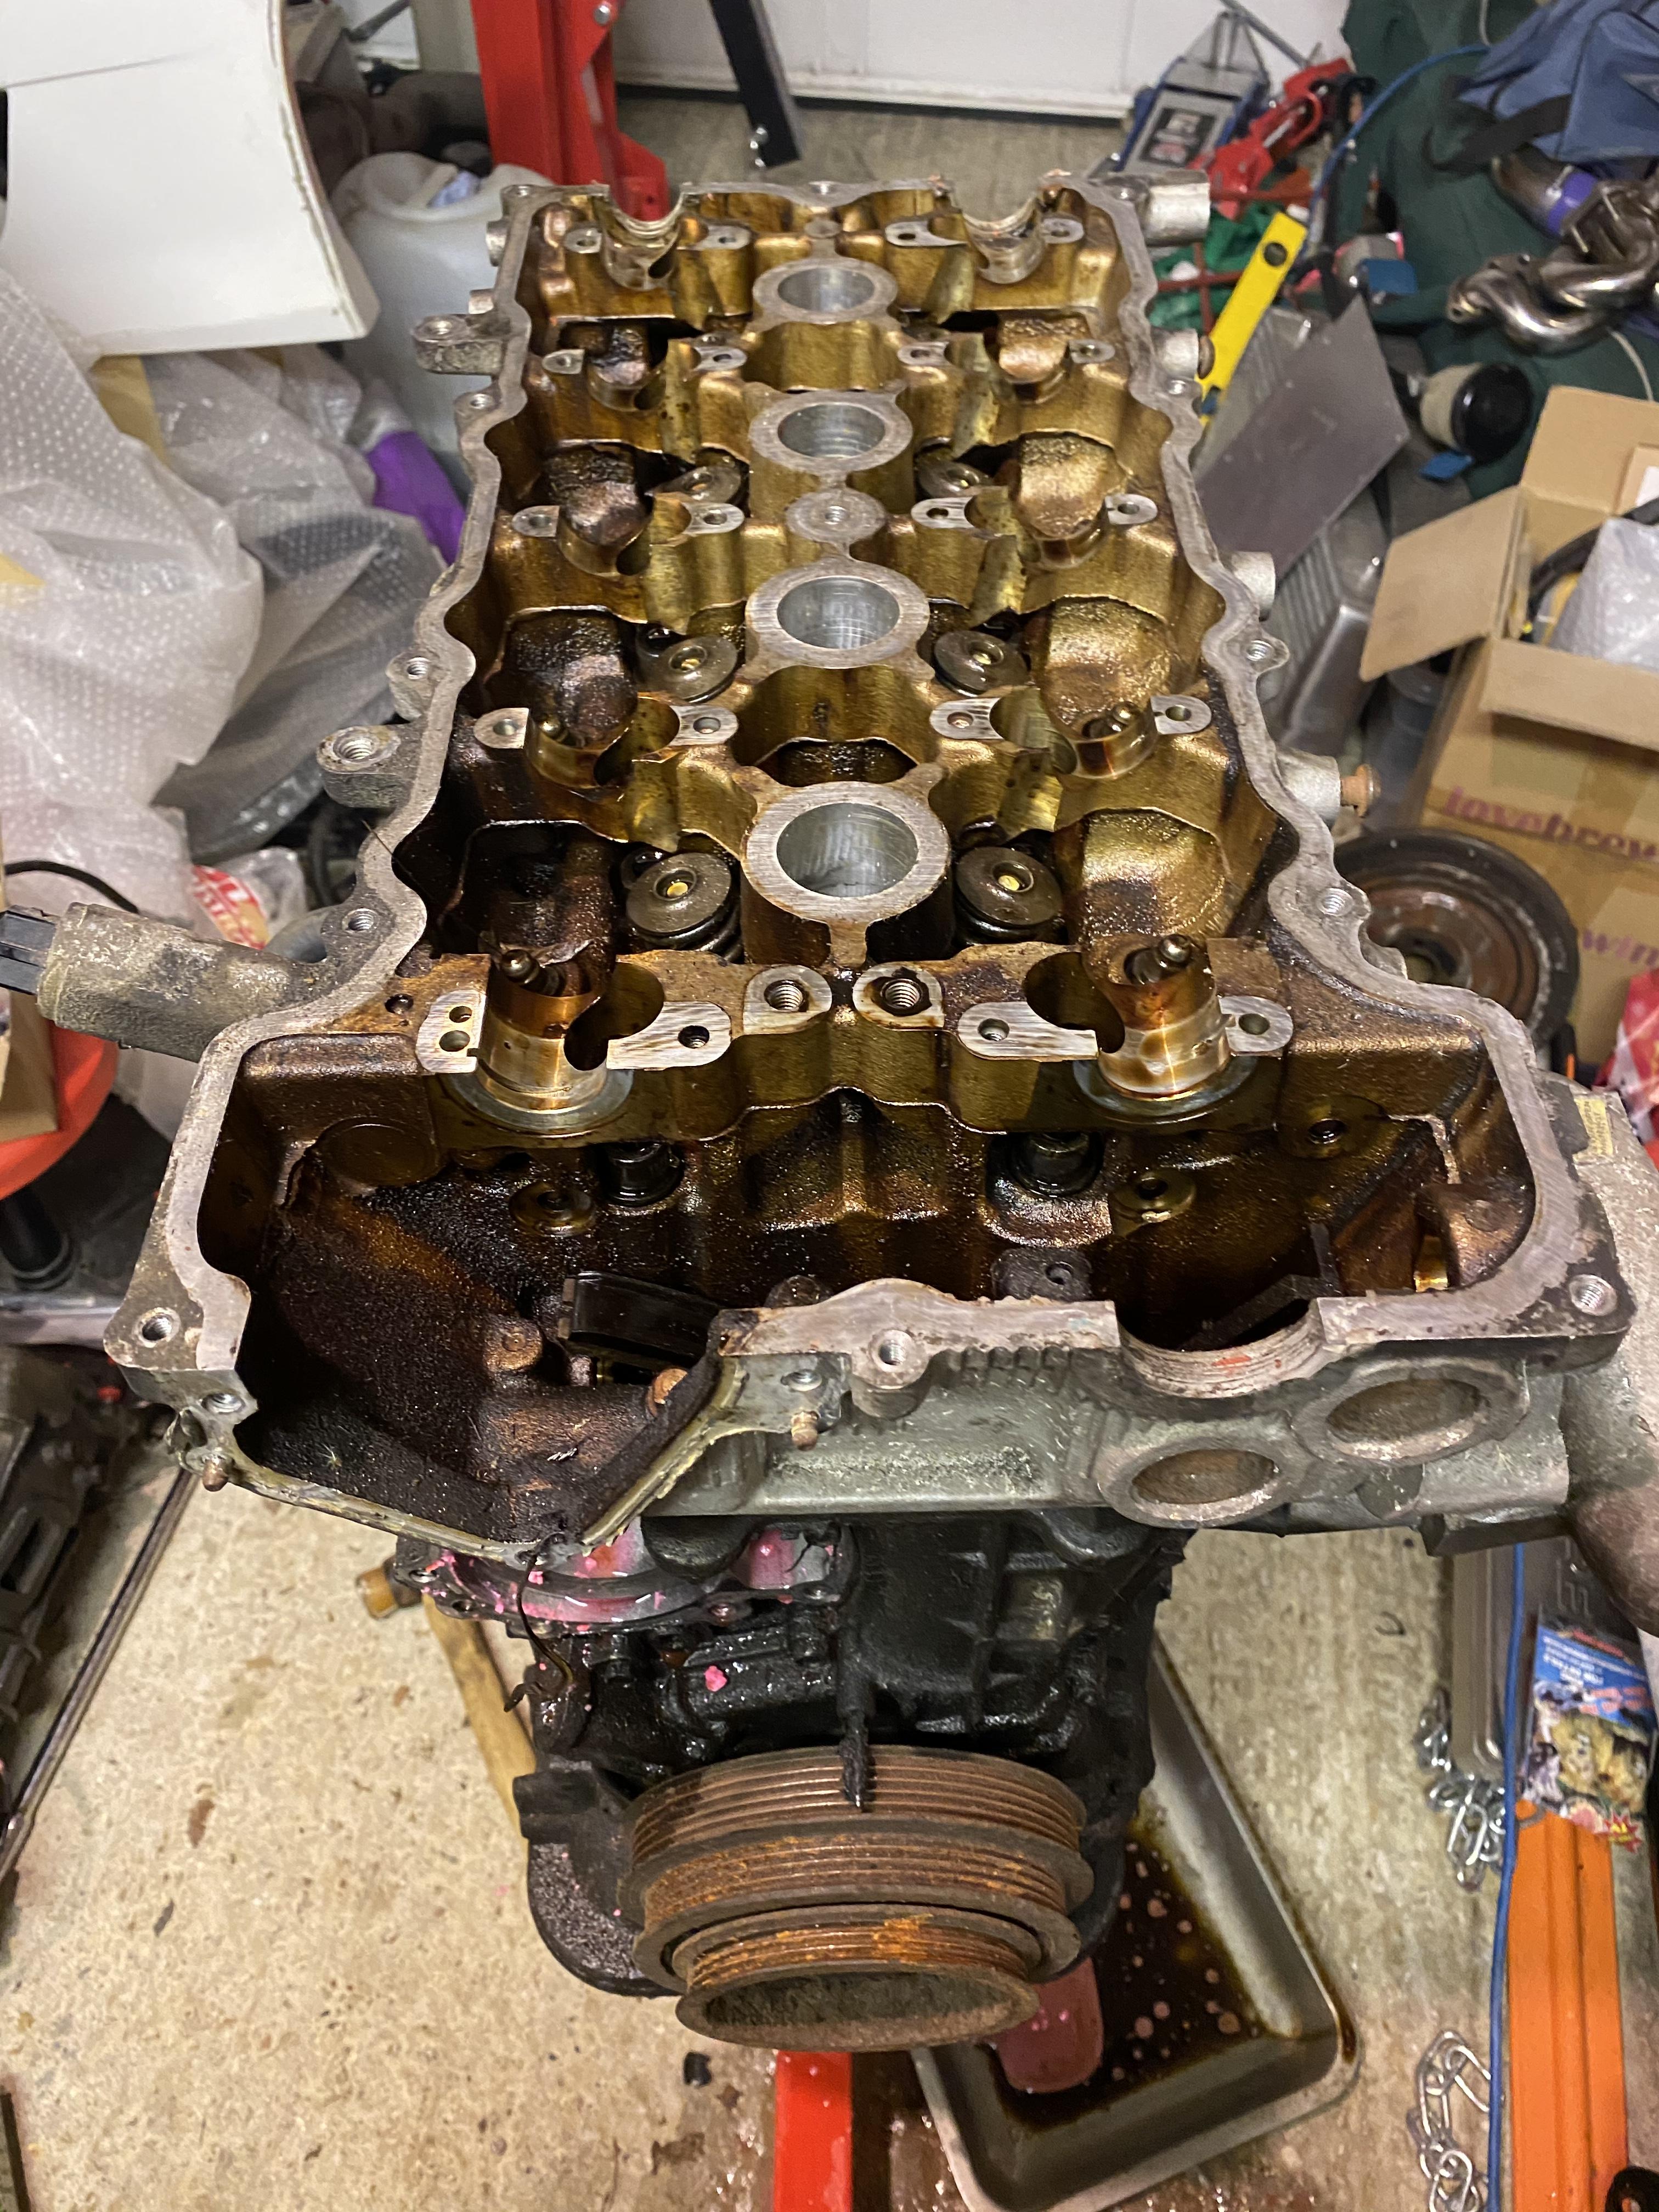
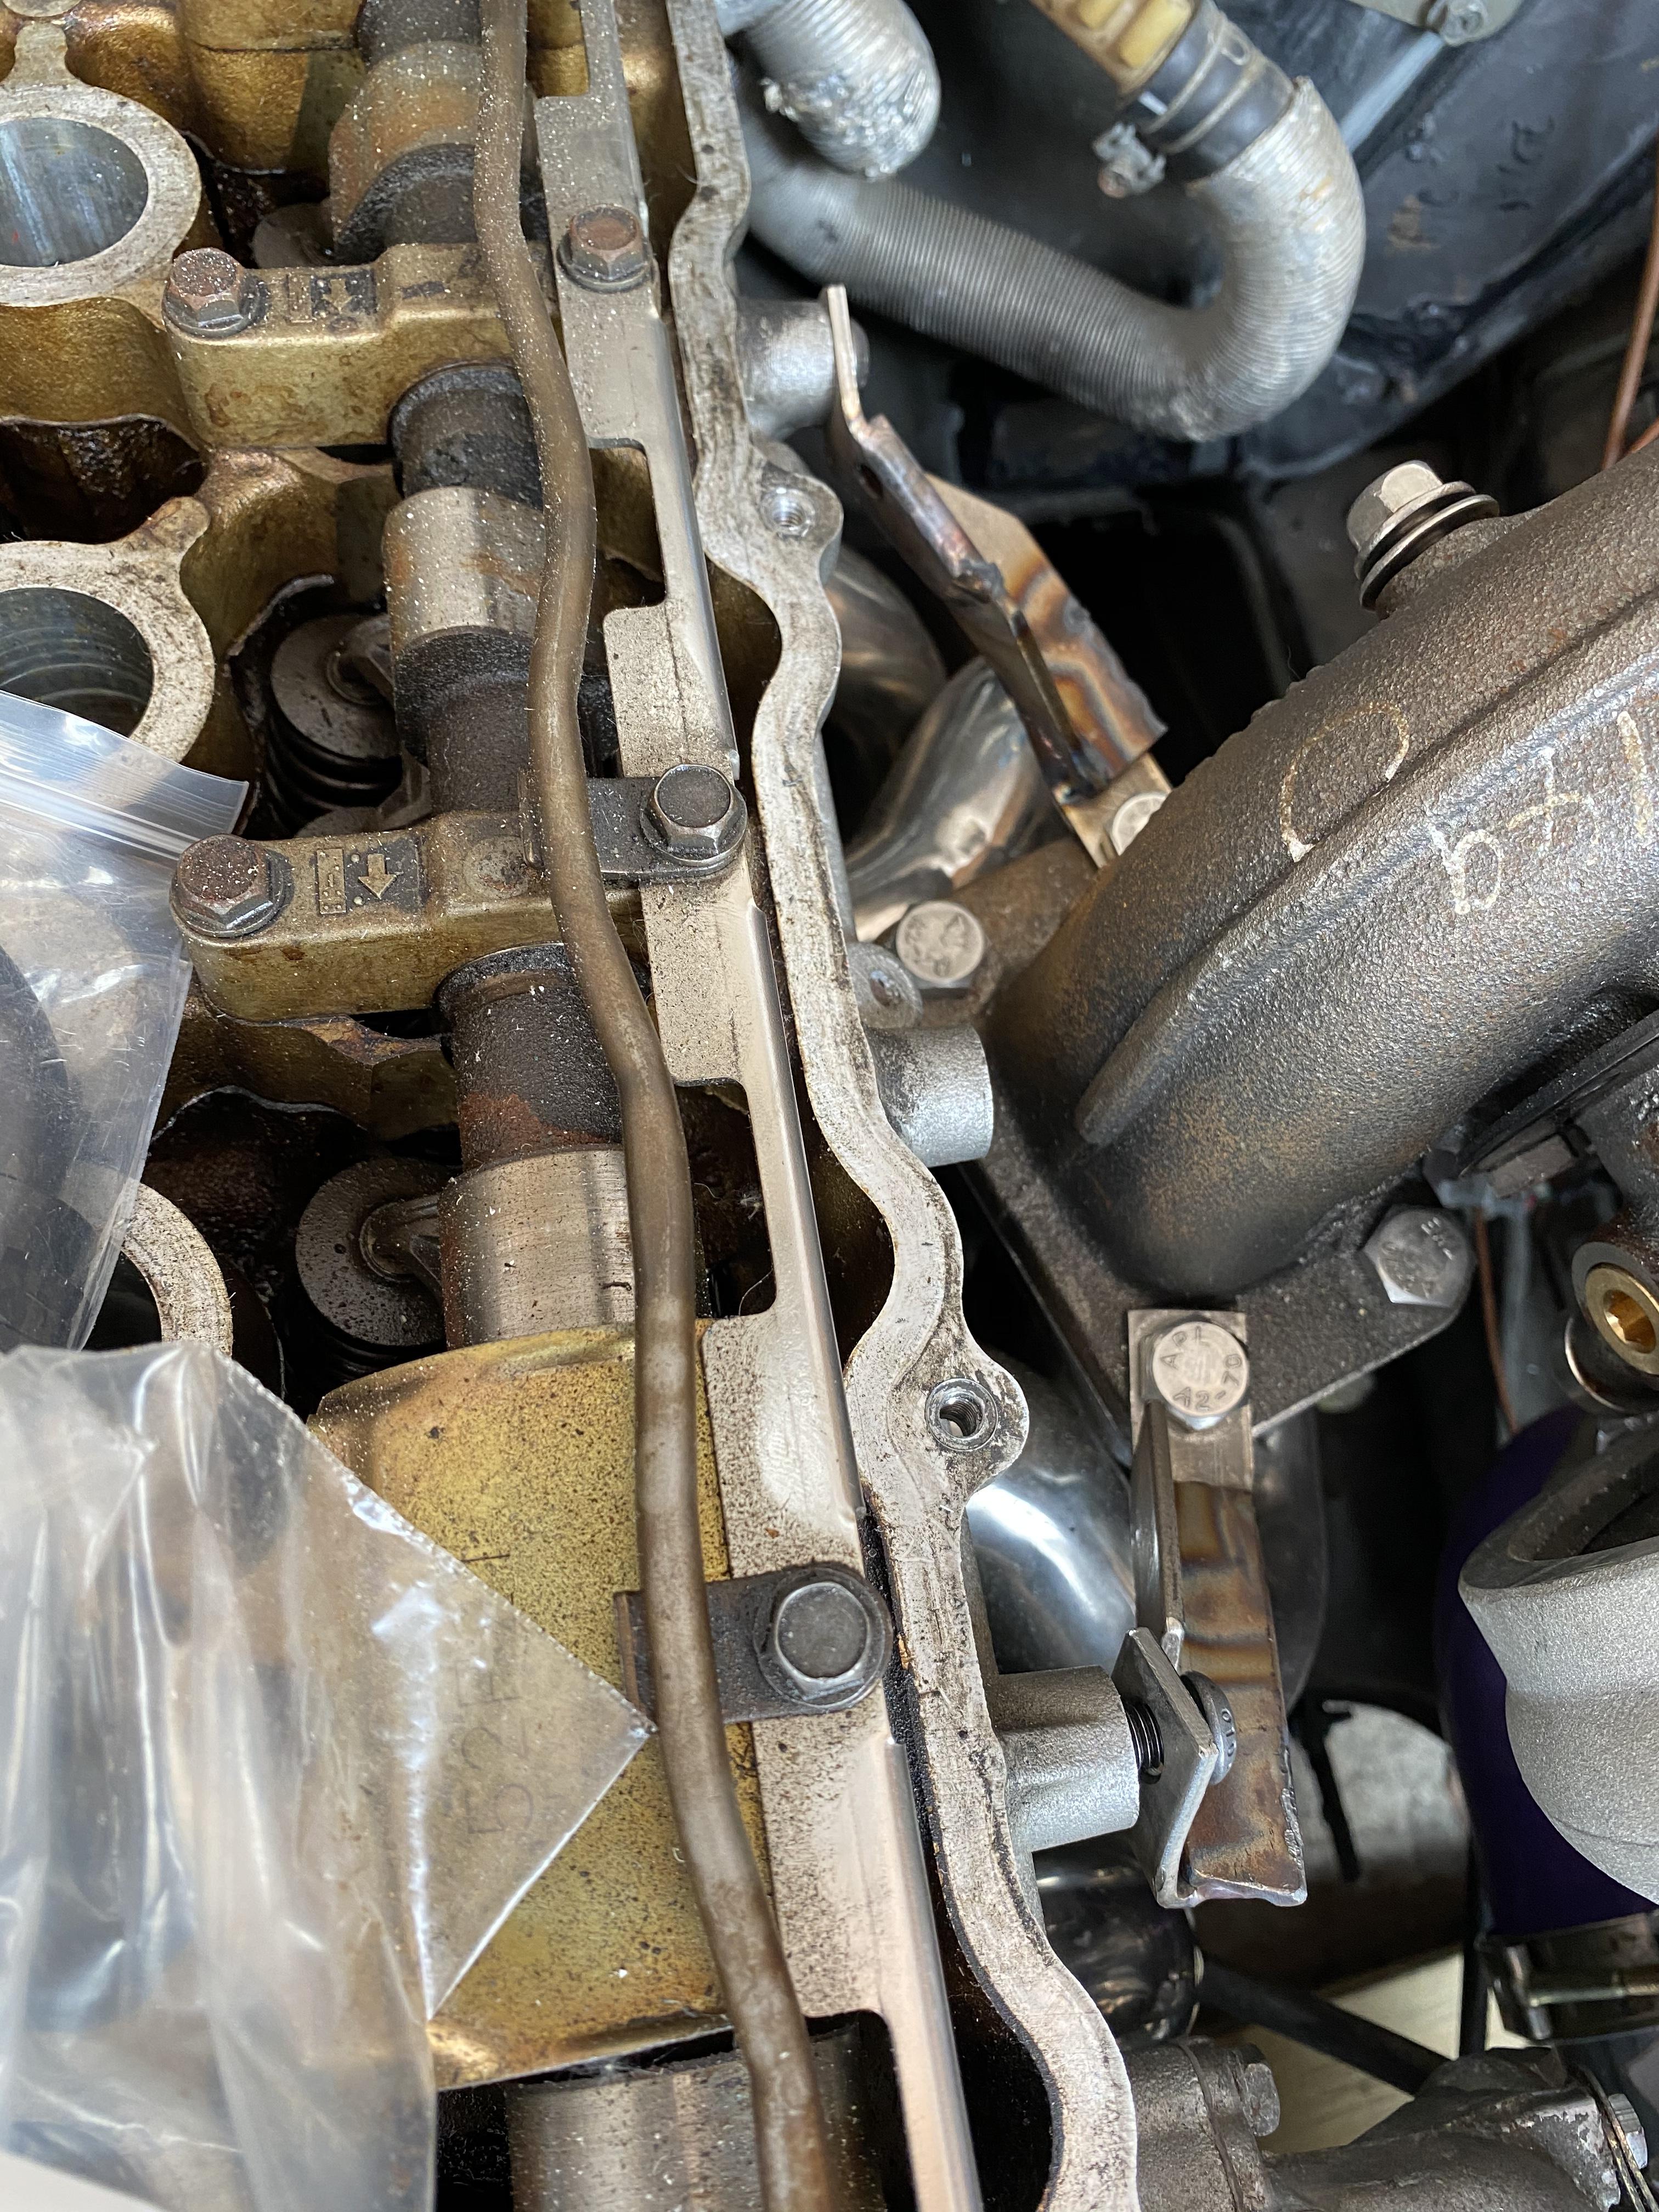
Although the turbo and valvetrain will flow enough for the target horsepower I decided to smooth out the casting marks in the ports as the head was off anyway. I opened out the exhaust ports but the inlets were already as big as the gasket so this saved some time. Starting with the exhausts I’ve ported them, removed the casting residue and buffed them to 300 grit. I have polished them but haven’t cleaned the head yet to see how they’ve come out. With the inlets I removed the excess casting and smoothed them out buffing to 240 grit to aid fuel atomisation


-
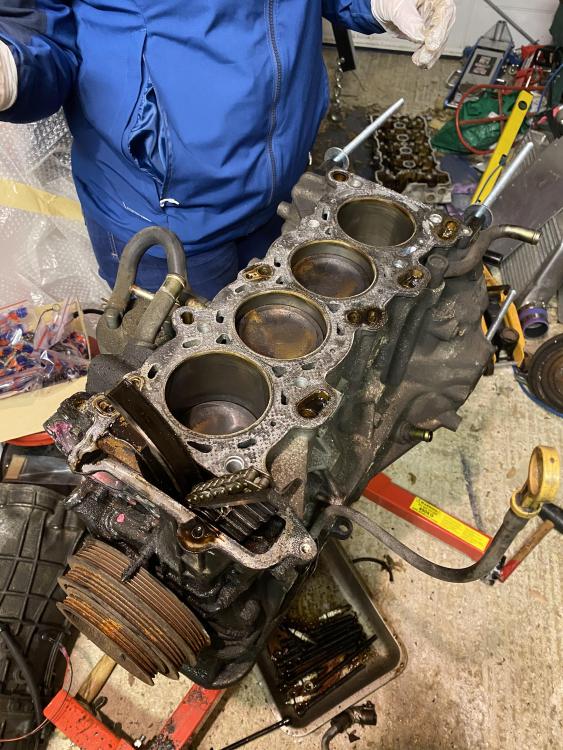
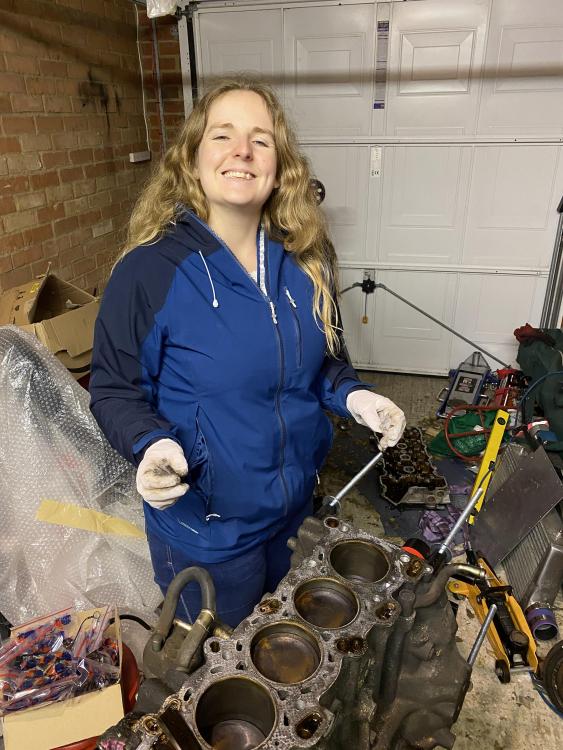
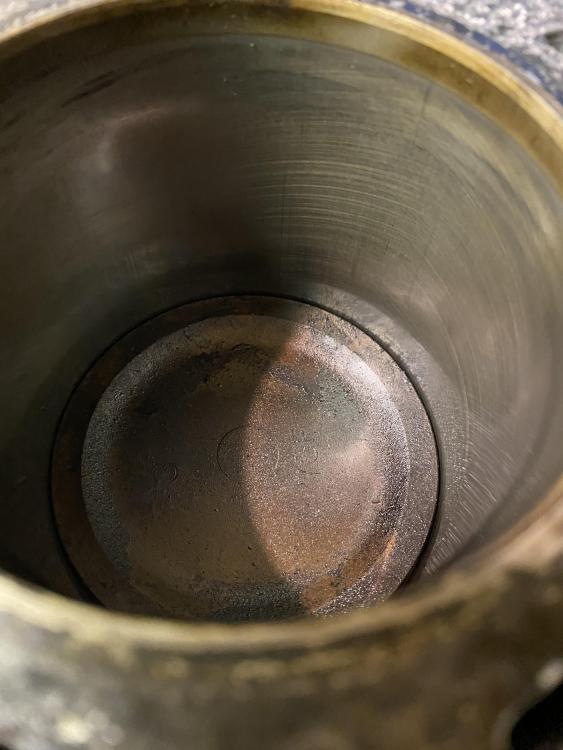
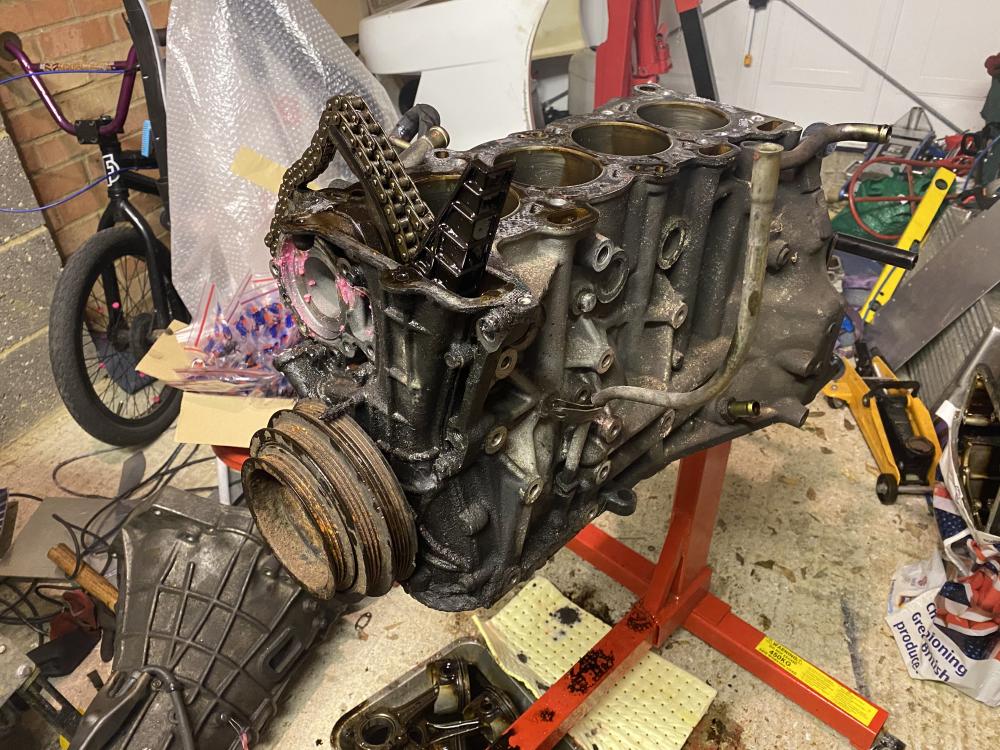
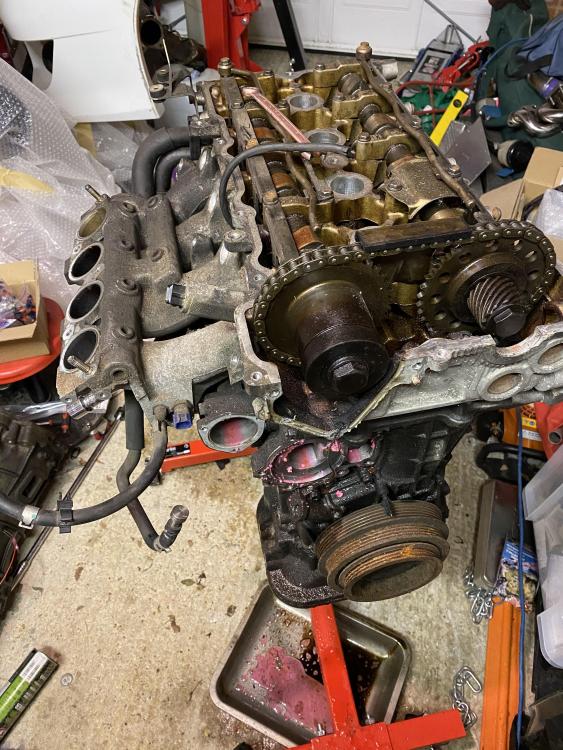
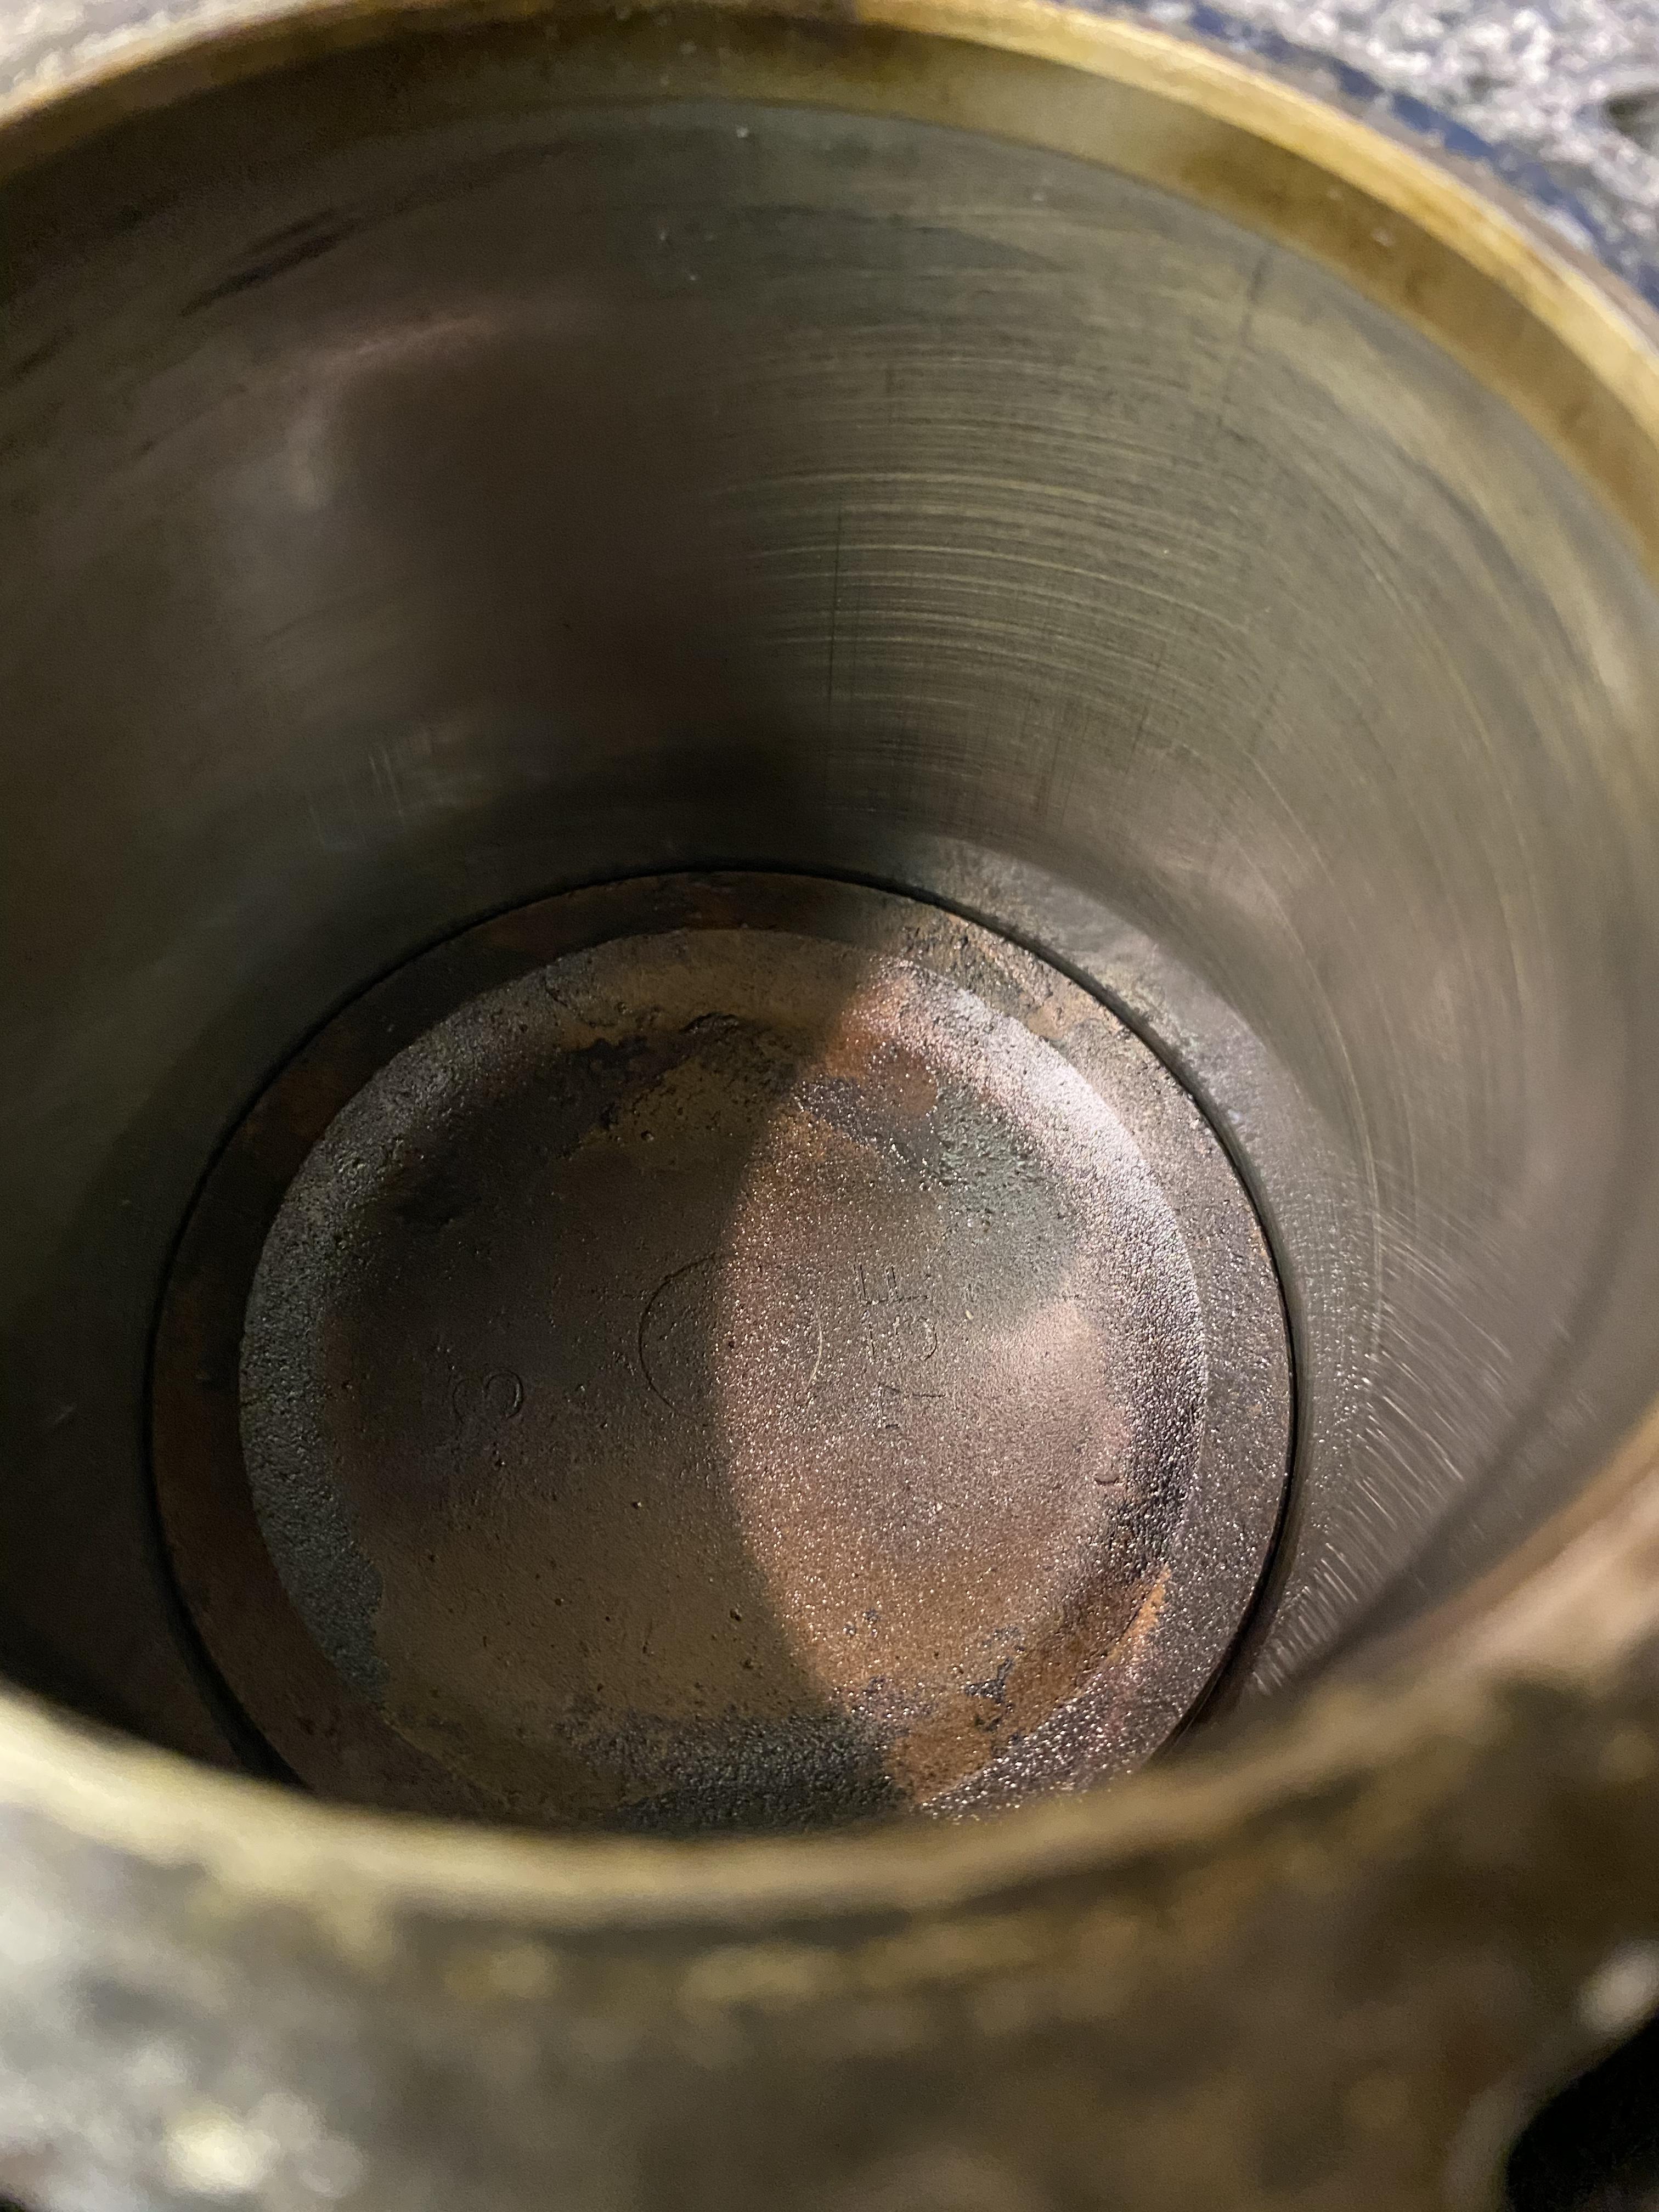
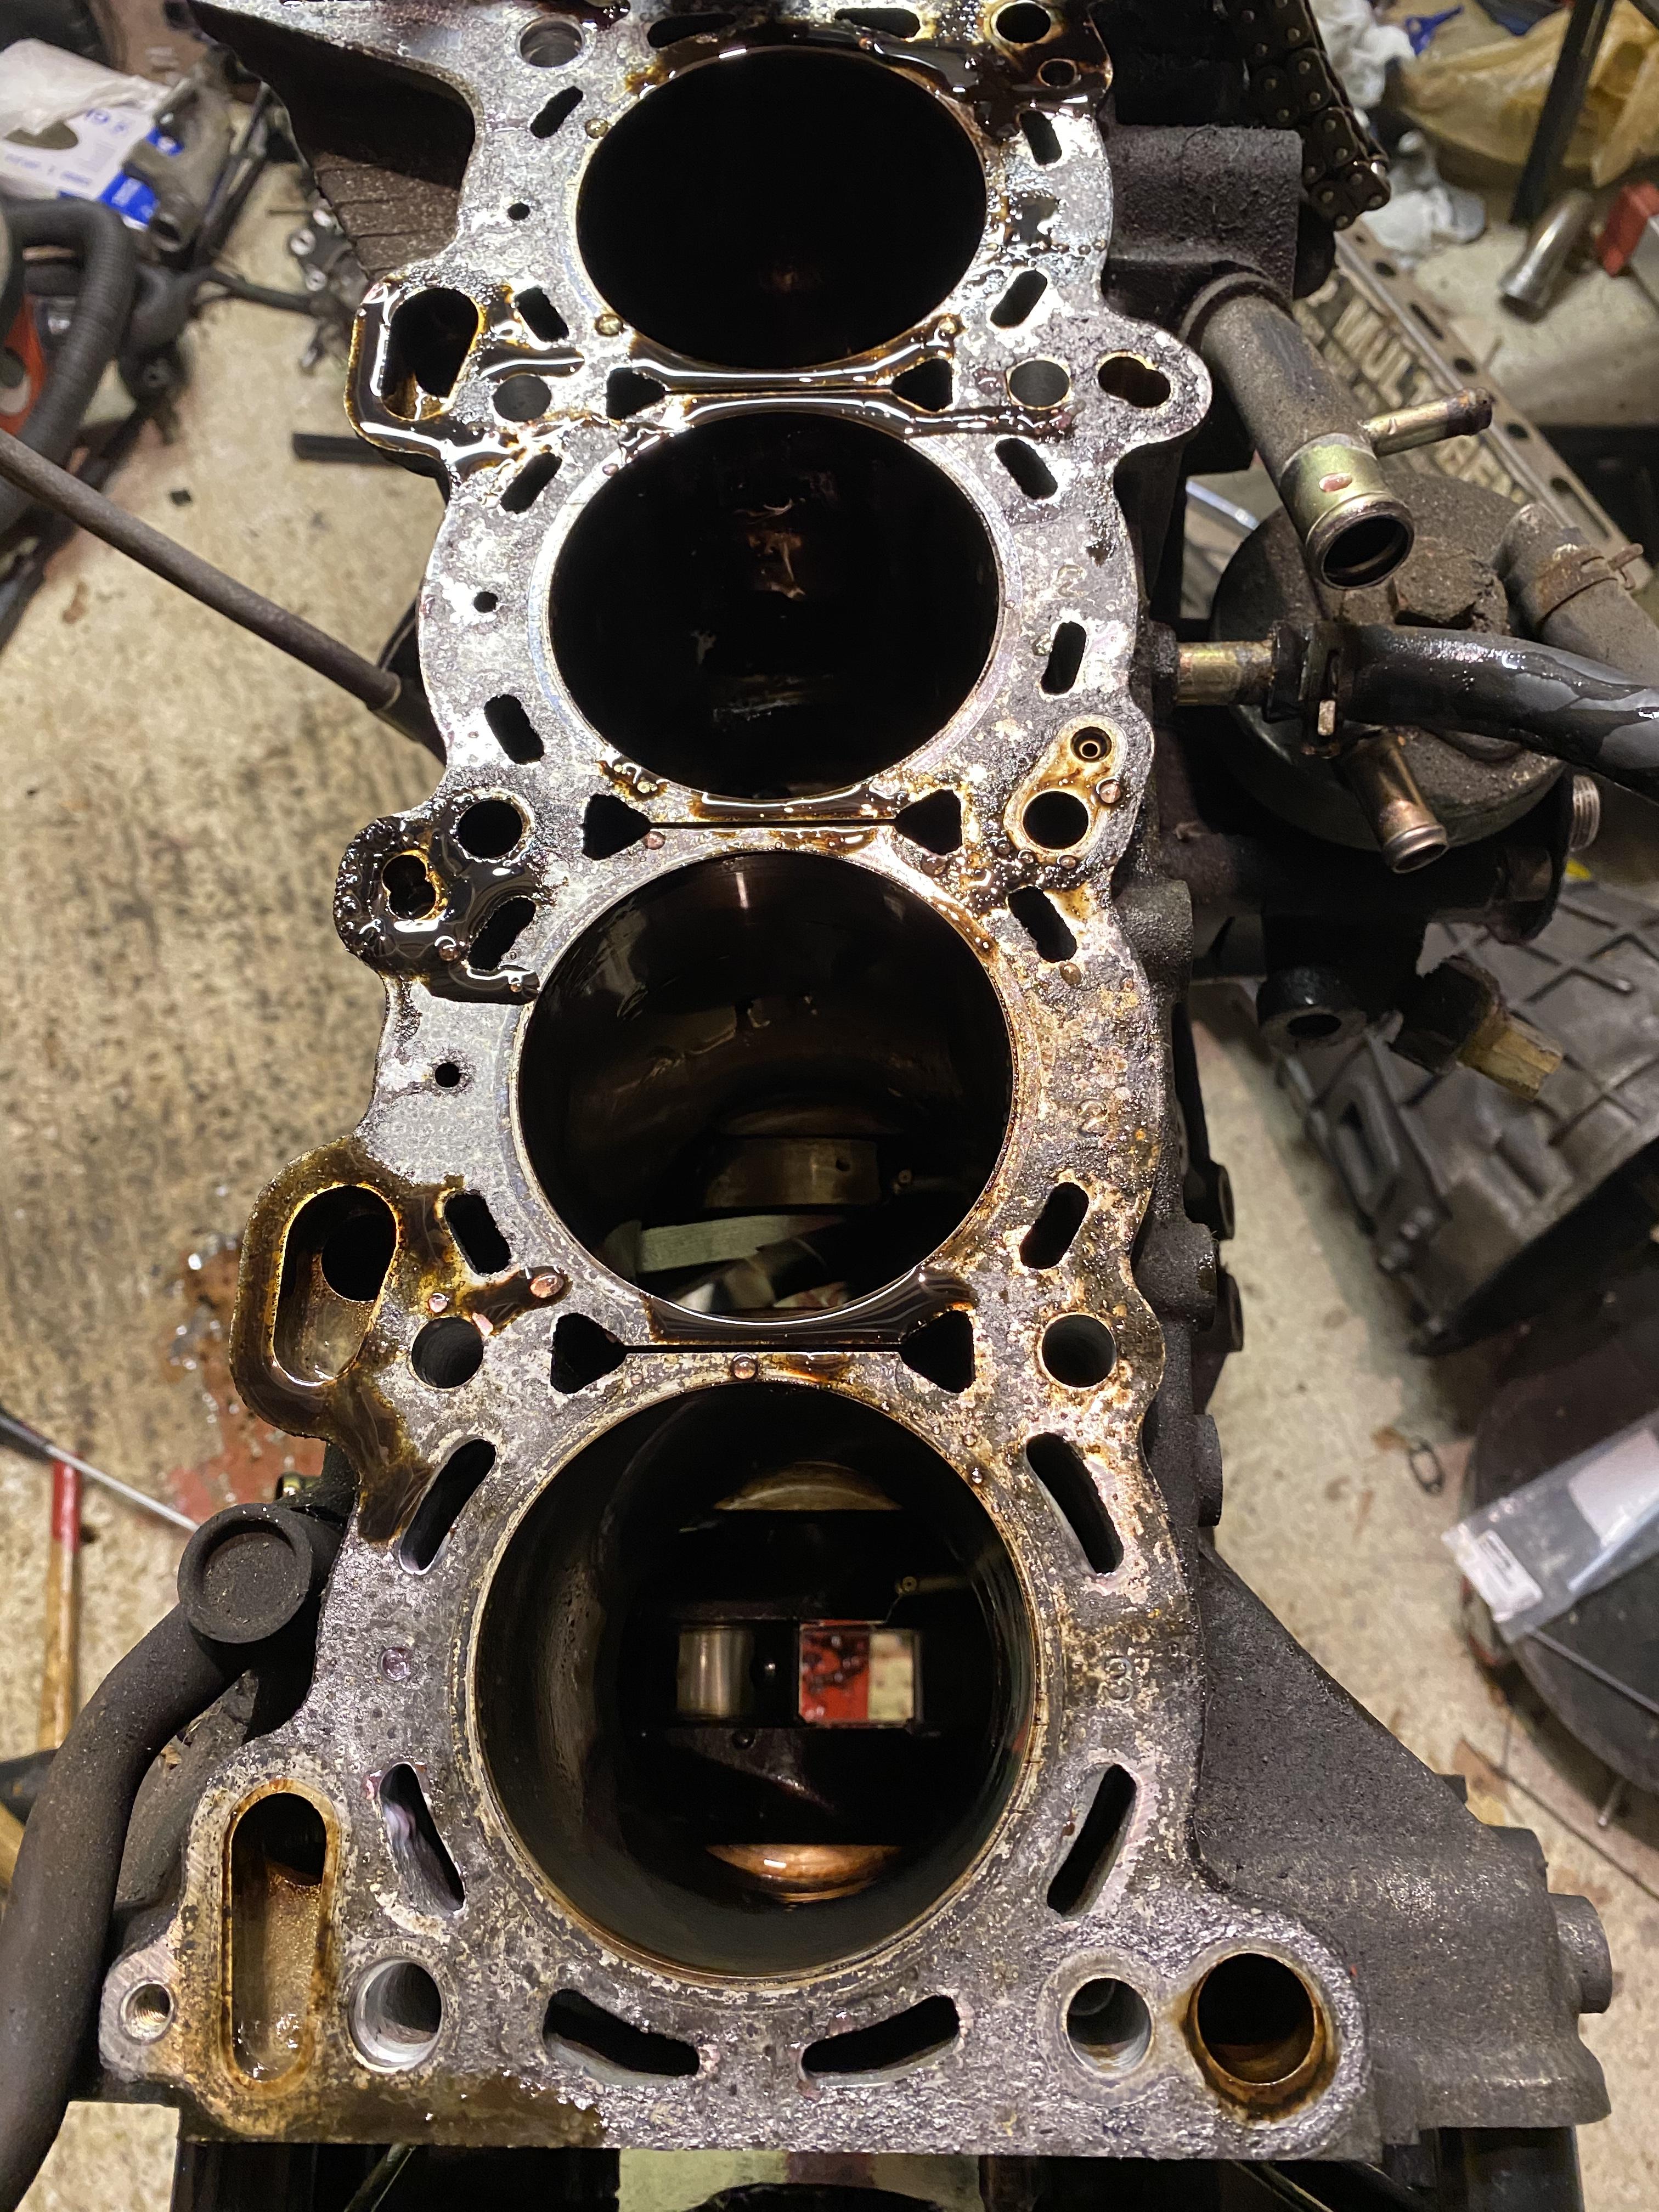
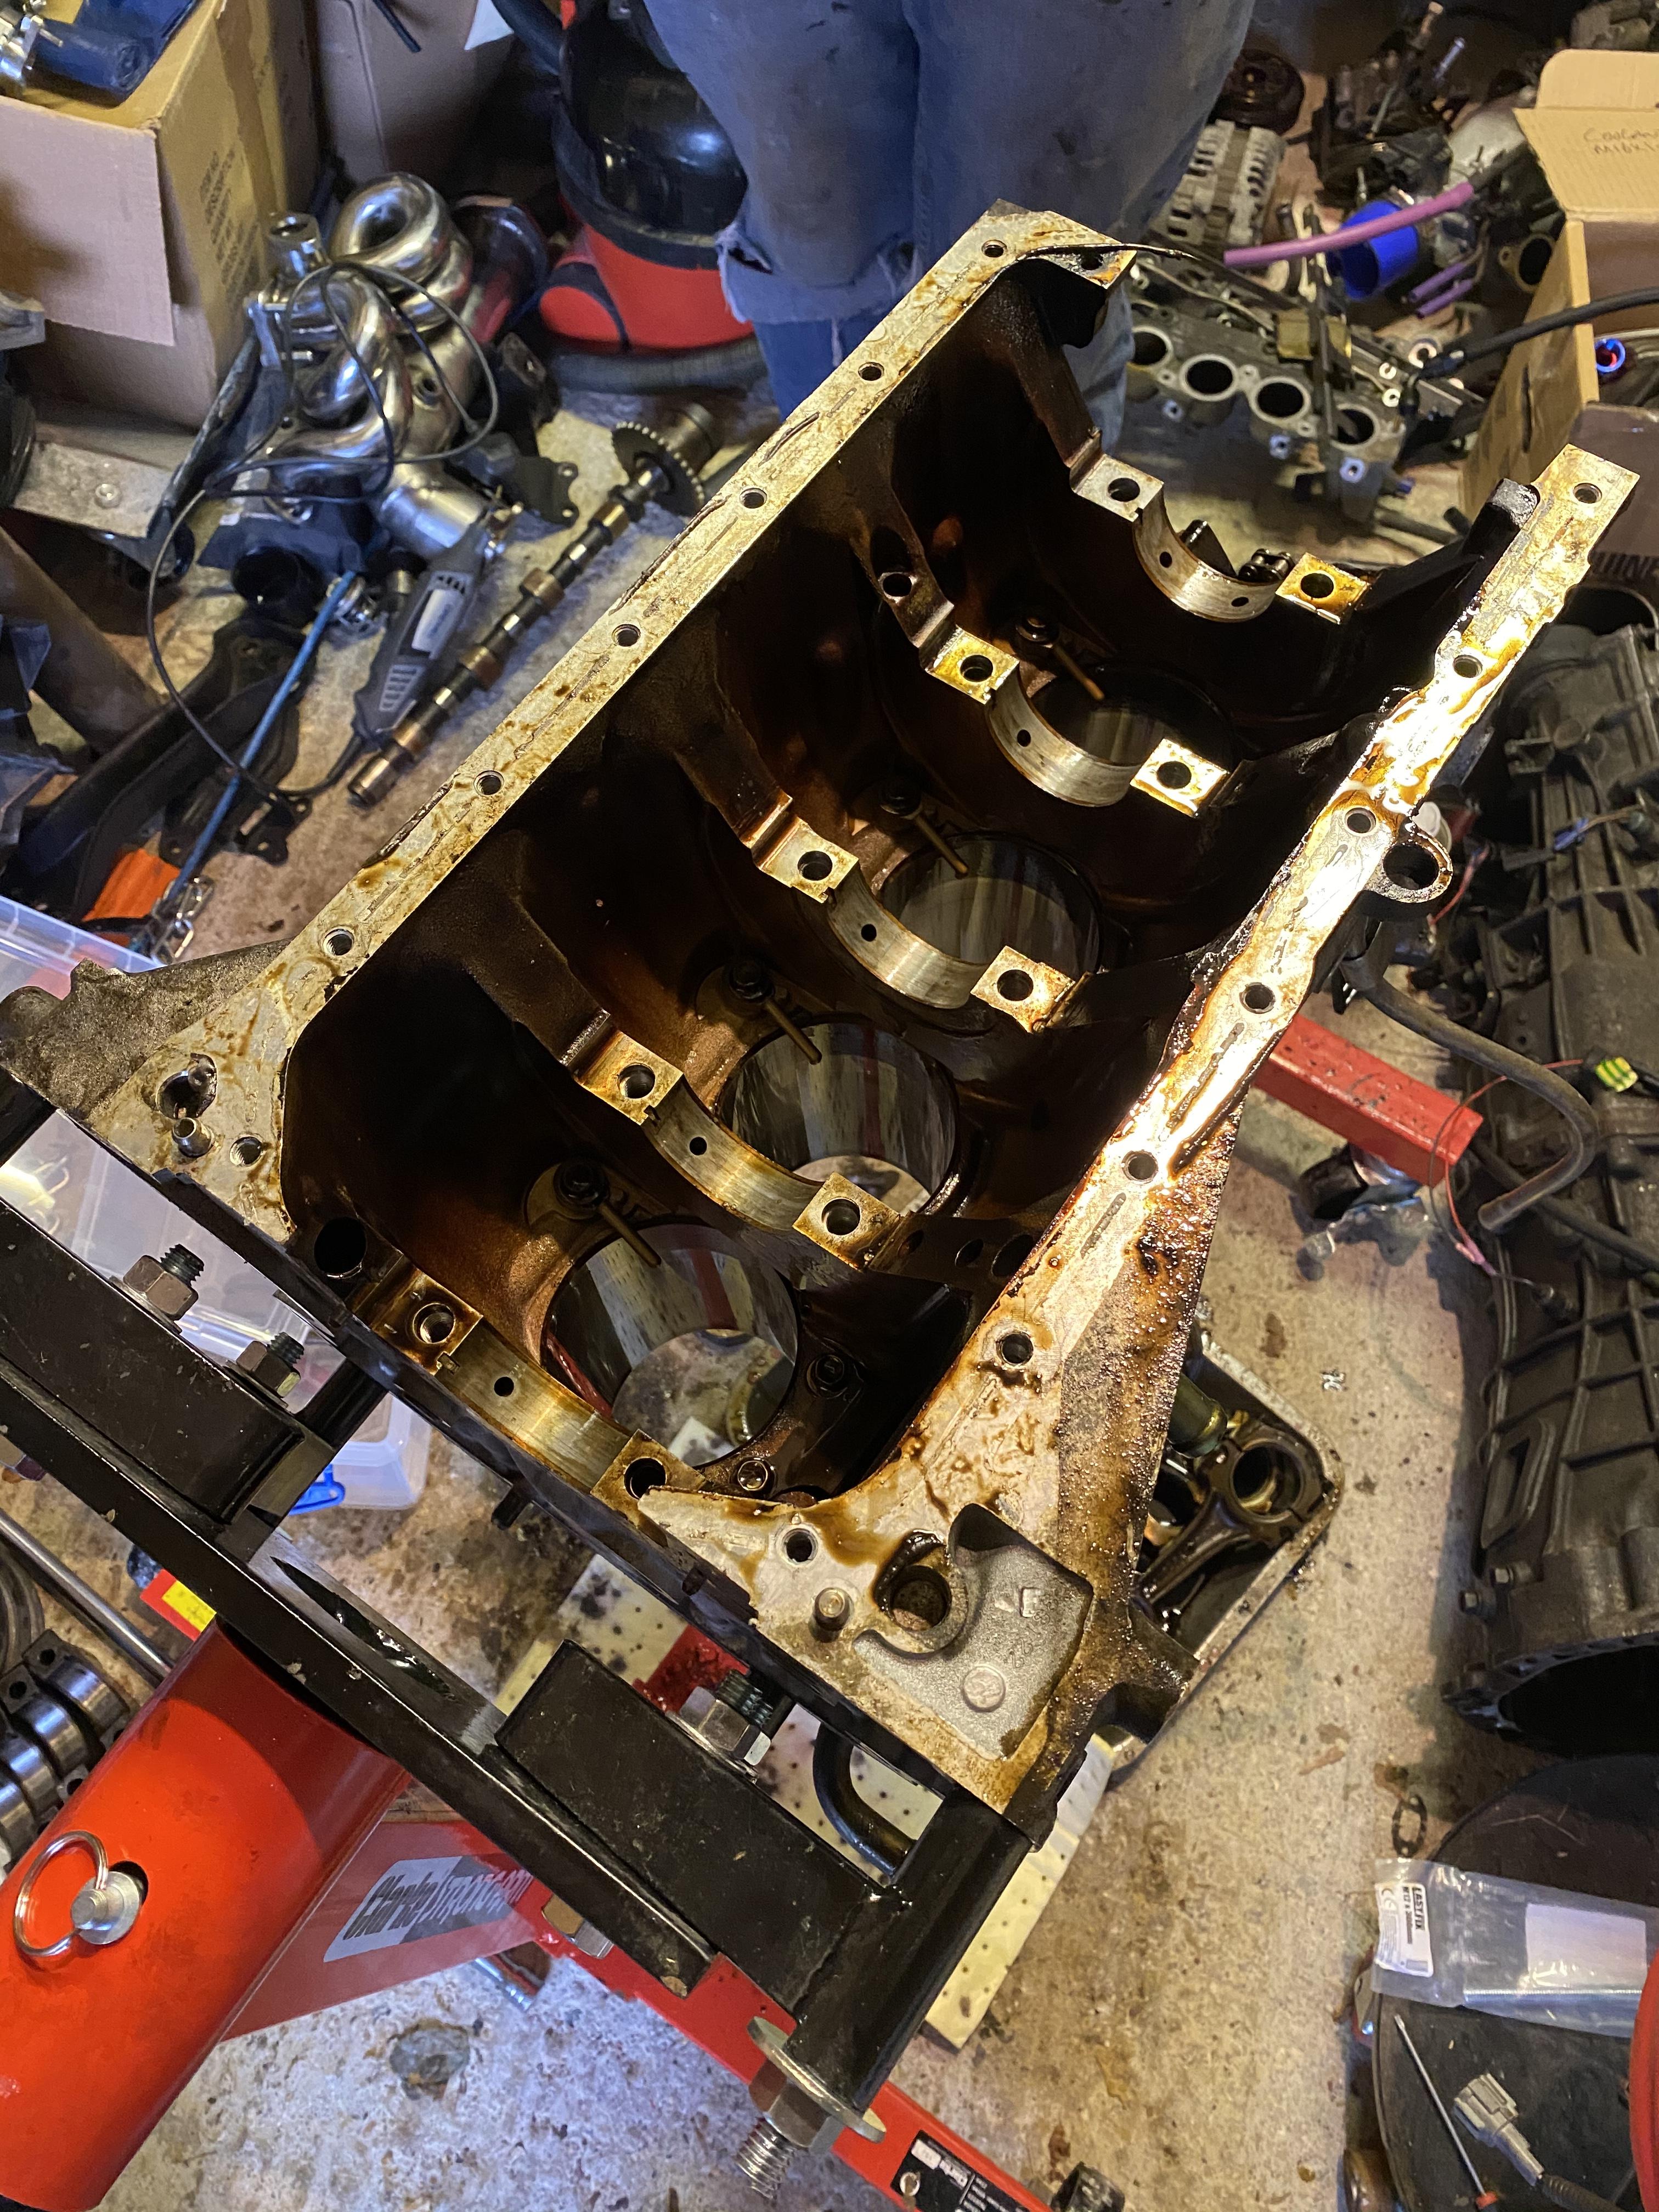
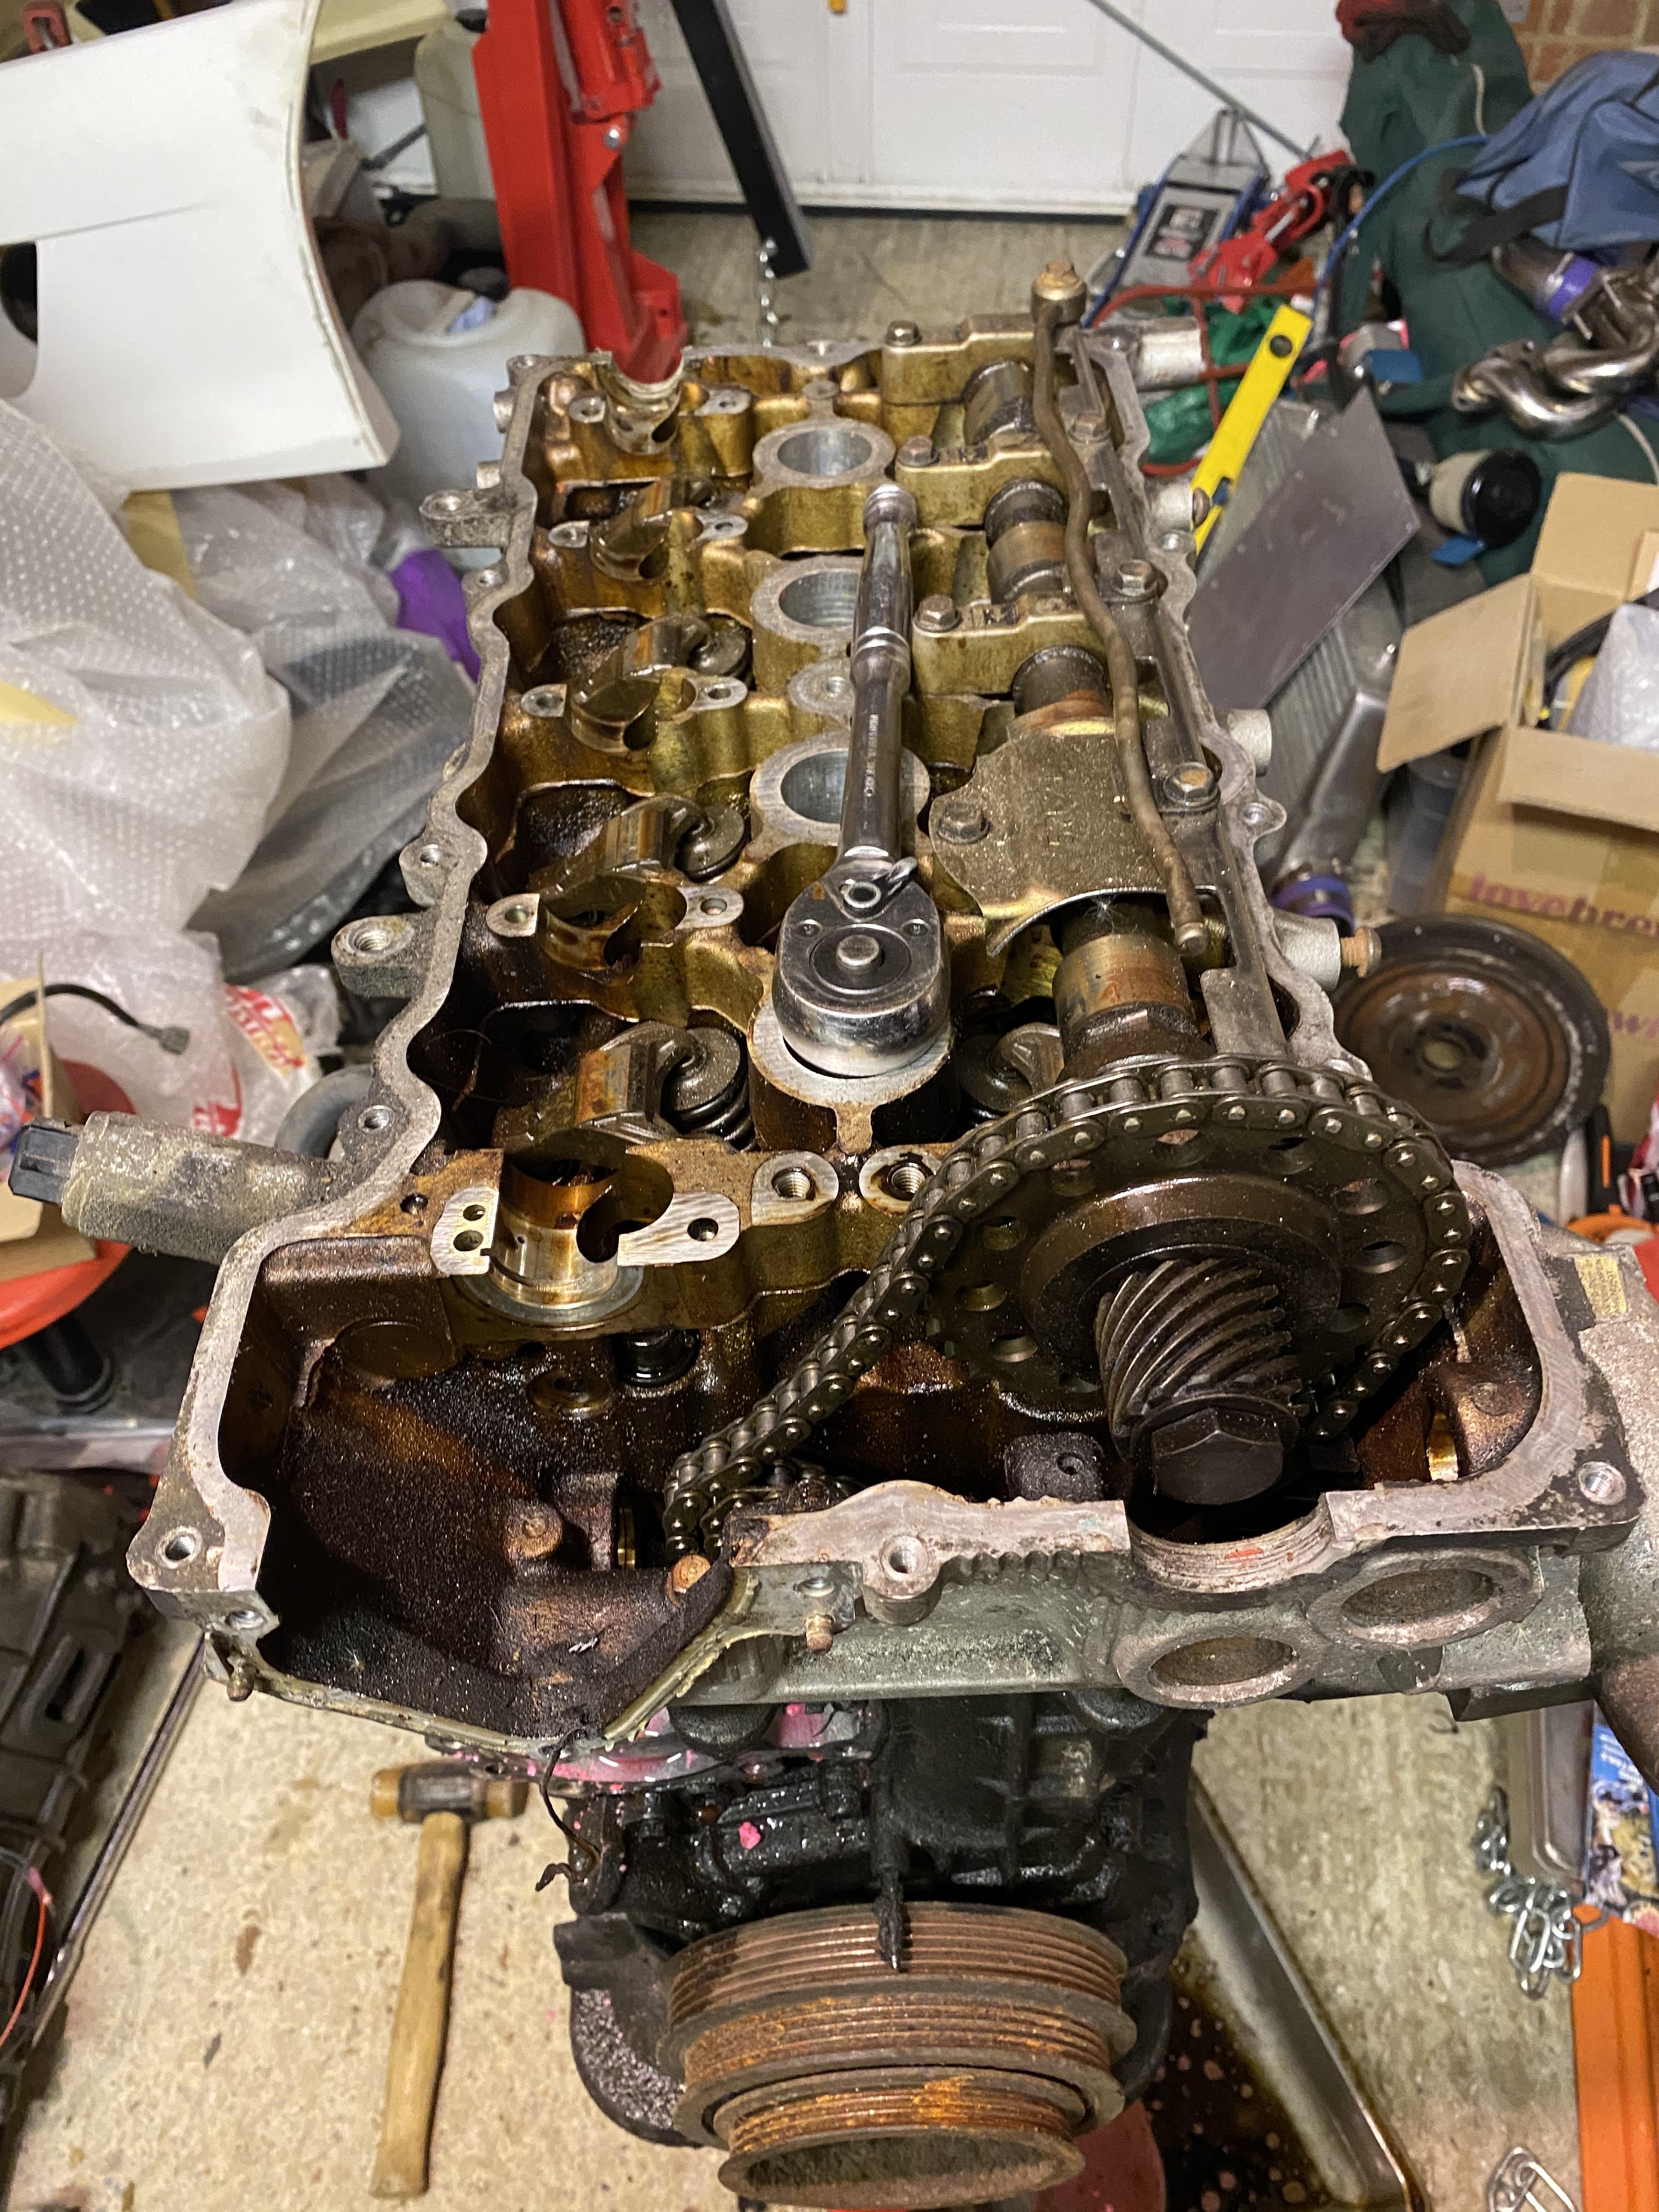
With the help of the other half I got the head off, pistons and crank out. The bores are in great condition and will just need a good hone. Considering the life this engine led only 2 main bearings on the middle journals were damaged, they have damaged the crank though by the look of it a polish will bring this back


-
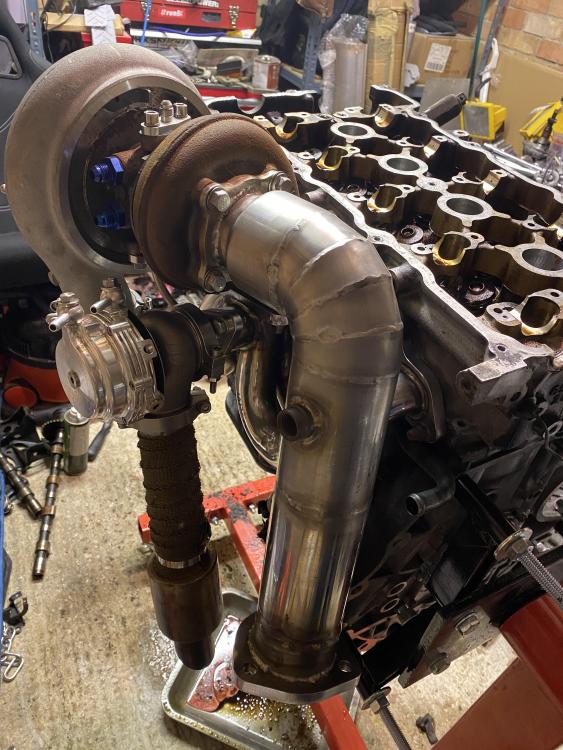
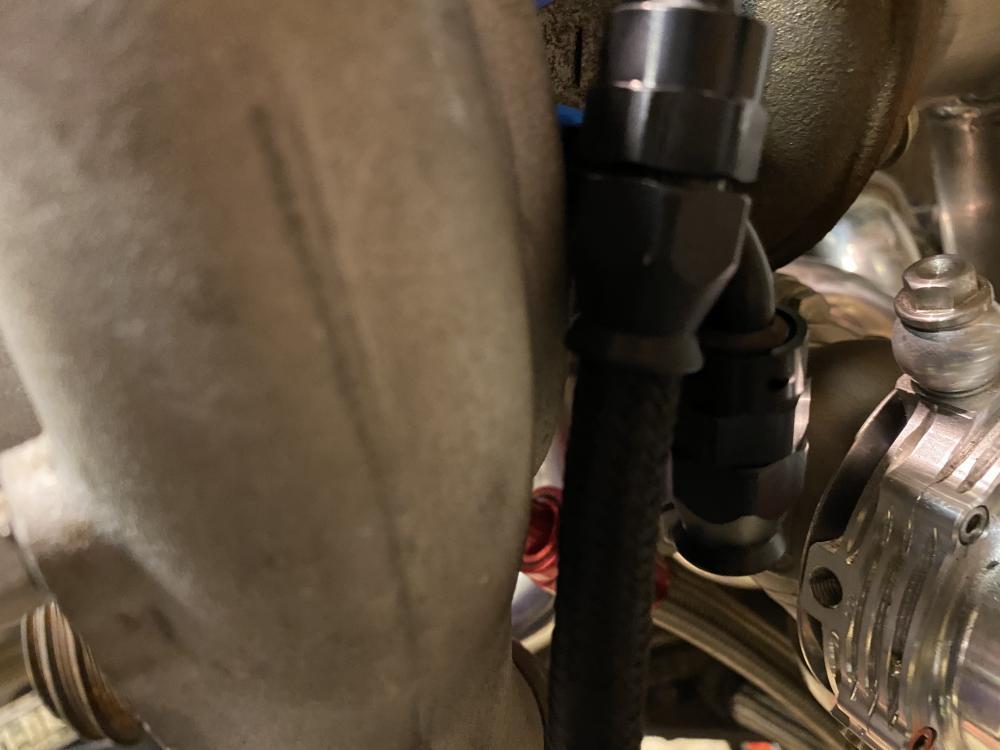
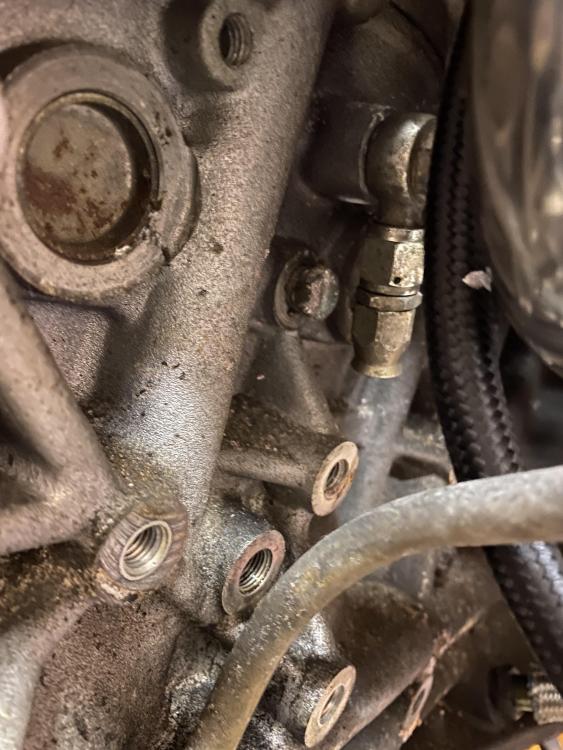
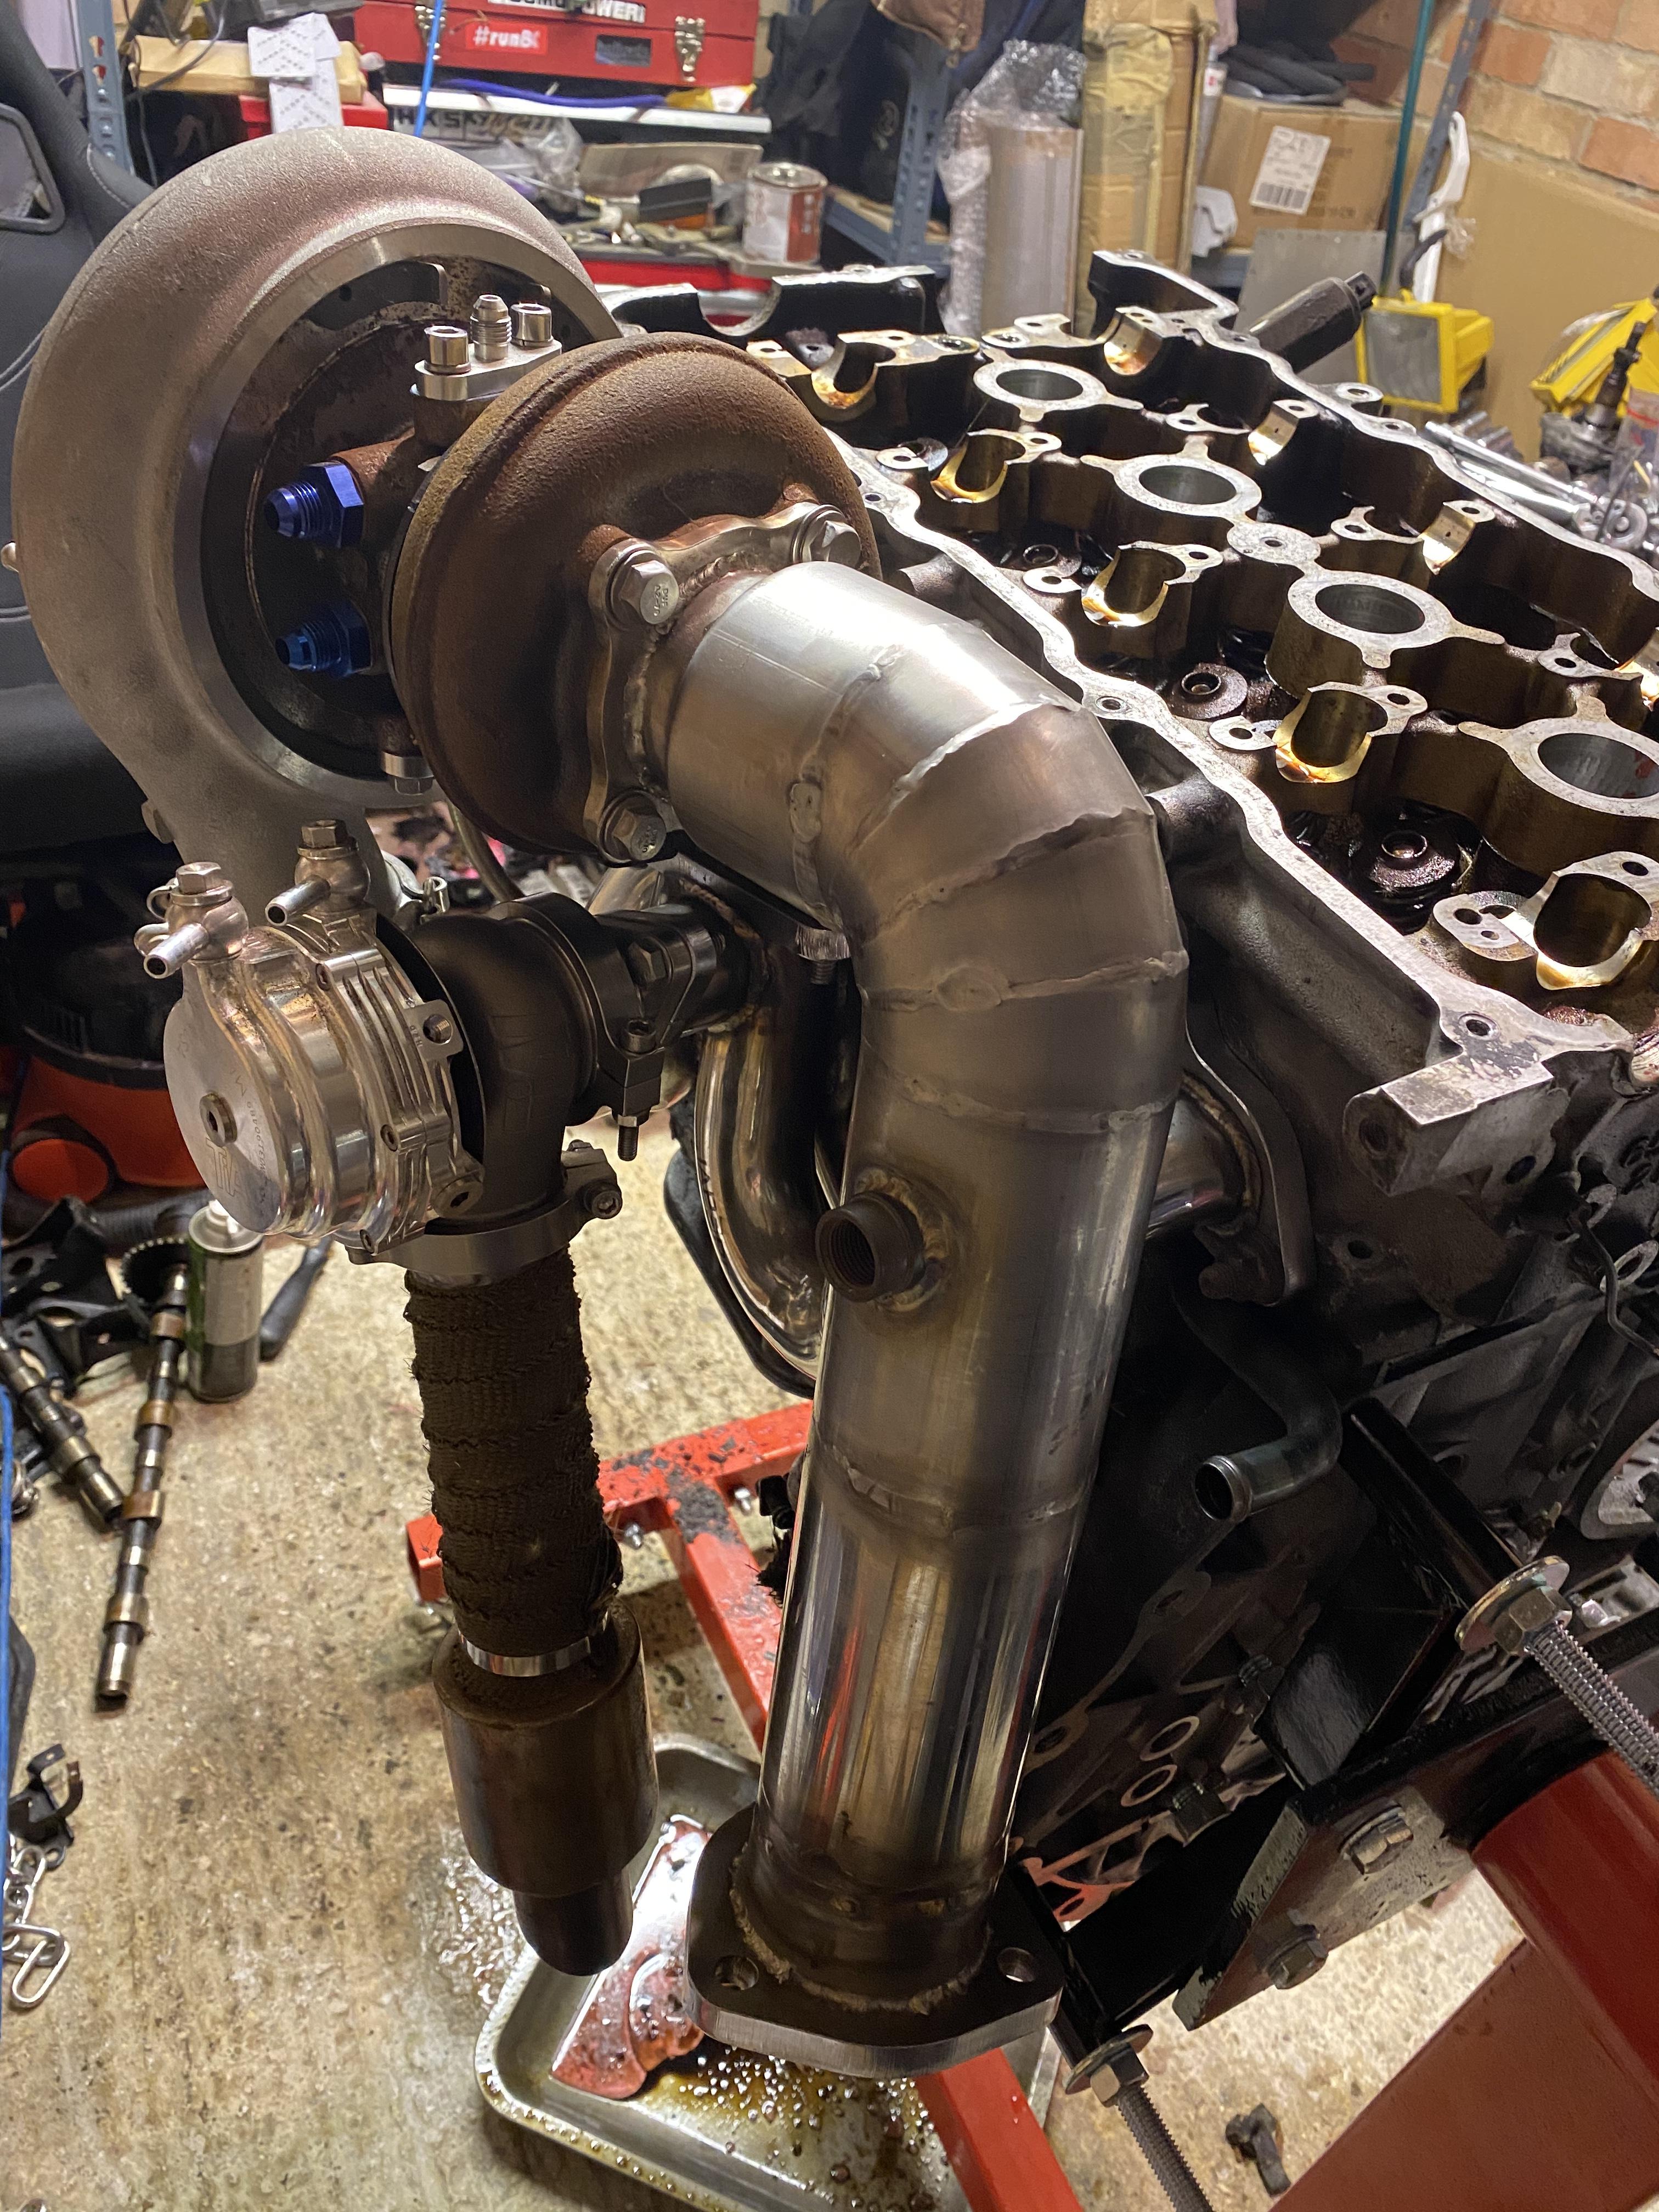
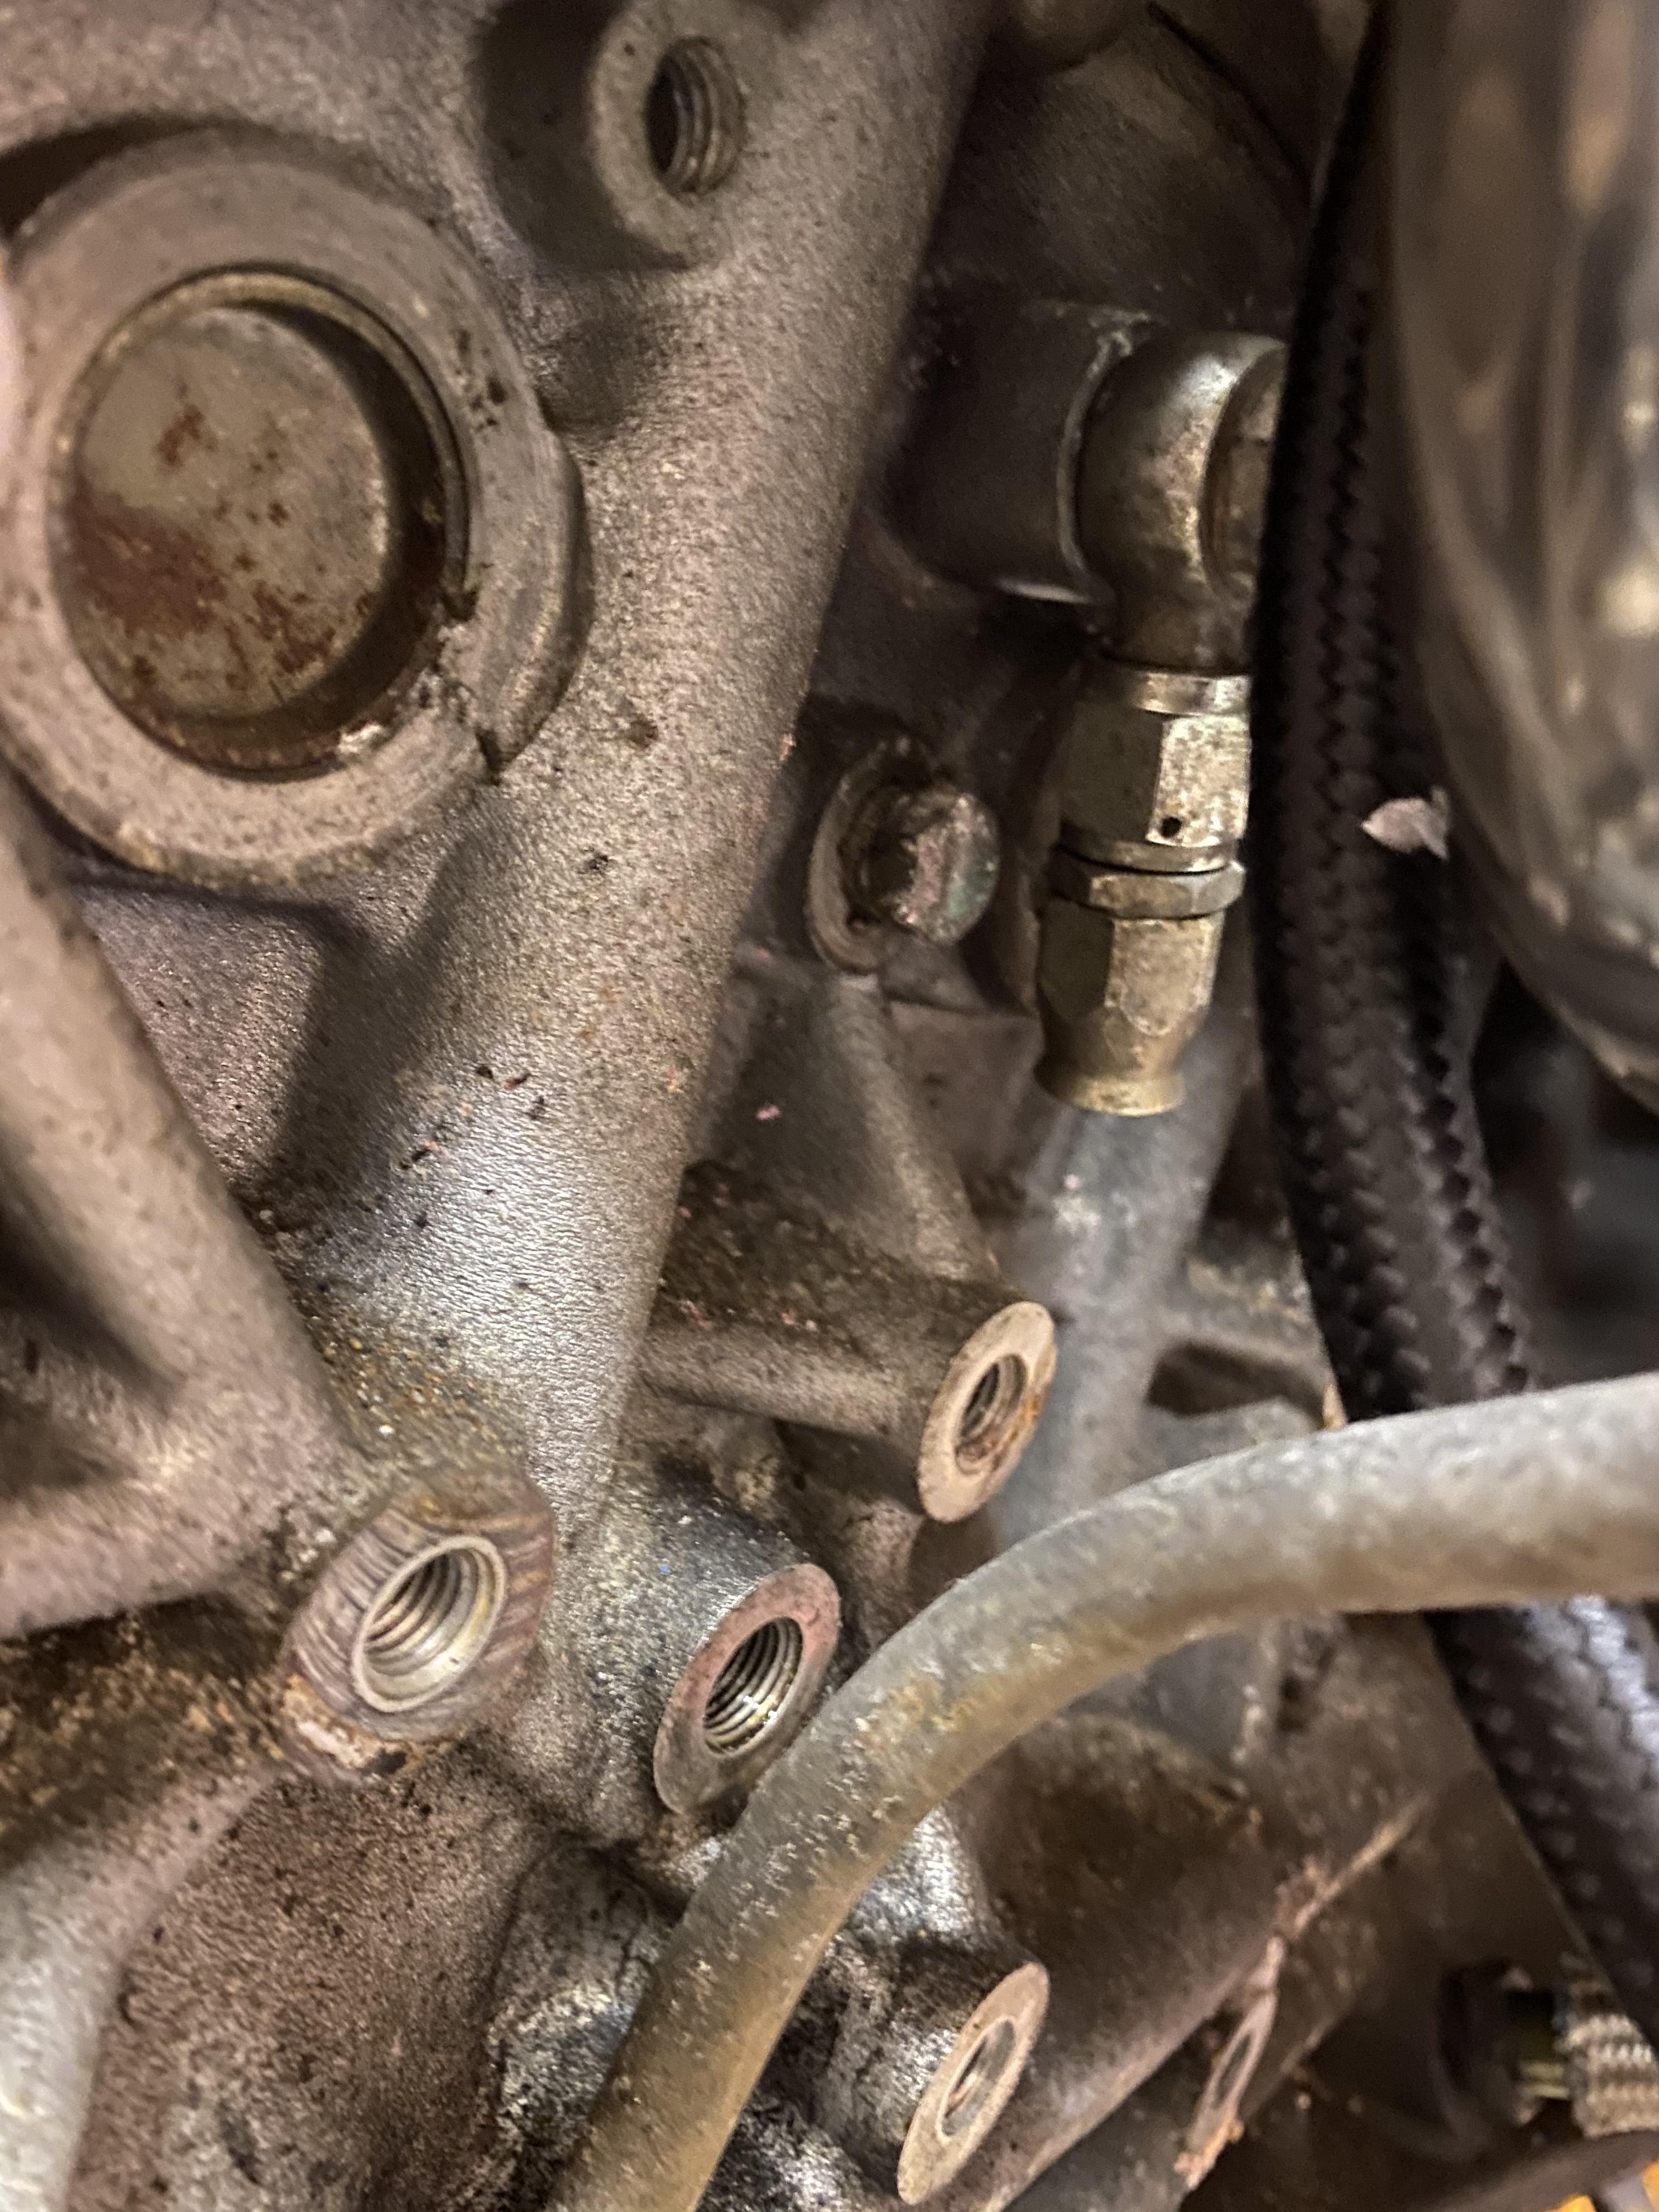
Bolted the turbo and manifold back on to make up the water and oil return lines


-
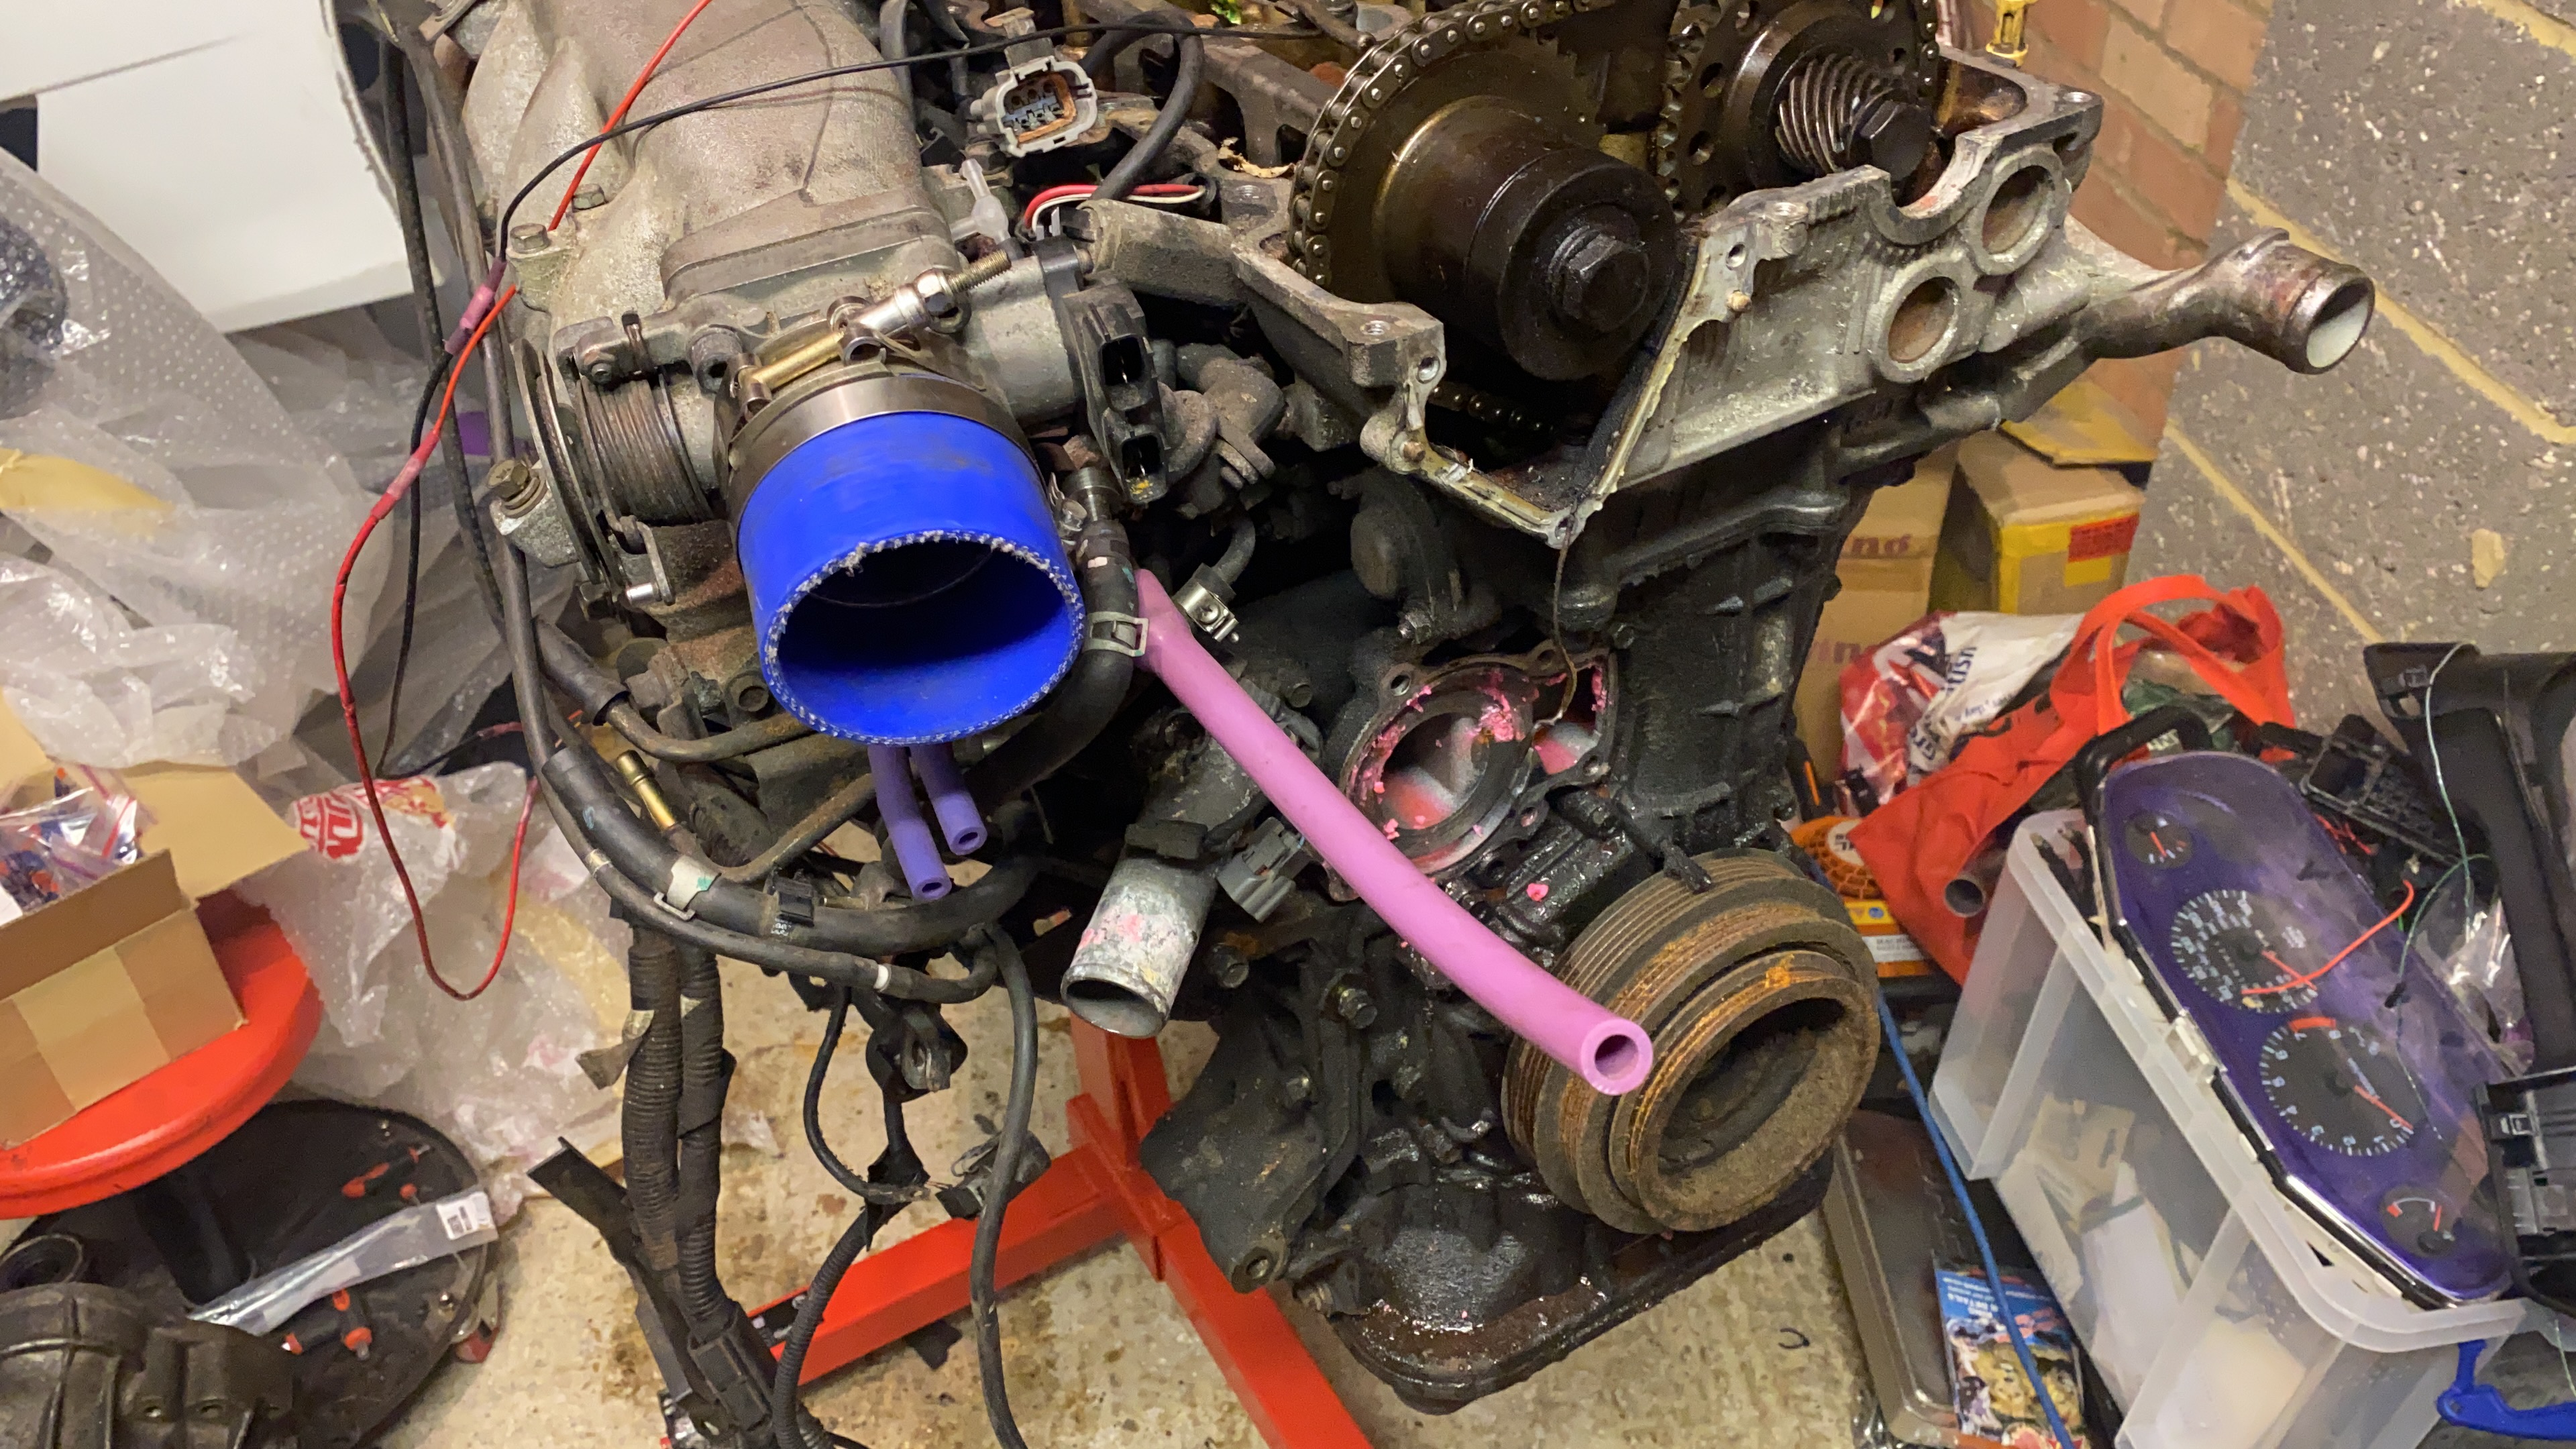
Started stripping the ancillaries and inlet manifold off the engine


-
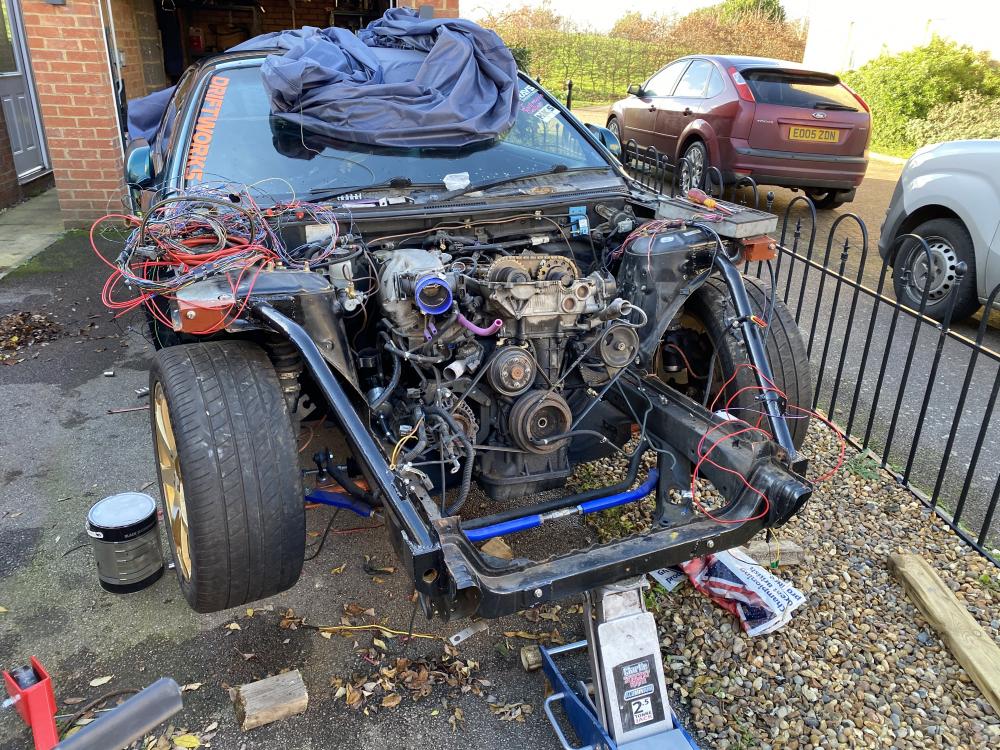
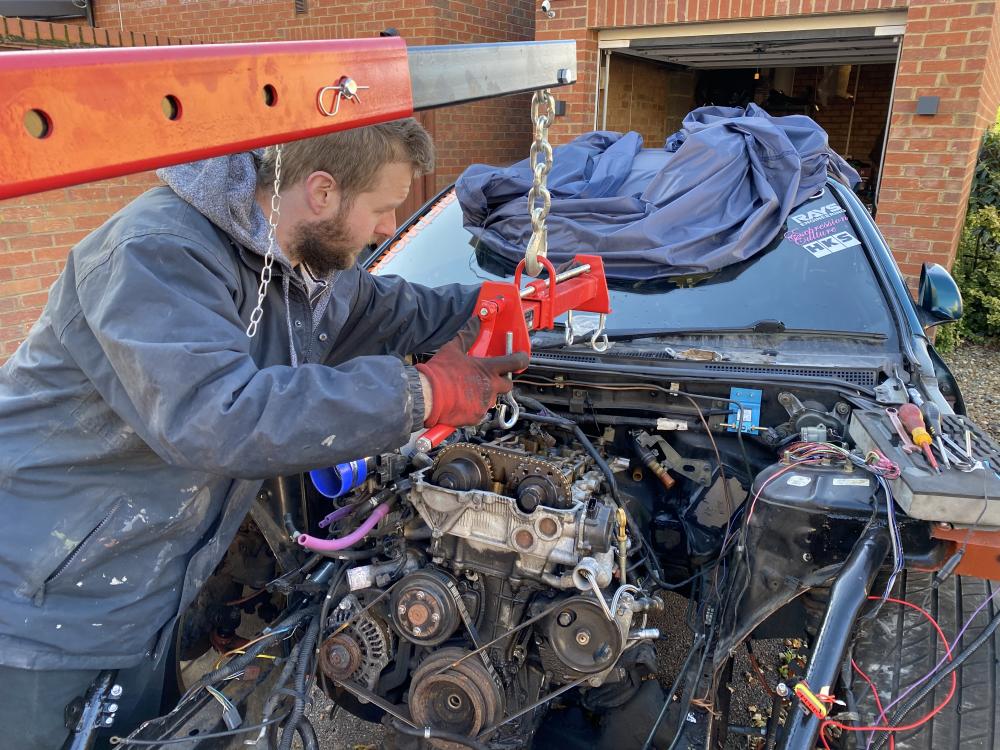
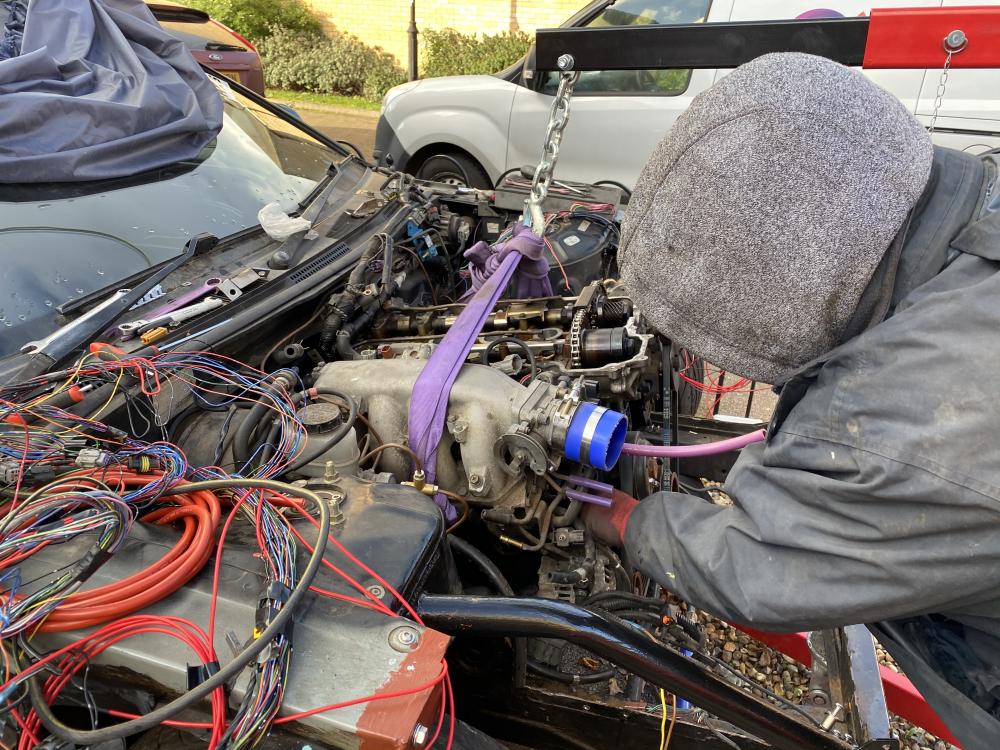
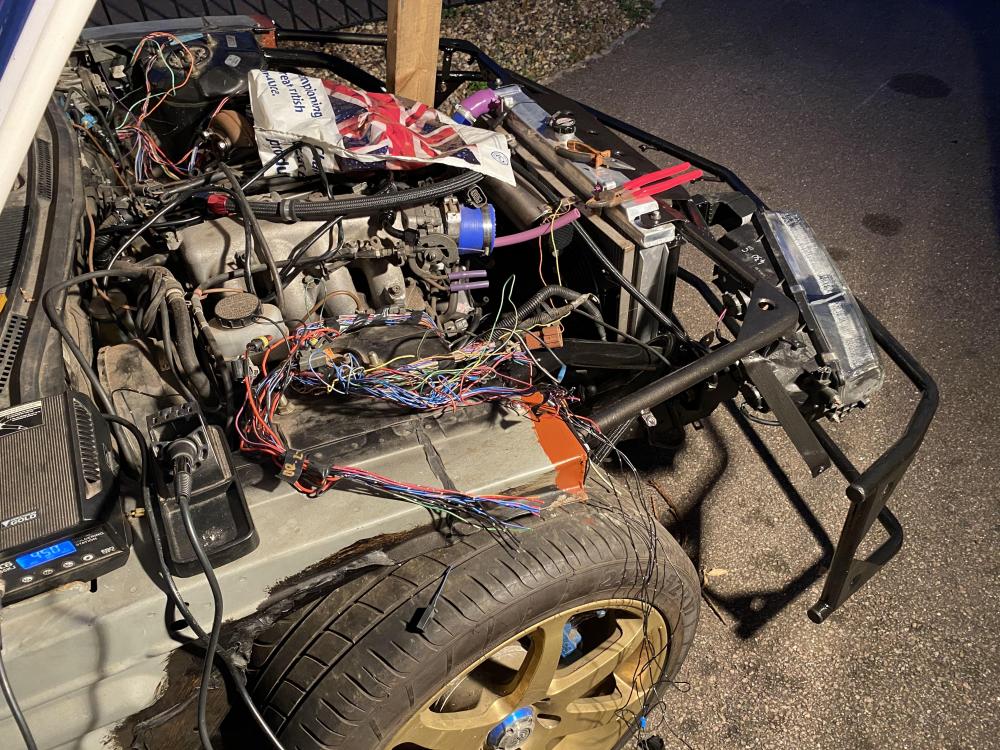
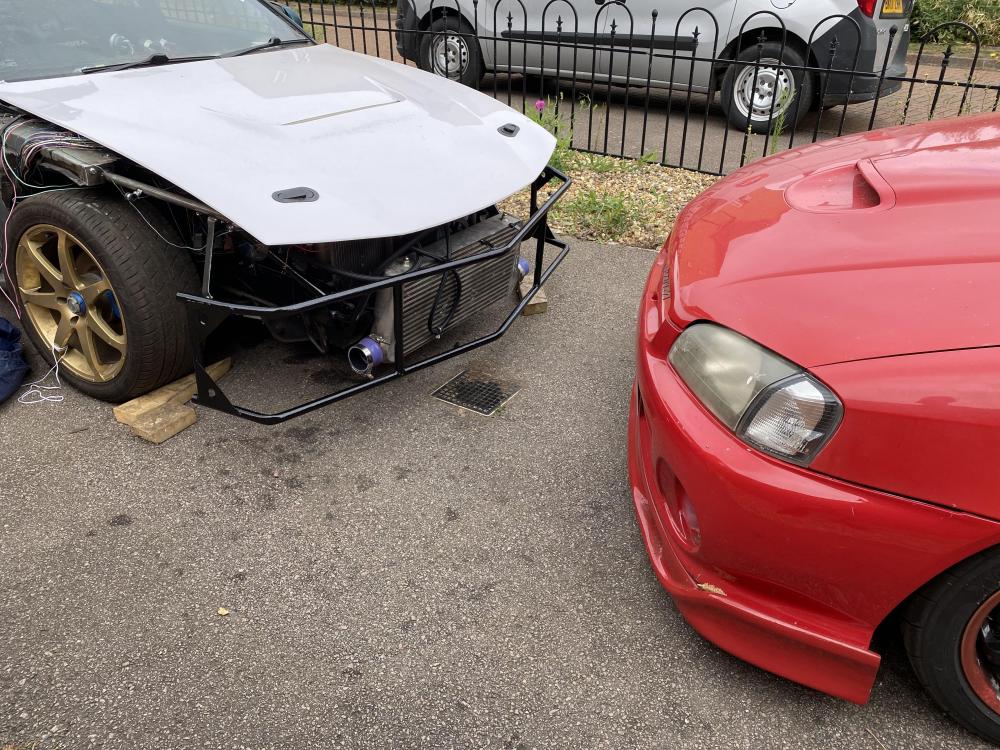
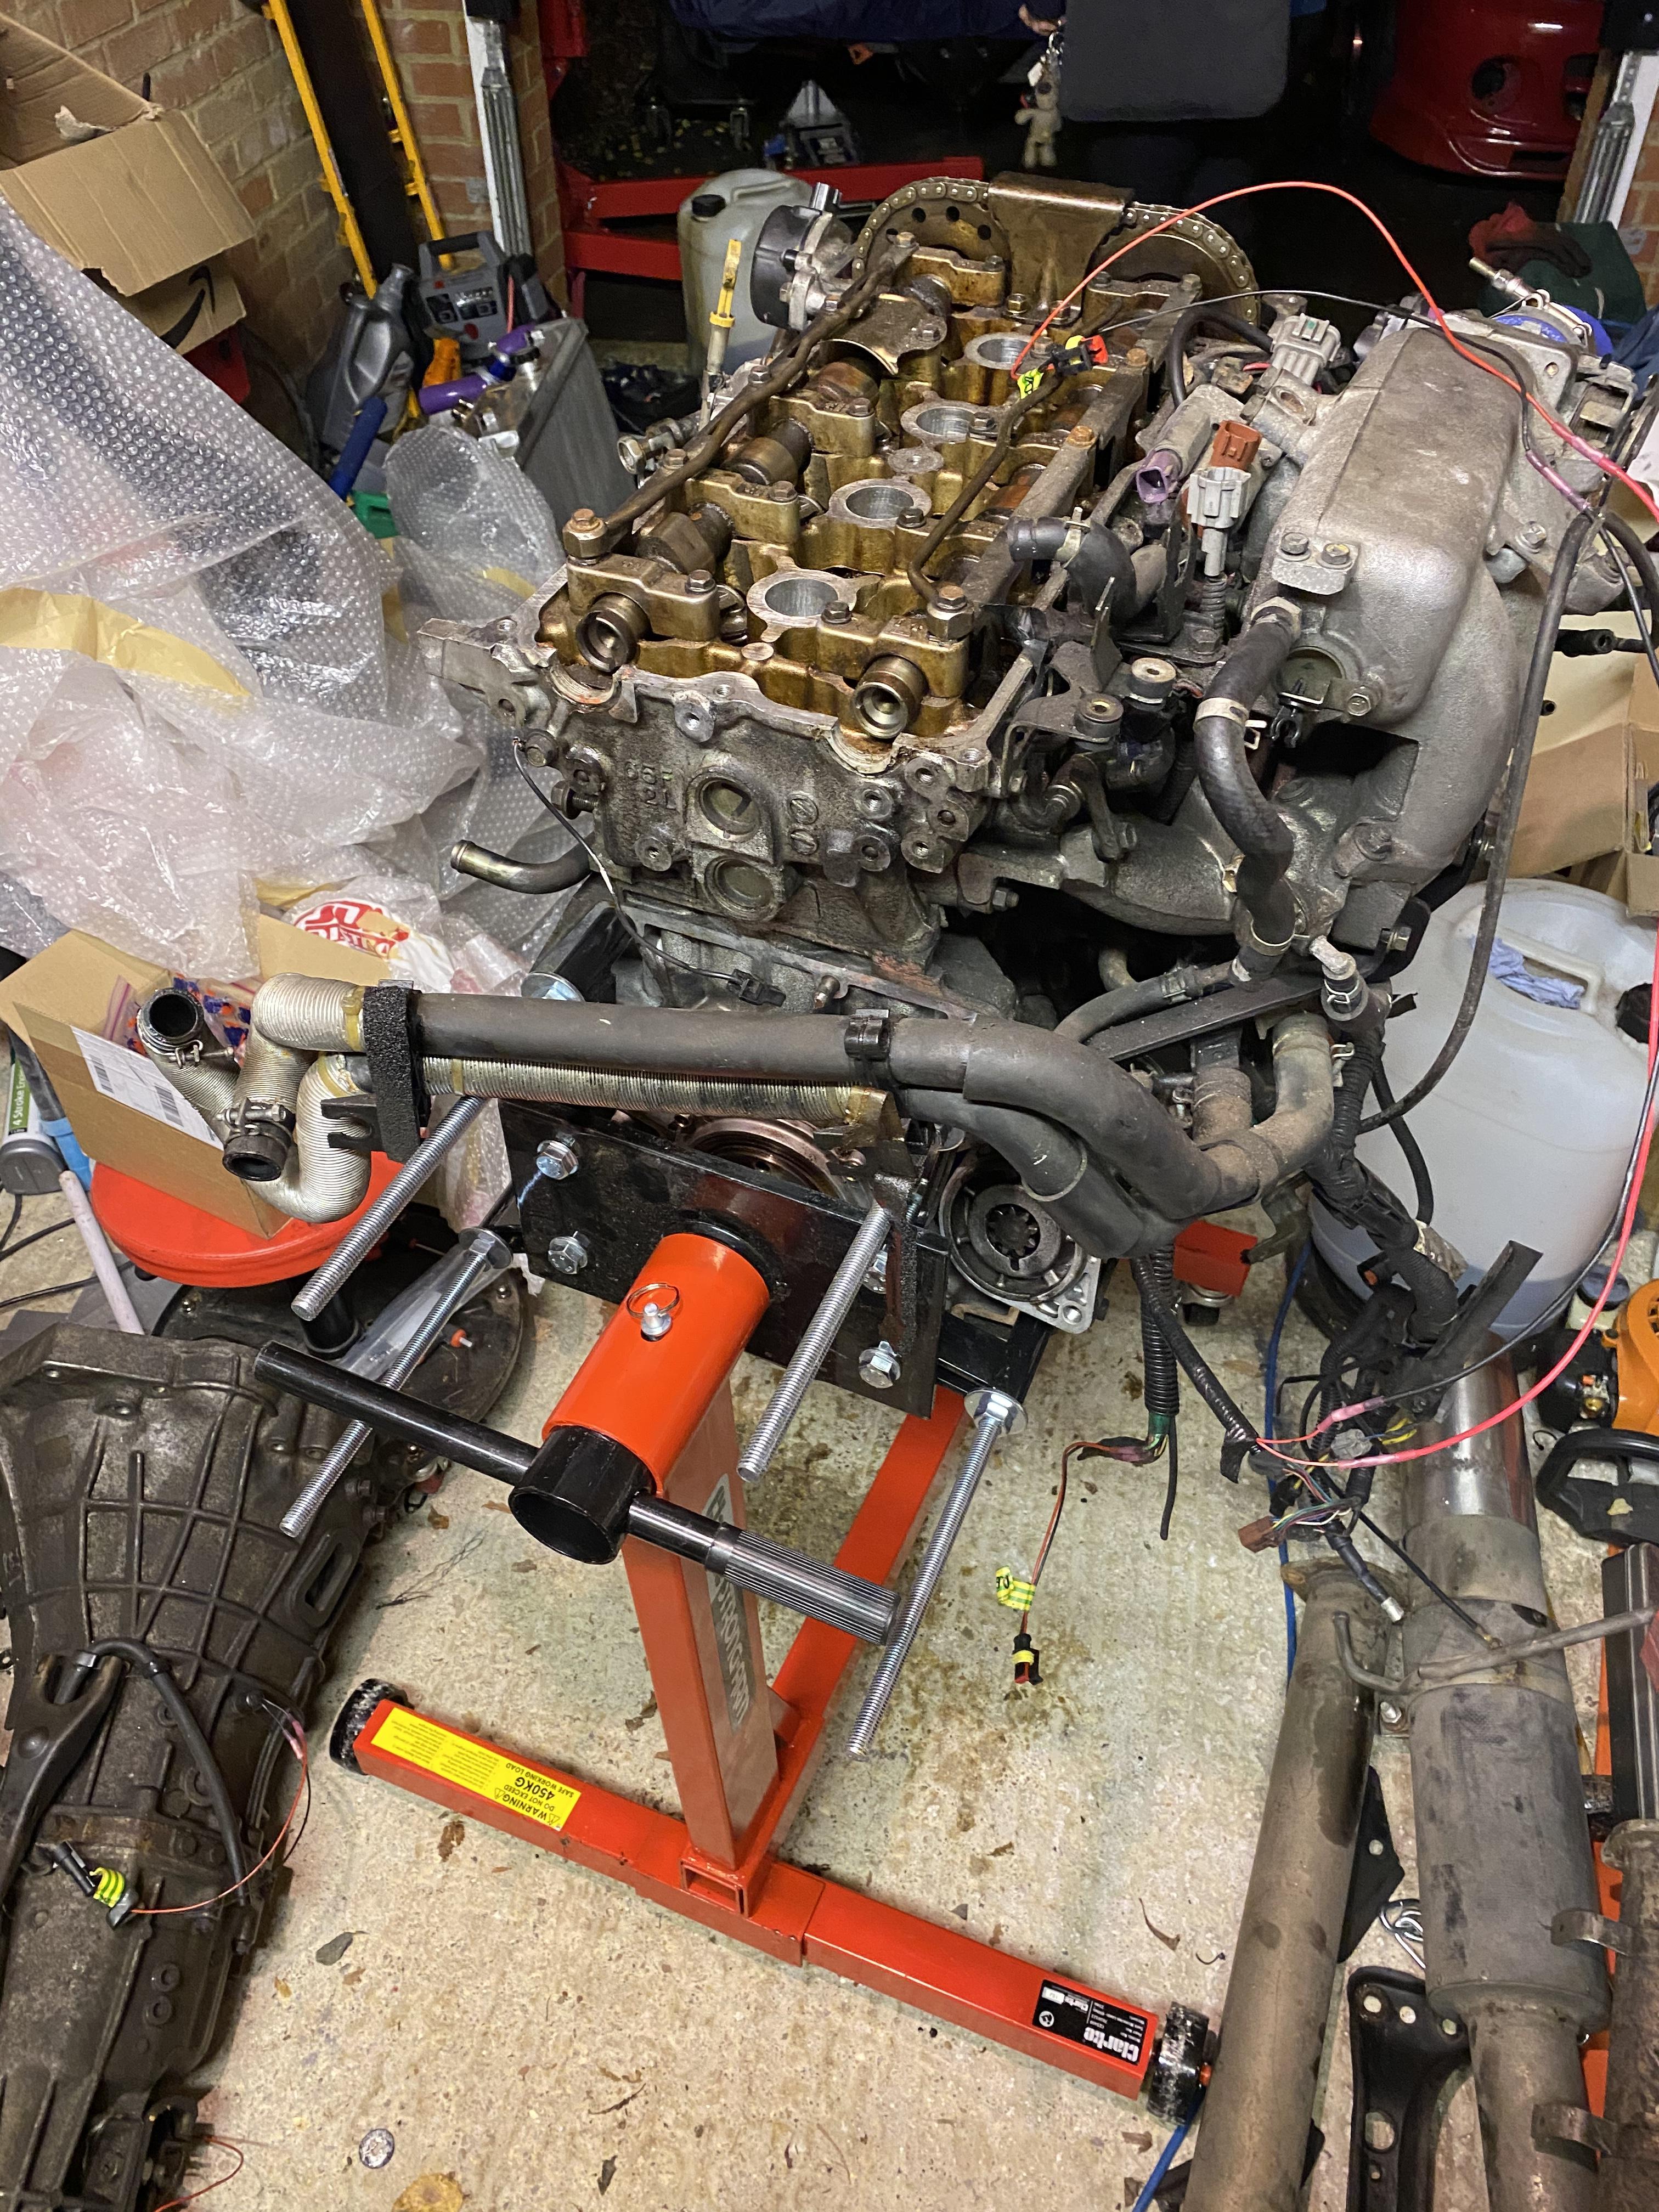
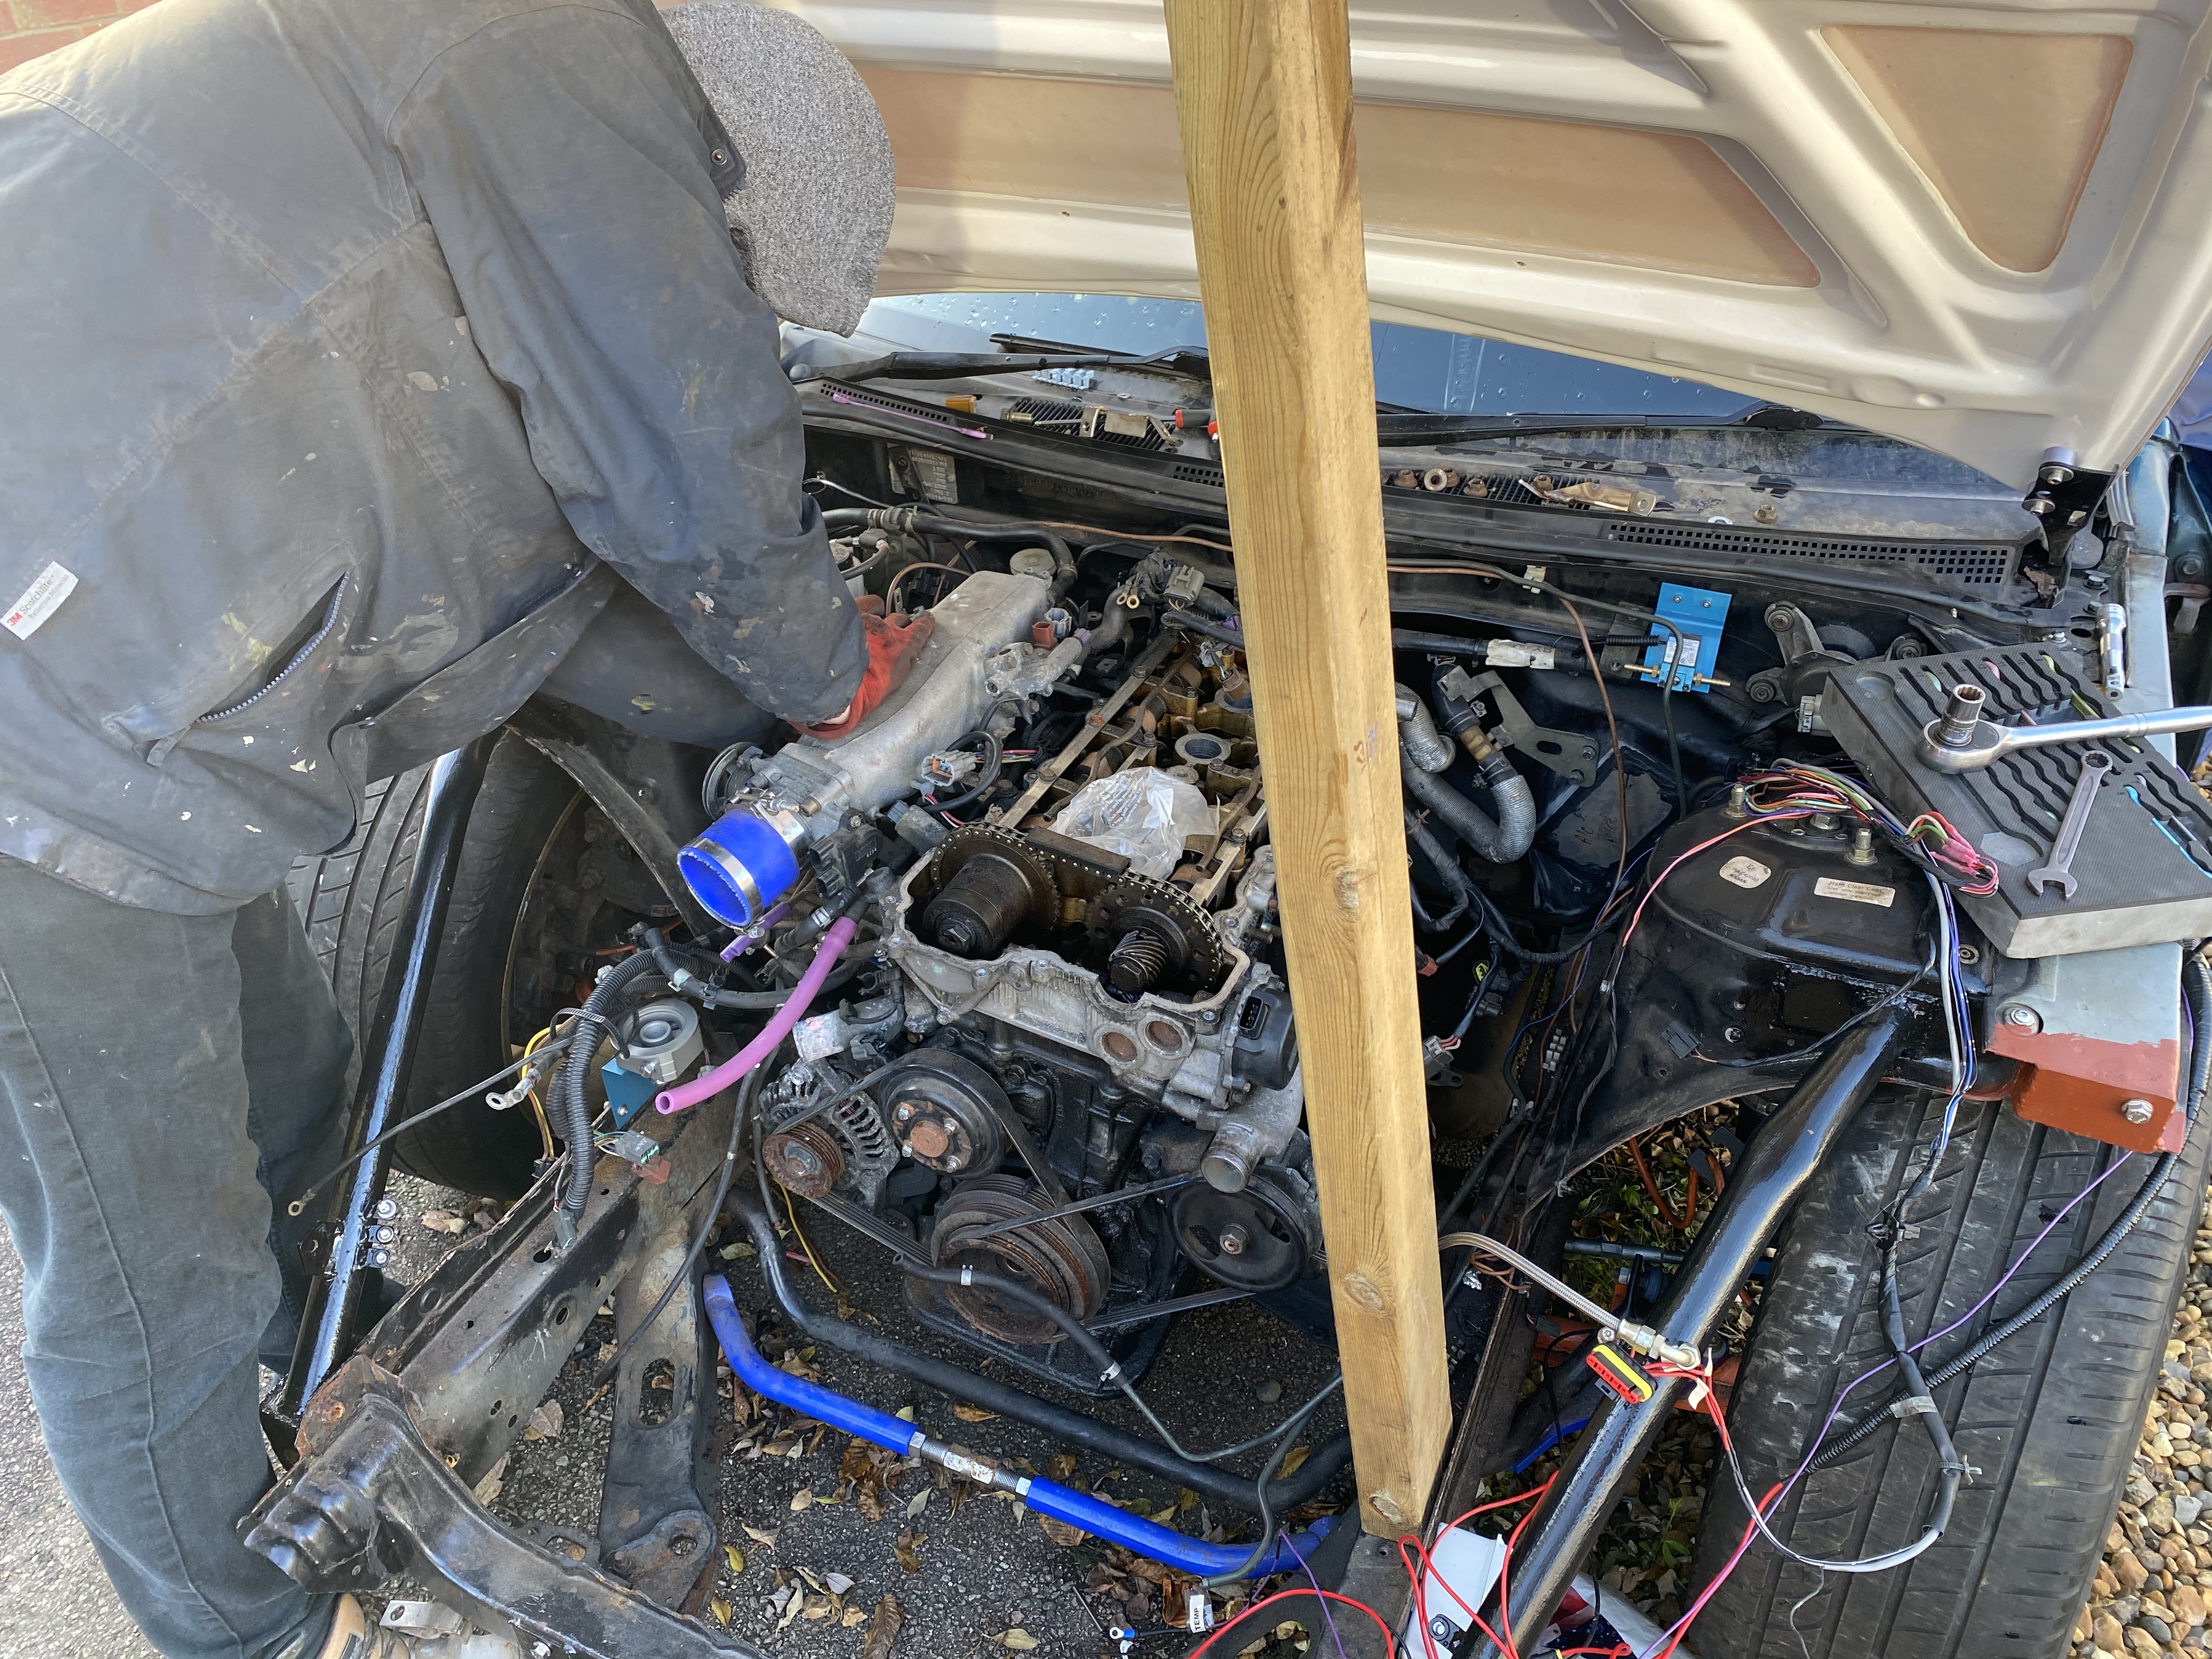
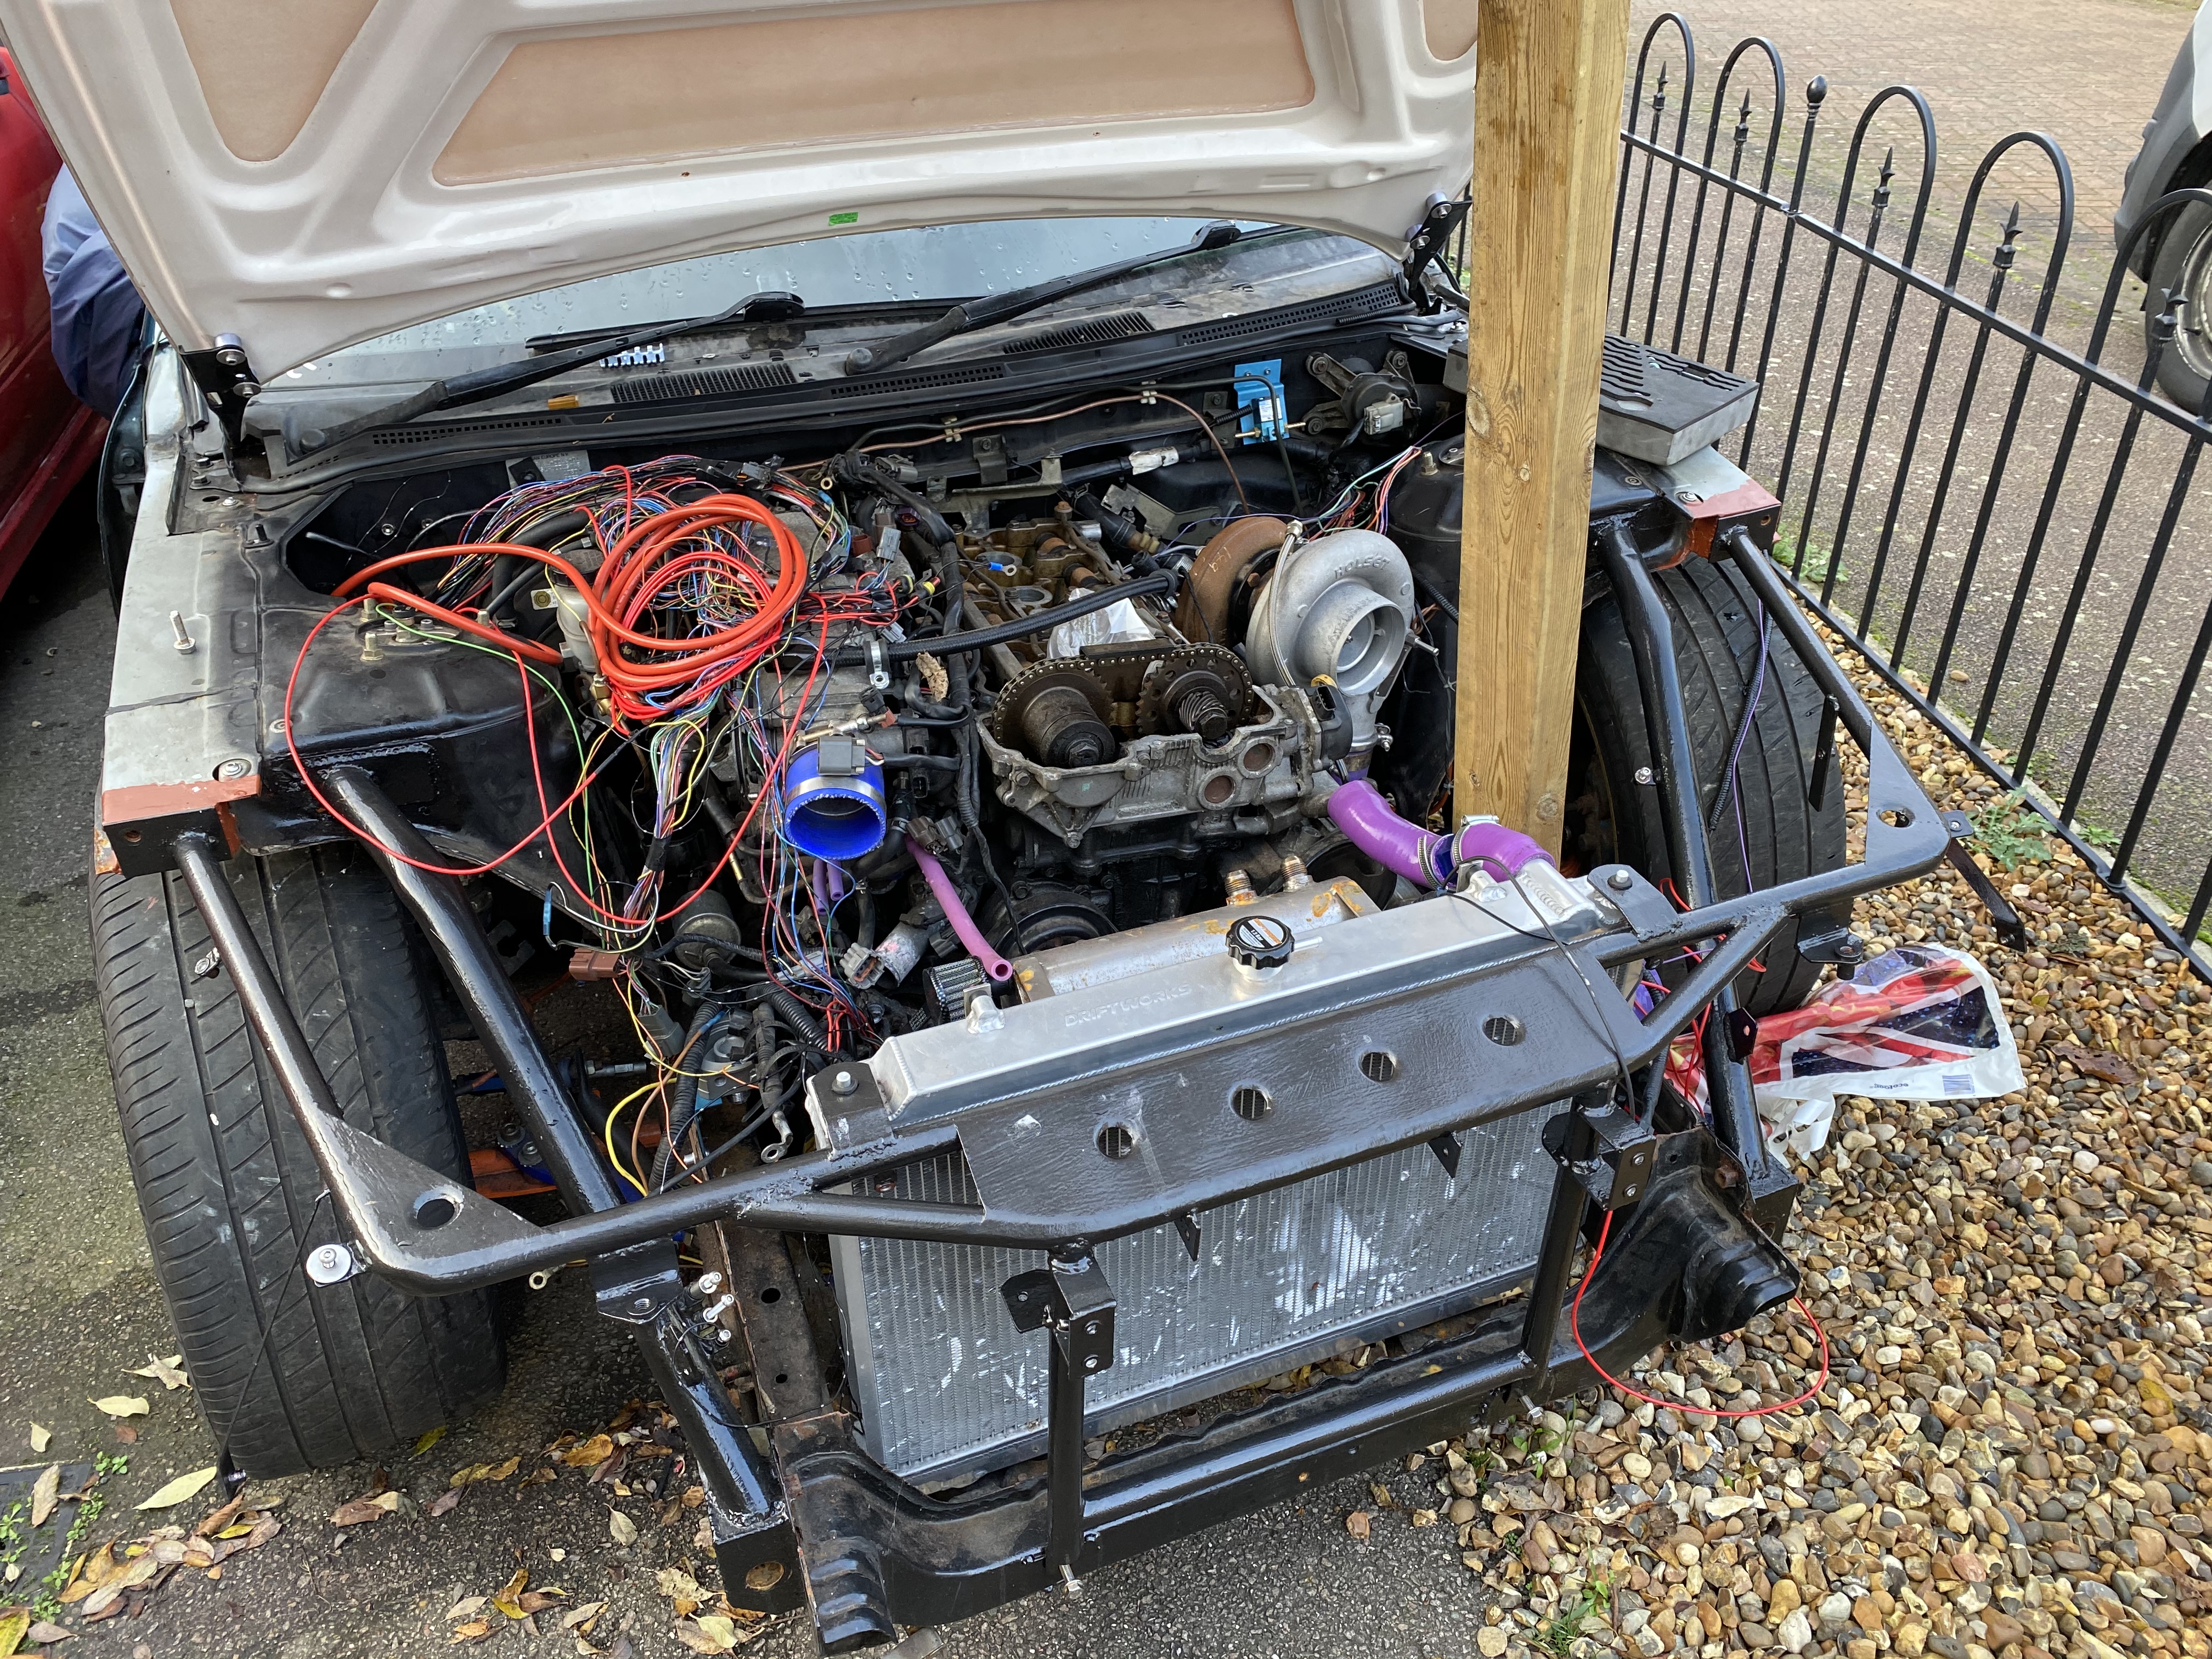
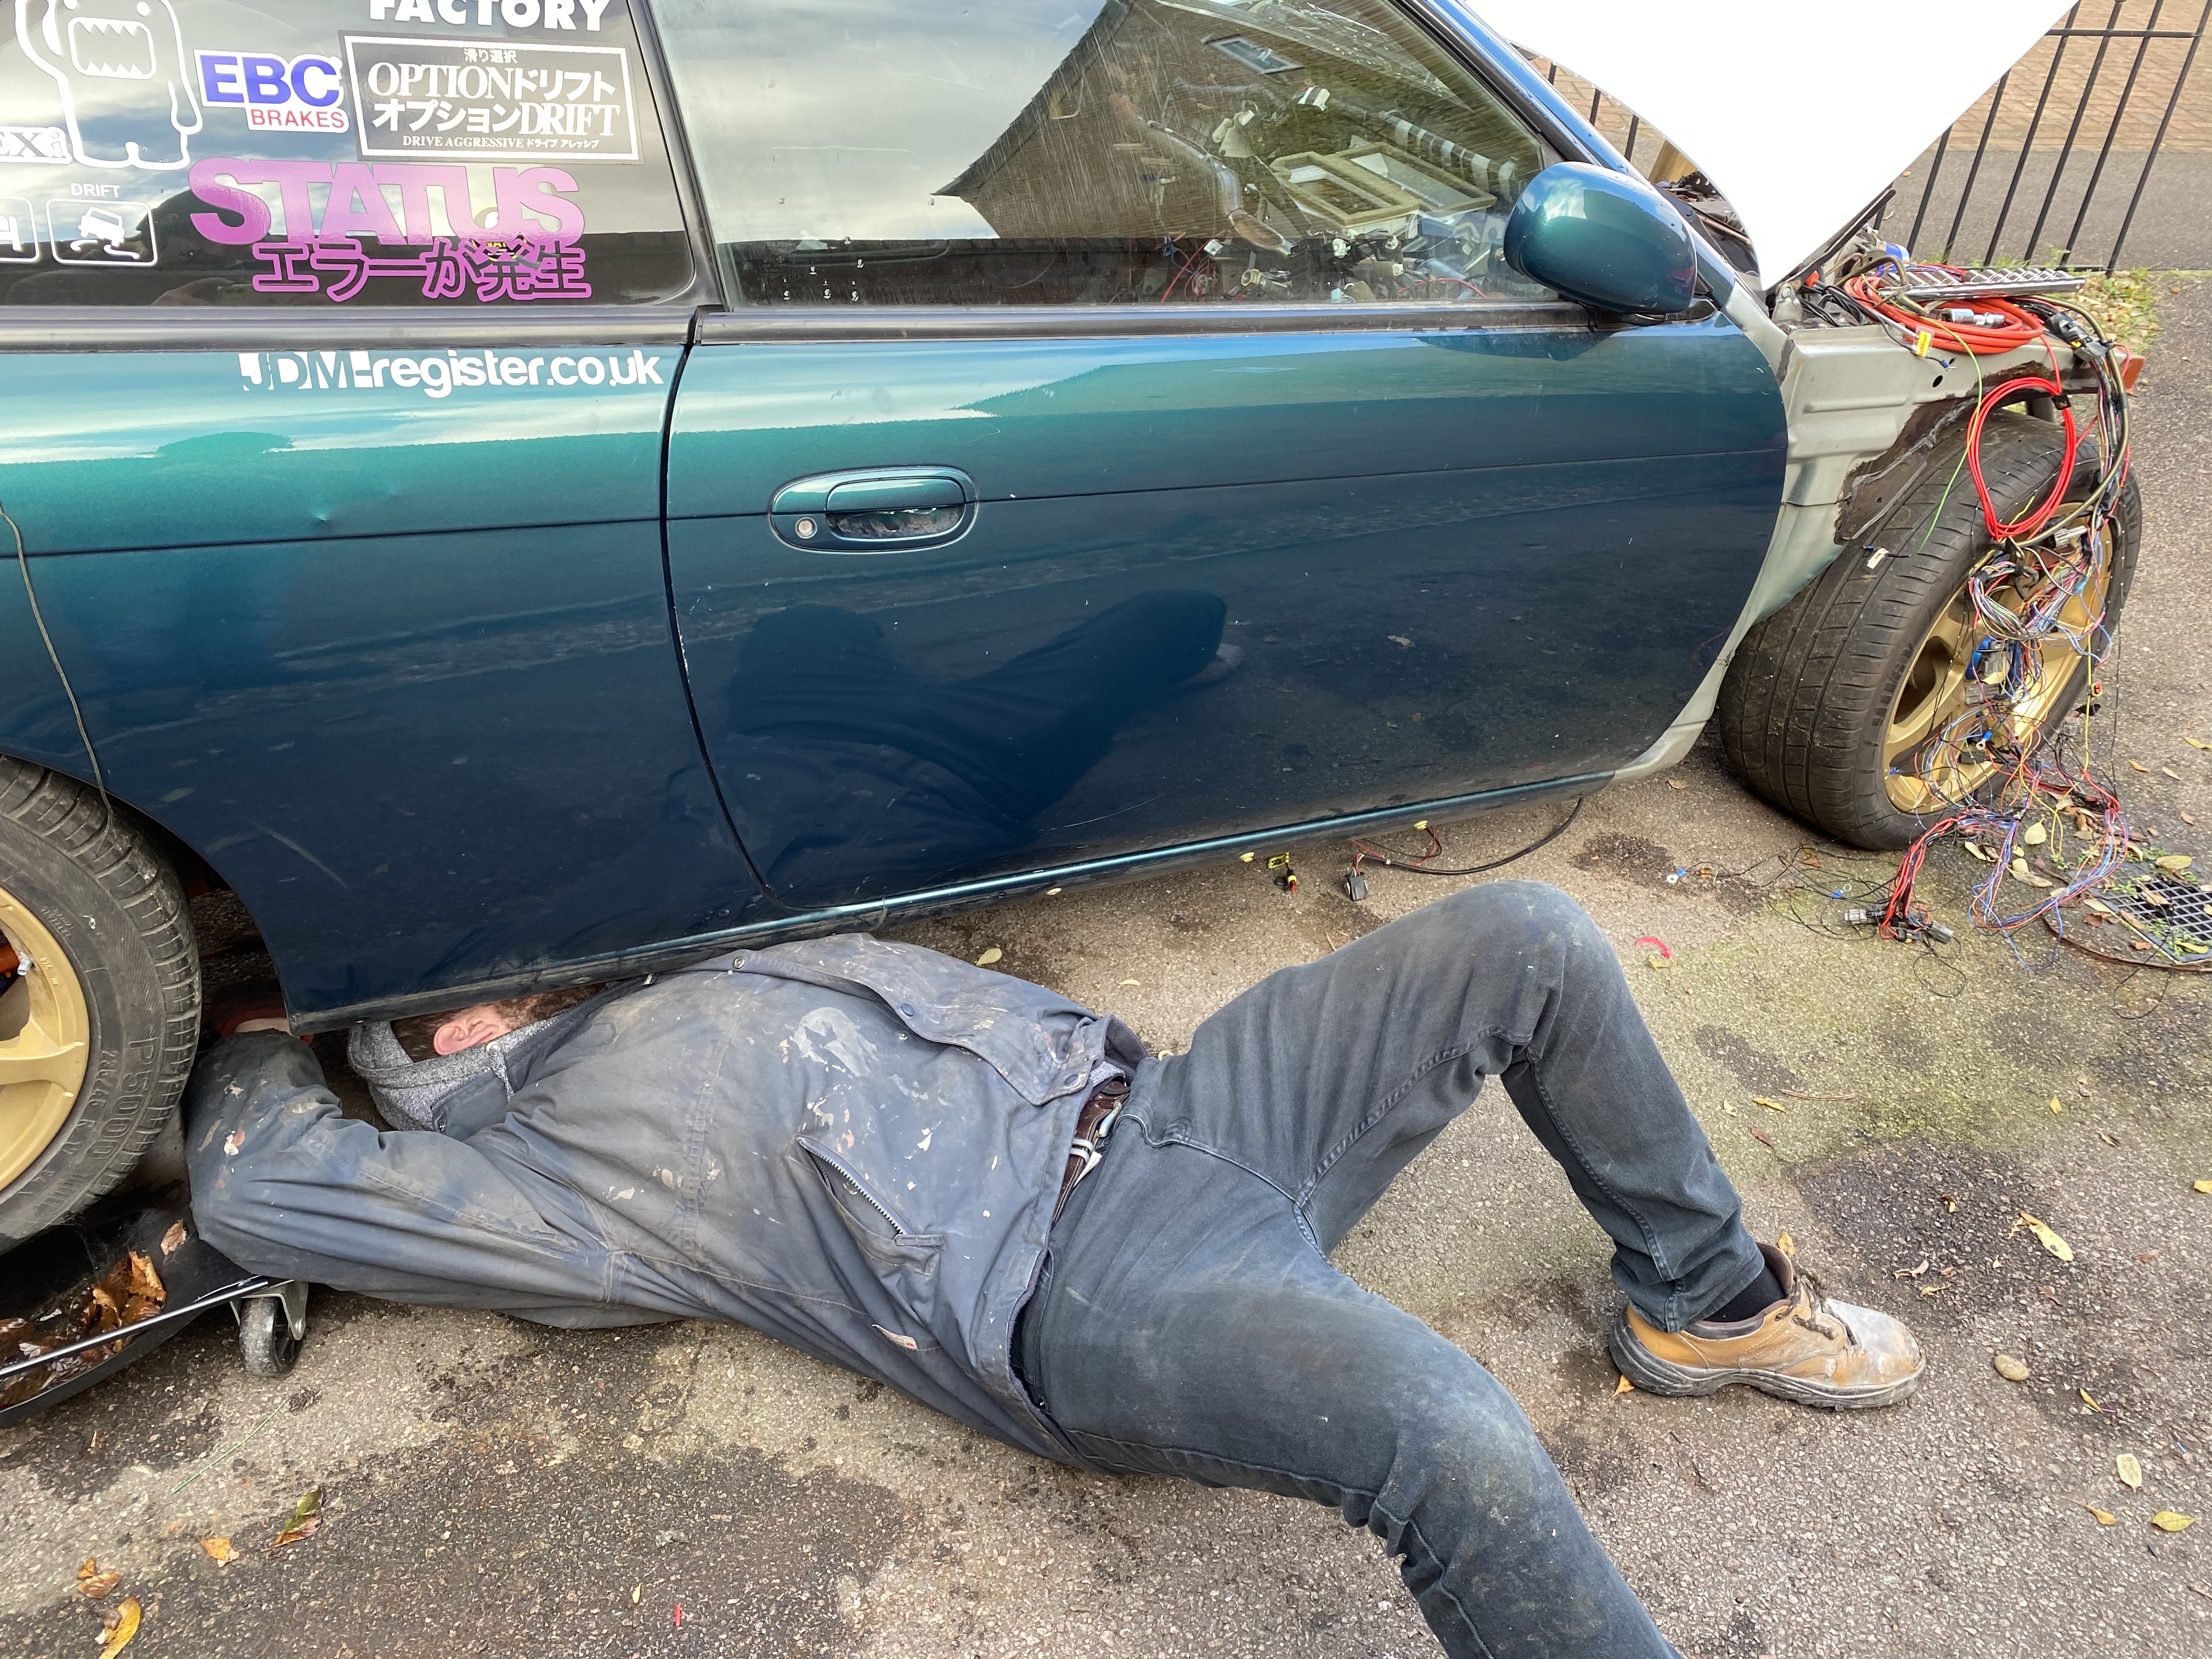
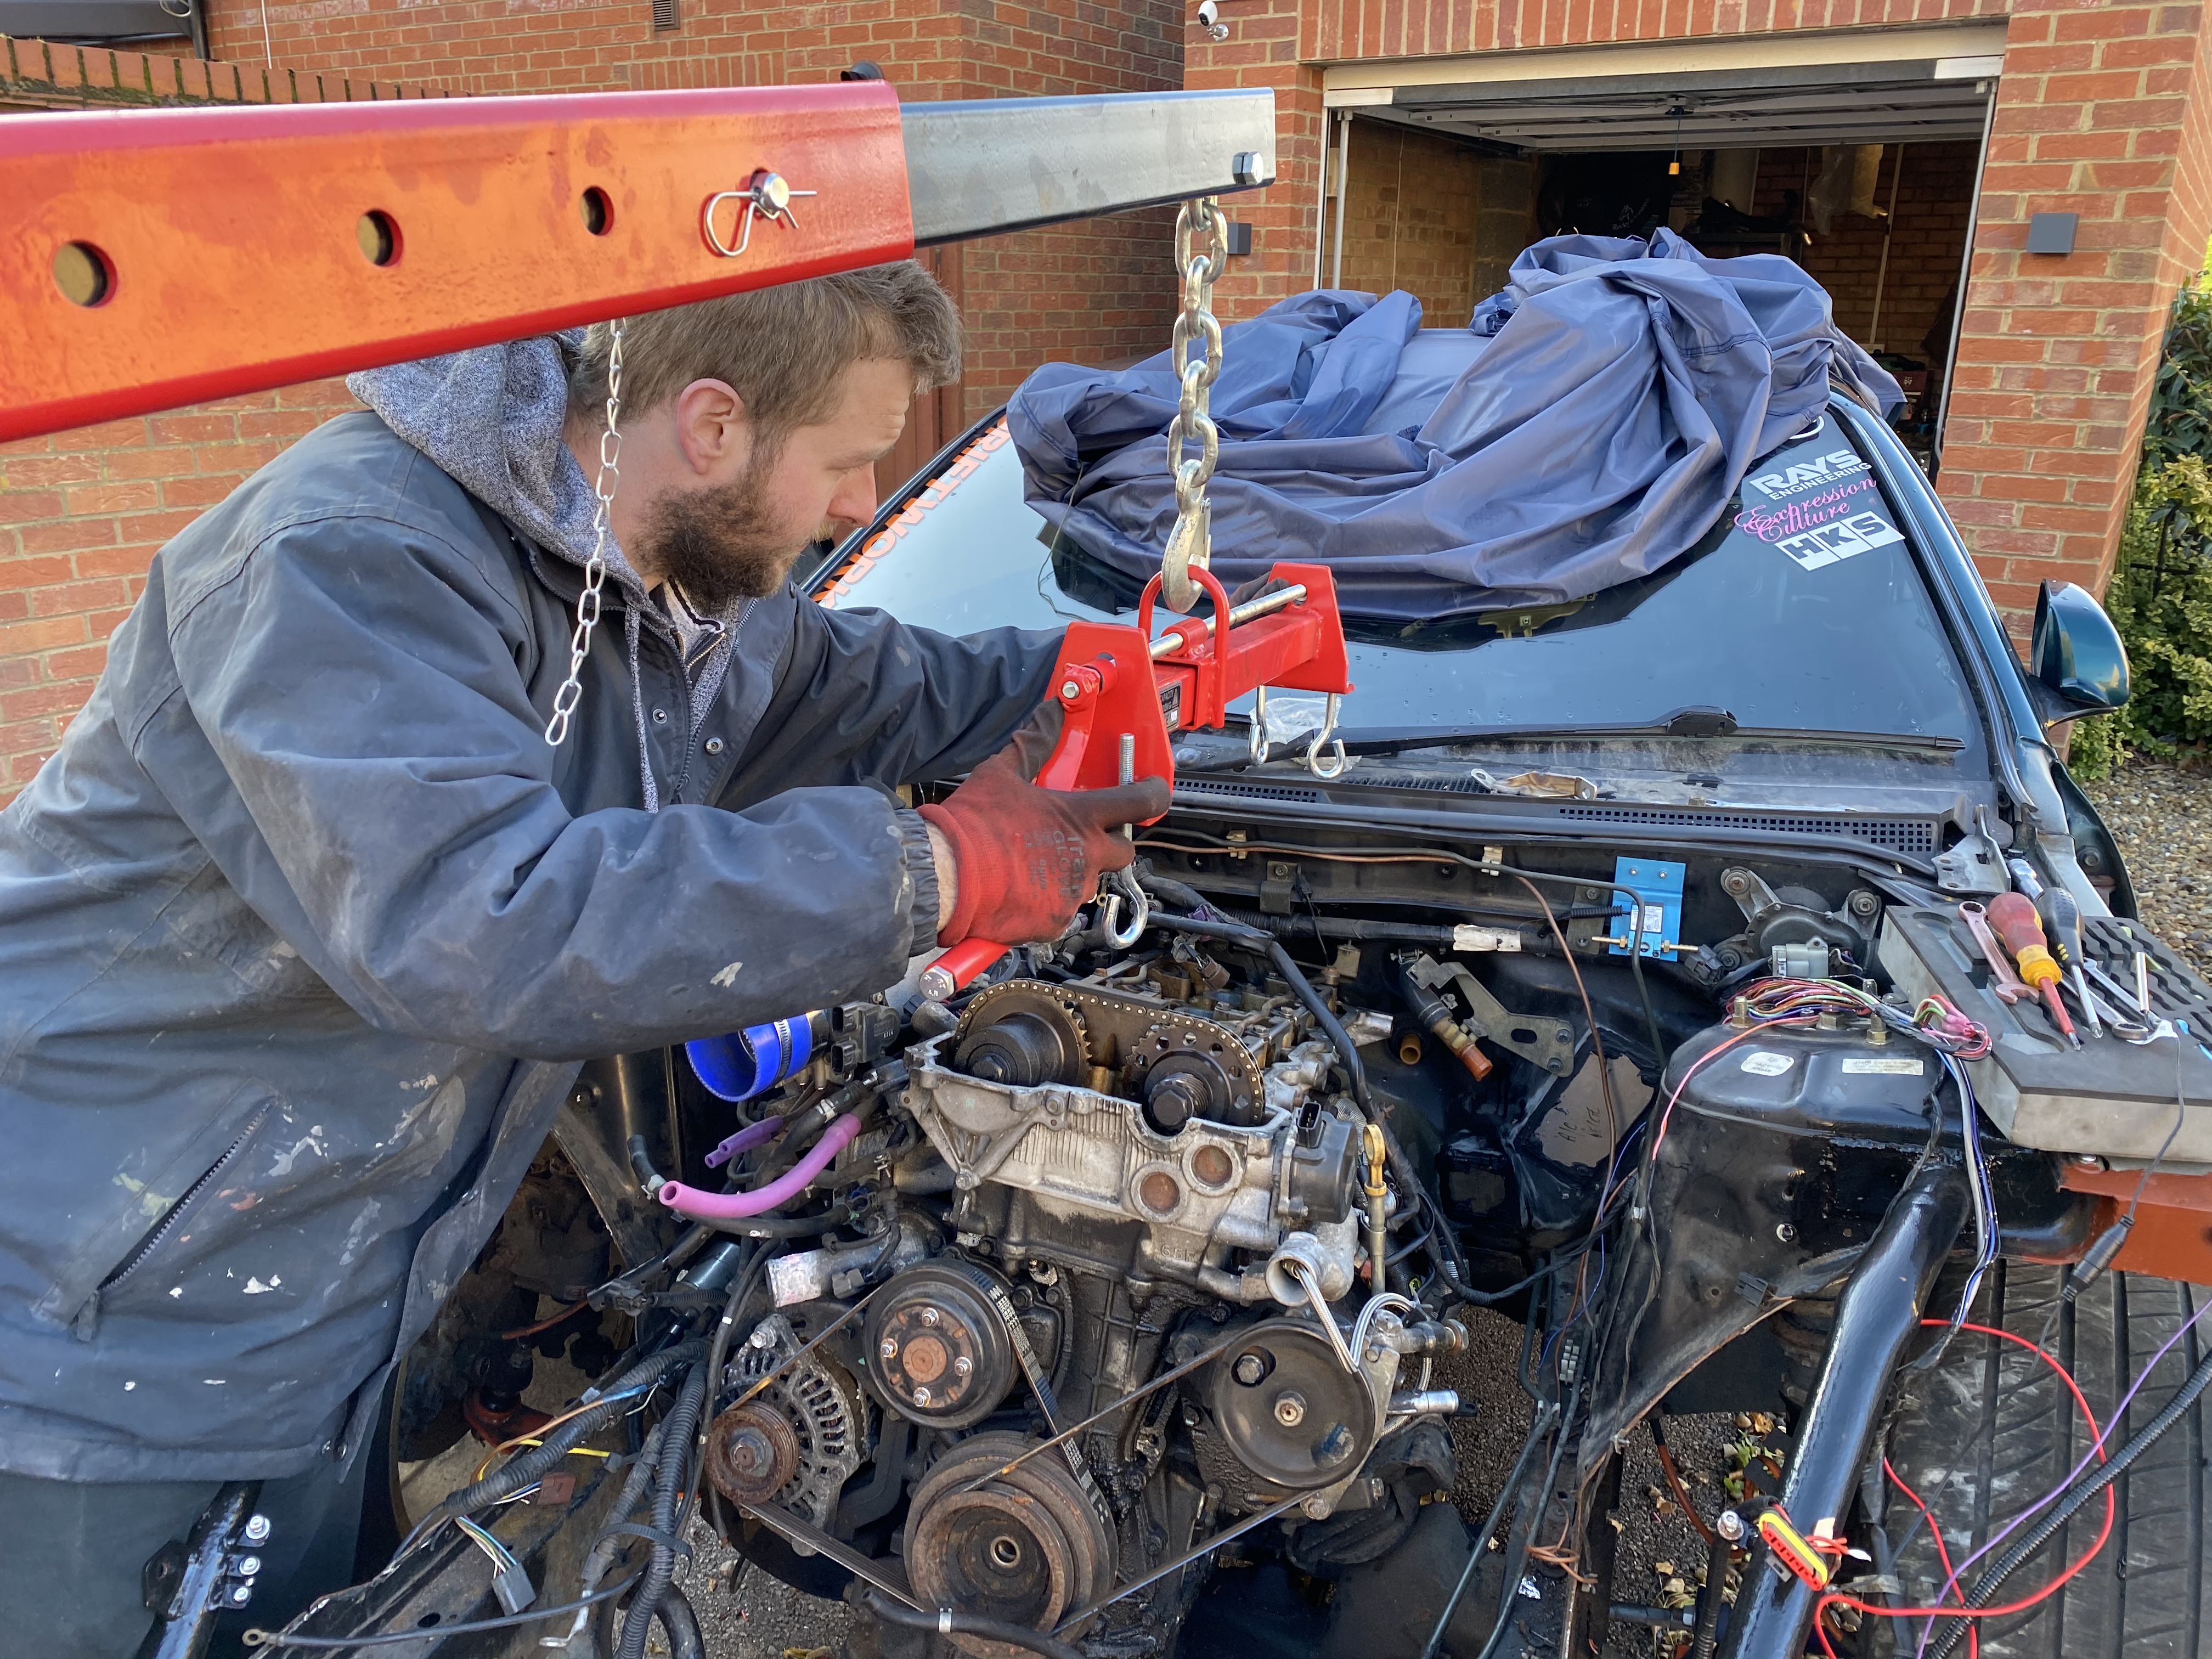
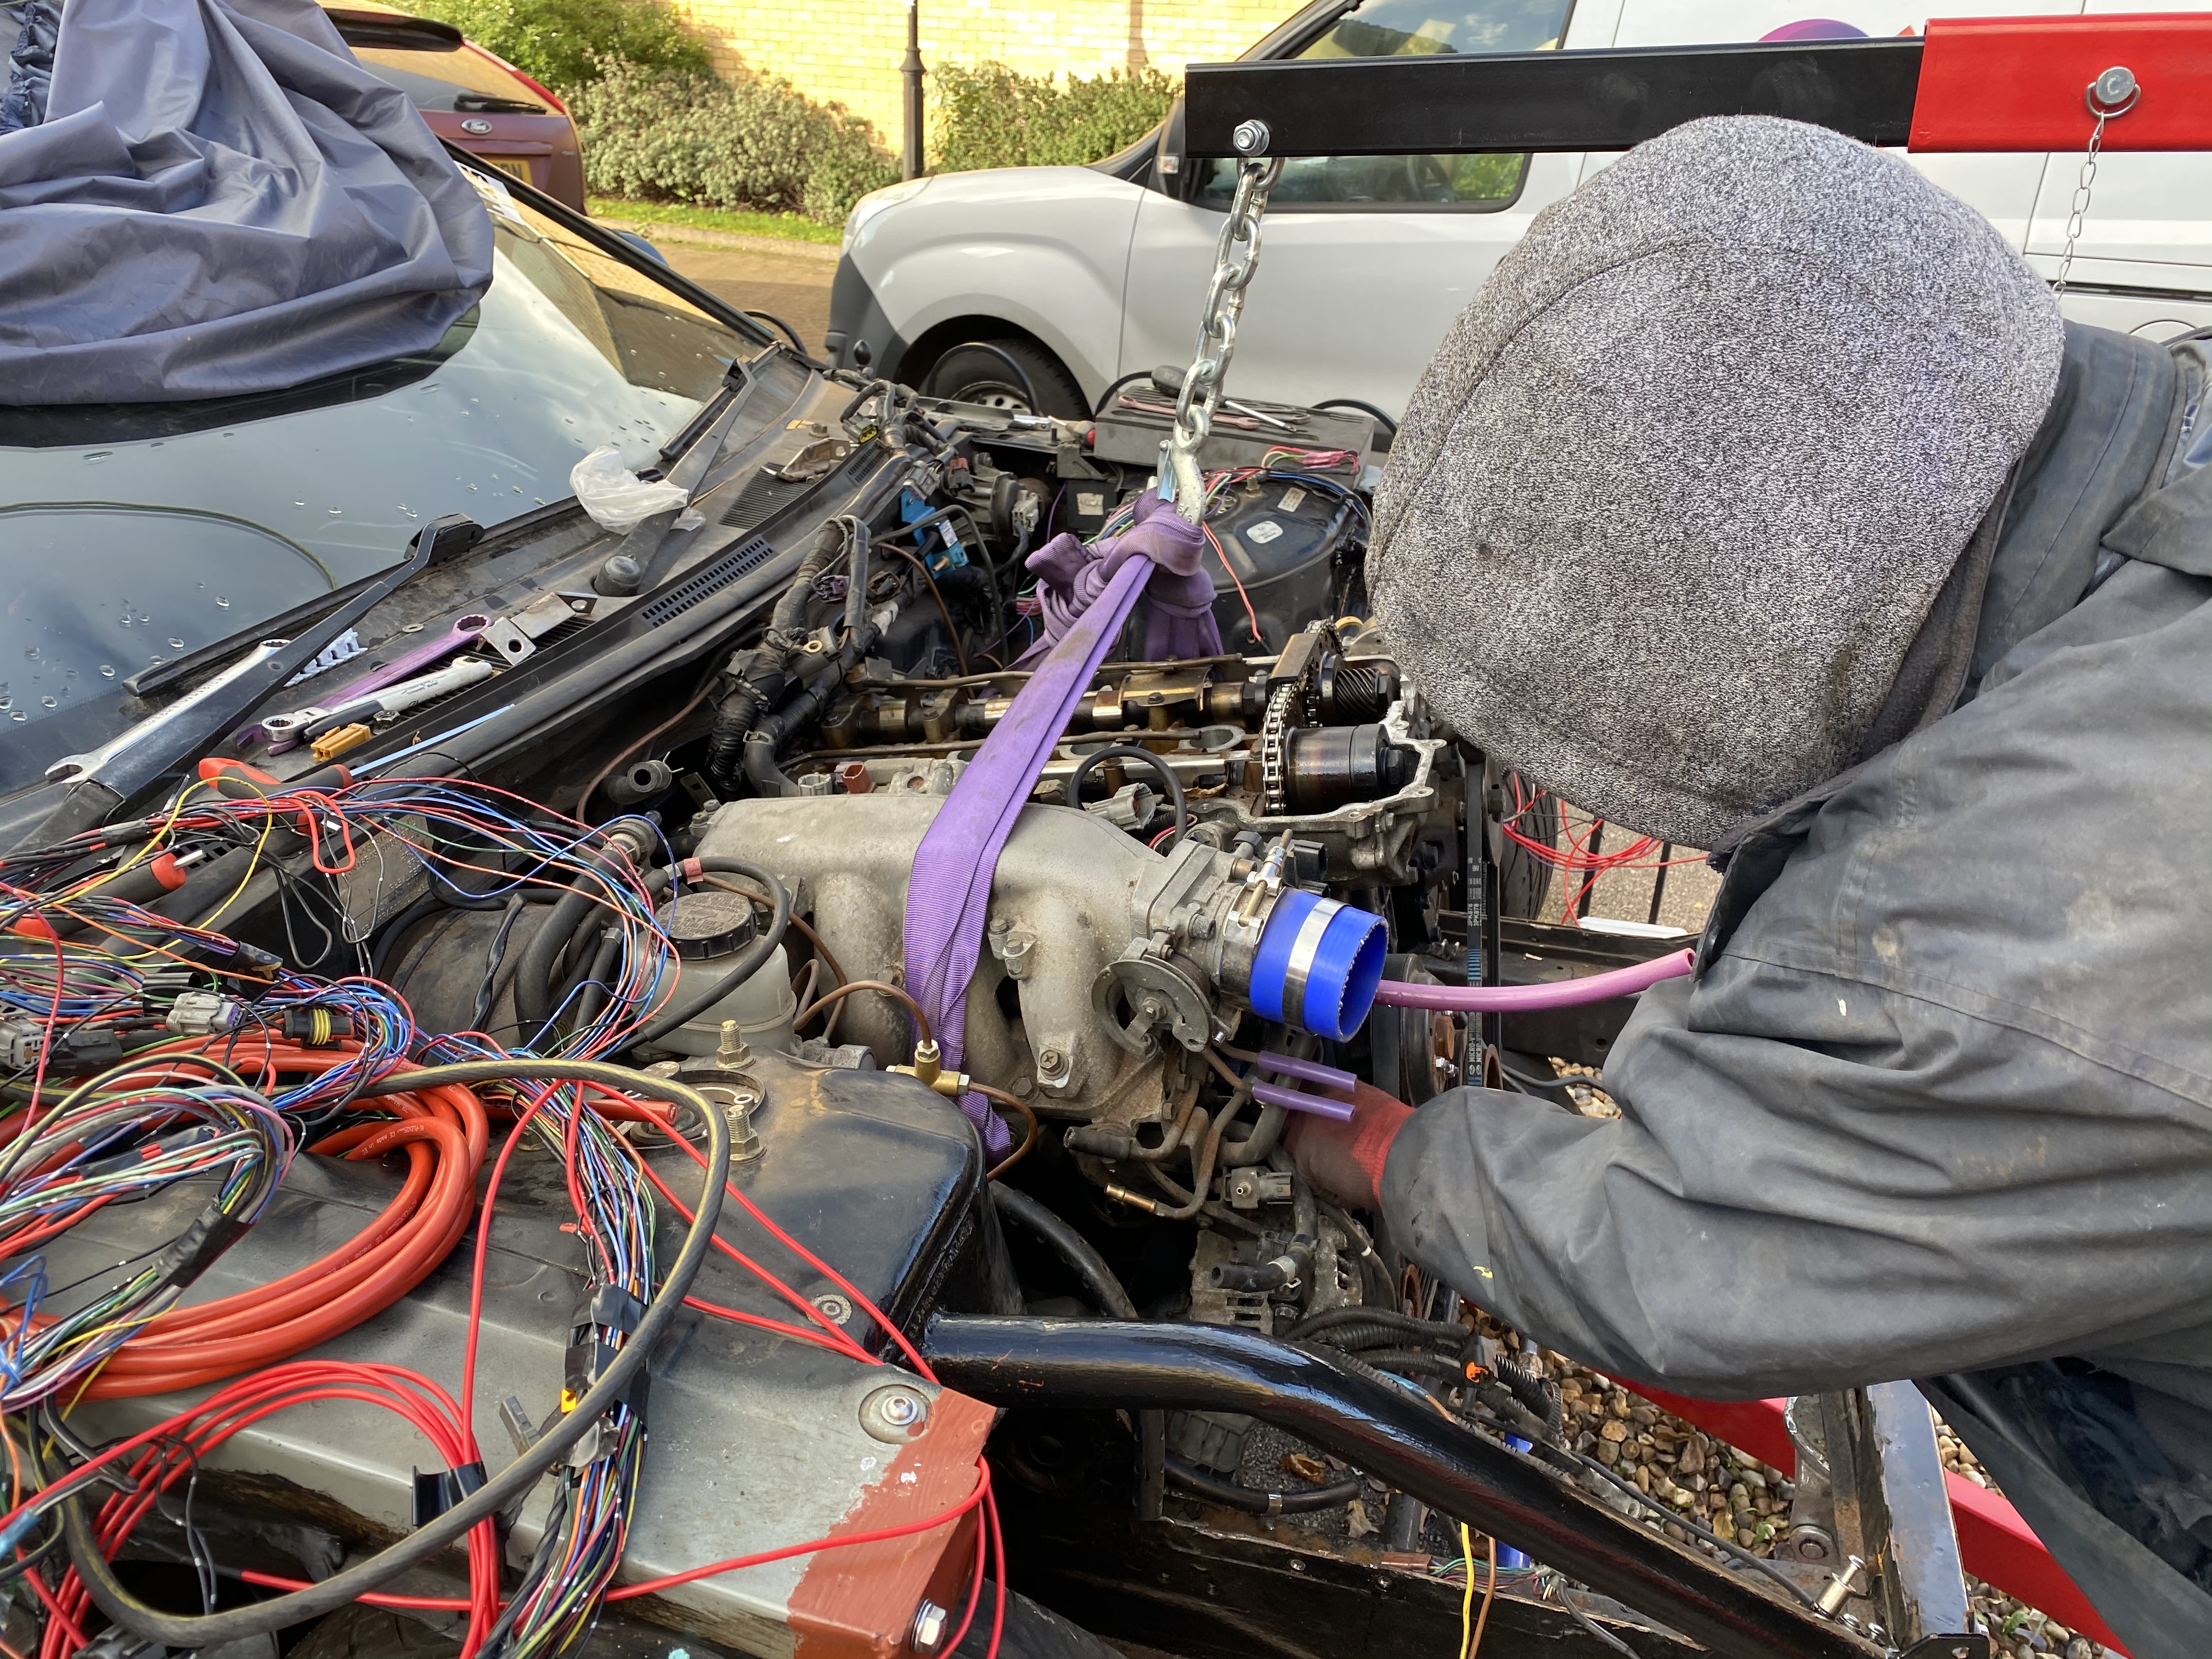
Well it’s been a while since I updated this thread so here goes, got a few bits to add but I’ve mainly been prepping for the engine to come out. So here it is: engine out


-
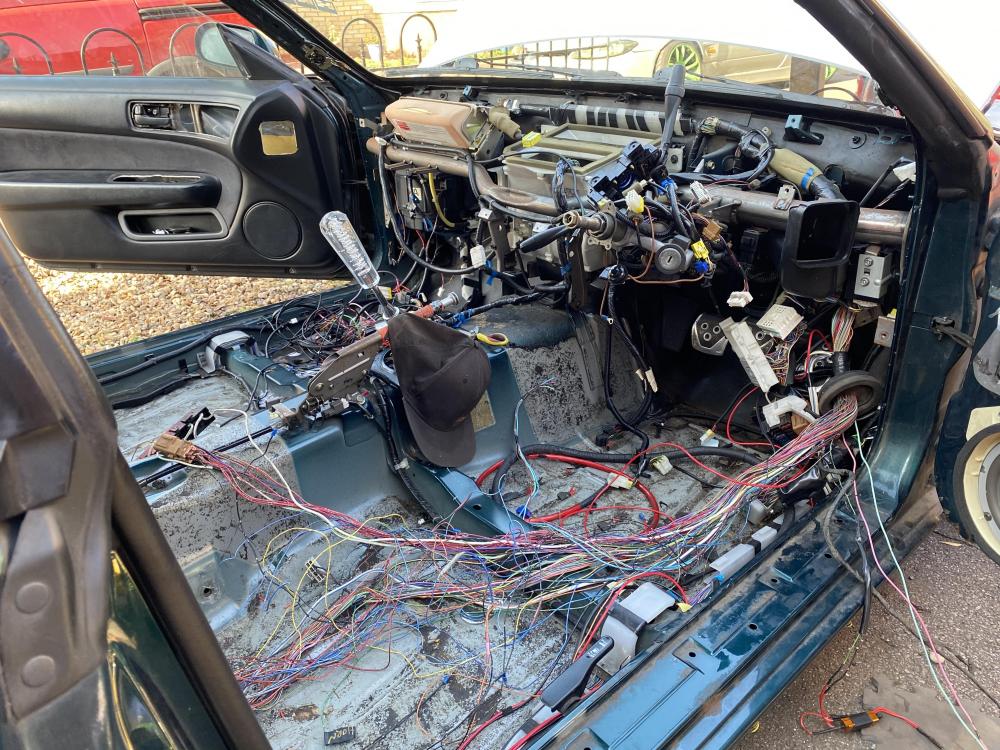
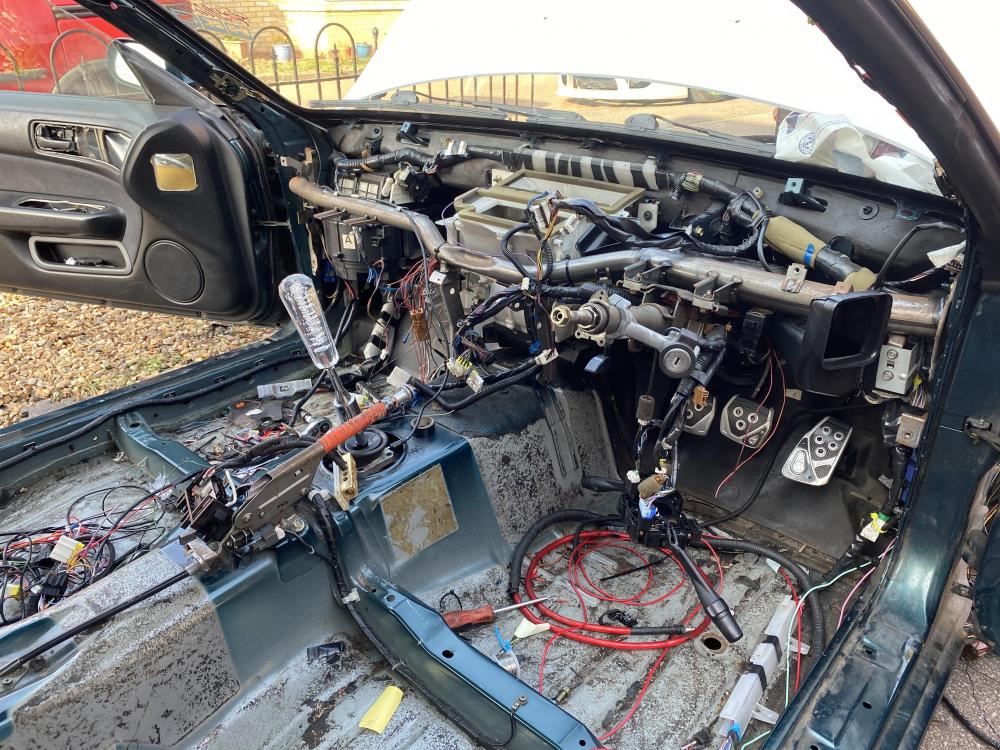
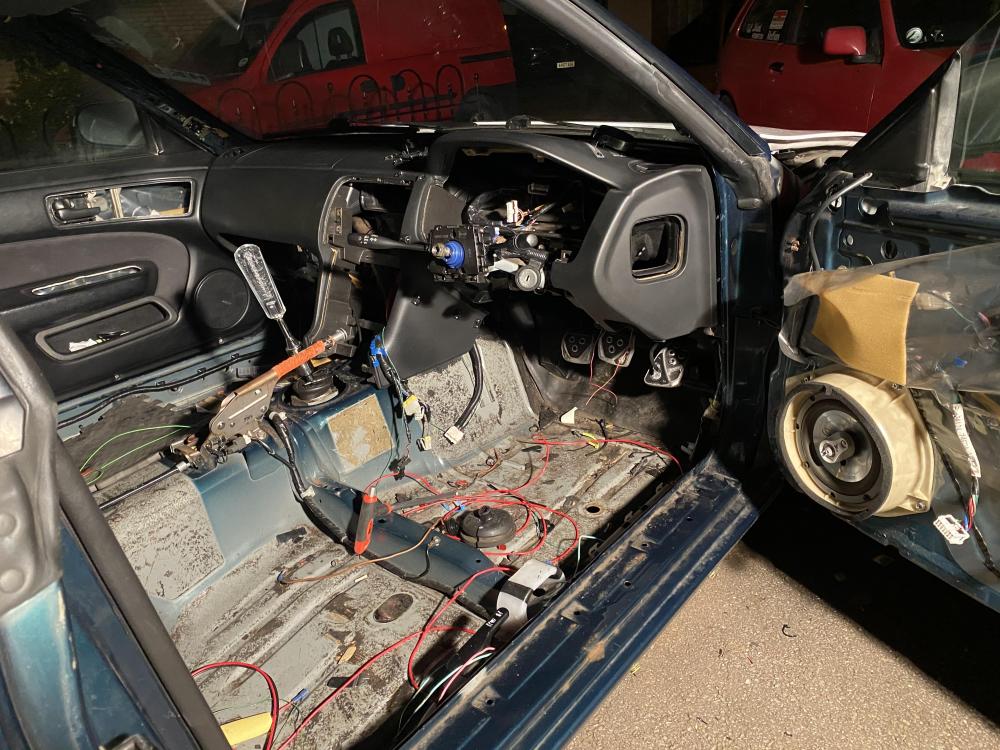
With the arches gone completely there’s no where for the fuse box to live so I’ve relocated it to the glove box. Dash came out to do the job properly. Air bag wiring, abs loom and air con was completely stripped from the car. The headlights and gearbox loom was pulled back through and rejoined and now completely misses the front drivers wheel.
I’ve still got to order some battery cable to wire back in the alternator and starter motor and extend 3 wires as well as wire in a horn and the rear fog
-
On 9/9/2020 at 10:57 AM, Claymore said:
Looking good,

Cheers, it’s been a long time in the making but finally getting it done
-
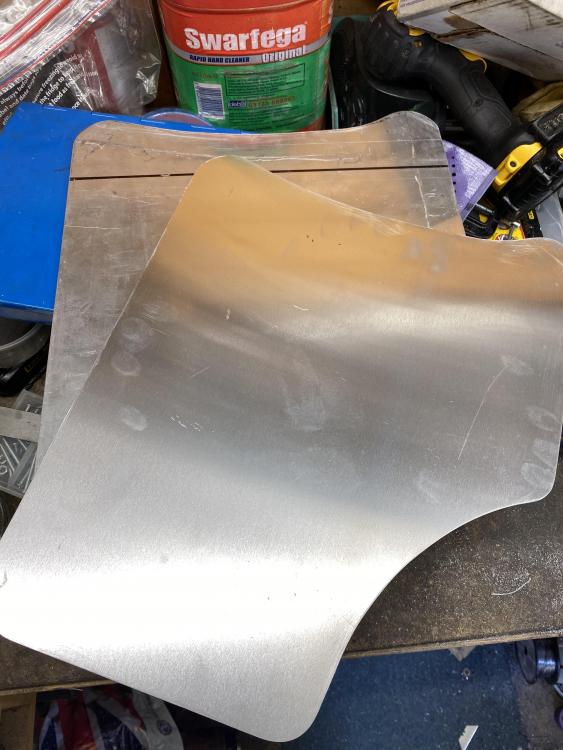
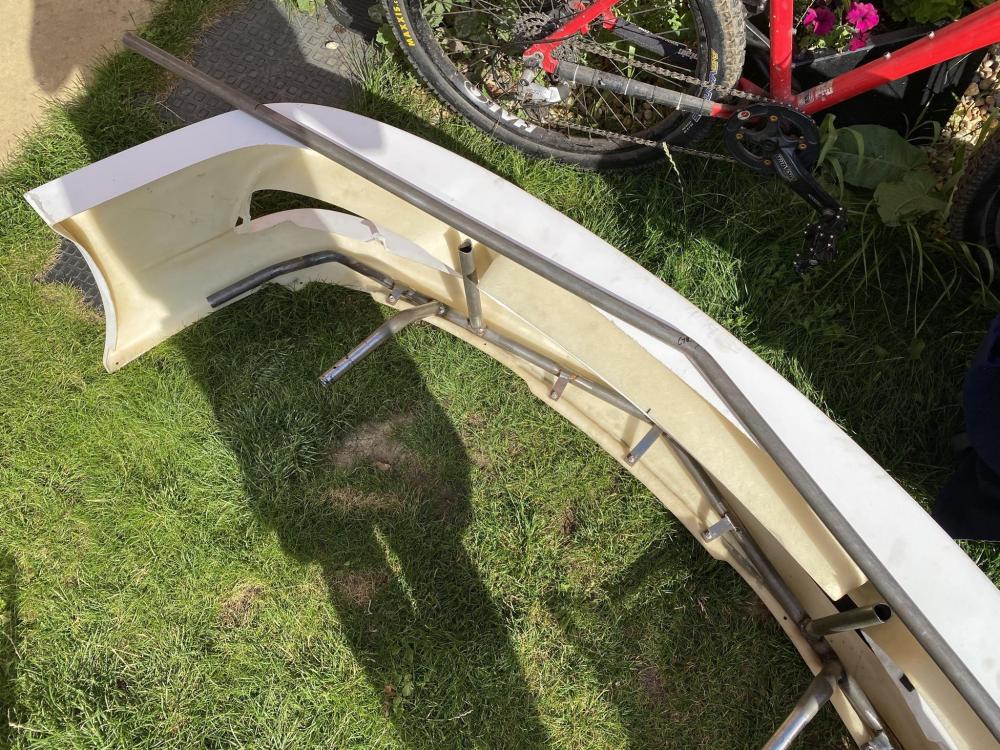
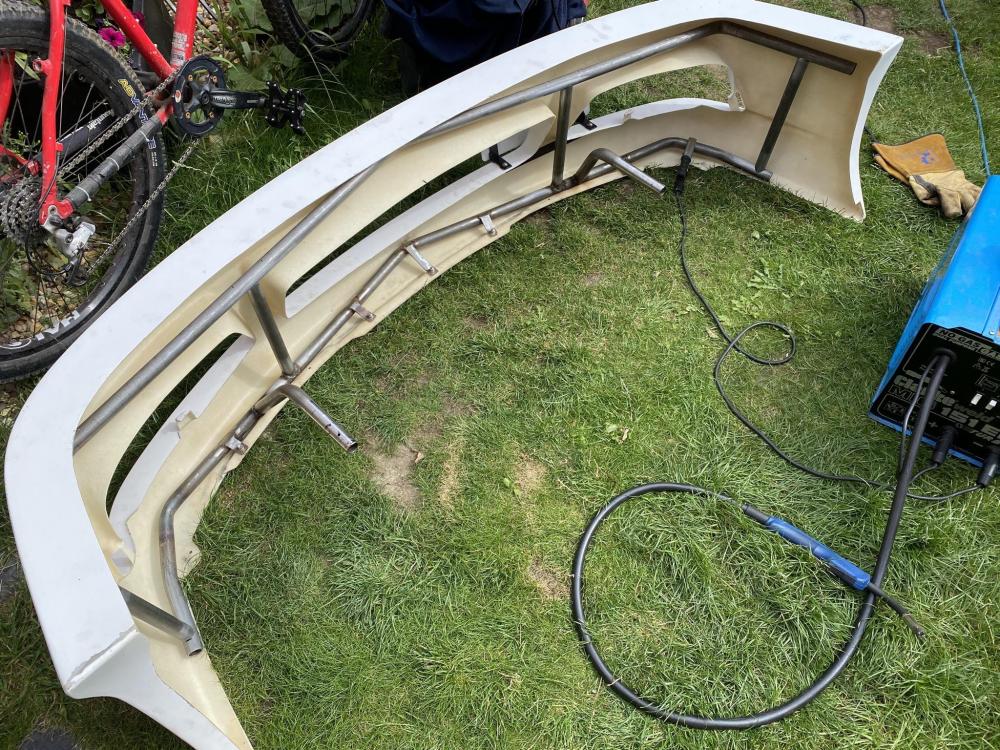
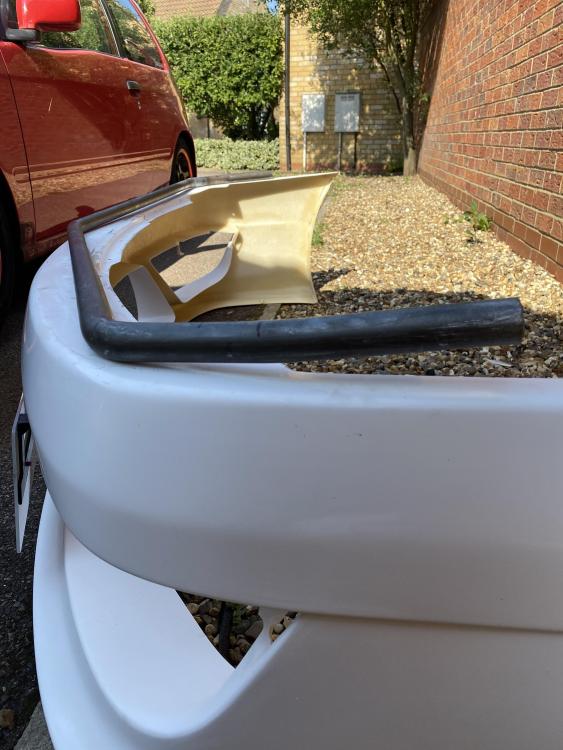
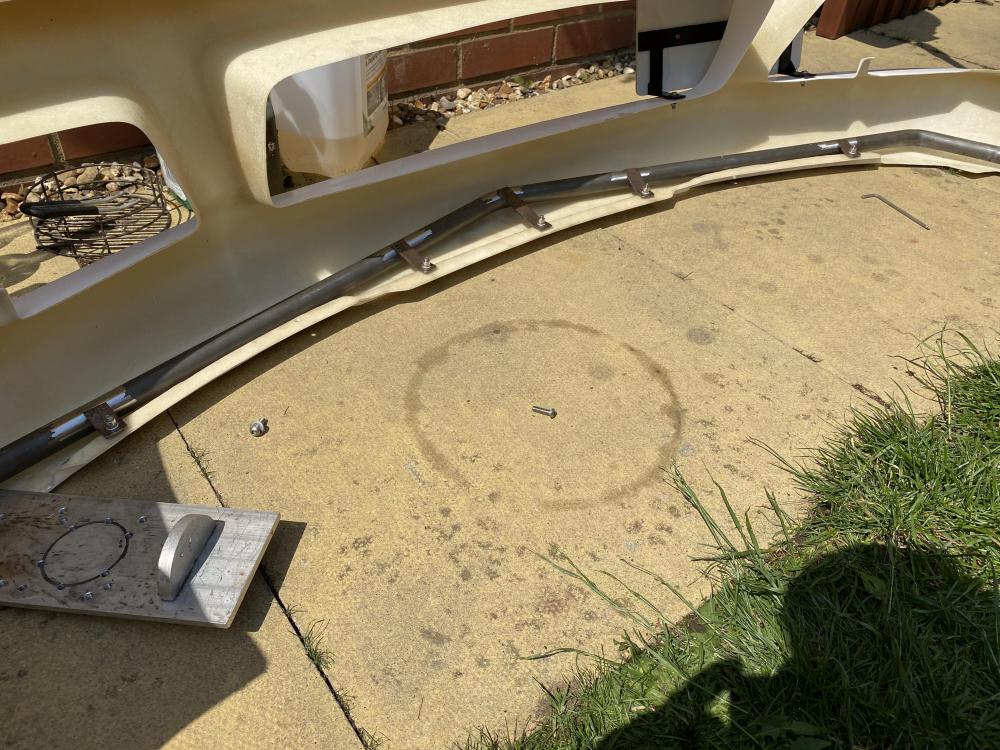
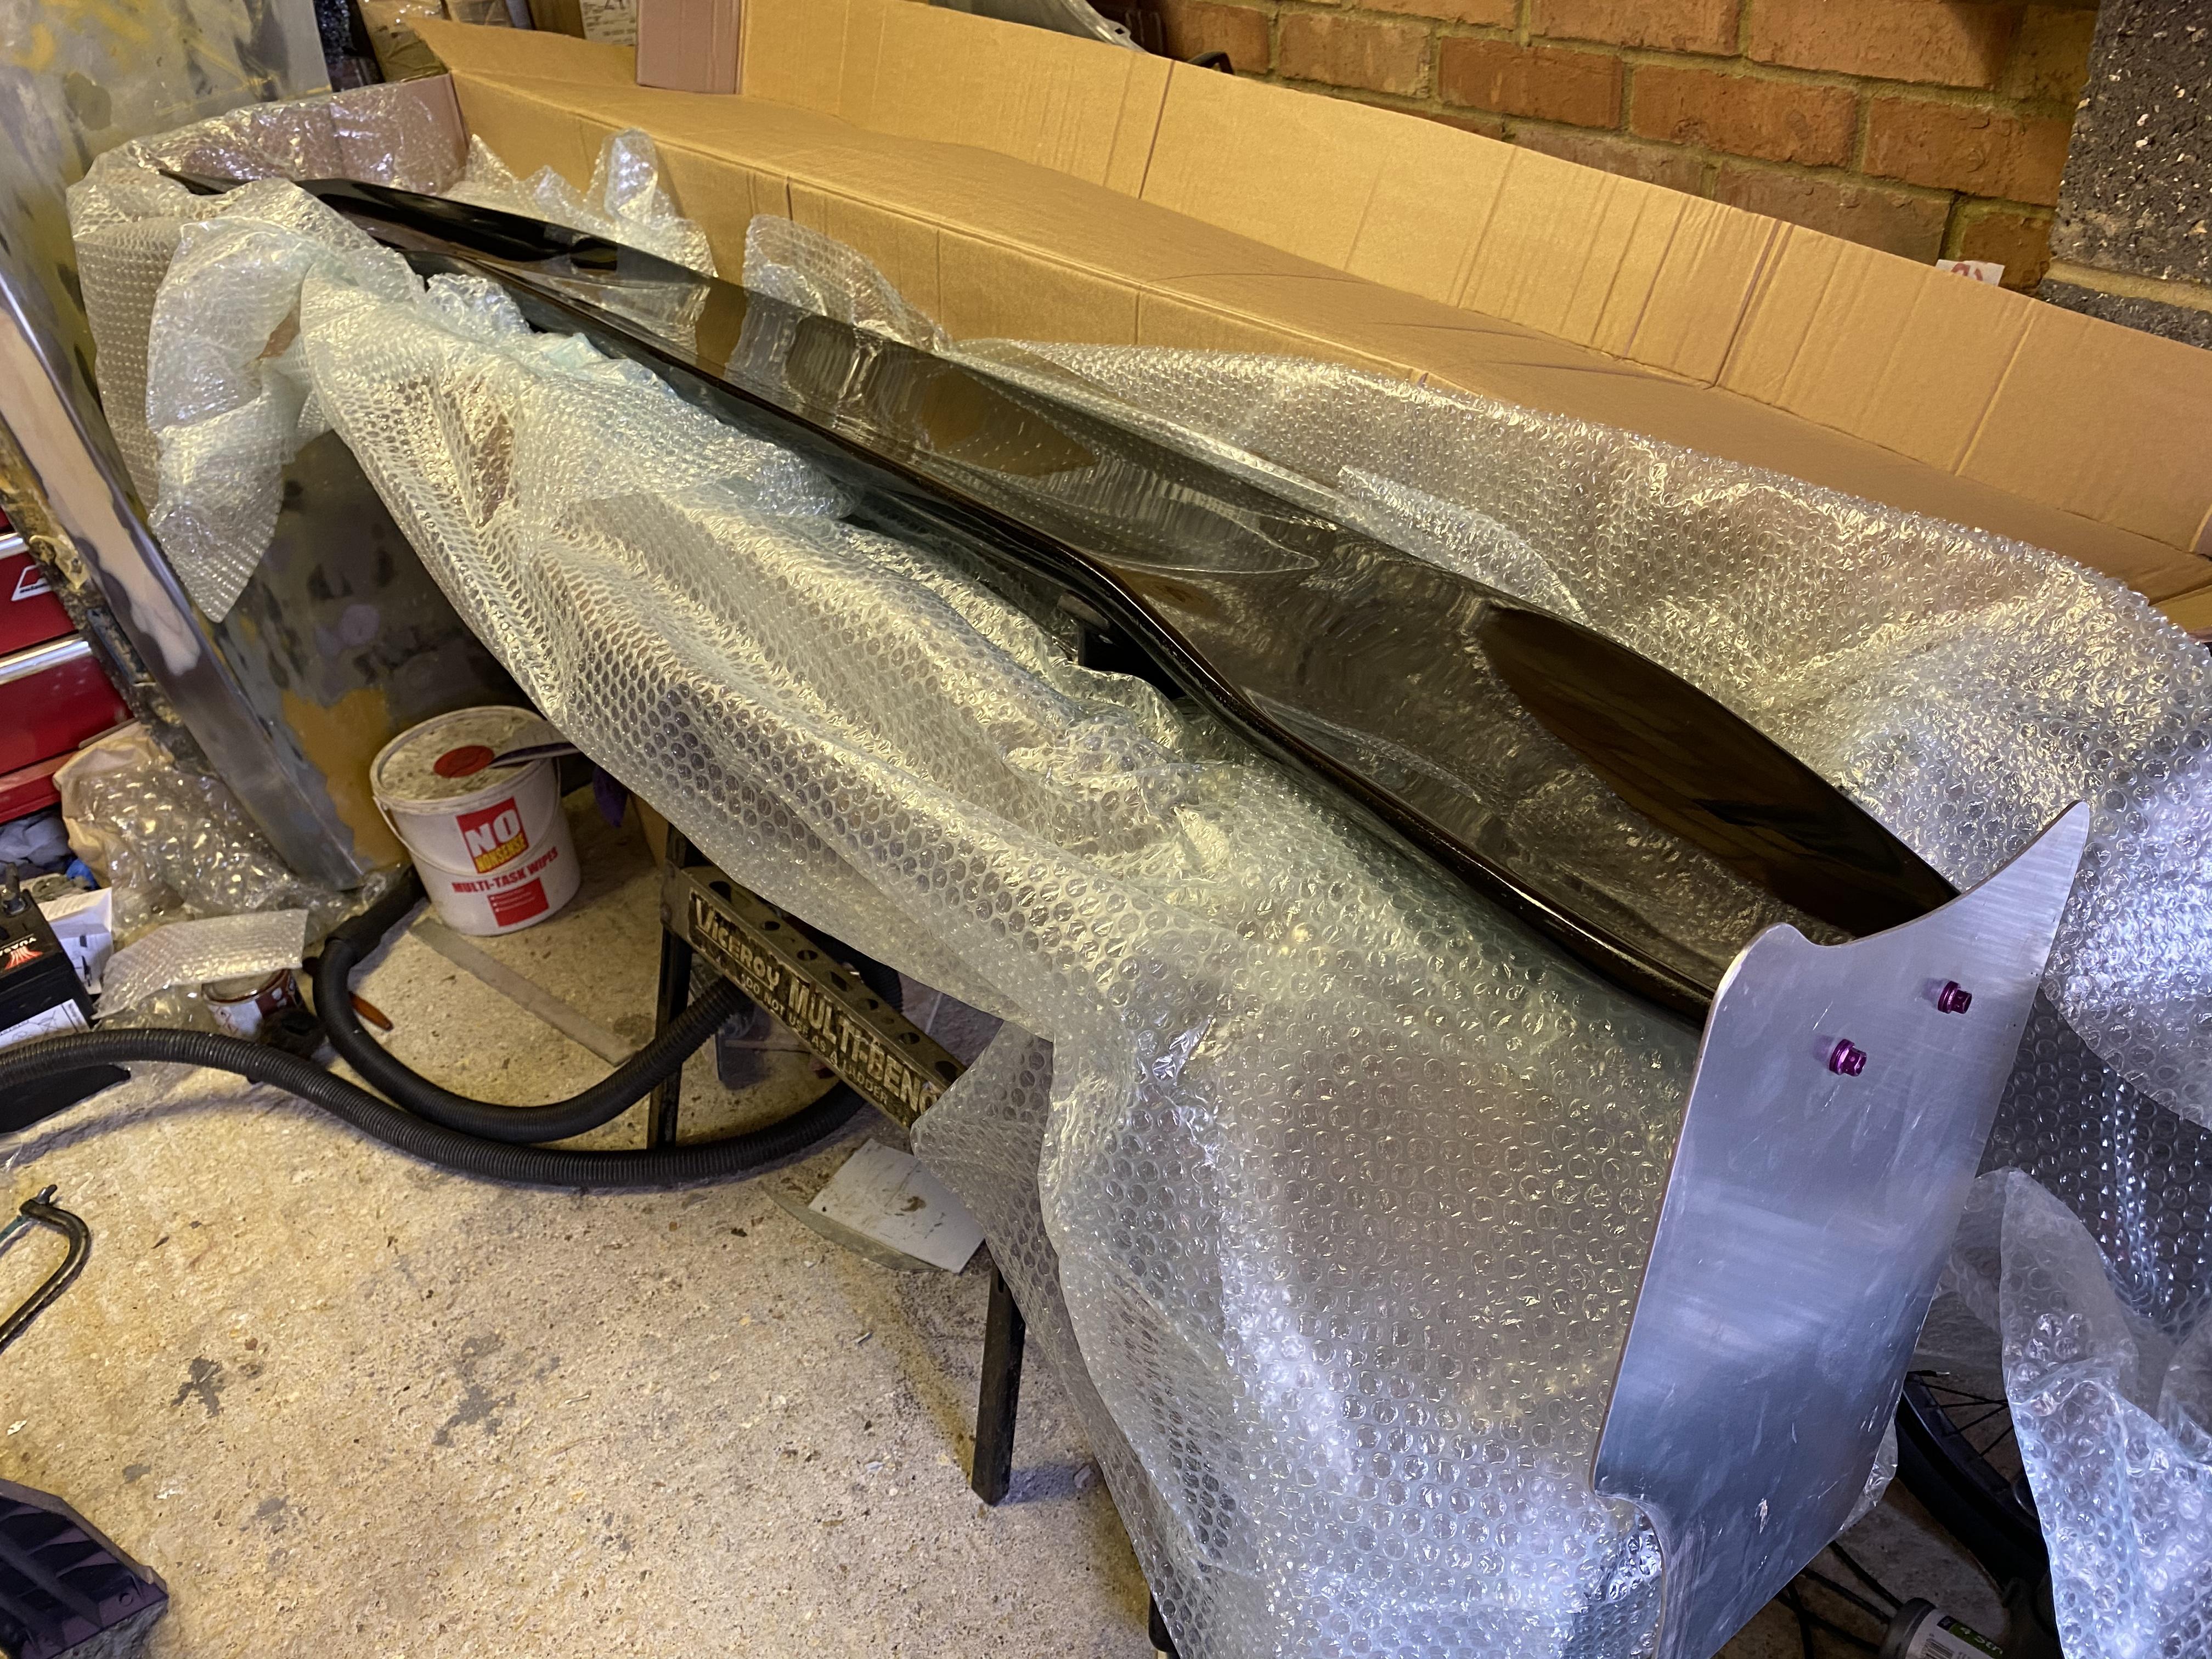
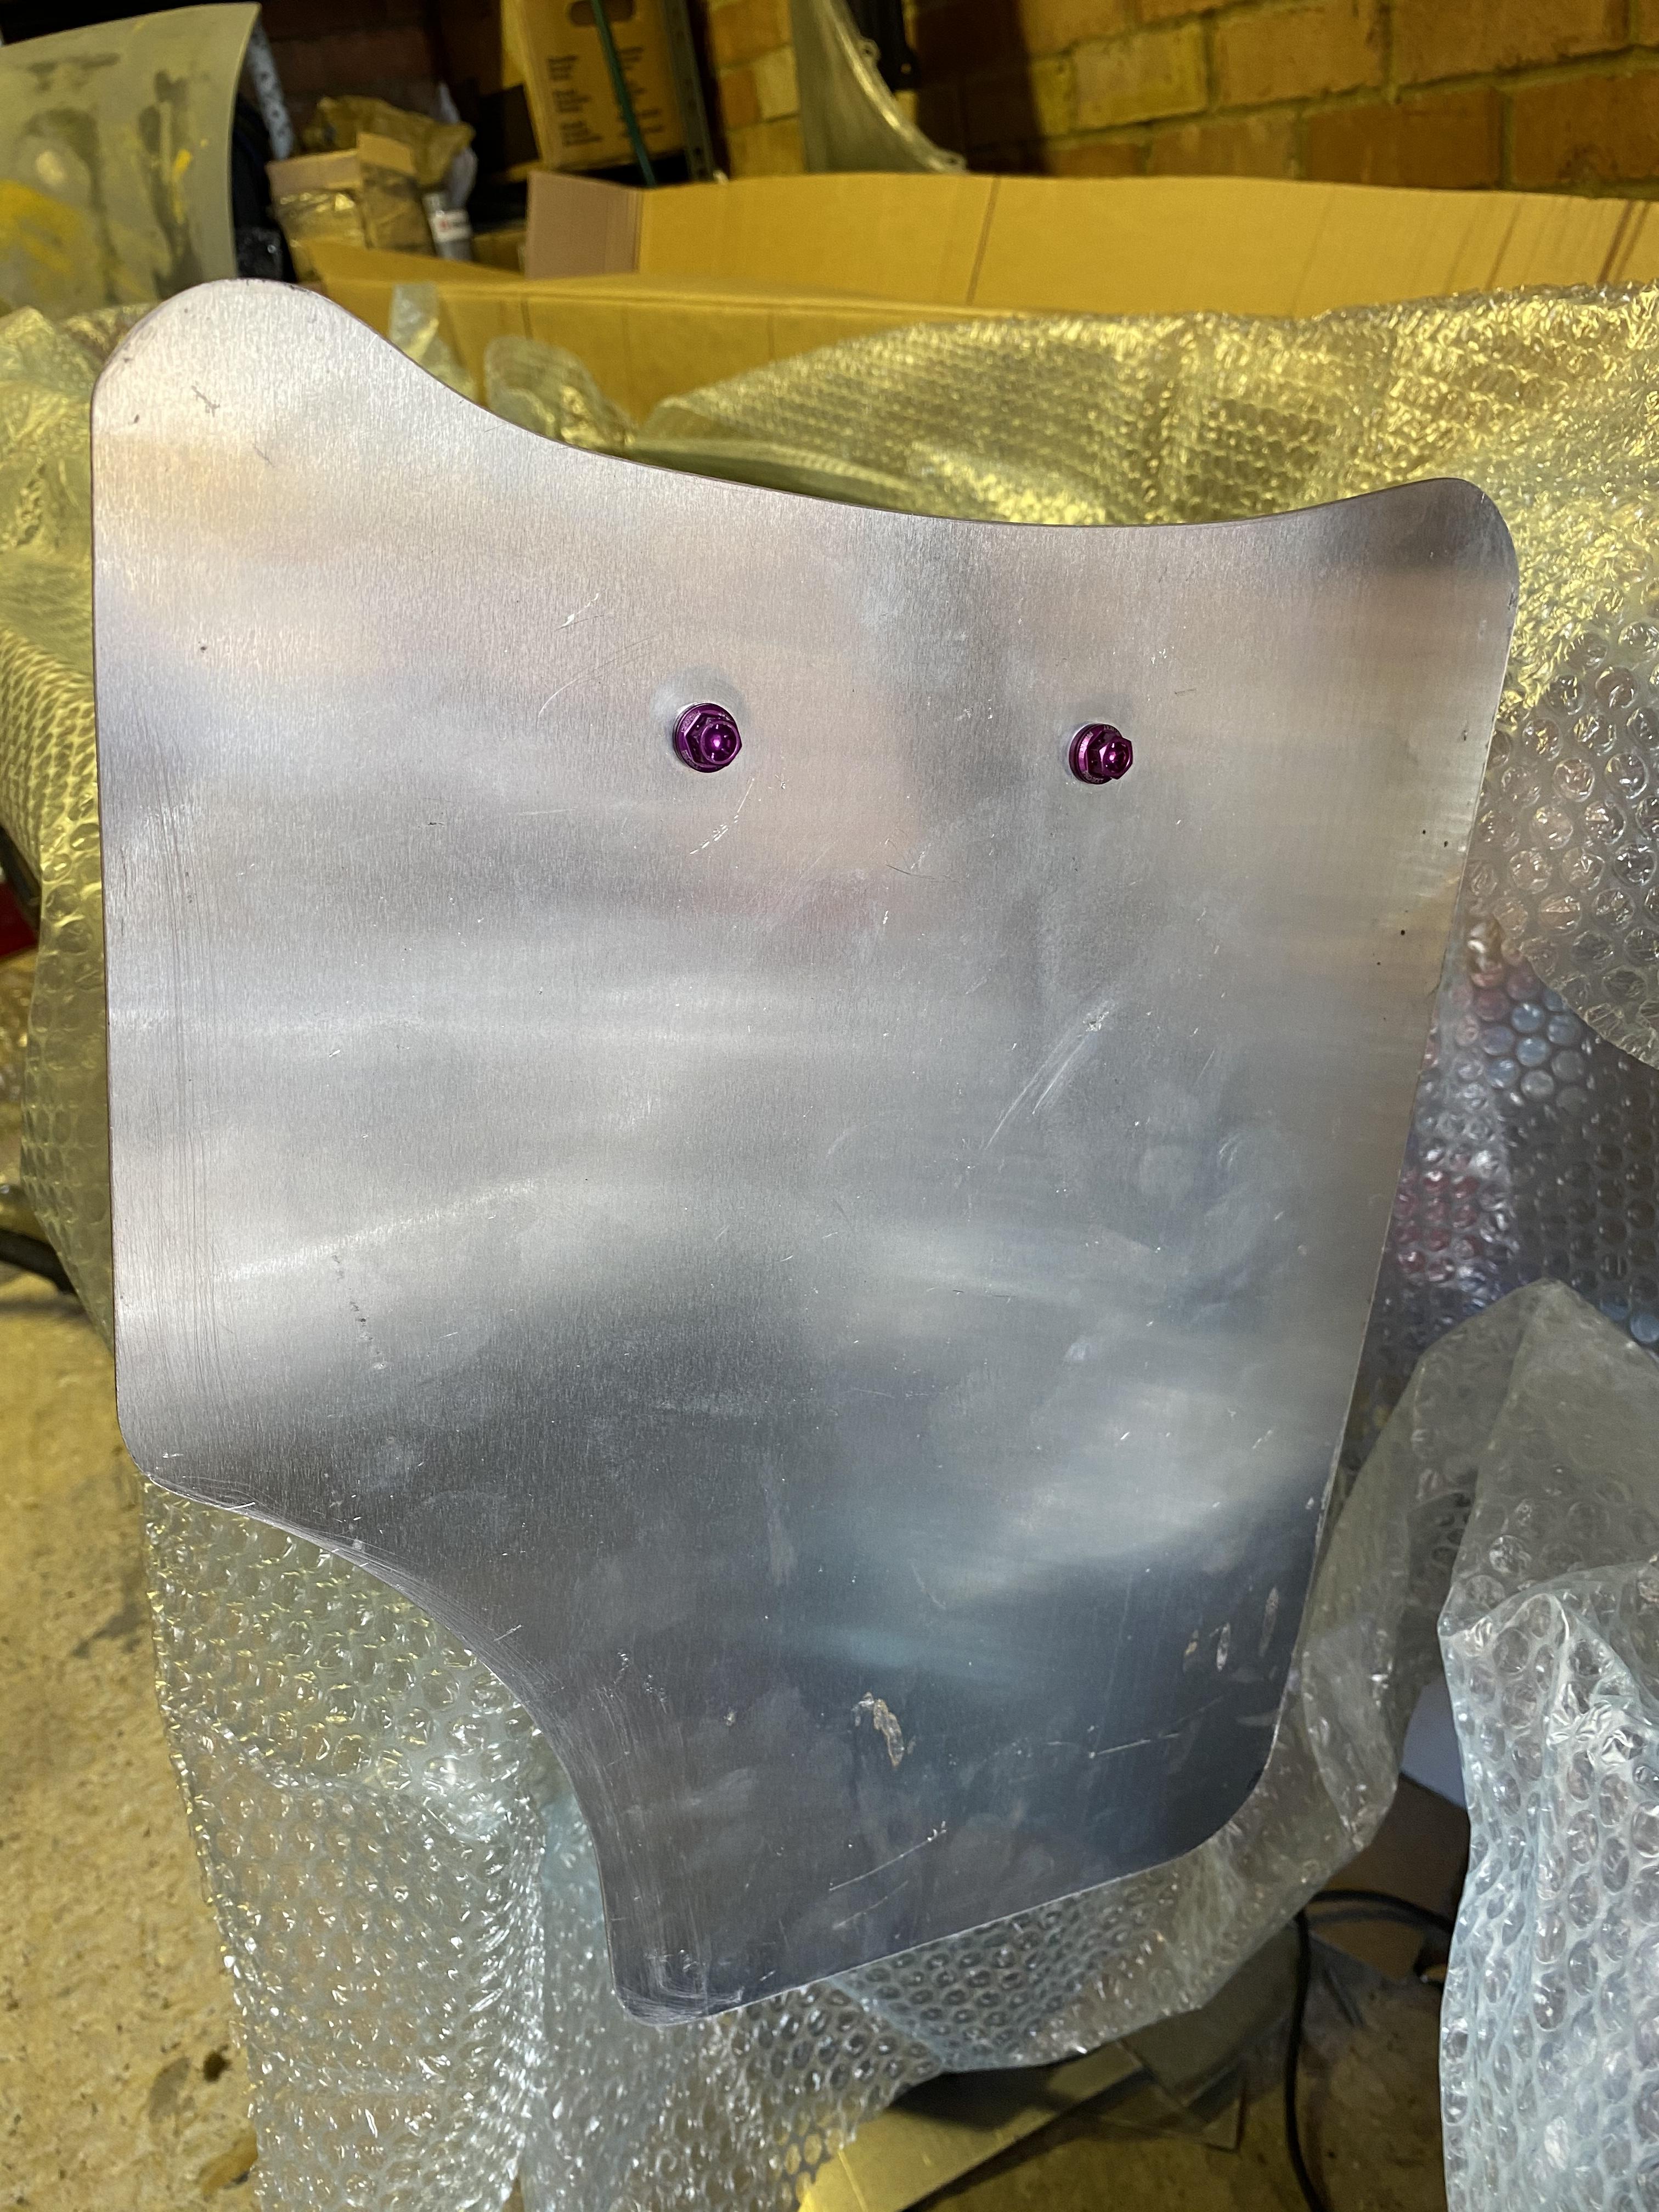
Decided to go for a rear wing low mounted. Made up some end plates for it, just need to clean them up and paint them satin black


-
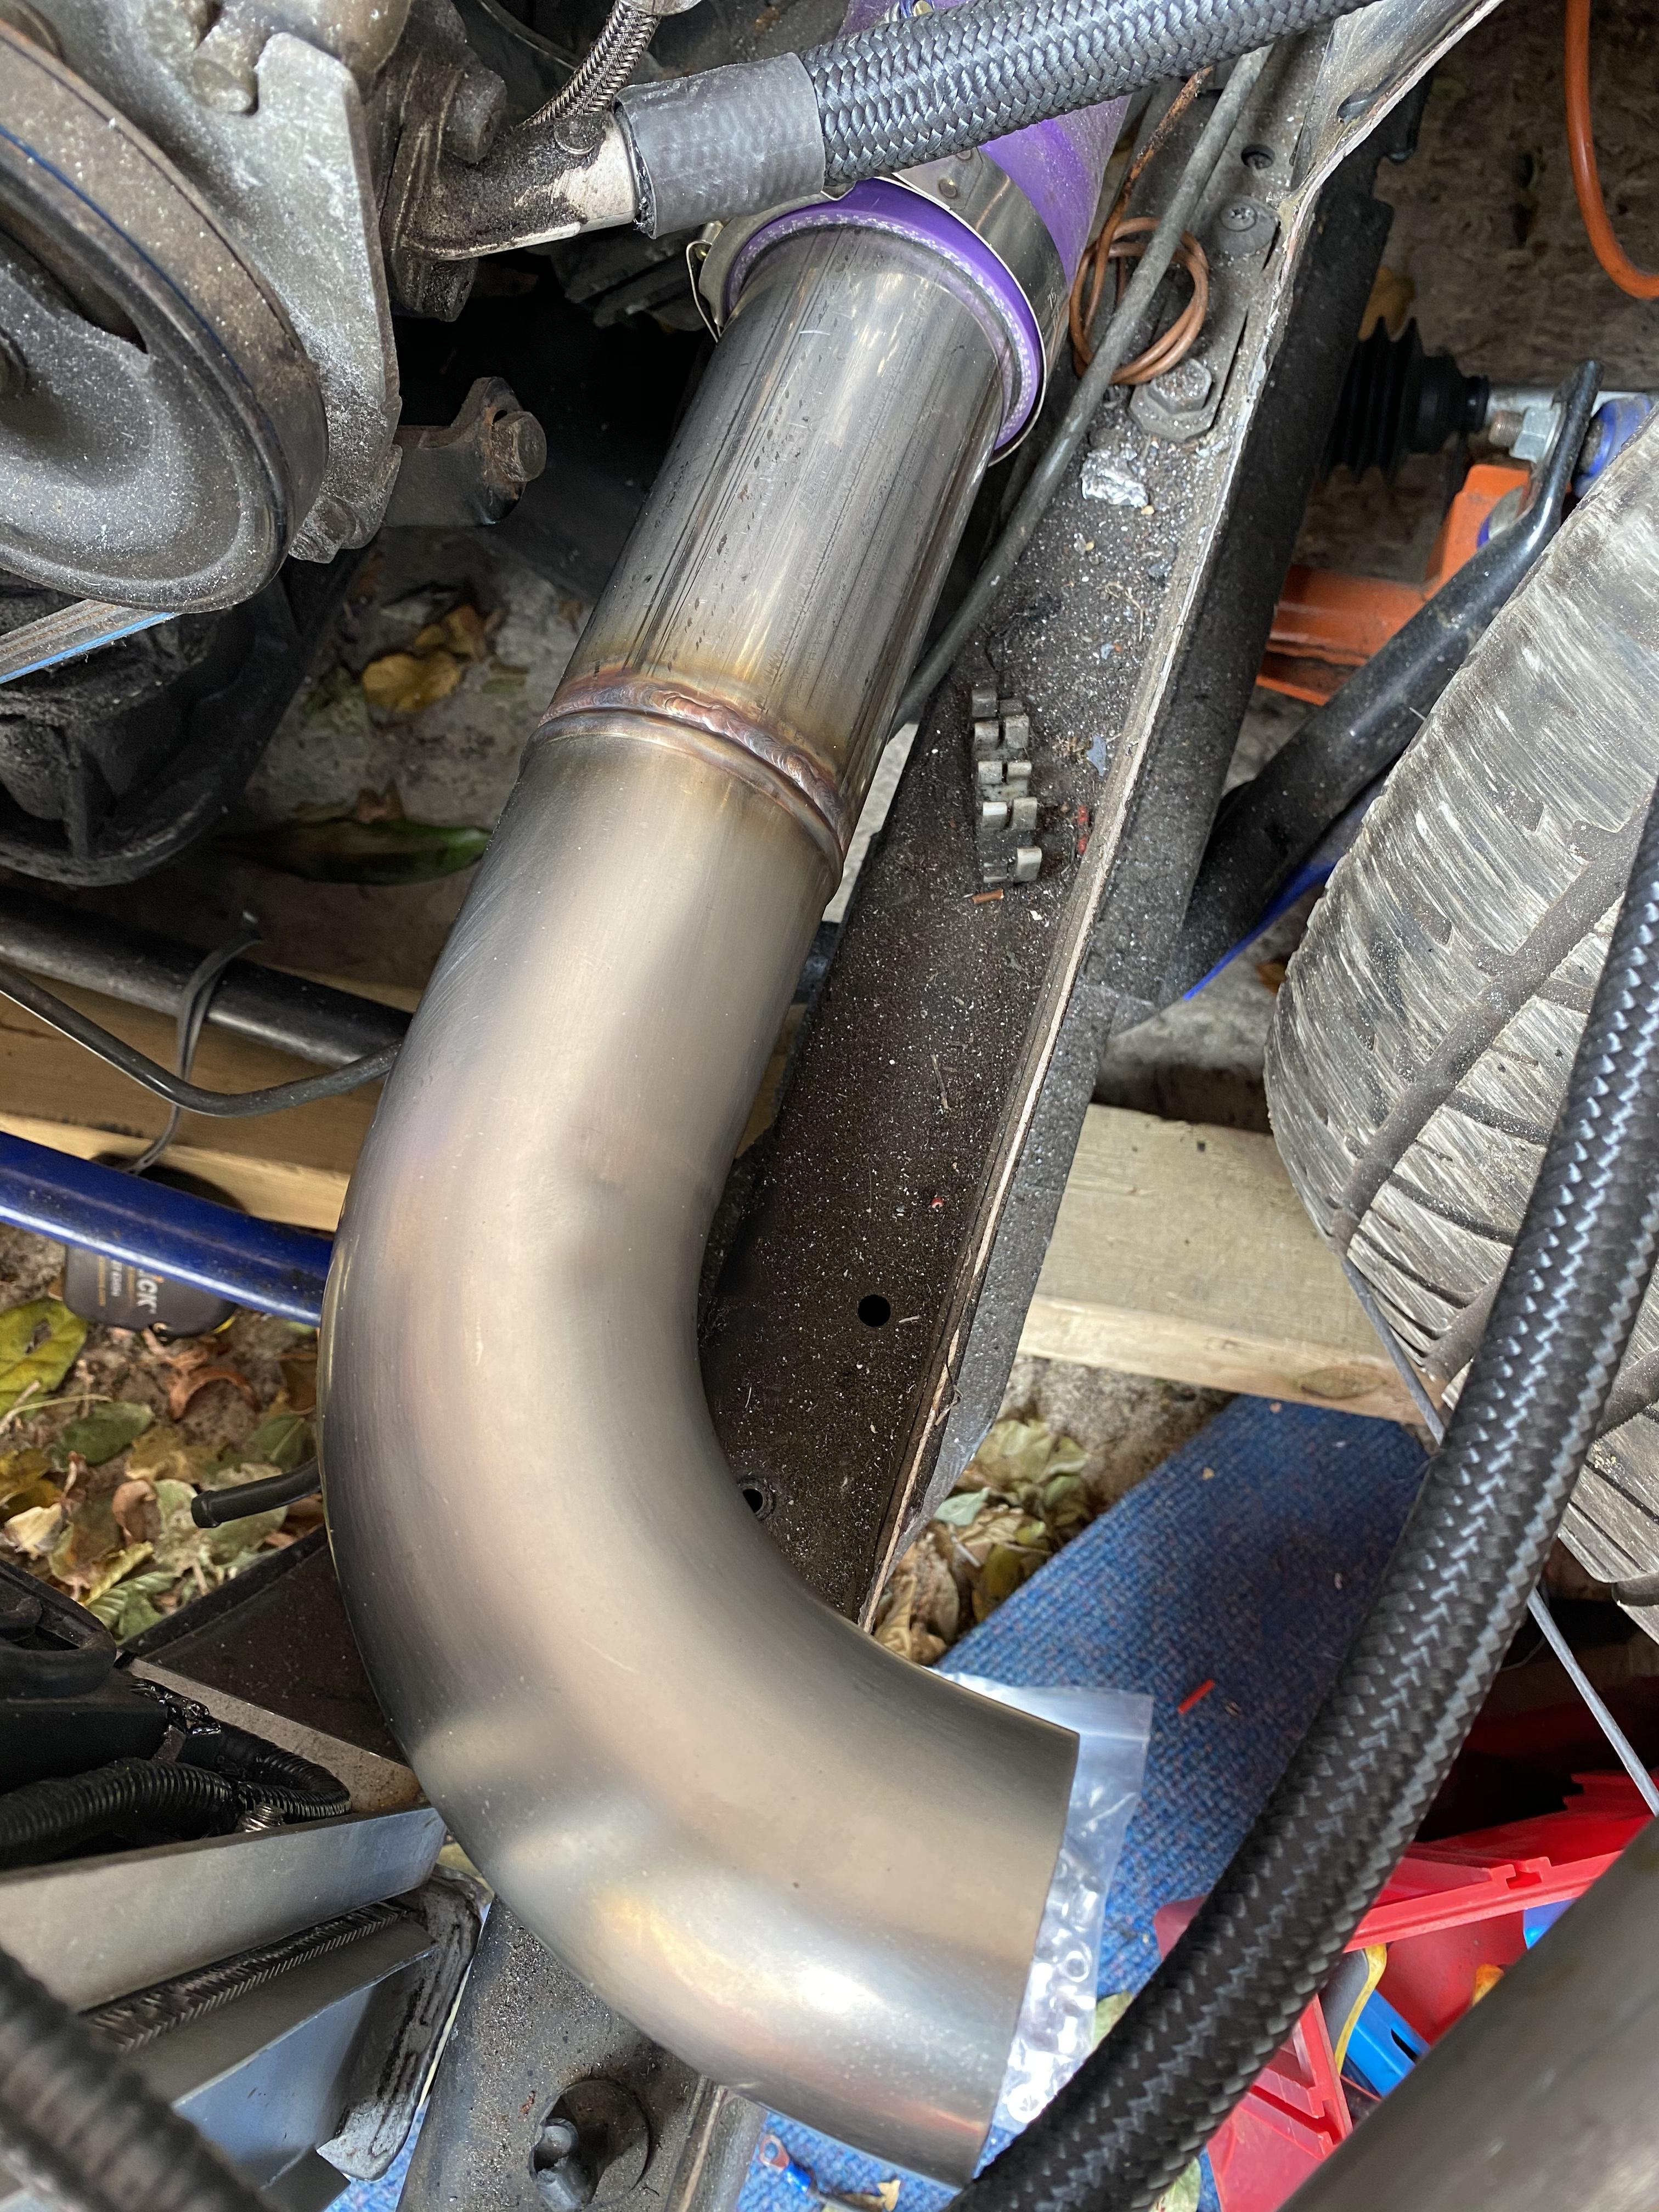
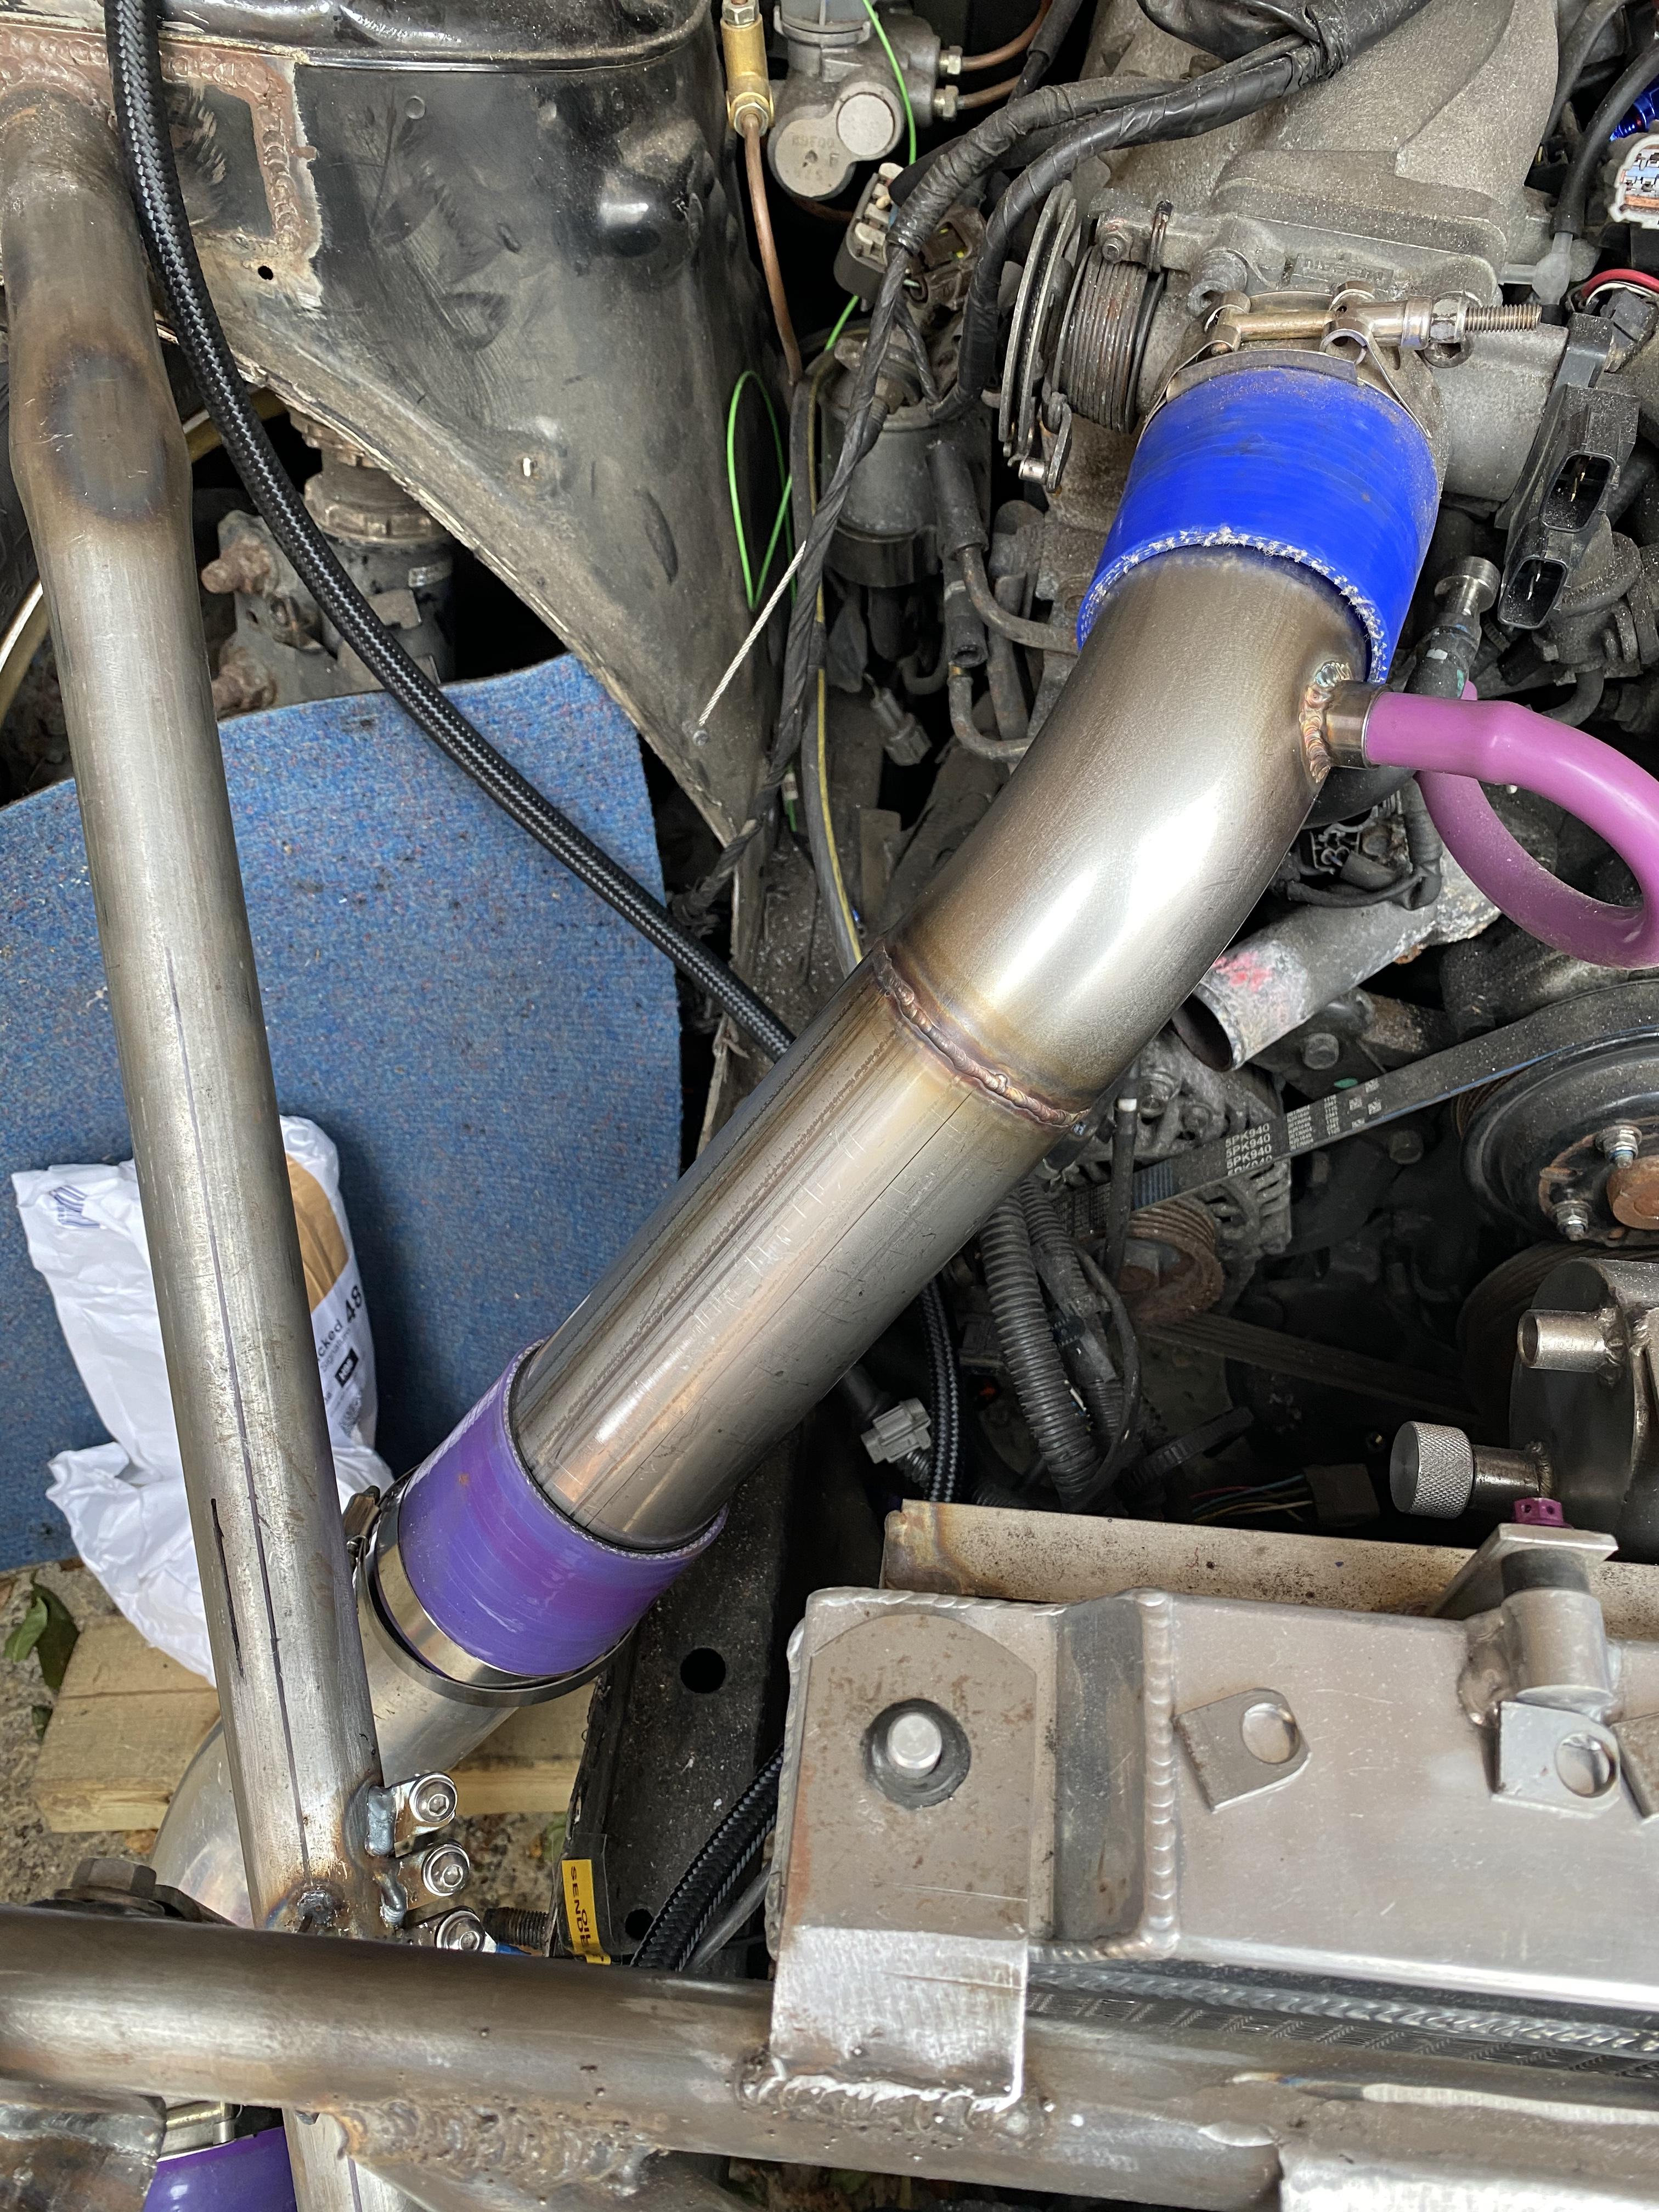
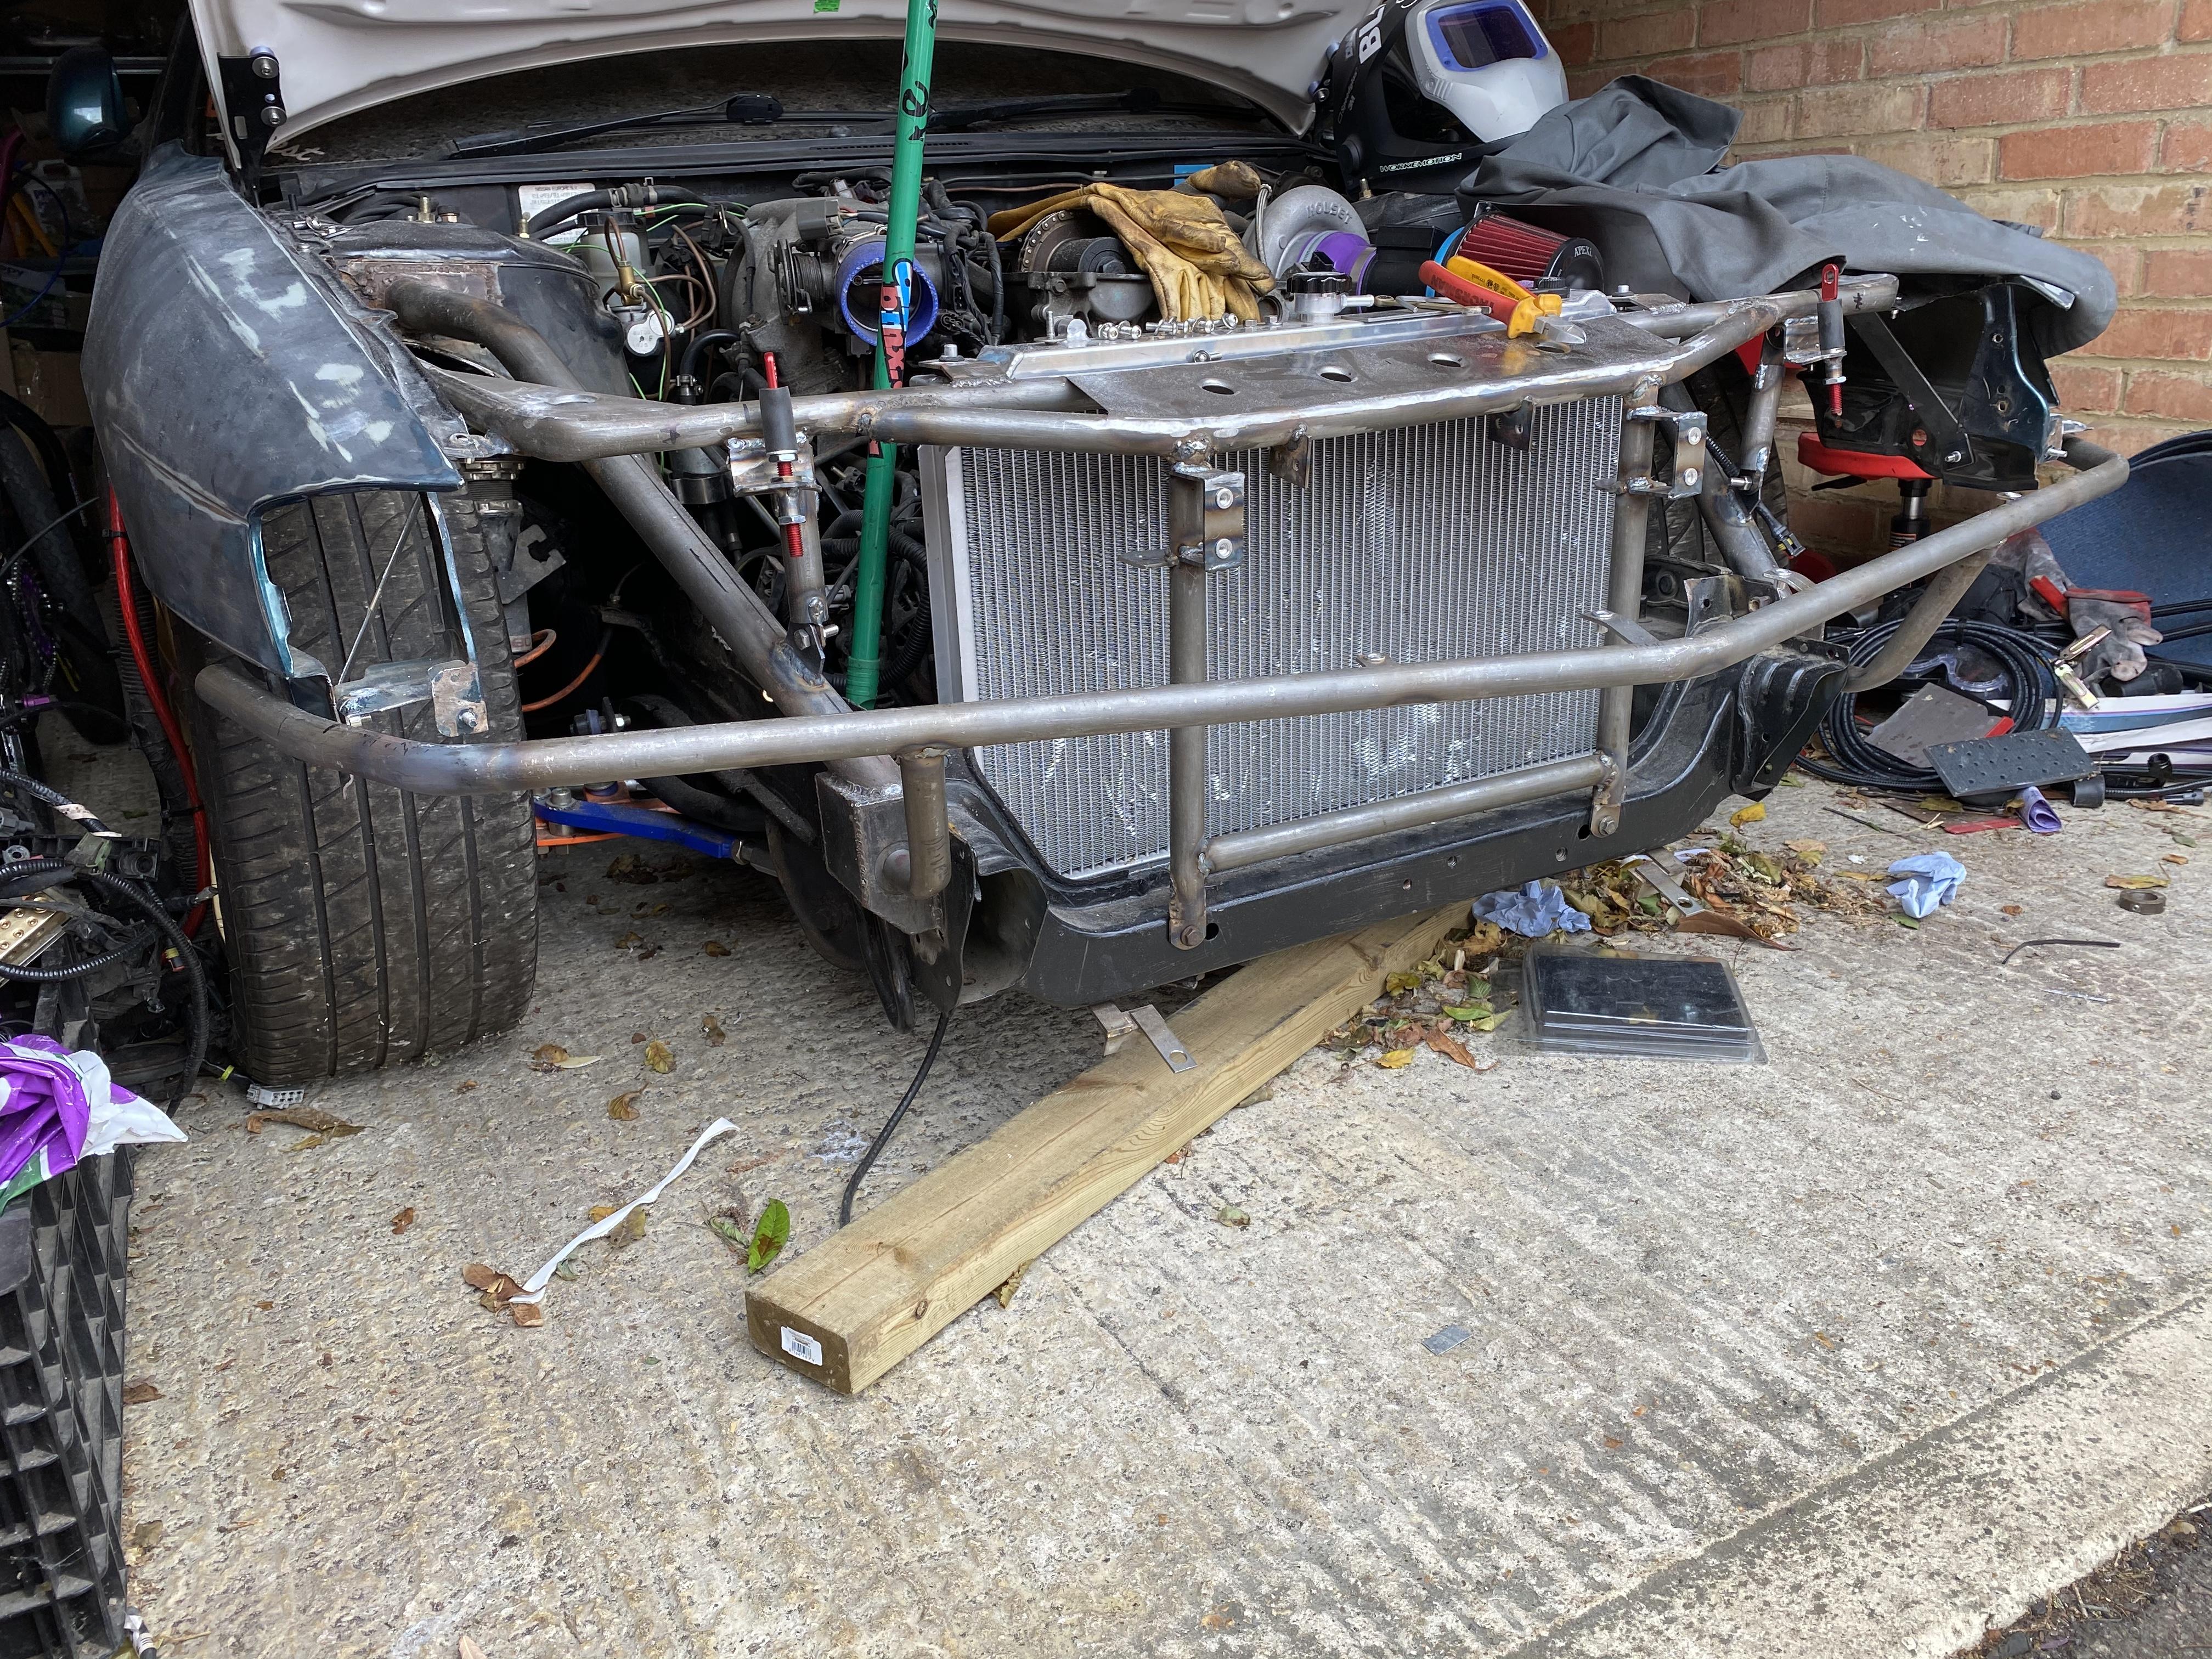
Last of the intercooler pipes fabricated. Other than marking the gearbox wiring locations for the fuse box relocation the engine can now come out.

-
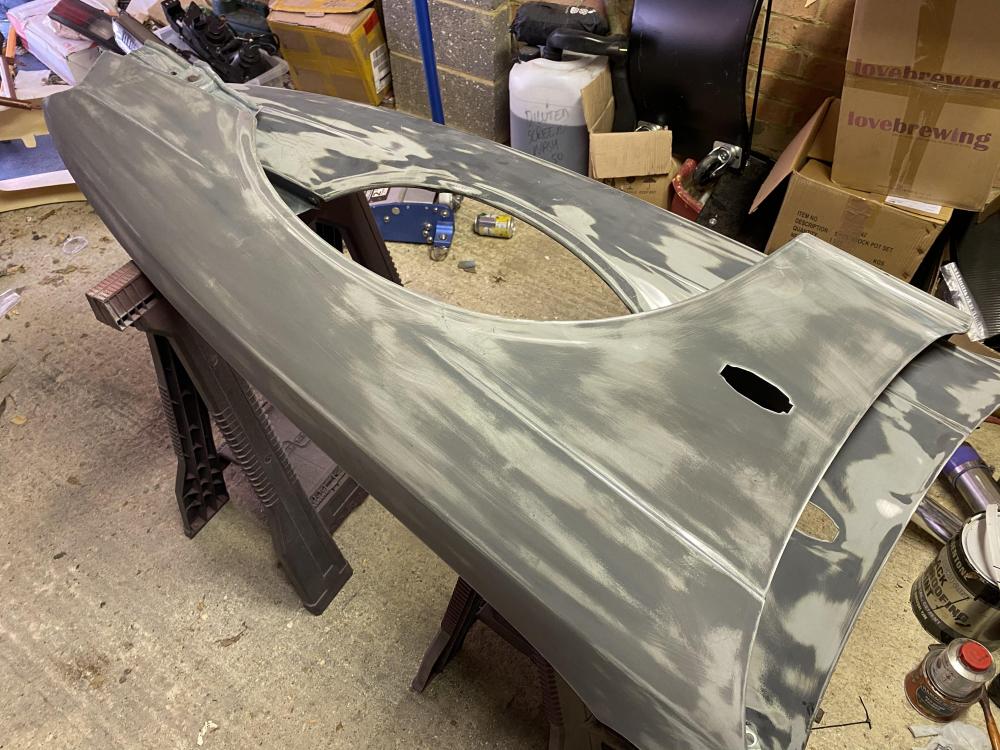
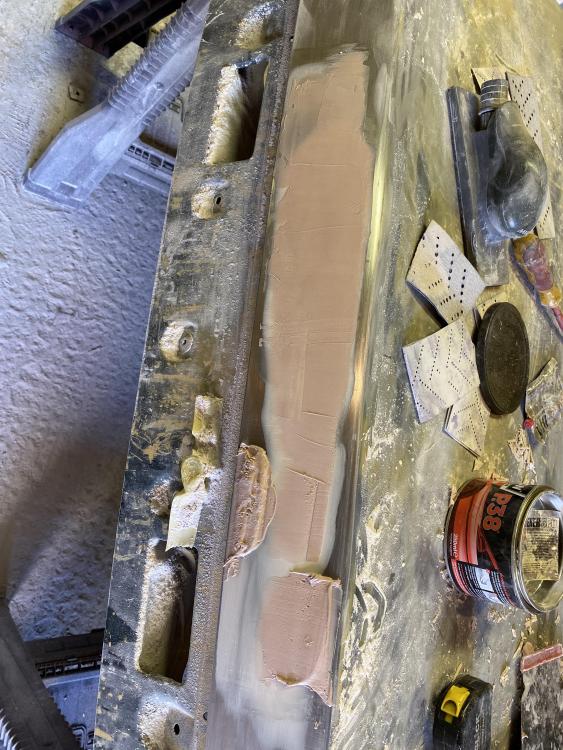
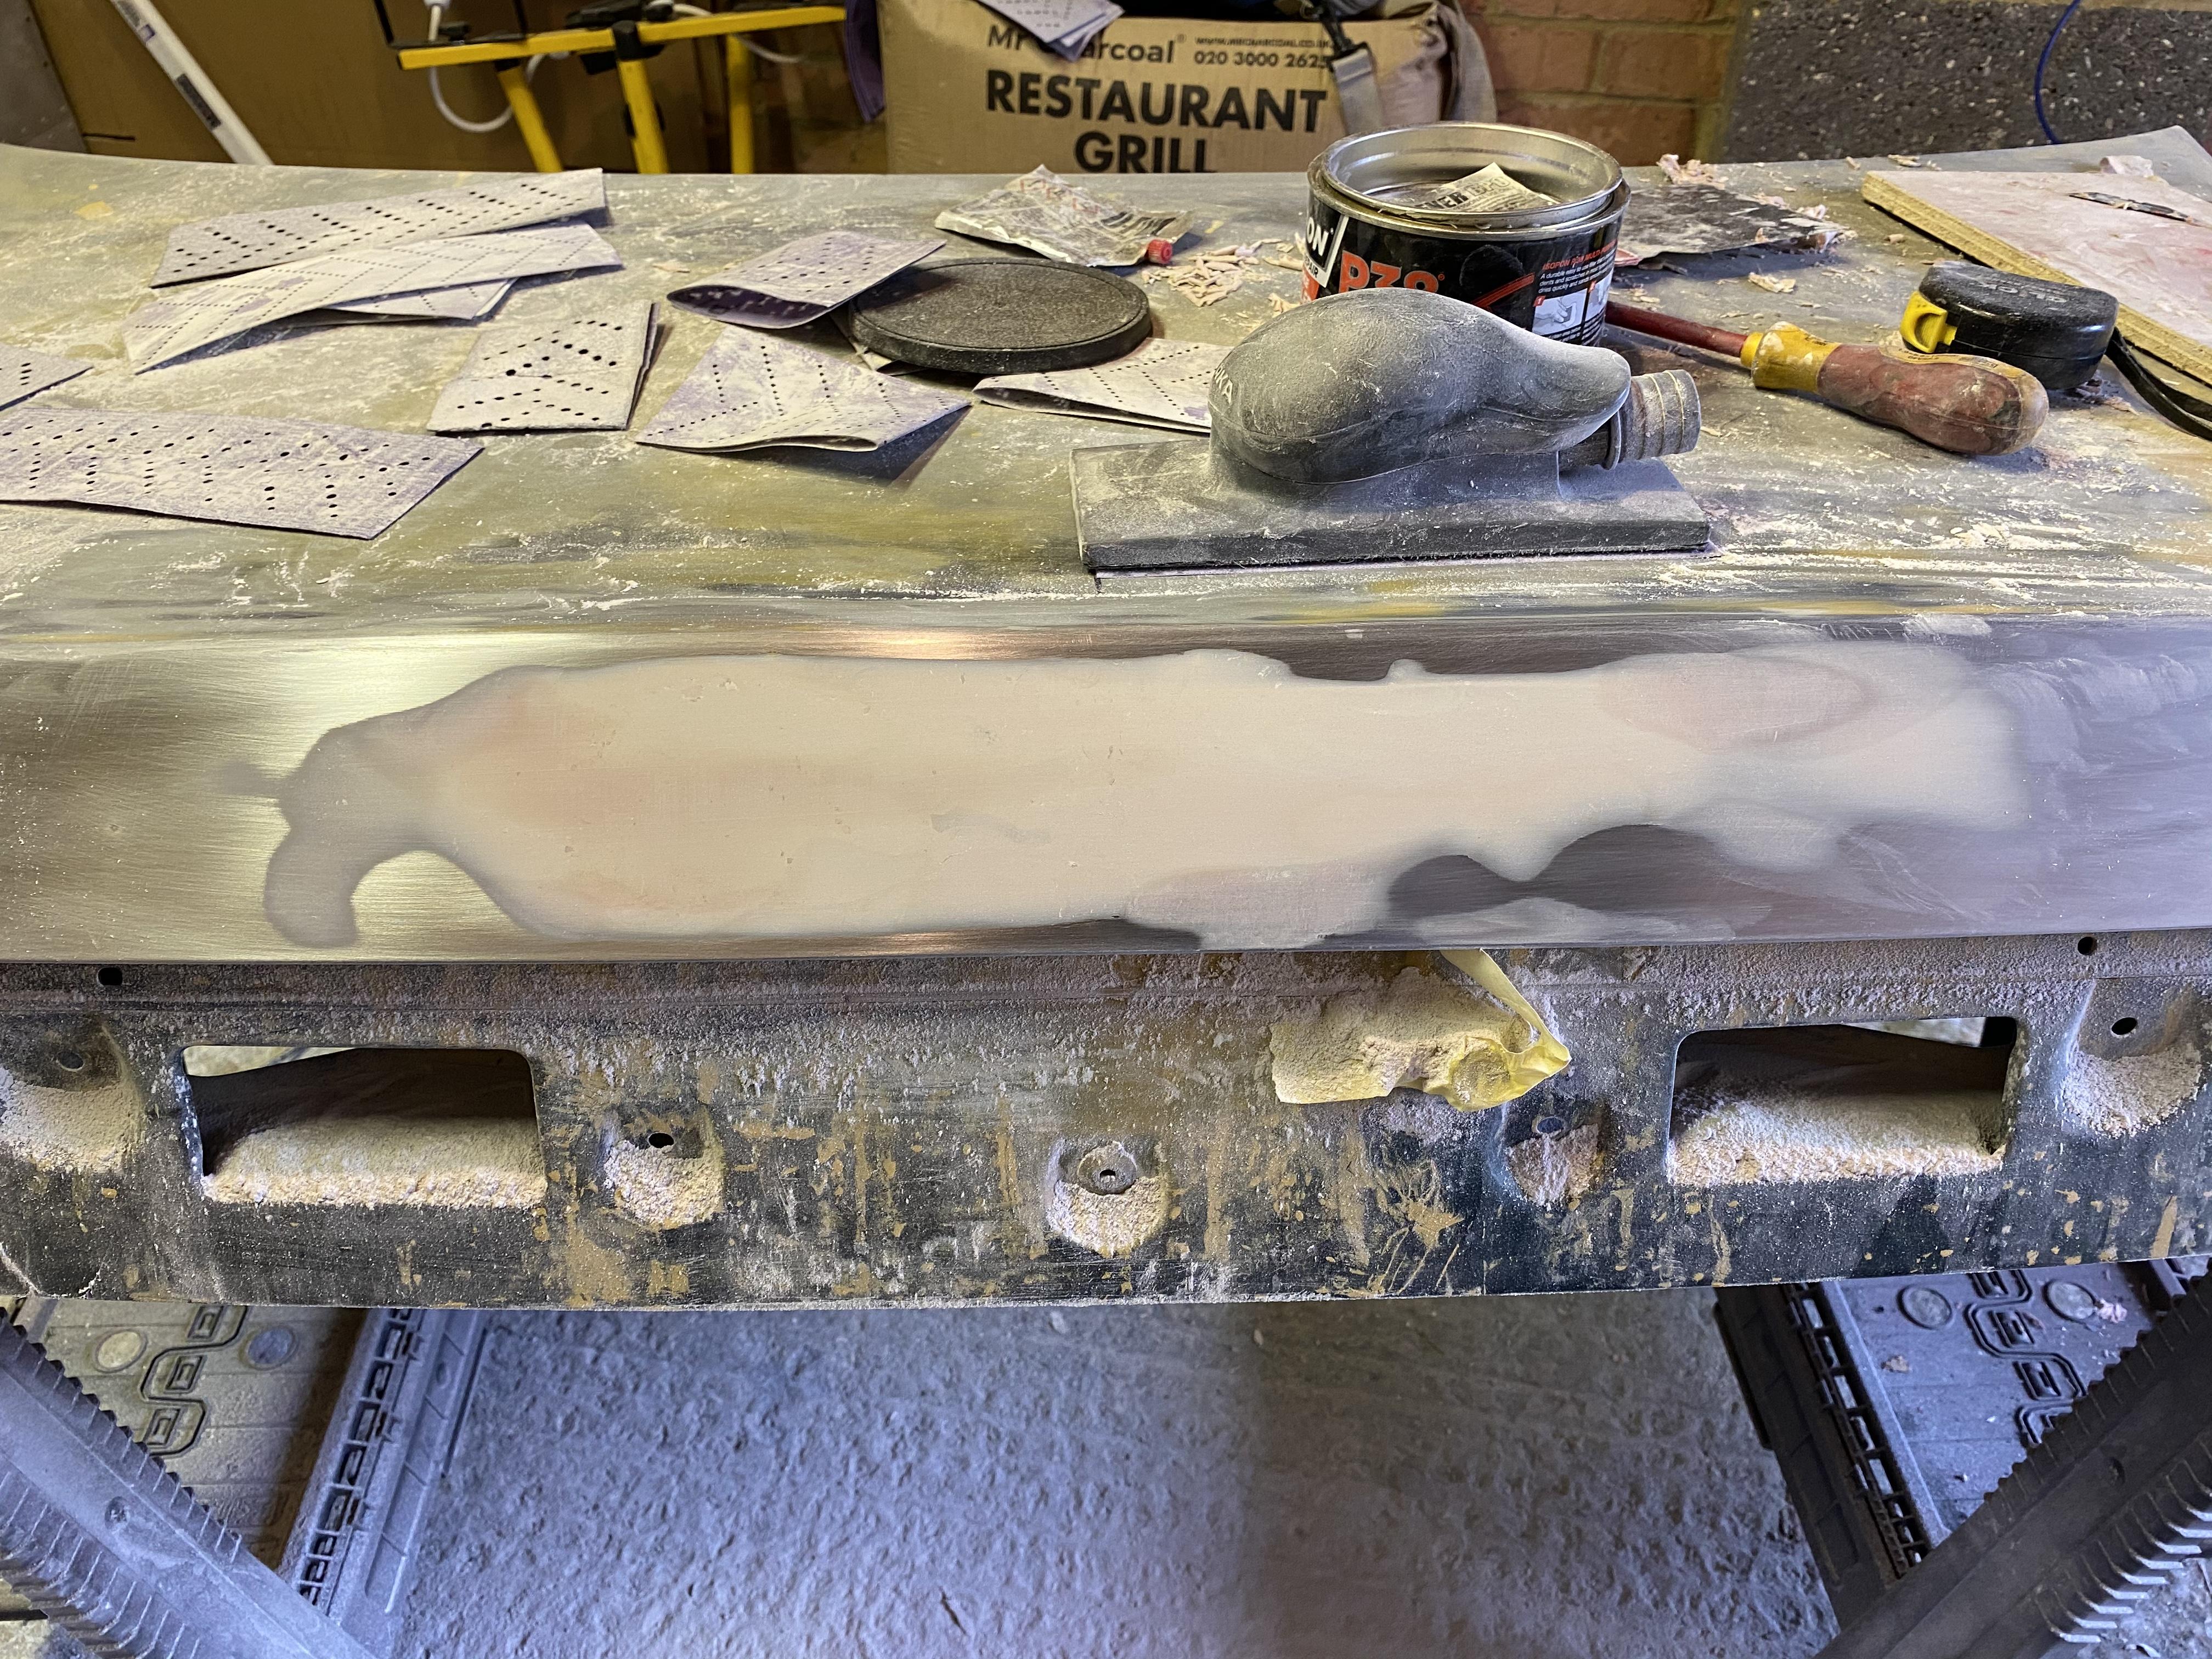
Wings prepped for some primer and finally finished the boot. Doesn’t look pretty but it’s as smooth as my limited bodywork skill can get it.
Ordered a Davies, Craig fan controller. I was going to run the rad fans from the stock relay but it seems to be integrated with the A/C wiring and I’m aiming to rip as much wiring out when I relocate the fuse box.


-
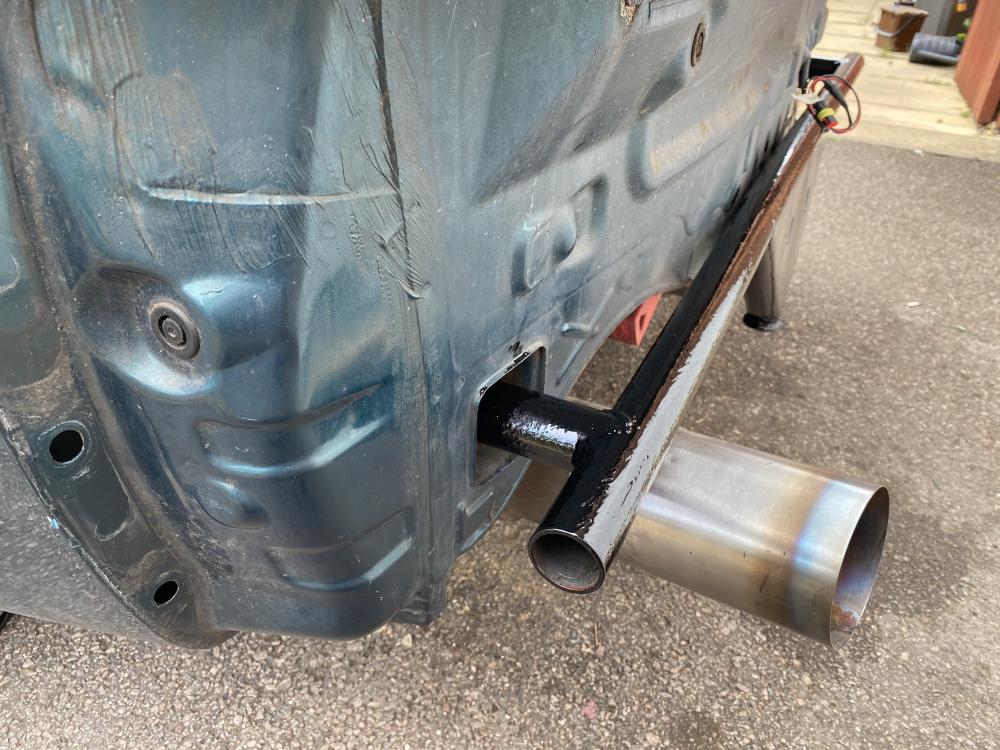
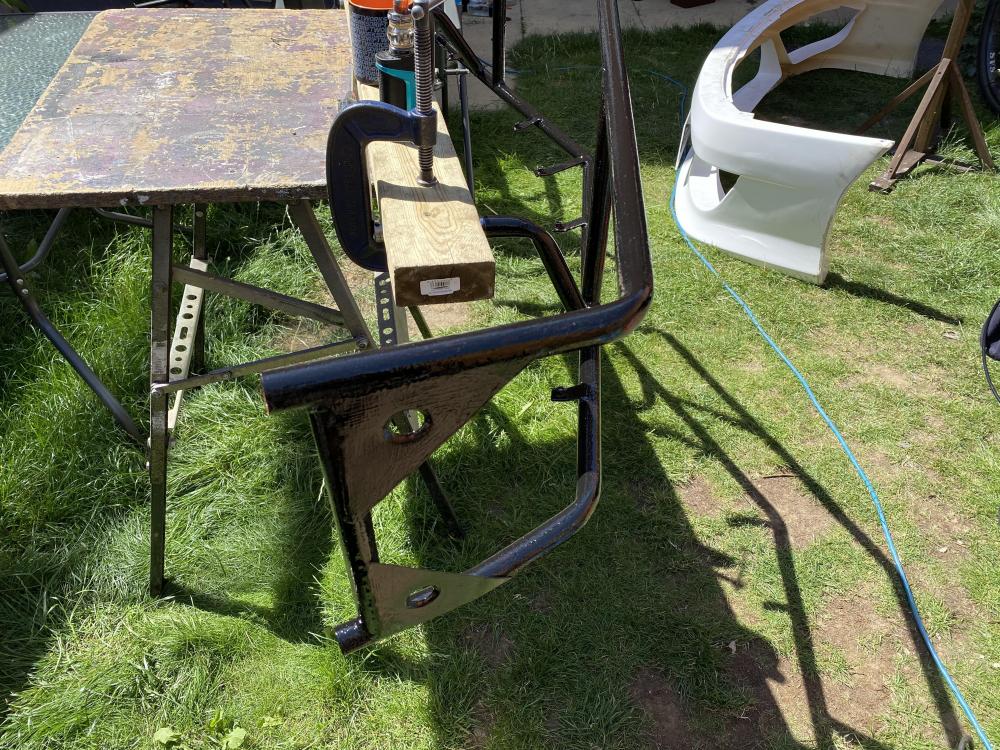
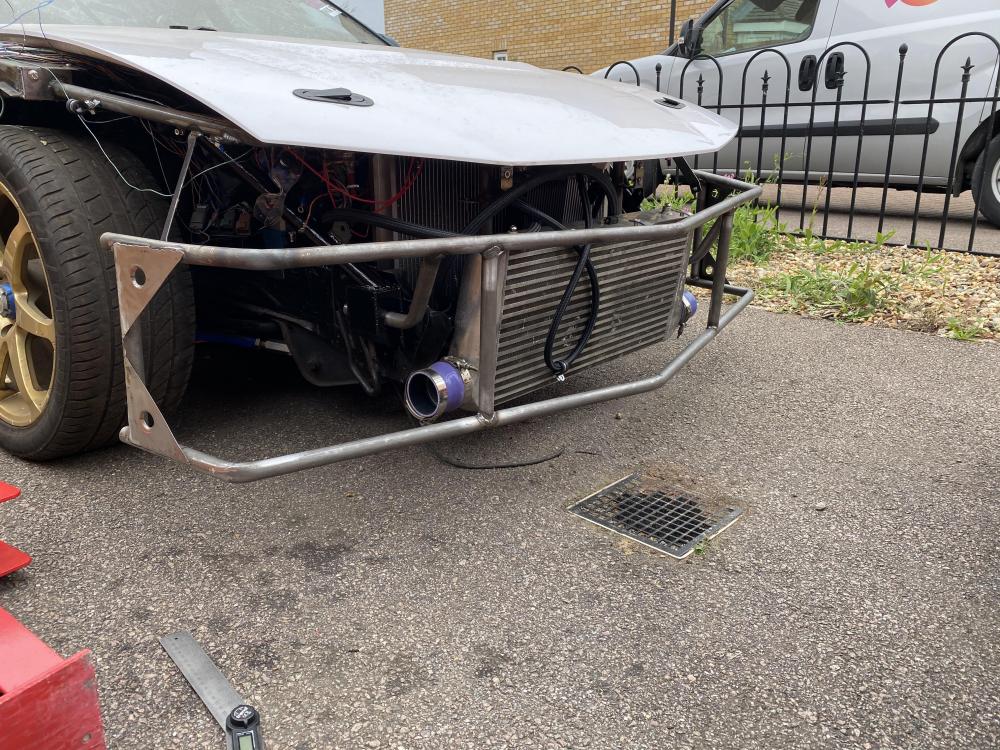
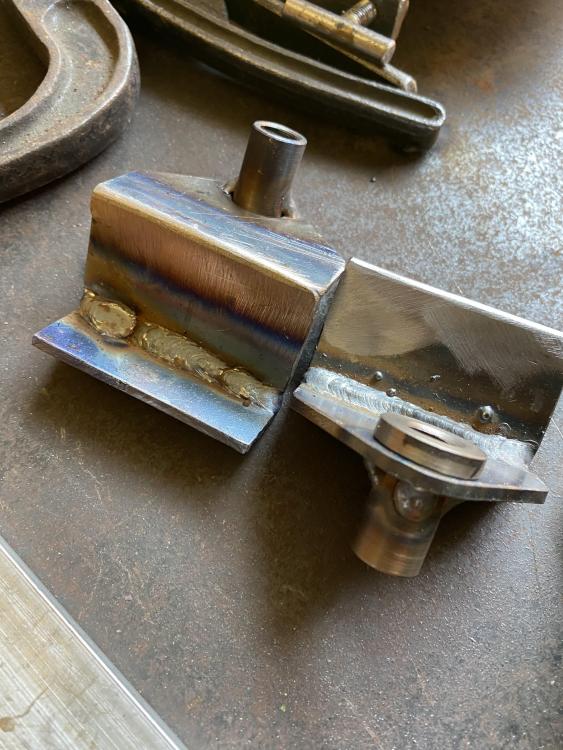
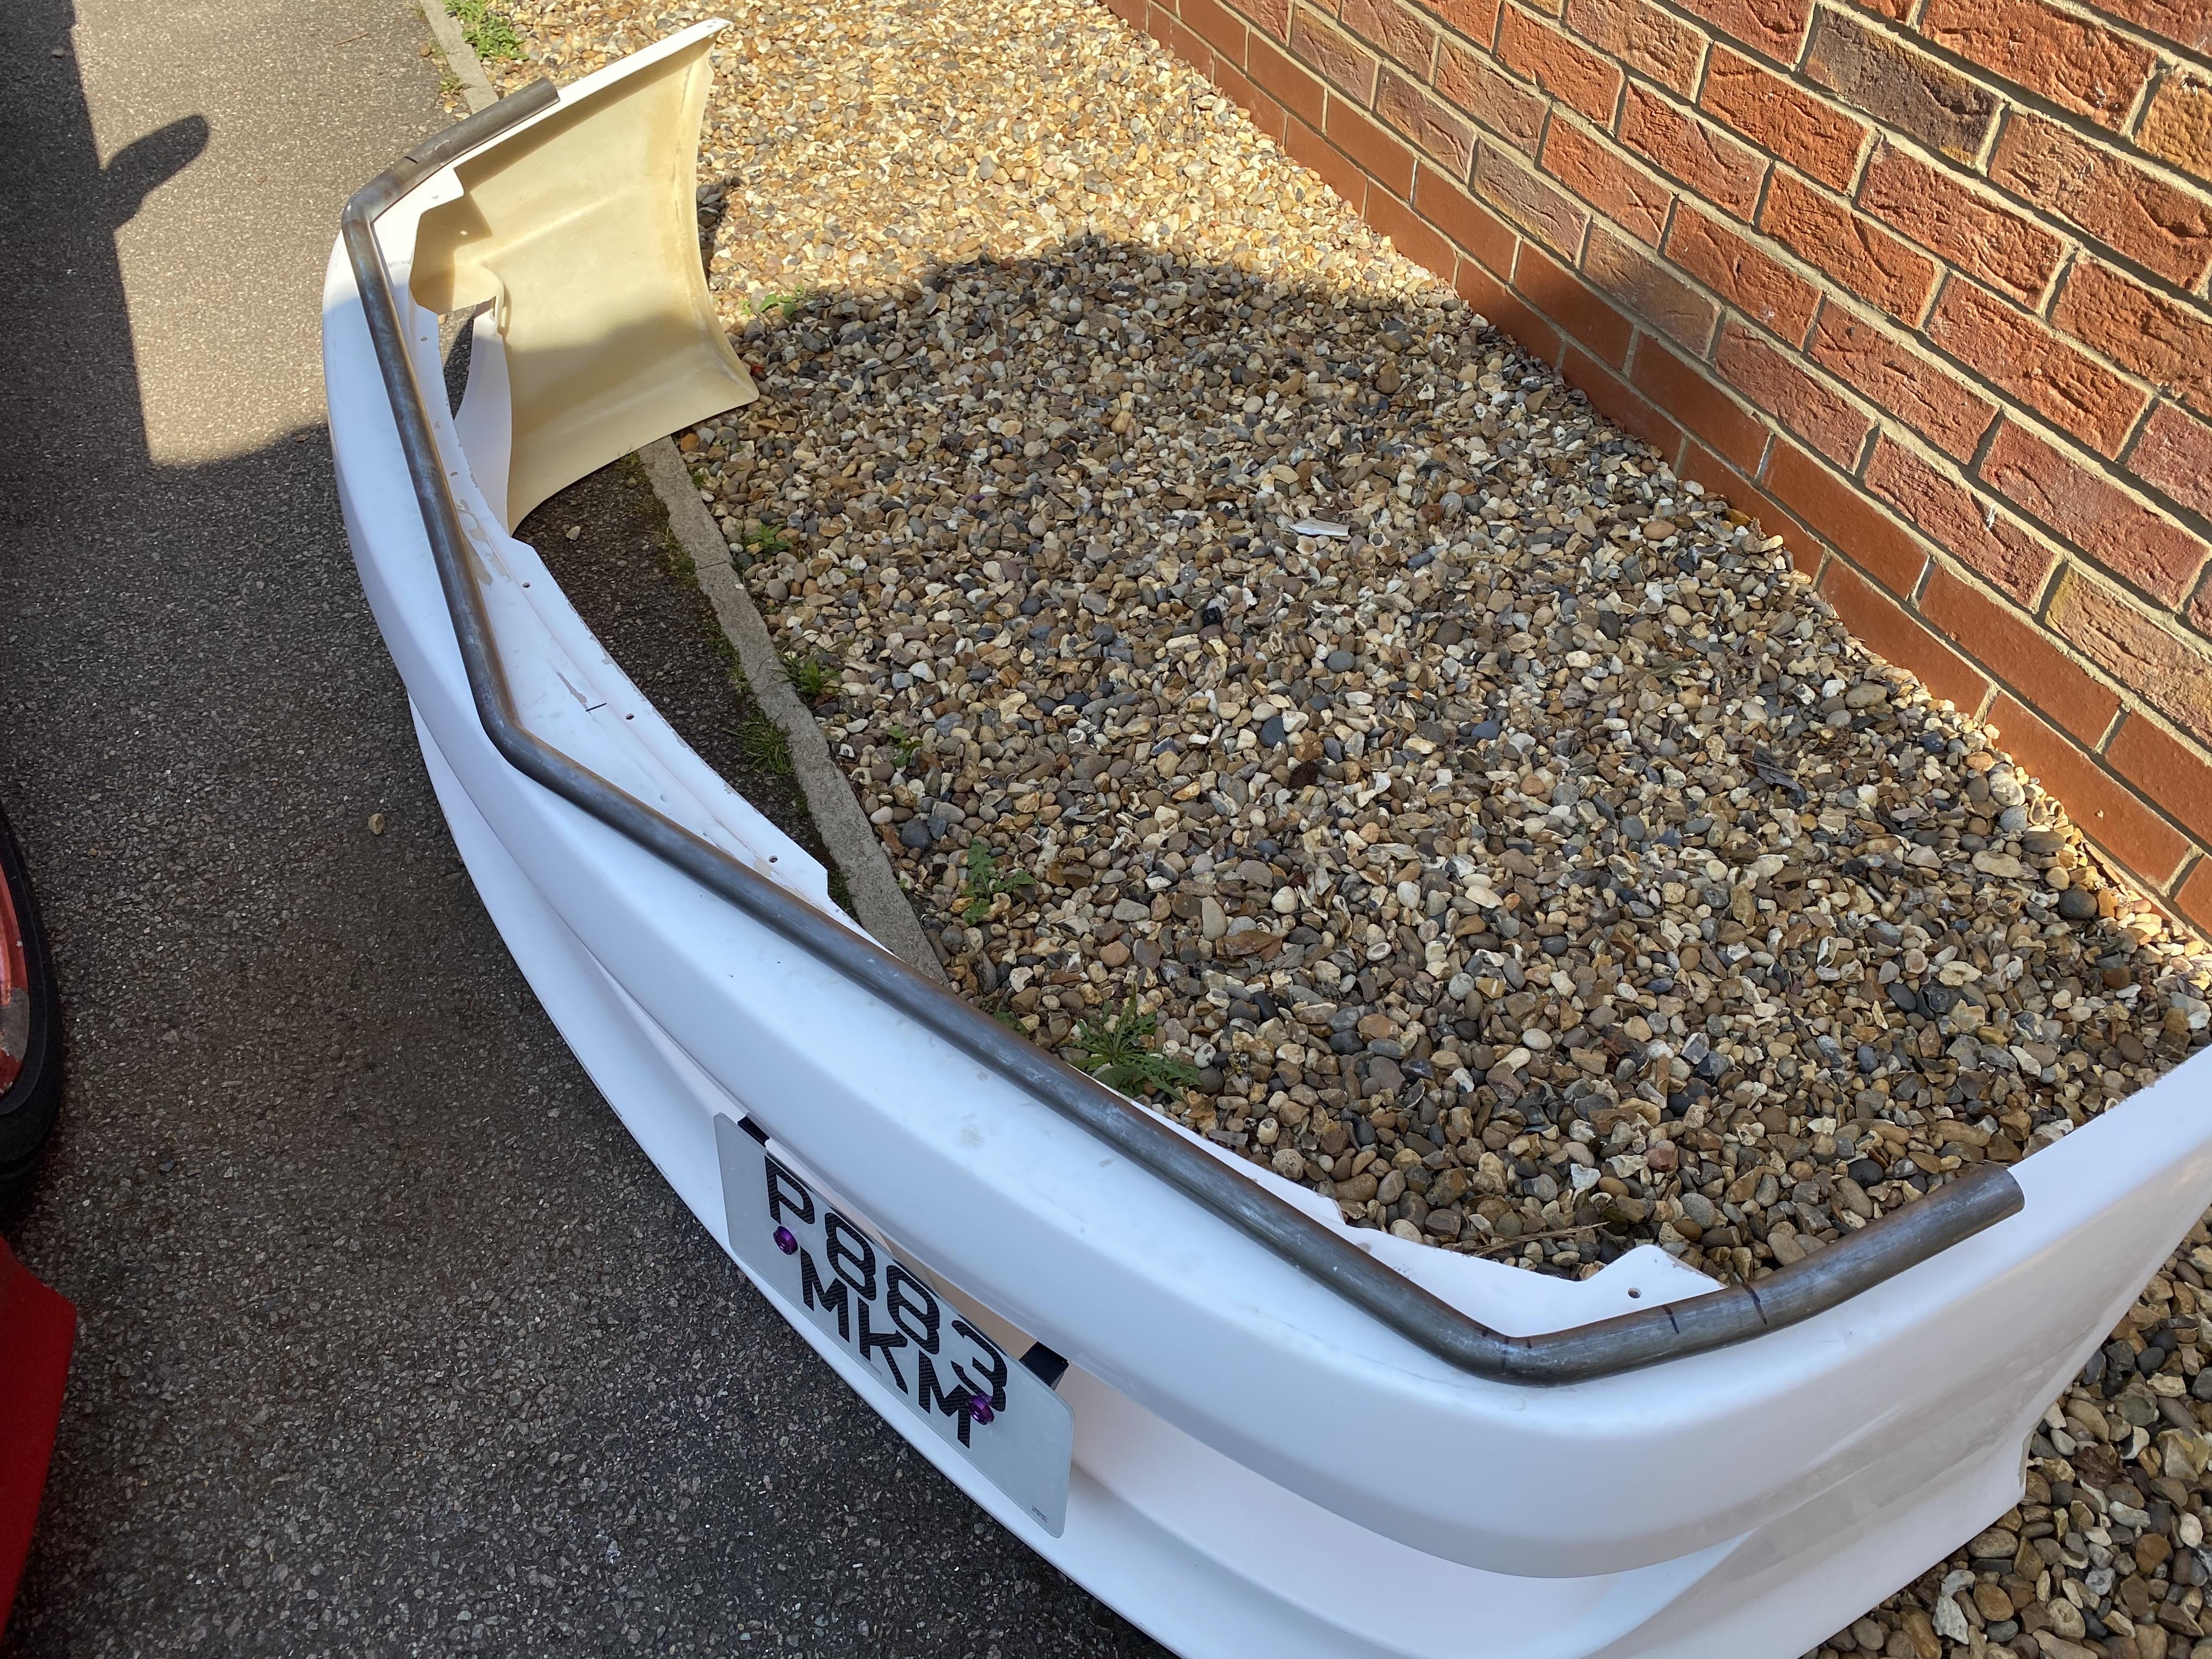
Got the rear bash bar welded up and painted
-
Quite a bit of work done hours wise but not so much in the way of stuff done. Got the bash bar painted and fitted back on
-
Got the main supports painted up, I shall paint the rest of the bay when the engine comes out.
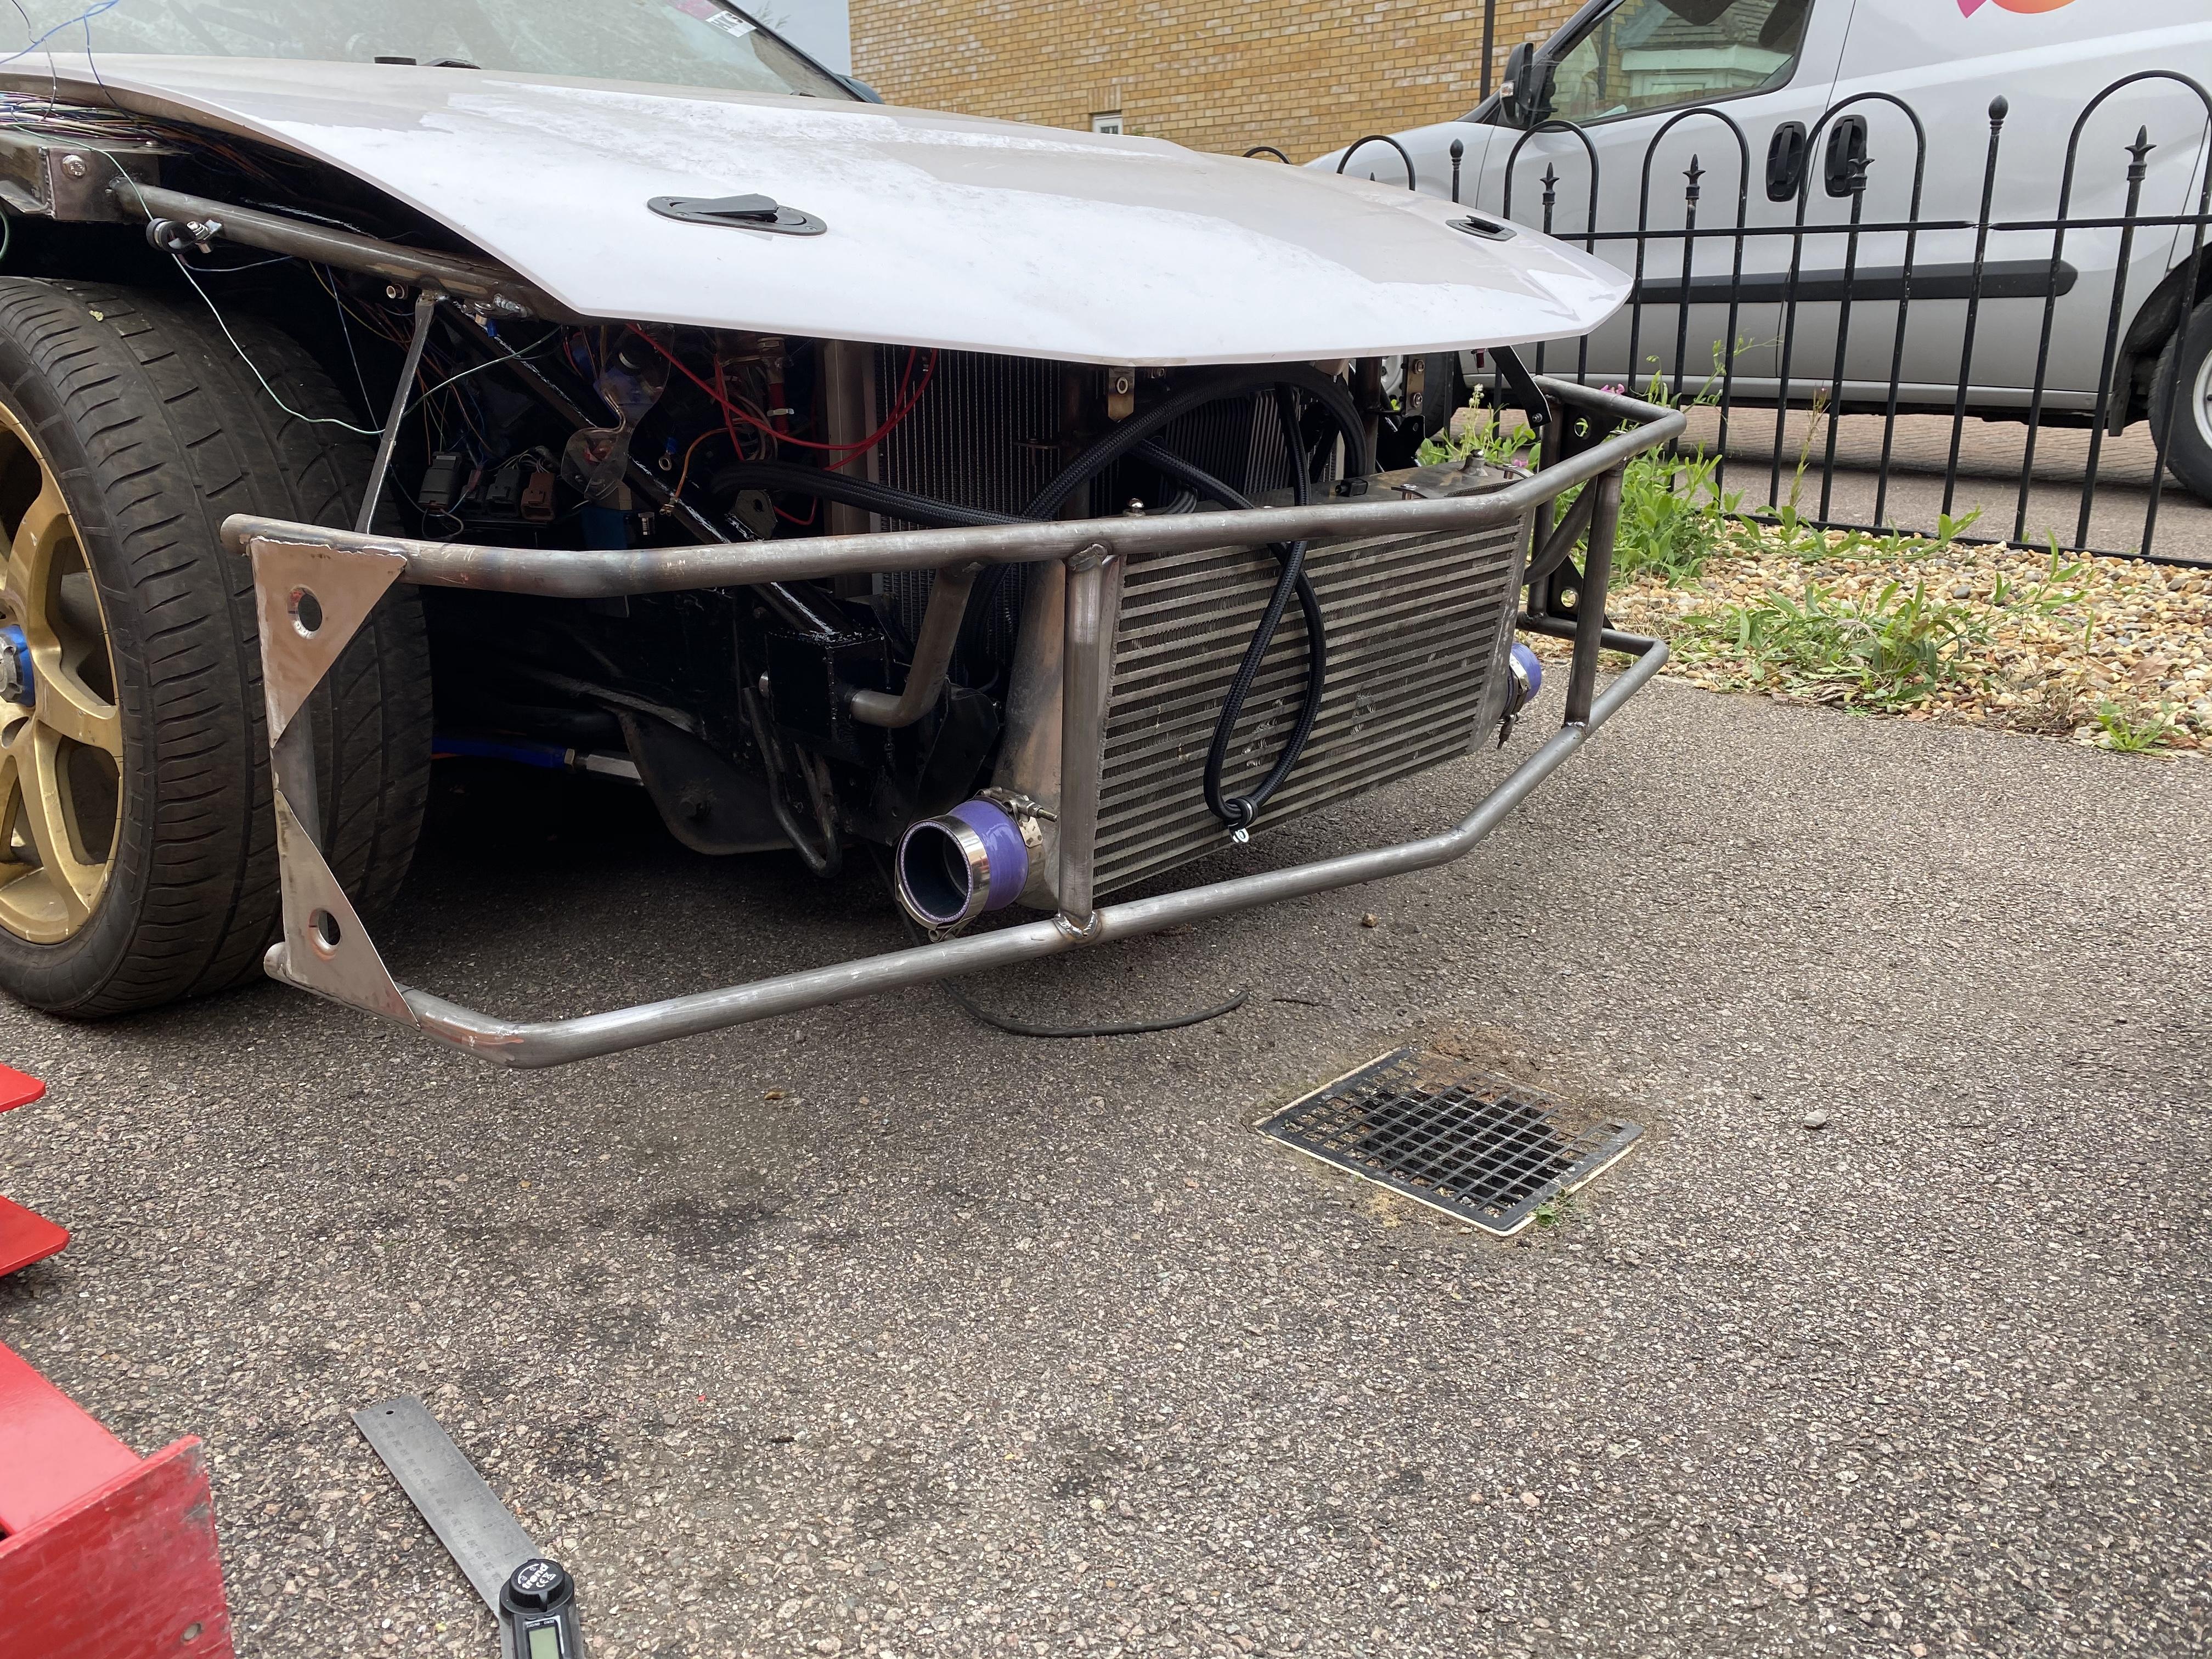
Decided to add to the bash bar as it didn’t look right.
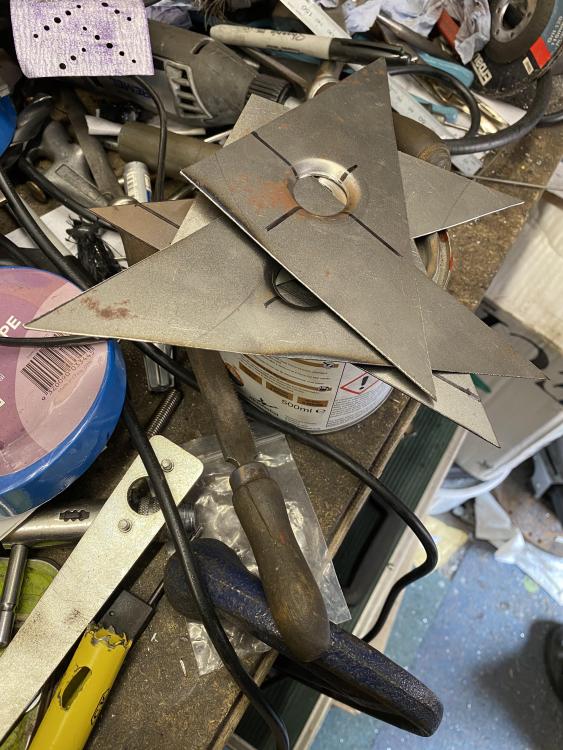
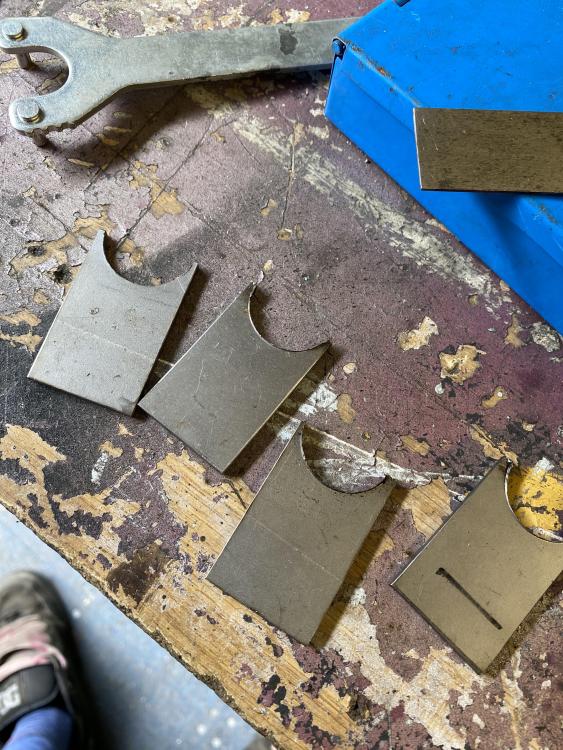
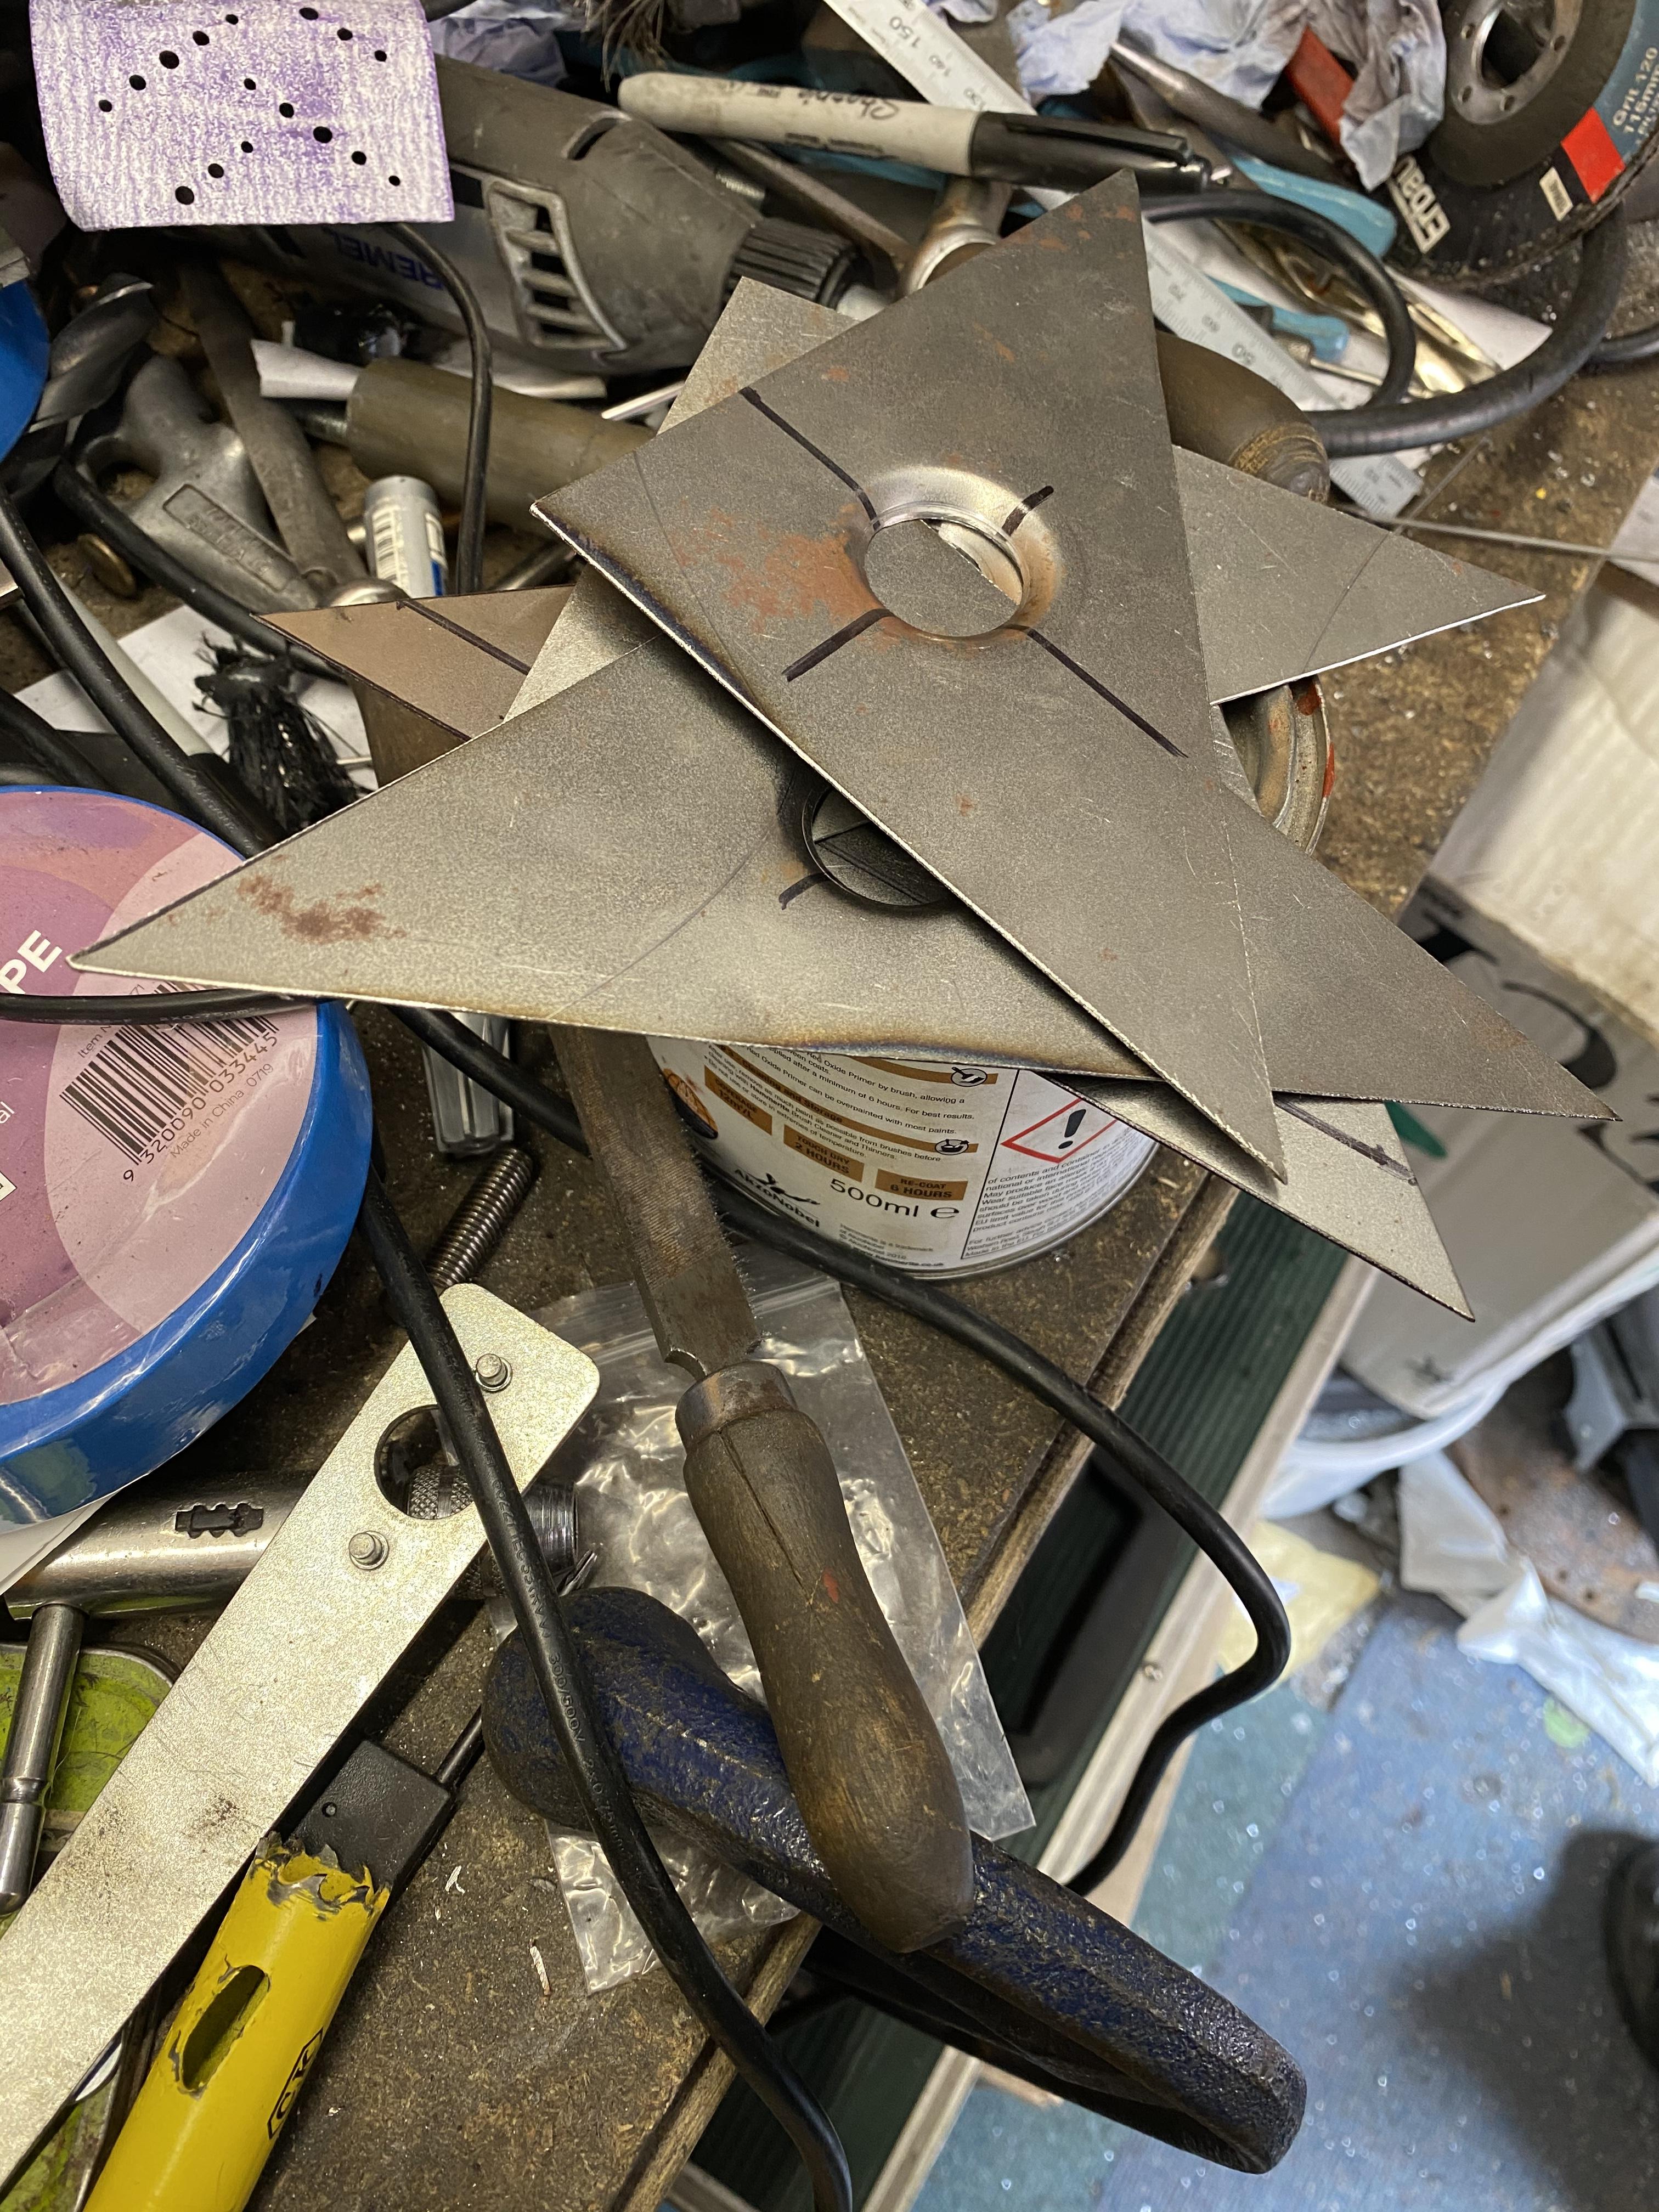
Made up four more dimple die gussets for the outer corners. Got a coat of red oxide on it and will get some black paint on tomorrow. Just need to paint the main bar now.

-
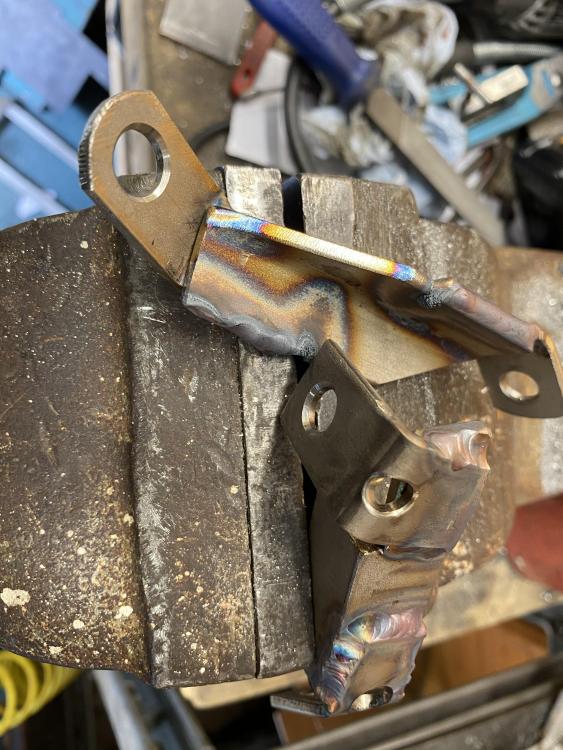
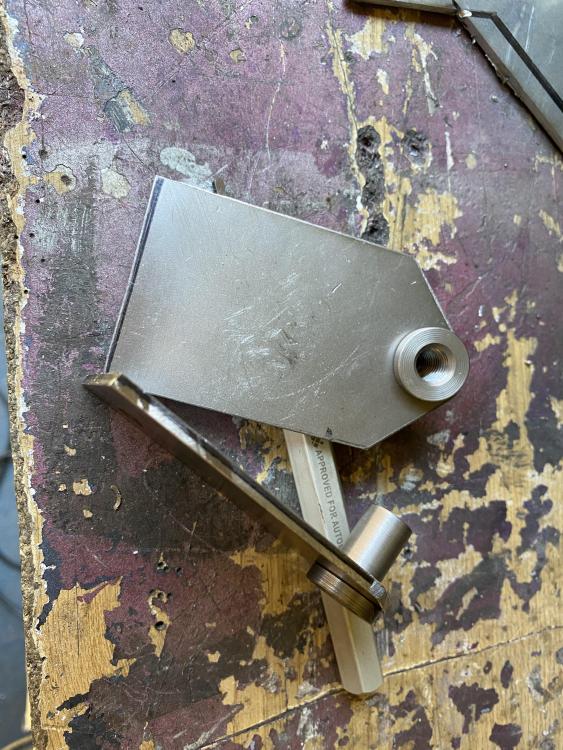
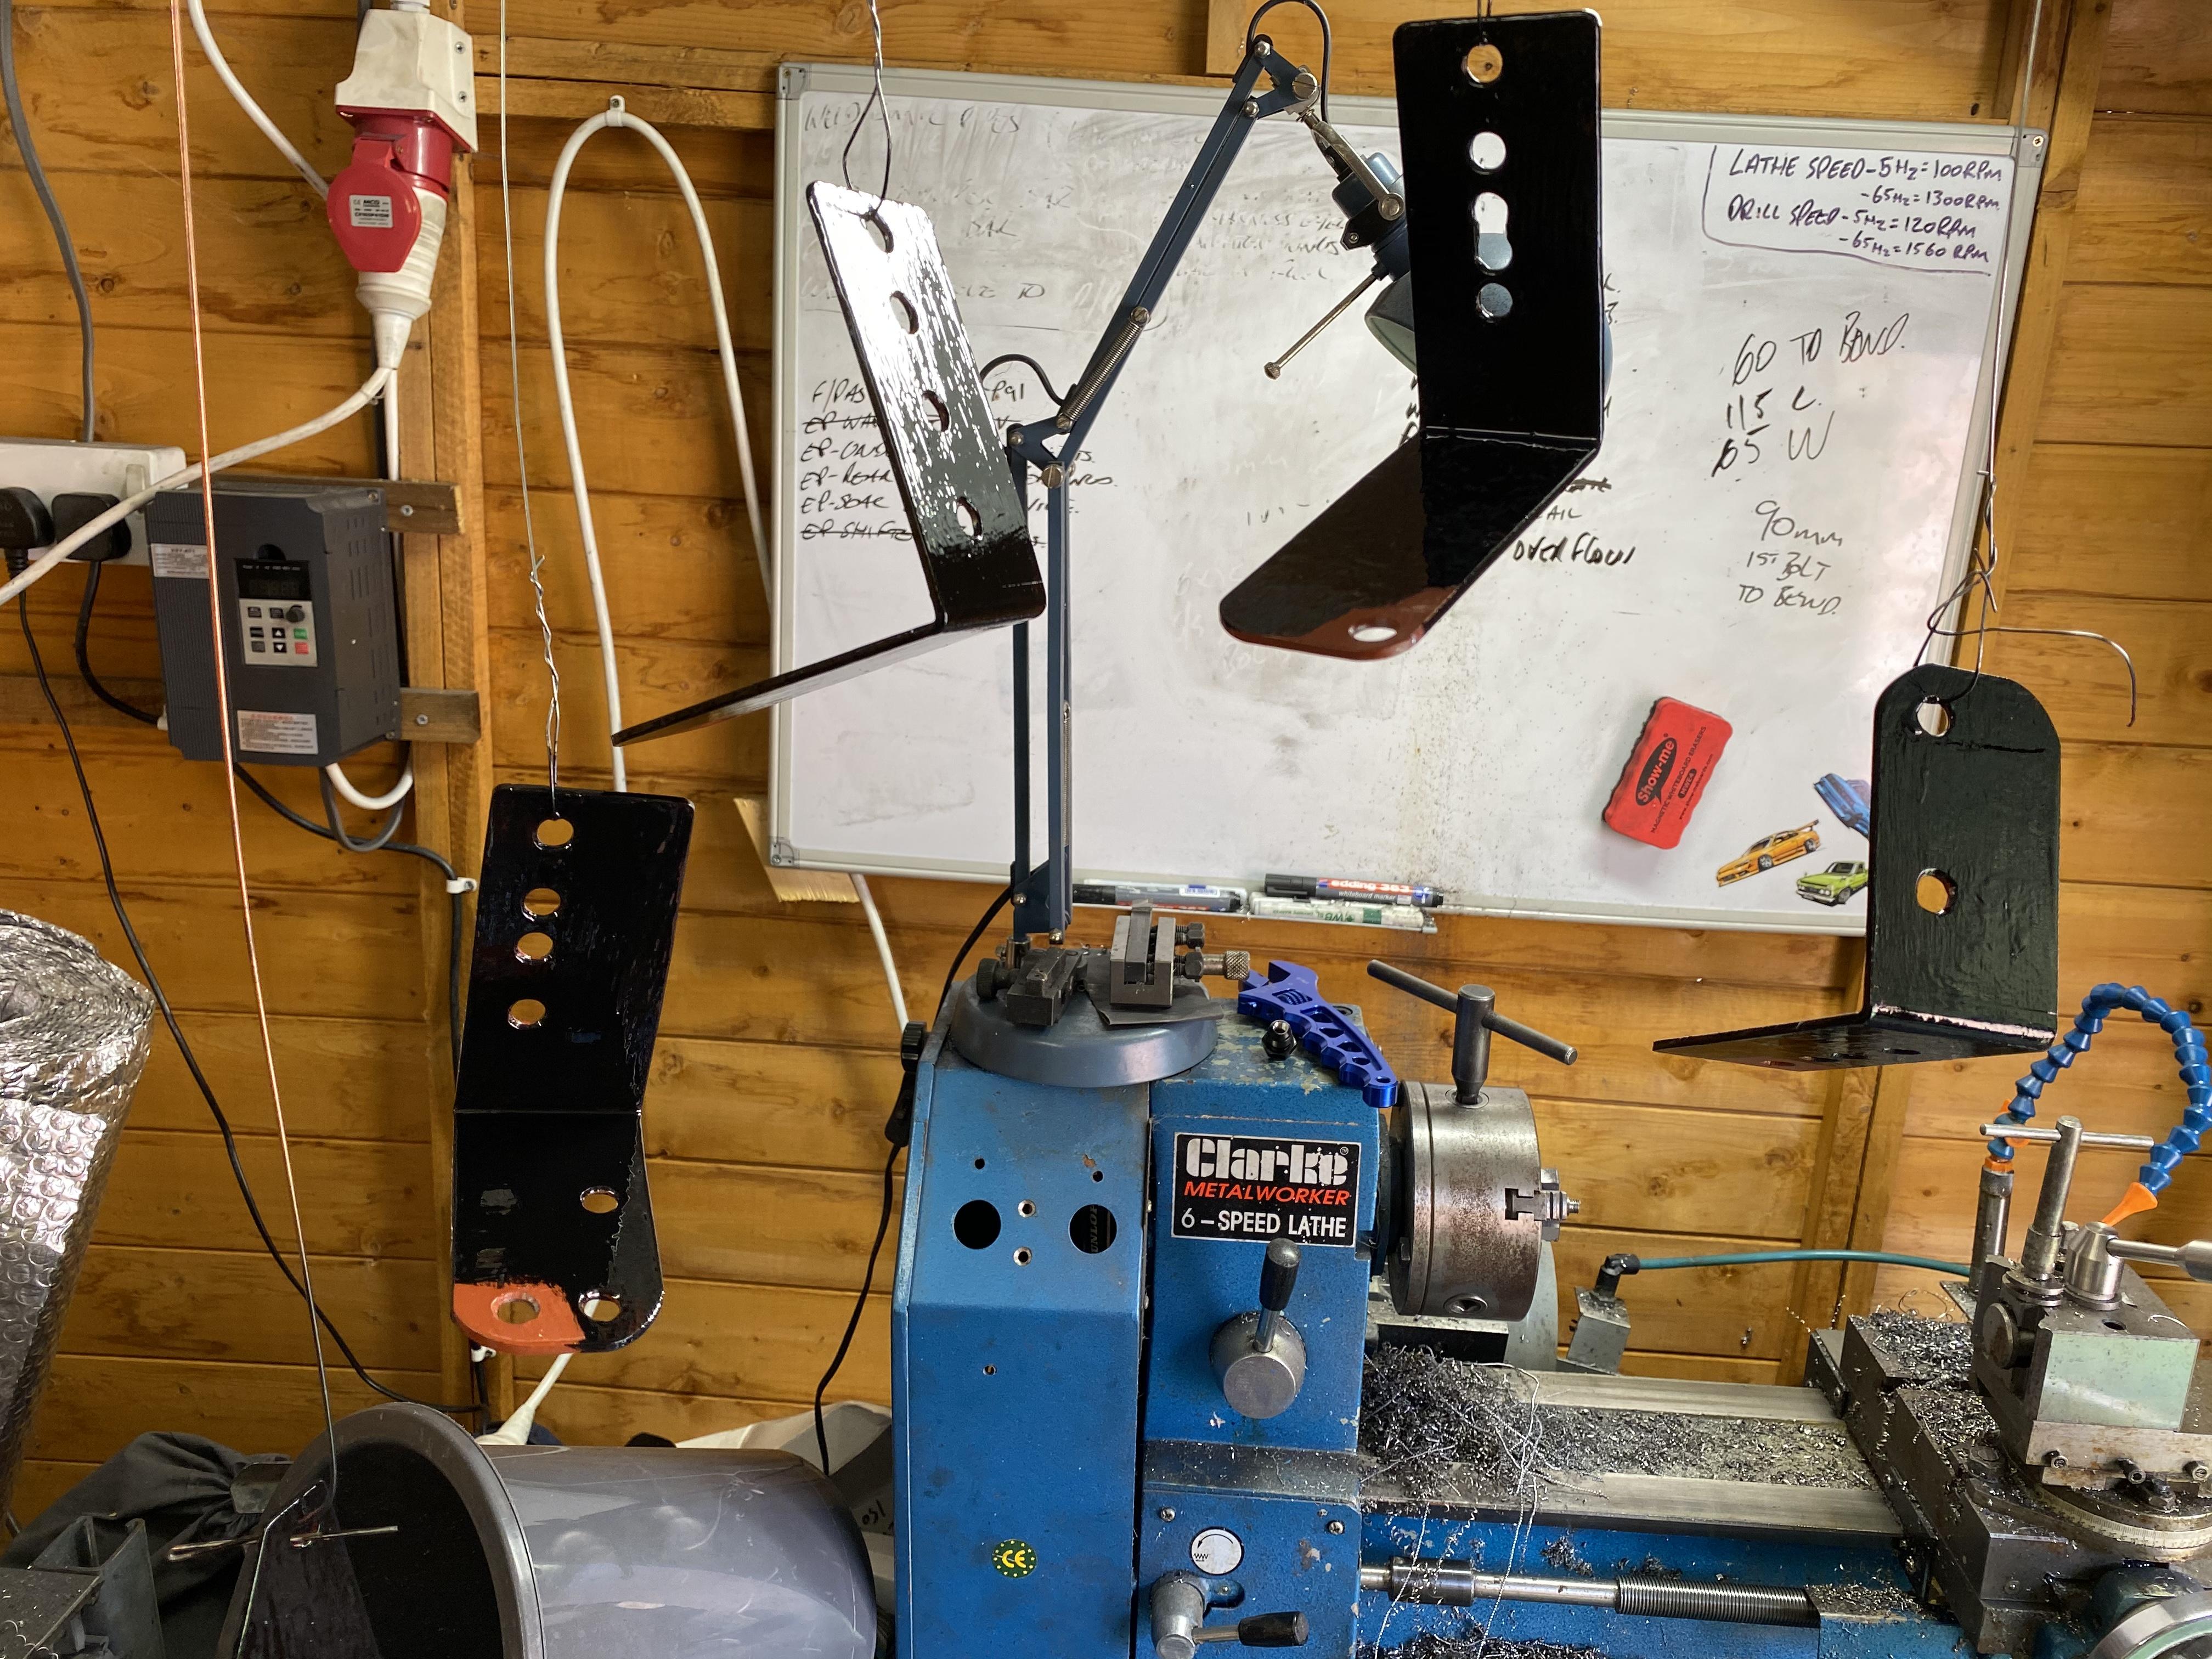
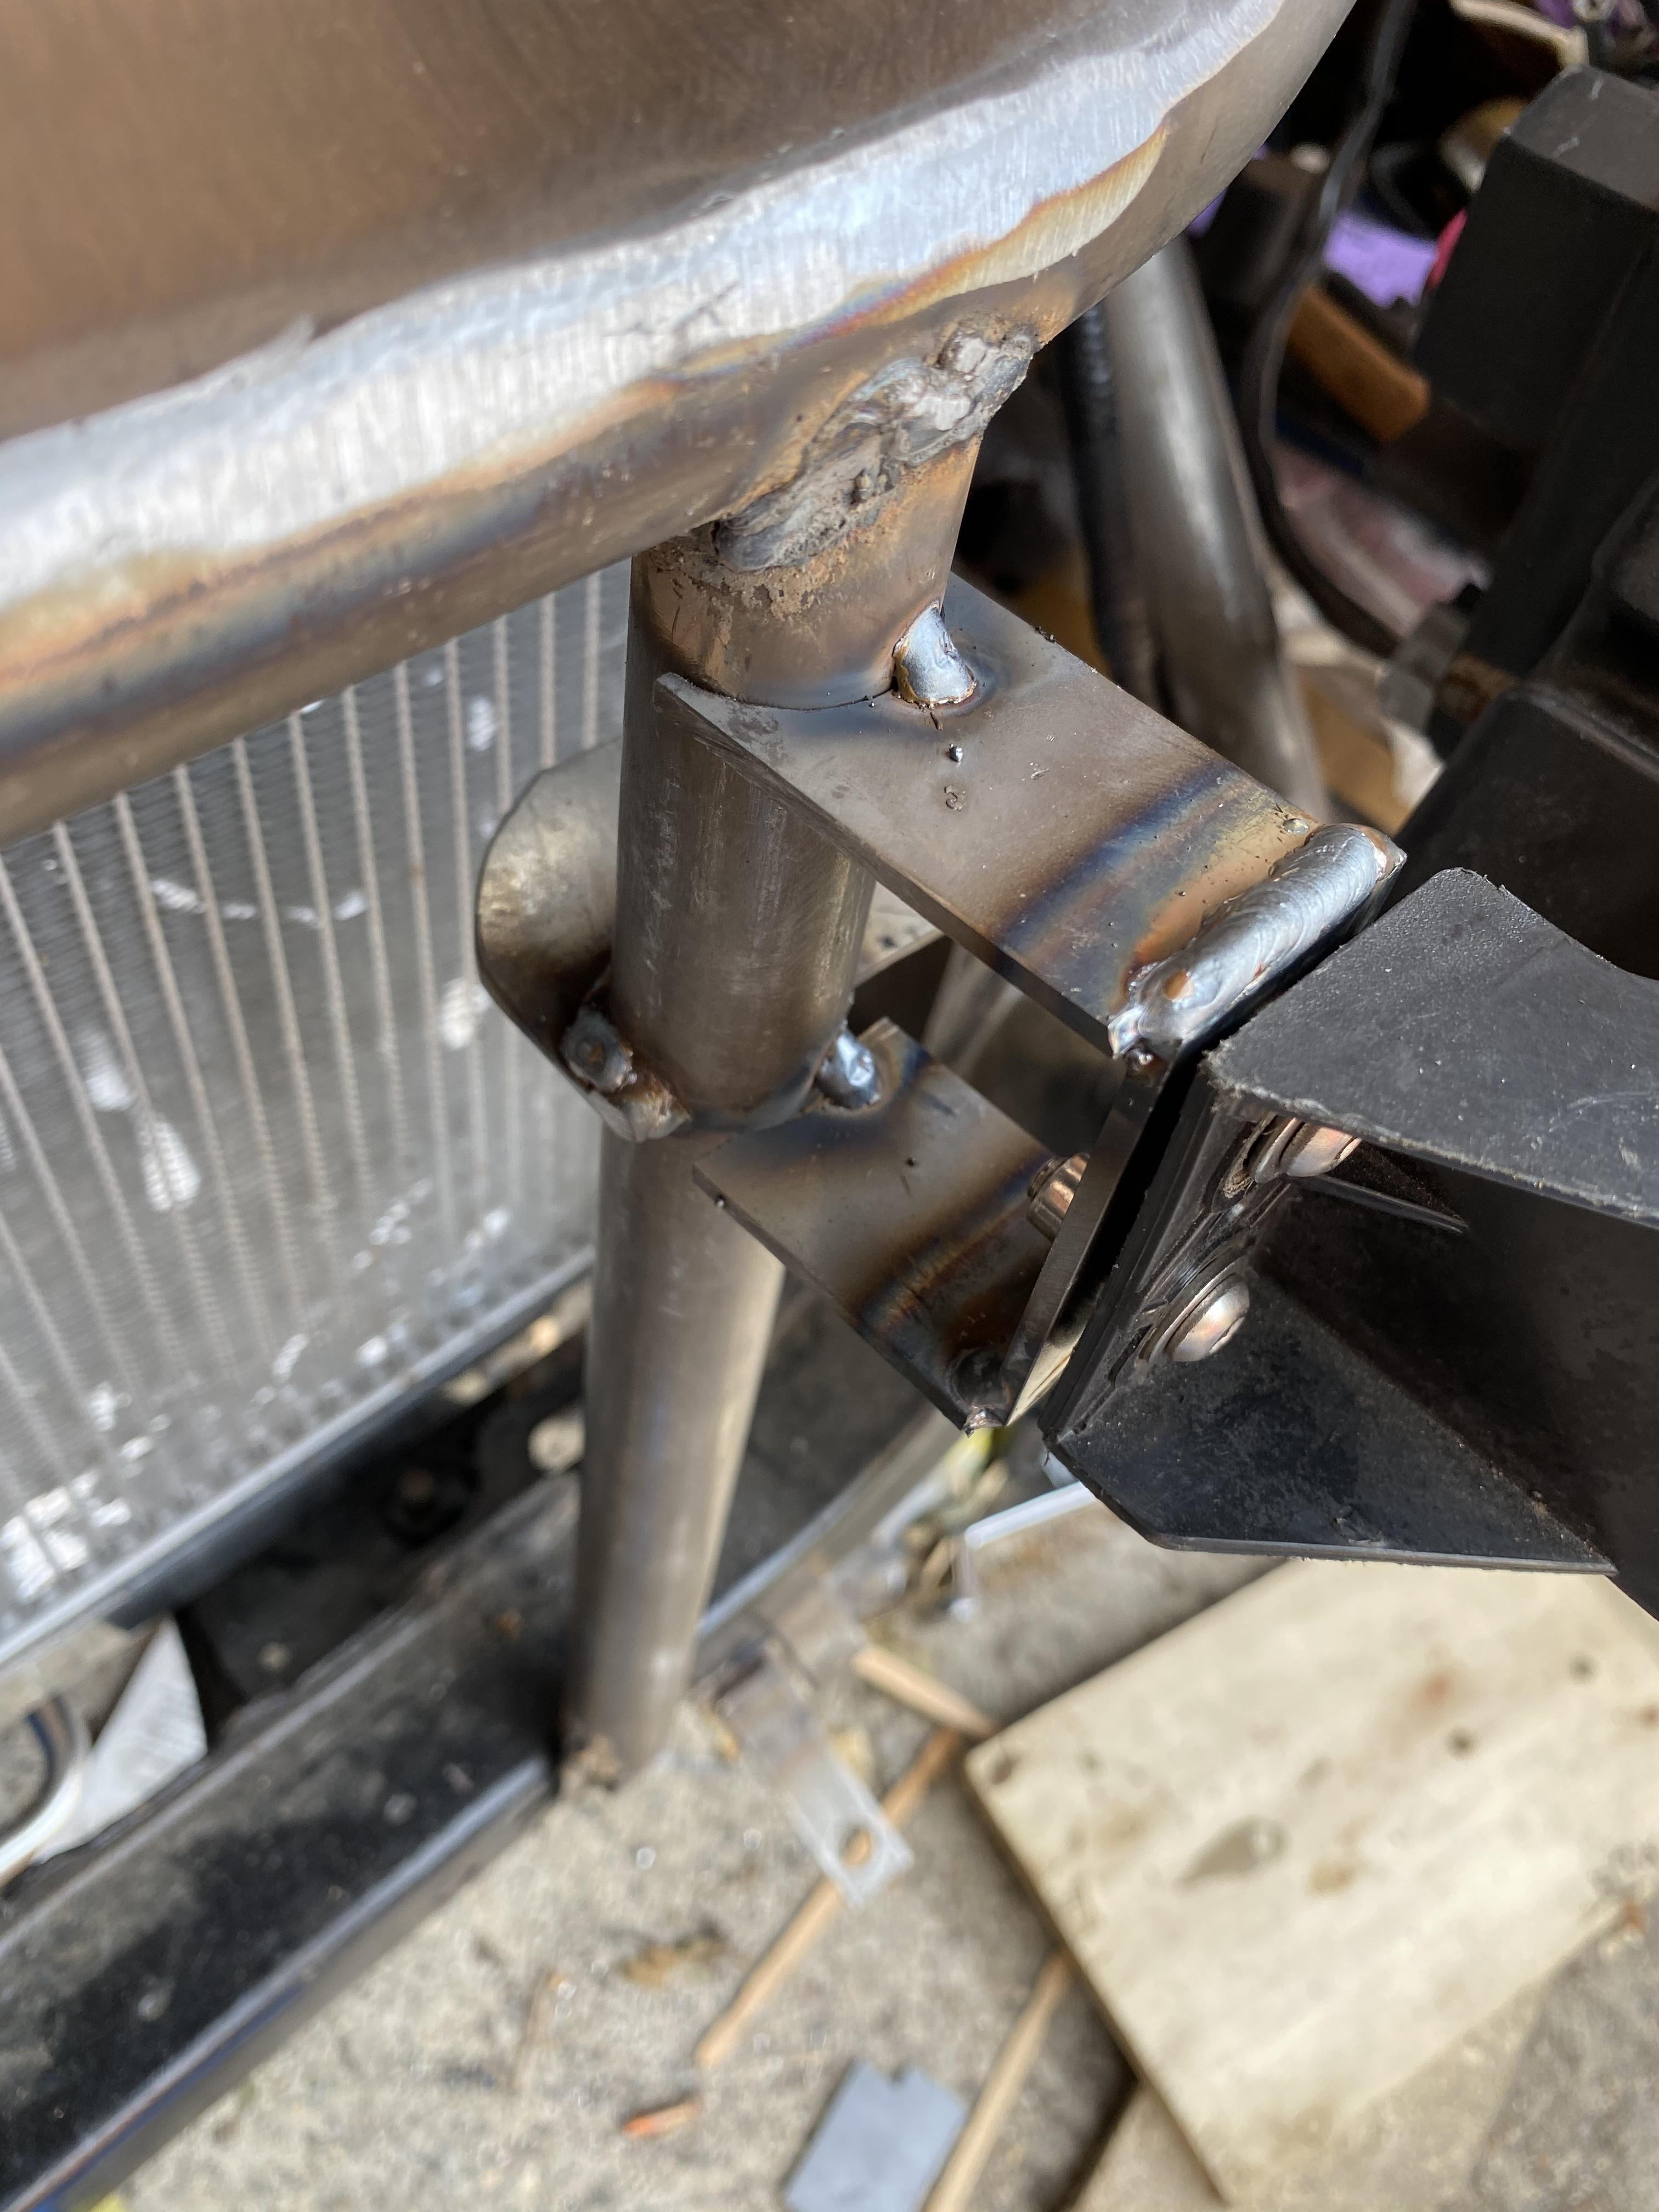
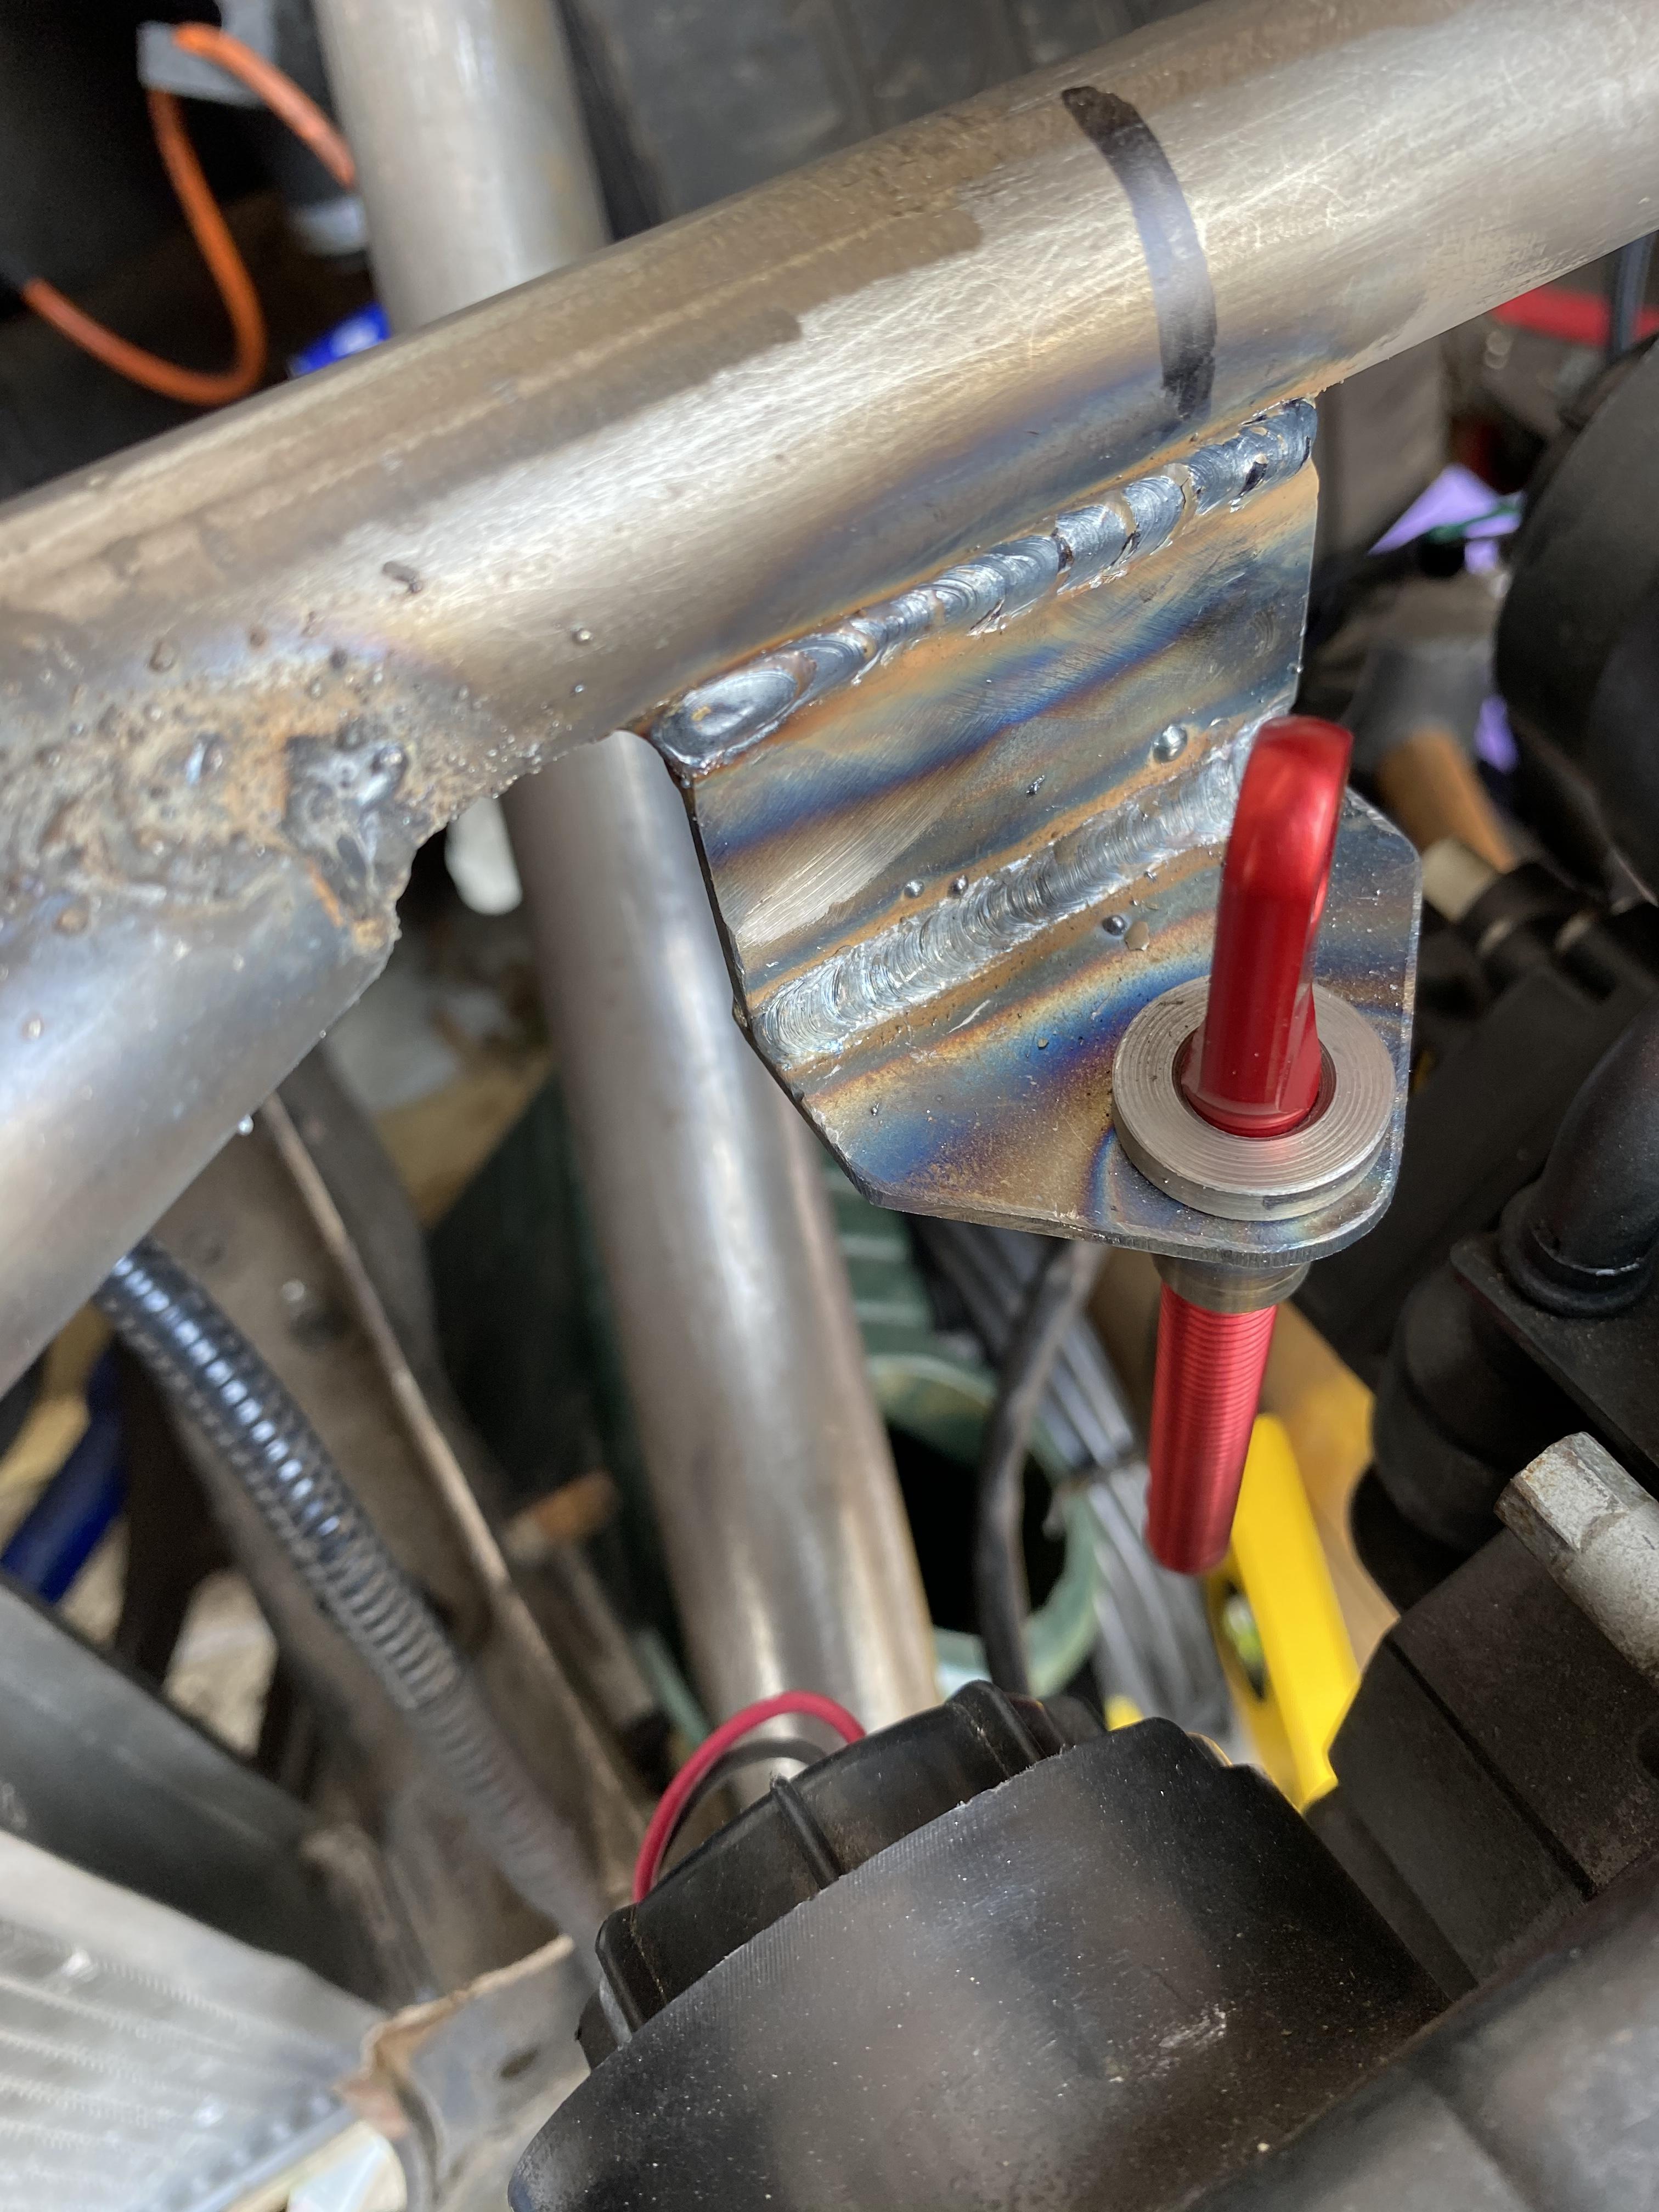
Got the drivers side seat rail adapted to take the Bride seat. I also changed the mounting of the passenger bucket seat so it sits lower in the car. Gave all the parts a lick of Hammerite paint and these are now left to dry for a few days. Also made a couple of brackets to brace the manifold as I’d heard of s/s top mounts cracking due to heat and weight. Had some scrap 3mm stainless flat and 20mm angle which should help to solve the problem.
I have started to move the fuse box into the glove box and remove a lot of the unnecessary wiring left in the car. The fans will go on to an adjustable fan controller instead of into the factory loom so all of the a/c wiring can now come out.


-
1 hour ago, Claymore said:
Really impressed mate, great design and fabrication work. Even anodised your own parts. Top work
Yeh that was the aim with this car. I’m an electrician by trade but my old man was a sheet metal and fine limit engineer before going into electrical work so he’s taught me a lot and anything else was self taught. Unfortunately he’s no longer here to see the progress/interfere. It’s a testament to what you can do with some tools and researching enough about what you want to do
-
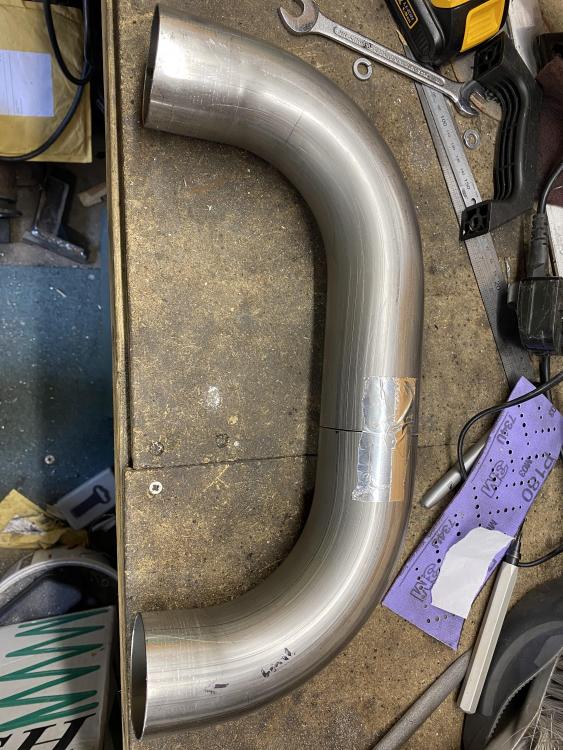
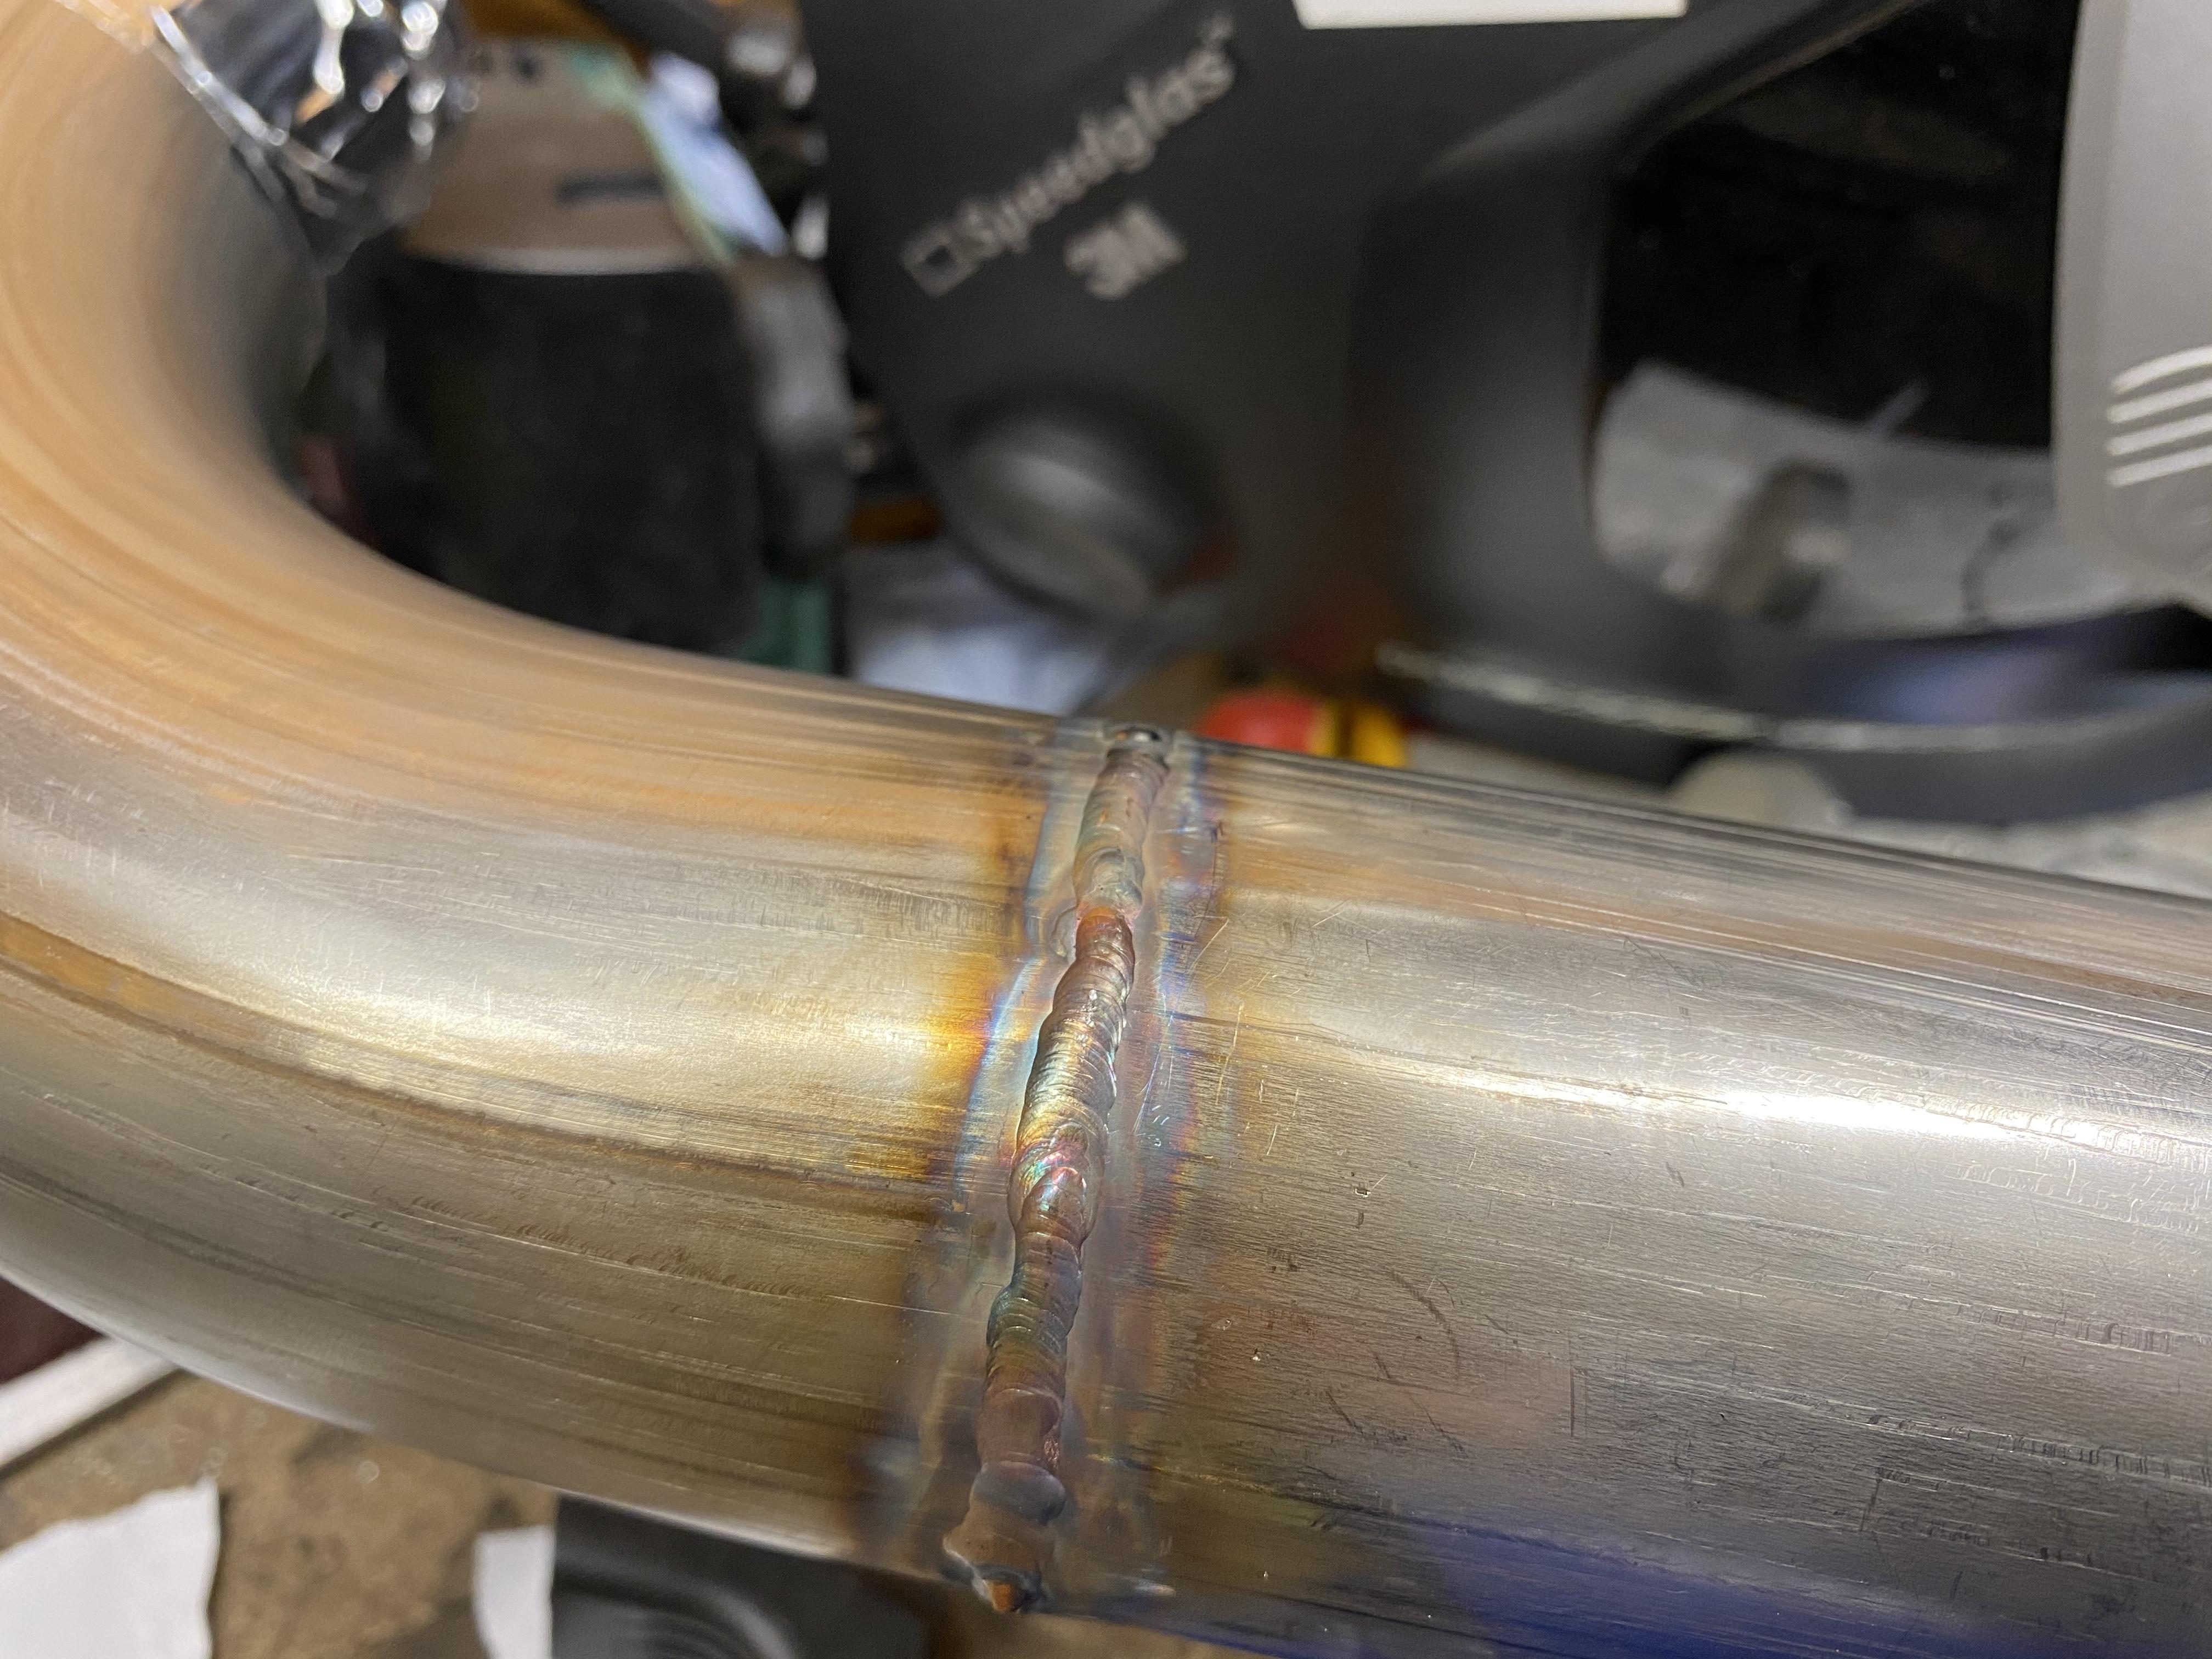
Got 2 of 3 intercooler pipes done, exhaust finished and hoses mounted


-
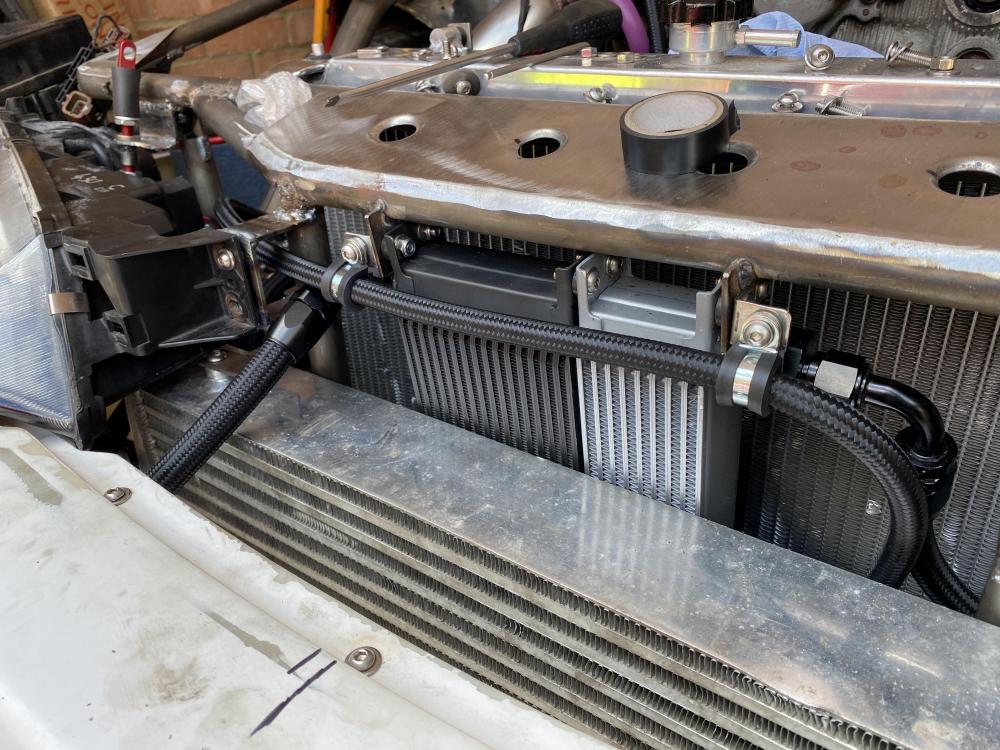
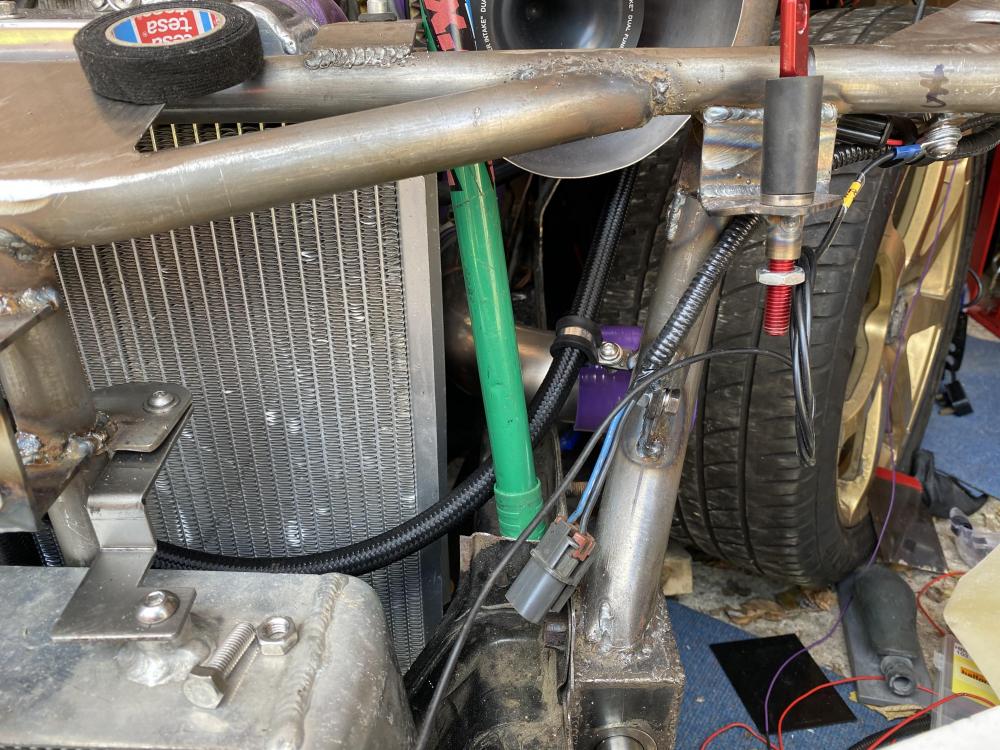
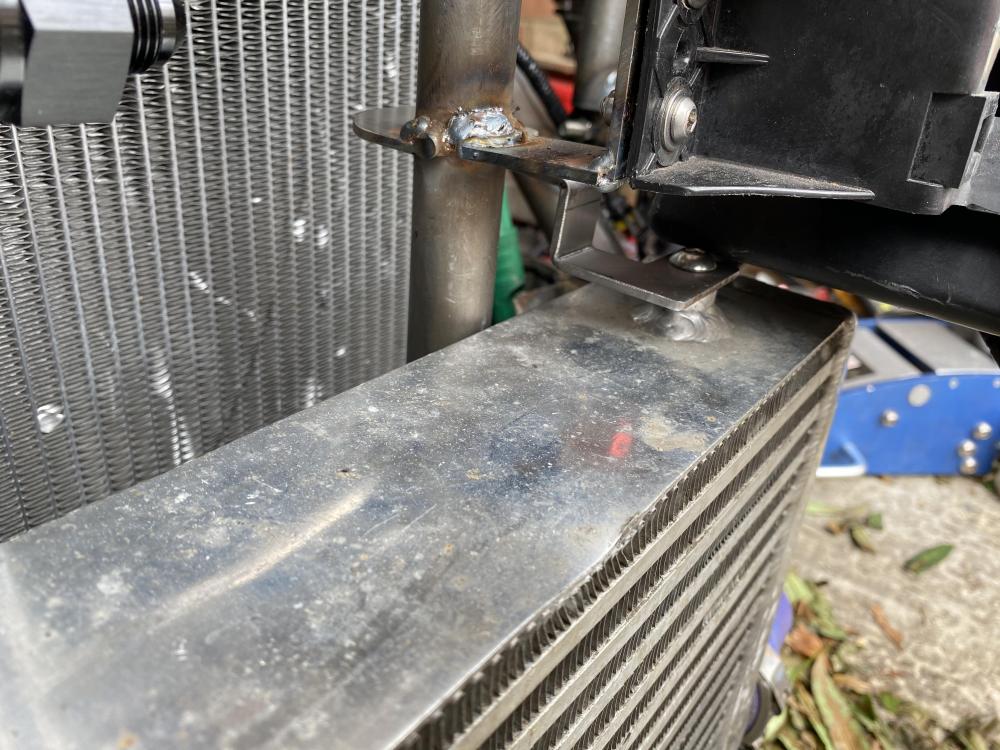
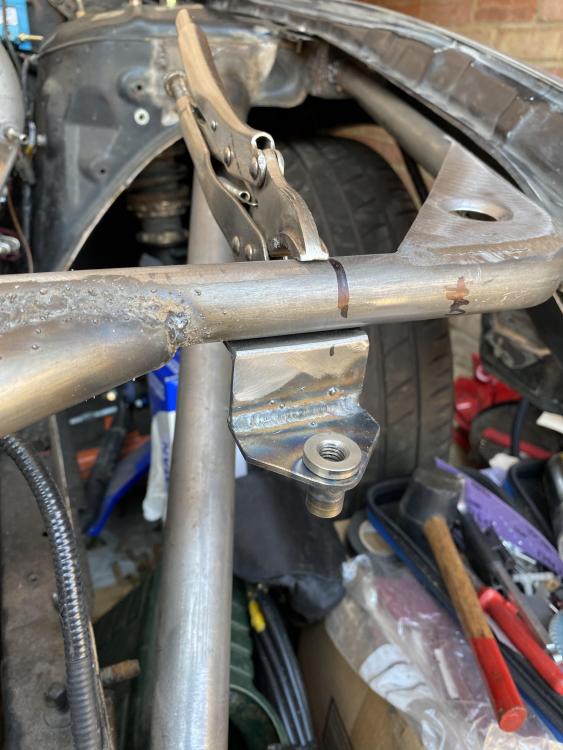
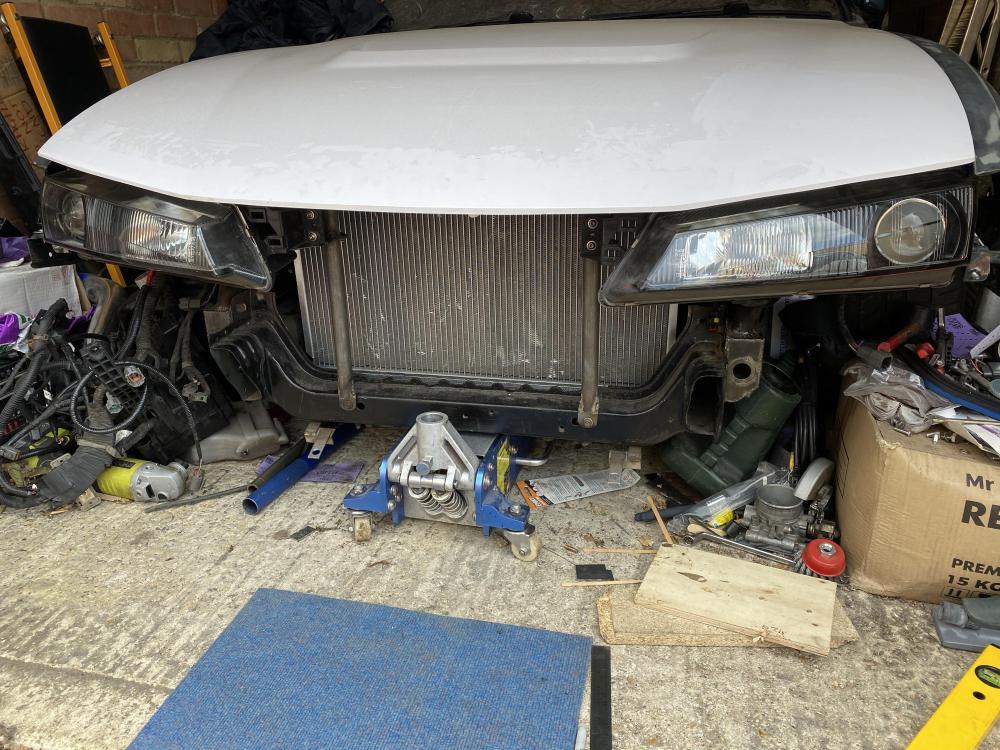
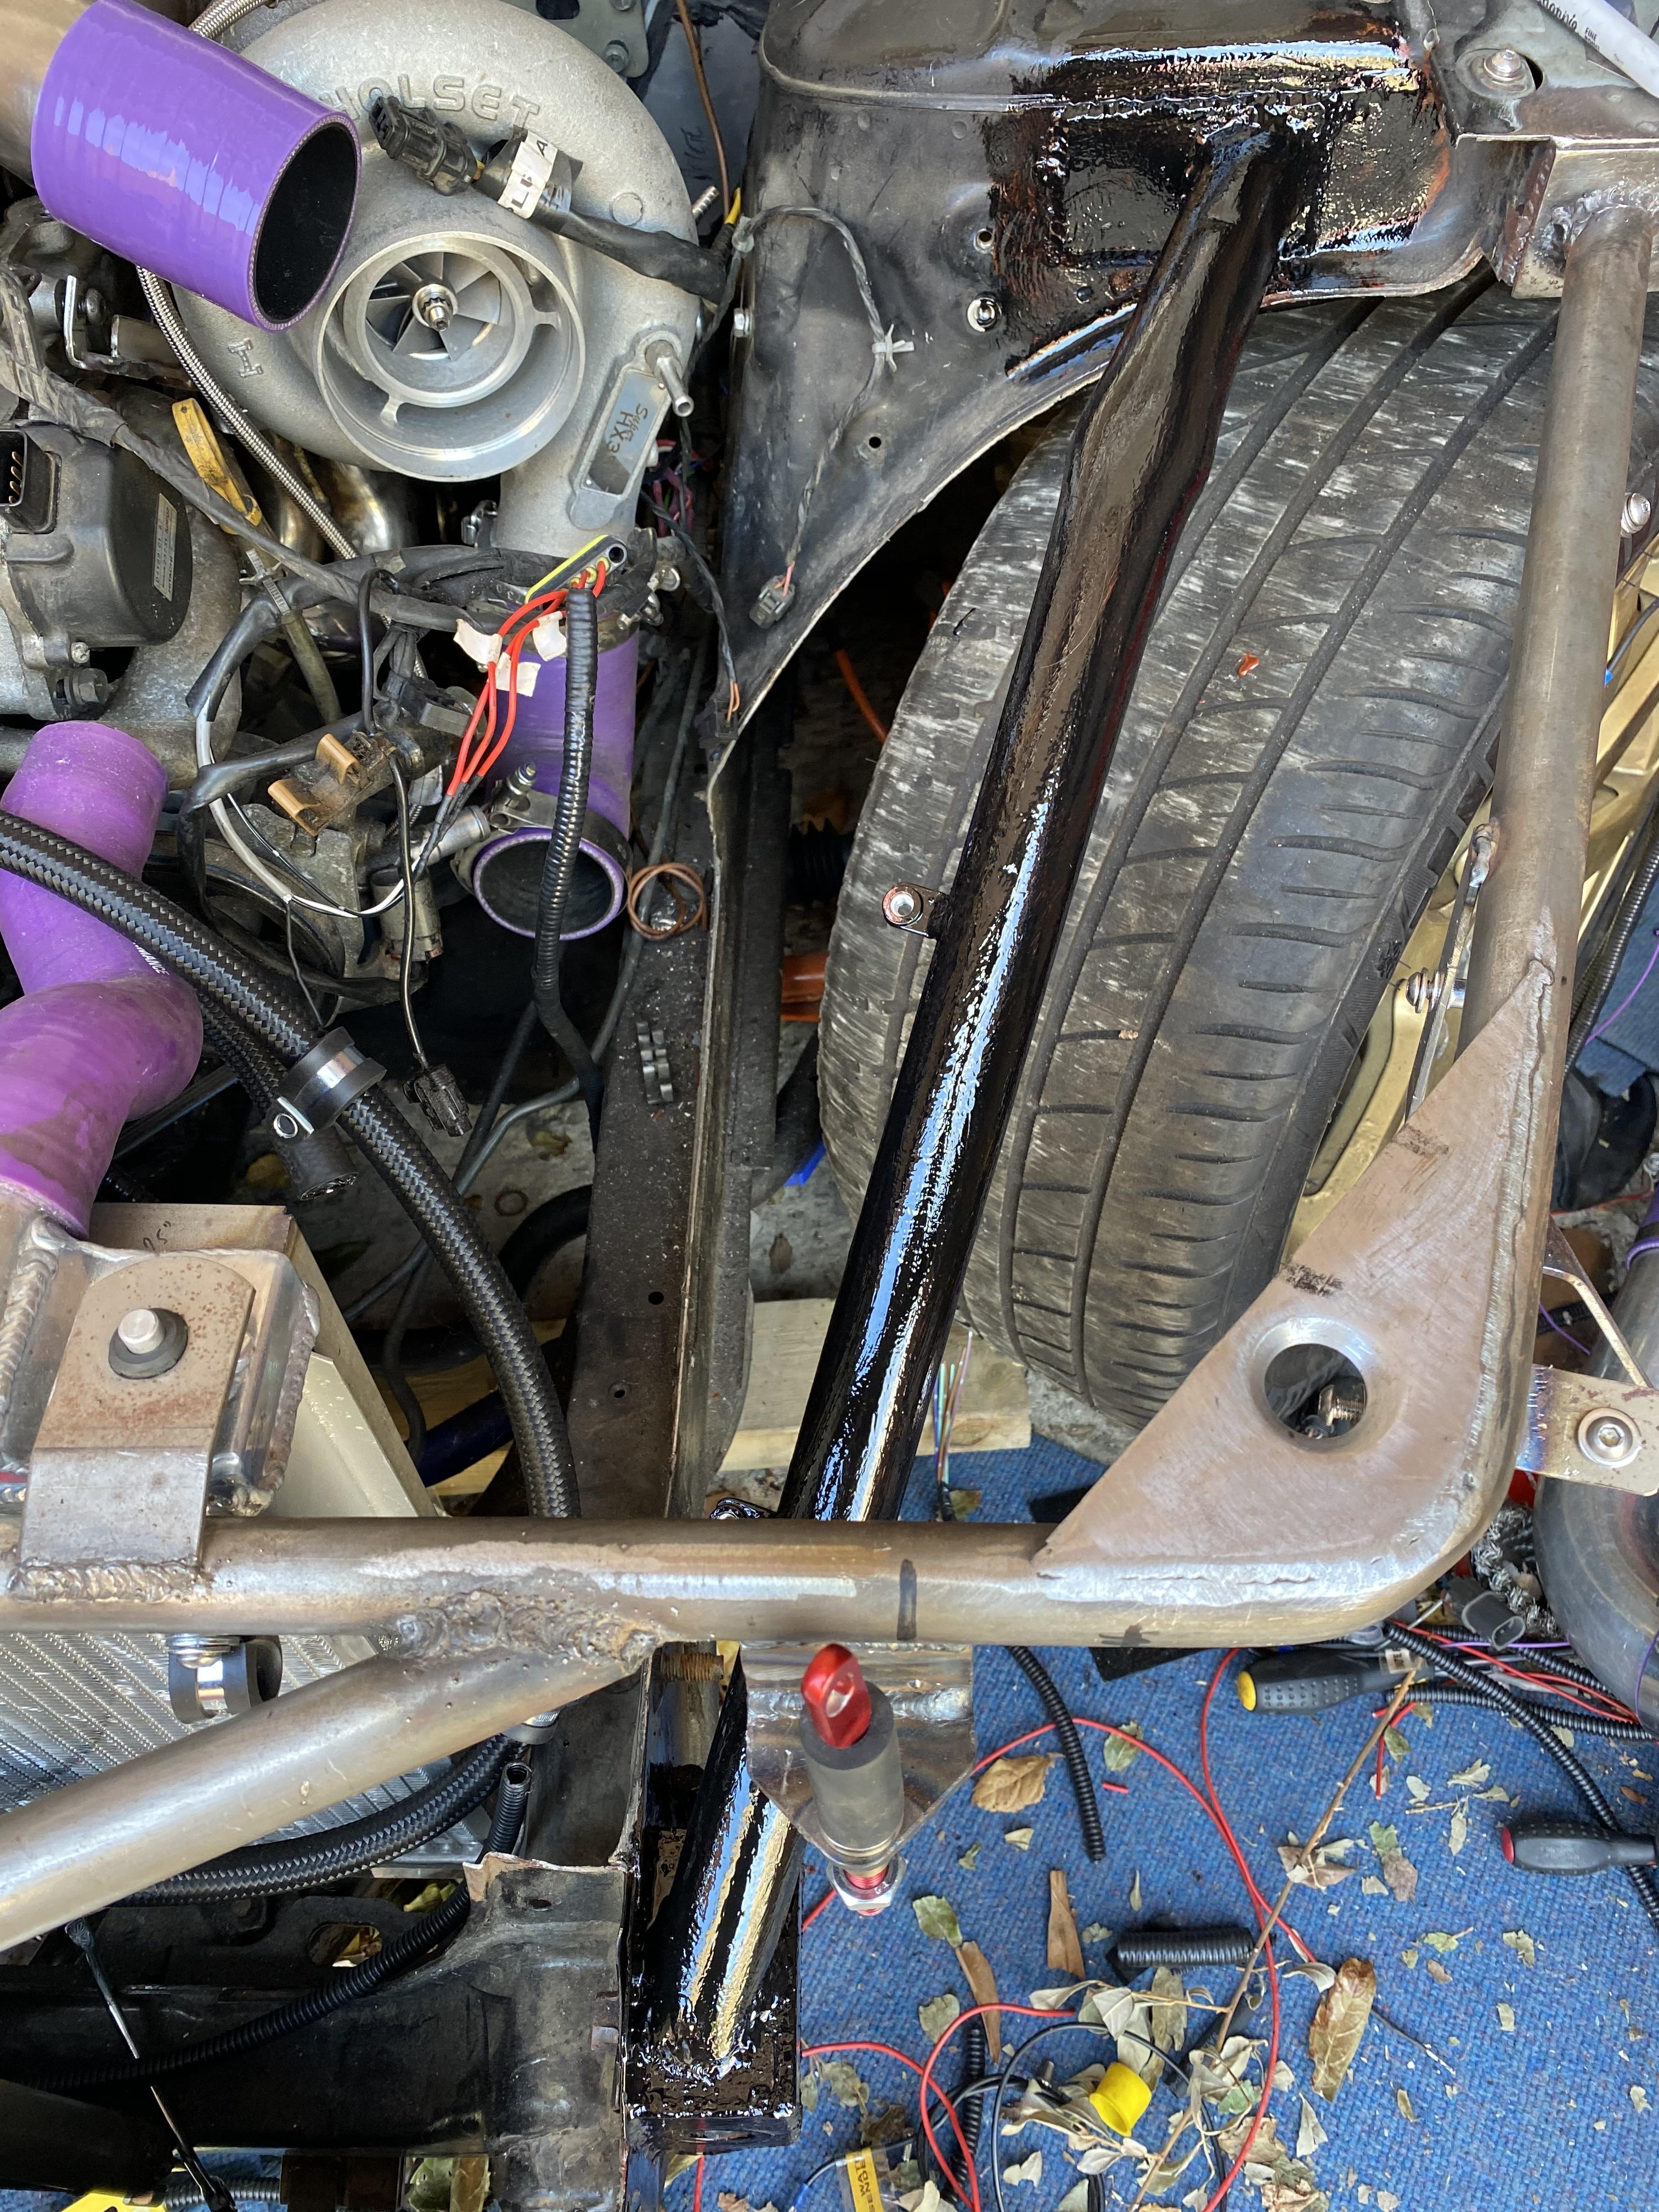
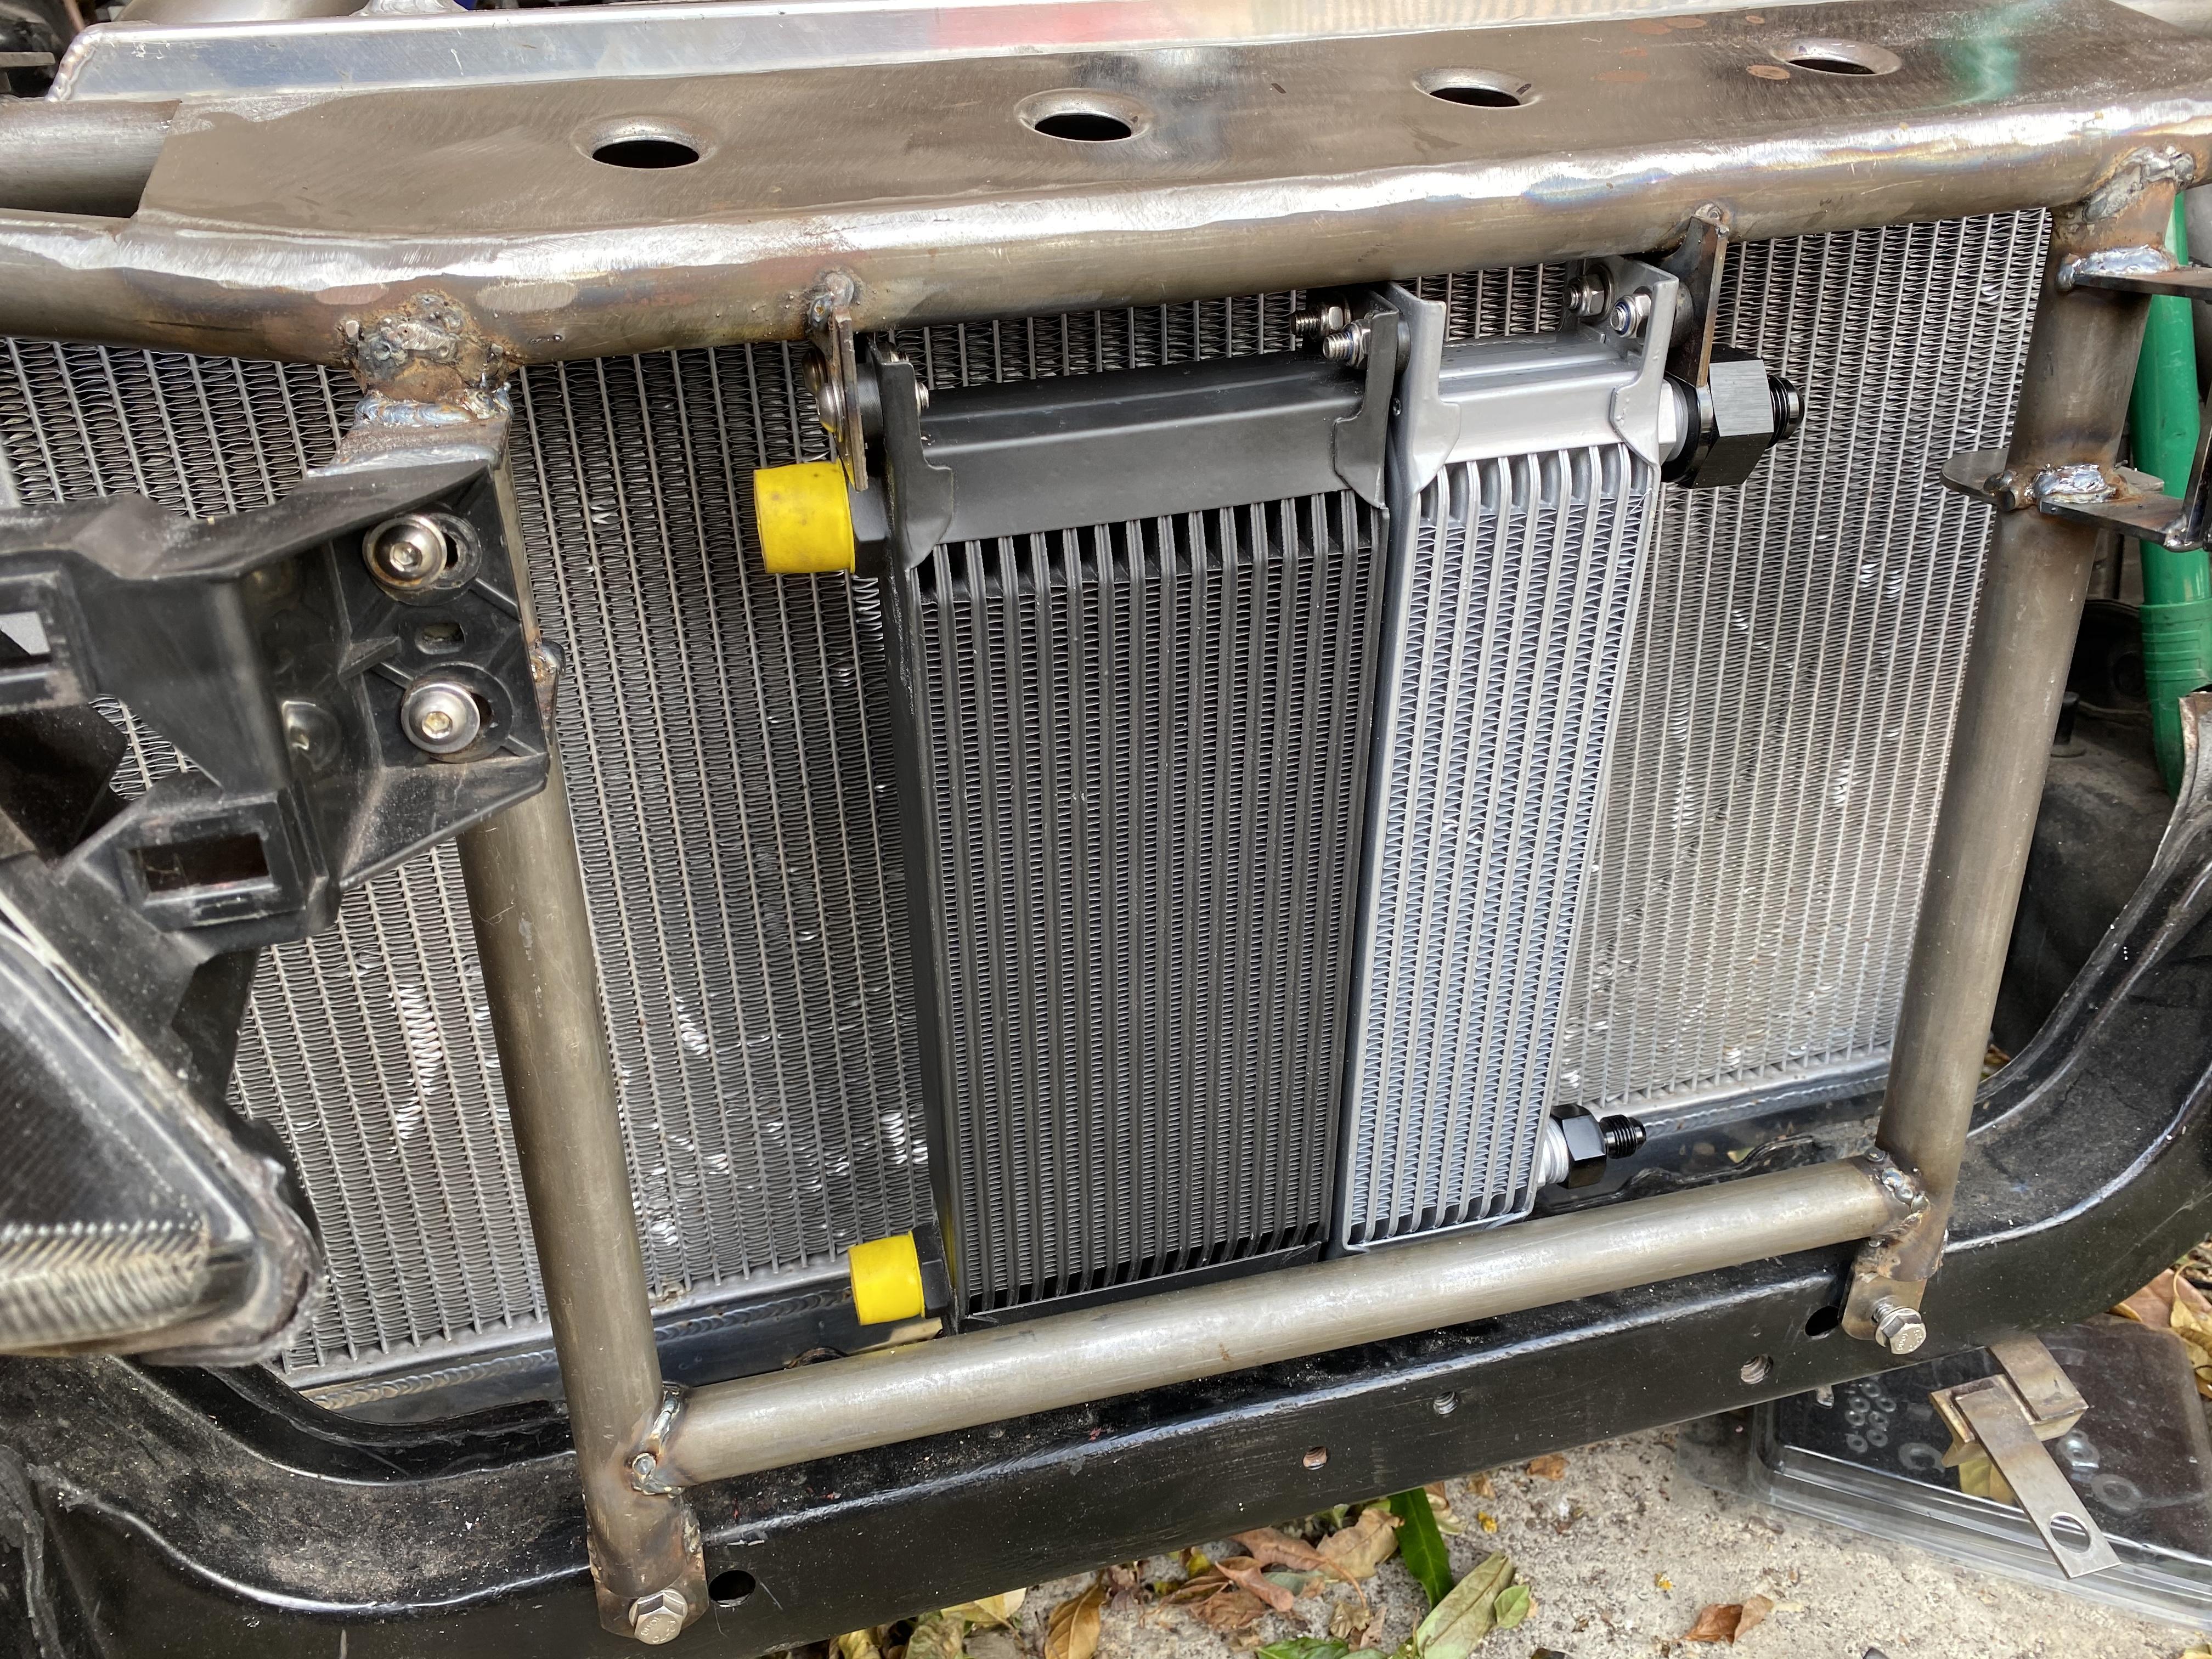
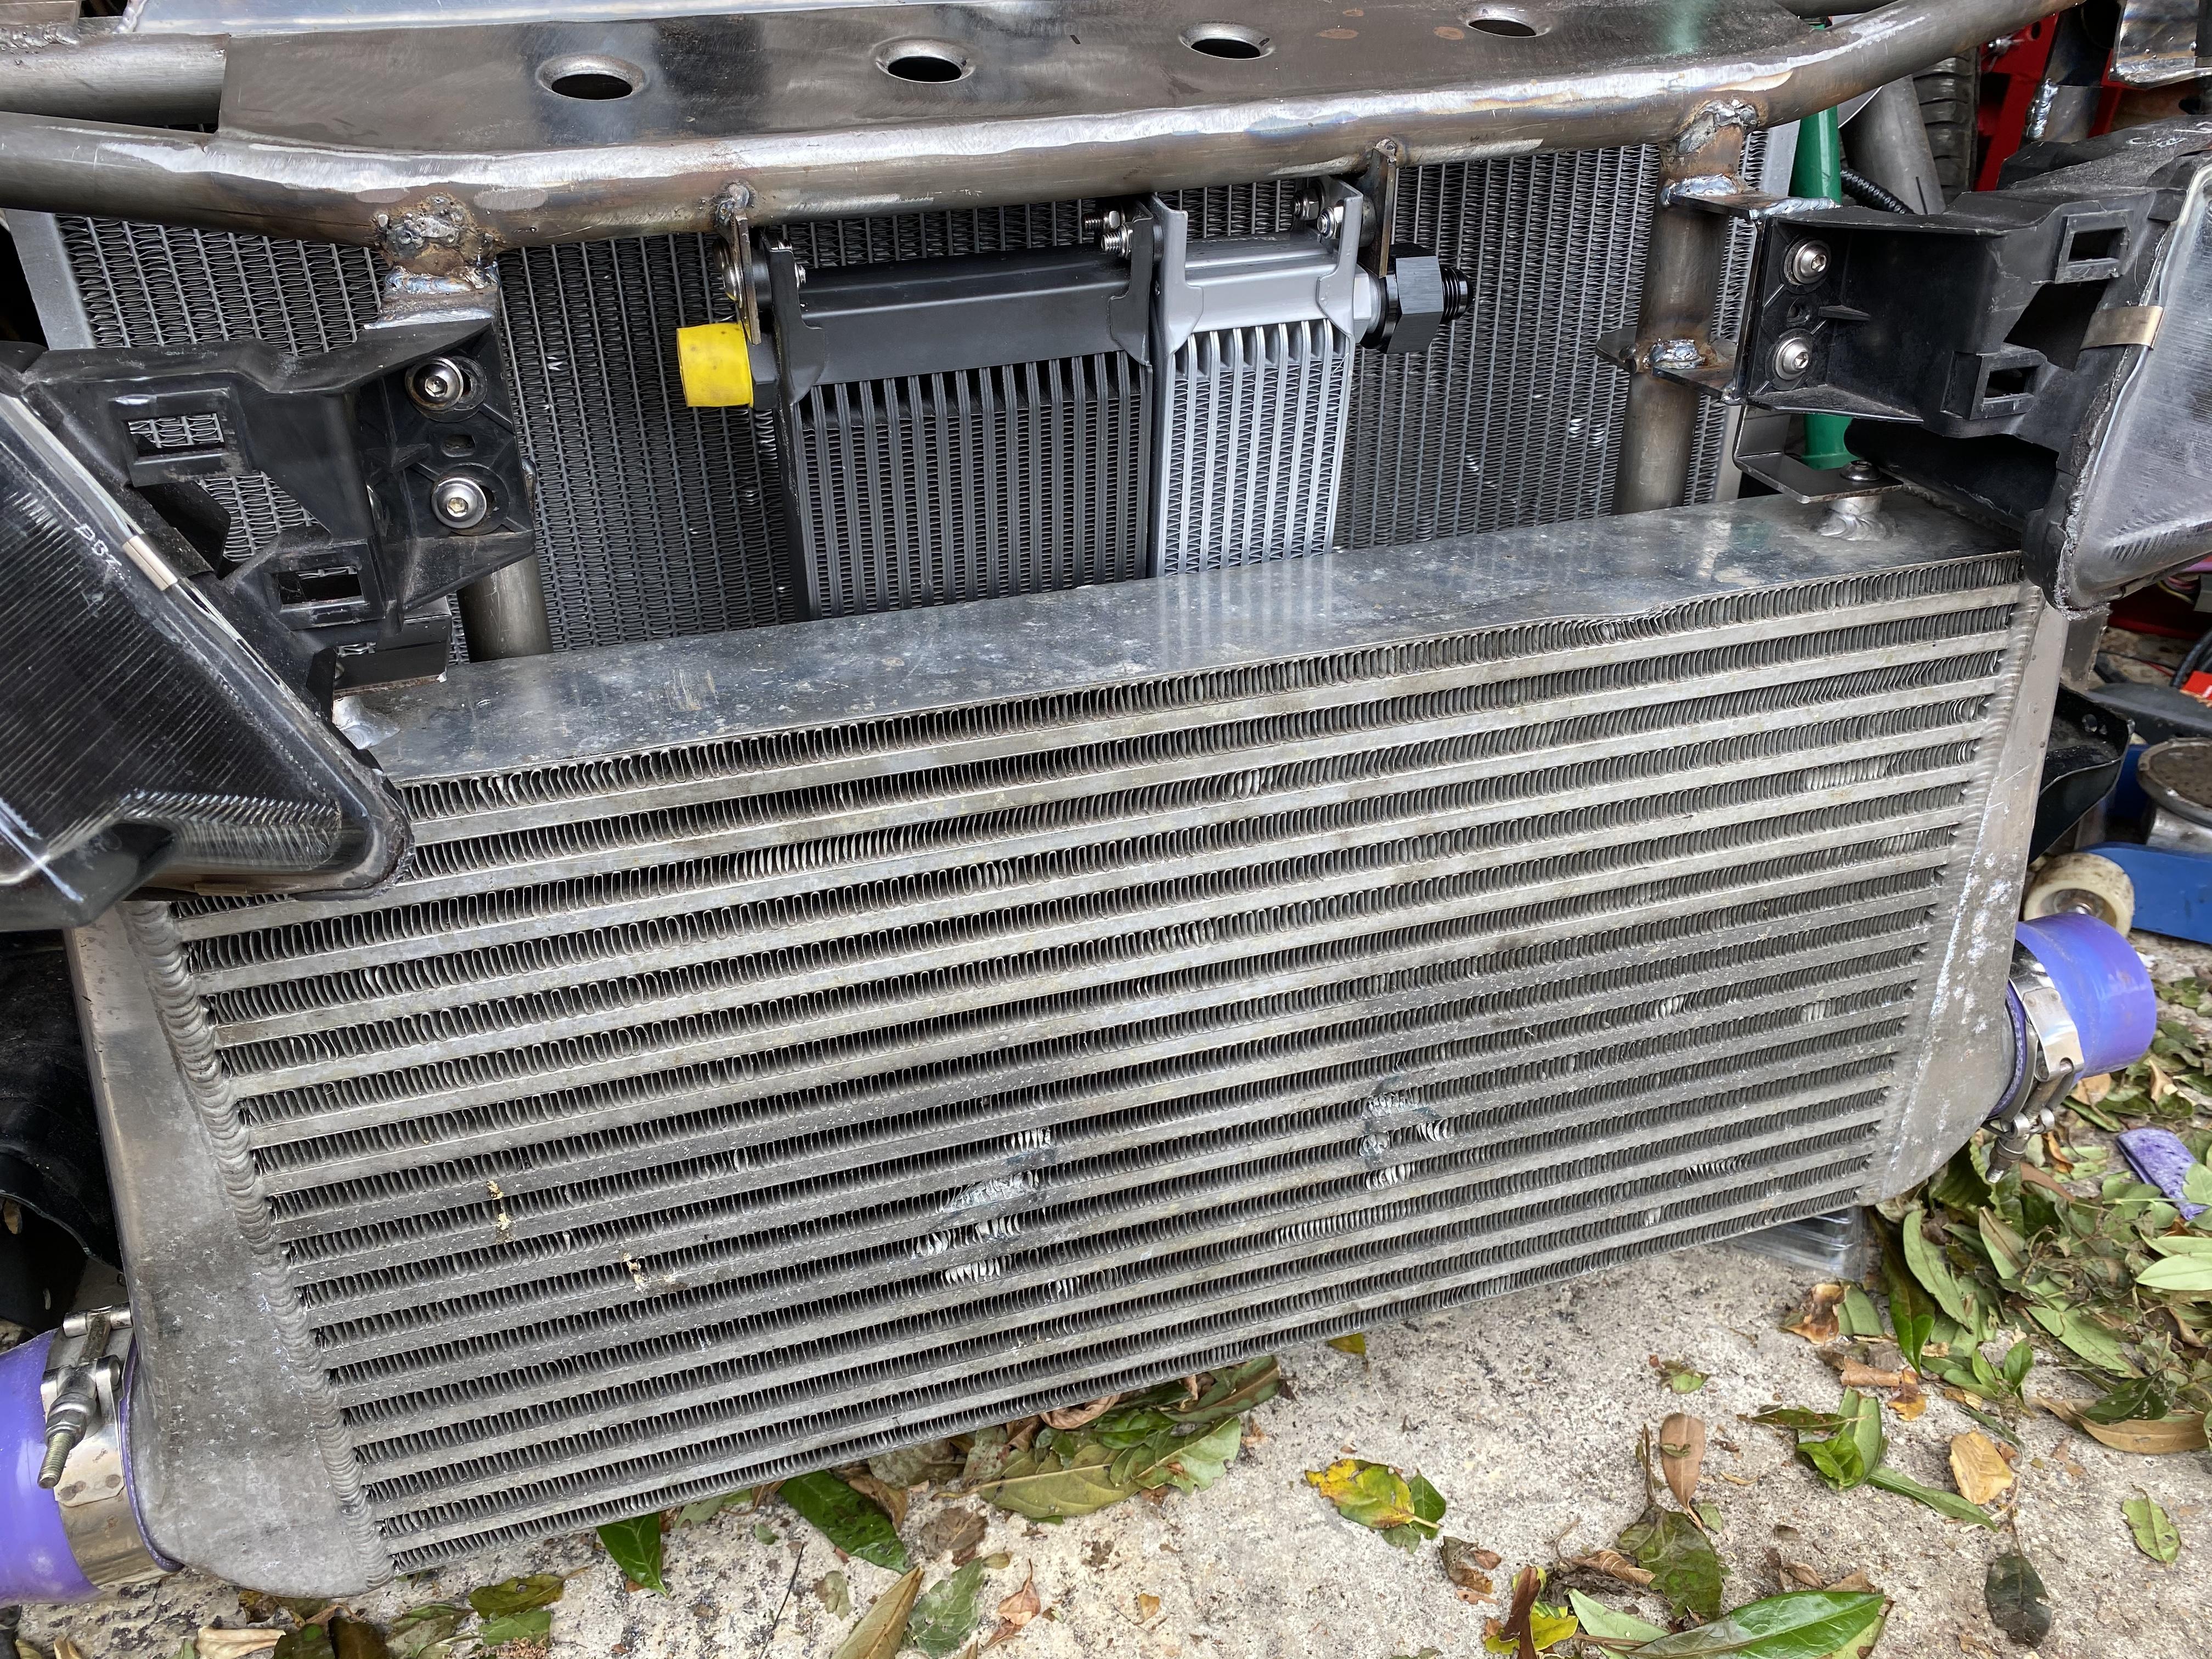
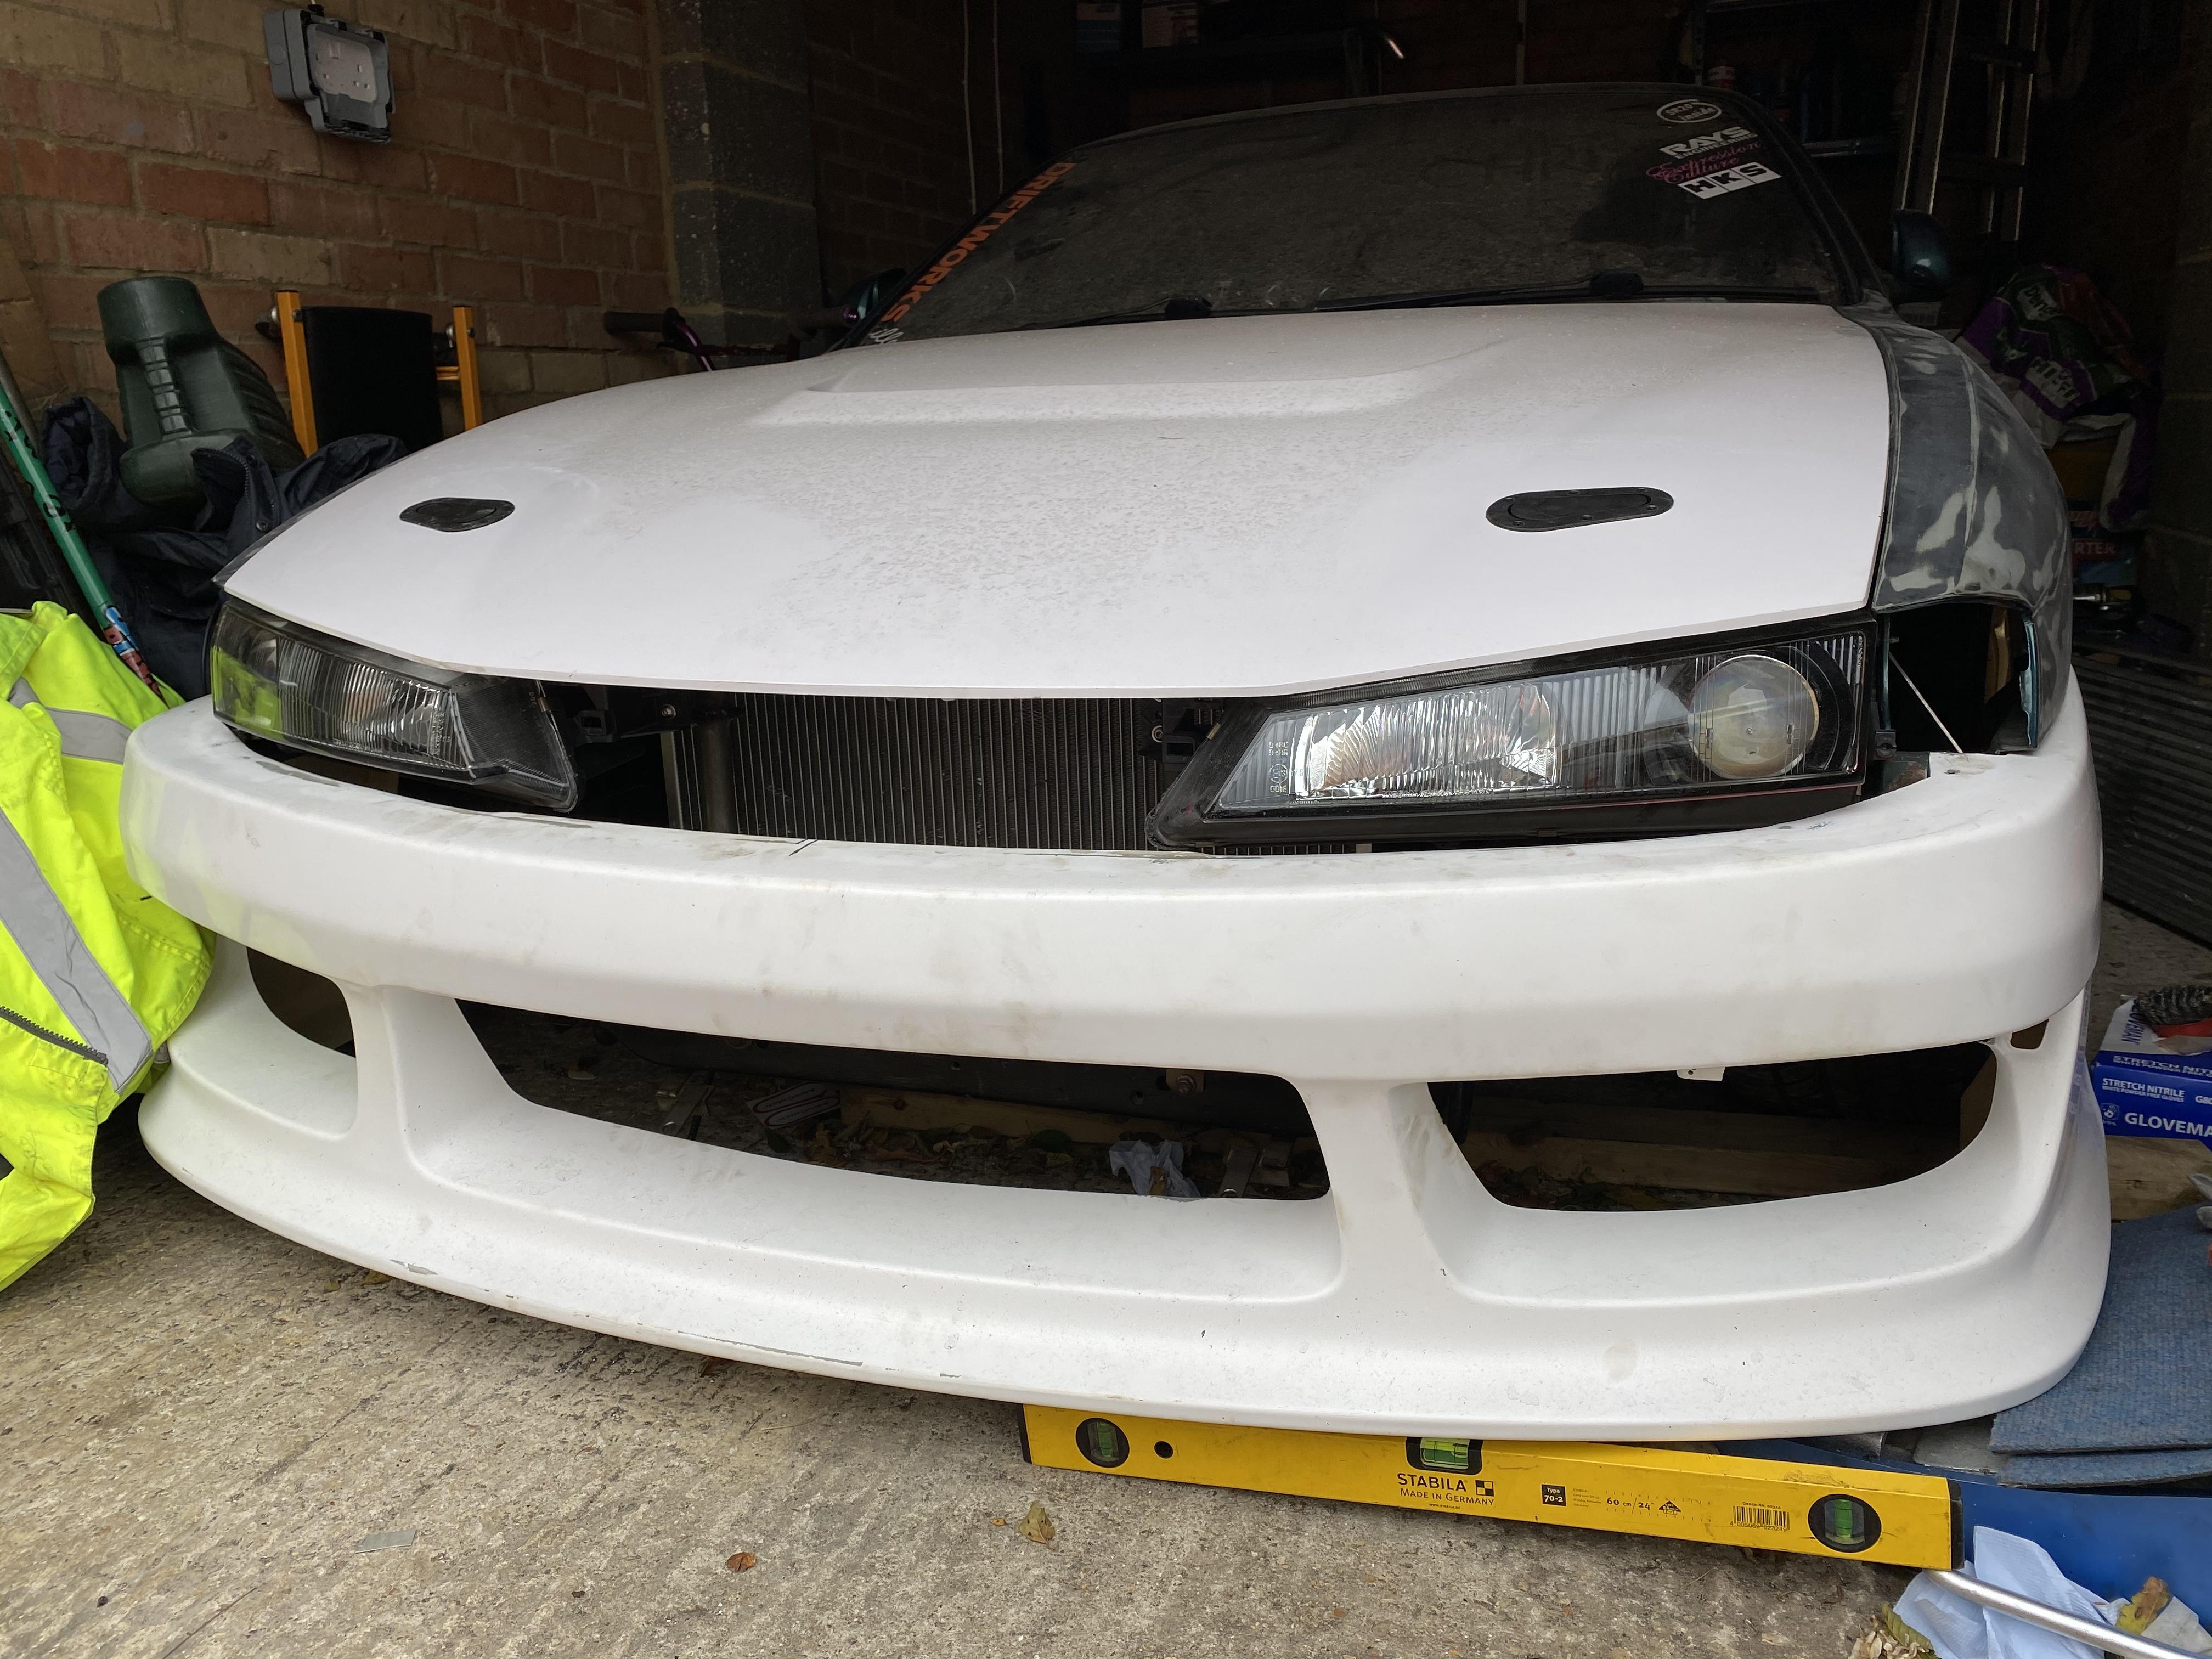
Got the oil and power steering coolers mounted and had to change the layout of the top intercooler brackets as it fouled the headlights. Started running in the power steering lines and I need to make some brackets for p clips to stop them from moving. Got the bonnet pins adjusted so the bonnet sits where it needs to as well. Decided to change the intercooler piping as I wasn’t happy with how it sat. I’ve lengthened one piece of the hot pipe and shortened the other part of it to move it away from the wheel. I have had to change the cold pipe as the turret to chassis bar is in the way


-
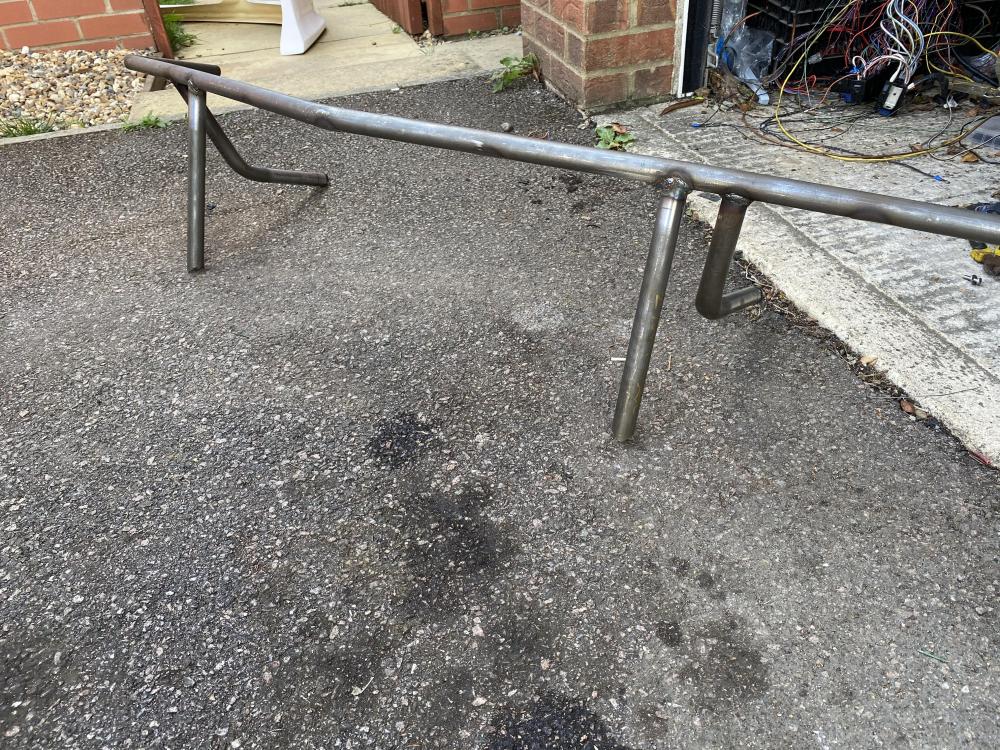
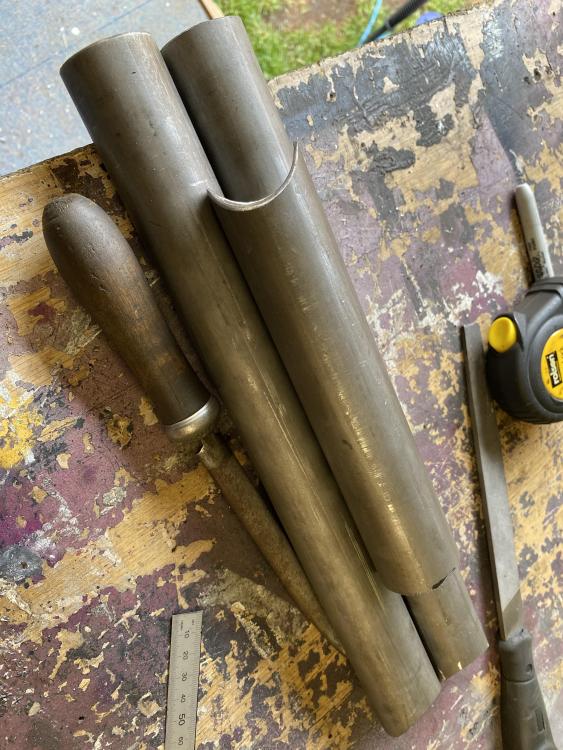
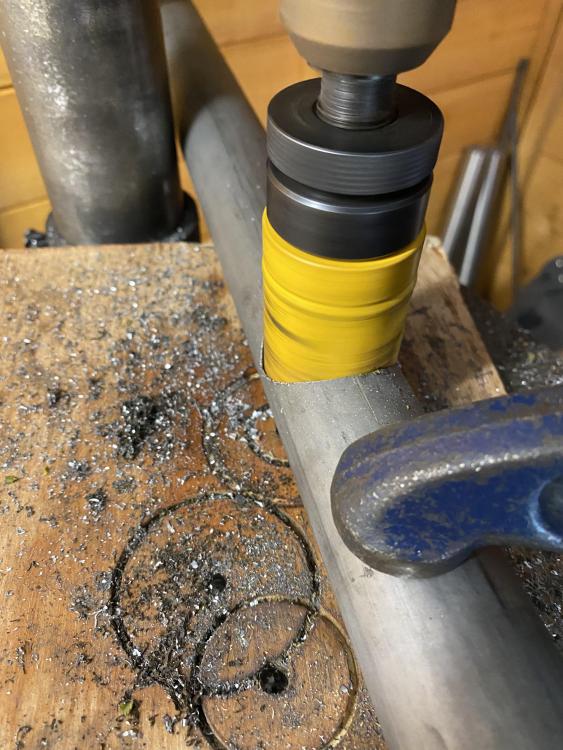
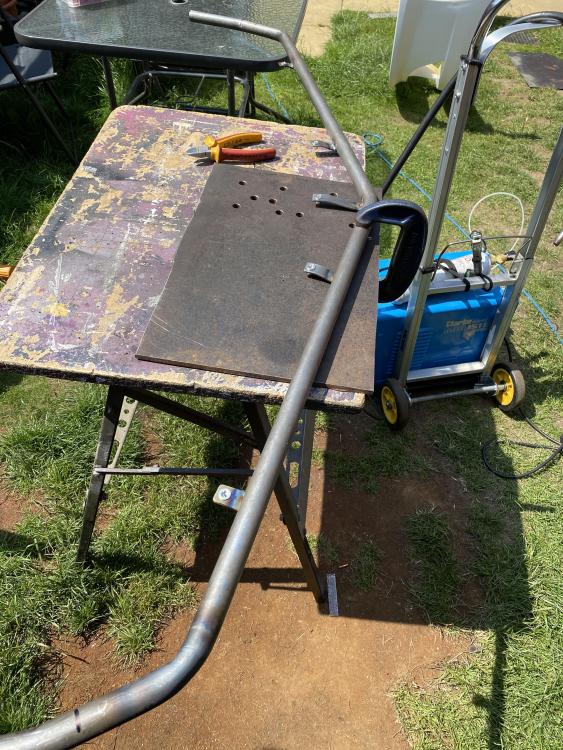
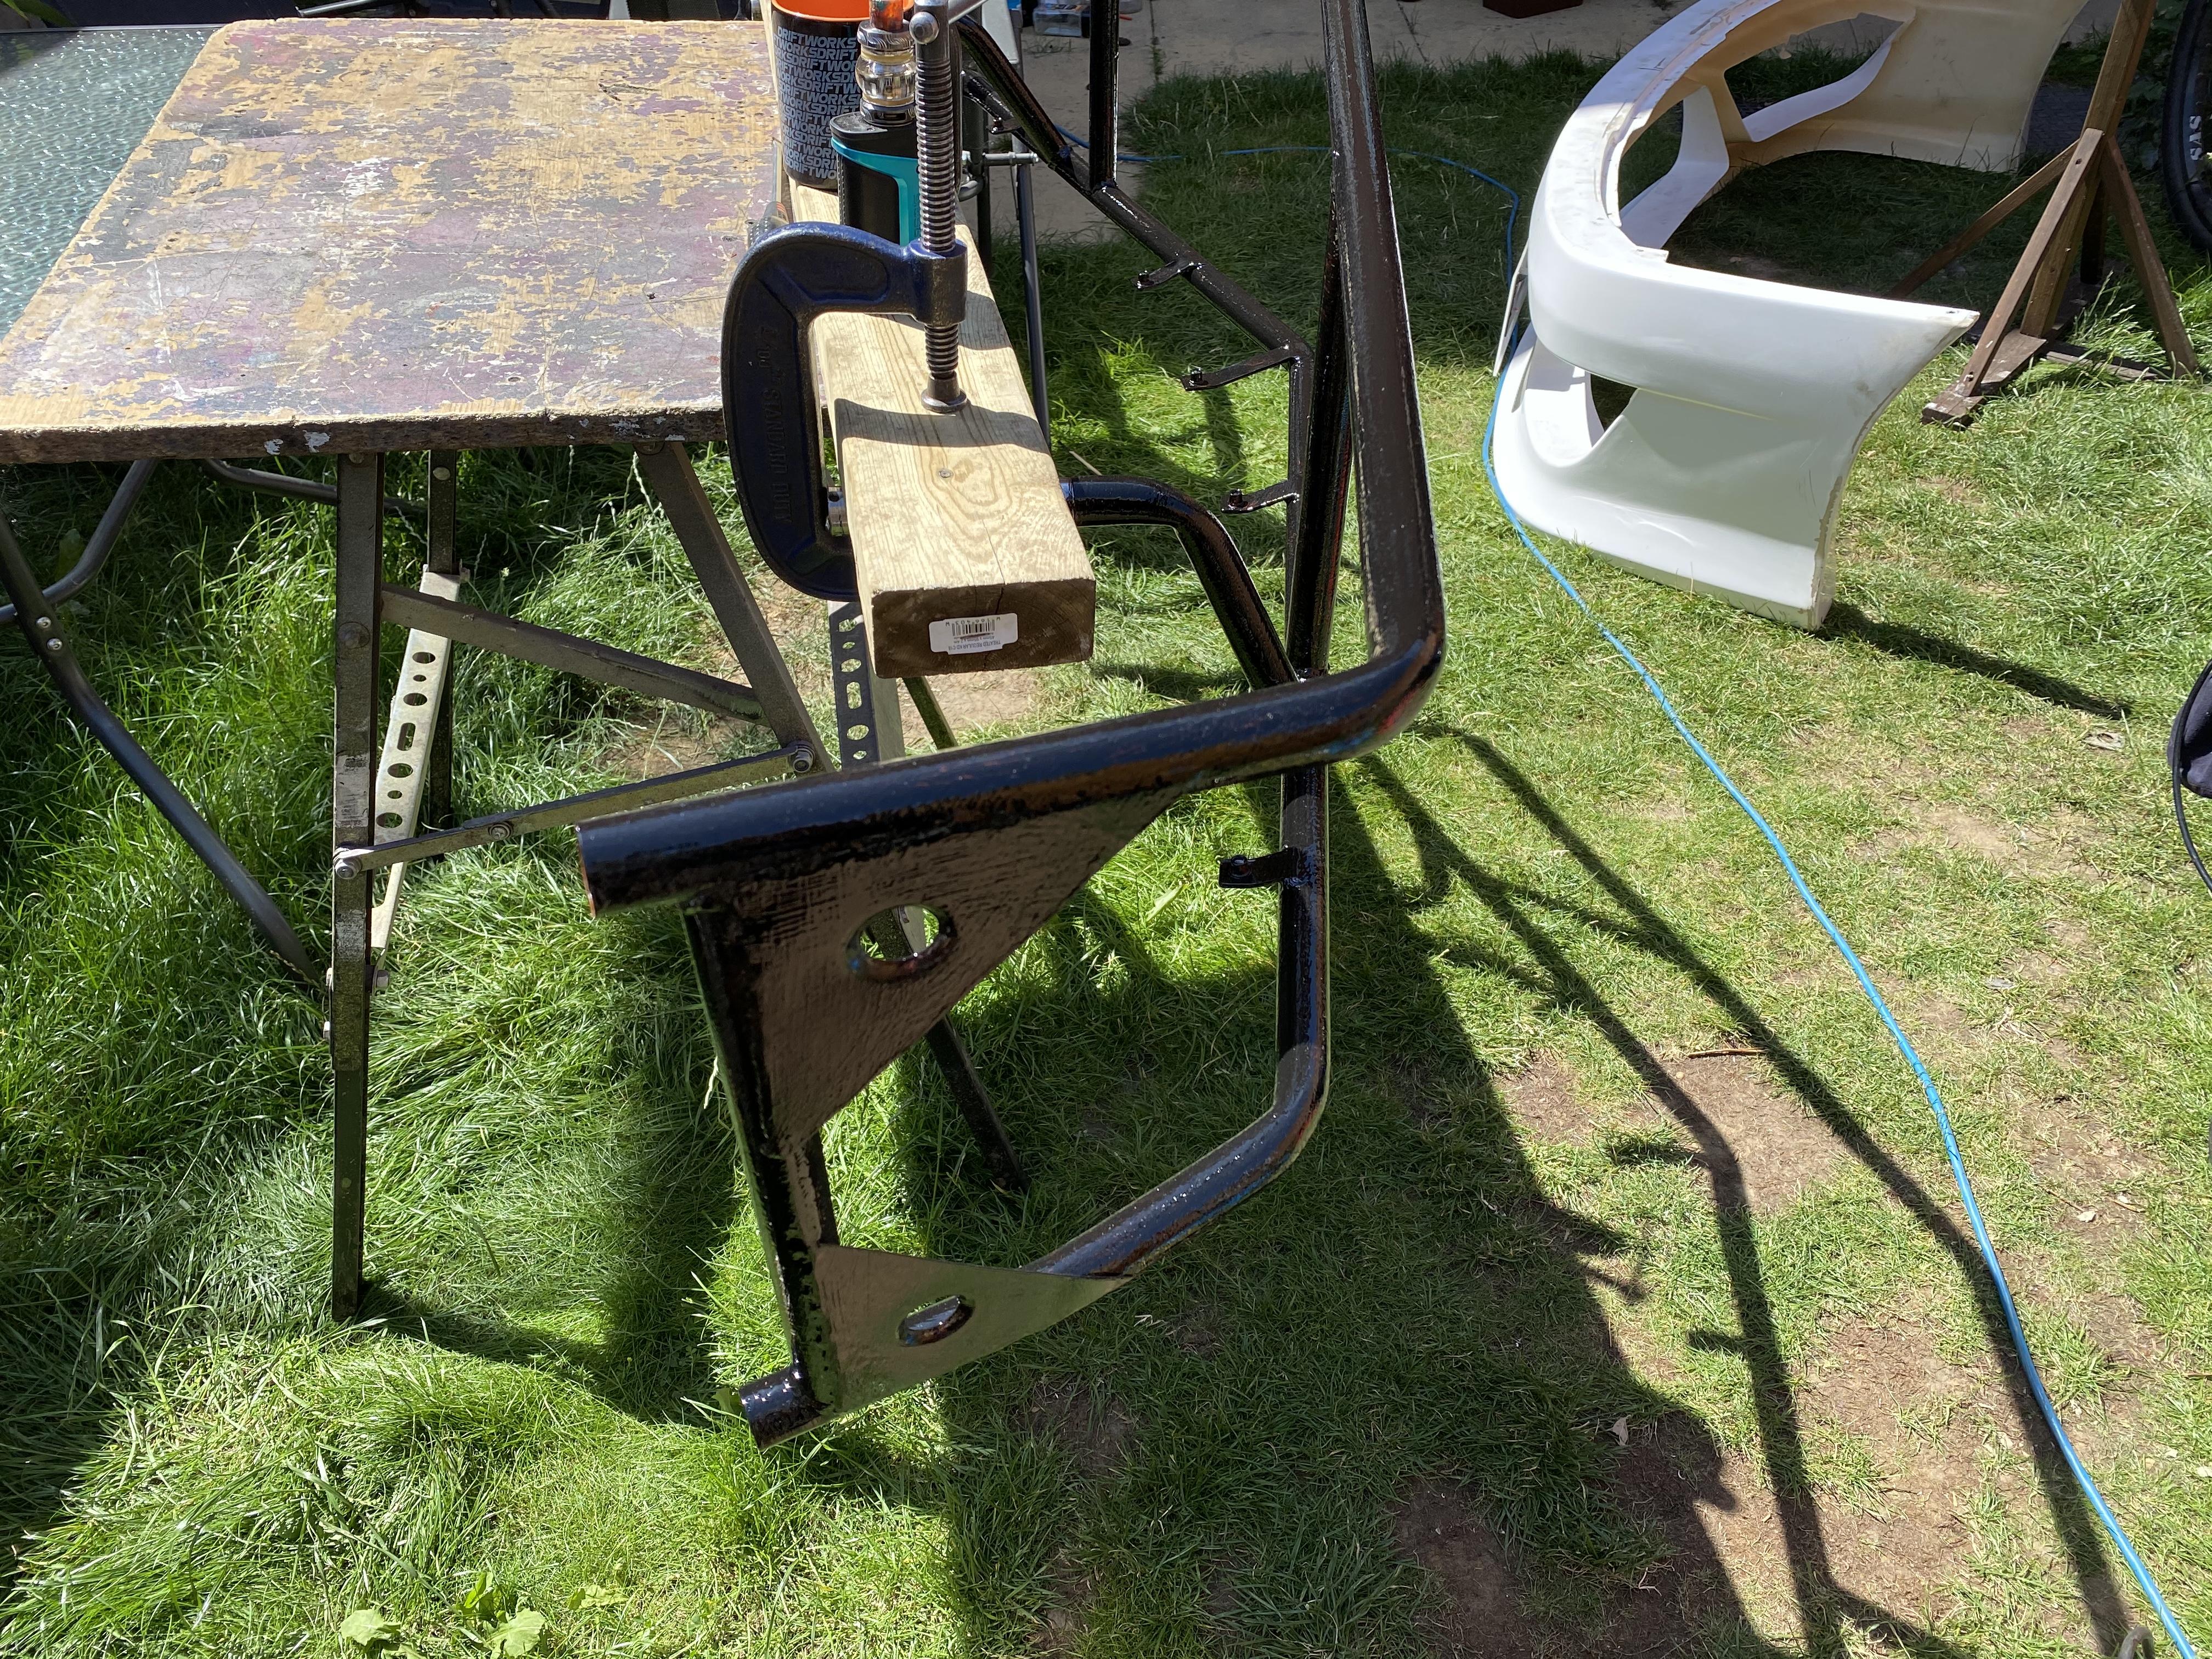
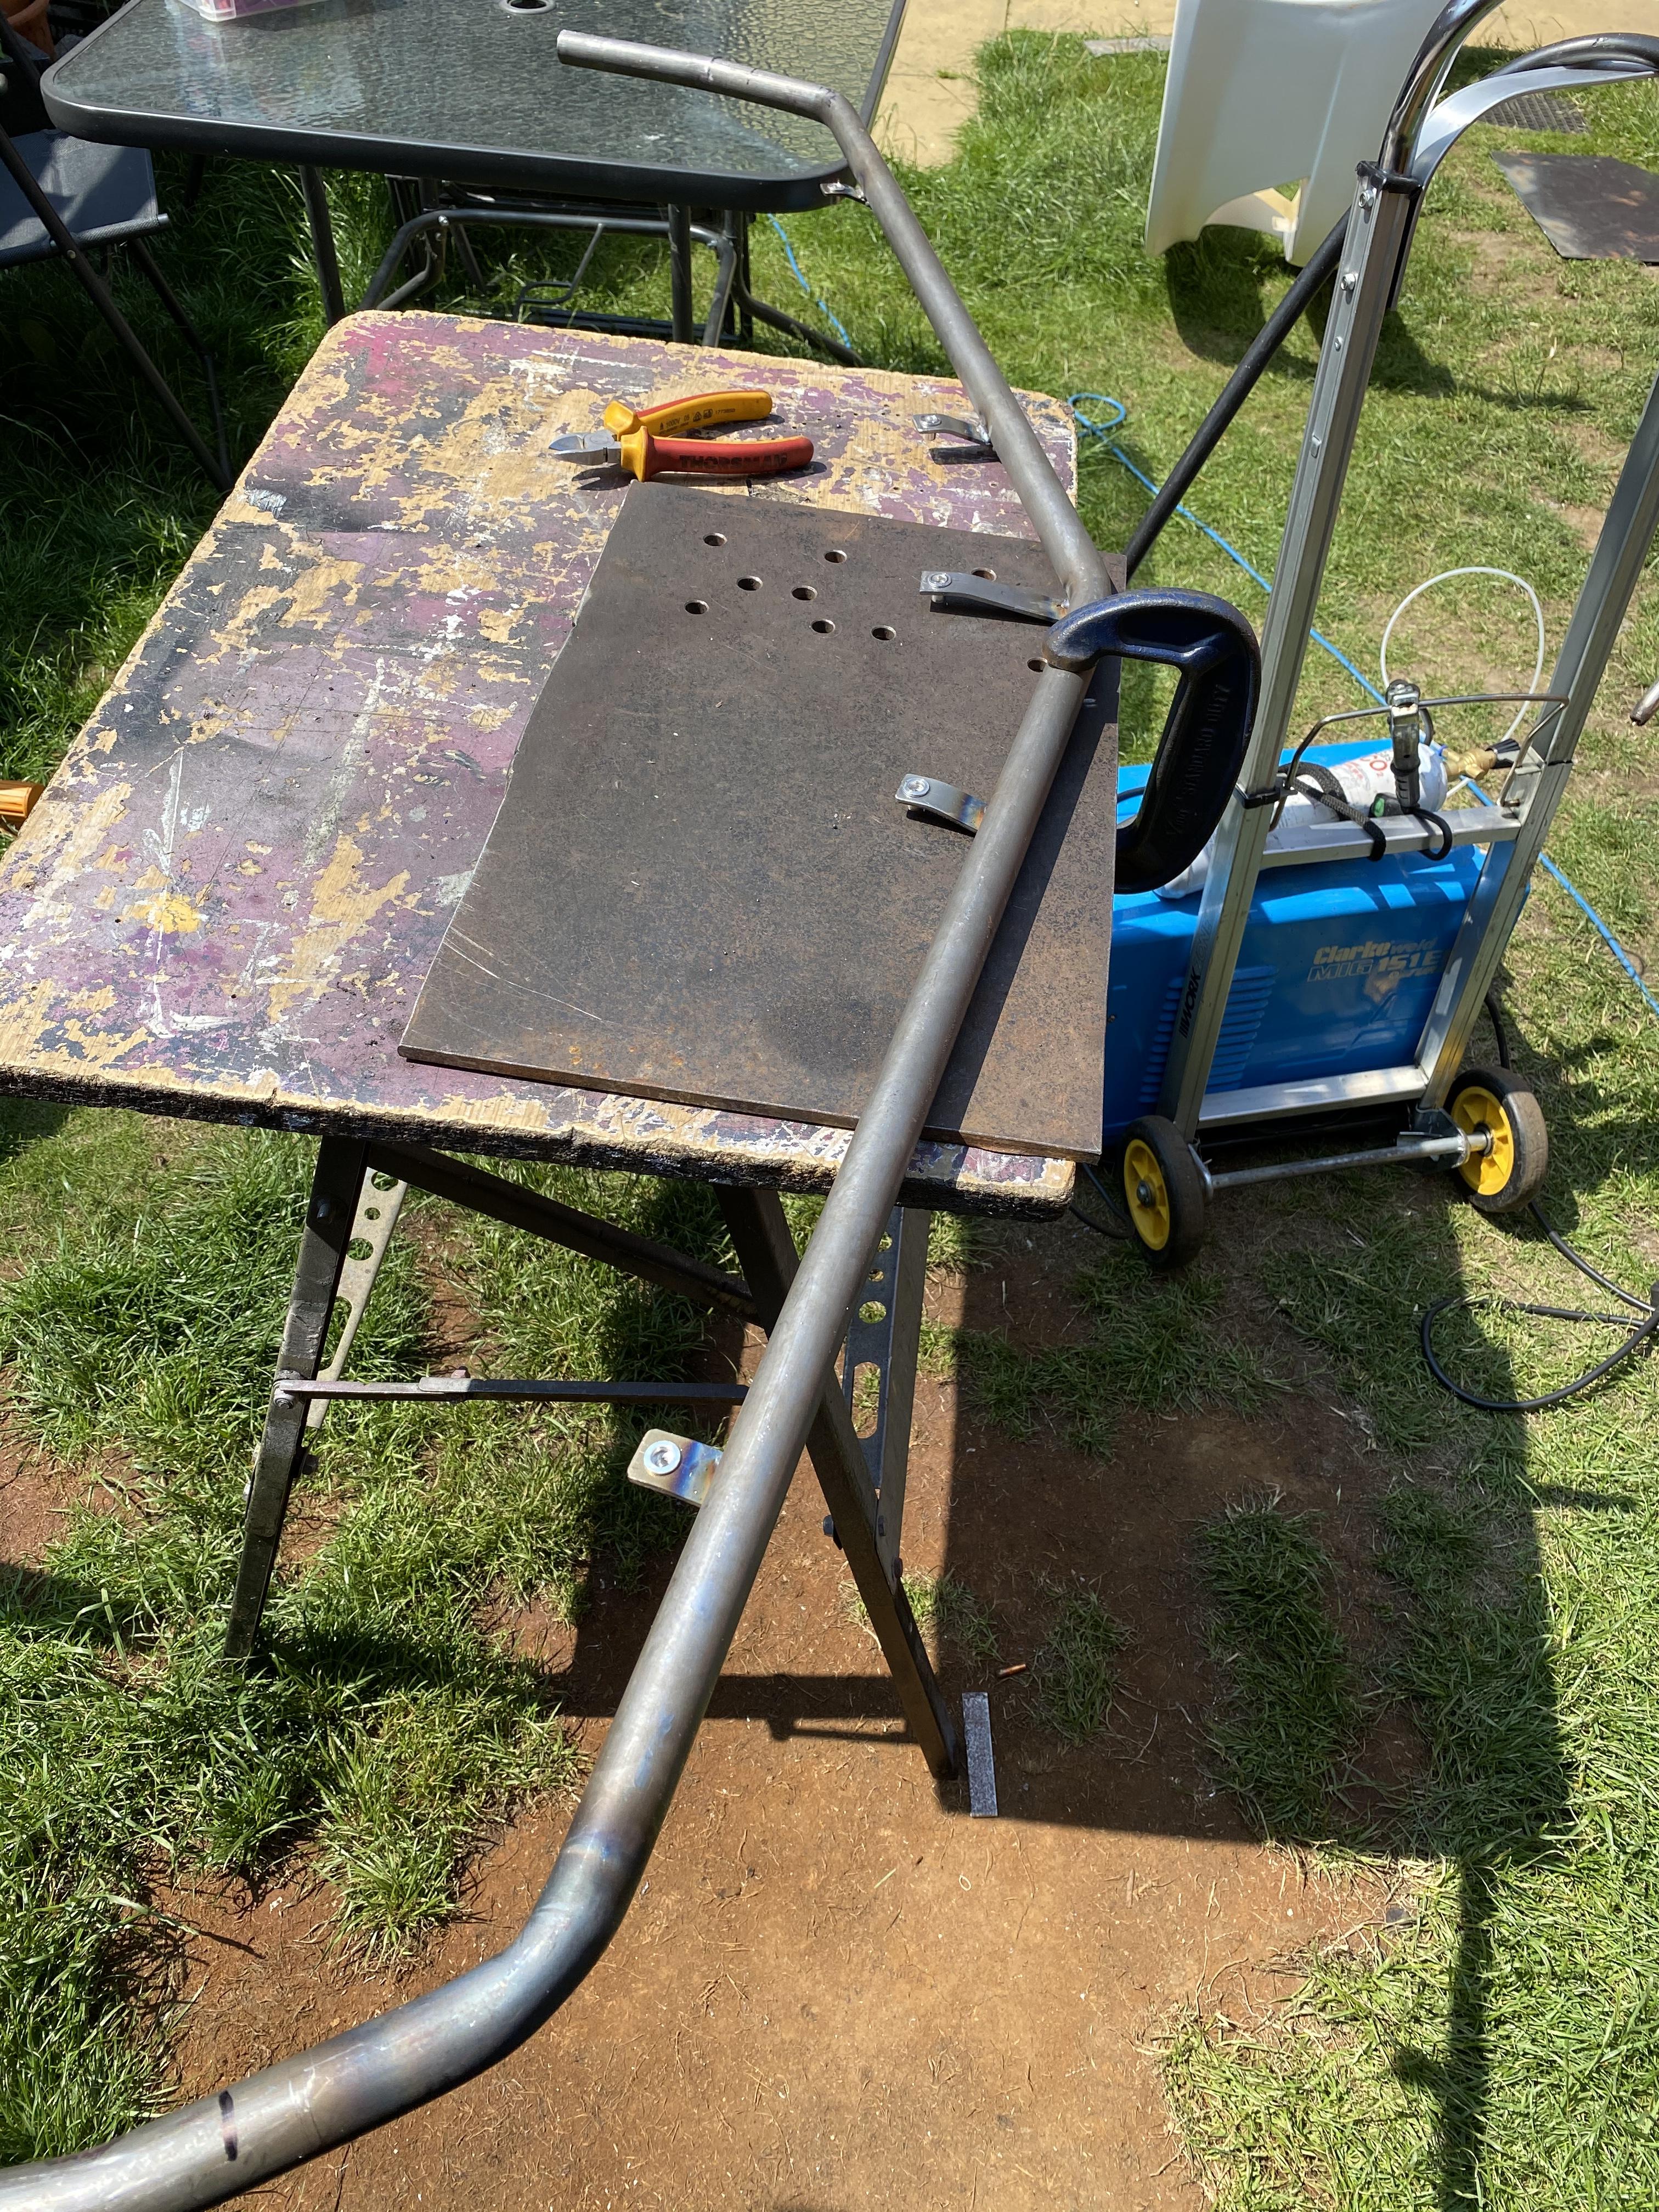
Started making the rear bash bar and jacking point. Got it welded together but it has bent slightly from being welded so I need to adjust the plan for it. At least it’s properly welded I guess. I notched part of it on the pillar drill but 2 braces needed to be botched by hand. Just needs tidying up and the final fitment
-
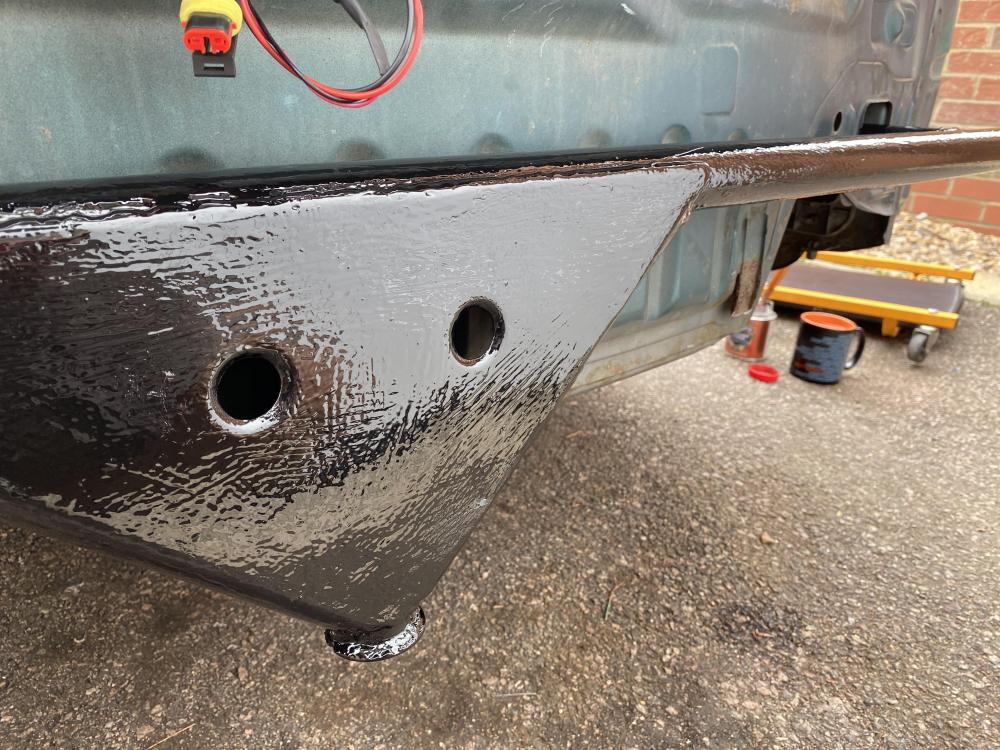
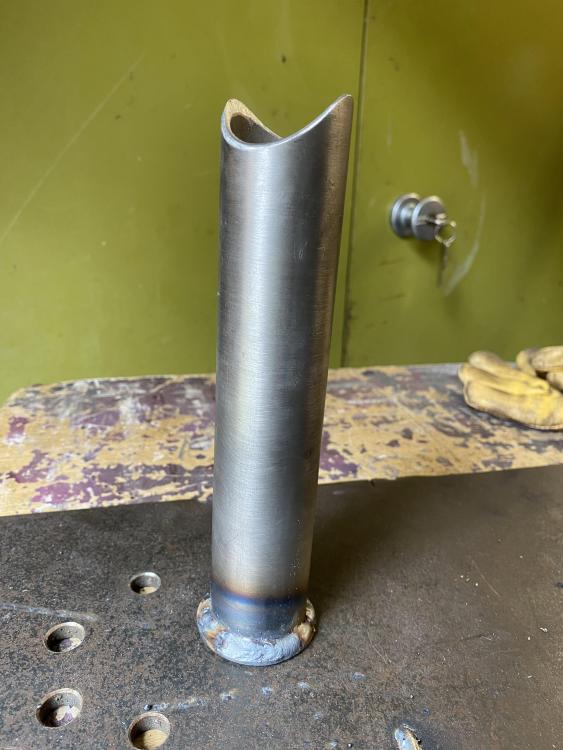
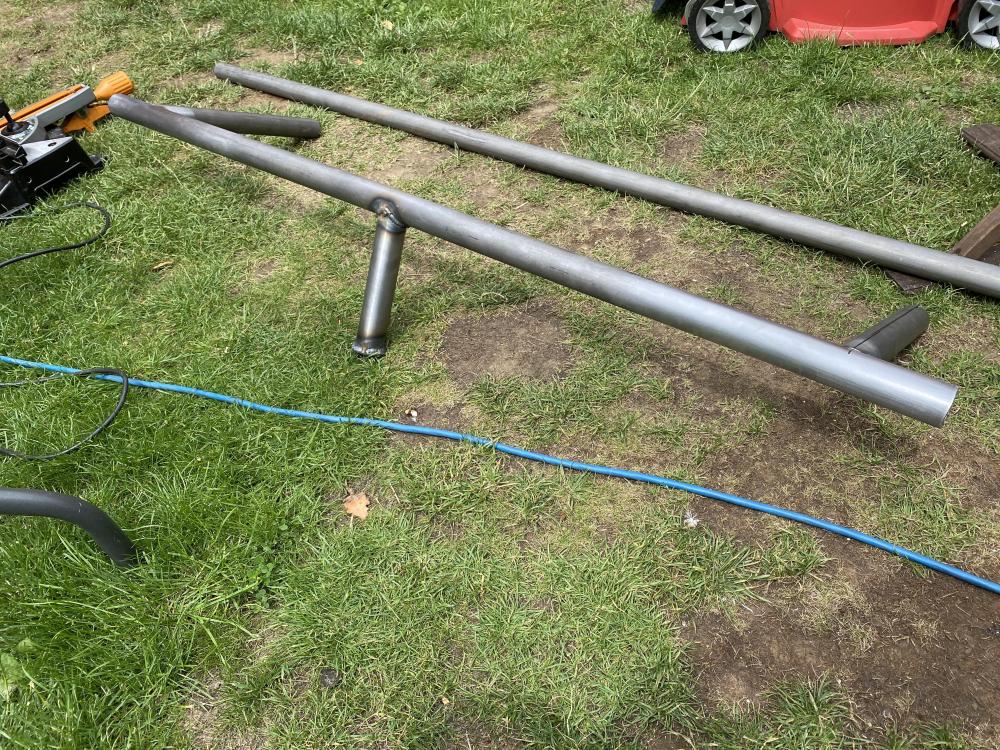
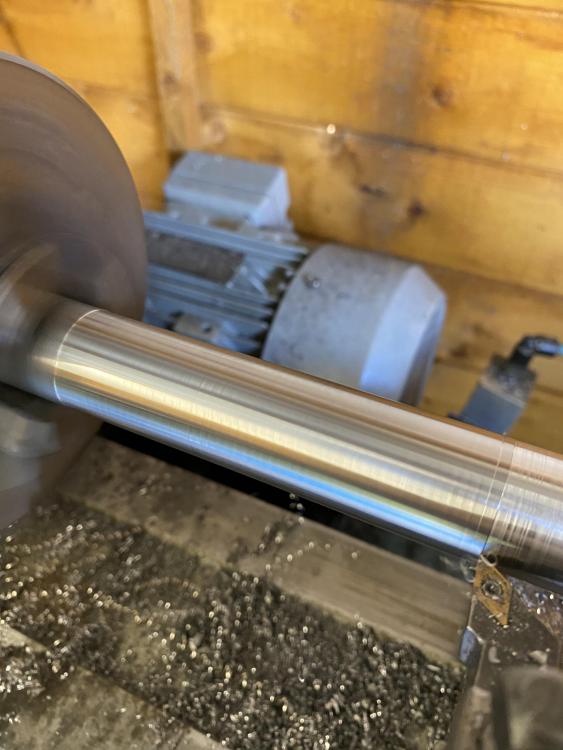
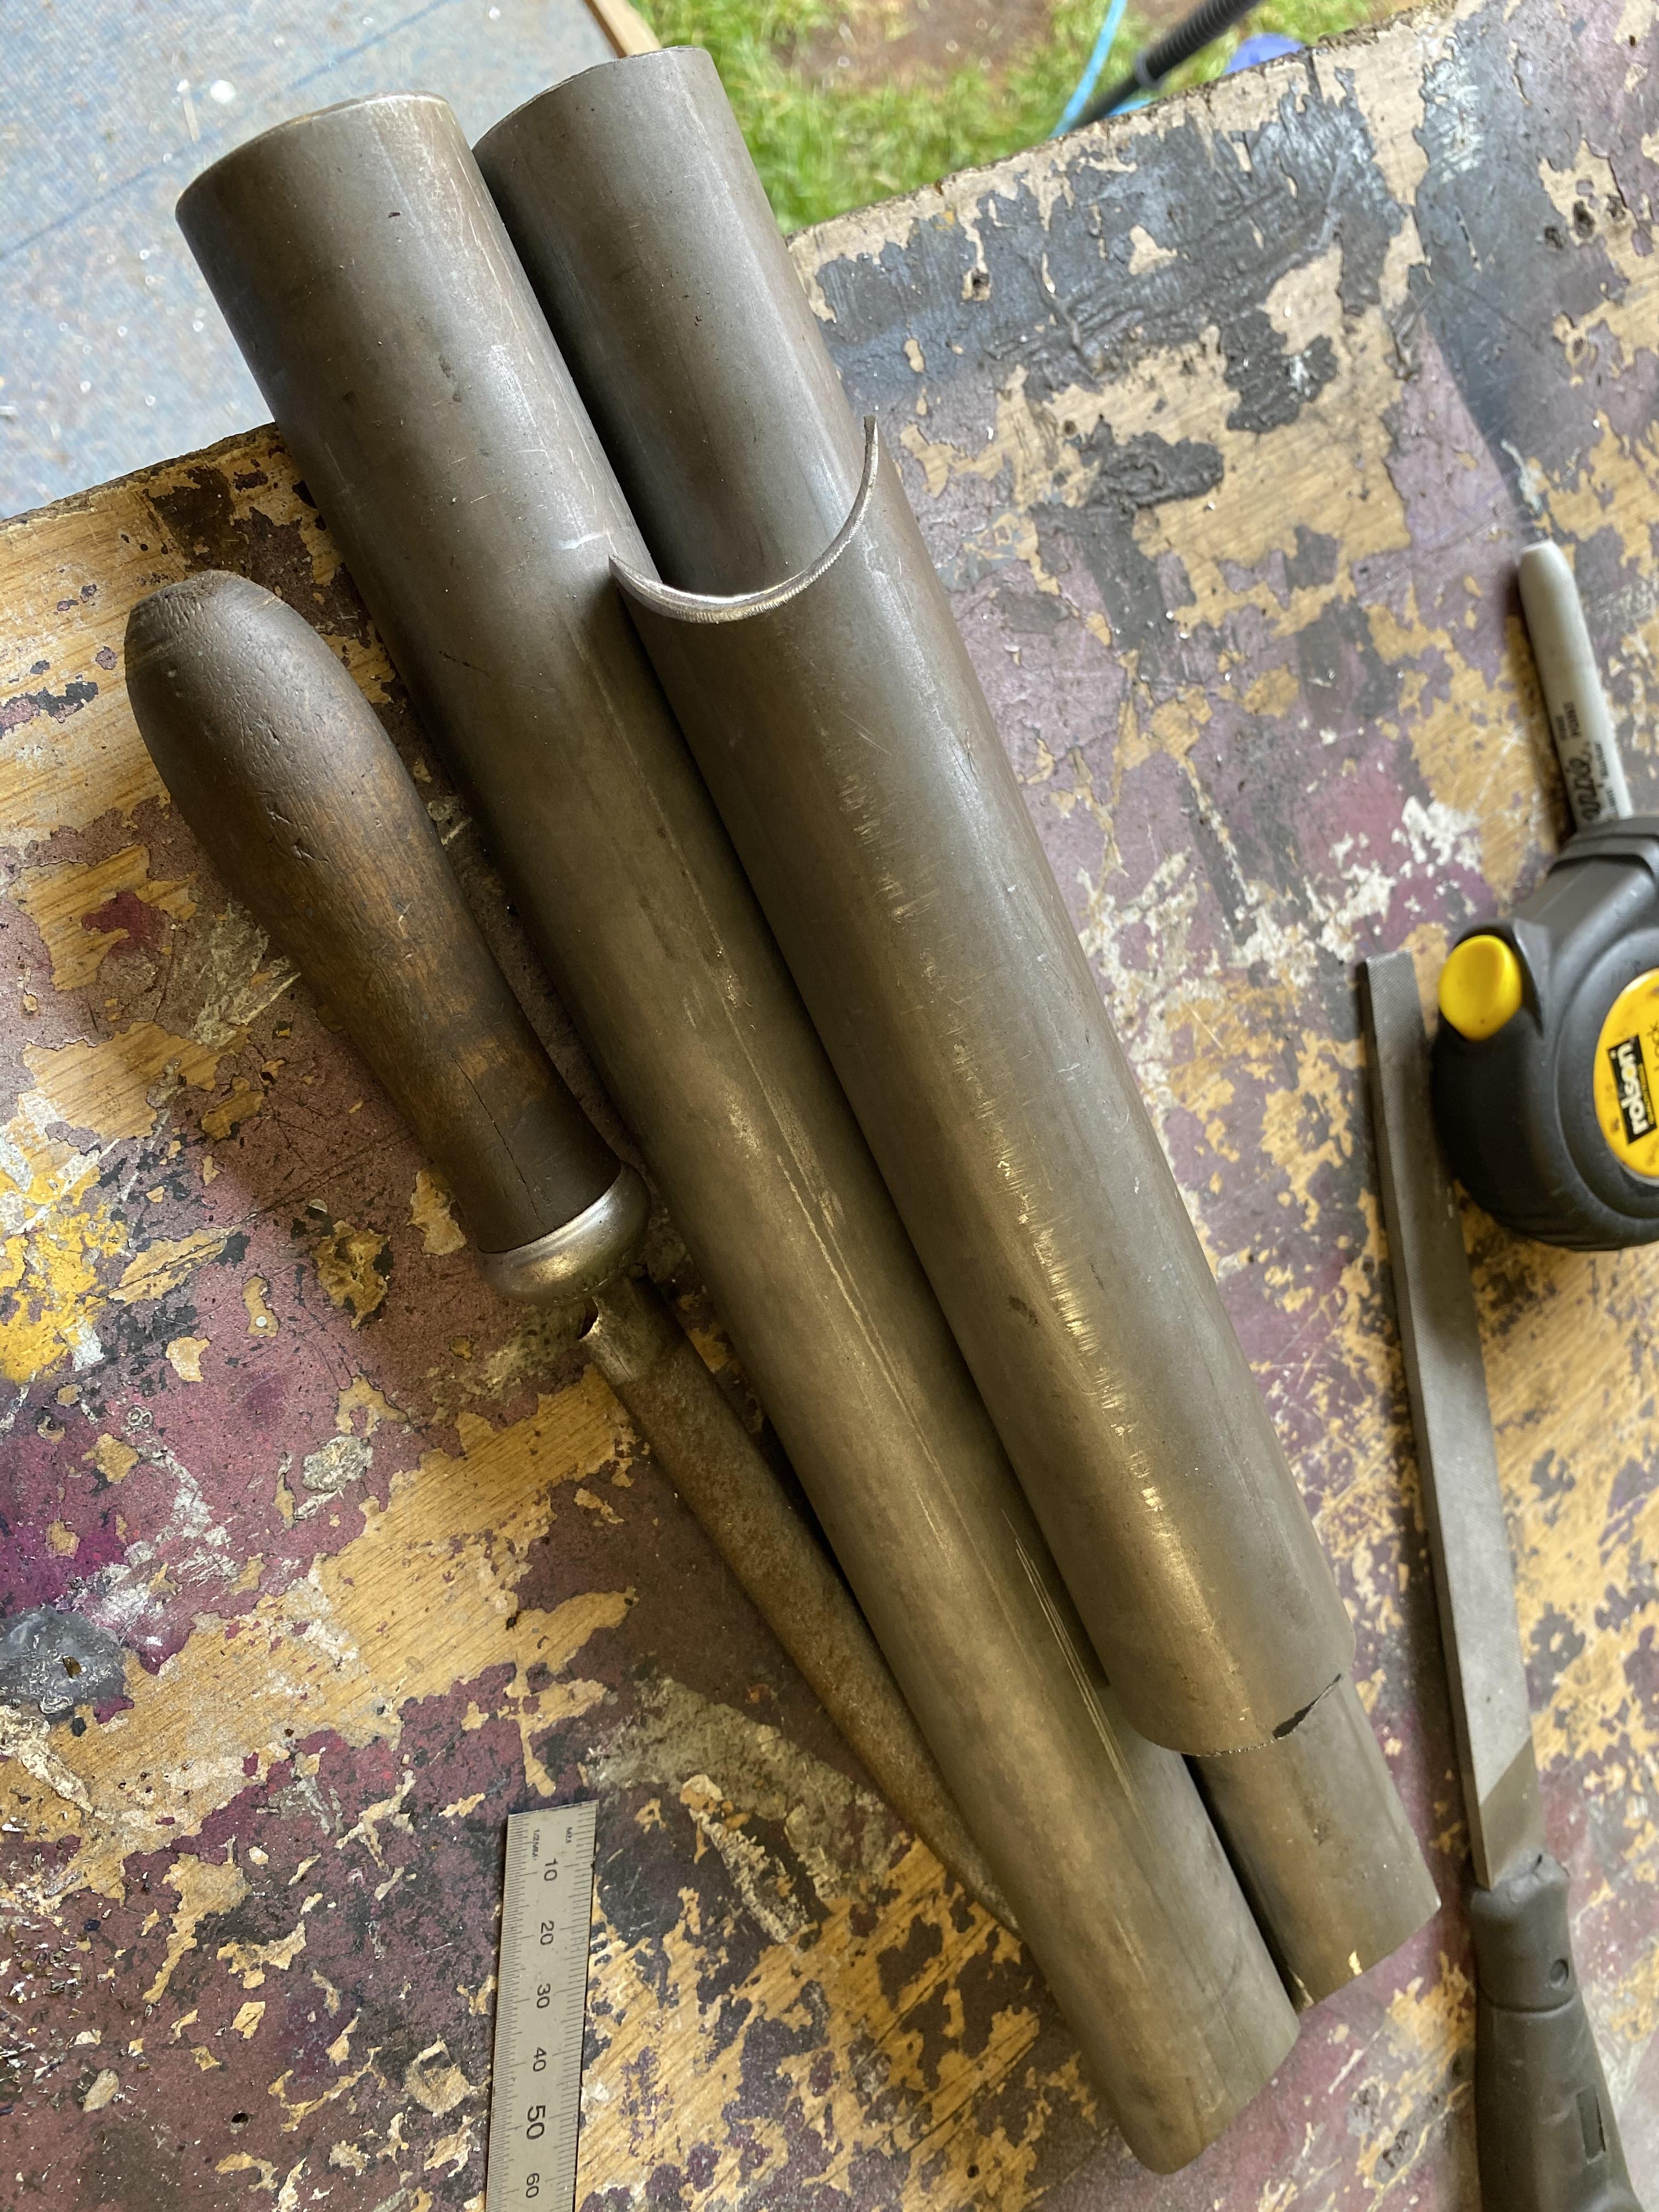
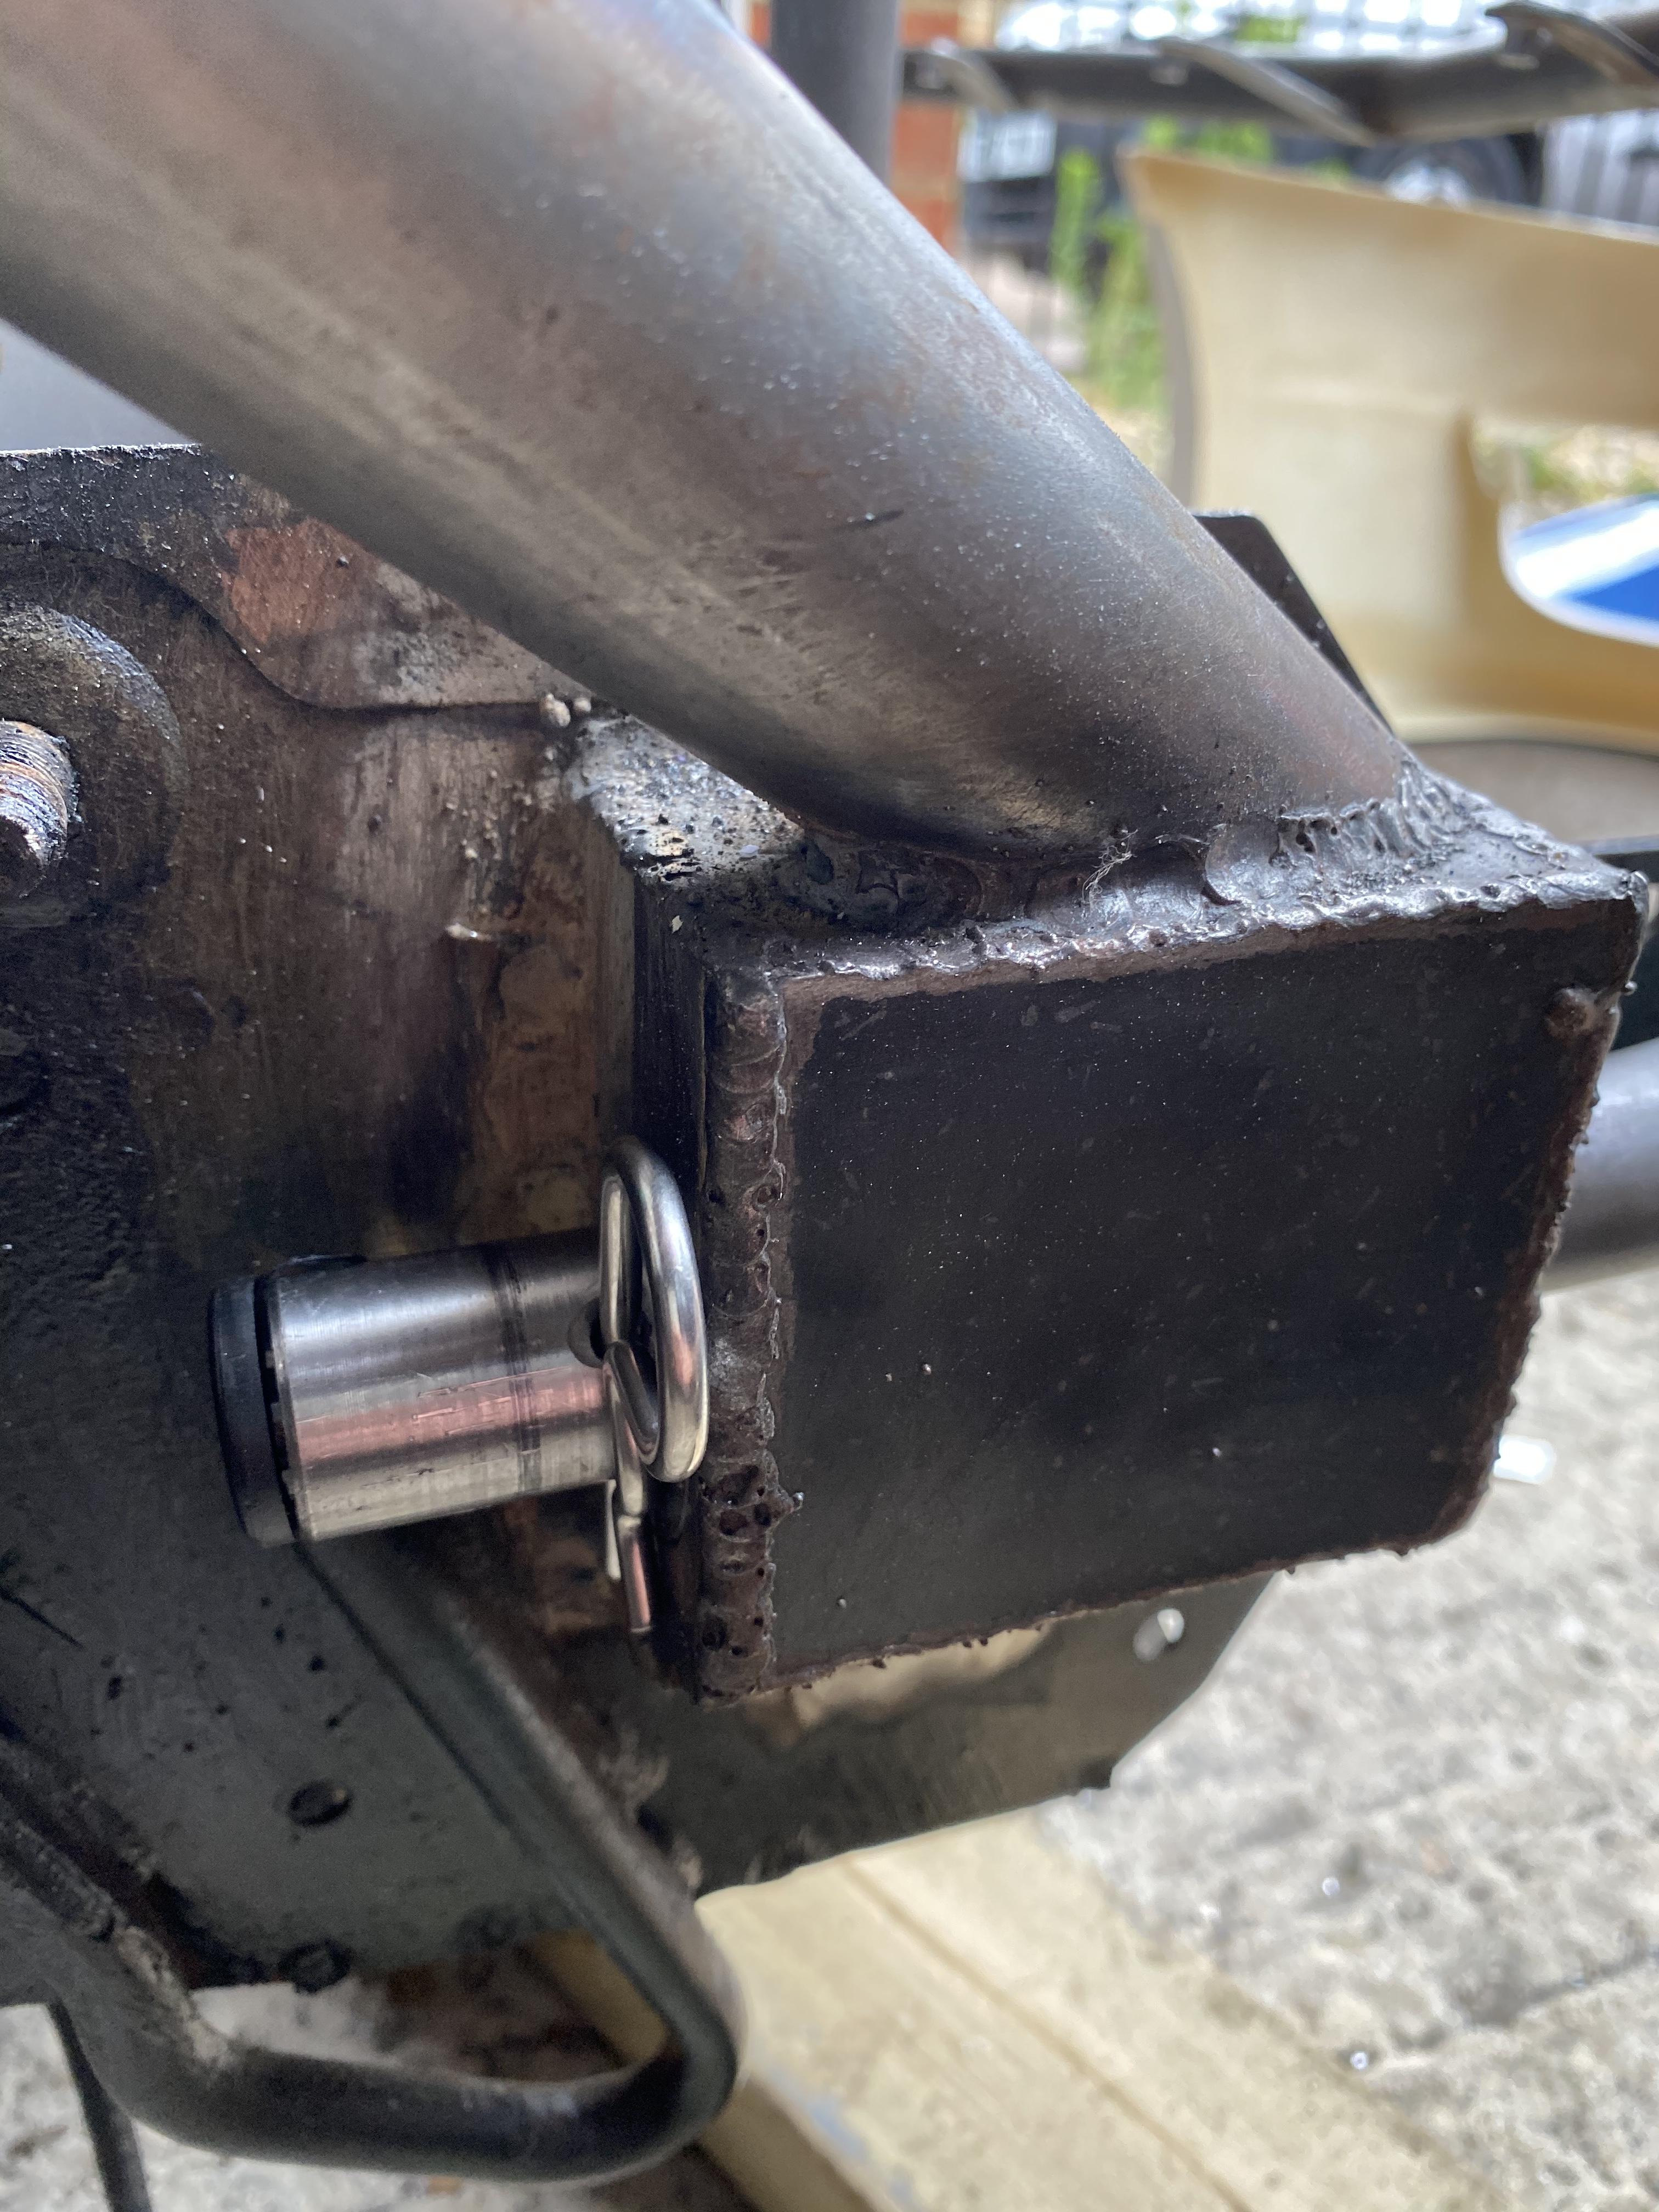
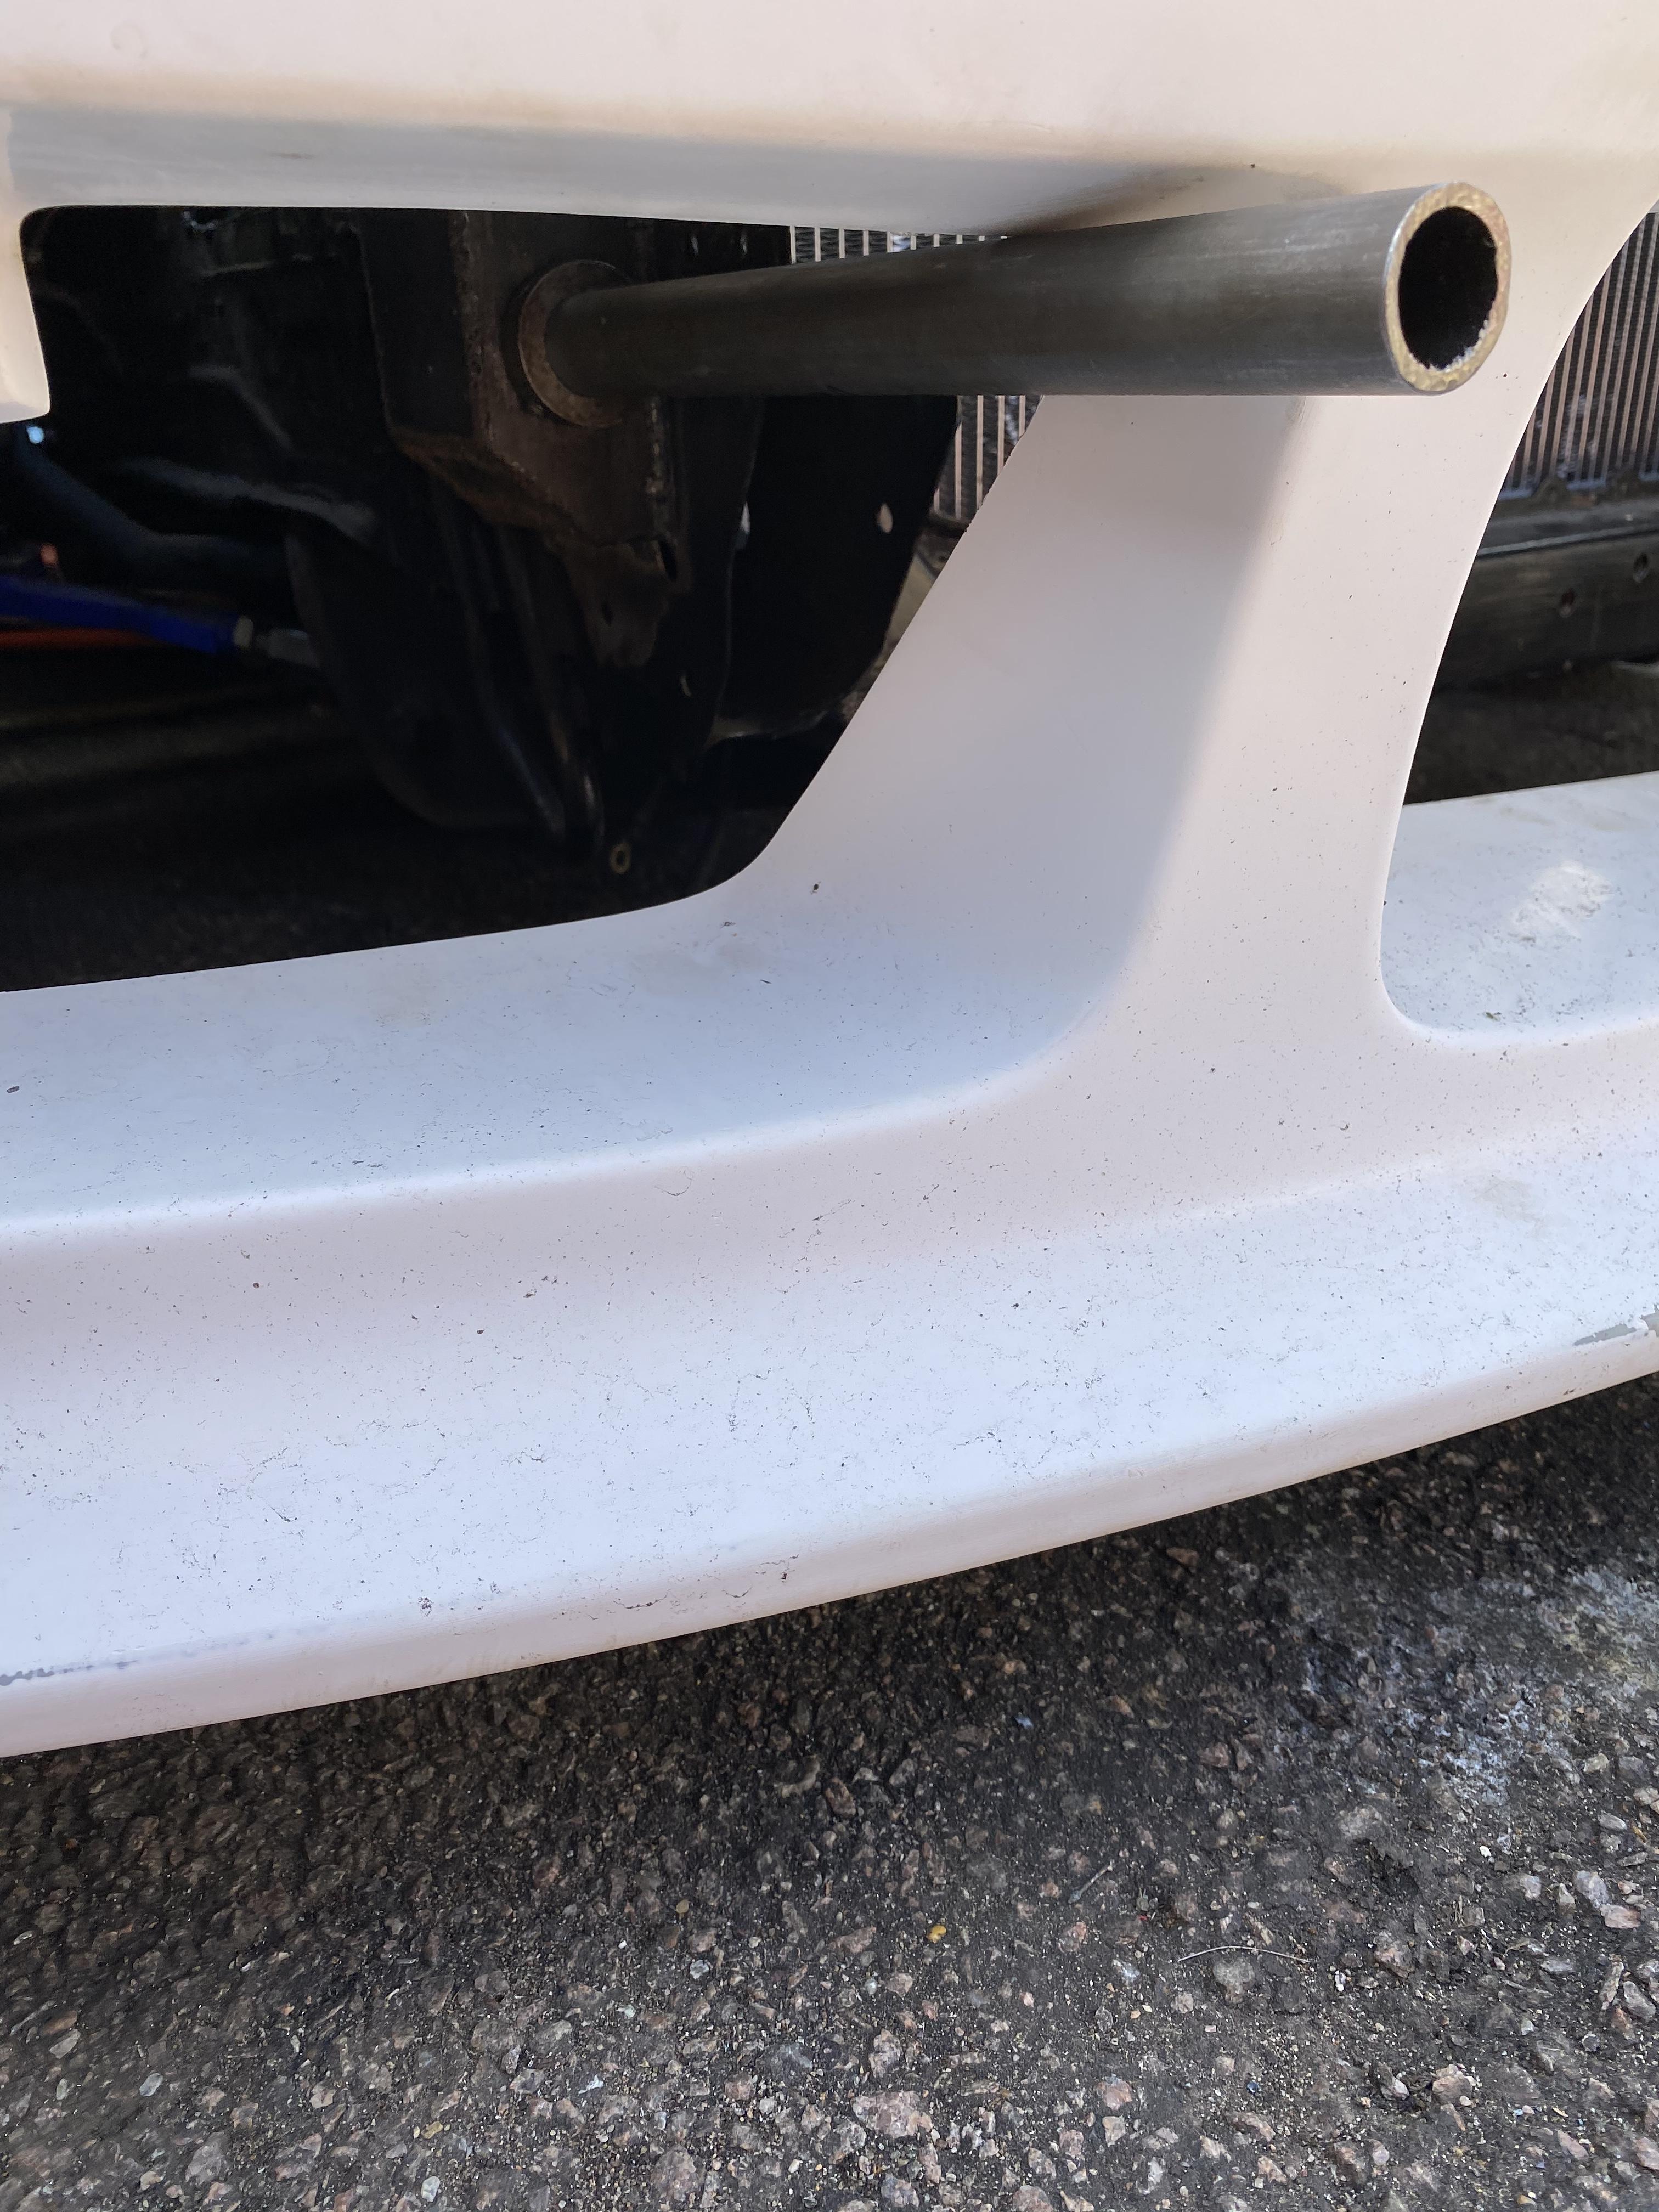
Got the last 2 tubes for the bash bar done and welded in. Drilled the holes at the back of the chassis boxes to stop the bar sliding forwards and rattling. Had to machine the tubes first for a nice clearance fit and these can be lightly greased to stop them from rusting. Finished all the ends with plastic end caps to neaten the tubes up.


-
Aerocatches fitted and headlight brackets welded in. I have 2 tubes left that attach the bash bar to the chassis legs. Think one of the next things to do is a rear jacking bar as I can’t get a jack under the diff with the Partsshopmax drop knuckles on it

-
3 hours ago, Bean said:
nice updates. Do those nut sert things come in a kit? I could do with something like that it would come in handy.
Yeh have a look on amazon or eBay
-
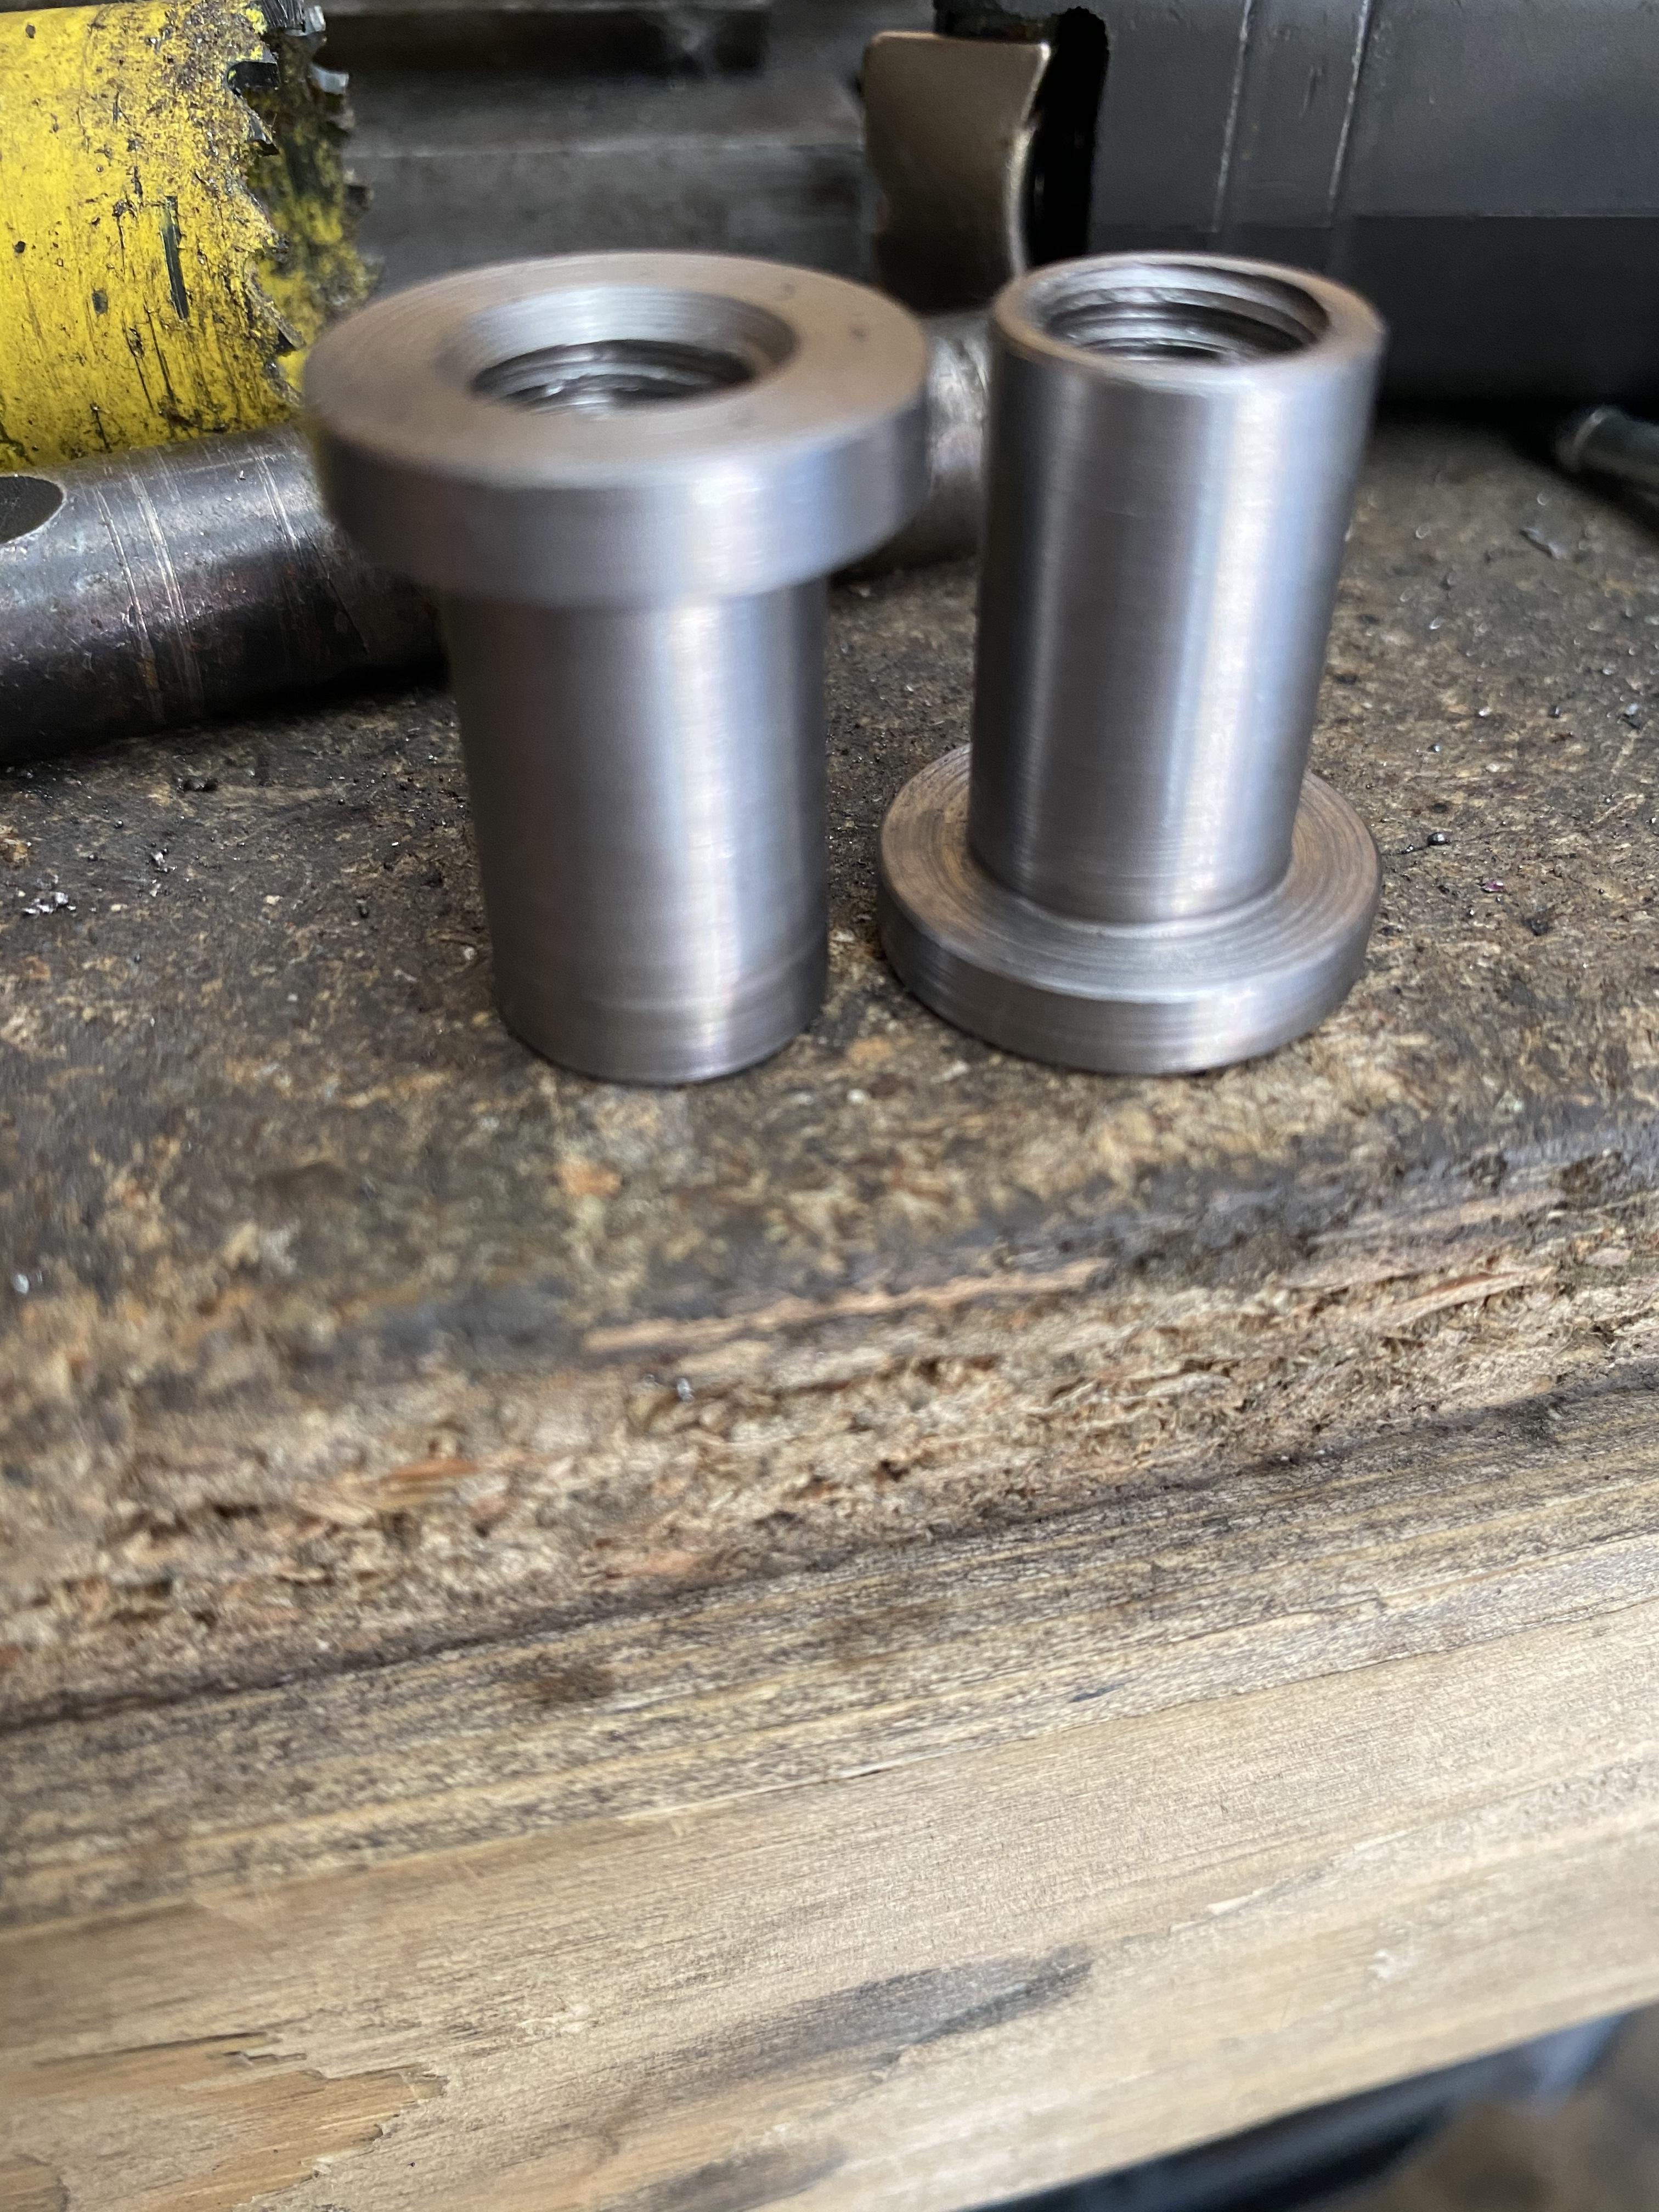
Machined up some collars for the bonnet pins, made up the brackets for them and got them welded to the main bar. Made up some headlight mounts and got those tacked in place. Once I’ve fully aligned the bonnet and cut the parts out I need to I can get the headlight brackets fully welded in. All that’s left after that is to finish the bash bar and the front end is done. I’ll be moving on to finishing the passenger seat rail next as I just need to mount the seat and bend some brackets for the drivers side.


-
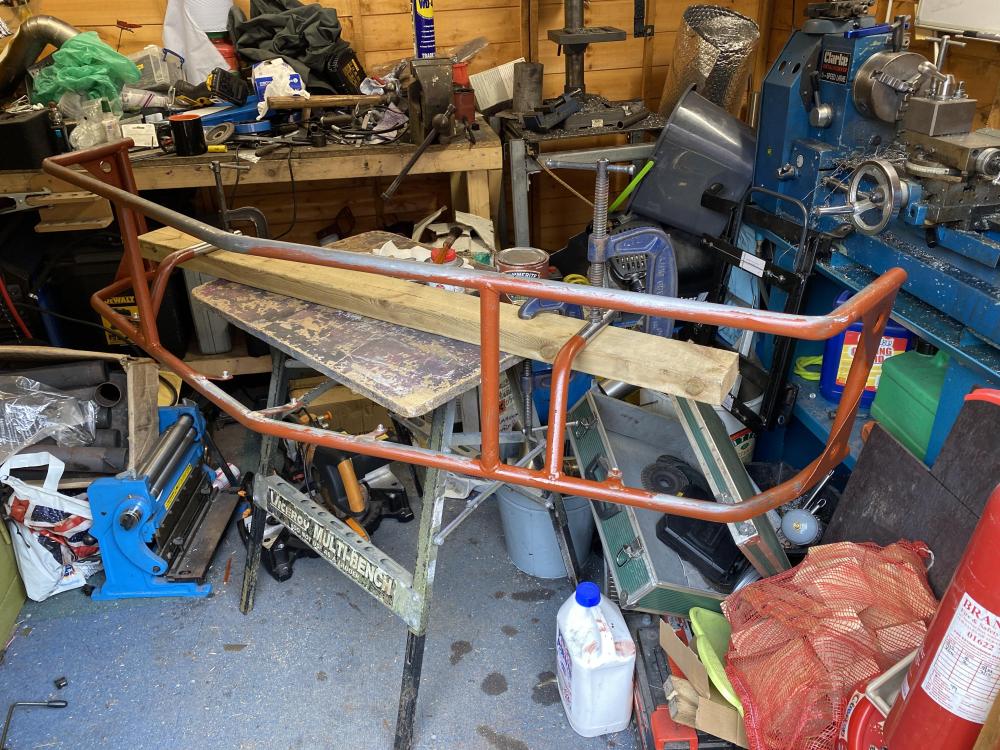
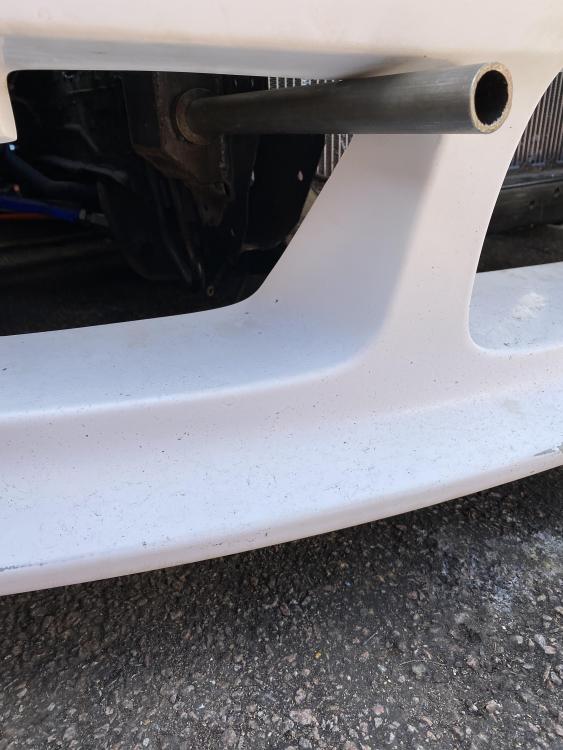
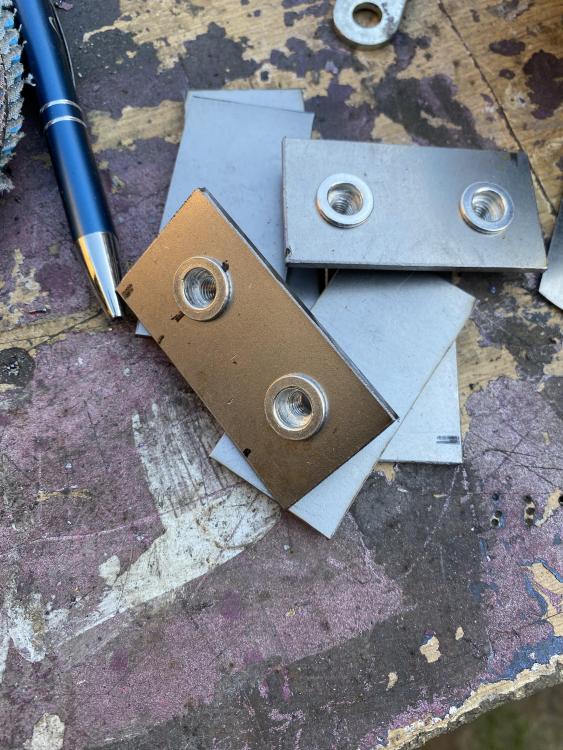
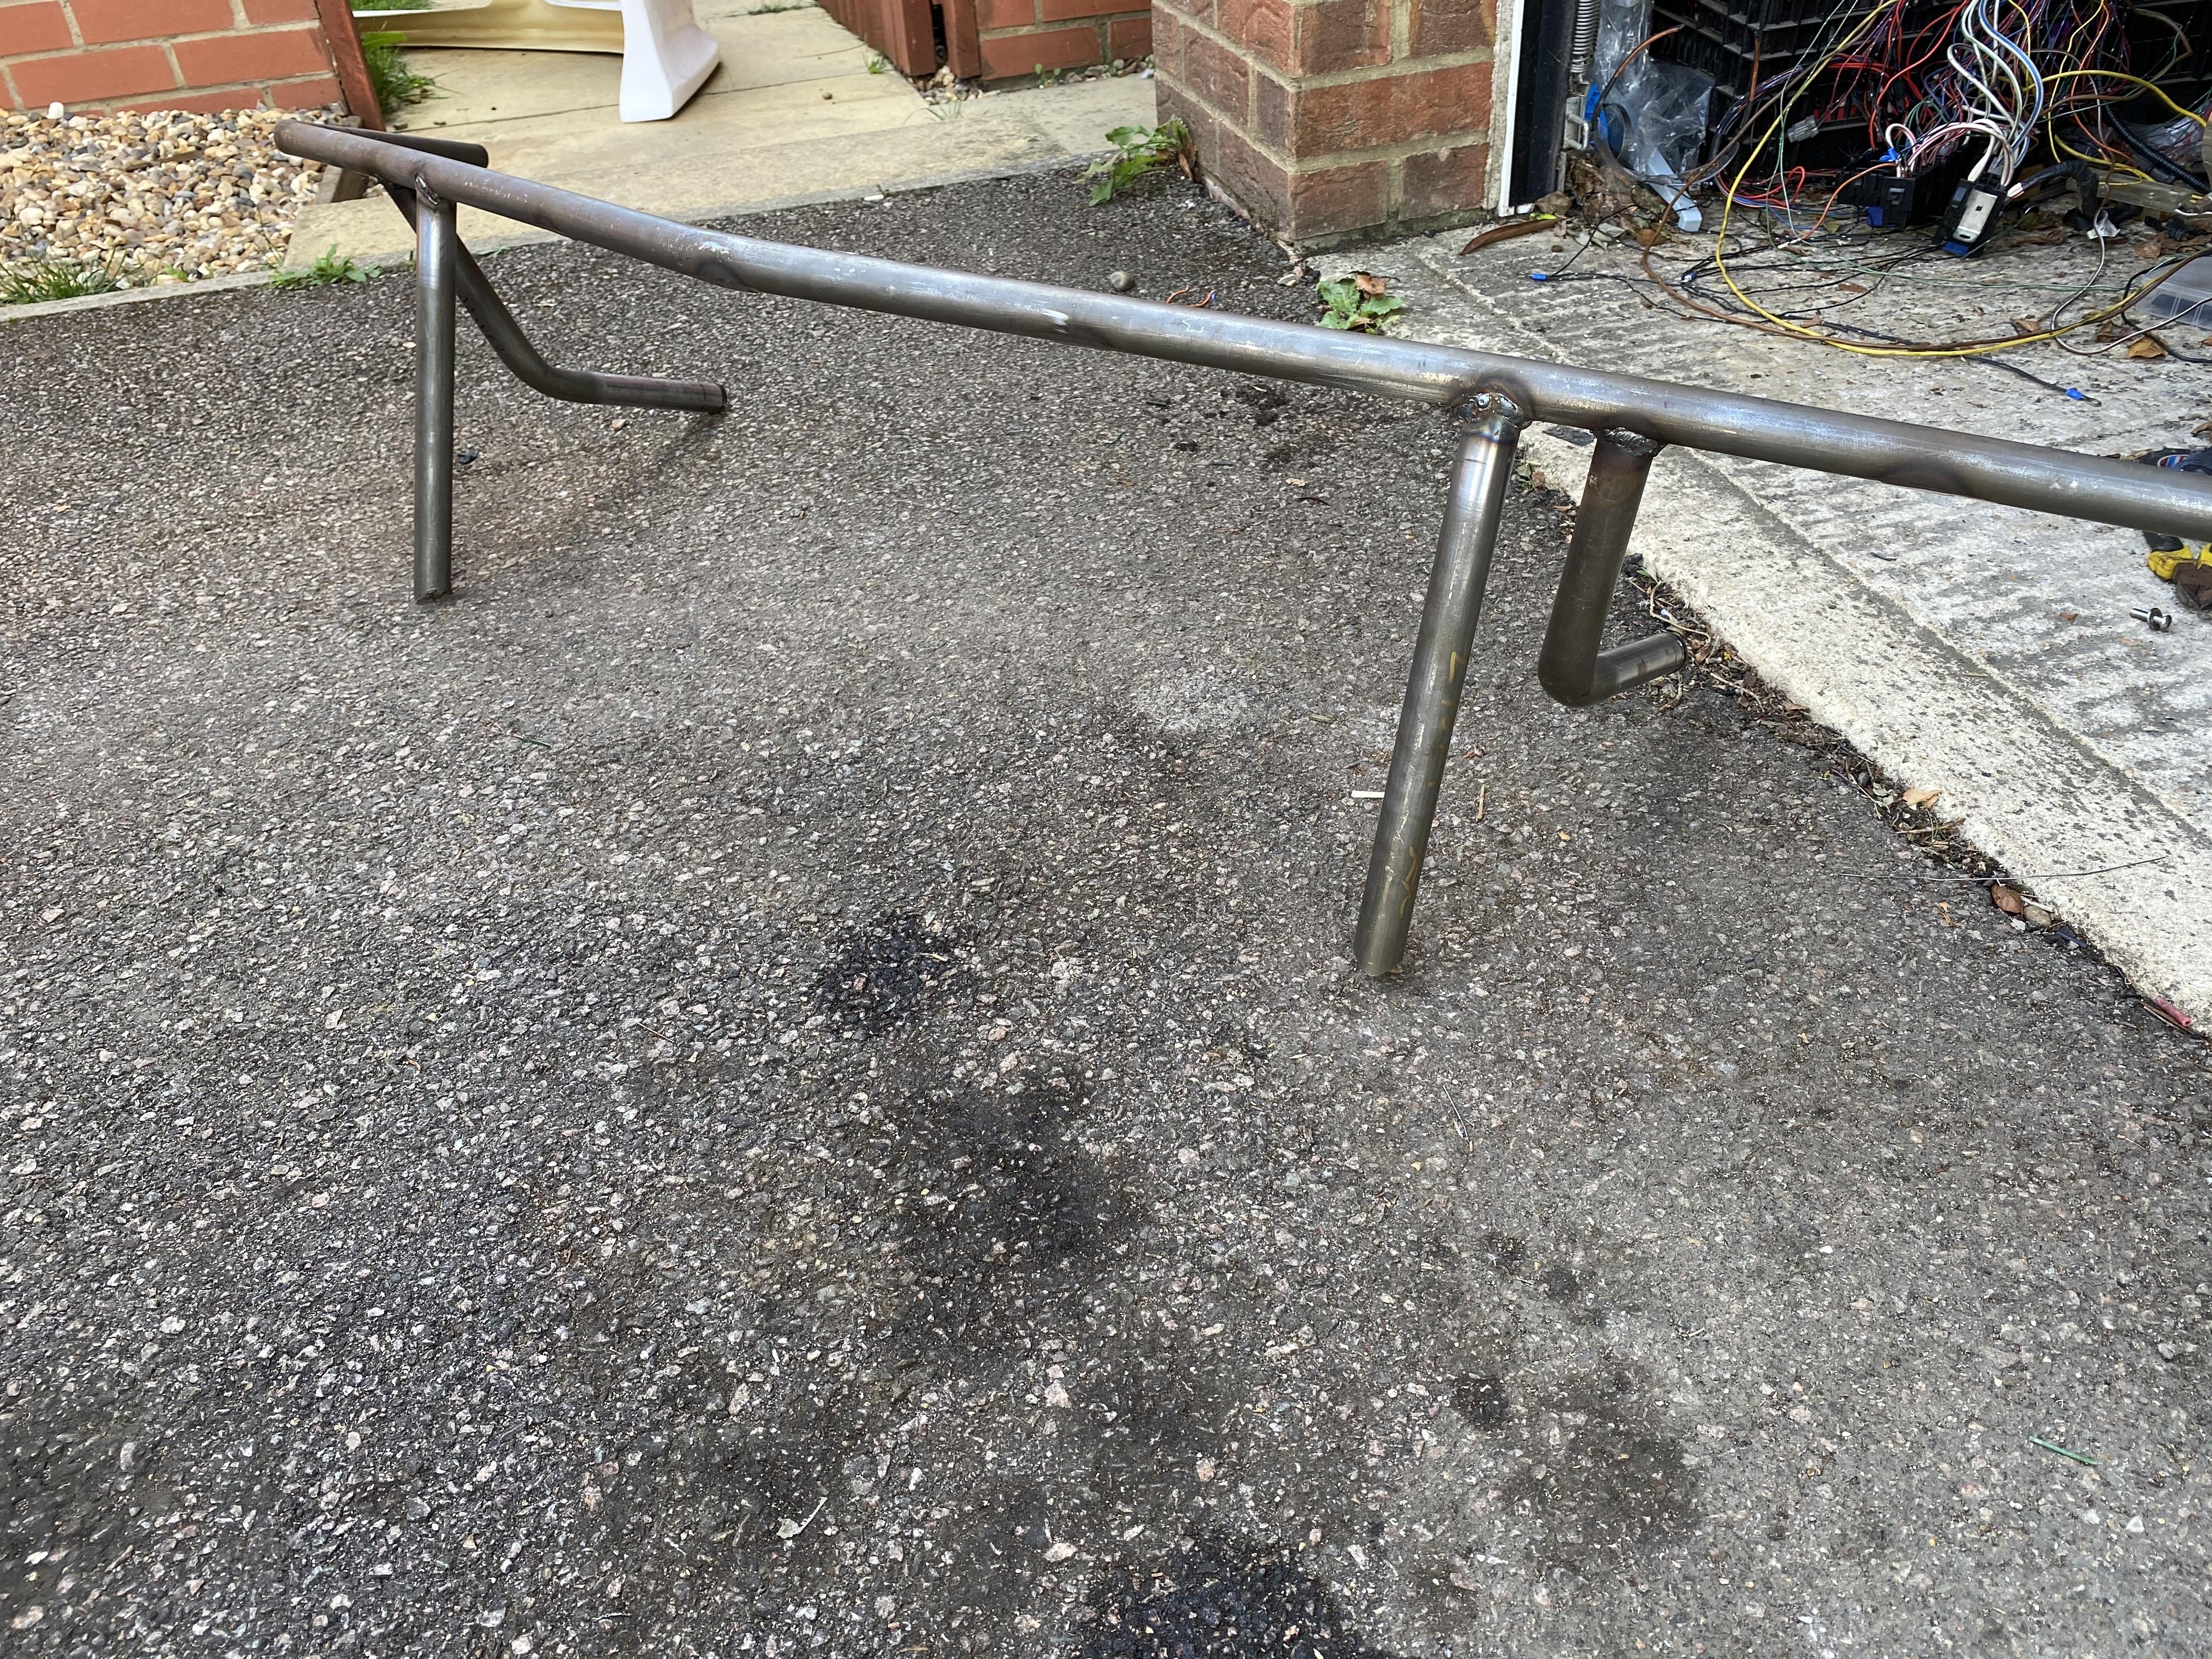
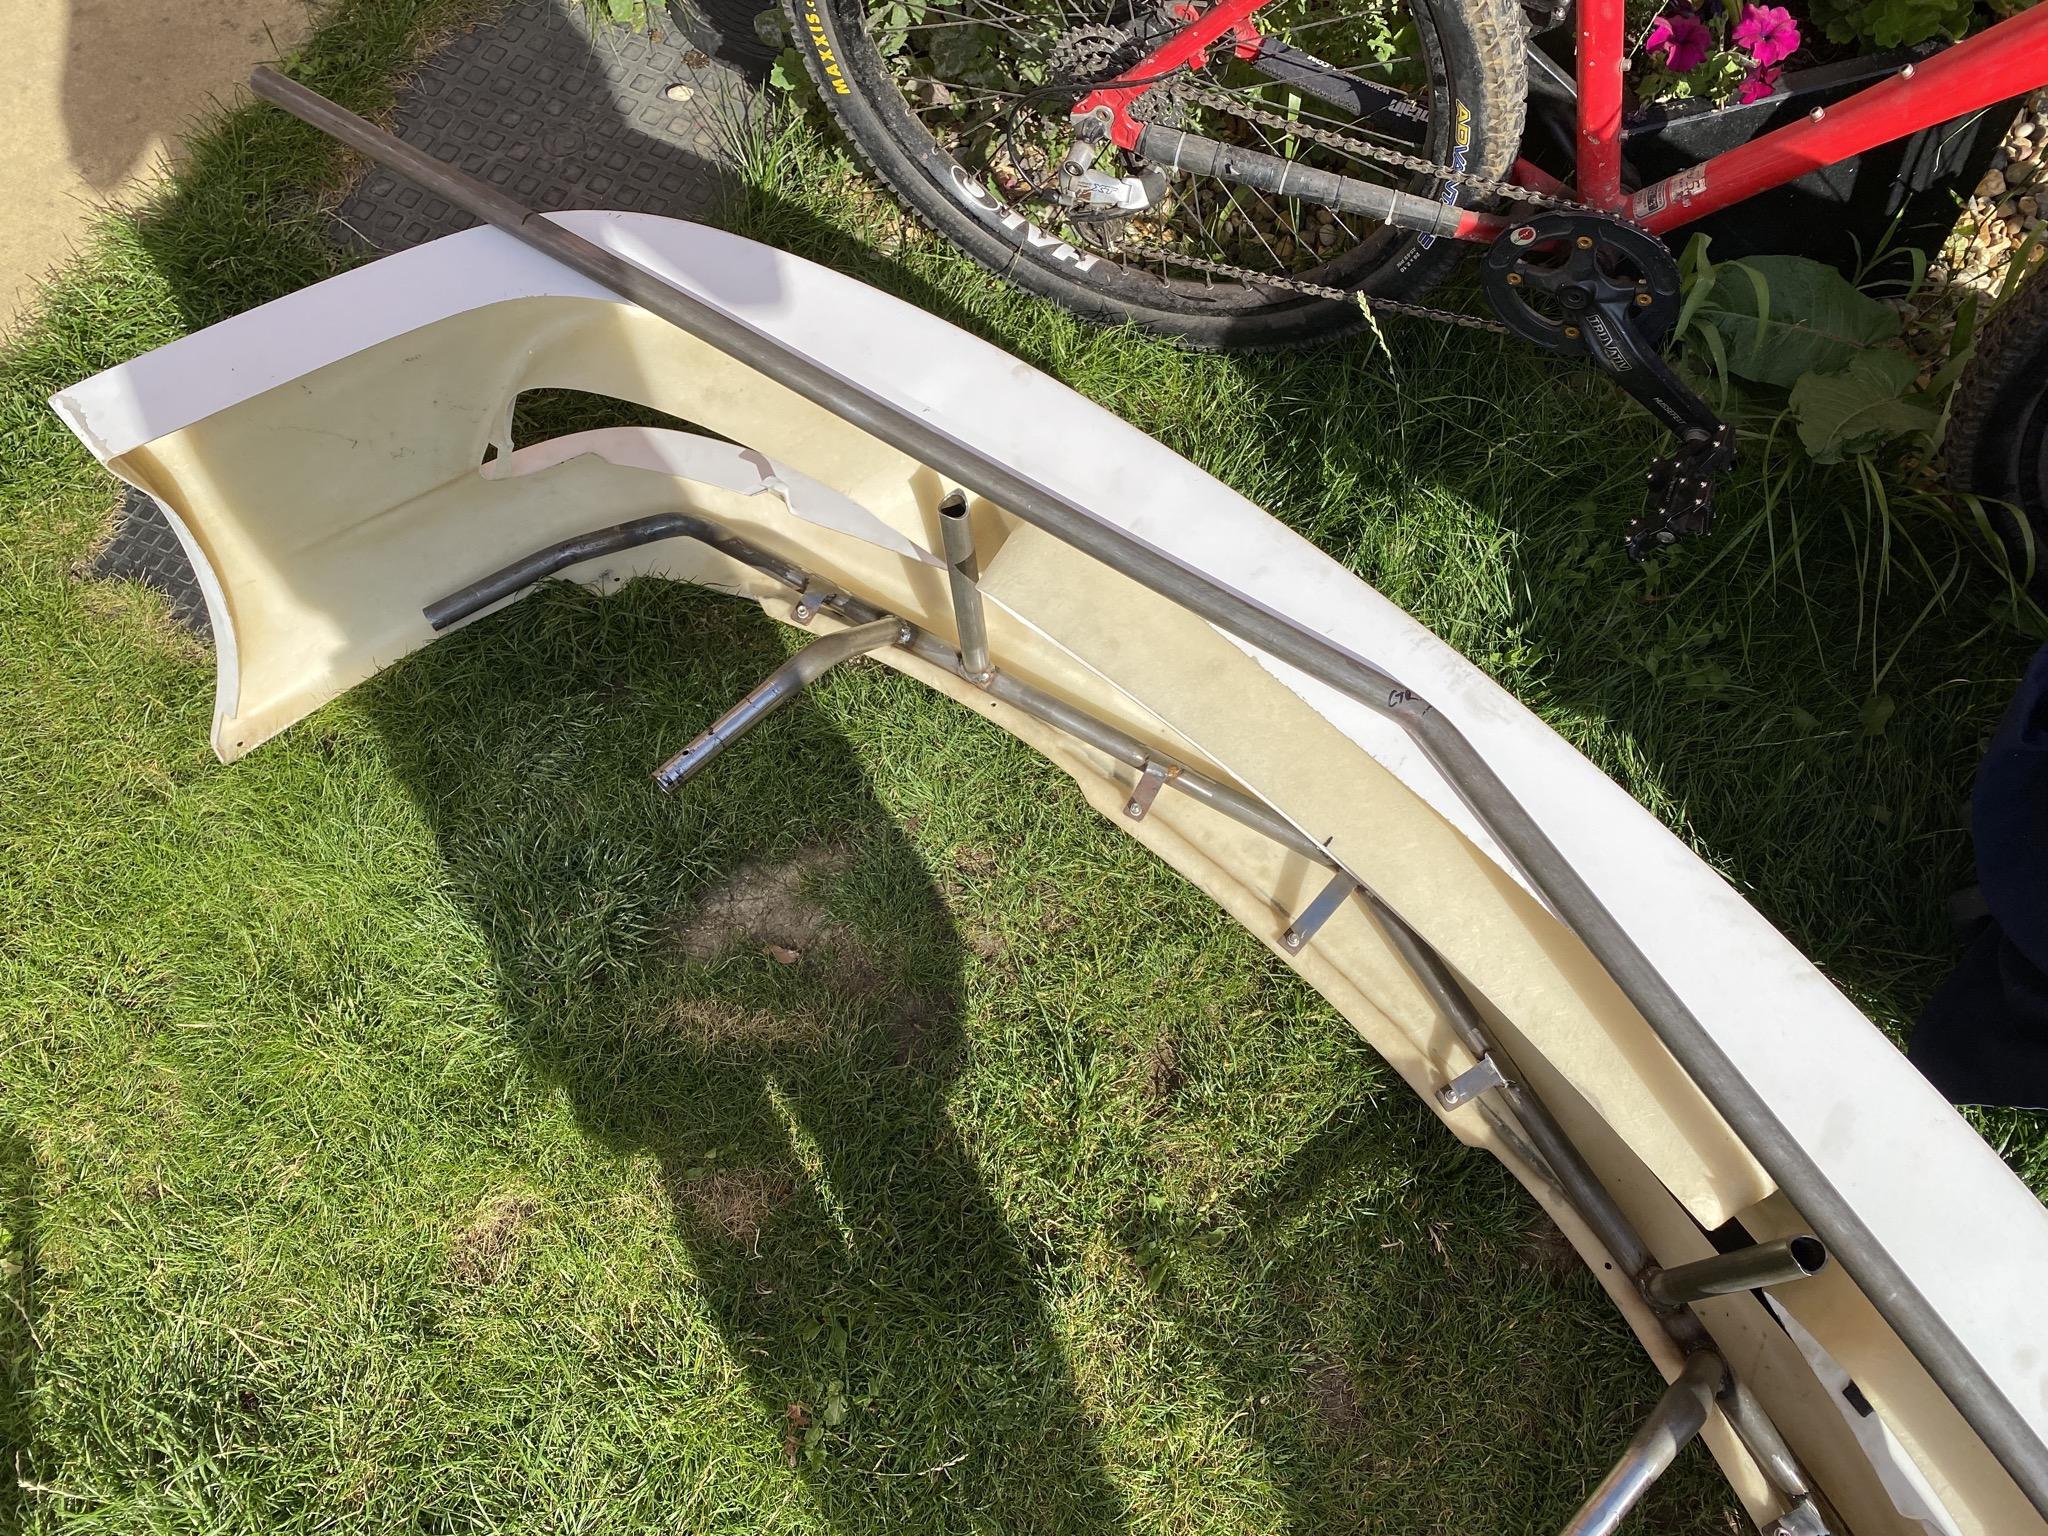
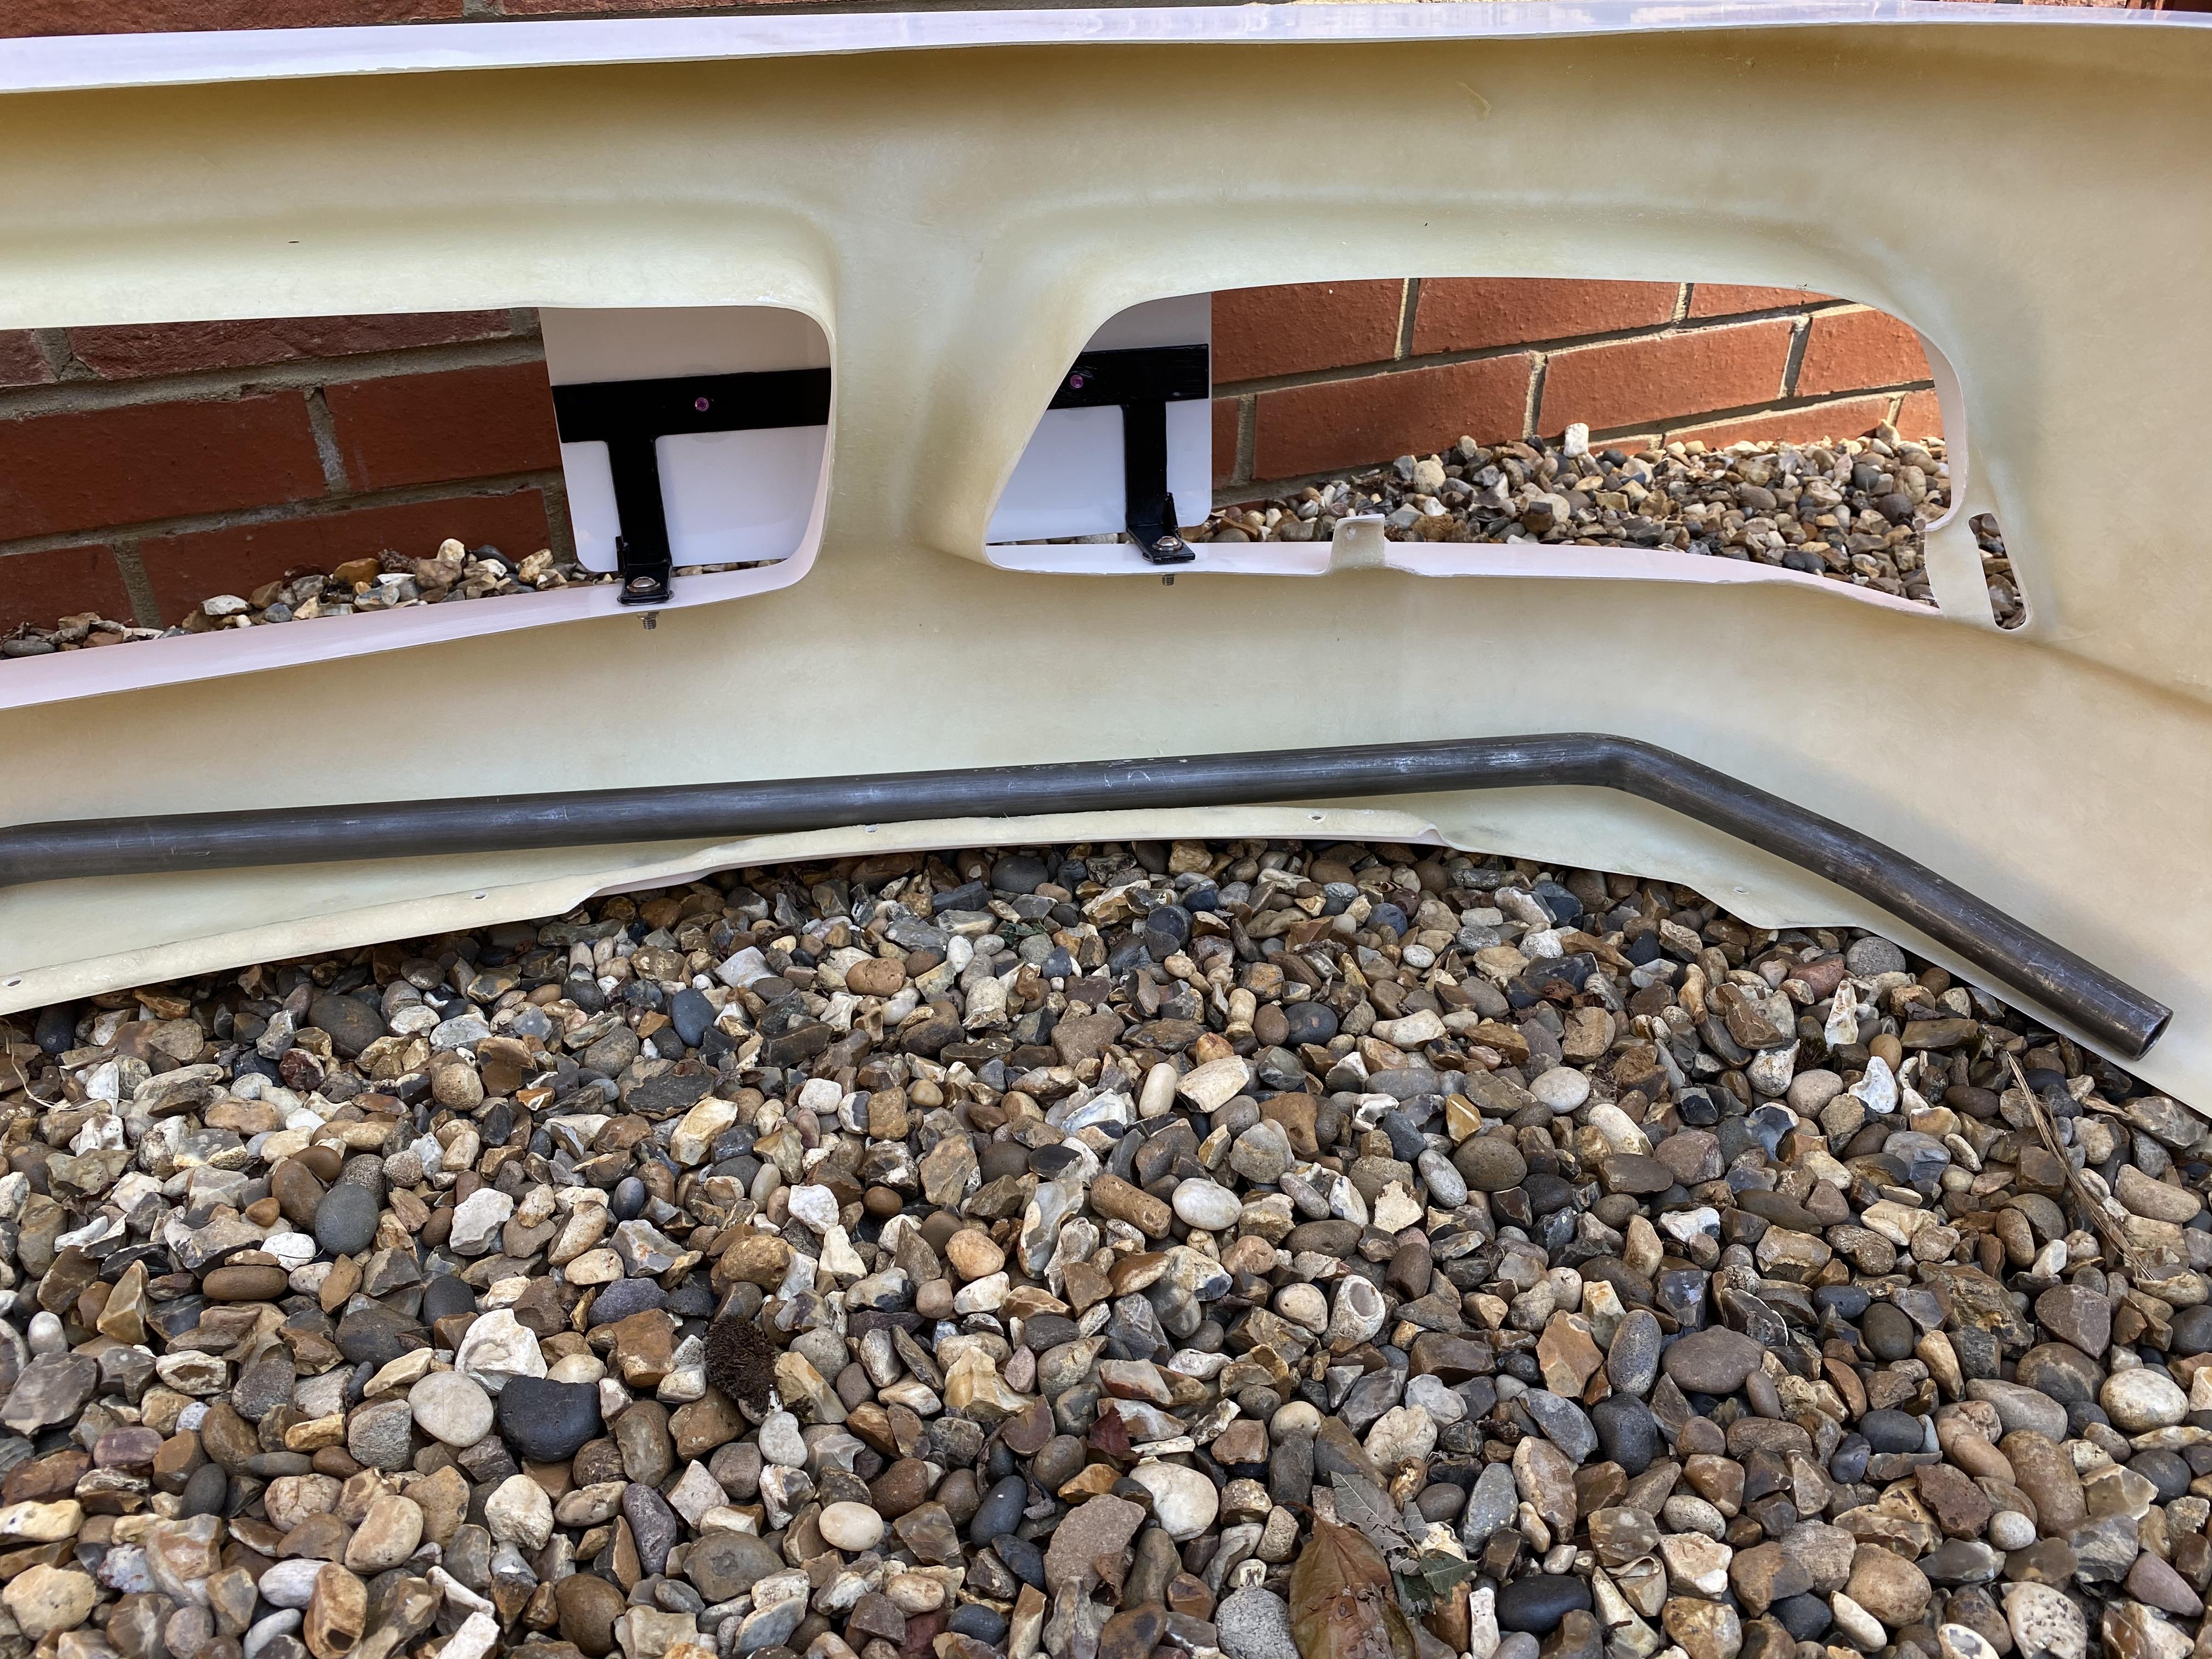
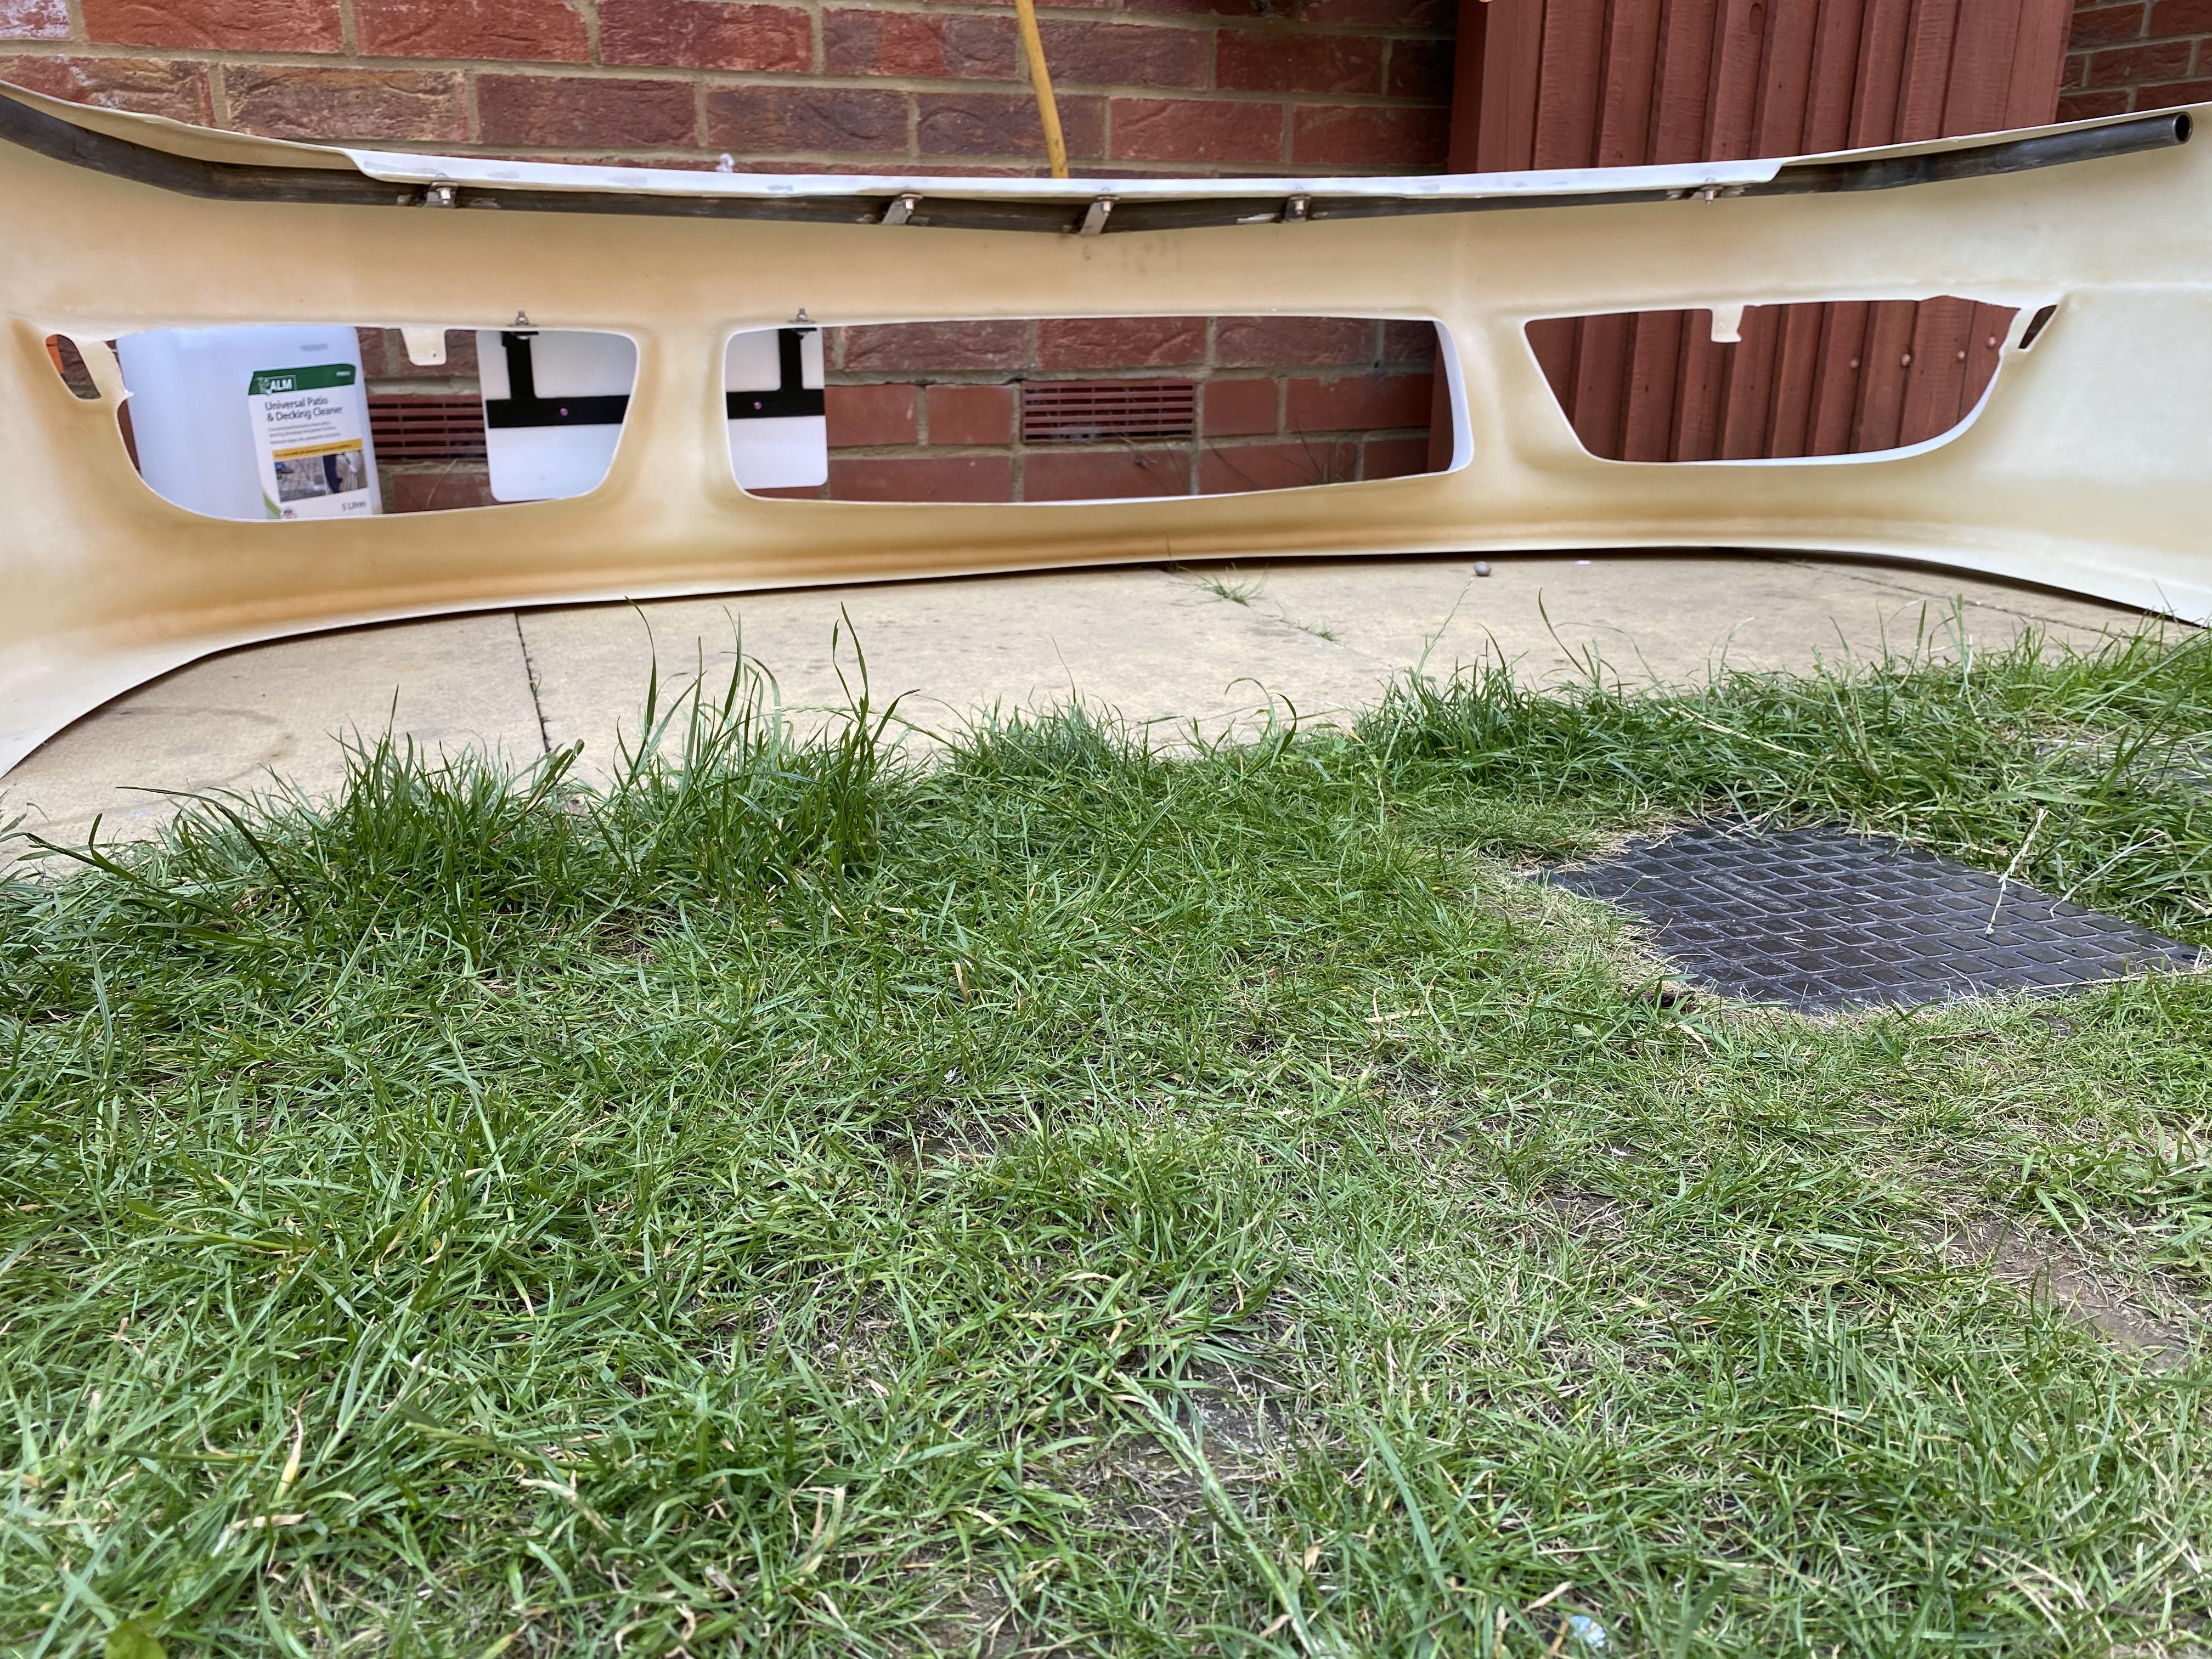
Started work on the bash bar. I need to get the car out to bend up the remaining tubes to fix it to the chassis. If it goes to plan it should slide into the boxes the tubes that tie the turrets to chassis rails sit on. A collar will be welded to the front to stop it from sliding back further and an R clip will stop it moving forwards. One end has kicked up as it wasn’t quite level when I bent it. The tabs to bolt it to the bumper has sorted this however and any alignment problems can be adjusted with the sliding system


My Red Glanza
in EP91 Glanza Progress Blogs
Posted
Had a slightly different project to help with: machine a new water pump part in brass as the original steel had rotted and face an impeller for a TR7