


federalman
-
Content Count
404 -
Joined
-
Last visited
Content Type
Profiles
Forums
Wiki
Media Demo
Store
Calendar
Posts posted by federalman
-
-
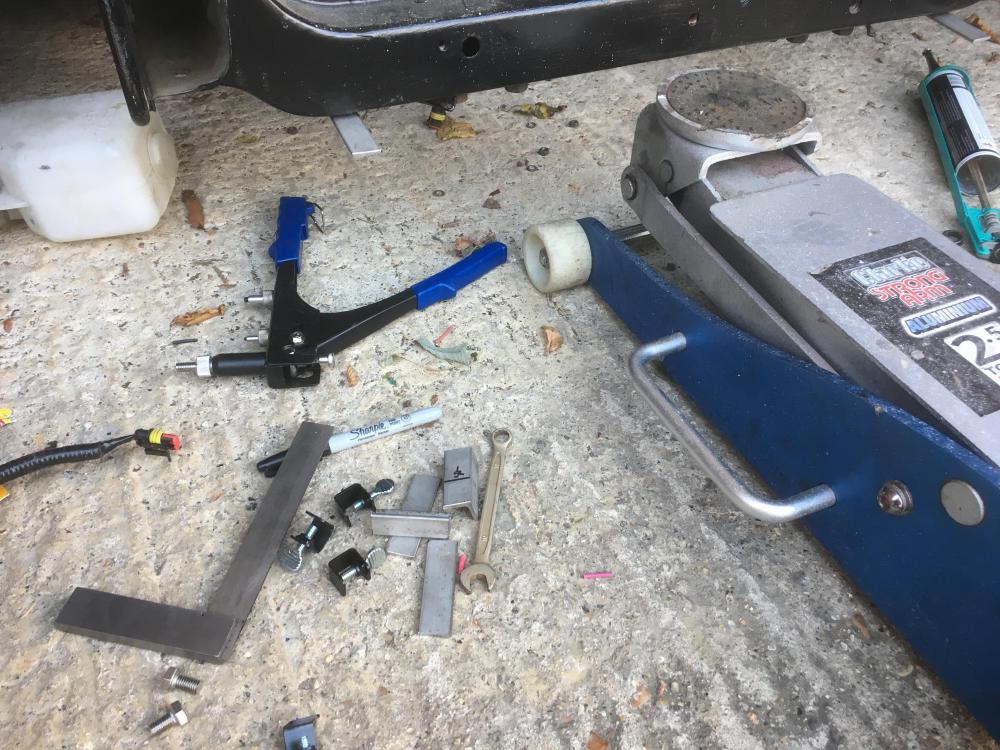
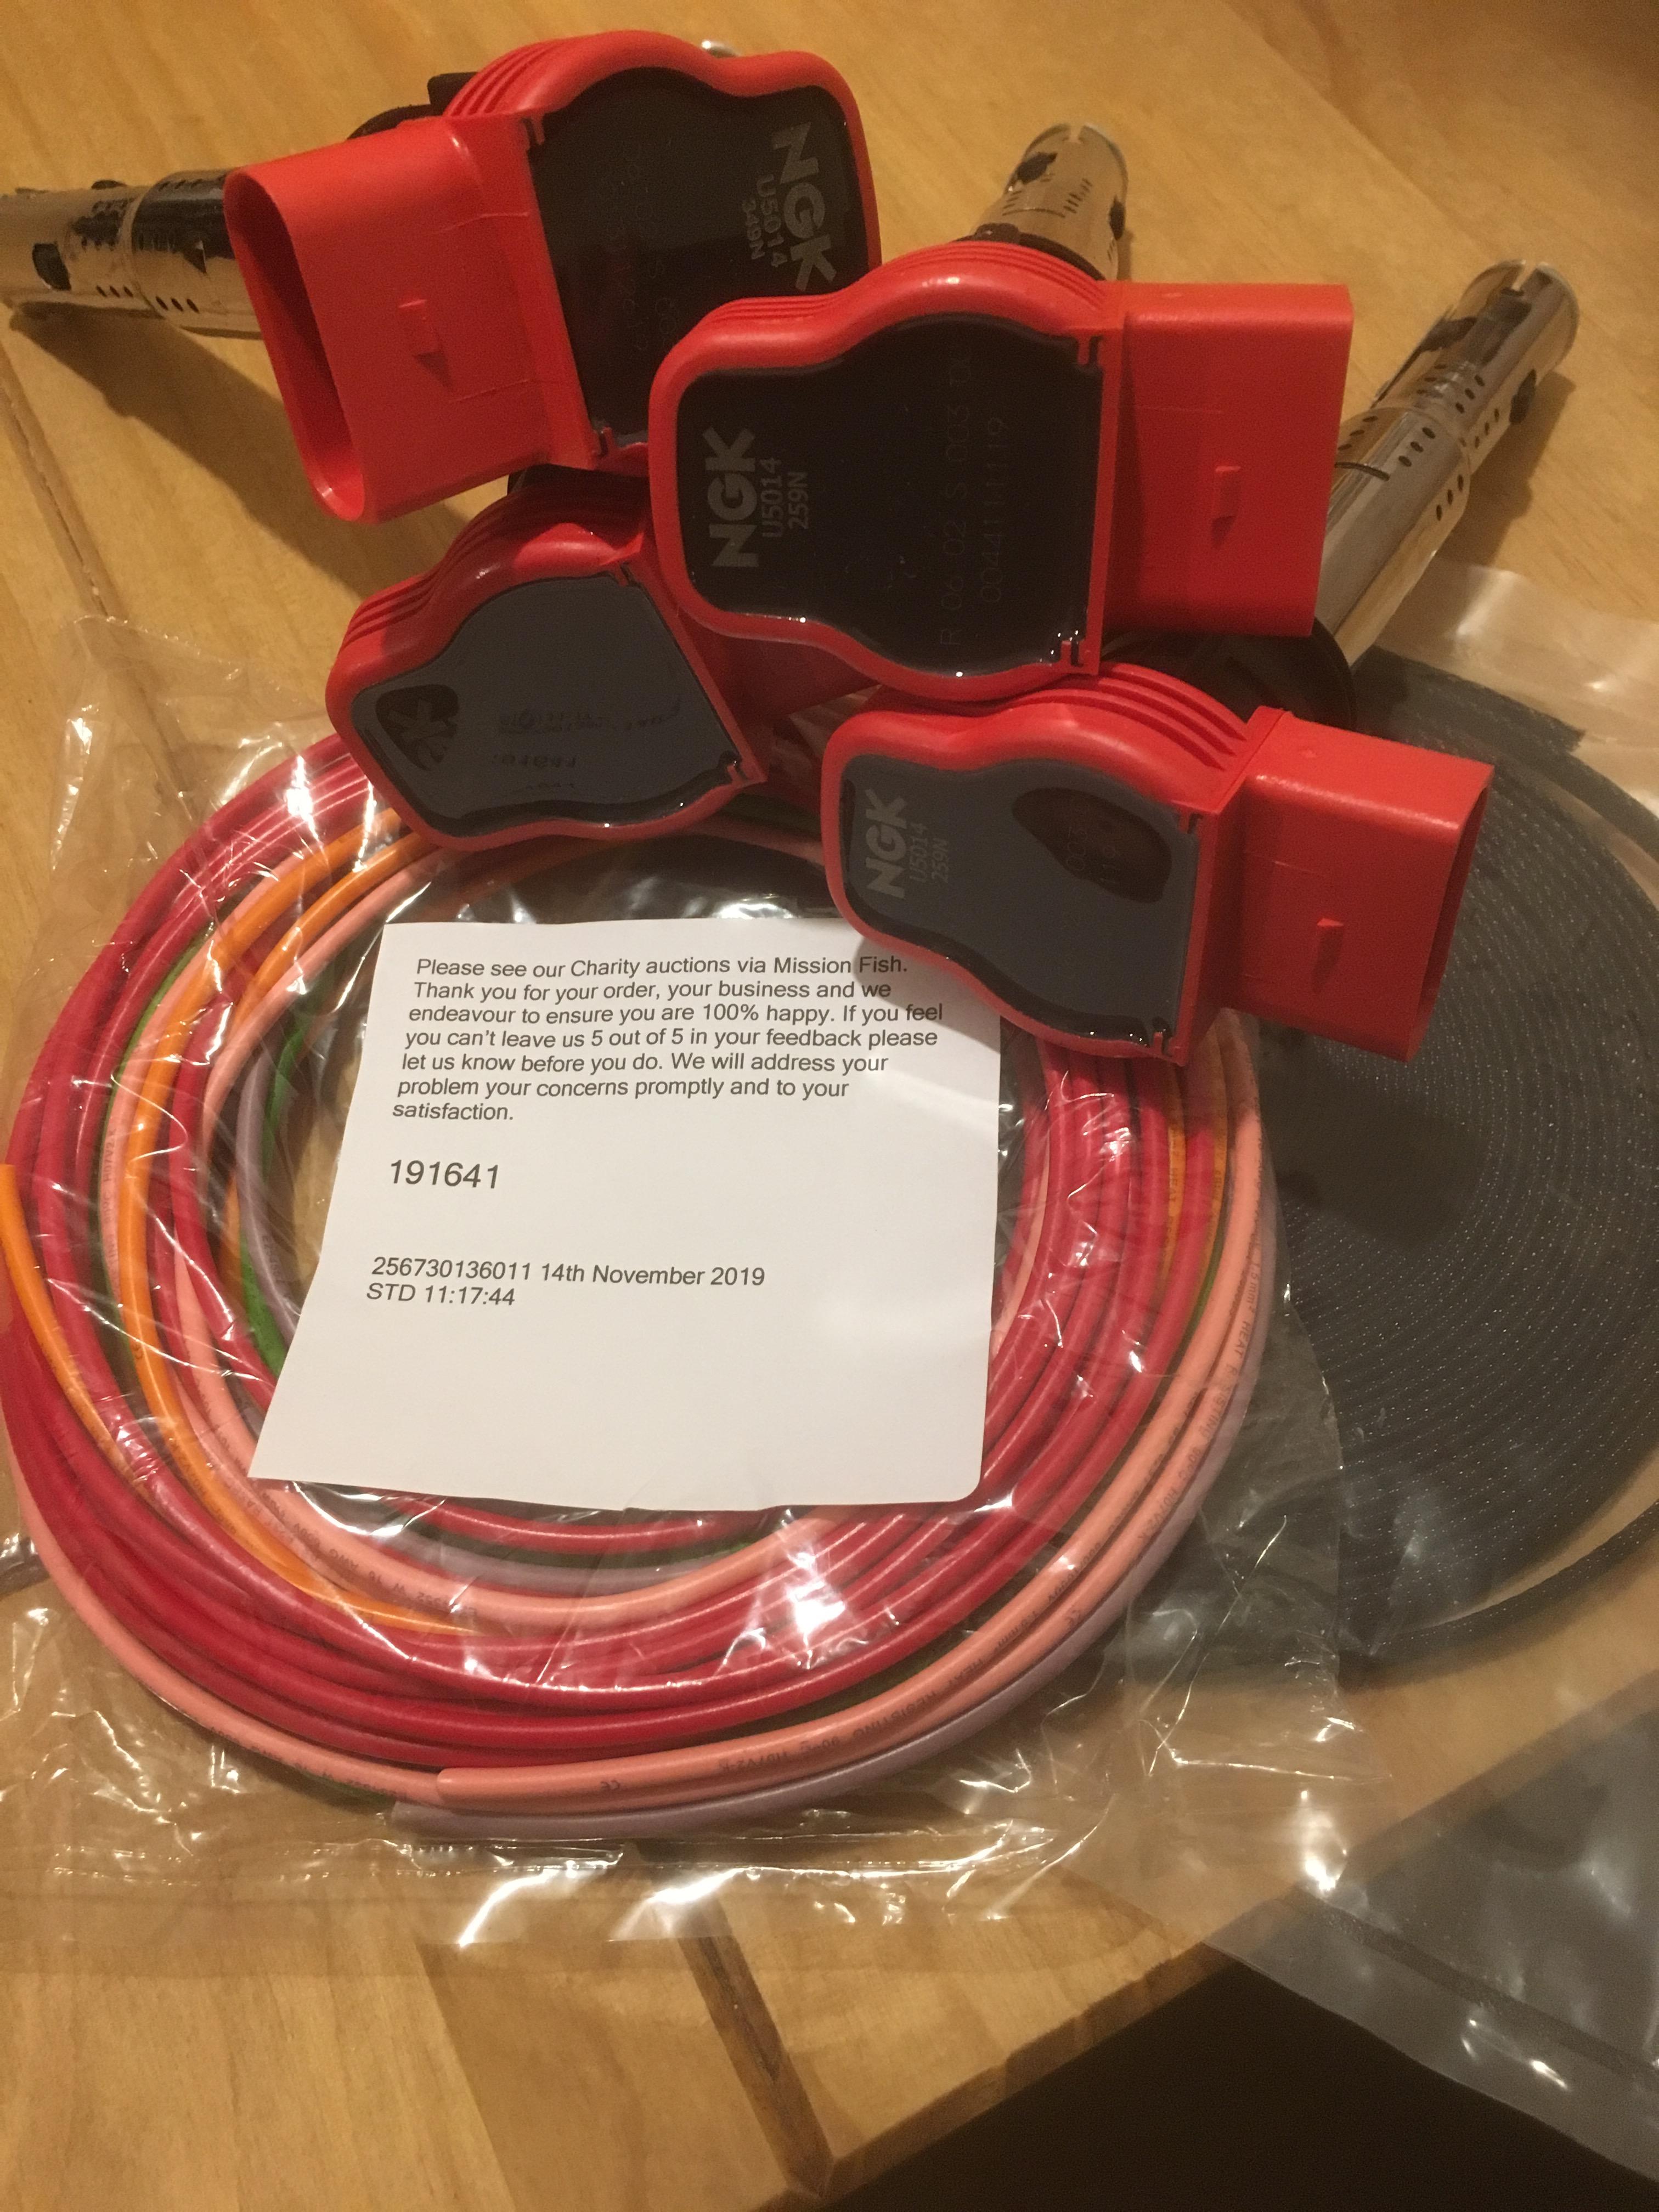
A couple of bits for my R8 coil pack conversion turned up today. Hopefully the rest, and wastegate, will arrive tomorrow and I can crack on and get this done

-
I’ve had front and rear crank seals, front and rear gearbox seals and some an-6 steering rack fittings arrive so far.
Wastegate has been ordered and hopefully this weekend I can get a loom built for the Audi R8 coil pack conversion.
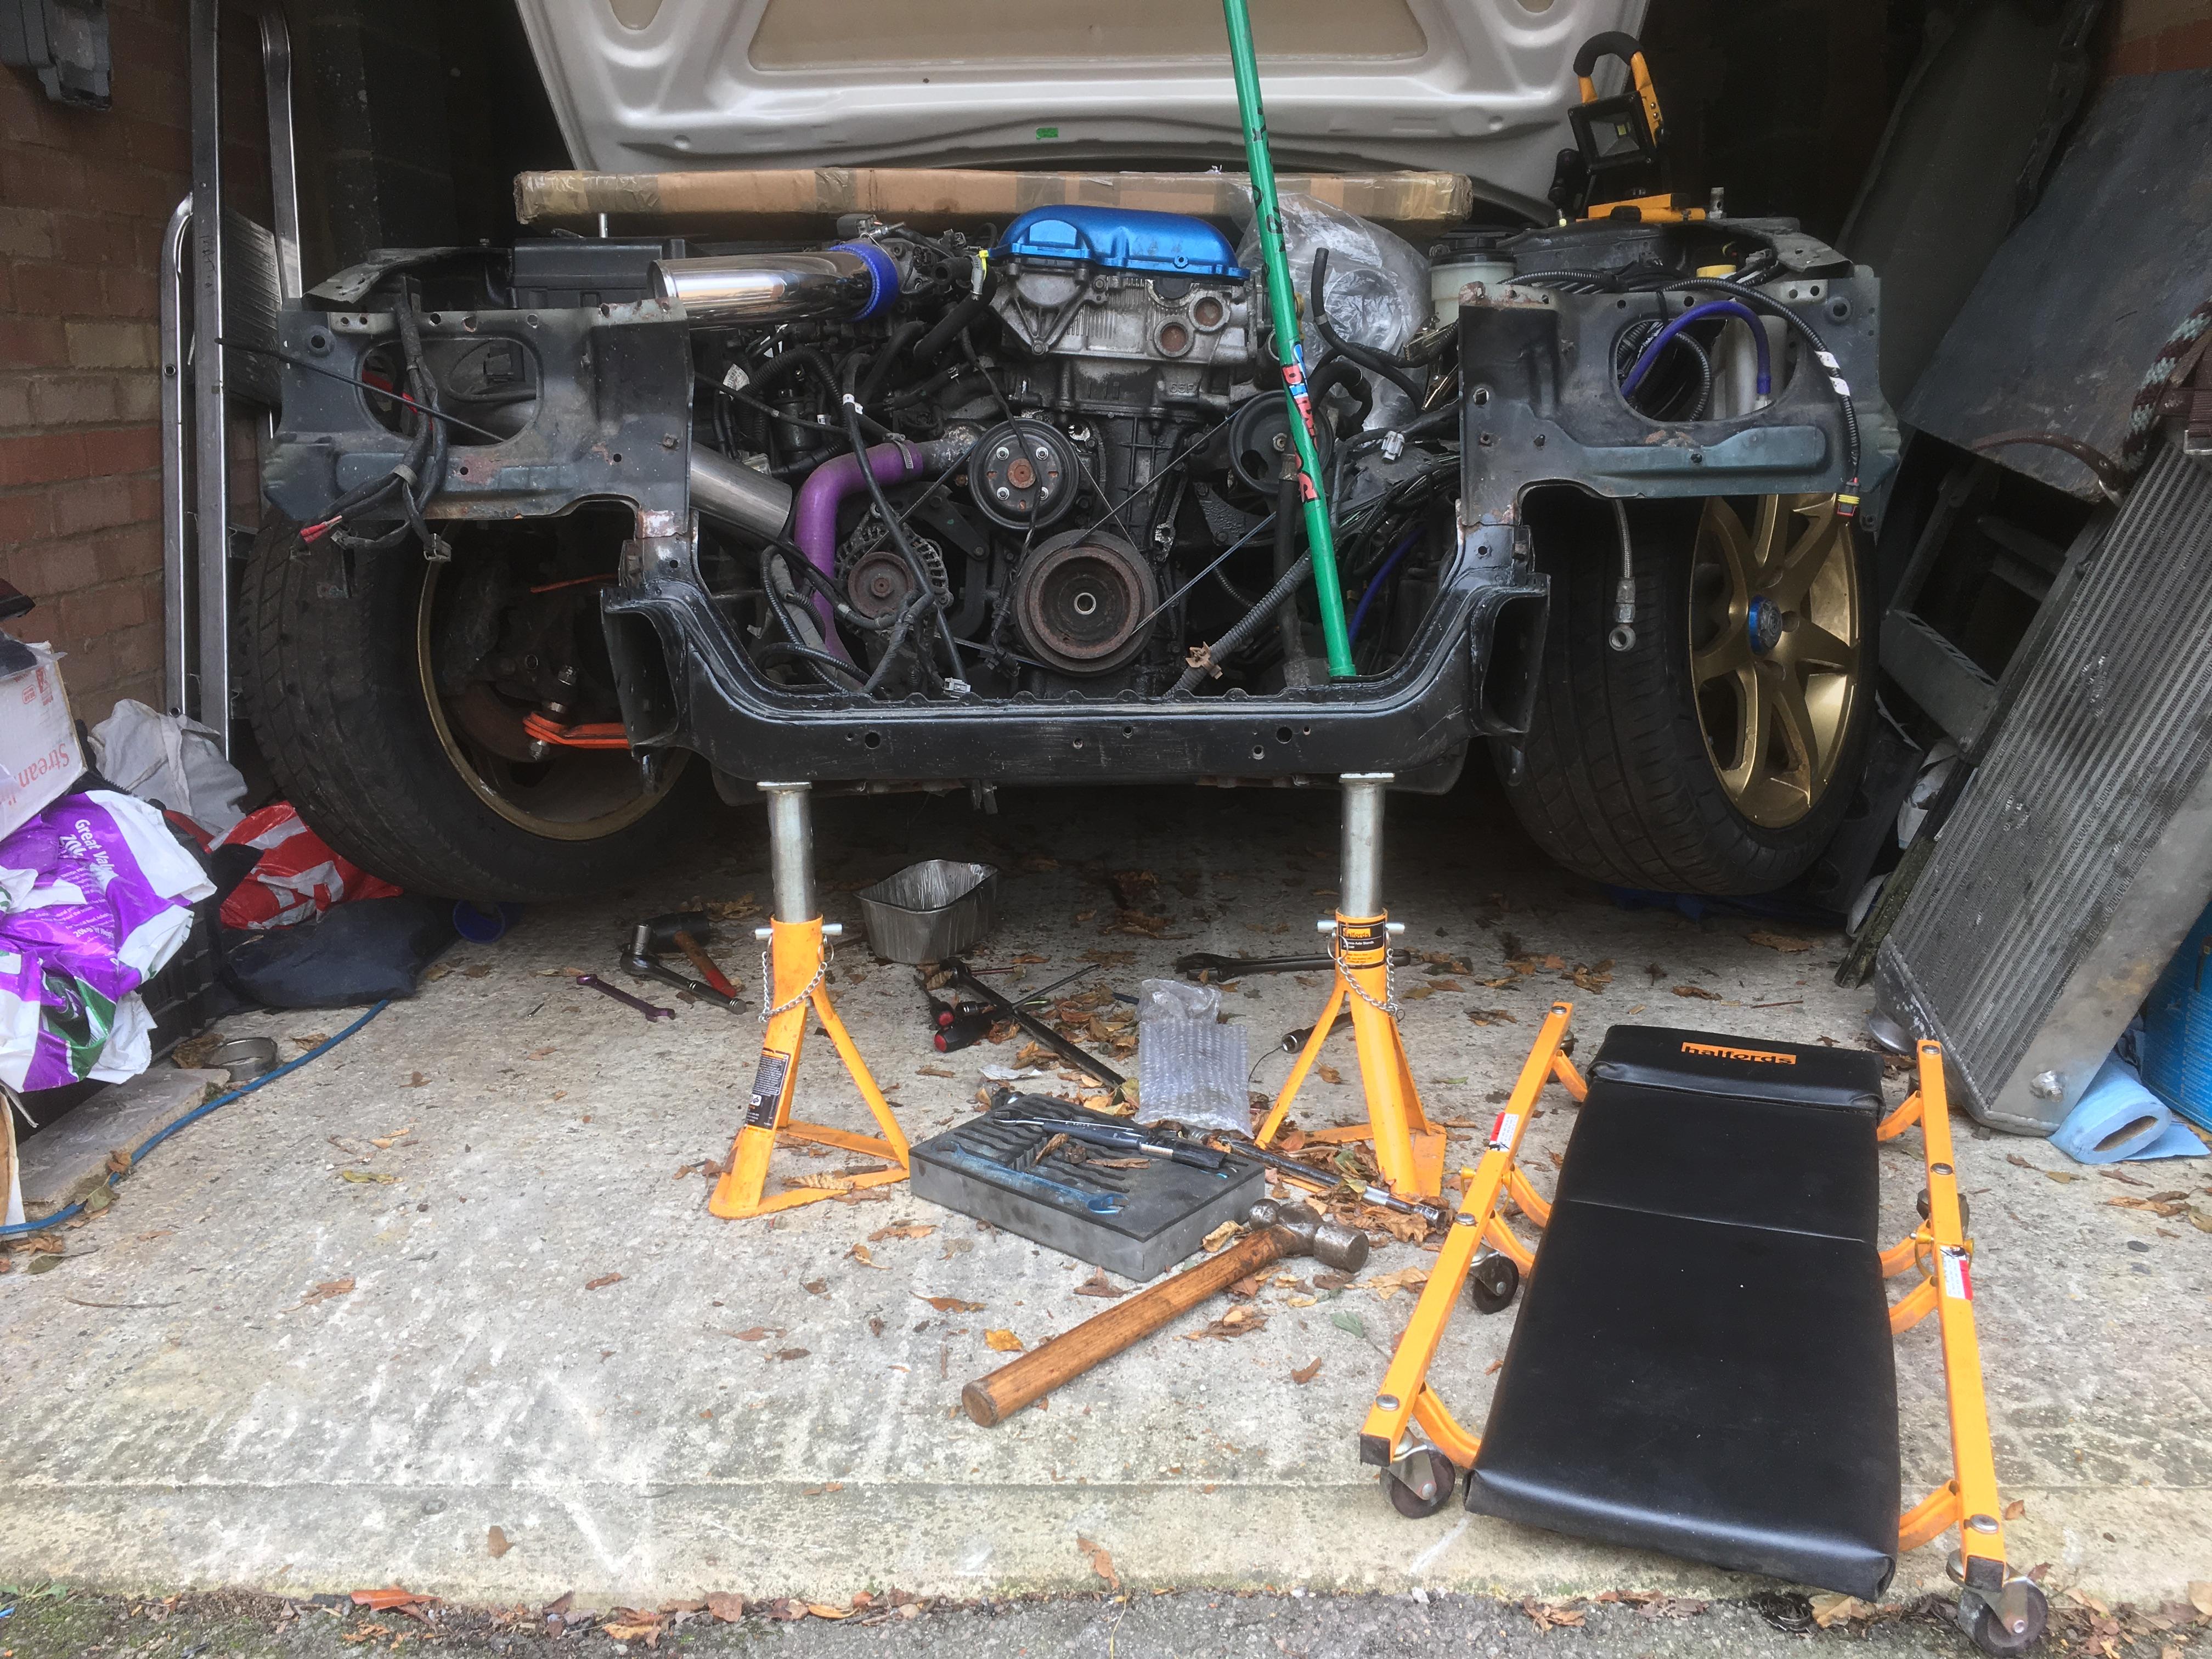
Next on the list is buy the bits for the intercooler hot pipe and fabricate that and the cold pipe as well as fully weld the down pipe. After that we pull the motor and see it’s condition before ordering all the parts to forge it
-
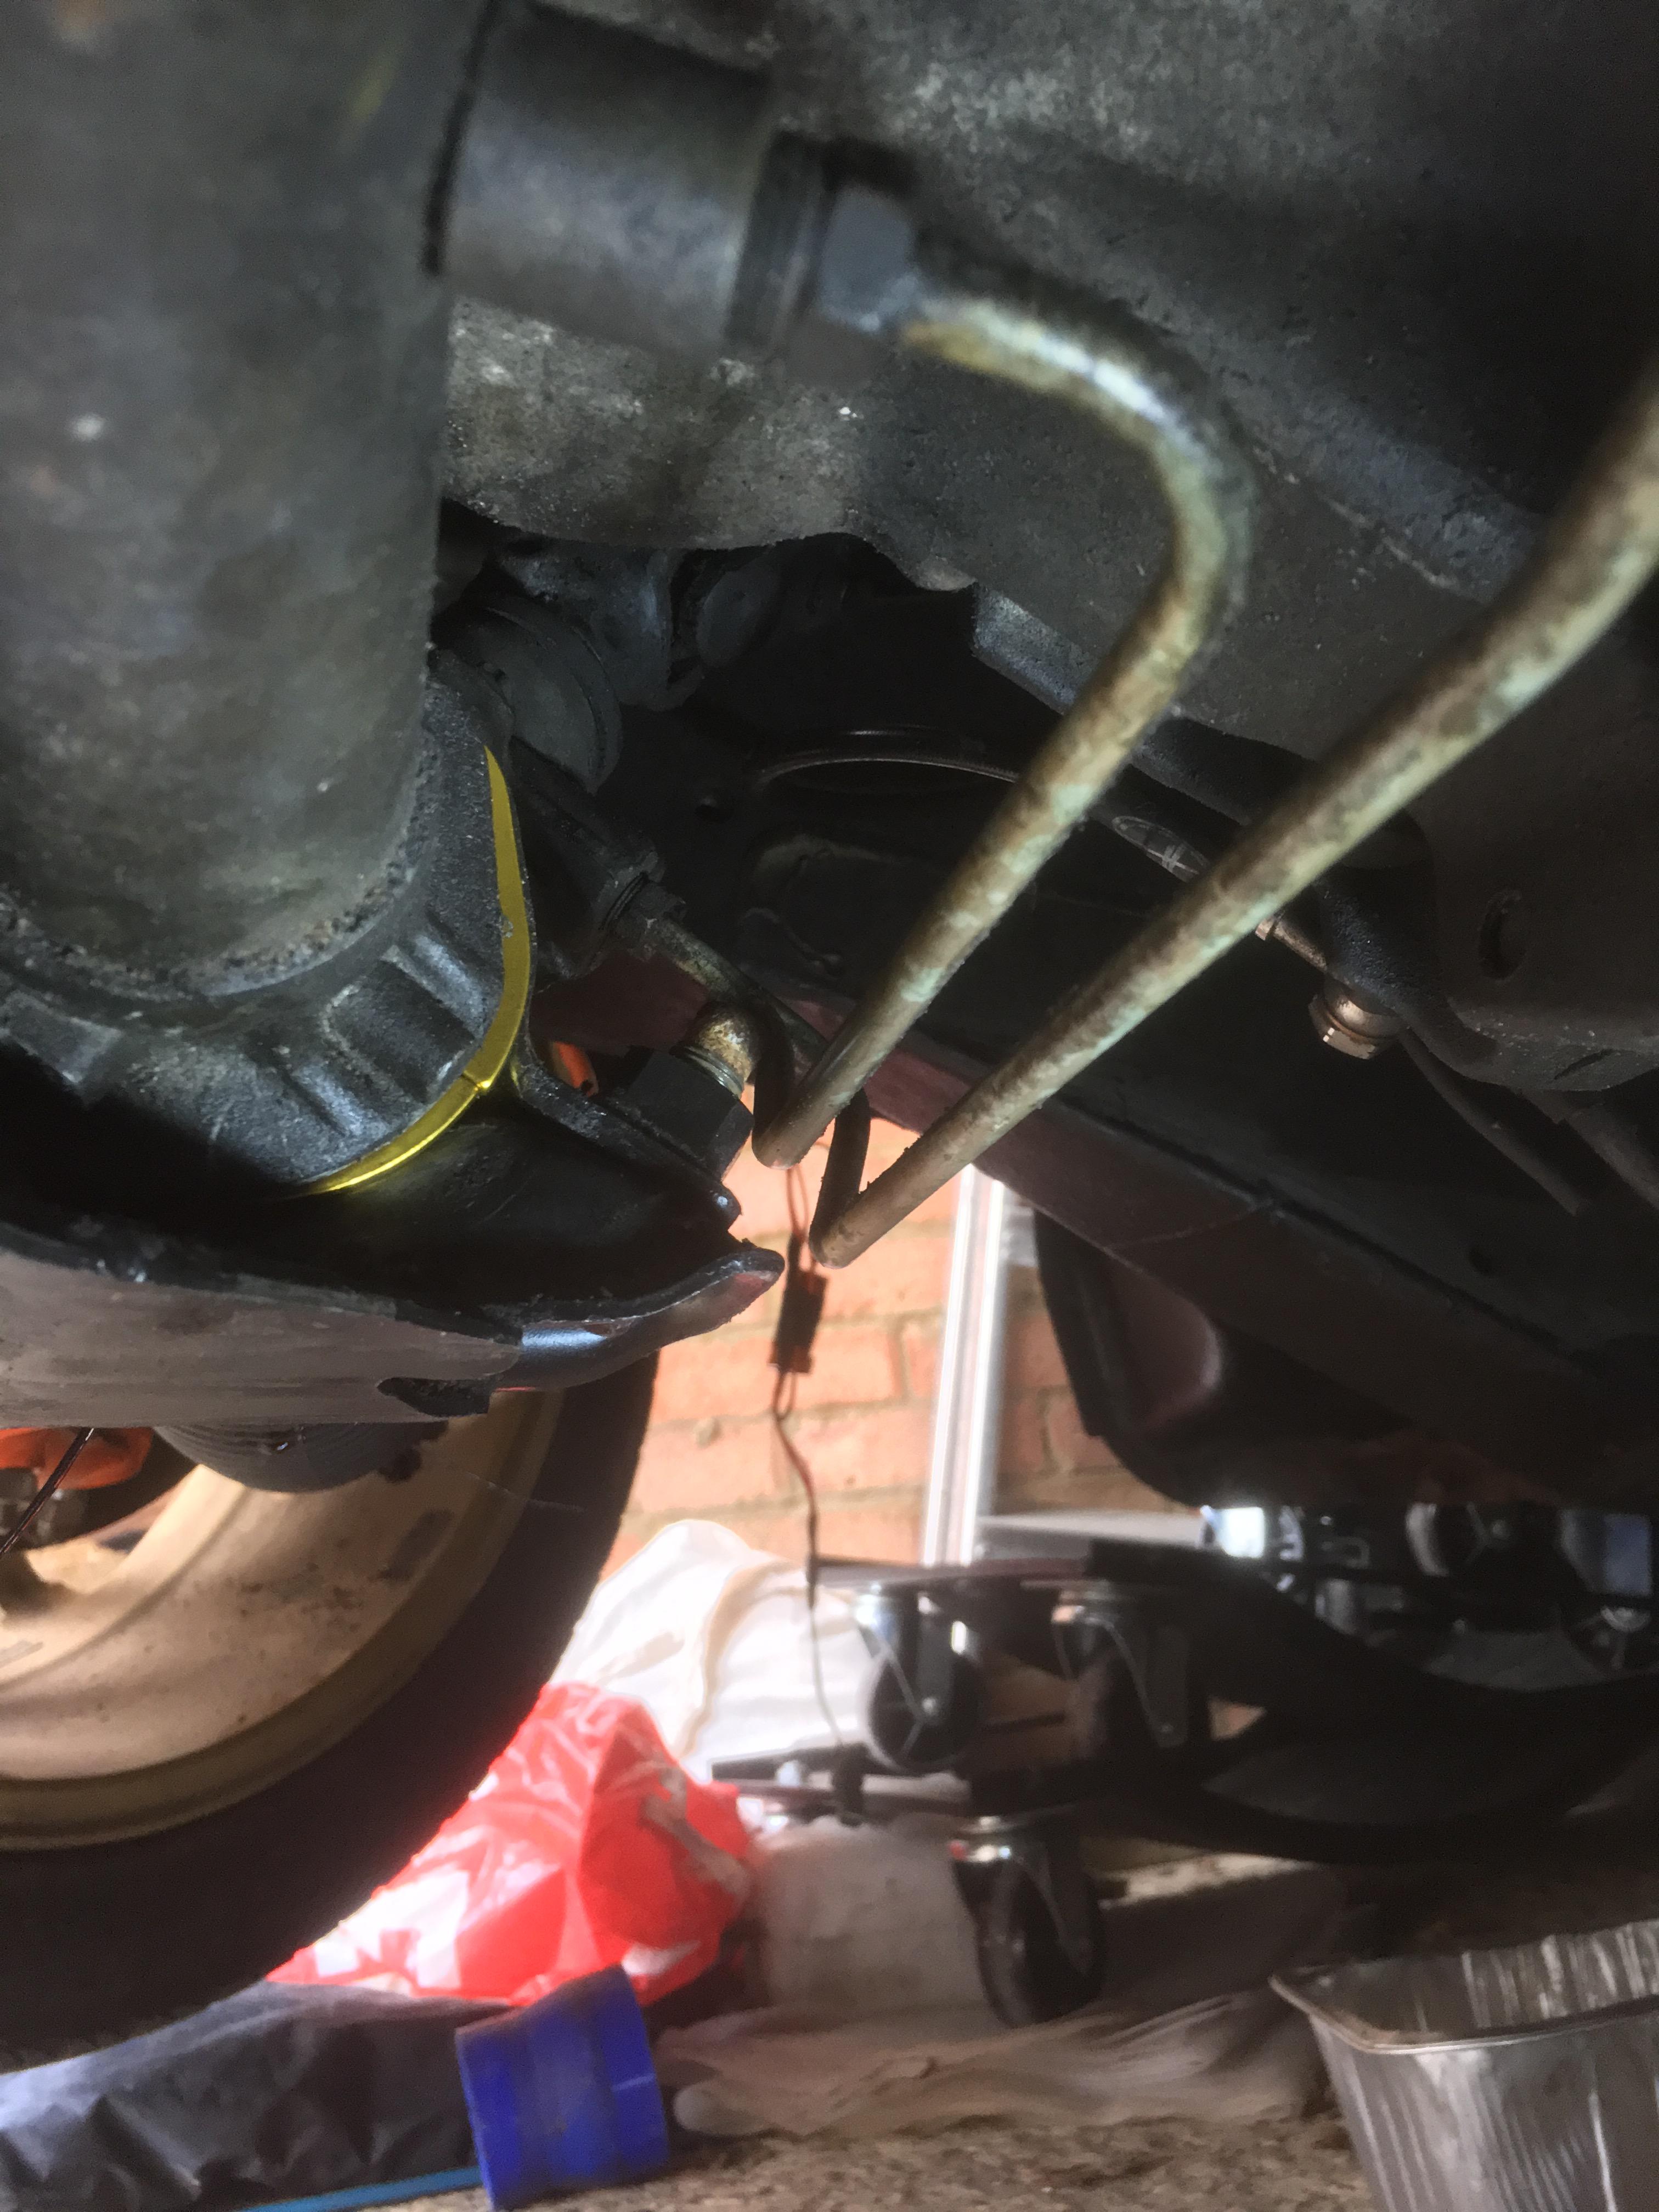
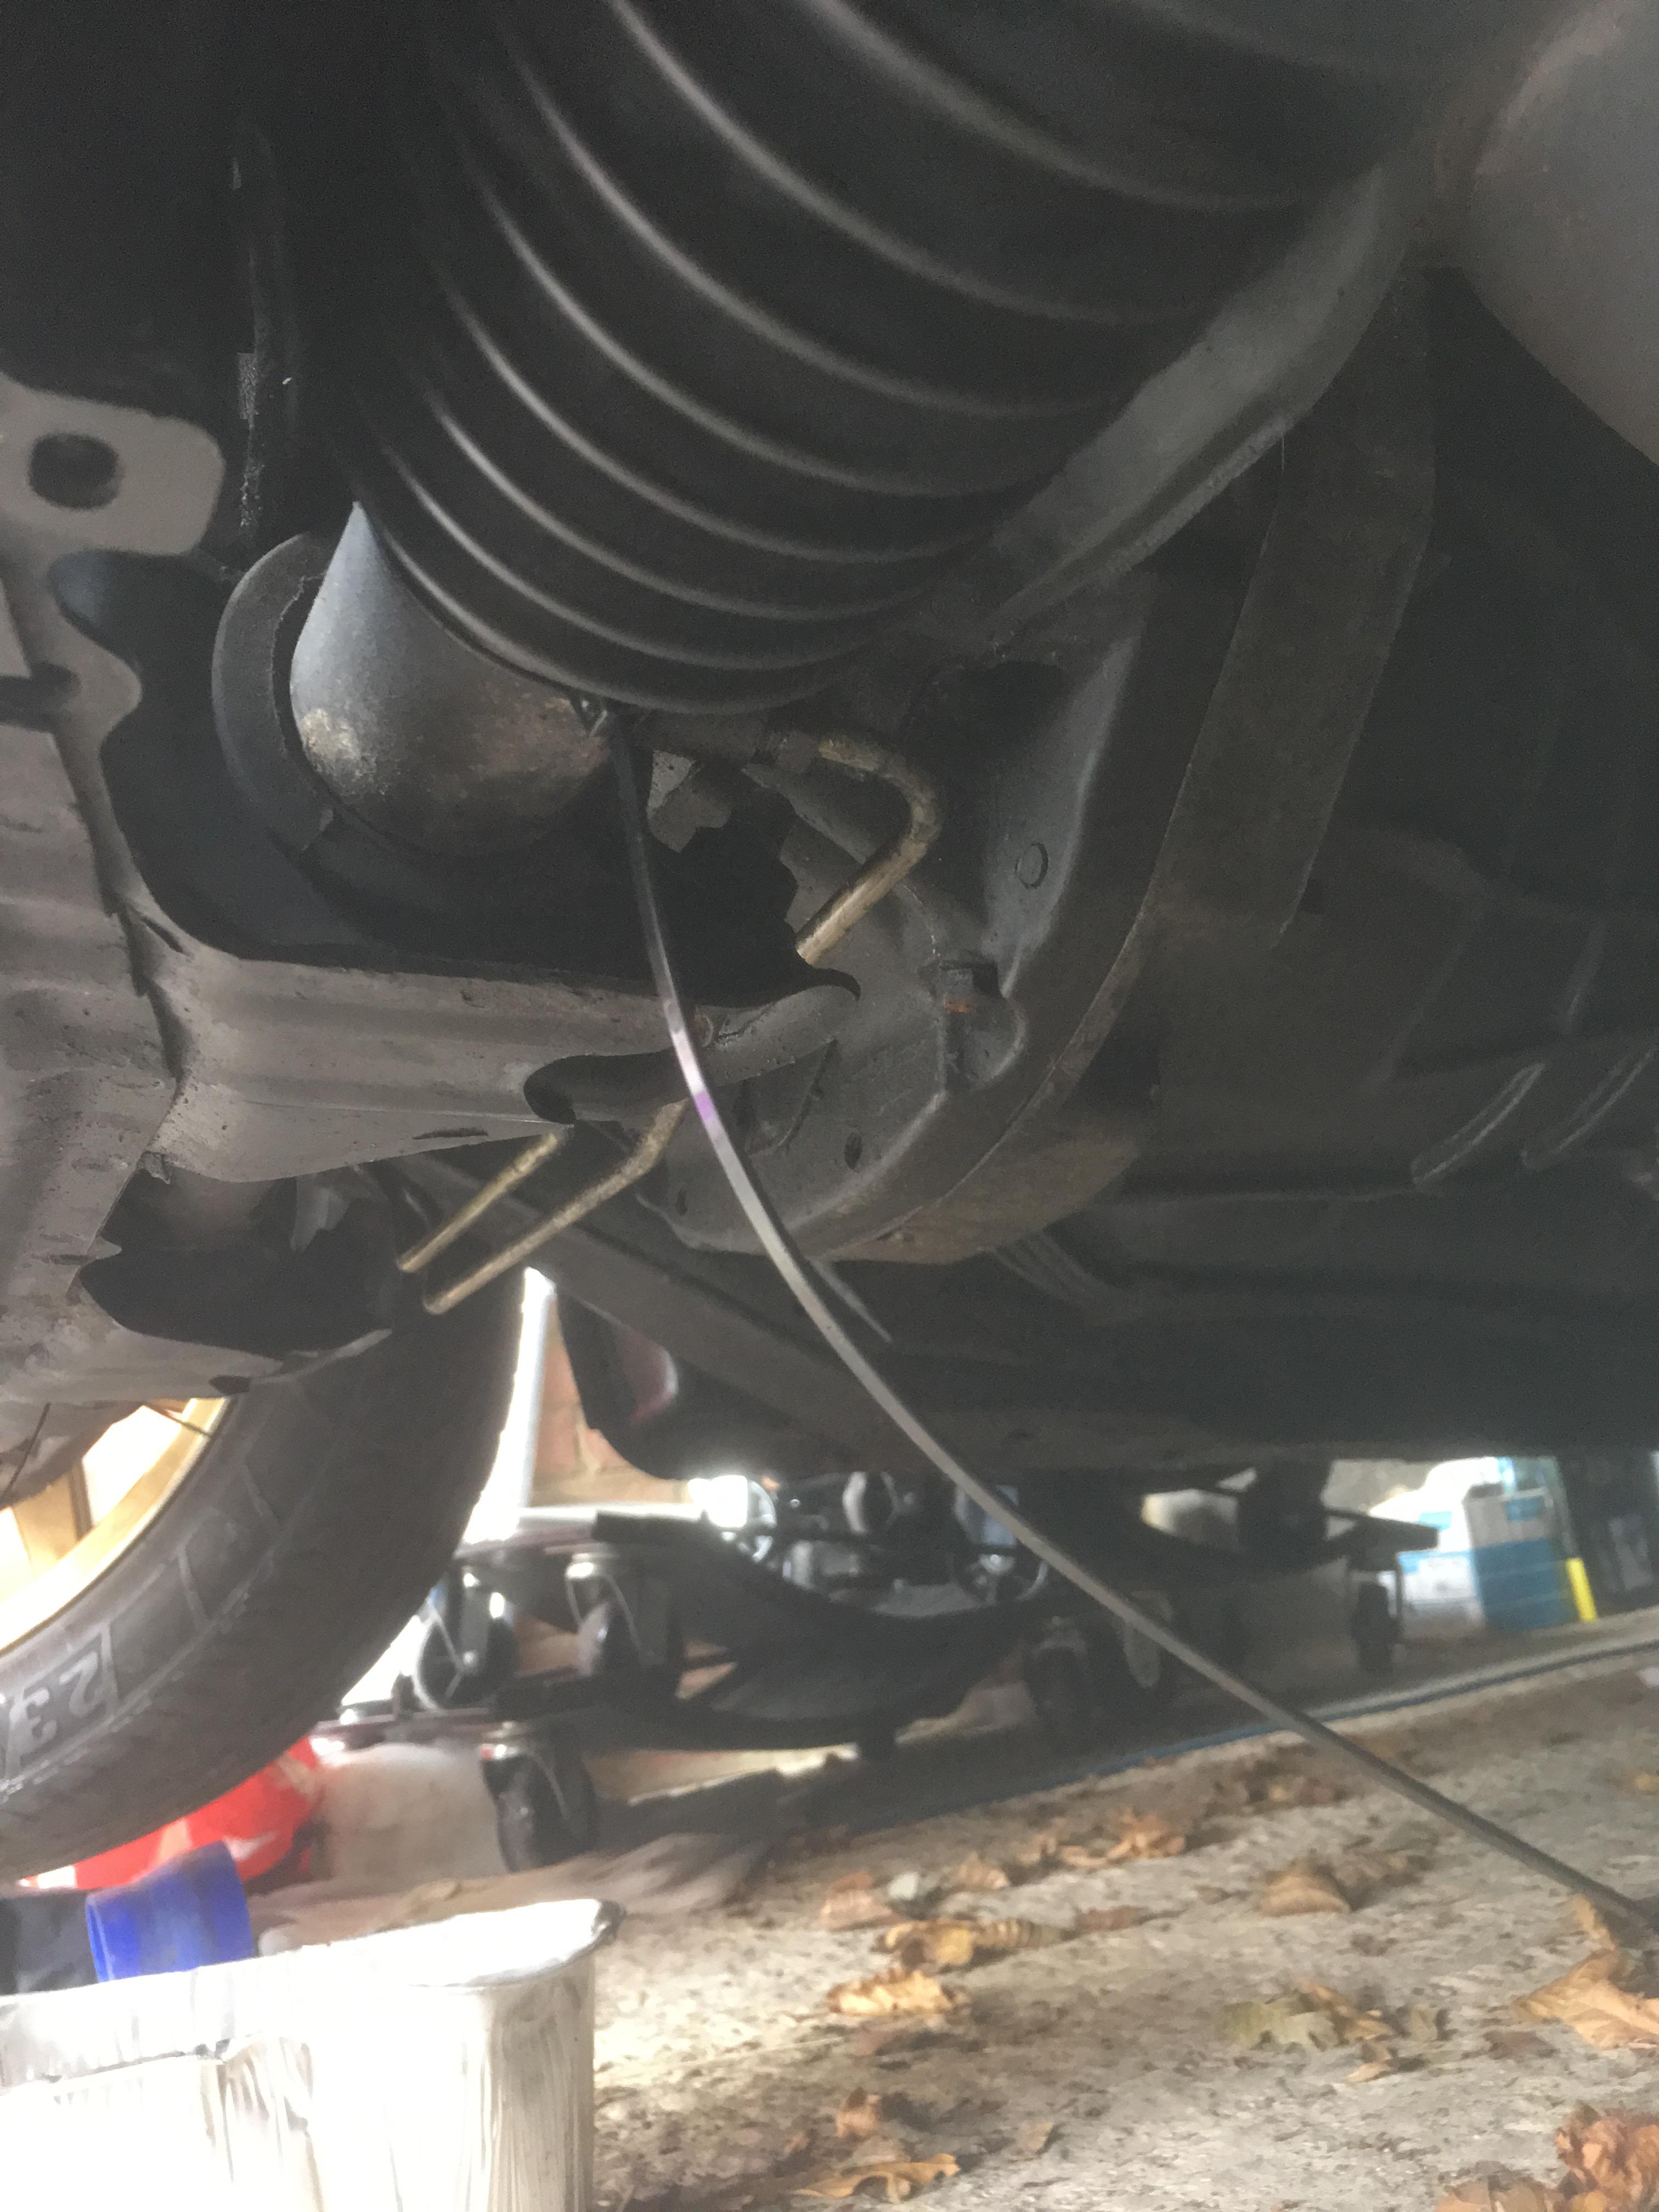
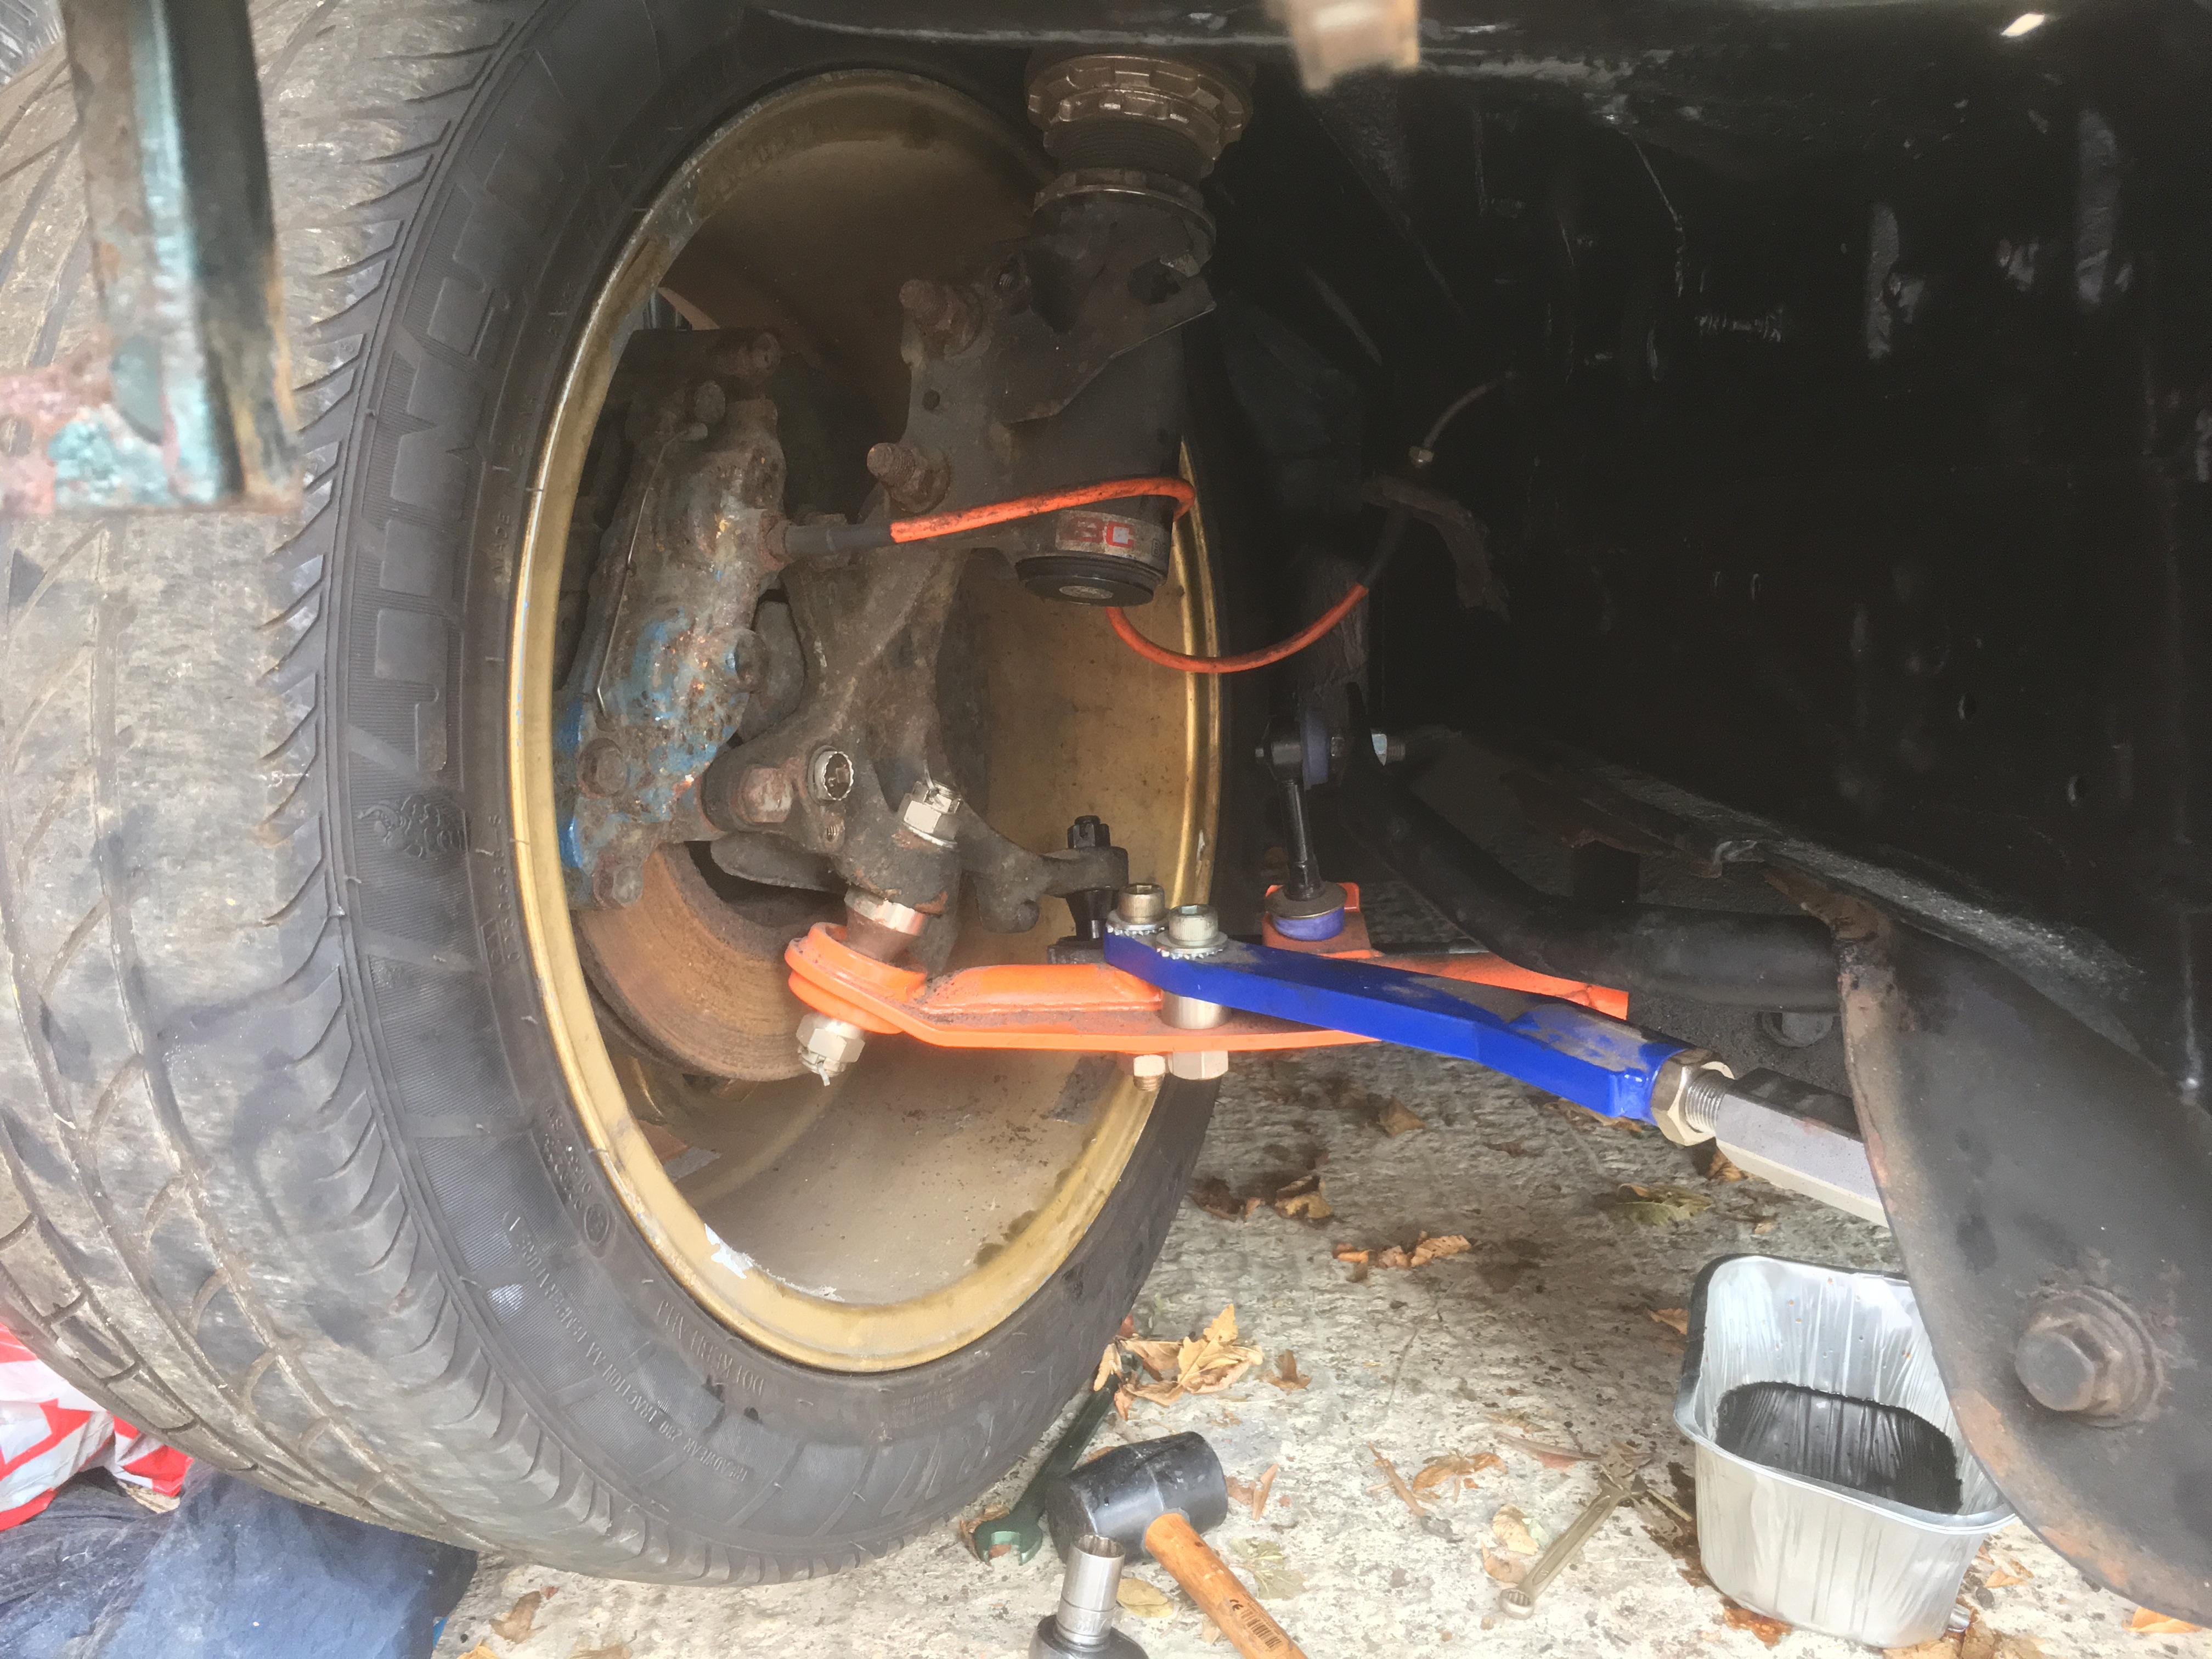
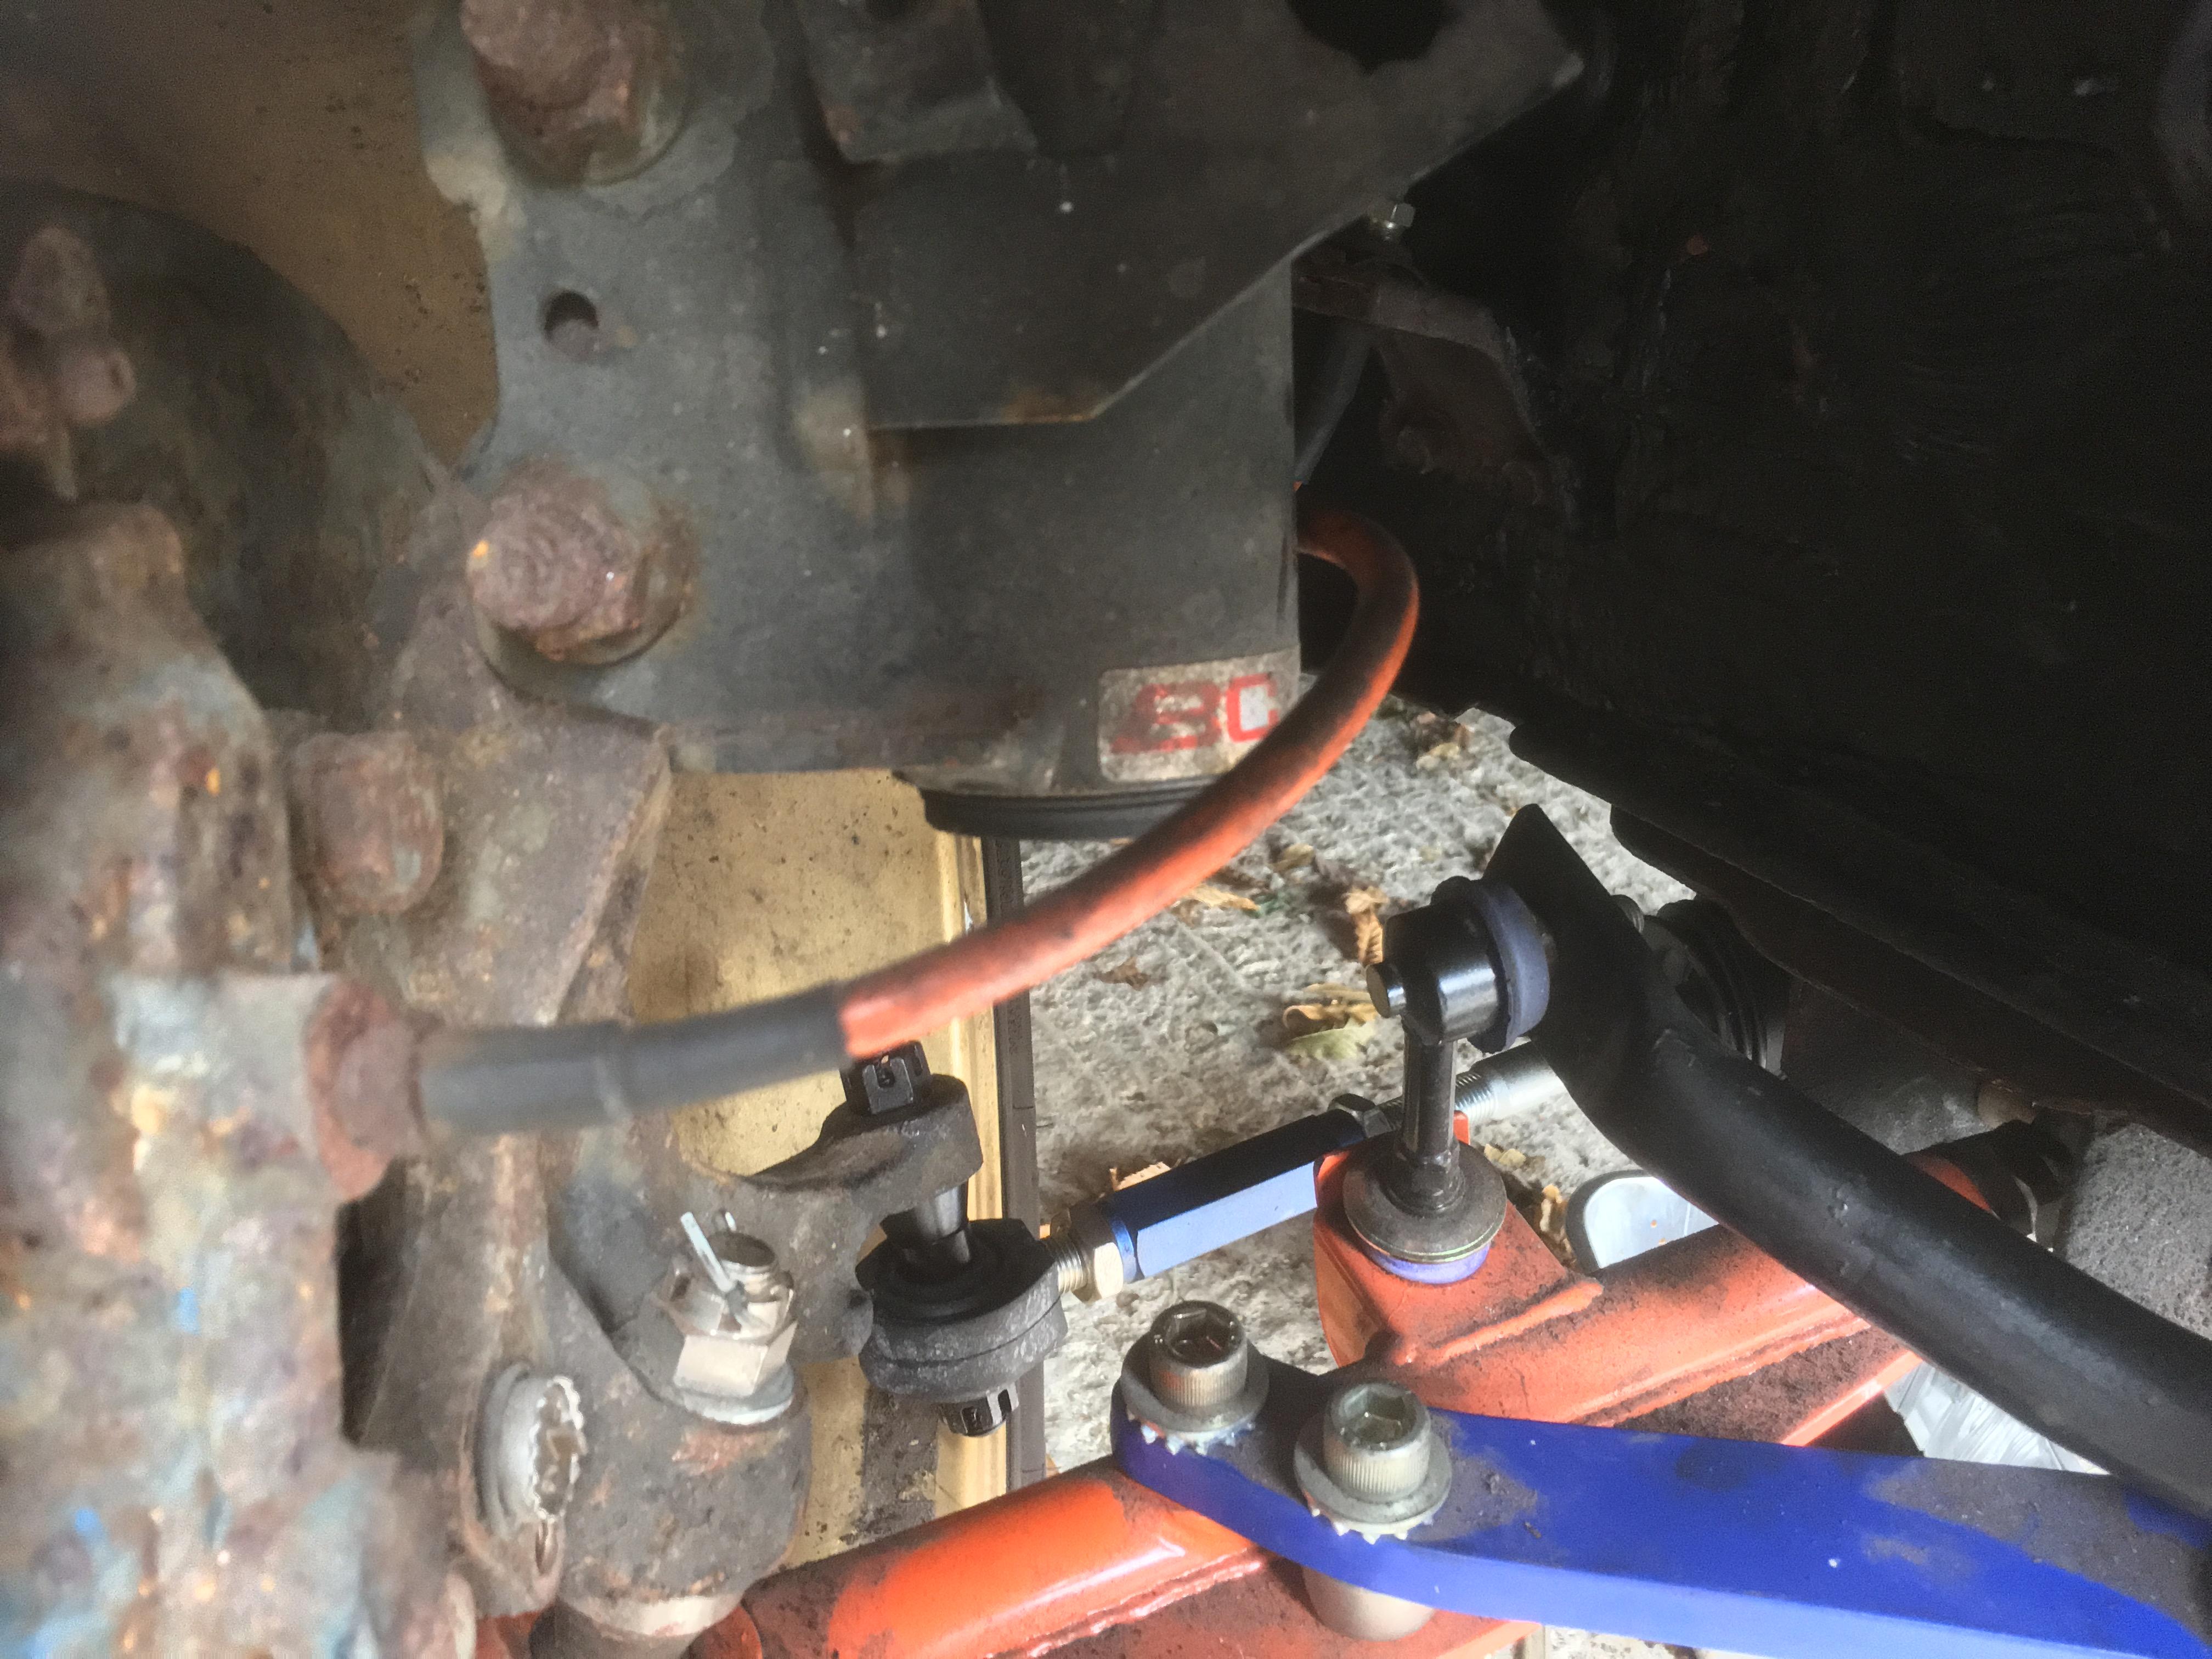
Fitted my partsshopmax eccentric rack bushes and the steering arms. Steering isn’t yet set up as I’ve not had a chance but that can be done at a later date.


-
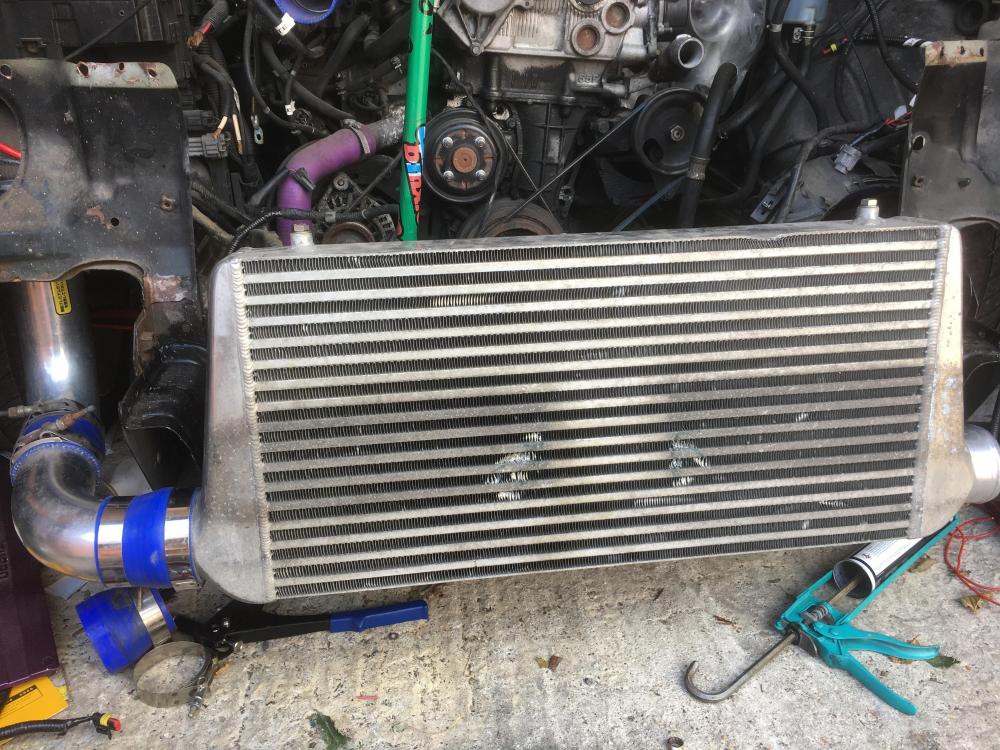
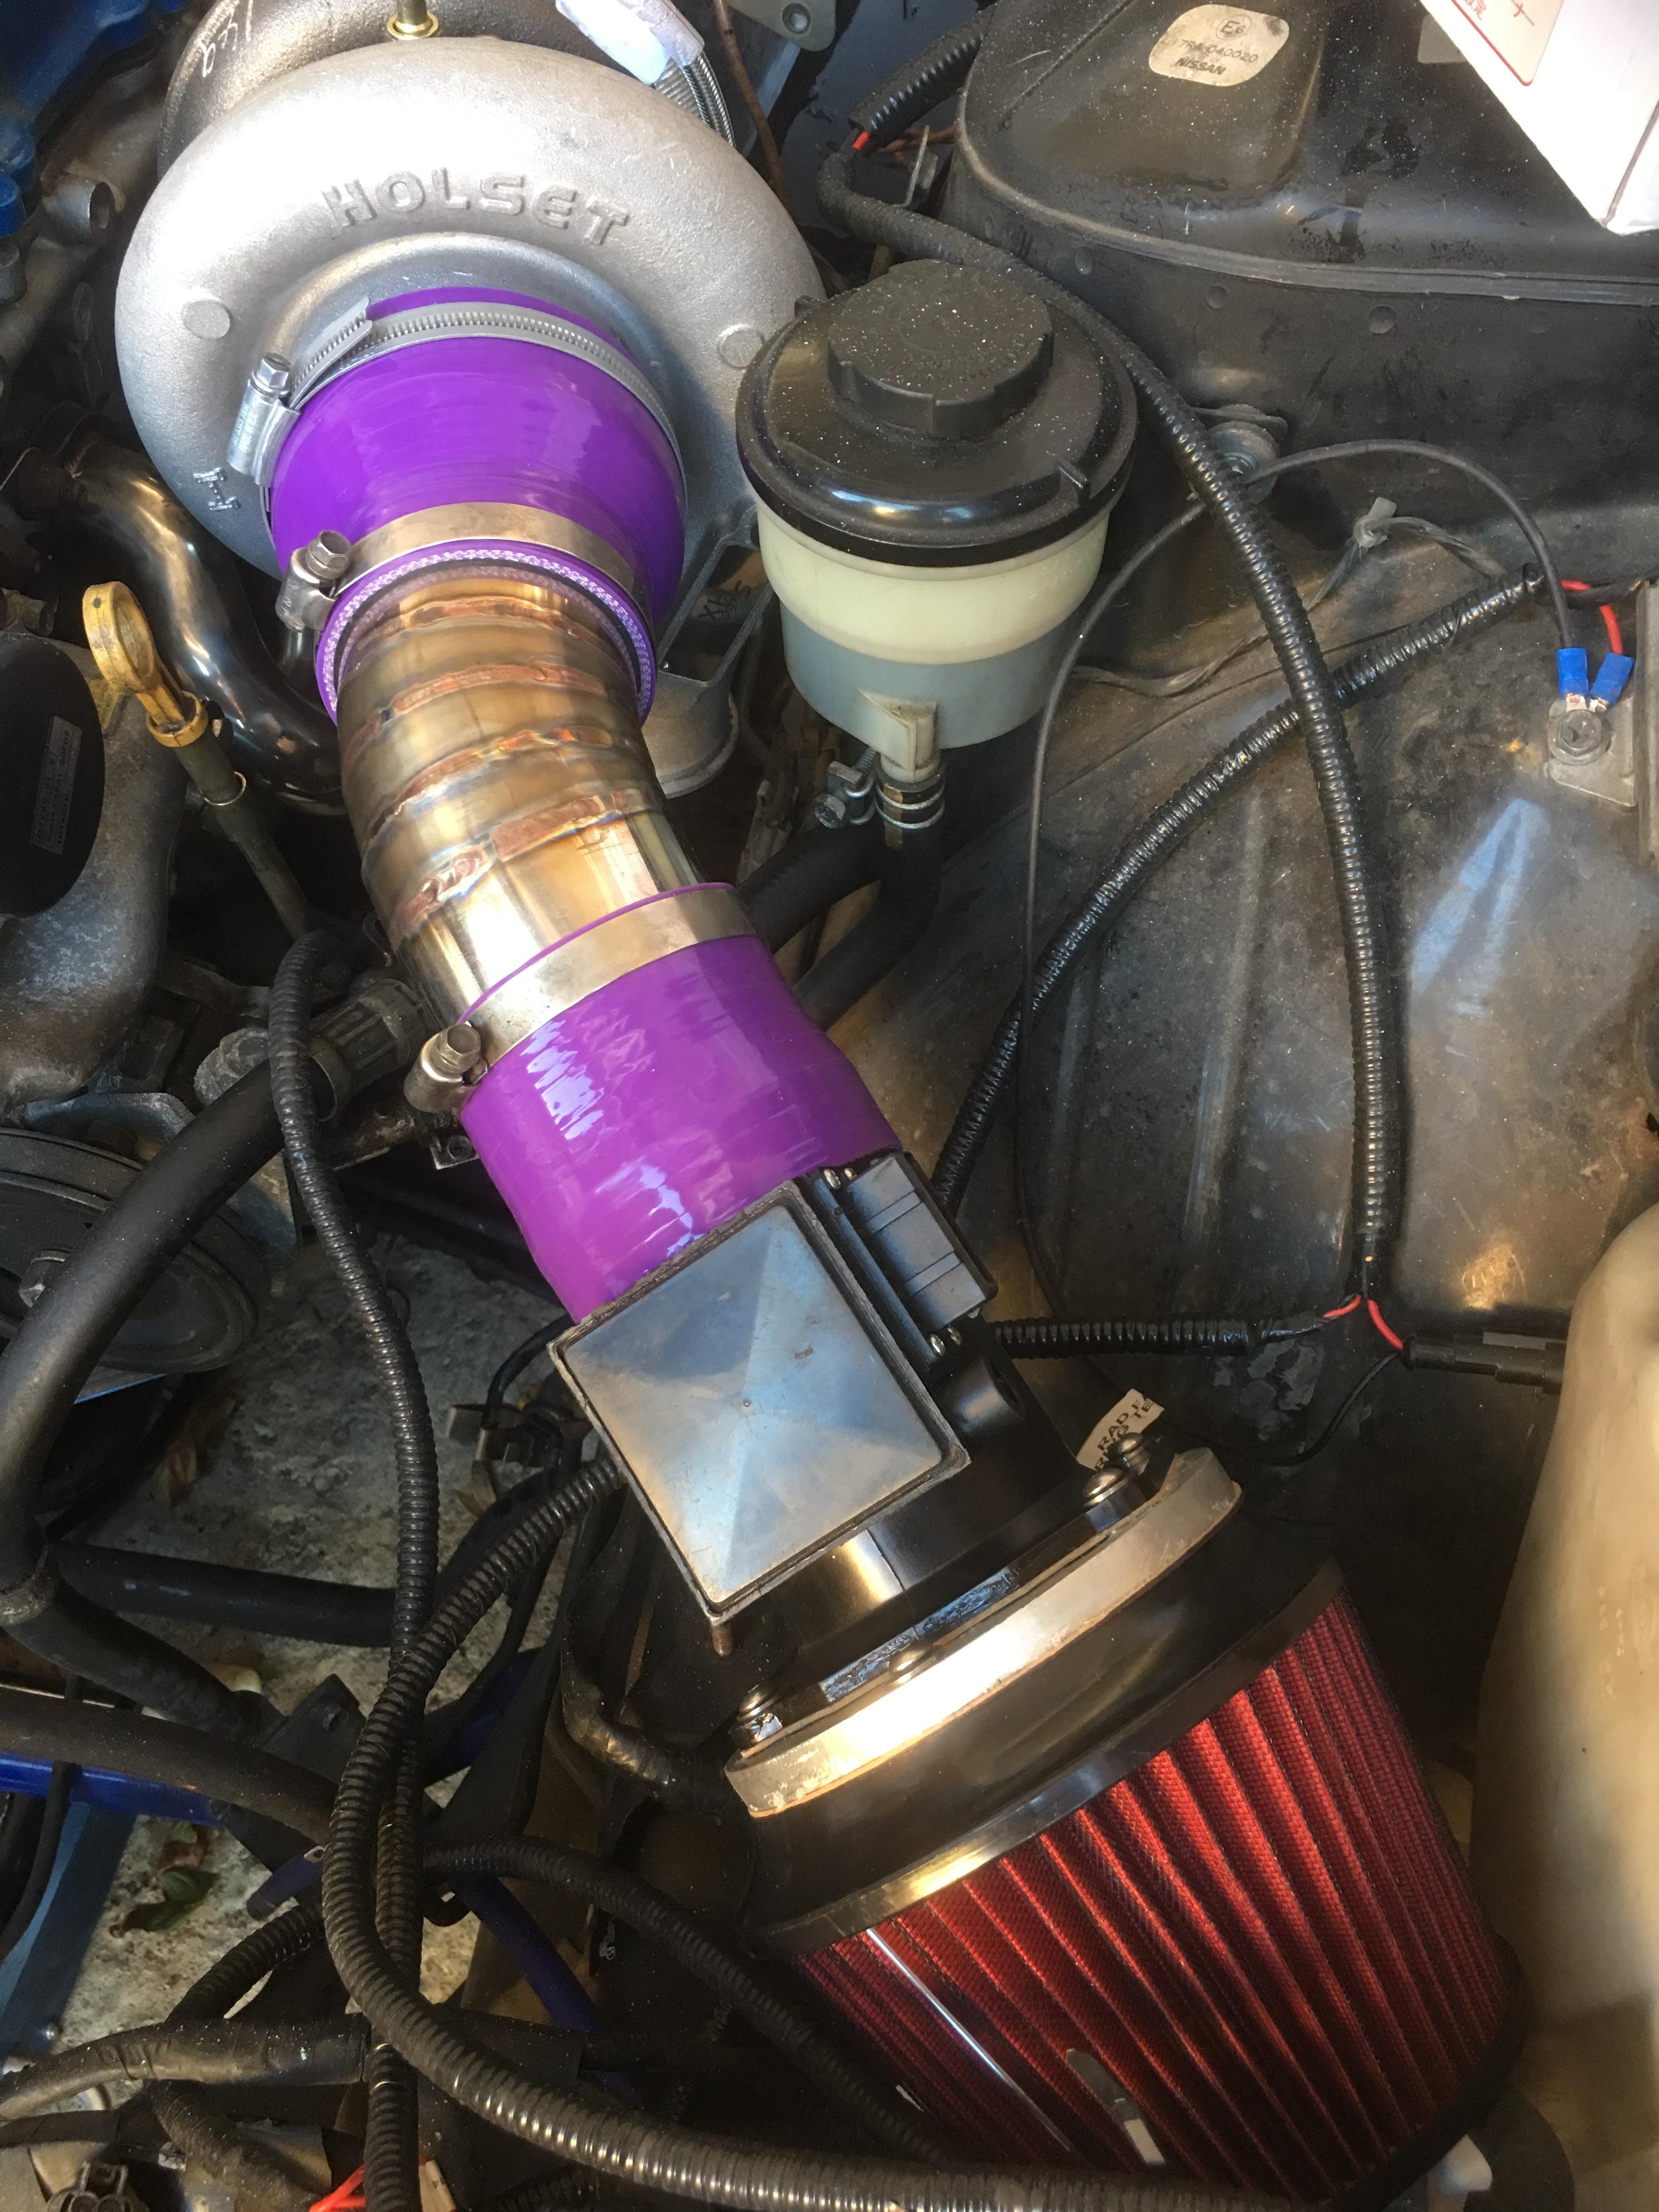
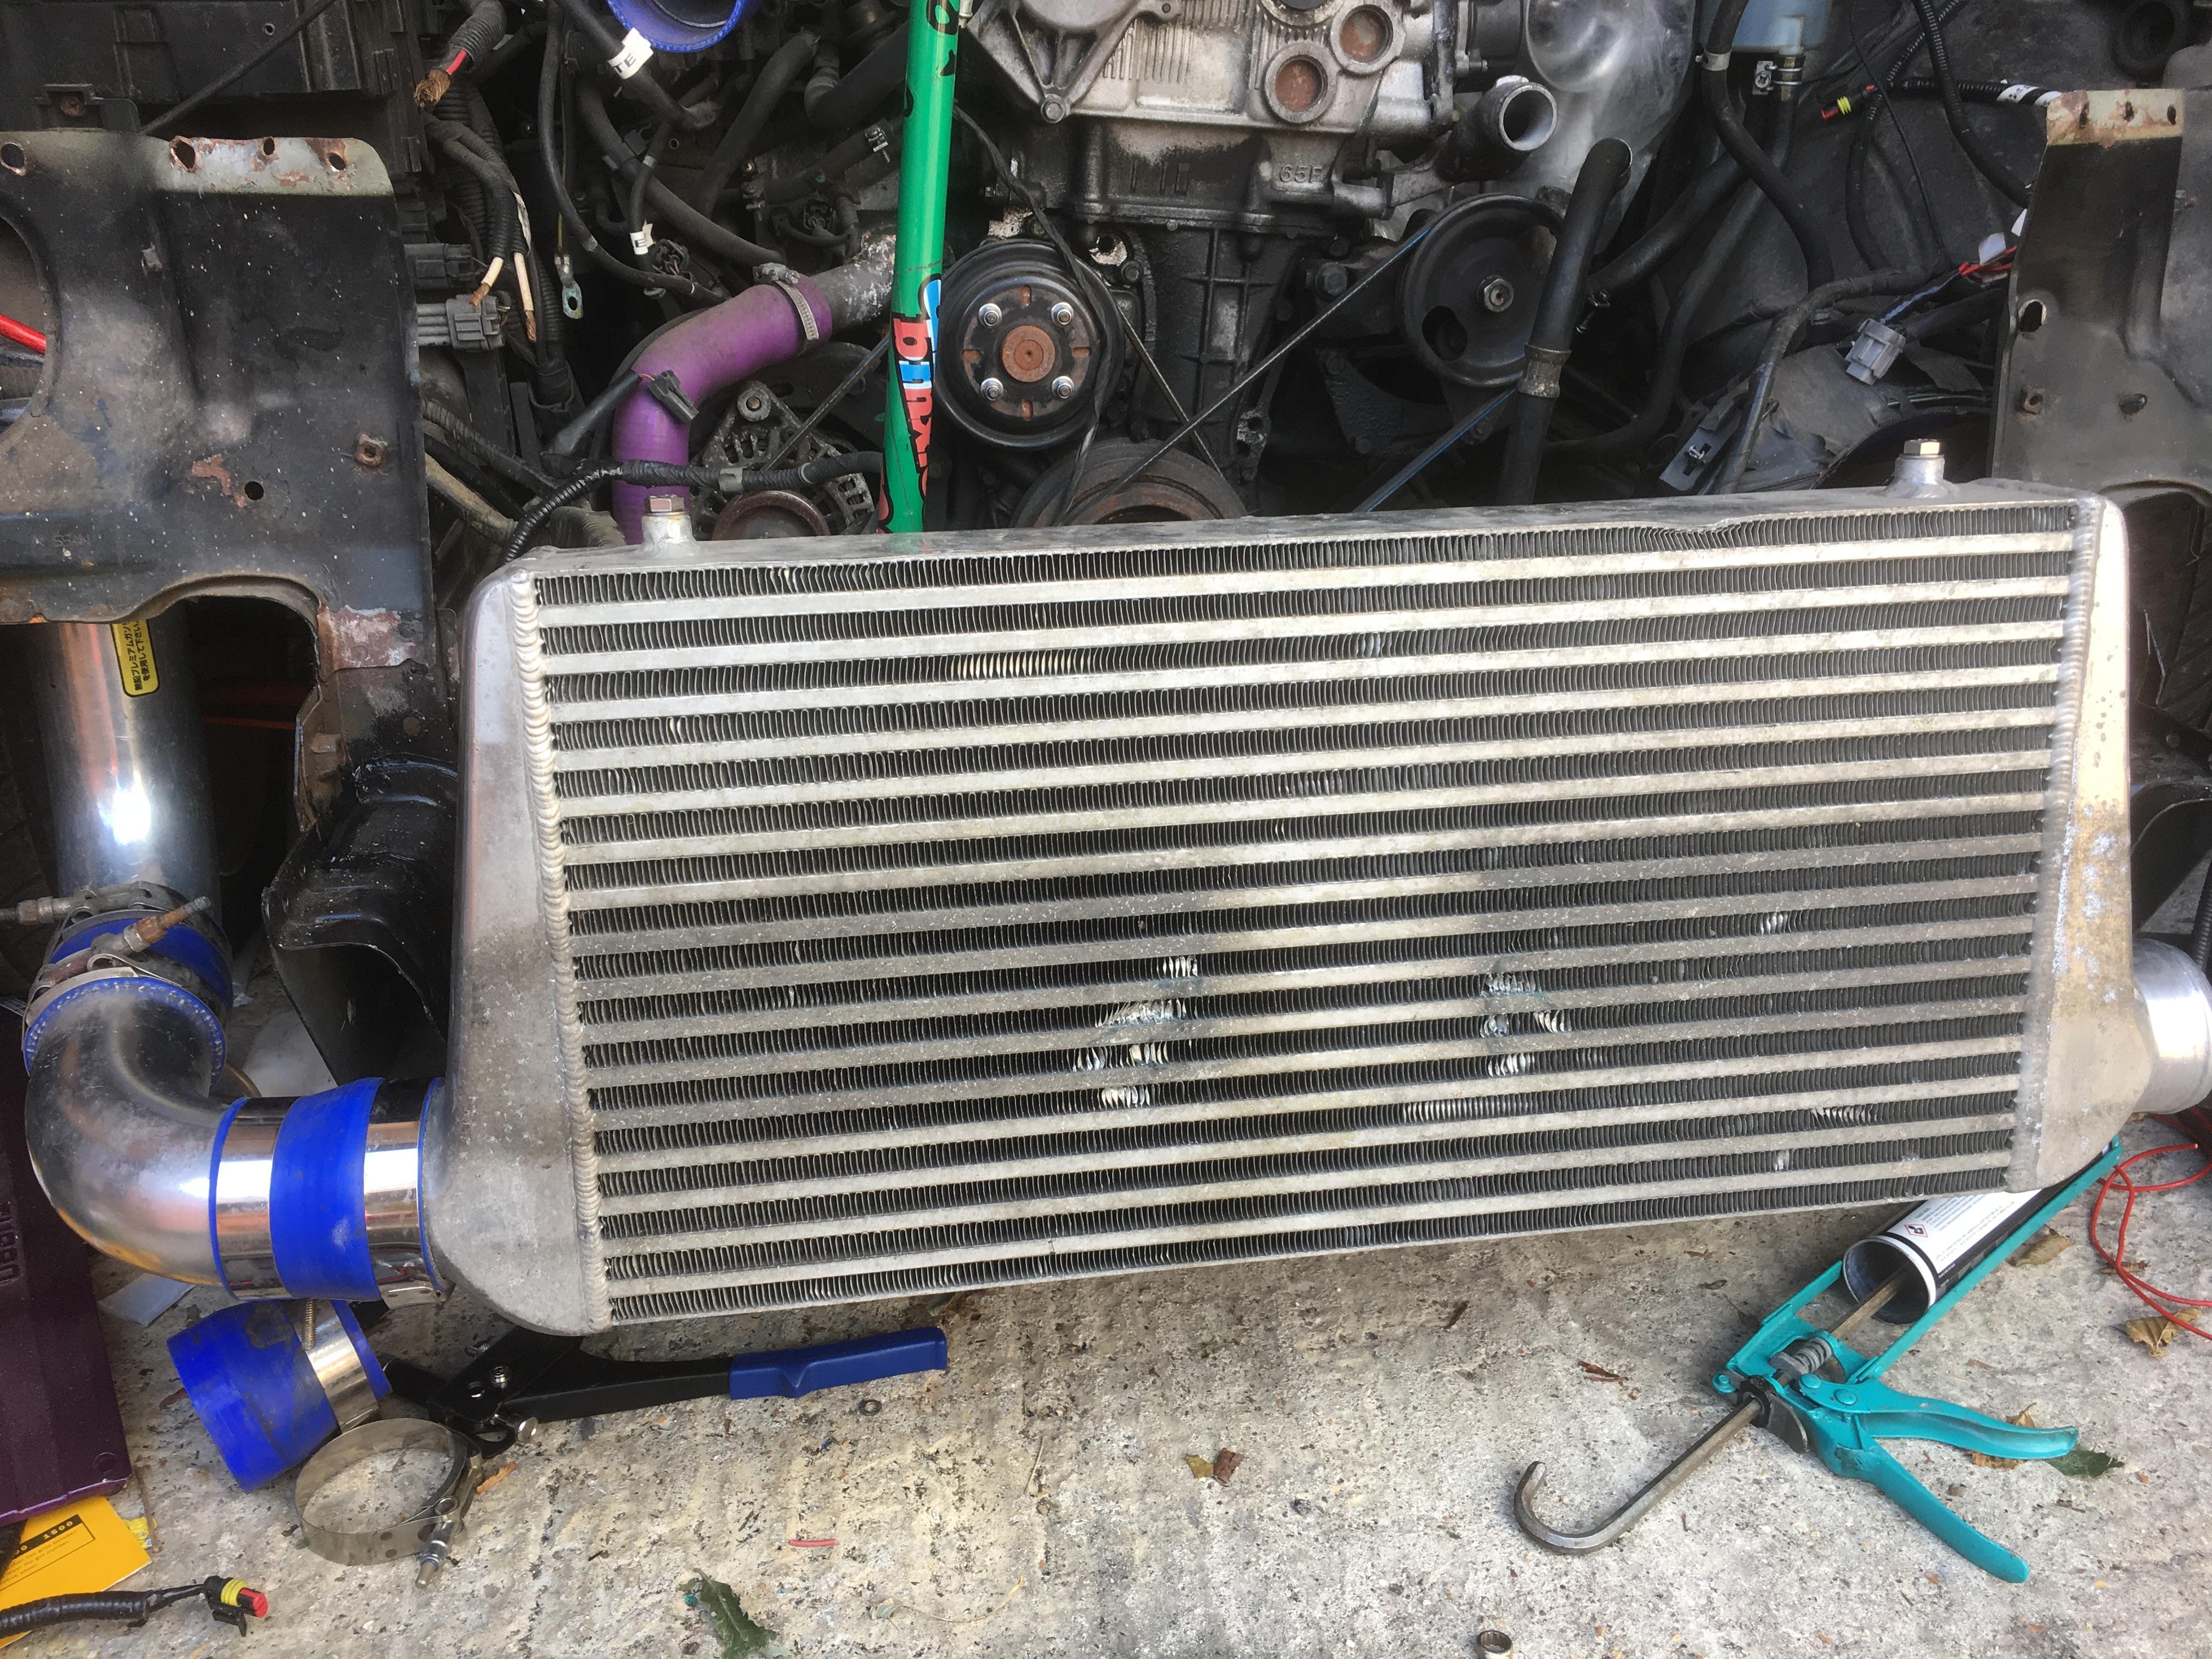
Intake pipe test fitted all fits together nicely.
Finally got round to wiring everything in since redoing the battery relocation before.

-
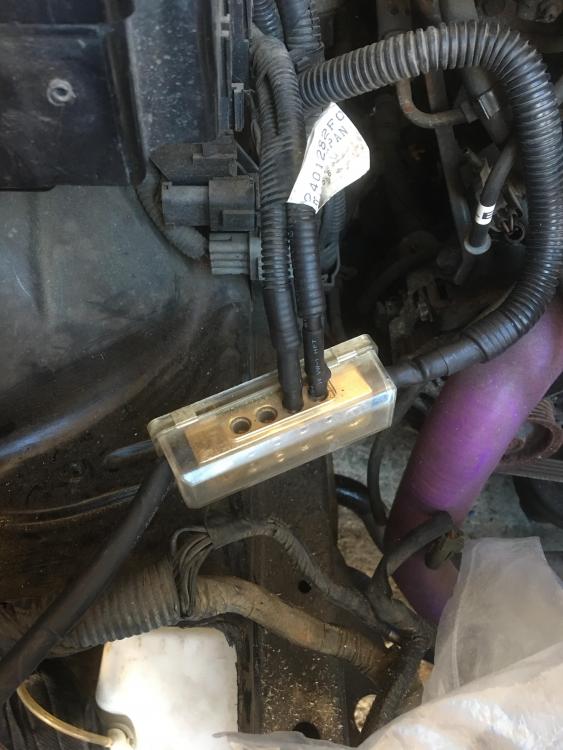
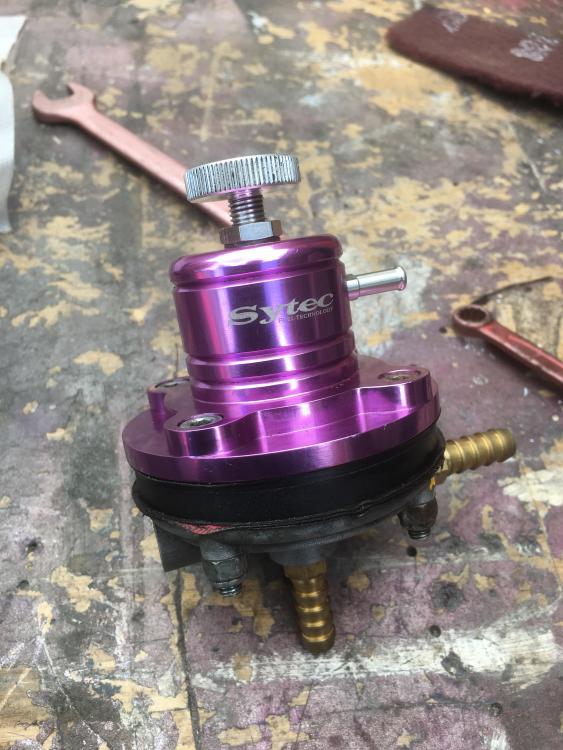
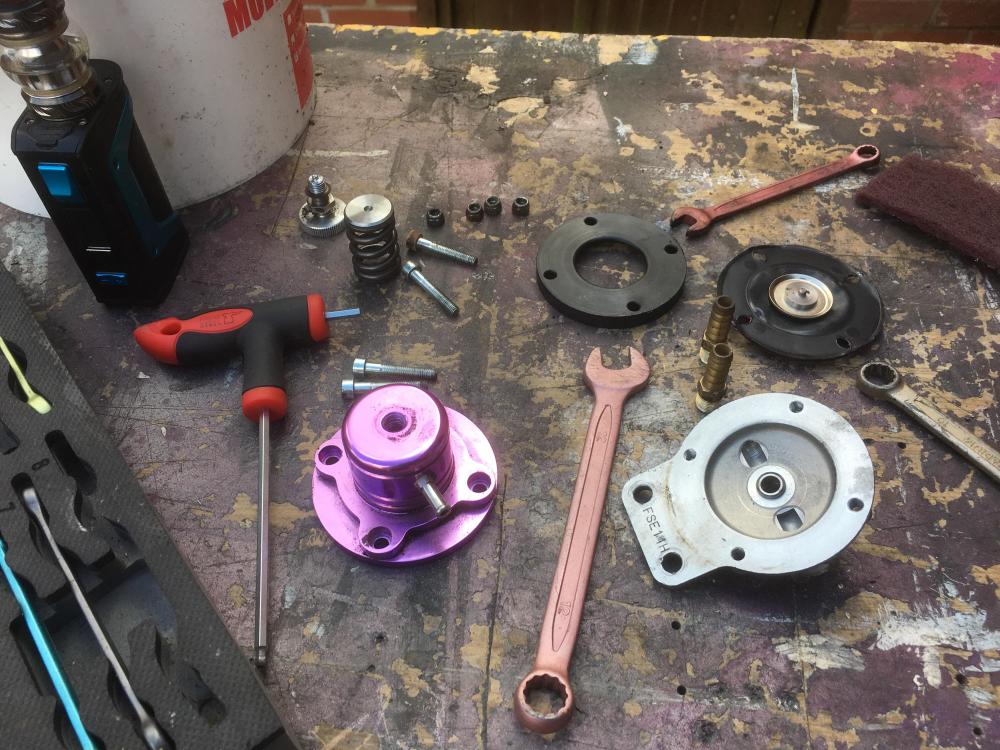
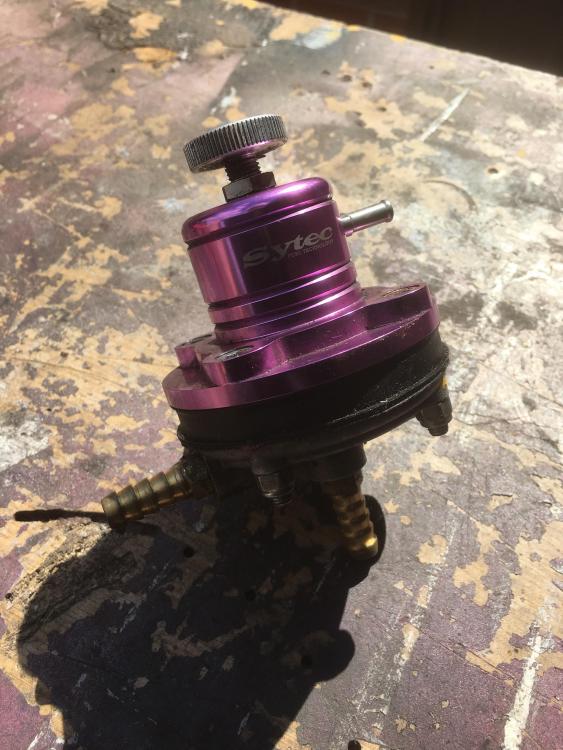
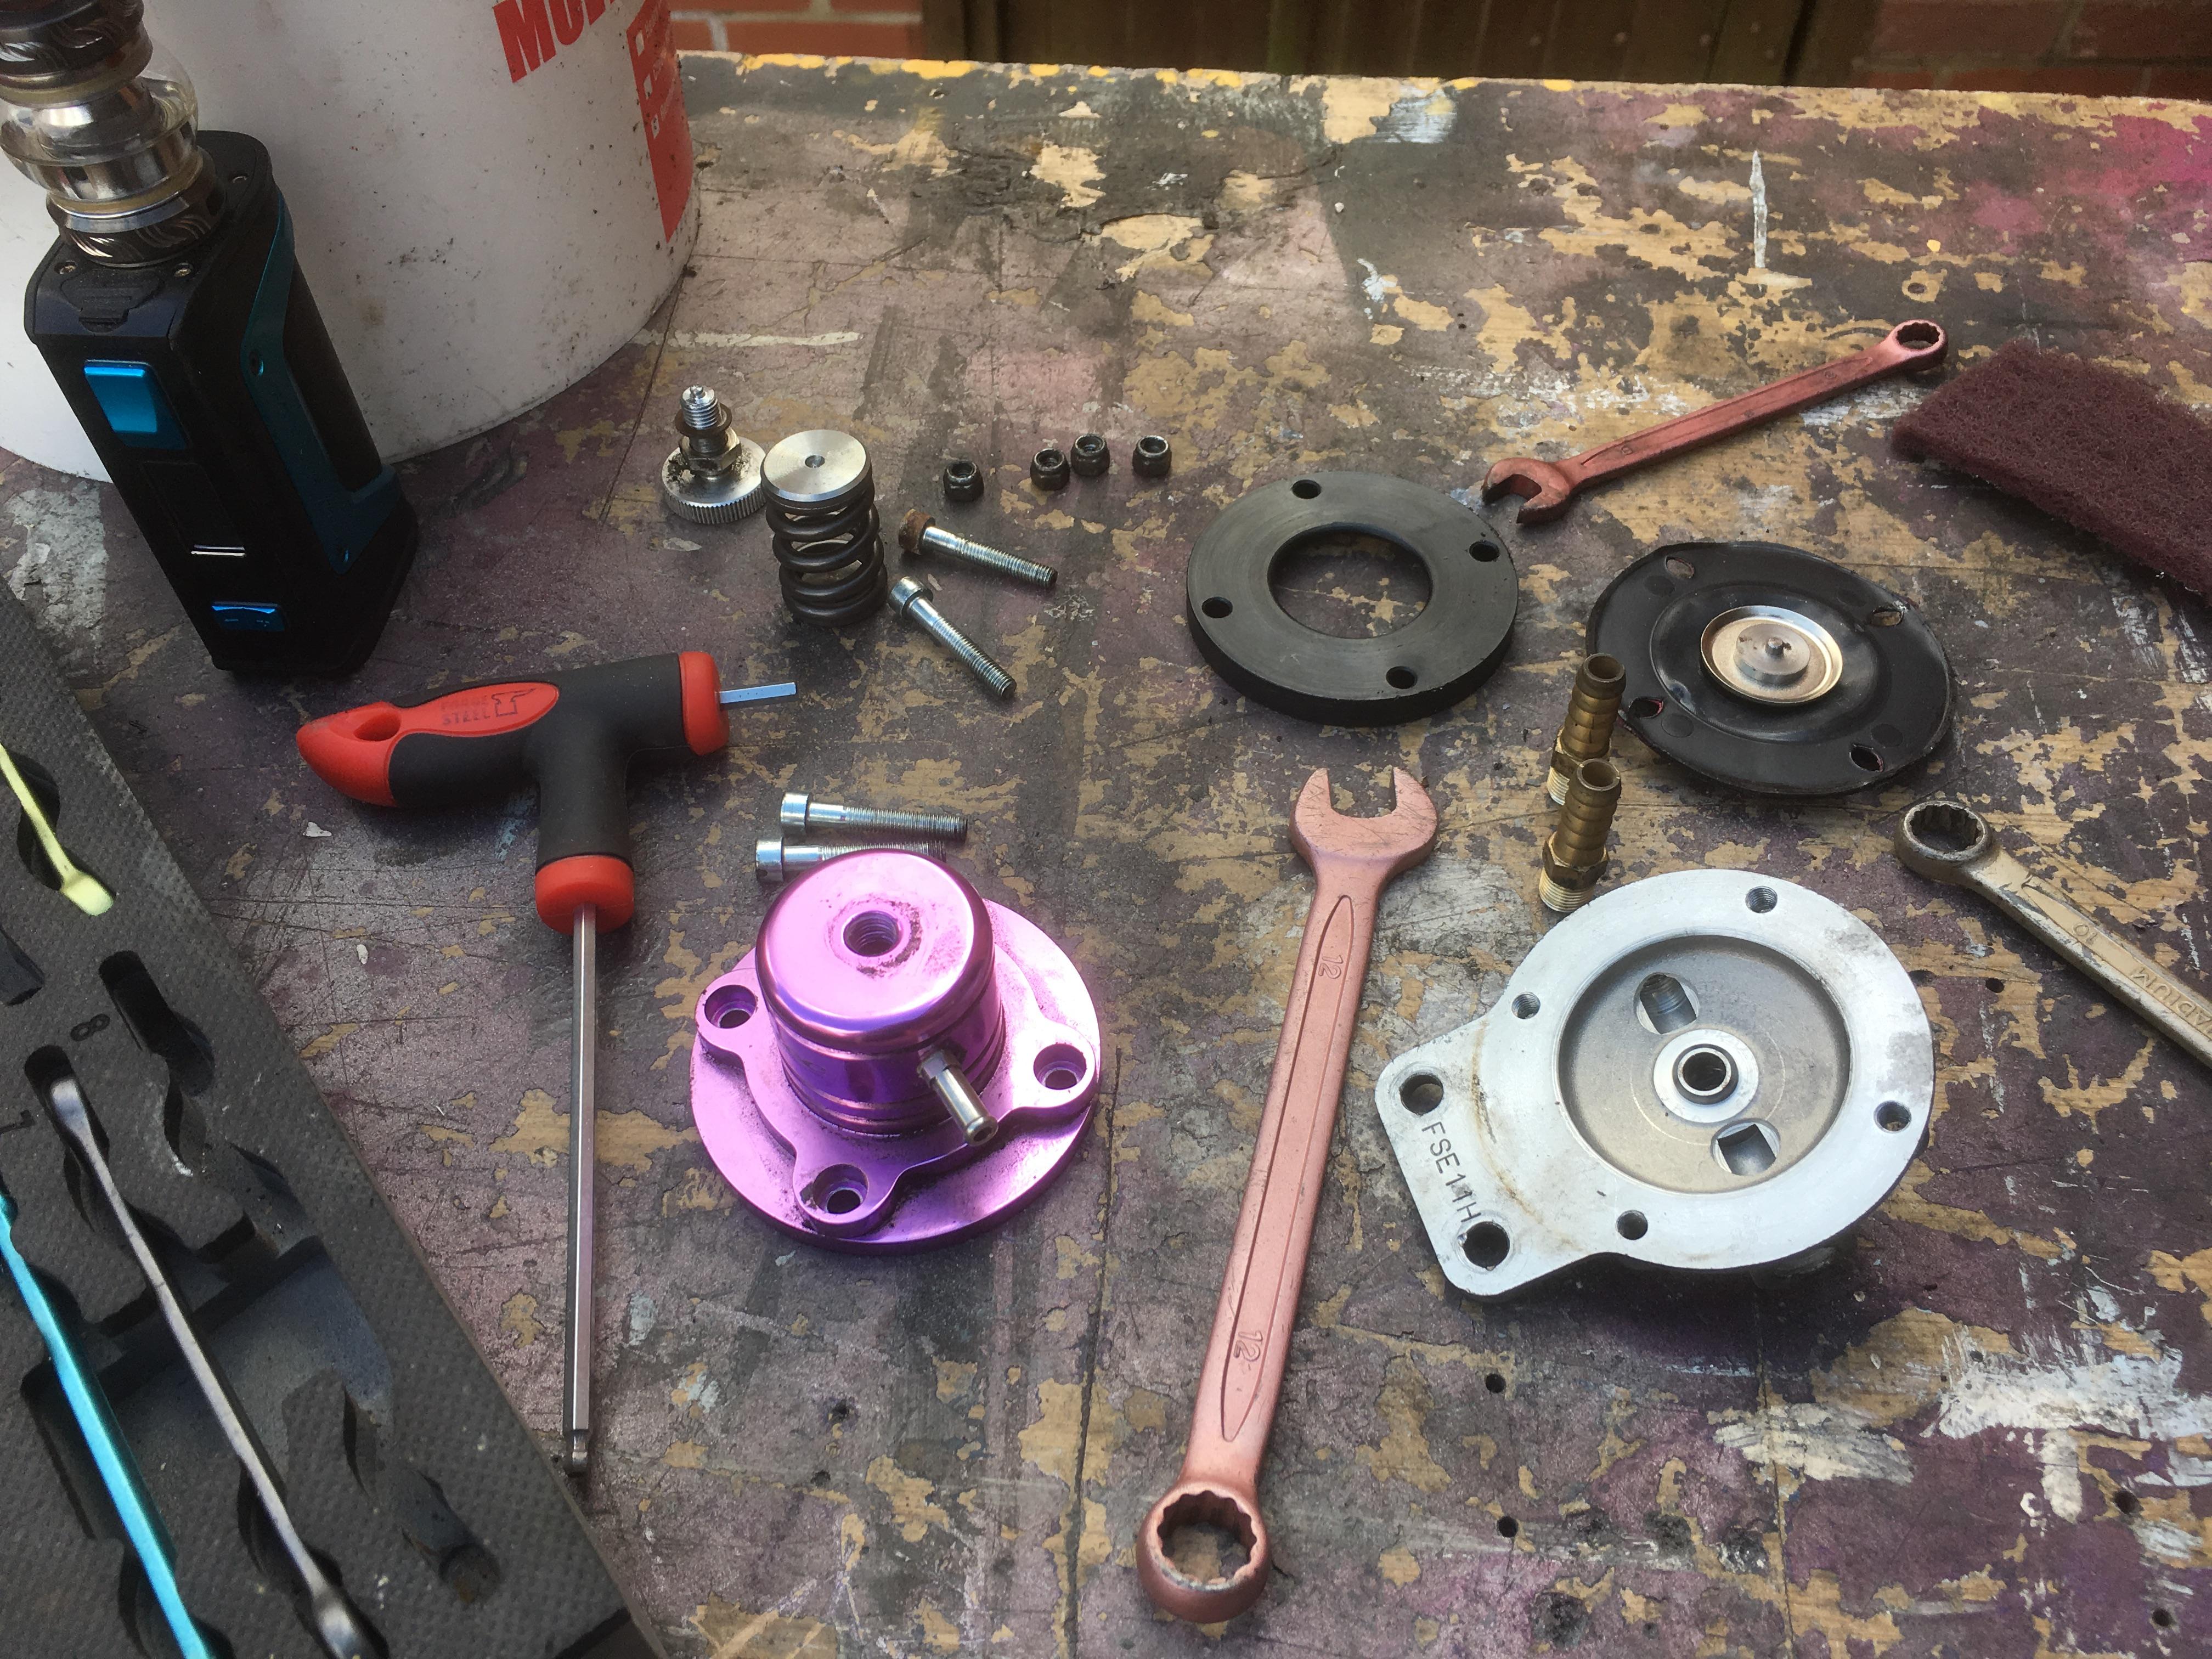
I replaced the fuel pressure regulator on the starlet with a Sard one as I suspected that was the cause of my fuelling issue but as it turns out it wasn’t so I rebuilt what I took off and that can go on the S body
-
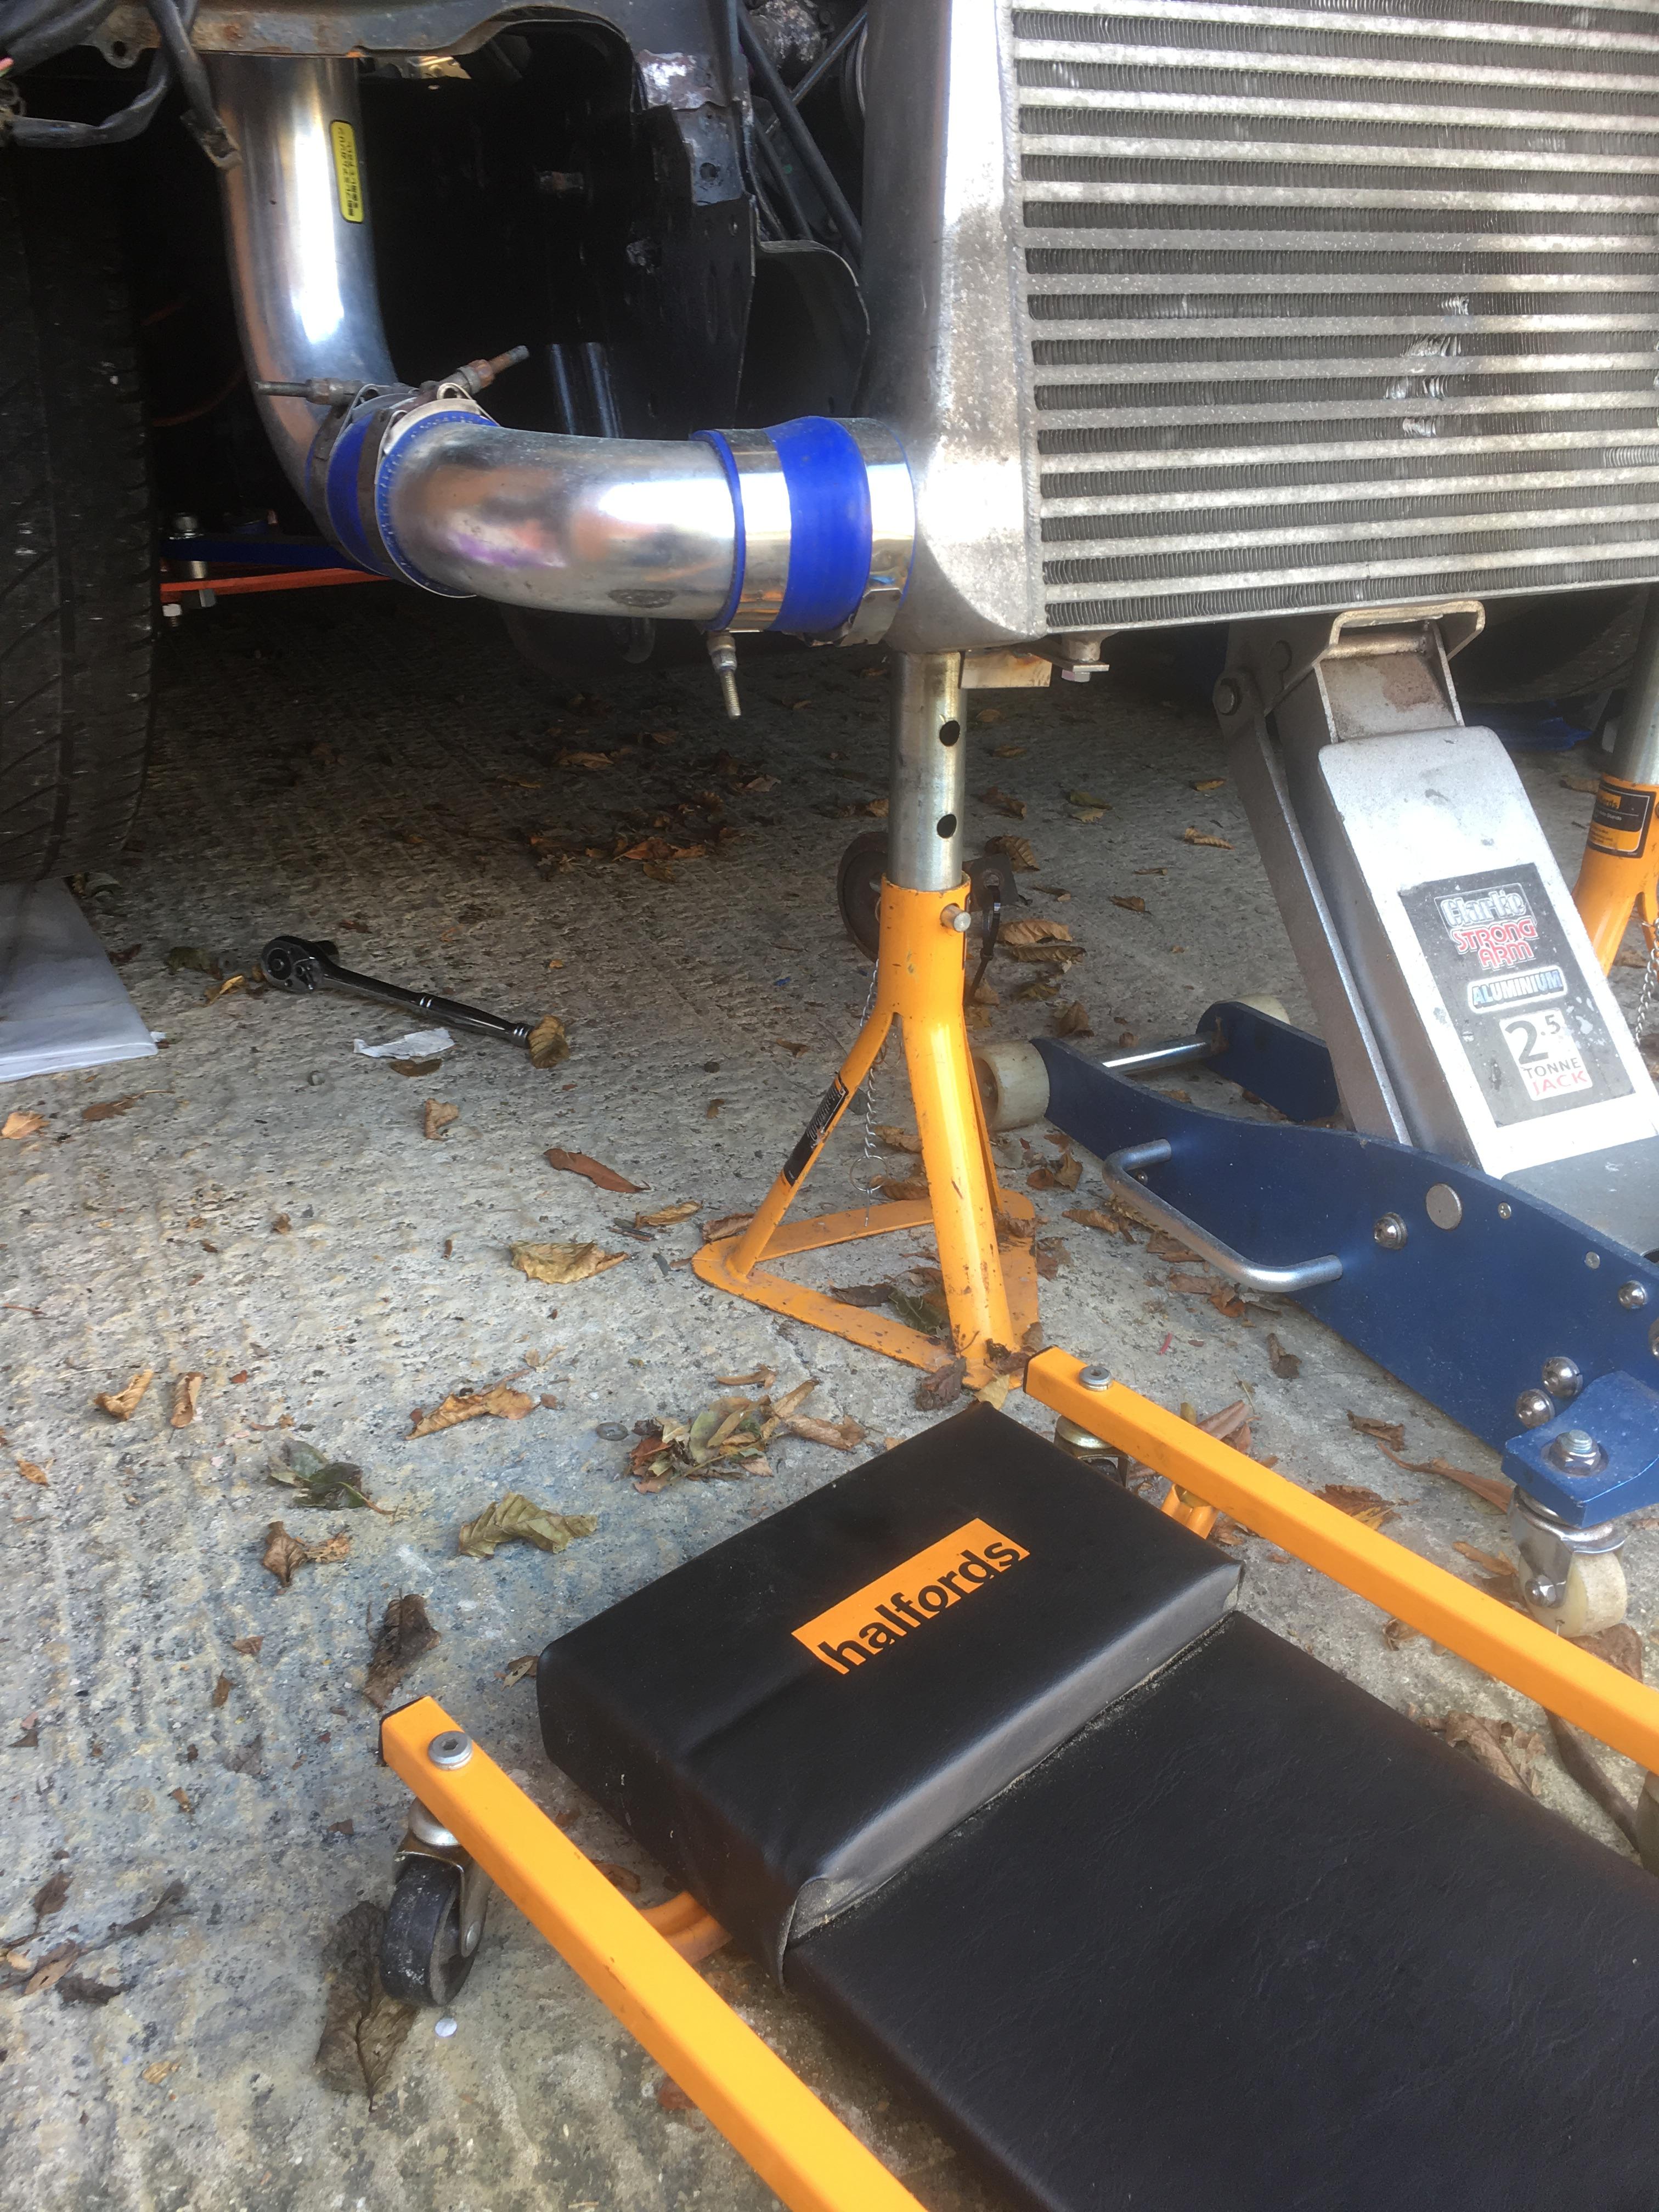
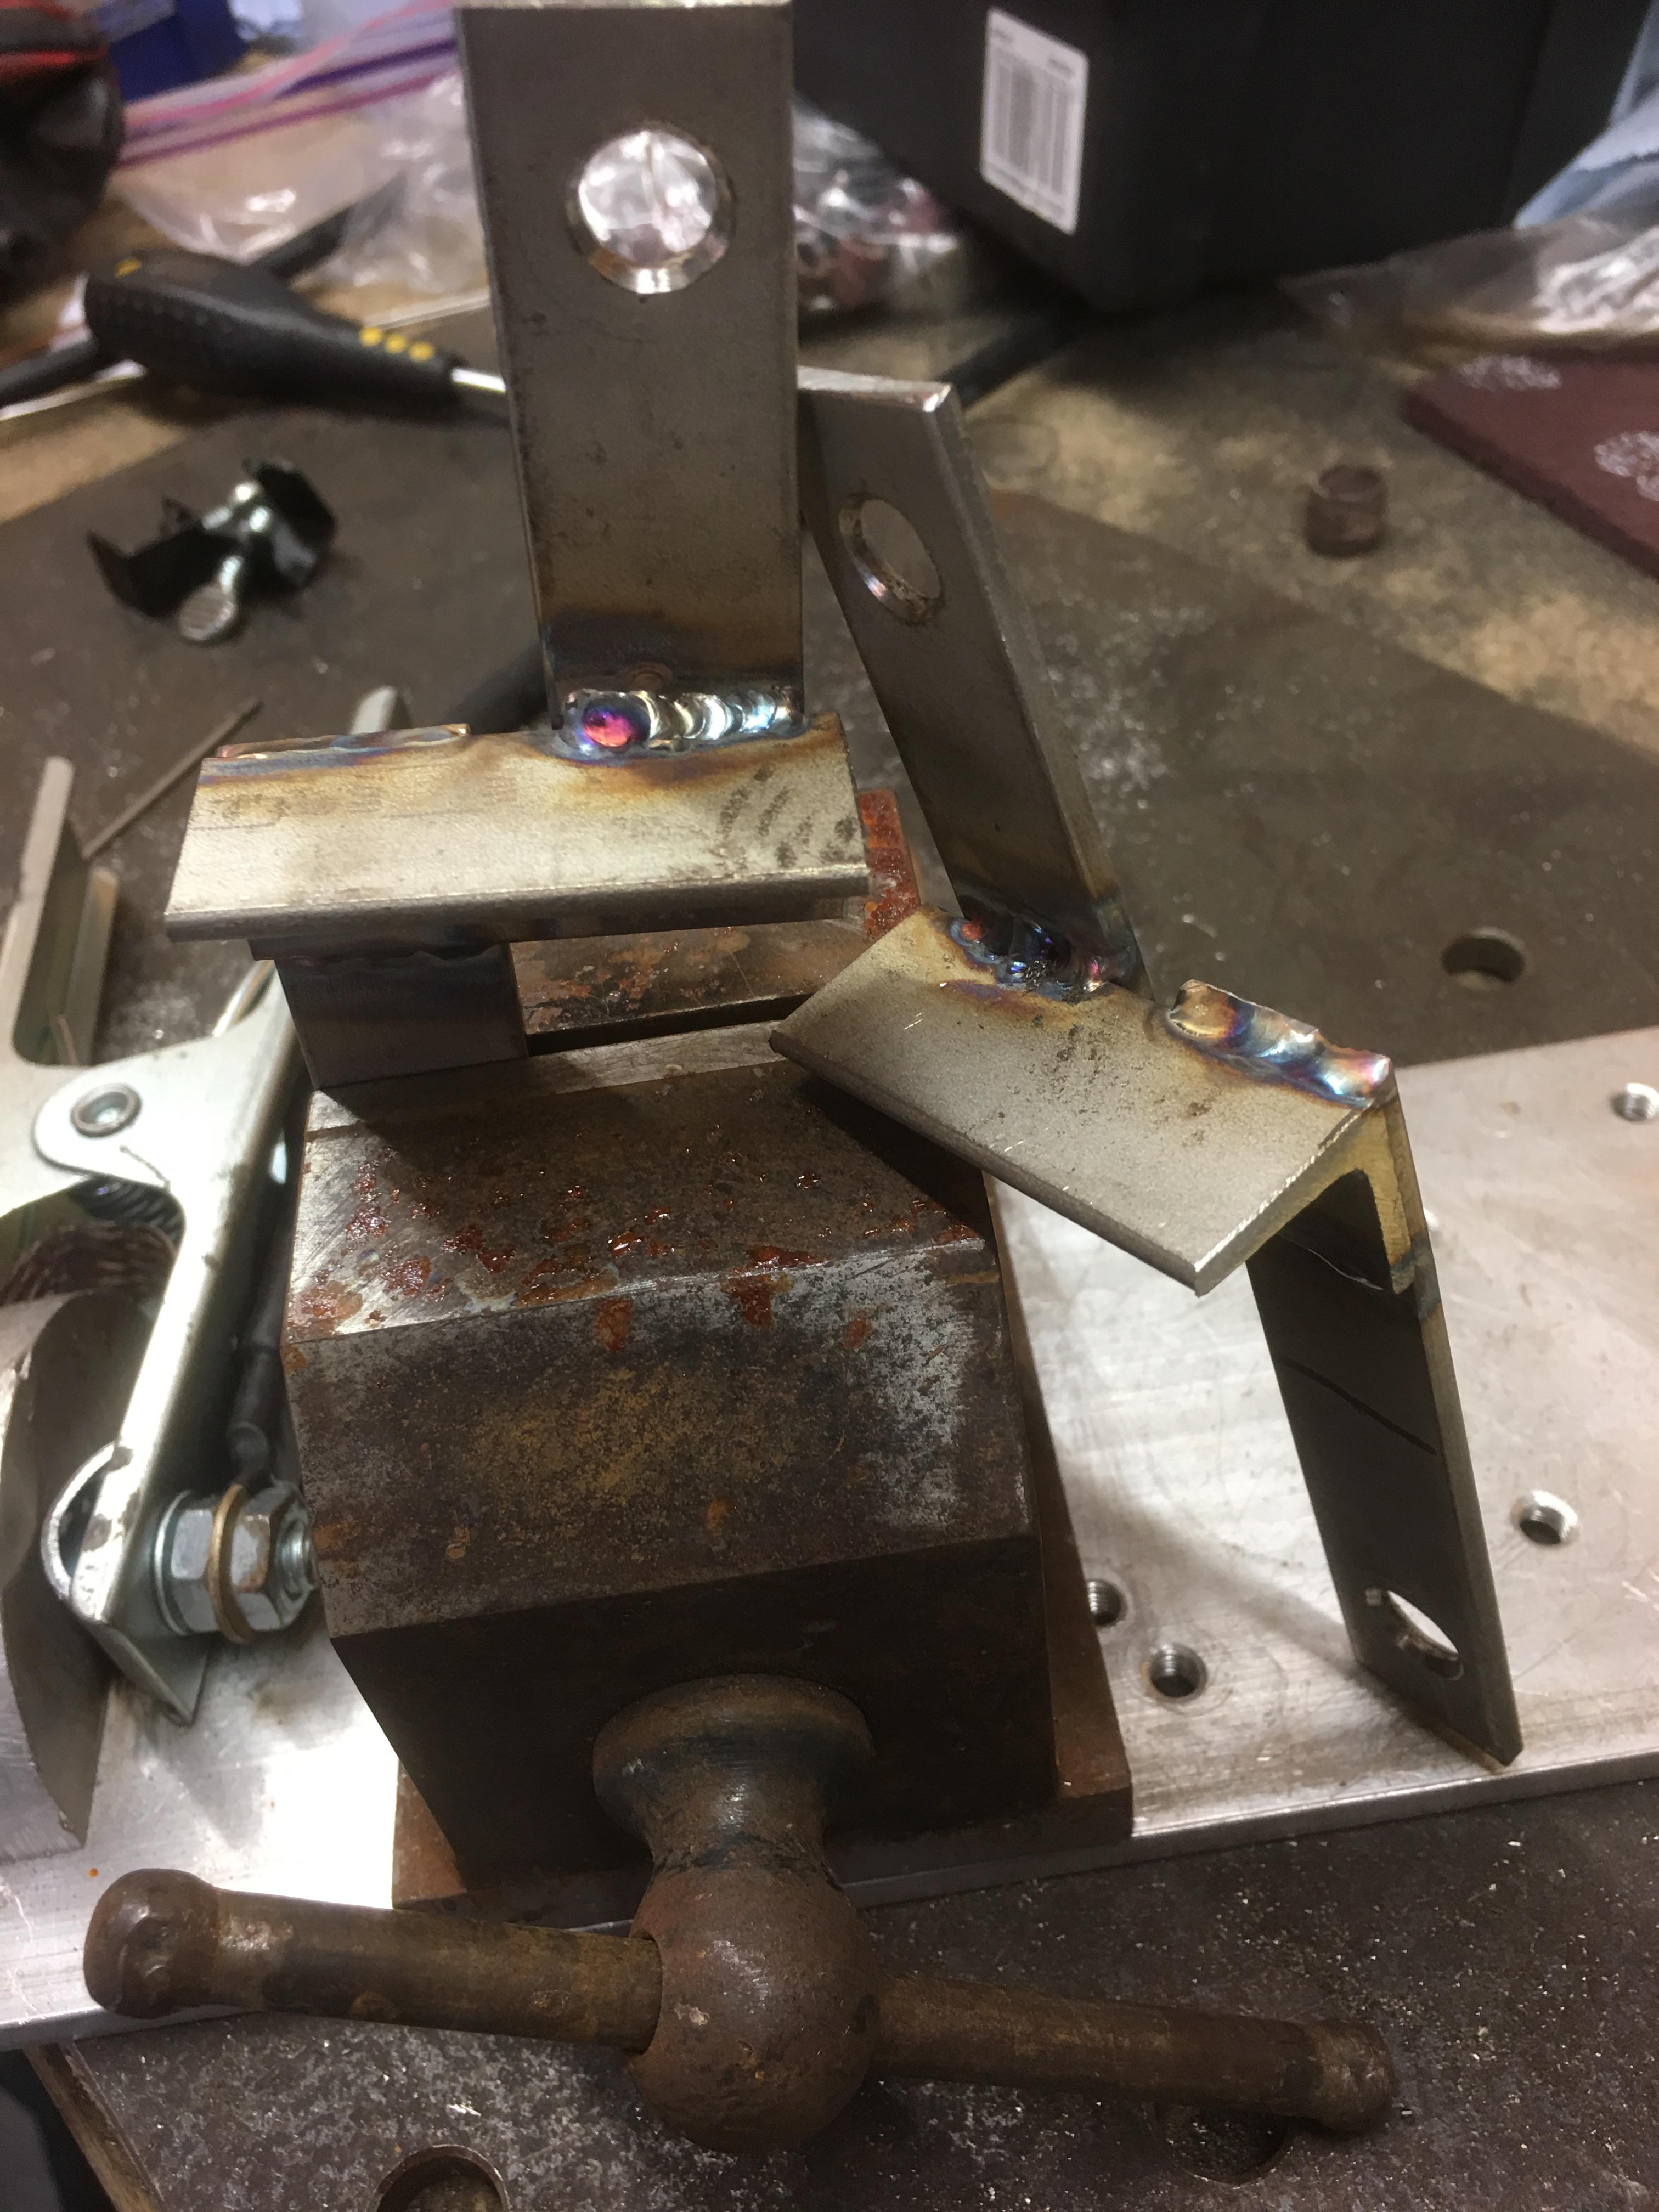
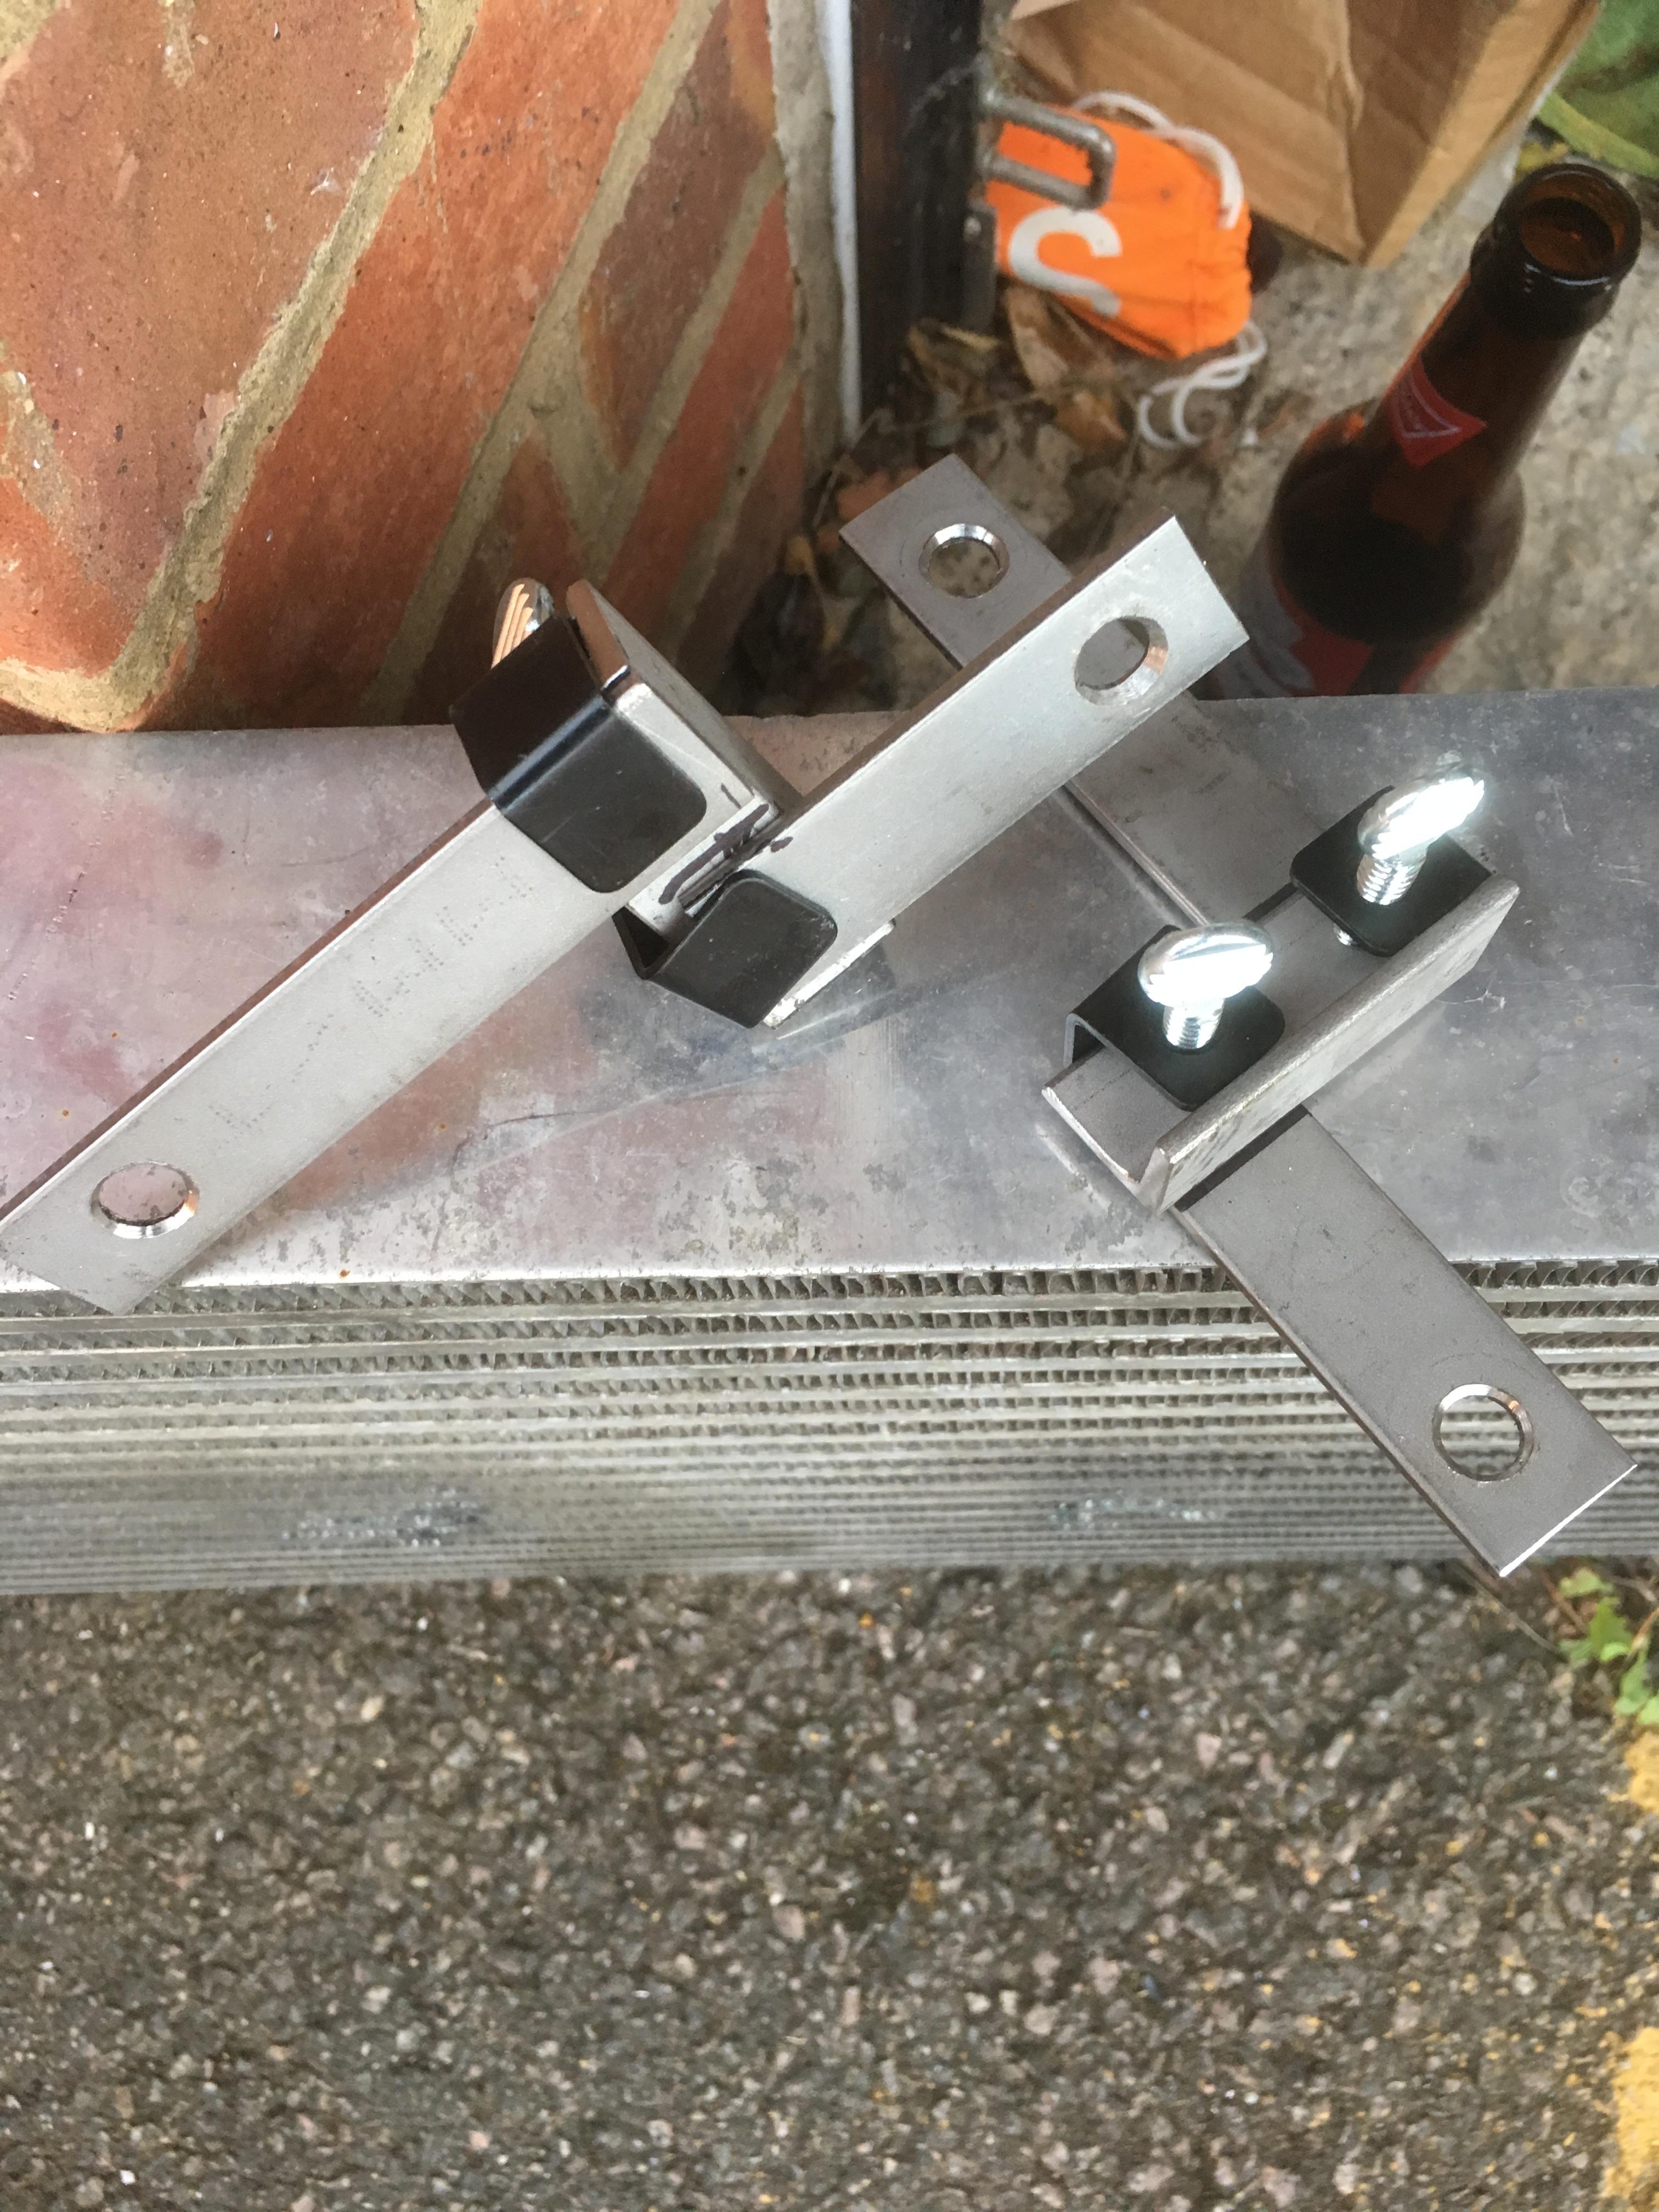
Few bits have happened since I last updated this. I’ve got the bottom intercooler brackets fabricated and I’ve got some stainless to finish the cold pipe off just need to cut it to size and weld it up


-
On 11/12/2019 at 10:24 PM, Bean said:
Nice updates. Ive not heard of those pumps before but sounds a good alternative to the usual walbro unit.
They’re great. Mate of mine was running one in his s15, found some metal in the tank, wasn’t sure if it was the pump and it was unlikely to be as it wasn’t in the filter sock but they sent a new one out on 24 hour delivery with no hassle
-
Next jobs are fitting the sheet metal back inside and finishing up the wiring and the interior can go back
-
Busy day on it today got the Quantum Fuel Systems 340lph fuel pump fitted. I had fitted a Walbro before but I swapped the Walbro in the starlet for one of these. Found the rubber mount on the Walbro had completely melted away. Can’t recommend Quantum pumps enough. The universal one in the starlet is absolutely silent, and you get a lifetime warranty for the same price as a Walbro and the quality is far better. I’ll grab a photo at some point but what came out is an absolute state.
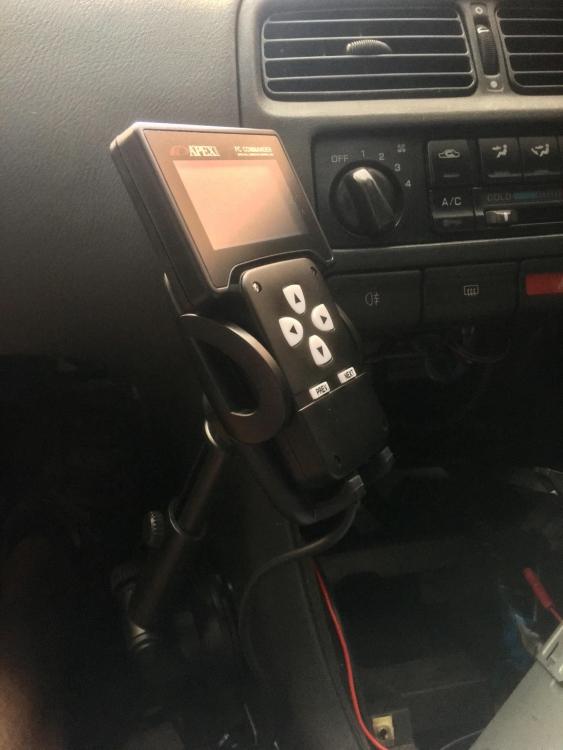
Got the Apex’i hand commander located as well. Just used a mobile phone holder and a sticky sat nav pad and it suits the interior nicely.
-
Cheers, not bad for an electrician 🤣
-
Intake pipework made, silicone joiners are needed are that’s one thing completely finished

-
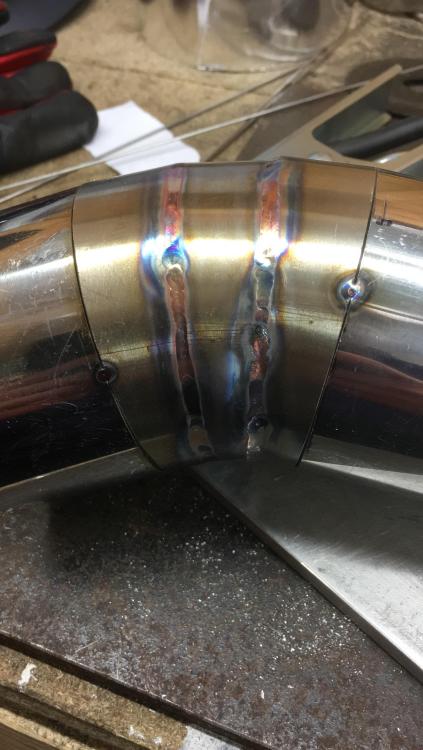
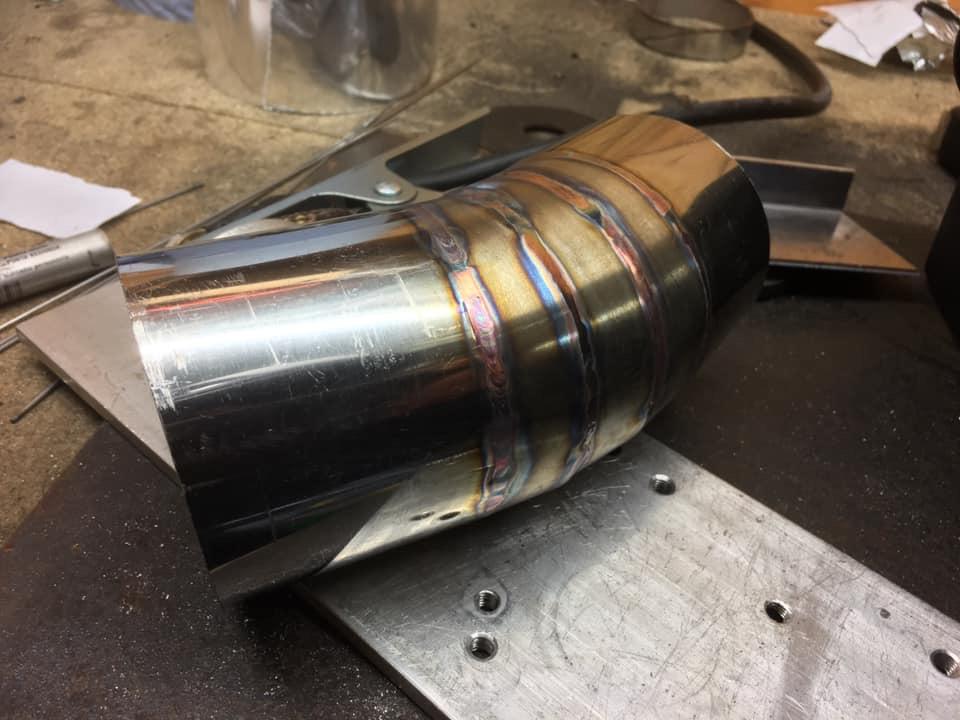
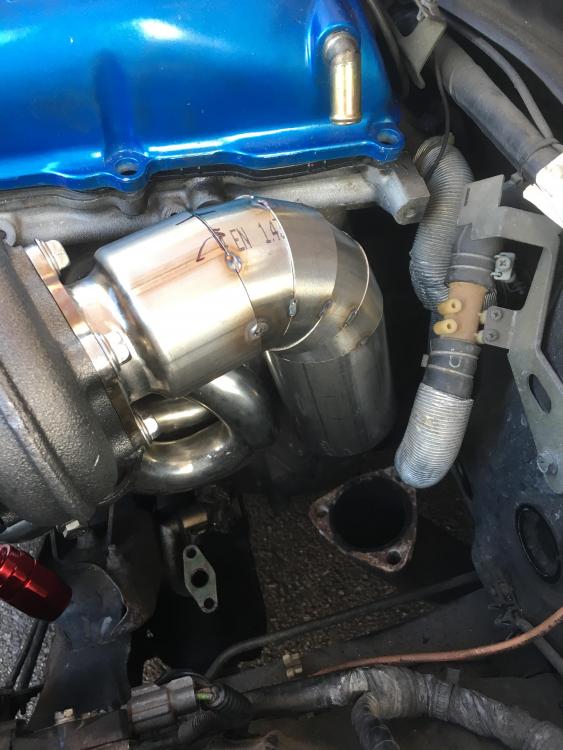
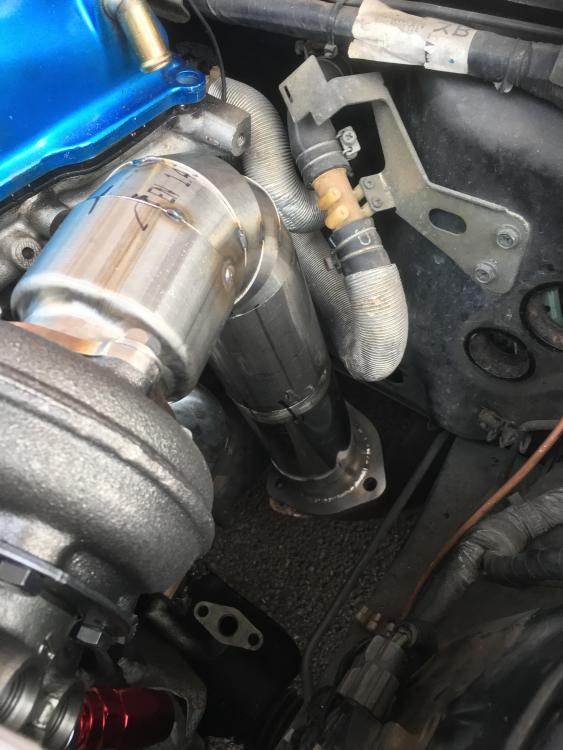
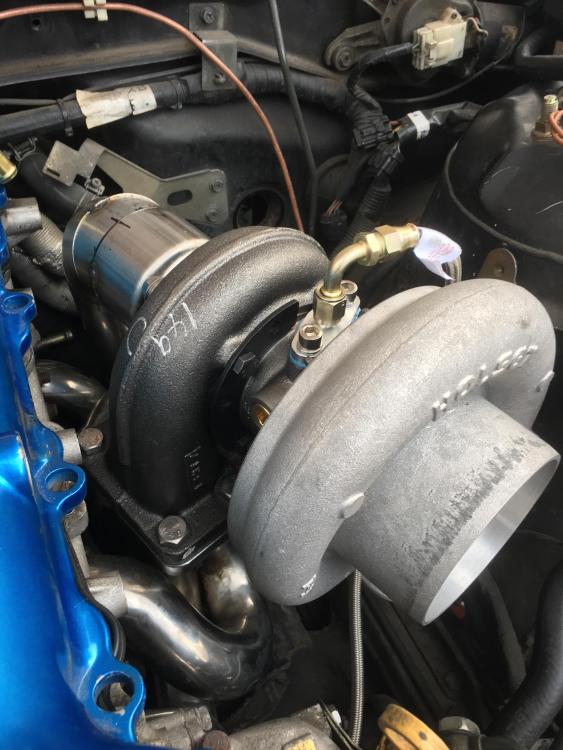
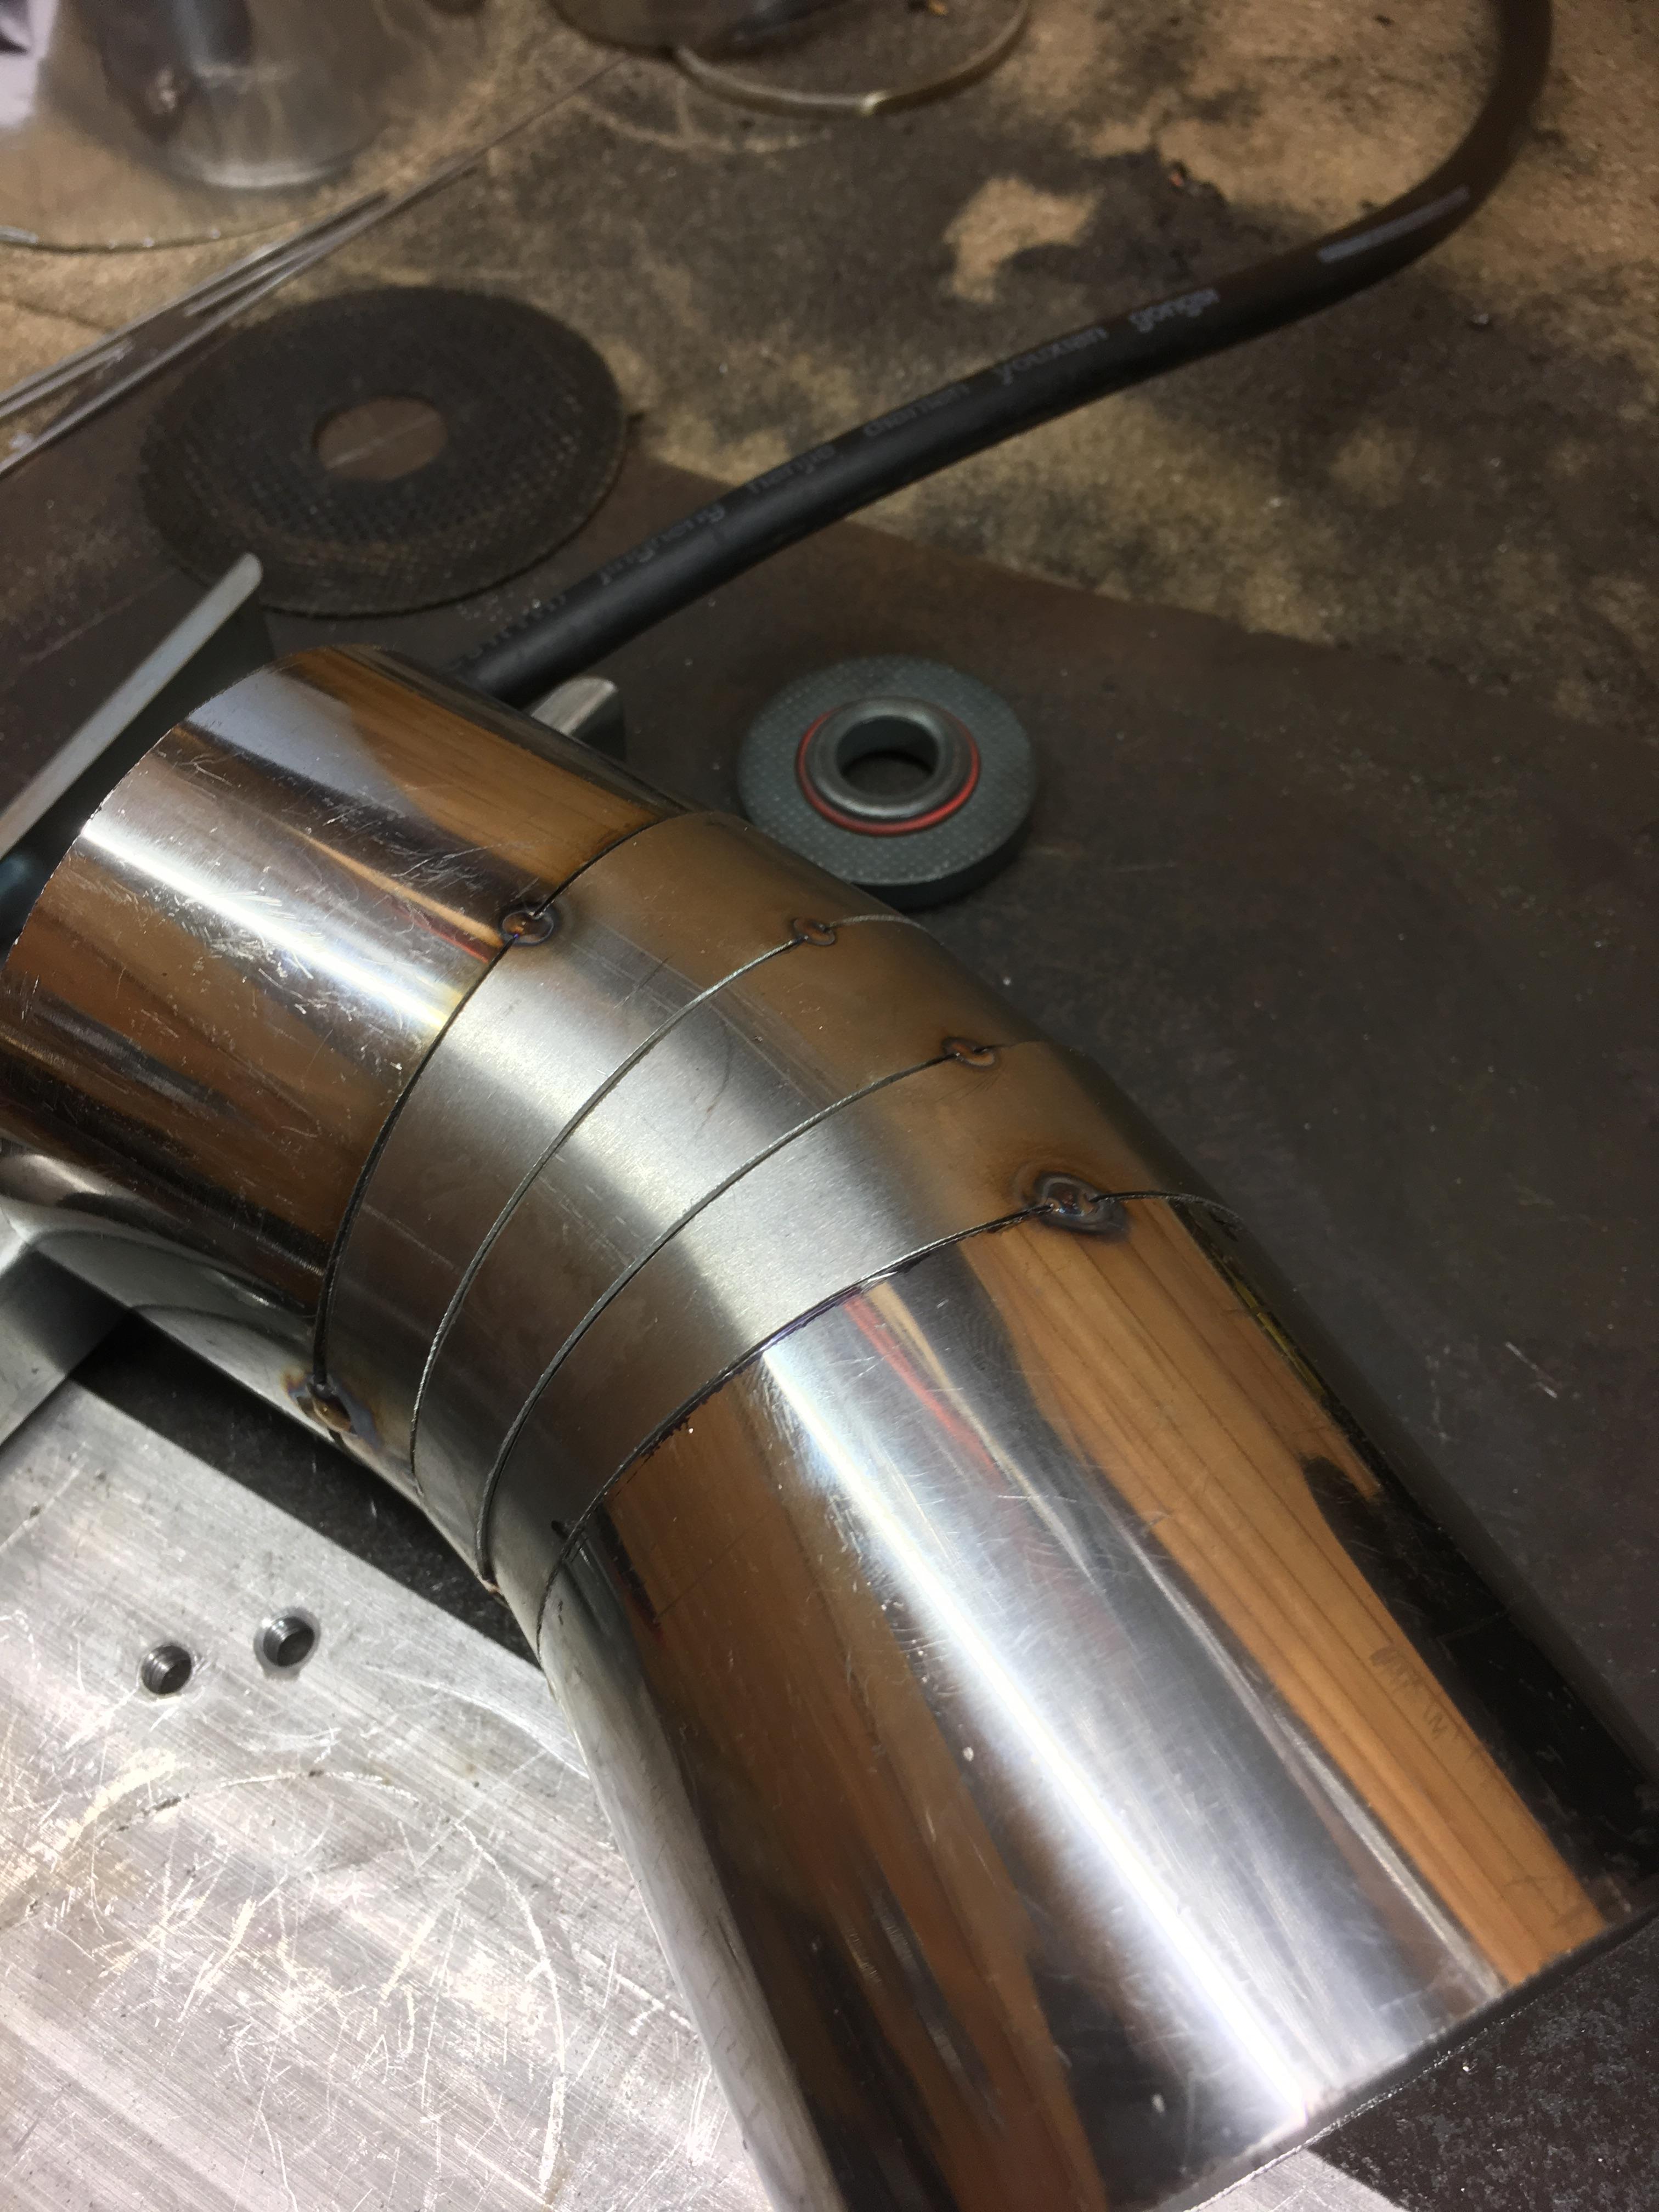
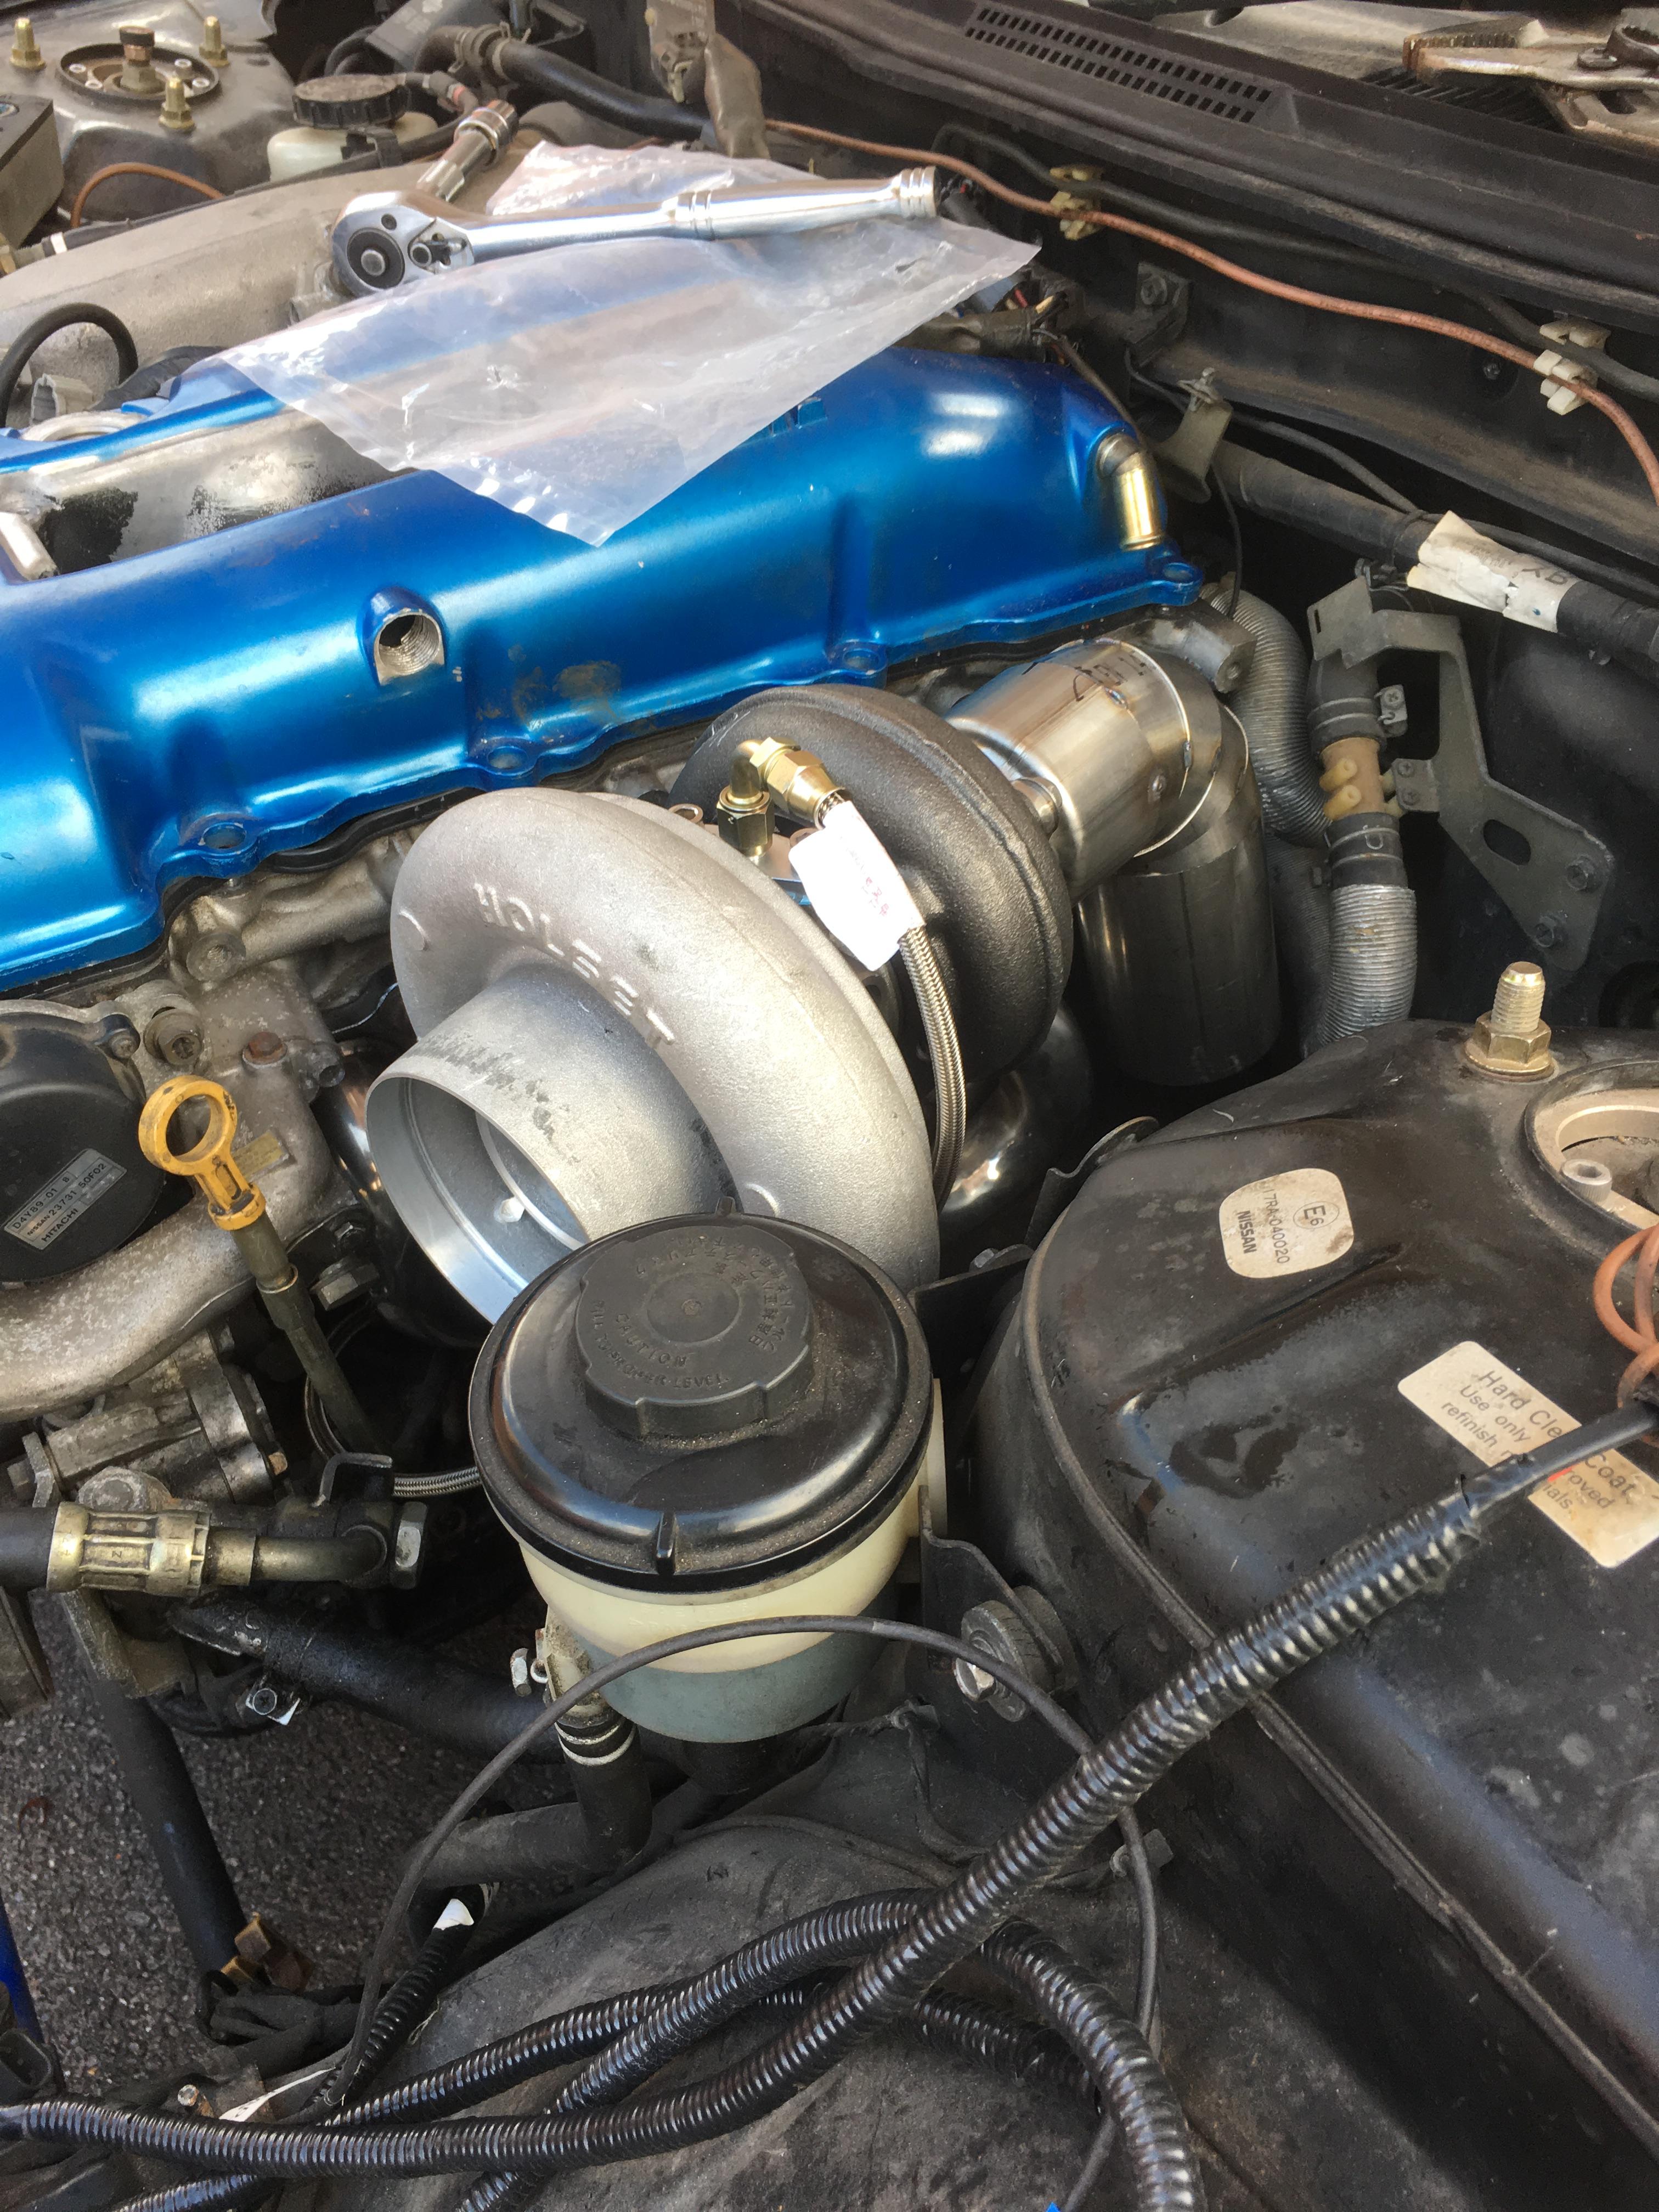
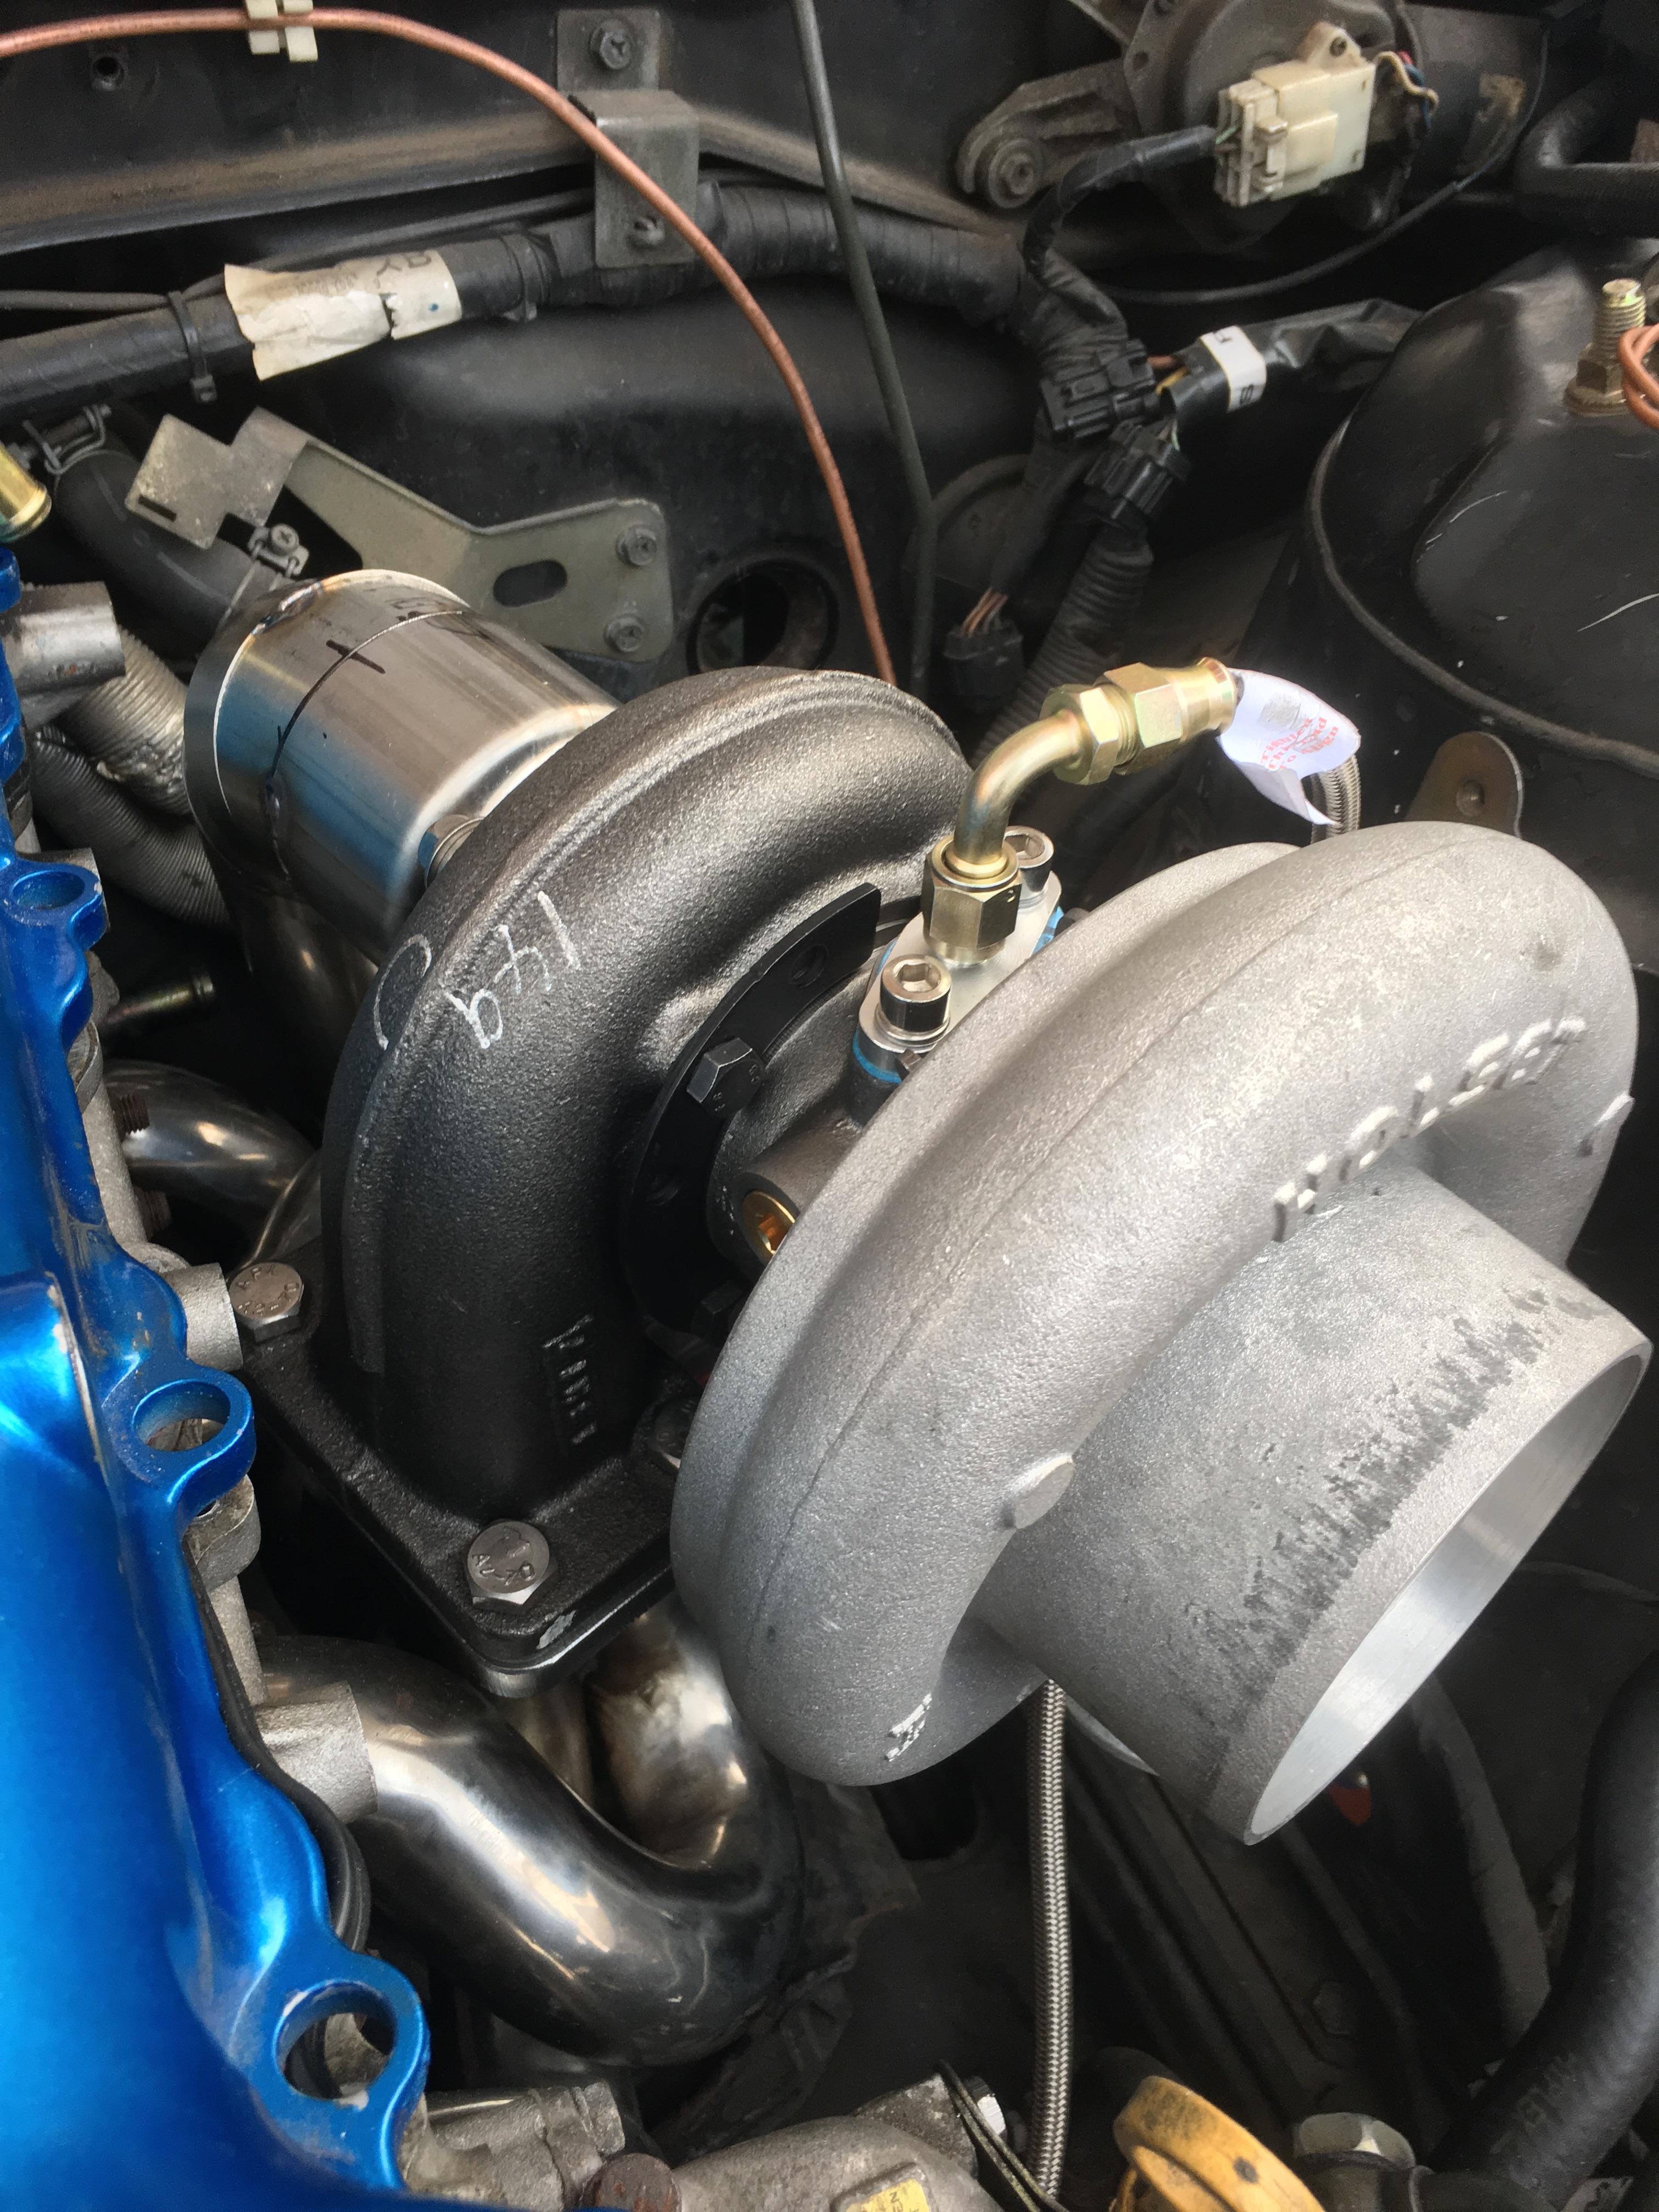
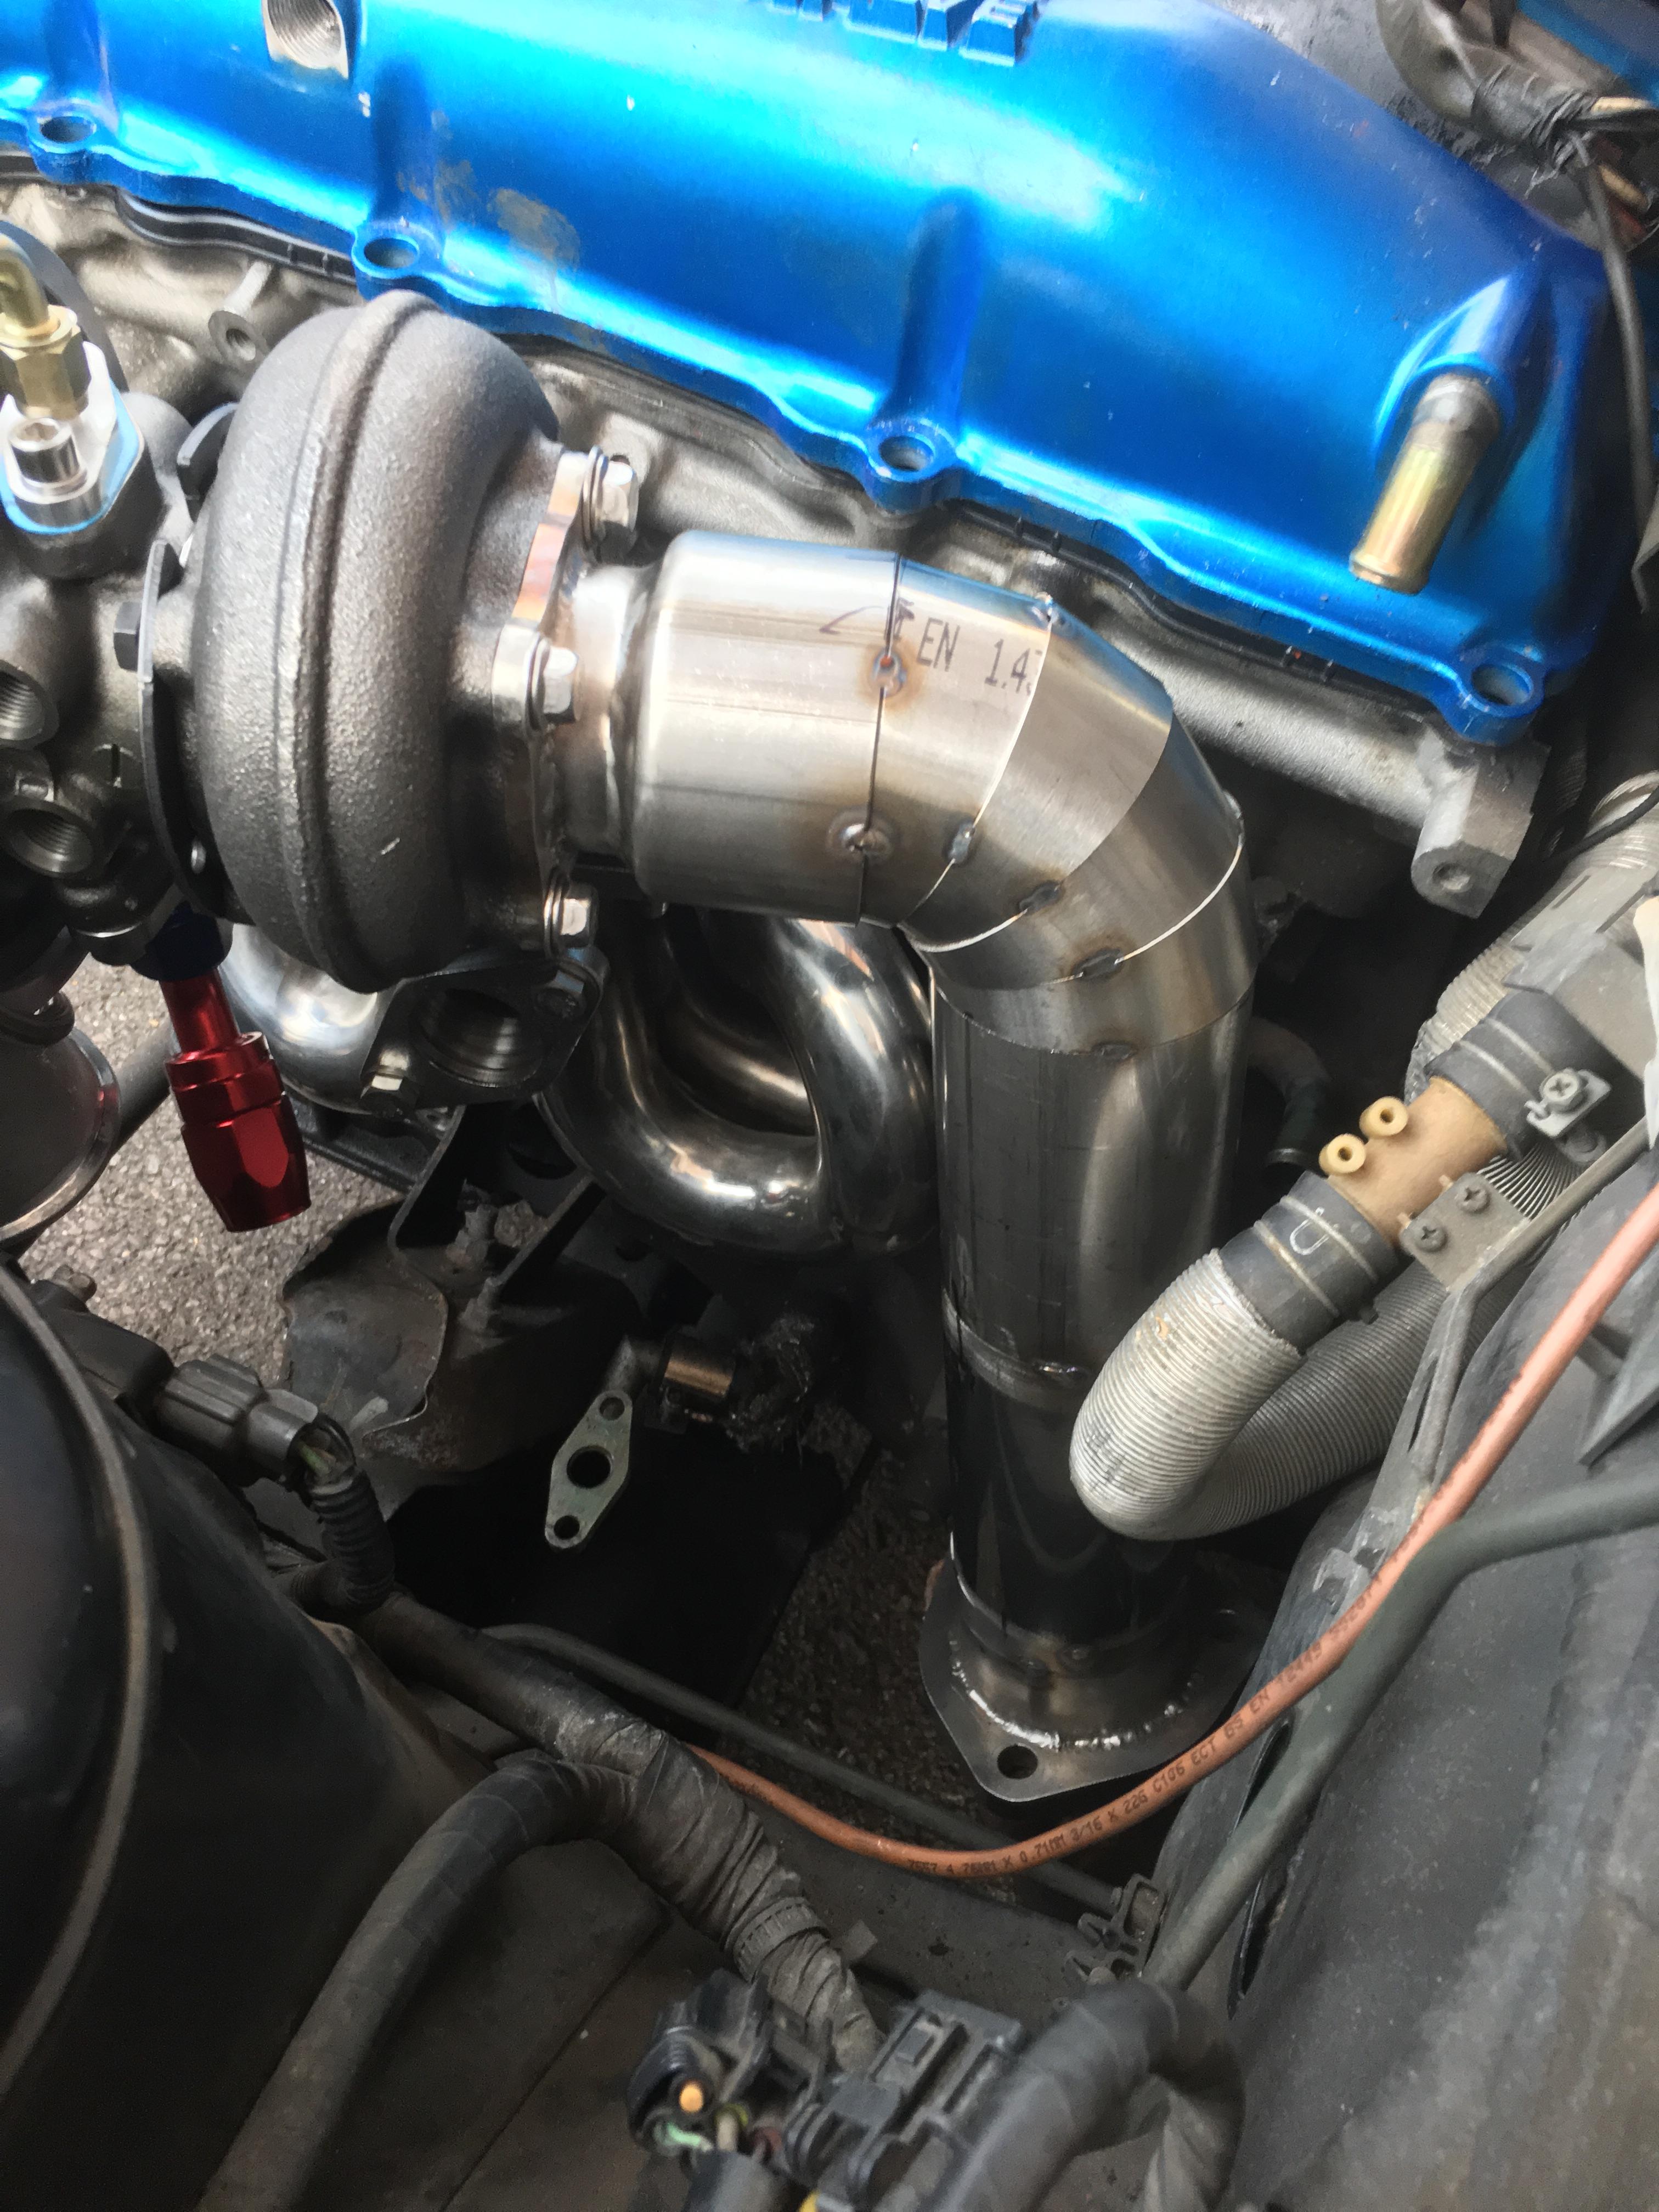
Holset Super HX35 fitted and I have the downpipe tacked together, just need to get back on the welder to fully weld it up.


-
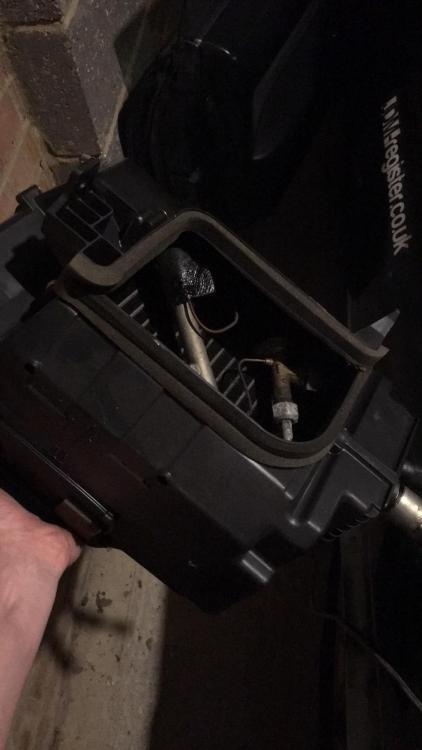
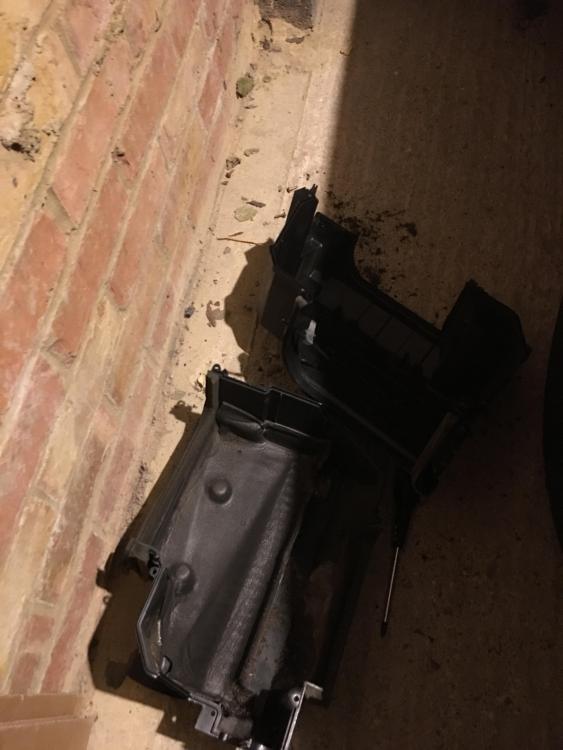
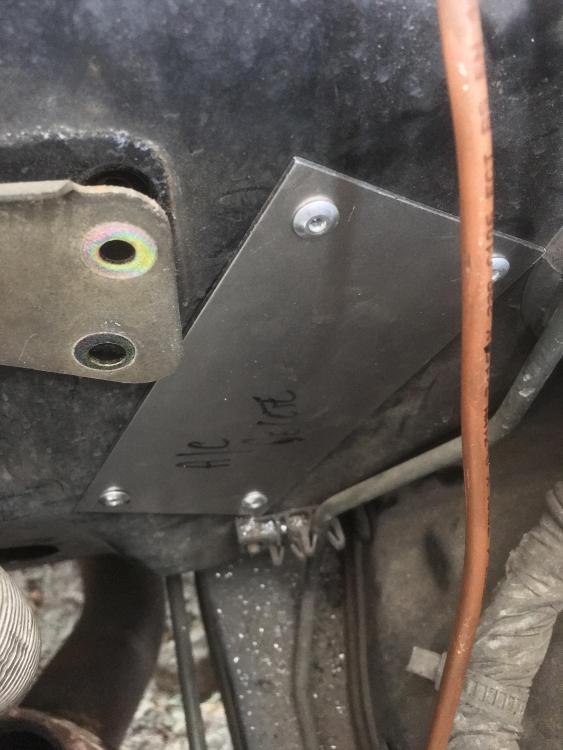
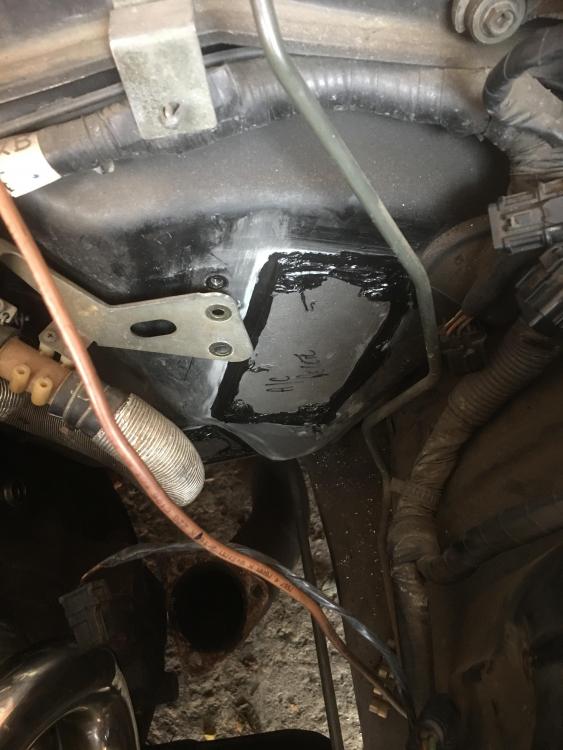
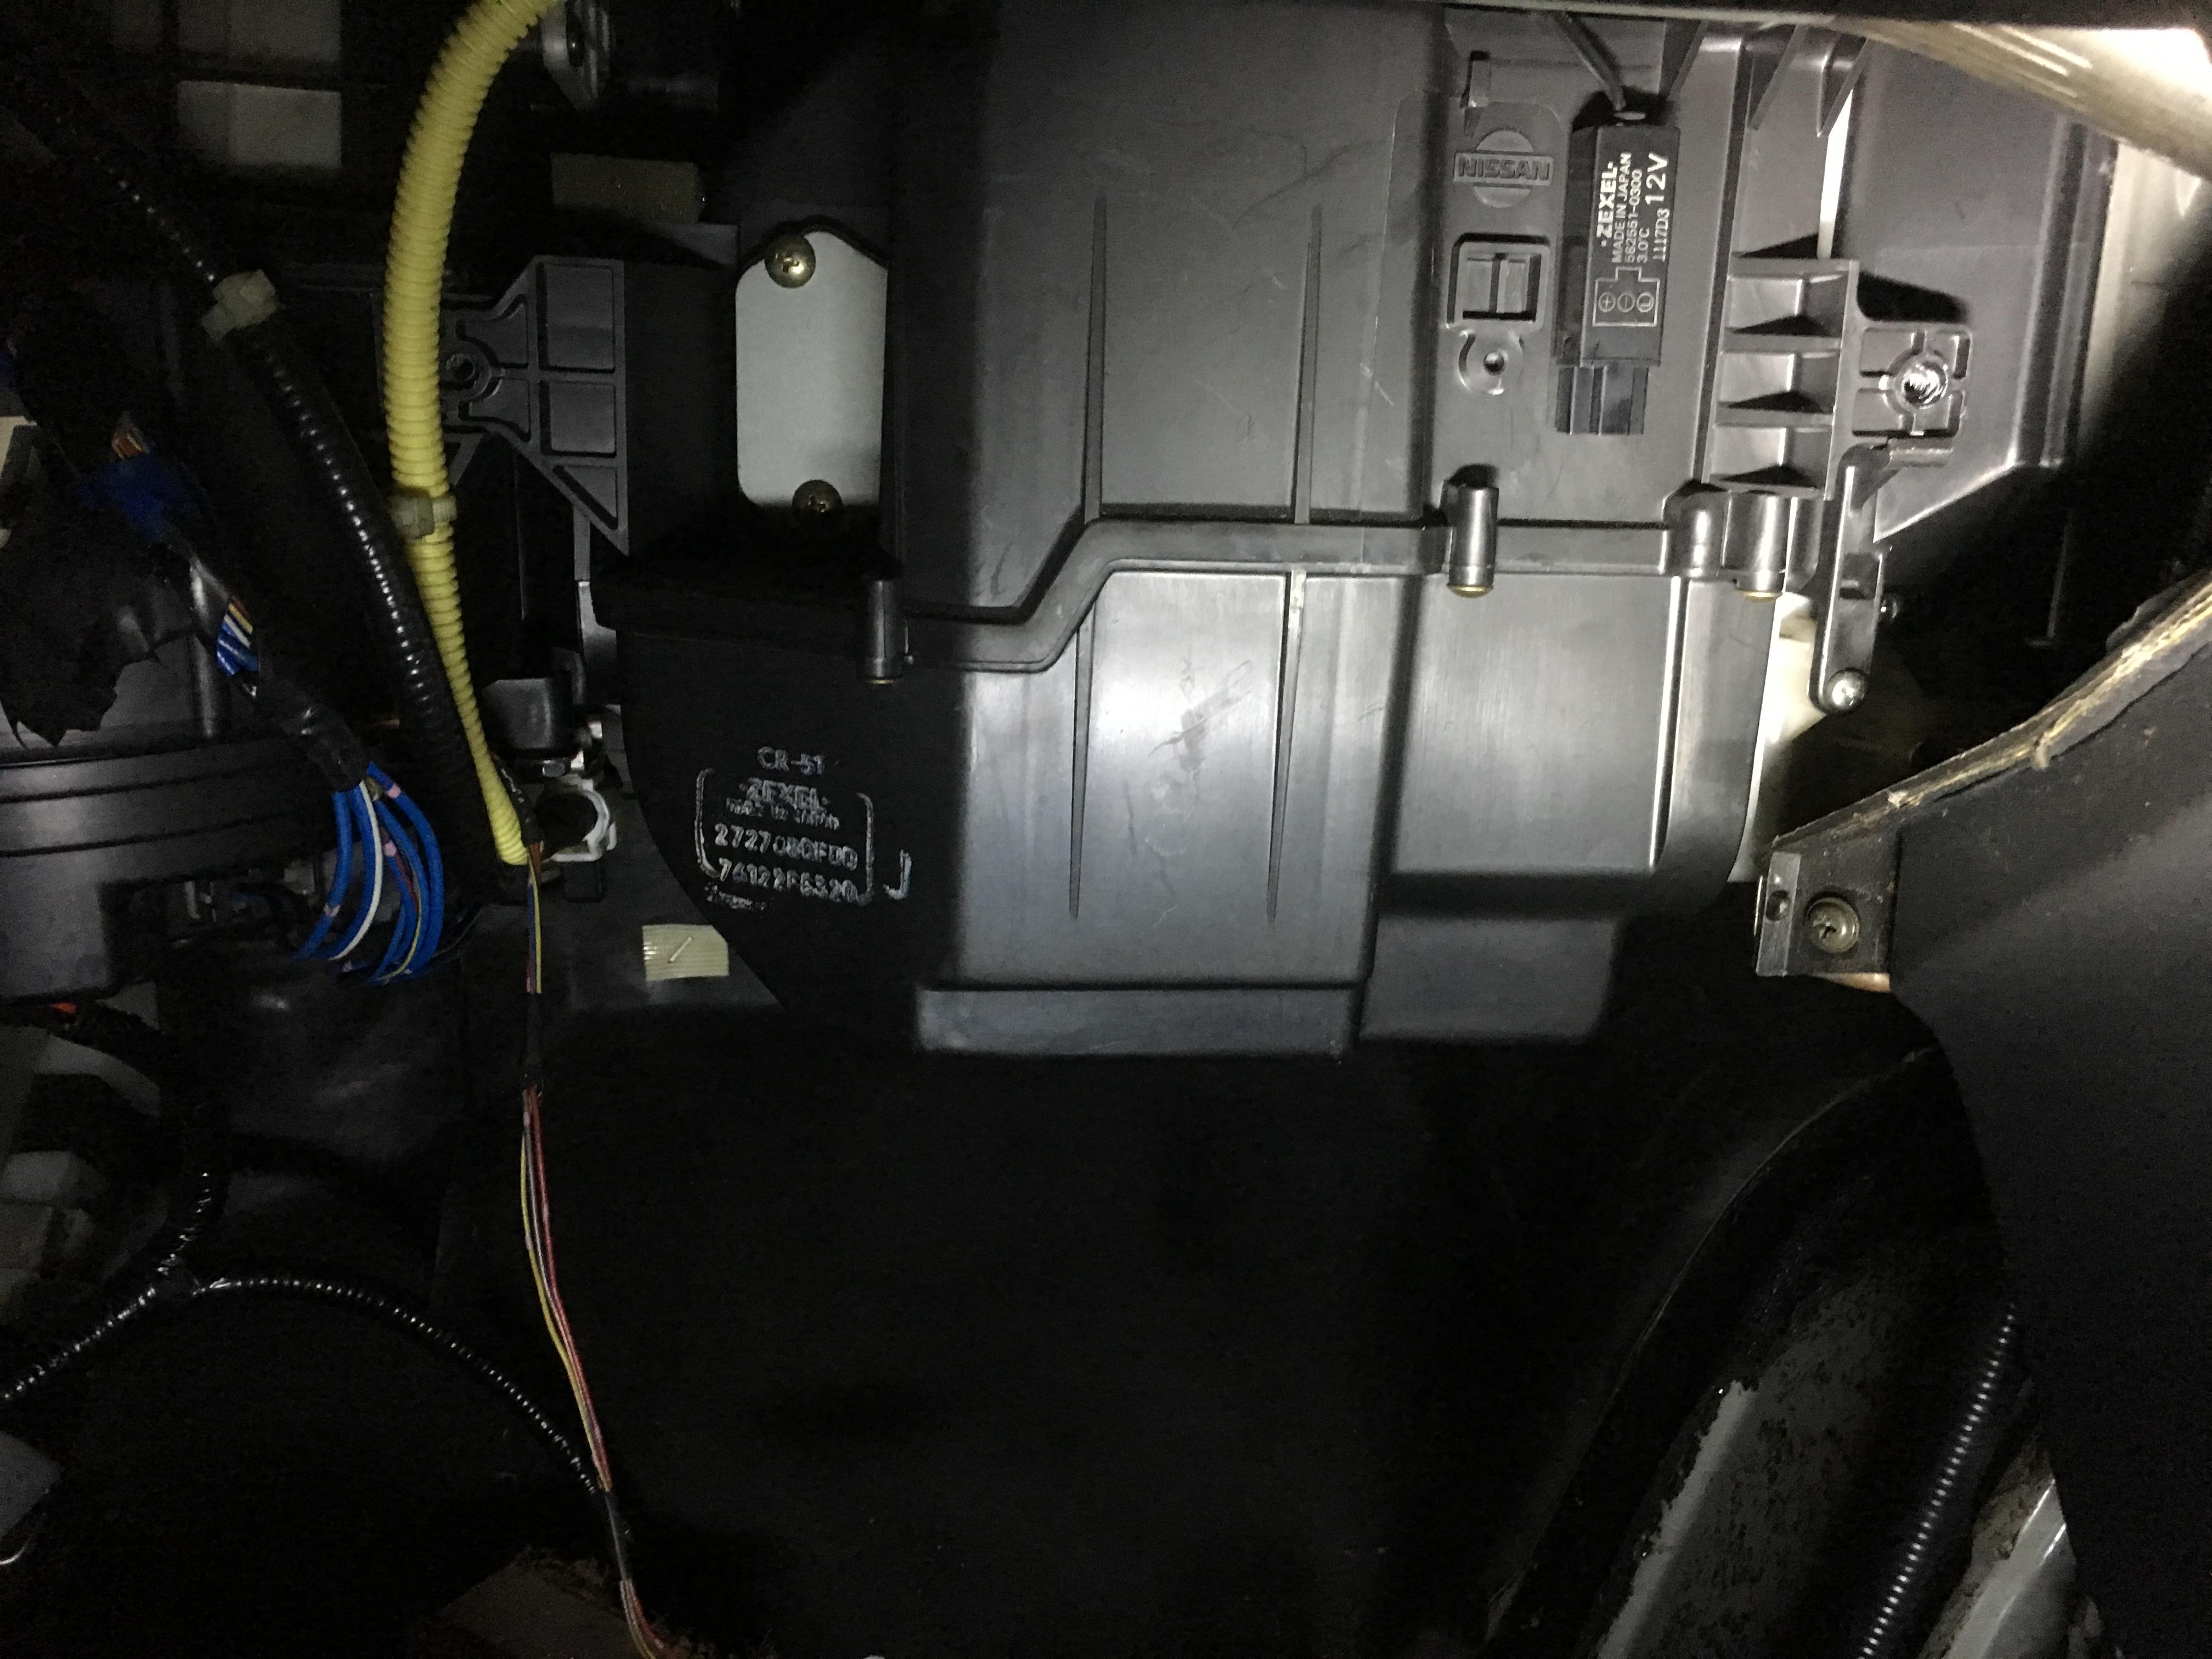
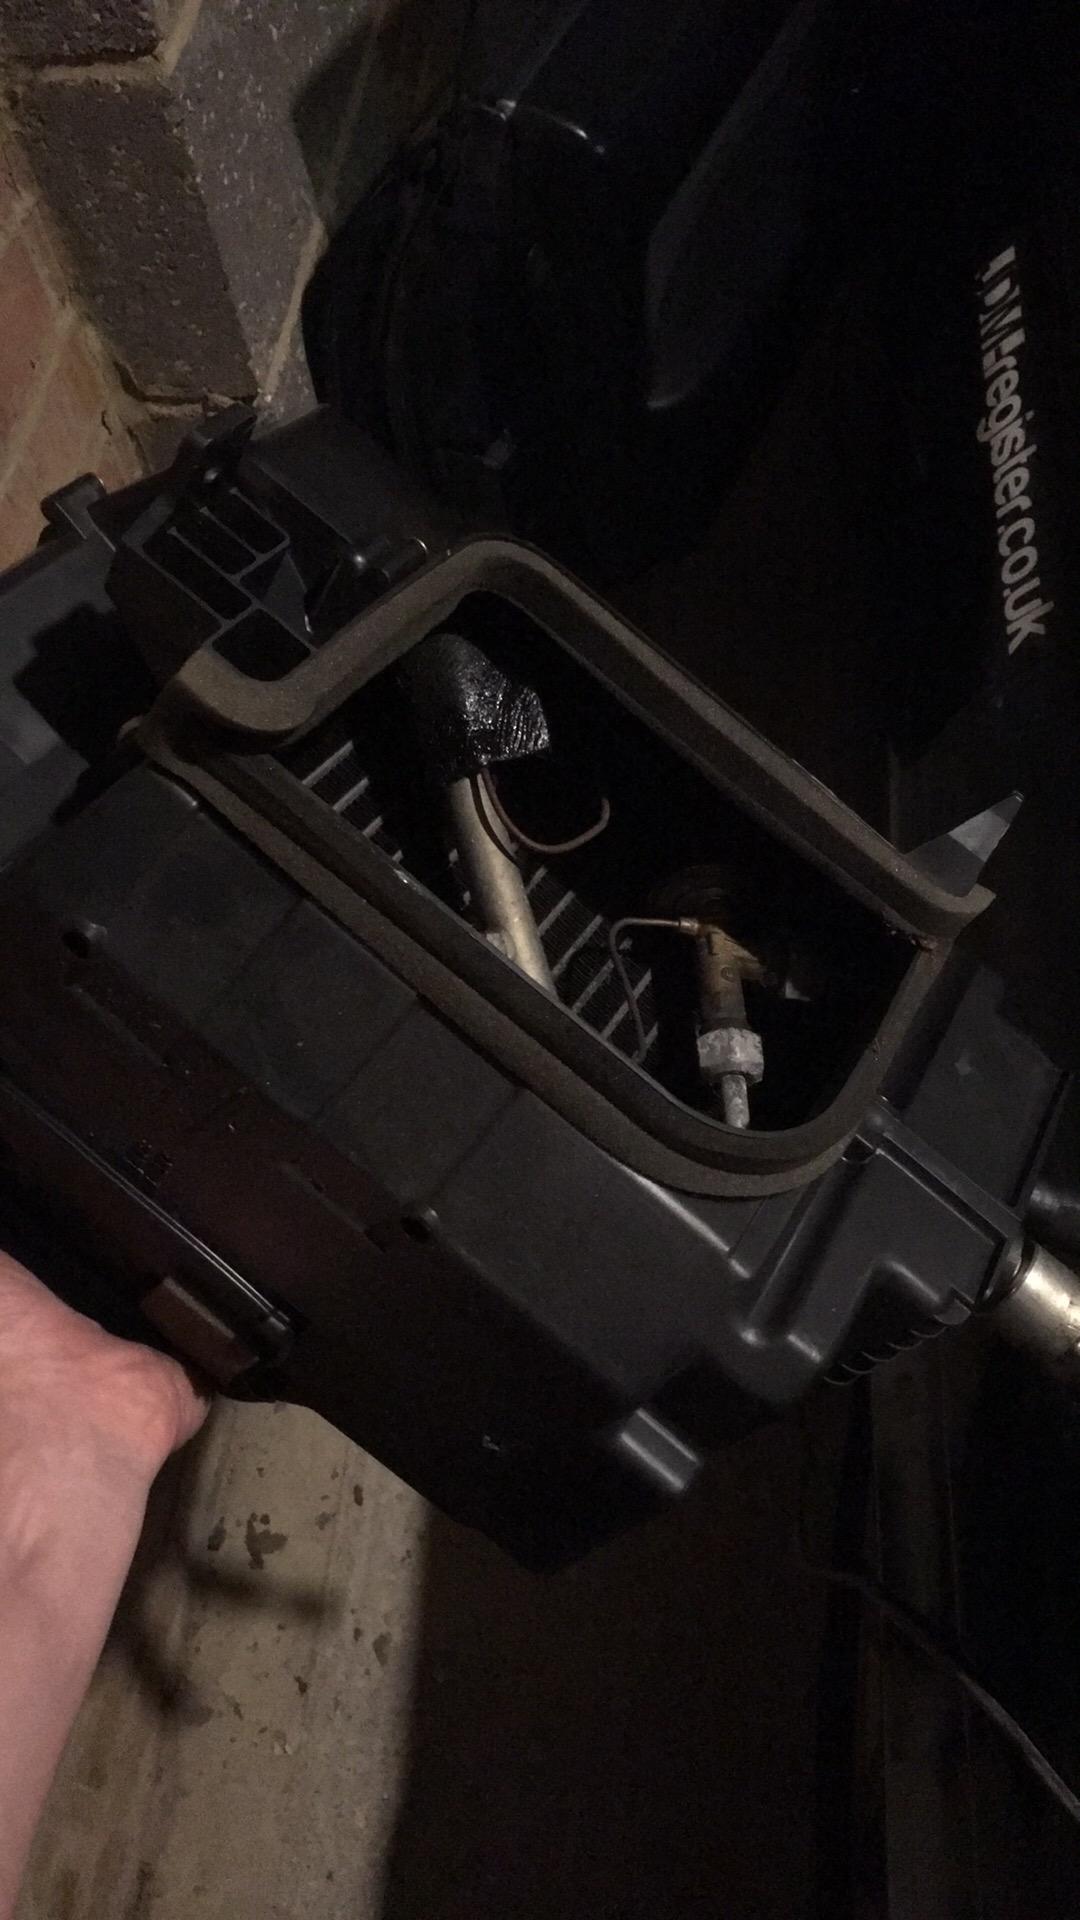
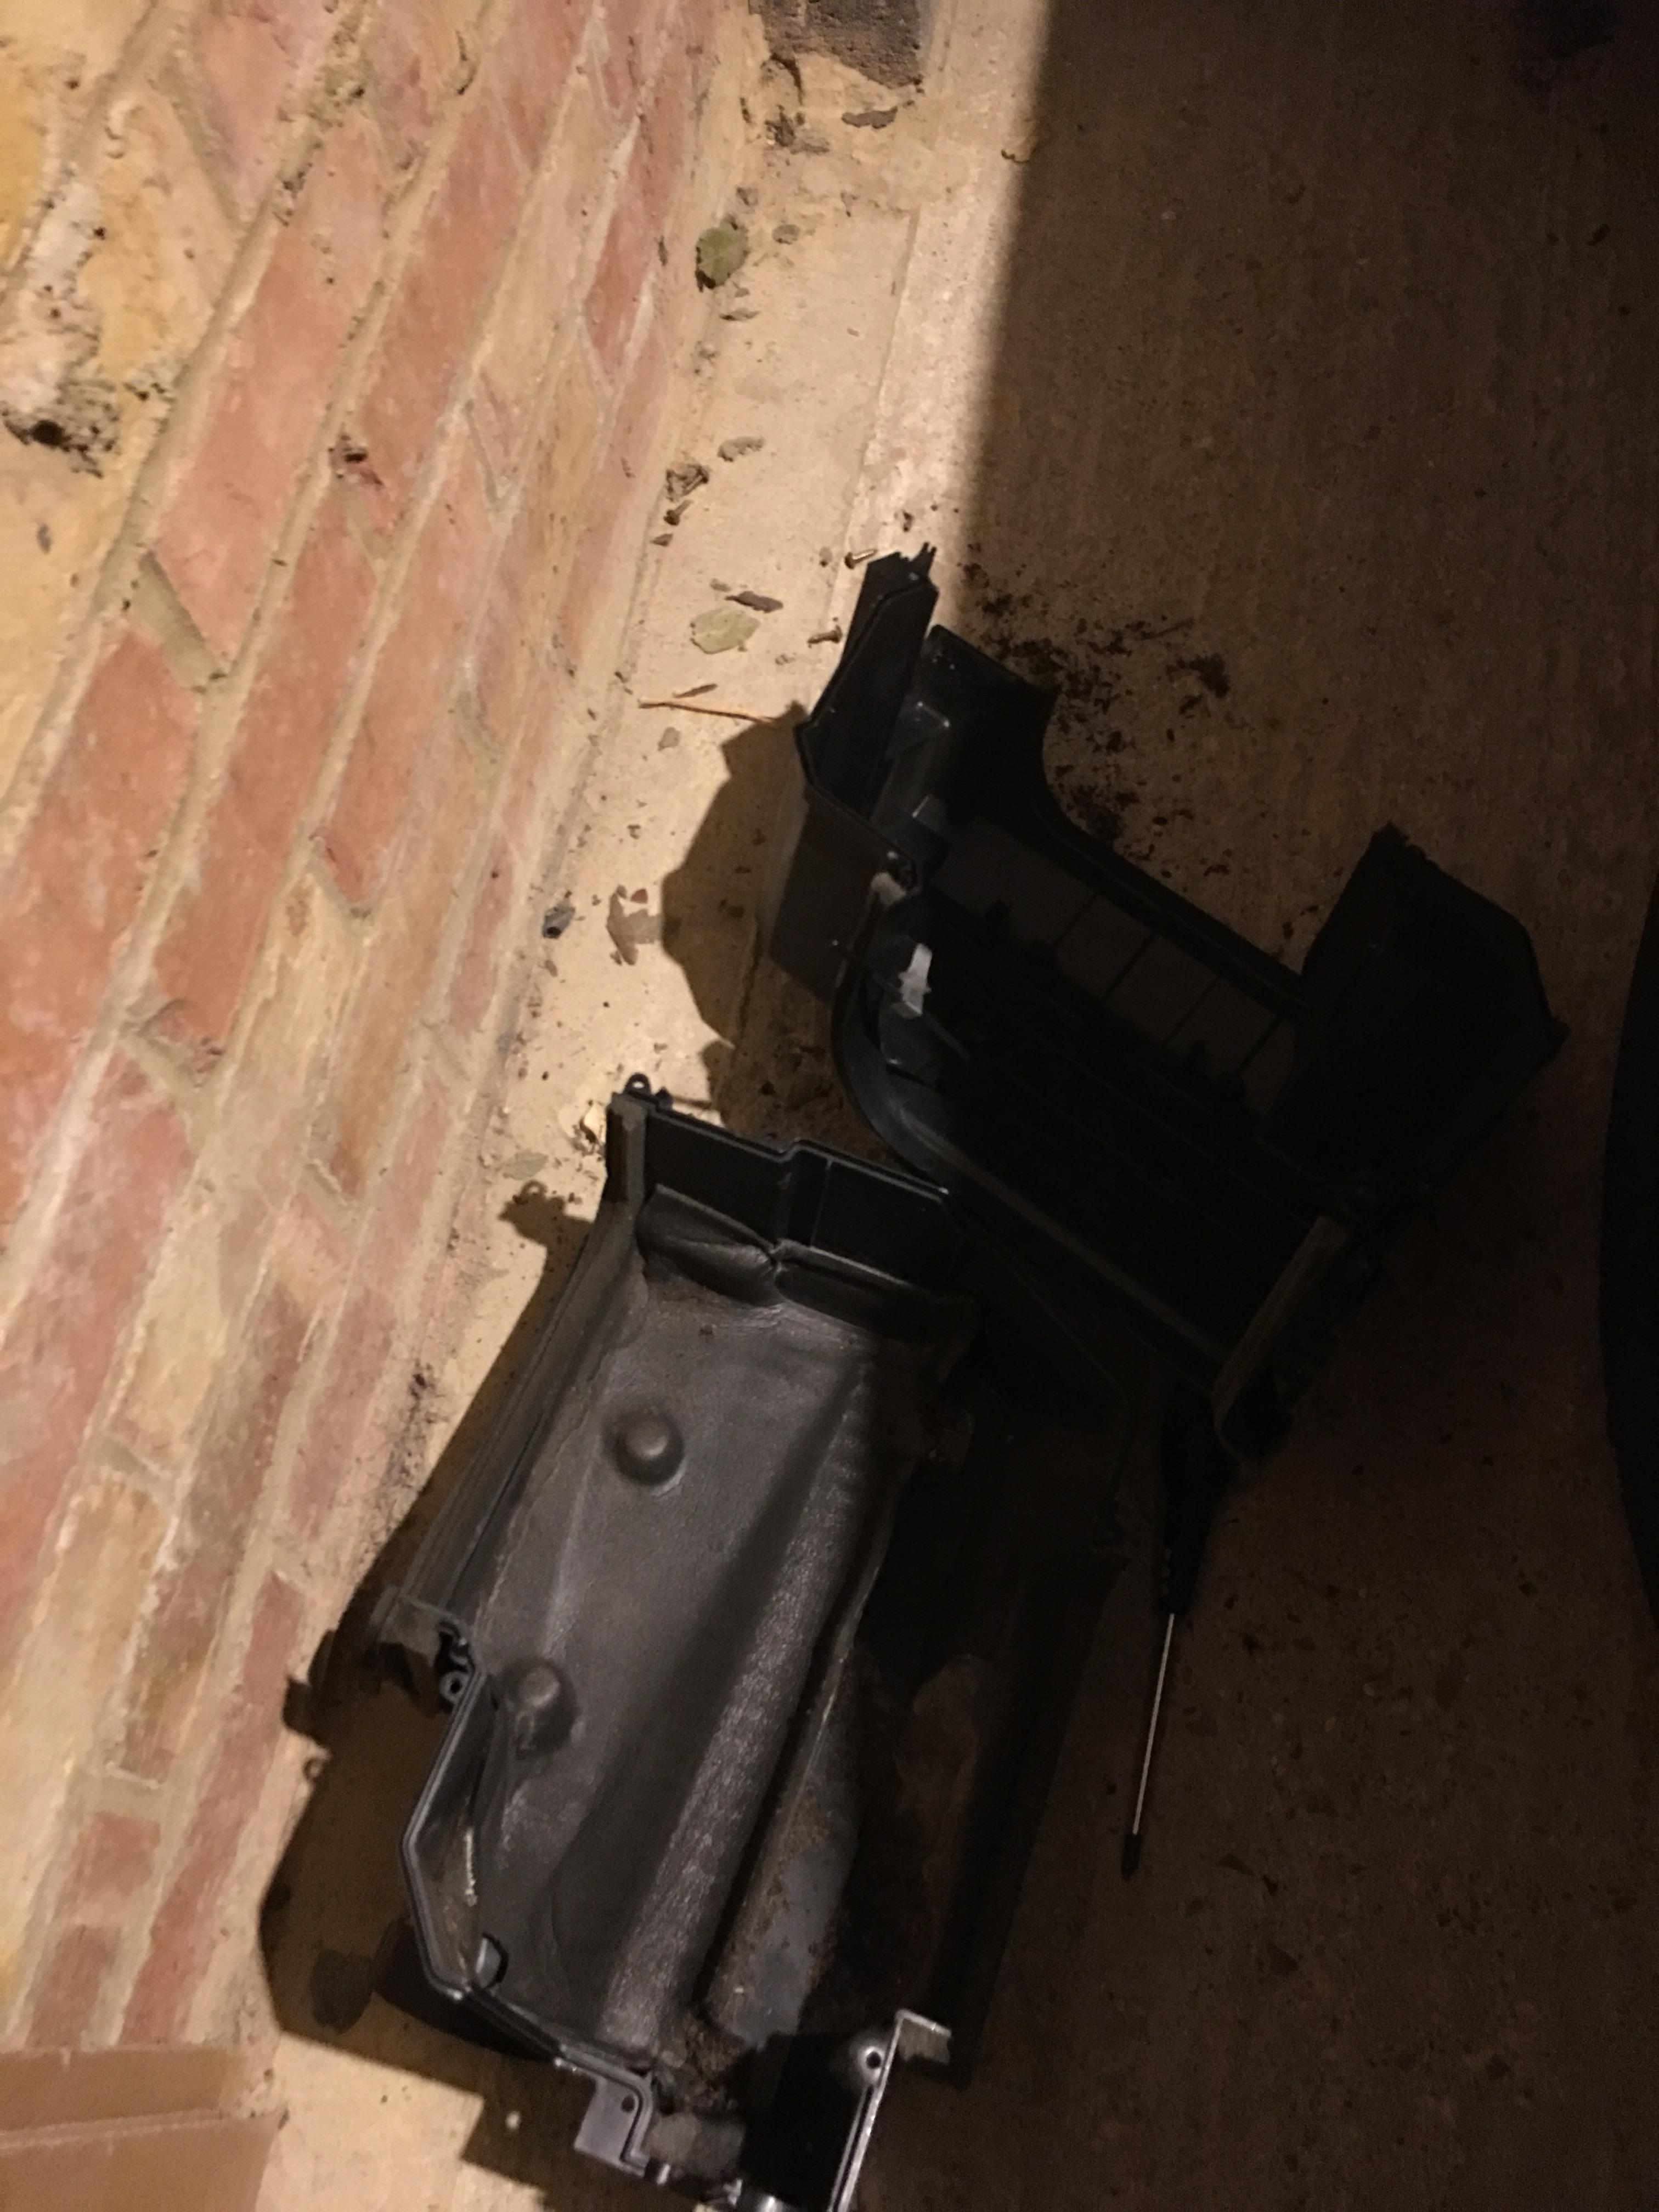
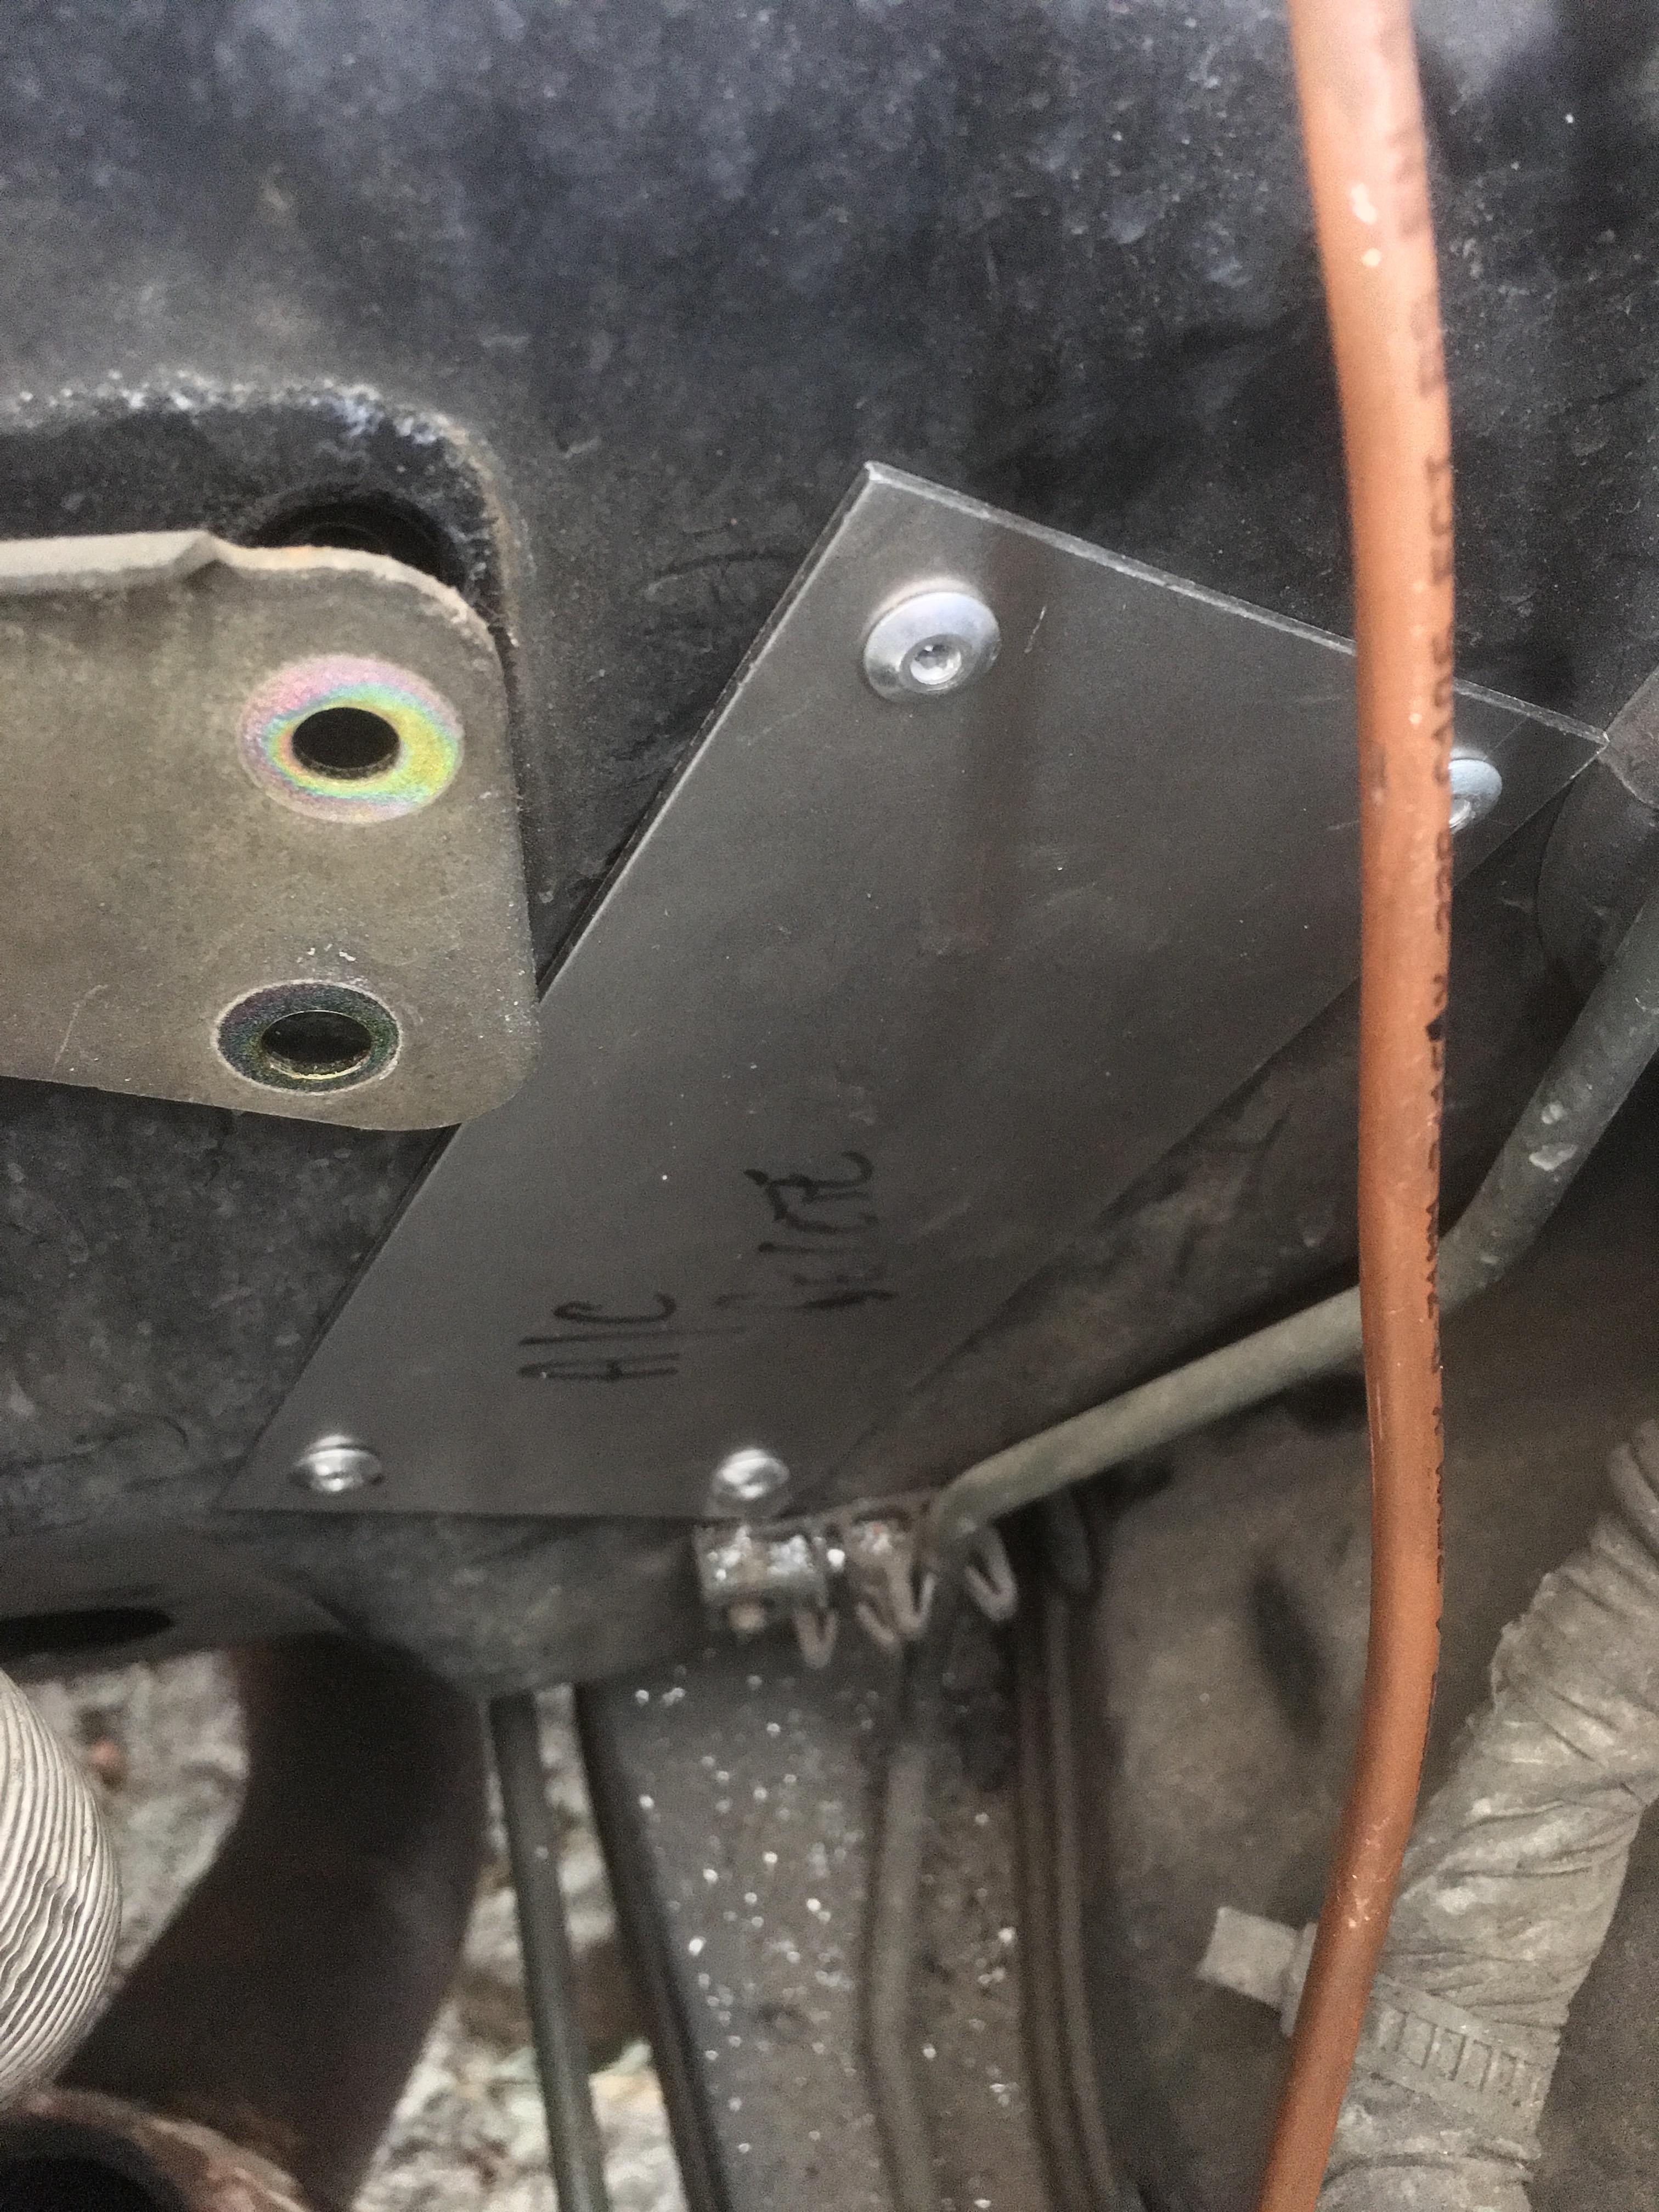
Air con delete finished off. Evaporator removed from part of the ductwork in the dash and plastic sealed over the holes. I have covered over the holes in the engine bay with steel plates and have riveted these on before using tiger seal to stop water getting behind the plates. Once cured the box can go back in the dash and the engine bay will be painted once the engine is out.


-
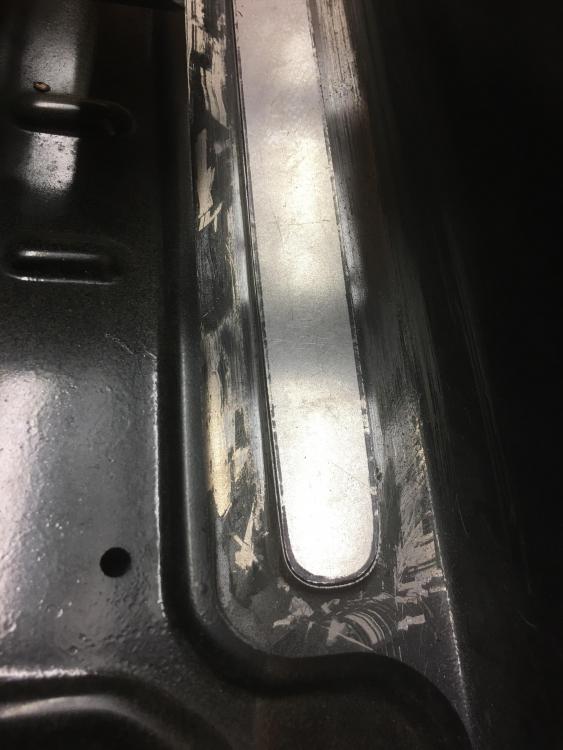
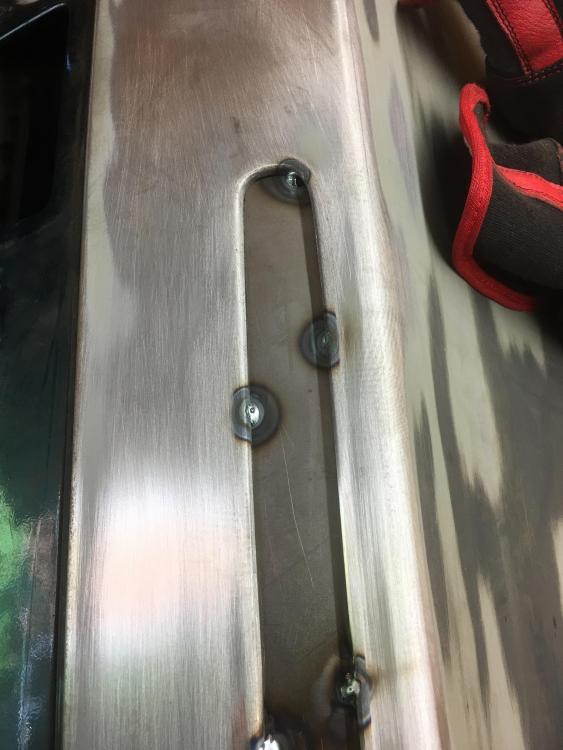
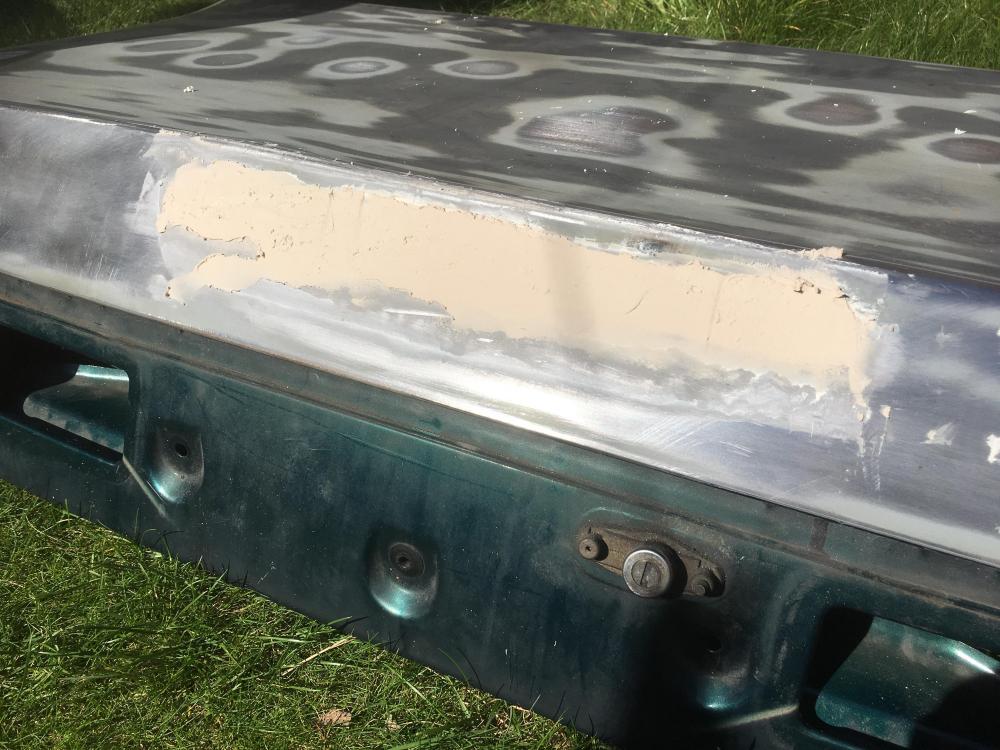
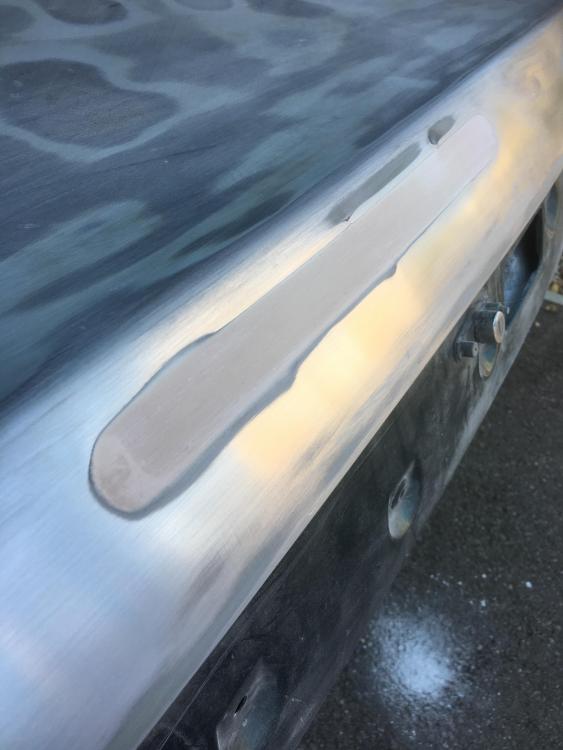
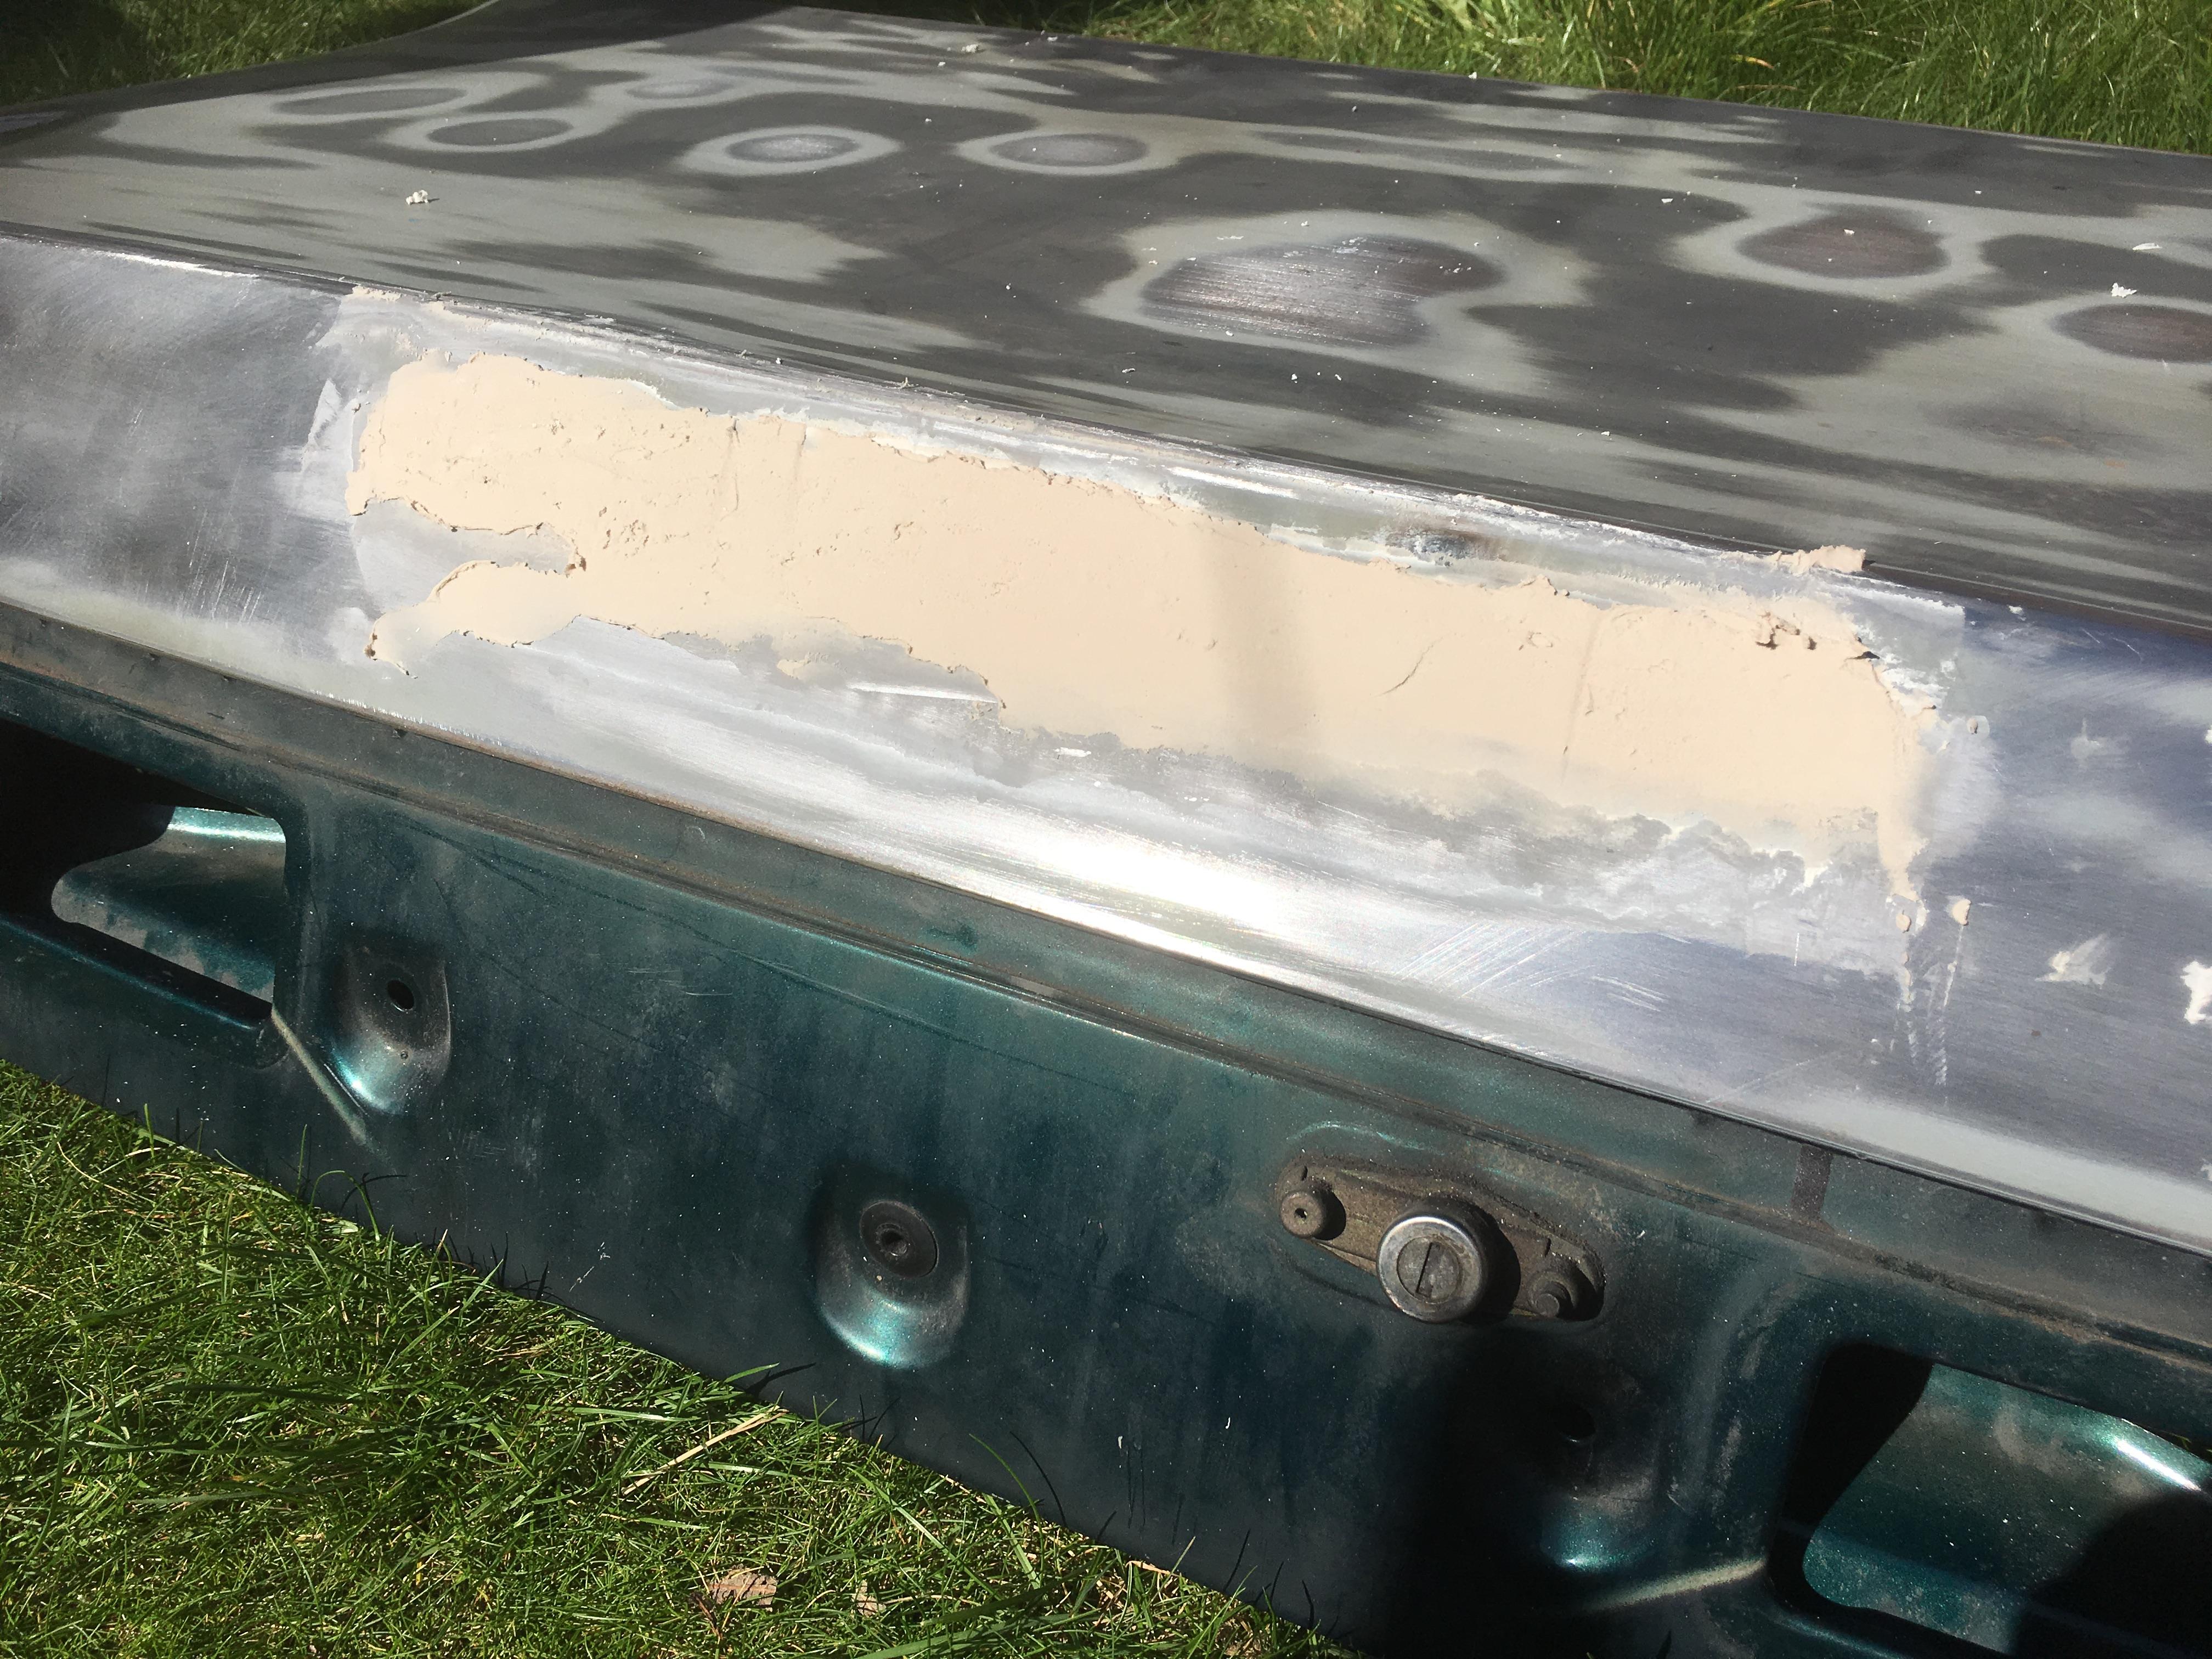
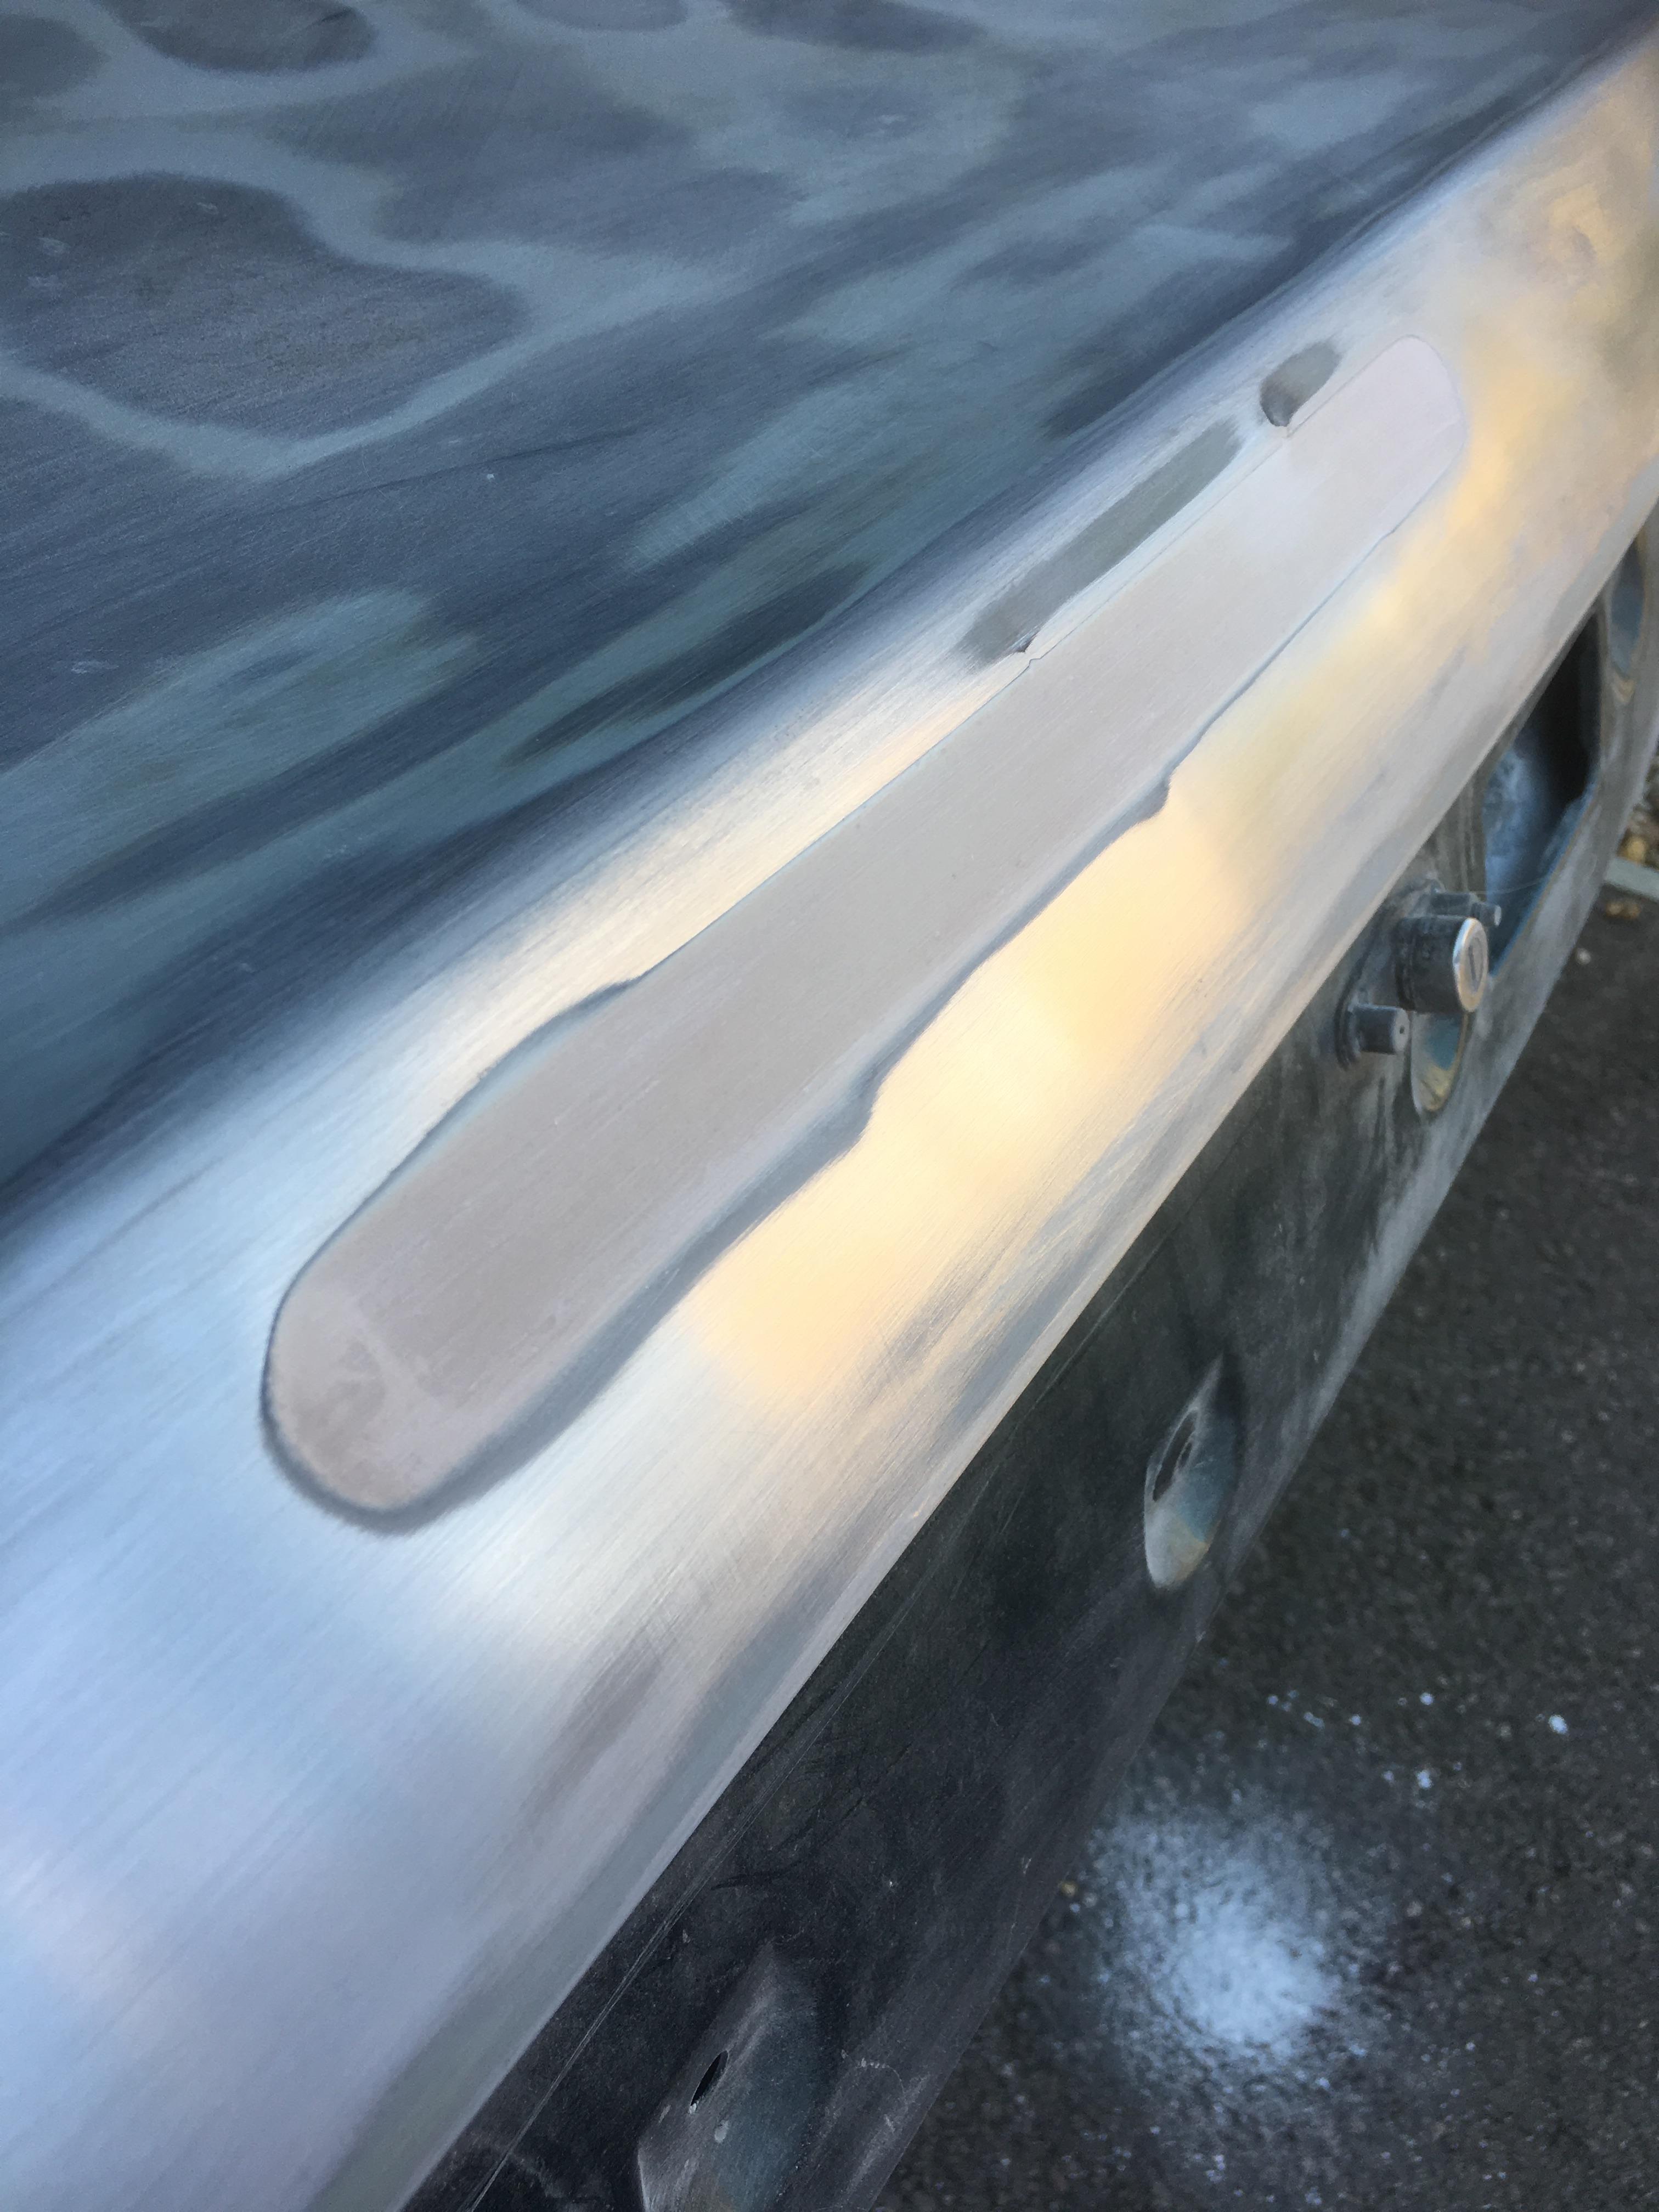
Started work on the smoothed bootlid. I have welded plates behind the original spoiler holes and third brake light and these have been filled and sanded. Just need to finish with the wet and dry on the filler primer and the boot is ready to coat with primer.
-
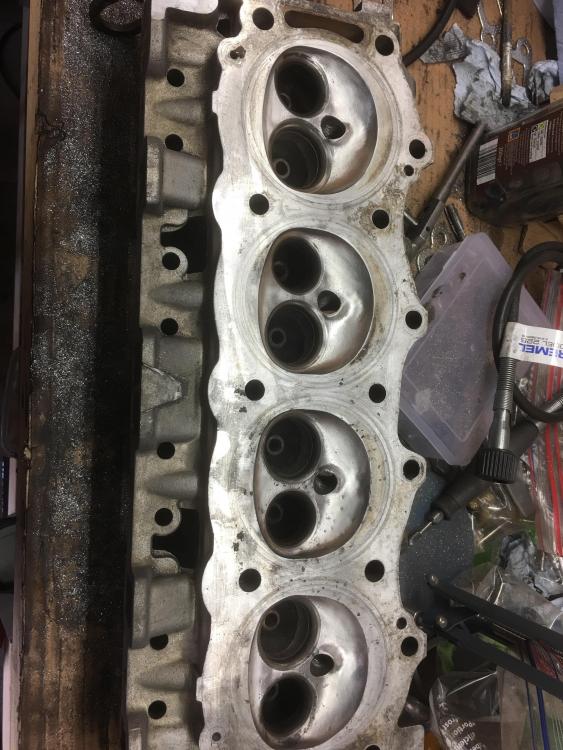
I forgot to update this thread but the heads have been completed. They ended up with around 50 hours worth of work in them in the end


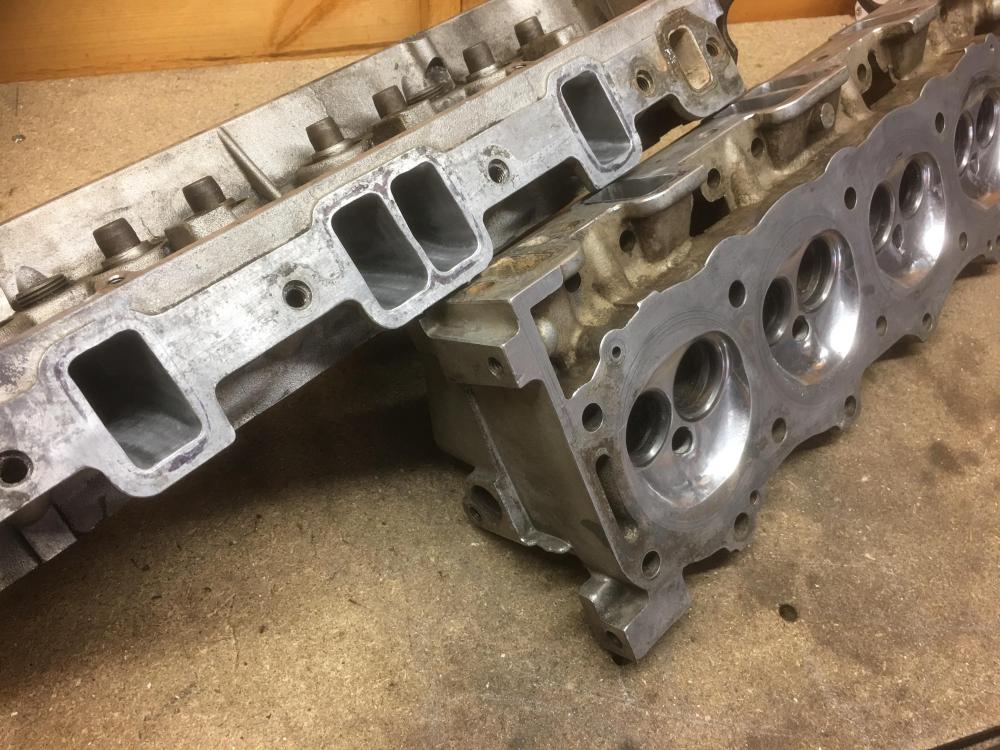
-
Just need to sand the intakes smooth and sand the back of the valve seats and the heads are ready to be dipped and engine rebuilt.

-
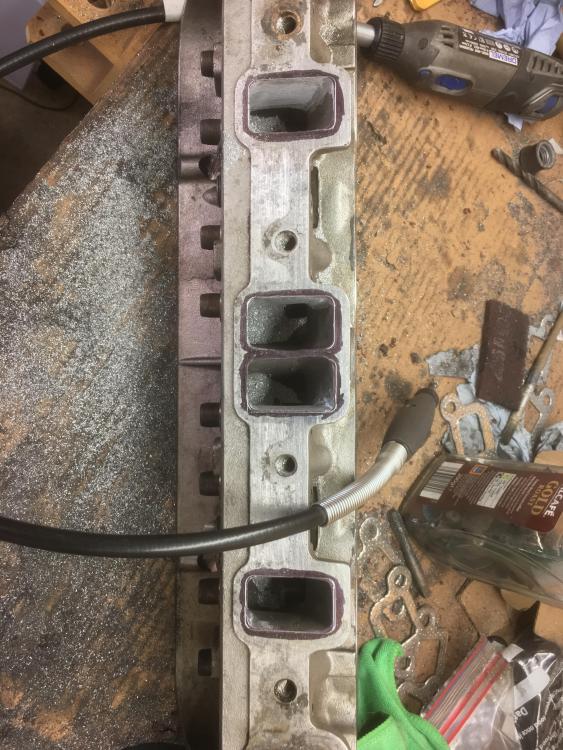
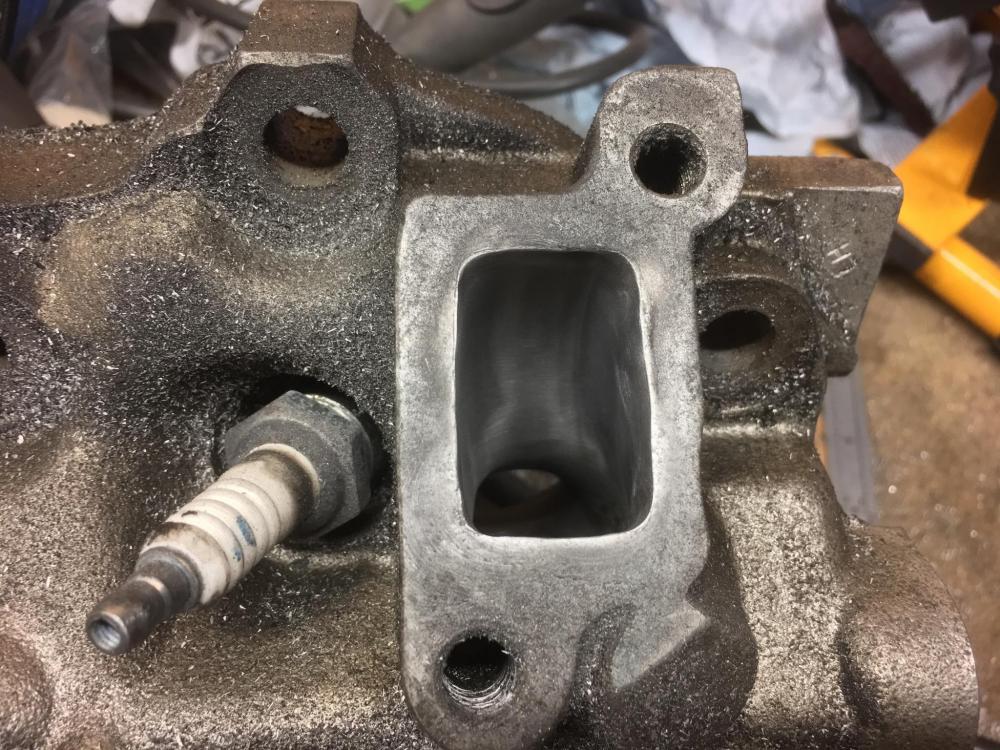
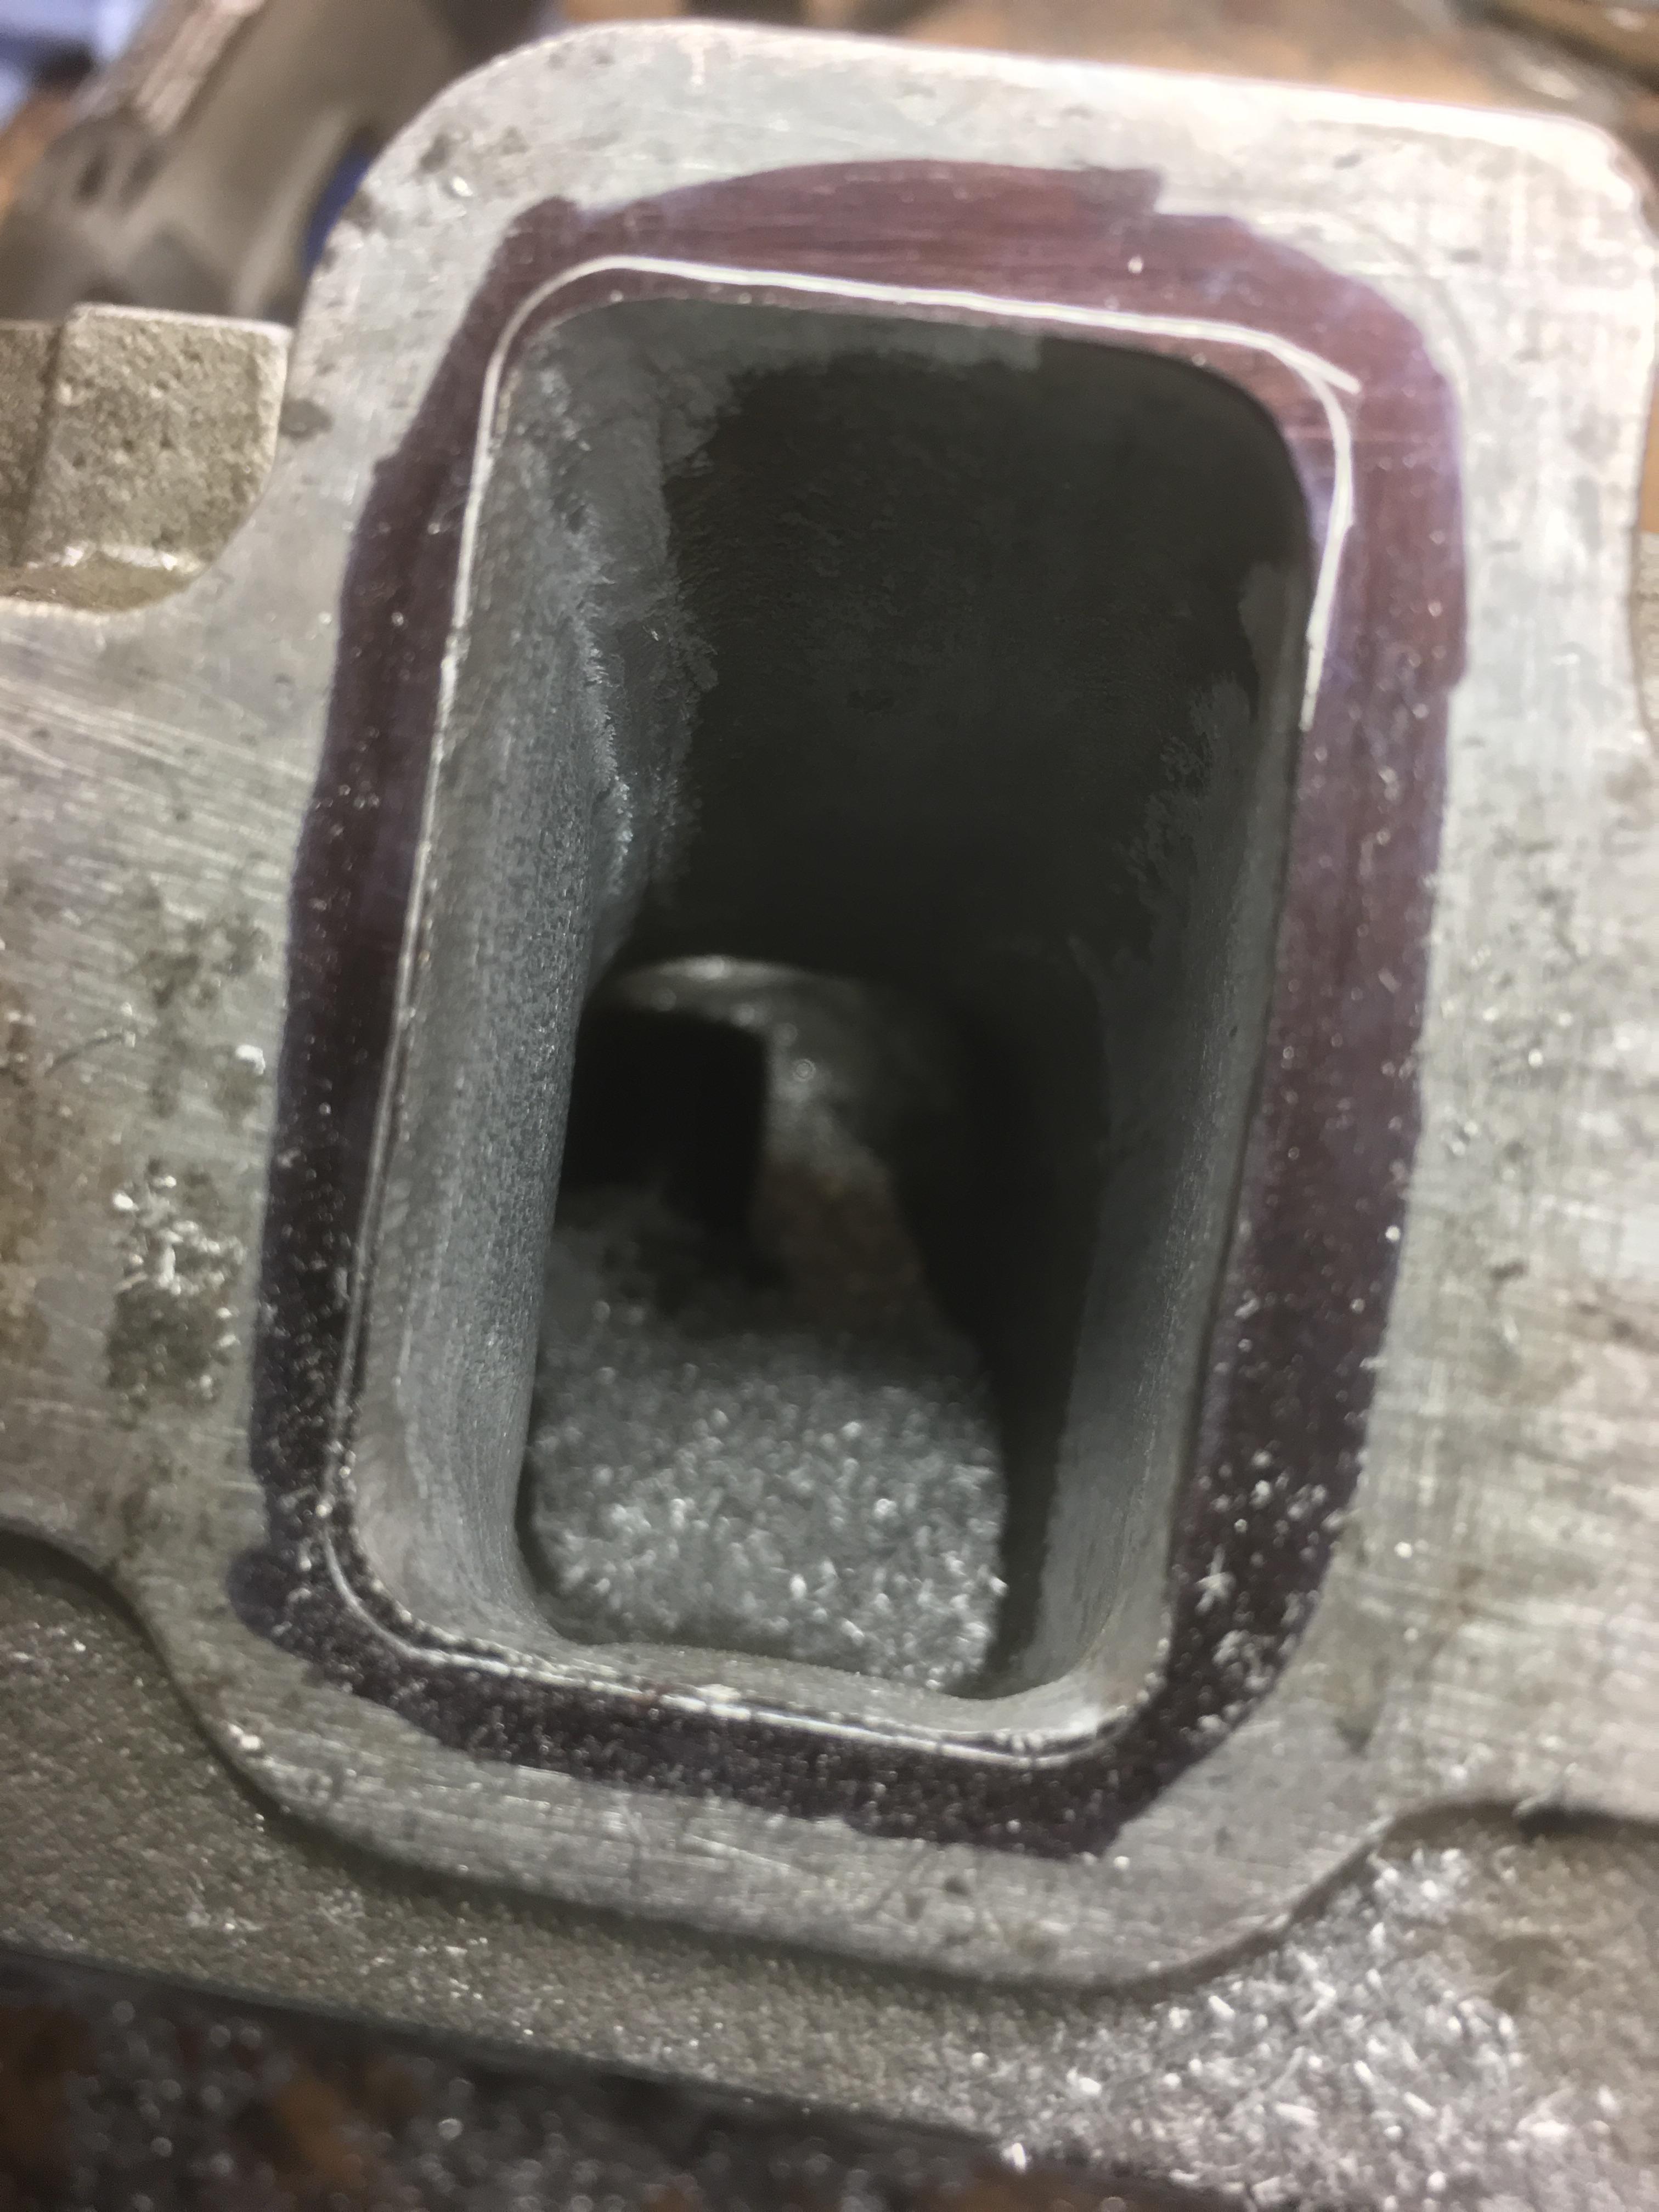
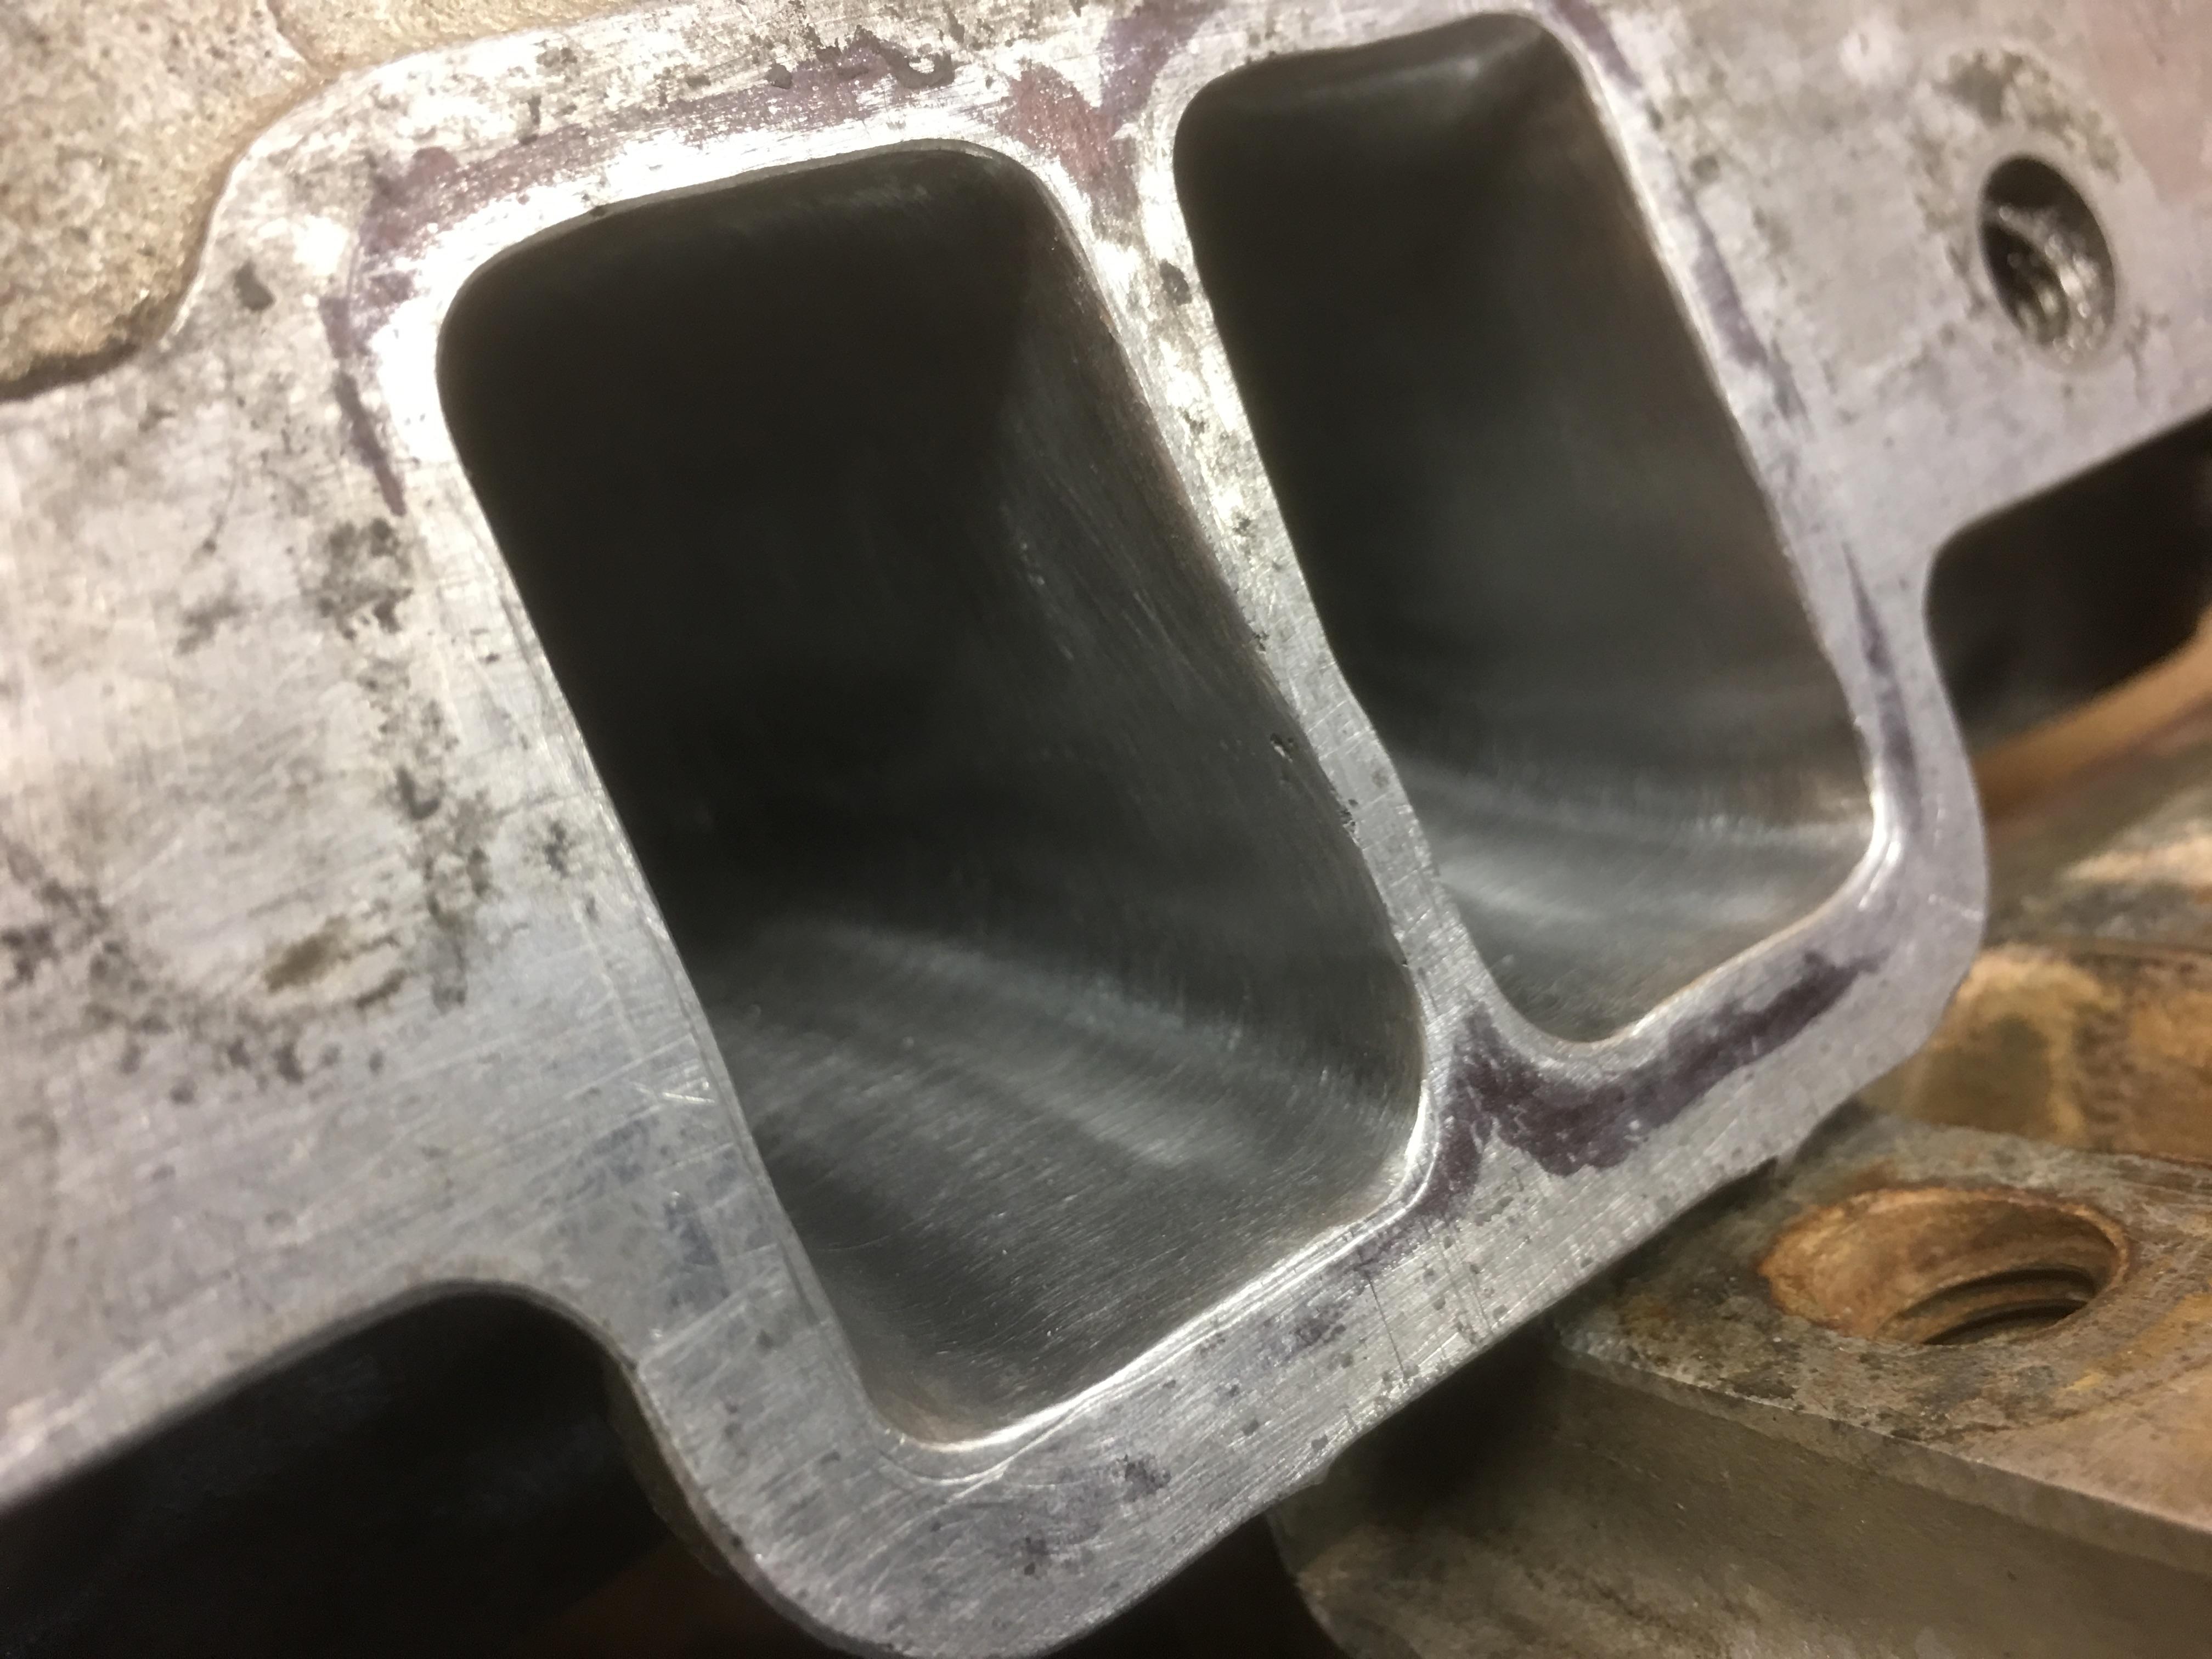
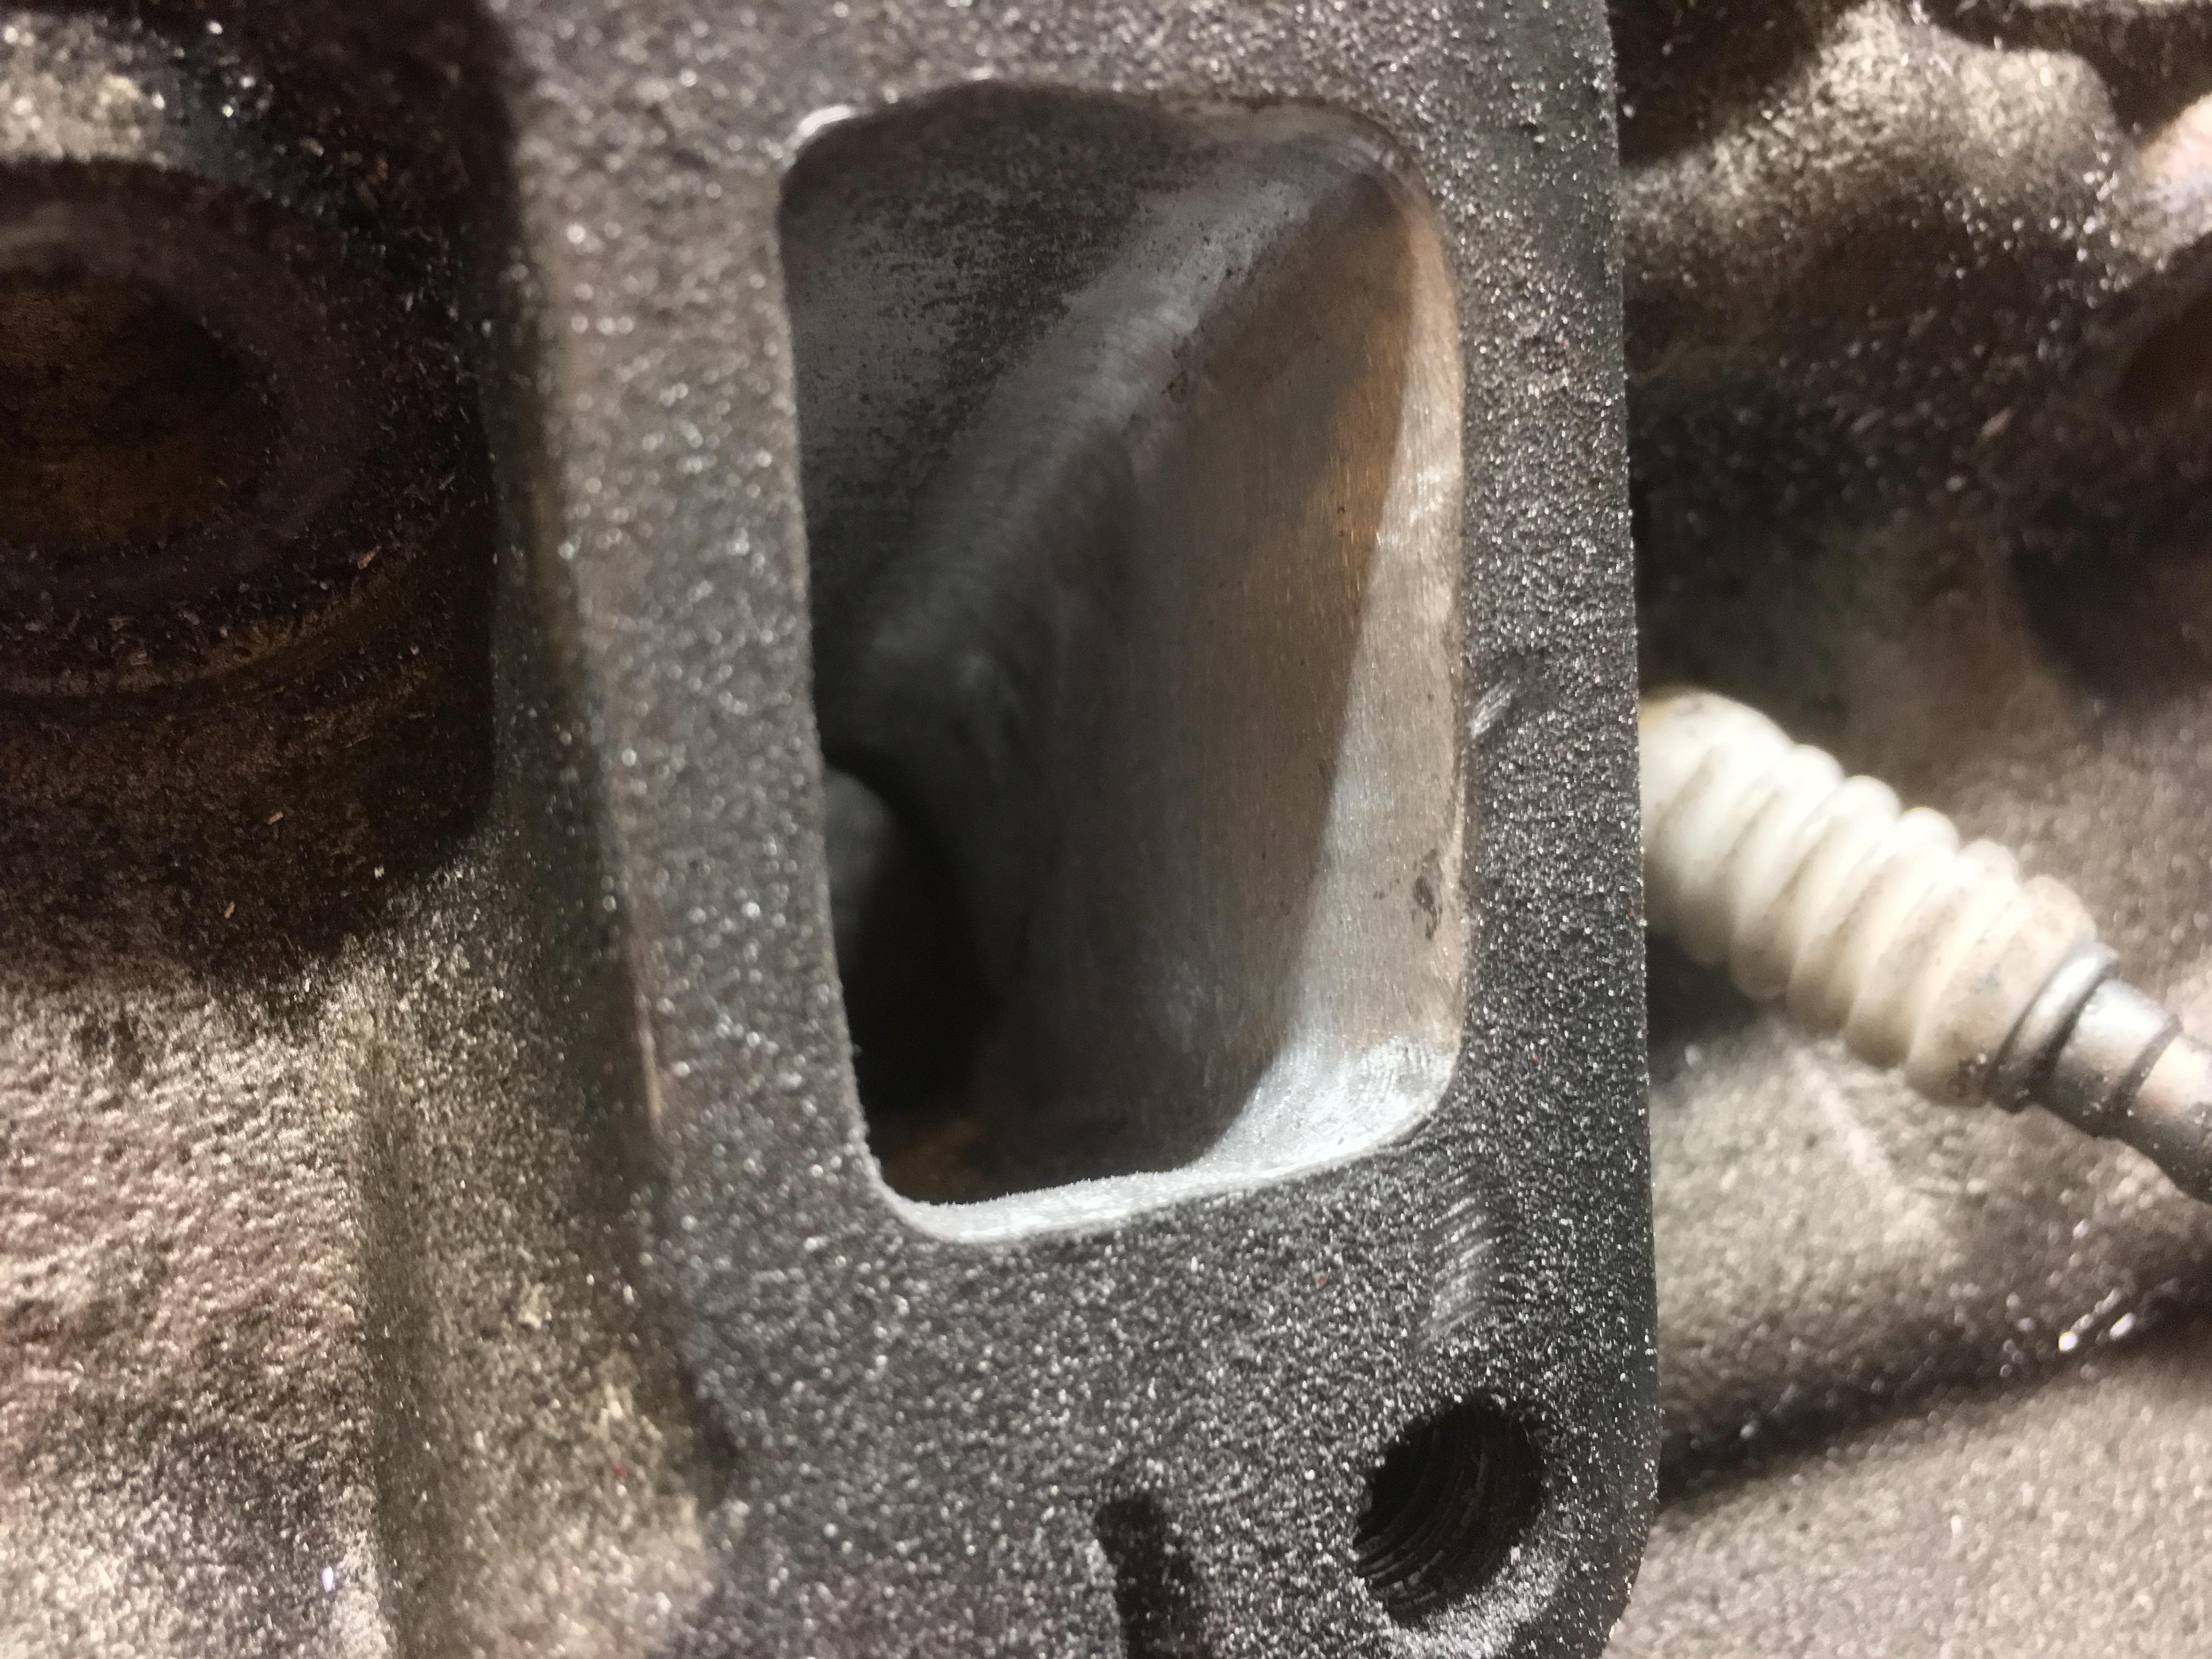
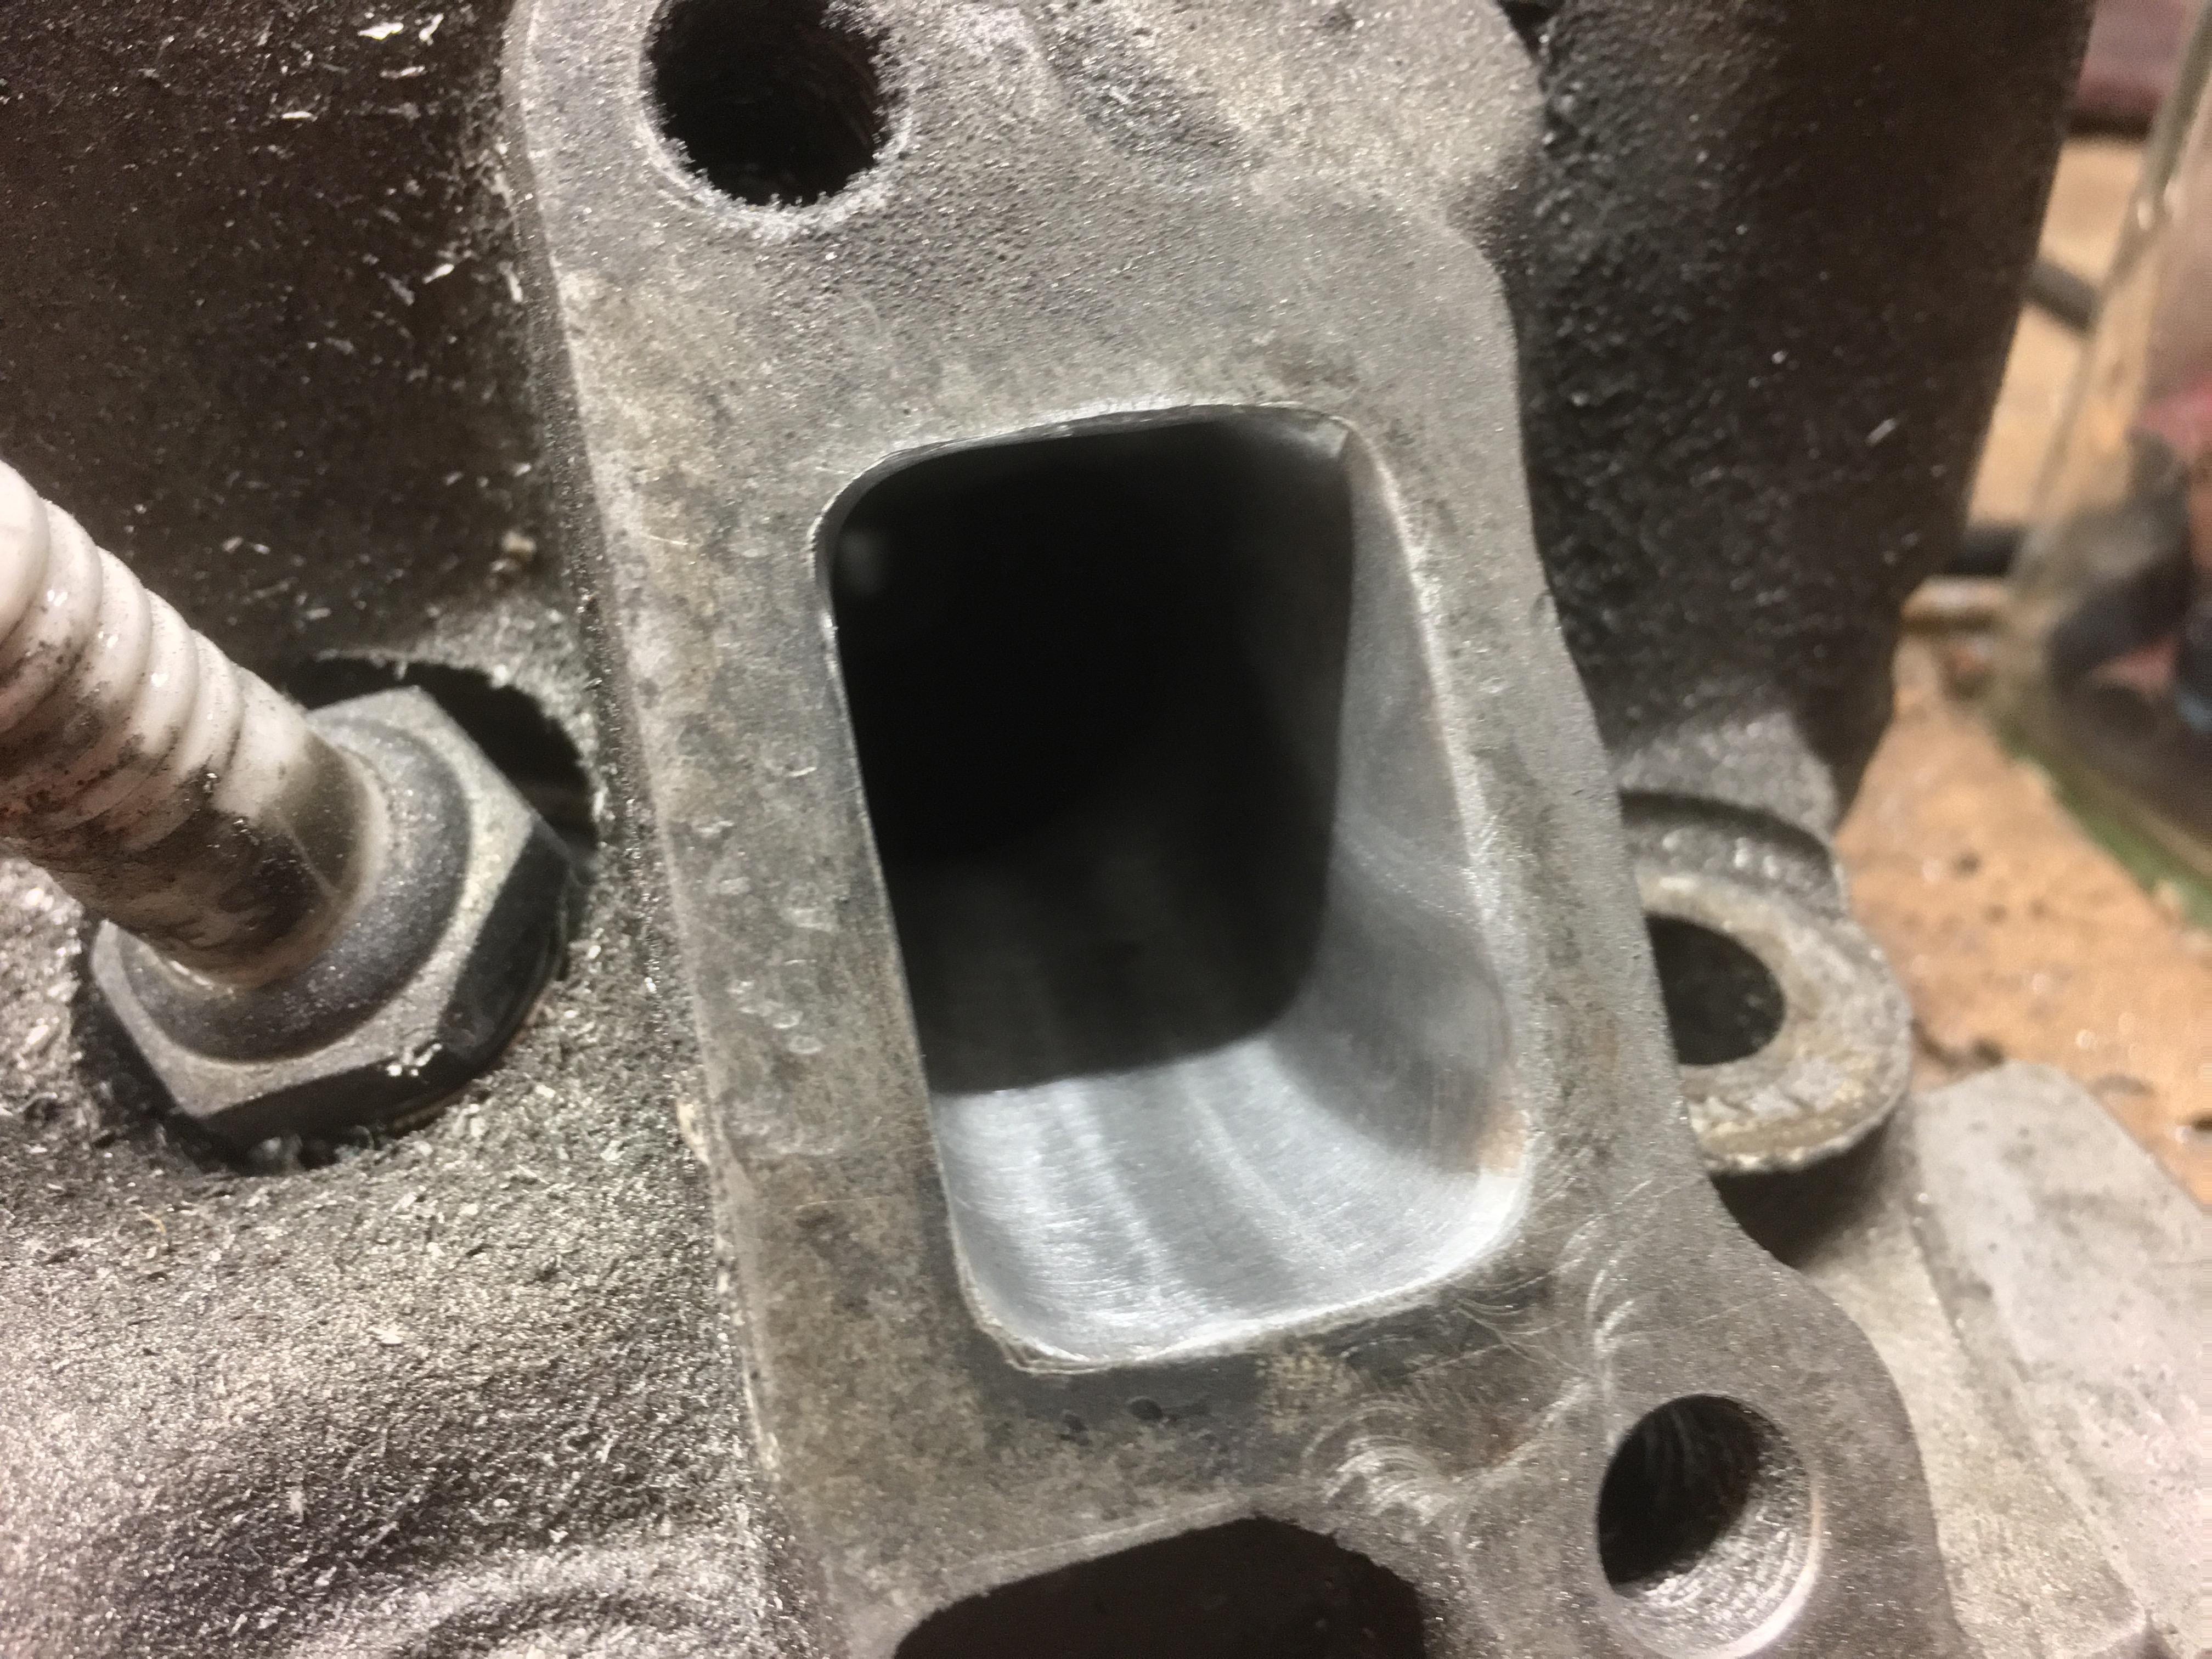
Started on the intake side today. These were quite a way off. So far they’ve been roughly gasket matched and ported
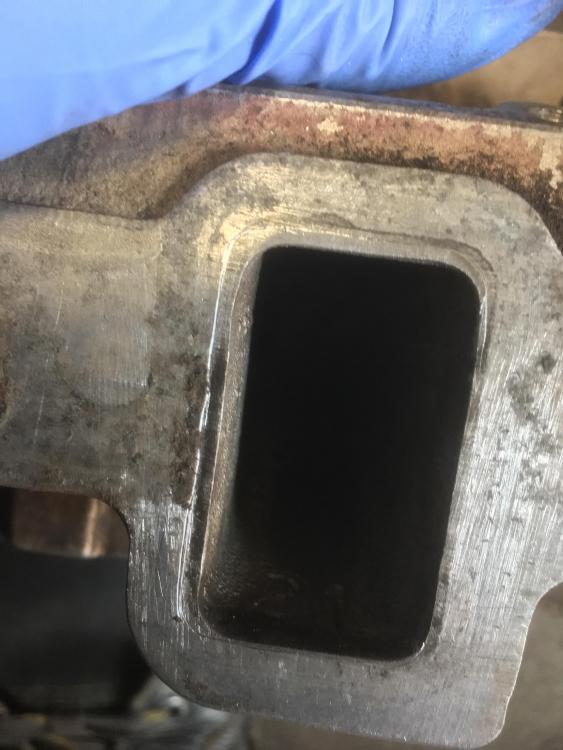
-
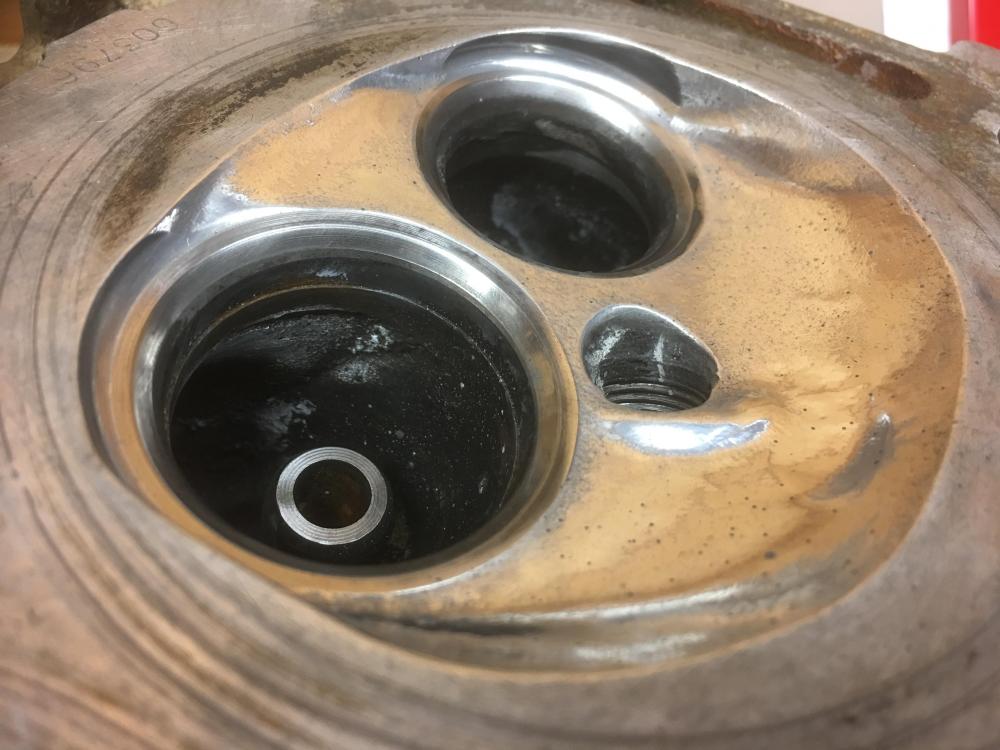
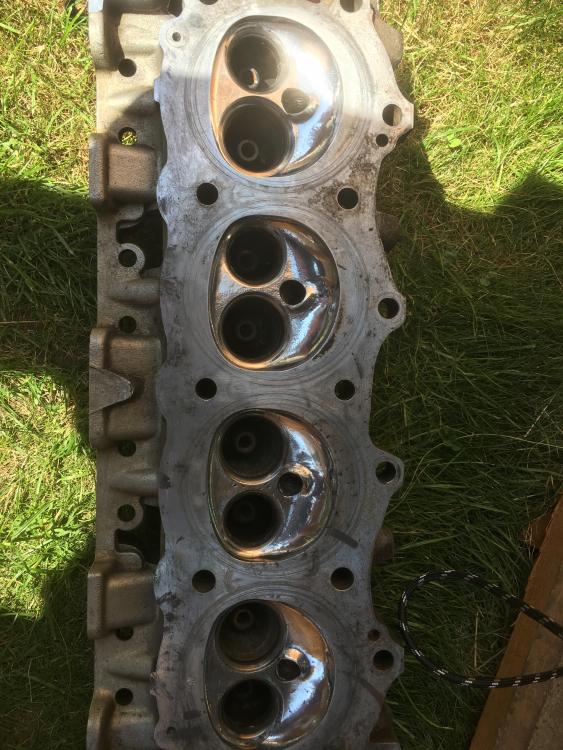
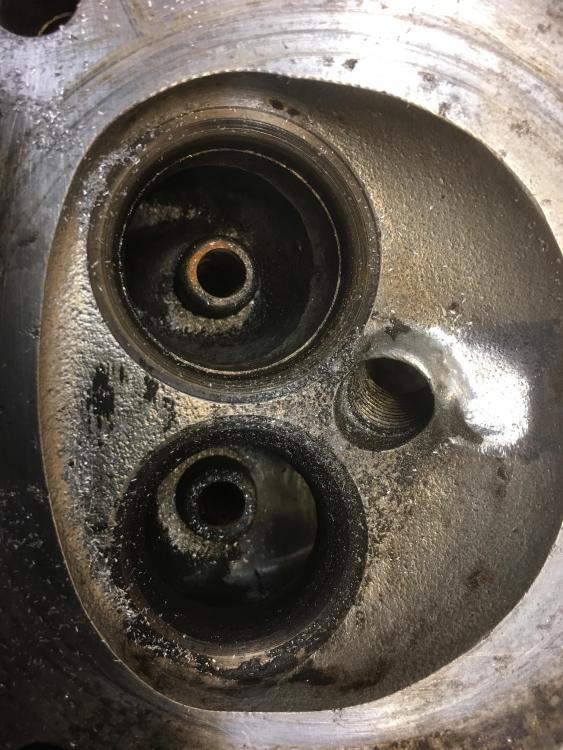
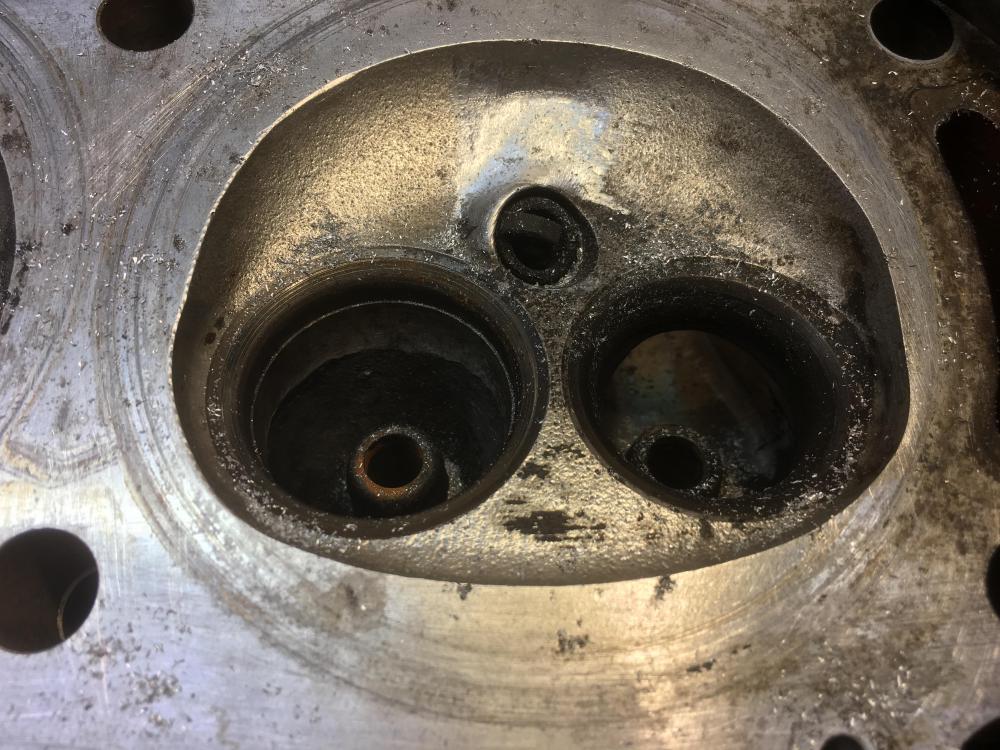
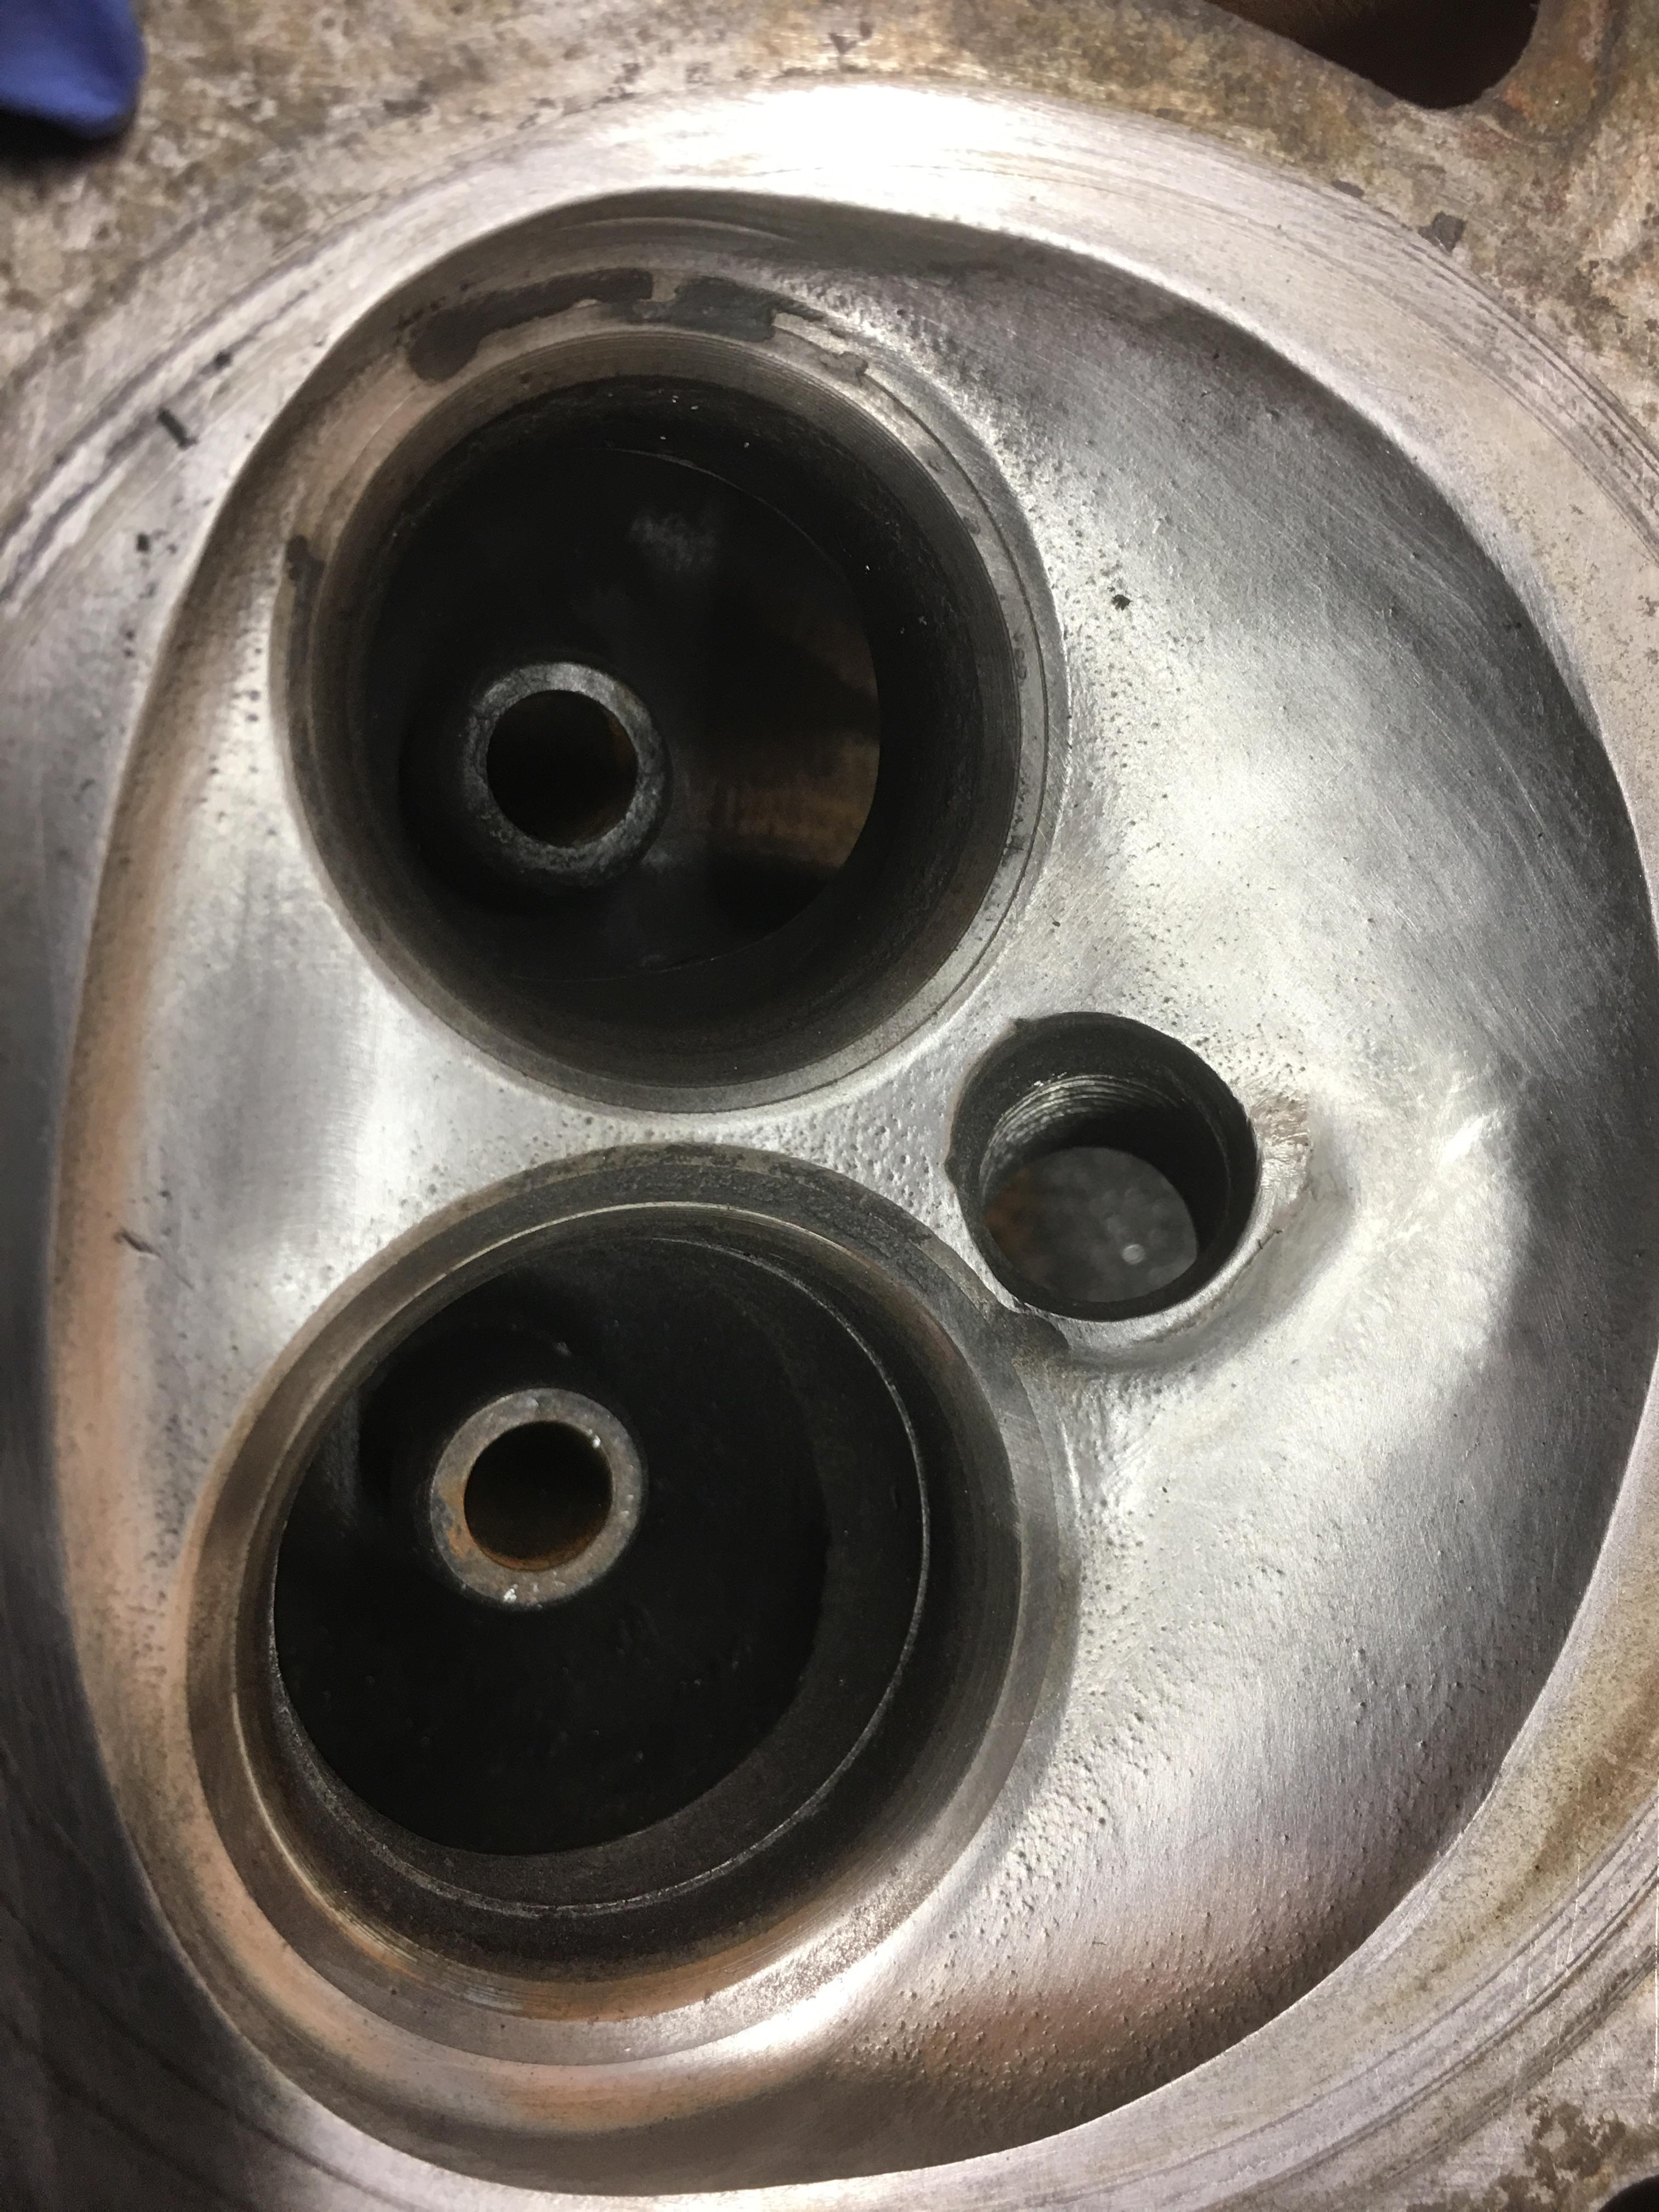
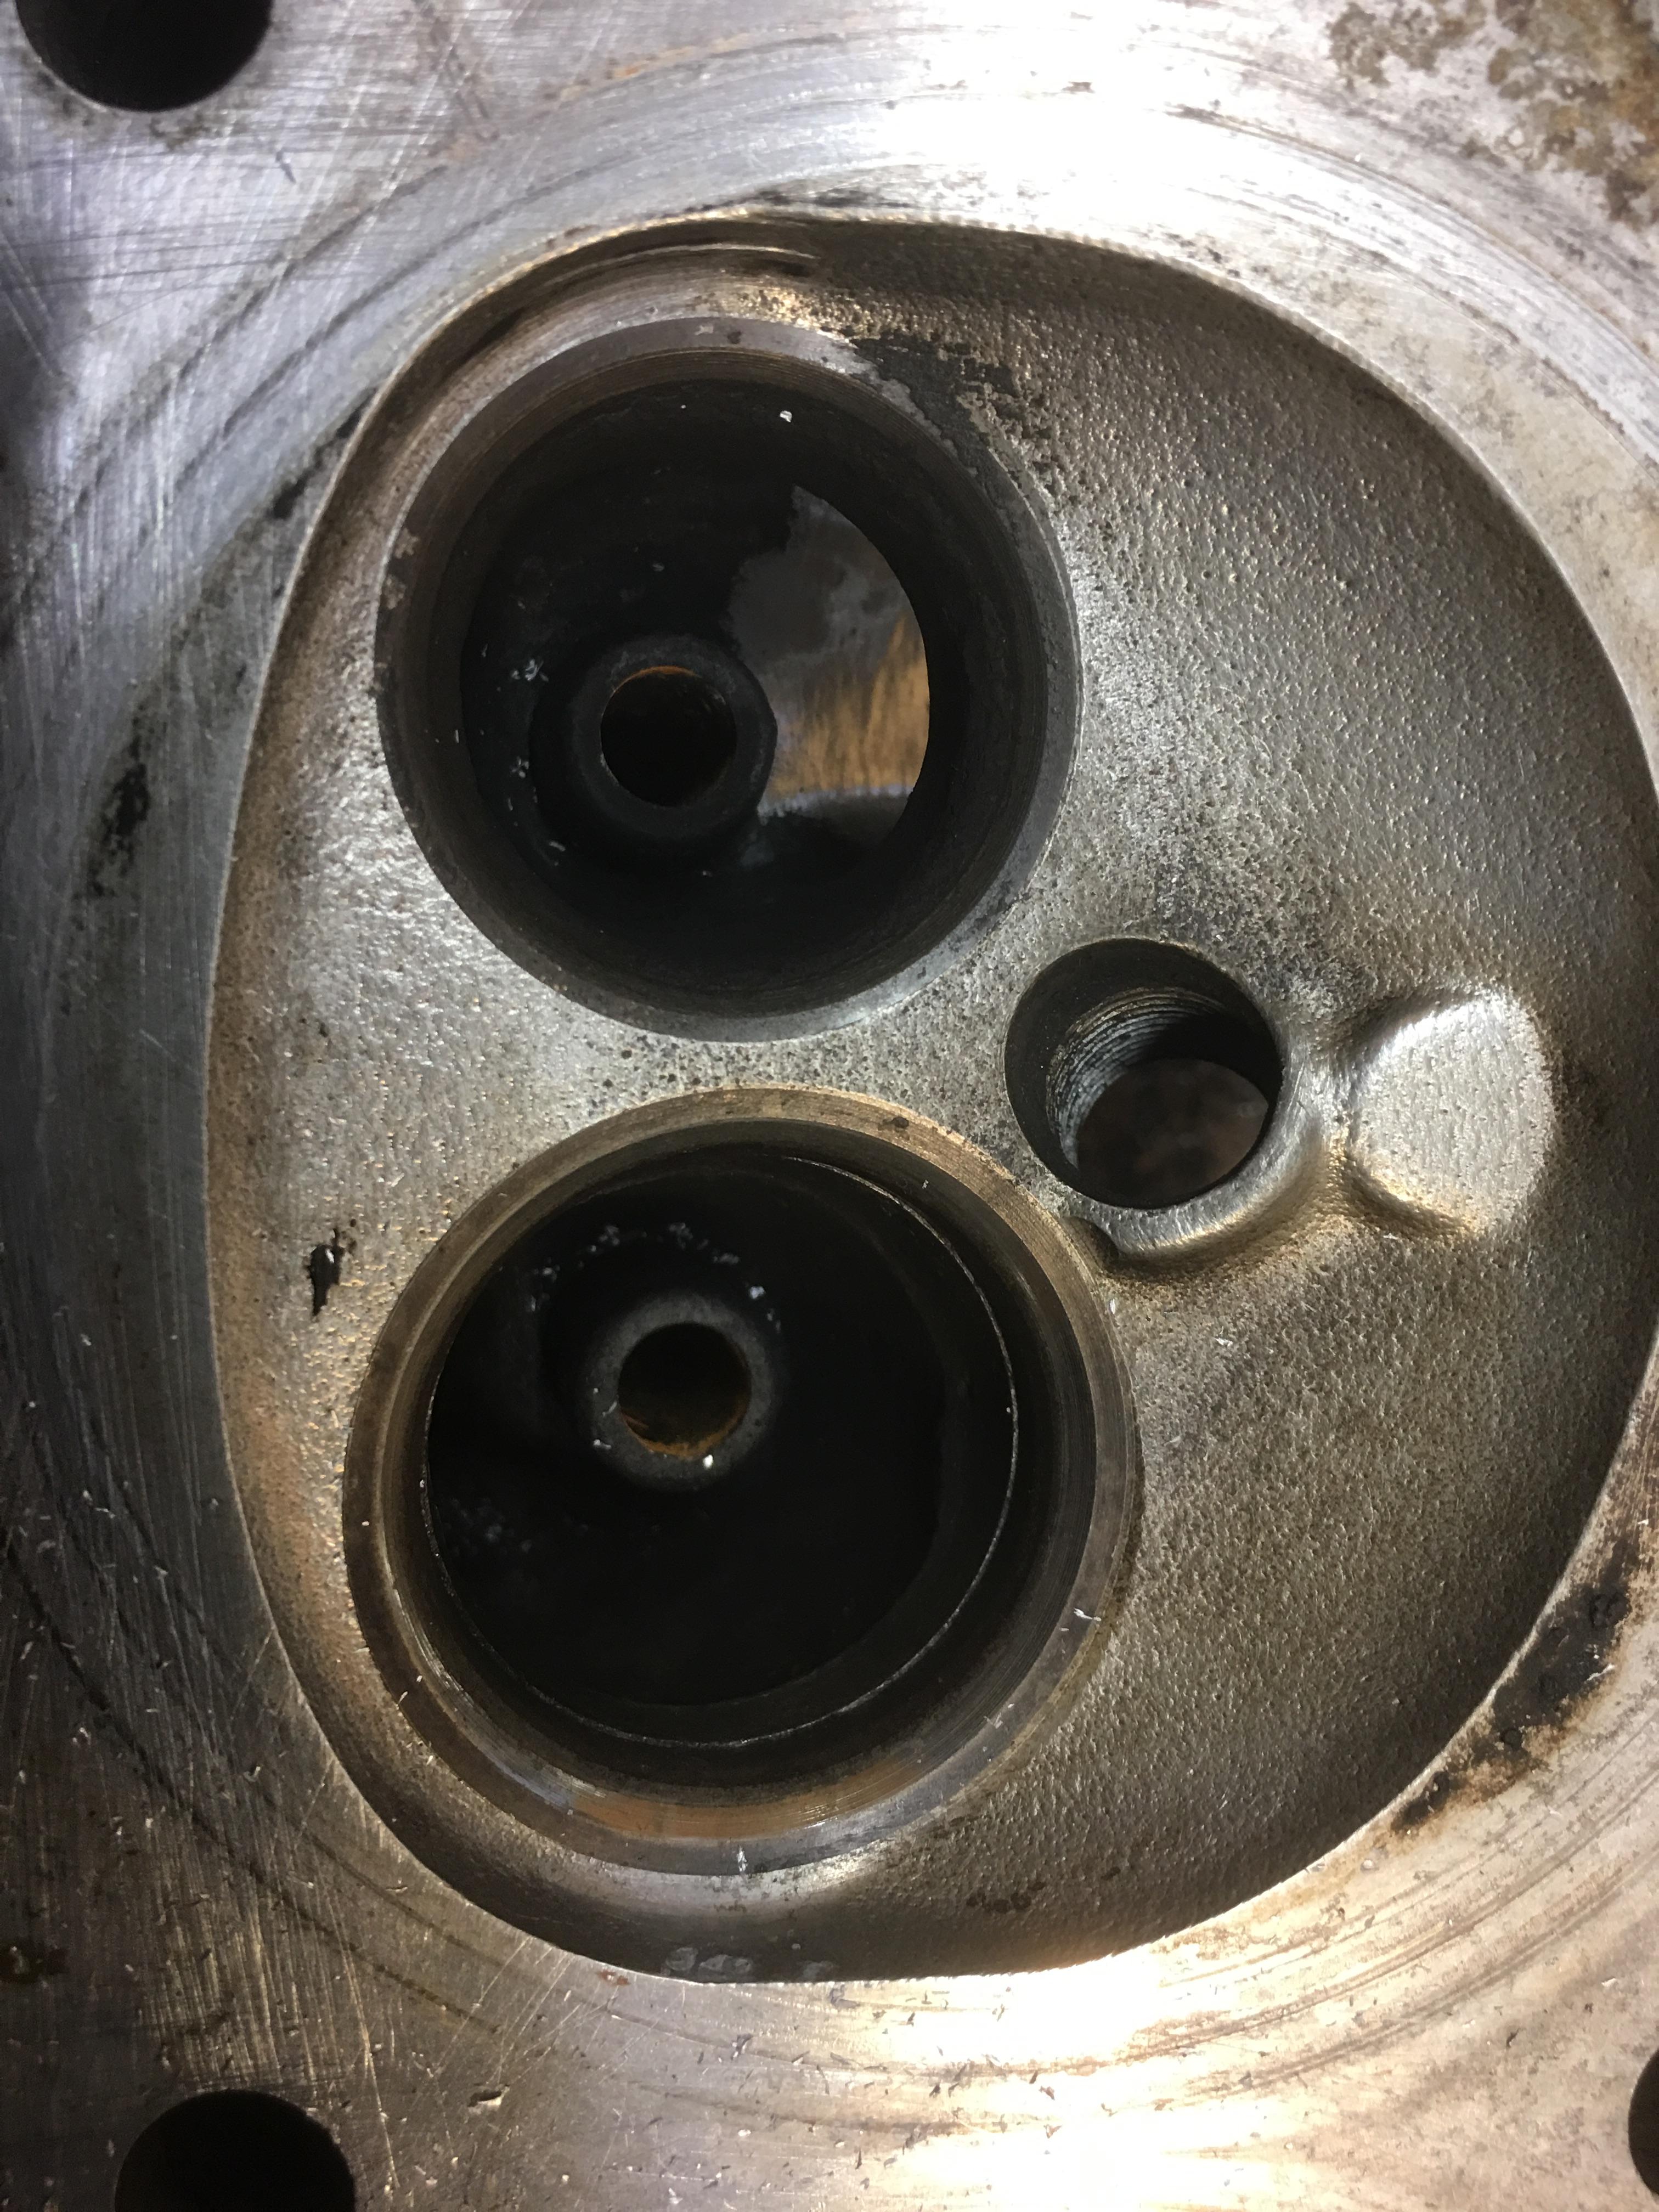
Both heads now have the tops of the combustion chambers smoothed and mirror polished. Next job on the list is to gasket match the water ways and intake ports and then buff these to around 240 grit.
-
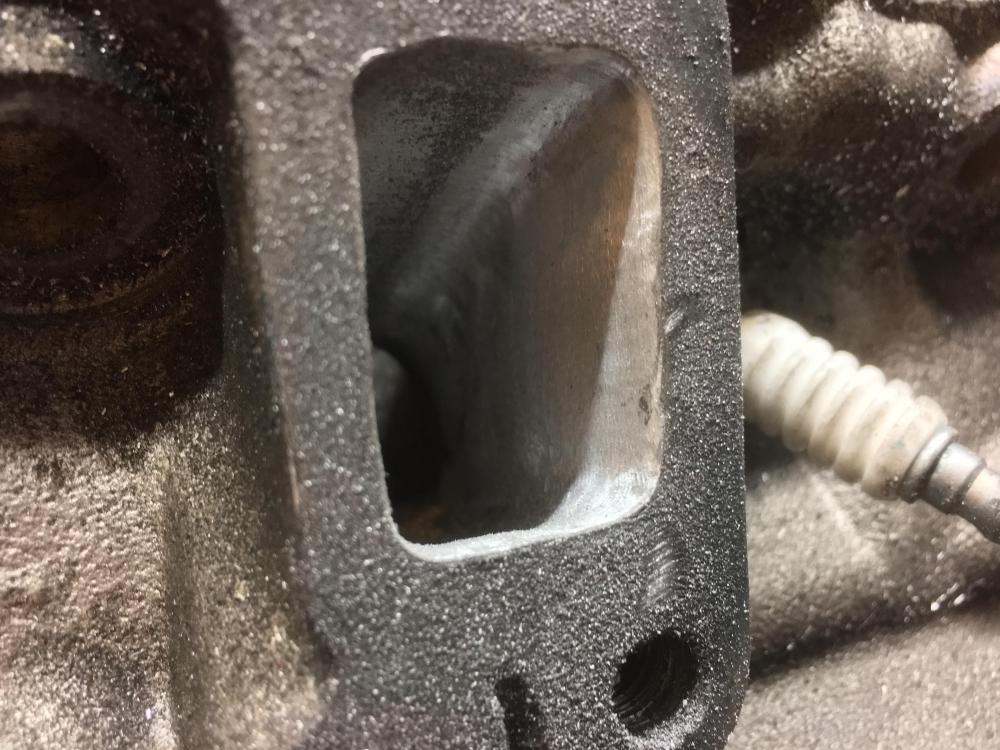
Cleaned one head over the weekend and I have removed the odd bump round the spark plug. Once both are done the tops of the cylinders will be sanded, buffed and finally mirror polished. Currently waiting for the inlet manifold gasket so I can port the intakes before buffing them to a smooth 240 grit finish.
Before.
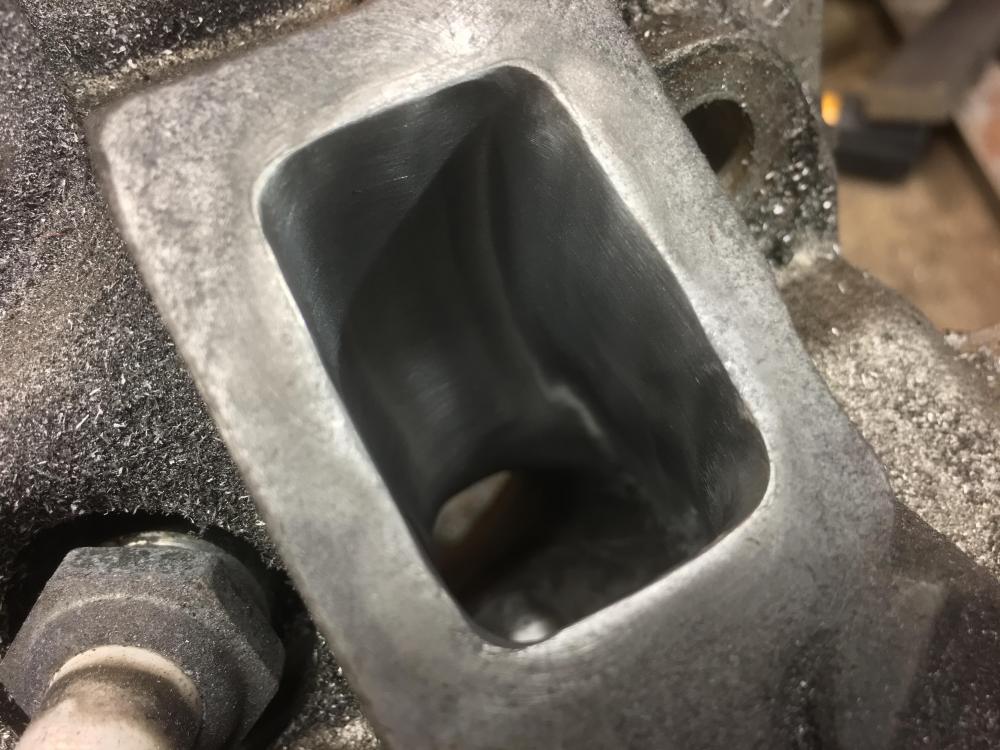
During.
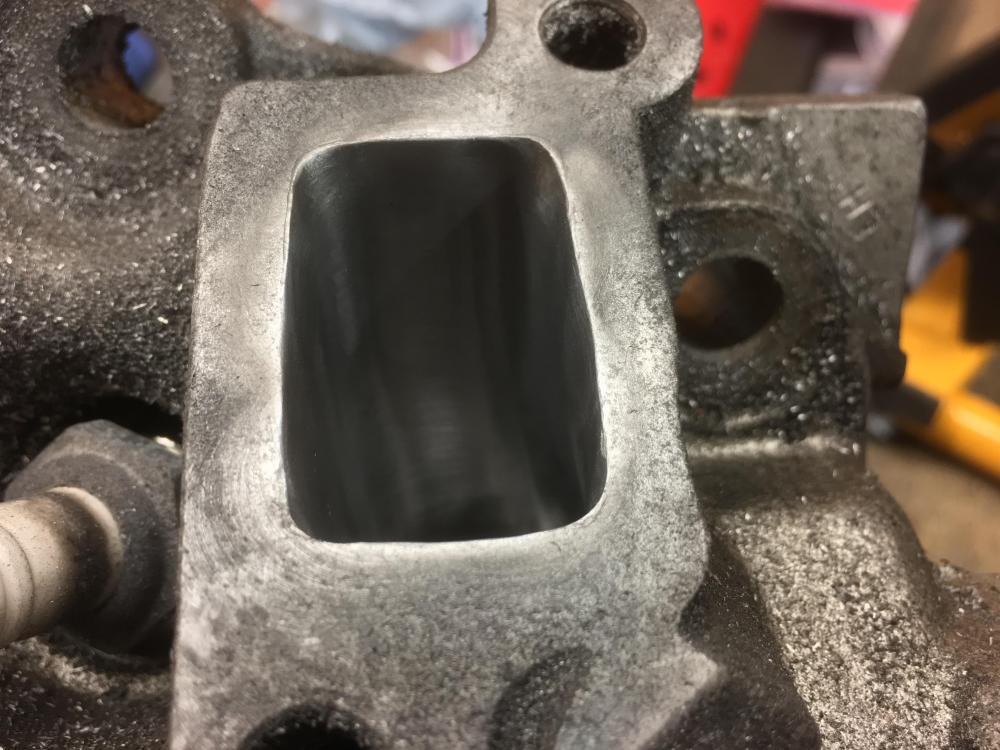
After.

-
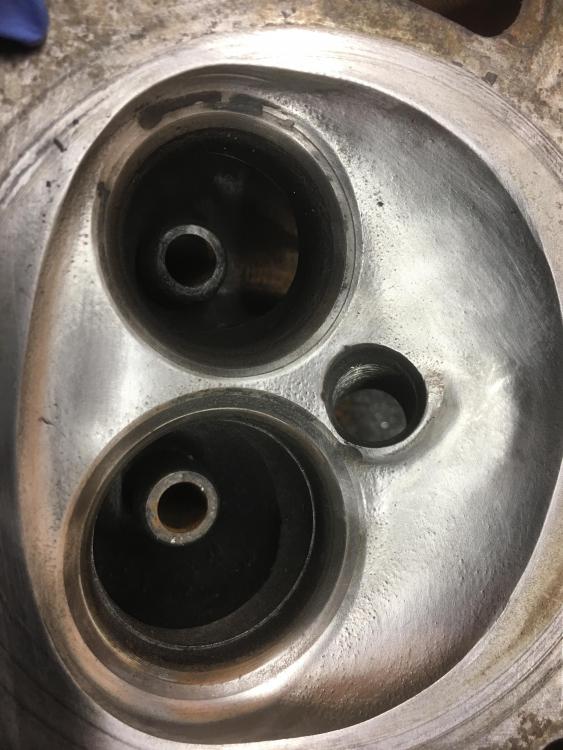
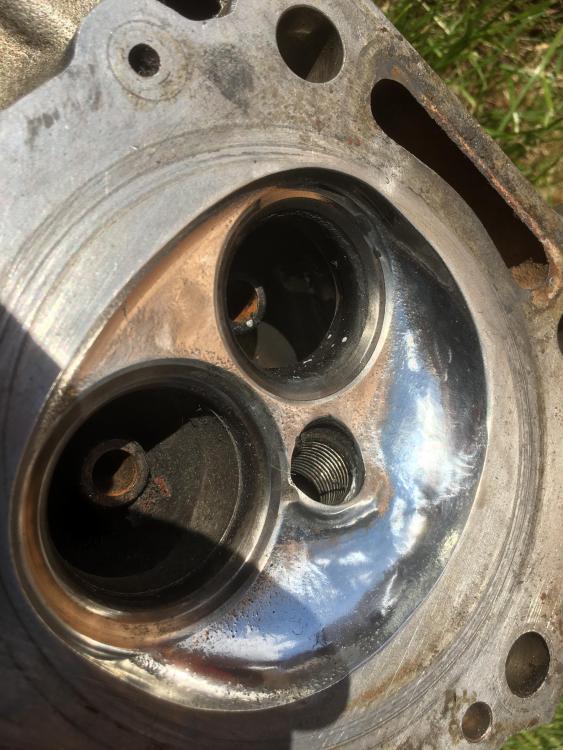
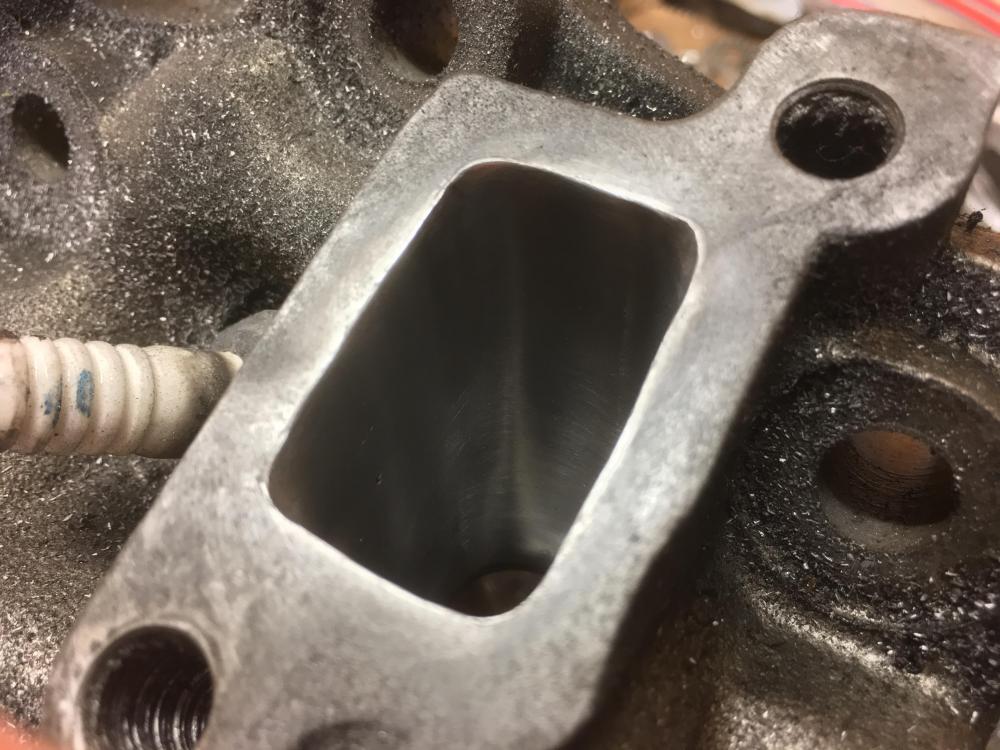
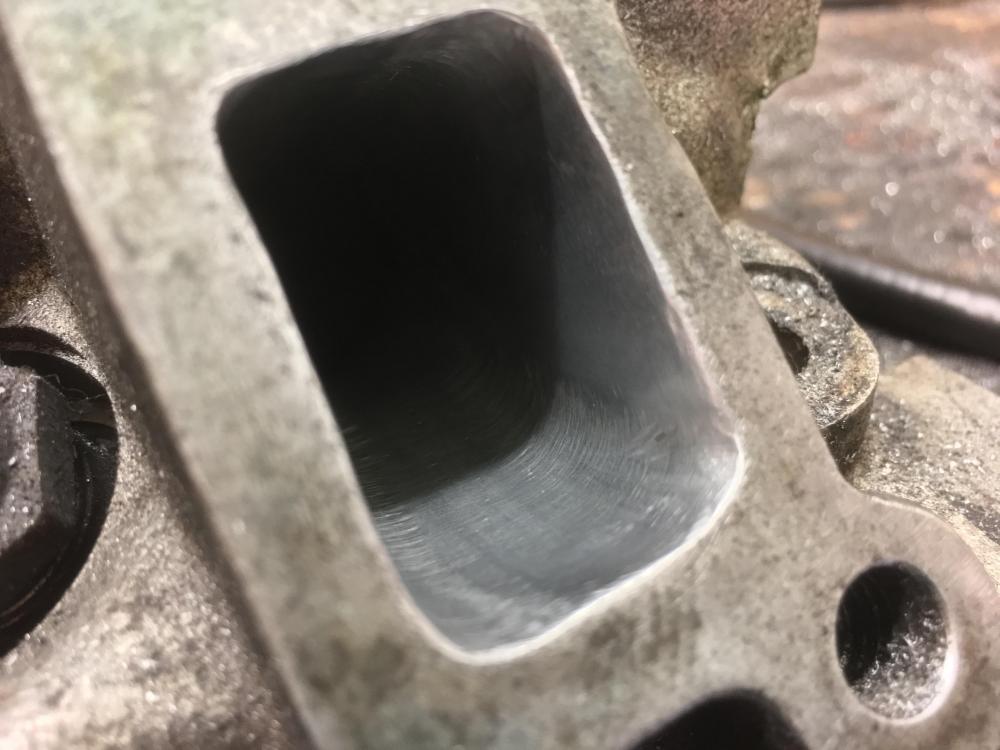
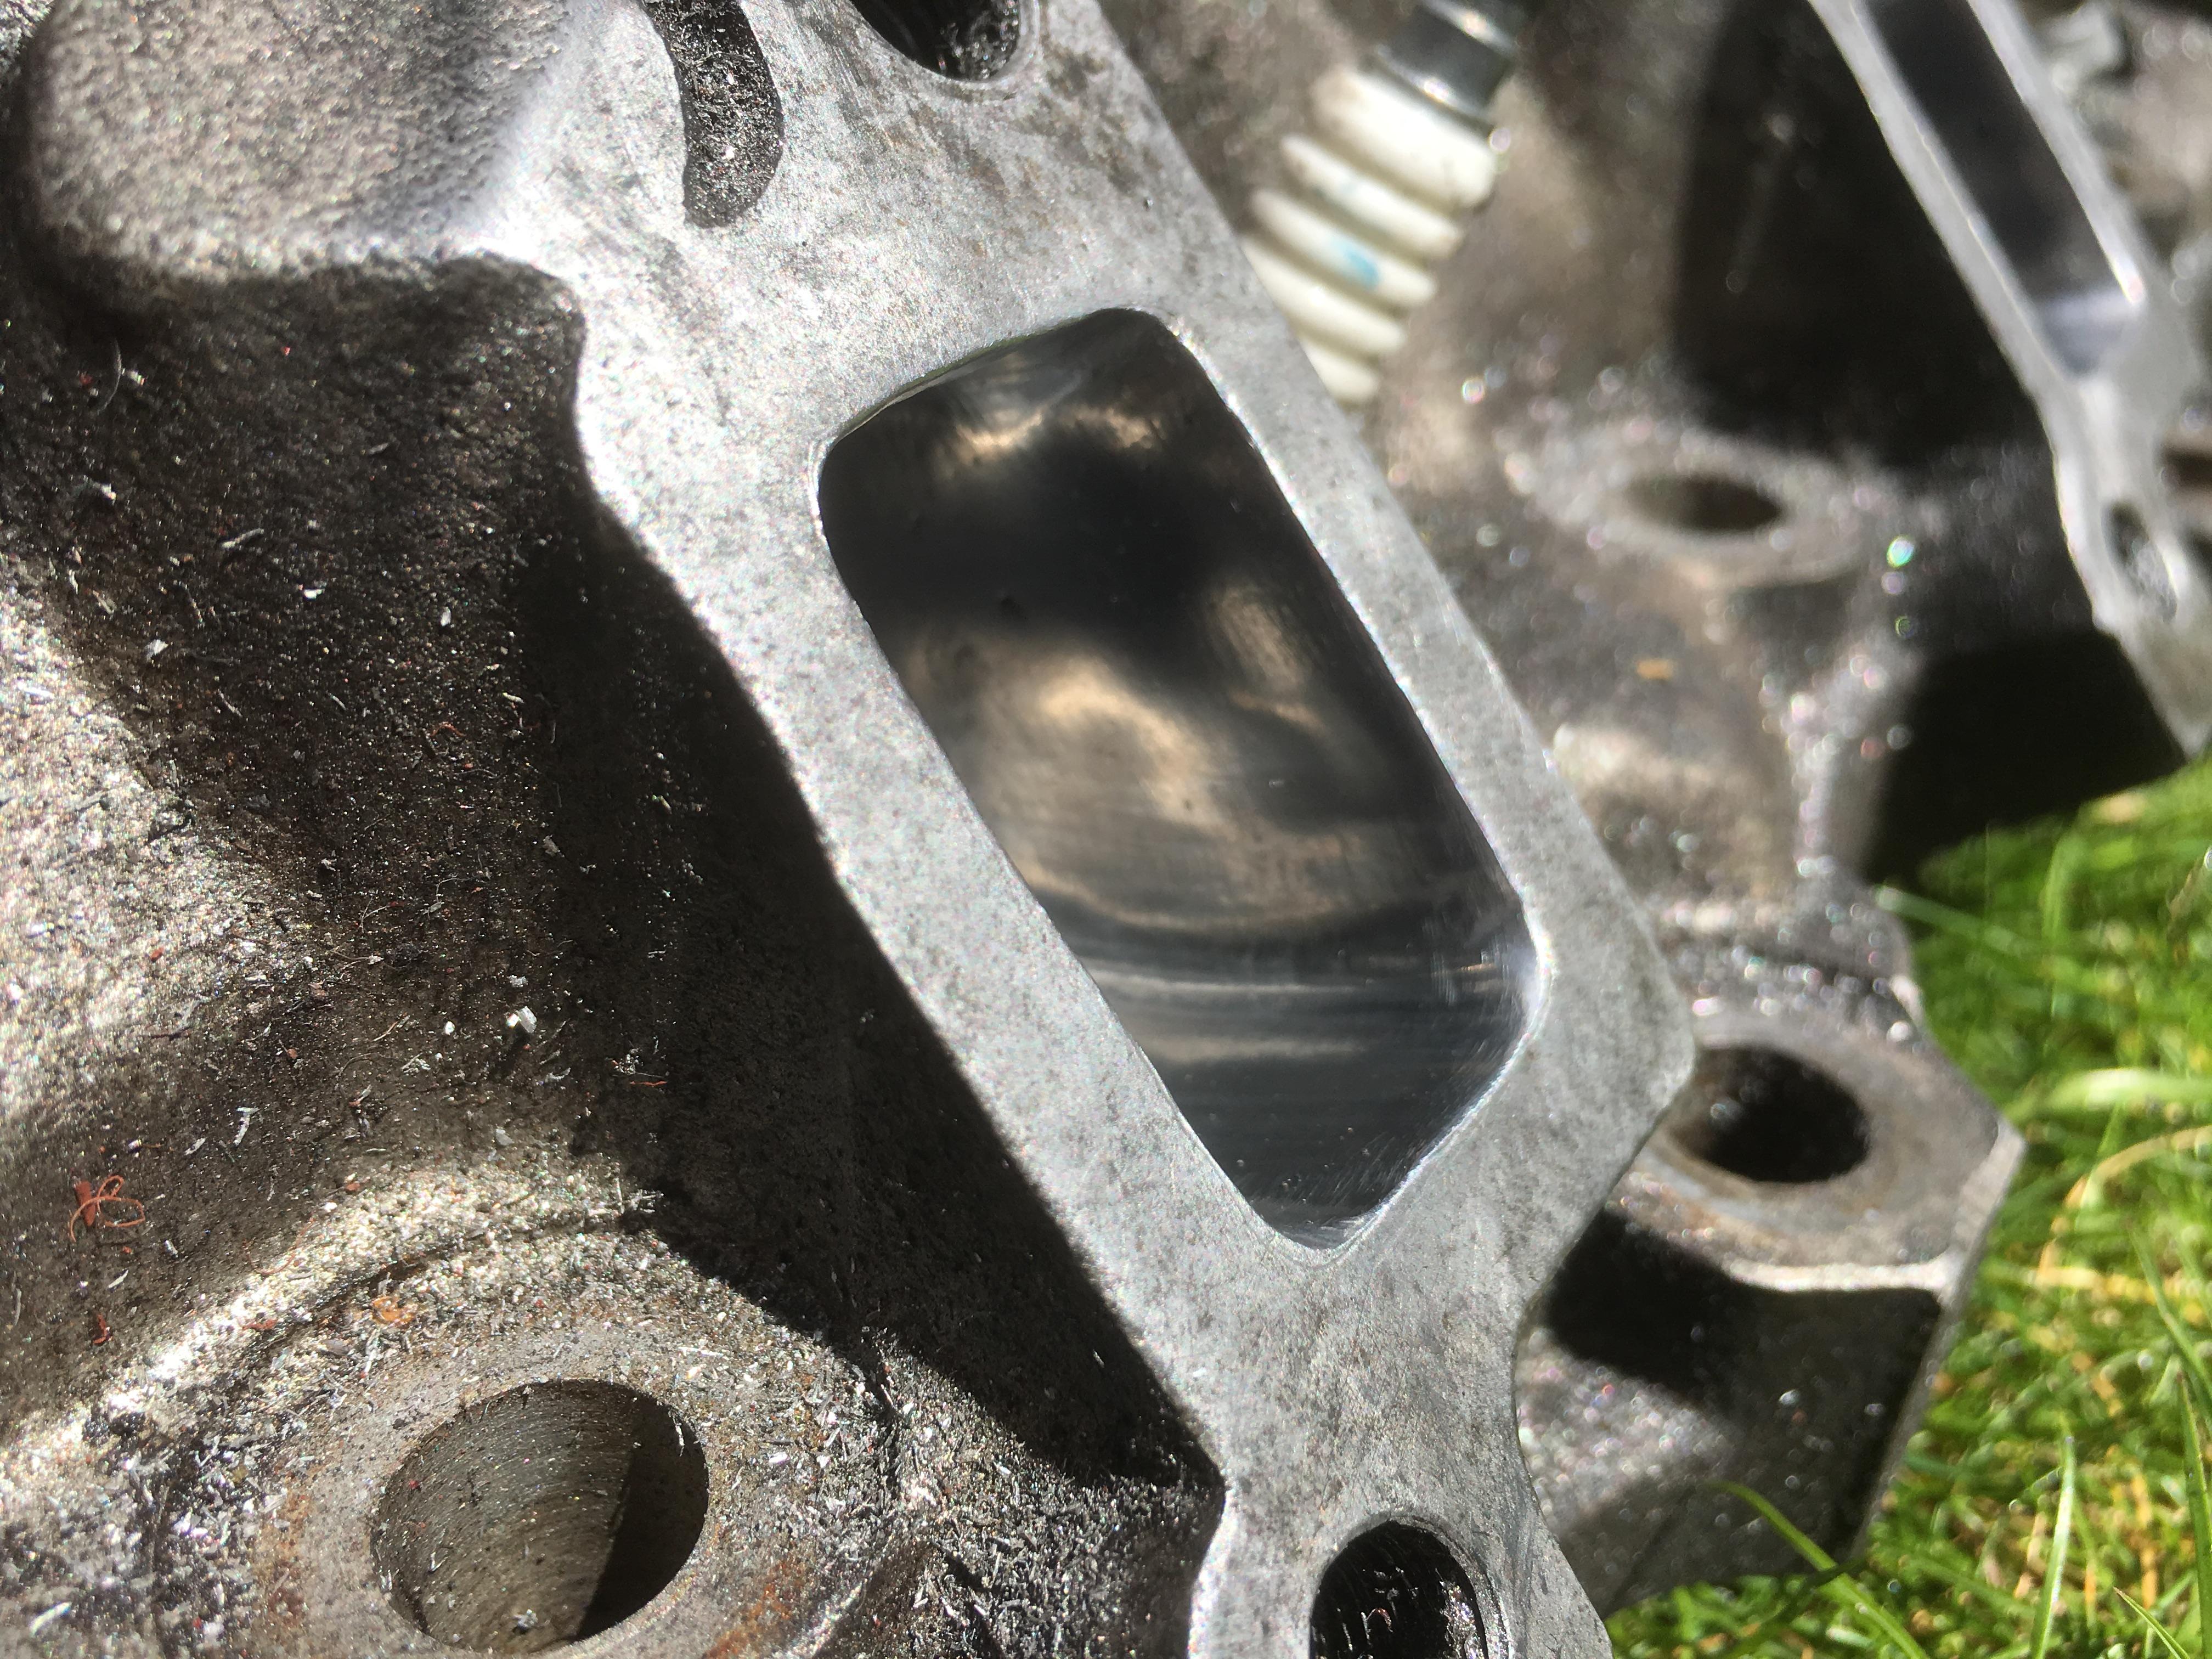
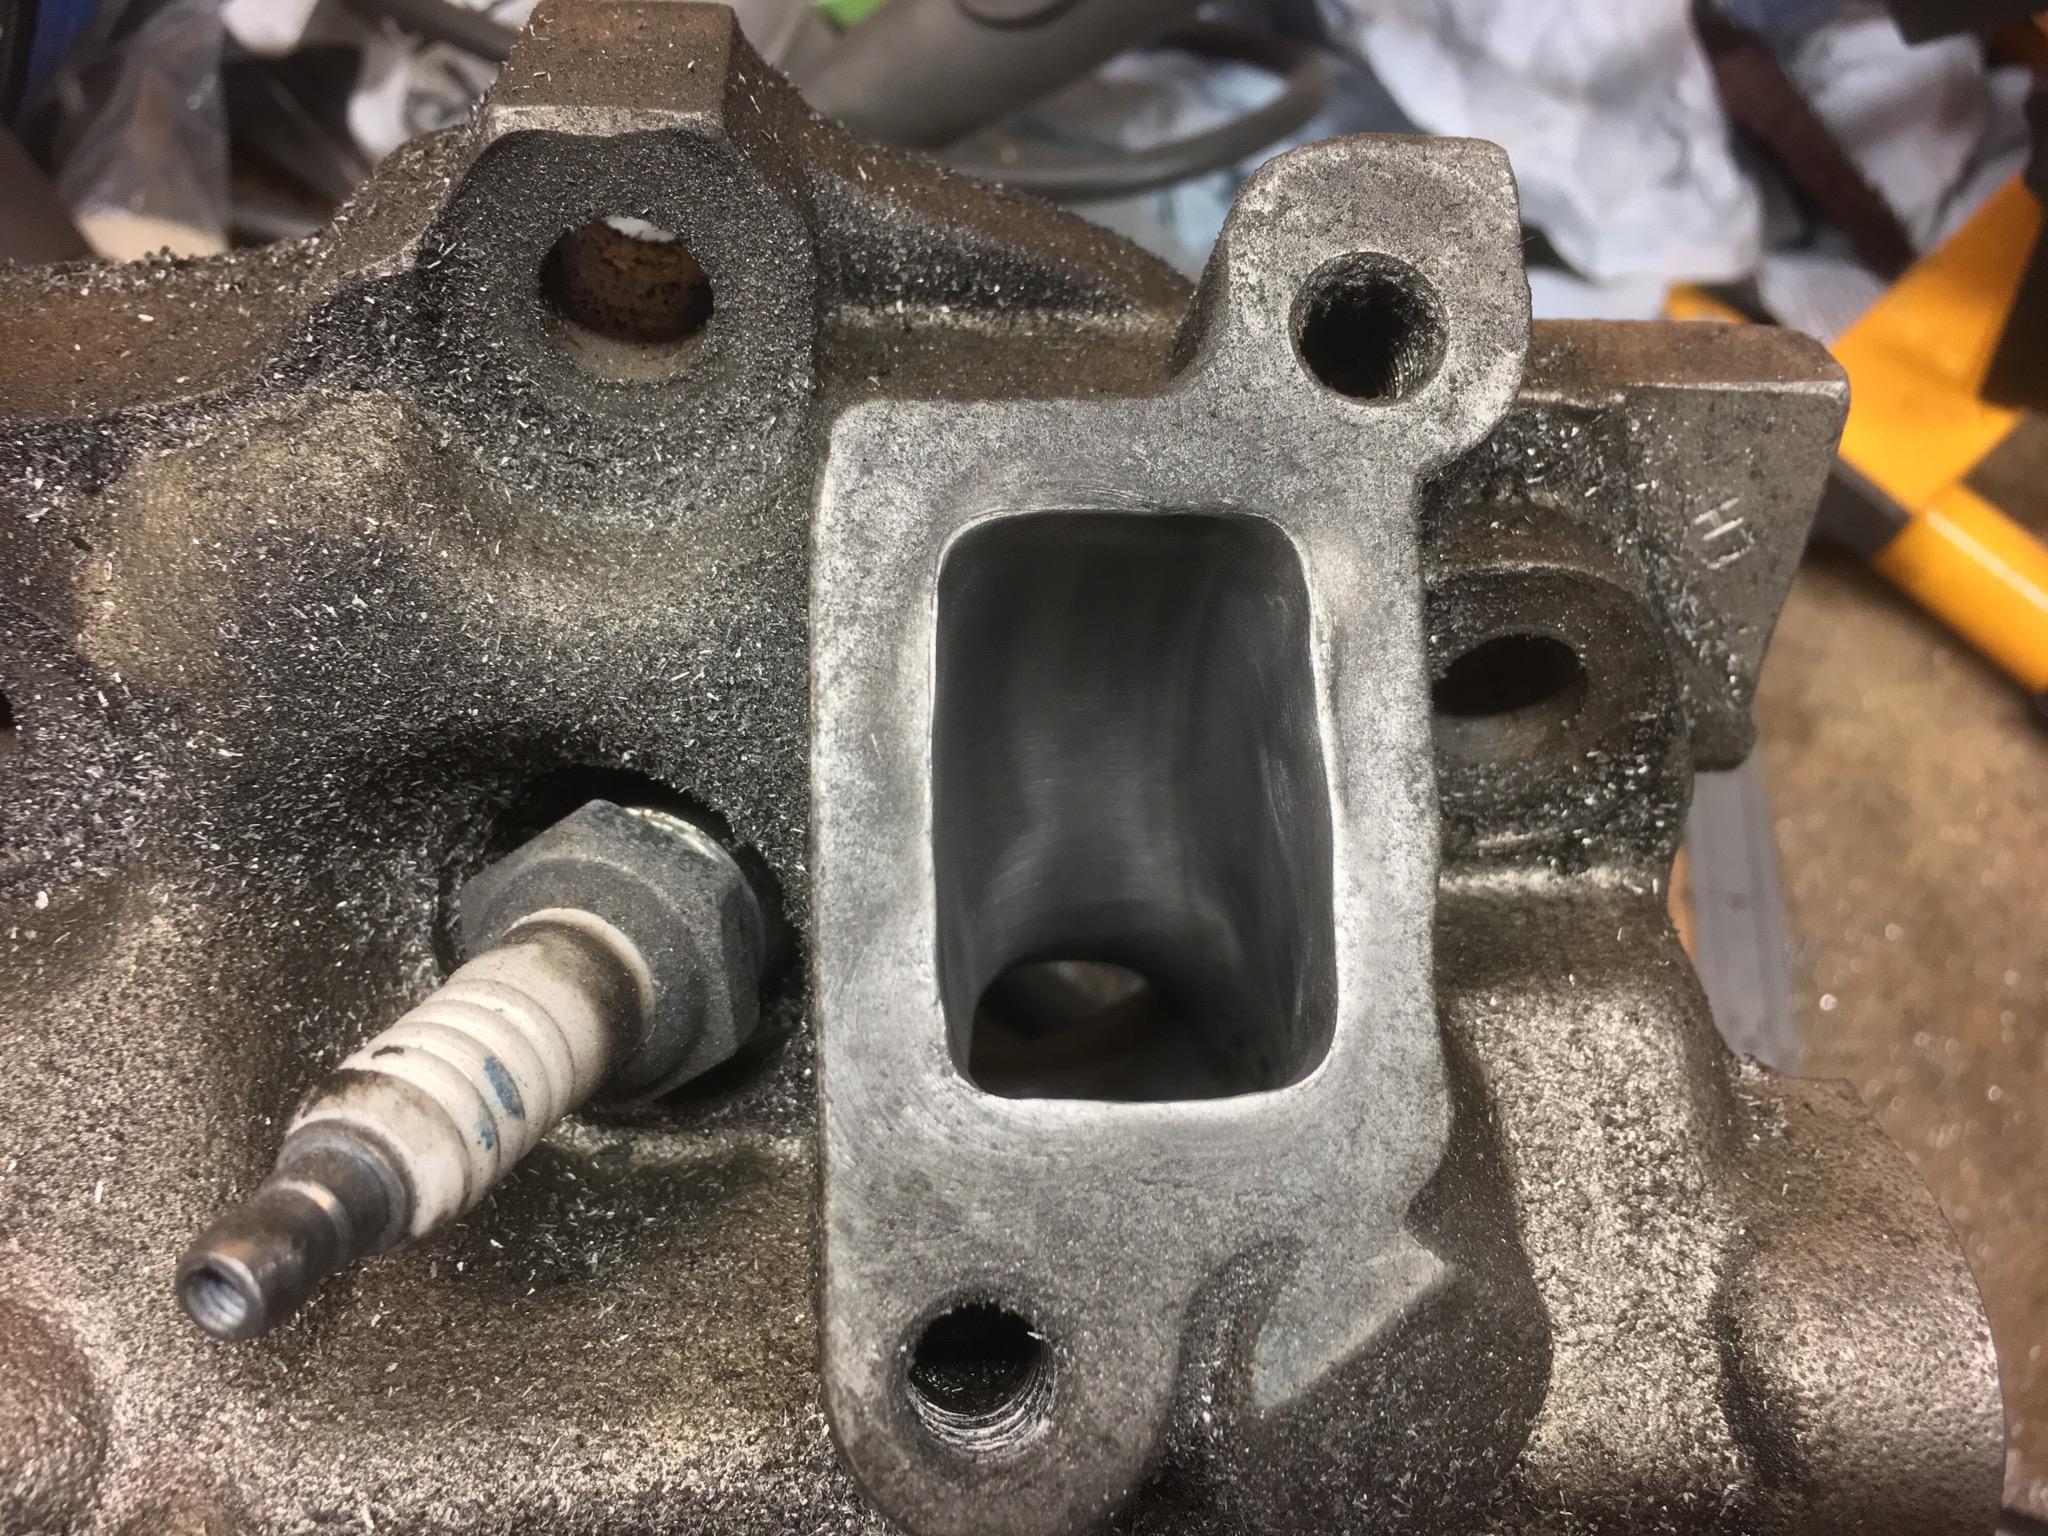
More progress made today. Got some photos of the first head with completed exhaust ports. Polishing four exhaust ports has so far taken two hours today, I it’ll be about the same on the second head.
Photos as follows:
1st: 400 grit buff
2nd: final polish
3rd: first polish
Now to start on the second head.

-
Bit more progress this evening. First photo is a 120 grit buffing wheel, second and third photos are a 240 grit buffing wheel. I have 16.5 hours on the board so far though I suspect it’s near or just over 20 now. Next up is 240 grit buff on the second head, then 300 grit buff the pair before decoking, porting and buffing the intake and polishing the top of the cylinders. Still a long way to go yet.
-
What Leyland managed to get out of it with the work that was done is impressive.
It would have been running more power when it was racing, the car has a stock exhaust system at the minute and SU carbs so it should be madness with quad Weber carbs
-
Cheers plenty more to do. I’m currently over 15 hours in and I’ve still got to buff the exhaust ports to 400 grit then polish them. Clean the carbon out of the ports and buff inside then buff and polish the cylinders and port the intake. Reckon there will be well over 70 hours in this when it’s done
-
The first picture is a 120 grit sand and the second is an 80 grit buff. I’m around 10 hours in and I have both heads at this stage. I will get all 8 exhaust ports to 150 grit before fully decoking the head and starting work on the combustion chamber. By which time I should have the inlet manifold gasket and that can be ported. After that it’s a case of buff everything and highly polish the exhaust ports and combustion chambers. Still a long way to go.


S14a major rebuild
in Other Motors Progress Blogs
Posted
Had the Tial MVR 44 turn up. This wastegate is massive but does fit under the manifold quite nicely.
Ordered all the pipework for the intercooler hopefully![]() I can get working on that in the next few weeks.
I can get working on that in the next few weeks. ![]()