

enzo_e492901
-
Content Count
219 -
Joined
-
Last visited
Content Type
Profiles
Forums
Wiki
Media Demo
Store
Calendar
Posts posted by enzo_e492901
-
-
I don't mind paying for sure but the funny thing is if you charge everyone to use the site the usage will go down for sure (maybe by alot maybe by a little) then maybe the site wont even need all this extra hosting stuff.
Gavin
-
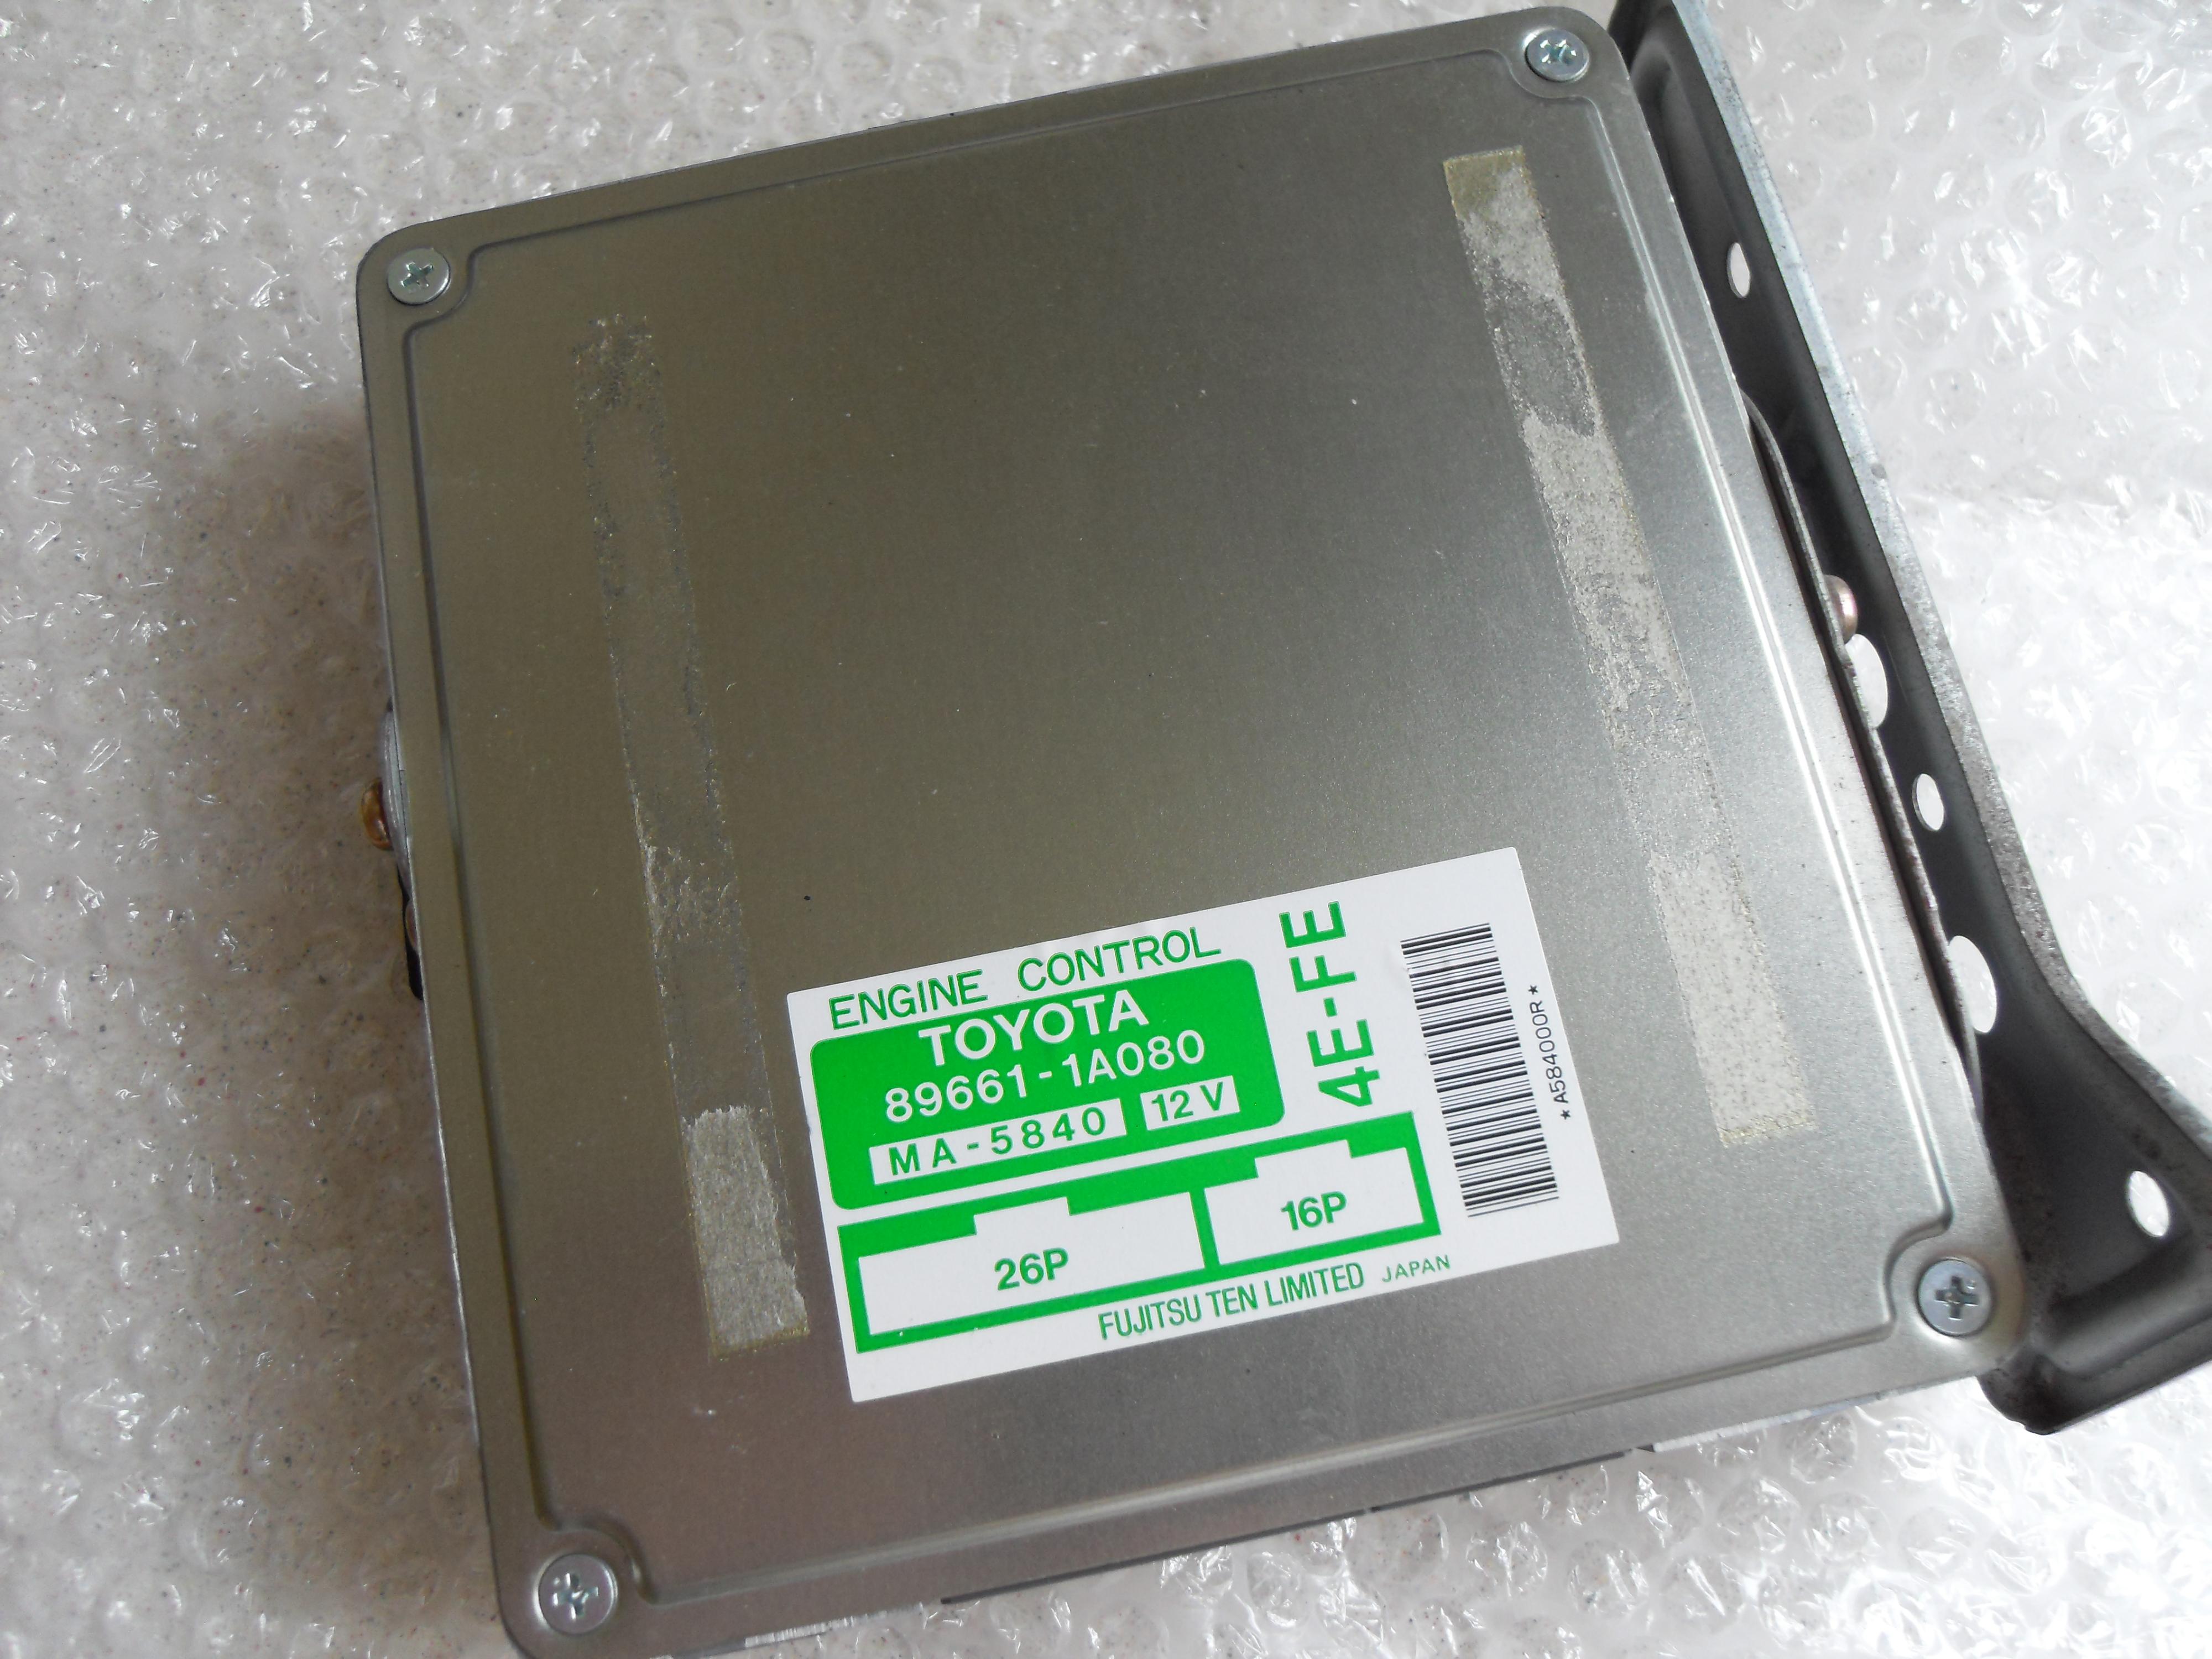
Yep and its gonna be running a Corolla 88HP ECU soon. Unless I can find a EP82 JDM 4E-FE ECU. I can't wait to find out if there is a difference or if it's all in the manifolds and injectors.
I don't have any photos of the pistons that really show the dome. Fail
Gavin
-
No you can't. Not unless they have taken one apart. (see build thread).
Edit: You can't see the dome very well in my thread. Trying to find better photo of my pistons now.
Gavin
-
The gen1 corolla had thinner rods then the jdm 4efe the jdm 4e also has the same pistons as the 4efte just a thicker HG

The JDM 4E-FE does not have the same pistons as a 4E-FTE. 4E pistons have a dome and 4E-FTE pistons have a flat top to lower compression for boost. Also, you use a thinner head gasked to rise the compression ratio.
They do share some components but not pistons.
A 4E with FTE pistons and a thicker head gasket is totally backwards.
Gavin
-
Using the cable from the gearbox the speedo in the back of the dials generates a SPD signal (aka VSS) and passes it to the ECU.
Someone has kindly put together a comprehensive wiring/connector document. Wiring Document I know it's EP82 but it might help. Page 14 and 15 in the document.
Gavin
-
Yeah Army-Navy fittings (AN) should not leak. Something is wrong. lol
The hose ends onto the adaptors (number 2 in photo 1) do not need to be very tight and they are easy to damage. Even anodised Aluminium to Aluminium threads and cones/seats will benefit from lubricating to prevent galling.
If the hose/end is leaking from...
...number 1 in photo 1 the hose and end is not assembled properly.
...number 2 in photo 1 the adaptor cone or the hose end cone seat is damaged. You can get soft aluminium Conical Seals that kinda repair the cone/seat. See photo 2.
...number 3 in photo 1 there should be PTFE tape or a Dowty type seal washer. See photo 3.
Photo 1

Photo 2

Photo 3

Gavin
-
I think they are all right. I might have the distributor and water pump the wrong way around. Not sure what the 2 small metal washers are for.

Edit: I think the power steering pressure pipe will only use 2 of the washers on one end and I bet the other 2 are for temp sensors (water and air or both water).
Gavin
-
I thought it was only really early 4E series heads that had an extra water port to the side of one of the main intake ports. As far as I know this water port has never been used on any 4E series engine. Like you say other manifolds just blank it off/cover it up. So who knows what it was for.
Gavin
-
Worked for me to
 the reason you have to turn the TPS 360Deg's is because the glanza/GT TB dosent seem open enuf so there for wont start! so if you turn the TPS 360Deg it opens the flap enuf to start..But i do get your point though gavin why should you have to turn the tps at all if the ecu read it right then it should adjust the tps automatically? its because the ecu's not programed for that type of TPS and funny you should say it will run like a bag of blots i never got mine to tick over right was bobing up and down like i dont know what.
Ah, right, so, it sounds like whats being tried is adjusting the TPS beyond it's limits to force the butterfly (flap as you put it) open a little as to set idle, rendering the TPS even more useless. That's because the idle/idle up system also differs from Glanza to EP91 N/A and it's the only way to get it to idle. It's a real bad way to do it. You also loose cold start and electrical load idle up systems if using Glanza TB on EP91 N/A ECU.
But the glanza TB has a idle adjustment screw so why set the idle with the butterfly (flap)?
Gavin
-
i think it just adjusts the tps to go with the n/a ecu
There is no way to adjust a Glanza TPS for use with a EP91 N/A ecu.
The GT/Glanza TPS is a switch type TPS (on-off-on) and the EP91 N/A one is a variable resistance type. They are not interchangeable, how Ryan got his to work I will never know. If you connect a switch type TPS to a ECU that needs a variable type it will at best run like a bag of bolts and at worst damage the ECU!
Even if it was possible I see no reason what so ever to turn a TPS or the shaft 360Deg.
Gavin
-
Ah right I didn't know that, cheers for the reply. How hard is it to get the fte throttle body to work on it instead then?
I'm not sure to be honest. The FTE throttle body has a different throttle position sensor and cold idle/idle up system.
Gavin
-
Hi ive recently fitted a 4efte inlet mani to my n/a 4efe. Im using the standard 4e throttle body. Problem im getting is that it either revs very high or they fluctuate up and down. I unplugged the white plug out of the sensor on bottom of throttle body and it now idles fine. Obviously this is not right as my engine management light has come on but has anyone got any ideas on what the problem could be. Any help would be great cheers?
My guess is it's a vacuum leak.
When using a FE throttle body with an FTE inlet it creates a gap at the back of the throttle body. This is because the mounting face of the FTE inlet is different to the FE one.
You can get a plate made up to the shape of the FE inlet to sit between the FTE inlet and FE throttle body.
Gavin
-
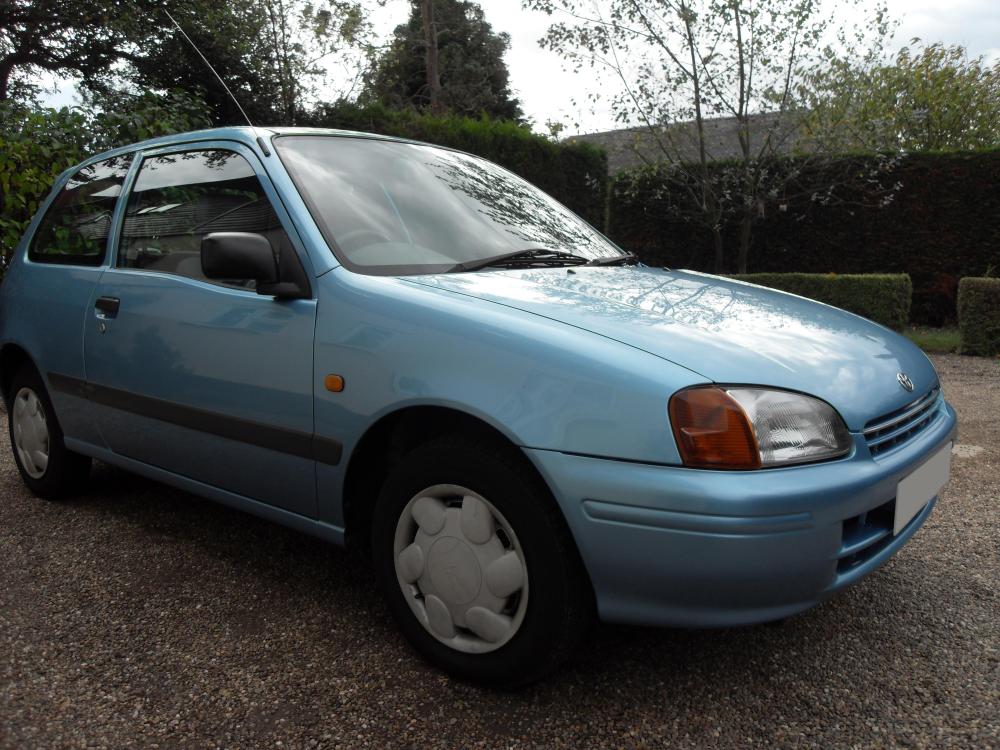
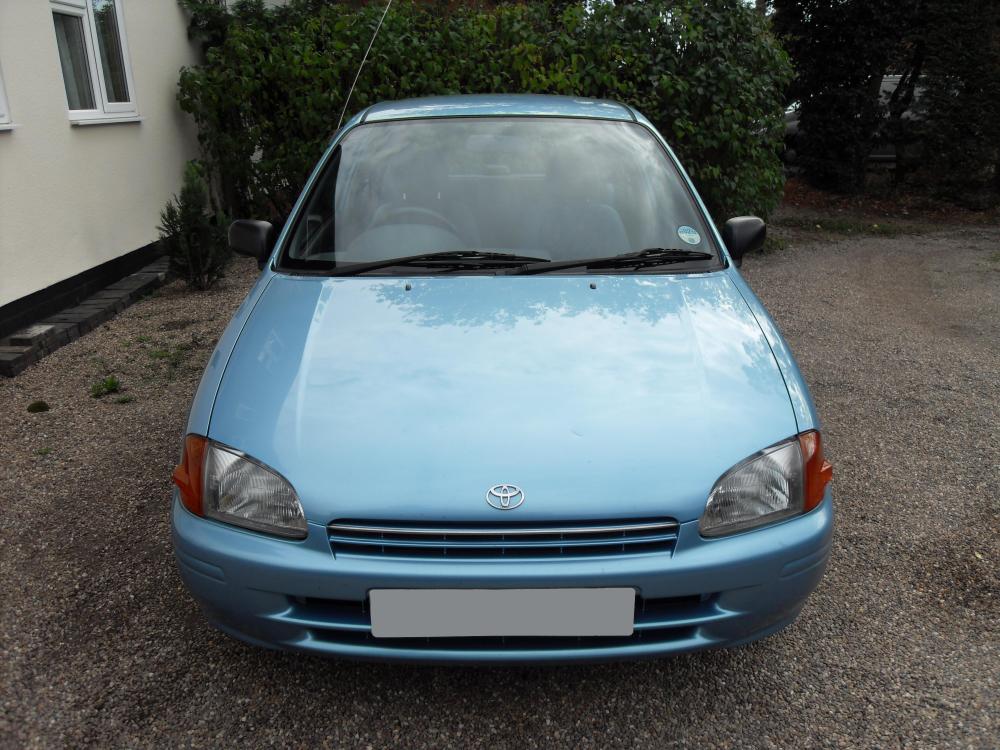
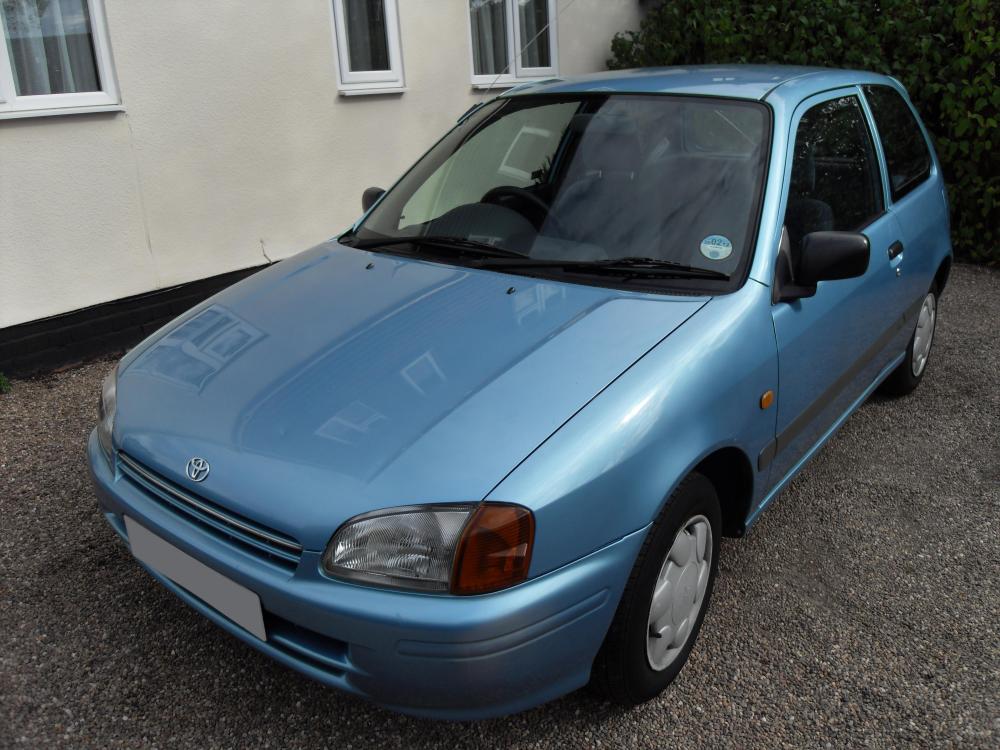
Plans have changed or should I say the car has been changed. I came across a 1998 Starlet S with 53K on the clock in a colour that I have been after for a long time. It was a good price for the condition and came along at the right time so I bought it. The plan now is to drive the new starlet over the winter and at the same time get the new/old upgrades and Gi engine from my old starlet ready for swapping over in the spring.

The parts i'm collecting are still turning up slowly. I am also still working on custom parts.
C J Performance adjustable cam gear and lightweight pulleys
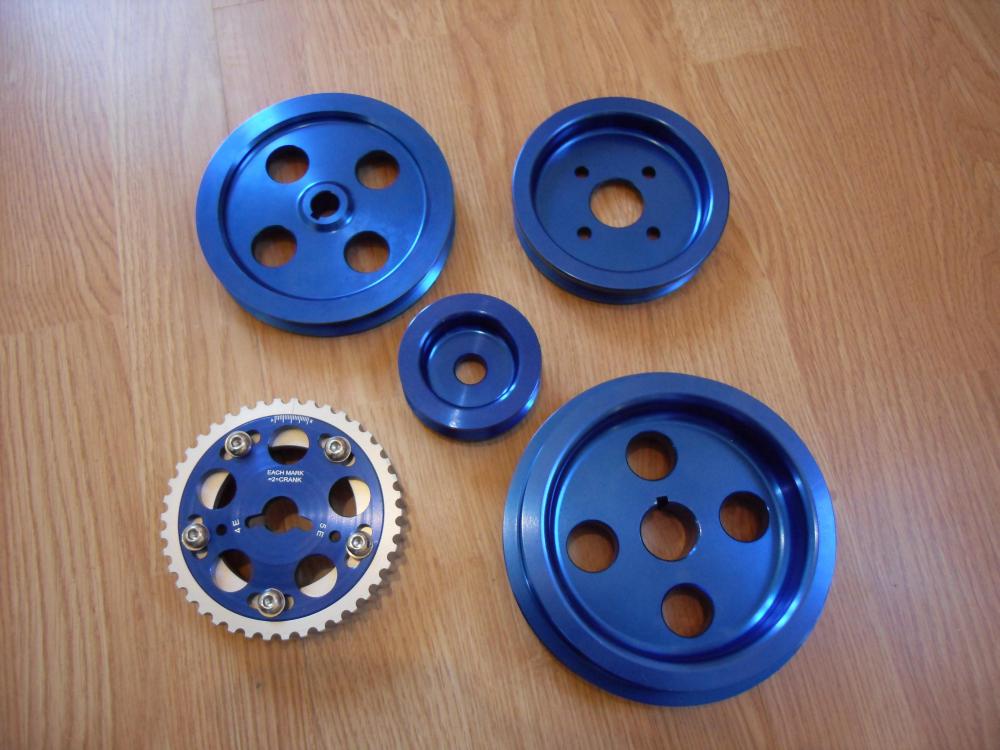
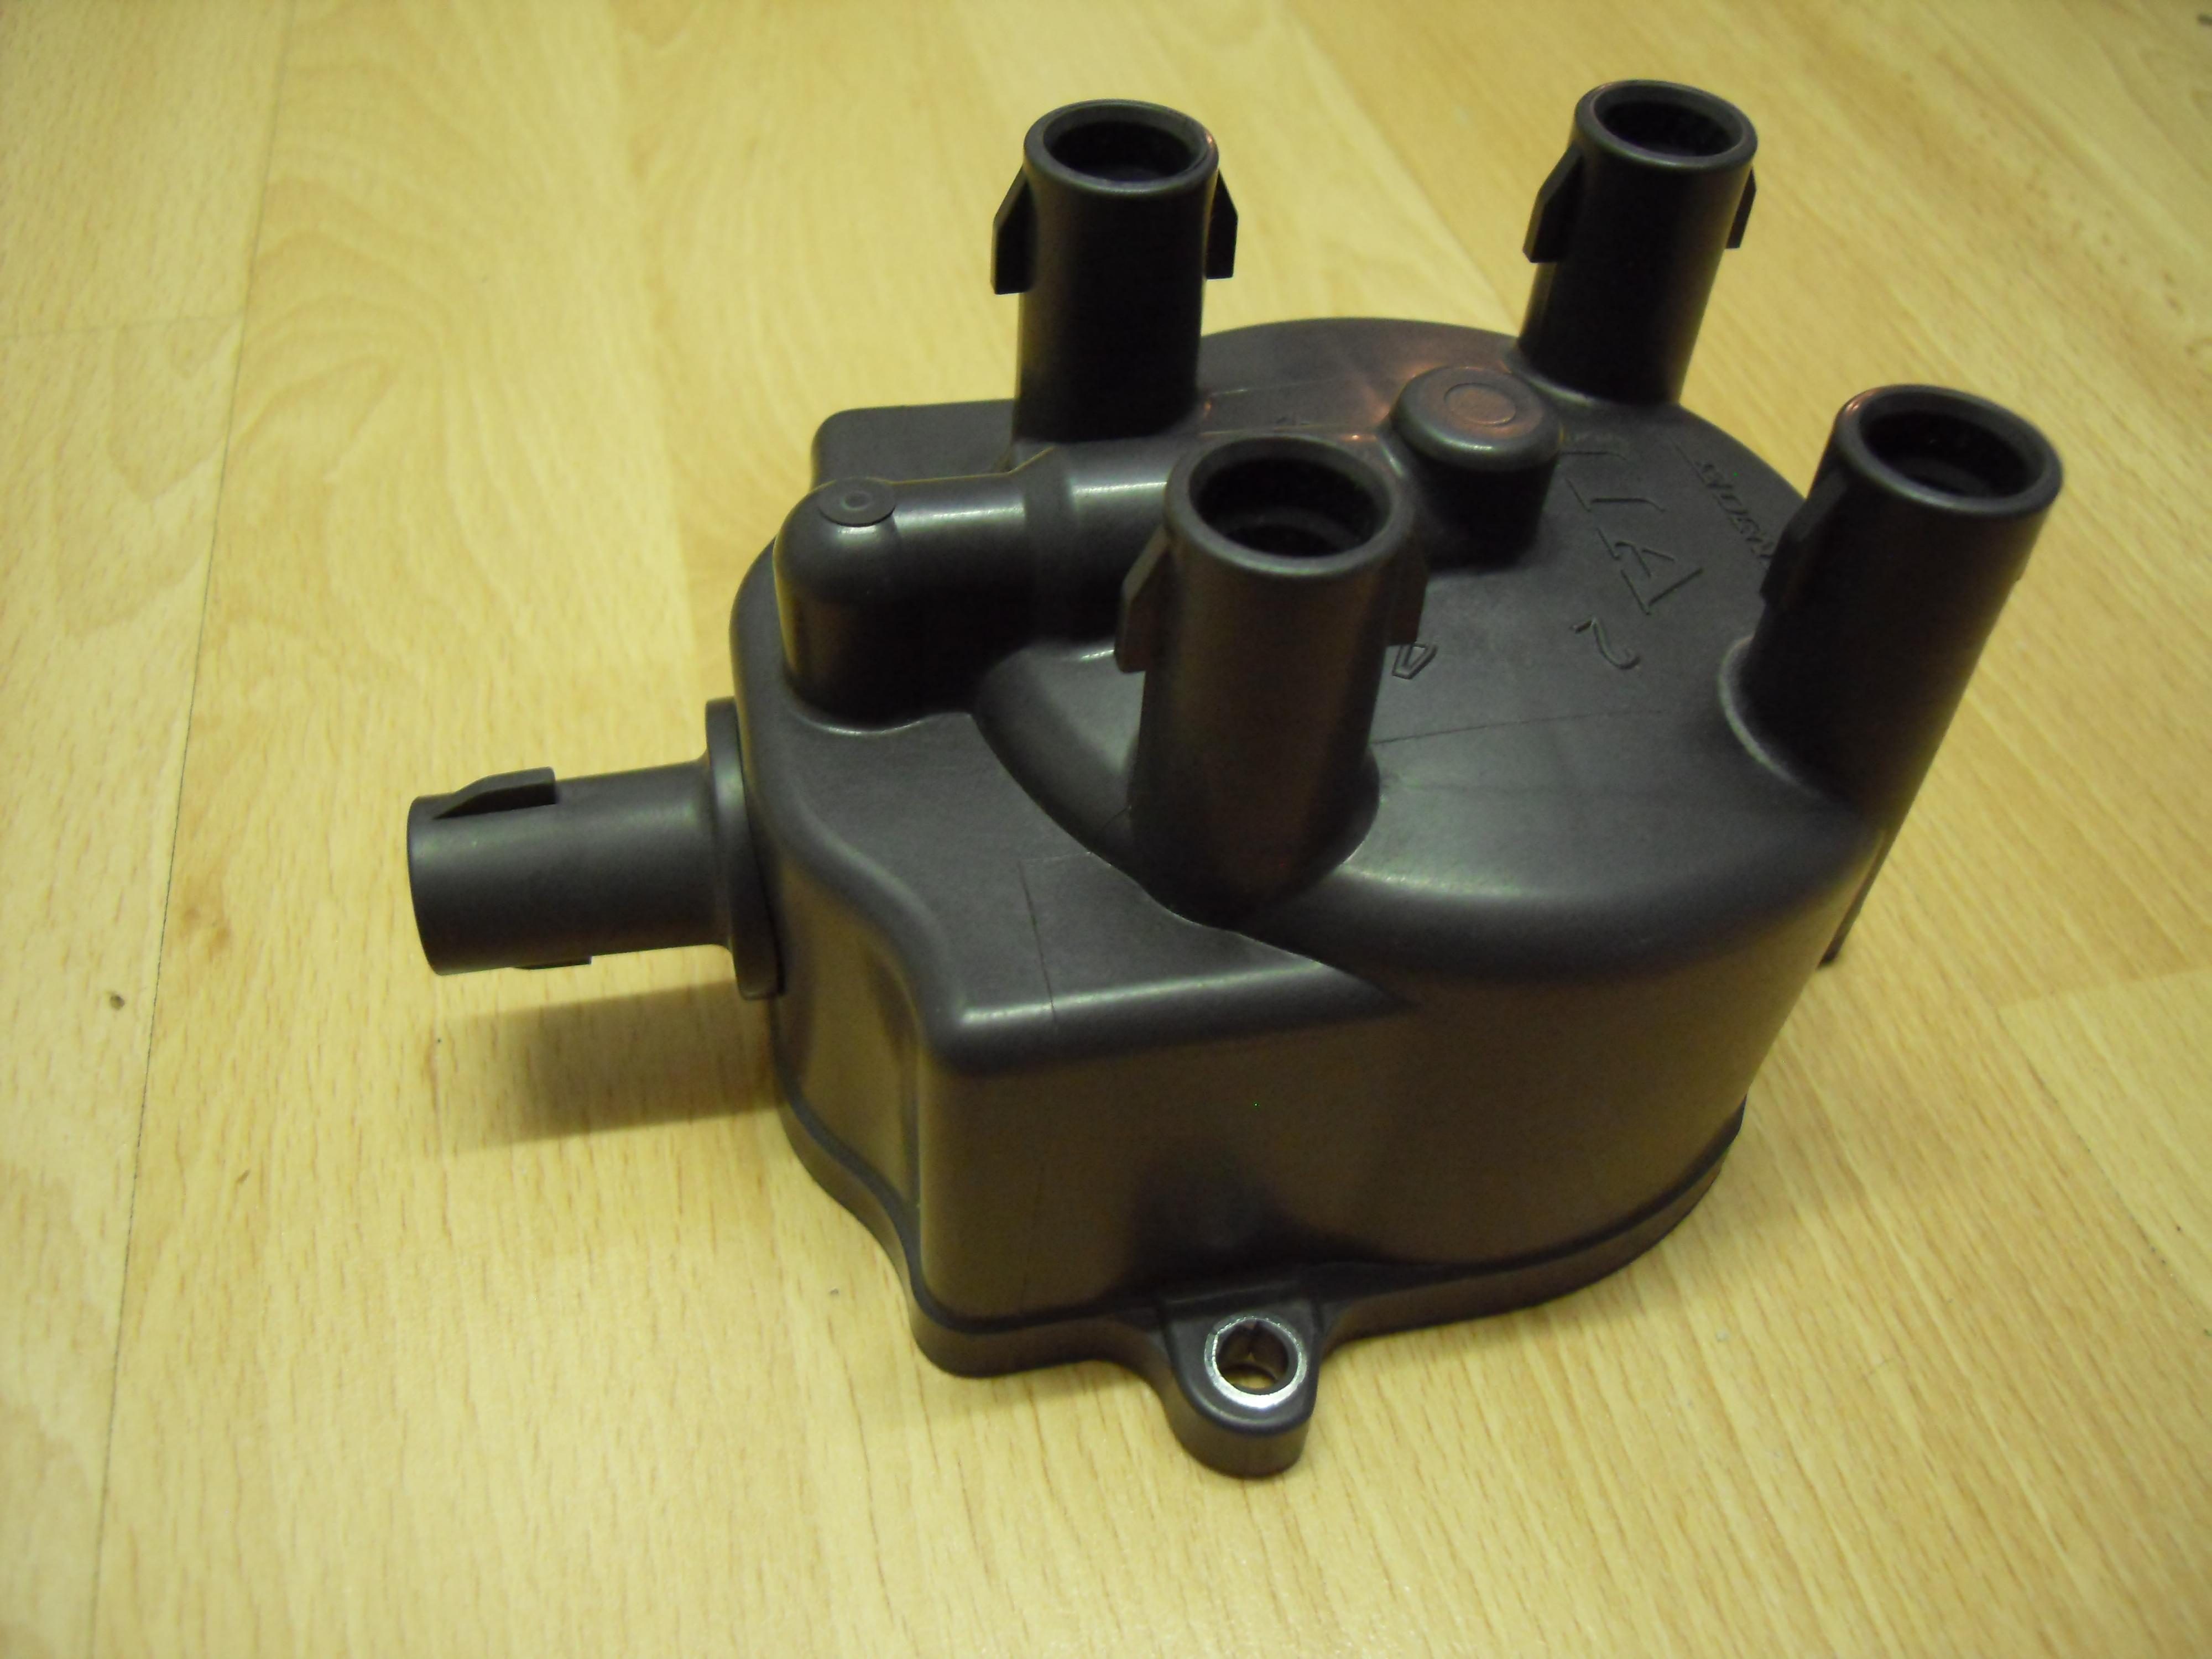
Custom distributor cap for use with an external coil when runnig the MSD Ignition.

Gavin
-
This is, and I think always will be, one of my favourite N/A projects on this site. Love your attention to detail, and the engine bay is always minty clean.
You at JAE man? Would love to stuff my head into the engine bay and have a good look! :harhar:
Thanks dude. It's all about the details. Things are starting to get interesting now so keep your eyes peeled.
Unfortunately I won't be at JAE. The car is off the road for the winter already.
Gavin
-
where did you get the leads from mate?
I got them from RHD Japan.
Gavin
-
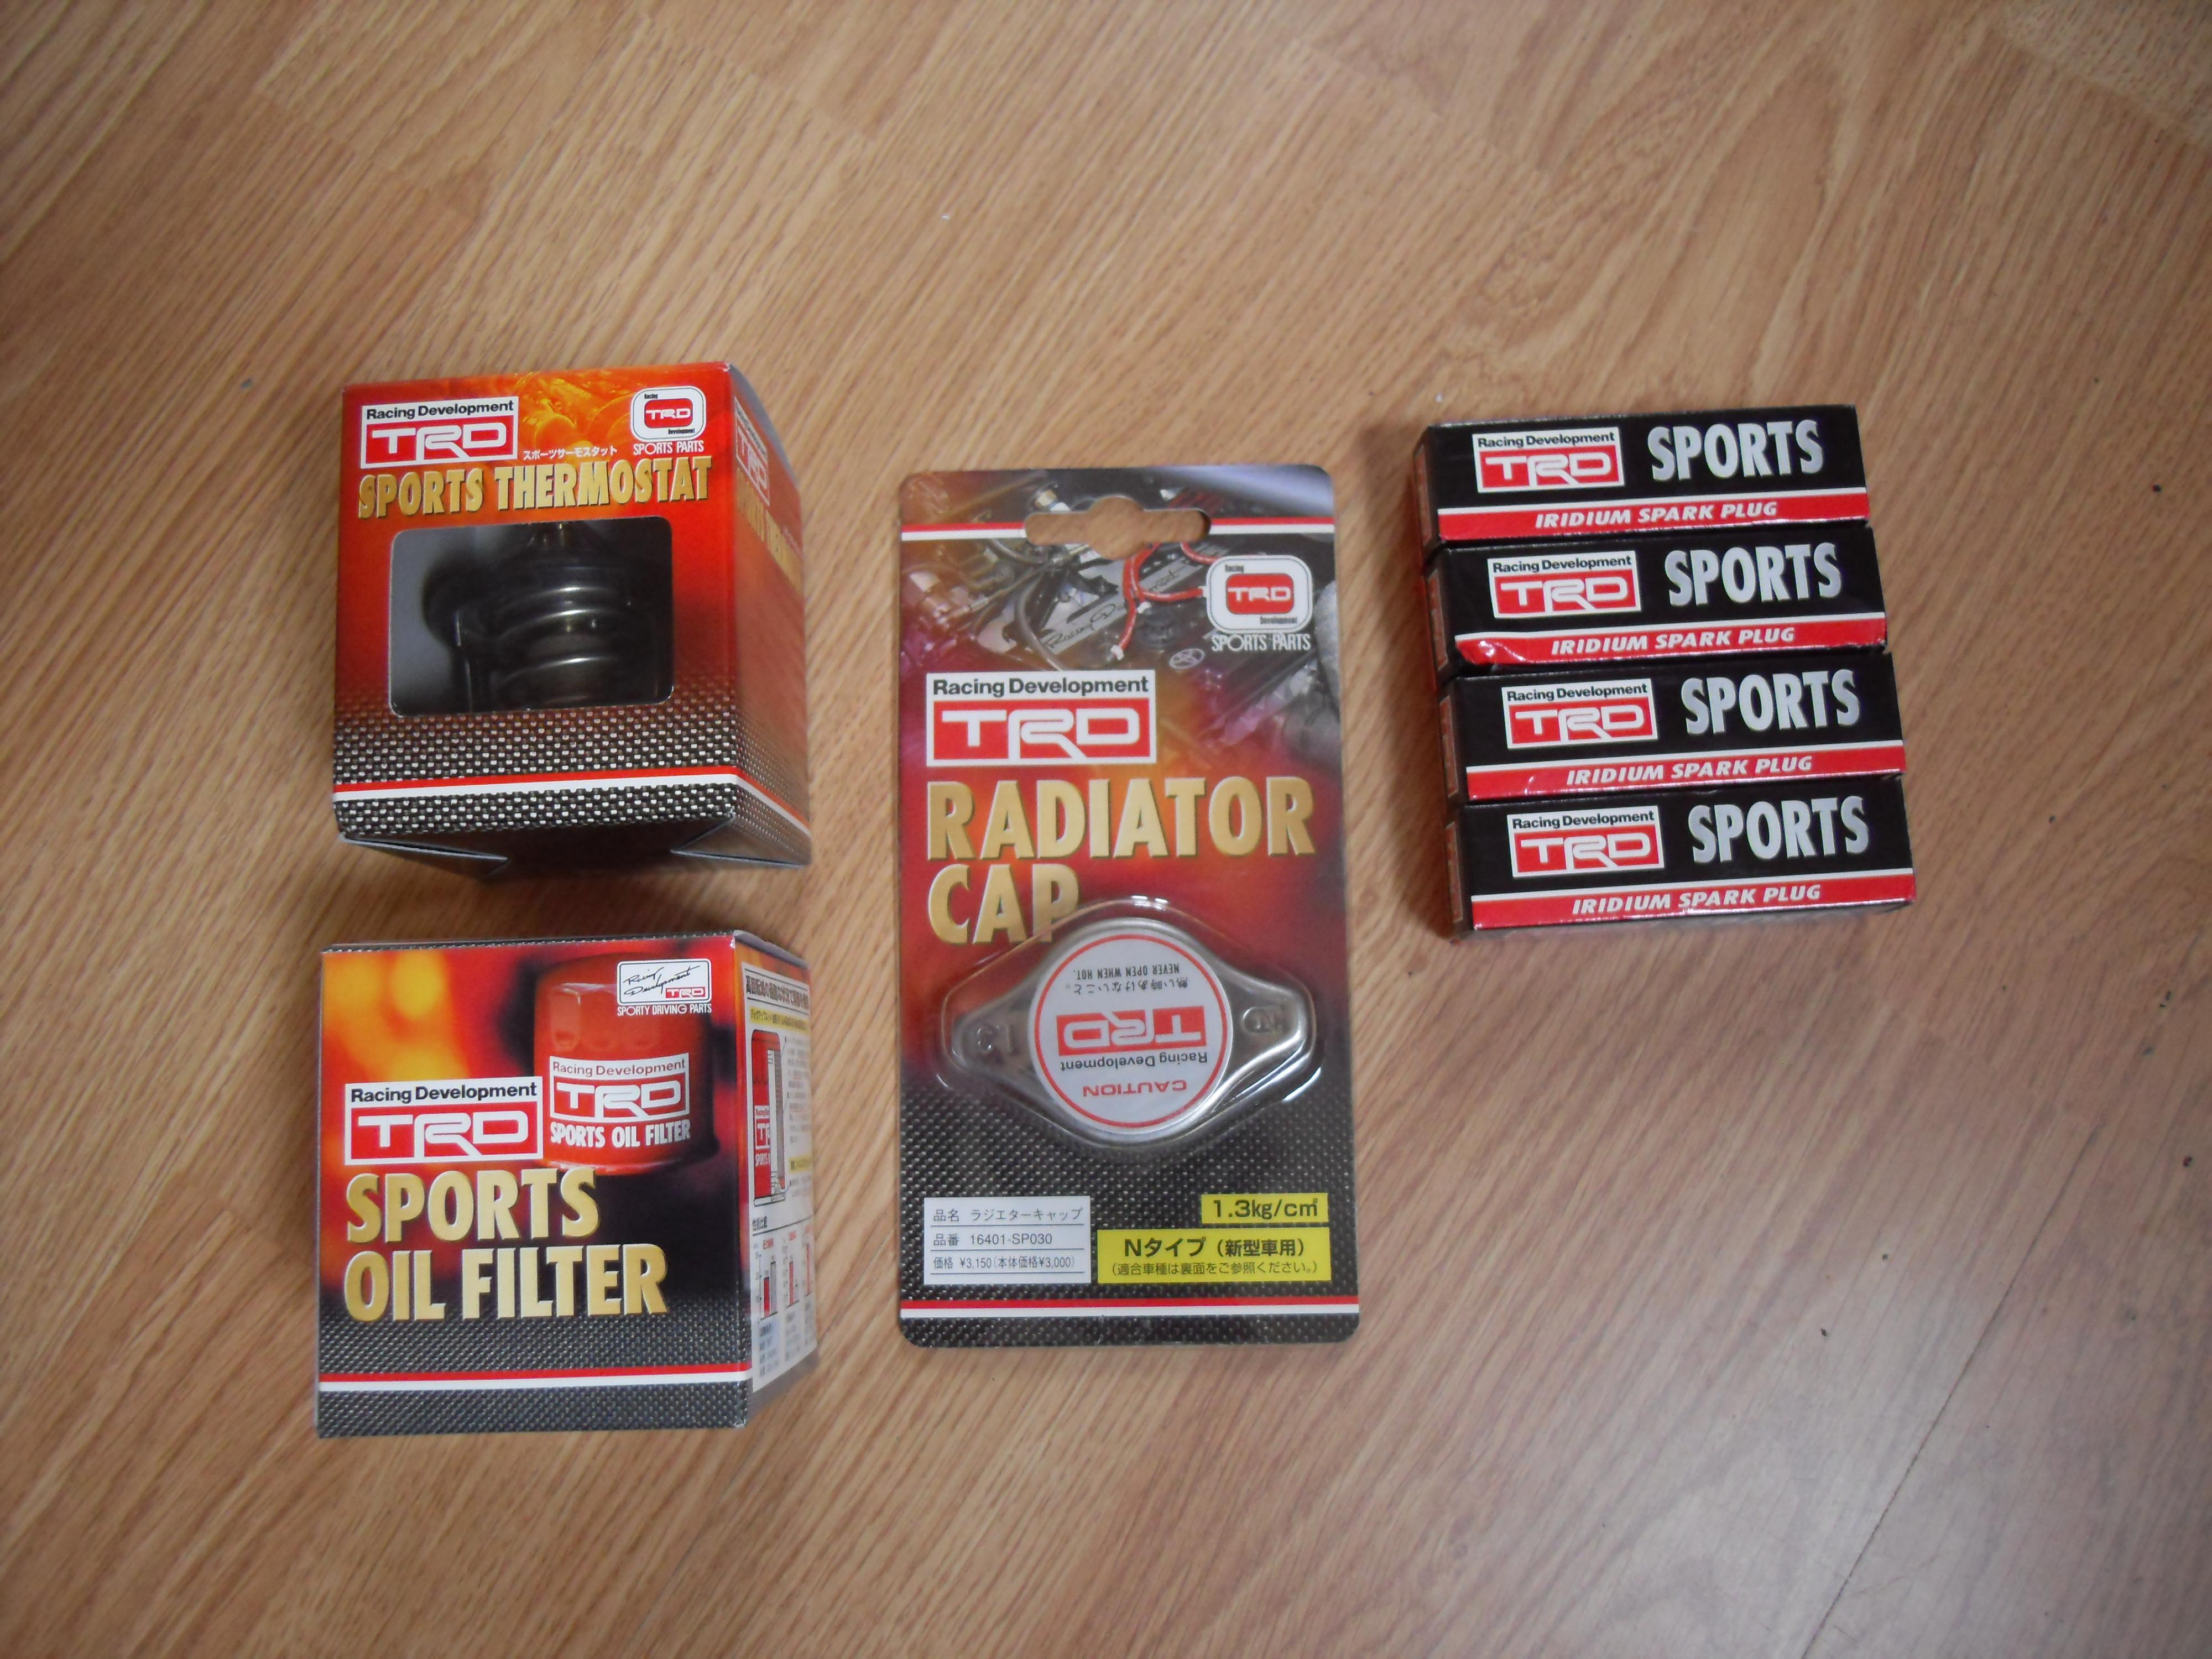
Some more parts have arrived and have been added to the collection.
TRD Oil filter, Rad Cap, Low Temp Thermostat and Spark Plugs

MSD Digital 6A Ignition and Tach Adapter
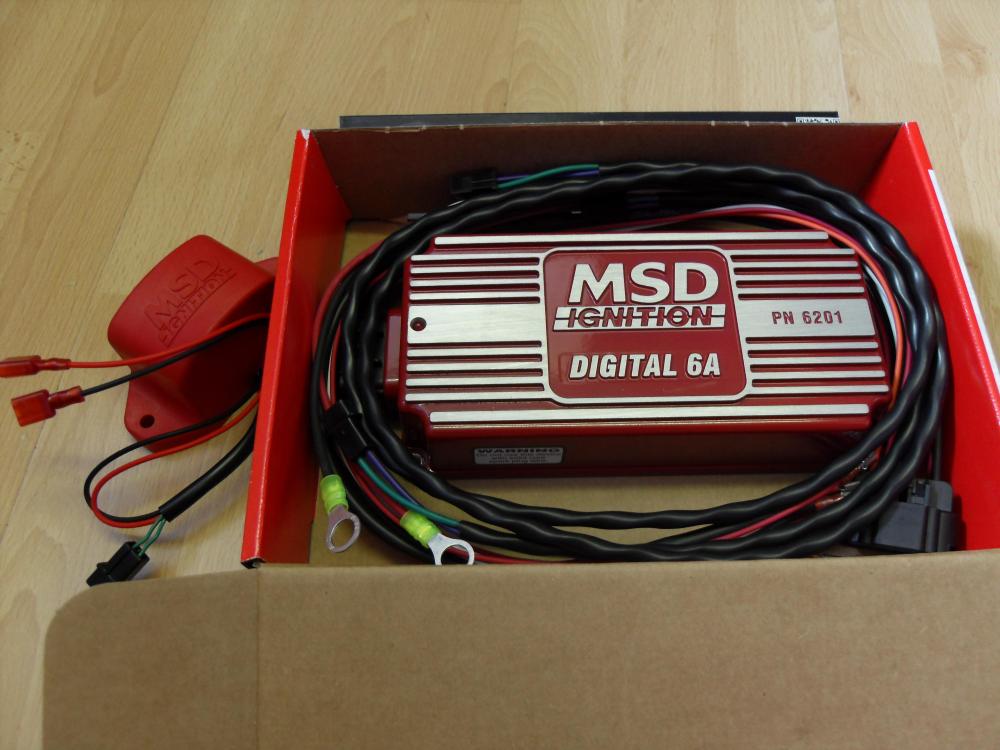
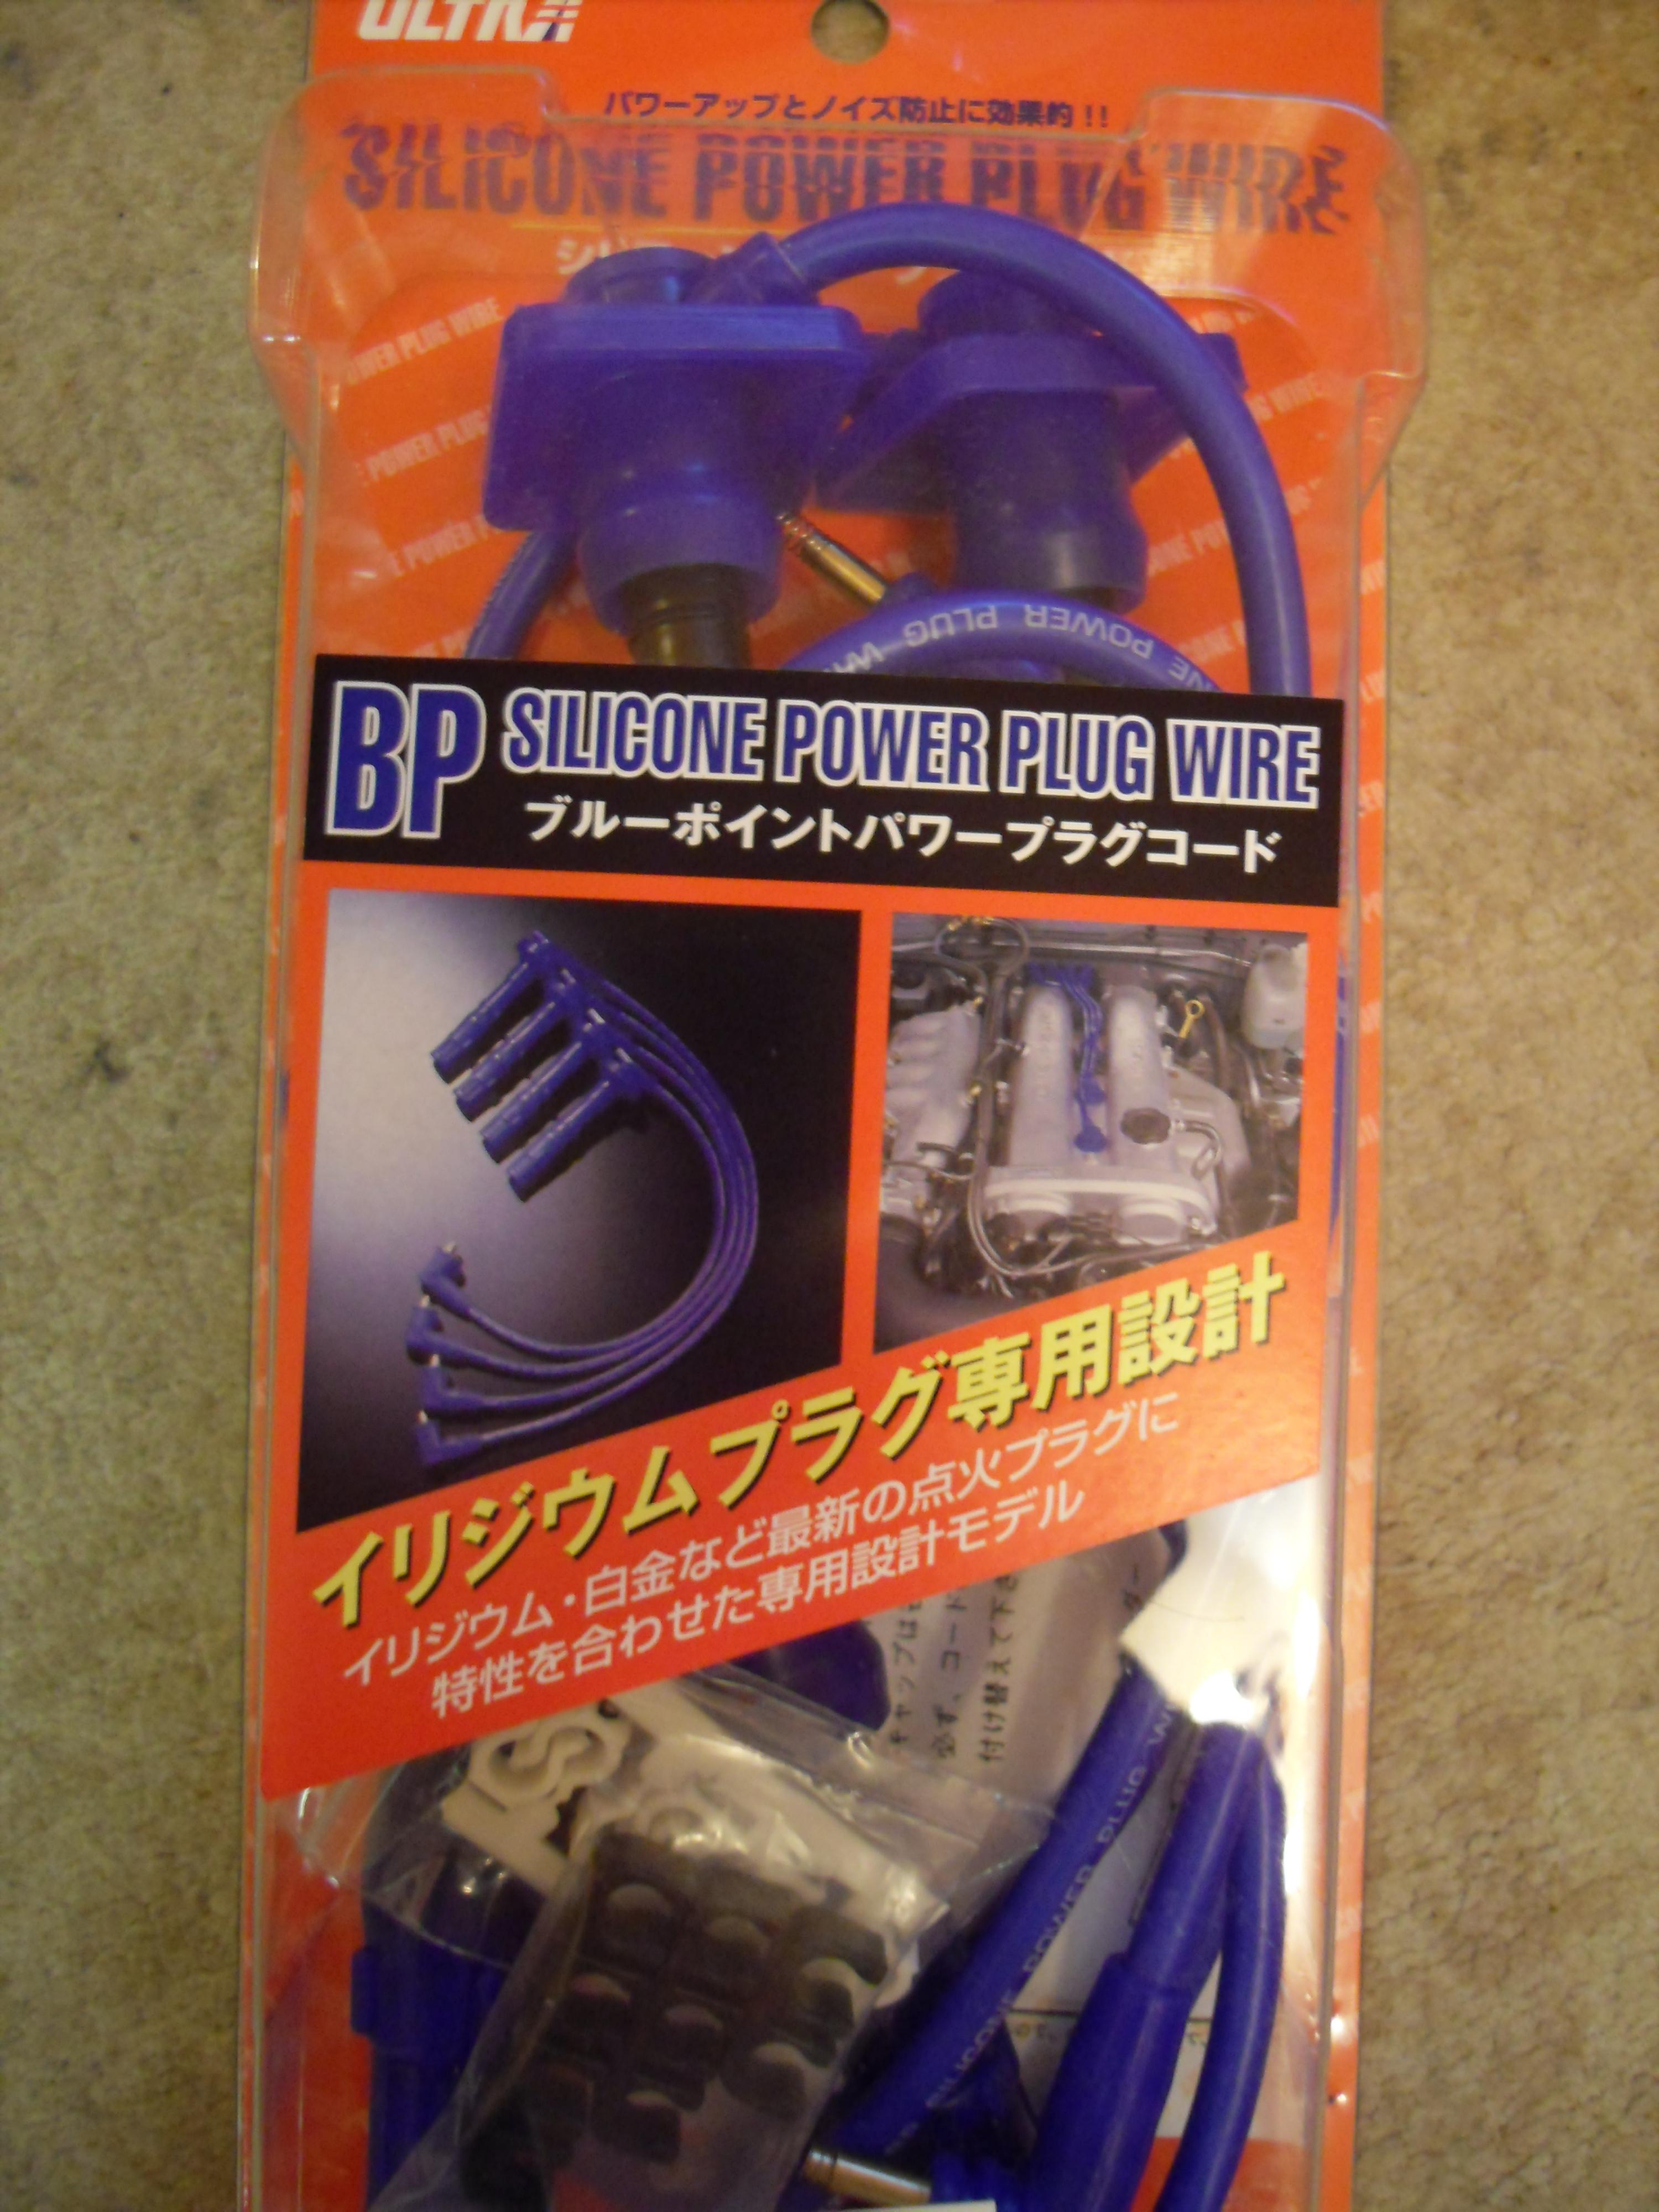
Ultra Blue Point Silicone Ignition Leads

More soon
Gavin
-
I don't want to dampen anyone spirit but I feel I should say something...
The crystal inside the ECU is a timing crystal. It basically governs the speed of the microprocessor. The microprocessor uses it for calculations that are based on time. If you change the crystal it will screw with all time based calculations and forces the microprocessor to work at a speed it's not designed for. So as well as changing the rev limit it is lickly to mess with fueling and timing.
Gavin
-
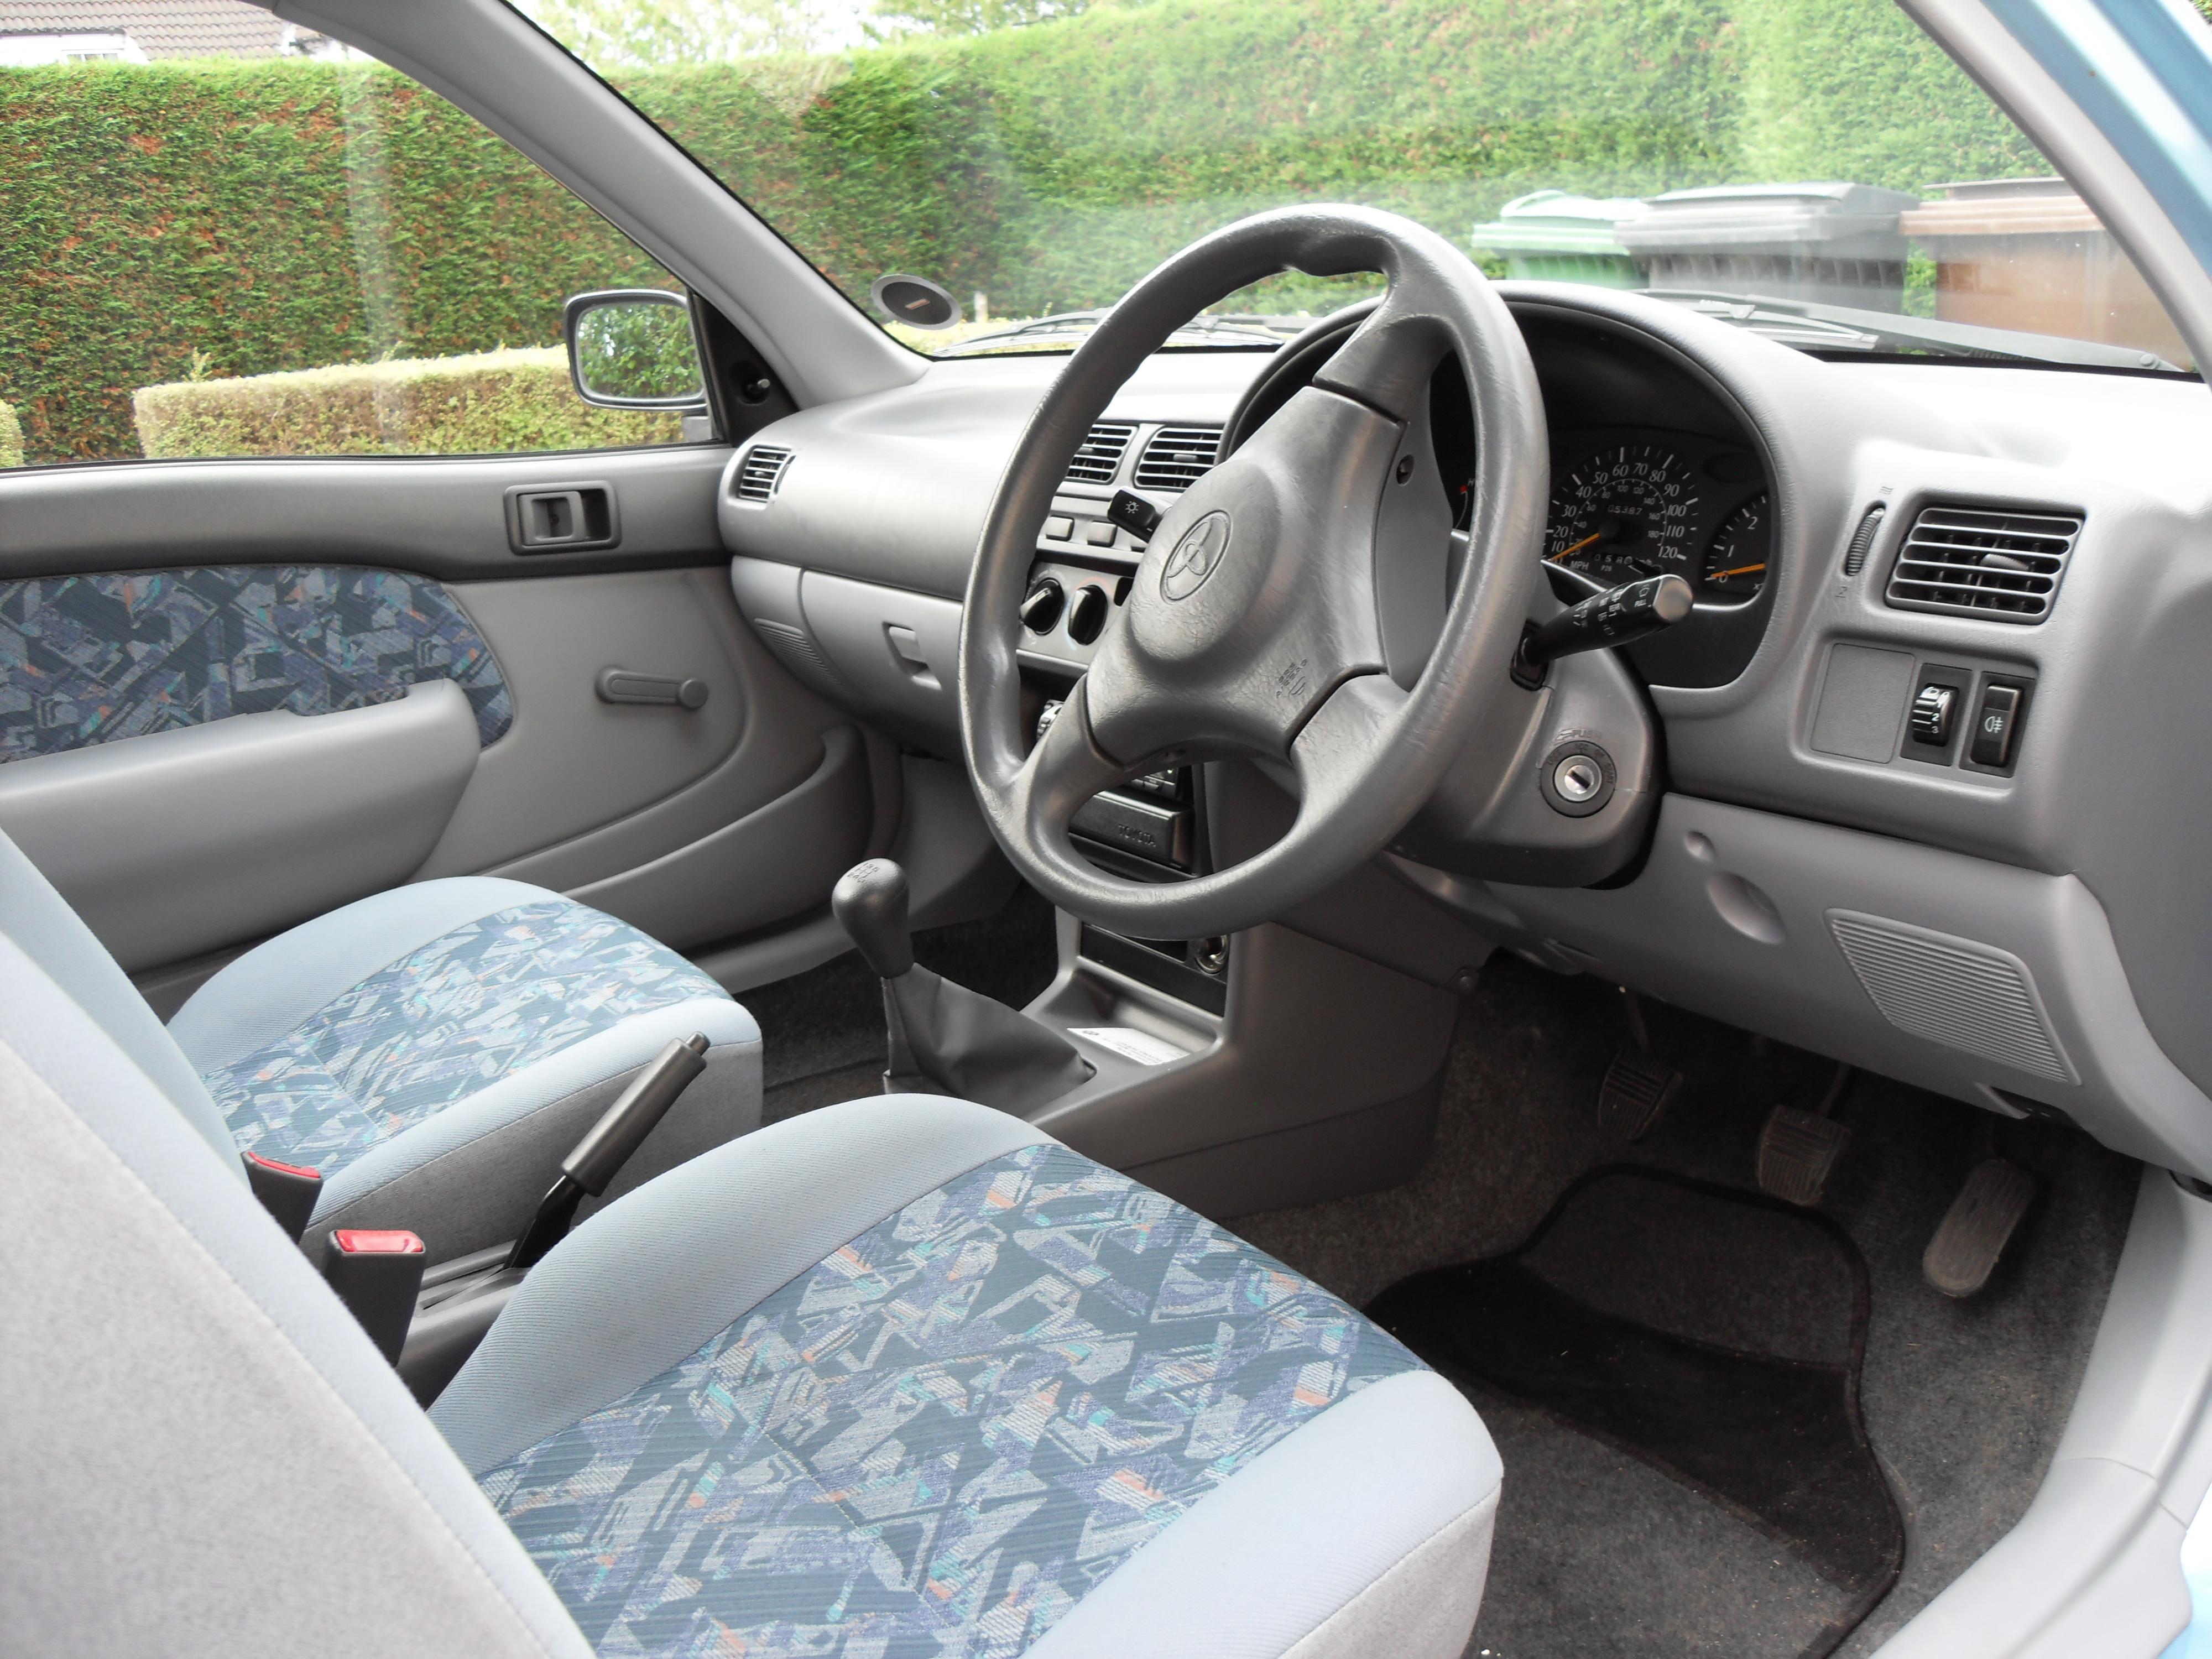
You can also get a fitted boot liner instead of the usual fitted mat...

Gavin
-
mega build mate - simply awesome - and crystal clean engine builds are sweet as foook - done the exact same thing with mine part form it was a forged 5e lol
Nice one mate! Ah fair dues, do you have a build thread?
Edit: Just seen the link in your sig. lol
hehe and idrees above has a set of speedlines for sale. do you know if the trd radiator cap will be fine on a normal radiator, even though it's 1.3bar instead of 0.9? or would you only recommend the high pressure on the civic rad?Oh I didn't know about the wheels, I'll have a look for them.
The TRD rad cap will be fine on a standard rad, it's what thay are made for! Anyway as far as I know the TRD rad cap will not fit the Civic rad but as i'm designing a custom Water Swirl Pot incorporating a Constant Bleed System the pressure cap will not be on the rad.
Gavin
-
Yes mate. Not to sure what i'm gonna do with the brakes yet, it will be some kinda upgrade! As for suspension/handling it will be coilovers (I don't know what brand I'll use yet) and the usual choice mods. I'm thinking speedlines for wheels, there the only wheels I seem to like.
Cheers mate.
Gavin
-
Not a problem mate. Anytime!
Gavin
-
Cheers Guys
Nice update Gavin it''s comeing along nicely mate just a quick qustion i've got the gen1 ecu i've tryed it in my car but it wouldnt start just kept turning over? all the pins look the same ect is there anyway i can get it to work?Cheers
Michael
I can help a little. It's not easy to do. For starters if you have a Toyota factory fitted immobiliser fitted to your car it will need taking out or you can use an ECU from a later corolla 1995+ I think. You might be able to get it to work without an idle up system but it would be a crap cold starter and the engine would bog down at idle when it saw electrical load. So with that in mind you will need a turbo electrical load idle up valve on the end of the turbo style intake manifold, a turbo throttle body for the cold idle wax idle up valve (ep91 n/a uses a combined cold idle up and electrical load idle up valve under the throttle body) with a turbo on-off throttle position sensor (ep91 n/a uses a variable one) and the crazy vac piping from behind a turbo manifold. The wiring will need changing to suit the new sensors. It's gonna be to hard to explain the wiring but Haynes do a 1992 corolla manual with a ECU wiring diagram in it.
Hope that helps
Gavin
-
WOW. I wonder if it's accurate.
Gavin
-
Now that I have ordered most of the parts I'm gonna need it's time for a little update on the parts I've already been collecting over the past few months.
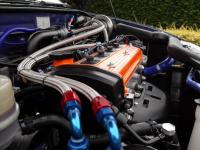
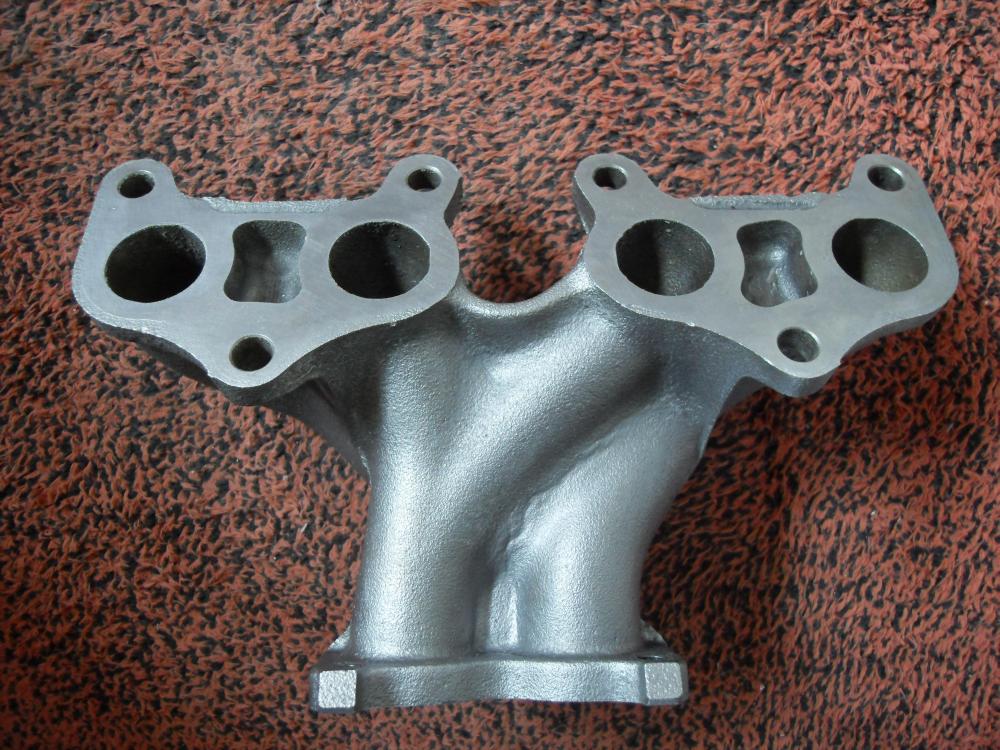
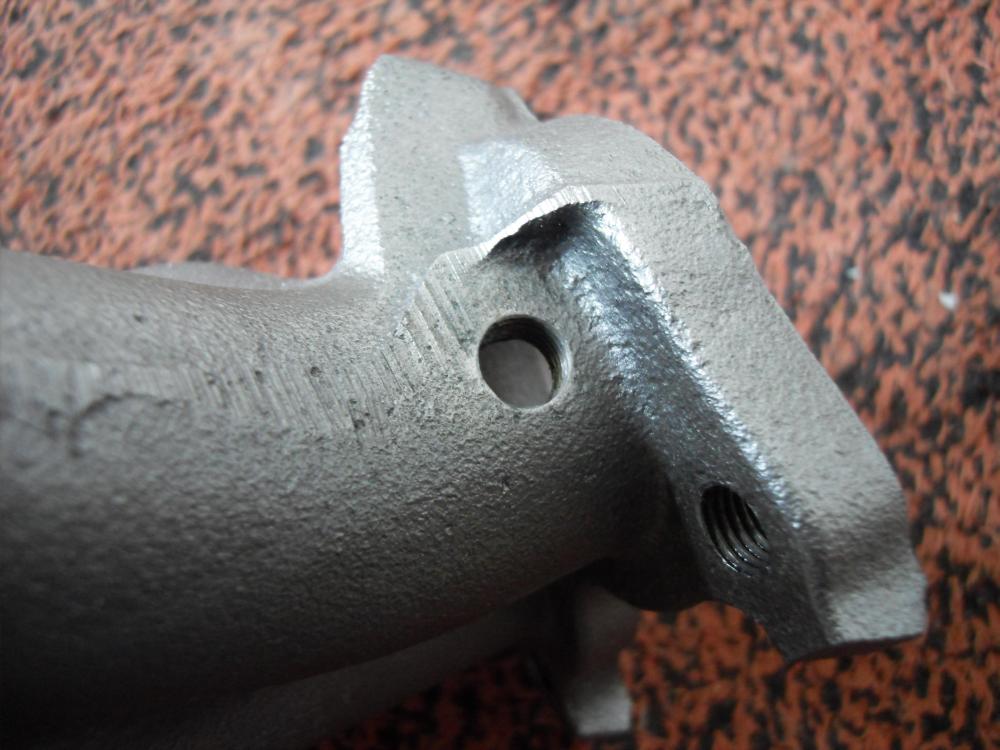
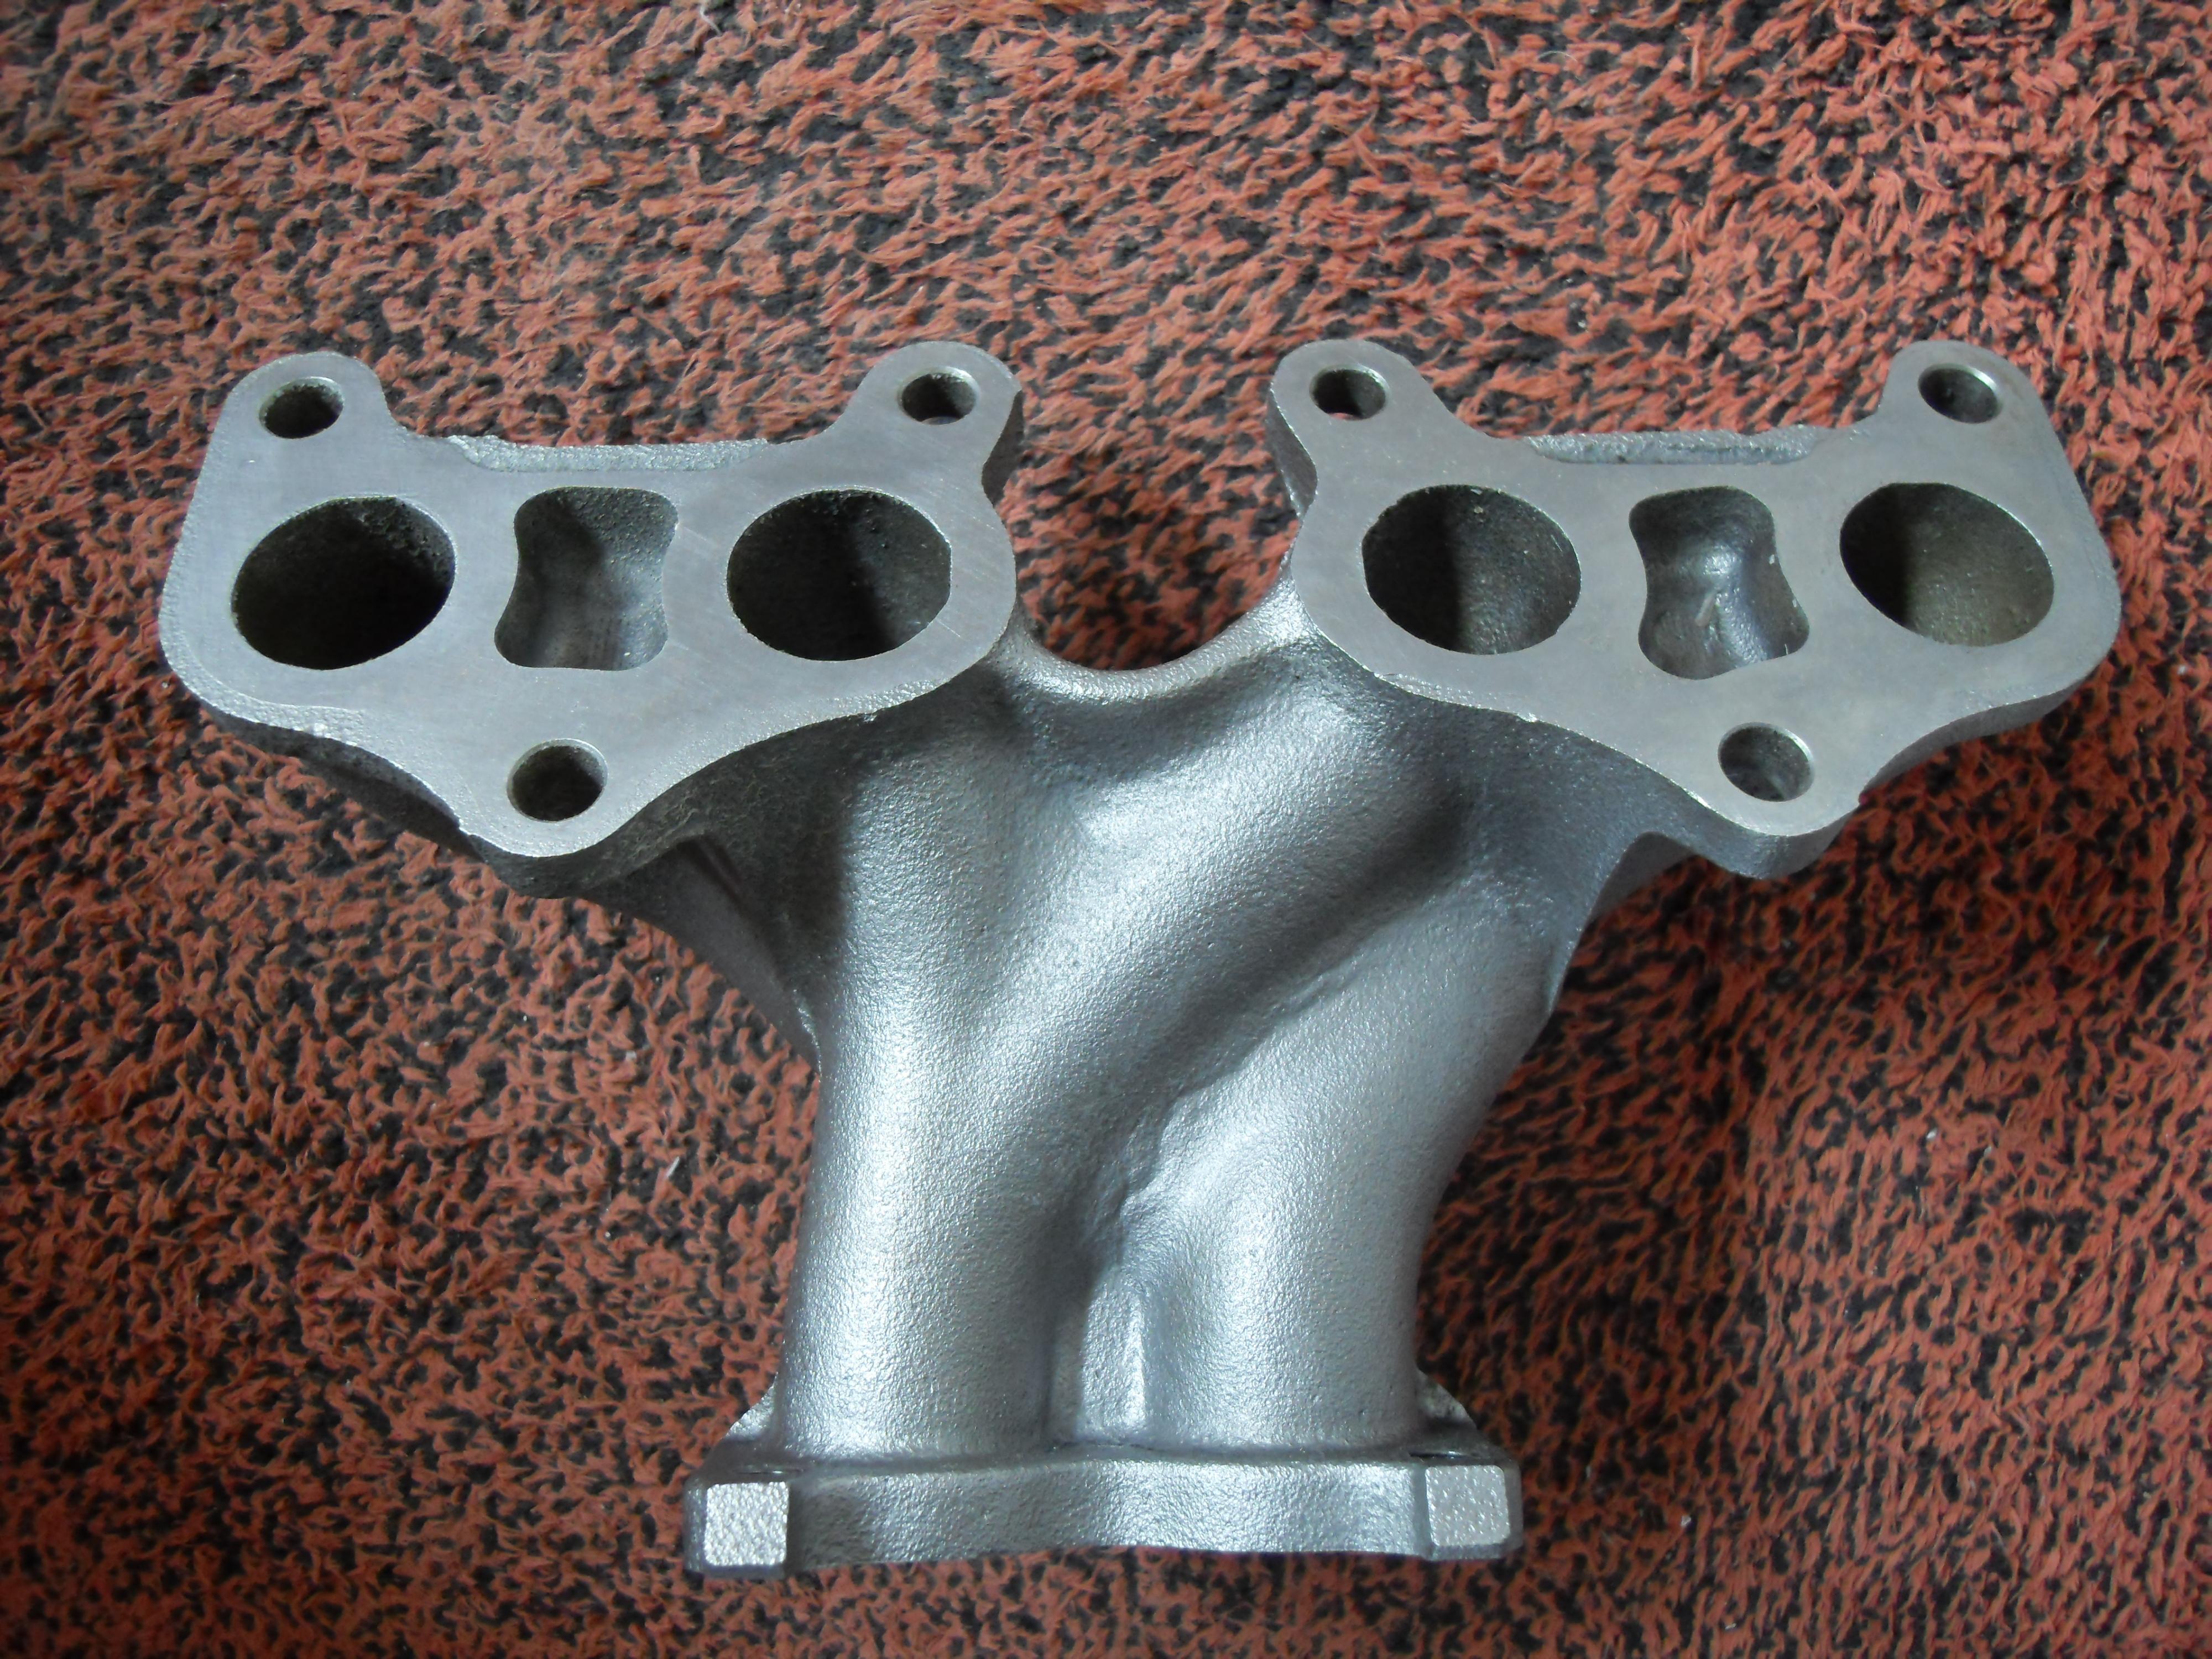
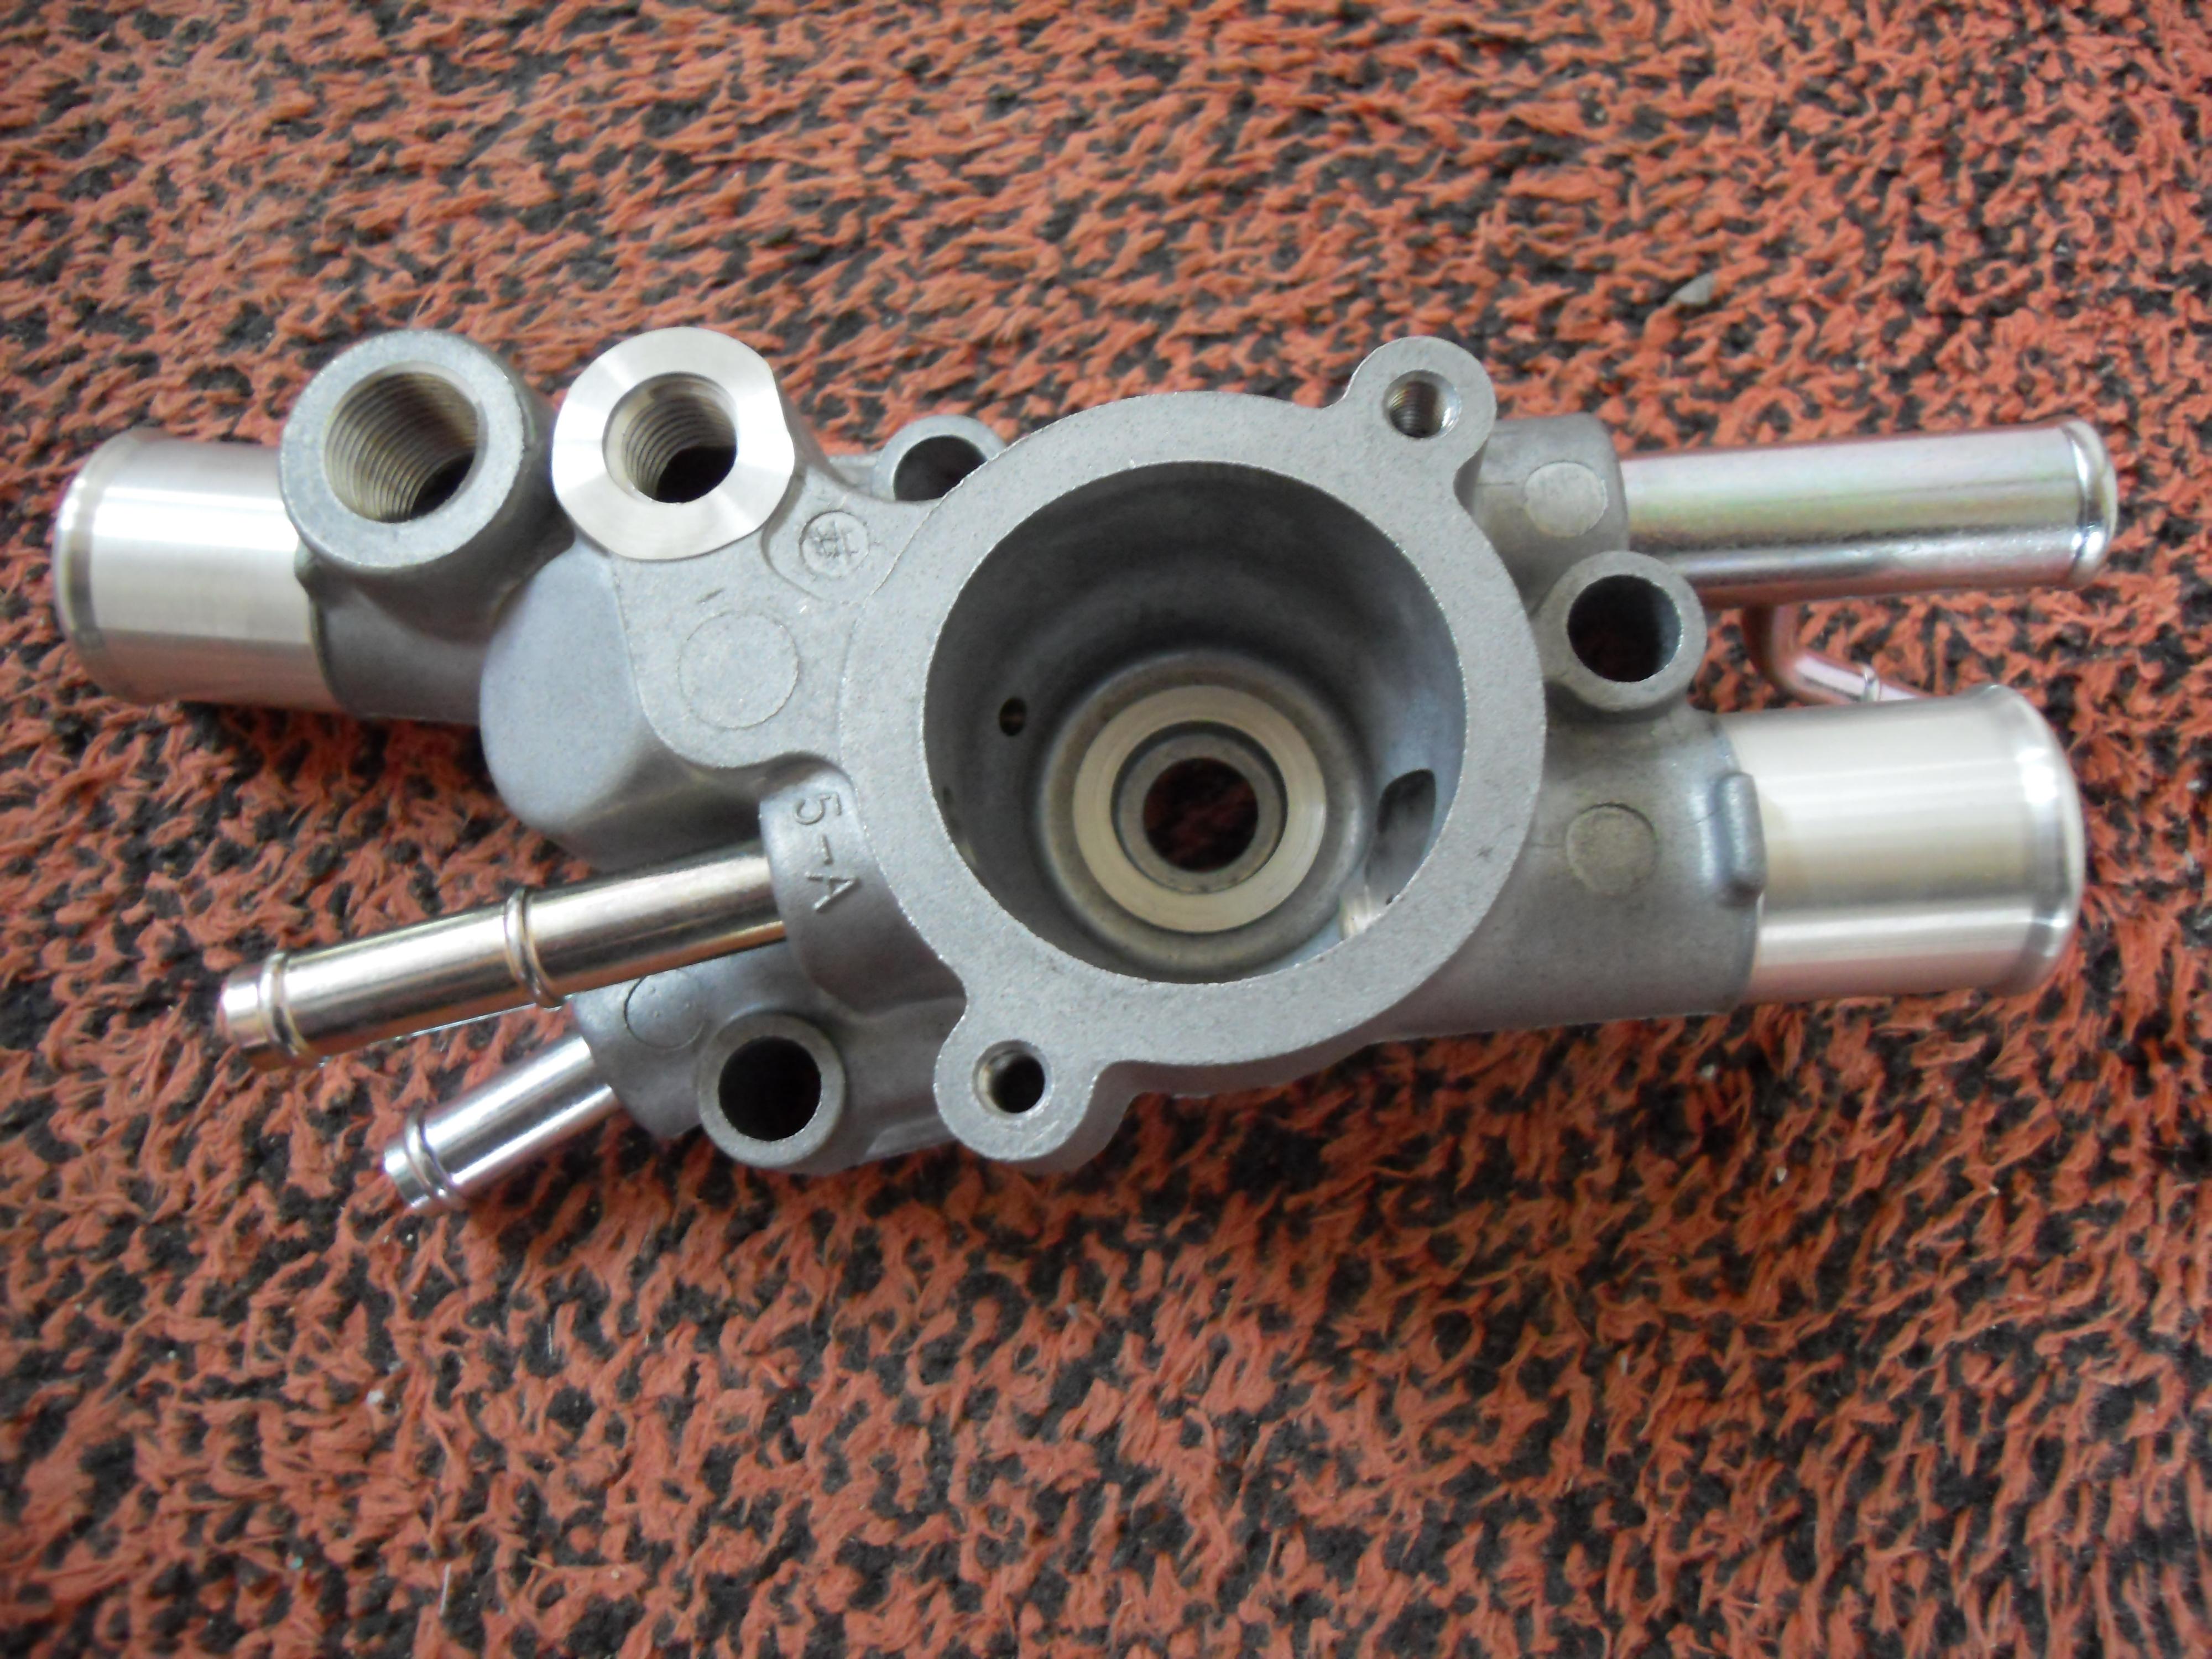
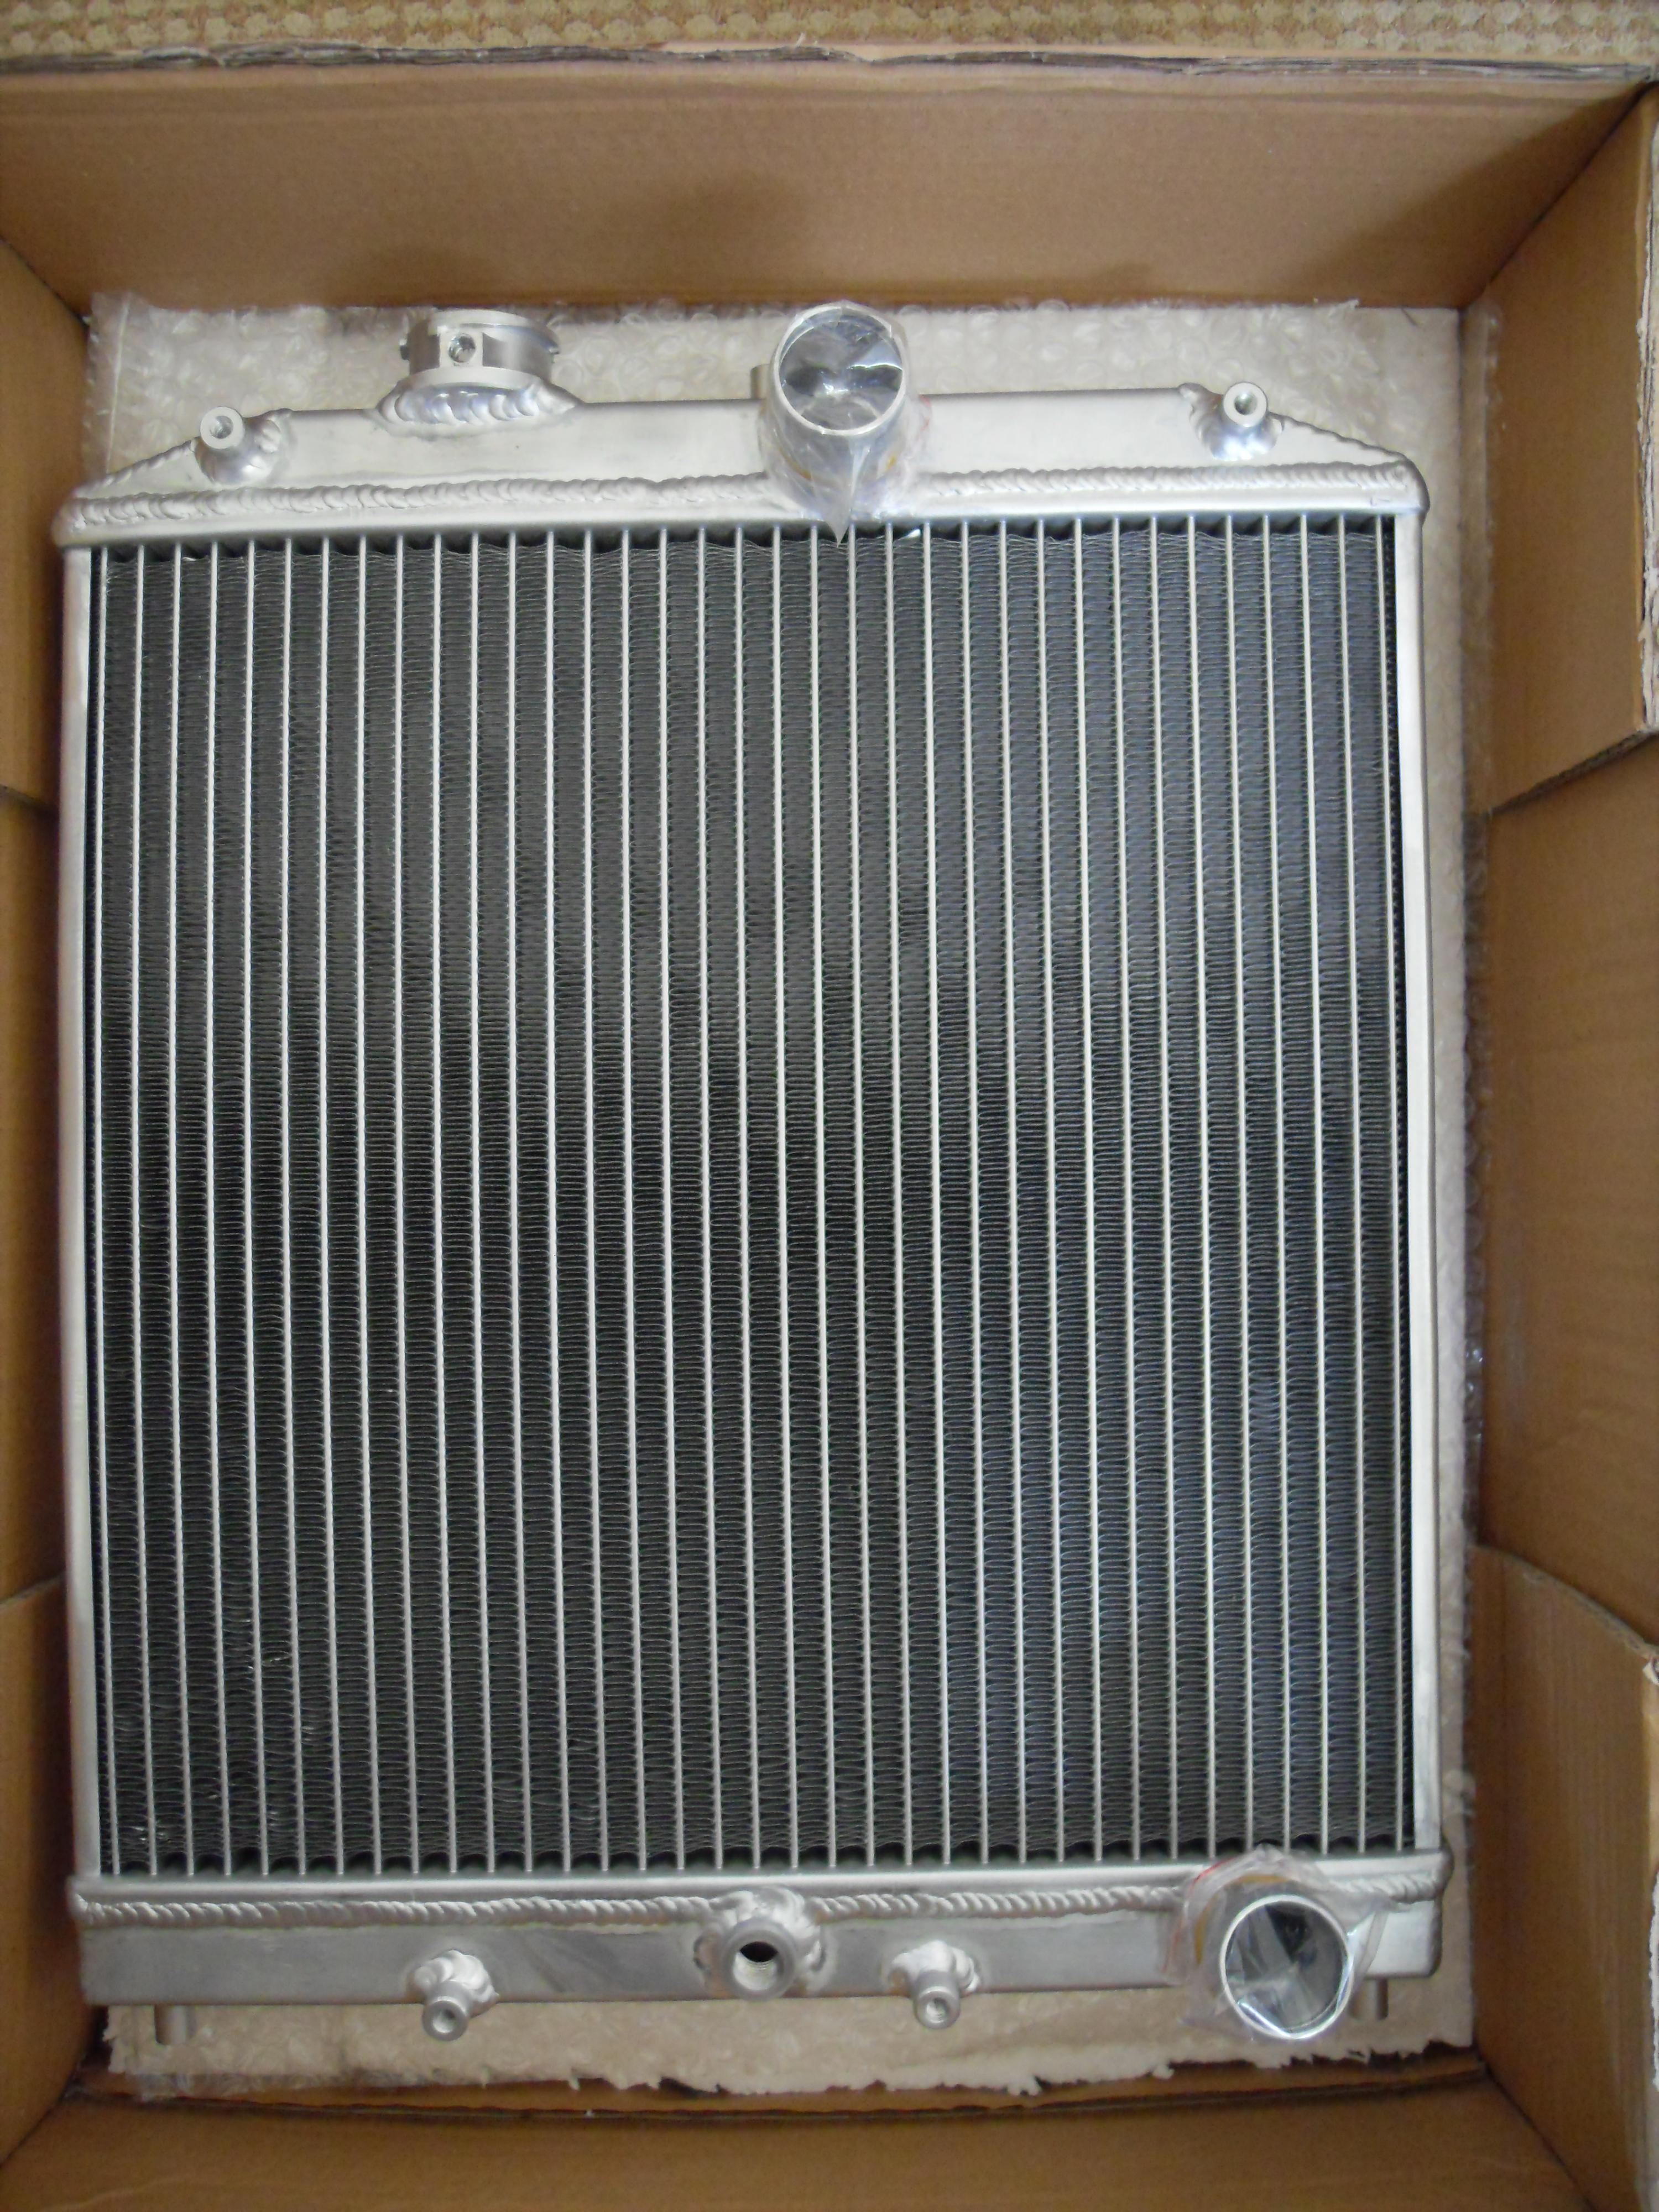
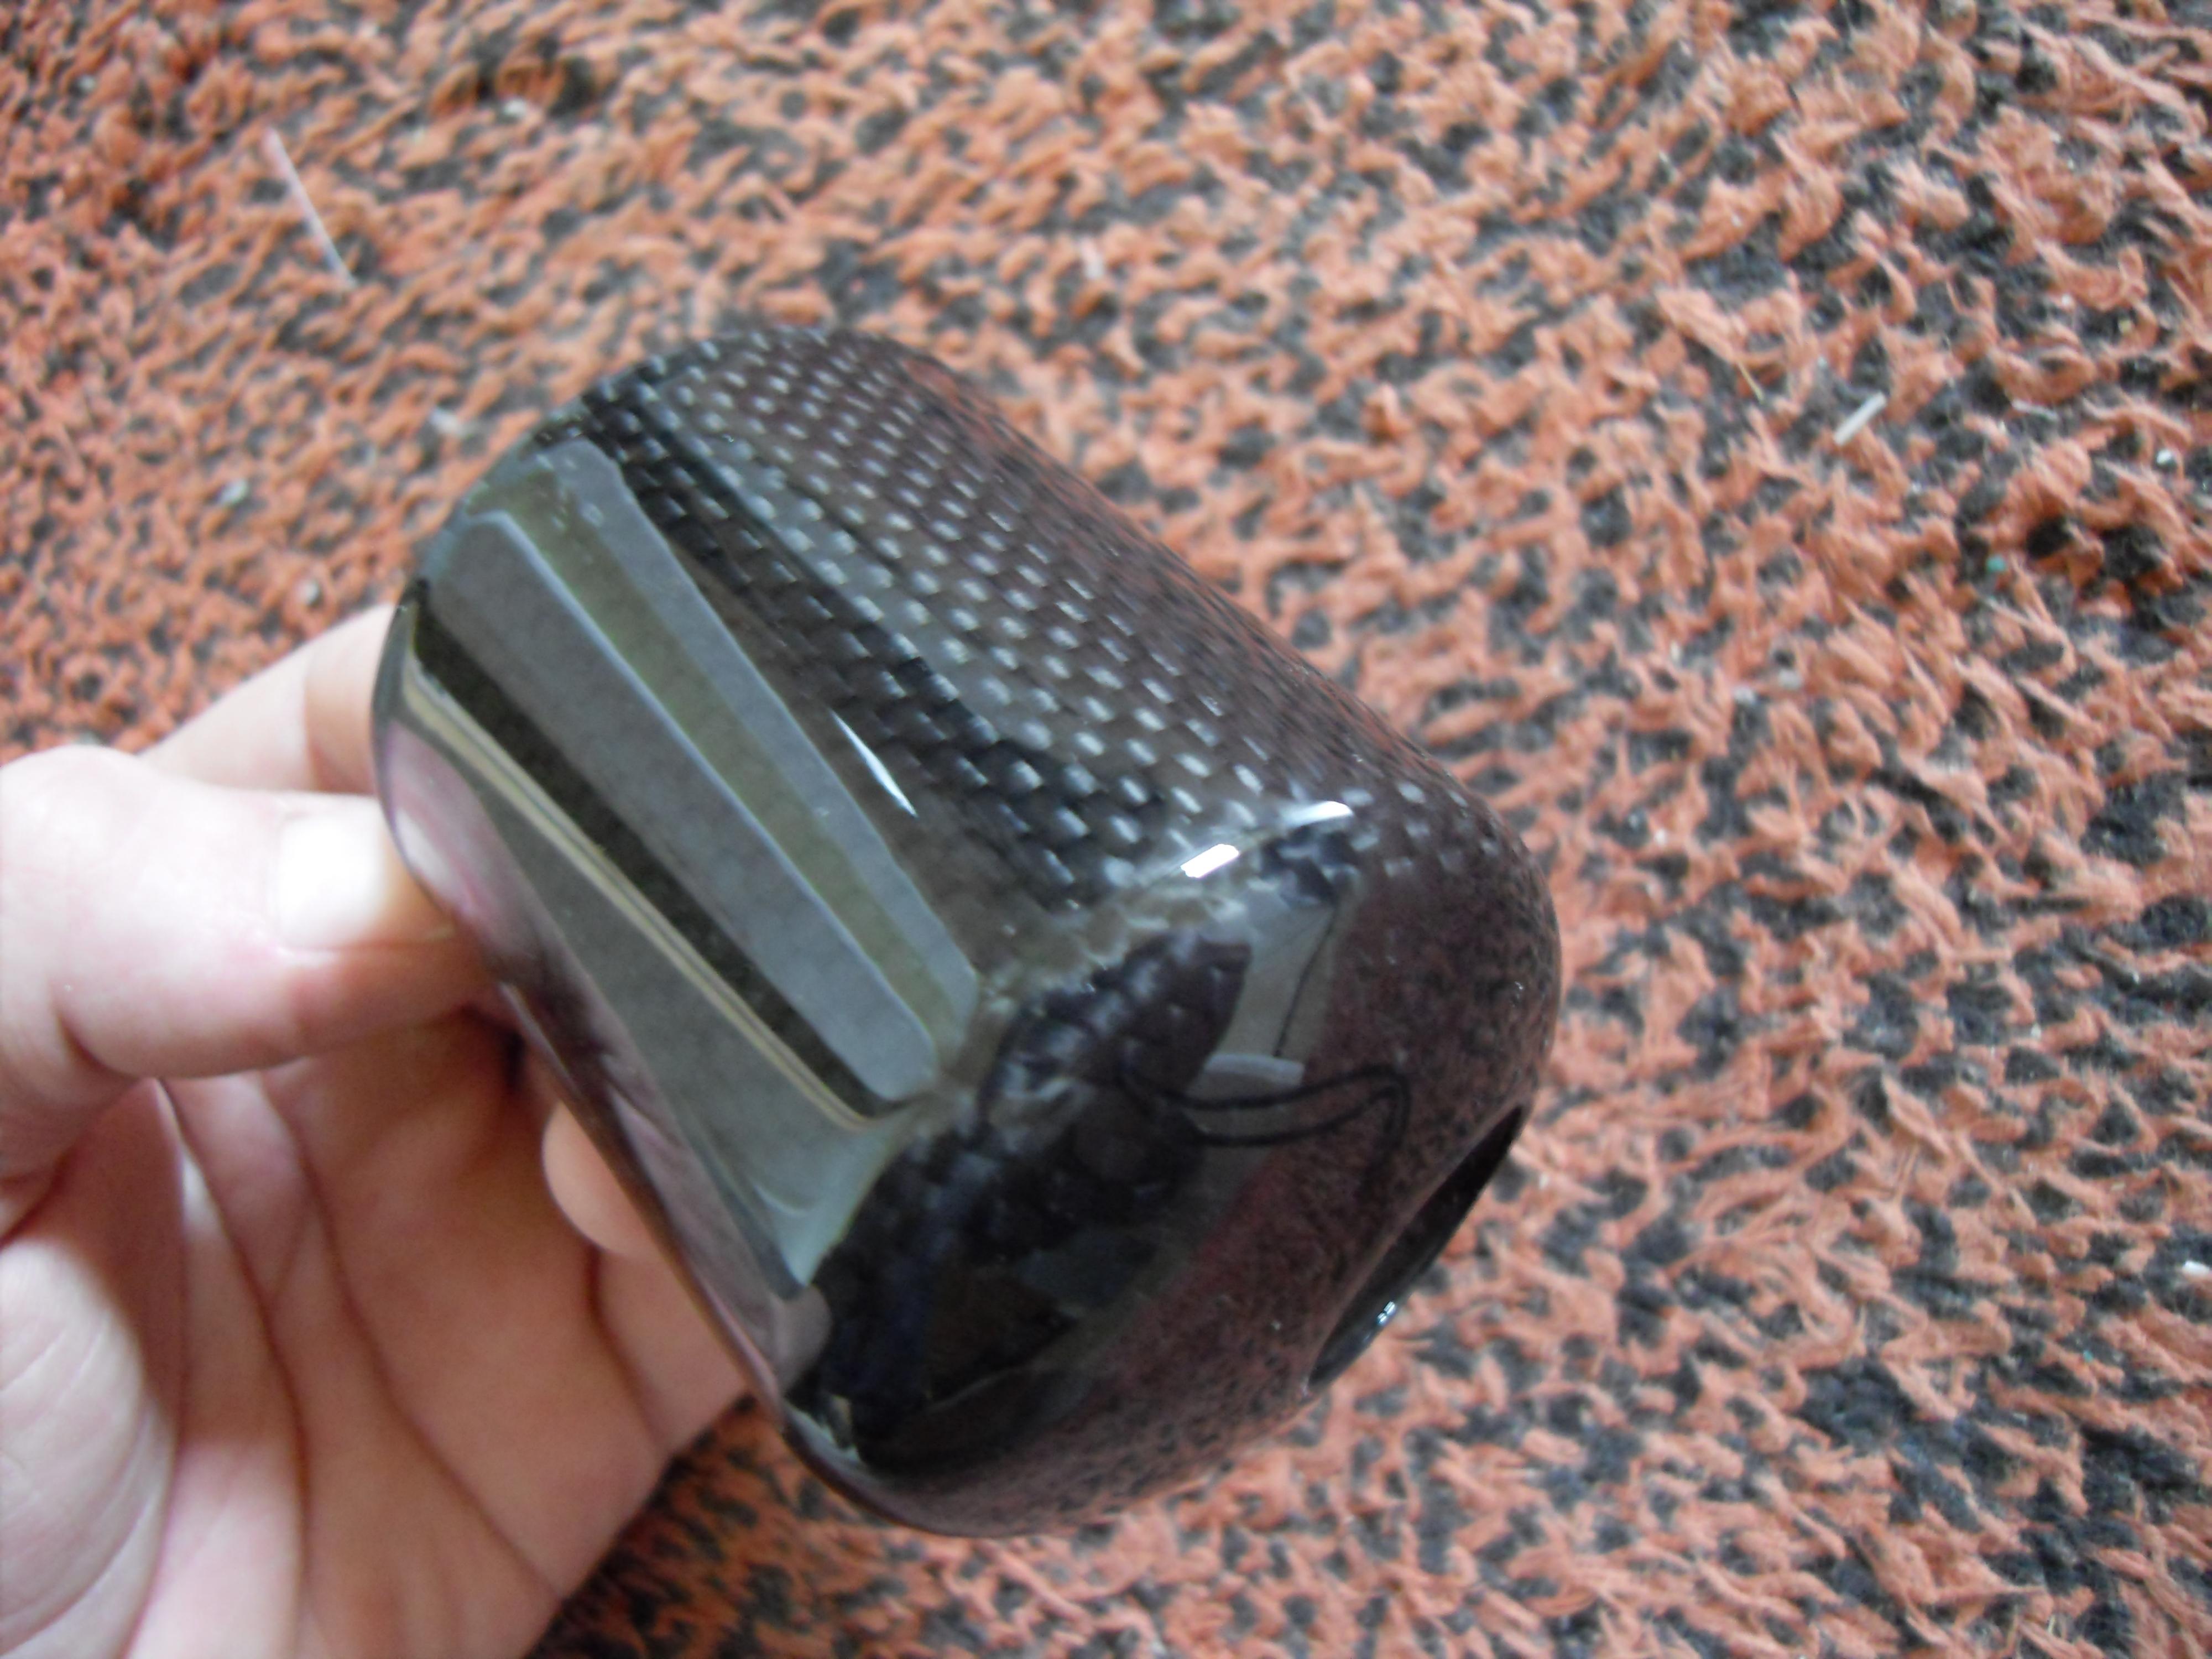
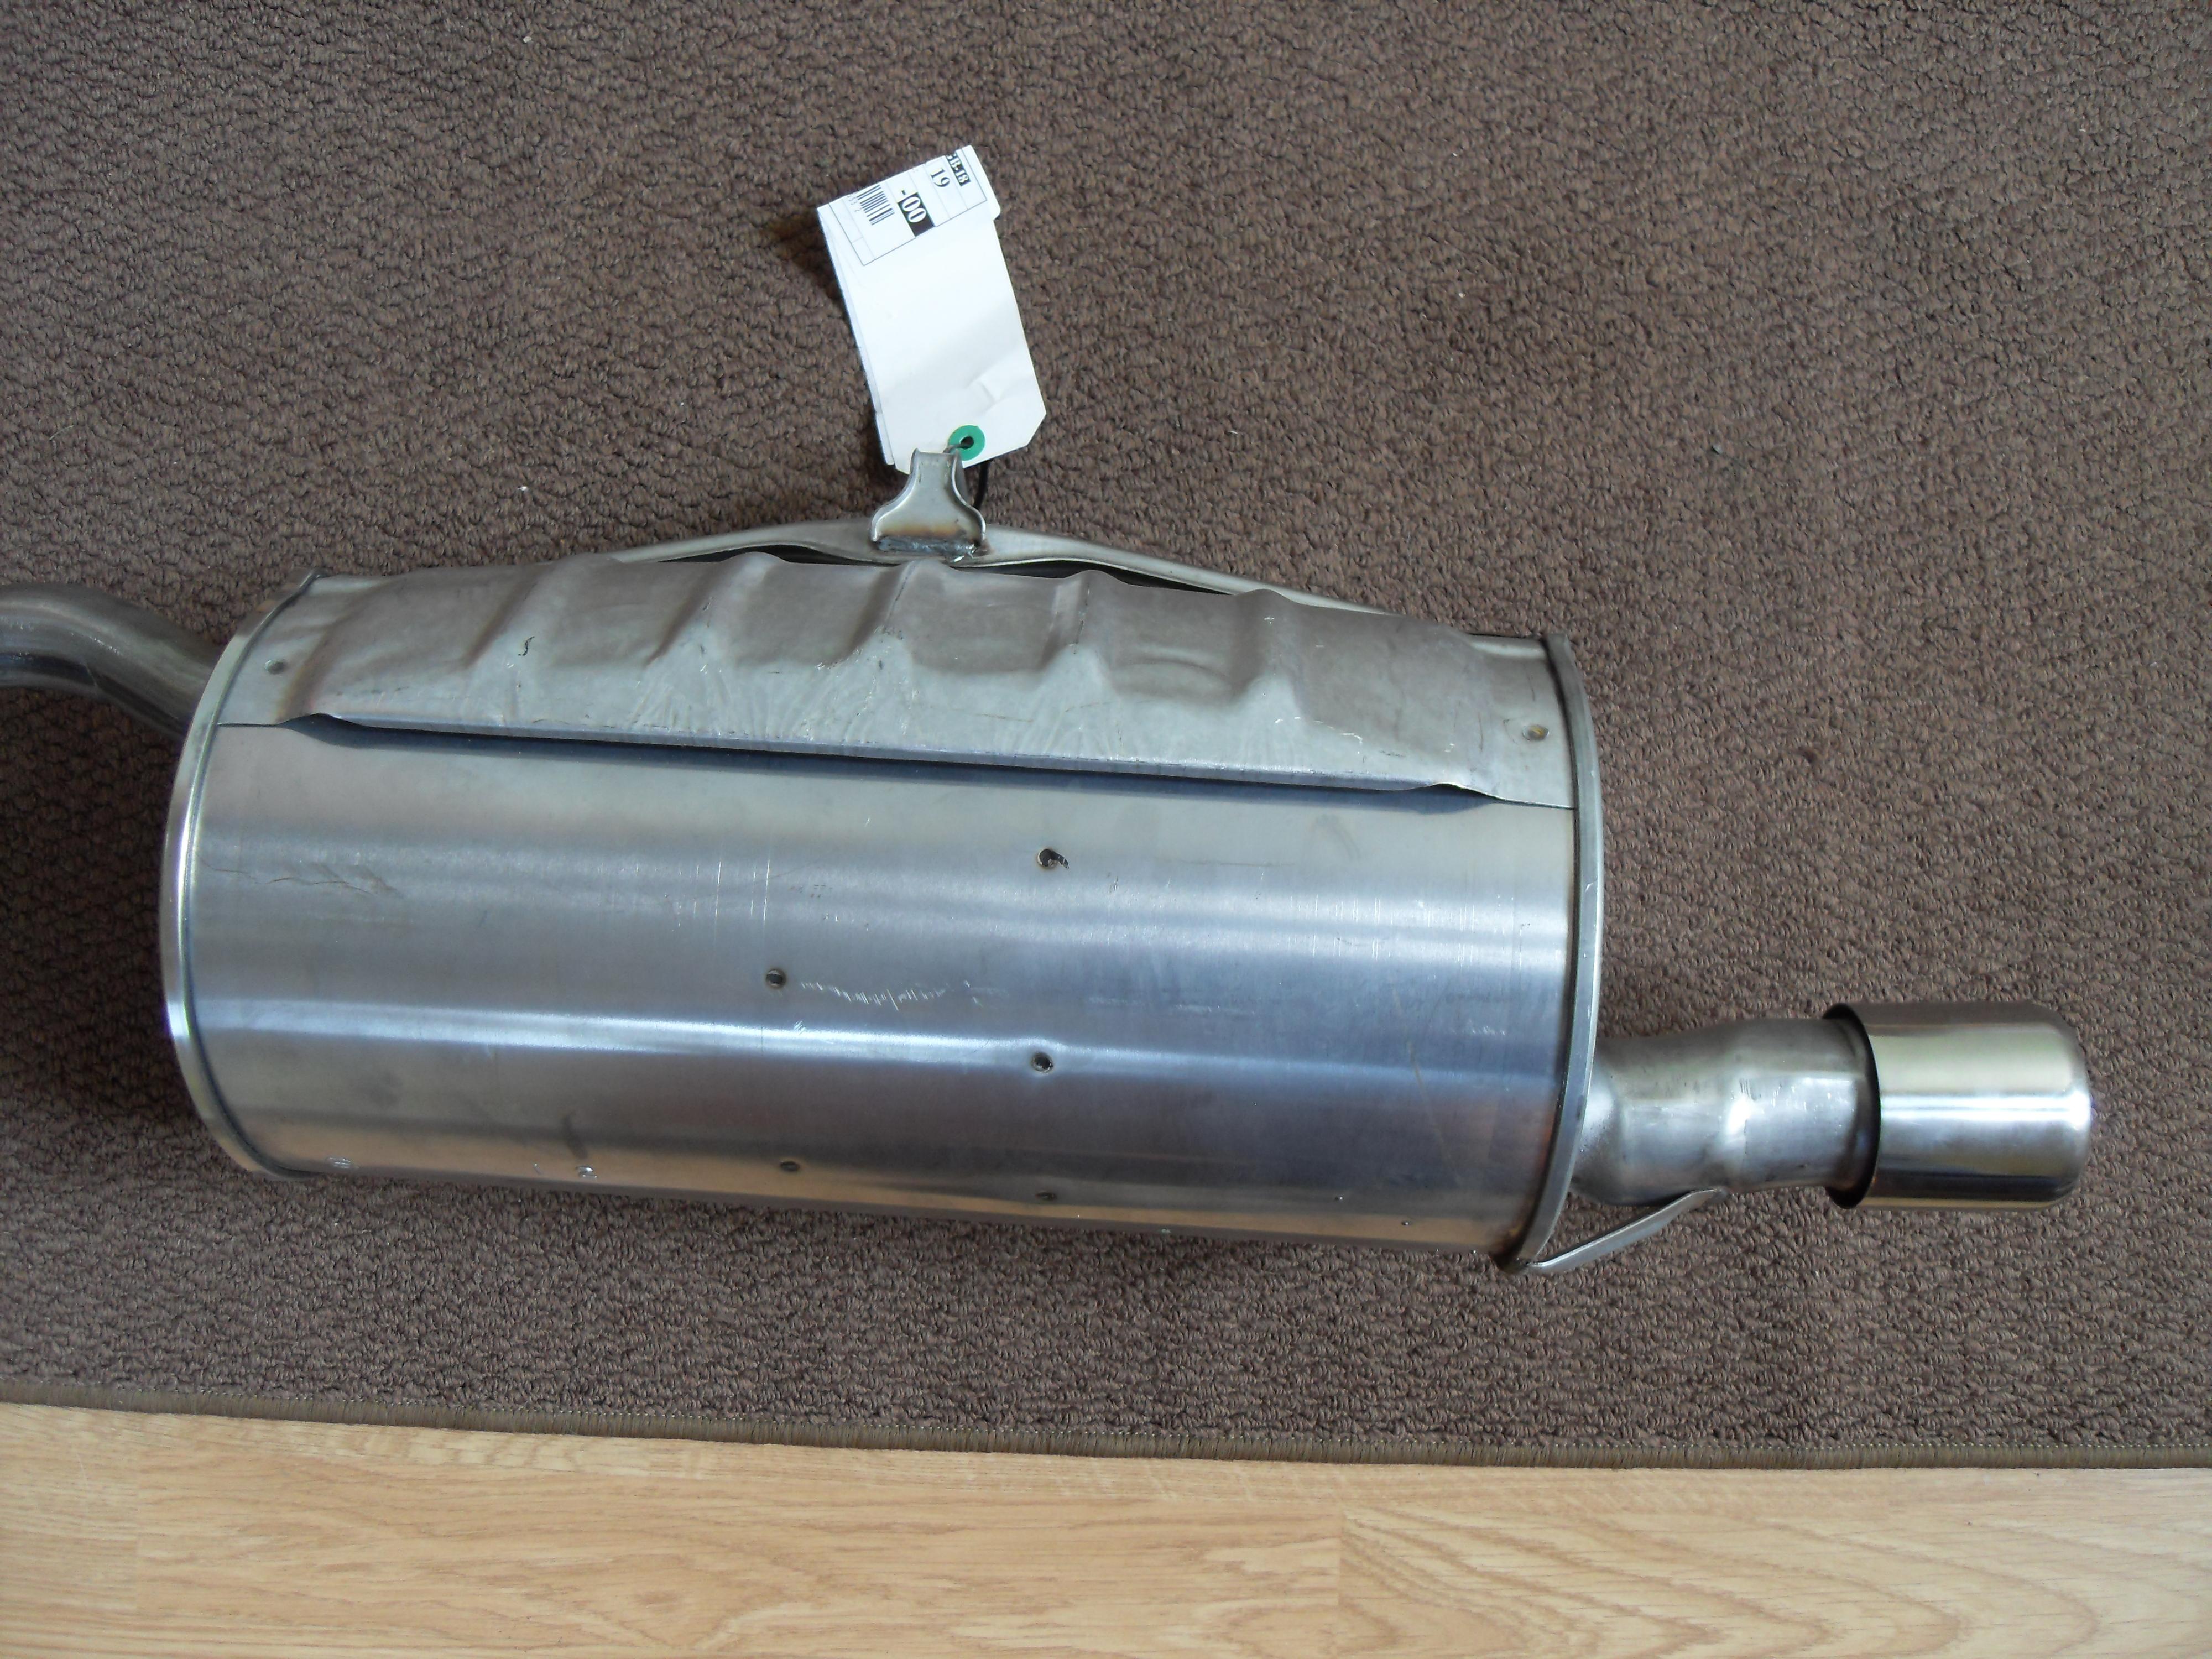
Chemically Cleaned Corolla 4-2-1 Exhaust Manifold. Threaded for E.G.T Gauge.

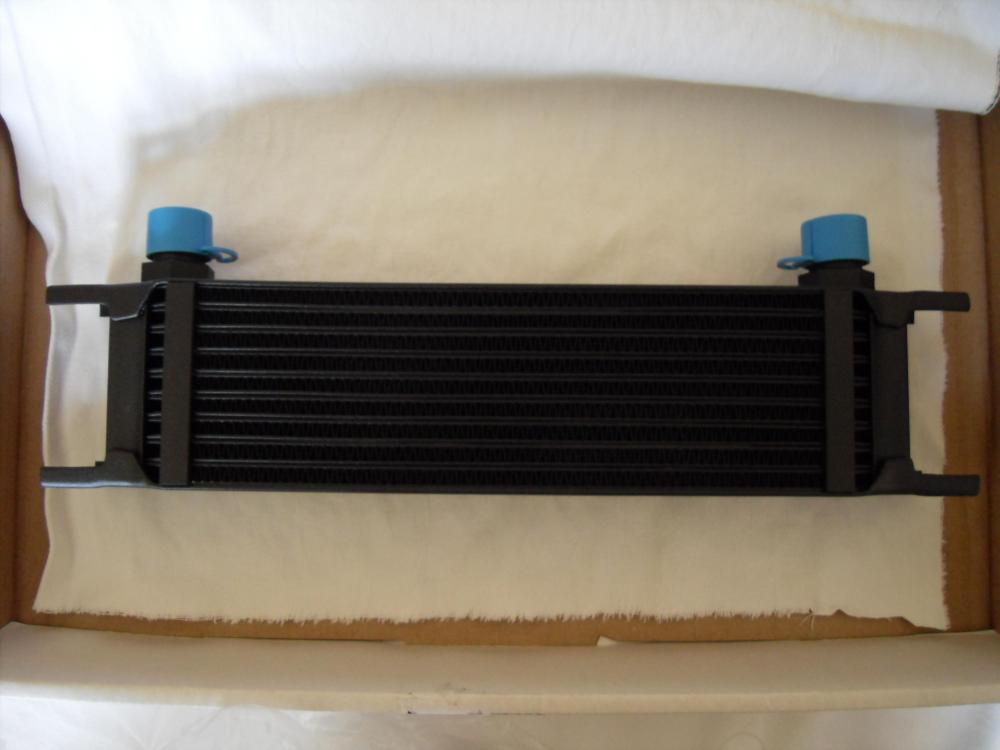
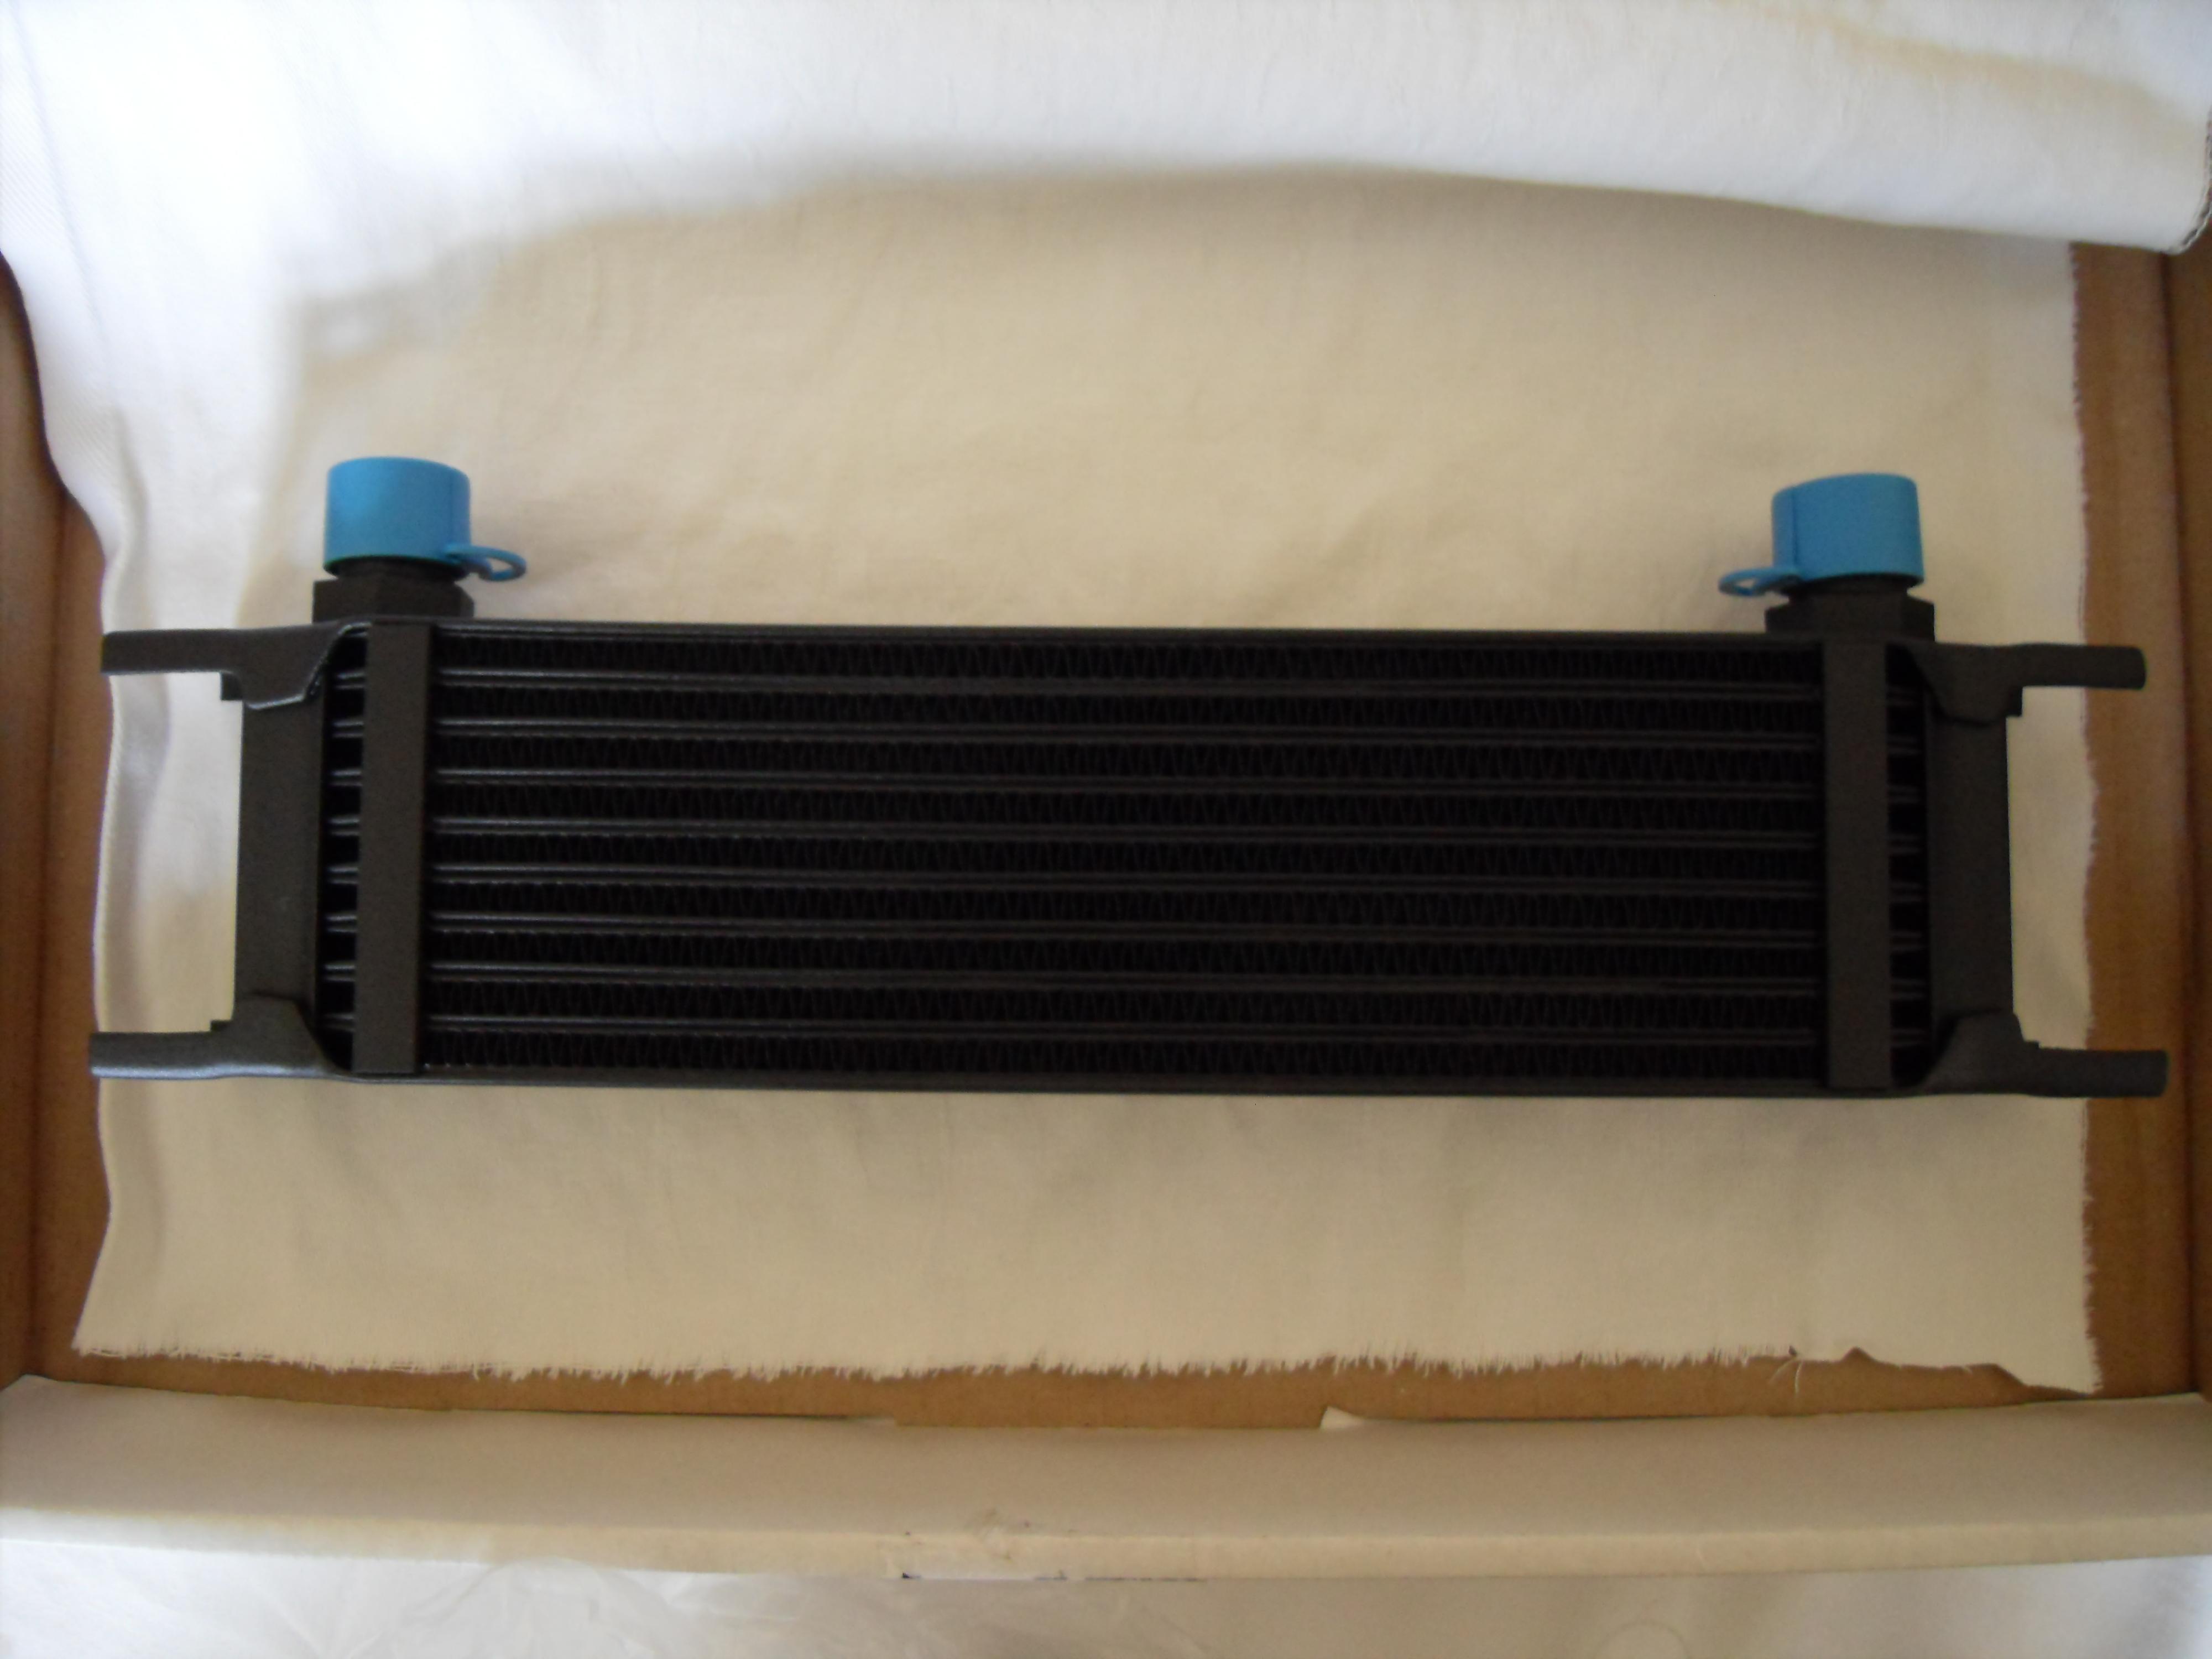
Painted Mocal Oil Cooler
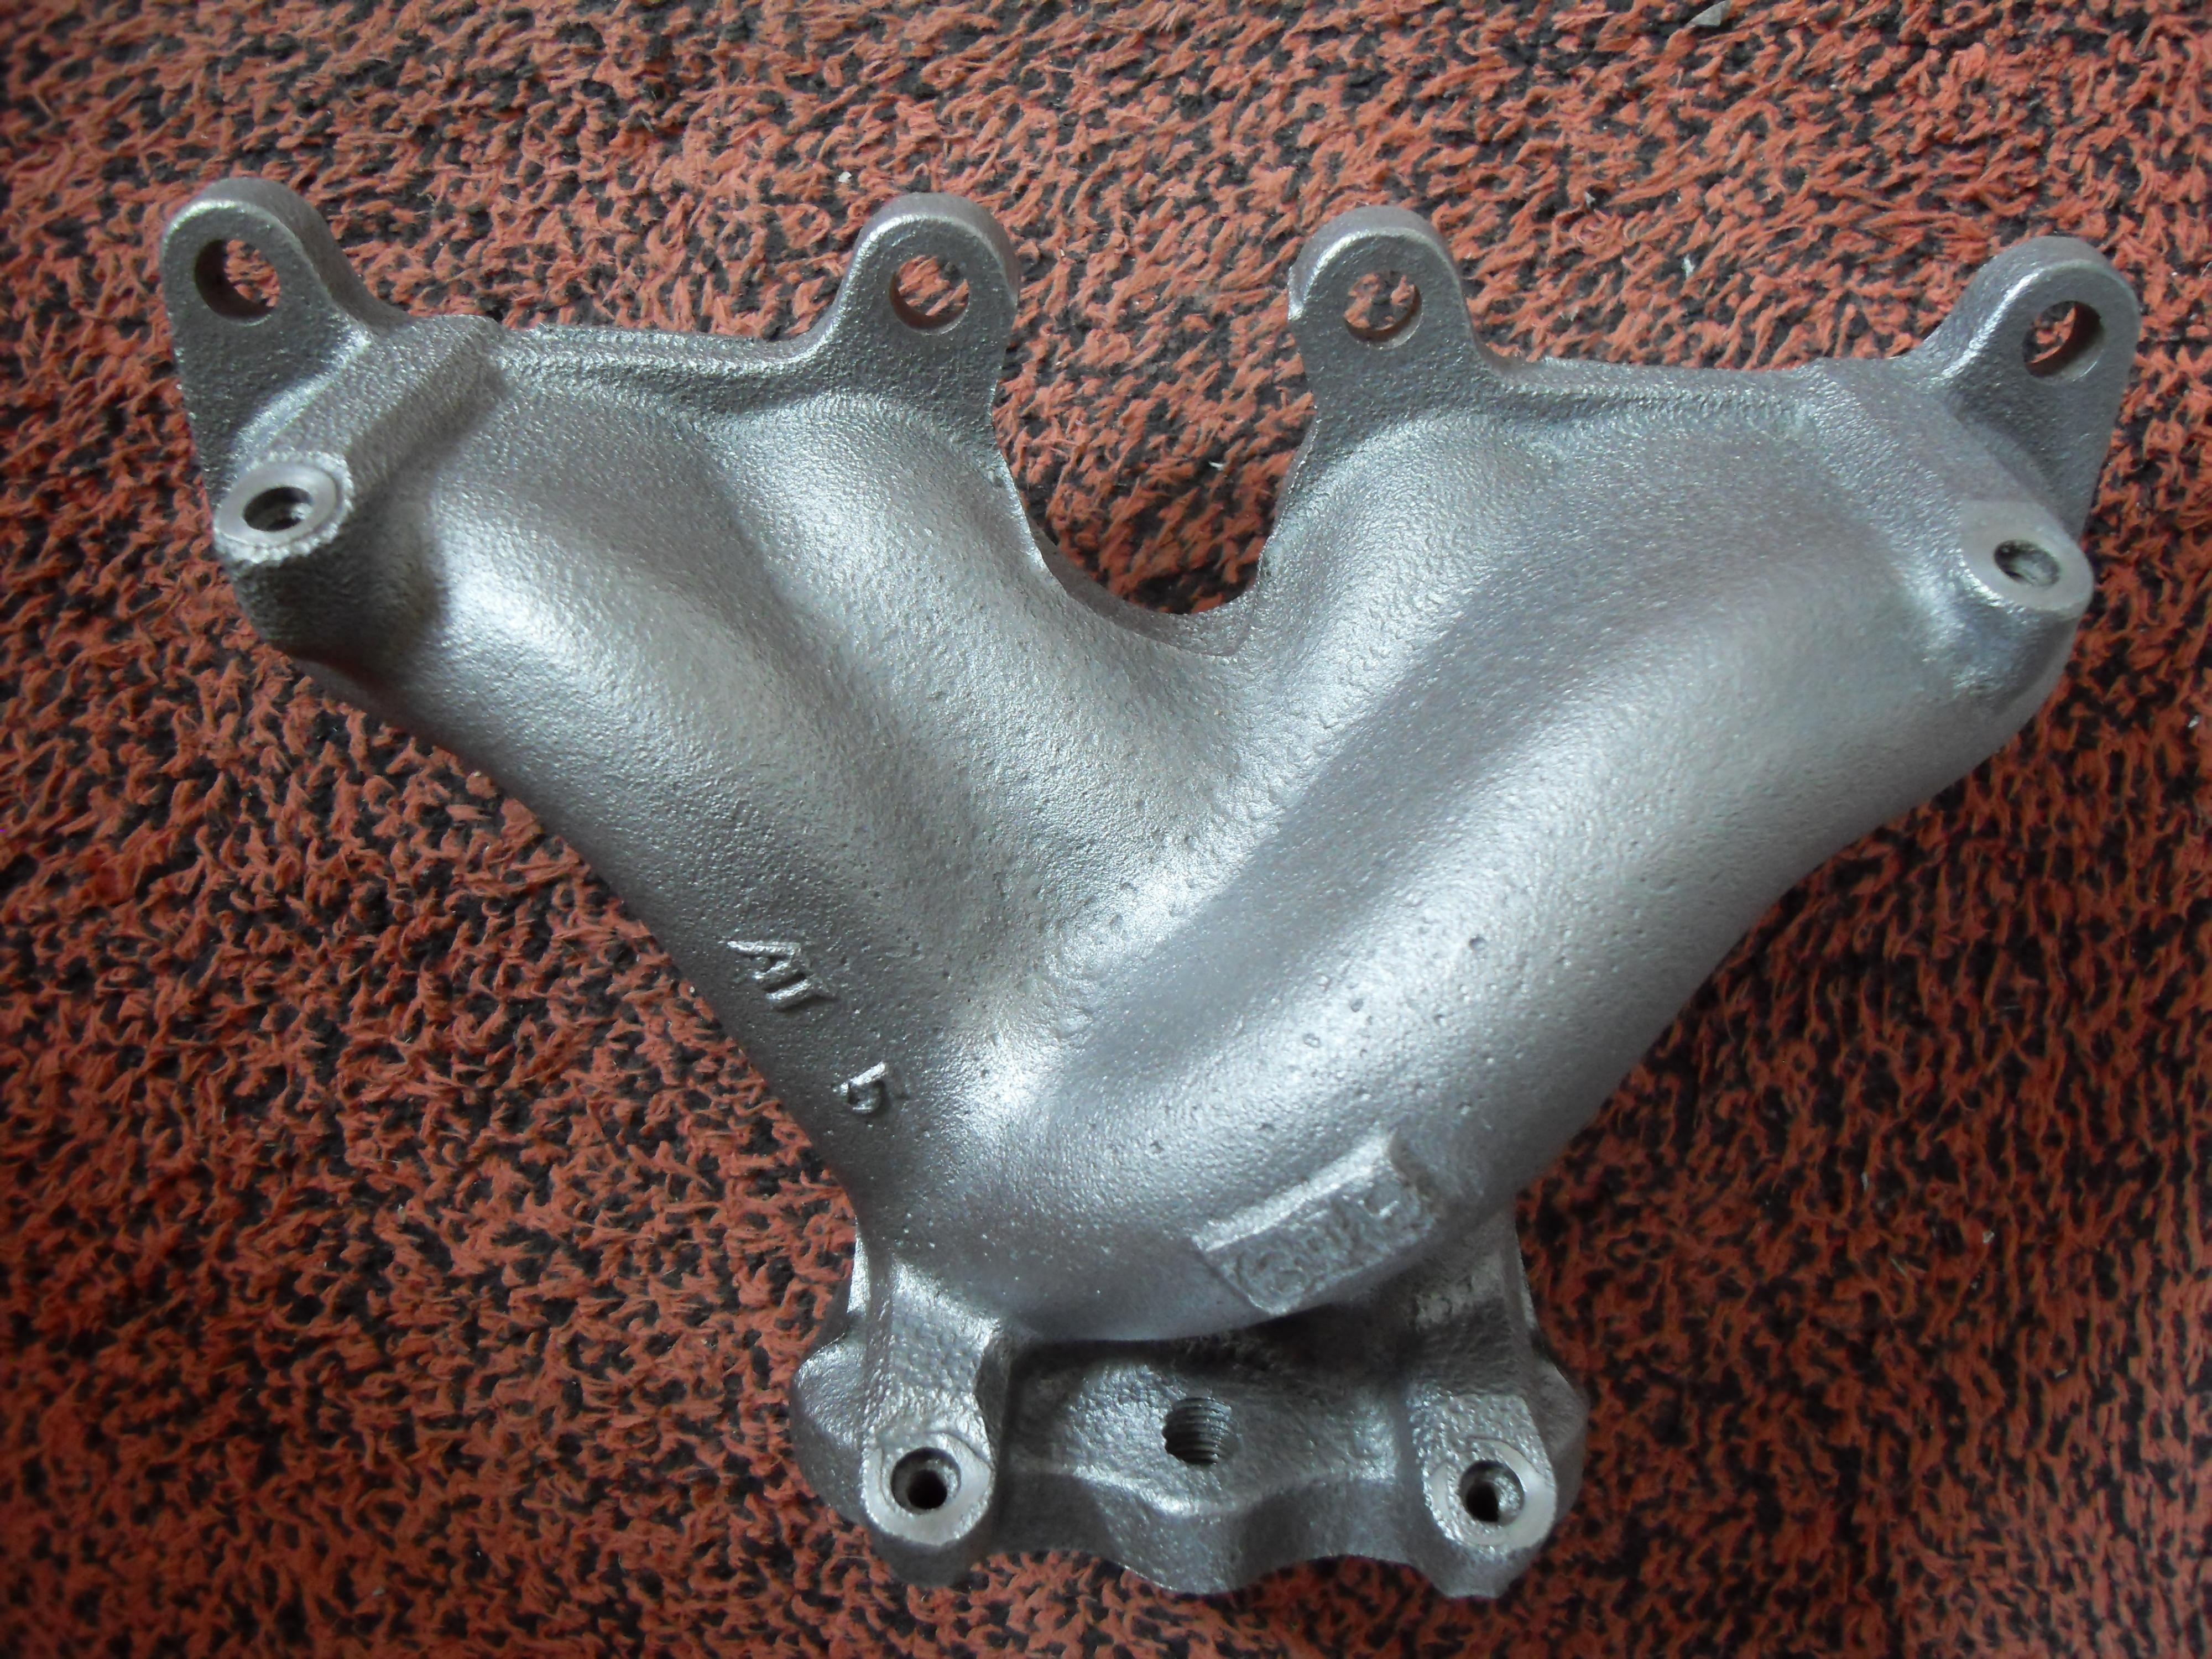
Turbo Thermostst Housing (Used to supply water to the oil-to-water oil cooler using what would of been the turbo water lines)

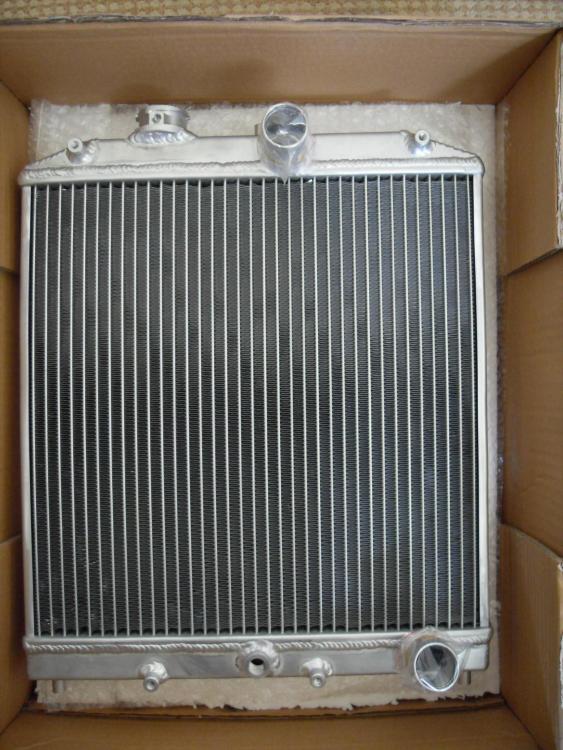
Civic Half Size Radiator
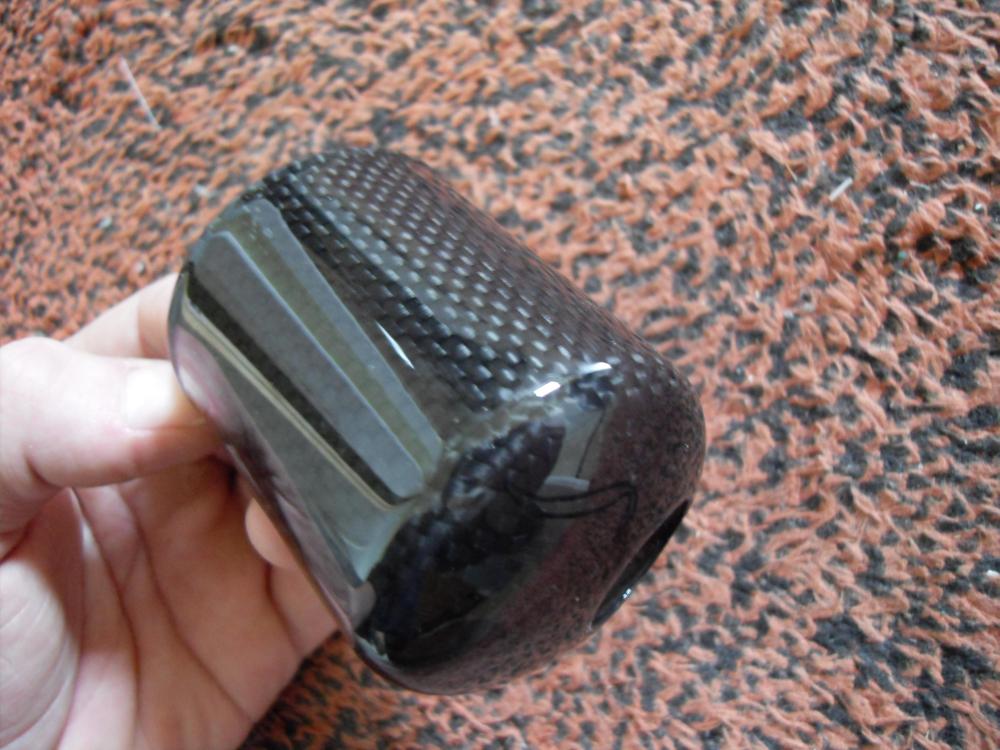
1 of 3 Stack Carbon Gauge Pods
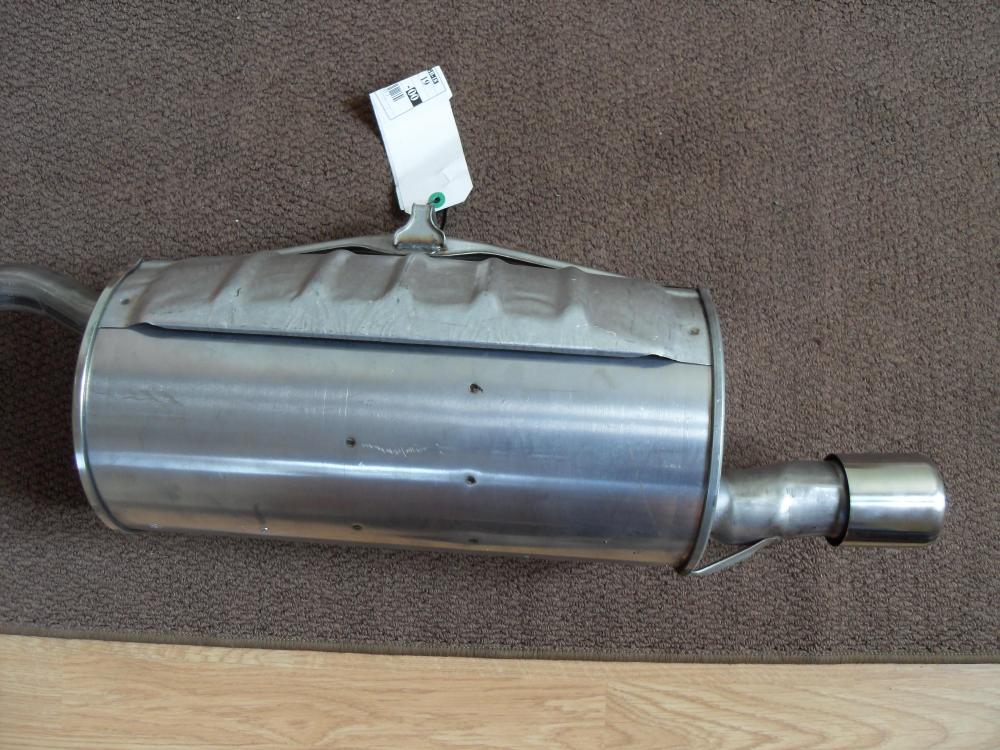
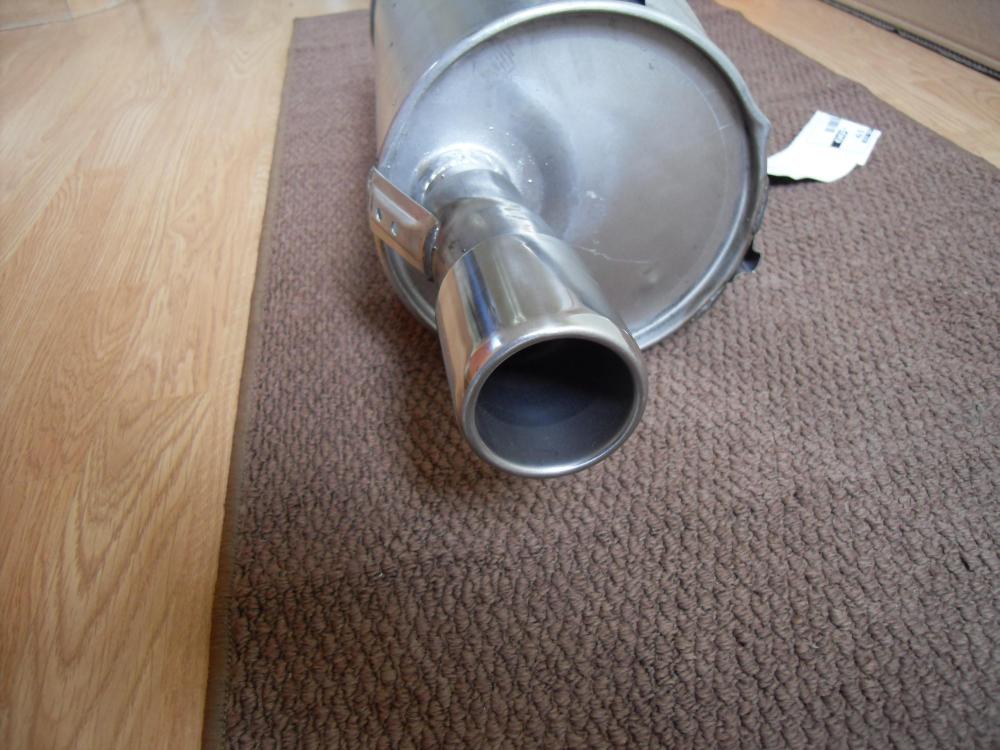
Glanza S Back Box (I didn't know they were made from stainless steel! Bonus!)
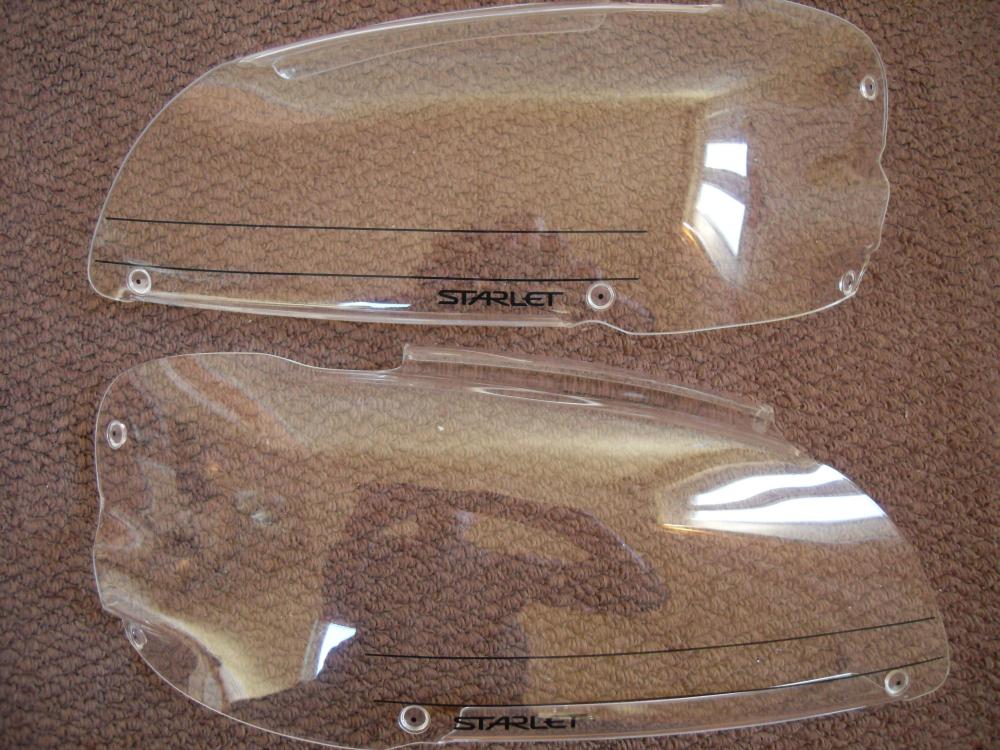
Restored Headlight Protectors
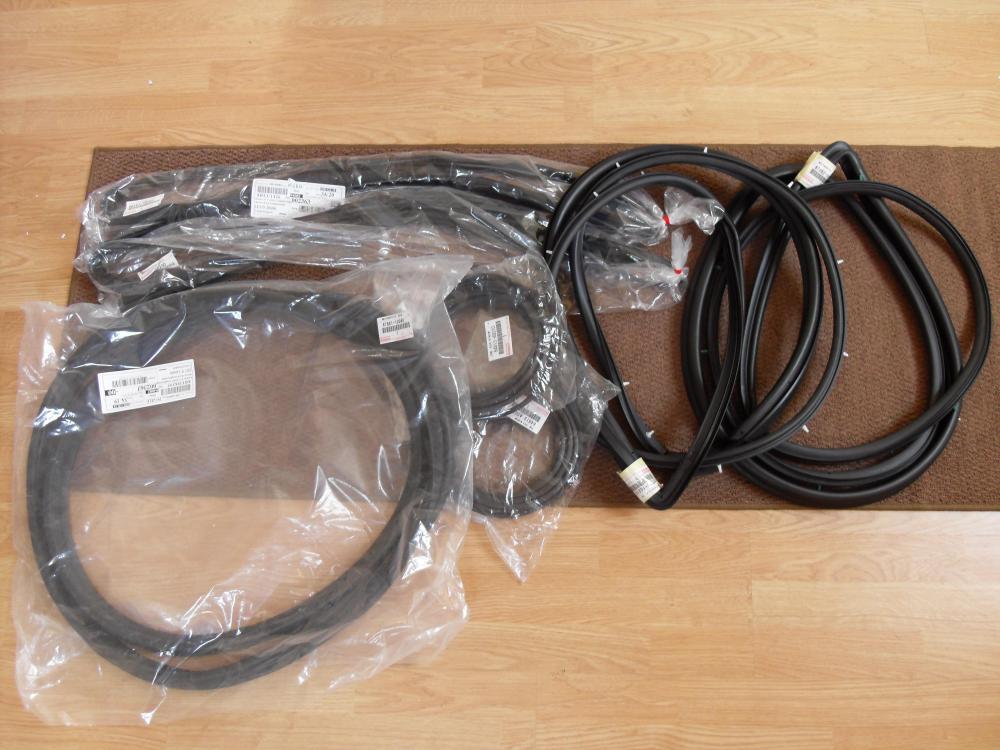
New Door, Boot and Window Seals and Weatherstrips
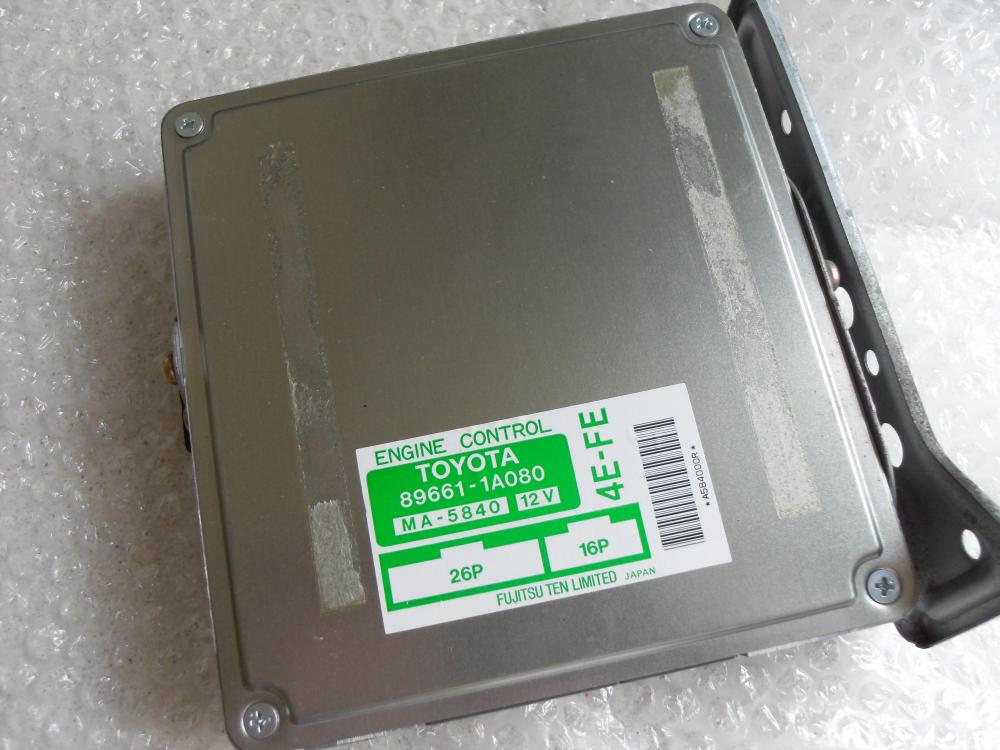
Corolla Gen 1 88HP ECU
More to come in a few weeks!
Gavin


ITB'd 5E-FHE remix sportif
in EP91 Progress Blogs
Posted · Edited by enzo_e492901
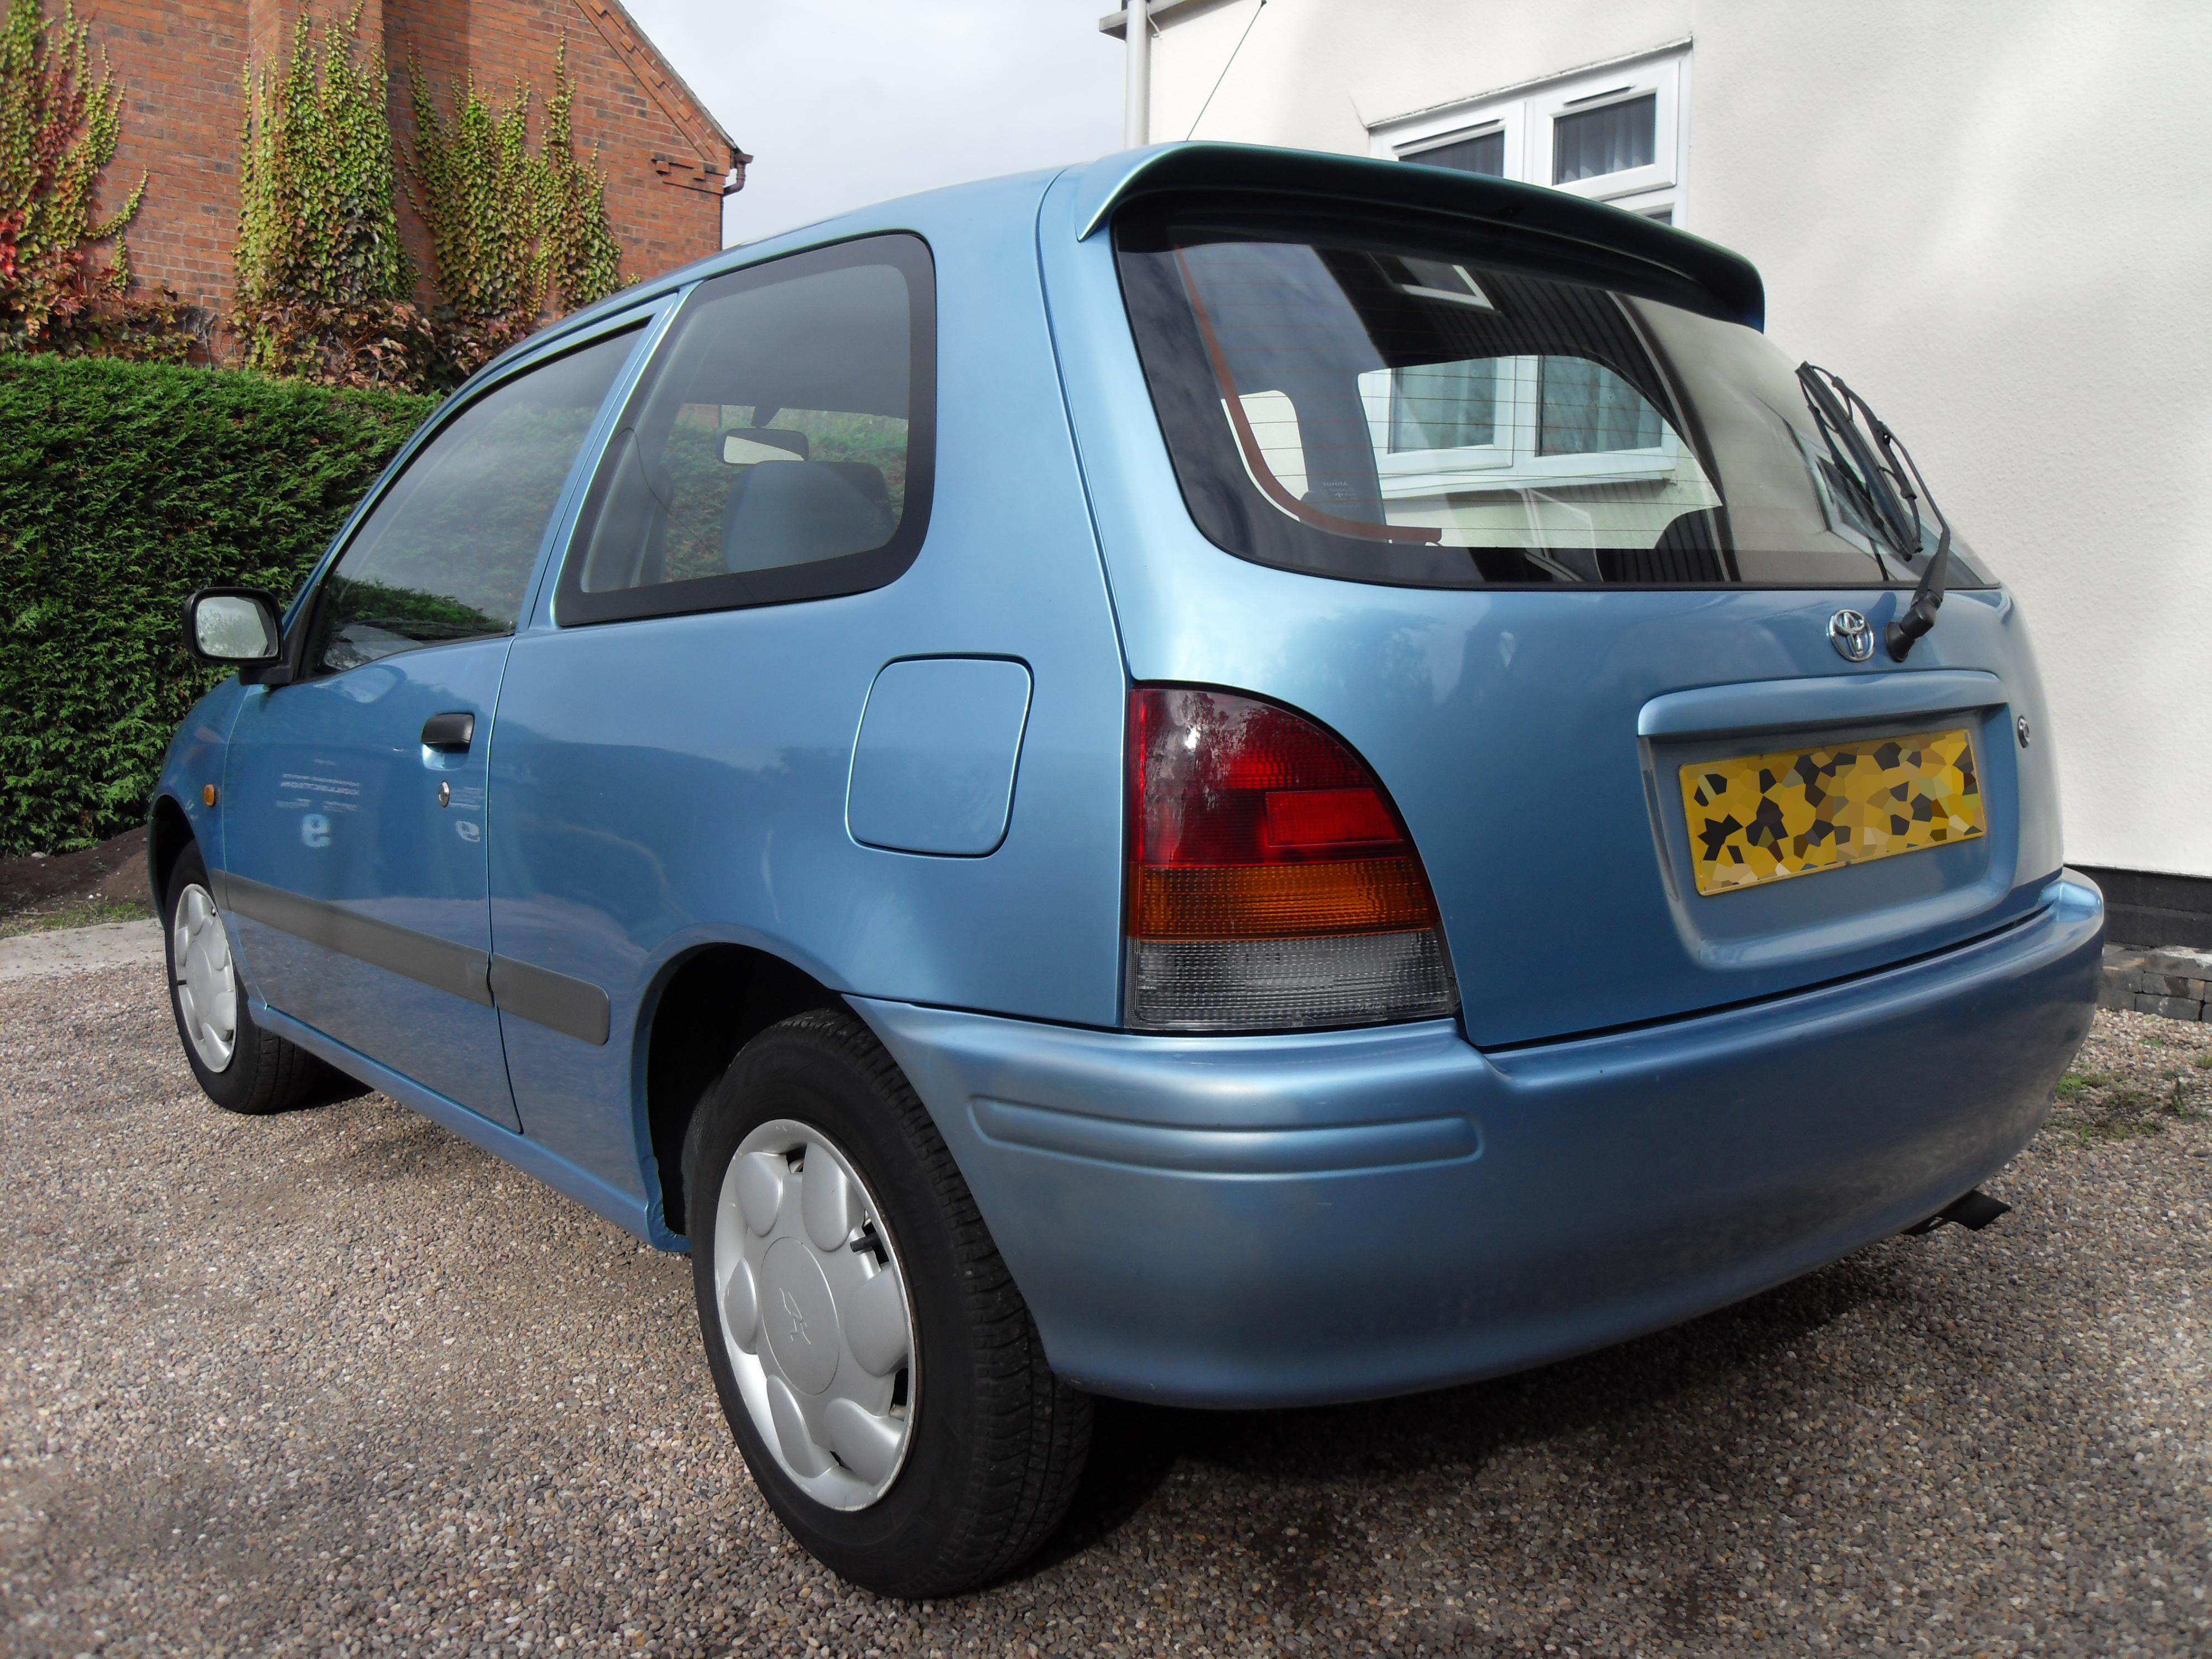
Toyota must have thought it was Blurple...
Maybe it's the metallic version?
I ordered touch up paint from toyota when i had my 8K9 and it was always labeled Purplish Blue.
Gavin