


Socks
-
Posts
9780 -
Joined
-
Last visited
Content Type
Profiles
Forums
Wiki
Media Demo
Events
Everything posted by Socks
-
Looked great dude! Some right Barrys out in that session! Pretty much the fastest thing on the track by the looks of it! More fuel next time :P
-
Everyone got cars ready?
-
Oooo no messing about! EP70 are really light so you wont need alot of power to scare yourself! Keep us posted!
-
Calm Down. Try it now mate.
-
You coming for a mooch up?
-
Argh that's wank. Did you book on?
-
Let us know if you get it booked!
-
Let us know if you do dude!
-
As much as i love the 4/5s new rims look sick dude!
-
Retry Buddy!
-
Now Available! First 10x sold get free stuff thrown in!
-
Try now bud!
-
haha, I dont think ive seen someone mod one of these! Whats it go like for an eco car.
-
All the earths secure in the engine bay?
-
Mega Stuff. Looks awesome! Looking forward to seeing videos!
-
GT Turbo TD04 @ 0.8bar most likely, depends on weather. Stripped Out Some JDM Springs Rear Anti Roll Bar 595RSR Tyres DS2500 Pads
-
Awesome! Your the first to dump the money on one Gee! Mount up well? All Original Mounts? Did you go with there shifter and gear indicator too?
-
How old is the fuel pump?
-
Looks like a fair few of us are going to this: https://www.opentrack.co.uk/product/cadwell-park-tuesday-16th-october-2018/ Shall we make a list, who's driving what? 1, Socks - GT Turbo 2, Amjad - GT Turbo 3, Maddox - Glanza V 4, Walker96 - Glanza V This may be the most amount of Starlets ever booked onto a track day lol
-
Hmm, ok bare with me ill check this out. Should be bigger then that!
-
If you purchase club membership, you can simply hit the upload button straight into your post! No need for any links or apps!
-
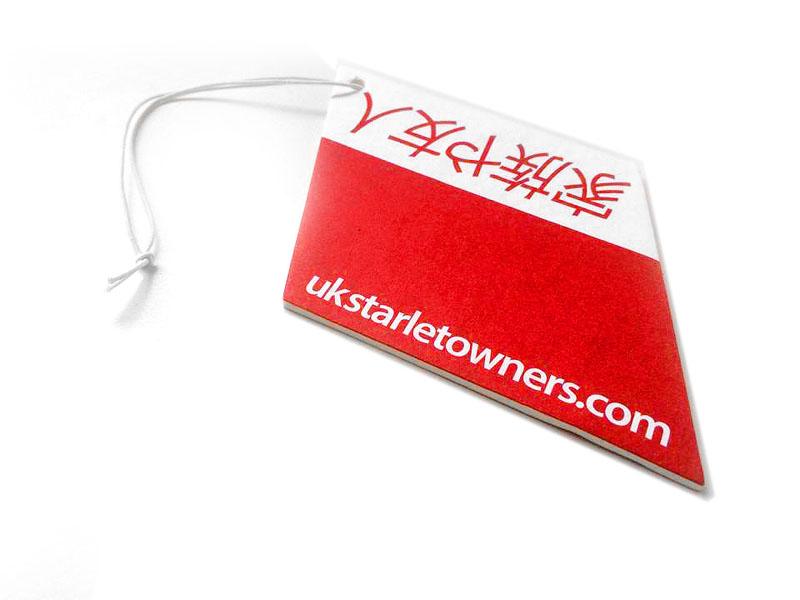
5x Free Air Fresheners! When you purchase UKSO Decals or a UKSO Keyring Today! They smell awesome, just dont use them all at once! It may be a tad overpowering!
-
That was at 2.3bar.
-
My old setup made 430bhp on vpower. That was on a GTX2860R. Stock Cams Stock Springs. 7500rpm Limiter. The head needs heavy port work to flow that, you have to be careful with cams as on turbo cars if done wrong all your going to do is move the powerband upward. I would concentrate on other things that will improve power first.
-
Hey Mate. Yes we stock this kit still. PM Sent
