
Socks
-
Posts
9780 -
Joined
-
Last visited
Content Type
Profiles
Forums
Wiki
Media Demo
Events
Everything posted by Socks
-
This is awesome. It looks like the boys at fensport did a great job! your username is broken now tho 😎
-
Welcome back everyone! On a new, stable platform with a new Host. If you find any faults or errors, please be sure to let us know! Enjoy the forum, again
-
What a lovely Glanza! Like the way your going with it! Keep us posted dude!
-
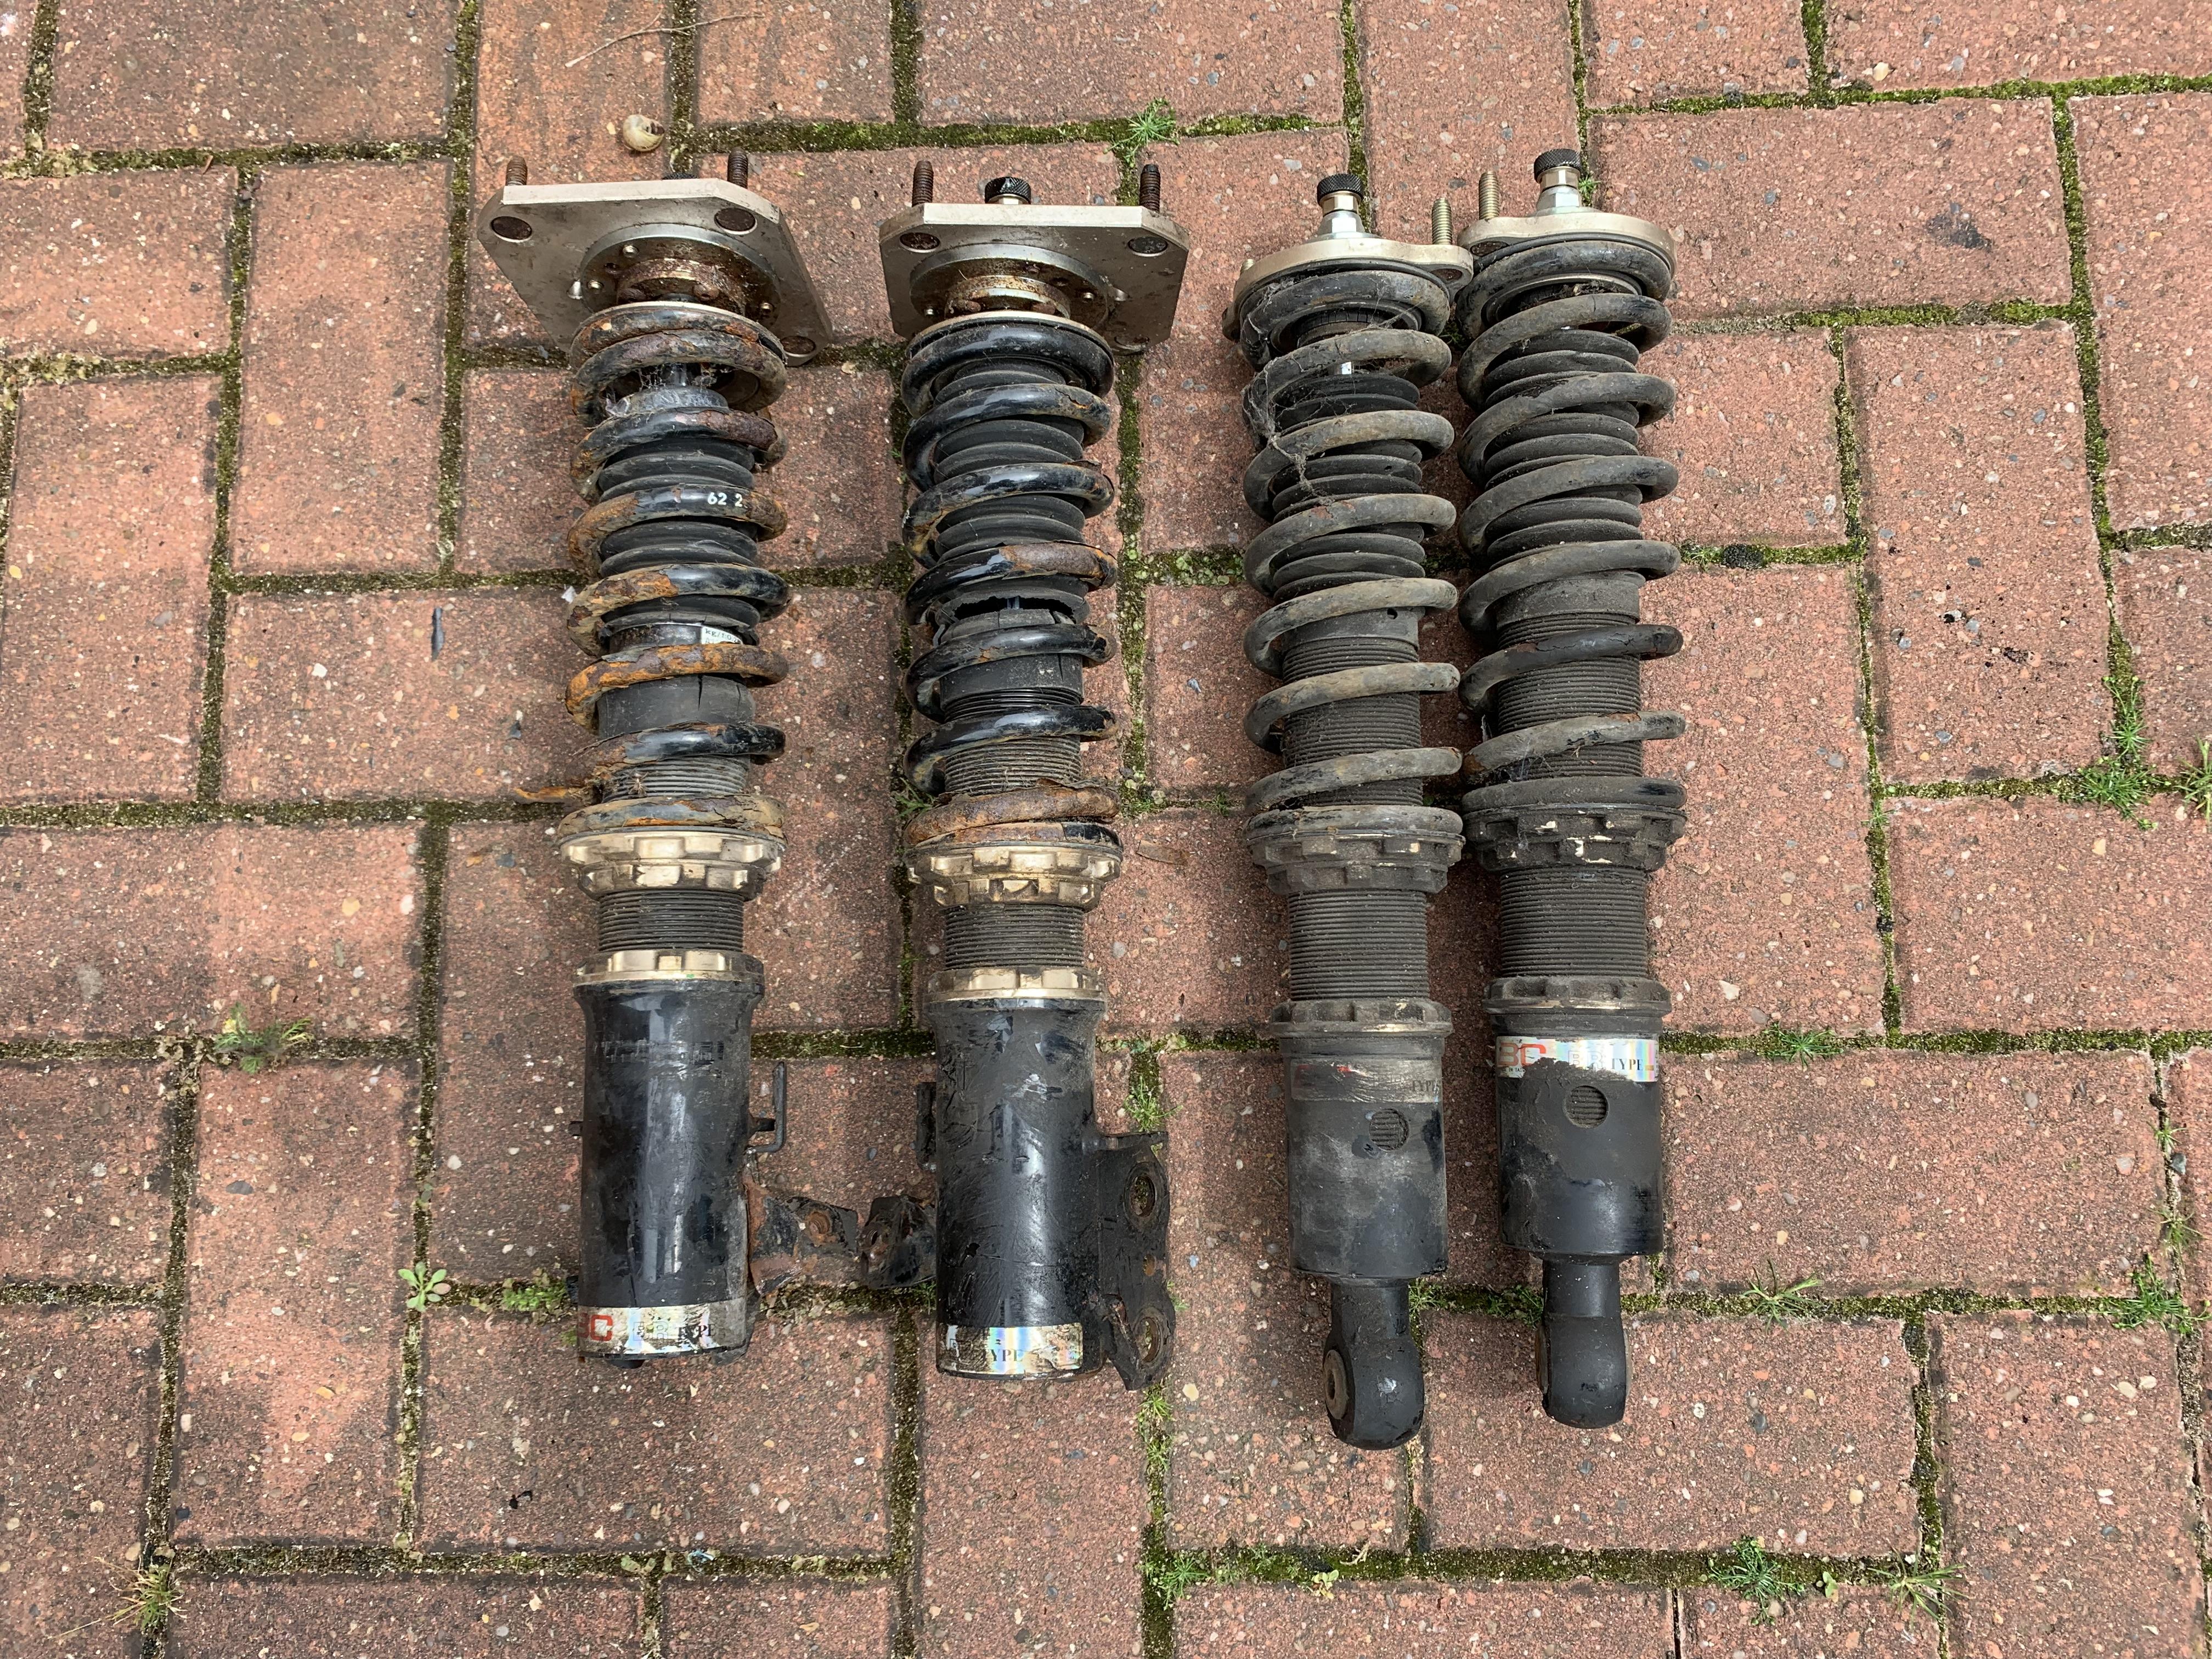
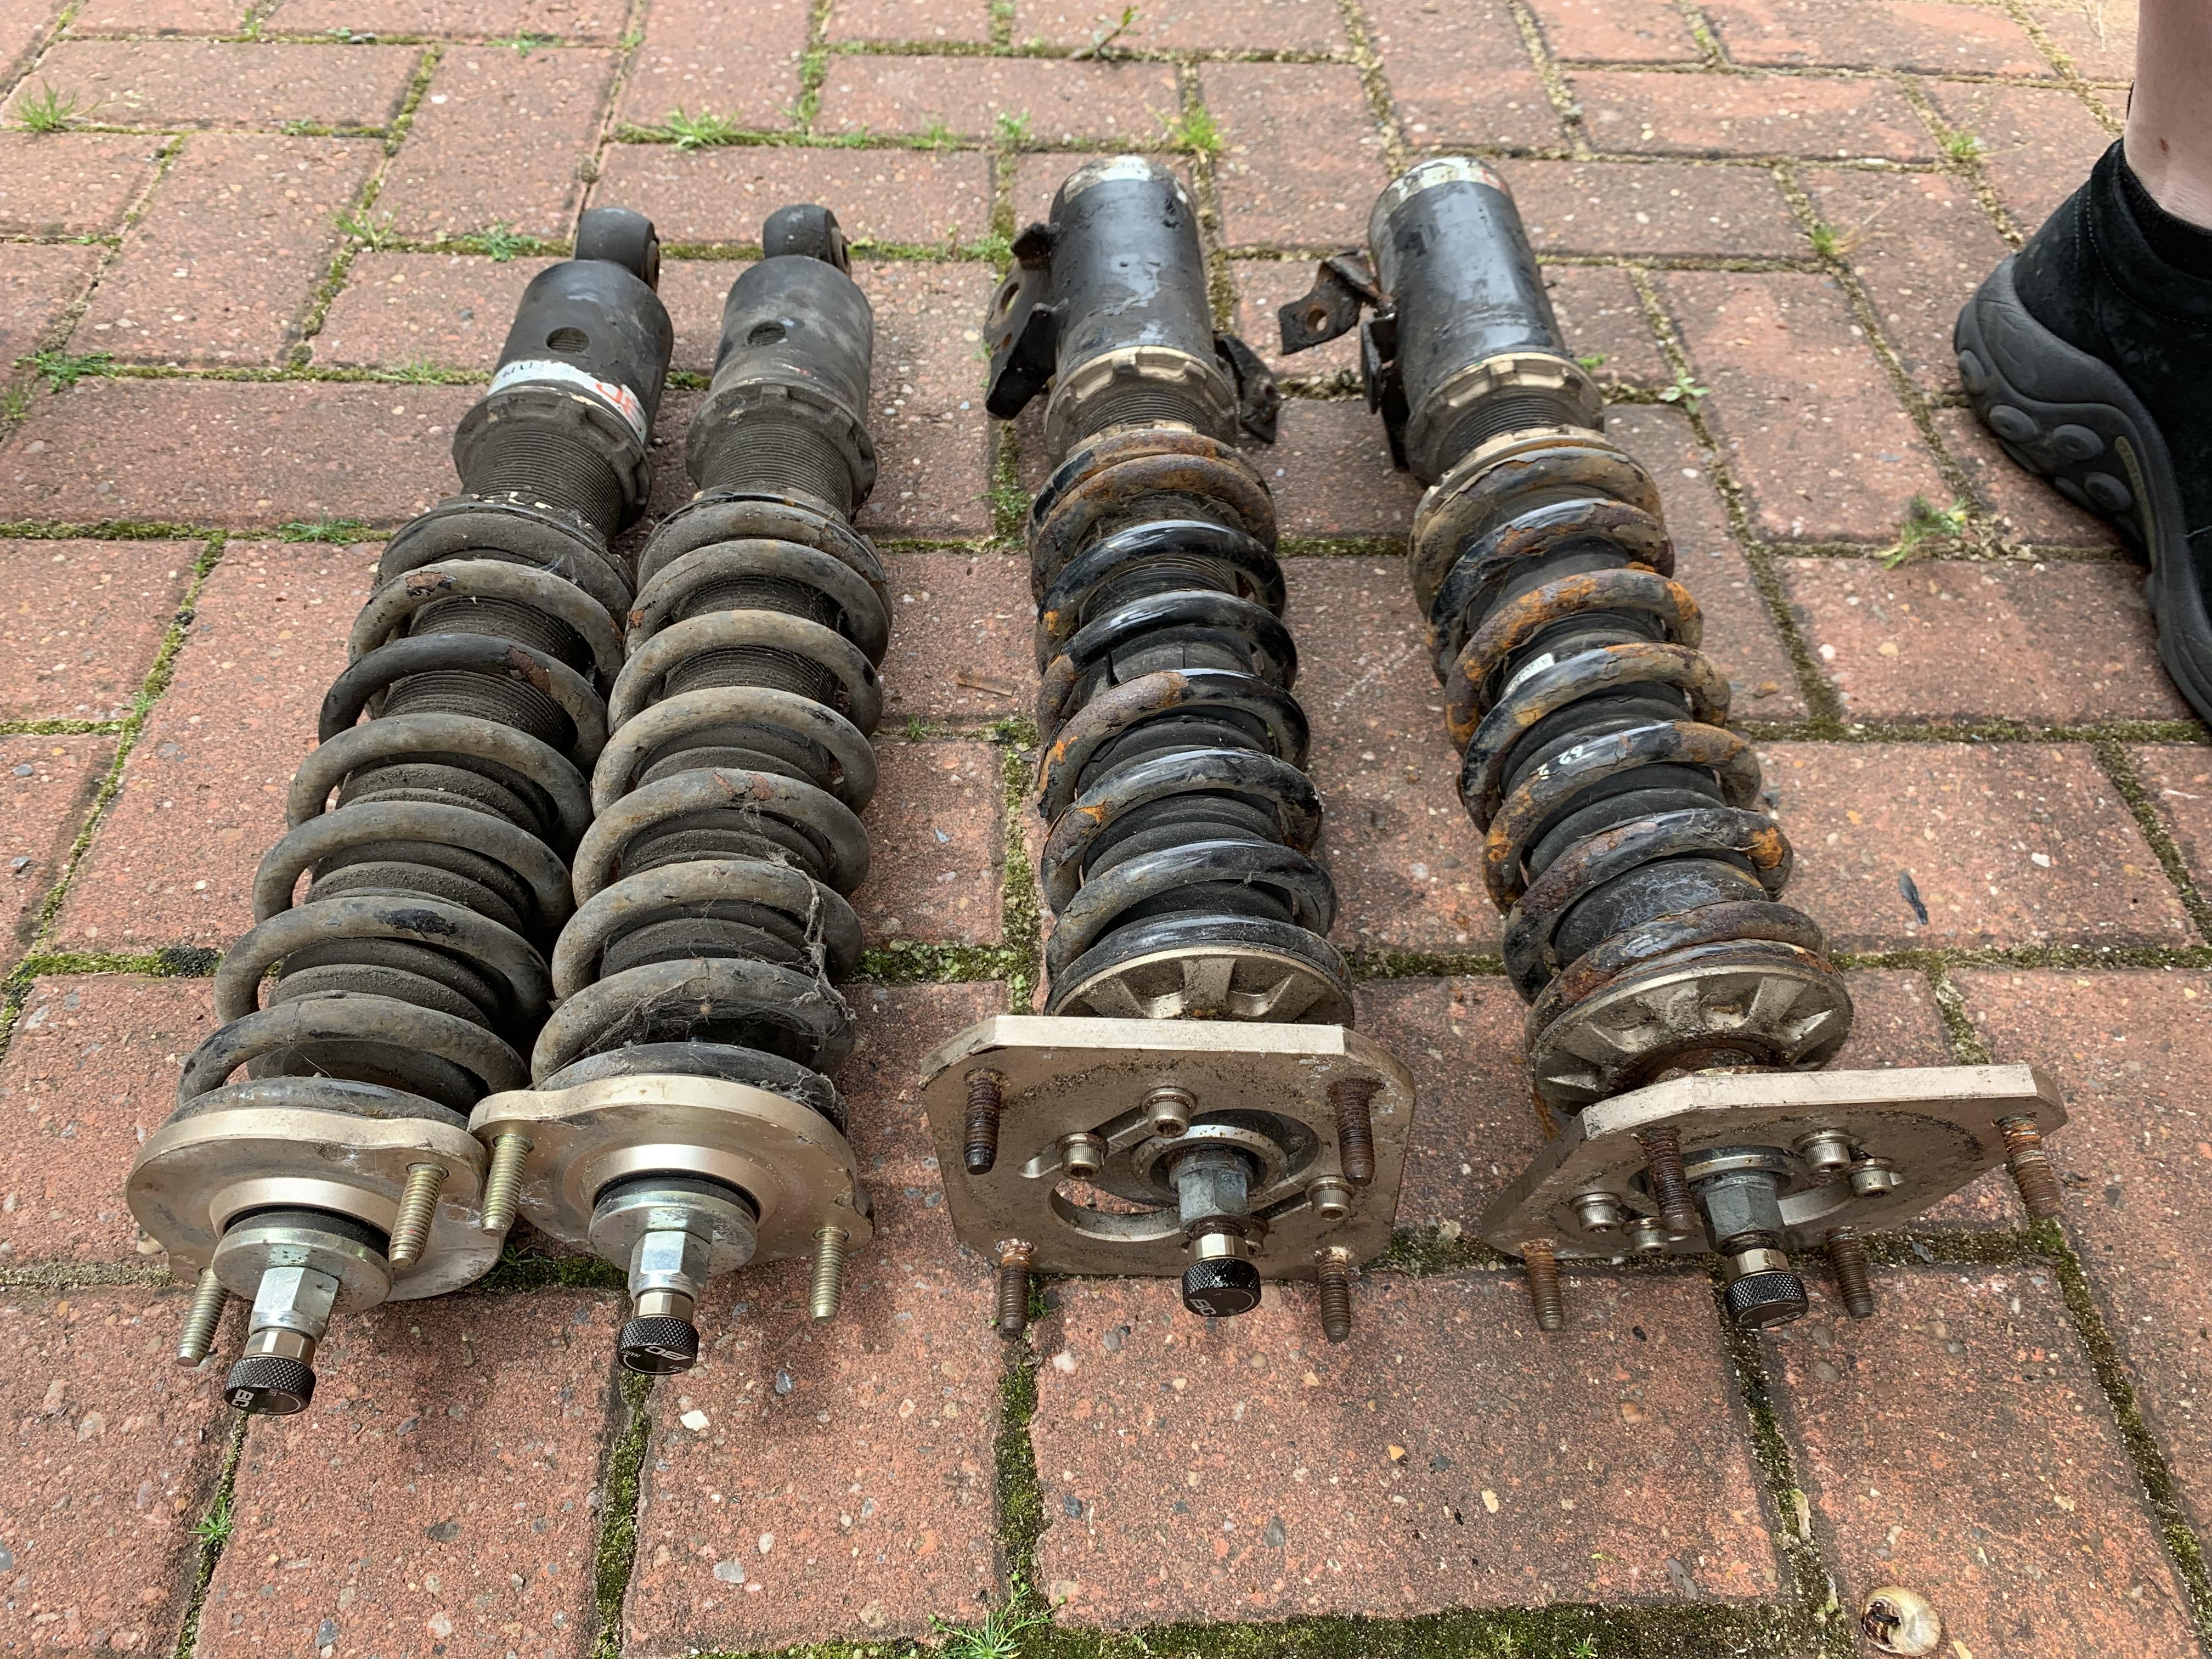
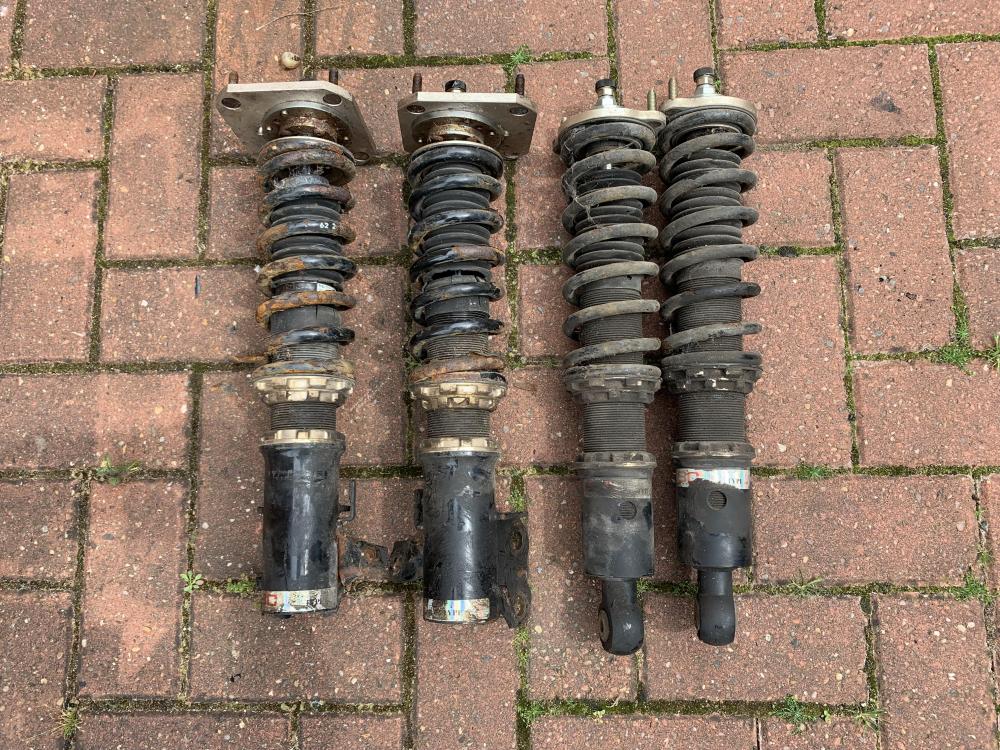
BC Racing Coilovers In good condition. Bit Scabby from being used. Don't look seized up, I dont have any BC spanners to try them though! Want a good clean and lube! No knocks, rattles or leaks though! That's the main thing! £400 Posted ONO Based in Gainsborough, LincolnshireCash or PP or Bank Xfer.

-
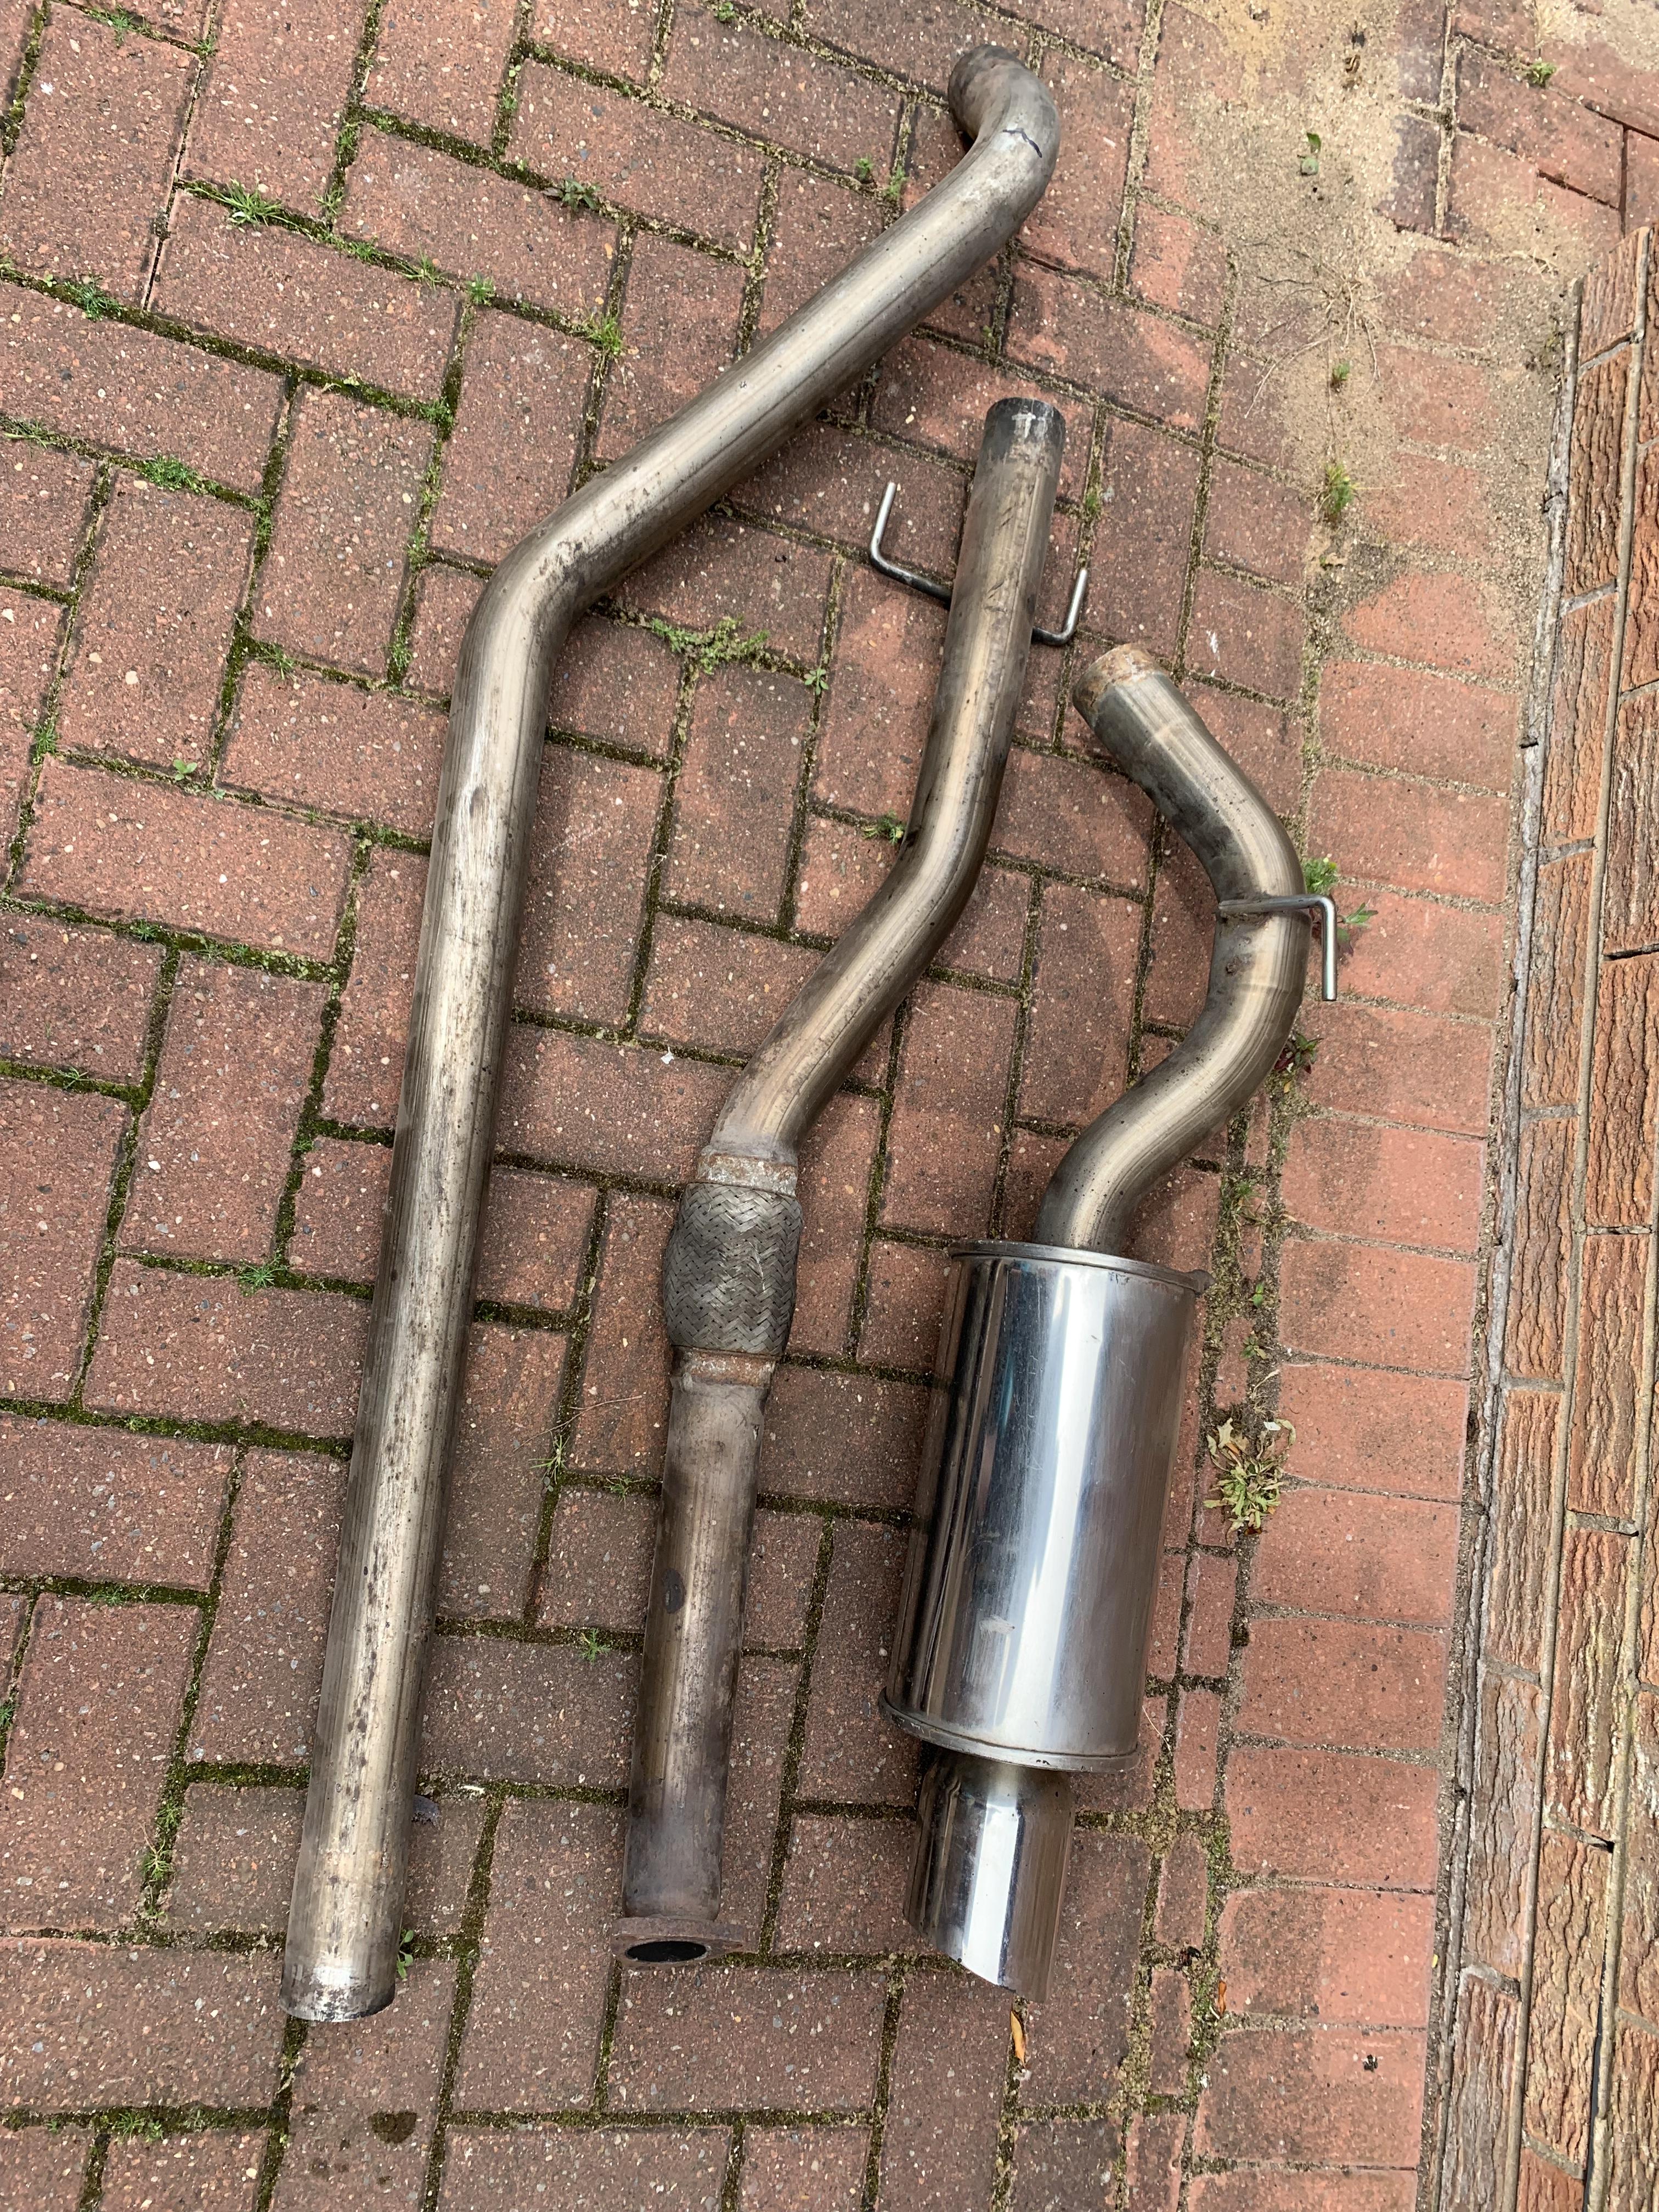
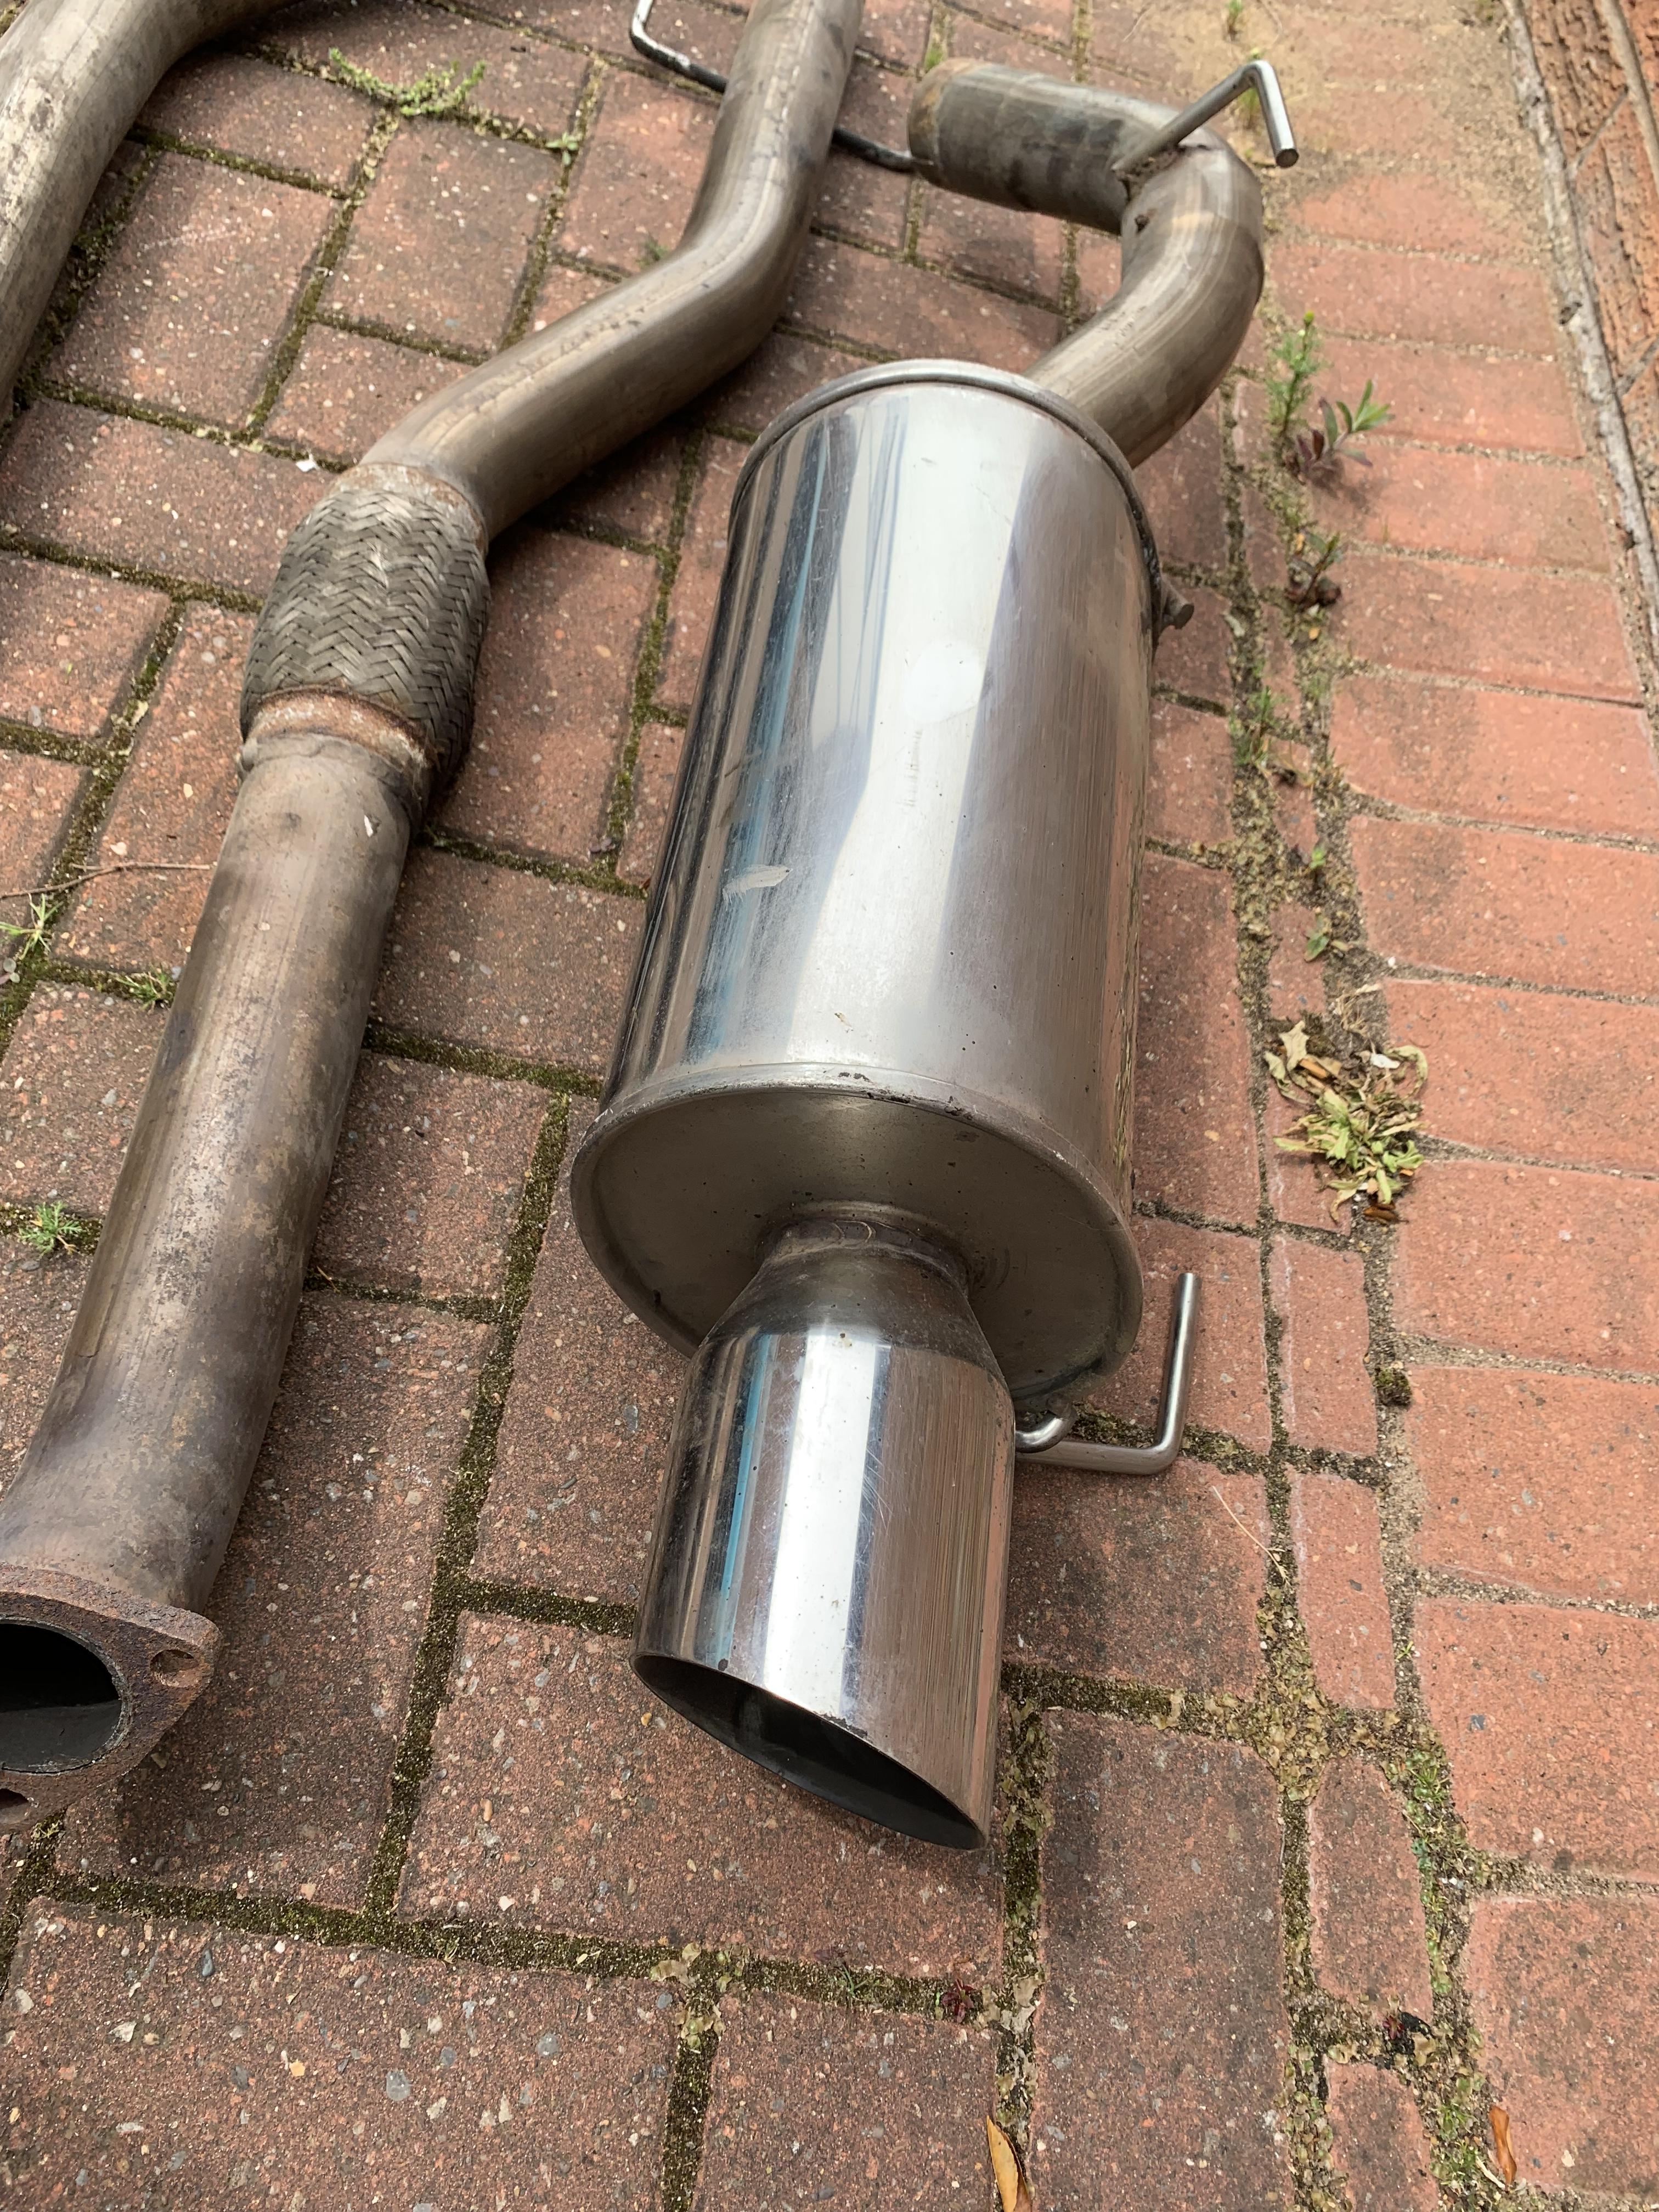
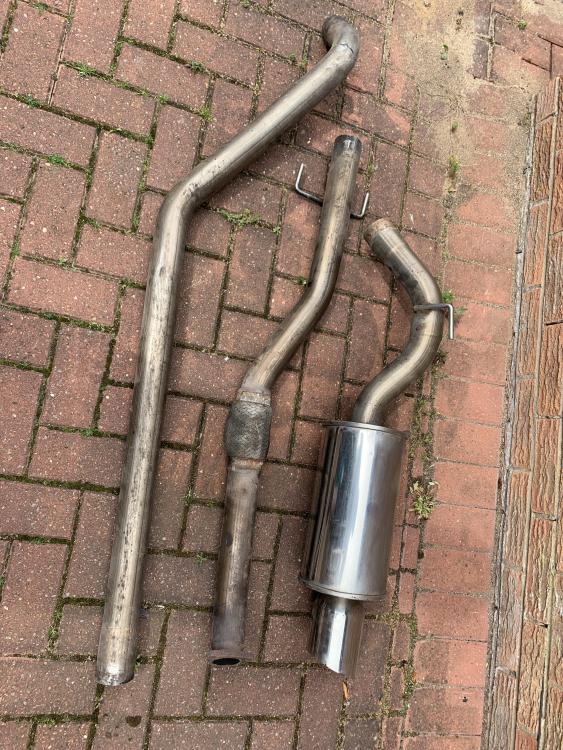
Genuine Fujitsubo Legalis R Exhaust System In good condition. Flexi has had a battering, but doesnt blow. Genuine JDM Part. £250 Posted ONO Based in Gainsborough, LincolnshireCash or PP or Bank Xfer.

-
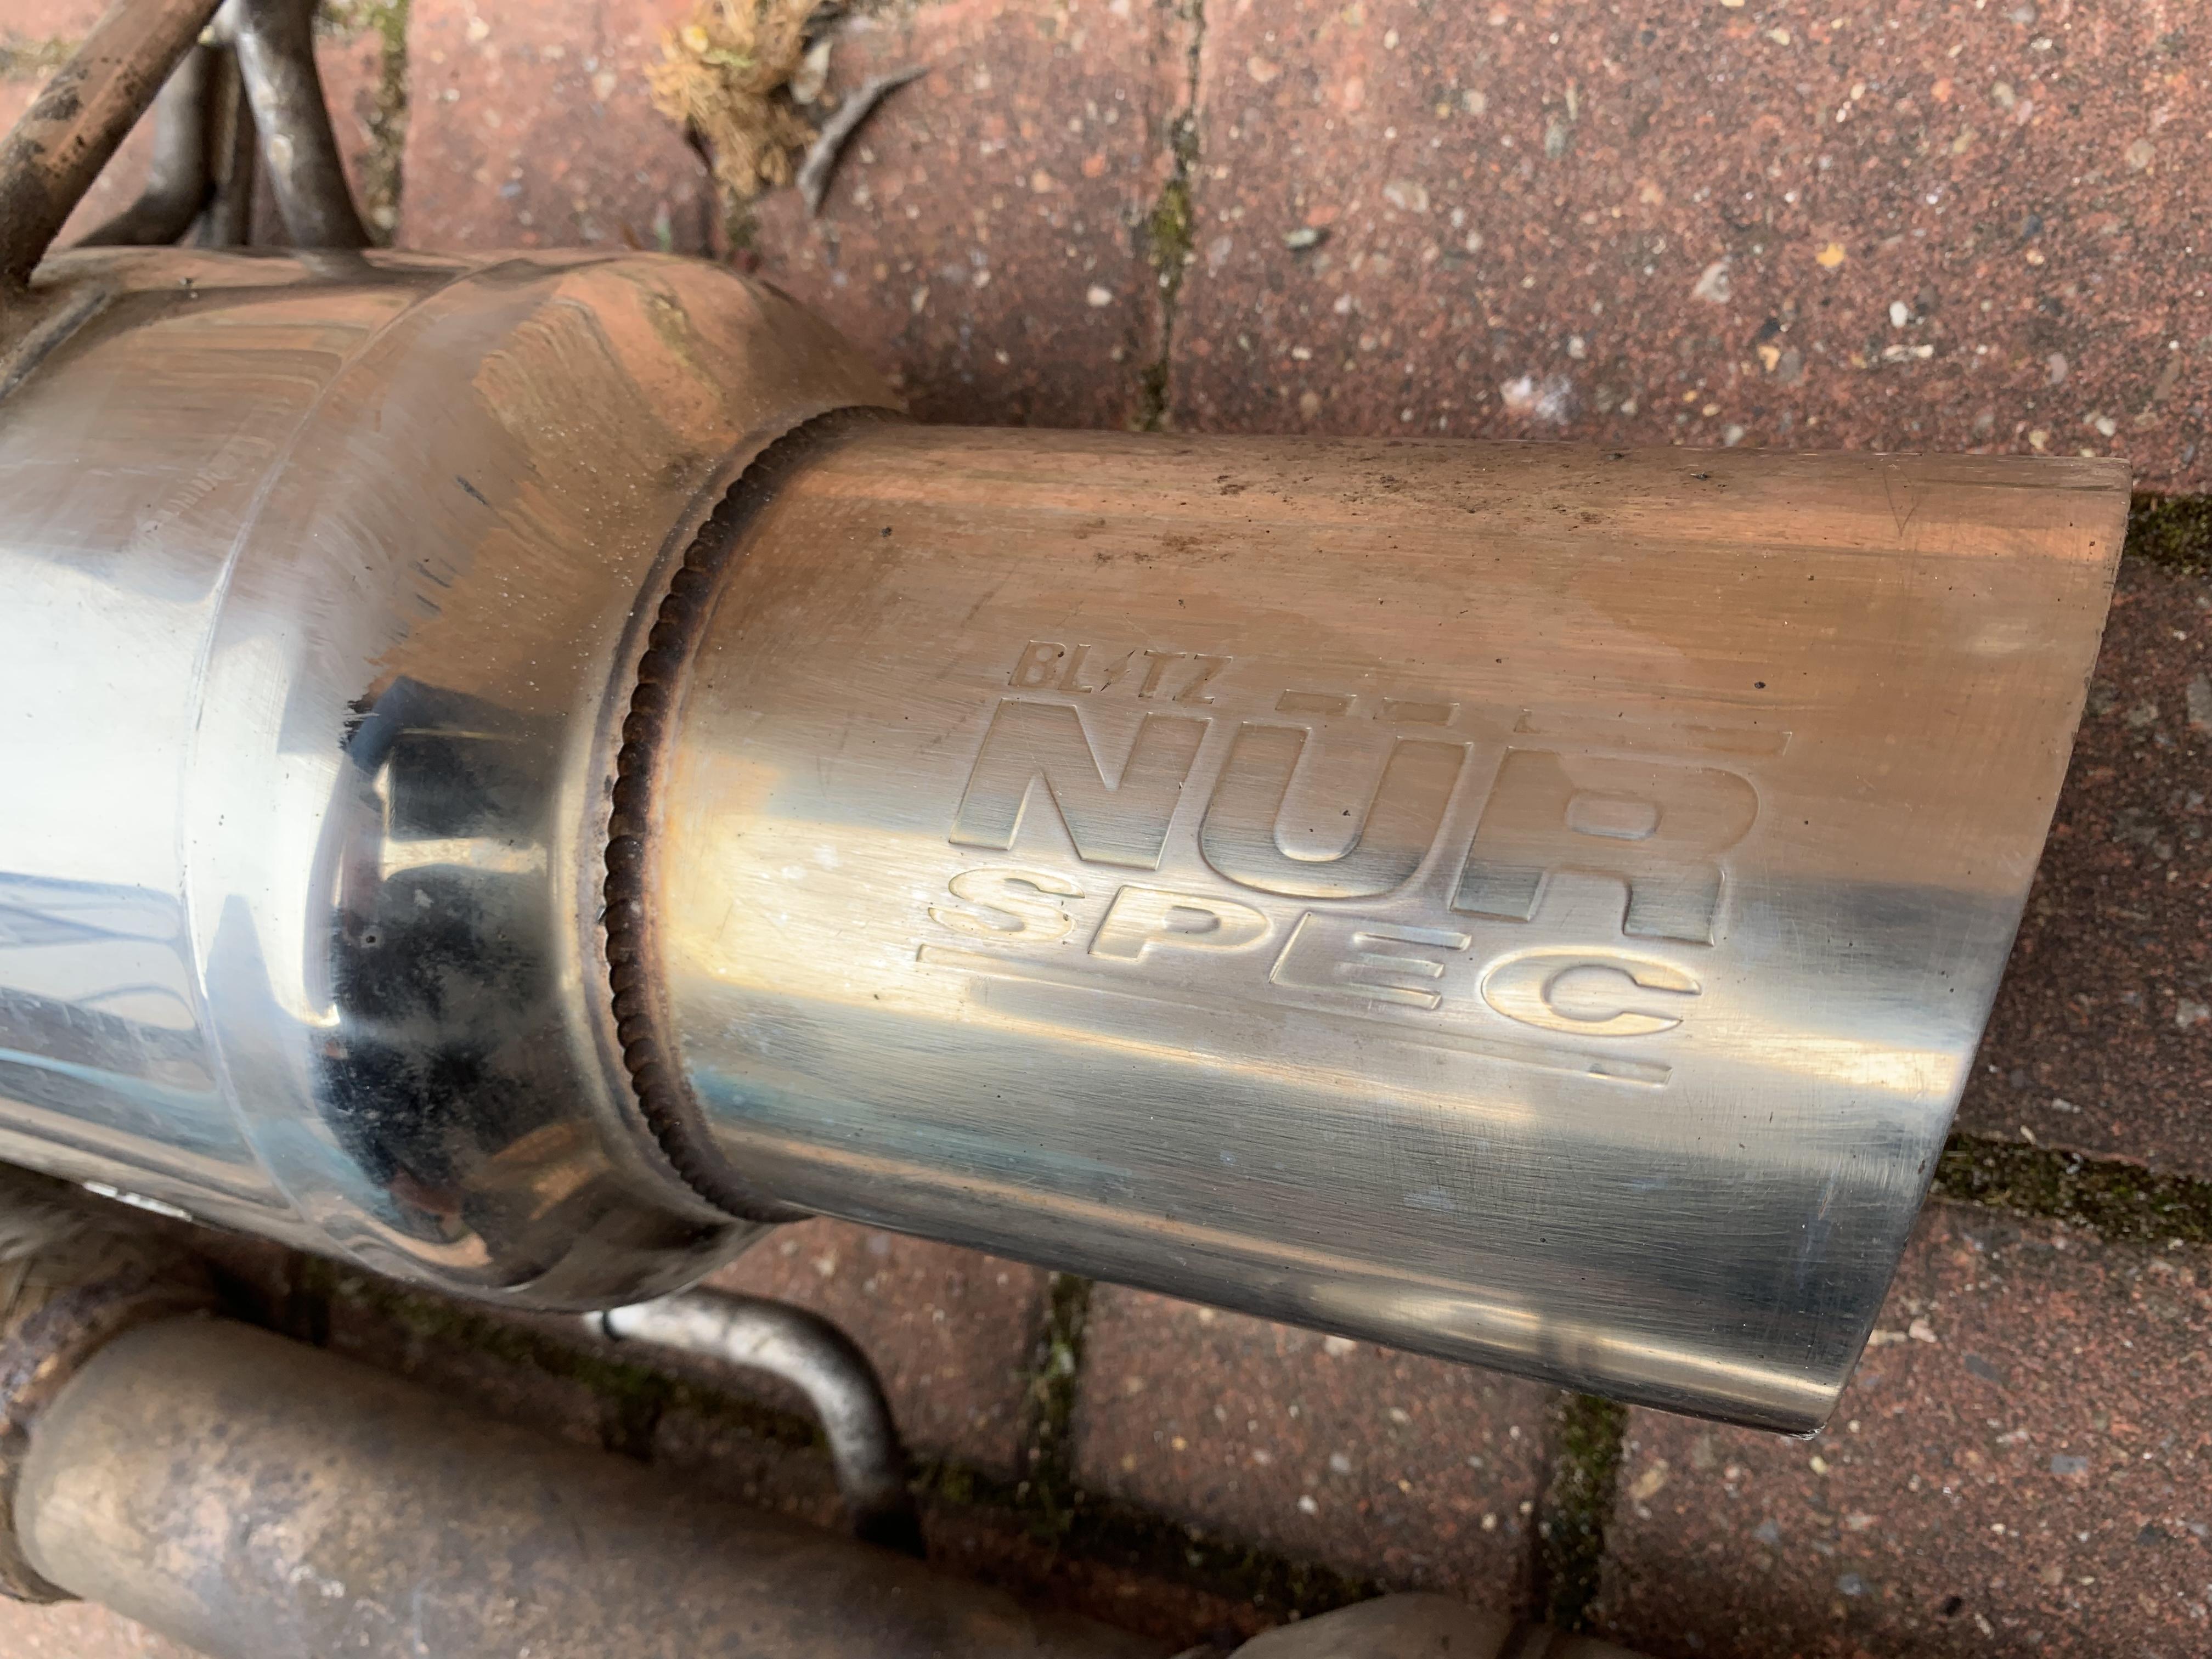
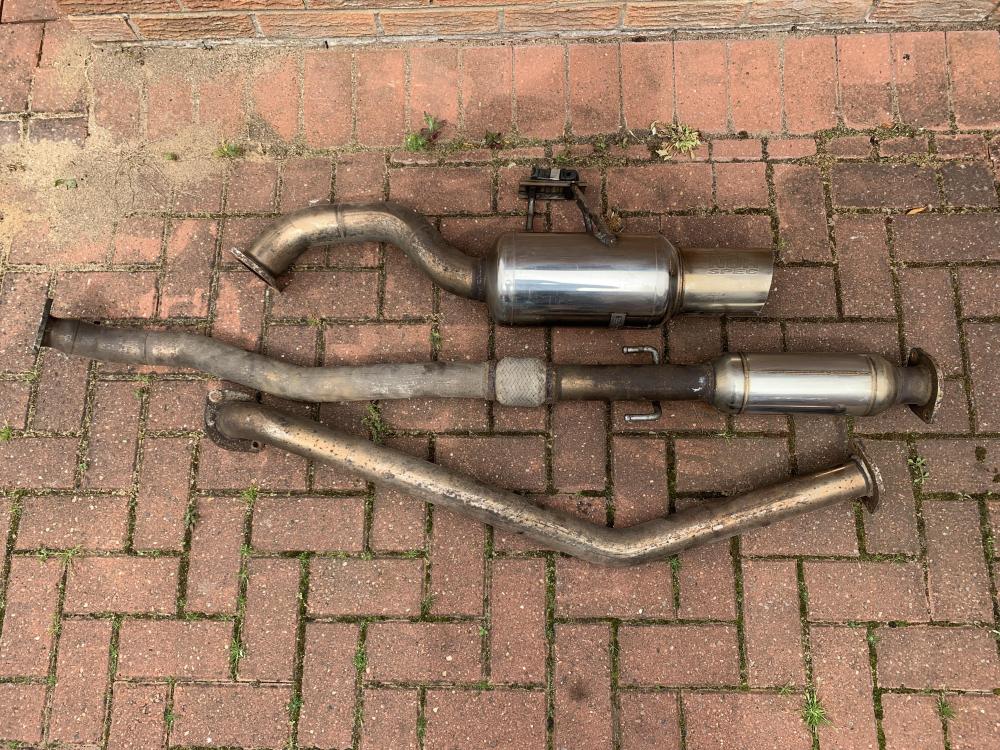
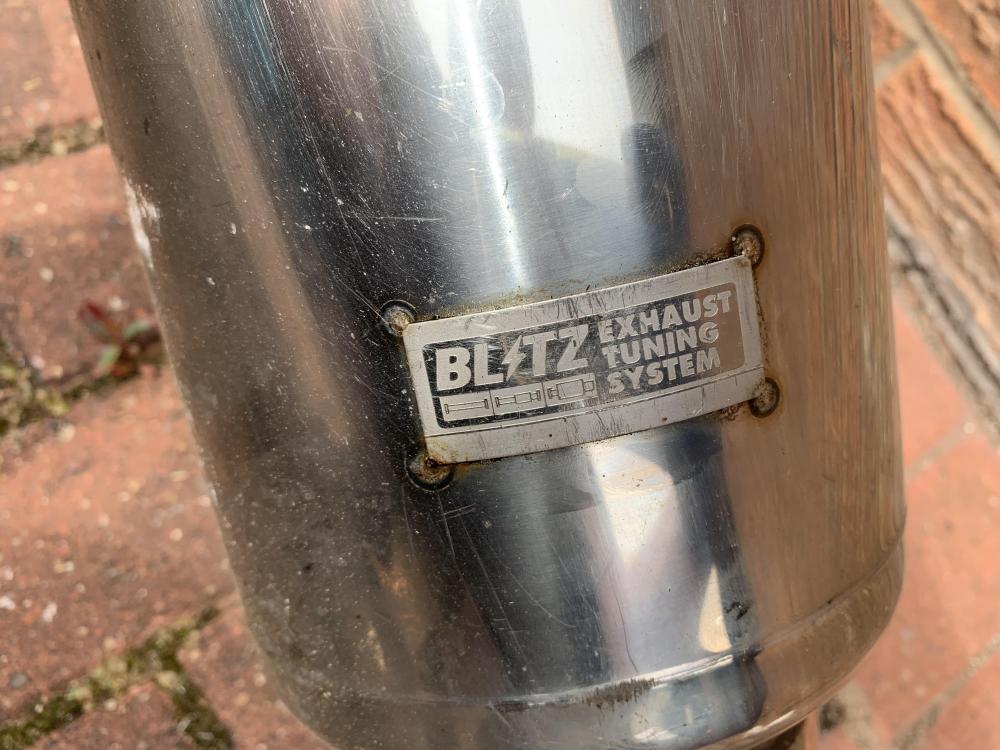
Genuine Blitz Nur-Spec Exhaust System In really good condition. No damage to the flex or boxes. Genuine Blitz. Not a JP or Japspeed copy! £300 Based in Gainsborough, Lincolnshire Cash or PP or Bank Xfer.

-

New To The Forum! My Starlets Story And Questions
Socks replied to Fleminglad's topic in Welcome New Owners!
Looks like a minter that dude! Keep it clean and rust free! Be worth a good few quid in the coming years! -
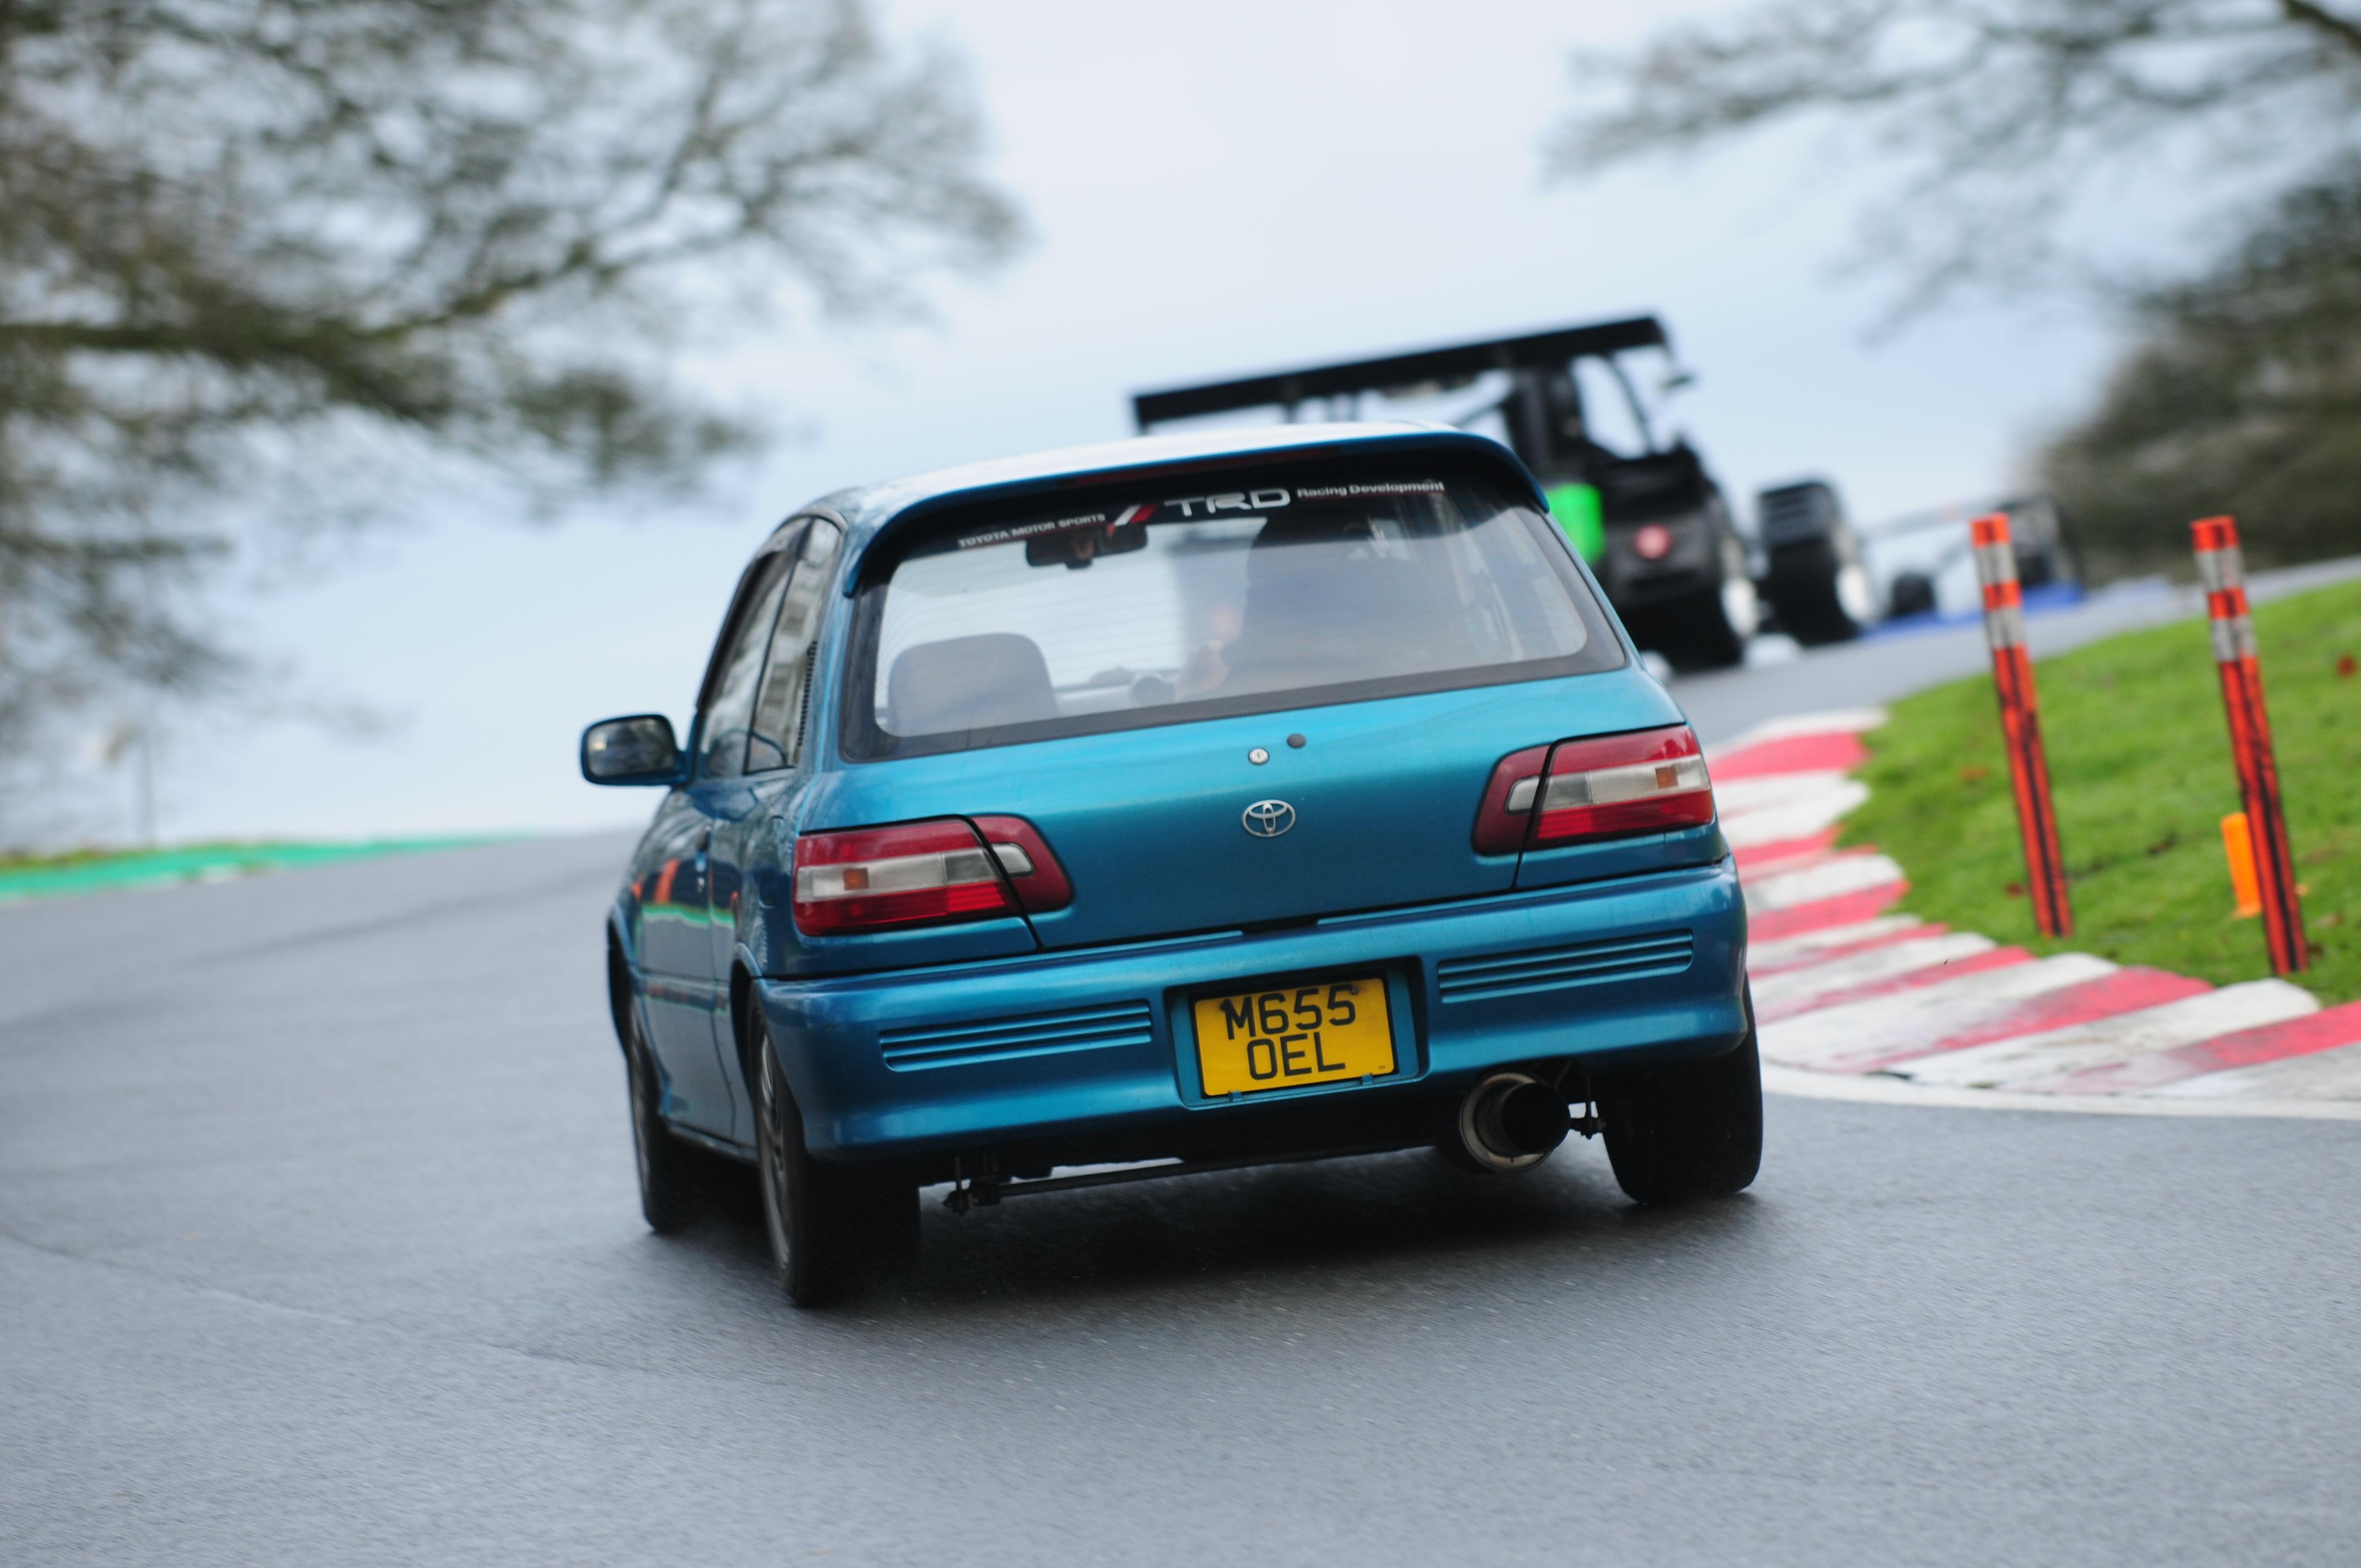
Cheers dude! Its a hoot! Its a 2.5" Exhaust with a 3" Tip. Its only a TD04 so.... Only been to blyton so far, who are on a flyby basis, tbh the screamer is louder and that hasn't changed so... Wouldn't be any different. Its Cadwell that does a static, so ill let you know! Cheers tho dude!
-
My fastest lap at Blyton is here Tried to keep the lines as smooth as possible!
-
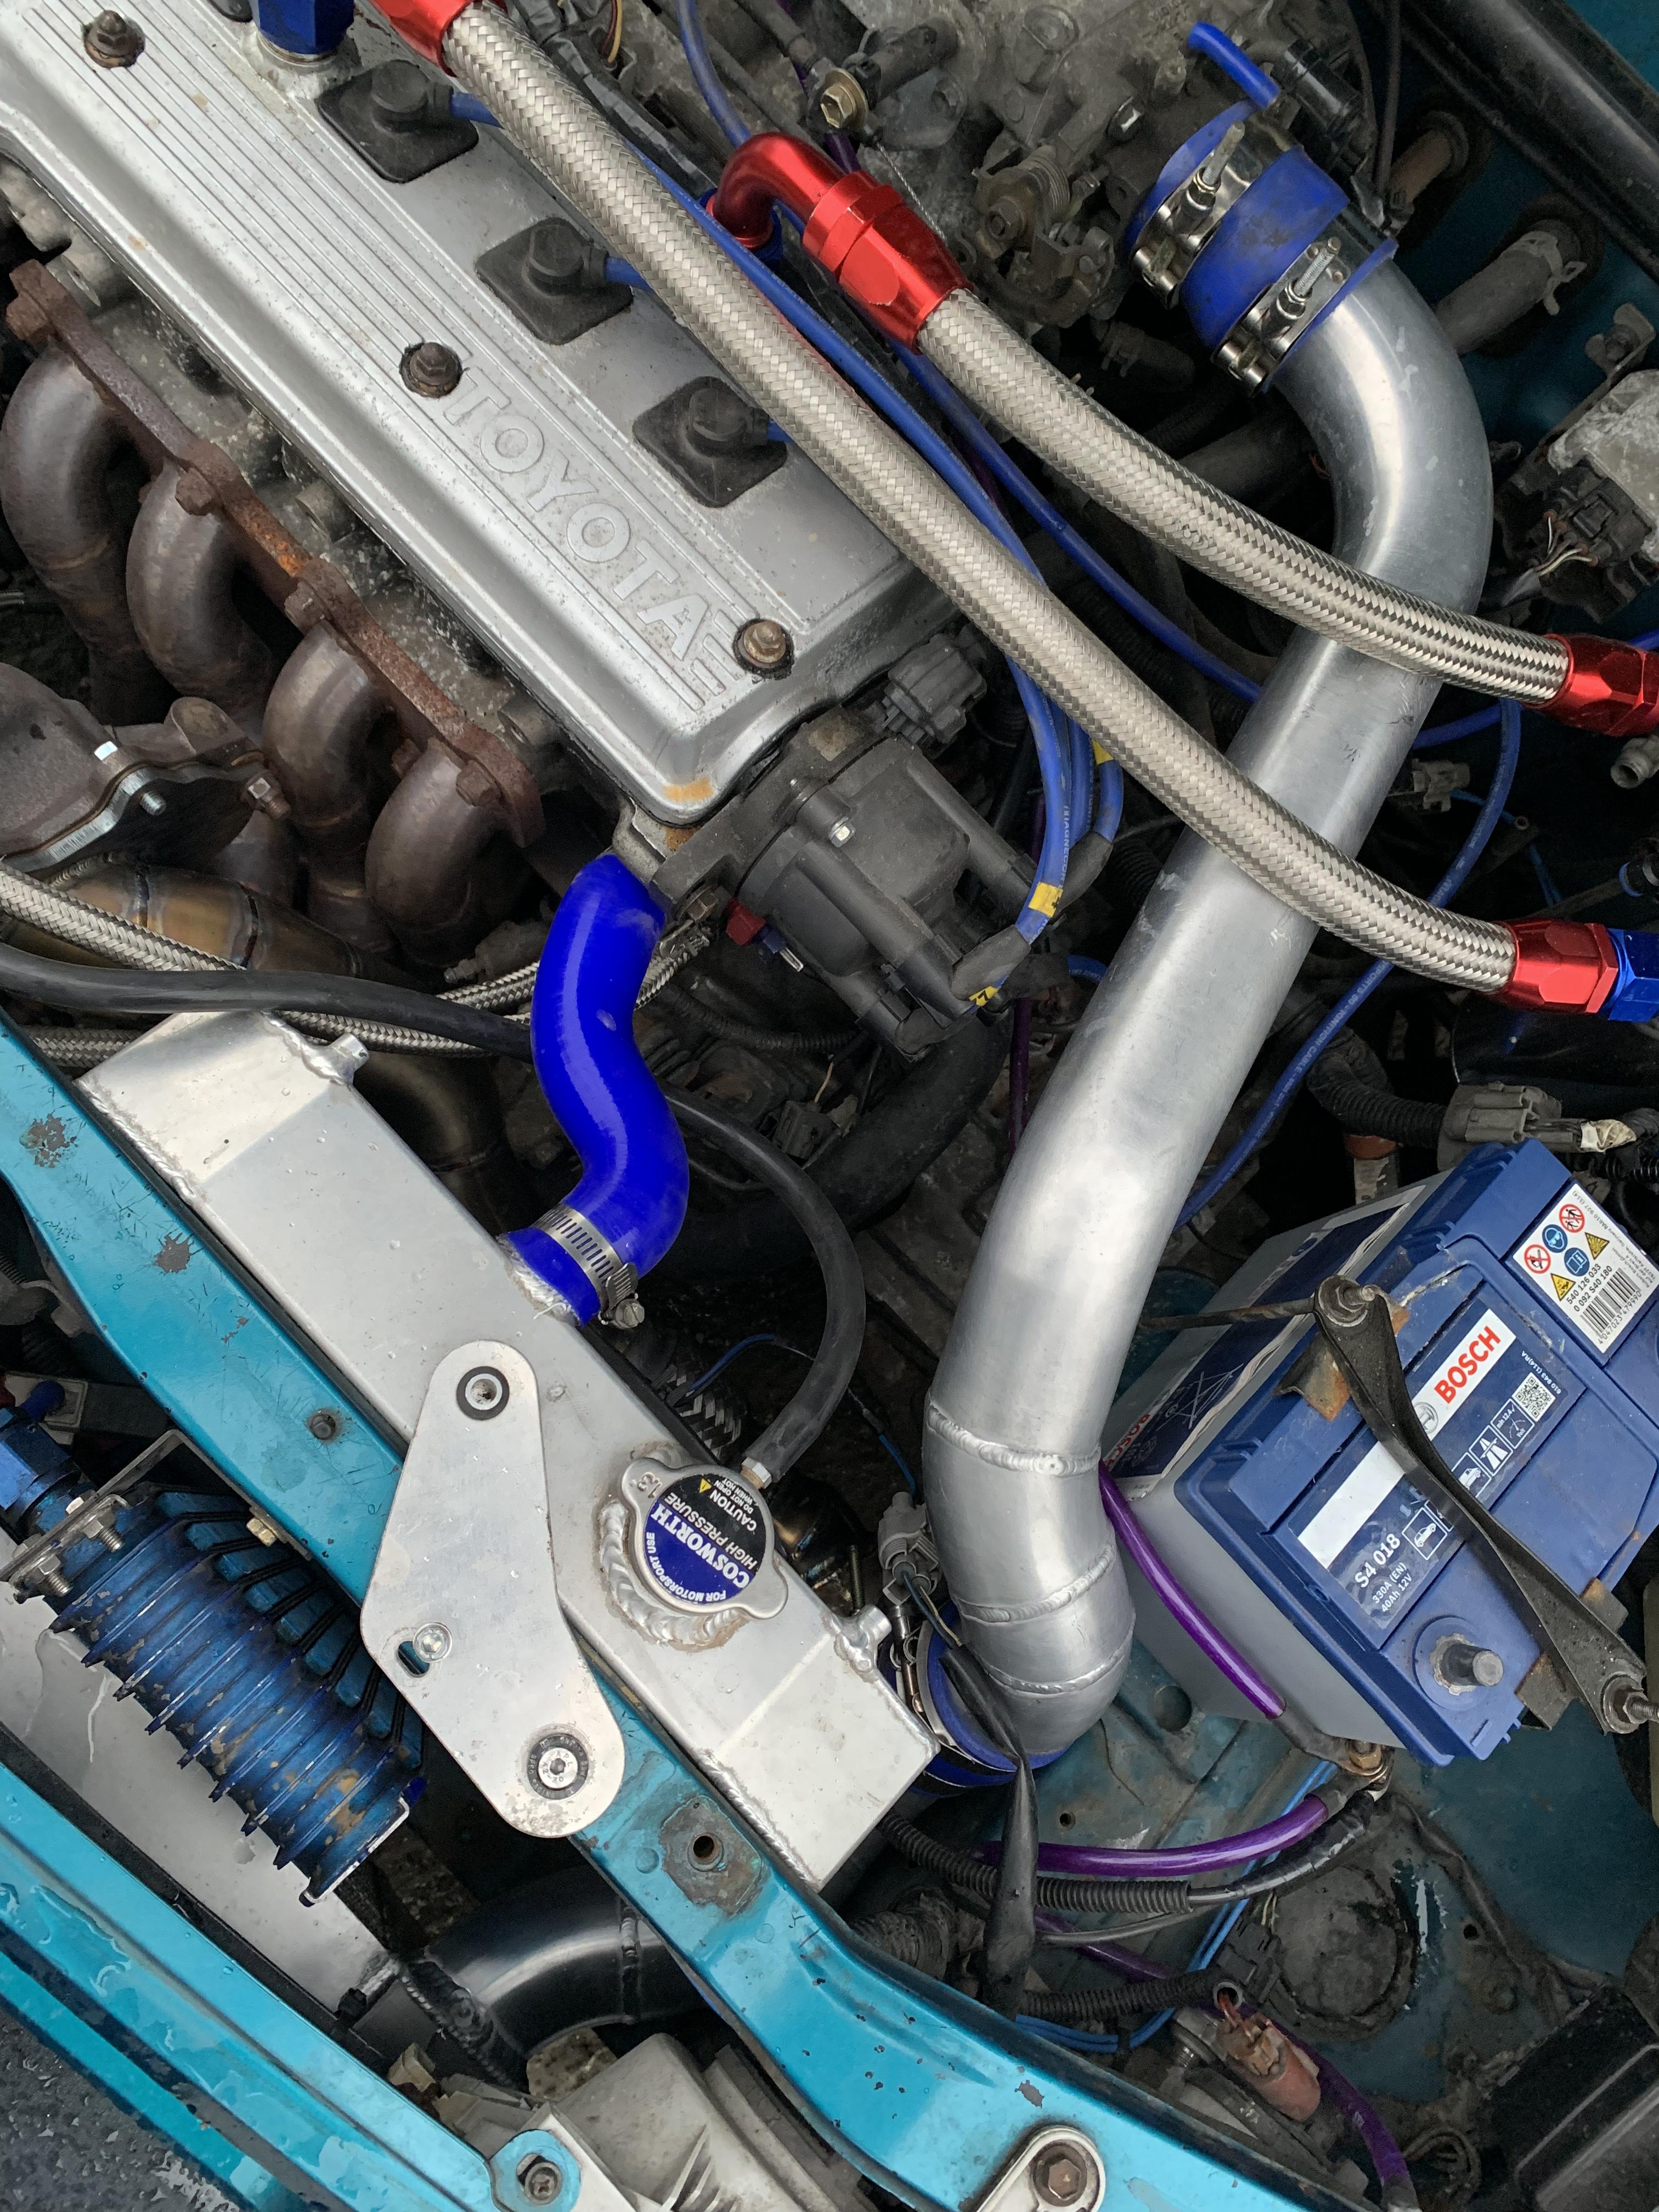
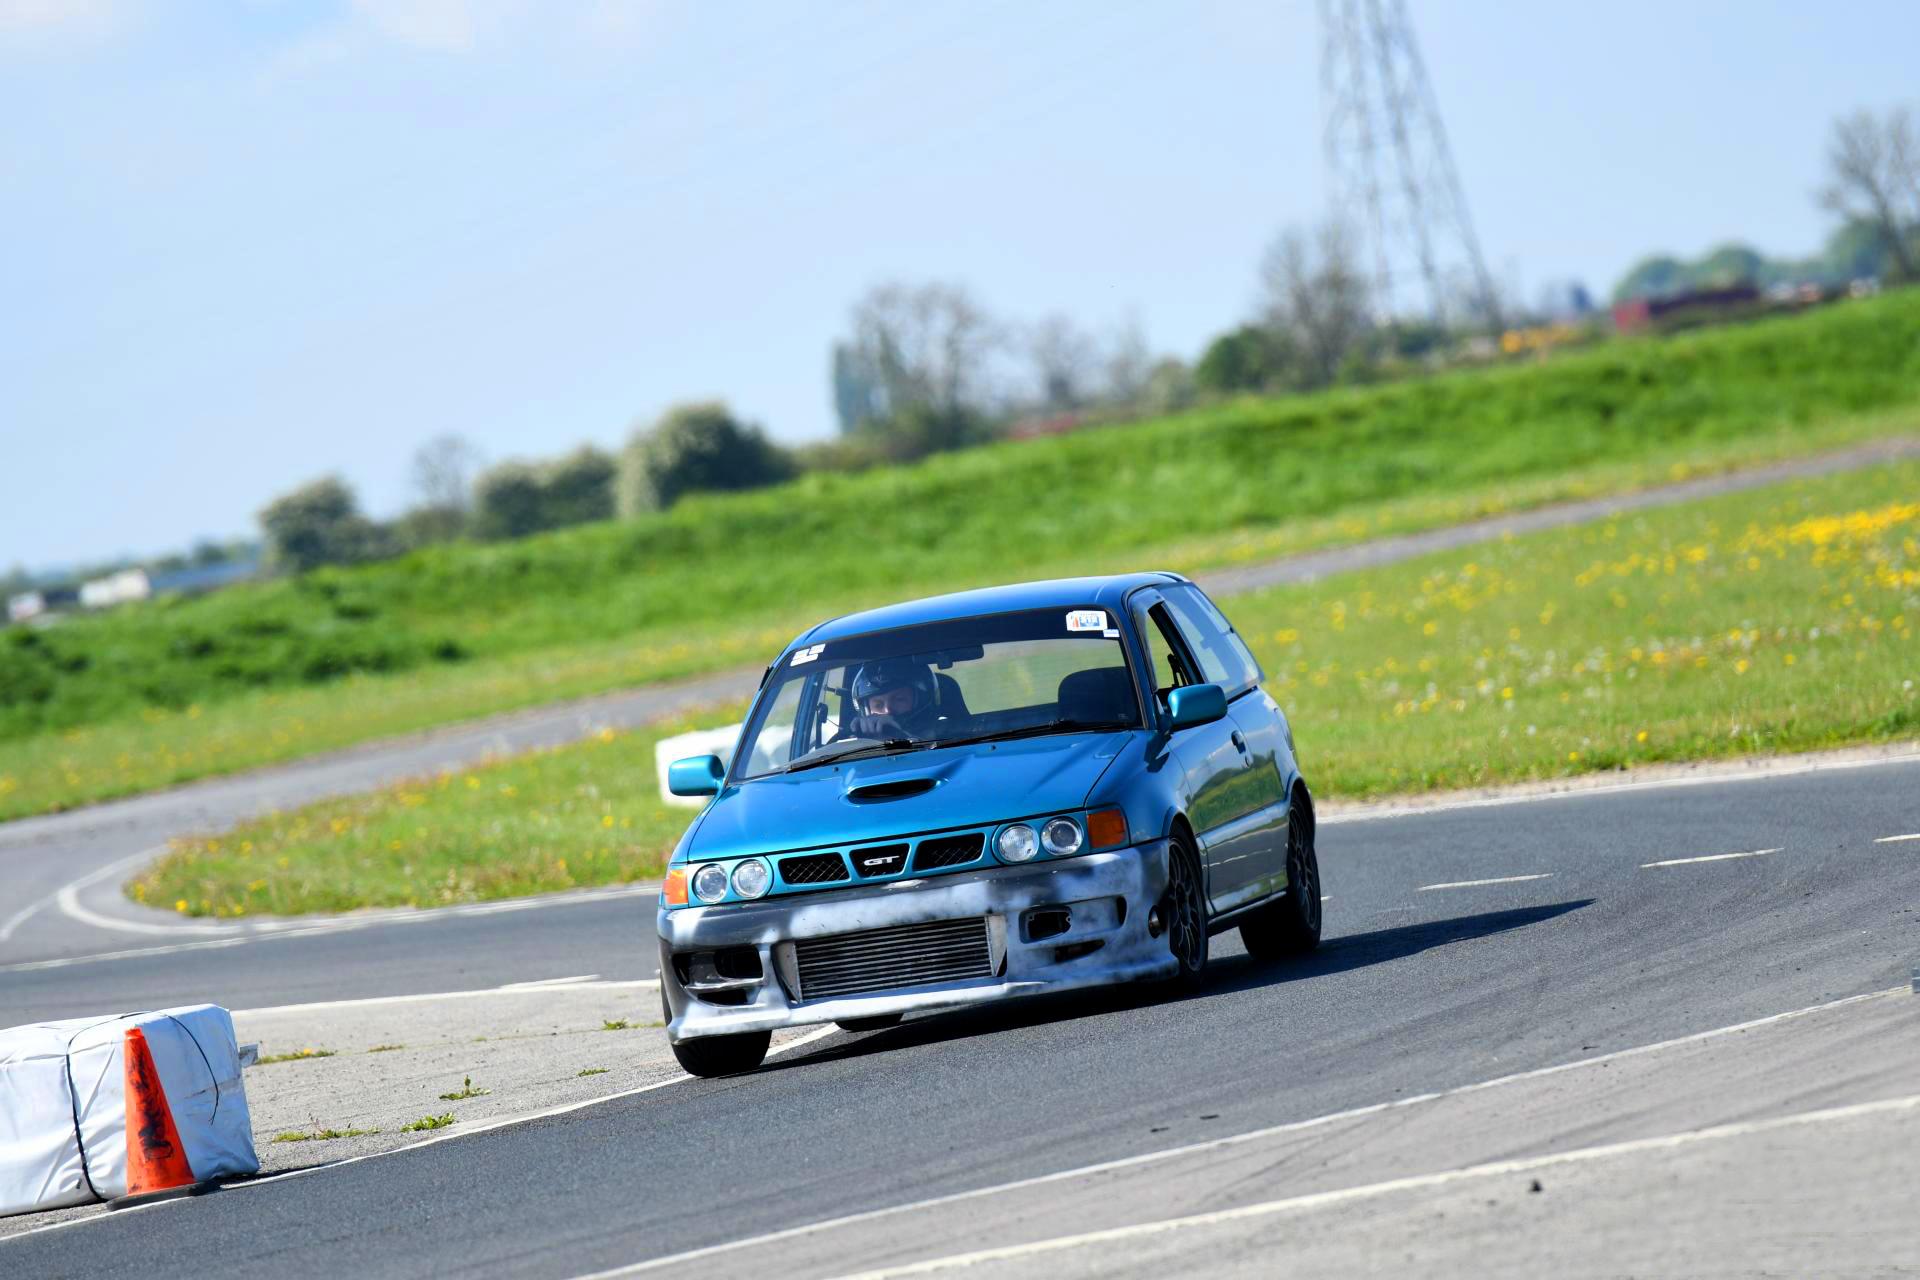
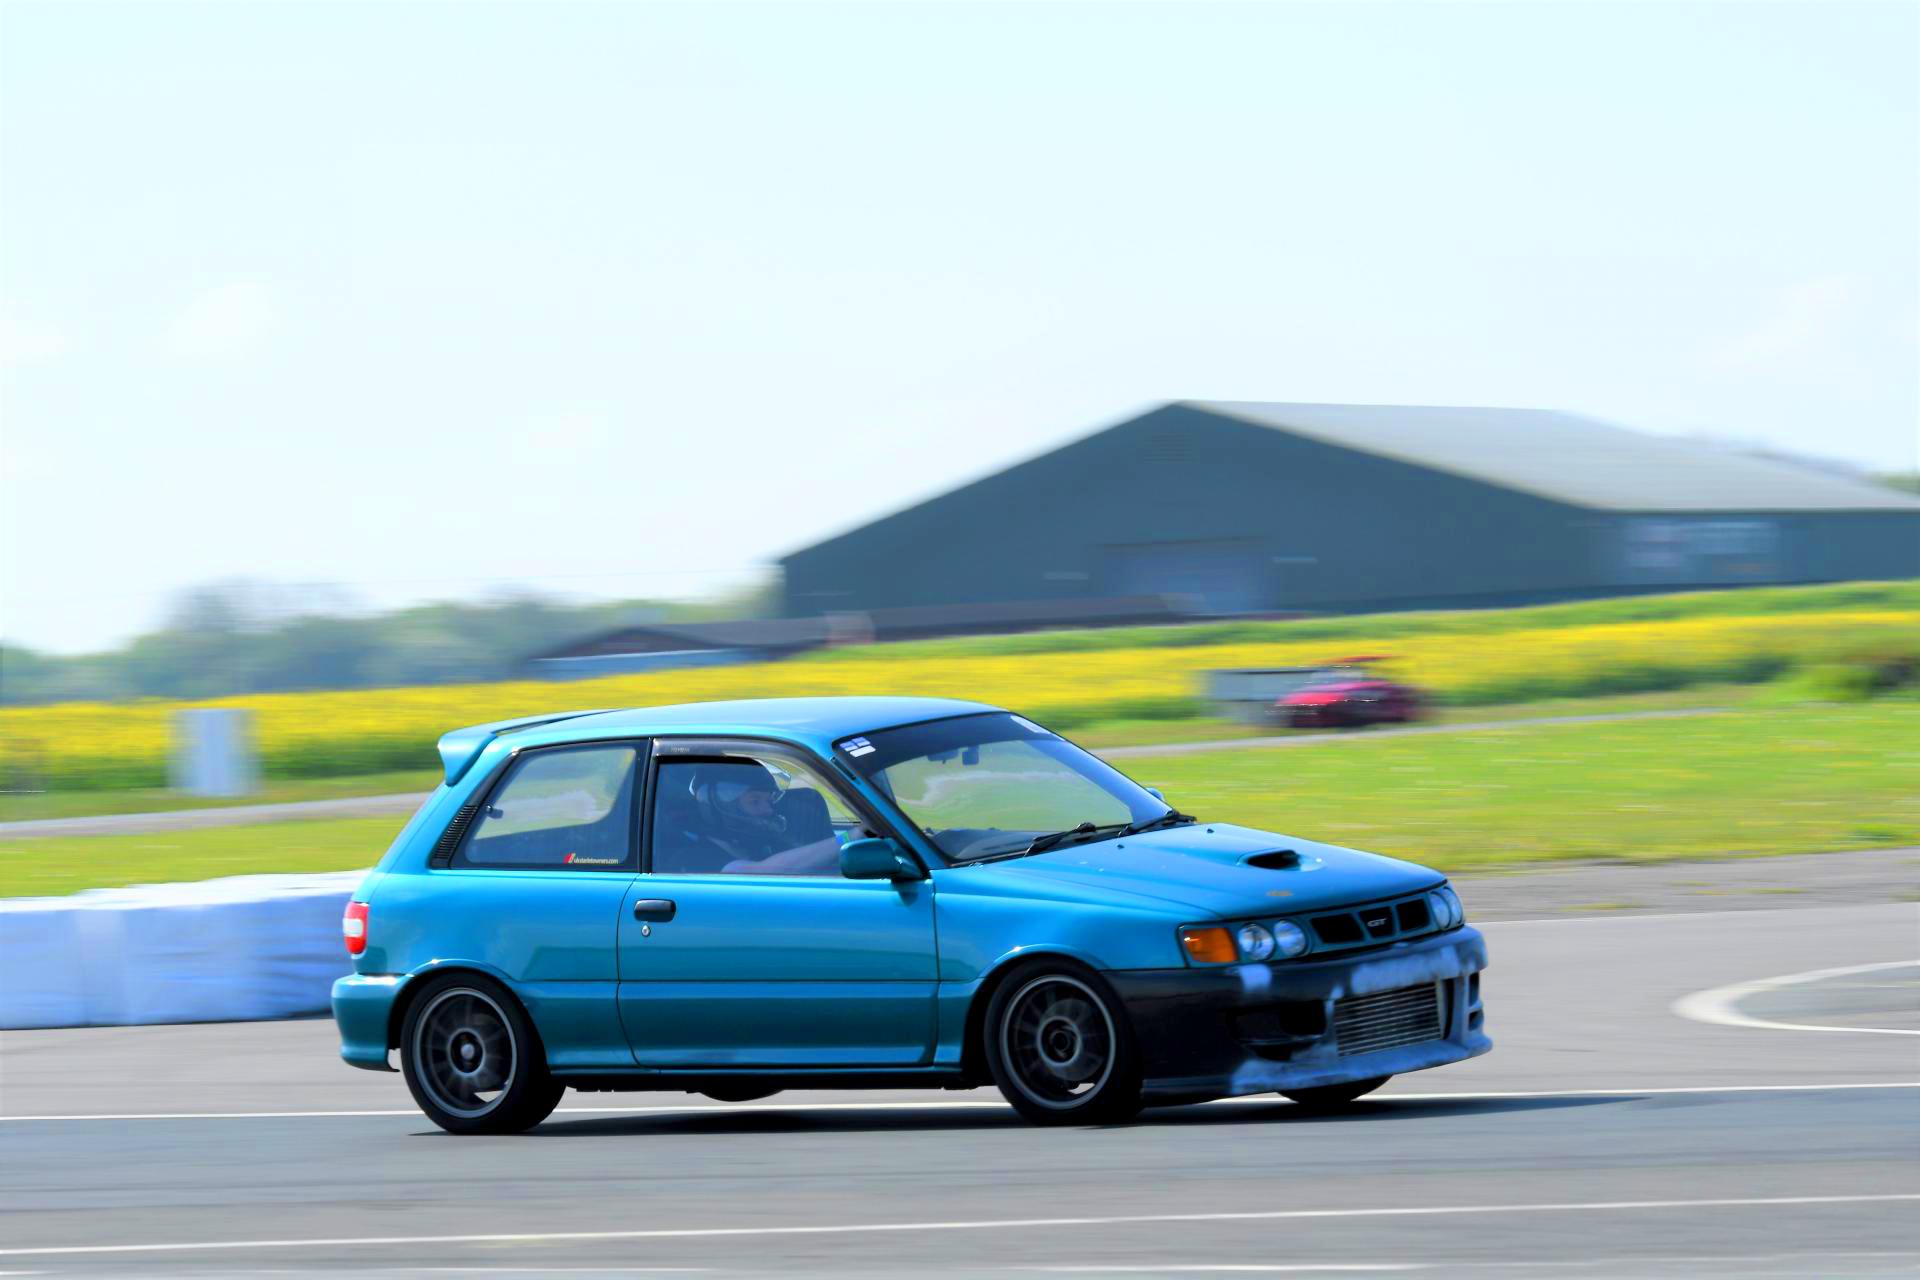
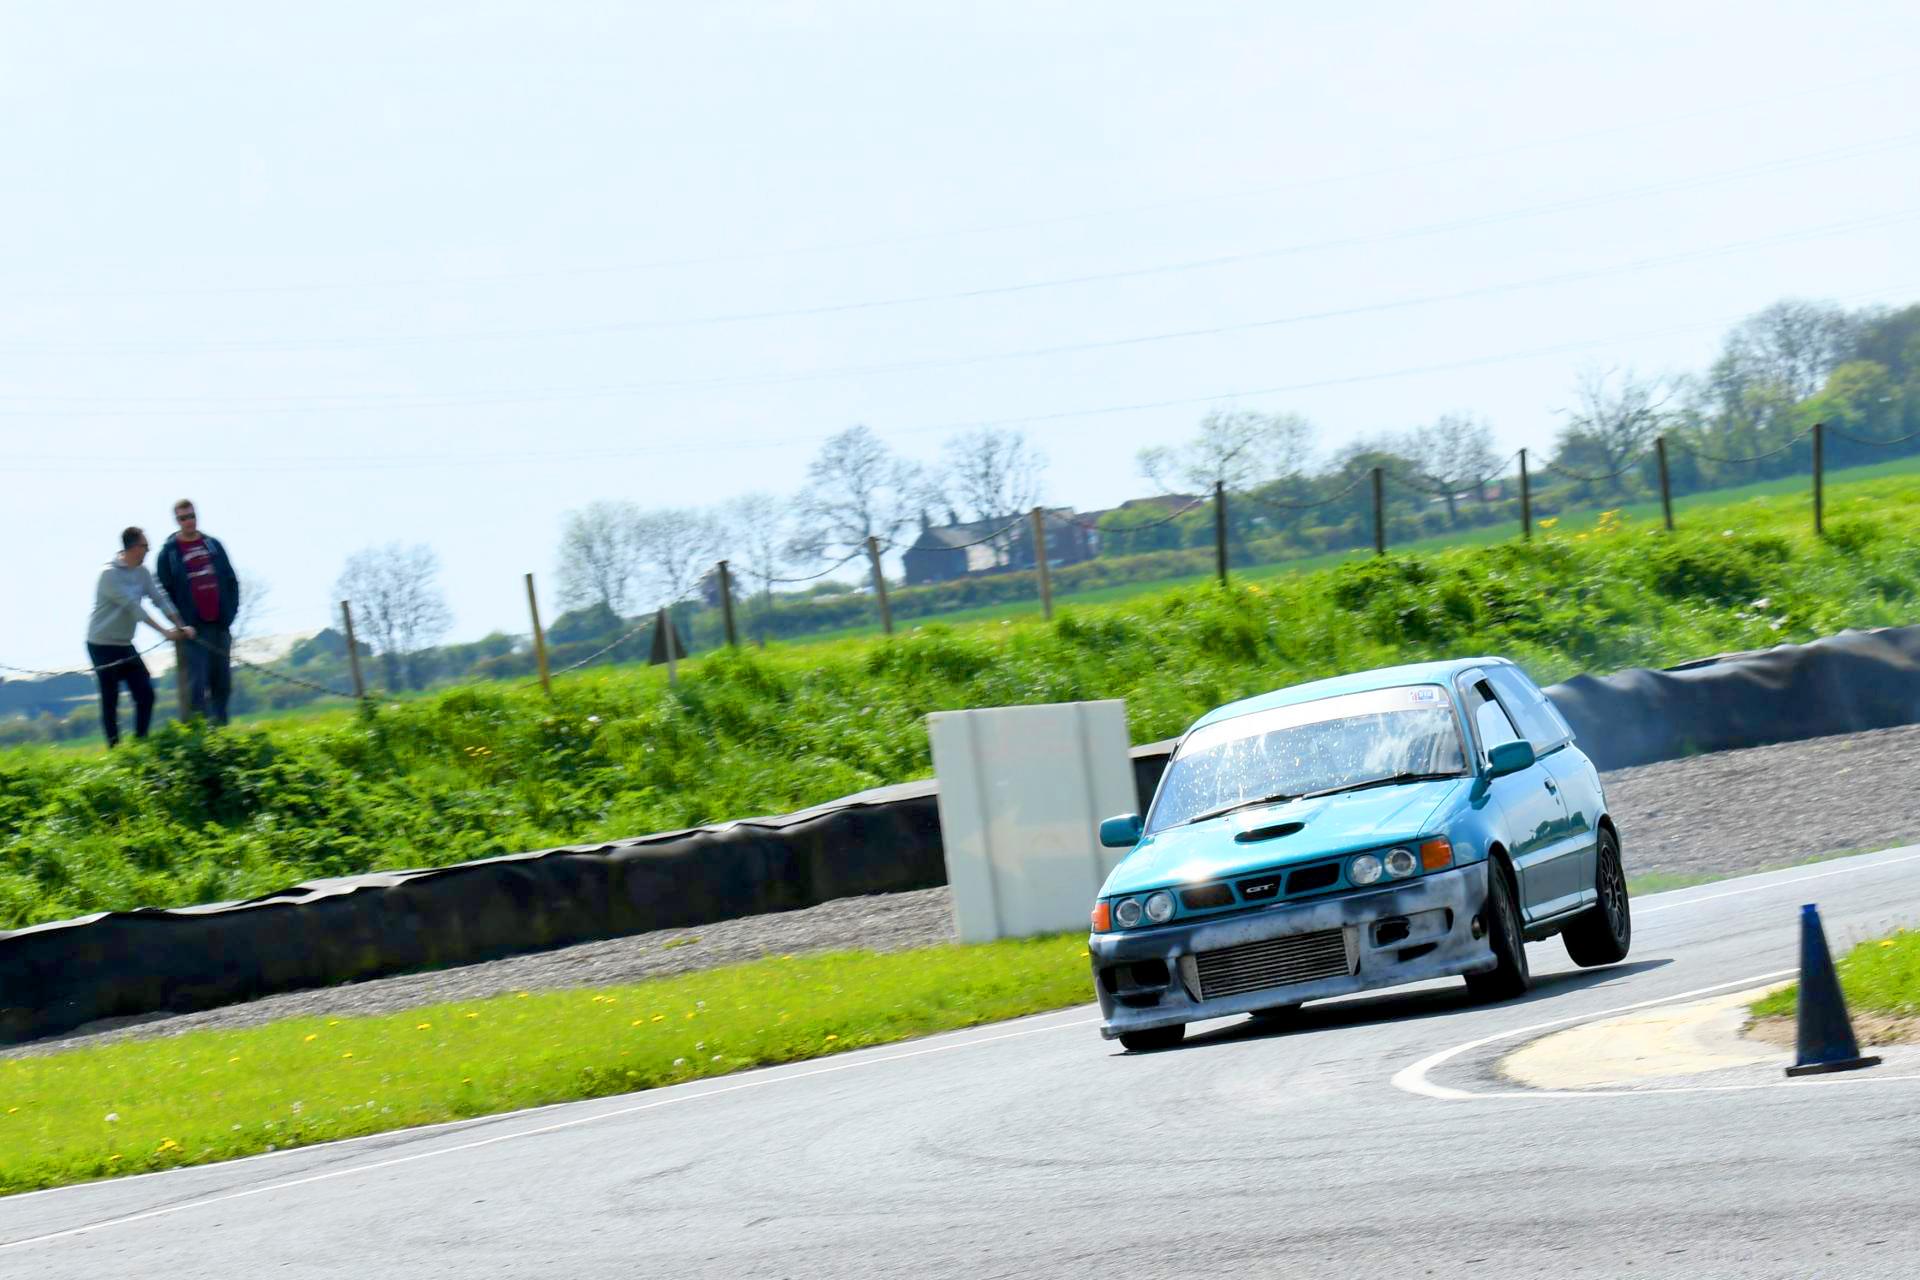
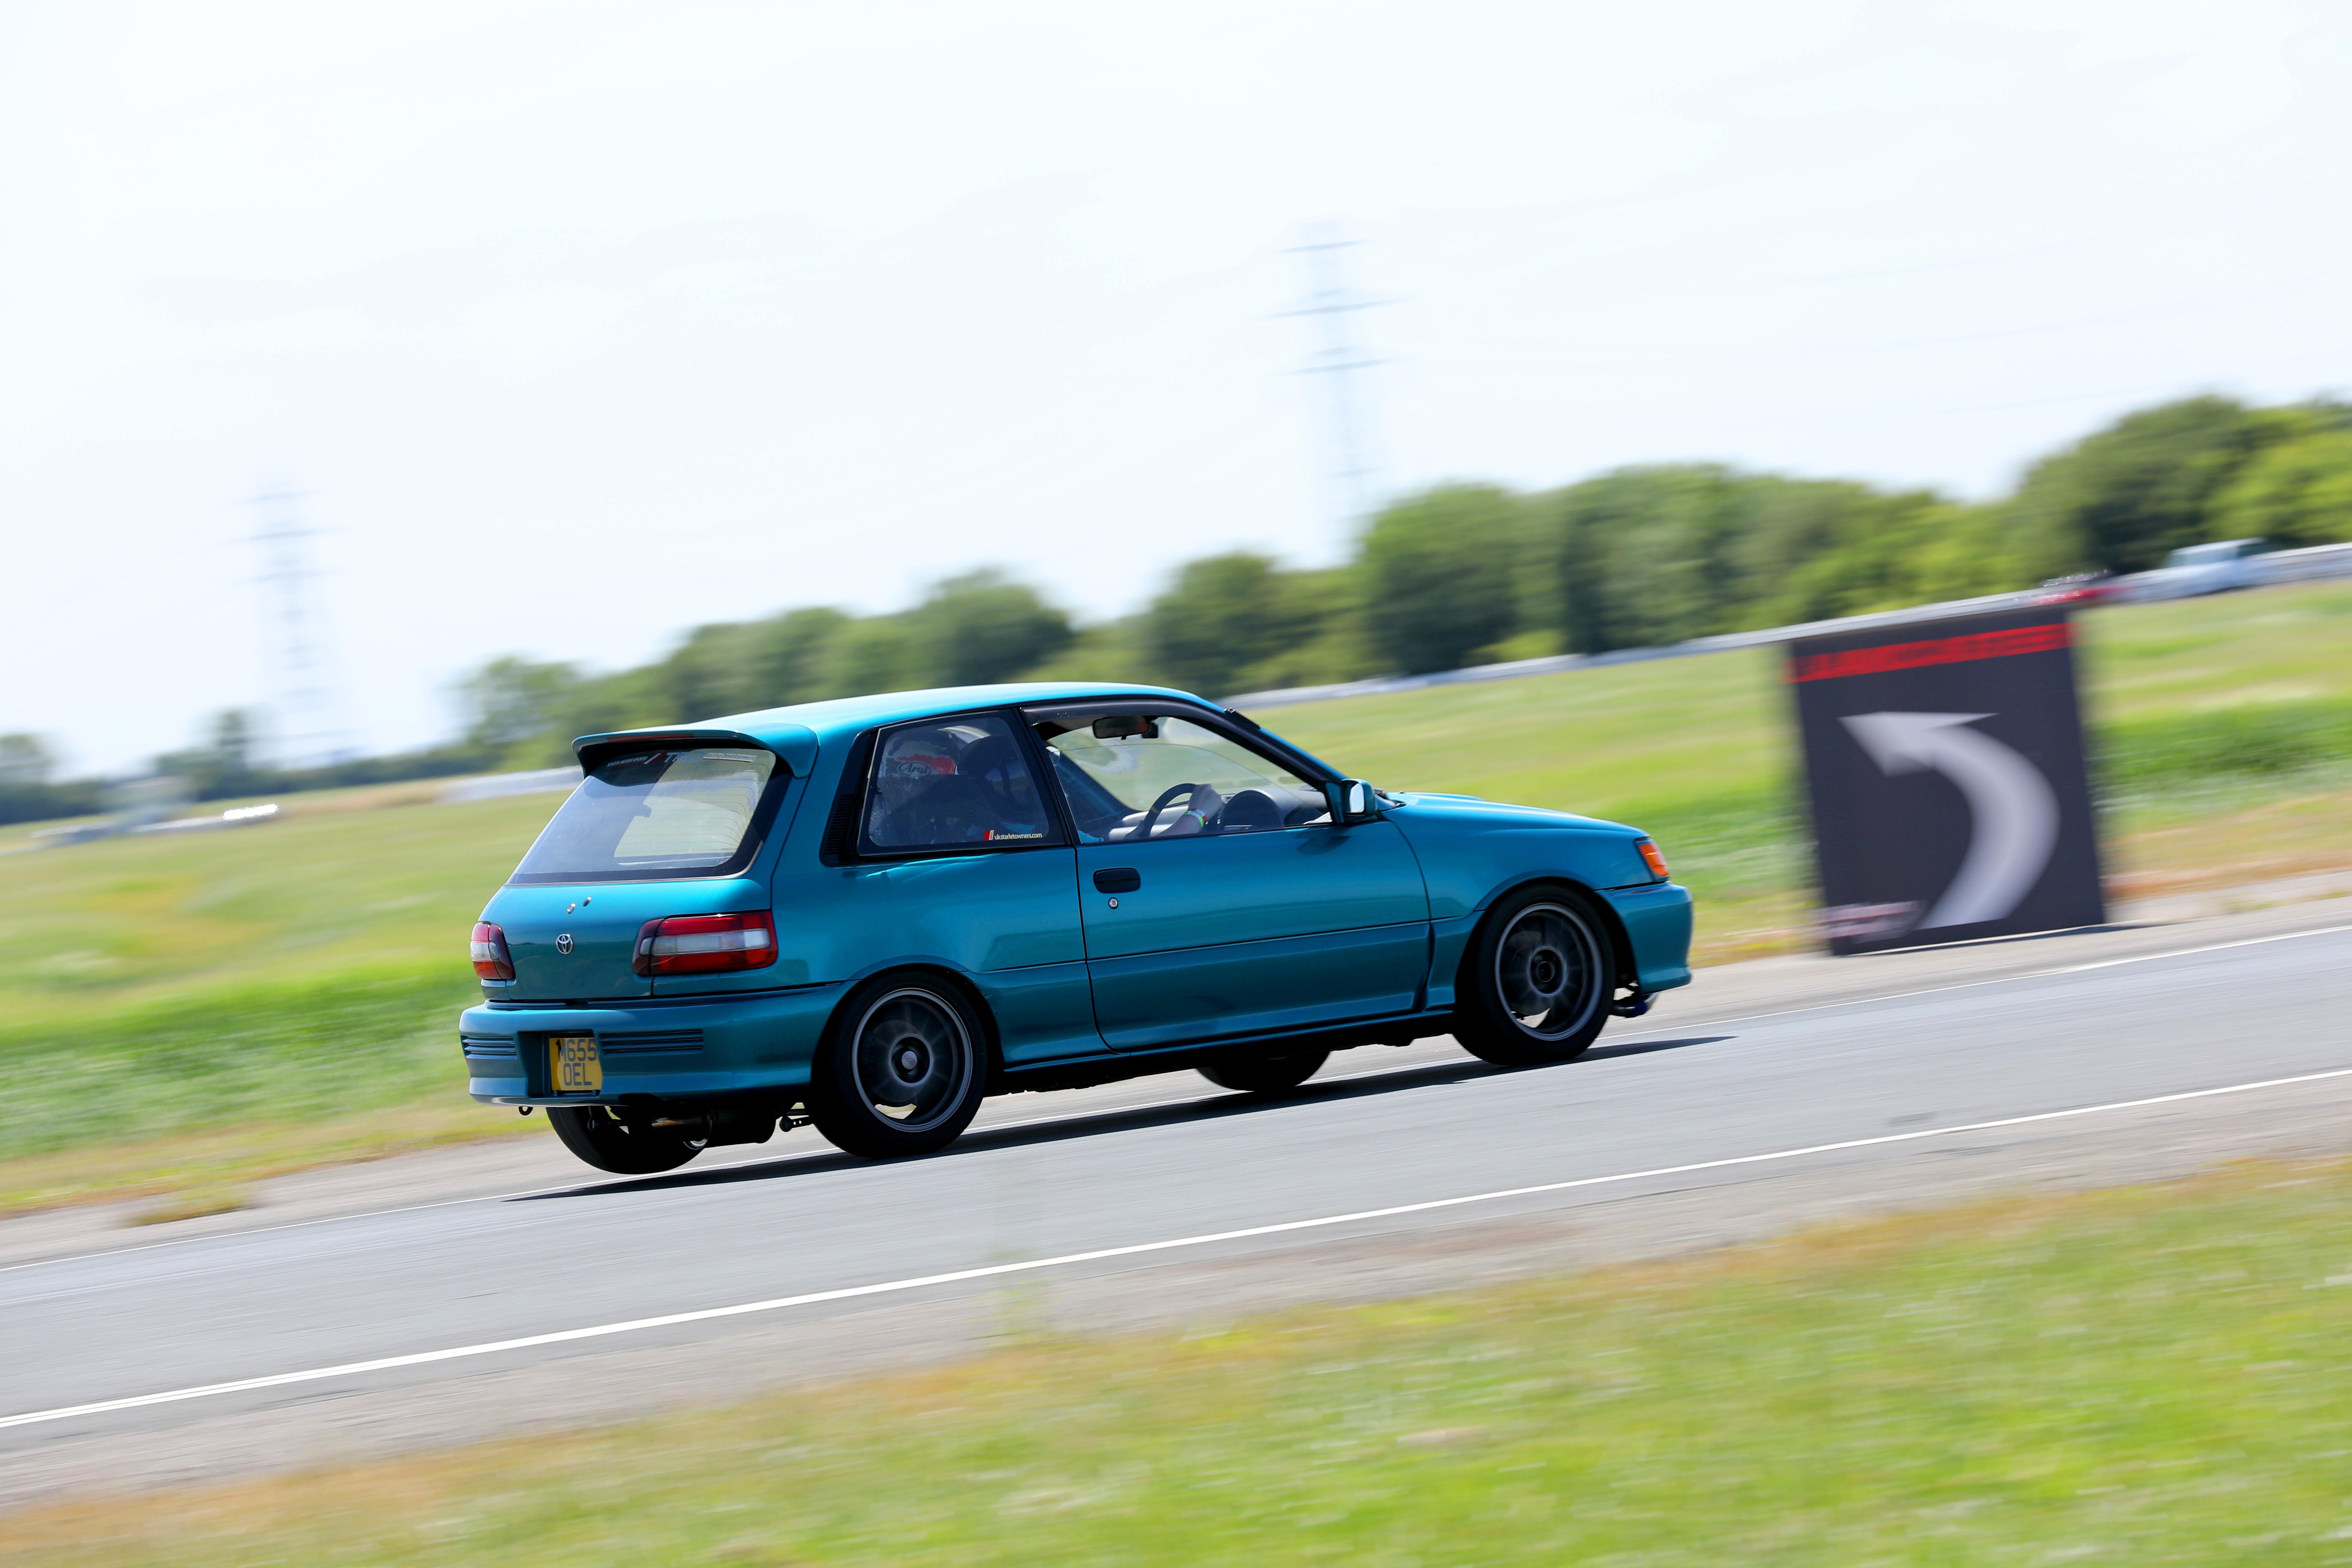
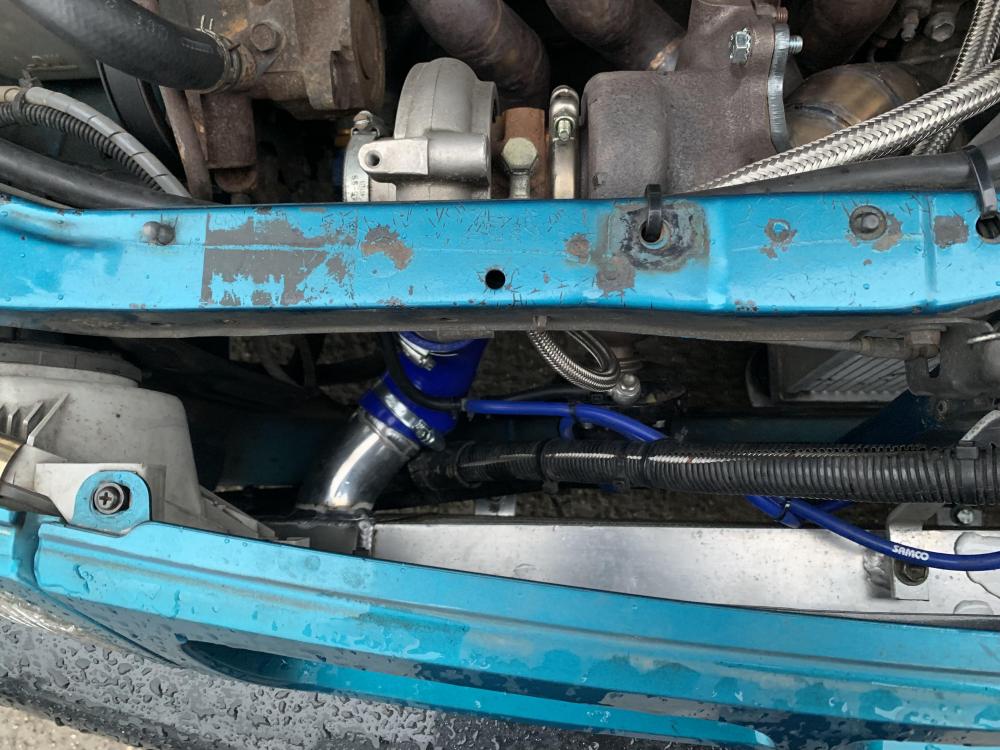
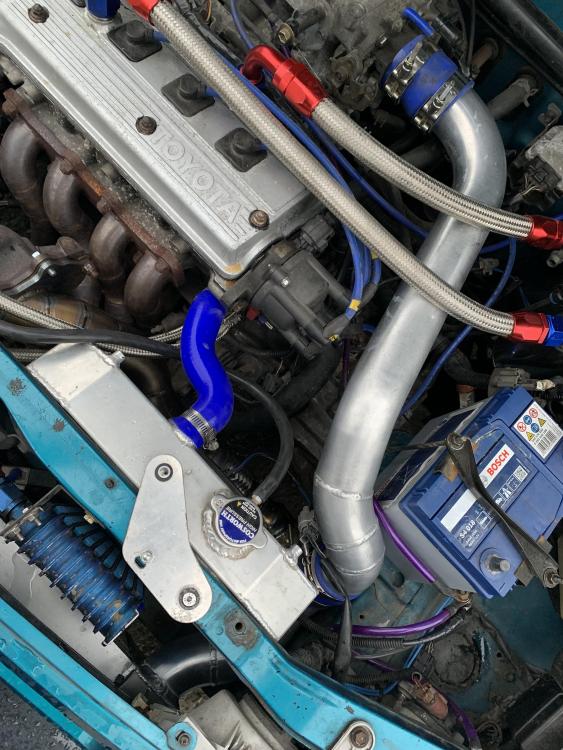
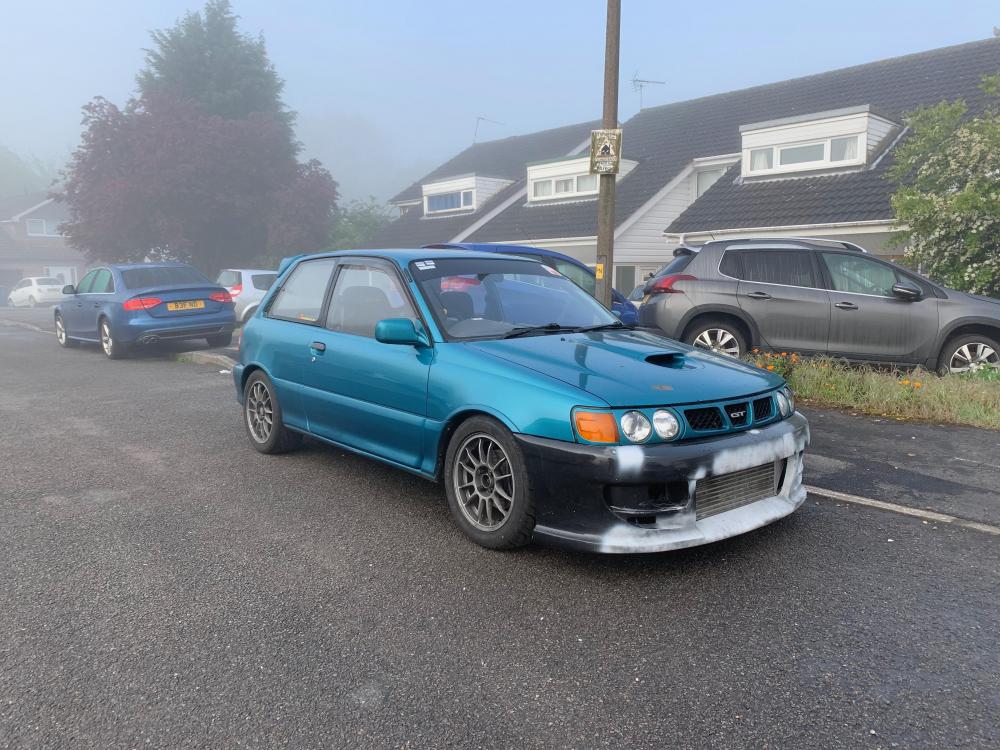
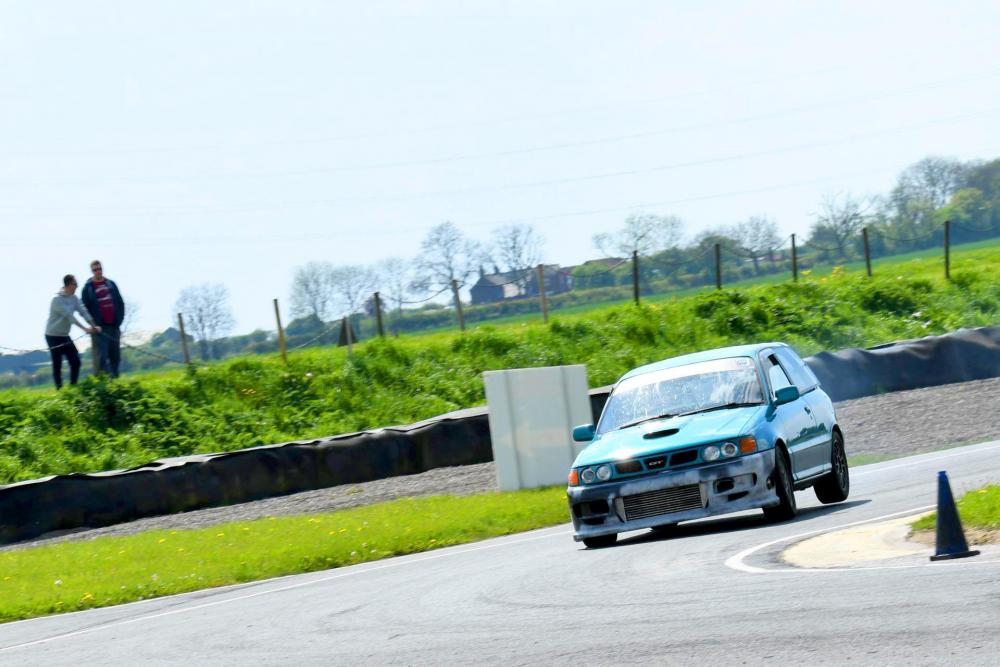
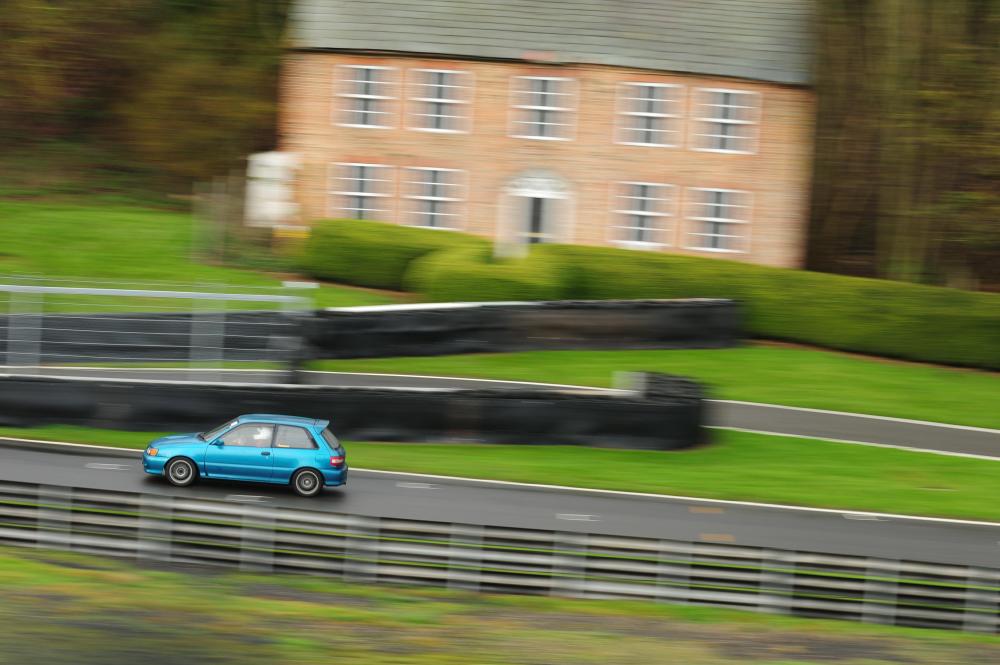
2019! Welcome! So started off with getting Race-Tech Motorsport to make some changes for me. Got the intercooler core pipework changed to a backdoor setup. 30% less pipework! With that came a new coldside pipe also. Moved the radiator over to suite. The intercooler was also moved forward to free up space and fill up the new bumper too As you can see I also had a front exit exhaust made hehe. For a few reasons. First is for the weight saving. Second is for power. Third is I have never had one before! Its a decent sized silencer though, its no louder then my power getter was. The last reason is the space under the engine where the exhaust passed through, I want for extra oil capacity for a custom sump..... Haven't had chance to get the bumper painted yet, but all in good time. The car also had its map checked. Spool is better. also made a touch more power. 210 | 235 | 257 on the various boost settings. Good power for a stock engine again hehe! Then it was Blyton Park time yet again. We went up on the 12th May. It was the best track day ive ever been on. Weather was pure bliss, only 20-25 booked on, so no queue and pretty much had the track to ourselves! I got my best time down to a 1:15.52 at Blyton too which im super happy with considering the spec. I'm no pro driver either haha. More to come


-
Fresh import boxy turbo on ebay.
Socks replied to westie's topic in eBay, BidJDM, Yahoo Auction Finds
and 5 doors -
Ha, ill show the previous owner before matt how this looks now! He is going to miss it! Looking sweet dude! Keep us posted!
-
Looking great Tim! Look forward to seeing it back on track!
-
Sefton-EP91’s 98 Spec Forged Glanza
Socks replied to Sefton-EP91's topic in EP91 Glanza Progress Blogs
Argh shit! That is shit news dude! The car is soooo clean! Keep going dont give up dude! -
Any nice big spec starlets bein built lately
Socks replied to AlancEP82's topic in Lifestyle General
Shame. by nice to see a build log with this rather then just odds and sods thru social media. Would be nice for true followers! -
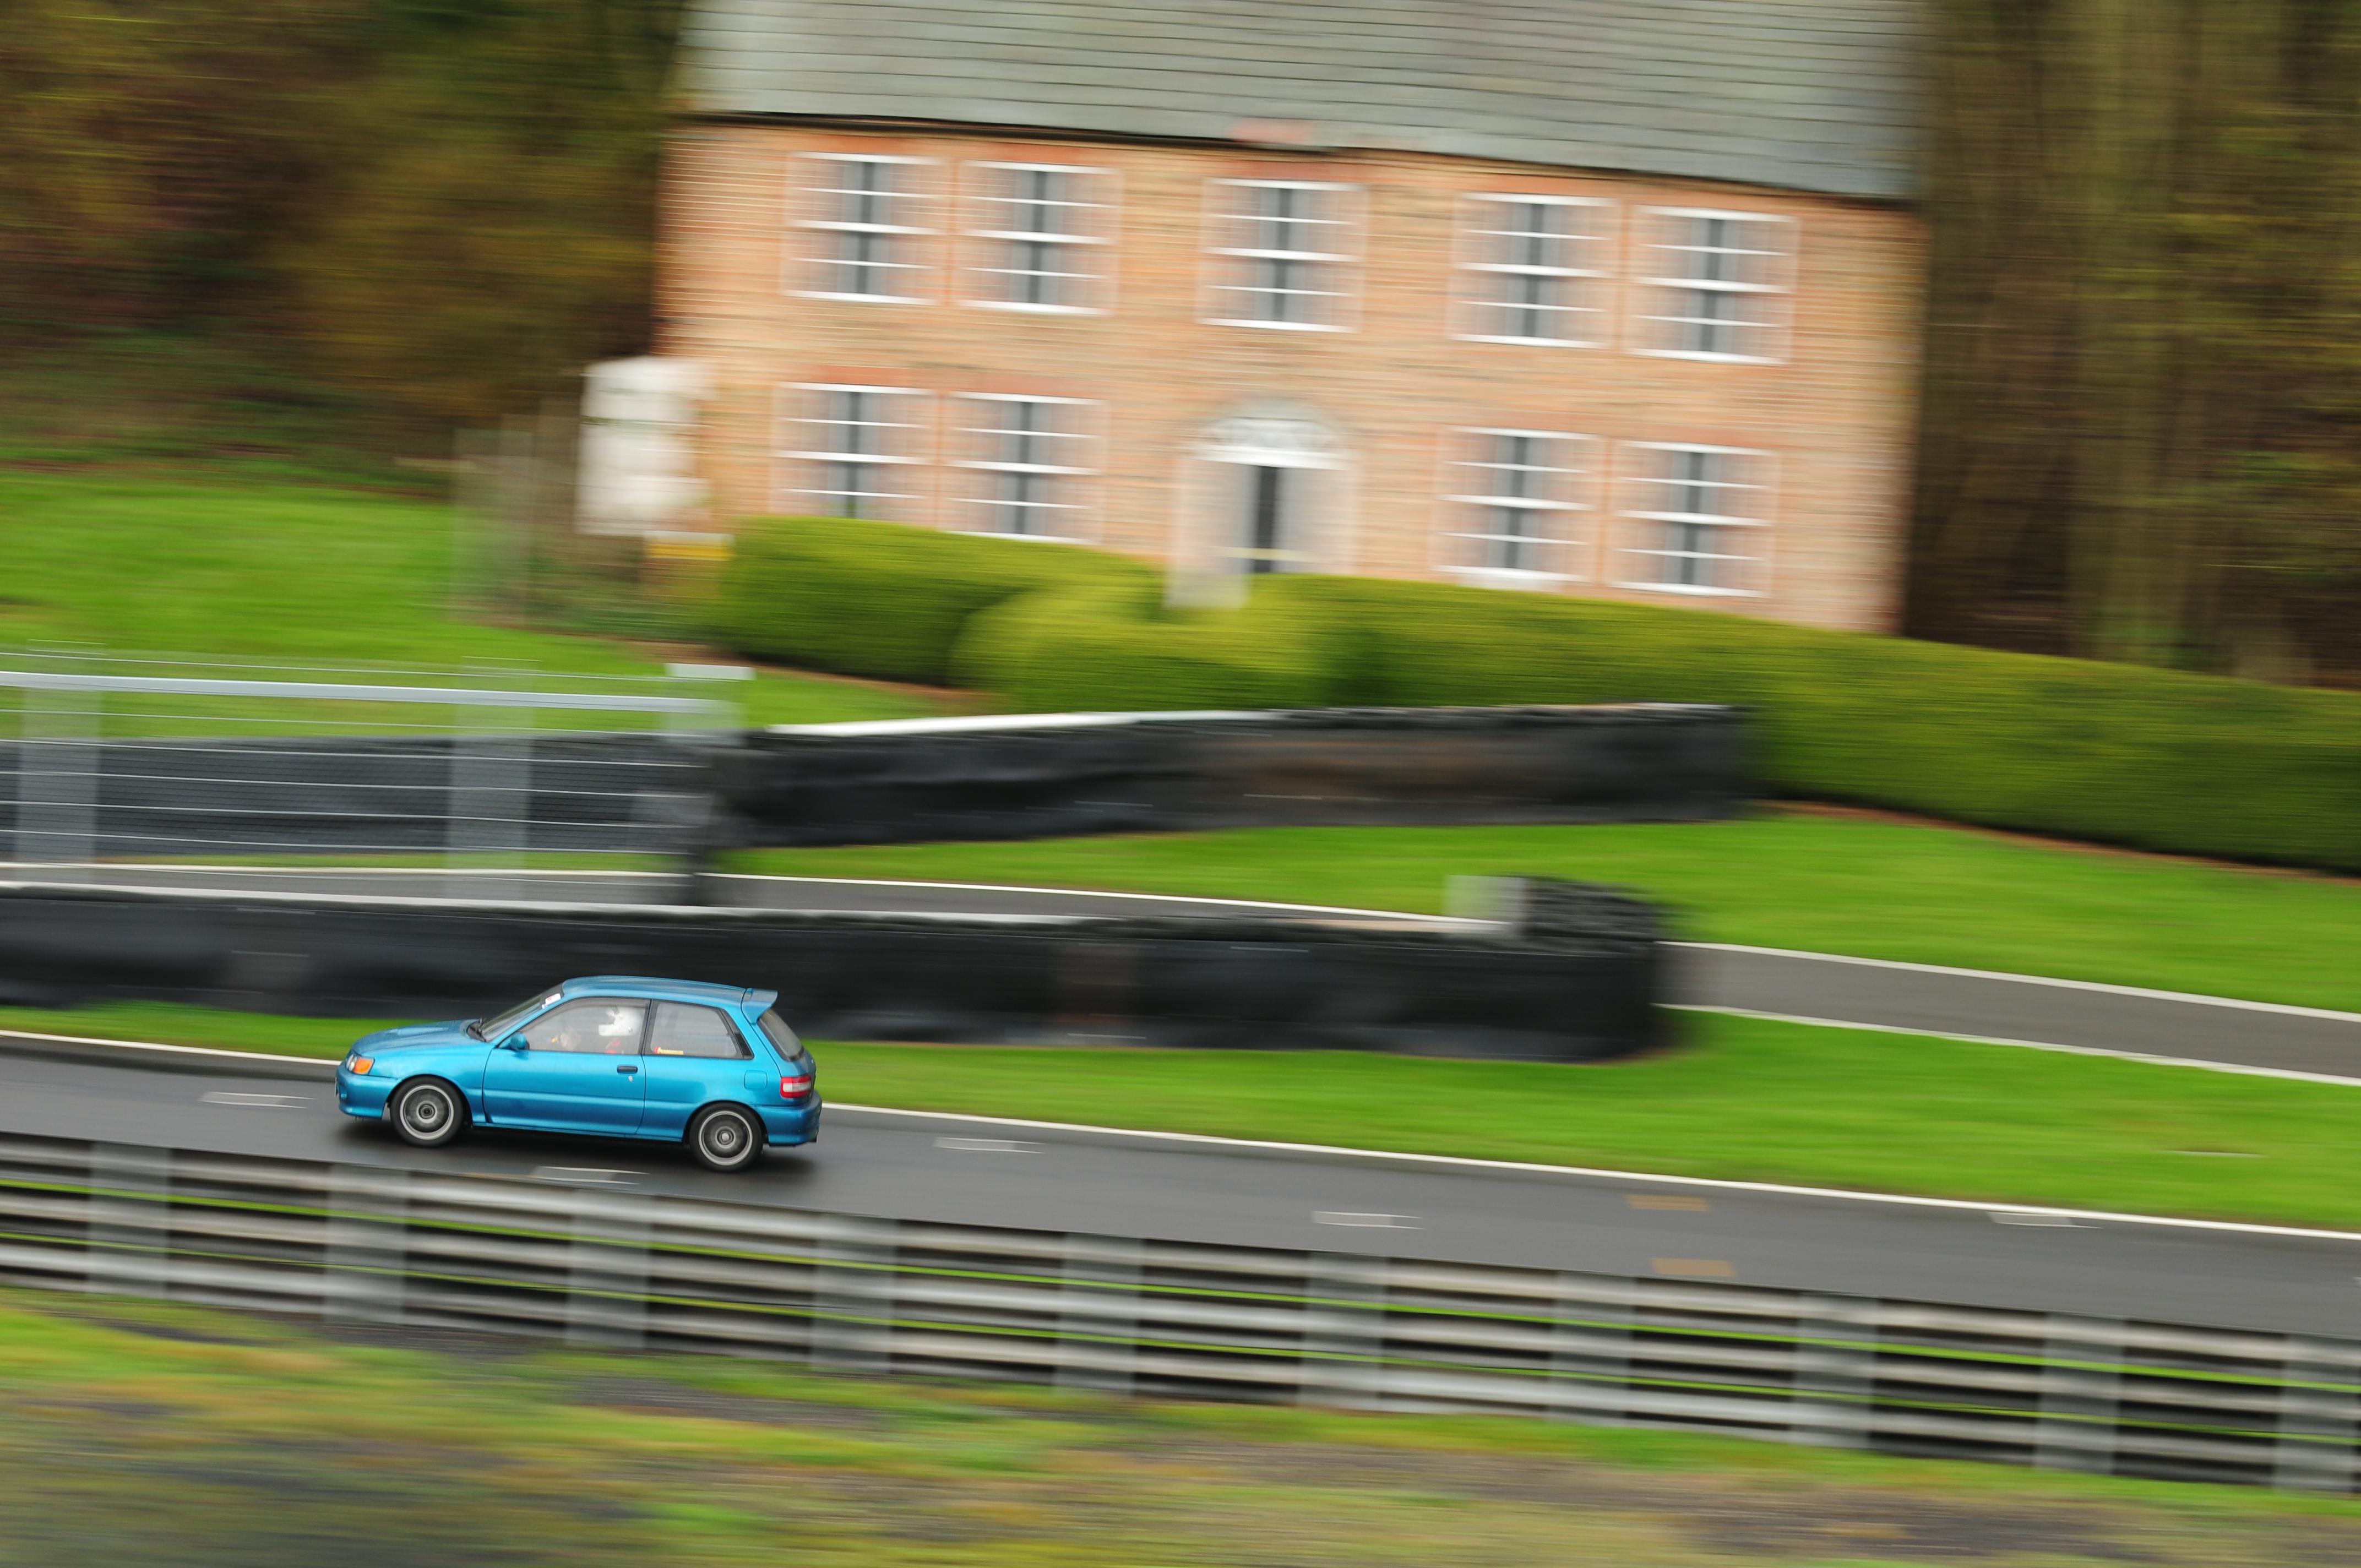
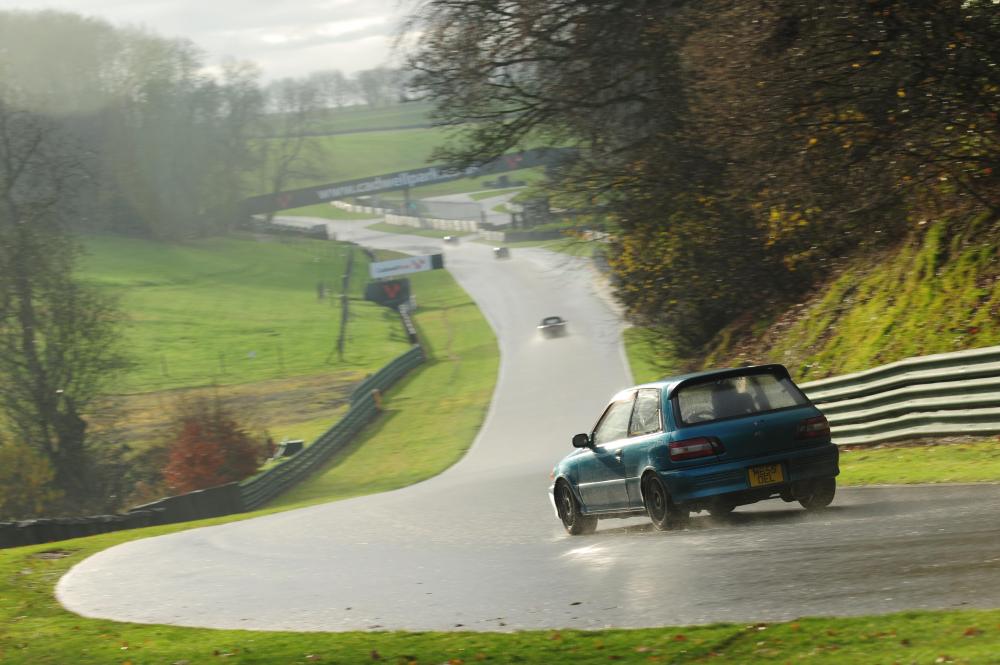
Back to Cadwell again for the year was out! Was quite alot of talent on this day, which is great, means less Red Flags Was with some mates who were testing Civic Turbos. Mike in his TA EK9 was testing a Splitter Design that worked really well. It was also going so well for Marc too, until a pushfit oil cooler line popped off in front of me. Covering my car and the track with oil. Little did I know until I tried to wash the windscreen, and visibility went to ZERO. Whoops. Luckily he shut it down, when at Wide Open Throttle it dropped out of vtec, then after seeing oil pressure gauge on zero! He saved the engine though! That's the main thing! Was a mega day despite grip levels. Had fun, its tucked up for Winter now. Few changes to do for next year which ill post up about when I find time! Here is the rest of the footage from the day:


-
8J front would be ok tho. Ill swap u a pair. We can both run 8J front and 7J rears then haha
-
Id love 7J versions. My 8J versions are too wide!
-
What size and offset are the TH monos? I have some in a 15x8 but worried about scrubbing on the back!
-
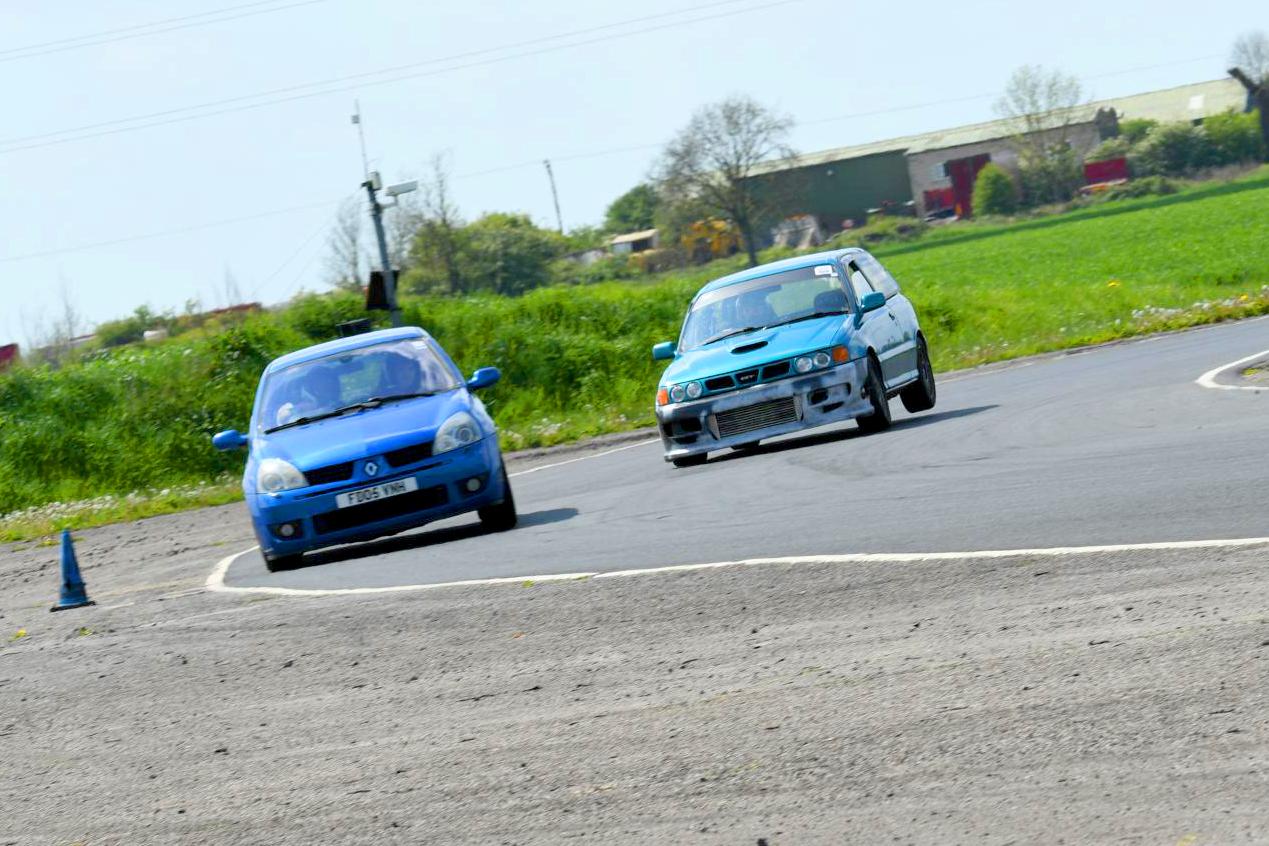
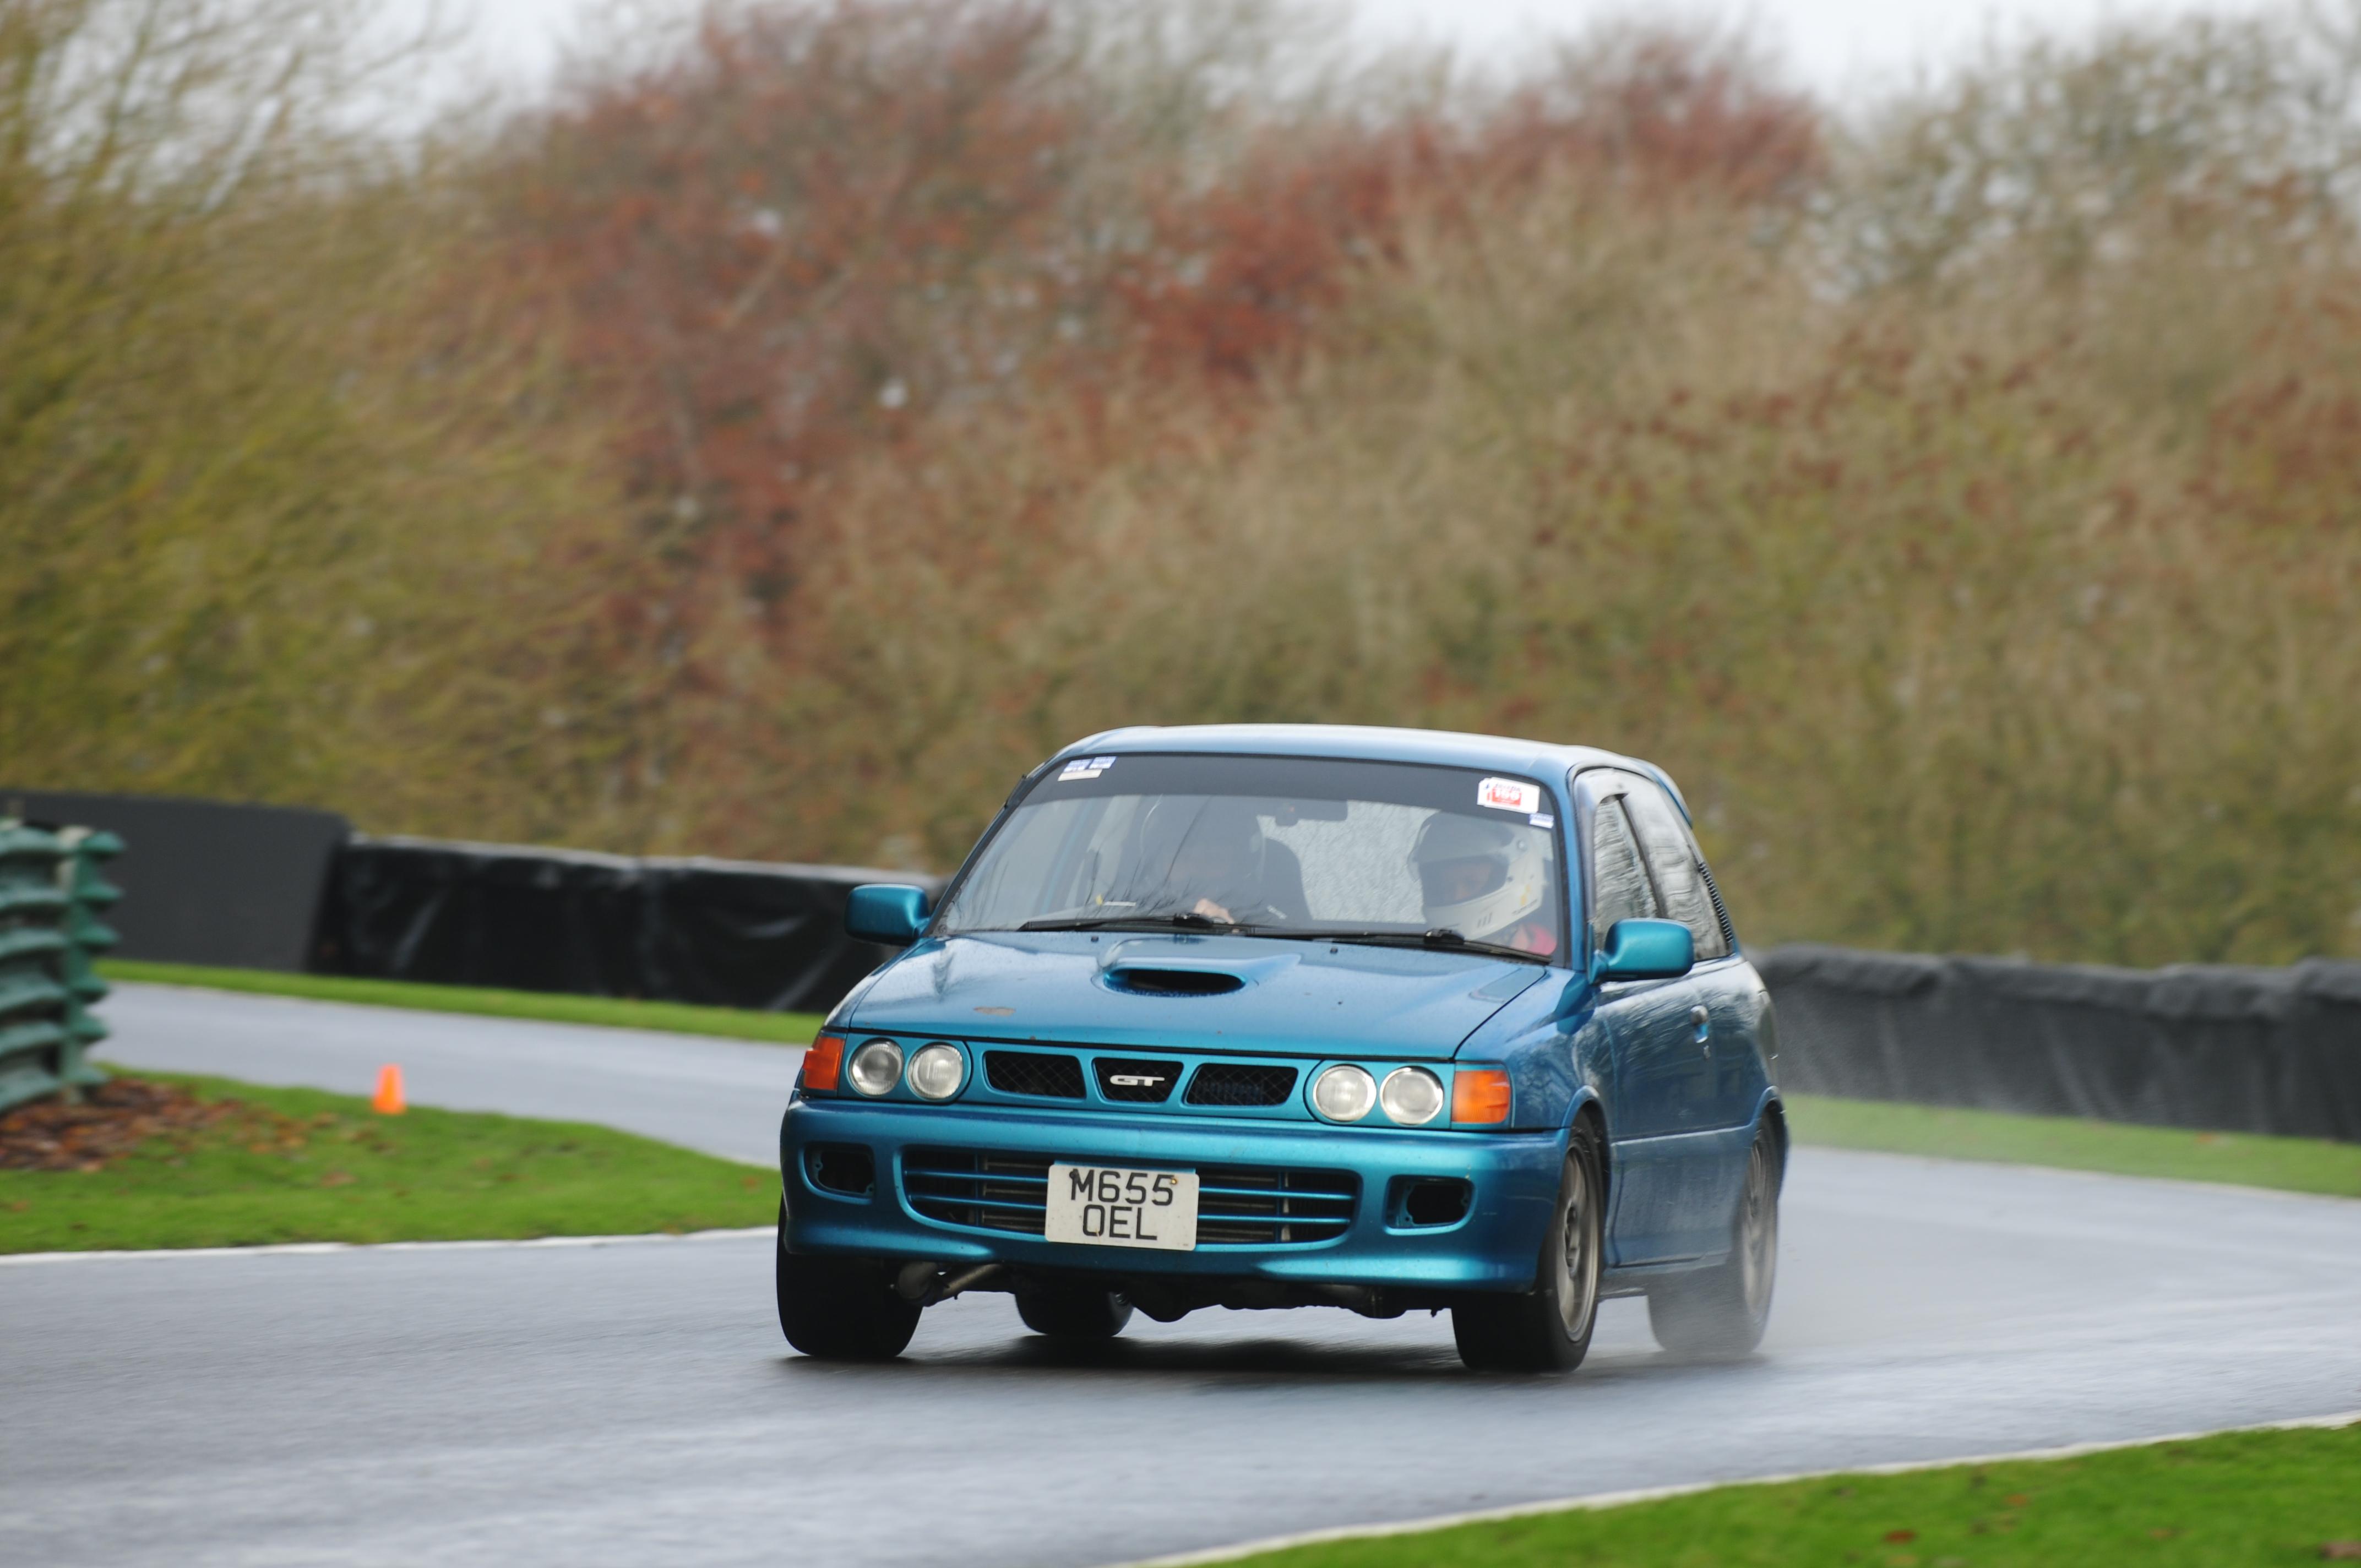
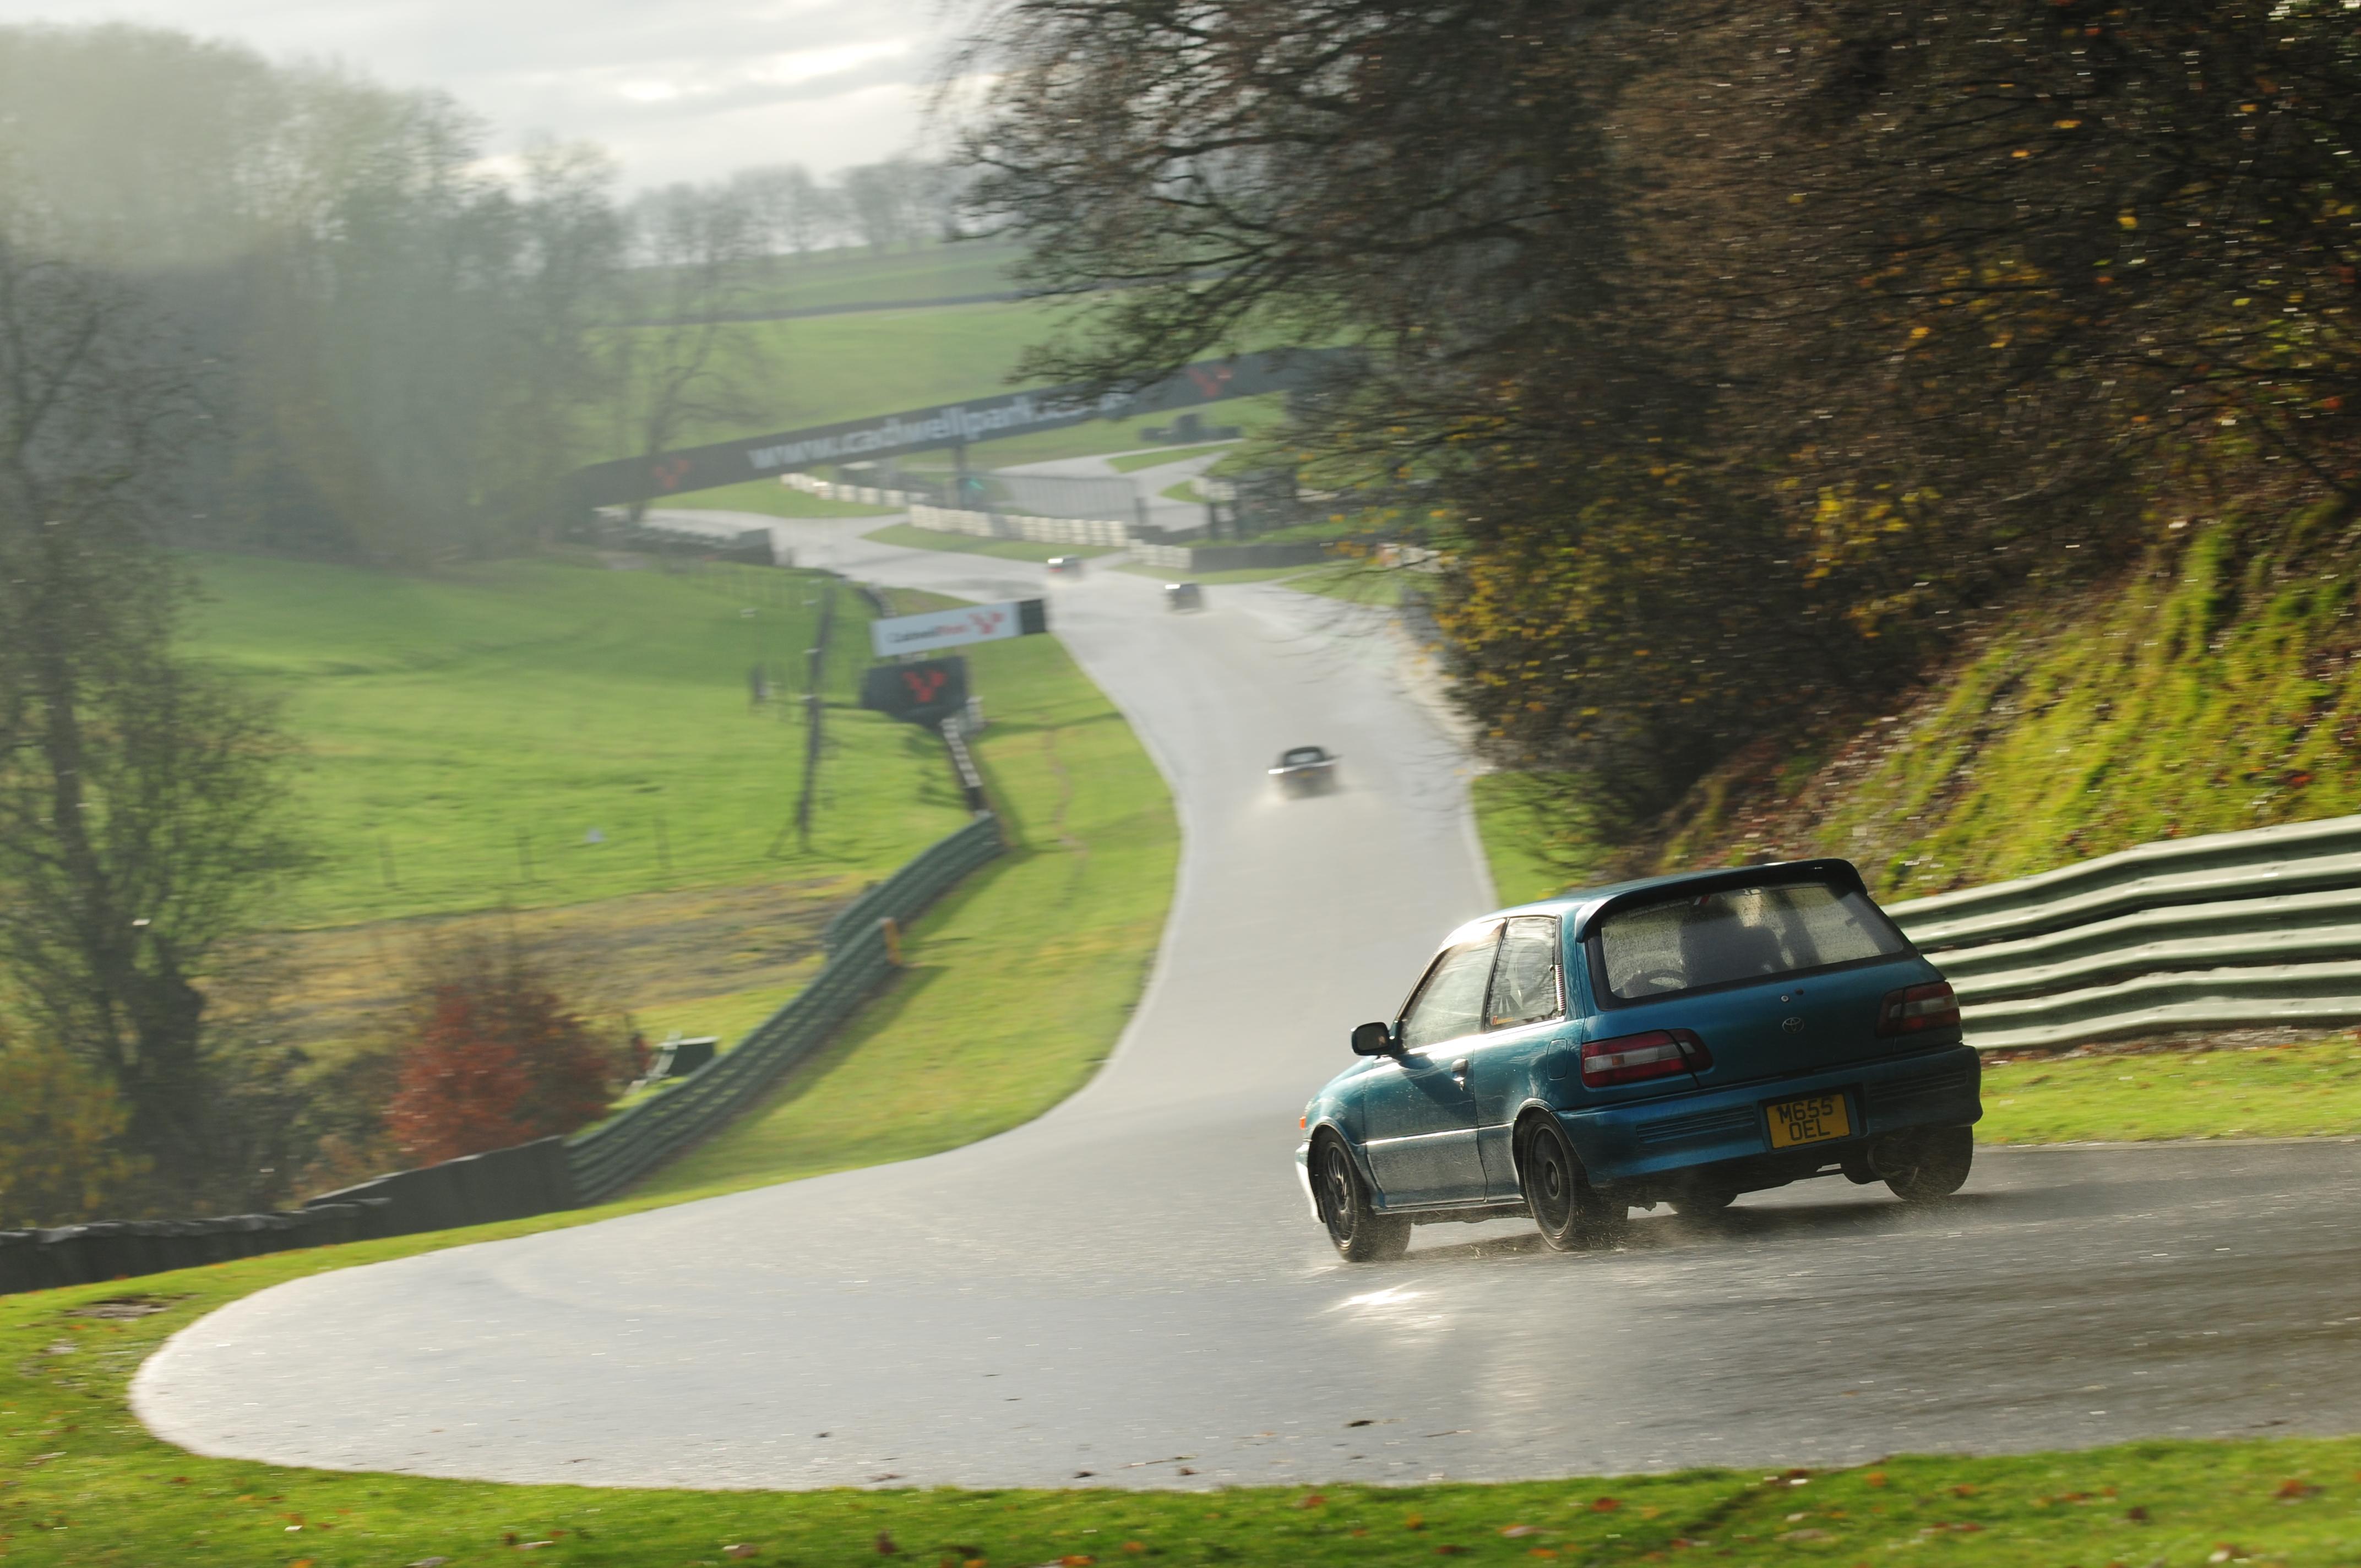
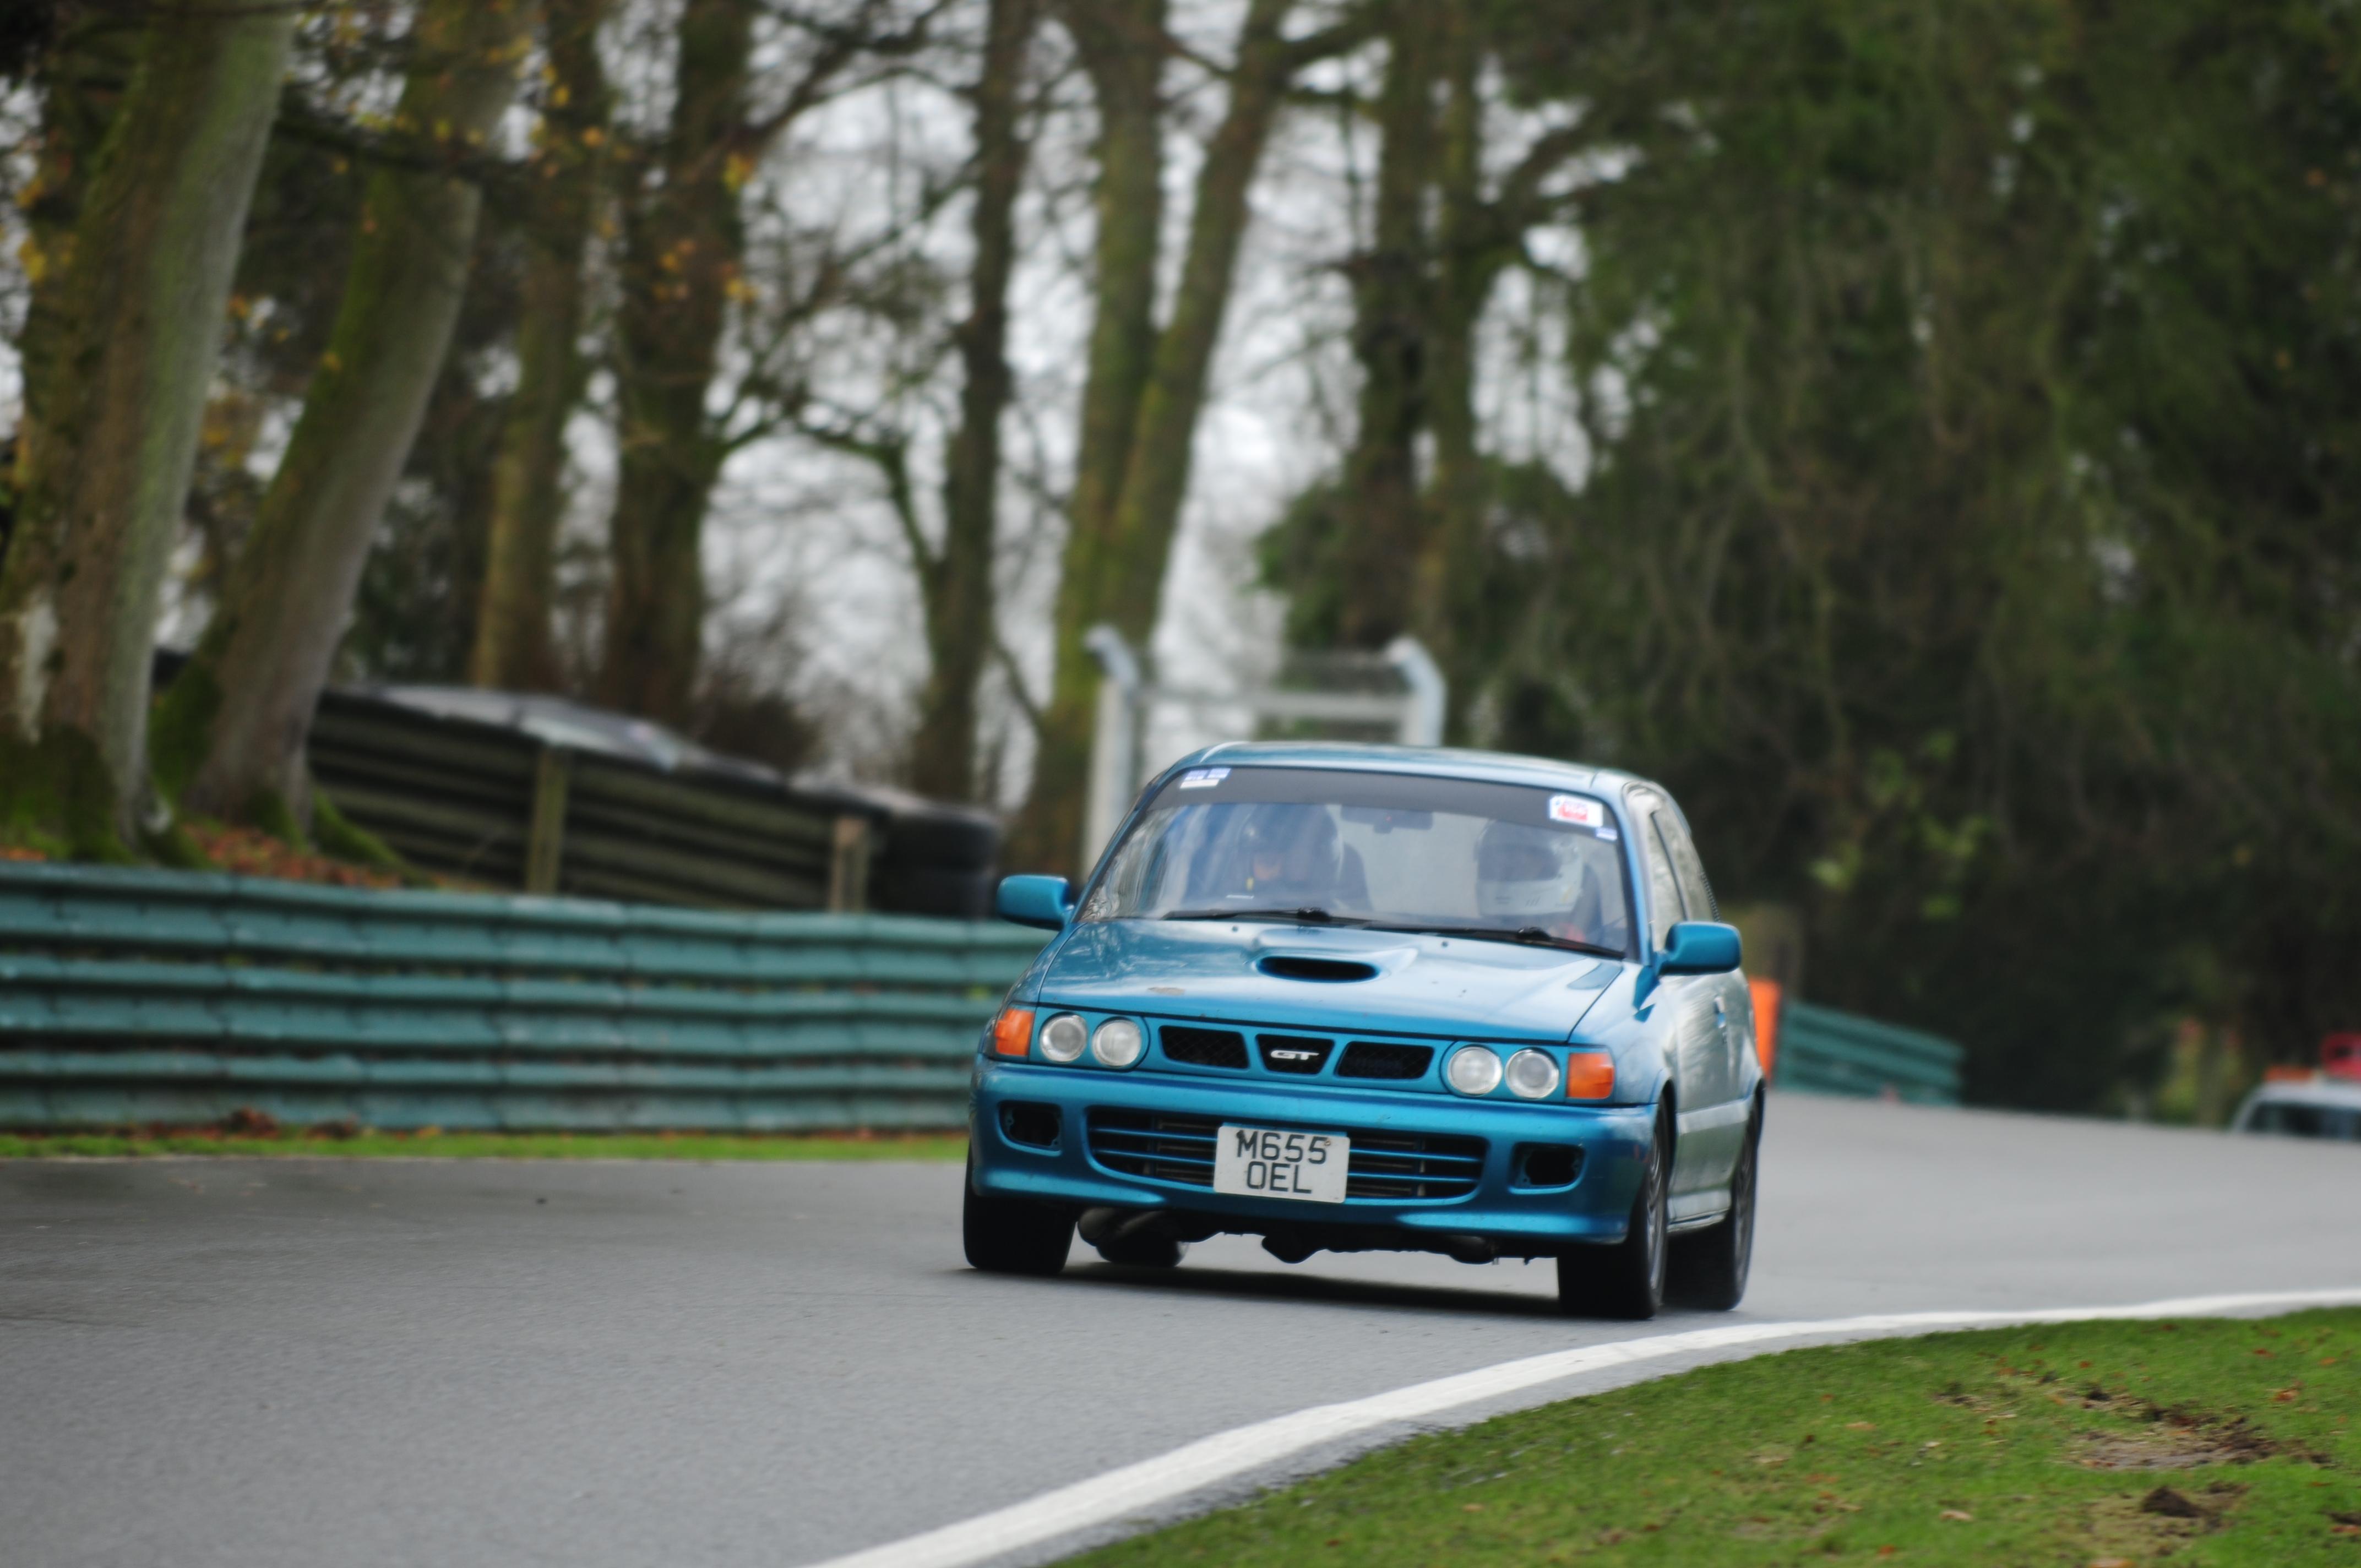
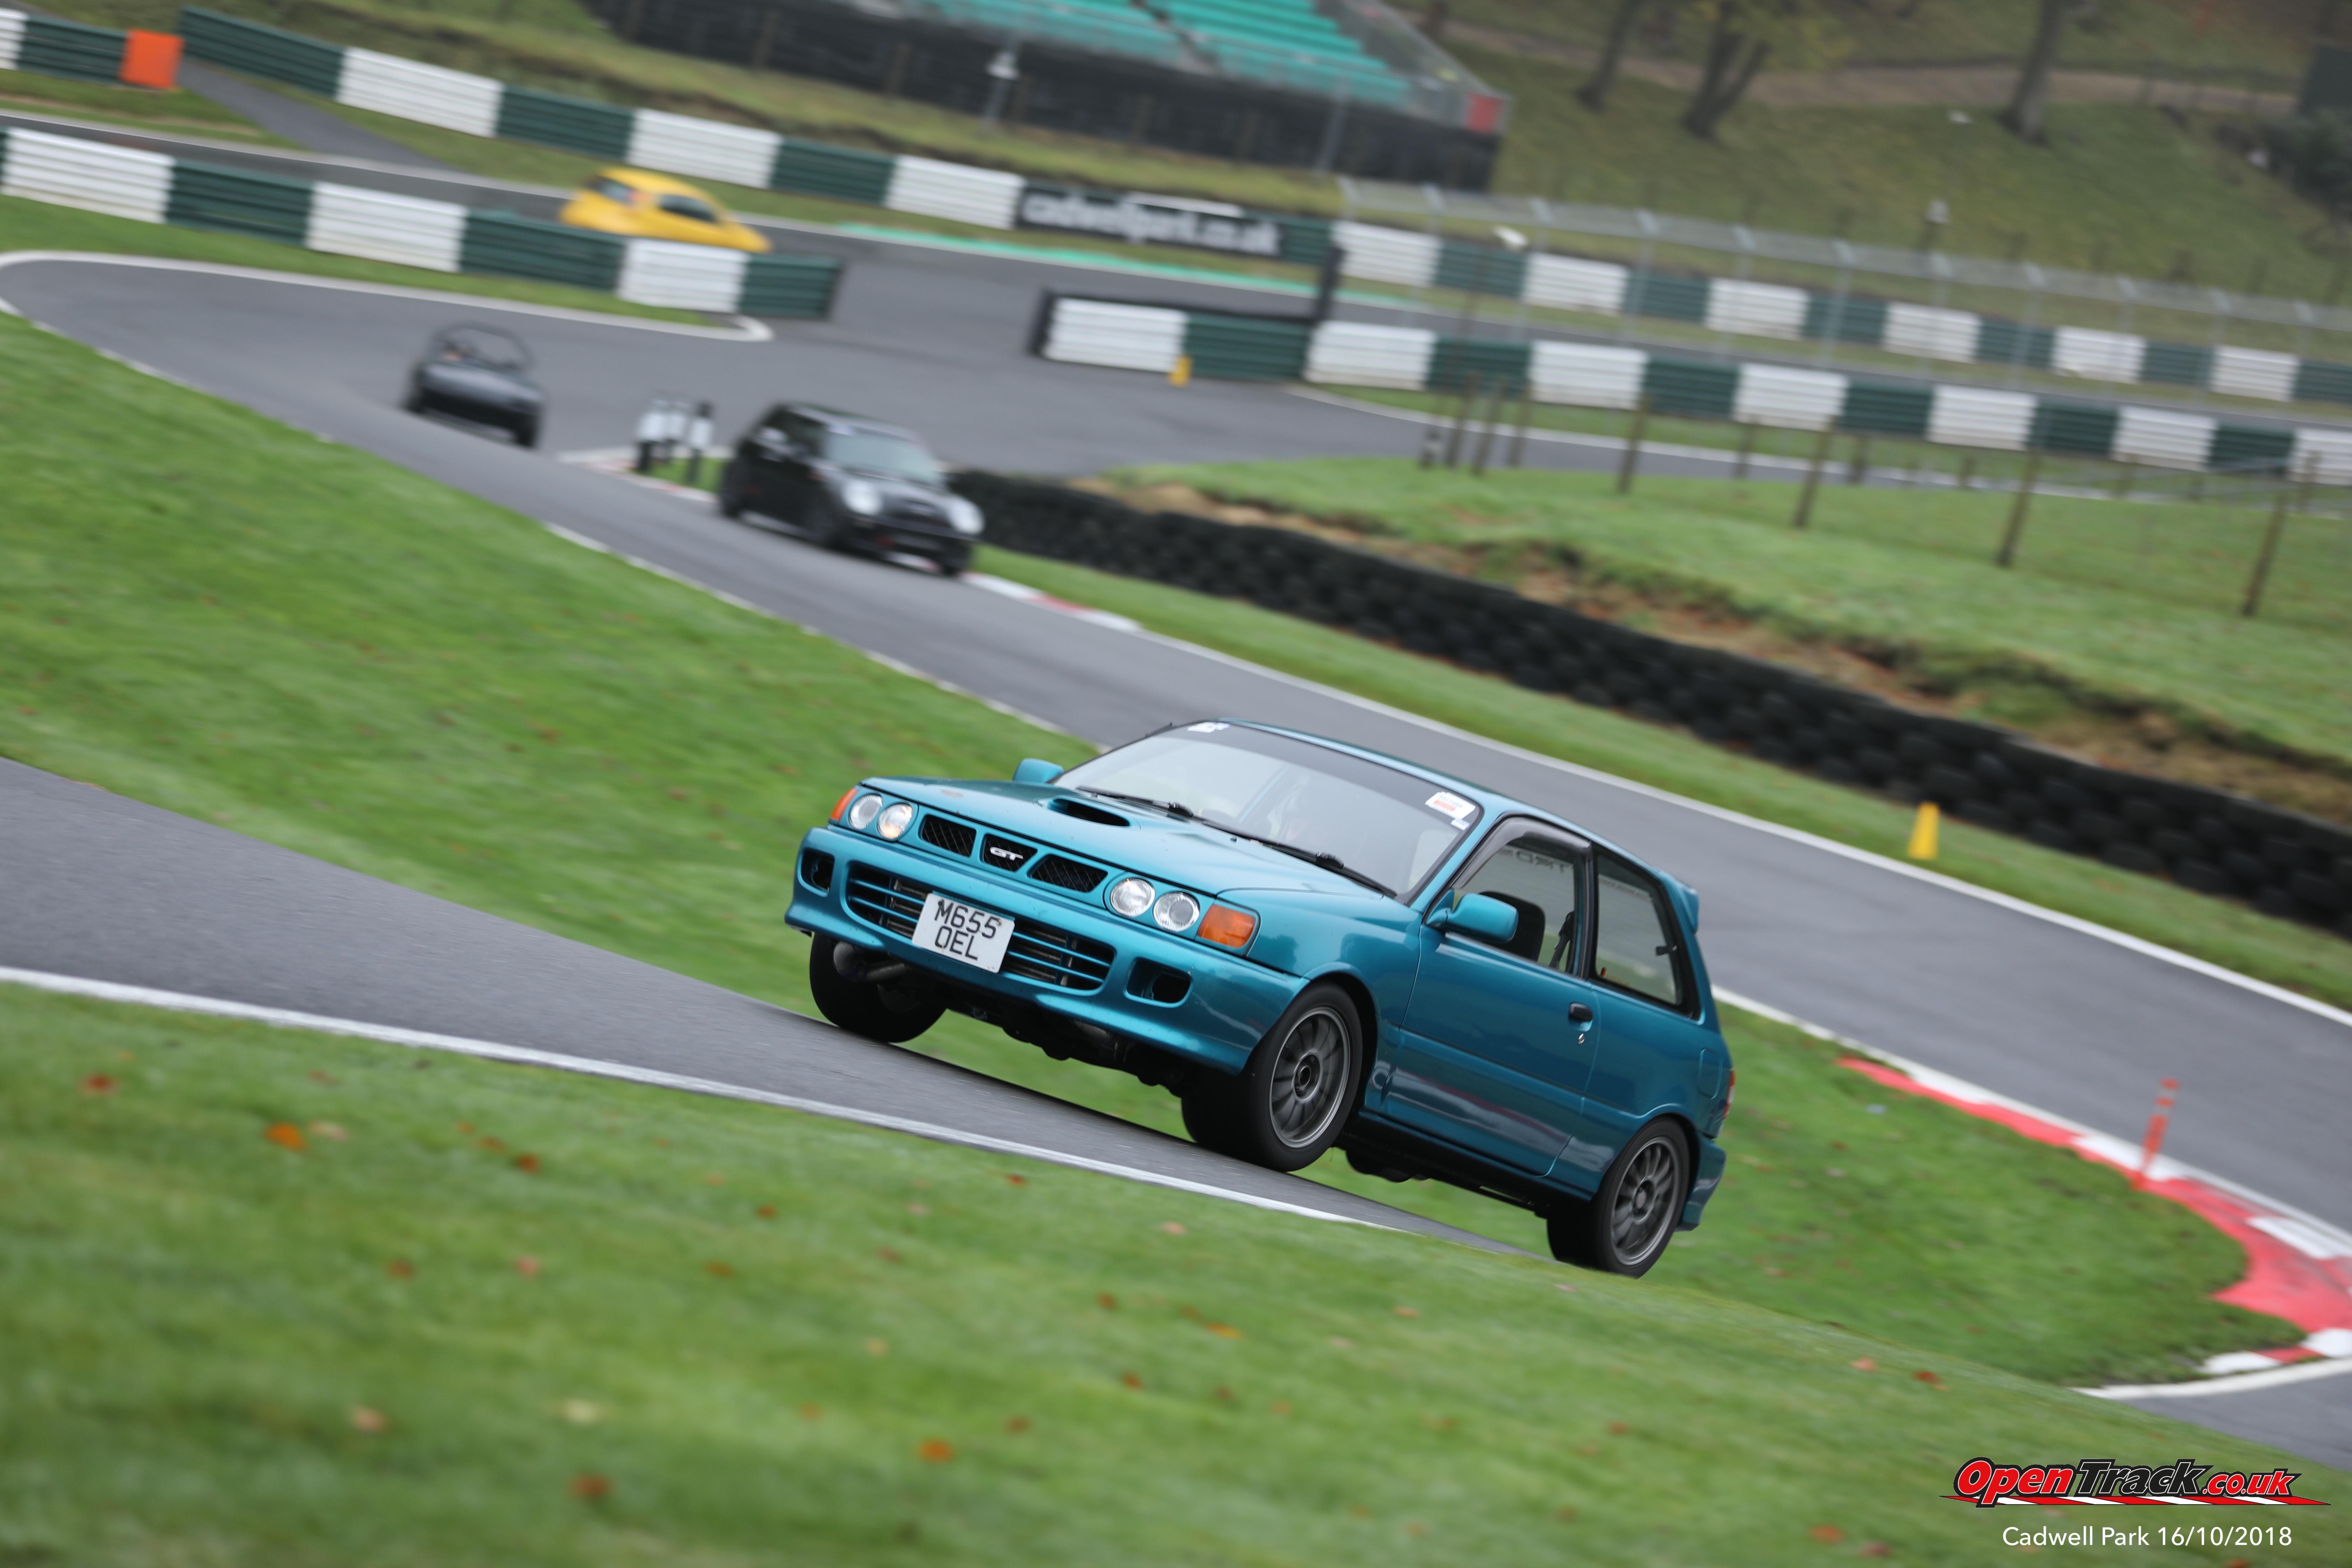
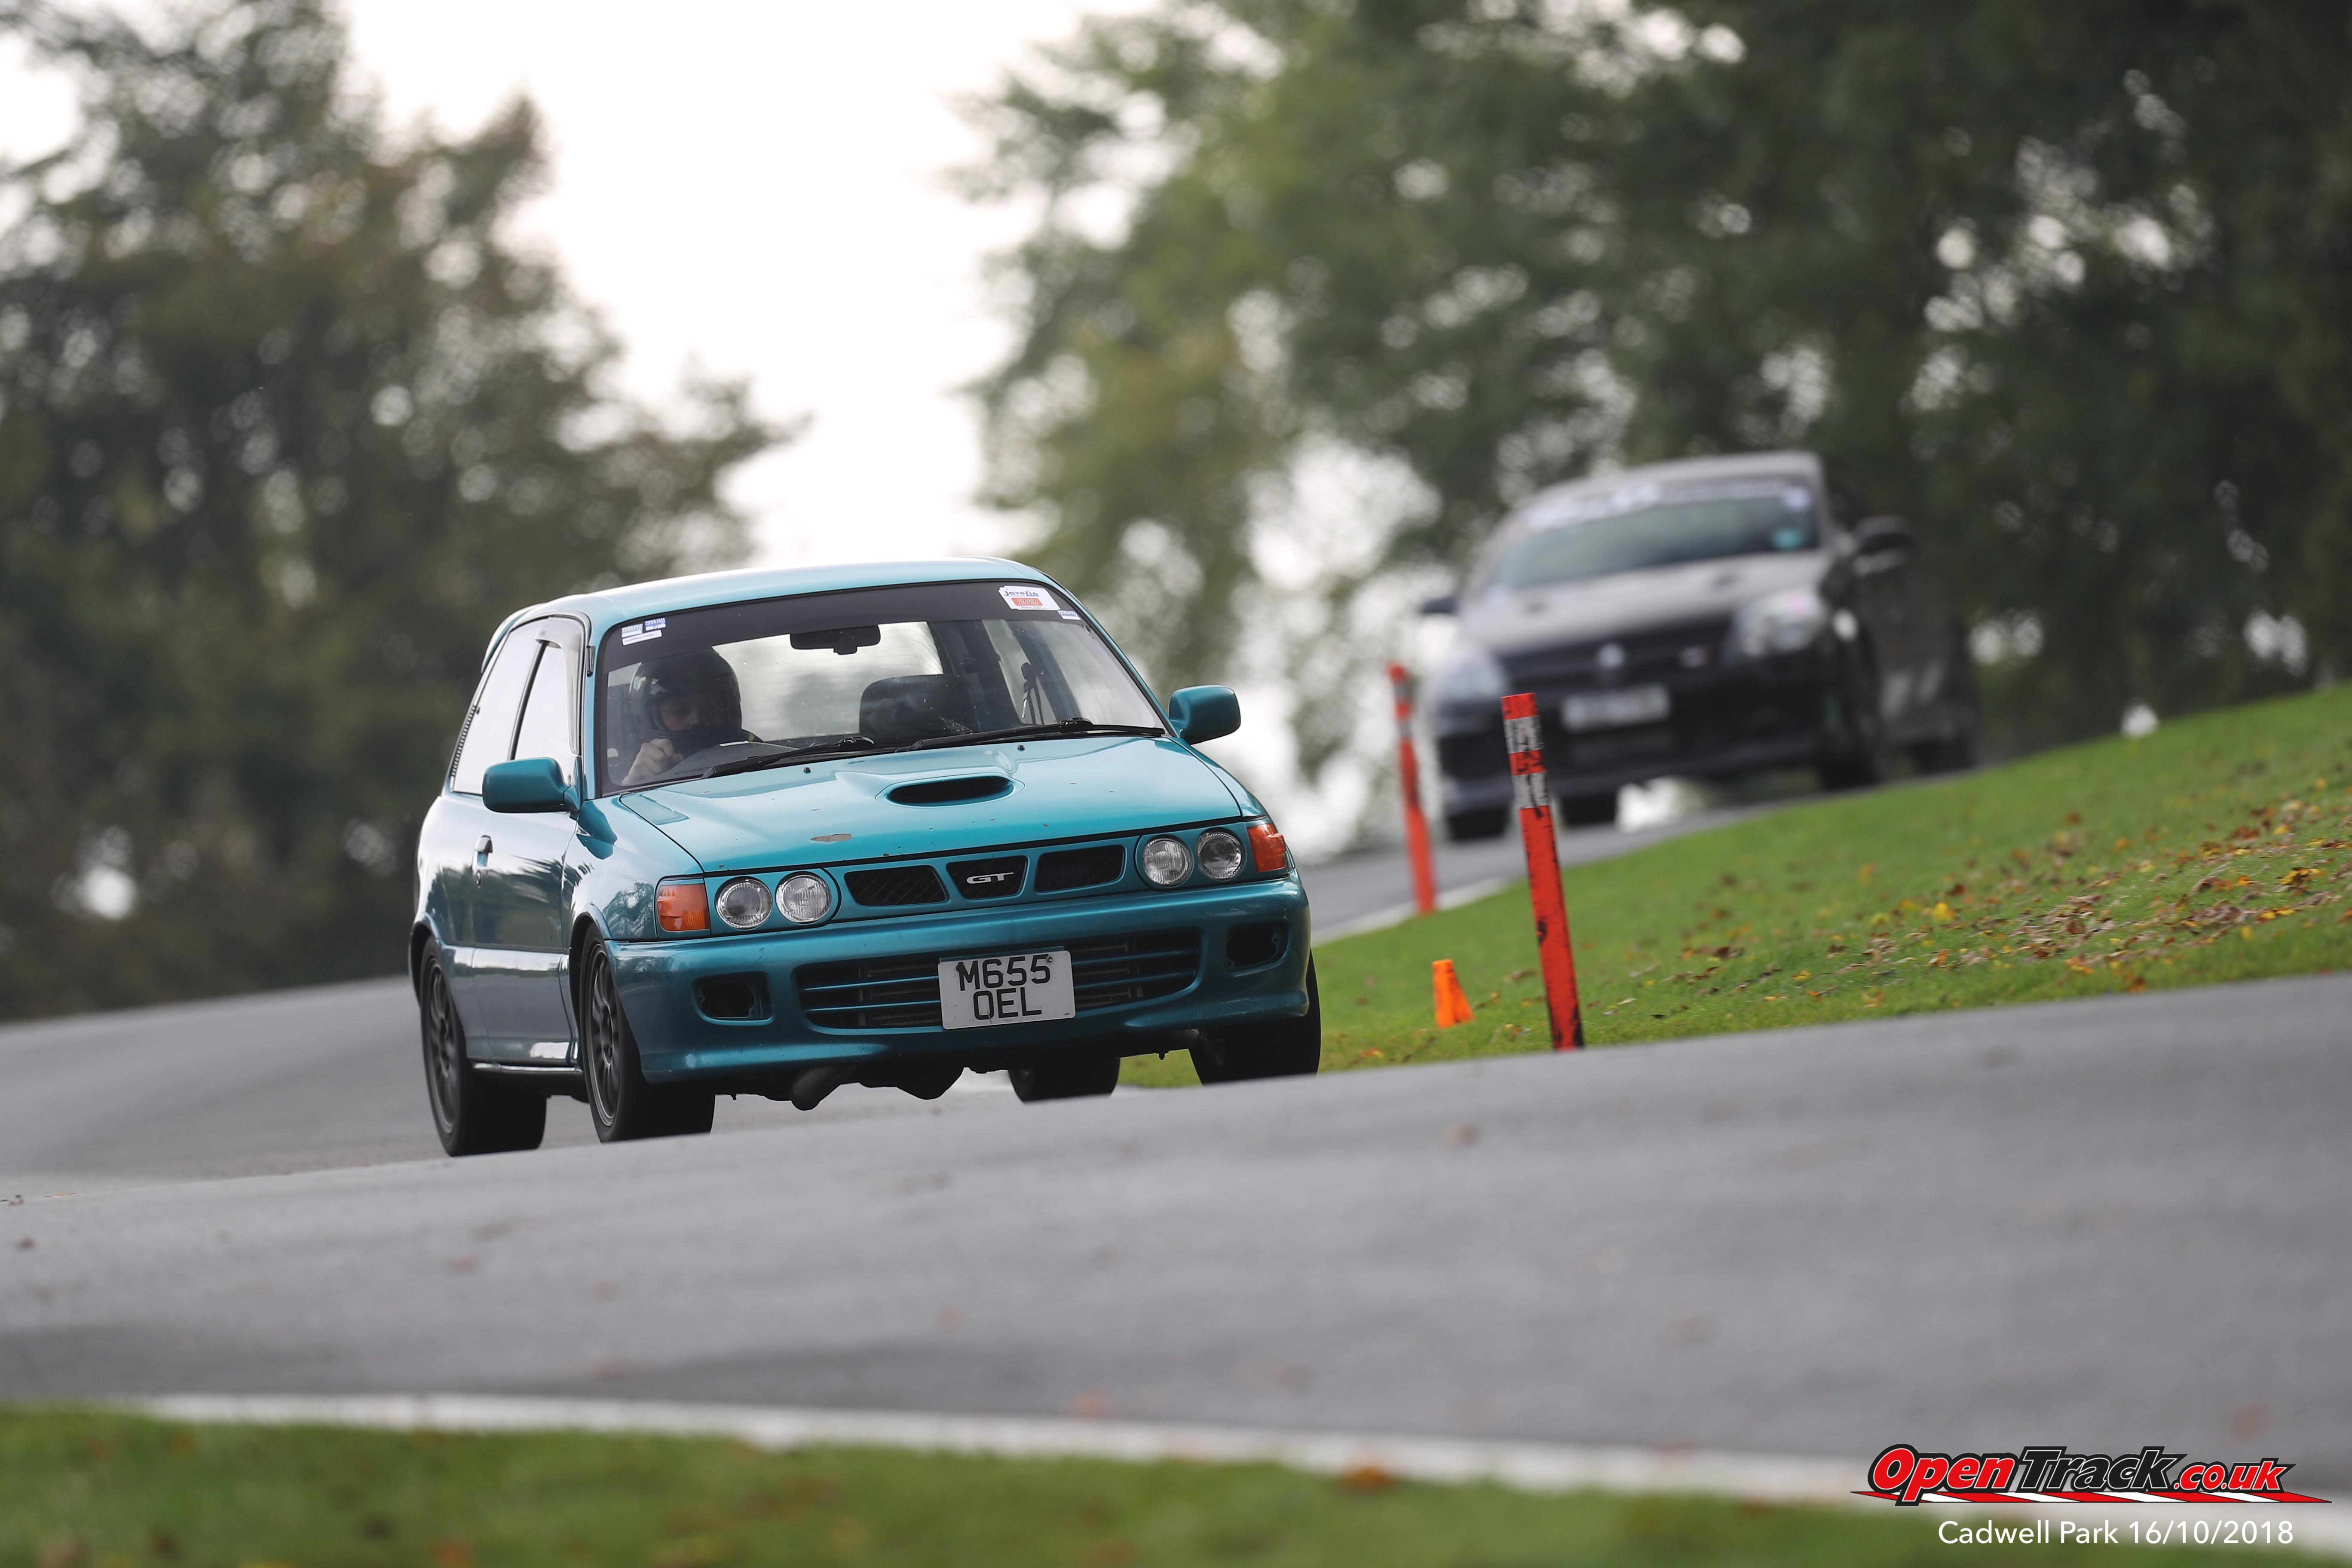
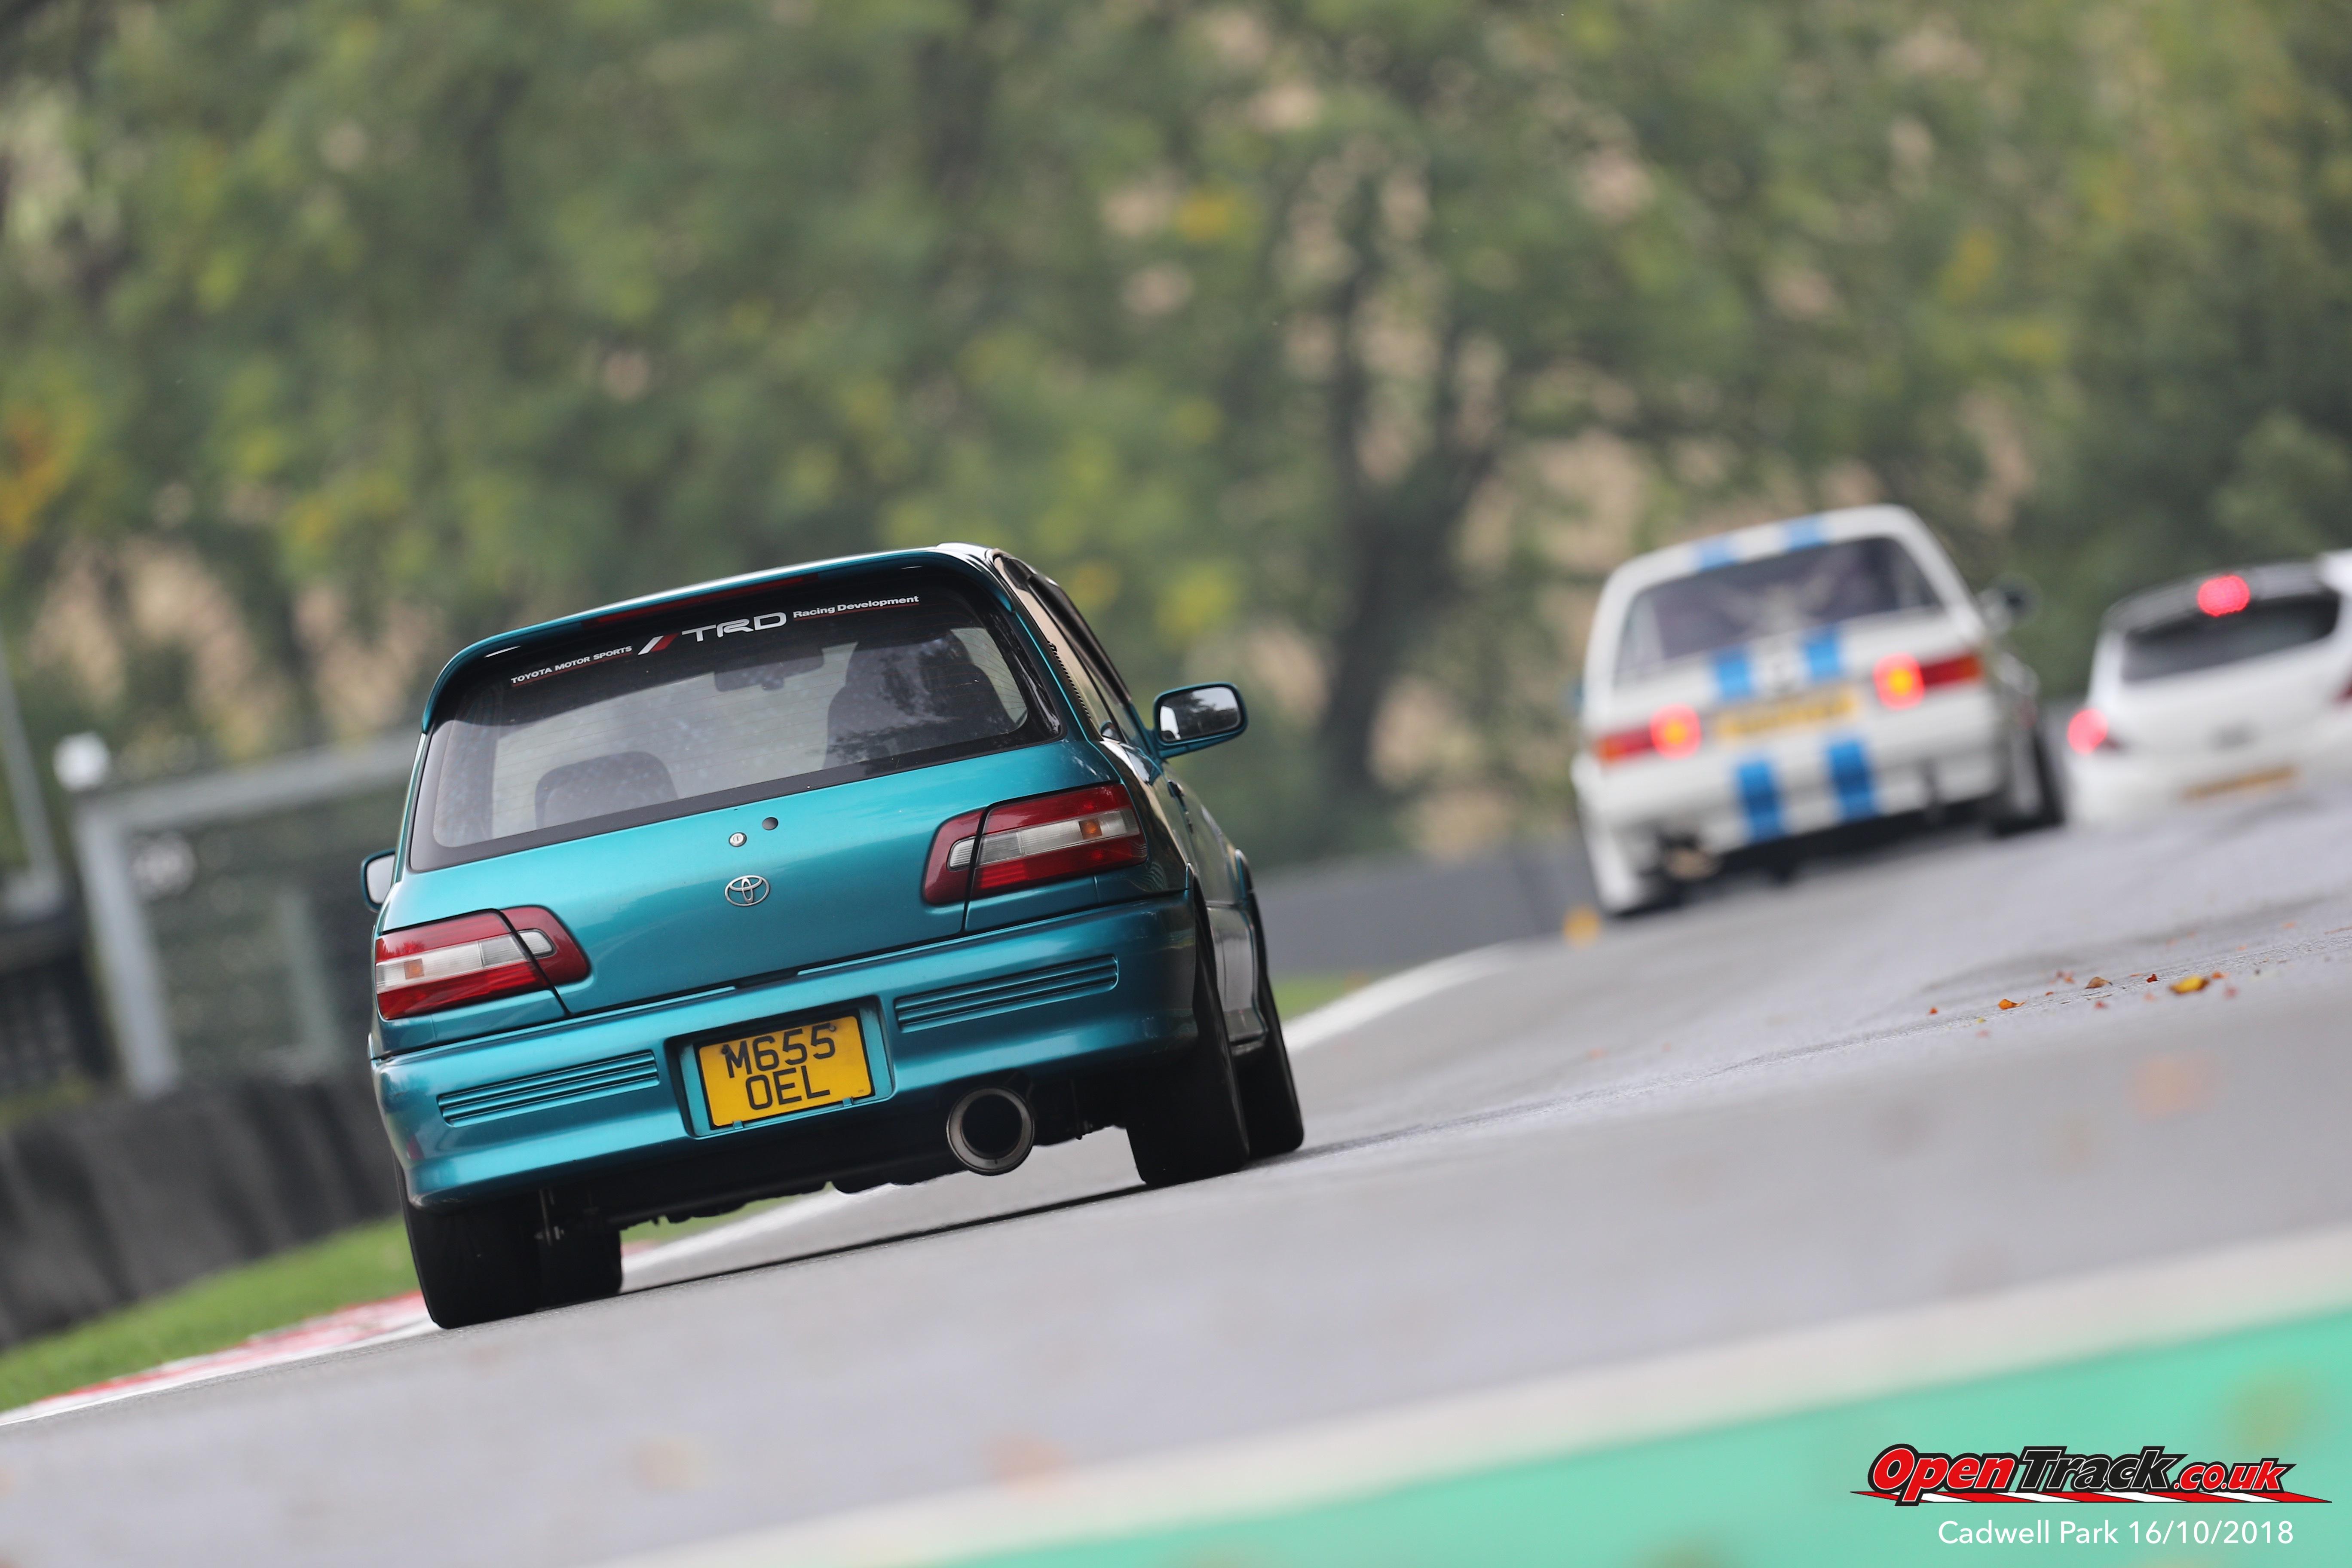
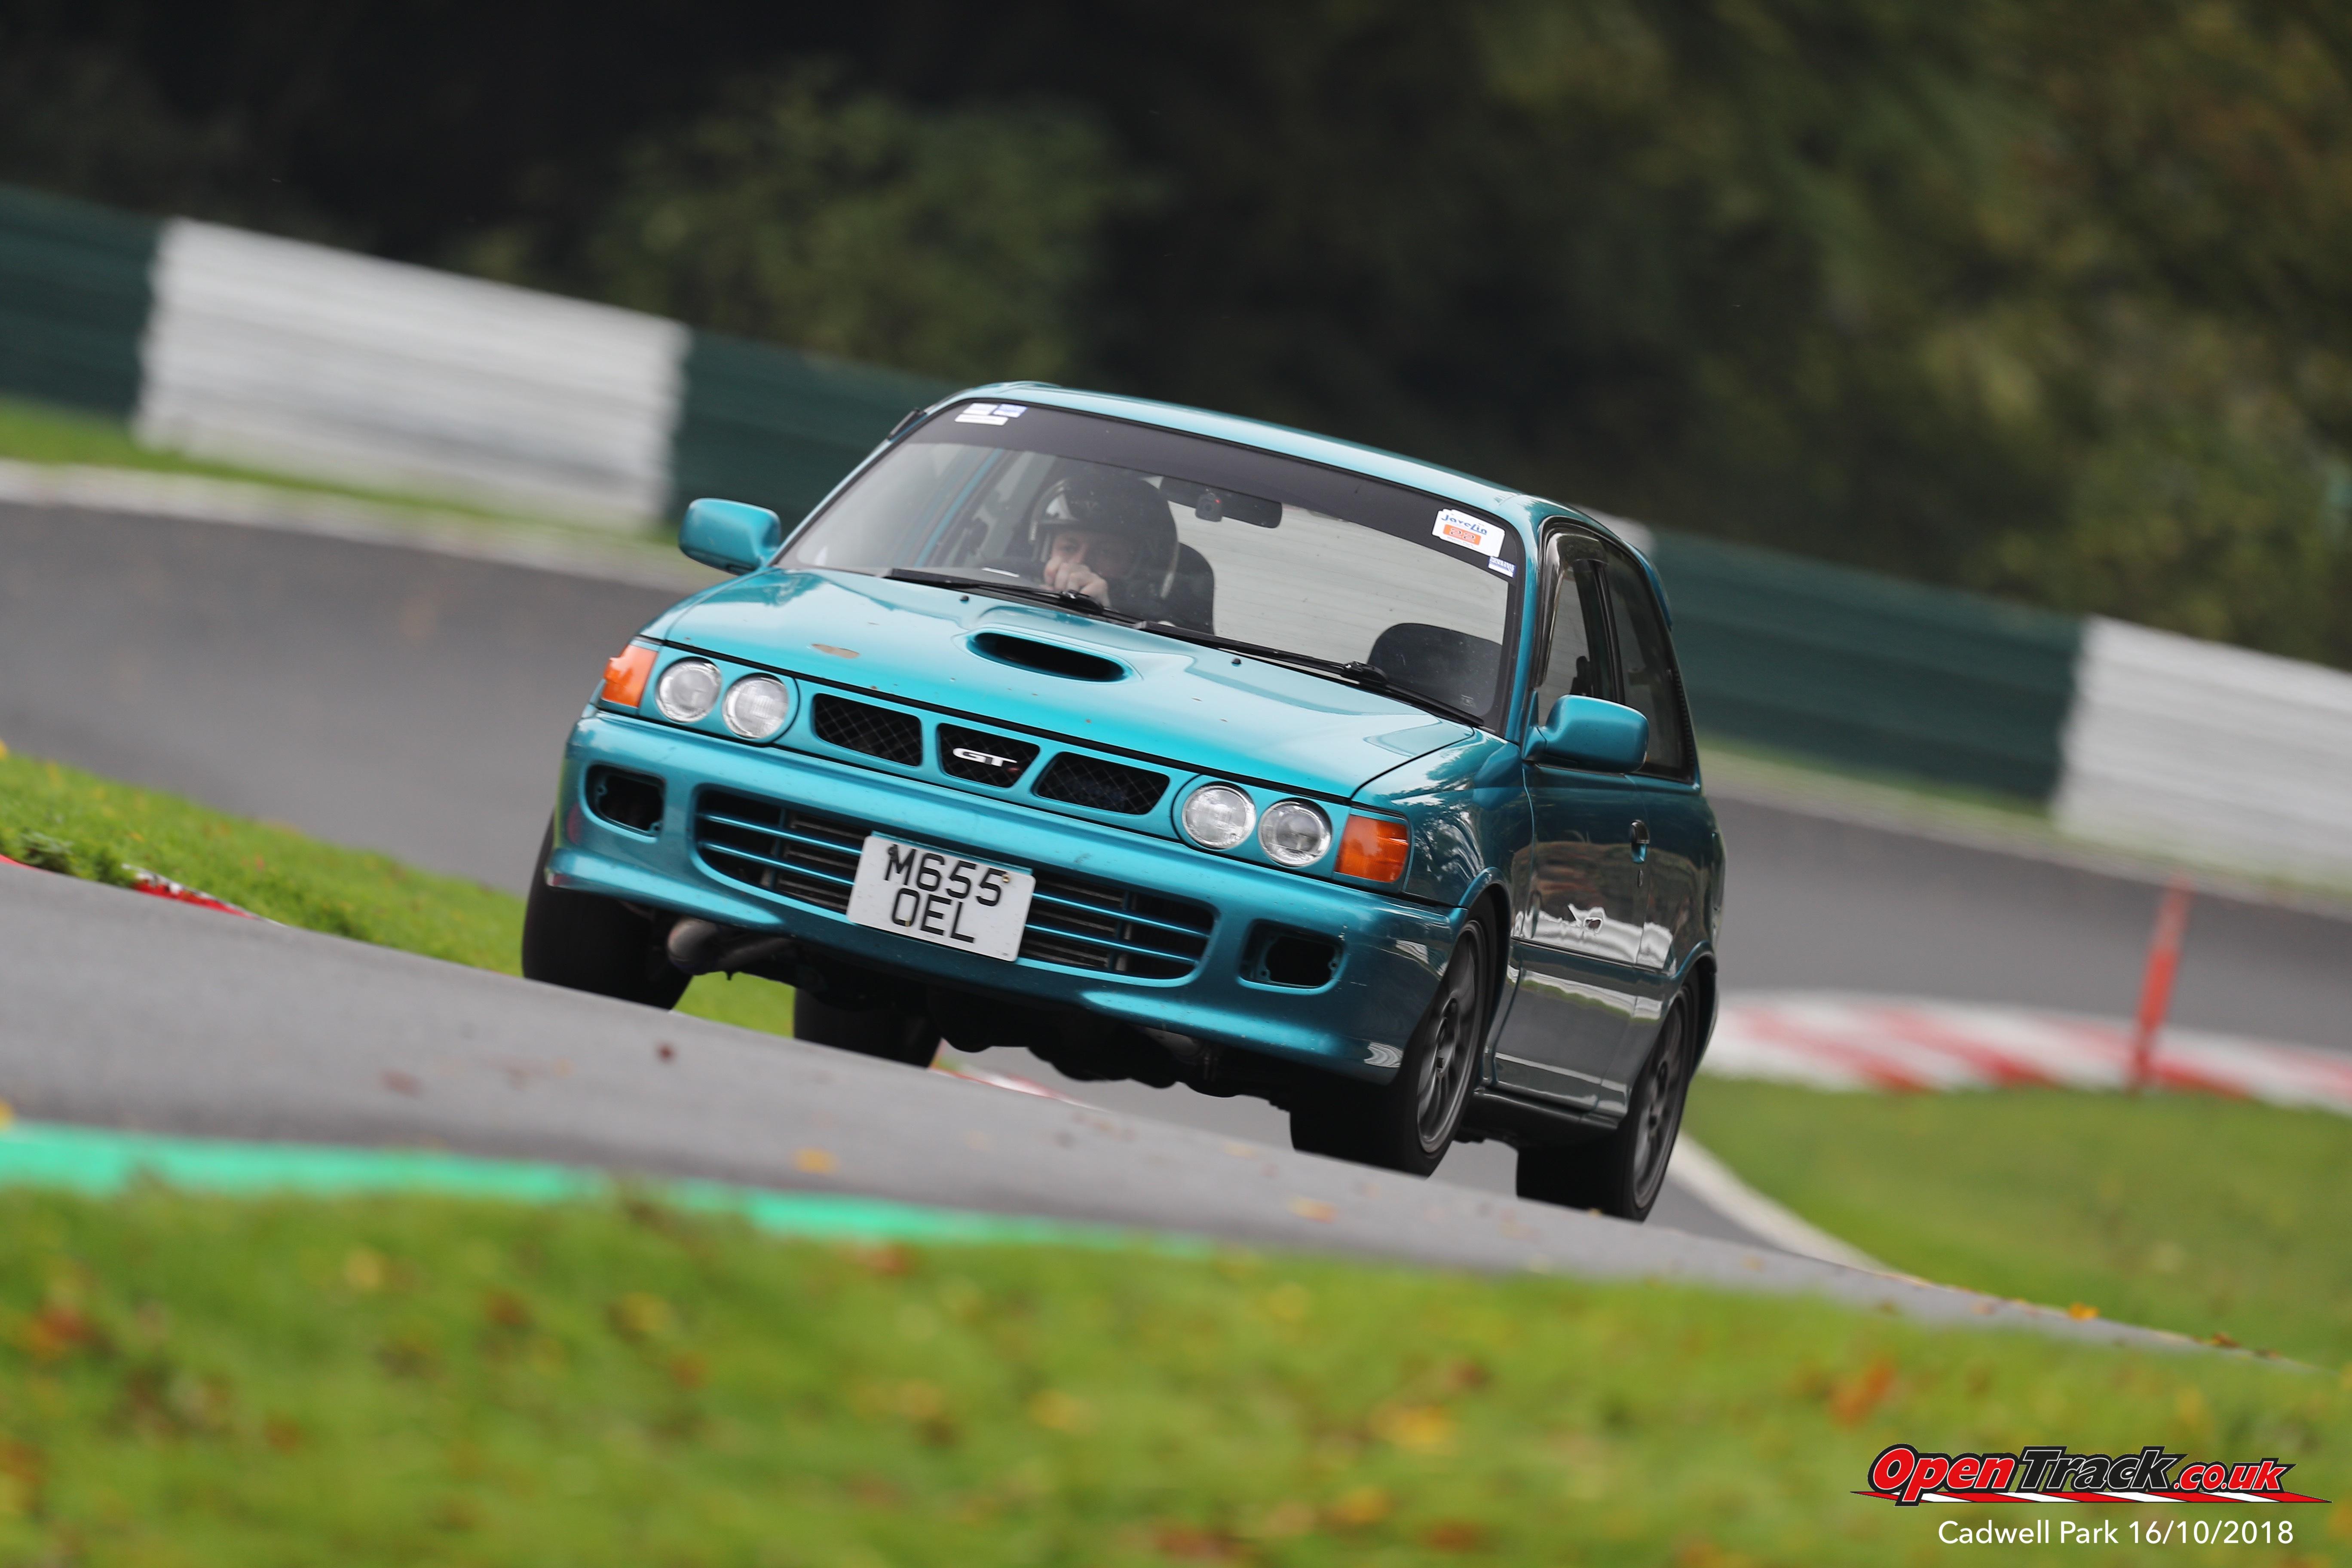
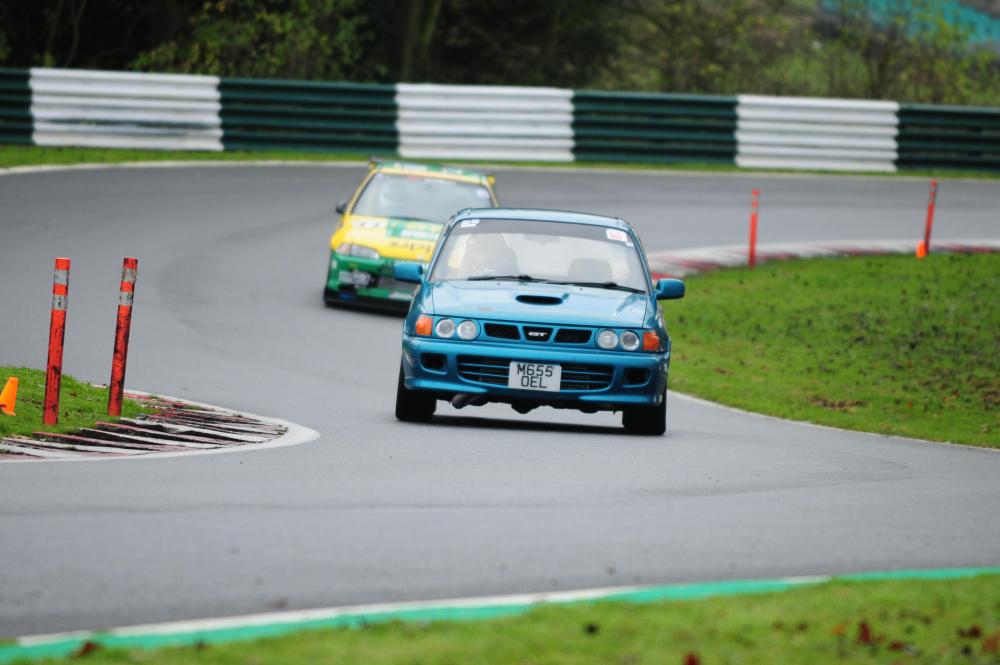
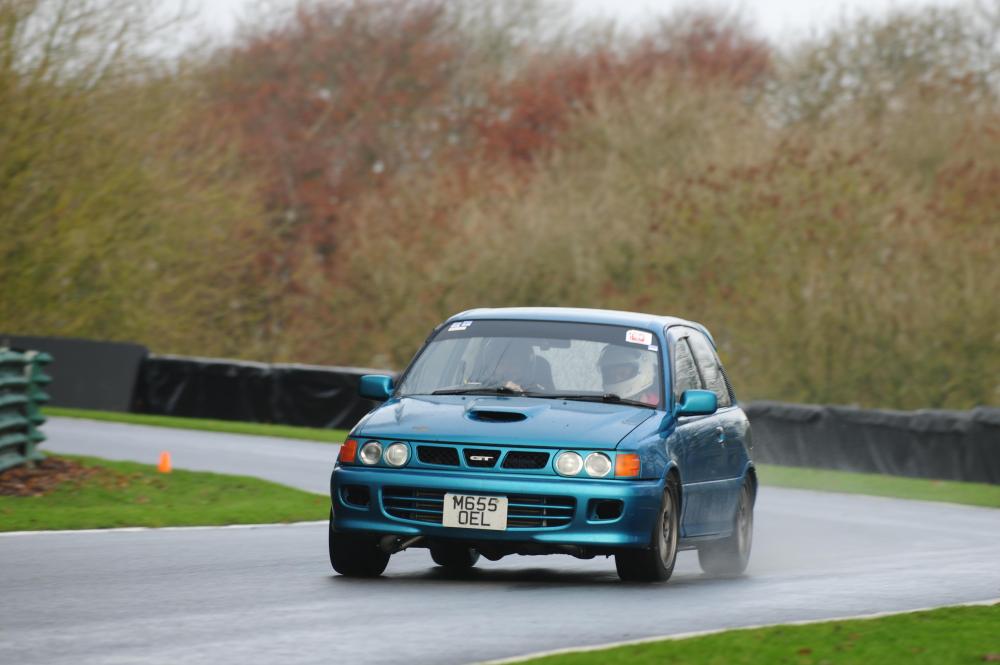
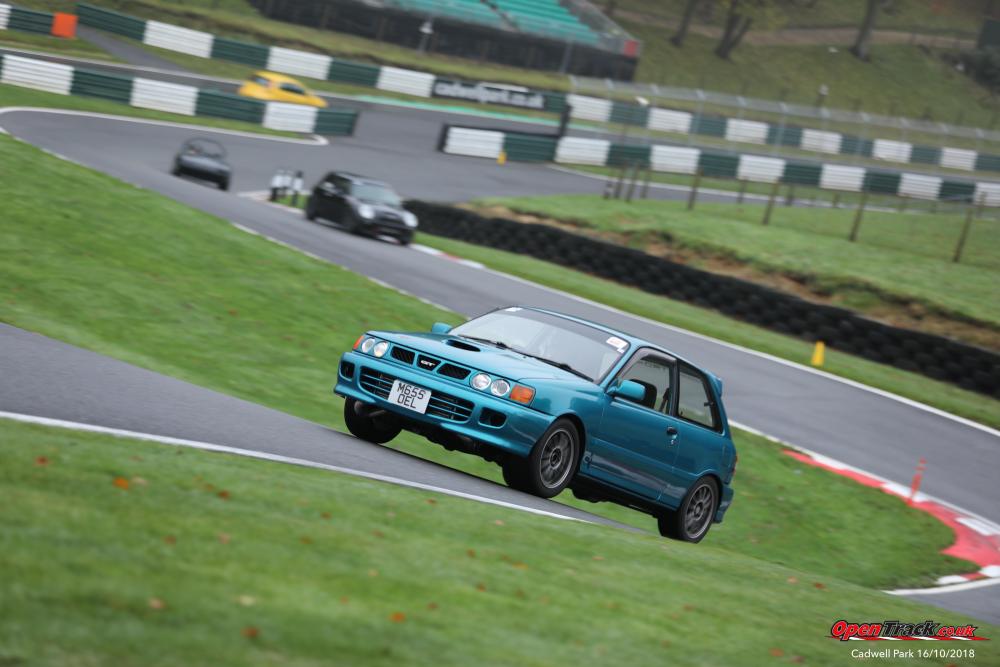
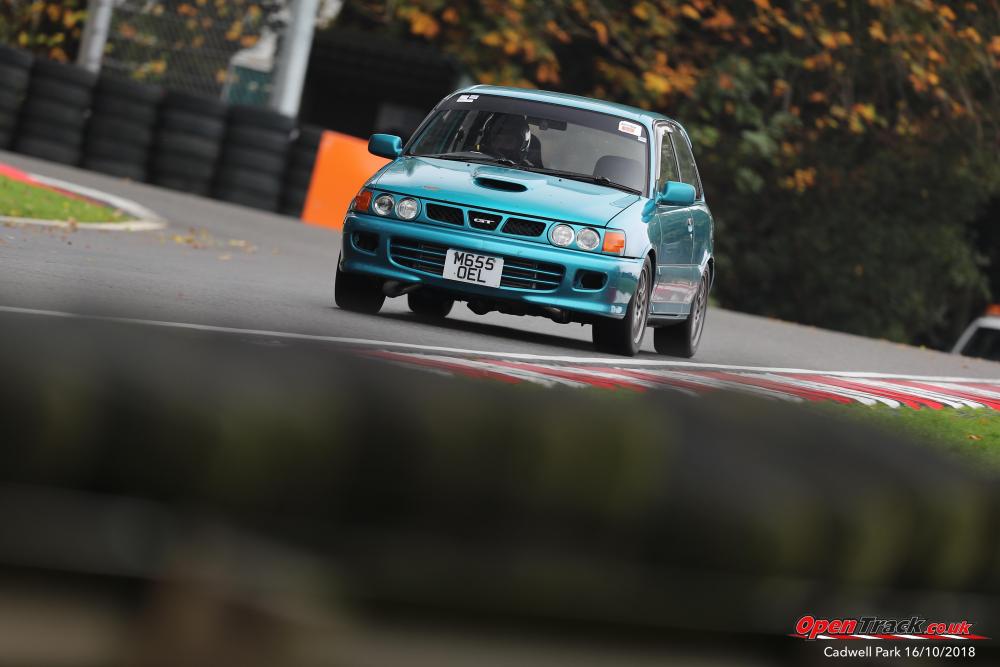
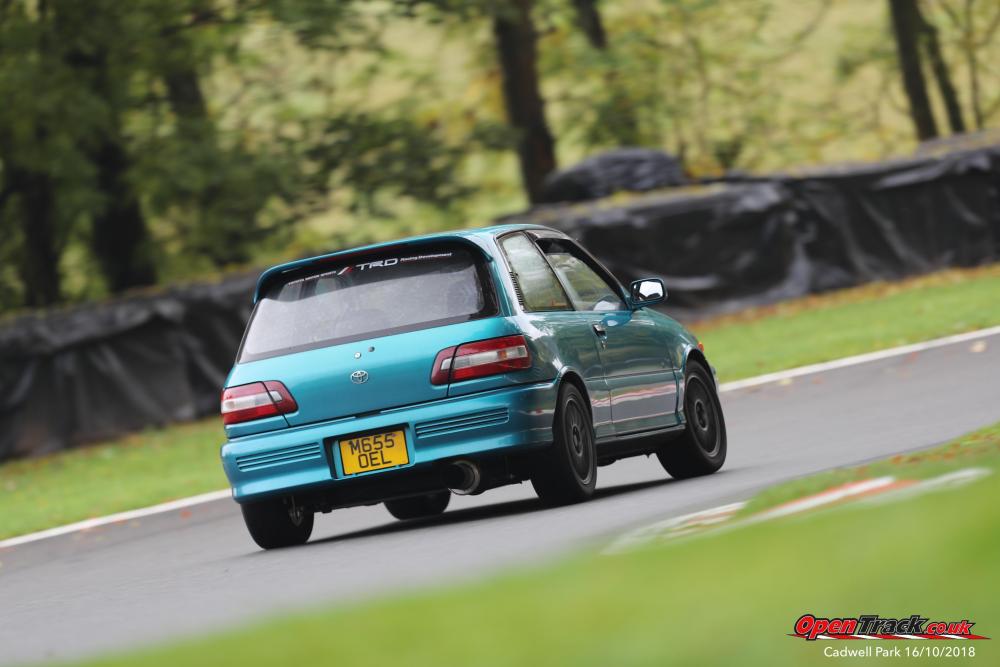
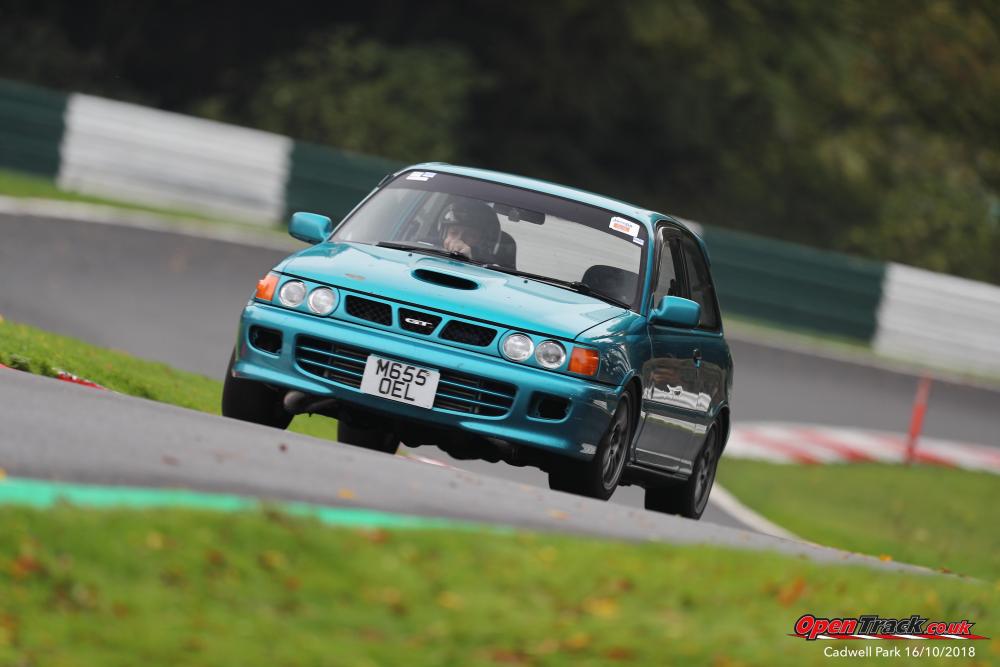
Update Time! So, I went back to Cadwell with friends too. Walker & Bro, Maddox and Amjad all took a mooch down. Along with some local mates. One of them owning a 500bhp Astra Van hahaha. My first track day with "OpenTrack" who overbooked the day. 114 cars booked on! wtf. So huge ques and waiting to get onto track, which sucked. Decided to stay out for longer periods tho, since it was a cool day and I had the cooling capacity now The day before it absolutely pissed it down, so in the morning the track was soaked from that. With no sun to dry it out. I let the heros go out first to dry the track out a bit. Someone put it in a wall in the first session, red flag. Waiting again. Then I went out for first session and it confirmed what I already knew. Dont fuck with Cadwell Park in the wet. Proper dangerous lol. Left it, then eventually, due to fog, the track time was aborted. Then dinner happened. Then, sun was out, track was drying, after 30mins a dry line was appearing too. Session Time! Went out for a good session, was out there 40mins! lol. Had some fun with a 380bhp Corsa VXR. Then came in for a cool down, started to que to get back out a little while after. There was a serious crash, a megane put it in a wall (was running slicks on a wet track too, clown). Once that was recovered, it all started again as I remained in the que. I get to first in line, another red flag. A Mini with slicks had put in into an armco. Snapped 3 armco posts. Which ended the day at 2:45pm. So pleased it was discounted day to like £80 lol. Ah well, got a couple of sessions in and its fairly local no real loss. Got some good video footage and photos. Car hasn't changed since last time either, nothing needed changing was stable and fun! and the rest of the video footage from the sessions: Enjoy Folks! Im booked onto Jav for Cadwell on the 25th Nov too if anyone else fancys it!


-
SOLD
-
Near Lincoln buddy.
-
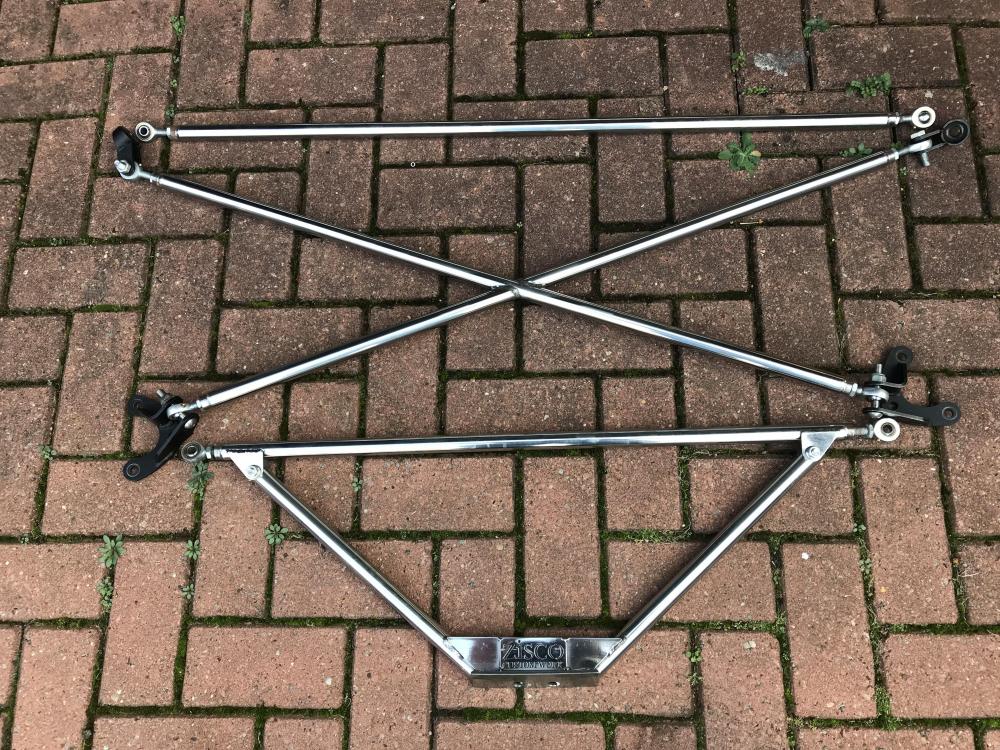
Zisco 6-Point Rear Brace £399 Posted ono. In very good condition. Will be posted via 24hr Courier. Paypal, Bank Xfer or Cash Collect
-
The track day was.... Eventful so to speak lol. Me, Amjad, Walker and his Bro, Maddox were all smiling tho! The track was so dangerous. Greasy and it was foggy too. Had to be very careful. Couple of videos.
-
This looks mint! Great work! De-Sidestrip should defo be on the list tho, will look mega! Dont know why Glanzas didnt come in this dark blue. I like it alot!