
Socks
-
Posts
9780 -
Joined
-
Last visited
Content Type
Profiles
Forums
Wiki
Media Demo
Events
Everything posted by Socks
-

SOLD - 2x Apexi AVC-R Electronic Boost Controllers
Socks replied to Socks's topic in Latest Used Parts
Boing -
SOLD - EP91/EP82 5Zigen & J-Performance Exhaust Systems
Socks replied to Socks's topic in Latest Used Parts
Boing -
SOLD
-
I have some BCs.... Well reknown to be one of the best sets of coilovers for road use... http://www.ukstarletowners.com/topic/83842-bc-racing-coilover-suspension-kit/
-
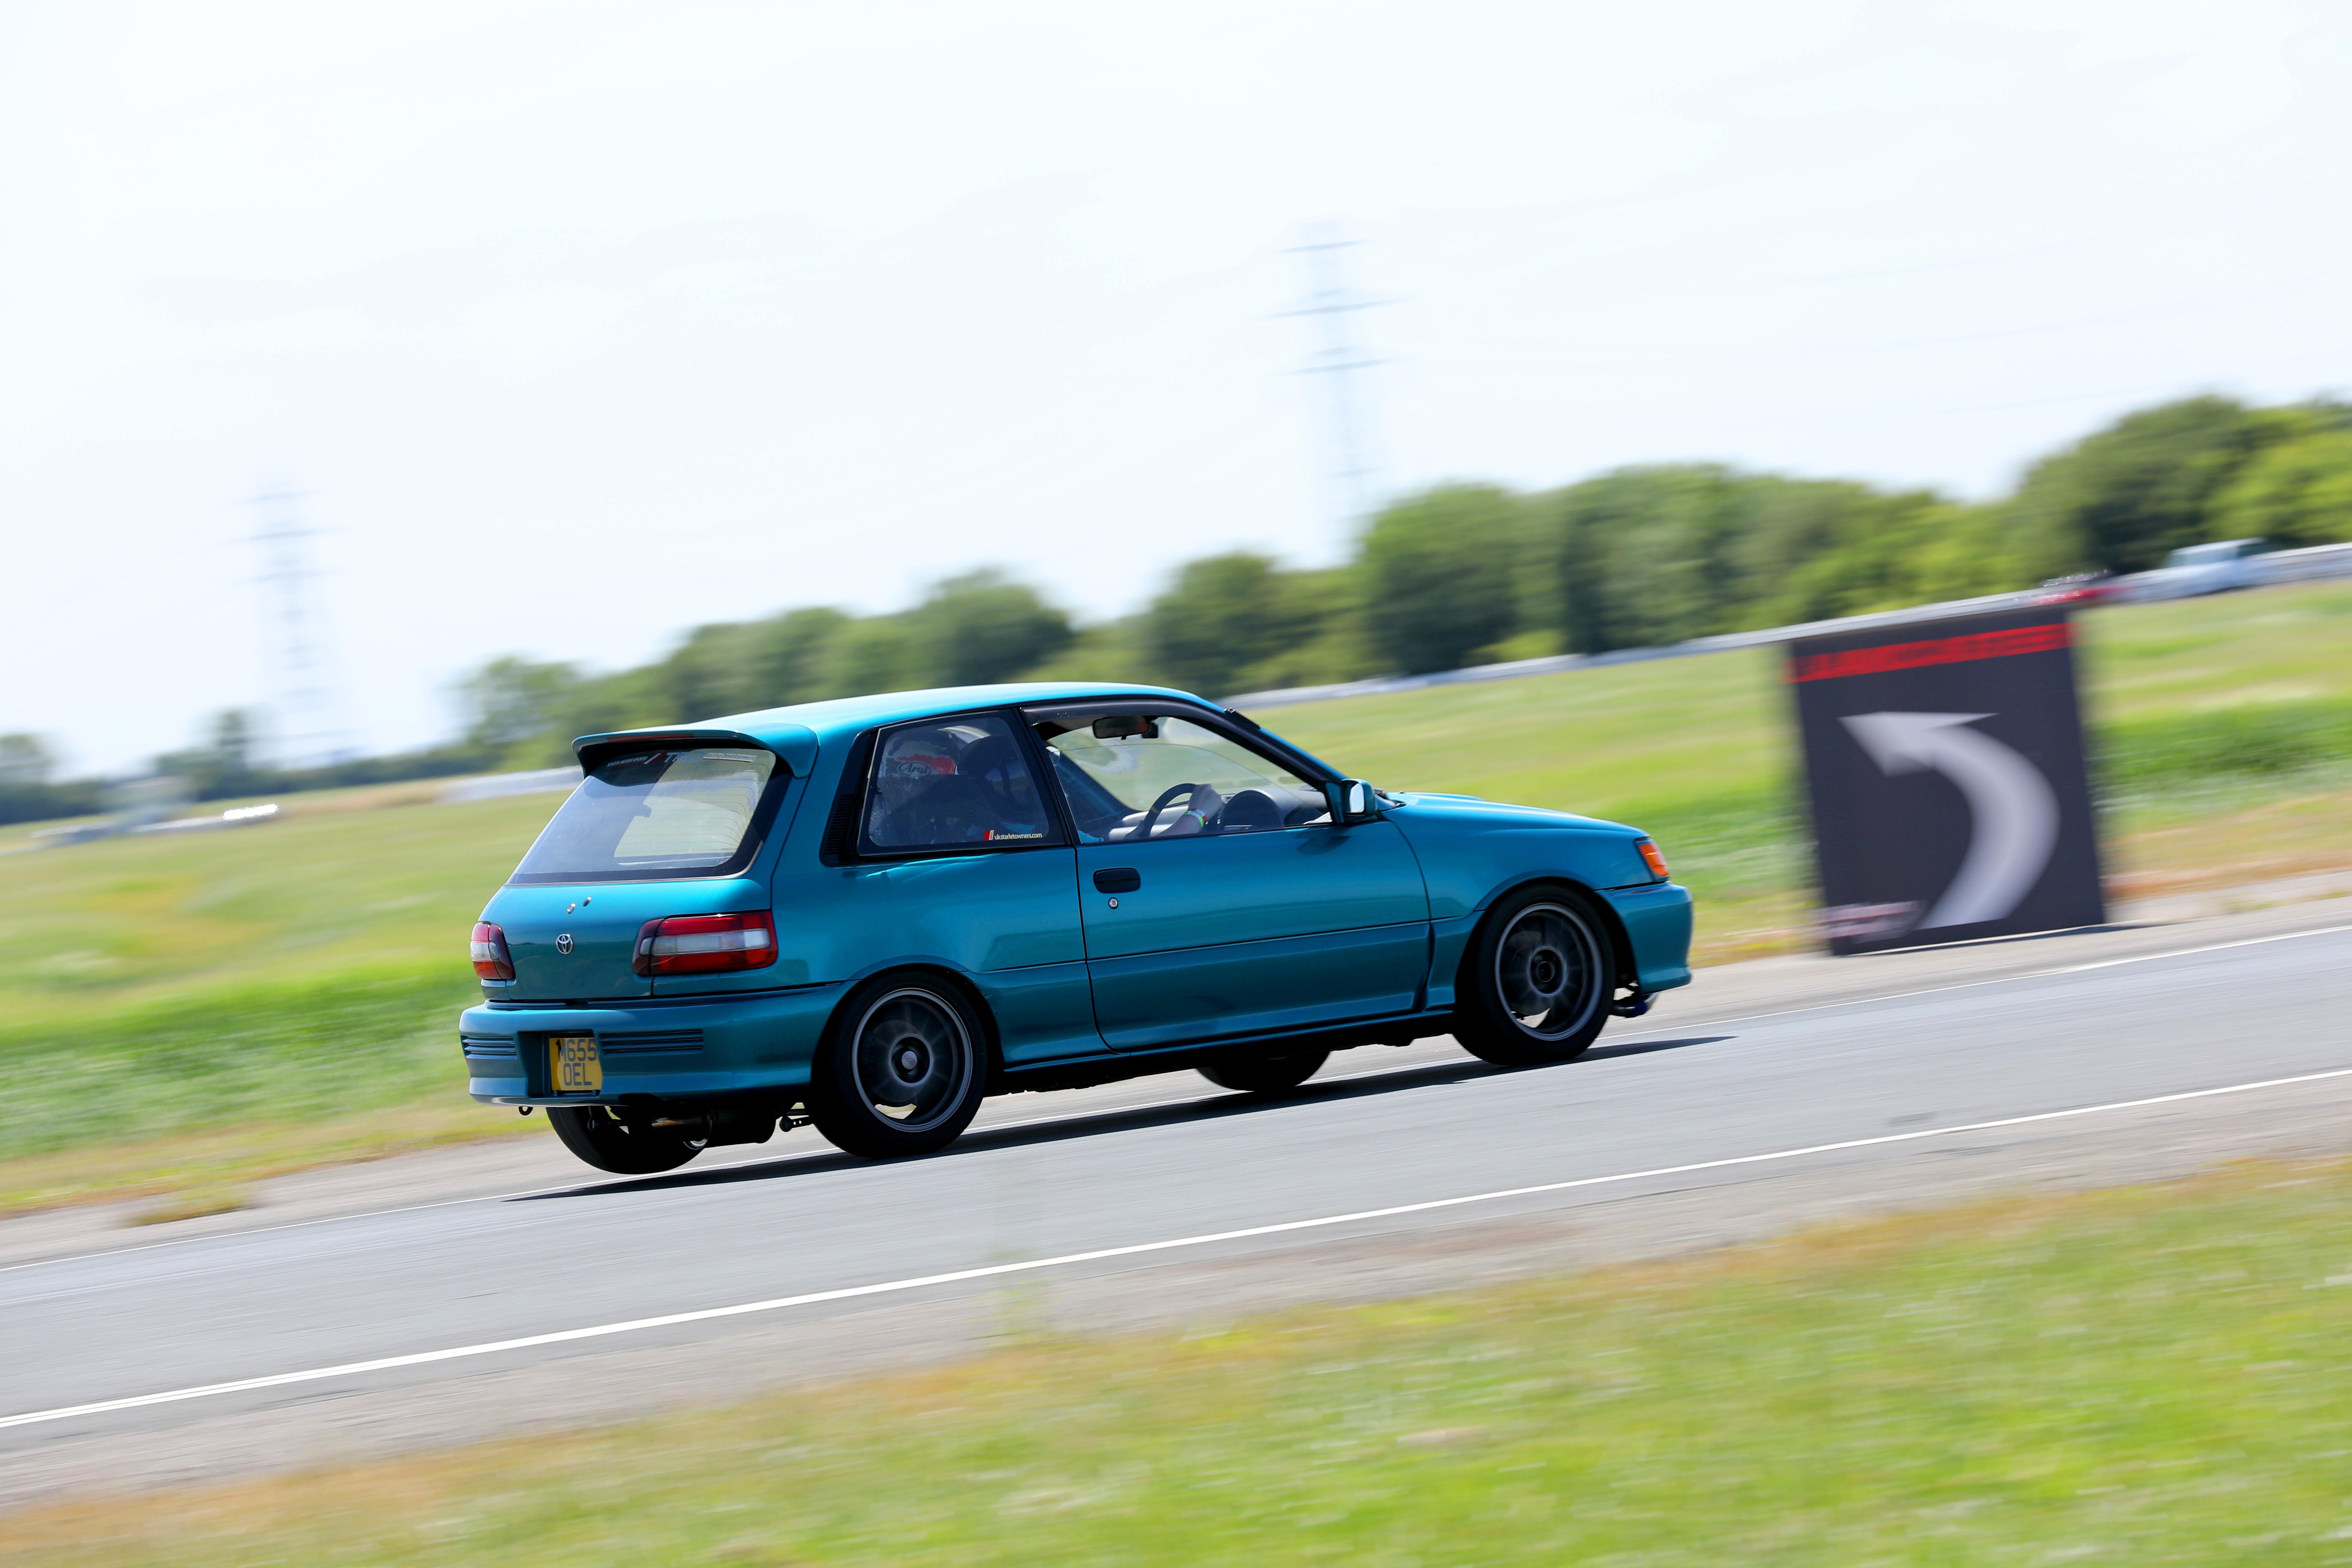
MK1 GT Snow Edition - Full respray finally
Socks replied to aaddzz123's topic in EP80/EP82 Progress Blogs
what have you done to it! -
ANTILAG! thoughts on fitting it to a starlet
Socks replied to dangarbutt's topic in Intake, Turbo & Exhaust
Your struggling with lag on a td04? -
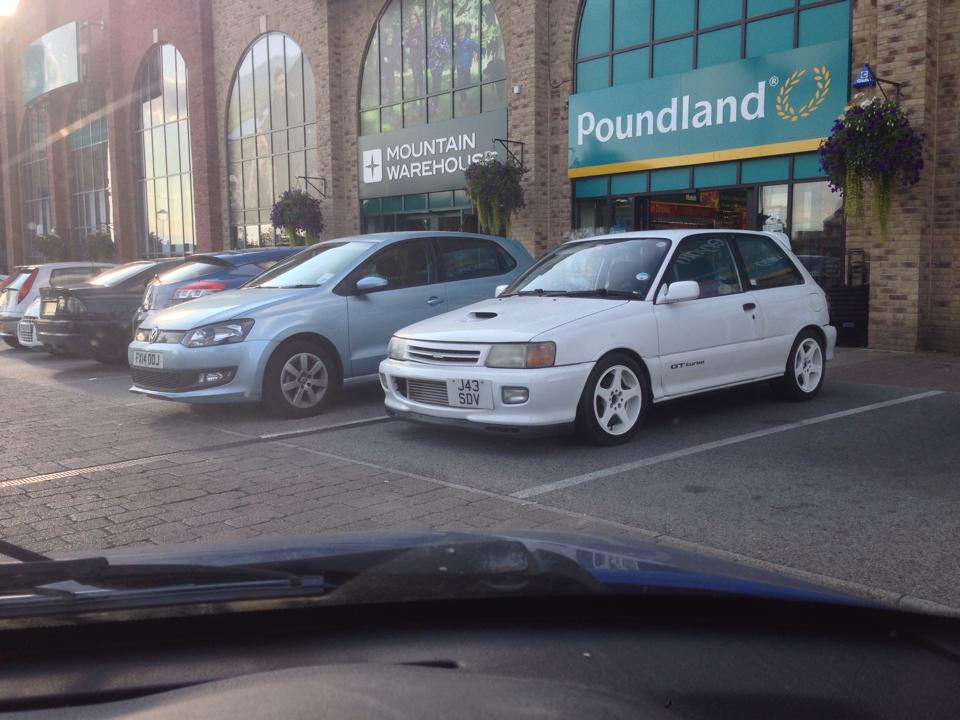
Saw this come past me about 5:45pm ish.... Then found it parked in marshalls yard.... Anyone on here, looked clean!?

-
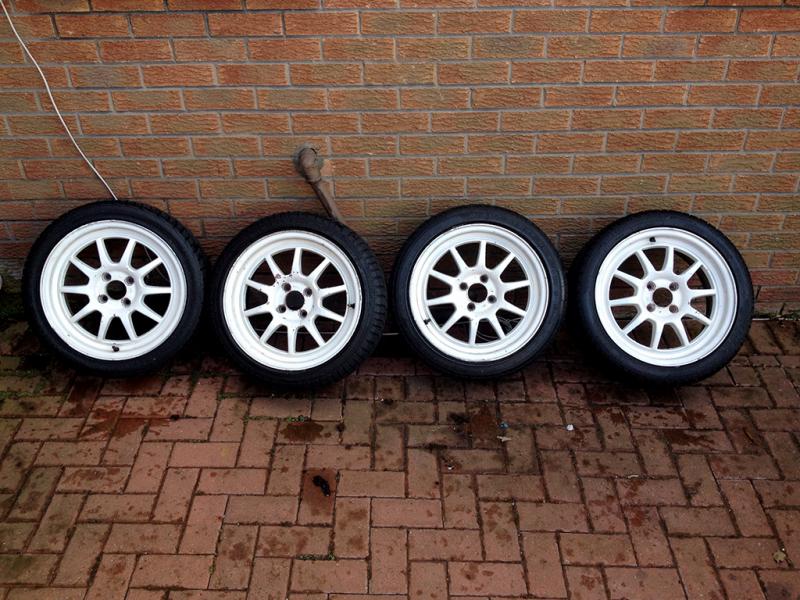
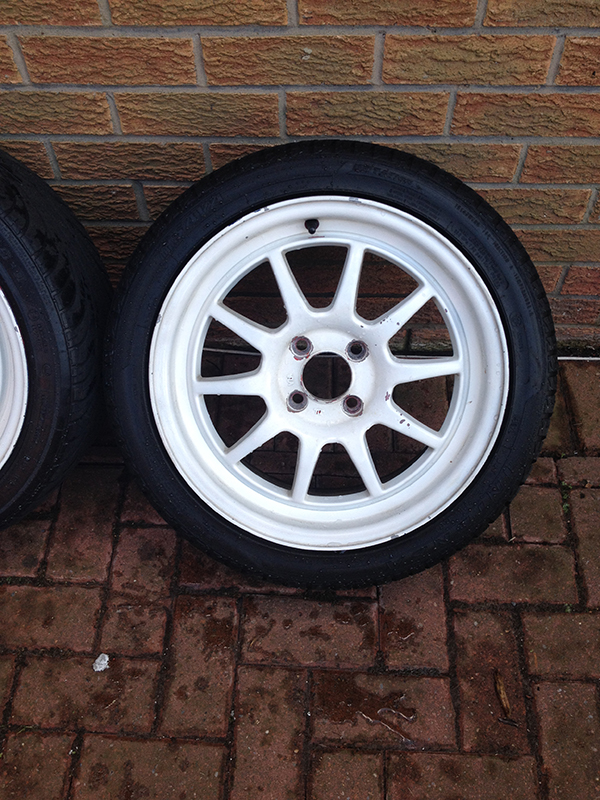
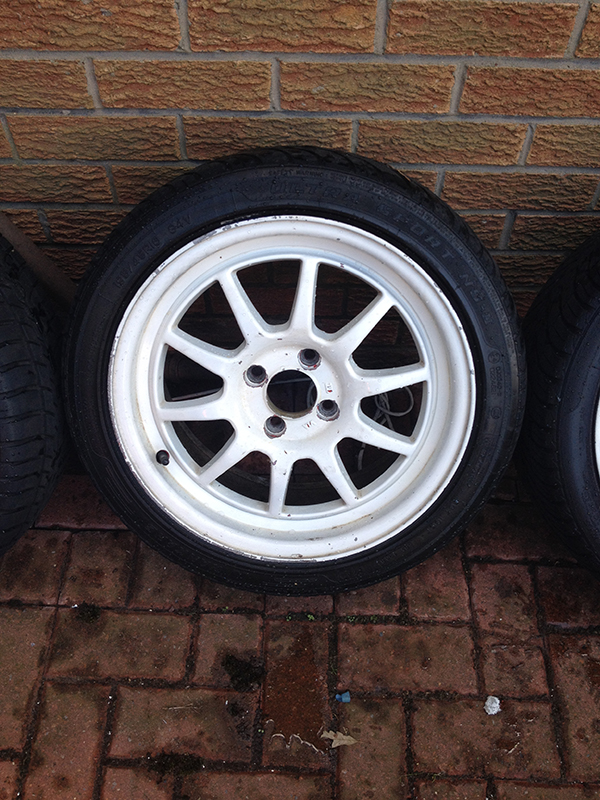
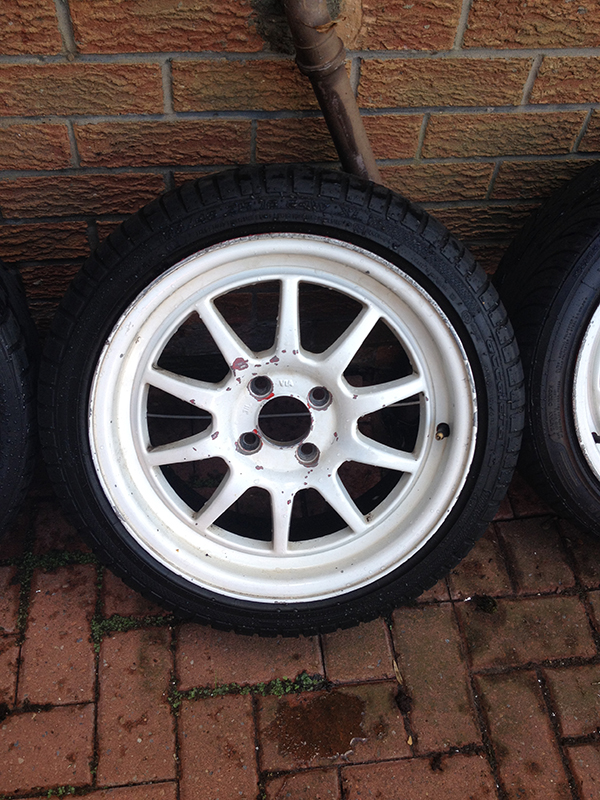
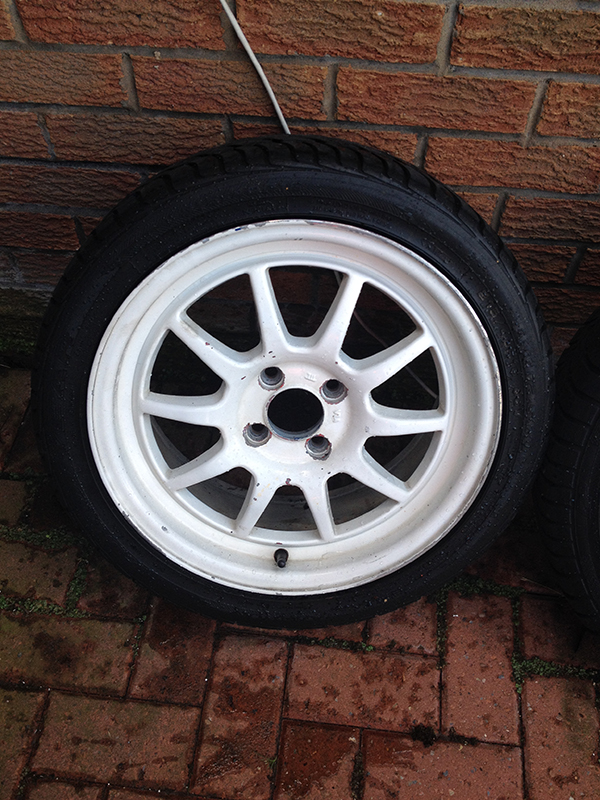
16" Rota GT3 Alloy Wheels Wheels have been painted white. All straight no buckles, cracks or bends... Some chips and small curbing on some. But not being sold as mint.... There 16x7 ET40 I do believe. Came off a glanza that was low on BC Coilovers. Didn't scrape or rub... Tyres are all odd. 2x 215/40/16 / 2x 195/45/16. All have over 4mm of tread, all hold pressure... Pictures: Price: £300 ono Current Location: Lincoln, UK Payment & Postage: Paypal or Bank Transfer Accepted Postage Via Private Courier
-
Sorry Babe! Someone pipped you by minutes! SOLD
-
Boing!
-
SOLD - 2x Apexi AVC-R Electronic Boost Controllers
Socks replied to Socks's topic in Latest Used Parts
Boing! -
Boing!
-
Boing!
-
Boing!
-
Boing!
-
SOLD - 2x Magnecor Performance HT Leads 8 & 8.5mm
Socks replied to Socks's topic in Latest Used Parts
Boing! -
SOLD - EP91/EP82 5Zigen & J-Performance Exhaust Systems
Socks replied to Socks's topic in Latest Used Parts
Boing! -
Boing!
-
SOLD - Blitz EP82 Glovebox Carbon Gauge Pod/Panel
Socks replied to Socks's topic in Latest Used Parts
Boing! -
Boing!
-
Boing!
-
SOLD
-
A huuuge bowtie
-
Unknown JDM Rear Brace - Red Ends - SOLD
-
http://www.ukstarletowners.com/topic/83844-5-strut-braces-panhard-rod/