enzo_e492901
-
Posts
219 -
Joined
-
Last visited
Content Type
Profiles
Forums
Wiki
Media Demo
Events
Everything posted by enzo_e492901
-
Thanks mate. The paint colour code is 8M7. Gavin
-
Cheers bud. Yeah the pierburg throttle body is of visibly better quality with an 8mm shaft instead of 10mm and bronze shaft bushings instead of pressed steel. Cheers mate, means alot. No, just a little heat and the right size torx bit. That's really good to know about the manifold/downpipe lining up! Gavin
-
Yeah cheers, I have been about a little bit here and there. Now back for good but the project is still going to take a long time. Cheers Socks. Some would say too clean, but it won't stay that clean when on the road. I'm not one to keep cleaning the bay like some do. Haha you should see the state of my shed! As for turboing it I have given it alot of thought and it's something I never wanted to do but kinda always knew I would some day. I still think it's possible because for example the Corolla ecu I'm going to use basically uses turbo sensors so it's half the job. I just want to see what the N/A can do first. Gavin
-
Cheers mate, I will finish it no matter how long it takes. Gavin
-
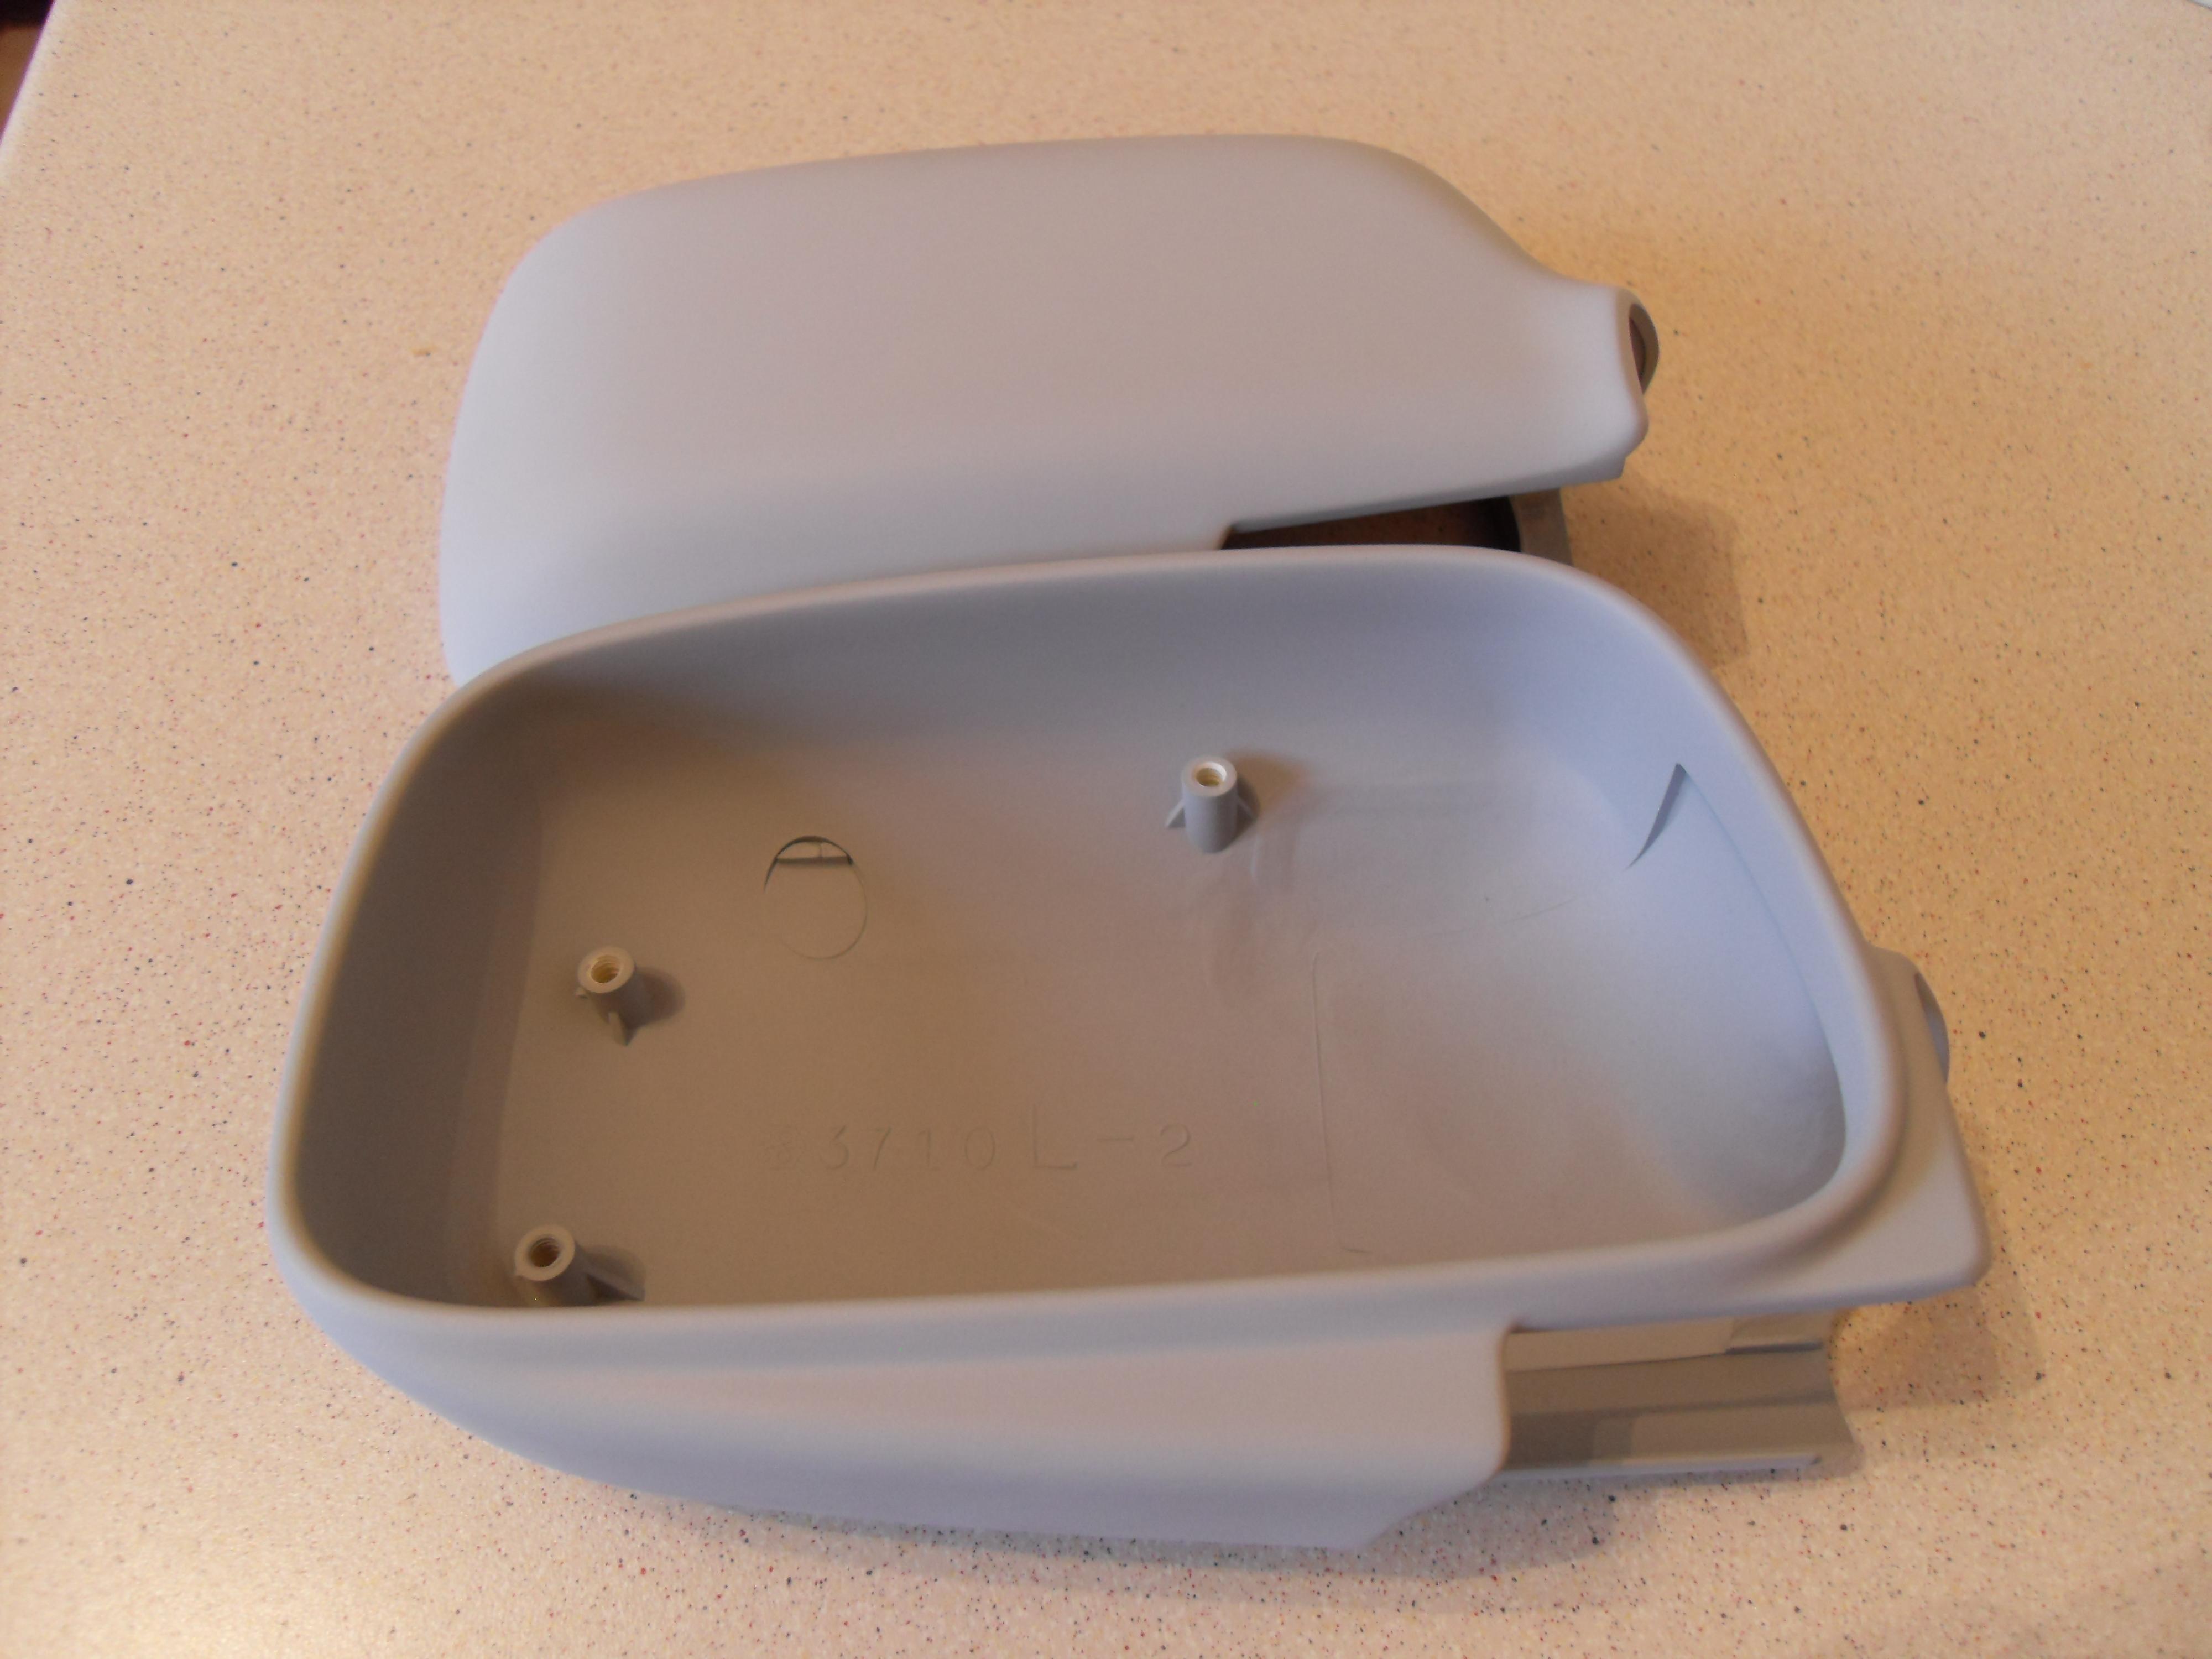
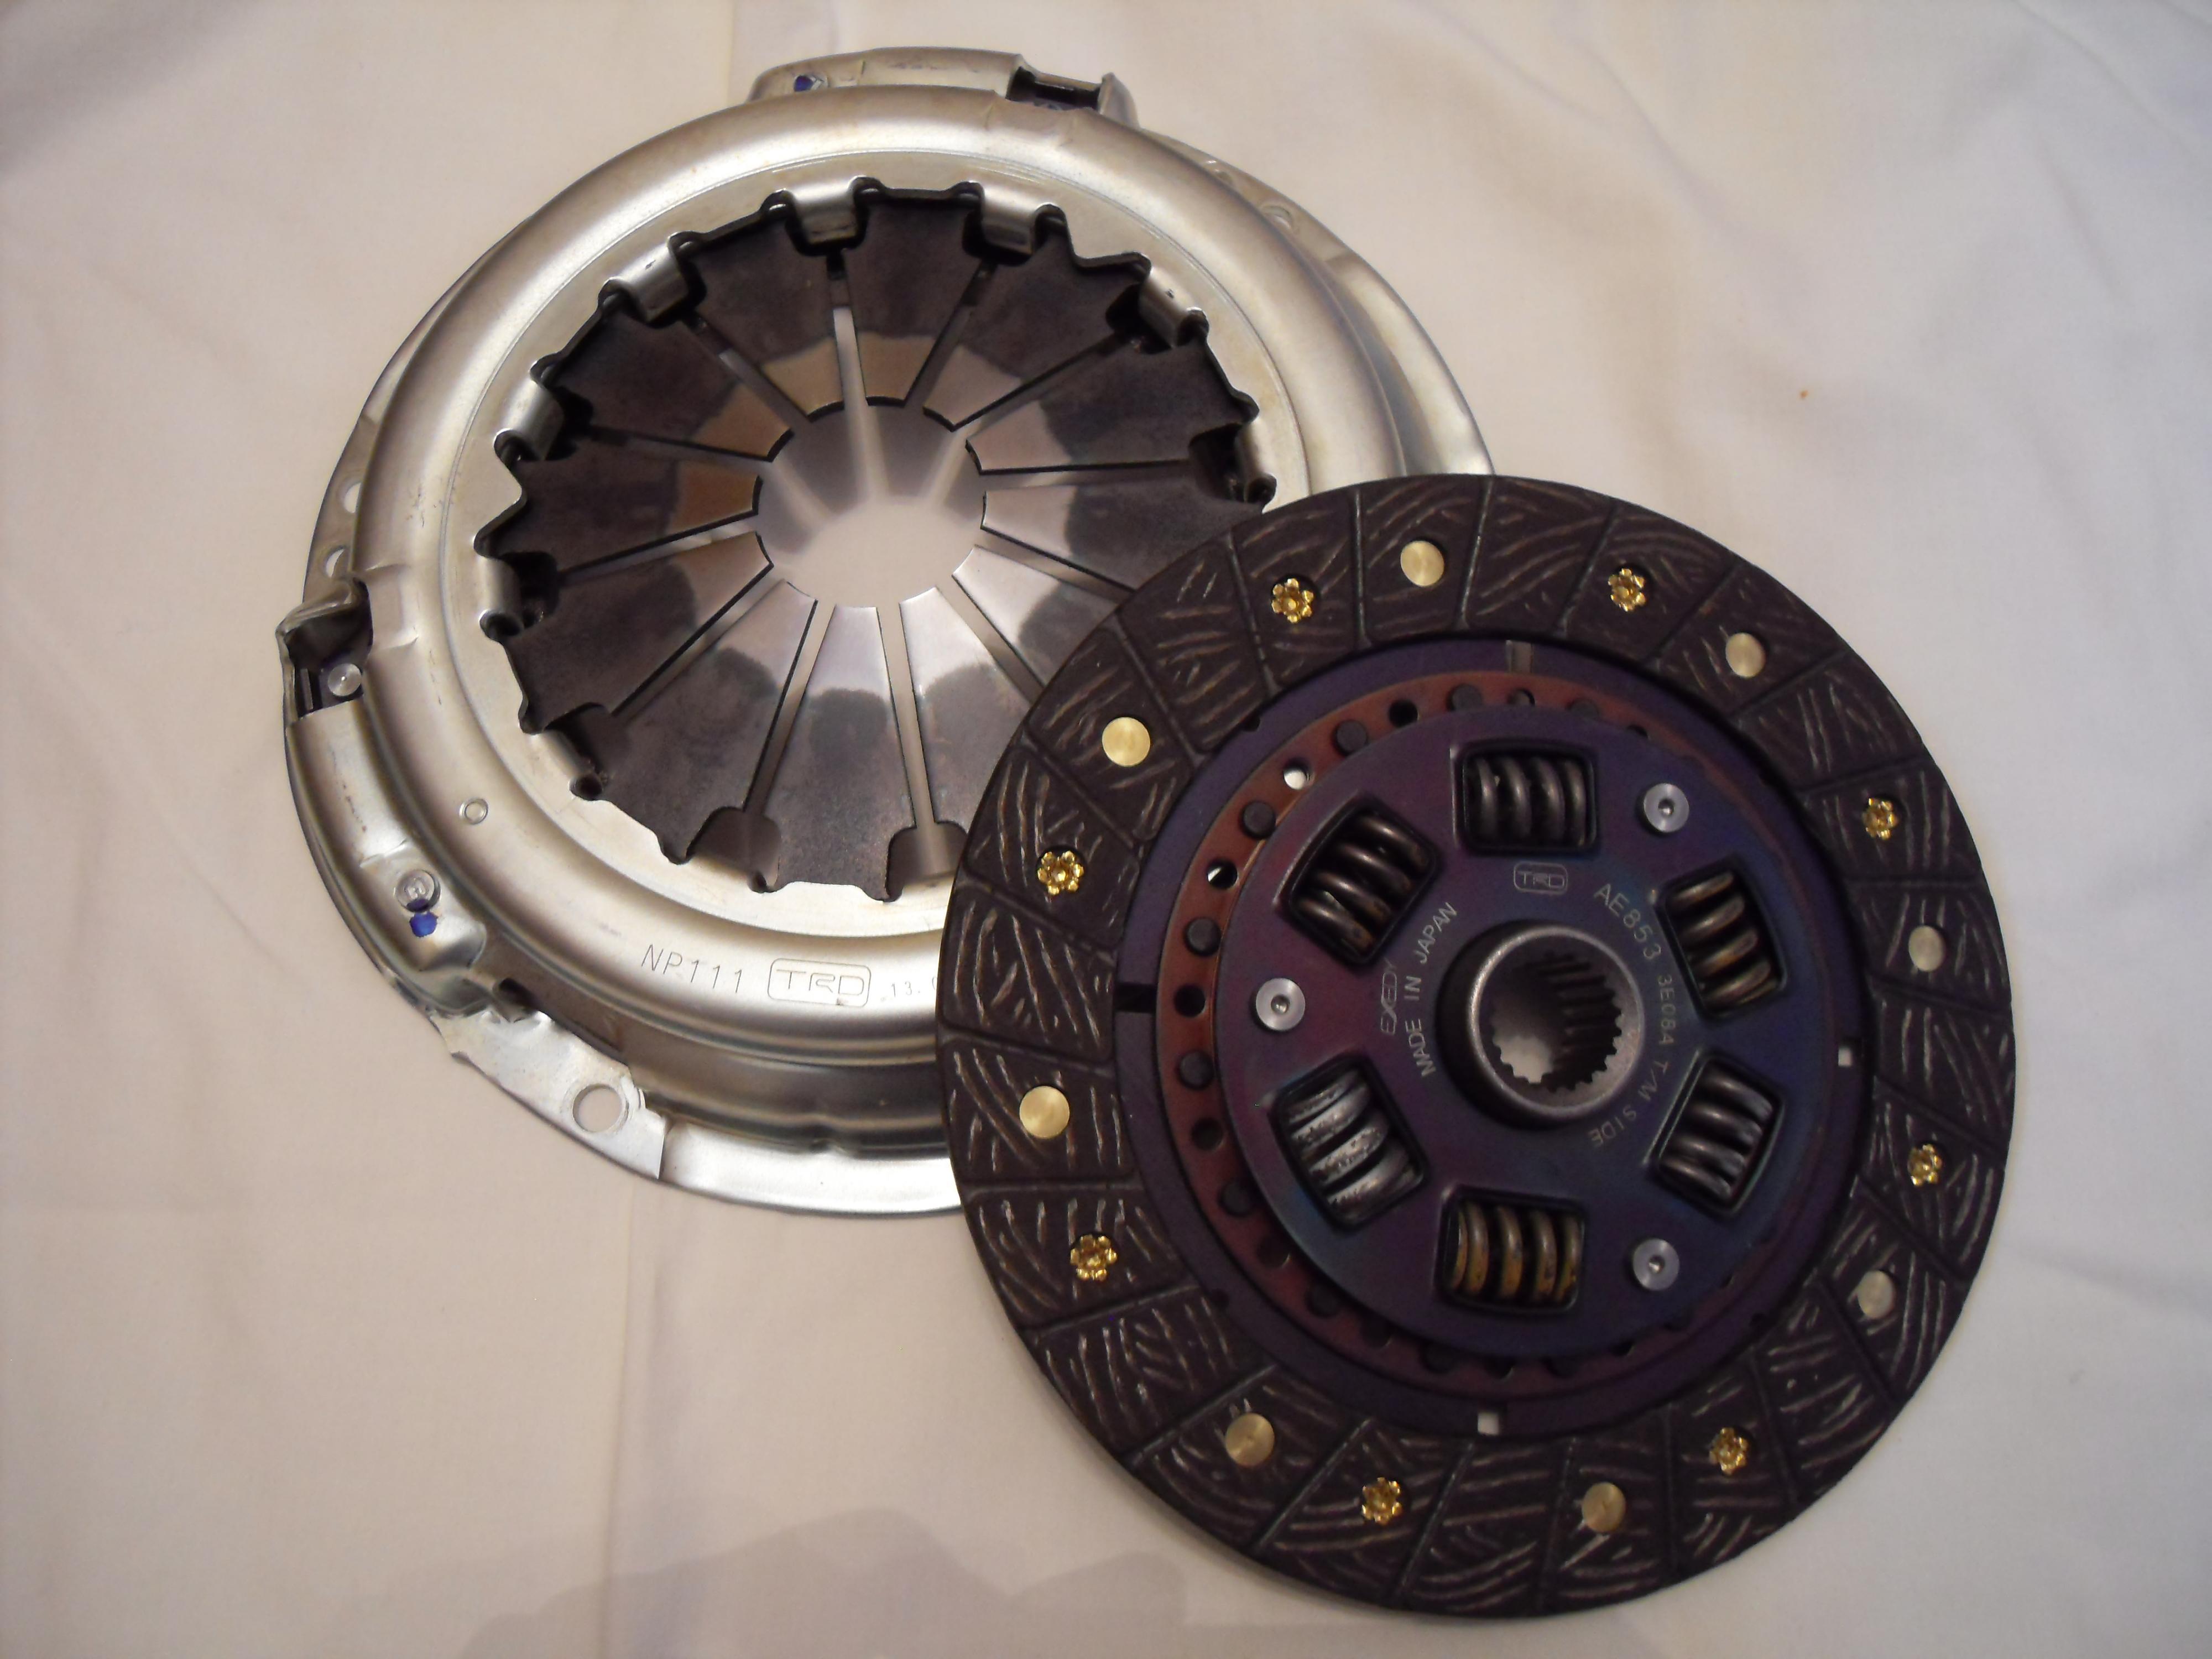
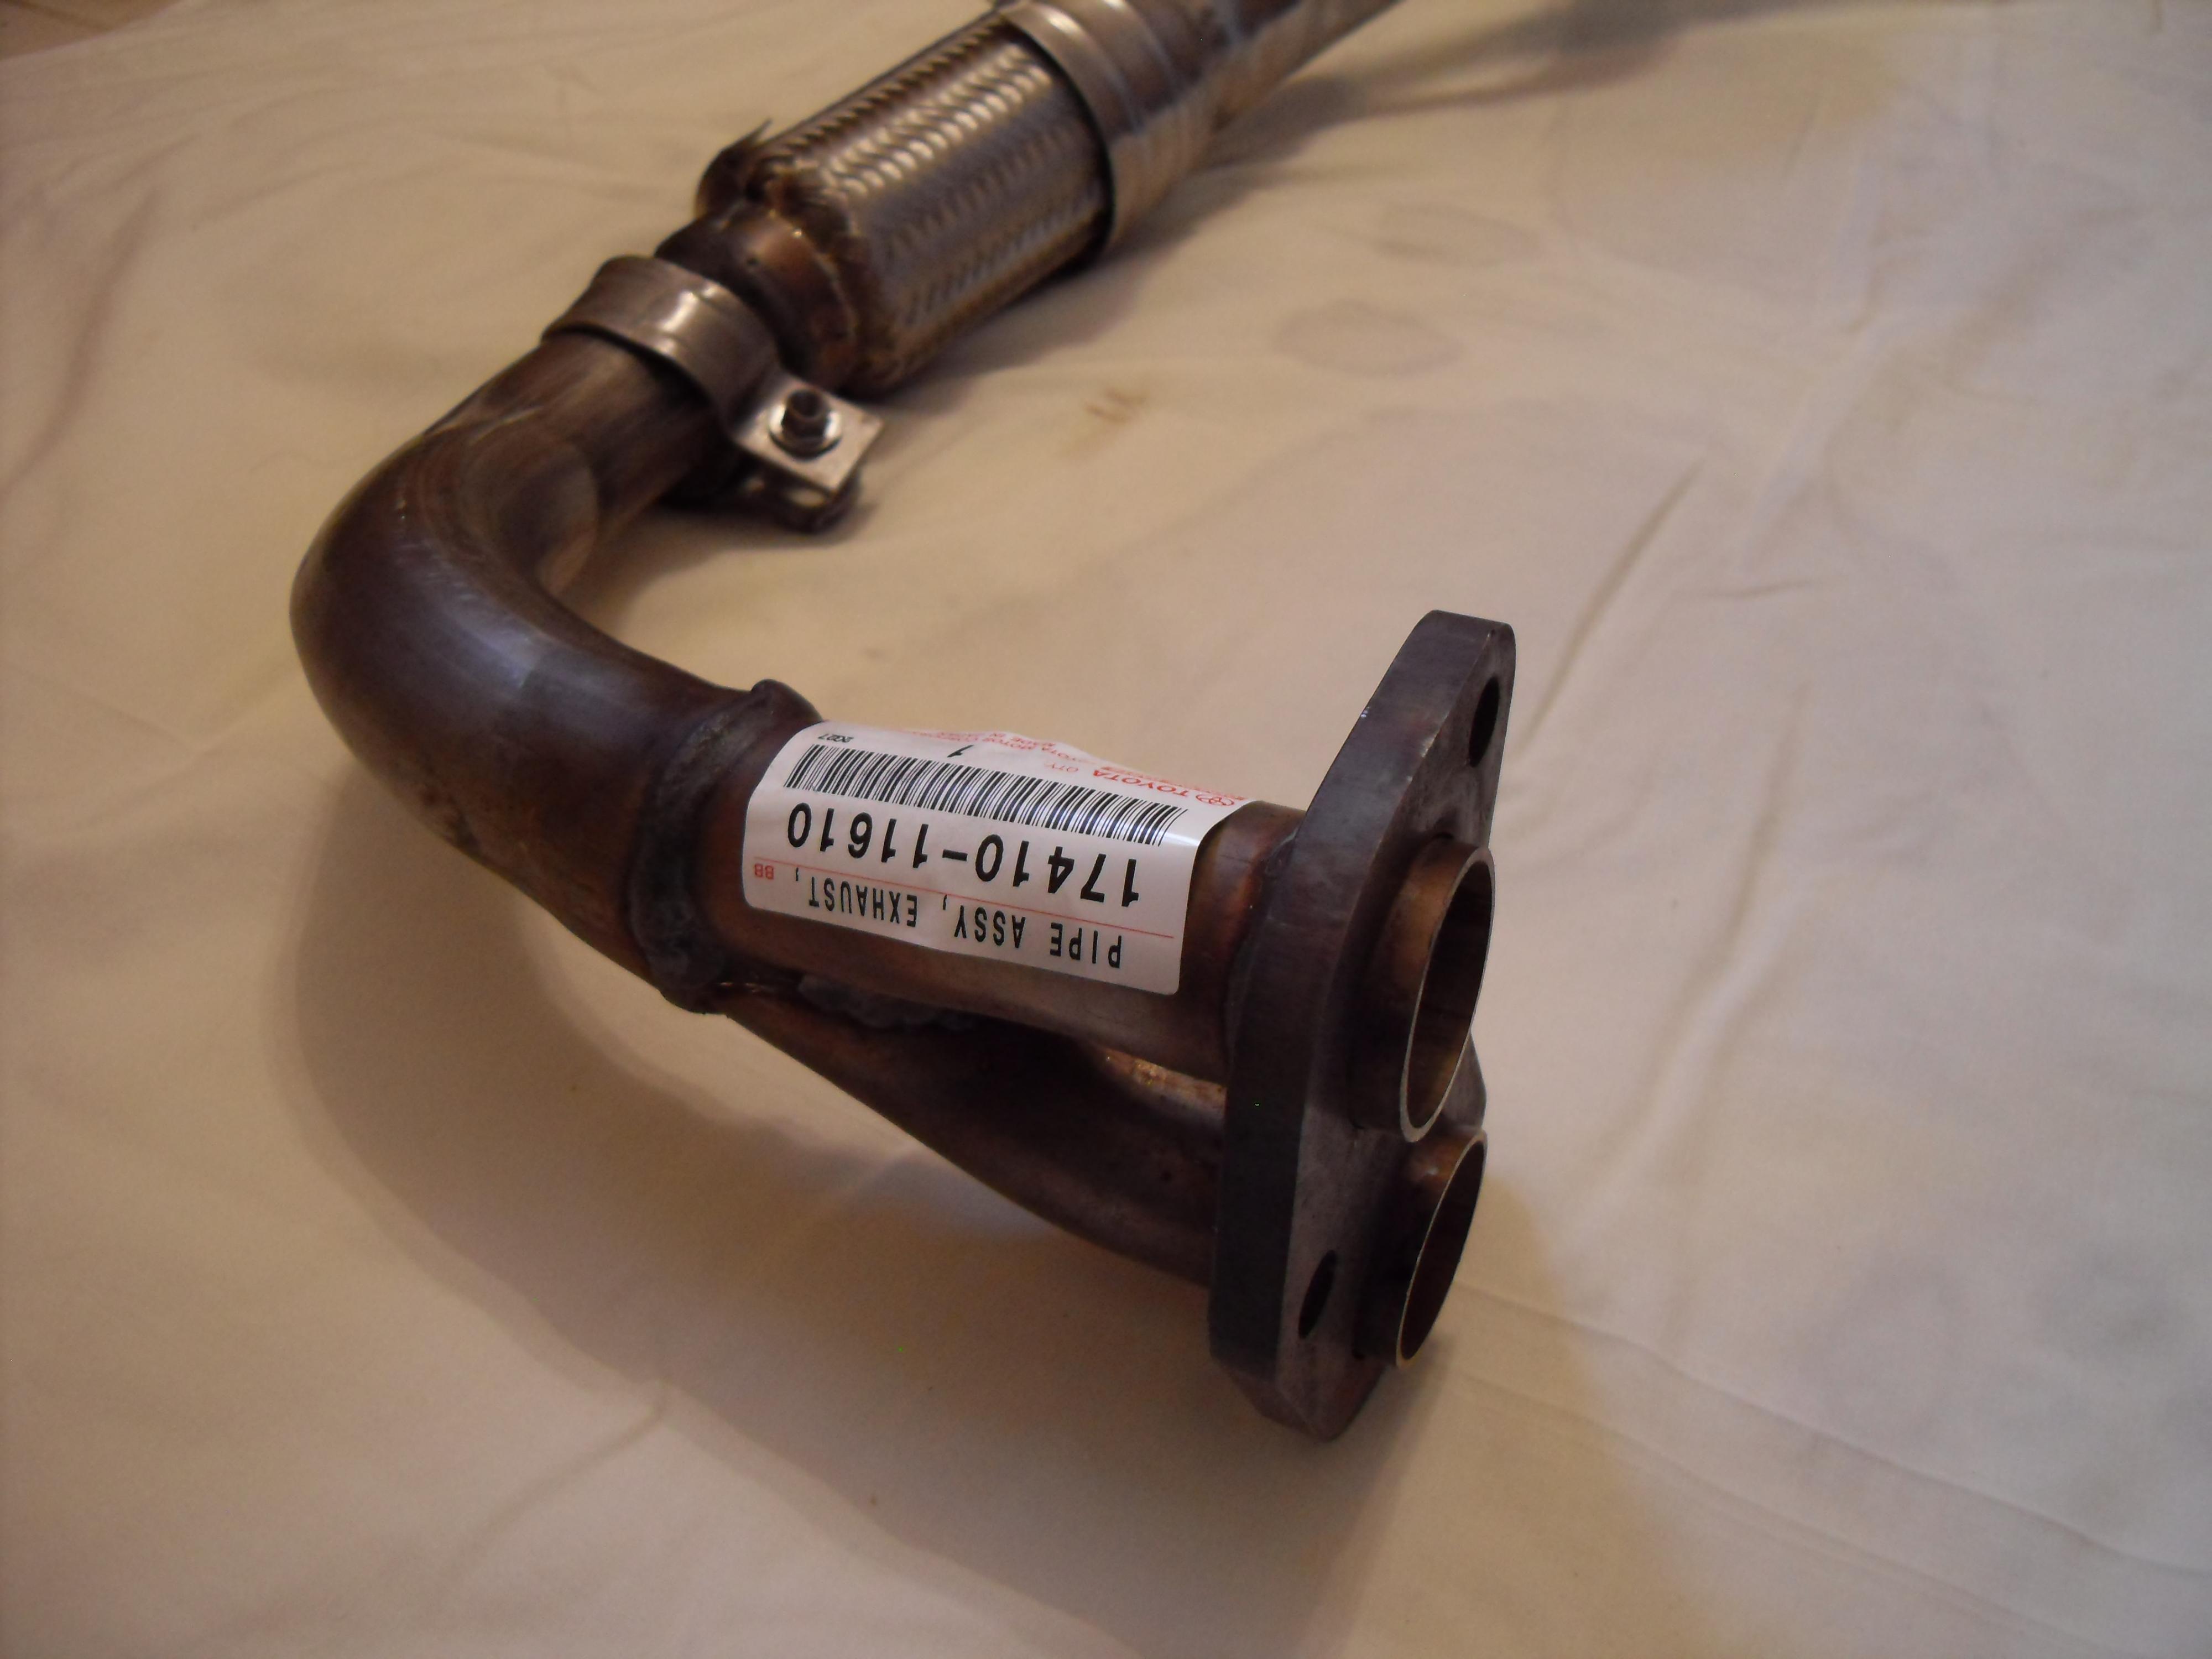
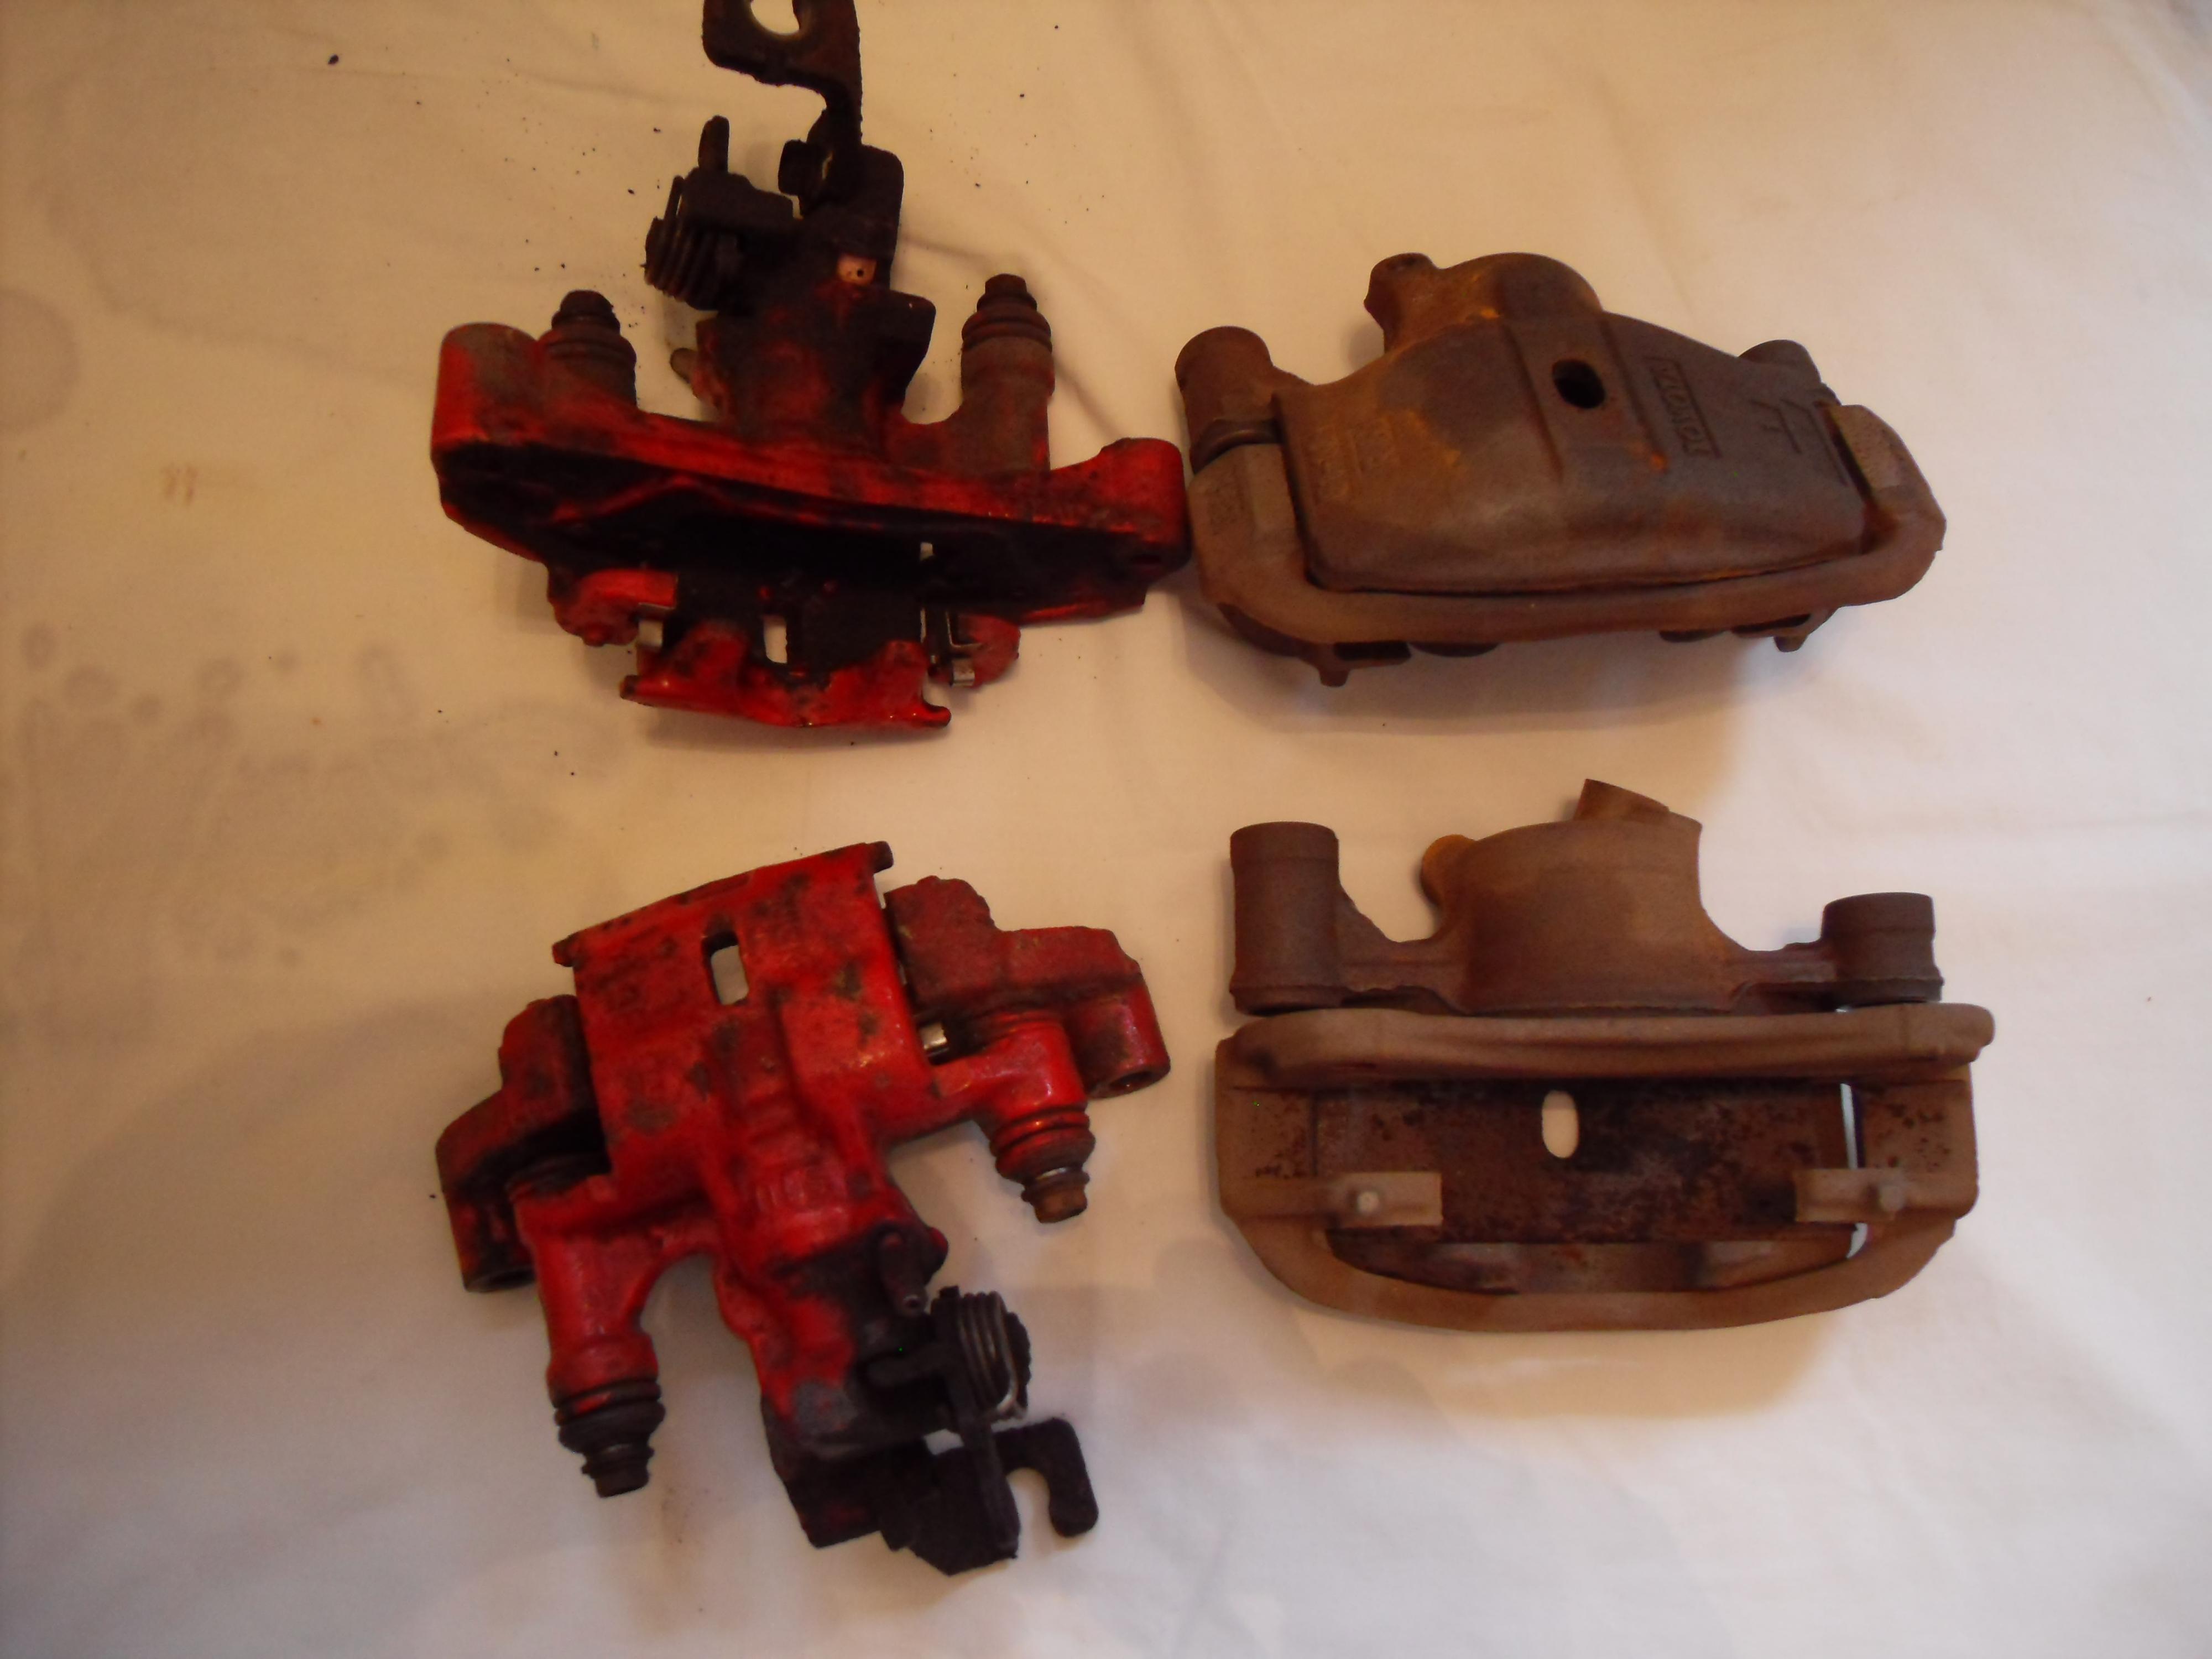
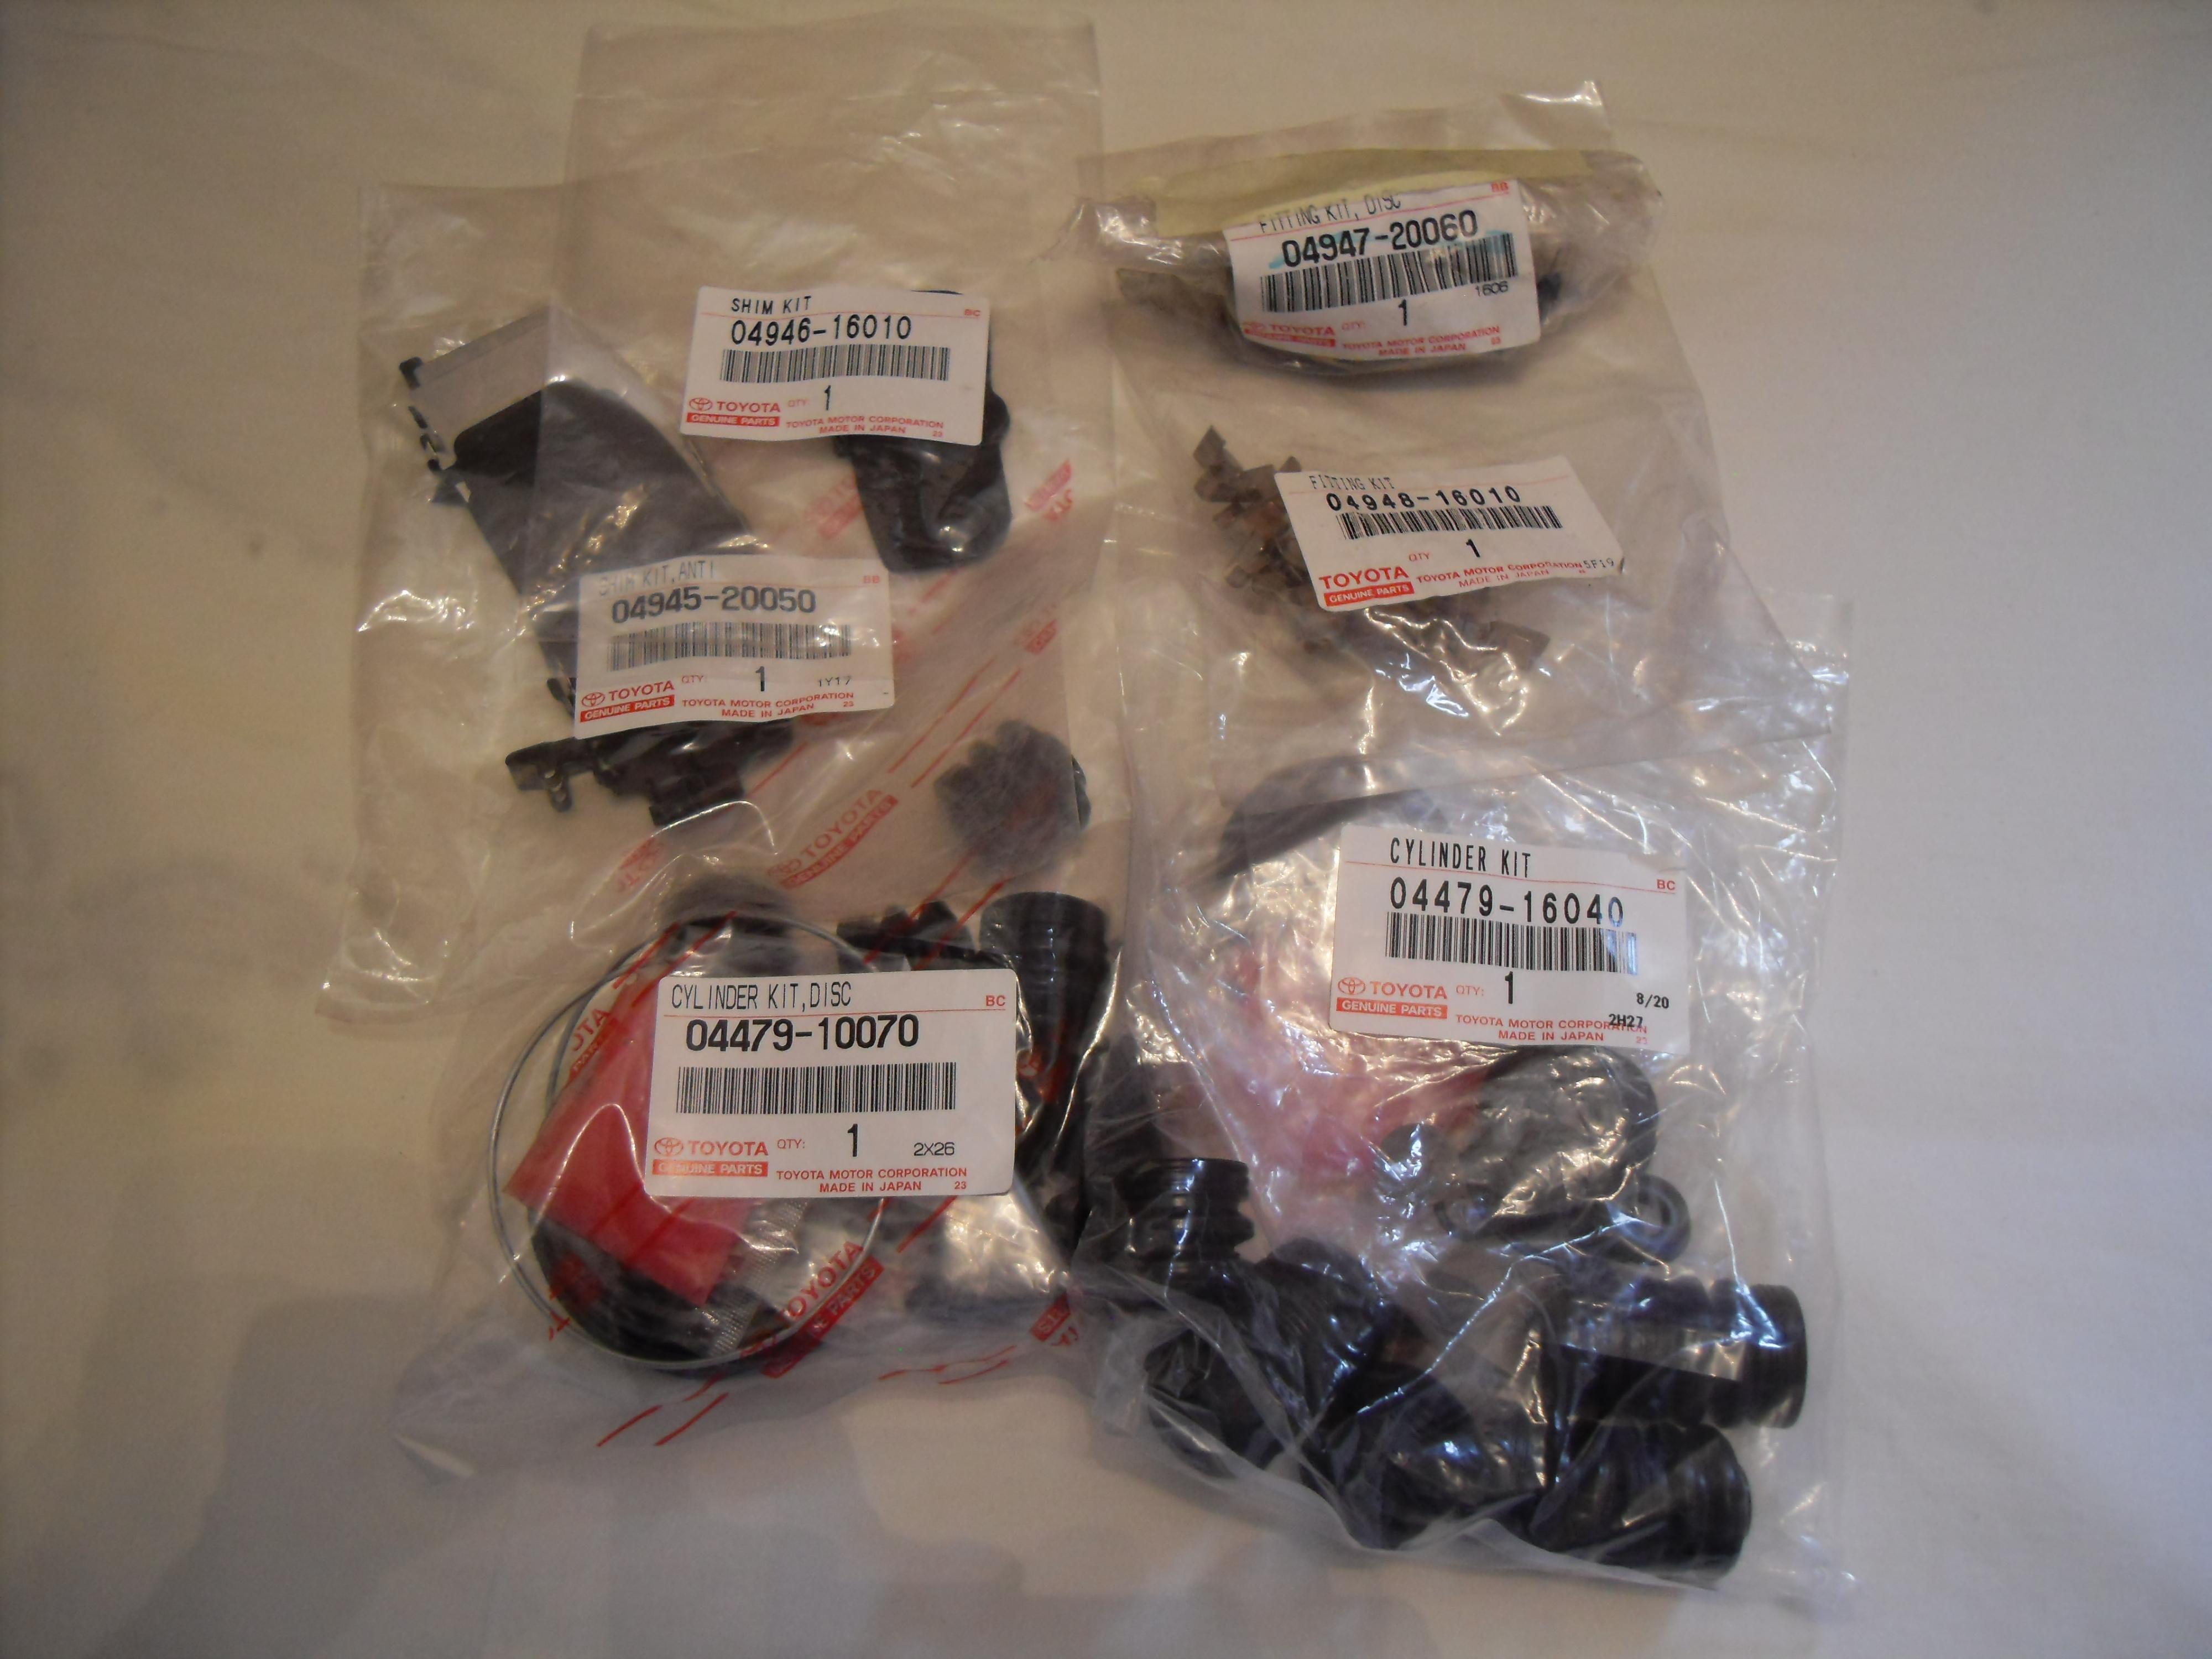
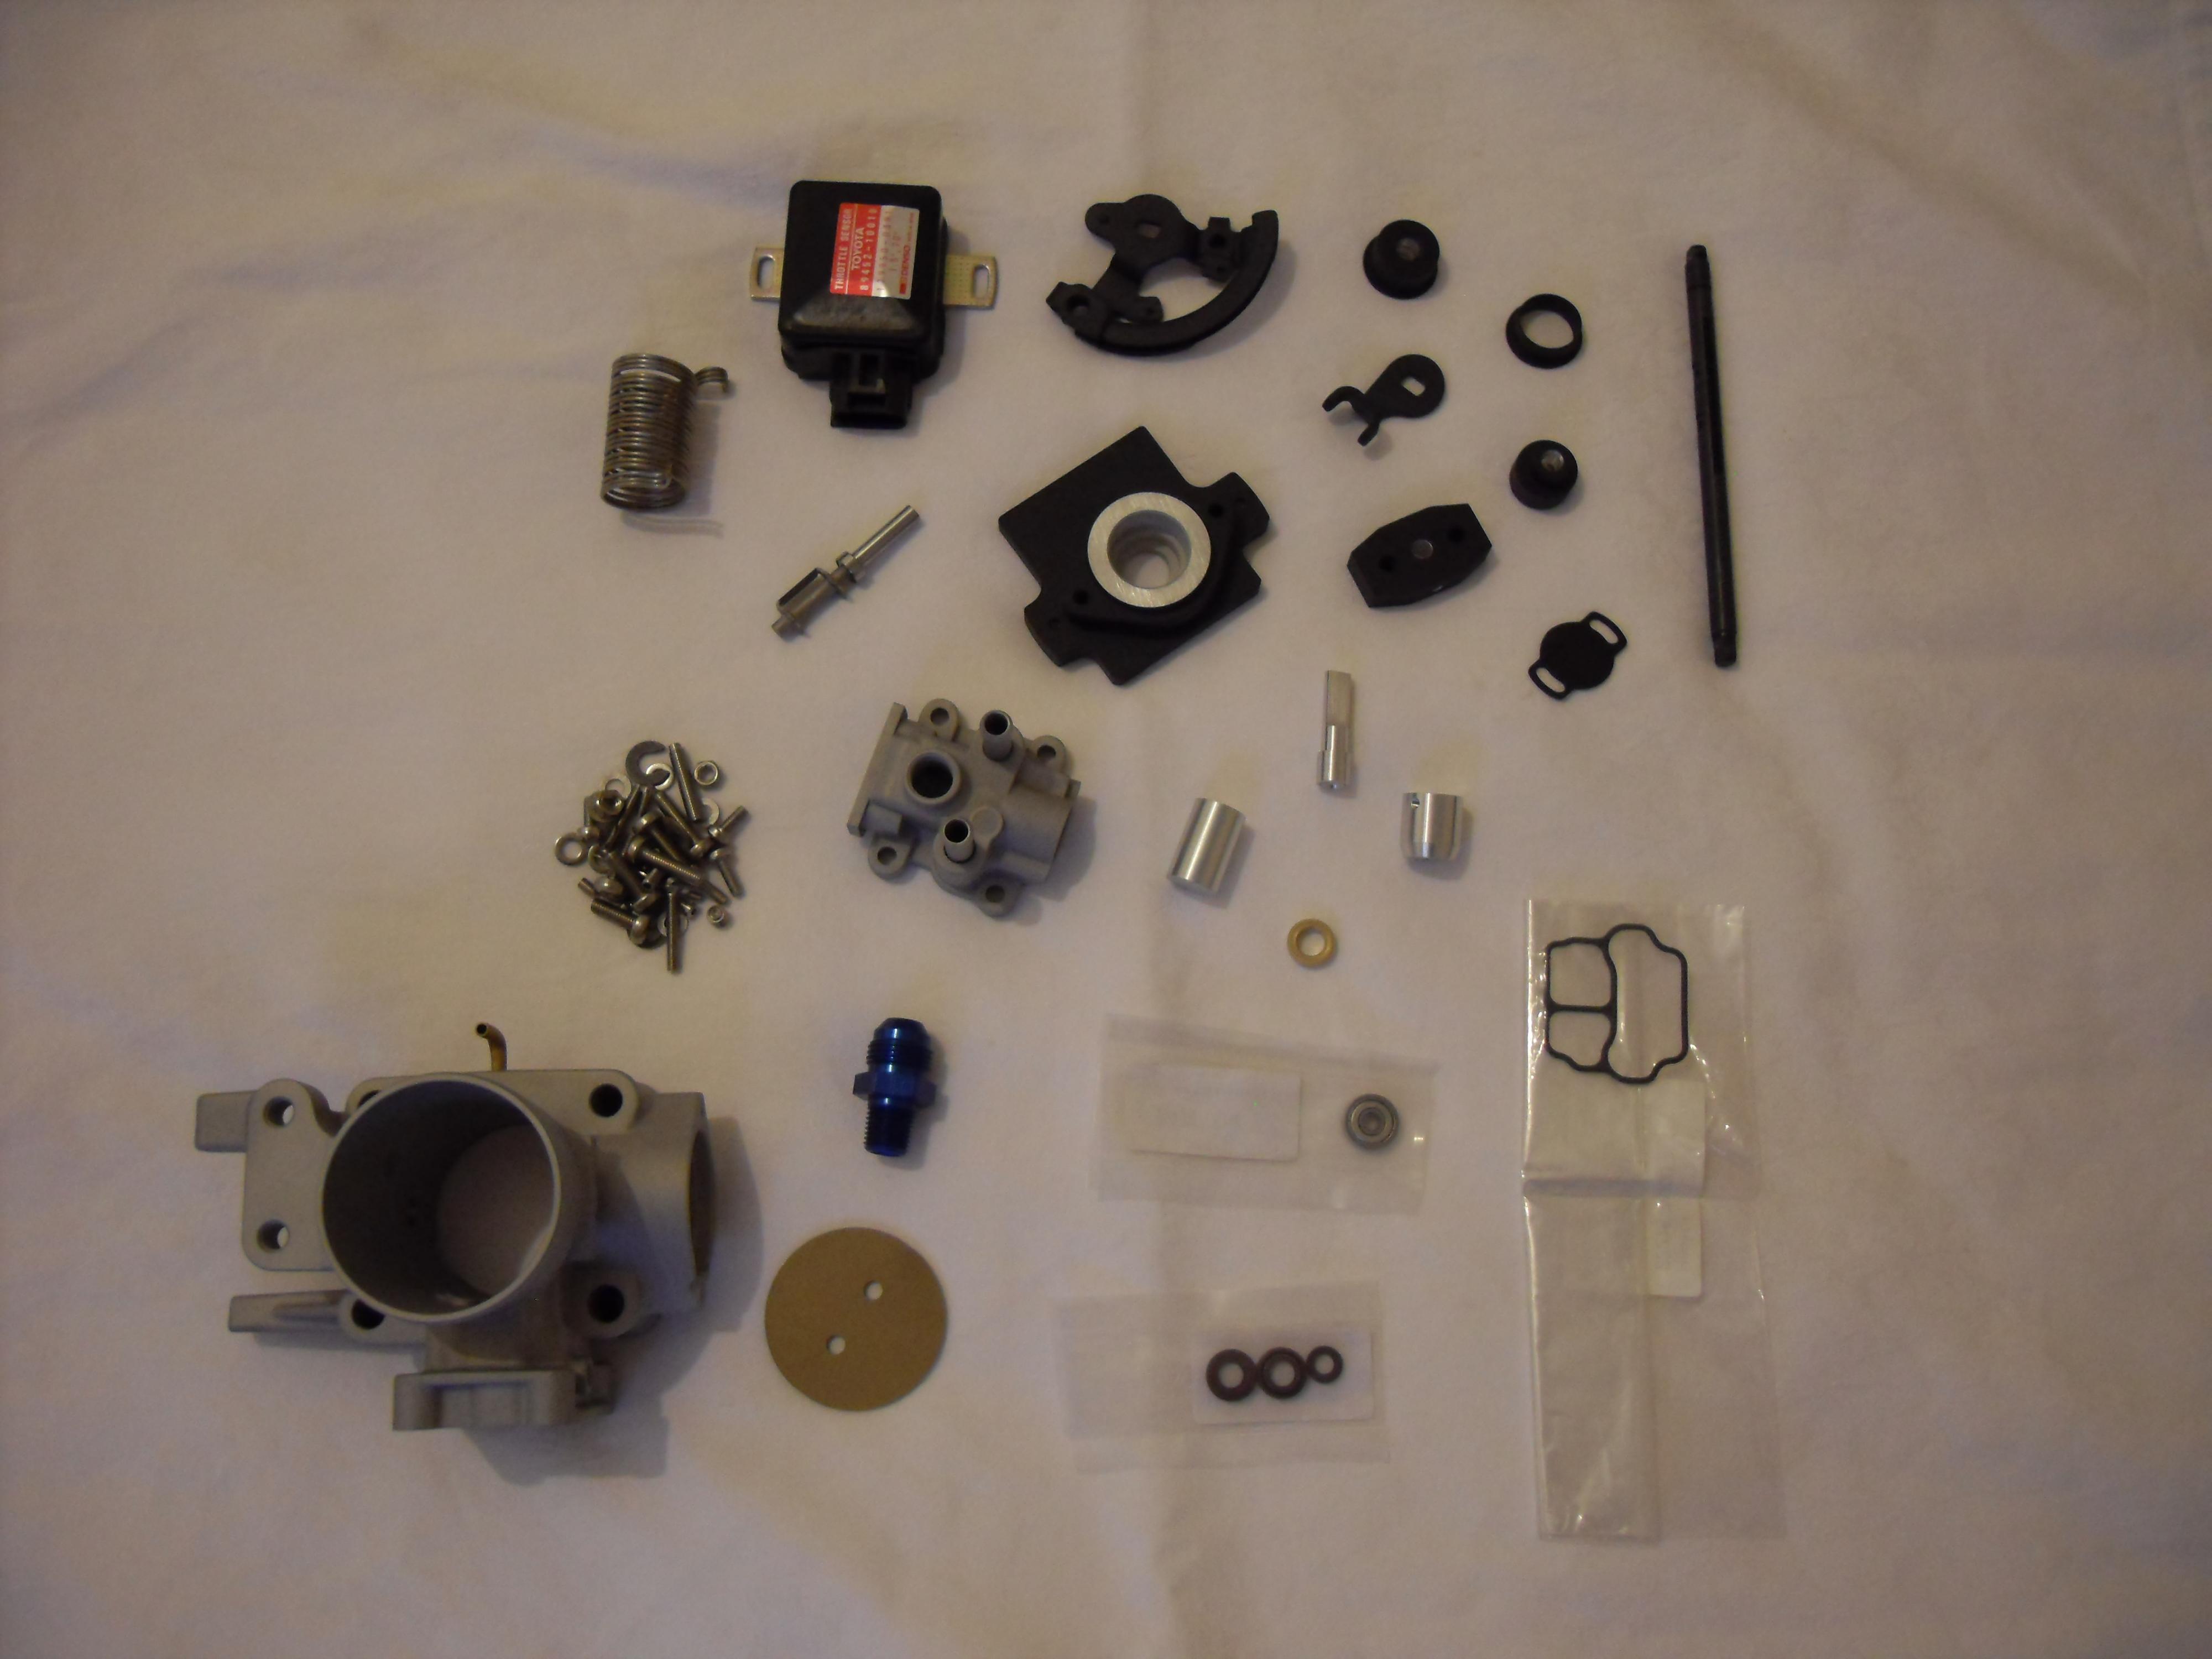
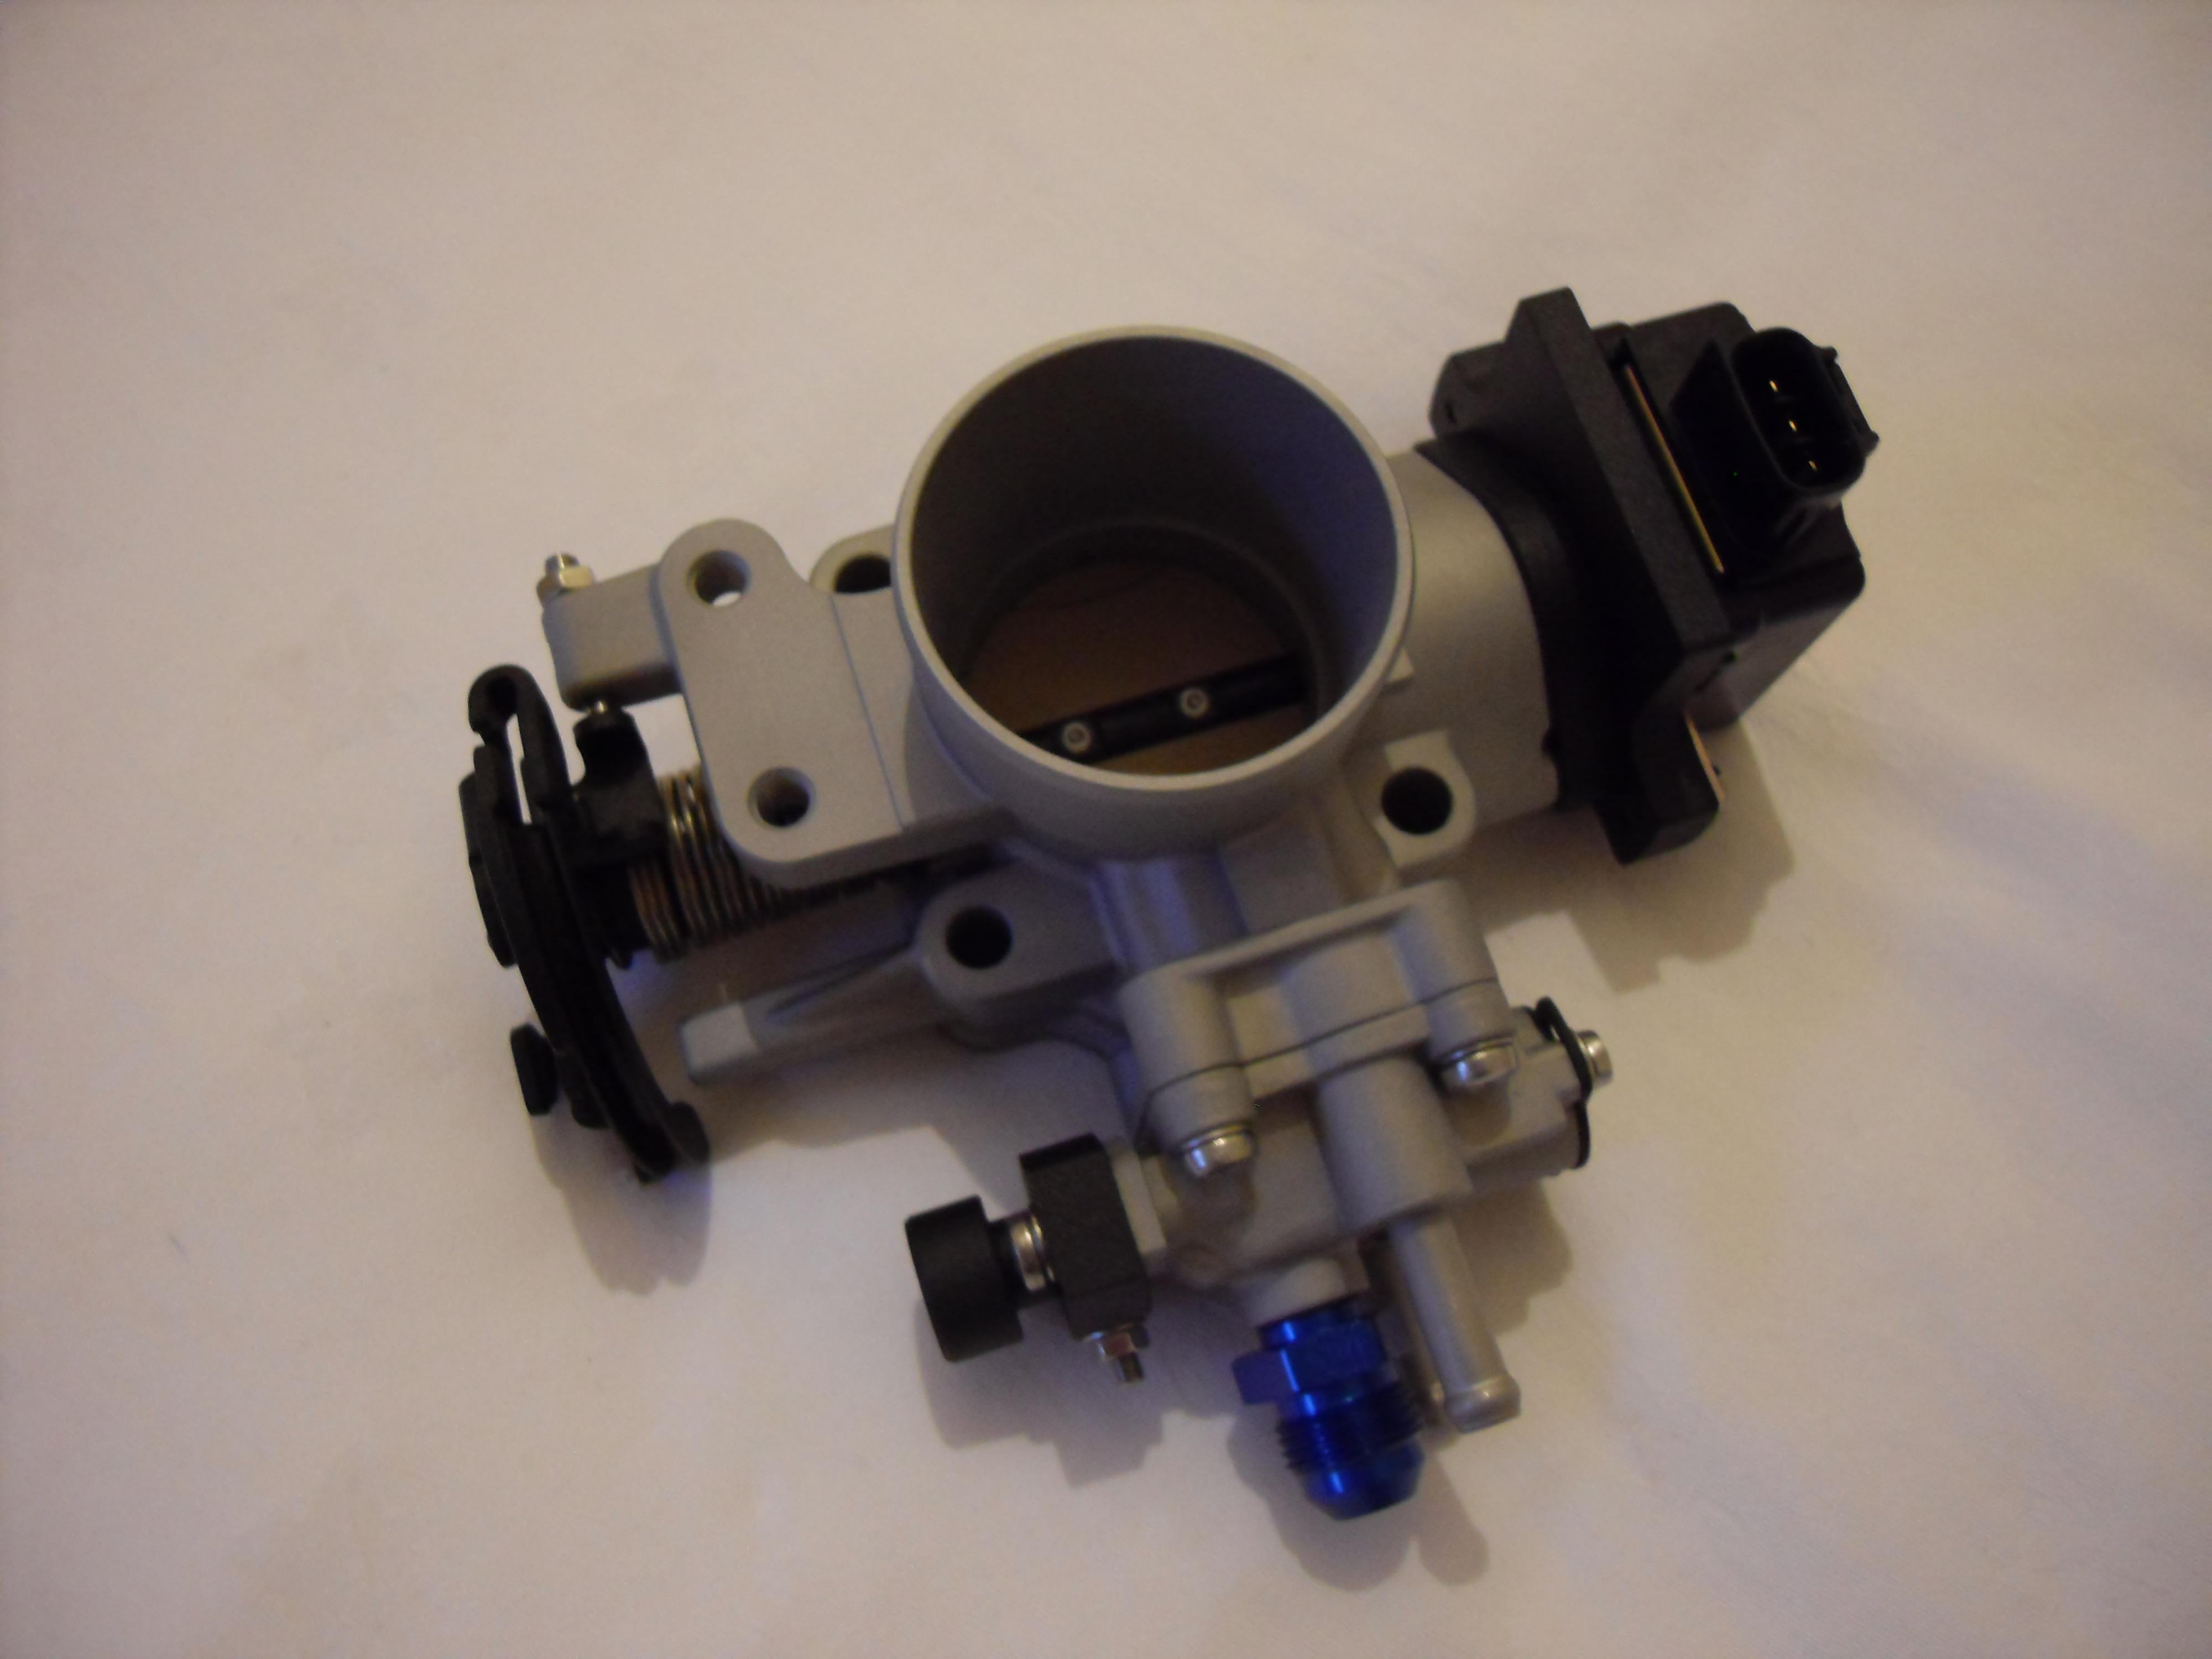
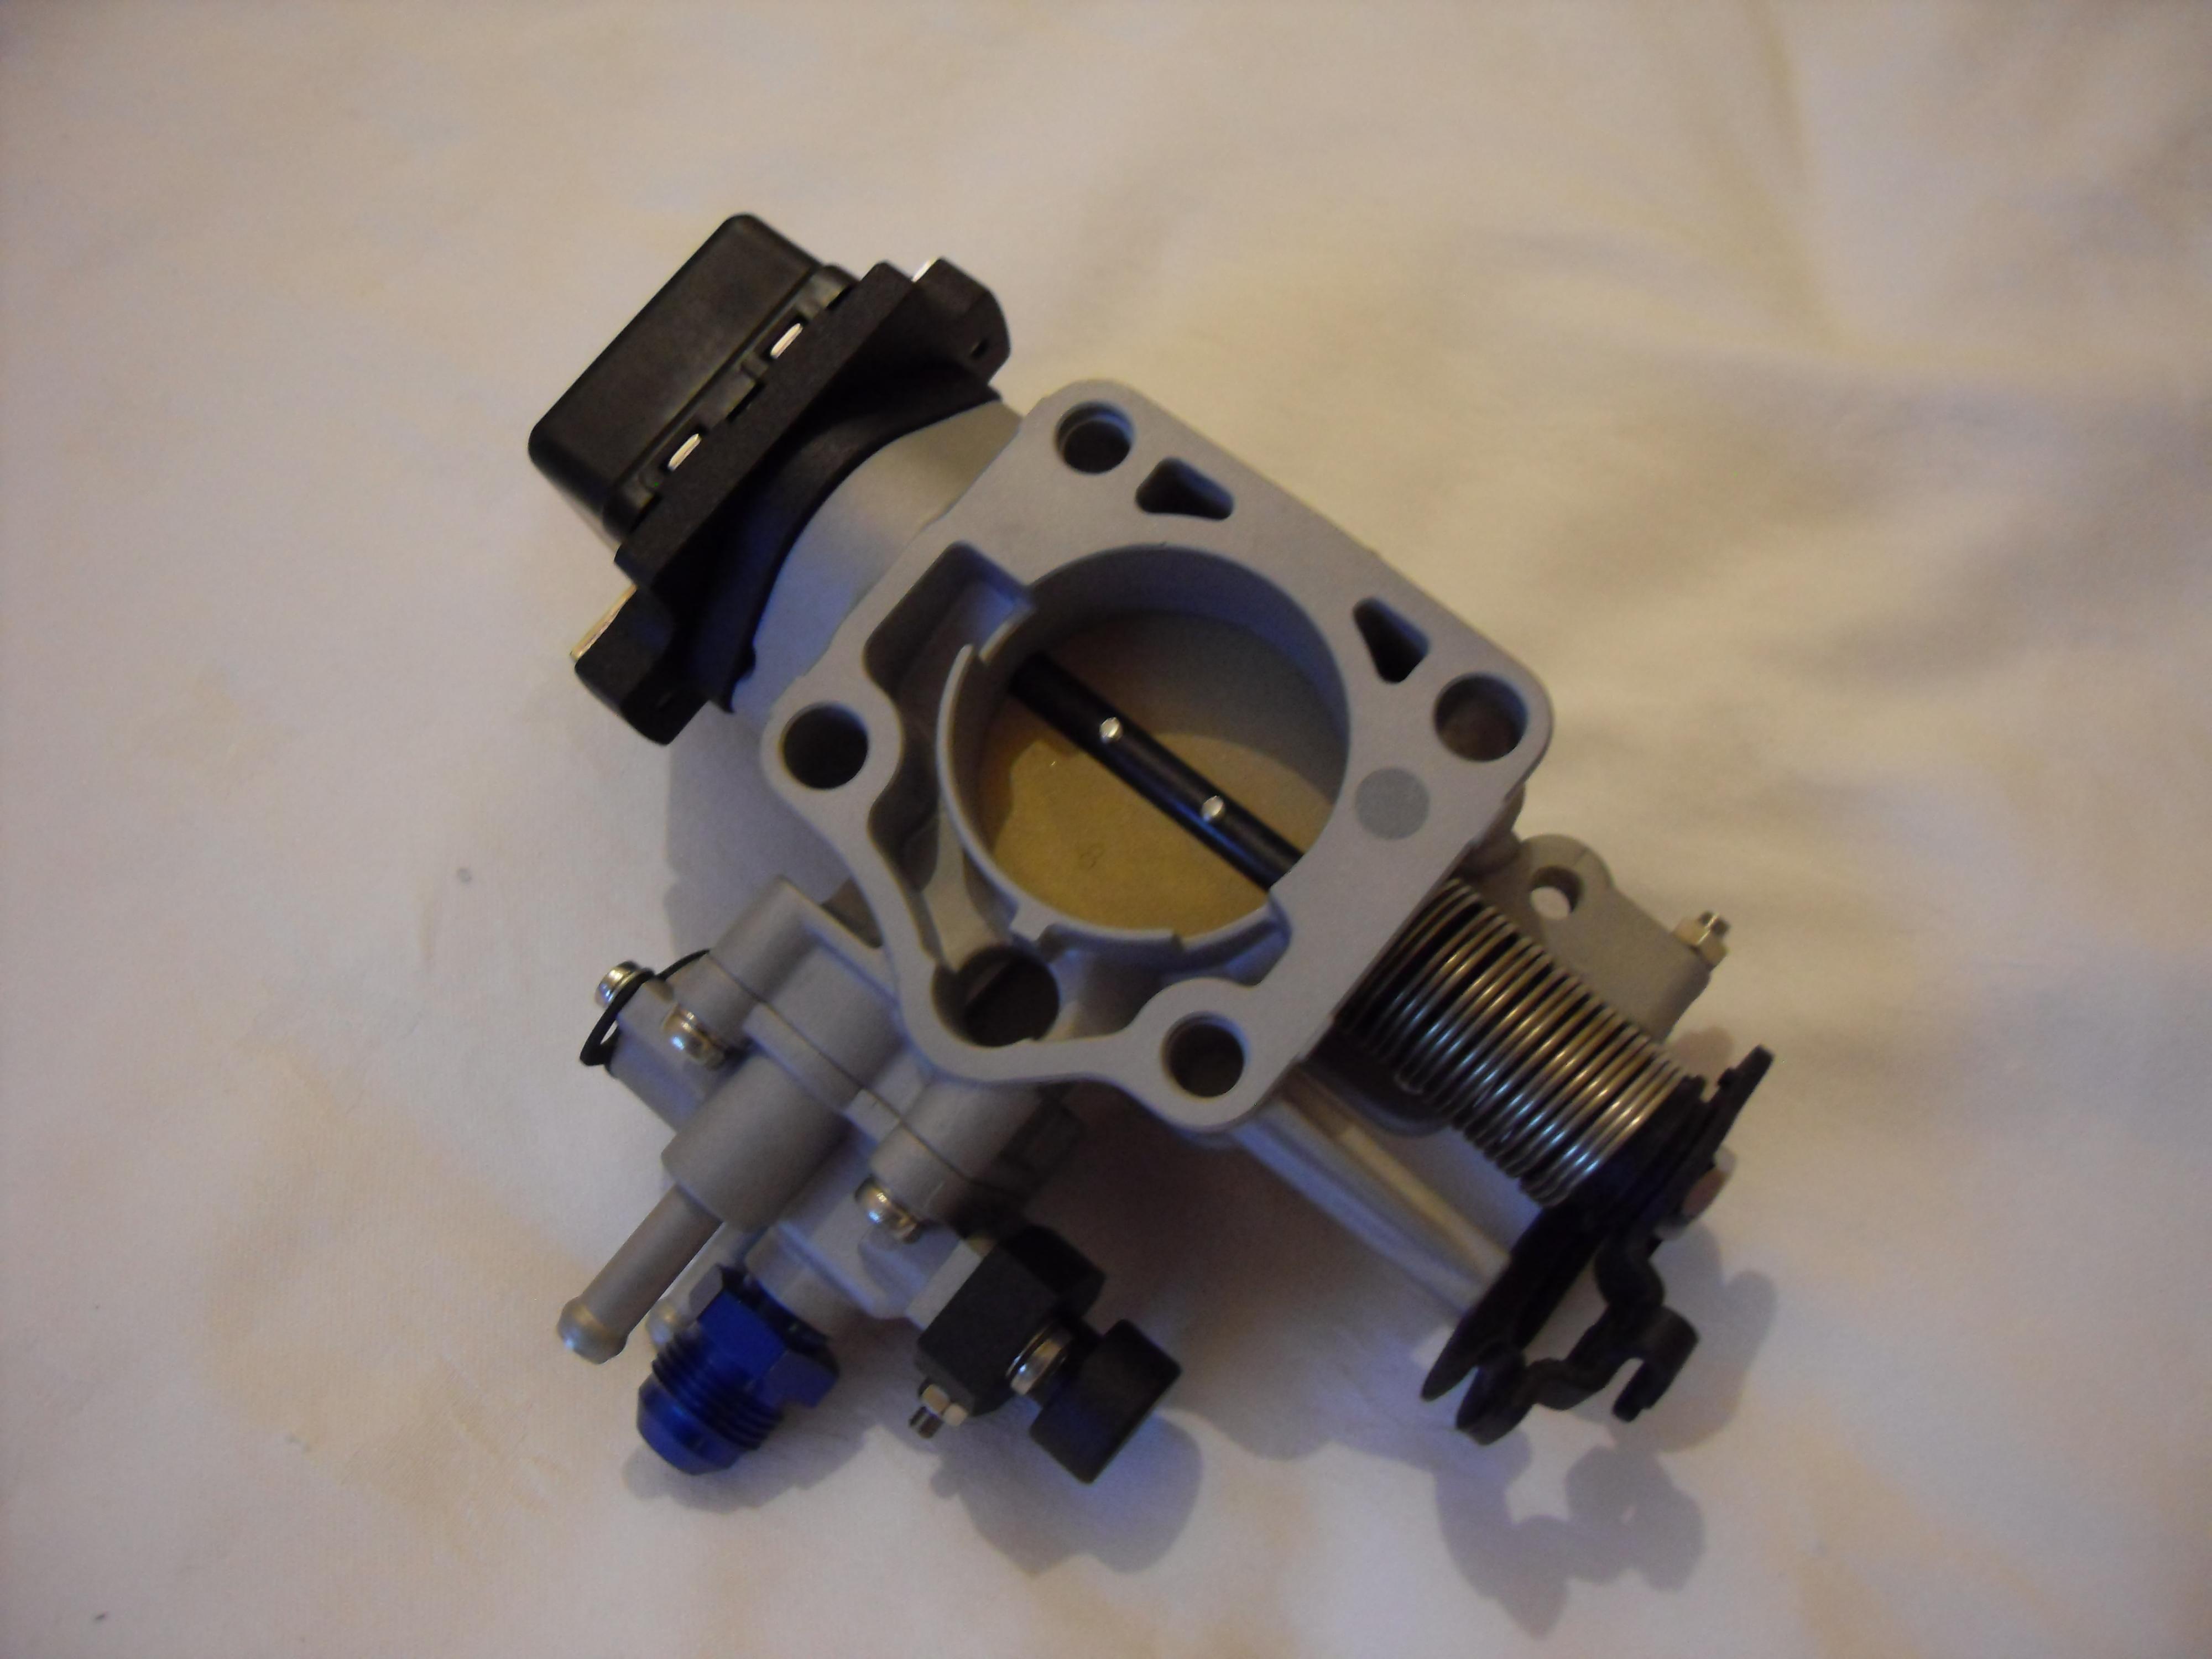
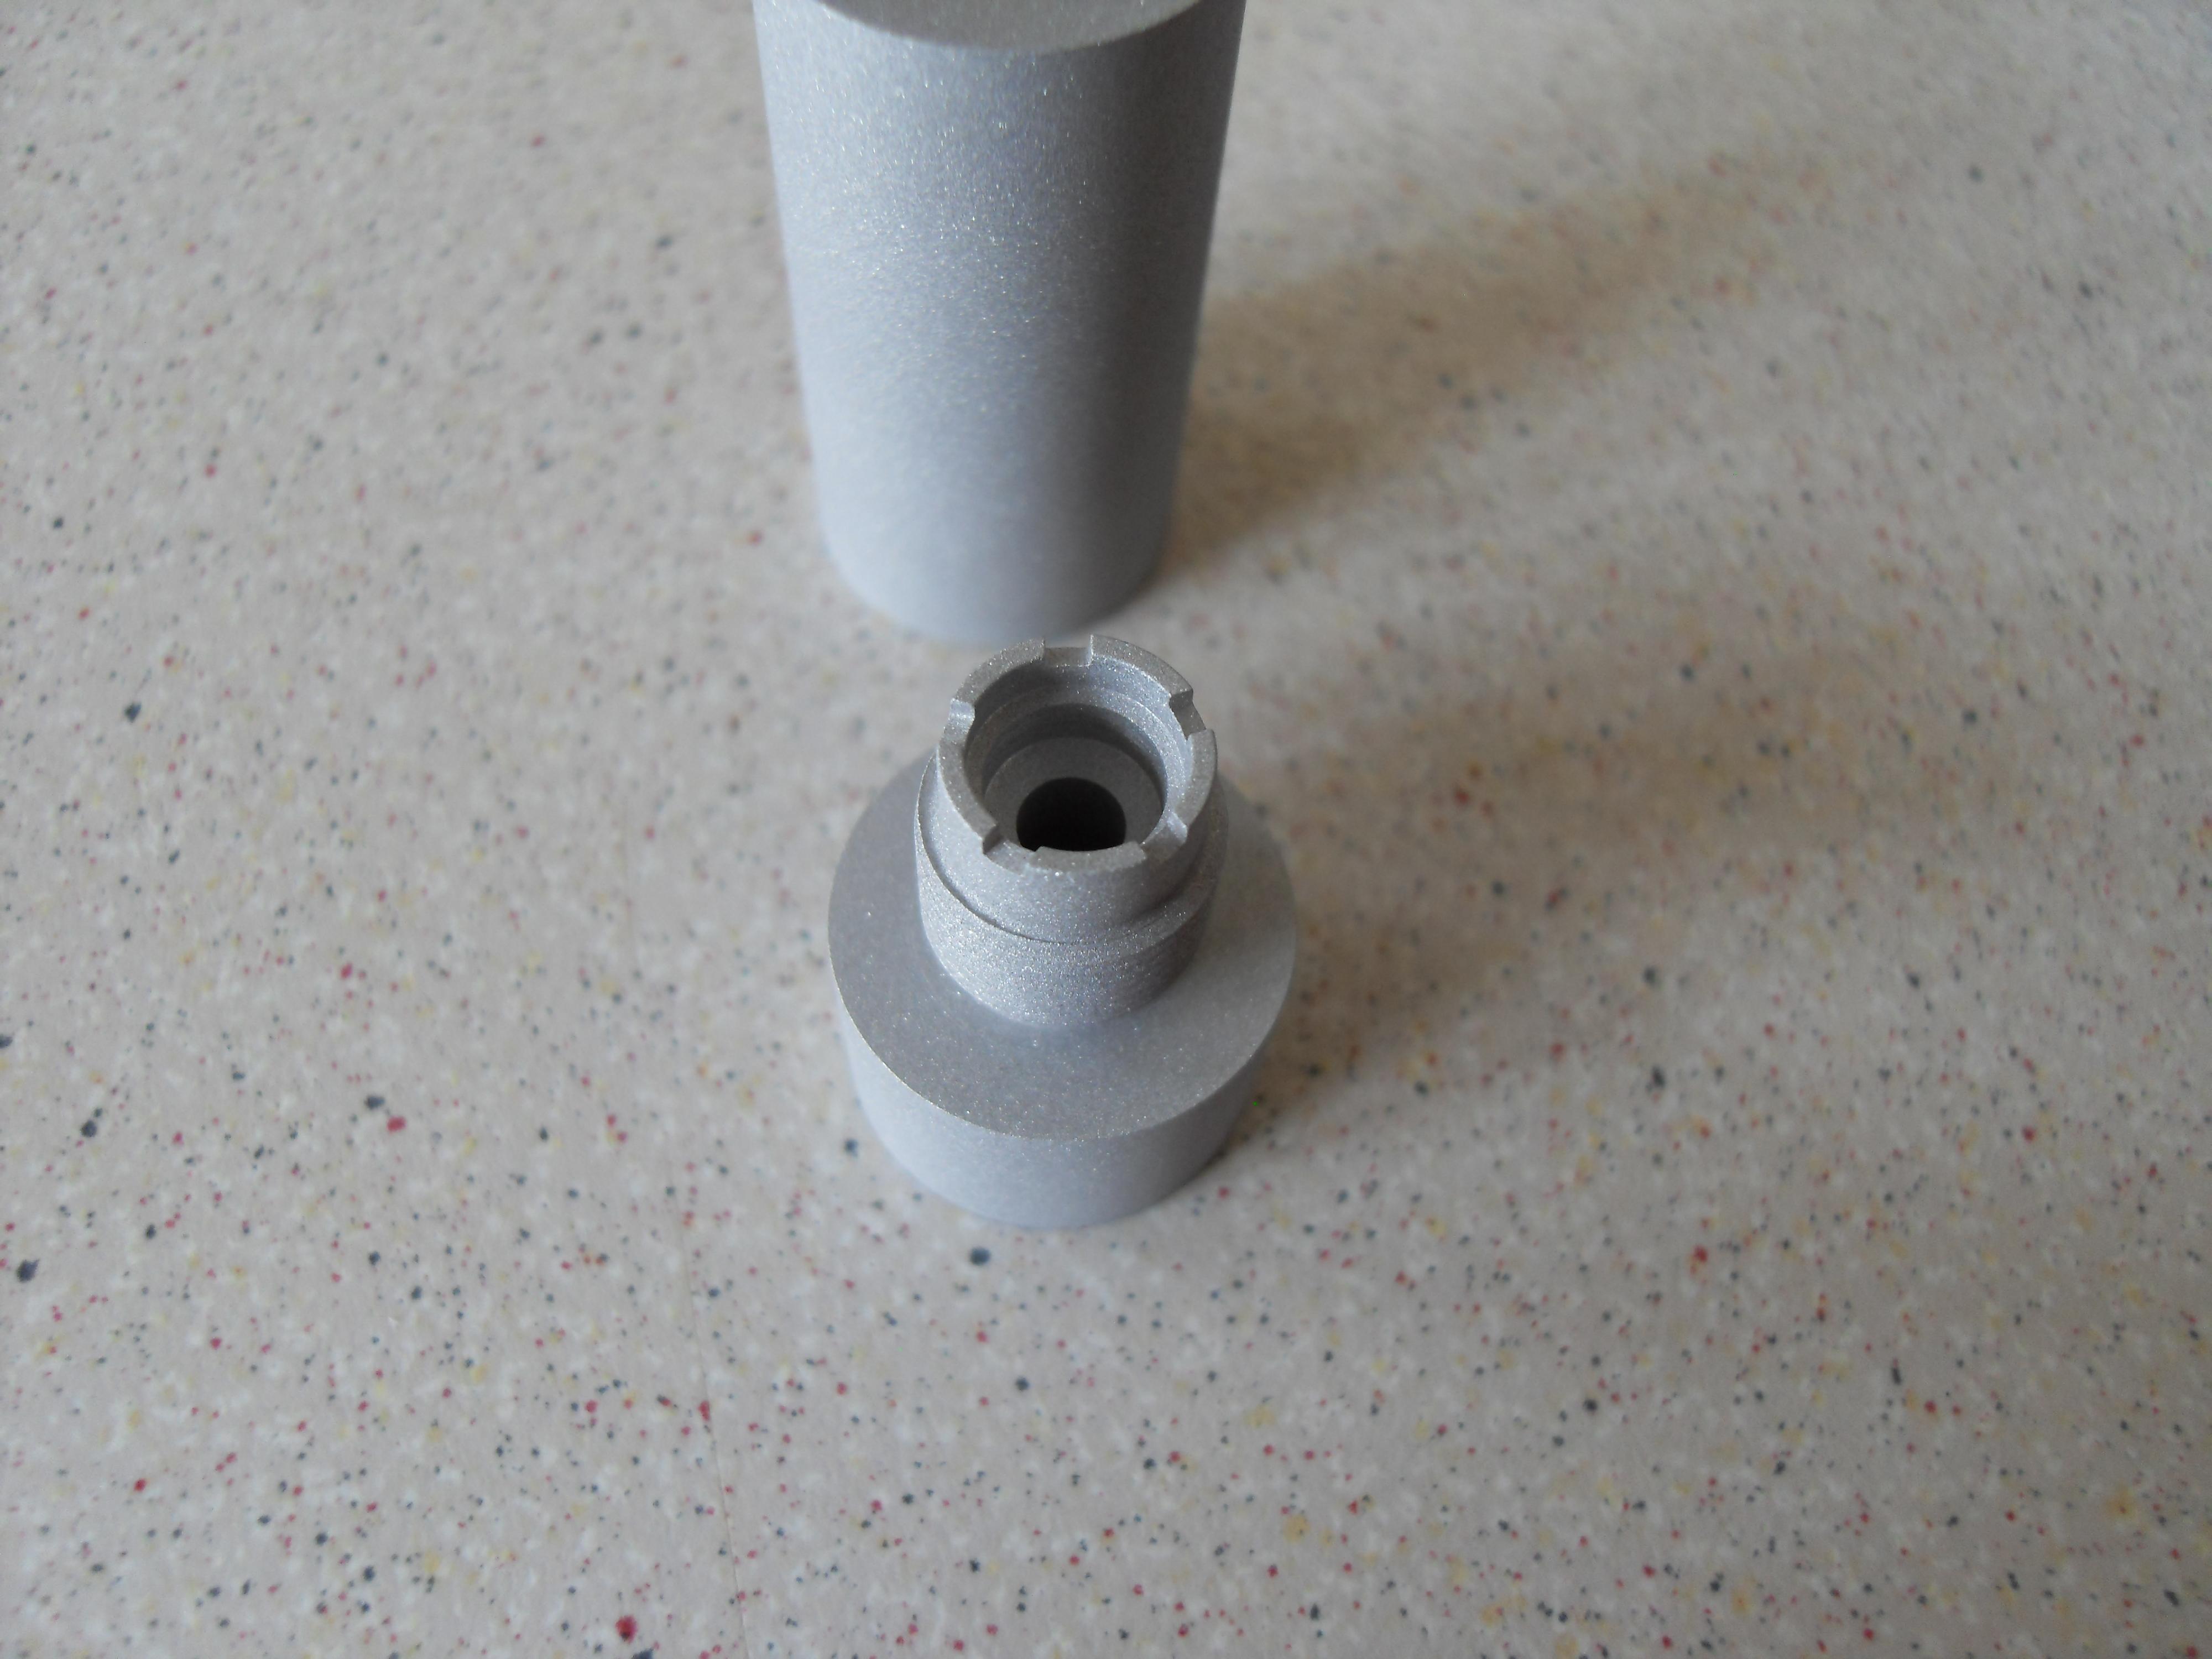
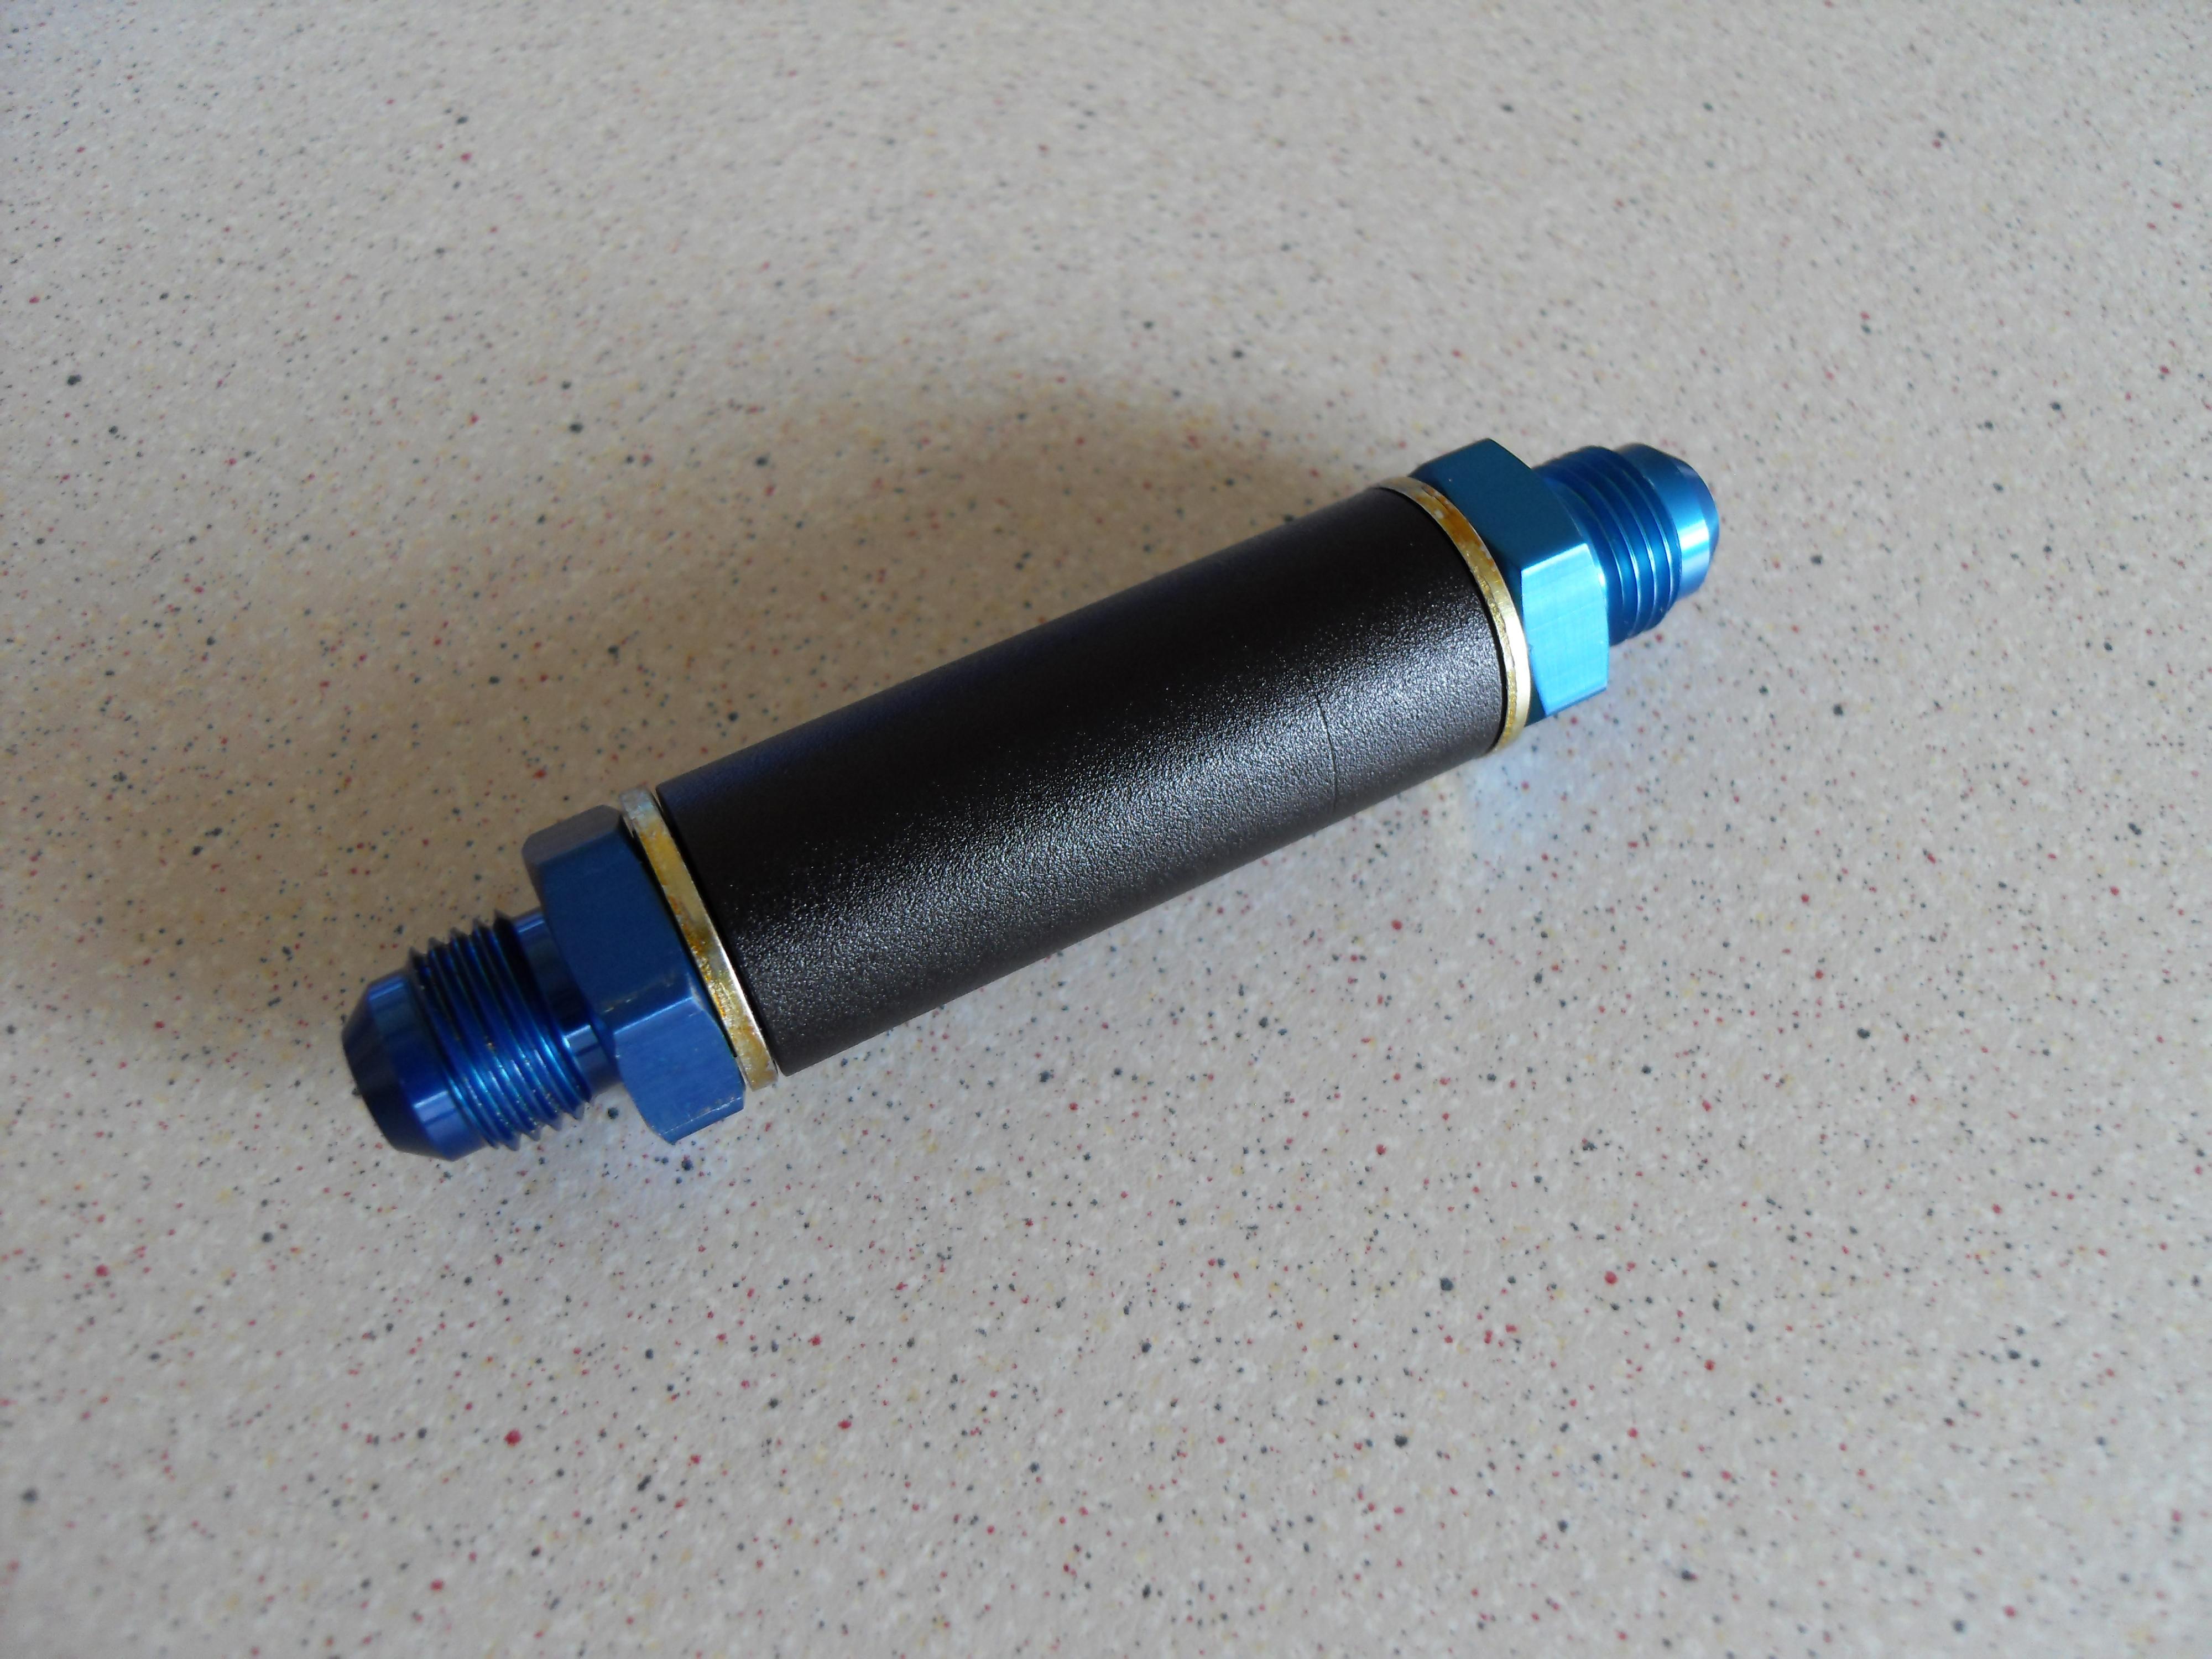
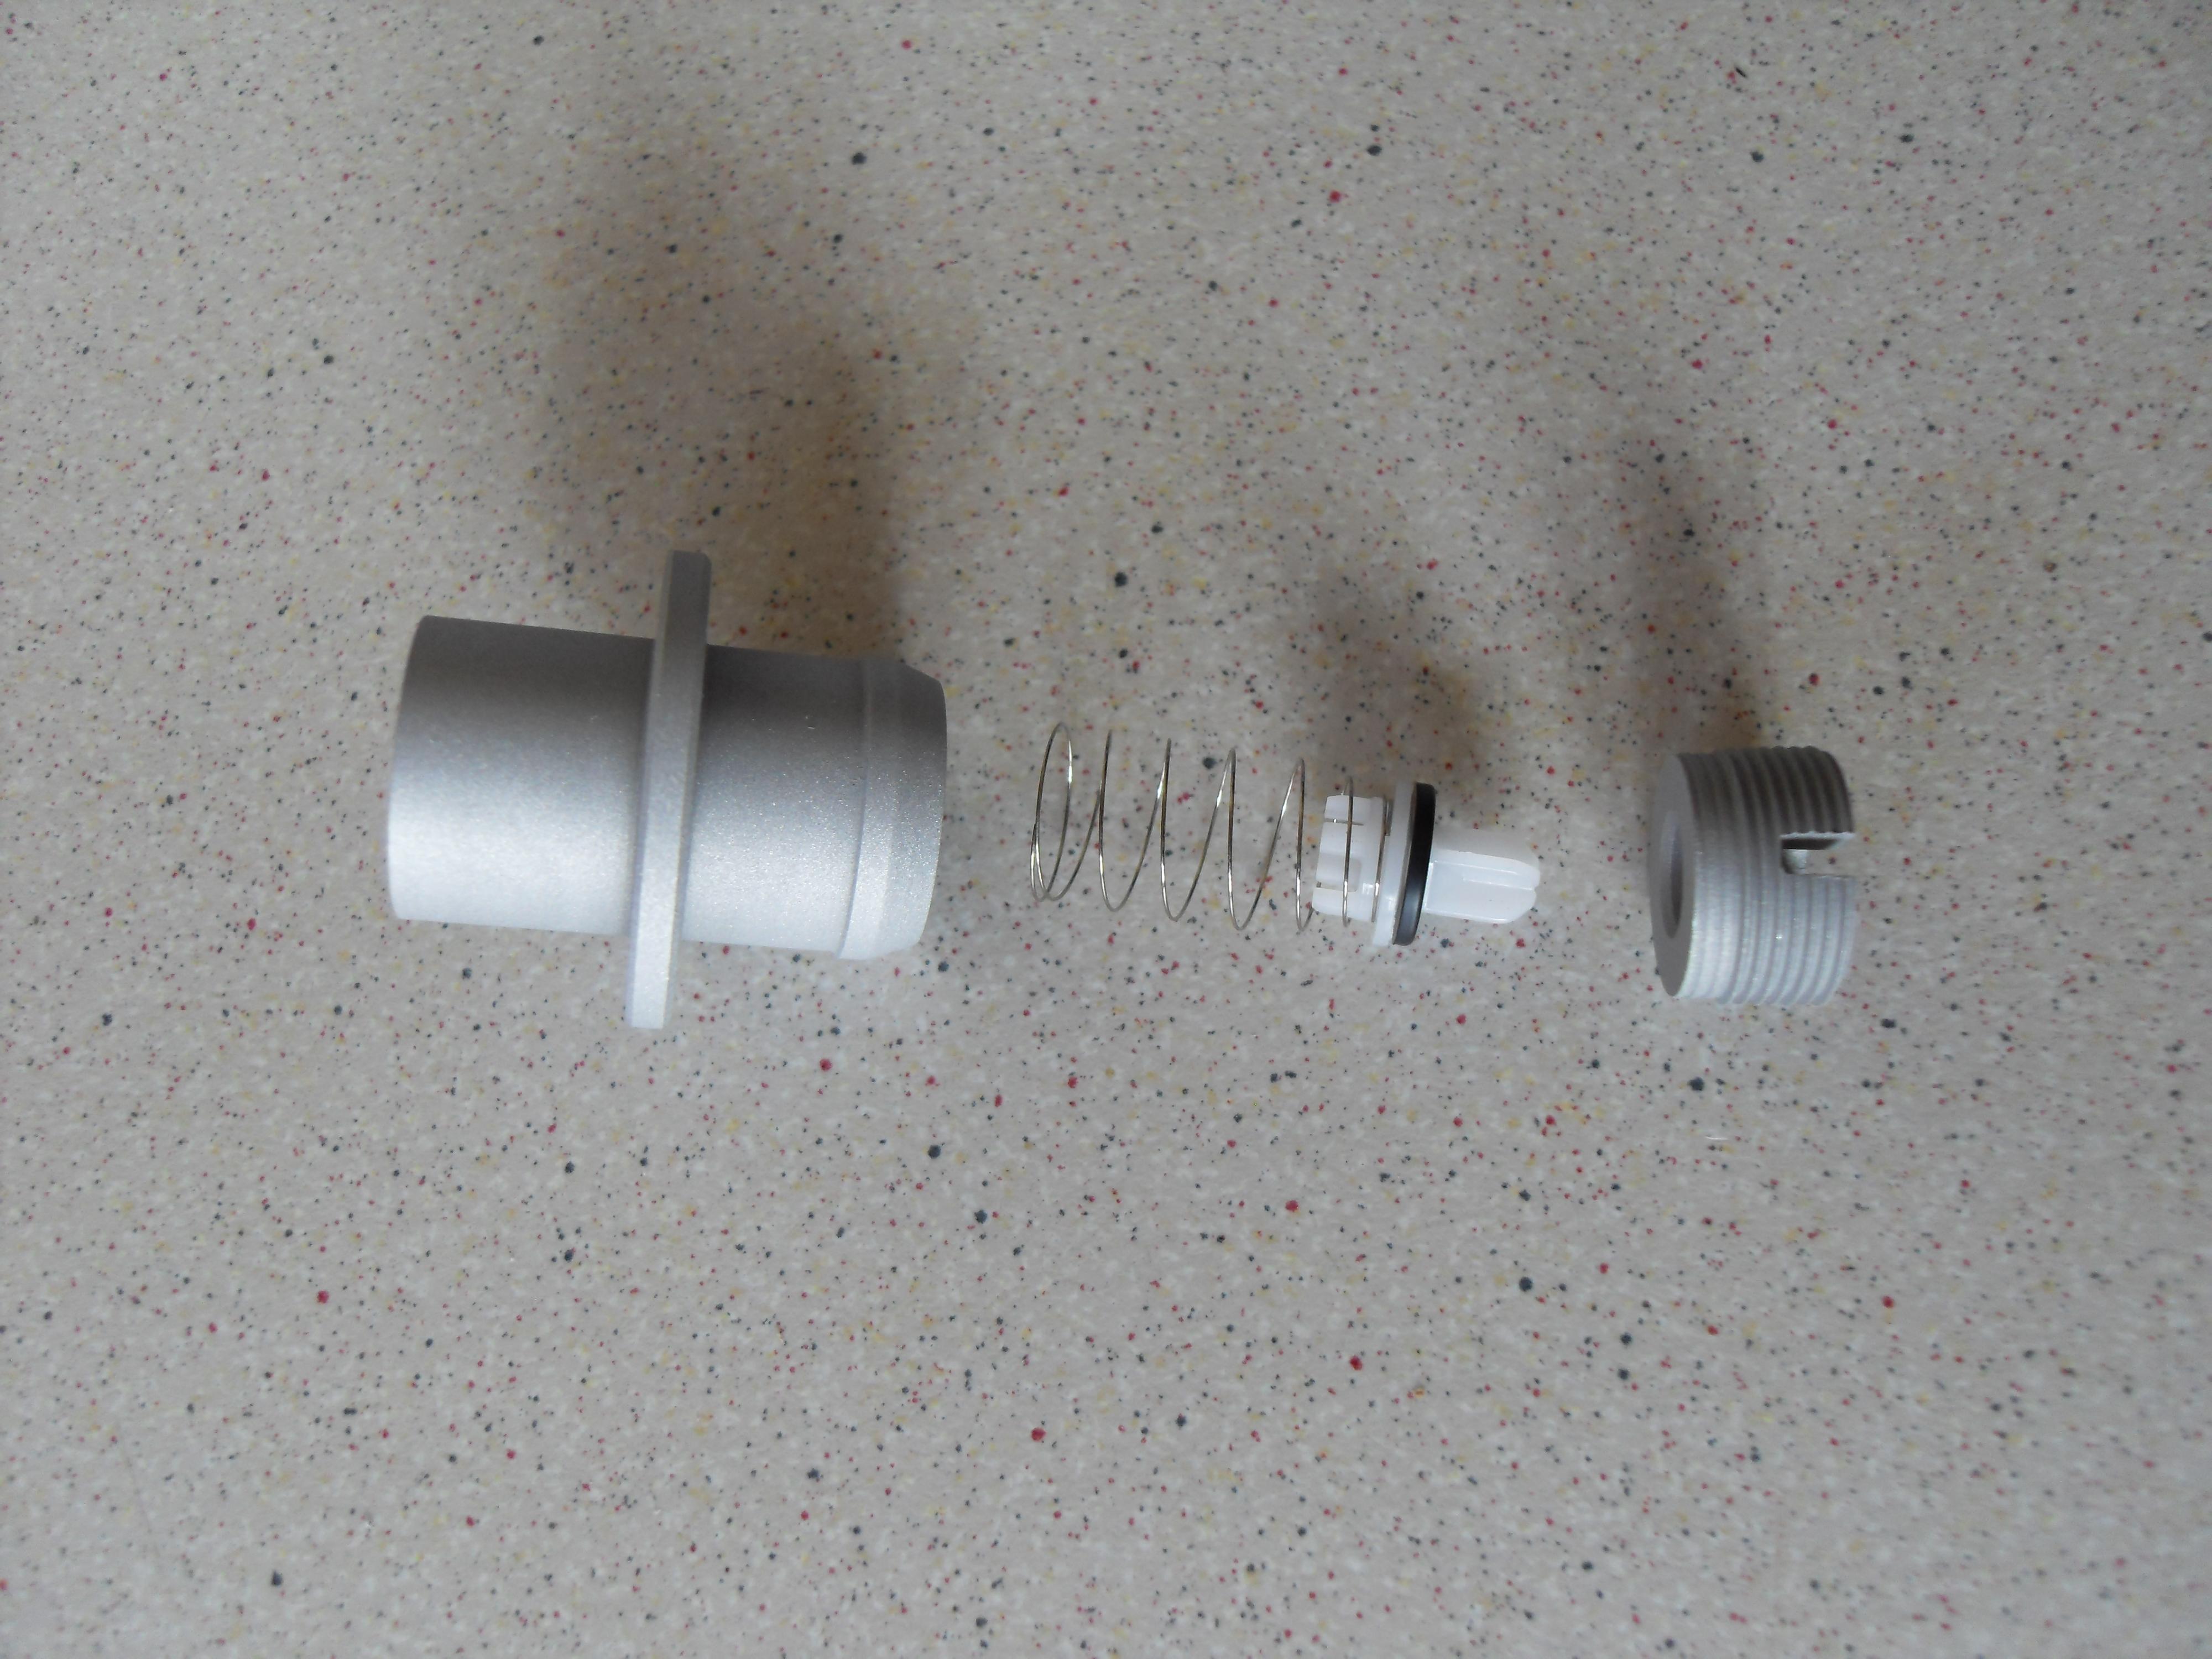
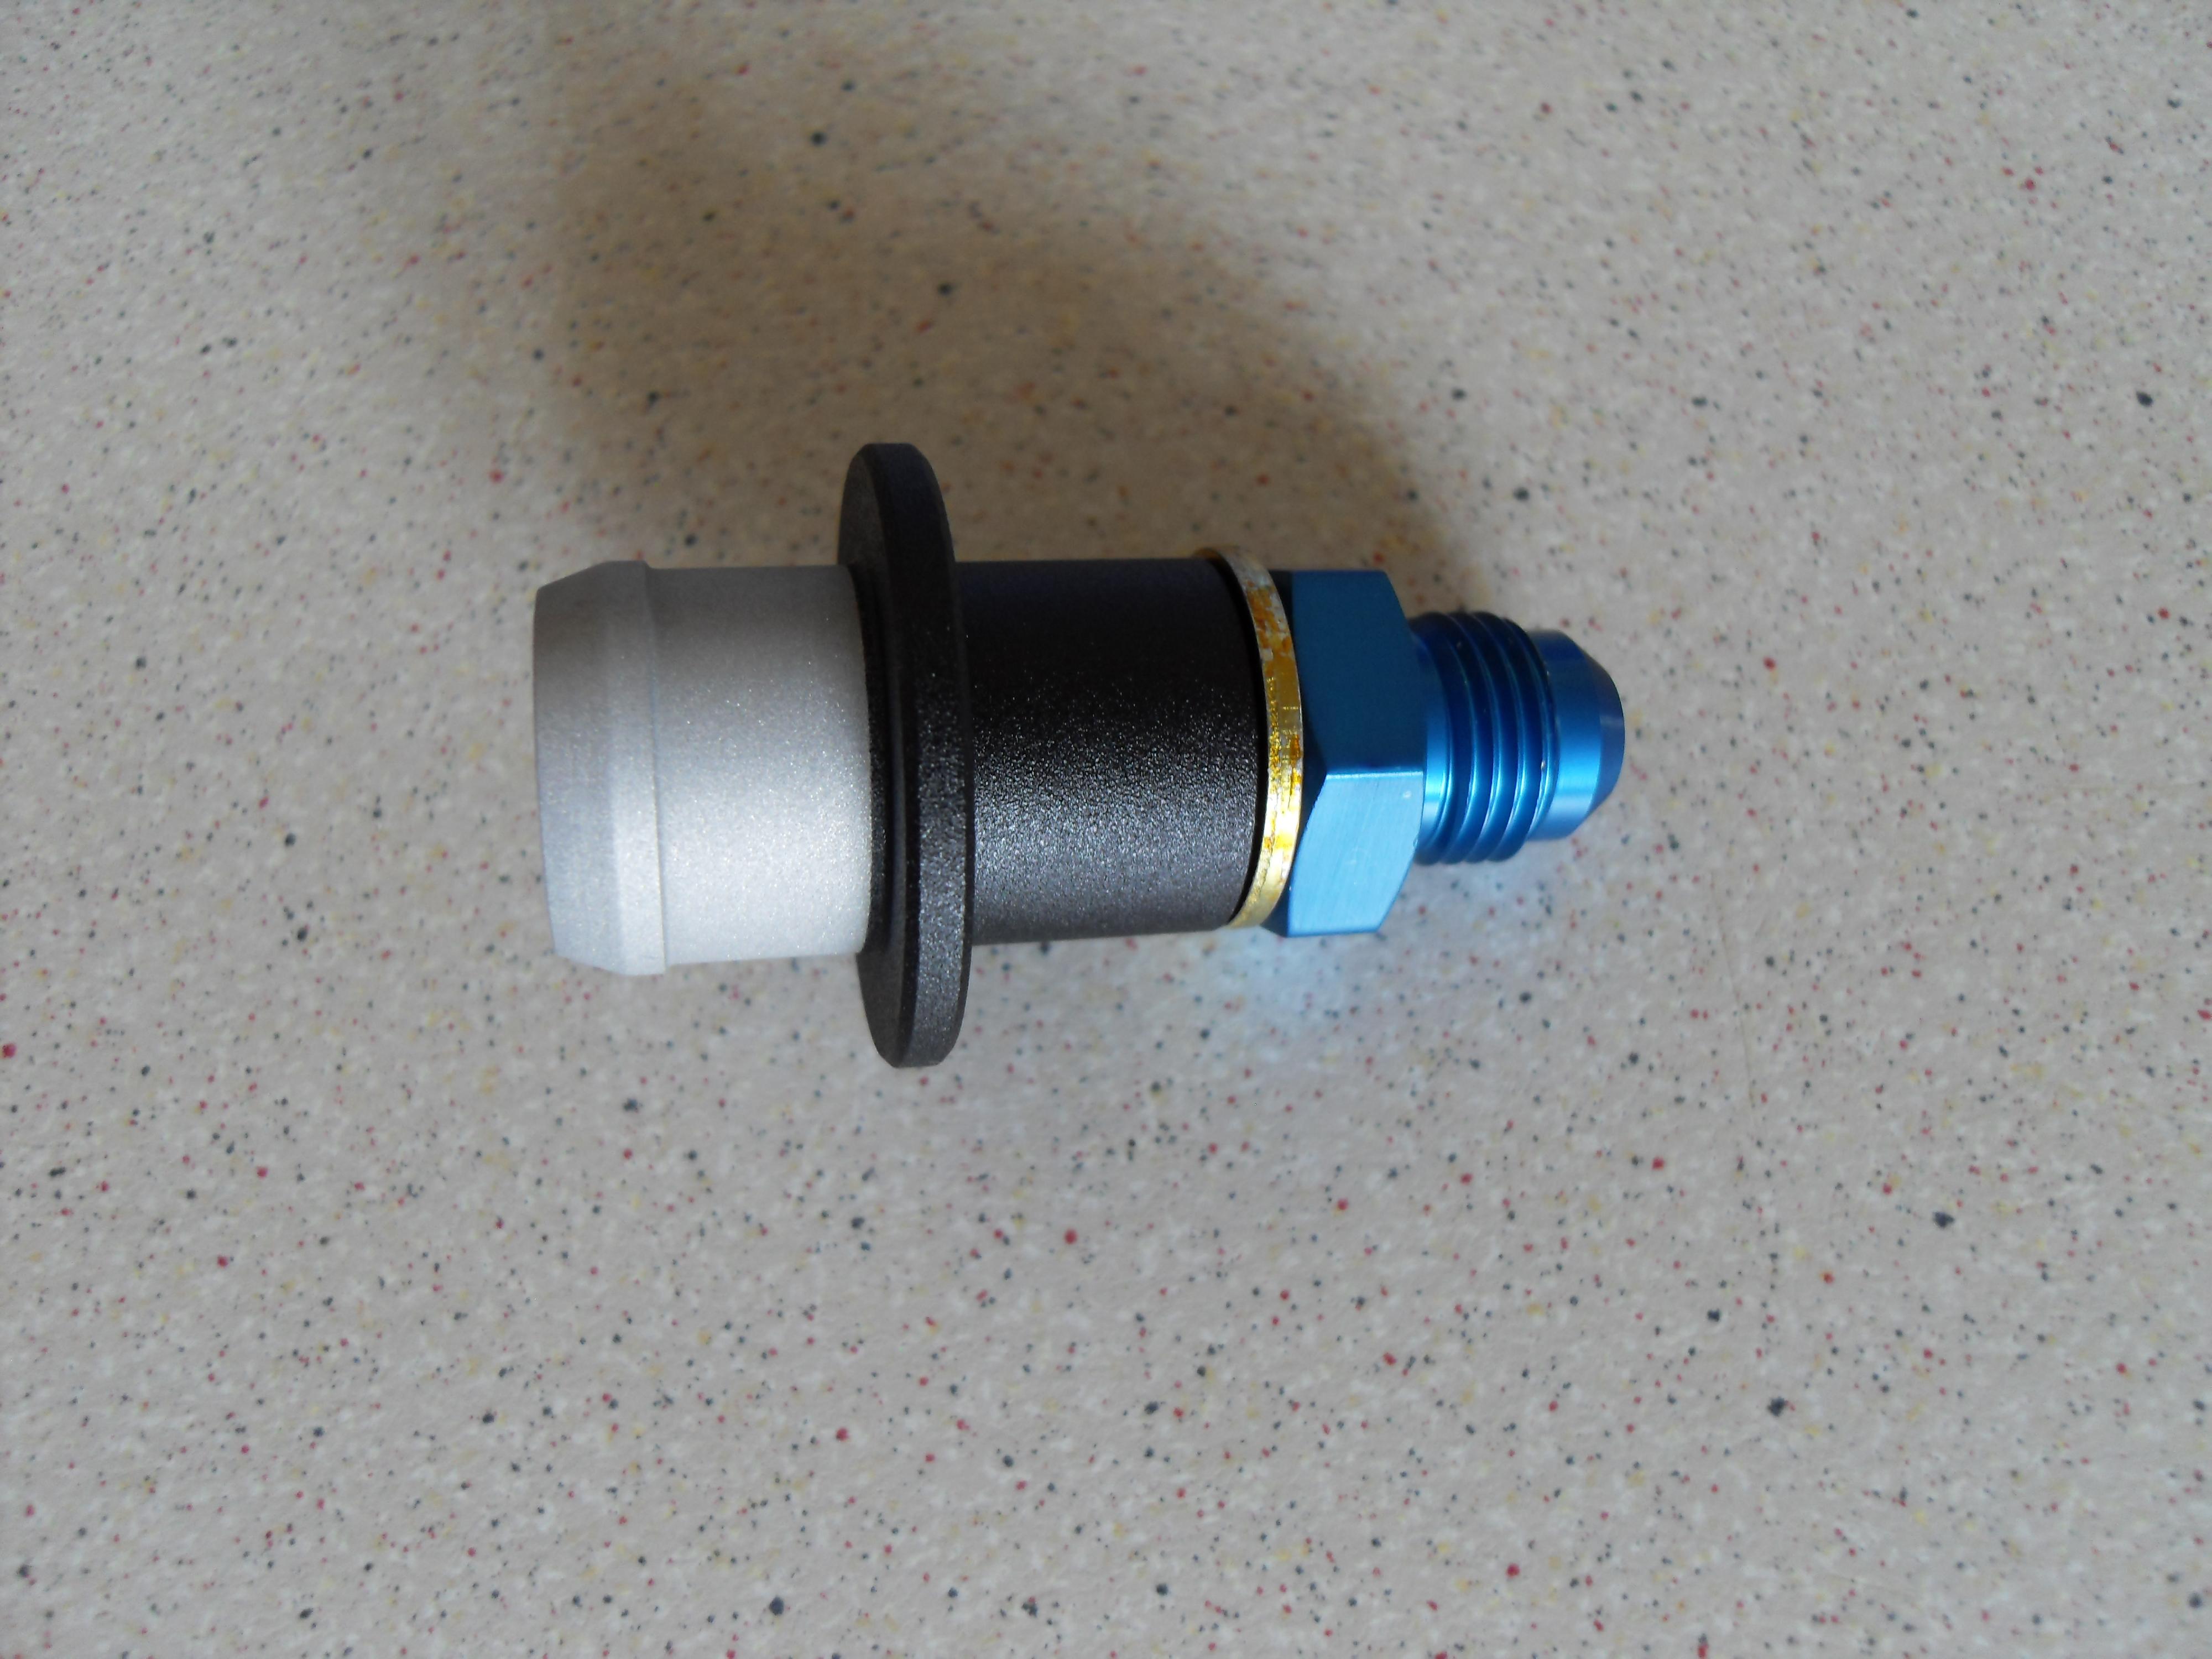
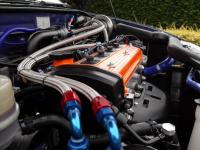
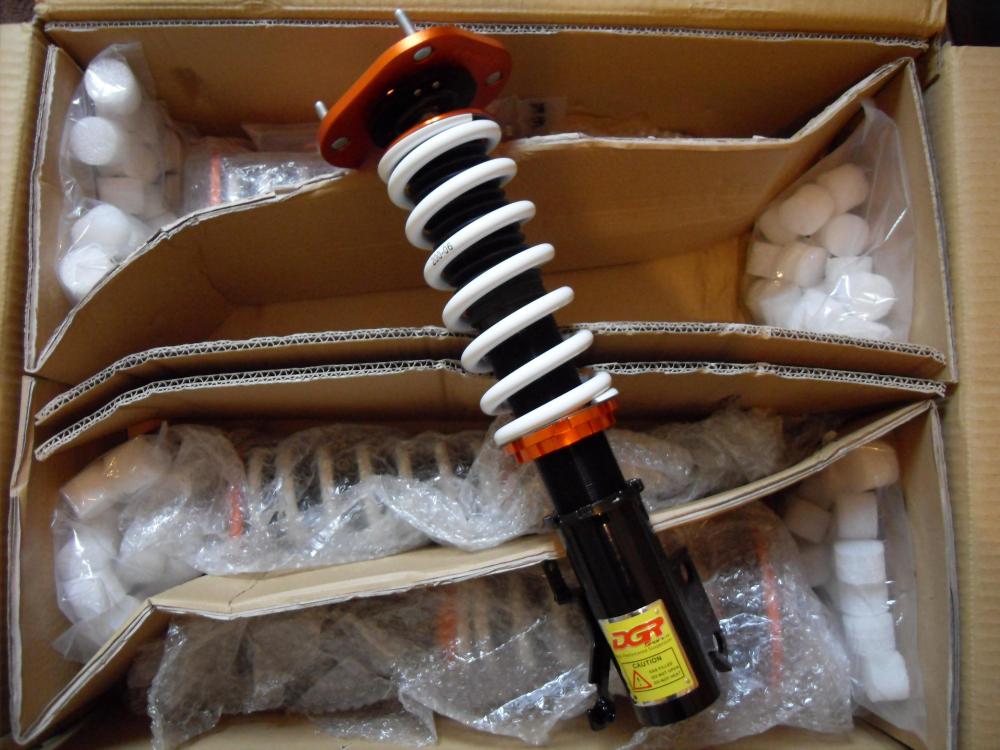
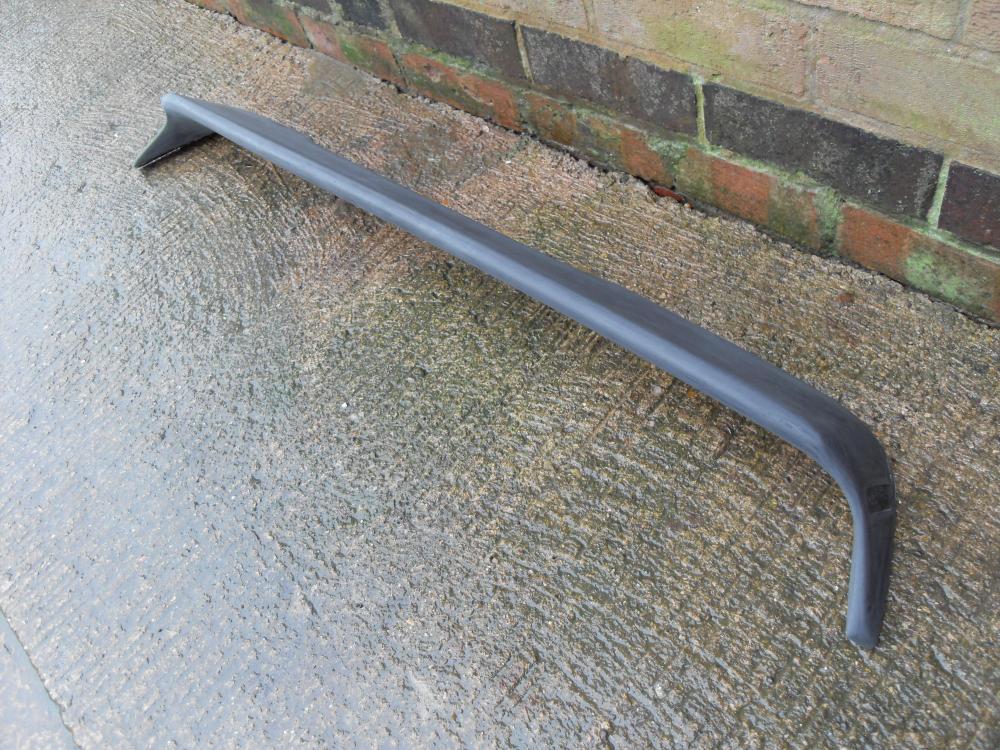
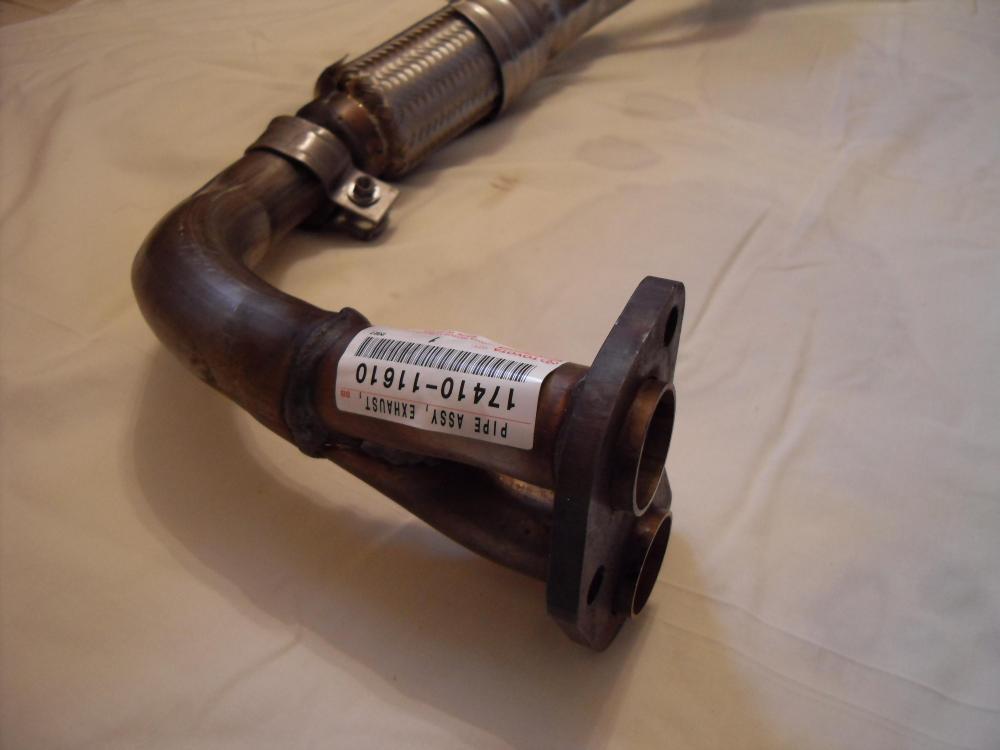
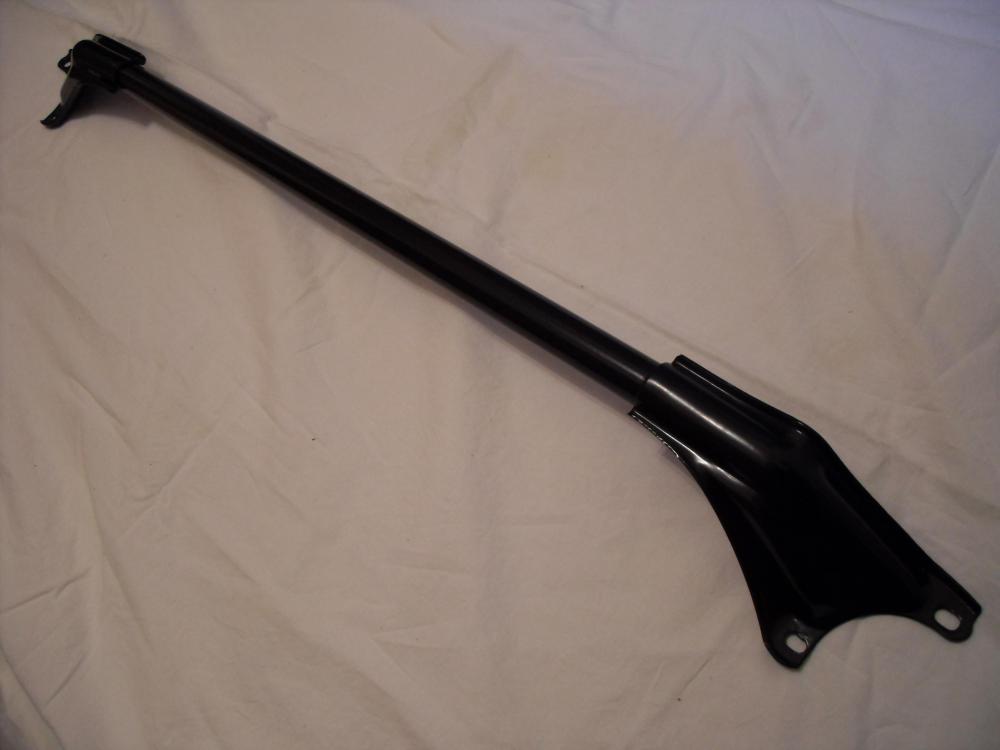
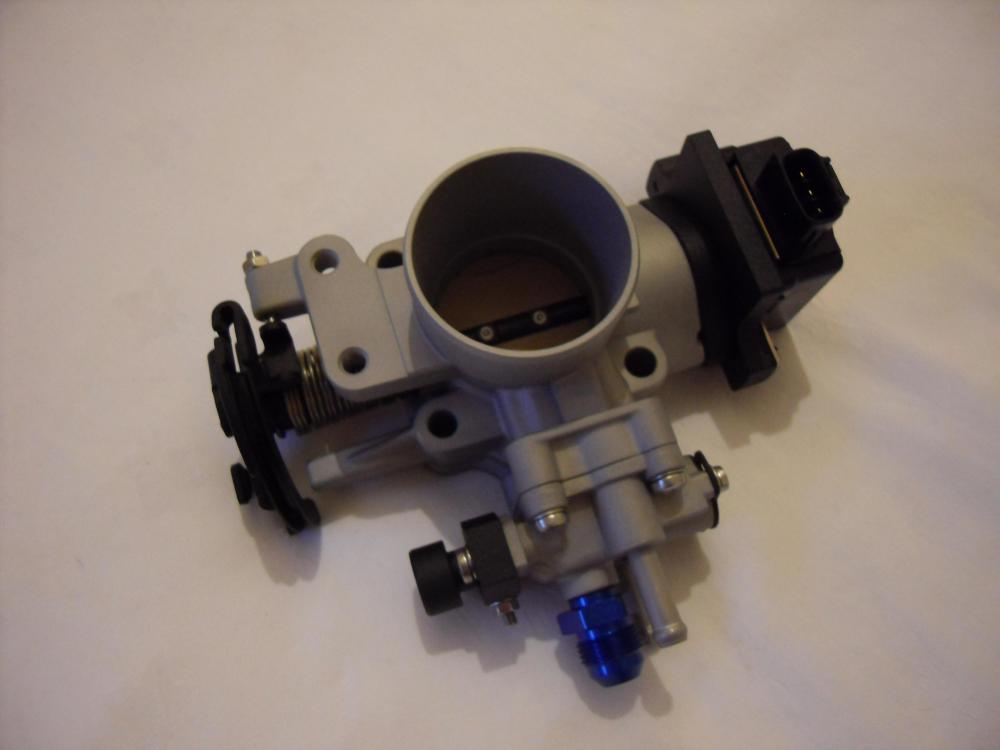
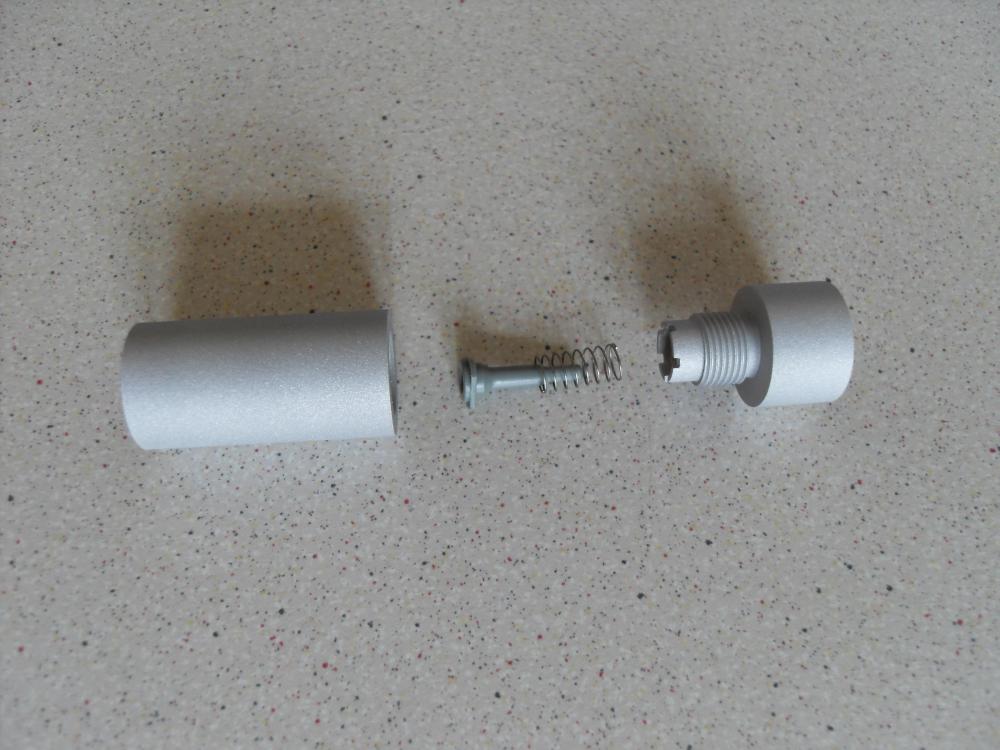
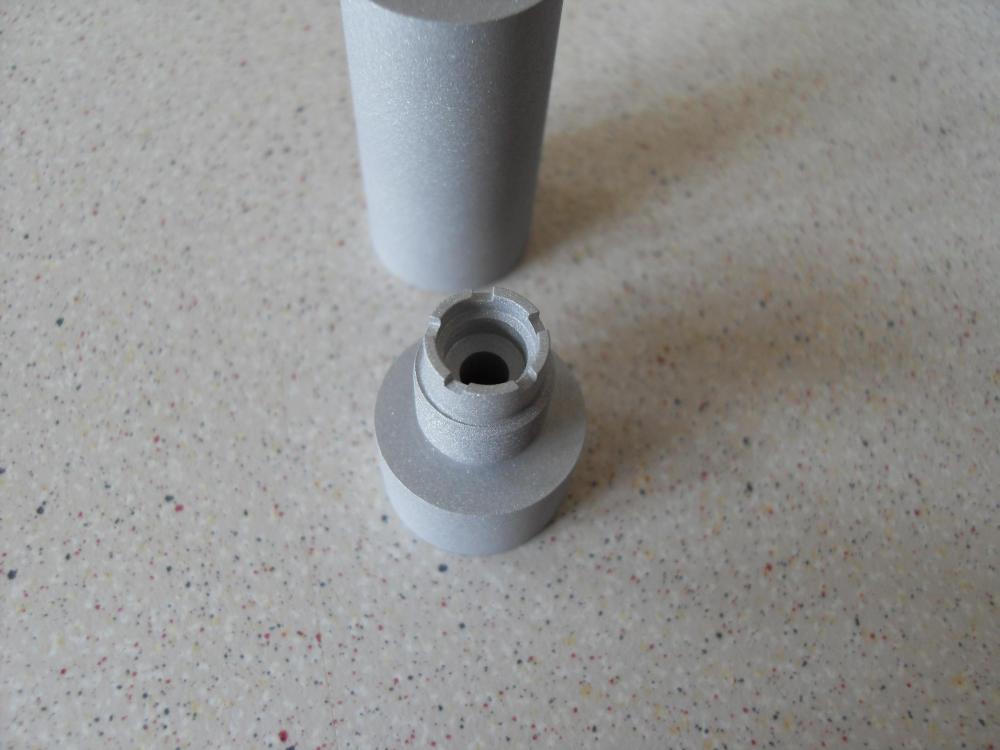
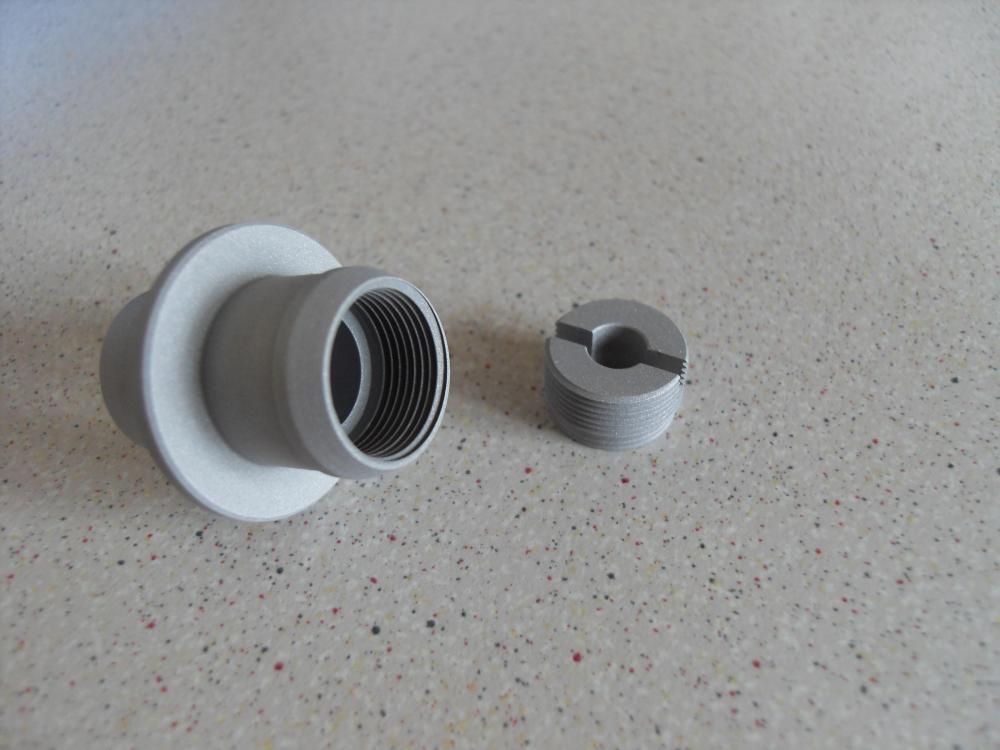
Update time, only 2 years late. Due to personal circumstances and family tragedy I put this project to bed for a bit. I did carry on collecting some parts but didn't do any work on it. The blue/purple car has been off the road the entire time and I've been driving the light blue one. I have recently started working on this project again. First for the parts I've been collecting... DGR Coilovers SR Speedline Wheels SR TTE Spoiler (stripped and ready for priming) Glanza Electric Mirrors (primed and ready for painting) TRD N/A Clutch and Pressure Plate (small version for N/A, less weight) 5E-FHE Camshafts Lower Half of Corolla 4-2-1 Exhaust Manifold Full Set of Glanza Calipers (waiting to be rebuilt) Standard Front Strut Brace (just back from the powder coaters) Now for the things I've been working on recently... Rebuilt Carina E 50mm Throttle Body (showing the custom diy TPS adaptor with a new TPS and the custom diy idle adjustment valve) Custom DIY Inline Threaded PCV Valve Custom DIY Threaded Brake Servo Non Return Valve I am also designing something that's very very interesting. Details soon I hope. I really have no idea what colour to paint the wheels or the calipers so any suggestions are welcome. I was thinking black wheels with orange calipers? Gavin


-
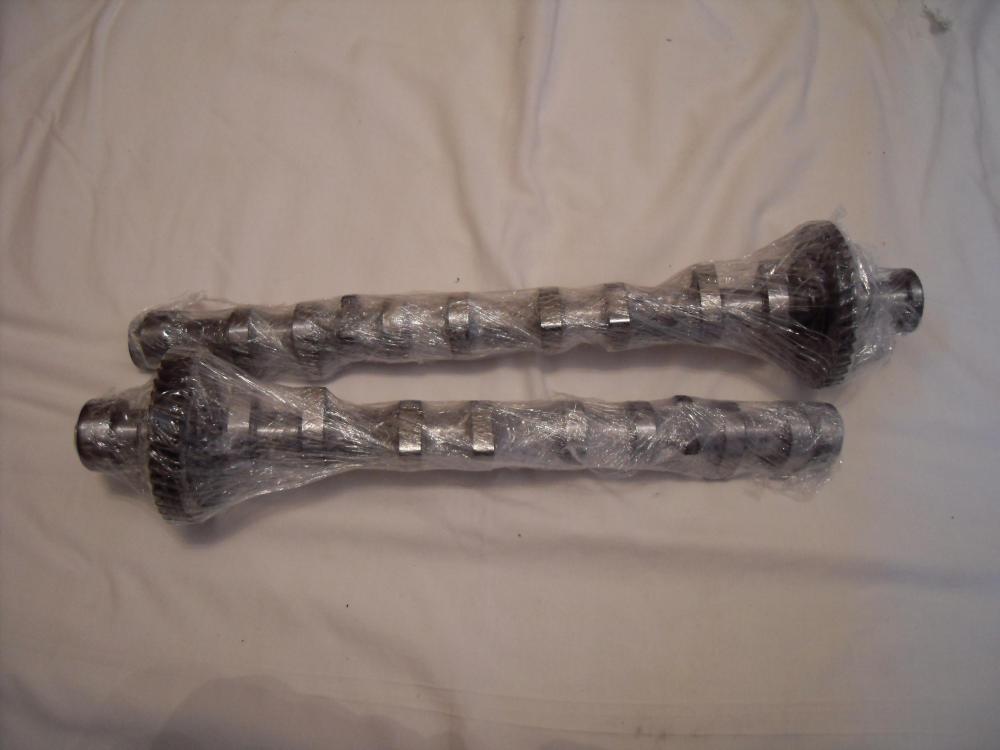
I have recently acquired some 5E-FHE camshafts and over the bank holiday I took out my measuring tools. The camshafts were first measured using a dial caliper and then to verify the lift was measured directly using a dial indicator with the camshafts sitting in vee blocks. UKDM 4E-FE ---------------------------------------------- Intake: Base Circle + Lobe Lift = 40.85mm Base Circle = 34.05mm Lobe Lift = 6.80mm (Base Circle & Lobe Lift - Base Circle) Exhaust: Base Circle + Lobe Lift = 41.05mm Base Circle = 33.90mm Lobe Lift = 7.15mm (Base Circle & Lobe Lift - Base Circle) JDM 5E-FHE ---------------------------------------------- Intake Base Circle + Lobe Lift = 41.60mm Base Circle = 34.05mm Lobe Lift = 7.55mm (Base Circle & Lobe Lift - Base Circle) Exhaust: Base Circle + Lobe Lift = 41.35mm Base Circle = 33.90mm Lobe Lift = 7.45mm (Base Circle & Lobe Lift - Base Circle) So 5E-FHE camshafts have + 0.75mm lift on the intake + 0.30mm lift on the exhaust They are the only two sets of camshaft I have access to at the minute. I will measure the duration of them one day too. Gavin
-
They are supposed to produce hotter, stronger sparks and multiple sparks in the same firing under 3,000 RPM. The basic units like this don't modify spark timing, dwell or anything like that. Gavin
-
Connect it up like this... Then don't touch the connections you have already made above and connect the following to them... 1. Connect the MSD Tach Adaptor Red wire with the MSD Ignition Red wire. 2. Connect the MSD Tach Adaptor White wire with the MSD Ignition White wire. Then it should work. Gavin
-
From what you say about it kind of starting then cutting out I know what the problem is. You need an MSD tach adaptor to fool the igniter into thinking it's fired a coil so it sends the feedback signal back to the ECU. MSD part number 8910 or 8910EIS. If you get 8910EIS it can be wired both ways. Wired like this. Once again the Magnetic pickup wires are not used on the Starlet/Glanza (MSD Green and Violet wires) Gavin
-
With standard glanza wiring in place you need to... 1. Remove the standard coil + wire and in it's place on the coil connect the MSD Orange wire. 2. Connect the MSD Red wire to the wire you took off the coil in step 1. 3. Remove the standard coil - wire and in it's place on the coil connect the MSD Black Wire. 4. Connect the MSD White wire to the wire you took off the coil in step 3. 5. Connect the thick MSD Red wire to the battery + terminal. 6. Connect the thick MSD Black wire to the battery - terminal. Magnetic pickup wires are not used on the Starlet/Glanza (MSD Green and Violet wires) Gavin
-
This is how I did mine. Although mine was the MSD Digital 6A, it looks to wire in the same as yours. Gavin
-
Toby is a good guy. Absolutely smooth and effortless transaction. Very friendly and great at packaging items up safely. Thanks again mate, Gavin
-
CJ Performance - Where We Stand...
enzo_e492901 replied to Socks's topic in News & General Announcements
I would hope the injector holes are the same size on both your rail and the stock rail and that the injector holes on both rails are on the centre line datum. So what difference does measuring from the edge of the holes make? So long as you measure from the same points on both rails all is good. Oh by the way your talking to an engineer so you cant fool me! Gavin -
Trying to sort it out? Maybe! You seem fixated on spacer height tho. It's not the problem and you can't seem to see that. Gavin
-
+1 I can't believe hes risking cars going up in smoke for a few quid. Gavin
-
Don't like your attitude one bit. Think i'll have a refund for the coilovers aswell. Gavin
-
Here are some photos Mine also has swarf inside the bore. Not as bad as some tho. and evidence that there was machining work done after anodising. The machining after anodising is a little bit of a give away as to what happened. They know they are not right but without loosing money and getting them remade this is as close as they can get them and they are running with it. It's bang out of order. Ive asked for a refund already. Gavin
-
Yes i can take photos but it will have to be in the morning. The other photos are injector holes up. There is a recess/counterbore going down the side of the rail for the heads of the mounting bolt, if that's what you mean? If you ask me the bore in the rail has been made to big and as a result moving the mounting holes over would of broken into the bore. Gavin
-
Just to clear things up because a couple of people have pm'ed me. The ruler in the photos is not measuring the length! It's there to highlight the differance from the mounting holes to the injector holes. New photos Stock C J Performance Gavin
-
Something is not right. Spacer height will not alter an angle when the mounting holes/bolts and injectors sit parallel to each other. The fact the injectors and bolts should be parallel means the miss aligned mounting holes are making the injectors sit at an angle and leak. Trust me the mounting holes are about 7mm to far from the holes for the injectors. Gavin
-
There is no way the fuel rails will fit. The mounding holes are about 7mm out. Stock C J Performance What are you going to do about this james? The holes cant be elongated anymore than they have already because you will break into the fuel passage. Gavin
-
*** DGR COILOVER GROUP BUY***taking payments
enzo_e492901 replied to james@cjperformance's topic in Starlet Parts For Sale
Add me to the list for a blue set please. Have already paid tonight. Gavin -
Just bought some Speedlines from Adam. Real nice guy. The transaction was a real pleasure! Wheels were as he said and in excellent condition. Would not think twice about dealing with him again! Cheers Mate Gavin
-
Cheers Adam and thank you. Amjad: It will be updated on here! Should be some updates soon ish!
-
Got a TTE Spoiler off Liam. He was a pleasure to deal with. Very good communication and went out of his way to help. Gavin