

Trevstar
-
Content Count
258 -
Joined
-
Last visited
Content Type
Profiles
Forums
Wiki
Media Demo
Store
Calendar
Posts posted by Trevstar
-
-
6 hours ago, ChaseWheatley said:
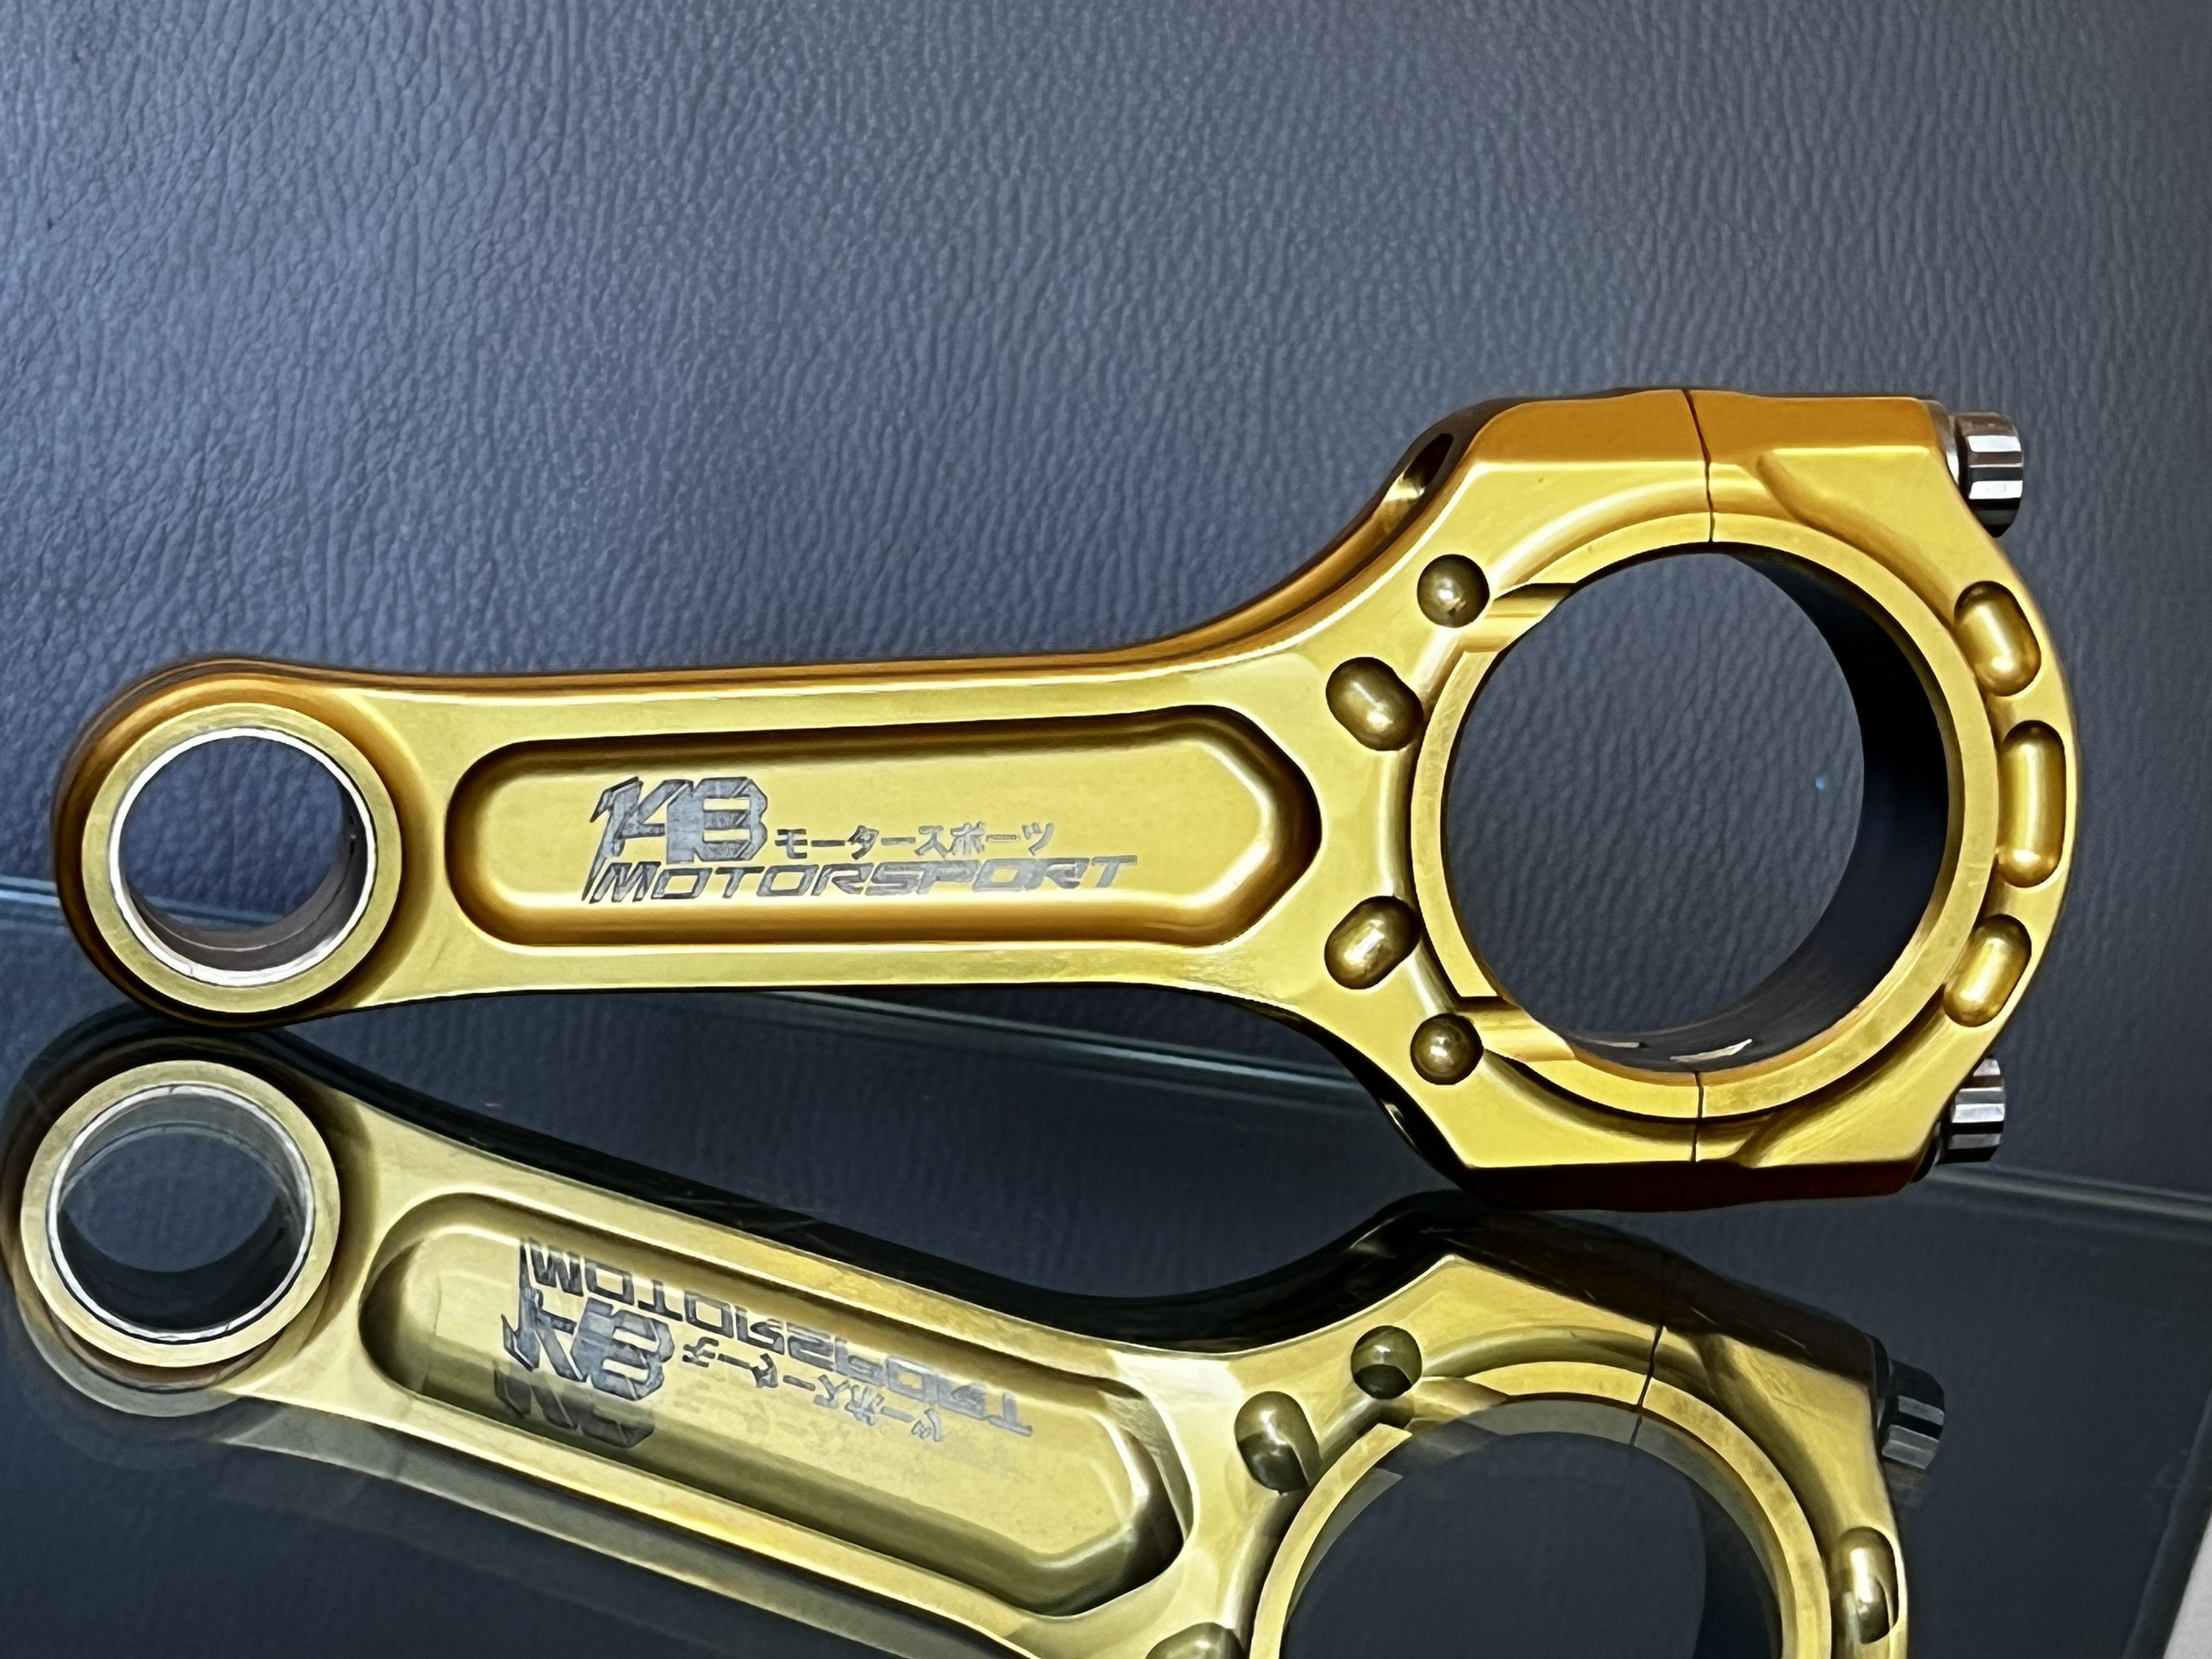
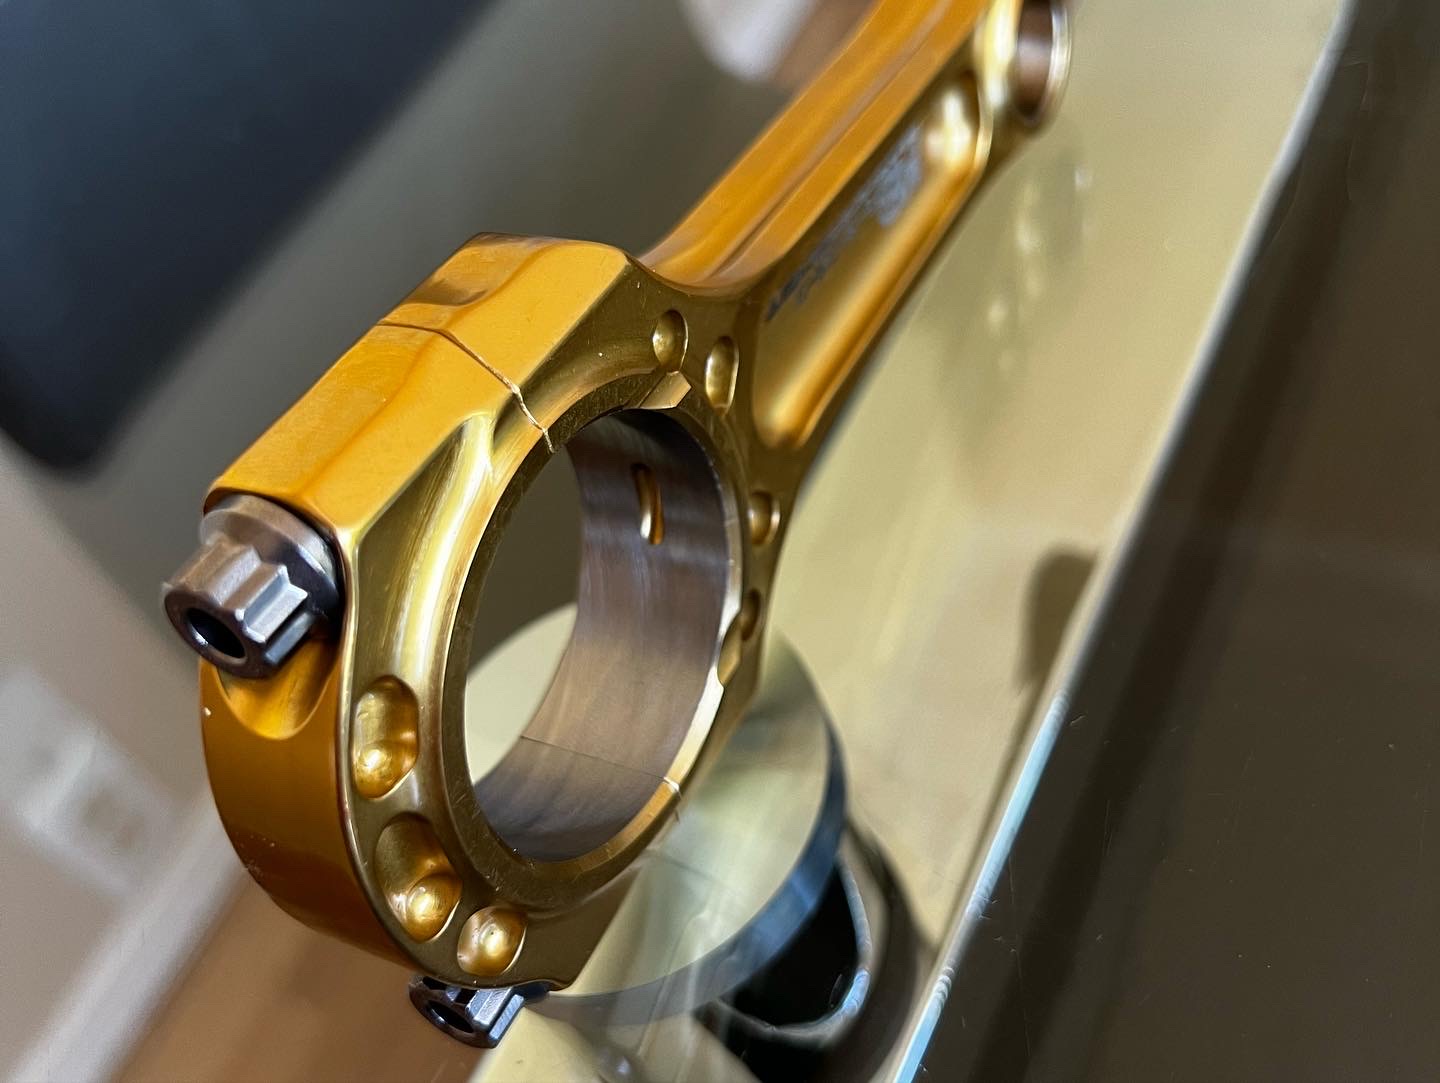
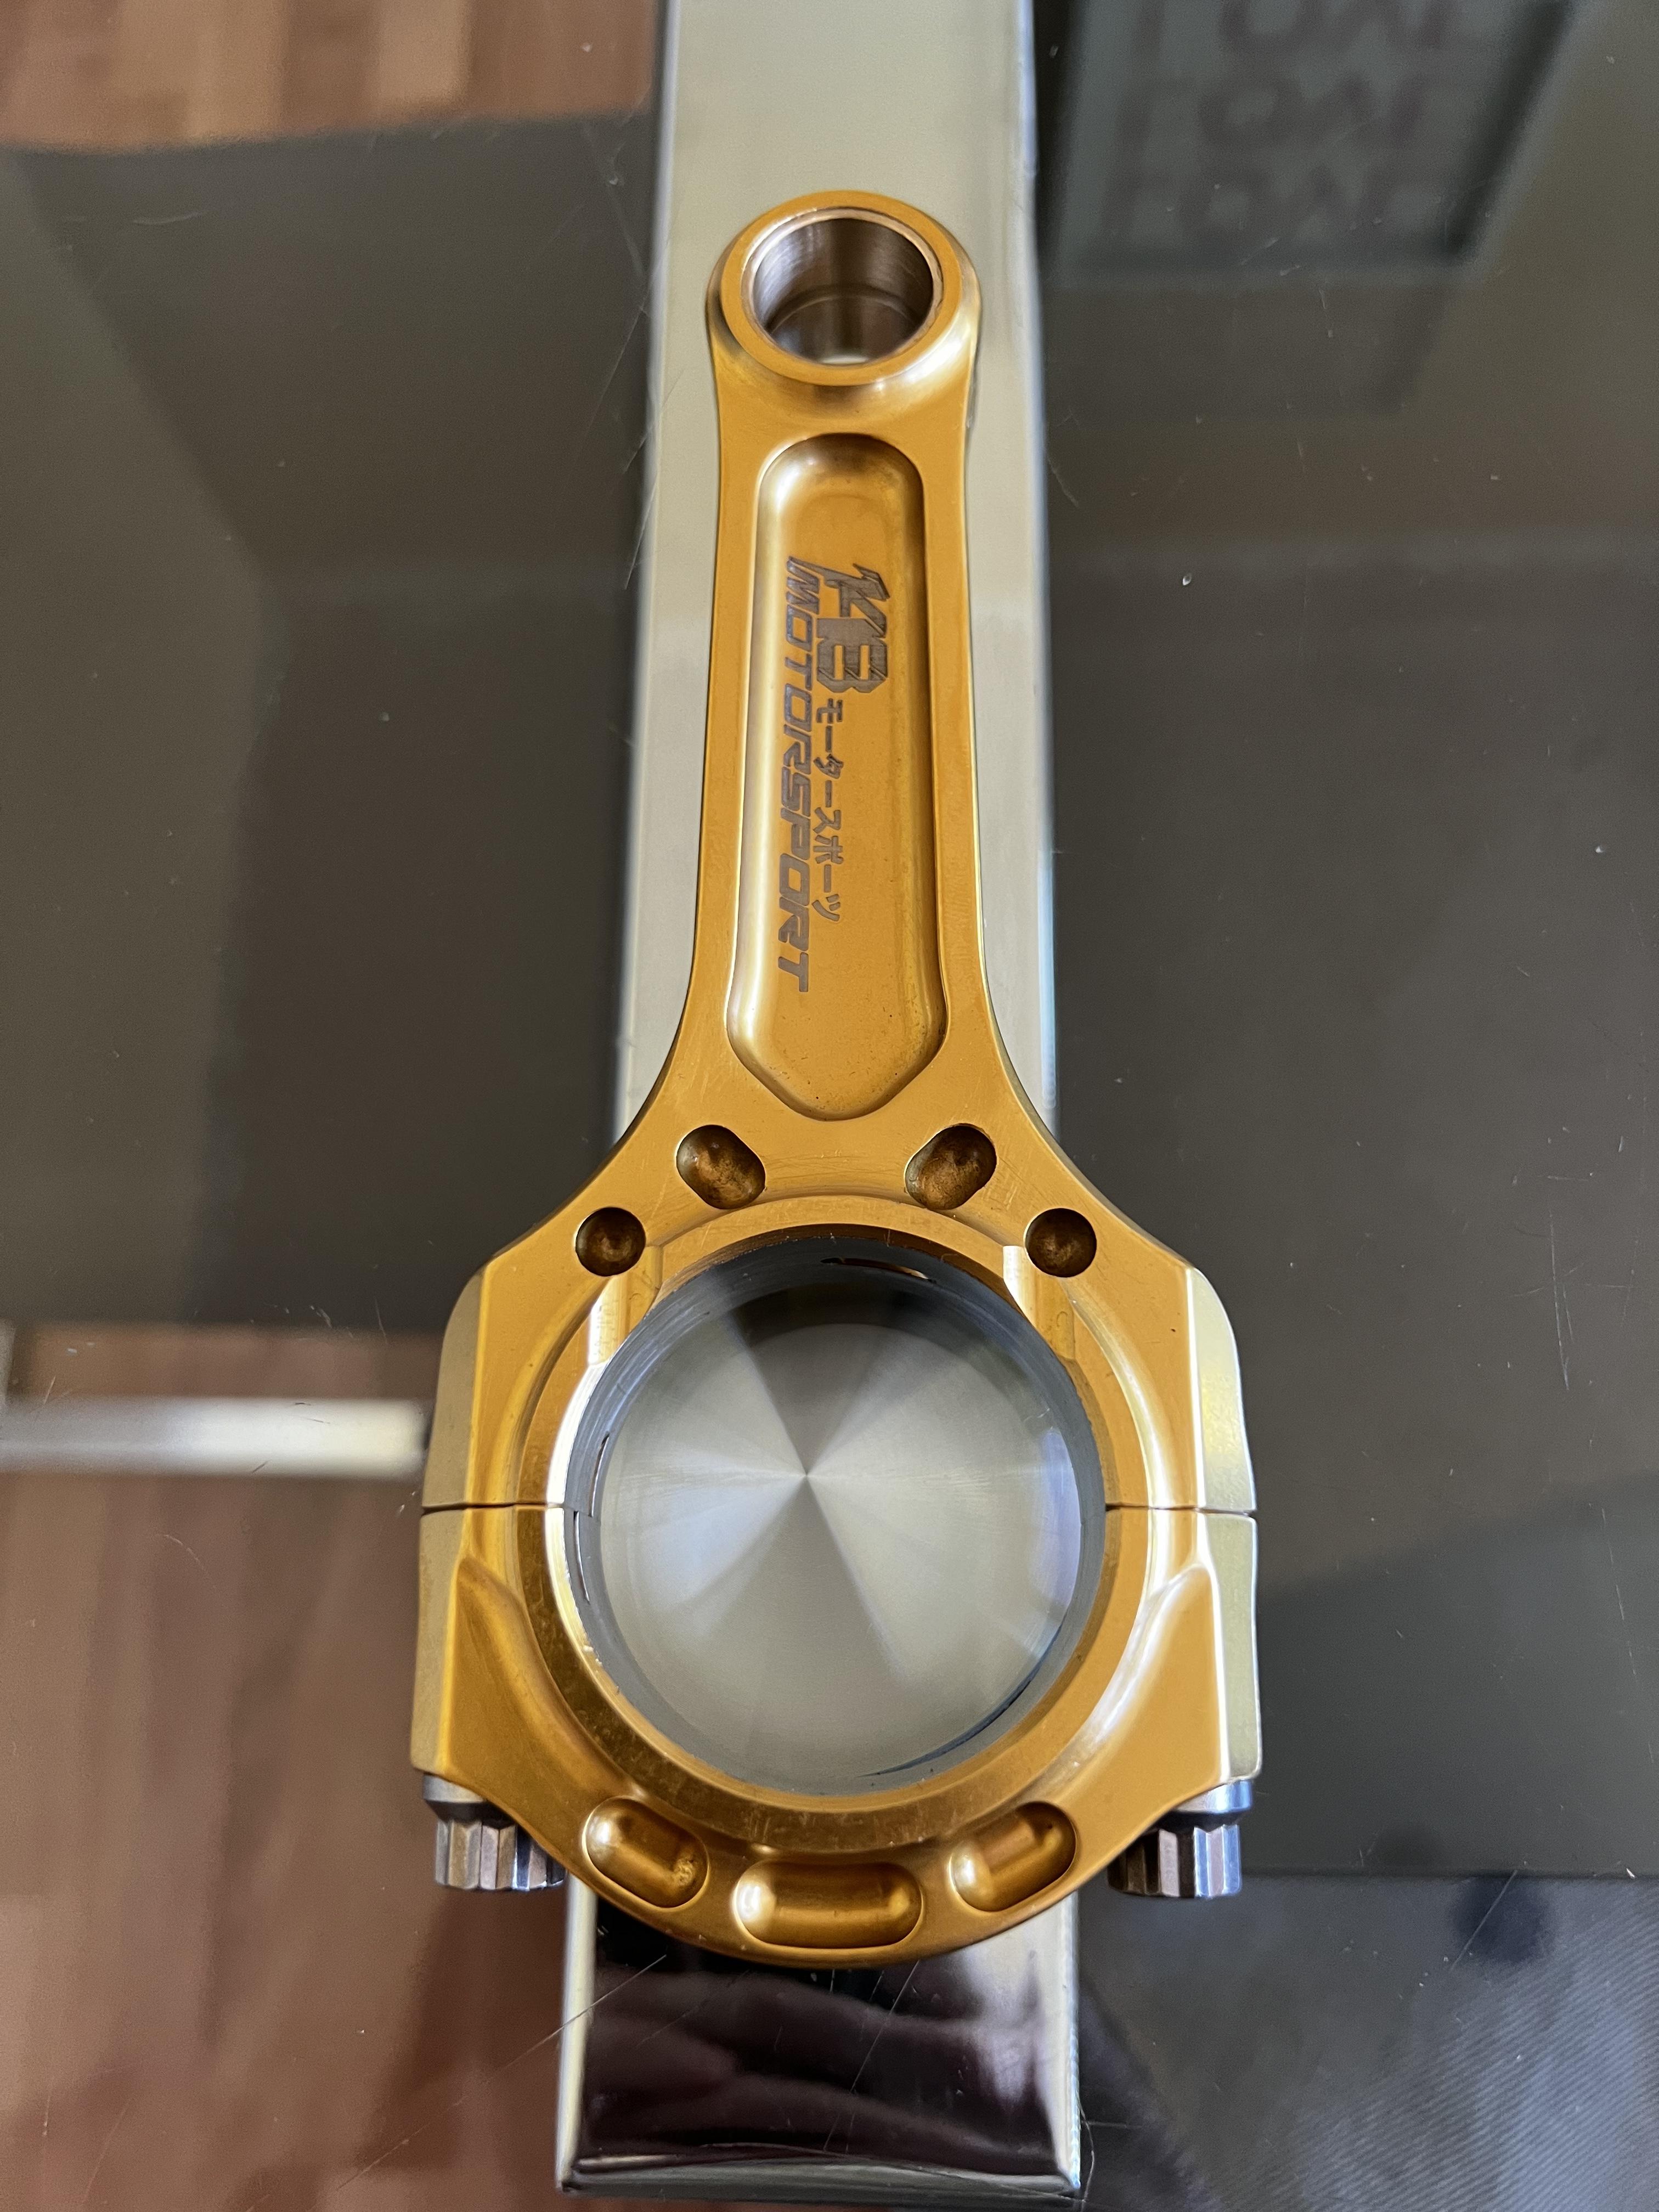
The Titanium 4E rods are finally finished. 3 years in the making!


Wow. Just wow. 😳 Bloody well done mate! As Ozzy Osbourne once said, if your gonna go, go strong, go proud, go hard, go loud or go home👍🏻
-
Thanks @Pikey009, and thanks again @akyakapotter for helping me get back into my account, highly appreciated! Now the show may continue 😎
-
I know this is an old thread but for future reference if you're lucky enough to have obtained some OEM deflectors with the clips; the window rubber needs to be pulled down from the top of the door frame, then push the clips up onto the edge of the door frame positioning them where the need to be in relation to the square cut outs on the inside of the deflector.
Then mark out the edges of the deflector on the door frame with some making tape for positioning the deflector and then remove the clips.
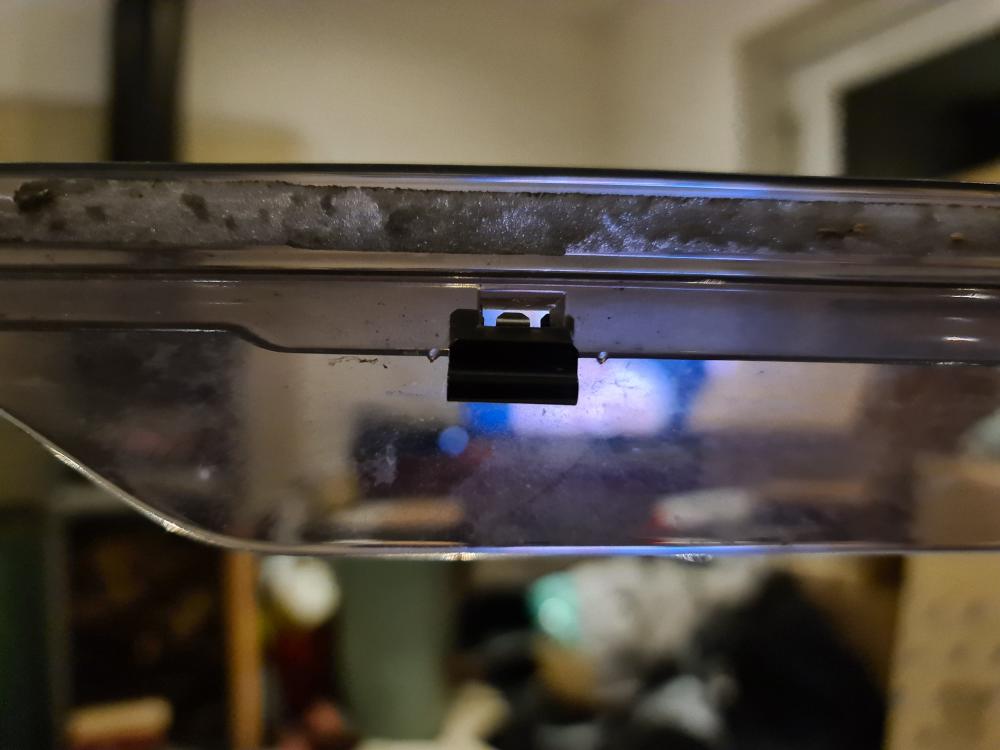
Then reposition the deflector on the door frame using the tape used to mark the position, and stick down the deflector with quality waterproof/weatherproof double sided foam tape and then push the clips back up onto the door frame so that the clip is clamping the deflector between the clip and the door frame, making sure that middle prong of the clip goes into the square holes on the inside of the deflector as shown below, and then push the window rubber back up into the door frame
The clips fit into the deflector like this:


-
Nice addition 👌🏻
-
👌🏻 Lot of attention to detail as always!
-
Woah! 😍 It's cleaned up really well! Looks amazing, well done 👍🏻
-
Good stuff Mark! I saw your manifold on Facebook, very keen to seeing how much this all makes with everything you've done

-
18 hours ago, RoyalDutchie said:
Great work as always.
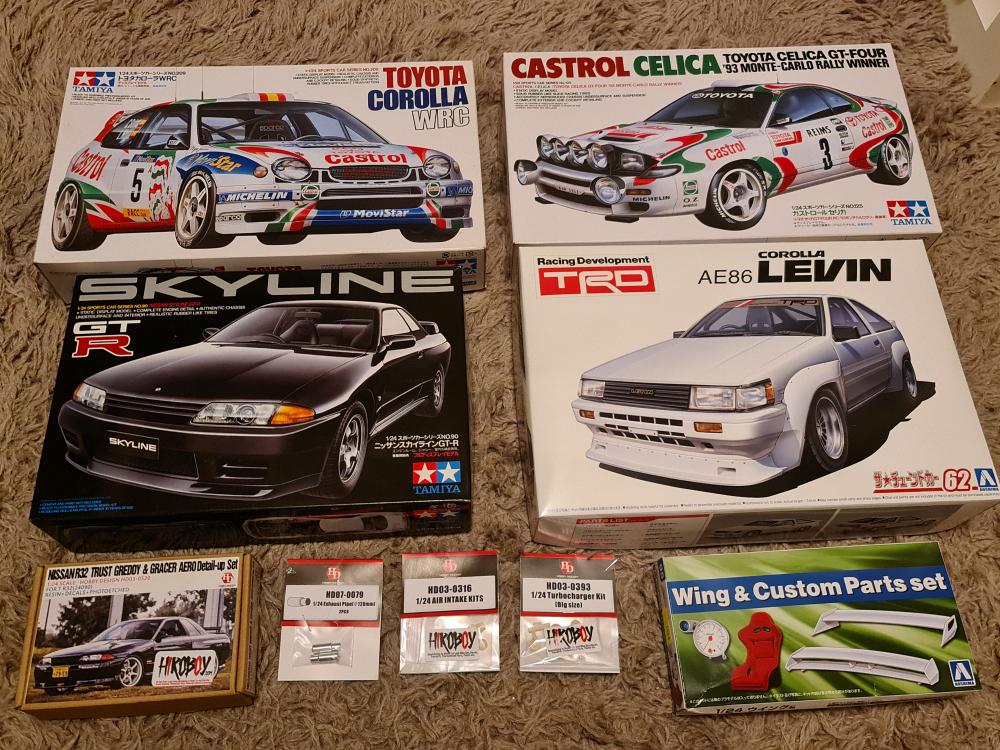
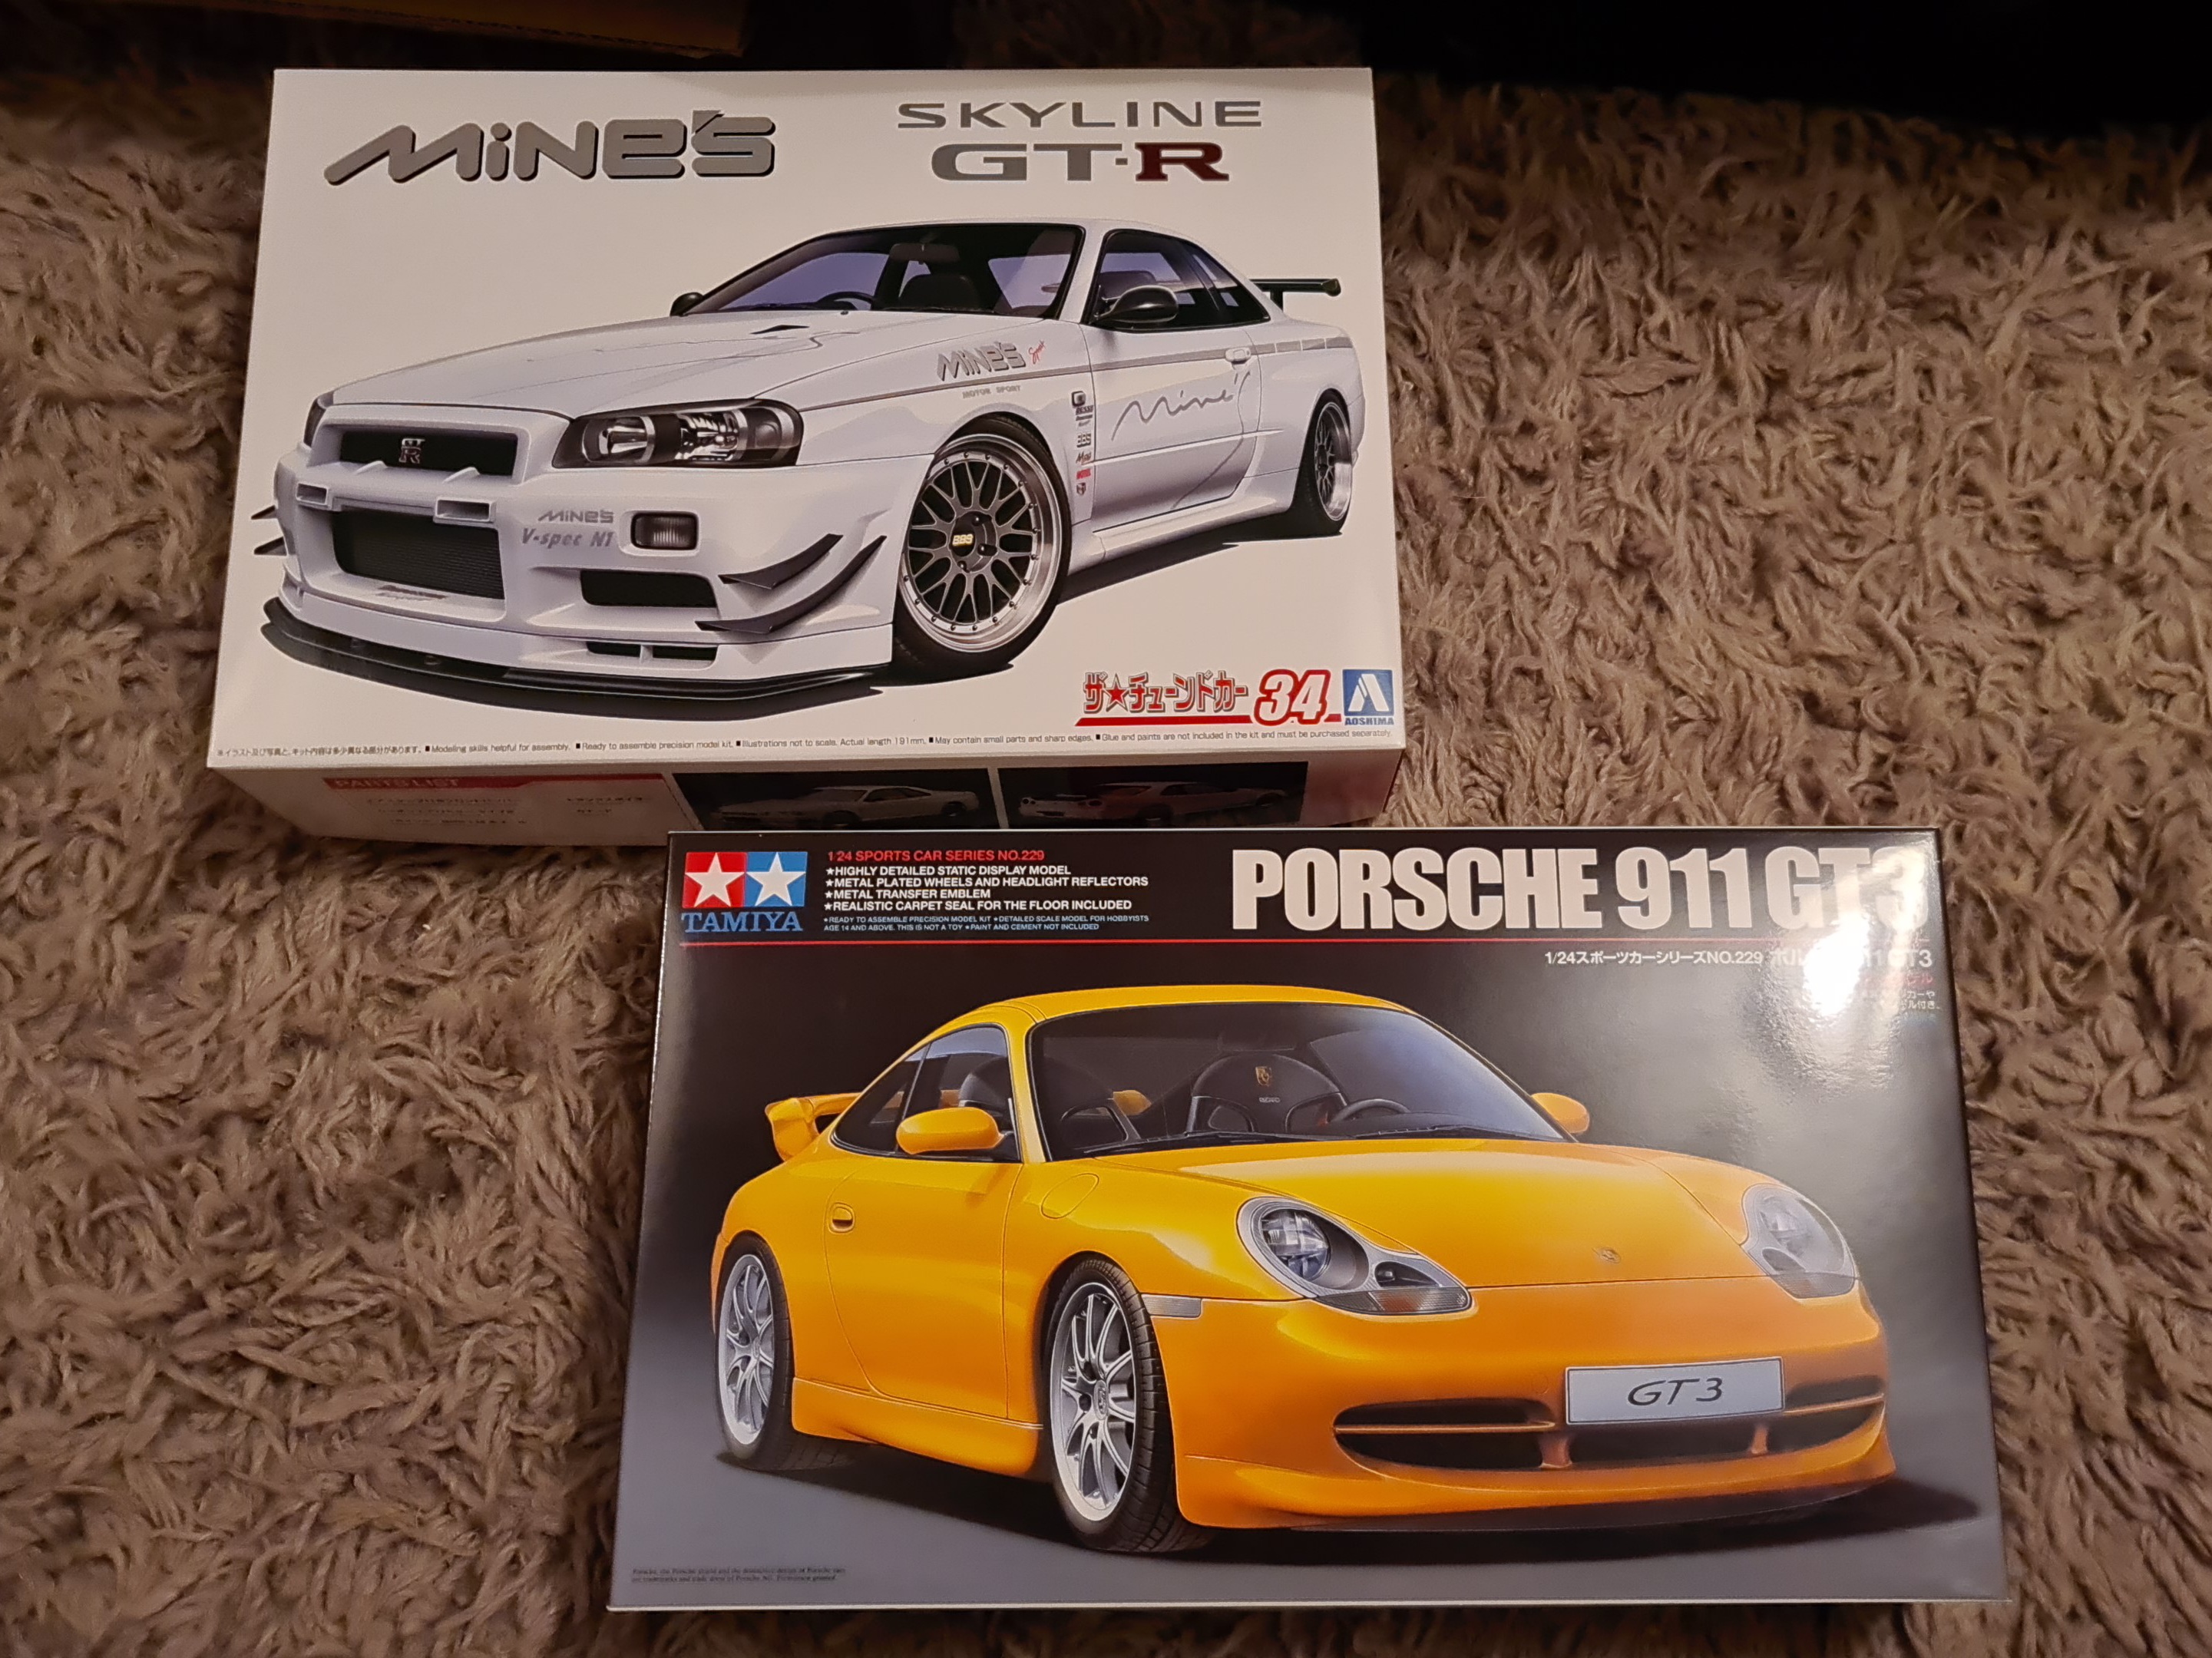
Great job on the tribute model car. Another great lineup of models coming up I see. Be mindful this can become a pretty expensive hobby quickly

Cheers buddy! ✌🏻️🙂
Haha tell me about it! I easily spent over £100 on the model & materials to create it, but it was completely worth it
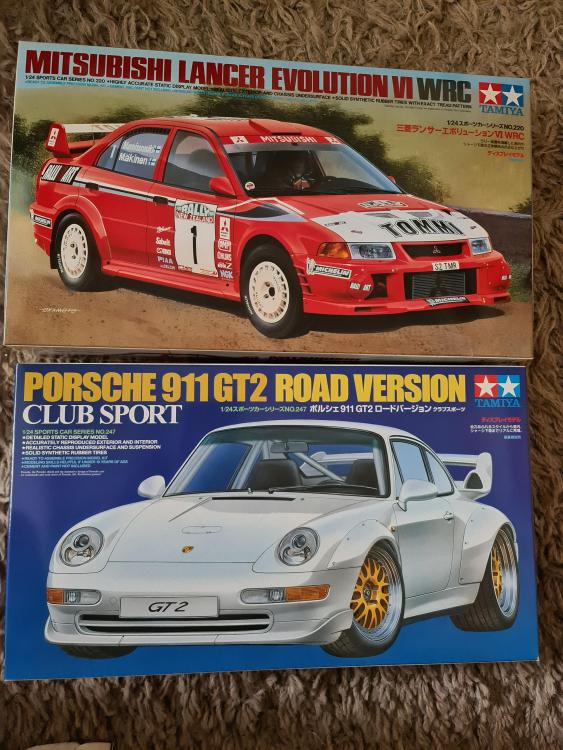
I look forward to building them in the near future
-
-
On 7/22/2021 at 9:00 PM, Charlie Thompson said:
personally don’t think those ‘eBay’ Toyota adapters would work with your general diagnostic machine unless it had the specific software on for starlets, but I could be wrong. As the only other way you could use it would be in eobd mode which unfortunately wasn’t brought in till 2000
Ahh, yeah that's what I thought might be the case. We have a Autel maxisys so maybe it can but I can't be sure, if I see one cheap enough I'll give it a try ✌🏻️
-
Very clean, nice work!
quite liking the window tints, make it look like front and rear windows are all one piece.
I've always wondered if those 22 pin toyota adapters would actually work, so perhaps I'll get one and give it a try one day
-
Nice! Looking smart
-
On 7/20/2021 at 8:15 AM, Goldie said:
Hello mate. Nice work as always!
You decided which standalone you're going with yet? The Link?
Good shout on getting the seats blackened, that paint went far too easily when moving her outside, can't even see how that happened!?
Looking forward to seeing your new place in the flesh, not going to lie I'm pretty jealous of the space you'll have for activities! 😉 Just need yourself a pair of wellys and a tweed jacket now! 😉
The models looking great, it's a really nice thing you did for him and I hope his family get to see it and appreciate it all the work that went in.
Once settled on my house move I'll be ordering myself up and R32 model I reckon, closest I'll be getting to the real thing i expect 🙄😂
Cheers mate! Considering either a ME442 so that it fits in the original casing, if not that, then a Link G4X monsoon sounds like it would fit the bill
Ohh that paint I used on the rails only gave false expectations, won't be using that again
Tweed jacket!? 🤣 noo way you'll be seeing me in one of those, not for a very long time at least! I'm too young and 'one of those city boys' 👨🏻🌾😂 I'm looking forward for you to come see it as well, naturally you're more than welcome to come up! Plus I'll probably need you and burty's help at some stage 😎
And thank you mate, that means a lot! 🙏🏻
And you're probably right, these models are the closest either of us are gonna get to owning the real thing now 😅😭
-
Just a little update where we're at:
- I'm still waiting on the cylinder head to come back from being cerakote'd. Its been a long while now, but they've explained why, which I fully understand (fortunately I'm not in a rush)
- I haven't yet decided whether or not to go with the flat faced valves due to the cost, but if I did it might also be better to go further and get Colsibro valve guides to suit, then I would need to get them fitted & valve seats cut (which would need doing either way), but as I say this would be further added cost
- I also think I have come to the decision not to go ahead with the emanage ultimate, and instead go down a standalone route as this will give me better control to suit my requirements. Mainly a standalone unit will provide more accurate adjustments, slightly better features, and it enable me to use knock control, whereas the EMU only monitors knock, not manage it, which is important when running a high compression like I plan to
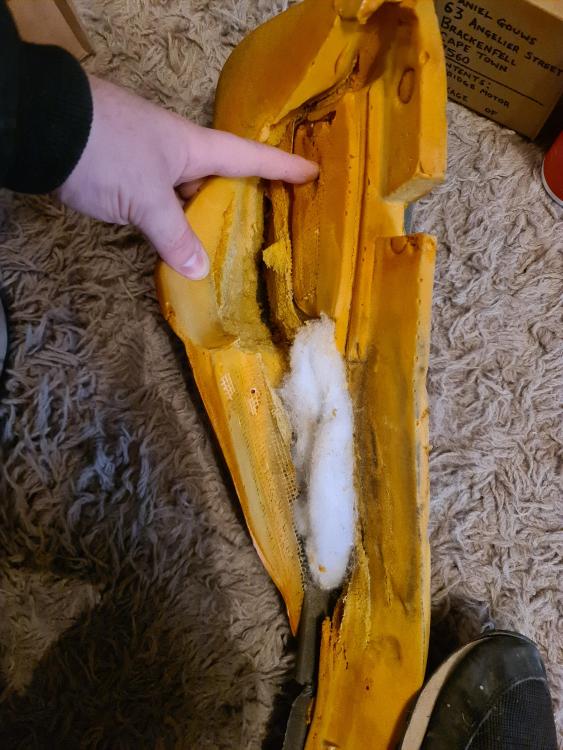
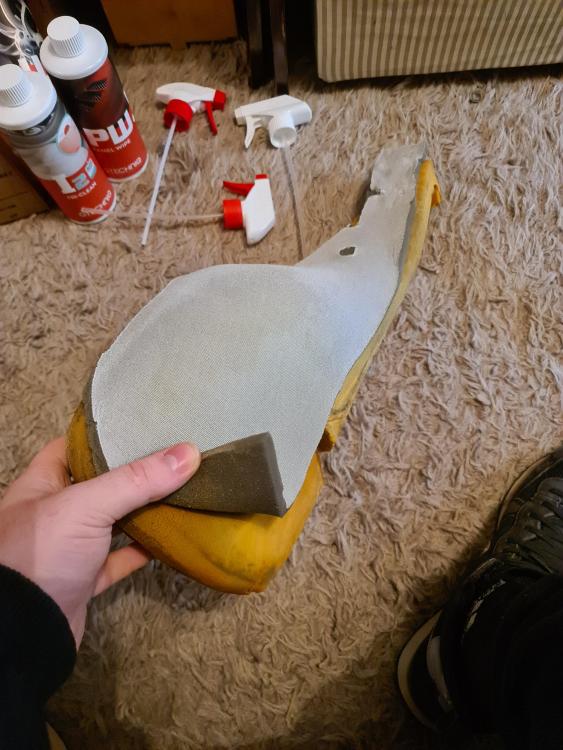
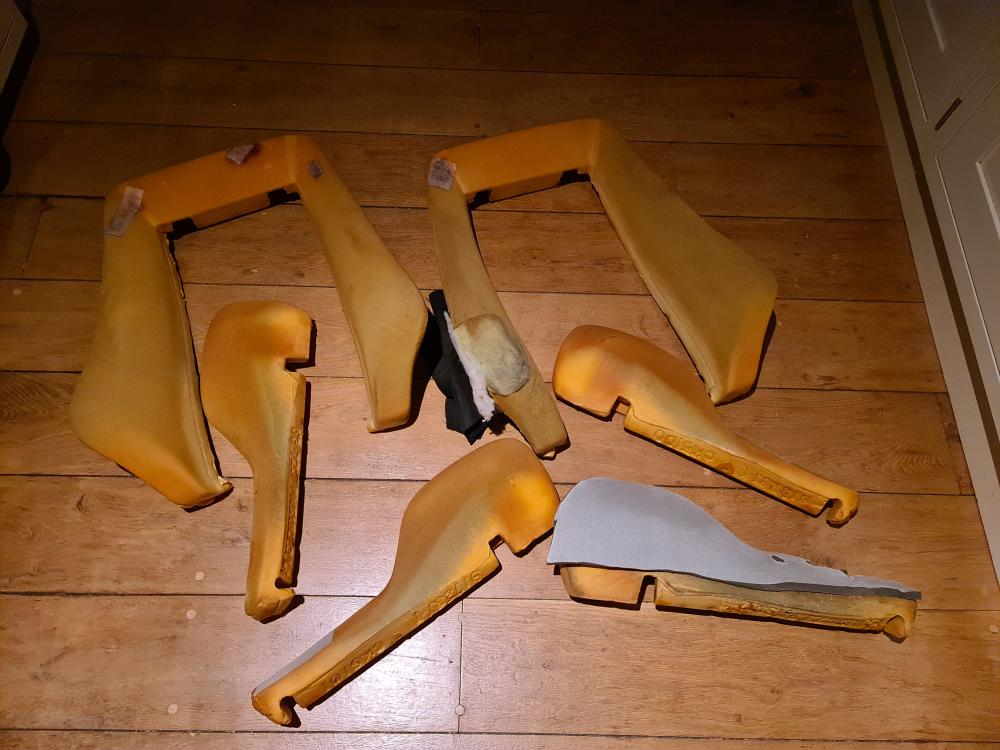
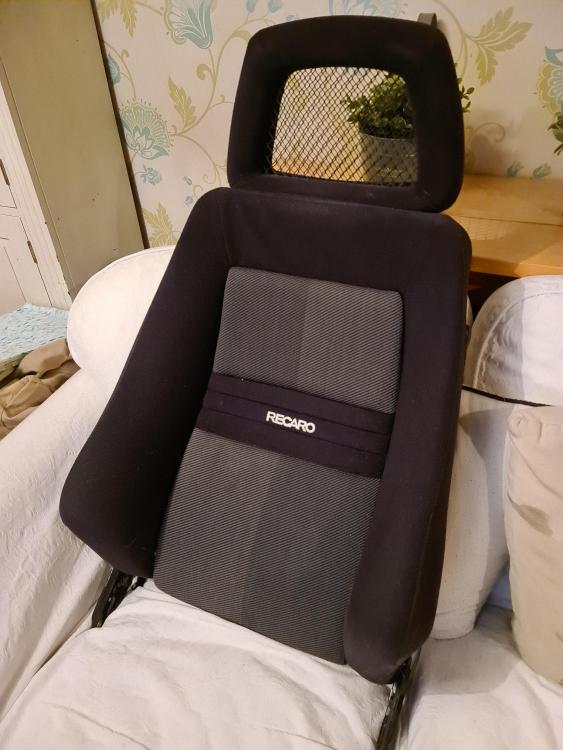
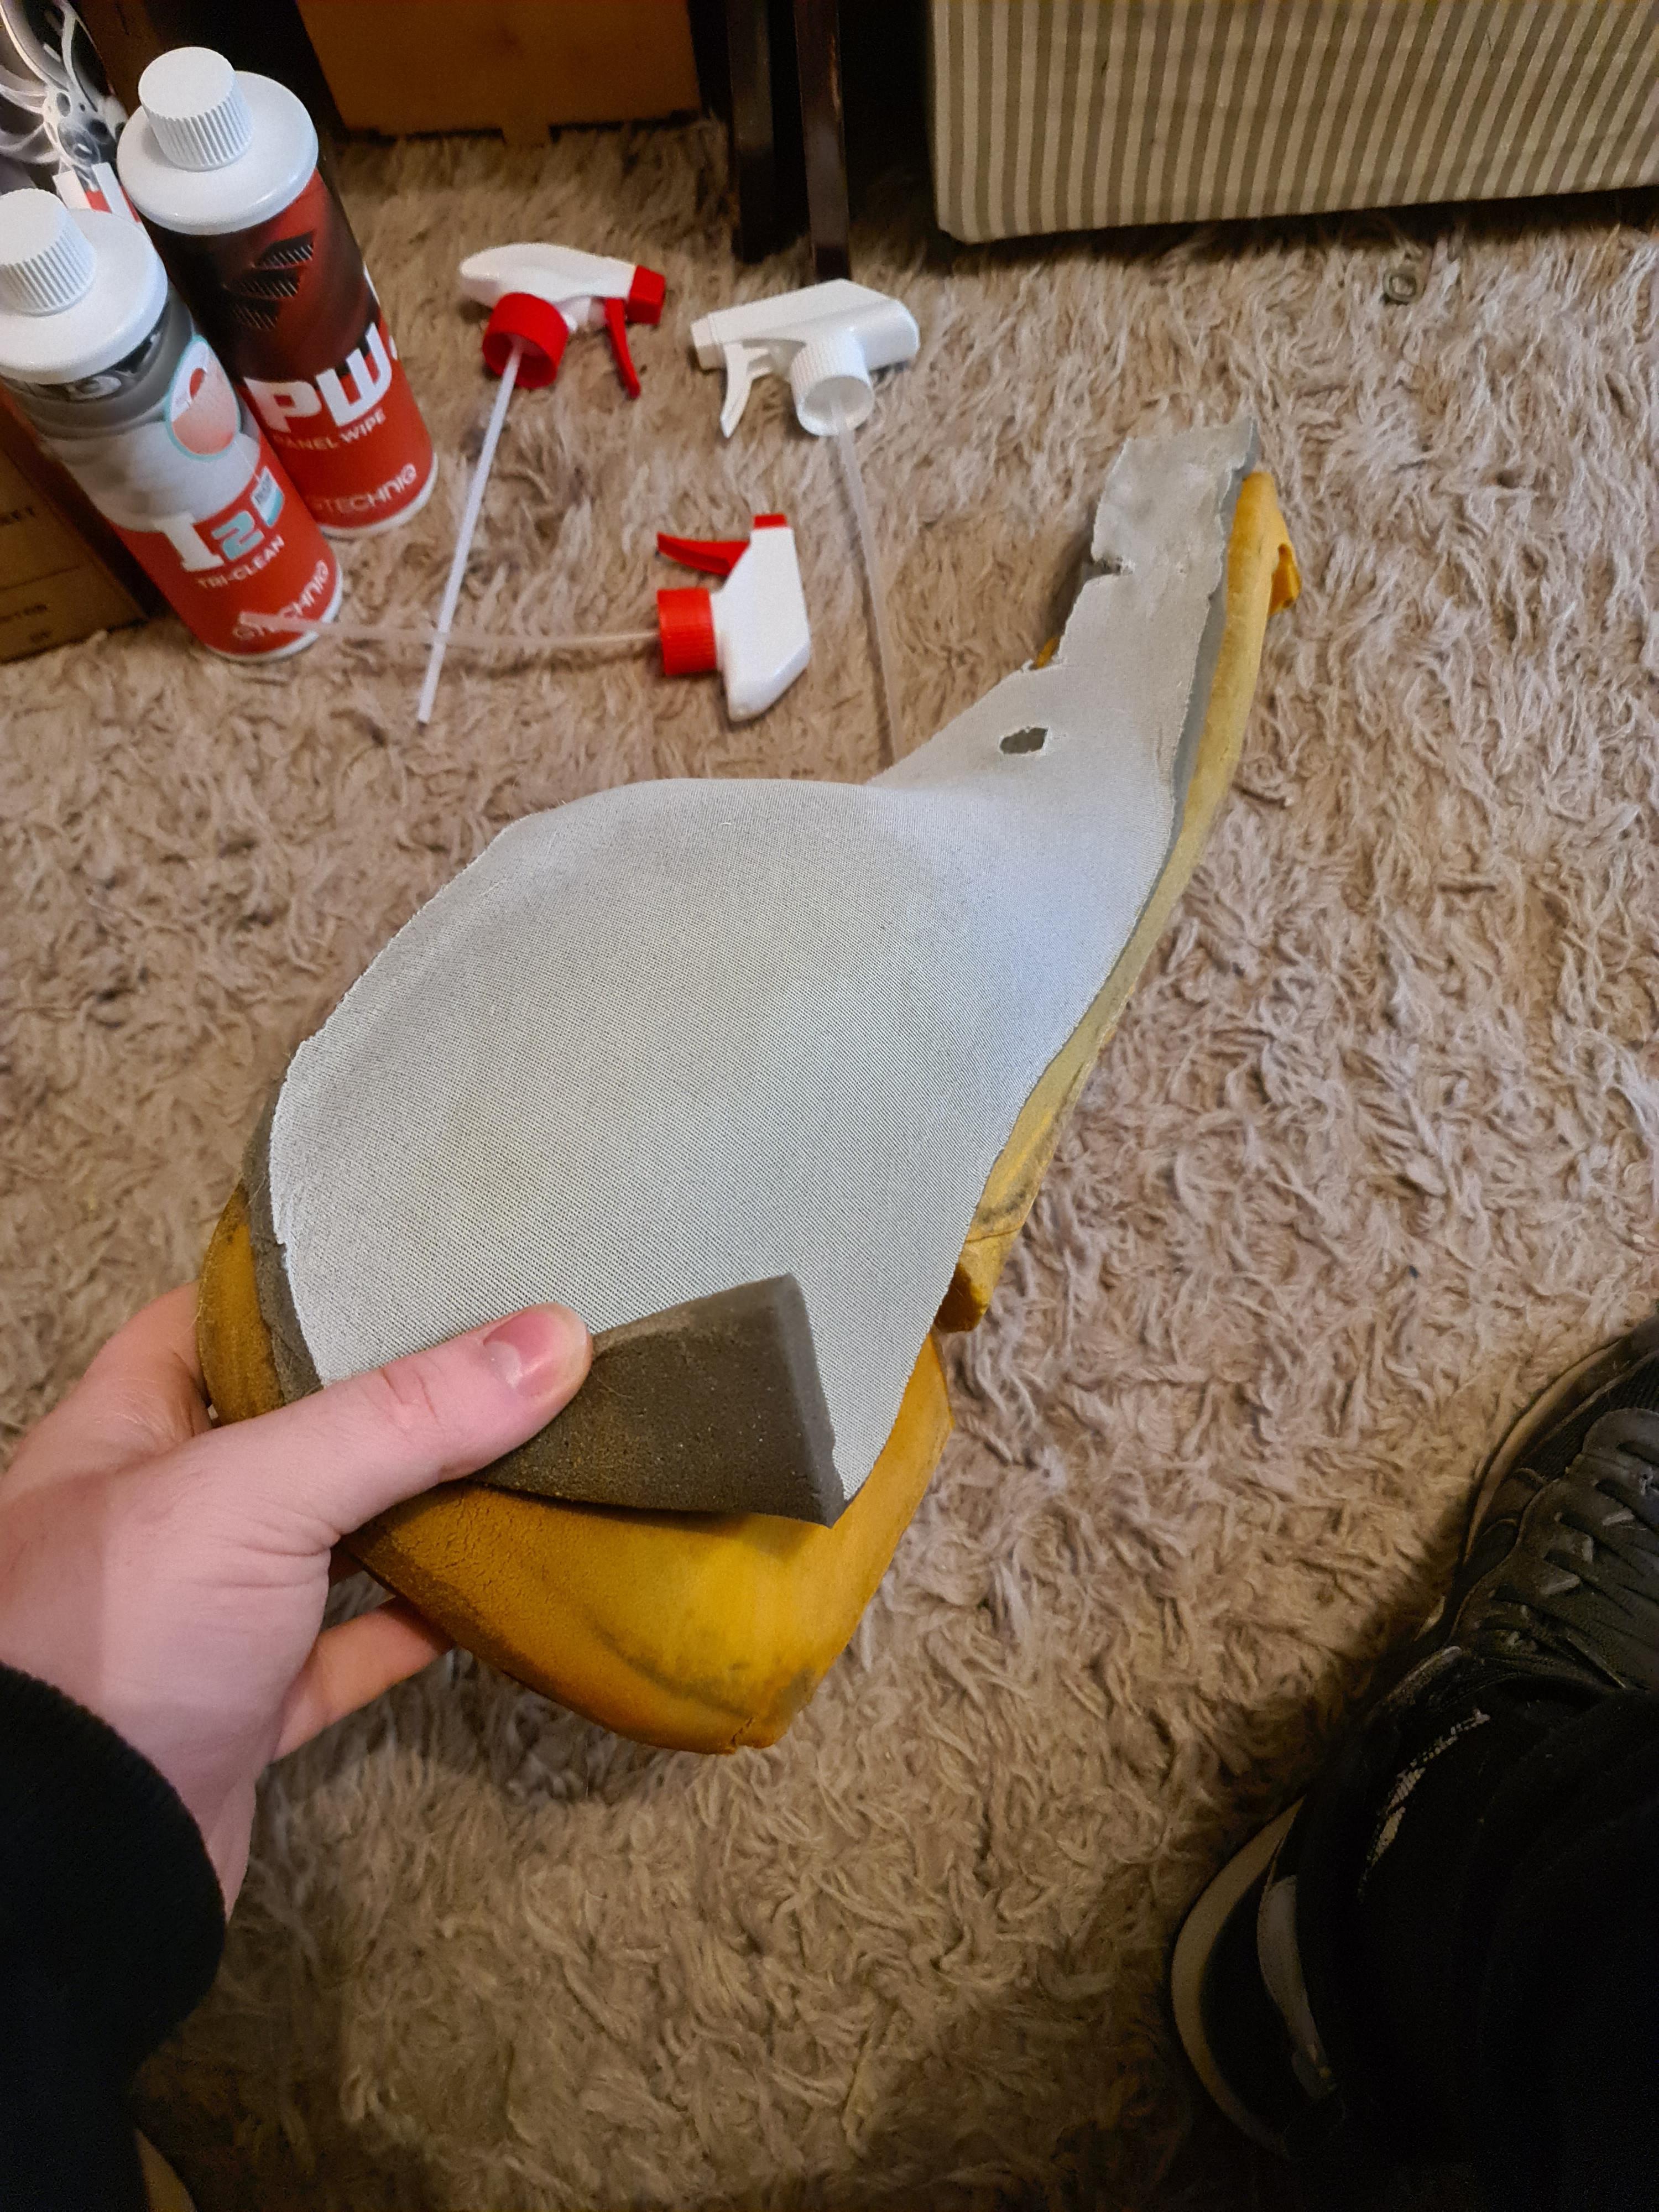
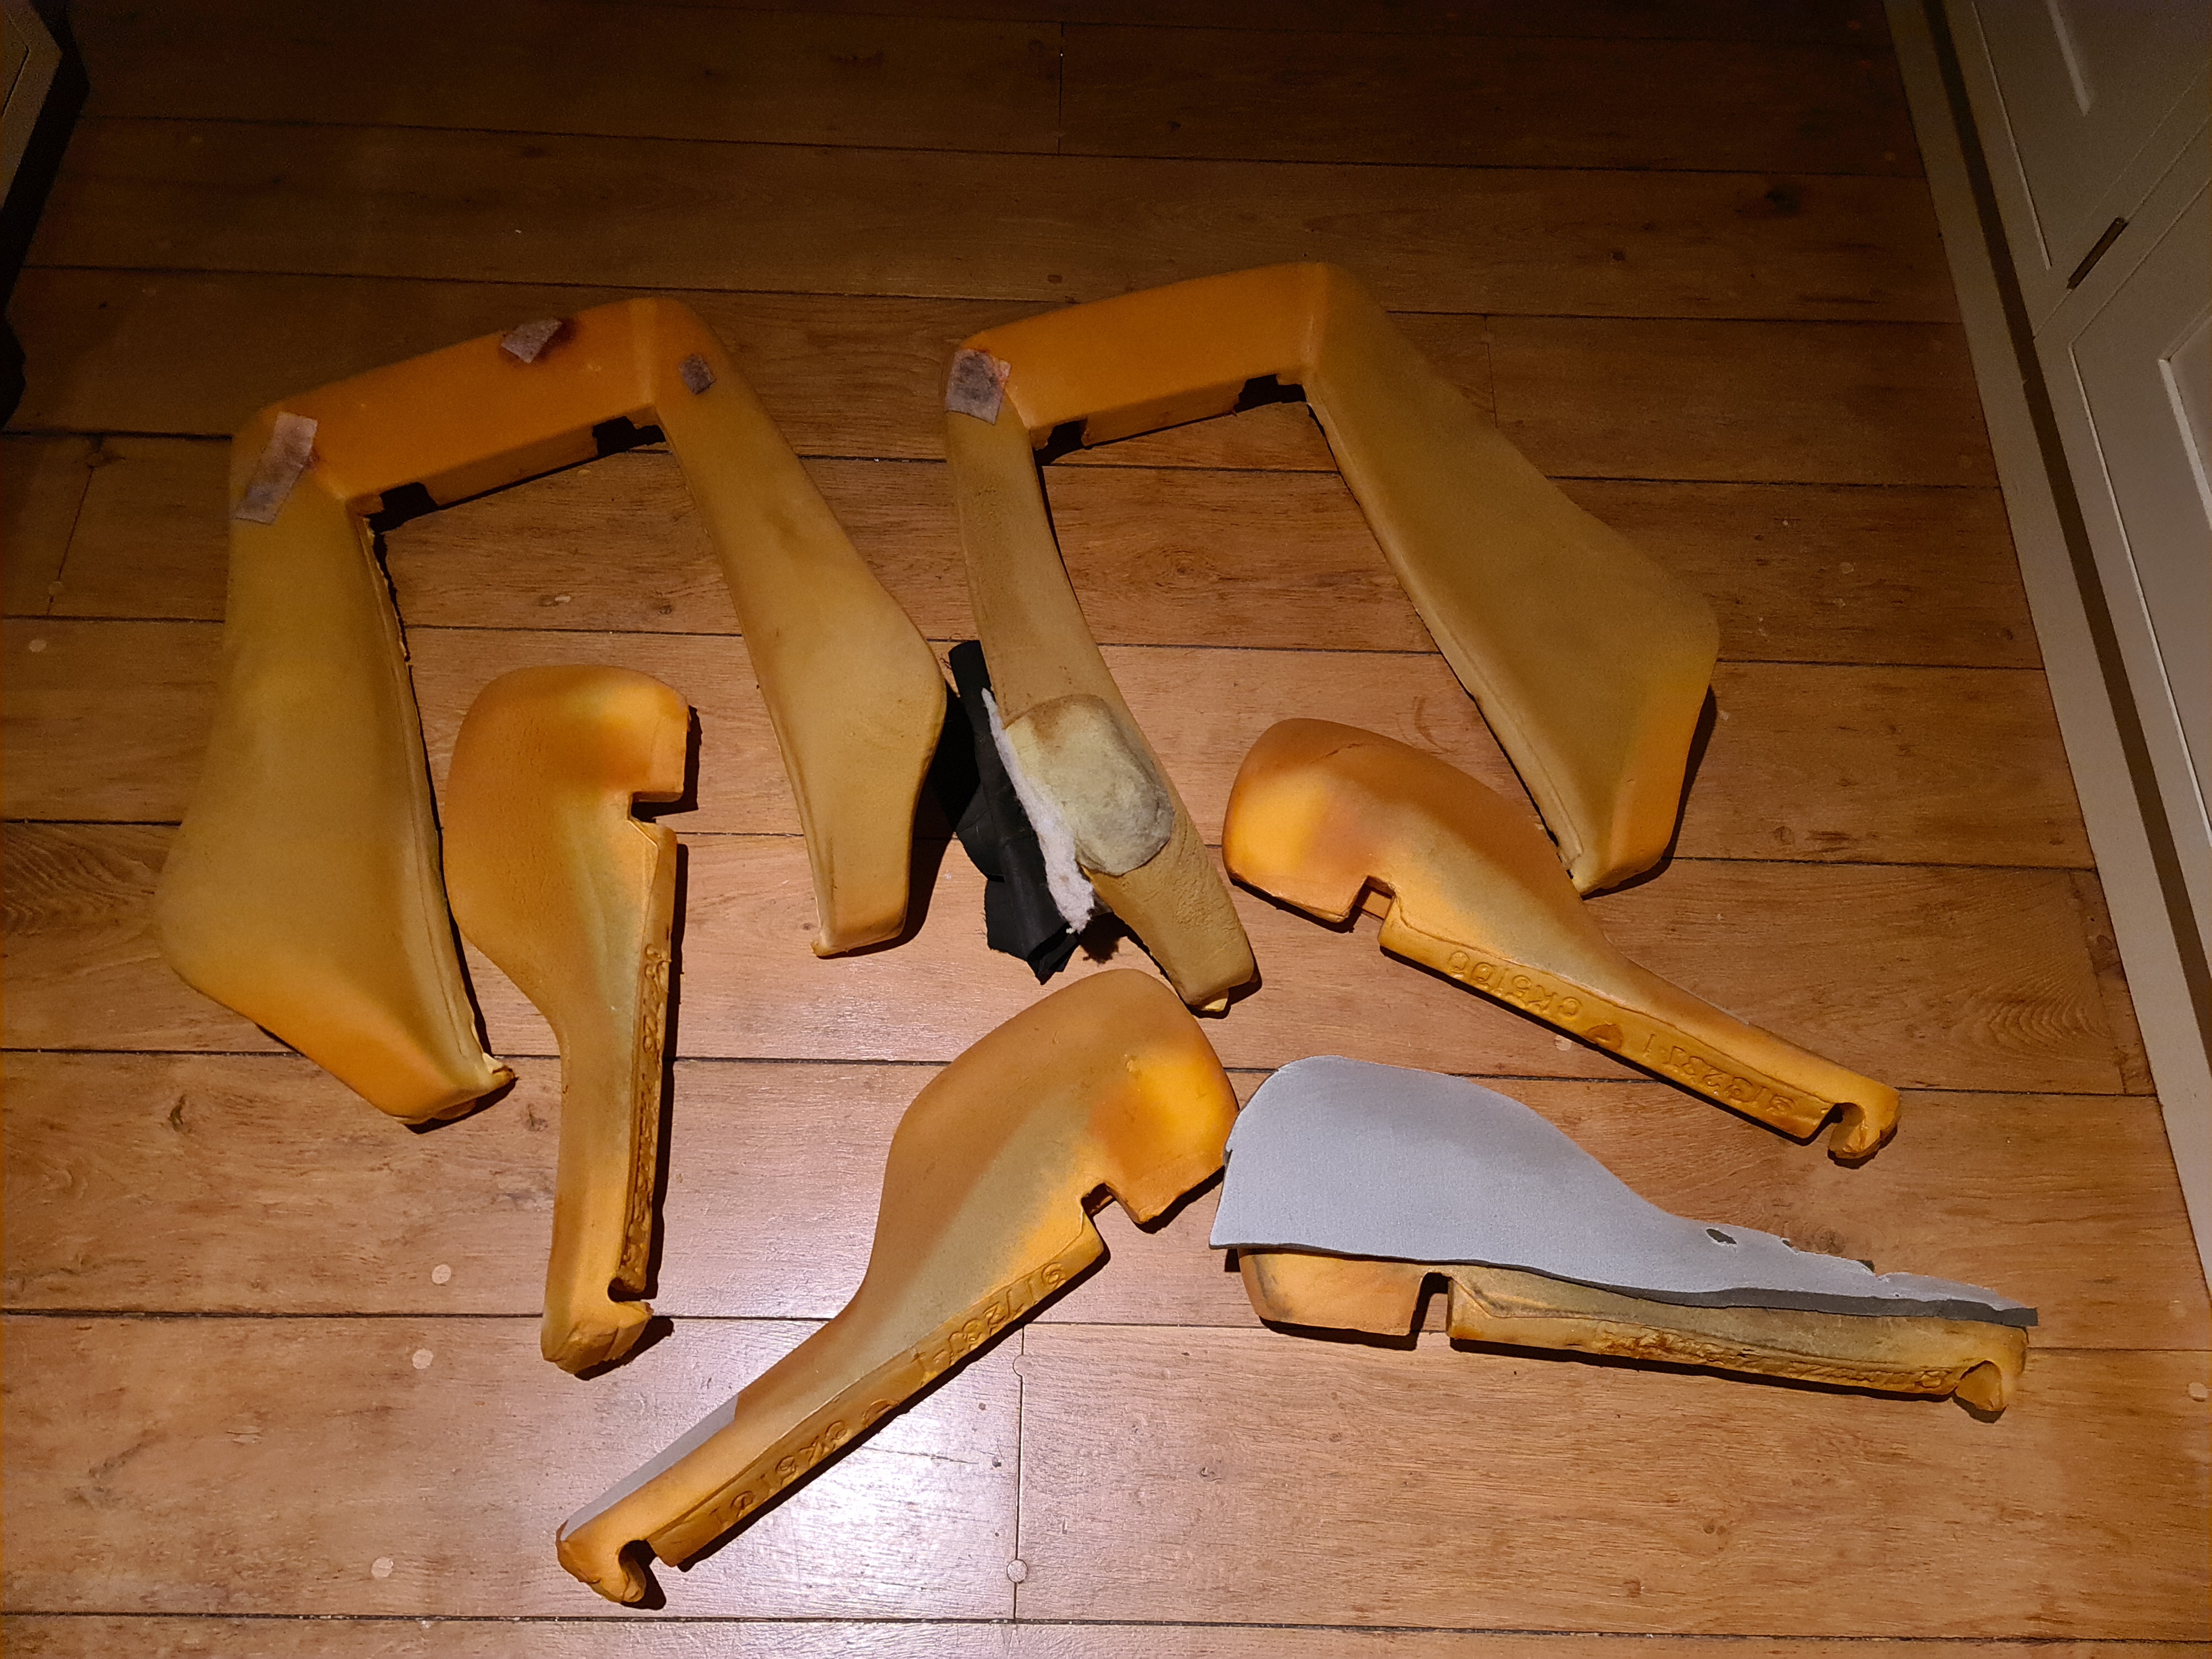
- Both the of the front Recaro seats have had all the bolsters replaced with brand new genuine Recaro foam, and I padded out the support bars on the frames to add a little bit more rigidity. I also had some material replaced where it was wearing thin
Here's what the old bolsters looked like:
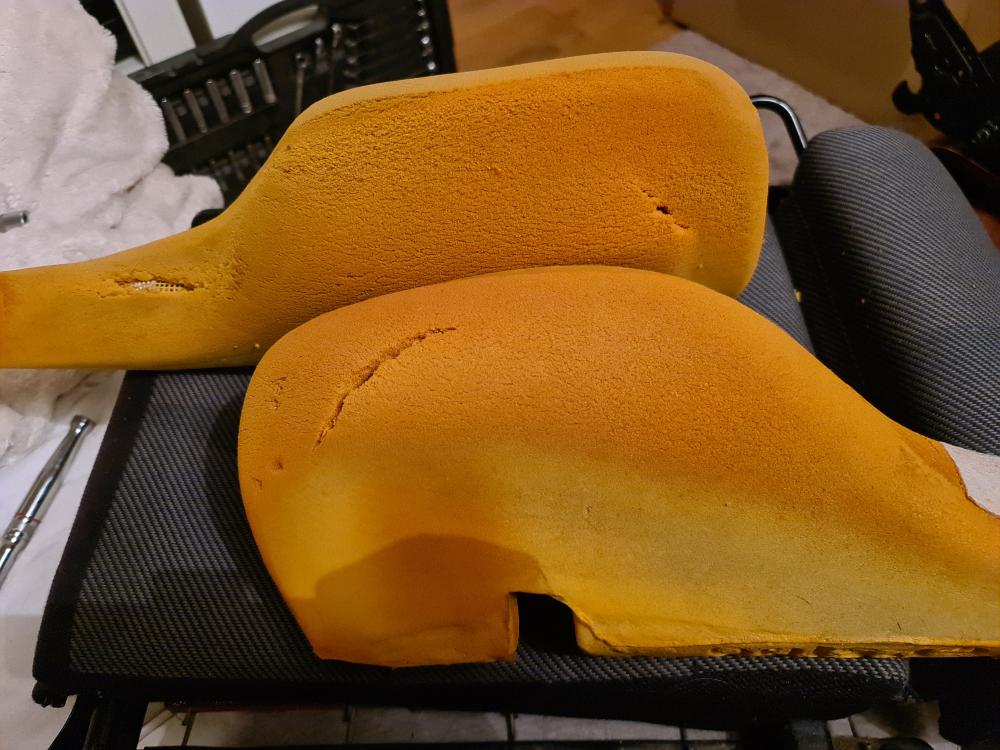
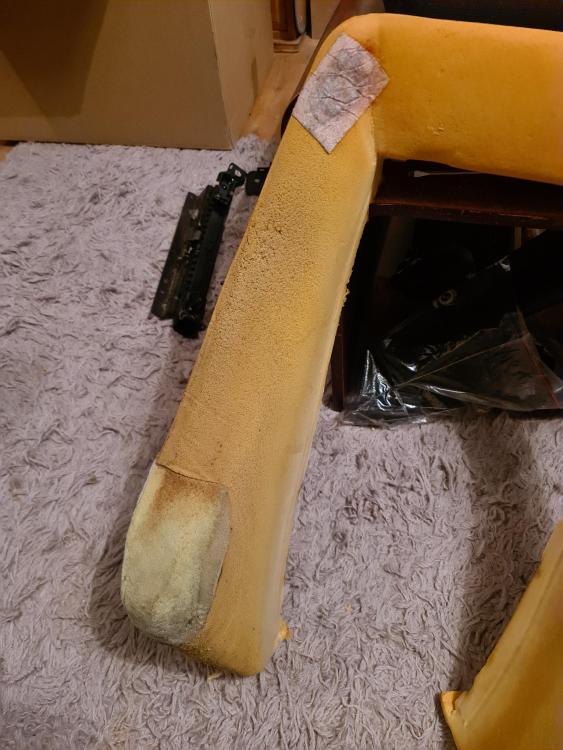
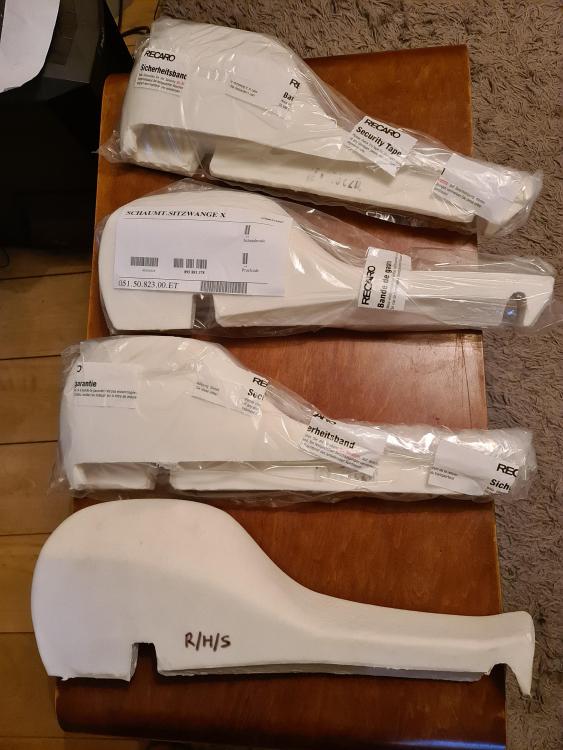
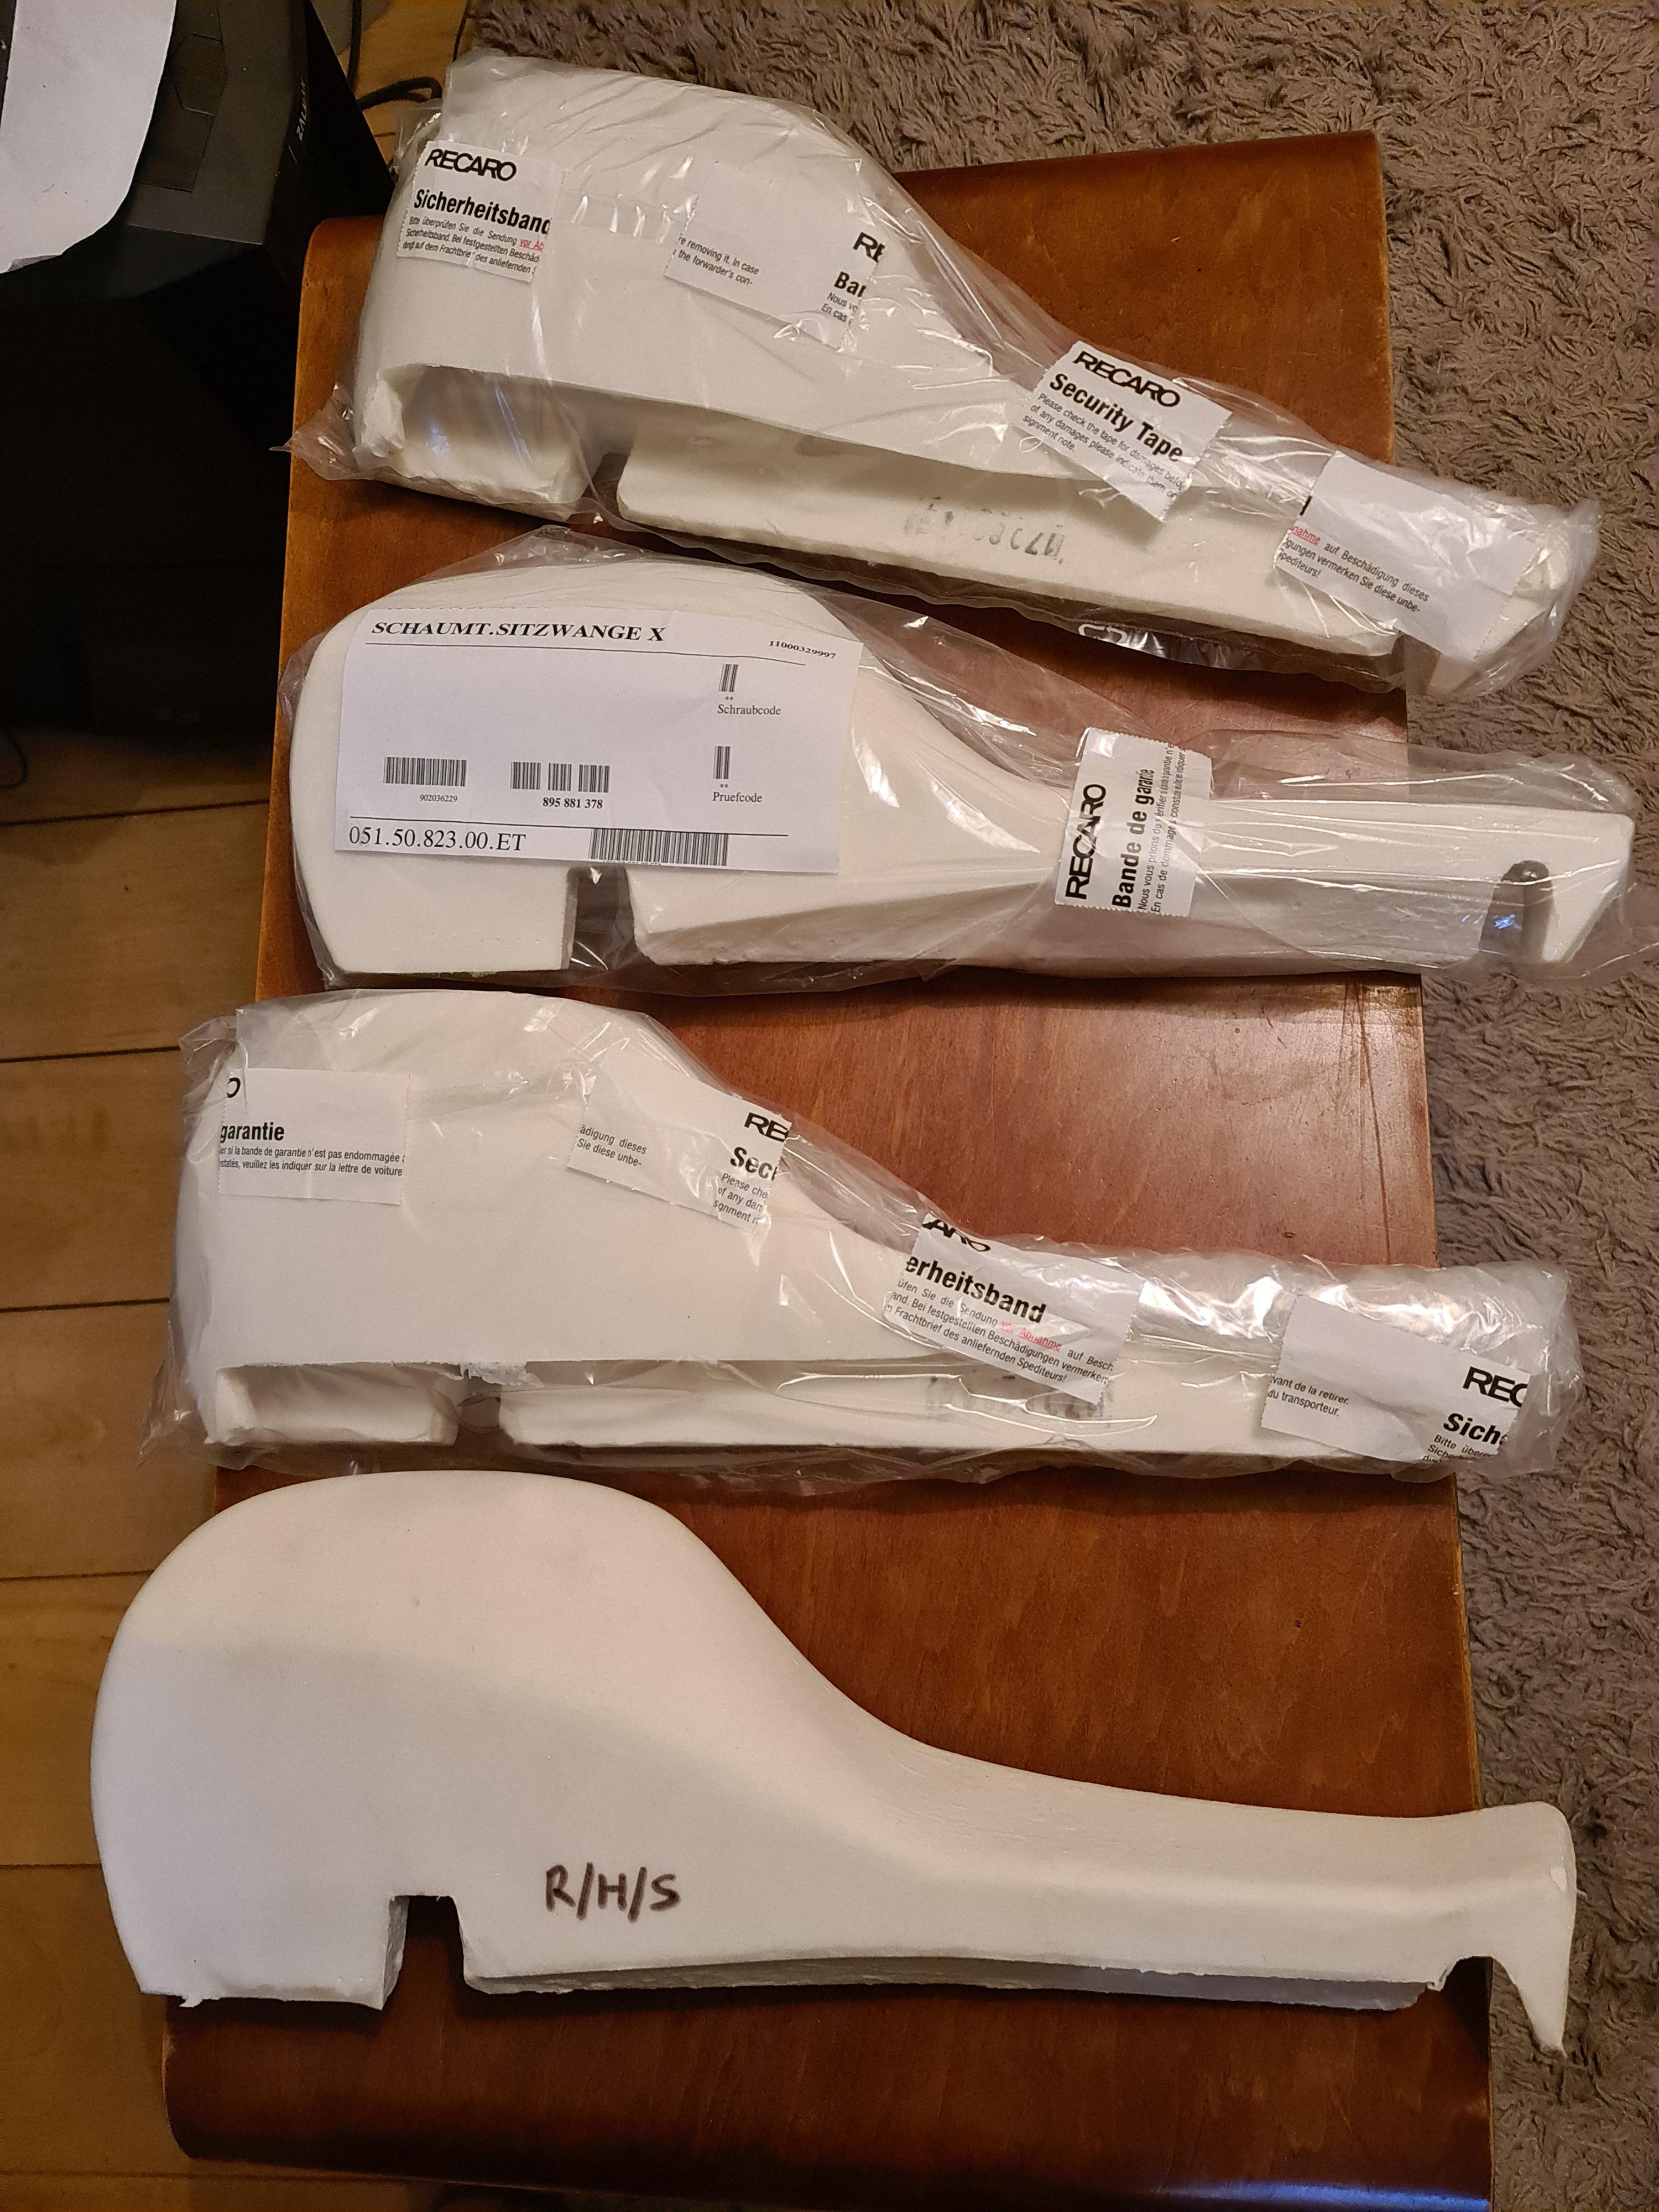
And here's what they were replaced with:

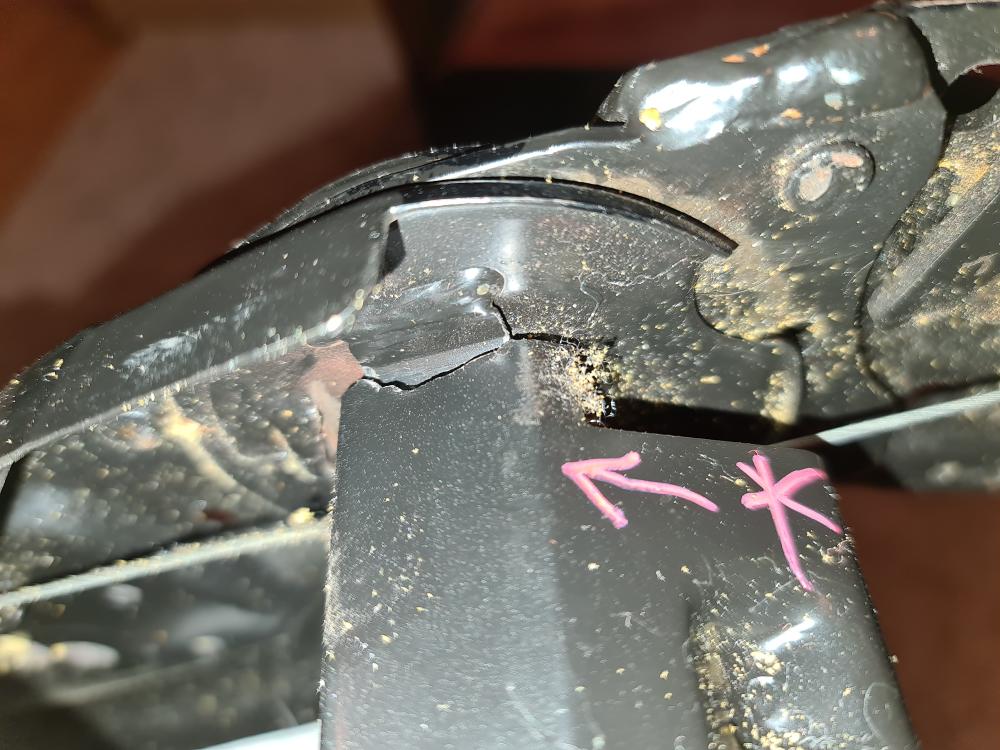
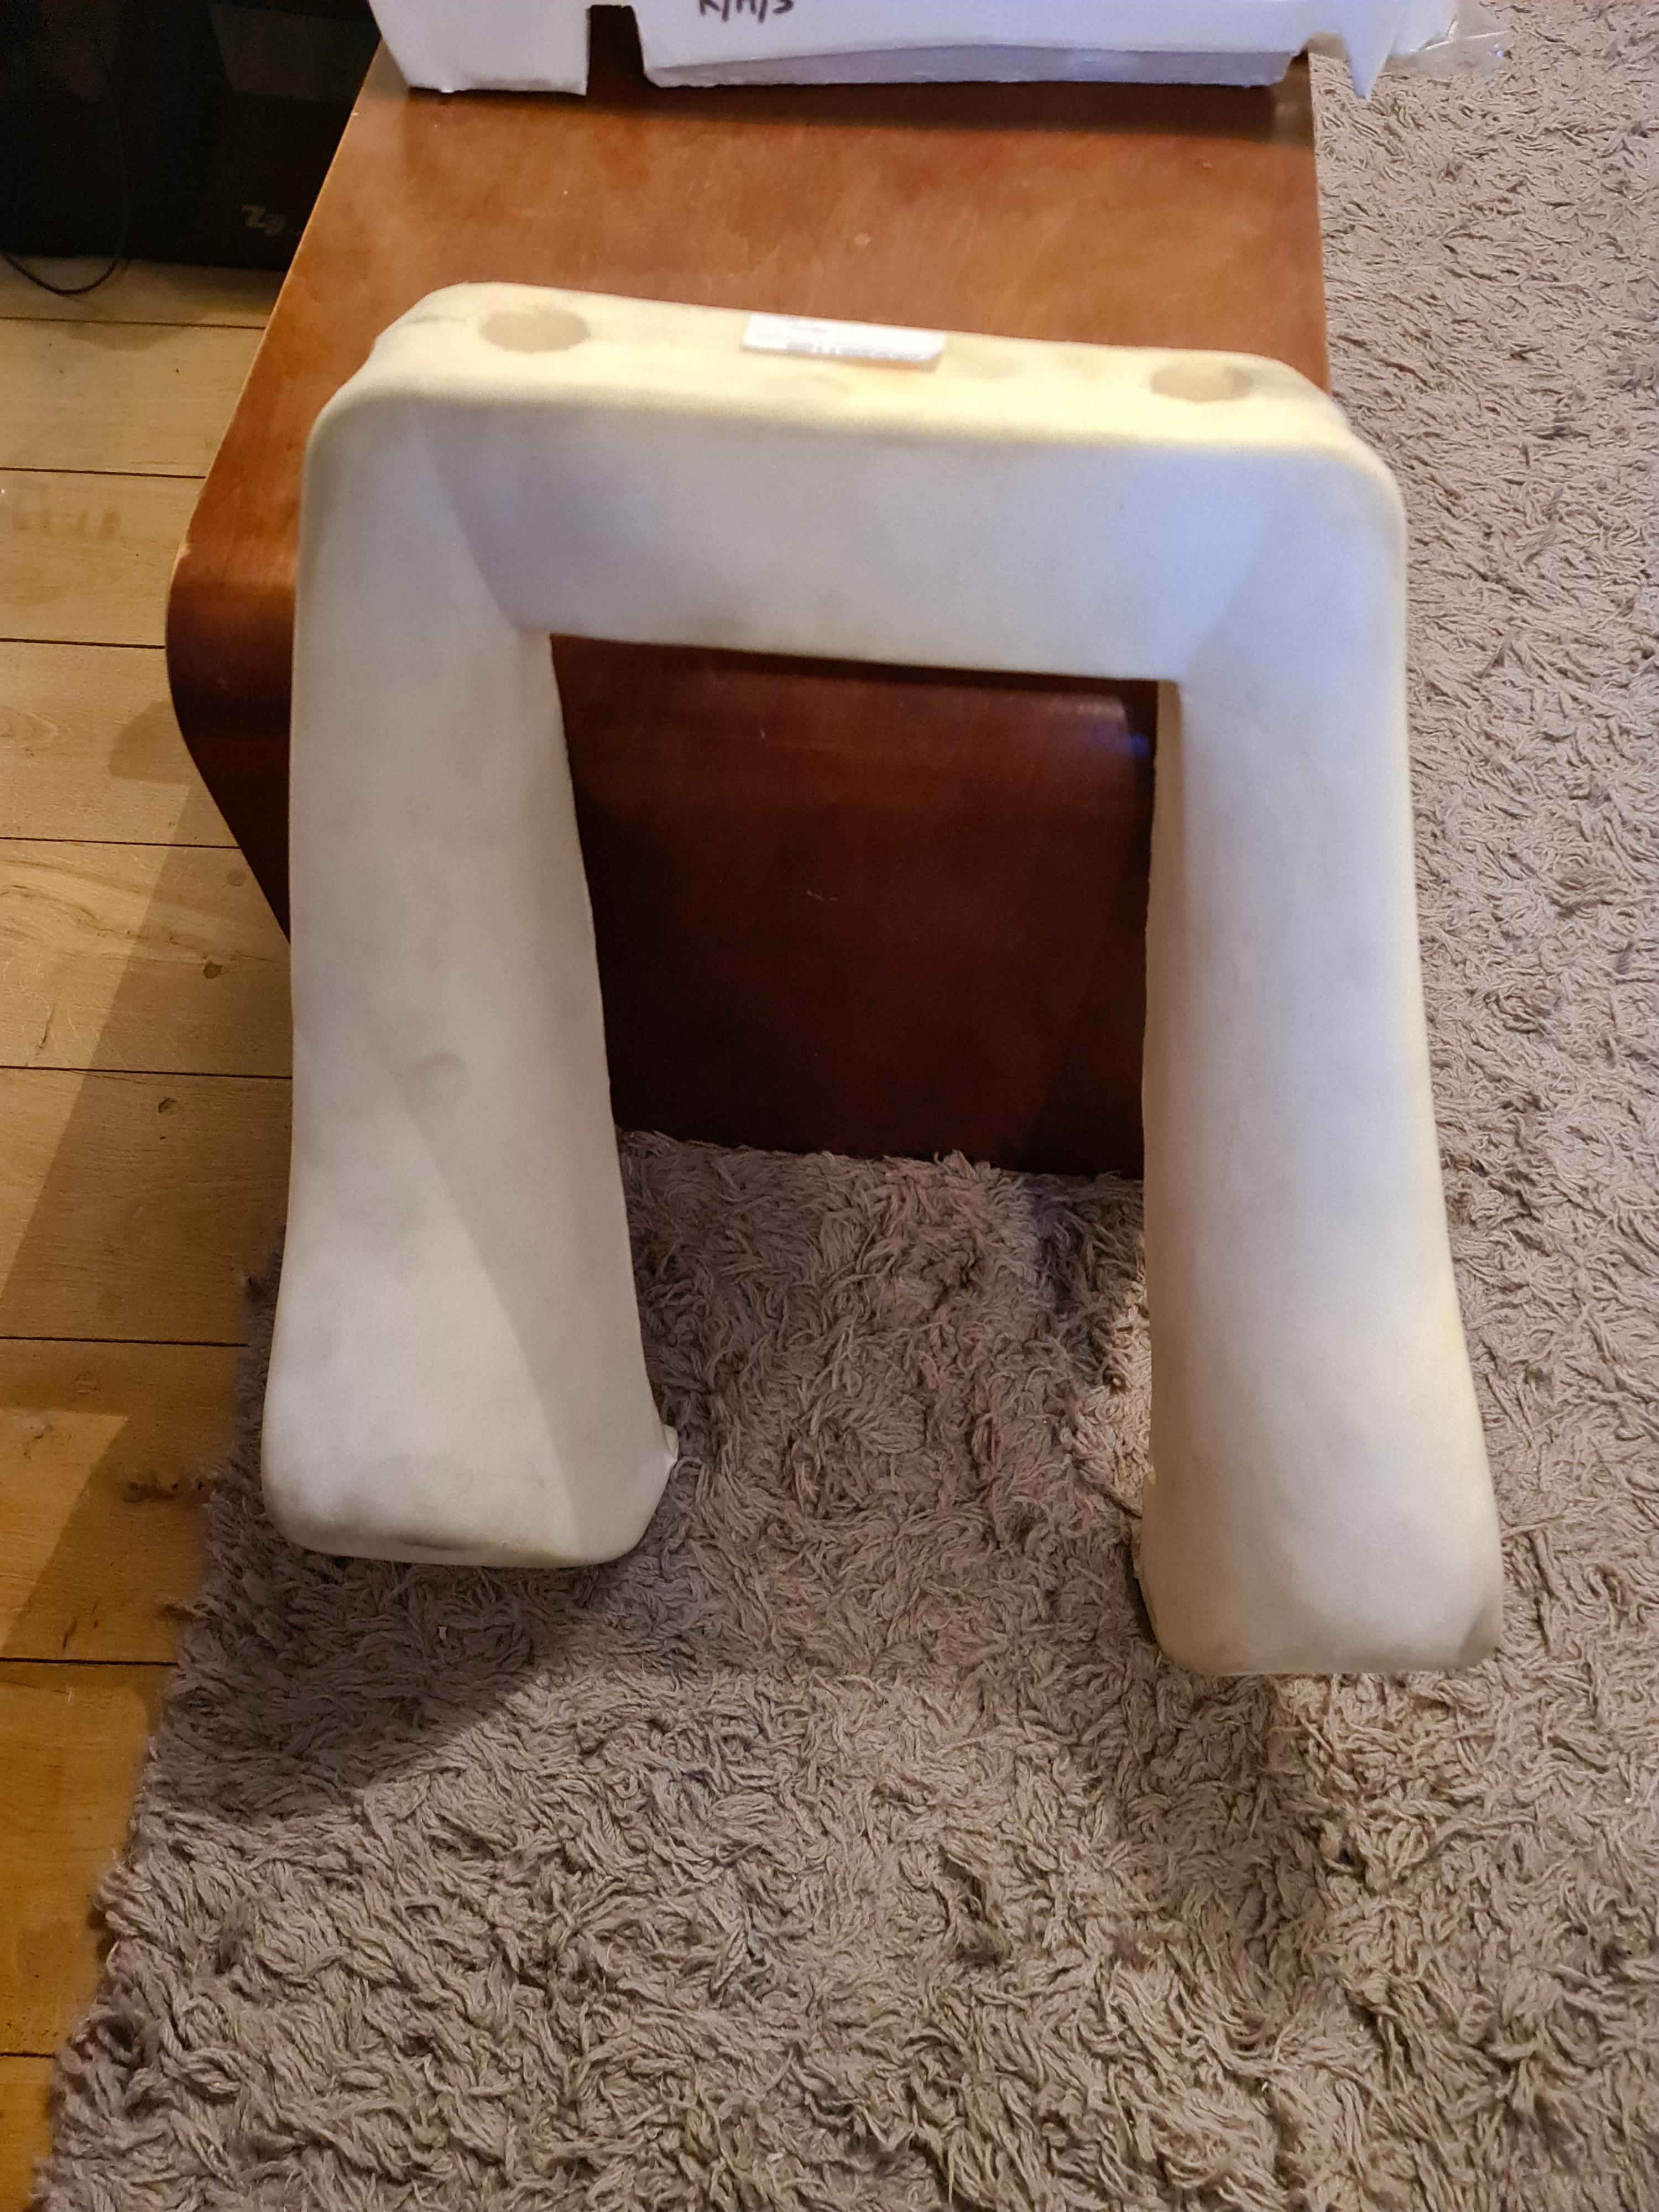
Whilst the seats were apart I noticed one of the upper seat frames had some cracks in it, so I took one to be welded which he struggled with because they were made of 'crap' metal (bit disappointing for a Recaro seat if I'm honest).
Having already left with one repaired, I then noticed the other one was actually worse, and rather than go back and pay him again, I thought I would try TIG weld it myself with a recent mma & tig welder I had acquired from someone I did some work for. I'm not gonna lie, the welds are pretty shit. Excuses being: frames made of thin pot metal, cheap welder, shit tungsten, welding outside, and lack of experience. That said, the welds should hold as the didn't break when I tried, plus I did add some reinforcement.
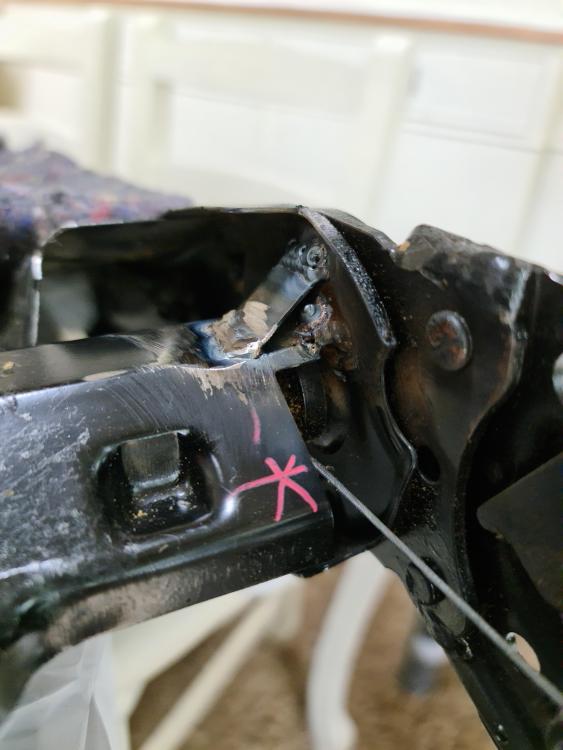
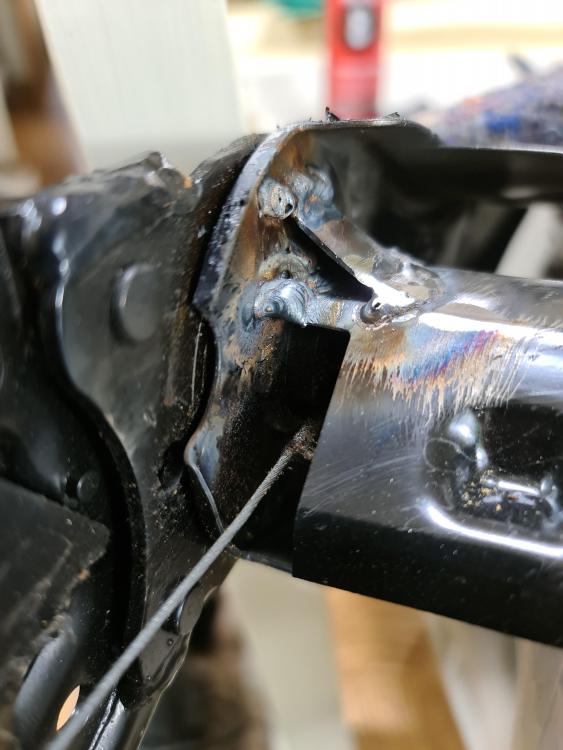
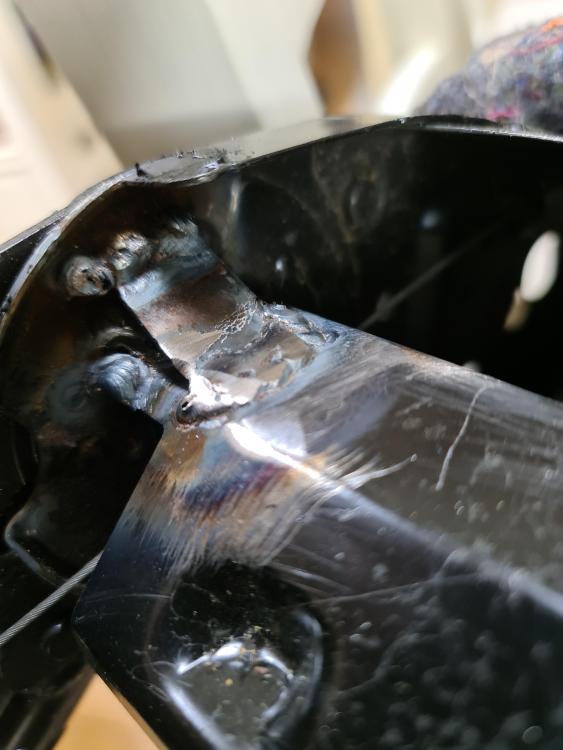
With these cracks welded up it immediately made the seats noticeably more ridged than before. Obviously I gave them a spray of self etch primer and some black paint before reassembling

- I have also decided that I'm not happy with the paint I used on the seat rails because its become apparent that it easily chips off. So I am having the entire rails blackened (which is what I think they were originally), which is a metal surface treatment rather than a coating and will be more durable and resistant to corrosion. Also the stripped mounting point threads that I re-tapped to M12 make it difficult to get the rails mounted properly, so I am going to weld up the holes and re-tap them again back to the original M10 size
Now for the big news, unfortunately this progress thread will be having a bit of another go slow for a while. But this isn't a bad thing! Because I am actually moving house soon to another location which has considerably more space where I have the opportunity to build my own garage/workshop, which will enable me to take on bigger jobs such as engine removal etc. and actually make some real progress, so stay tuned!
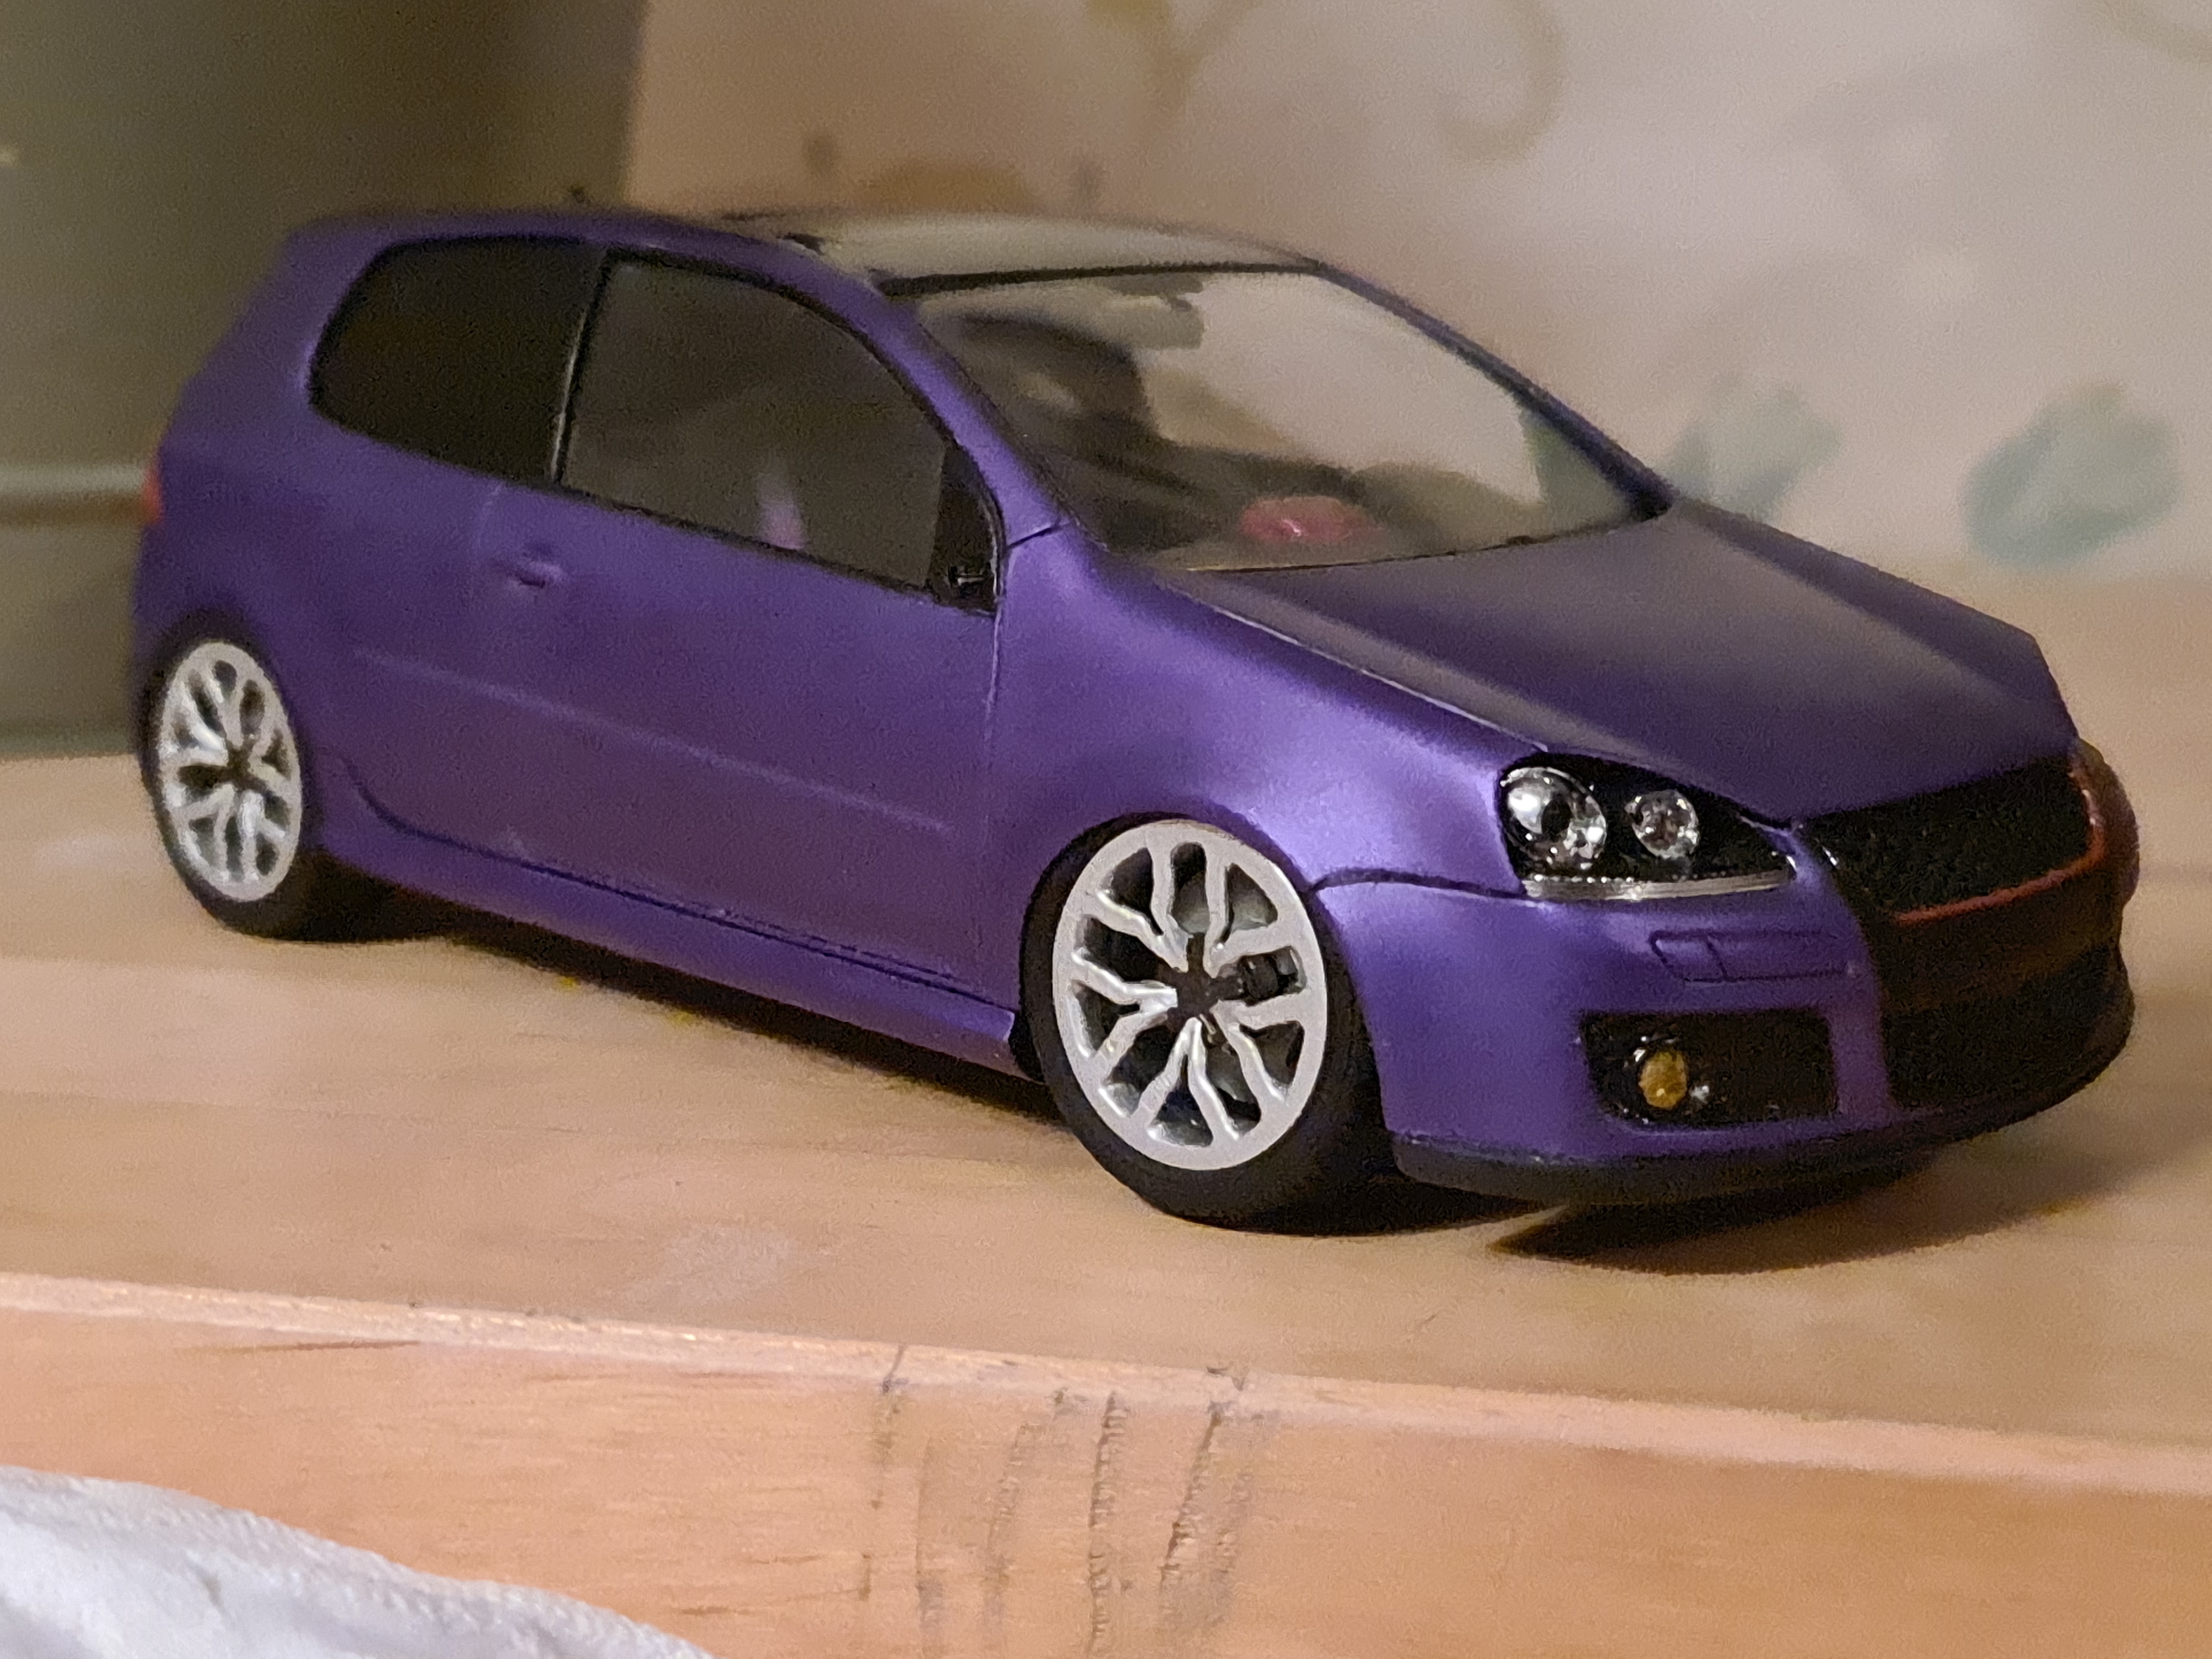
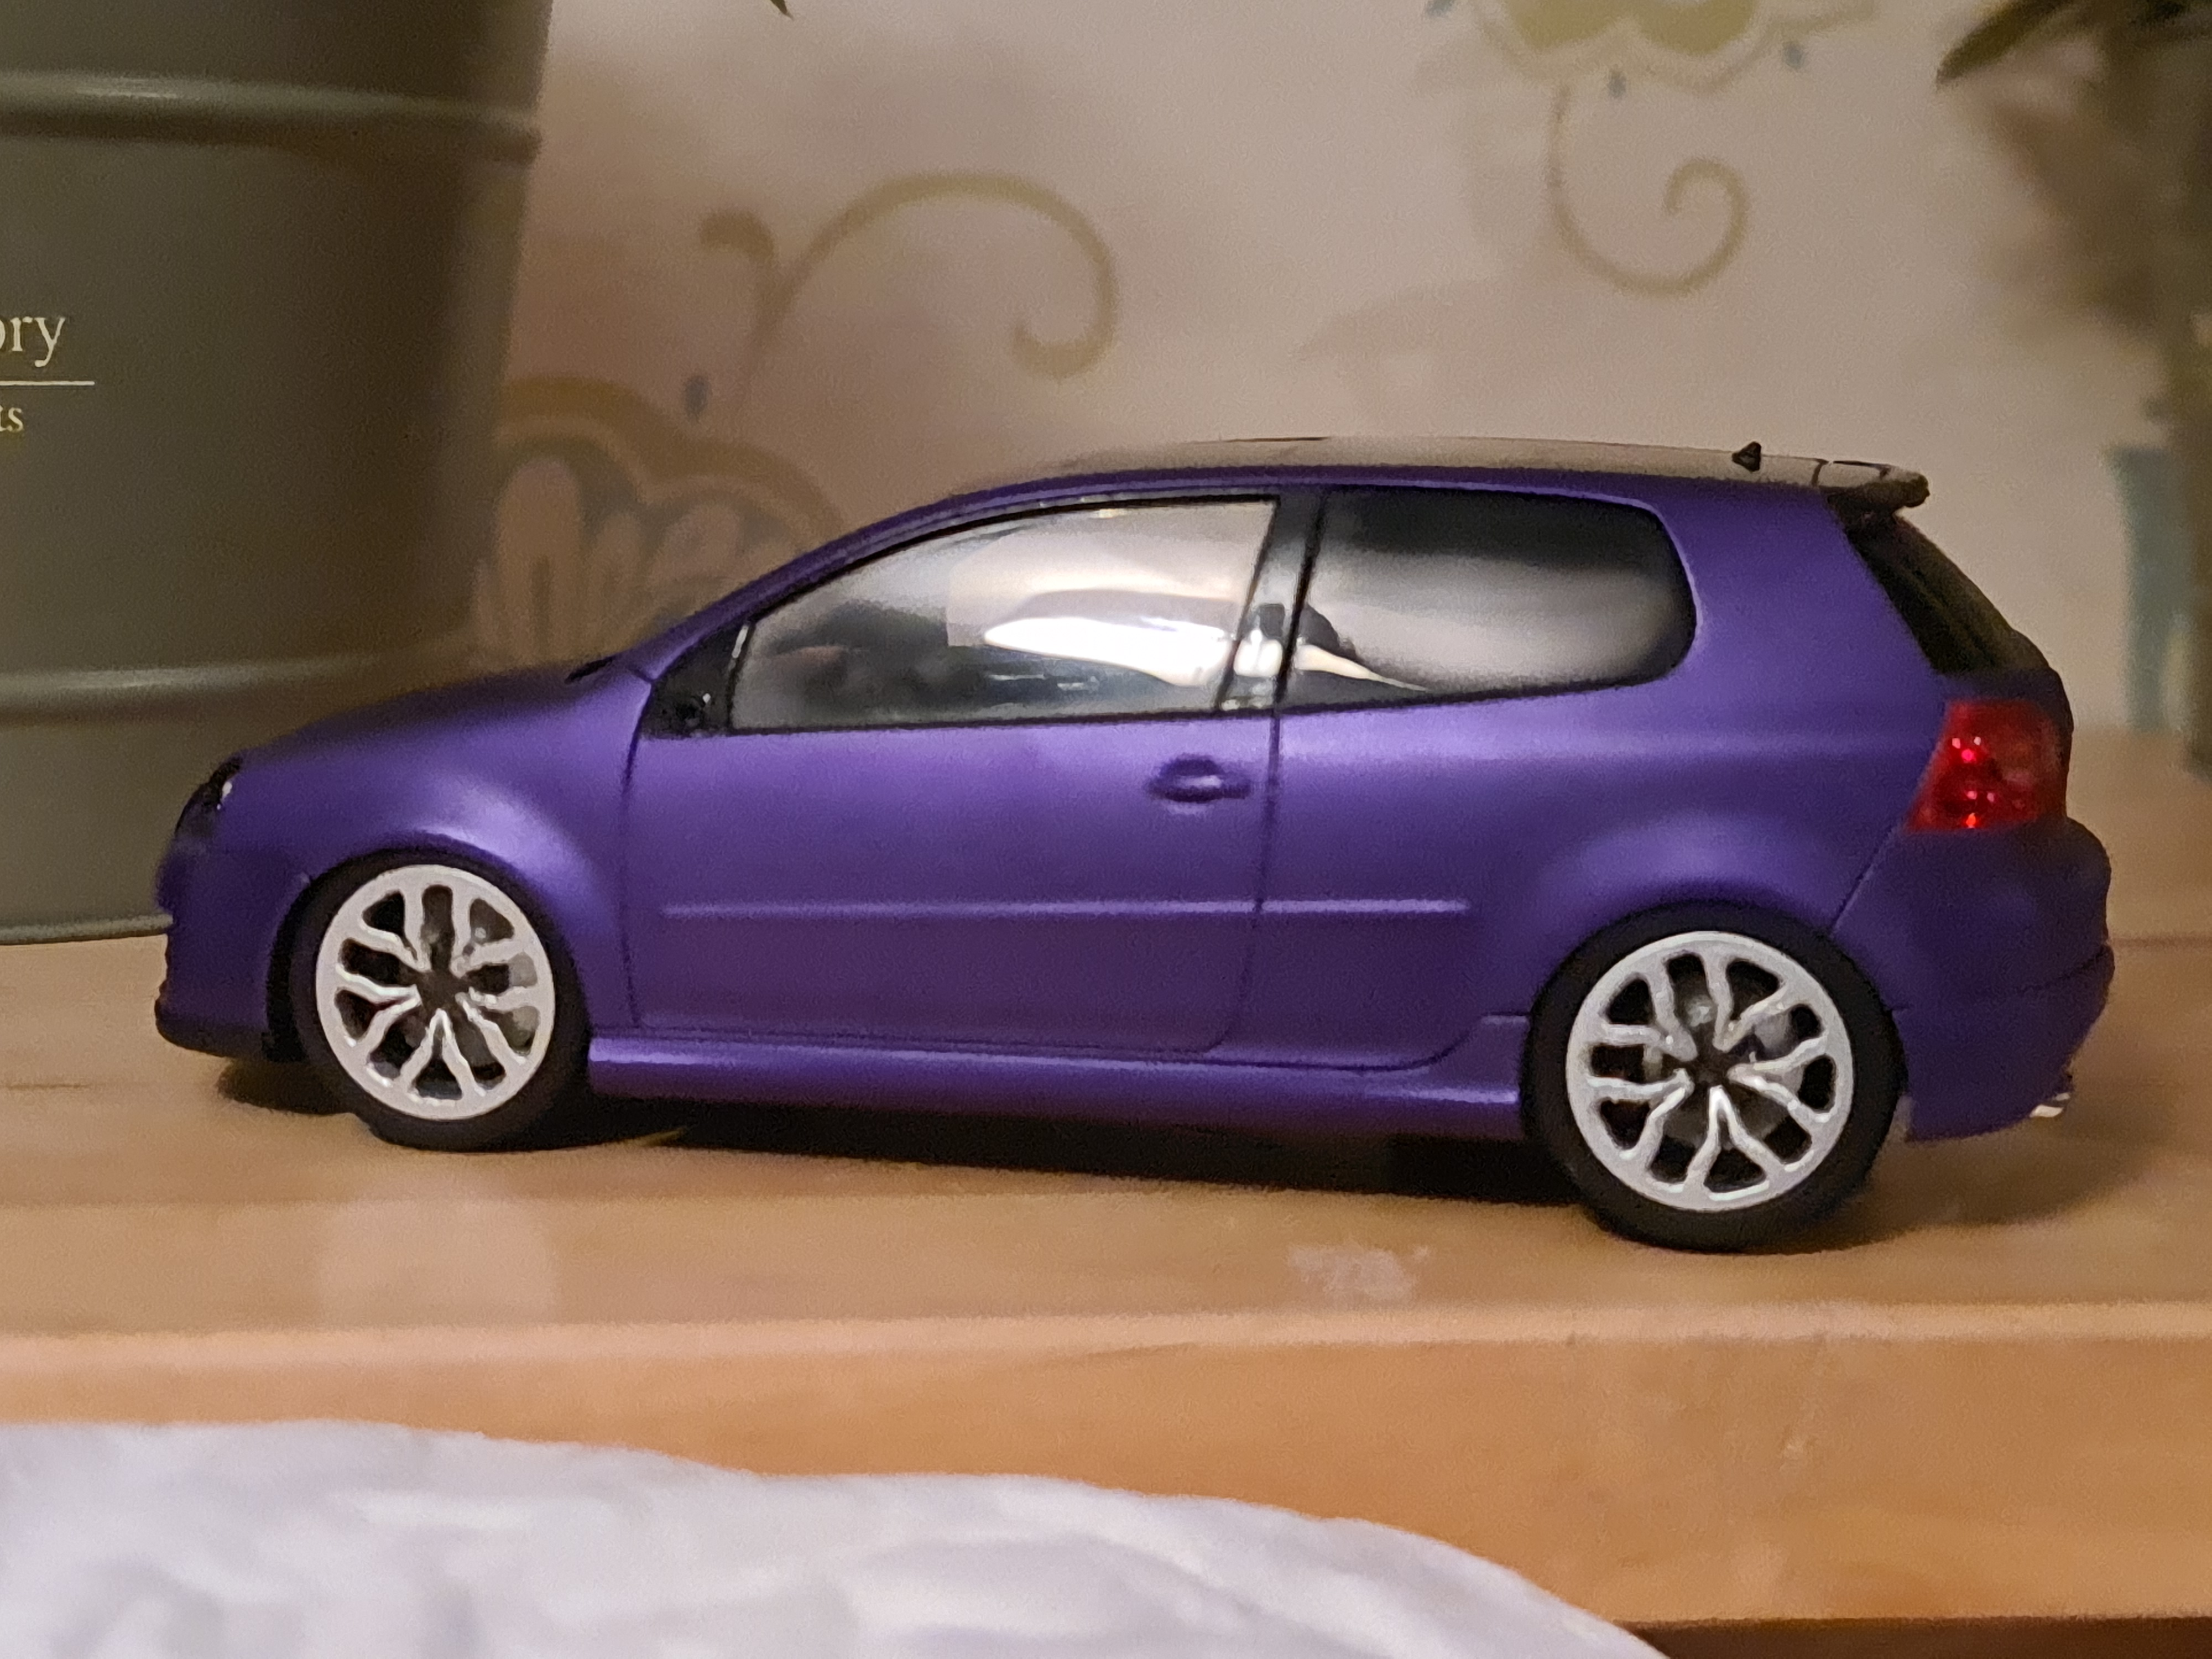
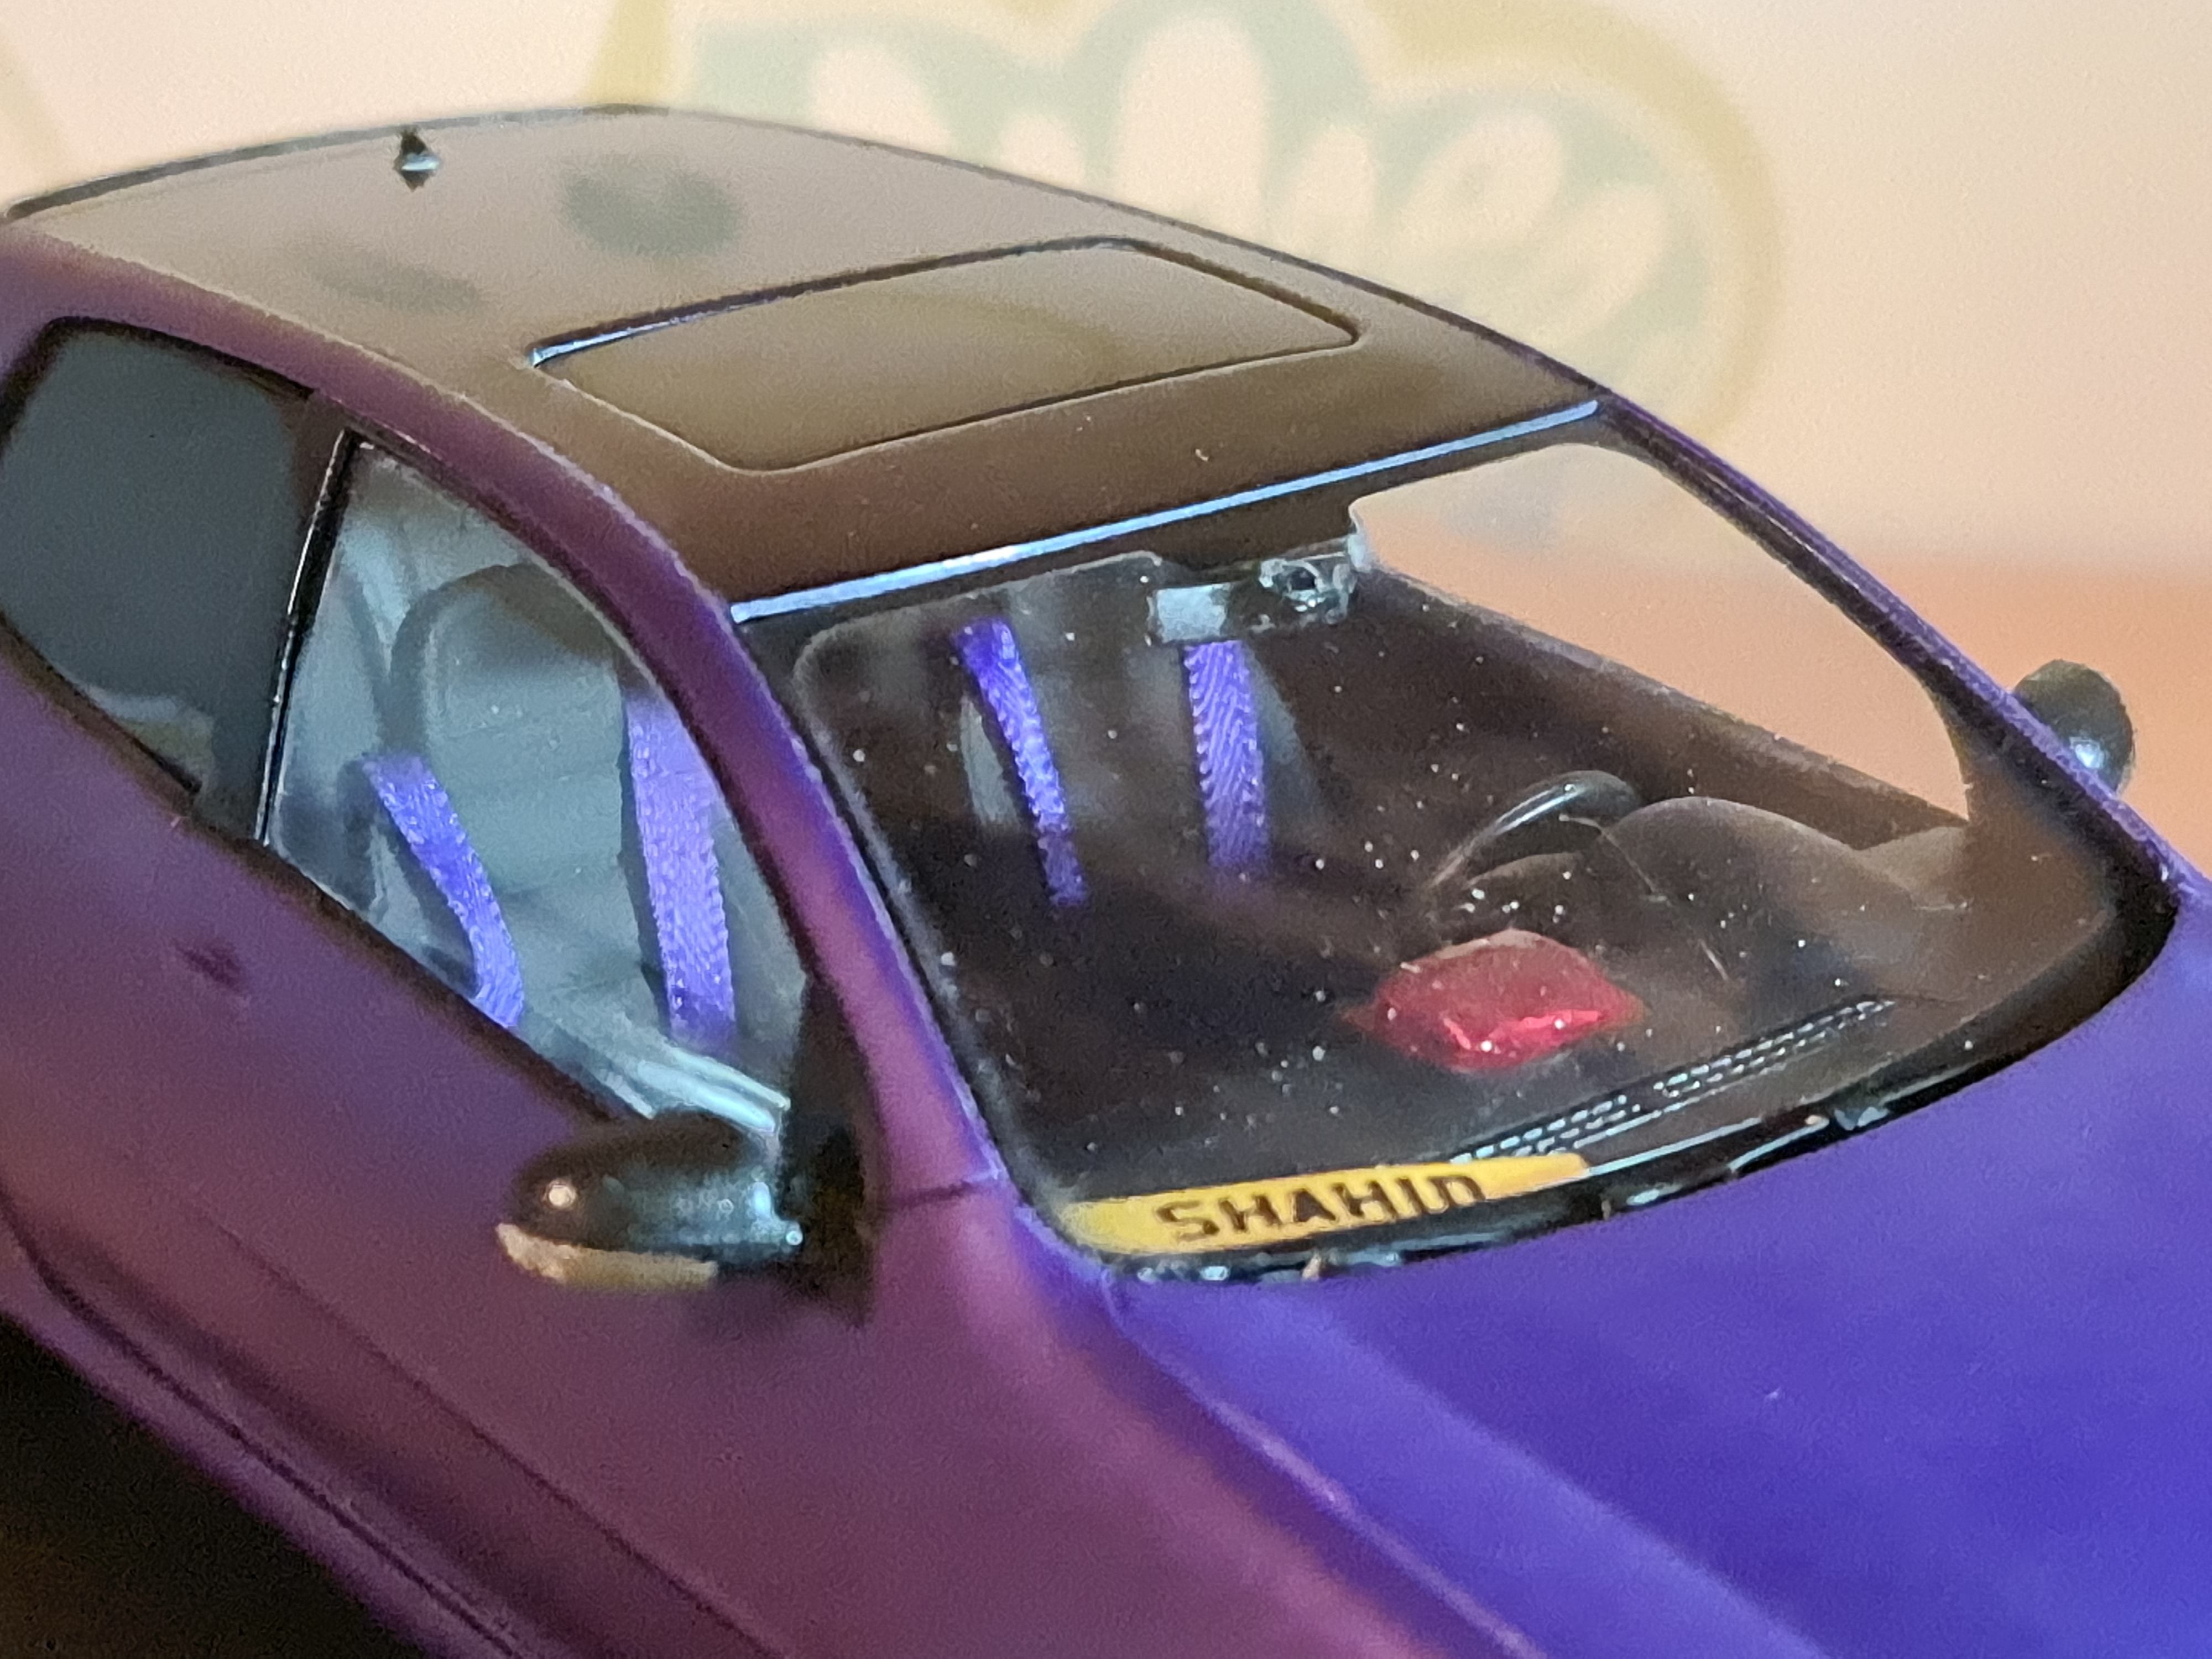
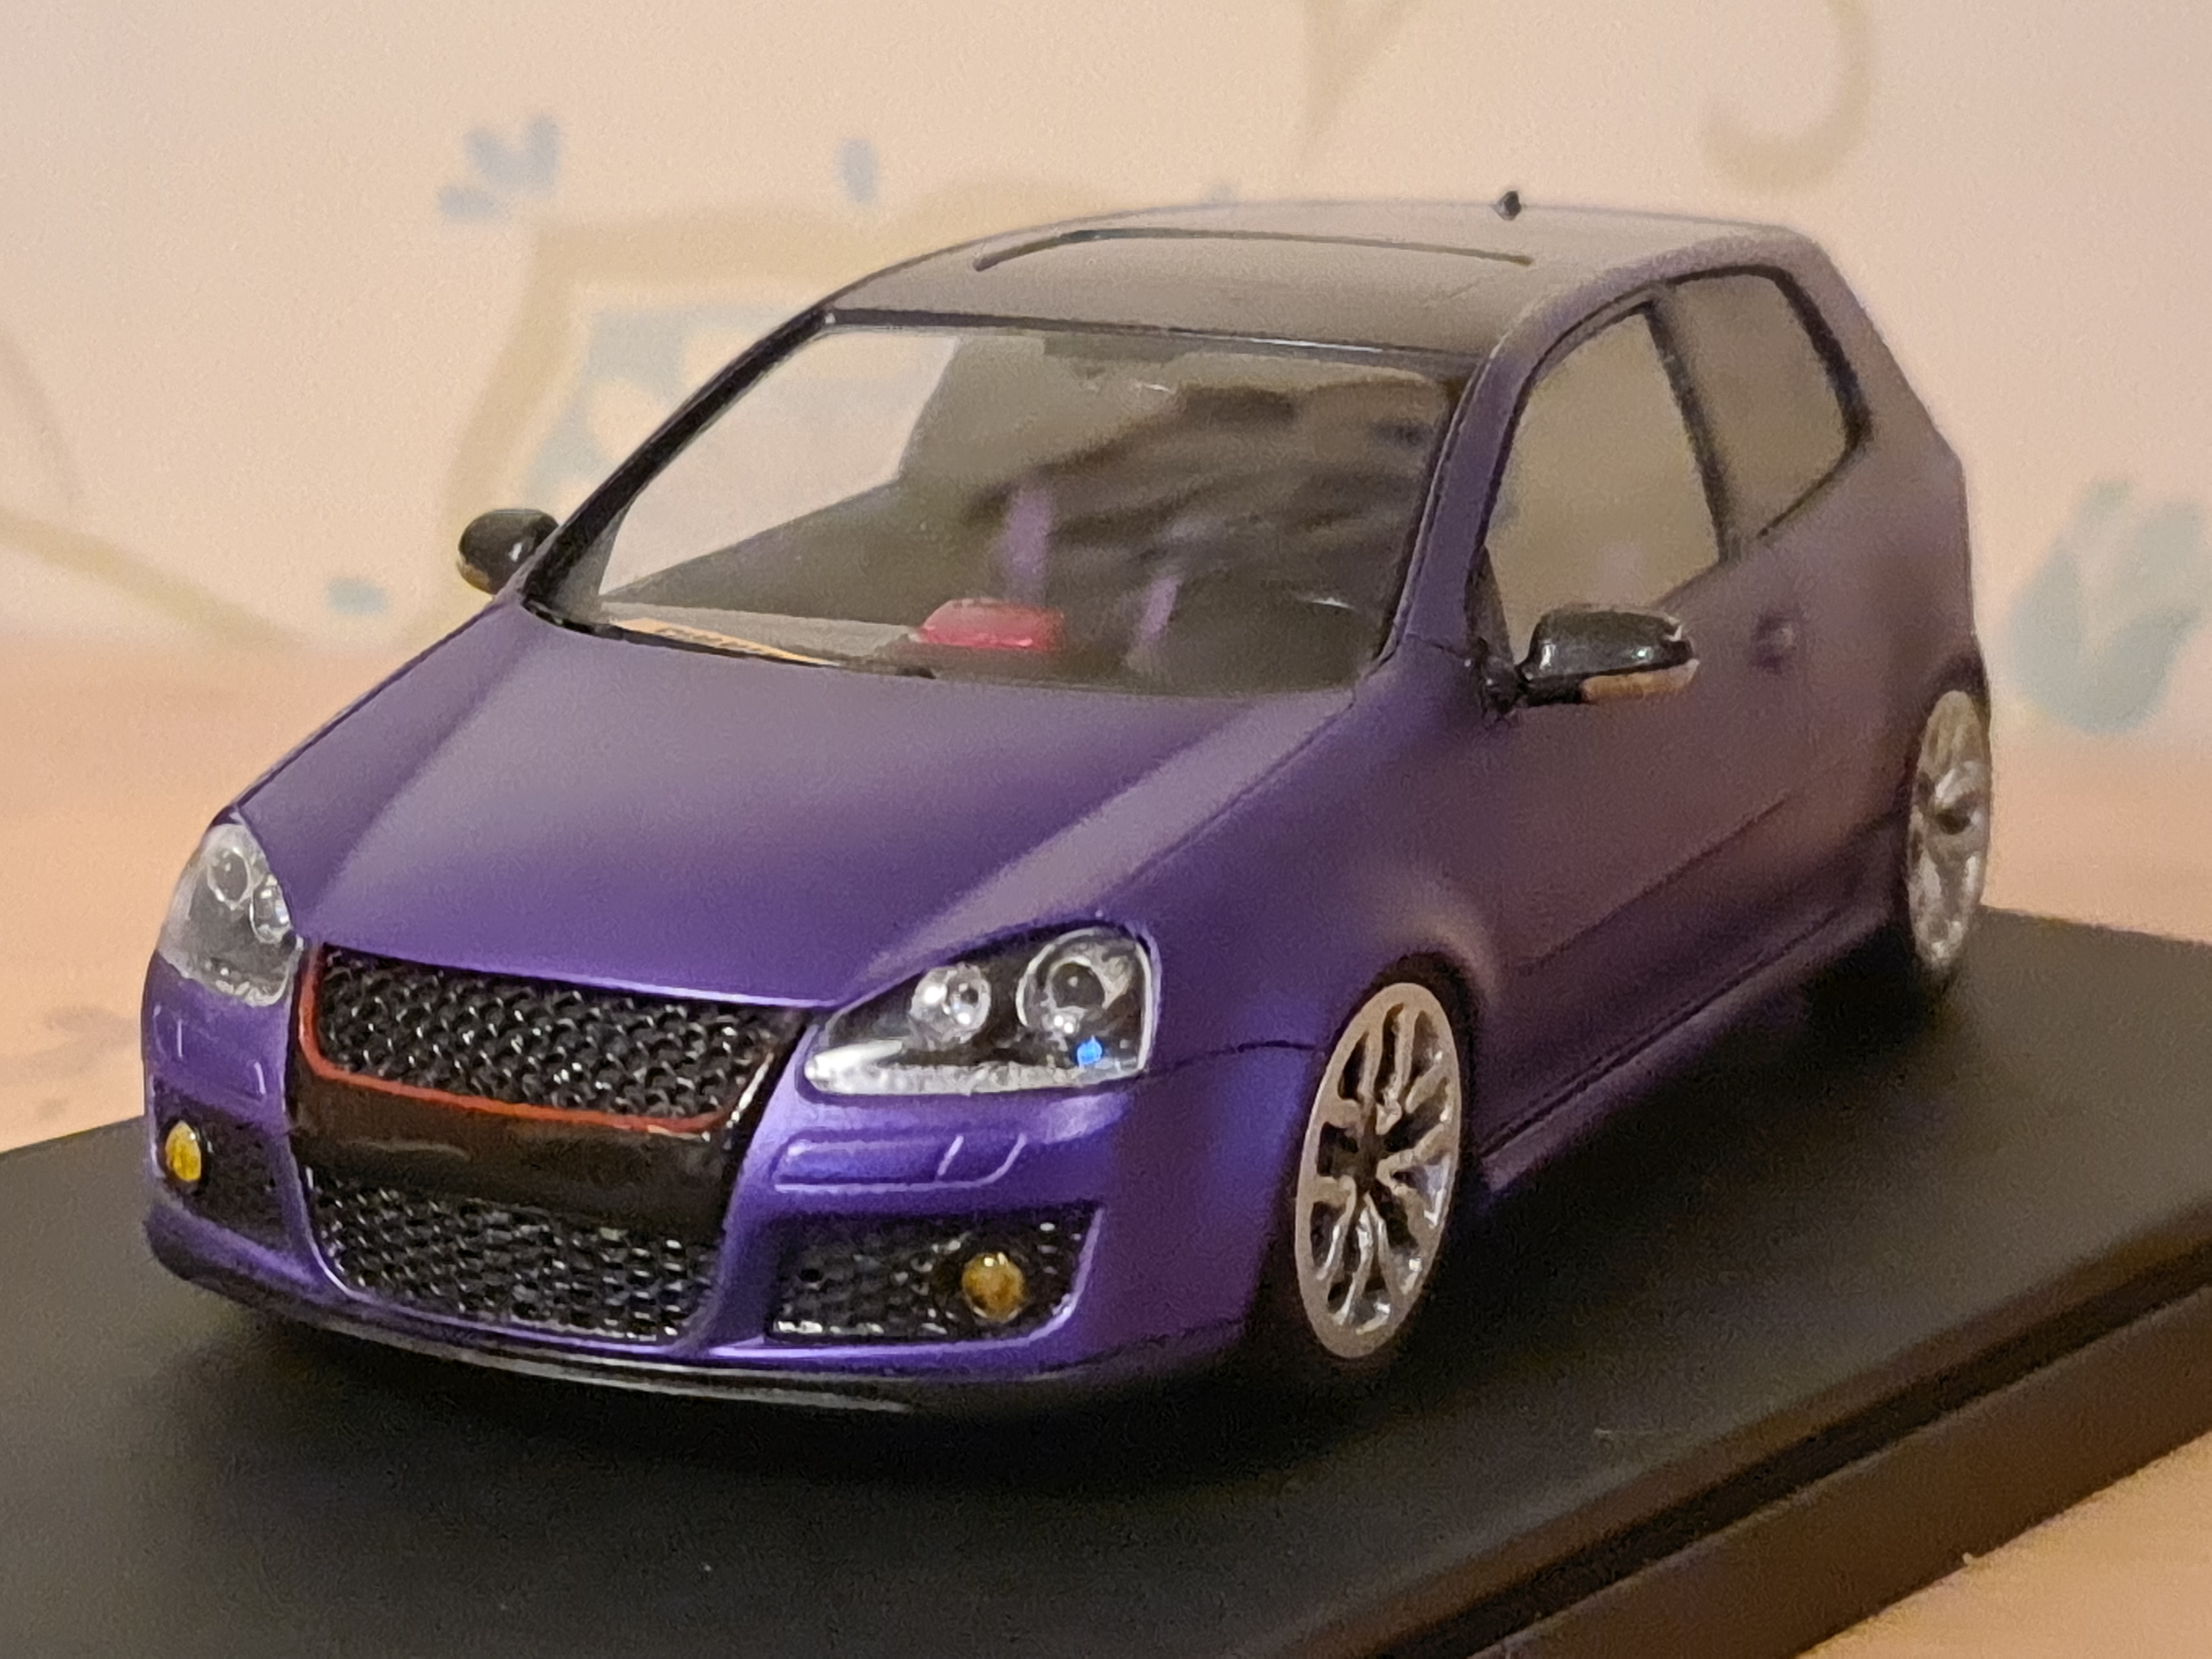
In other news, if your interested, I finally completed my replica model of my late friend Shahid's car that I made as a tribute to him, and I have to say I'm pretty chuffed with it


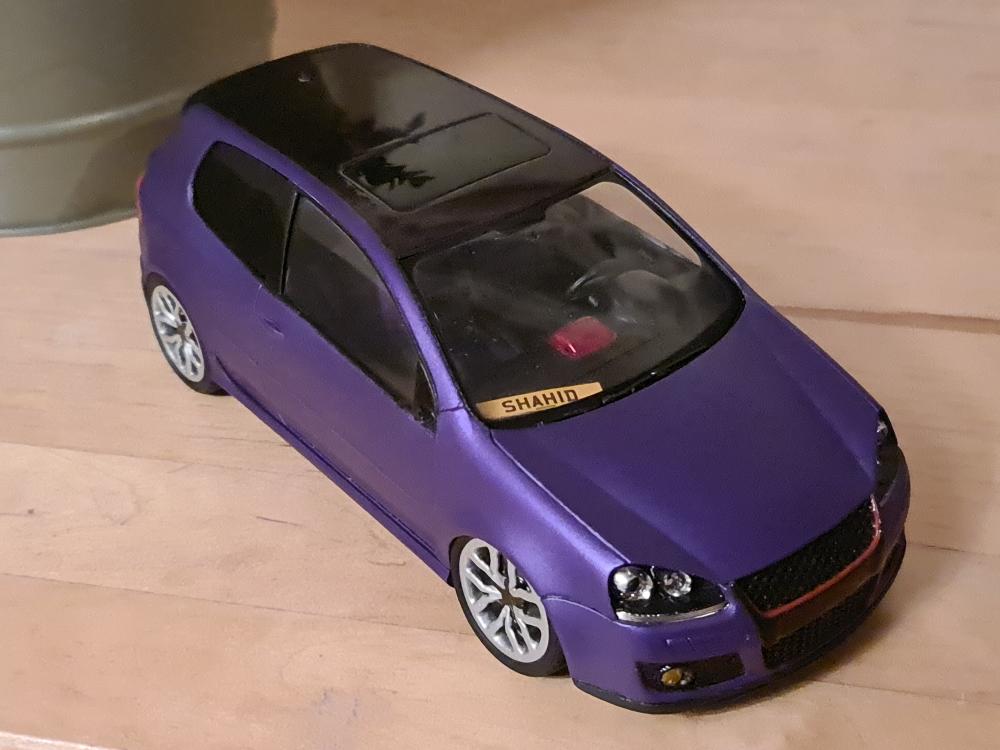

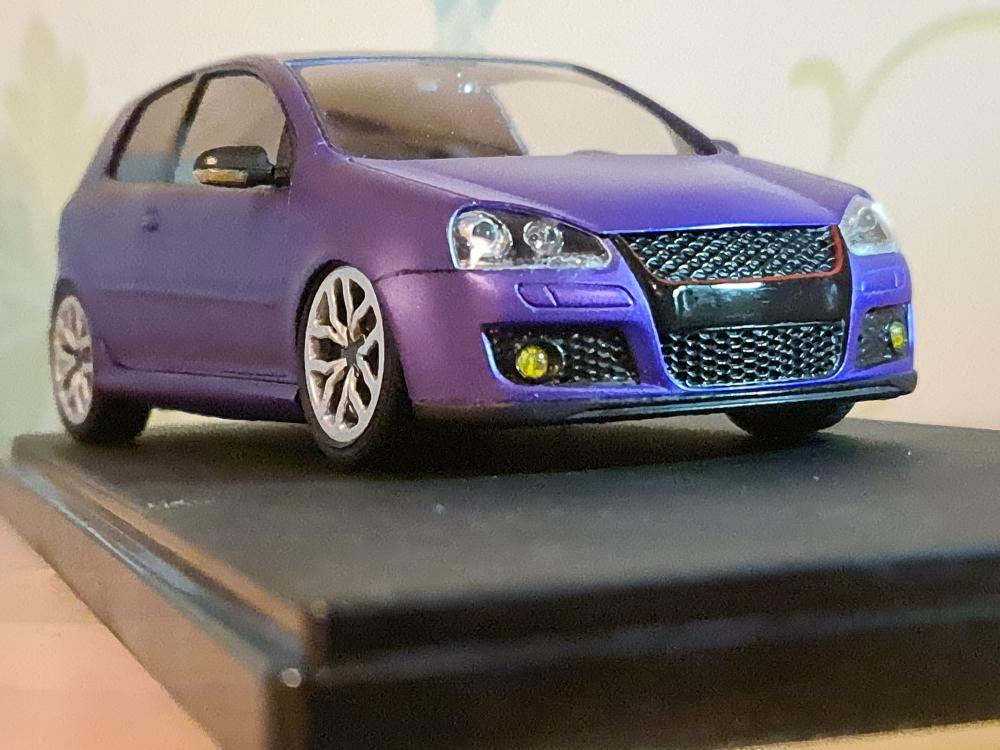

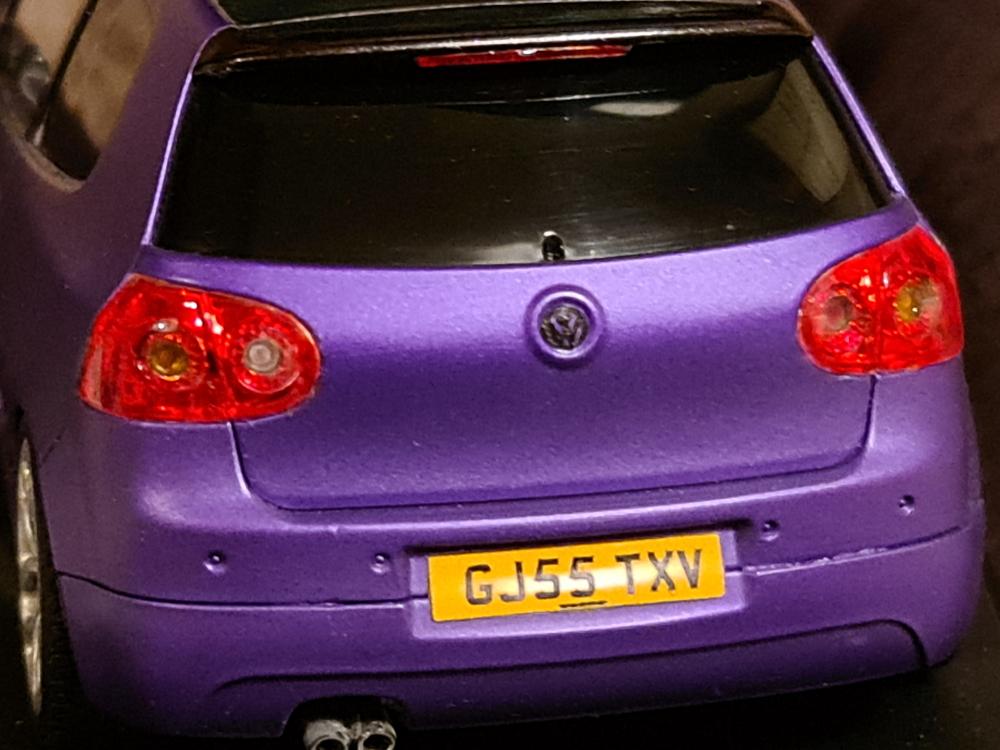

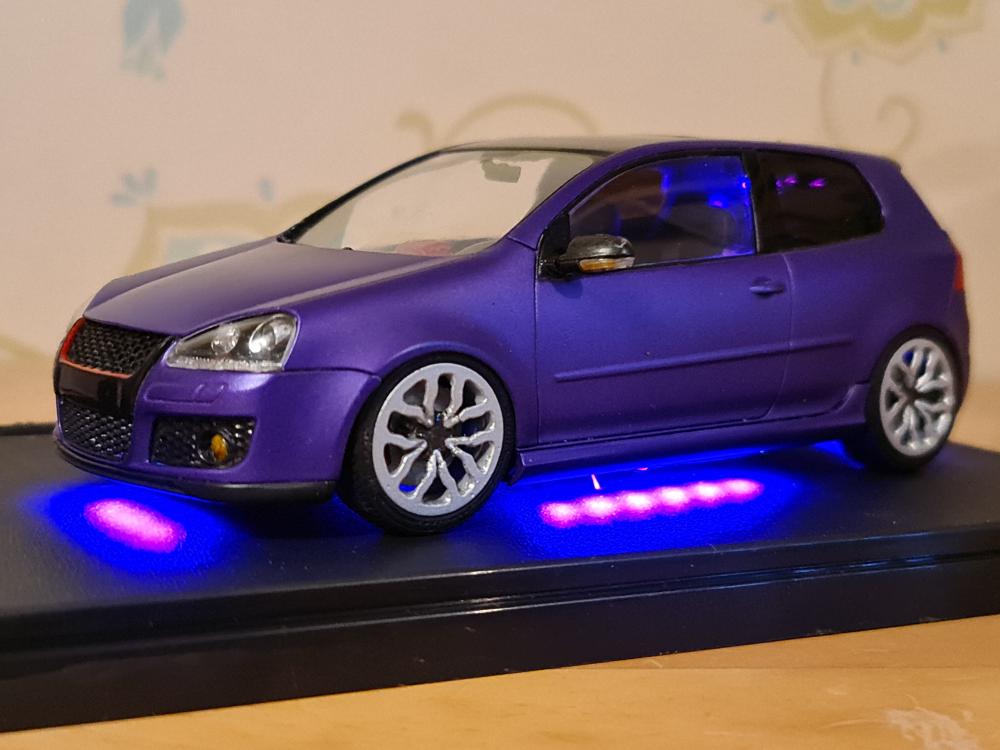
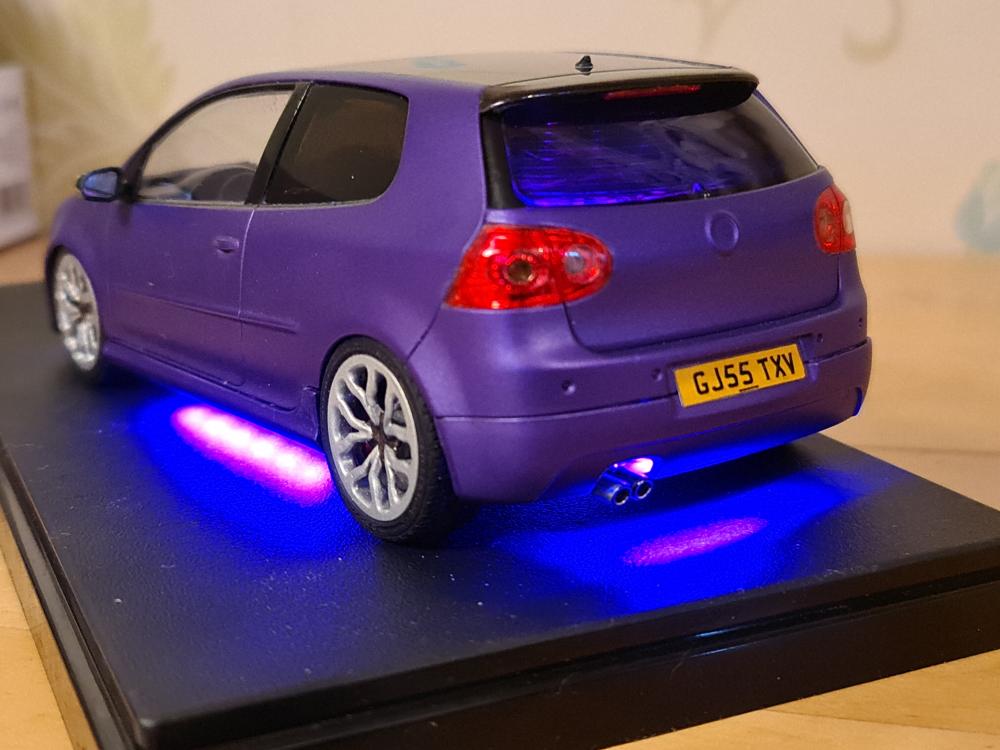

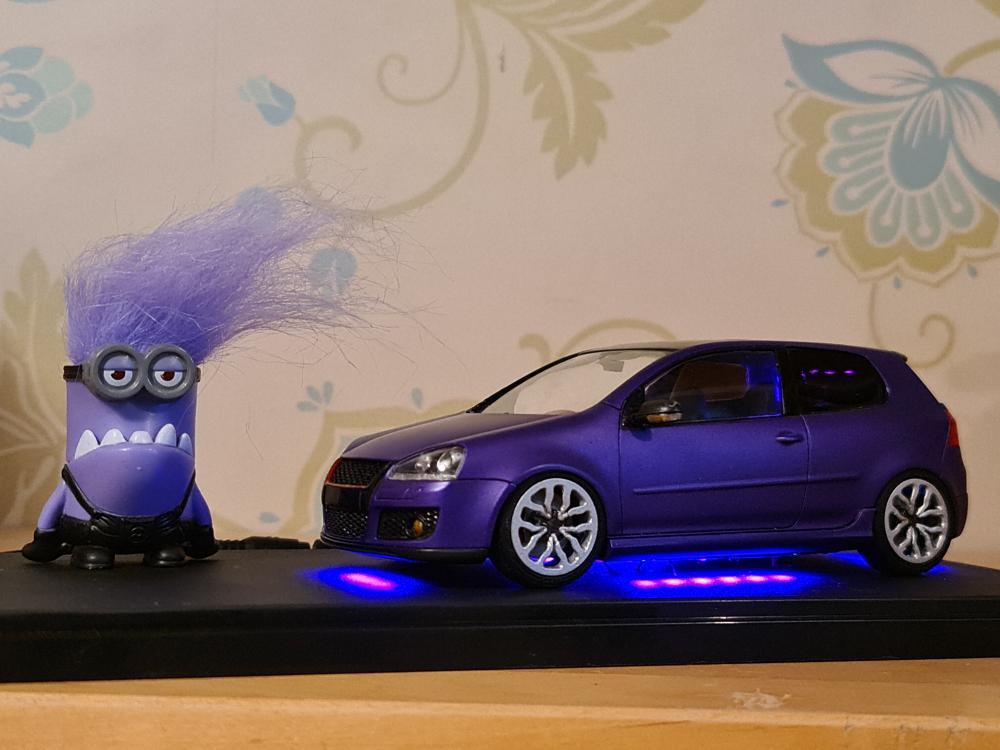
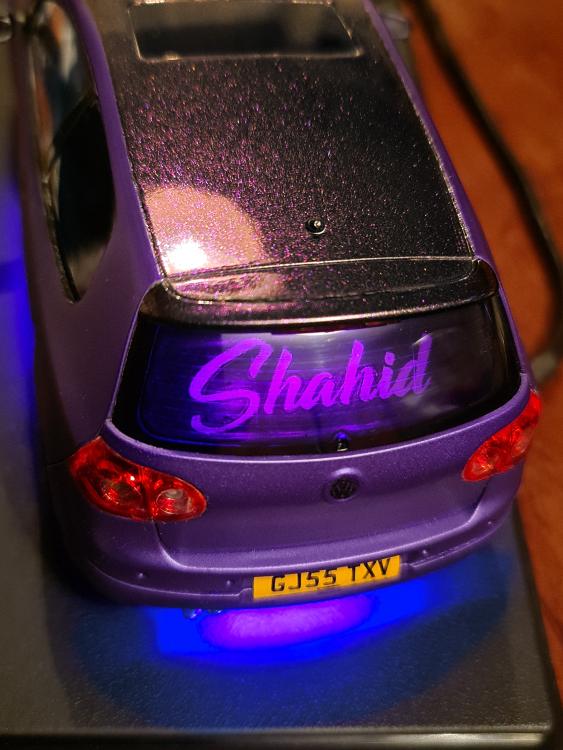
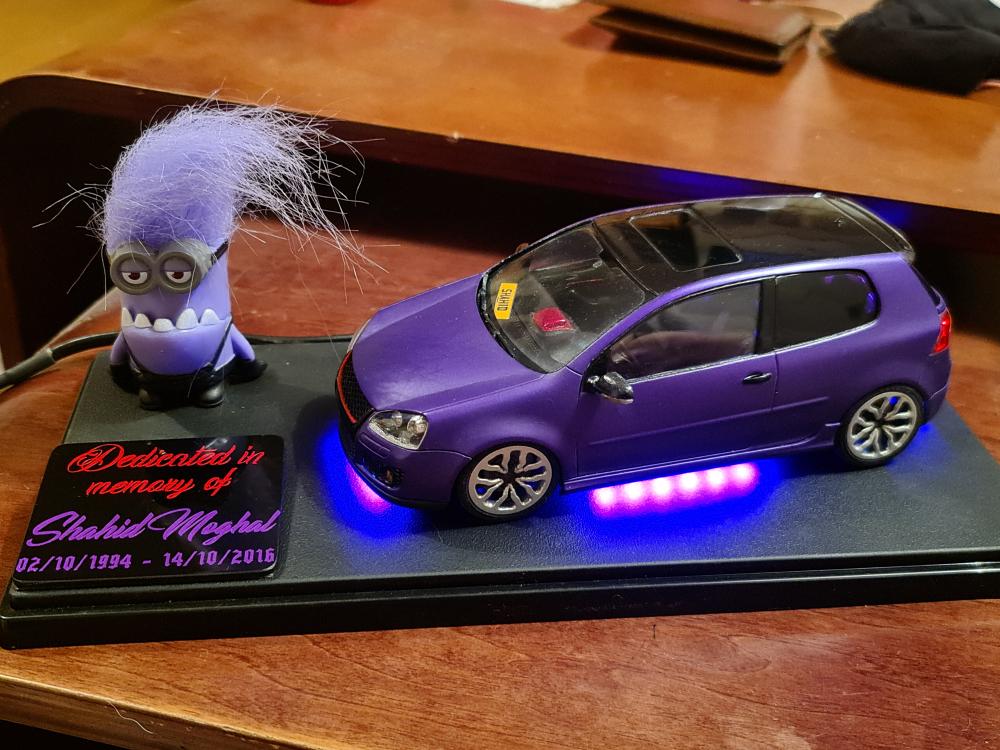
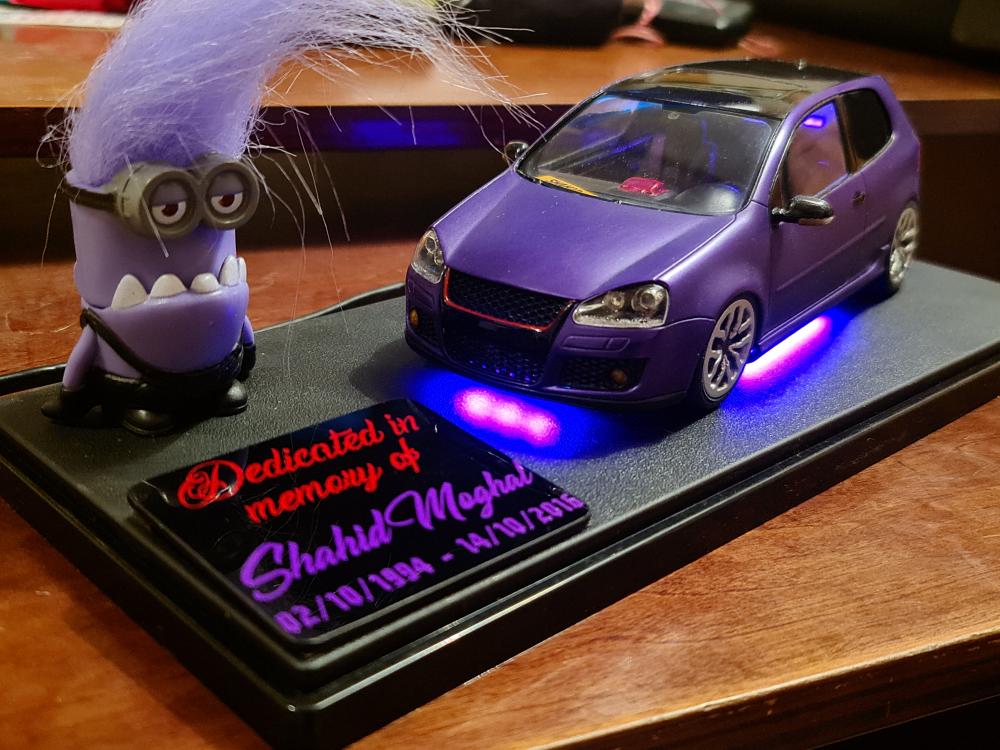
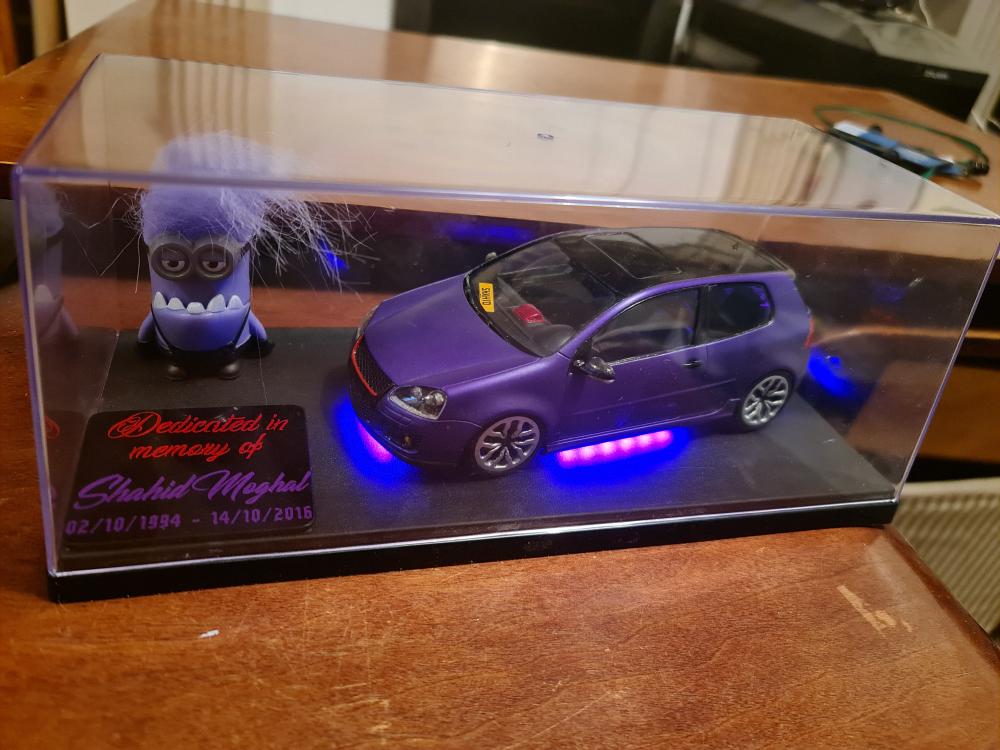
I've enjoyed making it soo much I bought more

-
On 7/2/2021 at 10:39 AM, Goldie said:
Hello mate, nice build going for a fair price! If I wasn't with mine I think i'd snap this up pretty sharpish. Good luck with the sale.
")
x2, quality build and a very respectable price, I wish you luck with the sale and hope it goes to a good home 👍🏻
-
Some good hard work going into this
nice little bonnet badge as well, haven't seen one of those before
-
Bought and collected some interior bits from @snails ep91, very nice fella, nice build as well, hope to meet up again at some point!
-
11 hours ago, RoyalDutchie said:
Great writeup mate. I guess you need to do a bit more than pulling the passenger pockets out. By the looks of it they are held in with screws as well if I'm not mistaken.
Ah yes, you would be right 👍🏻 nice one!
-
No worries boys 👍🏻
-
Two radios? Lol you mad man!!
-
Just did a little write up about this if anyone's interested
-
Just thought I would bring this to everyones attention in regards to potential rust issues
We are fortunate our starlets dont commonly suffer with major rust issues (unlike many other Japanese cars), except for rust manifesting around the vents behind the rear bumper and maybe a bit of rust on the arches.
However, our cars are starting to get on a bit now, and thanks to an oversight by toyota there is another area that is of concern and is becoming more apparent
The examples below apply to EP91, I'm not sure about EP82 but it worth checking anyway
By removing your rear passenger interior panels
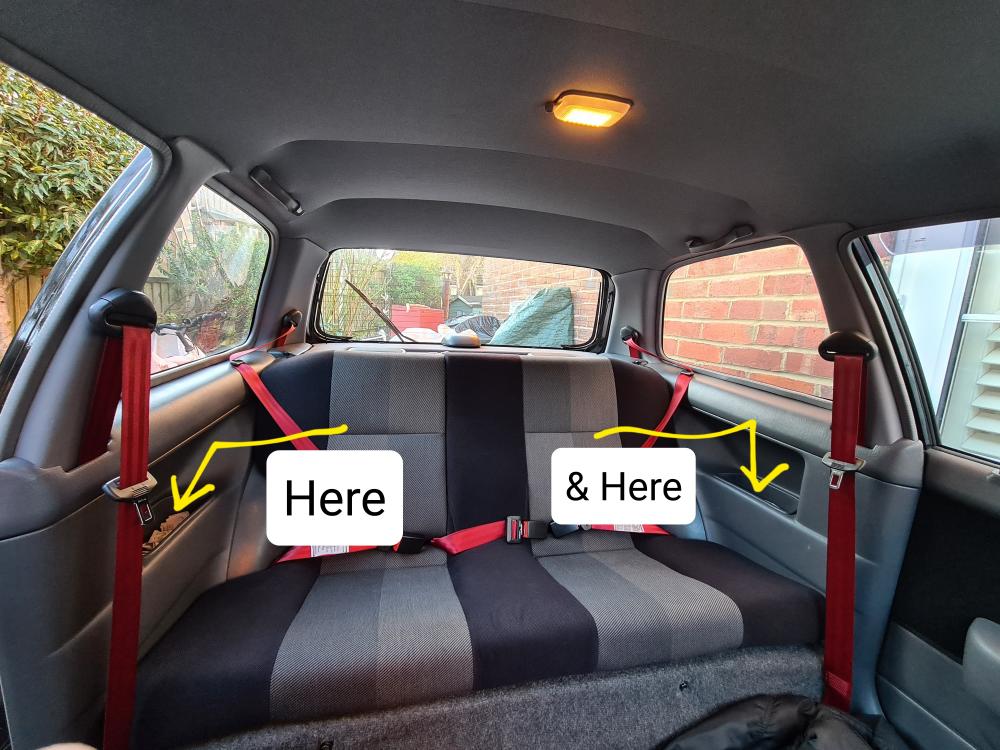
(it's not difficult, but can be a little fiddley getting back on with the clips)
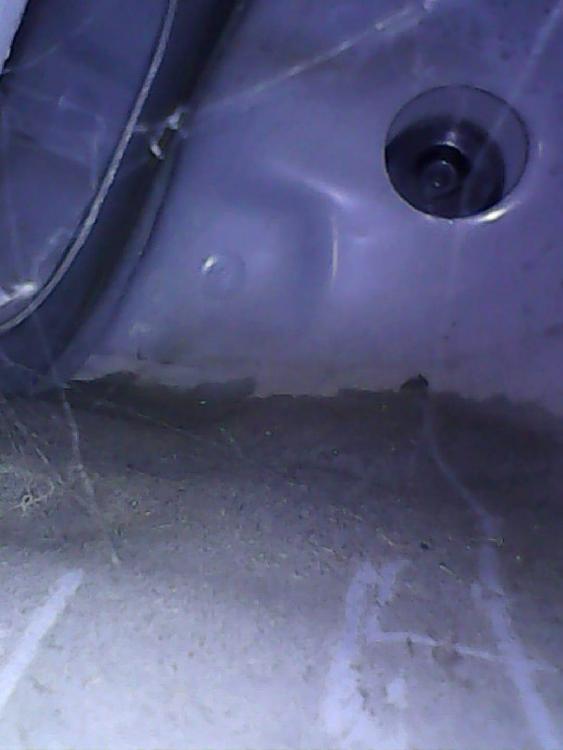
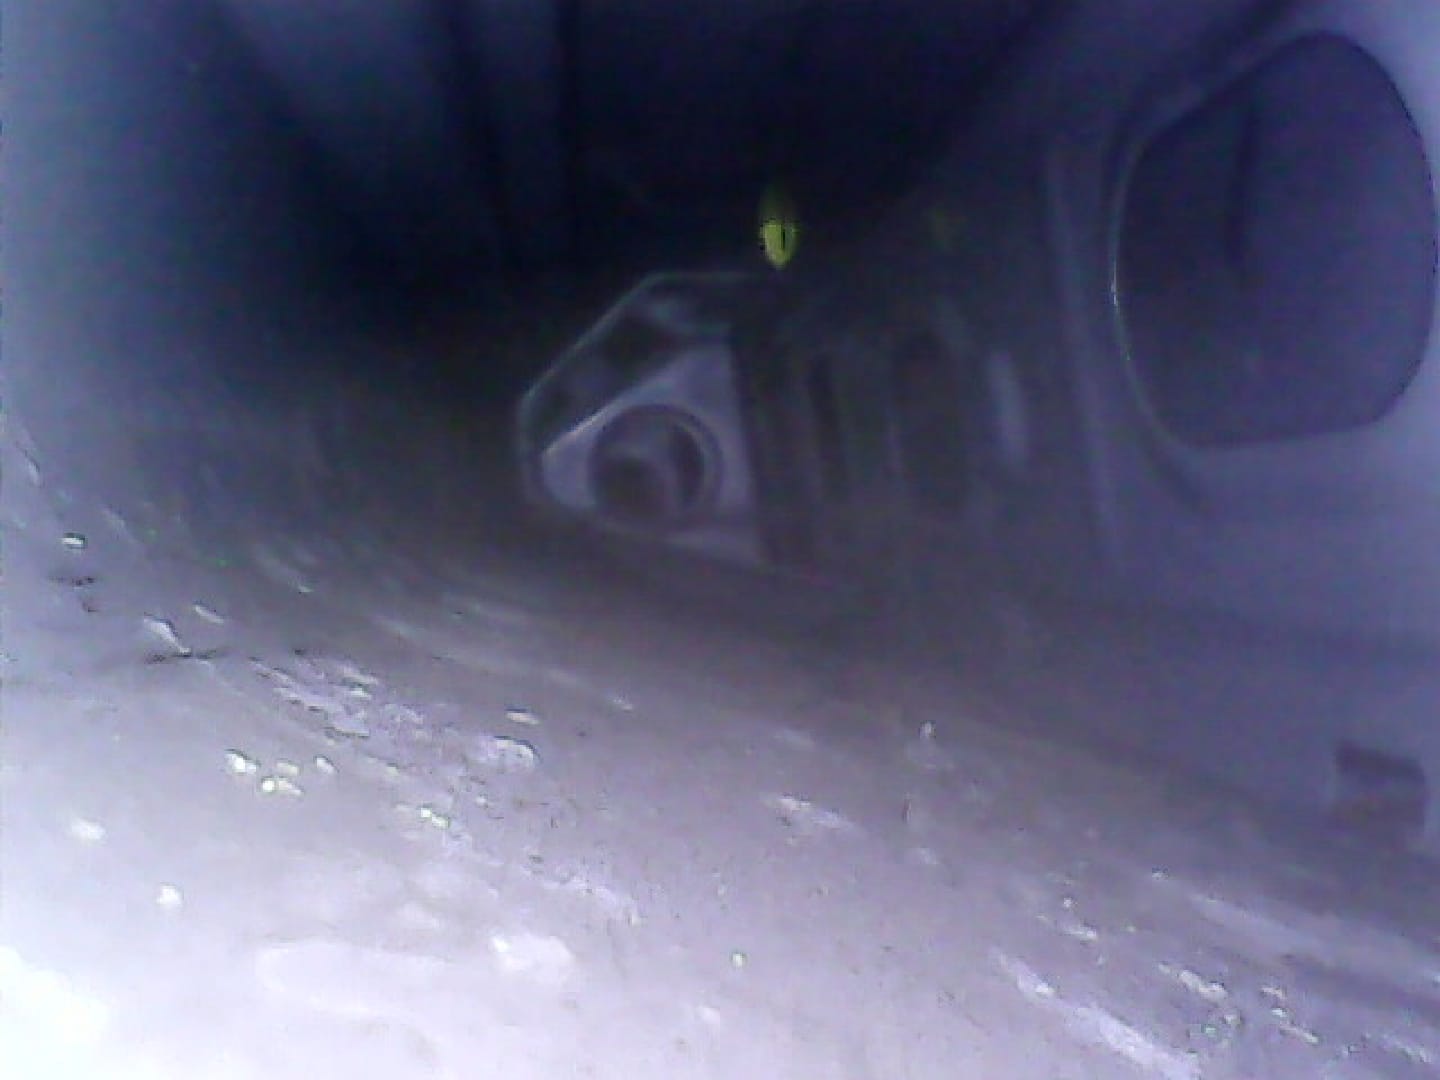
You can look down from where the rear passenger side pockets would be into the rear of the sill (area in front of the rear wheels), if theres a block of foam in there (for sound deadening) then pull it out and this is what you may find:

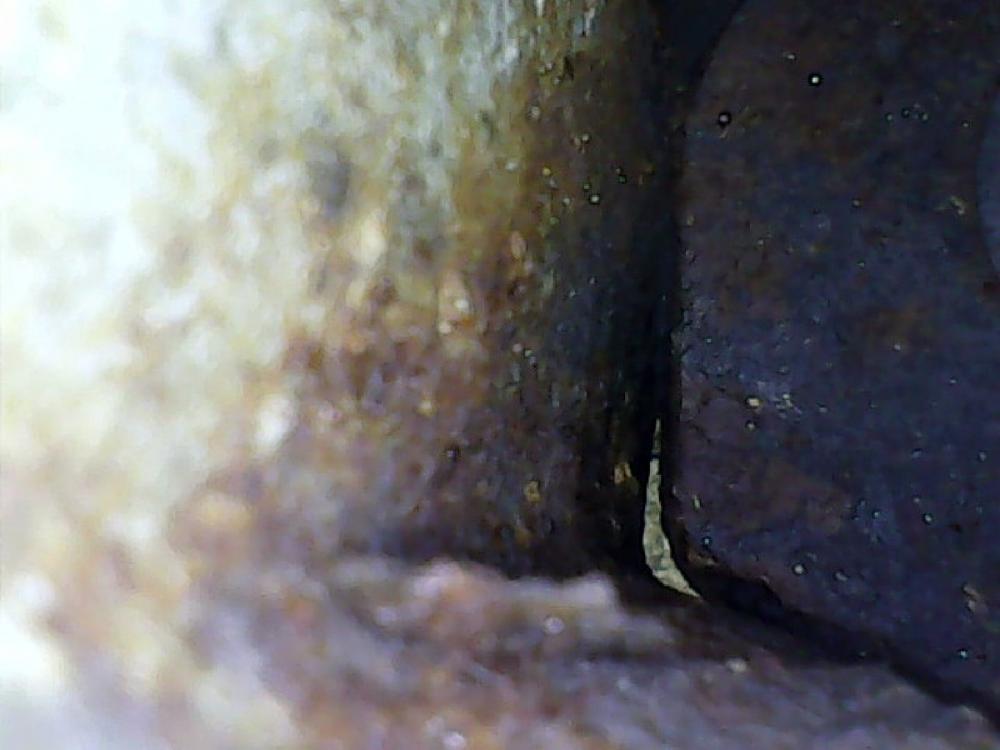
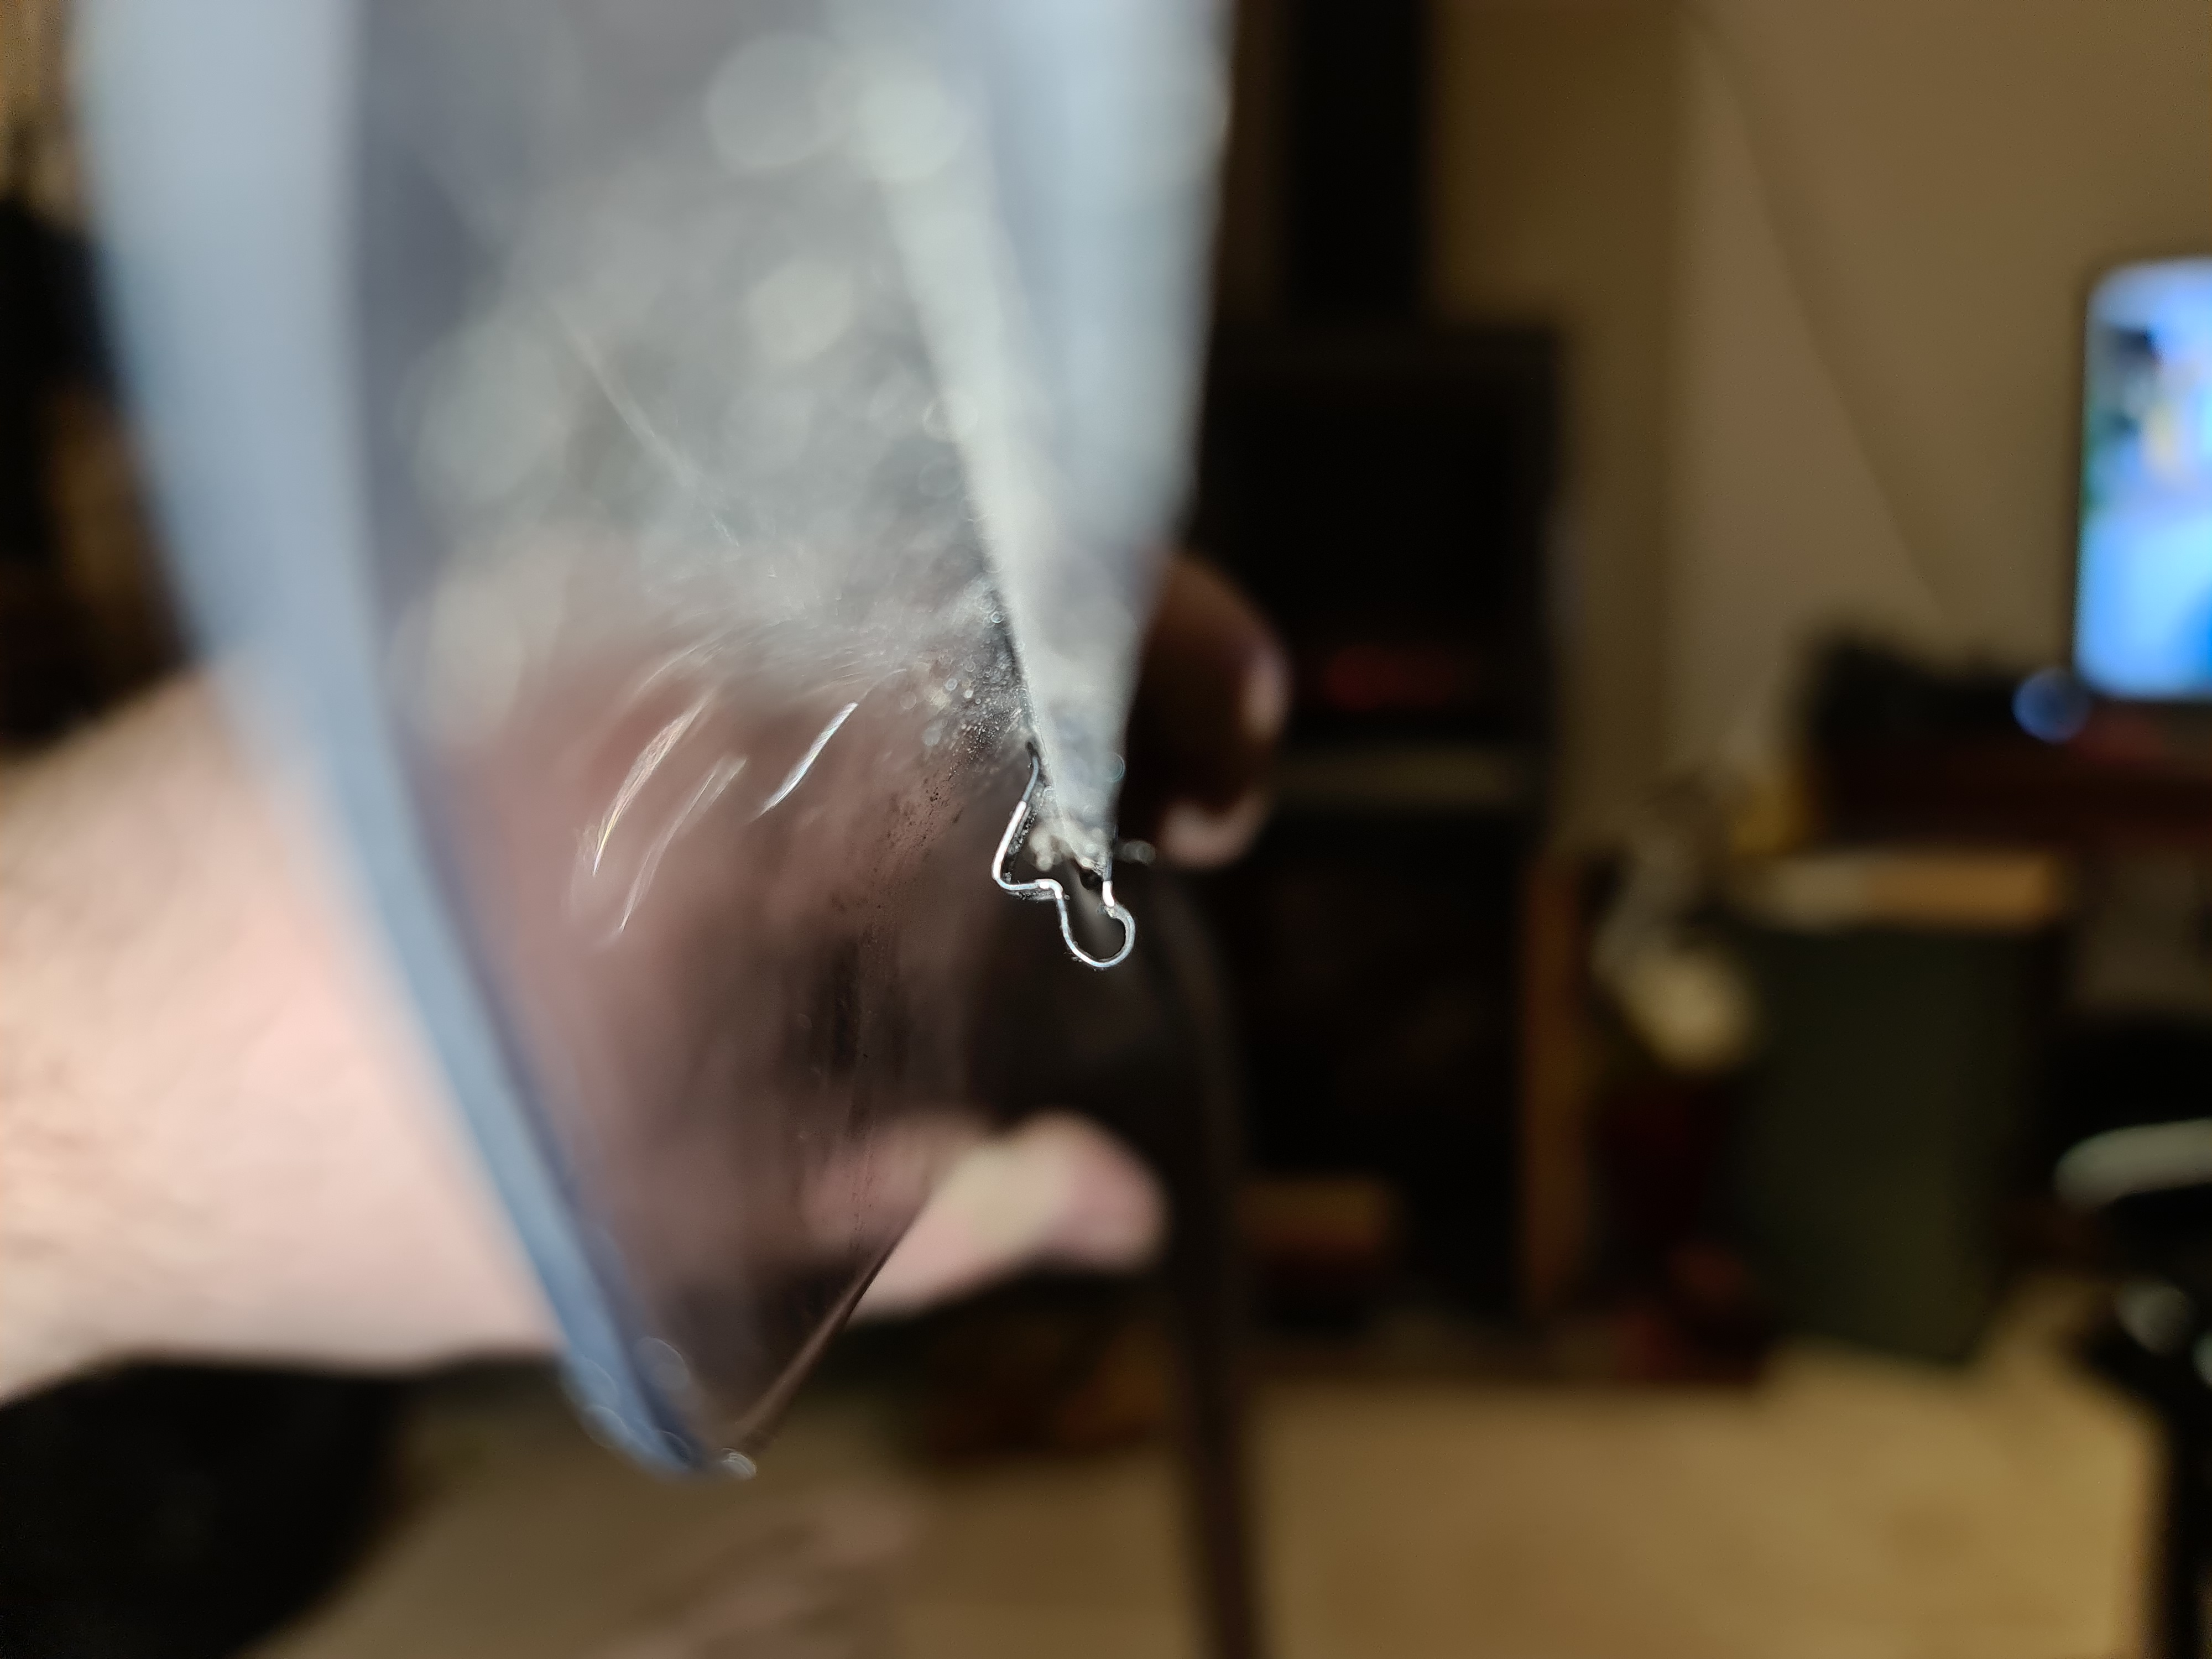
If you get yourself a borescope (just a cheap one off ebay that you can plug into your phone - make sure your phone supports OTG on android)
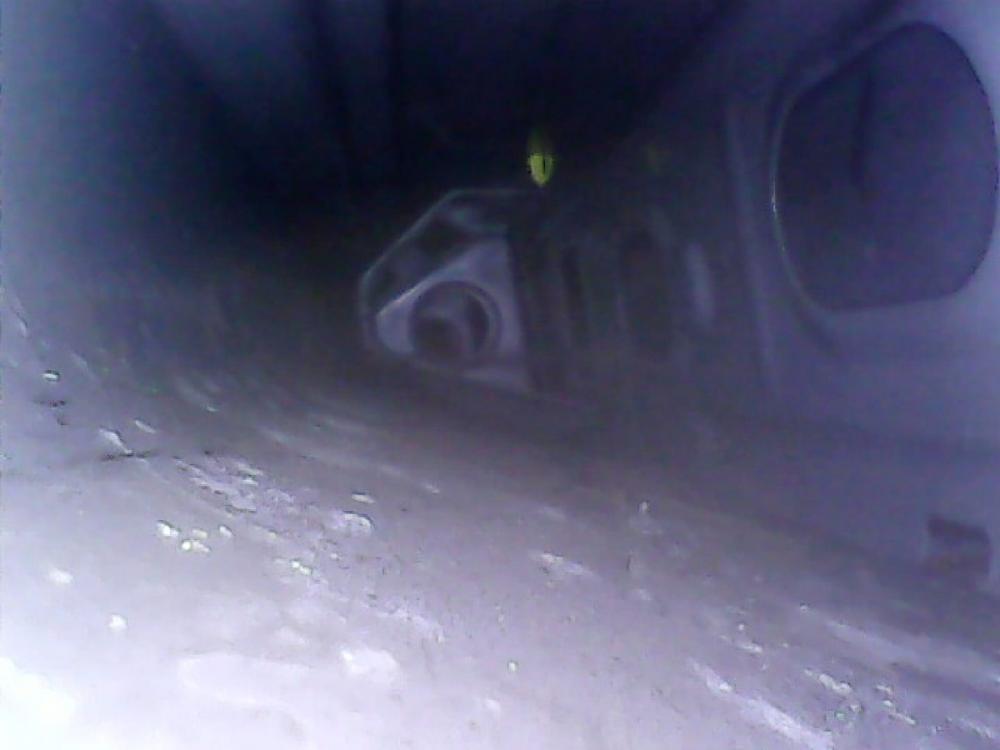
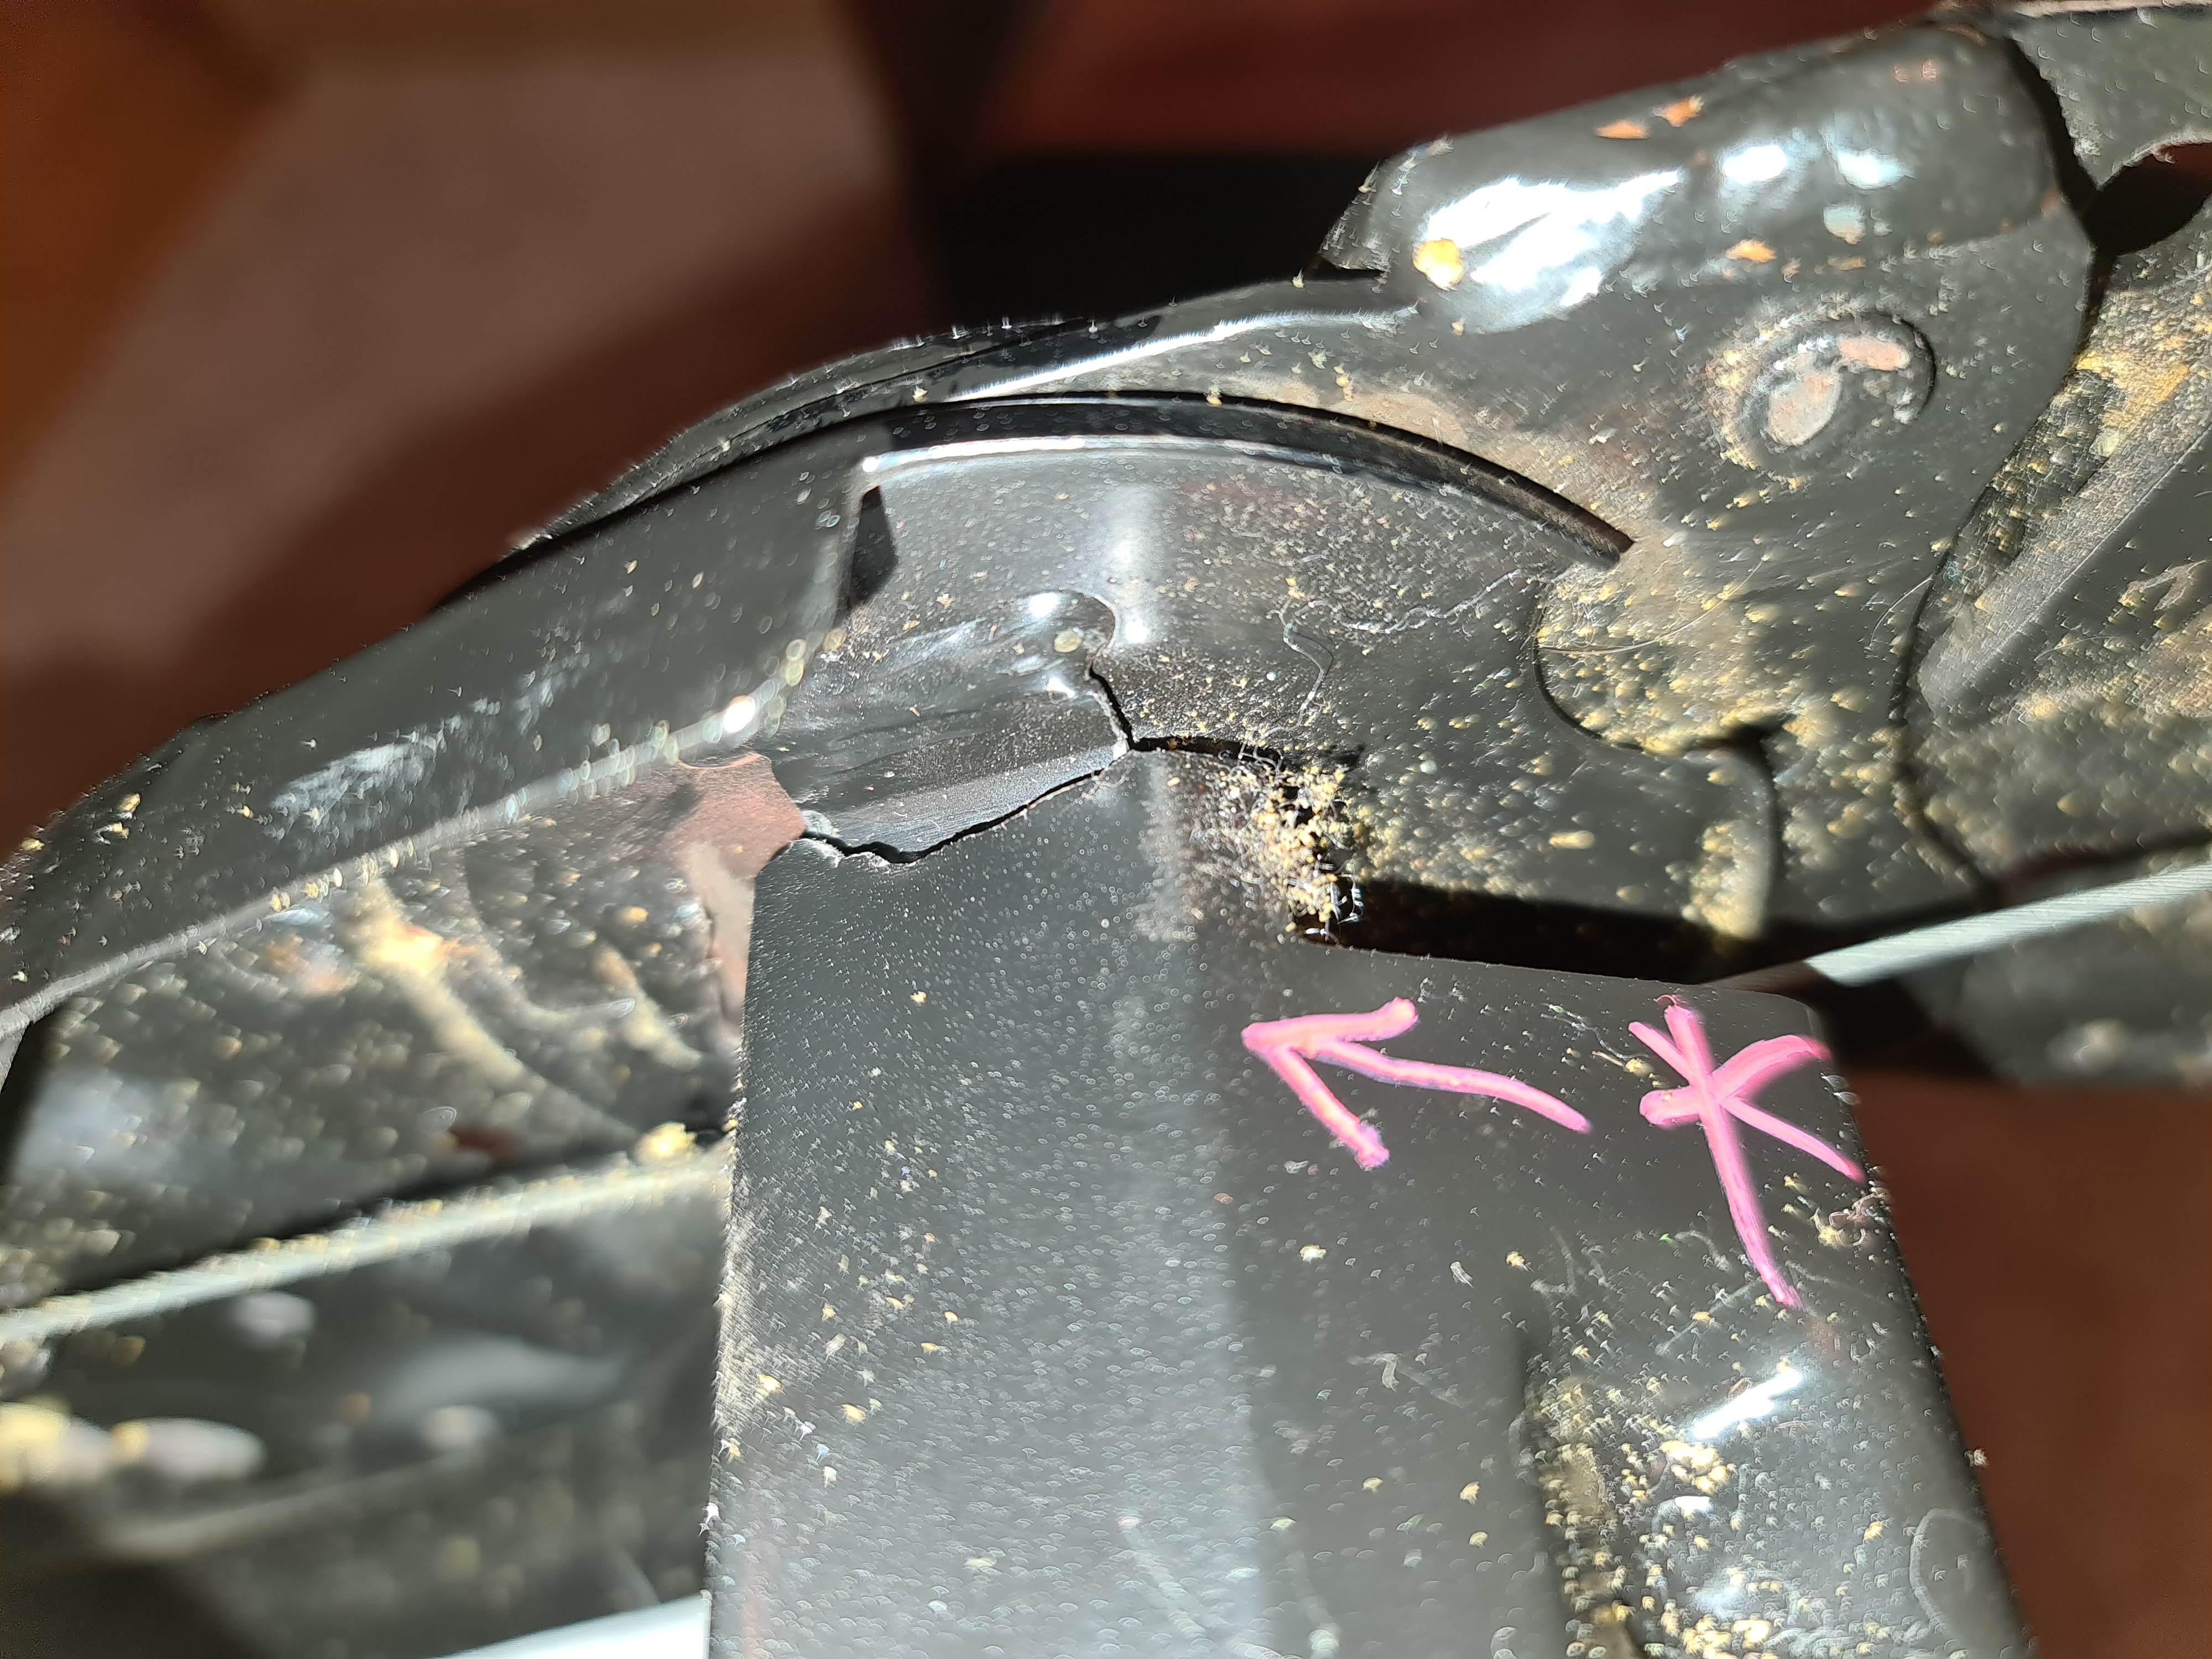
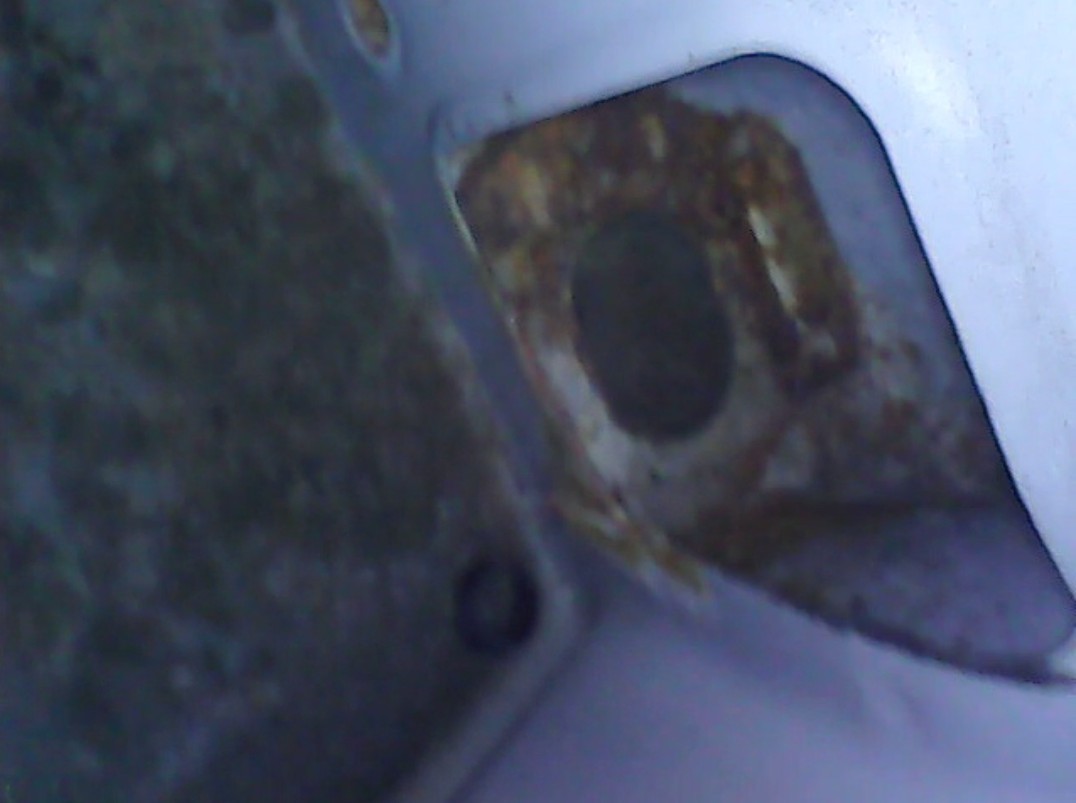
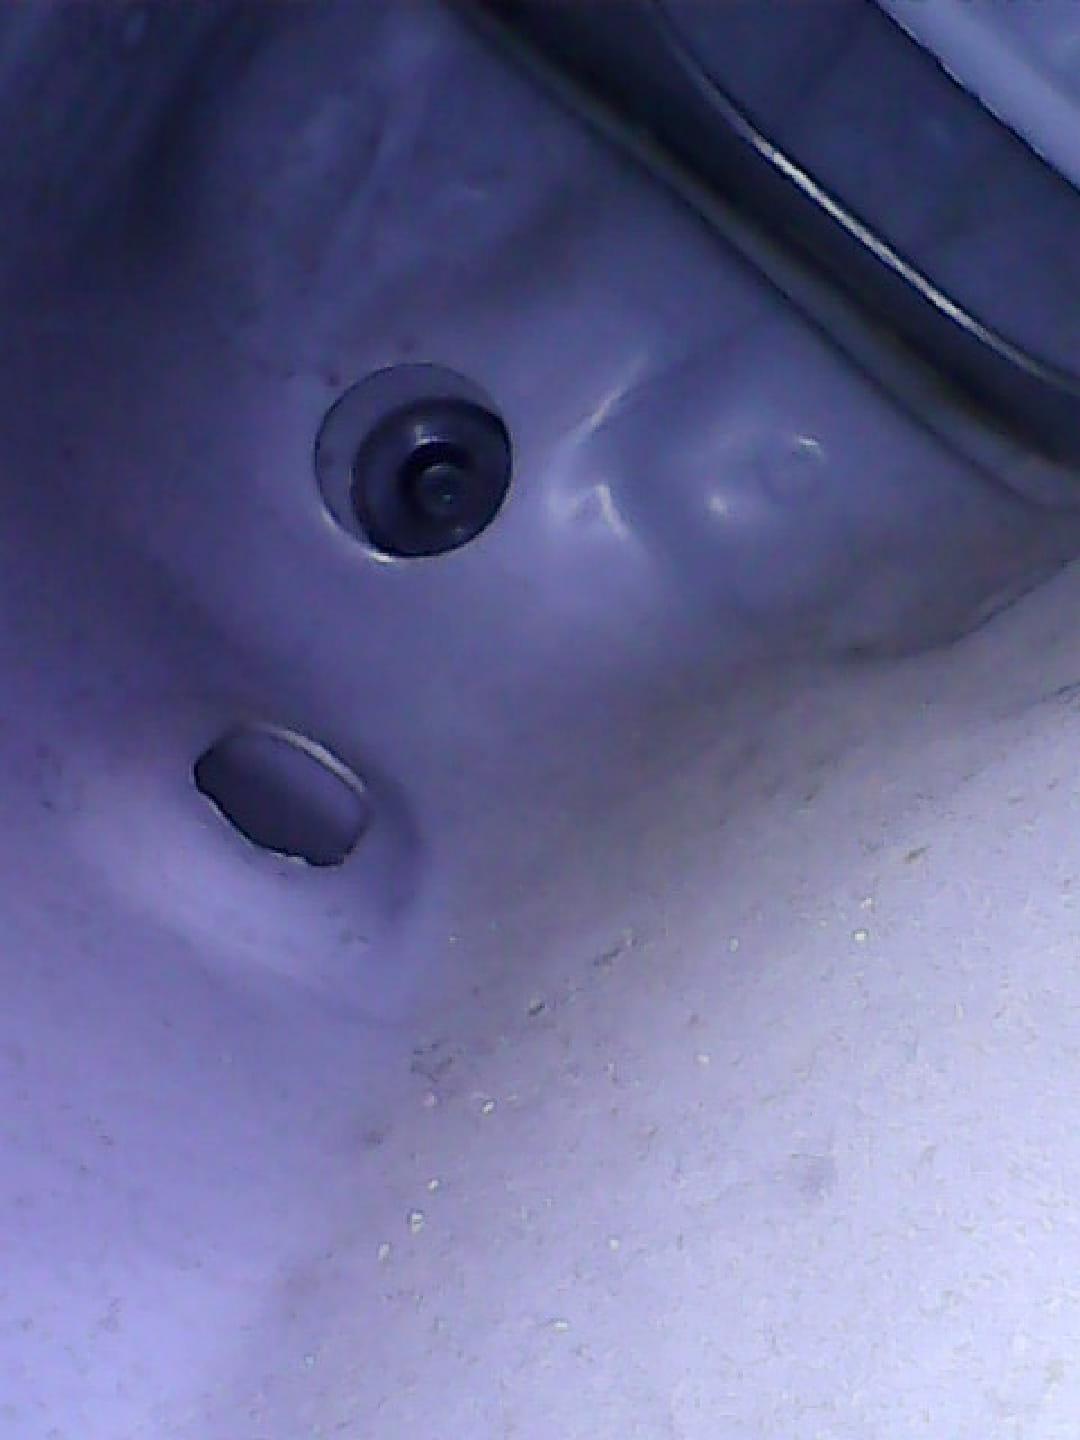
And look inside the square cut out in the picture above, and you may well find it looks something like this:

So what's the problem then?
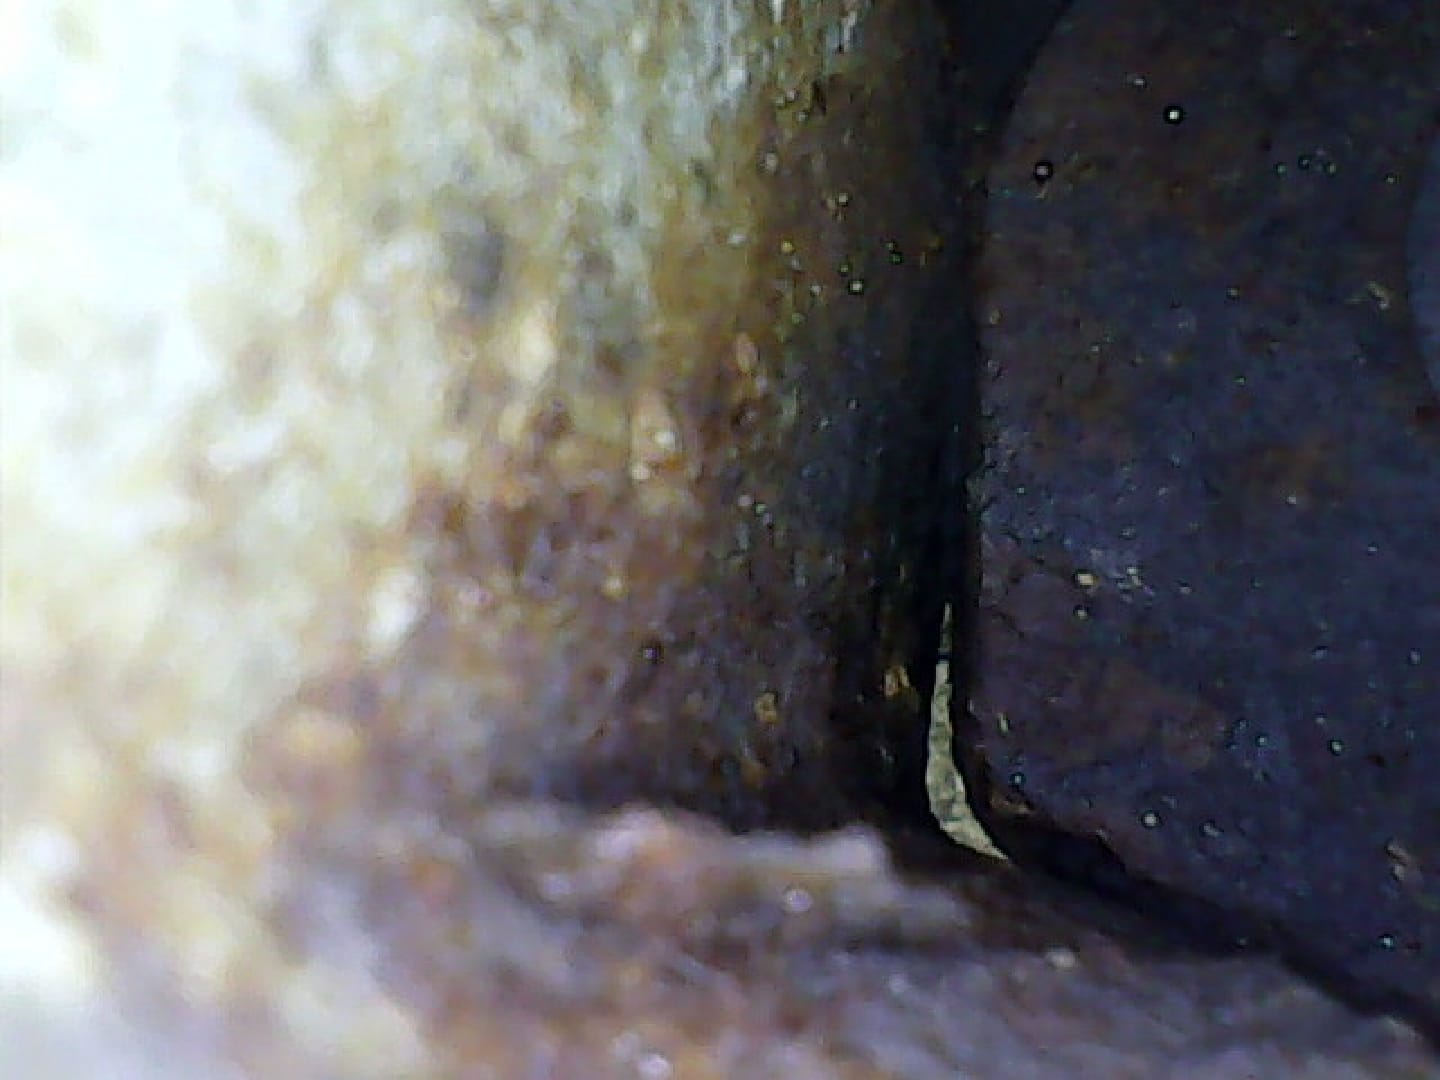
Well as you can see in the picture above, there's an oval rubber plug that is supposed to stop water ingress, but because of an apparent oversight by toyota with the way the chassis is assembled, there are gaps in the metal work around where this oval plug is located which renders it a bit pointless.. 😐 (below you can clearly see daylight coming through)

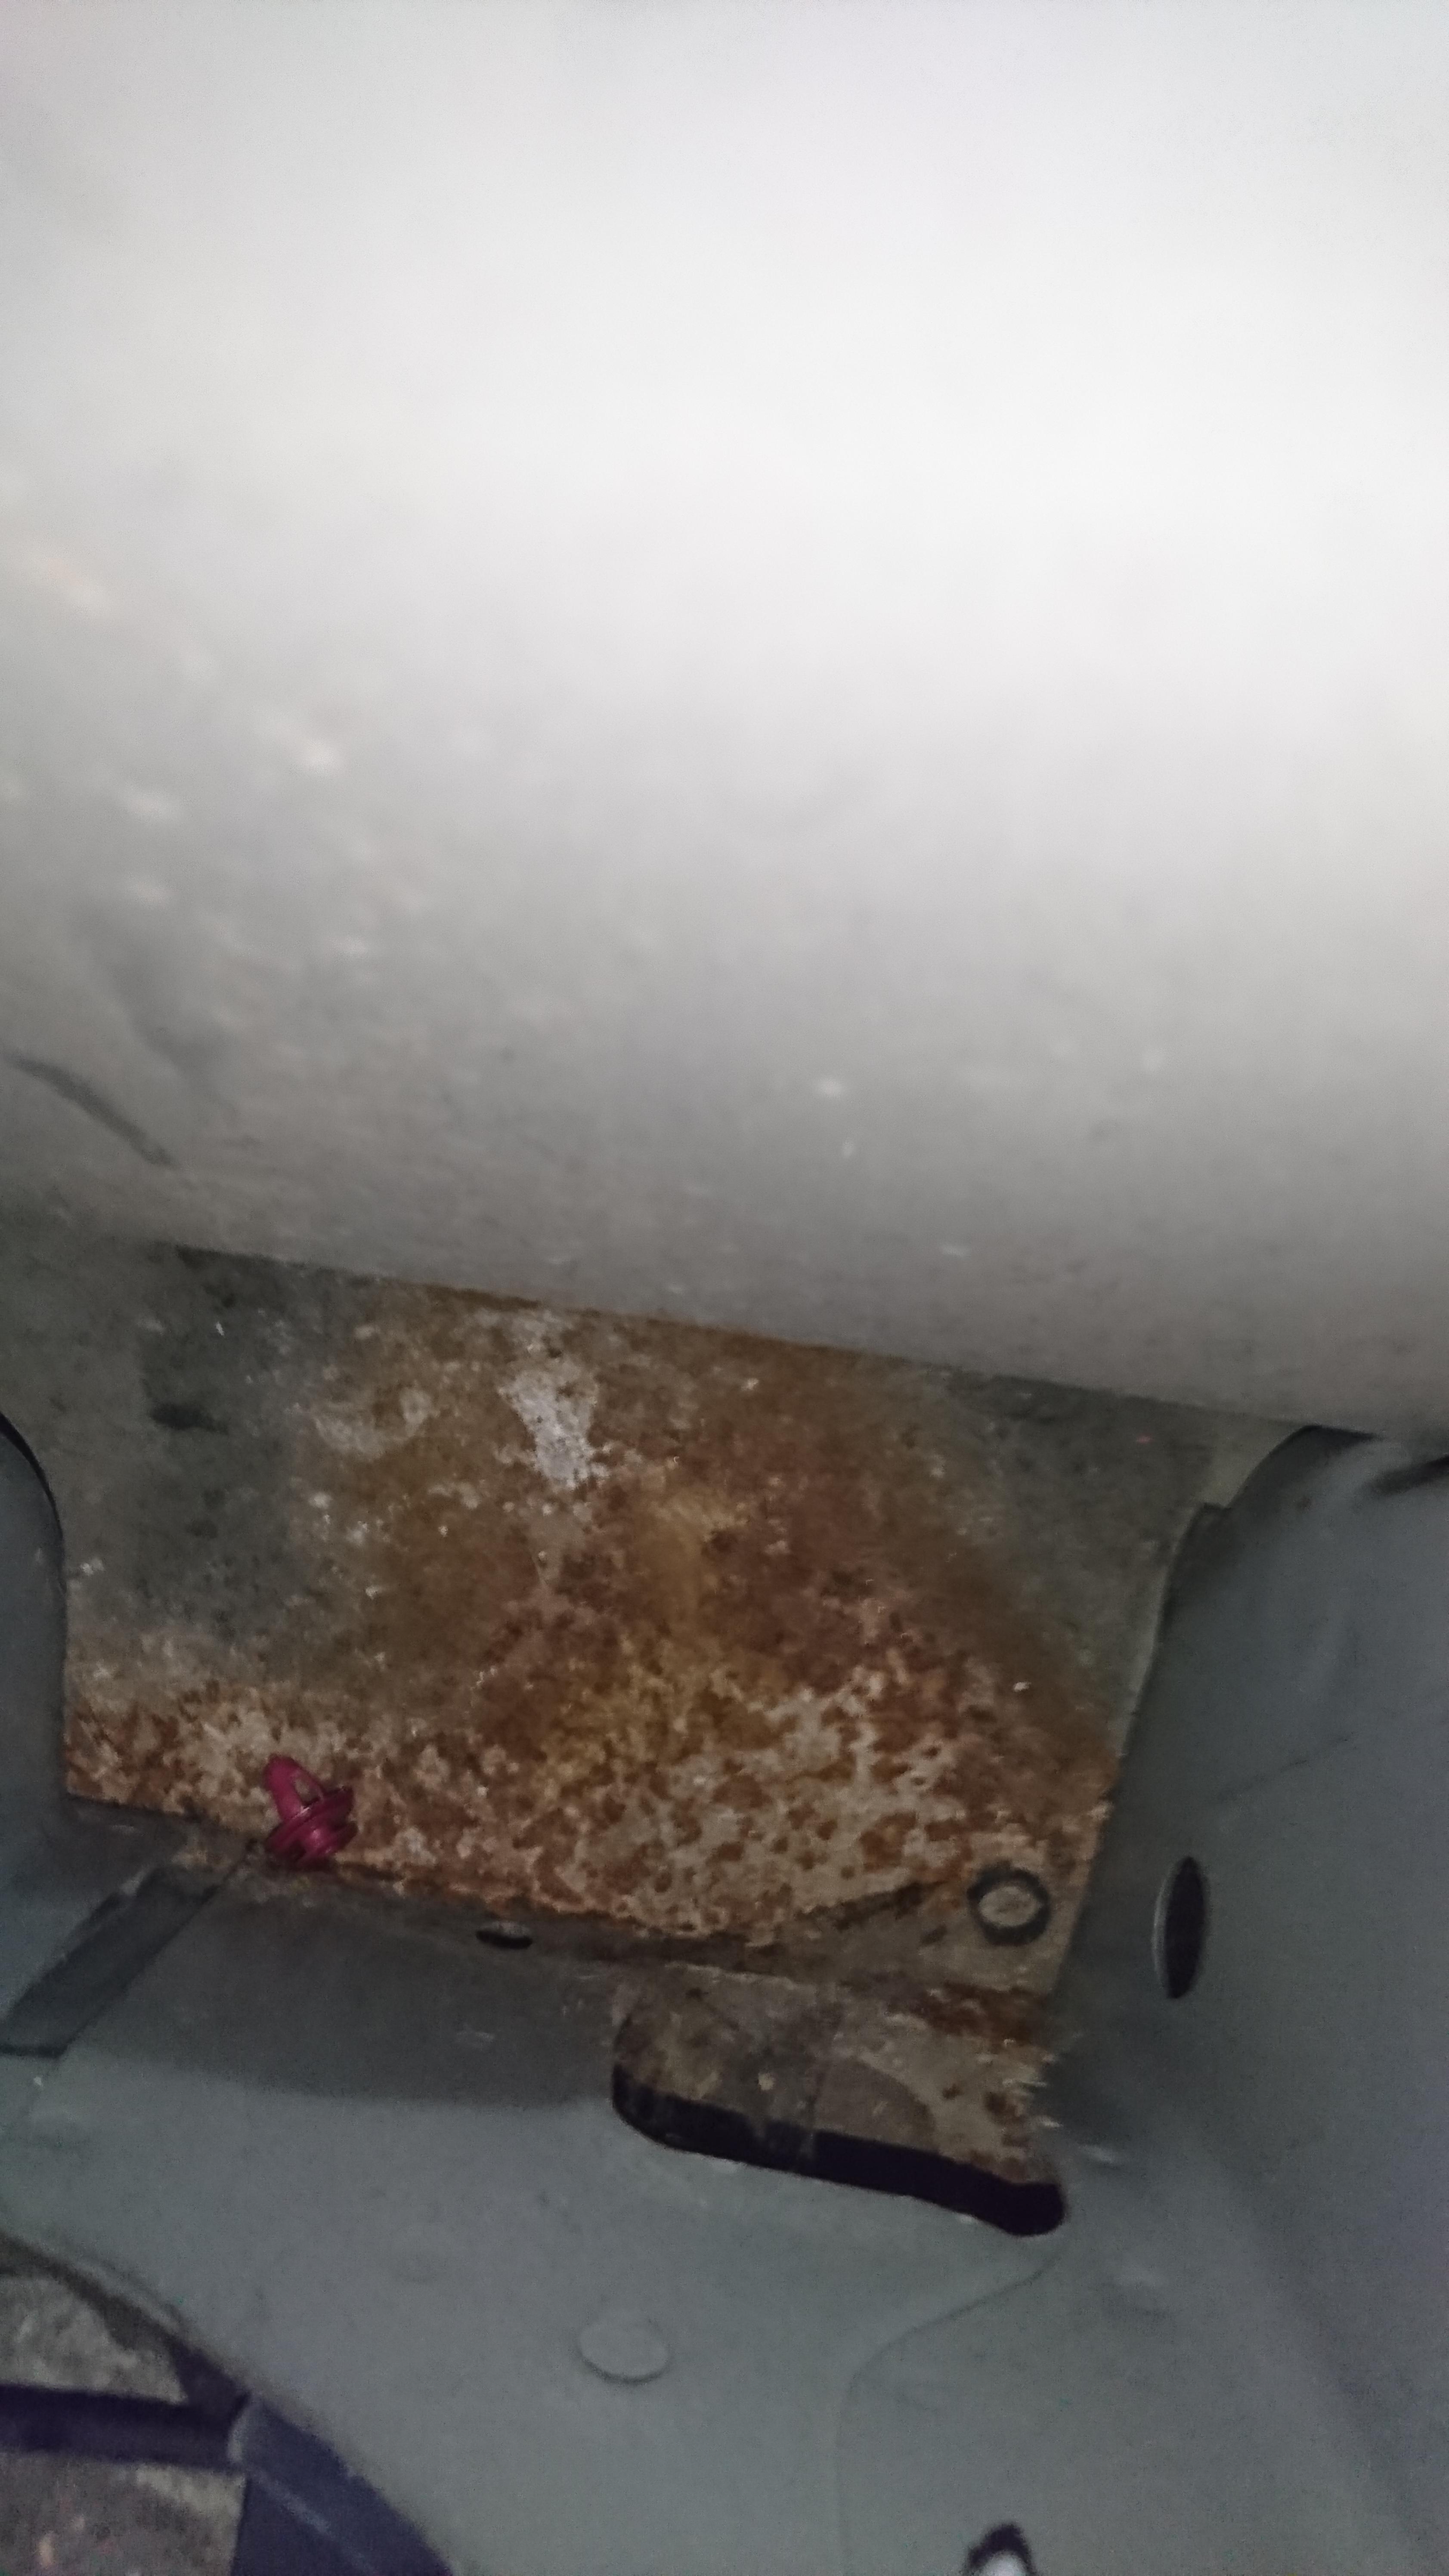
So everytime you've been driving your beloved through the wet and rain, salty dirty water is being sprayed up through these gaps which has been slowly rusting away from the inside.
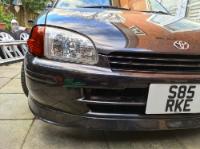
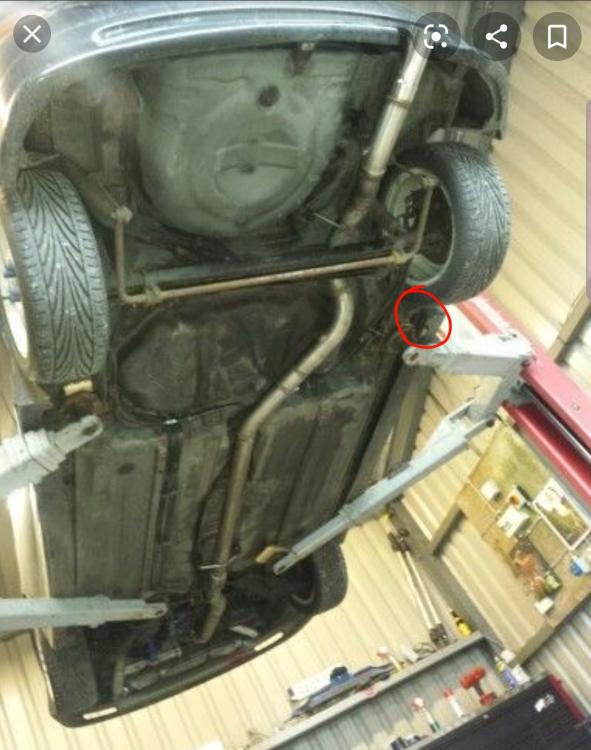
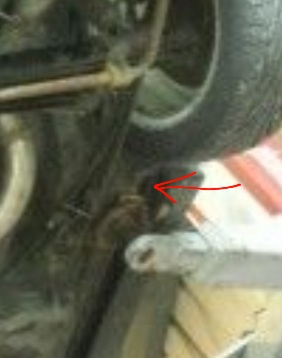
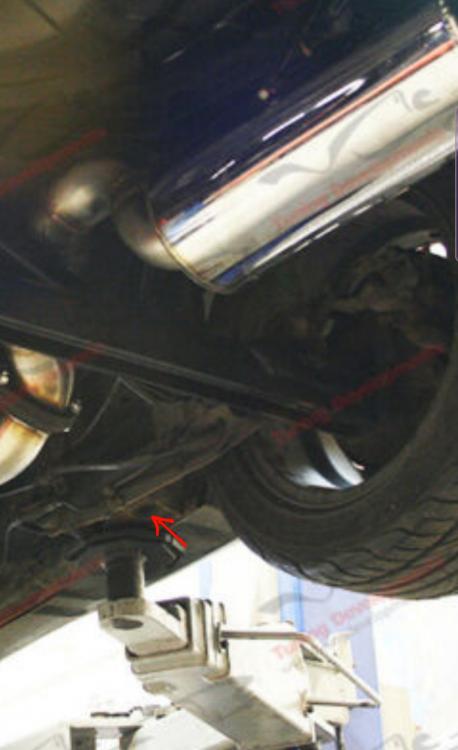
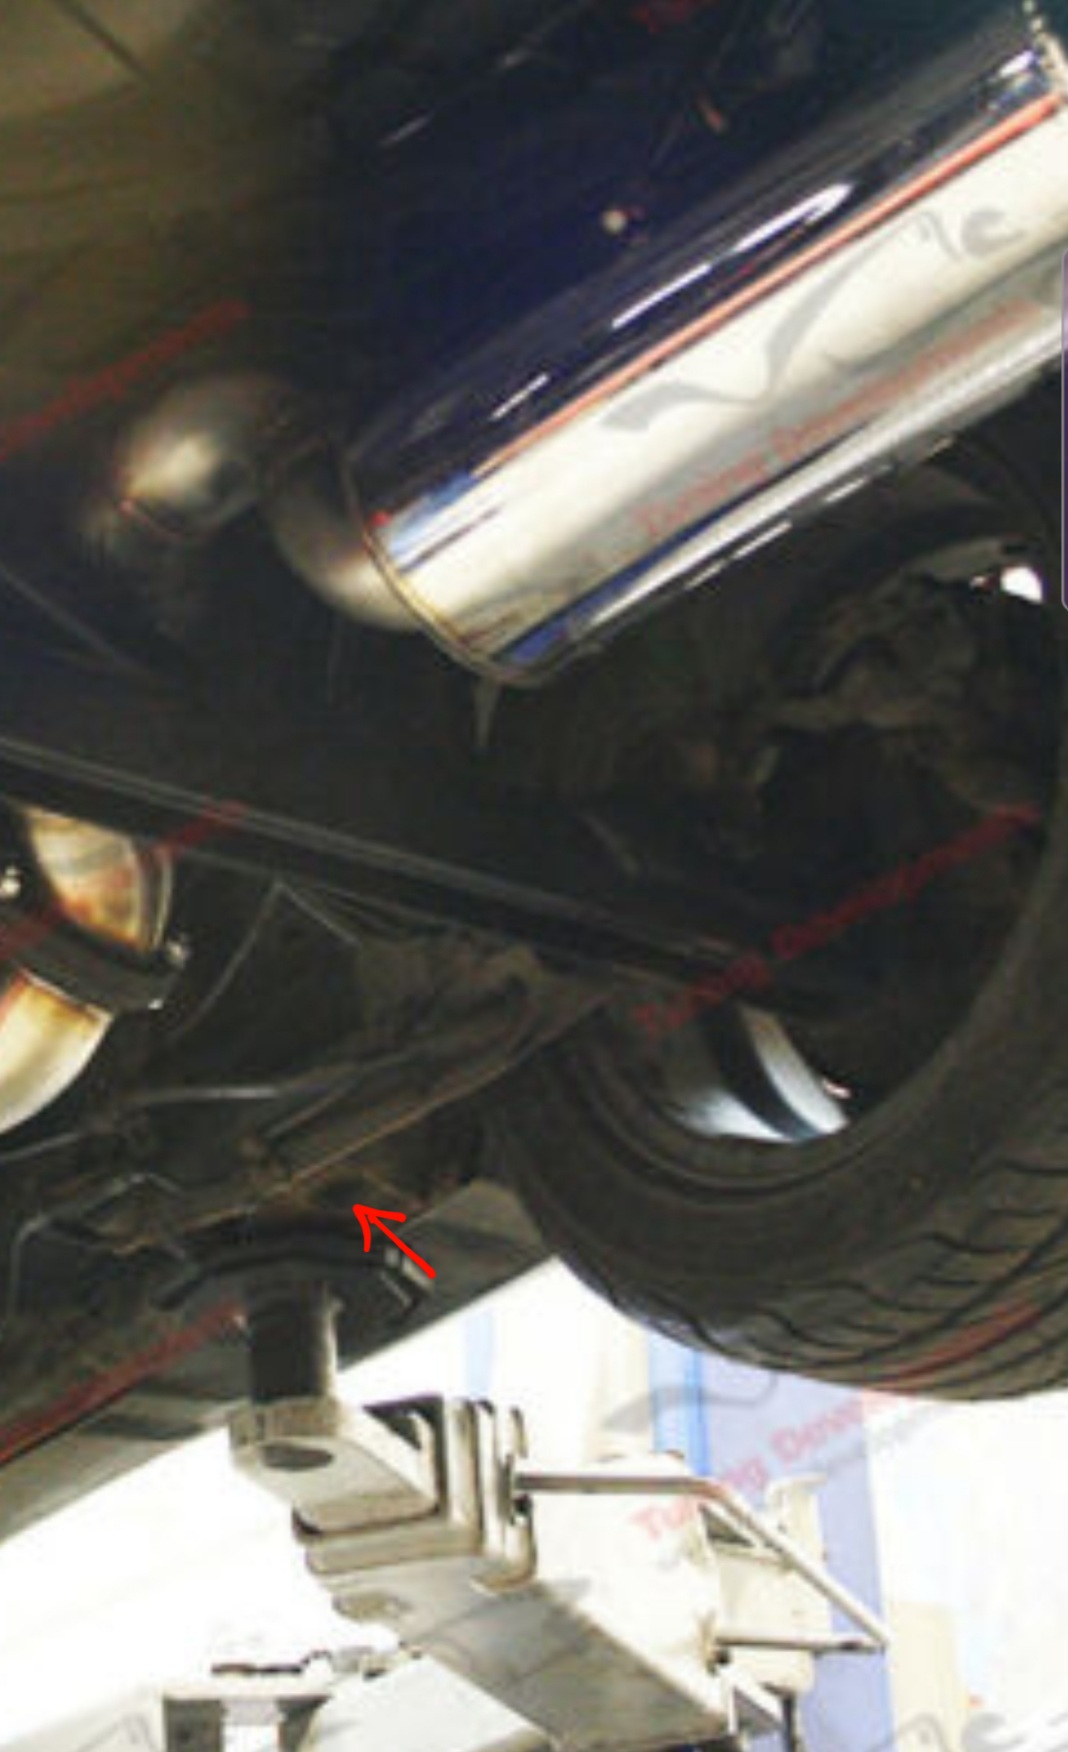
From the underside you will find where the oval rubber plugs are and you will also see the gaps surrounding where the plug is
(sorry for the low quality picture here)

There is supposed to be one on each side so check they are there, as I have seen one example where they were taken out for some reason and not refitted!
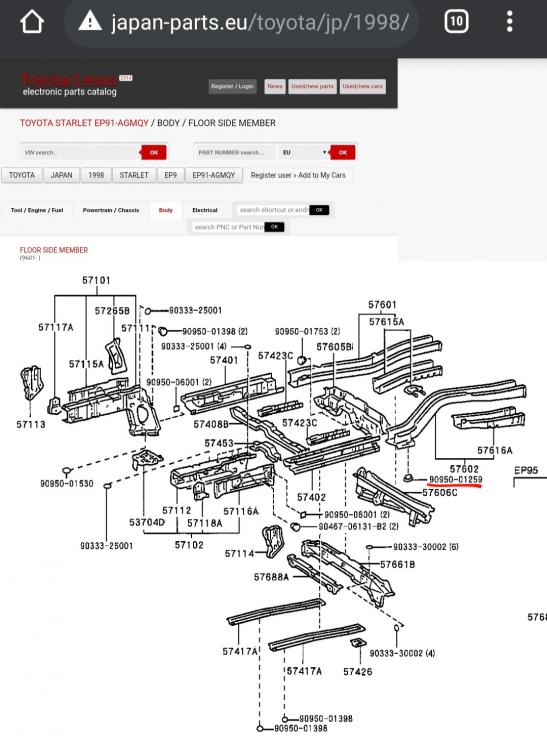
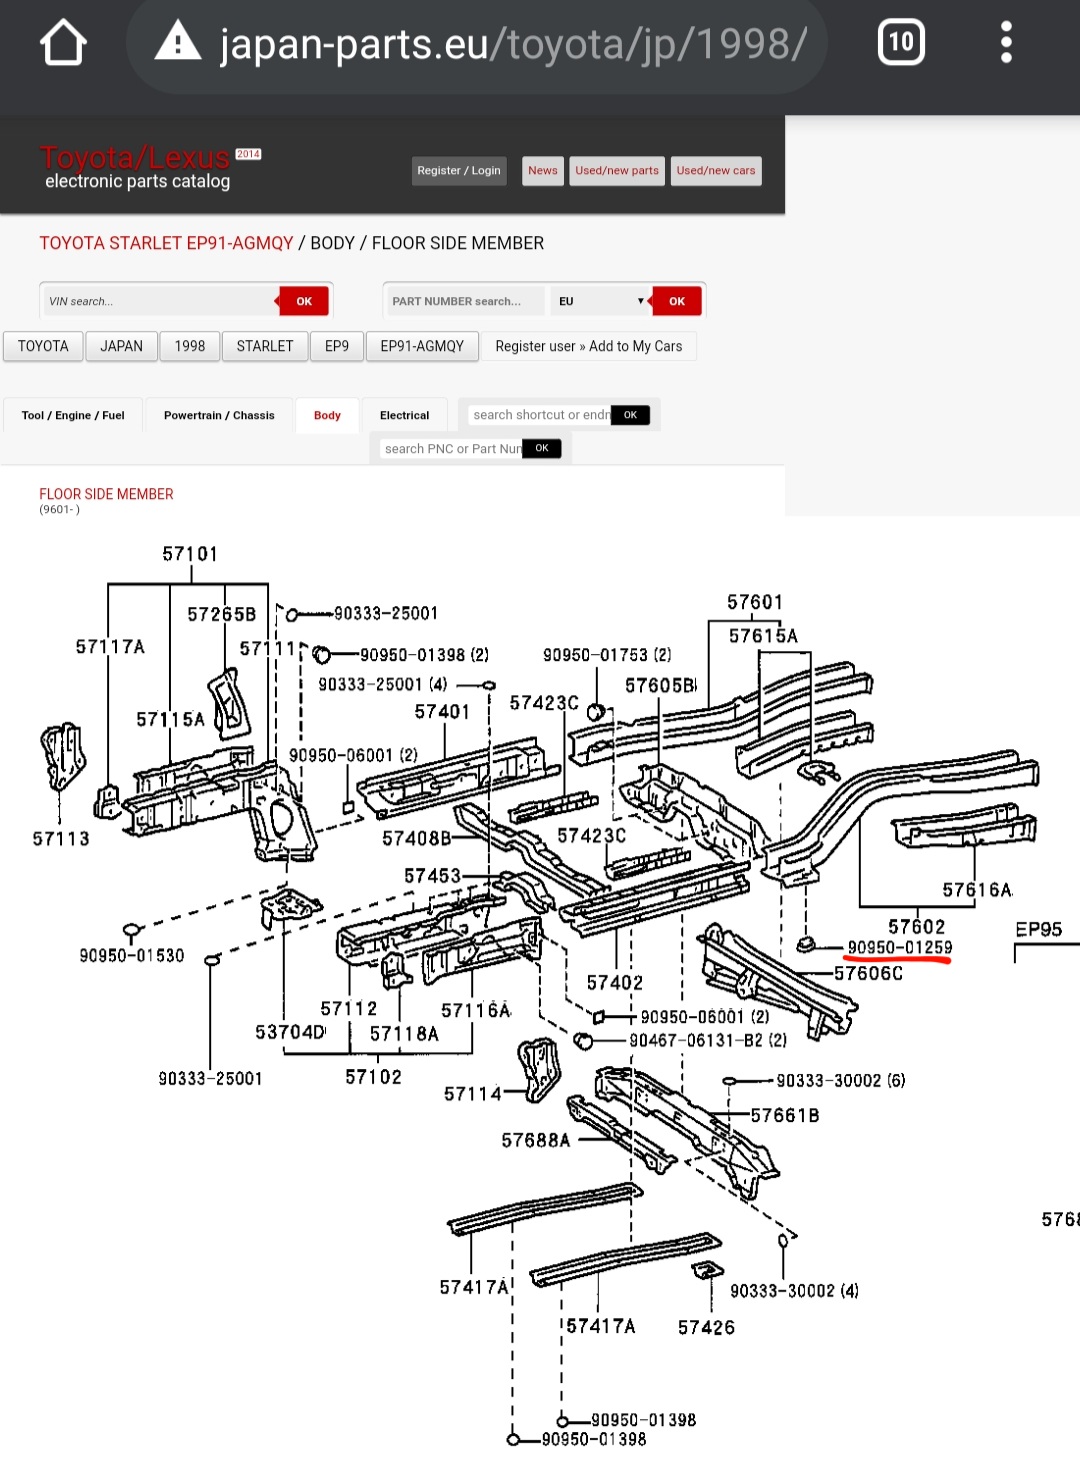
If you require plugs, the part number is 90950-01259 (x2), and can be found under 'Floor side member' on the parts diagram
I don't quite know to deal with any rust that has already developed inside without cutting it all open, but at the bare minimum these gaps need welding up to stop any more. These gaps may also explain why our windows tend to fog up easily compared to other cars on the roads during the colder months
So if you can I would suggest to all that you check this area, and if it's bad it would be worth taking it somewhere to be dealt with professionally, then check it again to make sure they've done a good job
The rest of the areas inside the sills don't seem to be of much, if any, concern (except for a nice collection of dust & cobwebs lol) and they usually hold up just fine, but if your interested what they look like on the inside:
Sill section at the front (behind front wheels):

Just thought I'd let you all know to avoid any nasty & expensive surprises in a few years time ✌🏻️
-
4 hours ago, Trevstar said:
Those are some lovely wheels!
There should be a plug on each side
I'll see if I can find a picture, but the part number should be 90950-01259 (x2)
This is the best I could find, sorry for the quality:
It comes under 'floor side member' on the parts diagram, there's one on each side

The view looking down into the sill from where the rear passenger side pockets would be:

The view looking inside the cut out in the above picture (you can see where the oval rubber plug is):

And these are the gaps in the metal work I mentioned around where the plug is (you can clearly see daylight coming through):
-
Those are some lovely wheels!
There should be a plug on each side
I'll see if I can find a picture, but the part number should be 90950-01259 (x2)


Starlet SR a twenty year daily
in EP91 Progress Blogs
Posted
No worries mate!