BurtEP82
-
Posts
293 -
Joined
-
Last visited
Content Type
Profiles
Forums
Wiki
Media Demo
Events
Everything posted by BurtEP82
-
Thanks mate, let’s hope it stays that way when running!
-
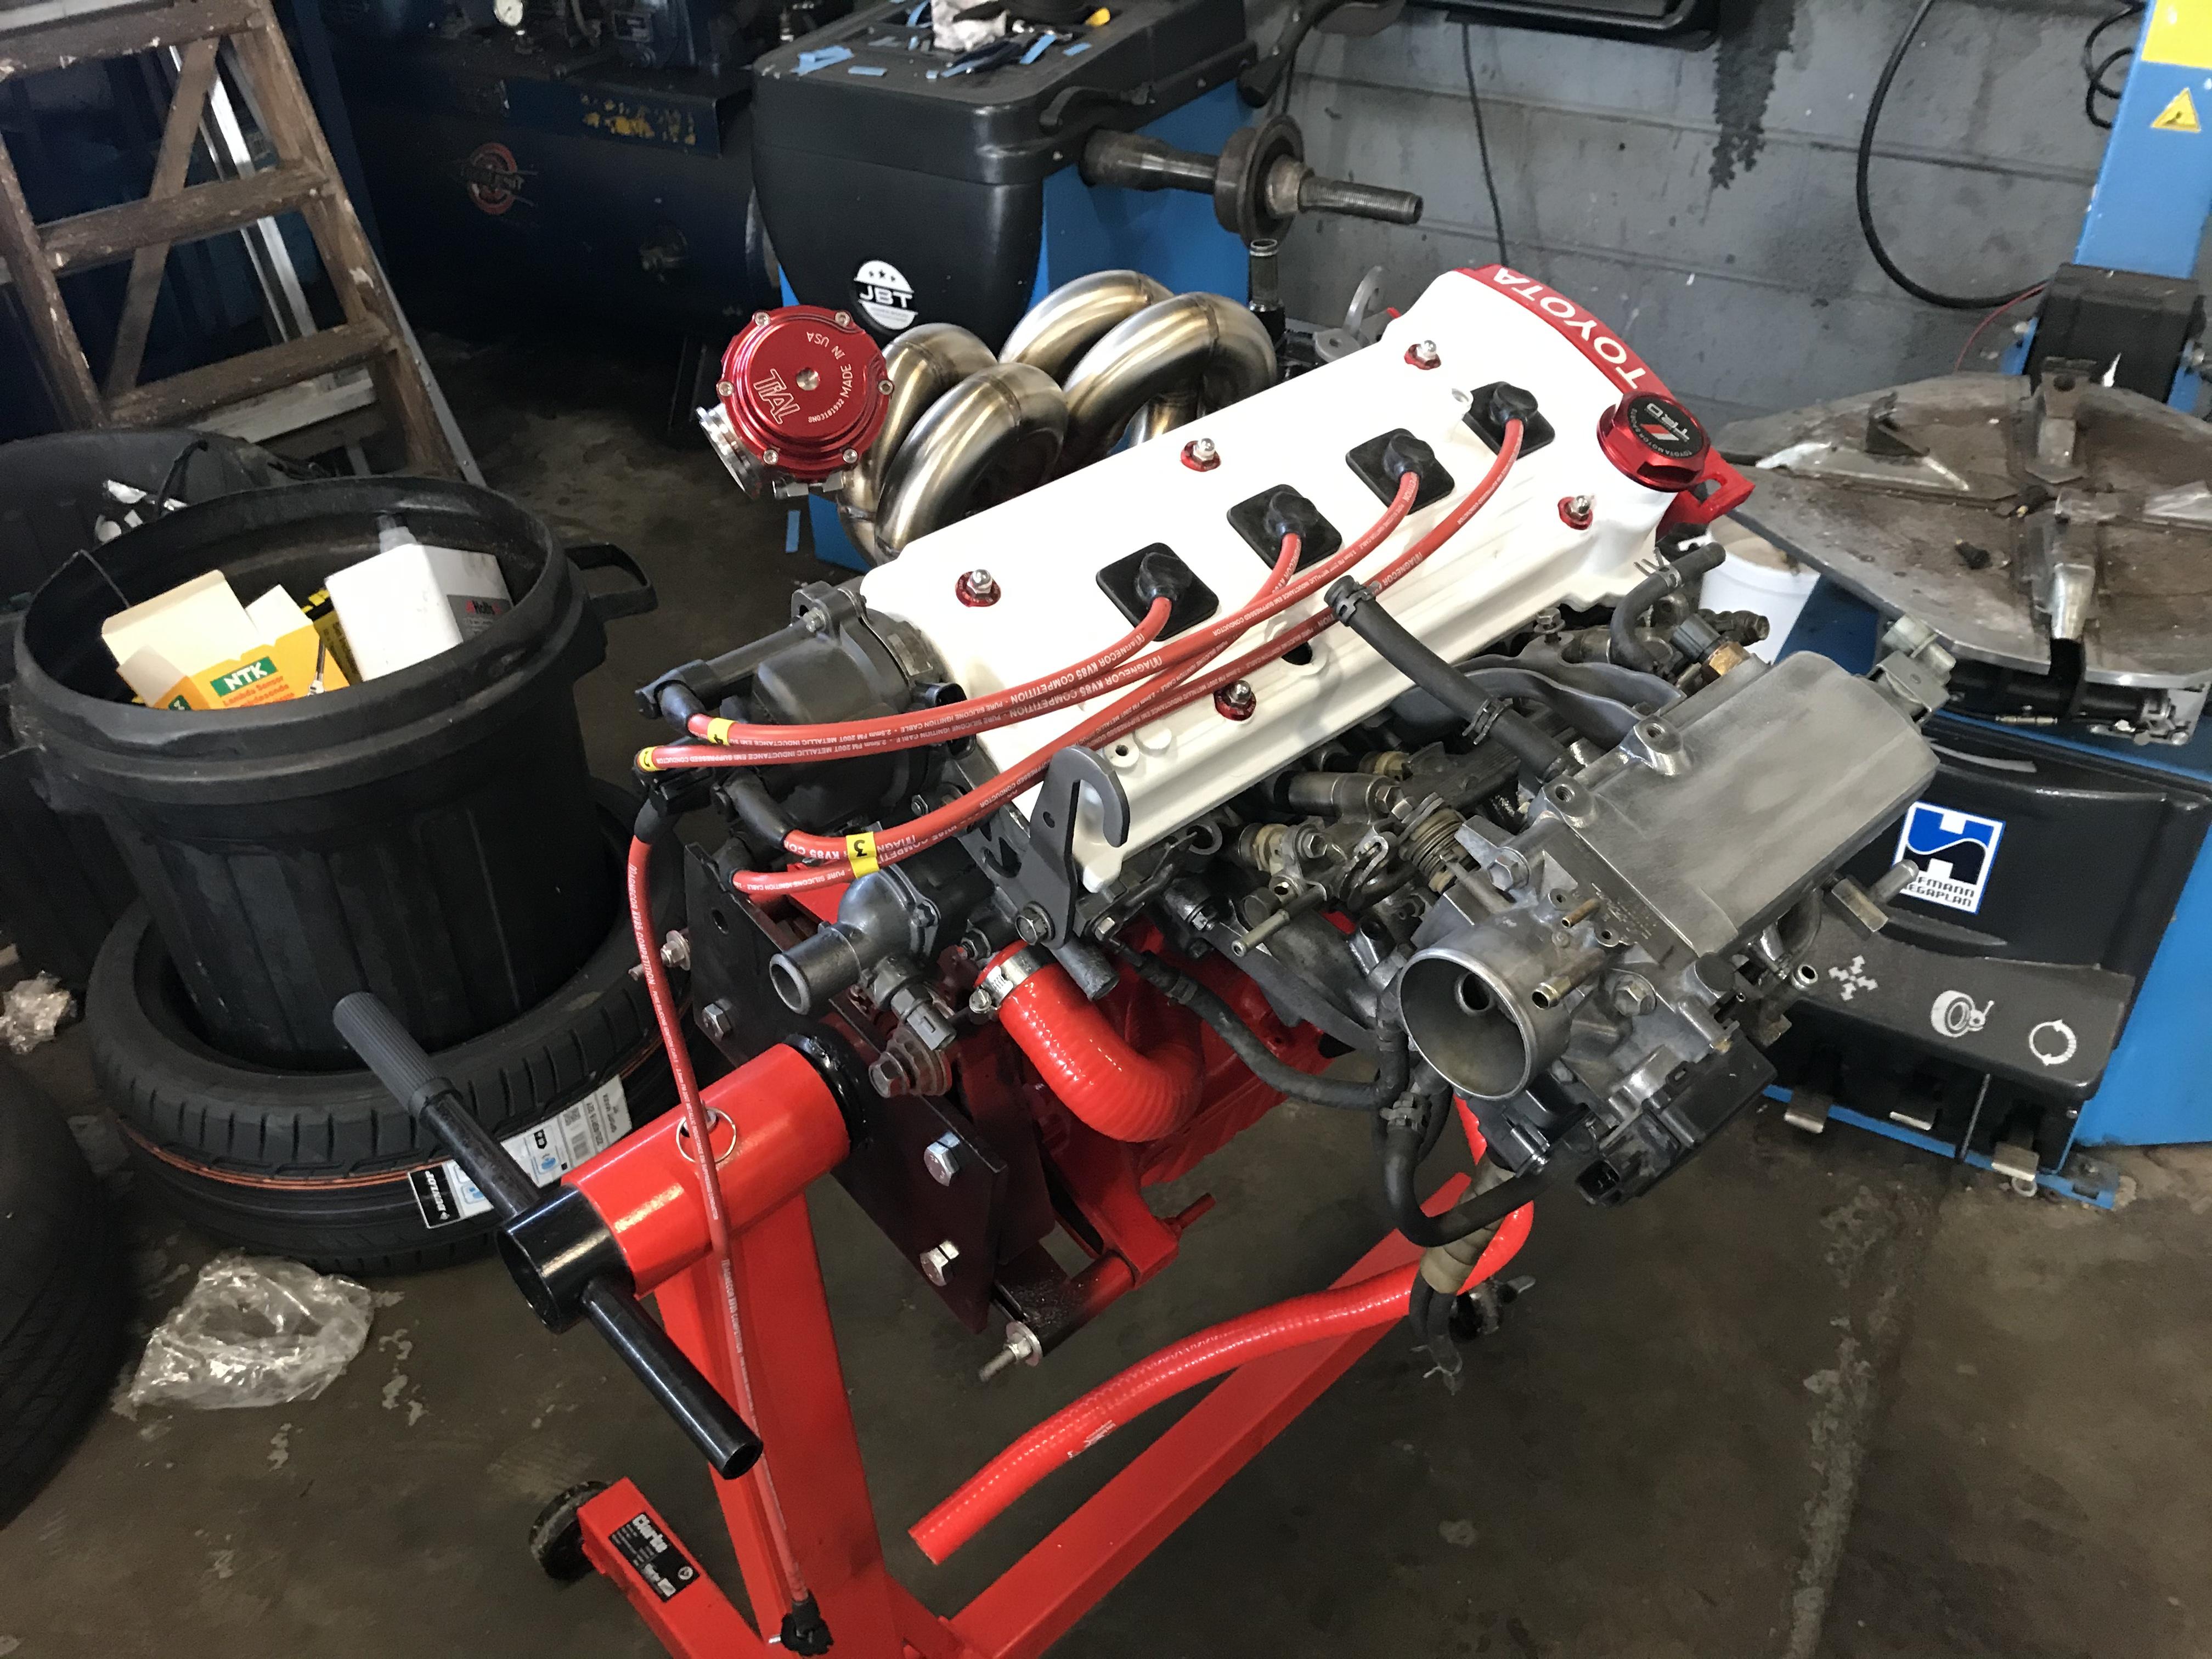
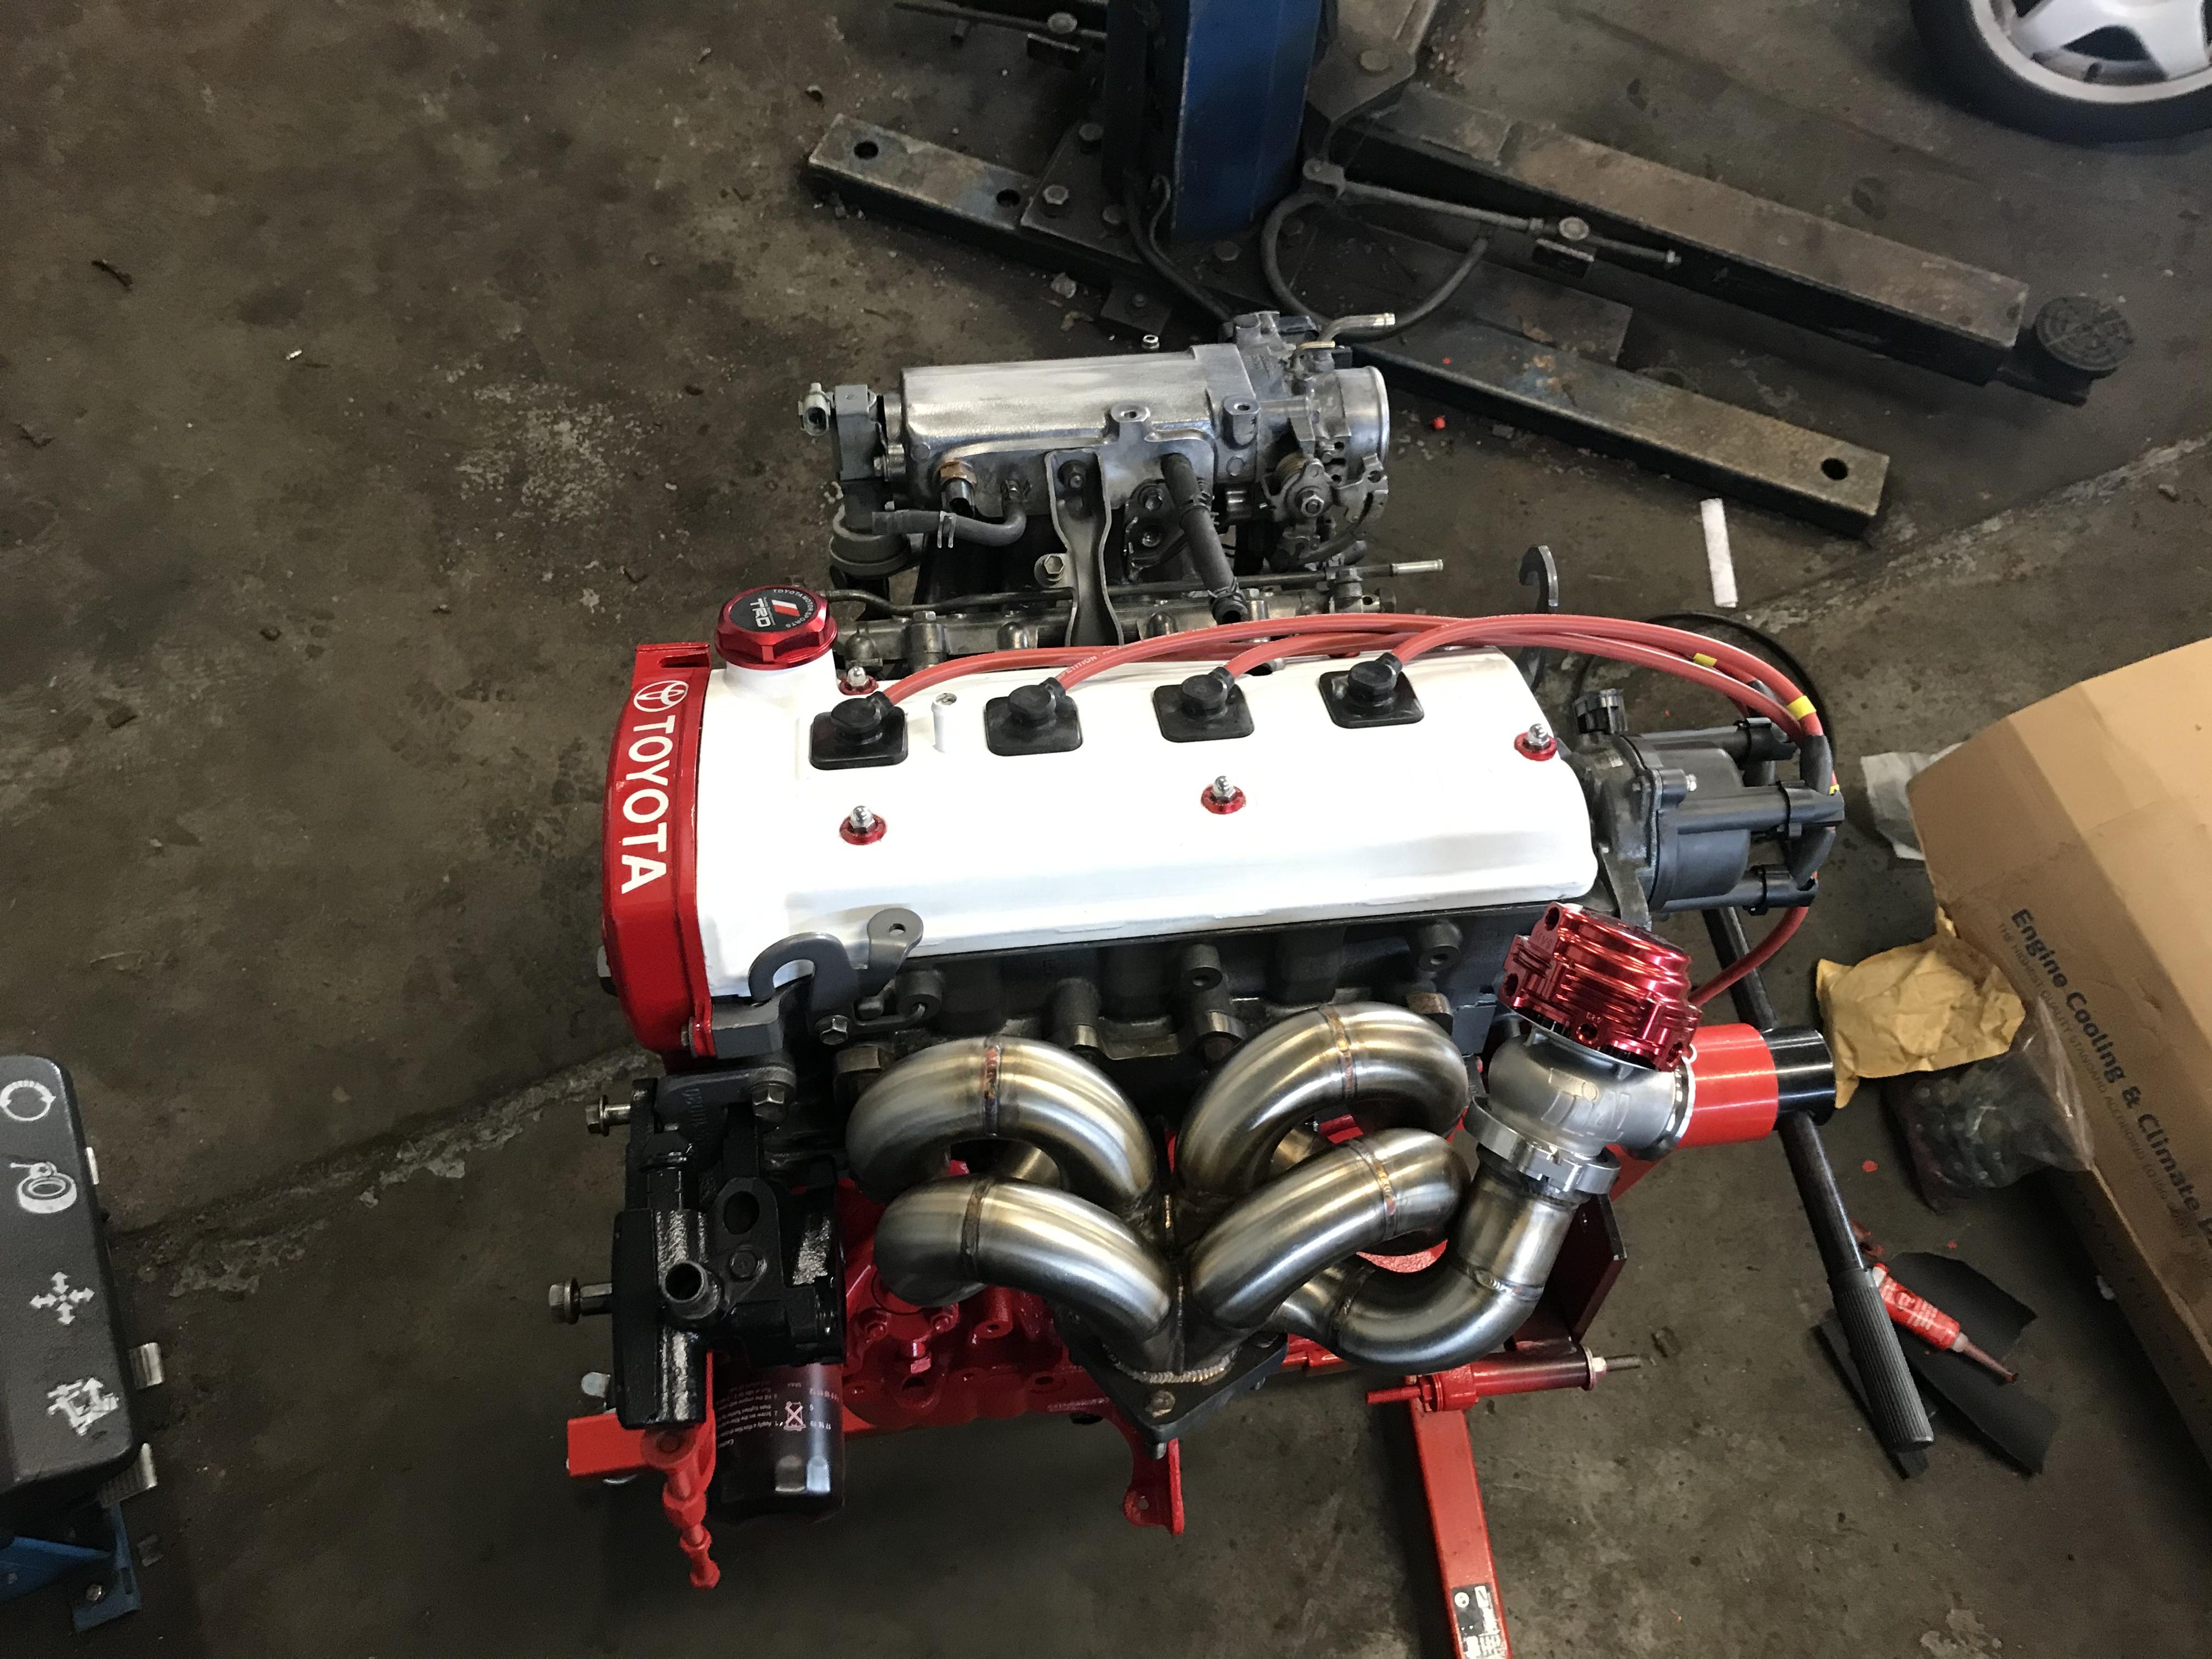
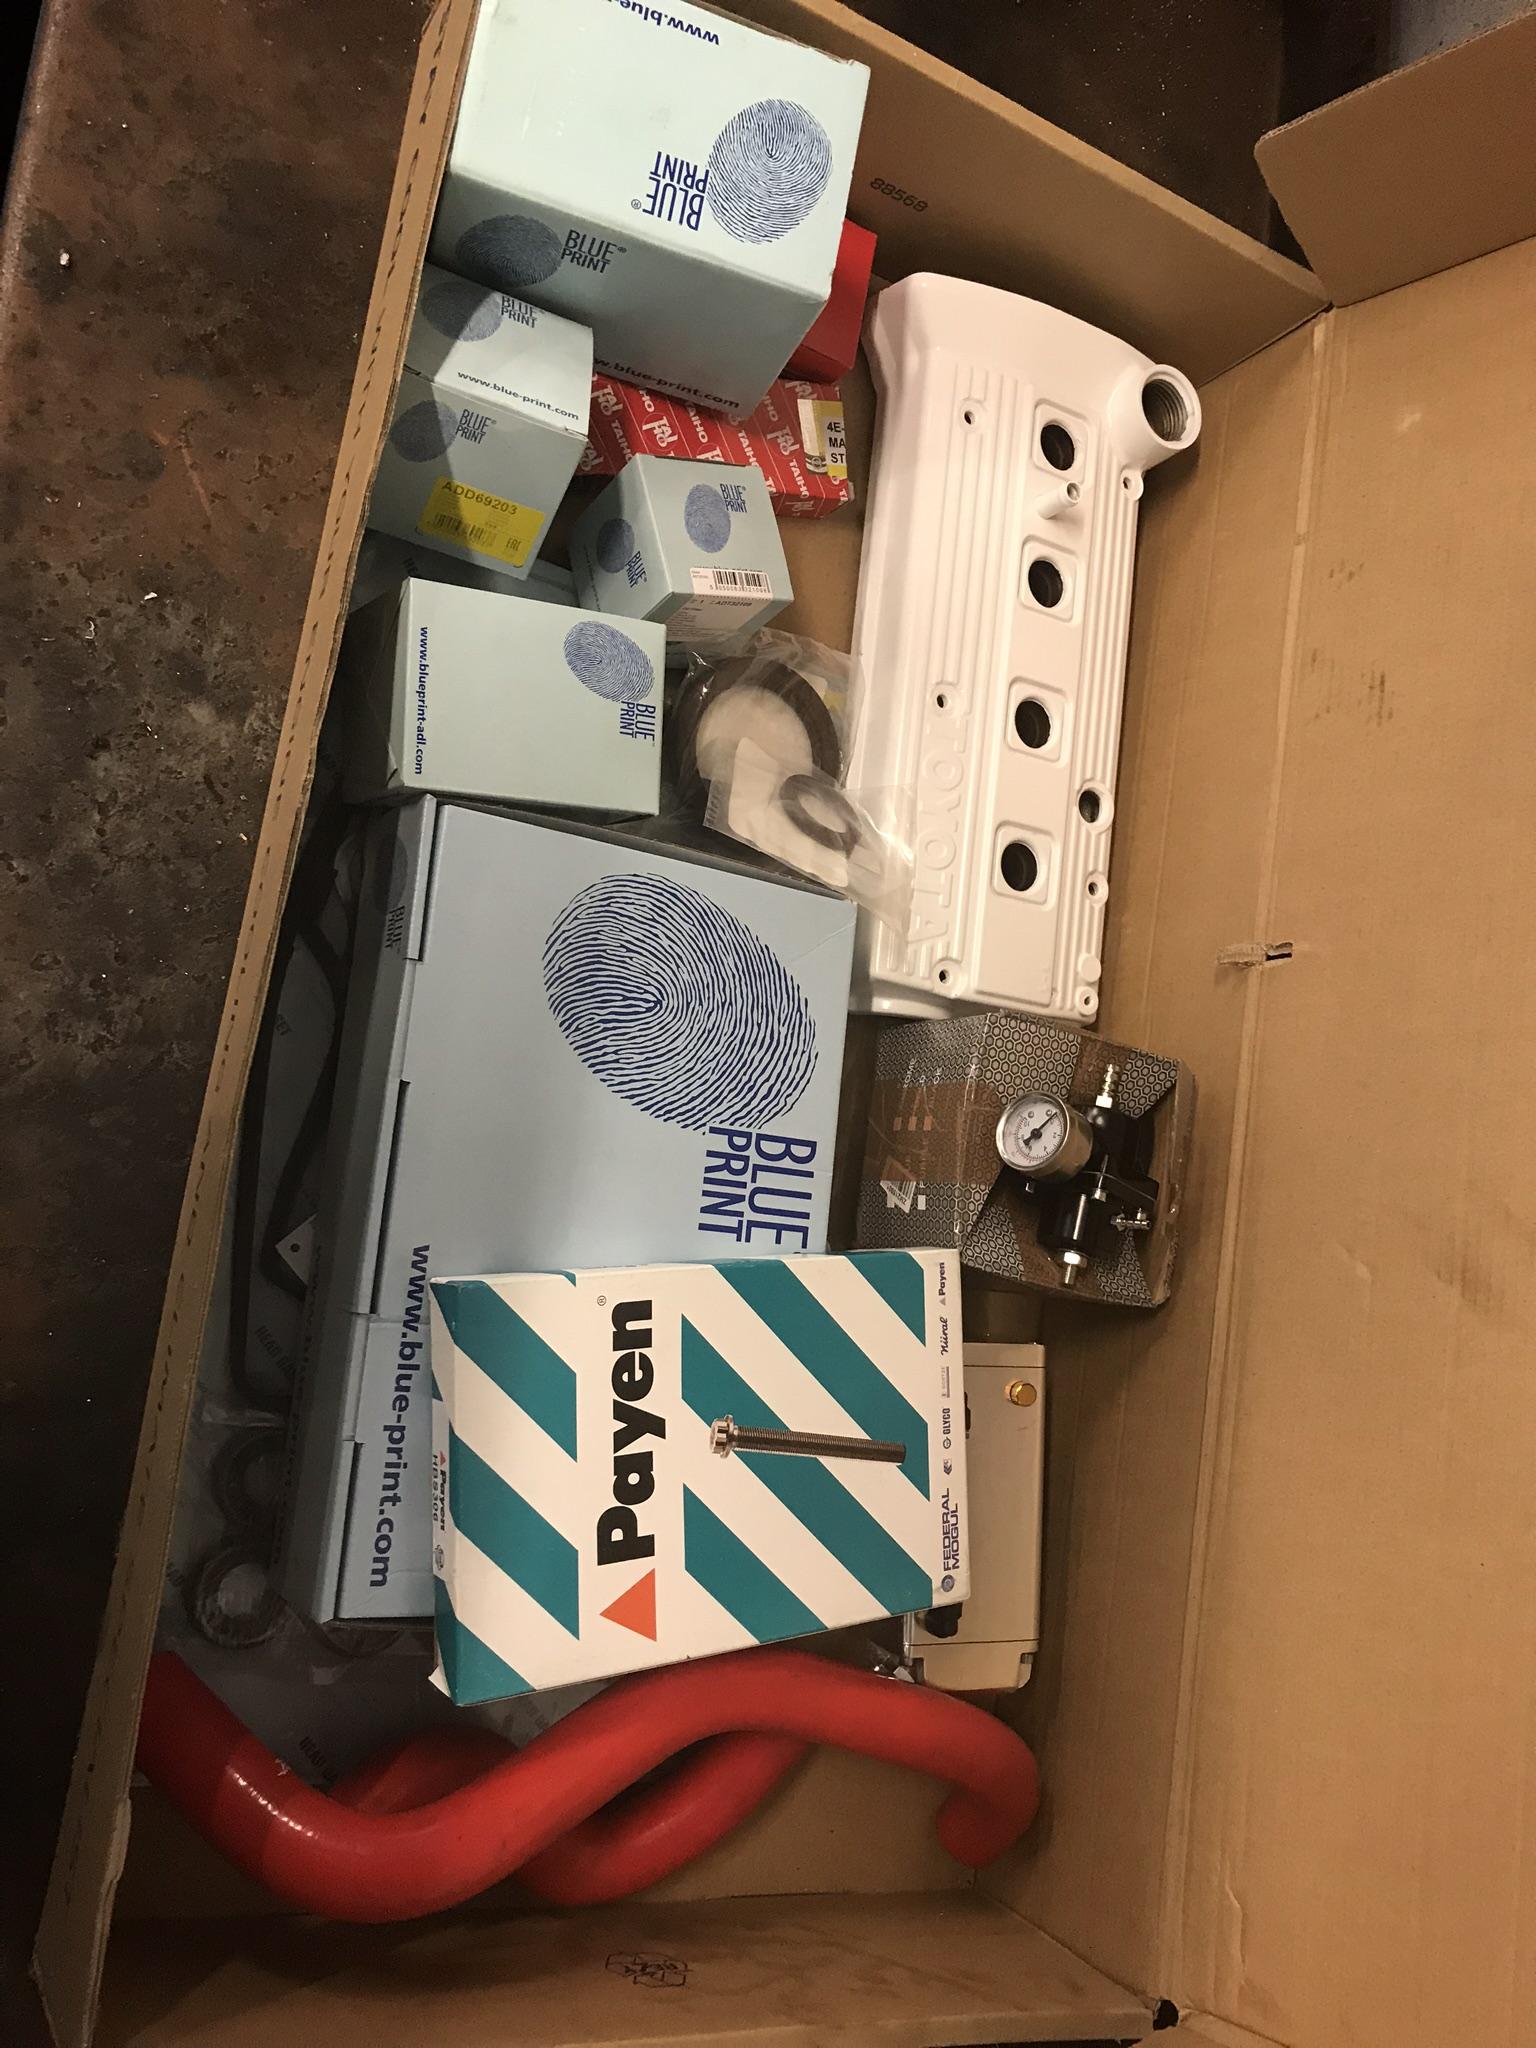
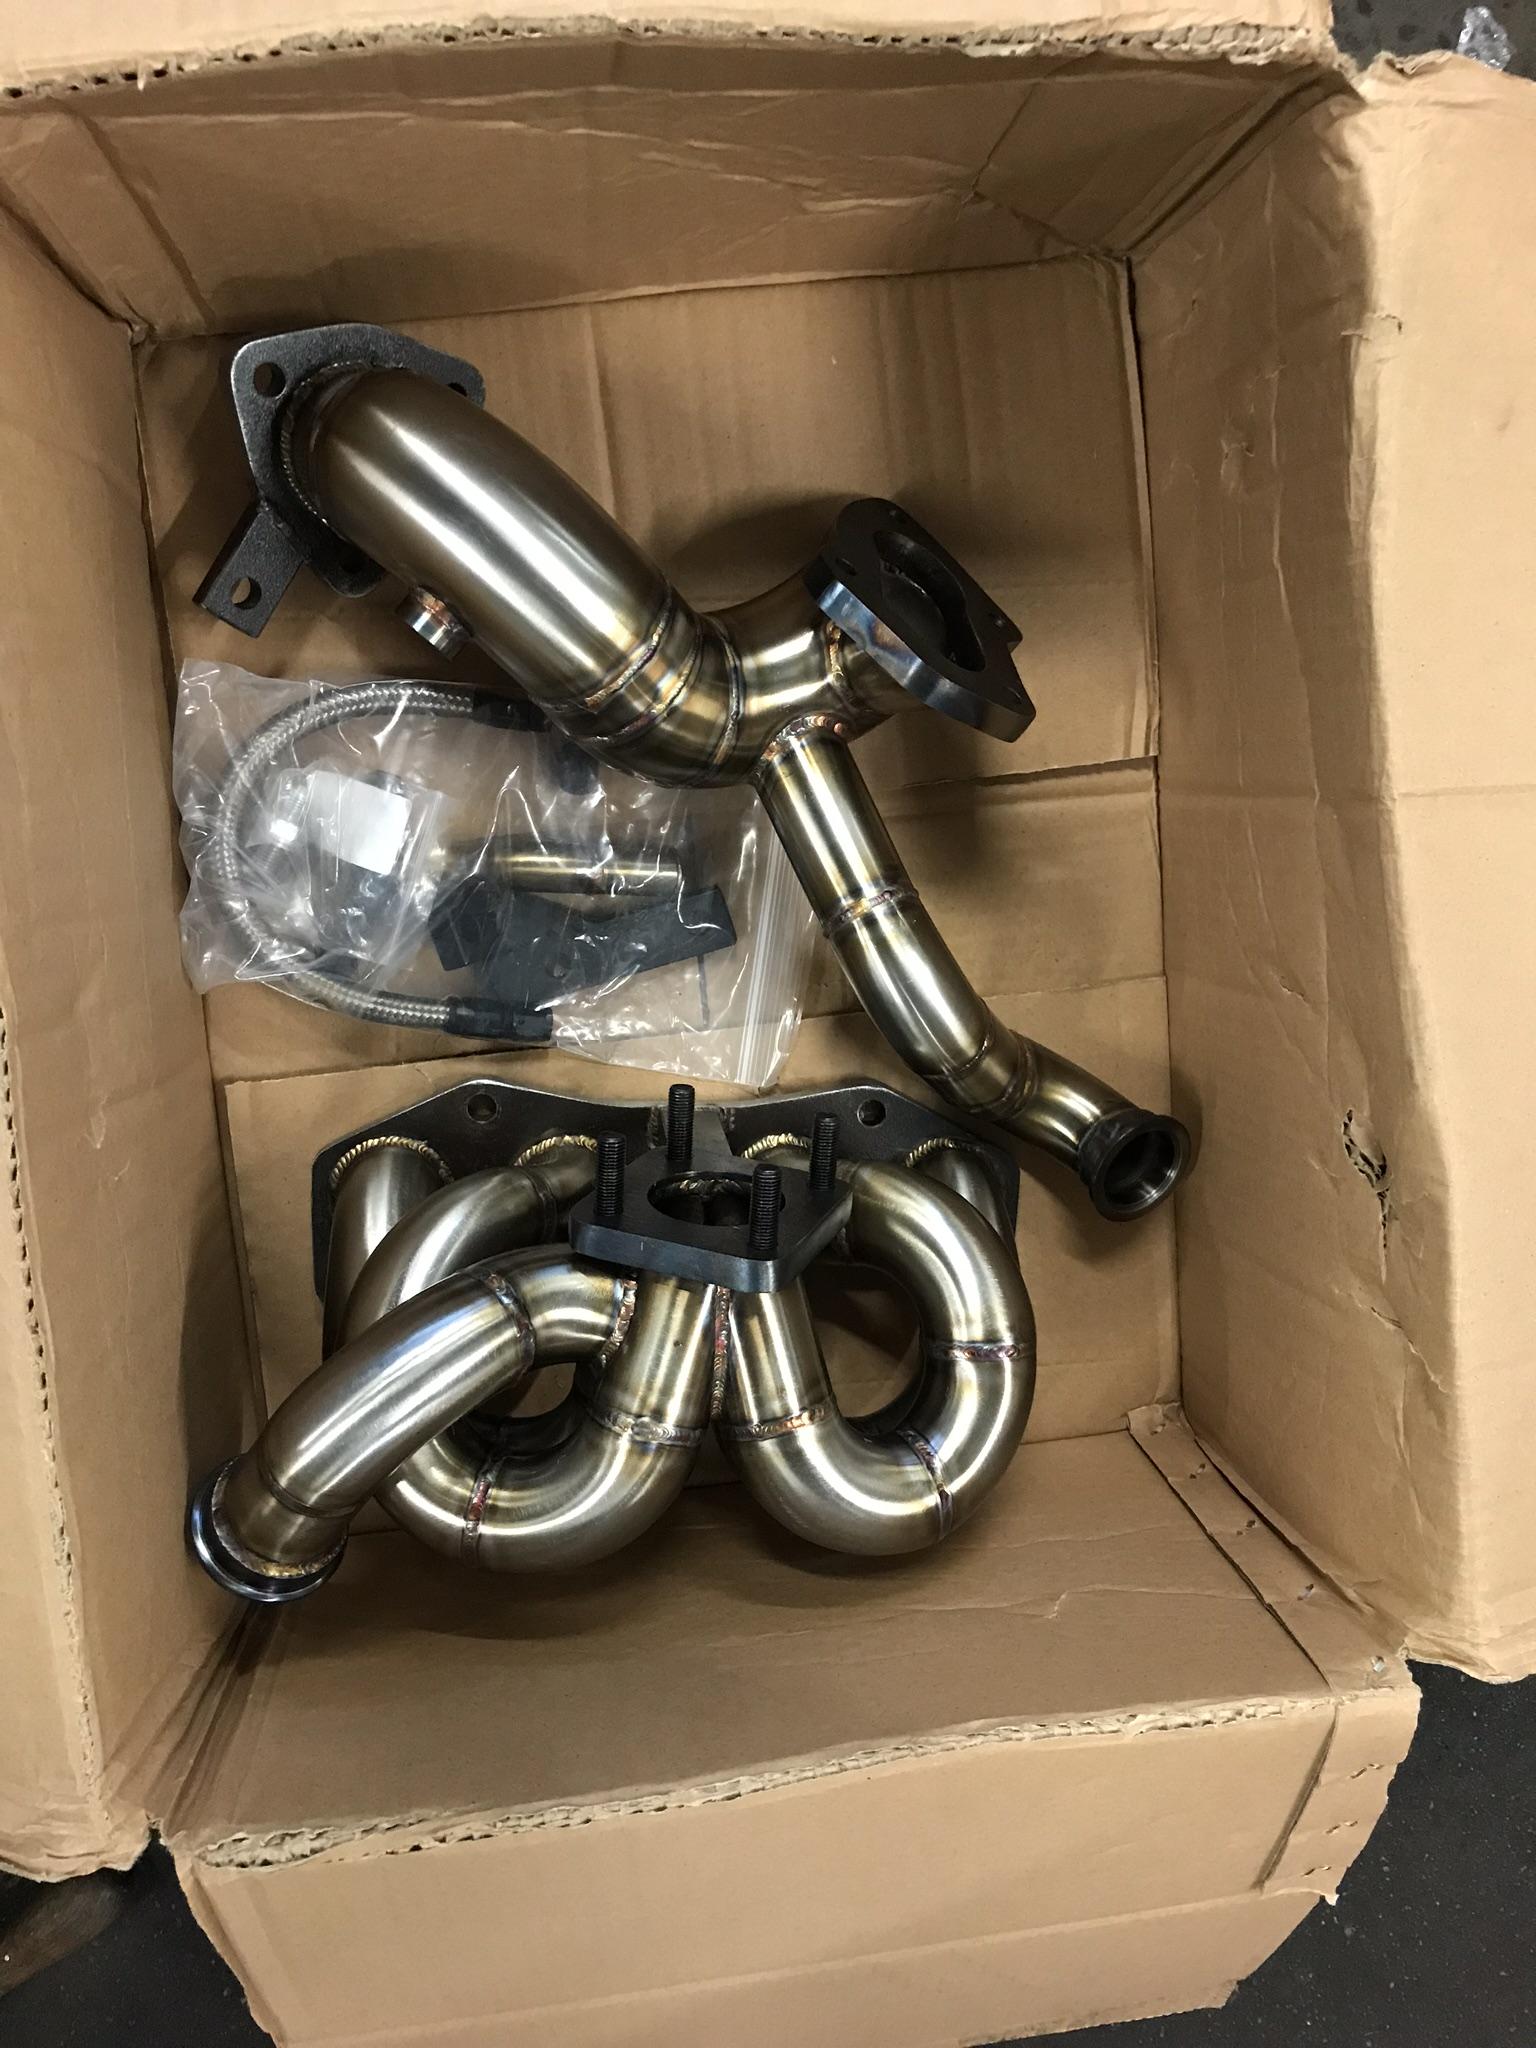
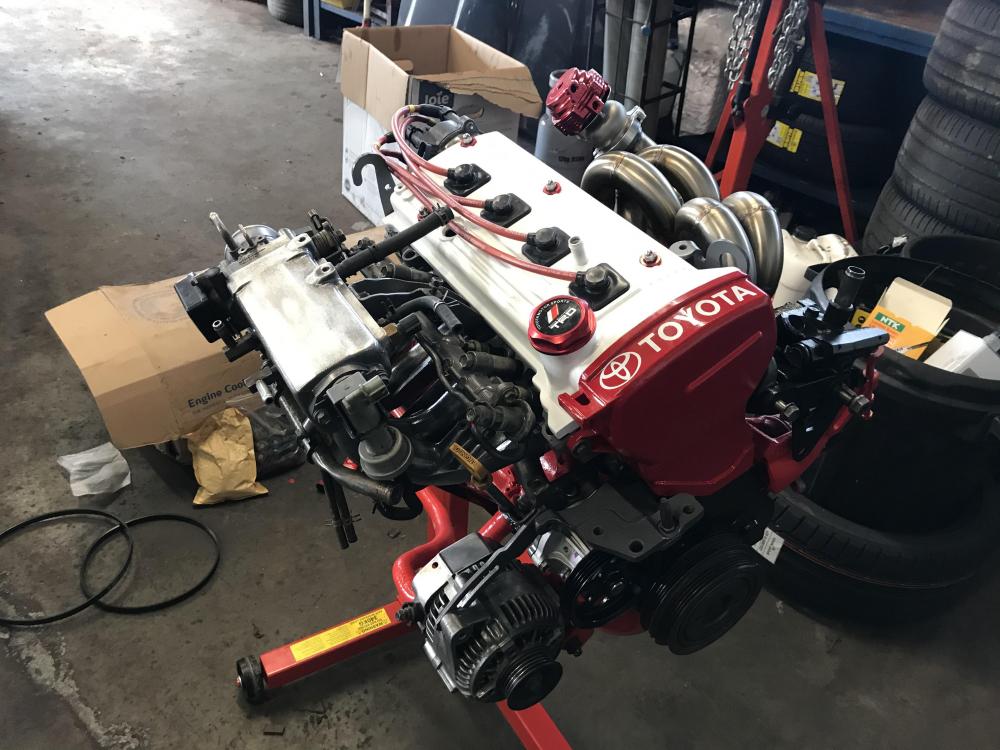
Got a bit of time to build up the ancillaries this weekend. During the week all parts were cleaned and sprayed, some in colour and others just lacquered. Most exciting part was the WEPR manifold, chuffed to bits to sneak a peek at what it will look like with the tial wastegate. Still debating with myself if welding the internal gate is the only way. May have a practice run on my old ct9.


-
Scrap the second, found GFB manual which describes things perfectly 🤗
-
As per title, I am going external wastegate on ct9. I have had a scan through the forum but can’t find info needed. I will keep searching but if anyone can input here then greatly appreciated! Firstly, is welding the internal gate shut the only way to blank it off? Can it be welded securely on the exterior where the actuator connects? Can the actuator be kept and just set really high? Second, when fitting EBC (I have GFB2) where do the vac lines need to go? Not searched this yet but rather get current knowledge of its there. Many thanks, Tom
-
I’ve just cleaned my stud holes in the head with m9 1.25 tap and nuts are the same. Don’t see why stud thread would change when fitting a different manifold, unless you mean studs joining manifold to turbo?
-
Welcome! Would definitely like to see pictures of all the starlets you’ve owned. Get a progress thread up of the current one too
-
Never done the brakes on mine to be honest but that looks to be a wind back calliper, not just push back like the fronts. Ideally a wind back tool is needed to assist. The sliders as you mentioned need to be free, if the piston is coming out when brake is applied but not returning slightly it will most likely be a seized calliper. One thing to bear in mind though, if the piston won’t wind back but does if you crack off the bleed nipple the the hose could be your fault. Disc looks to have gotten quite hot
-
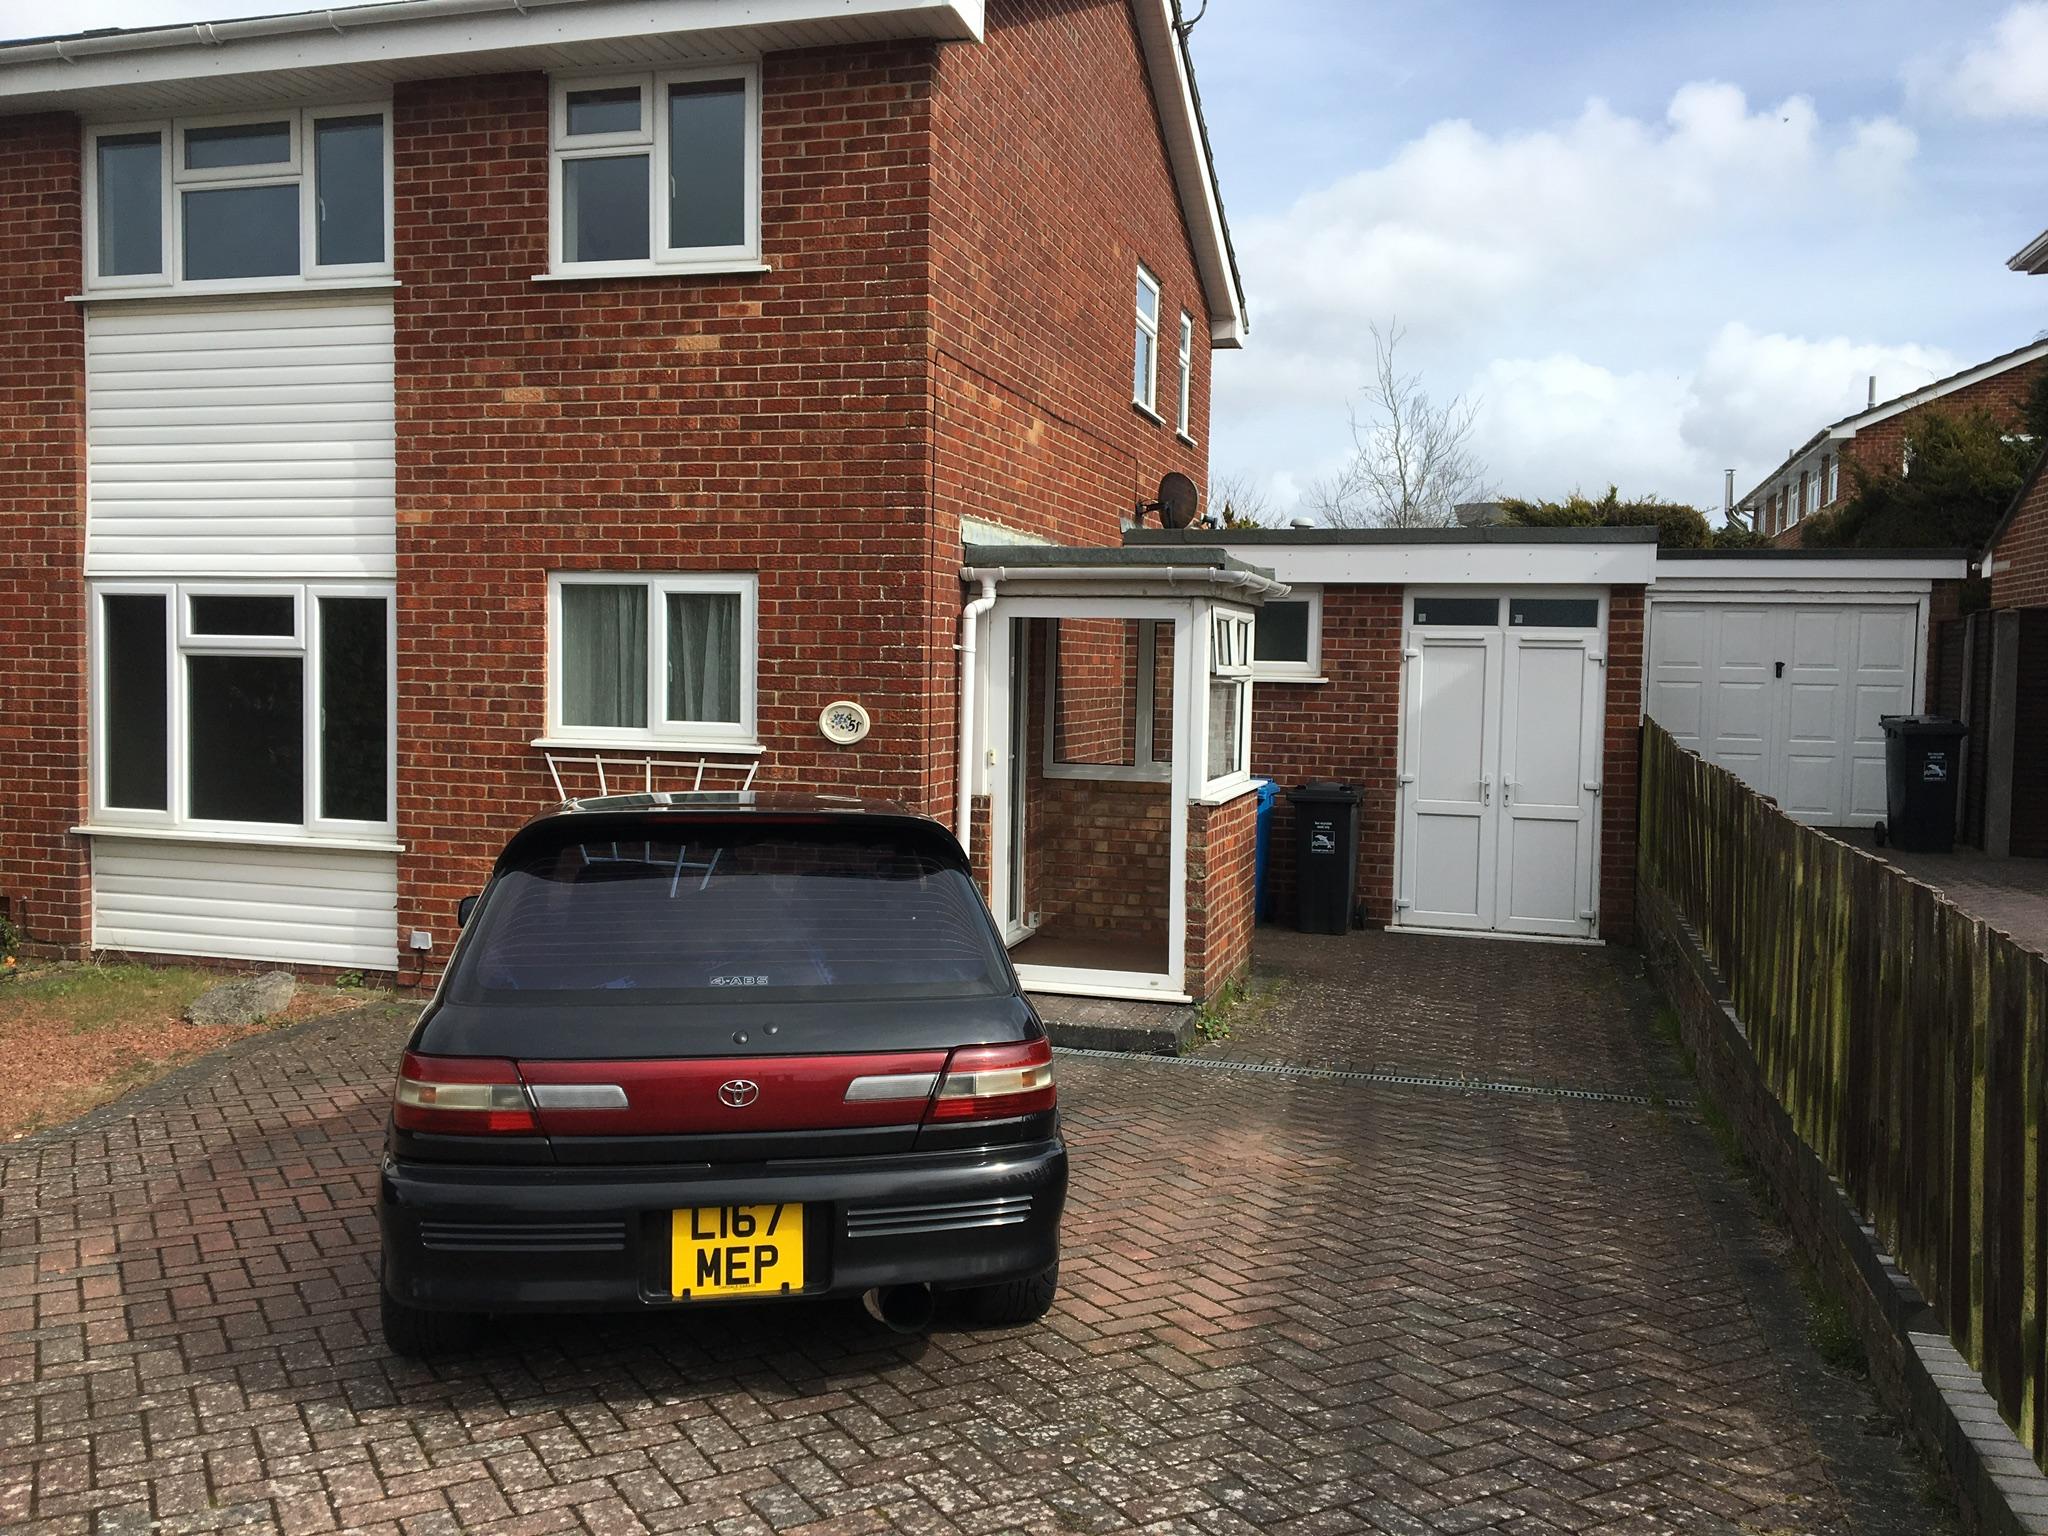
That’s a project car I would say I’m jealous of, and if that’s the garage of your new house then, same again! Must take the time to read through your thread properly, at a glance looks like you’ve saved this Glanza
-
Some nice bits going on with this gt, liking that your putting some time into preserving what is already there. Hope the work goes smoothly for you tomorrow and I am liking your splitter!
-
Cheers Sam. We all like a bit of engine work, looking forward to seeing your 5E build come on!
-
Thanks mate, I shall search for the throttle gasket and fit thermostat with just sealant. I’m happy with the oil pump seal, it’s perfect size even with correct rotation. You’re right about the cambelt cover, just looked through engine bay pics and couldn’t see a red one. Nice to be a little different.
-
As happy as I am with the progress, there are a couple gaskets missing in the engine kit I got. Thermostat housing to head and, throttle body to inlet. As before, If anyone can point me the direction of new ones then shout, and loudly!!
-
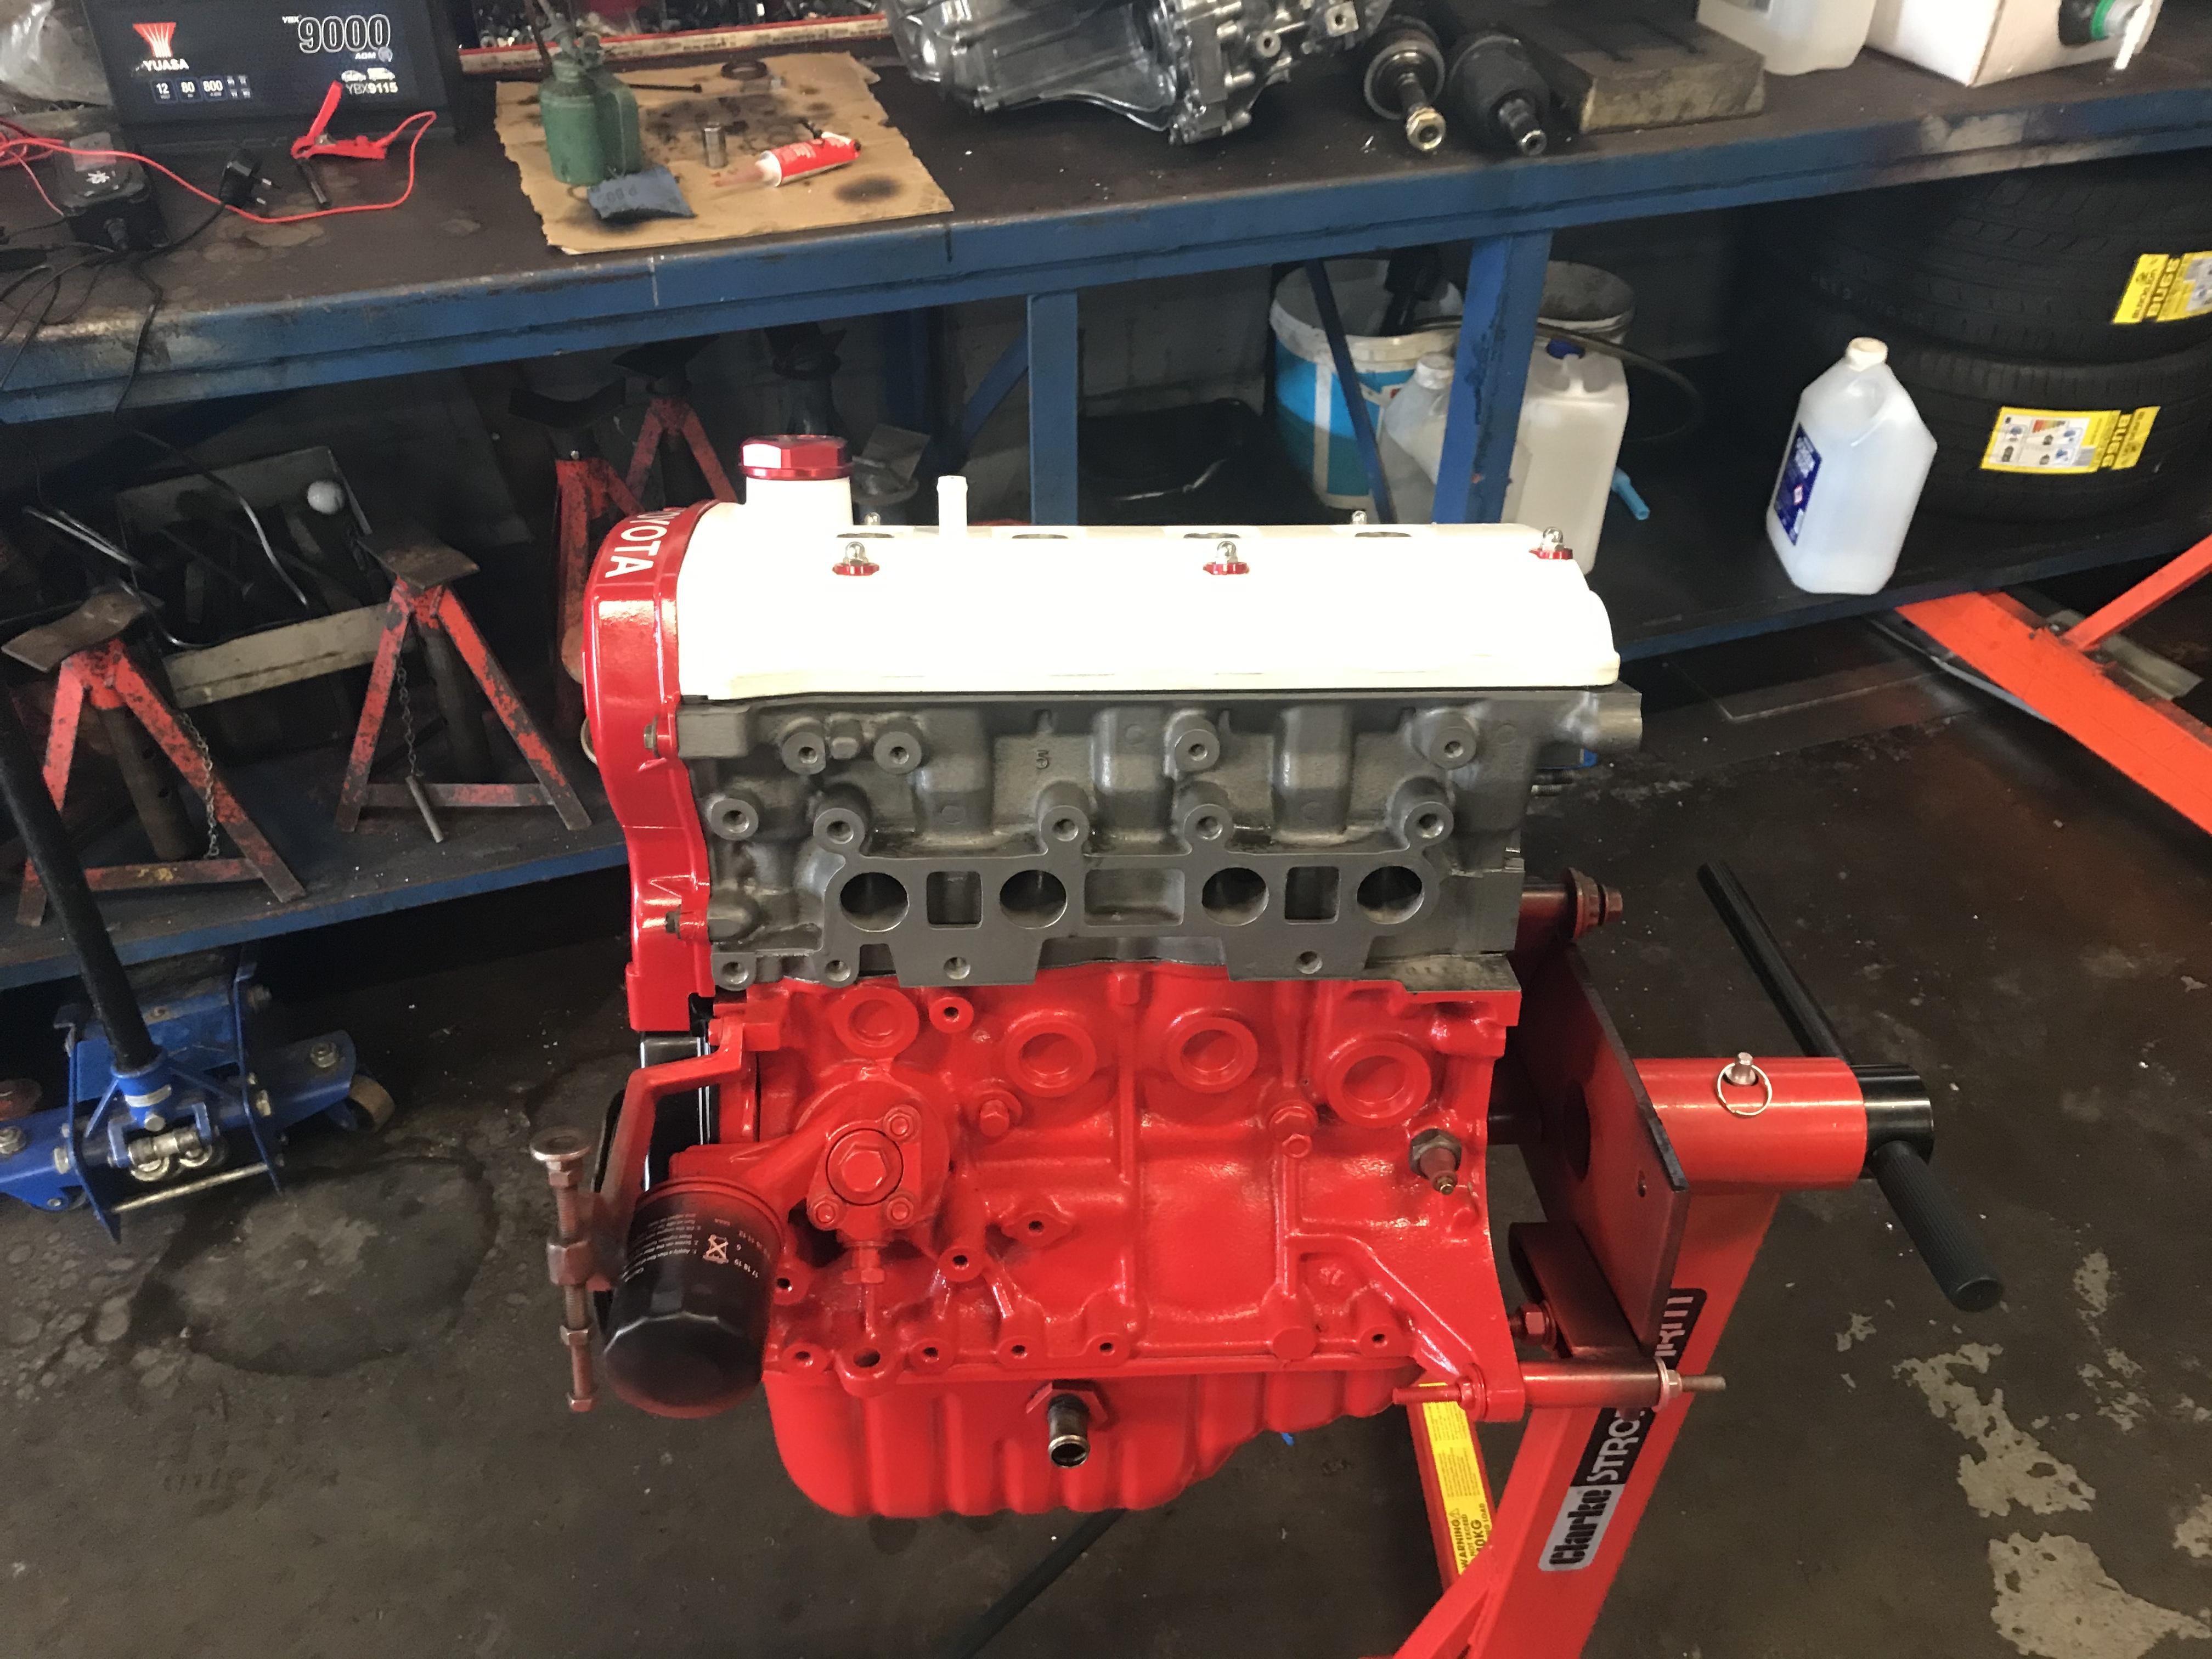
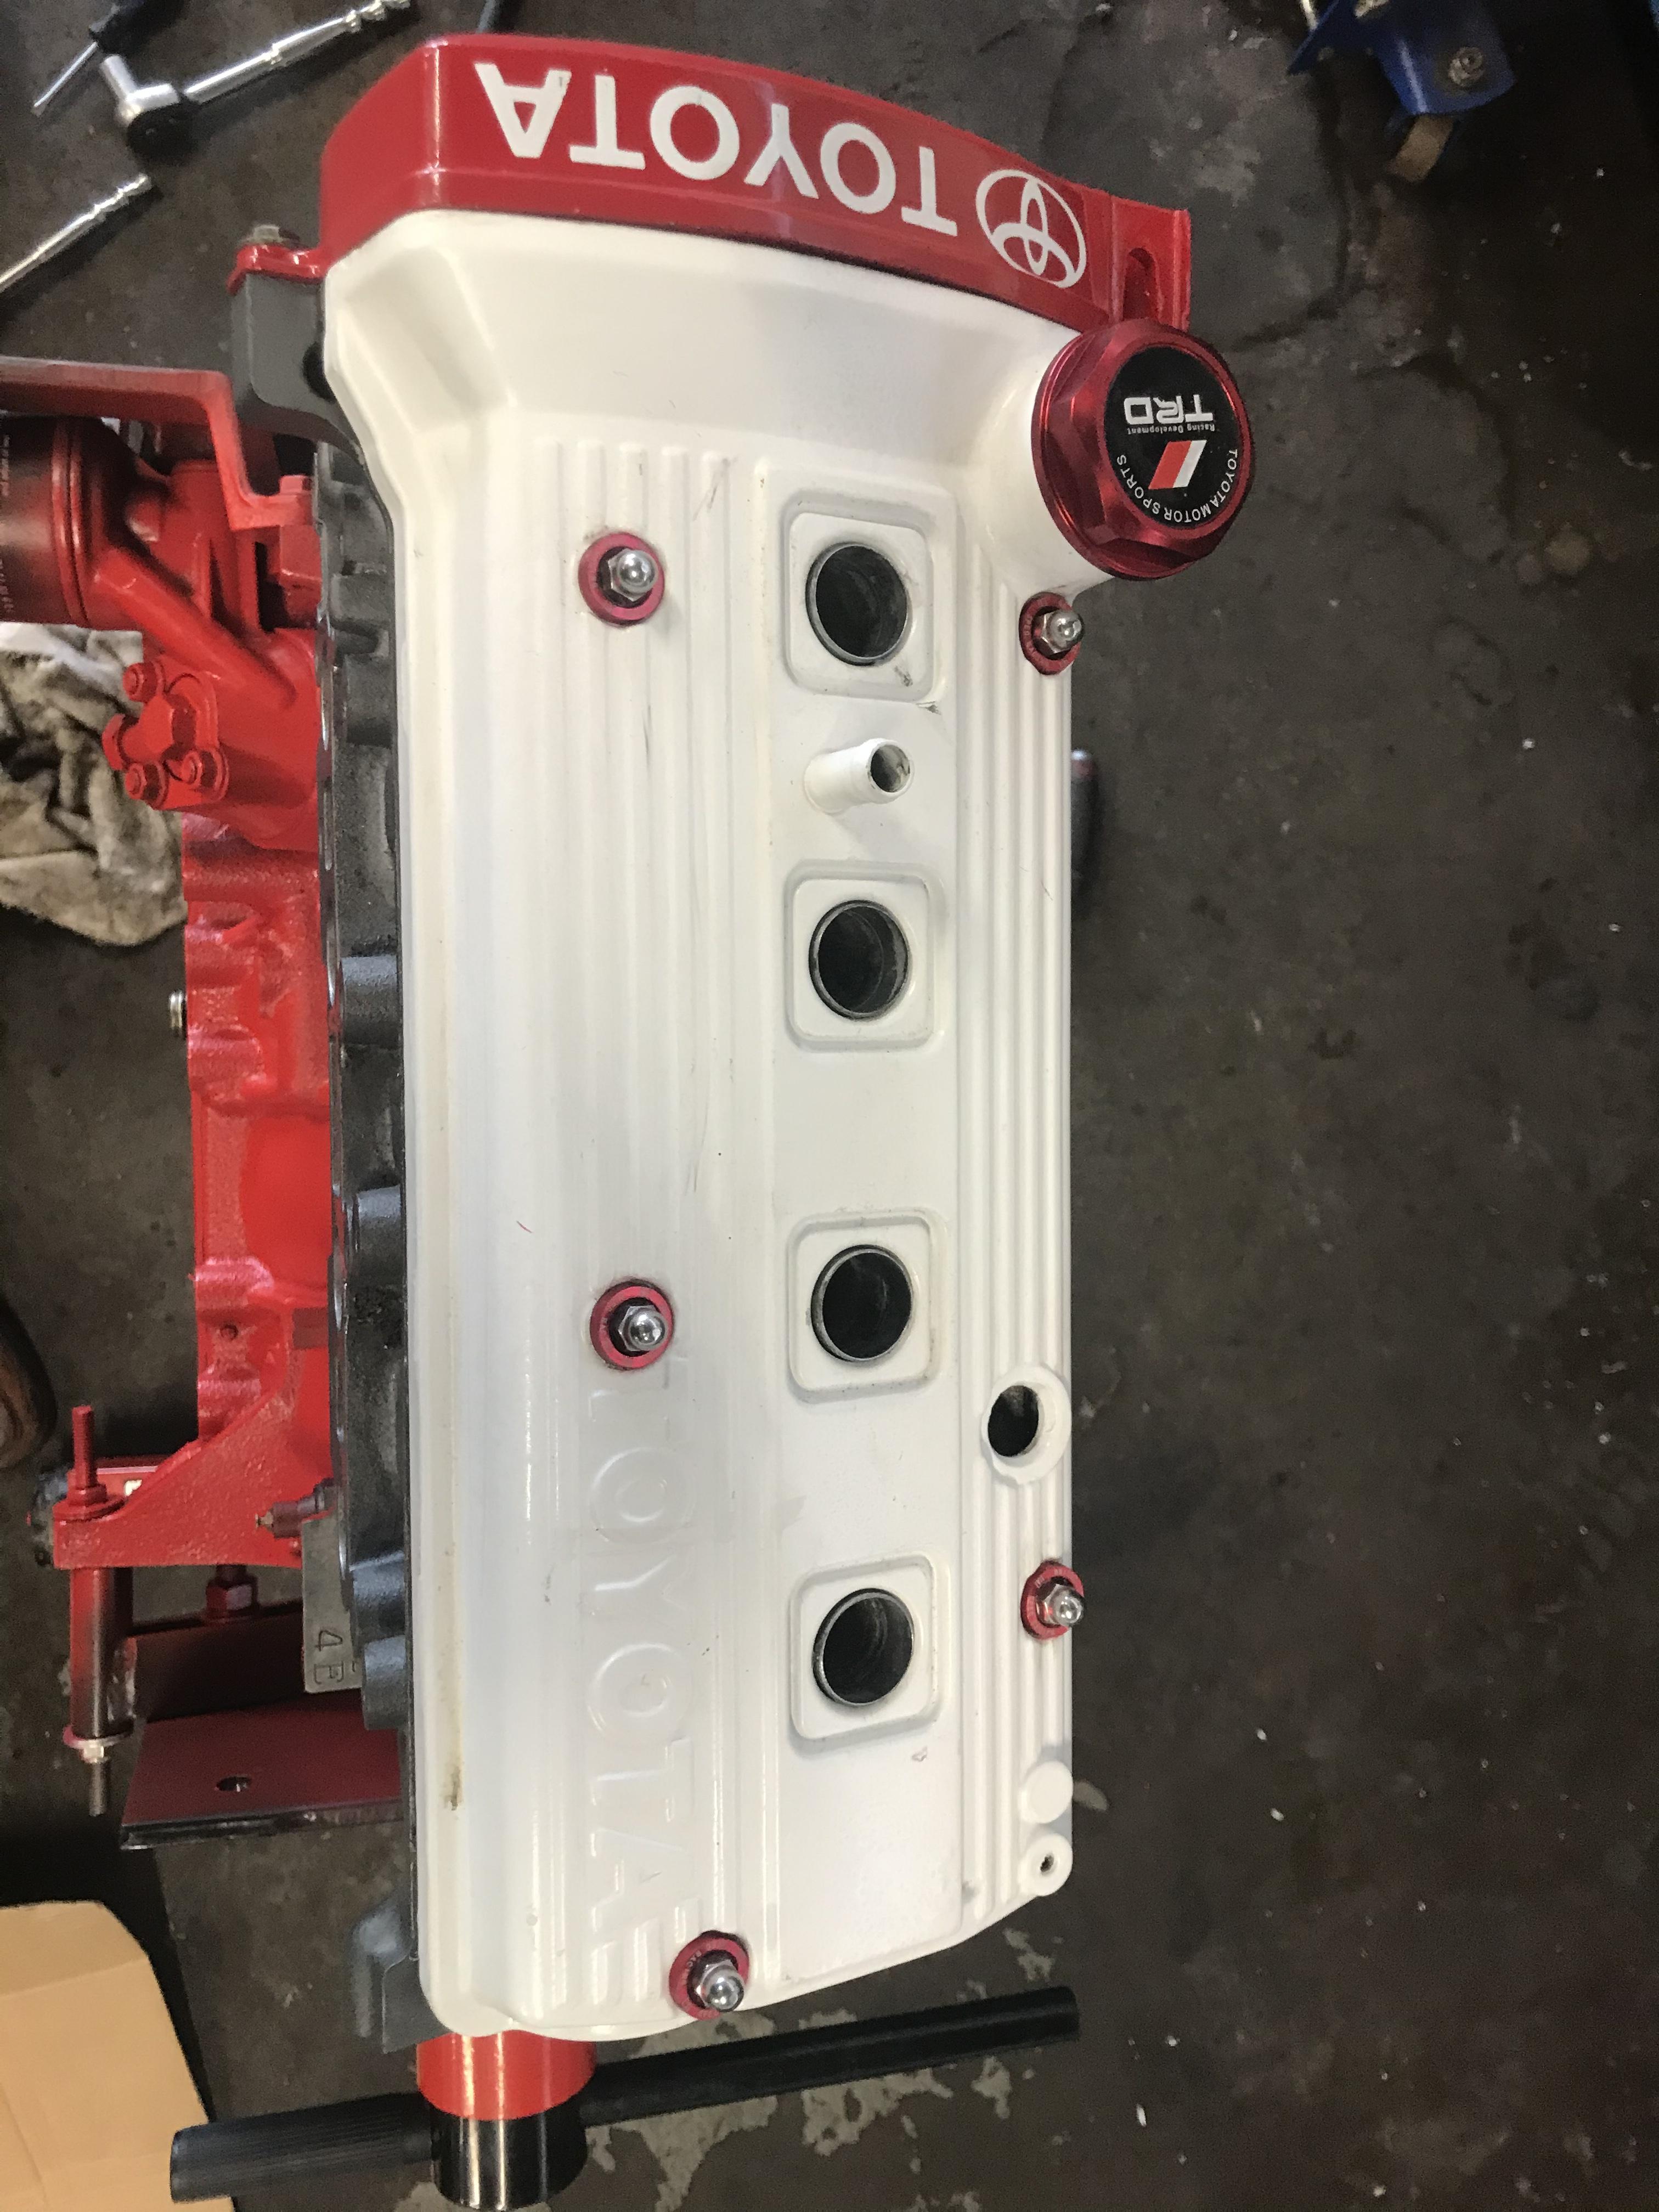
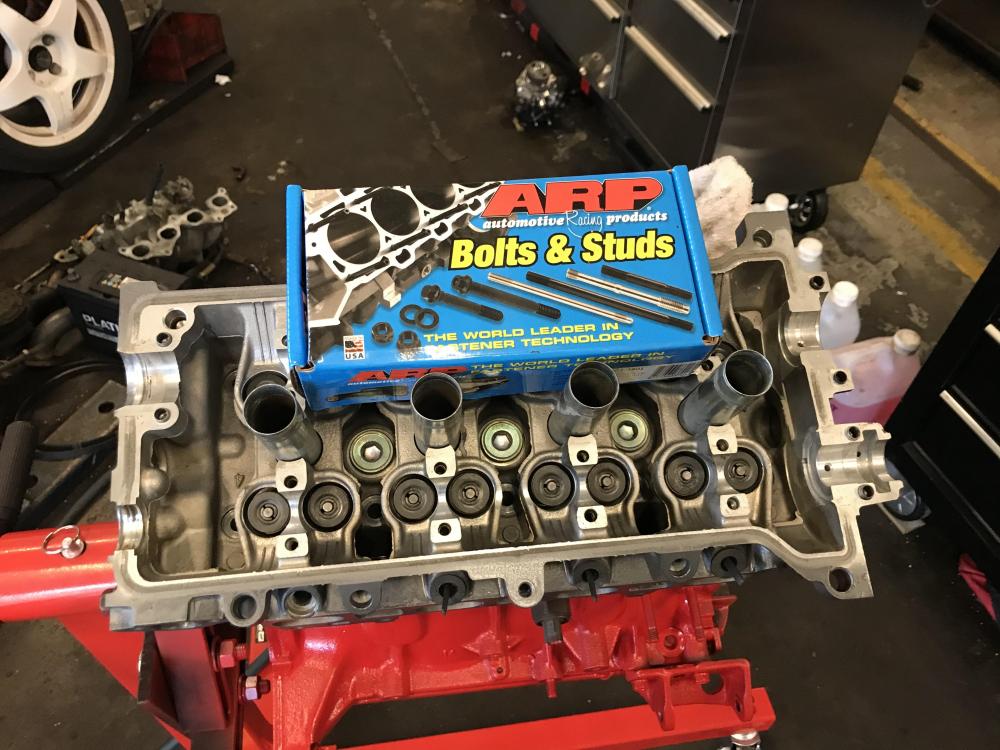
At this point we are pretty much up to date. This weekend block and head combined to be become once again, a 4efte 😁. Genuine head gasket mates the two with arp bolts securing. Blue print cambelt kit makes the two work in harmony. Cam cover was painted some time ago but it sits on top with washers and nuts supplied by socks, along with all new gaskets. Top cambelt cover was also painted some time ago but I’m very happy with the overall appearance! Opinions welcome though, I have a clear top cambelt cover too. Who thinks it would look better?


-
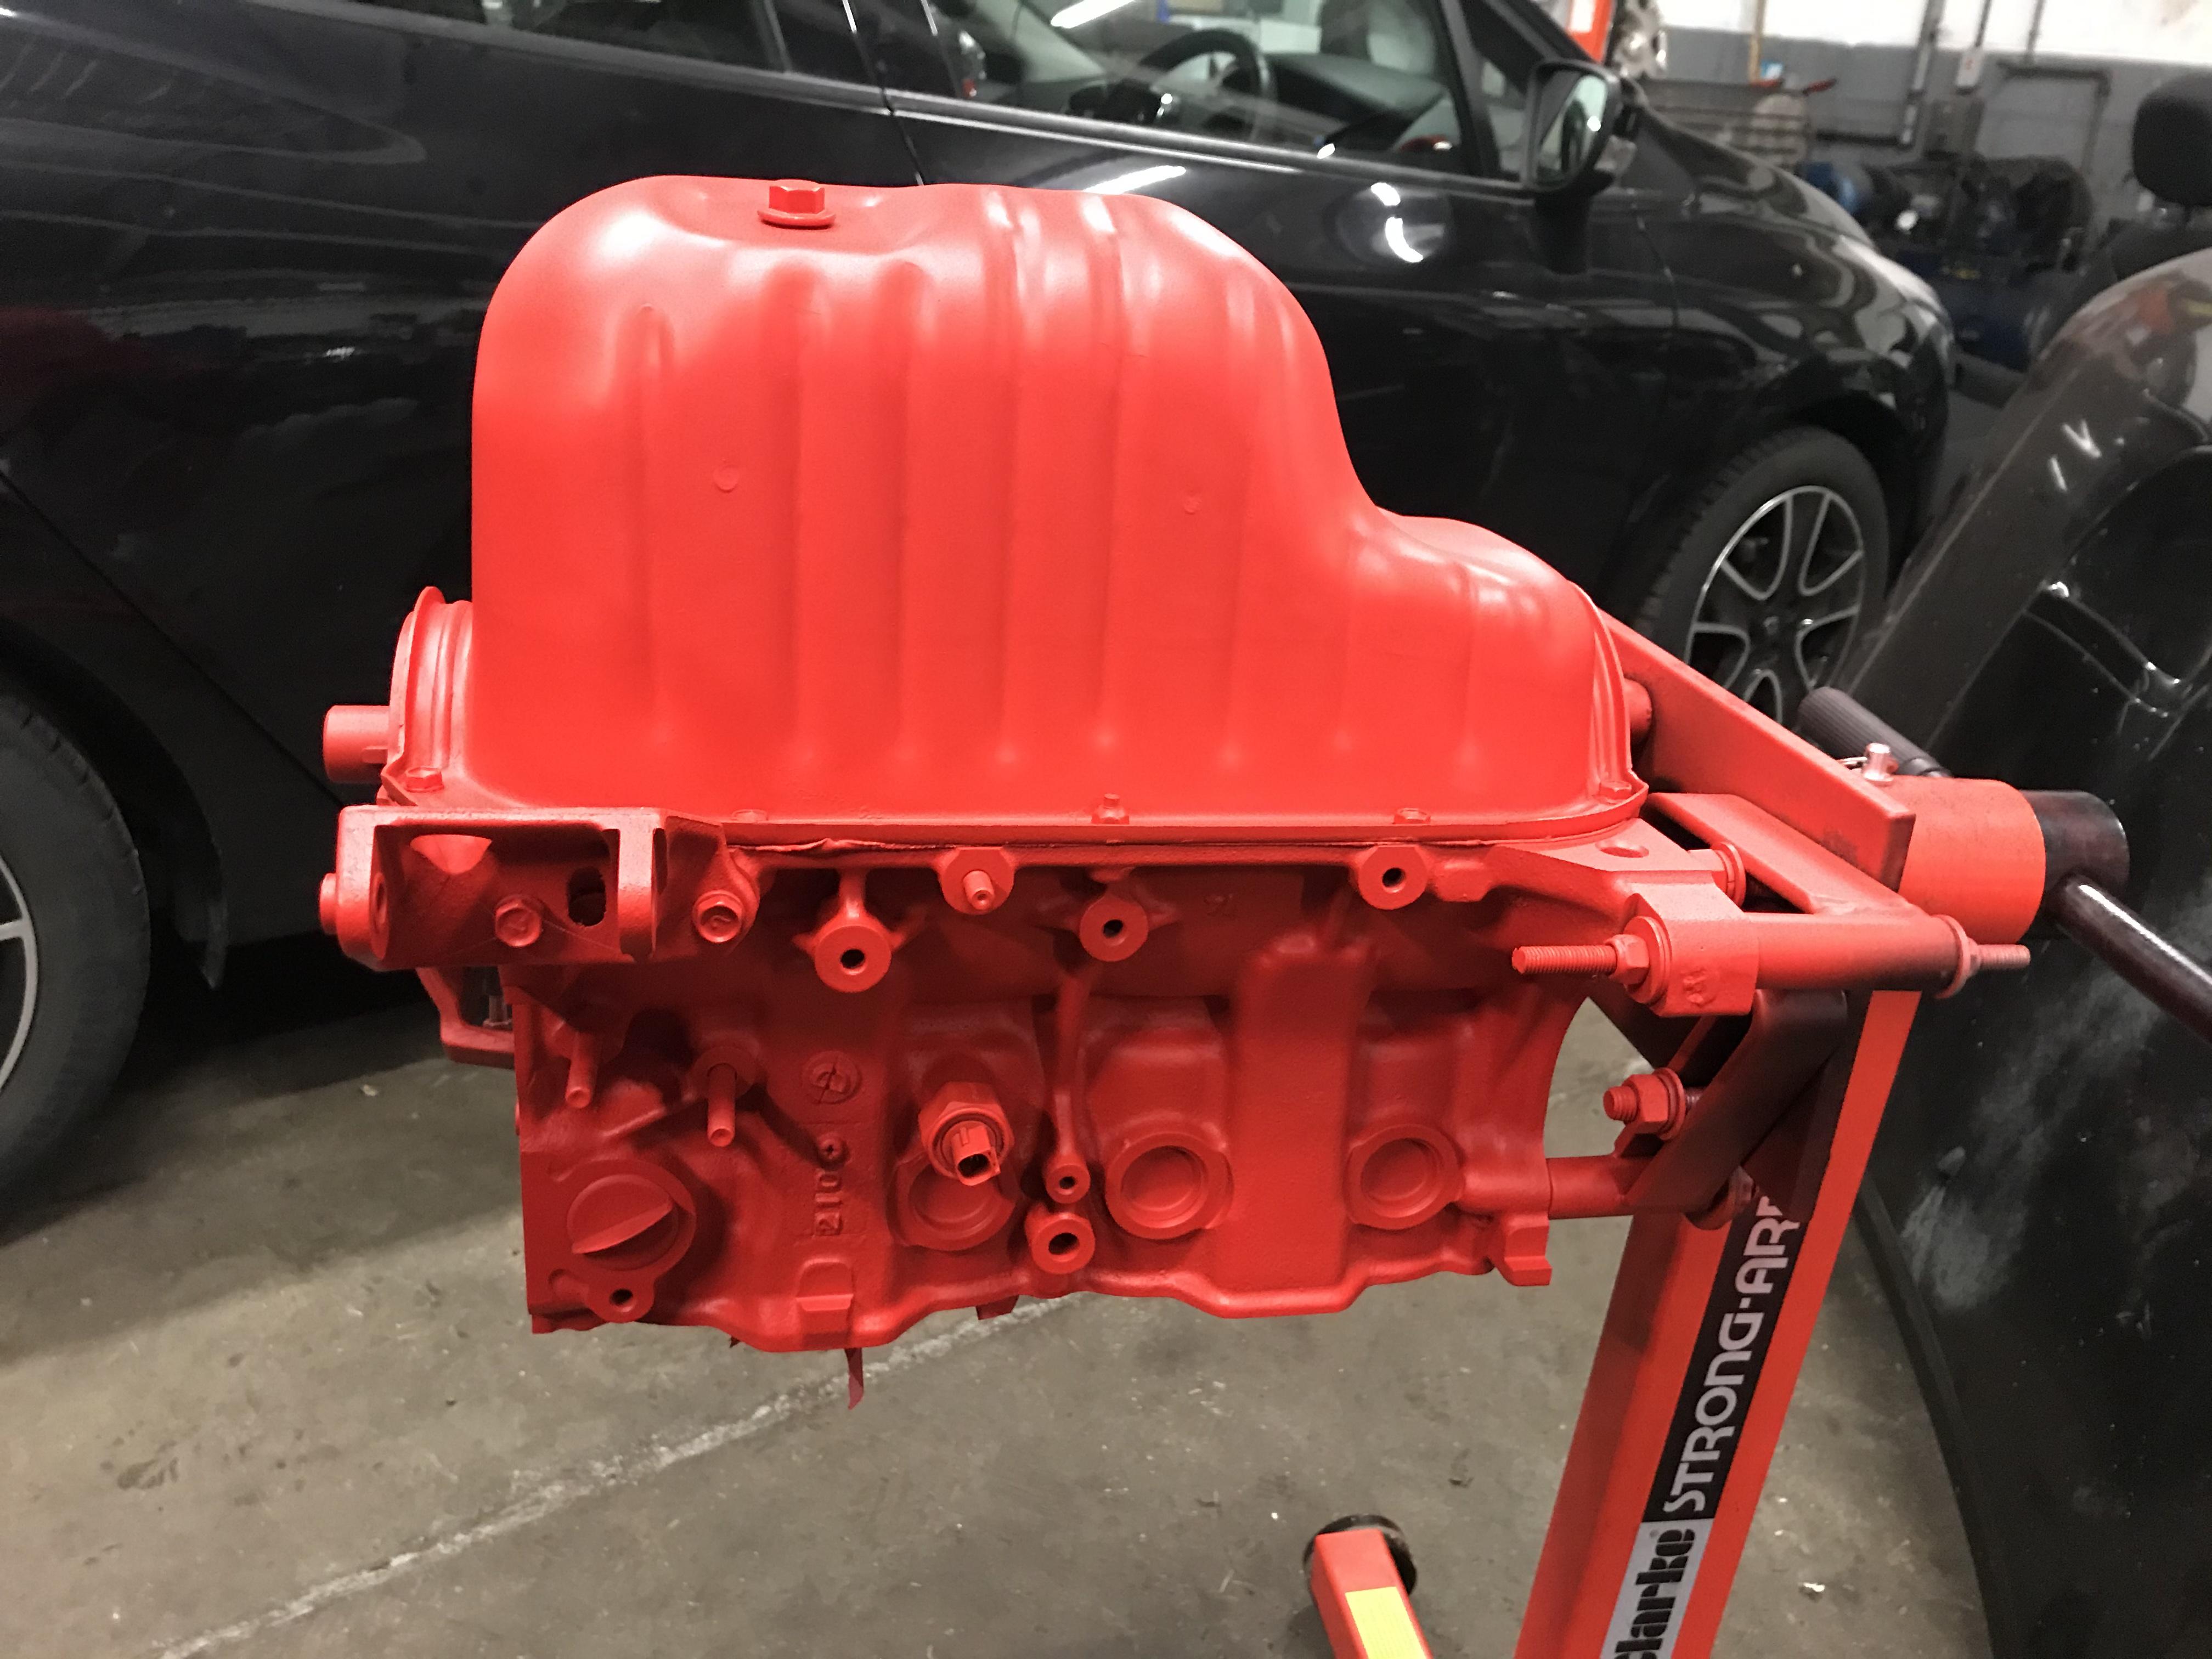
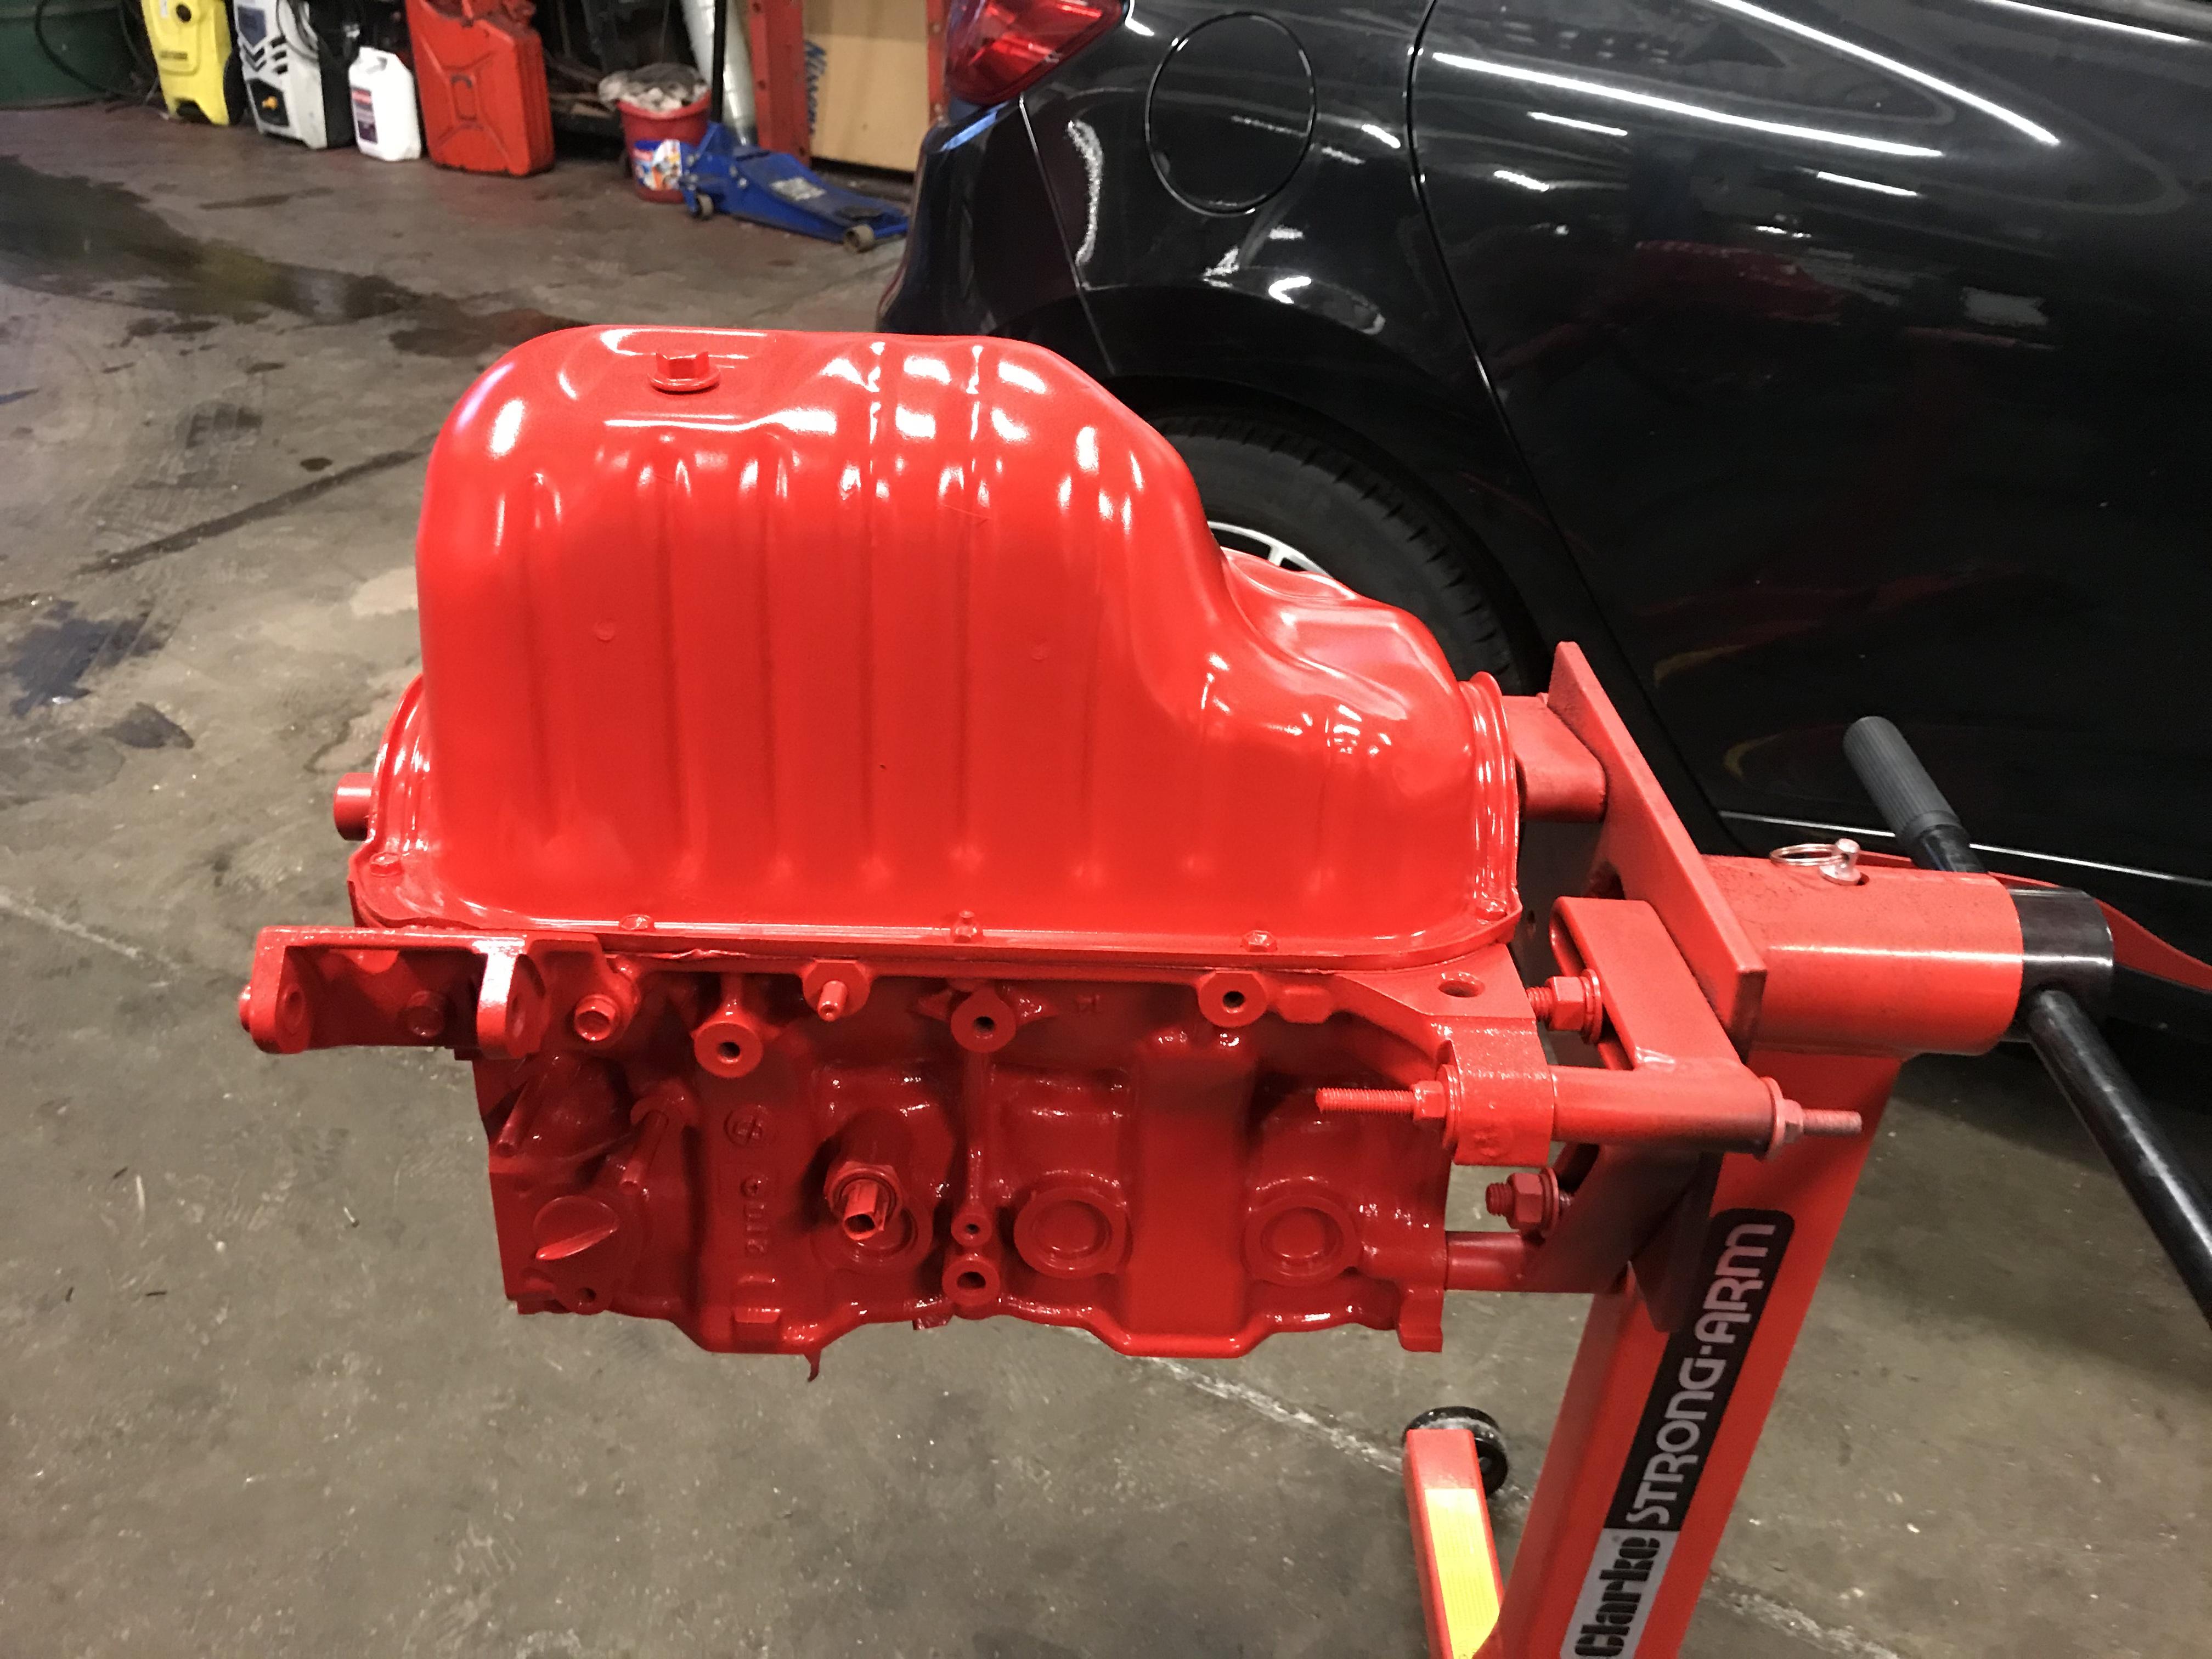
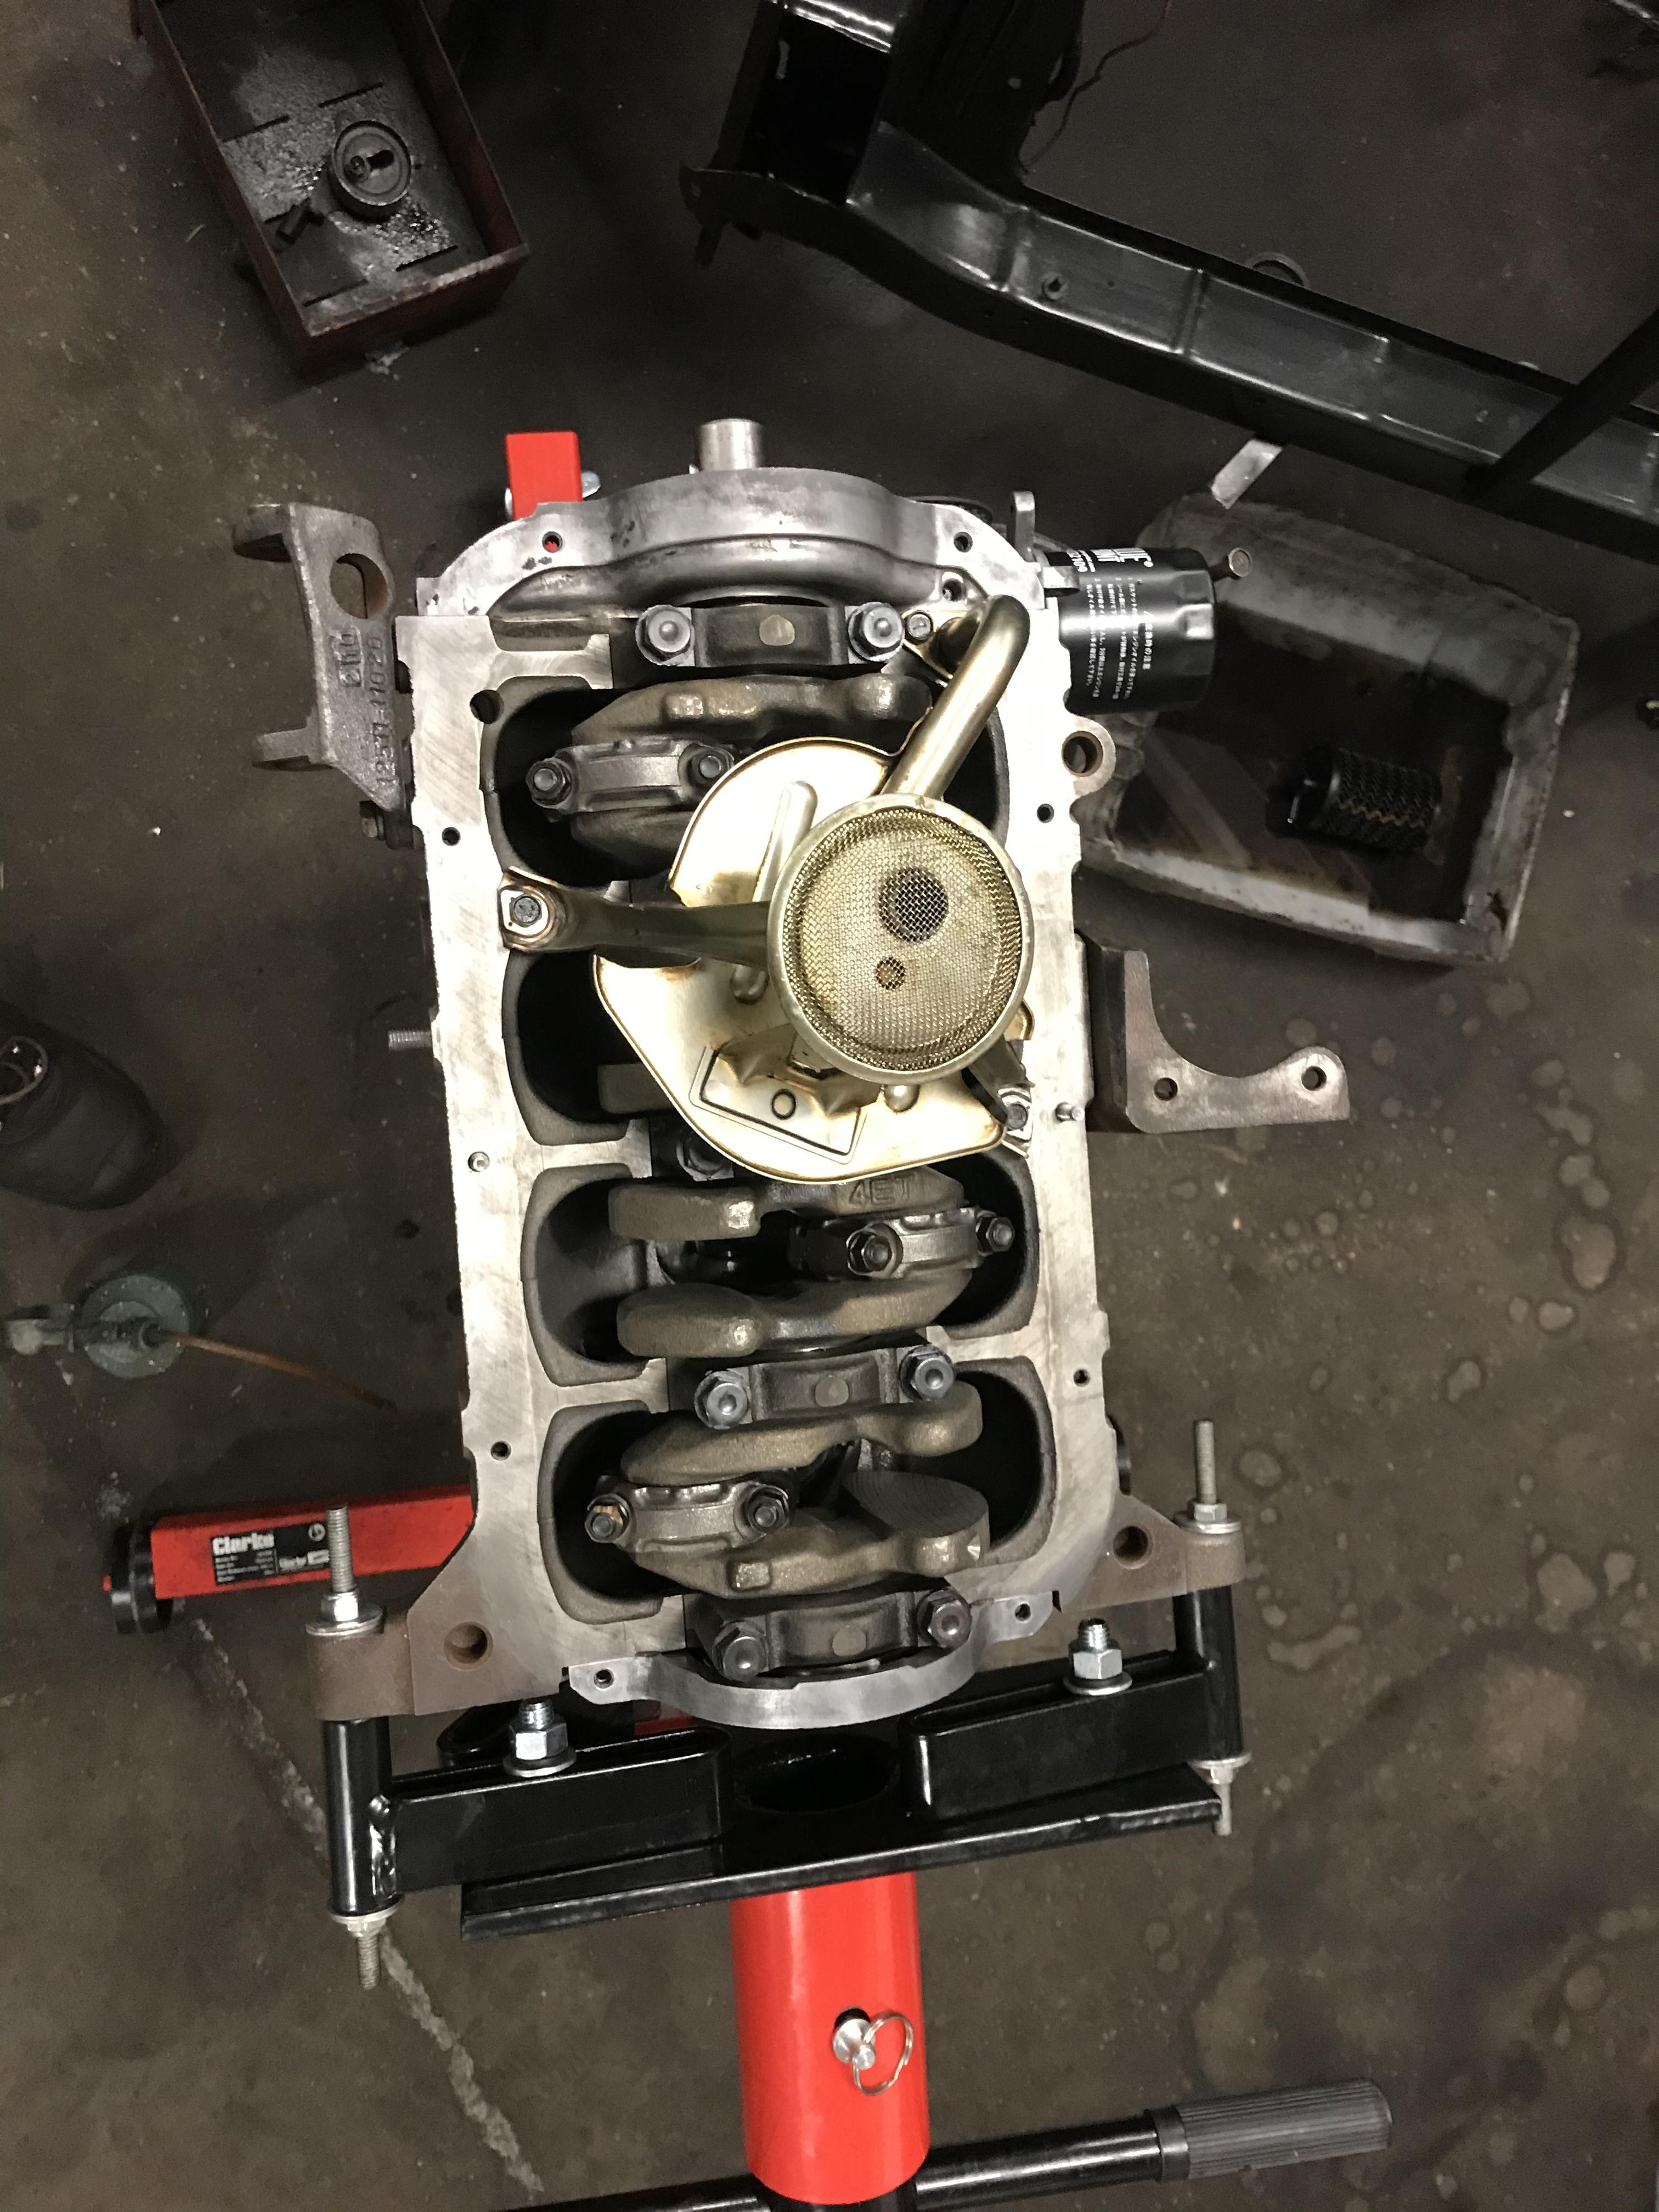
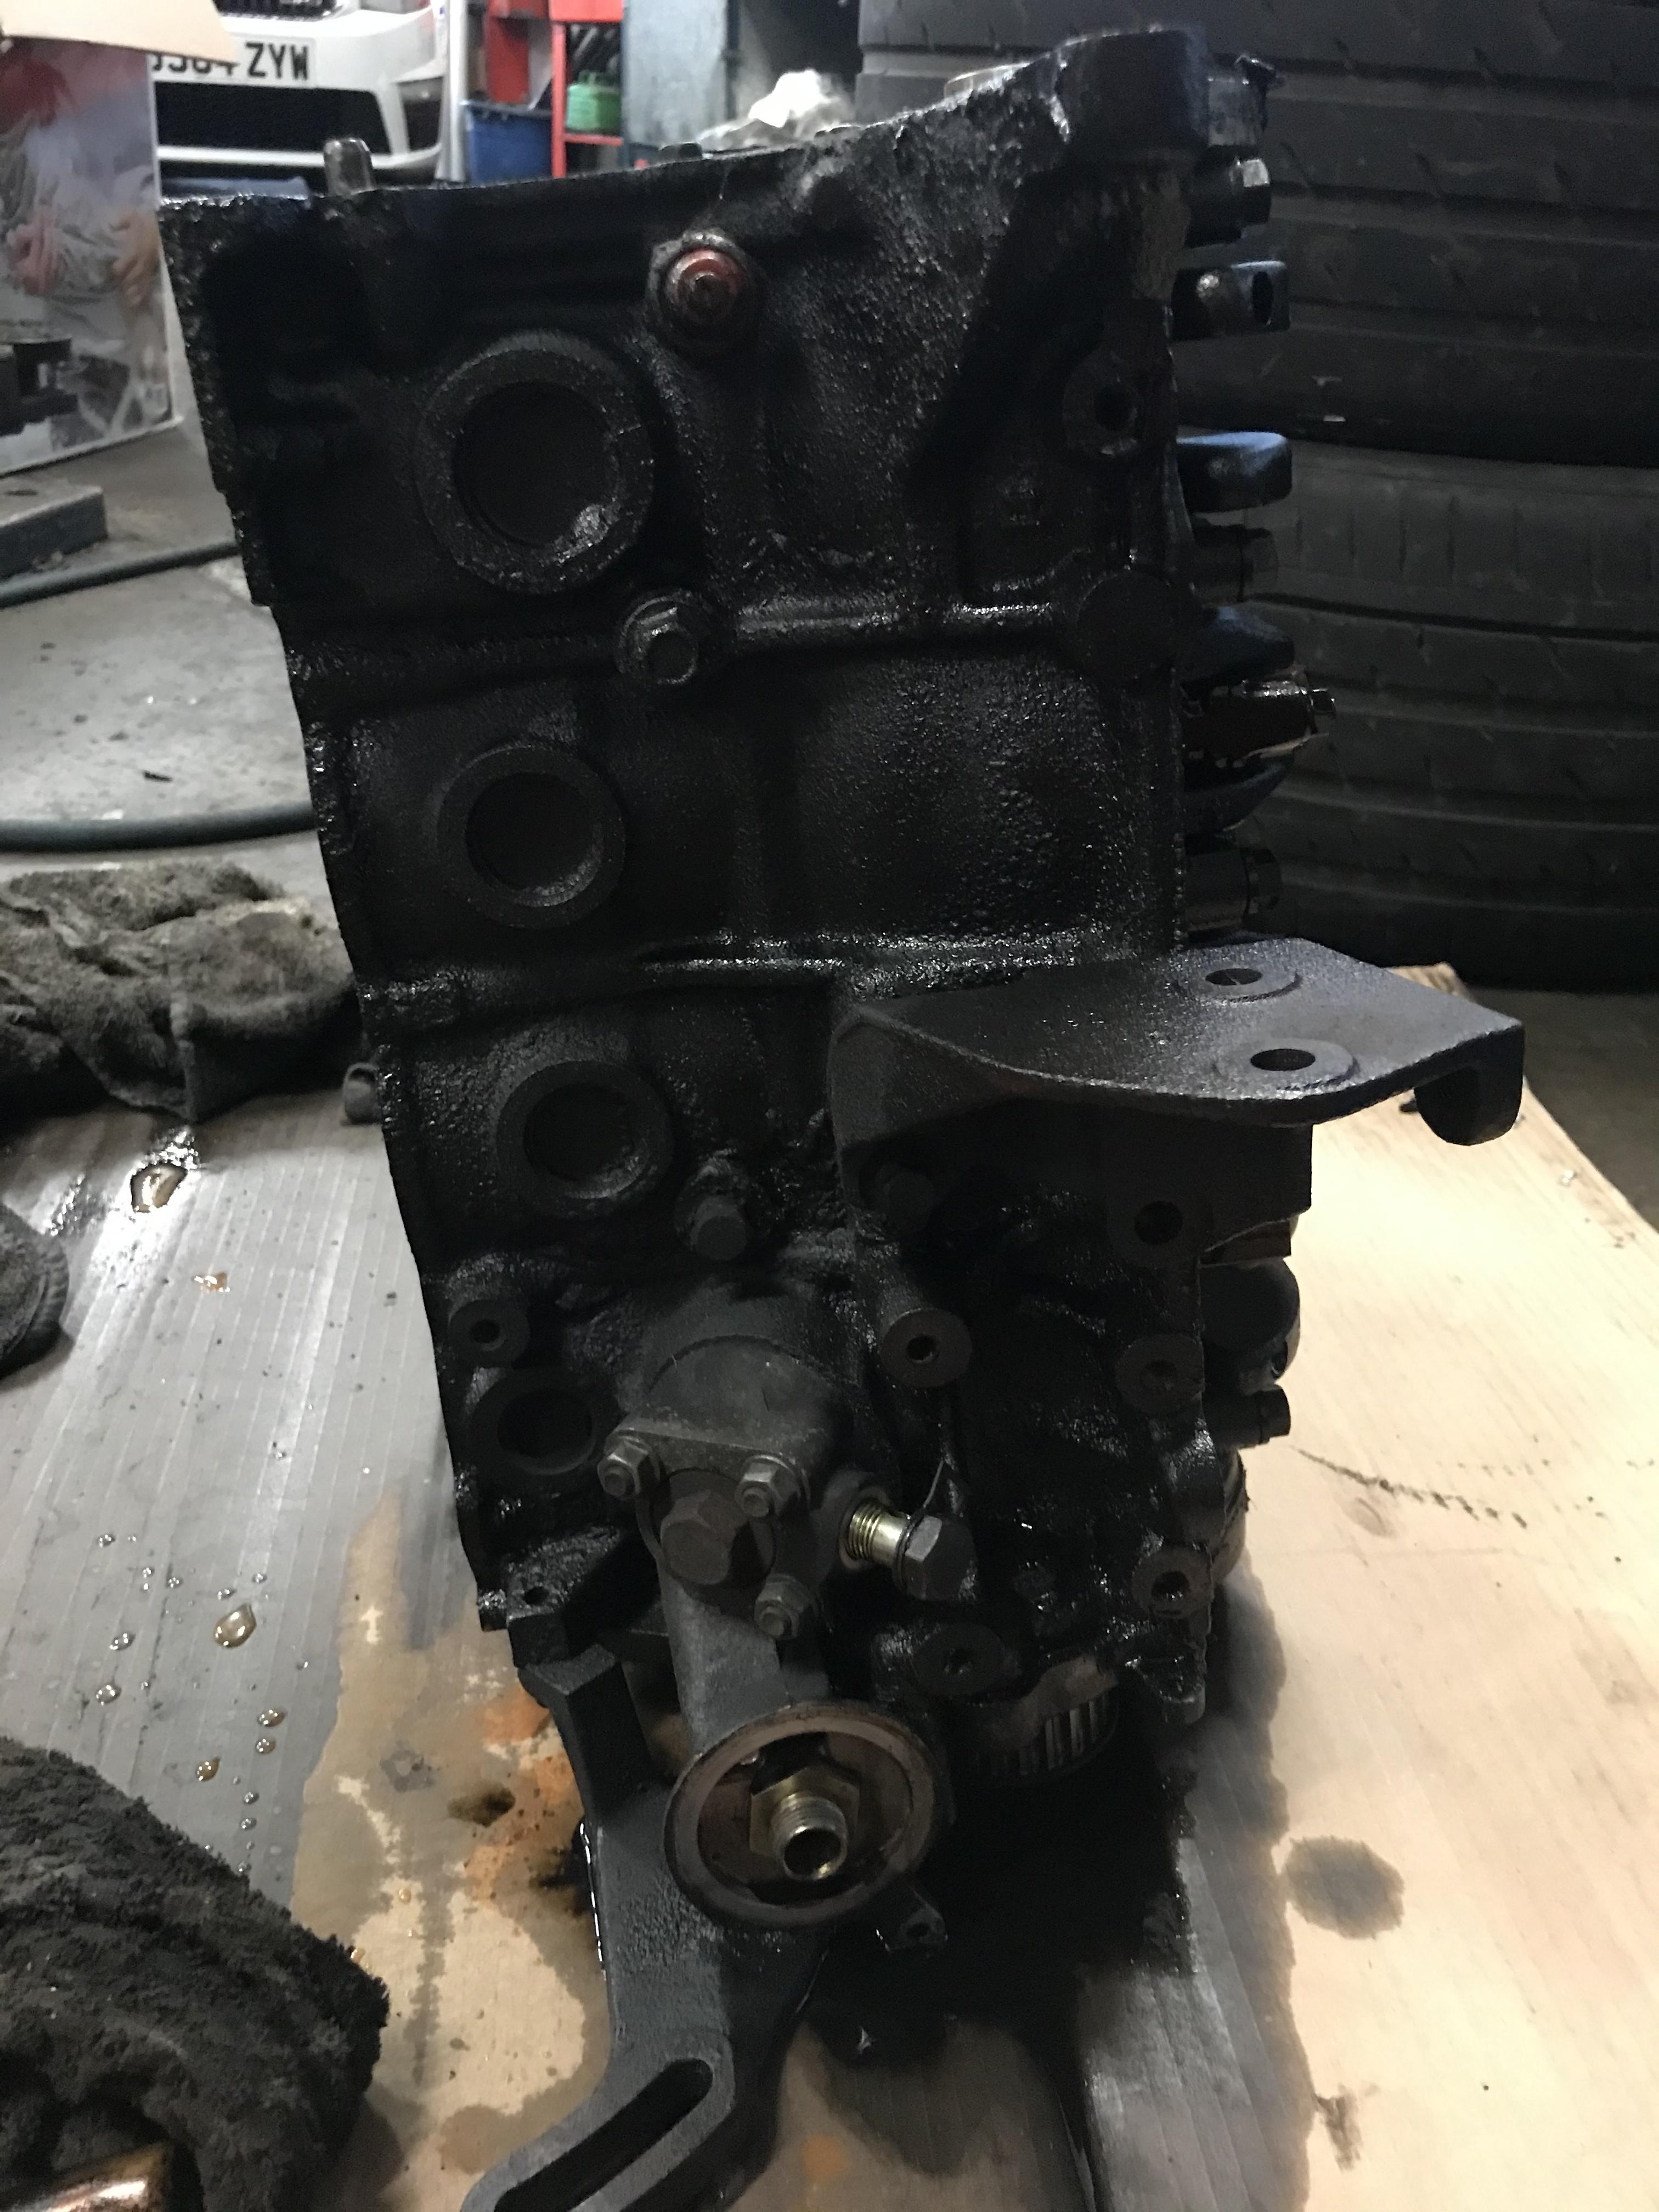
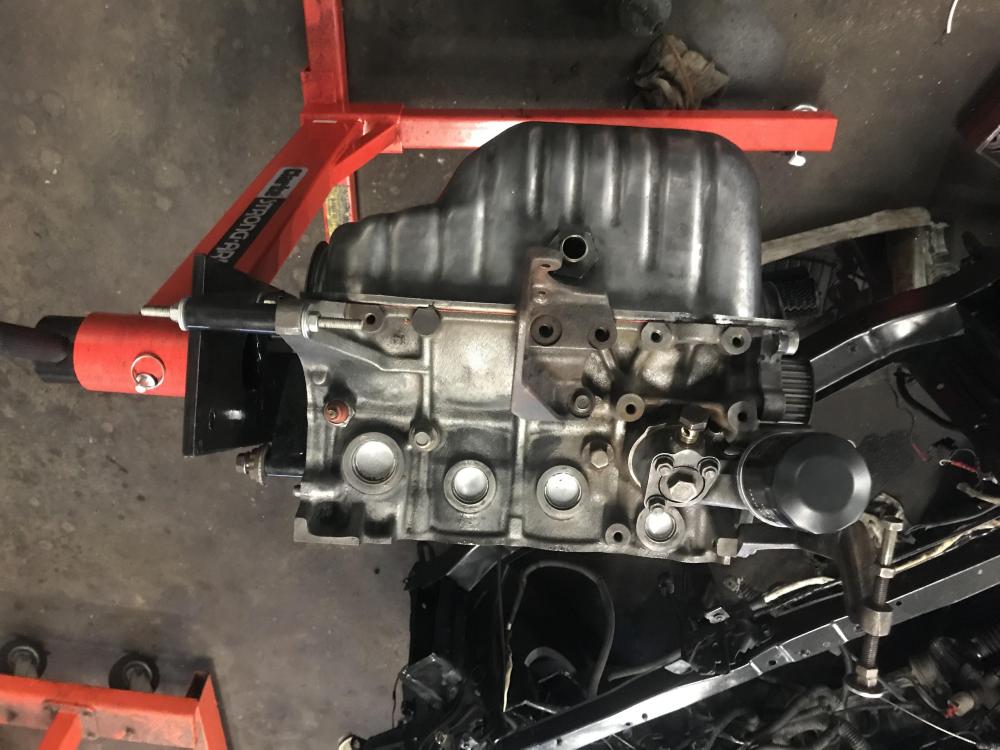
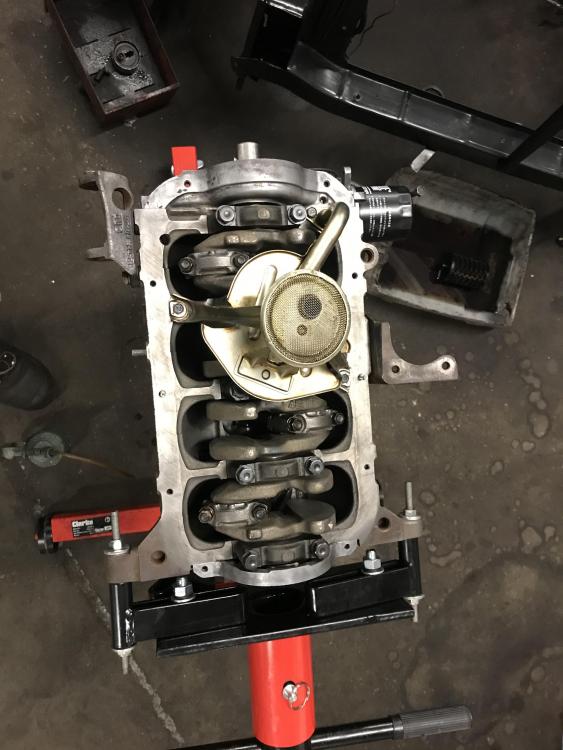
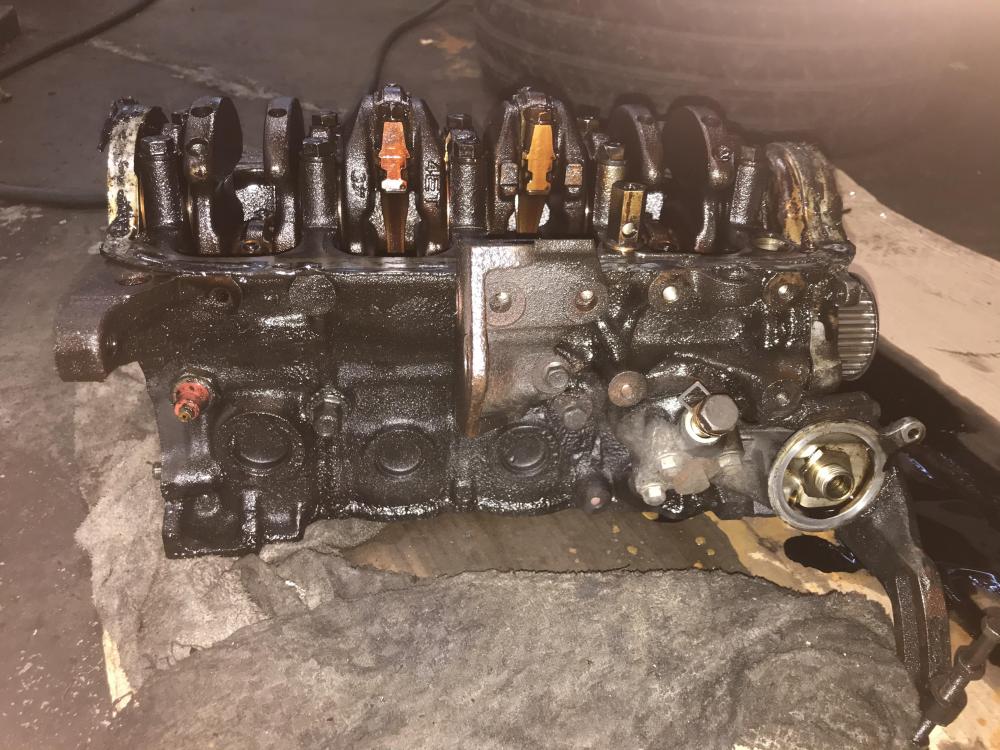
The block was also given some attention with a wire wheel and sprayed. The sump was tricky to clean internally but done the best I could. Continuing with being to in groused with the work in hand I didn’t get pictures of the sump 🙈.


-
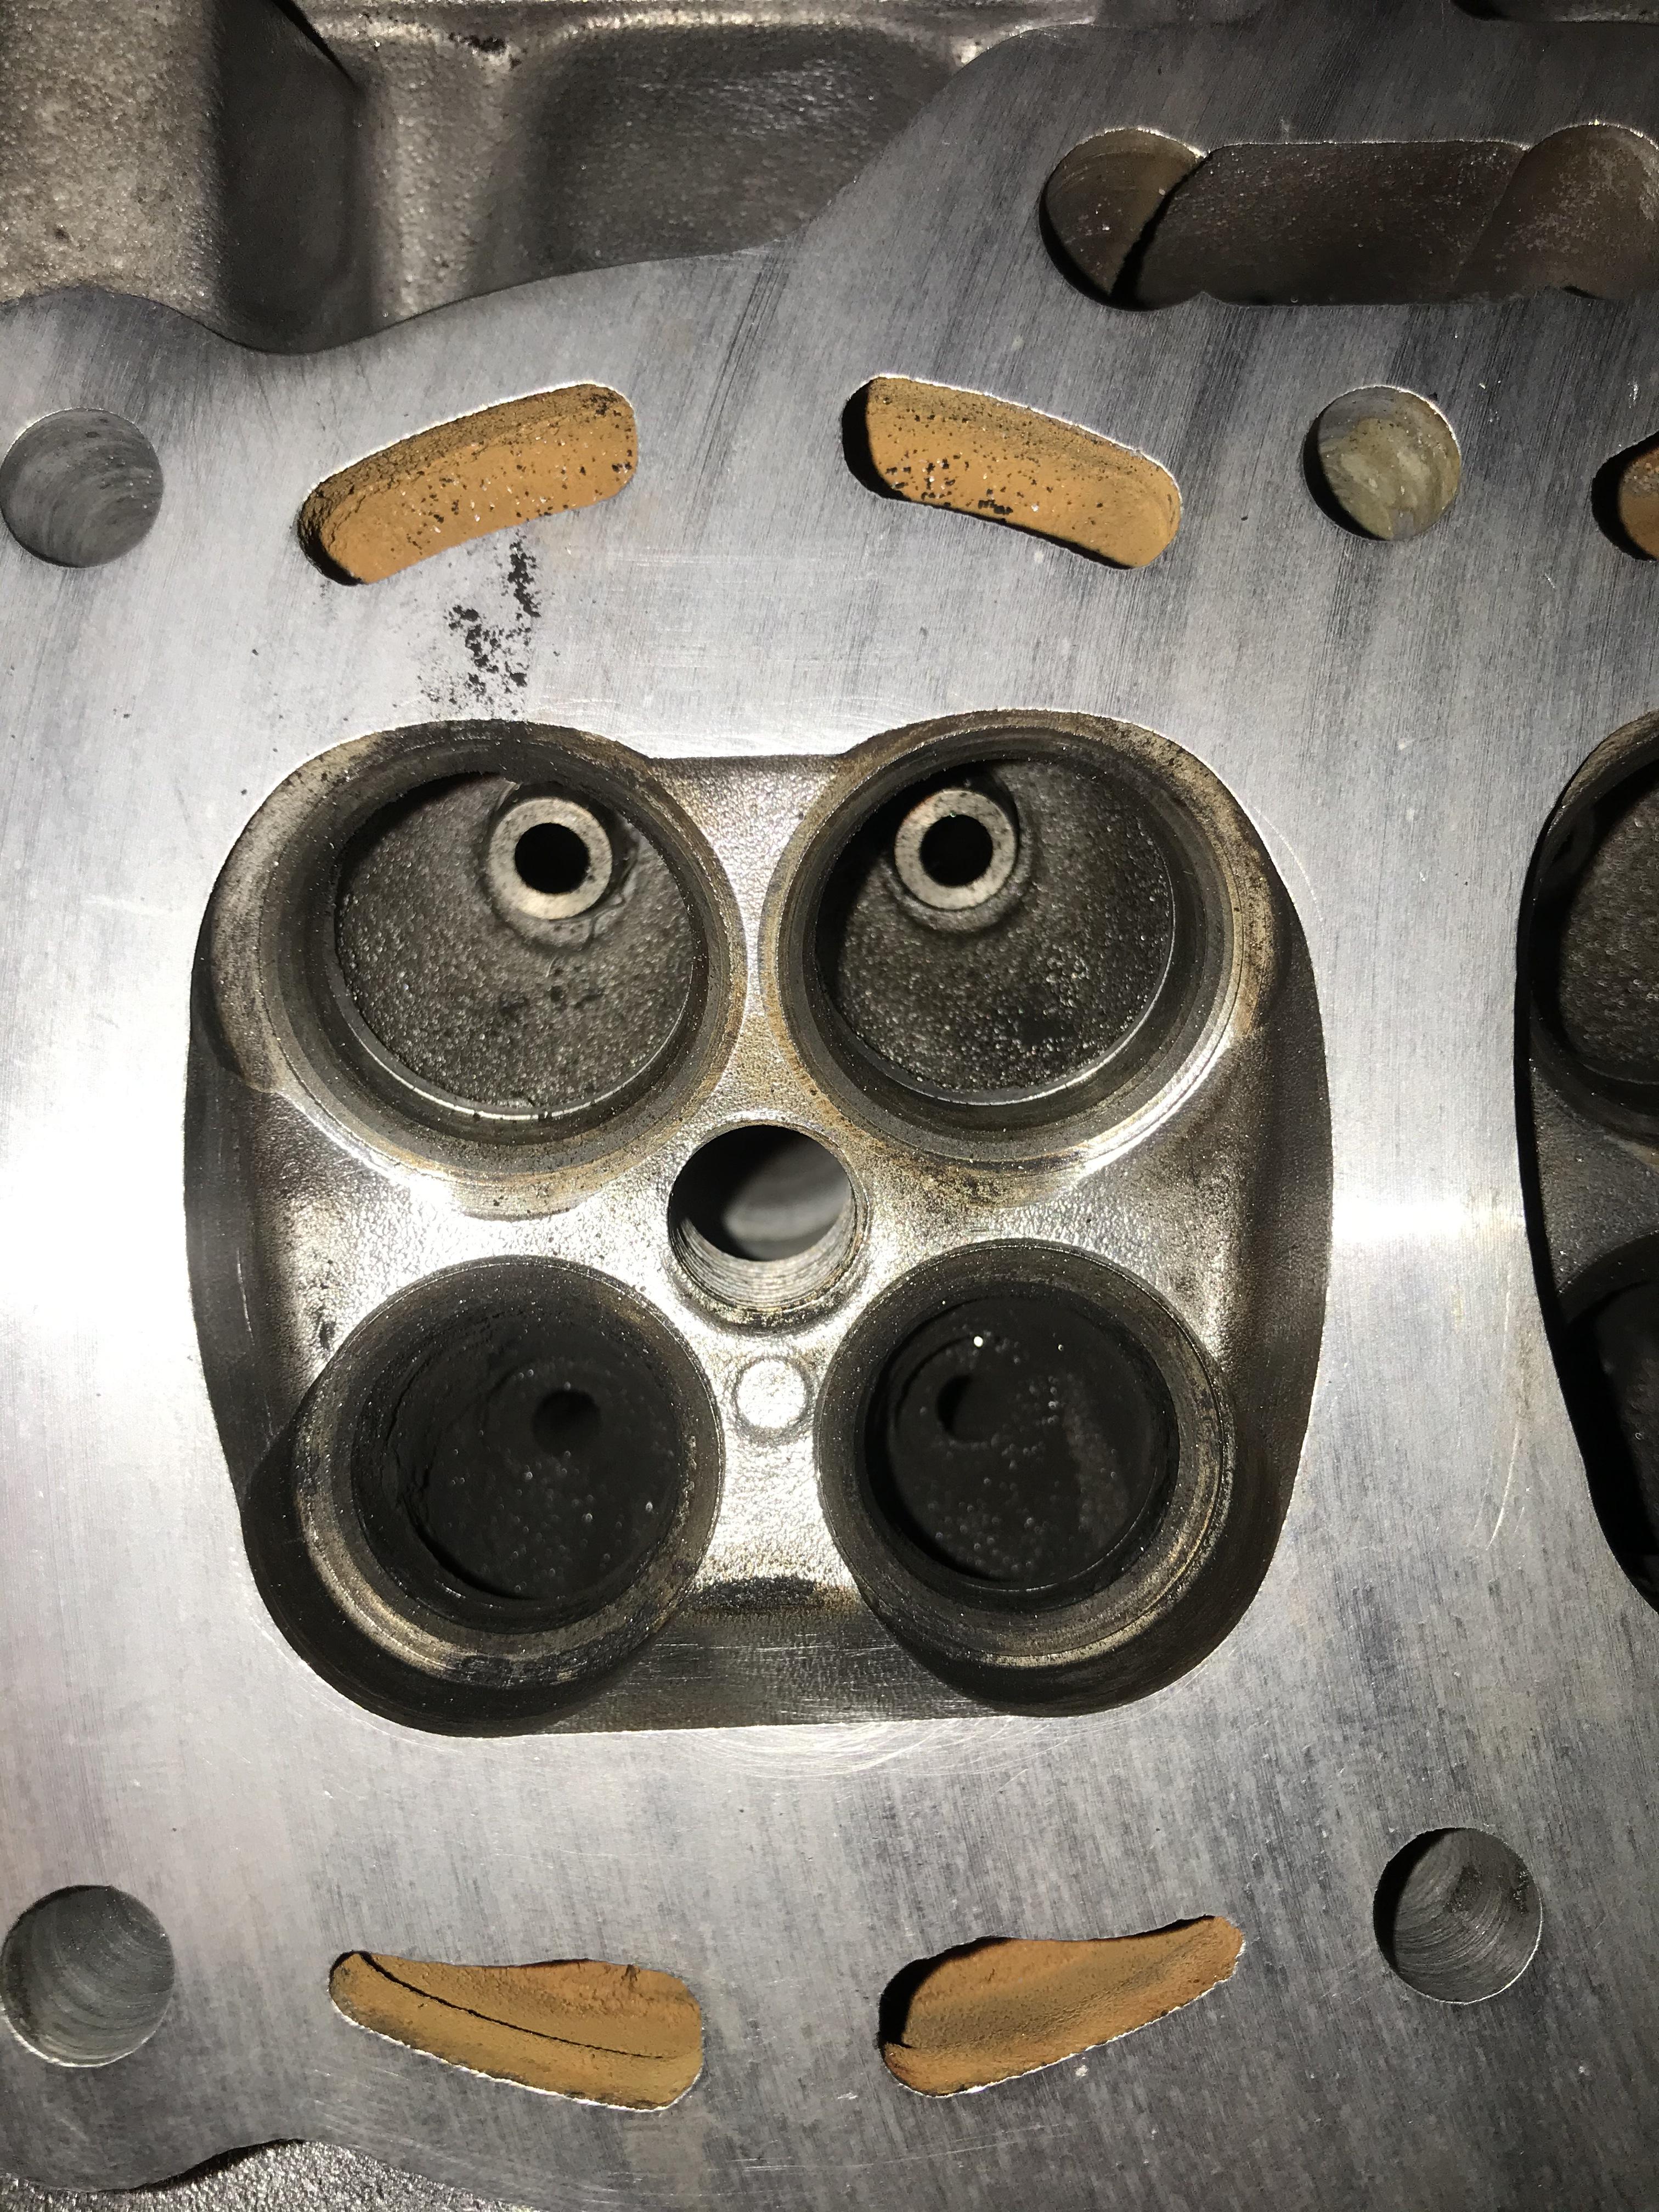
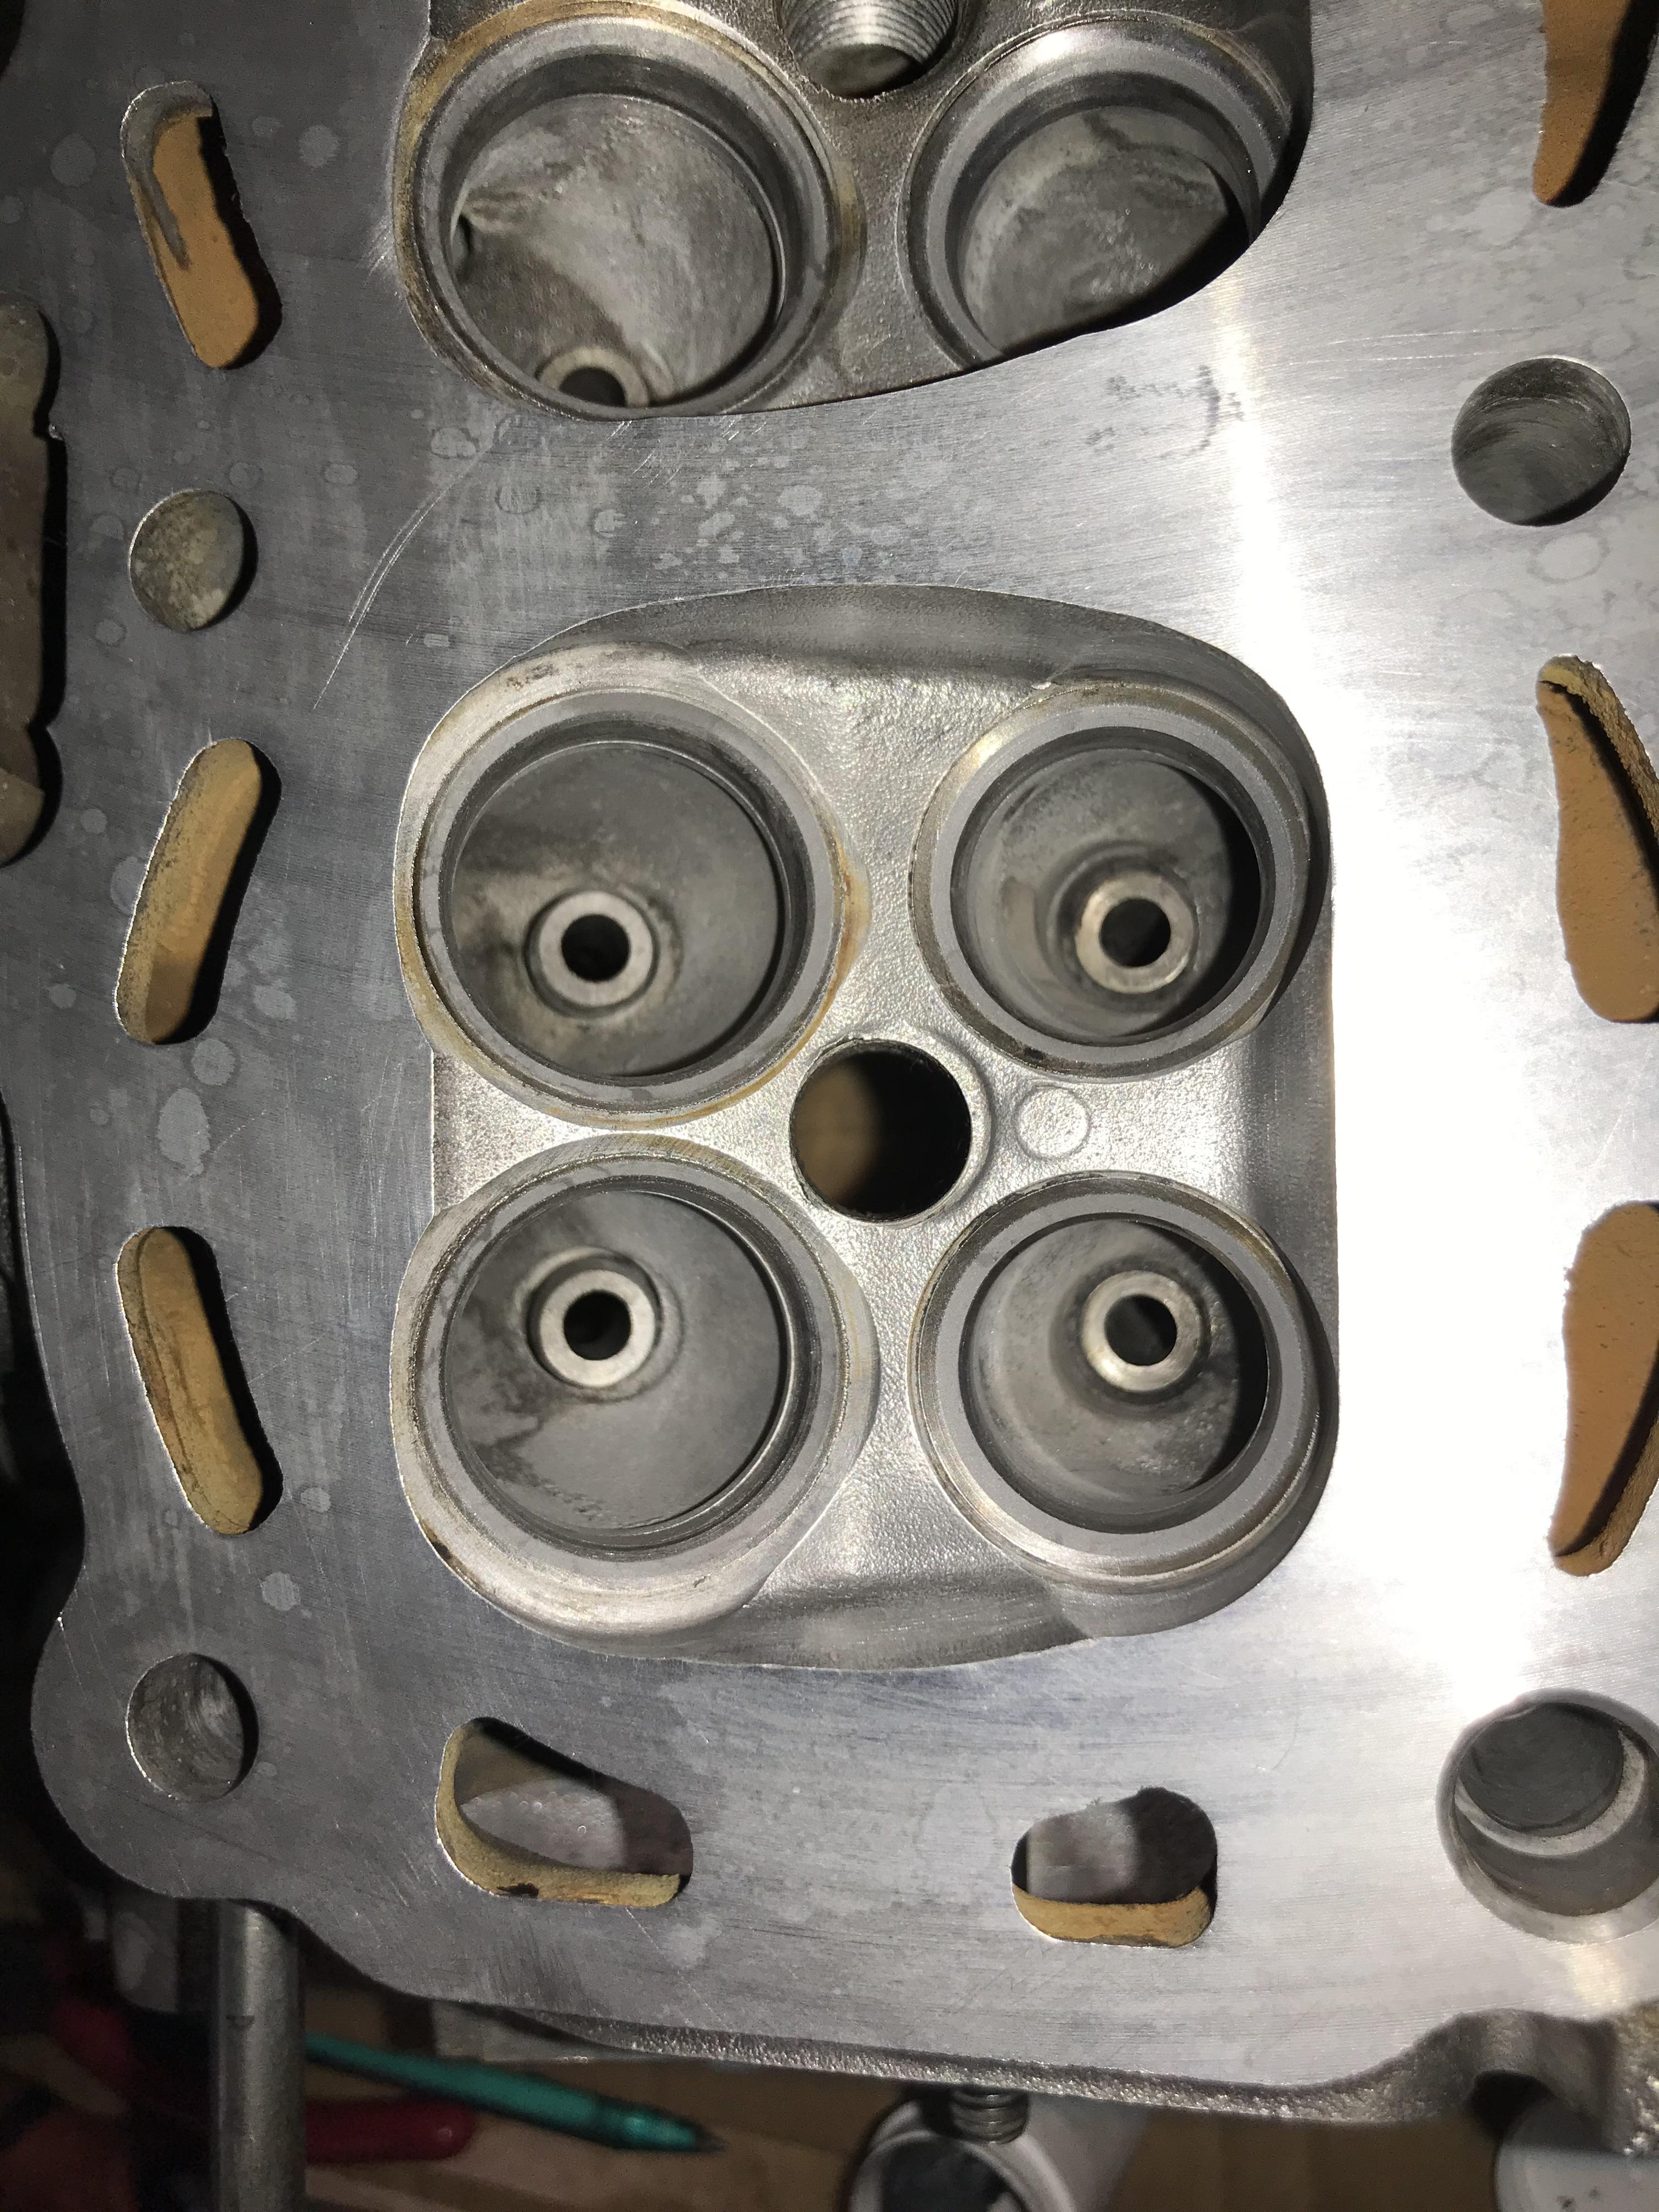
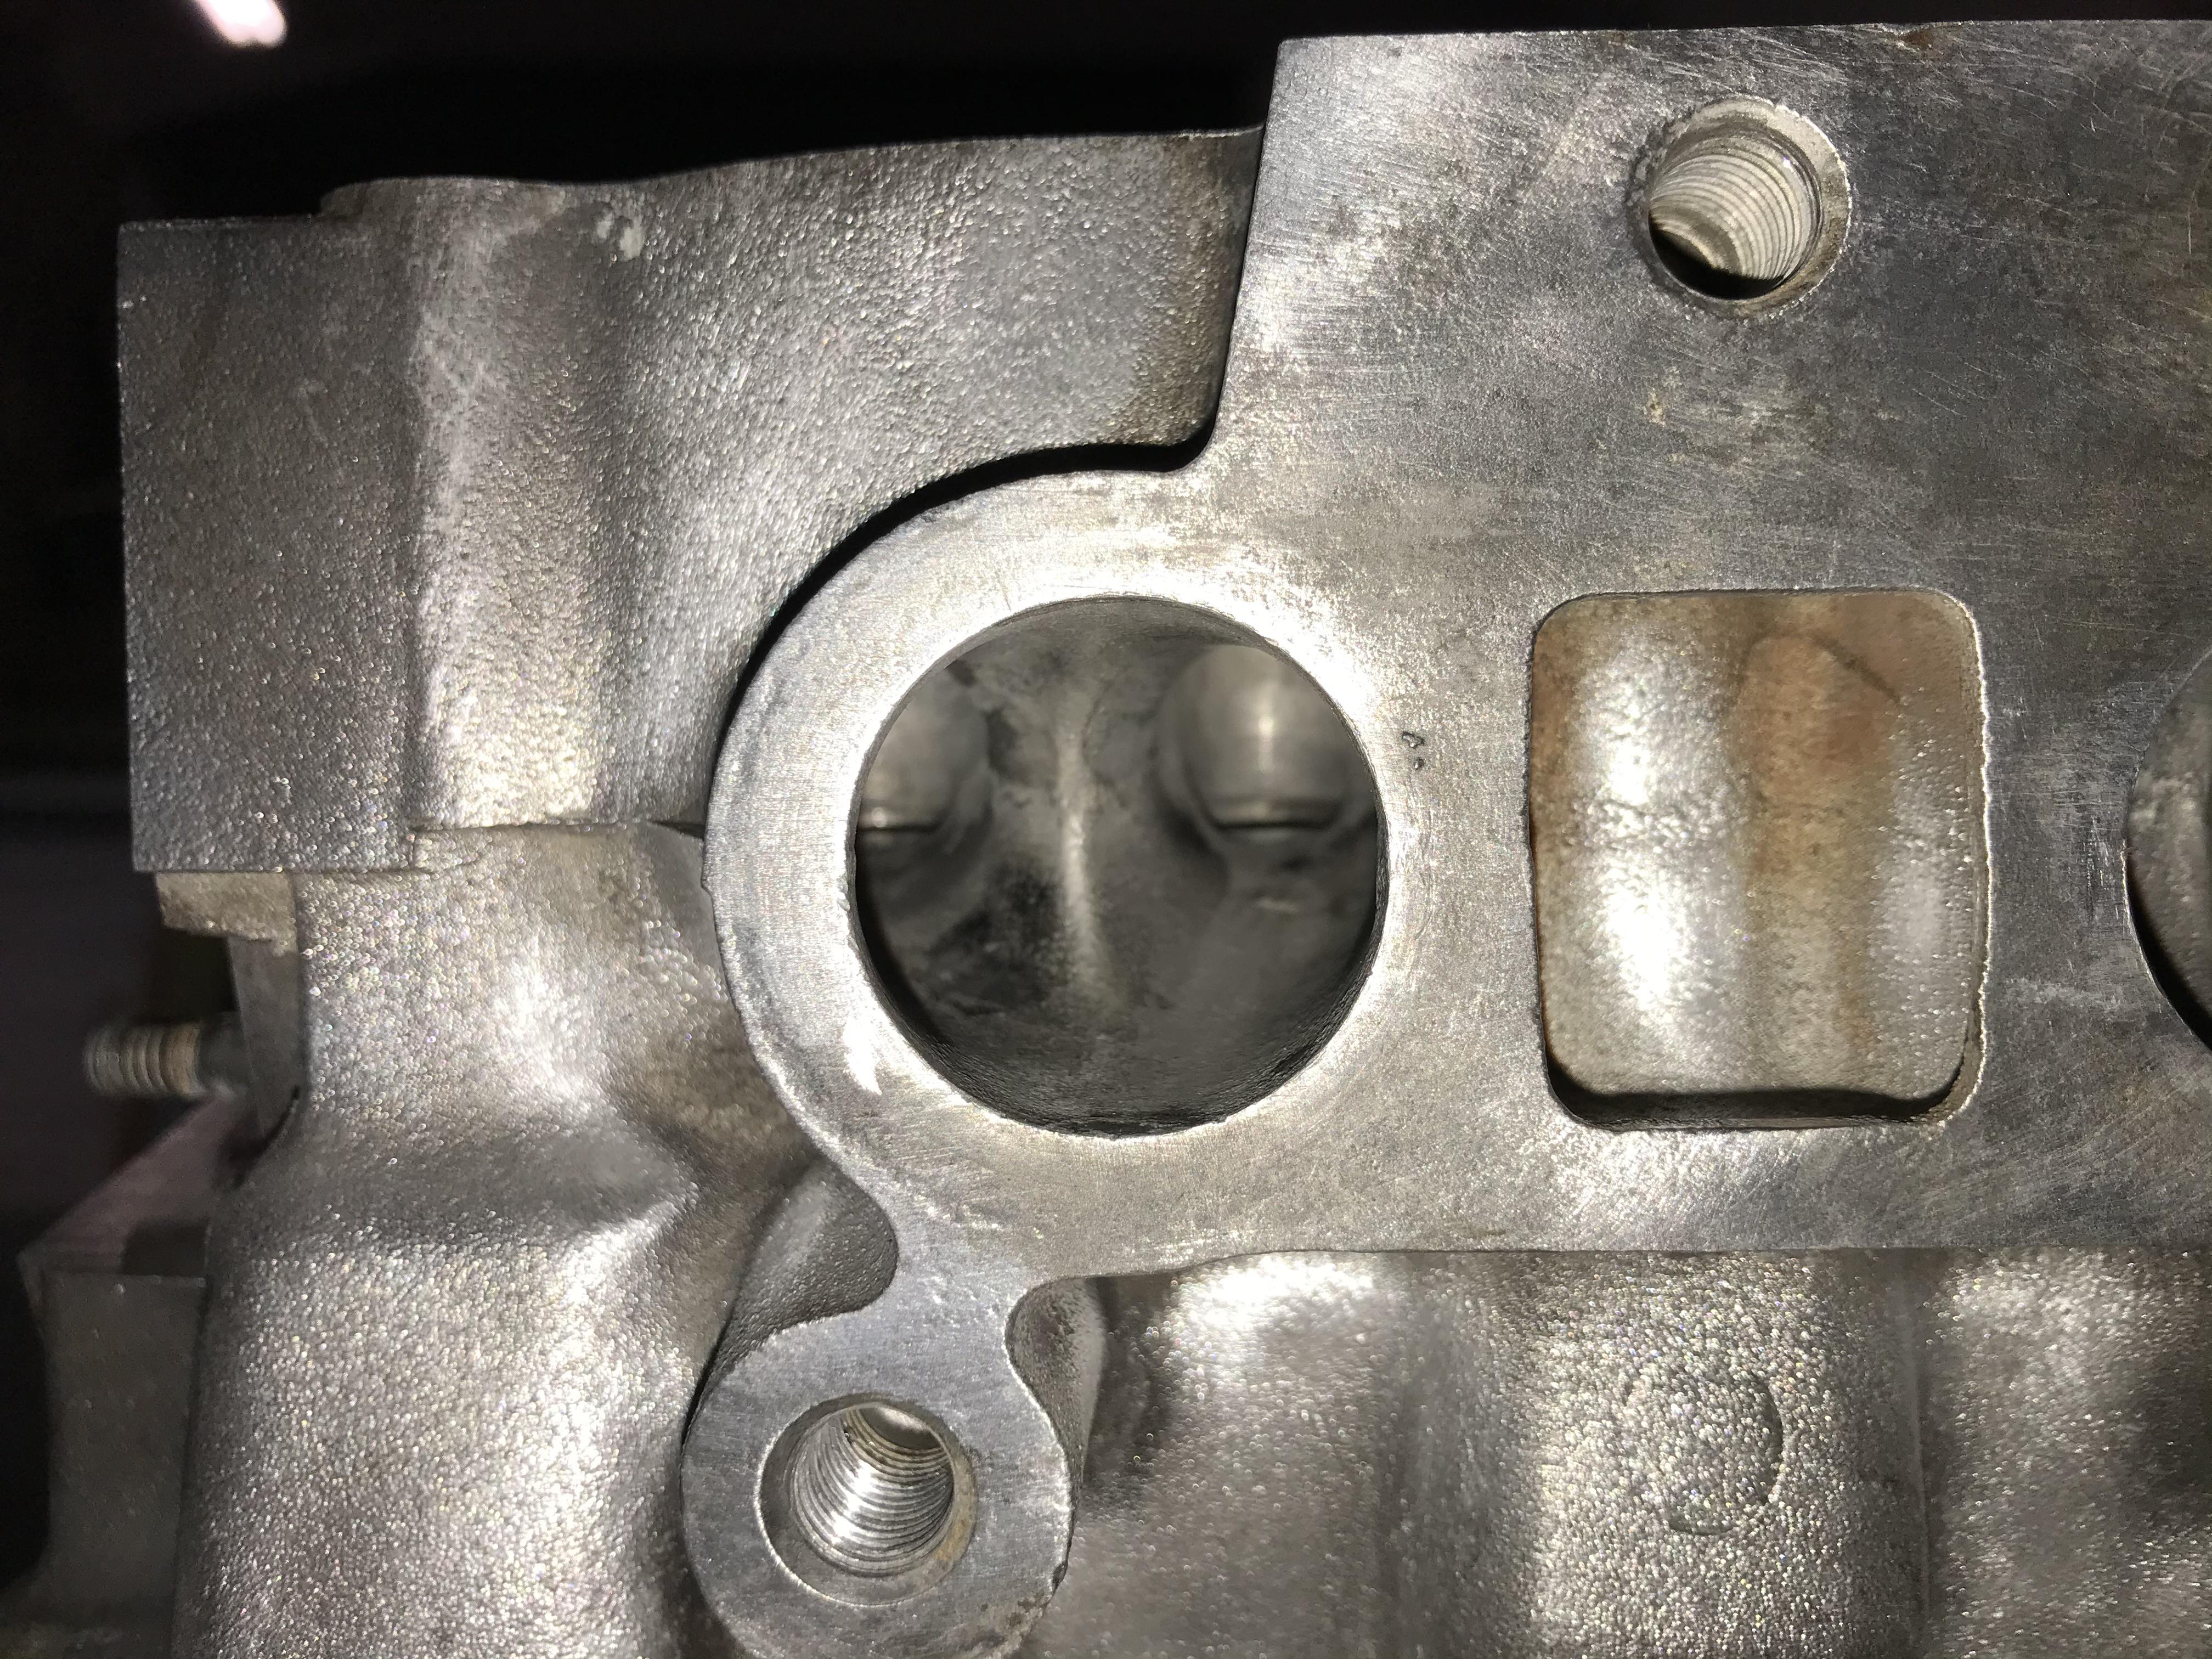
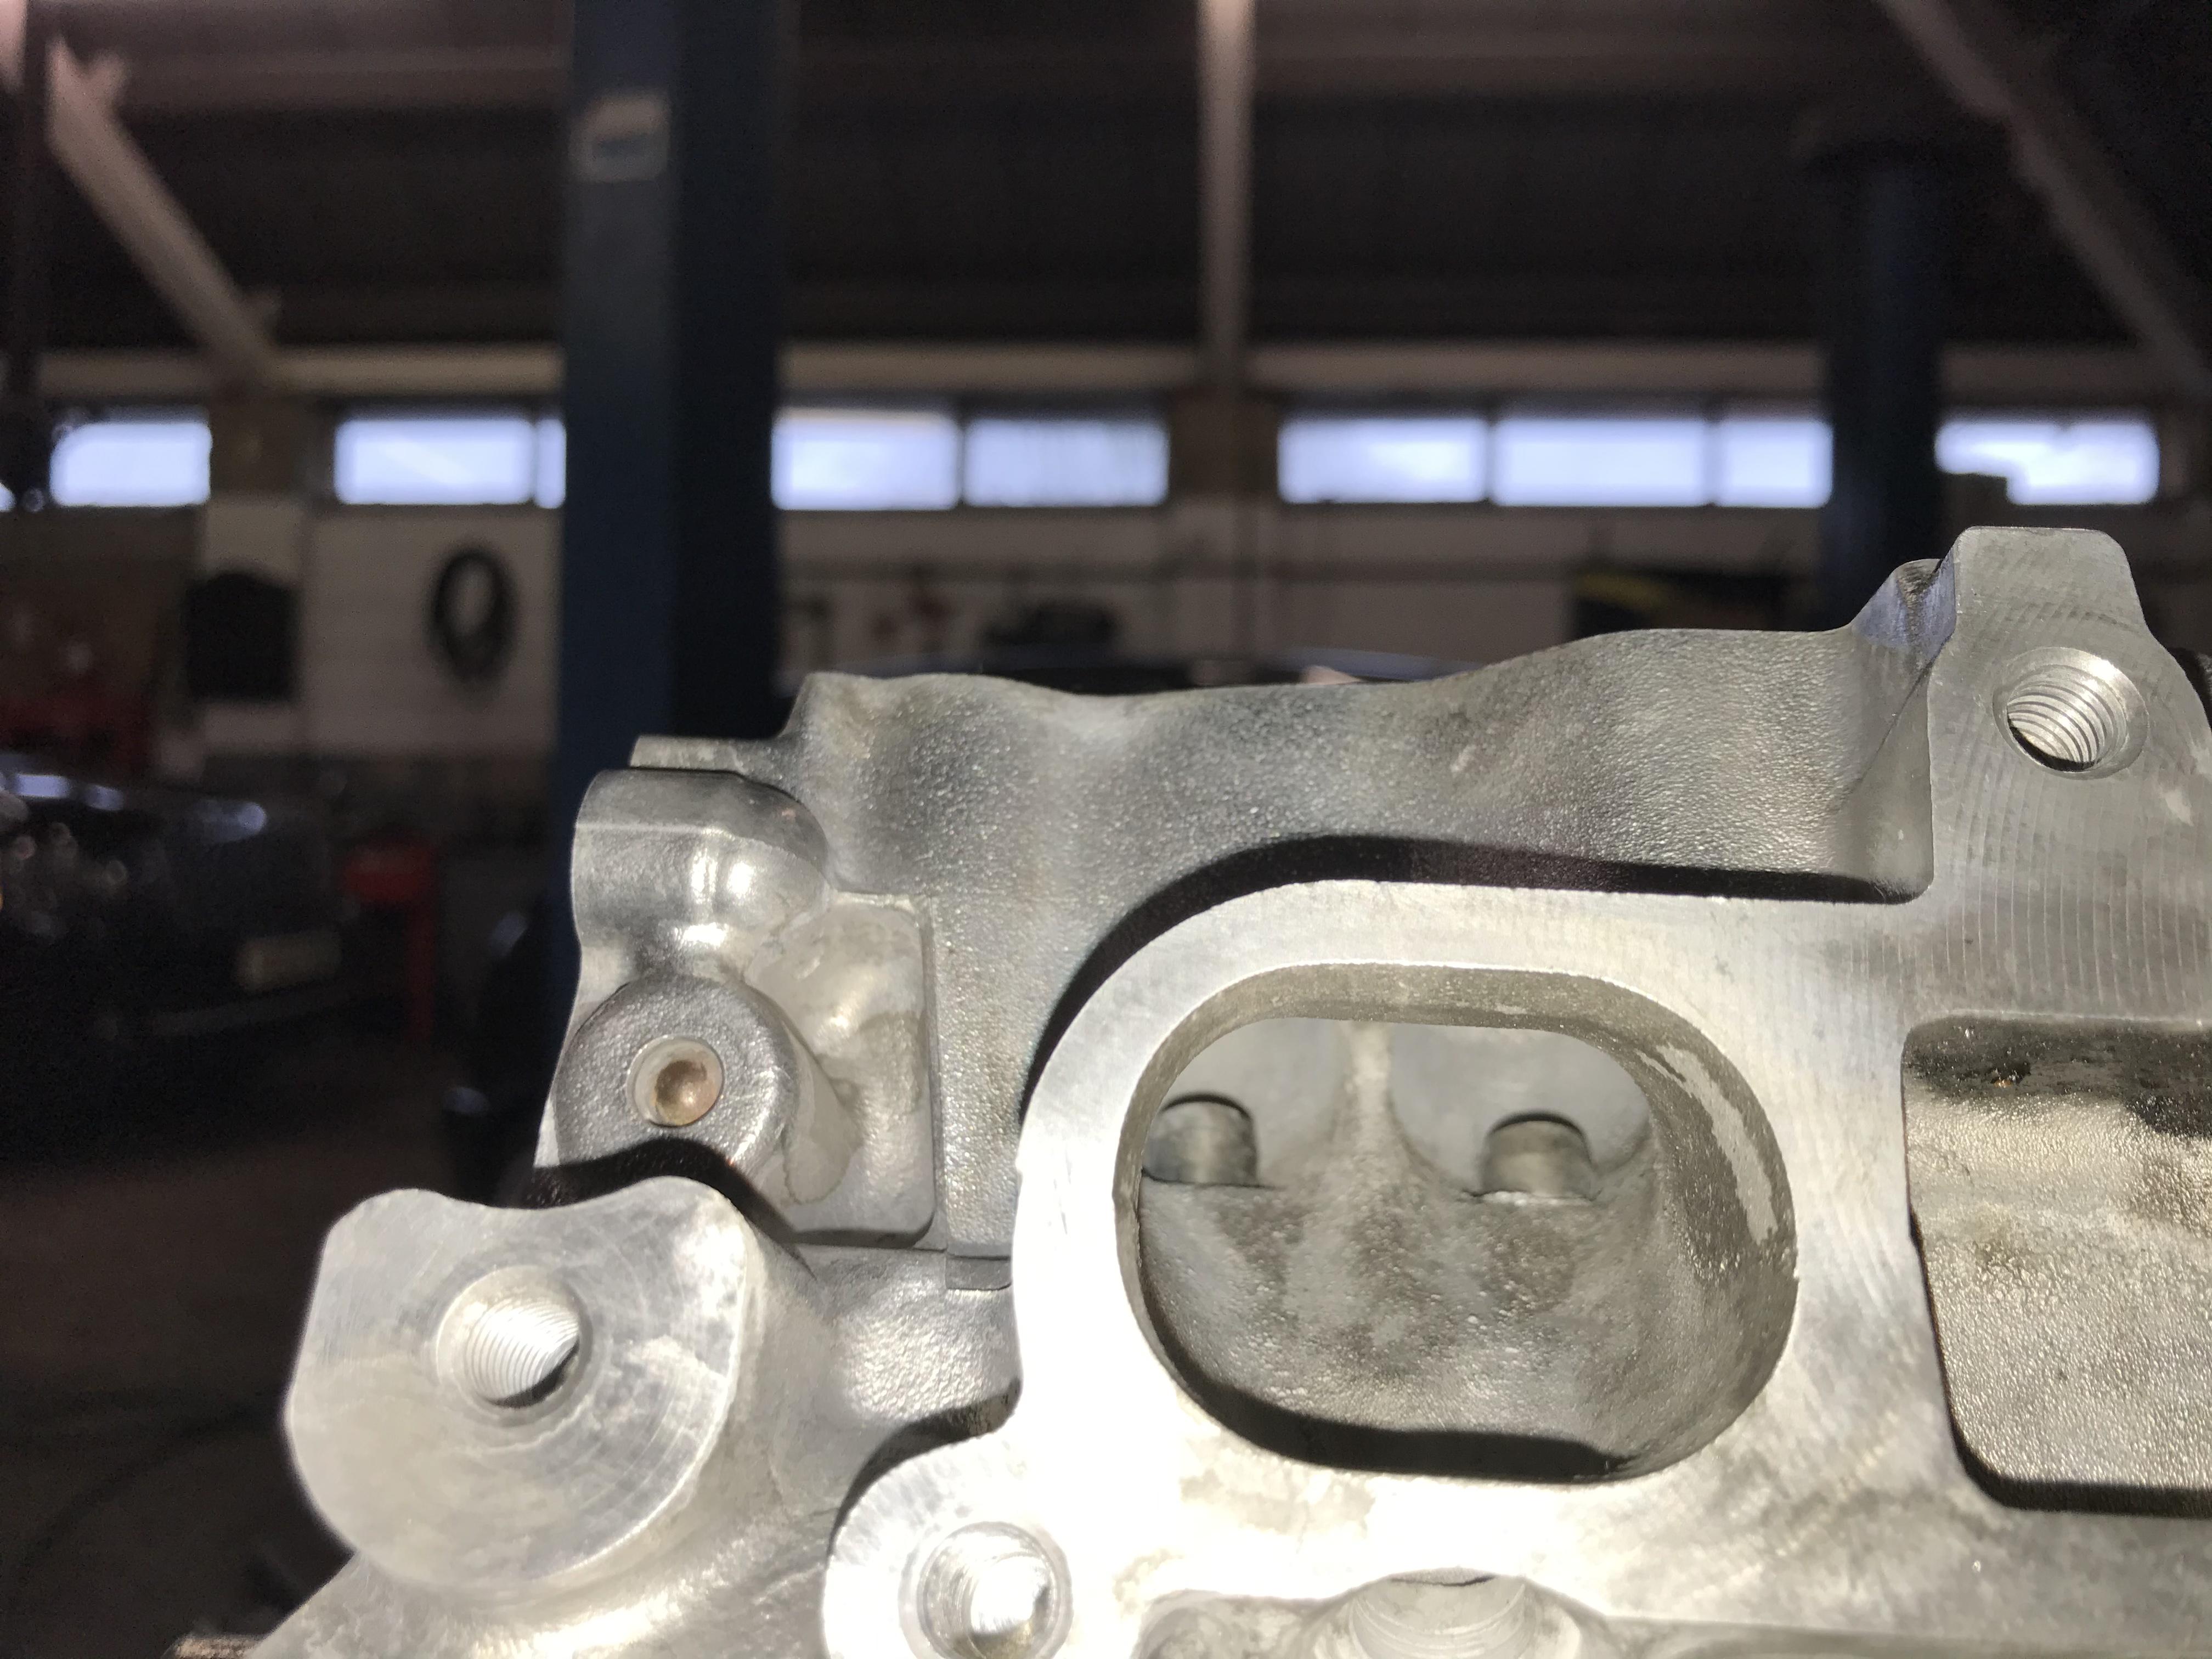
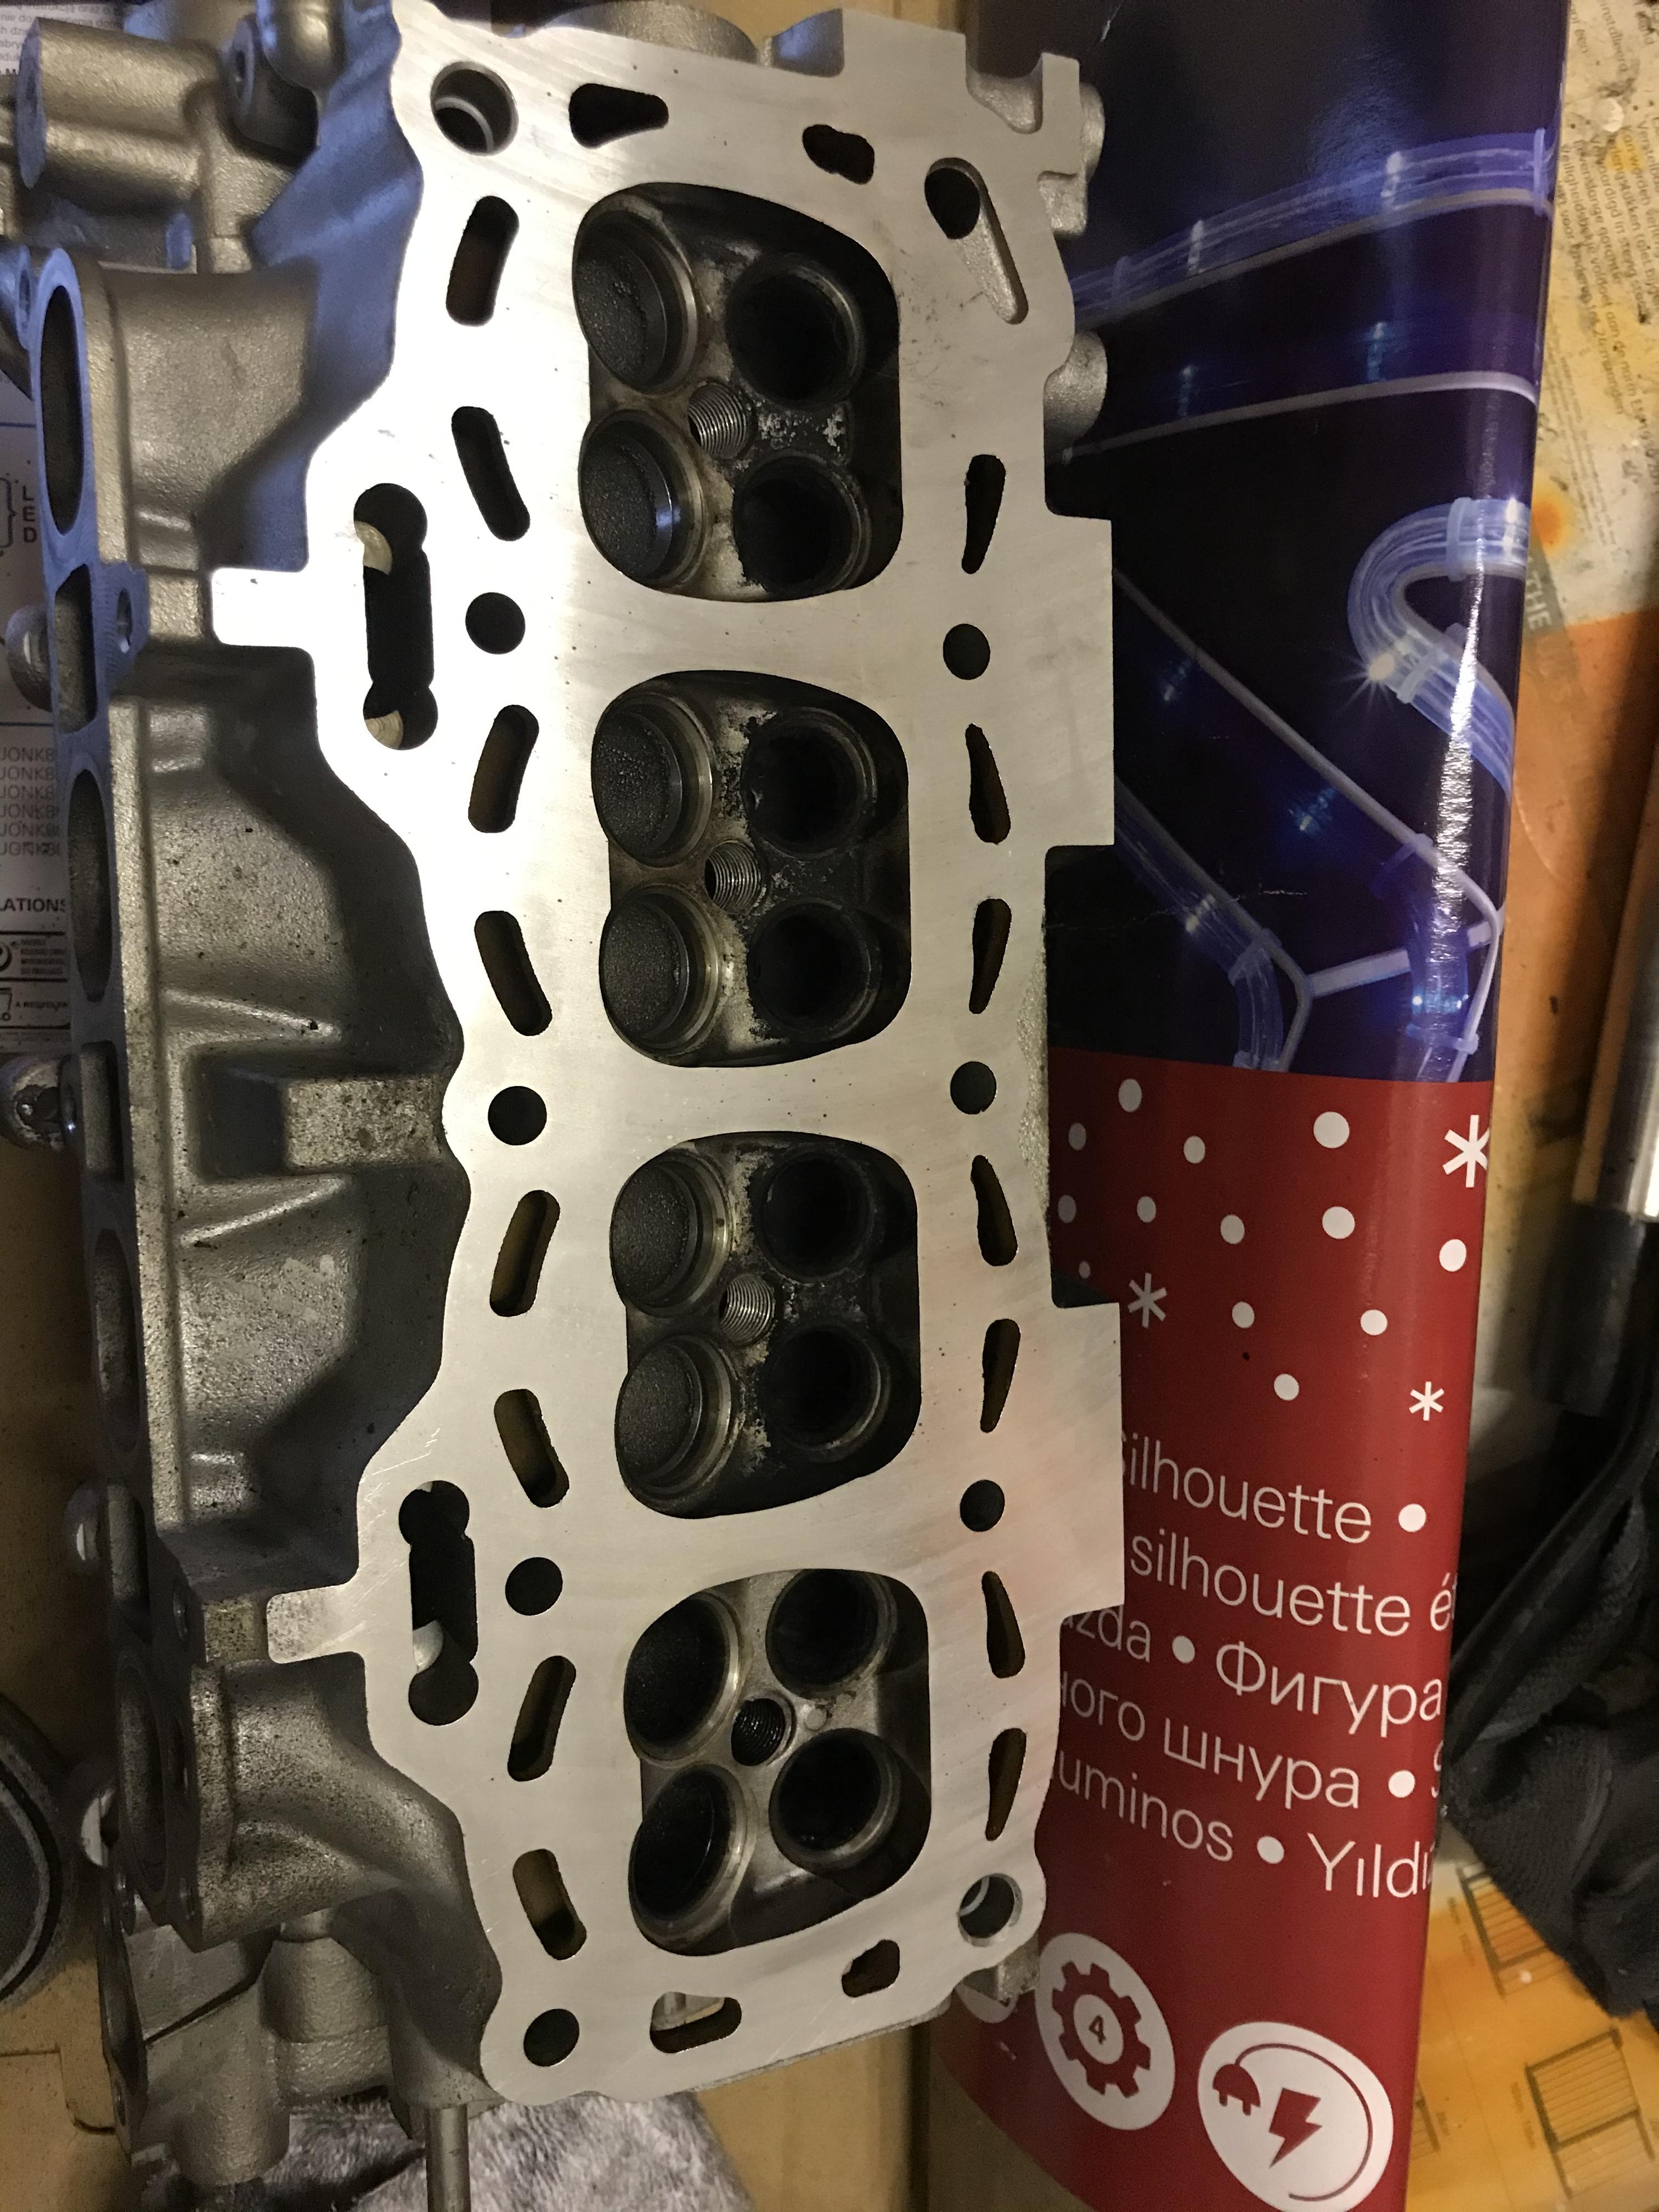
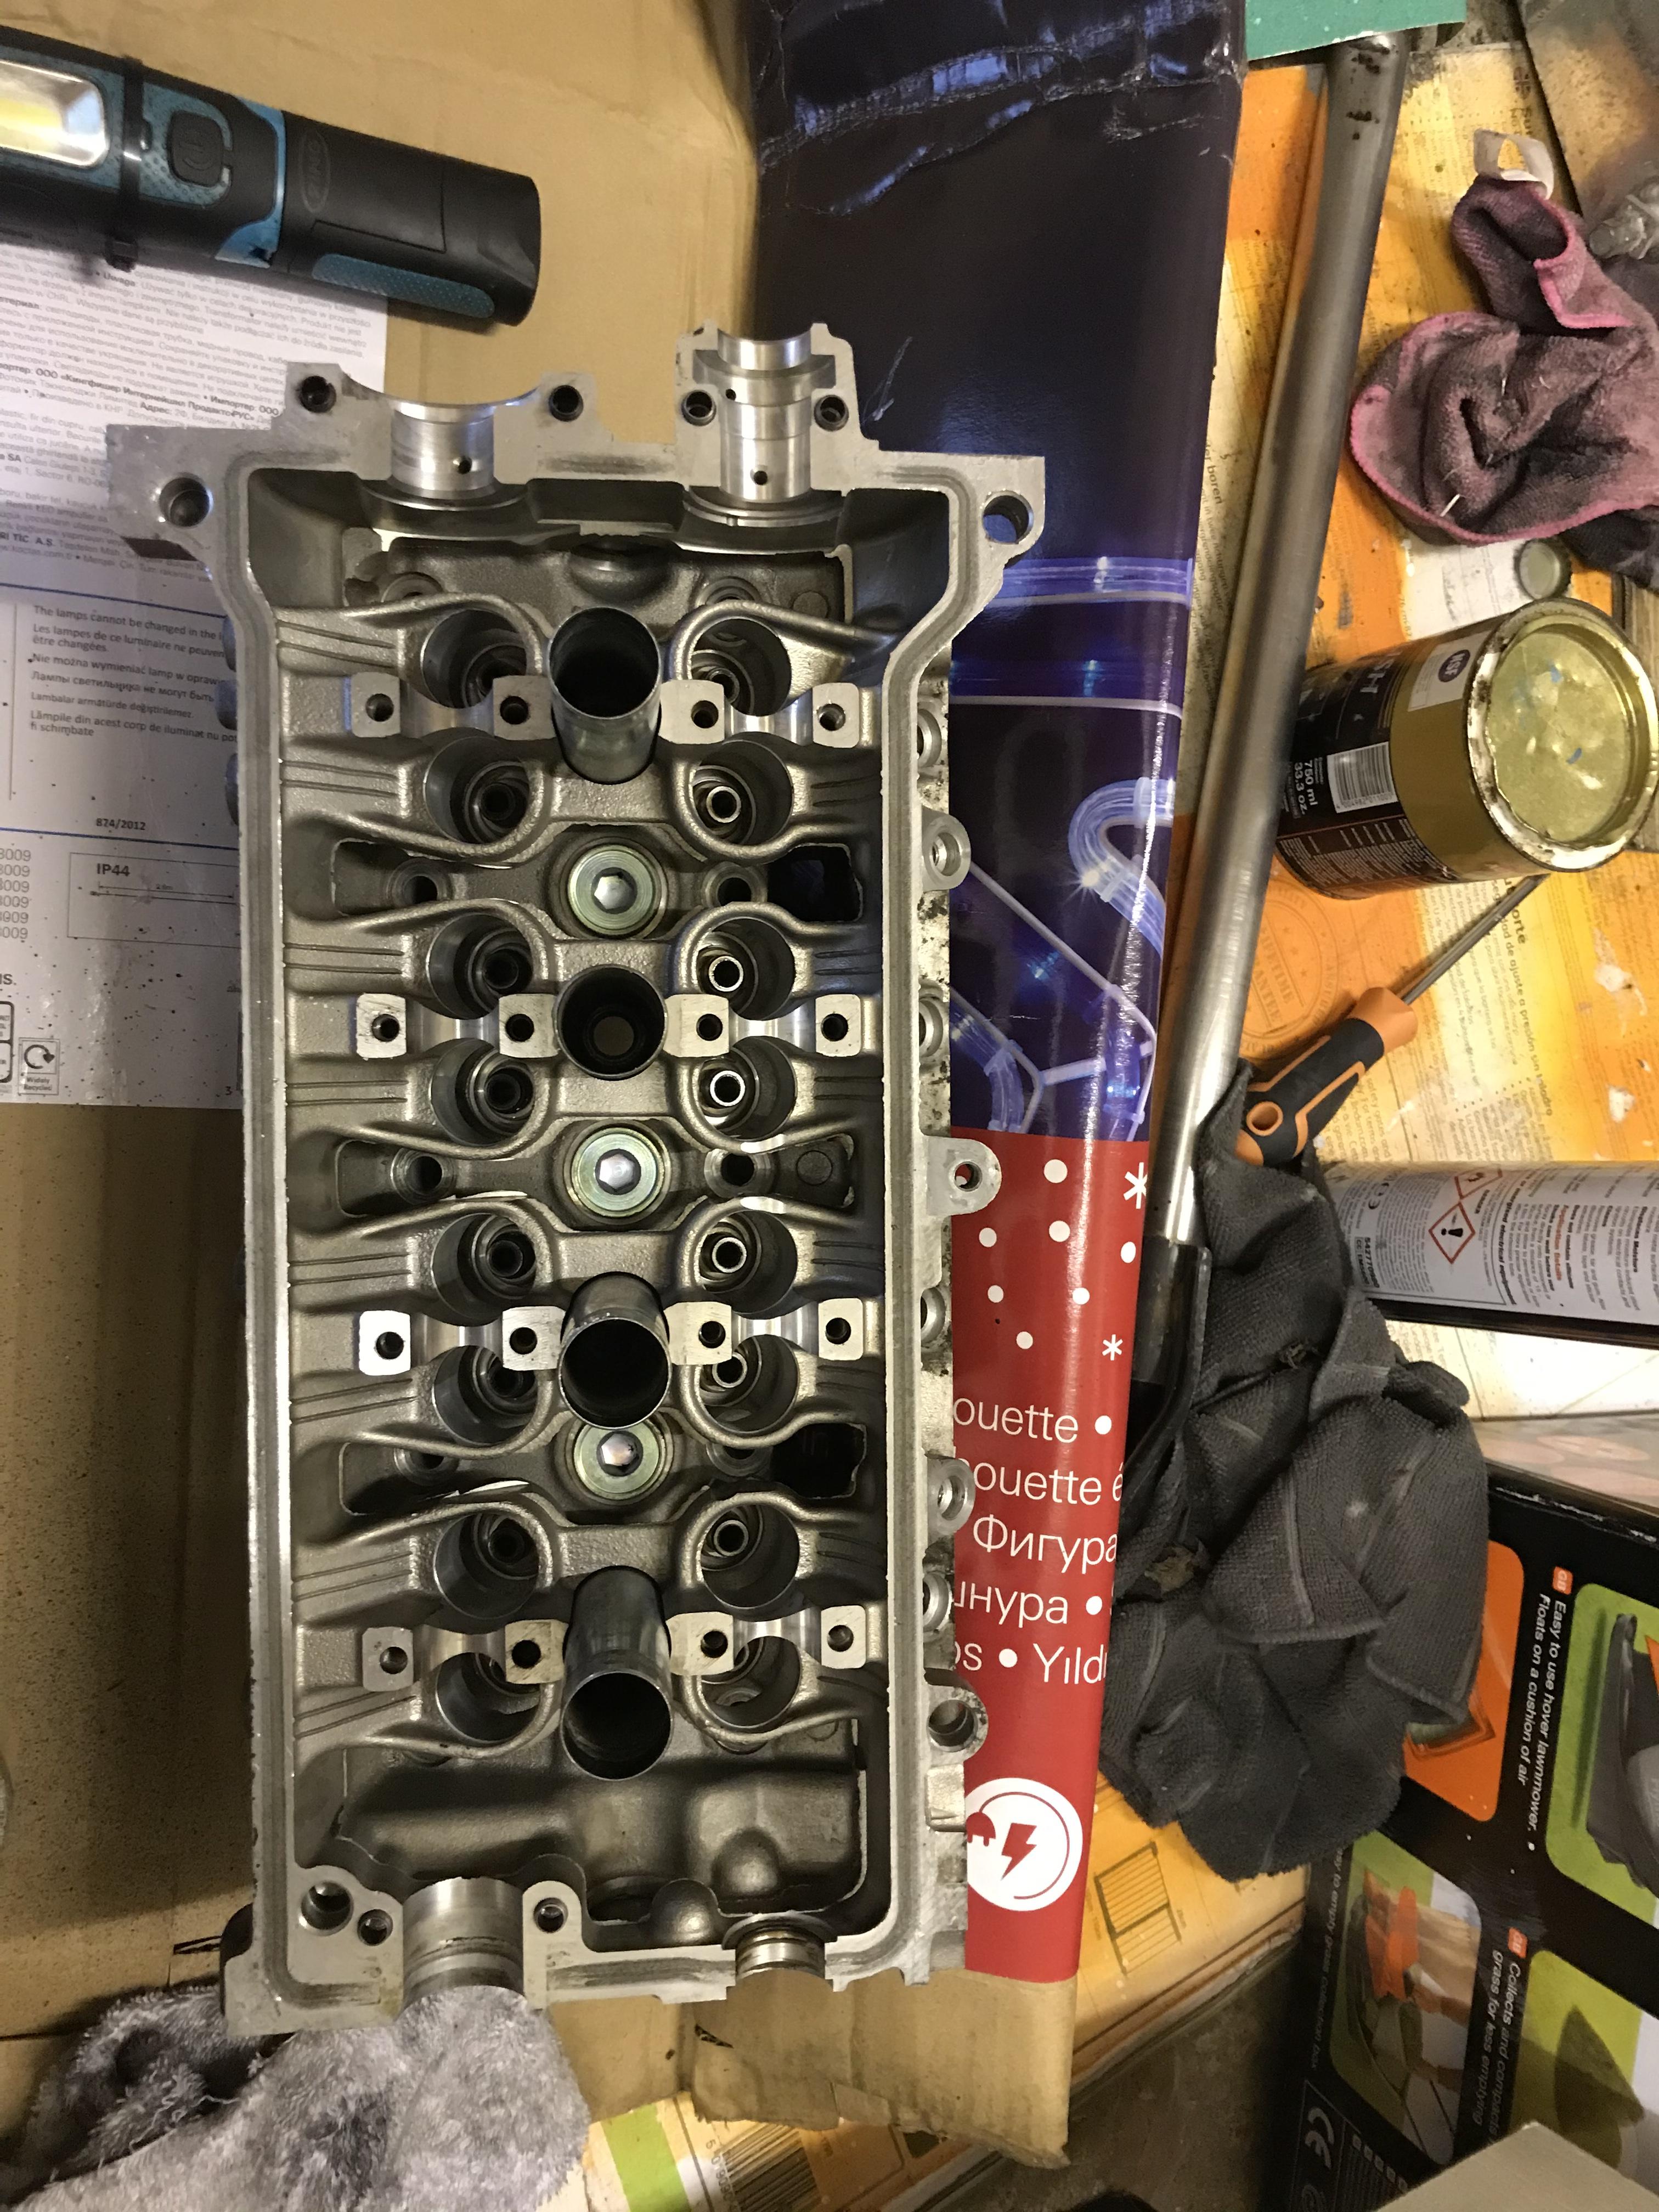
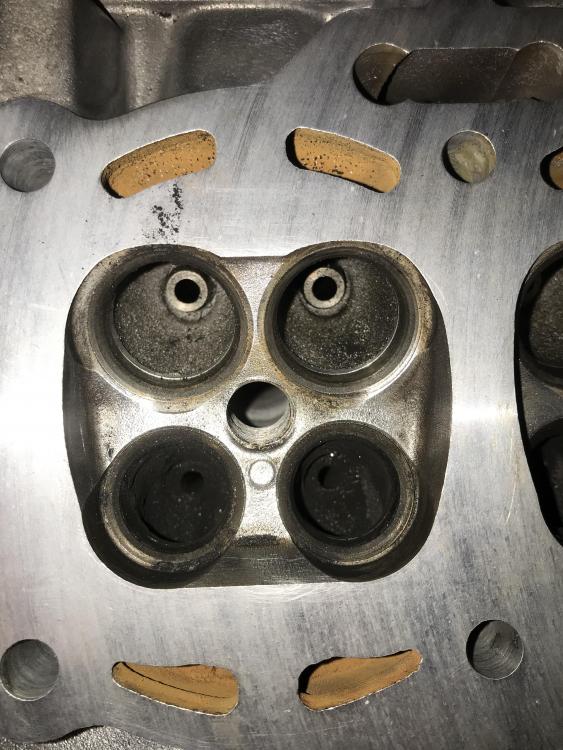
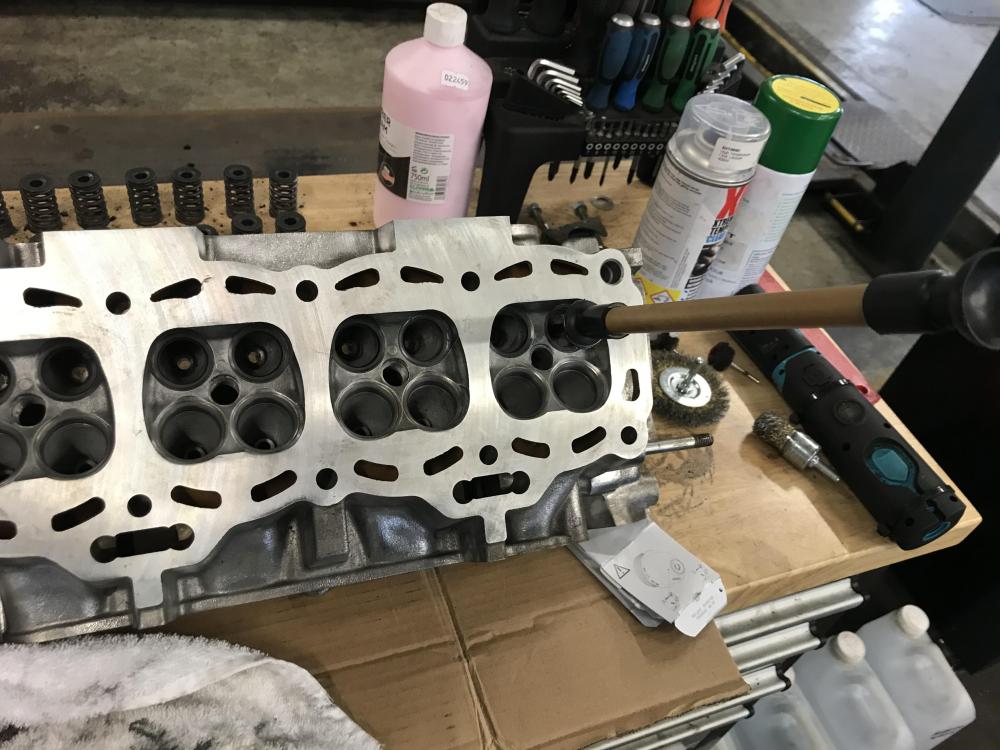
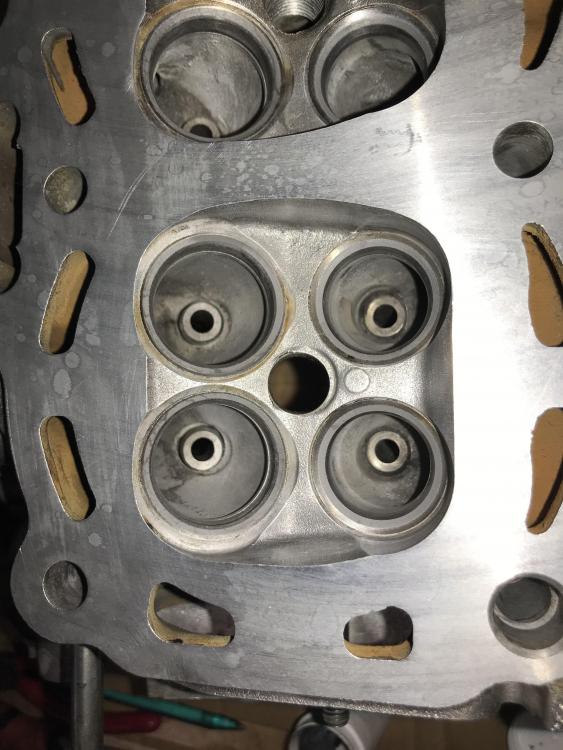
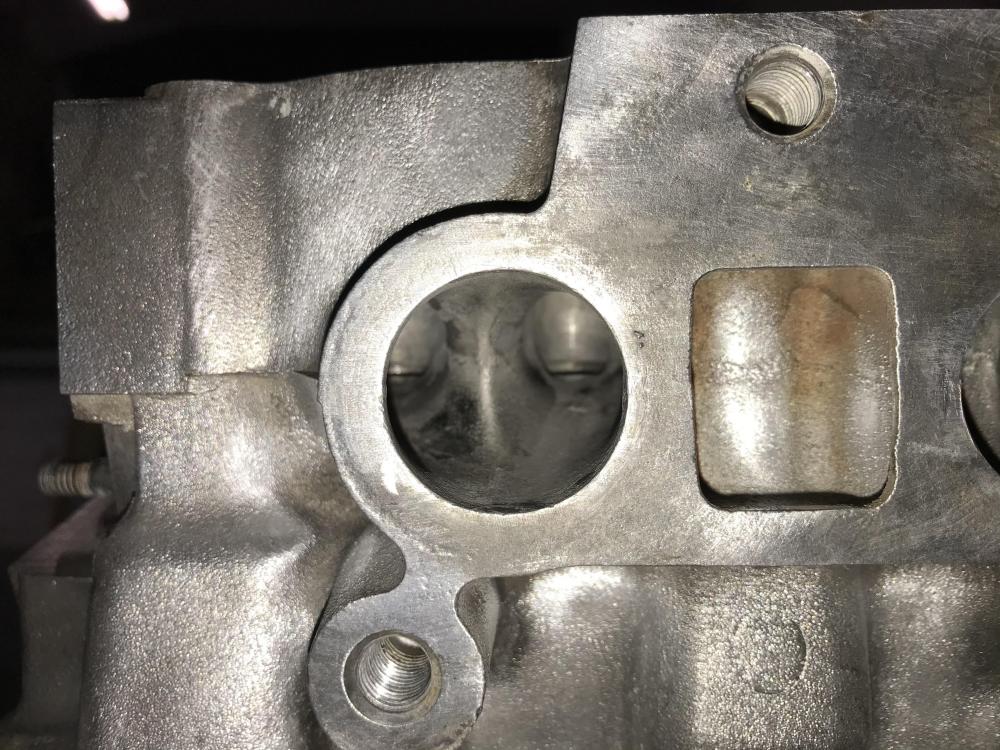
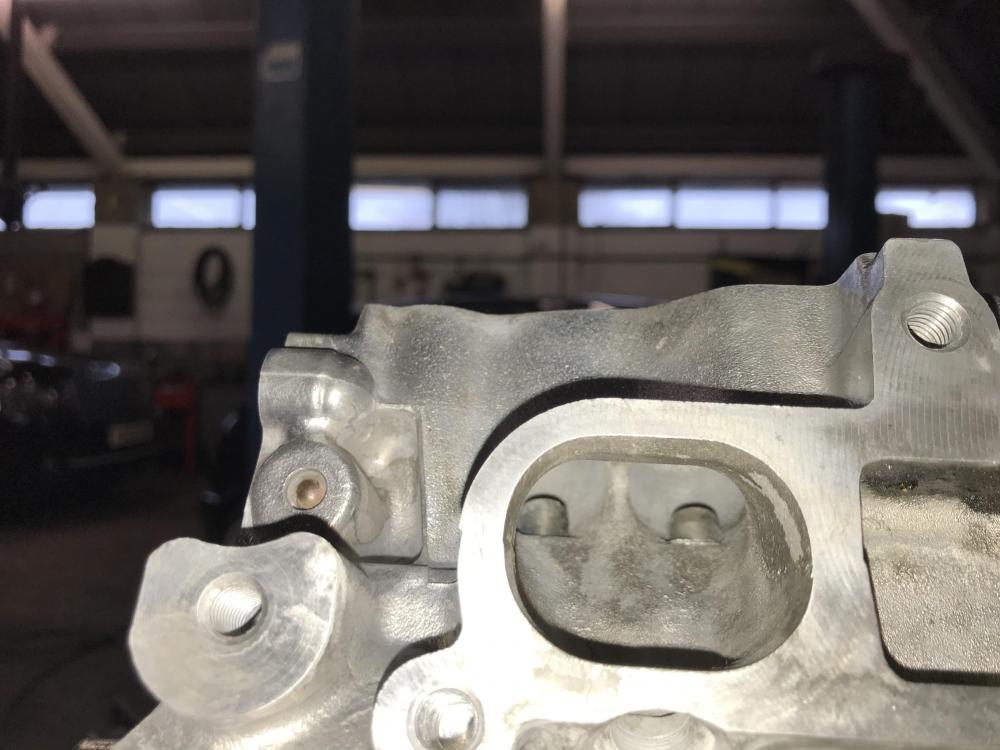
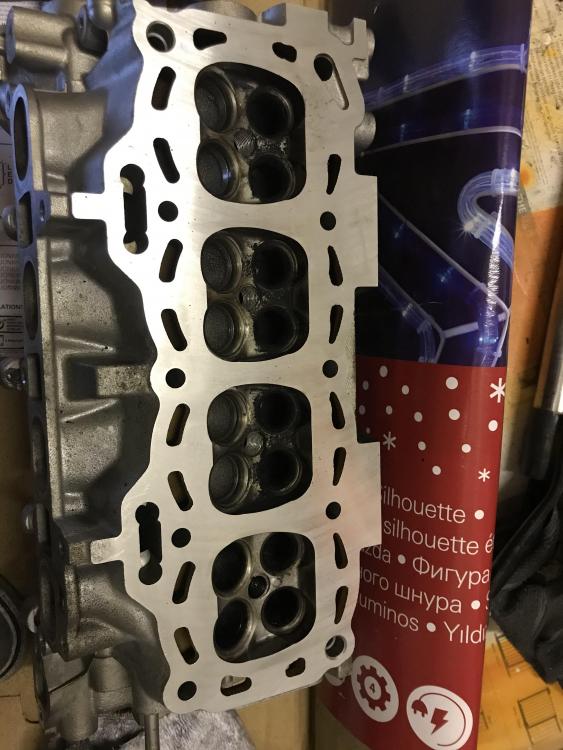
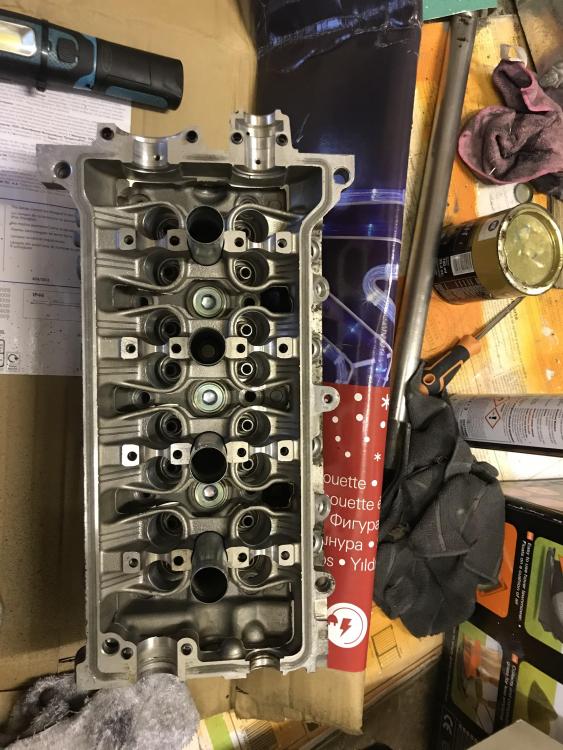
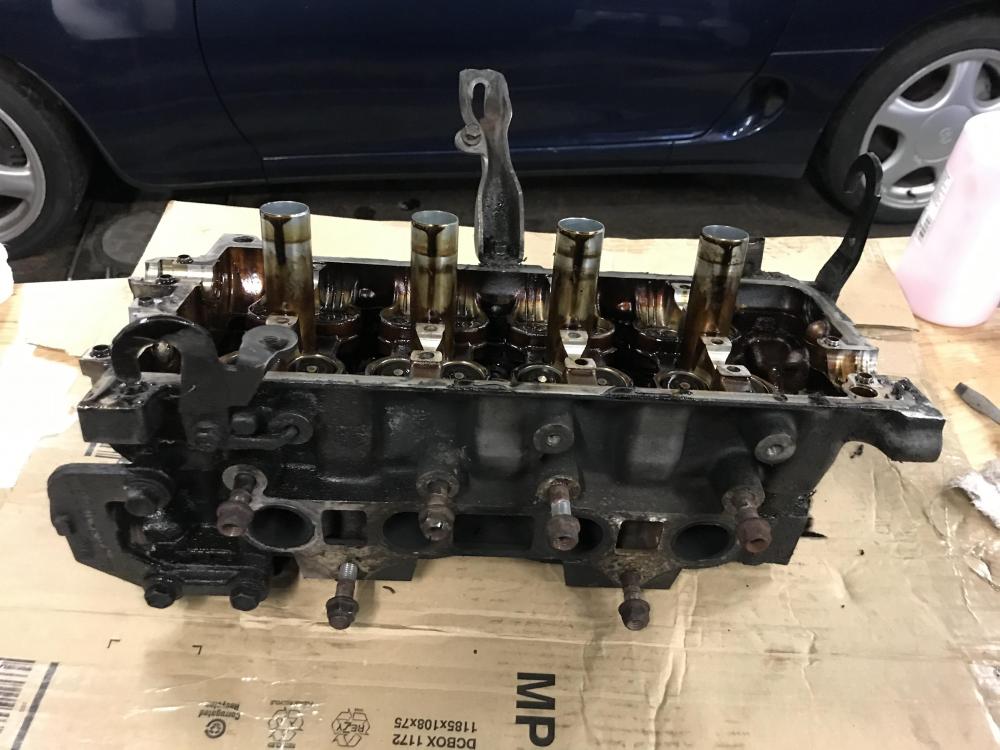
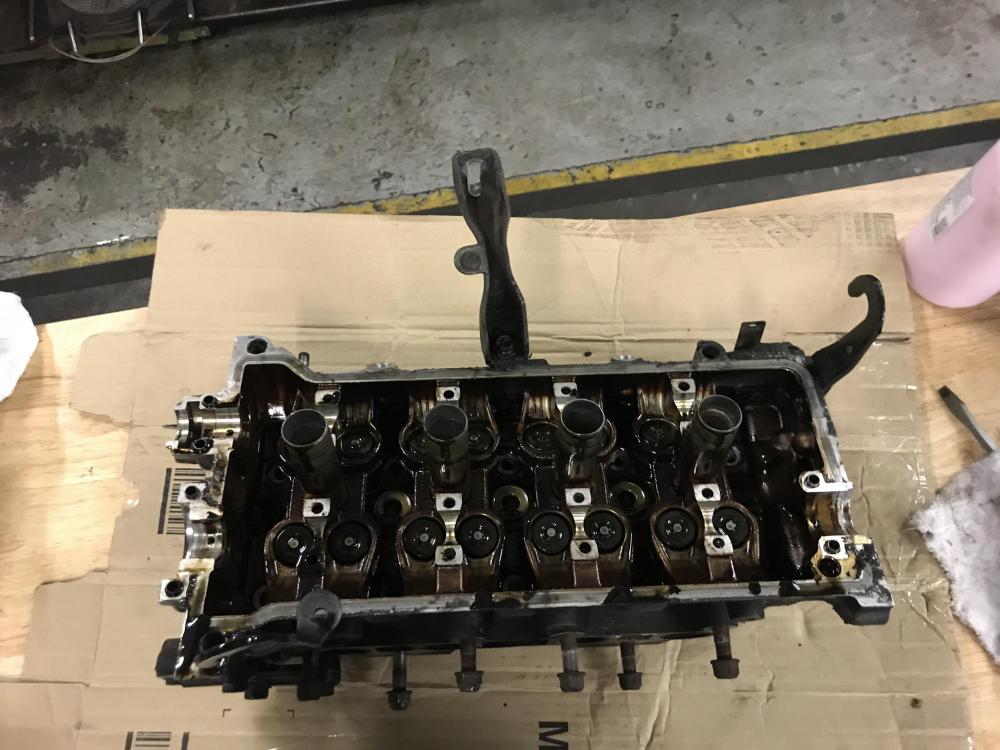
Once back the head was looking for some attention. Valves were removed, ports were cleaned and stem seals replaced with genuine units from the full engine kit supplied by tuning developments. Valves were cleaned and lapped in. Exterior was cleaned further and given a coat of high heat paint and lacquer. Before After
-
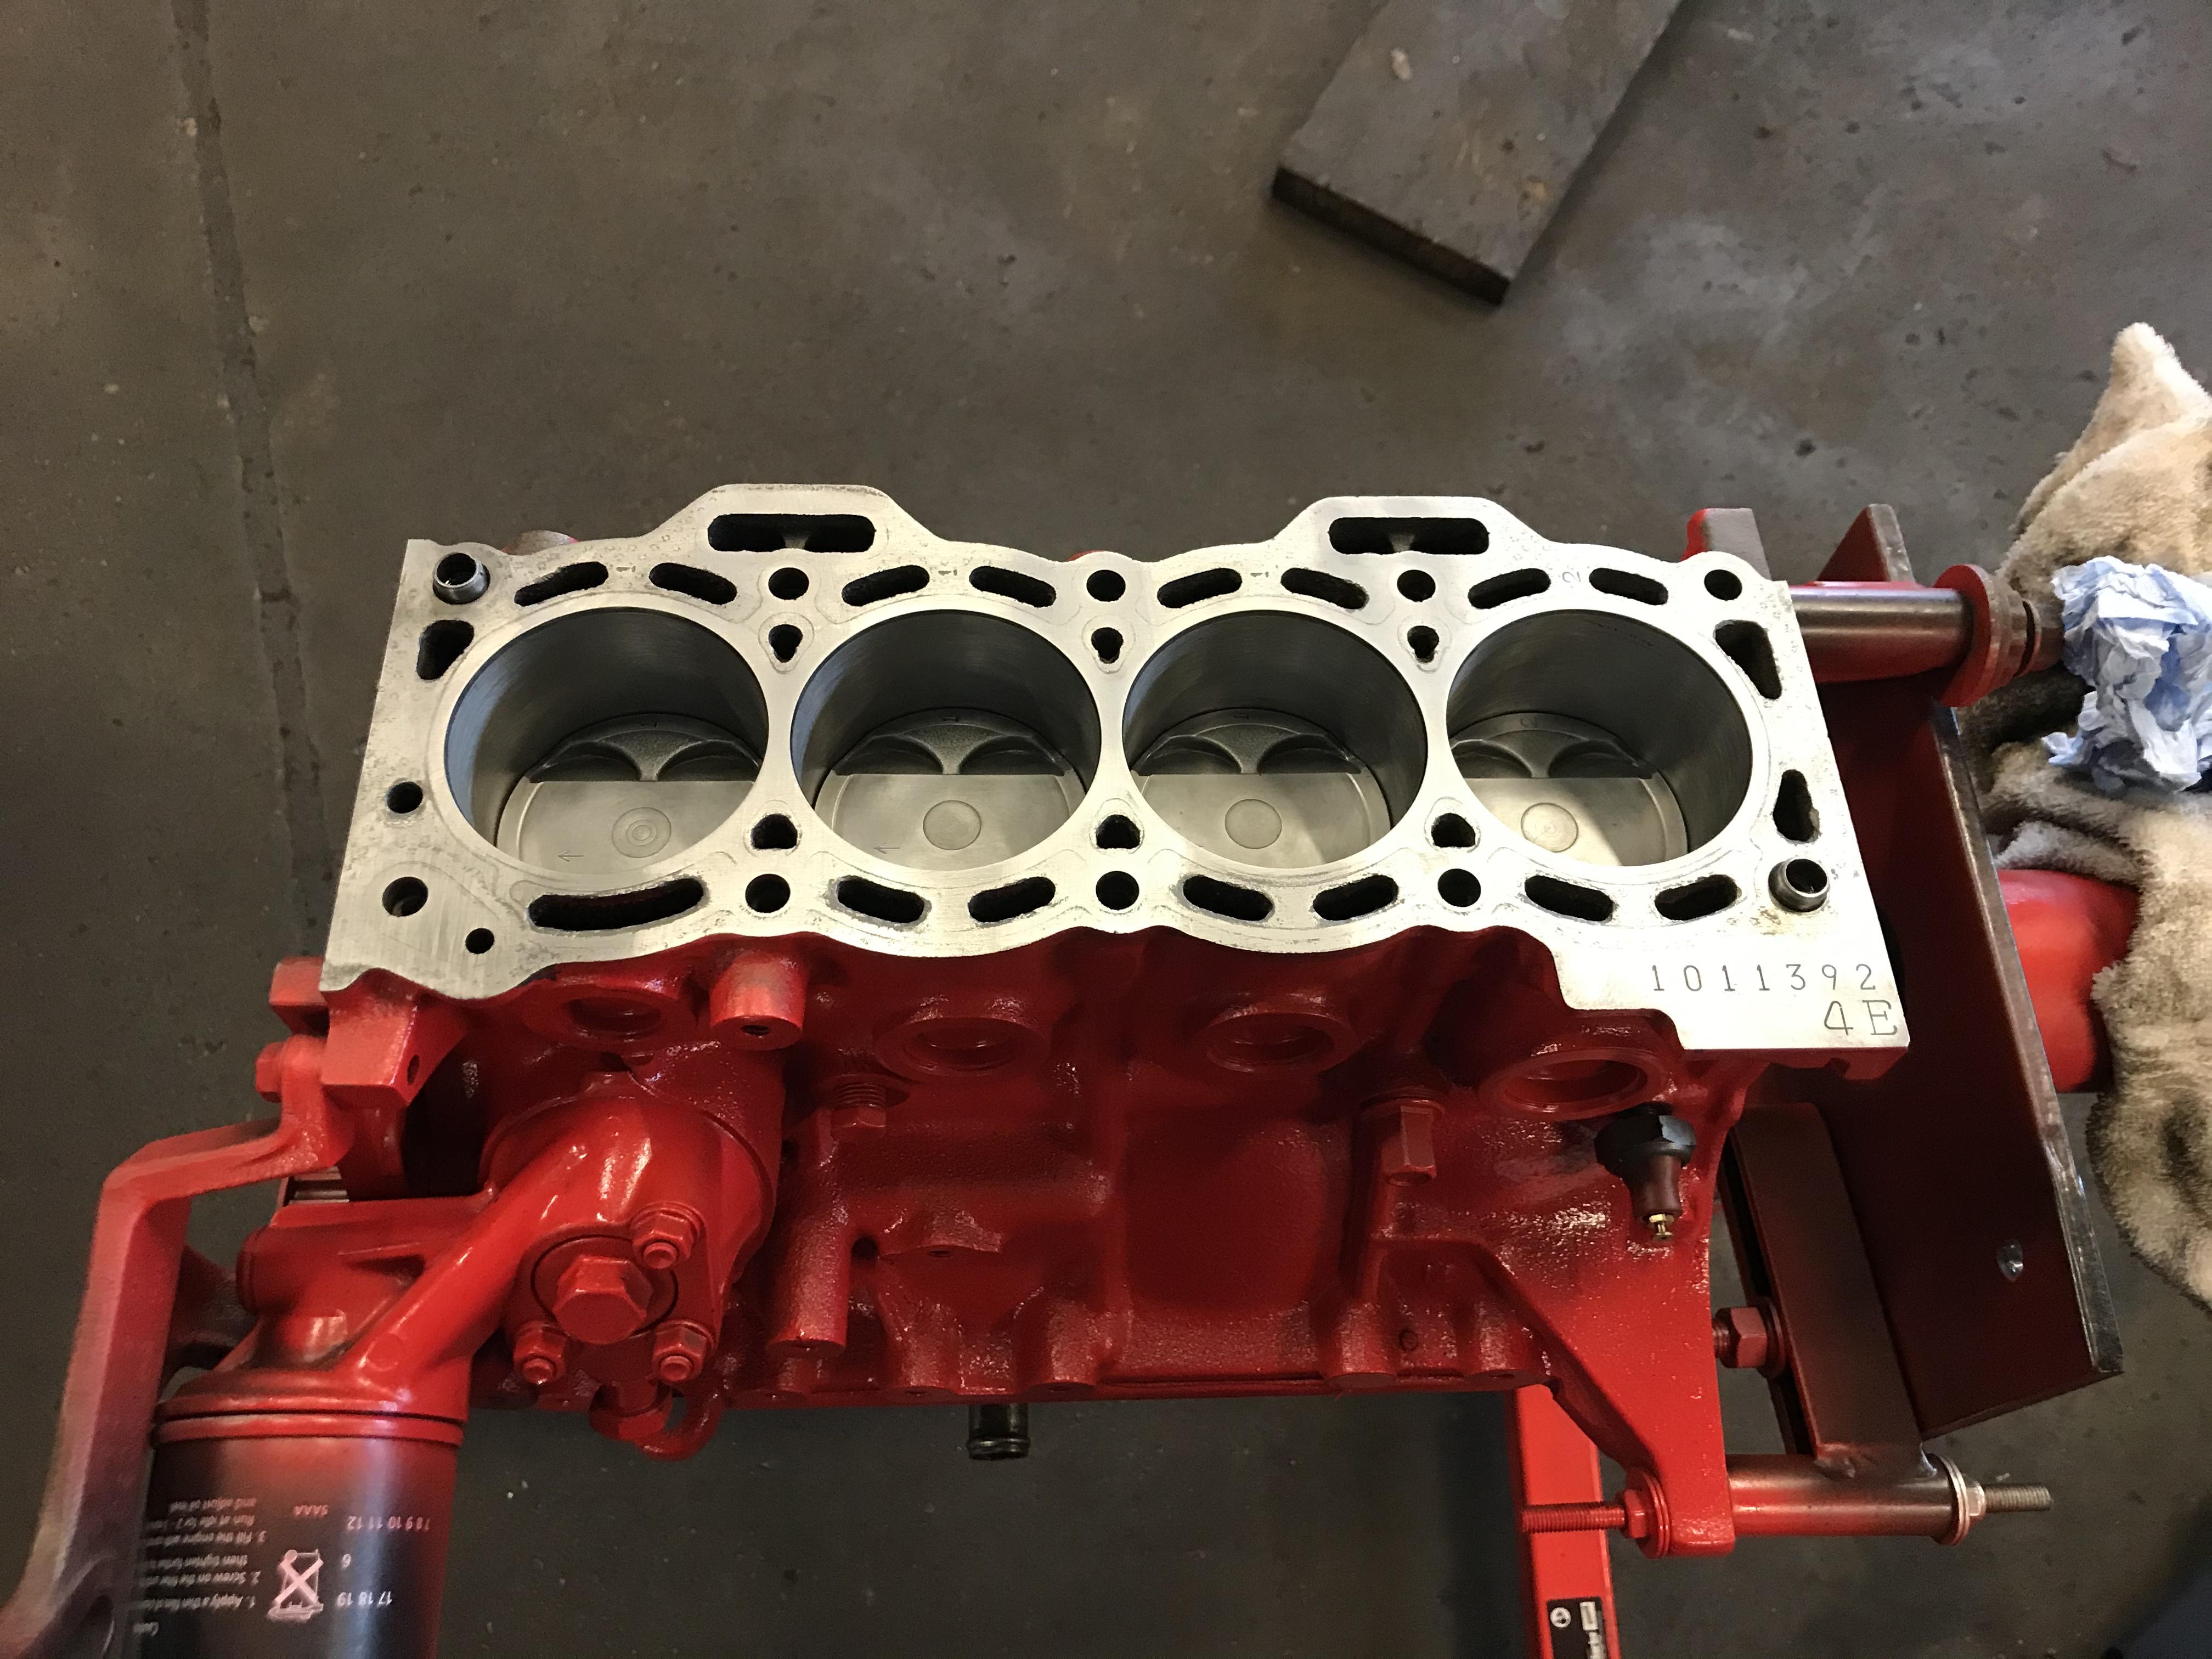
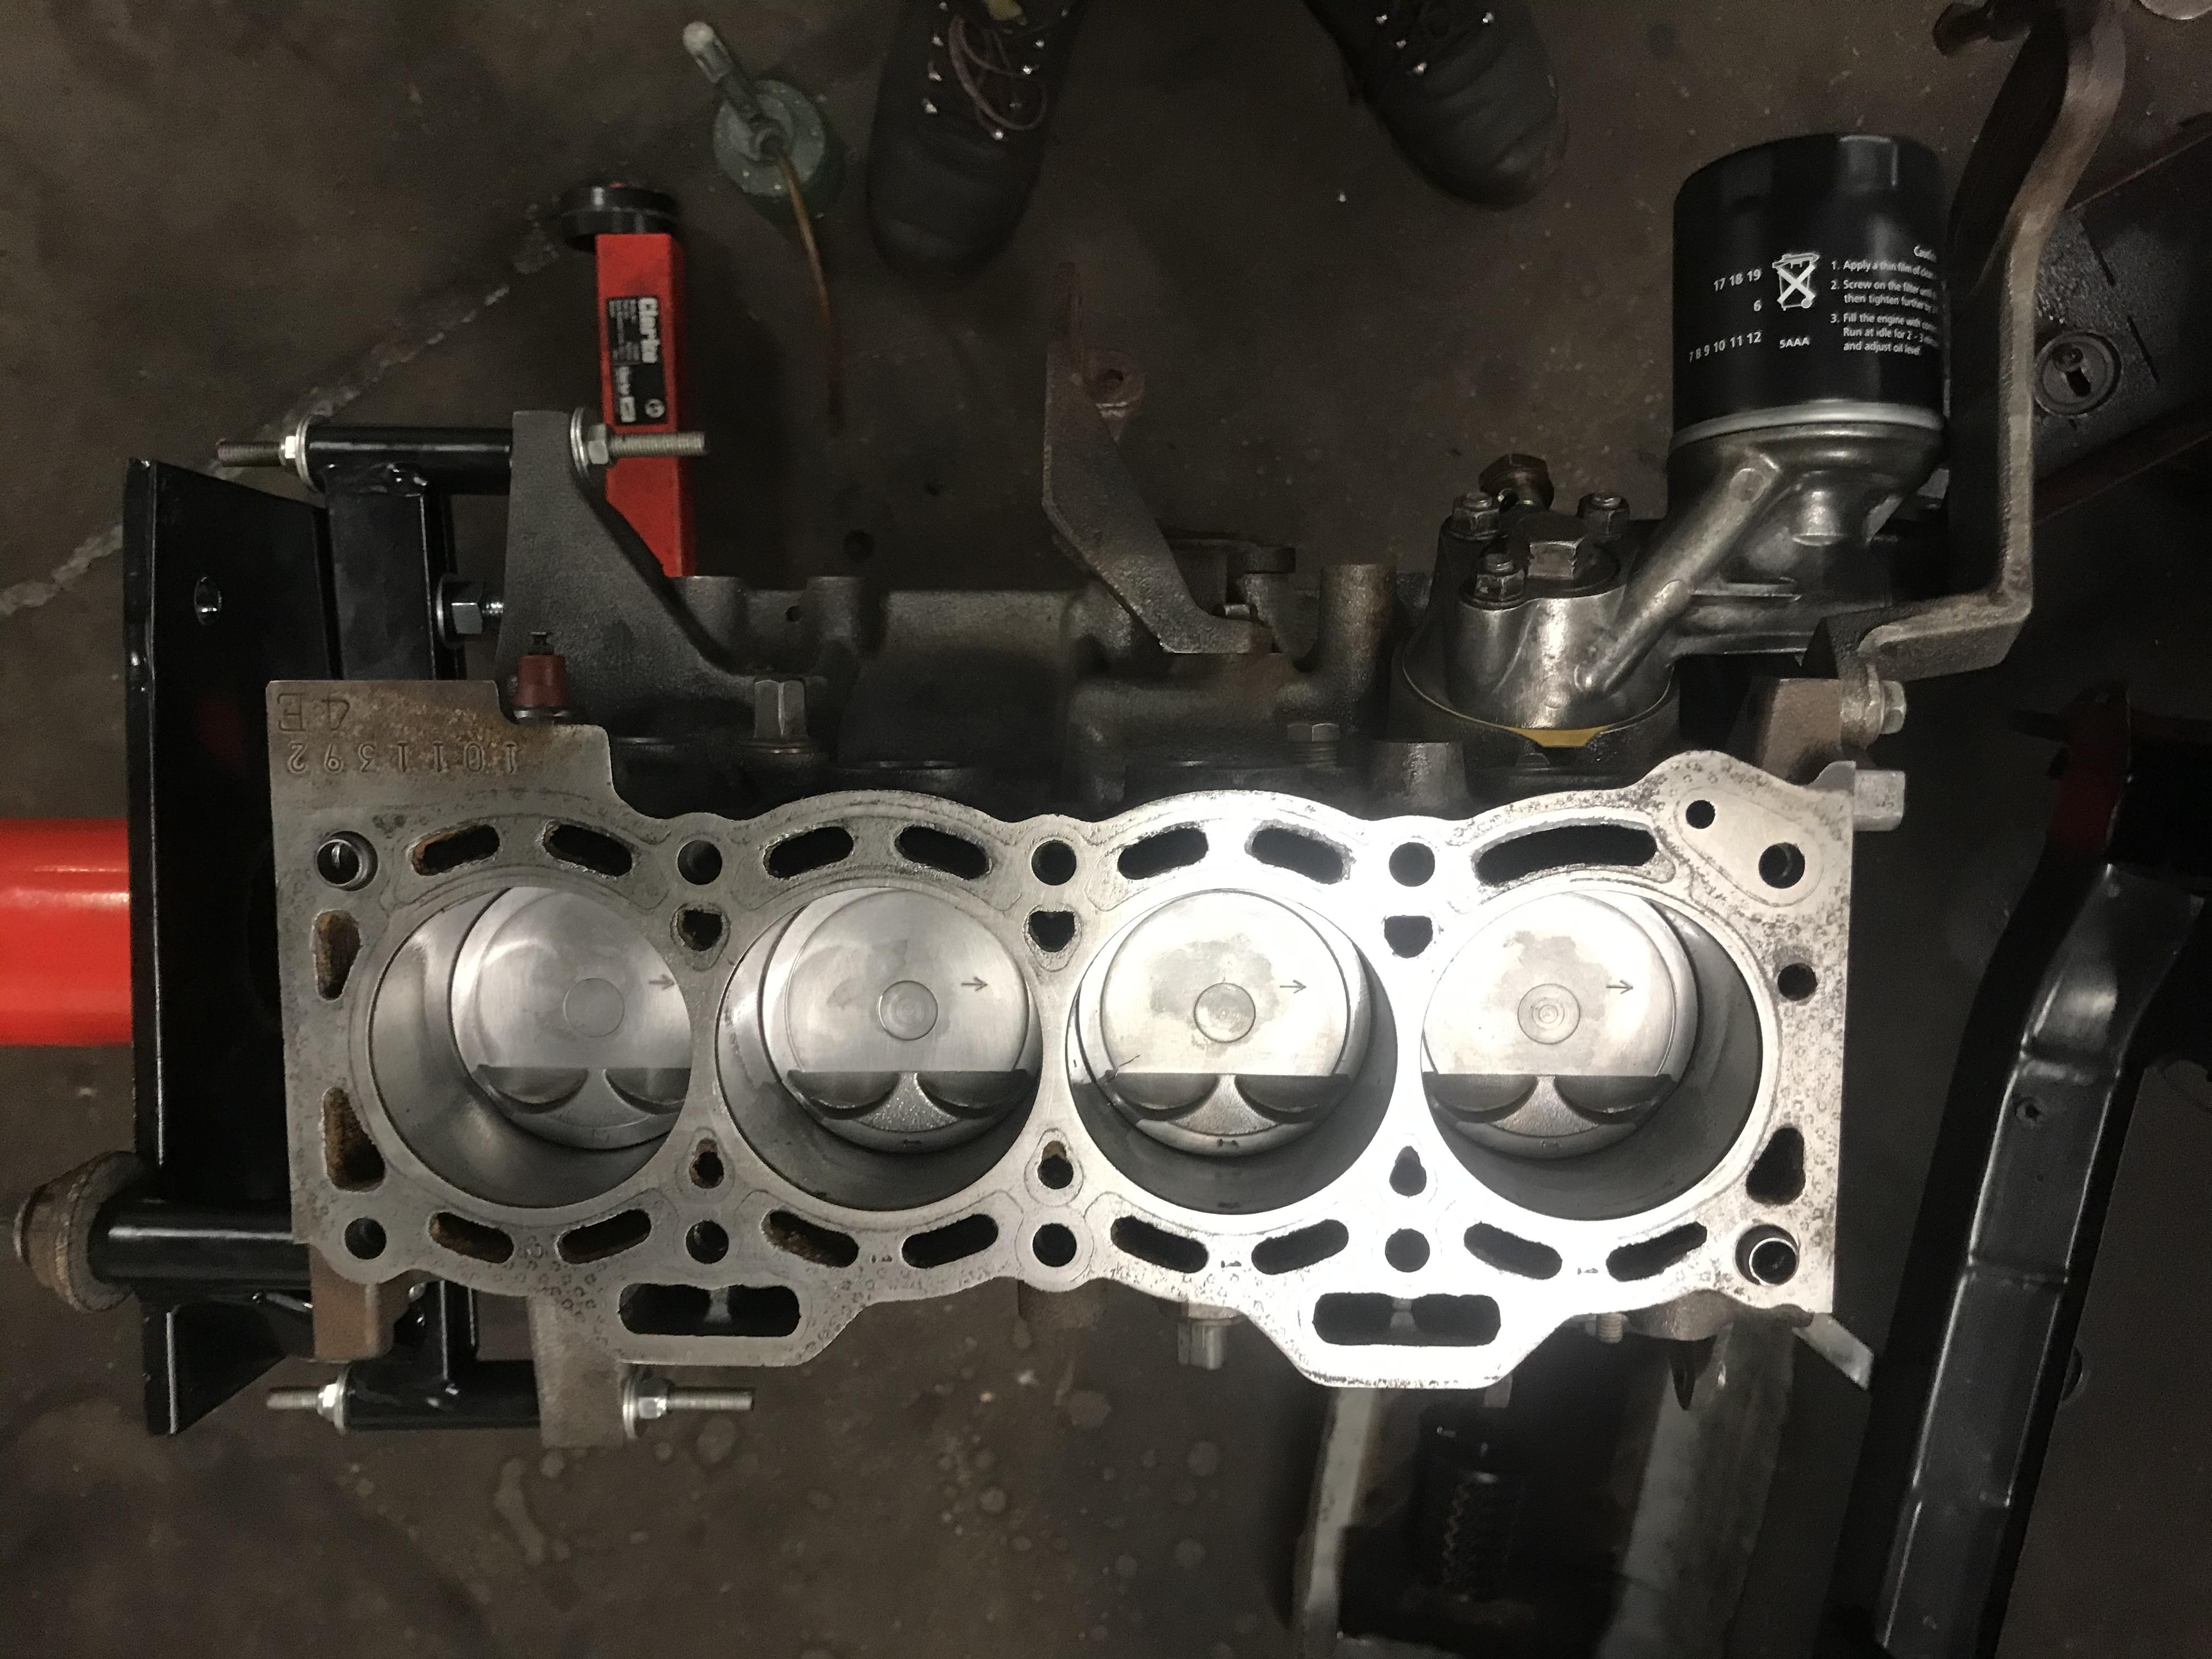
Block came back from the man who can. New piston rings, bottom bearings and thrust washers. Went with ‘Taiho’ from ‘jap service parts’. From what I researched they are the original suppliers for most jap manufactures. Bores were honed and crank polished. Head was also cleaned and skimmed.

-
I shall have a look maerijn but don’t want to take the seal out in case I can’t find one. However, I did get a local company to match the similar oil pump seal so you may be on to something.
-
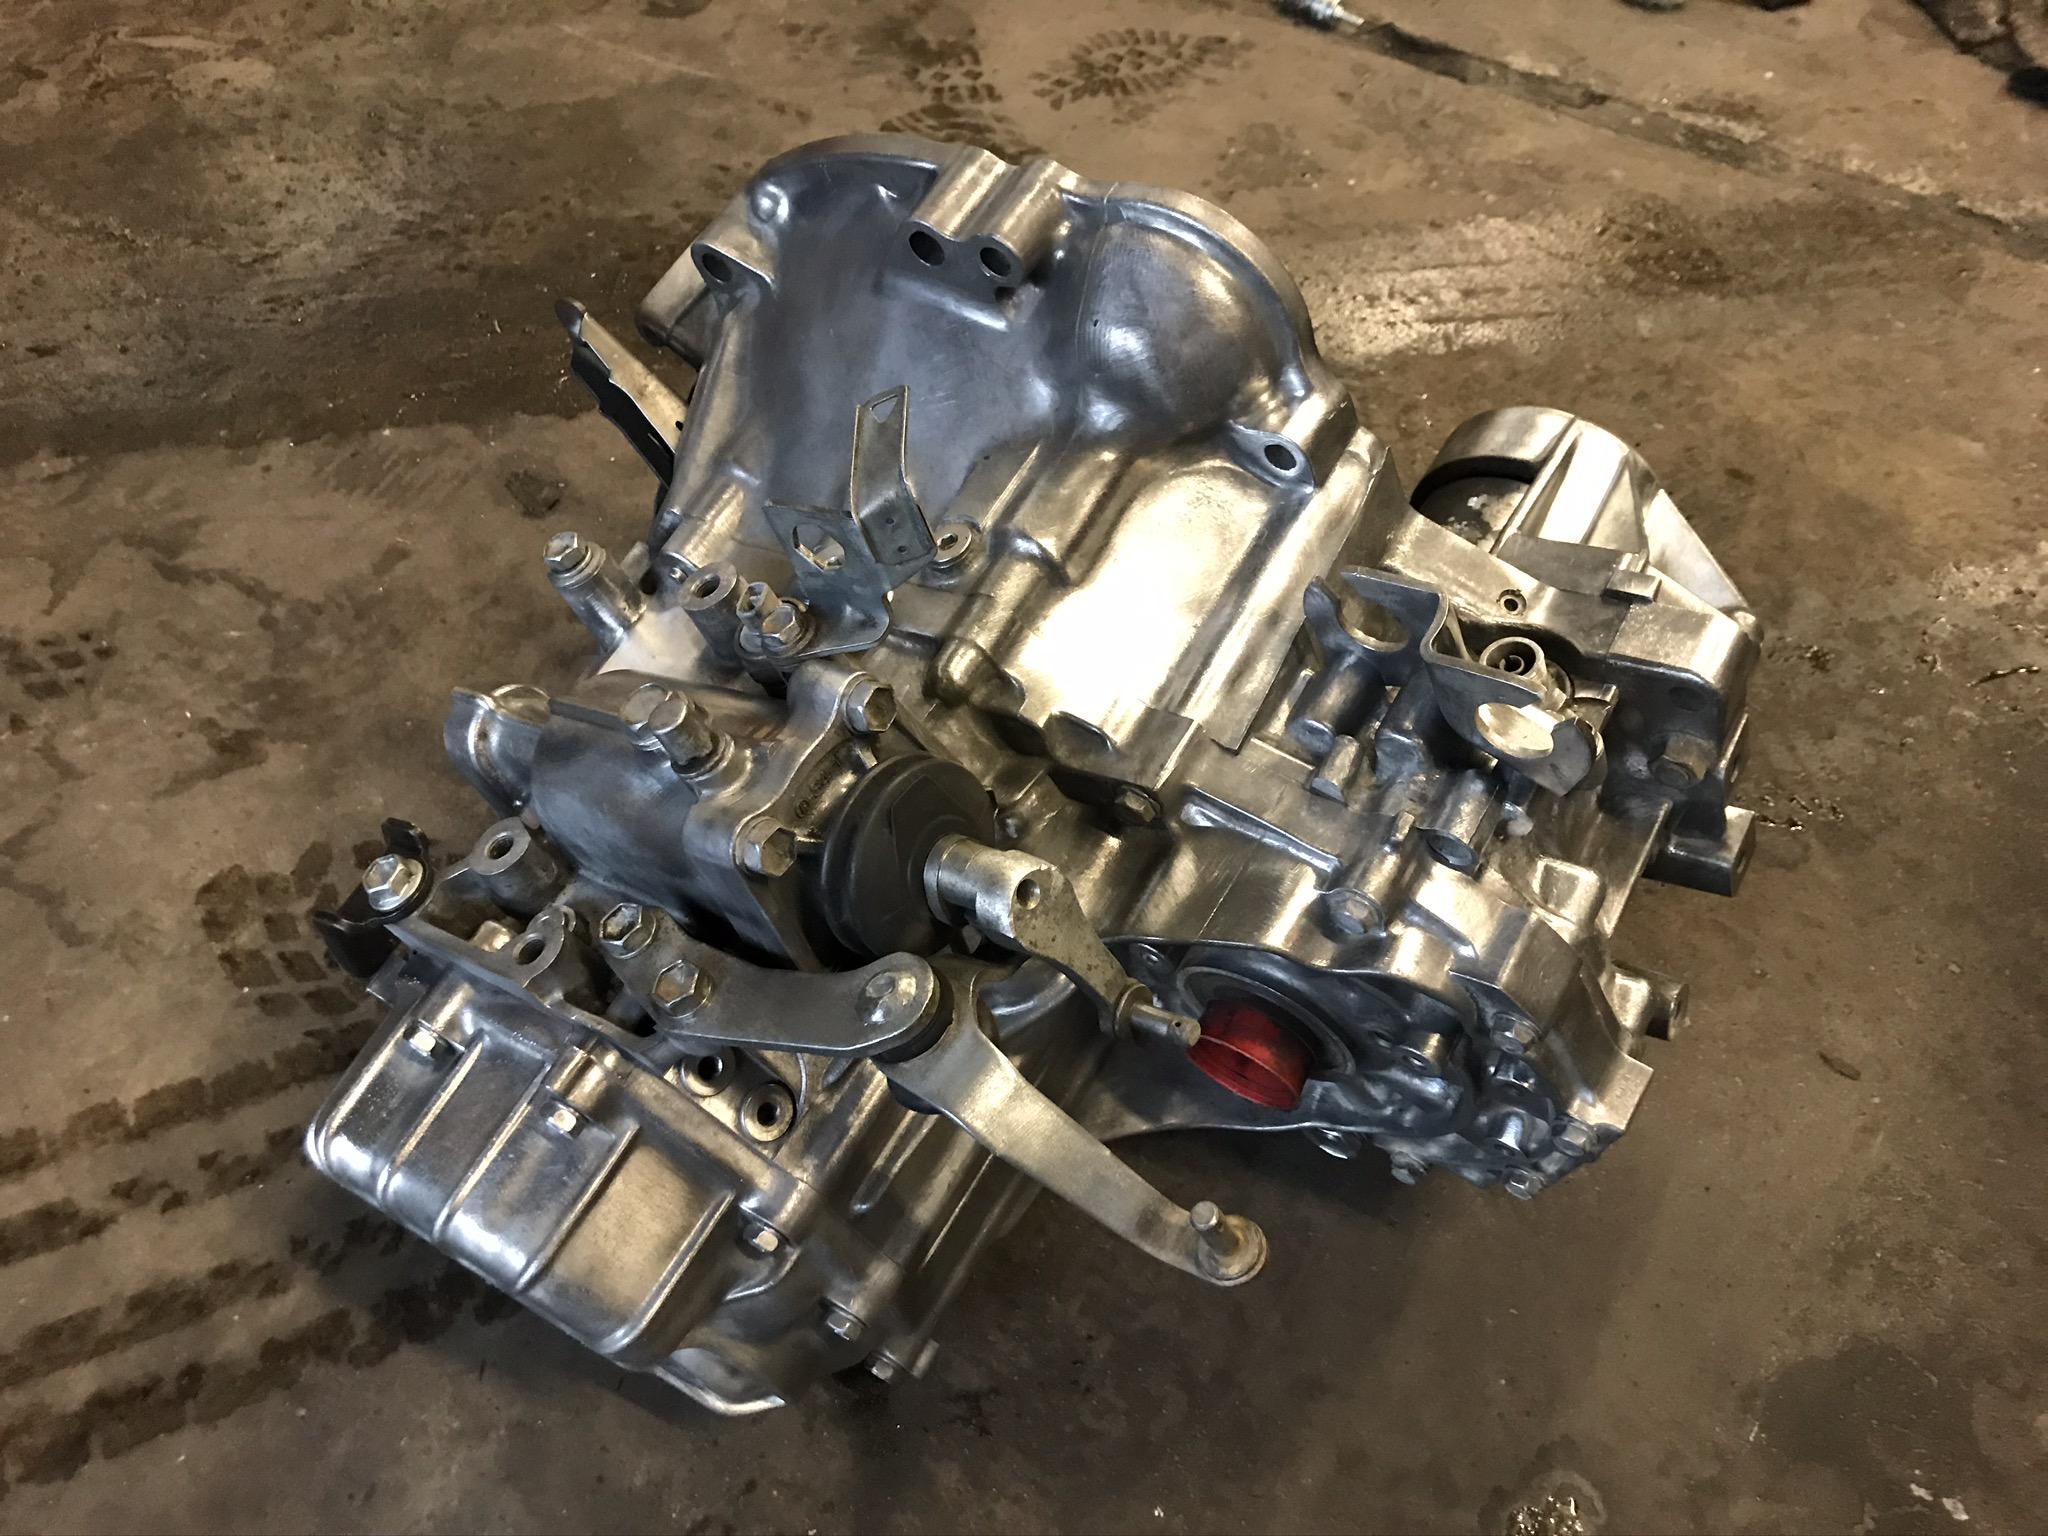
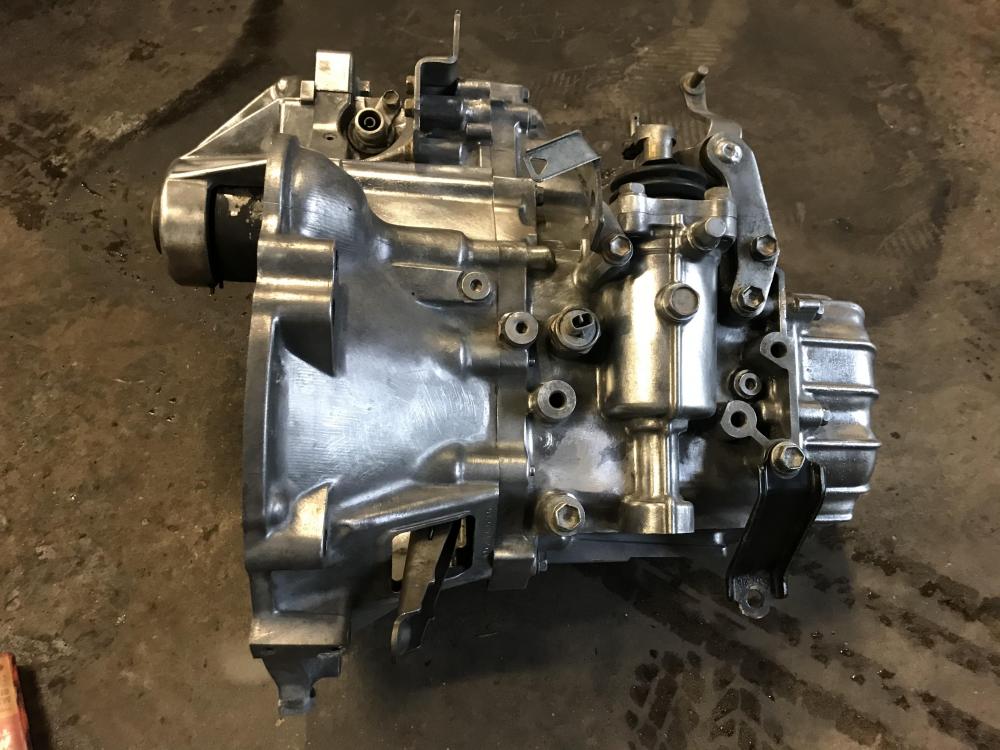
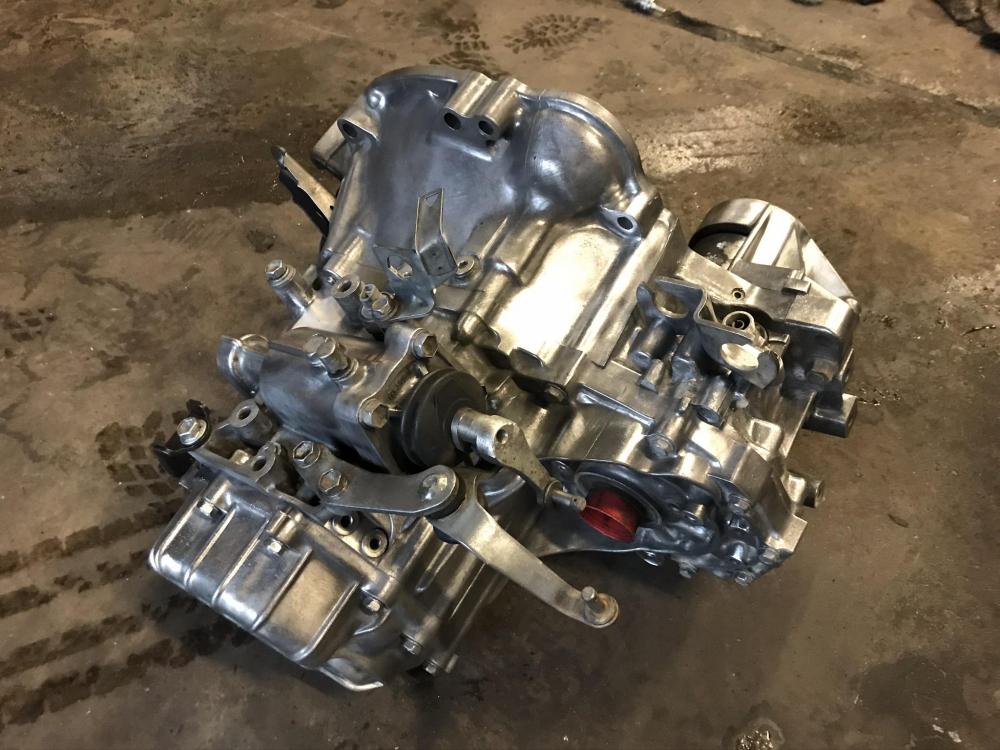
Thankfully the gearbox wasn’t giving me any problems so, spent quite some time cleaning it up. I was planning on spraying it but once I saw the clean aluminium, decided to just give a couple coats of high temp lacquer. Unfortunately I could only get hold of the nearside driveshaft seal being that it is a factory LSD. If anyone can point me in the direction of where to get hold of the offside then please do shout! And loudly! Pictures before the lacquer but
-
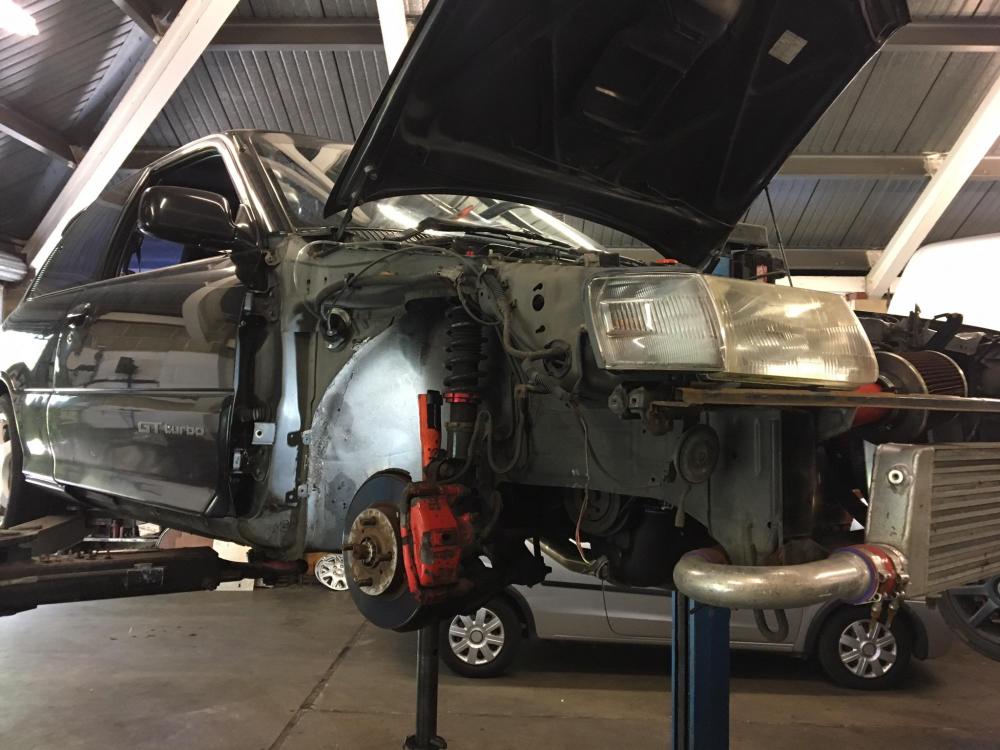
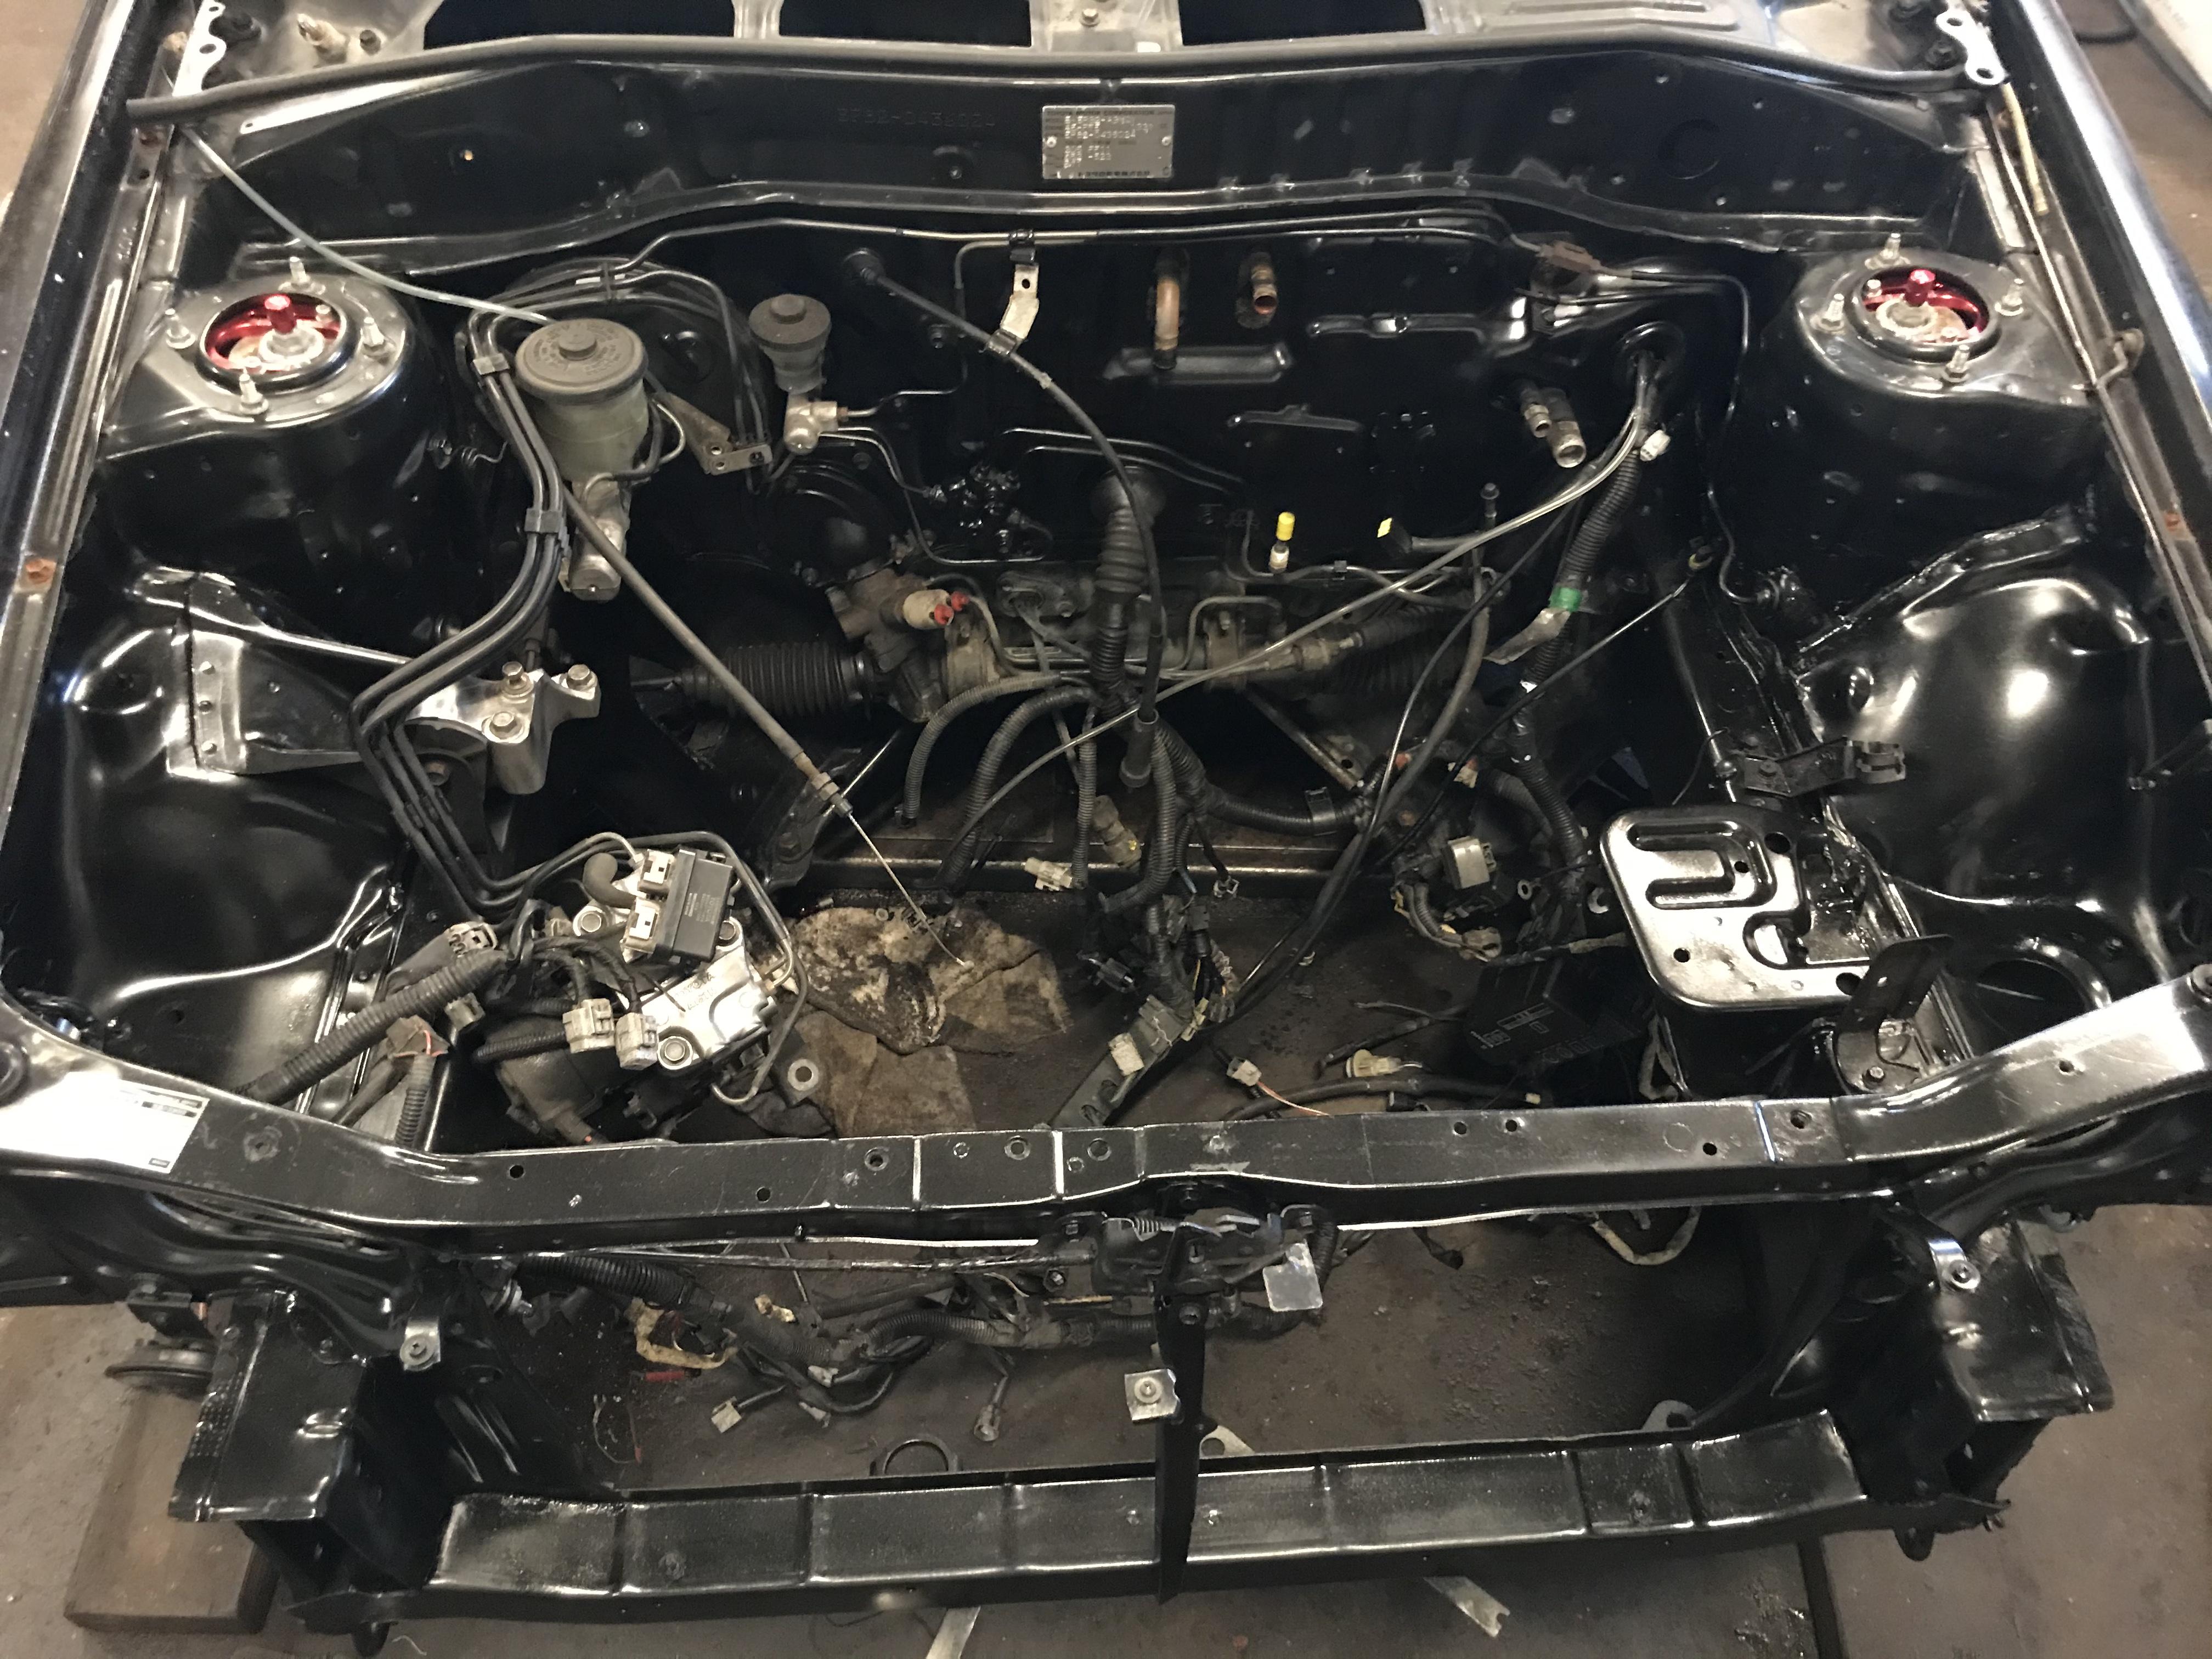
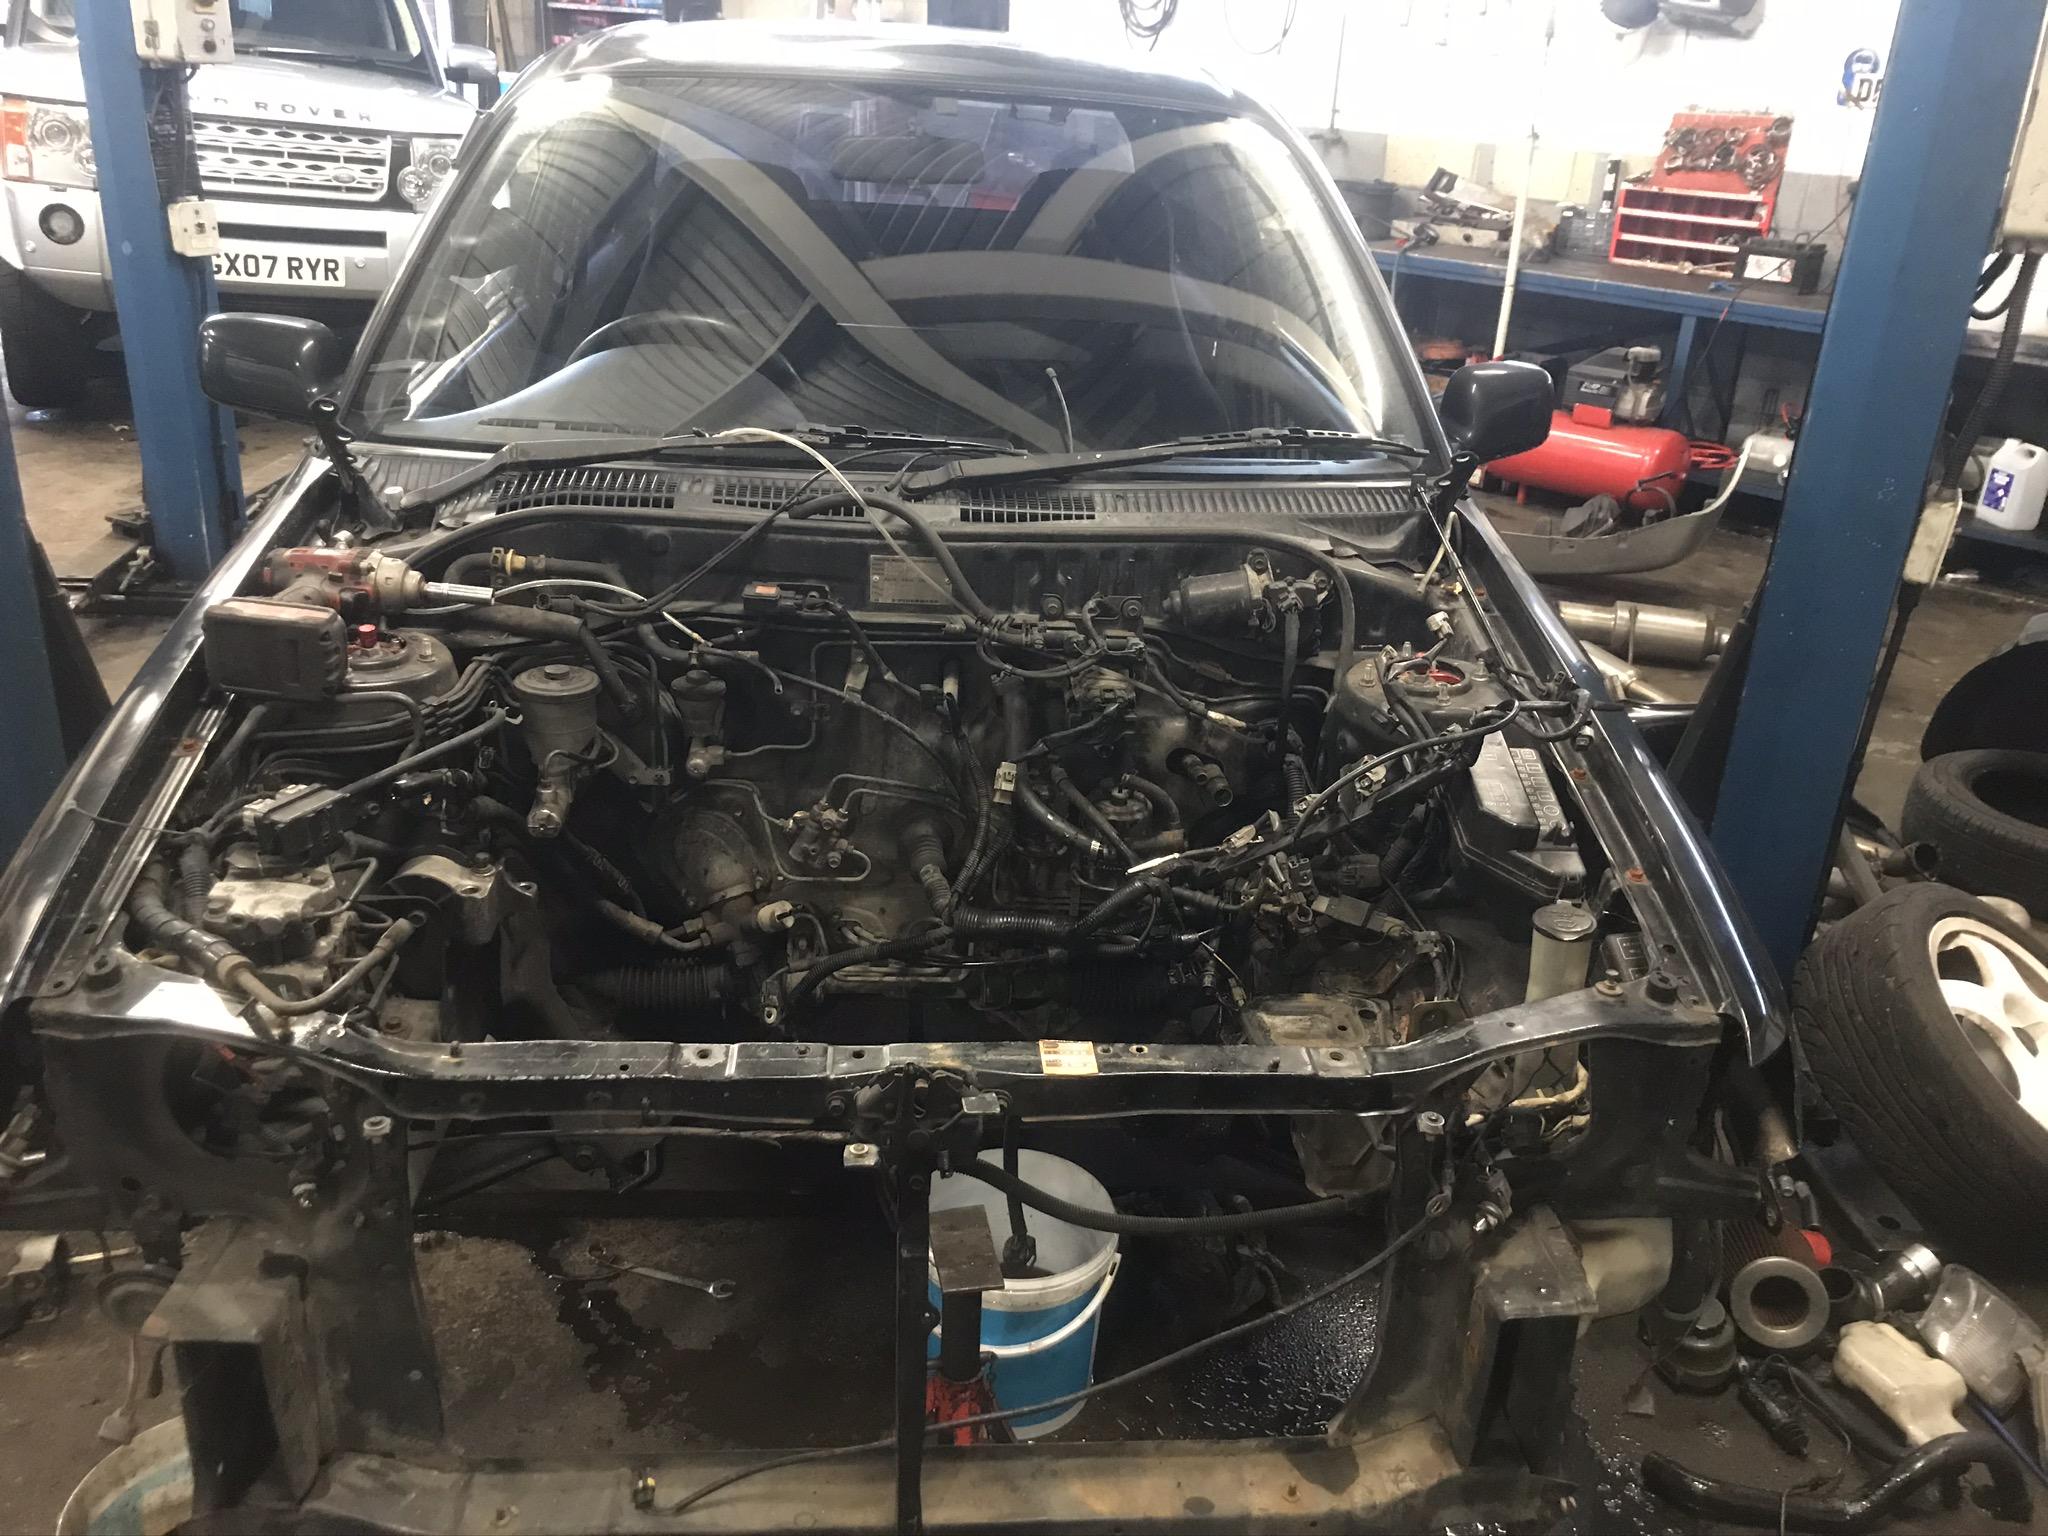
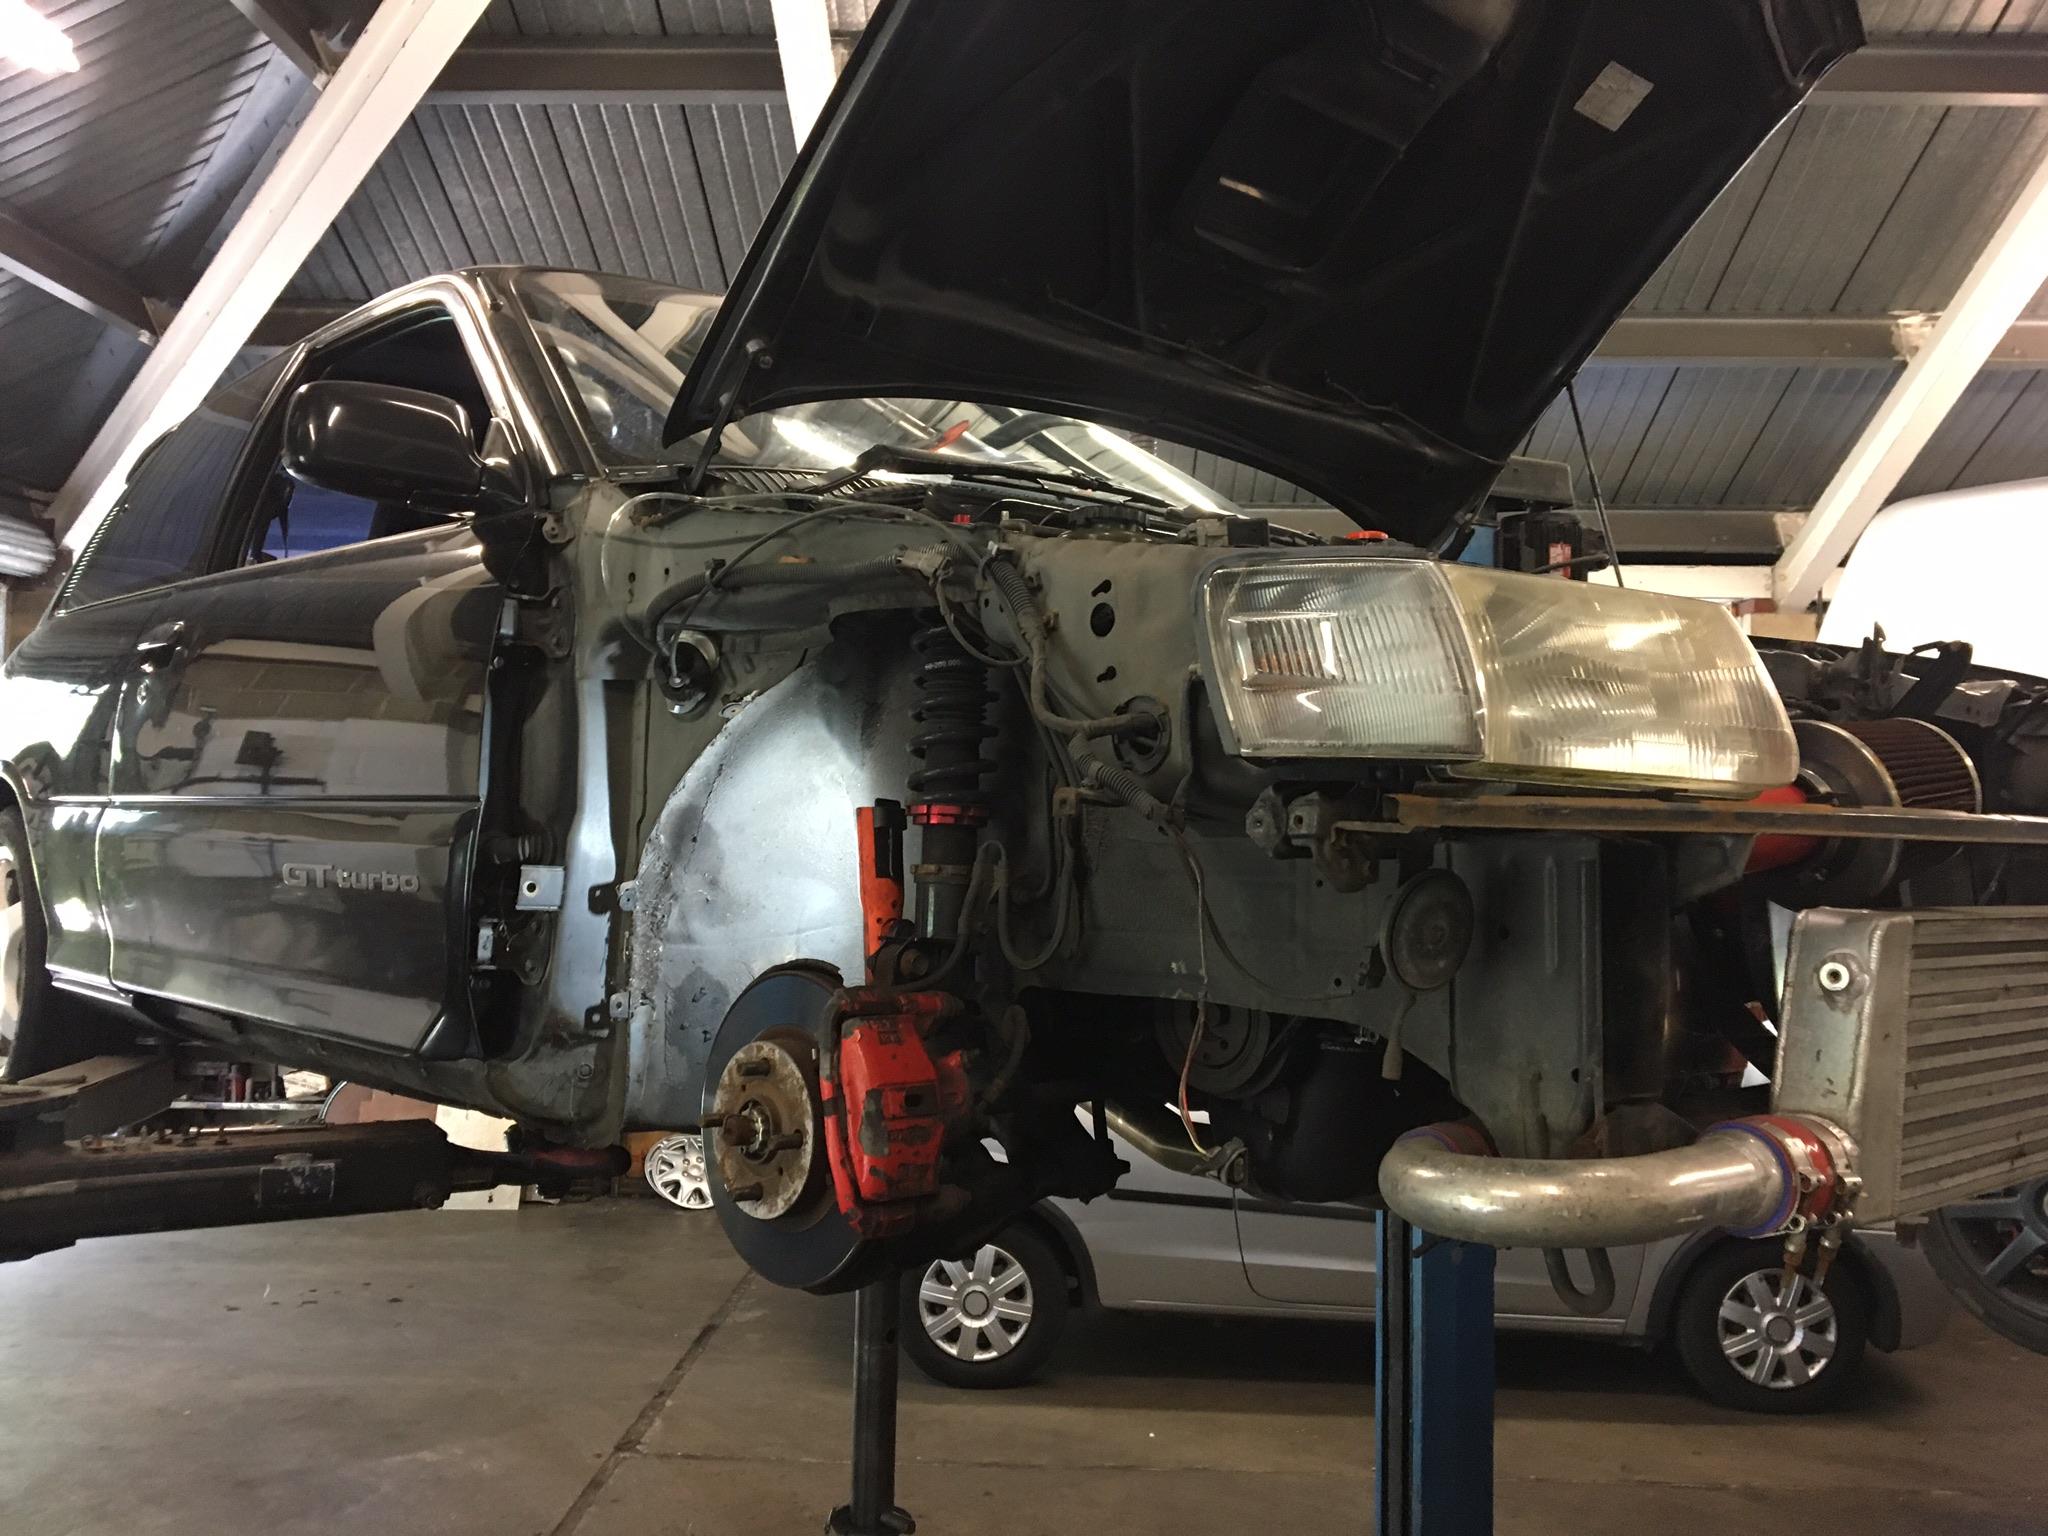
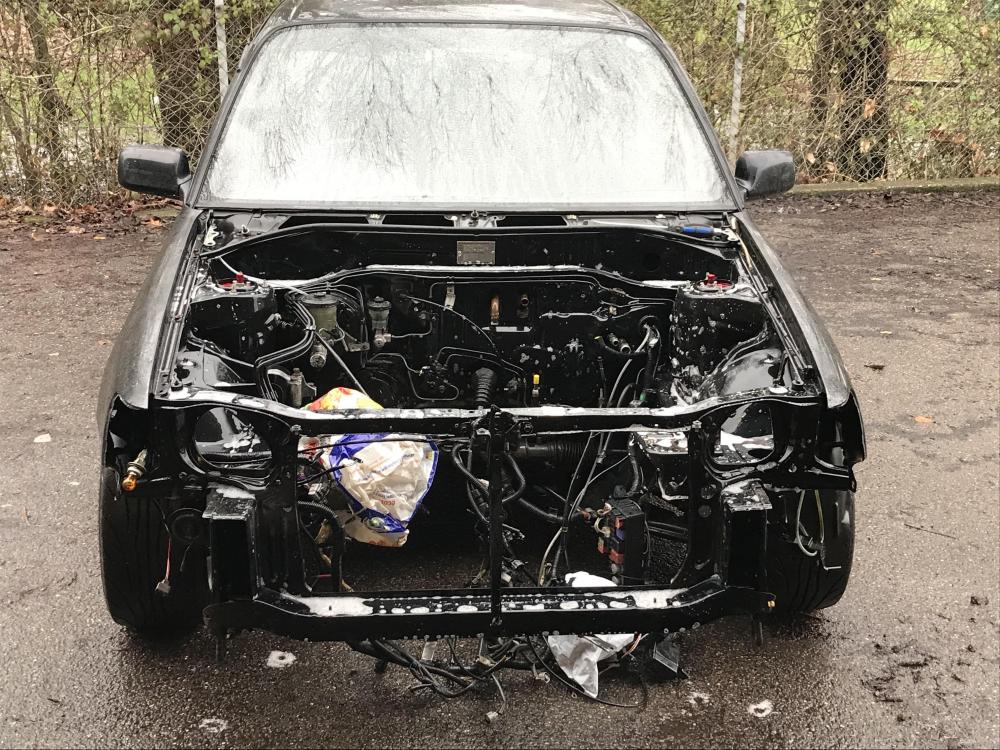
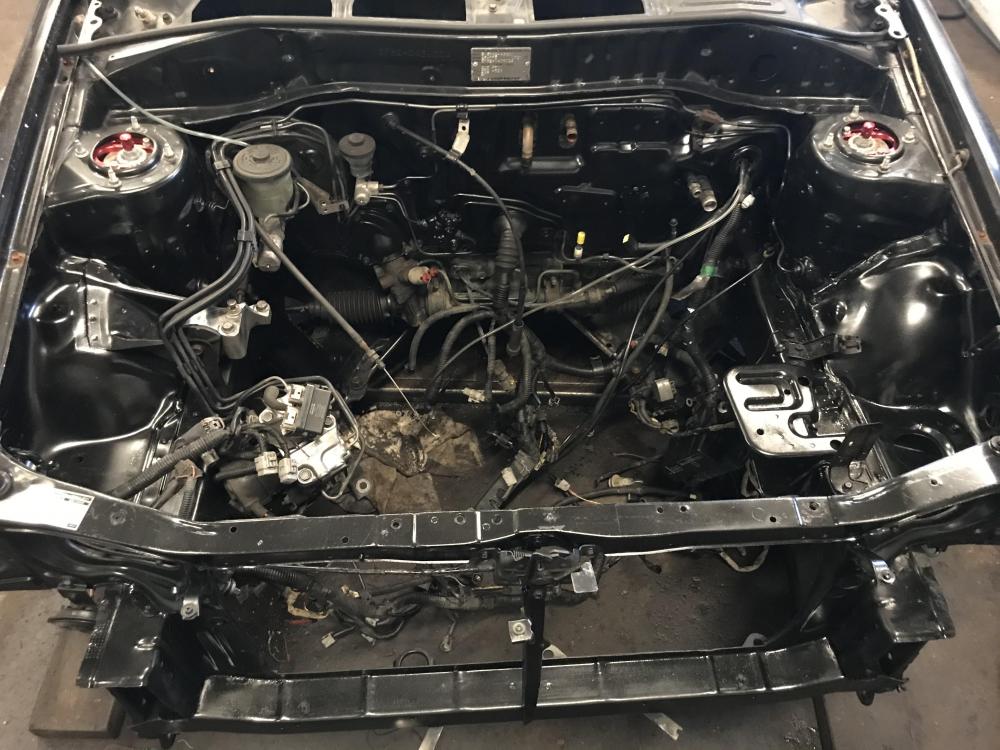
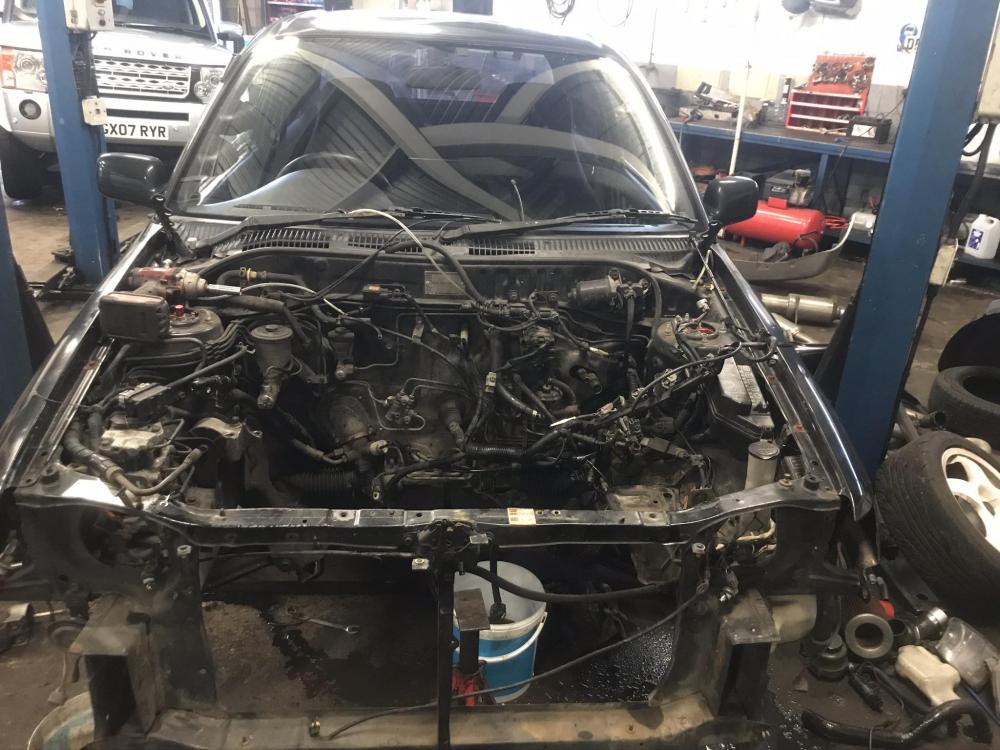
Whilst the engine was having some attention I tackled the bay. Jet wash came out along with degreaser and thorough scrubbing. Some sections got rubbed down, rust treated and a vague coat of 205 black. It’s not a perfect job but within my budget, time and skill, I’m happy with the result.
-
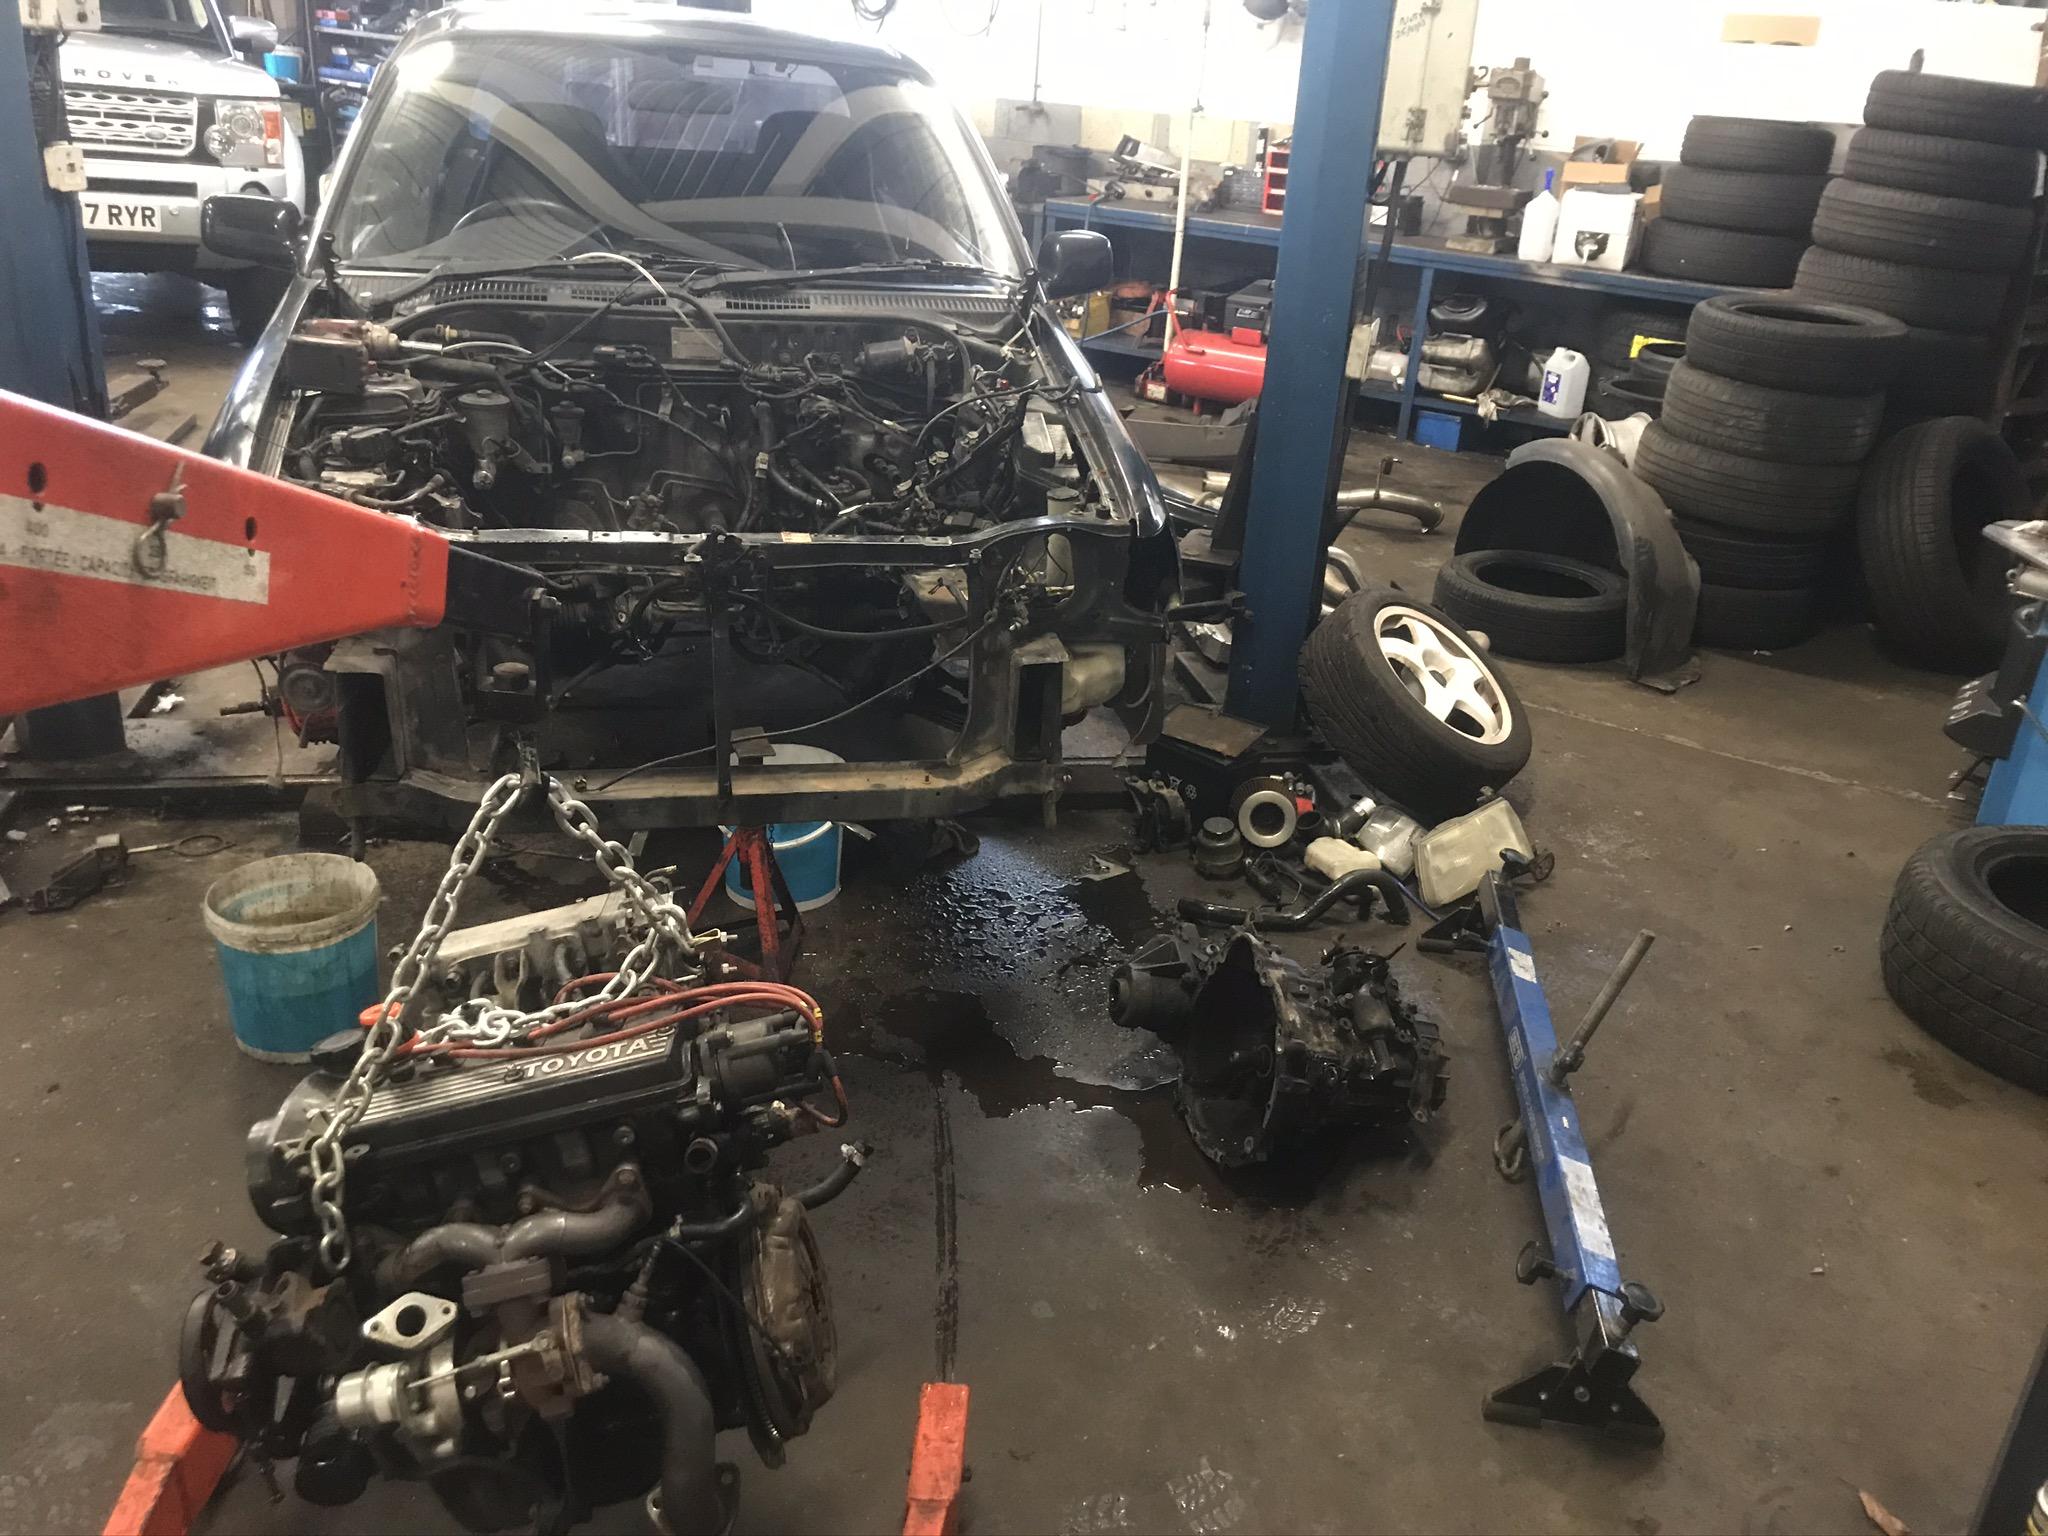
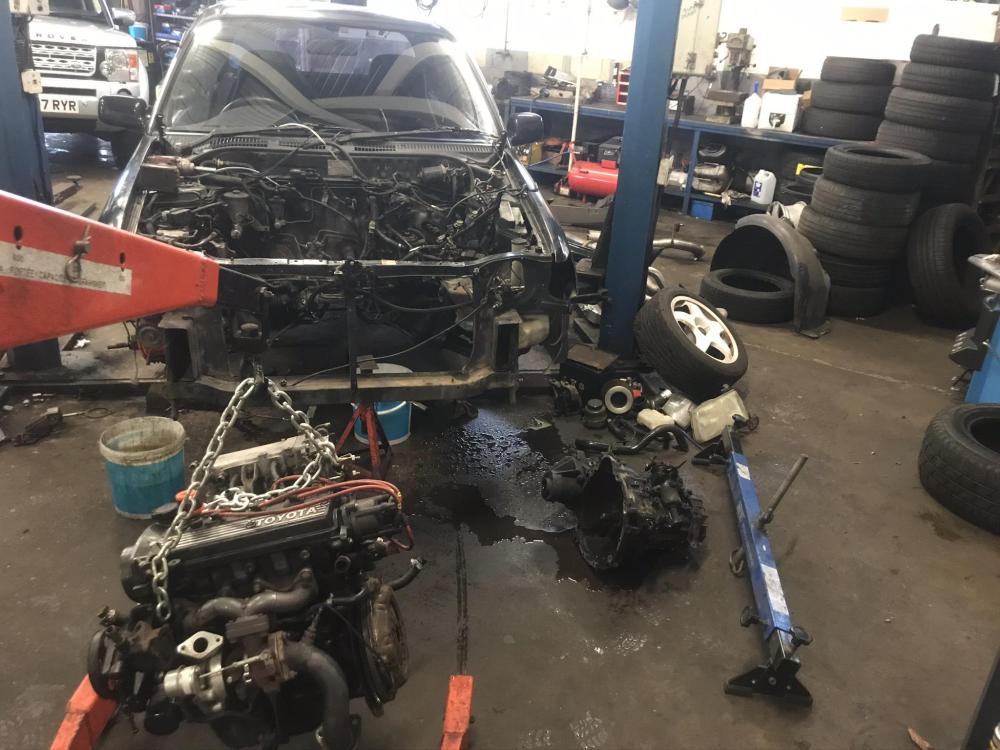
Unfortunately Calum these people do exist! And Abby, I intend to! So, engine bay became more of a bay of wiring. What I lifted out was a lump of oil, coolant and grime that needed to once again become a 4efte with stock lsd box. Head and block were separated with the intention of a full rebuild carried out by myself. However, my head took over my heart and I decided to give the block to someone who has the tools and knowledge to do a proper job.


-
I bought that kit from you in 2018! It’s been my living room show piece up until now but can’t wait to get bolted on!

-

Spotted a silver glanza Ferndown
BurtEP82 replied to StarletB3n's topic in I Spy, Have You Been Spotted?
Could be the Glanza I spotted a while ago. If it is the same one then its up for sale, check out gumtree -
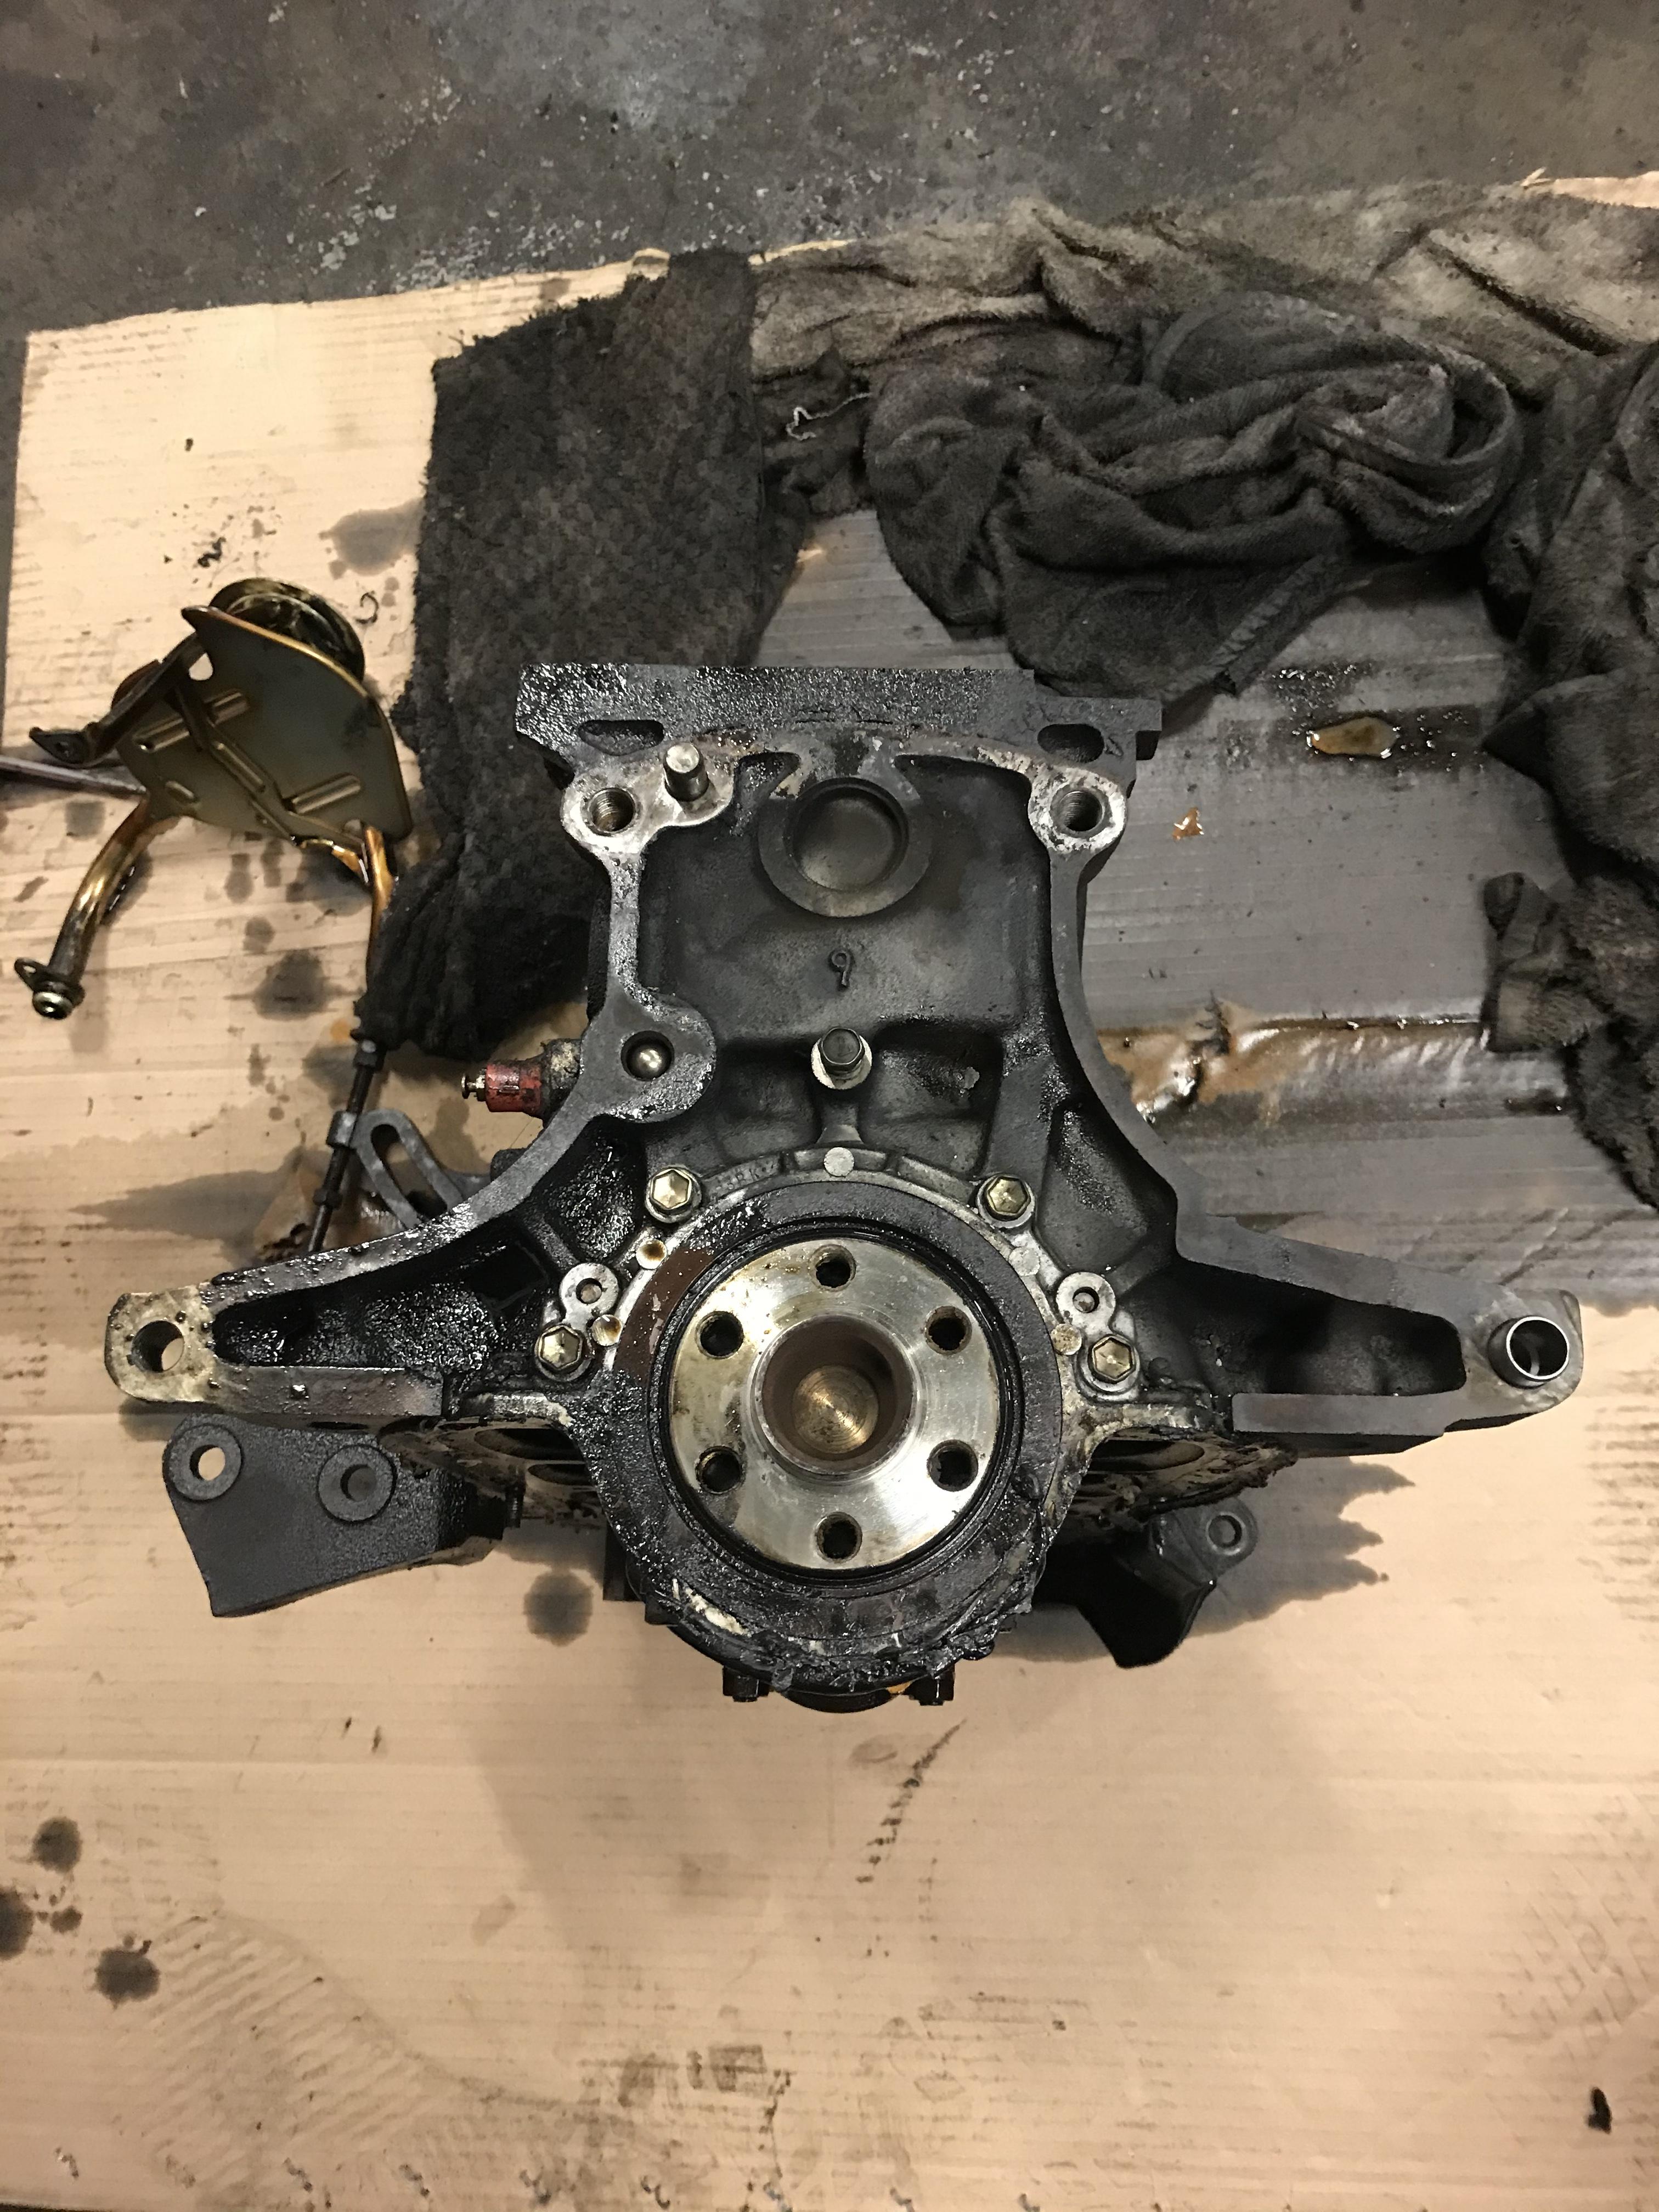
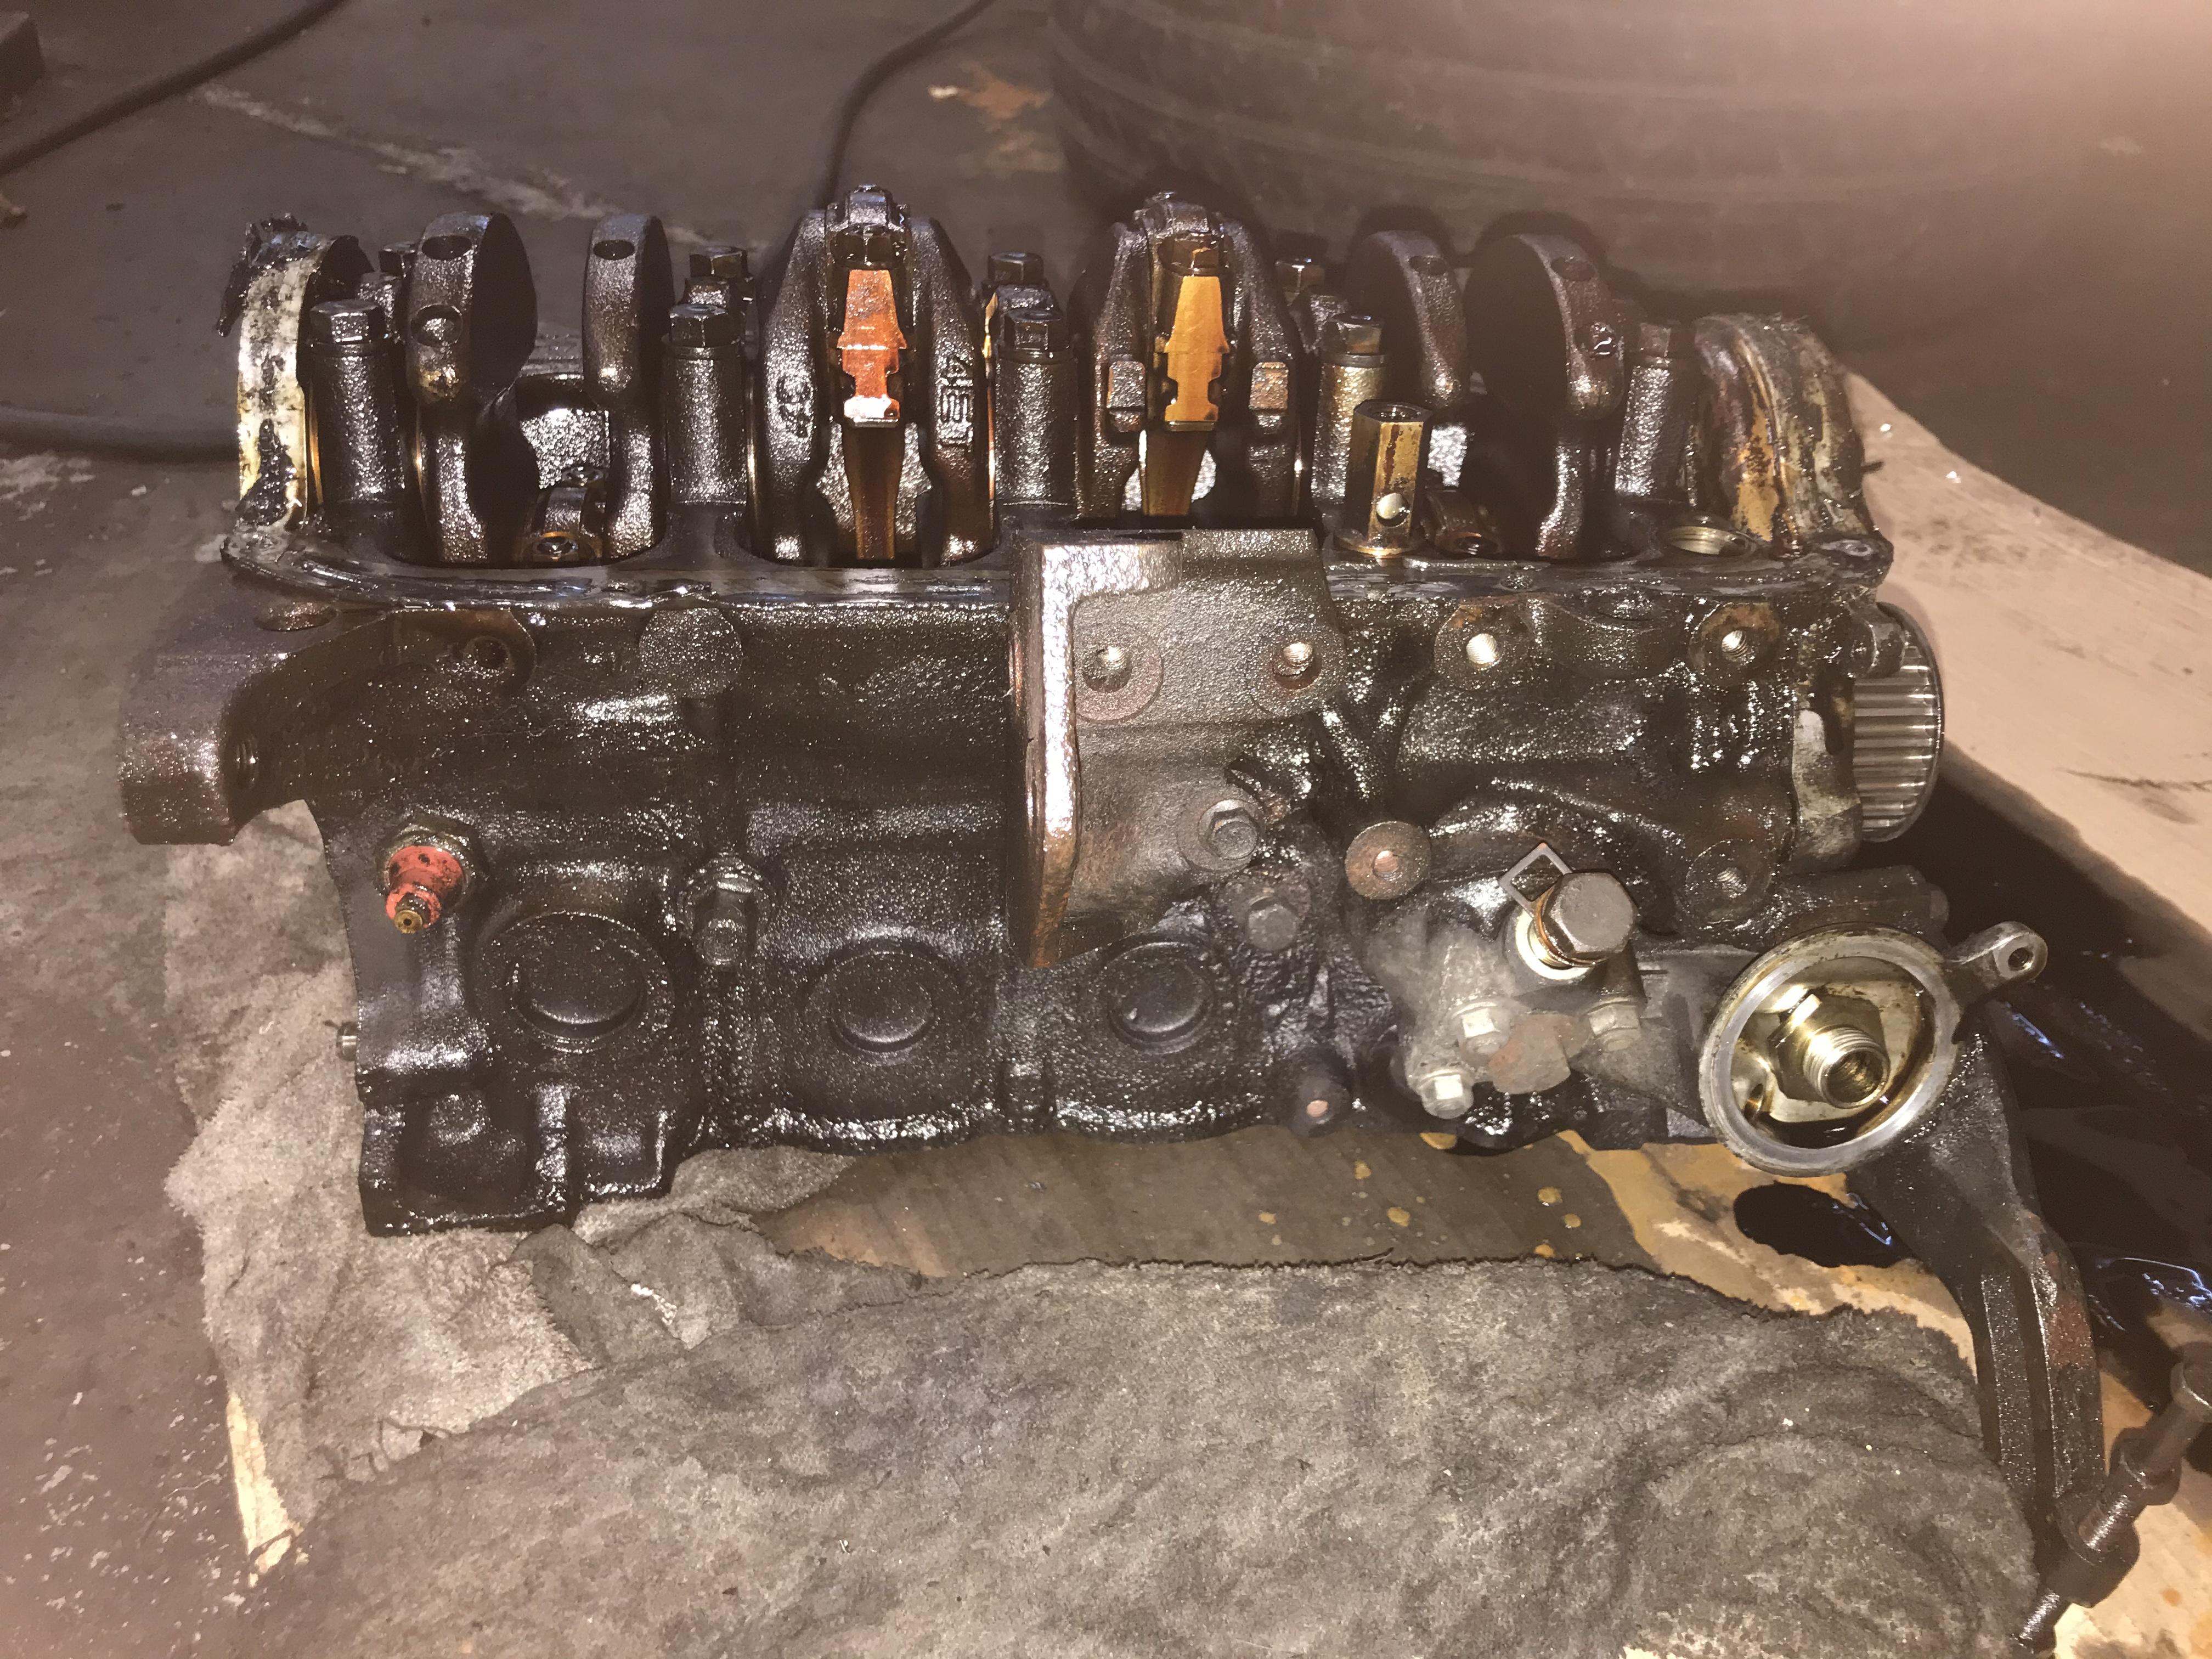
Slight follow up. Block is back from a rebuild but the liners are looking rusty and cruddy. Anyone got tips on how to clean this out? I’m going to try some citric acid, wishing I had a go combined with some sort of electrolysis before I had it built up. Any input appreciated
-
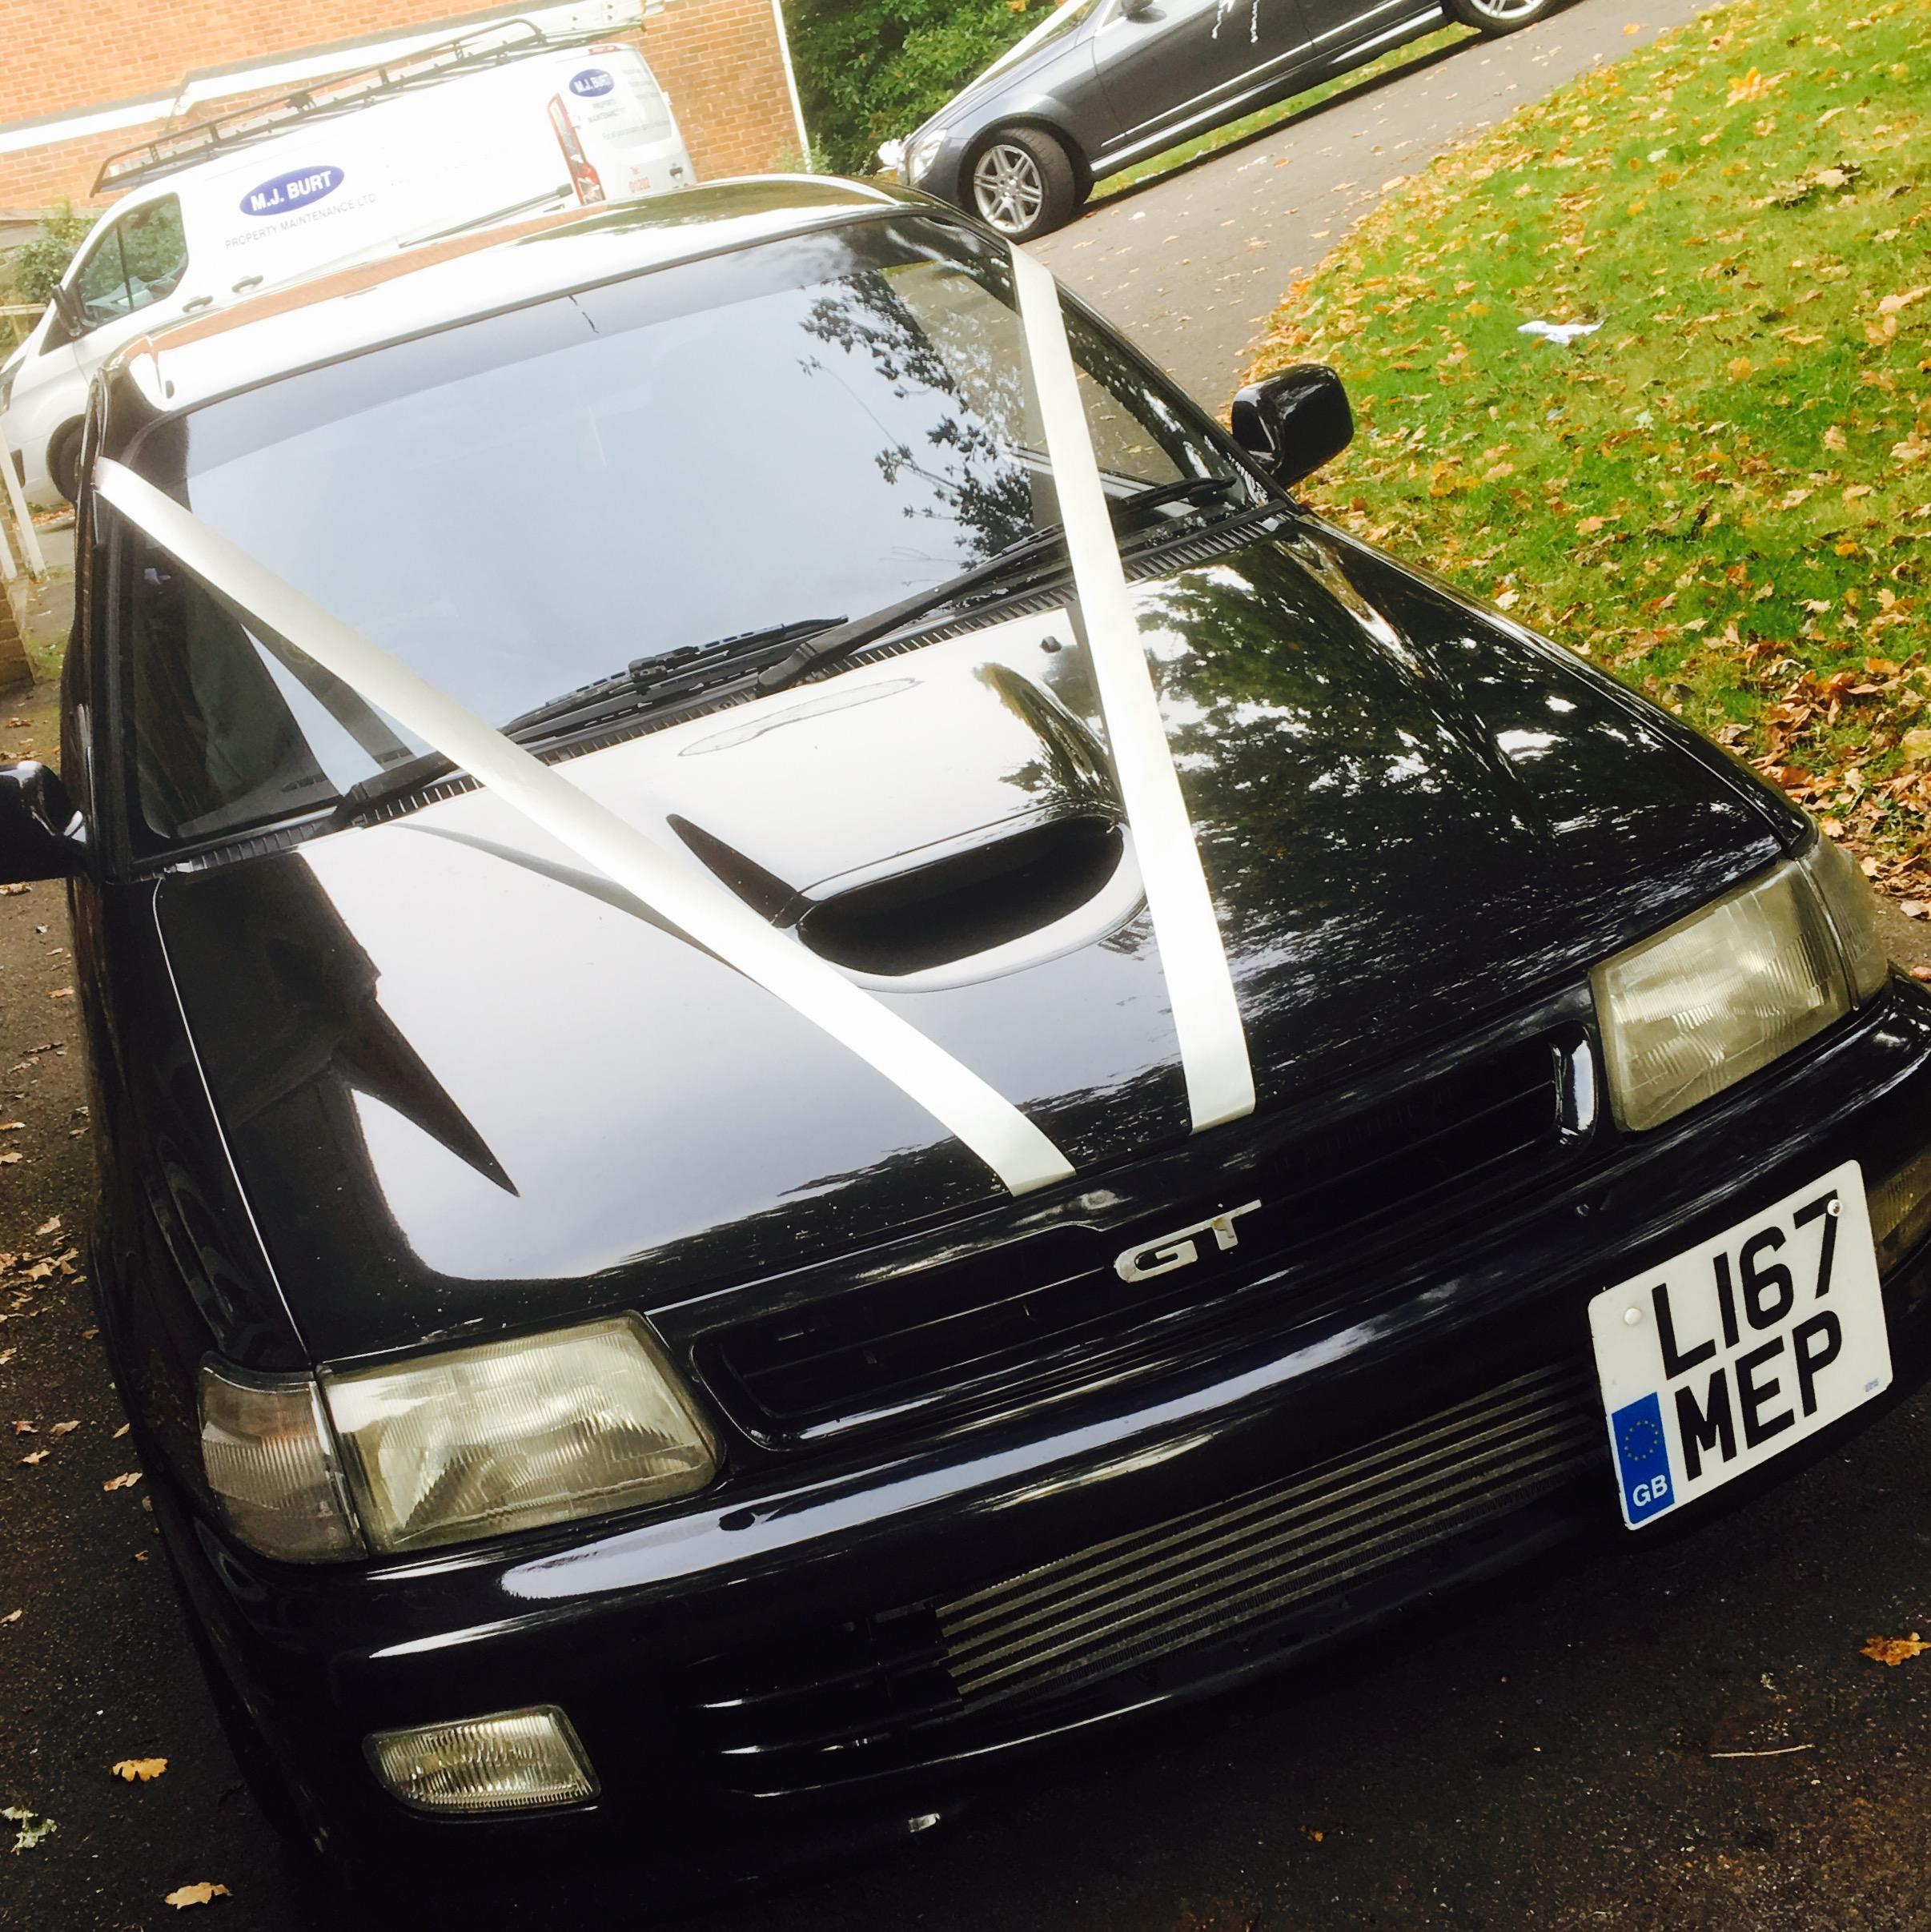
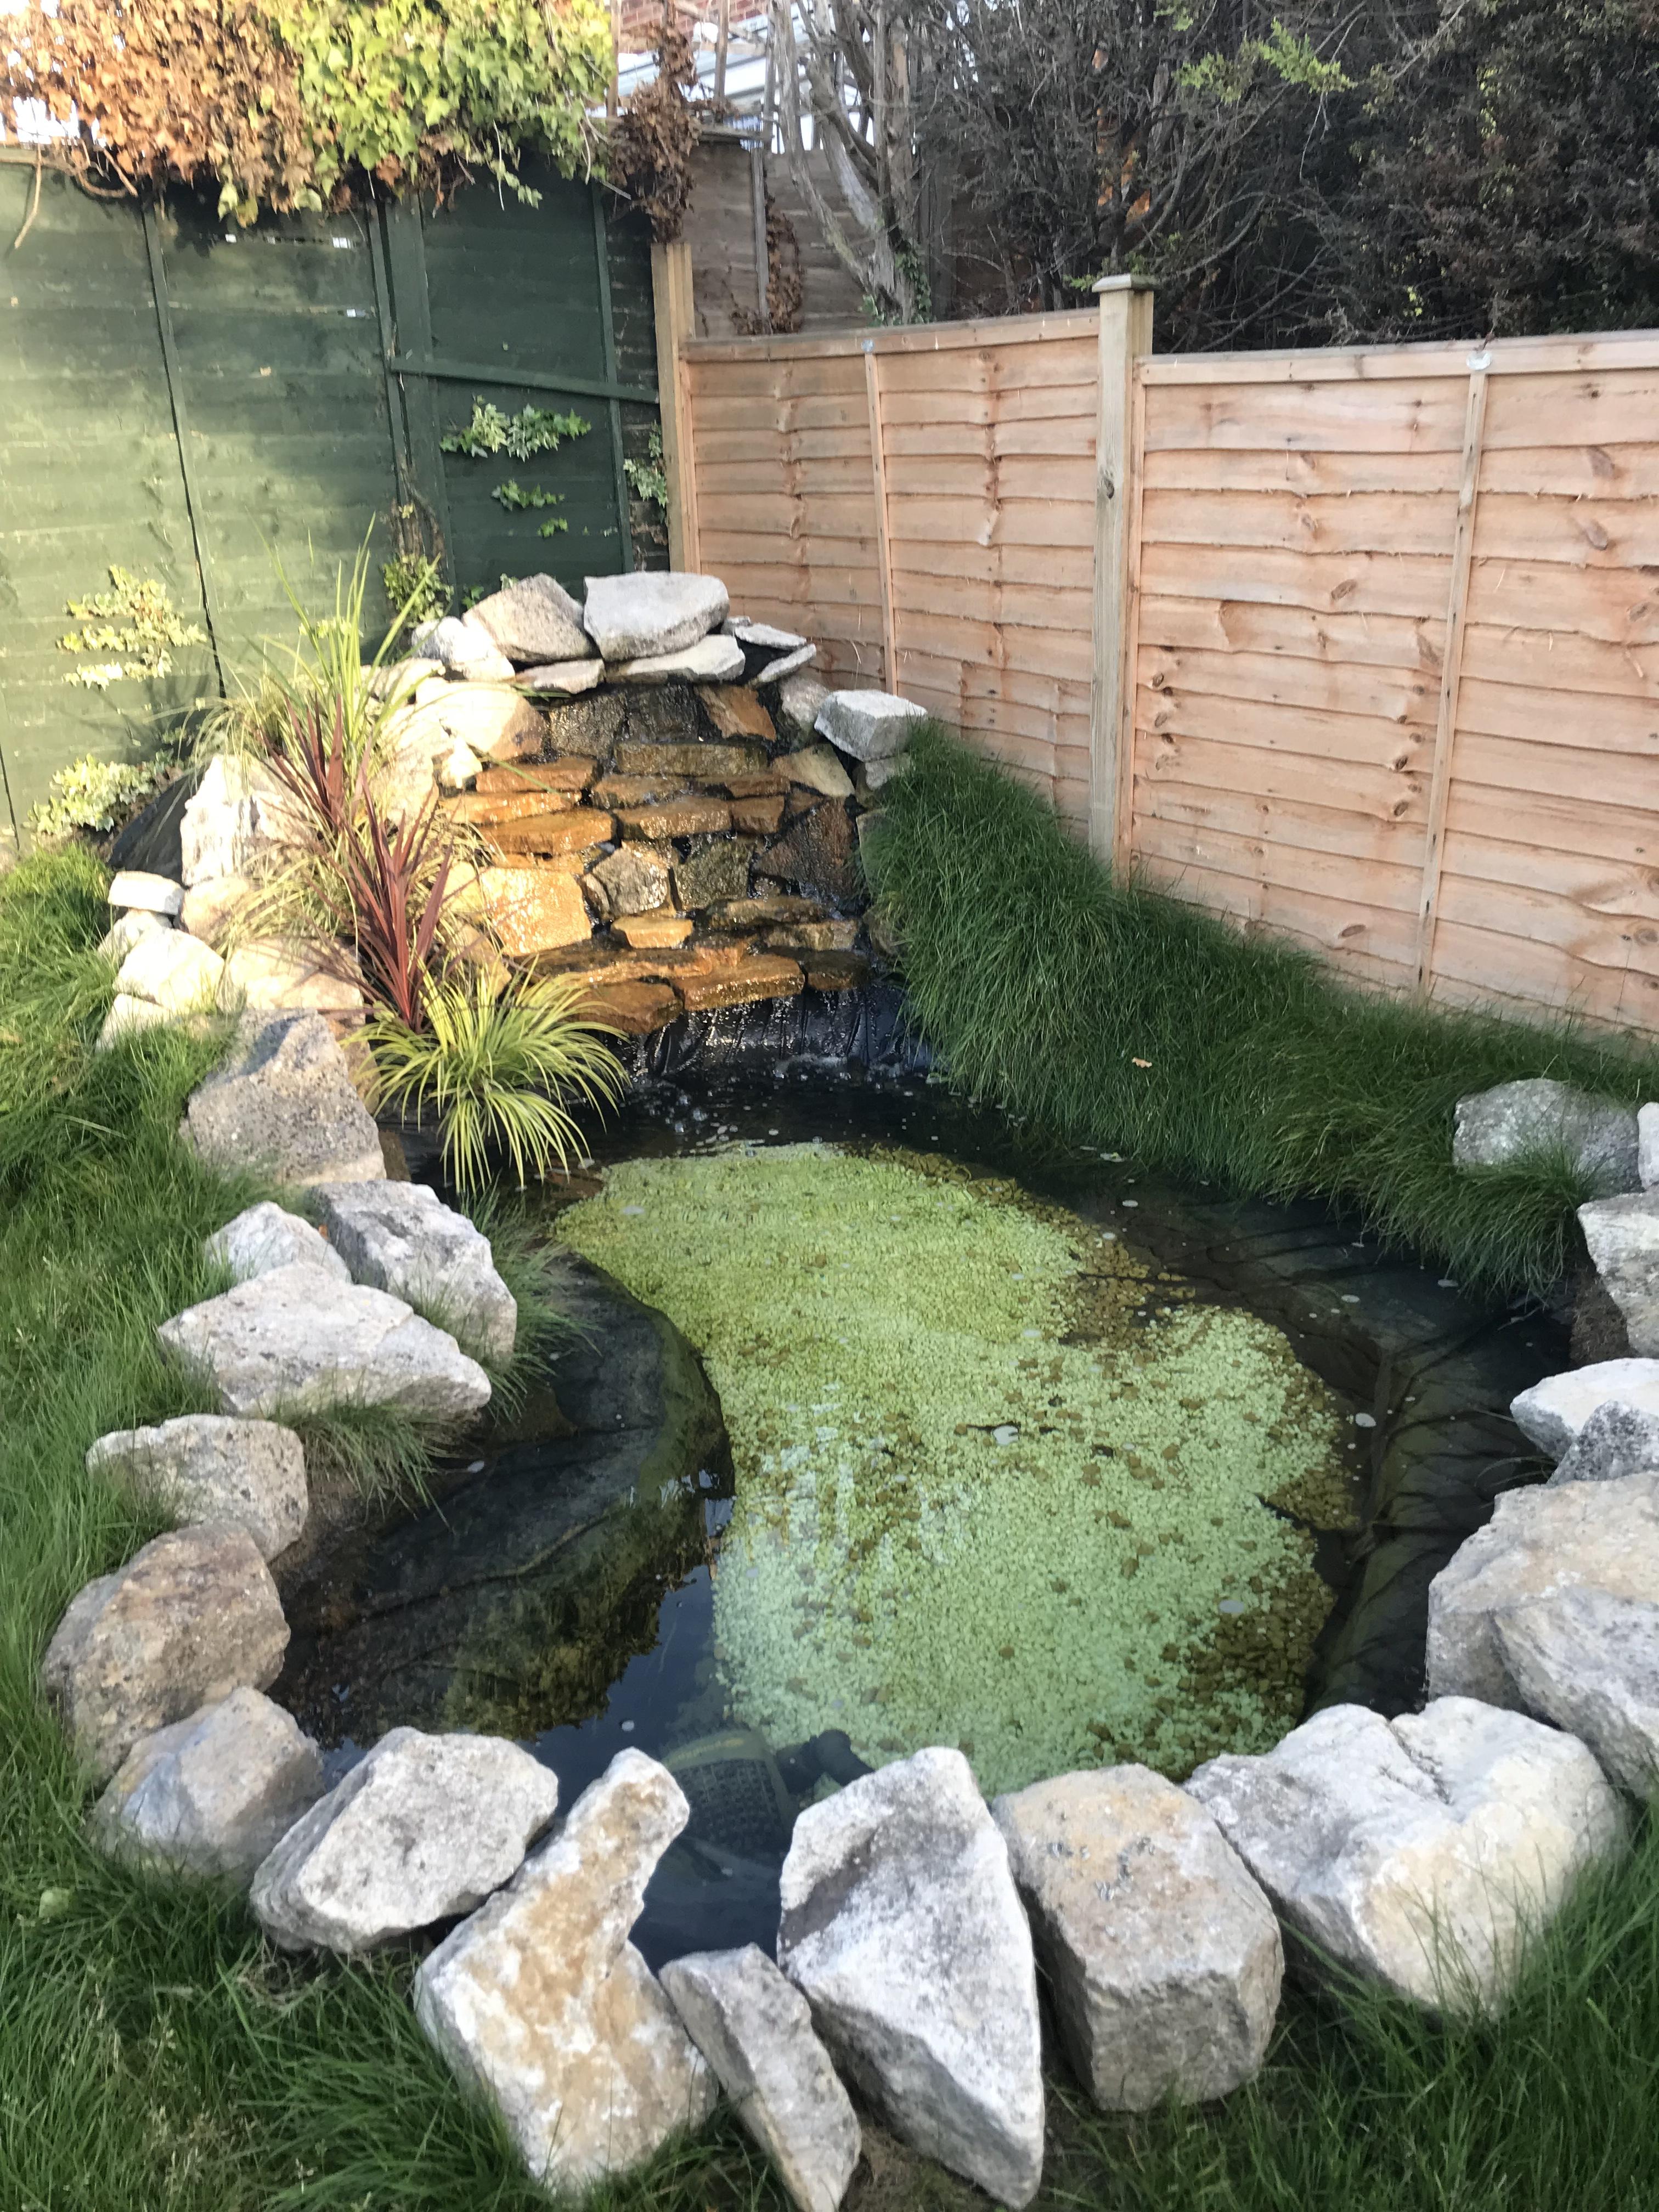
After that not a lot happened. I got married, bought a house, built a pond and had a child. Still wish I got a picture with my daughter by the car. So, that was a brief summary of what has been done up until recently. Whilst doing the traditional family man things I was stock piling some parts. Partly because low compression was found on a cylinder and partly because I wanted to. Then December 2019 my boss gave me what we shall call a courtesy car whilst I used the garage to finally get on with what I’ve wanted to do for some time. So, More to come


-
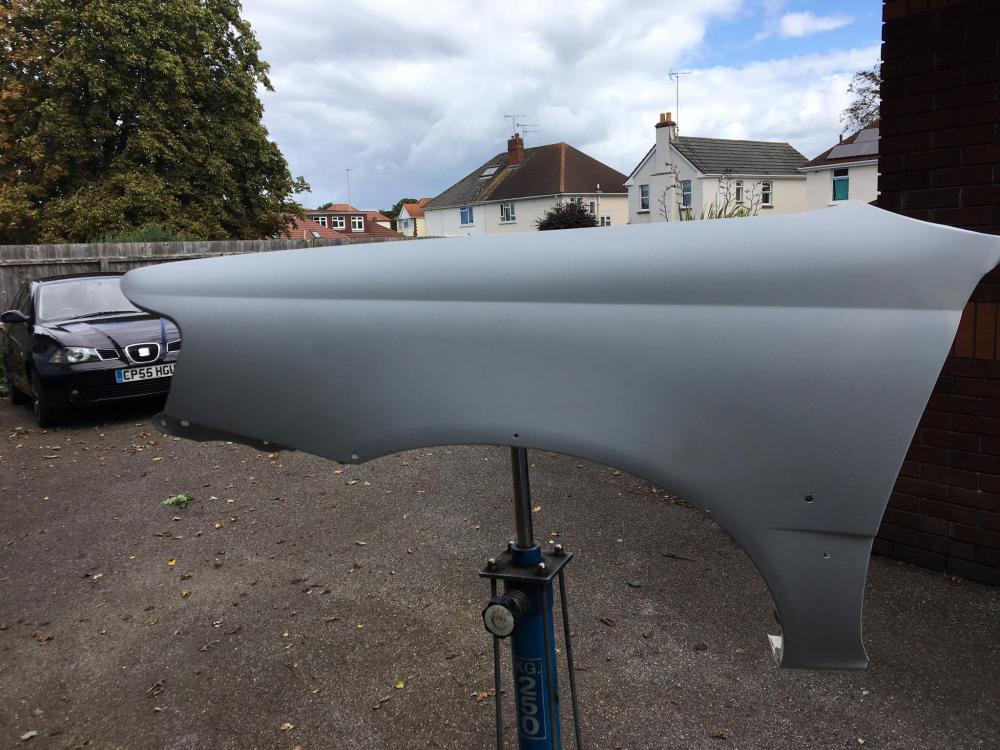
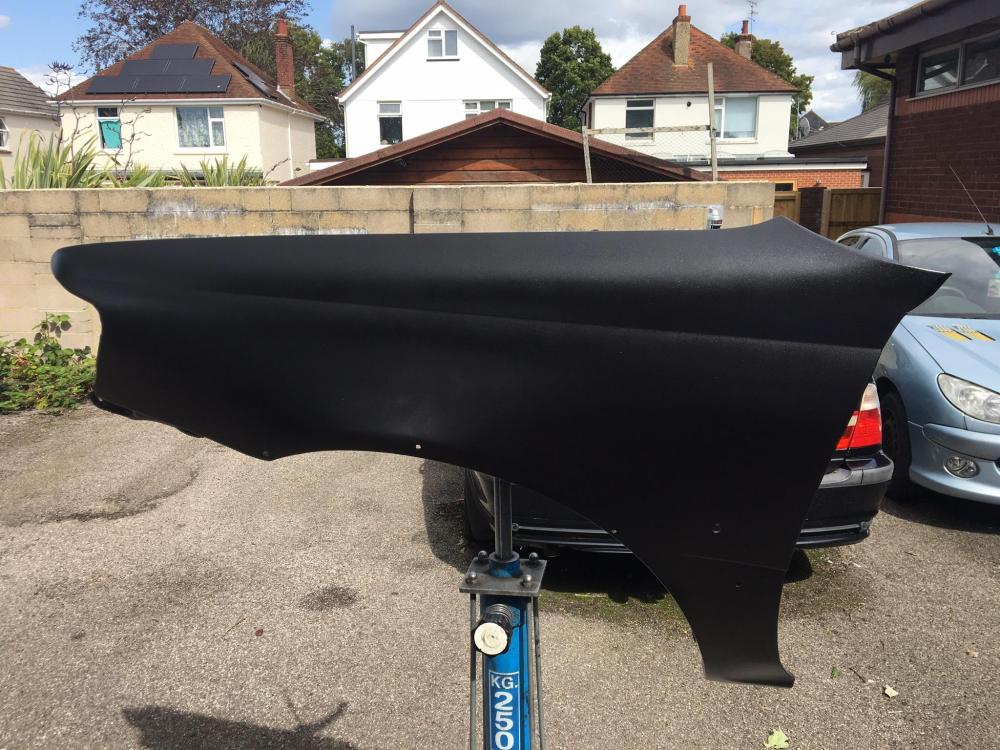
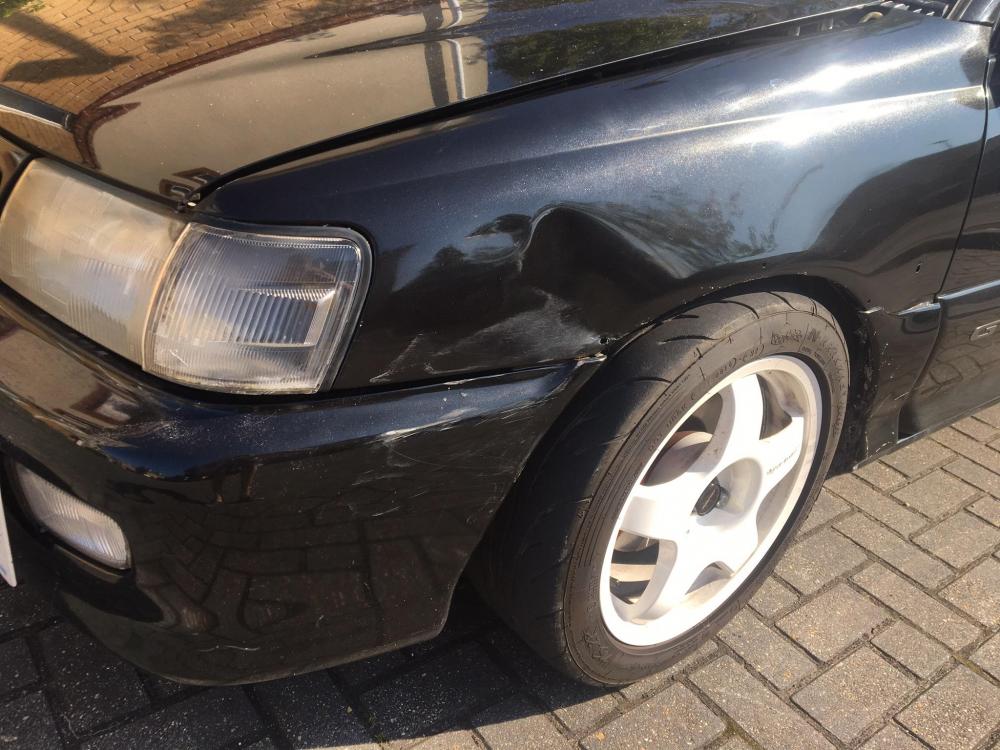
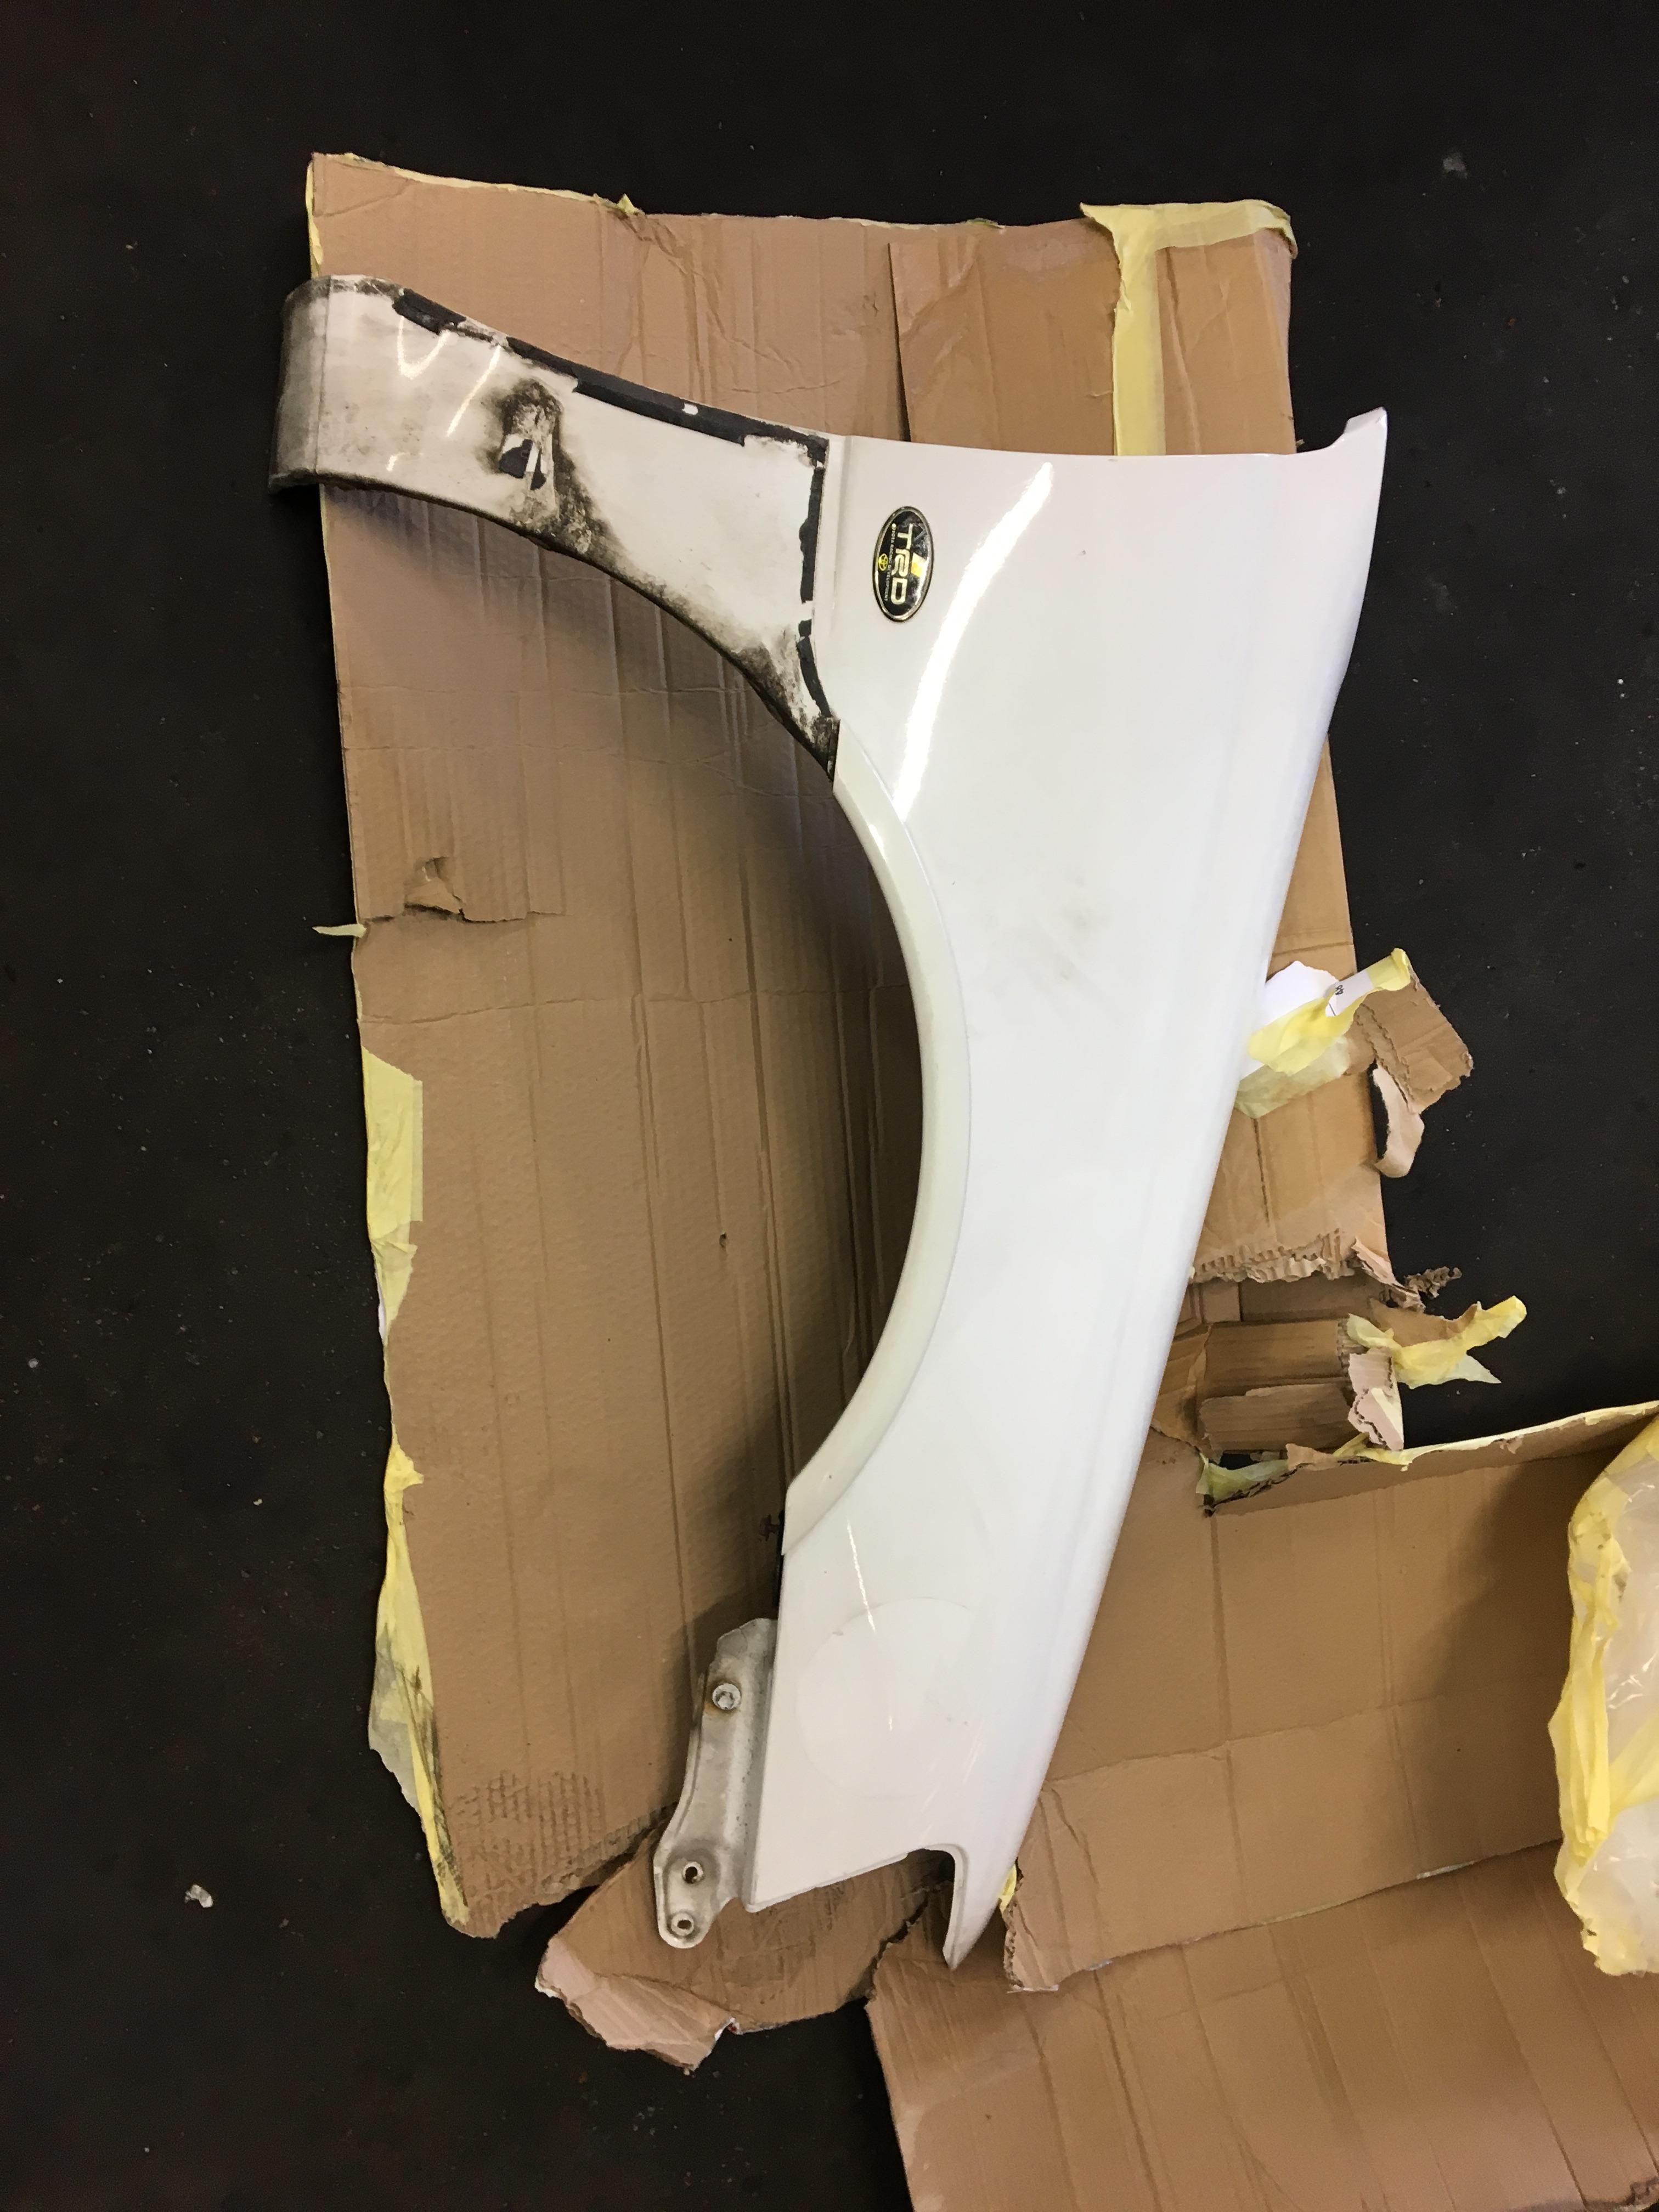
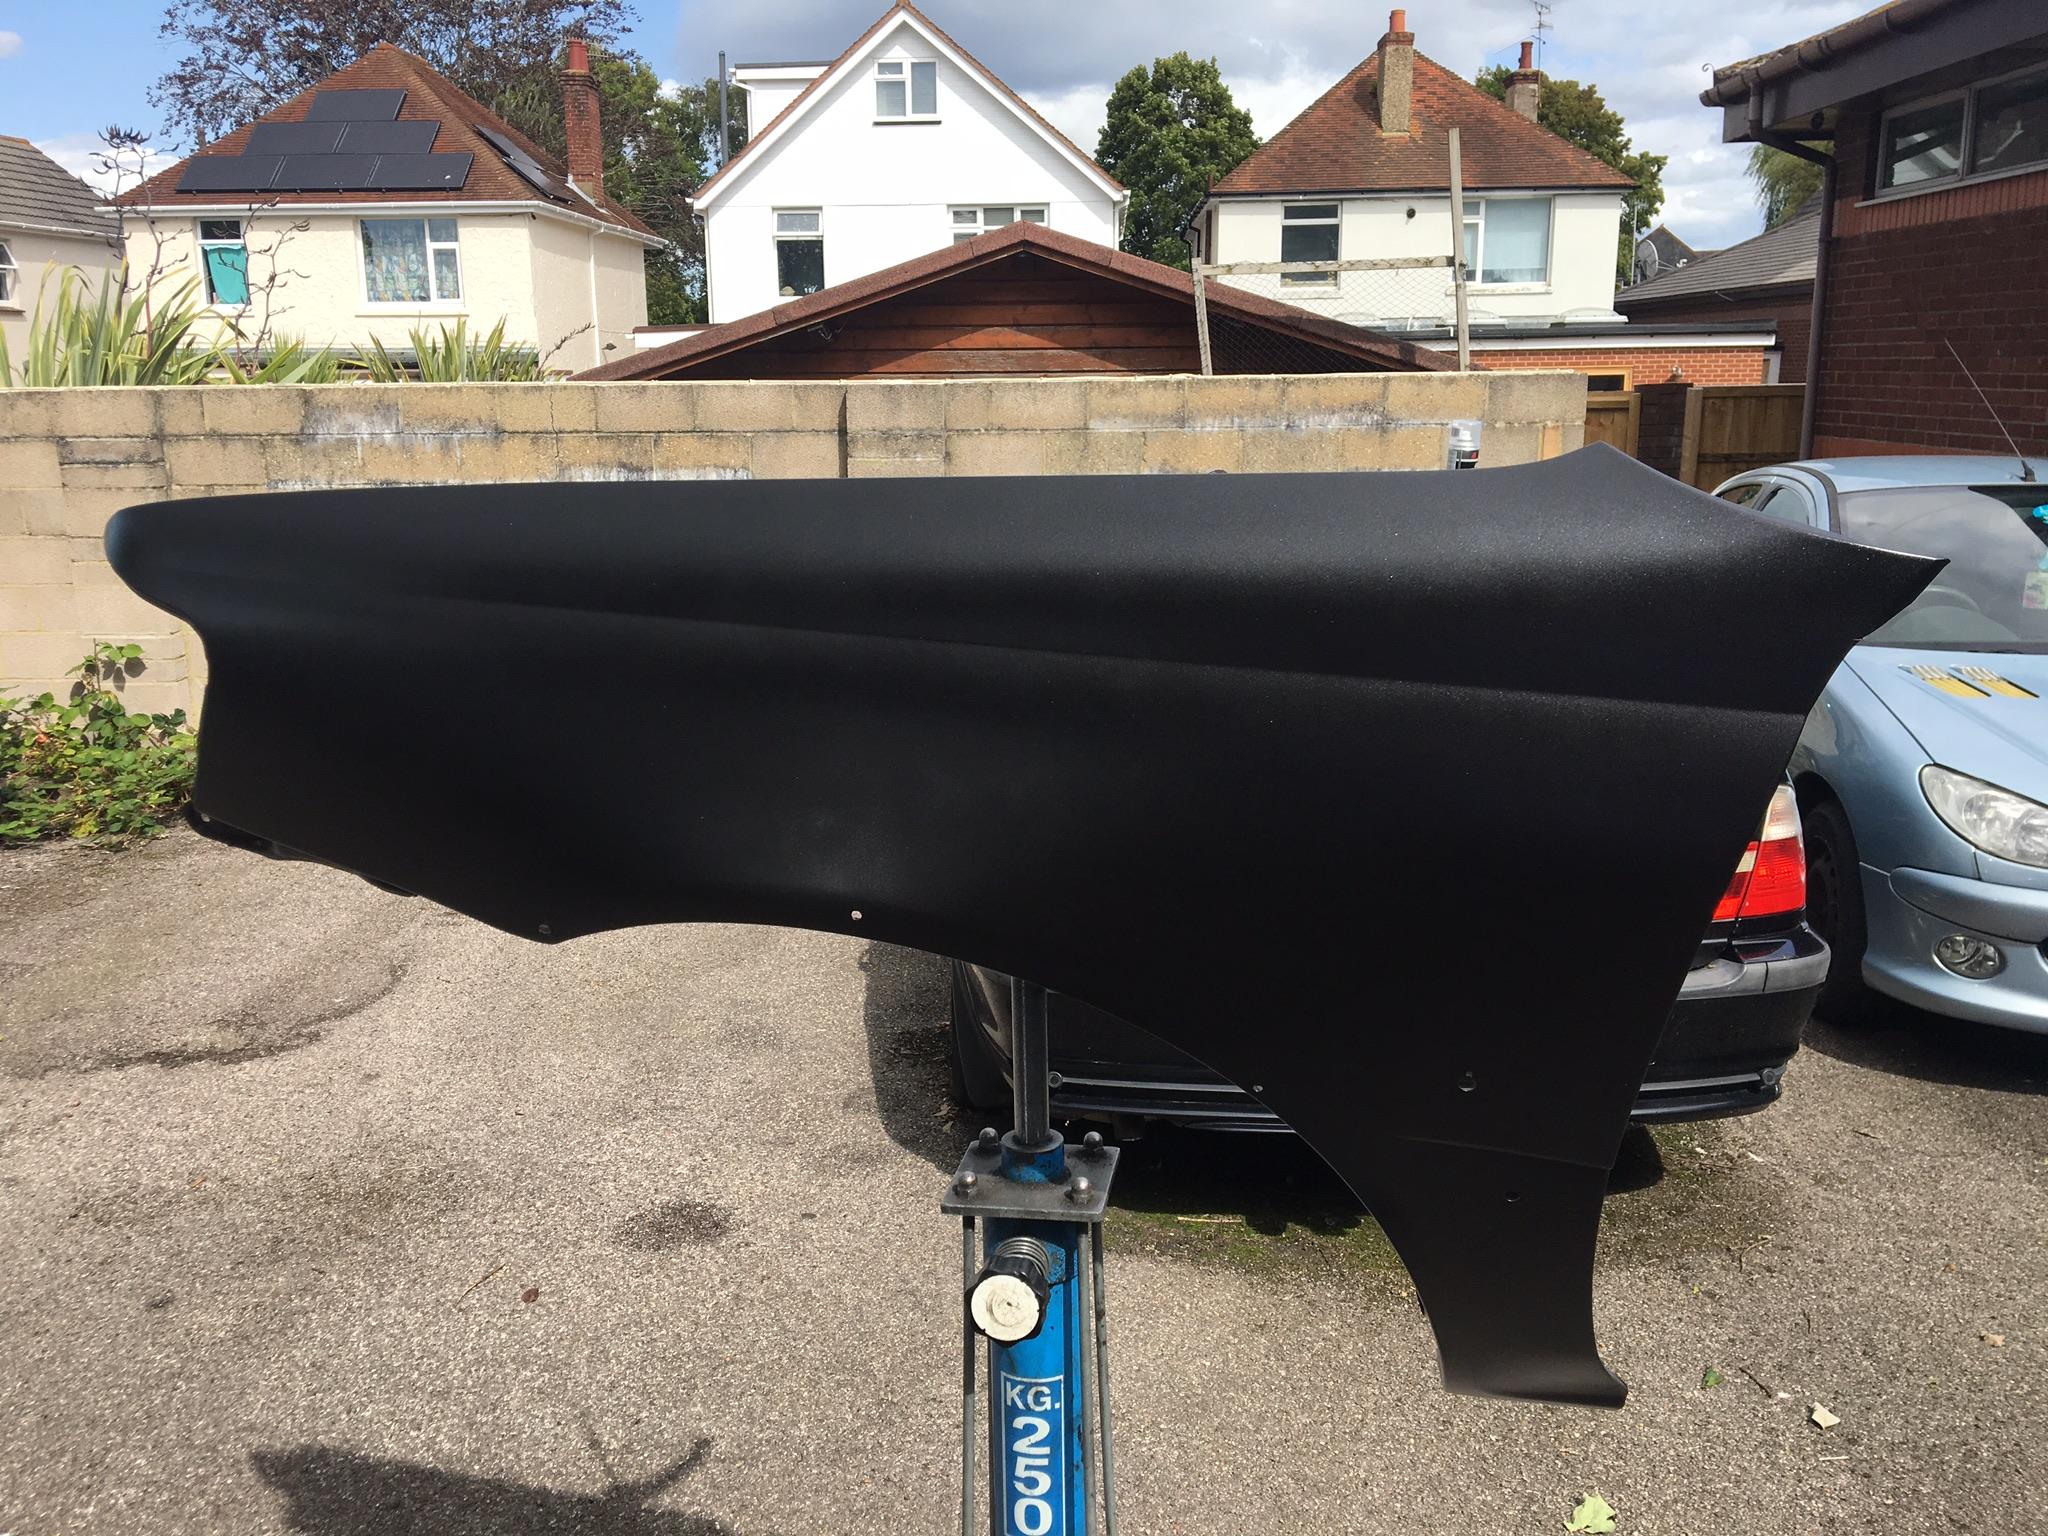
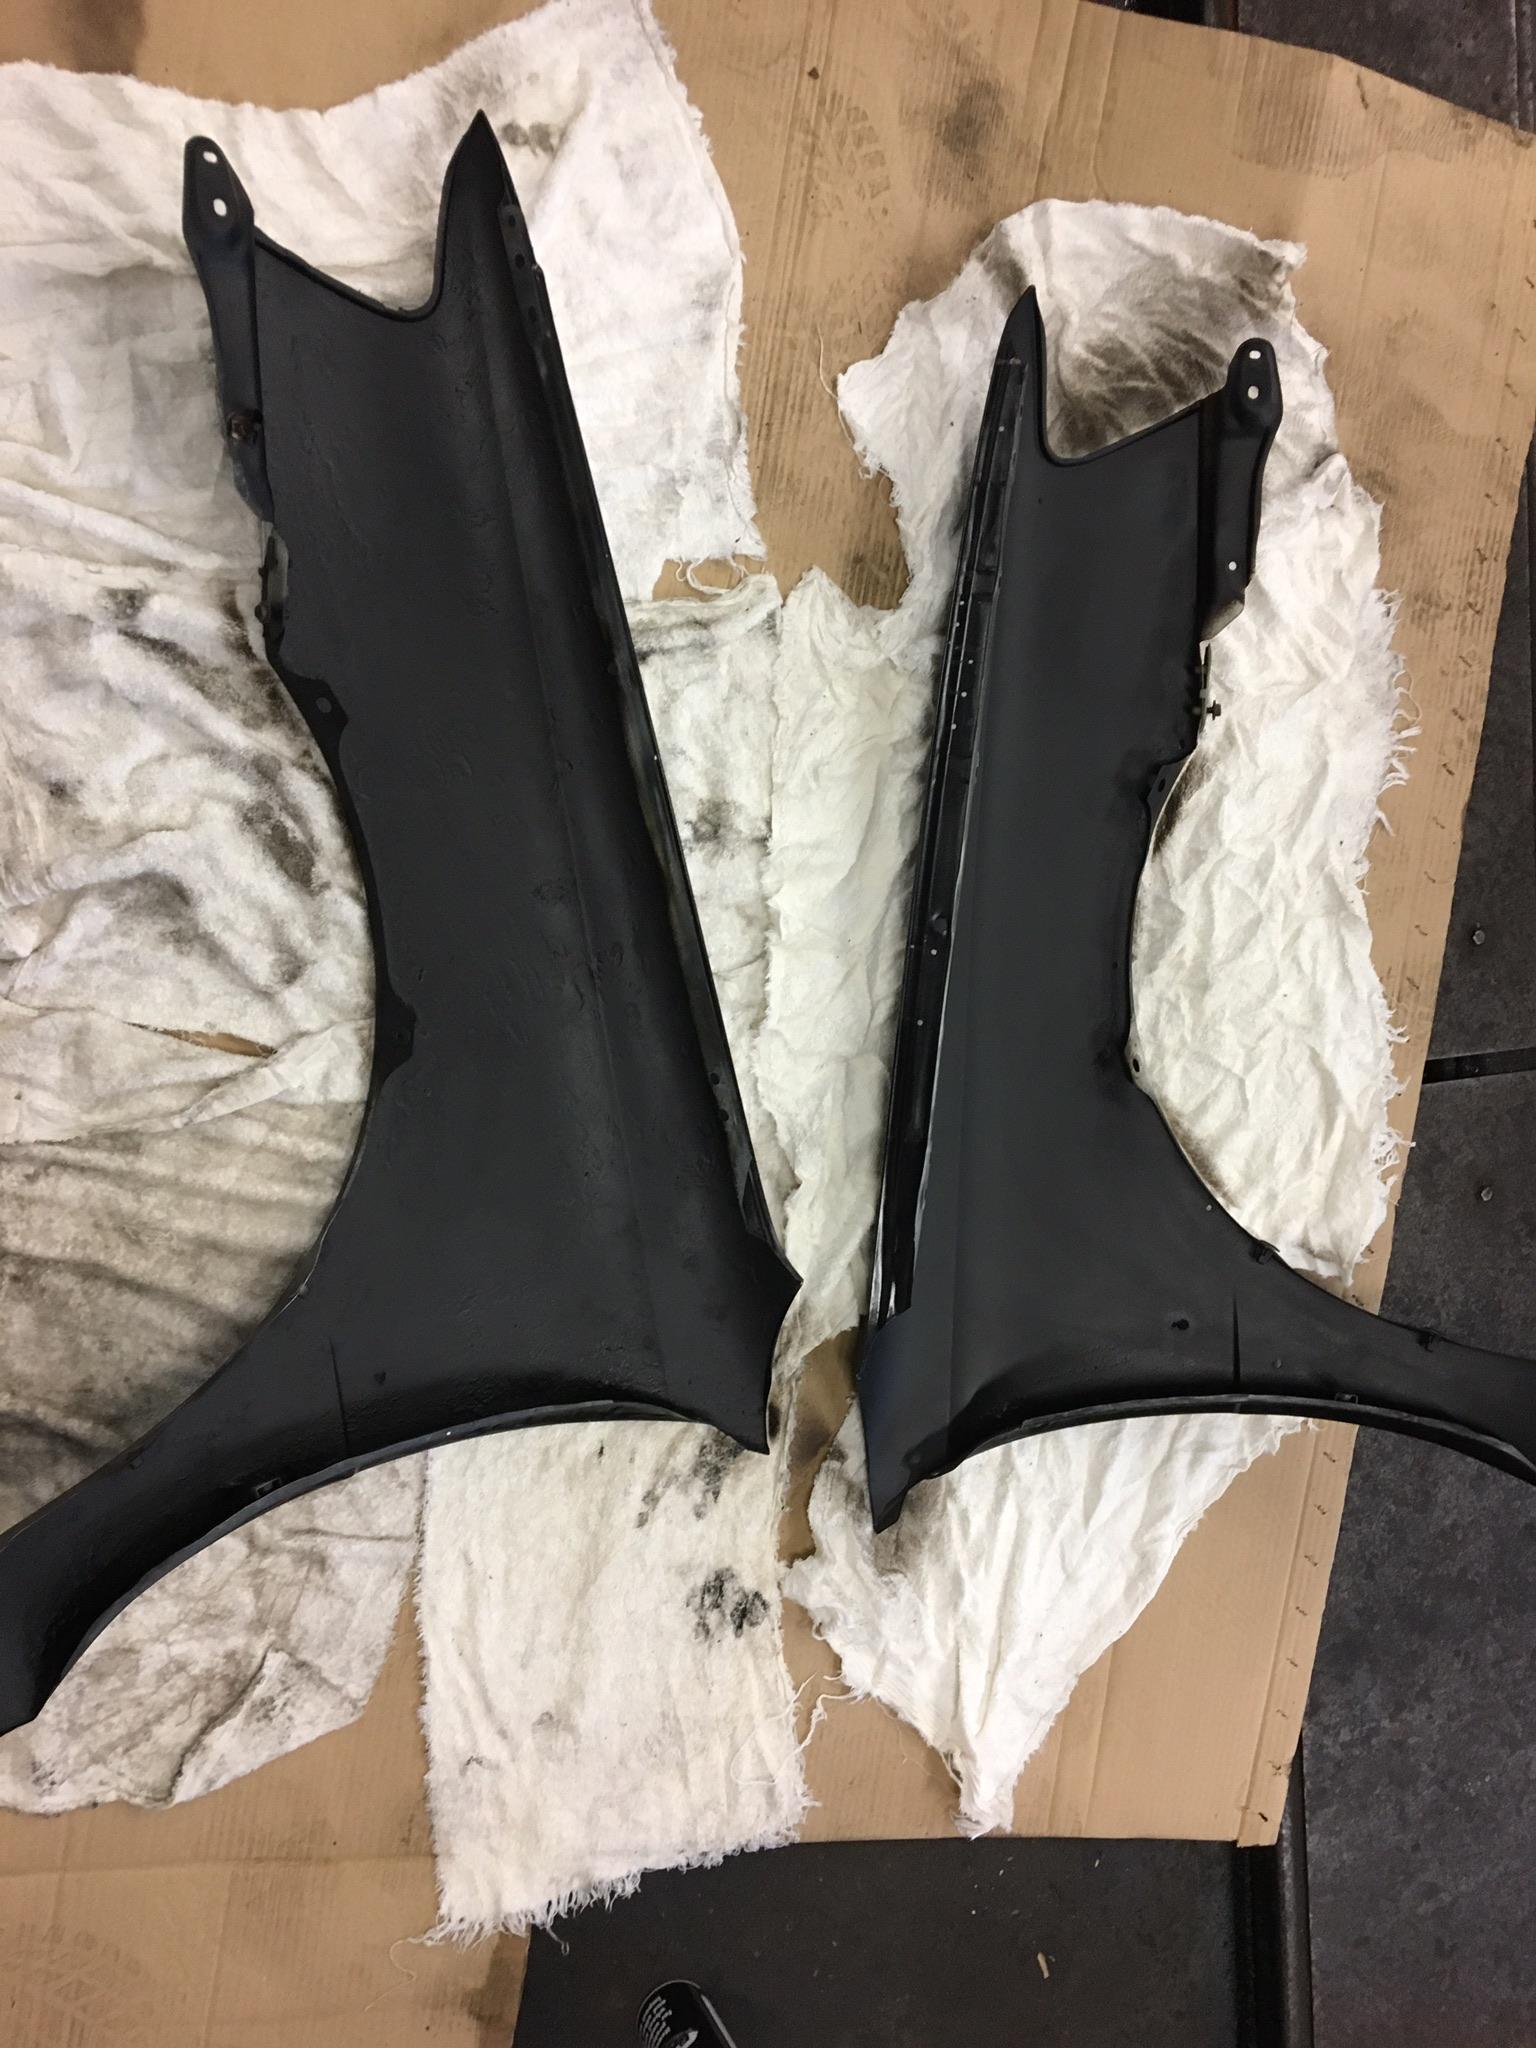
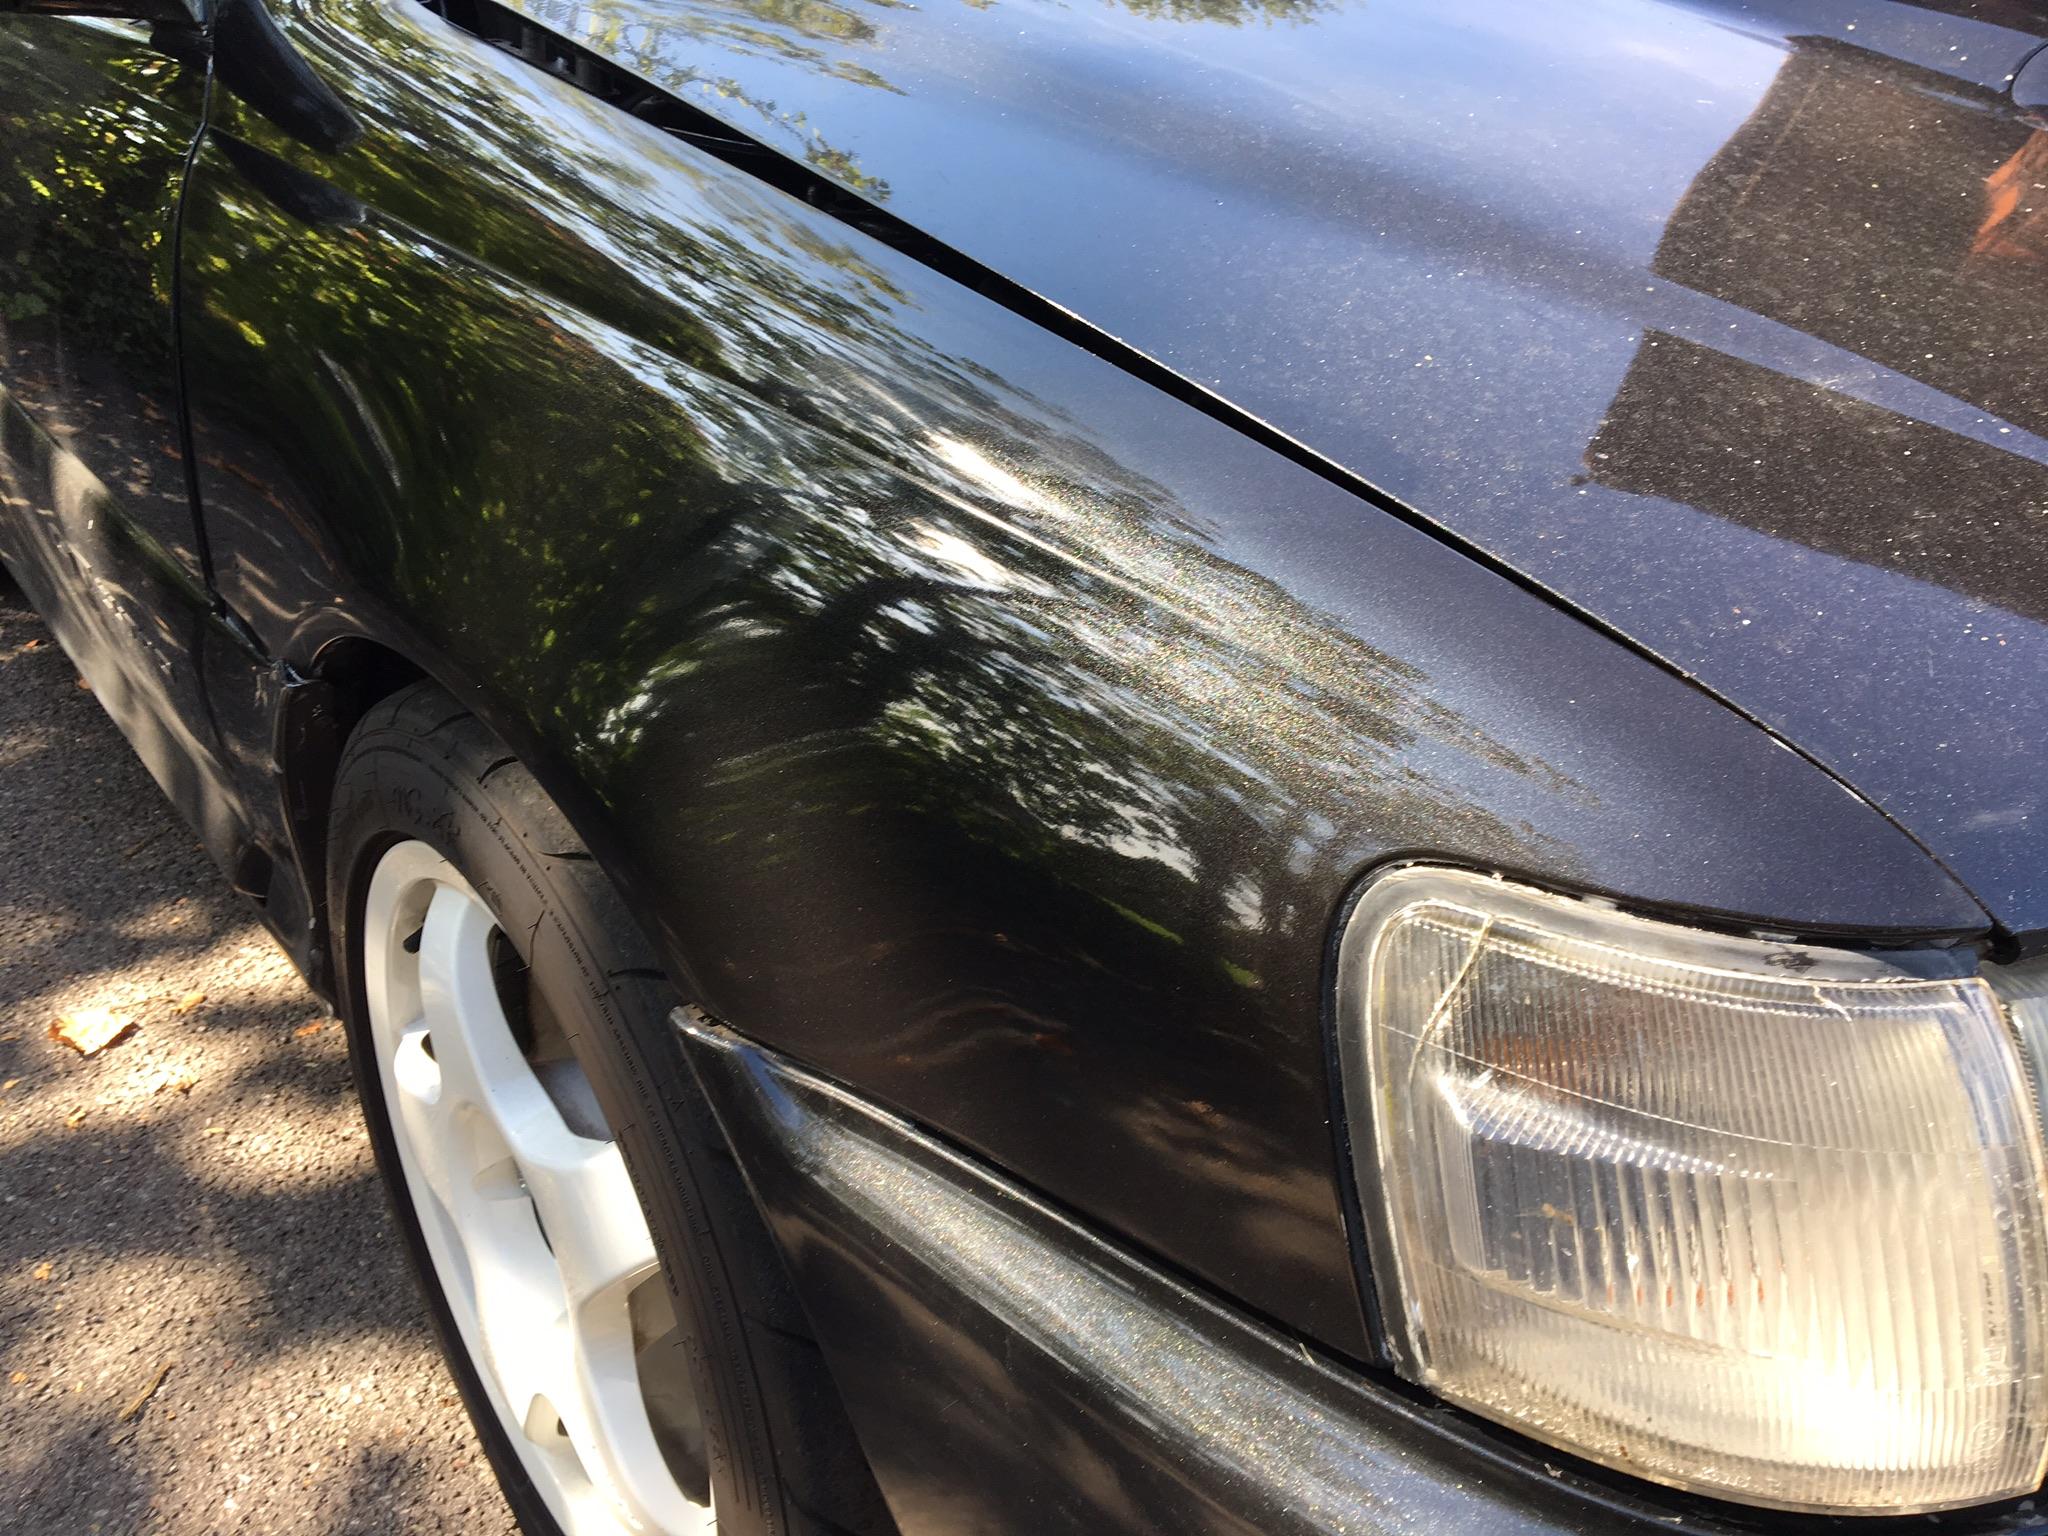
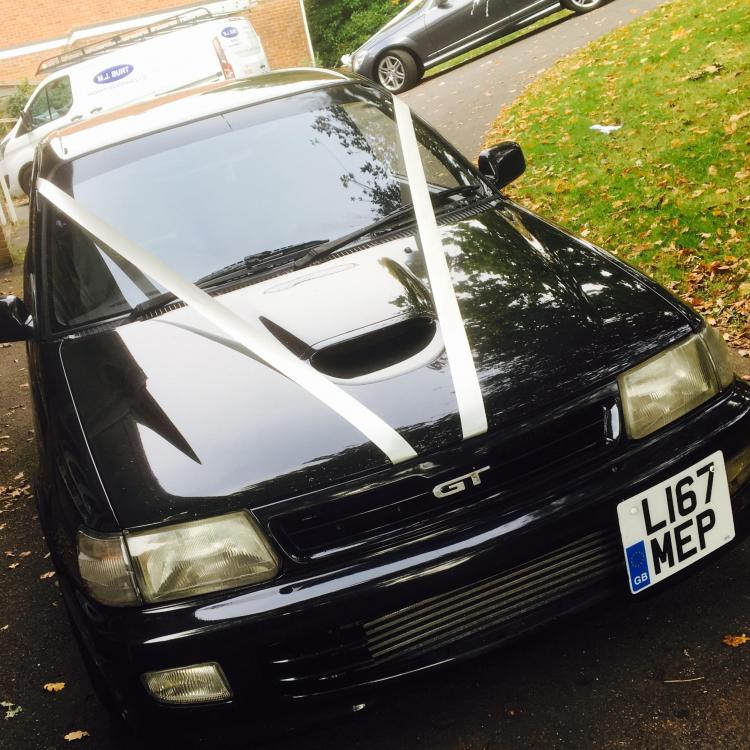
2017 came and the offside front wing showed the ill effects of rust whilst the near side had taken a whack from a very thoughtful buffalo trying to park their car! Managed to get hold of a pair of wings to take their place so, rubbed down, primered, sprayed and under sealed on the inner. Whilst they and the skirts were off I was happy to see that the sills although dirty were in good shape. So on with cleaning and under sealing them. Again, I lack some photos, I can’t help but get too involved with the job to stop and think about logging it with photos. Was happy with the end results when all back together and polished 😁 Home I went and parked it up for the night. Next morning, eager to check the job I’d done with fresh eyes, only to find that same buffalo once again decided to do exactly the same to the same wing I fitted the day before!!! 😢 Not happy and suspected everyone in the block who owned a white car for some time. Sadly none of them had black paint on their white car, lucky bastards.