Trevstar
-
Posts
258 -
Joined
-
Last visited
Content Type
Profiles
Forums
Wiki
Media Demo
Events
Everything posted by Trevstar
-
Claymore's sleeper 4efe+t-t+t build (R.I.P. the Nanza)
Trevstar replied to Claymore's topic in EP91 Progress Blogs
Some brilliant work going on here, might pinch some of your ideas with the catch can 👍🏻 -
One day I truly hope to take some pictures just like these 🥰
-
Nooooooooooope 😂
-
Ohhh dont worry about that, you definately will one day 😉
-
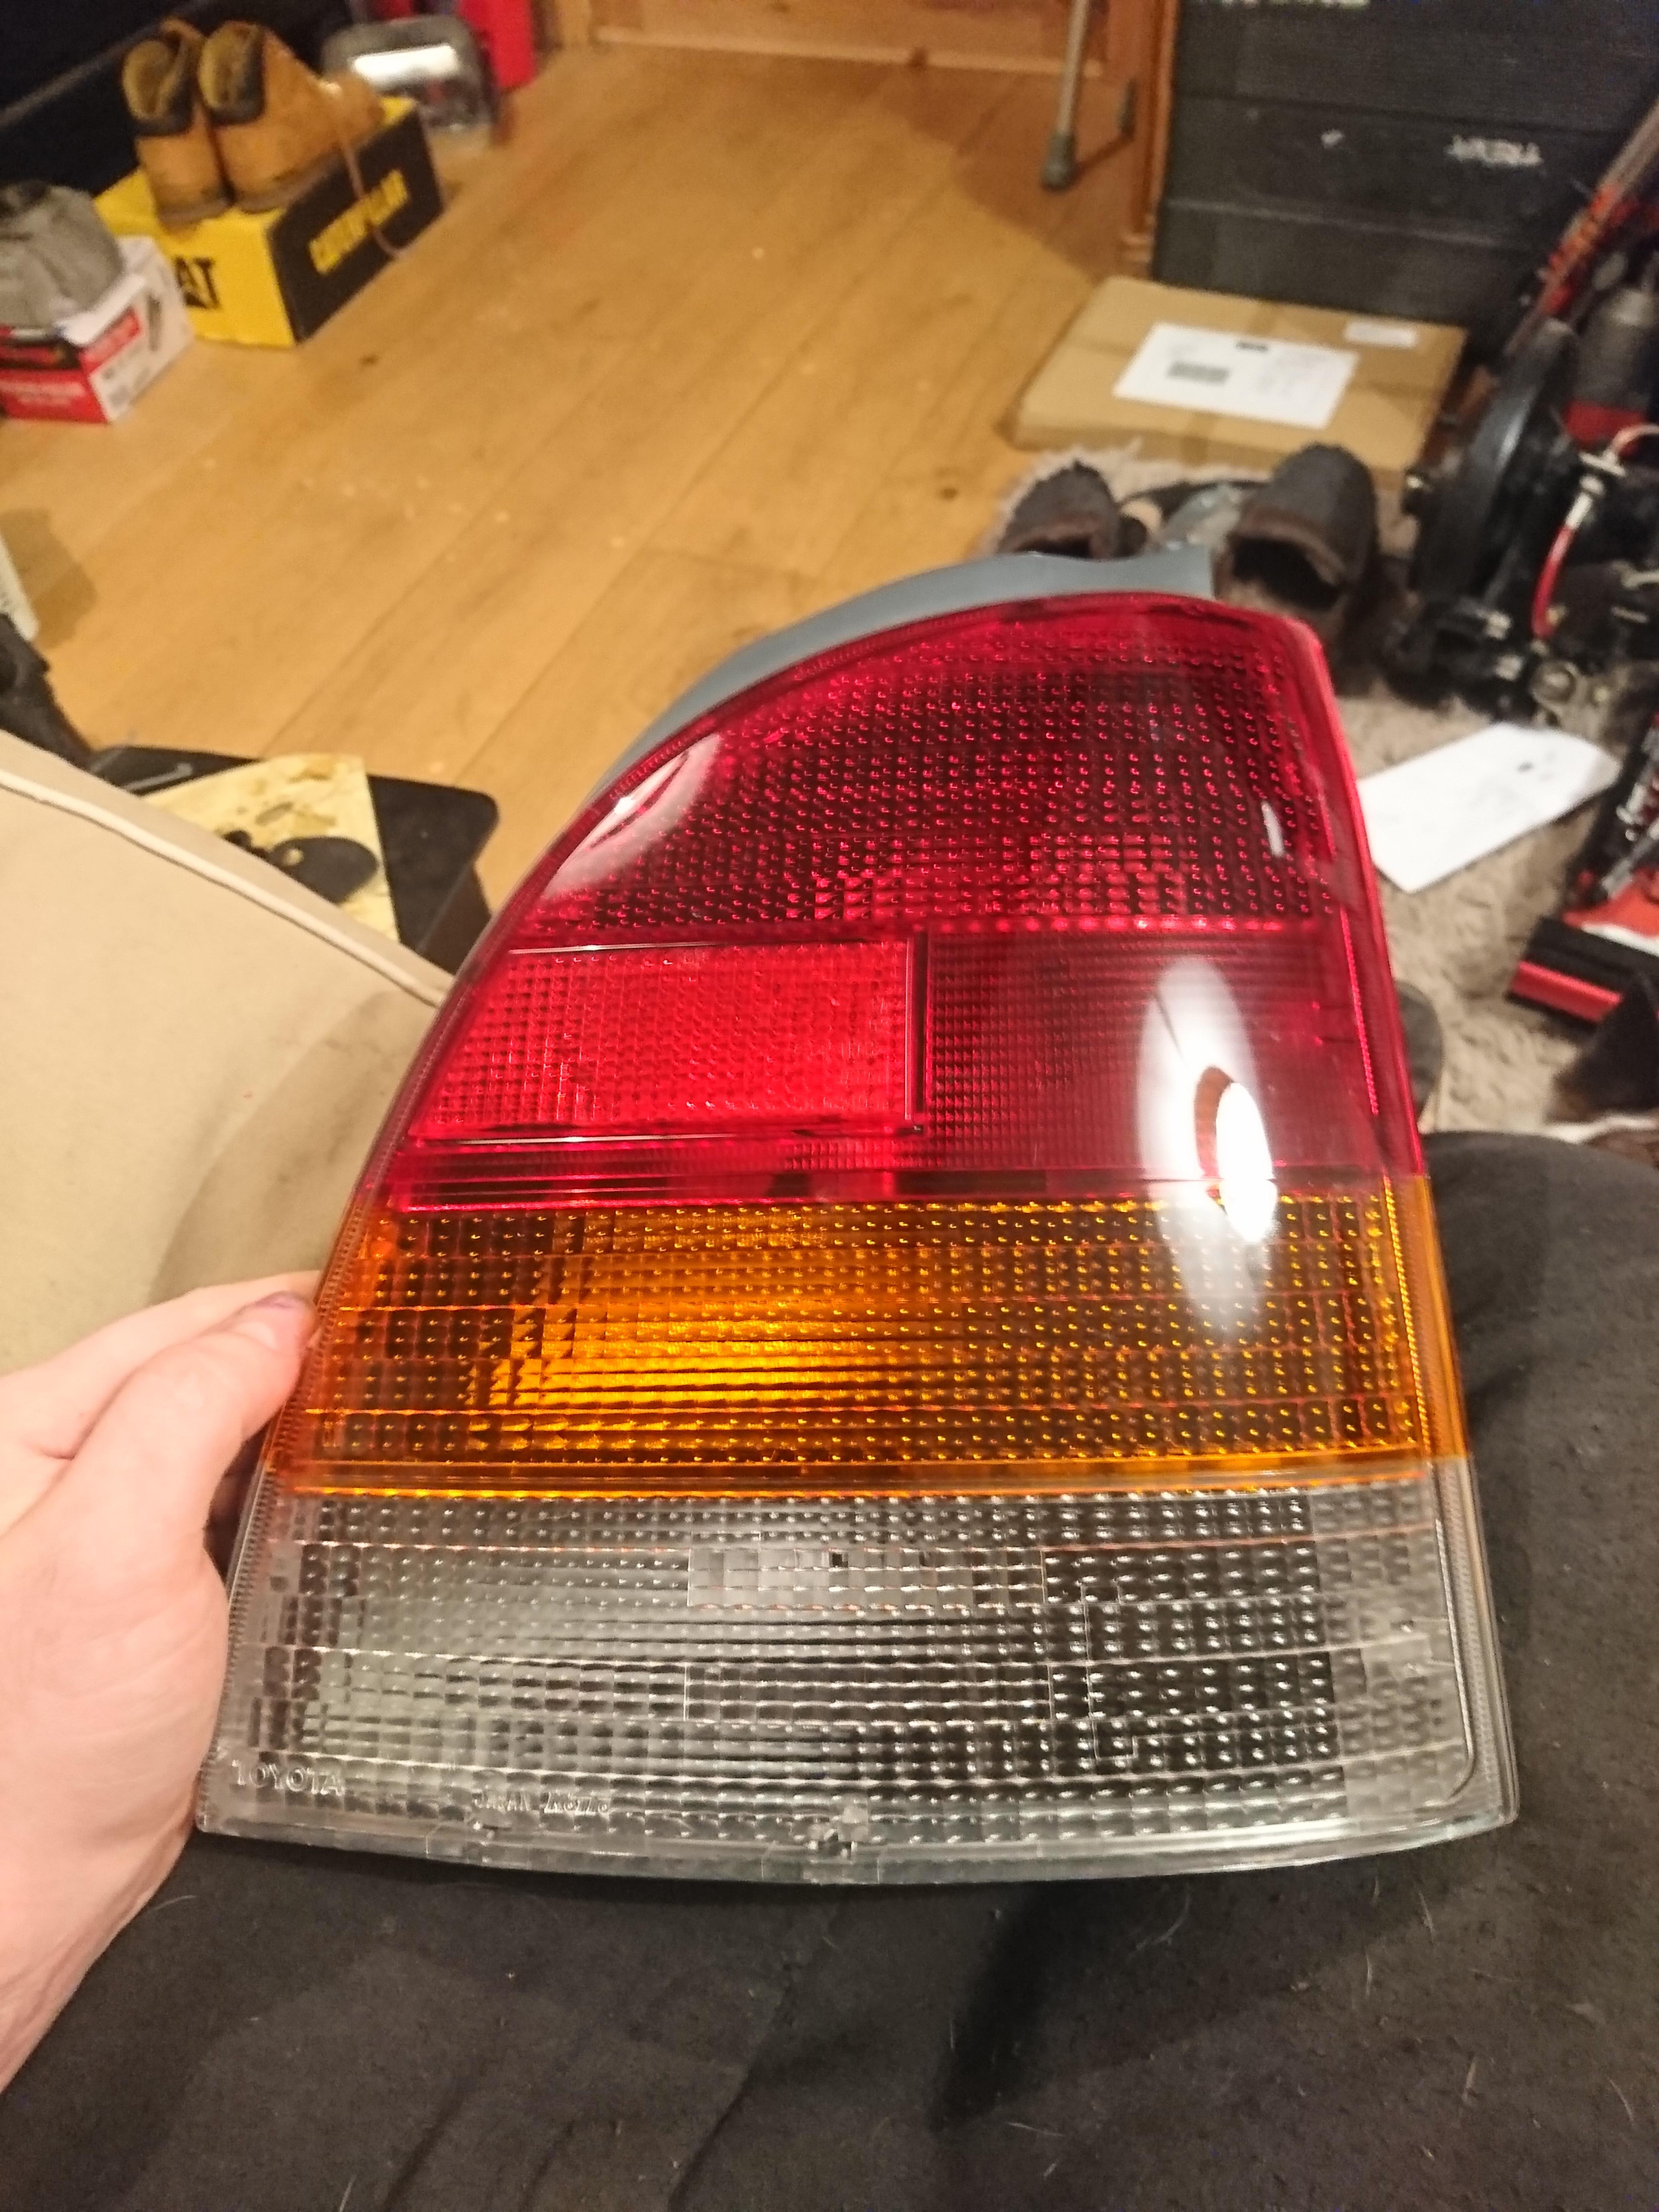
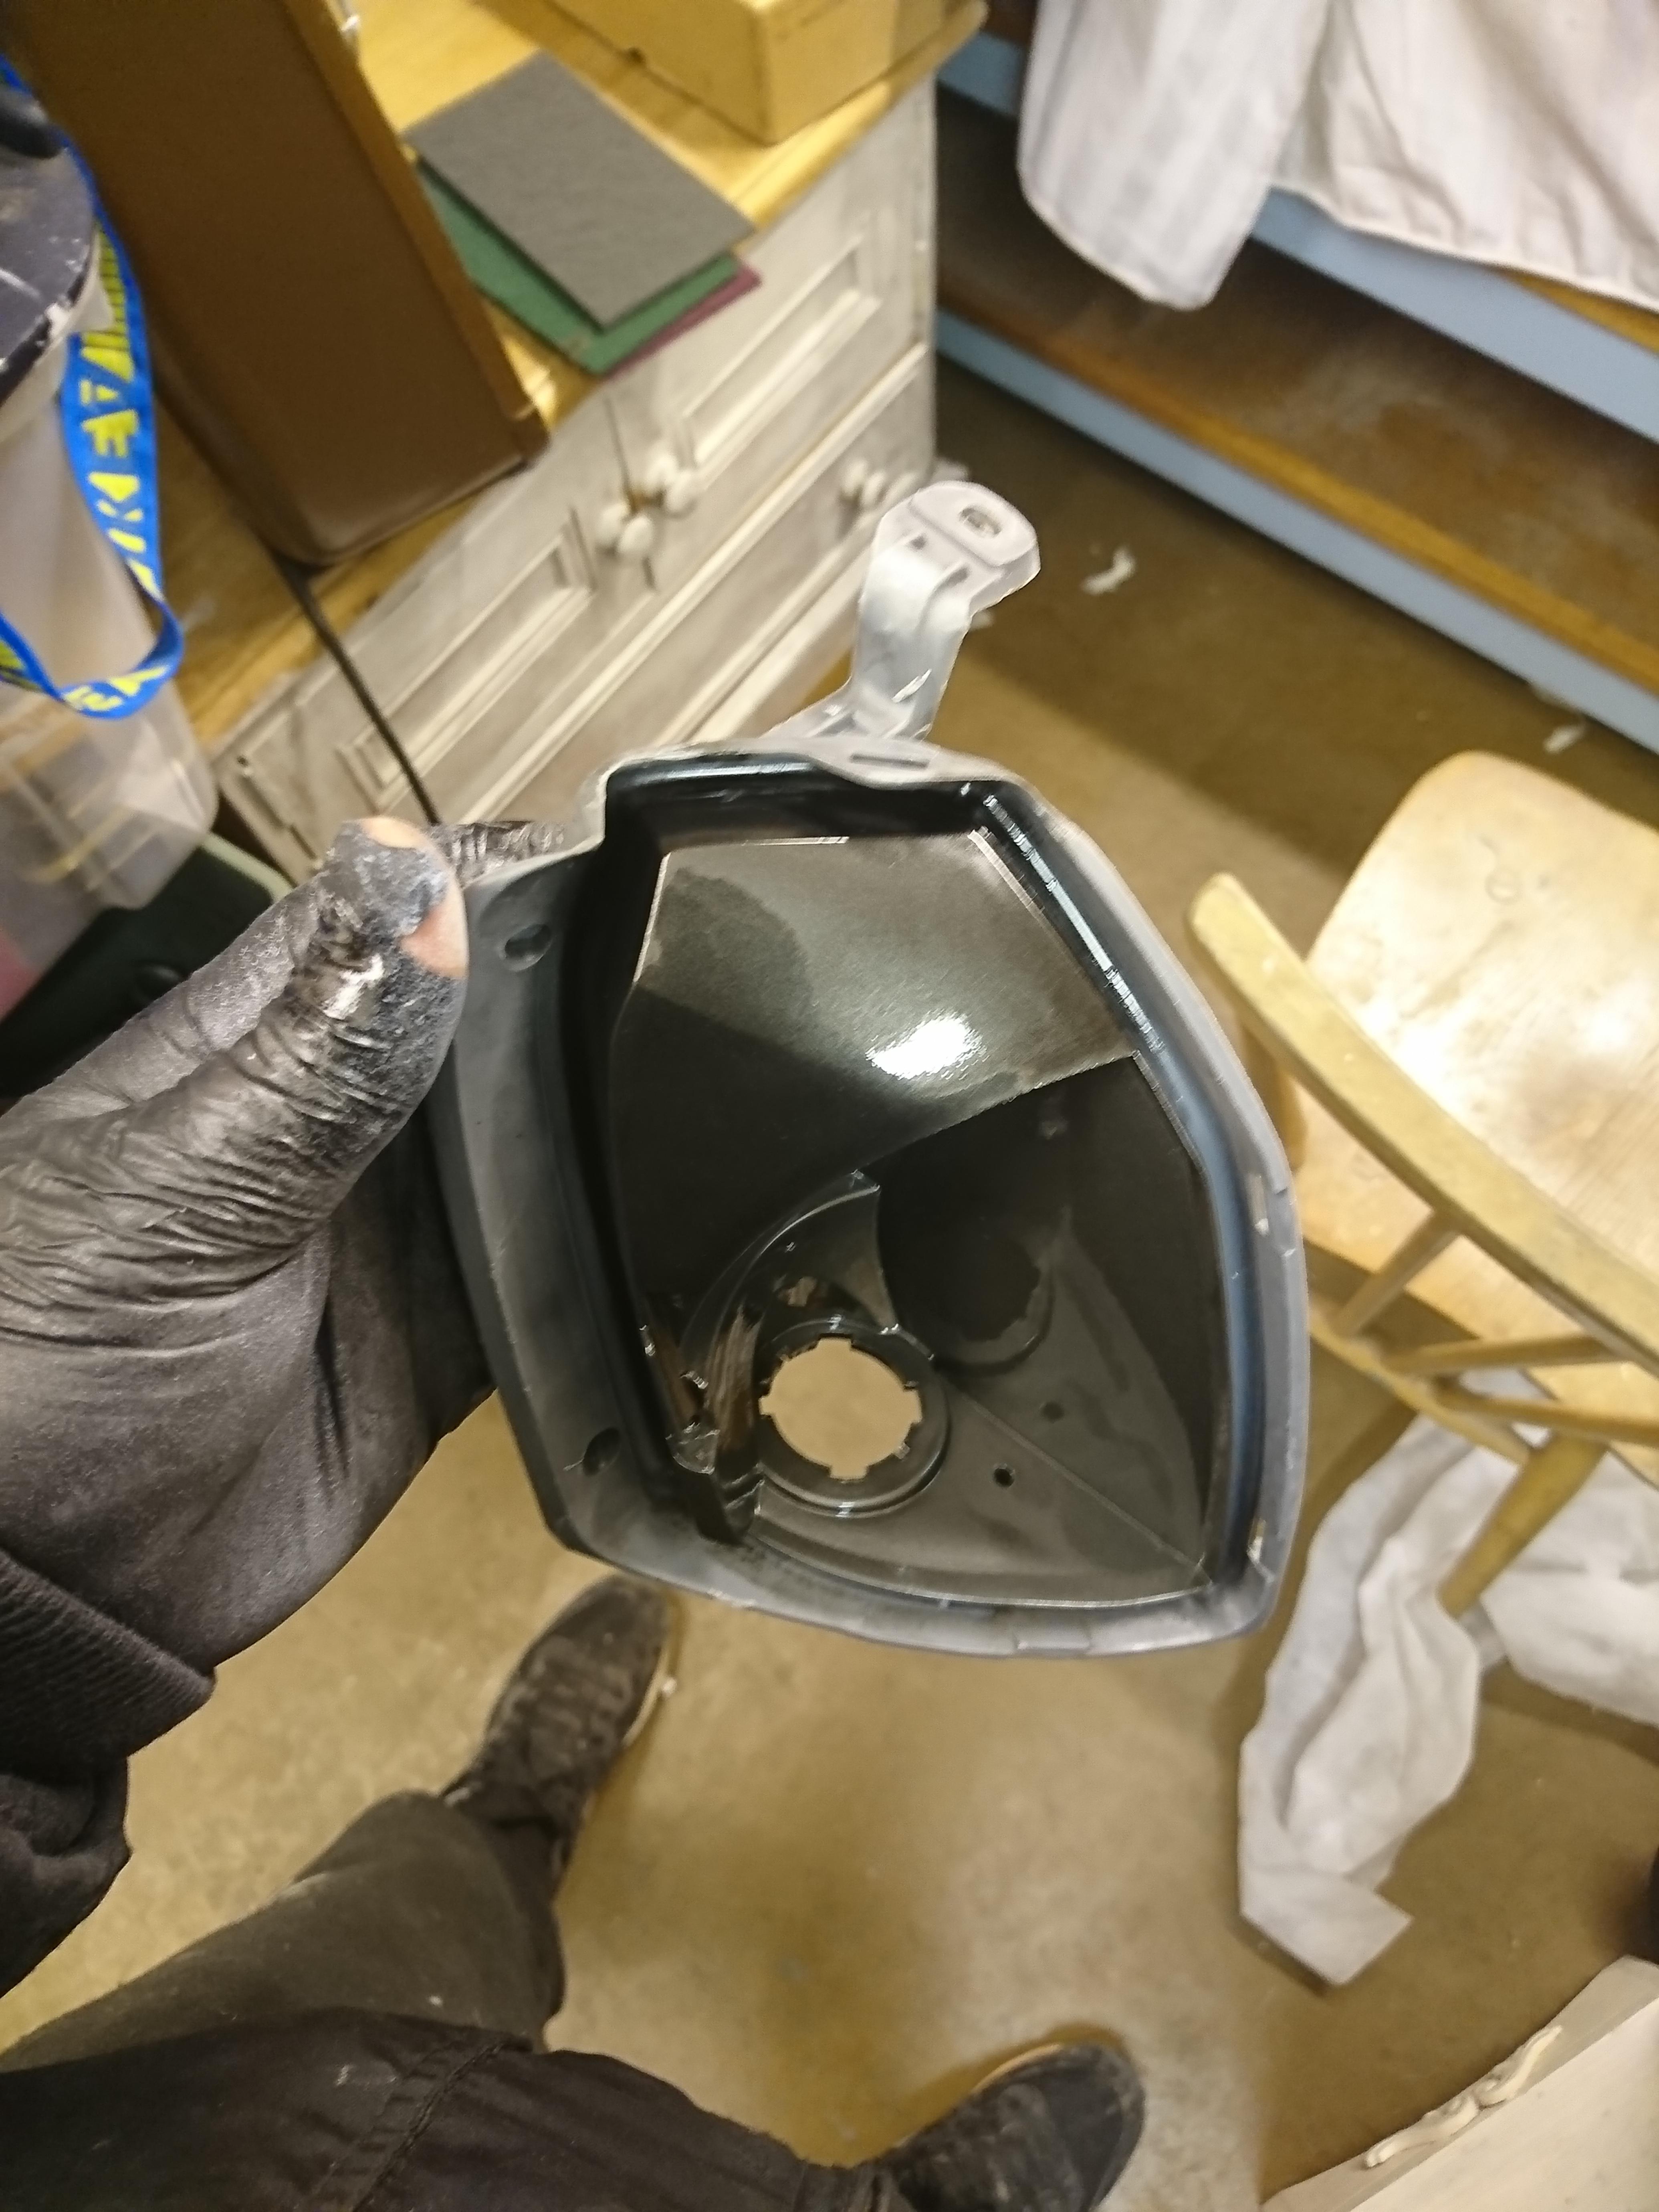
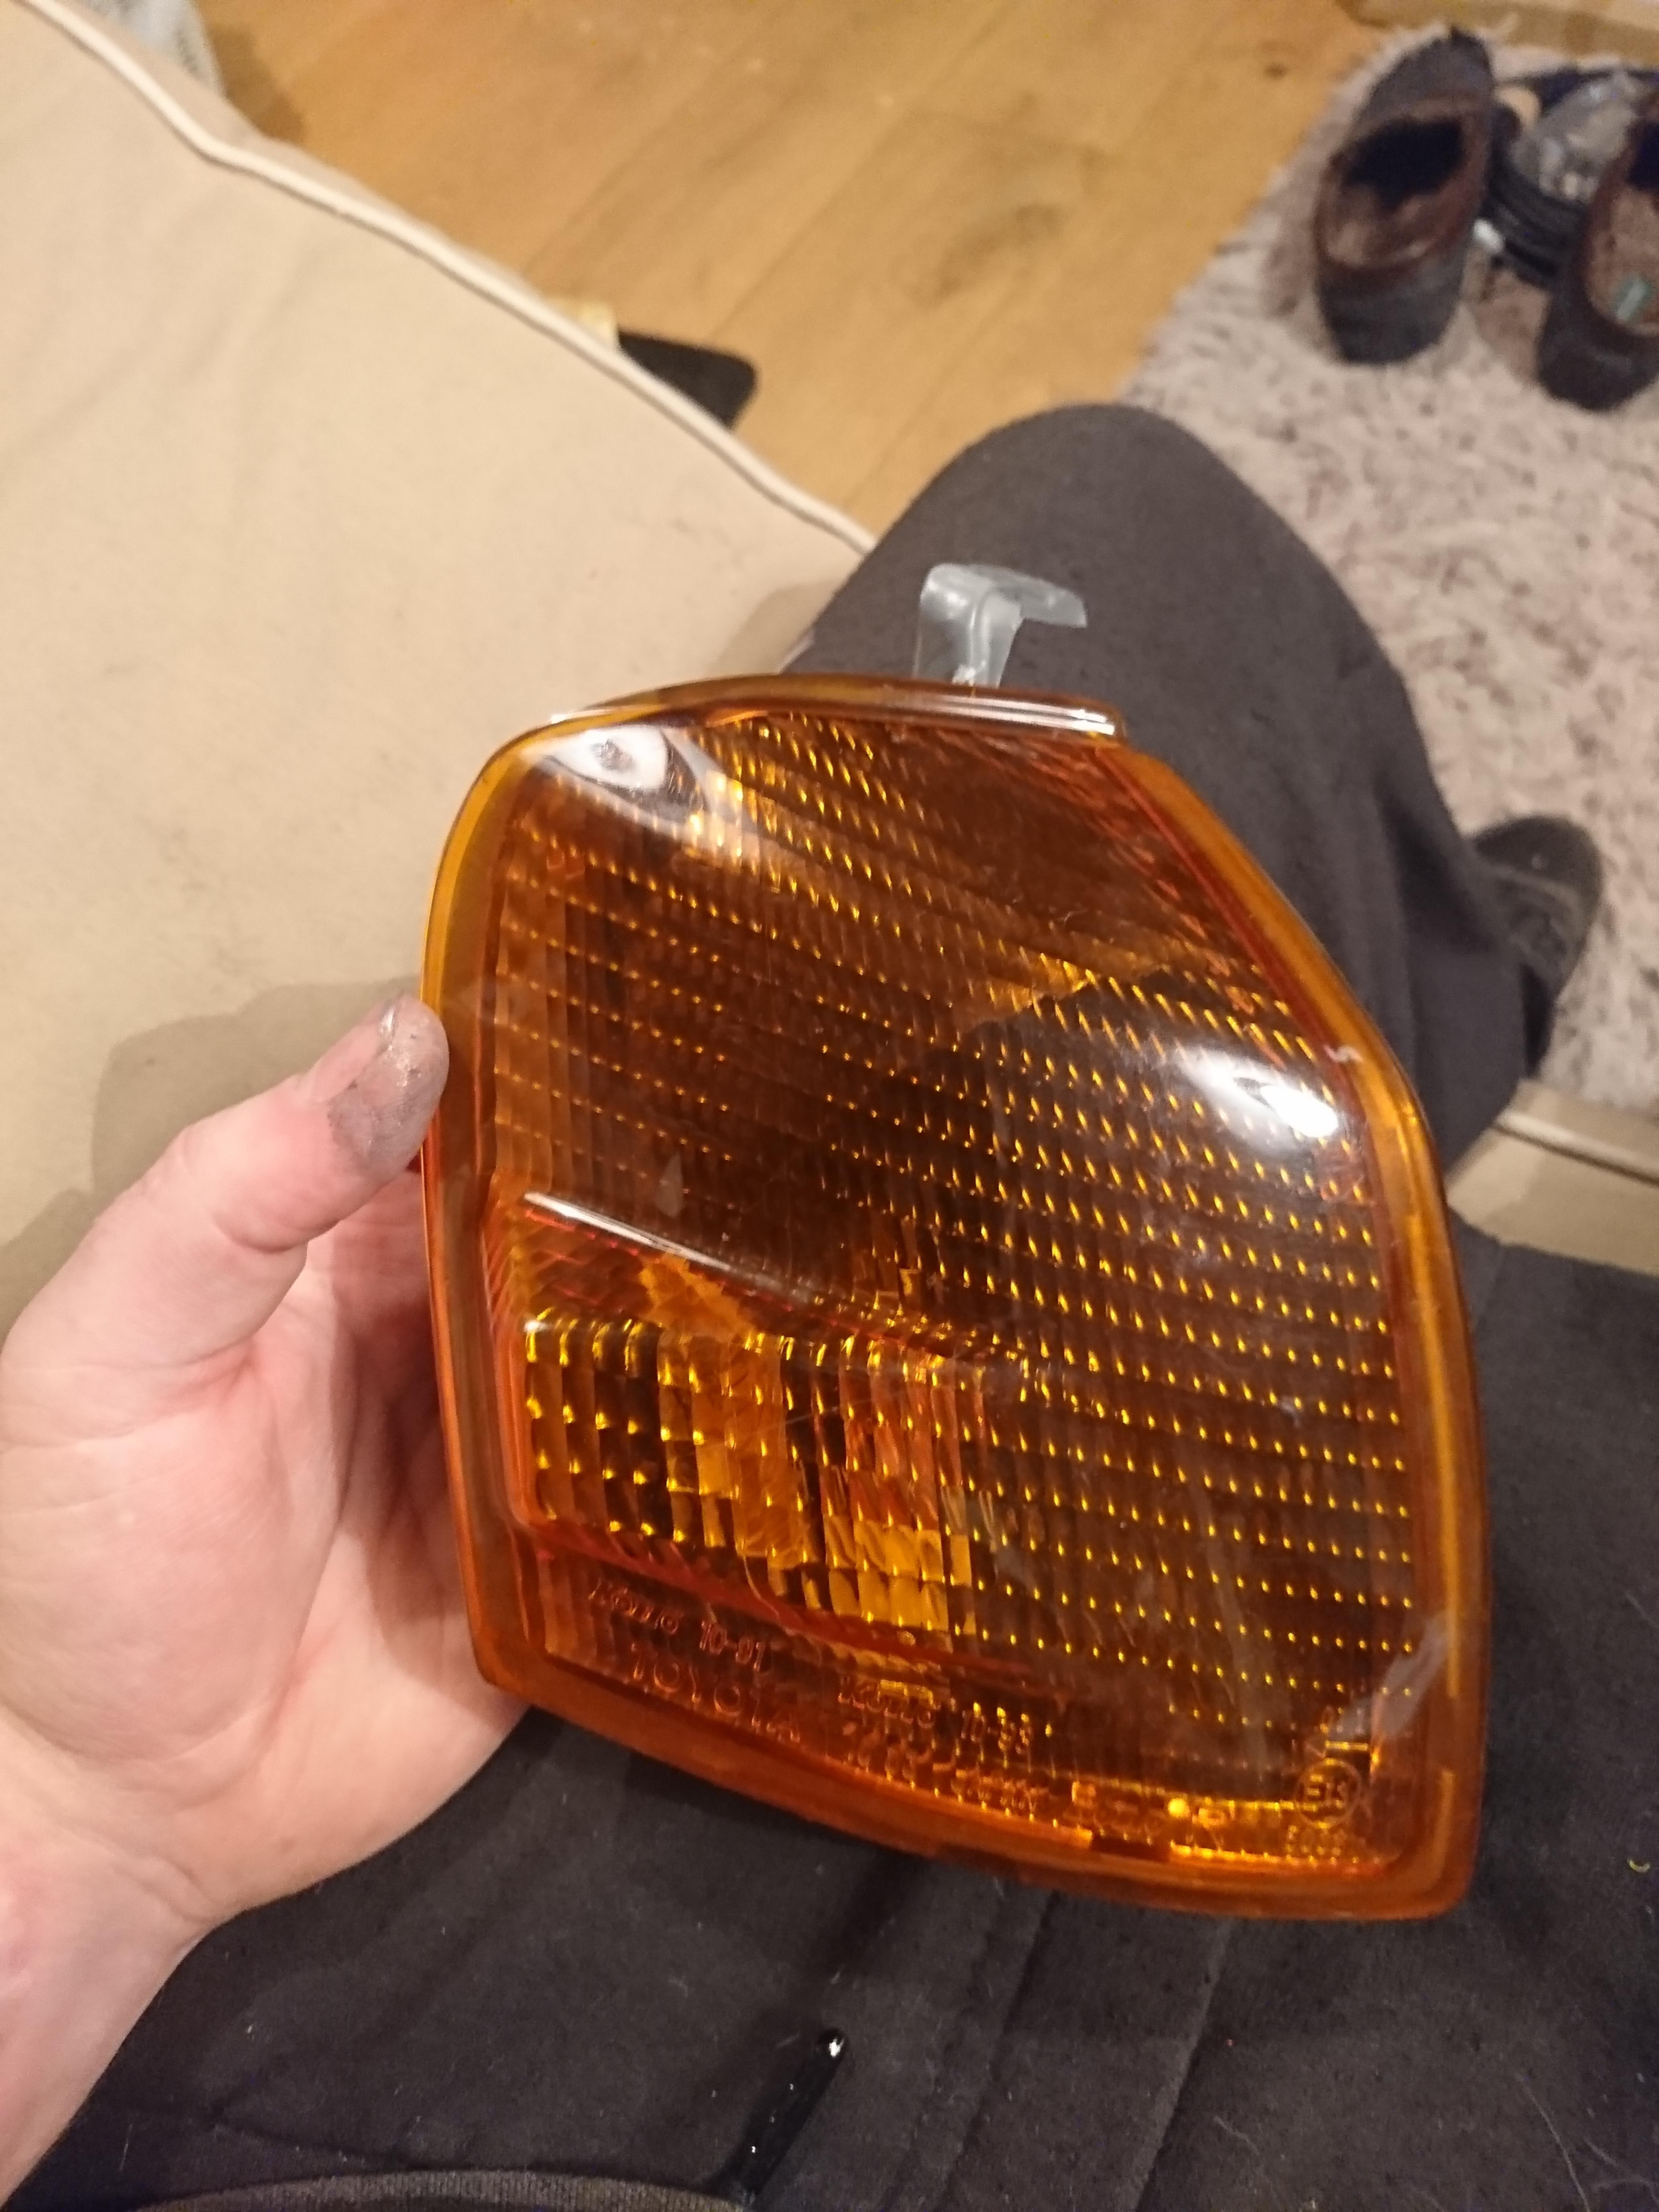
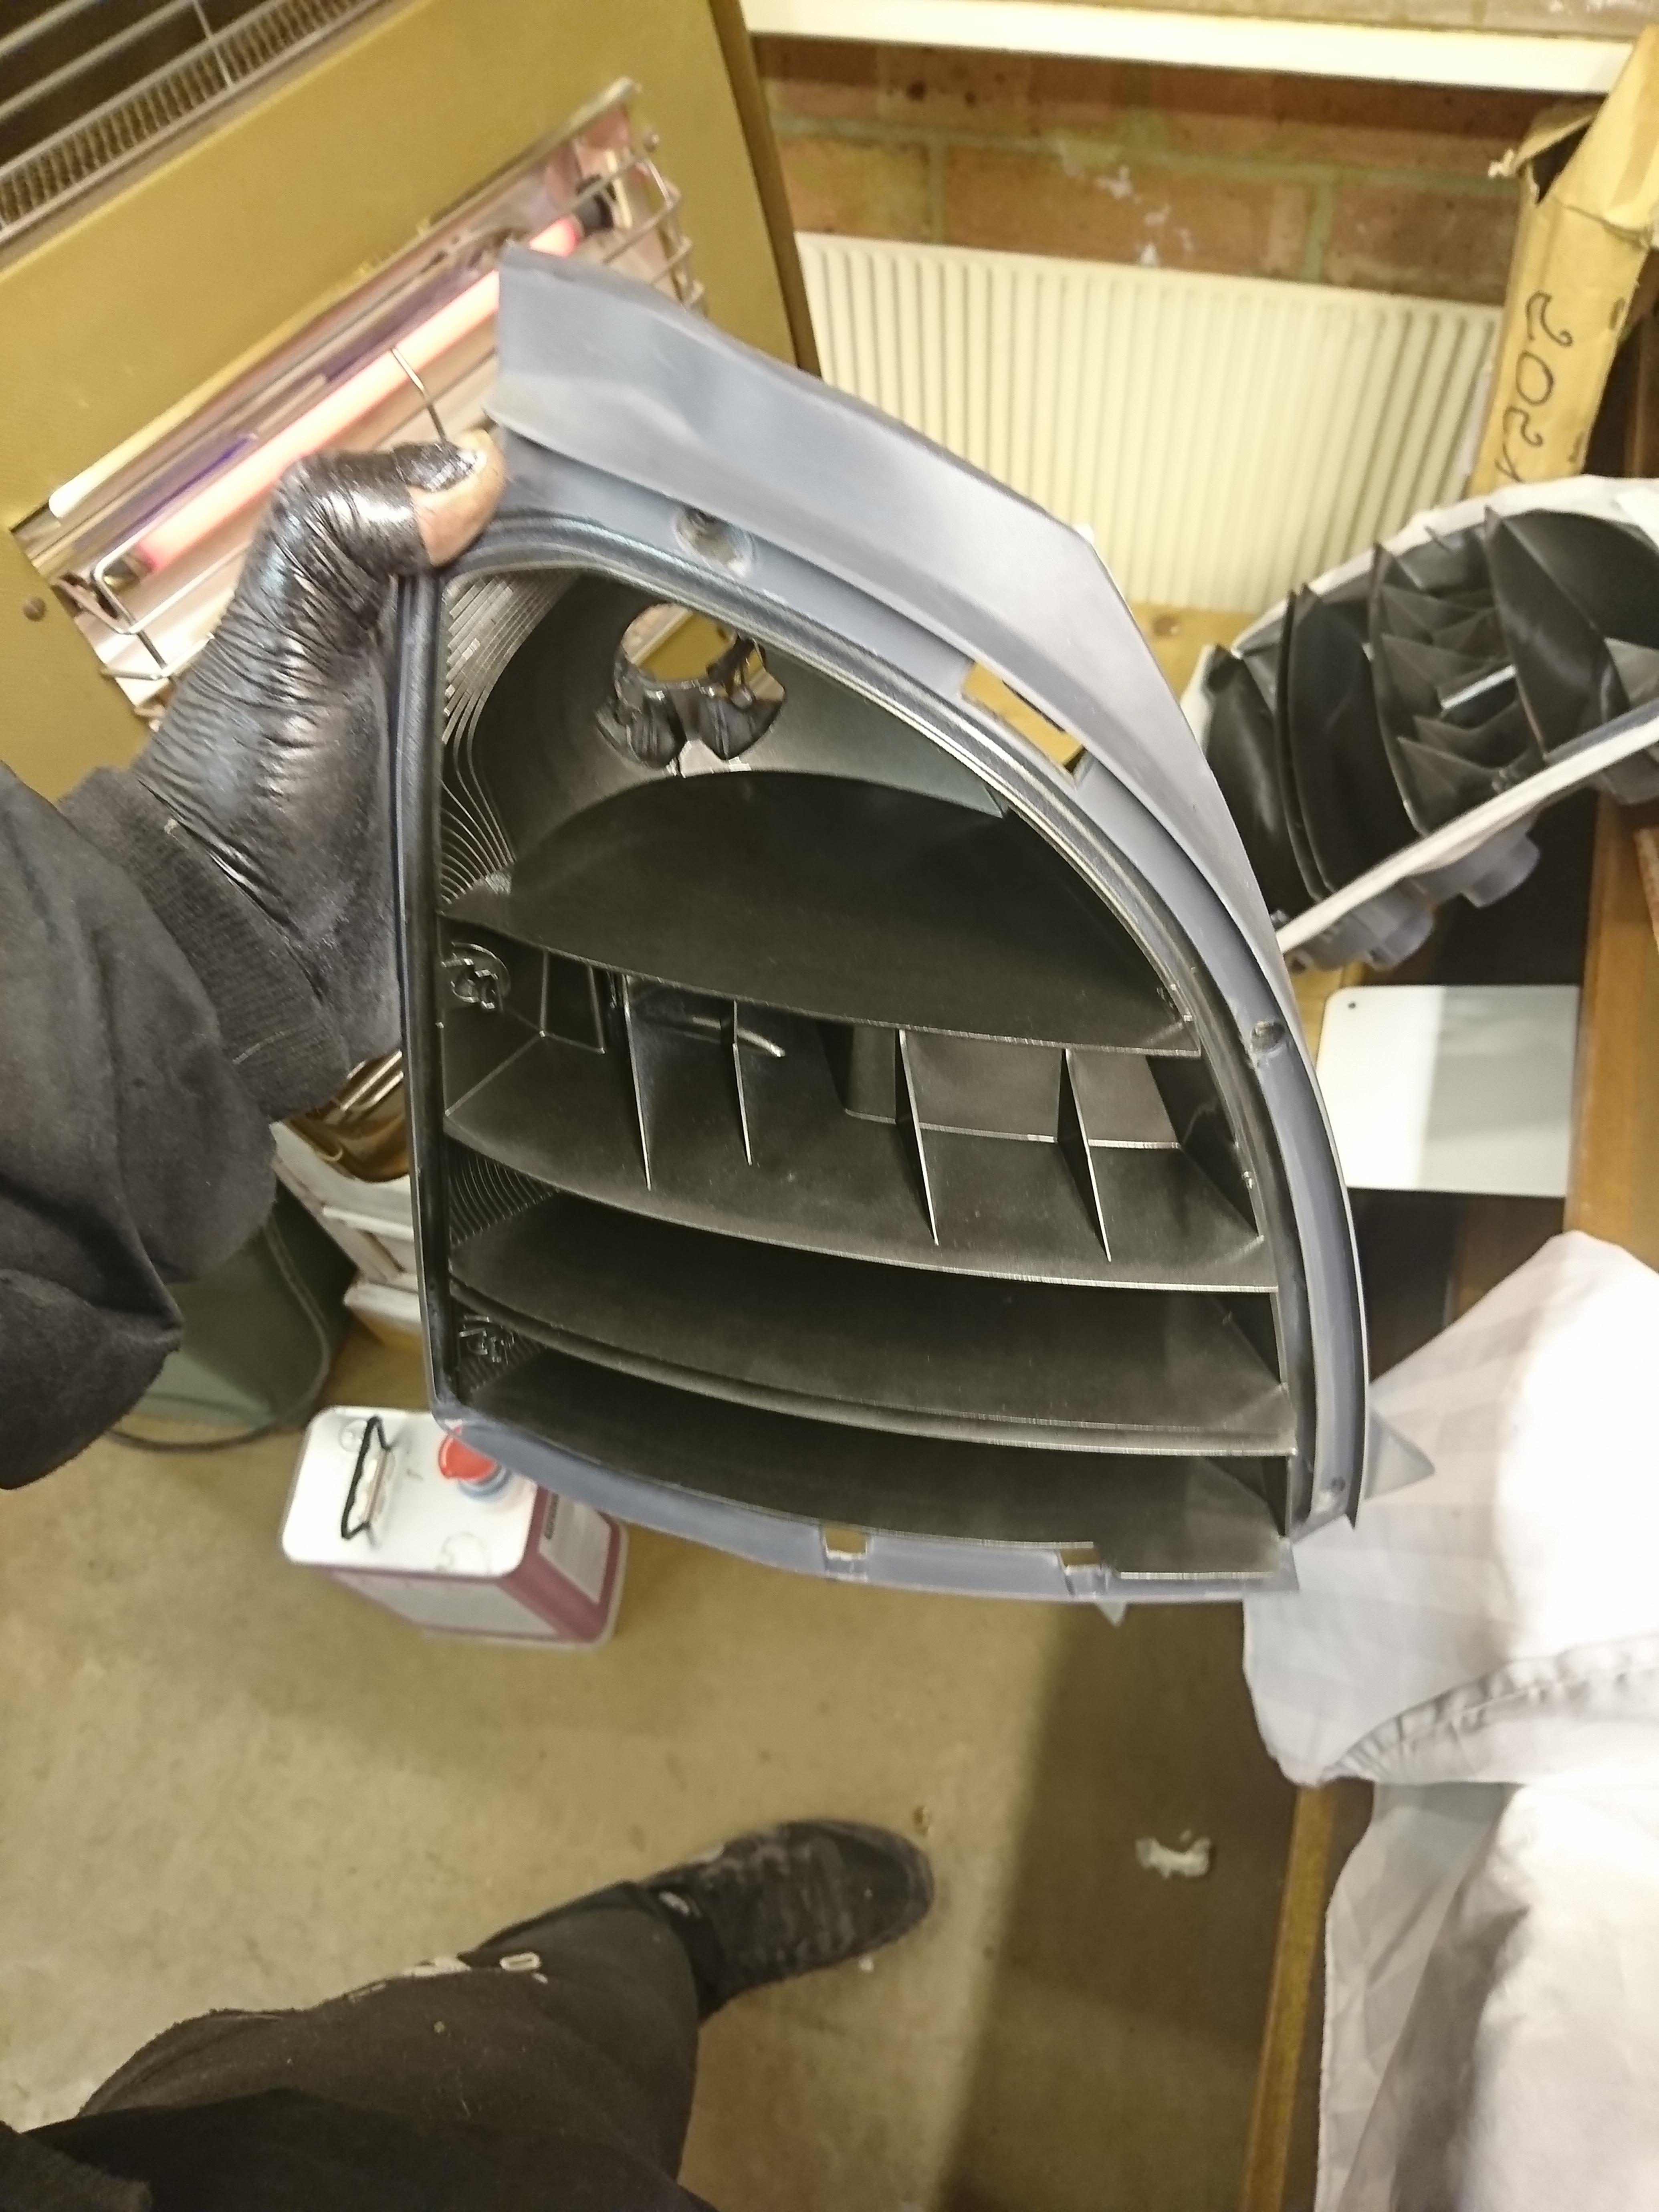
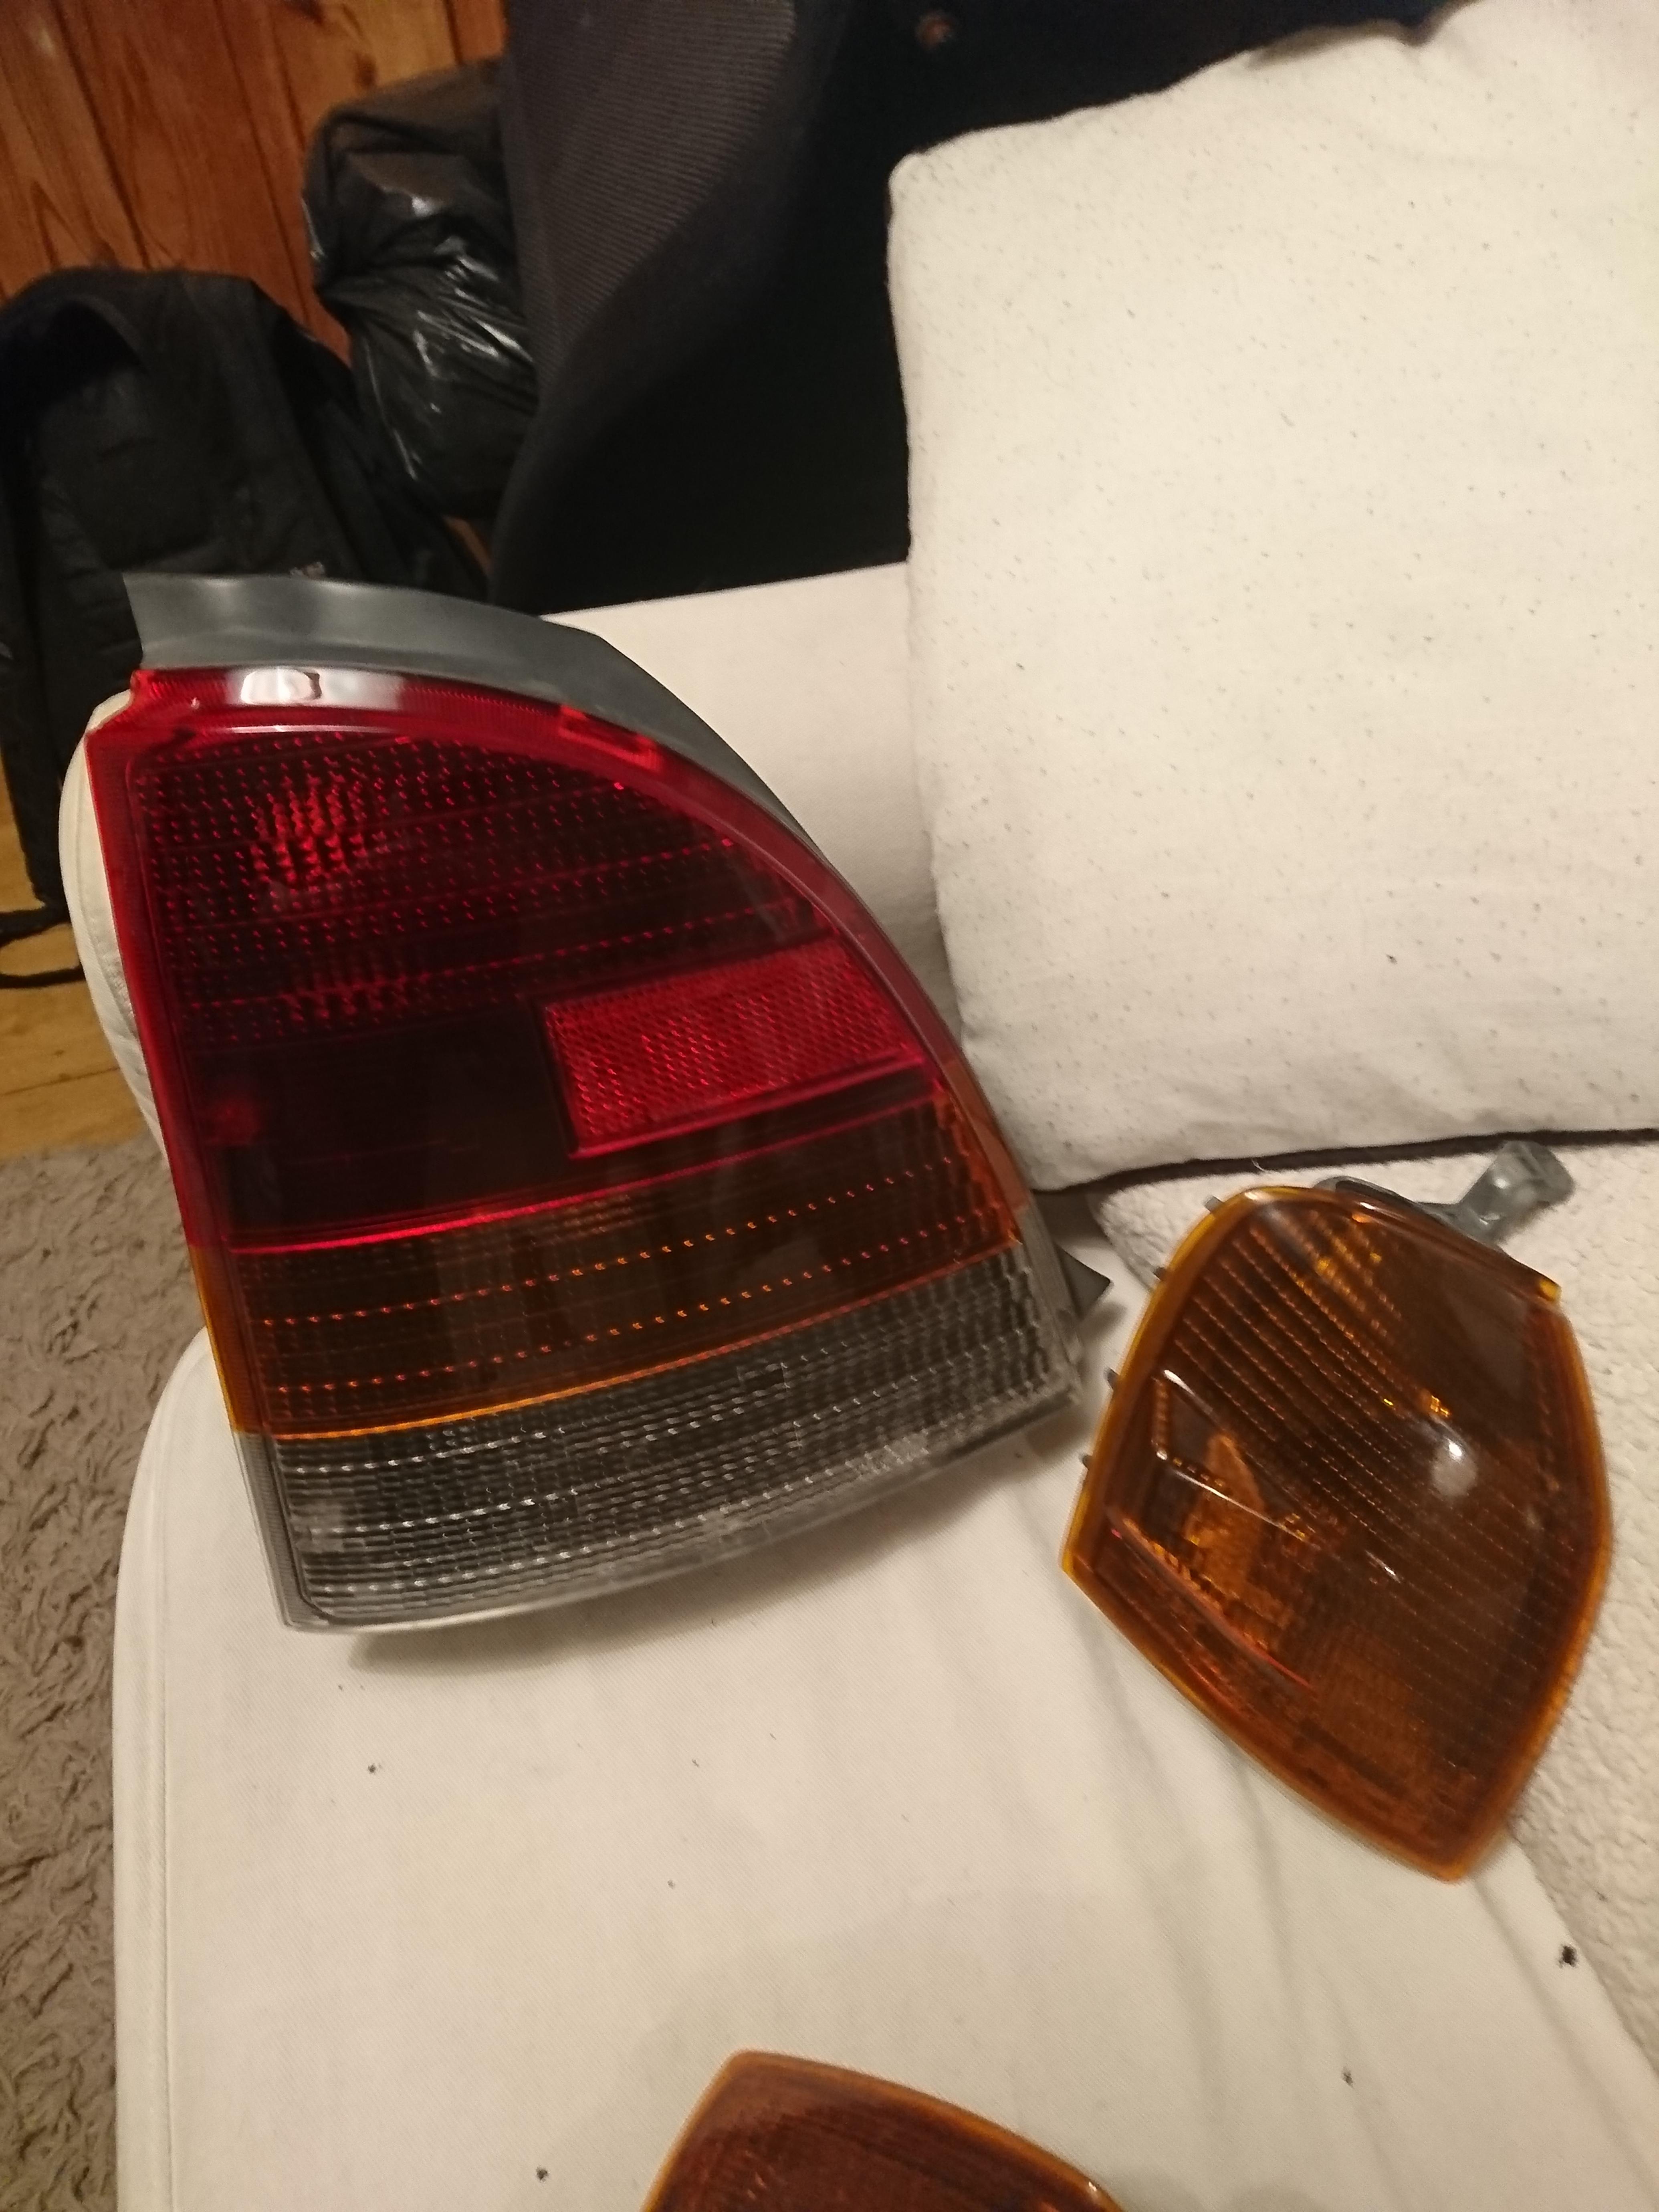
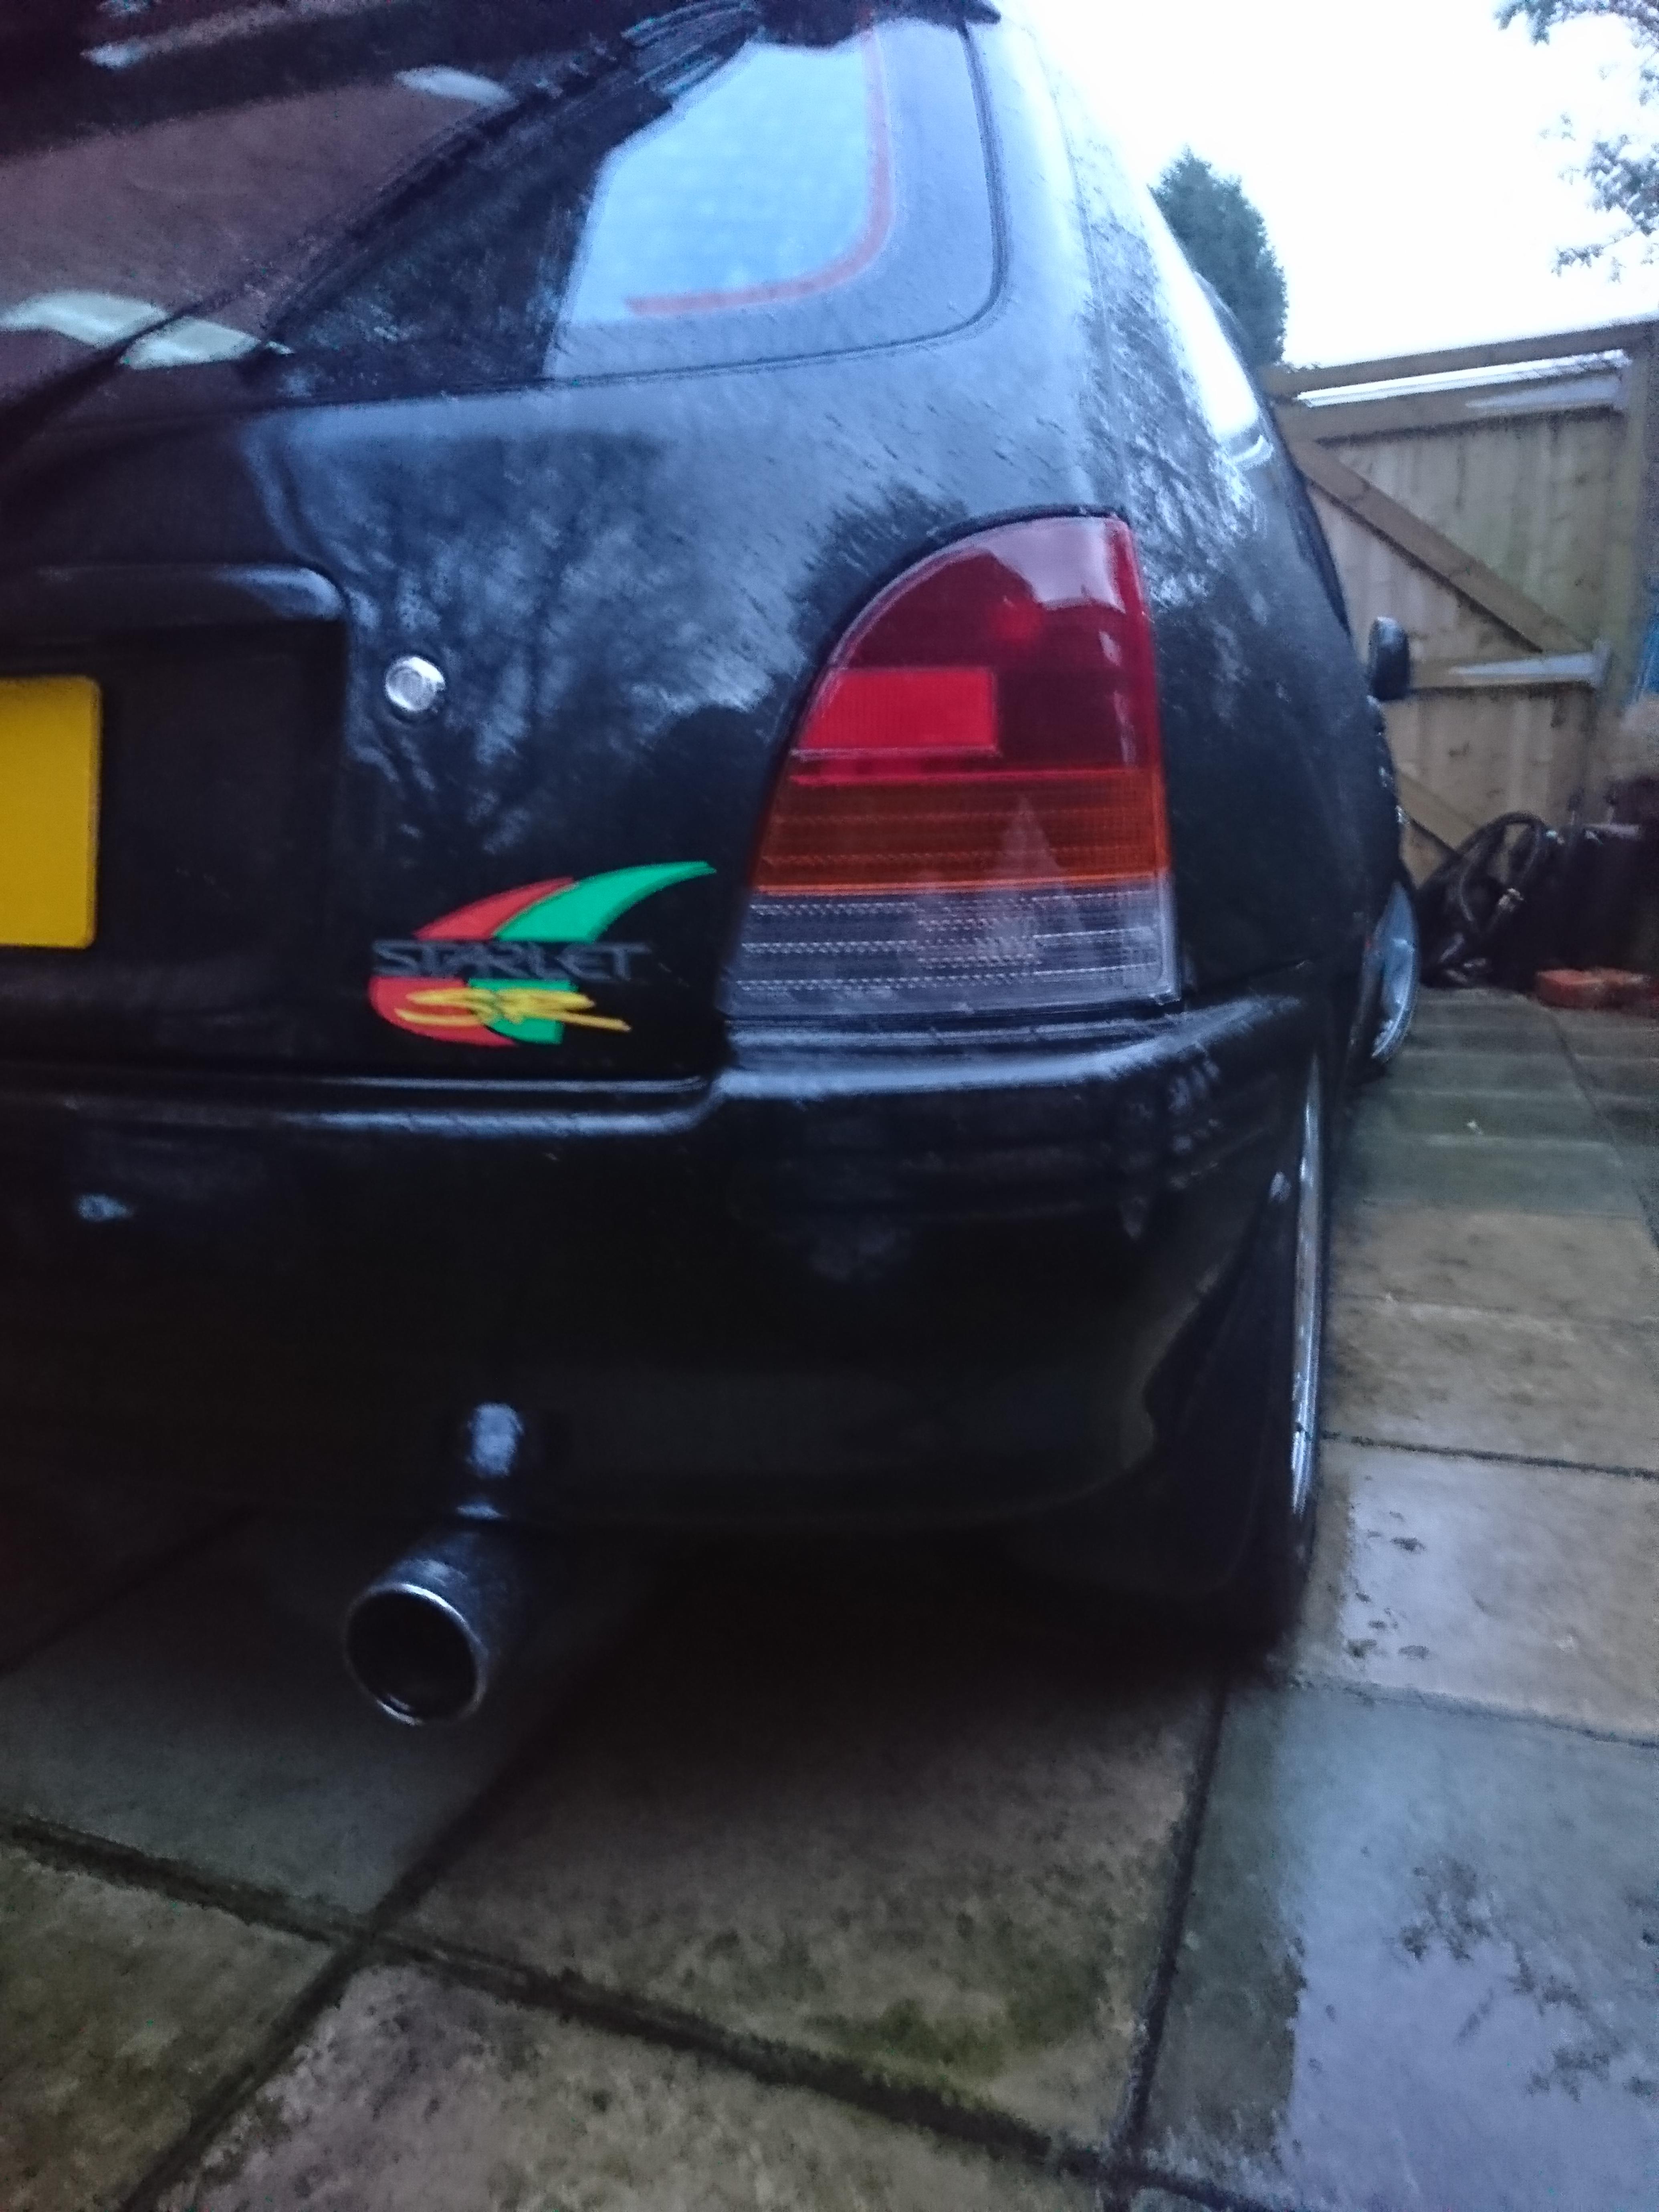
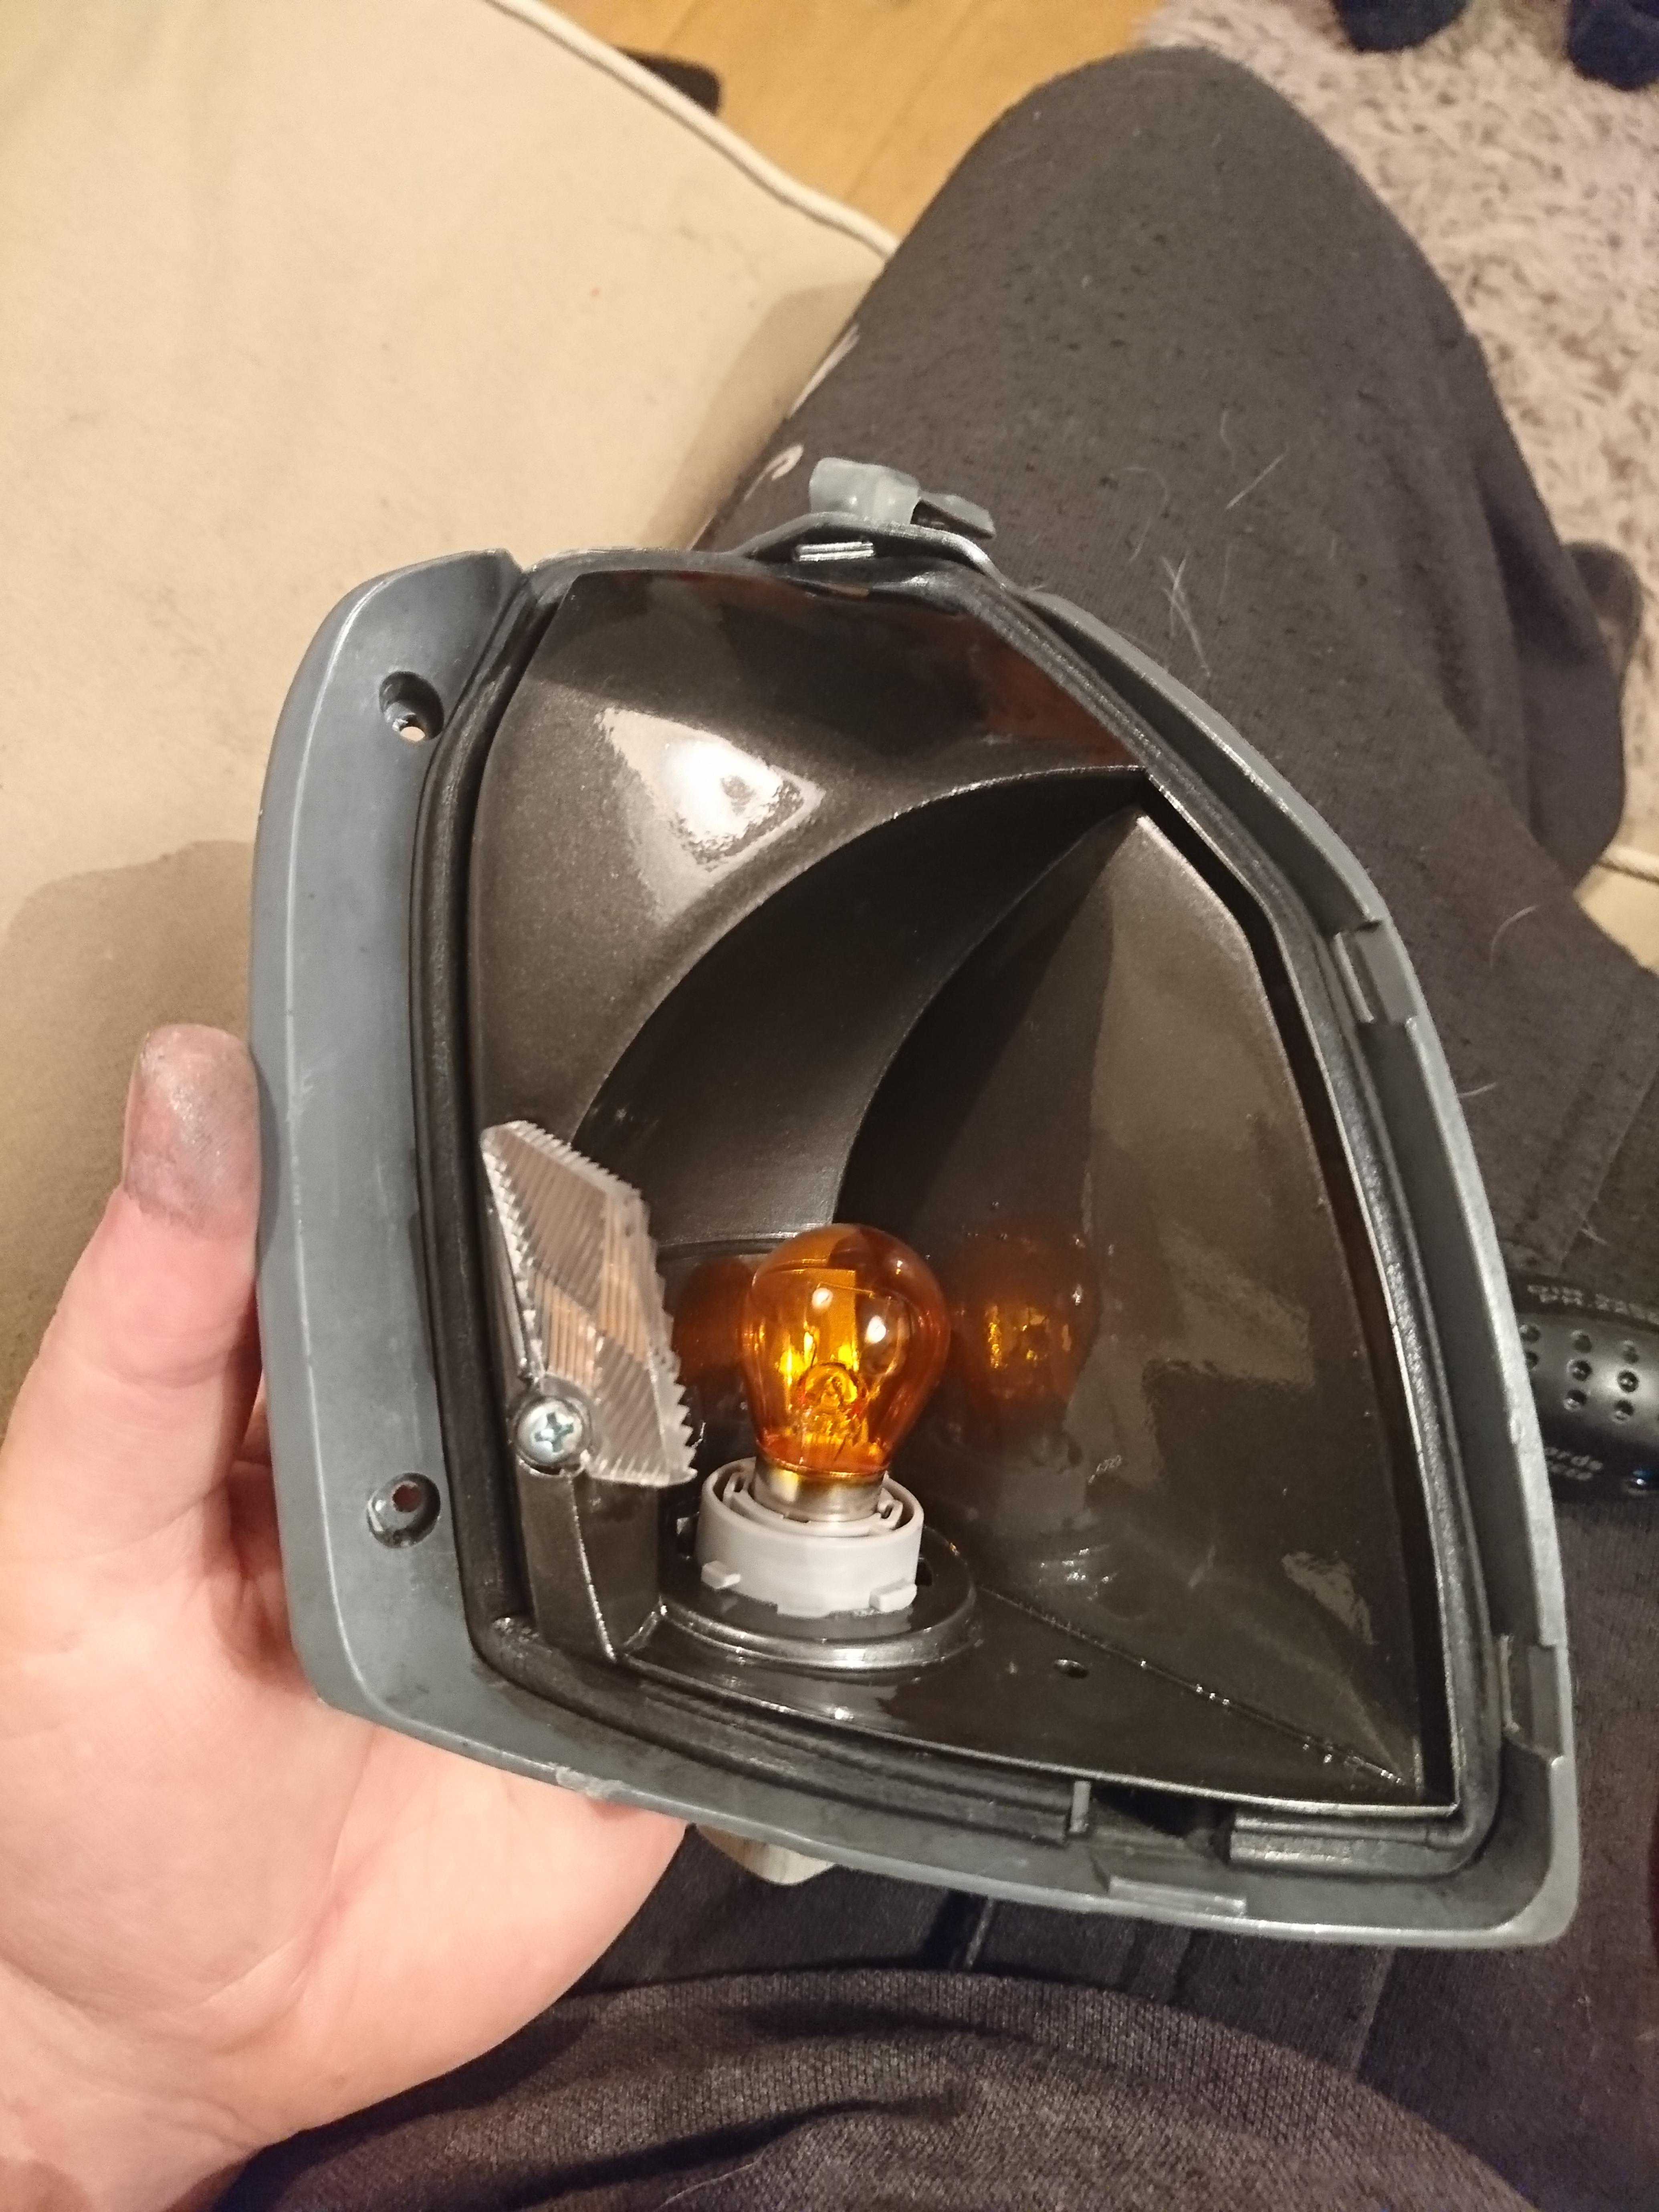
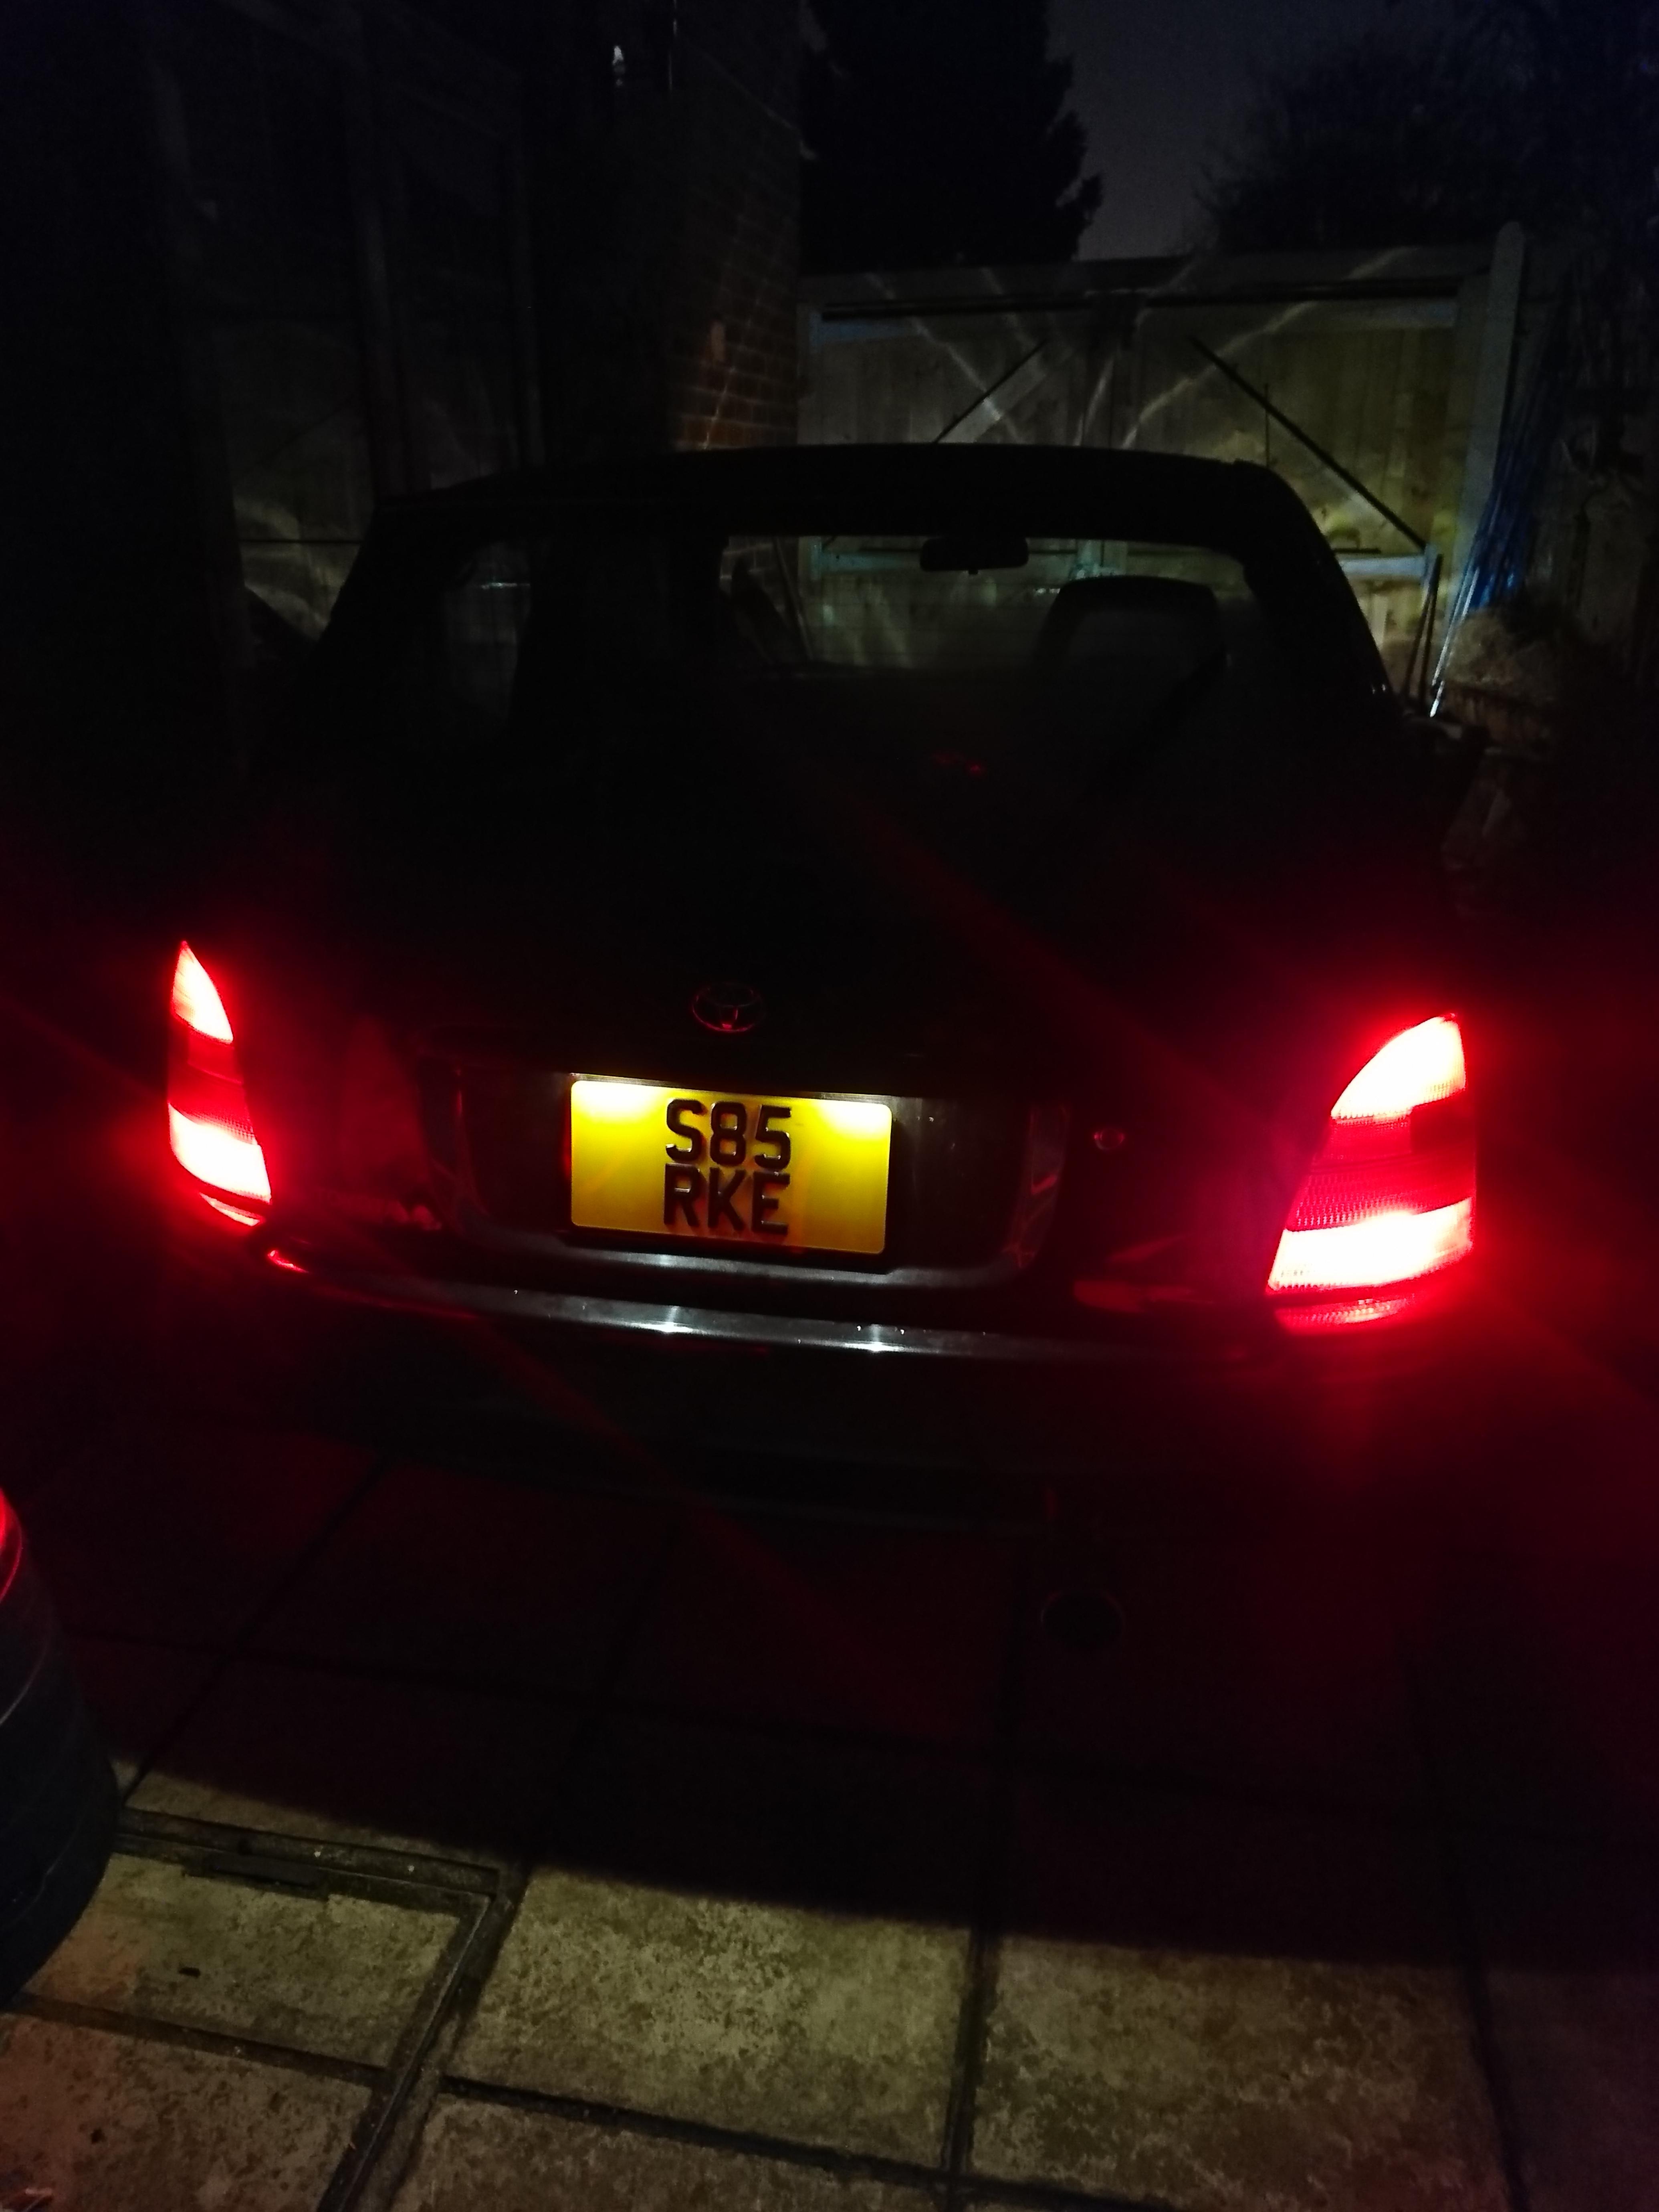
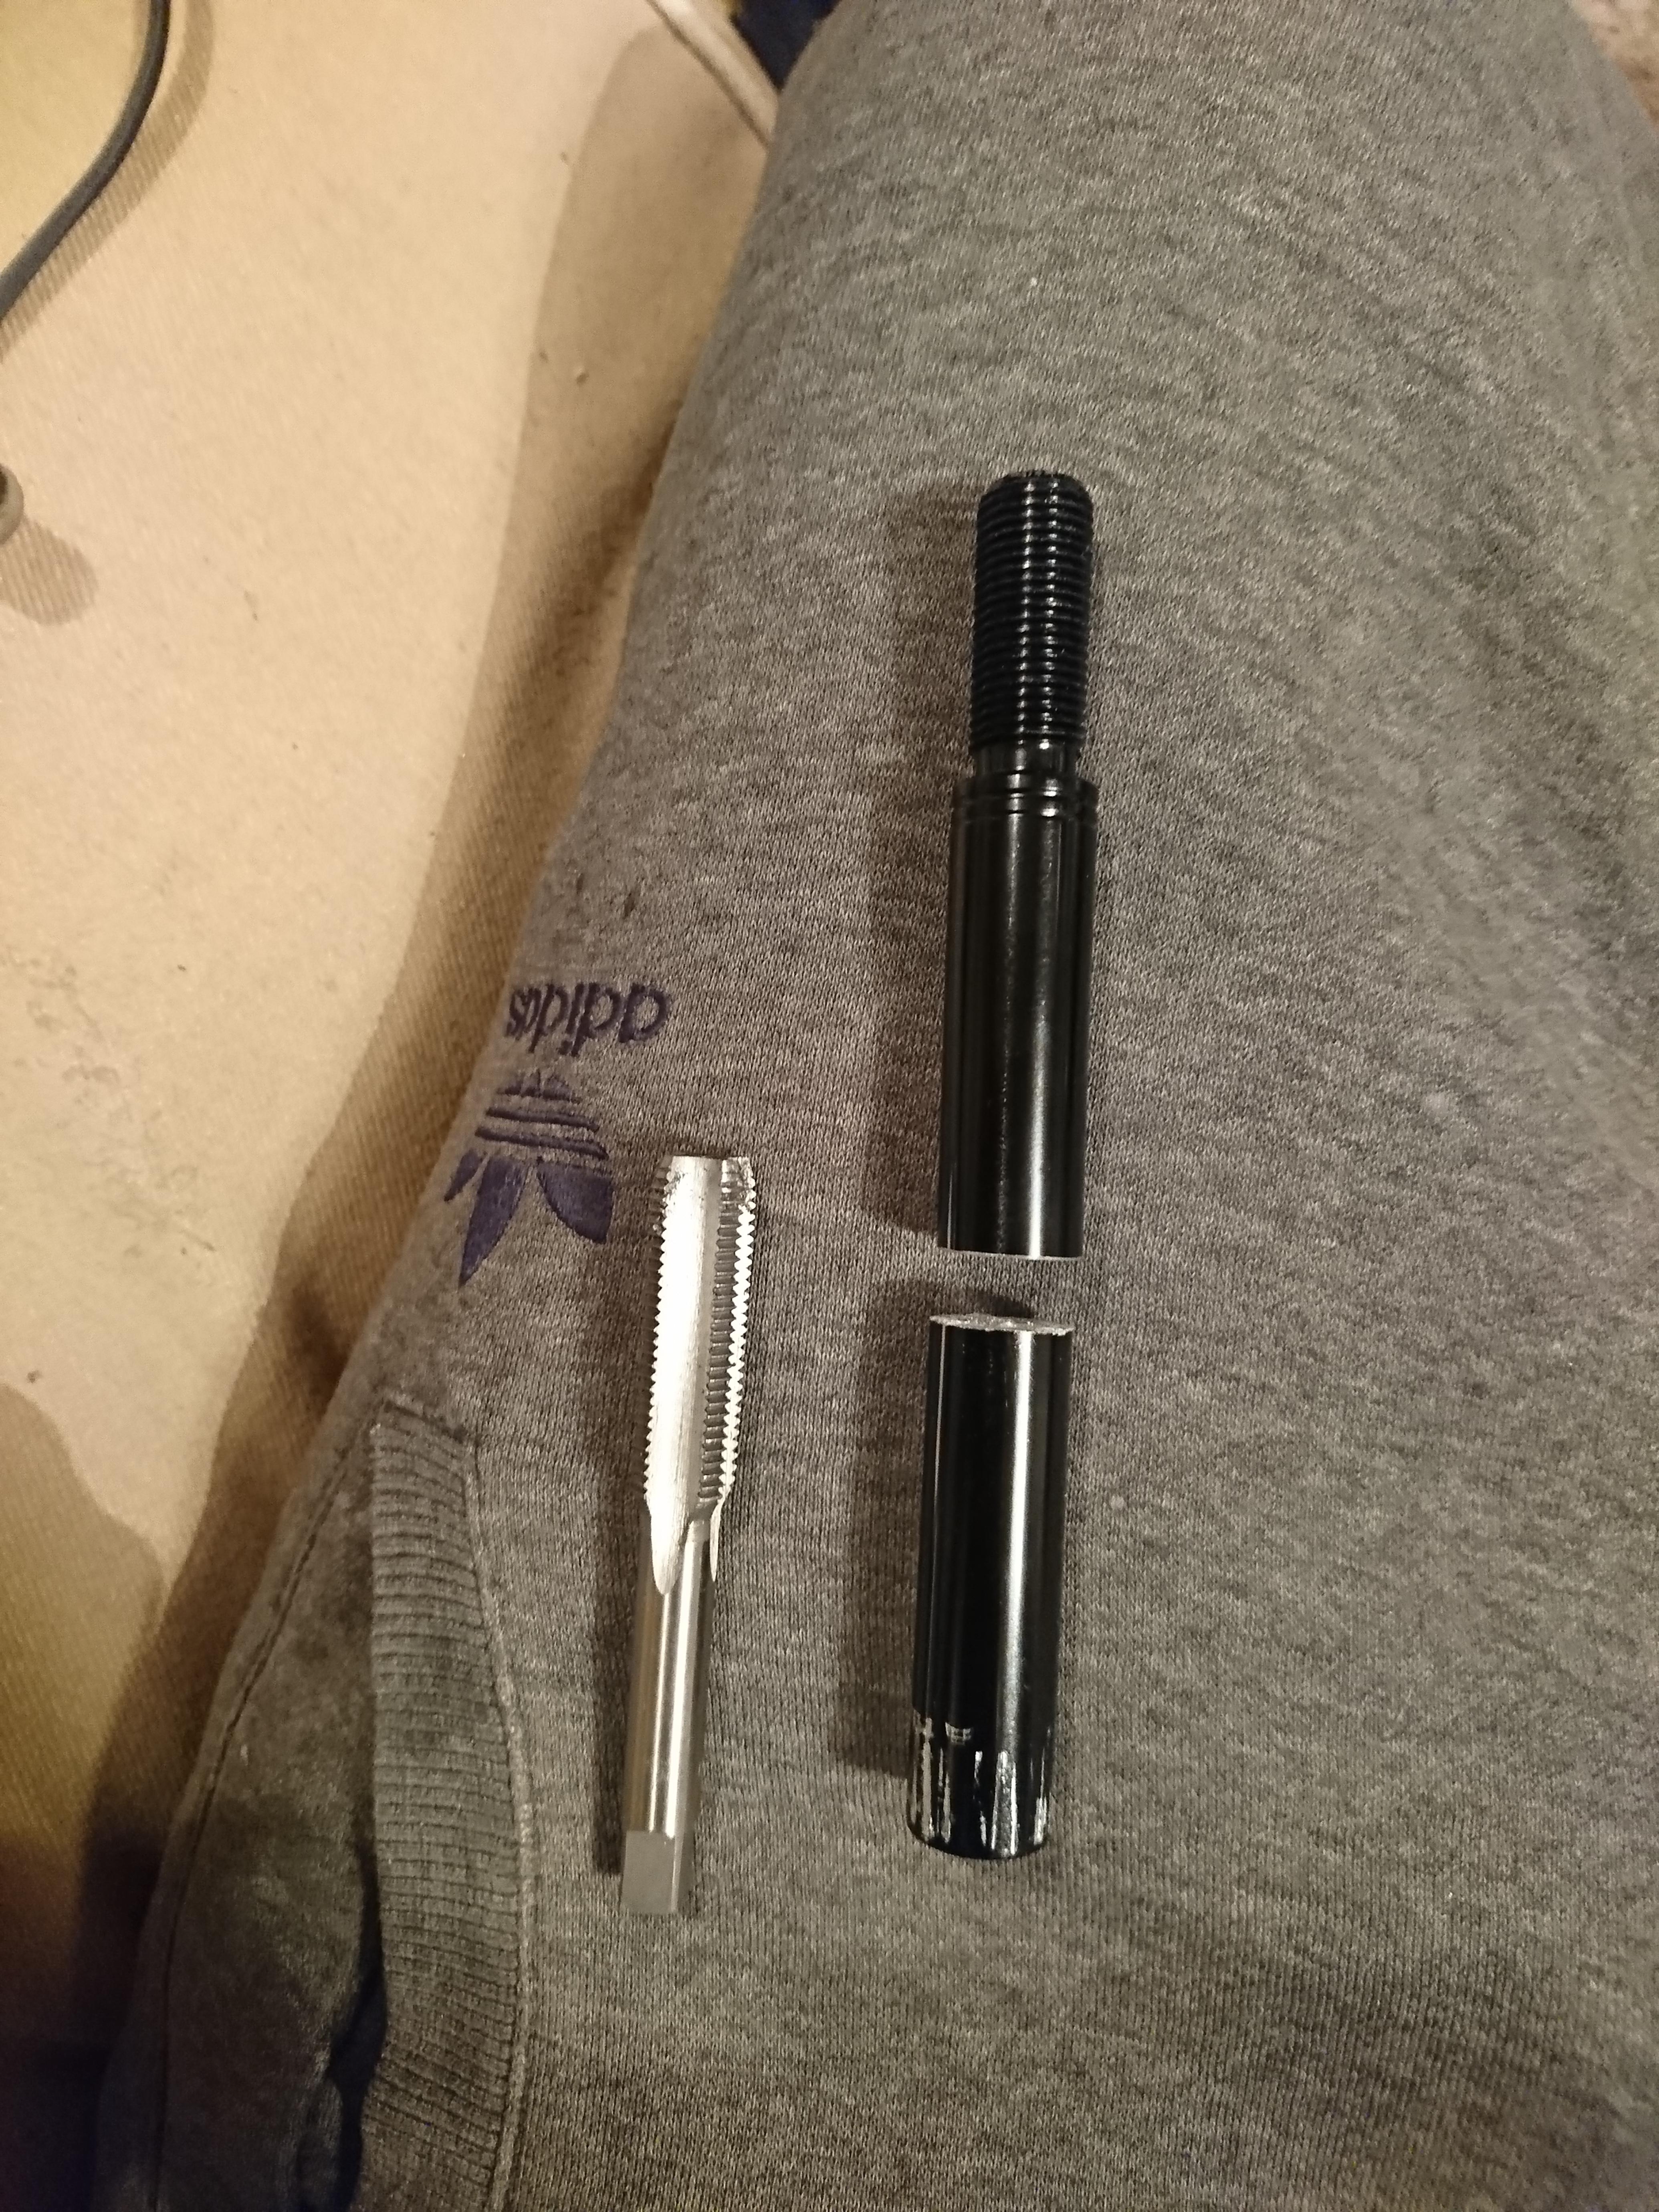
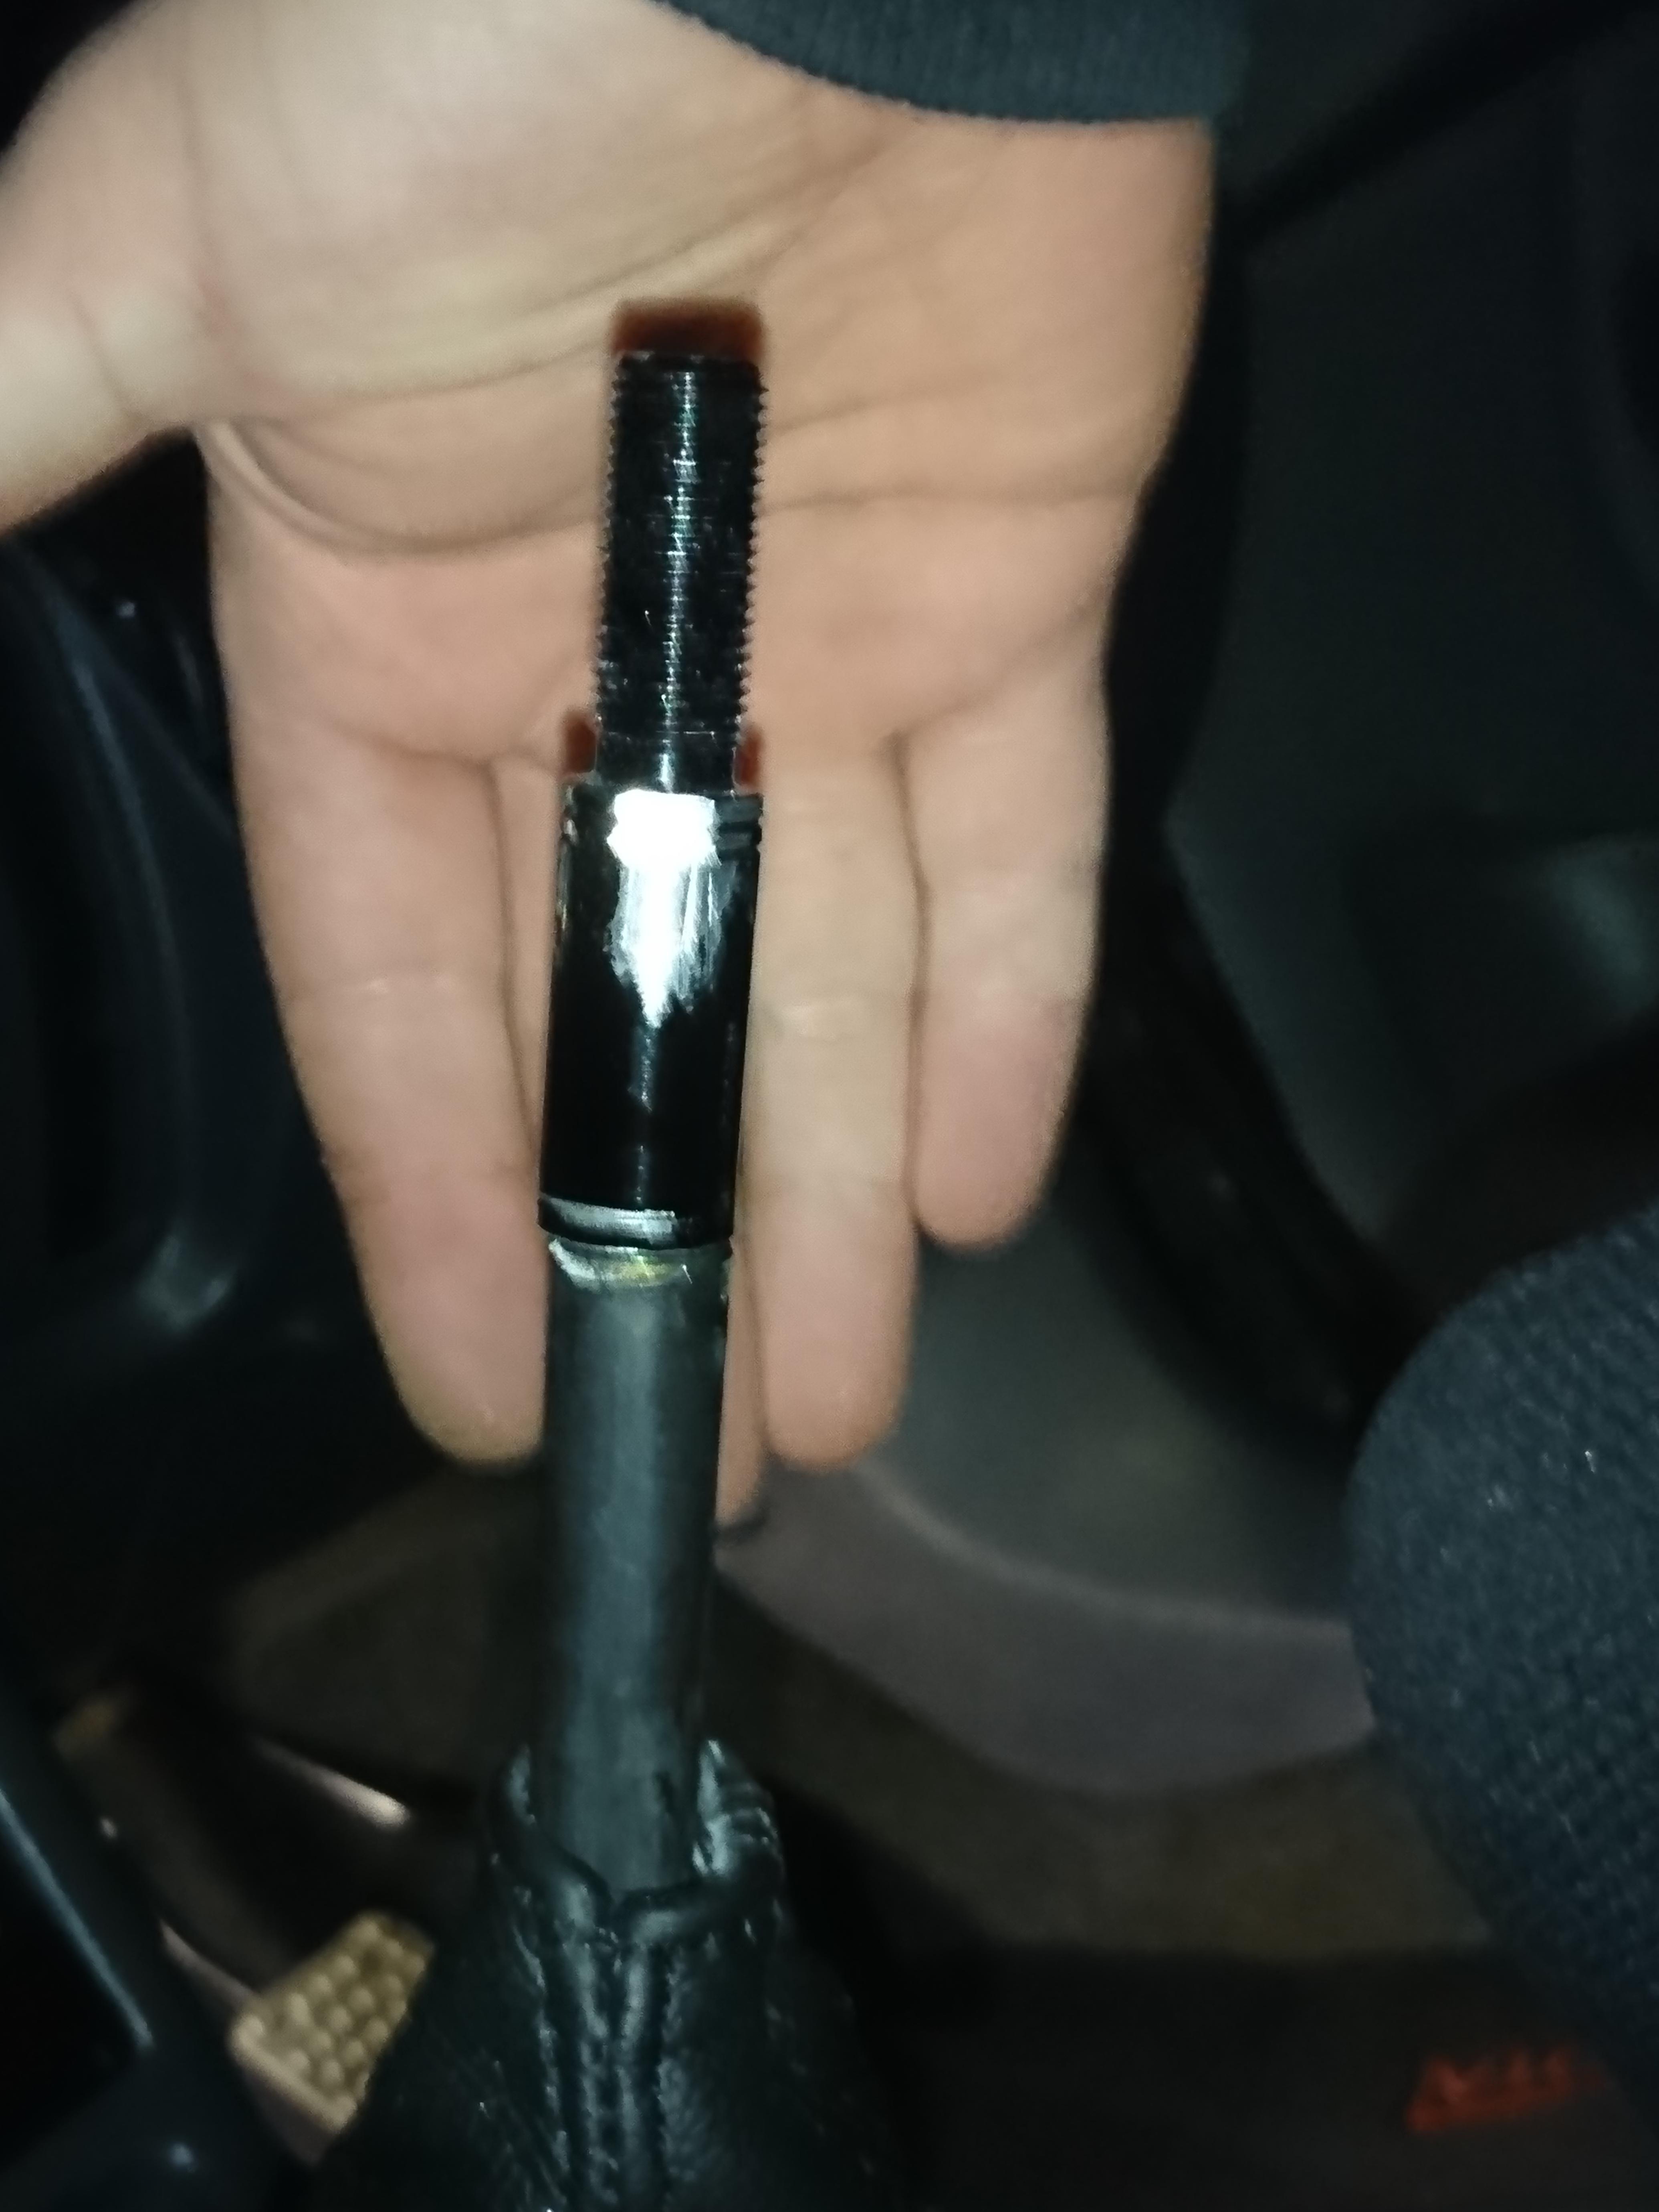
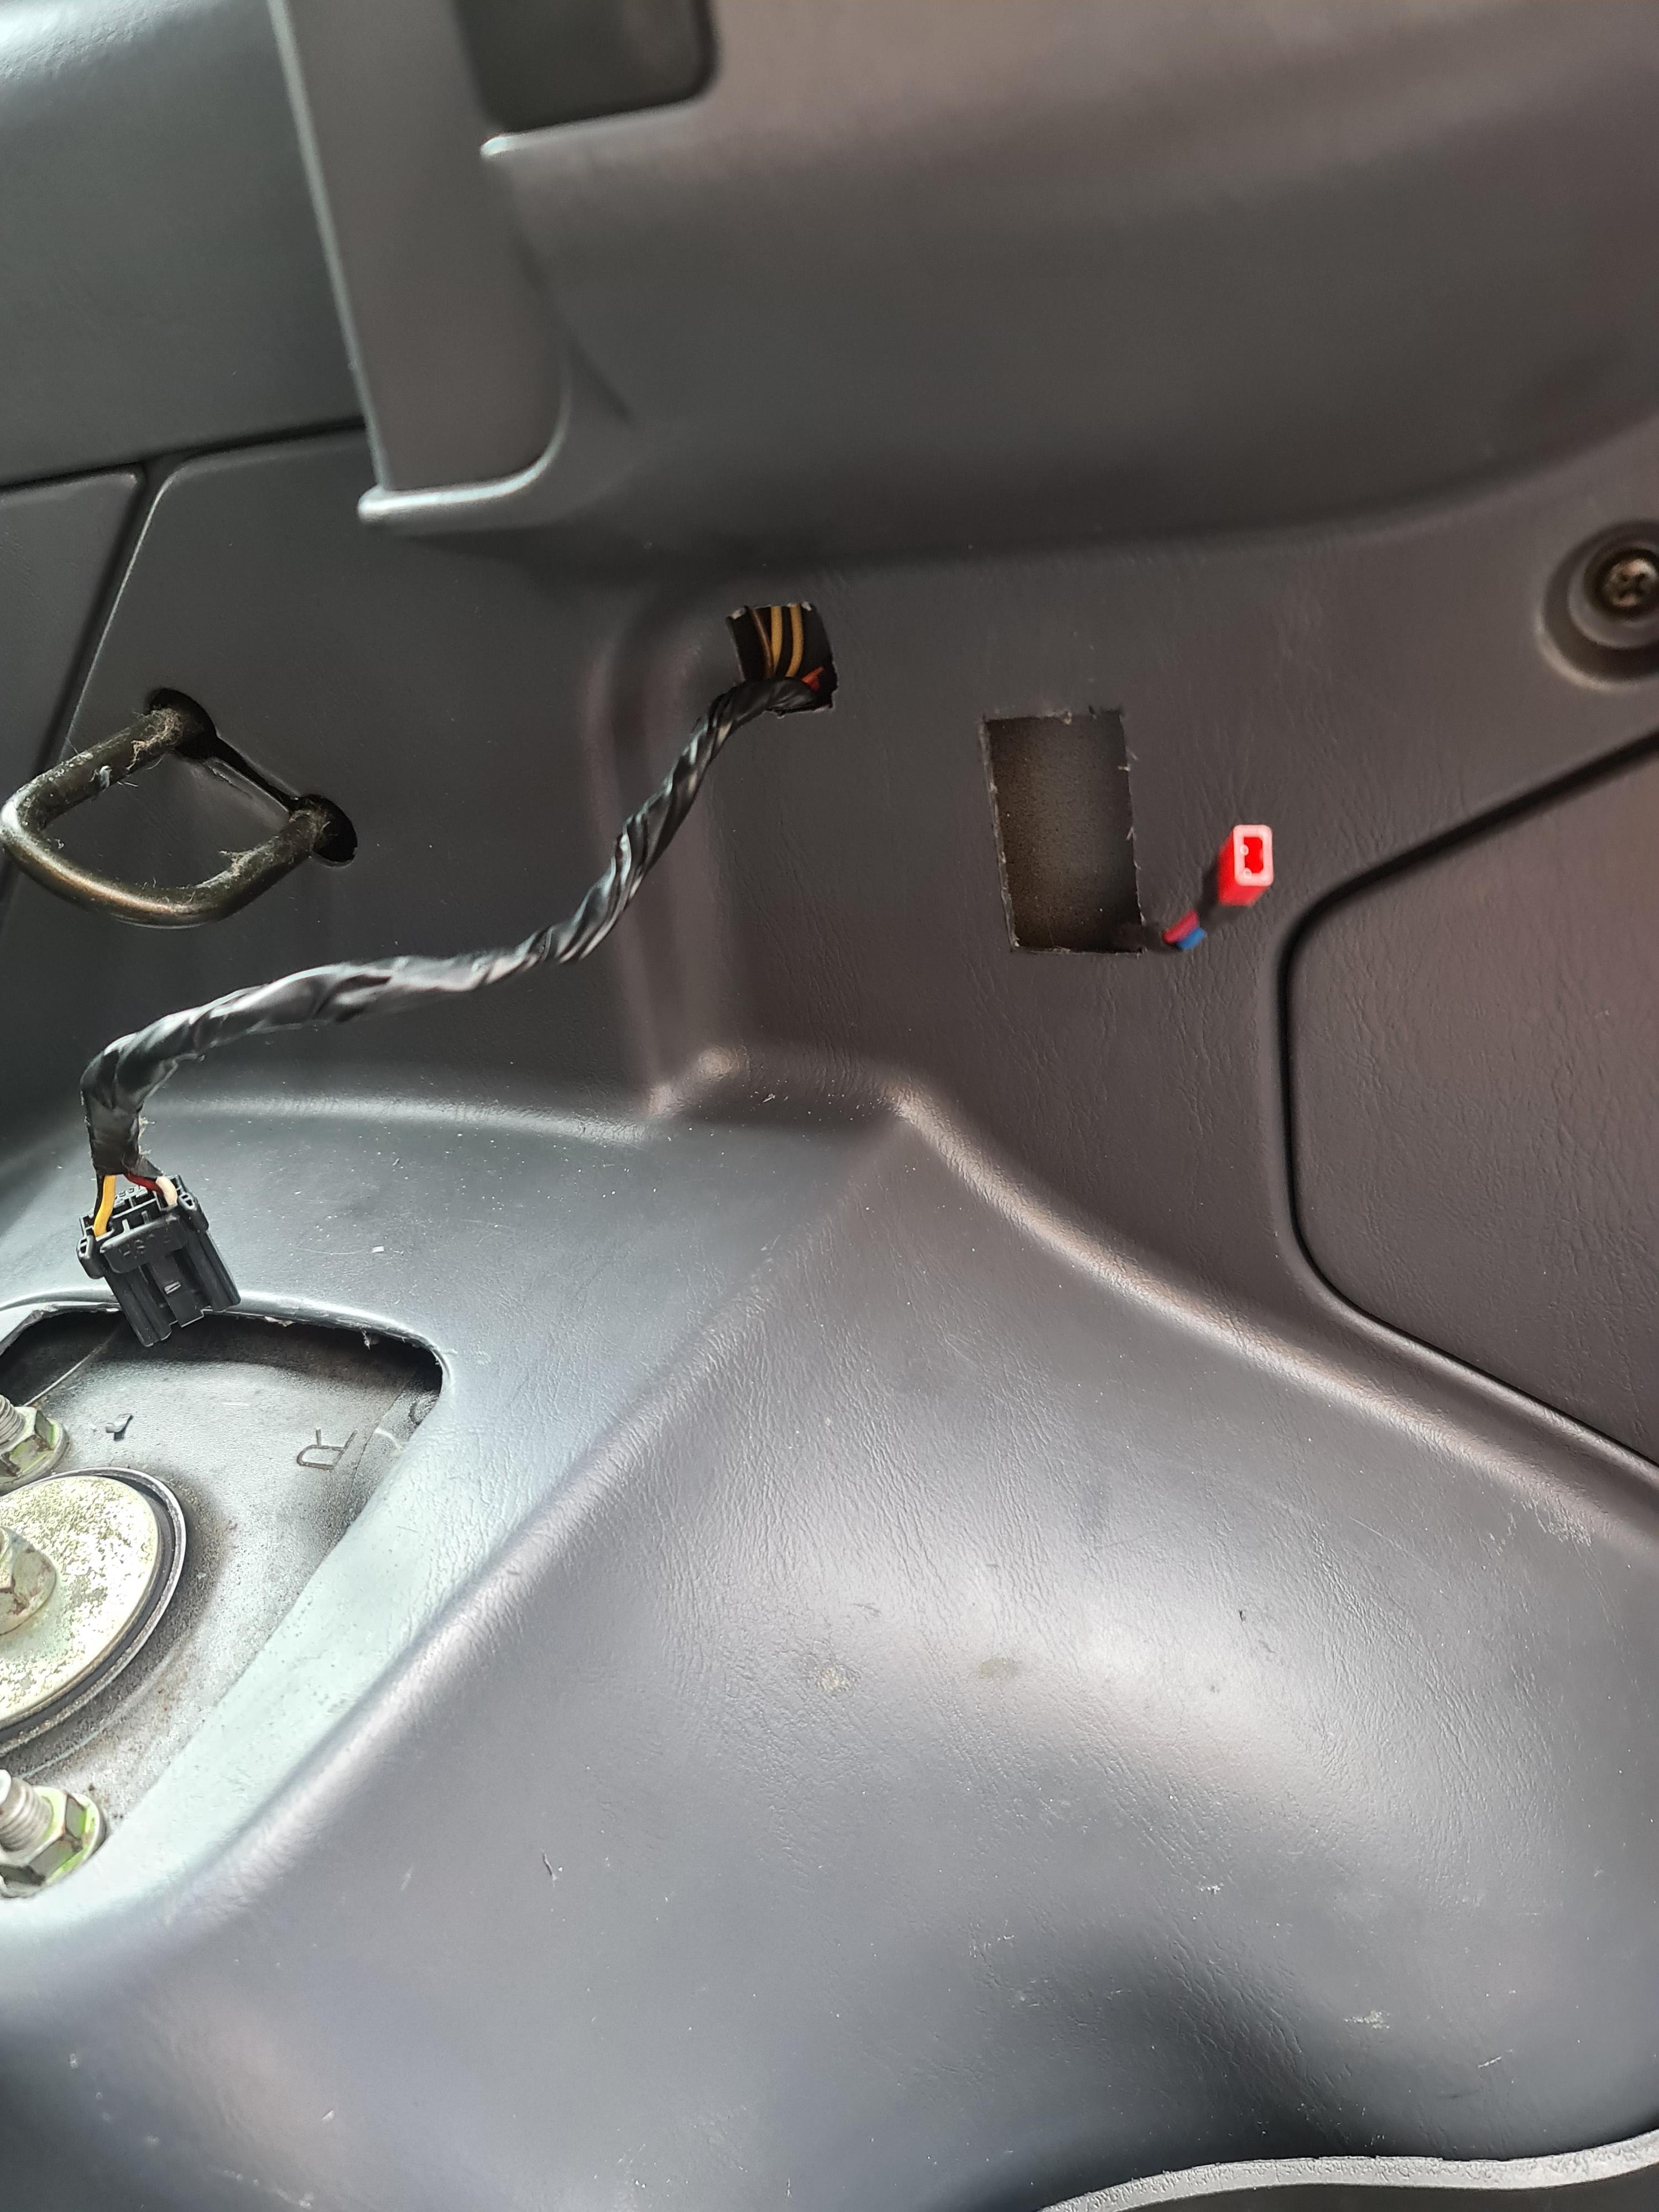
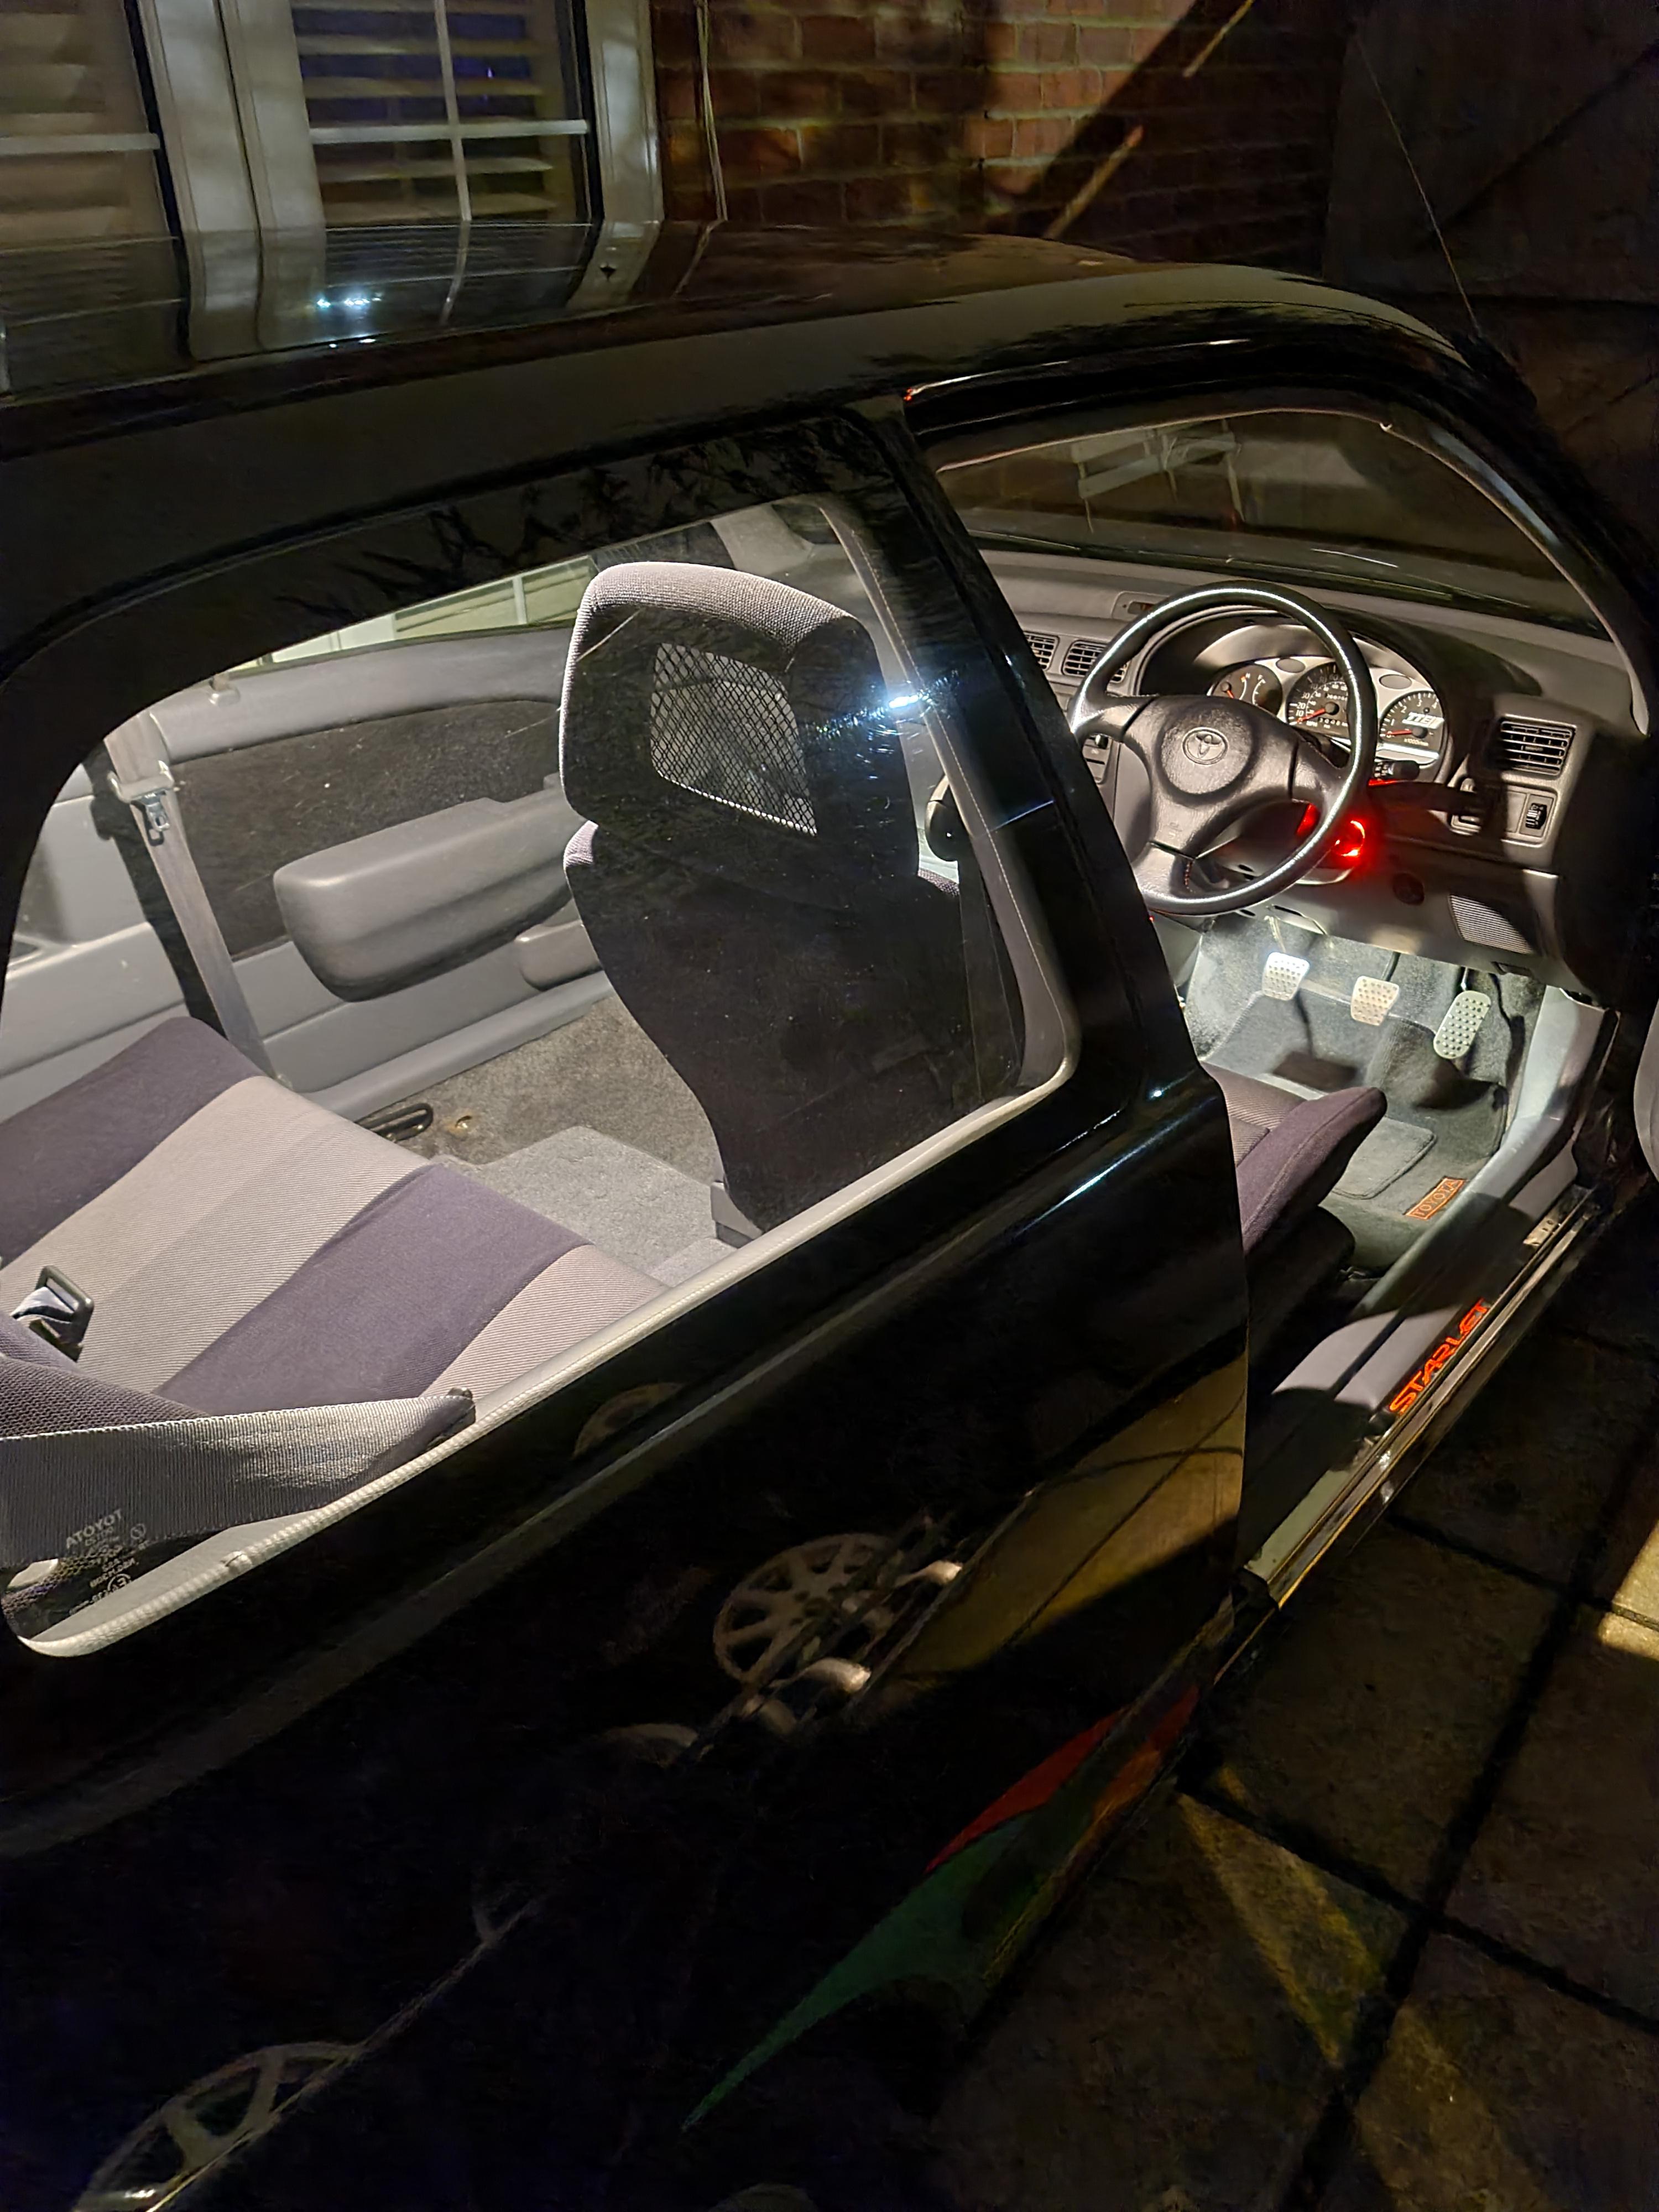
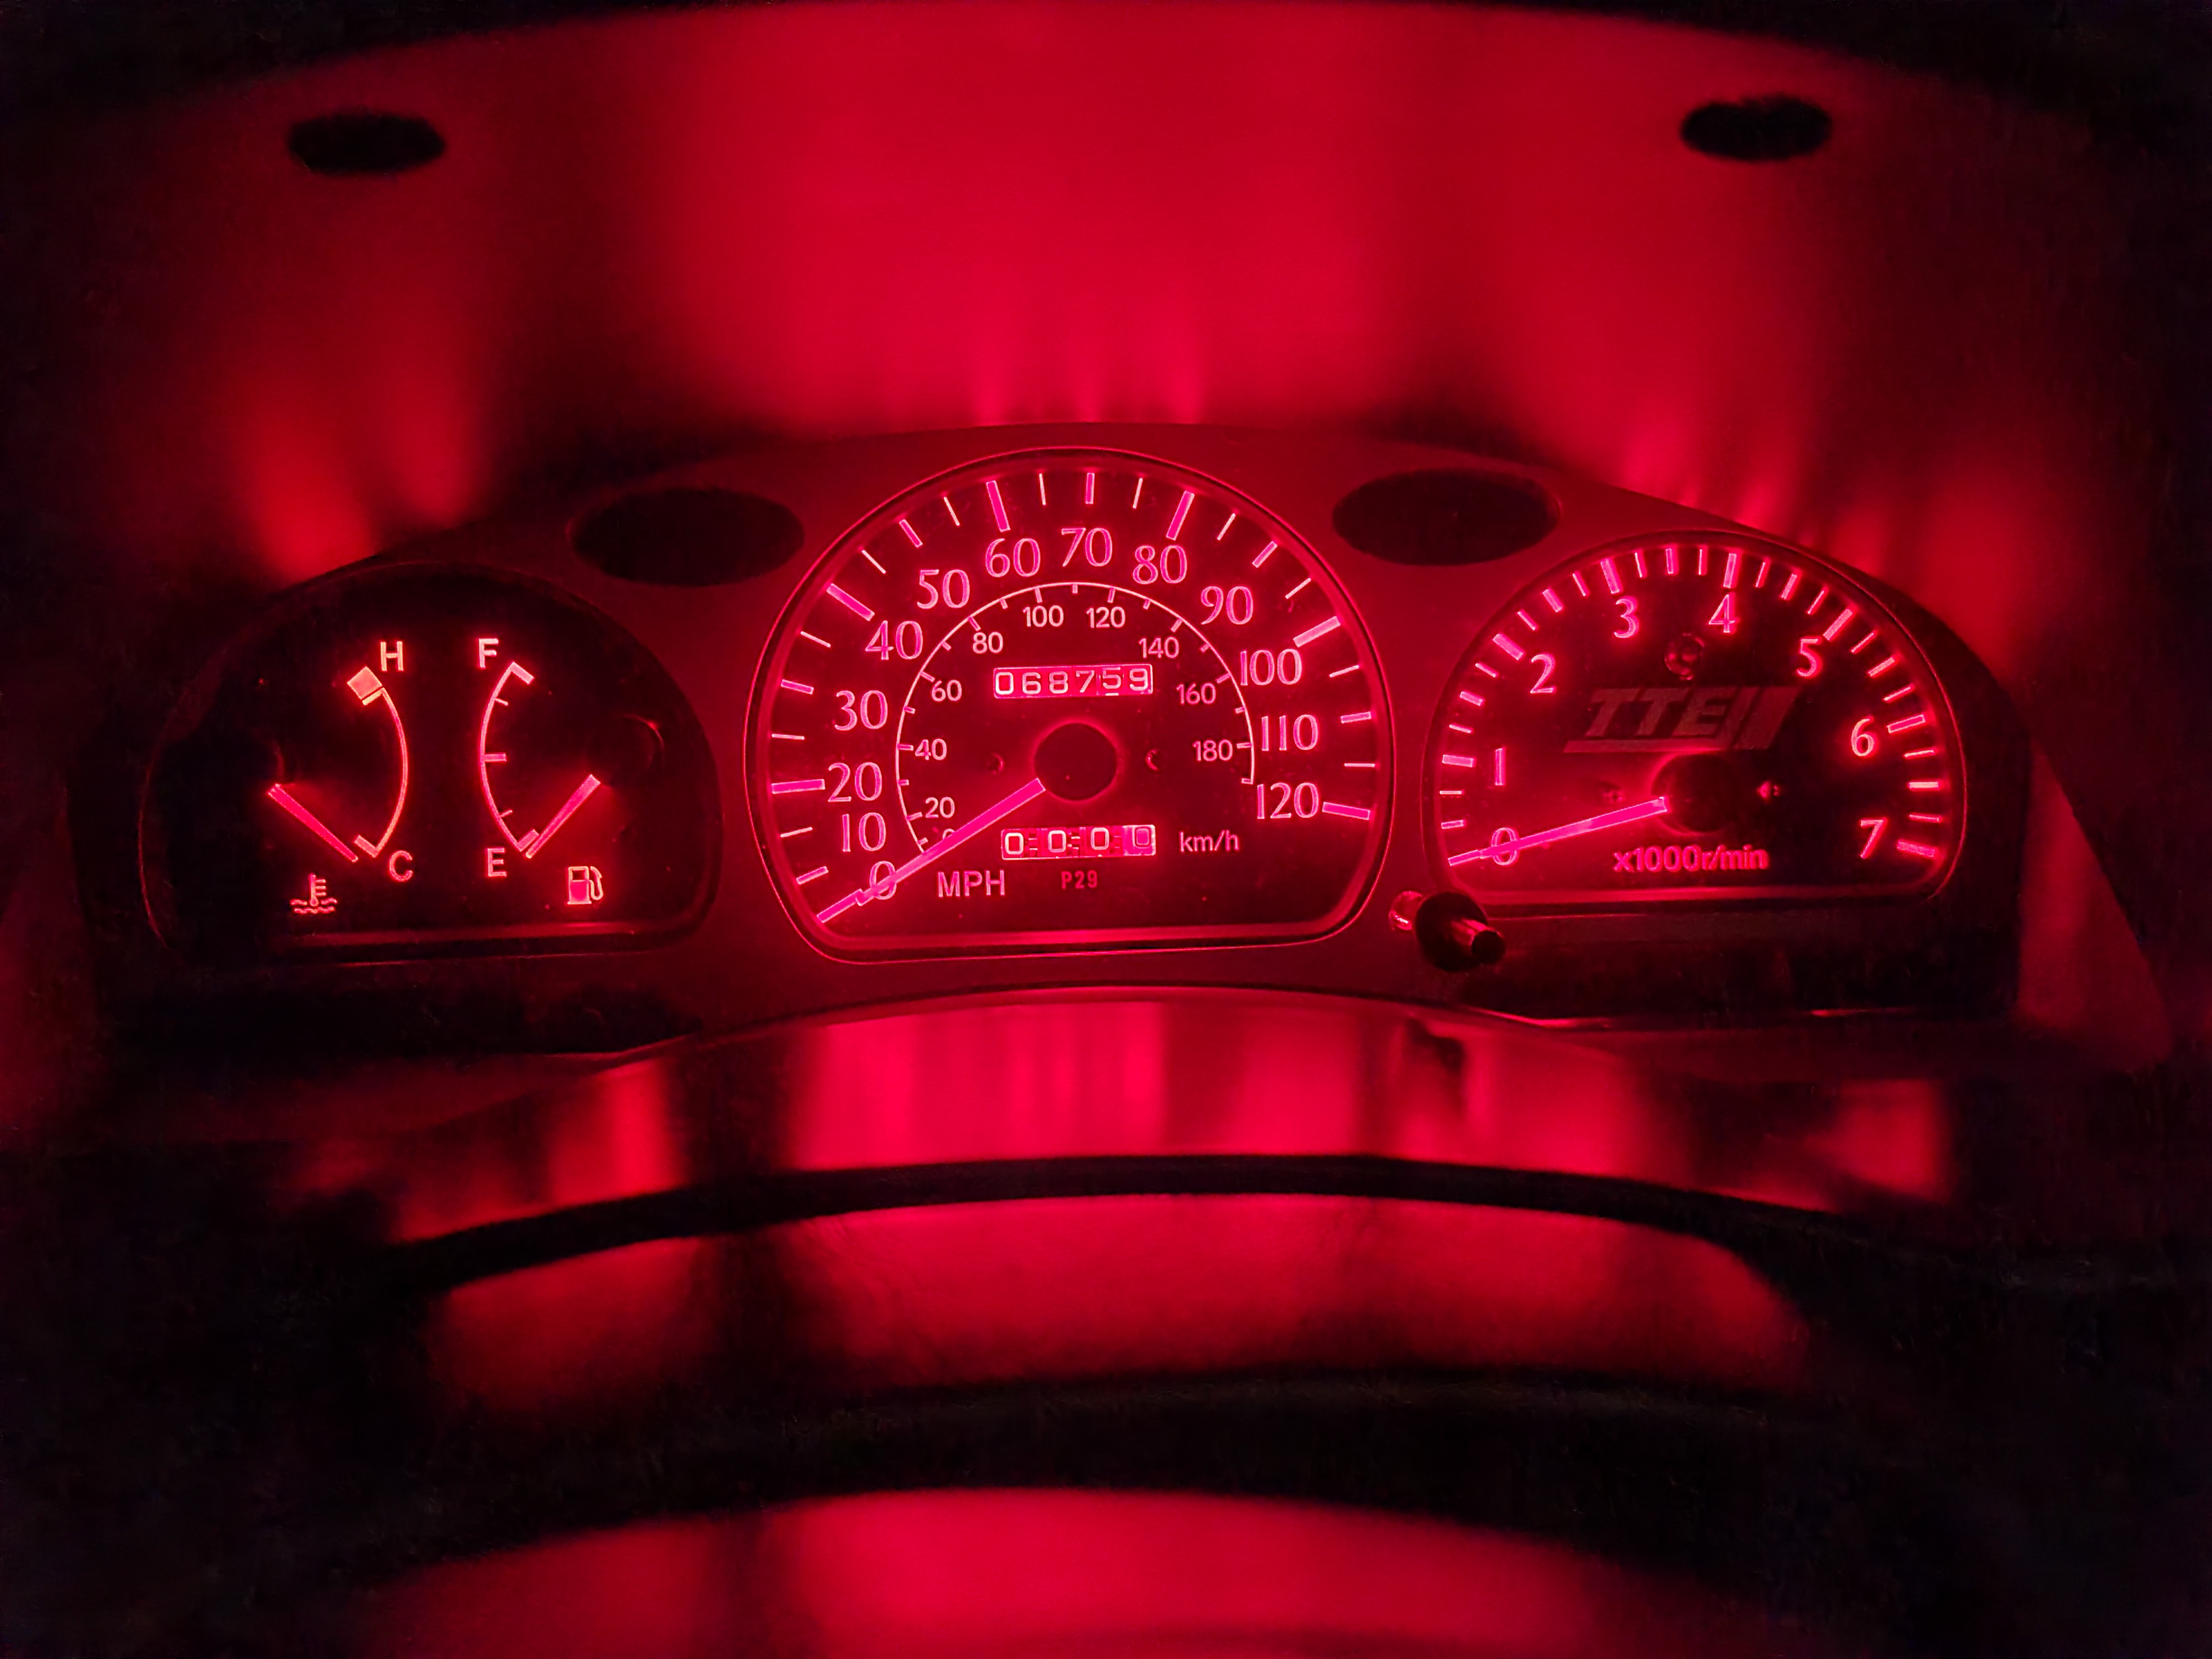
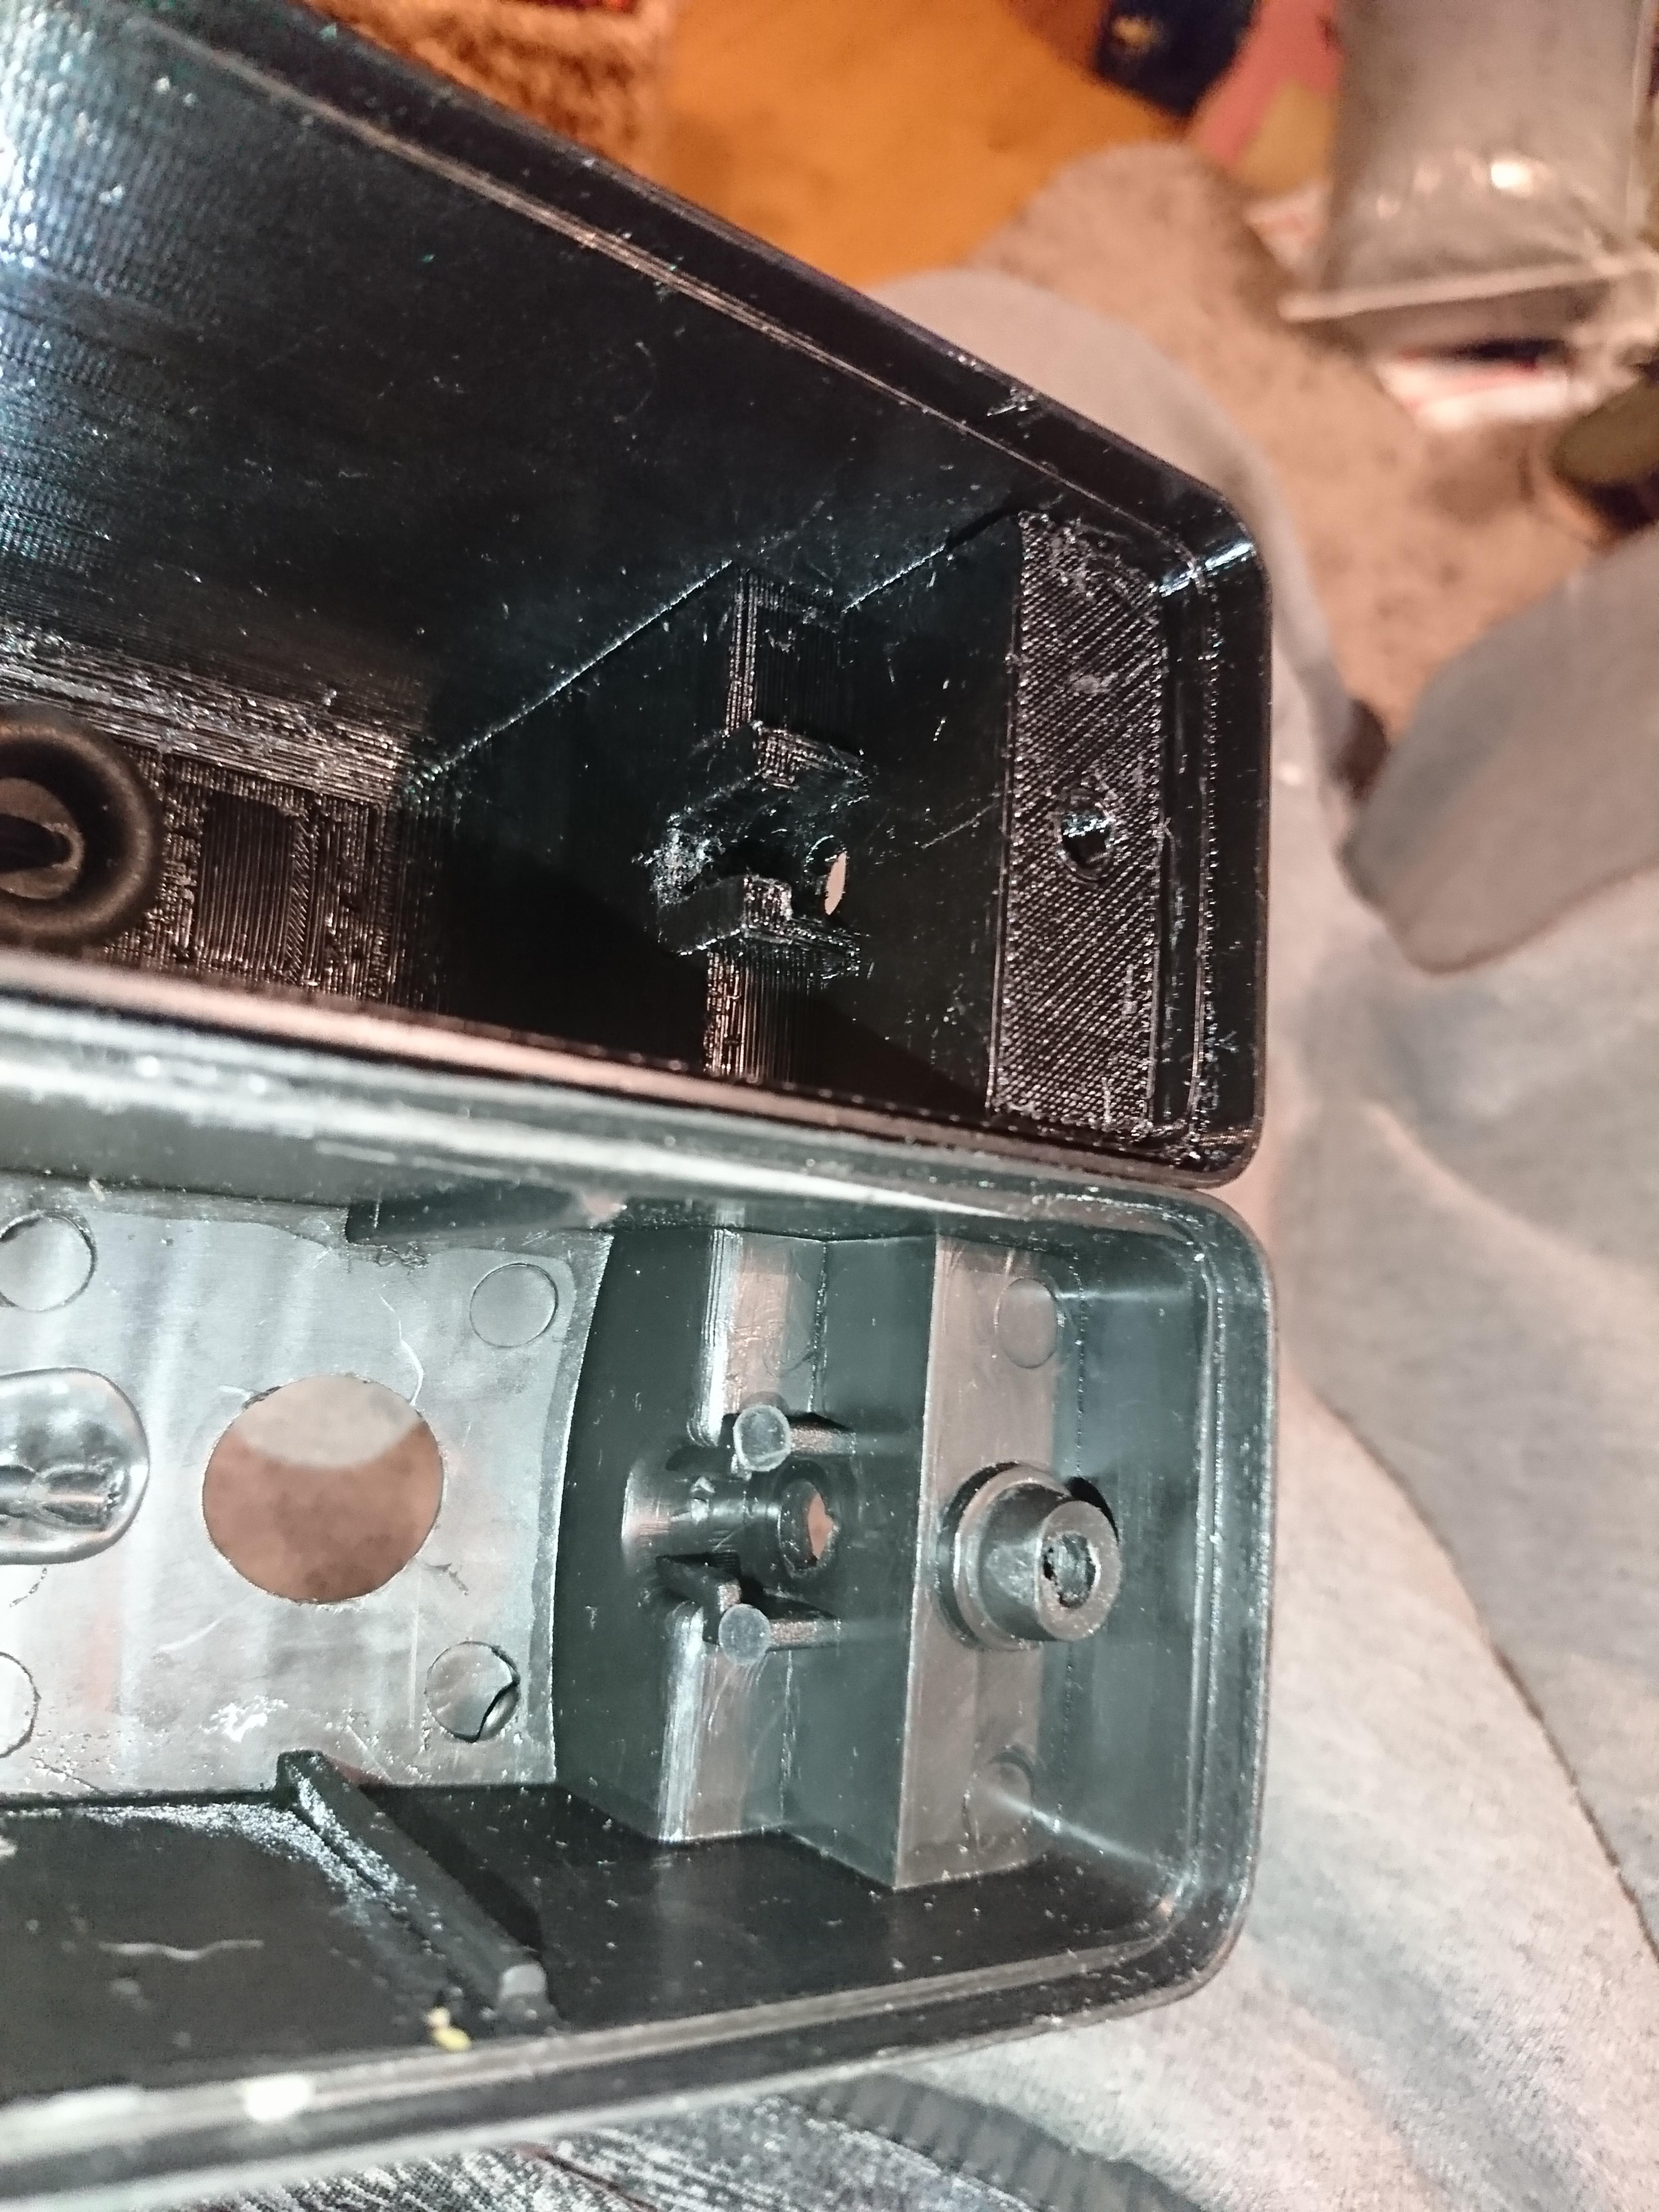
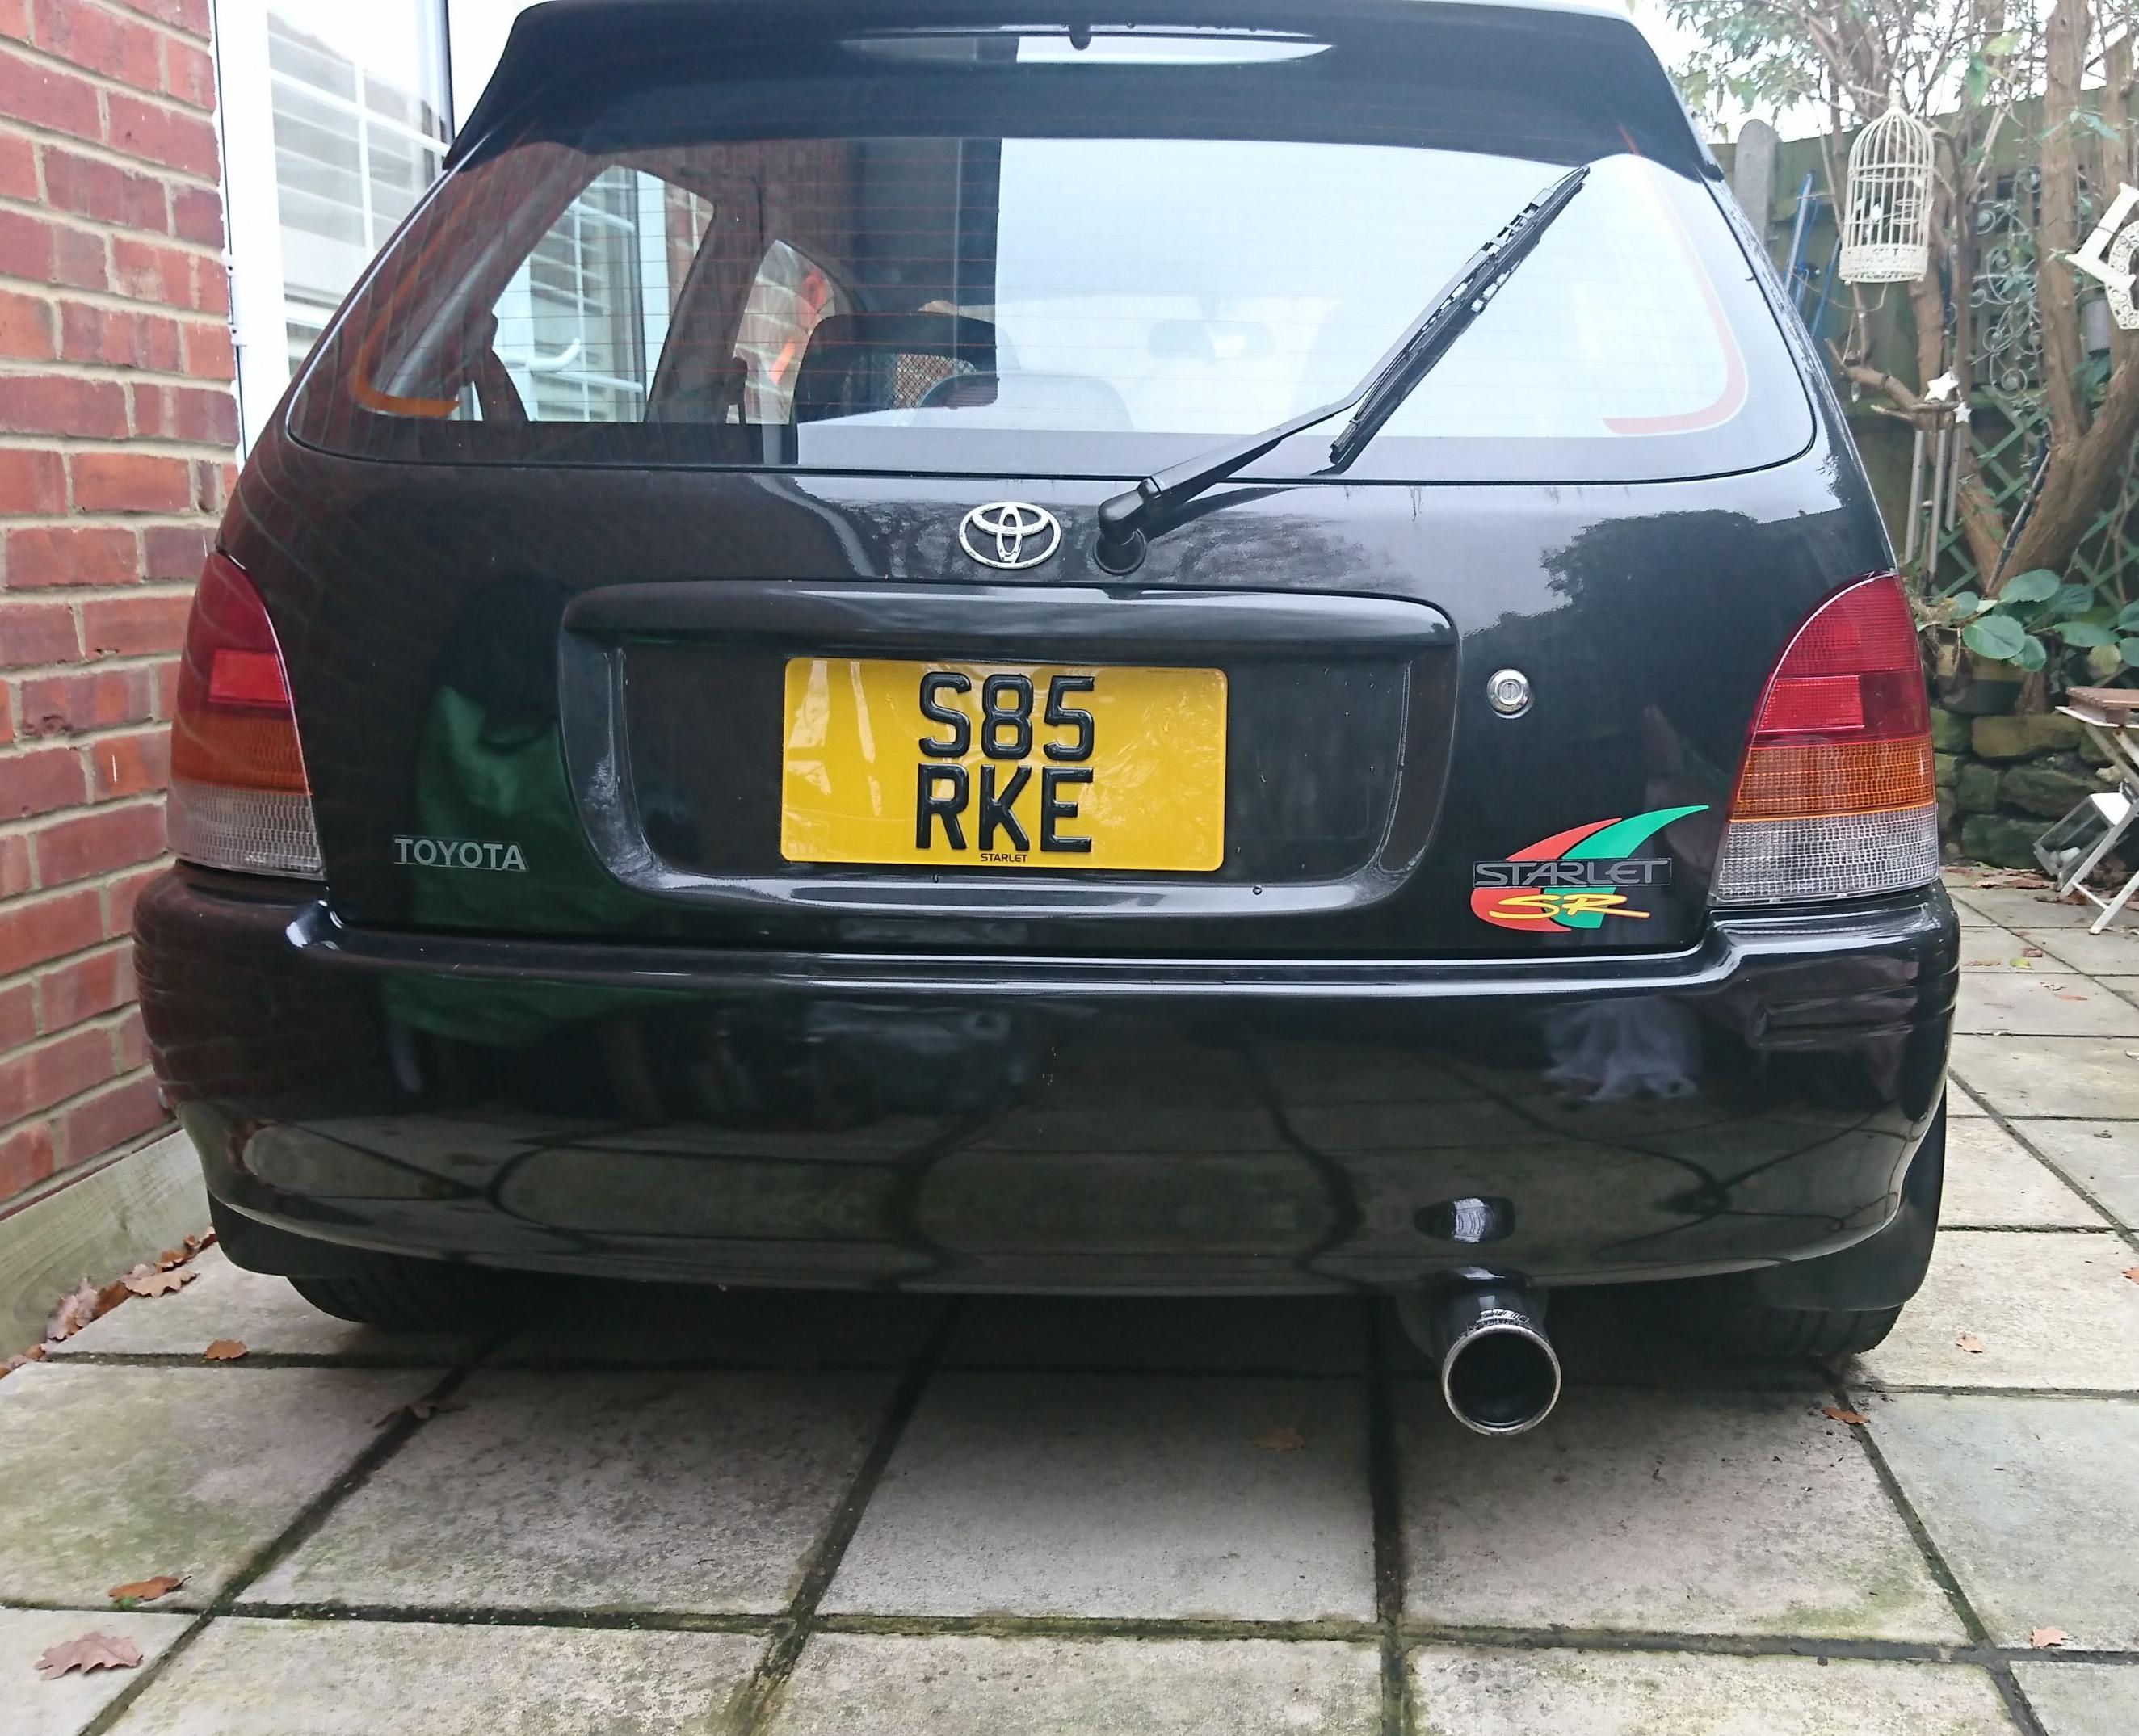
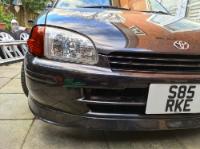
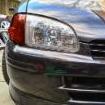
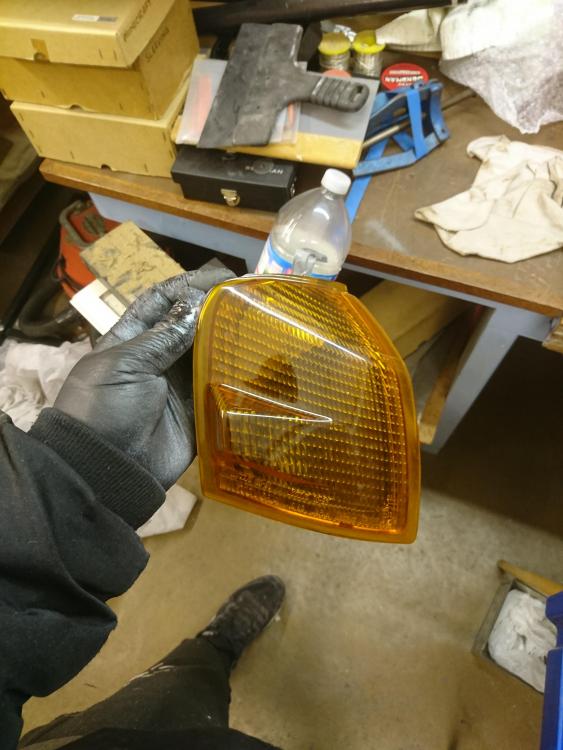
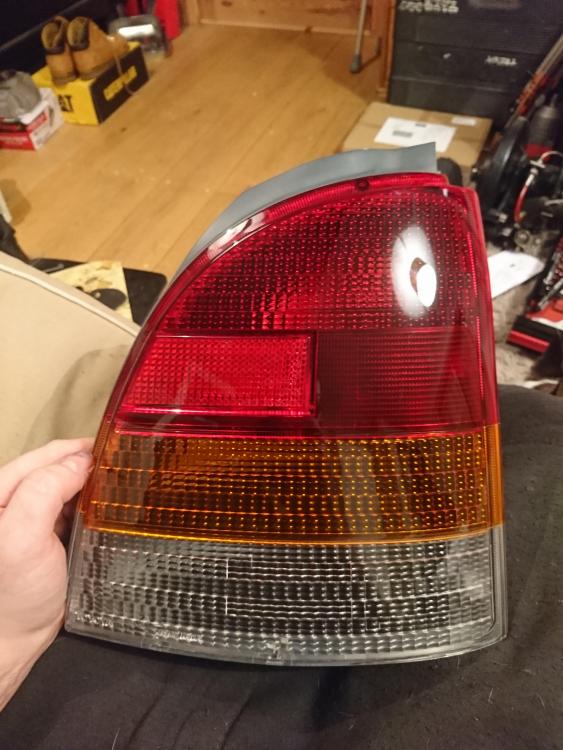
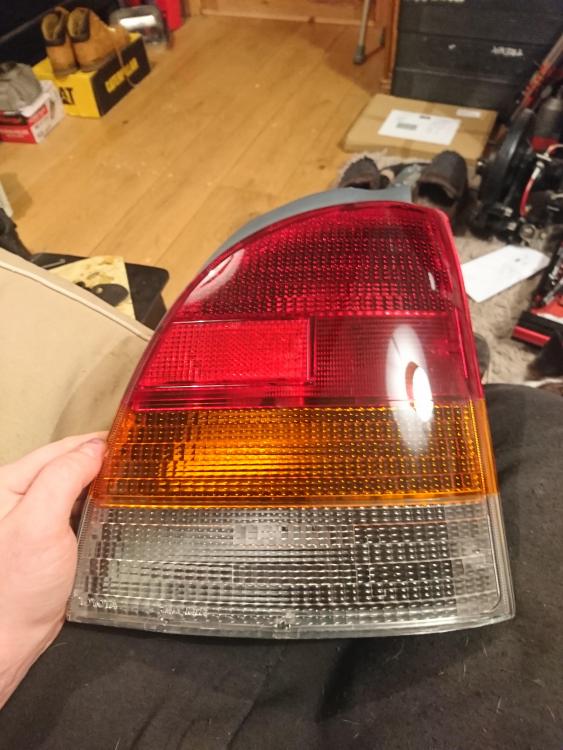
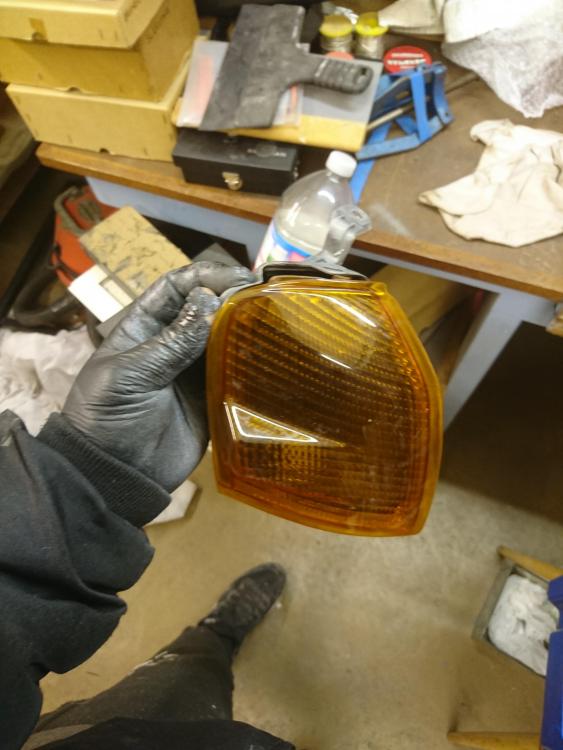
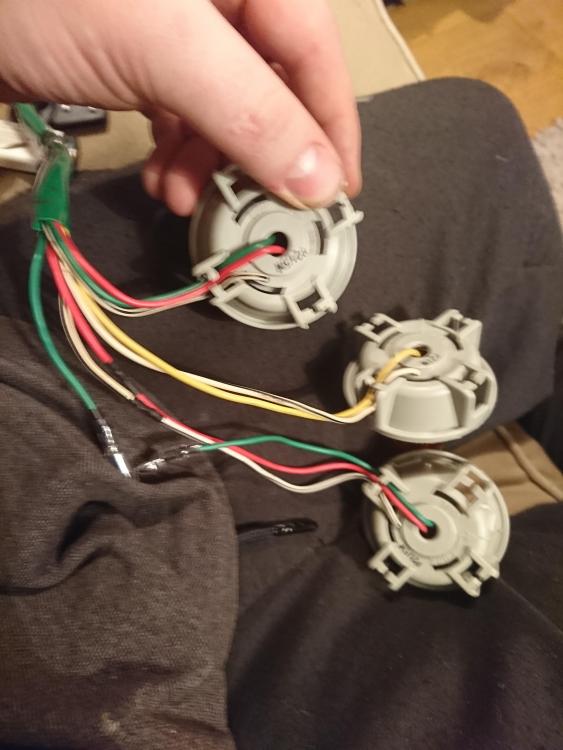
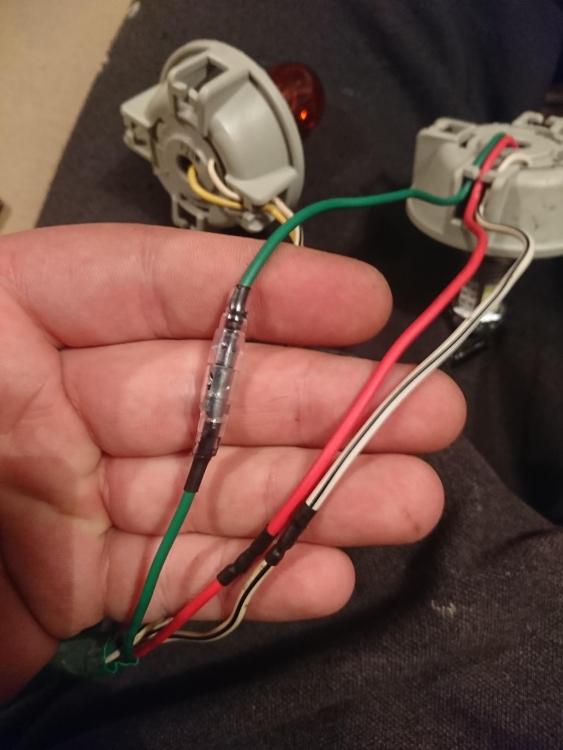
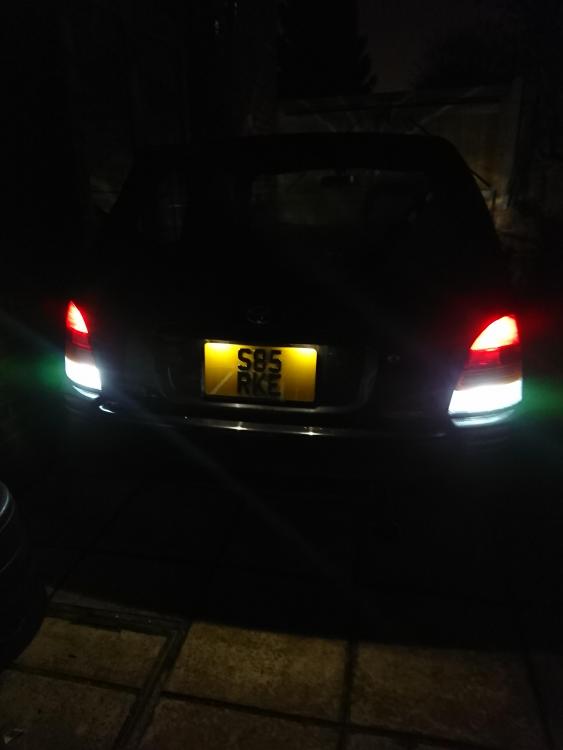
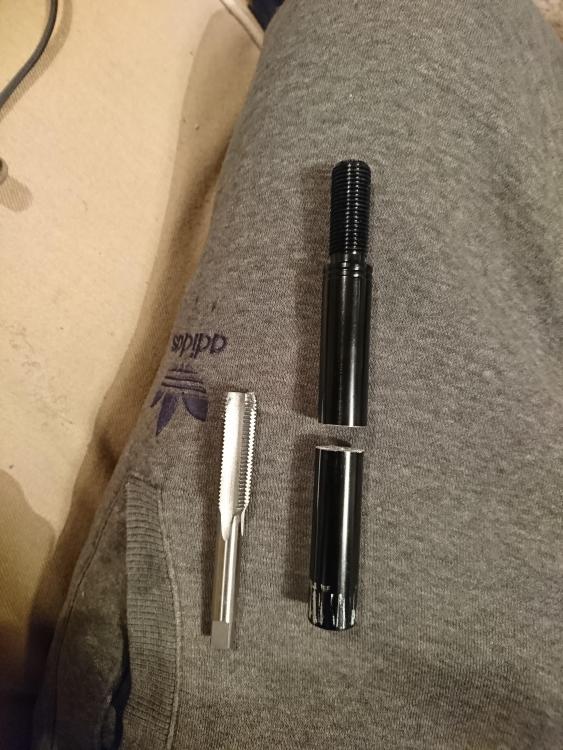
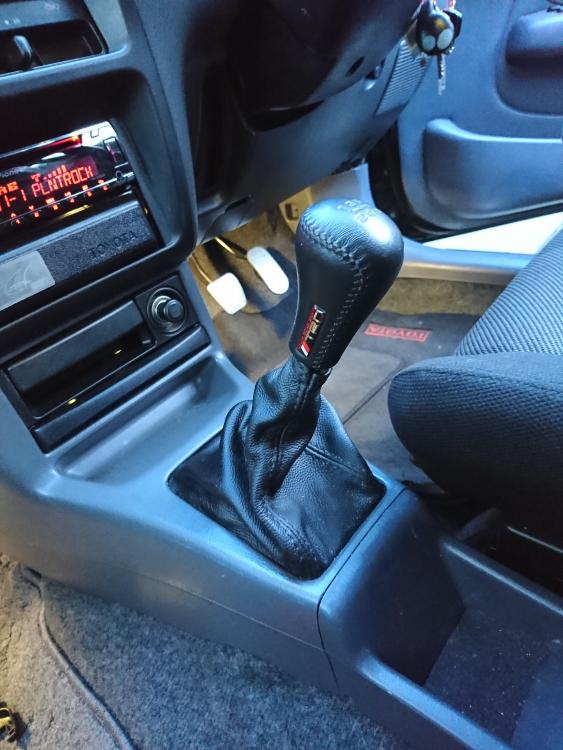
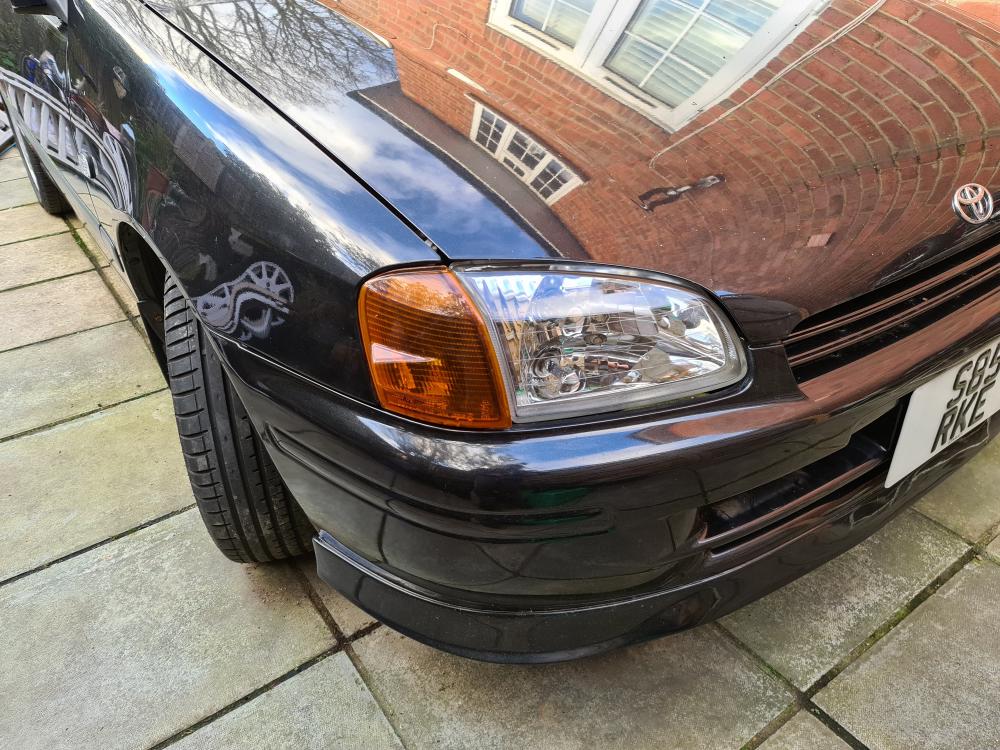
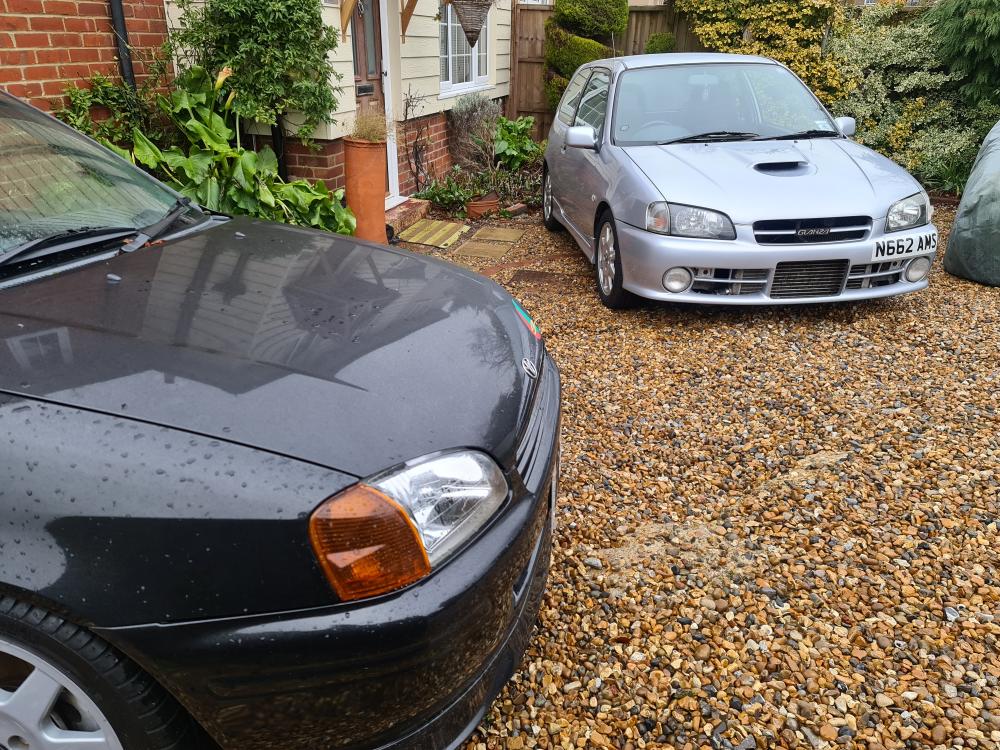
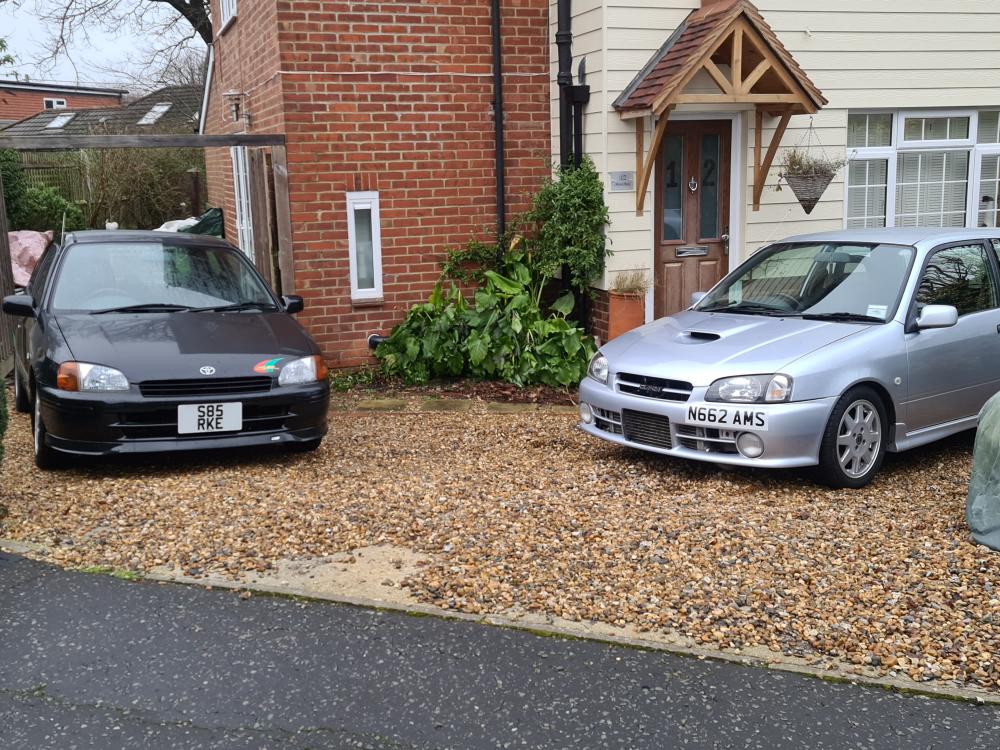
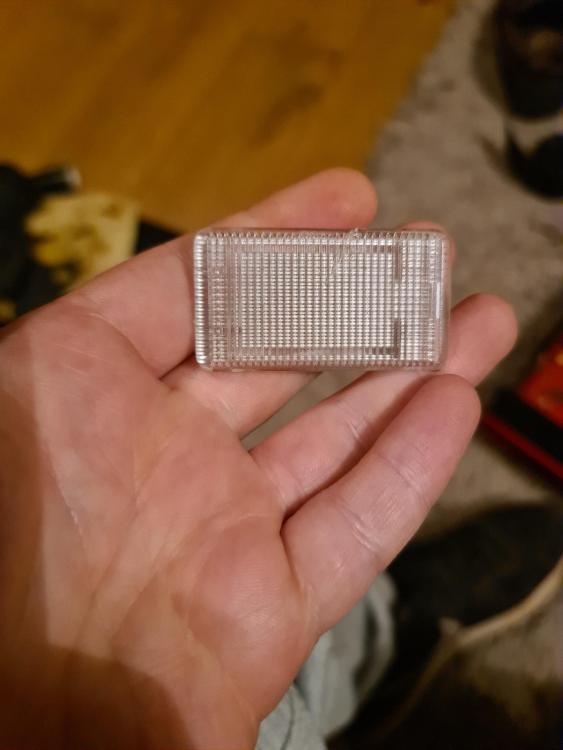
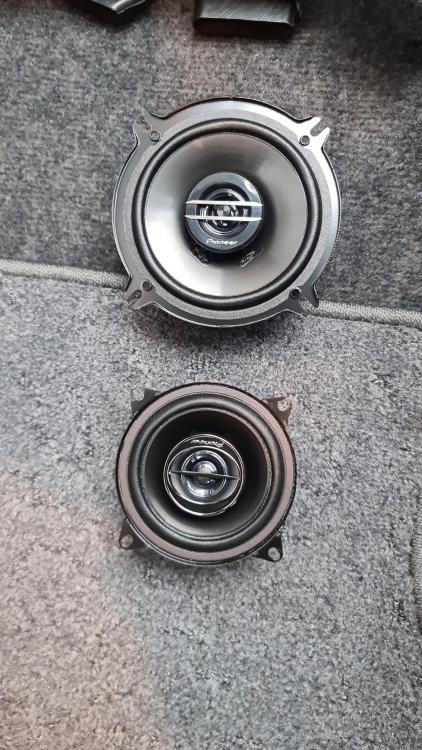
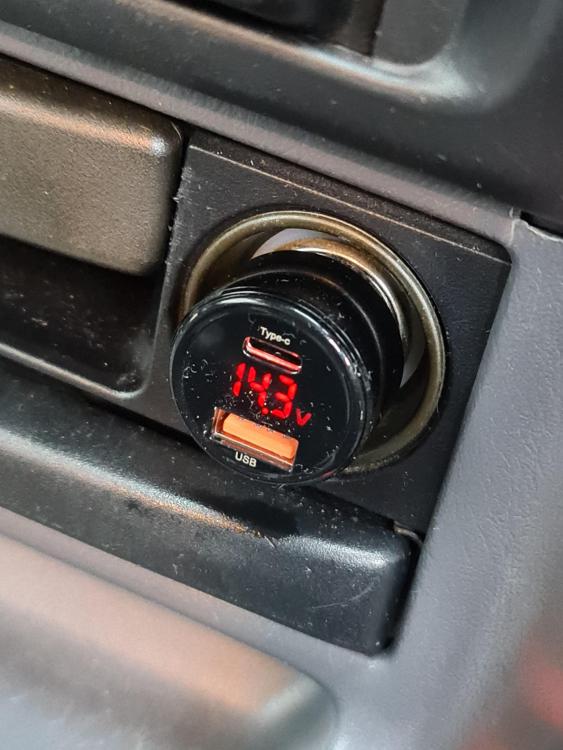
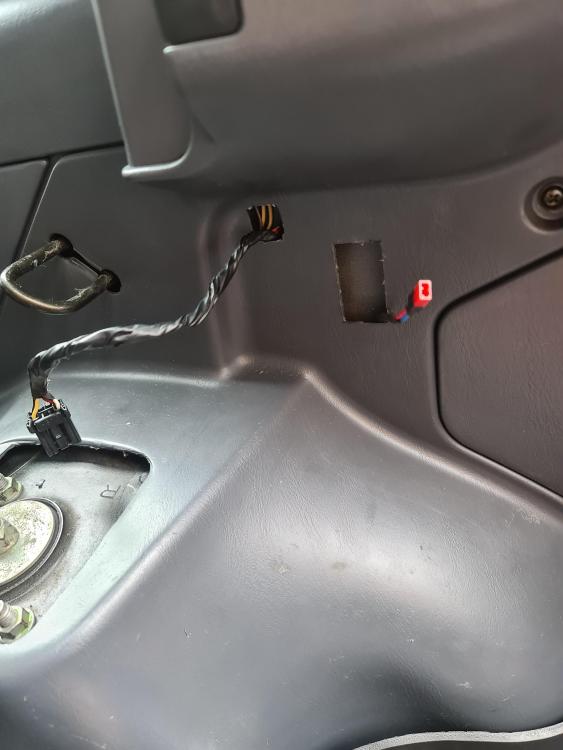
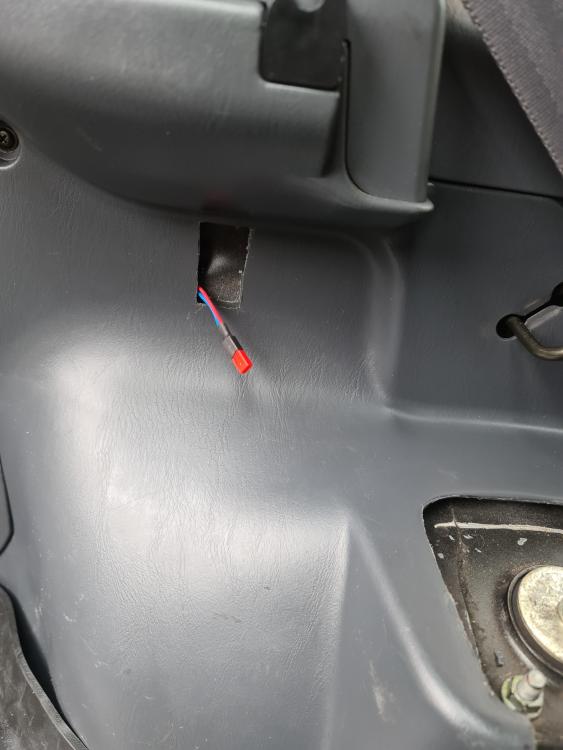
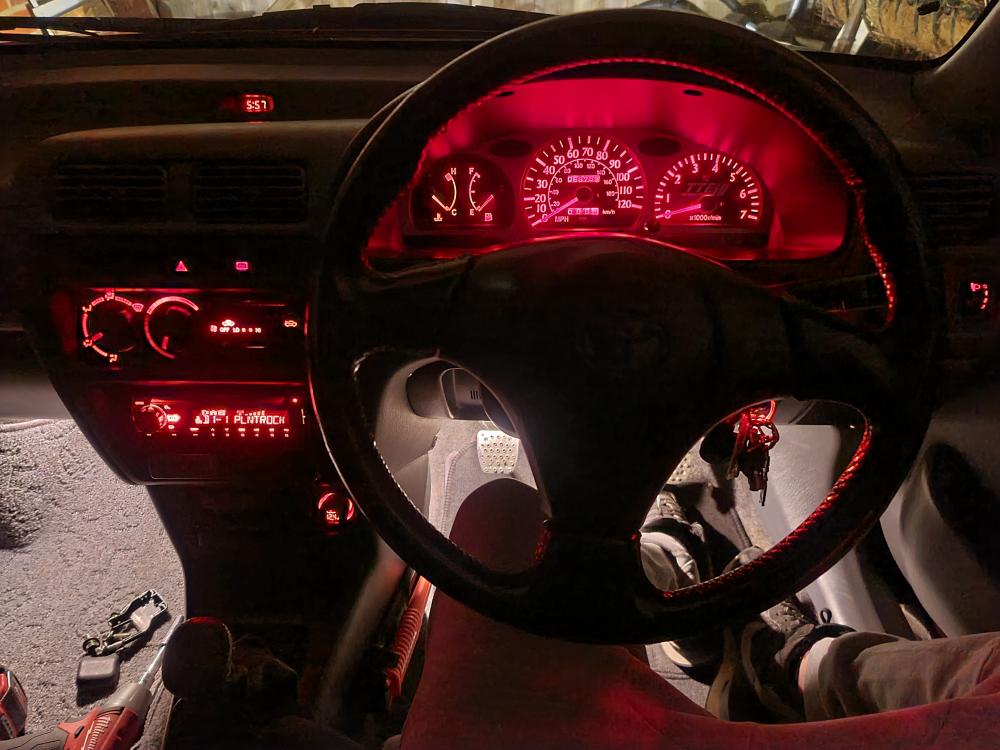
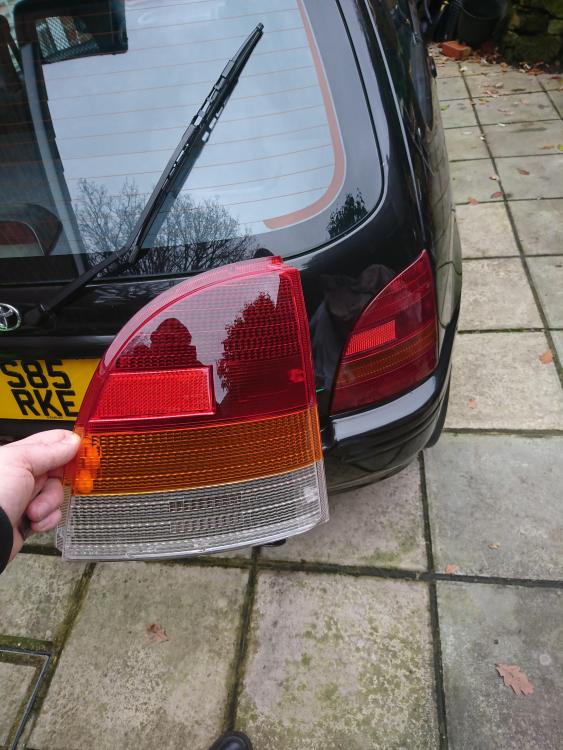
@Sam44@Pikey009@Claymore@snails ep91@Dale SR@burty@glanzadude Thanks guys! You lot have some good builds going on yourselves that I have been quietly watching 😉👍🏻 04/01/2021 Well happy new year everyone! Lets hope this covid BS is over soon and get some meets going! Recently after much debate over whatsapp and consideration, I have decided I will give reverting back to amber indicators a go, however I didnt just want the bland standard indicators. So what I have done is taken some standard indicator units and painted the insides of them shadow chrome. This way I can darken them without tinting the orange lenses Original: Painted: I was quite impressed with the result so I decided to do the rear tail lights too Re-fitted one of the lights while I wait for some neoprene cord so they have nice new seals. I shall get some better pictures on a nicer day but its just a slight subtle change. Obviously I wanted to avoid retracting from the OEM look, and the darkness changes depending on what angle your looking at it, all without effecting the brightness of the lights which happens if you were to tint the lense instead 👍🏻 6/01/2021 Today I received some combination LED bulbs that have both white and red LEDs in one, the idea by using these is I can use both rear lights as reverse and rear fog. So to do this meant converting the bottom bulb holders on the rear light harnesses to double filament types (BAY15D). Basically the same bulb holders as the brake & tail lights. And as it happens I also received some rear light harnesses today too, so no time like the present! I chopped off the brake & tail light holders off the spare set I got today and wired them up in place of the single filament reverse & fog light holders off the originals, utilising the original pins for the plugs (I apologise for the blurry picture) I also added bullet connectors so I can revert back to how it was originally just incase an MOT tester decides to get funny for whatever reason By the time I got the modified harnesses ready it had got dark and was working by interior light and a head torch, plus it was freezing out so I didn't take any pictures because I just wanted to get it done, but I had ripped out all the interior plastics on the driver's side to wire them up cleanly. The driver side was a matter of plug and play, but the passenger side was missing the rear fog wire in the wiring leading to the harness, so I had to tap into the one on the driver side, ran it across to the connector on the other side and pinched a pin out of a spare connector I had laying around to add the missing wire to the connector to keep it OEM, then just plugged in the passenger side harness and it was done! While I was there with the interior plastics out, it gave me the opportunity to add in some wiring to add some interior boot lights at a later date, and I tidied up all the wiring so it all looks OEM with no random wires hanging around separate from the looms, and everythings taped up with proper loom tape (that manufacturers use) and nothing looks messed with I'm just waiting for some neoprene cord to turn up so that the newly painted indicators and rear lights have some nice new seals The only issue I have with it is that the rear fog light takes priority over reverse, which I don't think is right. What I mean is when it's in reverse with the reverse lights on and you put on the rear fog light, the white light automatically goes out and lights up red instead, but if the rear fog is on and you put it in reverse, the red light stays on and doesn't switch over to white. Personally if I was designing these bulbs I would have had it the other way around and made the reverse light the priority, but it's minor I guess If you're interested where I got them from, I got them from ClassicCarLEDs.co.uk 17/01/2021 A little while ago I met up with @Goldie to help him with a few things on his forged glanza. It'd been a long time since I felt what a standard shifter was like and I realised when I had a little sit in his glanza, that despite the bend I put into my shifter rod to bring it closer, mine was still quite a reach forward for 1st and 3rd. So I ordered a M12x1.25, 4" shifter extension. Well today I got it, and needless to say its waaay too long to still function as a short shifter. So I drilled deeper internally using the threads as a bit of a guide so it drilled straight, and not on the piss, then cut it down to size, and threaded it further It still turned out to be a bit too long for my liking so I cut it down a little further and finally settled on about 1.5 inches of extention. I also filed two flat faces into the top below the threads to fit a 13mm spanner to help get it on and off, although I don't think it will be coming off any time soon because I locktite'd the fuck out of it 😂 The throw is a little bit longer than it was but it's less of a reach forward and I'm more than comfortable with it 👍🏻 Also fitted the painted indicators with the orange lenses They look good and have the desired effect, but it's a weird one because both these and the '98 spec suit it and it's actually hard to choose between 🤔😂 I'll probably keep both pairs and just swap between depending on what mood I'm in lol Lately I've been helping Goldie with a few more bits on his glanza, more recently getting his radio and speakers working, and going over it making a list of things it needs to get it back to it's former glory (not that it's far off mind, its just needing some long awaited love & care) Took a couple snaps of the two together 01/02/2021 Not a massive amount on progress, just a few little bits here and there. Installed a new LED interior light which is MASSIVELY brighter than the one that was in there before, and even that was brighter than the original bulb Got some new brighter red Osram T10 LED's and some T5 COB LED's for the backlight behind the dials. It's difficult to capture a true represention on camera of the difference between the dim and the bright settings, so I'll just show how it looks as a whole Also bought and fitted some new Pioneer 13cm front speakers to replace the 10cm ones after seeing that they do actually fit (with some minor modifications) in Goldie's glanza. So I copied him 😂 the difference in sound is minor but it is noticeable (to my ears), but either way it will take some pressure off the front speakers and not have to work as hard as the 10cm's were. I just wish Pioneer would state the mounting point diameters clearly, so then I could have got the 13cm to start with 🤷🏼♂️ Also I have cut some holes in the boot plastics and finished up the wiring I had put in place previously for the interior boot lights. It's all ready to go, just waiting on the LEDs to arrive (needed a specific size and could only get them from Hong Kong), so once I get them and their in, I will post the pictures up And yes one is higher than the other but believe me, it had to be that way unfortunately And lastly I got a nice little car charger to go with my new phone. Its a Baseus car charger that supports fast charging which is fantastic and I can confirm its works (I've tried plenty of chargers that actually drain power from the phone!) It also has a read out of the cars voltage which I thought was neat and worth mentioning 👍🏻


-
A few little updates above ☝🏻 Hope you all had a (relatively) good Christmas! 😊👍🏻
-
Real decent guy, donated some seats to me, had a great chat with him and will be meeting up with in the future!
-
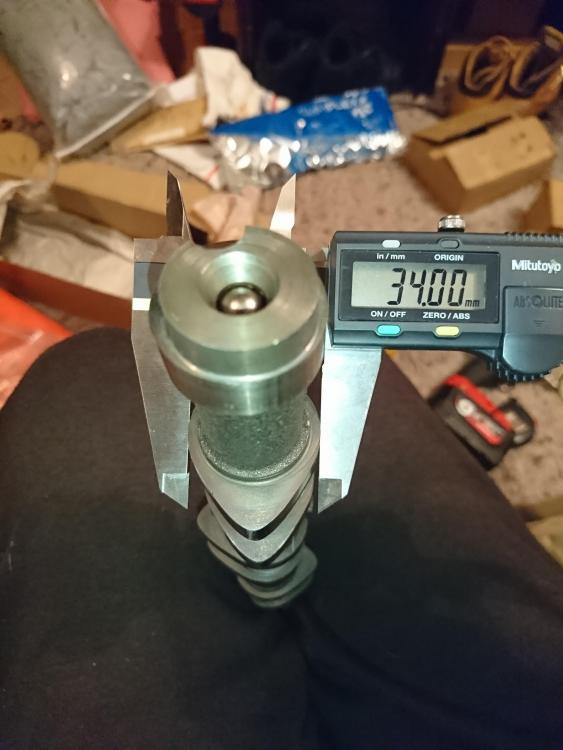
I certainly will 👍🏻 If you check out this video HERE, 9:33 onwards you can clearly see how much lift there is to be had, the valve relief cuts in the pistons pretty much serve no purpose by the looks of it
-
Stole them out of a 5efhe I bought a few years ago and regrettably sold the bottom end, these might have some work done on them though for even more lift, not sure yet because of the cost involved. But I'd like to look into and hope to have them reproduced/copied in the near future! 🤞🏻
-
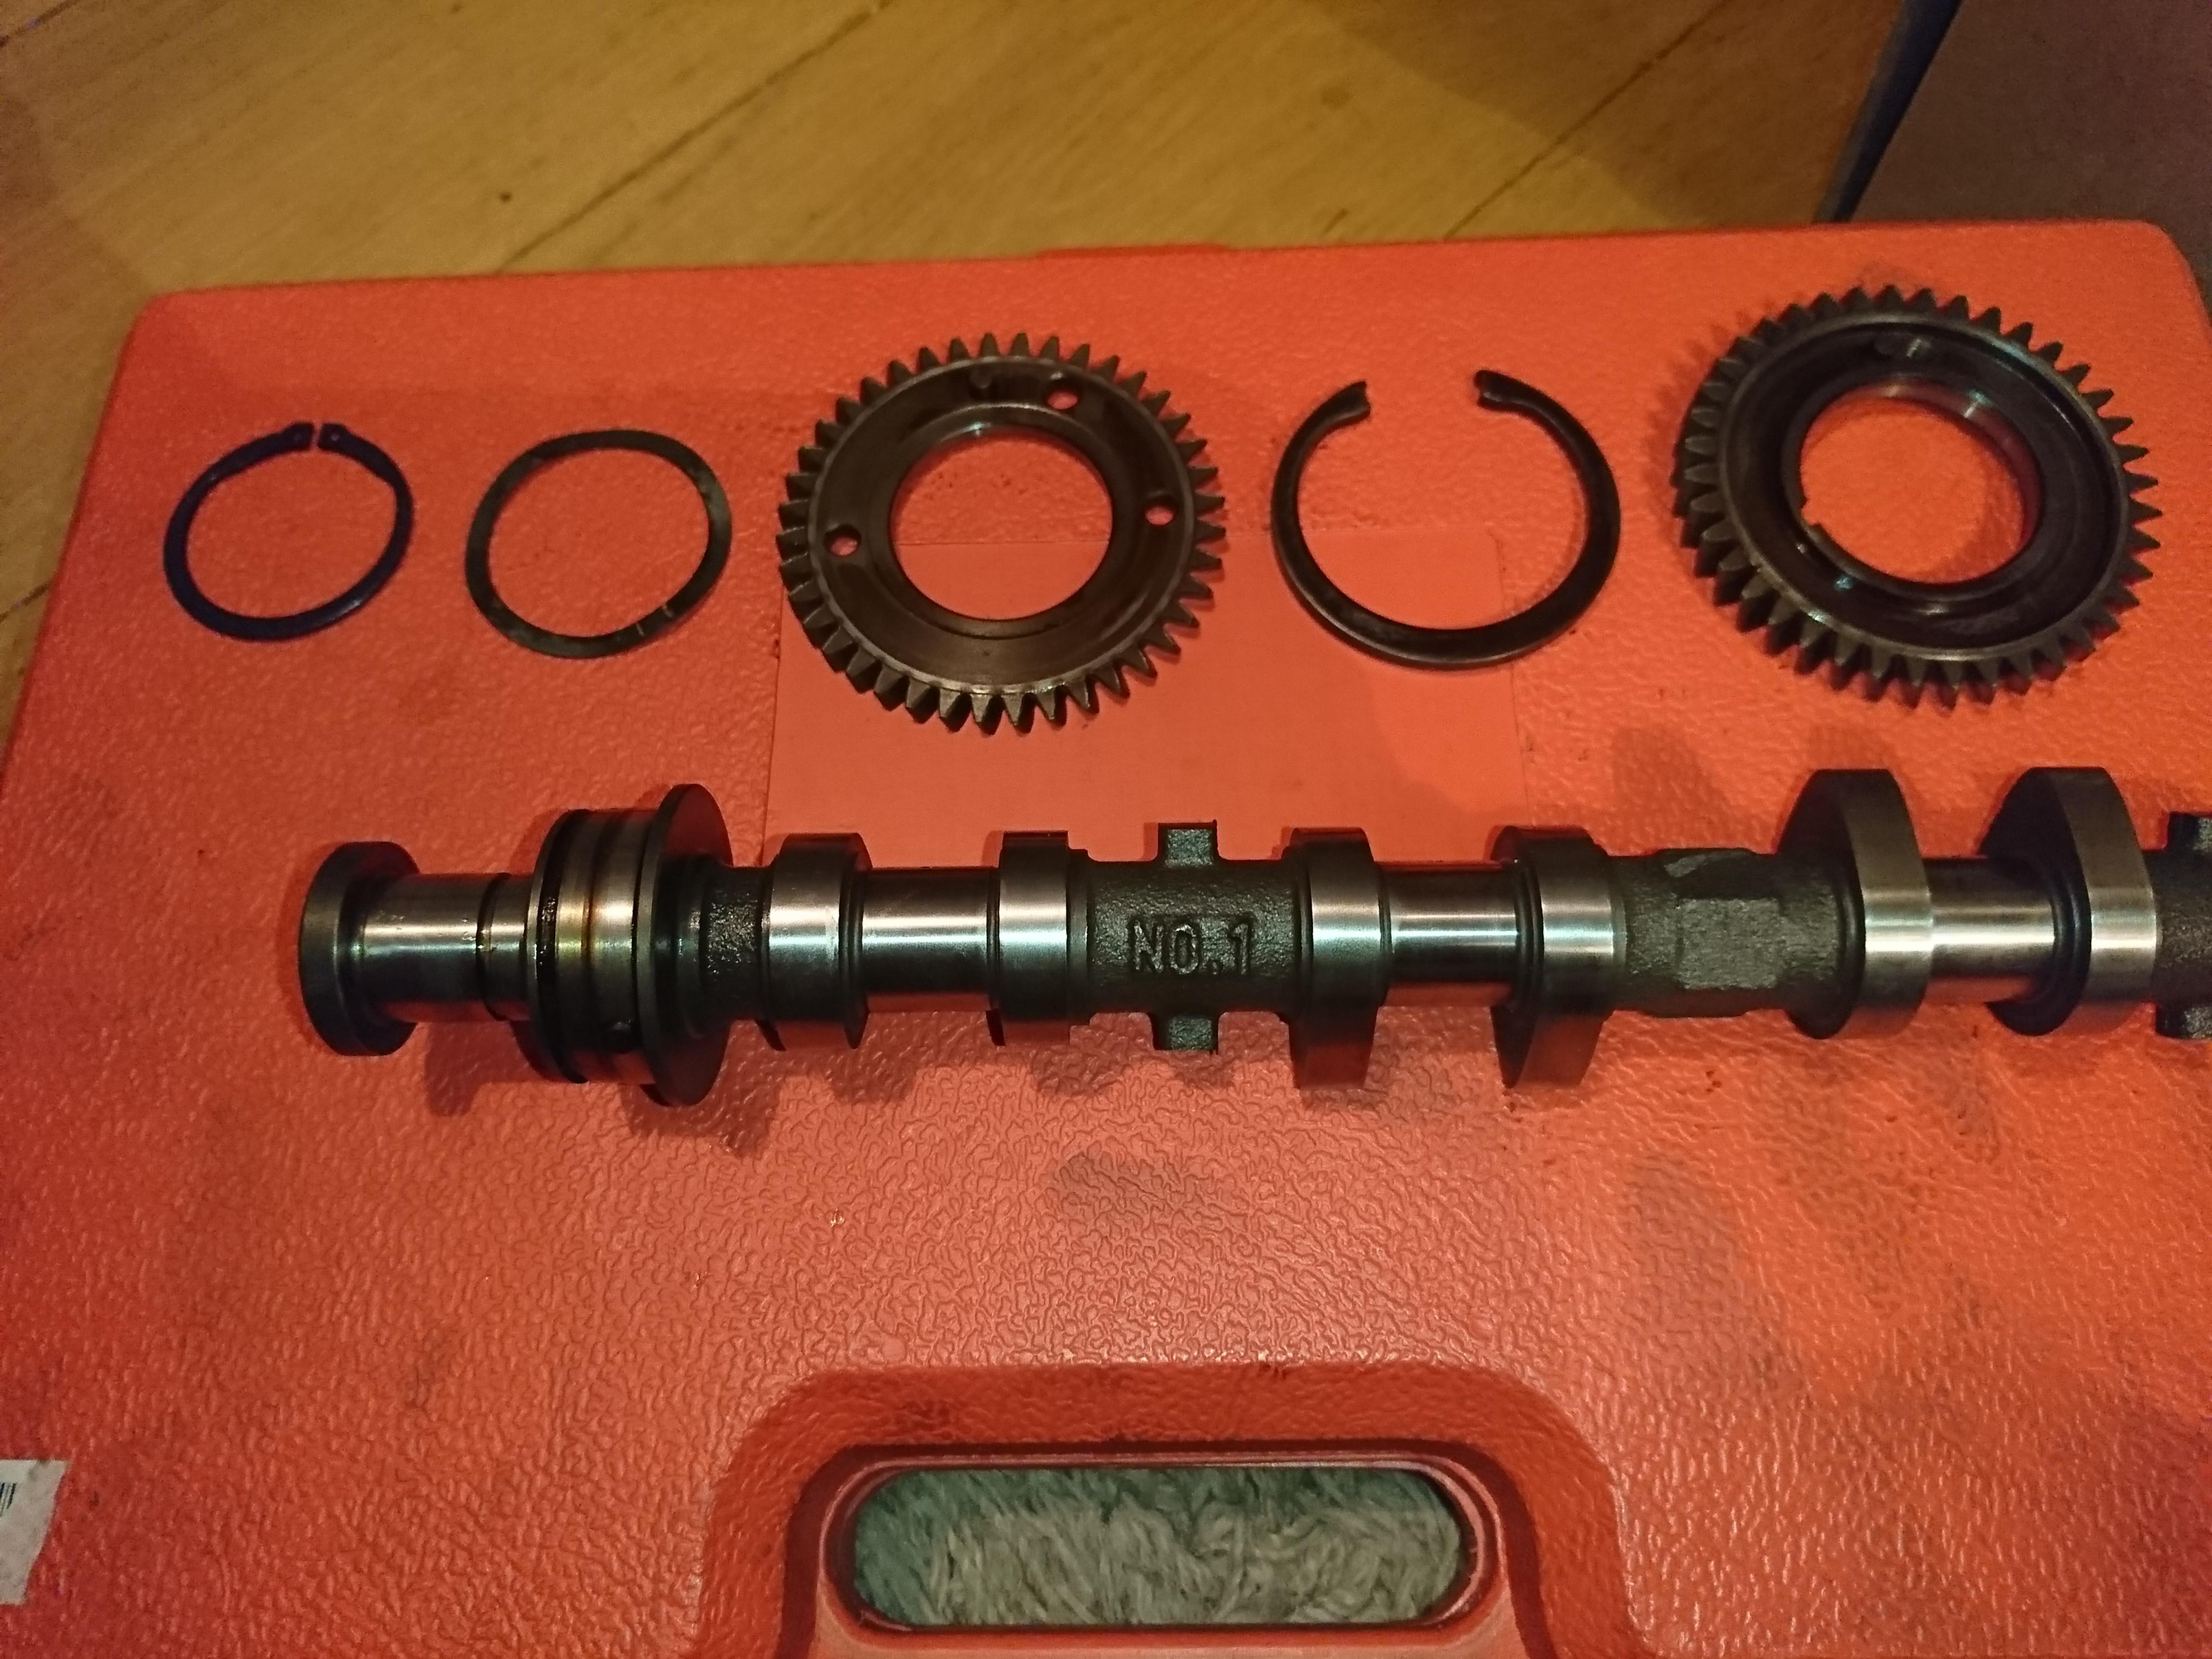
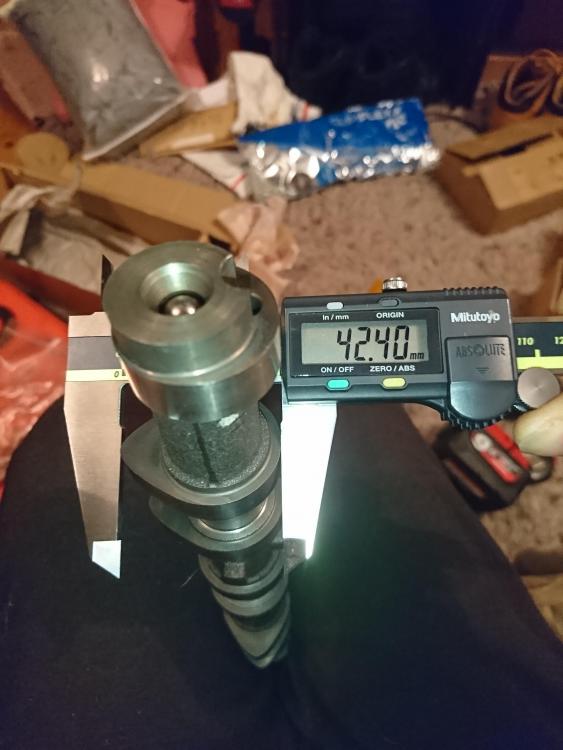
Took some pictures of my 5E-FHE cams while I had them out the box today, thought they might be some use to you or anyone else Inlet: Exhaust: Also I'm not sure how true this is but from what I read somewhere today suggests the durations are all the same across the 4efe/4efte/5efe cams but slightly different for 5efhe cams 🤷🏼♂️


-
Lock
-
[UPDATE: This can now been sorted as mentioned in the post above 🤘🏻] Right then people, I'm still looking for a 5E-whateverE bottom end, someone help me out with this. Getting fed up looking everywhere literally everyother day and getting nowhere, and when I do find something it falls through. I have found 5 toyota paseos for breaking and every single one is missing the engine. So c'mon, own up, who's hiding them!?
-
Hello from a soon to be ep95 turbo owner.
Trevstar replied to Wardyep95's topic in Welcome New Owners!
😍😍 Wow, what a jem! Oh and welcome of course 😁👍🏻 -
Wow! 😍
-
You're very welcome mate, was great to meet ya and have a chat! Won't be the last time we meet for sure
-
Lock
-
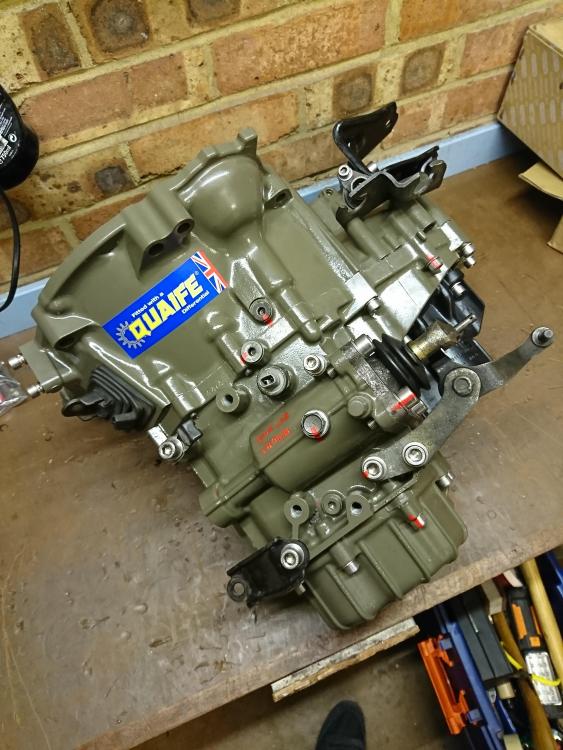
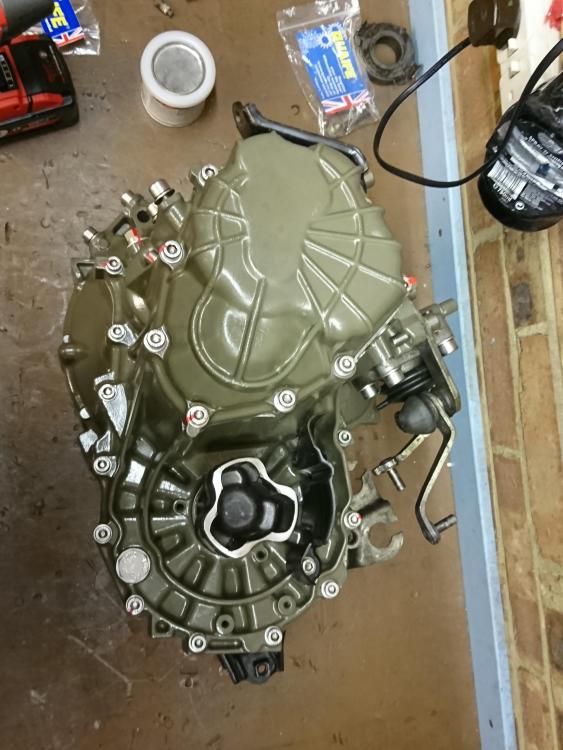
My first SR had the decals and bump strips removed and I thought it looked the dogs bollocks, but now I can't imagine having one without the decals as a minimum Cheers you lot! Seems you lot like colour of the gearbox, I won't turn my nose up at it anymore then lol, still think it would've been nicer in the colour I actually asked for though ✌️😁 @candy_red, how well does wrinkle finish keep the dirt and grime off/how well can it be kept clean?
-
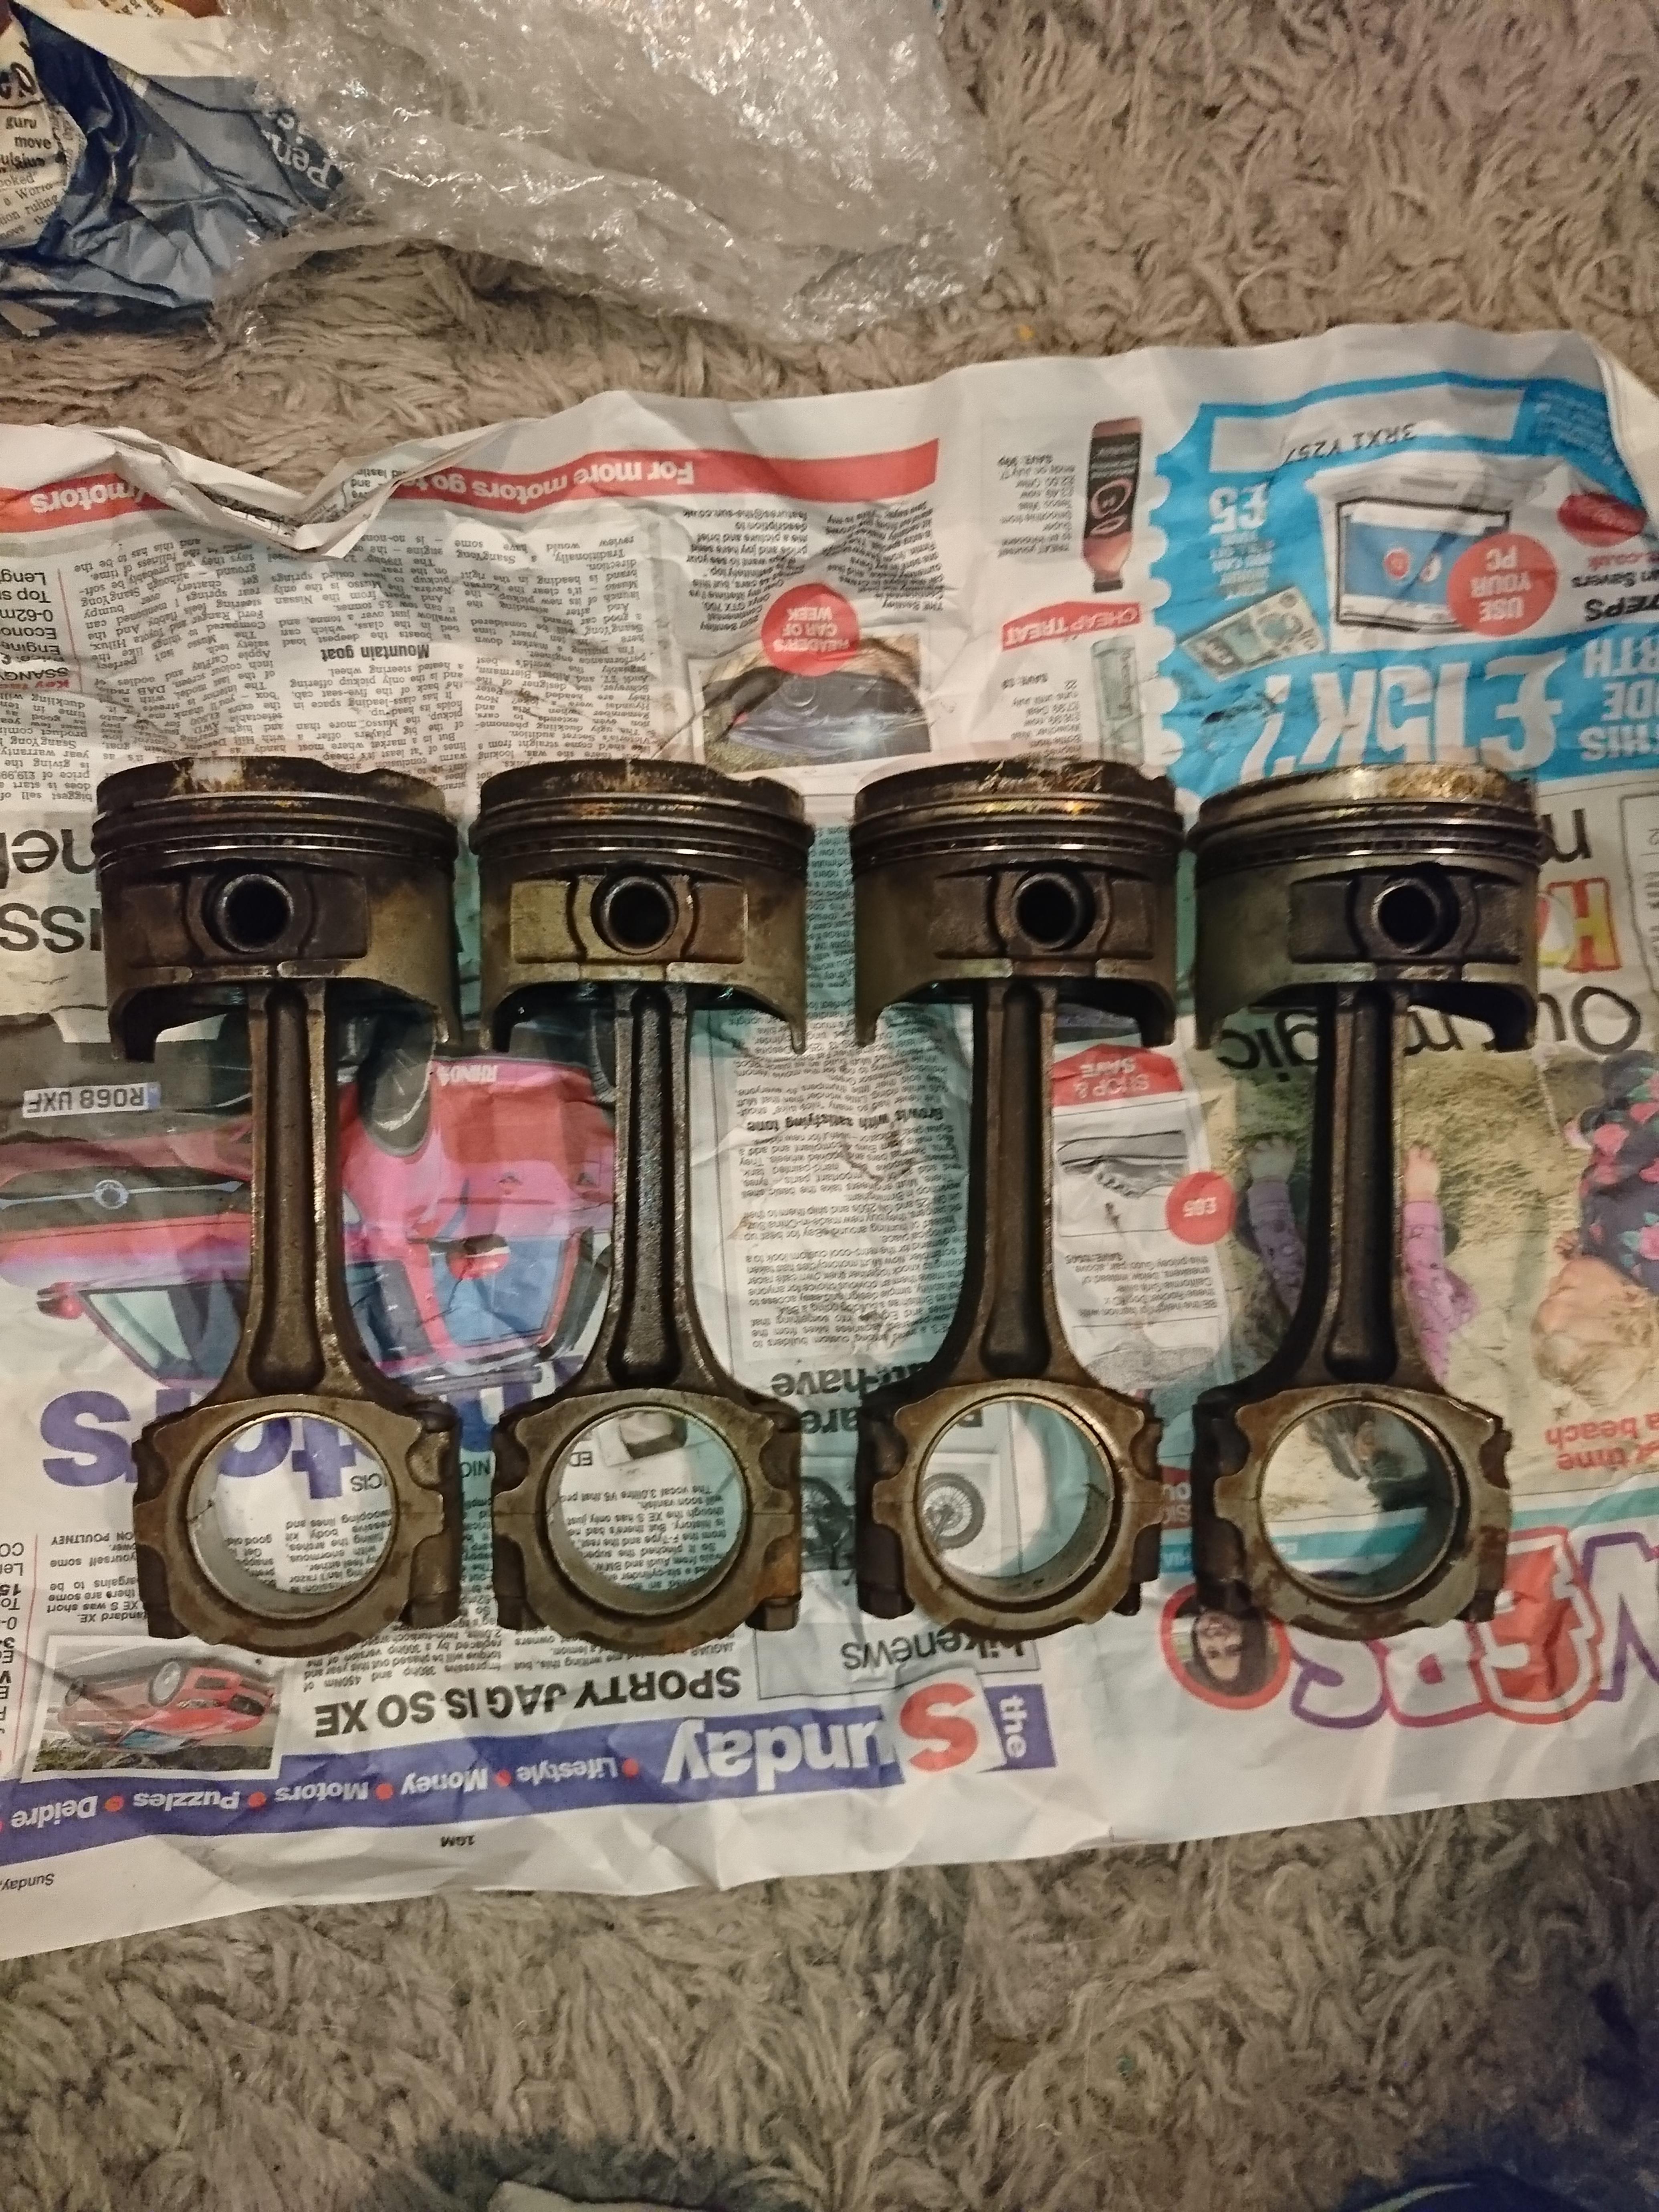
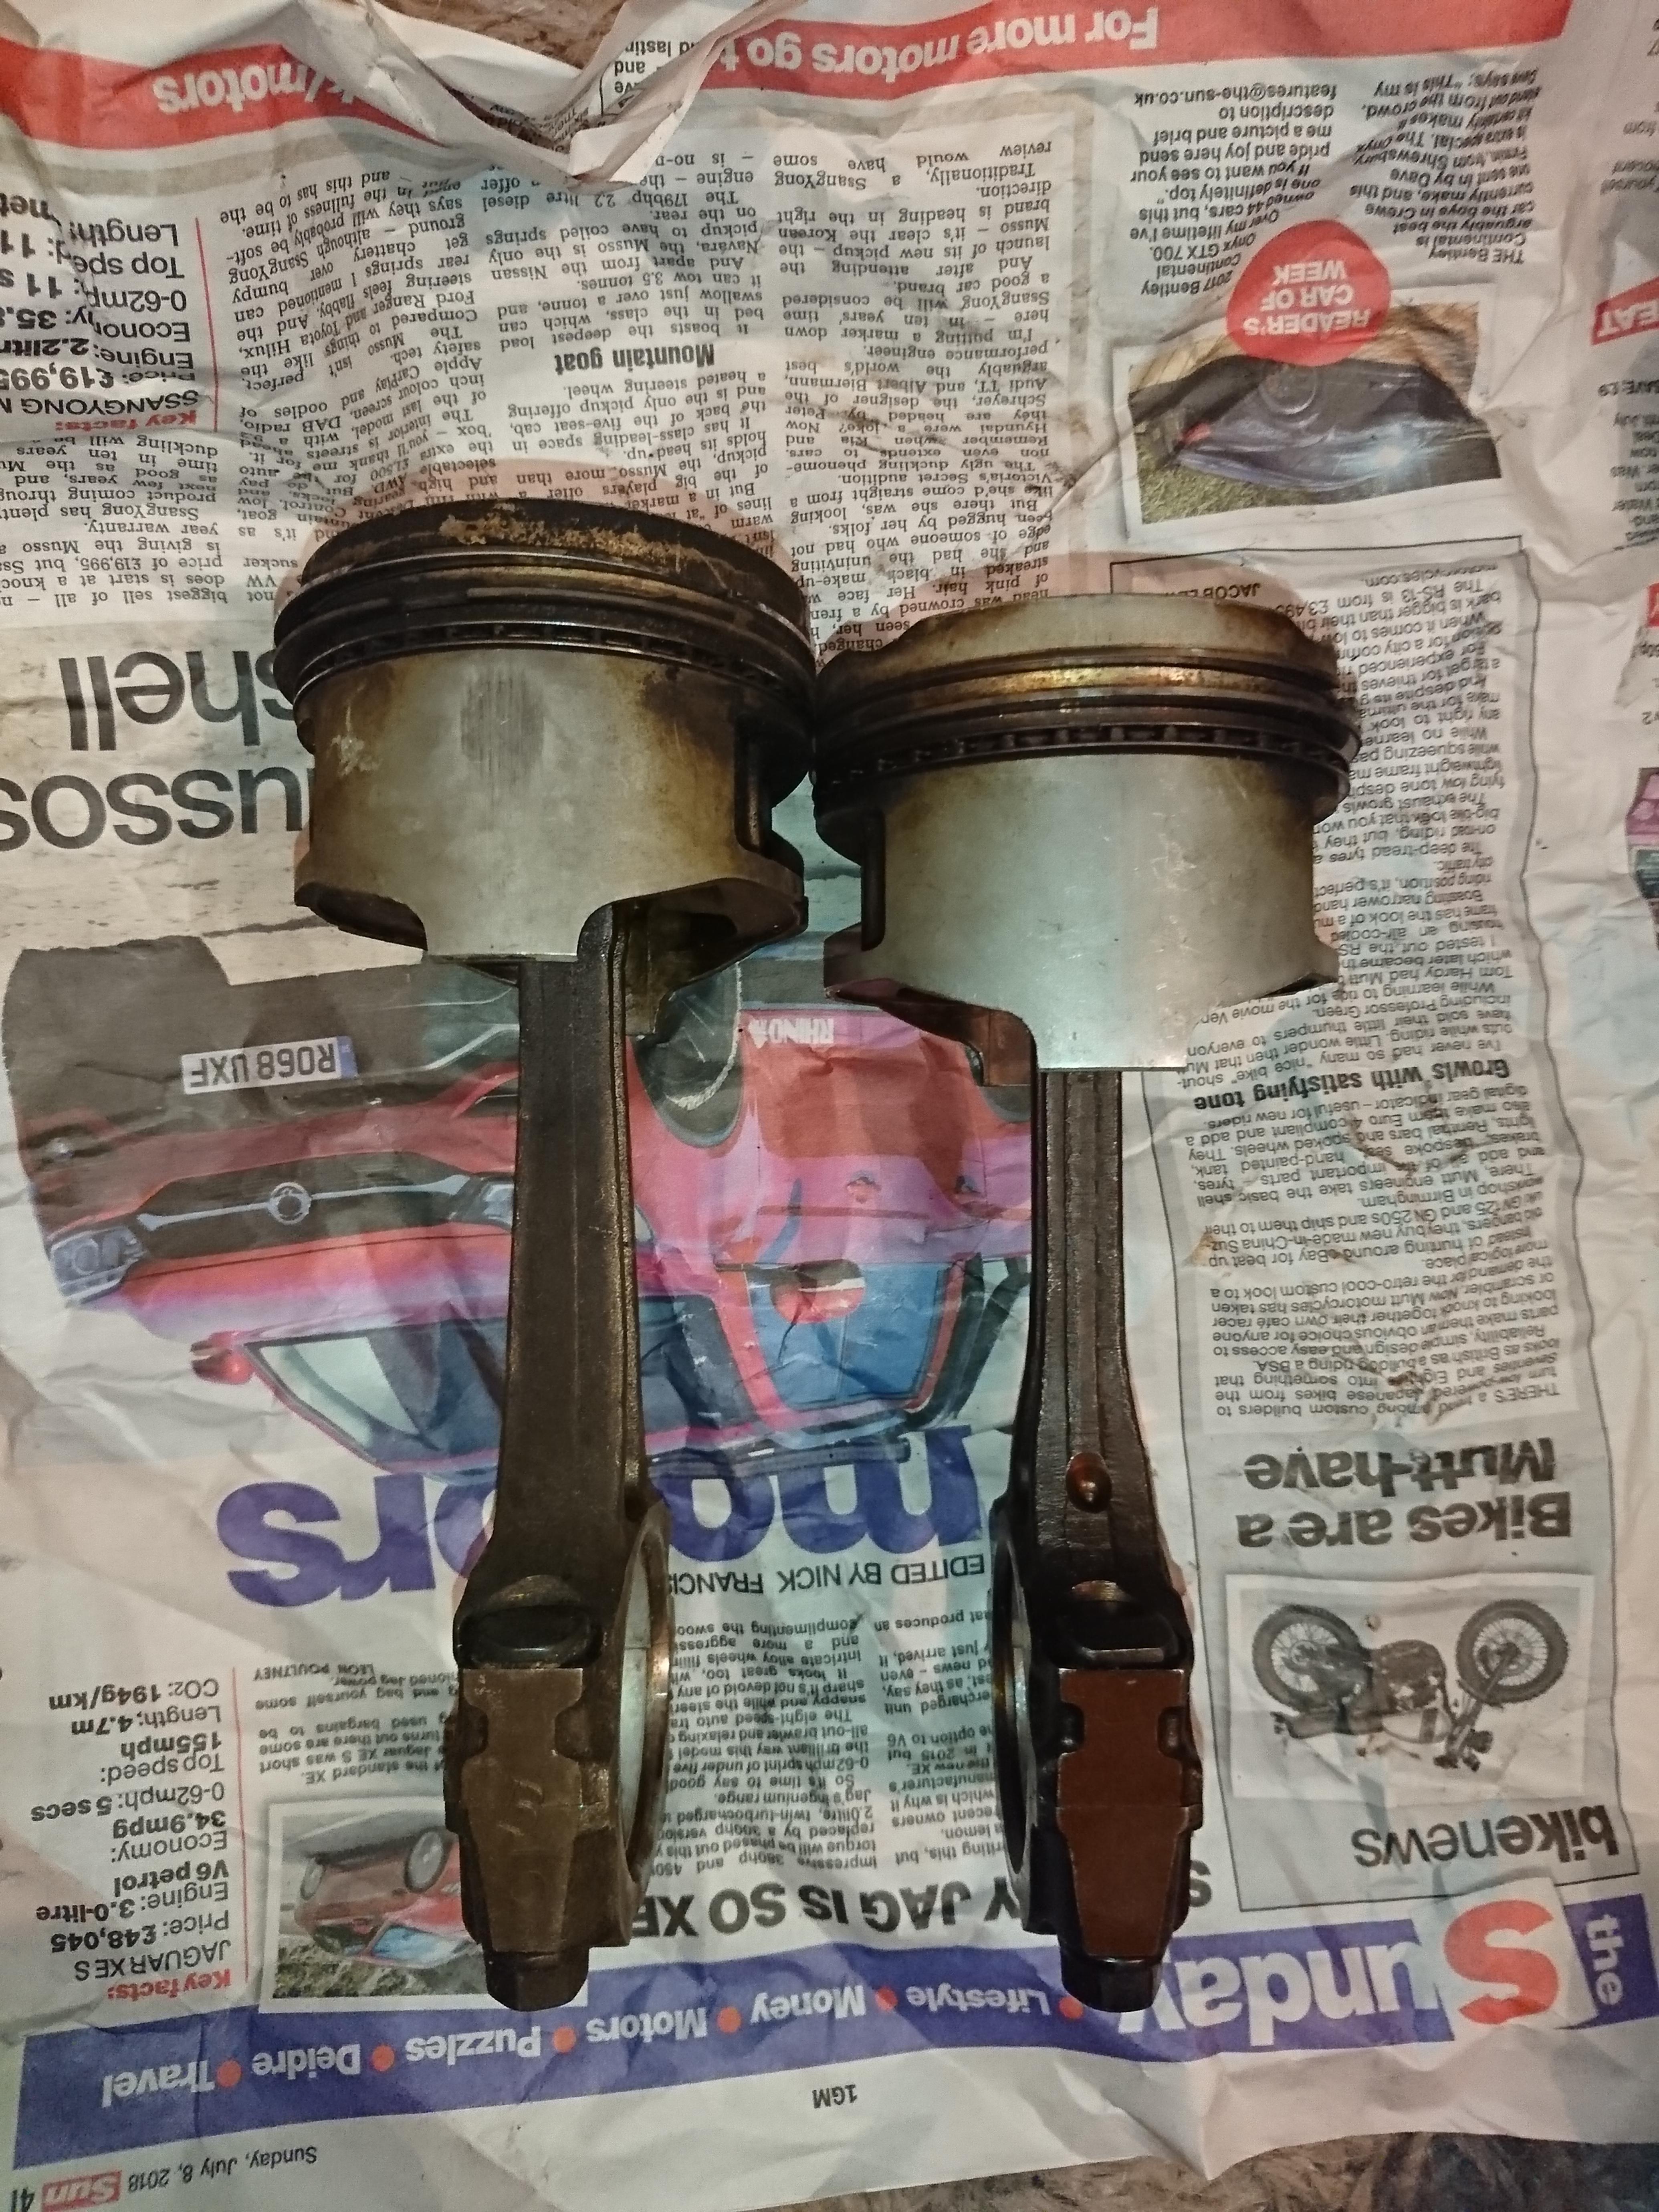
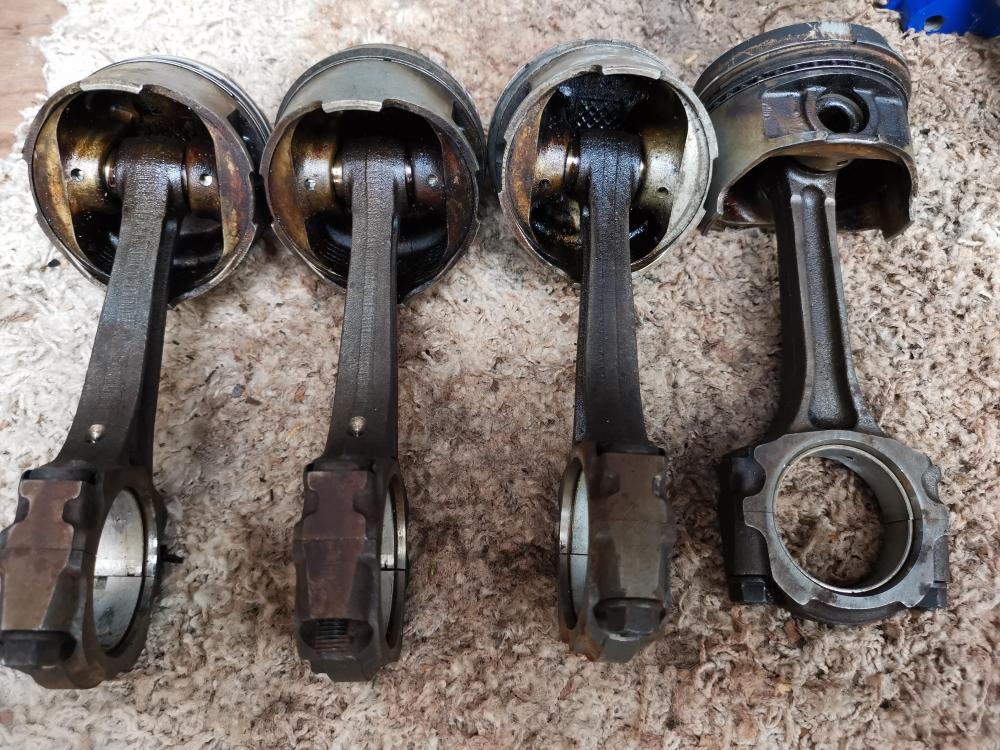
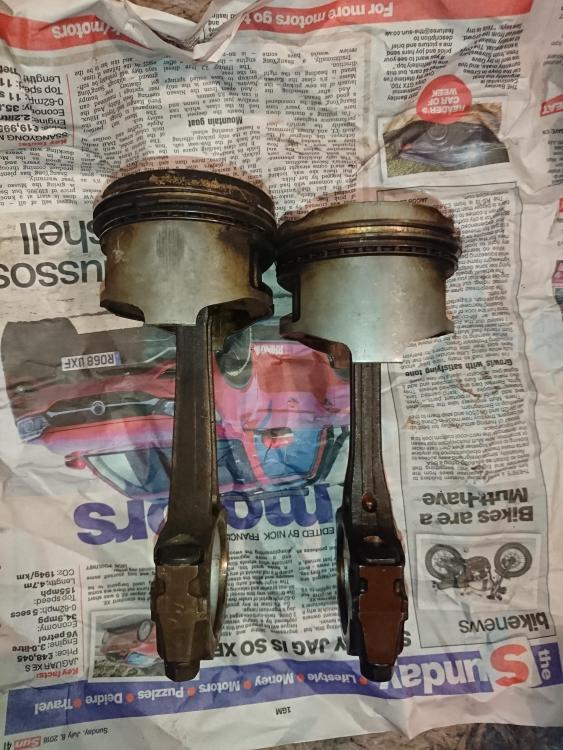
Very nice guy, donated some very hard to find rods for my build, all I had to pay for was postage Thanks again!!
-
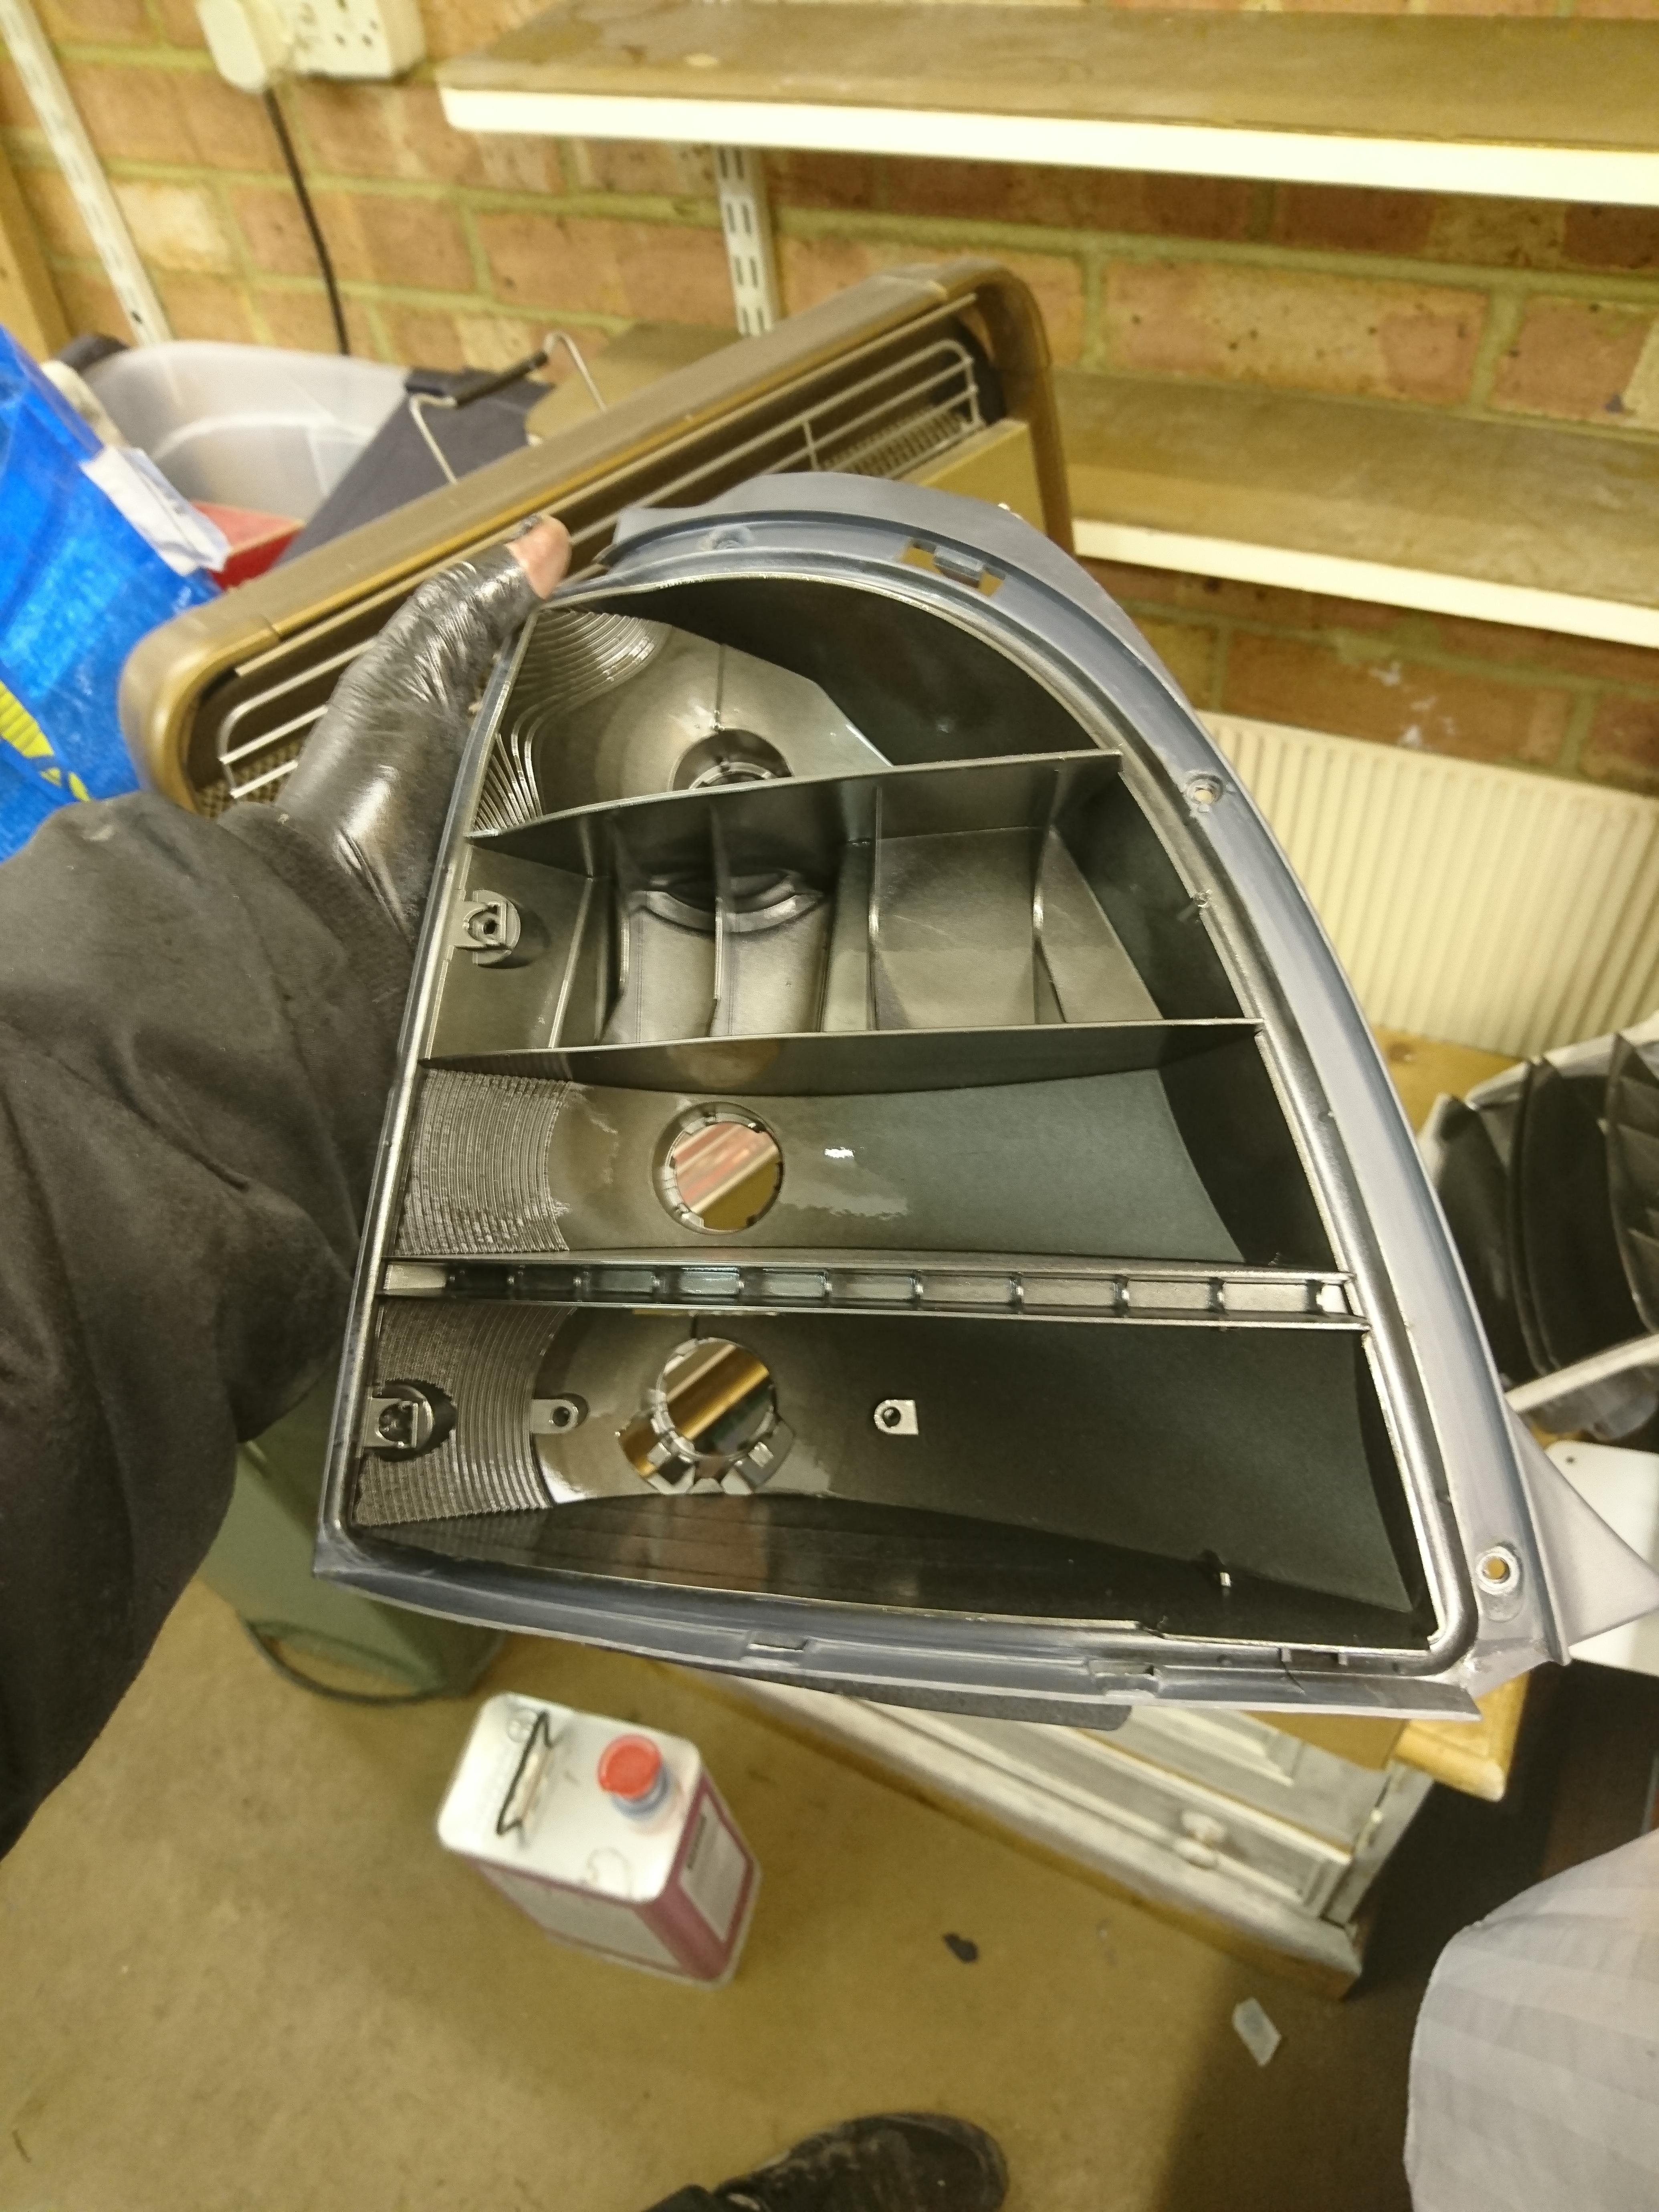
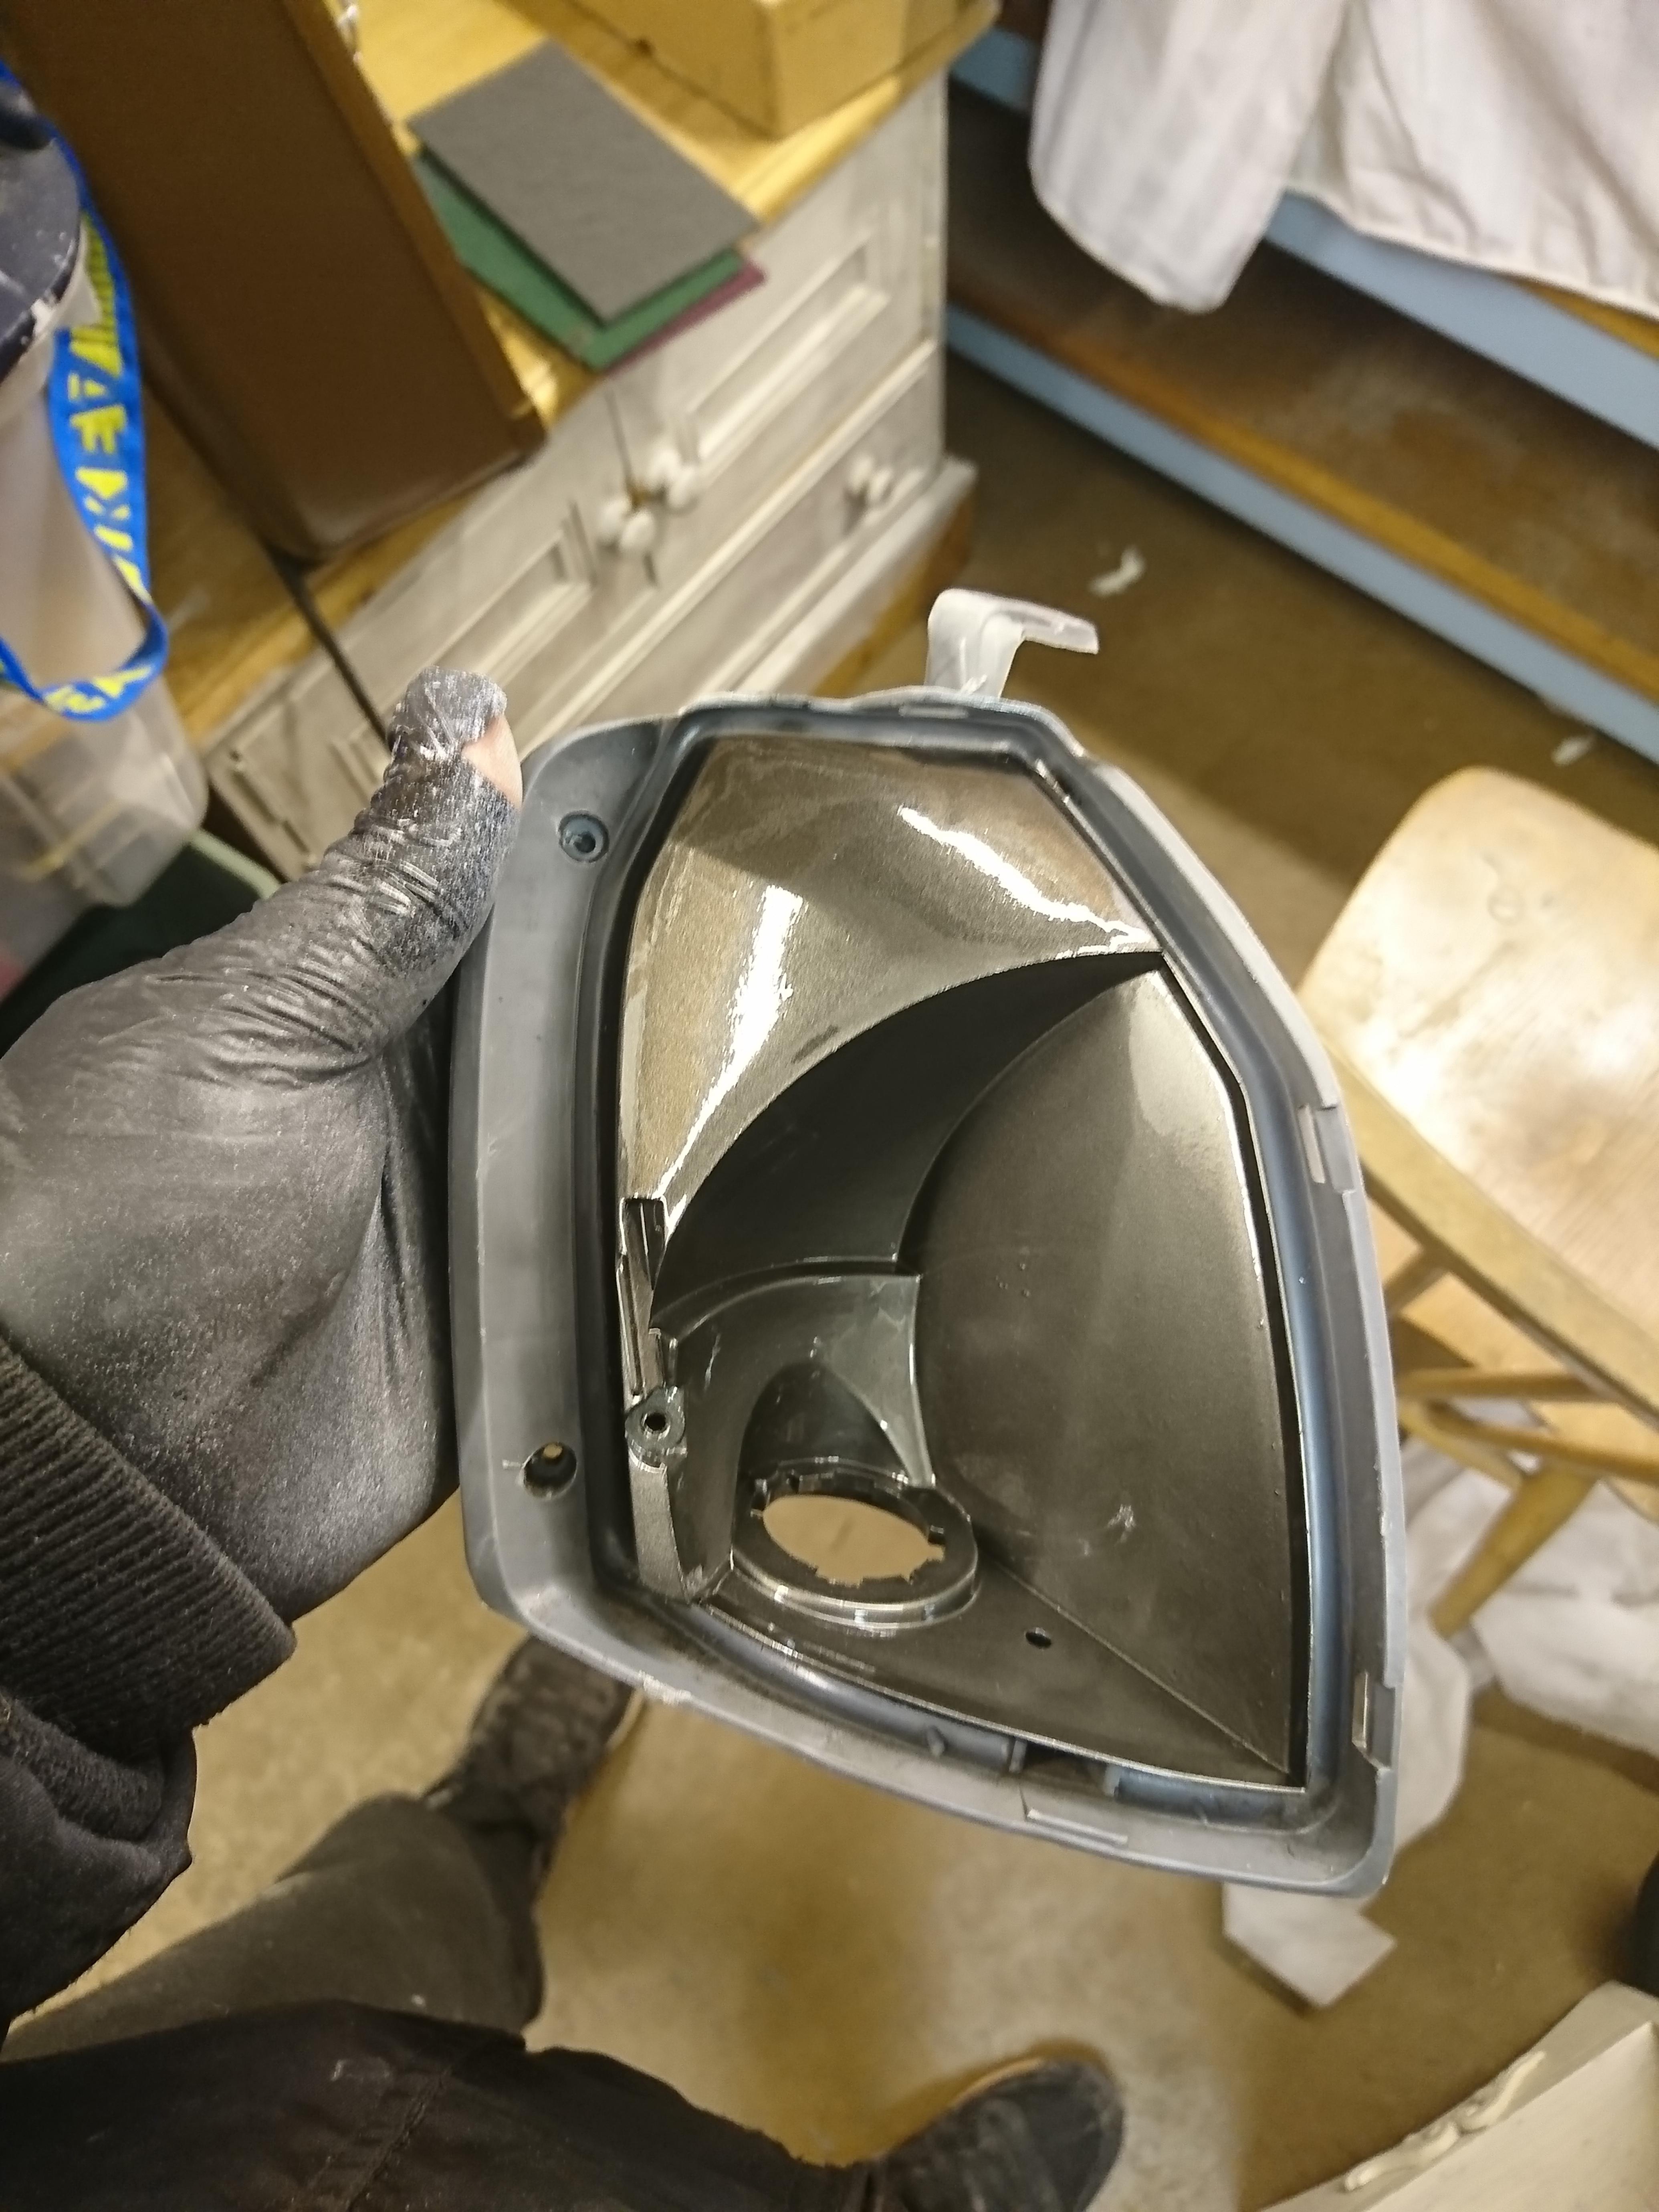
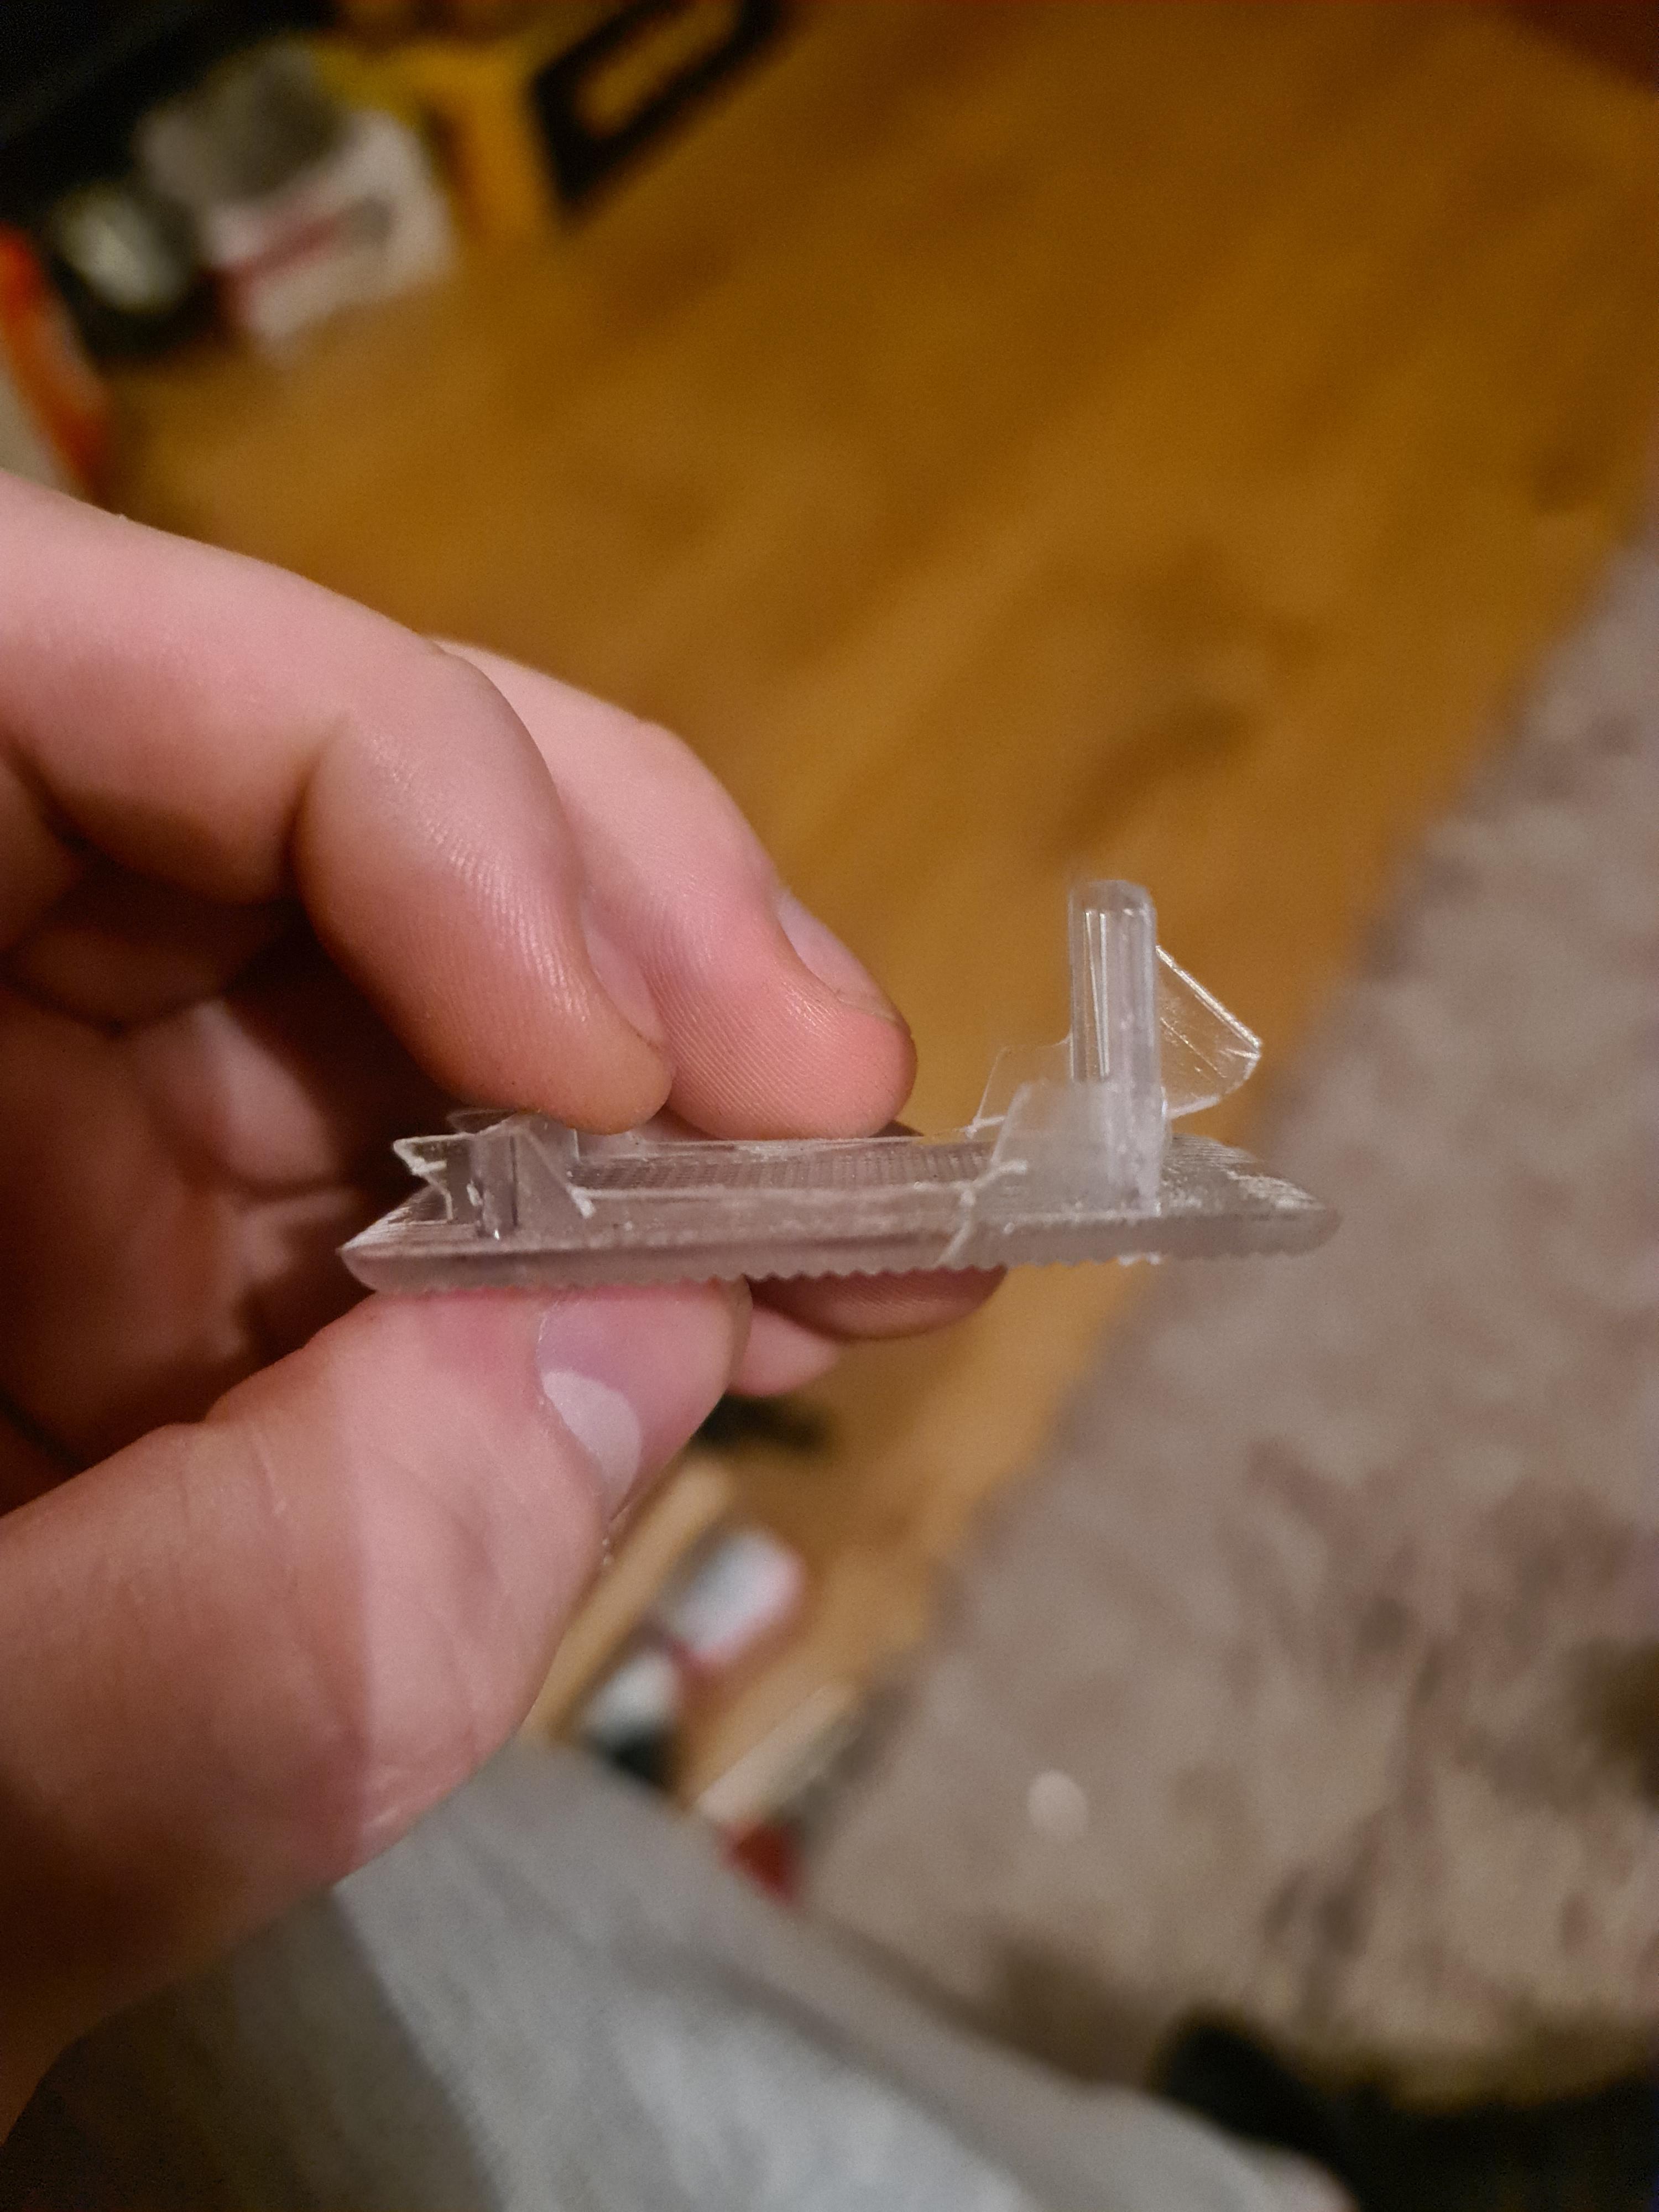
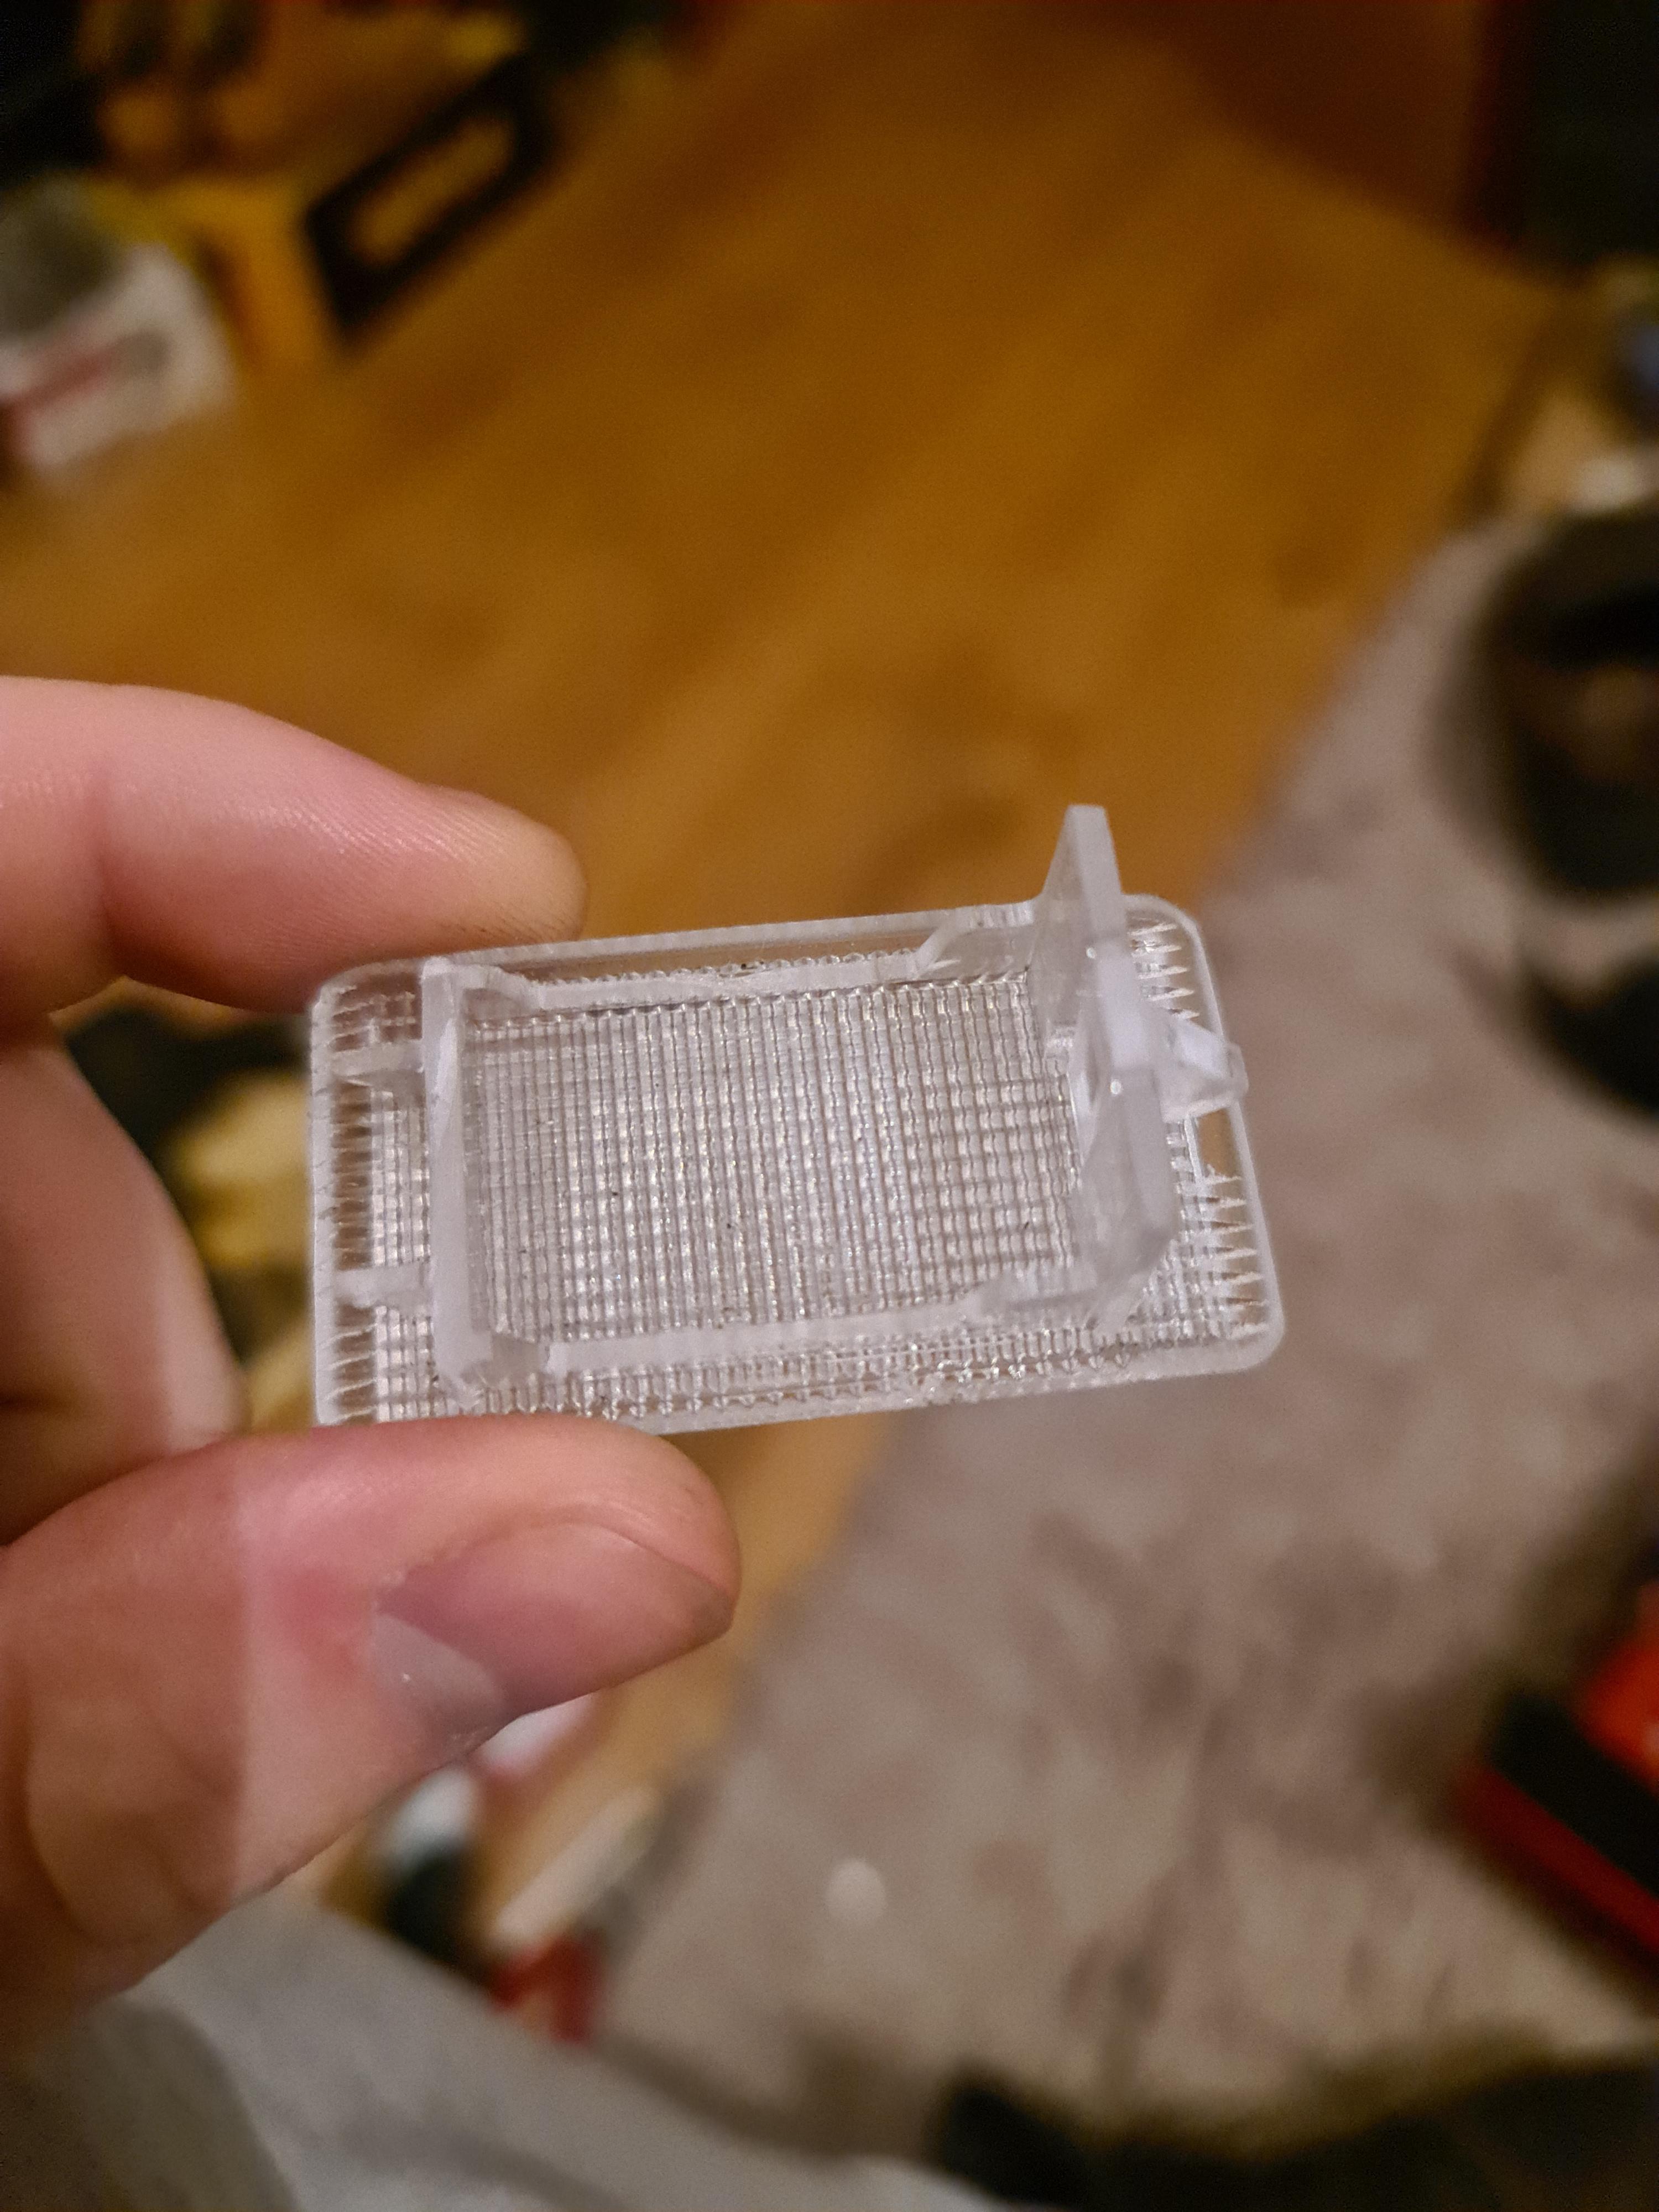
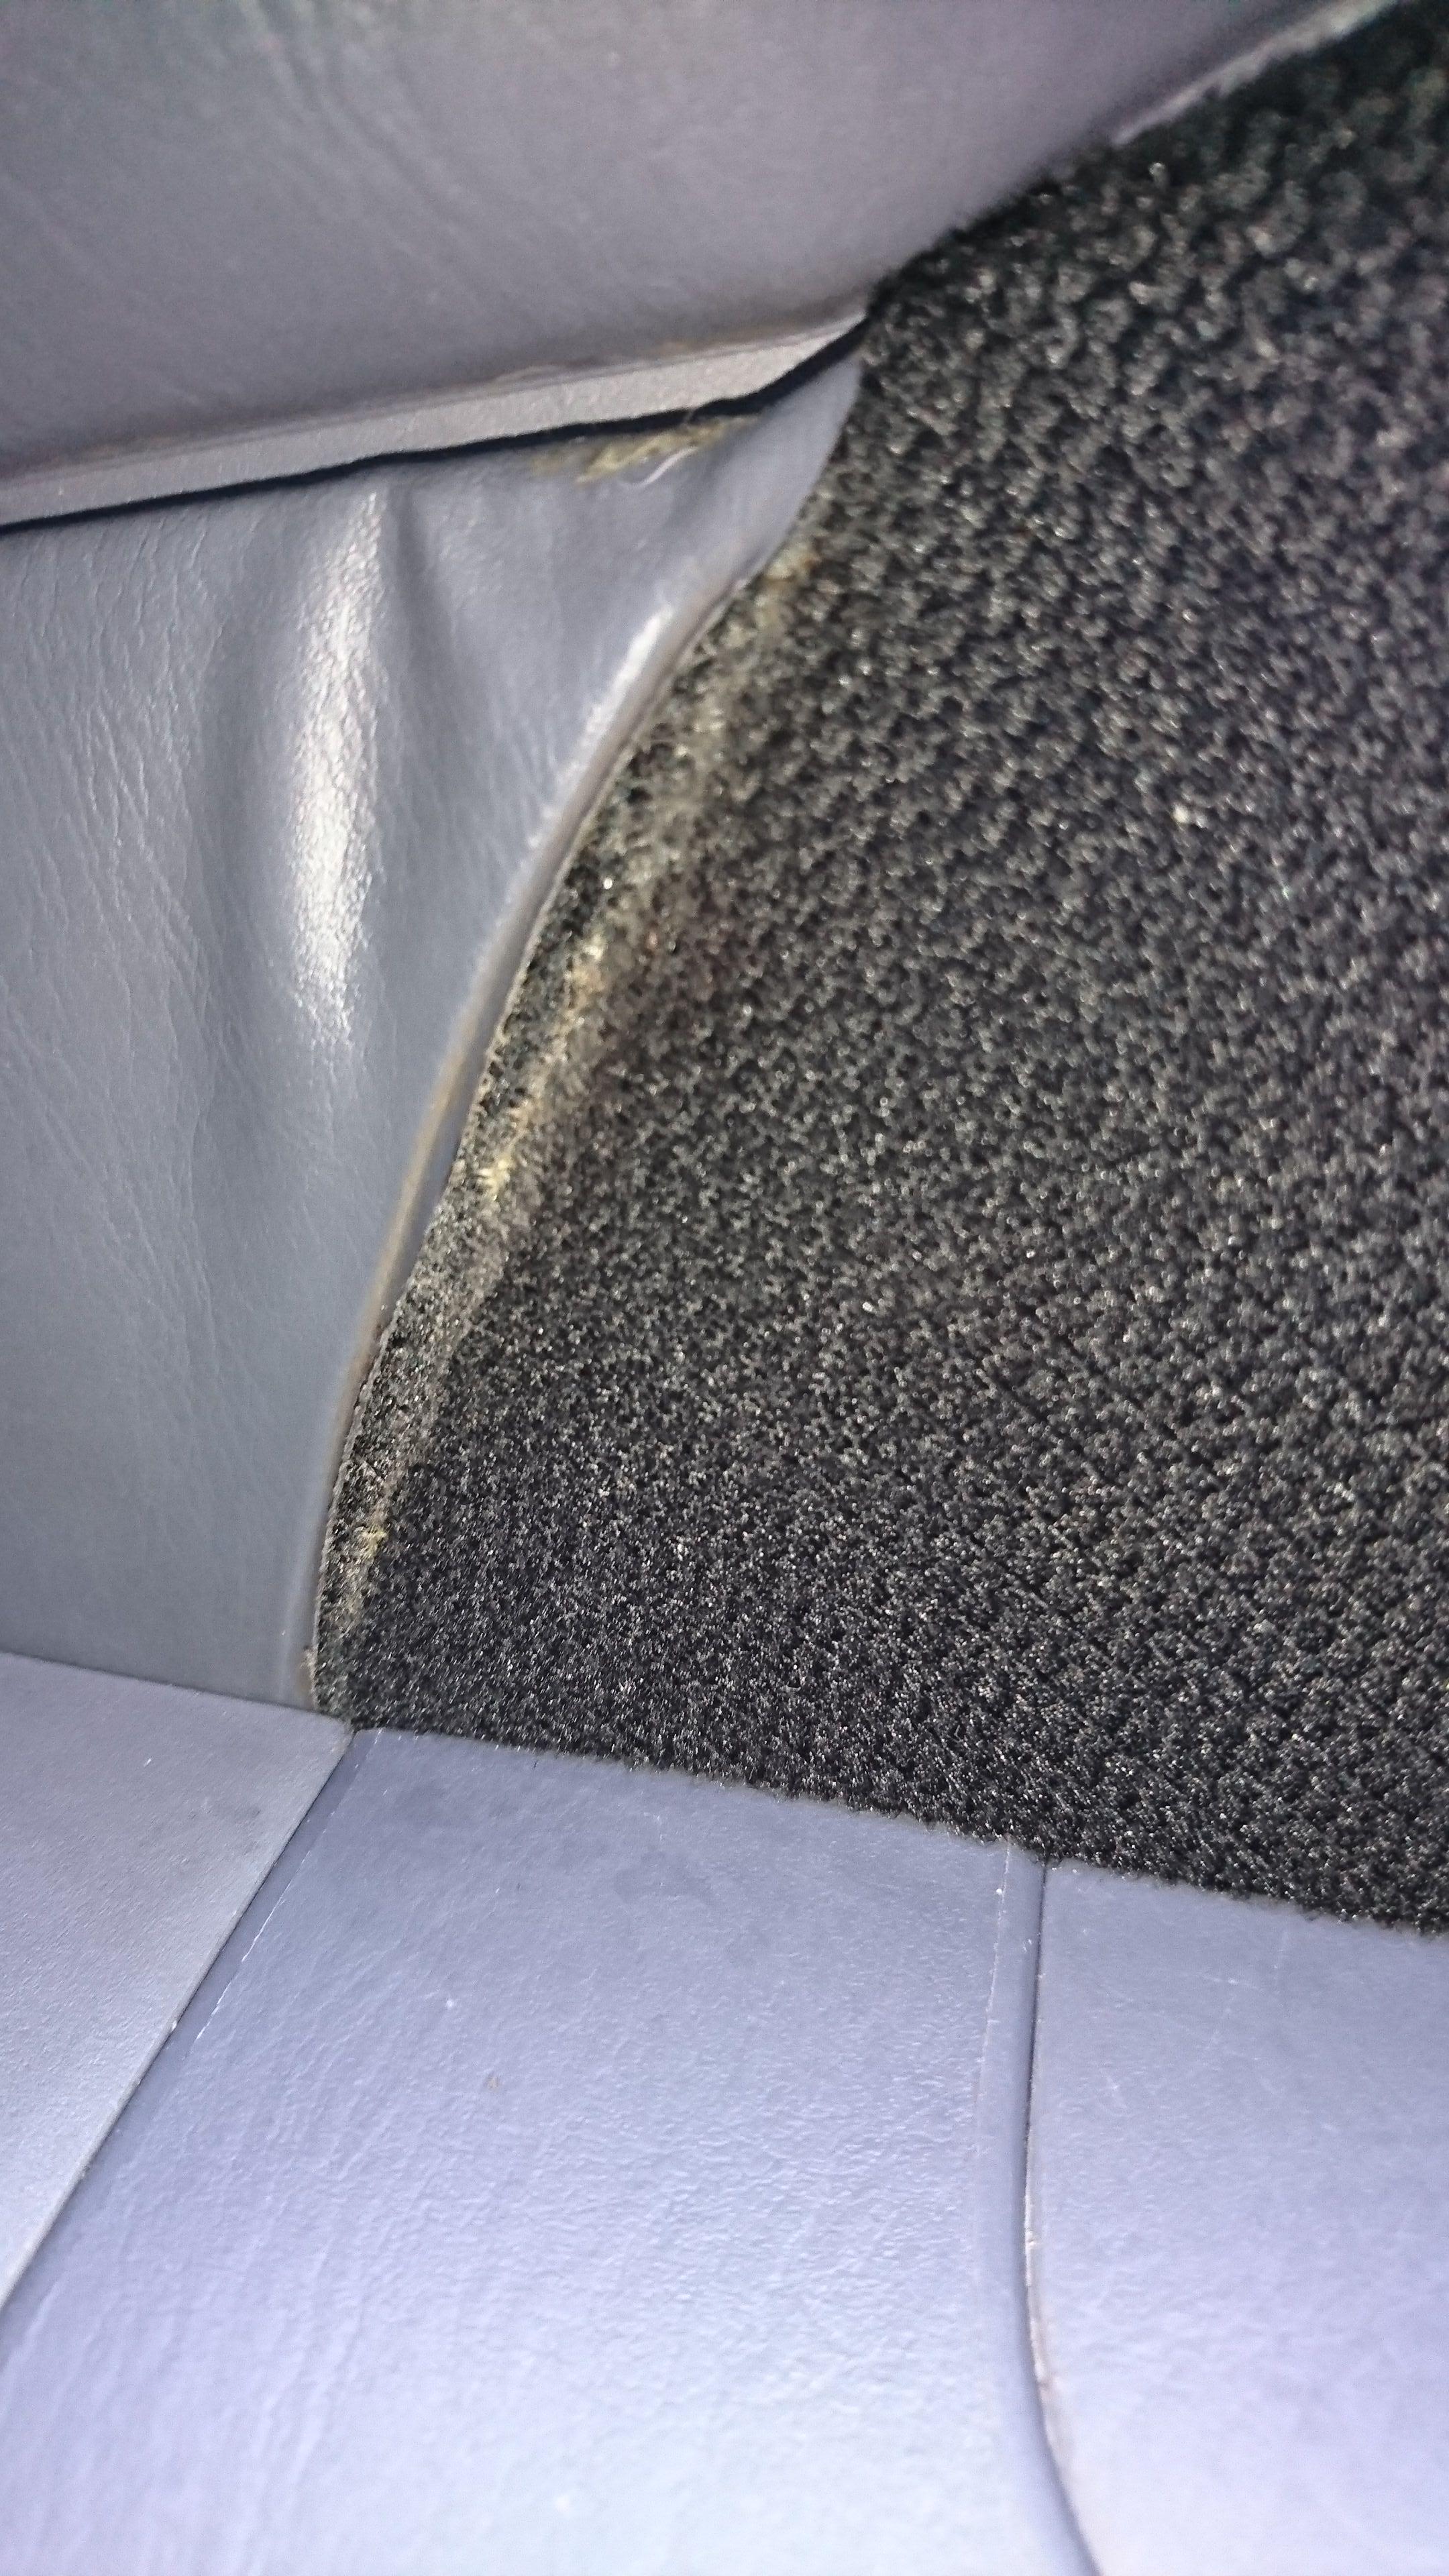
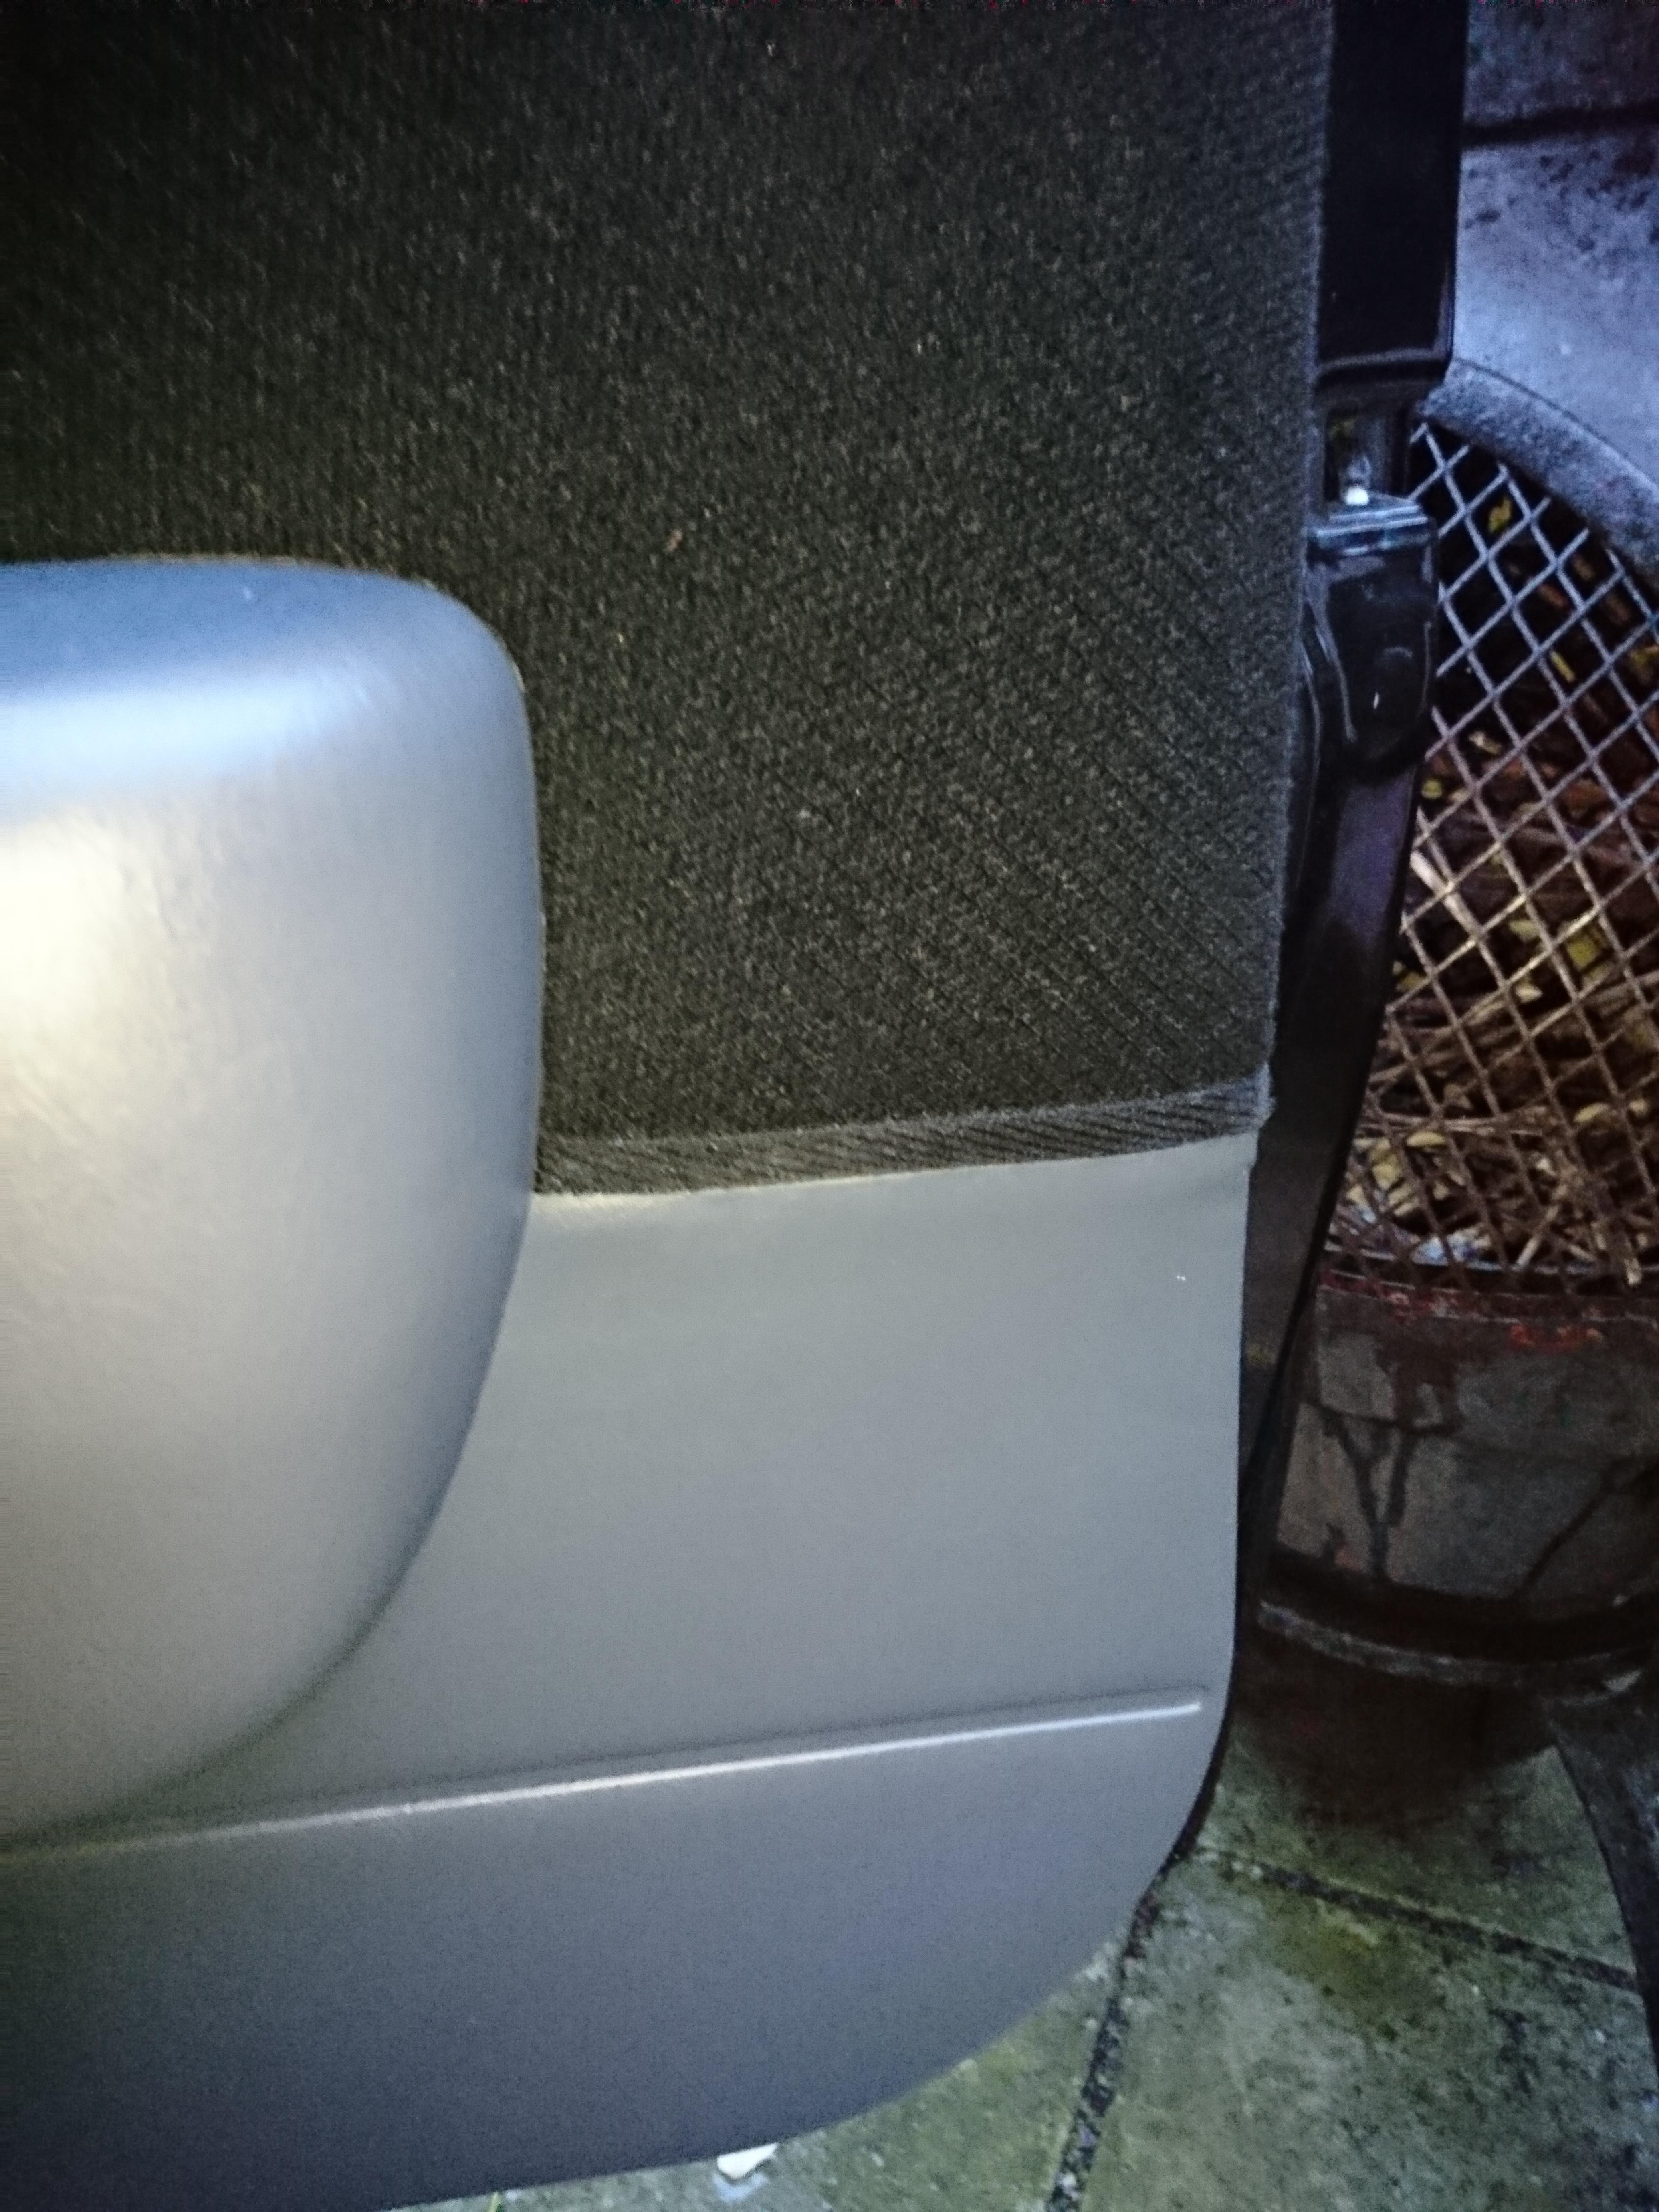
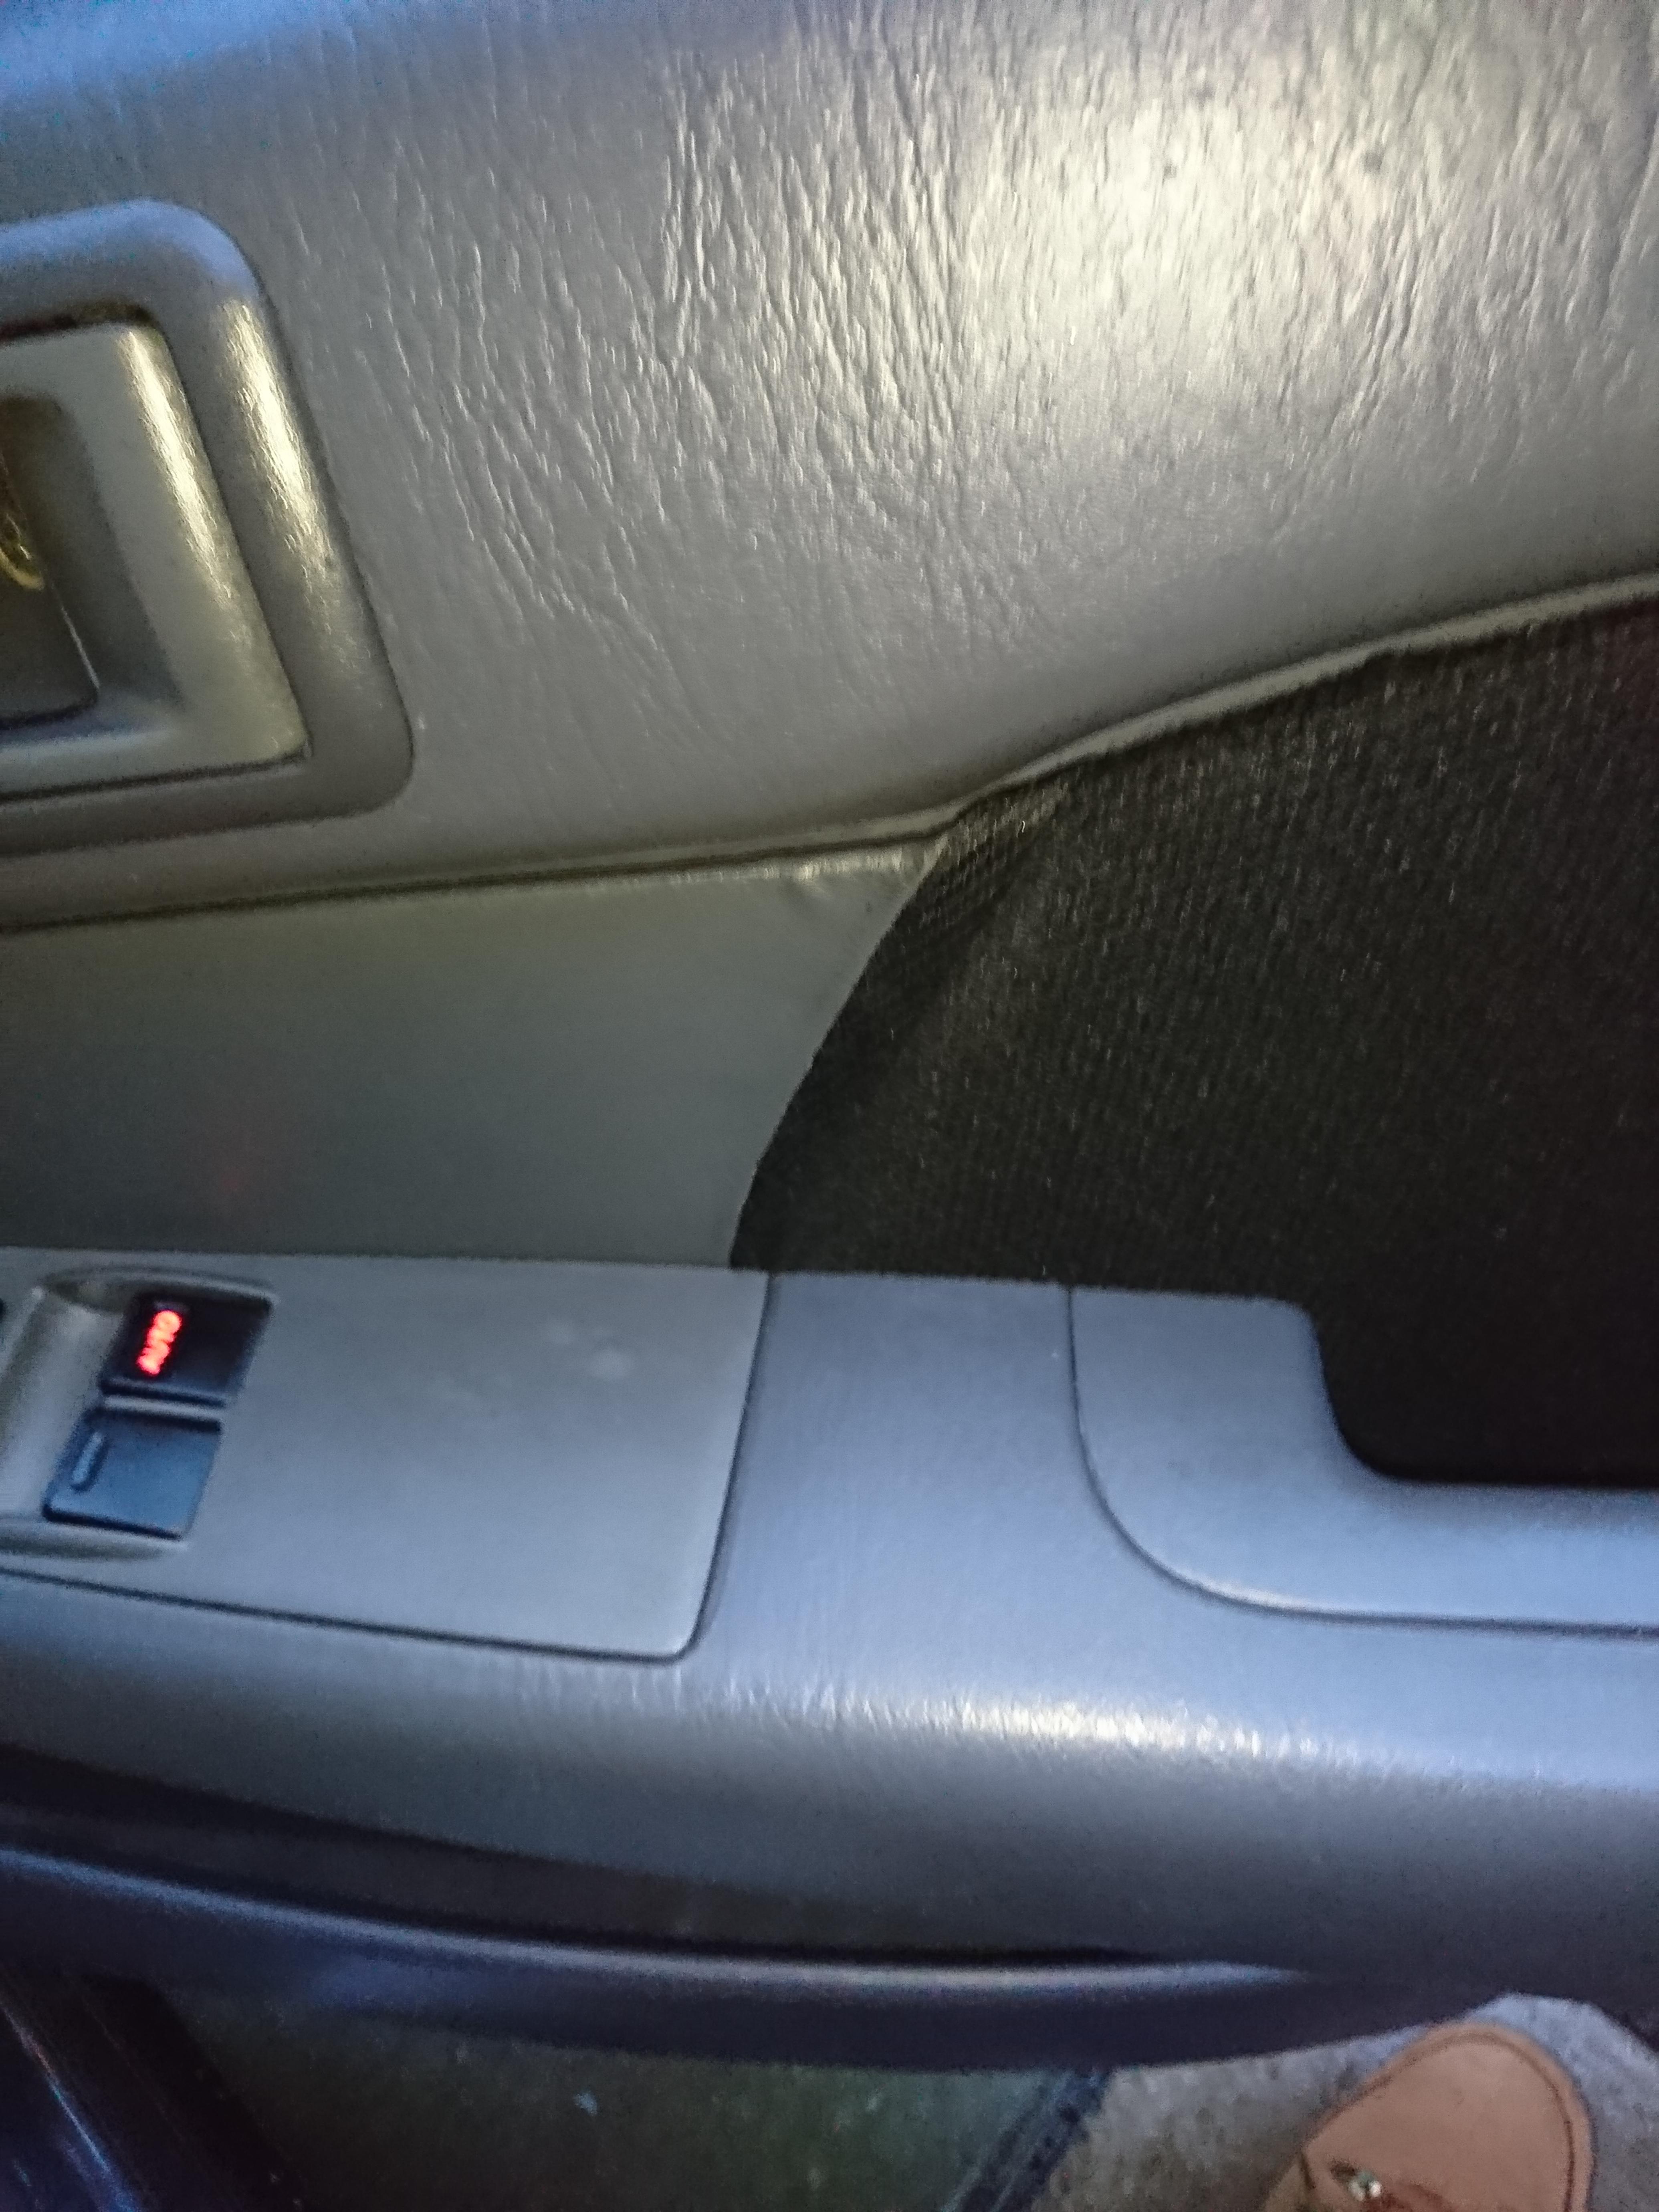
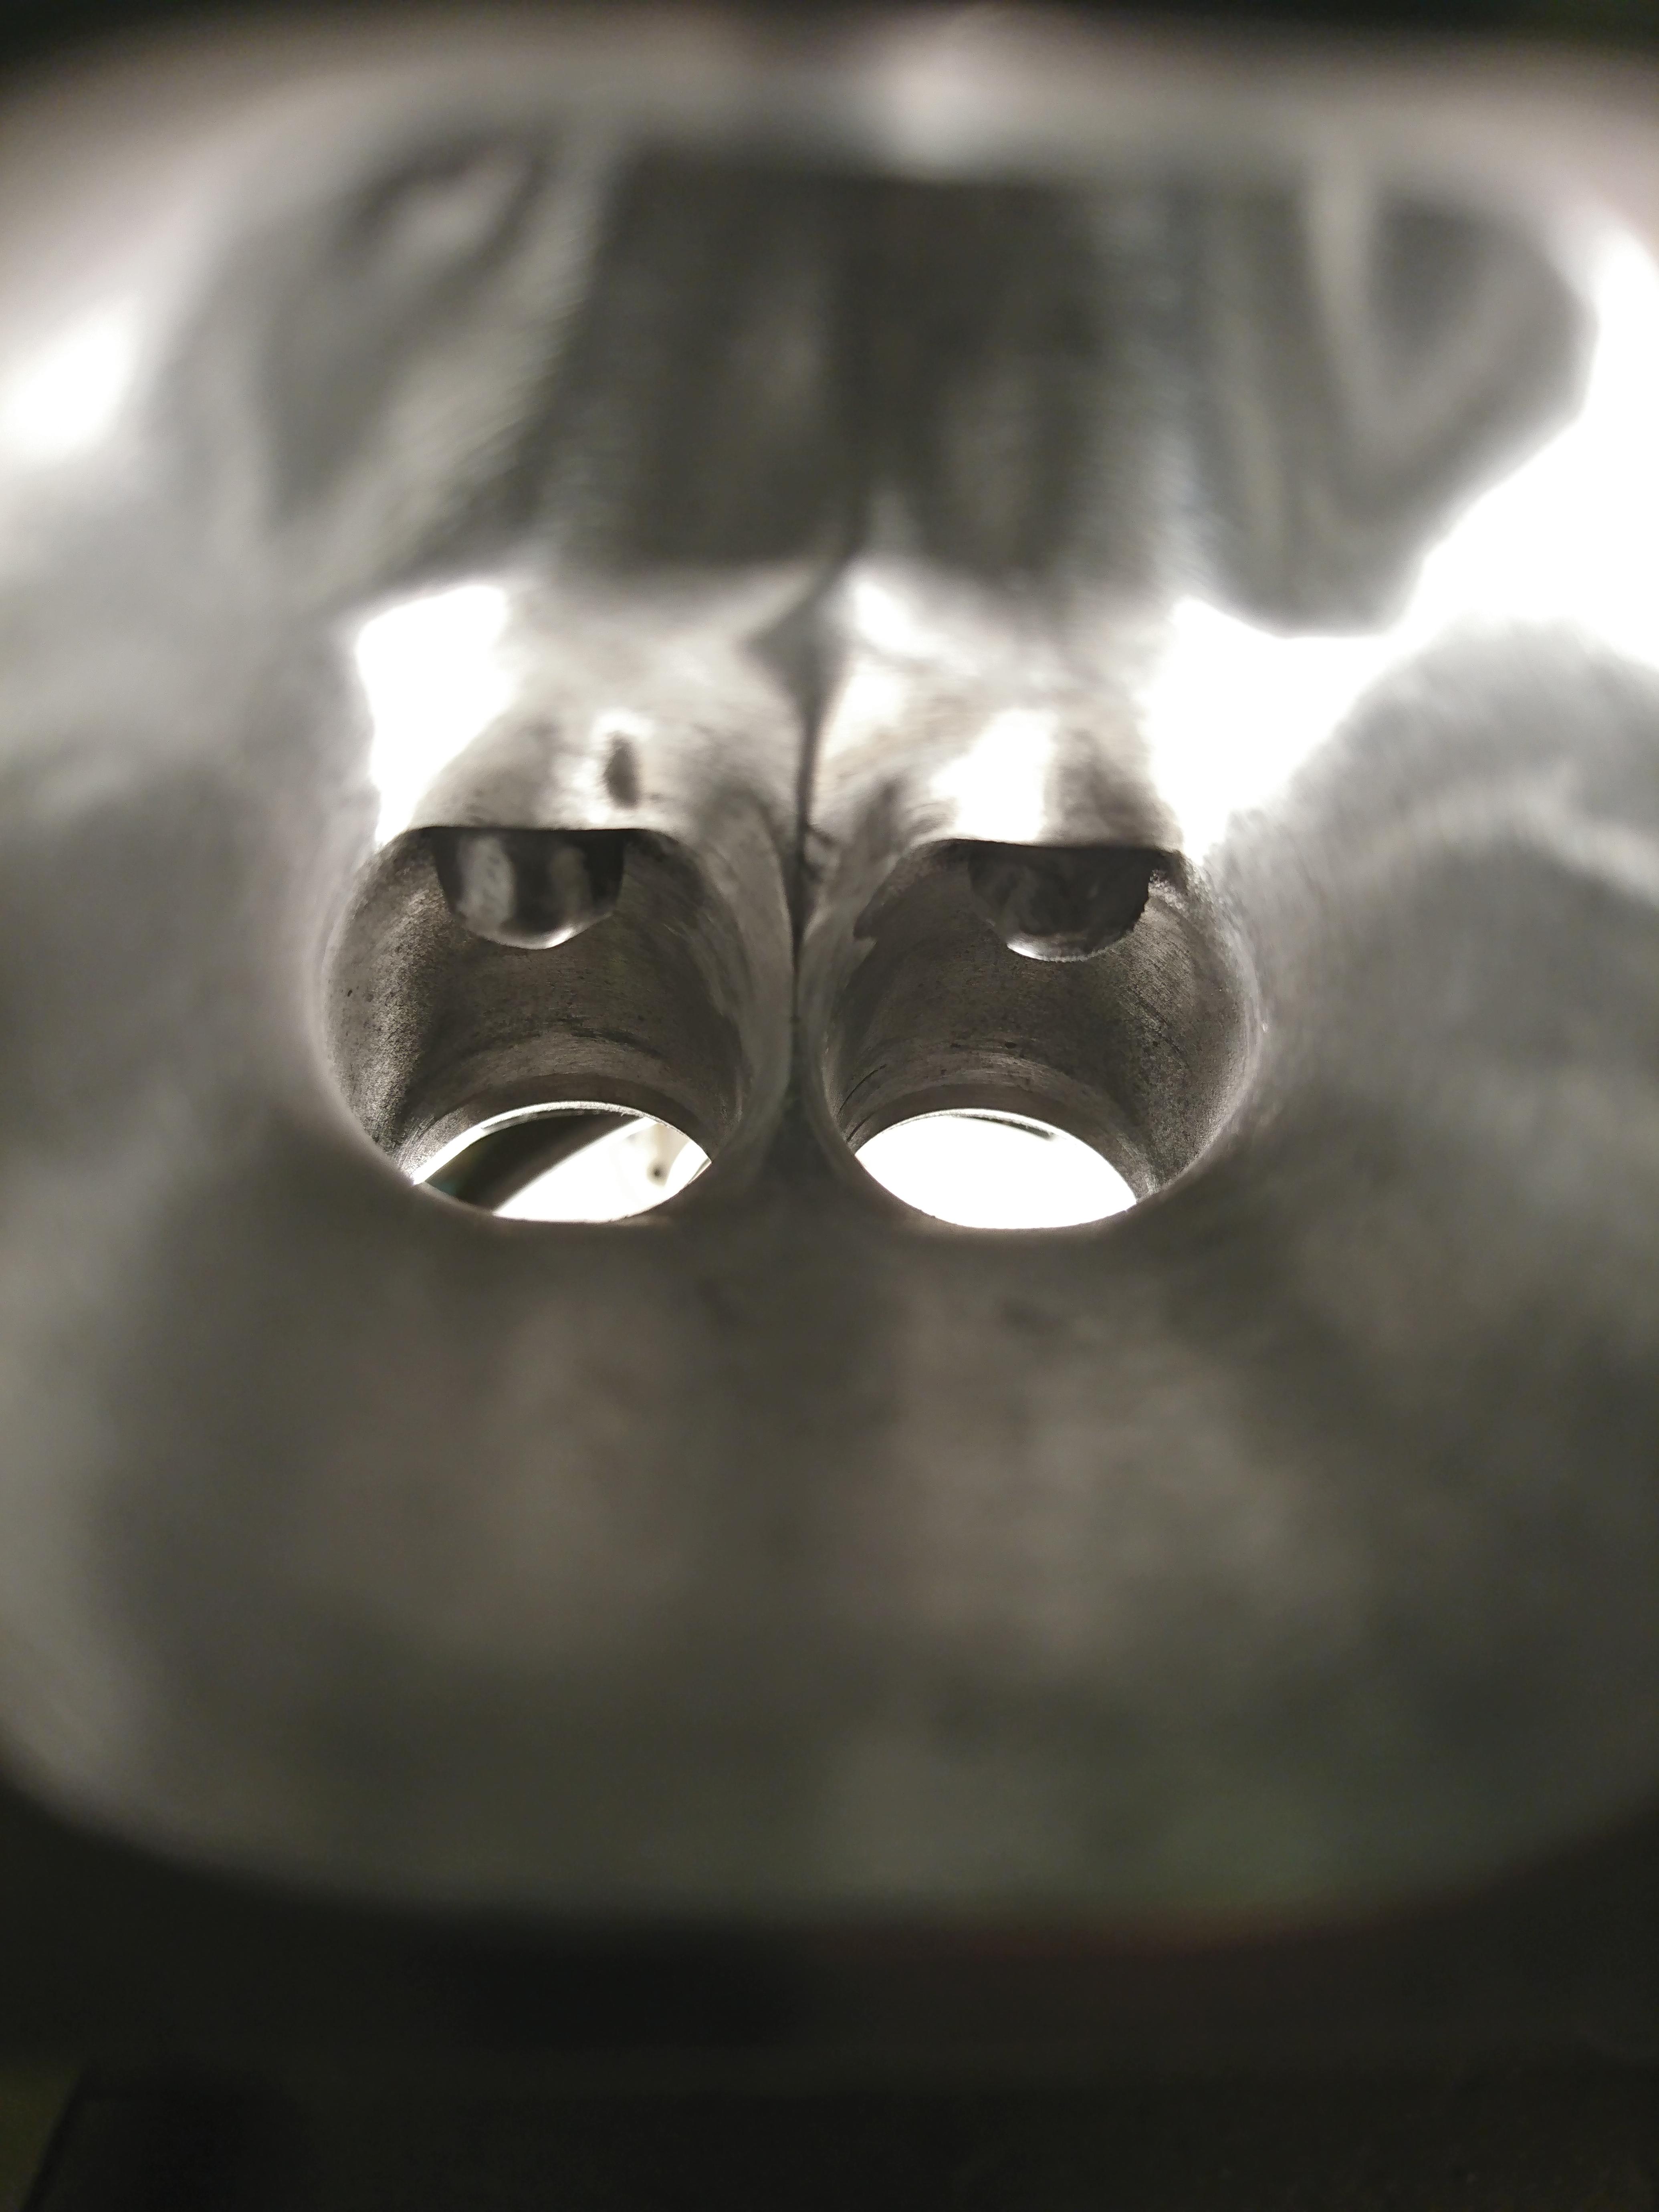
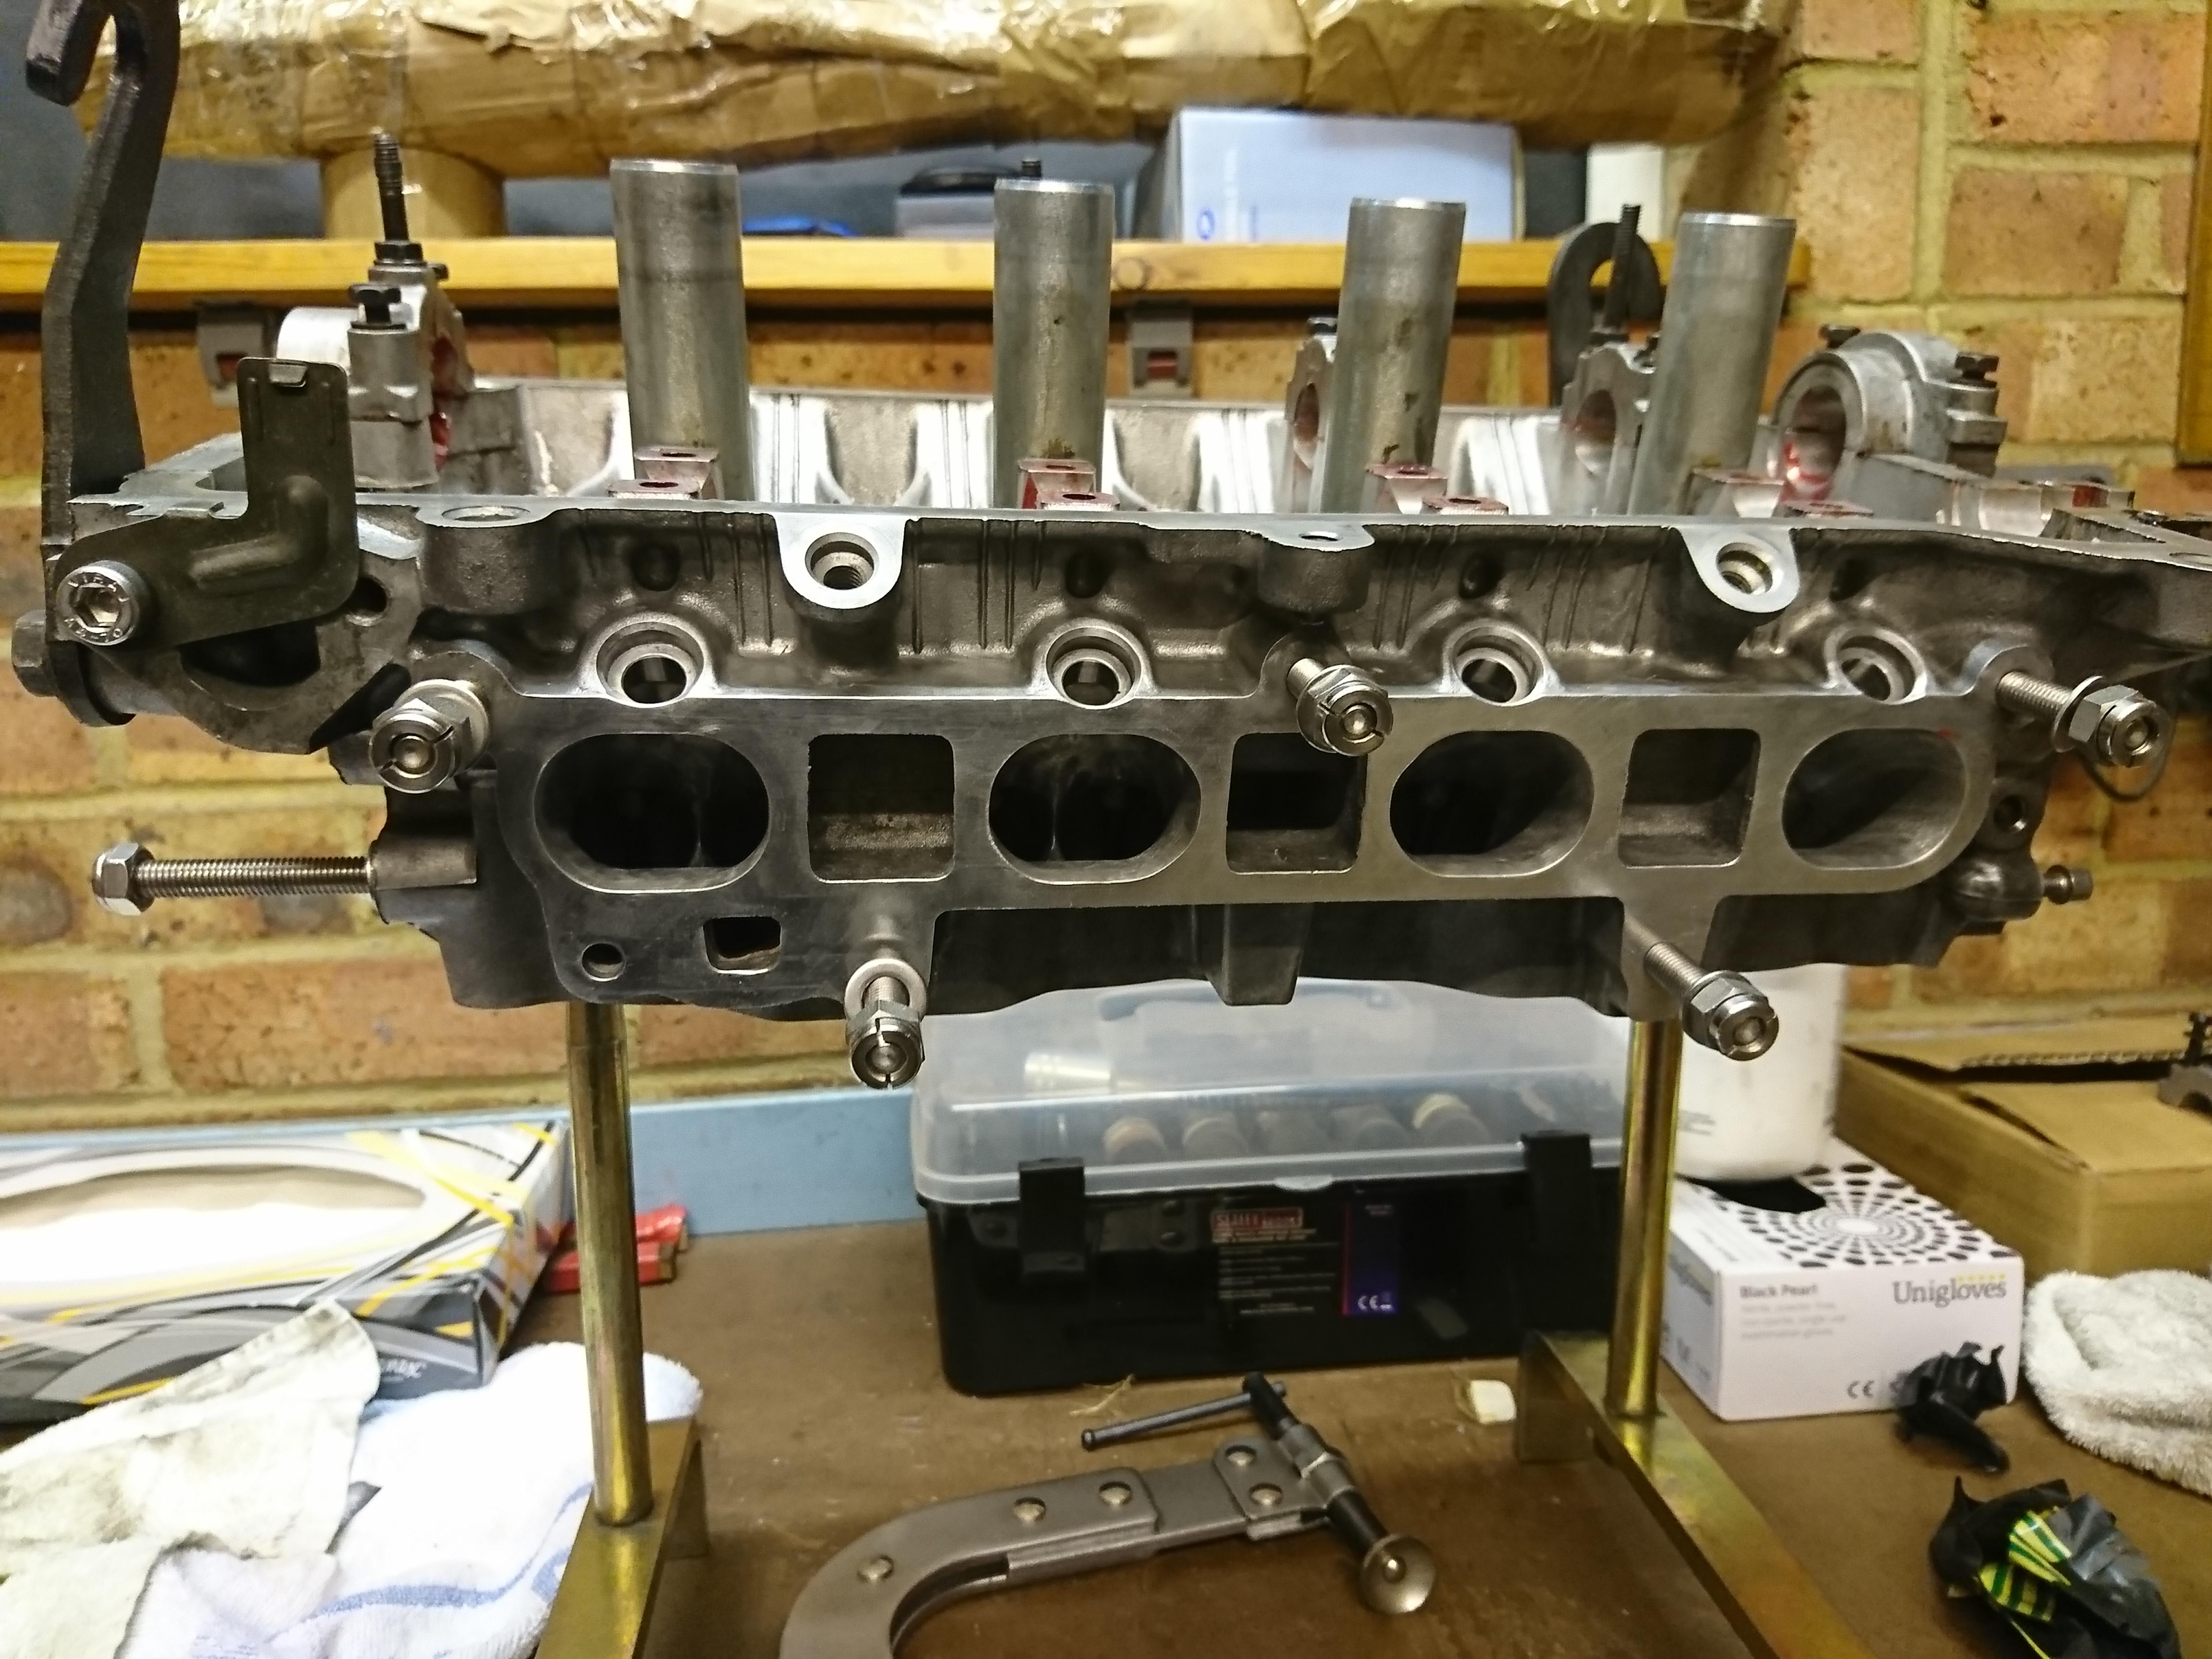
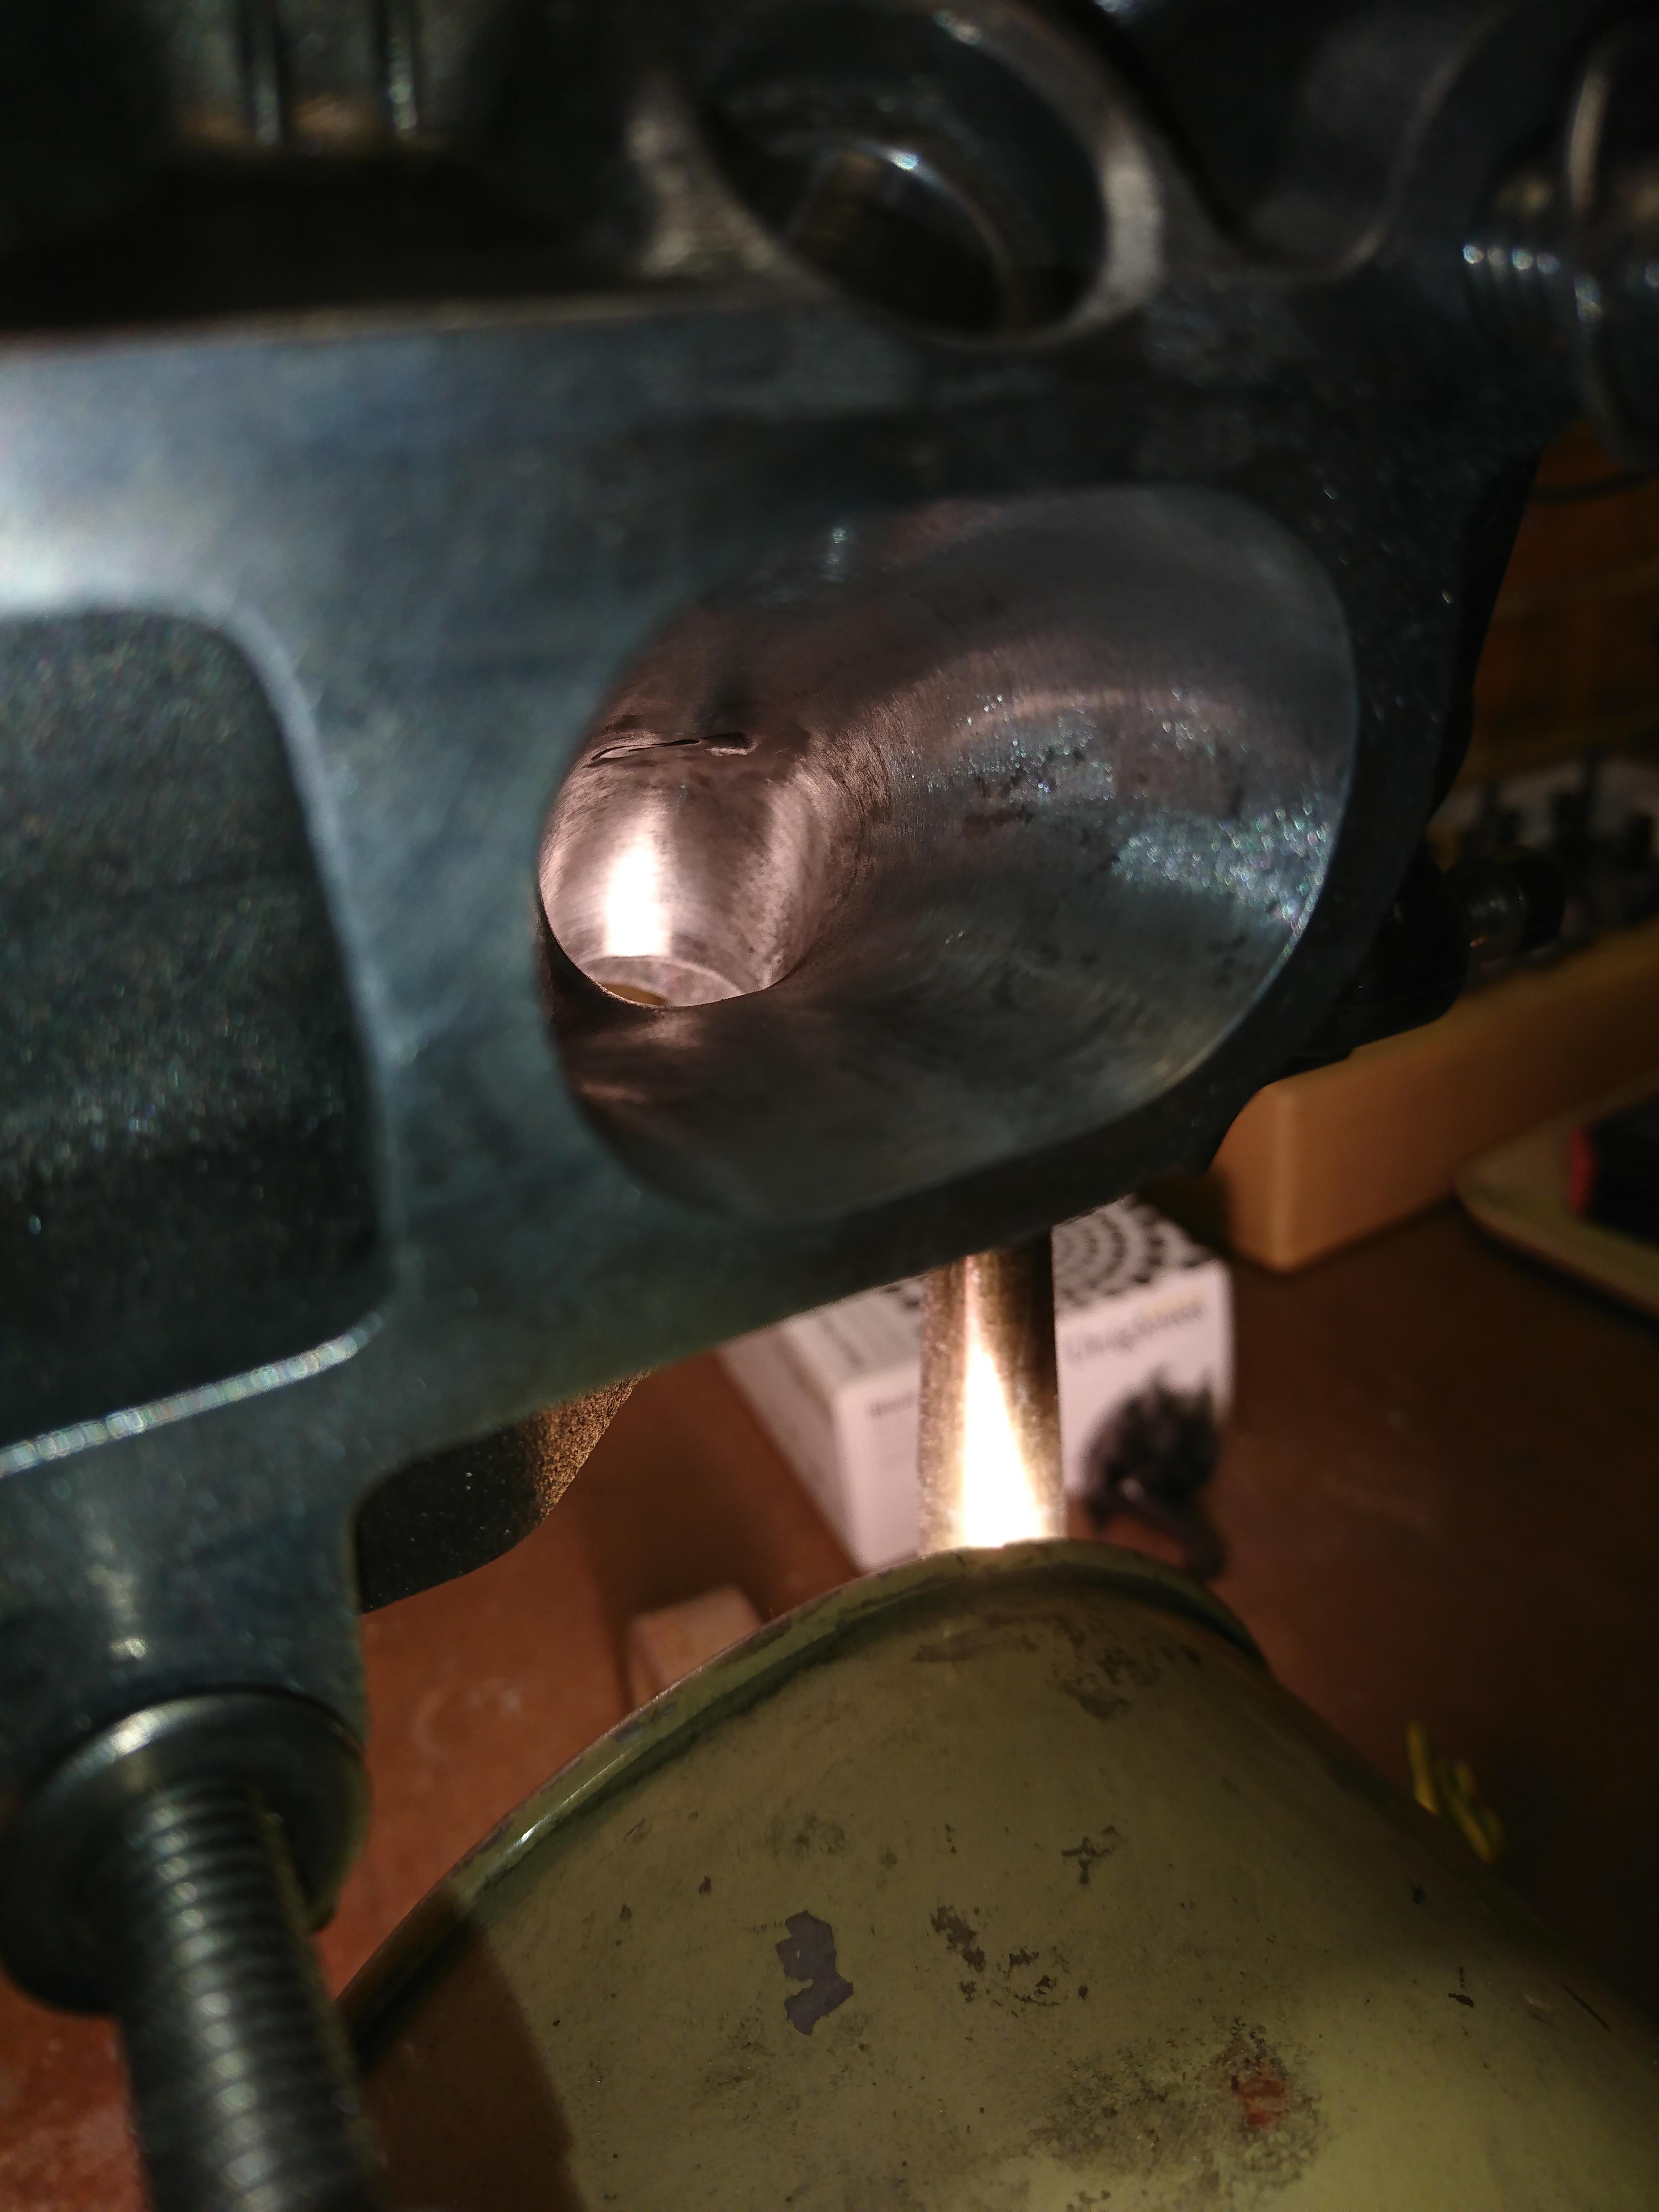
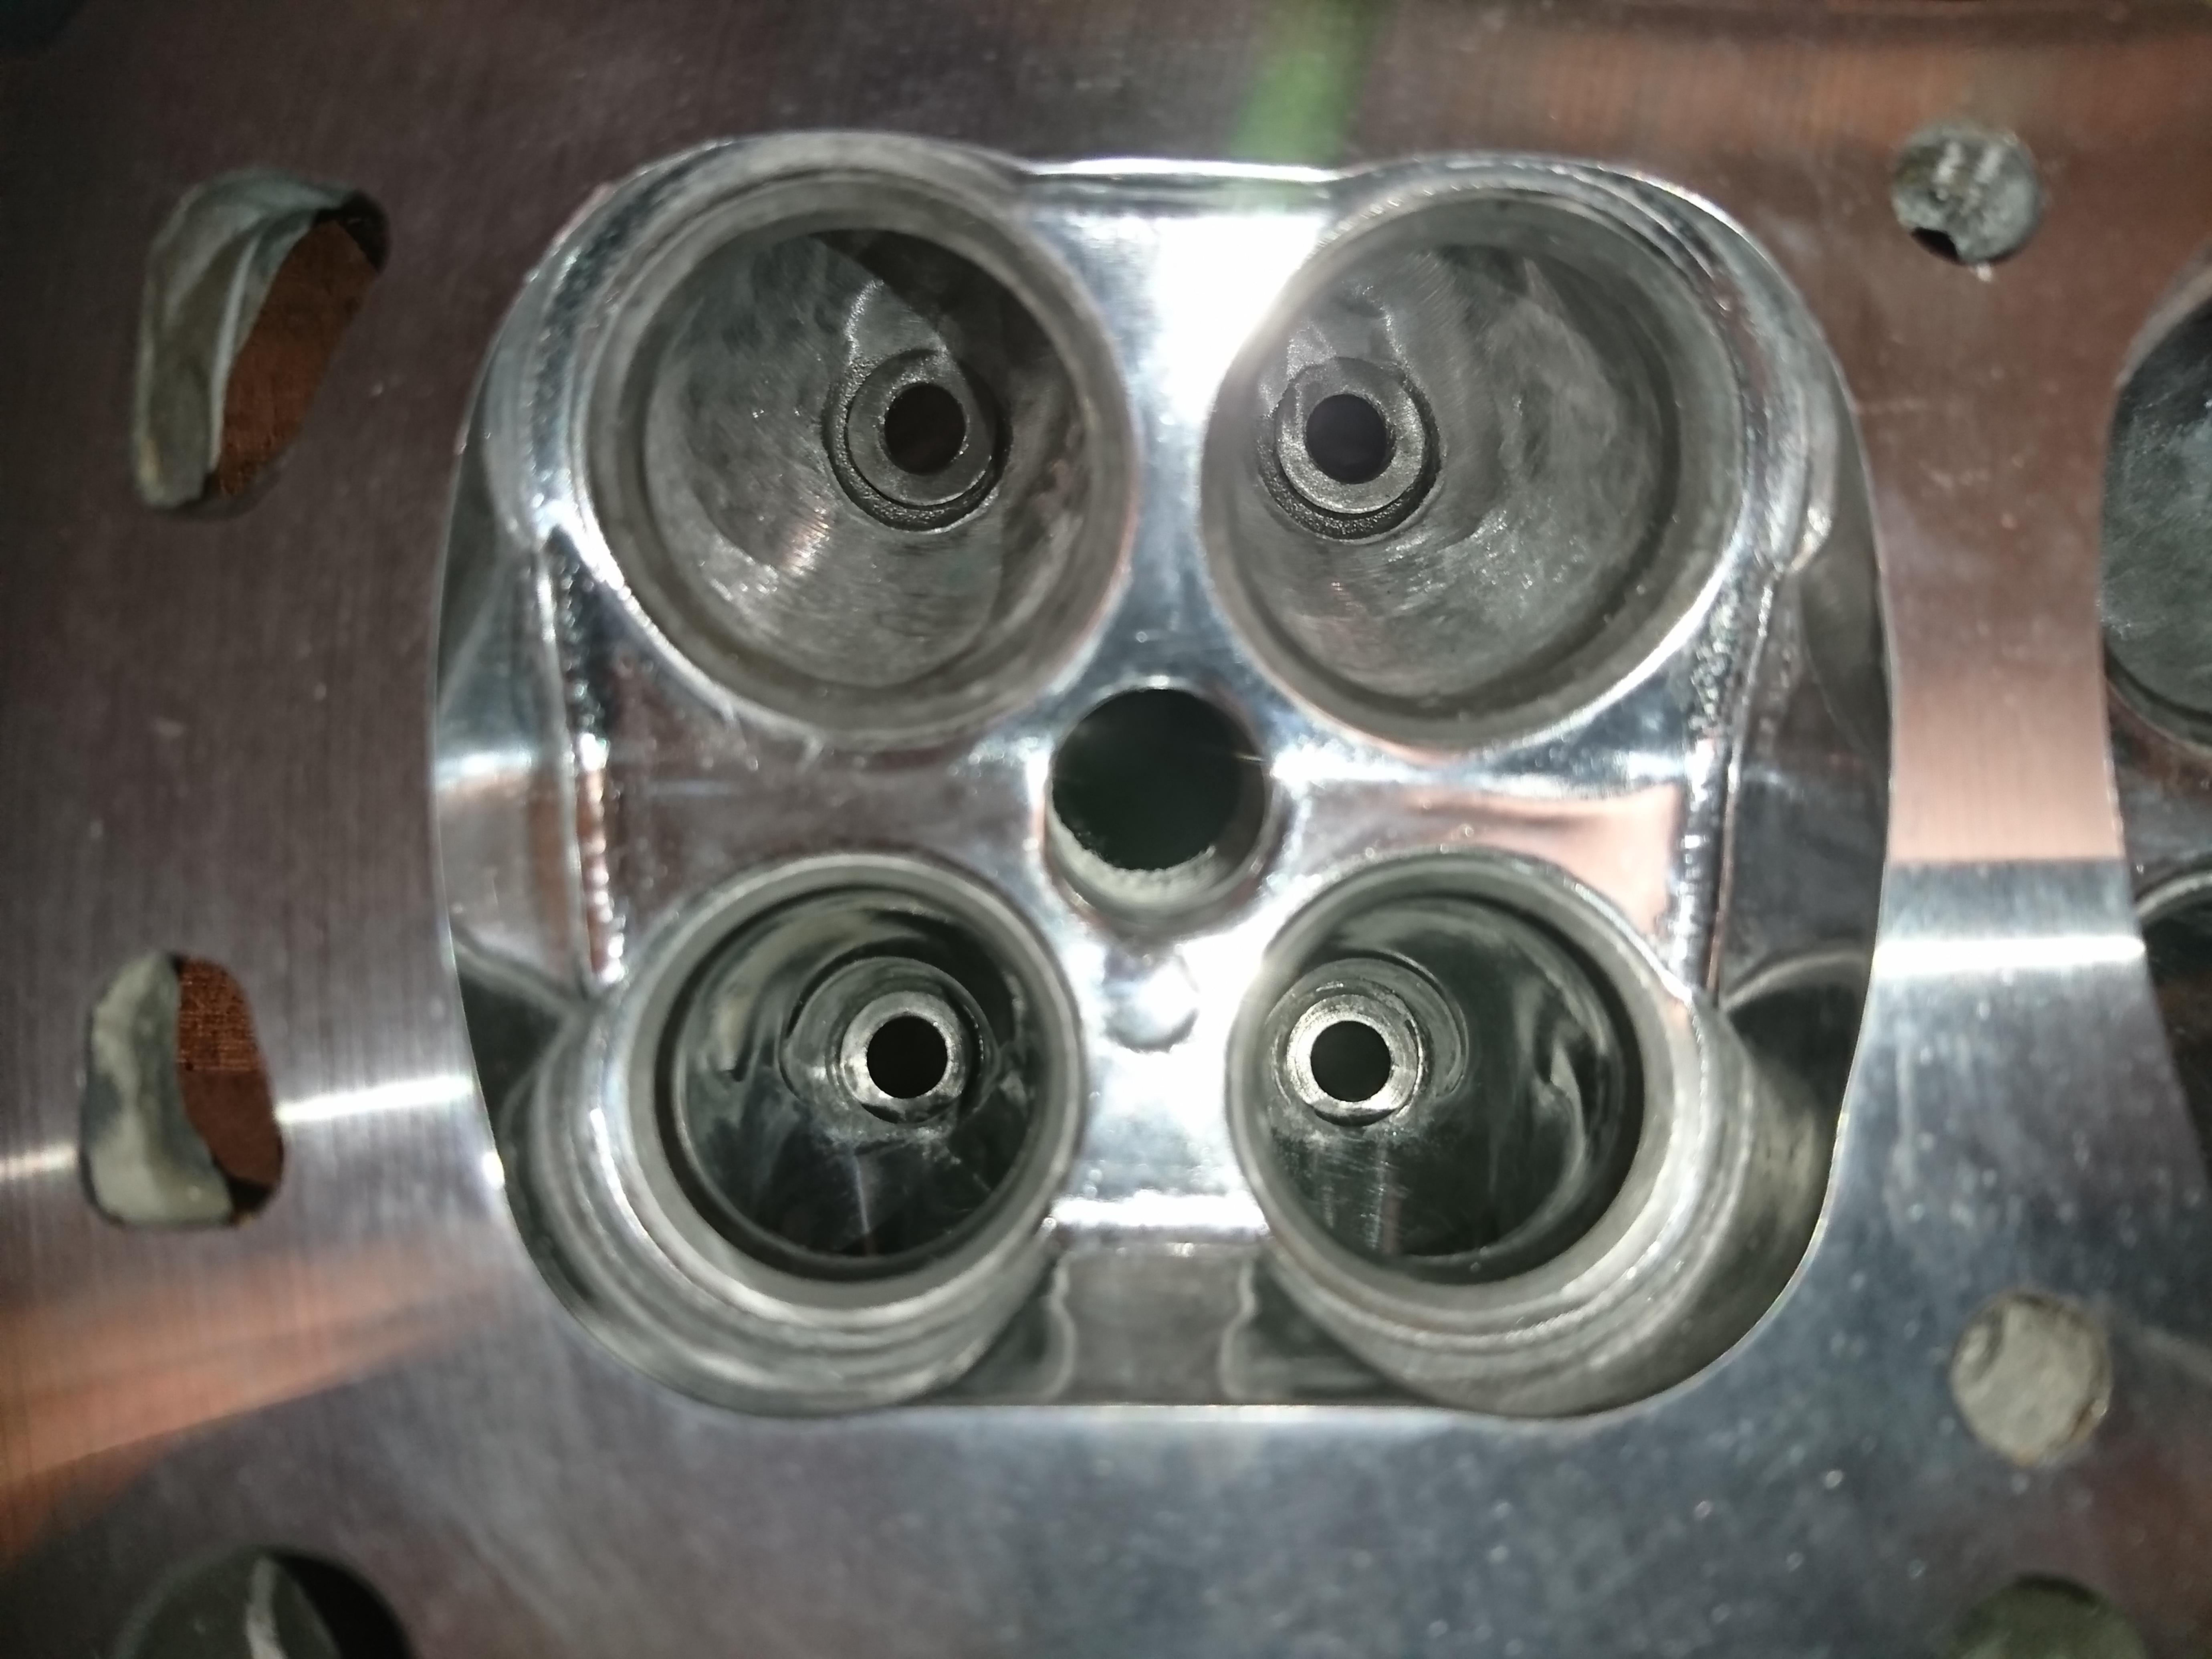
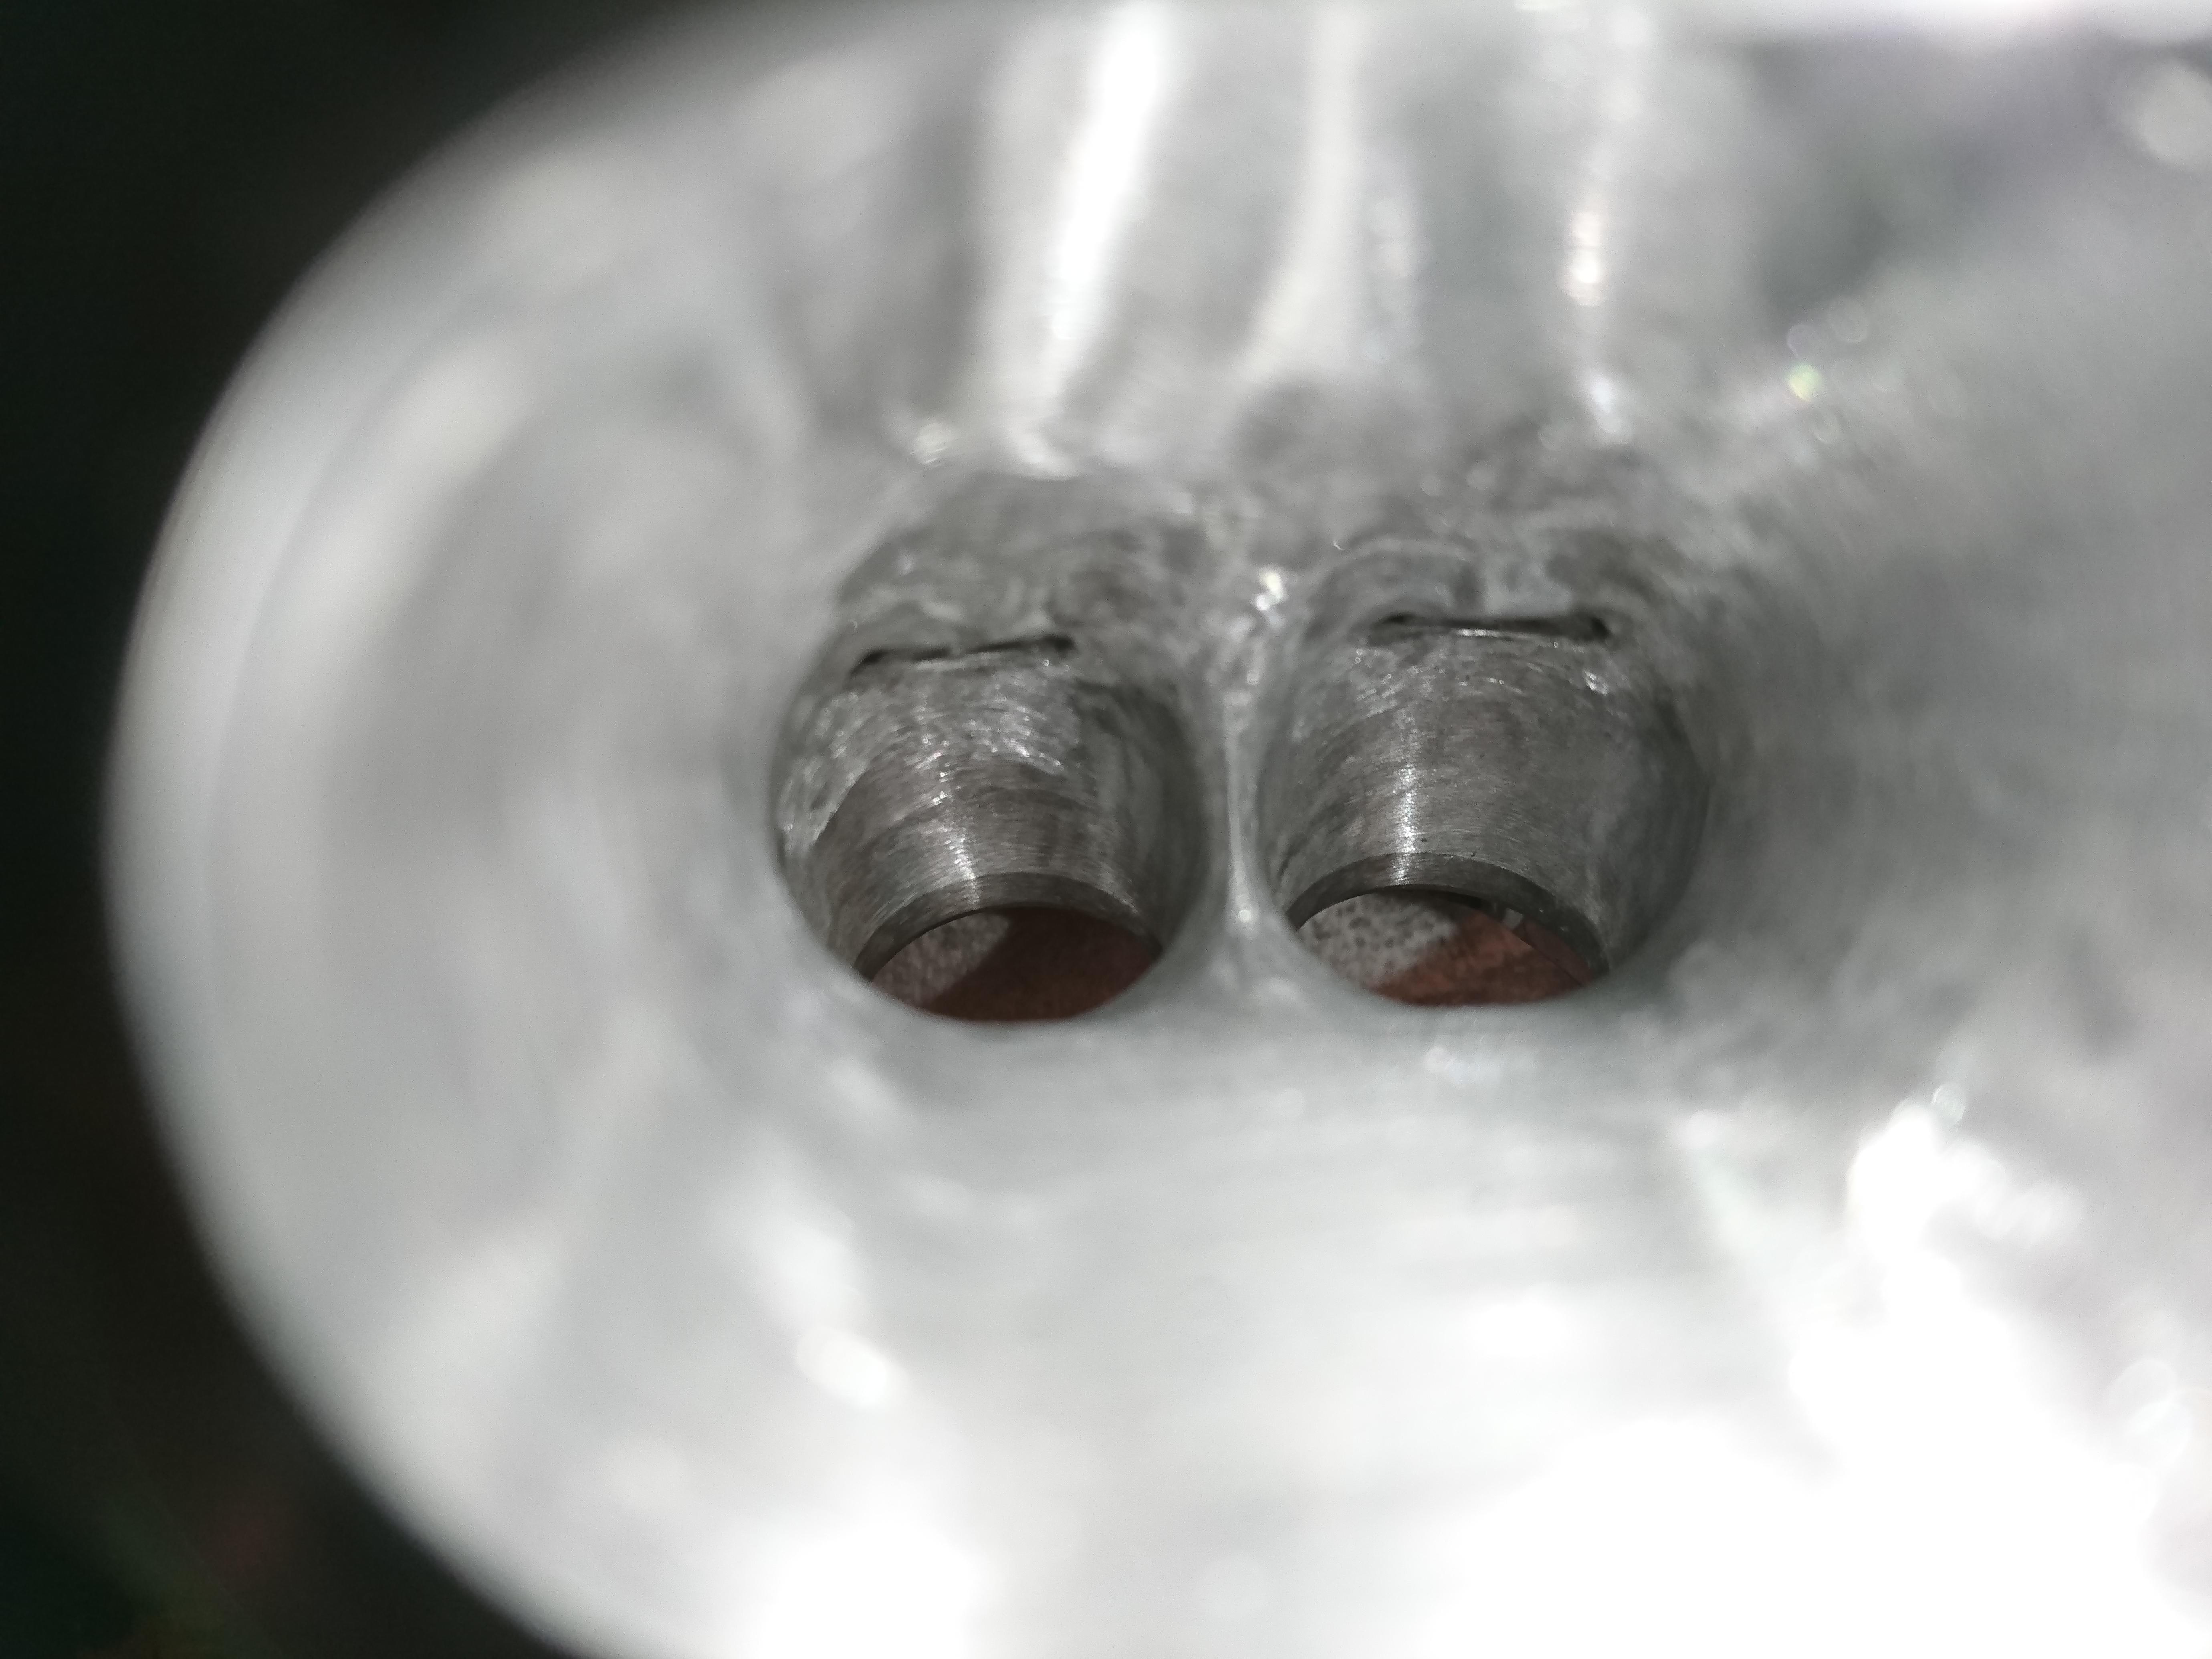
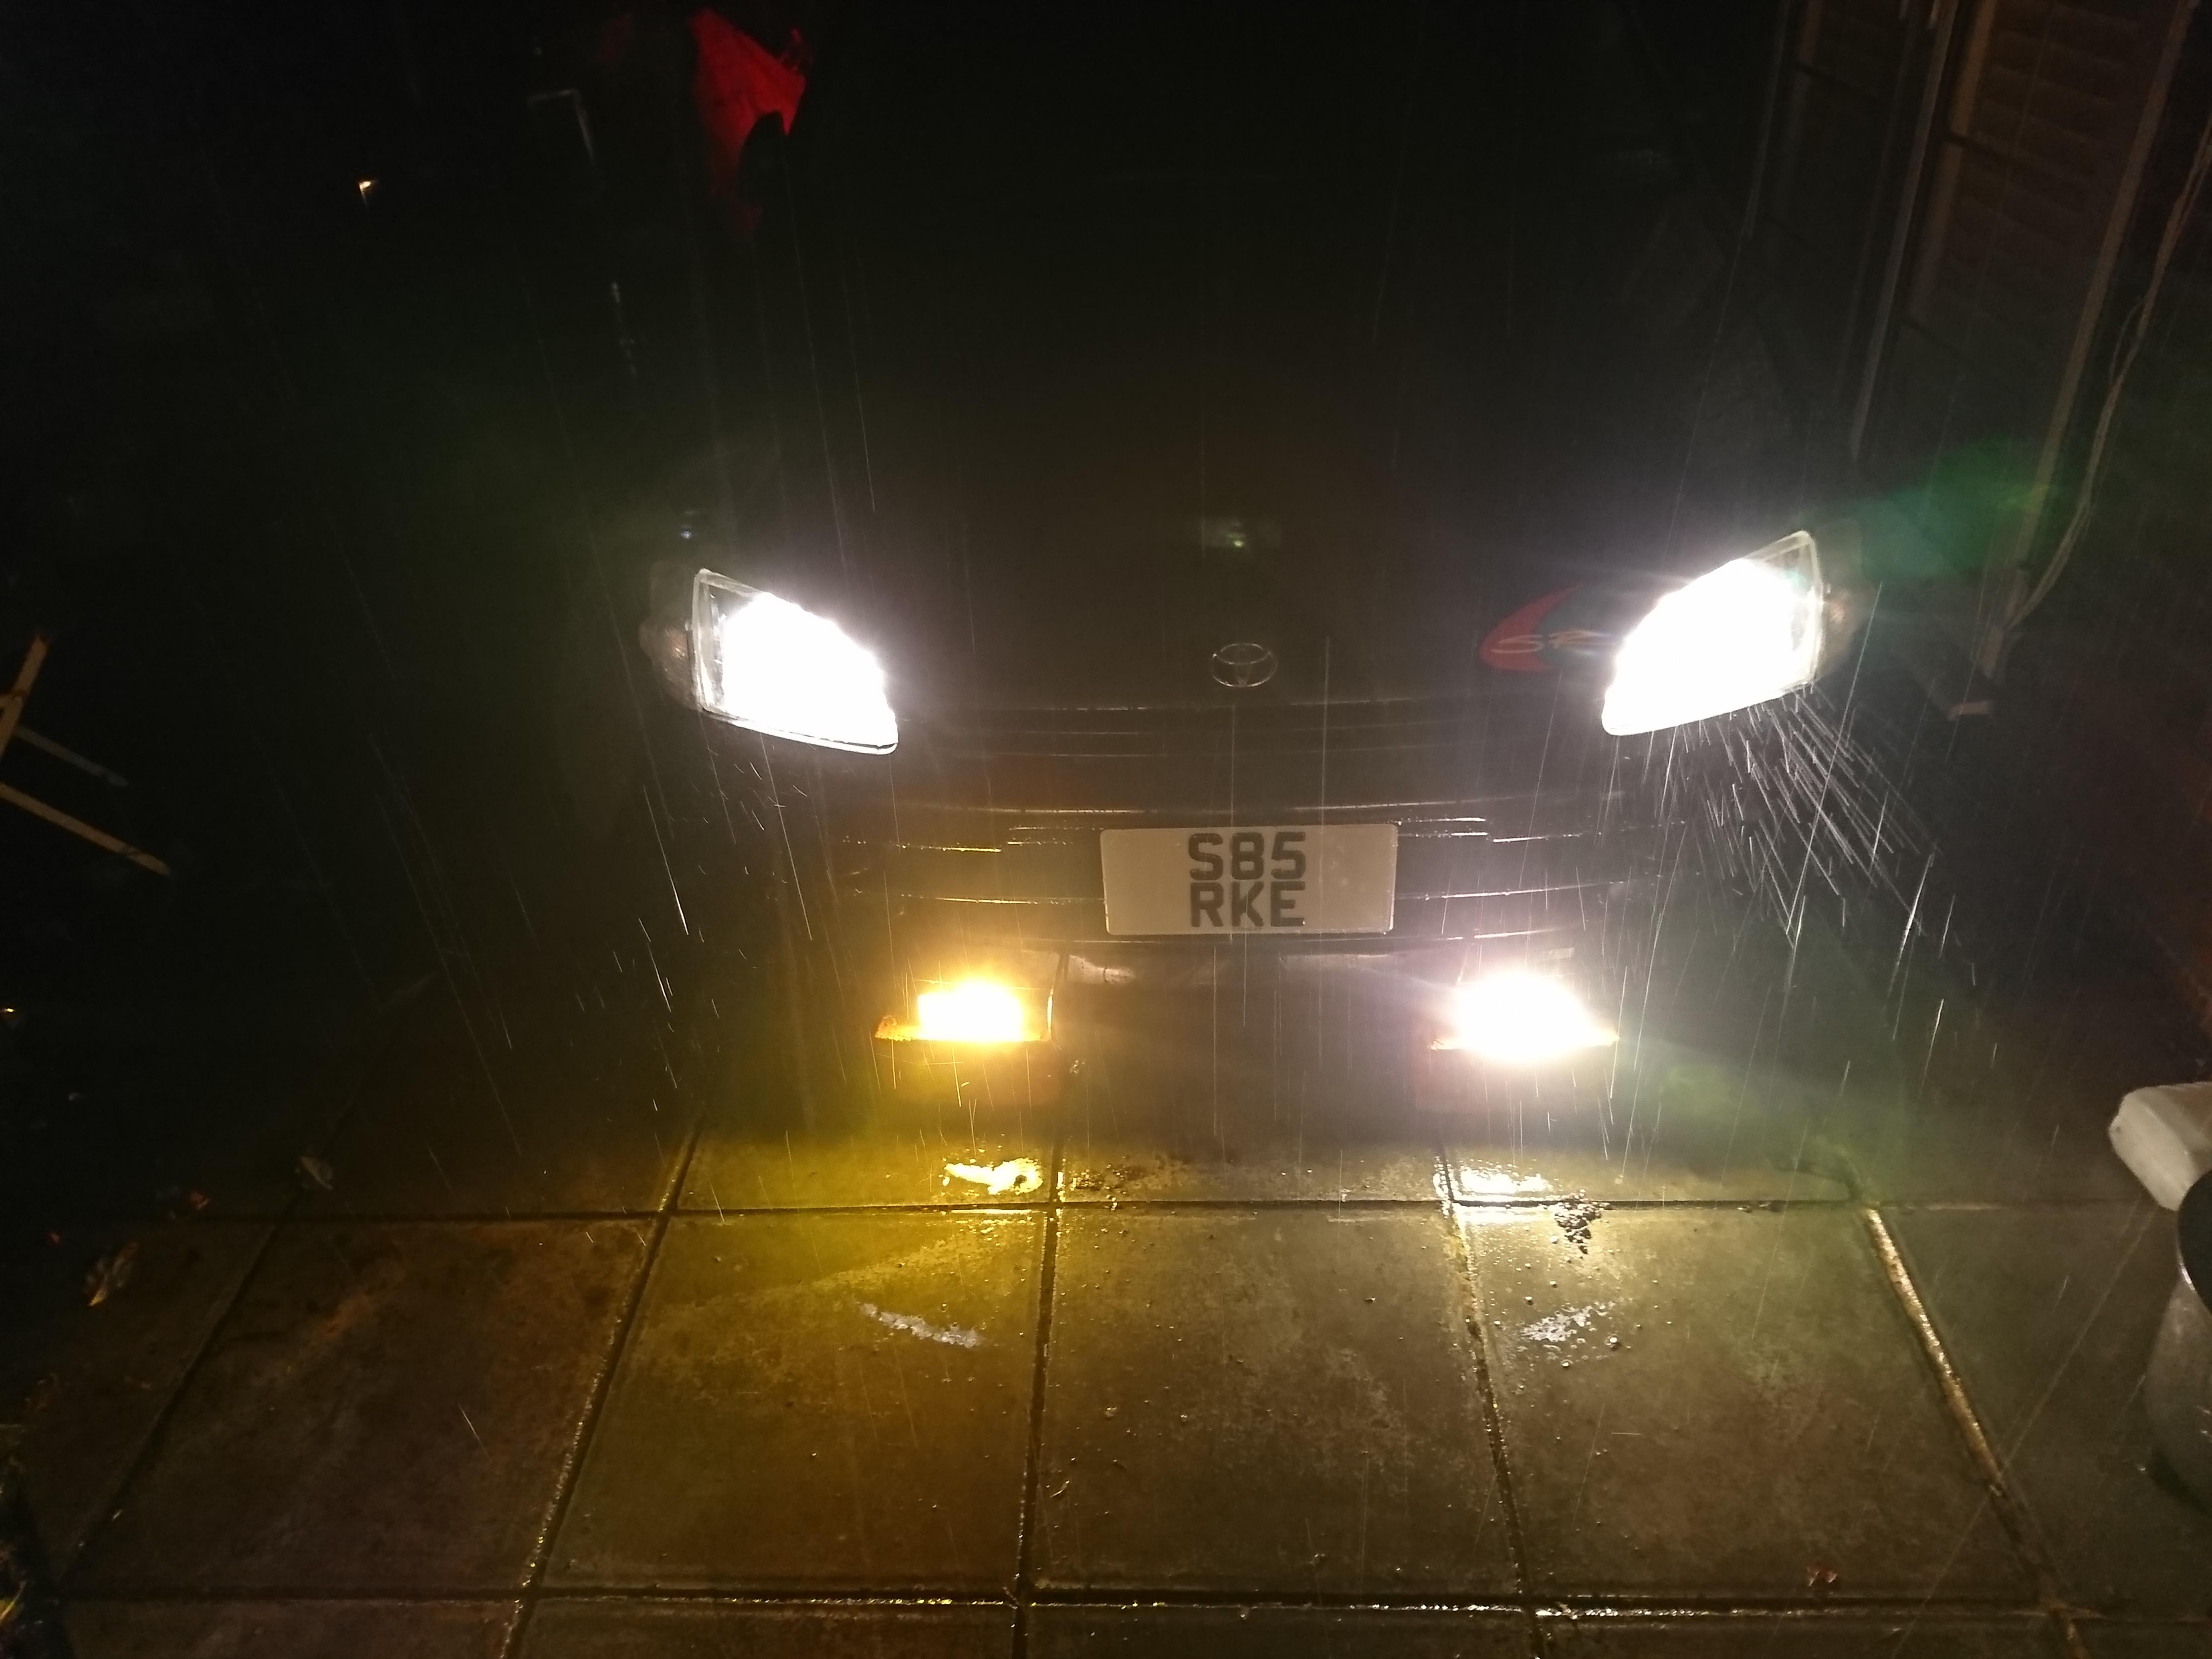
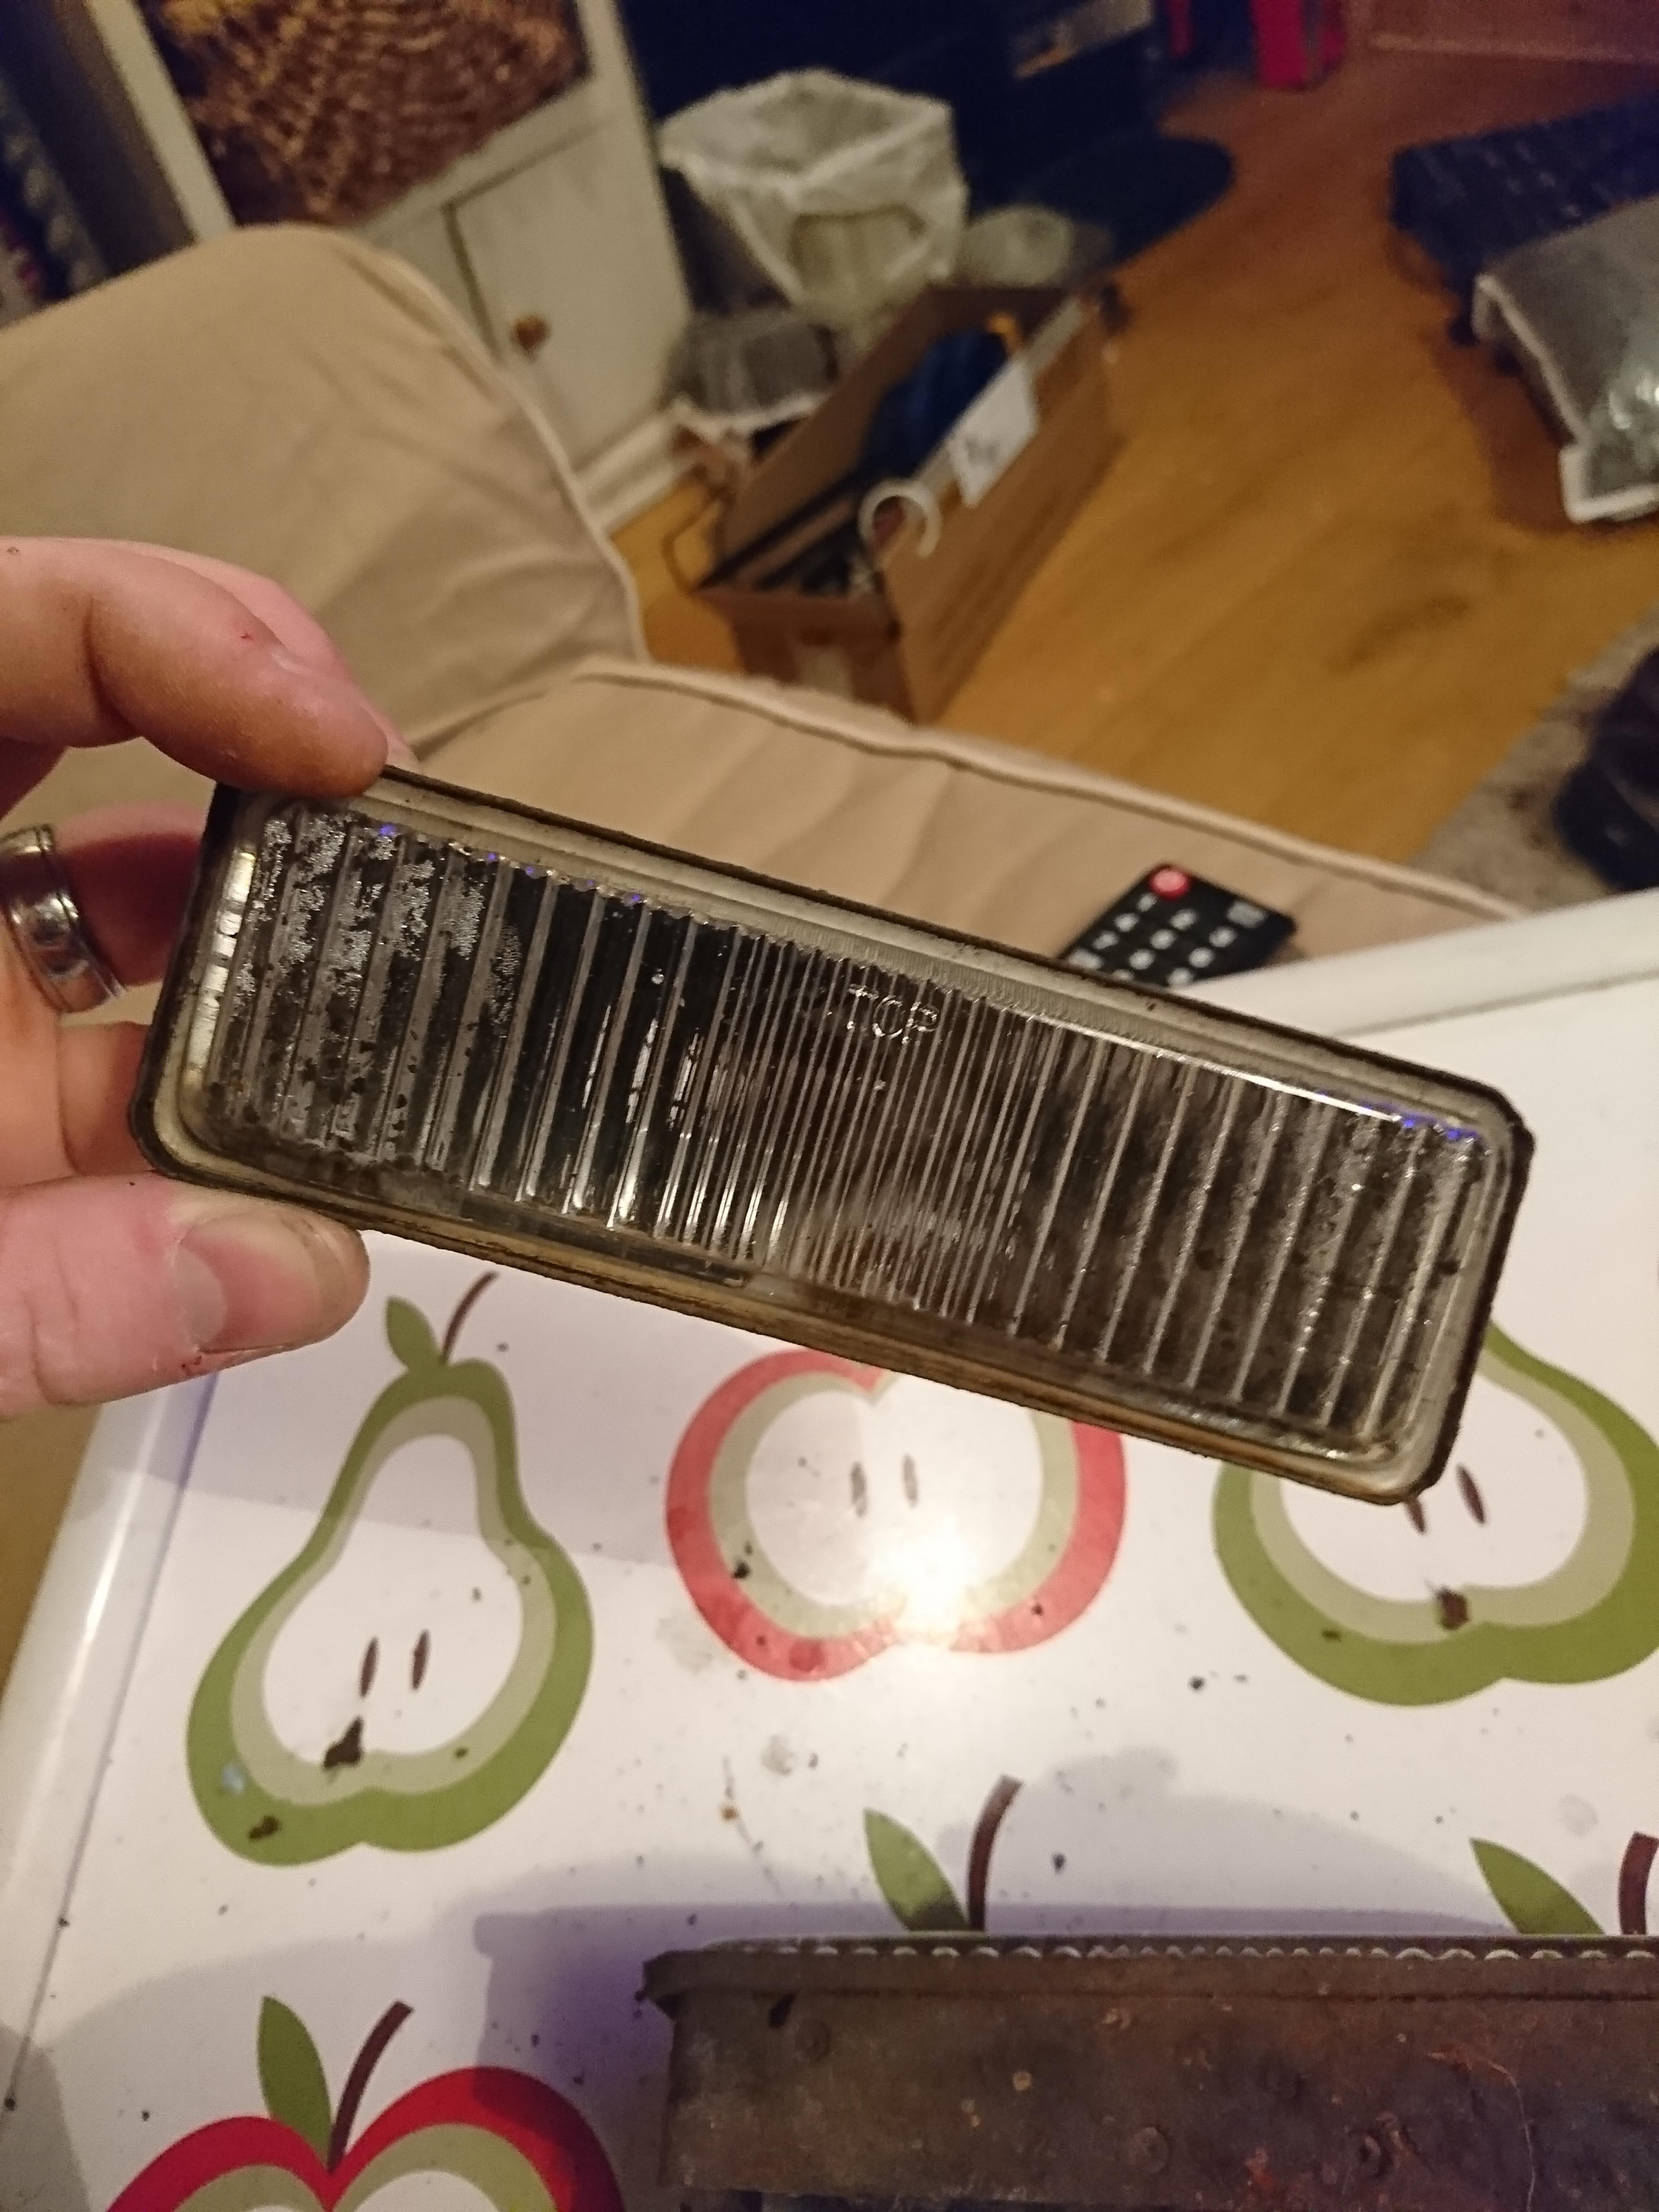
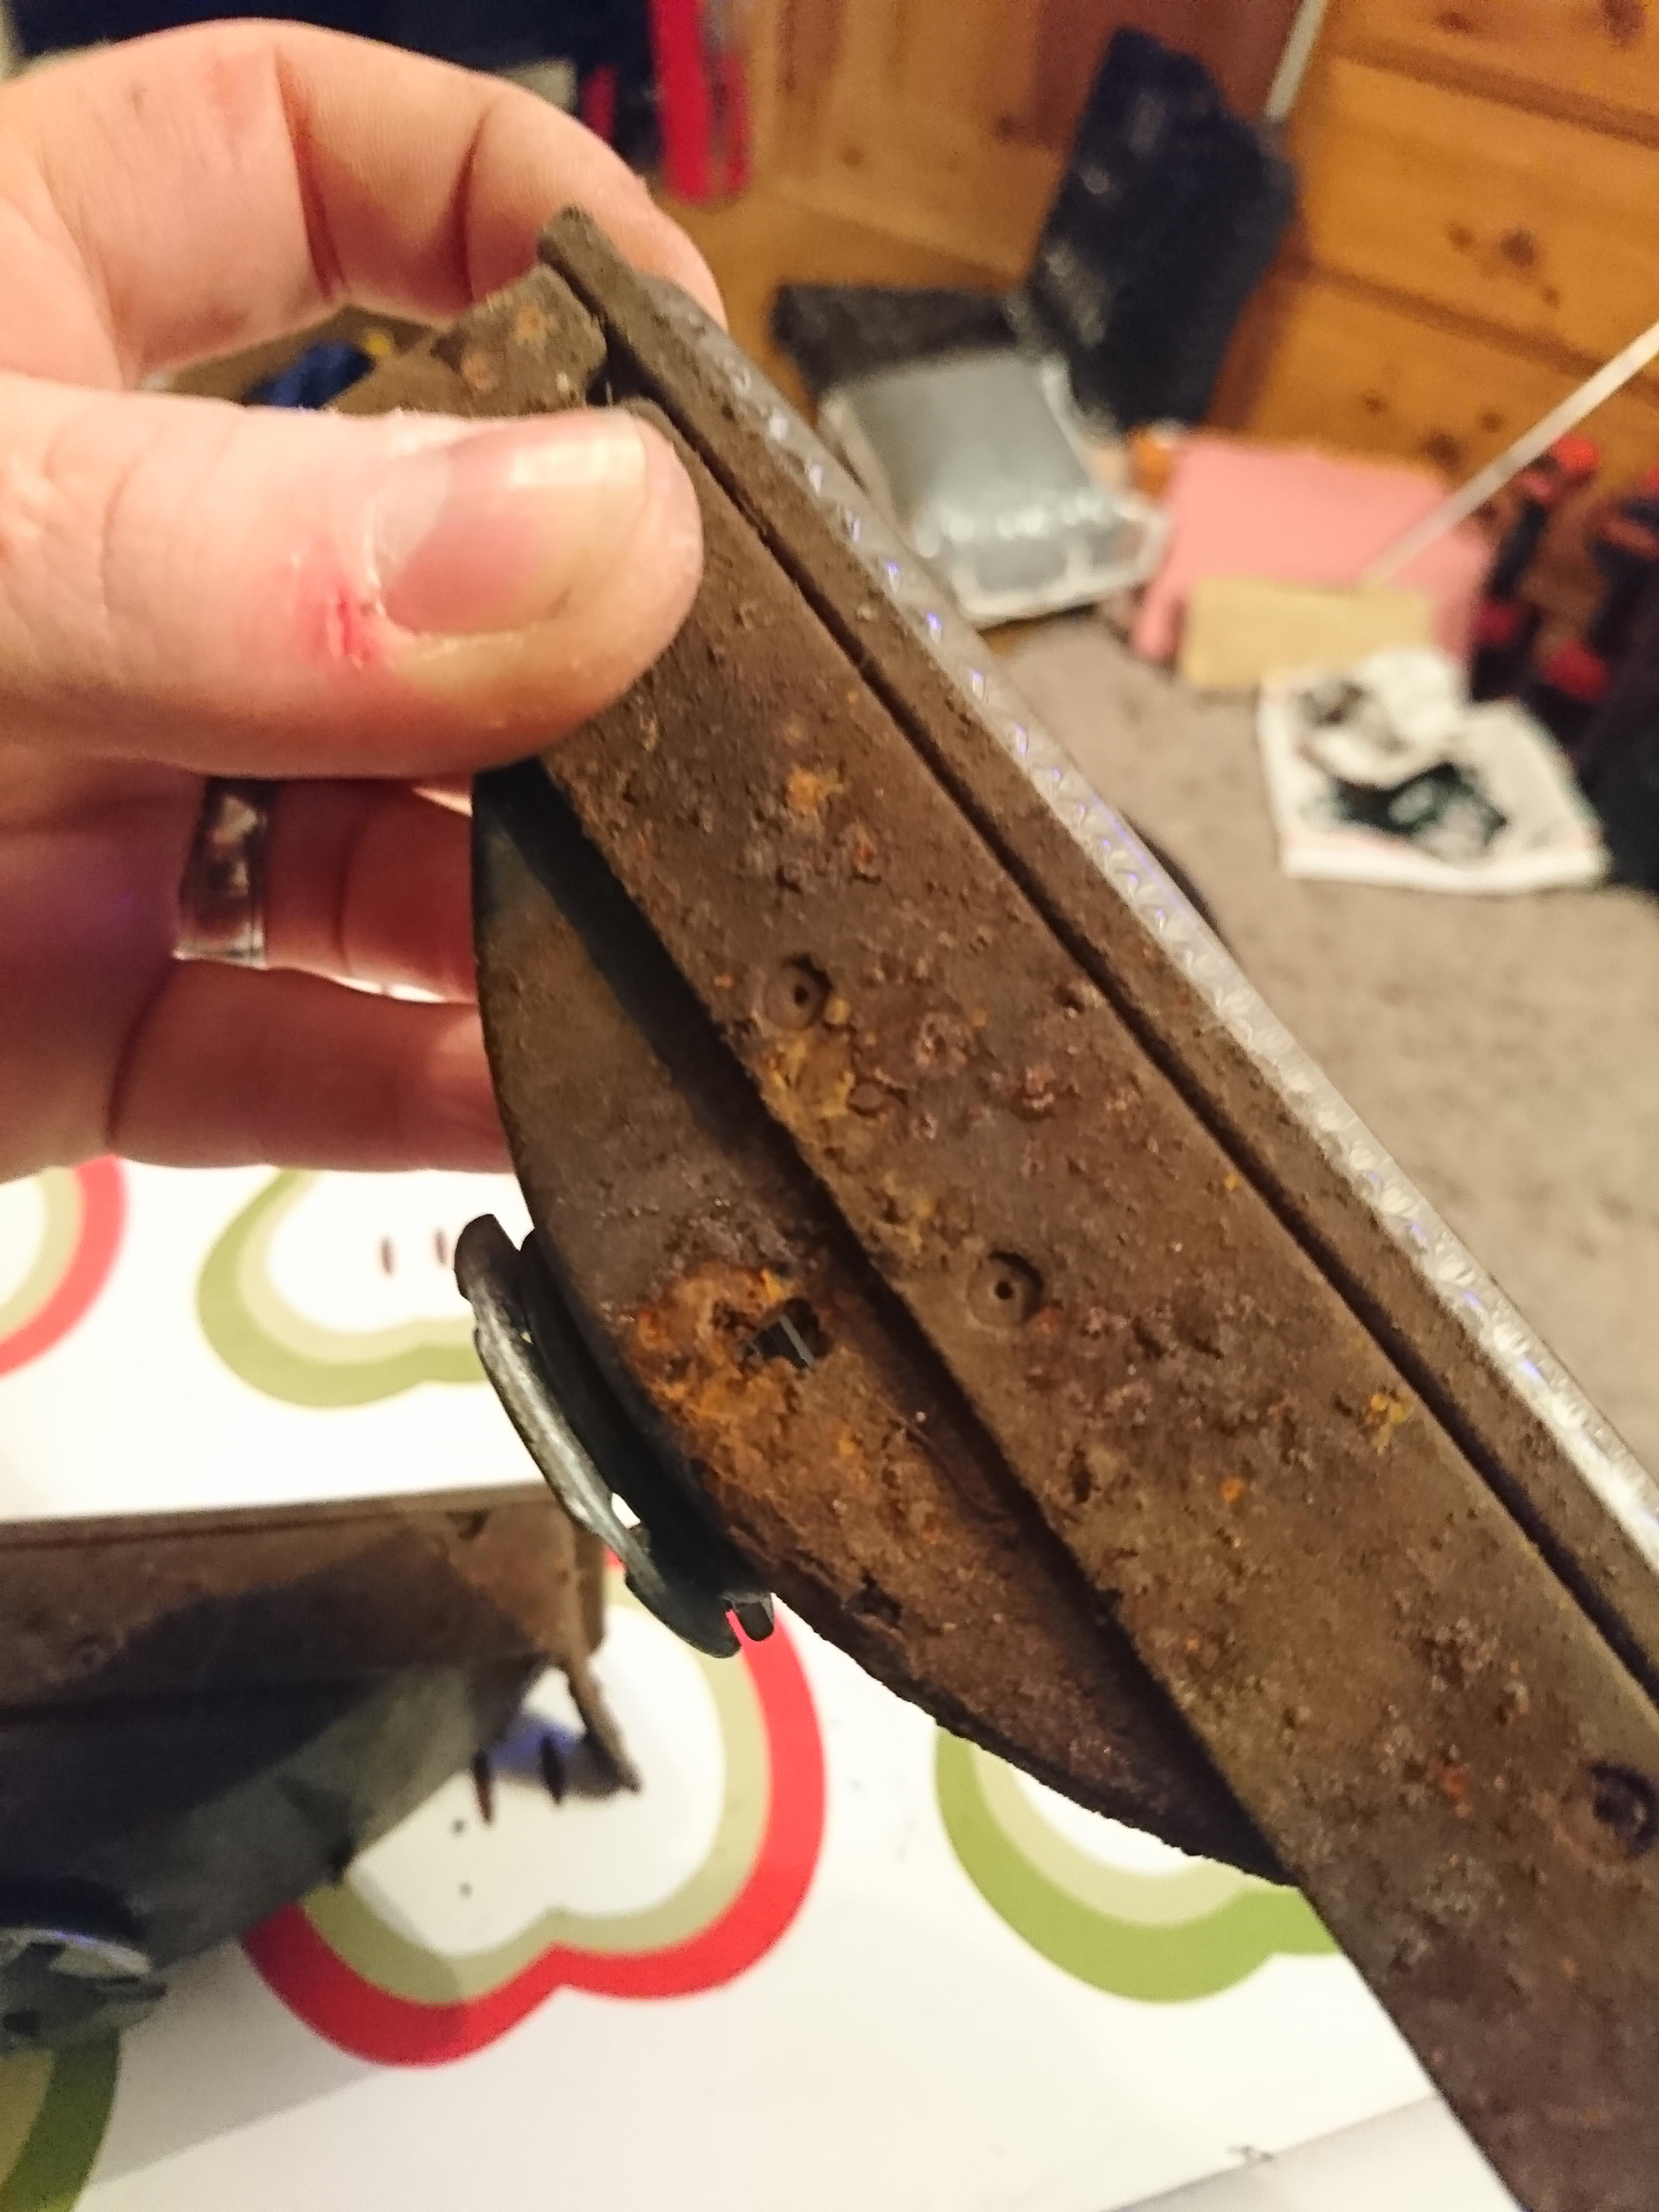
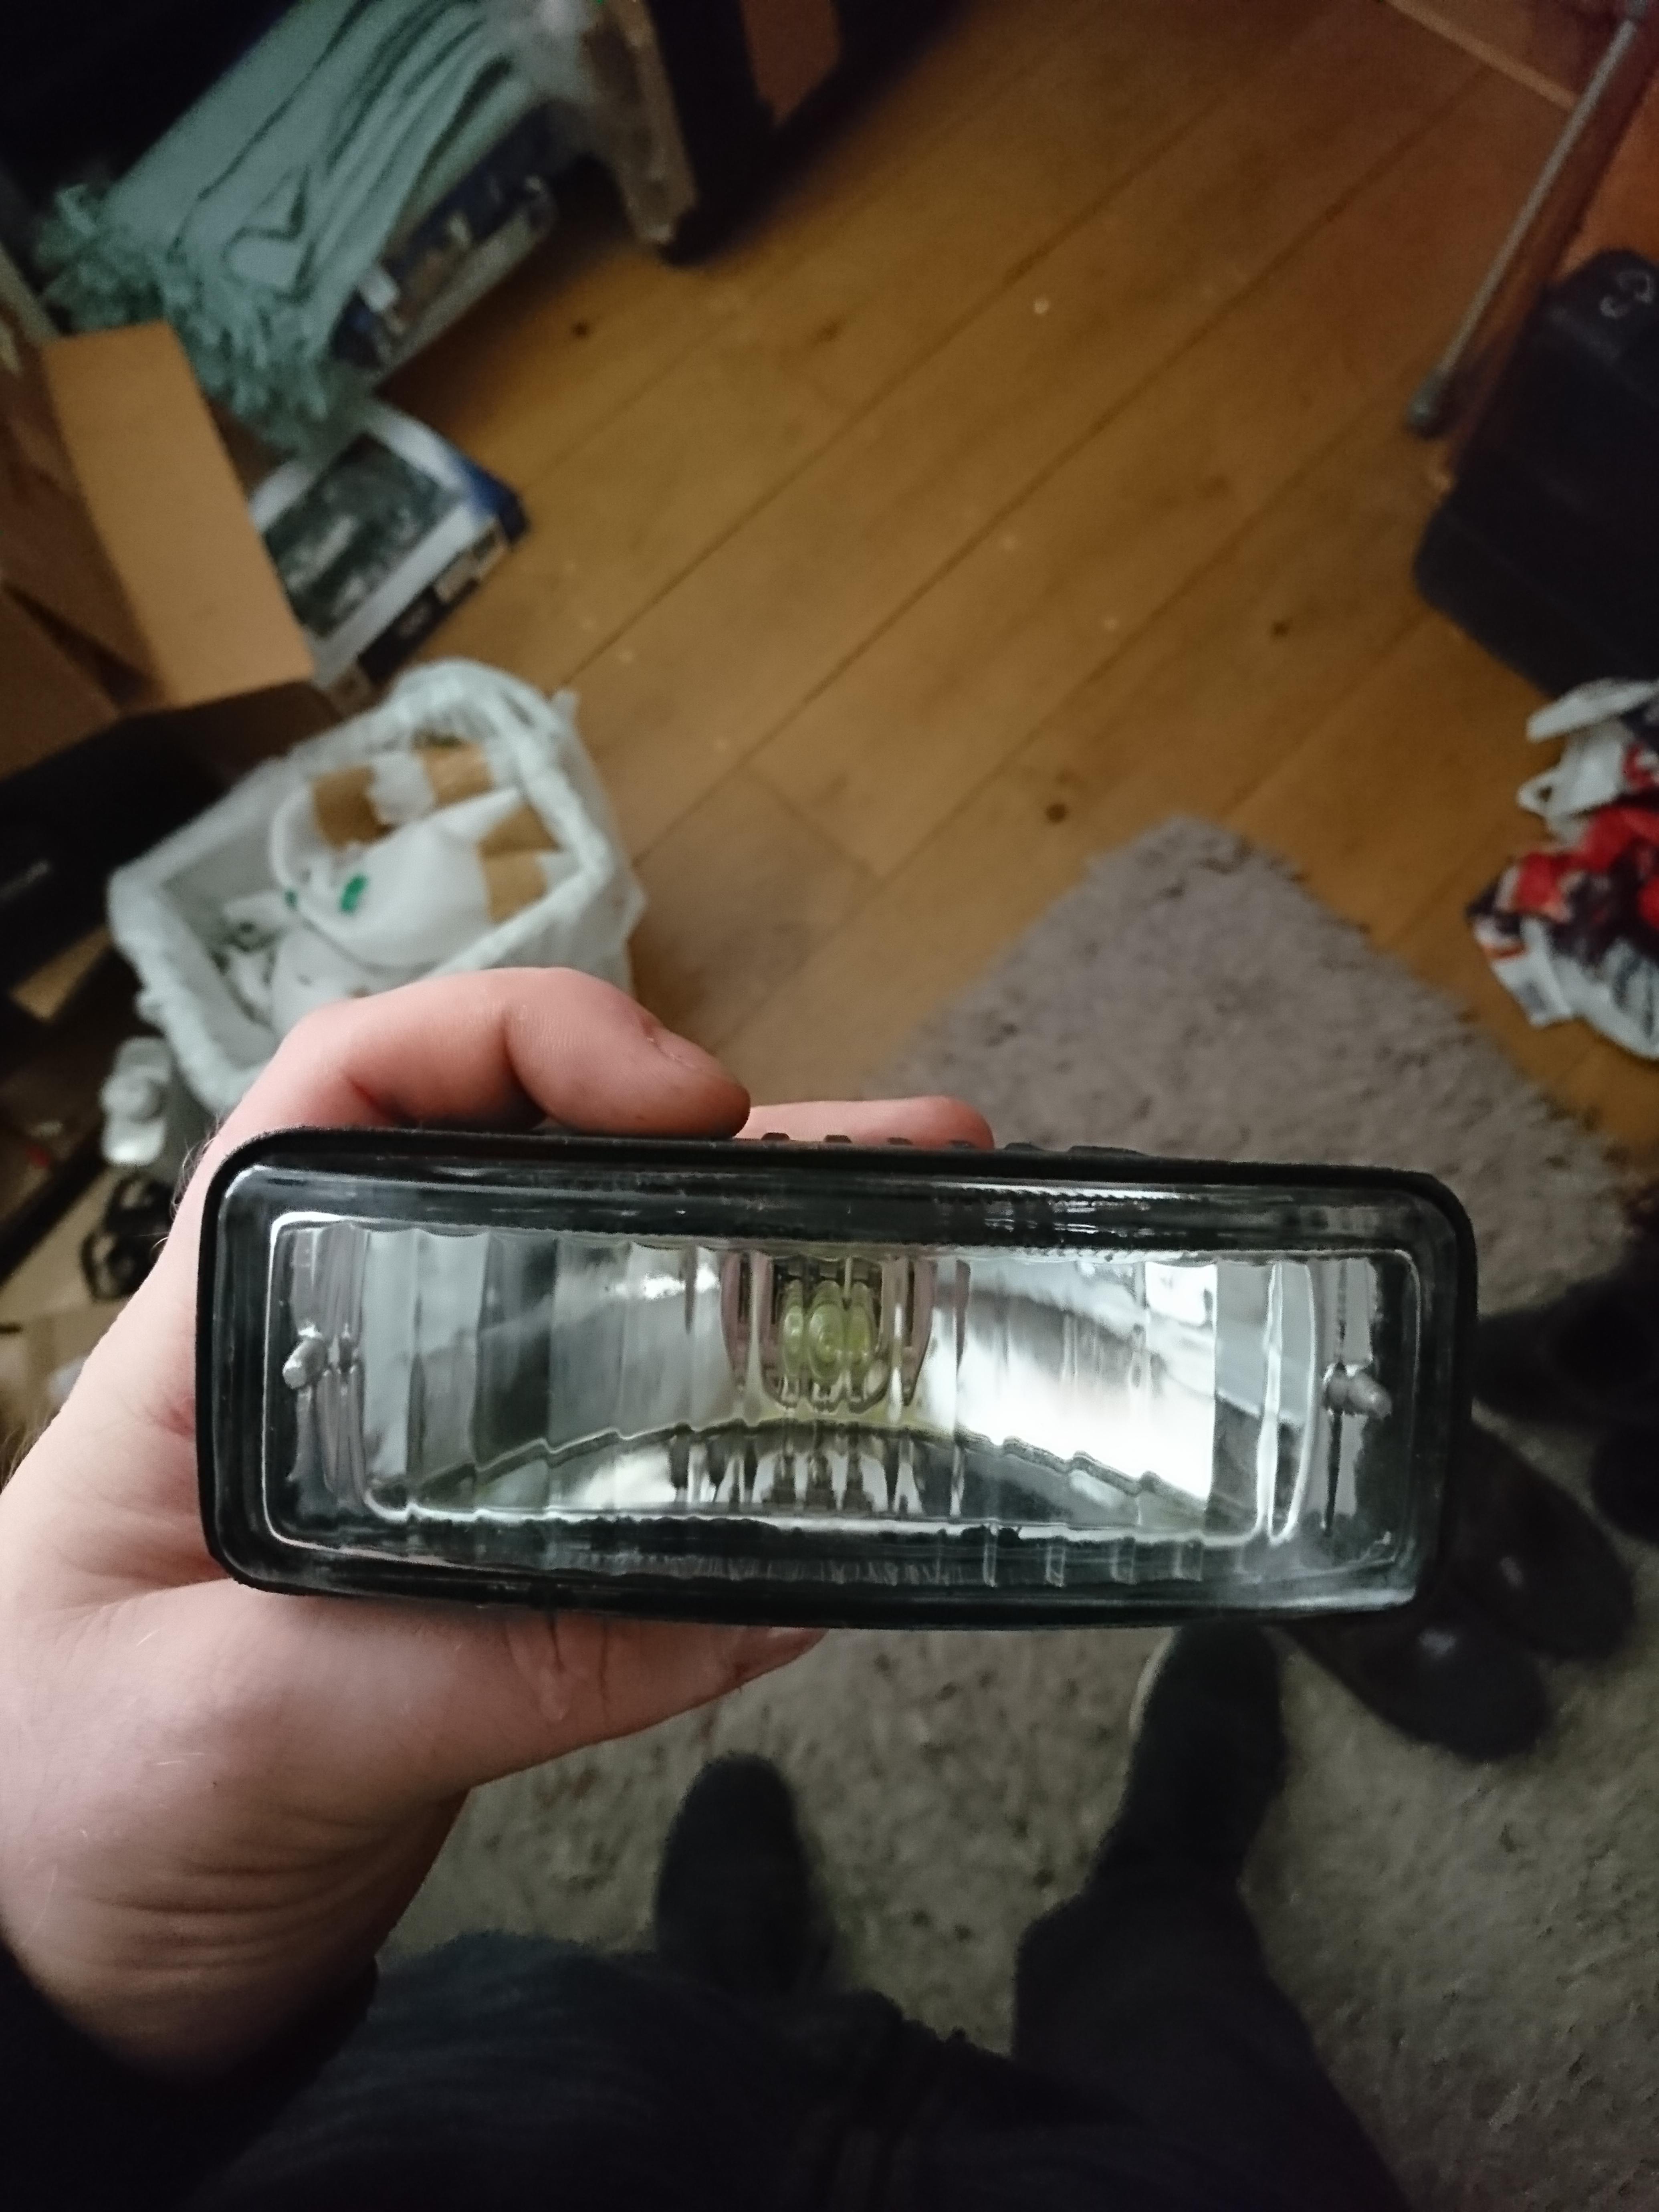
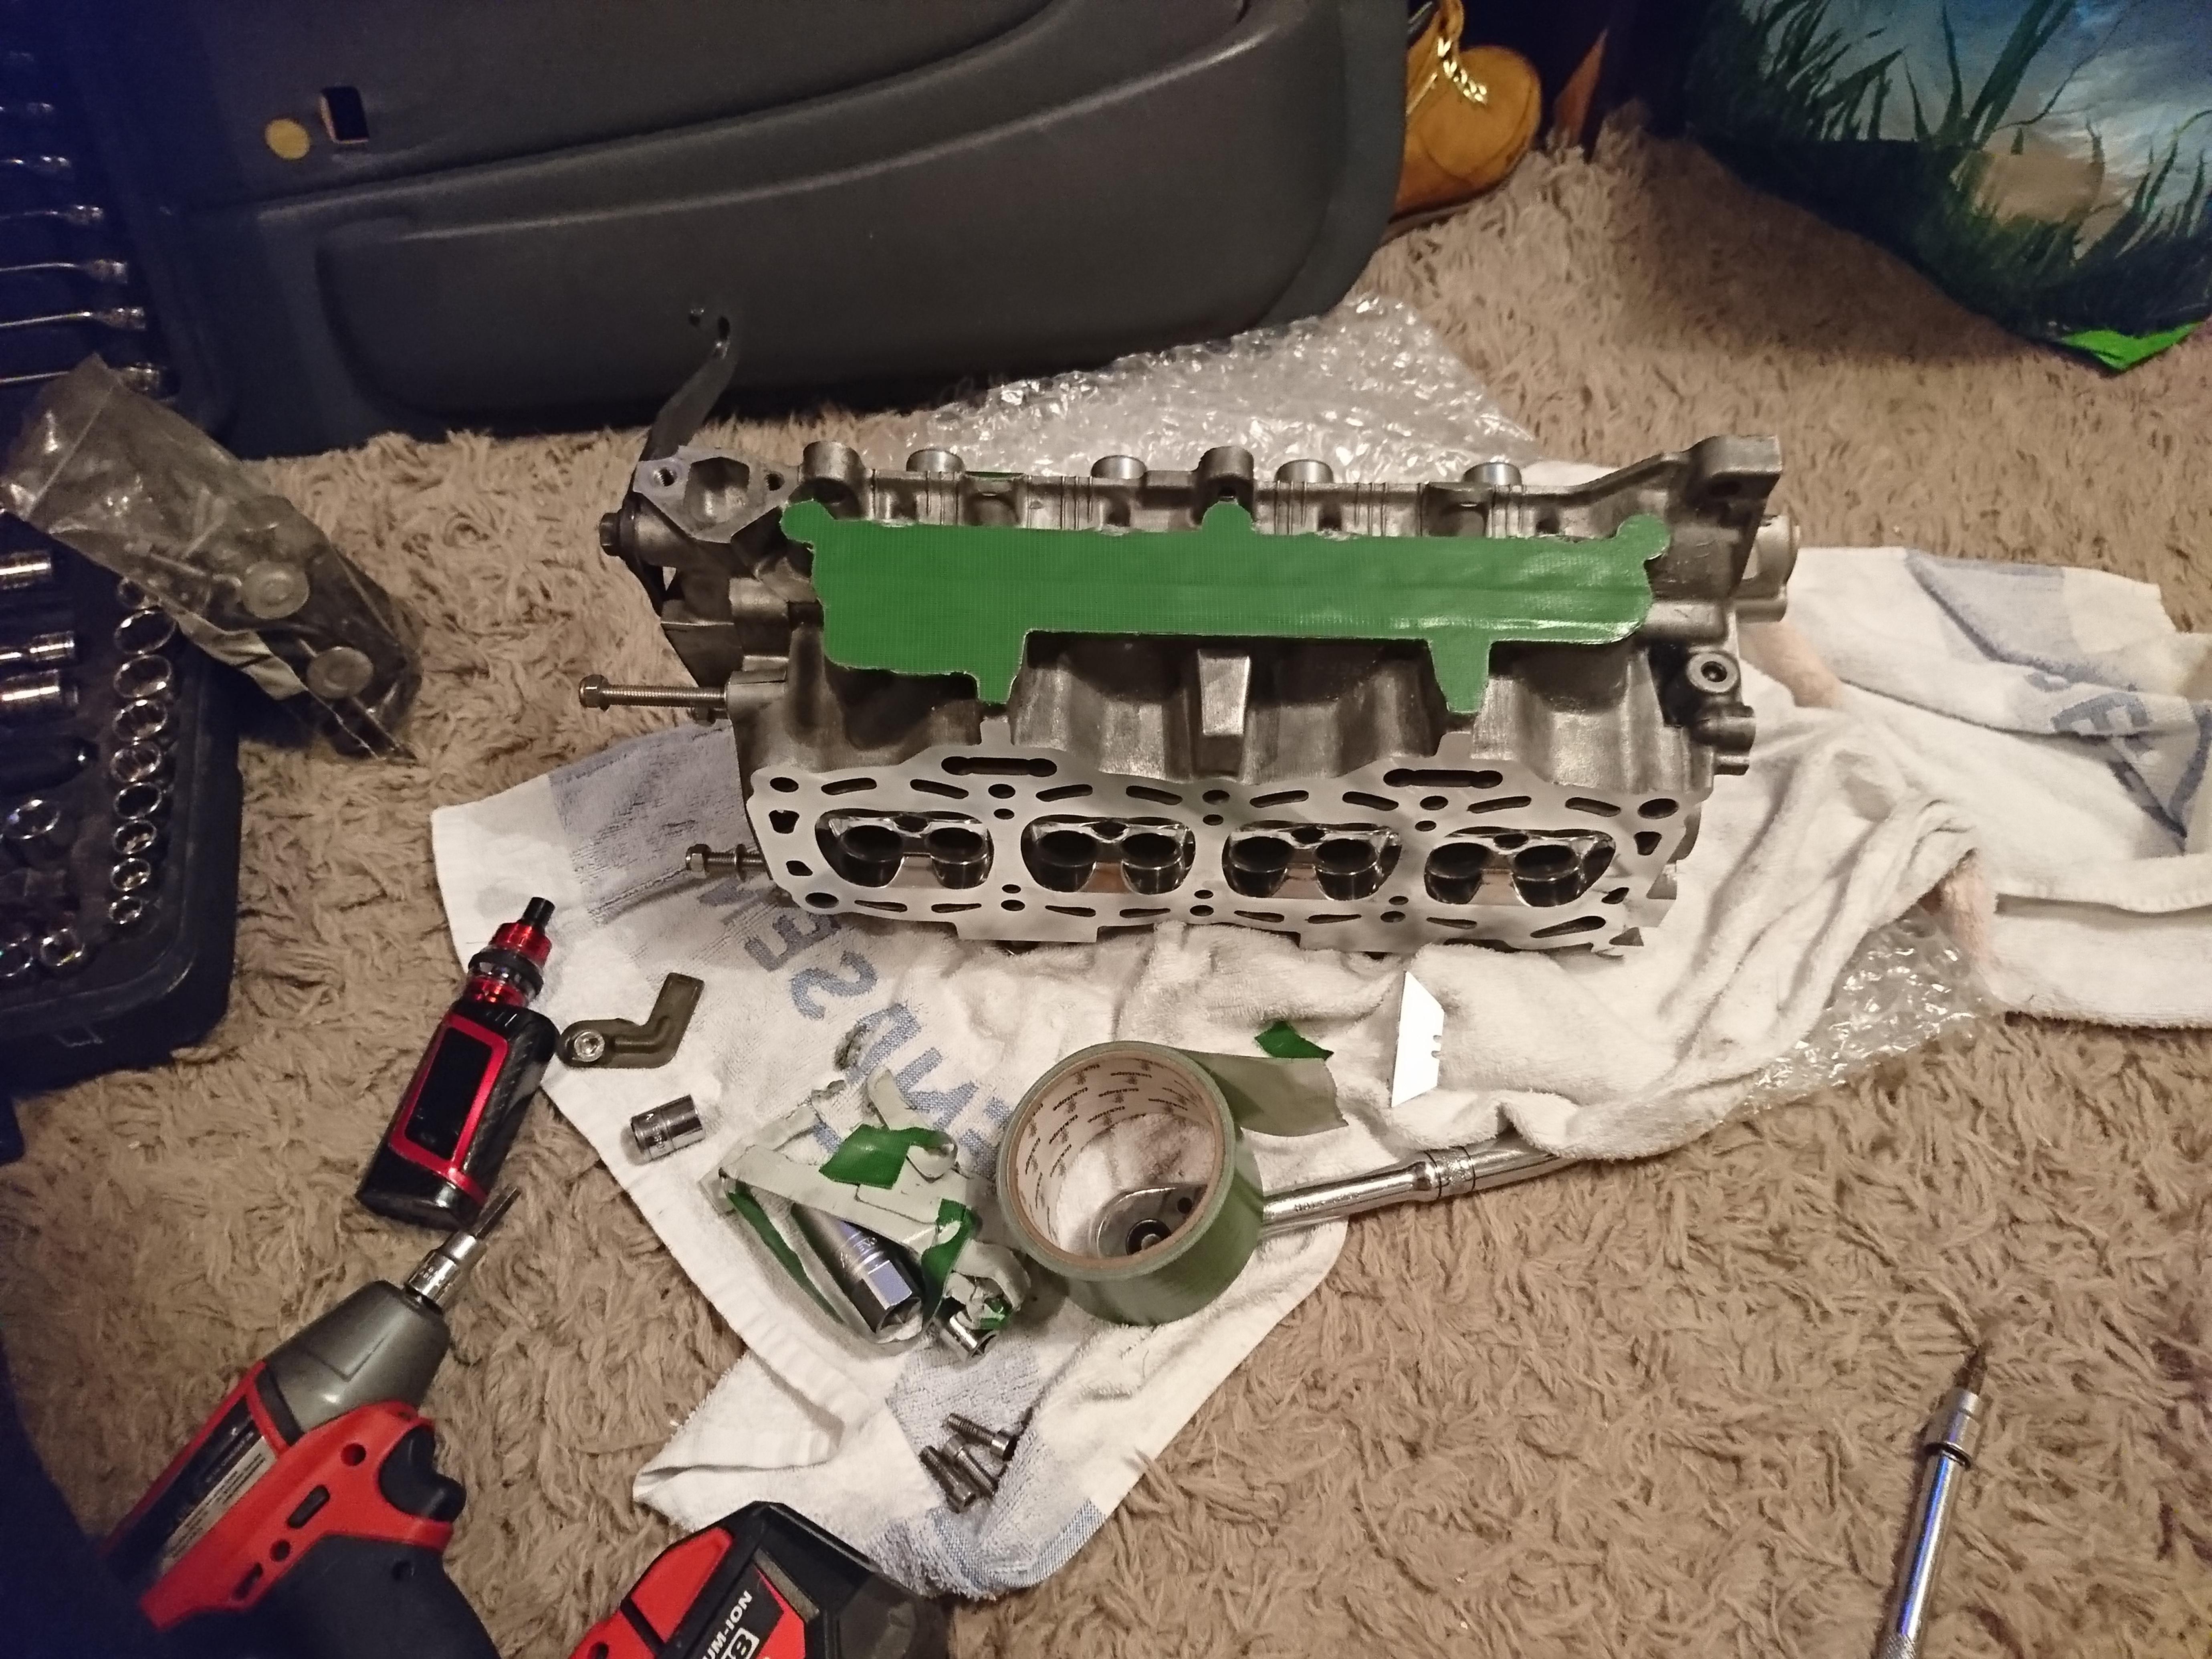
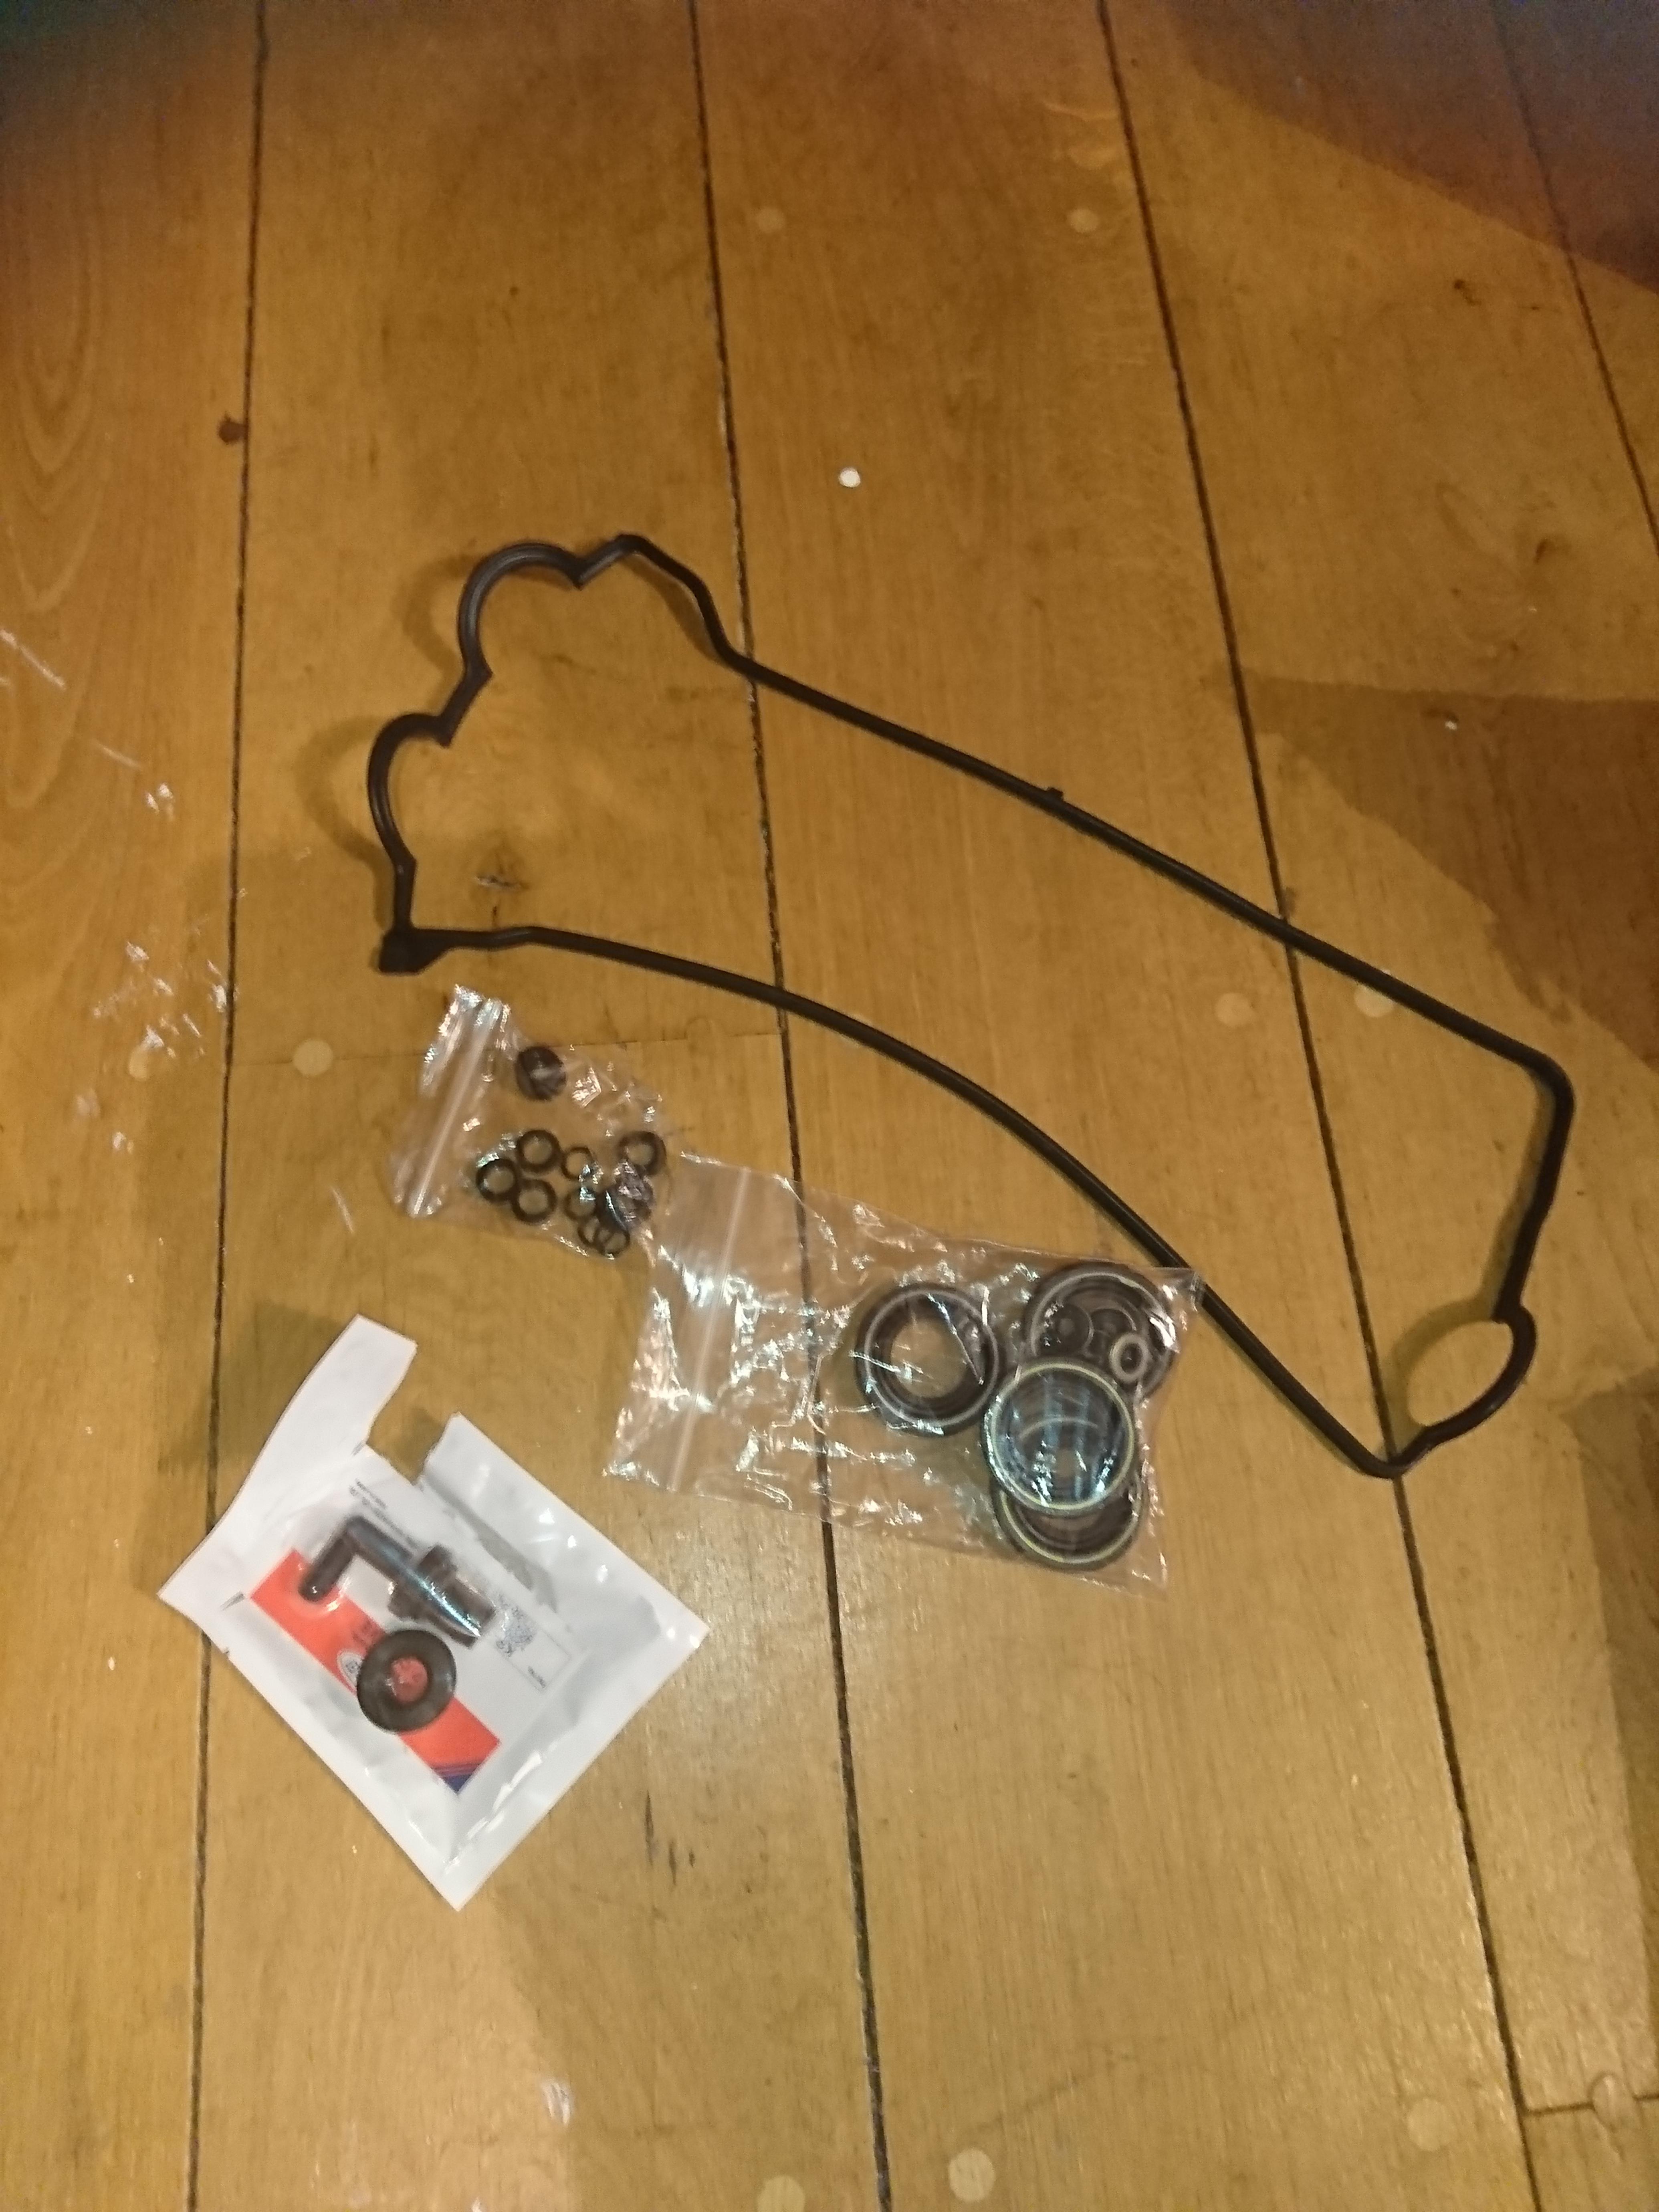
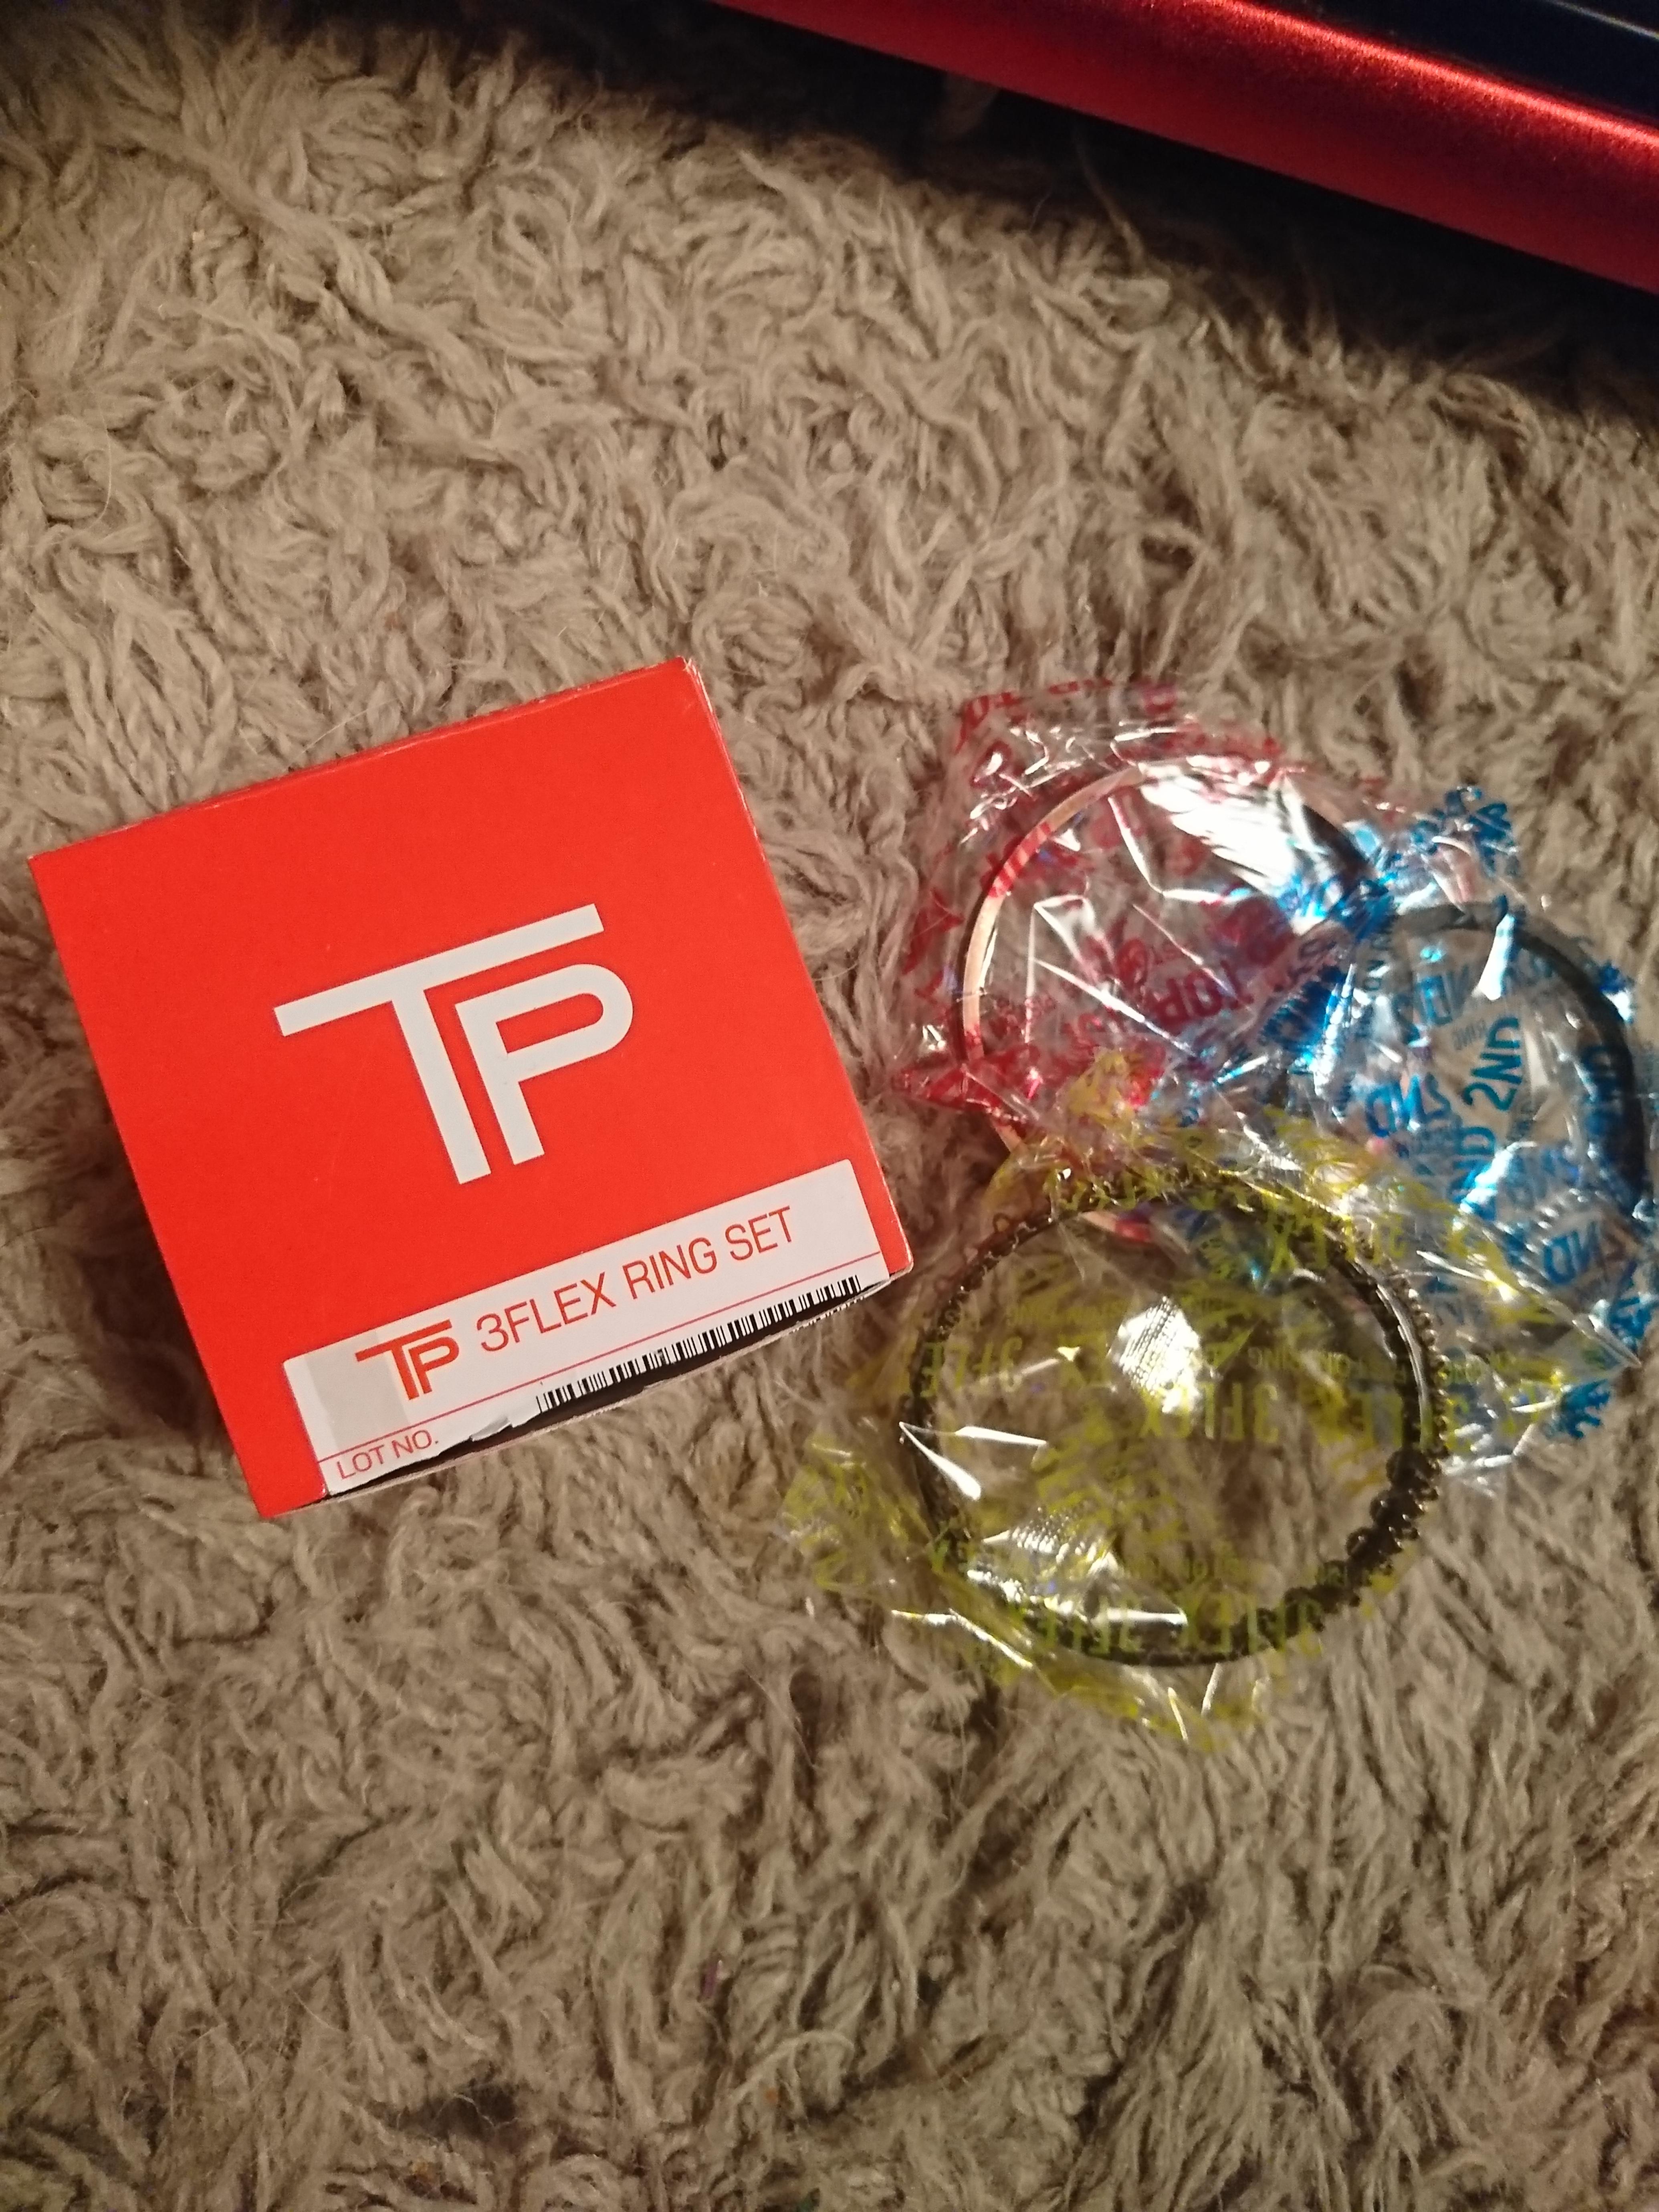
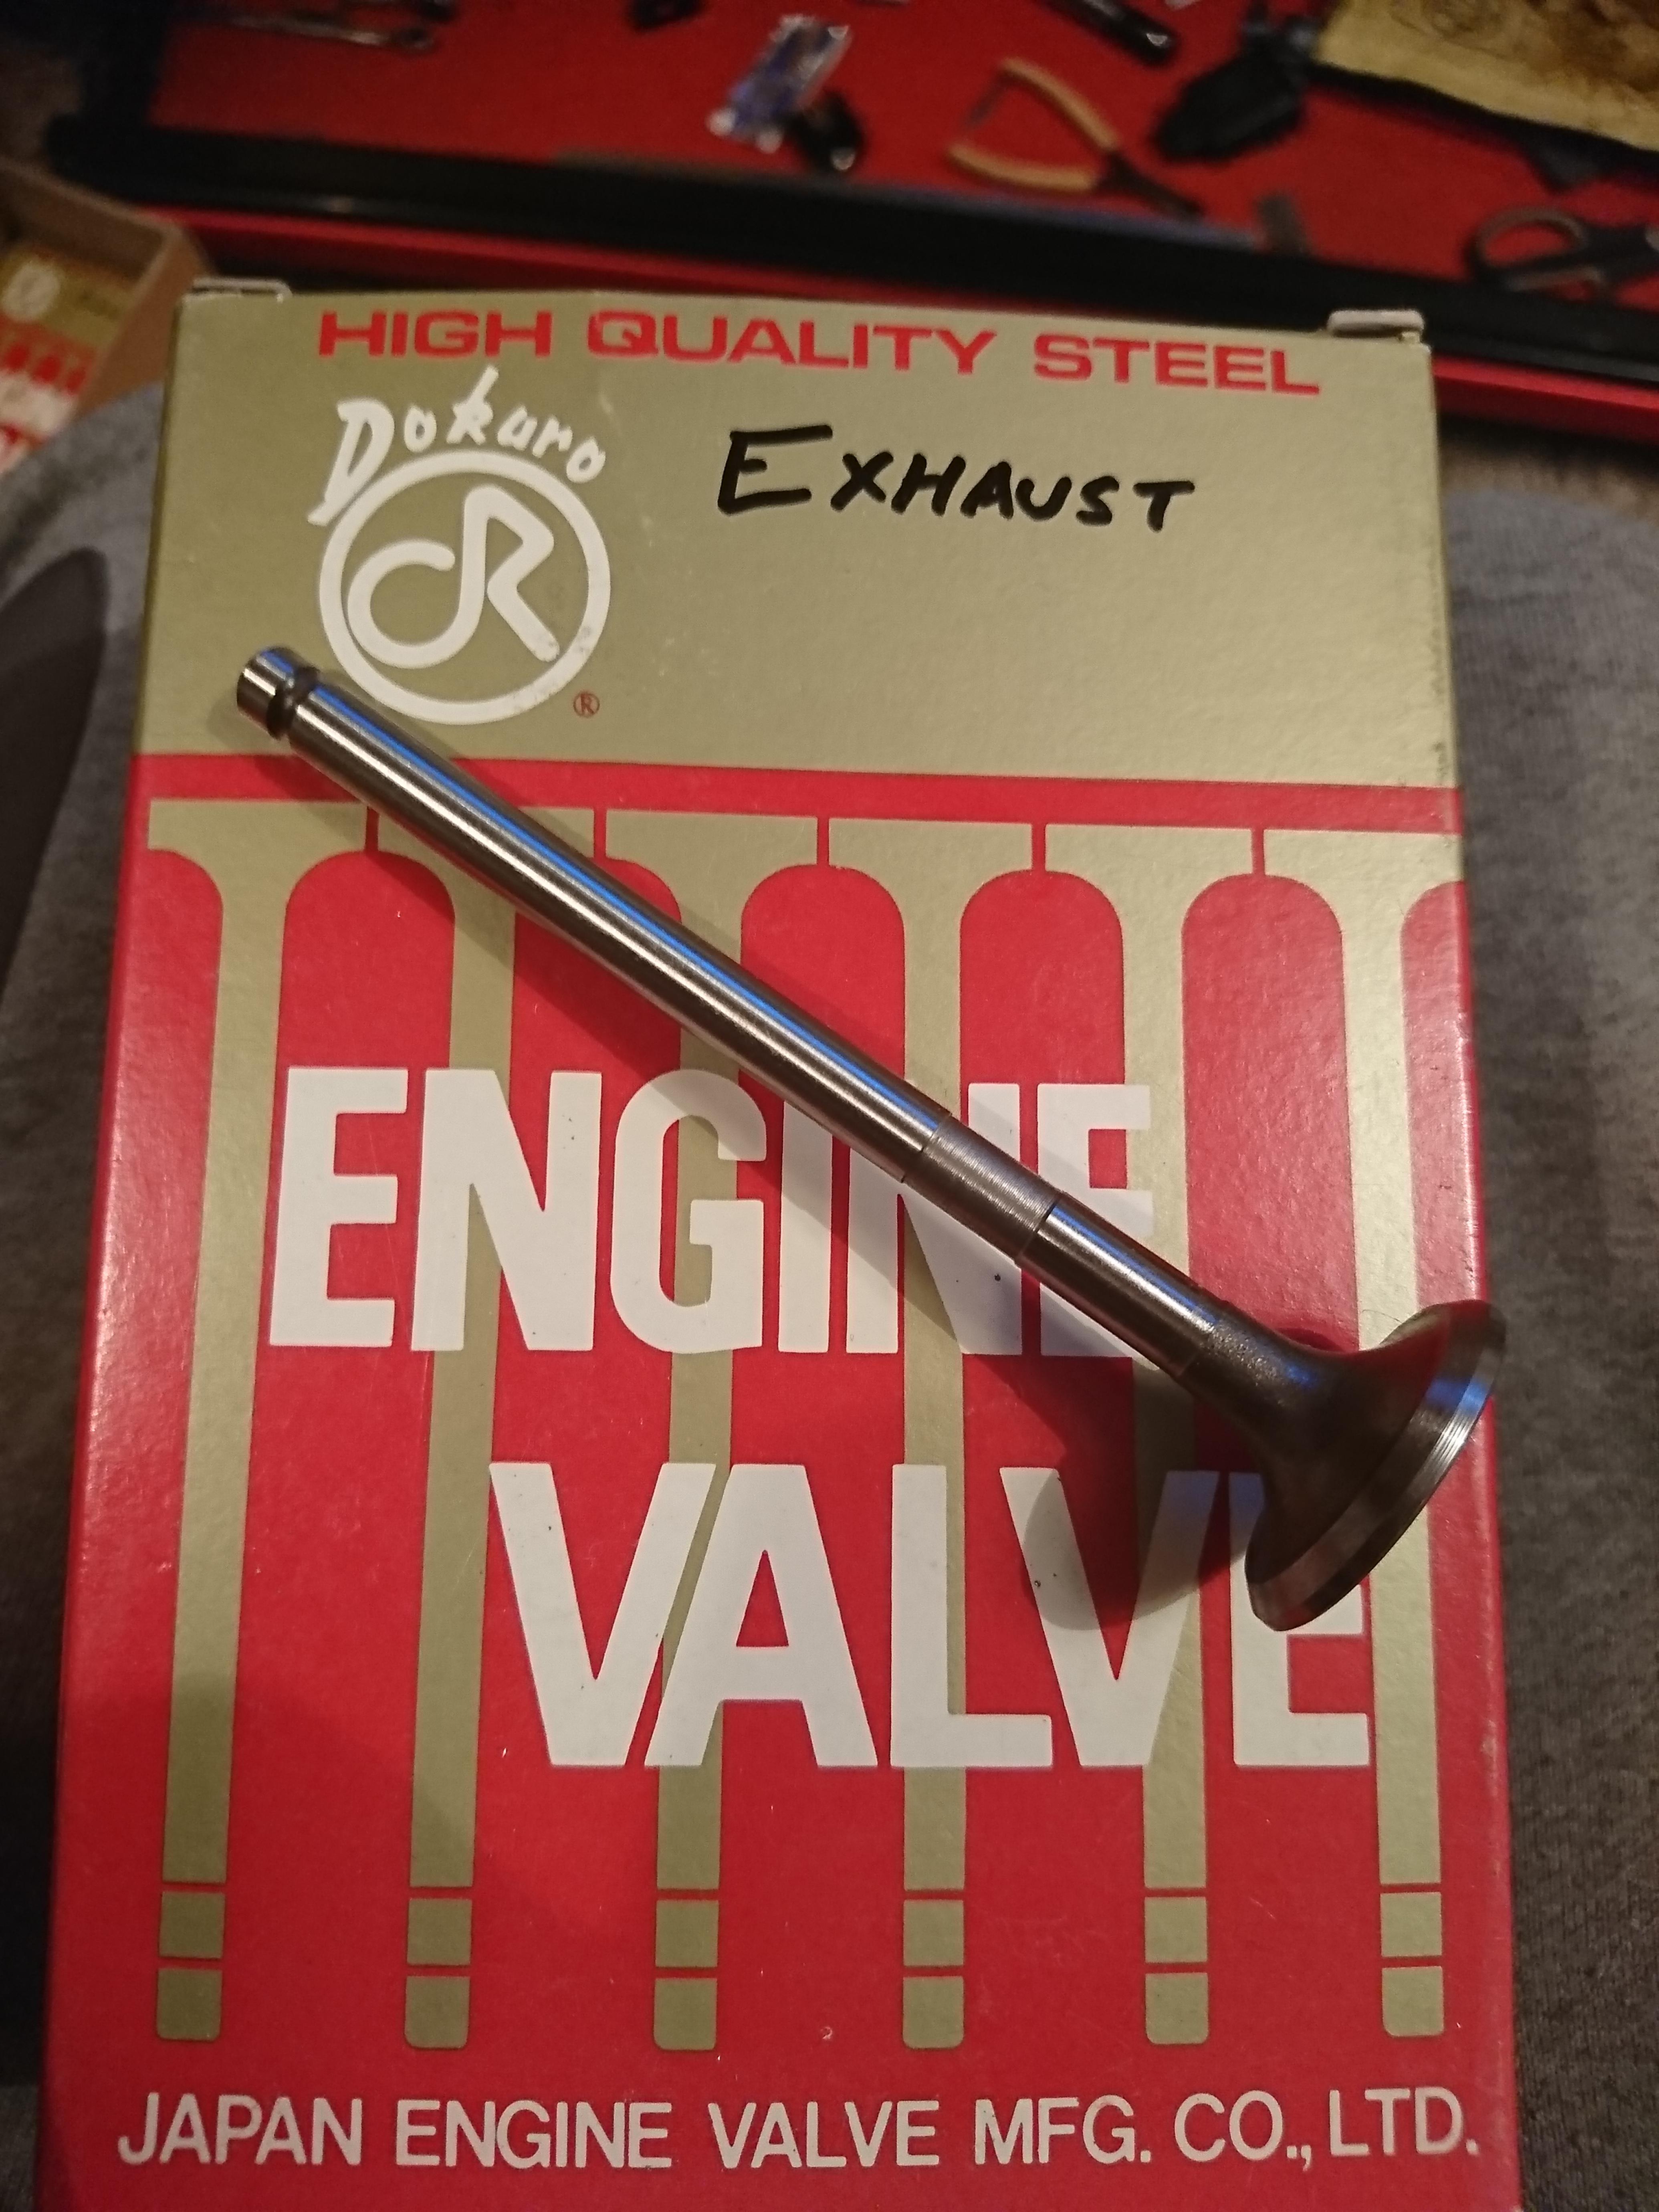
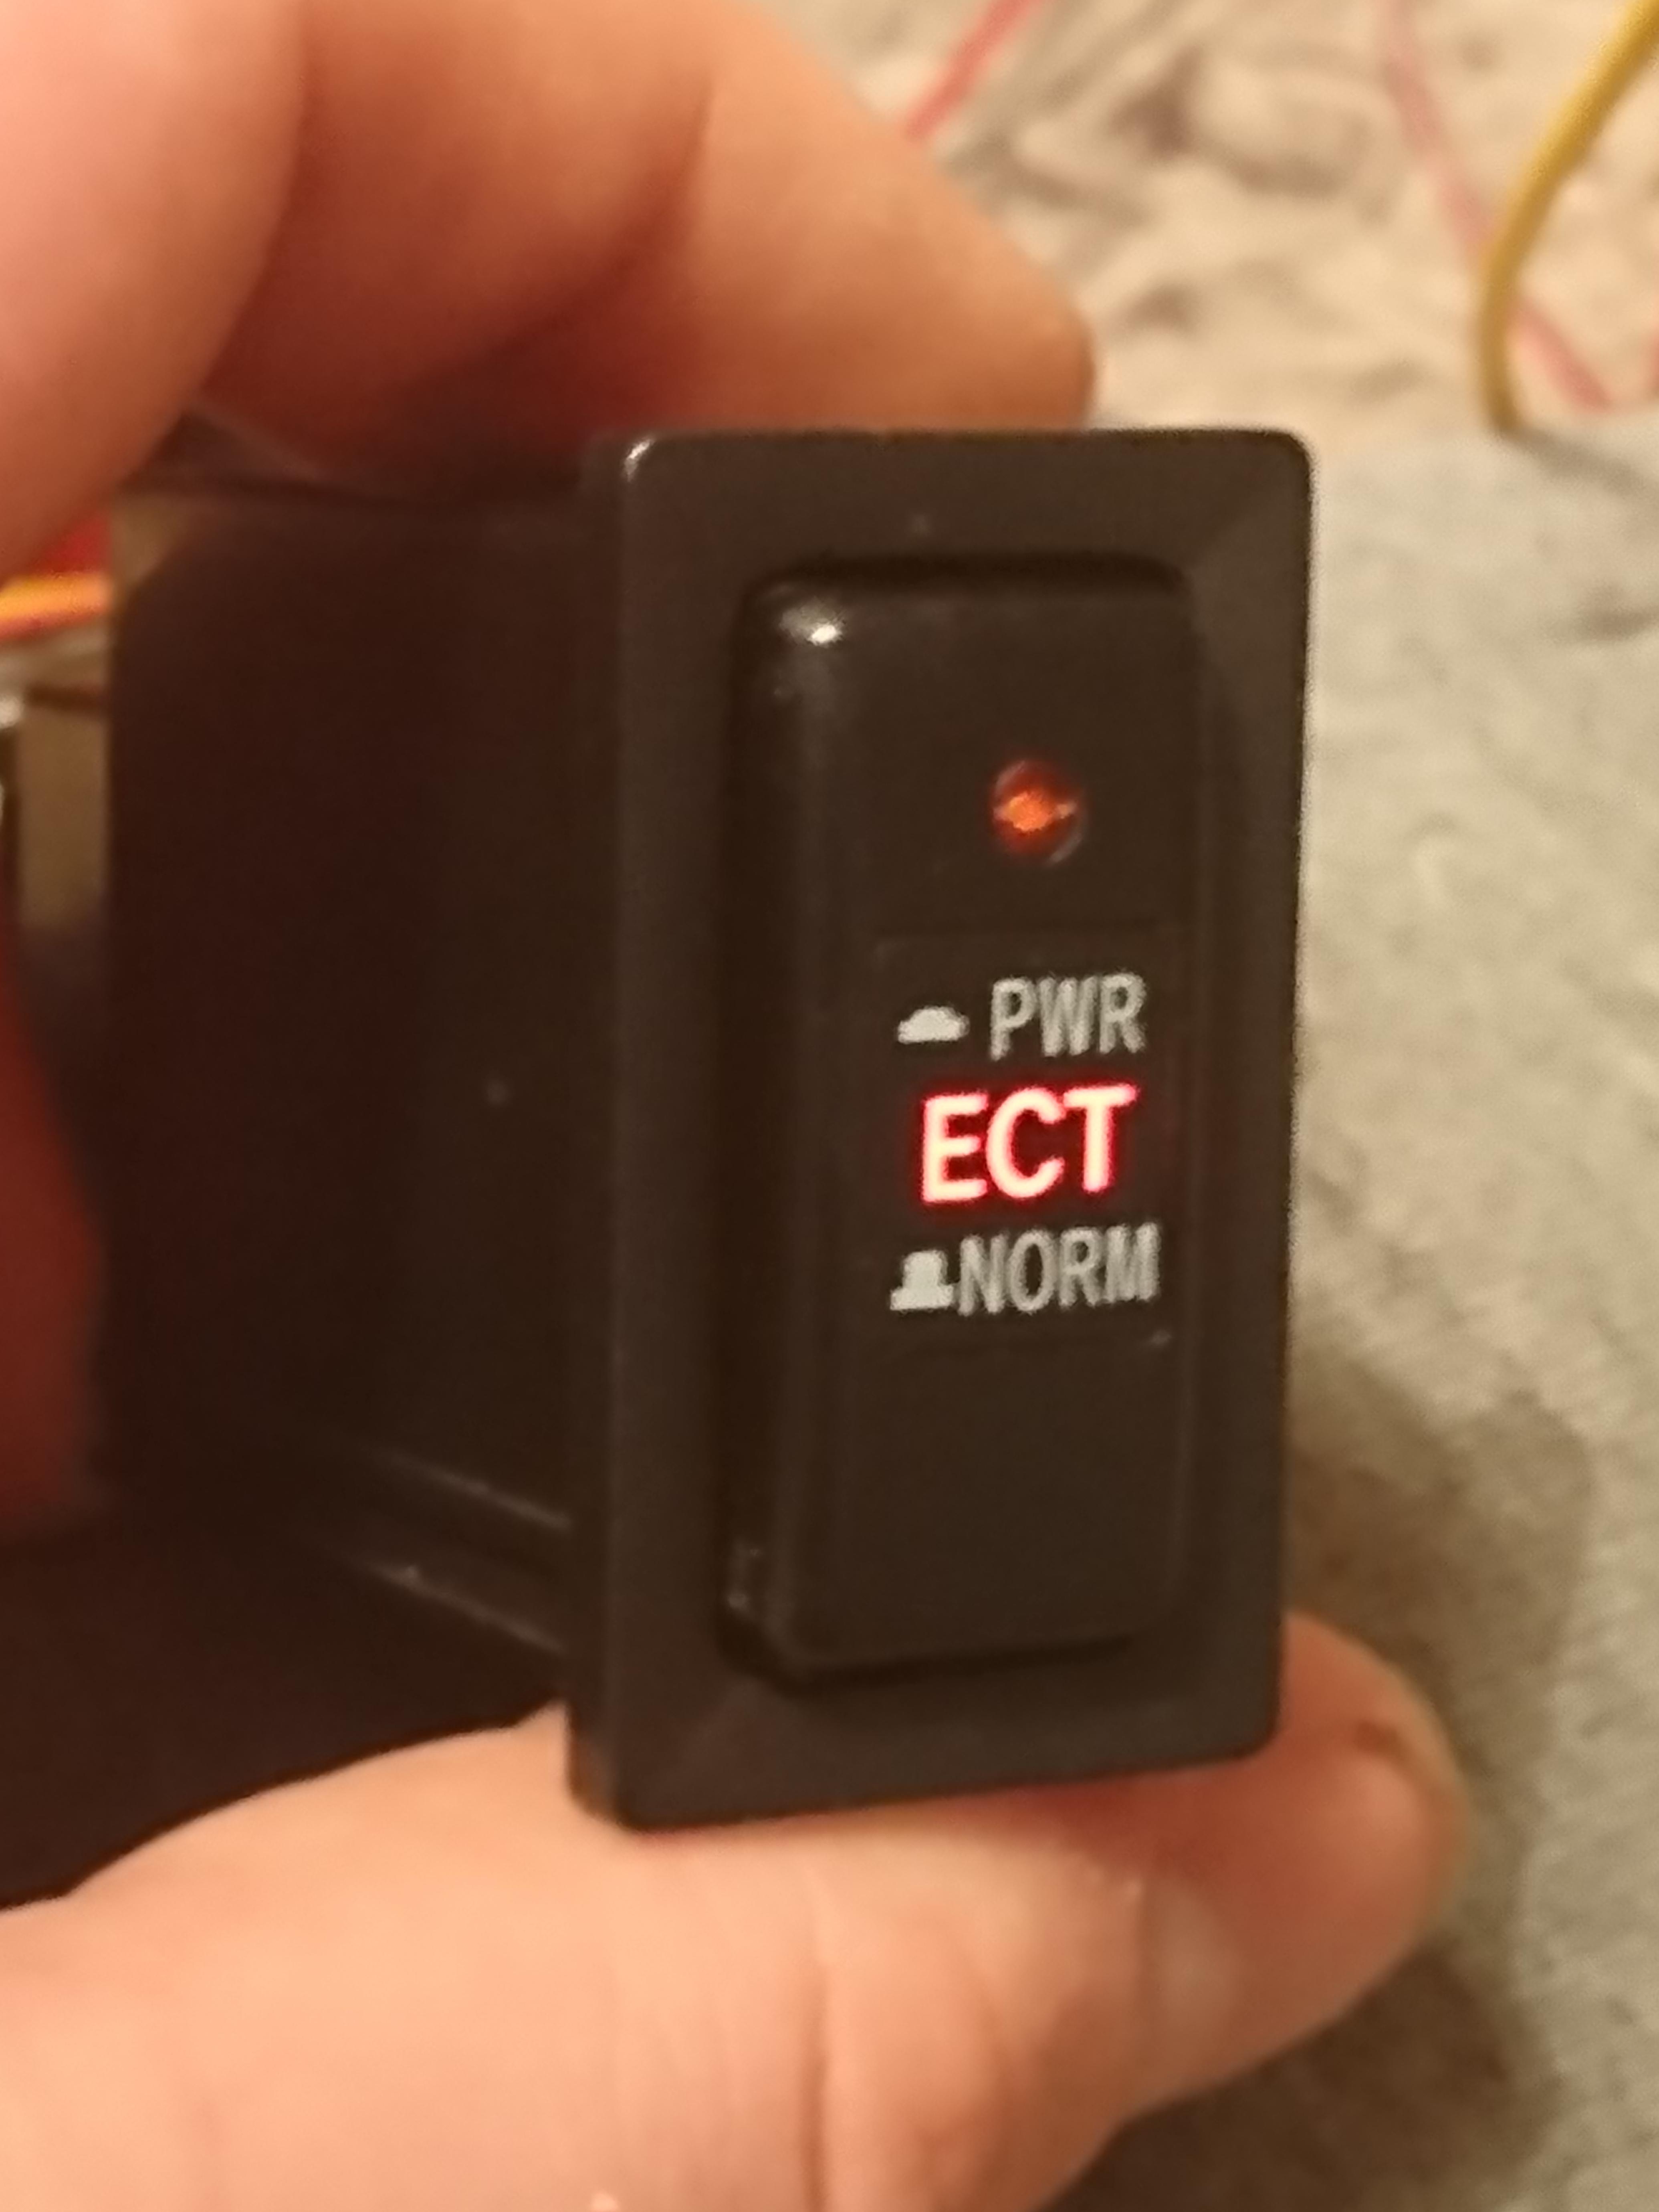
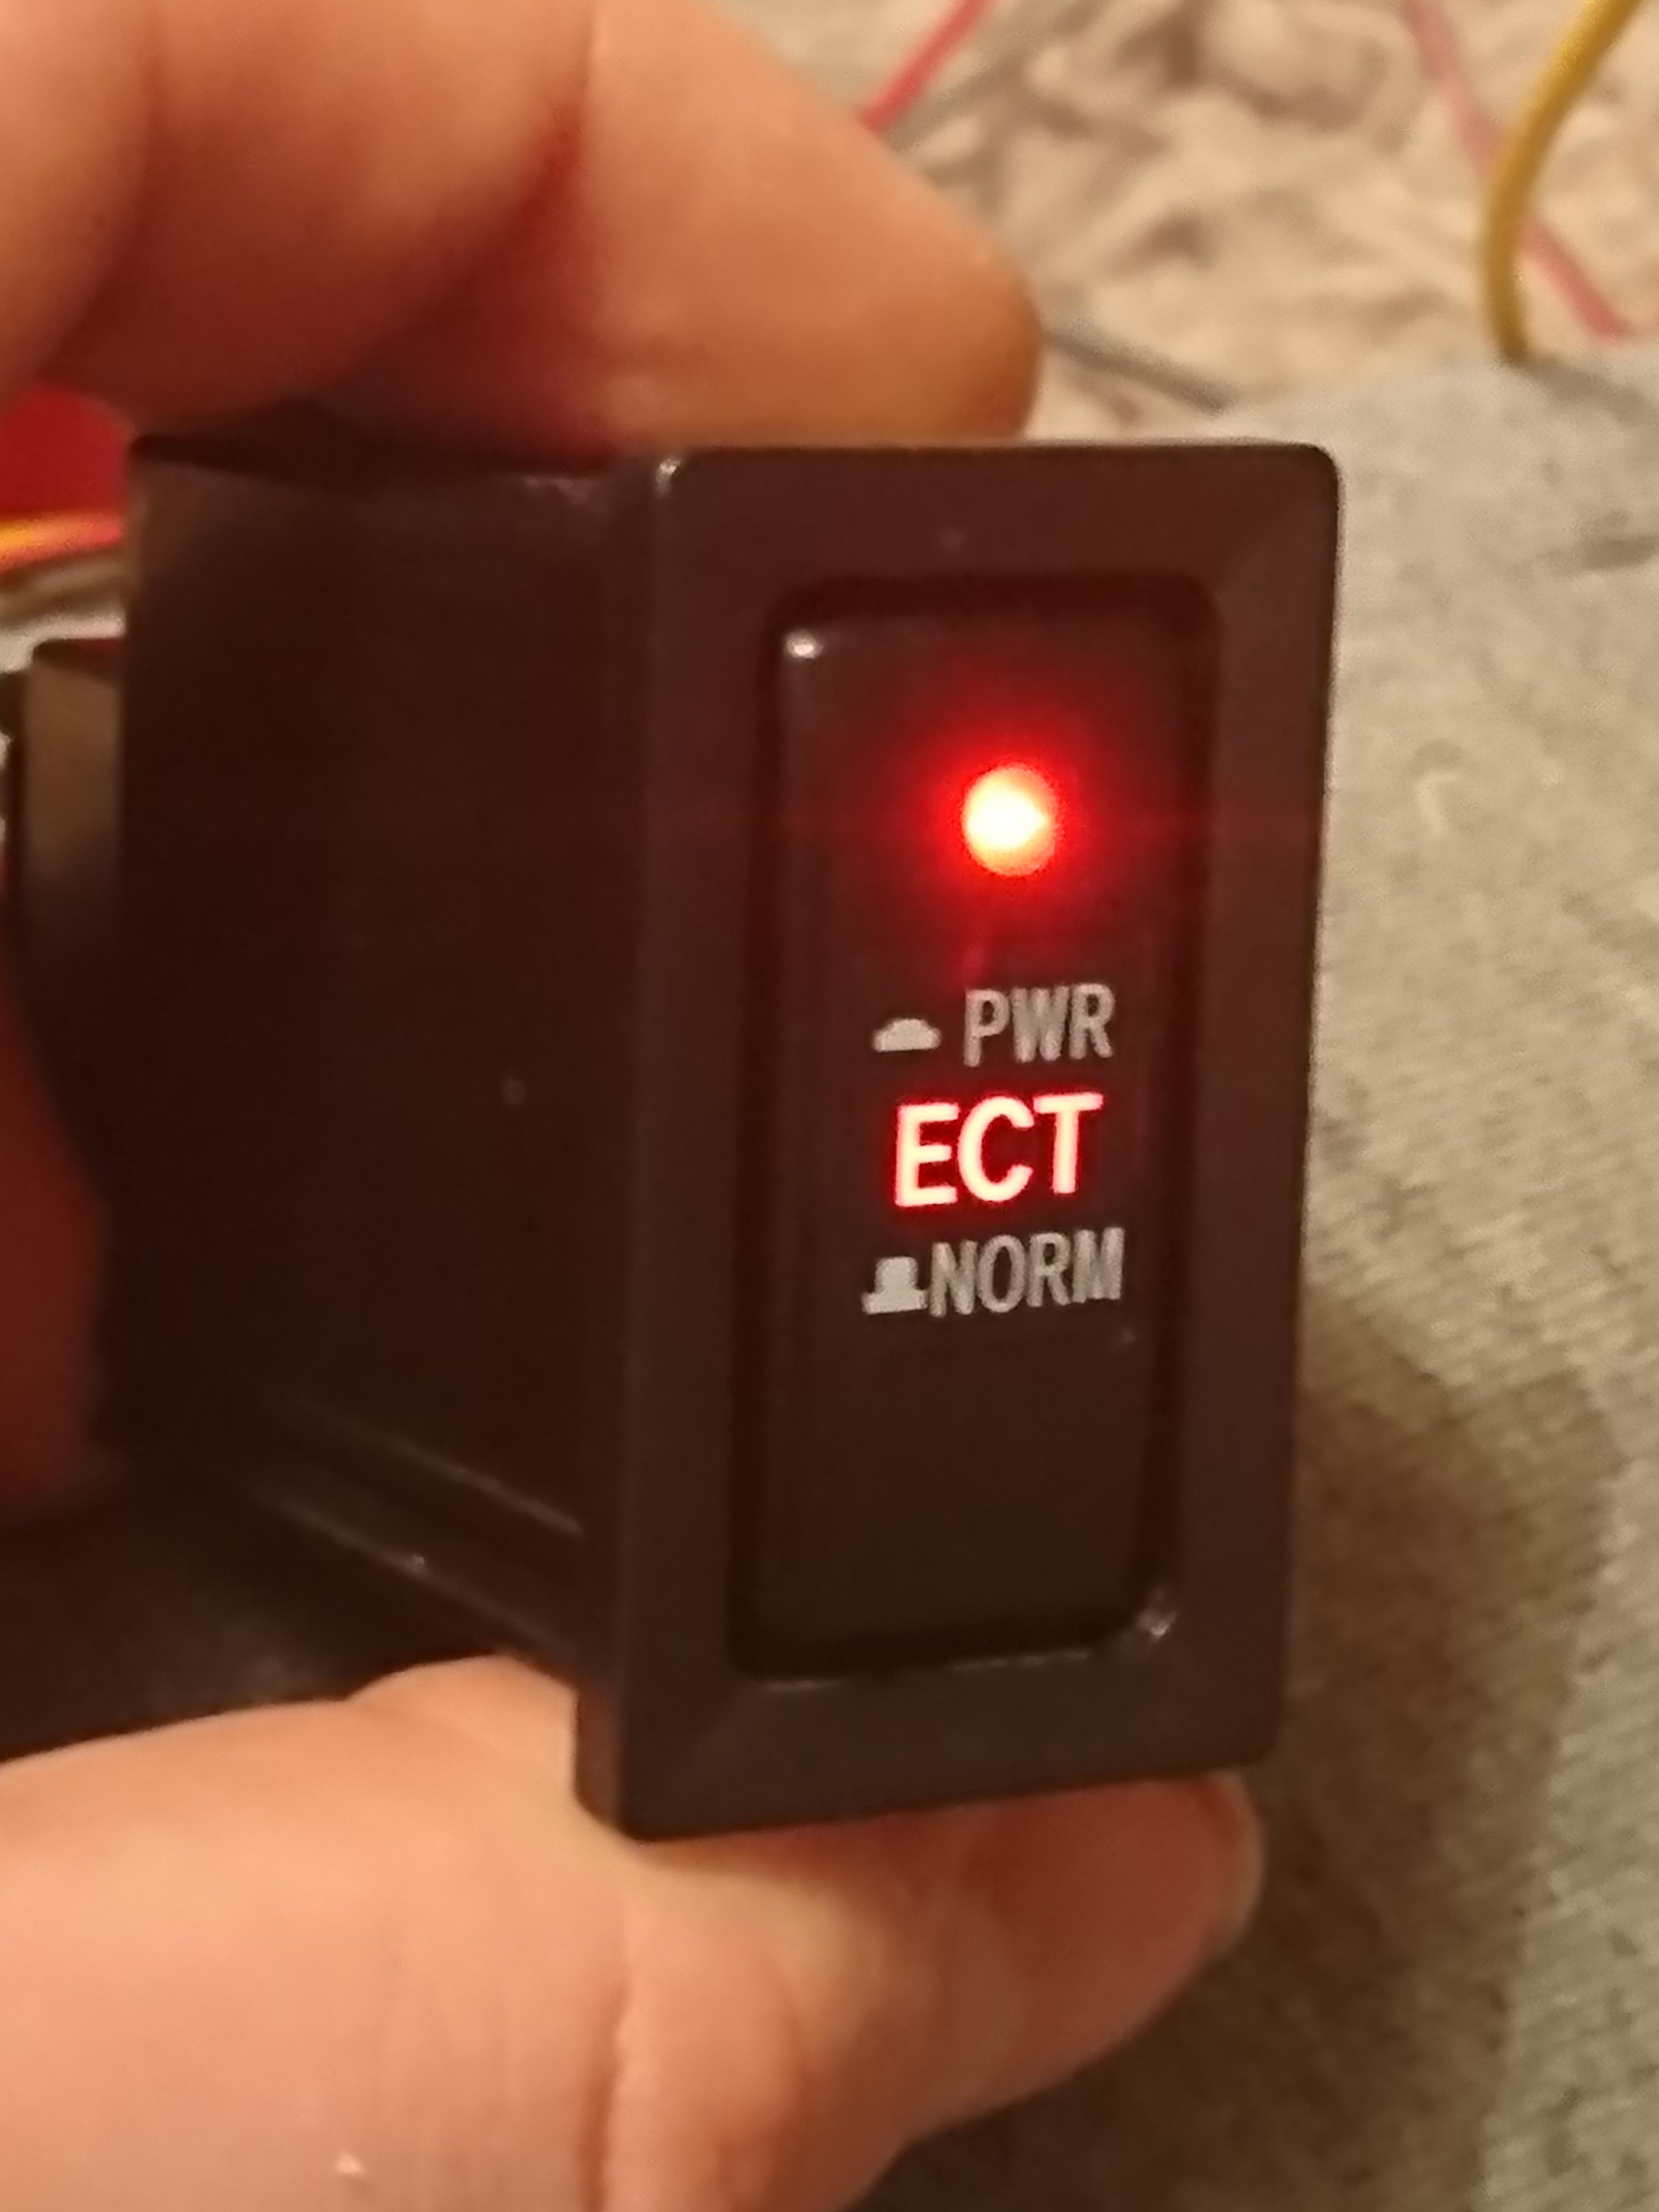
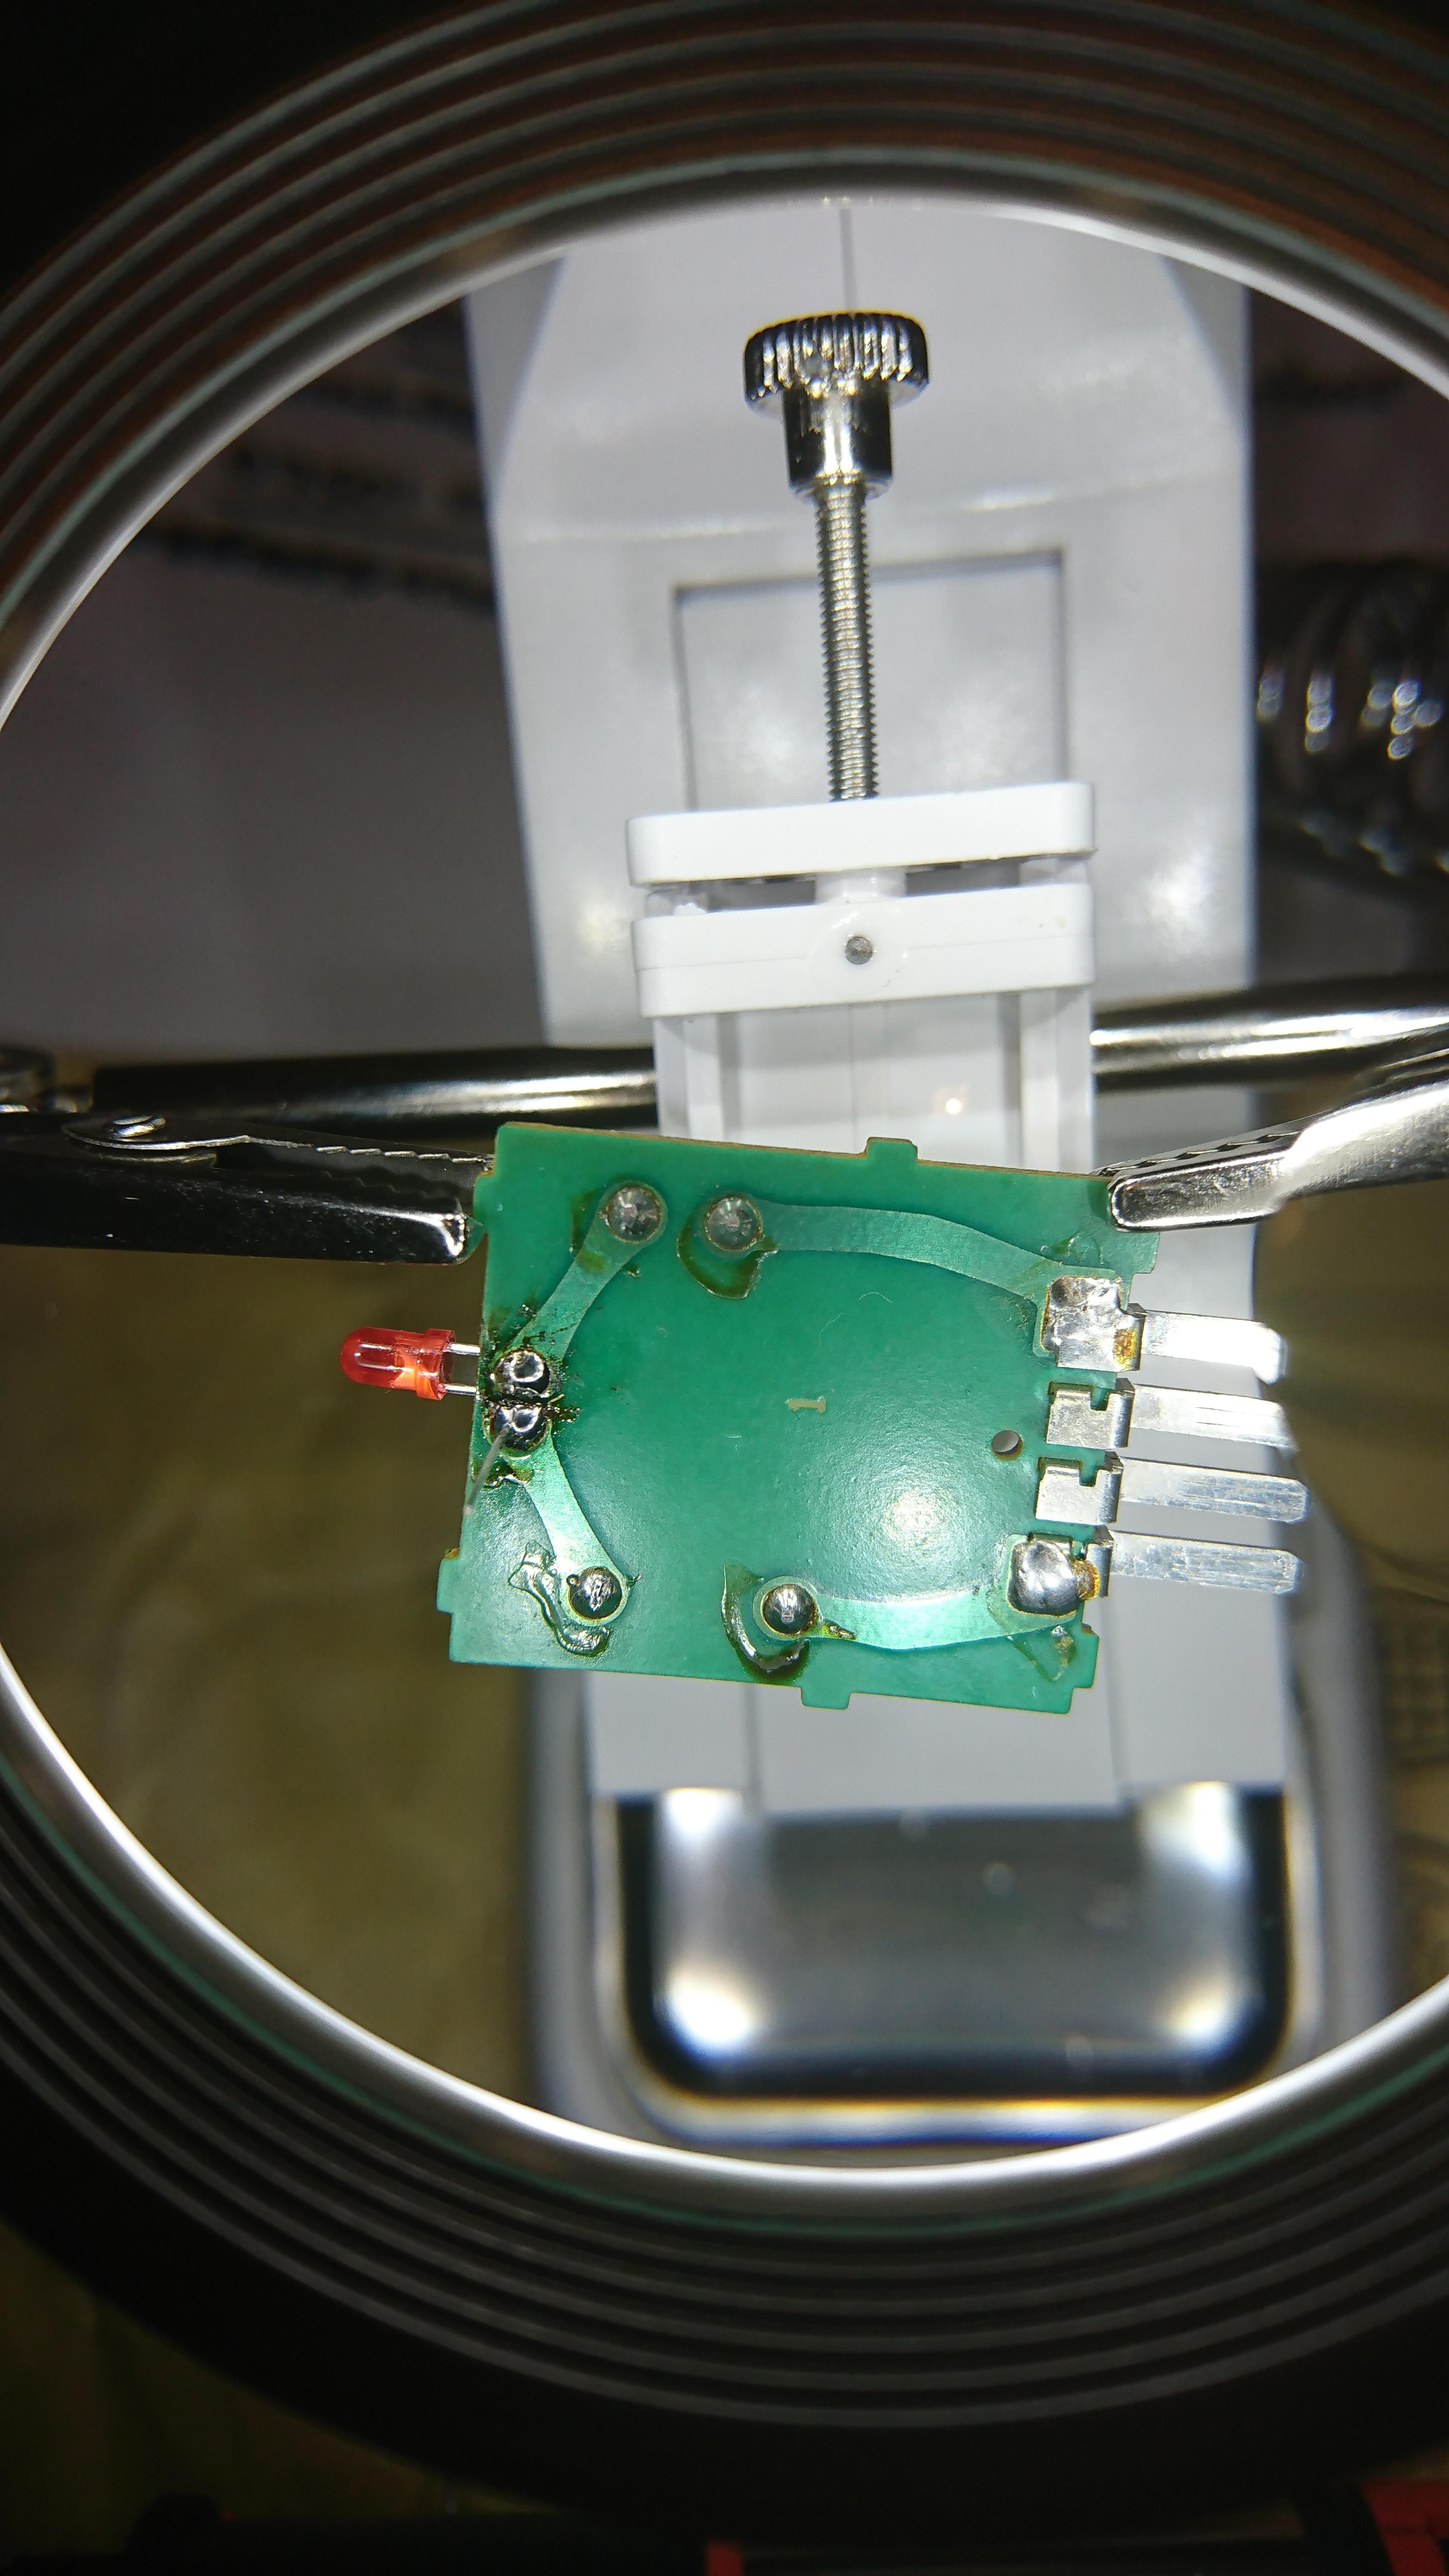
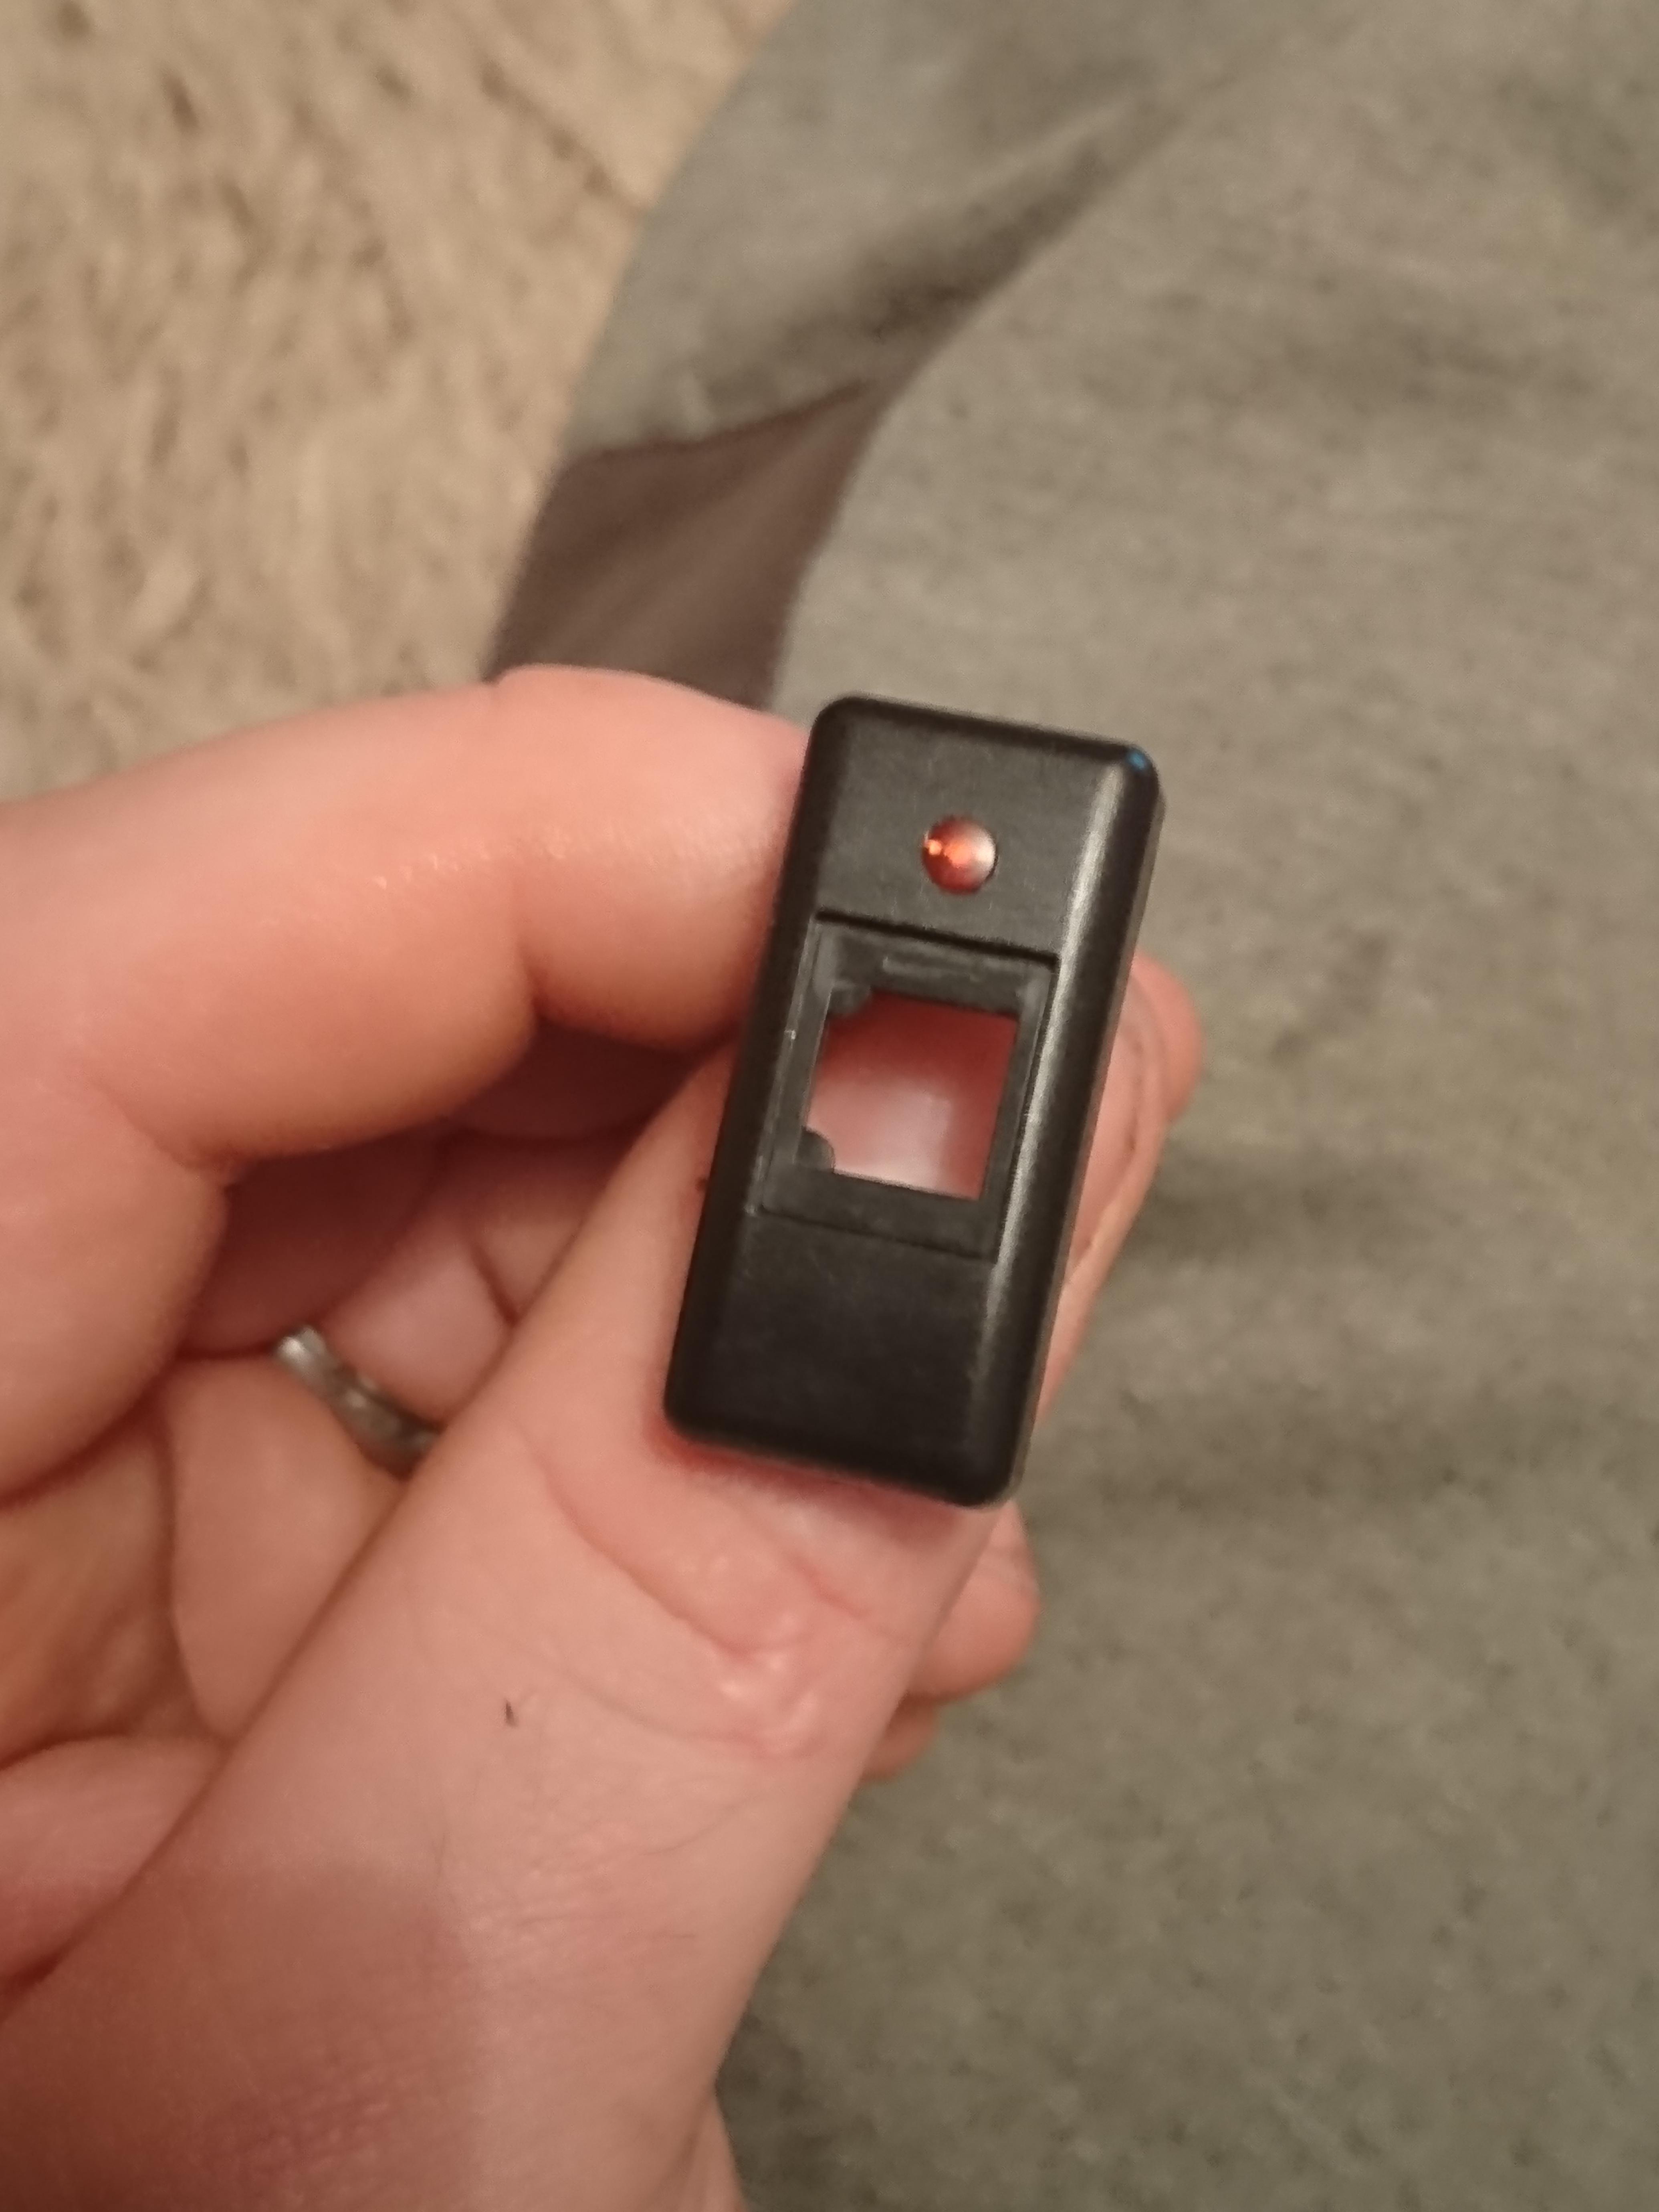
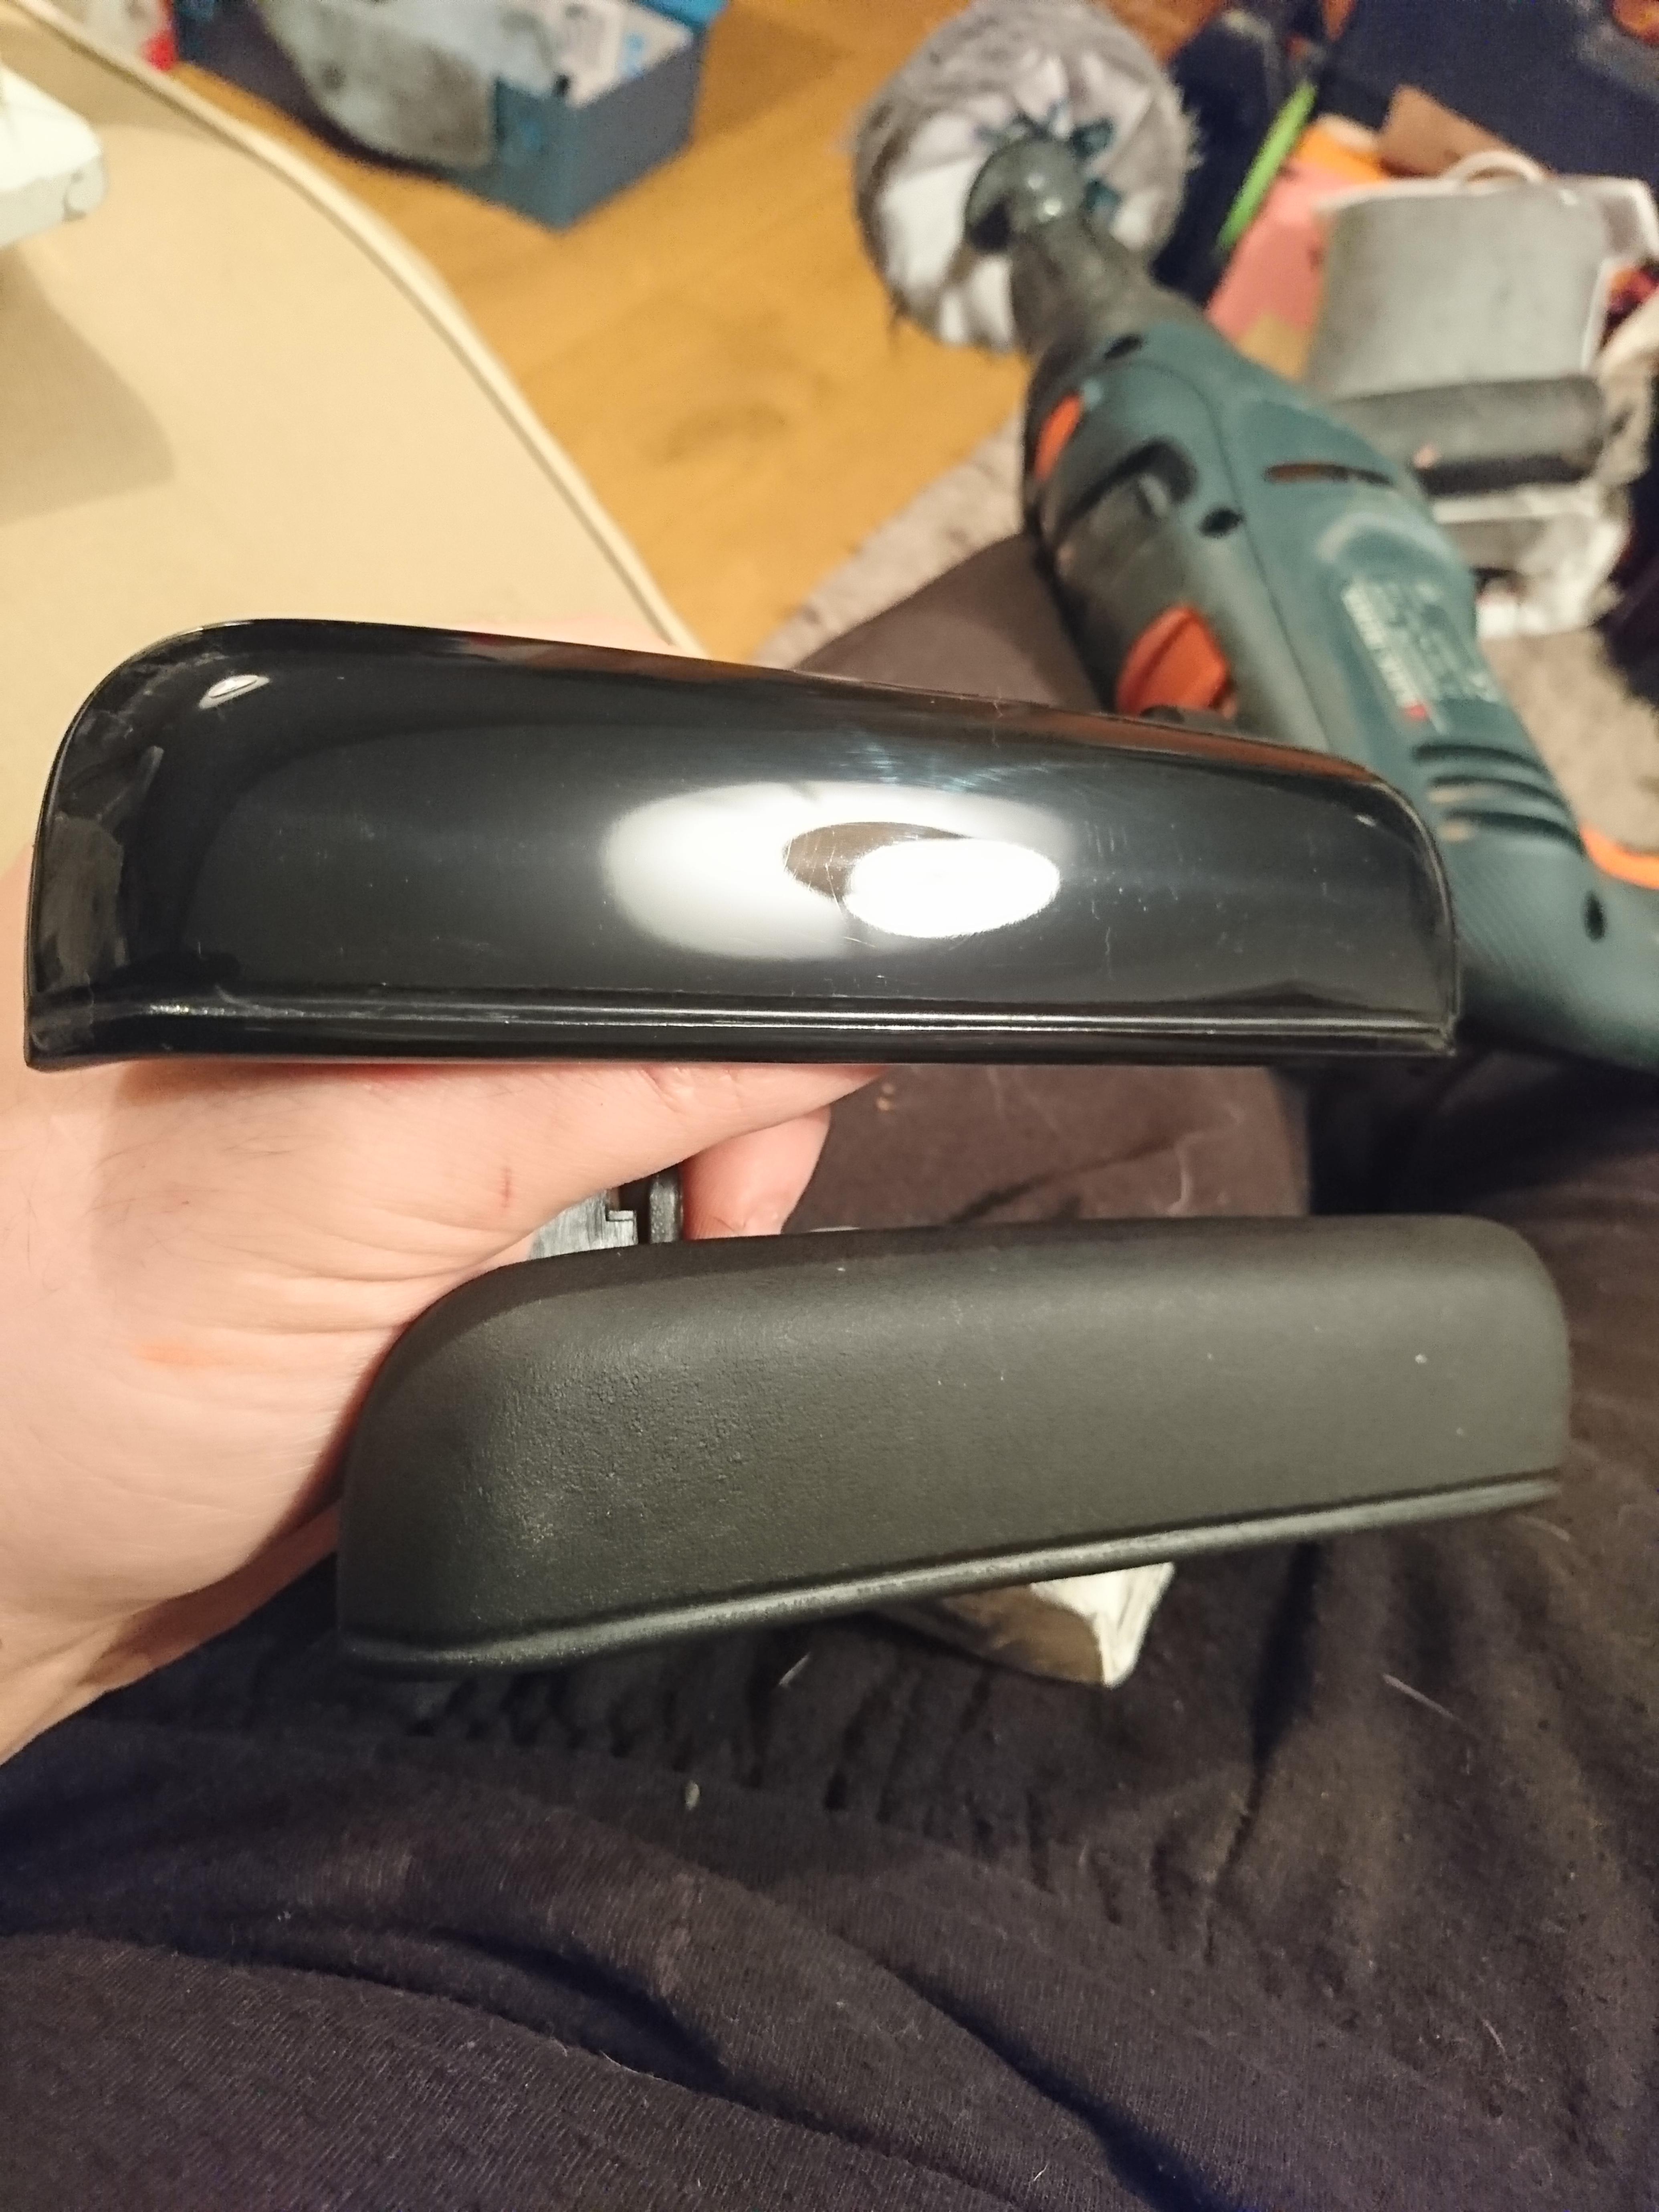
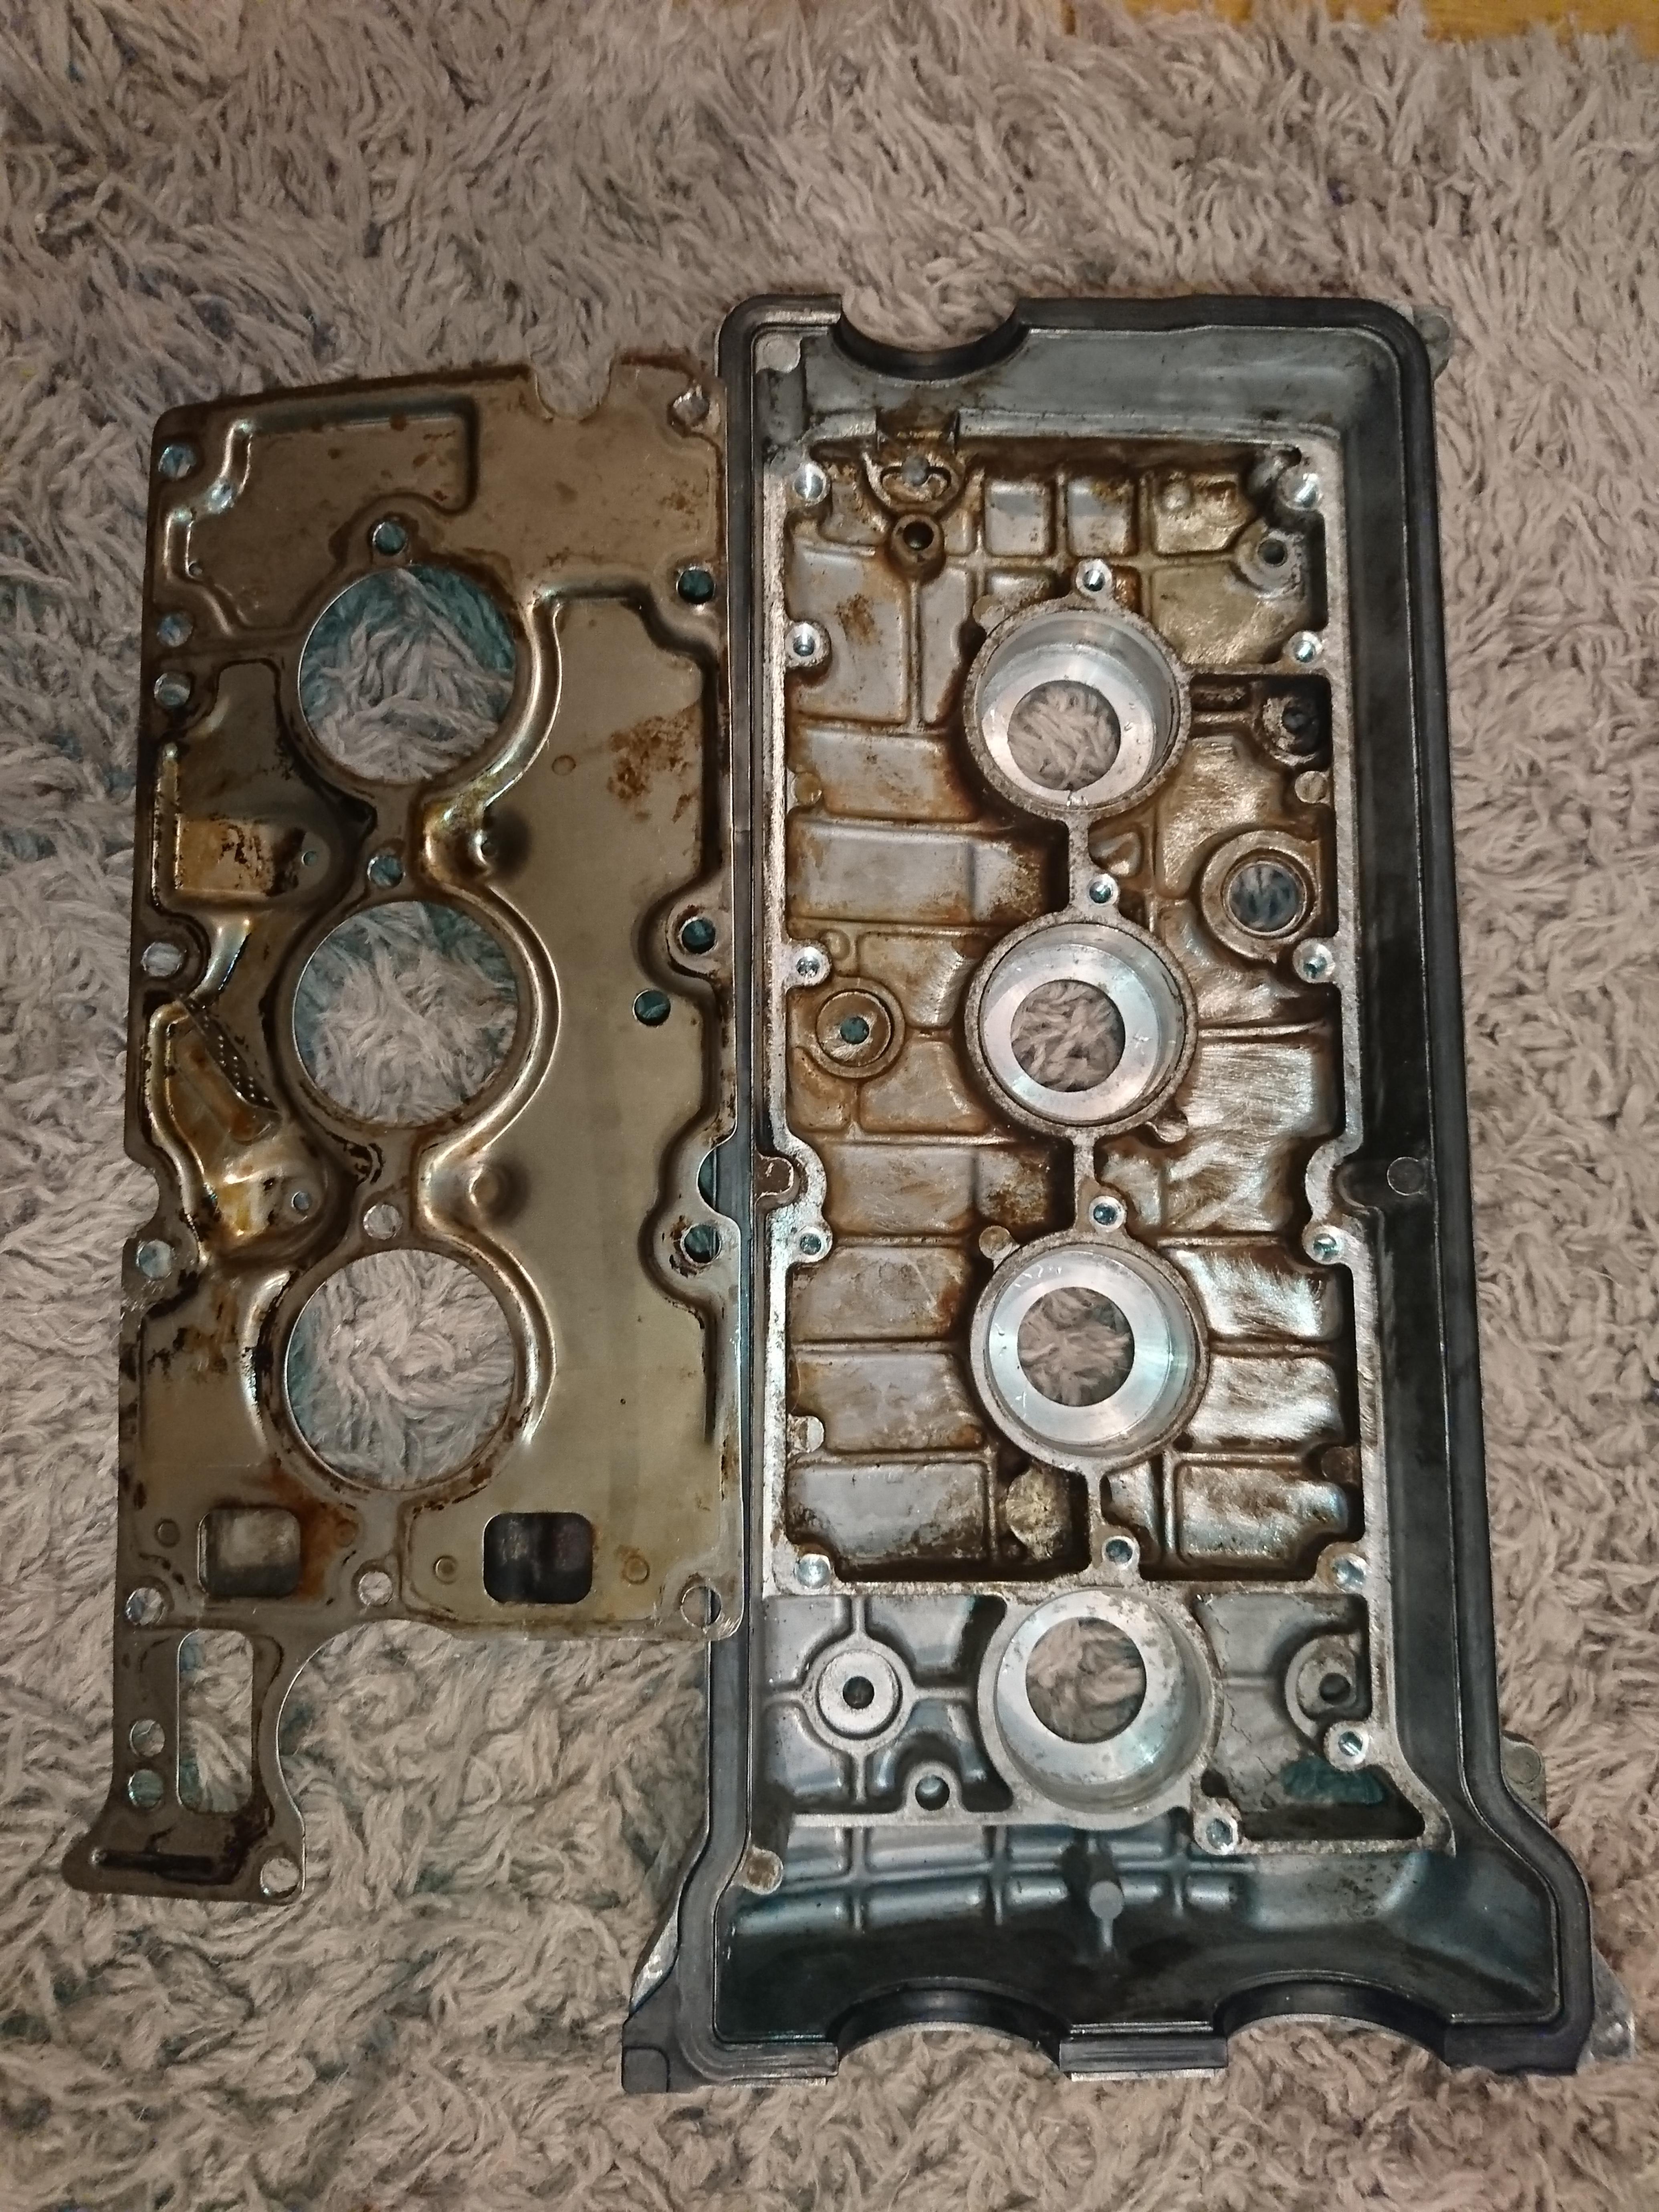
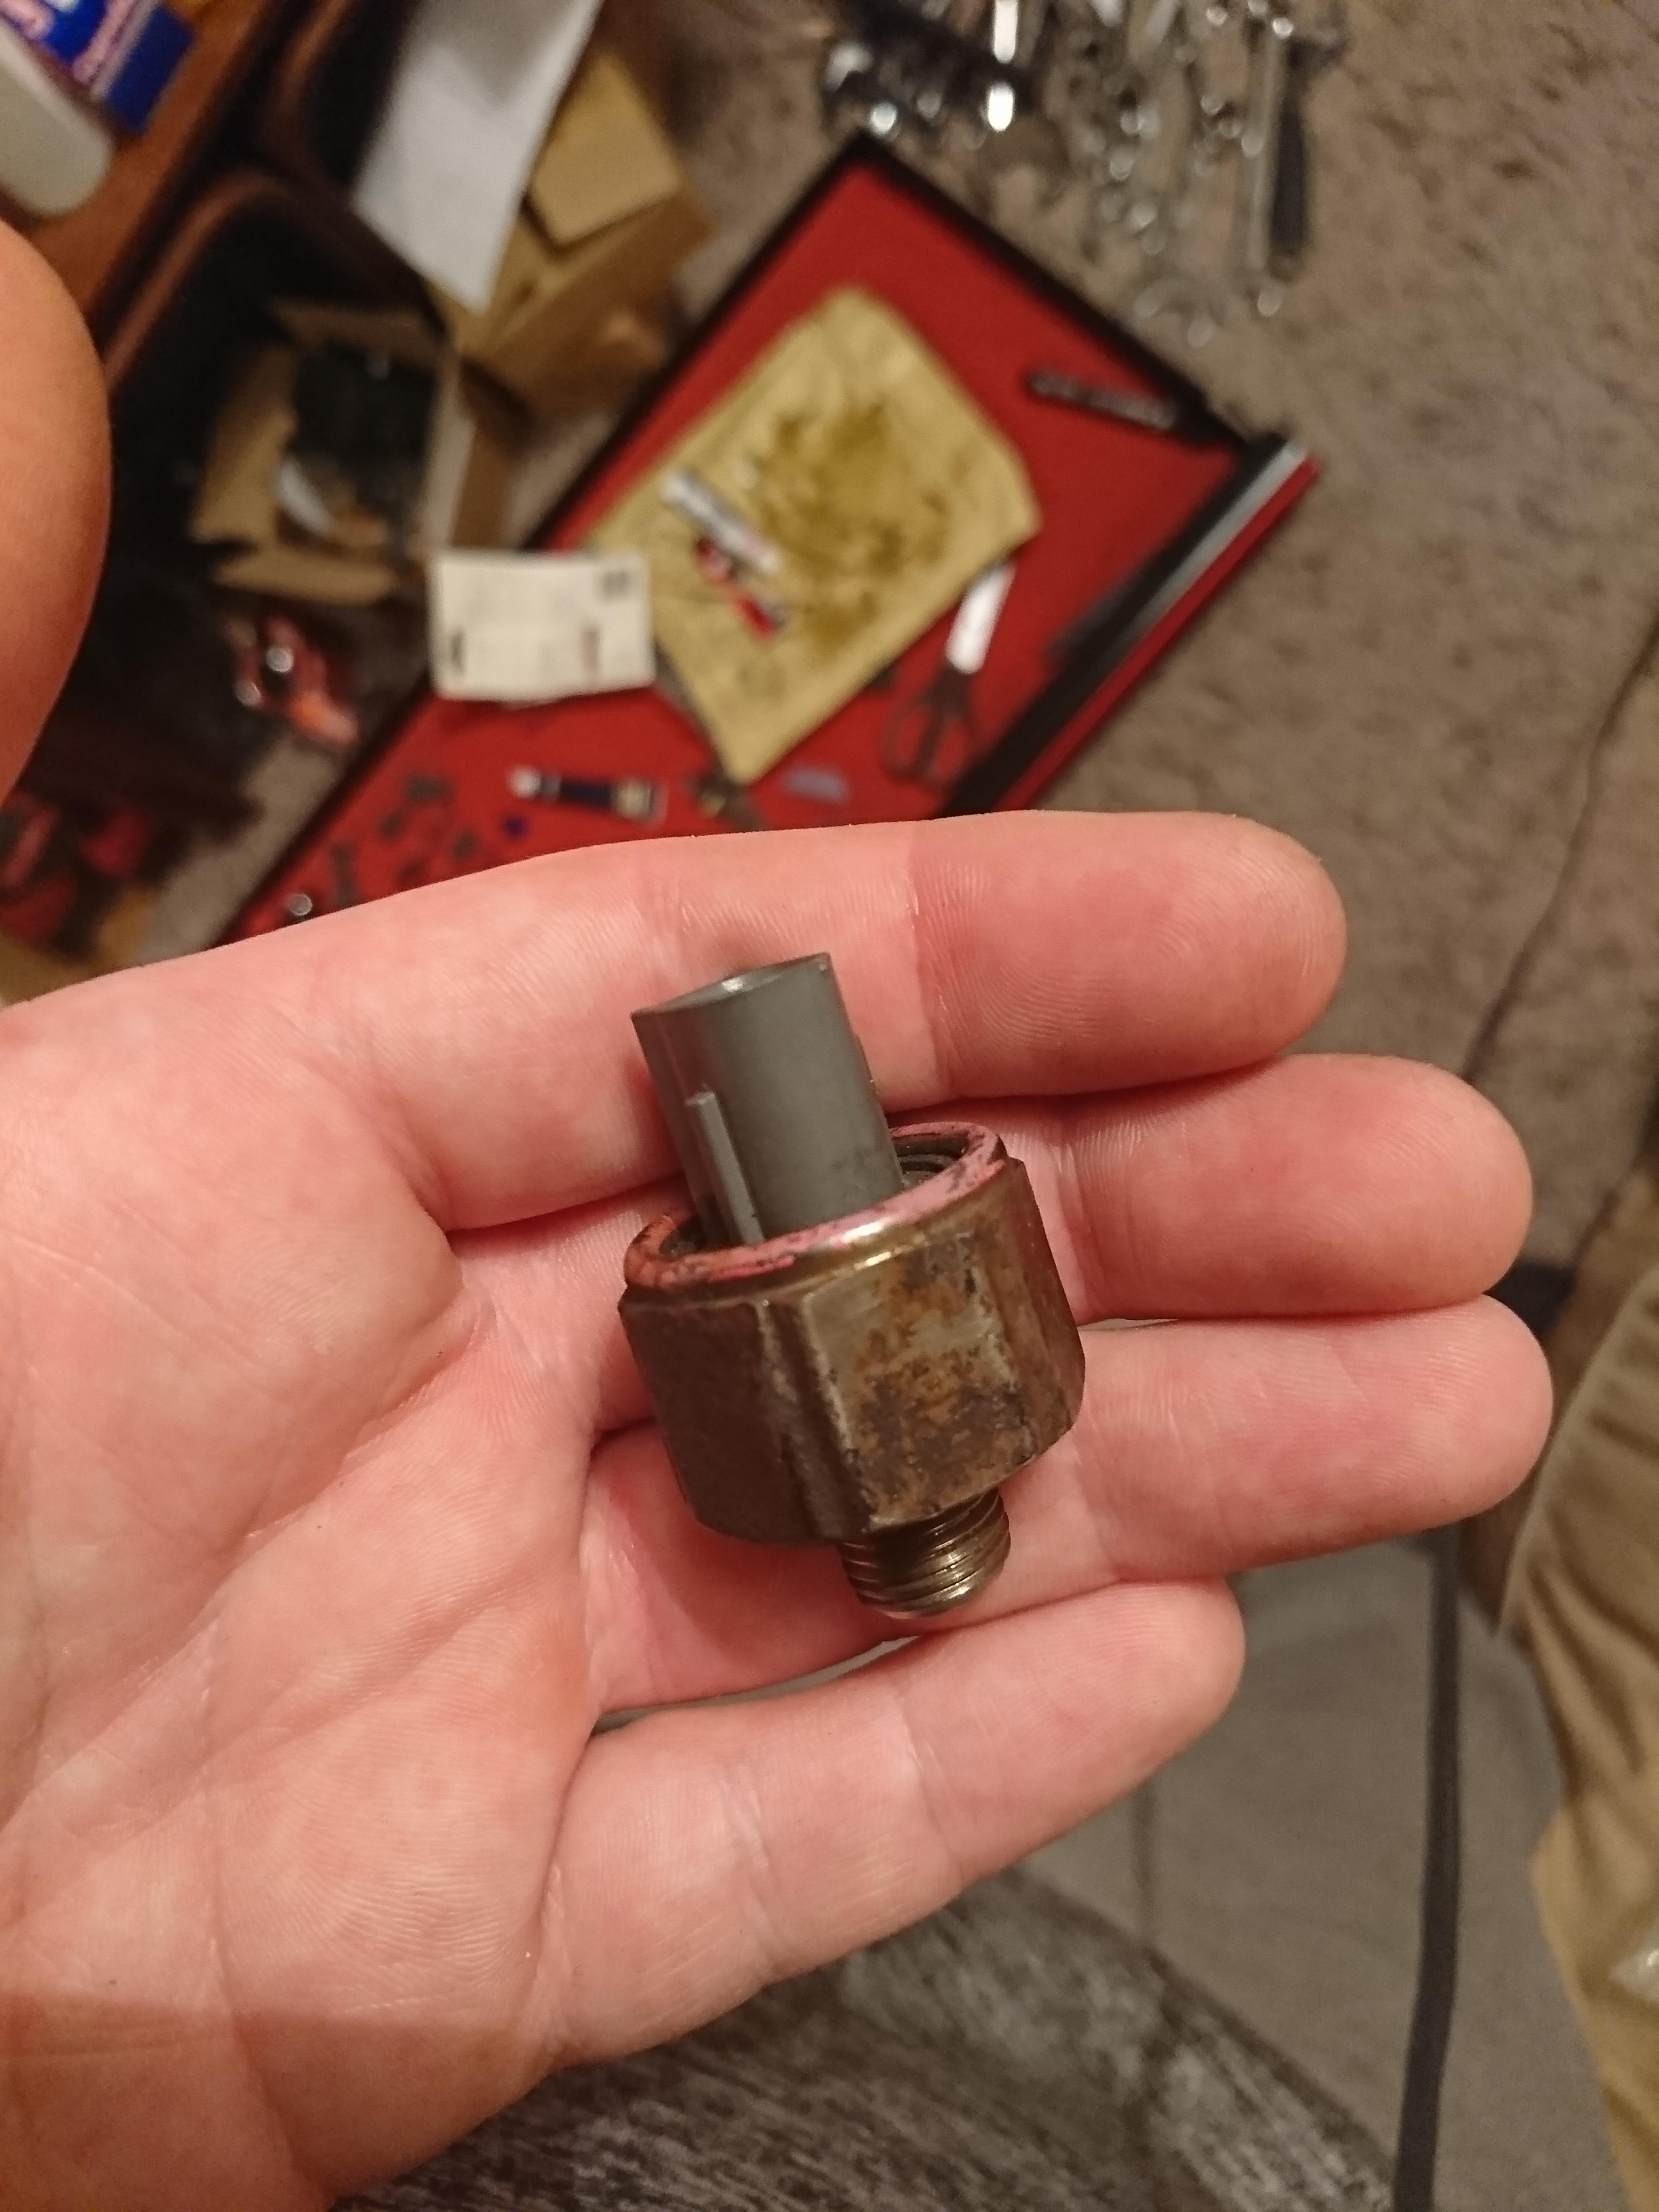
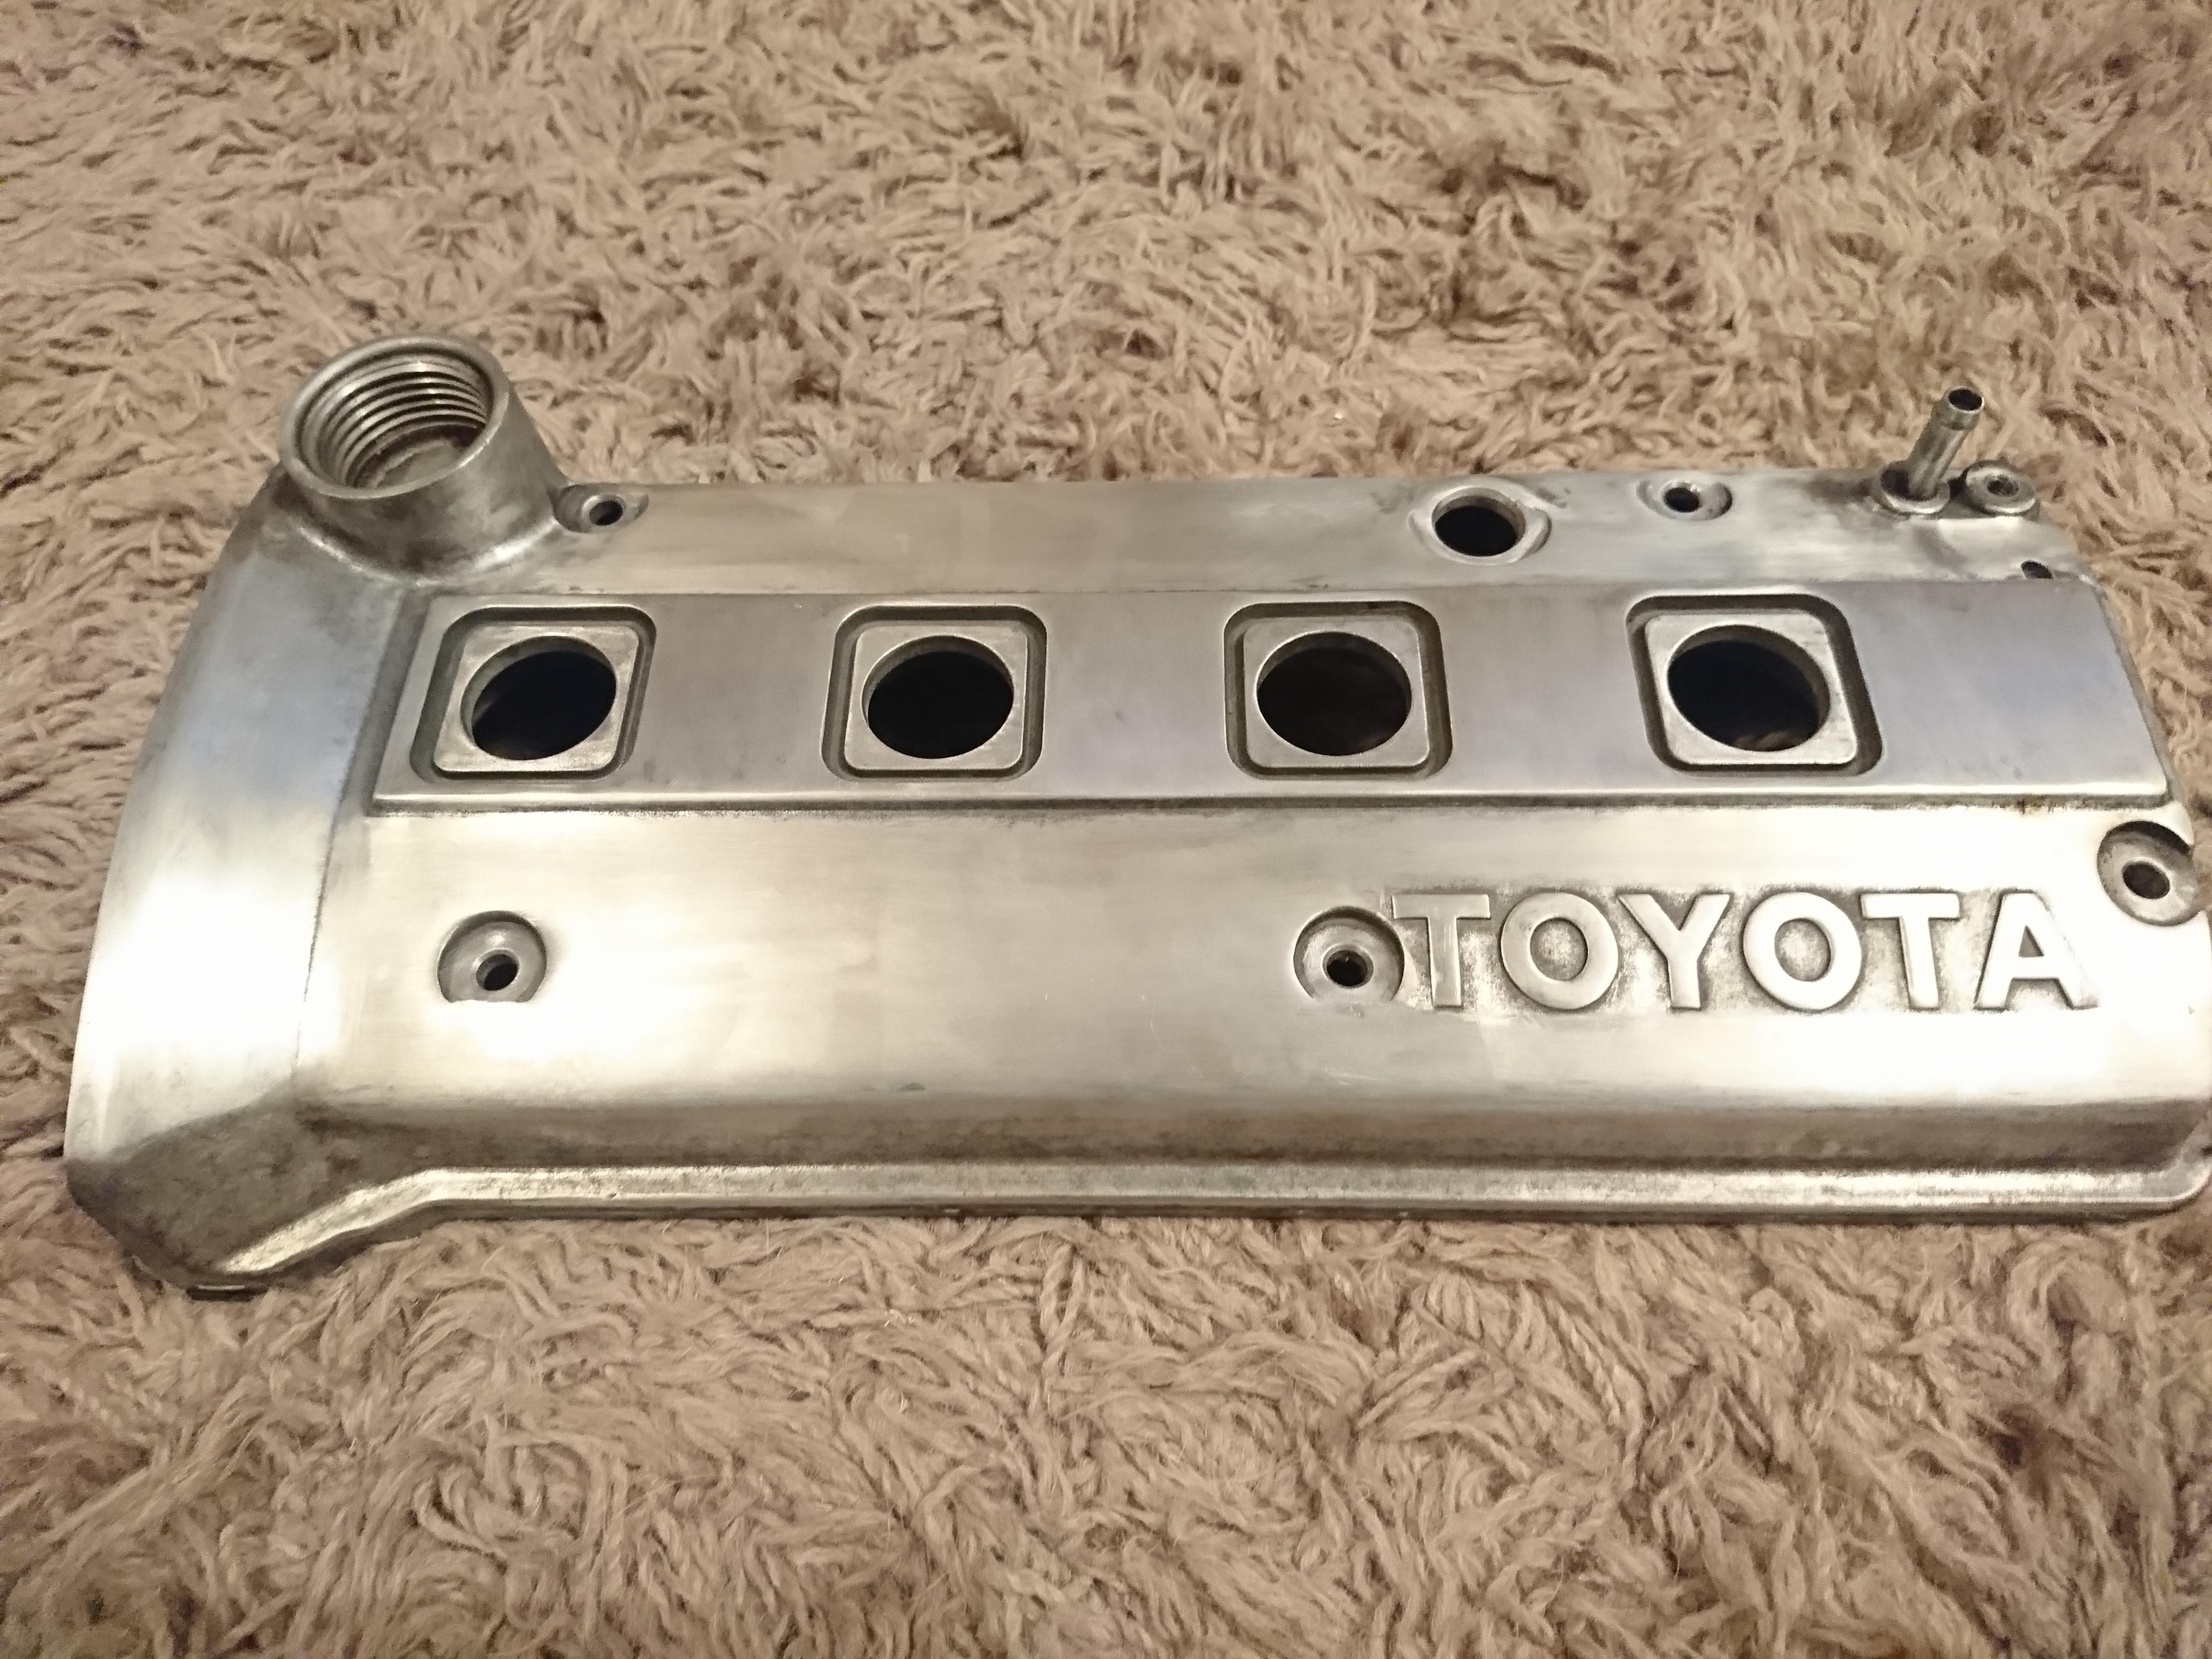
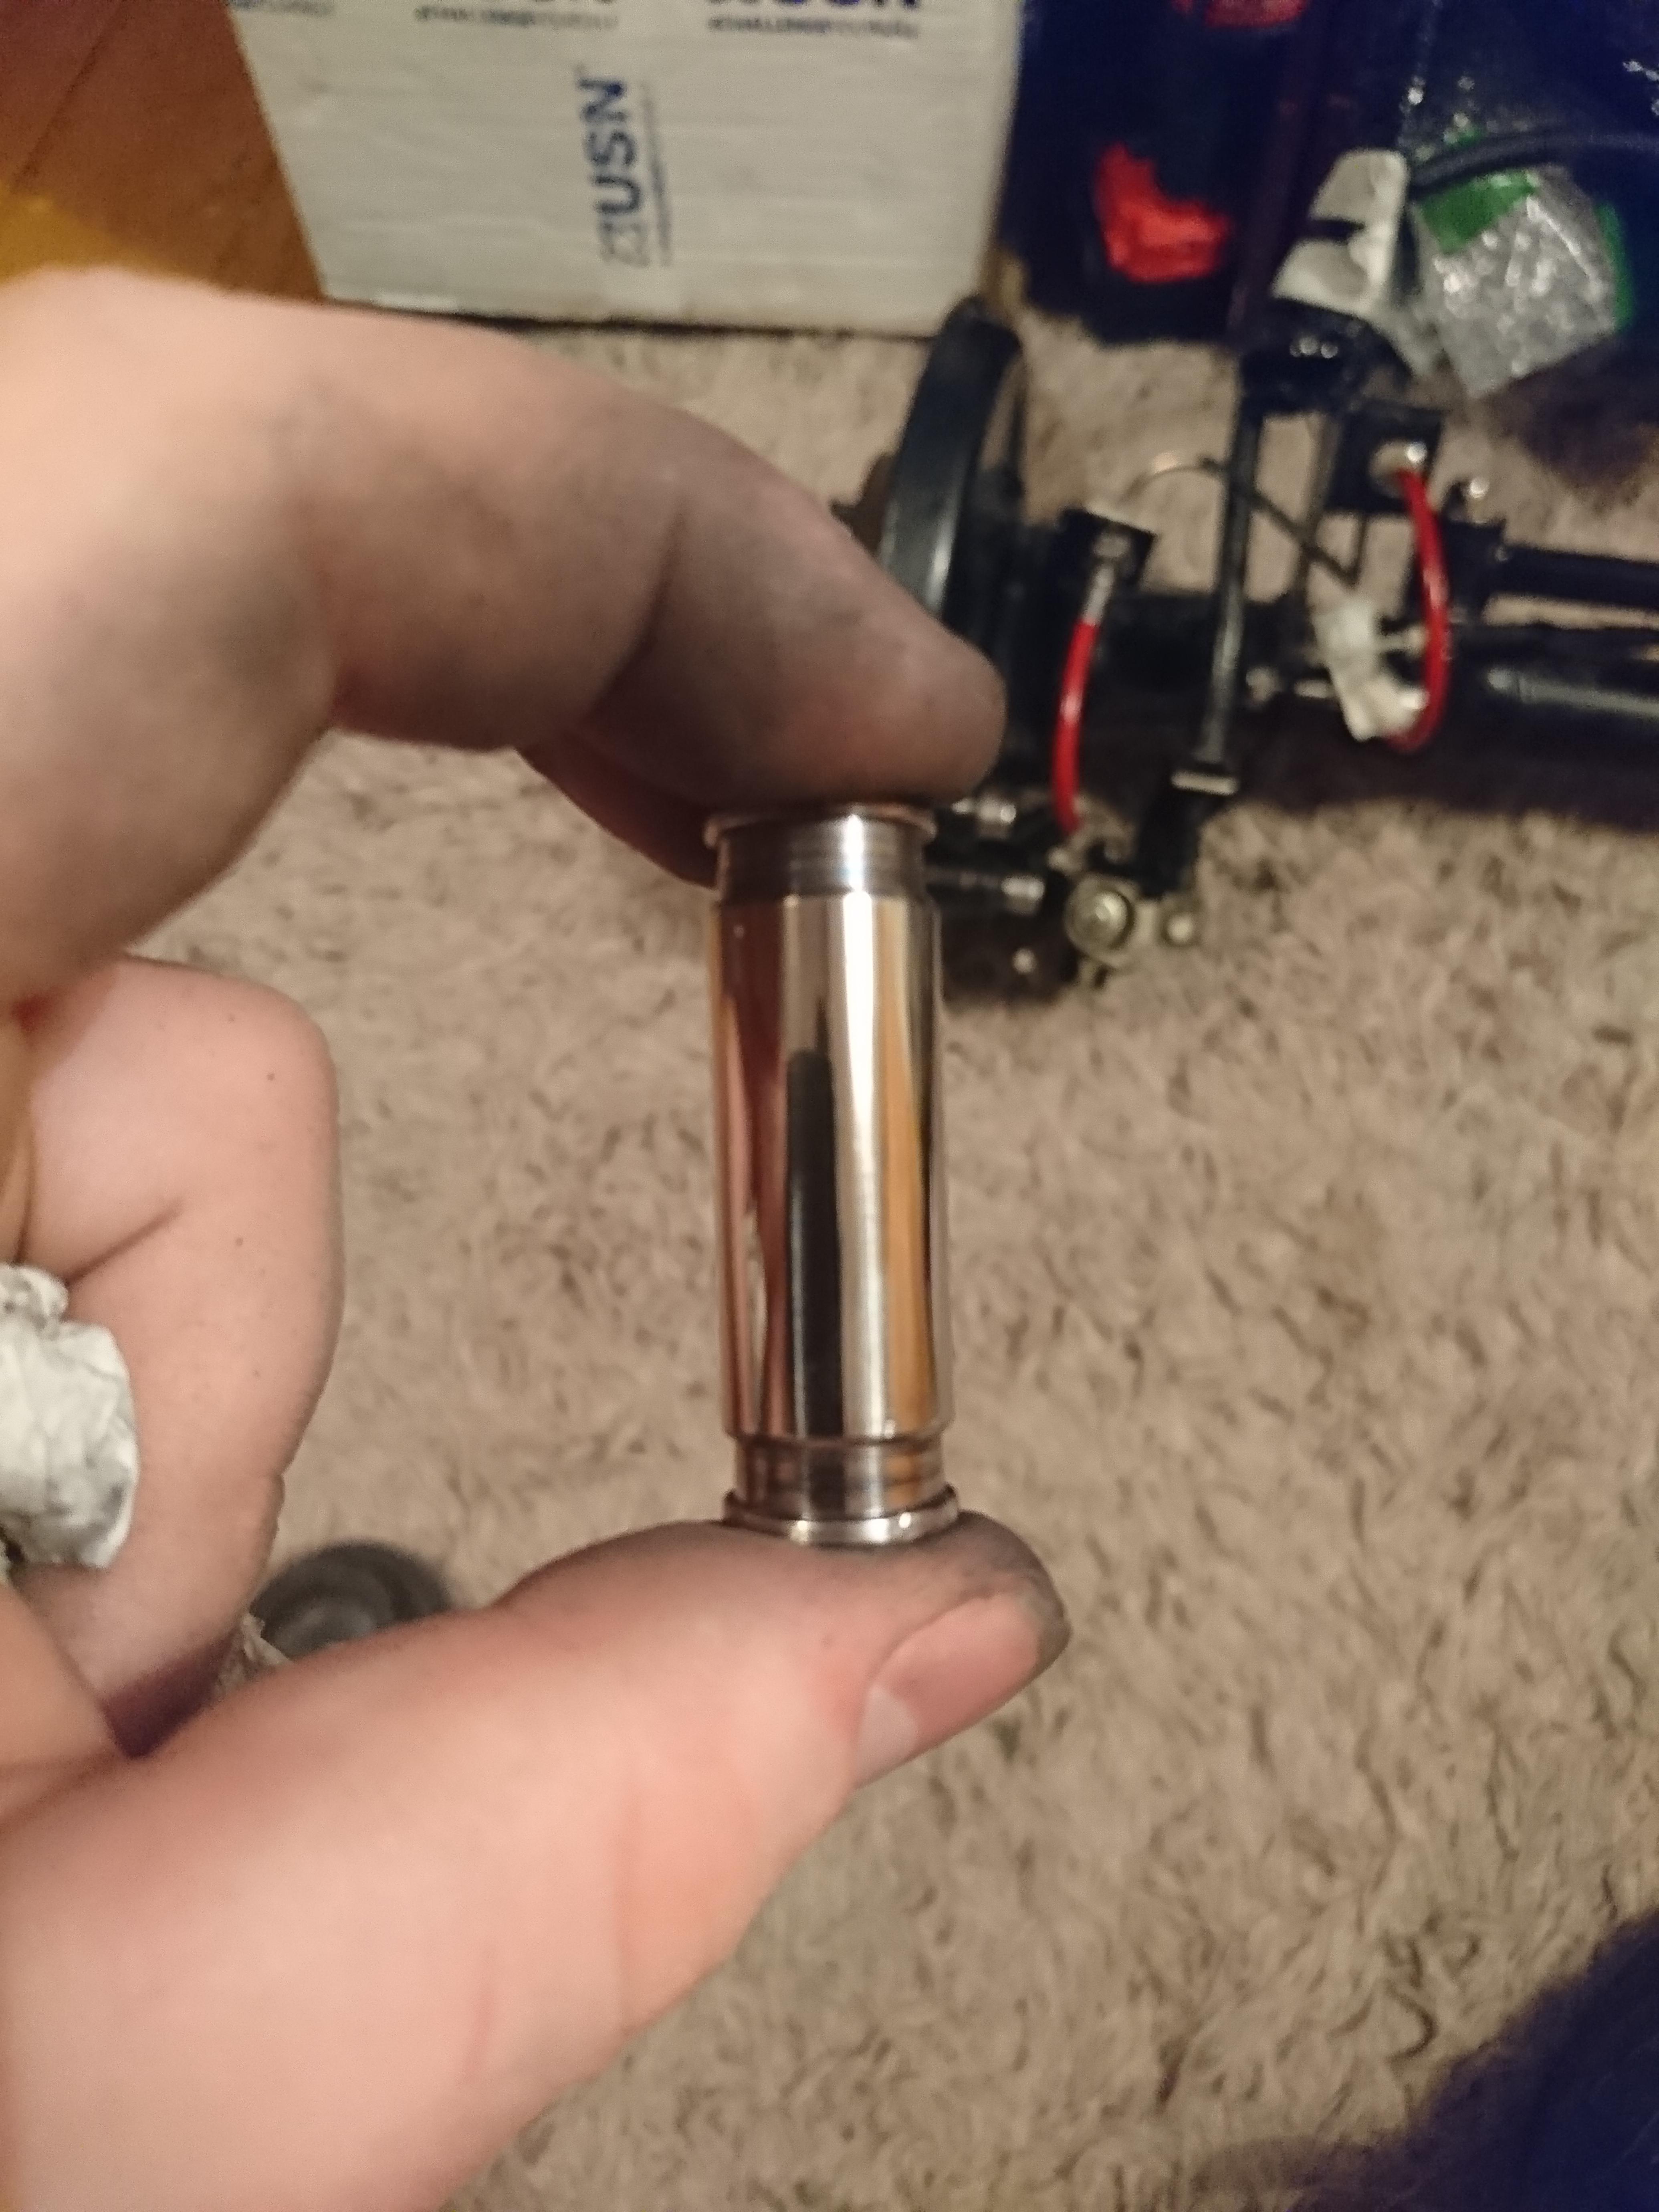
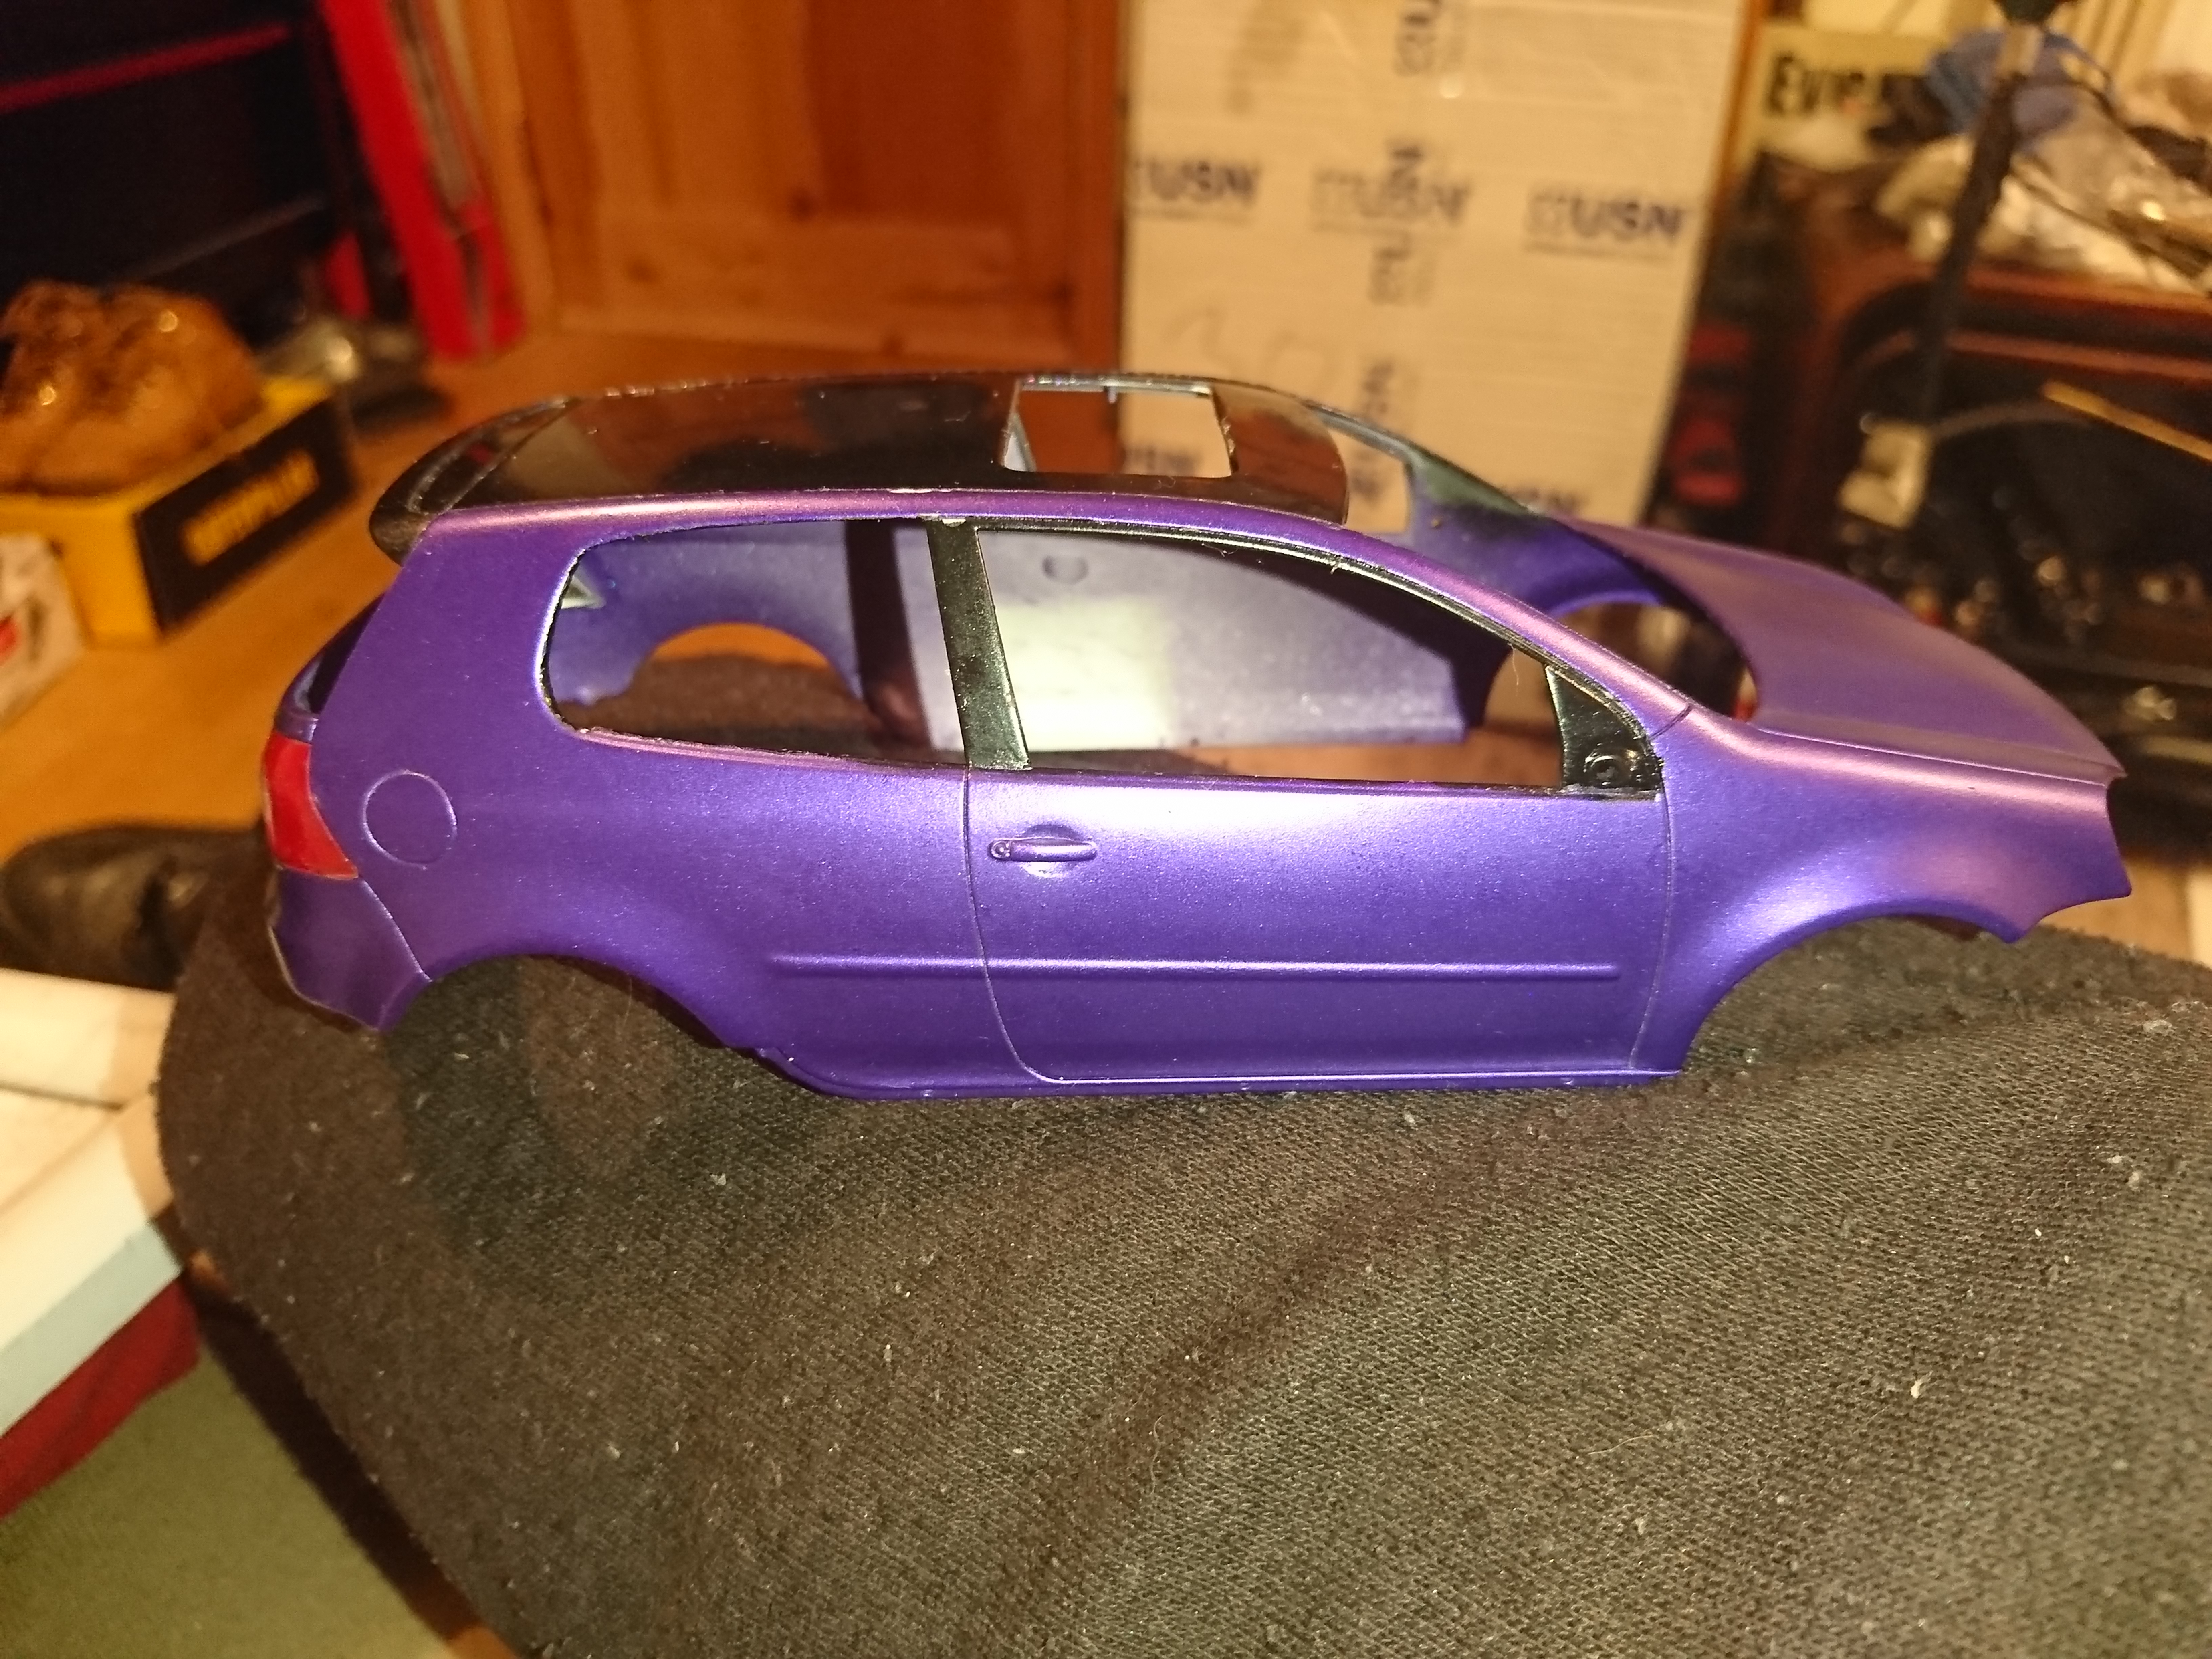
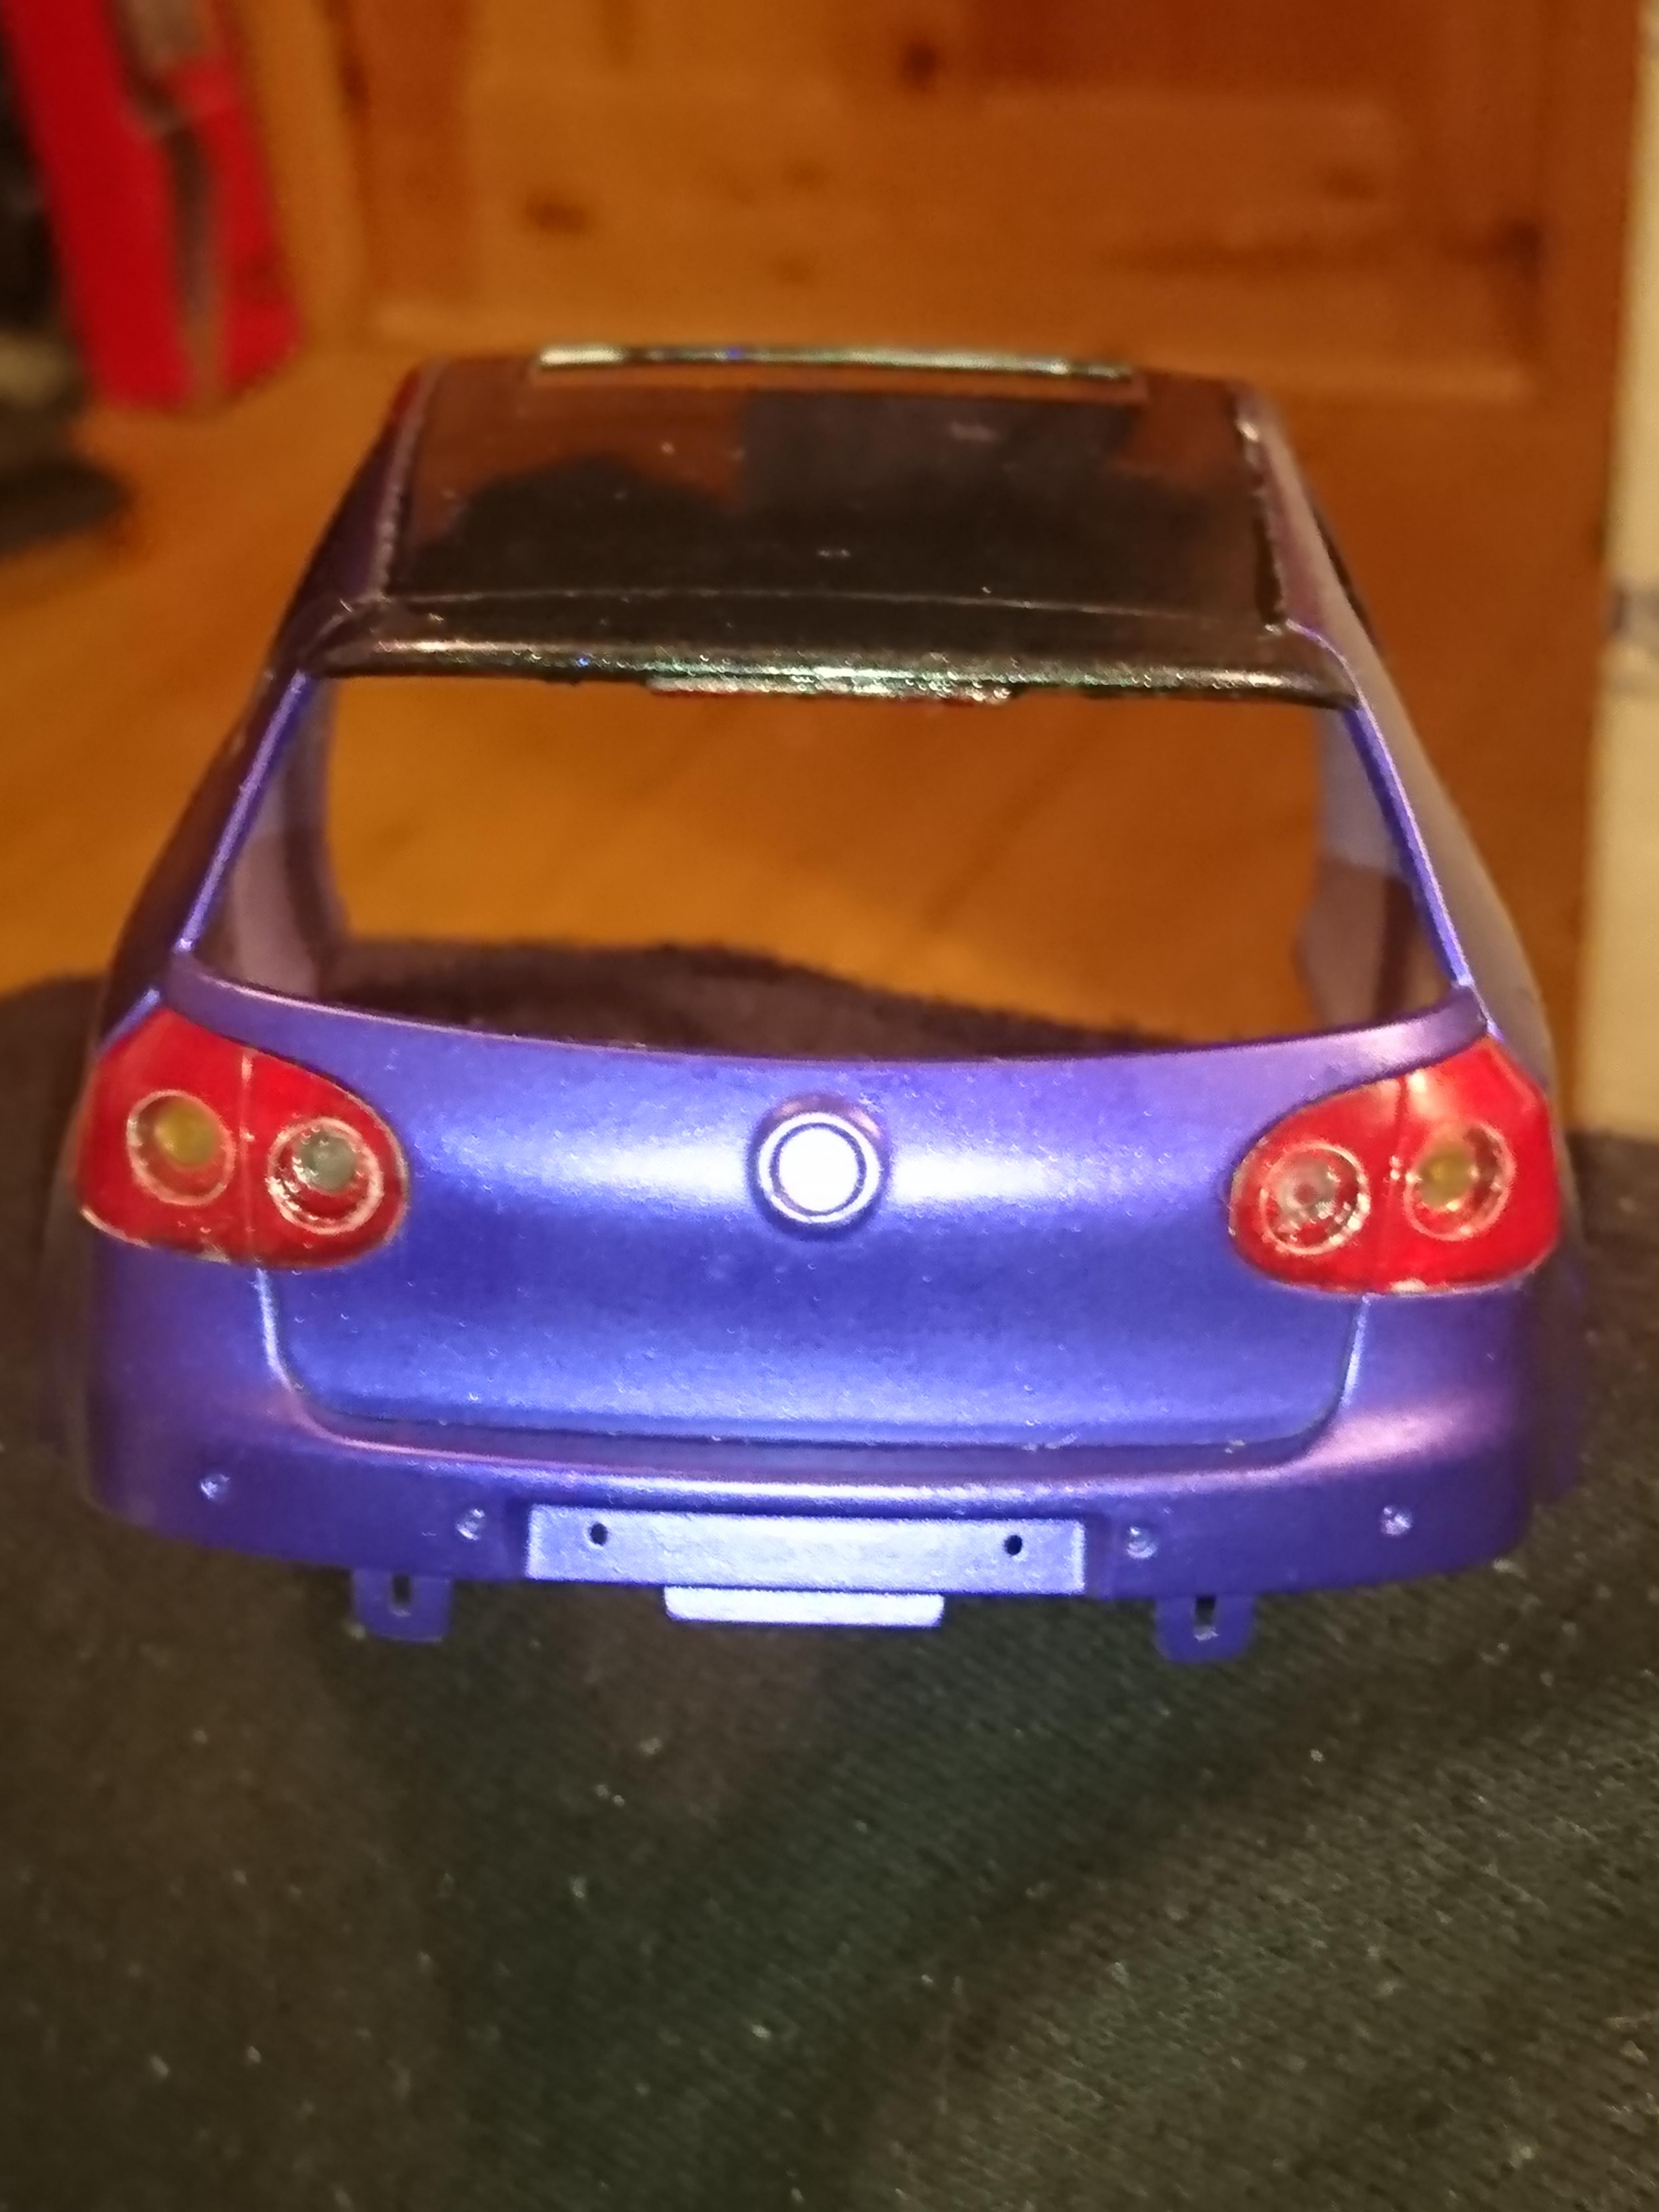
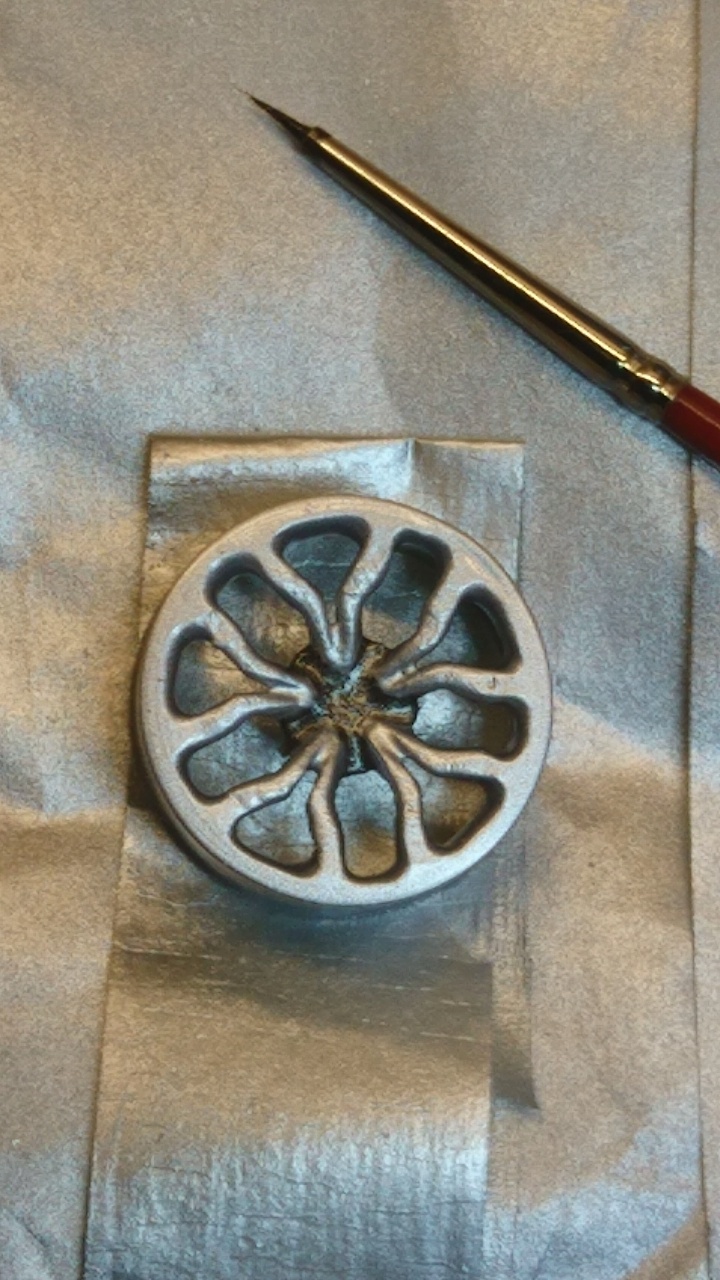
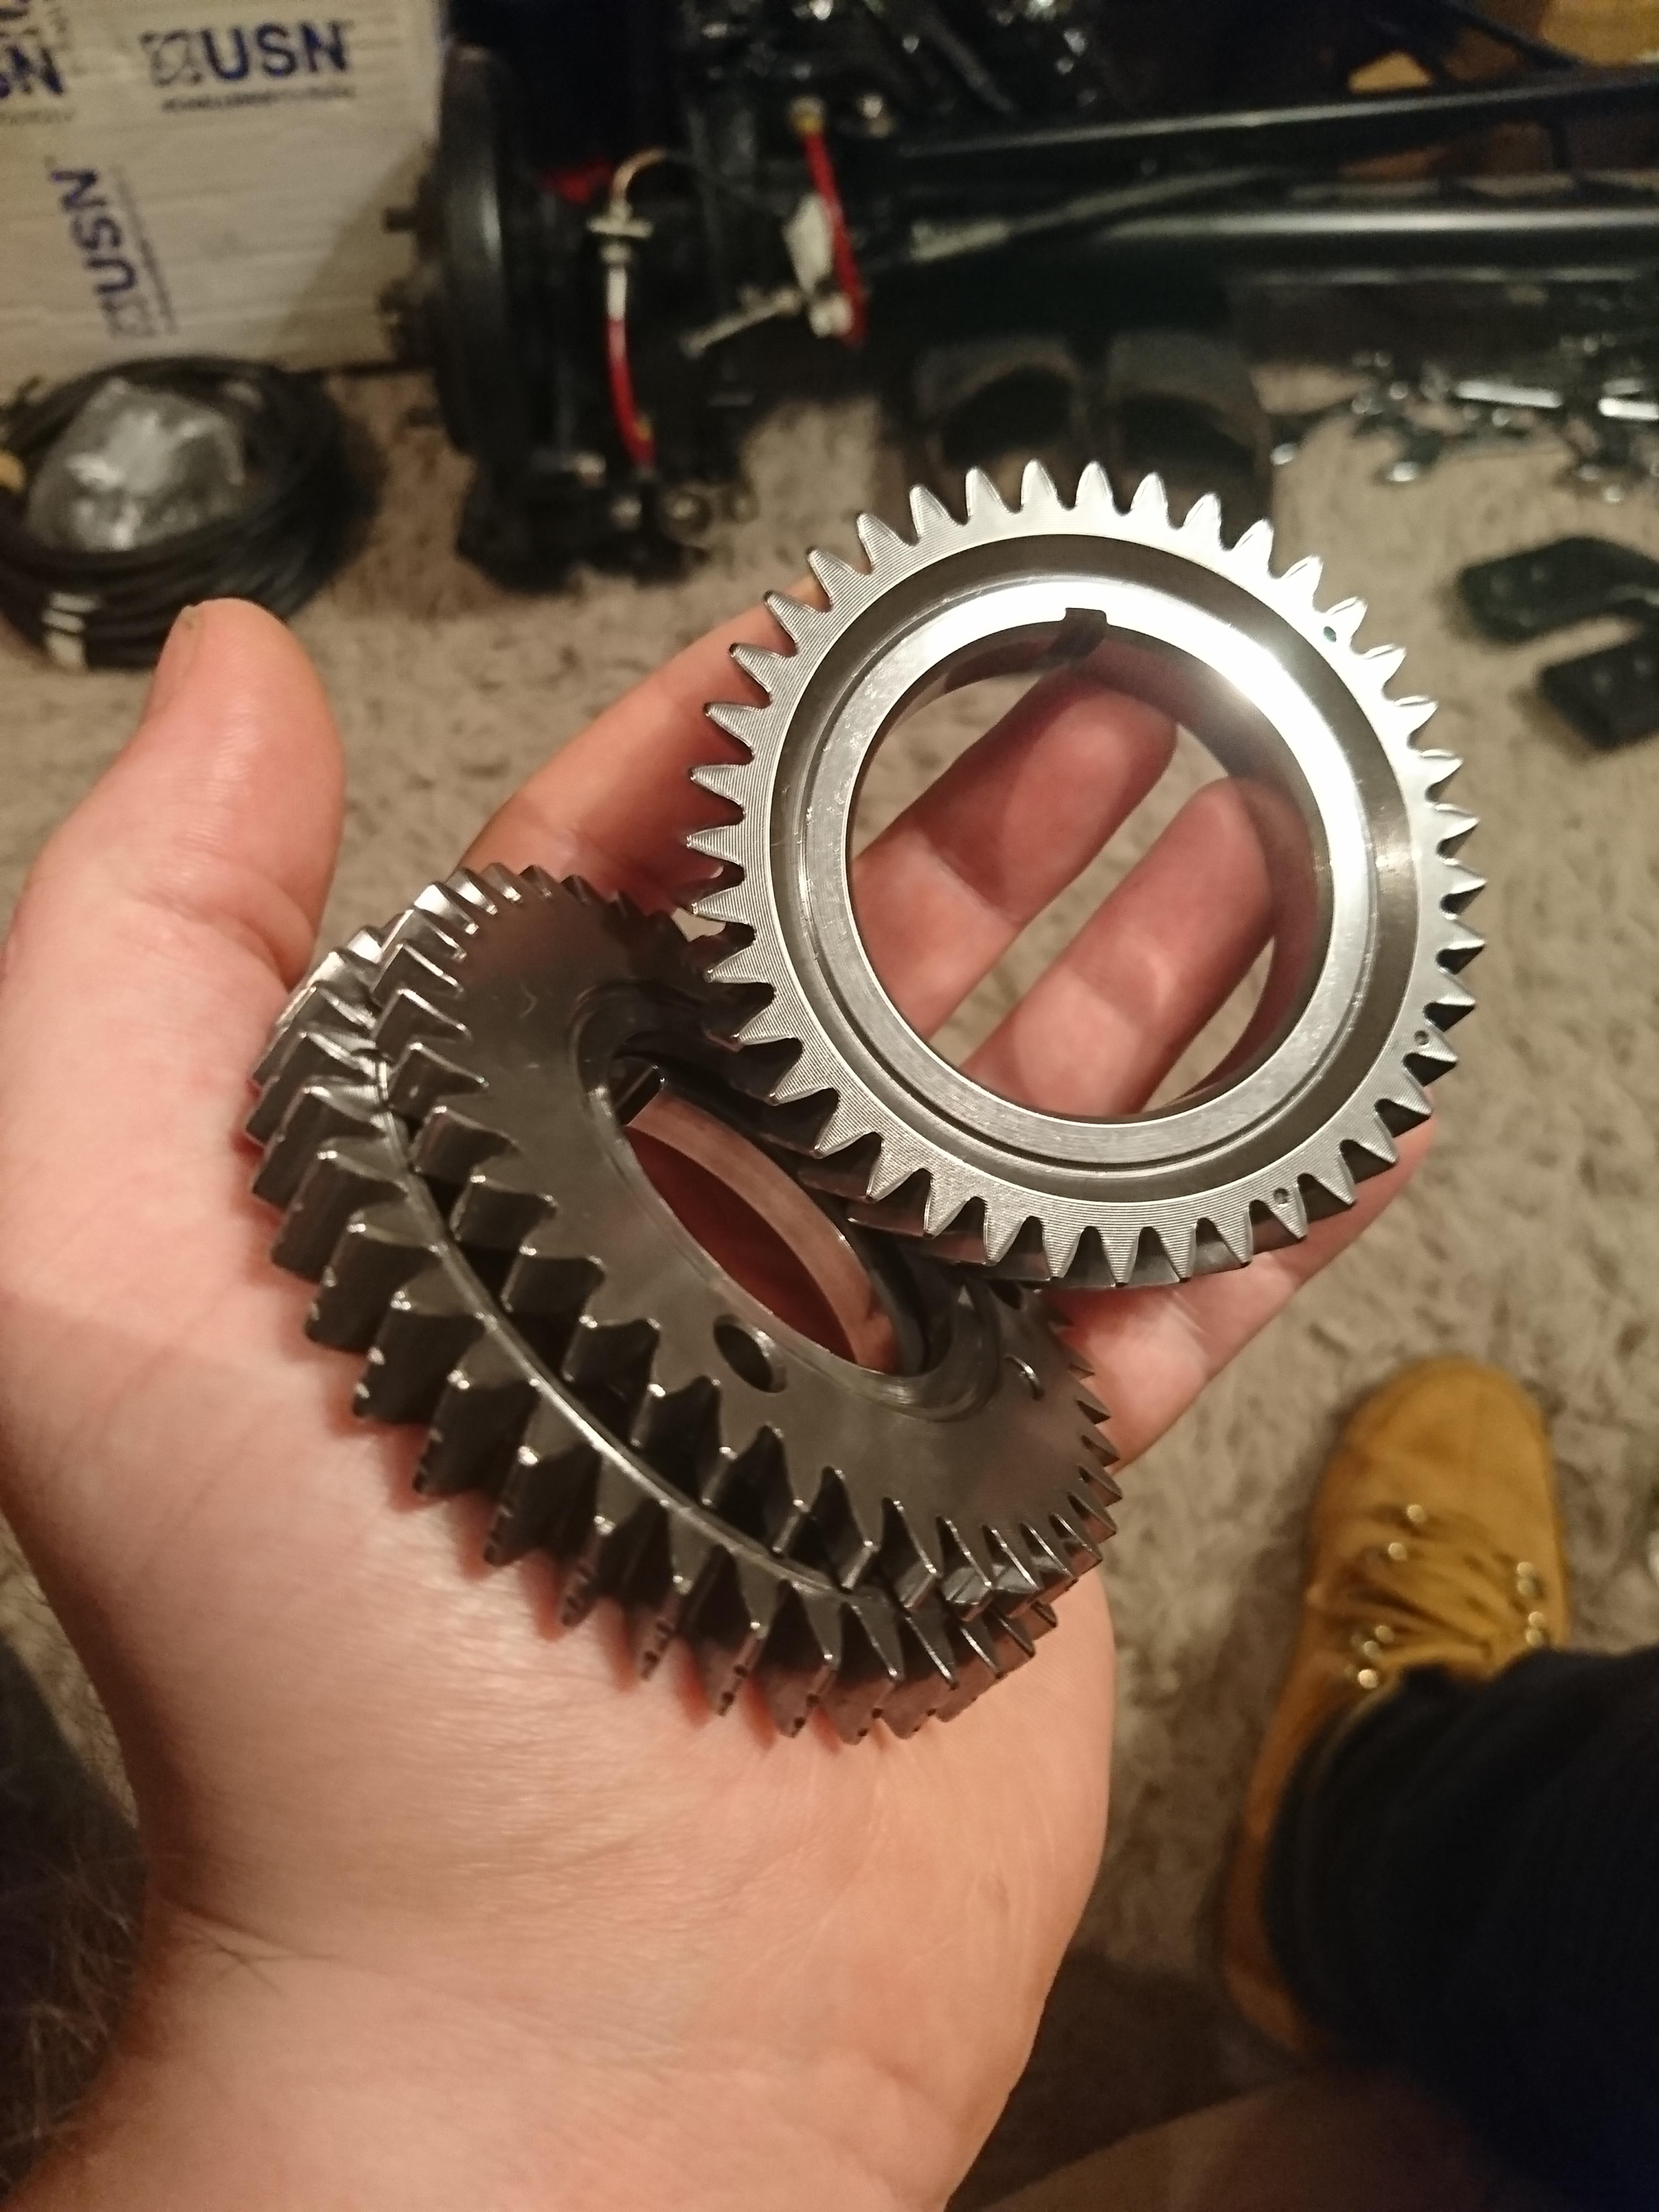
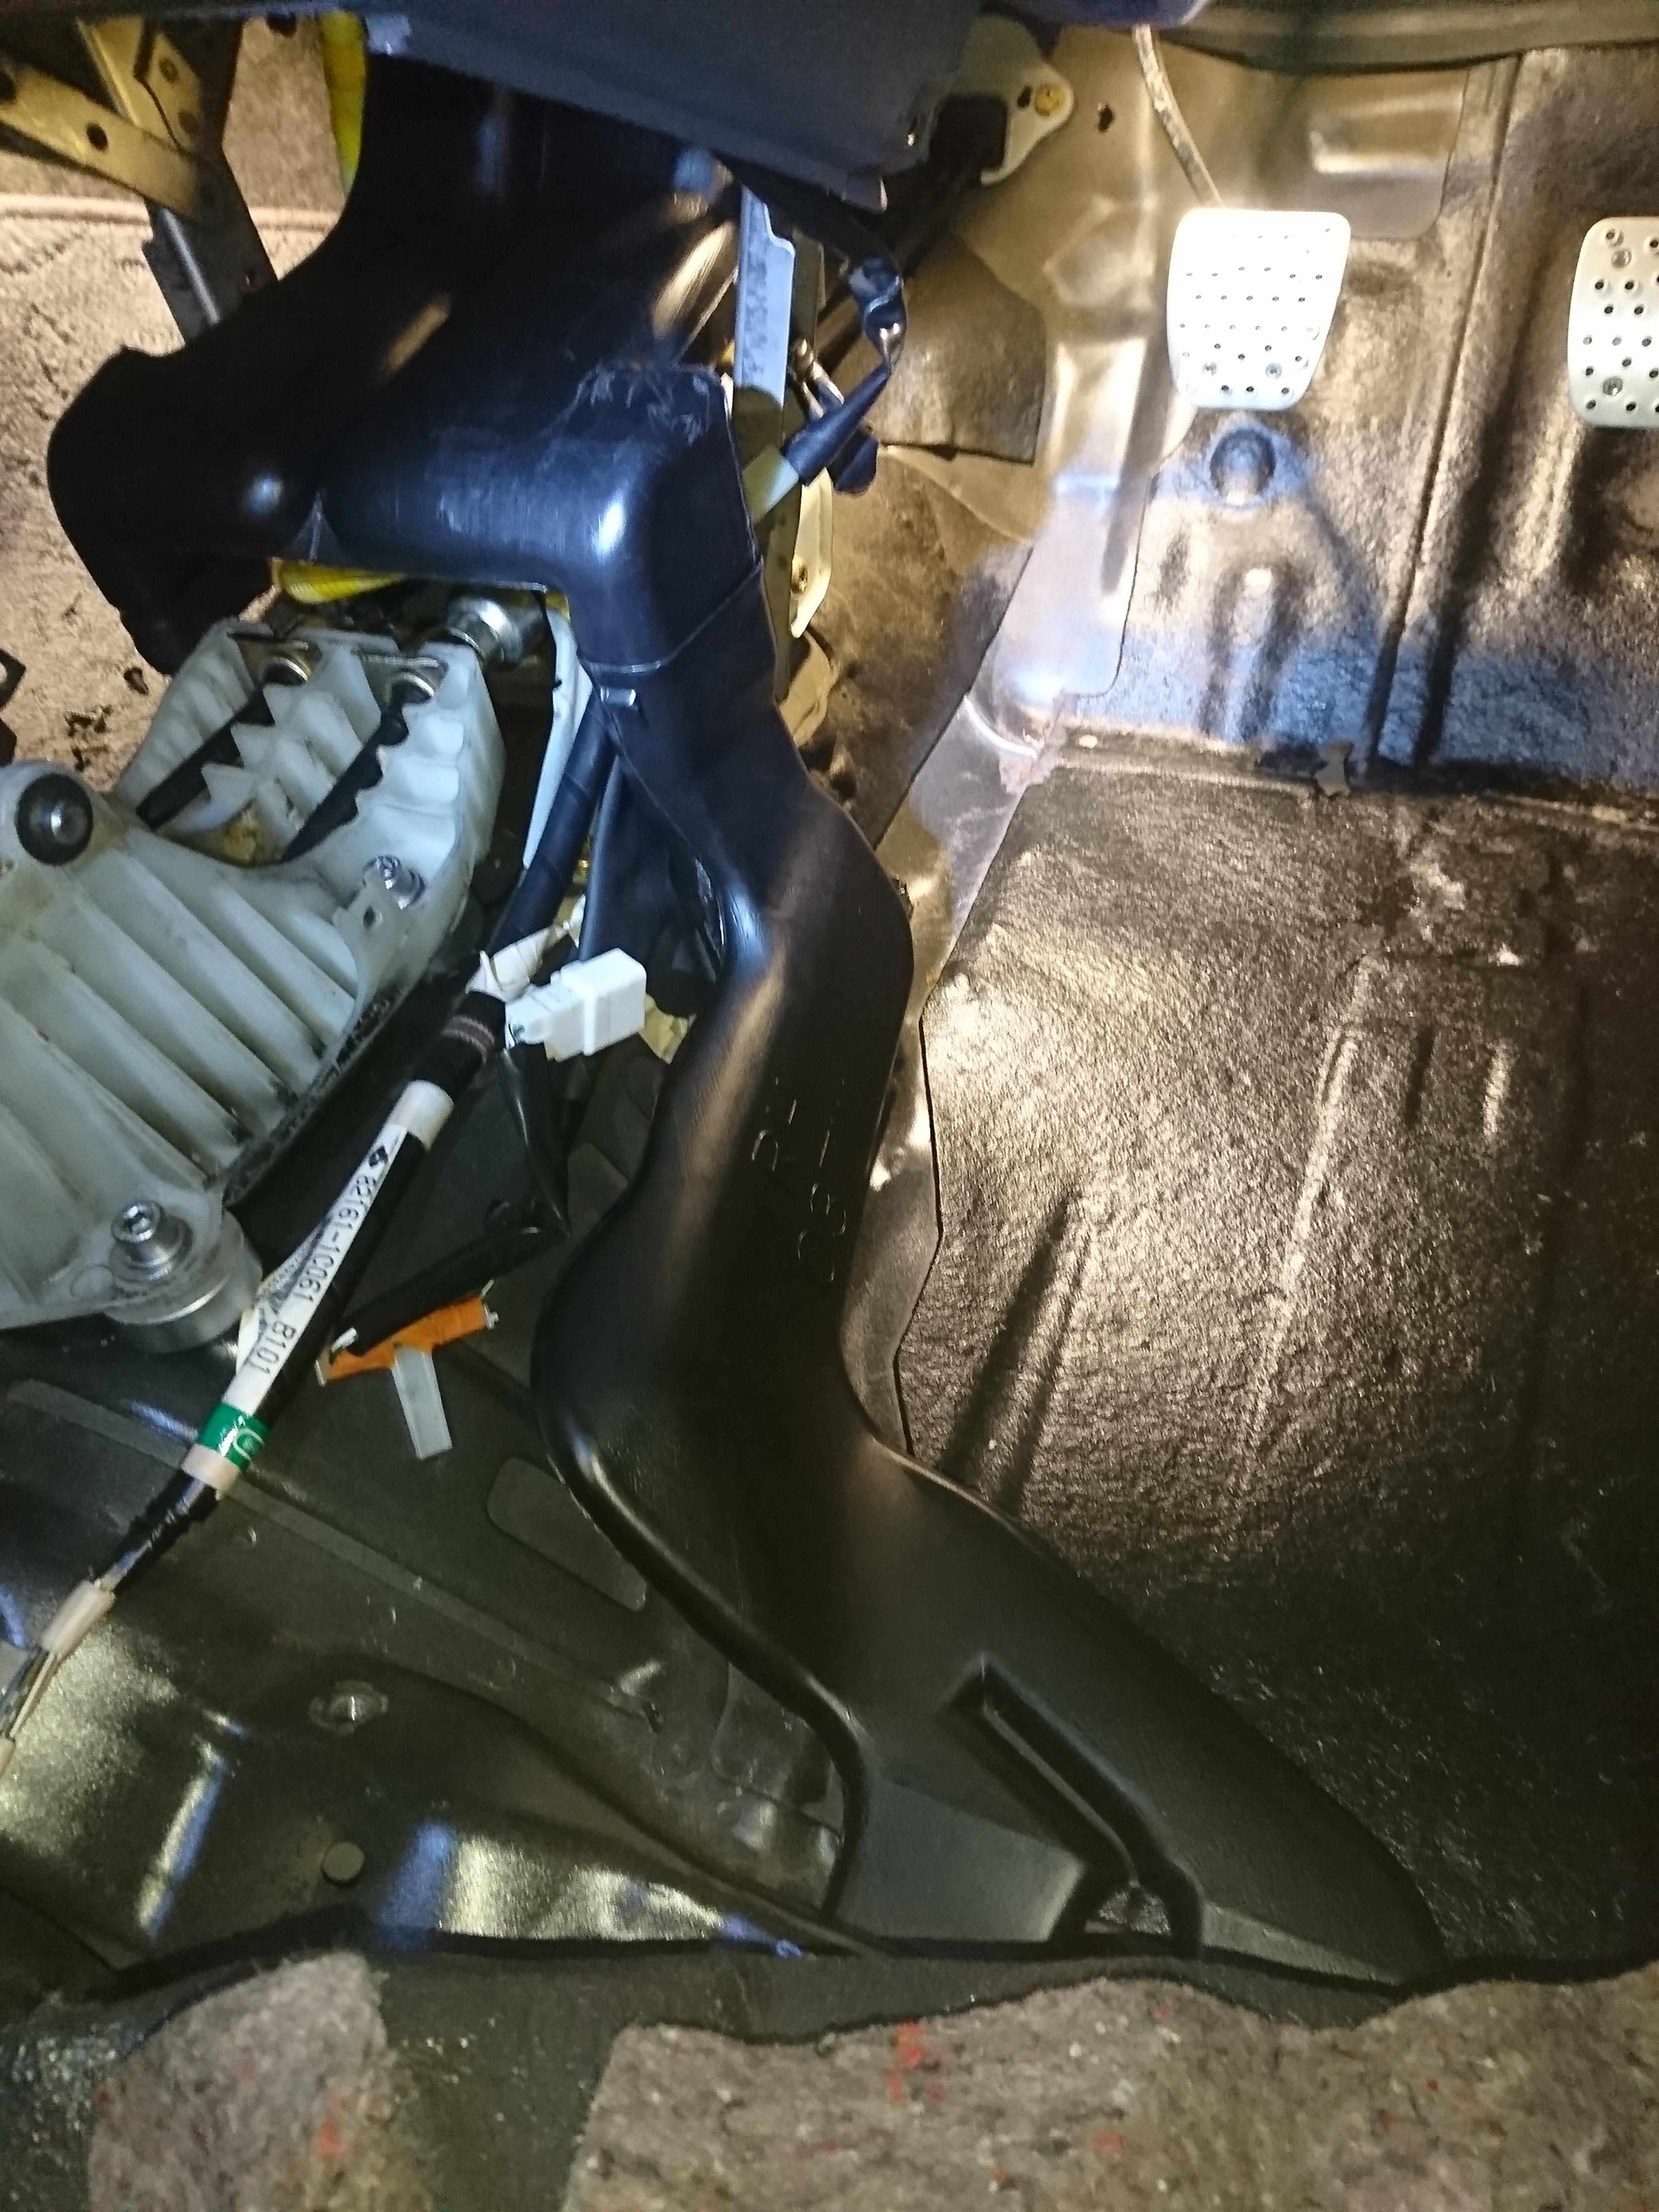
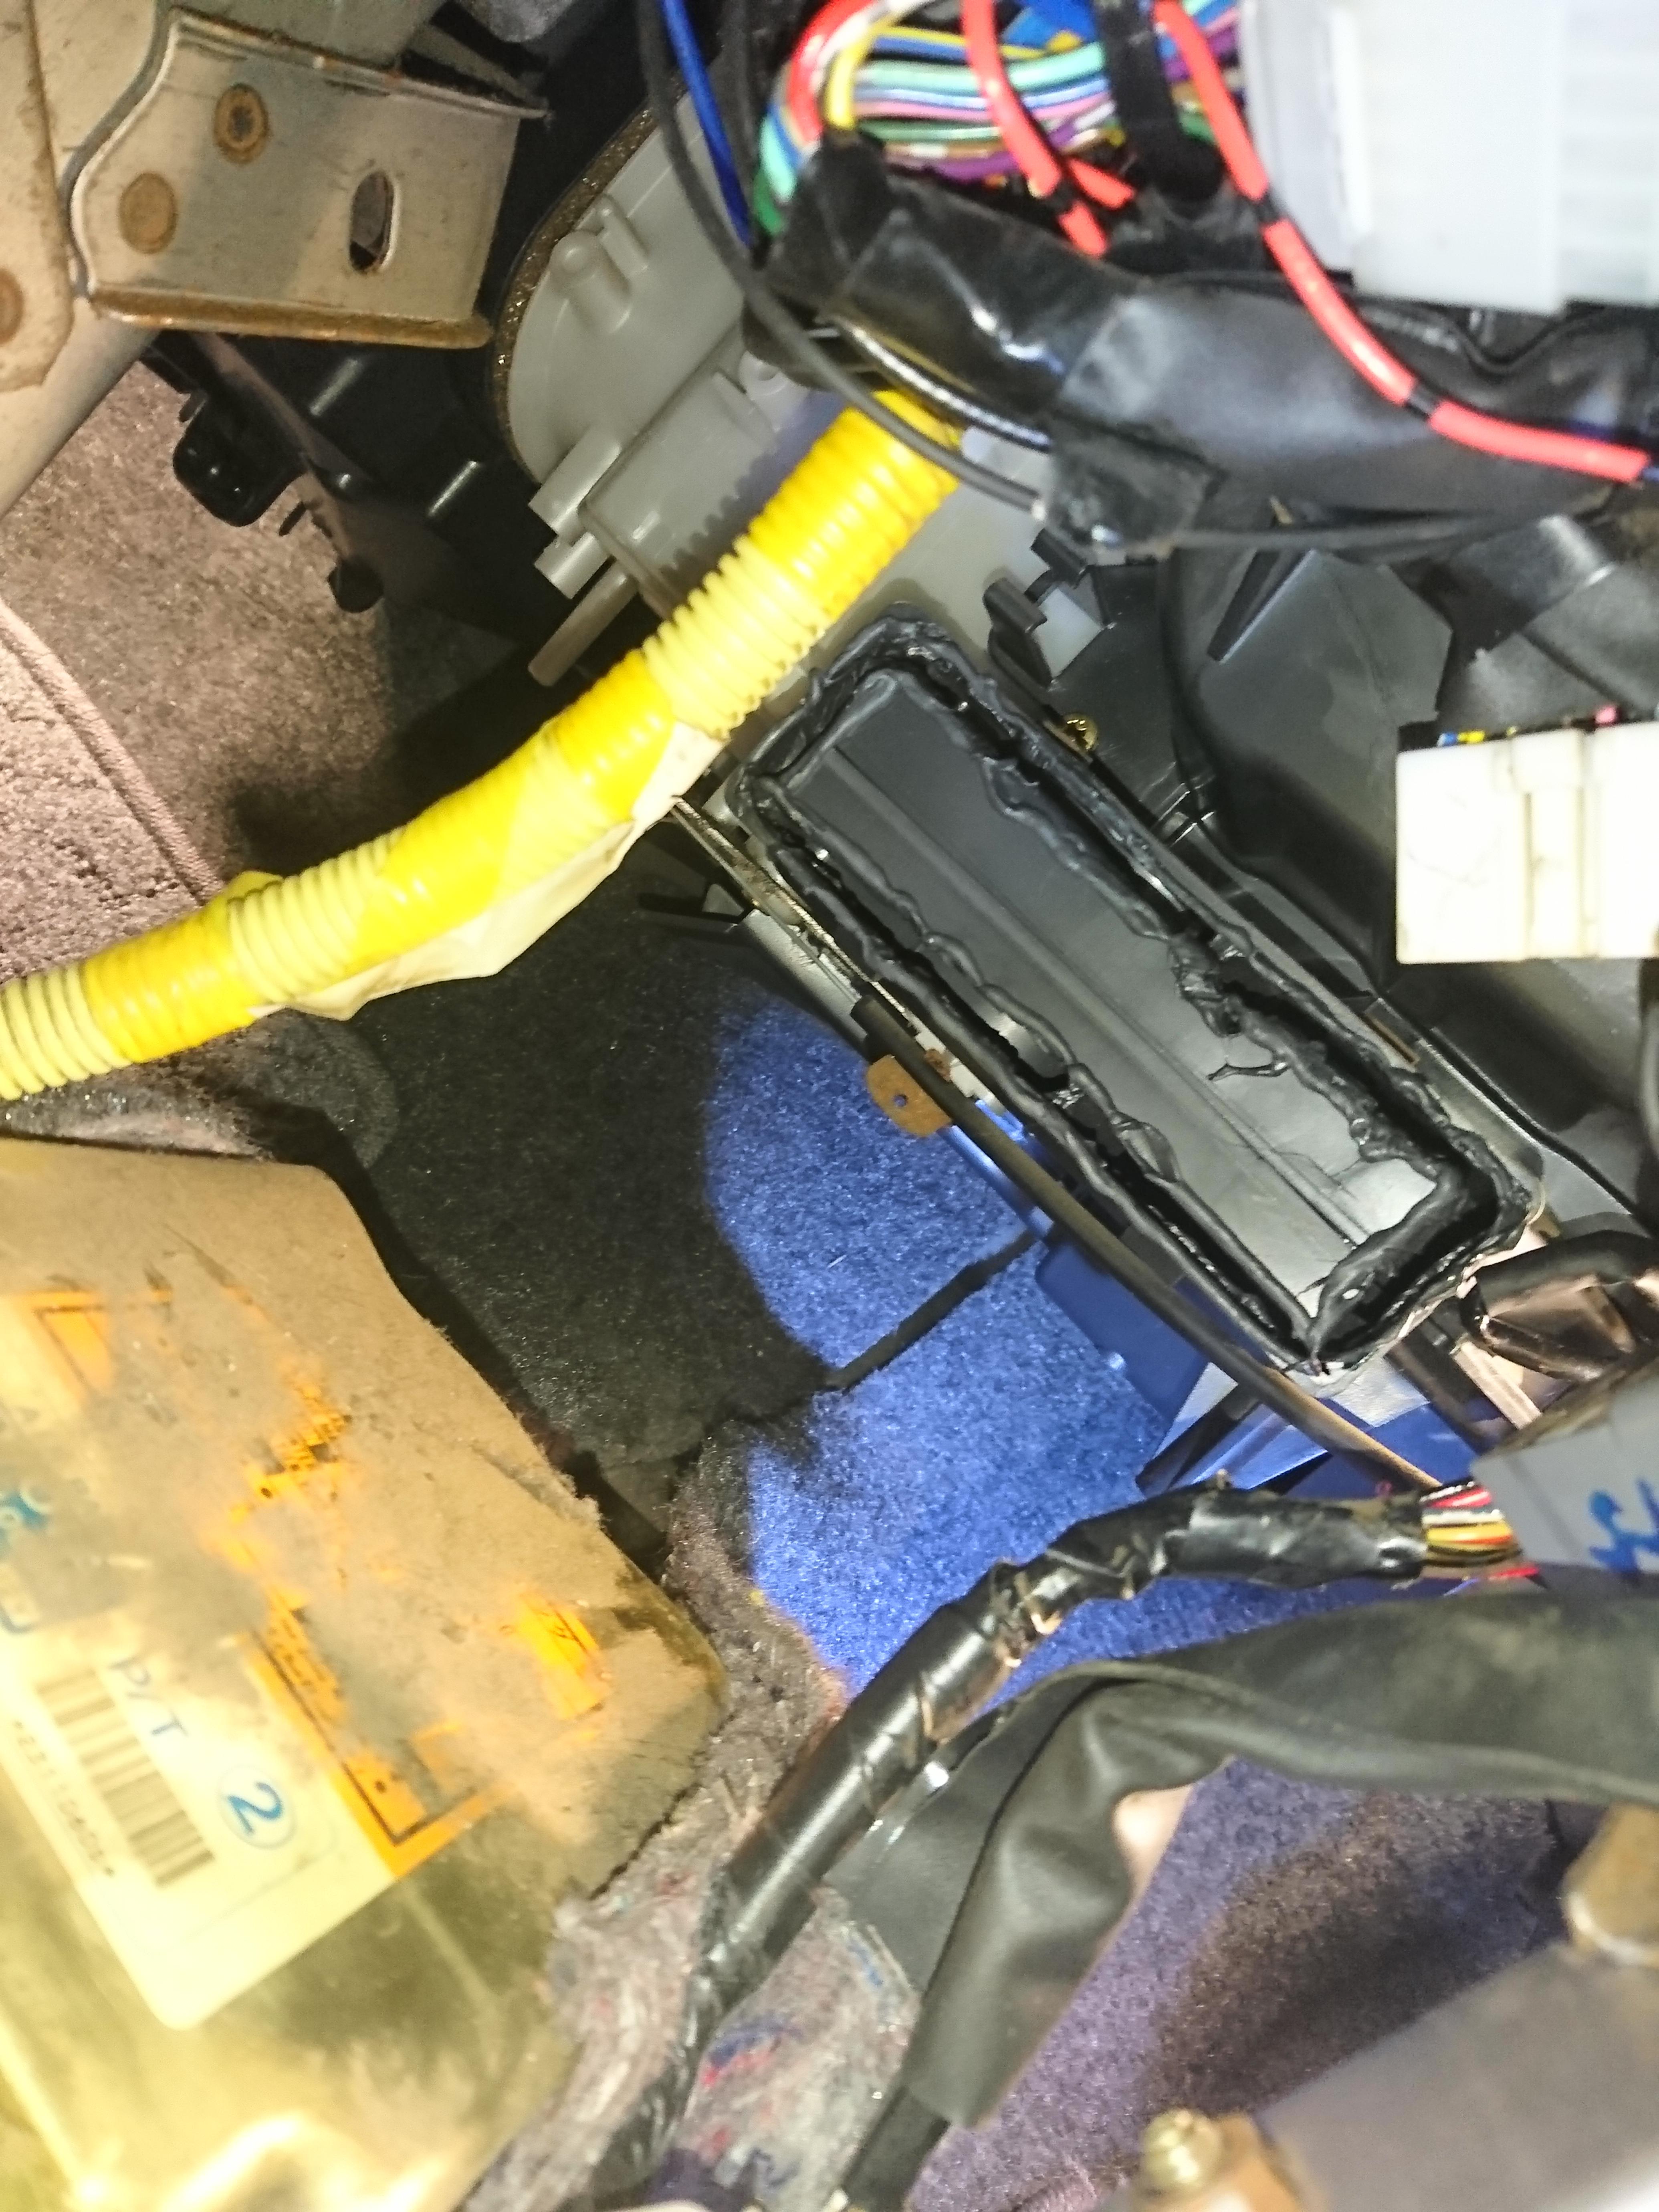
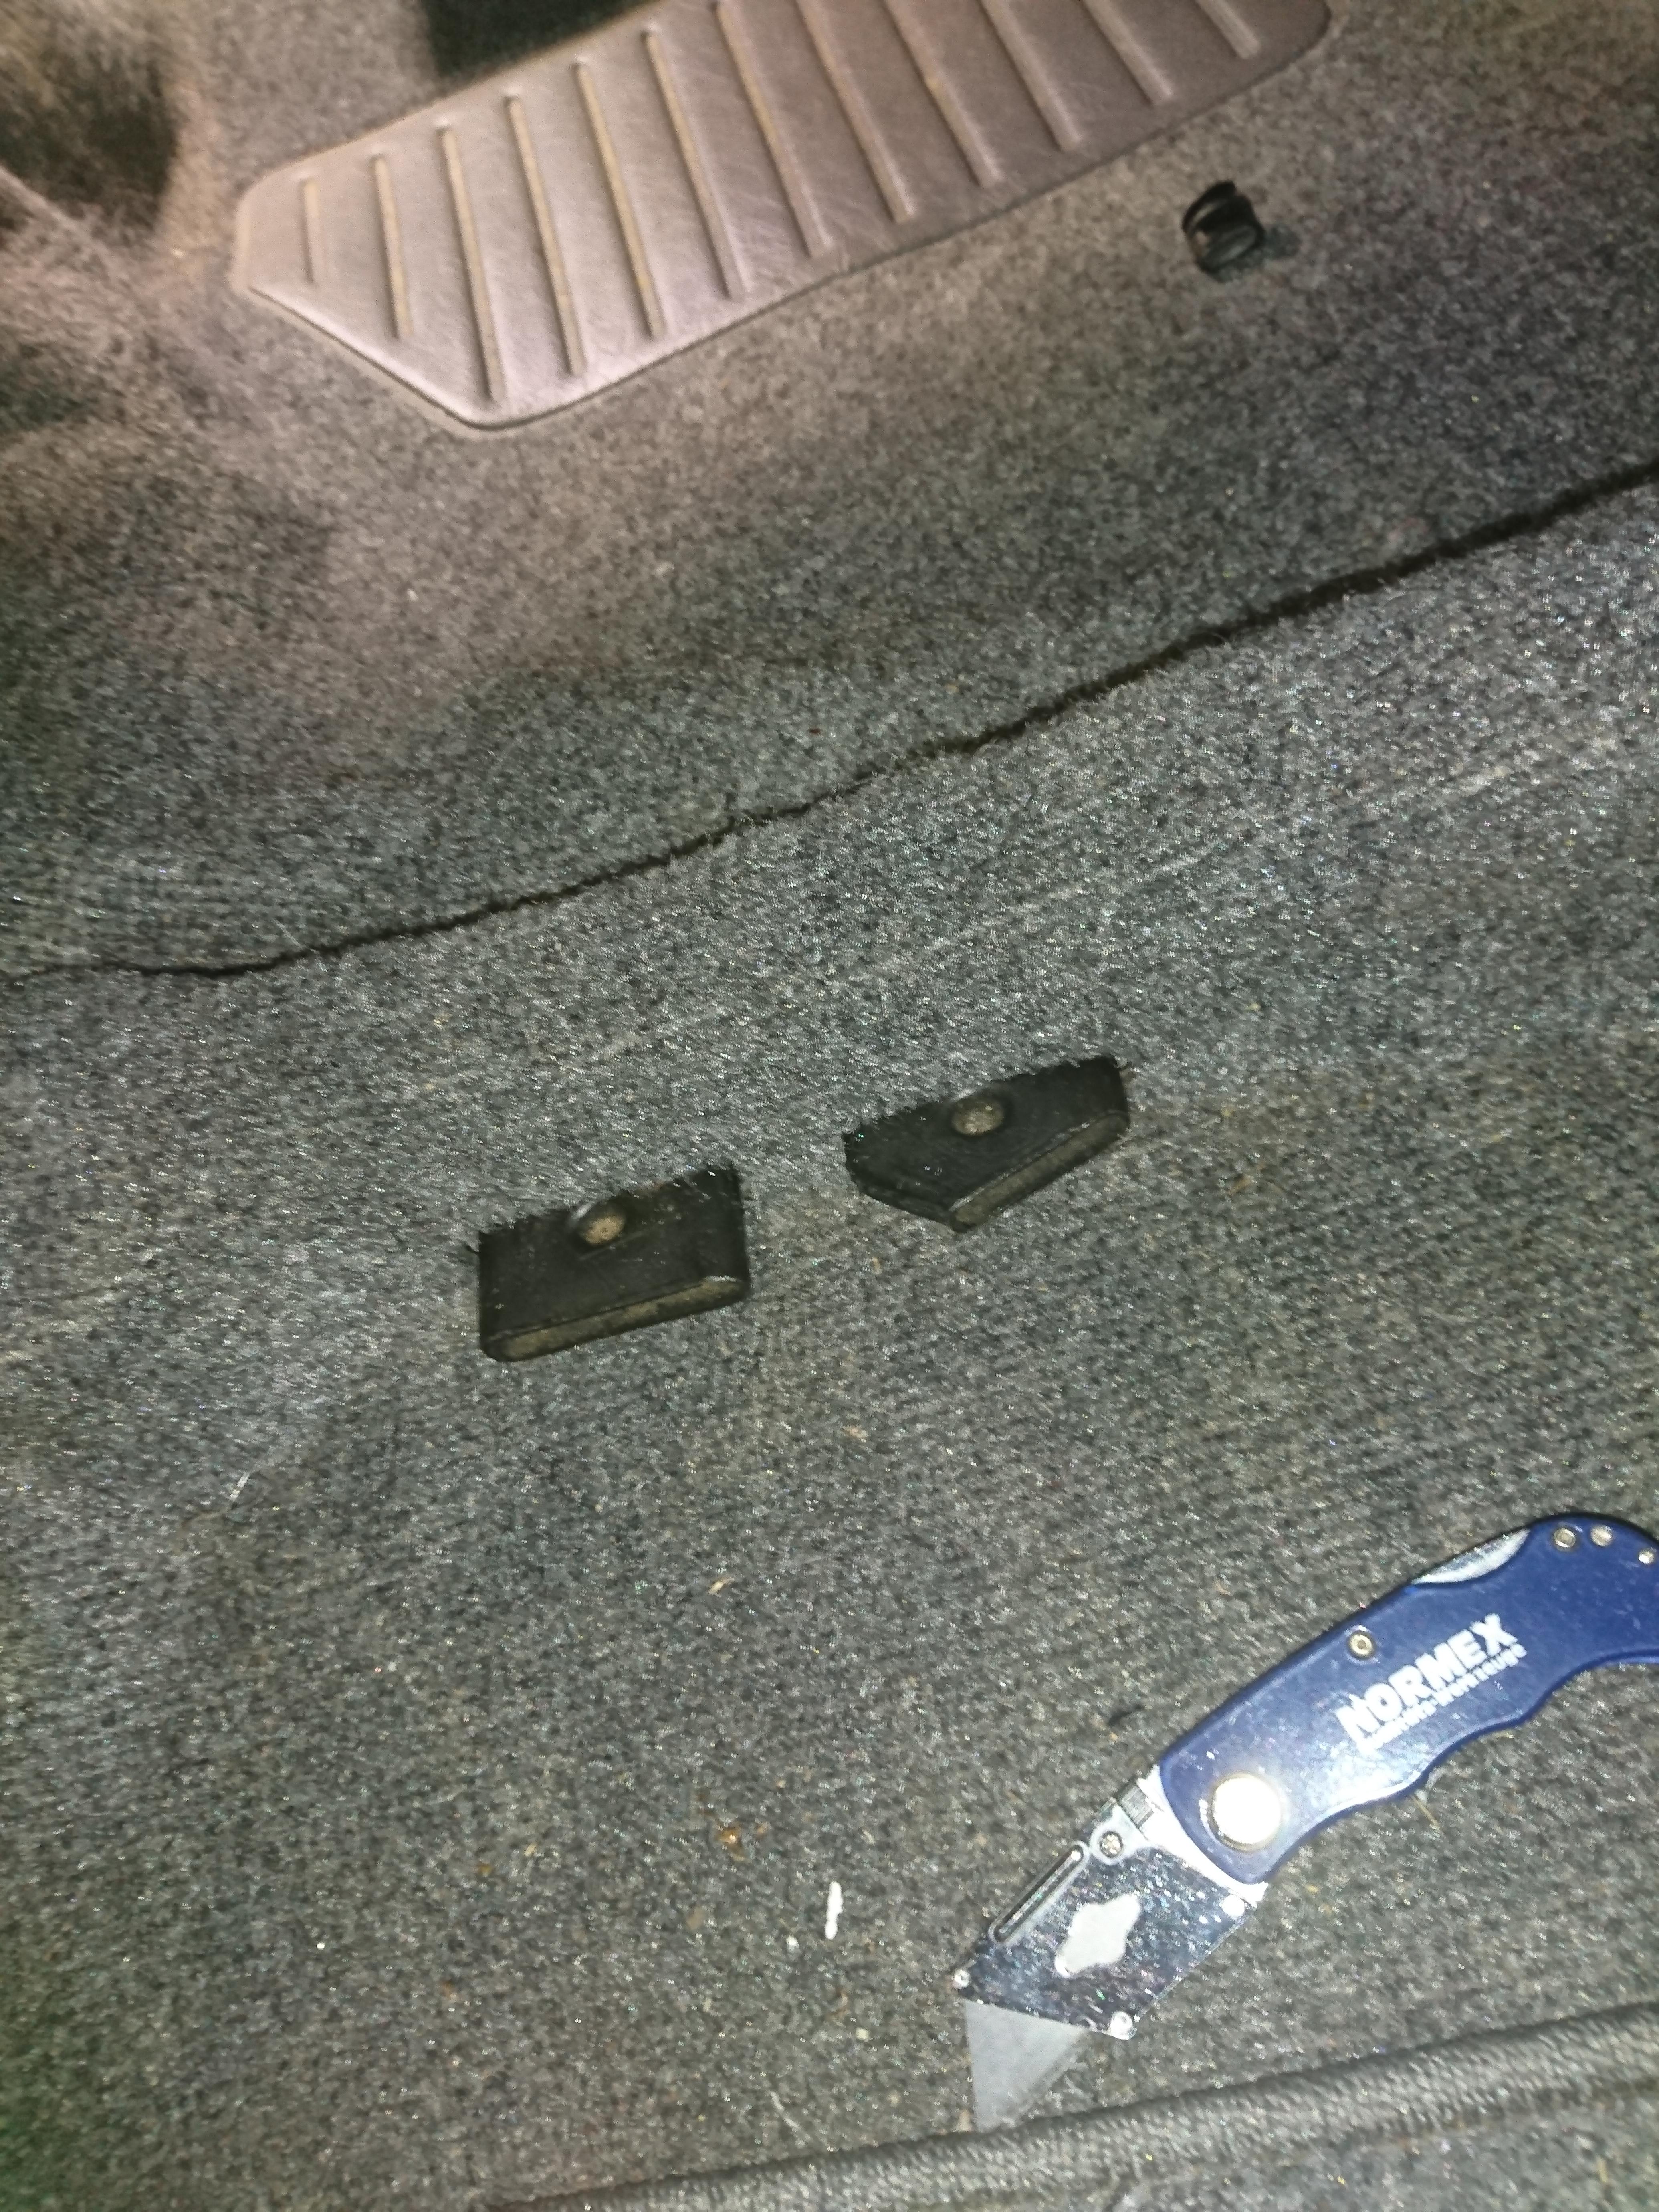
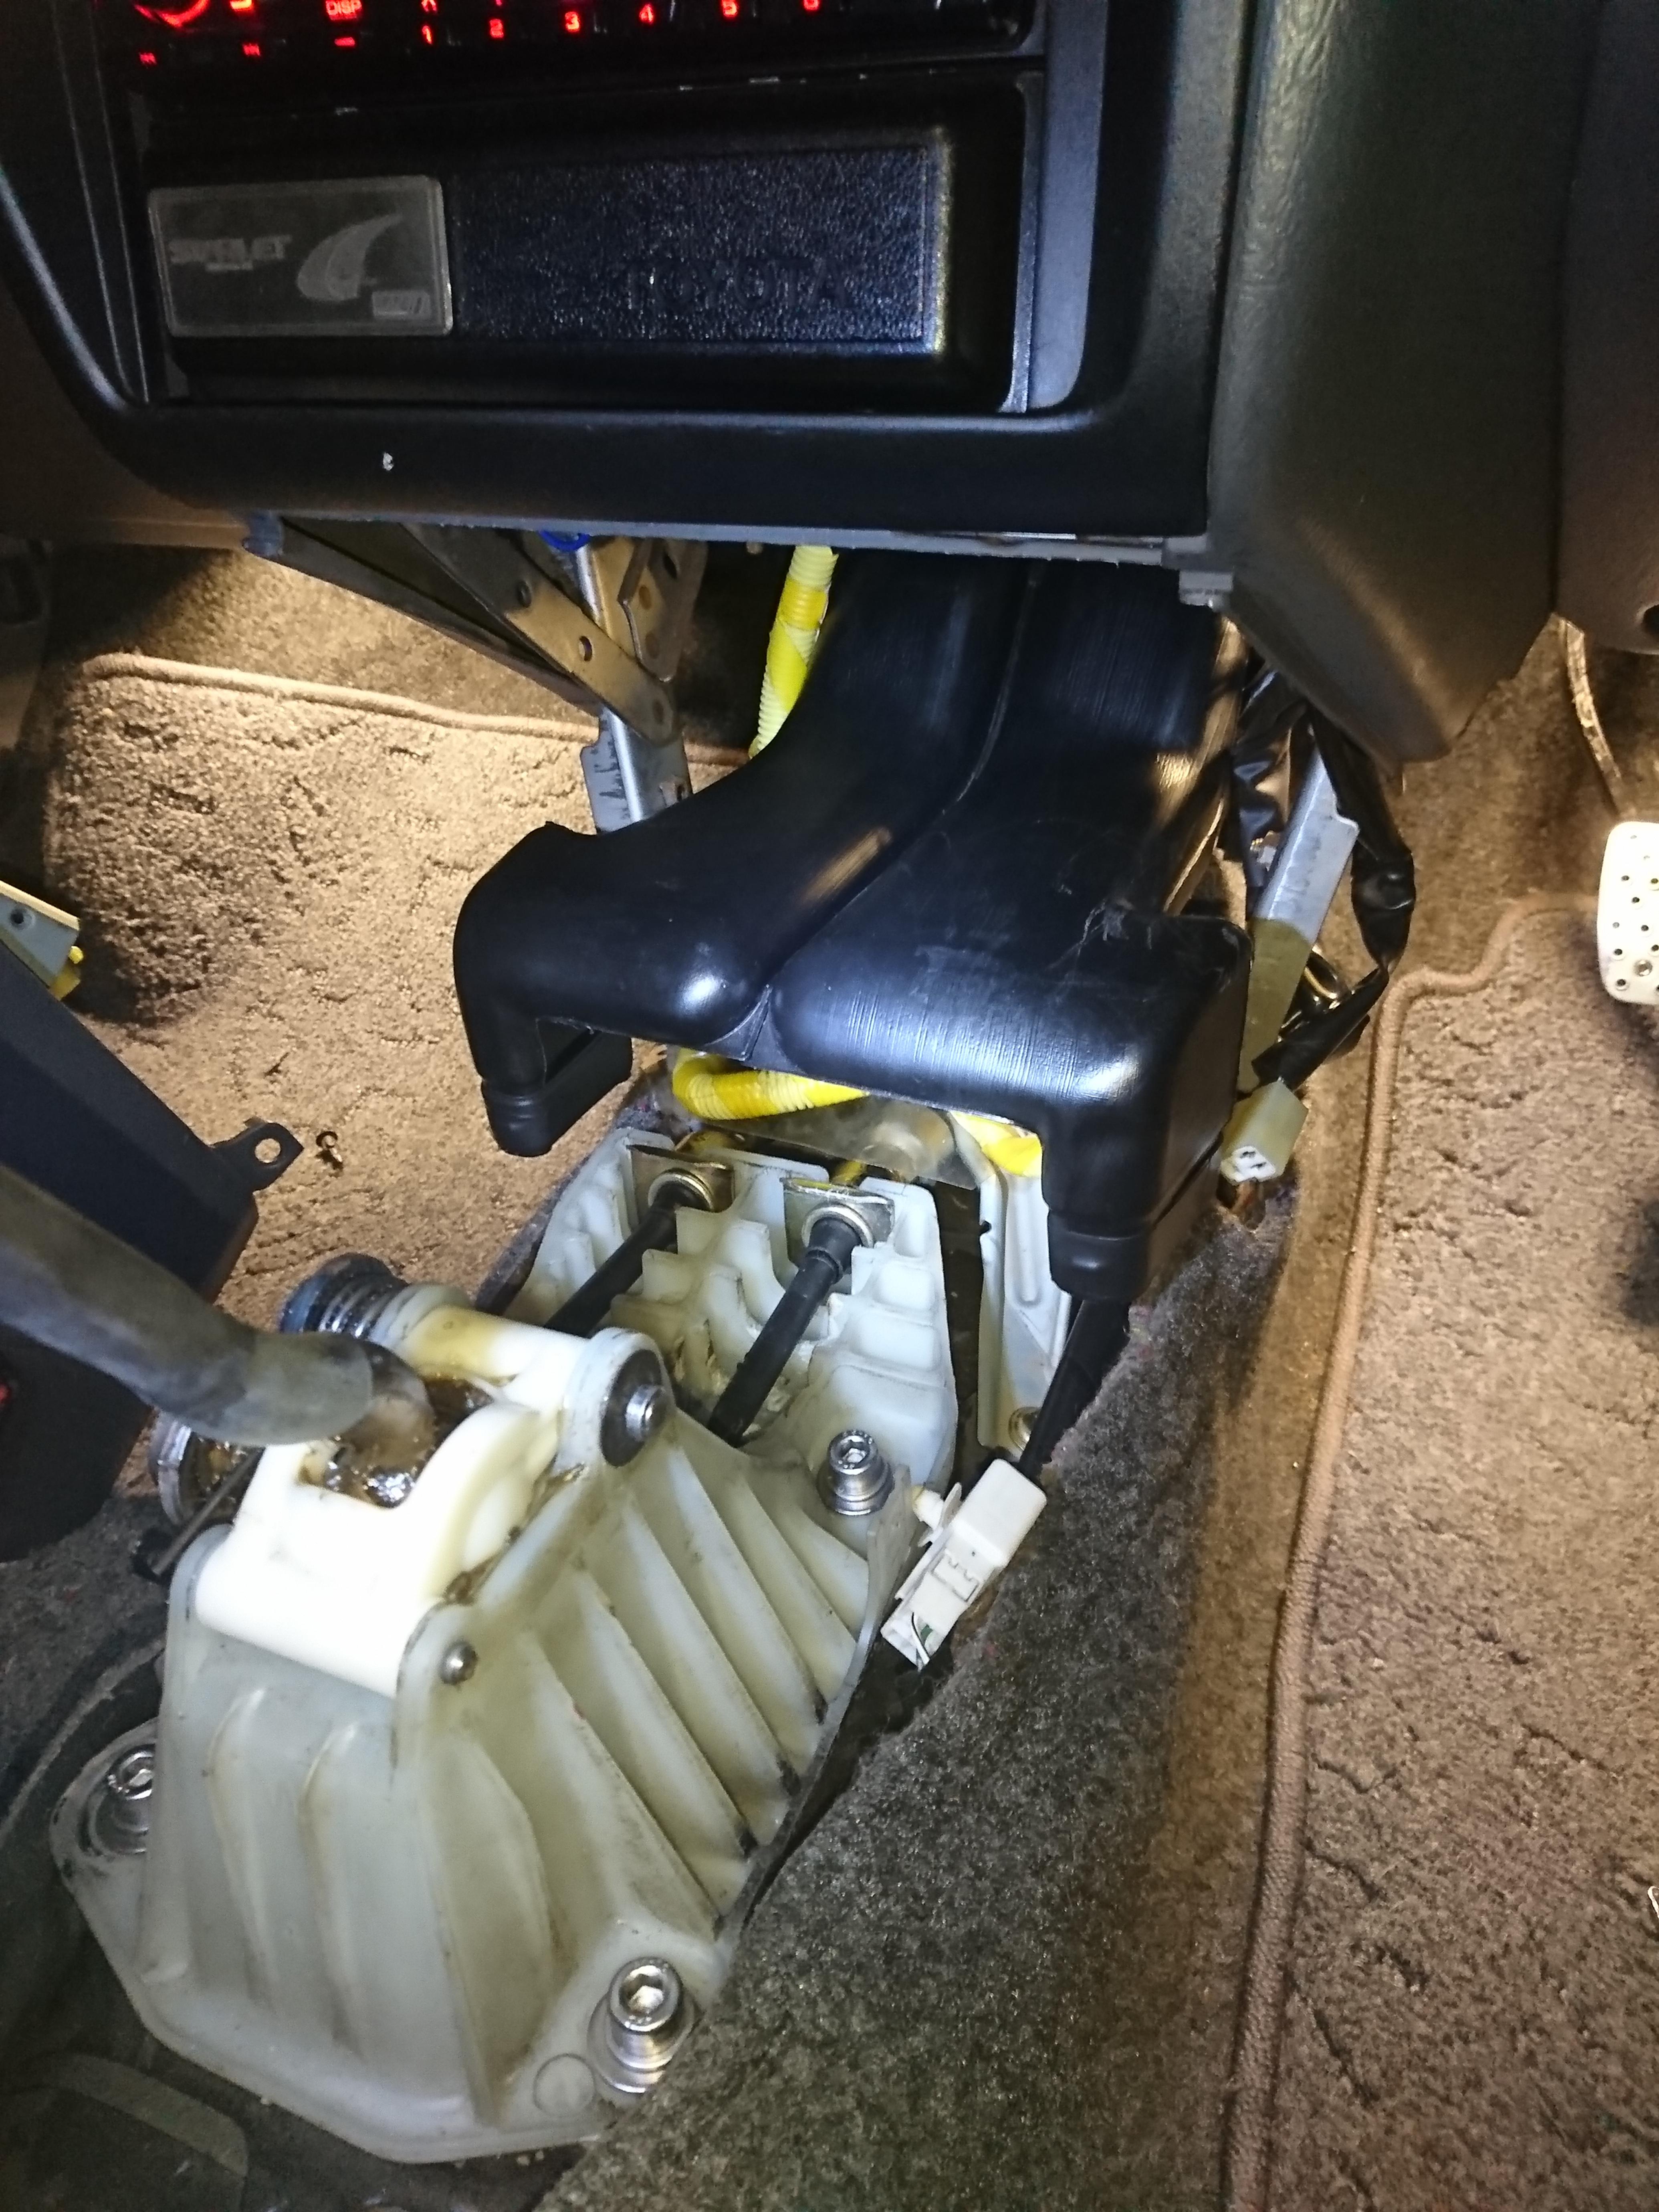
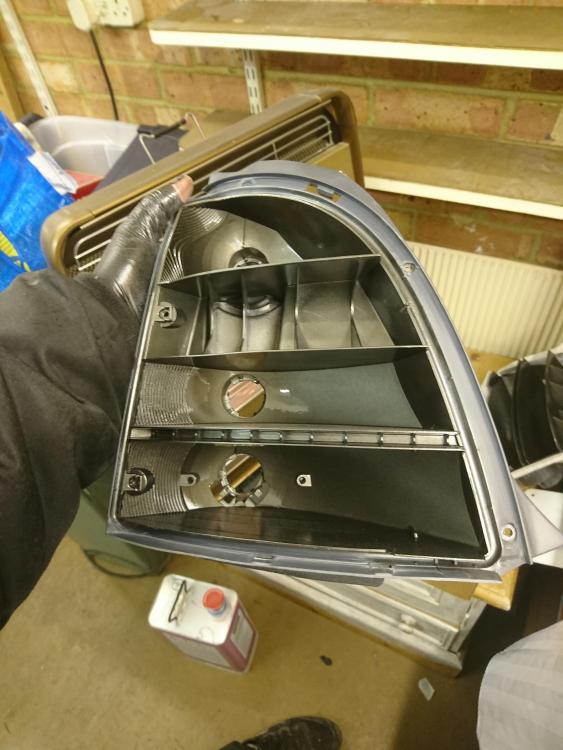
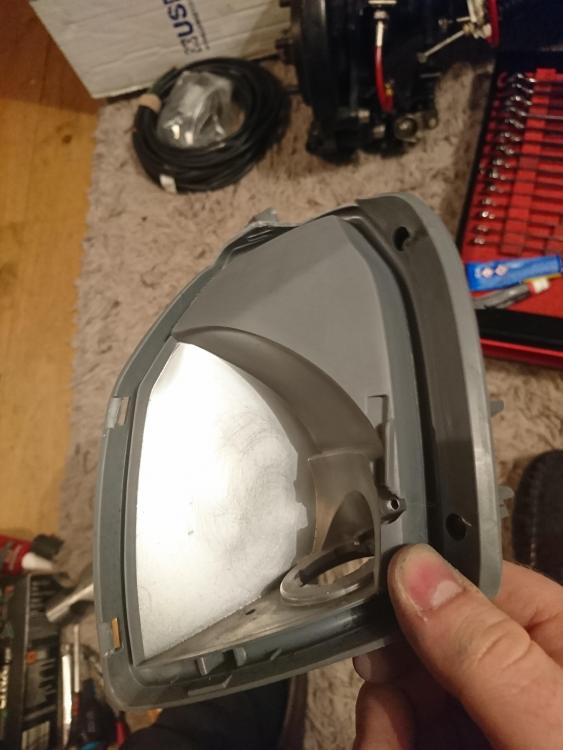
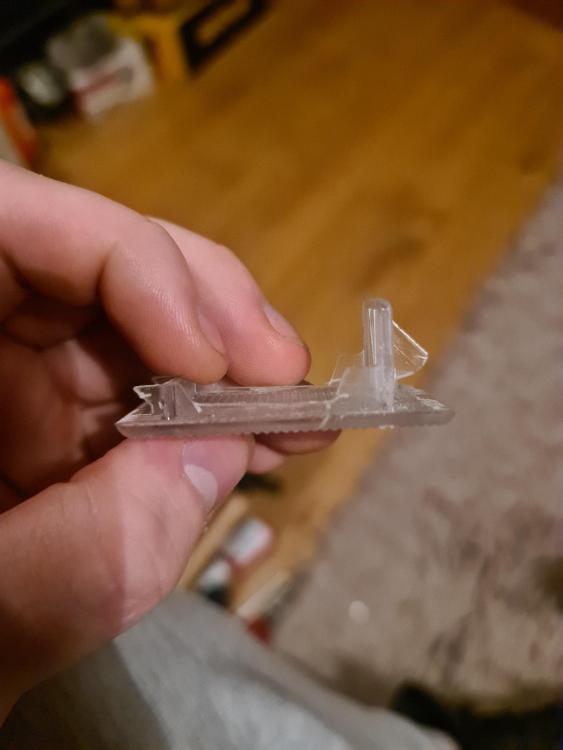
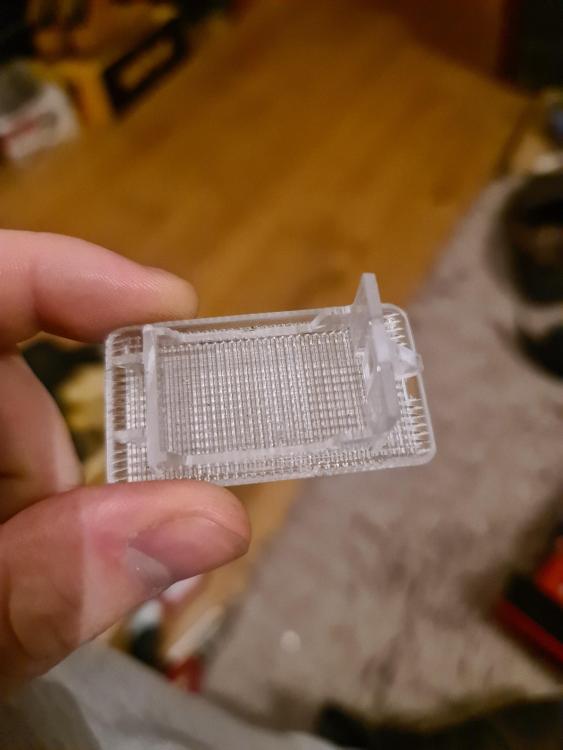
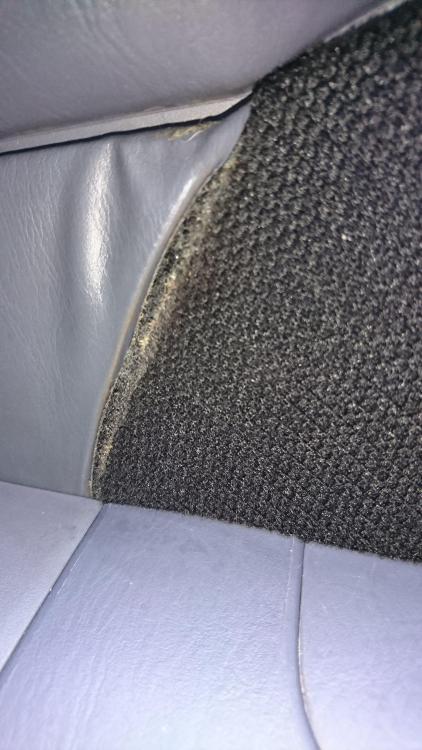
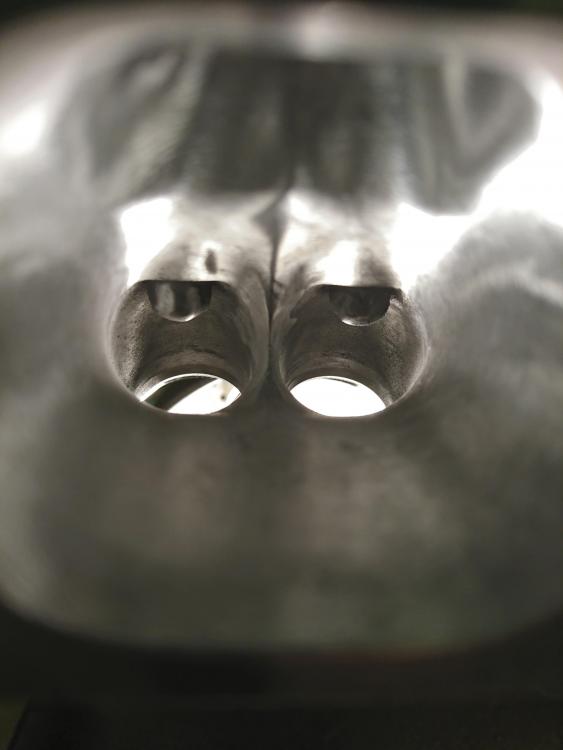
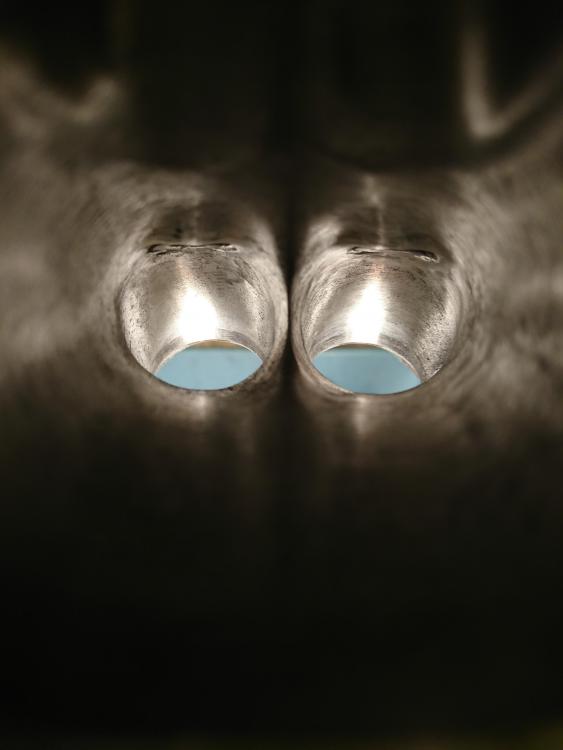
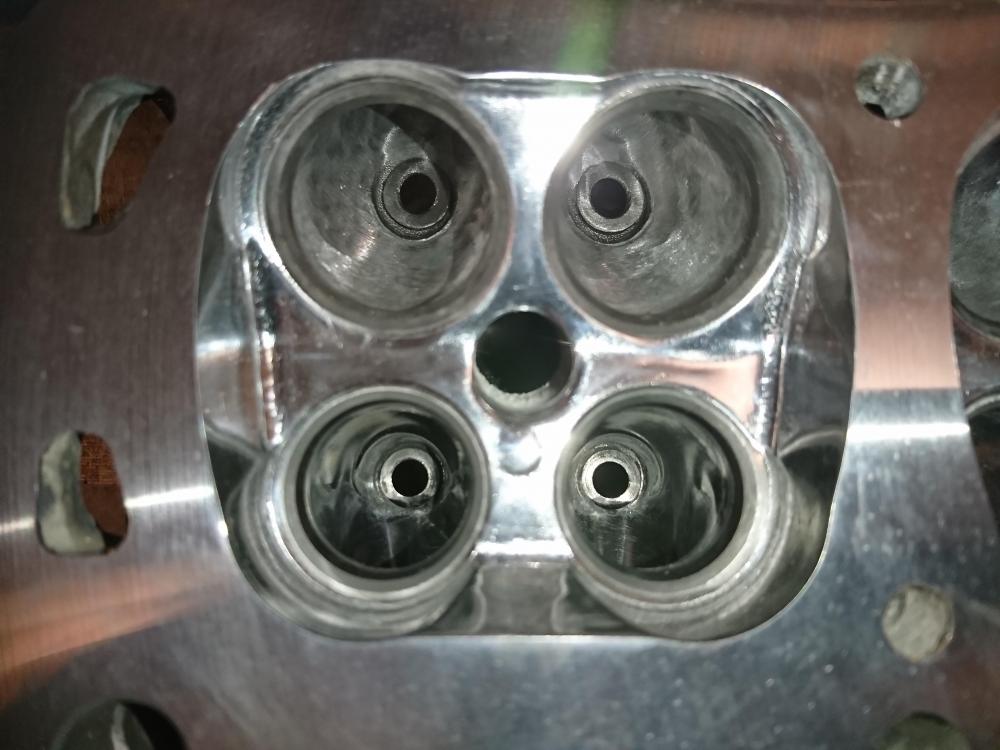
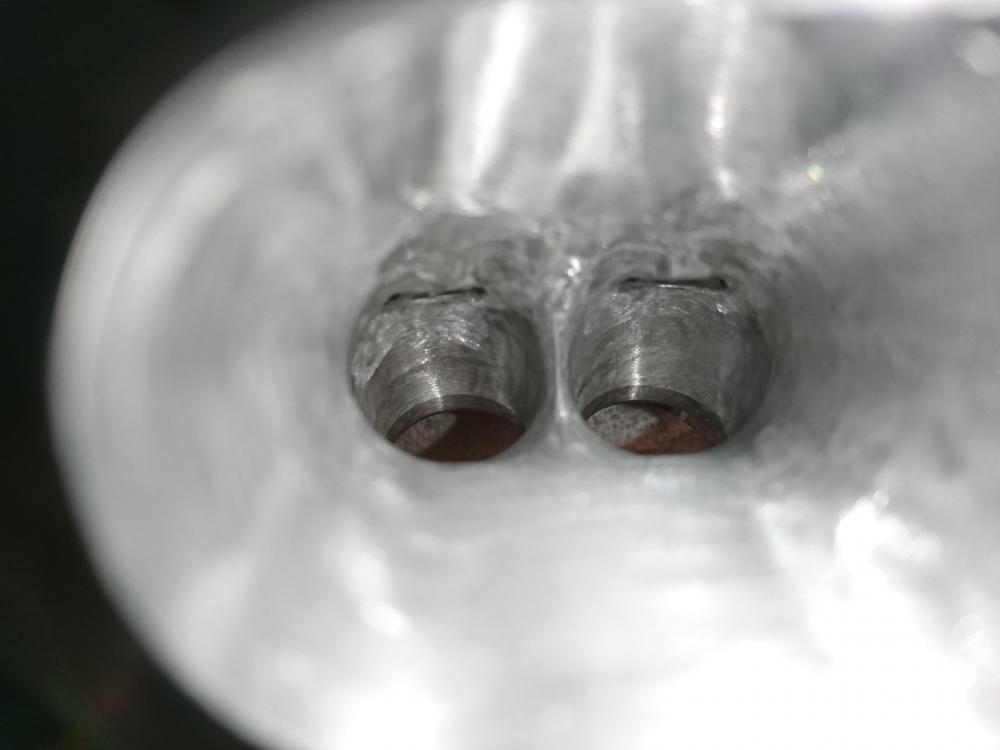
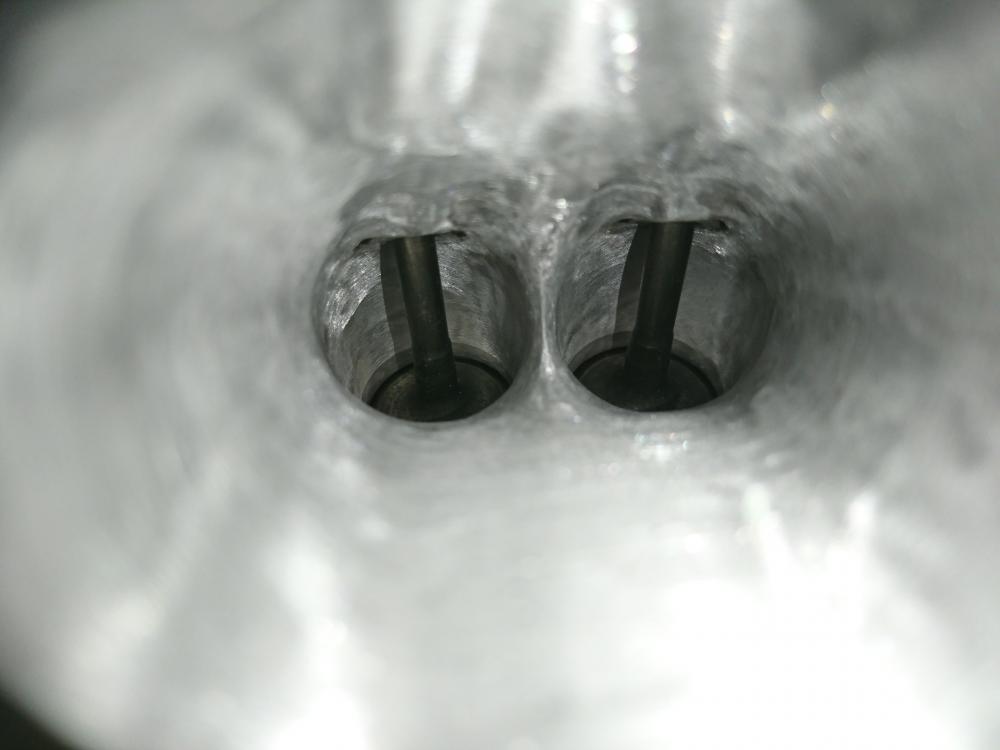
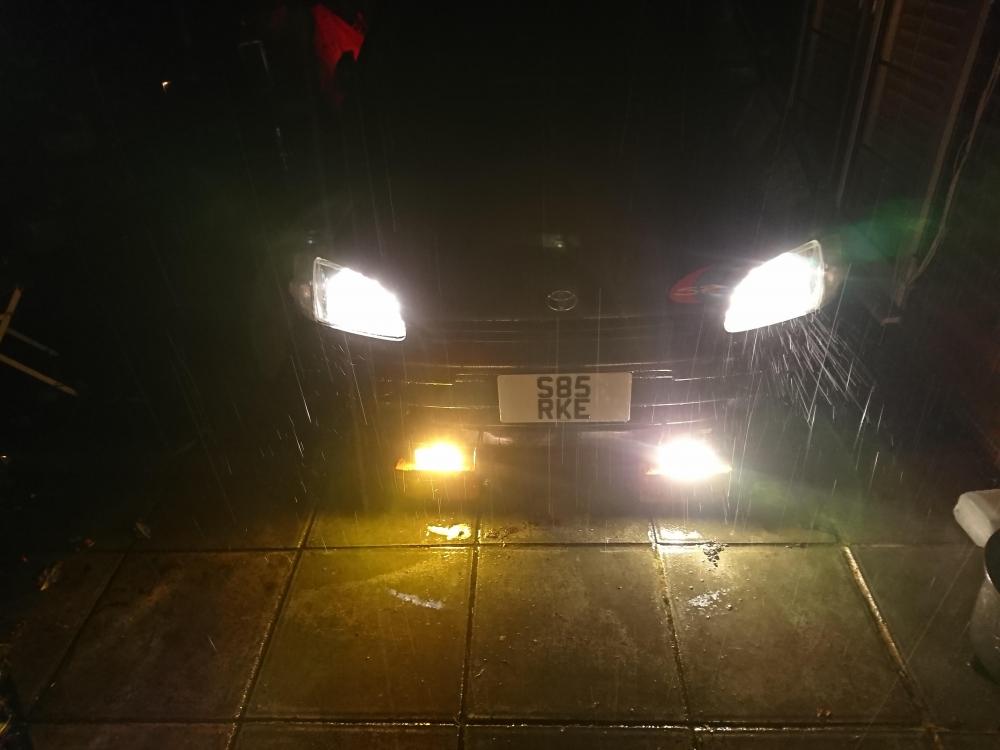
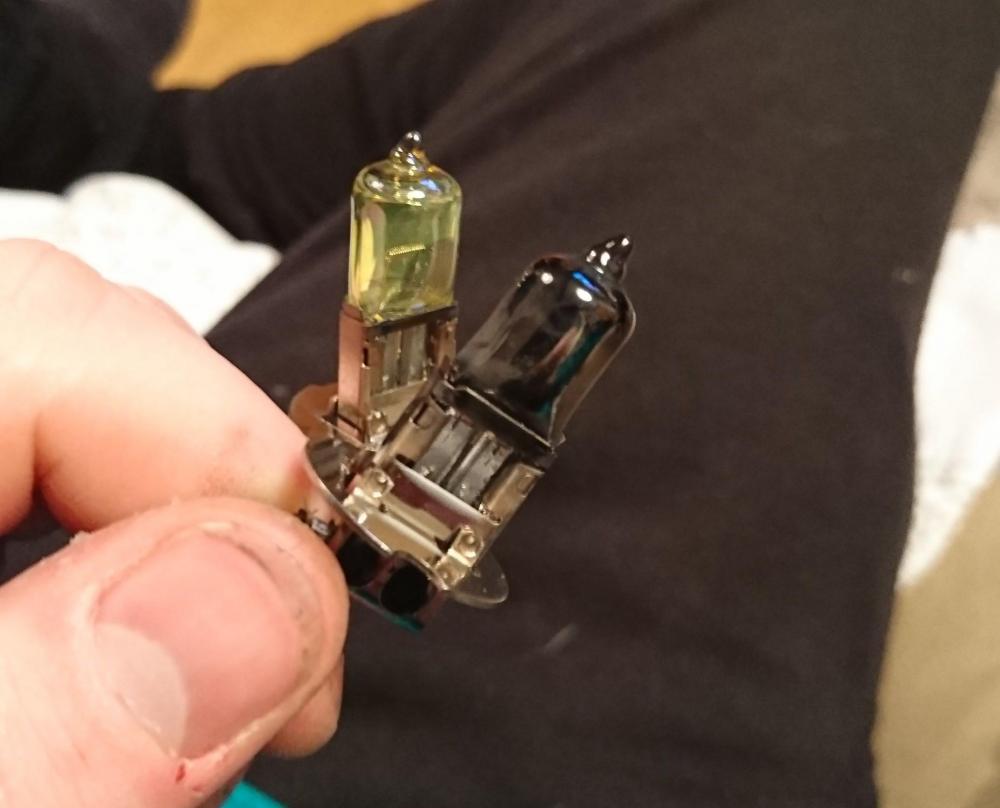
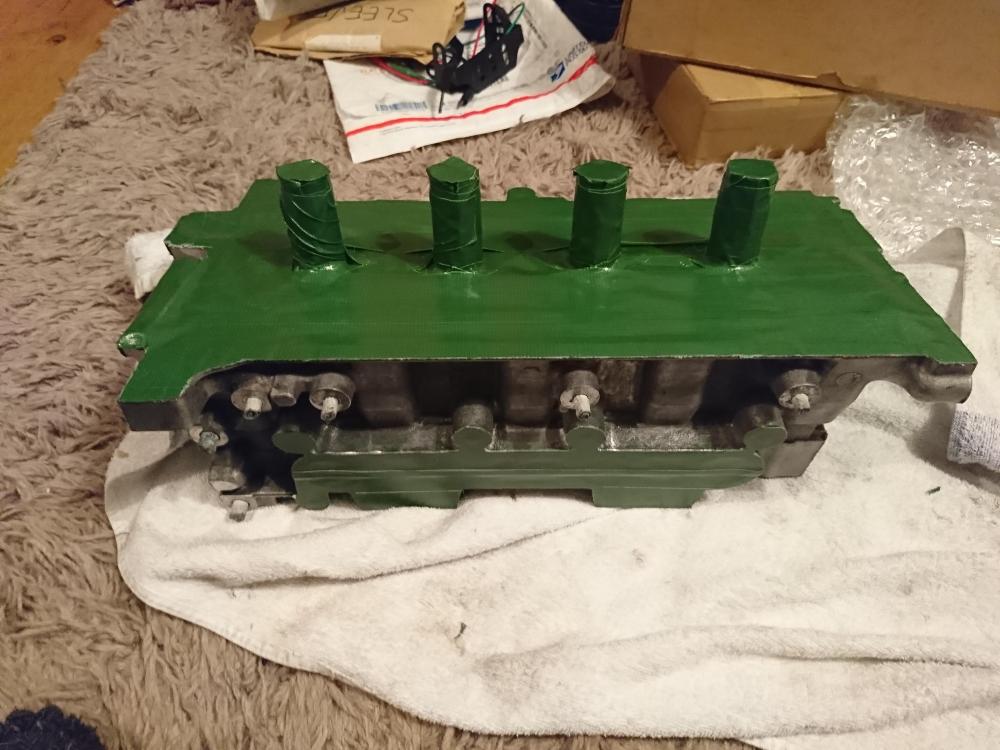
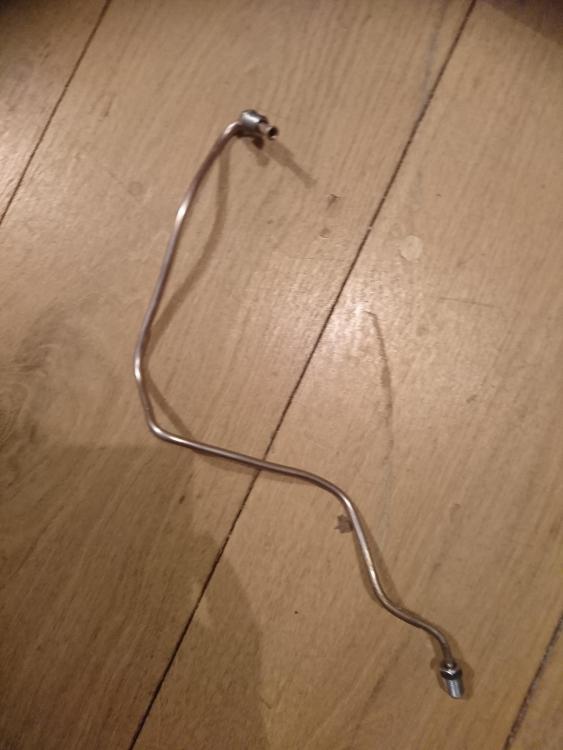
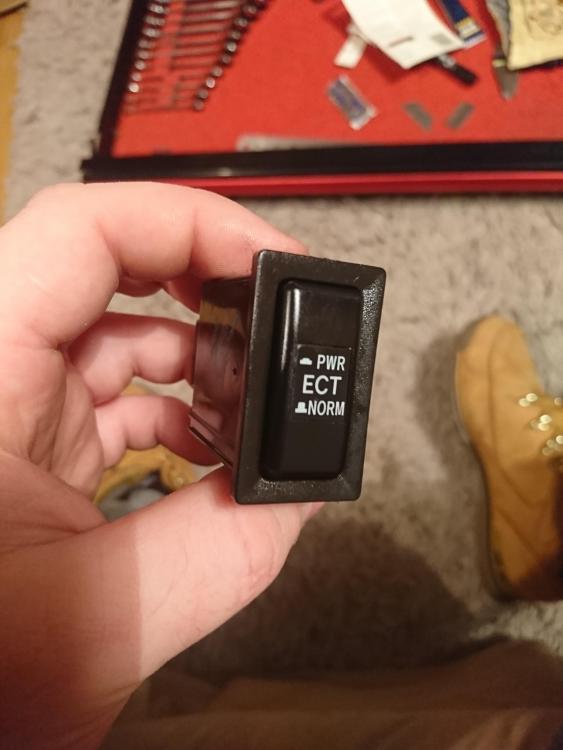
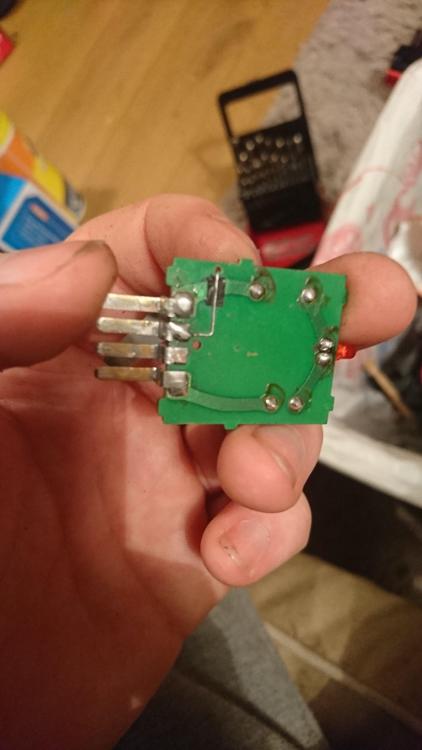
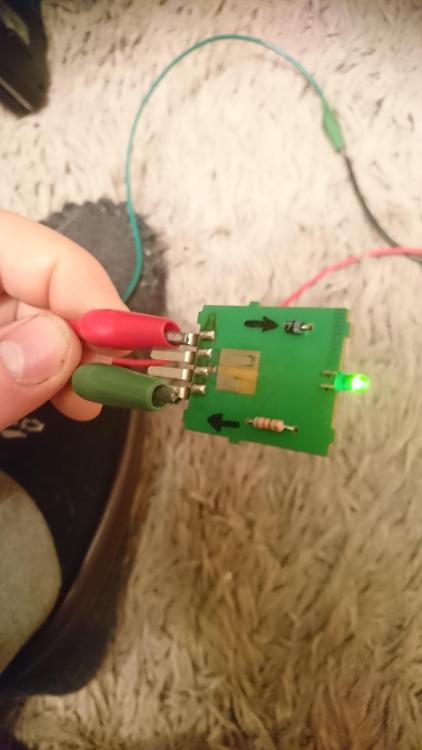
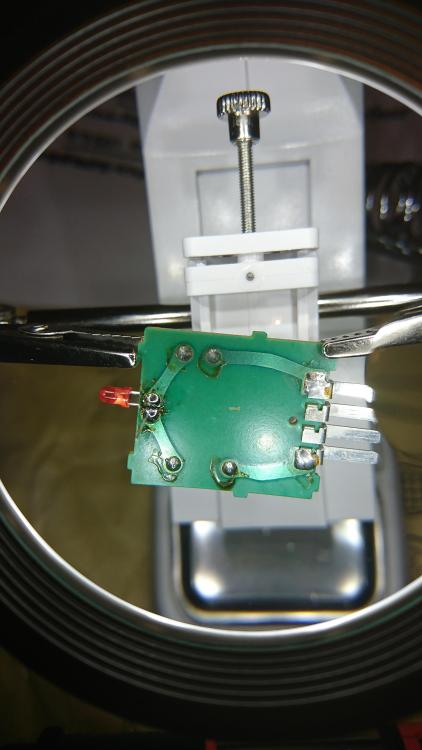
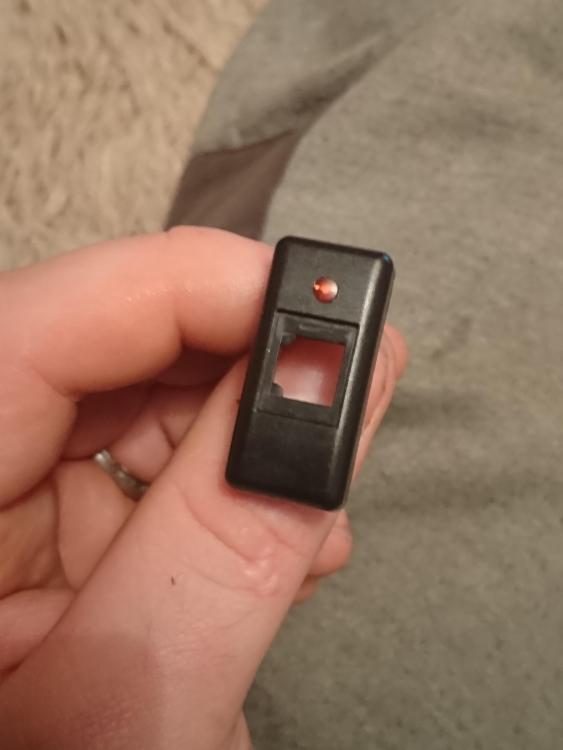
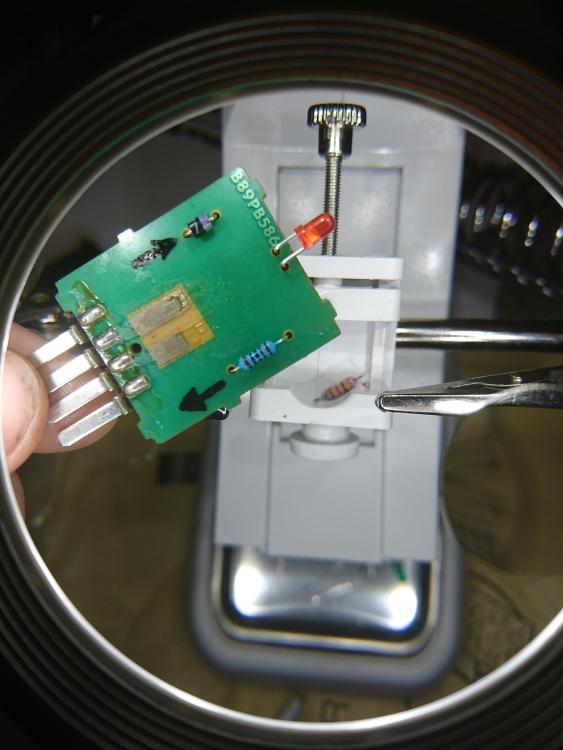
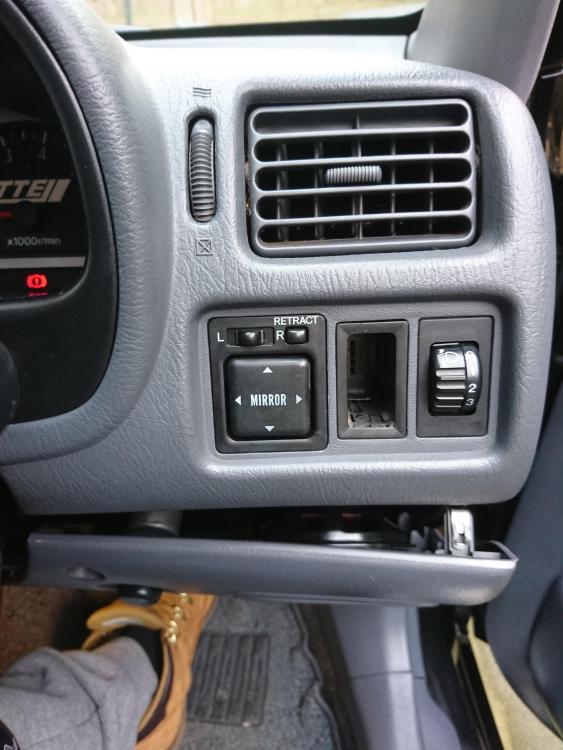
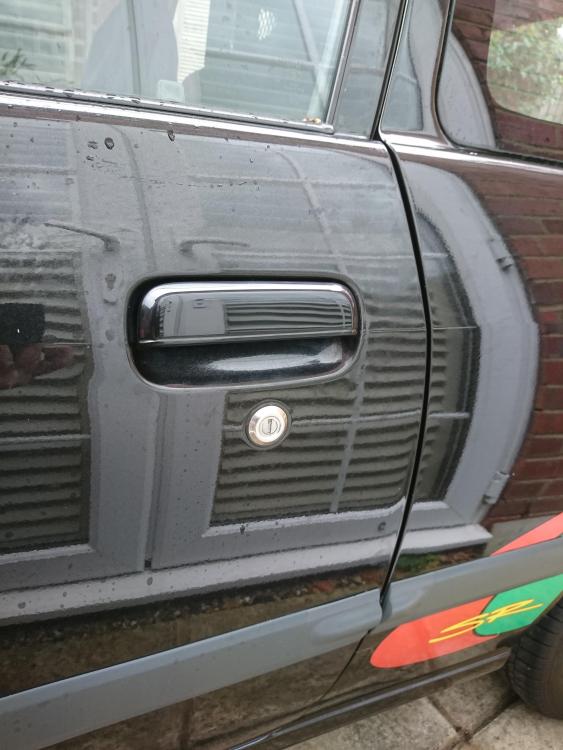
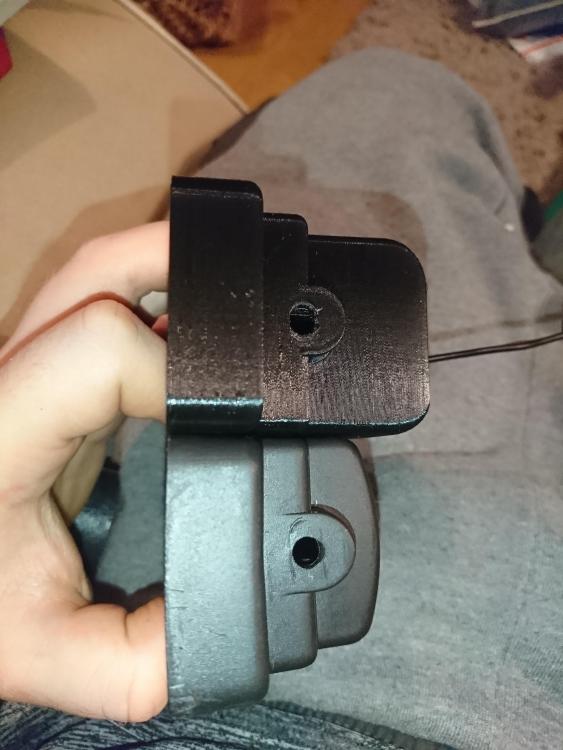
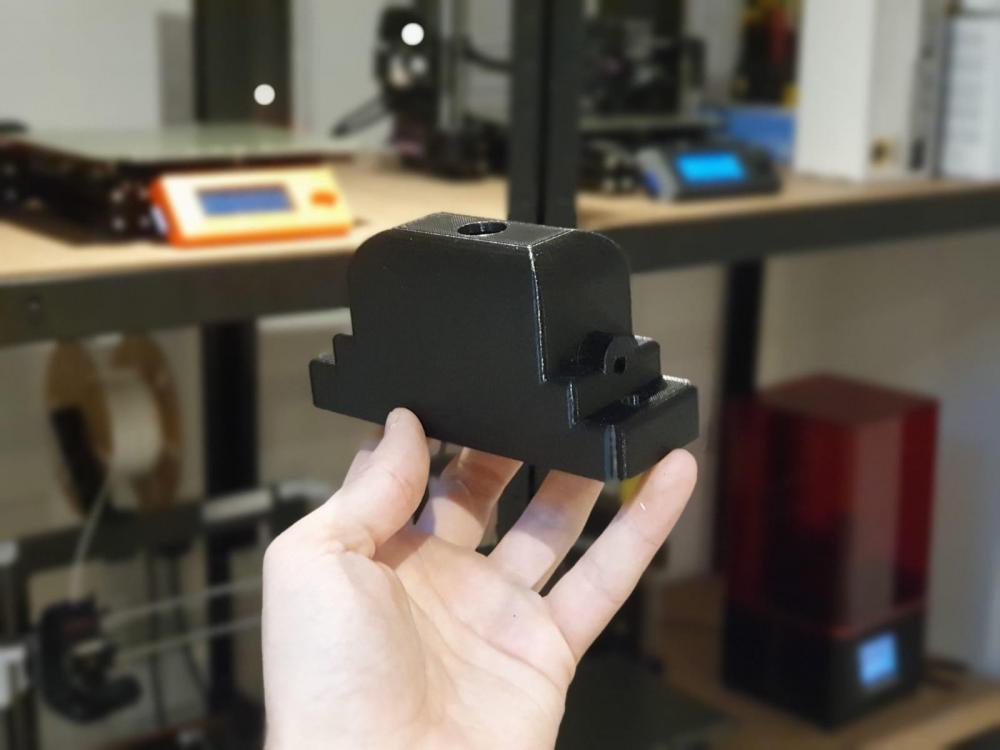
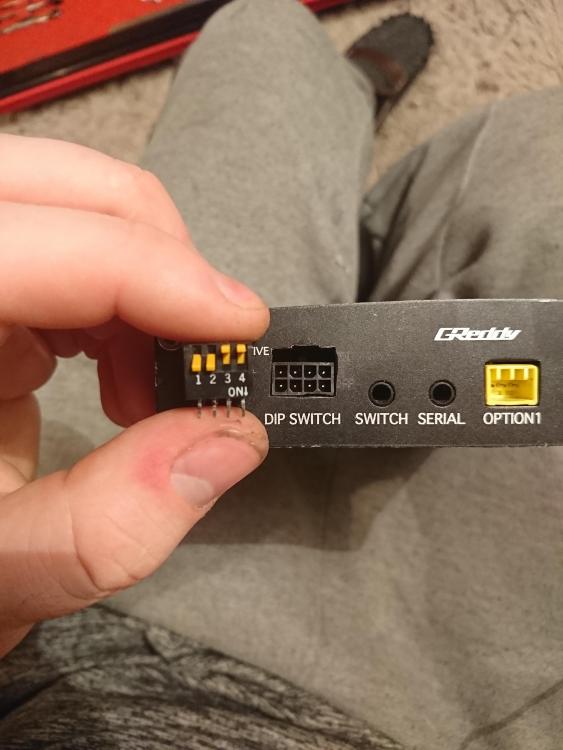
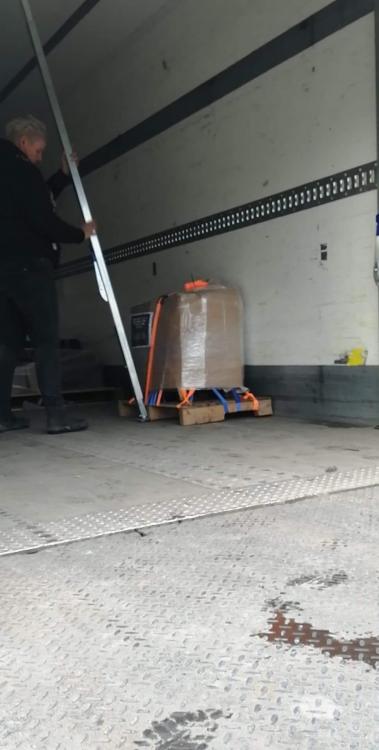
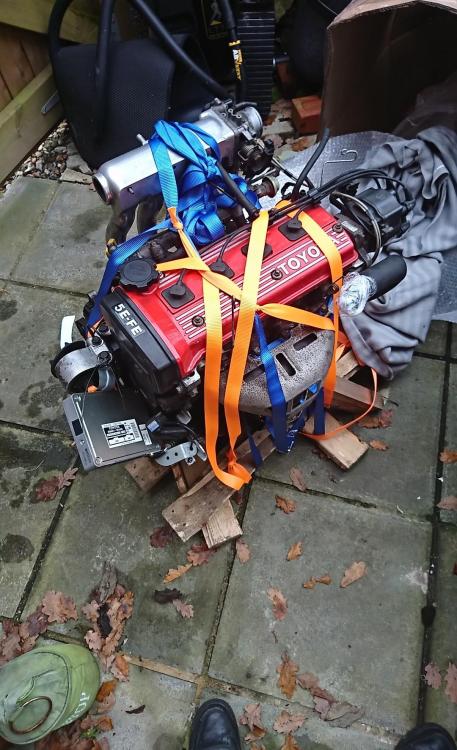
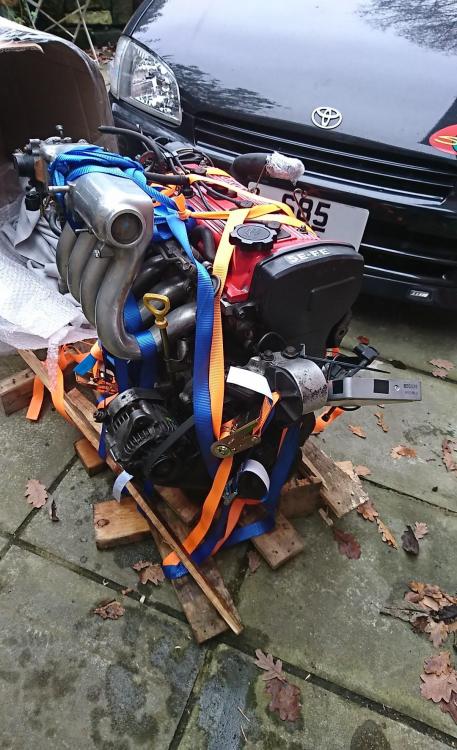
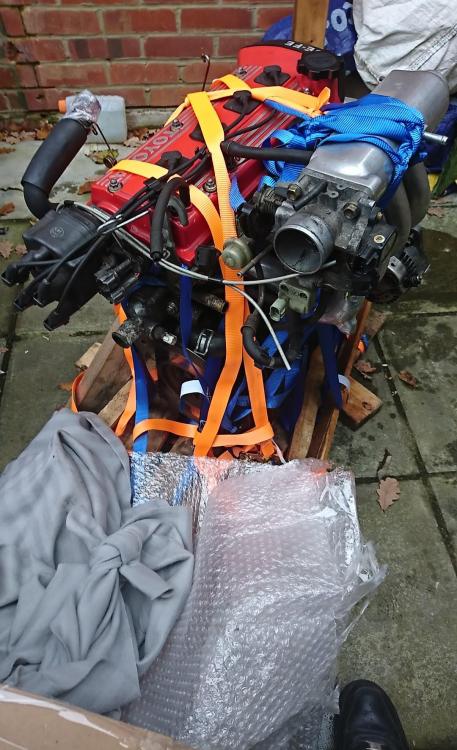
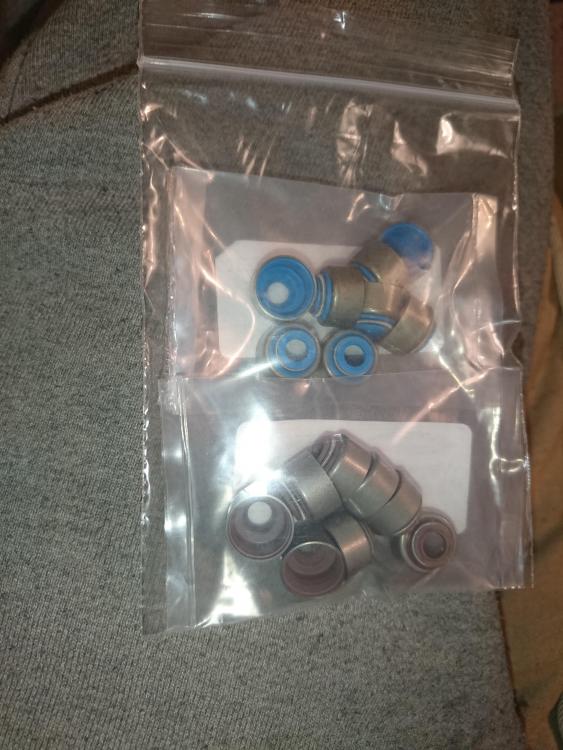
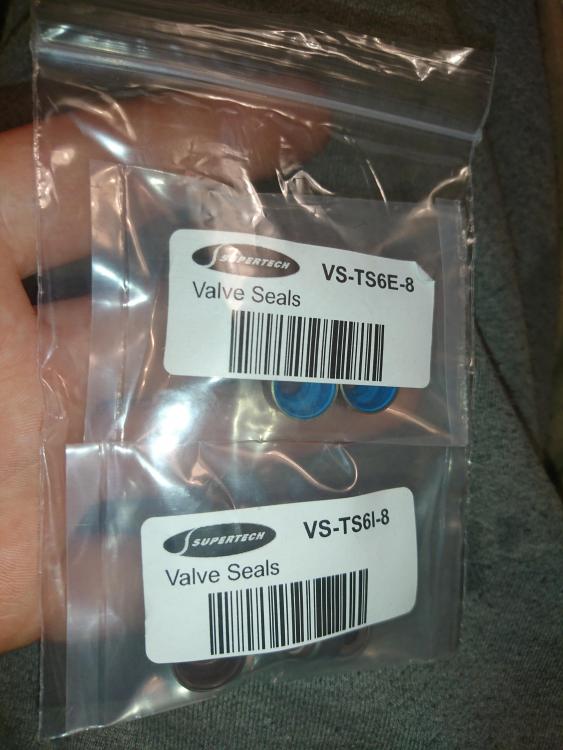
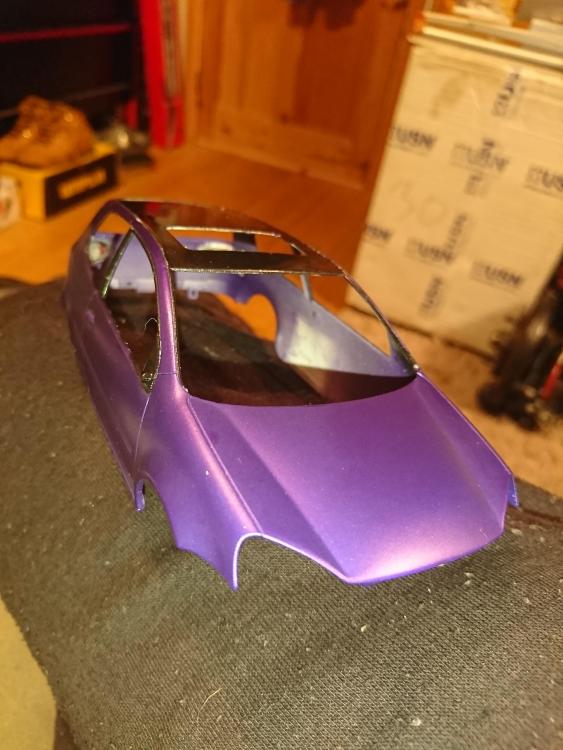
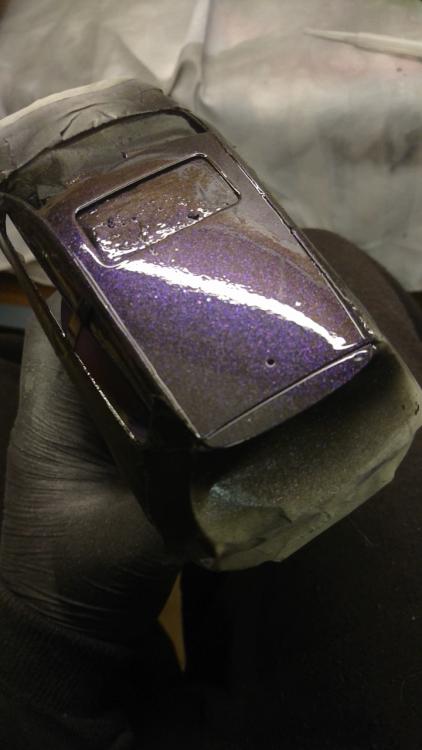
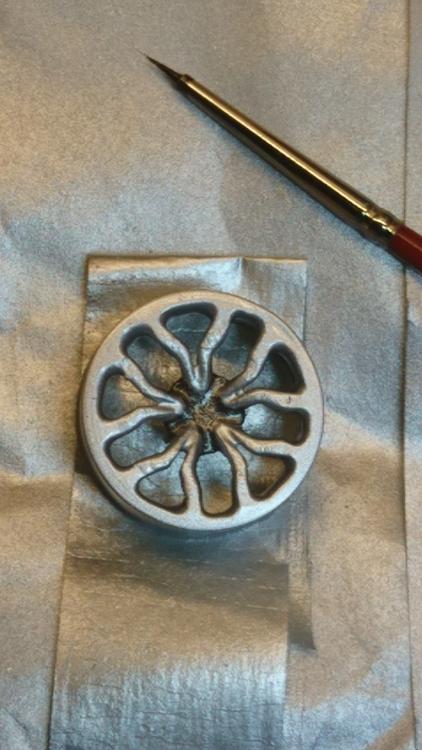
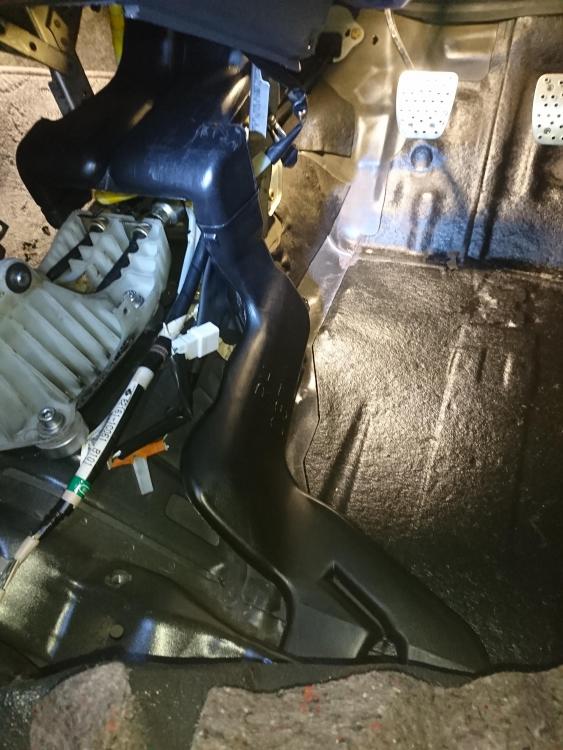
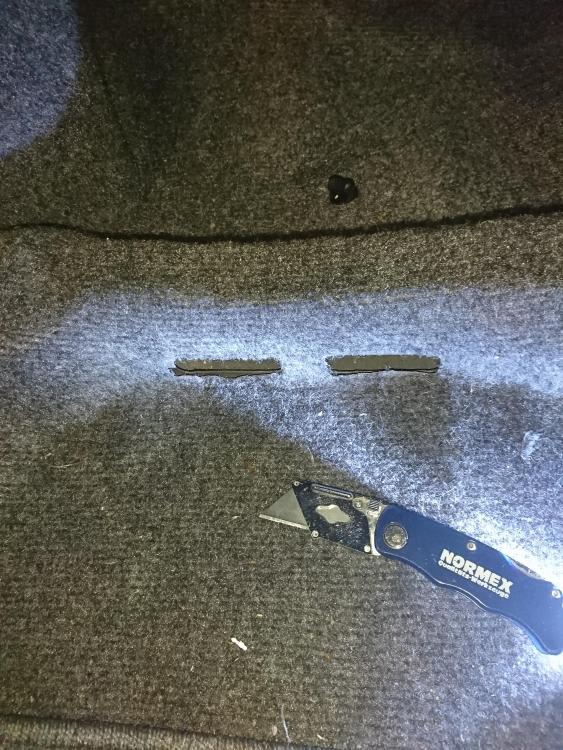
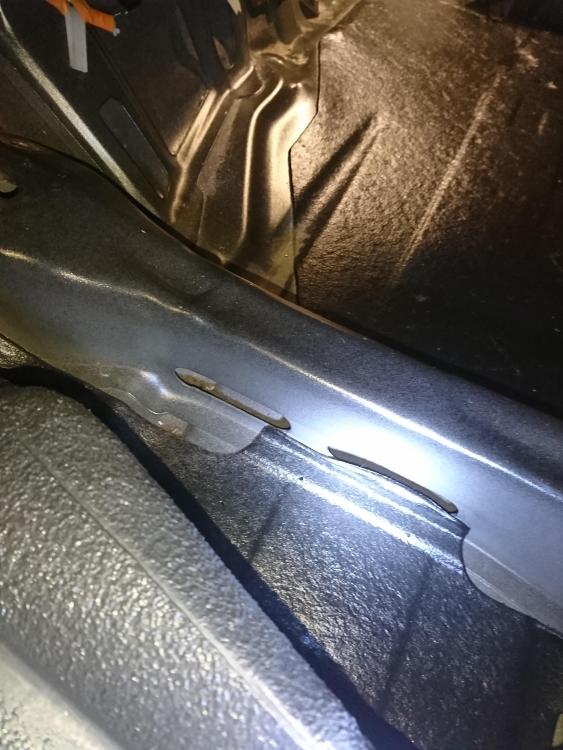
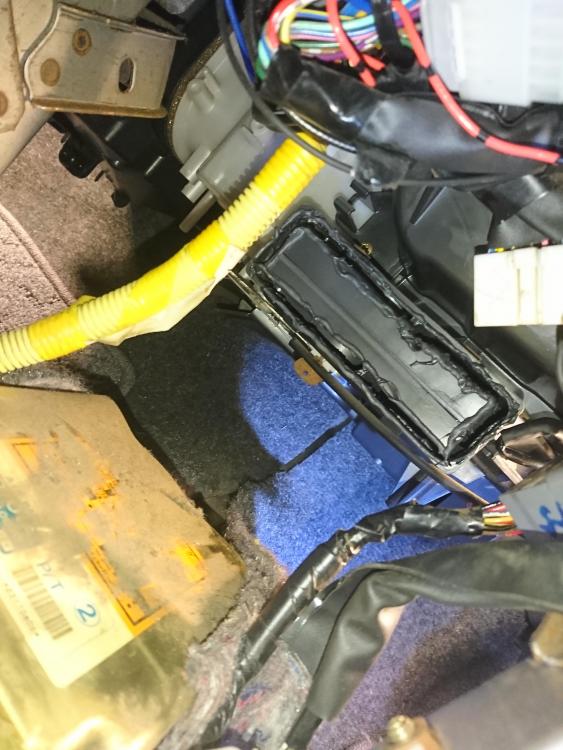
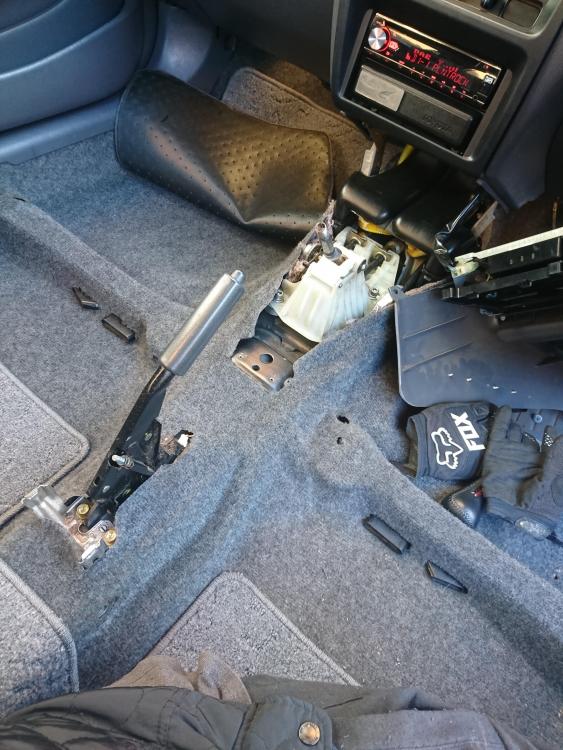
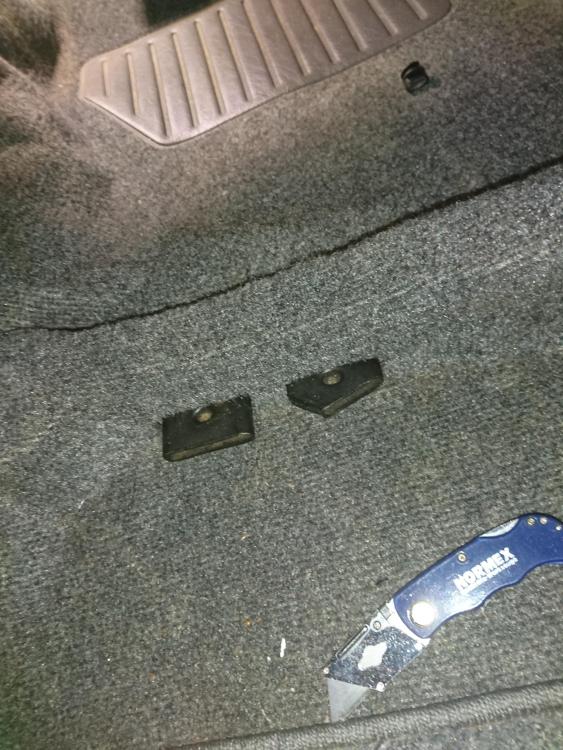
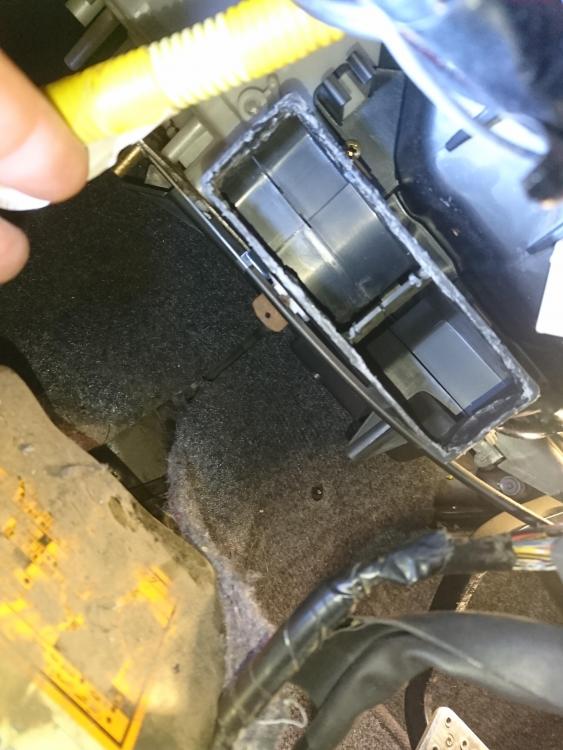
15/10/2020 Yesterday marked 4 years since the loss of my friend Shahid Moghal who sadly passed away in the crash we had. It's hard to believe it's been 4 years already, really doesn't feel like it but weirdly at the same time seems so long ago 😒😔 I won't forget him though On a lighter note, I now officially declare that the gearbox rebuild is finished and complete! Quick recap, It has now been fully rebuilt with: - All new bearings throughout - New syncros - Brand new 2nd gear - Brand new 3rd gear selector ring - All gears superfinished - 4.312 final drive - Quaife ATB LSD - Diff shimmed to appropriate preload - New seals & gaskets - Casings 2 pack epoxy coated - 98% of external bolts replaced with stainless steel fixings - Stainless steel magnetic drain plug Gearbox mounts will also be powder coated at some stage but I am in no rush at the moment Also want to say a MASSIVE thank you to @td04 turbo for donating me the very hard to find 5efhe rods! Honestly cannot thank you enough! 😚 I find it odd that 5efhe rods are thicker than 4efte rods, would have thought the fte rods would be the same thickness or thicker 🤷🏼♂️ (5E-FHE left, GT Turbo 4E-FTE right) Next job is to revisit the cylinder head 14/11/2020 Not a massive amount has happened since the last update but things are happening behind the scenes. I have plenty of things planned but I don't want to spoil too much, a boy has to have some secrets! But here's tinie teaser for you to keep you all interested, if you know what it is, then you know what it is 😉 A while after Jase picked up the car to look after it for a time, it was noticed the door card vinyl had started to pull away from the material. As I didn't get the door cards with the Recaro seats I had to retrim the door cards in Recaro material (shits expensive!). It was clear that the glue I had used had degraded over time probably due to sitting in the hot sun (when we once had hot weather), and because it was just crap glue. So I took the time to re-glue the door cards using a different type of glue, ened up using Loctite vinyl, fabric & plastic, which is pretty expensive for what you get in a tube (£13.99 for 30ml) but seems to adhere to the vinyl a hell of a lot of better. I put the glue inside a syringe (with a blunt needle...obviously), so that I could control the flow and apply it where I needed it, and used a big 6mm aluminum rod bent to the contour of the lining and clamped down over the top as it dried. If any of you happen to use Loctite vinyl, fabric & plastic glue on your door cards, the vinyl will wrinkle temporarily, so don't worry, just use ice lolly sticks and clothes pegs, or any other clamp of your choosing, to pin it down flat to be sure. I also added a sort of piping to the edges where the vinyl meets the material as a way to sandwich the vinyl to hold it better just in case the glue turns to shit later on down the line 🤞🏻😬 Plus to be honest, I actually think it looks really good anyway! During this time I've also been sorting out @burty with a few bits, as some of you may have seen on his thread, and I've playing around with and testing some new front fog lights. The old fog lights have seen better days, one even has a hole in it and sounds like a babies rattle when you shake it! I had actually been looking a long time for a pair of fog lamps that meet the measurements required to fit, and recently I found these for a semi-decent price, unfortunately they had to come from the USA, but this is what I found Personally I think these will suit the crystal headlights well, and I also got some yellow tinted bulbs for them. On closer inspection though, I could tell these were poorly designed and poorly put together, the wires were being squashed at the back of the housing and the seal around the glass was not sealed properly, so I popped the glass off and resealed it with silicone and went ahead and tested them anyway to see what happens, but as per usual things are not that straight forward (such is my life). To cut it sort, literally within less than 20 minutes one of the bulbs burnt itself and the yellow tinting (turned out to be knock off osram bulbs). As for the fog lights themselves, on both the plastic housings started to melt a hole where the housing is in such close proximity to the rear of the bulb, the edge of one of the housings started to deform due to the heat, the 'chrome' coating inside the lamp itself appears to be some sort of chrome paint and has bubbled & lifted off due to the heat, and there was a build up of condensation inside. So clearly this is a bit of a wash, problem is I just don't know when to quit As these are the closest I have ever found to the measurements required to fit, I am now having some NEW housings 3D printed from ABS plastic for better heat tolerance. These will be made to my specifications to allow for more room inside the housing so there is room for the wires to not be squished and so the rear of the bulb isn't as close to the rear of the housing. I also popped the glass lense off on the actual lamp again, cut in a small slot at the bottom of the lamp itself to act as a drain/vent, and I have taken these to be nickle plated so that it is reflective but with better corrosion resistance. Pictures to follow once I get the bits back. The night before I took the lamps to be nickle plated though, I got myself 2 new sets of bulbs (one yellow tint, one standard) to test out. They both lasted over an hours run time with no problem so I will be using one of these when they're fully on the car I like the yellow fogs over the standard bulbs as I feel they make viability a bit easier on the eye in harsh conditions, particularly fog, and there are some areas around the west/east sussex border that I drive that is pretty susceptible to fog and dears, so I'd like to be able to see them! As promised, next on the agenda was to revisited my cylinder head. While I was doing the porting, I didn't give any thought to the valve guides on the inlet side which protrude into the runners, obstructing the flow (exhaust side guides are recessed) so I decided to grind them down as I should have done the first time. Before: After: I also re-finished the inlet side to a 80 grit so it's slightly rougher than whatever grit I finished it with before, as advised by LC Porting (check out his work on Instagram) With the valves in place, a fair bit less obstruction: Compared to other people's work I've seen across the net I guess this would be considered a 'stage 2' port job as I haven't reshaped the runners or made the runners considerably larger, but I have removed all the casting marks, smoothed out and uniformed the runners with an 80 grit finish, 'knife edged' the split section, and flushed the valve guides. Once I come to assemble the engine I shall gasket match the entrance of the ports and the manifolds if needs be for a smoother, uninterrupted flow. Next I'm just masking up the entire cylinder head, valve cover and a few other bits ready to go for powder coating/2k epoxy Drilled out and removed the baffle from the cam cover so shit don't get all clogged up in there and stop any grit working it's way around the engine I am also going to be ordering some bits from the land of Japan tonight, so stay tuned 😉 8/12/20 Been a little while since my last update. I have been doing little bits here and there but generally we're at a bit of a go slow. I'm waiting for the cylinder head to be coated. Not sure what's going on with there so I need to chase them up. Got some brand new Dokuro inlet & exhaust valves from Japan which I will have a multi angle job done and then send them away to be Nitron CA coated to reduce friction & wear, and increase heat resistance. Got new gaskets, seals & PCV valve for the valve cover and seals for the 4e-fte injectors that I need to have cleaned. Also got some new TP piston rings ready to send away with the valves to be Titanium Nitride coated for reduced friction & wear. After the valves and pistons rings come back I will be having the piston tops, combustion chambers and valve faces coated with cerakote to increase heat resistance. I have also taken apart the camshaft gears and taken those to Nova racing to be superfinished and will also be taking the camshafts and shims at a later date to be superfinished also to reduce friction and wear. The idea behind having all these bits whatever-coated or superfinished is to reduce friction, this not only reduces carbon build up & increases the life of the component, it also makes it easier for the engine to turn itself over, which in turn equals less wasted energy, and more energy to put down on the road. And as you know, this is gonna be an N/A, so I need to squeeze every bit of power I can out of it! Meanwhile I've been doing a few little bits and pieces. Made a new clutch line for the gearbox out of a nickel/copper alloy with stainless steel fixings for little to no corrosion there Got some reproduction door handles off ebay which are actually pretty good quality but I'm not a fan of the rough matte grey texture so I polished them up and they turned out a right treat Got the new 3D printed fog light housings which even just feel like better quality. Still waiting for the lamps to come back from being nickel plated as it needed to be re-done because the first attempt didn't take very well apparently Also got myself one of those white fabric pens to liven up the RECARO lettering on the seats And I've also been working on a new mode/map switch for the E-Manage. Started out in life as a ECT switch out of a Toyota Hiace and it fits in the slot perfectly next to the mirror adjuster switch. As I hoped, the circuit board is just a simple on & off toggle switch which is exactly what I need to operate the relay board I have made which will operate the modified dip switch. For those that have no experience with an emanage, the dip switch is a little 4 channel switch on the front panel of the emanage that turns on and off certain parameters of your choosing through the software. For example you can switch between fuel map 1 & 2, or ignition map 1 & 2, or launch control on & off, or auxiliary outputs. But I have modified the emanage and have replaced the dip switch with an 8 pin plug which goes to a 4 channel relay board. This way I can operate all 4 switches with just the one switch, utilizing it like a sport mode button to activate the shift light I put in the rev counter, launch control, and a more aggressive fuel & ignition map First I changed the green backlight LED for a red one and put in a different resistor to alter the brightness. And then I went and modified the switch further putting in another red LED on the button itself that will light up when active Then what I plan to do is modify the switch facia so that it illuminates 'MODE' instead of 'ECT'. But to give you an idea as to the final product: Talking of E-manage, I bought a 4e-fte knock sensor to help protect against any knocking, just in case Still waiting on a few bits from Japan and a couple bits from the USA, but I can imagine they'll be delayed because of the Christmas period but they should be here soon. (and I'll probably get stung on import taxes as usual 🙄😑). But there is also something else that just got picked up from the Netherlands today 😁 10/12/2020 Christmas has come early! Bits from Japan & the Netherlands arrived today 😁 First off, from Japan: Much tidier I think. I will probably modify the lights in the near future by taking the brake & tail light bulb holders off a scrap harness and get some led reverse & rear fog (white & red) combination bulbs so that both sides function as reverse lights and rear fogs. And from the Netherlands... The long awaited 5E-FE that I have been searching for! Got it for a good price, only the shipping hiked it up a bit coming from the Netherlands obviously, but a massive thank you to the guy I got it from for not being greedy and all his assistance making the process as easy as possible The engine is very clean and looks well looked after, it even came with all the sensors, an ecu and even the power steering bracket, so literally everything is there ready to bolt up and plug straight in. But obviously that's not the plan just yet 😉 still got a lot to do! I also bought some supertech uprated valve stem seals but they don't feel as tight as oem seals so im probably not gonna actually use them and stick to the OEM ones. They had mixed reviews anyway but they were cheap enough, if anyone has any experience with these let me know 23/12/2020 Not much has been happening still although today i got my camshaft gears back from NOVA racing. They had actually been done a while ago but i have only picked them up today. I will still be taking the 5EFHE cams in to be superfinished also after christmas as I had been exploring the posibility of getting the 5EFHE cams ground to gain a little more lift, but given that they already have 8.4mm lift on the intake side and speedvision cams (which are said to be aggressive) have 9mm lift, I dont think there is that much to gain without effecting the driveability, plus I dont see the point paying £254 for the sake of having less than a milimeter of material removed to match the speedvision cams. If I was in a position right now to properly check what the maximum valve clearance was to know how much I could actually take off & what effect it would have on day to day driveability then maybe I would go ahead. Had a delivery from the USA! Some optional extra rear heater ducts, well, they would be optional extra for a starlet although these came off a Toyota Tercel (they share the same part numbers!) I have also revisited some brake calipers I rebuilt a long time ago that will be used in the near future. I needed to fit some new dust seals as they broke when I tried to install them the first time round. I polished up the sliding pins while I was there and re-greased them with a different grease because the Brembo grease I used before made the pins very very stiff strangely, which I wasnt keen on I got the lamps for the fog lights back from being nickel plated and they look good, I also went ahead and painted the backs of them with VHT paint & lacquer to further help with corrosion resistance (on the back at least), so now all I need to do is reassemble them and they will be ready to fit. I am still waiting for the cylinder head and a few other bits to be two pack coated/powder coated. Been waiting over a month now, so I dropped by today to ask what was going on. All thats been done is the bits have been sandblasted and they said they were trying to have them done today (🤔 ...so probably won't be done until after Christmas then basically). I probably should have just taken them then and there to take else where but given as I have seen that they have started on them and now ive kinda prompted them, I will give them the benefit of the doubt and hopefully get on with them now. Lastly, even though this is totally unrelated to the SR, I have been getting on with the replica model of my pals car that I started a few years ago & mentioned in earlier posts. I have finished the most of the airbrushing (Matt metallic purple body, gloss metallic black roof with purple pearl, and Audi R8 Spyder wheels), just need to get on with the assembly which is quite fiddly I really wish they made a model kit of an EP91 starlet, Glanza or even an SR, would love to build one. I have even been asked by an old member here to make him one of his Honda Civic EK9 Type-R. Thats all for now folks! Until next time, hope you have a good cristmas! 29/12/2020 Fitted the rear passenger heater ducts. First had to cut out the part of plastic that blocks where the ducting would be, I did this with a hot knife Holes/slots already cut out from factory specifically for these 👌🏻 Then all I had to do was cut out slots in the carpet to suit One observational note is that clearly there is a specific carpet that is supposed to go with these that forms around the ducting. It's not a massive issue but it just means the carpet around the center console doesn't quite sit right, but I think it's in the summer once the weather picks up, the heat will probably help it form itself over time. Was it worth it? Probably not 😂 but c'mon, it's another optional extra on the list!


-
🤣🤣🤣 Yes I will be sure to keep some silvers, need to actually check how many I have 😬 I don't know why but it is hard to decide between amber and clear lenses. In either case I think they would look a hell of a lot better if the plastic was chrome inside
-
Or I could retrofit chrome tail lights, projector head lights, custom wide body kit, roof scoop, air ride suspension, neon lights, custom interior with a ps2 wired up to tvs in the side of the doors and a fluorescent pink or baby blue paint job if you prefer?? Maybe MAX POWER magazine will drop me a visit 🤣🤣🤣
-
Hahaha 😂 hell nahh! Tell you what Jase, I'll get the wheels done in that colour, and leave the glanza indicators, and the import sized plates in place, but what I will is do is keep the UK plates, and the orange indicators, (just incase I or someone else, if I ever sold it, wanted to return it to stock later on) and keep a set of speedlines in silver to use as winter wheels Hows that? 😂
-
Oooh yes, those are the bastards, dropping you a PM right now
-
Thanks guys! 😁 👍🏻 Thanks mate! Didn't consider that the polishing makes it quieter, but that's not a bad thing. I'll be looking forward to seeing what kind of style bonnet vents you go for 👍🏻
-
Piston rings: https://www.ebay.co.uk/itm/133423640684 https://www.tuningdevelopments.uk/product_info.php?products_id=939 https://www.amayama.com/en/part/toyota/1301111122 - (amayama is perhaps your best bet)