Just a little update where we're at:
- I'm still waiting on the cylinder head to come back from being cerakote'd. Its been a long while now, but they've explained why, which I fully understand (fortunately I'm not in a rush)
- I haven't yet decided whether or not to go with the flat faced valves due to the cost, but if I did it might also be better to go further and get Colsibro valve guides to suit, then I would need to get them fitted & valve seats cut (which would need doing either way), but as I say this would be further added cost
- I also think I have come to the decision not to go ahead with the emanage ultimate, and instead go down a standalone route as this will give me better control to suit my requirements. Mainly a standalone unit will provide more accurate adjustments, slightly better features, and it enable me to use knock control, whereas the EMU only monitors knock, not manage it, which is important when running a high compression like I plan to
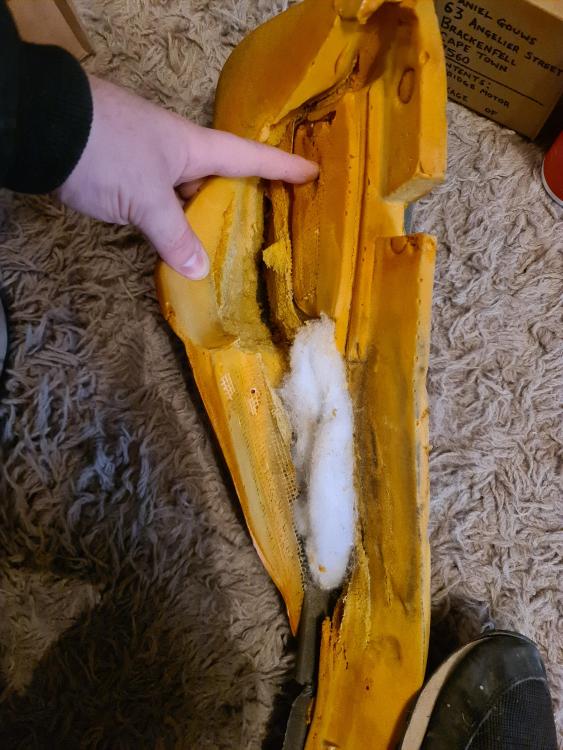
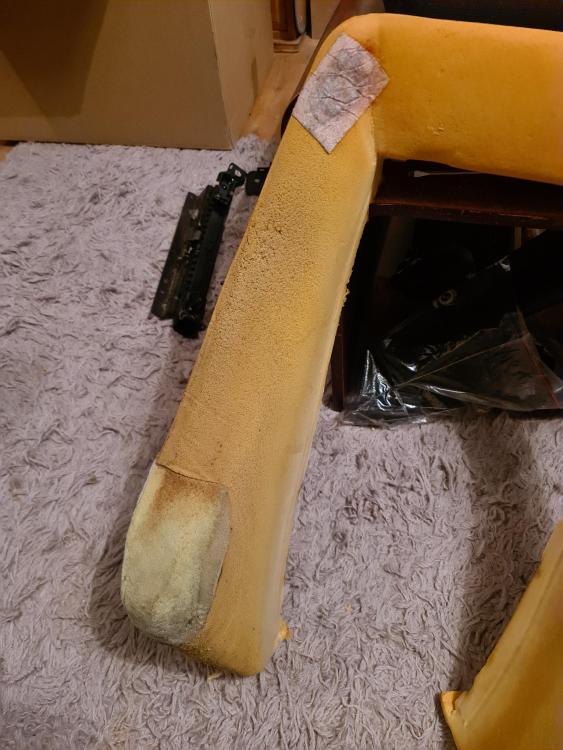
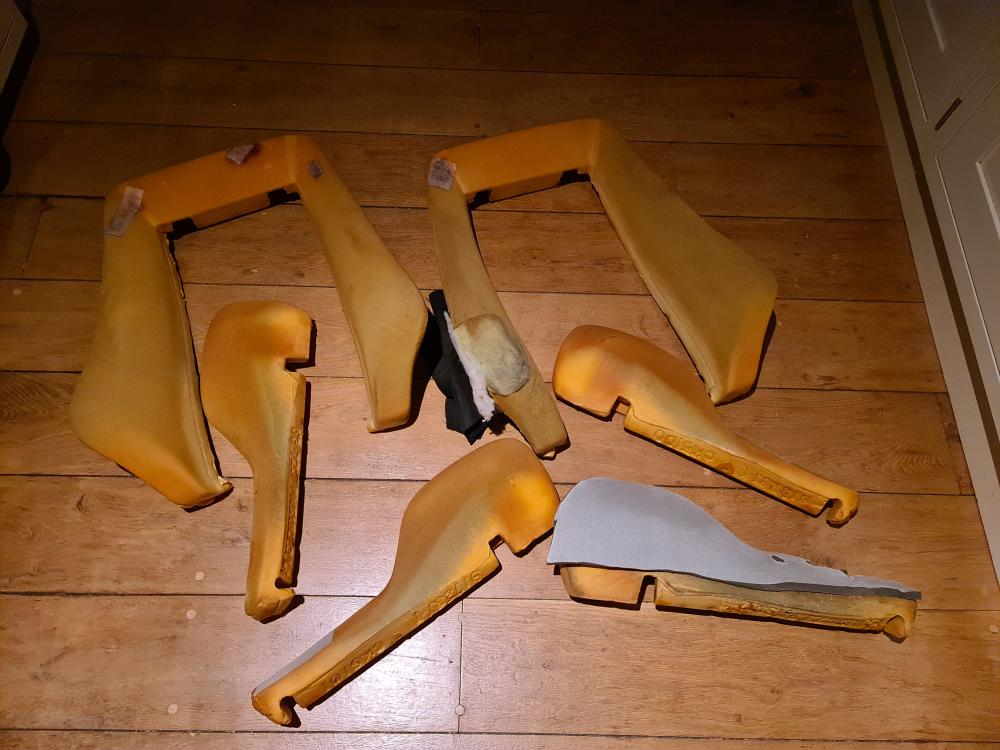
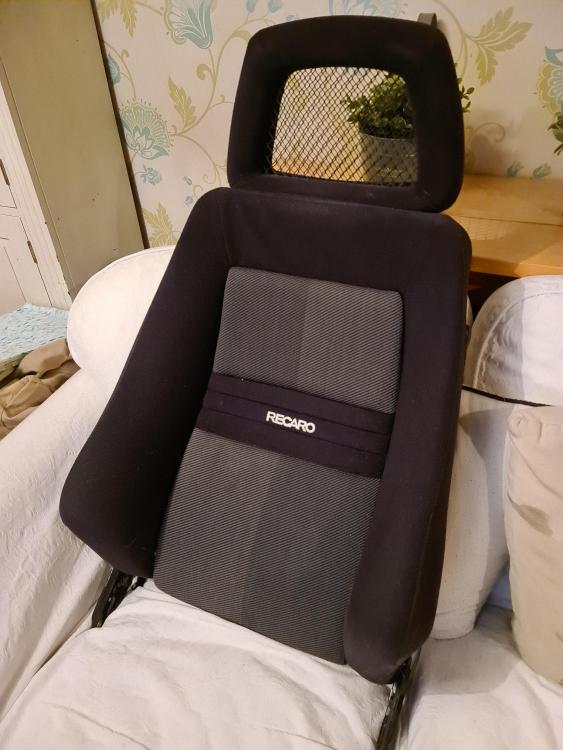
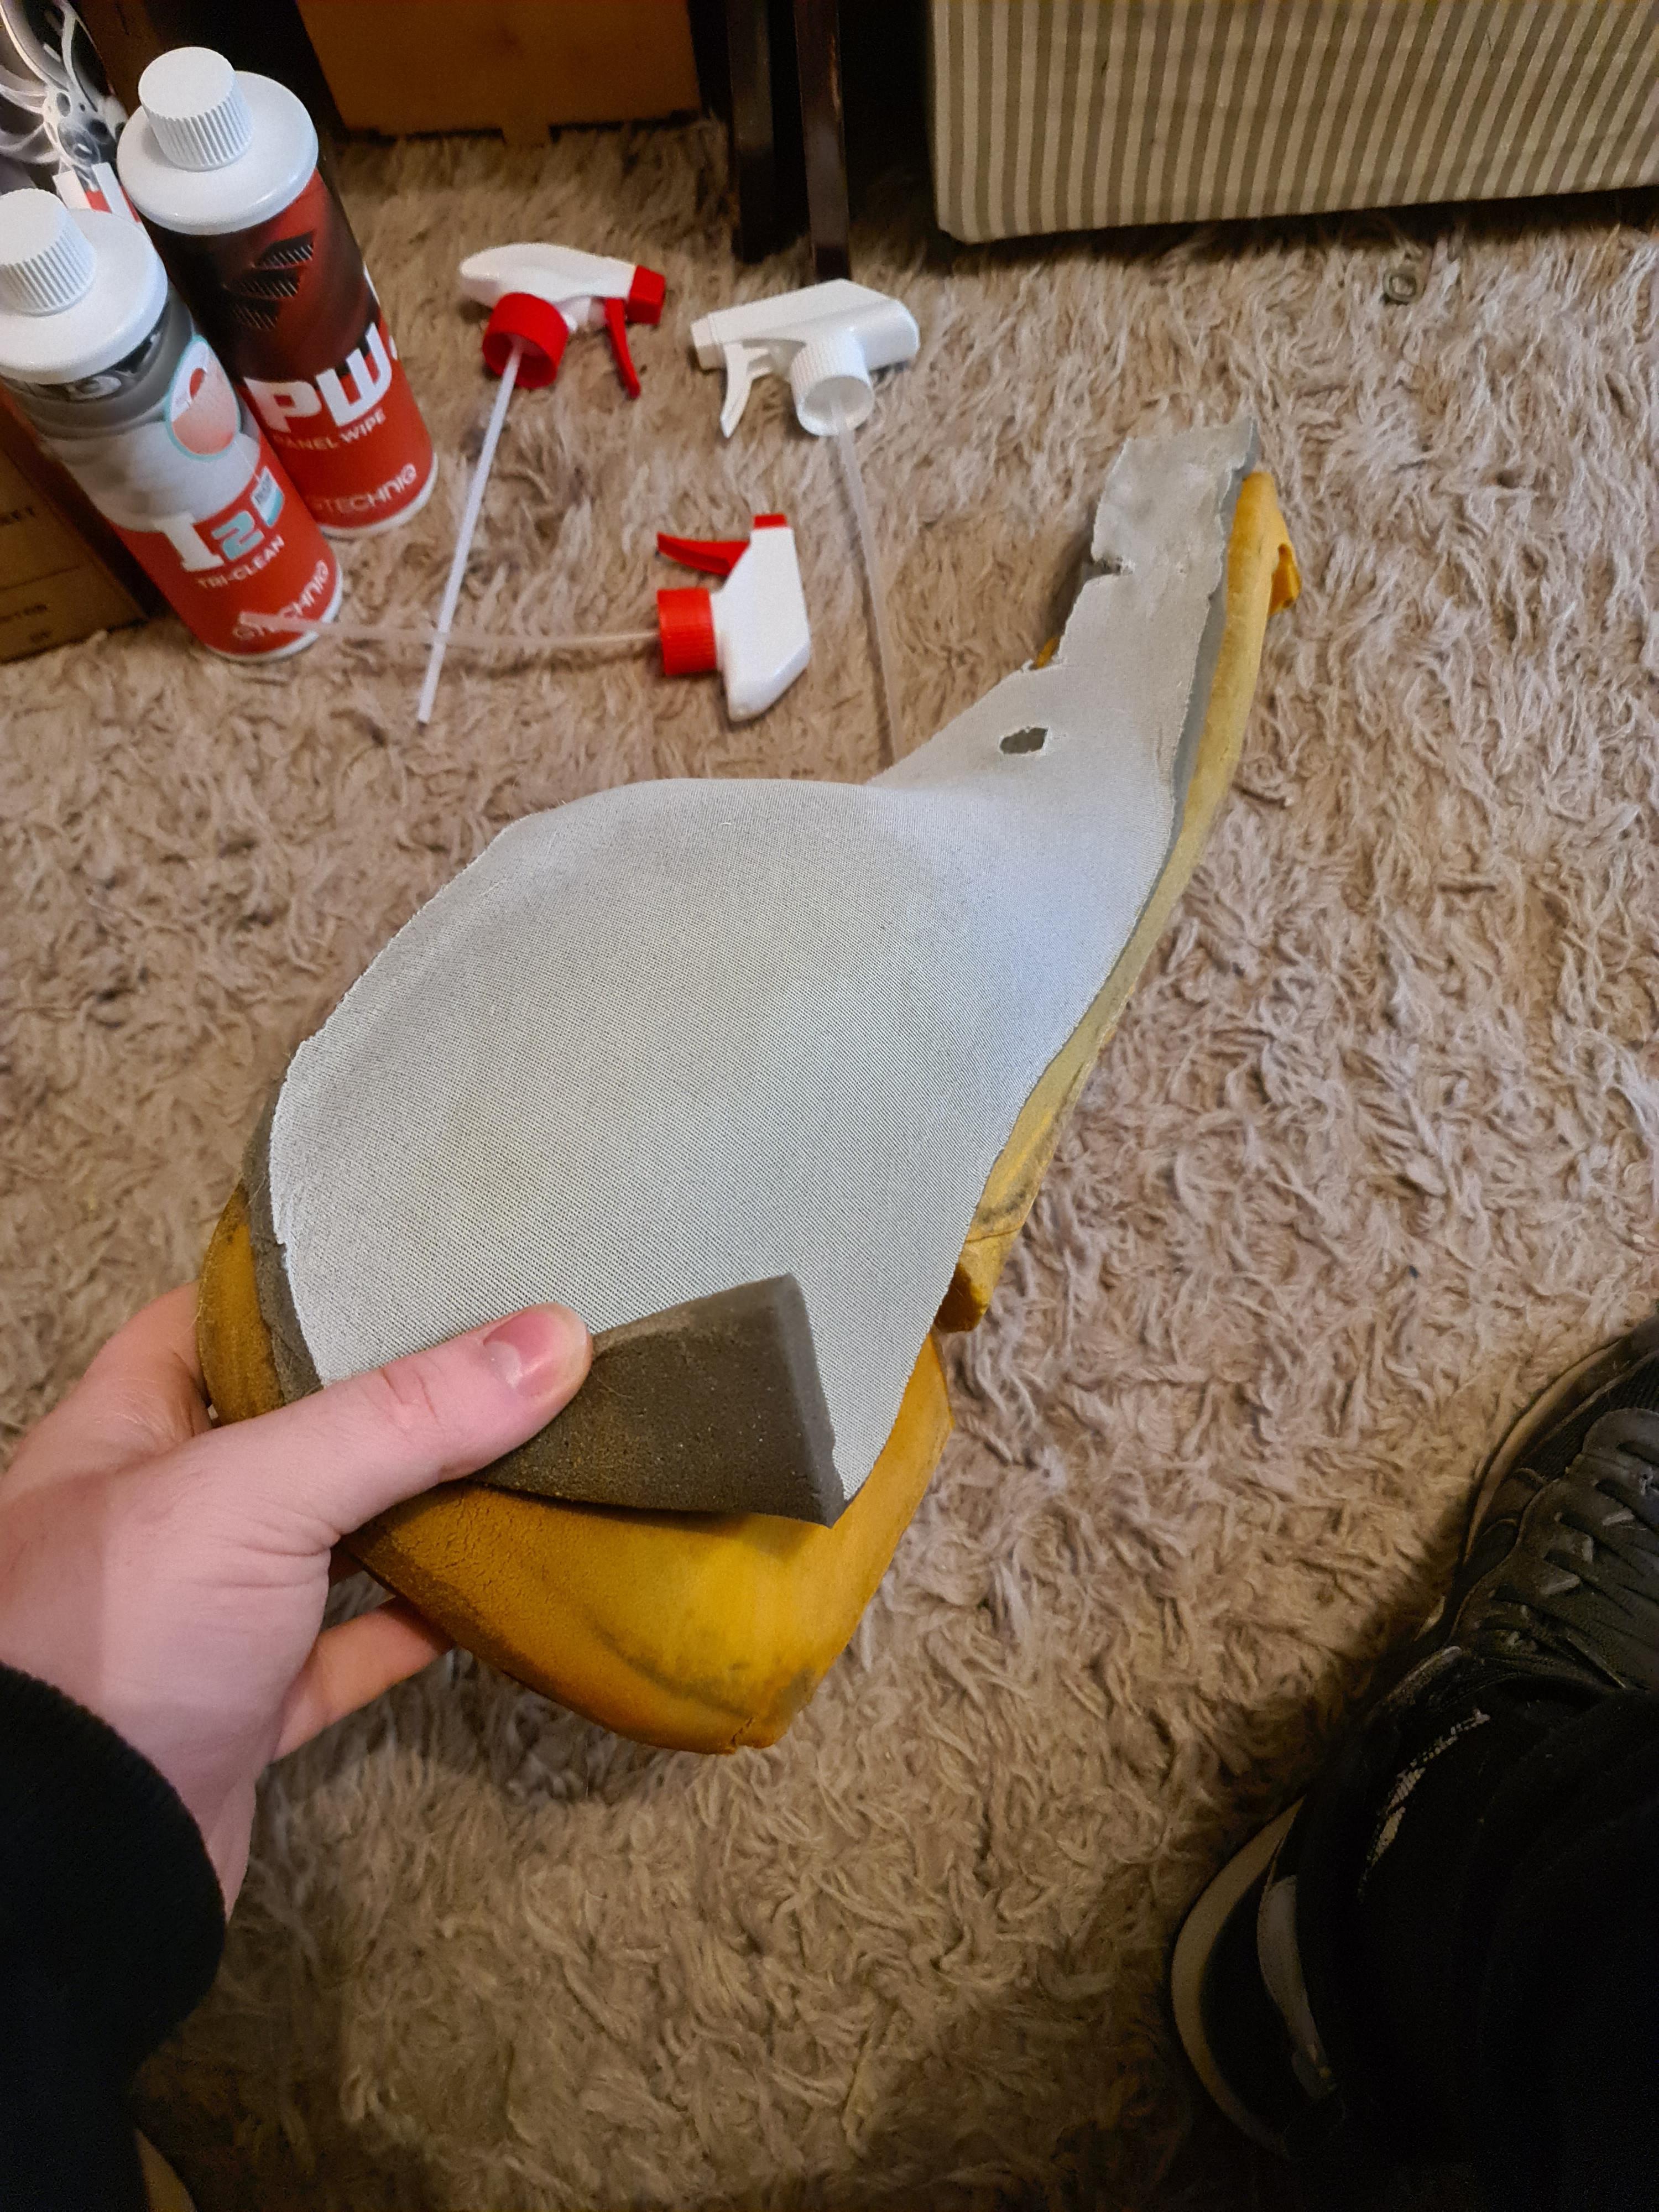
- Both the of the front Recaro seats have had all the bolsters replaced with brand new genuine Recaro foam, and I padded out the support bars on the frames to add a little bit more rigidity. I also had some material replaced where it was wearing thin
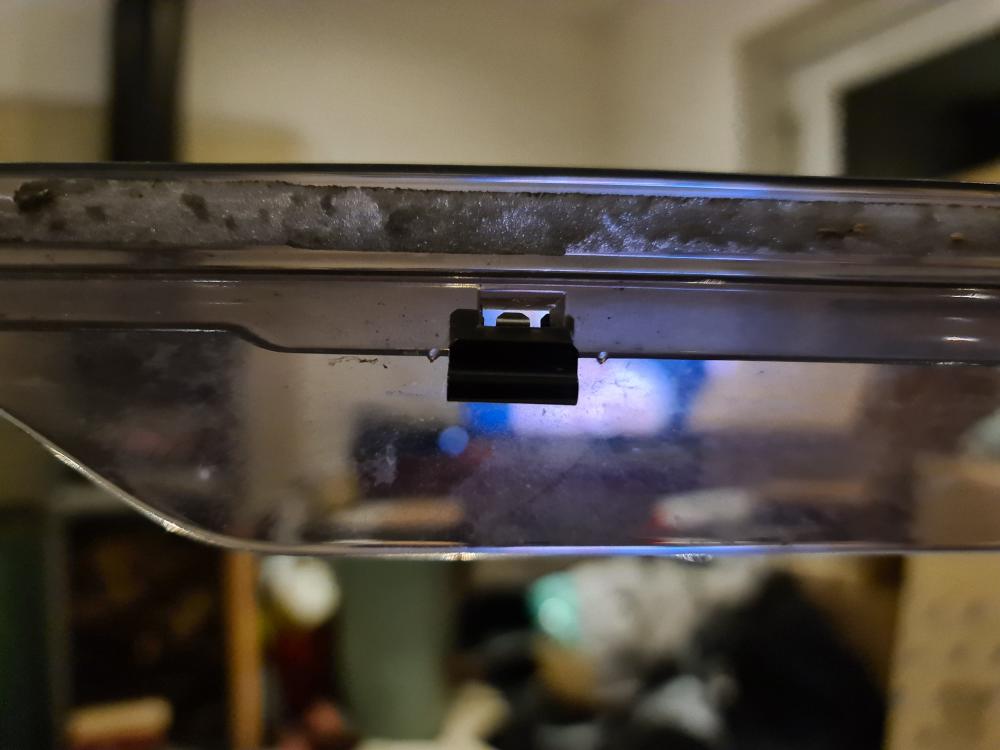
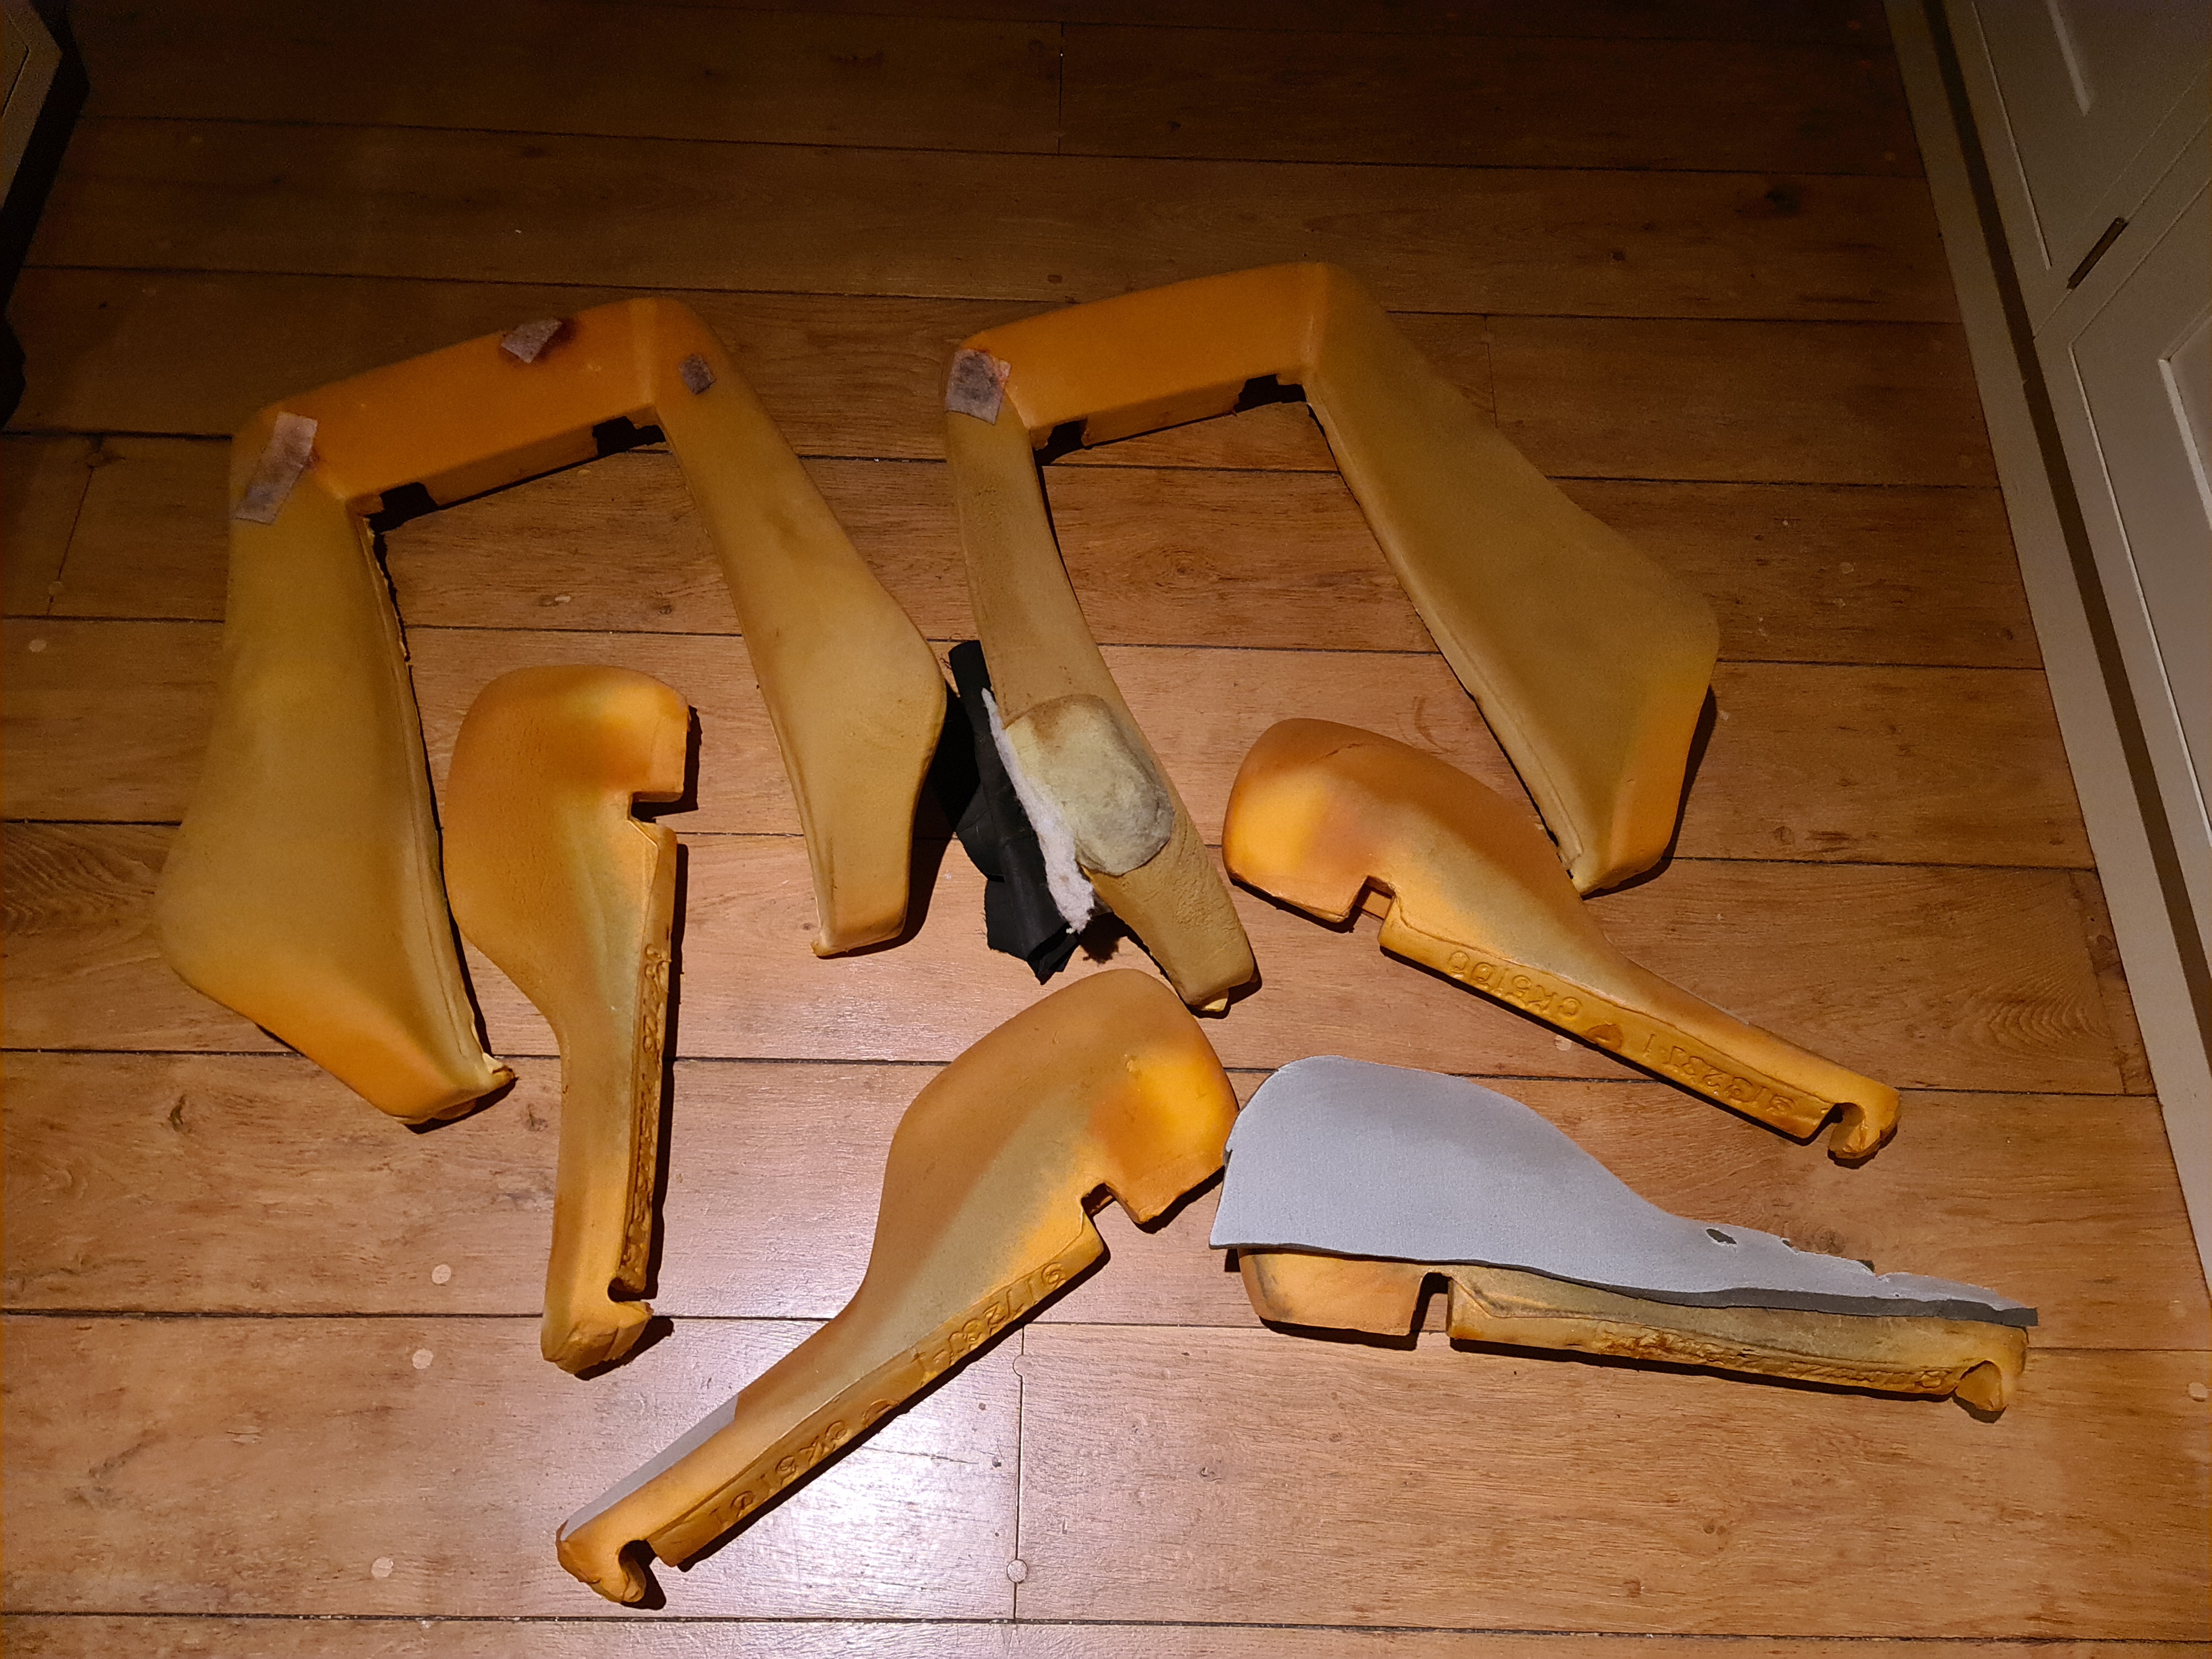
Here's what the old bolsters looked like:
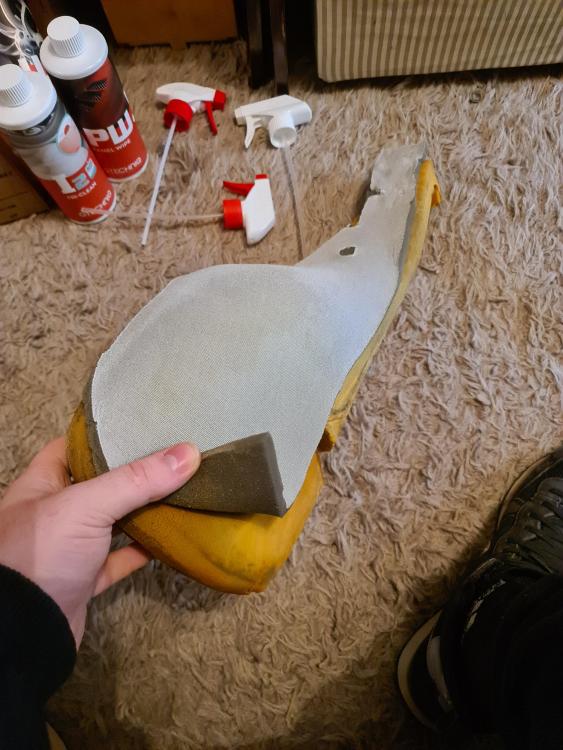
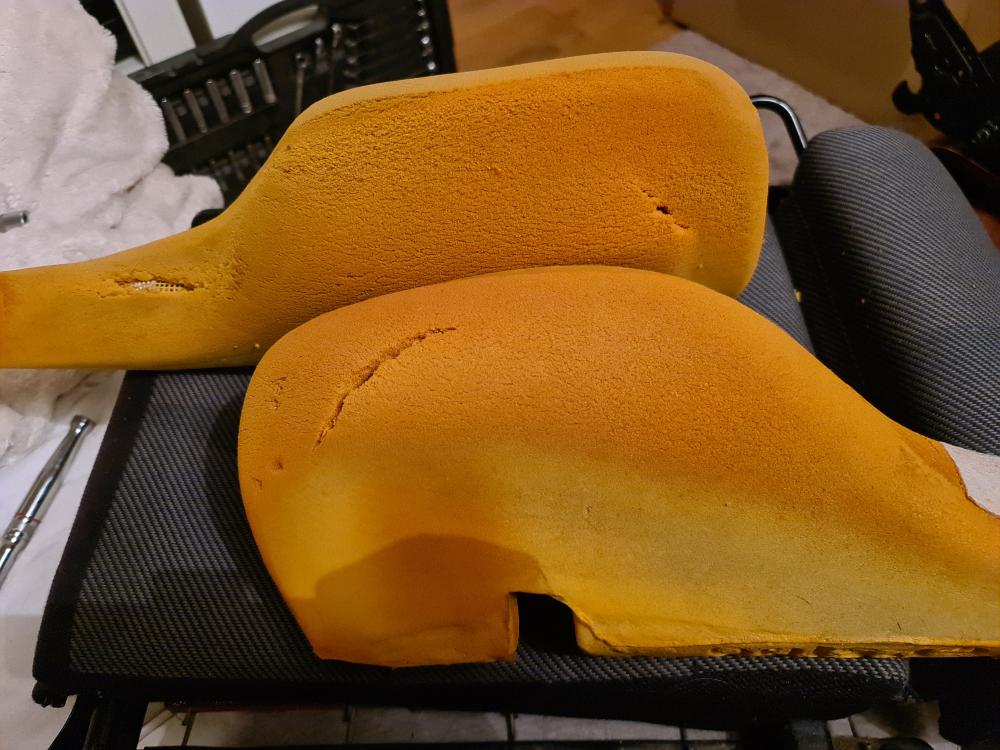
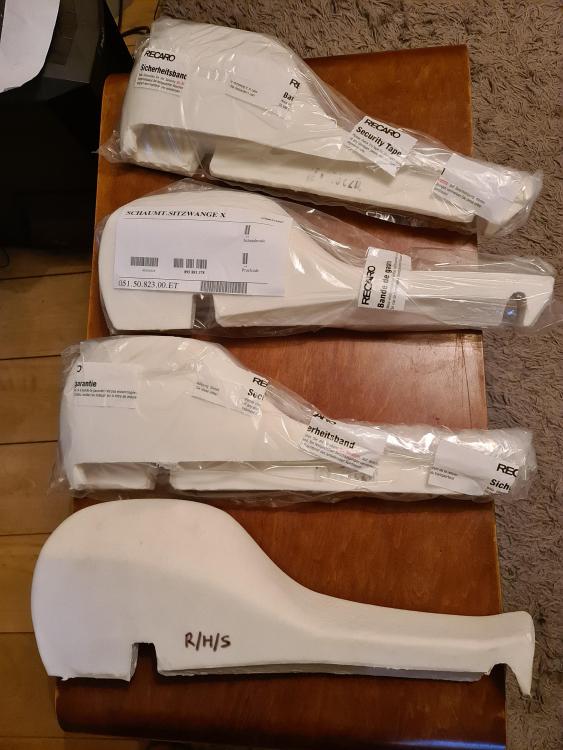
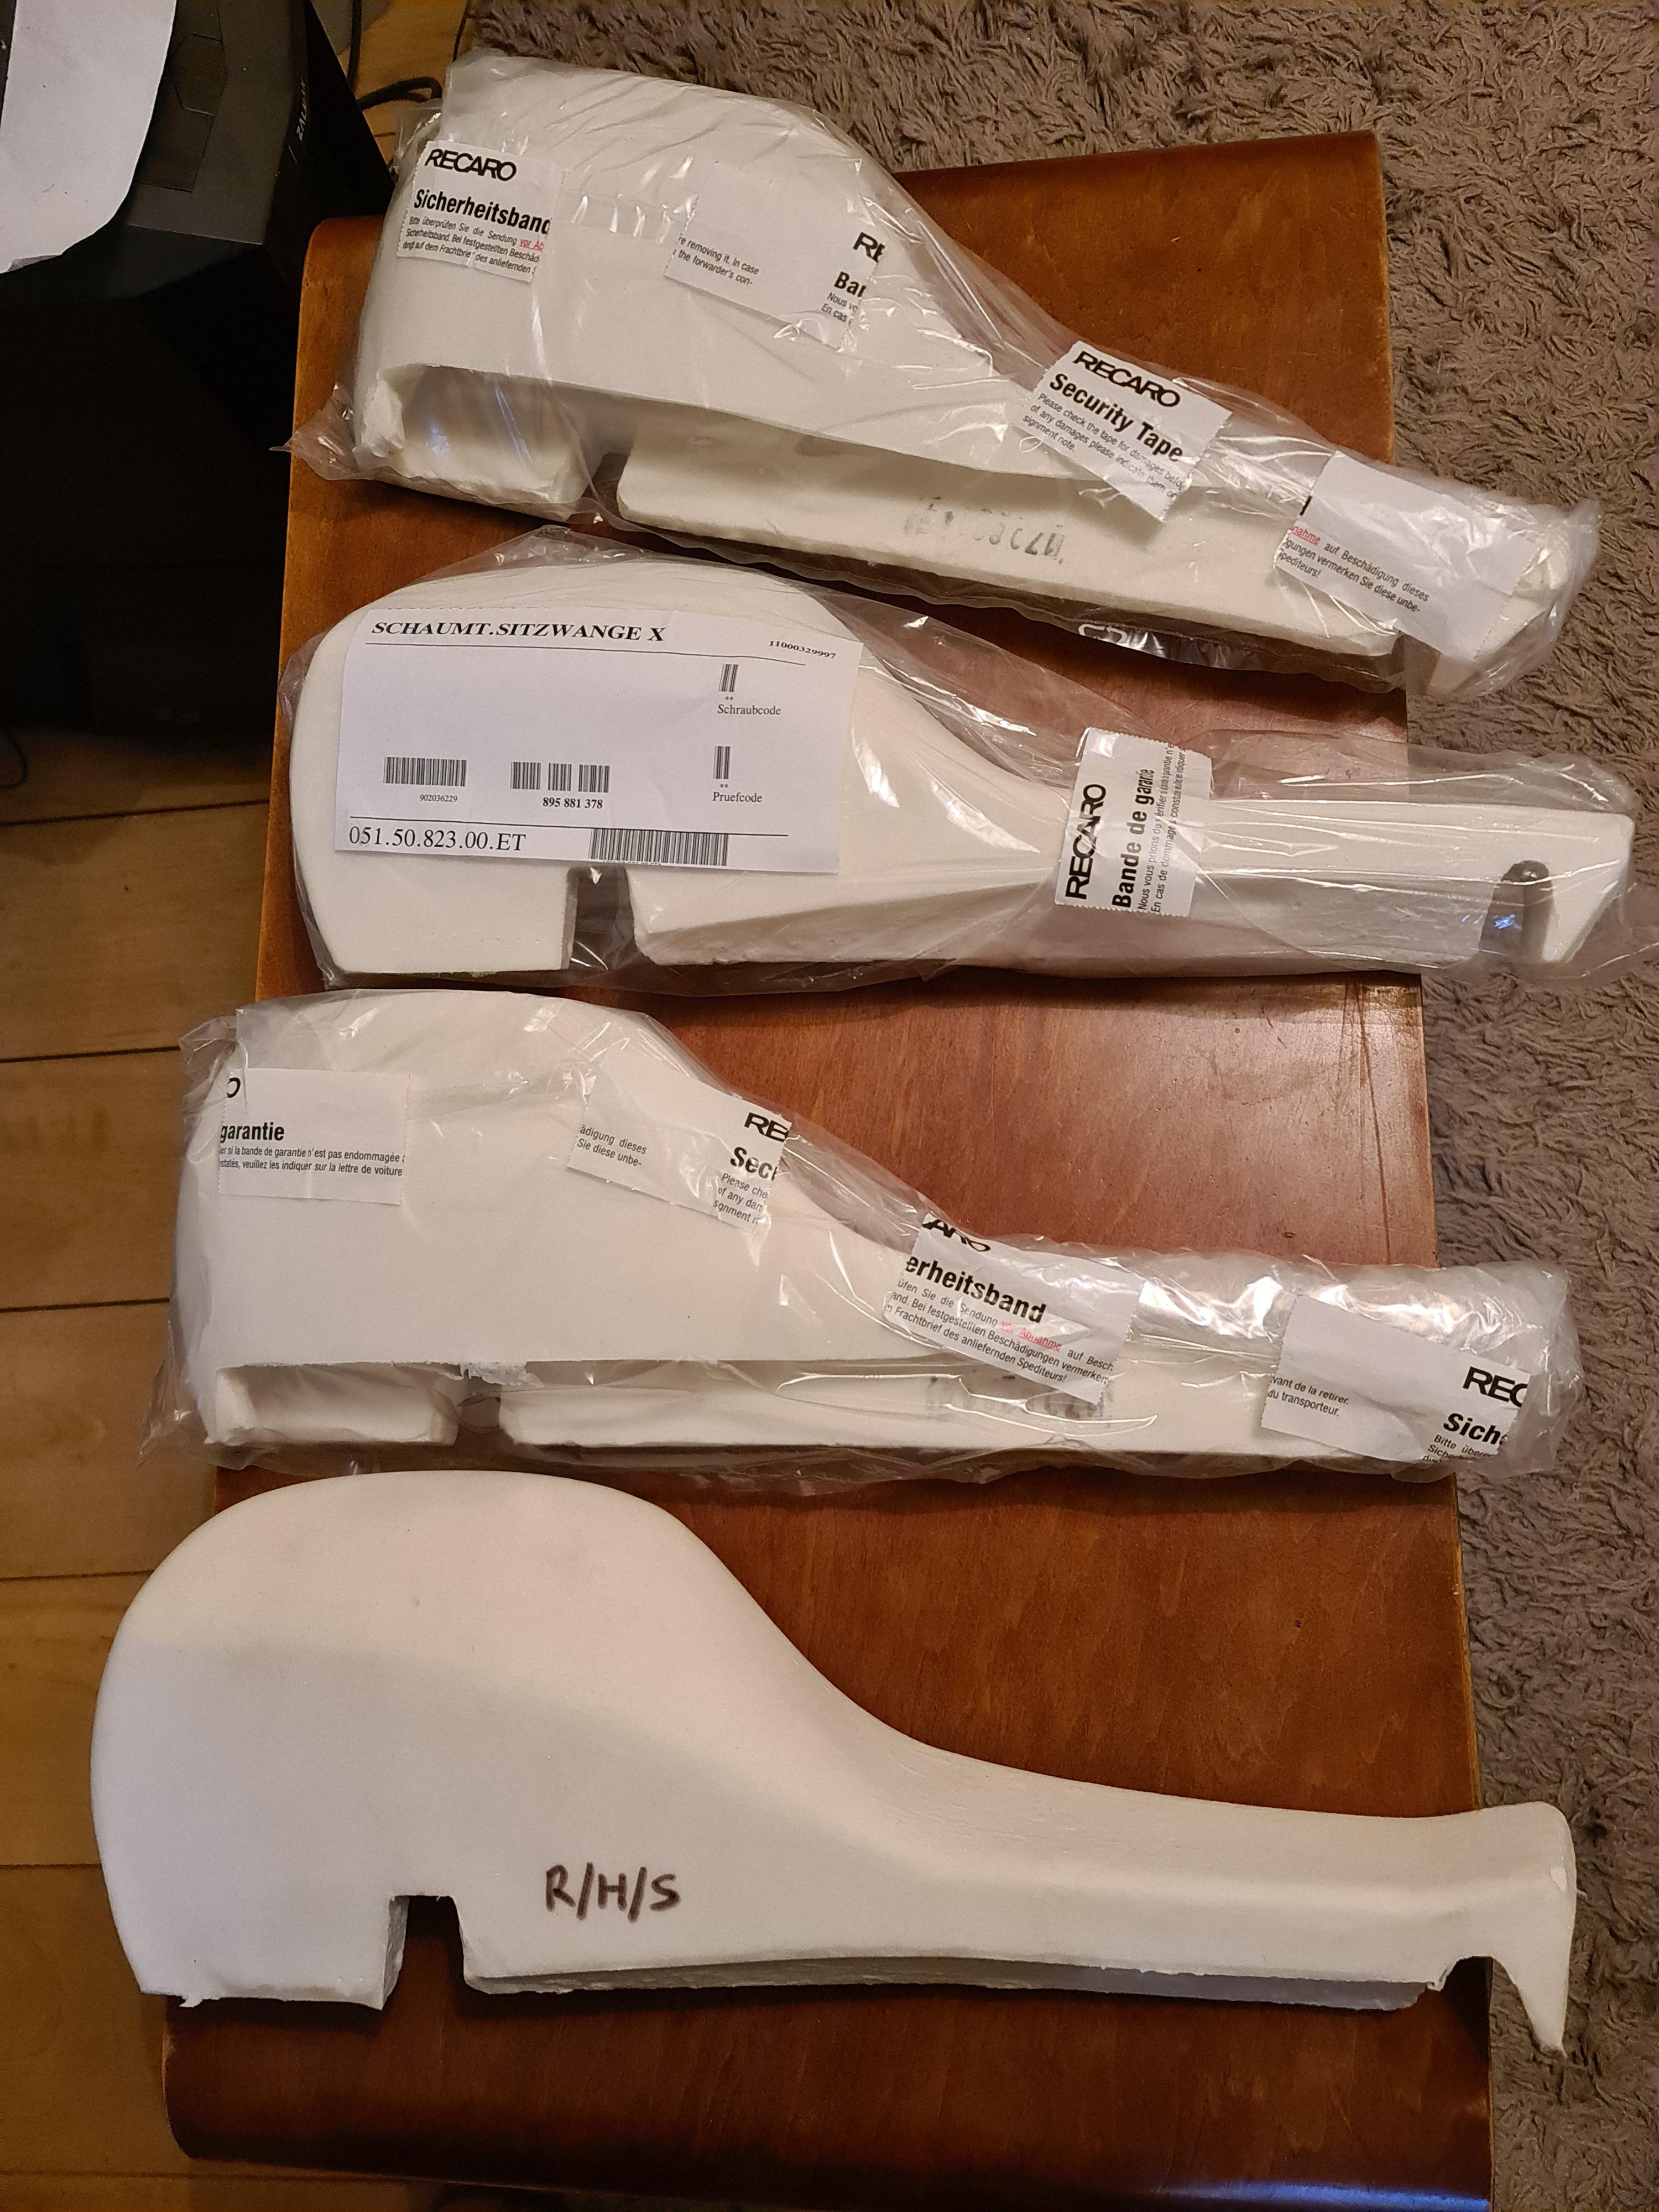
And here's what they were replaced with:
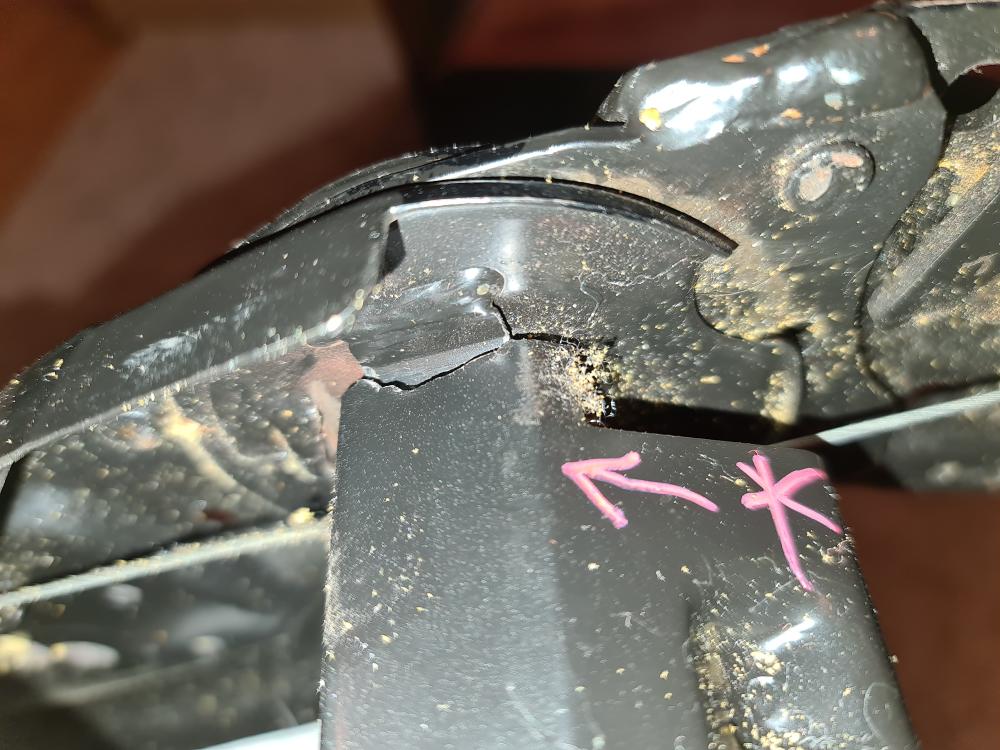
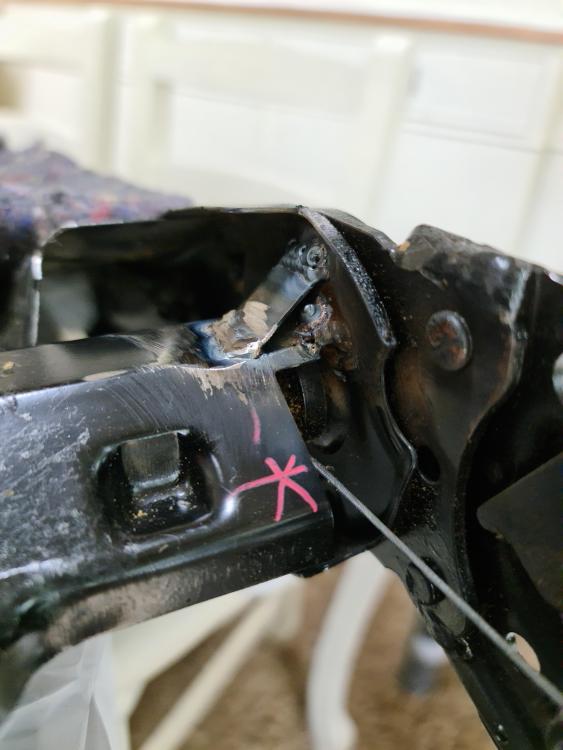
Whilst the seats were apart I noticed one of the upper seat frames had some cracks in it, so I took one to be welded which he struggled with because they were made of 'crap' metal (bit disappointing for a Recaro seat if I'm honest).
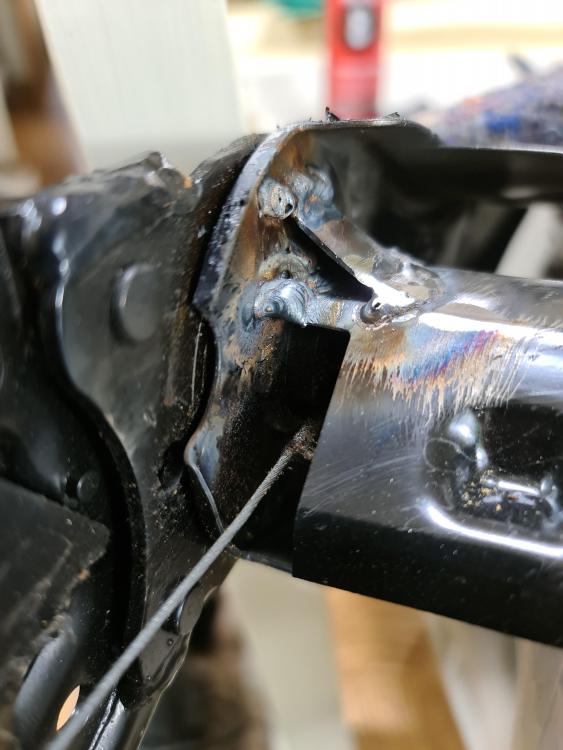
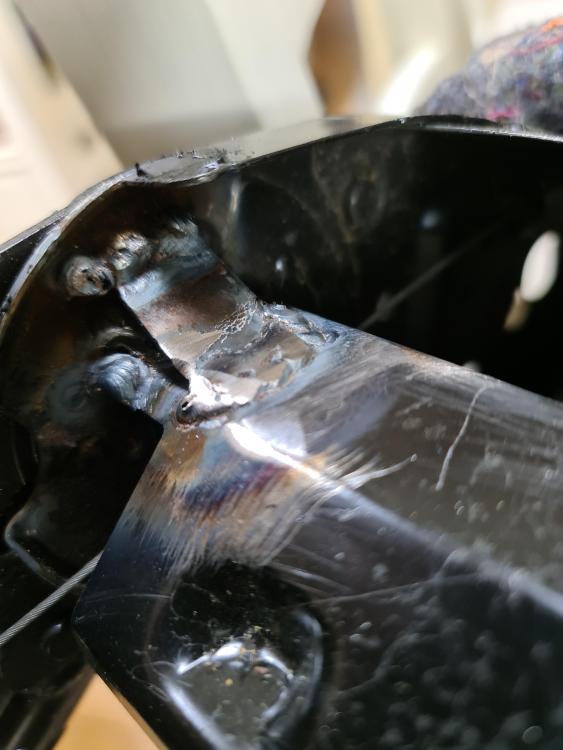
Having already left with one repaired, I then noticed the other one was actually worse, and rather than go back and pay him again, I thought I would try TIG weld it myself with a recent mma & tig welder I had acquired from someone I did some work for. I'm not gonna lie, the welds are pretty shit. Excuses being: frames made of thin pot metal, cheap welder, shit tungsten, welding outside, and lack of experience. That said, the welds should hold as the didn't break when I tried, plus I did add some reinforcement.
With these cracks welded up it immediately made the seats noticeably more ridged than before. Obviously I gave them a spray of self etch primer and some black paint before reassembling
- I have also decided that I'm not happy with the paint I used on the seat rails because its become apparent that it easily chips off. So I am having the entire rails blackened (which is what I think they were originally), which is a metal surface treatment rather than a coating and will be more durable and resistant to corrosion. Also the stripped mounting point threads that I re-tapped to M12 make it difficult to get the rails mounted properly, so I am going to weld up the holes and re-tap them again back to the original M10 size
Now for the big news, unfortunately this progress thread will be having a bit of another go slow for a while. But this isn't a bad thing! Because I am actually moving house soon to another location which has considerably more space where I have the opportunity to build my own garage/workshop, which will enable me to take on bigger jobs such as engine removal etc. and actually make some real progress, so stay tuned!
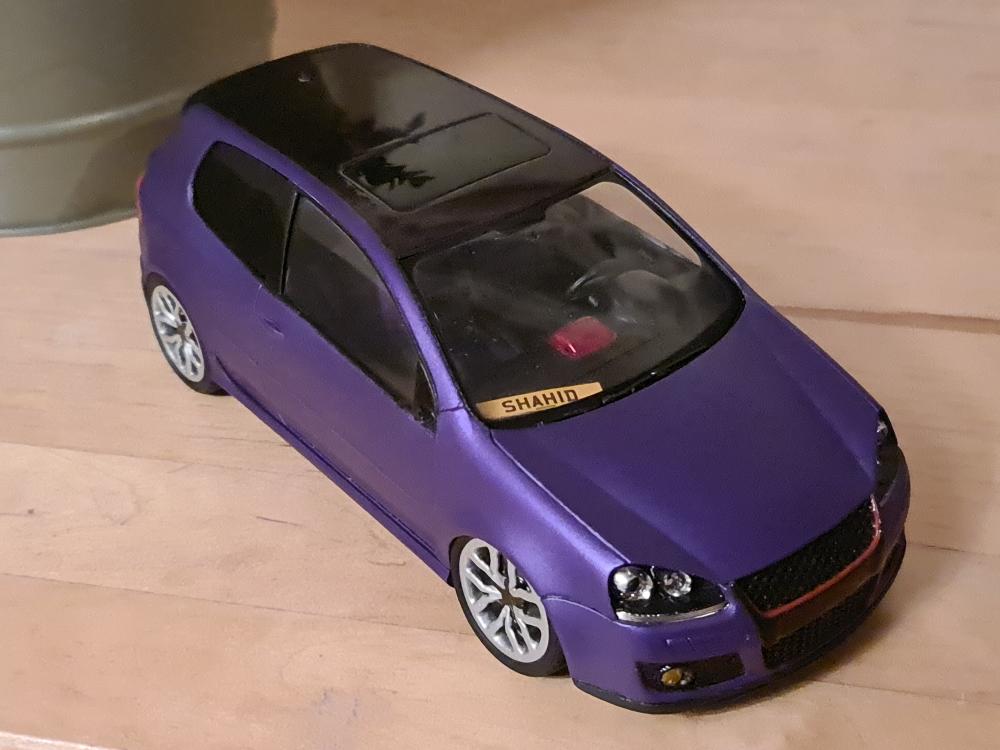
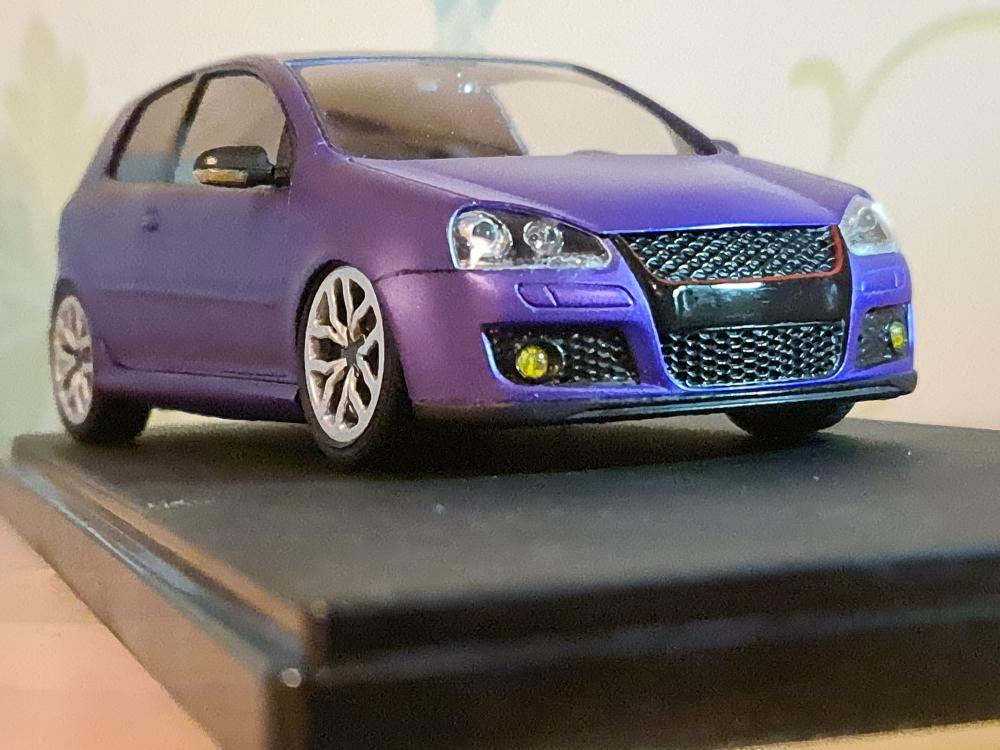
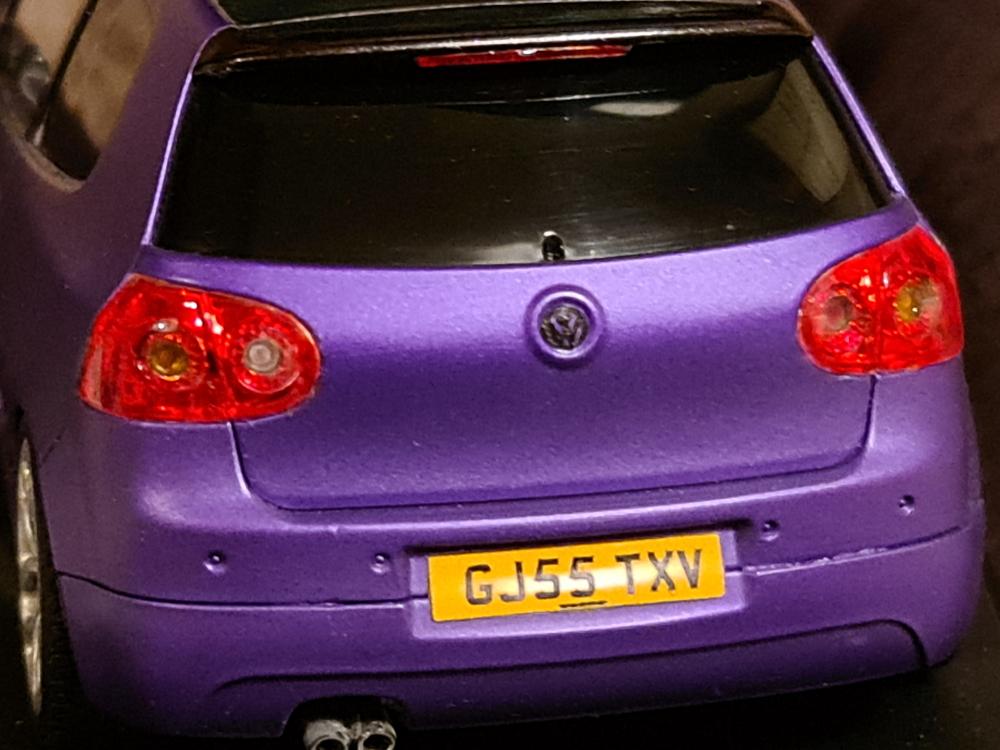
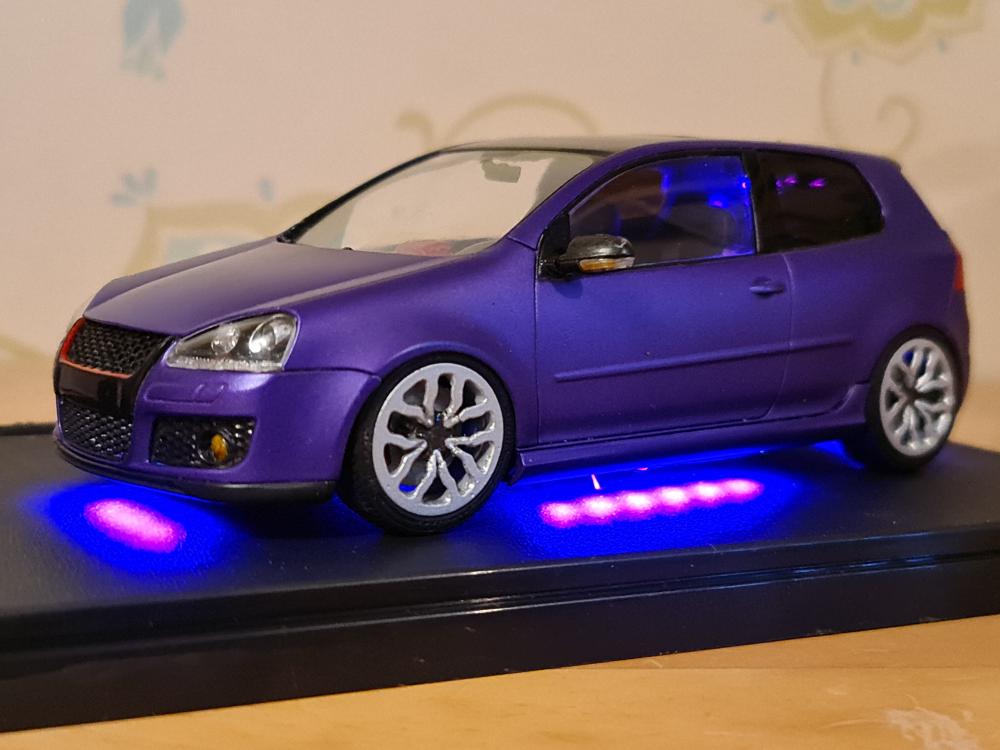
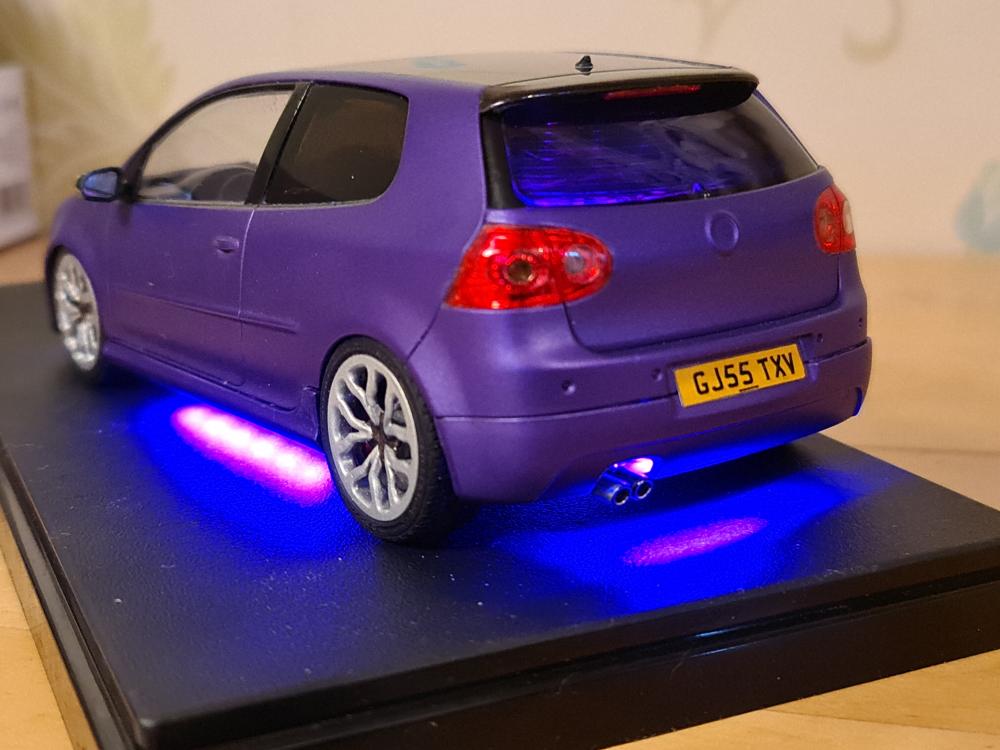
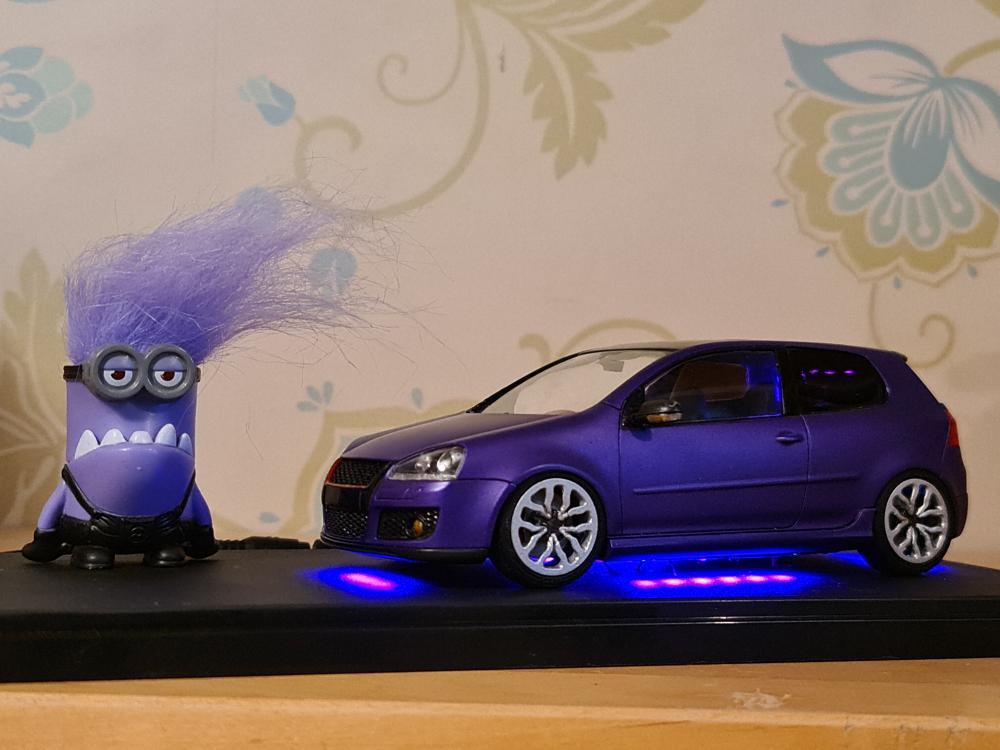
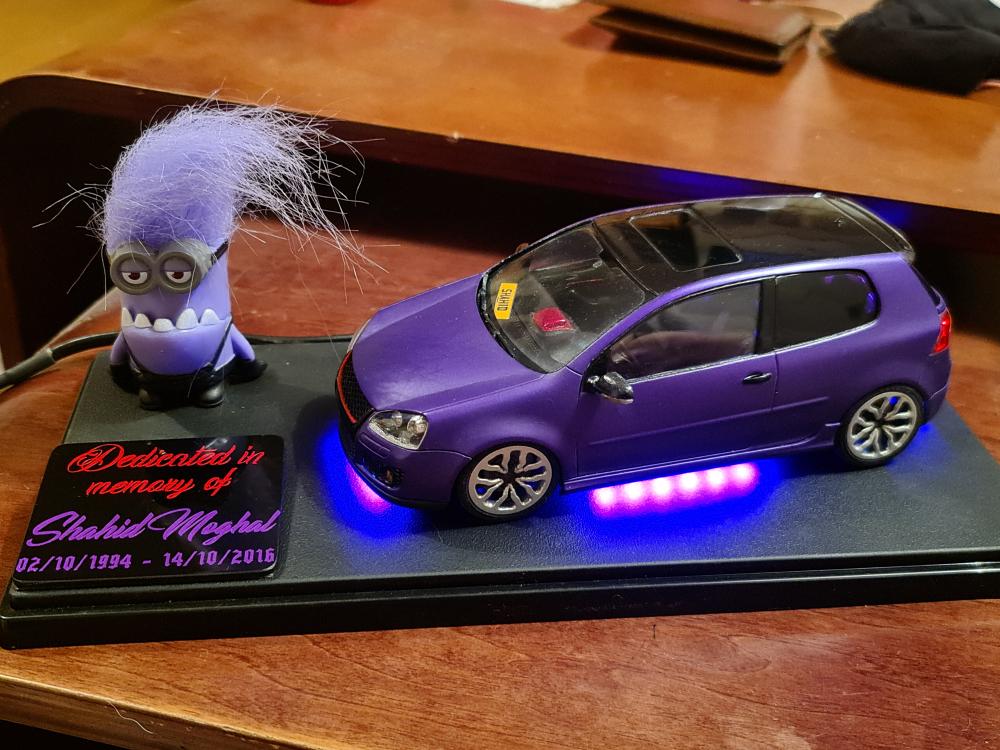
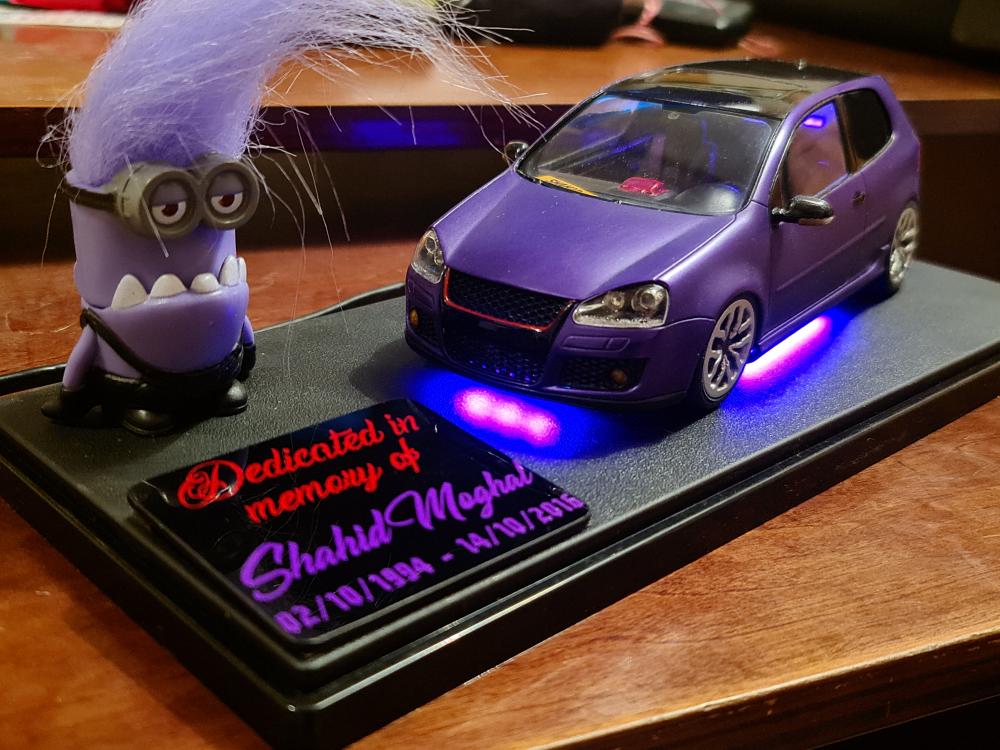
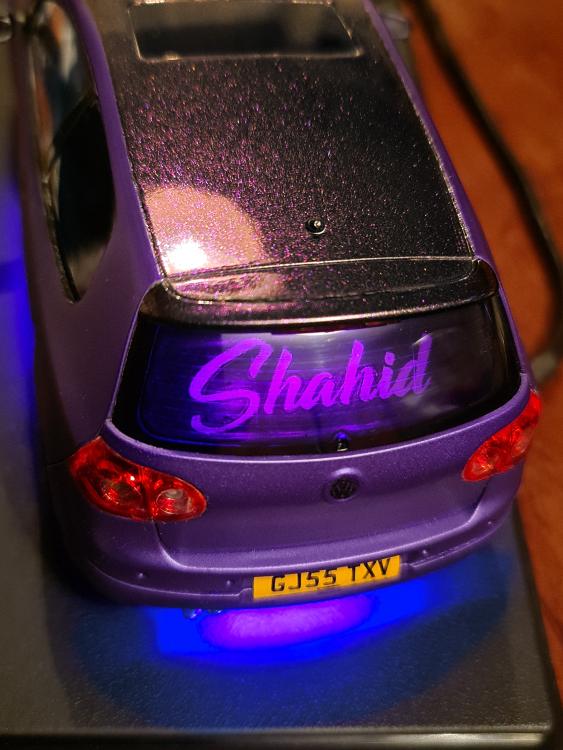
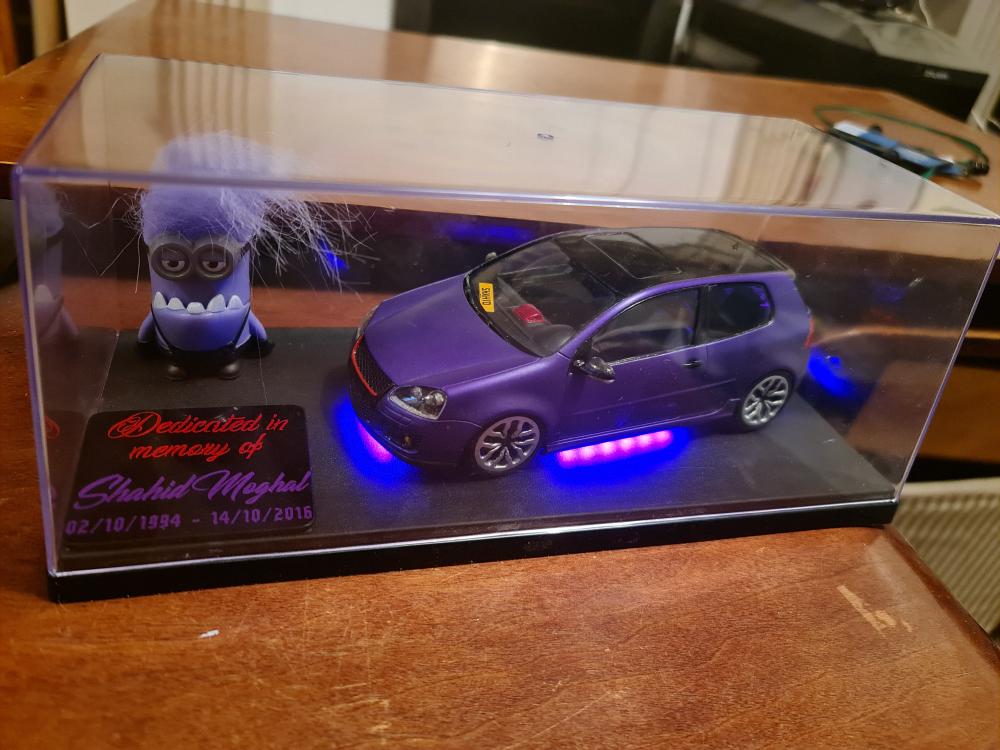
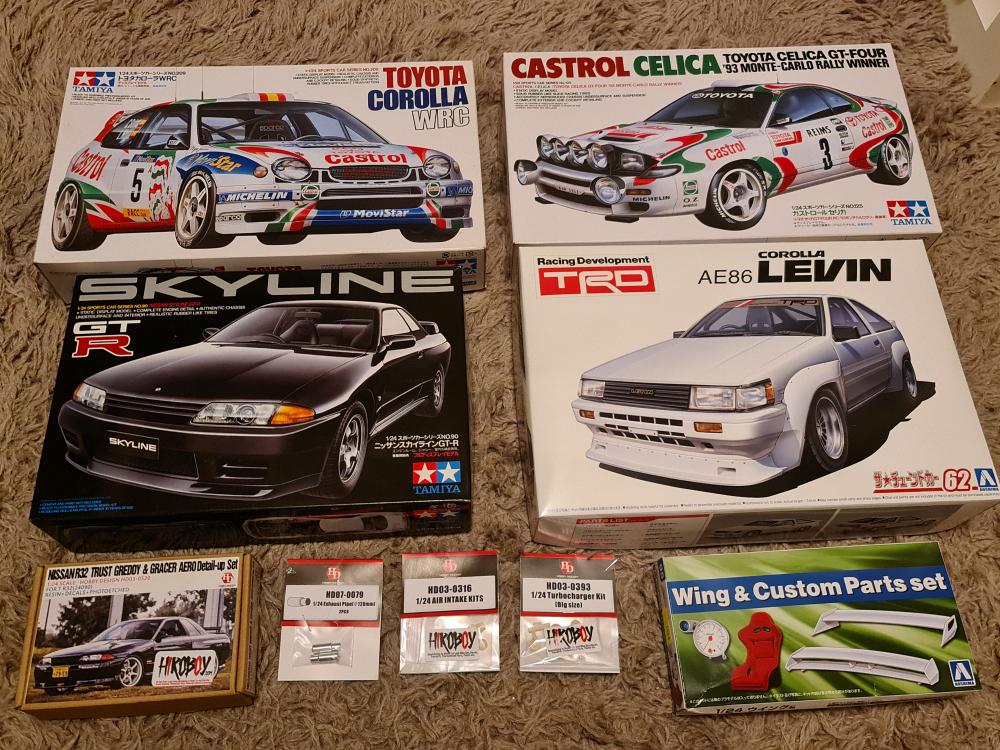
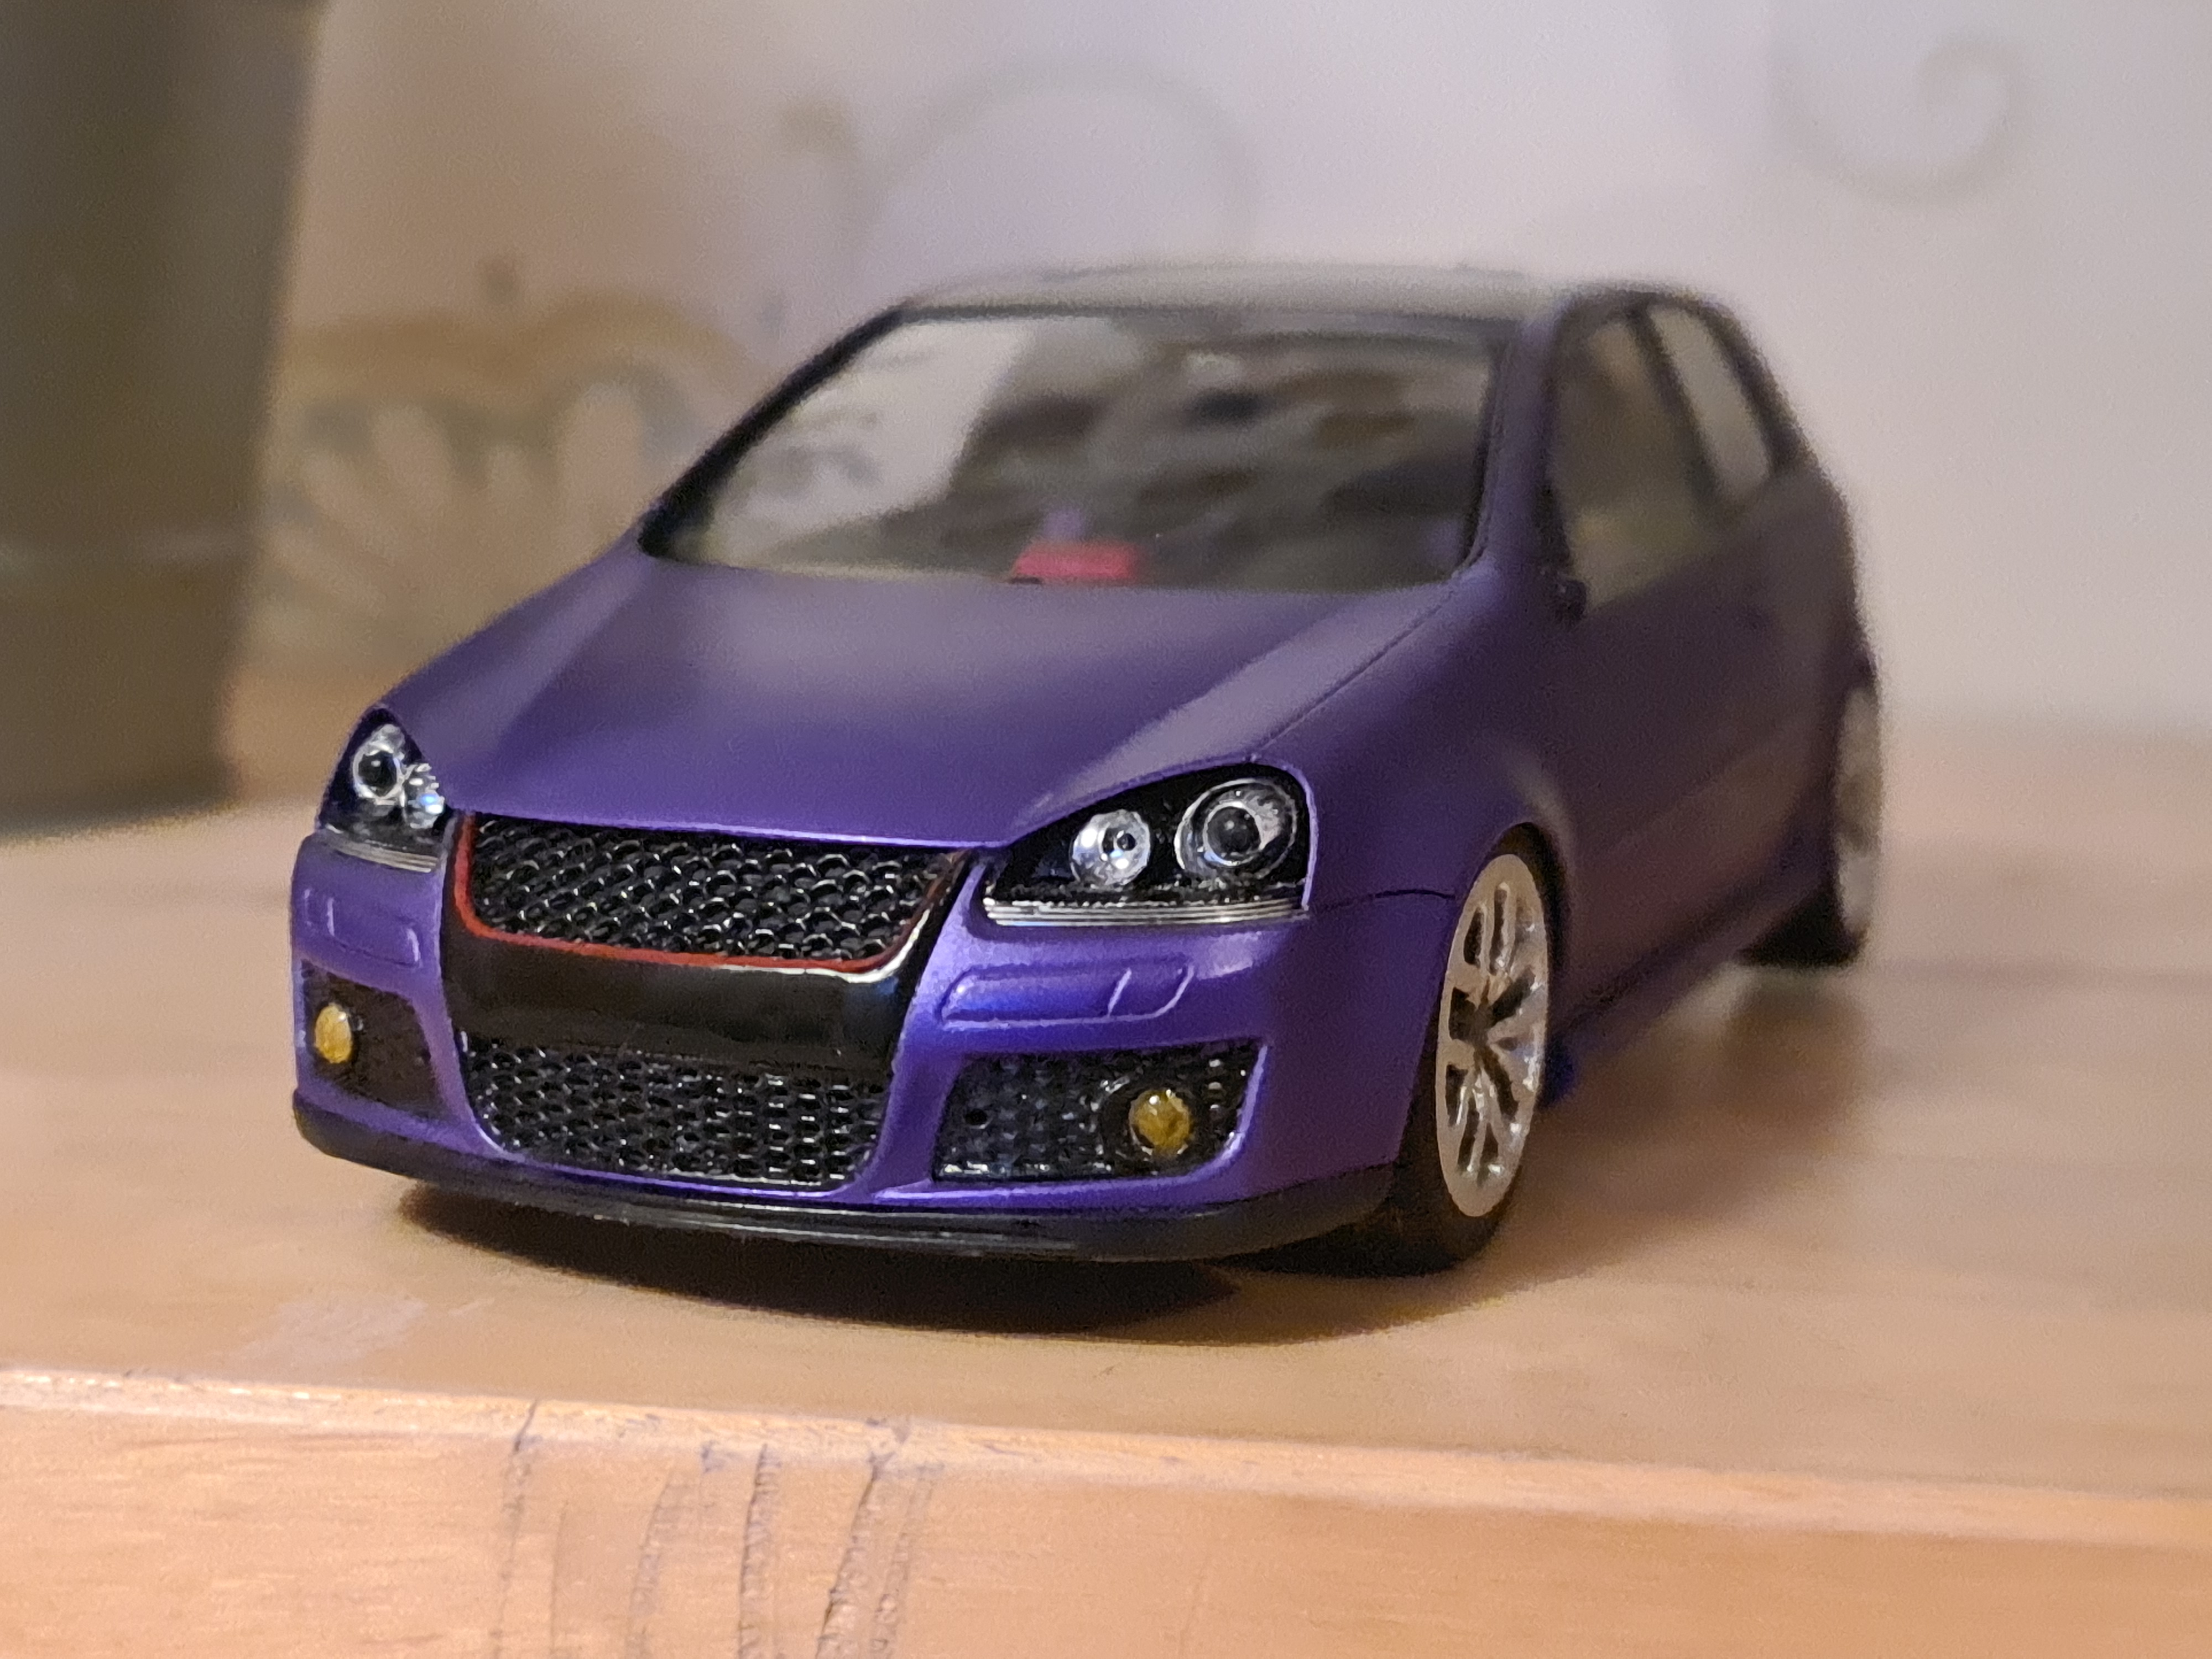
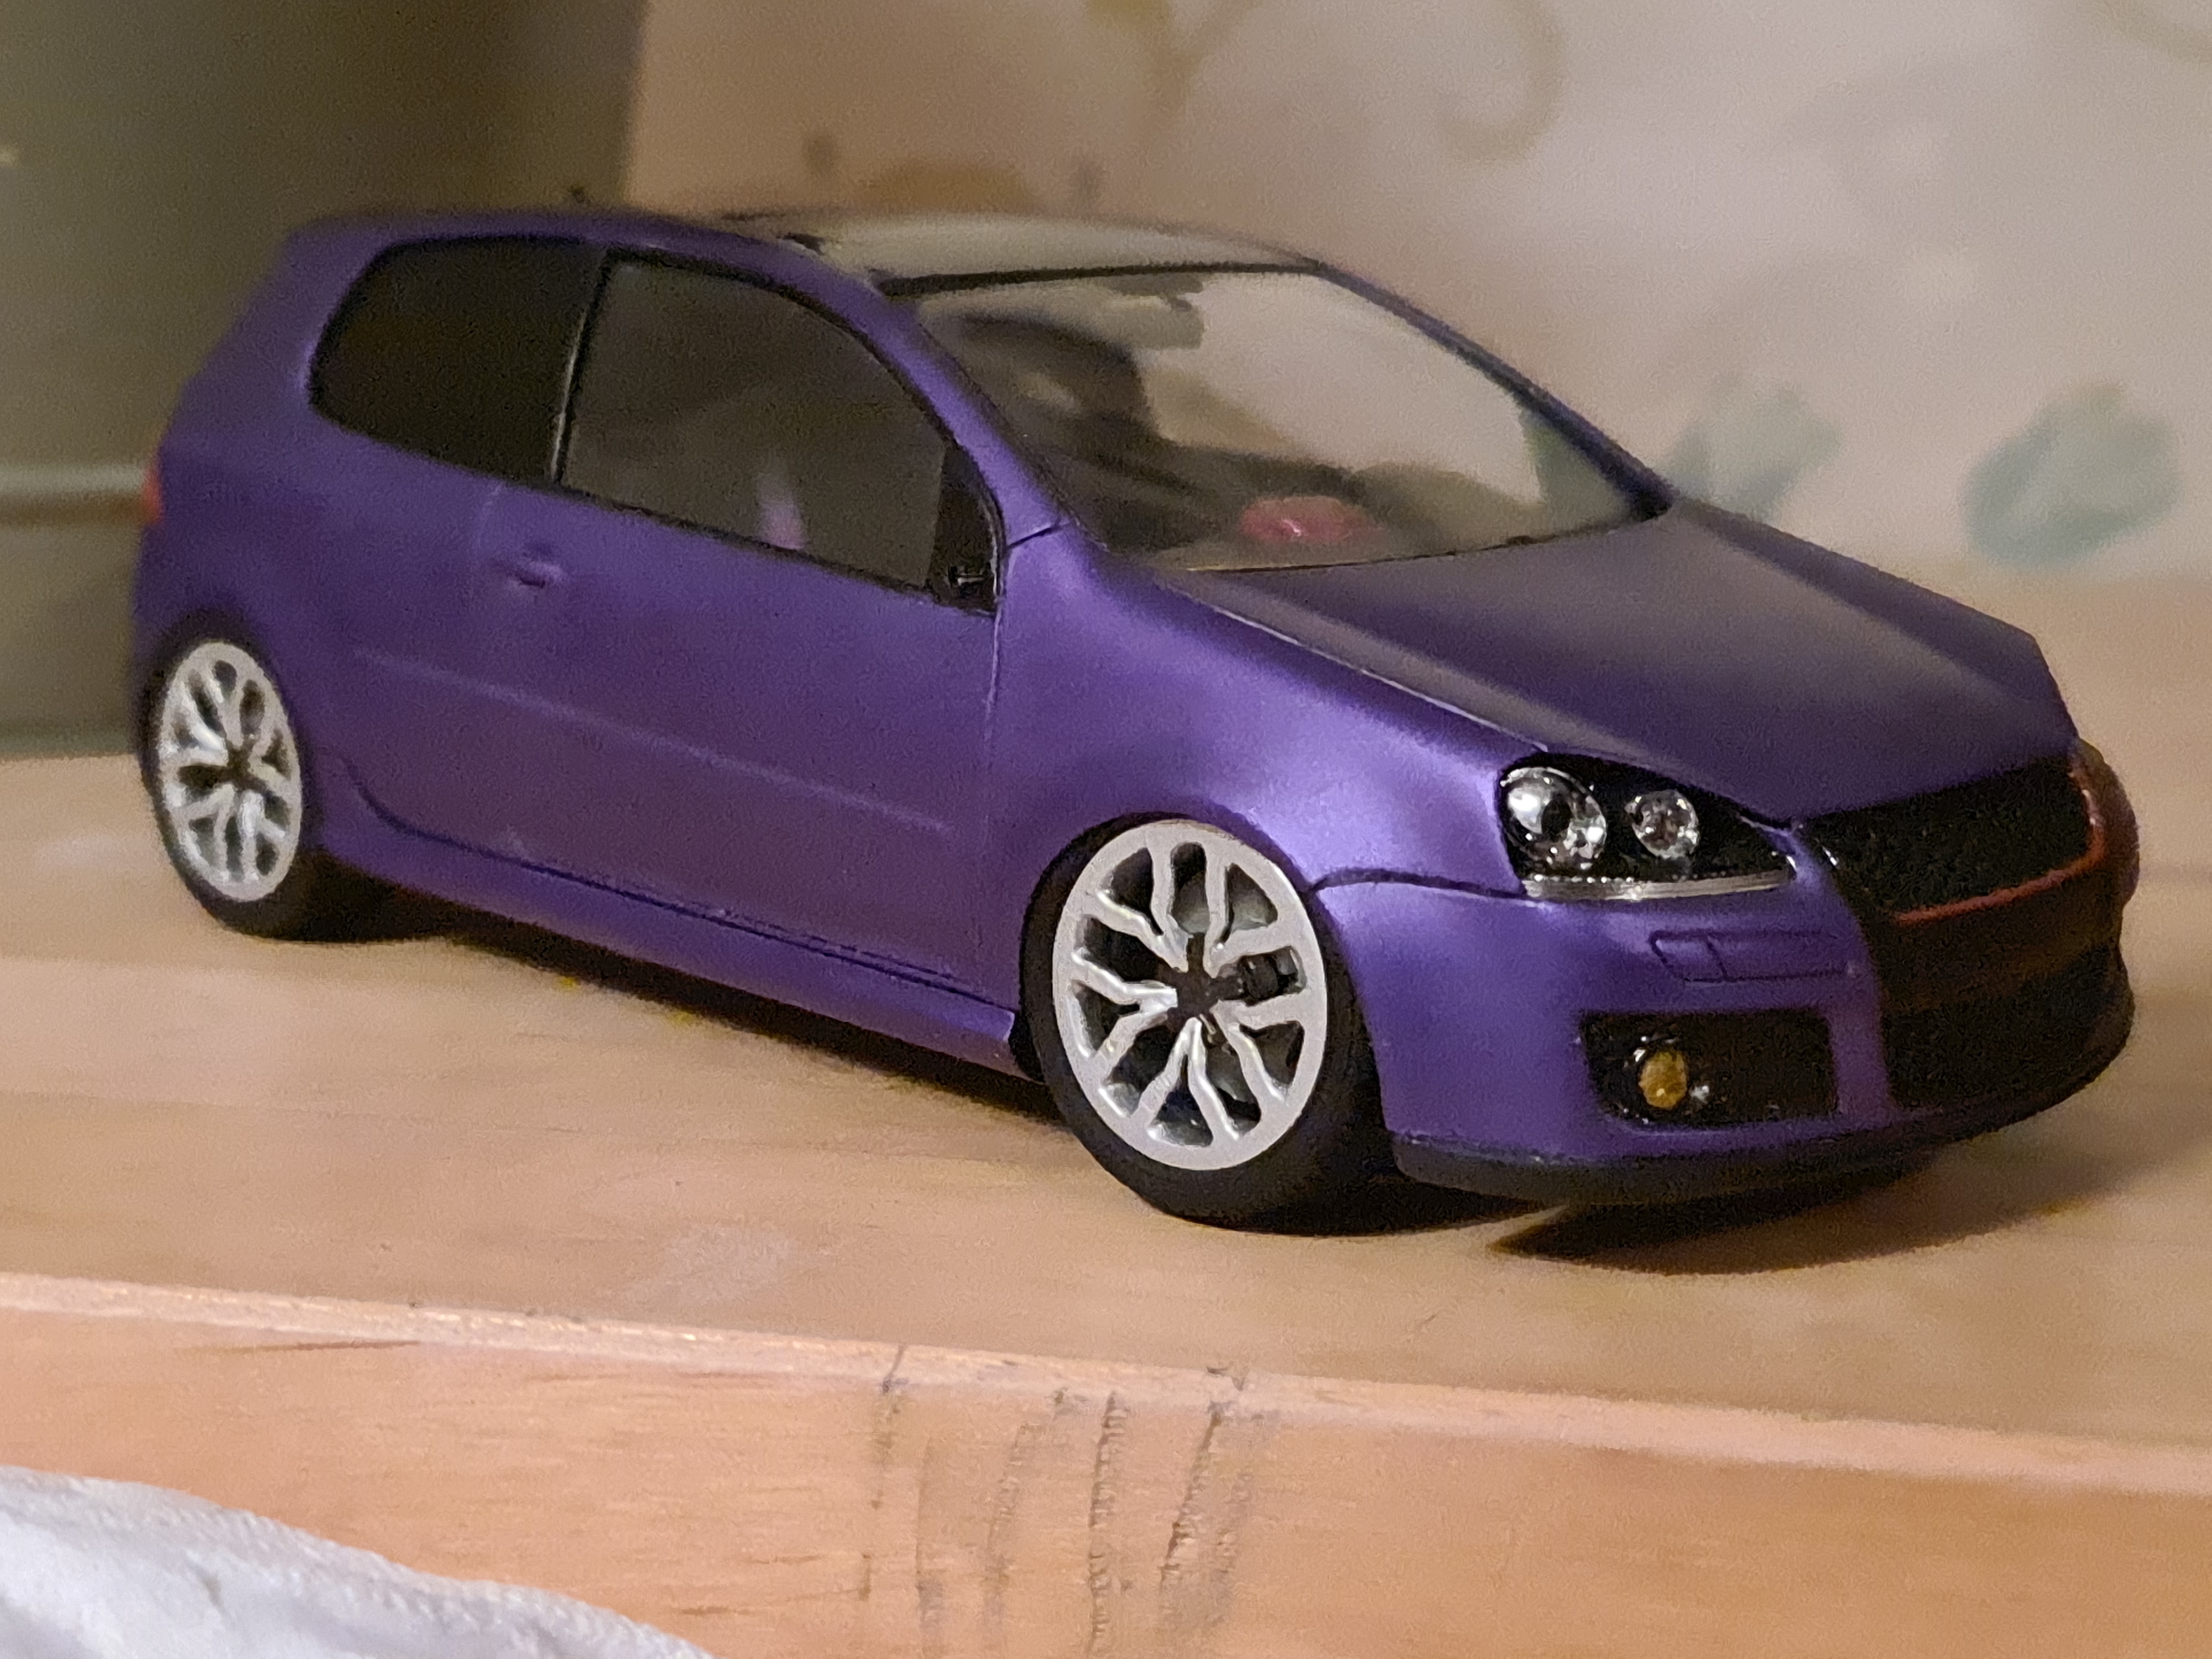
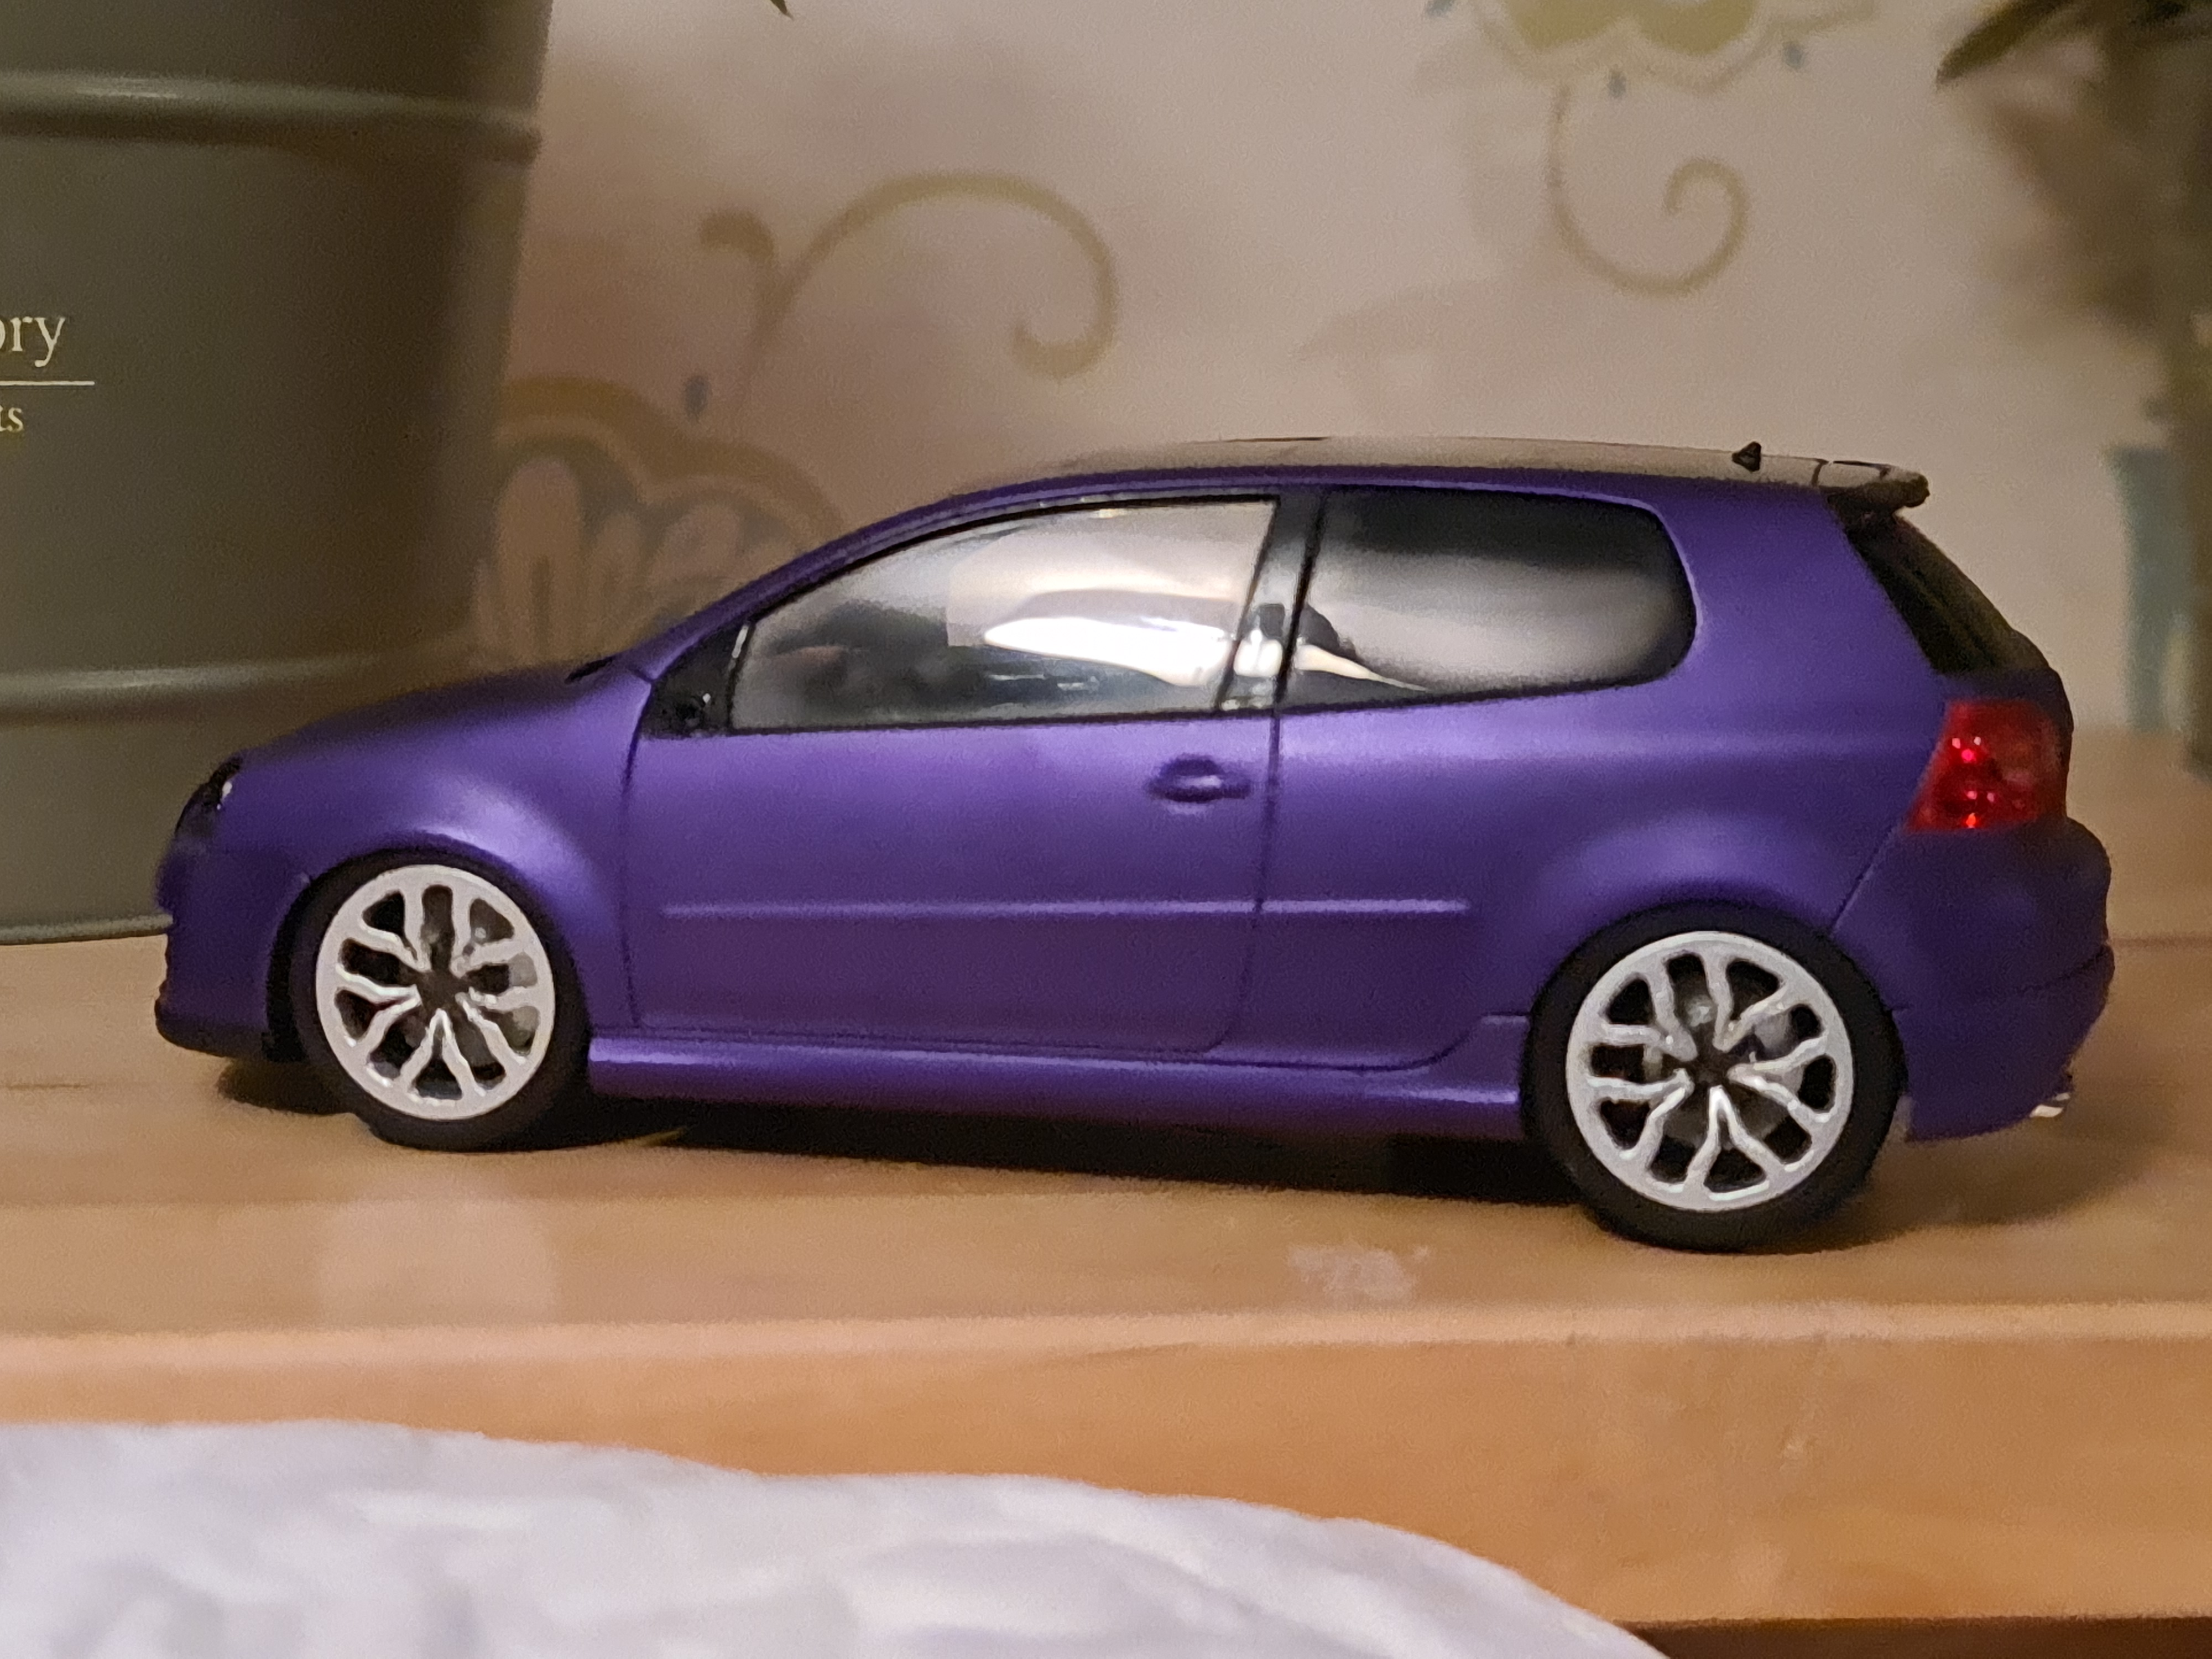
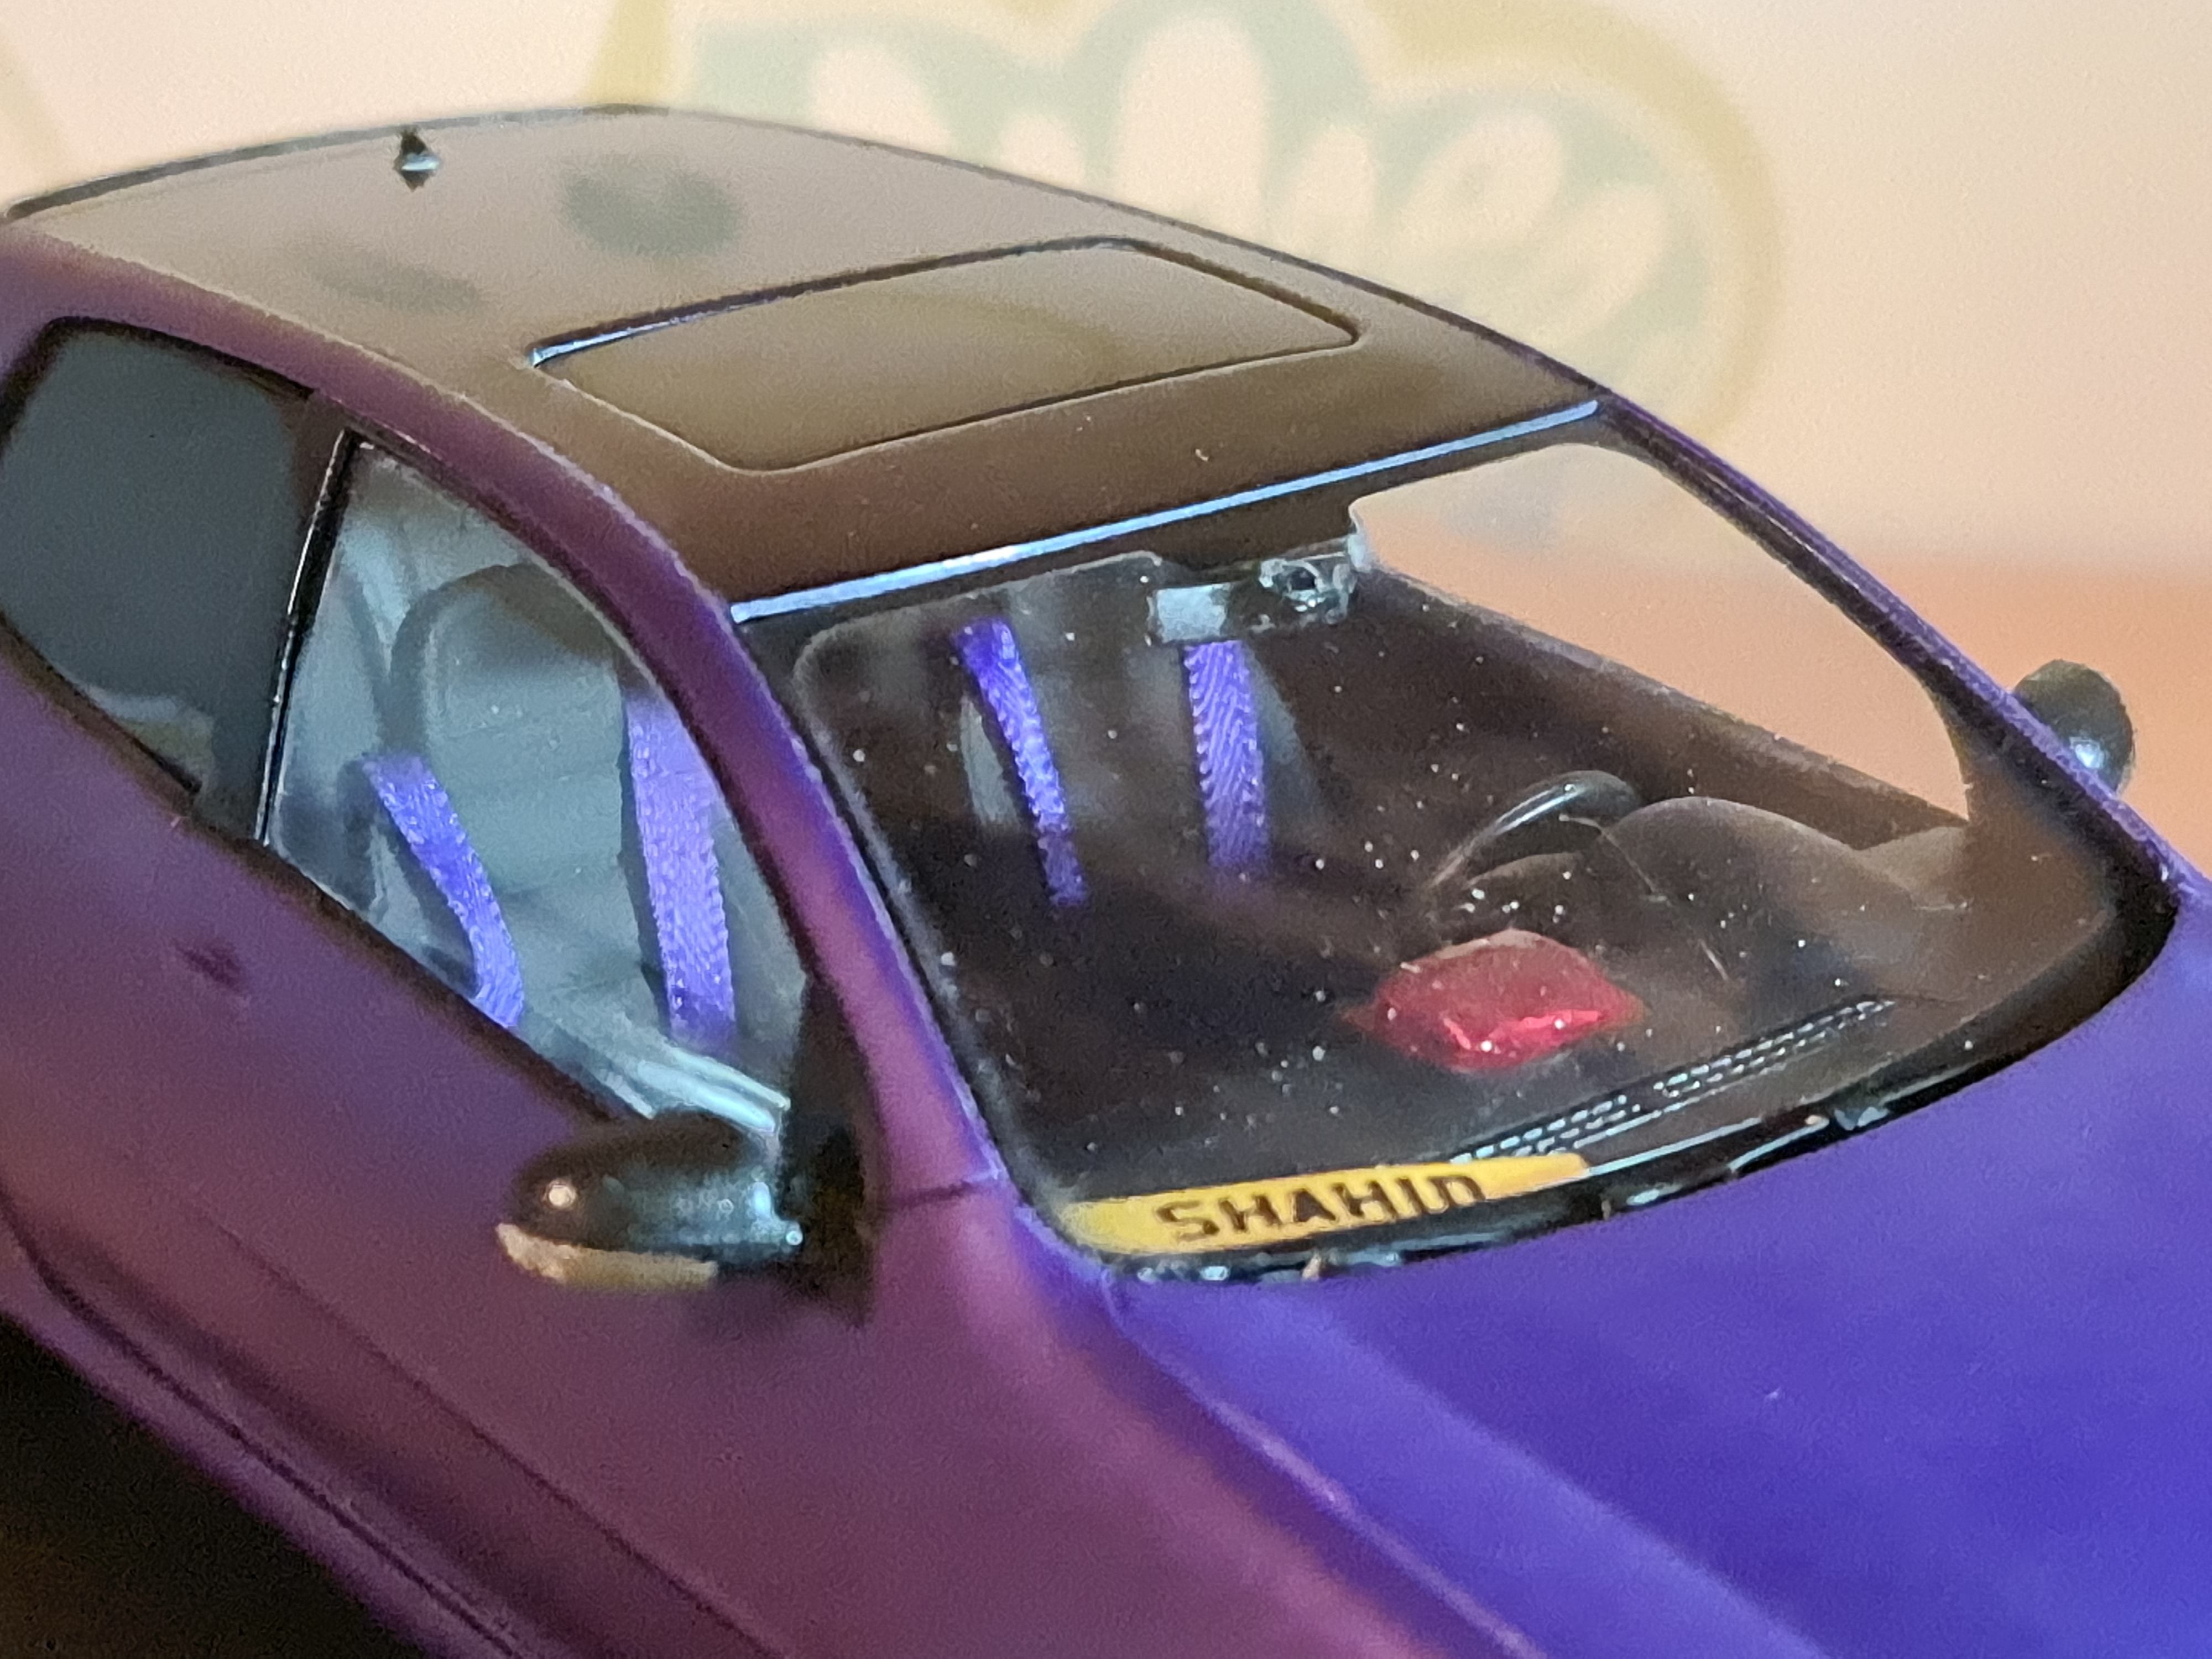
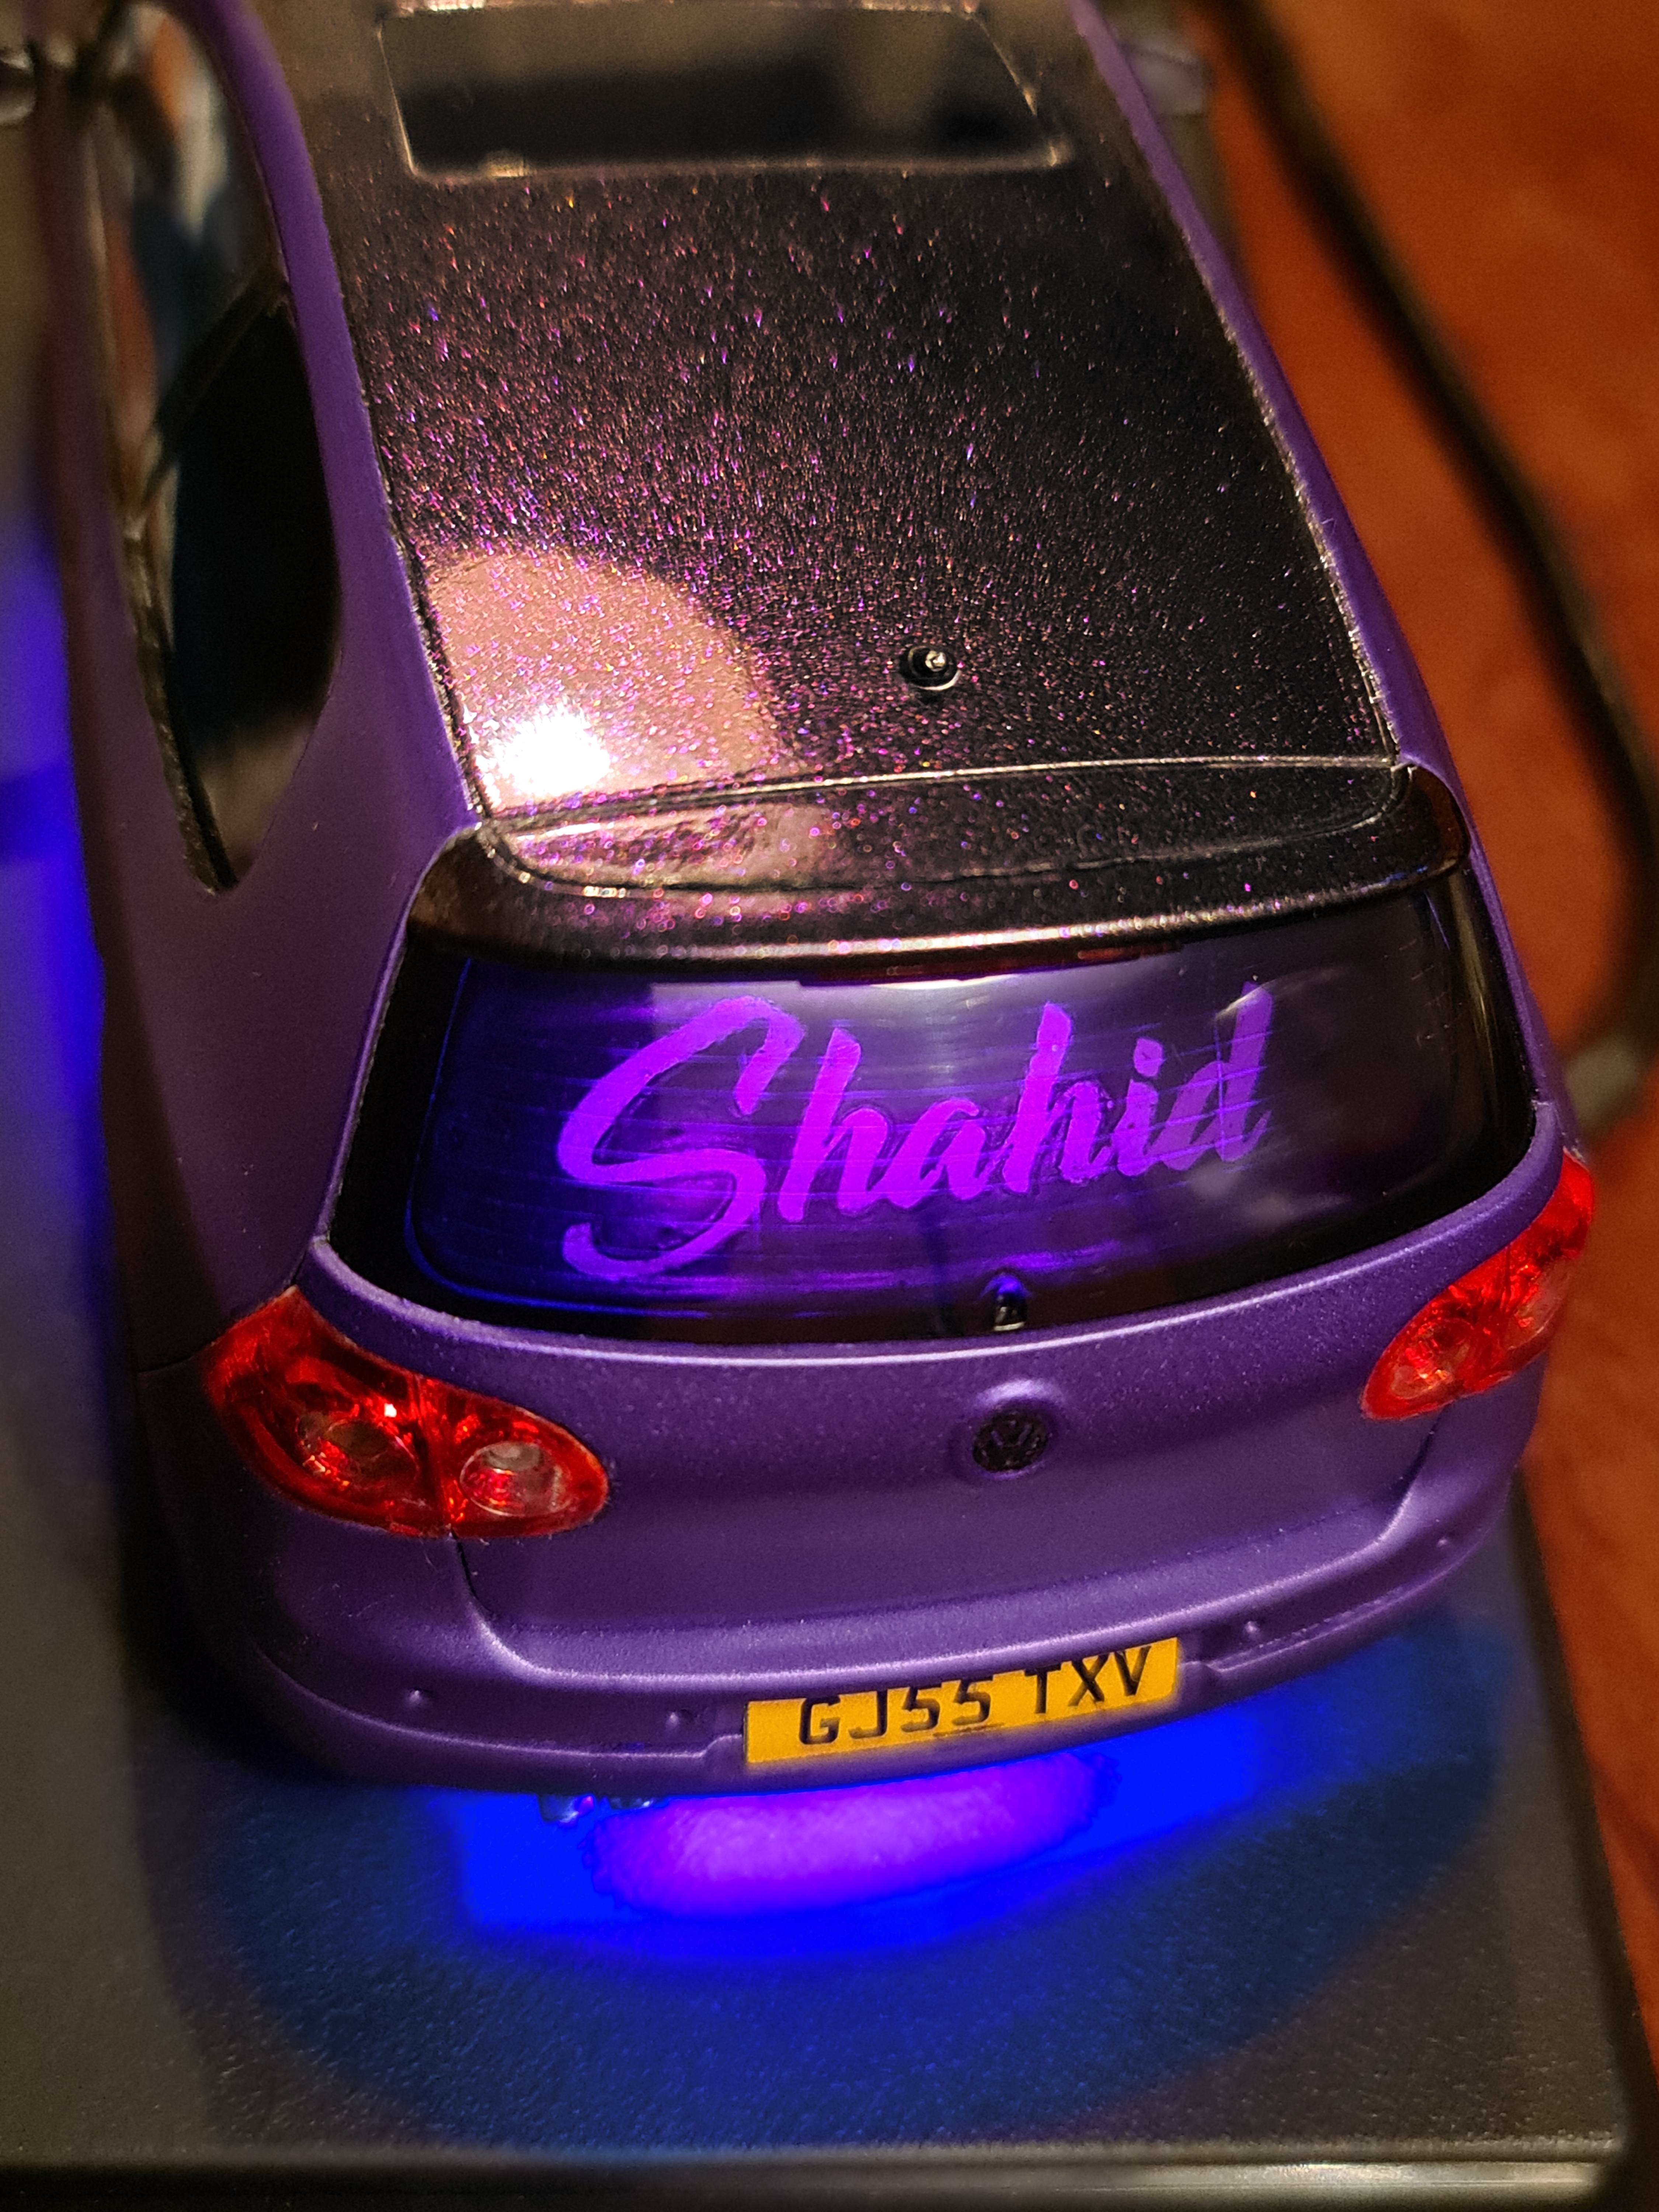
In other news, if your interested, I finally completed my replica model of my late friend Shahid's car that I made as a tribute to him, and I have to say I'm pretty chuffed with it
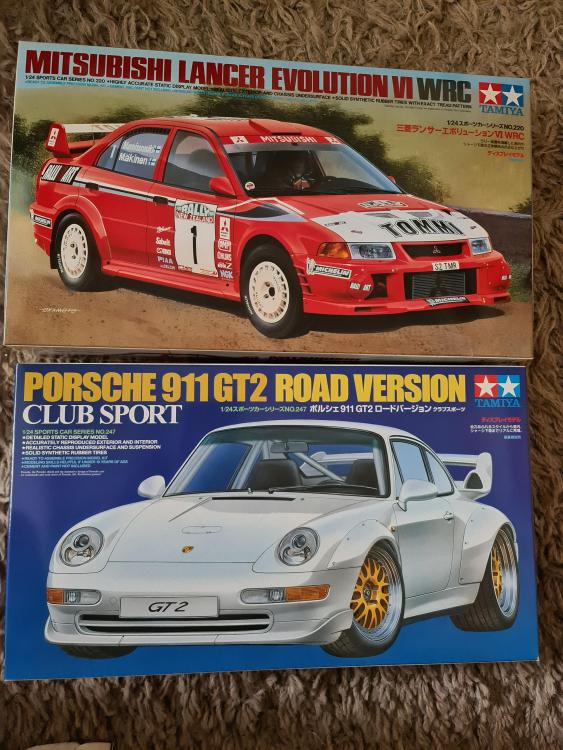
I've enjoyed making it soo much I bought more