

Socks
-
Posts
9780 -
Joined
-
Last visited
Content Type
Profiles
Forums
Wiki
Media Demo
Events
Everything posted by Socks
-
-
Looking good there Mo3!
-
 Hello Starlet Owners! You've all helped us build such an amazing atmosphere here on ukso. Now its time to give even more back to you guys n gals! We have sourced one lucky member a Brand New, Mint Condish! Vol.44 Hyper Rev's Book - Toyota Starlet EP82/EP91! What the Hell is Hyper Rev's? Why Would I Want That? For those who don't know. Hyper Rev issues are basically a huge encyclopaedia/magazine that are released for pretty much every JDM car that has had a decent following over in Japan. There packed full of pictured dictionary's of every single performance part available for our cars. Exhausts, Filters, Suspension Parts, ECUs, Strut Braces, Wheels. You name it, its in there! Features on some of the most iconic Starlets from the past, such as the HRF GT Turbo and the JAM Glanza. Its basically the most in depth JDM booklet of Starlet History out there! How do I enter? What do I have to do? All you have to do is post a picture in this thread to show us why YOU think you DESERVE such a rare piece of JDM history. Members, Full Members, Moderators, Traders Can All Enter! Be Creative! It could be Anything! A Professionally Taken Picture of your Starlet. Your Misses or Yourself Wearing Nothing but some UKSO Merch. An Internet Meme That You've Created. Anything Goes! Staff will be judging who they think should be the winner. If you make us Smile, Laugh, Cry, Shiver or Close our Internet Browser in Disgust. You will stand a much better chance of Winning! Please be careful, don't go getting yourself into a dangerous situation or in trouble over this competition, we are NOT responsible! When will I know if I've won? We will be announcing the winner when UKSO reaches 300 Full Members. This will be within the next 3 weeks based upon current stats! Staff will notify you all of the competition closure and Time & Date of announcing the Winner!
-
Who's going to be mapping this weapon abbott? or aint u got that far matey?
-
Perfect time of year to remove this! haha! In all seriousness, the system is heavy, puts load on your engine and noticeable gains can be achieved by removal of it! Big Thanks to Glanza_Ragger for the Article and Photos! http://www.ukstarletowners.com/page/articles.html/_/engineandtuning/air-conditioning-removal-r48 Enjoy Owners!
-
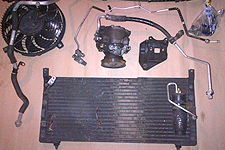 Right, first of all you want to remove ALL the gas from inside, either go to a bodyshop and have it removed.. Or nuke the ozone and help heat our world up a bit more.. If you opt for the heat.. Find your refill cap.. Should have a plastic cap on with the letter H on. Unscrew that cap. Place a cloth over the pin, and poke it with a screw driver, which will release all the gas. Make sure to hold a cloth over it otherwise it will spray aircon gas all over your bodywork and face. (VENTING THE AIRCON GASSES TO THE ATMOSPHERE IS ILLEGAL IN THE UK AND OTHER PARTS OF THE WORLD. LEGALLY YOU SHOULD HAVE IT DEGASSED AT A BODYSHOP OR AIRCON REFILLING CENTRE.) (If you do happen to slip on the valve to vent it, DONT BREATH ANY IN) Next you want to unbolt all of the aircon radiator securing bolts from the slam panel, there is 2 x 10 mm bolts holding each corner of the radiator to the slam panel. 1 x 10 mm bolt holding the aircon rad fan to the slam panel. 1 x 12 mm bolt holding the horn to the slam panel Next remove the bonnet latch mechanism. 2 x 10mm bolts holding that to the slam panel. While your there, unbolt the bonnet latch panel, once you have the latch off , there is 1 x 10mm bolt at the top holding it to the slam panel, and 1 x 10mm bolt holding it to the chassis bar. While your taking those front bolts off, find the pump with the gas refill cap on. Remove the 2 x 10mm bolts on top holding the 2 lines on. And also remove the 10mm bolt from the bottom of it and pull the pipes off it. On the left hand side next to the headlamp, there is another aircon rad pipe connector. Undo the 10mm bolt, and pull the pipe out of its connection. Now for the bulk head pipes, these 2 will enter right underneath your stock airbox or airfilter if its still in oem position.So remove it to give you access to the pipes. Cant remember what size they are, but use 2 large adjustable spanners on them. 1 spanner on the first nut, and the 2nd spanner on the locking nut. Twist opposite ways, and once there loose, pull the pipes out of the bulk head connector. Now get underneath the car. find the aircon pump. It is directly underneath the oil filter housing. Cant miss it (big enough) You want to slacken the powersteering pulley off first to make it easier to get the belt off. Use a foot long extention and a 12mm socket on the end, and undo this tensioning bolt. Also use a 14mm long spanner to slacken this nut off. This should free up the power steering pulley. Get back up top of it and use a rubber mallet to tap the pulley as far down as it will go. This will let all tension off the belt. Back underneath, look at the aircon pump. It will have 4 x 12mm long bolts holding it to its housing. 2 x 12mm bolts at the bottom, and 2 x 12mm bolts at the top. (1 bolt is holding the oil filter drip trap on, remove the 12mm cap bolt, then the 12mm long bolt is underneath the capnut) This should drop the aircon compressor down. Undo the 10mm bolt holding the aircon line to the compressor pump. Pull off the pipe. Also unclip the electrical connection plug from the pump. Follow the line that went from the aircon compressor pump along the chassis, it is bolted to the chassis with a 10mm bolt, next to the water radiator lower hose. Again, whilst your under there, remove the oil filter drip tray if your haven't completely taken this off already. This will make it much easier to do oil changes with an oil filter strap. Also remove the aircon compressor pump brackets! weighs a hefty amount!! 4 x 12mm bolts. Now check you have all your lines unlatched from the aircon rad, and remove the lines from the engine bay.I have no intention of putting mine back in, so i cut through them with a hacksaw. Makes them easier to remove. Saves a lot of jiggling about. Otherwise if you have an EP91, you would have to remove the water coolant overflow bottle, battery, battery tray holder etc to get one of the main bulk head lines out. Make sure you have all your electrical connections unlatched from the front. If so, pull one side of the air con rad out to clear the driver side headlamp, this should allow you to pull the passenger side out and clear of the opposite headlamp. This leaves you this. So reattach all of your bonnet latch panel, bonnet latch, horn, clip all our electrical plugs back into the panel. Fit your shorter belt, tension the 12mm tensioning bolt up until the belt feels tight. (bit of common sense) Lock the power steering back in place using a 14mm long reach spanner. Make sure the aircon compressor plug isn't hanging freely, cable tie it otherwise. Recheck everything. This will leave you the finished article. TONS of room to play with.. Removing the air con helps when your removing the exhaust manifold, turbo etc. All you would have to do is drain your coolant from the rad, remove that and you have a huge open space. *** GT owners, you will have to bridge the connector for the pressure switch otherwise the fan will be permanently running from ignition on. *** Glanza owners don't have to worry about this to my knowledge. Article & Photos by Glanza_Ragger
 -
lol... We in uk are lucky SR's are rare... but they aint THAT rare....
-
Good to see you getting stuck into what can only be described as a SHITE job! Keep us posted dude, I cant wait to see this rudey running mate! Gonna be a weapon!
-
I think u need to get some pics mr badger! Id like to put them in the factory place! know anyone with some that had em from the factory?
-
Stunning how much there worth now!
-
Josh@TunerLifestyle's Project Glanza *20/06/14*
Socks replied to Josh@TunerLifestyle's topic in EP91 Glanza Progress Blogs
Looking Good There Josh! Just be aware, this will alter your MAP! -
Few mods can help bridge that gap
-
Welcome to ukso matey!
-
Any idea what the wheels weigh each What size and width r they?
-
Just featured it on our FB page for you! ALl in good time mate, there never finished... No Rush!
-
Very Rare Bonnet fella. Bet its nice n light! Will be a decent quality item too being JAM! Wheels look pretty sick too! Keep us posted!
-
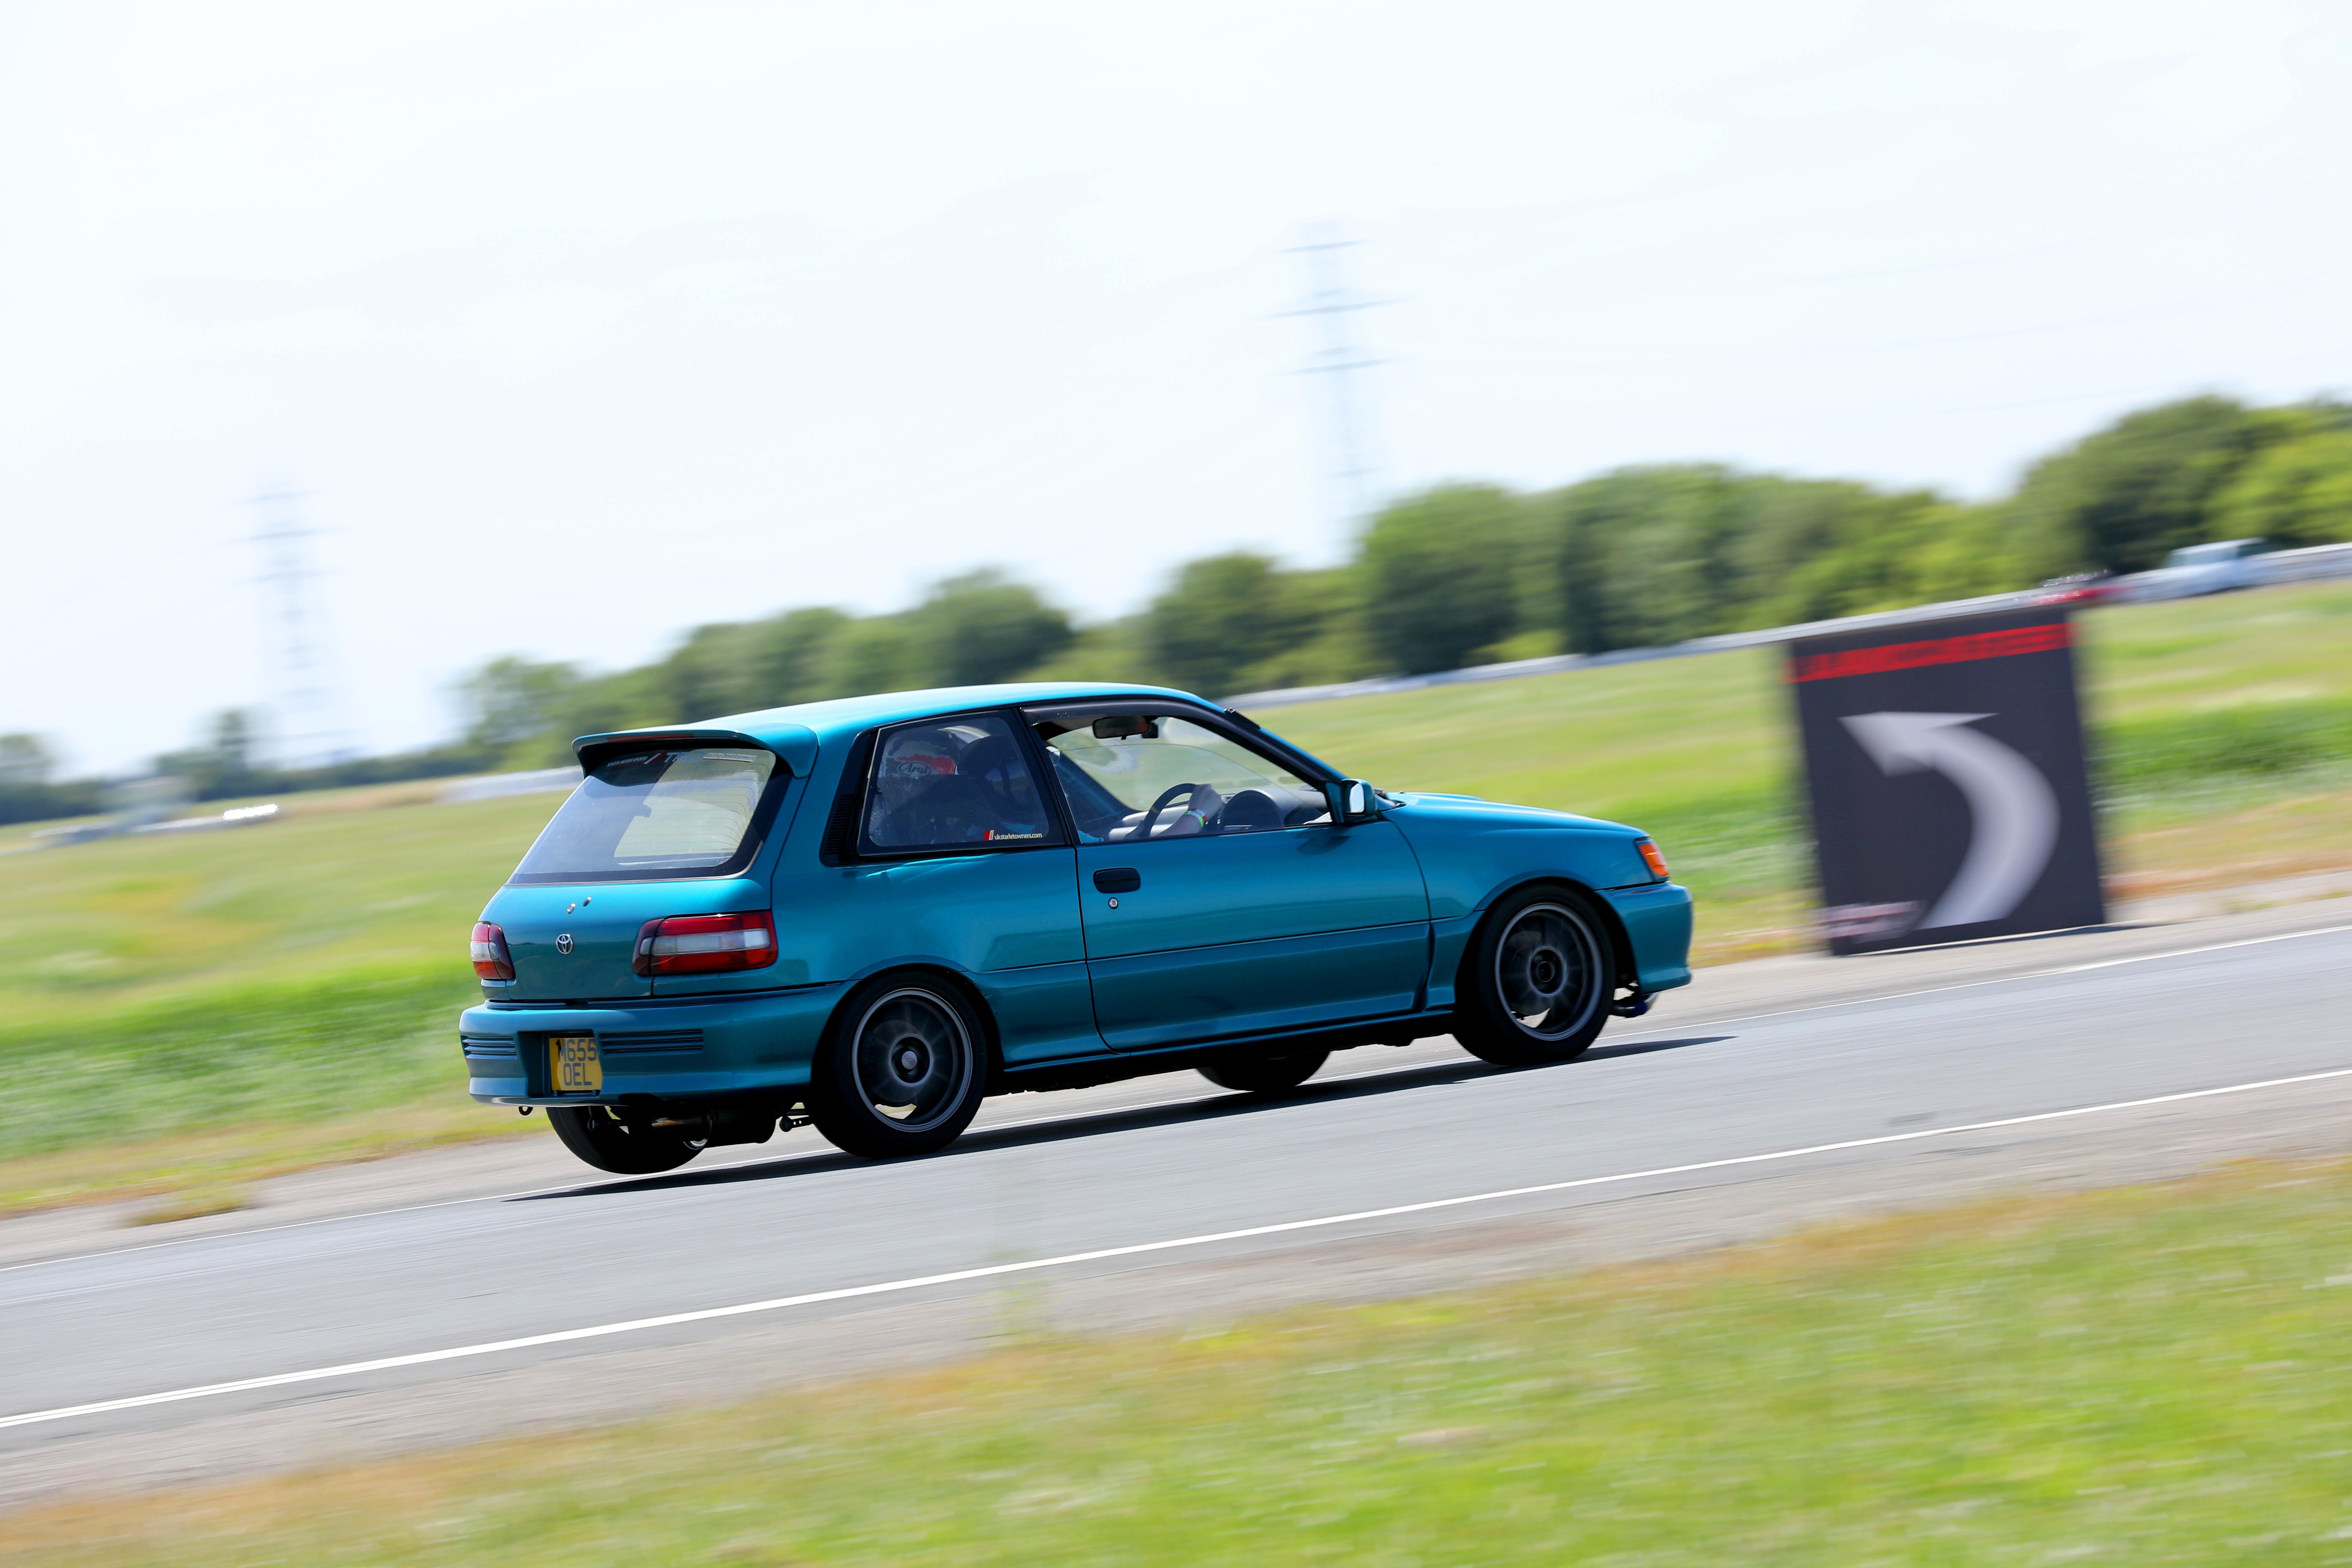
That's pretty much the most stunning ep82 gt turbo ive ever seen! Epic Photo Too Mate! Loving it!
-
Aye I like um! Not easy to come by fella! Cheers Fella Cheers Phil! Took this for little blast round some backroads tonight. Even with minimal power its still a laugh! Looks Strange with no spoiler tho!
-
No Simple Task!
-
Its gonna have to be towards end of month for me too Rob! Sorry 100% coming though, wouldn't miss it for the world!
-
Loving the Buddyclubs dude, nice wheels and suit it! Liked the xxrs but I bet it didn't drive too good!
-
Woodsport did this I believe... Don't know where the car went tho!
-
I put mine.... On bottom of heater blower box in passenger side and on drivers side I think it was on bottom of air duct piping... Cant recall for certain tho!
-
New Wiki Article - EP91 Clear Indicator Lenses!
Socks posted a topic in News & General Announcements
Big Thanks to Morgey, True Legend. Perfect guide! Good Clear Photos & Clear Instructions! http://www.ukstarletowners.com/page/articles.html/_/exterior/ep91-clear-indicator-lenses-r47 Moved to the Wiki from the Forum -
 Hopefully this will help a few people out, a quick and simple guide on how to change your front indicator lenses from either amber to clear or clear to amber It's a pretty easy job so don't be afraid to have a go. First off: tools, all you are going to need as a bare minimum is: Posidrive/cross head screw driver, fairly small one Flat blade screw driver That's it for basic straight swap; only other things you may want is something to clean them with. And if you are changing from amber to clear you'll want Silvatech or chromed bulbs to give it a cleaner look; these can be found on a quick eBay search or any decent car parts store should stock them as well Right so get your bonnet open and prop it up - first thing is the screw holding the top support in place, remove this. Once this is out you want to lift the light from the bottom and directly forward, no twisting etc, in order to pop the rear mount from the clip it locates into, like so (be firm but delicate, I broke my clip 1st time): This is the clip you are removing it from: Once this is free from this clip you should be able to wriggle it out from the body of the car. Once free either twist out the bulb and holder or unclip the connector to the holder. Repeat this for both sides, then head indoors with both units (it's winter so I'm staying warm ) Next step is to remove the lens; start off by removing the 2 small screws on the back, next to my finger and thumb. Now just gently pry the lens away from the side where you removed the screws from, just to break the seal (no glue just stuck from dirt and grime build up) but once it's broken stop as there's still some clips to remove! The clip on the top is the one you want to lift, this is where the flat blade comes into use. Be careful, don't lean on the lip on the lens as you will easily break it, do it on a flat surface and maybe use a cloth to spread the load if you need to! All you are looking to do is get the grey plastic to sit on top of the lens, this is the clip you want to lift, next to my forefinger. Once you have this clip lifted you want to pull on the same side you did earlier, the side the screws were removed from. It's a bit fiddly but it will come away like so: Once off you will be left with a grey version of this: Mine was sprayed because i thought it looked a bit funny with the grey behind on the non reflective area on a black car, I would test fit first to see if you want to spray yours or if you are happy leave it! Next remove the seal, give it a clean with a damp cloth and do the same with the unit and leave to dry. Once dry refit the seal, there is a gap at the bottom so don't worry about that Refitting: The new lens just pushes back on evenly all over, making sure all the clips locate properly. Refit screws on the back. Once done up, repeat for the second lens, then head back out to the car. Now if you have changed from amber to clear lenses this is the point you would want to change the amber bulbs for your Silvatech or chromed ones! Fit bulb and holder back in. Then the final bit, locate the bottom rear clip first then the top should just slide under the wing and over the little upstand where the screw goes into. Close bonnet, stand back and admire your handy work OId vs New or visa versa Hope this is of some use to some people! Photos & words by Morgey