Claymore
-
Posts
660 -
Joined
-
Last visited
Content Type
Profiles
Forums
Wiki
Media Demo
Events
Everything posted by Claymore
-
4efe power steering pump with 4efte pump bracket.
Claymore replied to Claymore's topic in Chassis & Suspension
Well I'll have a look to see how complex it becomes, I've already got an fte pump but was hoping to change as little as possible. Probably less work to make my own lower bracket from scratch to clear the filter housing and match up to the fe pump Lol. -
Claymore's sleeper 4efe+t-t+t build (R.I.P. the Nanza)
Claymore replied to Claymore's topic in EP91 Progress Blogs
Thanks mate, I'm plodding on with the repair and maintenance side of things first, it was a bit neglected when I found it but it was a solid base to start from. Occasionally I treat myself to an actual performance mod to keep the spirits up! 😀👍 -
Claymore's sleeper 4efe+t-t+t build (R.I.P. the Nanza)
Claymore replied to Claymore's topic in EP91 Progress Blogs
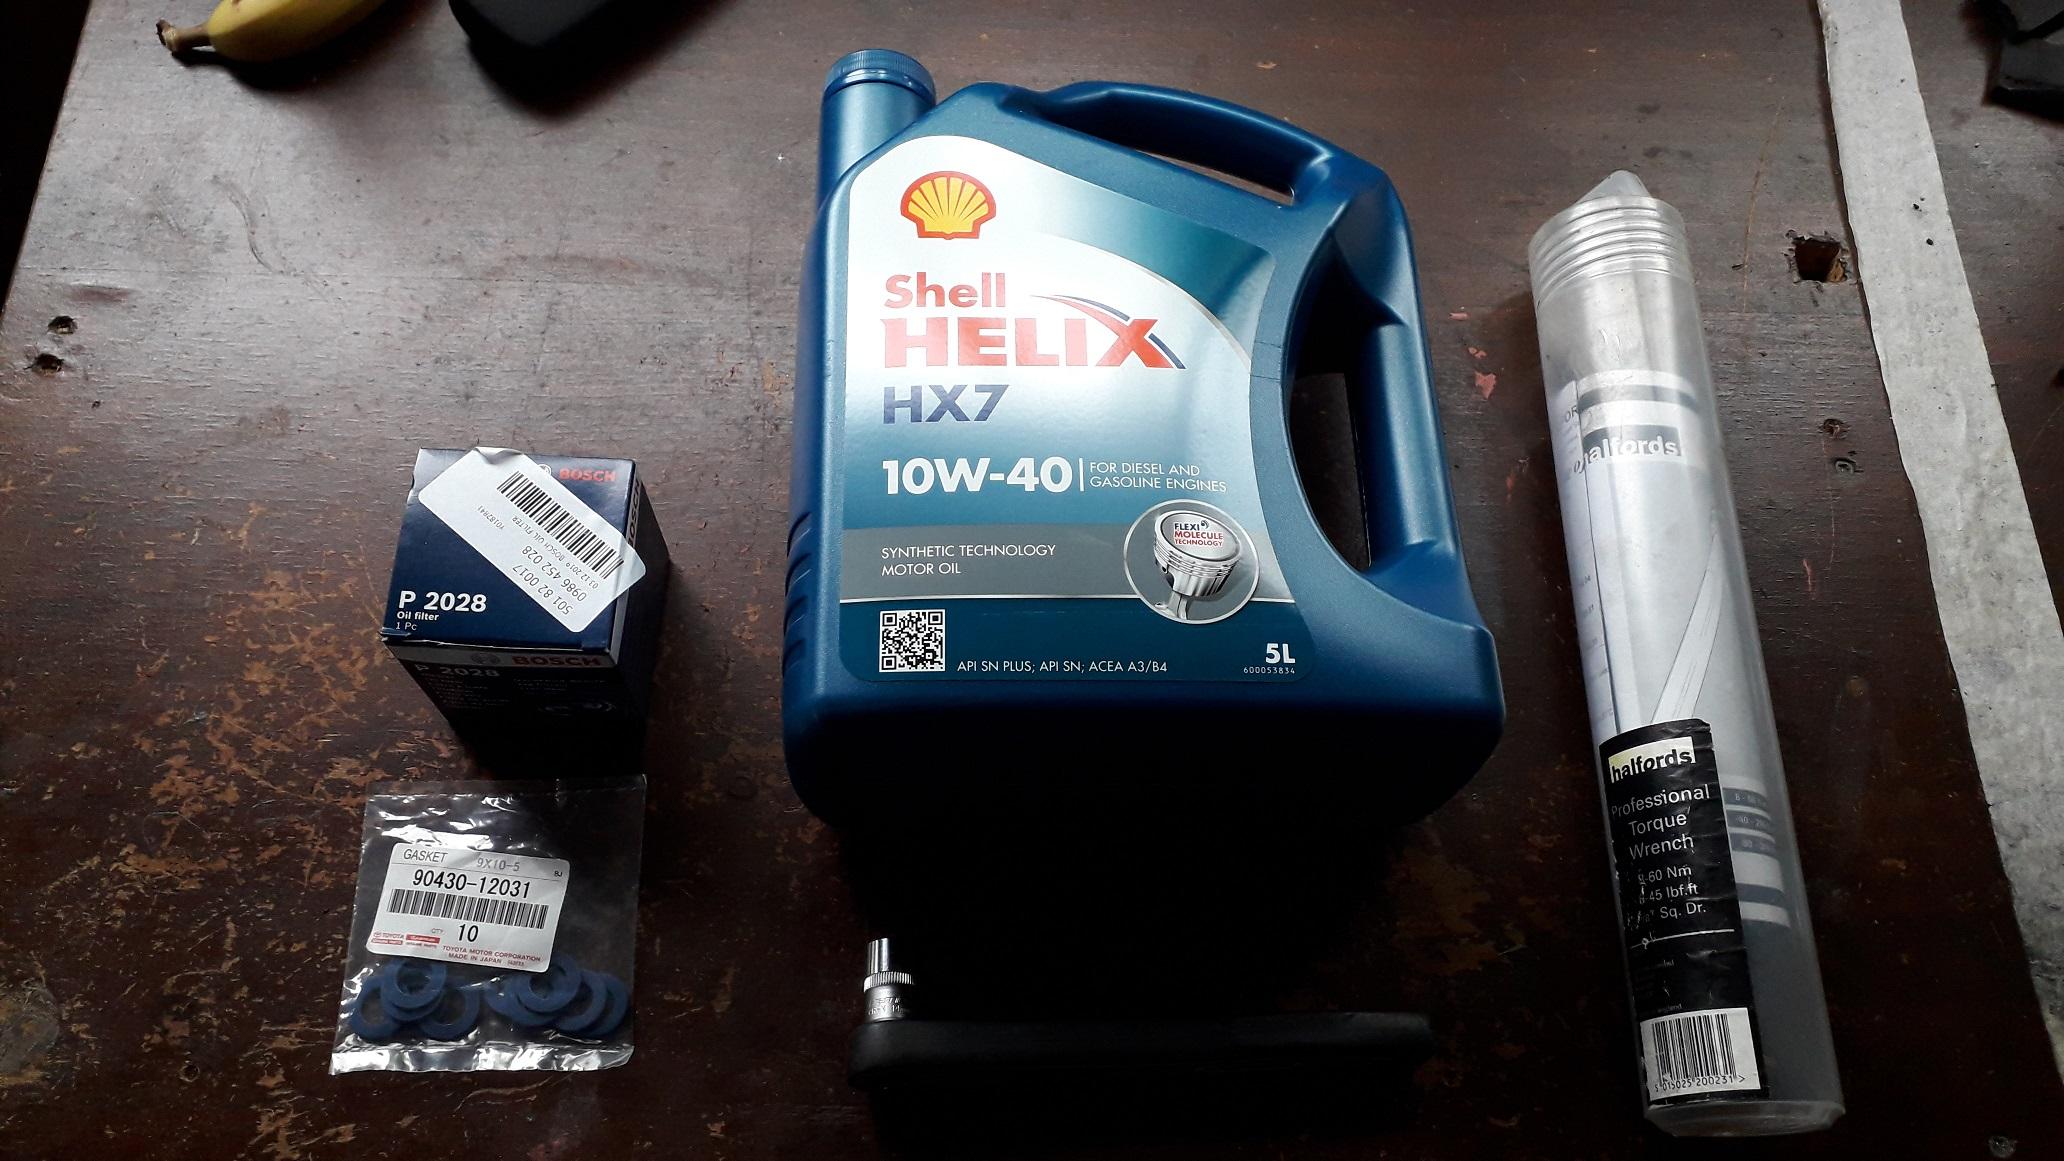
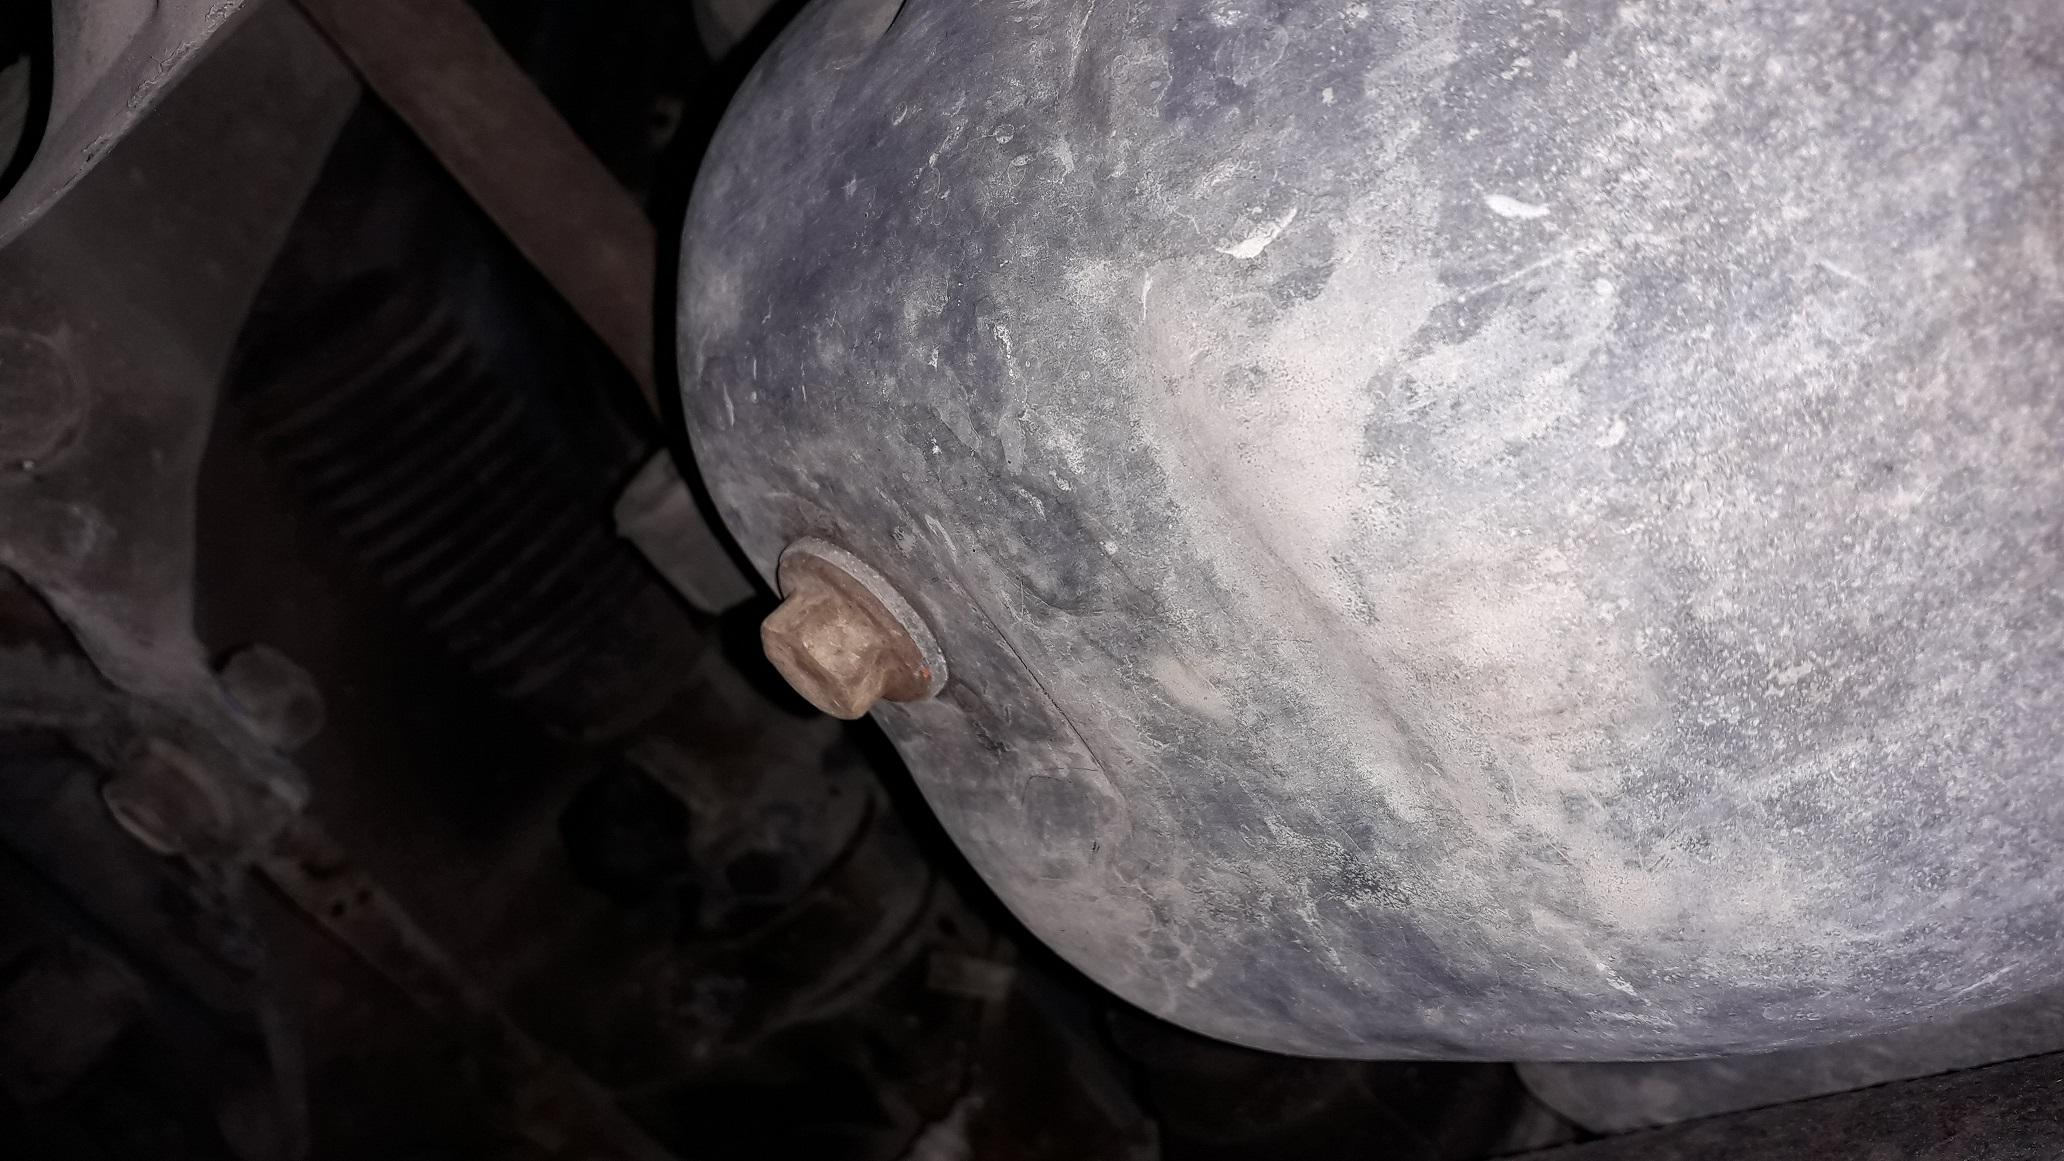
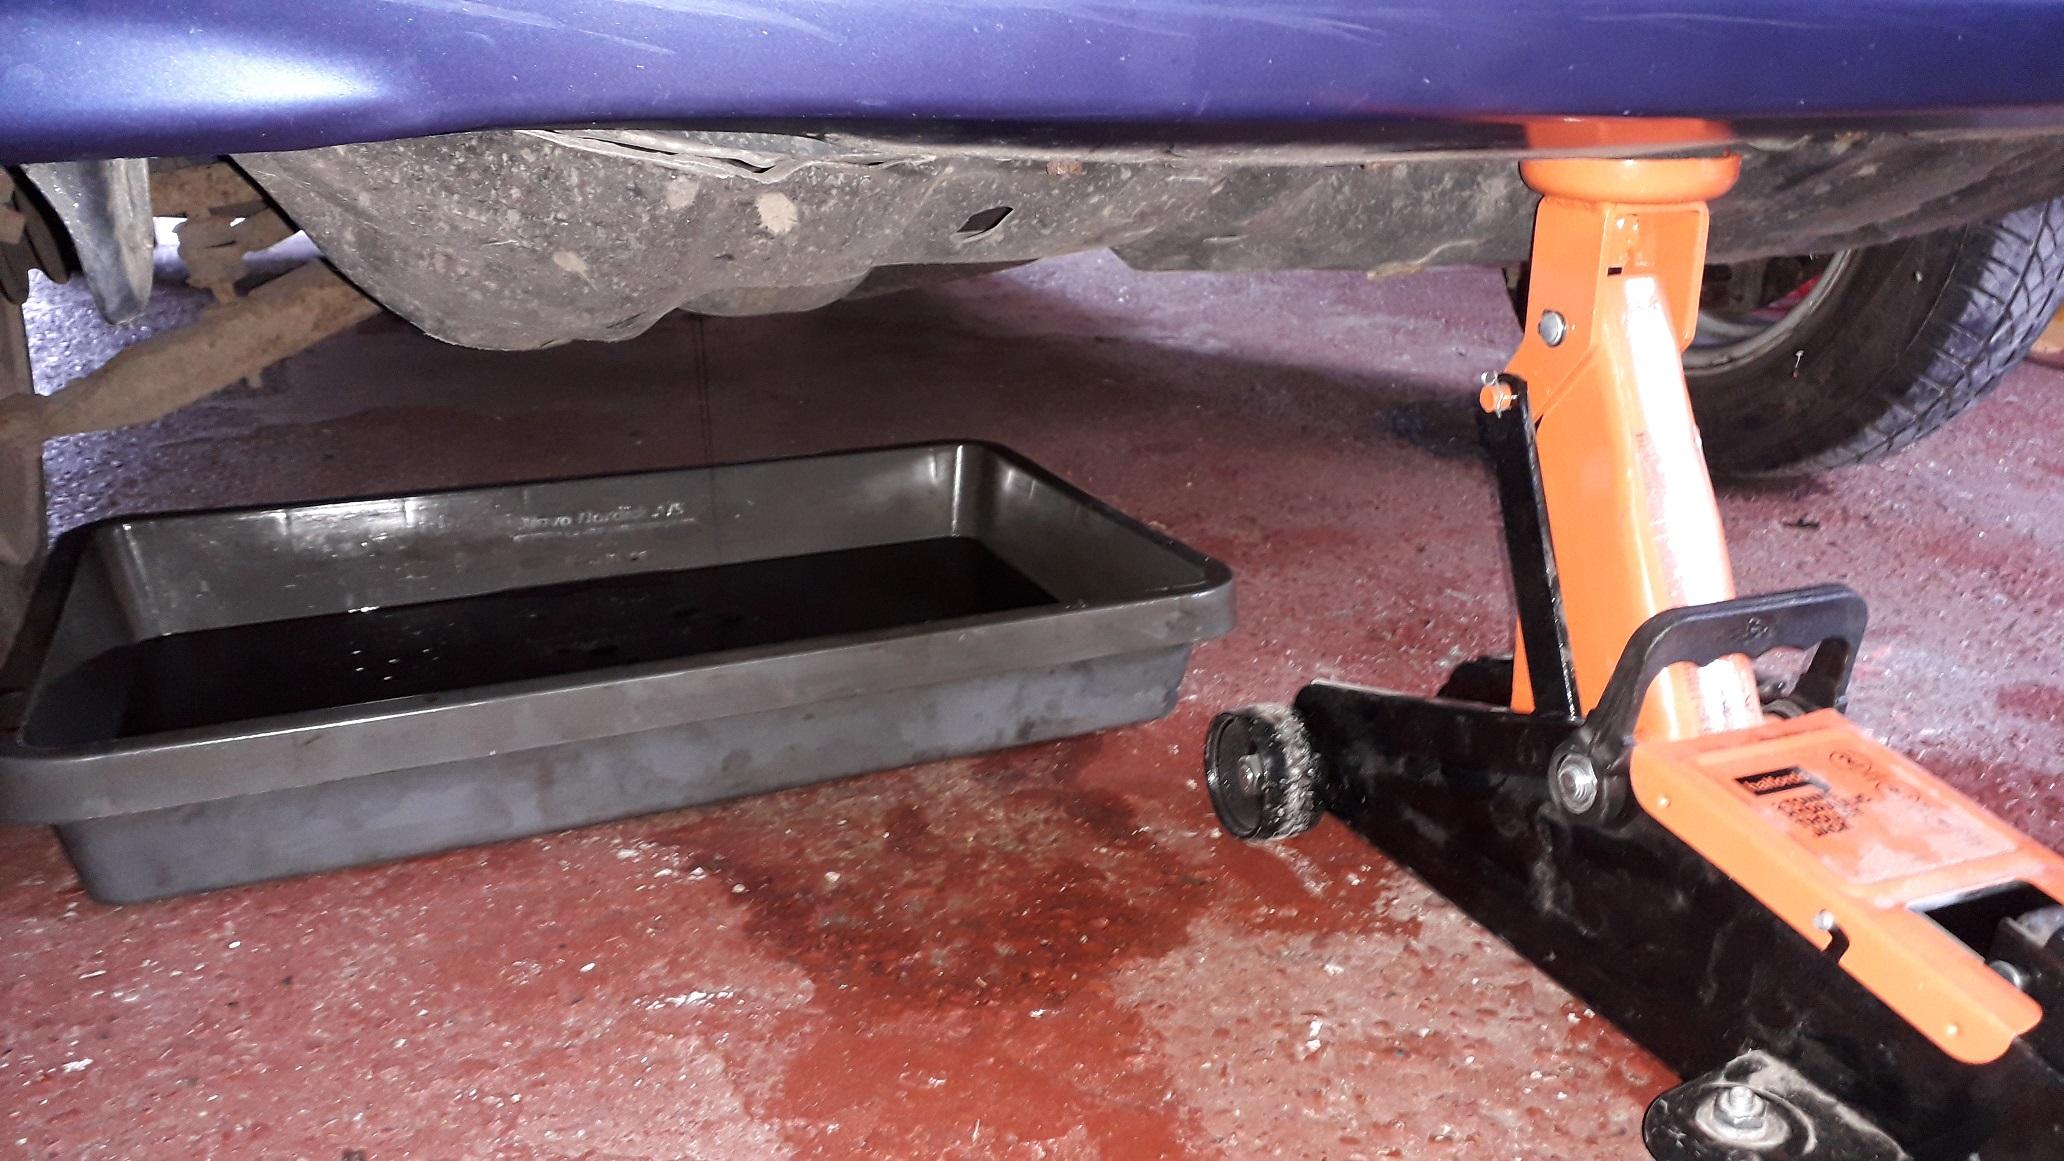
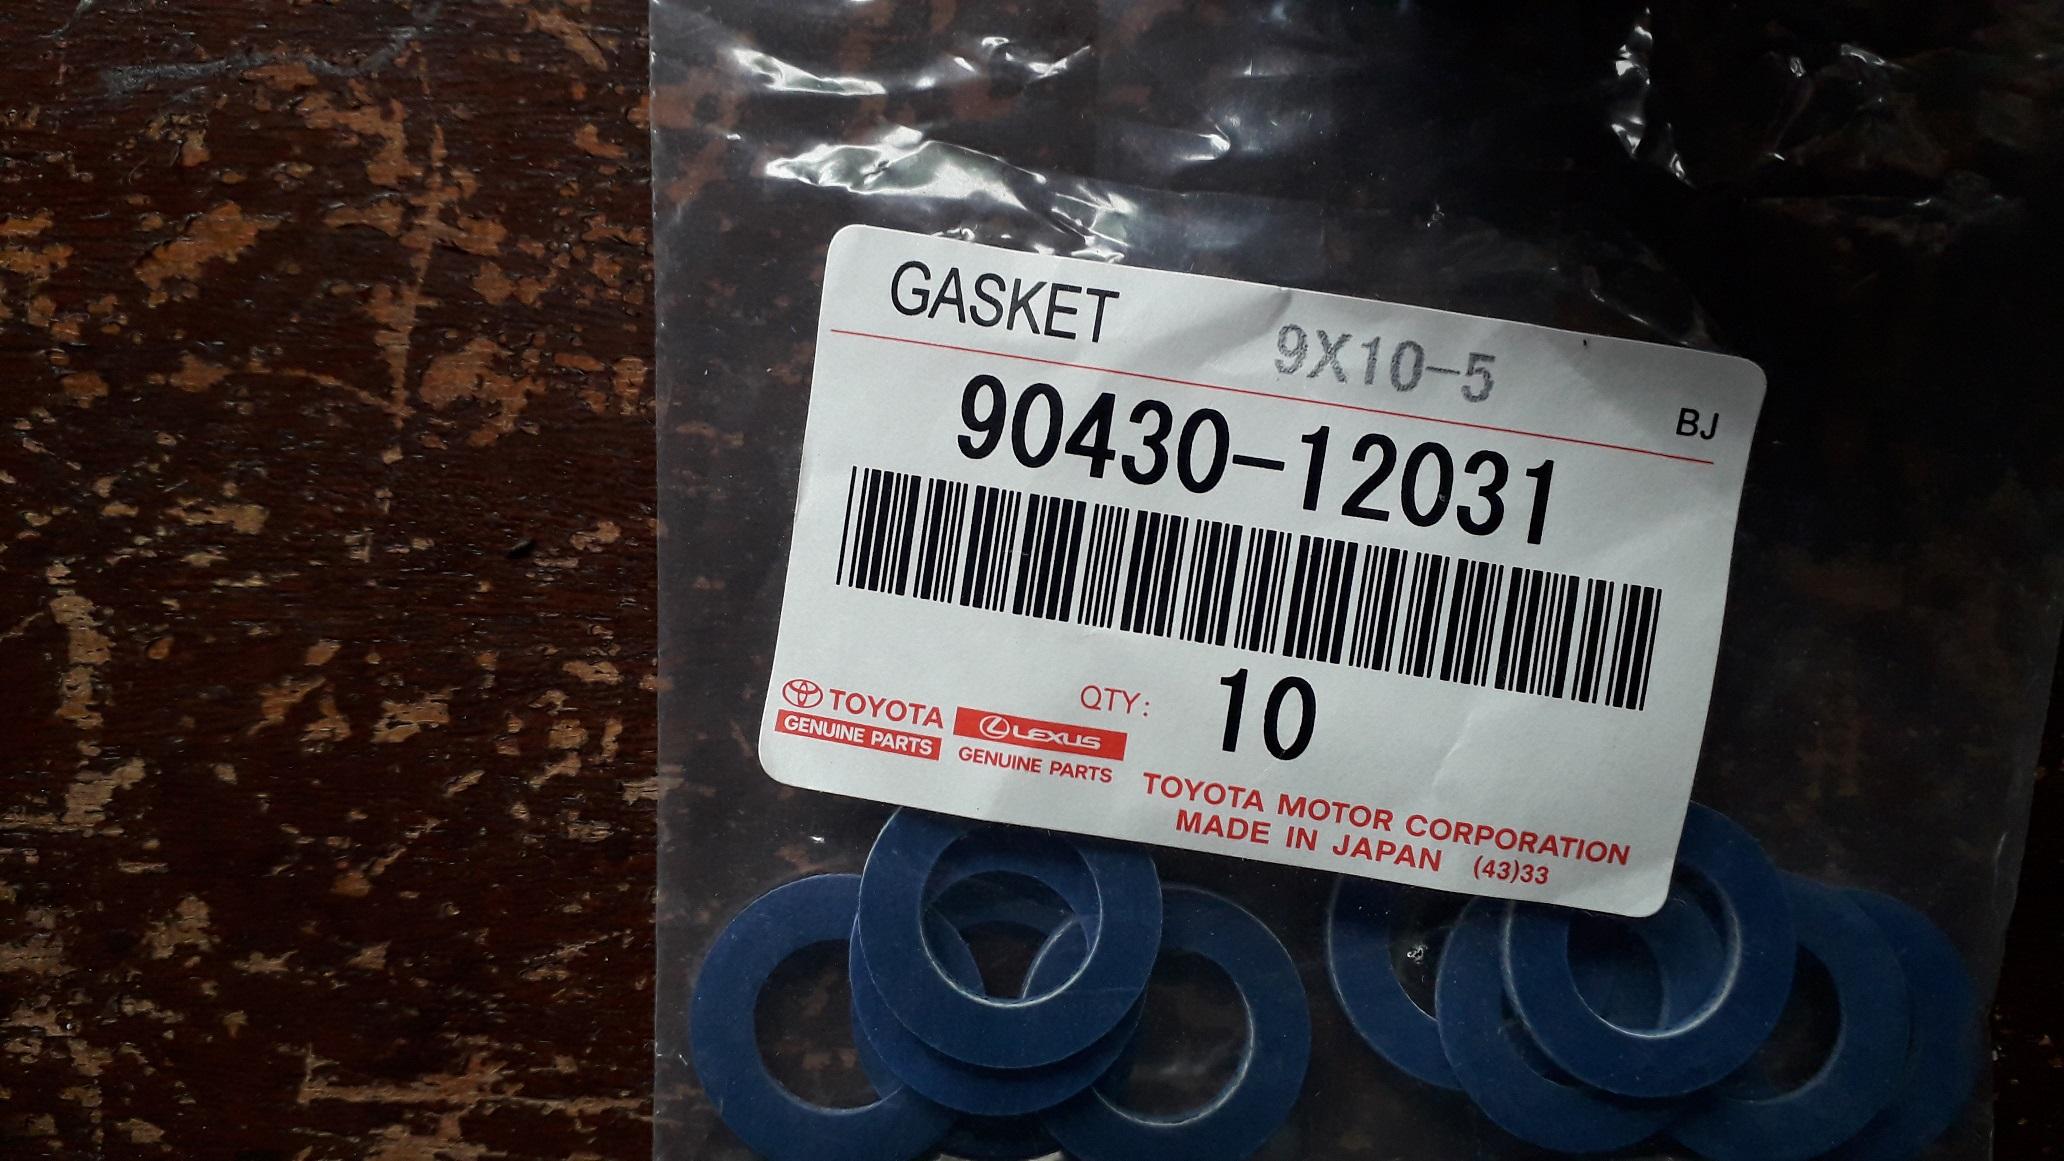
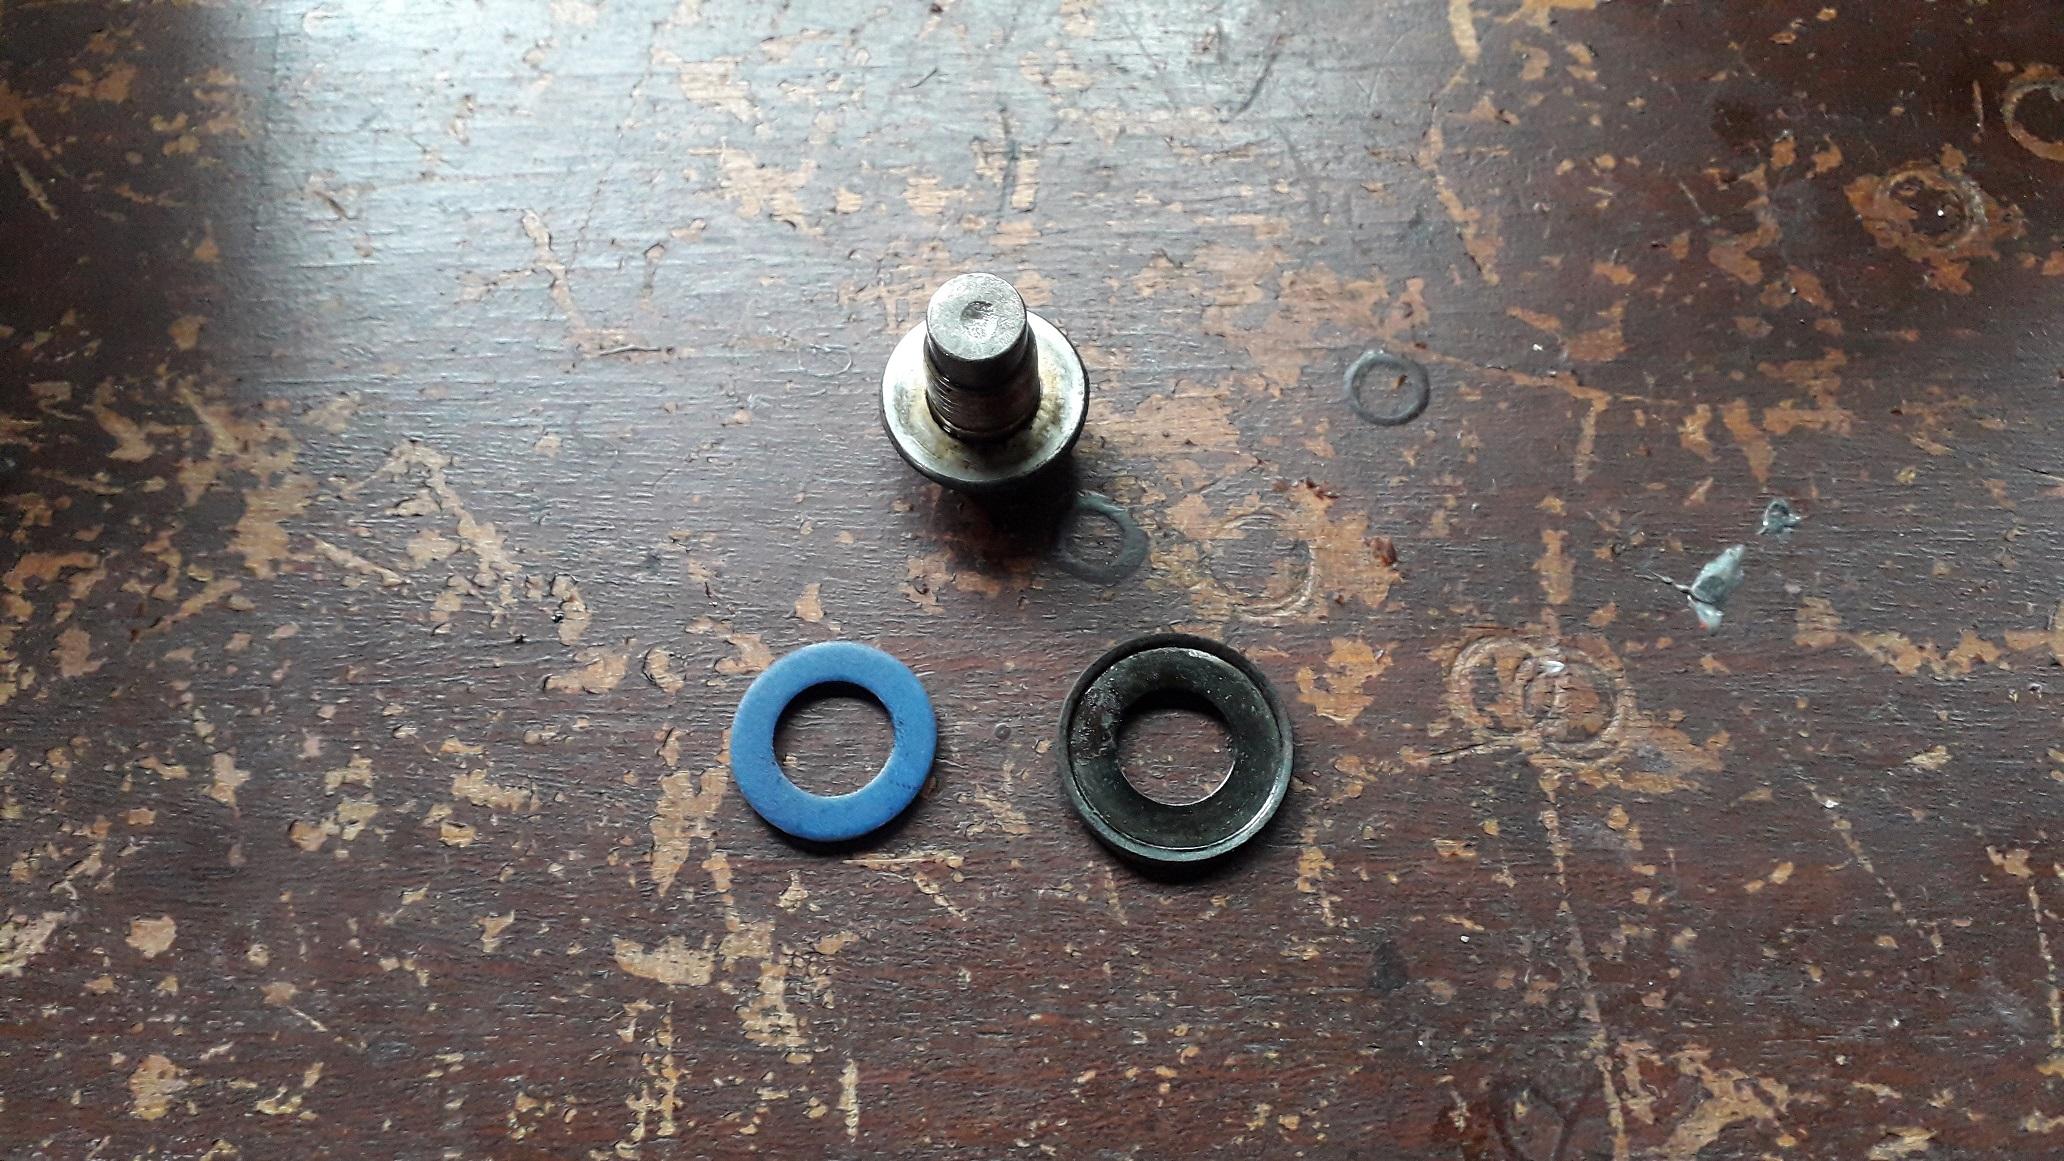
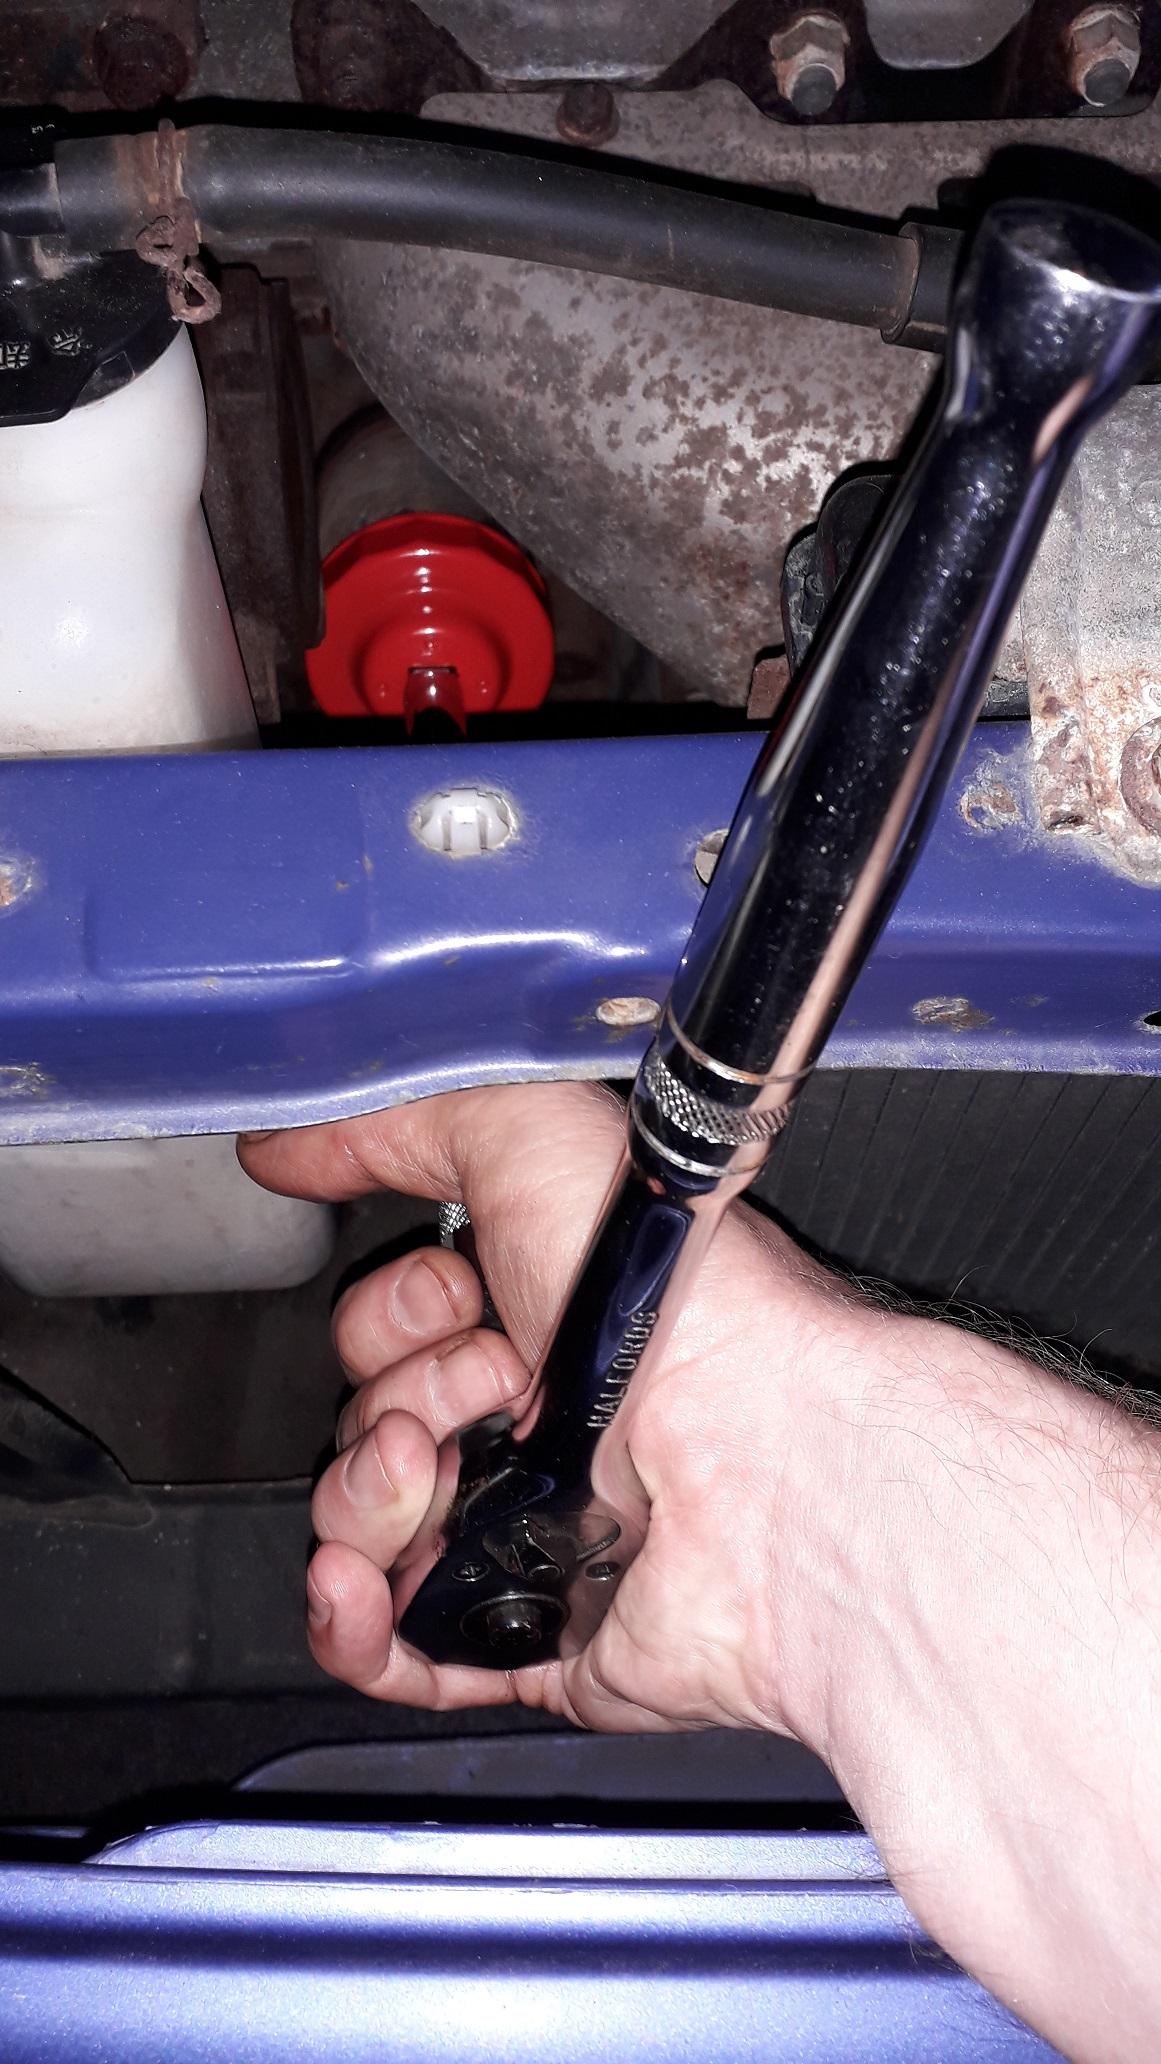
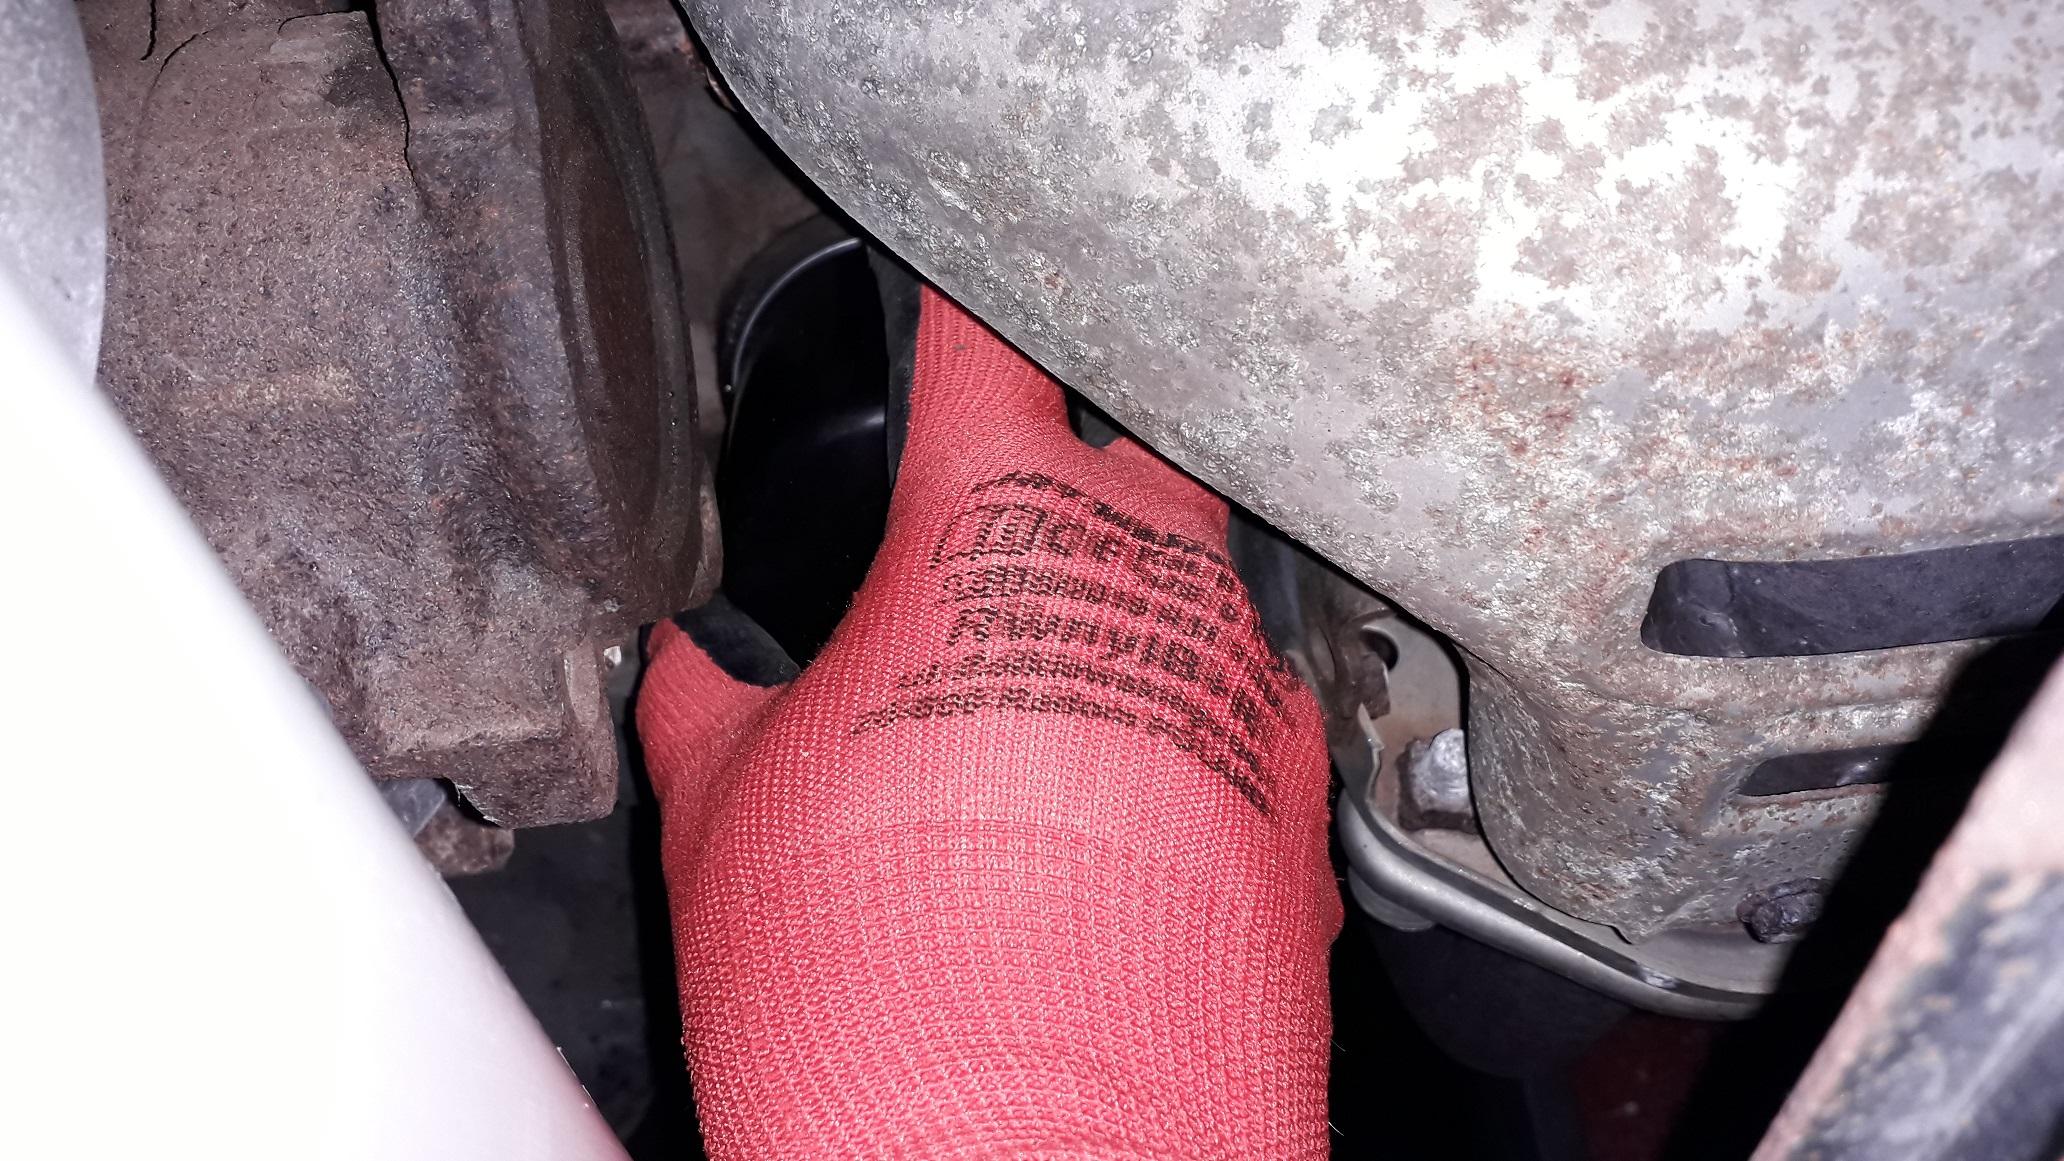
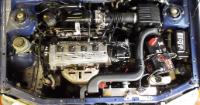
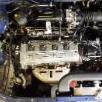
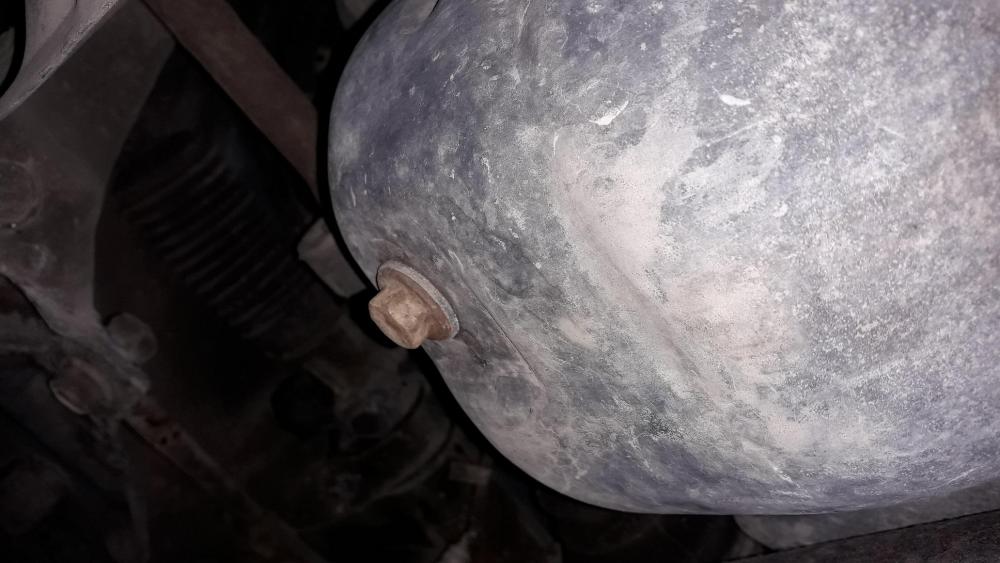
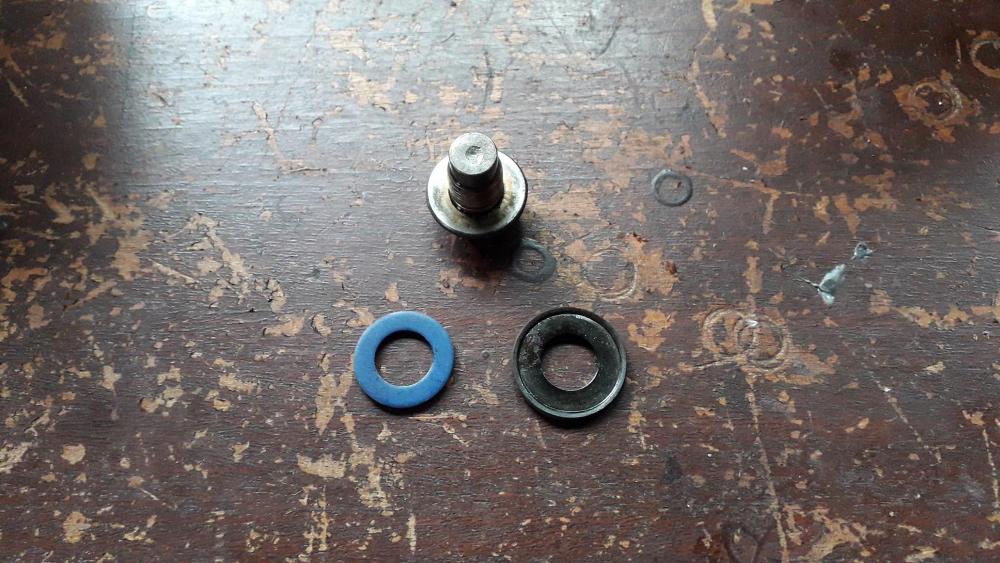
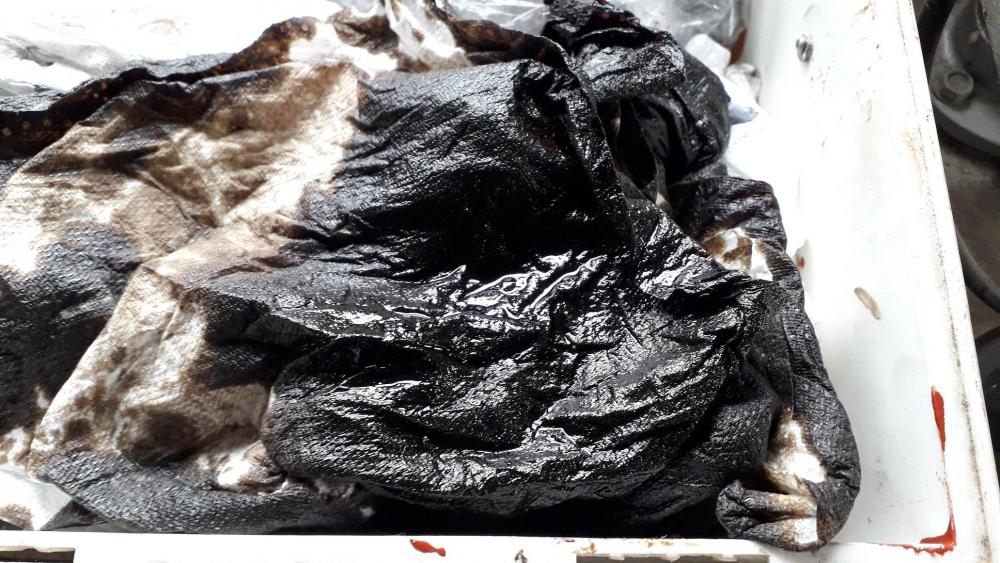
Engine oil and filter change. The service history of Nanza is patchy at best so with no recent record of servicing I decided best to start from scratch. Bought 10w 40 semi synthetic oil, Bosch filter, Toyota drain seals, 65mm oil filter socket. Warmed up the engine to help the oil flow, then I loosened the sump drain plug with a 14mm socket, removed by hand and let drain into pan. The drain hole is on an angled area of the sump with the hole slightly above the bottom of the pan. To drain completely I raised the front of the vehicle on a jack, supported the car on axle stands to get the last of the oil to drain. Lowered the car back onto the ground. Toyota sump plug washers (90430-12031). Aluminium crush washer with paper coating. Old crush washer was of fibre construction. Probably shows how old it was! Wiped area around sump hole clean, re installed the drain plug with new crush washer and tightened to 25Nm. 65mm oil filter wrench made light work of the filter removal. I've used other types (three legged crusher types and the chain wrapped "can opener" types) but these are the cleanest / easiest. Long extension got the ratchet outside the engine bay for better clearance. New filter screwed on using rubber lined gloves for extra grip, screwed until the gasket touches the block then an extra 1/2 turn. Refilled with oil (only 2.5 litres ish!) Means I'll get 2 x changes from one bottle of oil. Previous car needed 4.5l per change. Started up, checked for leaks. All good. Emptied the drain pan and the rag I used to cleanup shows the state of the old oil, deffo needed a change. Spark plugs next.


-
4efe power steering pump with 4efte pump bracket.
Claymore replied to Claymore's topic in Chassis & Suspension
I'm aware of the different parts required, but I'm sure that I have read on a few build threads that people have used this combo. When transplanting an fte engine into an N/A but kept the fe pump and hoses. Hopefully I can make an offset bracket to join the bolt hole in the pump to the adjuster slot on the fte bracket whilst still leaving room for the oil filter and relocation piece. It will be more obvious if this is possible once the lower bracket is fitted to the engine. 🤞 Not keen on rotating the relocator down for clearance, it may not seal with the block gasket shaped as it is and you may have to block the outer mounting holes to prevent leakage. Haven't tried so can't say for sure what mods are required. -
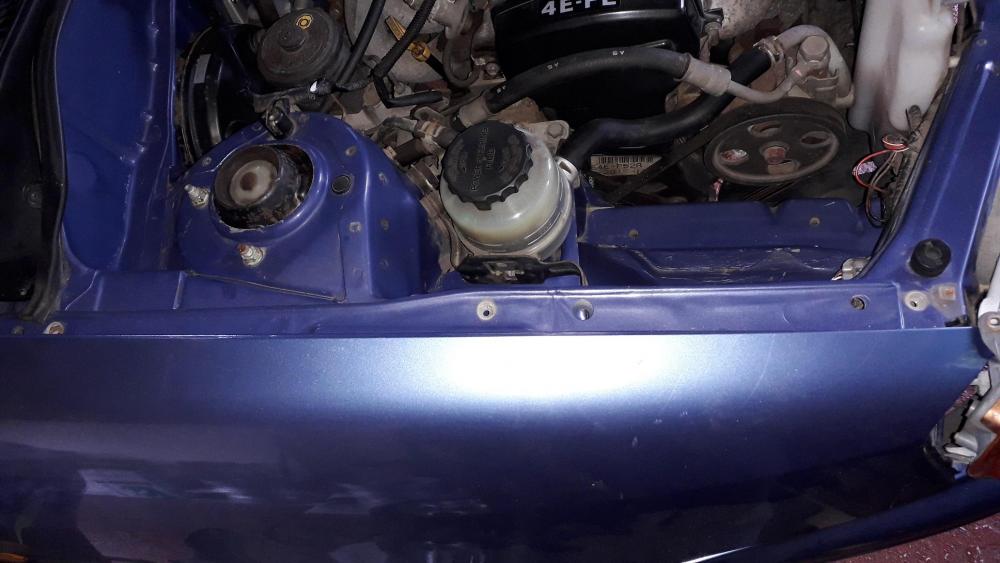
Managed to get hold of a fte lower power steering bracket so I can fit the fte oil filter relocation piece. I know the fte power steering pump is different but I'm not sure if the standard fe power steering pump will fit to the fte bracket? Anyone ever tried this combination?
-
Good stuff. Looking forward to reading about it. 😀
-
Claymore's sleeper 4efe+t-t+t build (R.I.P. the Nanza)
Claymore replied to Claymore's topic in EP91 Progress Blogs
Thanks for the comments guys. Plenty more to come. -
Claymore's sleeper 4efe+t-t+t build (R.I.P. the Nanza)
Claymore replied to Claymore's topic in EP91 Progress Blogs
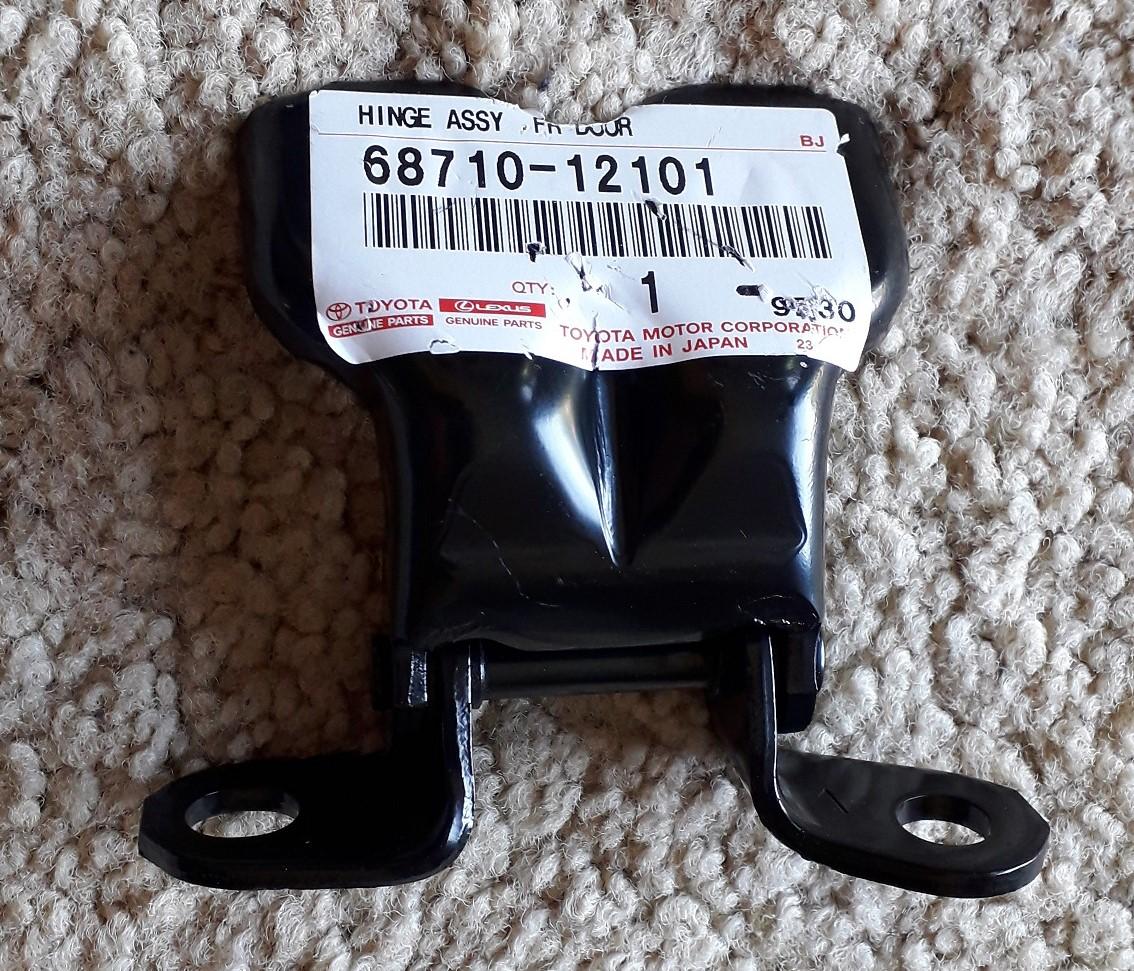
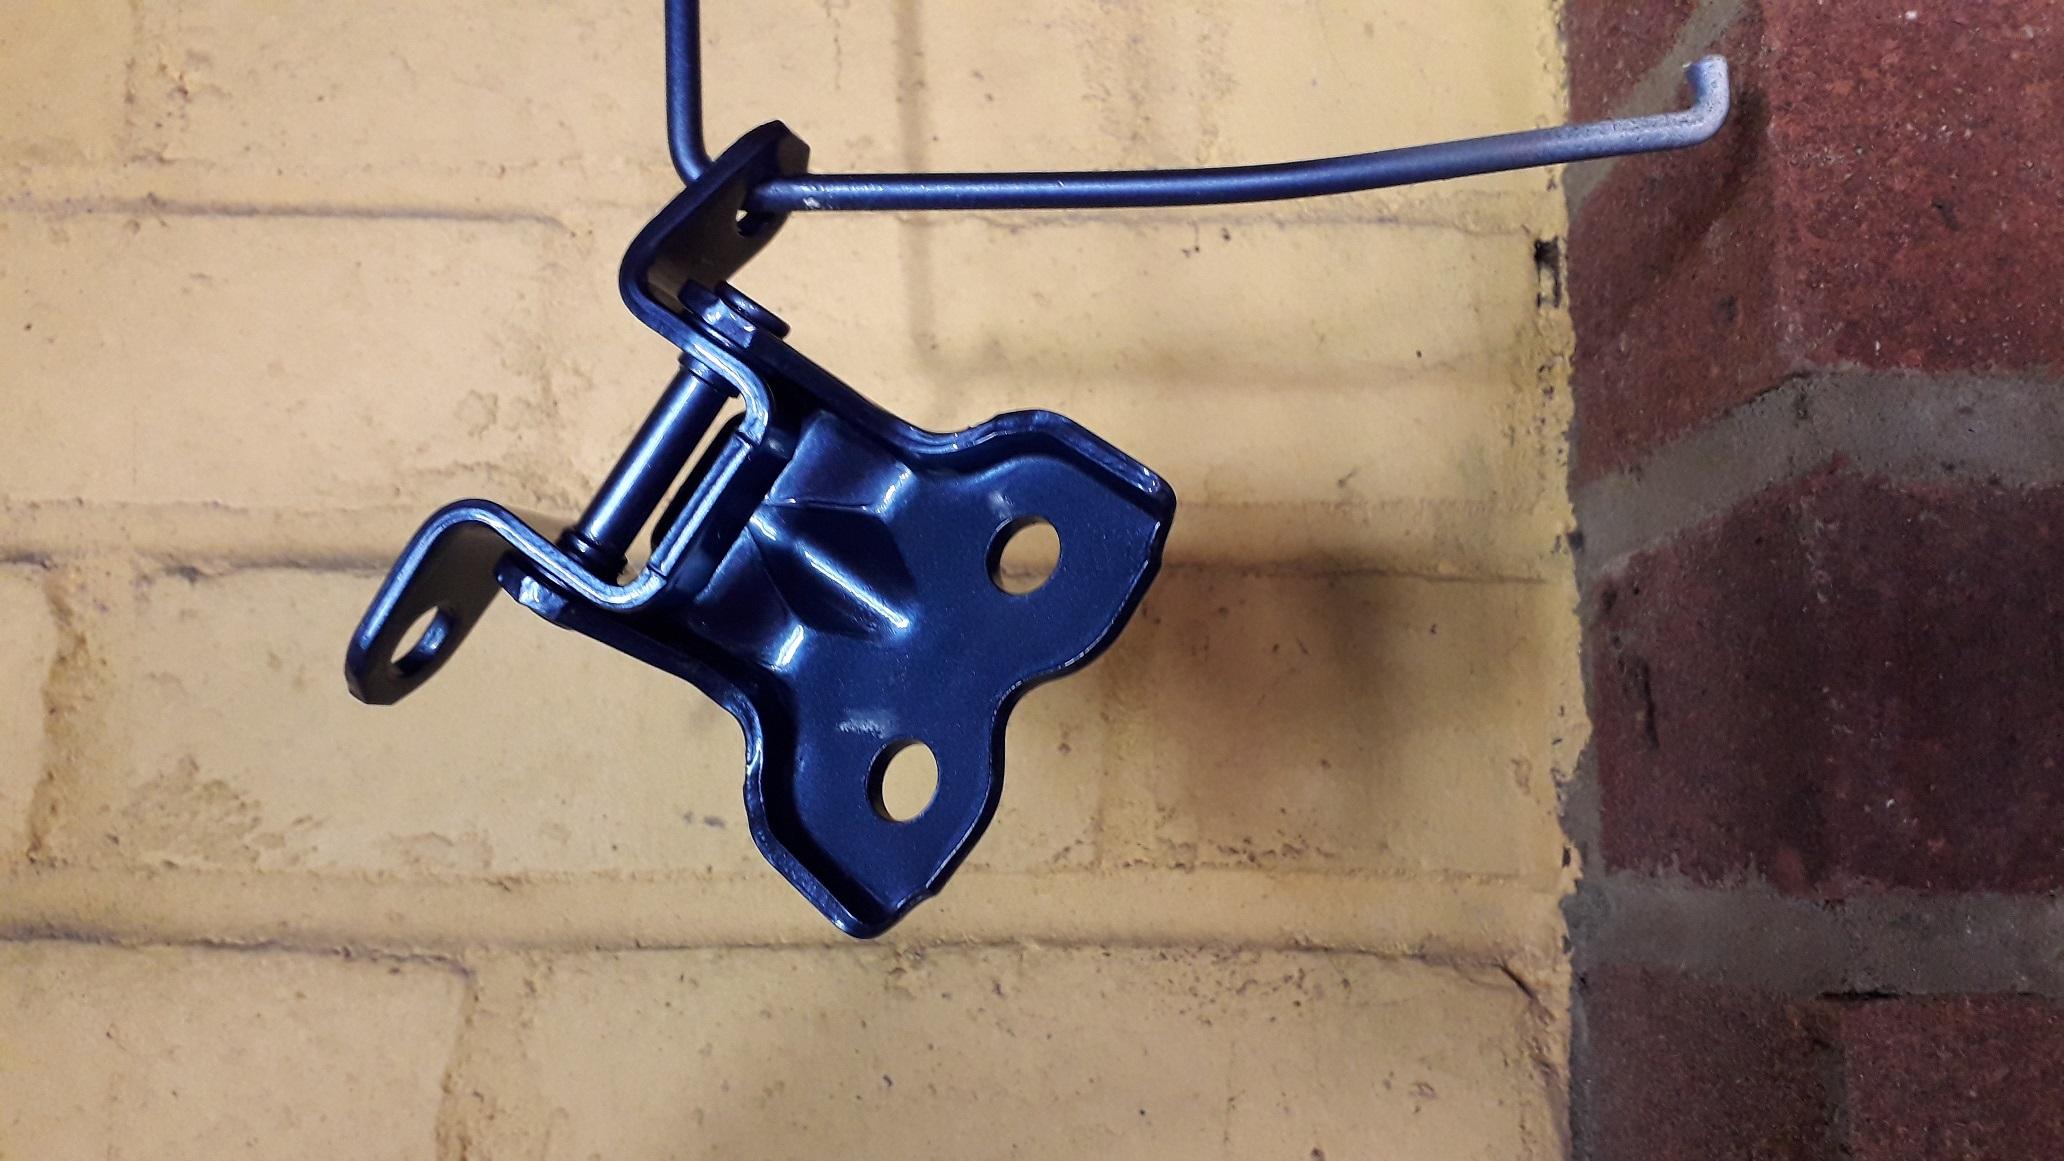
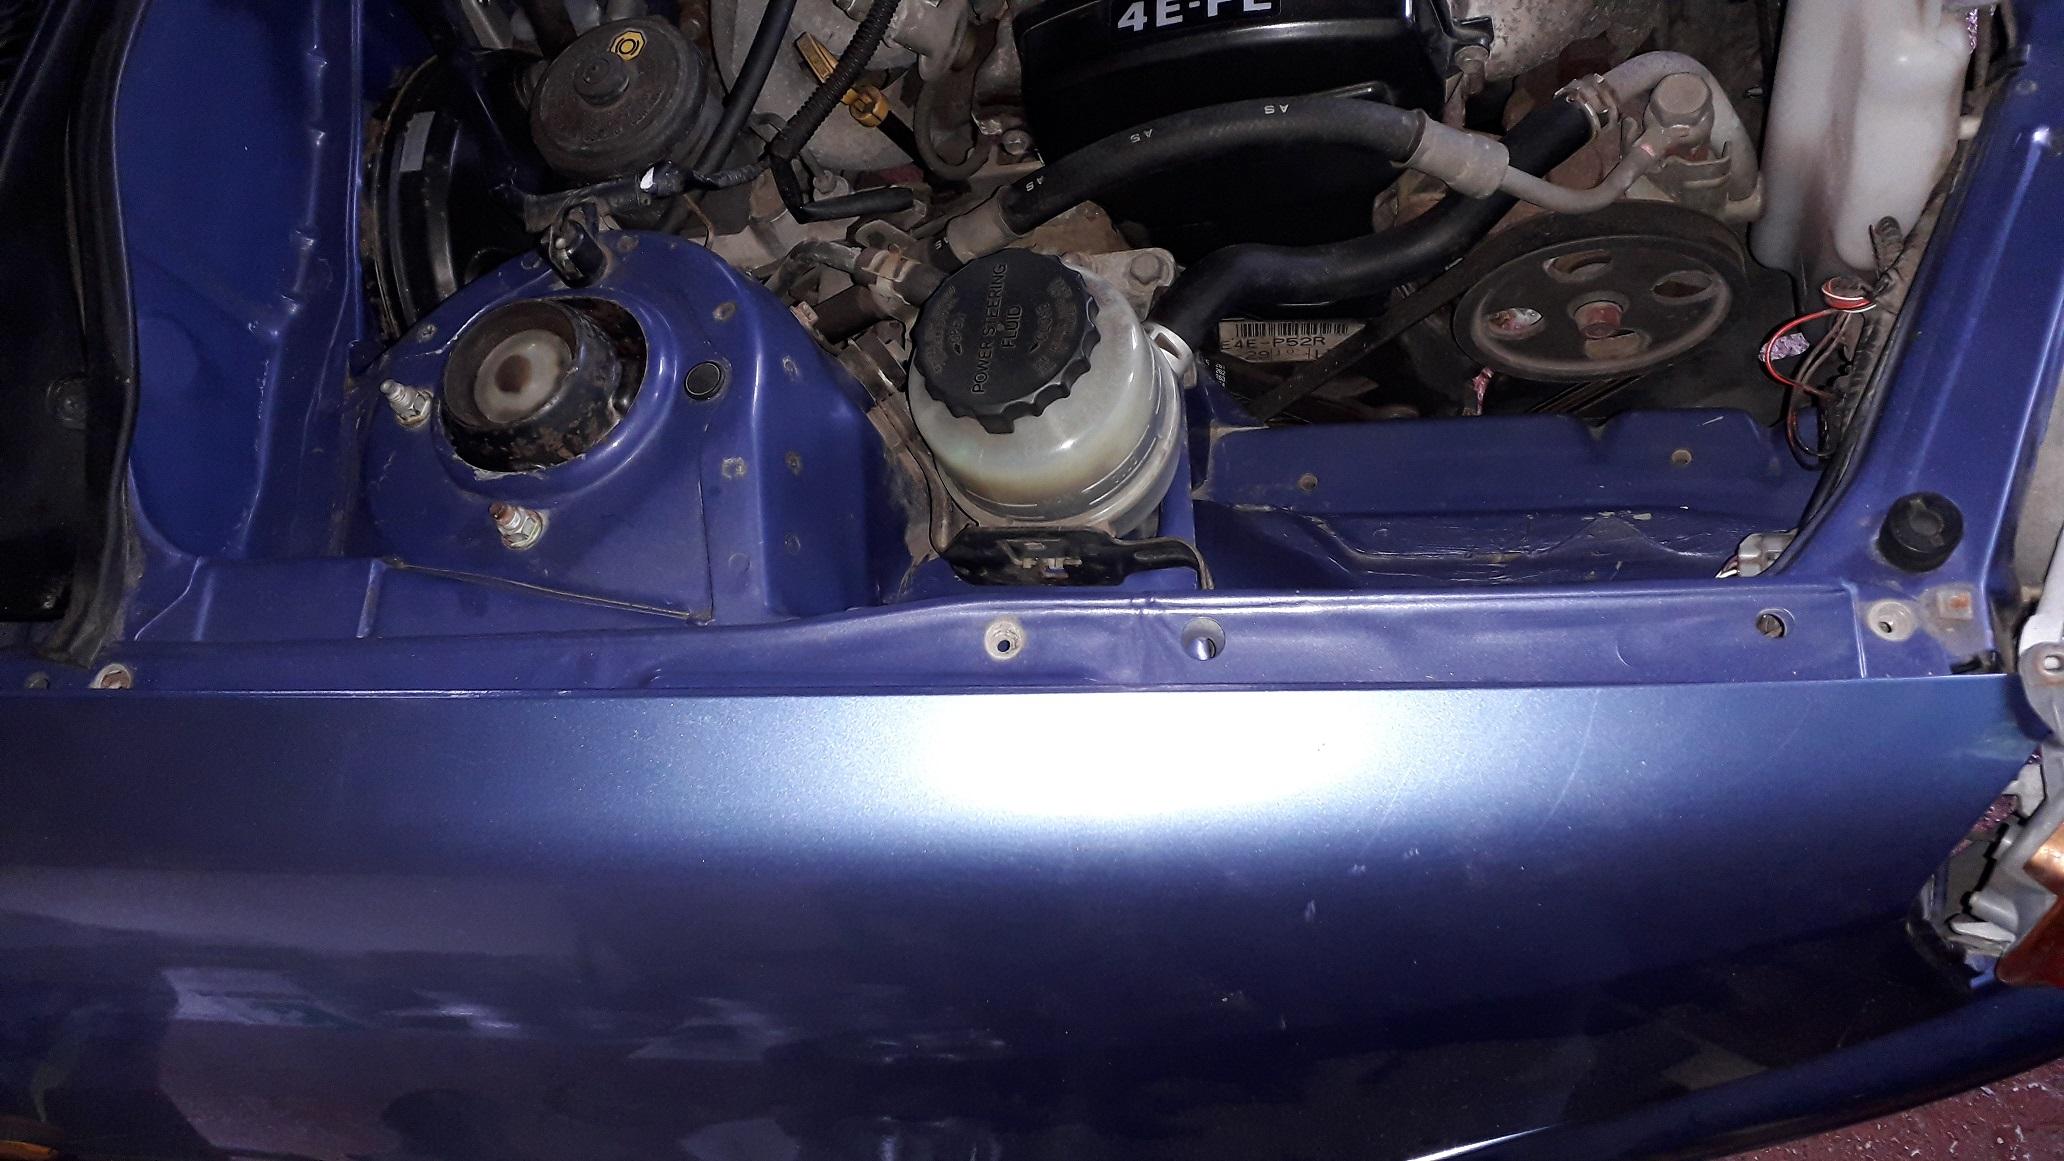
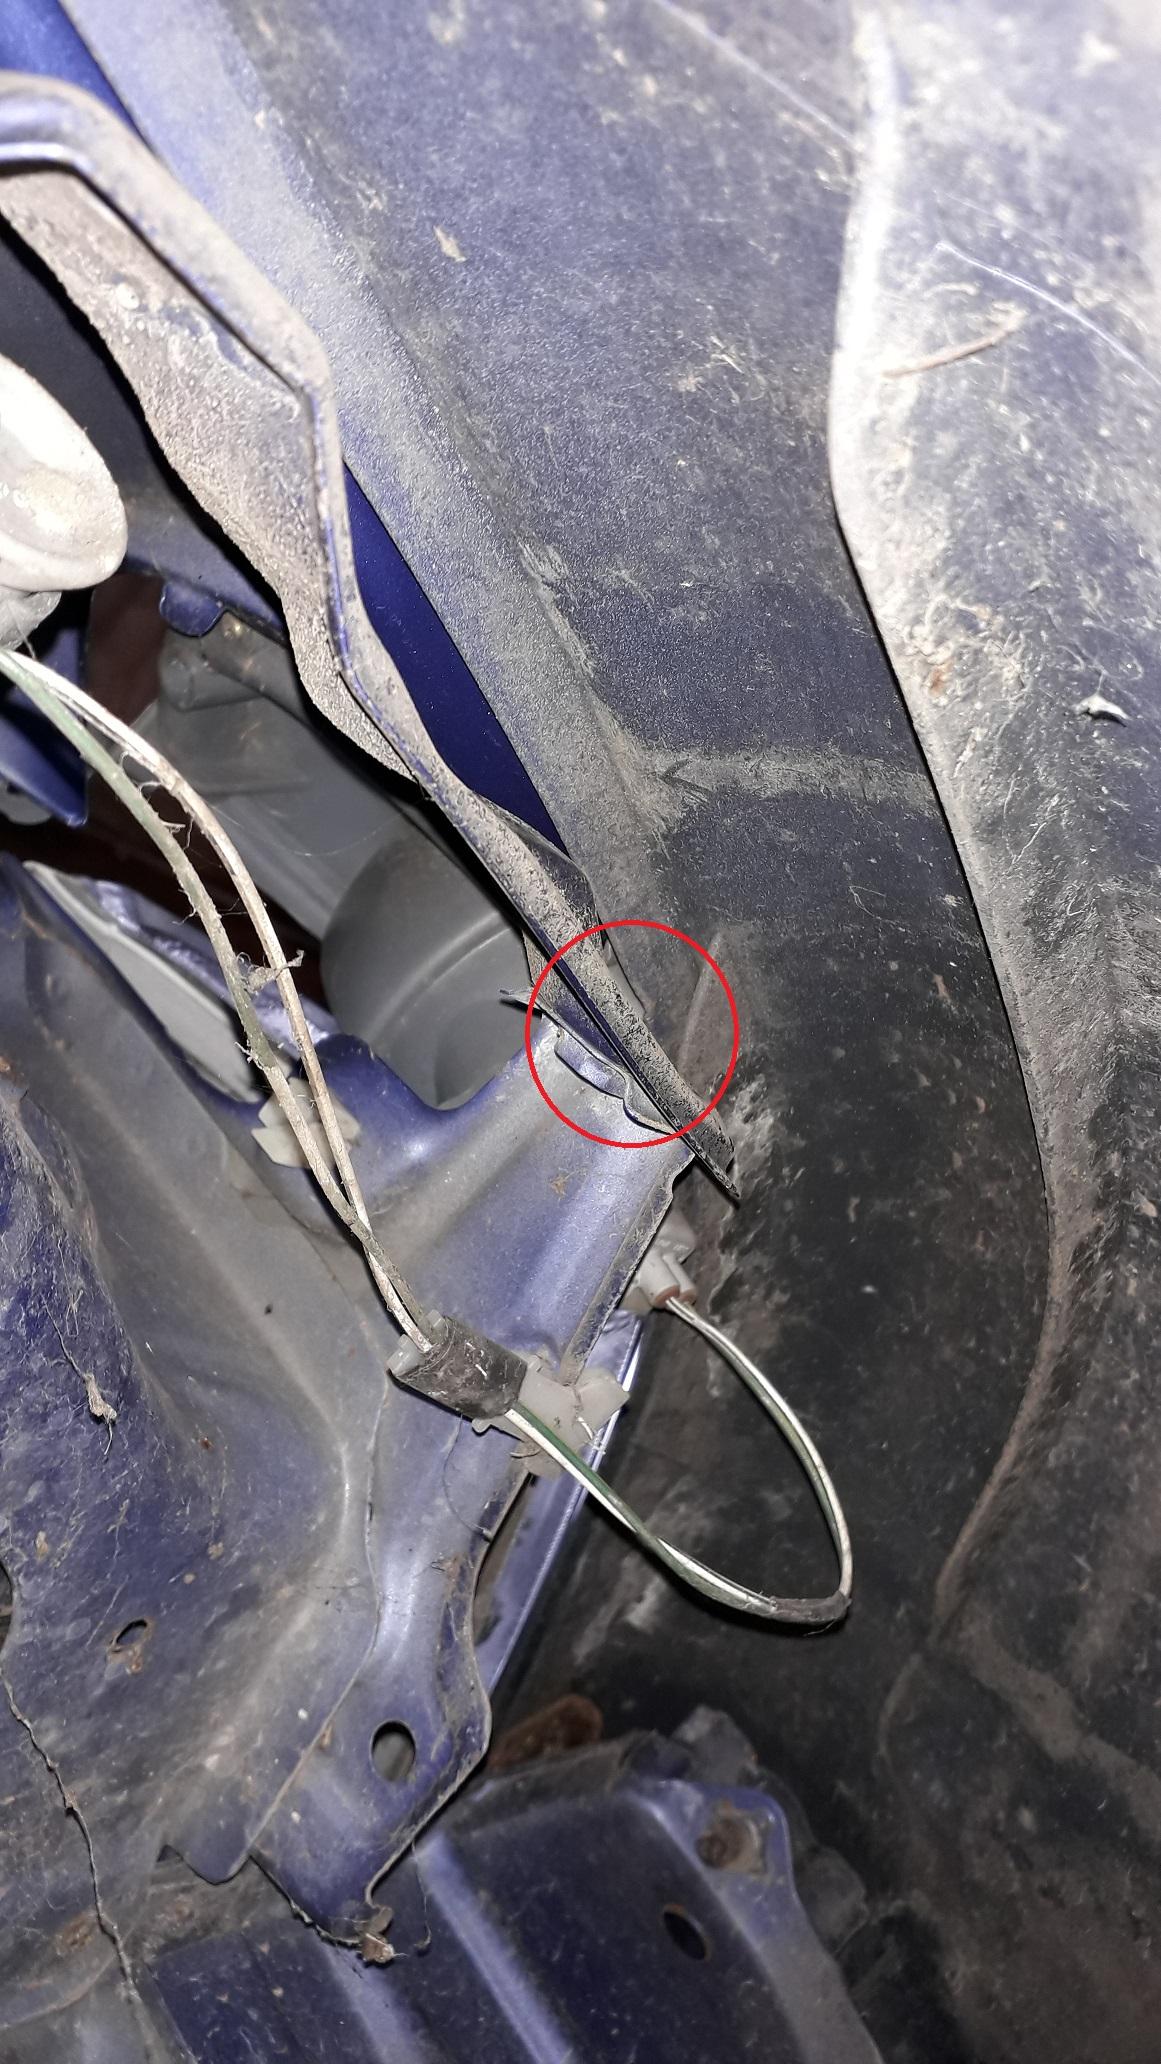
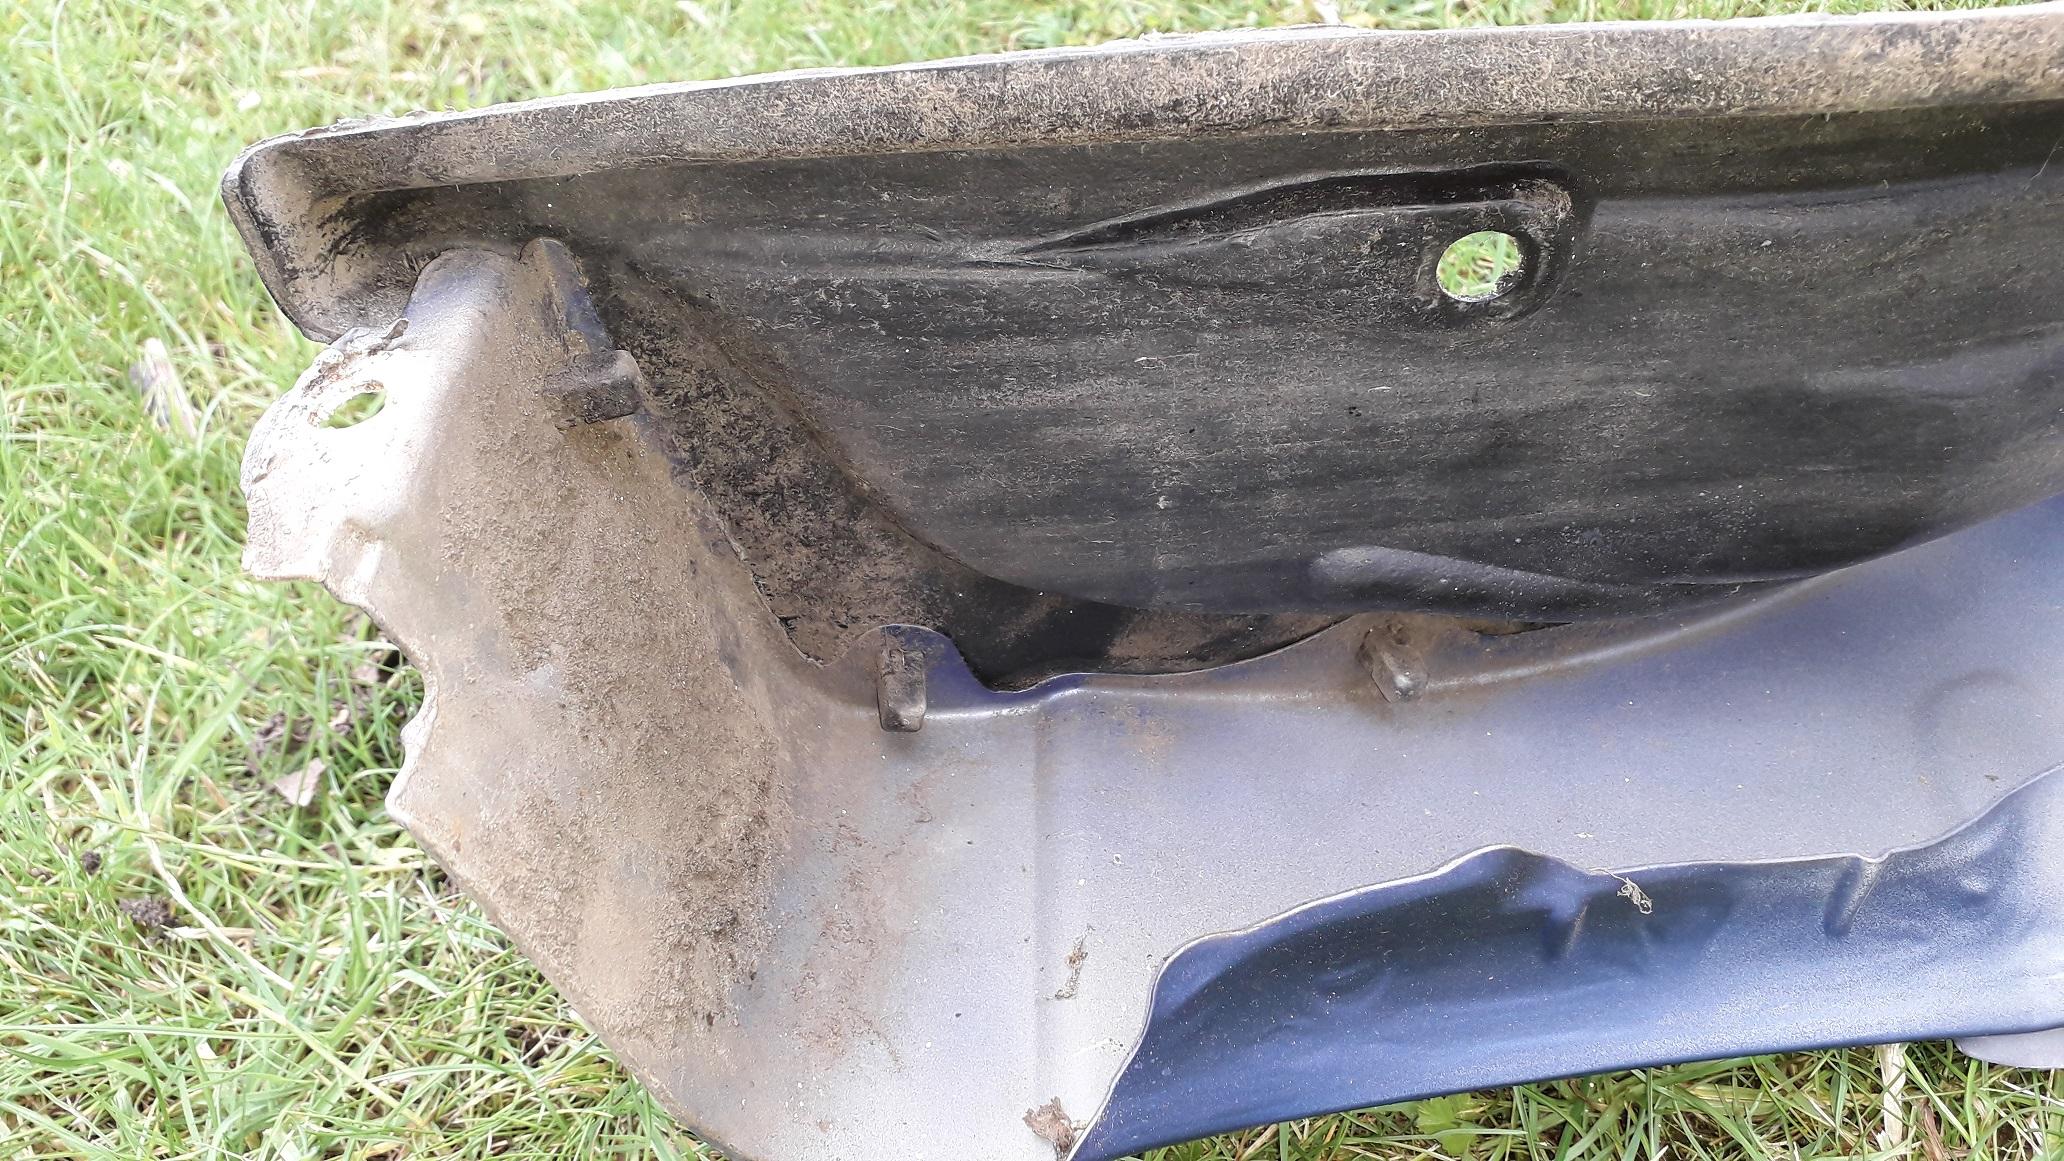
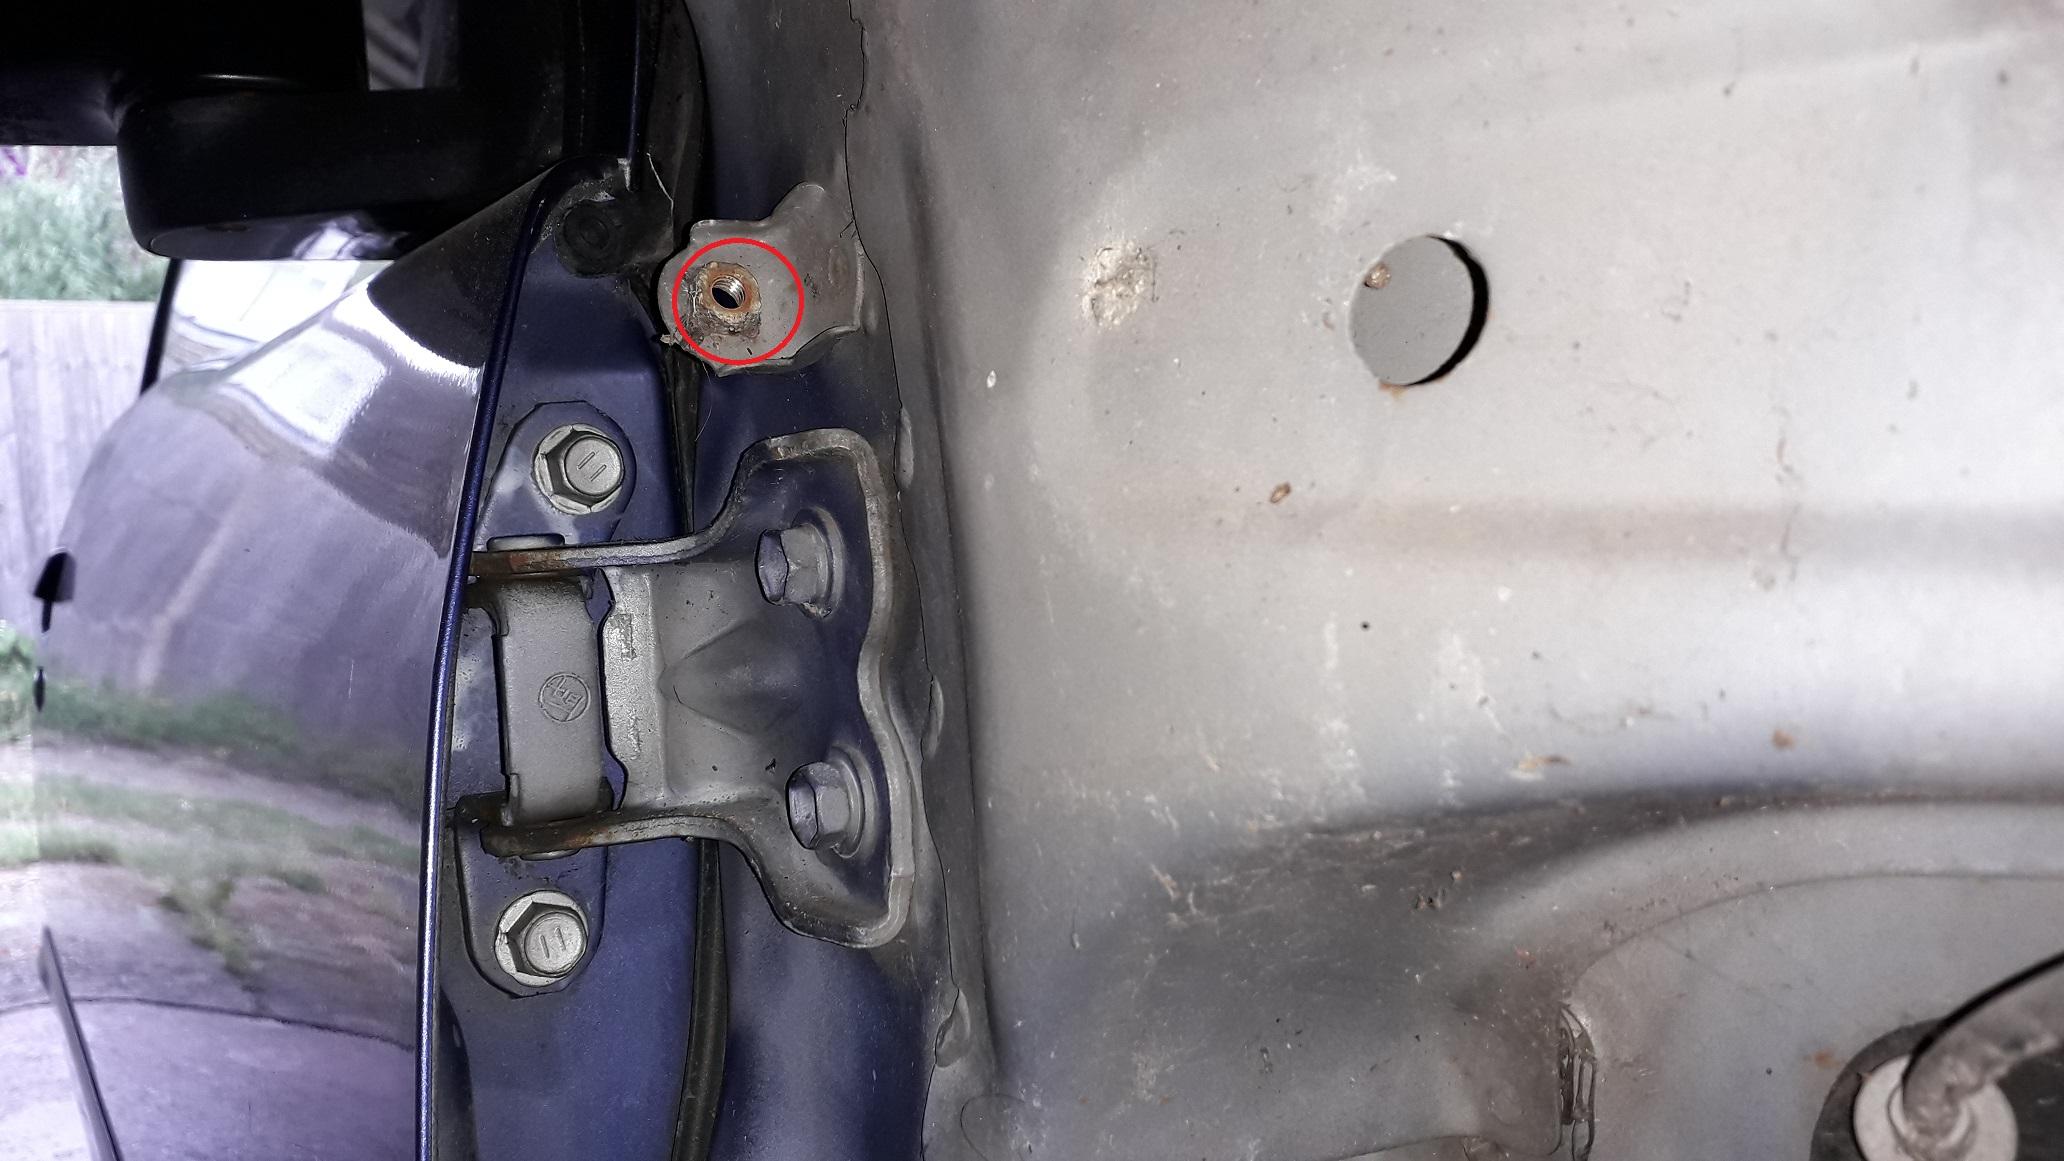
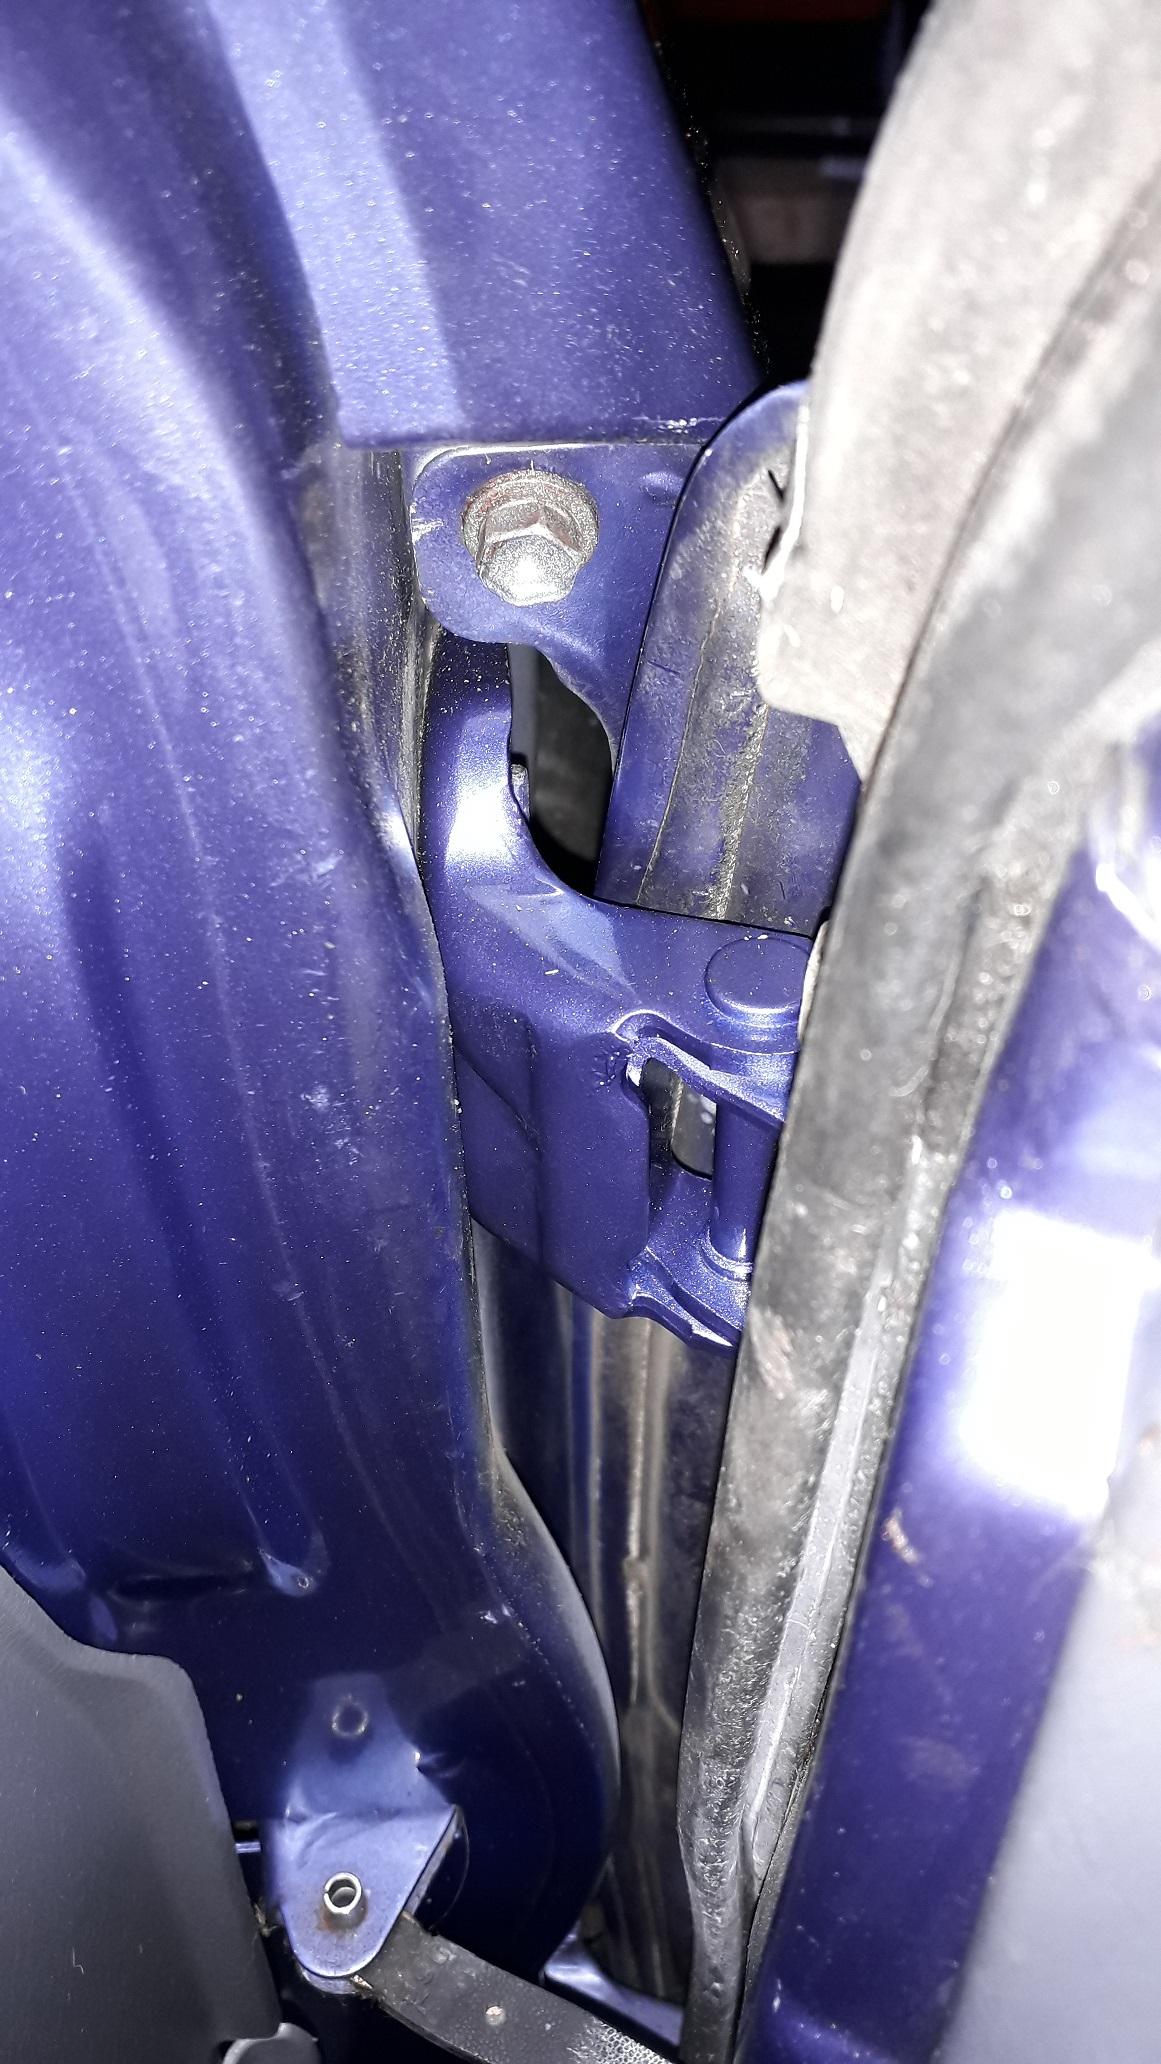
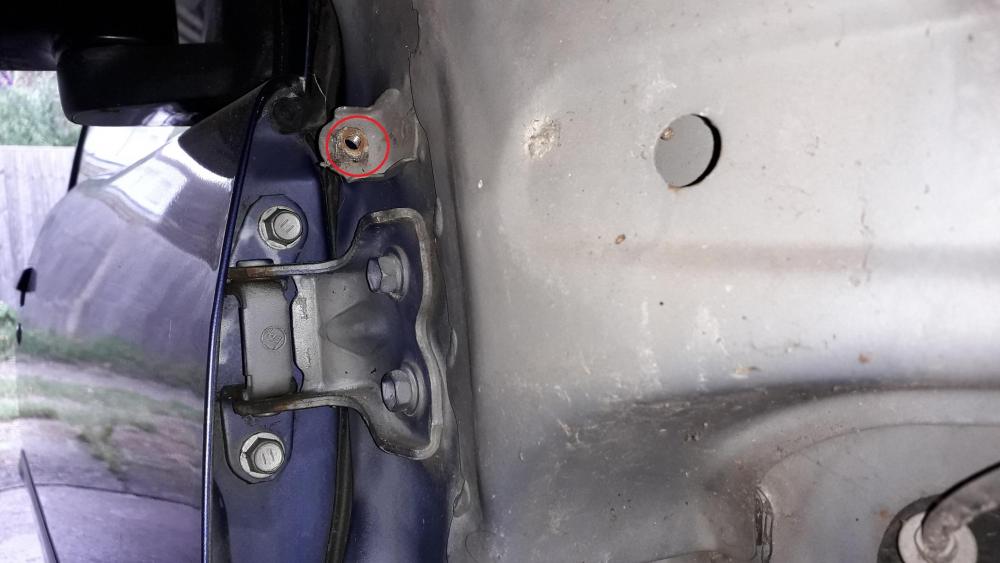
Door hinge replacement. Noticed that the drivers door dropped when you opened it, so it was time to address this. Looking at the old hinge there was approx. 1.5mm of slack in it which caused the door to drop almost 10mm. Bought a new drivers side, front, upper hinge from Toyota (68710-12101), worked out at about £50. Keyed the surface for primer, then 3 x top coat and 2 x lacquer as per the usual method. To get at the hinge, first I had to remove the wheel arch liner (a mixture of hex head screws and push fit fasteners which have a circular button to pry open to remove and then the legs usually shatter off the clip) you can't remove the liner completely as the lower 3 x plastic push in fasteners that have a hole in the middle are one way fitment only. Removed the indicator (one screw at top and pull forward) disconnected bulb holder. Loosened the front bumper (removed the screw at top of grill, next to number plate and 2 x underneath on front cross member). Disconnected side repeater bulb holder (1/4 turn). Unscrewed the bolts holding the wing on, 7 in total (three on the top in engine bay). One bolt in front corner behind bumper Rear view of arch showing the lower 3 x one way fasteners One screw under car to attach bottom of arch to sill, one screw behind arch liner. Final screw was in the door hinge area accessed with door open. Closed the door and removed the hinge as I was doing this job on my own. Replaced hinge and bolted it loosely to the car and door, then gradually tightened all 4 screws, then opened the door carefully and supporting the weight I loosened the 2 x car side screws and lifted the door slightly too high and re-tightened the bolts to the car side again. When I released the door it took out the slack in the new hinge and sat well. It will bed in and probably need adjusting but its a huge improvement. Put car back together paying attention to panel gaps before fully tightening any mounting bolts, new hinge in place (note the 7th wheel arch bolt above) Tightened the lock keep to the B- pillar and I no longer have to slam my door shut.


-
Until you turbo it!
-
Yes, correct.
-
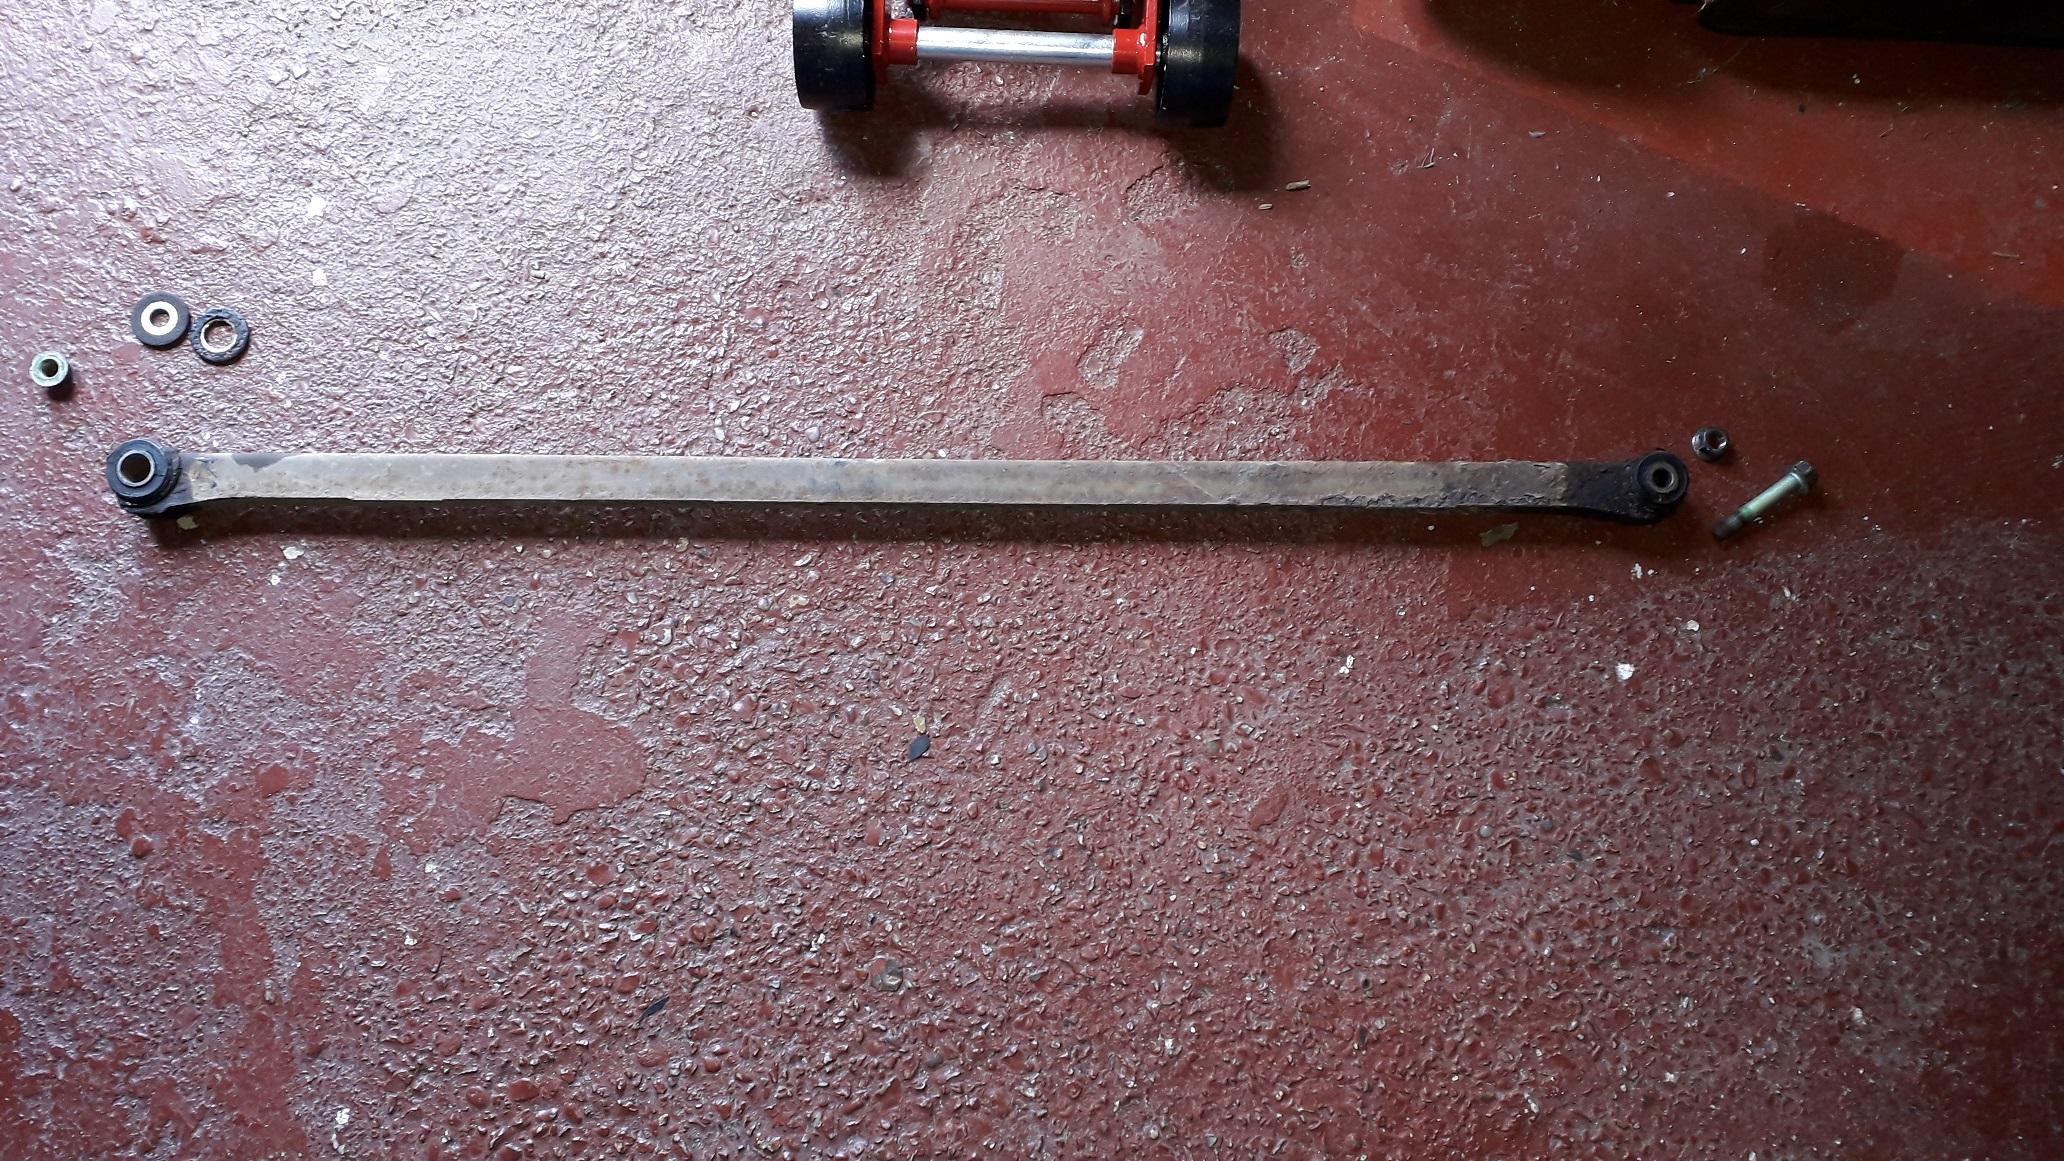
Yes, its the long bar that is attached to the rear beam on the passenger side and the car chassis on the drivers side. It keeps the rear beam in line with the centre of the car body / chassis.

-
Also check the panhard rod is bolted tight and the bushes are in good condition. Problems with this can cause knocking and steering alignment can be affected as the rear beam can move about.
-
Hope the rings work out, don't forget to start a build thread in the EP91 section. We all like reading about cars being modded / repaired. Welcome aboard
-
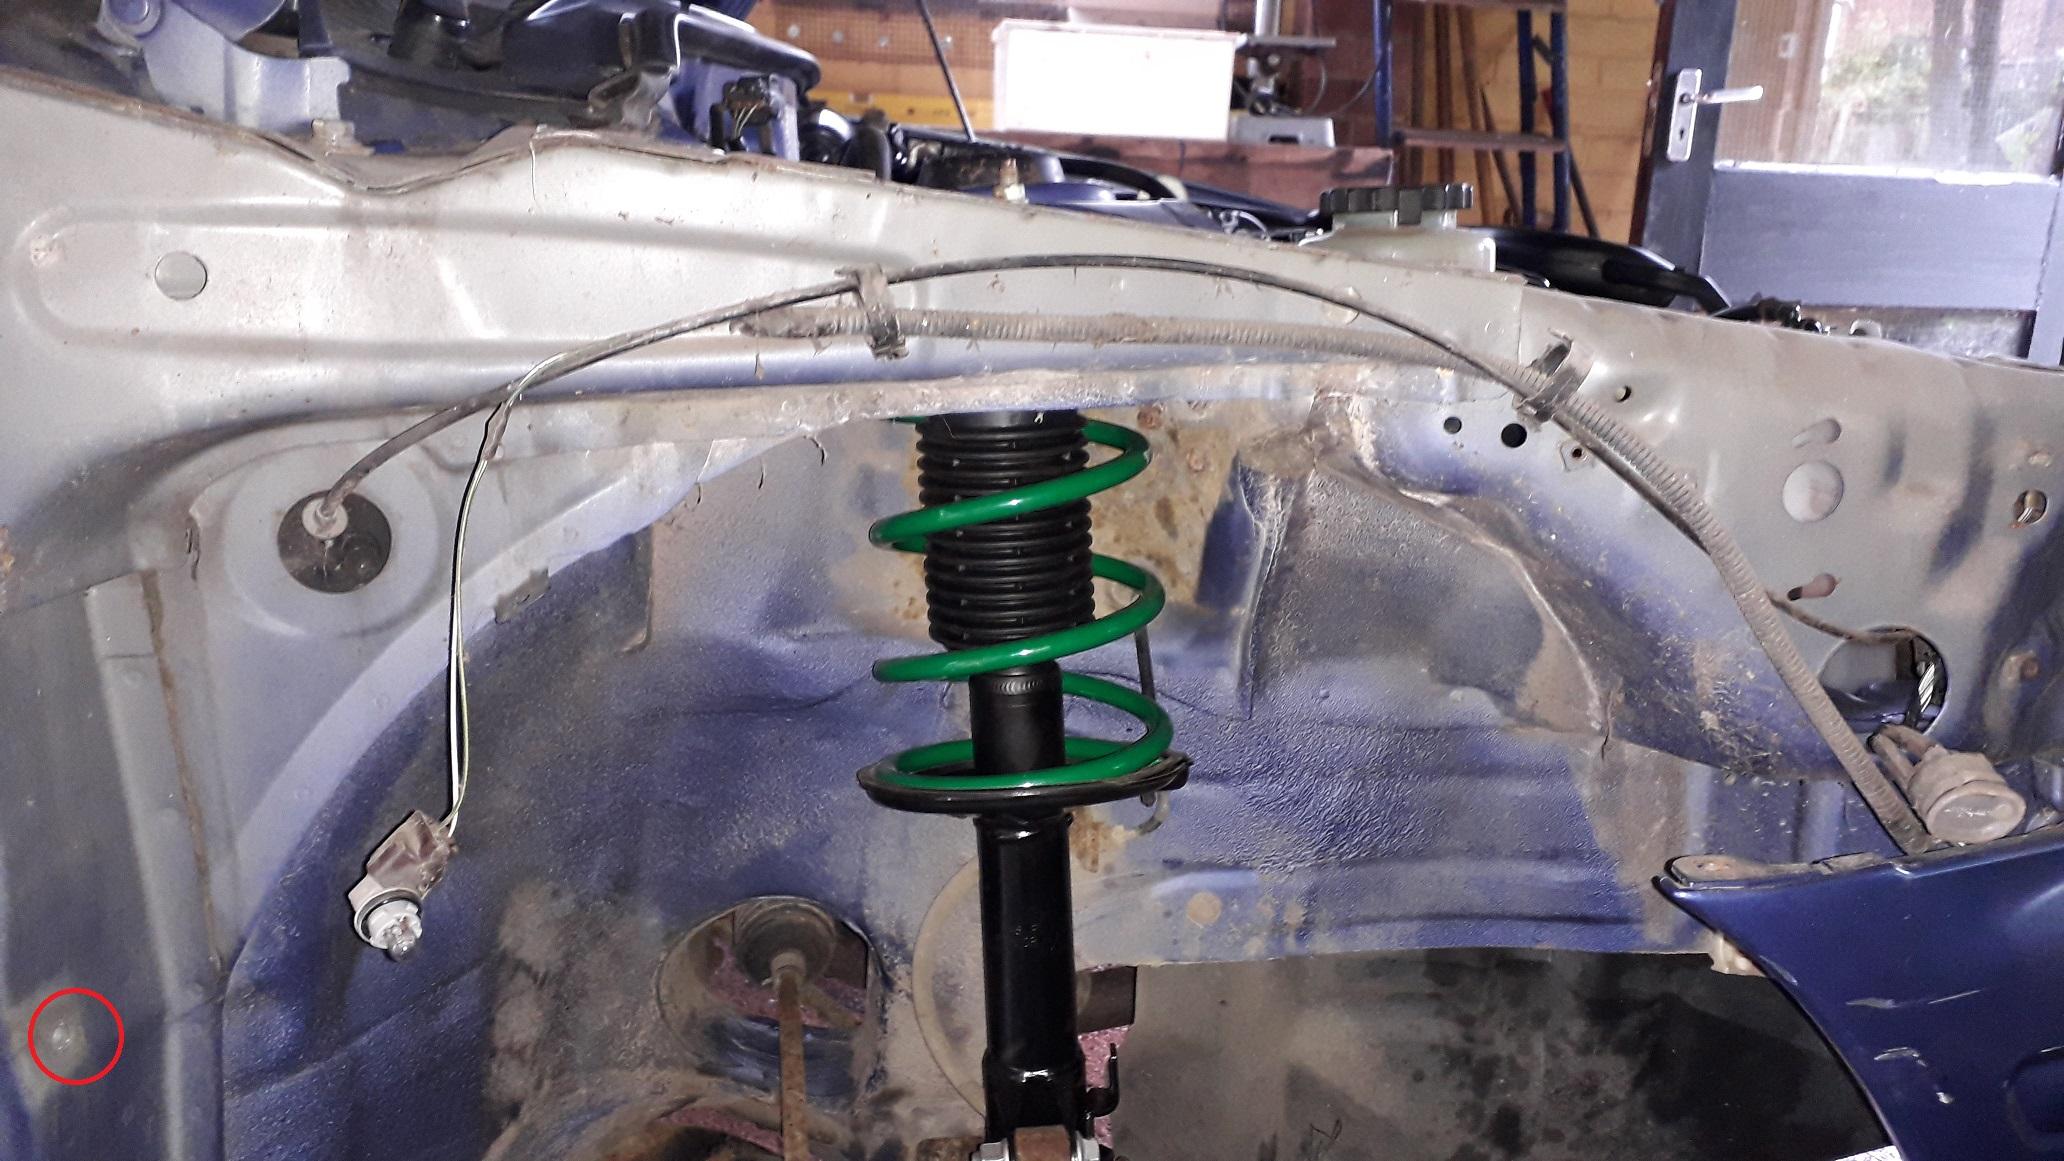
Well, as you've figured out there is no rear ARB as standard (you can buy aftermarket ones). Check for loose items in the boot, boot well and in both pockets of the boot sides (jack and tools). Then squeeze and lift the strut tower covers to remove and check the fasteners are the correct tightness. The top shock mount could be knackered as could the lower shock bush. Also check lower shock mounting bolt. That's all the obvious stuff I can think of. Take it from your username your a BMW guy?
-
I would check that all the alloys are the same size (width and diameter) same offset (ET??), the tyres are the same size and that the tyres are in good condition and evenly worn (not worn on one edge and full tread on the other.) All of these could affect the steering. You should get spigot rings, the sizes are the outside diameter of the ring and the inside diameter of the ring. You can't buy a spigot ring to make an alloy centre bore bigger 😉. 54.1mm is car hub size (I/D or internal diameter of ring), alloy centre bore (O/D or outside diameter of ring) size will vary by manufacturer so measure or check if your alloys are stamped with the measurement.

-
Claymore's sleeper 4efe+t-t+t build (R.I.P. the Nanza)
Claymore replied to Claymore's topic in EP91 Progress Blogs
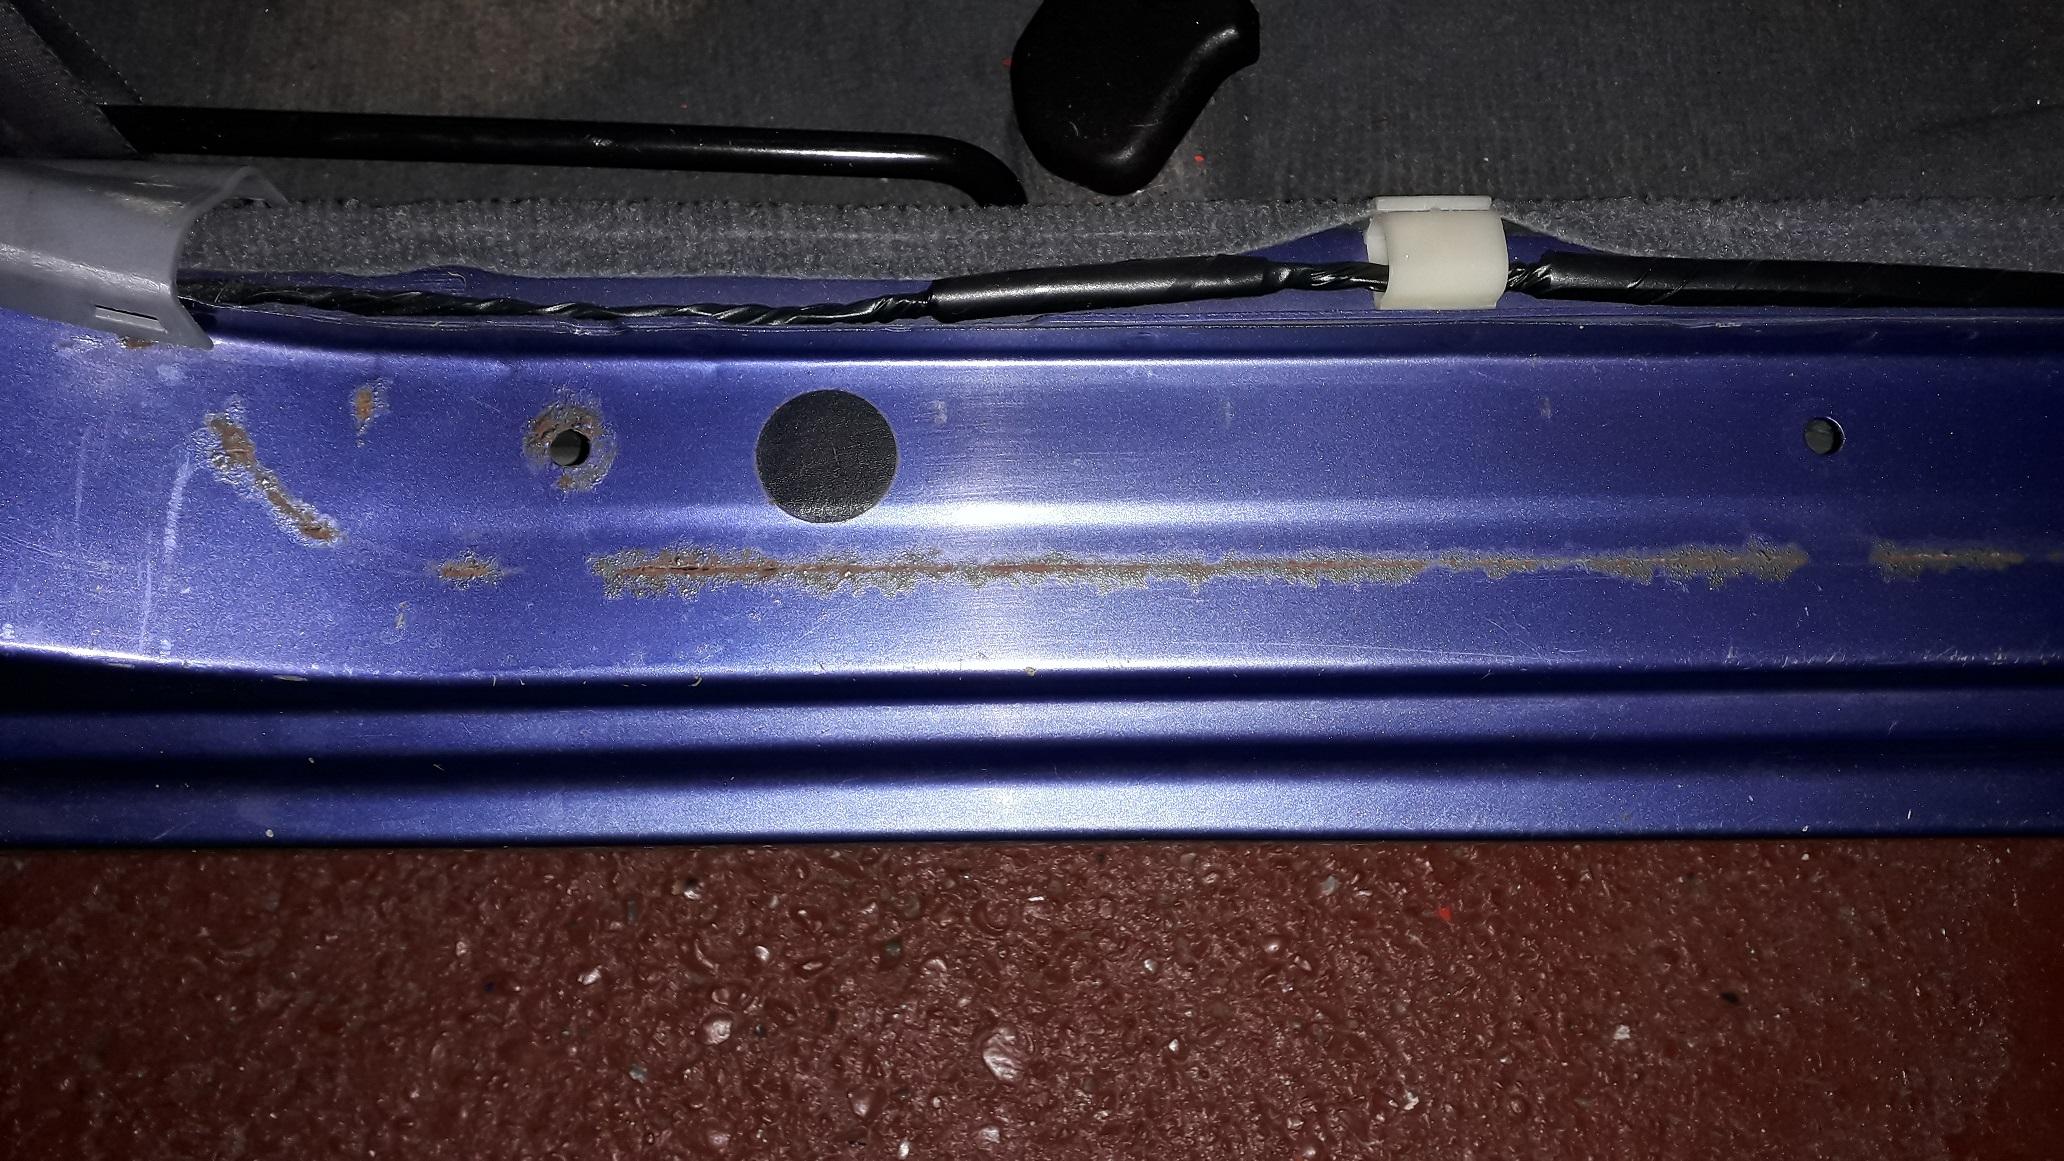
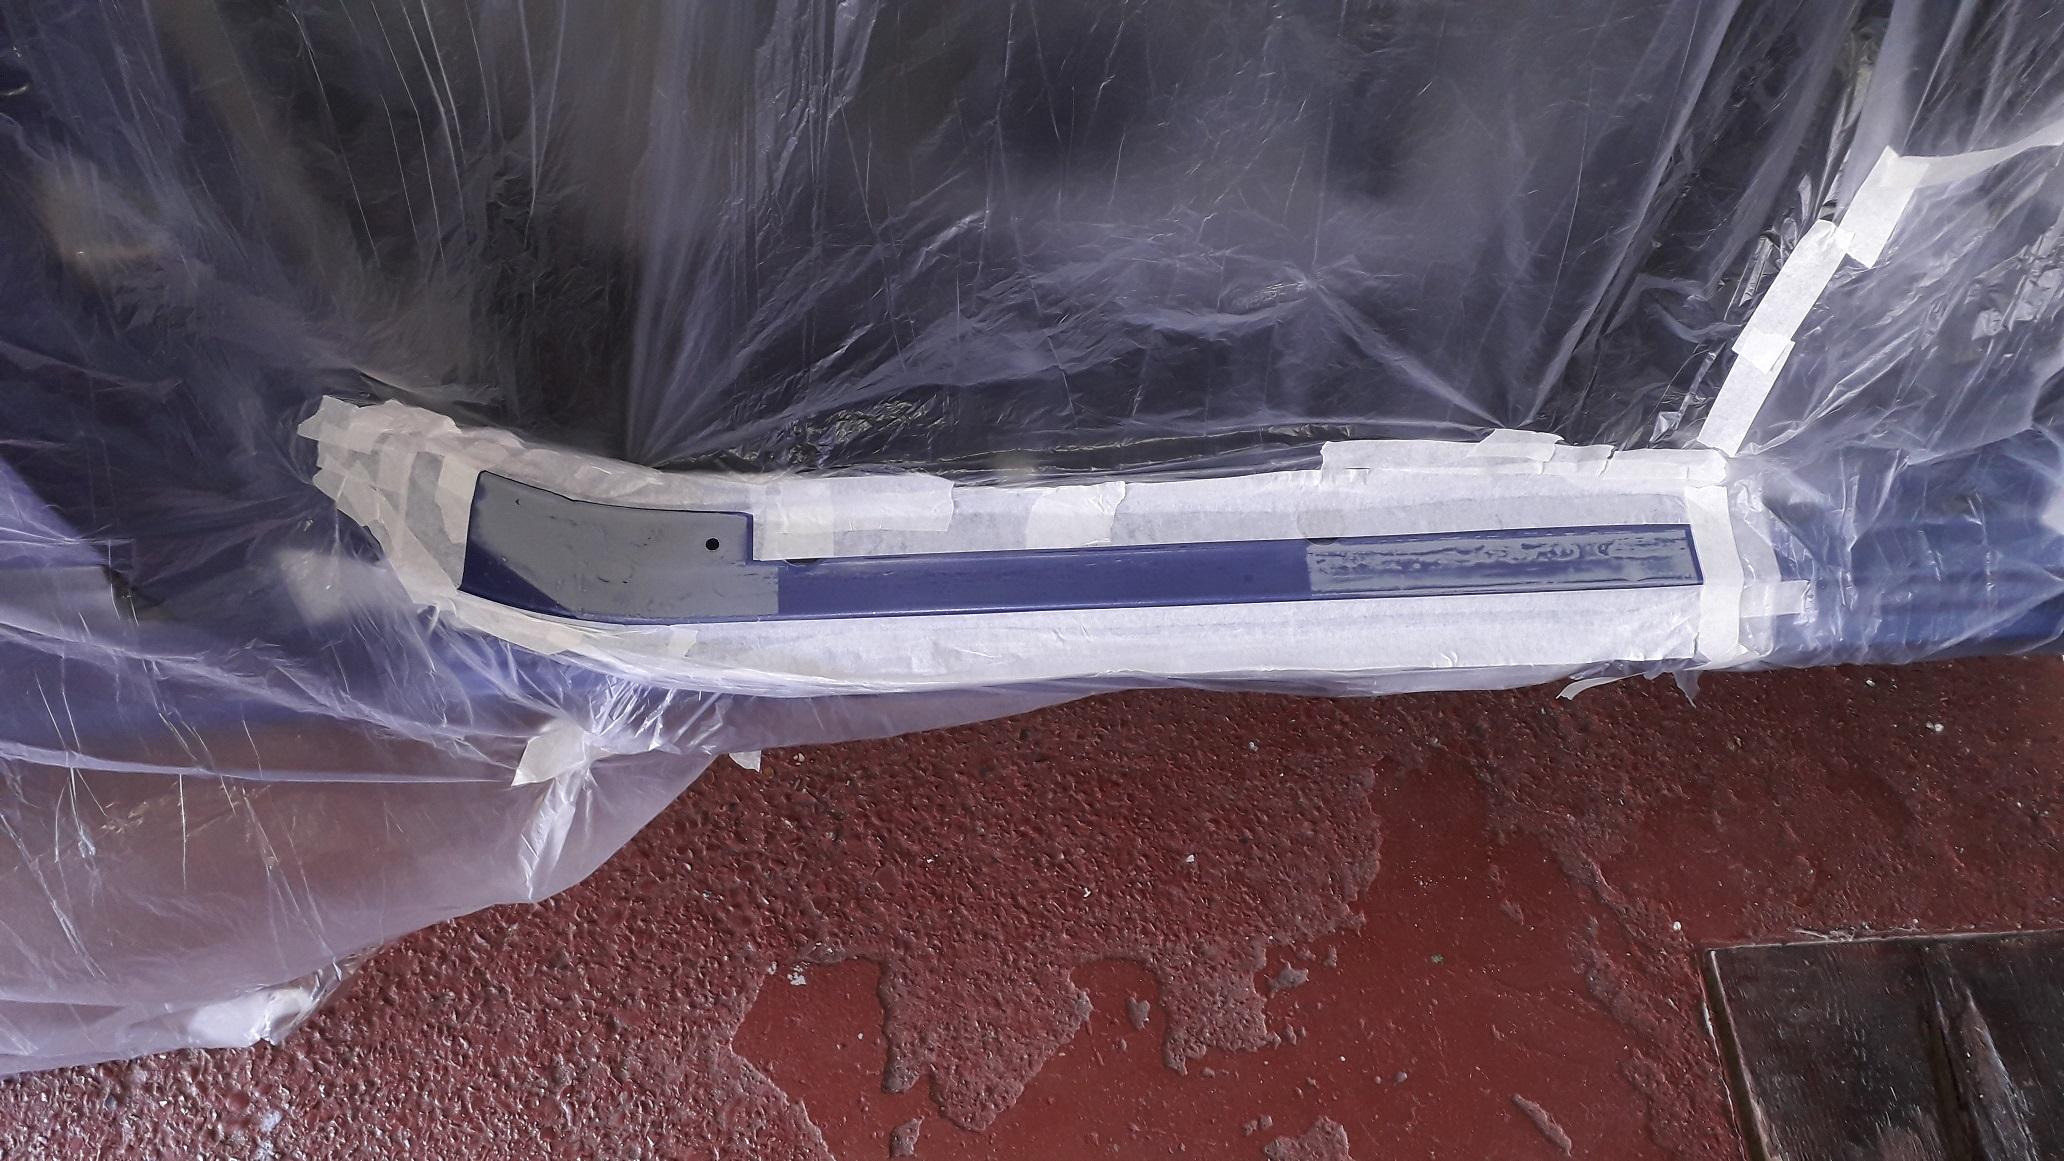
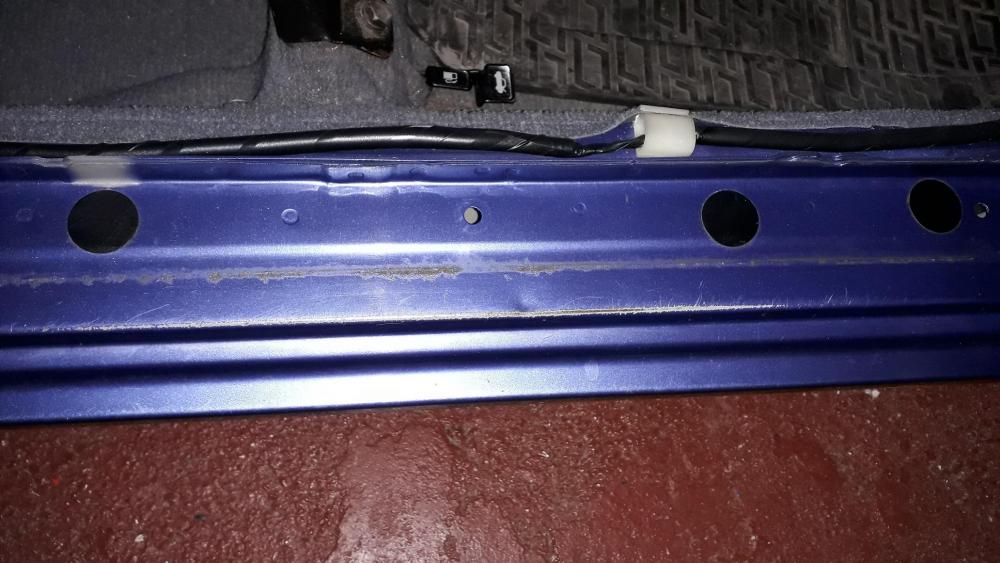
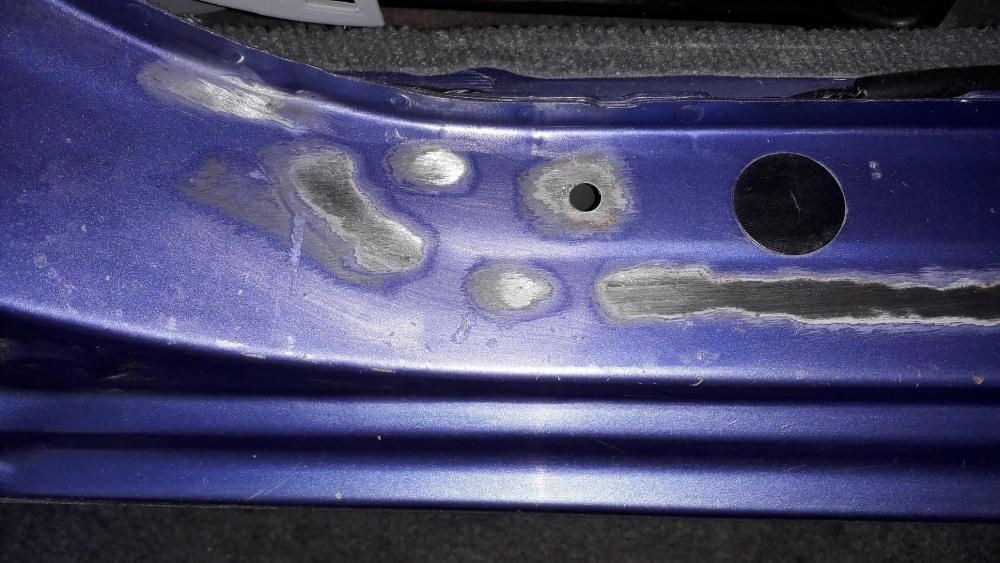
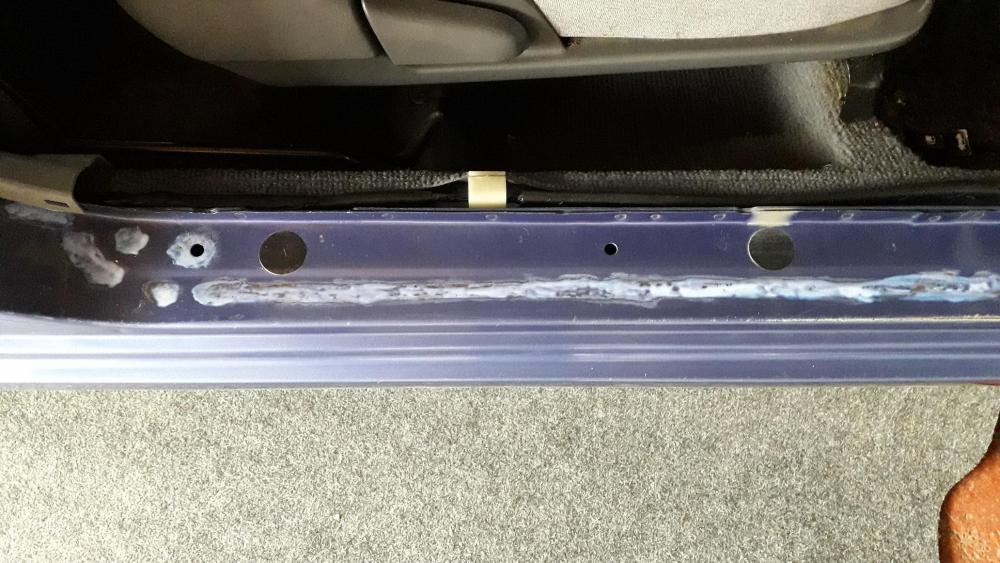
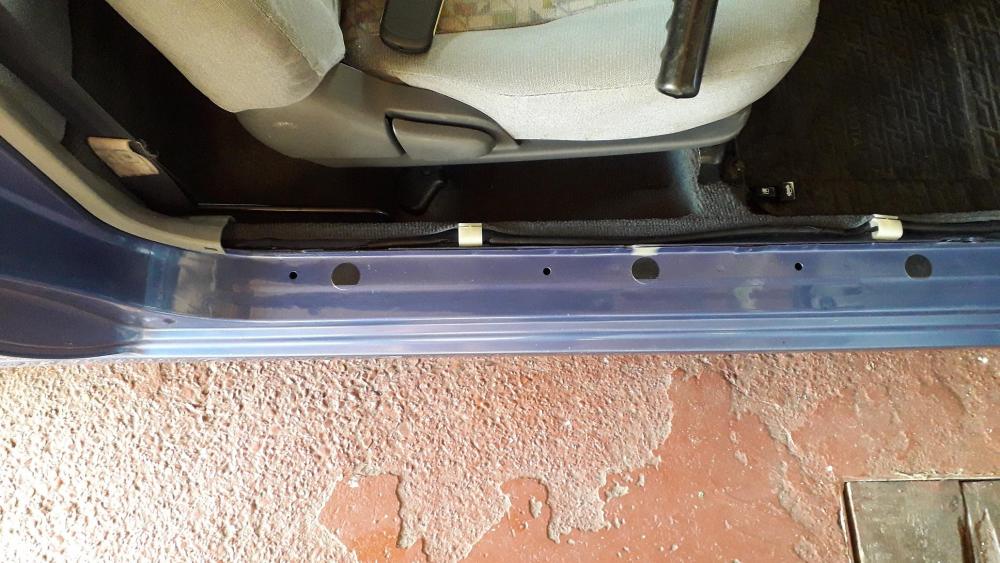
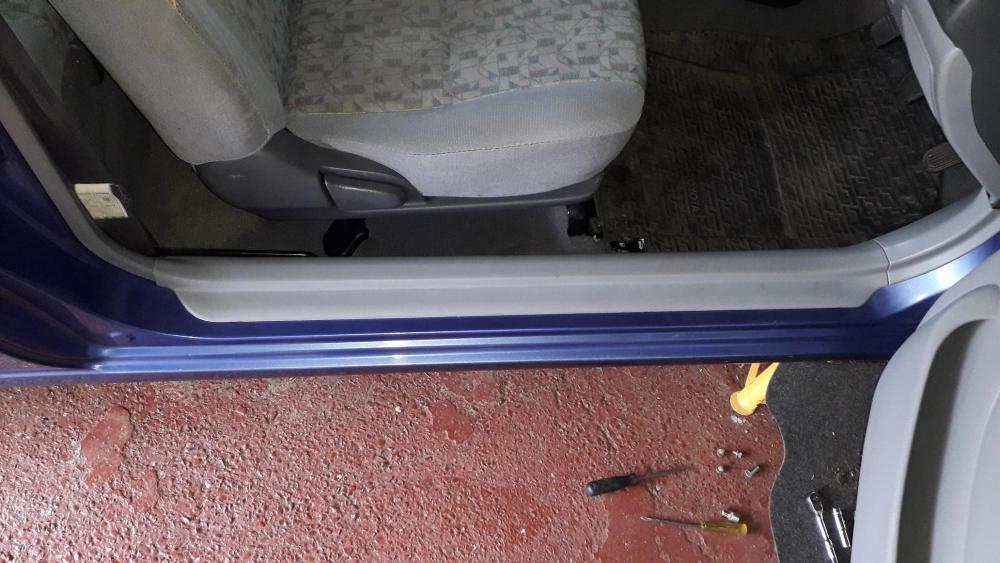
Door sill paint: When I bought the car i noticed the sill area under the kick plate was rusty and needed investigation. First I removed the kick plate, un-clipped the front end from the foot well trim, pulled straight up to un-clip the sill fasteners and unhooked the other end from the lower B-pillar trim. Cleaned up the rusty edge. Thankfully only a thin line of surface rust. Cleaned off carefully with an abrasive filament wheel. Hydrate 80 rust treatment just in case. Masked up, primed, sanded ready for top coat. Nice warm day for spraying so 3 x layers of top coat (10 mins. between coats), then 2 x layers clear lacquer (10 mins. wait also). Kick plate back on after 7 days drying. Good as new.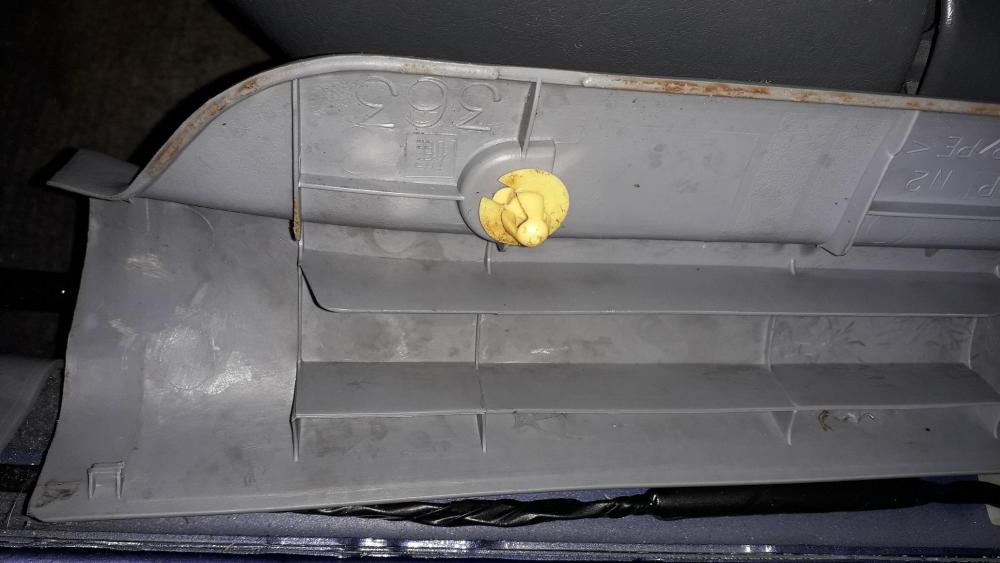


-
From some research I did before buying my wheels it seems that ET35 to ET39 is what most recommend. Offset is only a small part of the puzzle in getting wheels to fit any car, things like width of rim and also width of tyre on that rim also have to be considered for clearance to strut and wheel arch. Then the shape of the back face (around the "spoke" area) needs to be correct or the wheel may contact the brake caliper carrier requiring spacers that then push the wheel out causing problems with the arch! To be safe you can stick with SR speedlines or Glanza alloys as these are Toyota standard fitment. Also search the forum for wheels others have used and that gives a good place to start. Don't want to scare you but its a difficult question to answer!
-
PM'd
-
I lowered mine 40mm on a combination of Tein springs and KYB excel g shocks. Just be careful because if you lower it too much more you may end up riding around on the bump stops. There isn't much travel left when lowered this much anyway. Also you said you were using KYB mounts as well, did yours fit the shock absorbers? The ones I bought for the EP91 weren't right for the car or shocks. Check my build thread for details.
-
I know its not the same EMS but this post might help. Can you apply filters in the programming software to filter out the "noise". Worth a read
-
Claymore's sleeper 4efe+t-t+t build (R.I.P. the Nanza)
Claymore replied to Claymore's topic in EP91 Progress Blogs
Hi Sam, Thanks for the offer, but I'm sorted for a clutch. You've picked up some interesting parts recently, any hints as to where you're finding them? I am still looking for a TD04 manifold and downpipe though: ideally WEPR, Race tech, Zisco or Tuning developments. -
Claymore's sleeper 4efe+t-t+t build (R.I.P. the Nanza)
Claymore replied to Claymore's topic in EP91 Progress Blogs
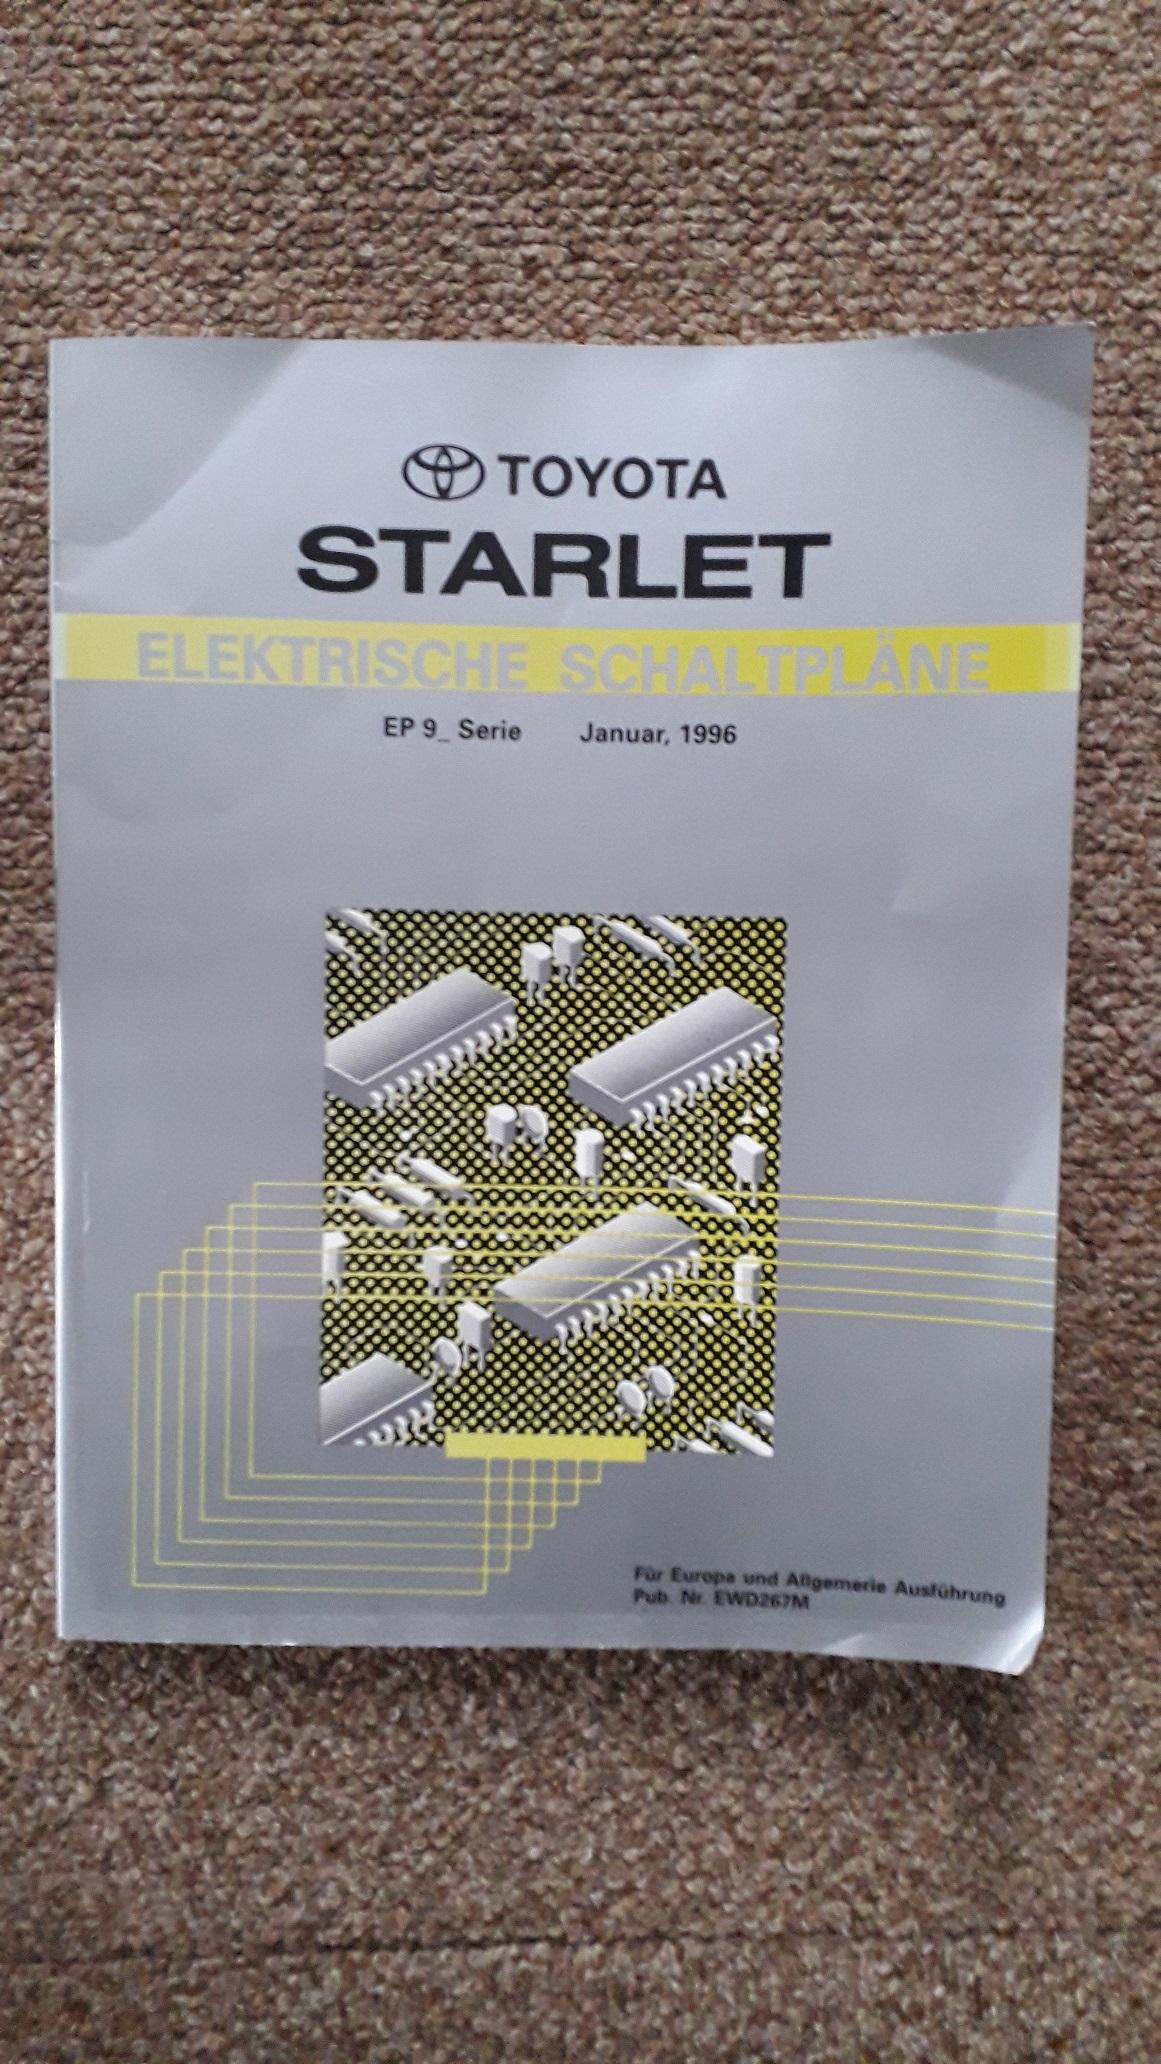
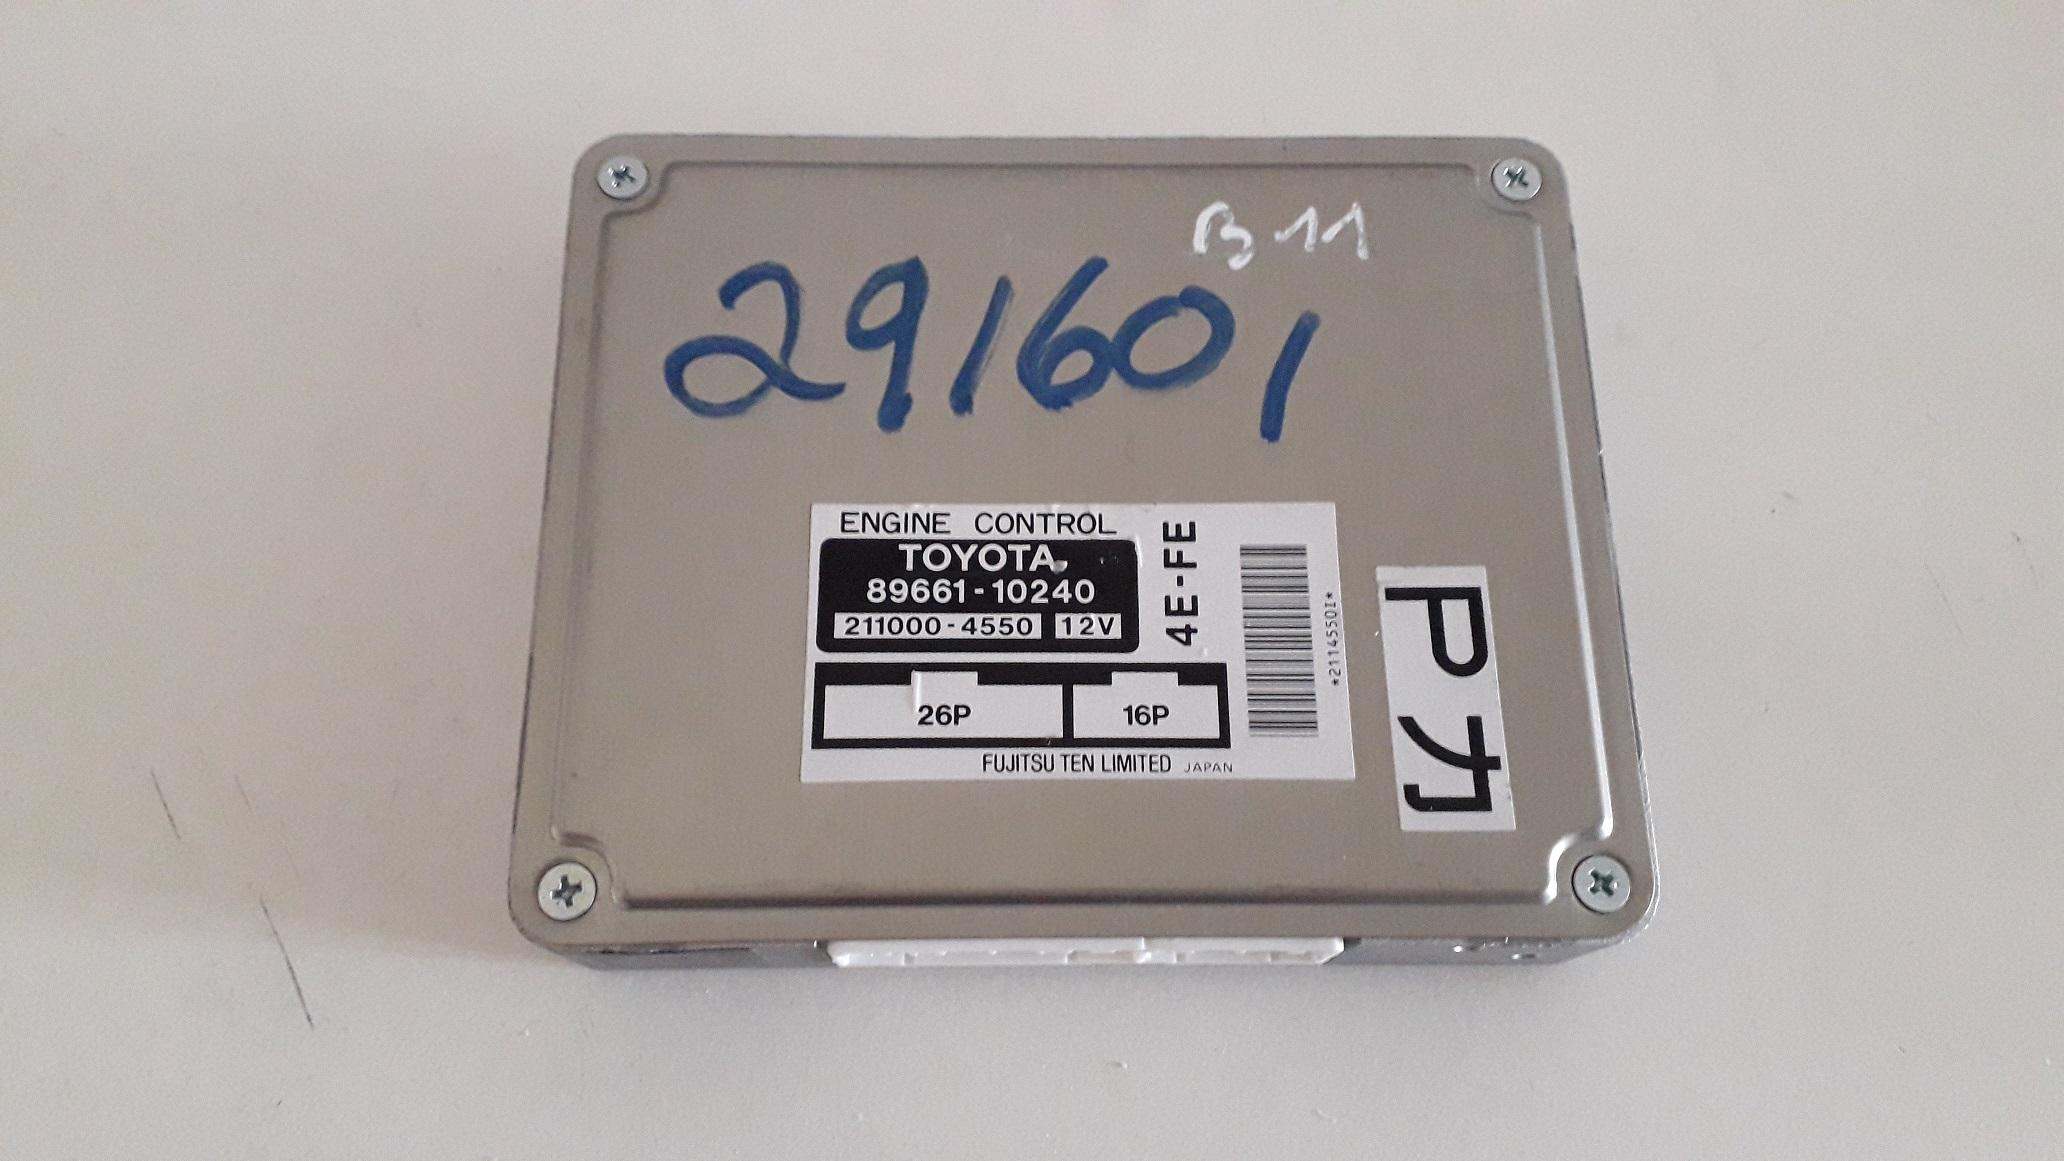
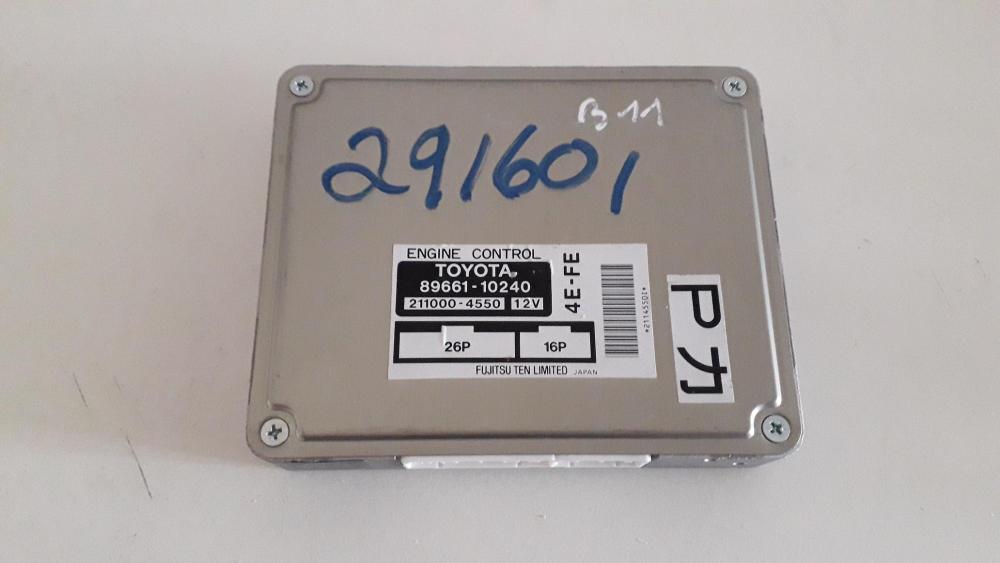
A few random purchases: Been looking for information regarding ECU pinouts for the upcoming piggy back fitment and found several different versions online that vary in accuracy and also most contradict each other! Some refer to wires for the gtt or glanza and some have their intended purposes mixed up. I also couldn't find one that was for the particular ECU part number and we know that the 96/97 car wiring is different to the 98/99 wiring. In all fairness the 4 important wires for the piggy back are almost correctly listed but curiosity got the better of me so I managed to find and purchase this. Although it is the European/German version there are English equivalent diagrams and explanations, plus it easier to translate German than Japanese. Also purchased a spare ECU to play with, they're only cheap and I've had ECU's crap out on me before. Upon opening the ECU to check its condition I was happy to see that the board is also labelled with the connectors pins intended purpose! So if you need to know which wire does what you can always remove your ECU and check under the cover. I have checked and the ECU board pinout matches the wiring diagram in the book 😃. I'm looking into making an ECU pinout table for this ECU part number.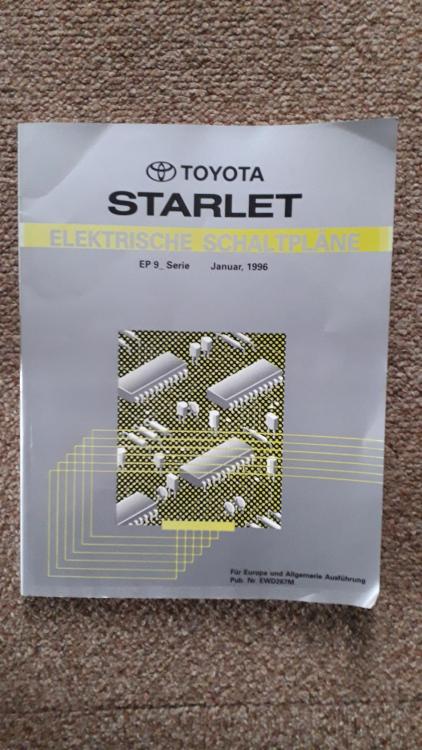

-
Looking like a serious build, very interesting, keep it up mate.
-
Claymore's sleeper 4efe+t-t+t build (R.I.P. the Nanza)
Claymore replied to Claymore's topic in EP91 Progress Blogs
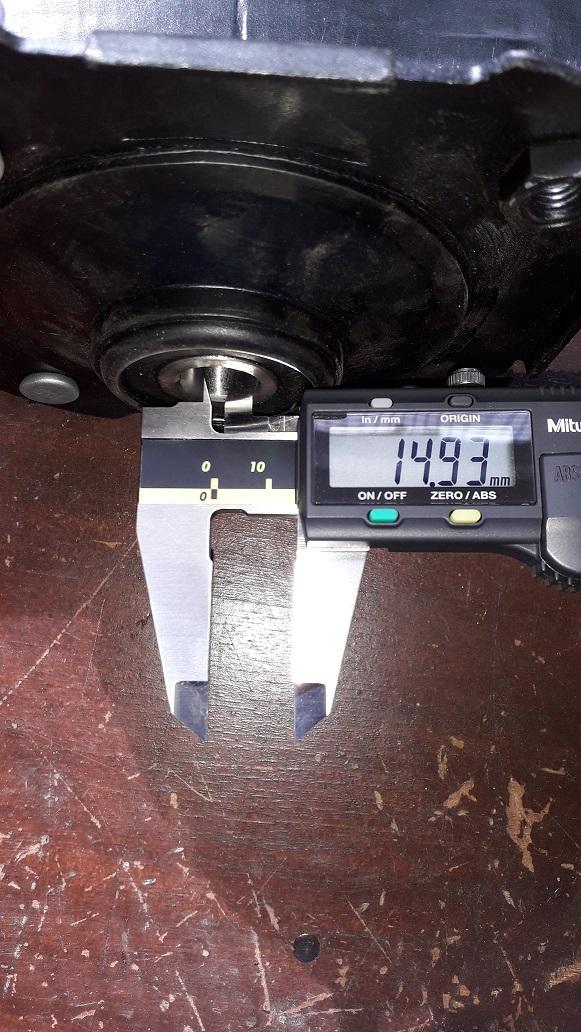
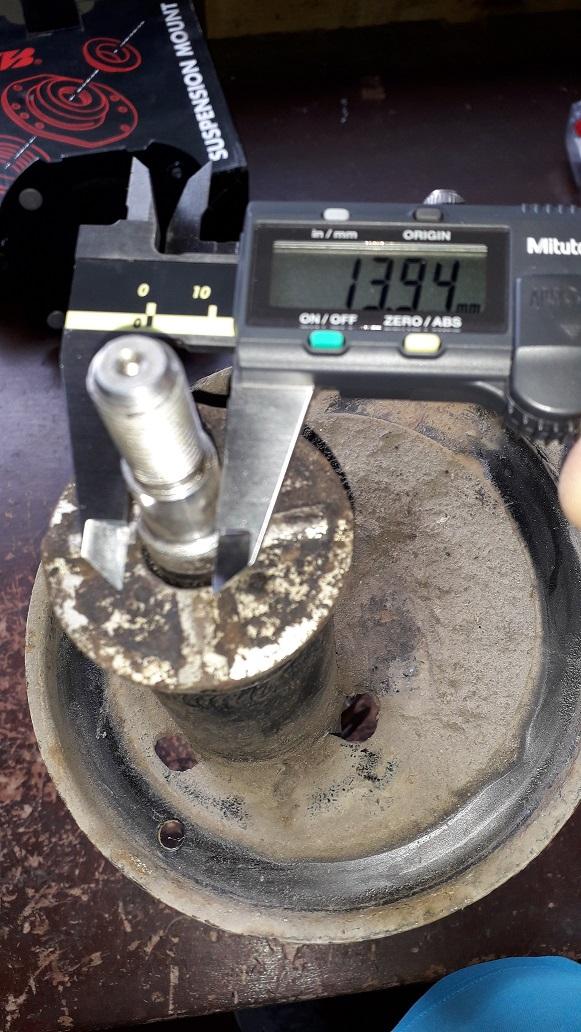
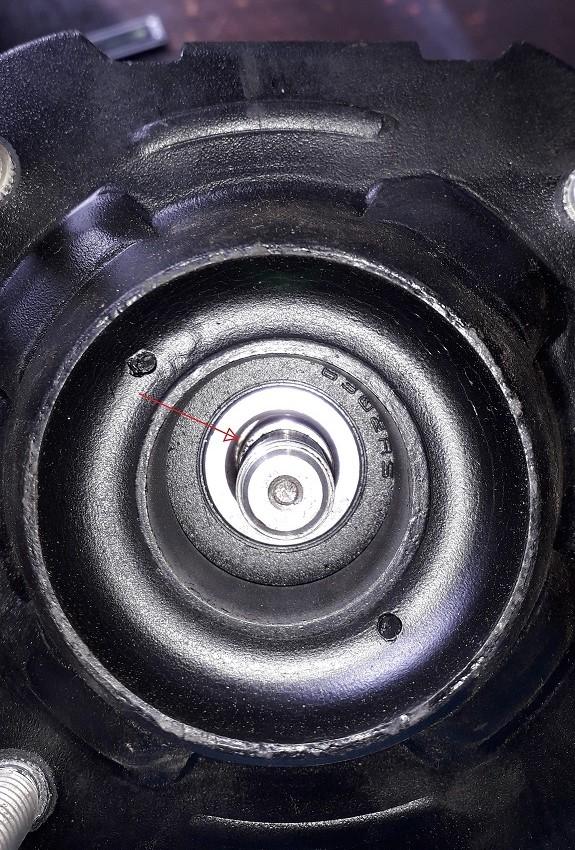
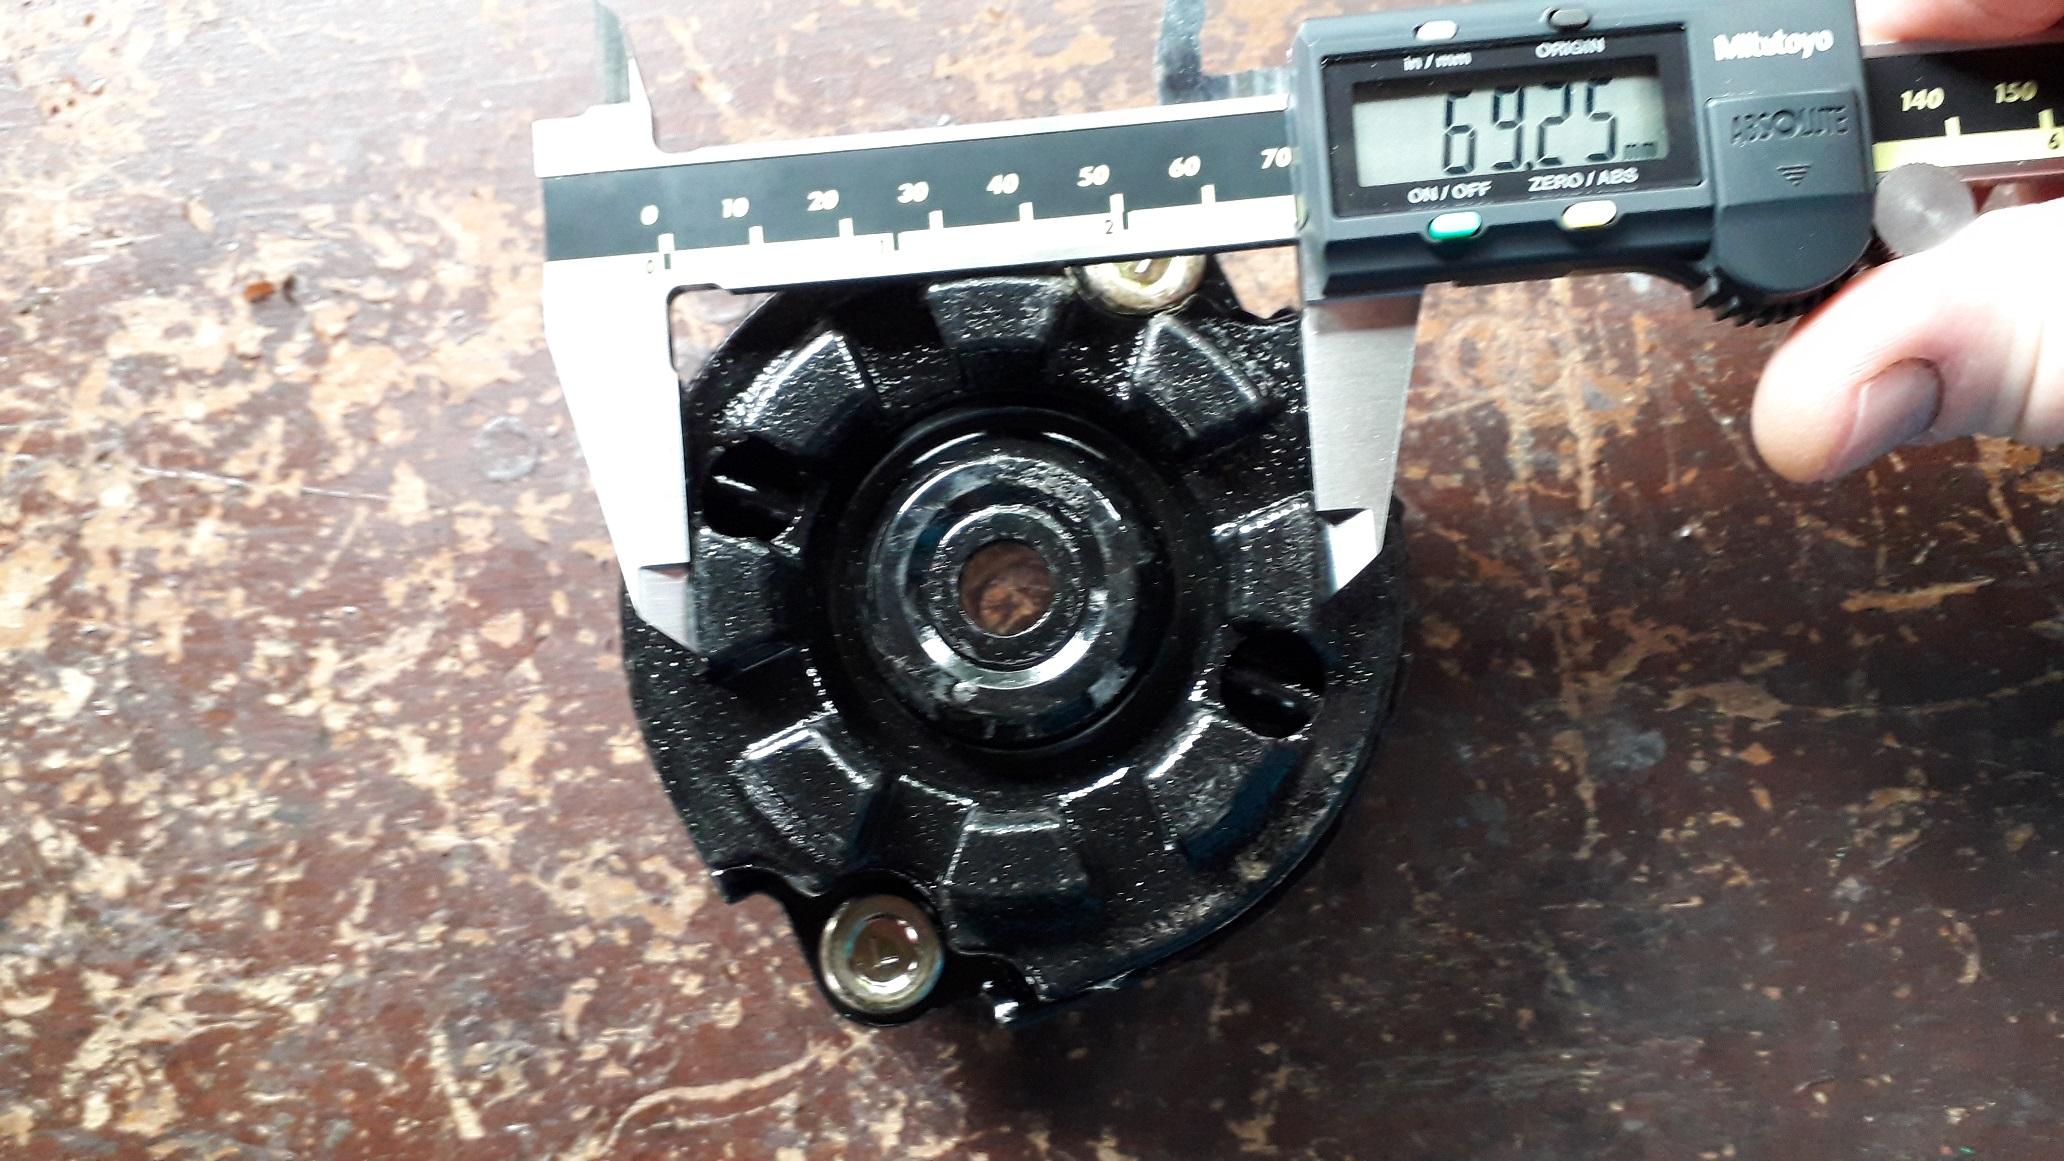
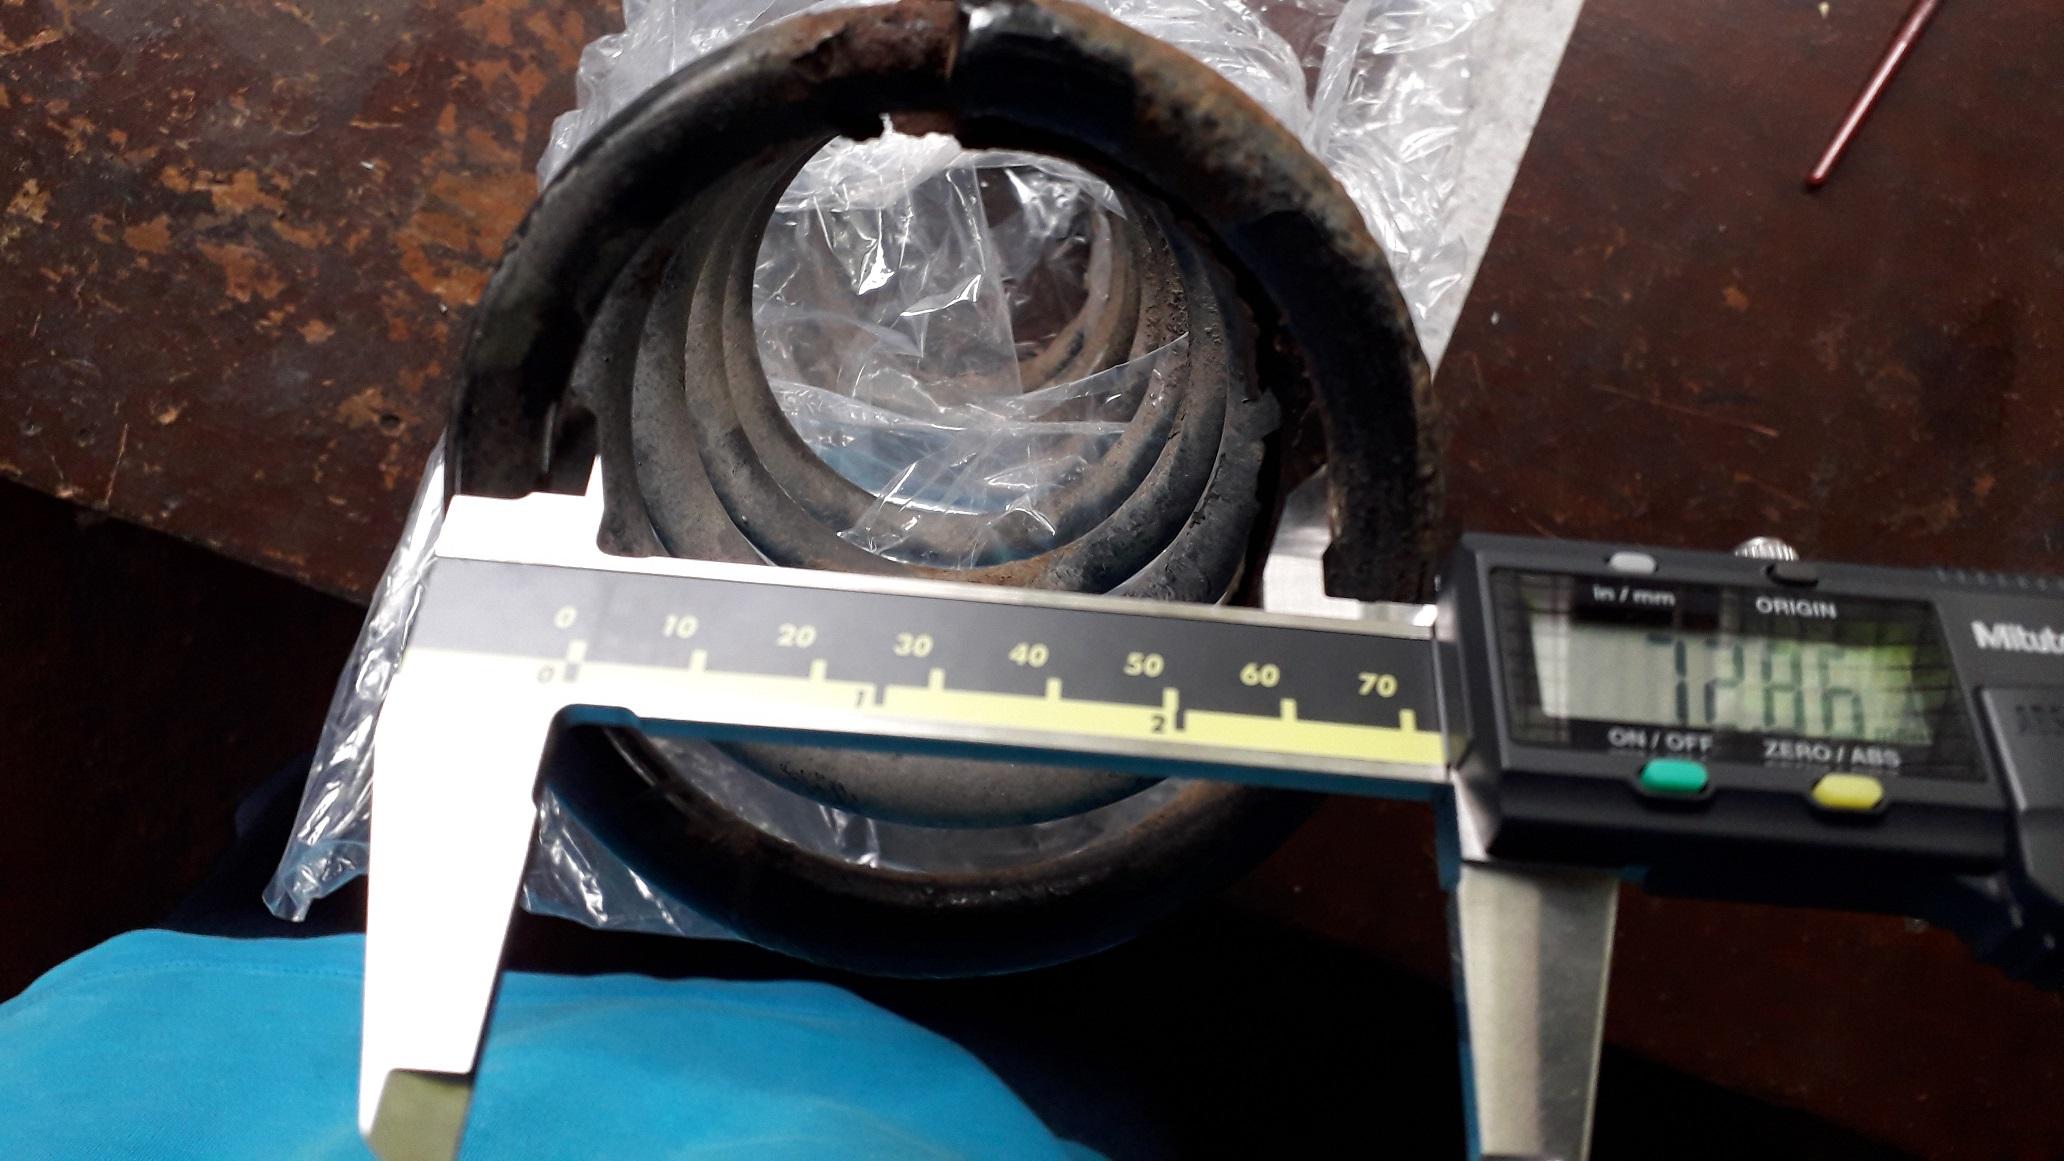
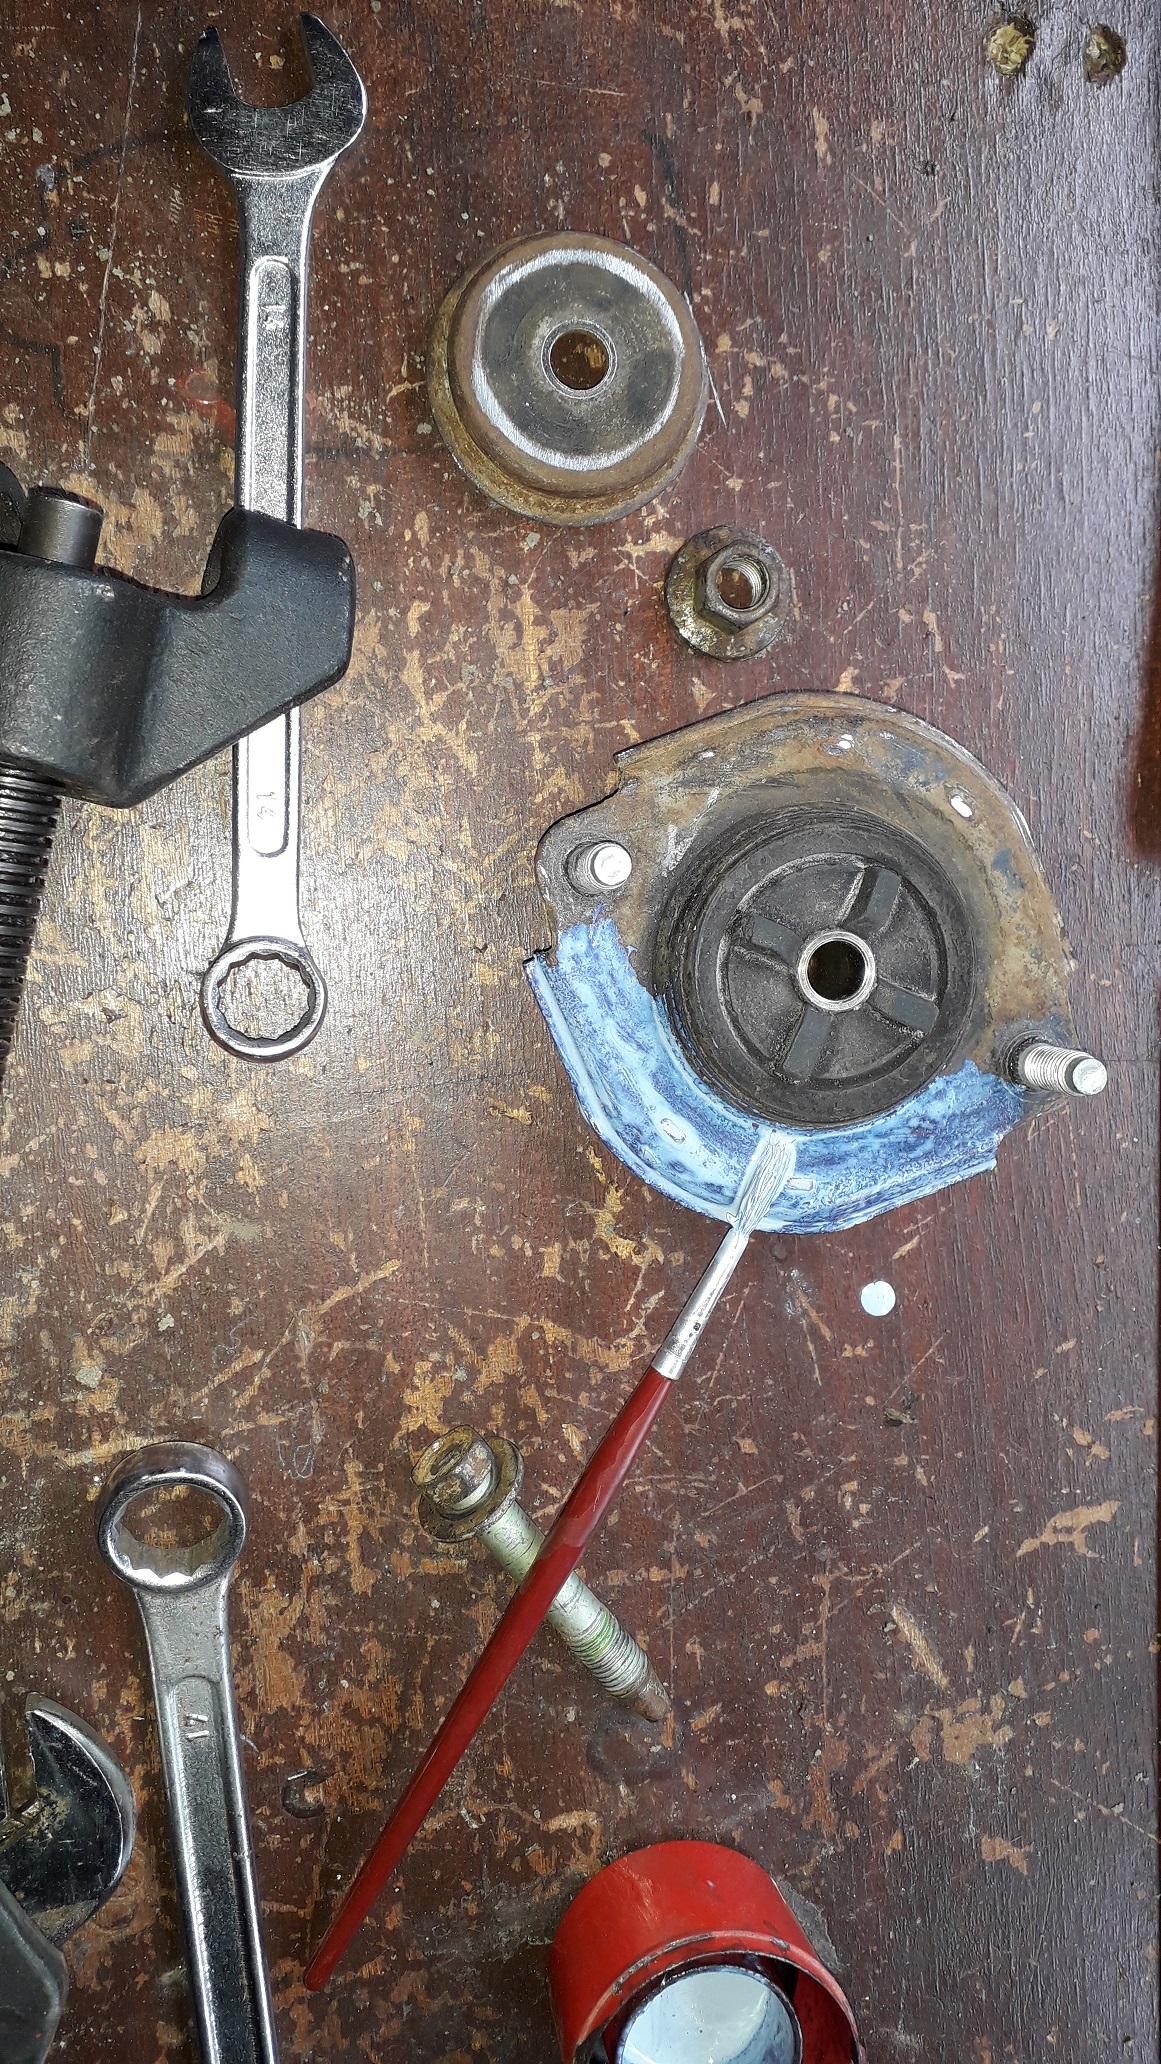
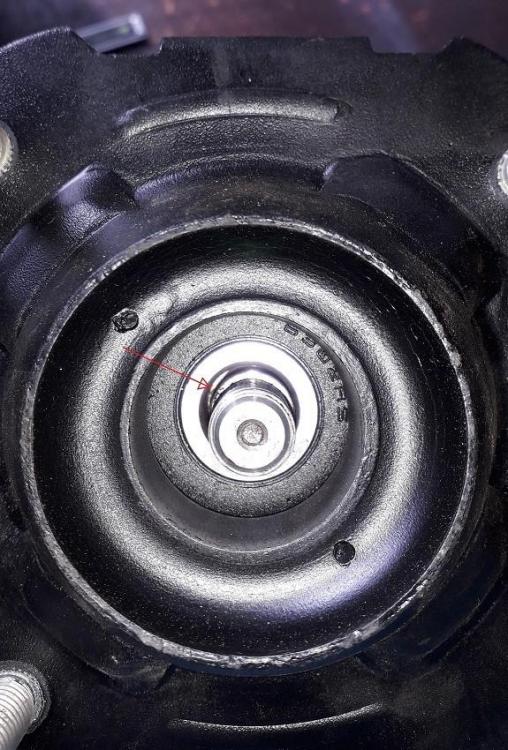
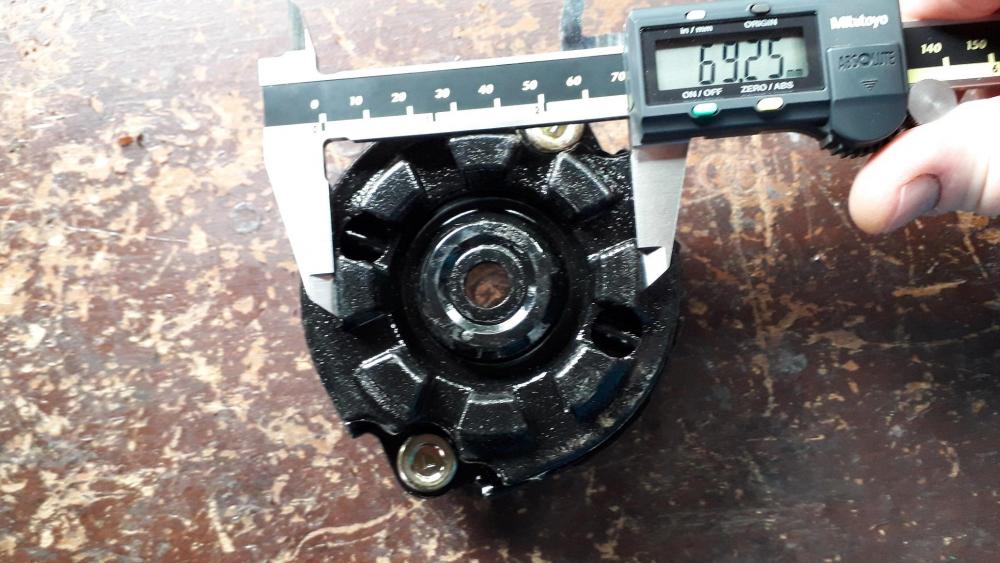
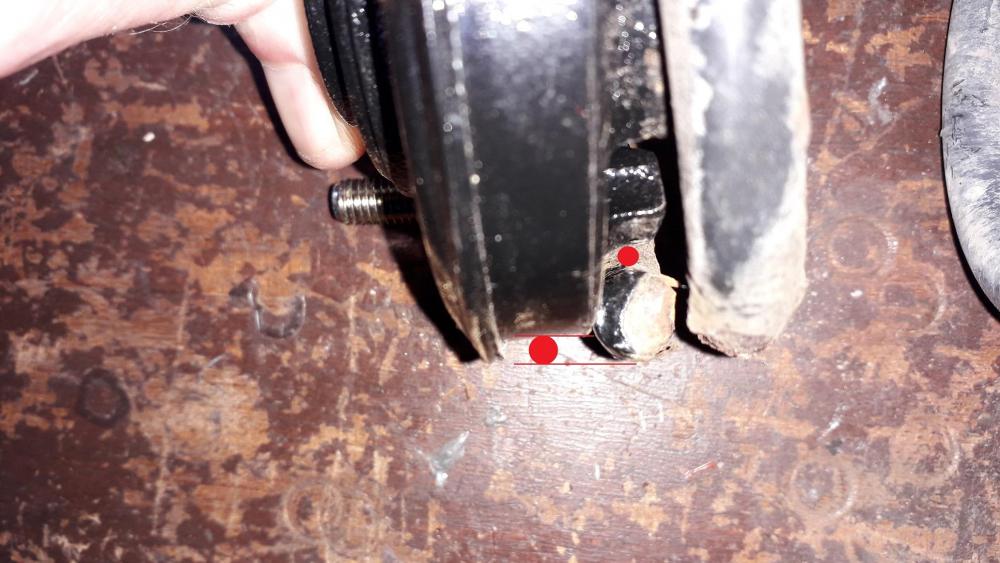
Wrong mount detail: The fronts were KYB SM5089, they were listed on eBay as fitting the EP91. I even sent the vehicle details to the seller to confirm. The shock mount hole is 15mm and the top mount has 3 x studs and a nut insert making 4 mounting fasteners where the EP91 only uses 3. Both original Toyota and KYB Excel g replacement shock absorbers were 14mm shaft. Gap shown with arrow, deffo not suitable for the car / shock. I have done some quick research into the possible fitments and they might be the mounts for an EP82. Can't confirm physically unless someone out there has measured up an EP82? Sent back now for a refund anyhow. I have also informed KYB who said they will investigate. The rears were Magnum A72015MT also listed for the EP91 and Again confirmed with seller before purchase. Spring seat diameter 69mm. Inner spring diameter 73mm. Spring was loose on the mount by 4mm. Wouldn't seat correctly. Hopefully this will save others wasting their time.


-
Claymore's sleeper 4efe+t-t+t build (R.I.P. the Nanza)
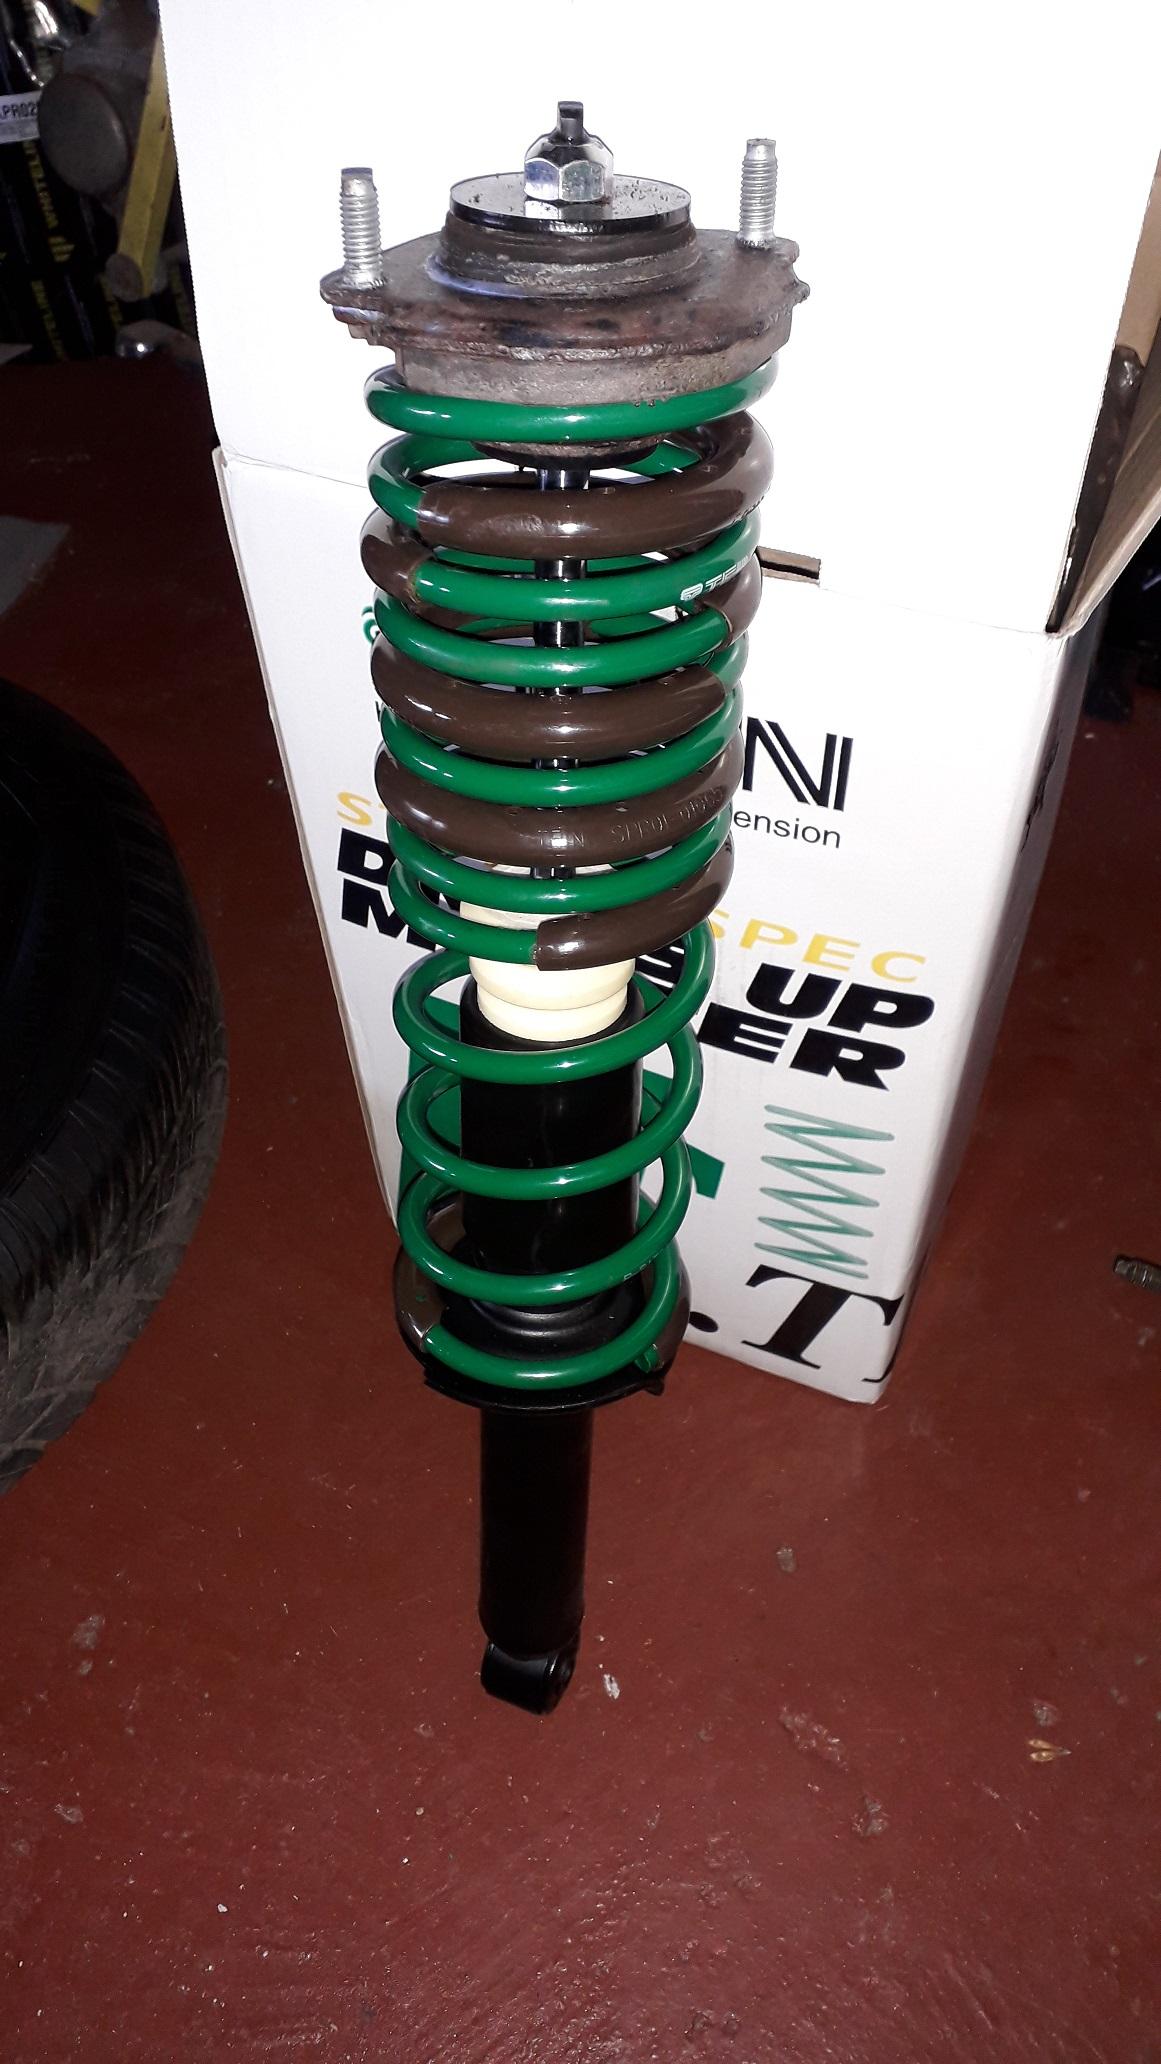
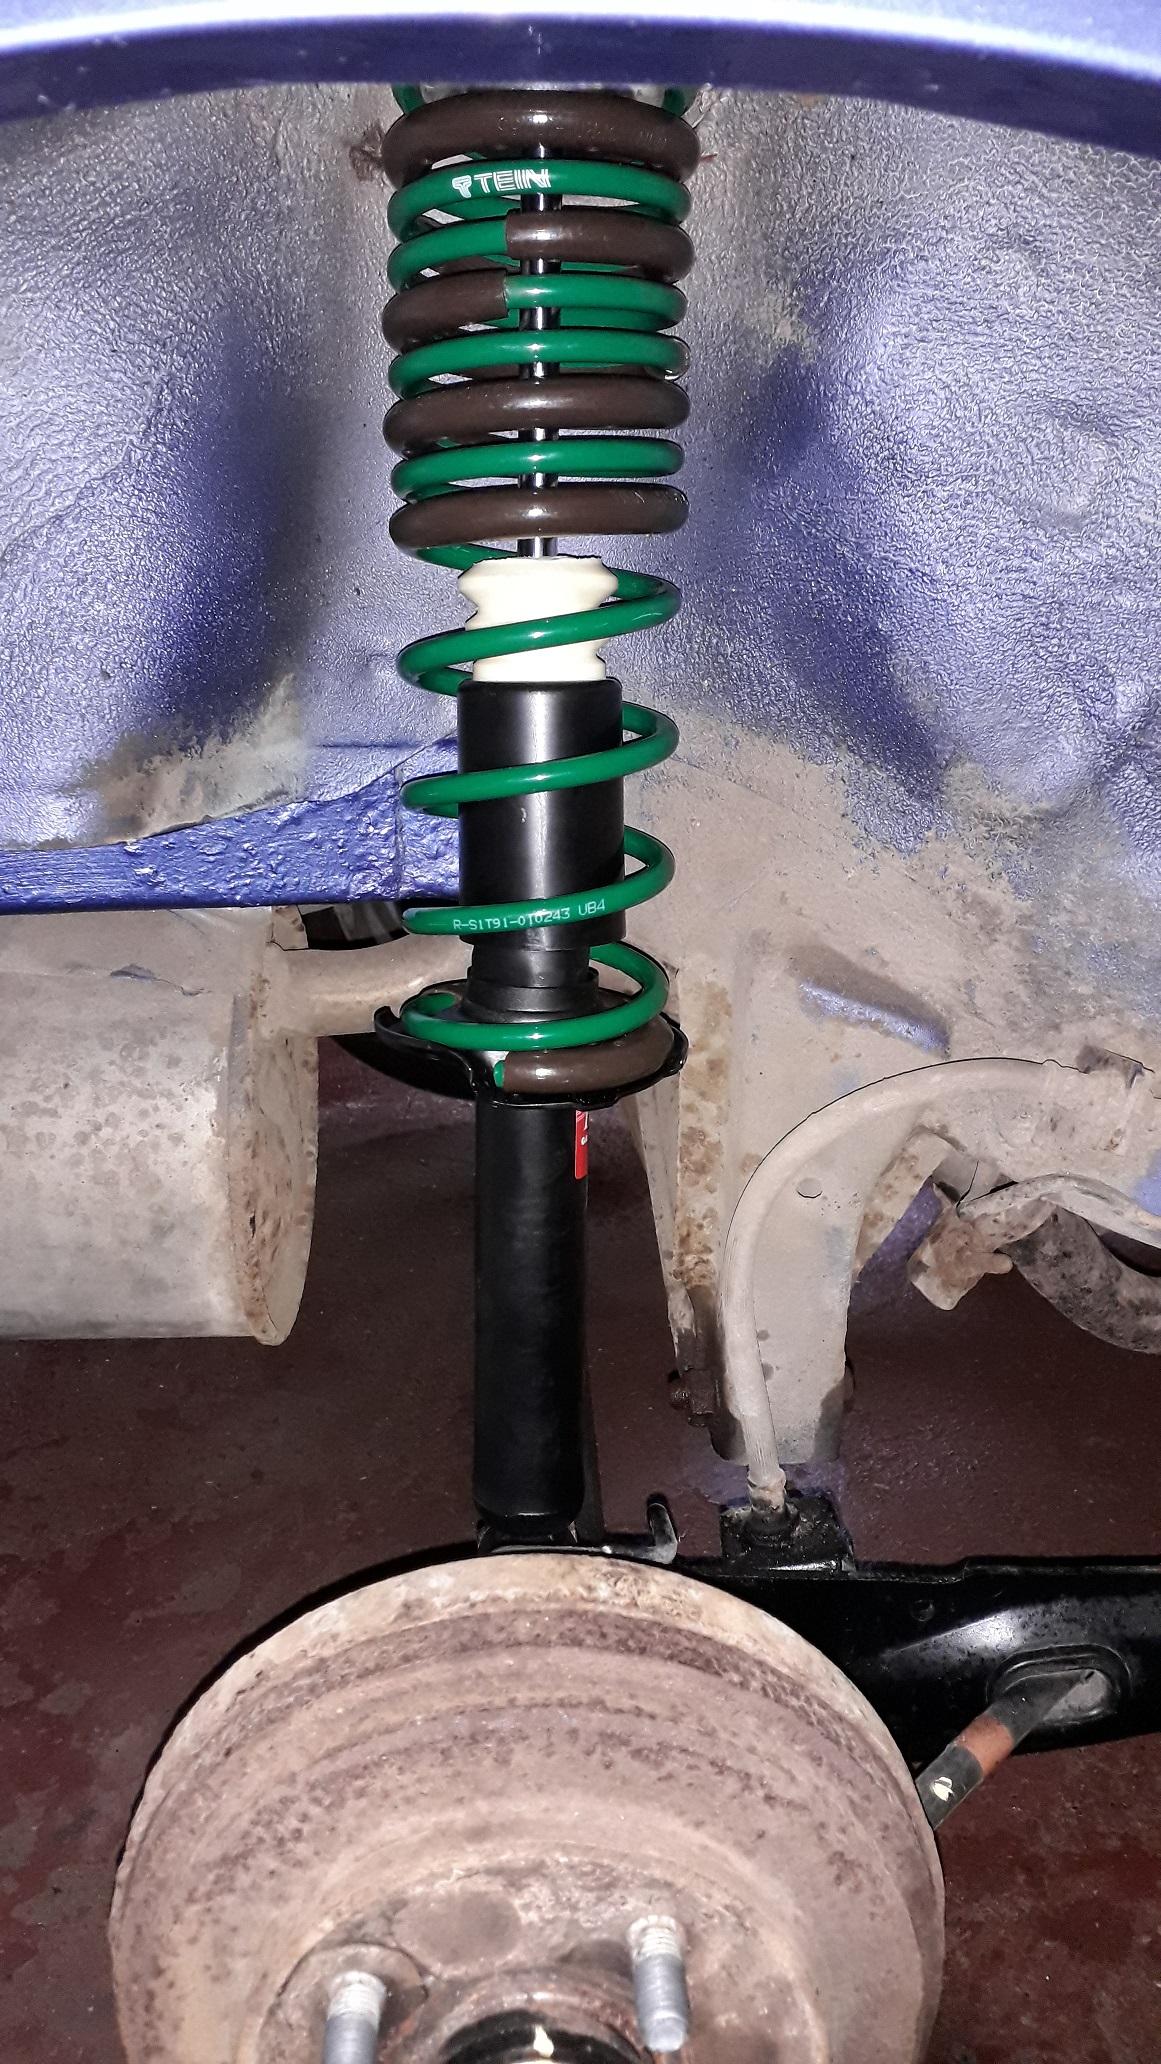
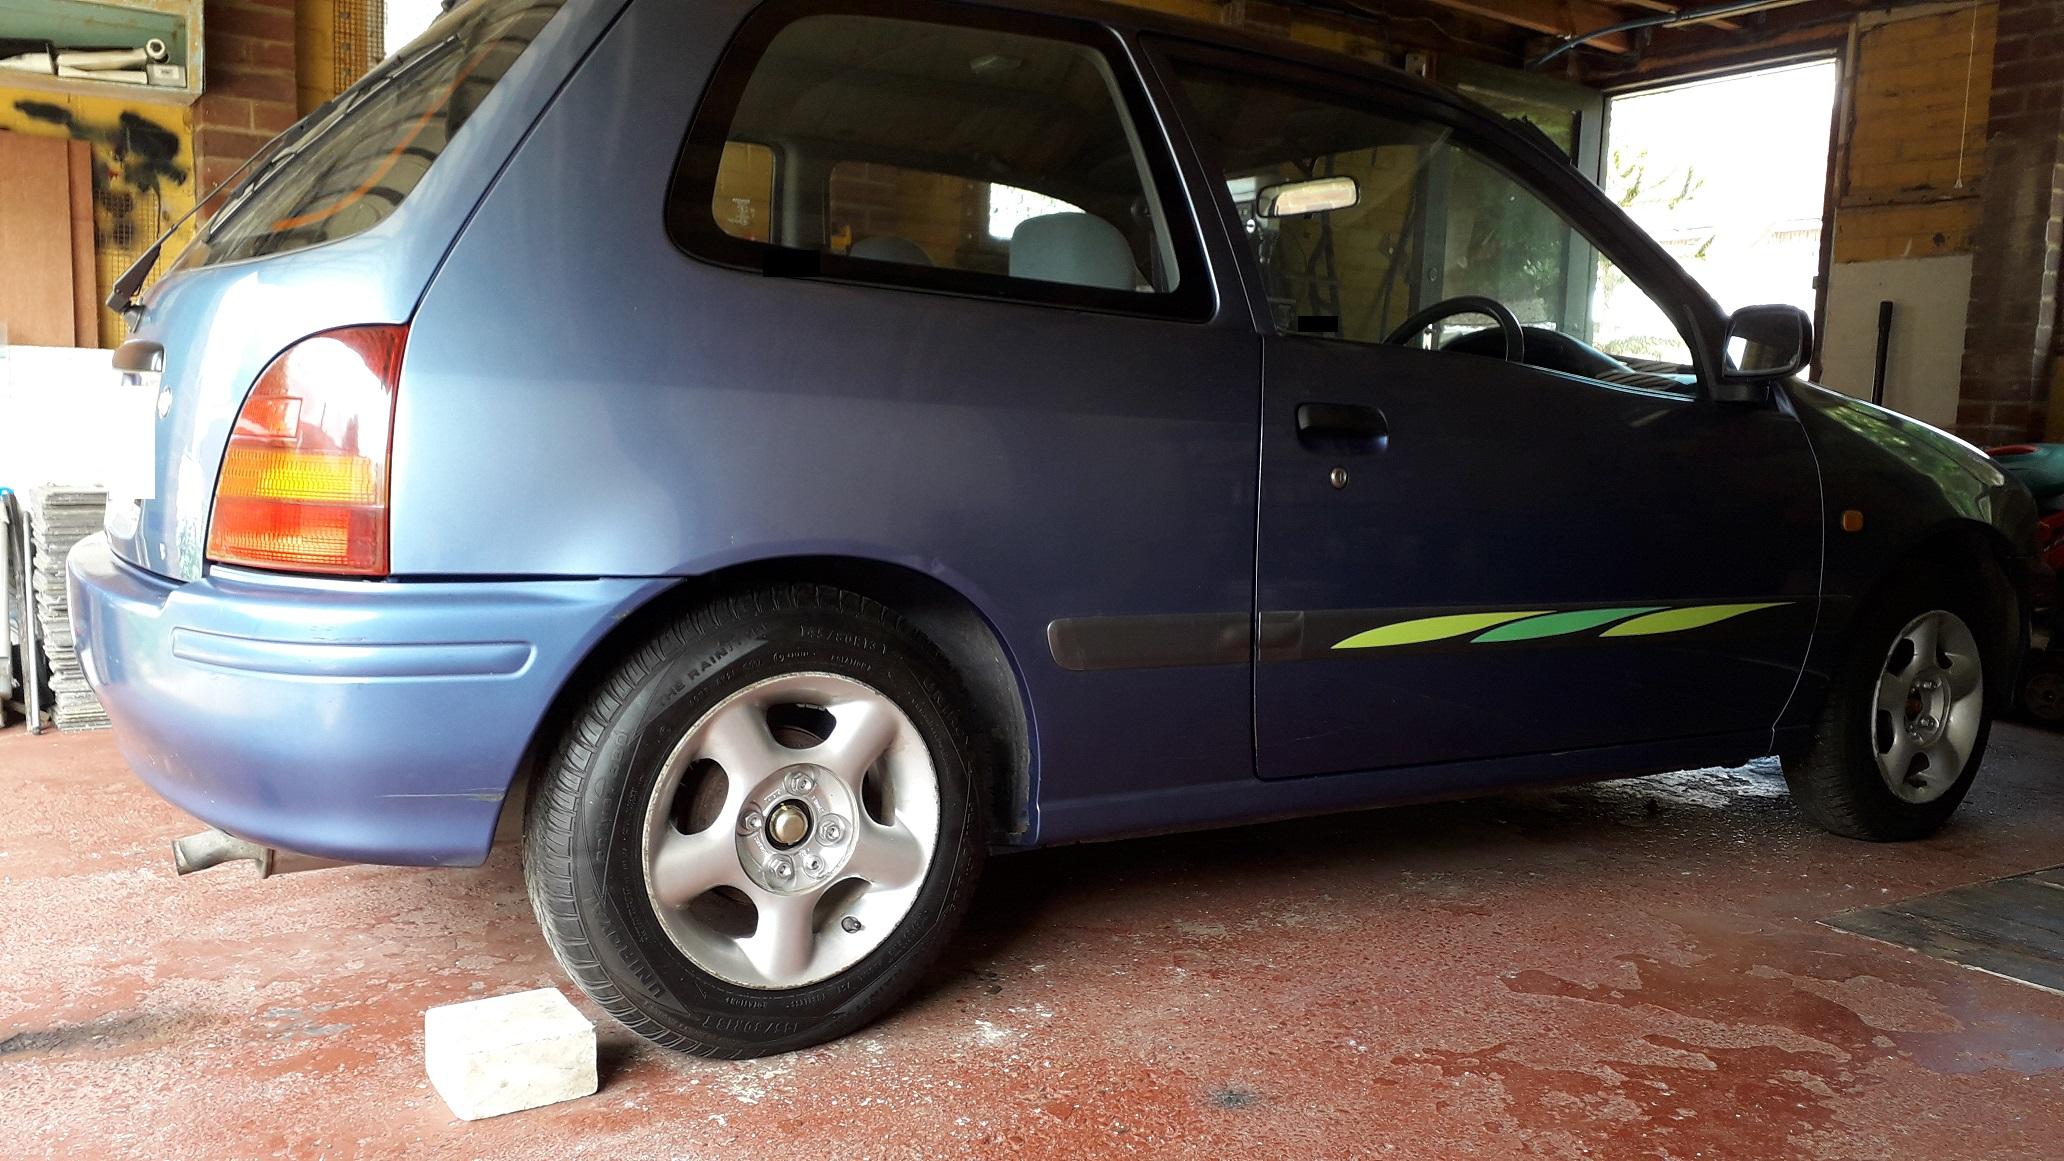
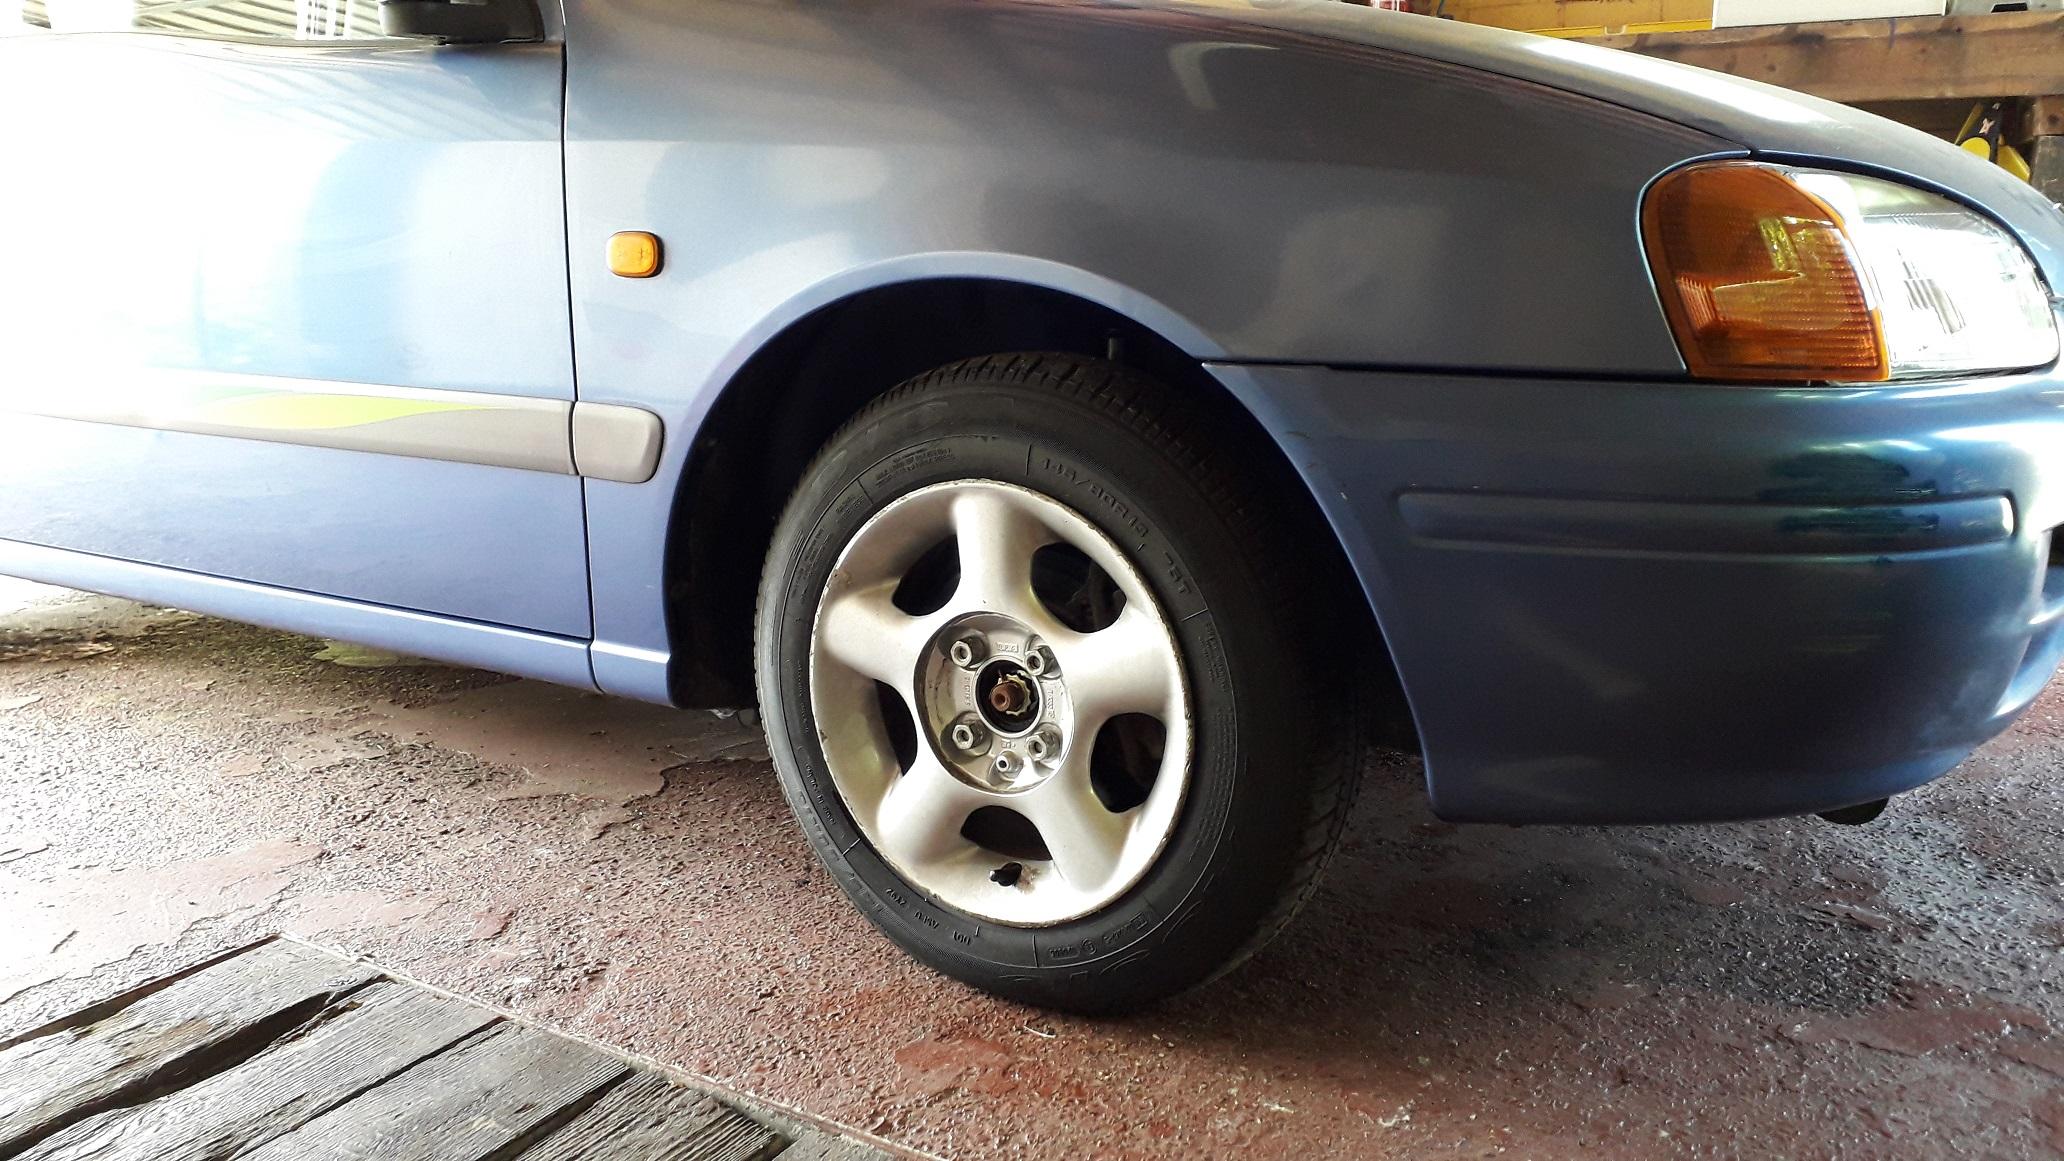
Claymore replied to Claymore's topic in EP91 Progress Blogs
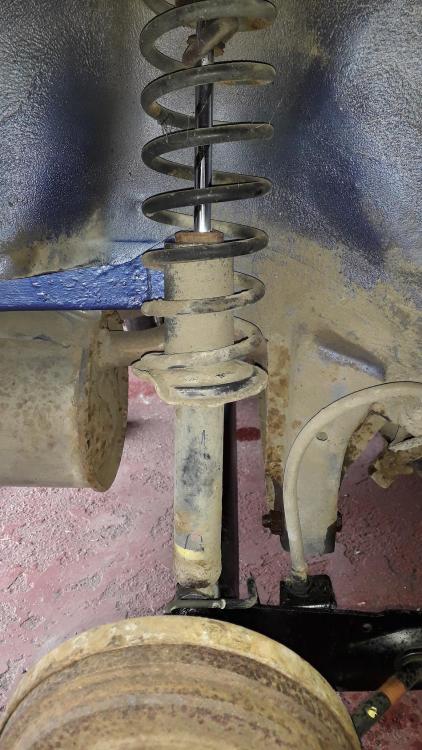
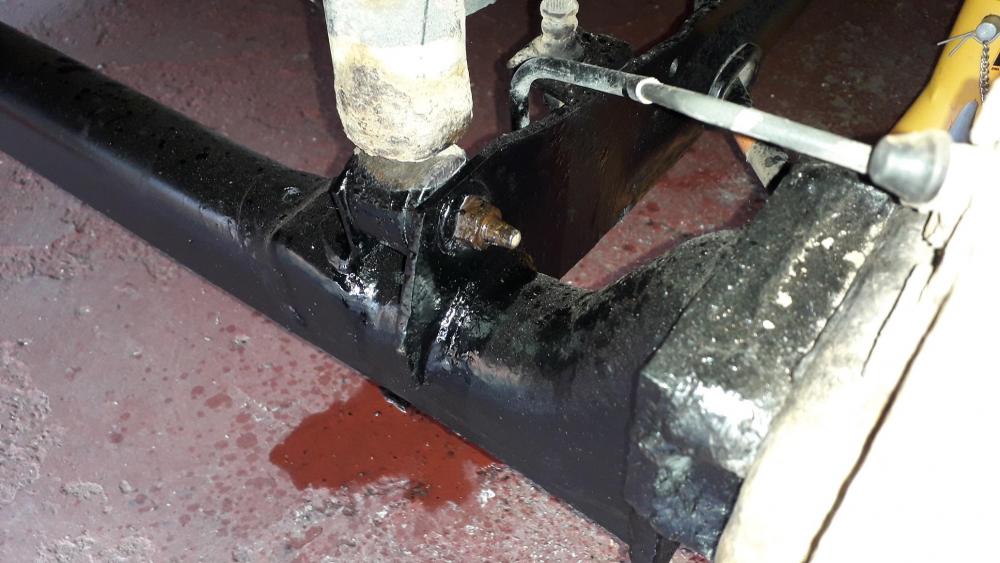
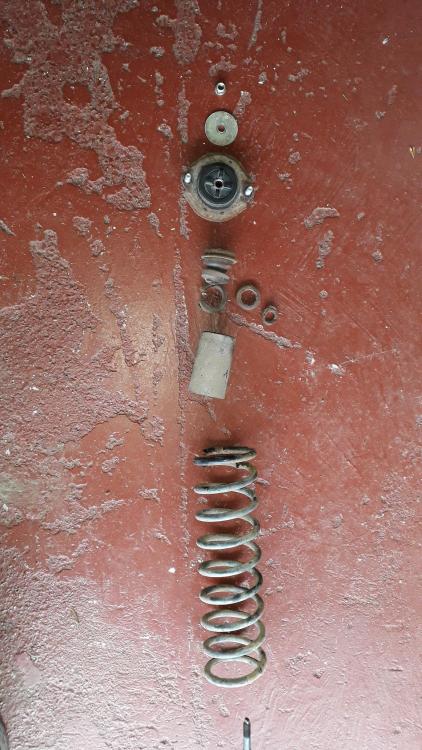
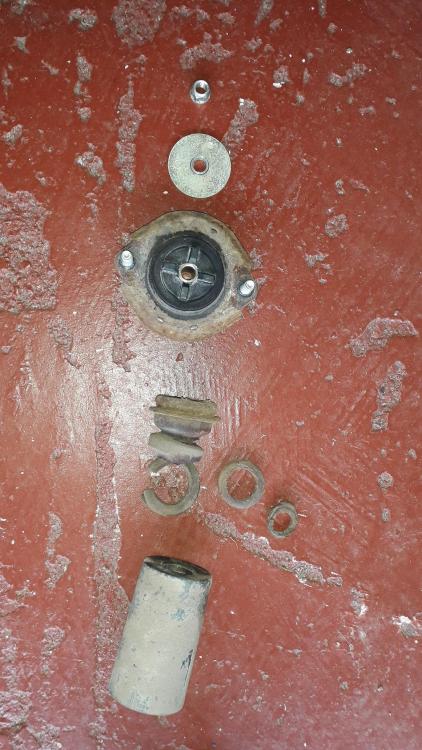
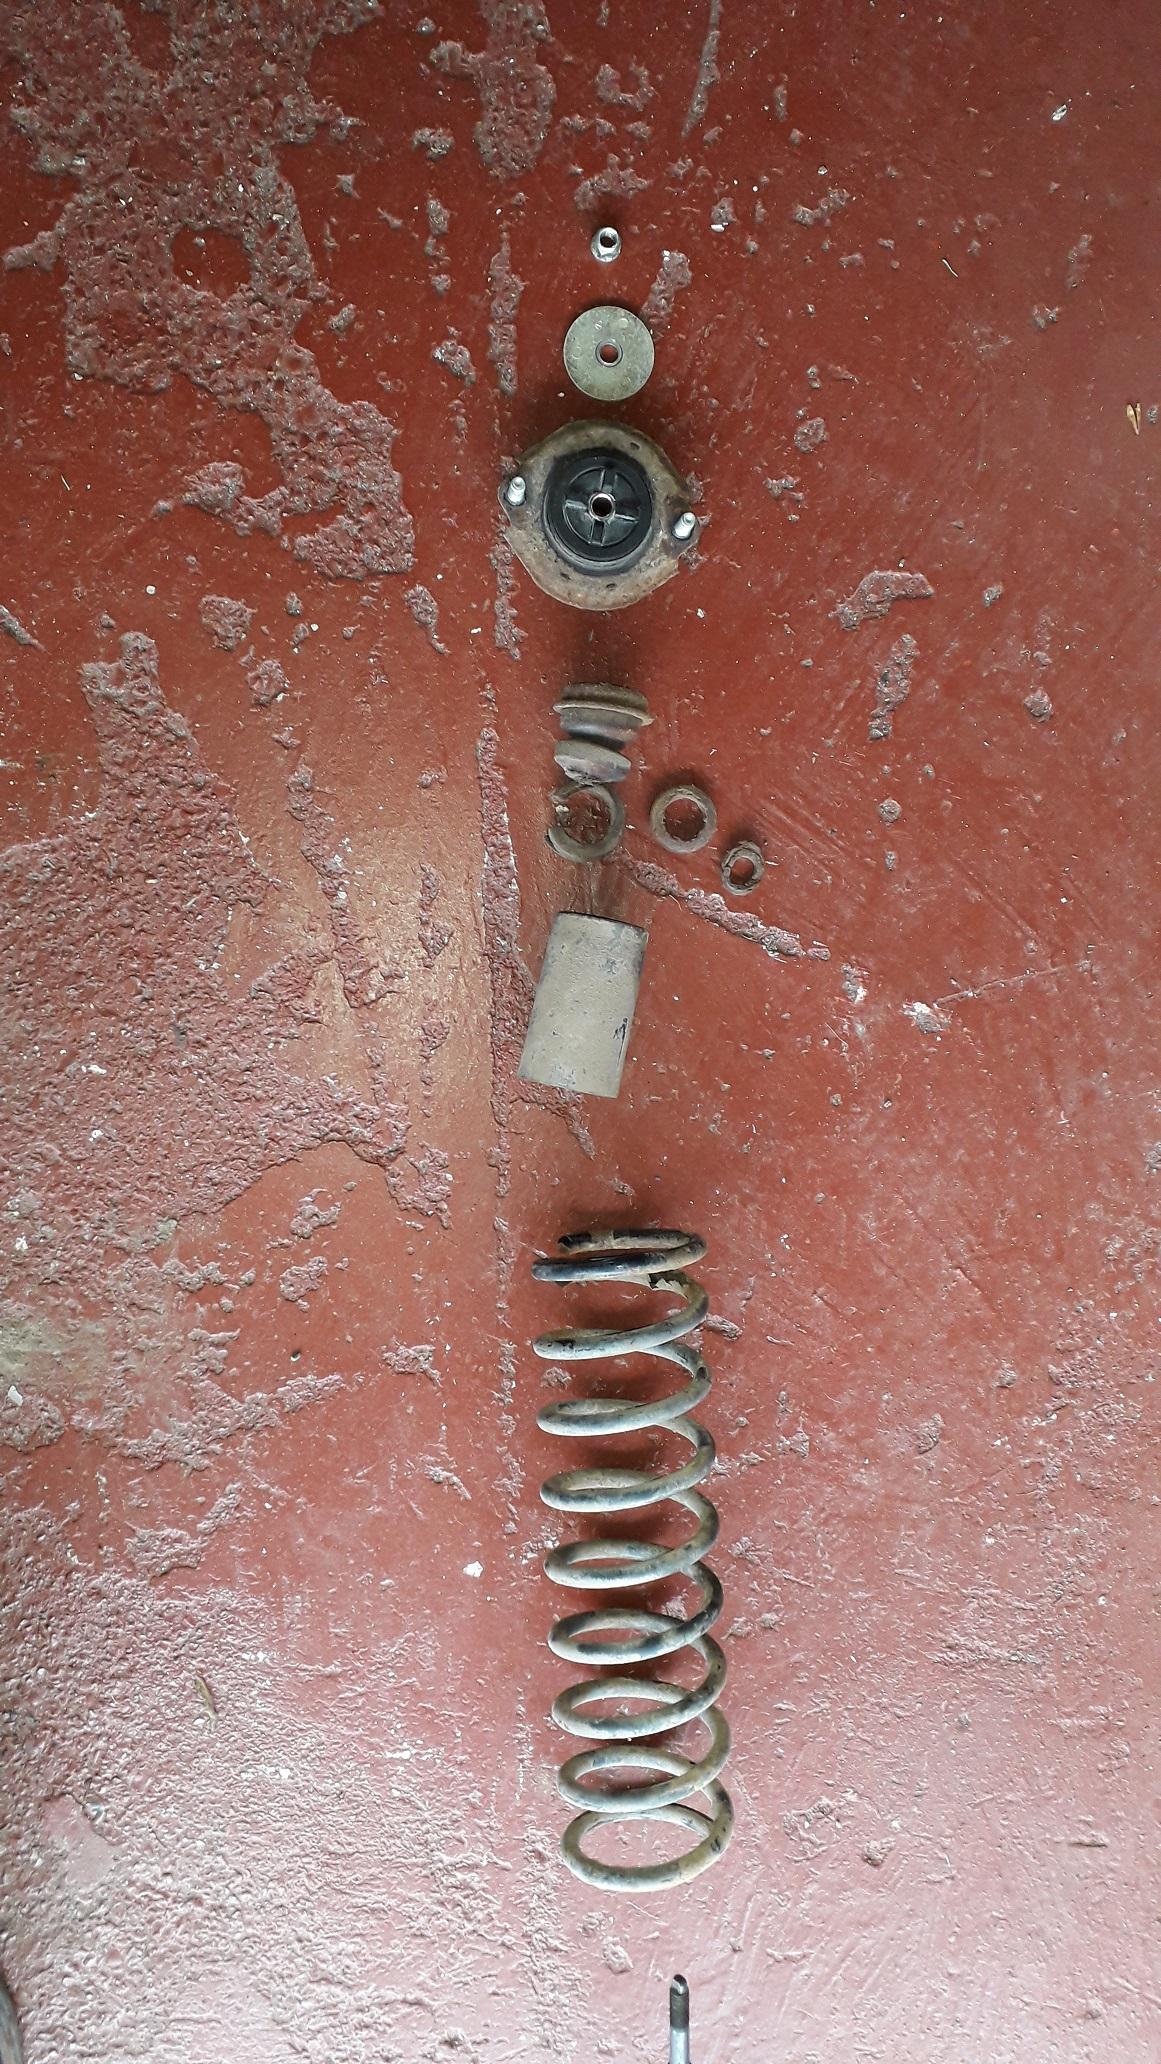
Rear KYB Excel g shocks and Tein springs install. Again both rear shocks were branded Toyota so I believe they are most likely the original shocks. Got some new top mounts (didn't fit AGAIN but more on this later) and KYB shock absorbers (341191). The bump stop had rotted and was disintegrating. Firstly I loosened the 2 x outer top shock mount nuts in the boot under the plastic covers (not the middle nut). After letting the lower shock mount nut soak for a while in WD40 I loosened and removed it. Removed the 2 x upper mount nuts and the strut was out. Used the spring compressors to compress the spring which took the tension off the top mount, I removed the top shock nut using a ring spanner with an open ended spanner on the flats on the end of the shock shaft. Components shown below: Top shock nut, mount washer, top shock mount, metal cup washer for bump stop, knackered bump stop, dust shield. Turns out the rear top mounts listed on eBay don't fit either! This time the spring perch was too small for the internal diameter of the spring so this time it was the mounts turn to be the dick in the bowler hat! Treated the rusty parts and painted them. Decided also to cut approx. 12mm off the bump stop as there was less travel with the shorter springs and the stops were pretty hard. I left the fronts at full length as they were quite soft and could be compressed with reasonable force by hand. So, I fitted the new bump stop and dust shield, compressed the new spring and fitted it, added the metal cup washer, shitty old top mount with integral spring pad 😤, mount washer and new nut. I set the top mounting bolts at a 45 degree angle to the lower mount hole as rotating it with the spring pressure on is impossible. Back in it went, top mount nuts attached loosely first, then bottom bolt and nut. Fully tightened the top nuts, then set the car at ride height before tightening the bottom bolt. Rinse and repeat for other side. It sits about 40mm lower all round, I think its just right for a sleeper and may settle a bit more after driving it a bit.